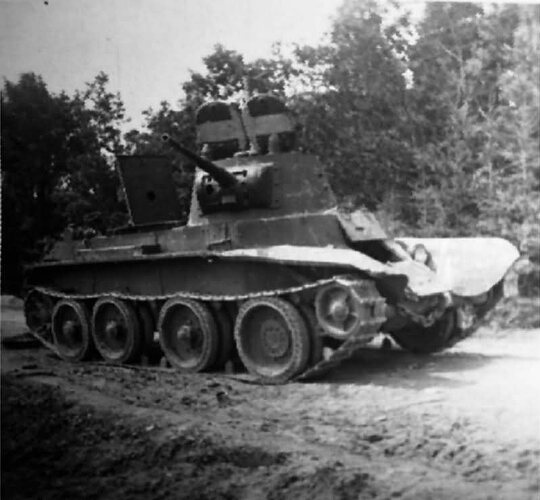
Made in the USSR

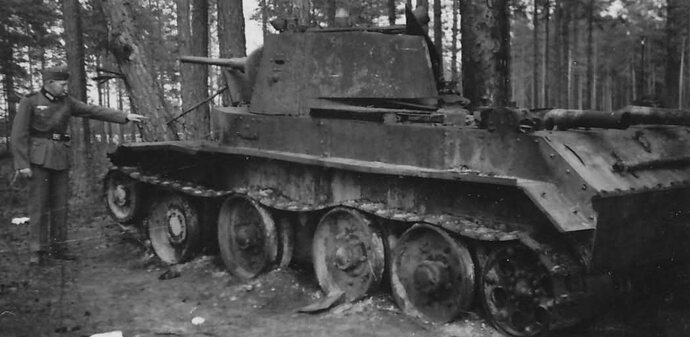
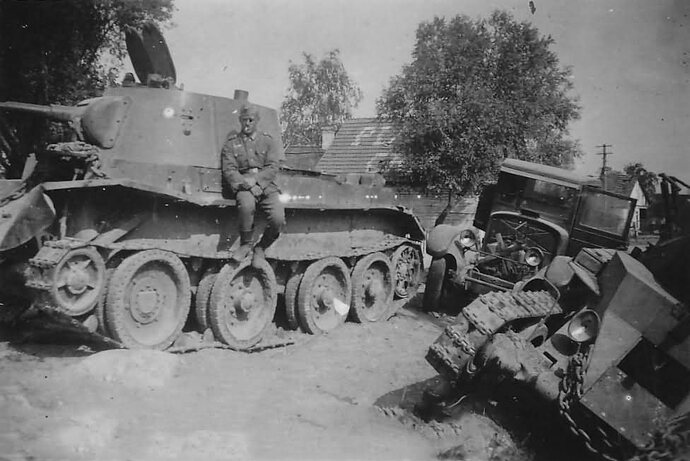
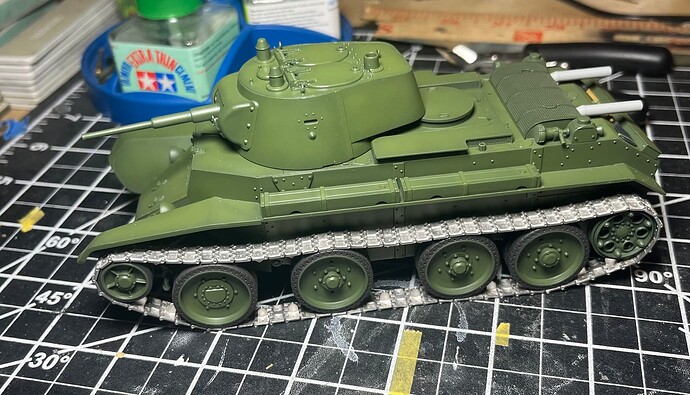
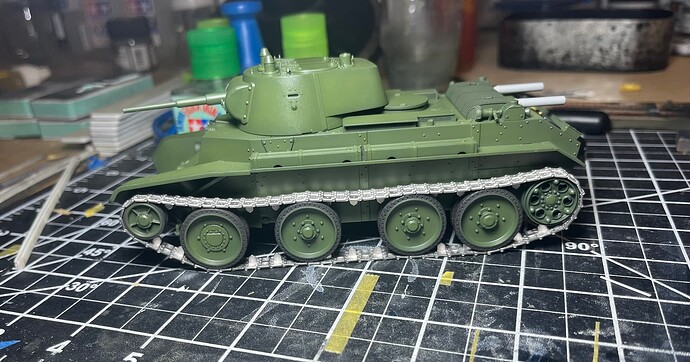
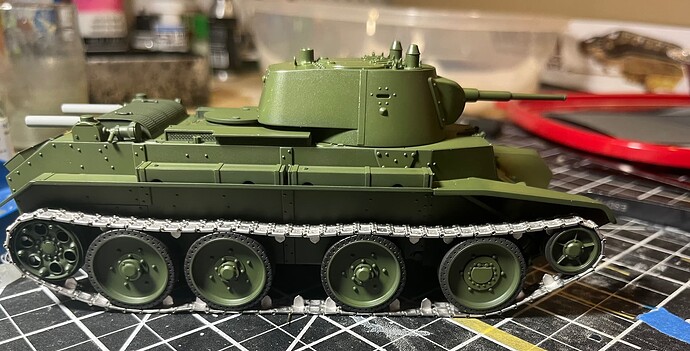
Finally got back to the BT-7 after some family visits!

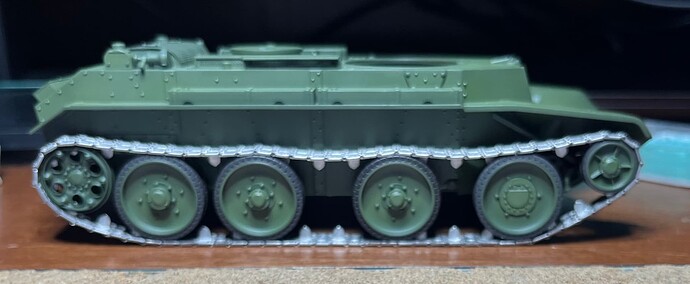
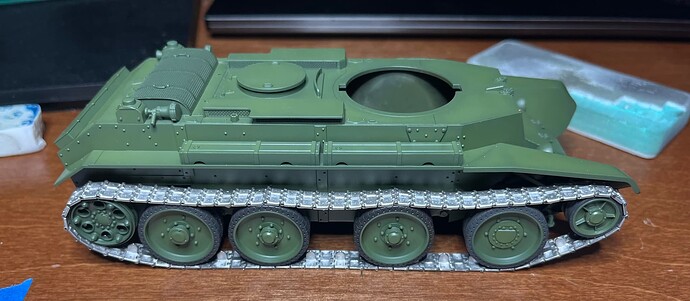
I decided to add Friul tracks, the tamiya tracks were not good. Link and length plus lots of punch marks didn’t make for a fun time. The Friul are quite nice. They came with a white metal rear idler but I decided to go with the tamiya one. I think the fit is good at the idler and I already had it painted.


I was a little worried I had excess sag, but removing one track makes them too tight to close. Also references show a good amount of sag on stationary vehicles


10 Likes


Today’s work

8 Likes

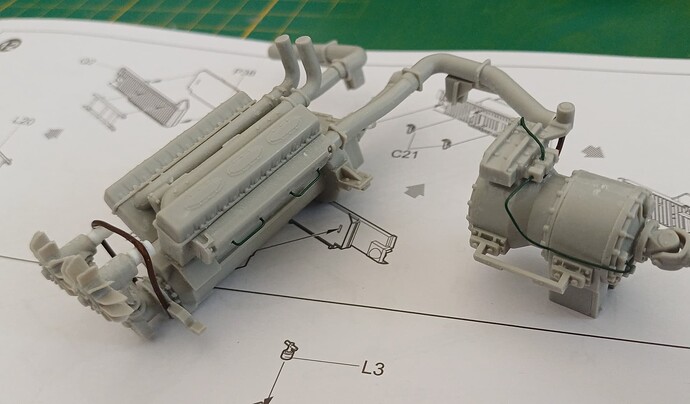
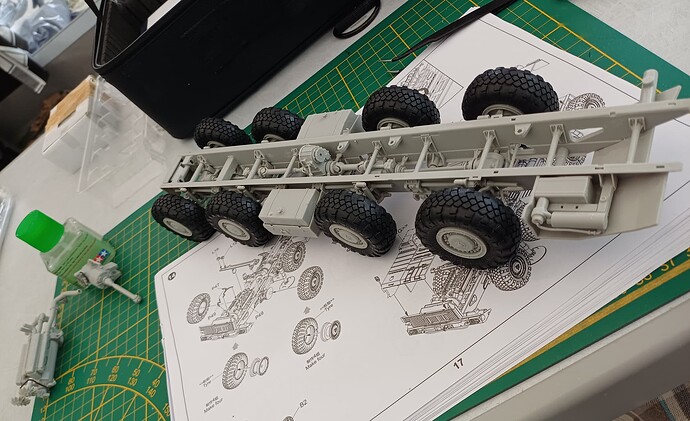
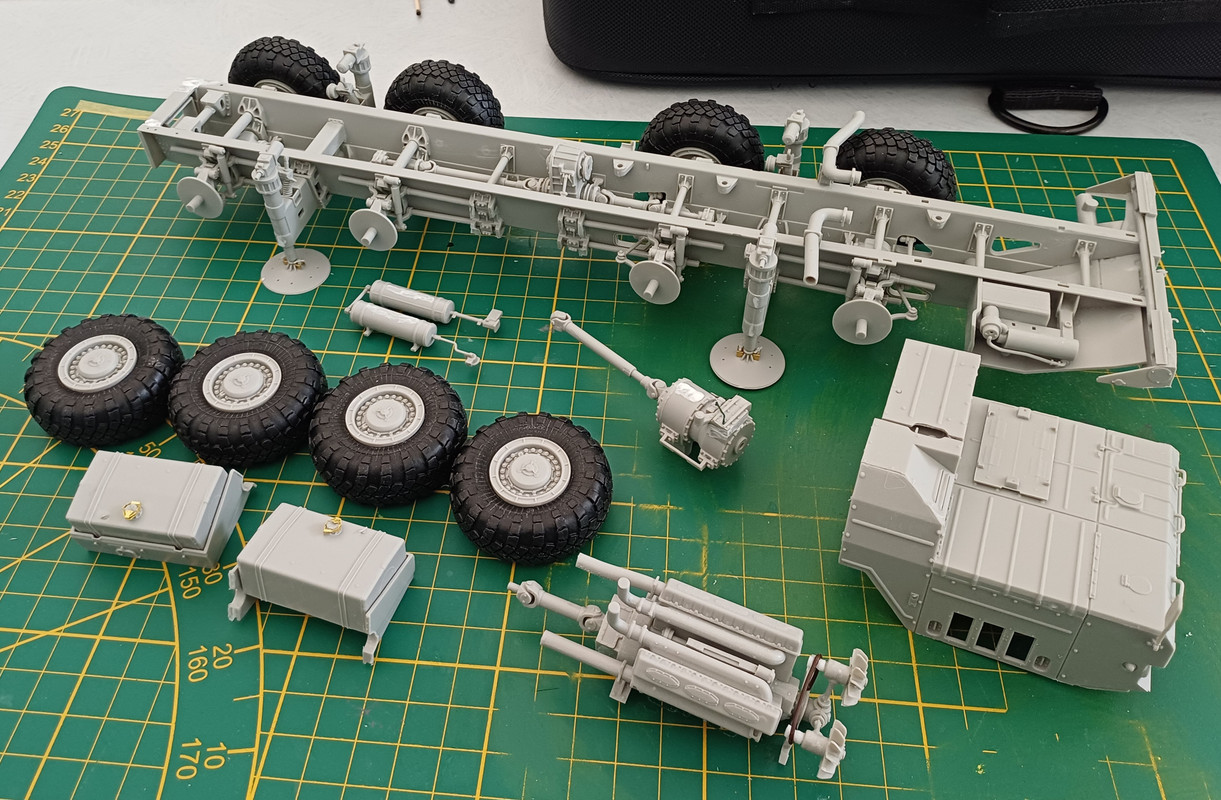
Progress is slow, there are a lot of parts involved…

And that’s still only chassis…

13 Likes

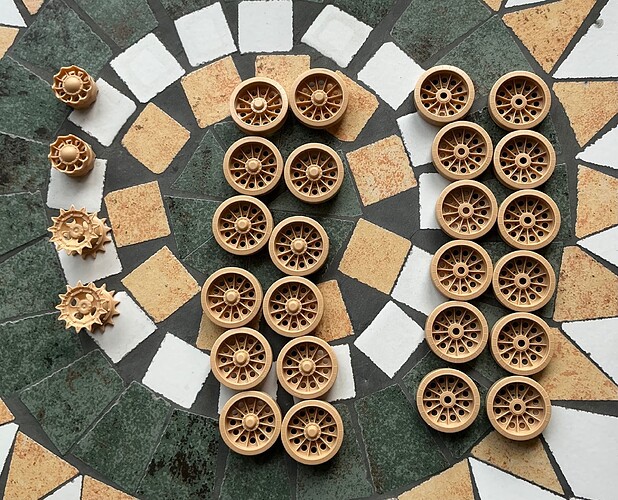
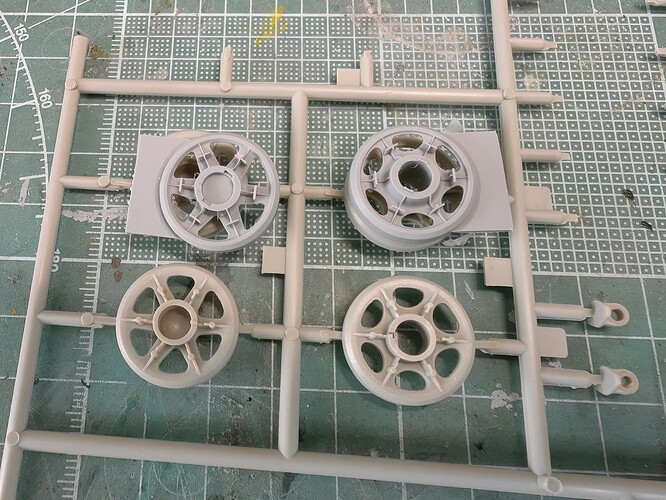
Because we’ve been on vacation and doing lots of hiking the last week, progress during down time has been pretty glacial. So far I’ve just gotten the wheels and sprockets sorted out:

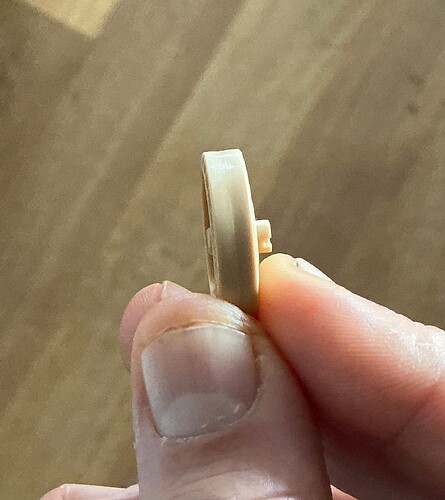
Well, almost…there is a pronounced dip in the center of each road wheel, where each half of the mold was slightly misaligned with the other.

When we get home later in the week, I’ll have to slap some putty on each wheel edge and start sanding…arrrrrrgh. :expressionless_face:

8 Likes

Got the other side of the Friul tracks together. Need yo get some blackening agent now


They fit the tamiya idlers quite well so I assume the ones that come with the tracks must be for a different kit.

That completes the build phase of this one! Next up is some detail painting/weathering of the exhaust, wheel chock blocks, chain and headlights. I also need to figure out how I am going to paint the white stripes on the turret.


Hope to be moving into the weathering phase soon!!

13 Likes

Those Fruil tracks really make a difference. They sag realistically.

Paul

4 Likes

I’ve only used them twice, but I love them. They aren’t any worse than normal Indy links to assemble, and they look great when done

If they weren’t so pricey I would add them to every build! They were a must in the BT-7, I am not a link and length fan, and the tamiya tracks had punch marks on every third link

4 Likes

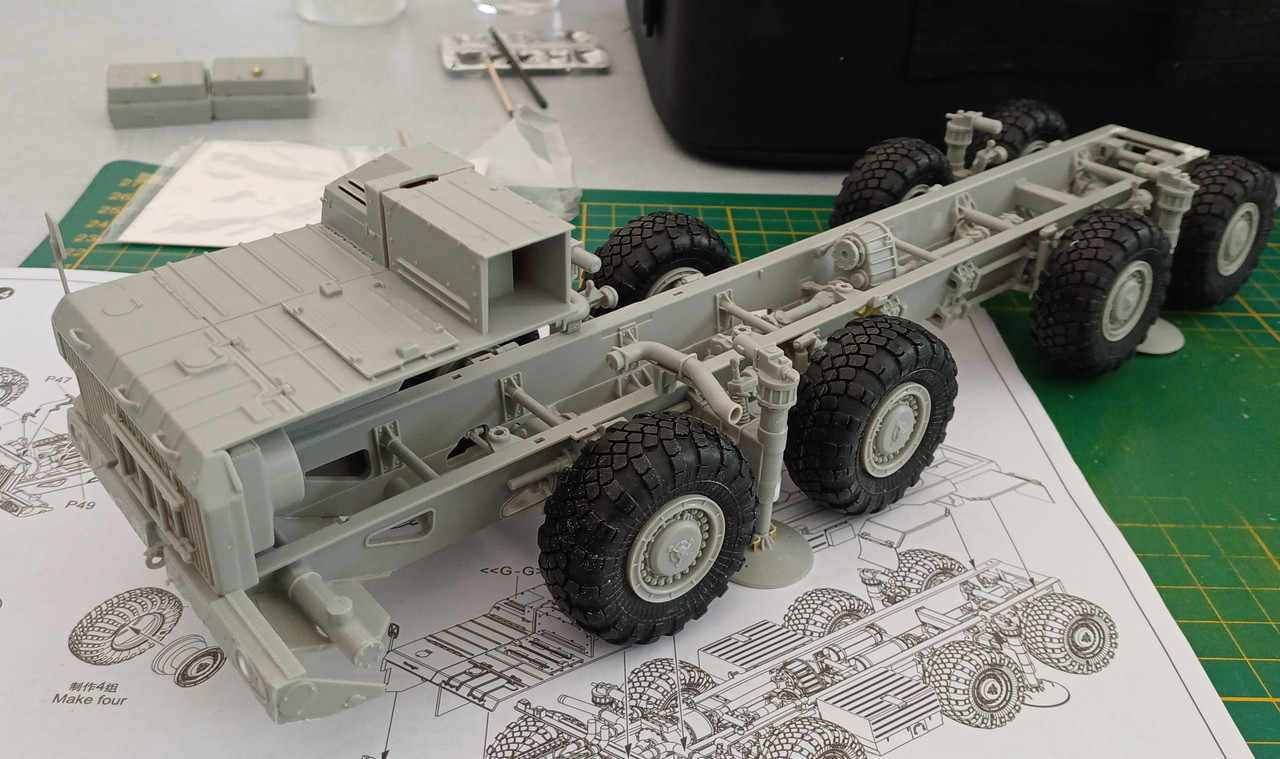
Another bit of progress… made a bonnet…

And still lots of parts still unattached for ease of painting..

14 Likes

That is an impressive level of detail in this kit. I see some PE here and there as well. I look forward to seeing you progress.

Paul

2 Likes

That looks very good.

2 Likes


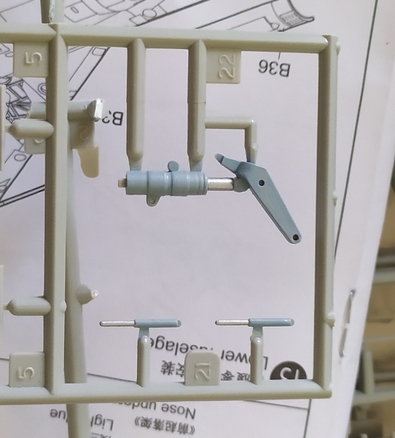
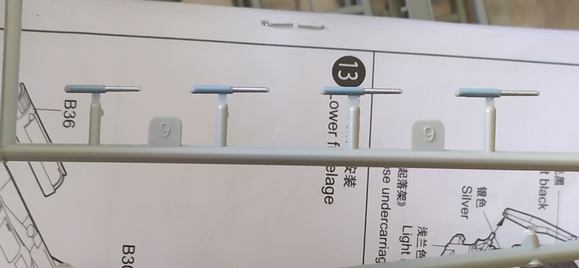
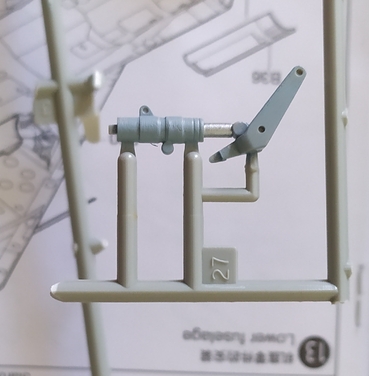
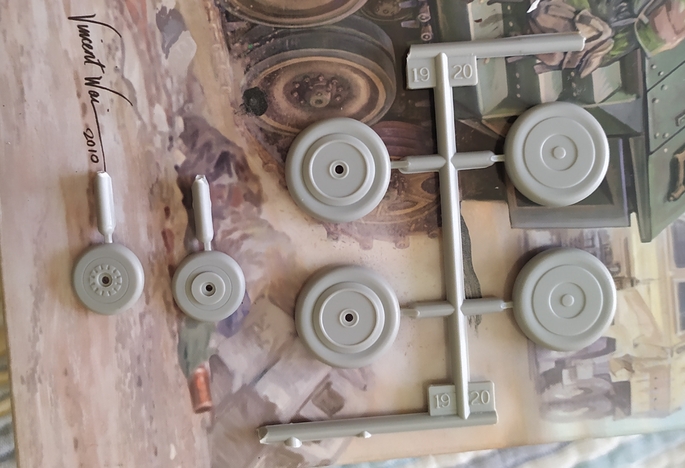
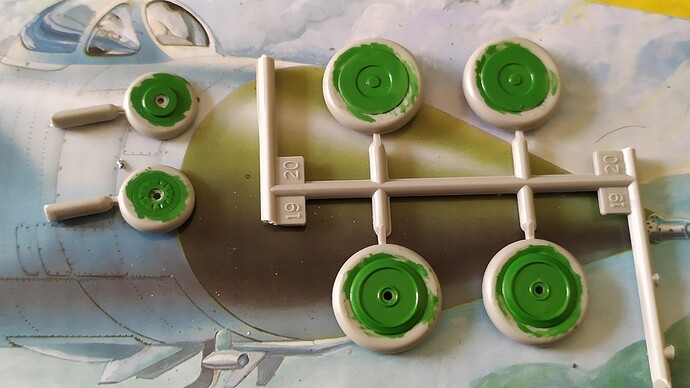
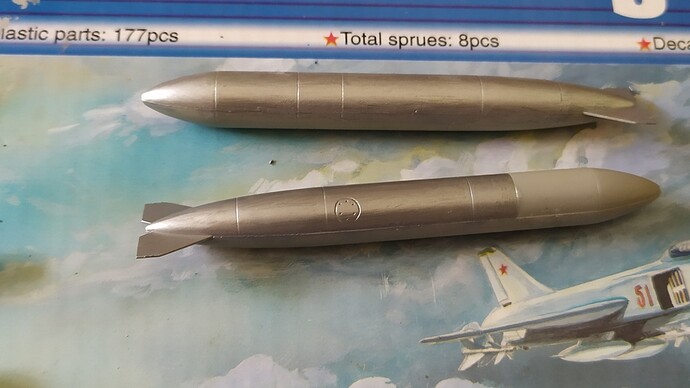
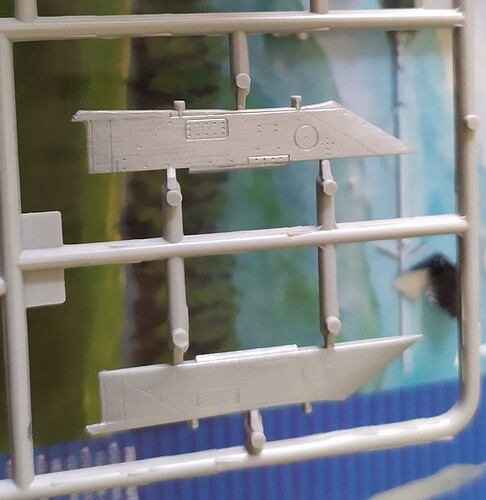
Wheels, fuel tanks, wing pylons,etc…
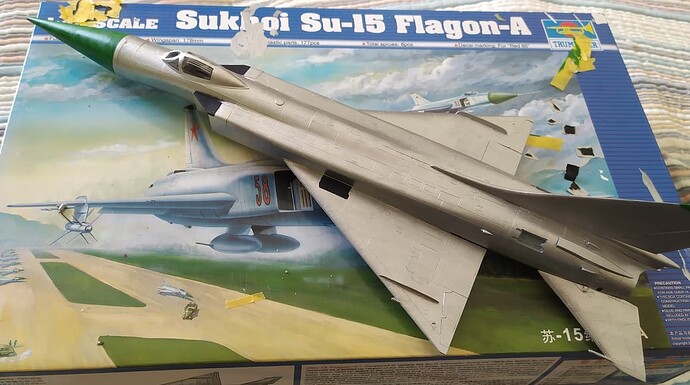
I think I might get the “tiny” Su-15 finished in a few weeks

8 Likes

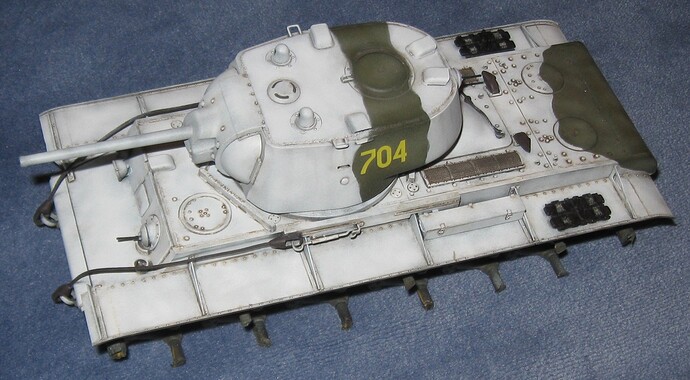
Trumpeter KV-1

Still plugging away on my KV. Really off the map trying to paint this thing. As practice models go, I am fairly happy with it and certainly learned a lot.

Anyway, I’ll do maybe 10 more hours of effects painting then give it a clear coat and call it a campaign. :slightly_smiling_face:

16 Likes

I really like the camo scheme for that KV tank.
Very nice work so far !

1 Like

Ditto! That paint scheme is awesome!

1 Like

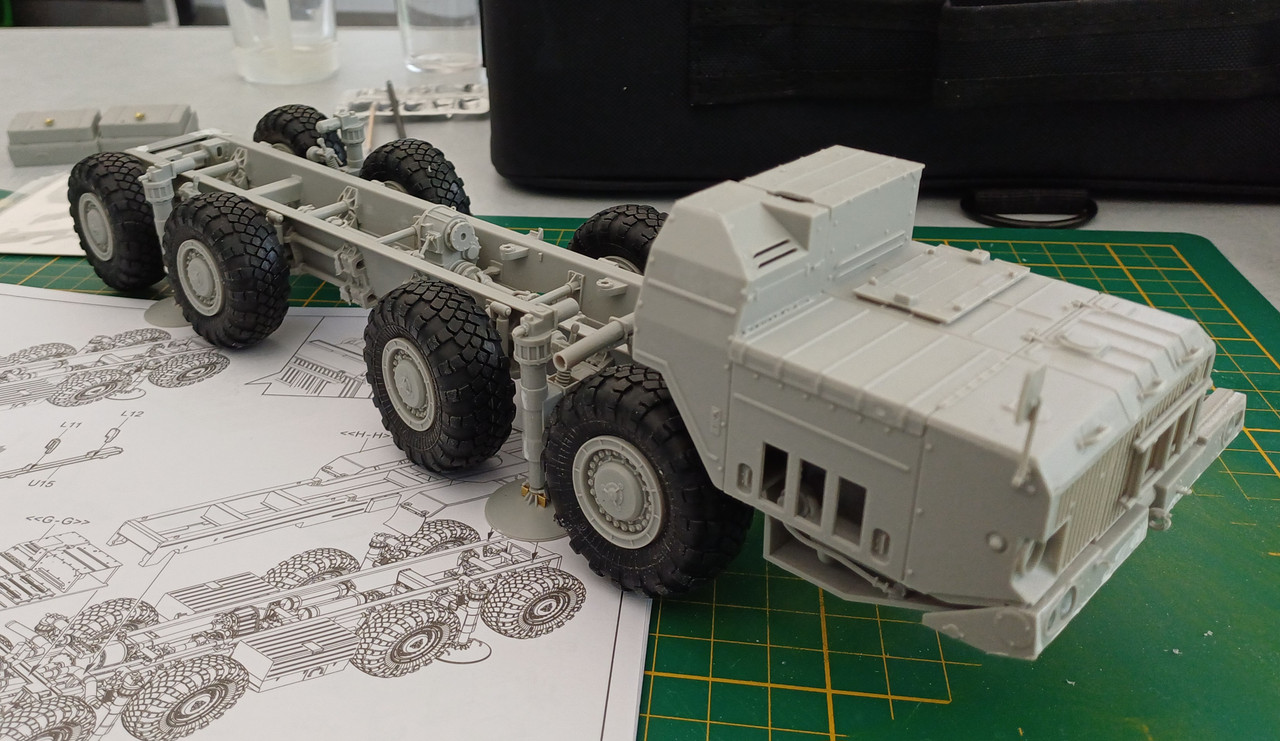
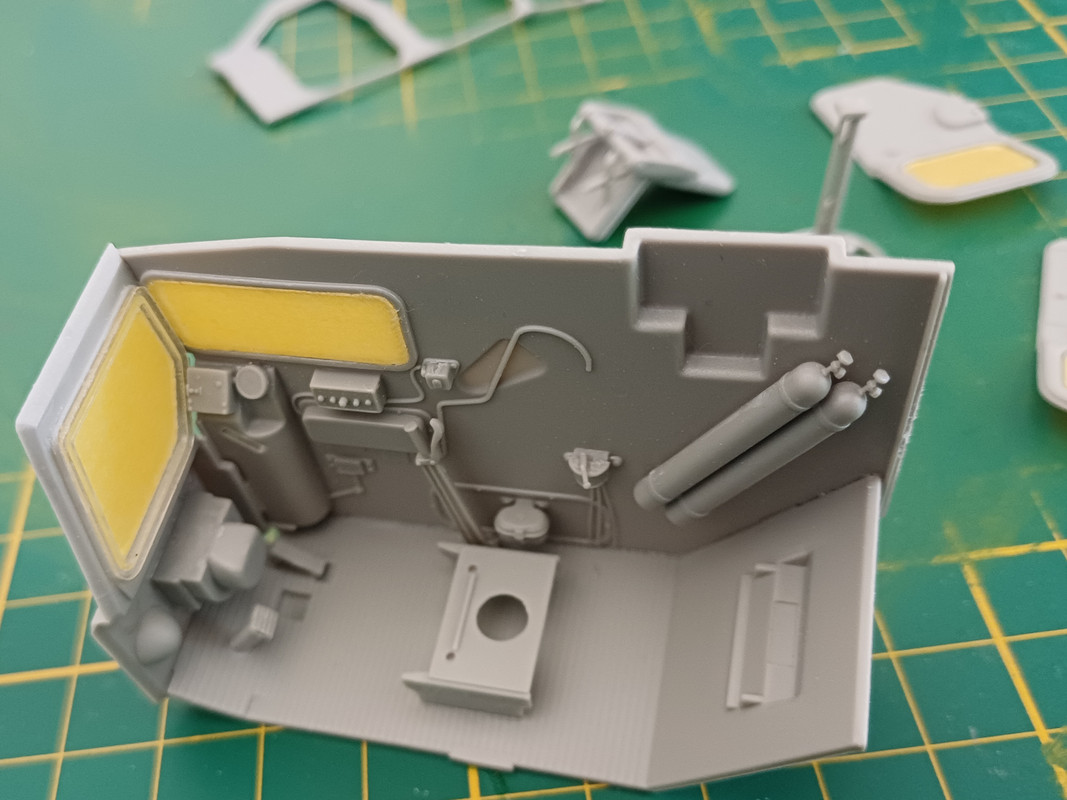
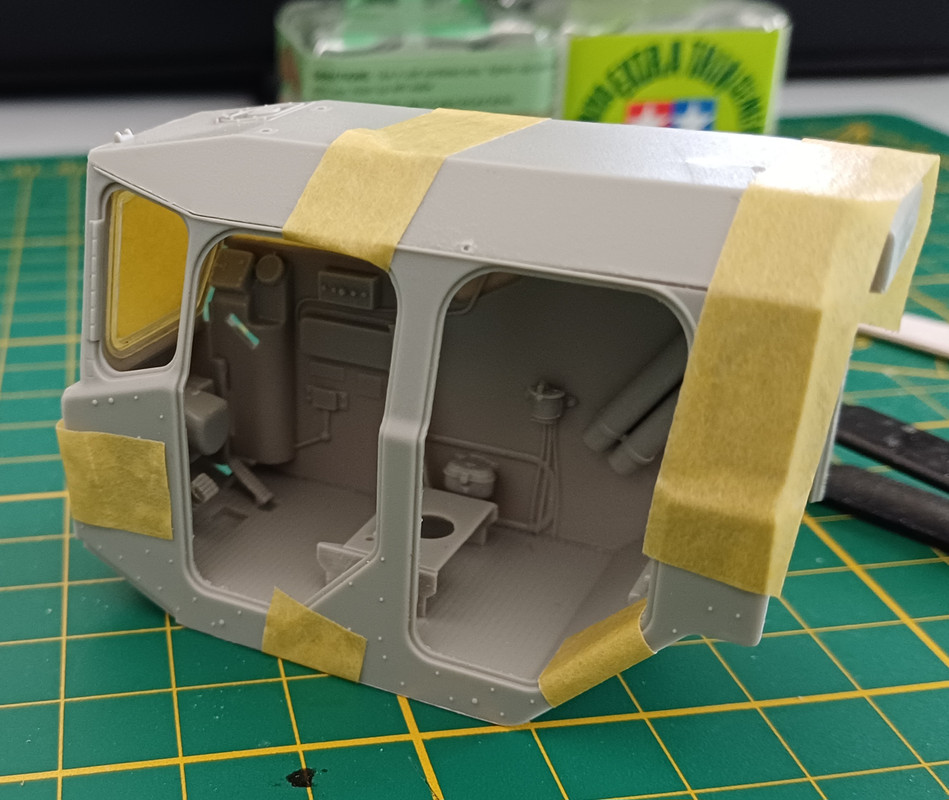
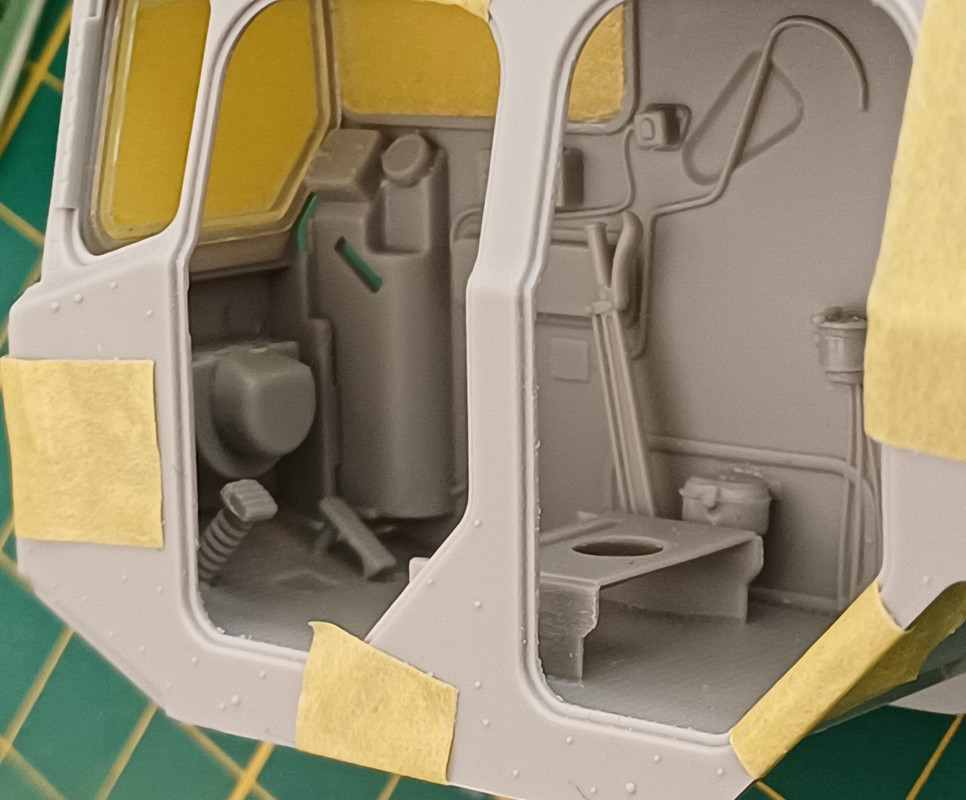
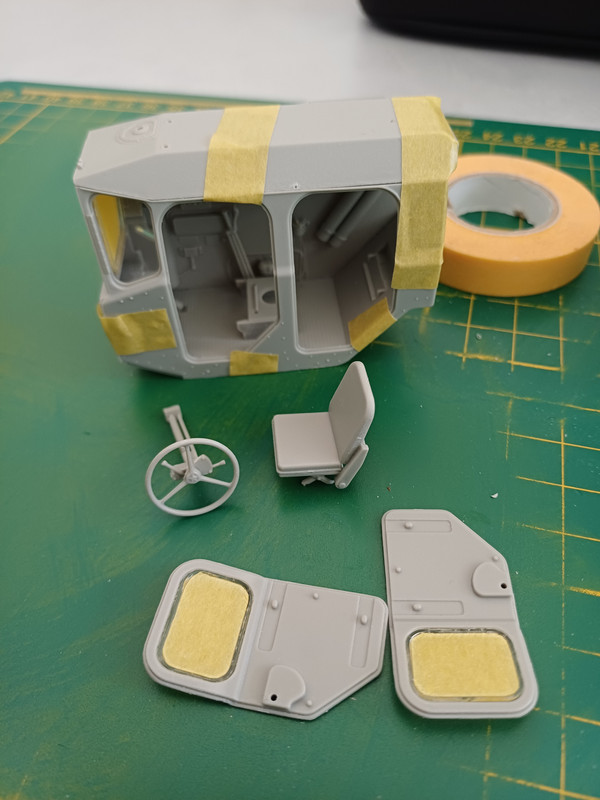
Todays progress, working on the cabine:

And first I thought I made mistakes with lining everything up…

But adding the roof gets part of it sorted…

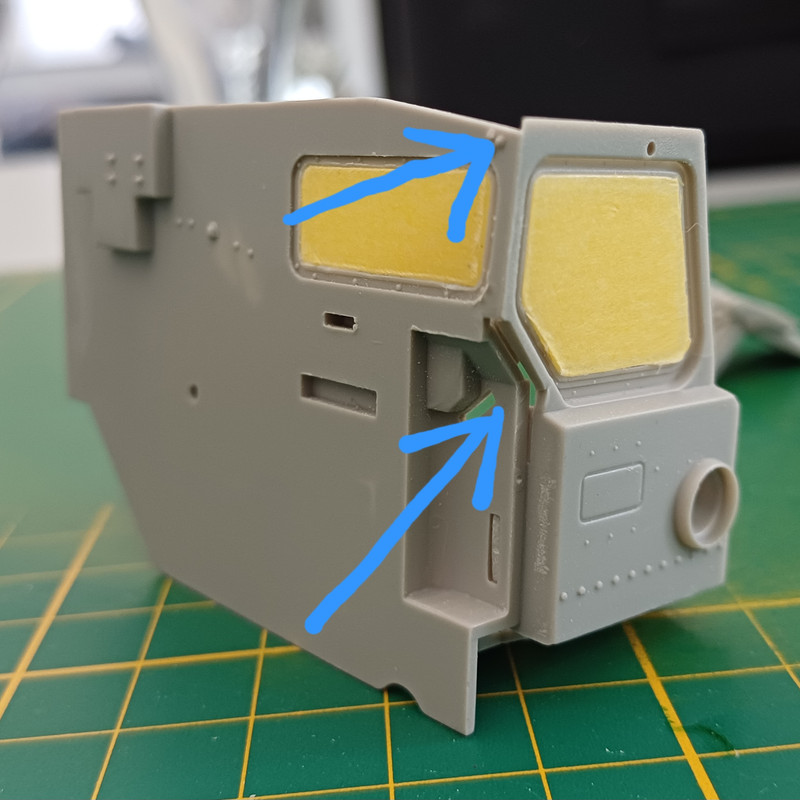
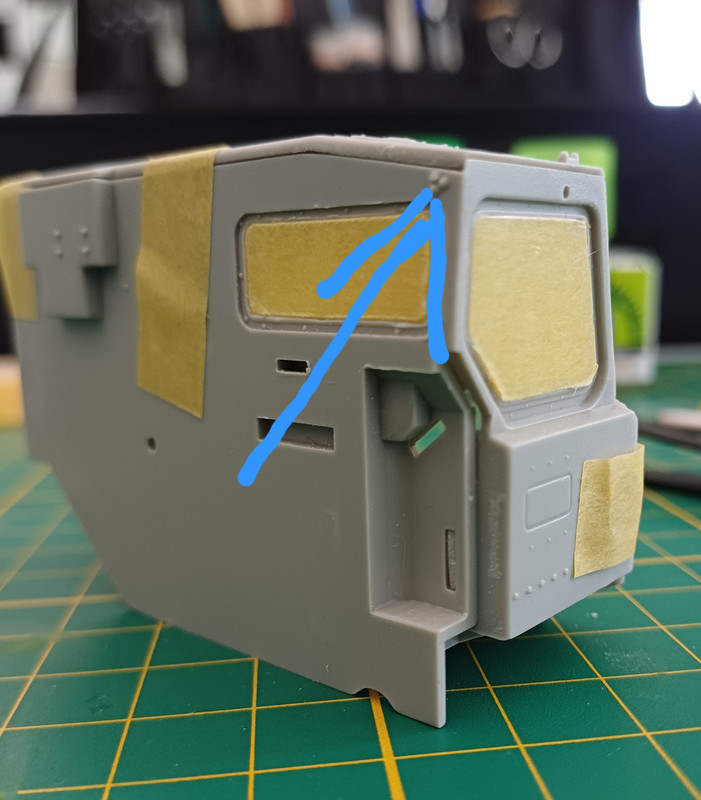
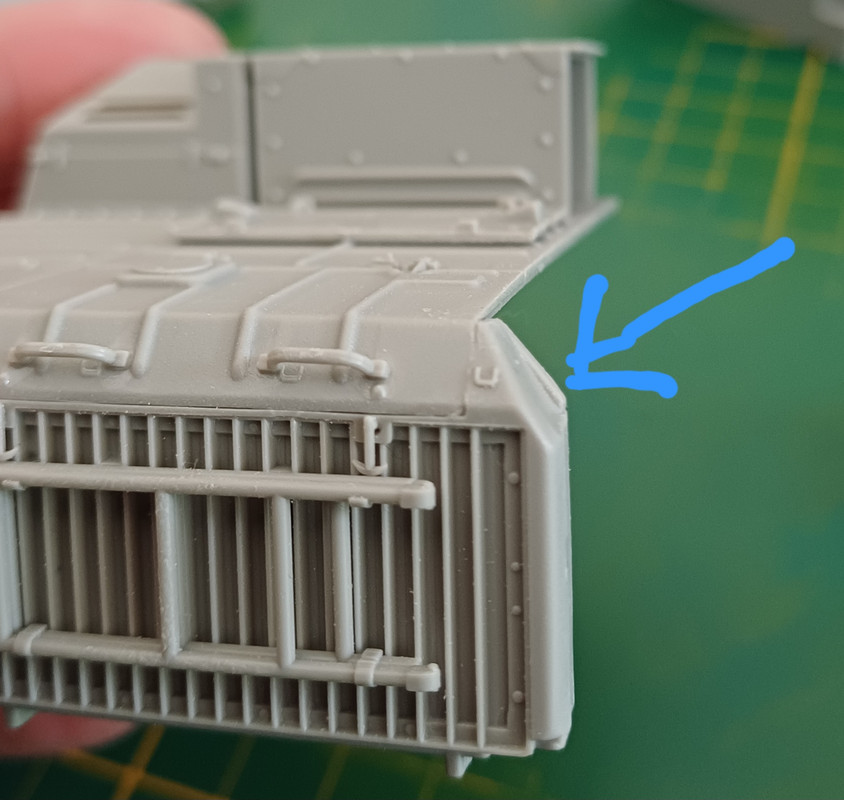
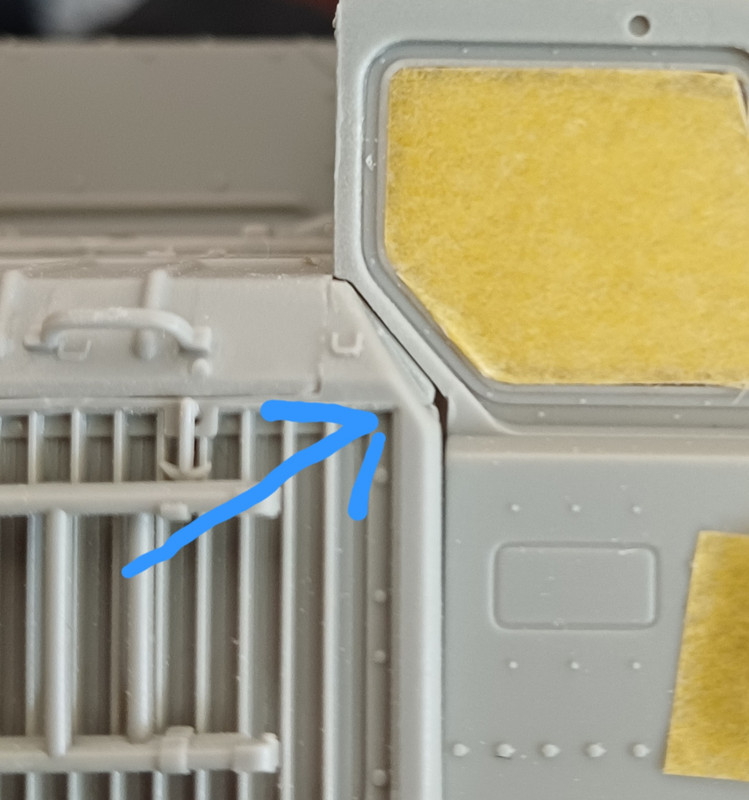
And whatever you do (if you build this) don’t sand of this bit when getting the bonnet done (where I also thought I made a misstake)

Because you need that bit to fill that gap in the cabin’s front/side corner…

10 Likes

And at the construction site I continue to lose aftermarket. Consciously and voluntarily. I did not see any fundamental difference between native sloths and resin sloths from Э.В.М.

No, it is there, but not so much that it would jump out of your pants now. There will be more projects ahead where they can be used.

Similarly with the tracks: I used the original ones. Although they are bad in all Trumpeter sets and it is definitely better to change them.

The thing is, in the comments to the previous KV-1, KurtLaughlin shared his technology on this forum

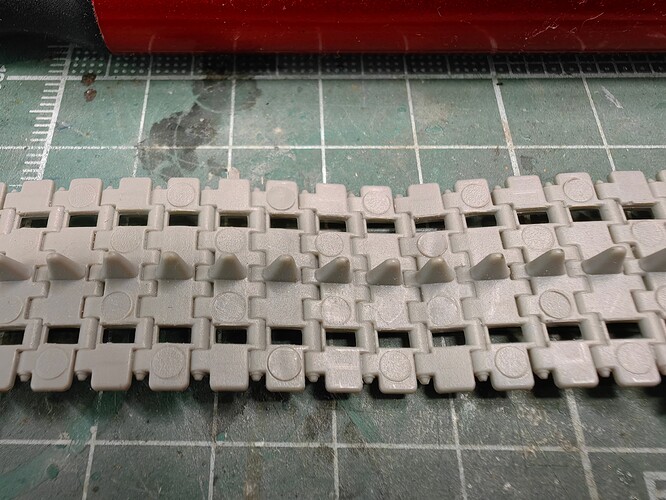
«Raised knock out/pusher marks on flat surfaces are not usually a concern for me. I glued a 3mm diameter disk of sandpaper onto the end face of a 3mm hardwood dowel and mount it into my electric rotary tool. Removing the marks while the tracks are still on the sprues is quick and easy.

Sunken marks are filled with punched disks of styrene sheet and treated as if they are raised. I never have to use a putty or filler.»

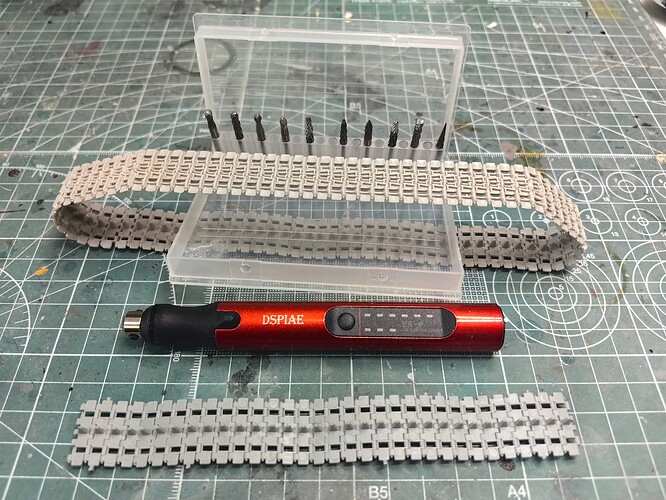
That’s what threw me off my track. Like: our hands are not for boredom. I didn’t strictly follow his technology, I managed with this tool.

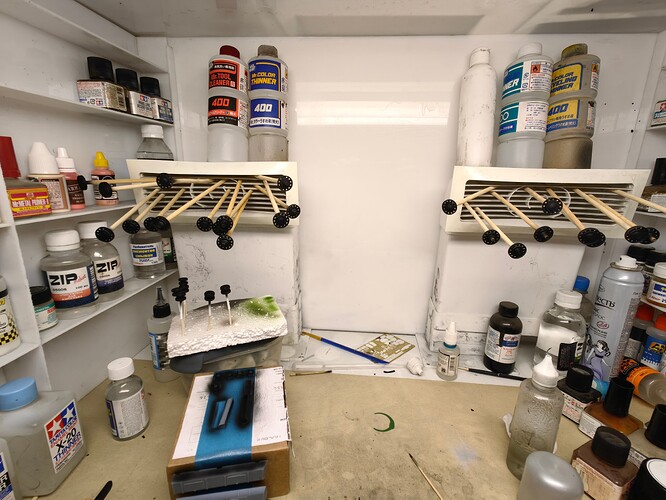
And I have them strung on Chinese chopsticks, i.e. decent logs.

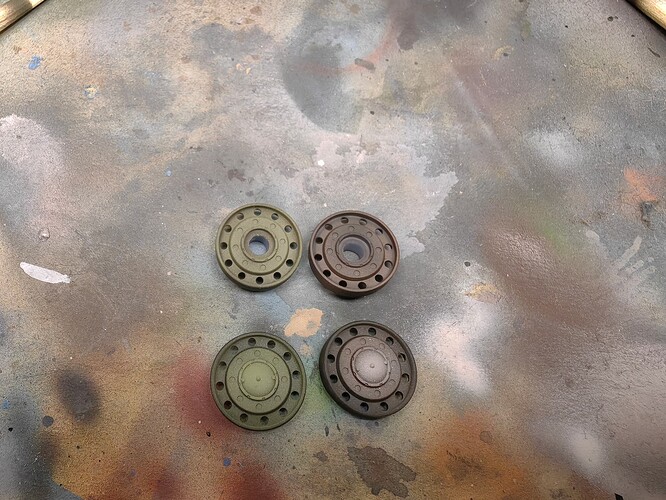
I think I already mentioned that I got into the habit of doing preshading with primers from Mr.Hobby: black, brown, gray and, if necessary, white. So the modulation set will be laid on the prepared preshading. In short, Salt is salty.

Since I have extremely poor artistic abilities, I prefer to paint in full accordance with them, i.e. poorly.

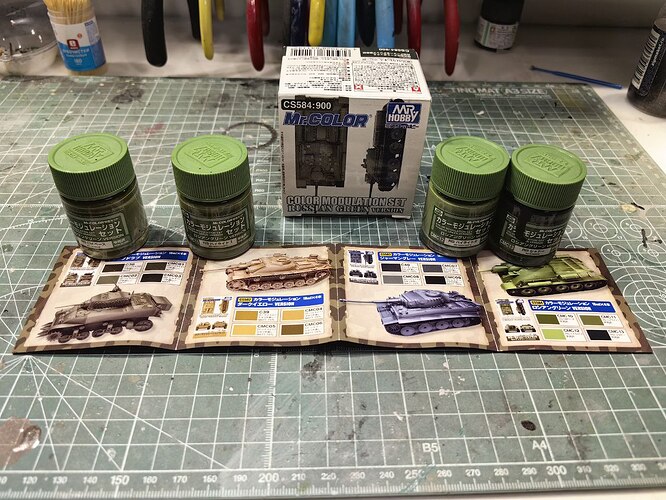
I decided to paint with a modulation kit from Mr.Hobby that I bought not so long ago. Not so much to achieve outstanding results, but to try it out before using it on another, more complex project. So that I wouldn’t screw it up later.

When painting, a positive side effect of my painting area became apparent: there is a very convenient place for painted parts.

I strung them on Chinese chopsticks, i.e. on decent logs.

I think I already mentioned that I got into the habit of doing preshading with primers from Mr.Hobby: black, brown, gray and, if necessary, white. So the modulation set will be laid on the prepared preshading. In short, Salt is salty.

Since I have extremely poor artistic abilities, I prefer to paint in full accordance with them, i.e. poorly.

This is how I achieve the maximum possible (for me) effect of realism.
If, with your highly artistic abilities, supported, quite possibly, by a specialized education, you see it differently – then don’t tell me about it. I should have at least one illusion left in my old age!
12 Likes

Great work so far.
You did a great job with those tracks !!
2 Likes

Having set myself up for a long and tedious job, I was surprised myself when I finished everything in half an hour.
In addition, I removed the excessive smoothness of the track surface. The first time it happened by accident, and then I deliberately “mutilated” the entire internal part.

8 Likes

Good work.I’m curious about the ‘sloths’ , auto translate? I’m not taking the piss, I have only 4 words of Russian.

2 Likes

:joy:
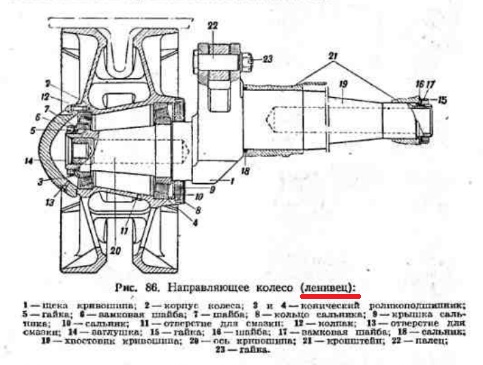
In this case, it is not so much the automatic translation that is at fault, but rather the peculiarities of the Russian language, in which the word for the idler wheel and the Australian animal are the same: “ленивец” - from word “лень” (laziness, sloth)

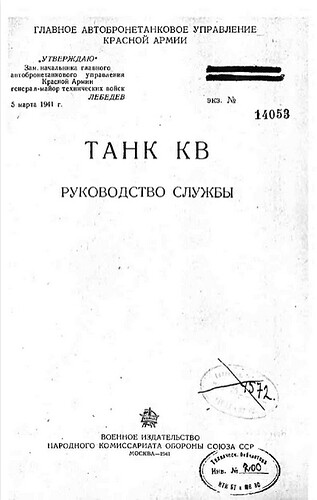
I do not know the source of this term, maybe it is sarcasm from the opposite, because when the caterpillar track is tensioned, it is impossible to be lazy, but in the official operating instructions for the KV tank, published in 1941, this term is already used.

And in the Red Army of that time, most likely, they did not even suspect the existence of the sloth animal.

If we use completely correct terms, then in Russian it would be “направляющее колесо” (guiding wheel). Agree that in Russian it sounds too long, and Russian military people, who give commands in battle and speak mostly in obscenities, do not like long words.

And in English “idler wheel”. I knew the latter, but due to rare use it was forgotten.

Thank you for your question!!

10 Likes