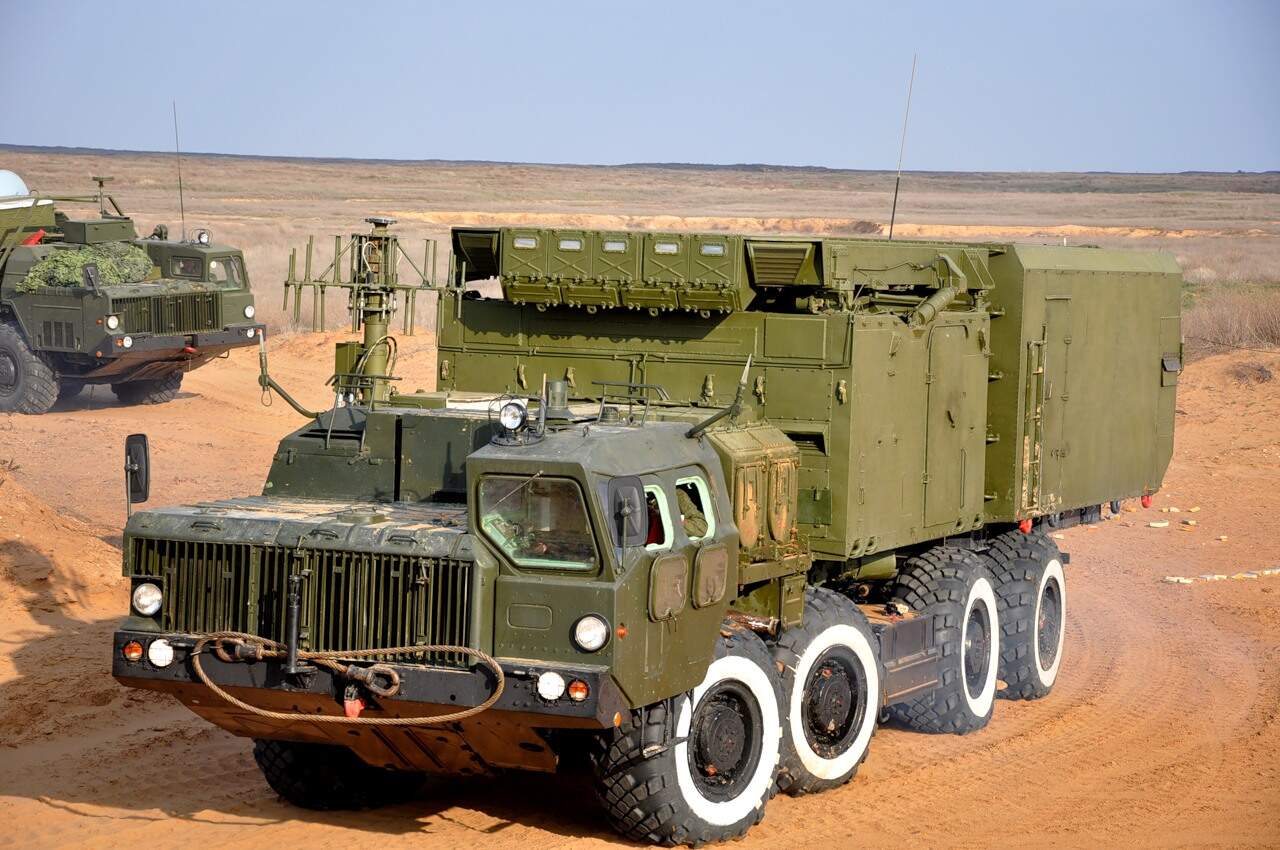
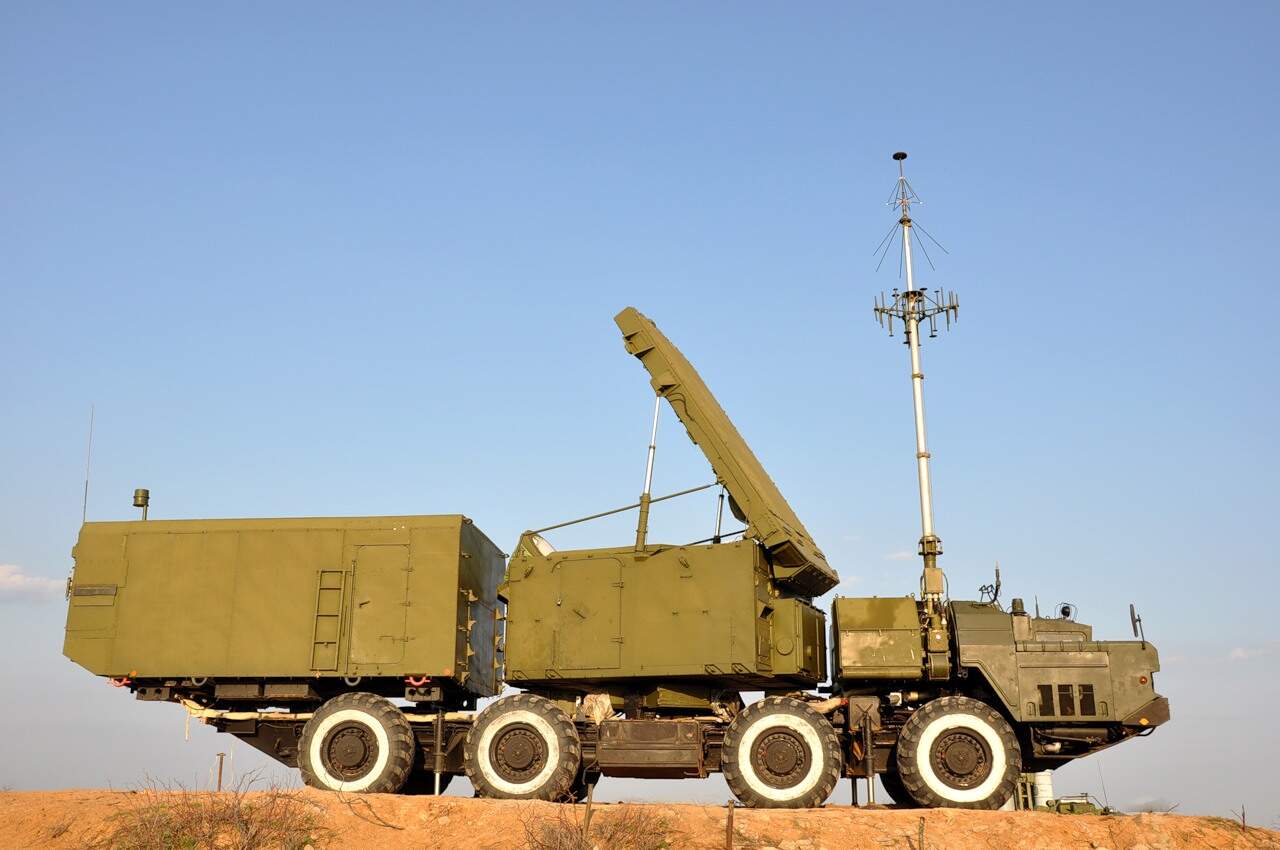
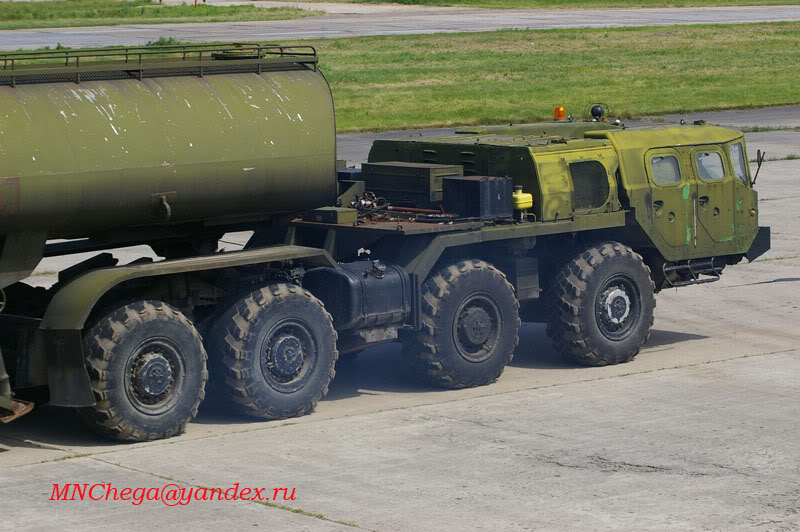
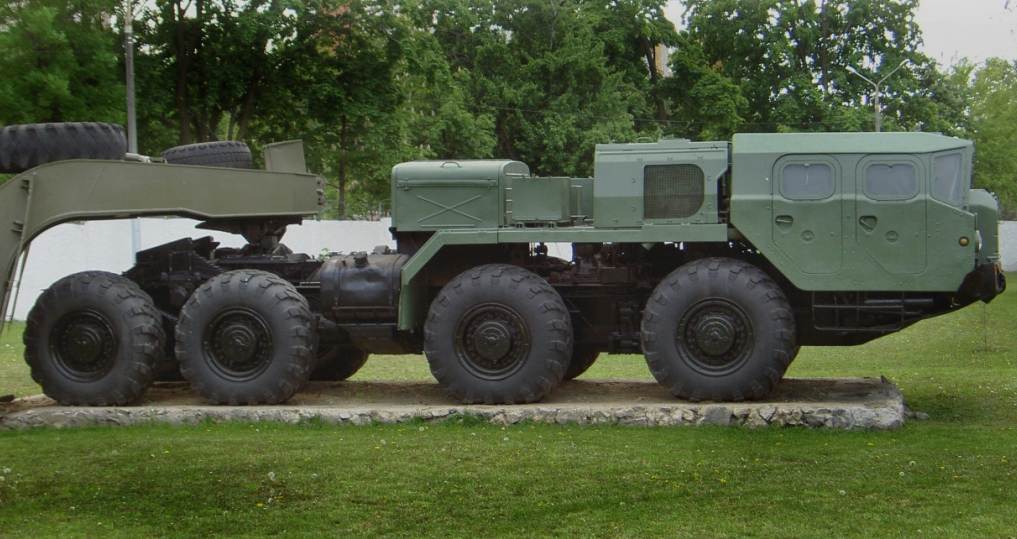
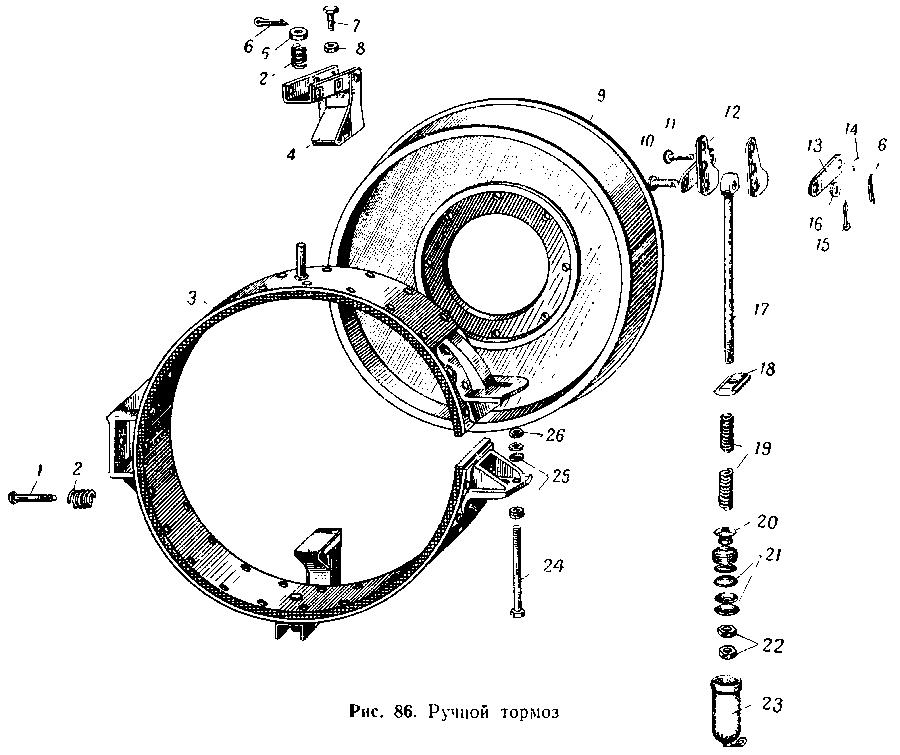
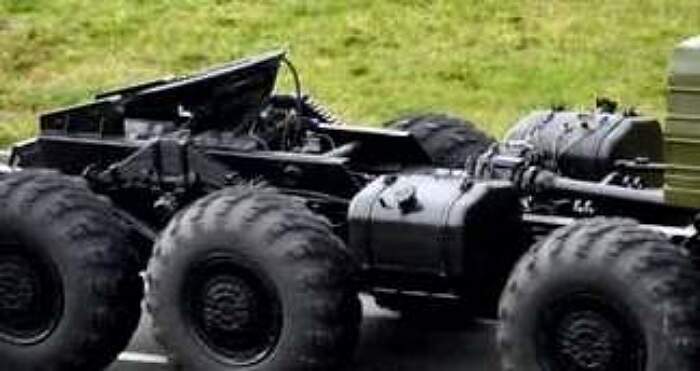
Note: The Flap-Lid radar unit rides on the longer 537 MAZ chassis. (See how the frame tapers at both ends?) Also all eight wheels have torsion bar suspension (No Springs) to give all those electronics a smoother ride.
I may also have to build the Flap-Lid model, since Trumpeter has now been so accommodating by offering these many variations of the MAZ-537.
(But I will most likely pause for awhile as I recover from building this 7410 chassis. - this one will be MAZ chassis number five for me!)
Hey Trumpeter -
It is now way past time for you to be retooling that old, Old, OLD, MAZ-537 kit of yours and updating it as you already have all the necessary driveline parts available here in your newer MAZ-543 kits!
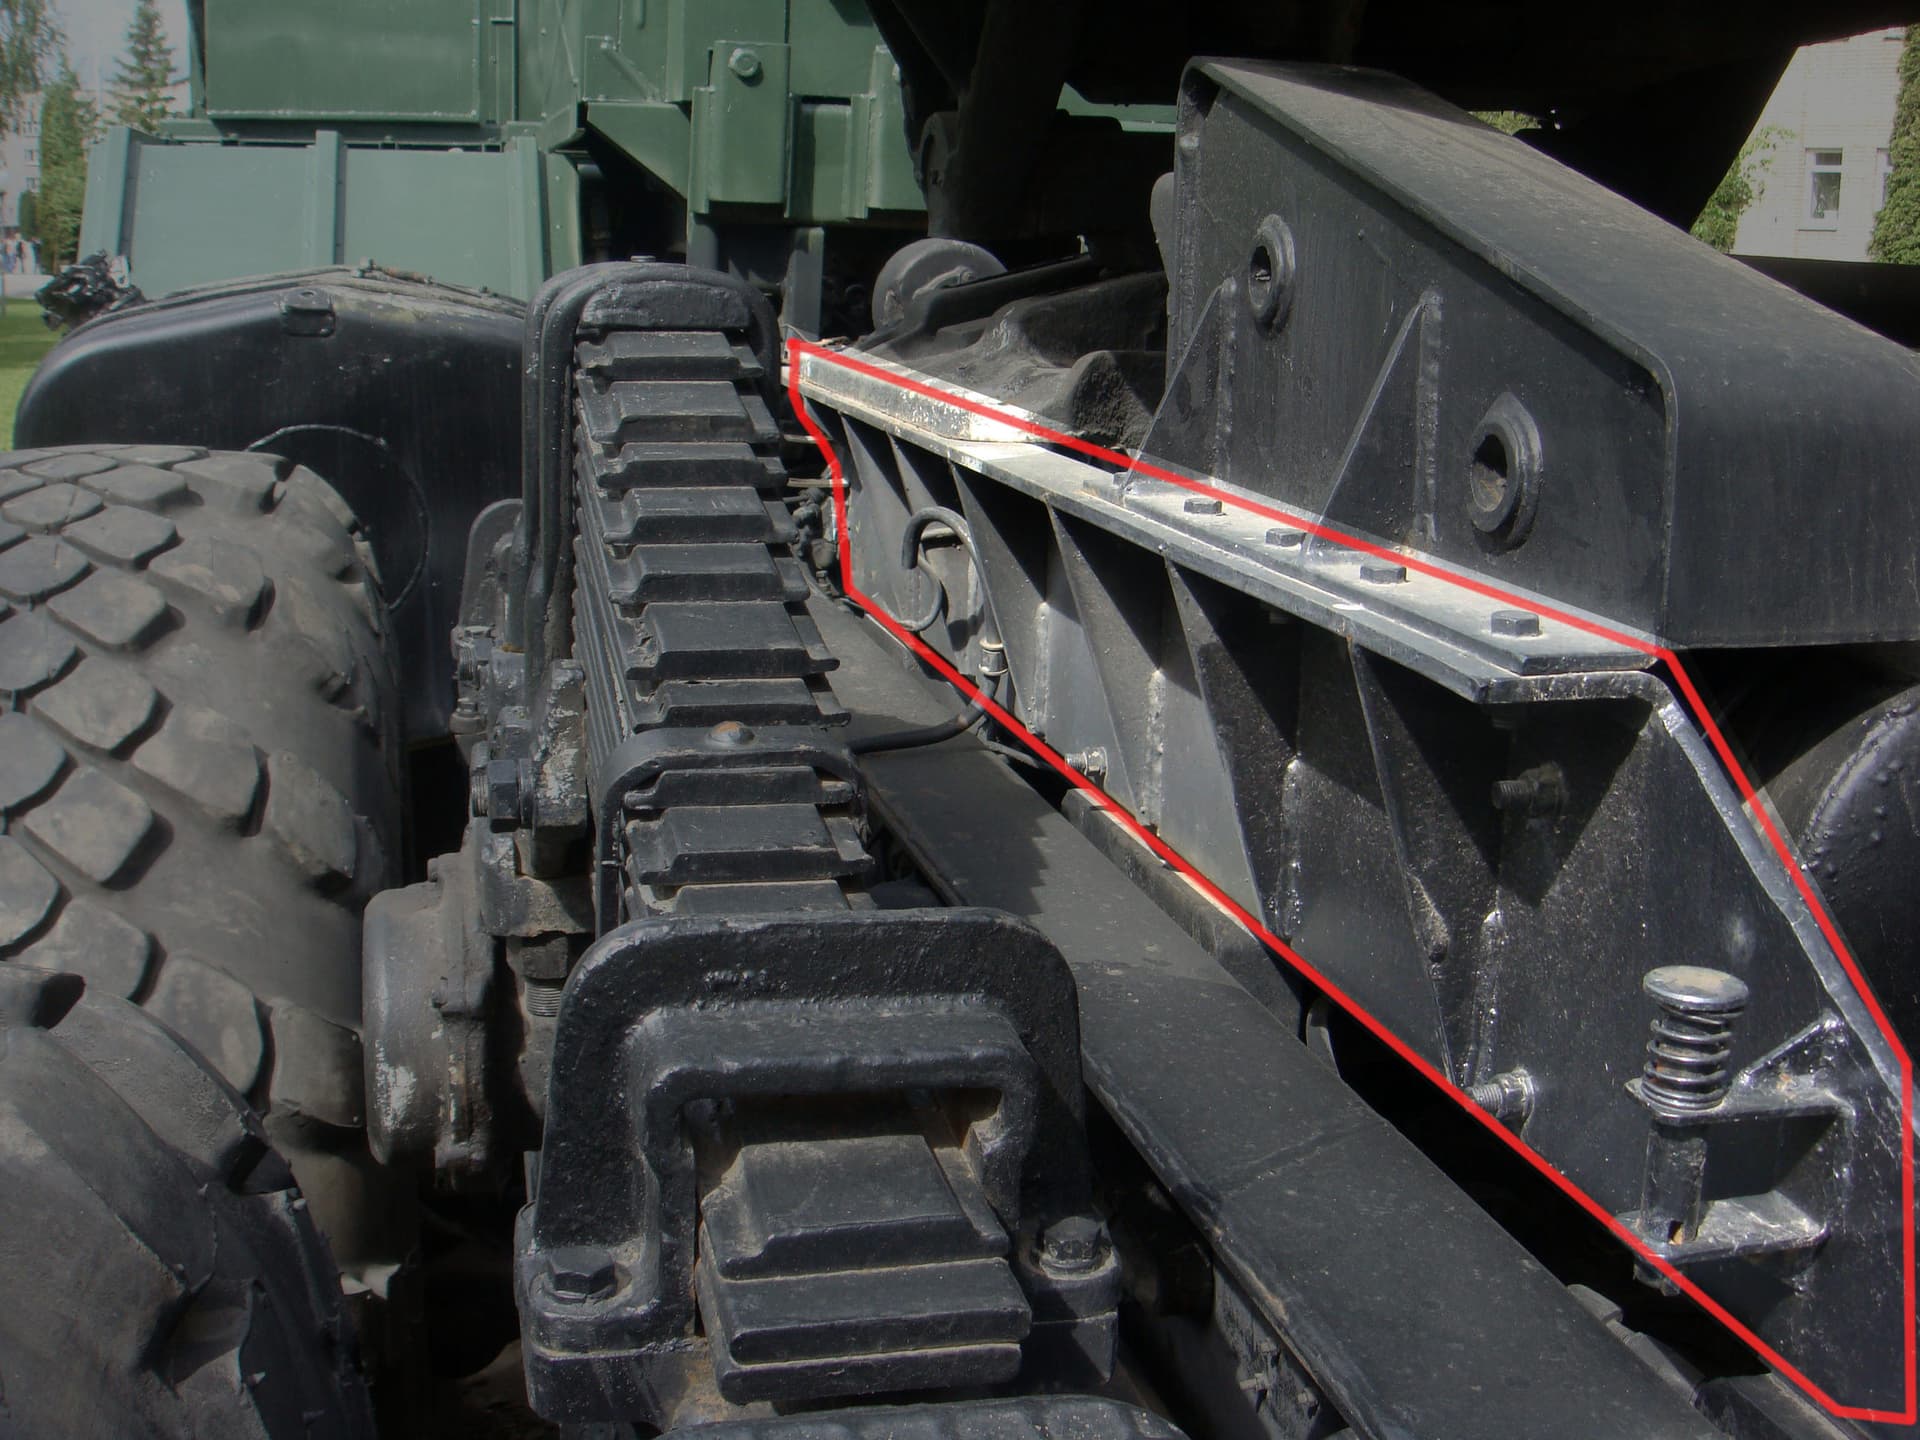
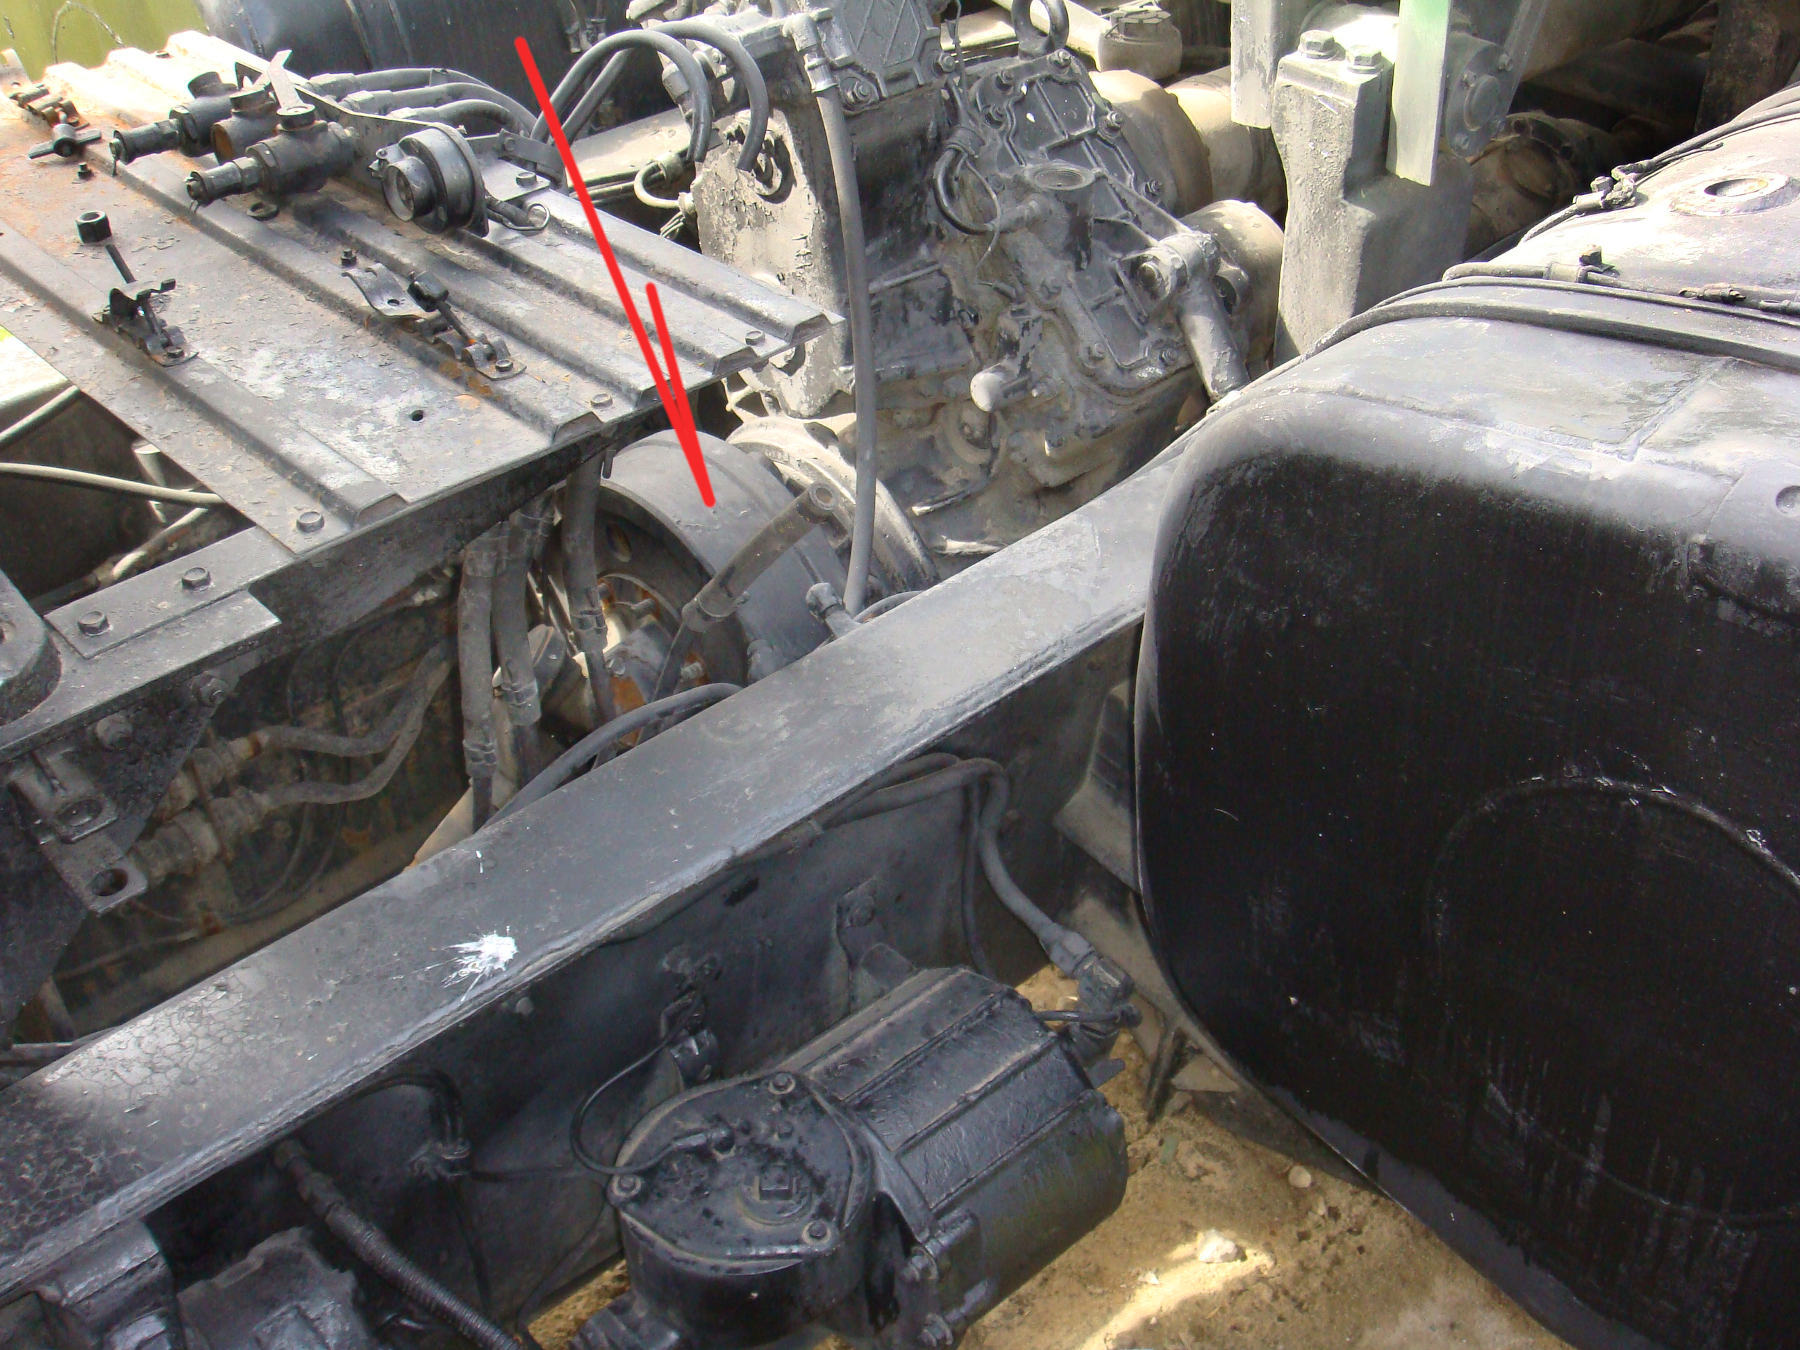
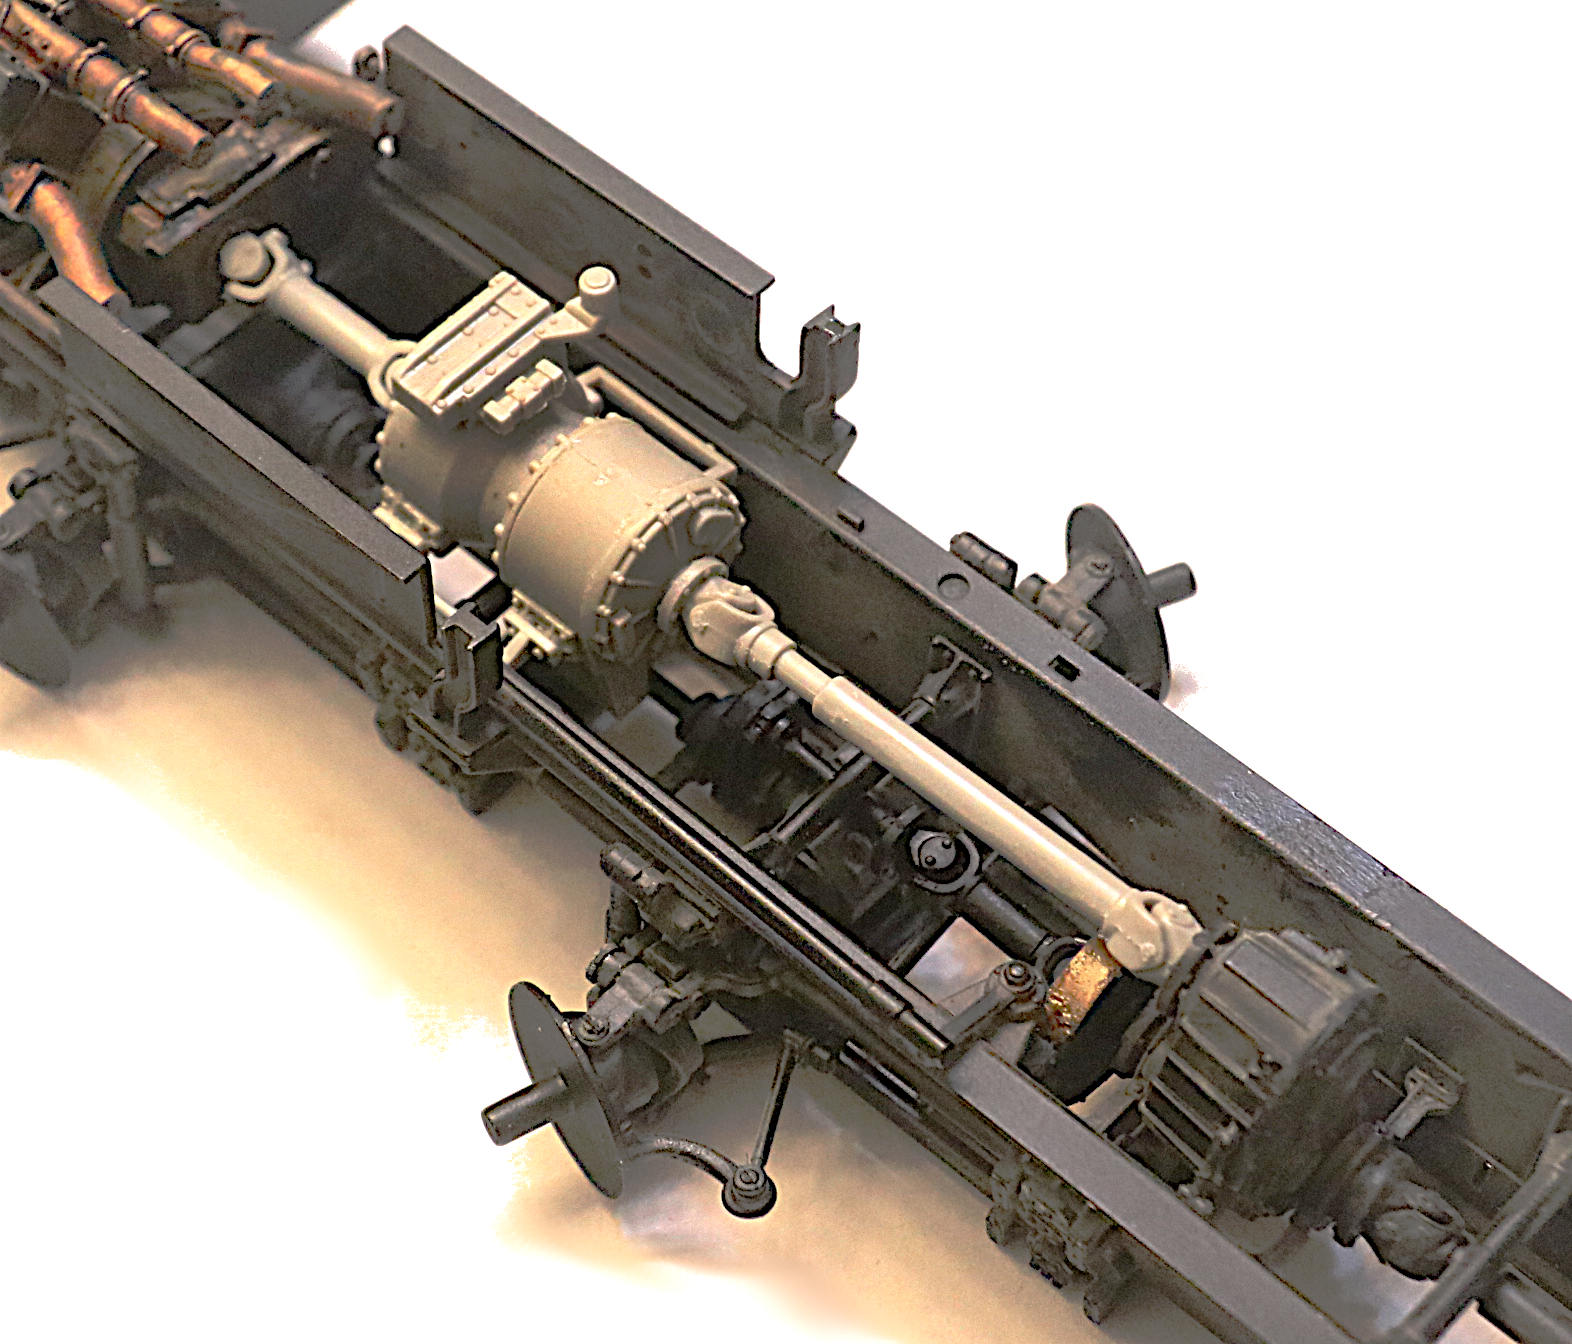
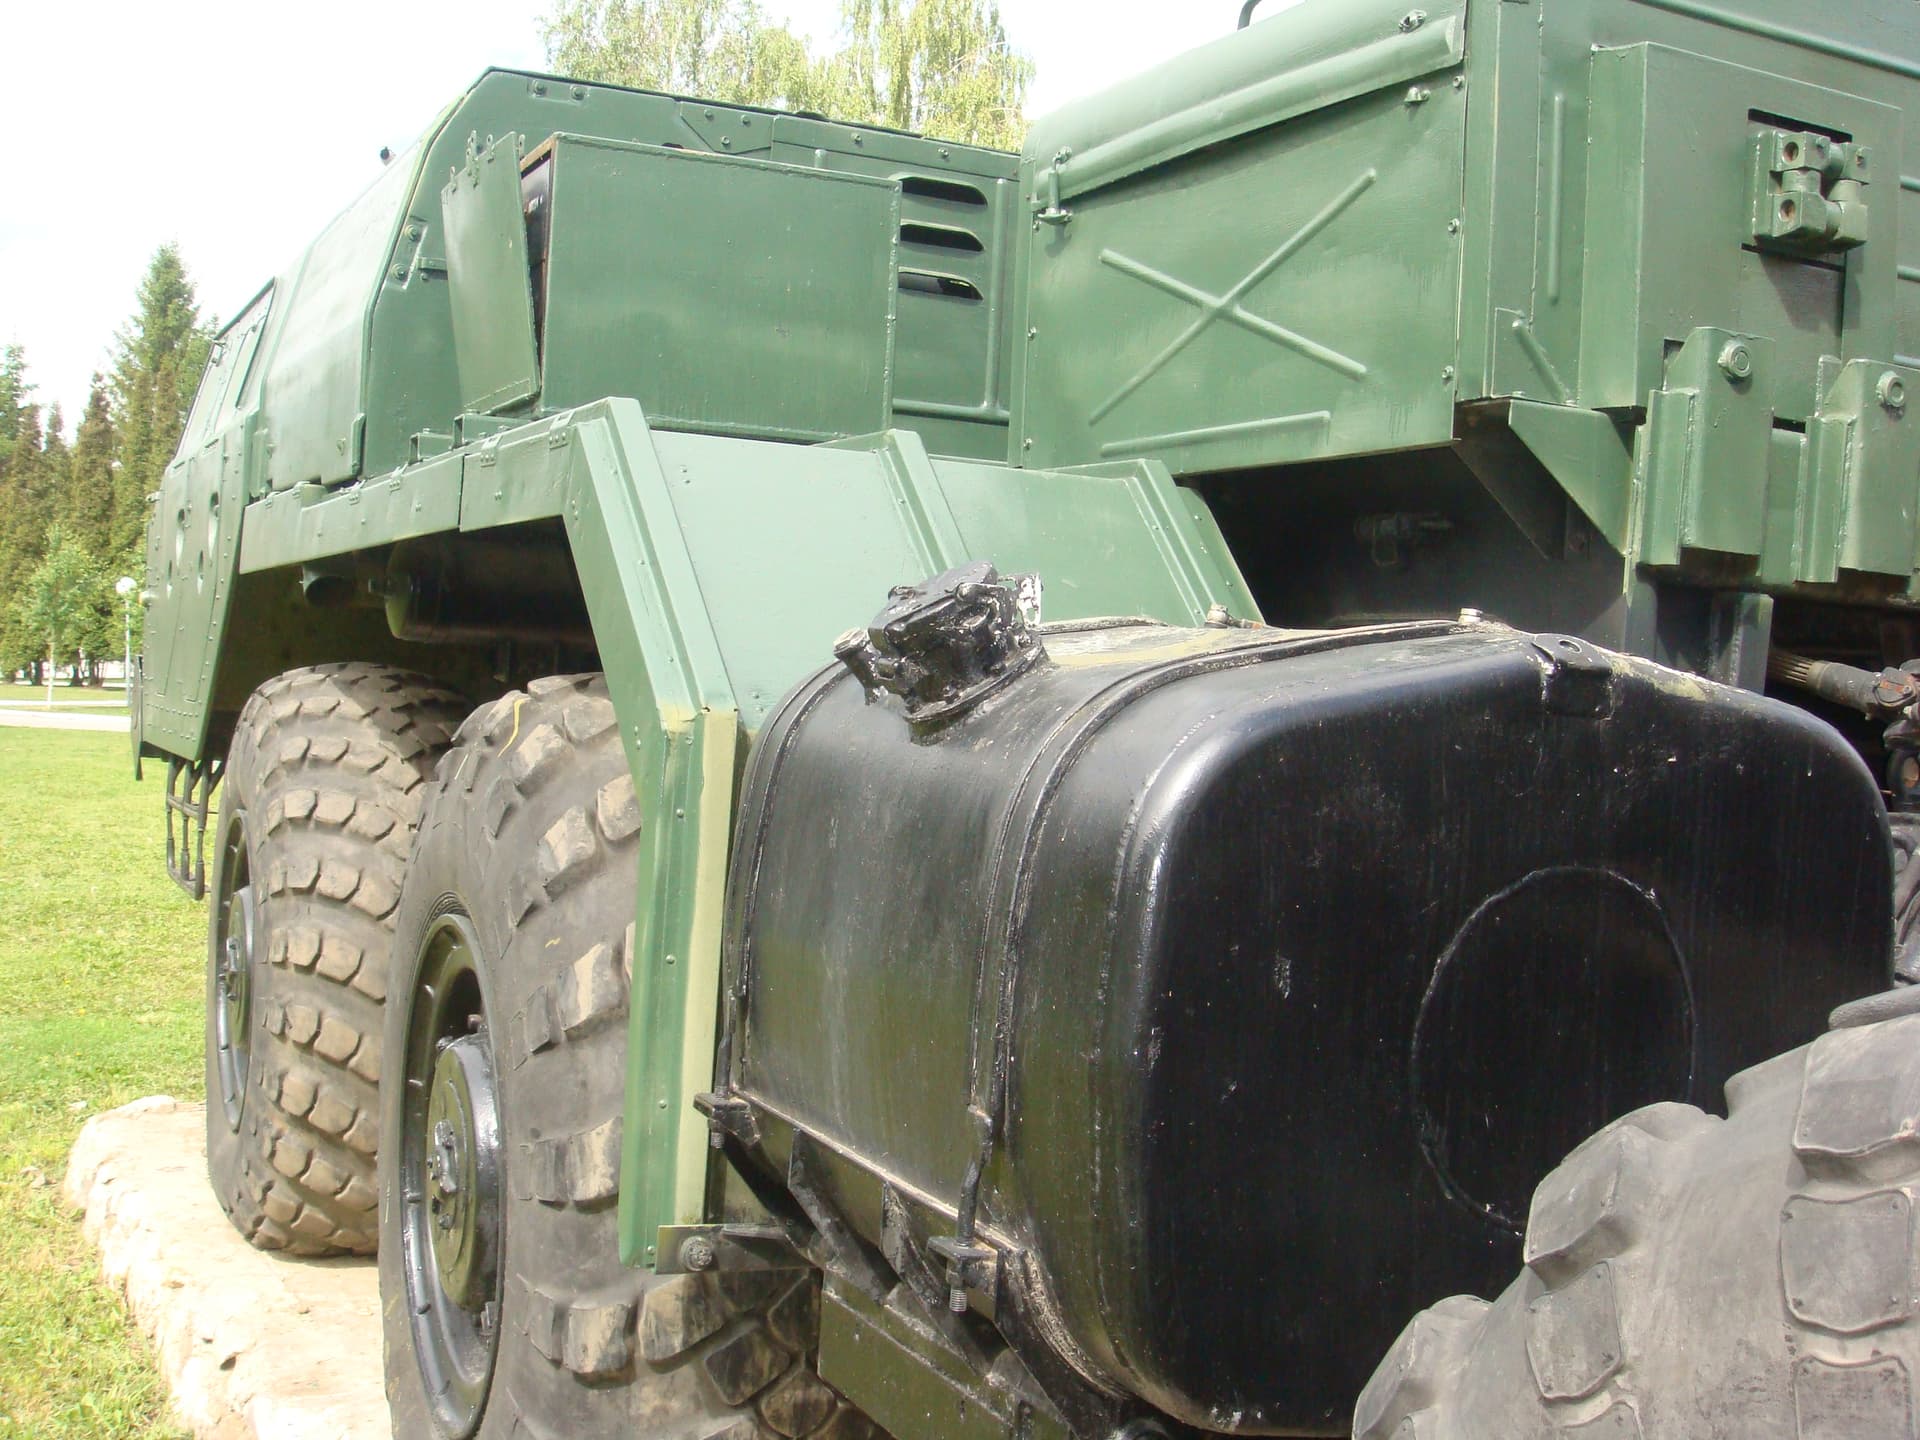
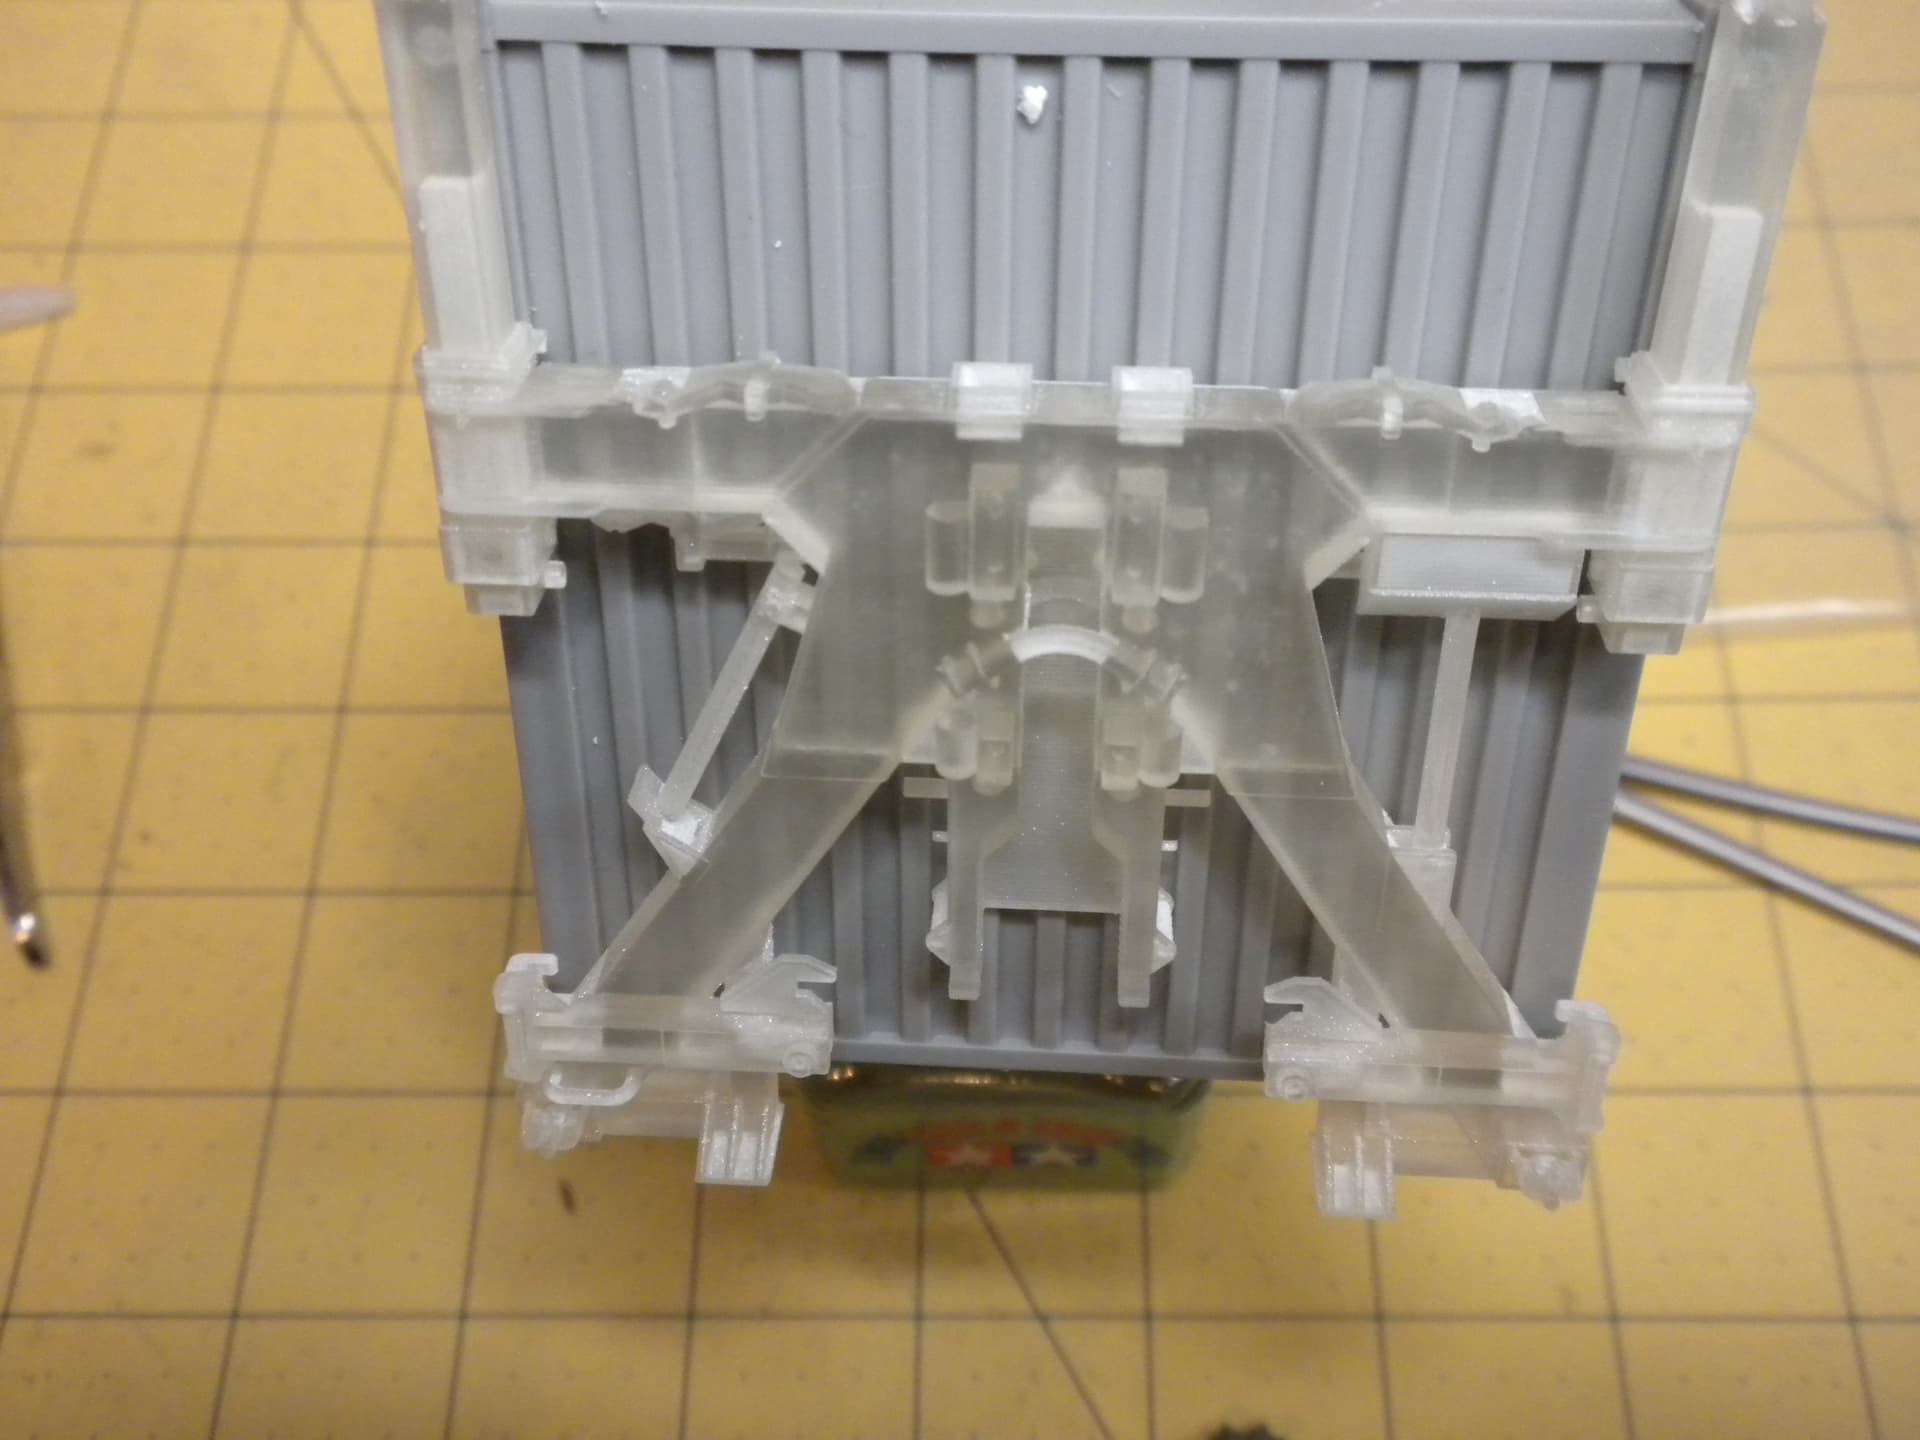
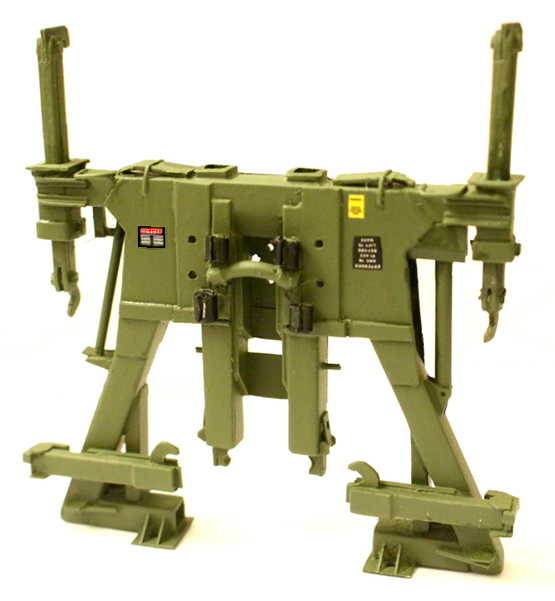
Trumpeter gives you some very plain jane “C” channel bars to raise the height of the fifth wheel assembly. Based on the photo seen here I just may have to go them one better by scratch building these risers.
Unlike many other semi-concealed deletions that Trumpeter has seen fit to leave out of their various model kits, these very detailed risers are right out there in plain sight, for all the world to see!
Michael,
Back in the “good ol’ days”, I believe you helped get a 3-D version of your scratch built CHU printed and on the market (which I have a copy of).
Do you think that same company/individual might be interested in printing an accurate MAZ-537/543/7410 transmission, e brake, and transfer case for these kits?
John
John ~ I would not think so, simply because all the correct parts tooling already exists in Trumpeter’s later models that are based on the 543.
Trumpeter could easily turn around and use those newer molds/paterns to finally update their aging 537 and all the sudden the market for the 3D printed items would vanish!
Now he could maybe do the E-brake and a number of small missing in-line air and oil filters.
Michael,
After i purchased it, model railroading interrupted armor building until the arthritis interrupted them both. Dry fitting the parts on the CHU looks really good, but for now, I have started building, although very slowly, Russian trucks. I ordered the Trumpeter M1120 with the CHU and should get it next year (slow boat) and will compare them then.
John
John ~ I asked about the CHU only because I have yet to see the finished 3D print. I have only seen the digital images posted on the Shapeways site. Nothing wrong with your memory if you remember me as contributing to that 3D model design.
I too have spent the last year+ caught up in railroad modeling and volunteering at a local “Mom & Pop” All Trains hobbyshop.
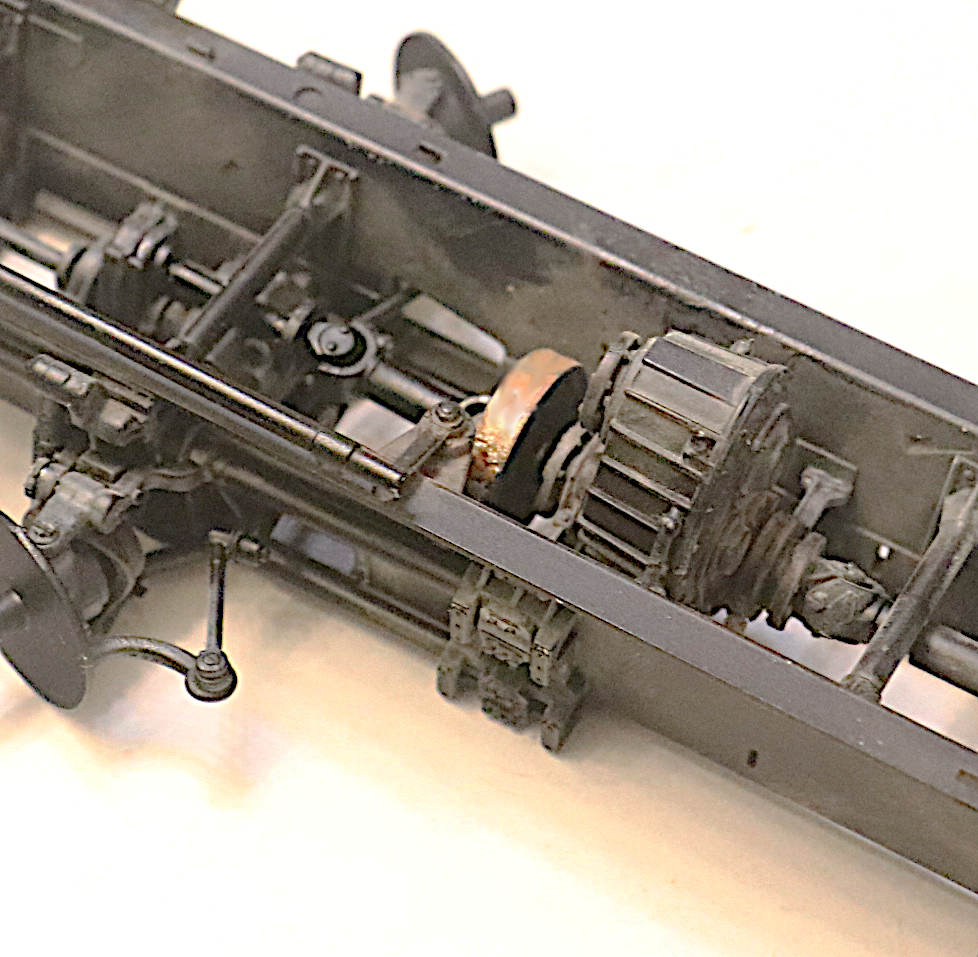
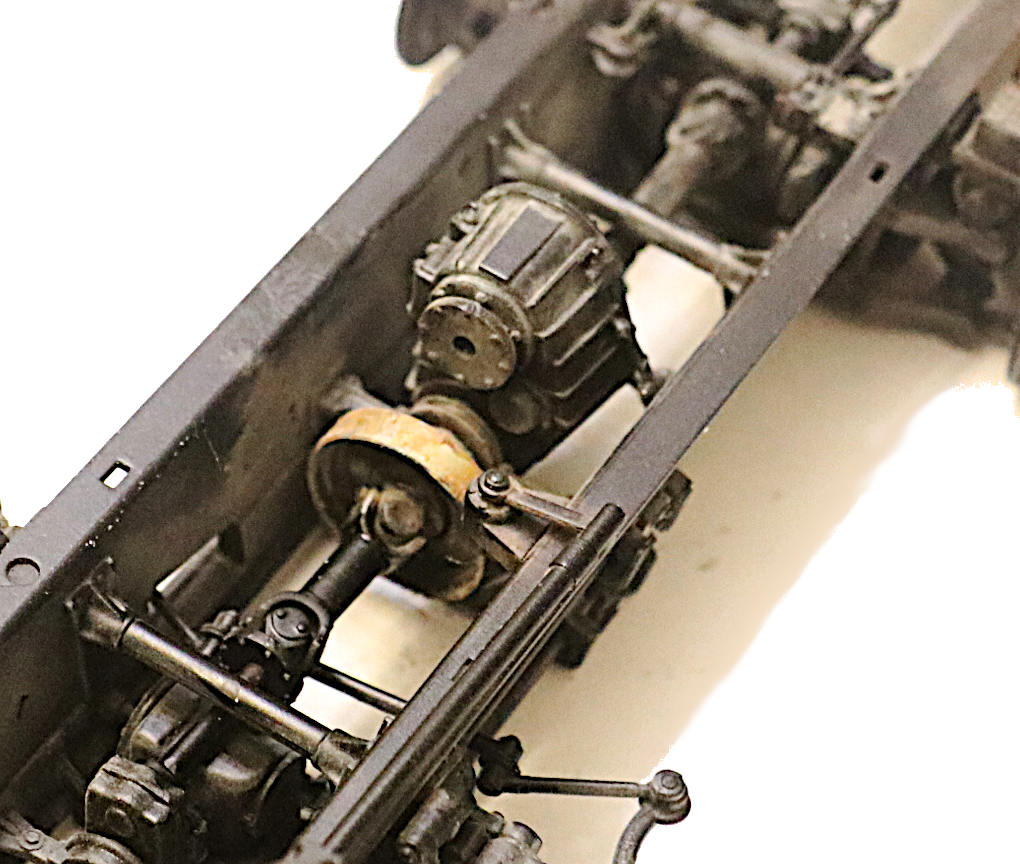
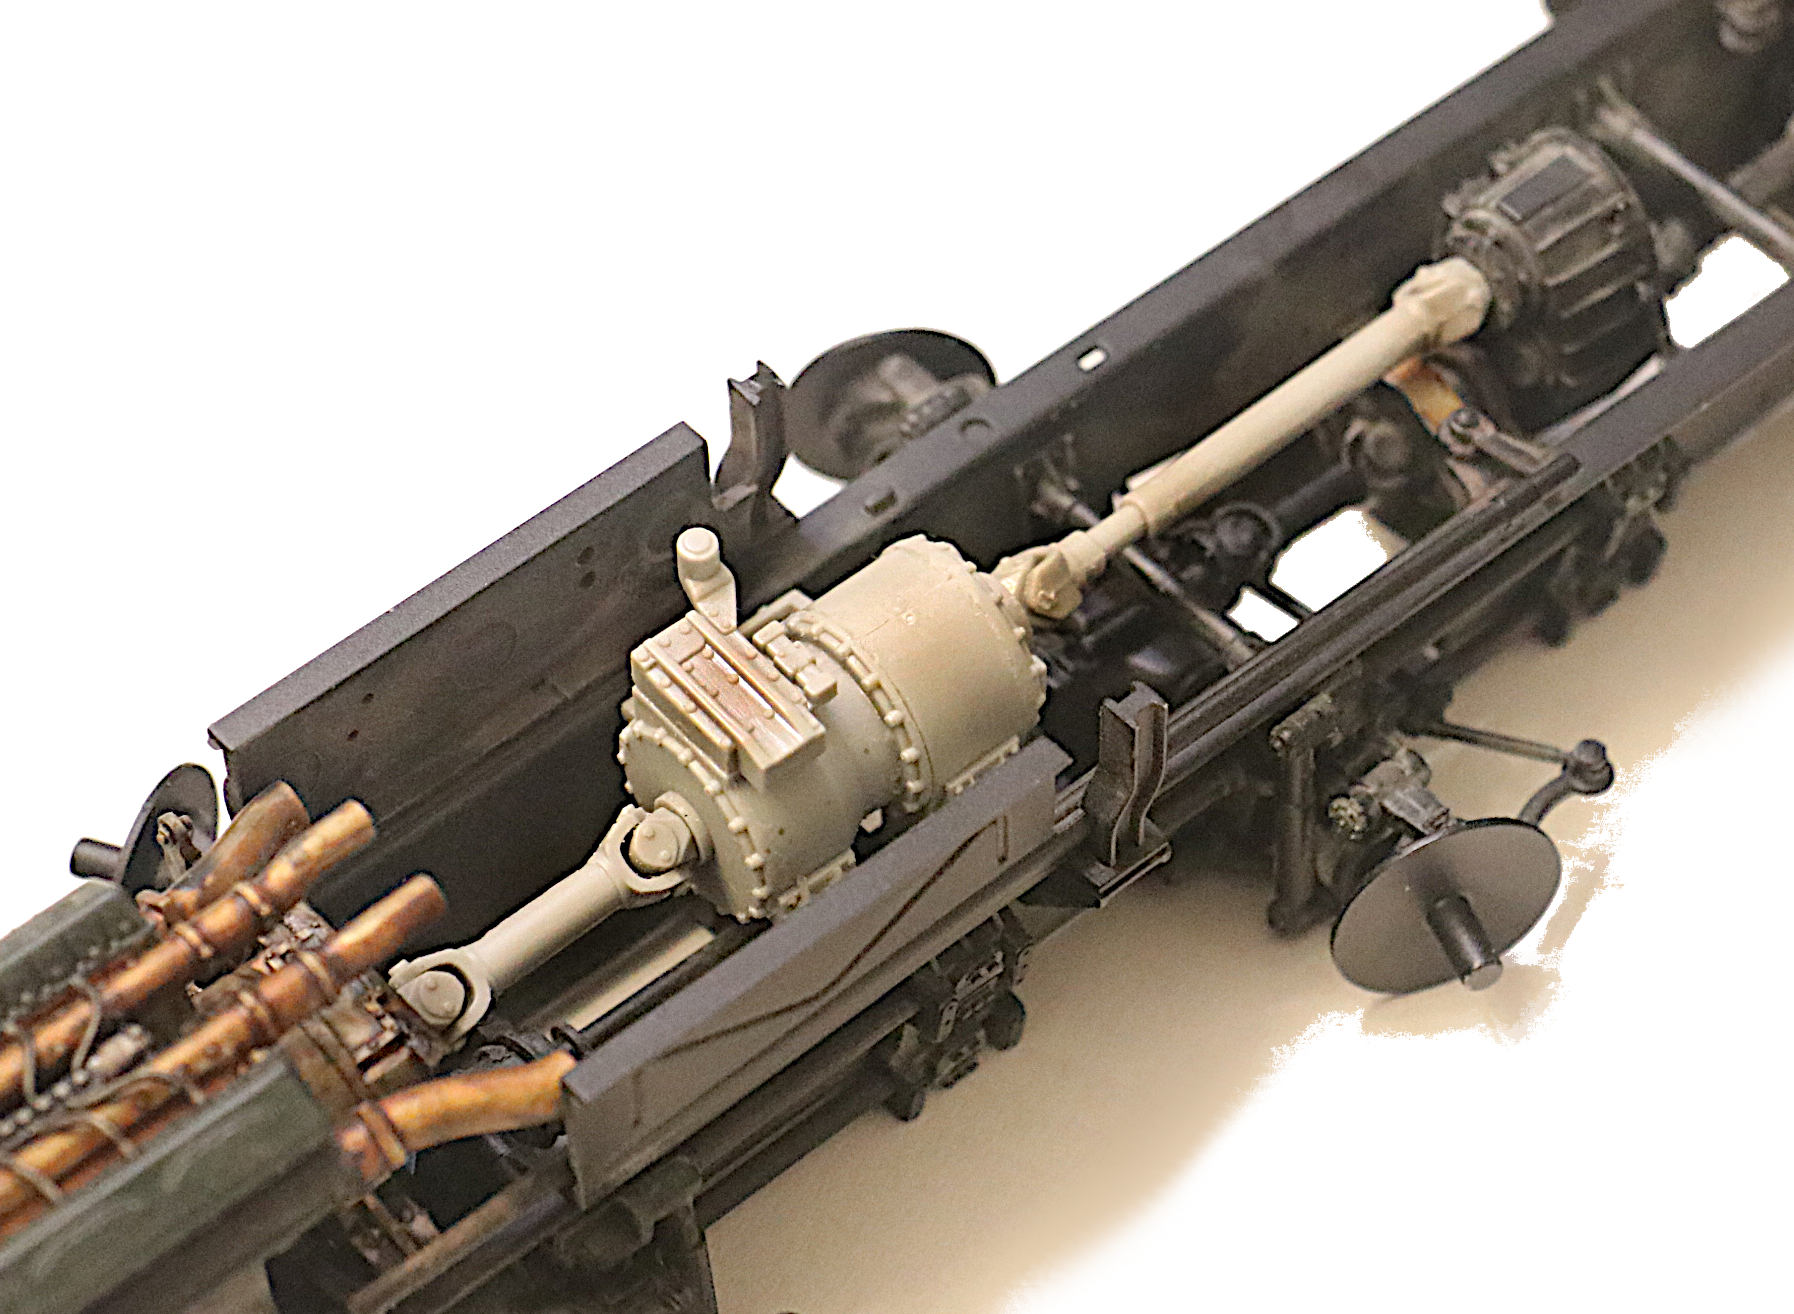
I think this one might be a little on the too large side - my last one, I think, was a little smallish. Maybe on the next chassis I will get it just right. For now I’m happy with this one.
This brake is built from some Panzer road wheel lifted from my spares bin, wrapped with a strip of evergreen and then the Tamiya etched metal brake band added to that.
Next Up: Adding piping detail and installing that transmission and monster drive shaft.
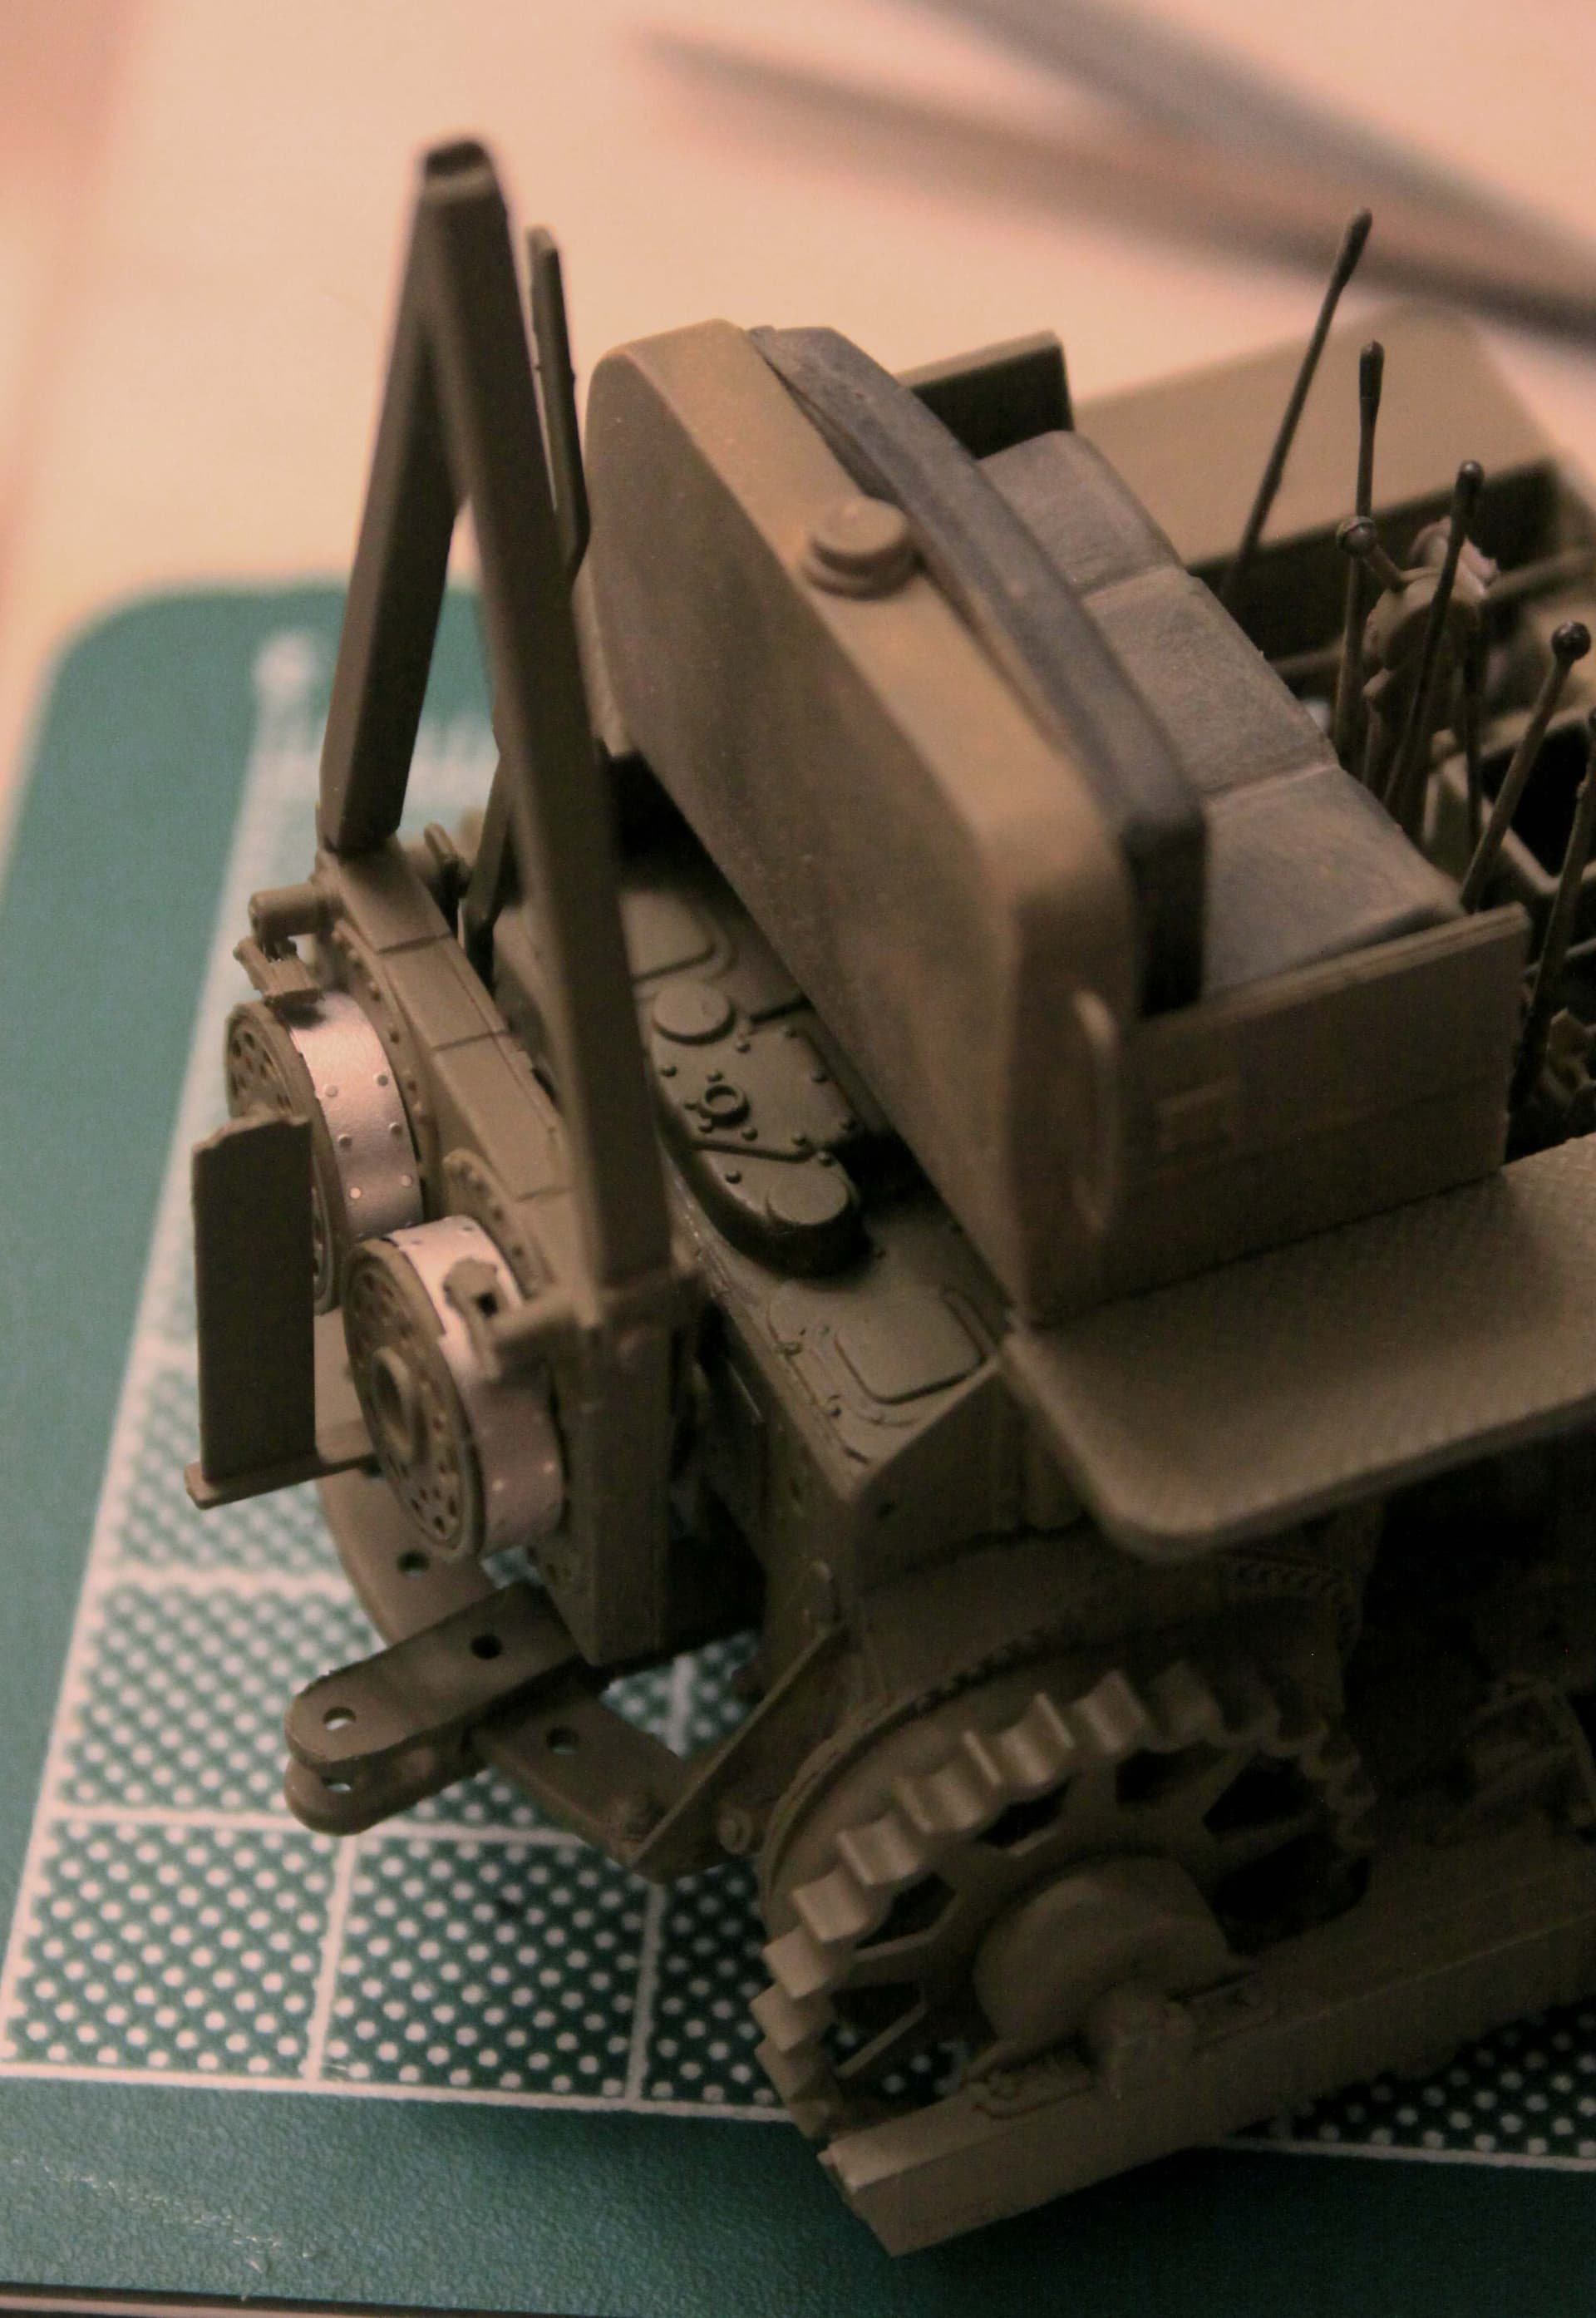
A couple more of those Tamiya etched brake bands seen at work on my Mirror Models; Cat Bulldozer: Papa Tamiya, you really should sell that small DW etched fret separately!
(I had to back date a couple of Gar-Wood winches taken from the Tamiya Dragon Wagon kit and the earlier winch had had shoe brakes rather than band brakes so I had these bands left over.)
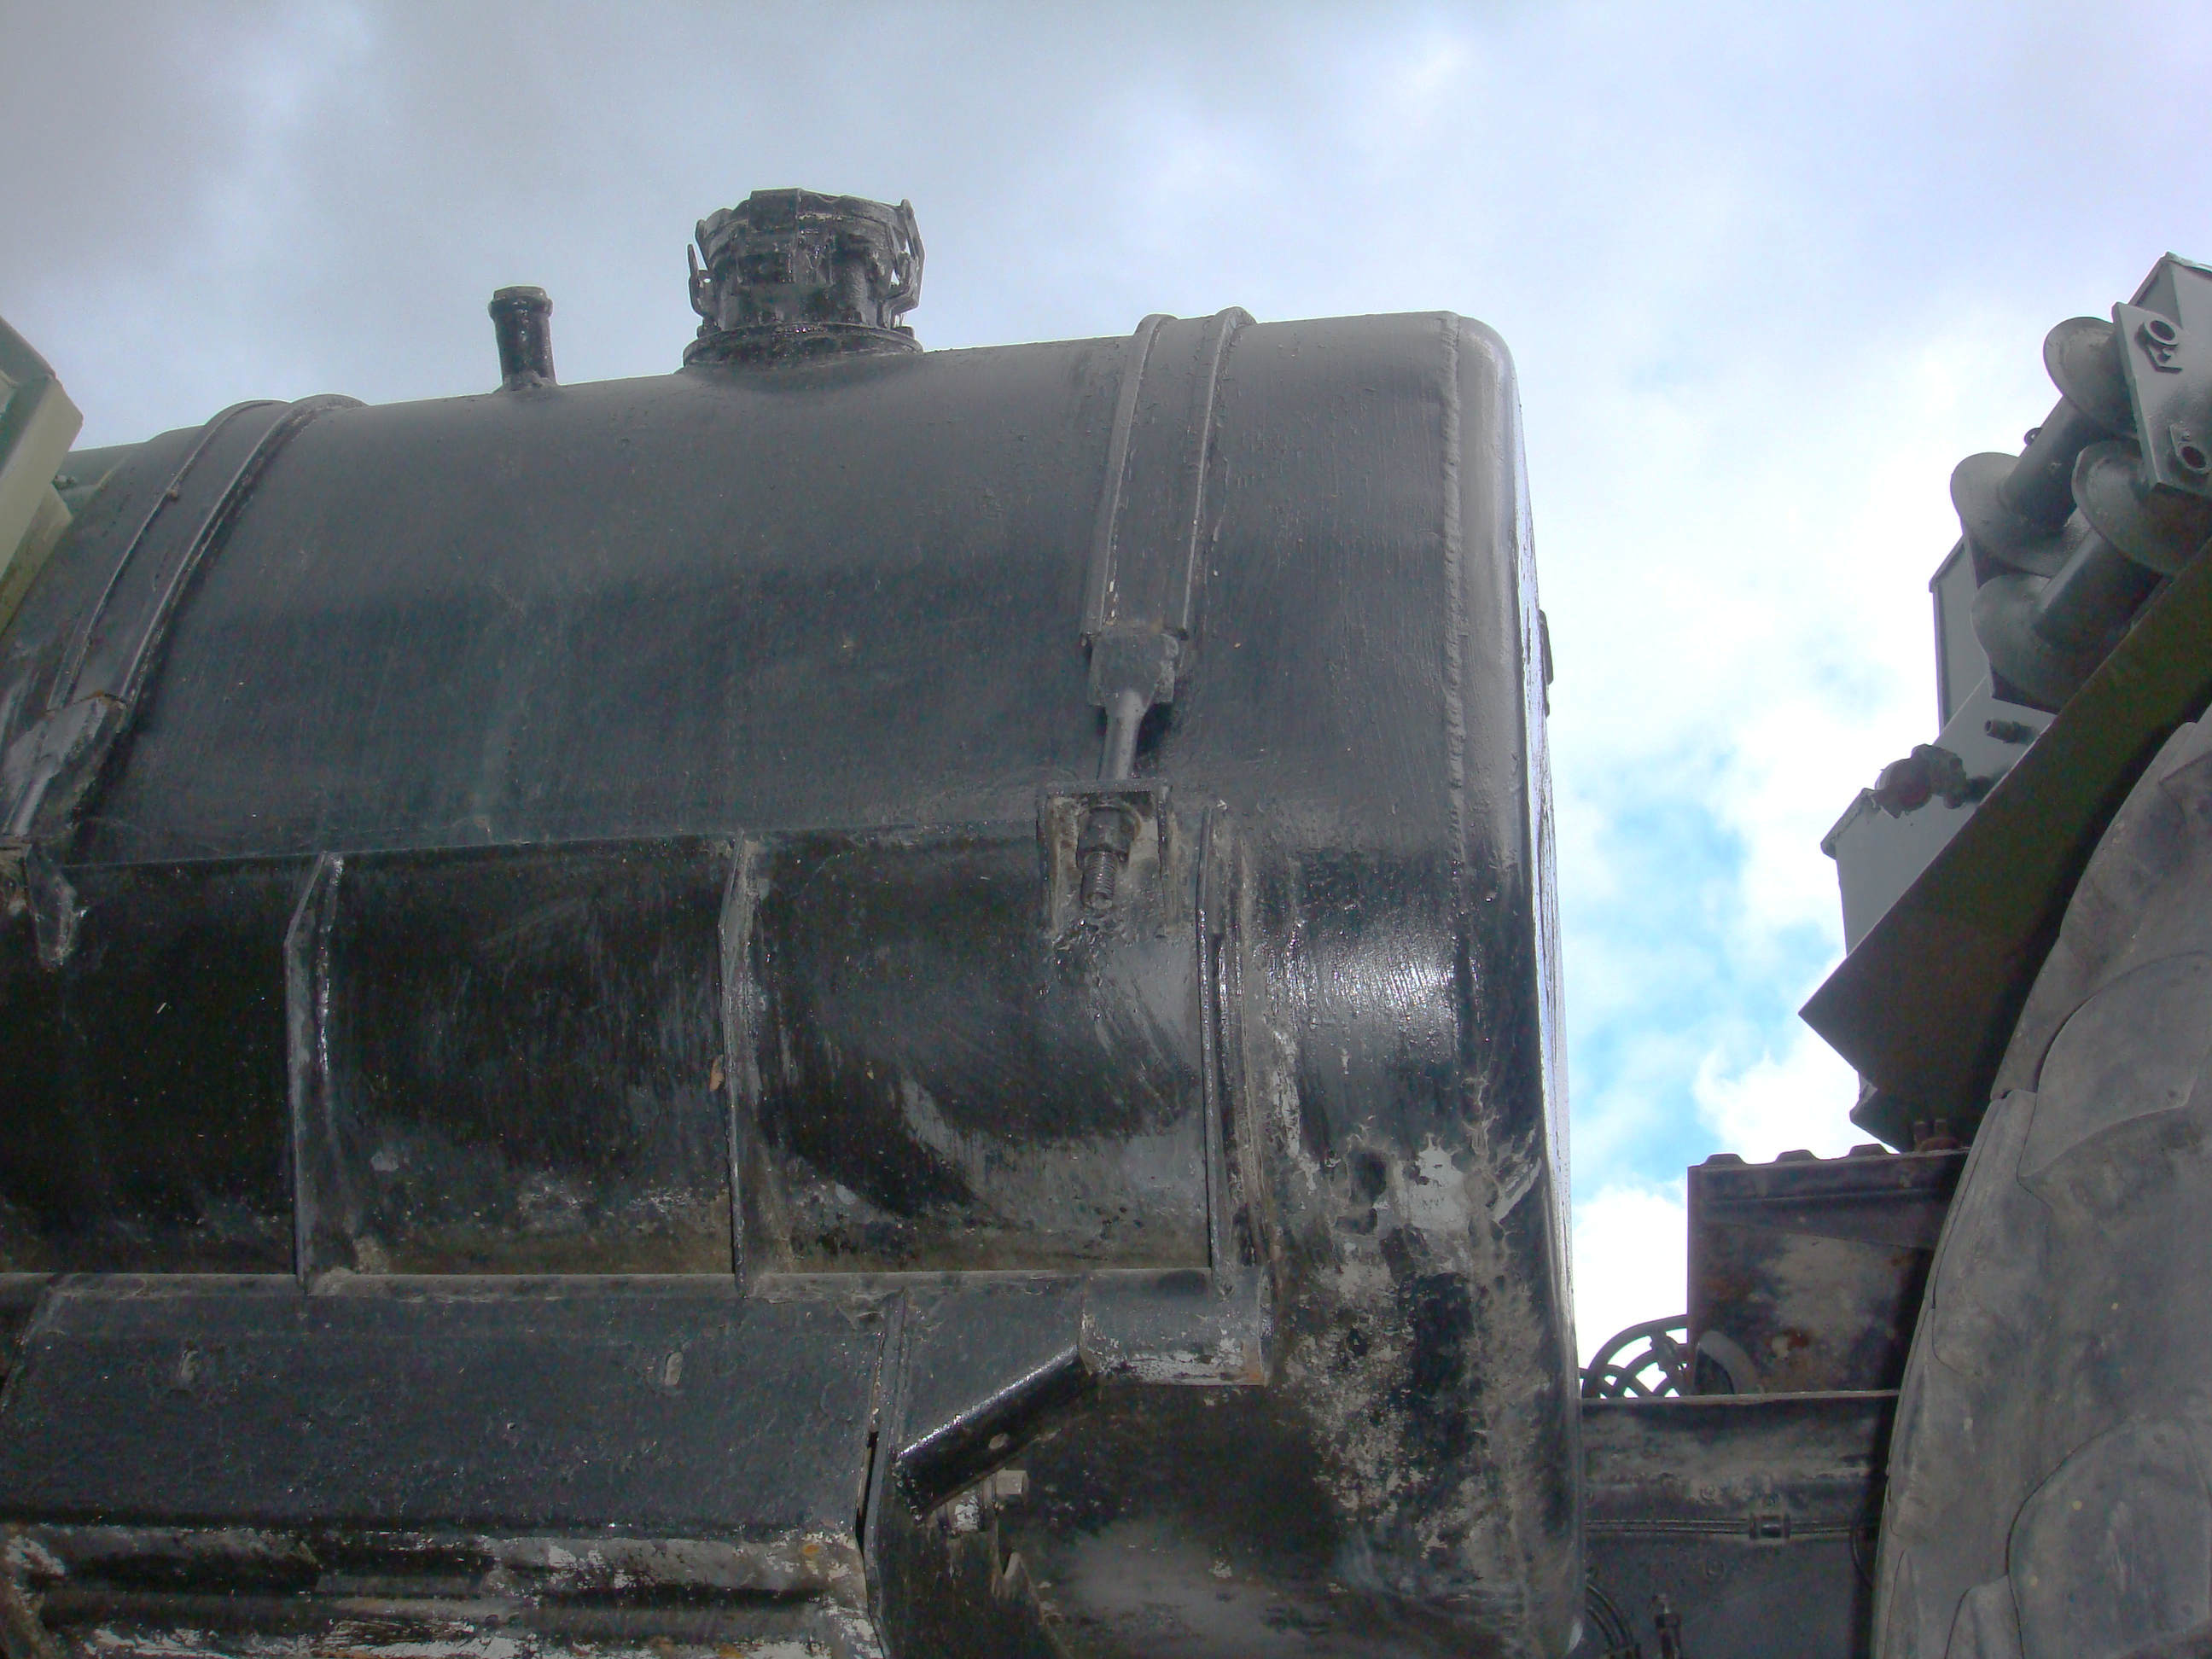
I always give my leaf springs at least a little rust. I was taught that because they flex, leaf springs don’t hold paint, so I should depict them as being more or less semi-bare, rusted metal. However the Russians must use some sort of rubberized paint because the springs on the 7410’s always seem to be nice and black??? I don’t know, maybe they repaint them every two weeks on their operational vehicles???
For now I’m going with at least a touch of rust for added visual interest, if nothing else. (Once again that is just oil pastel powder brushed on over the base coat of matte black which is out of a rattle can. ~ again using Tamiya Spray Paint * ~ An effect easily achieved with about five minutes of quick brush work.
Tamiya rattle can matte spray paint is very easy to control. Goes on lightly and atomizes to a very small droplet size. Also it is very forgiving should you accidentally lay it on a little heavy. It also is self leveling to resist sags and runs. Then too, I always finish off with a coat of their Matte Clear (TS-80) to hide any shiny glue spots I might have missed. ~ Then the pastels!
Also the rough “tooth” of the matte paint does a great job holding onto those oil pastel powders.
Richard ~ thanks for the nice compliments and feedback!
John ~ also thanks for taking those photos of the CHU.
I know right where my scratch built unit has its’ flaws and I wanted to compare the two. As you probably recall I just got tired of waiting for Trumpeter to get its’ act together regarding their CHU so I took a shot at scratch building my own.
That green truck cab has had my usual buff pastel “dusting” treatment but the fiberglass one piece hood and fenders has had a much more extreme pastel "fading as seen on the actual vehicle.