Still making progress just slowly
I’m impressed that’s some great detailing.
Cheers.
Ralph
@mech . Thanks Ralph. That means allot coming from a builder of your skill.
Looking truly magnificent Chris. This is a huge project and you are being true to the tiniest details. Really outstanding craftsmanship.
2 Likes
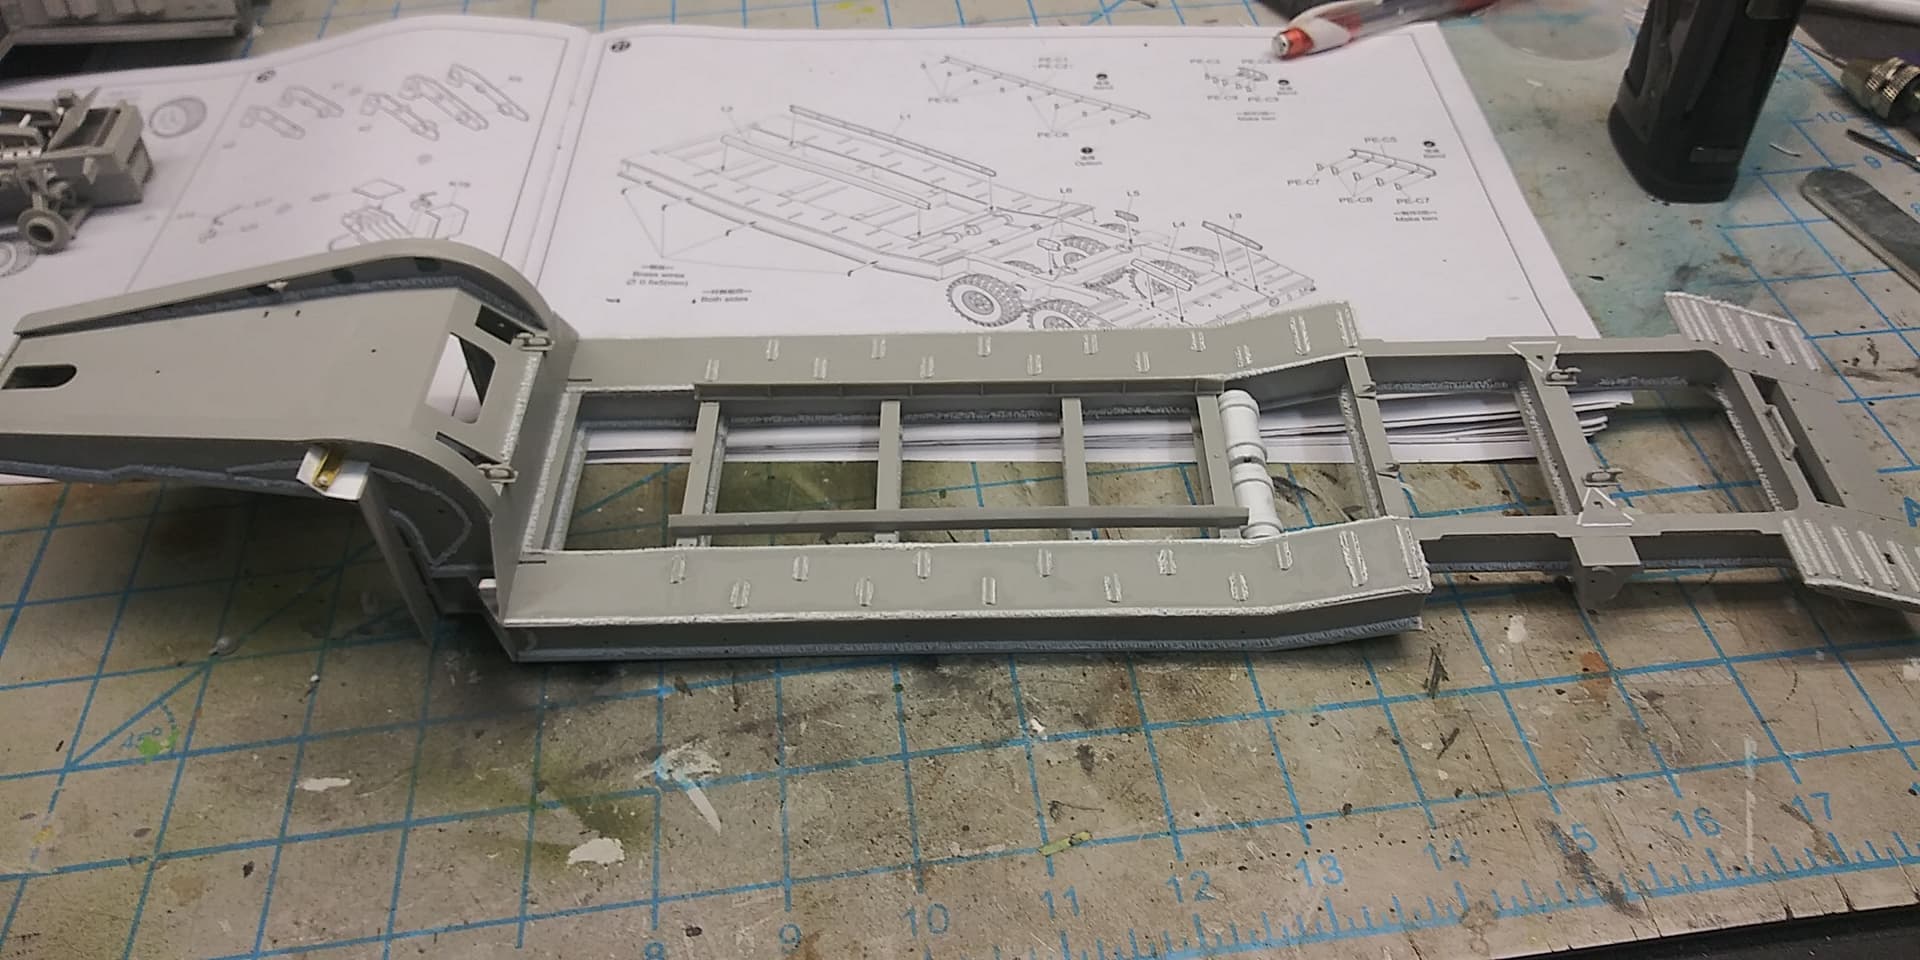
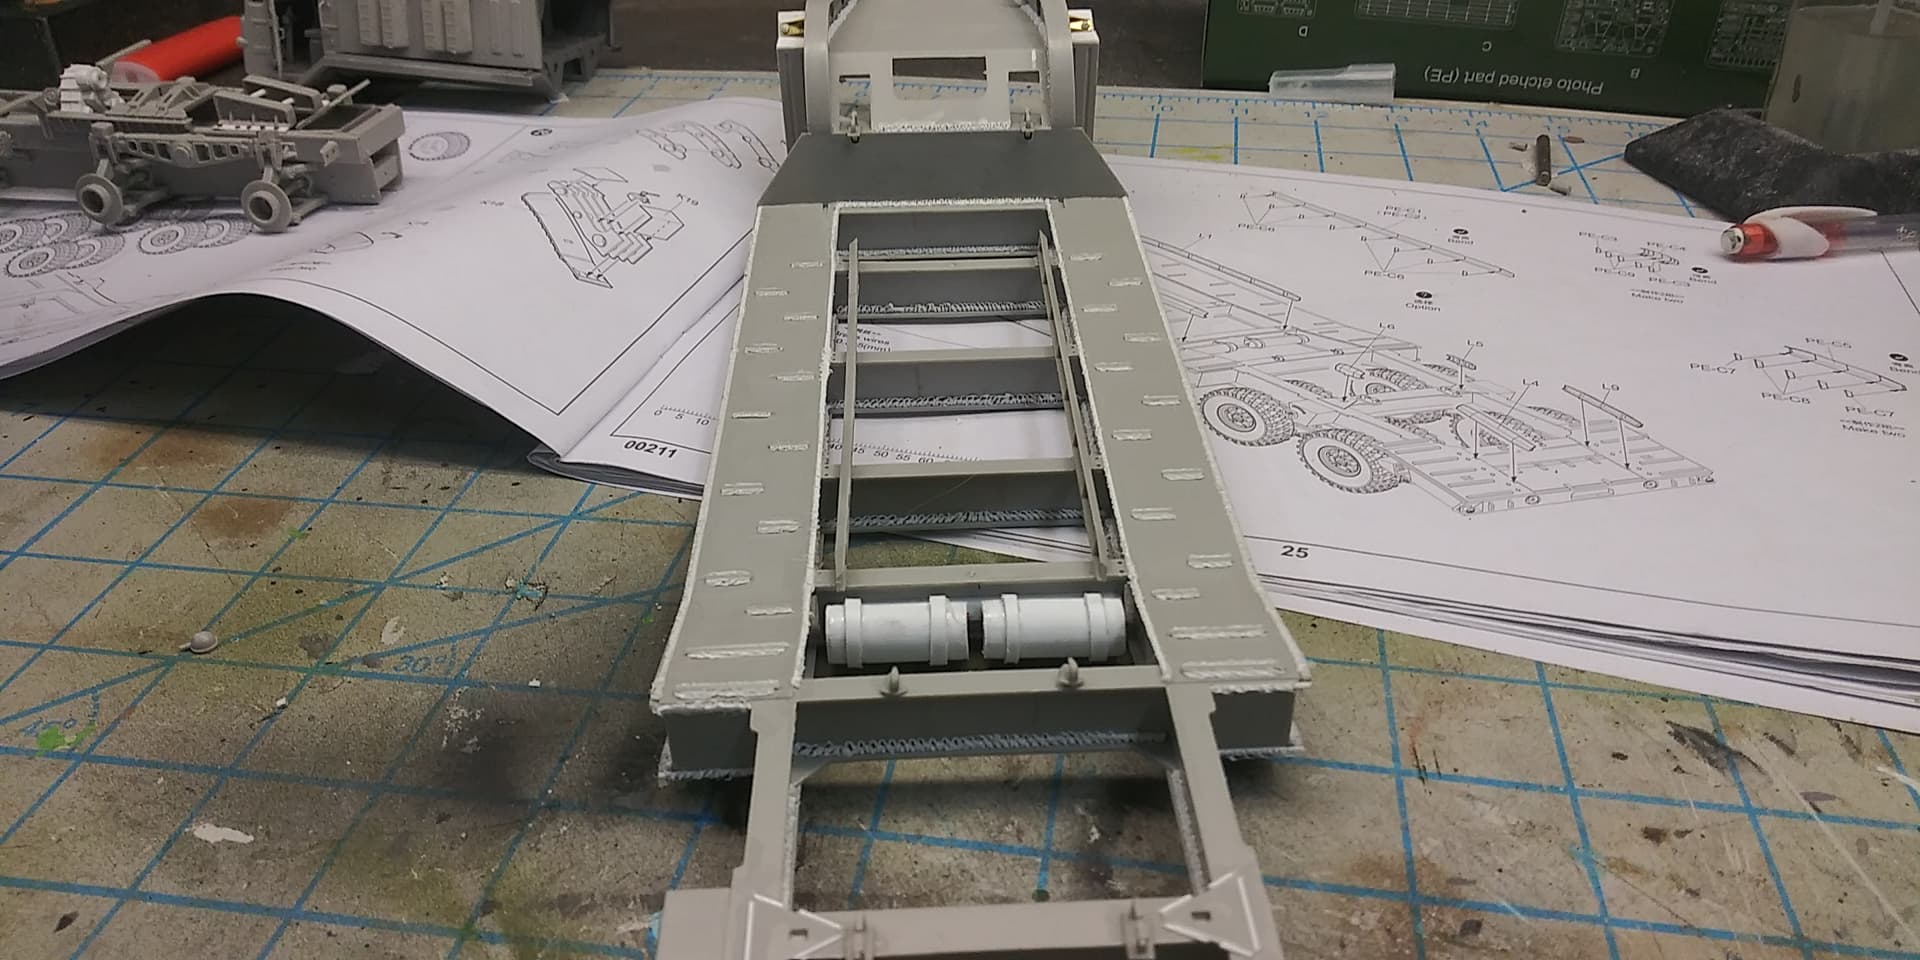
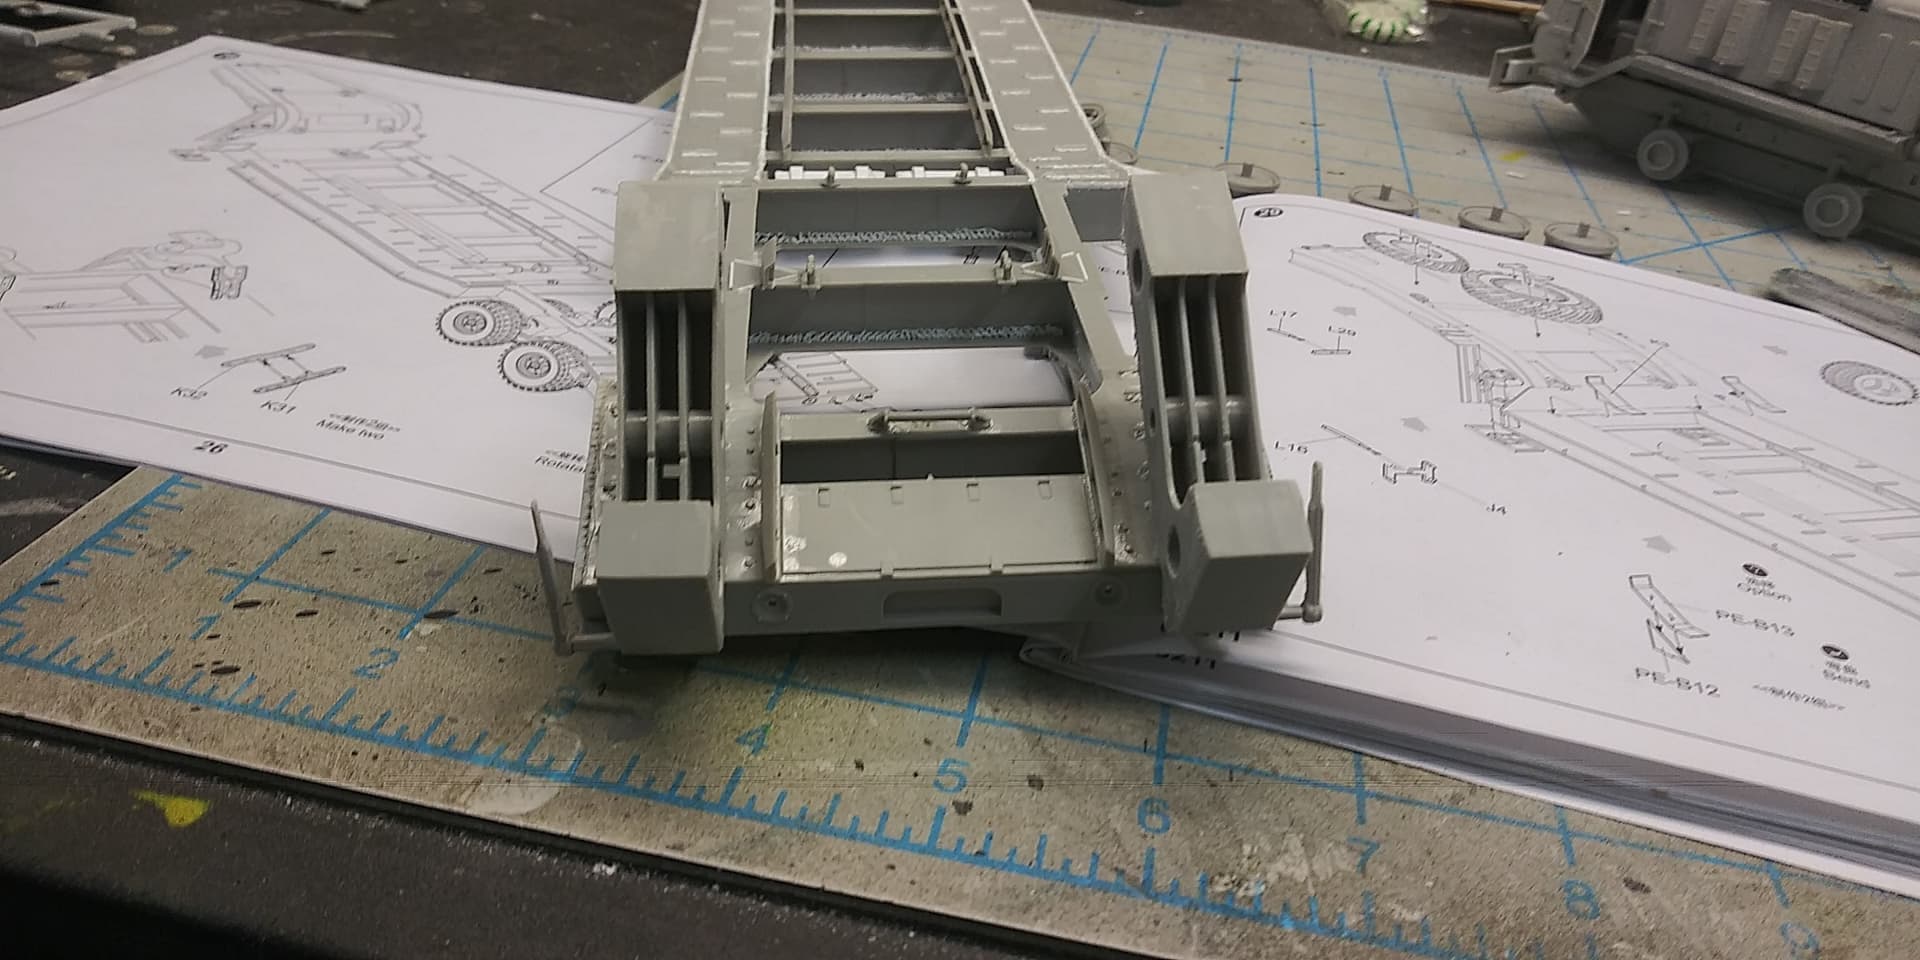
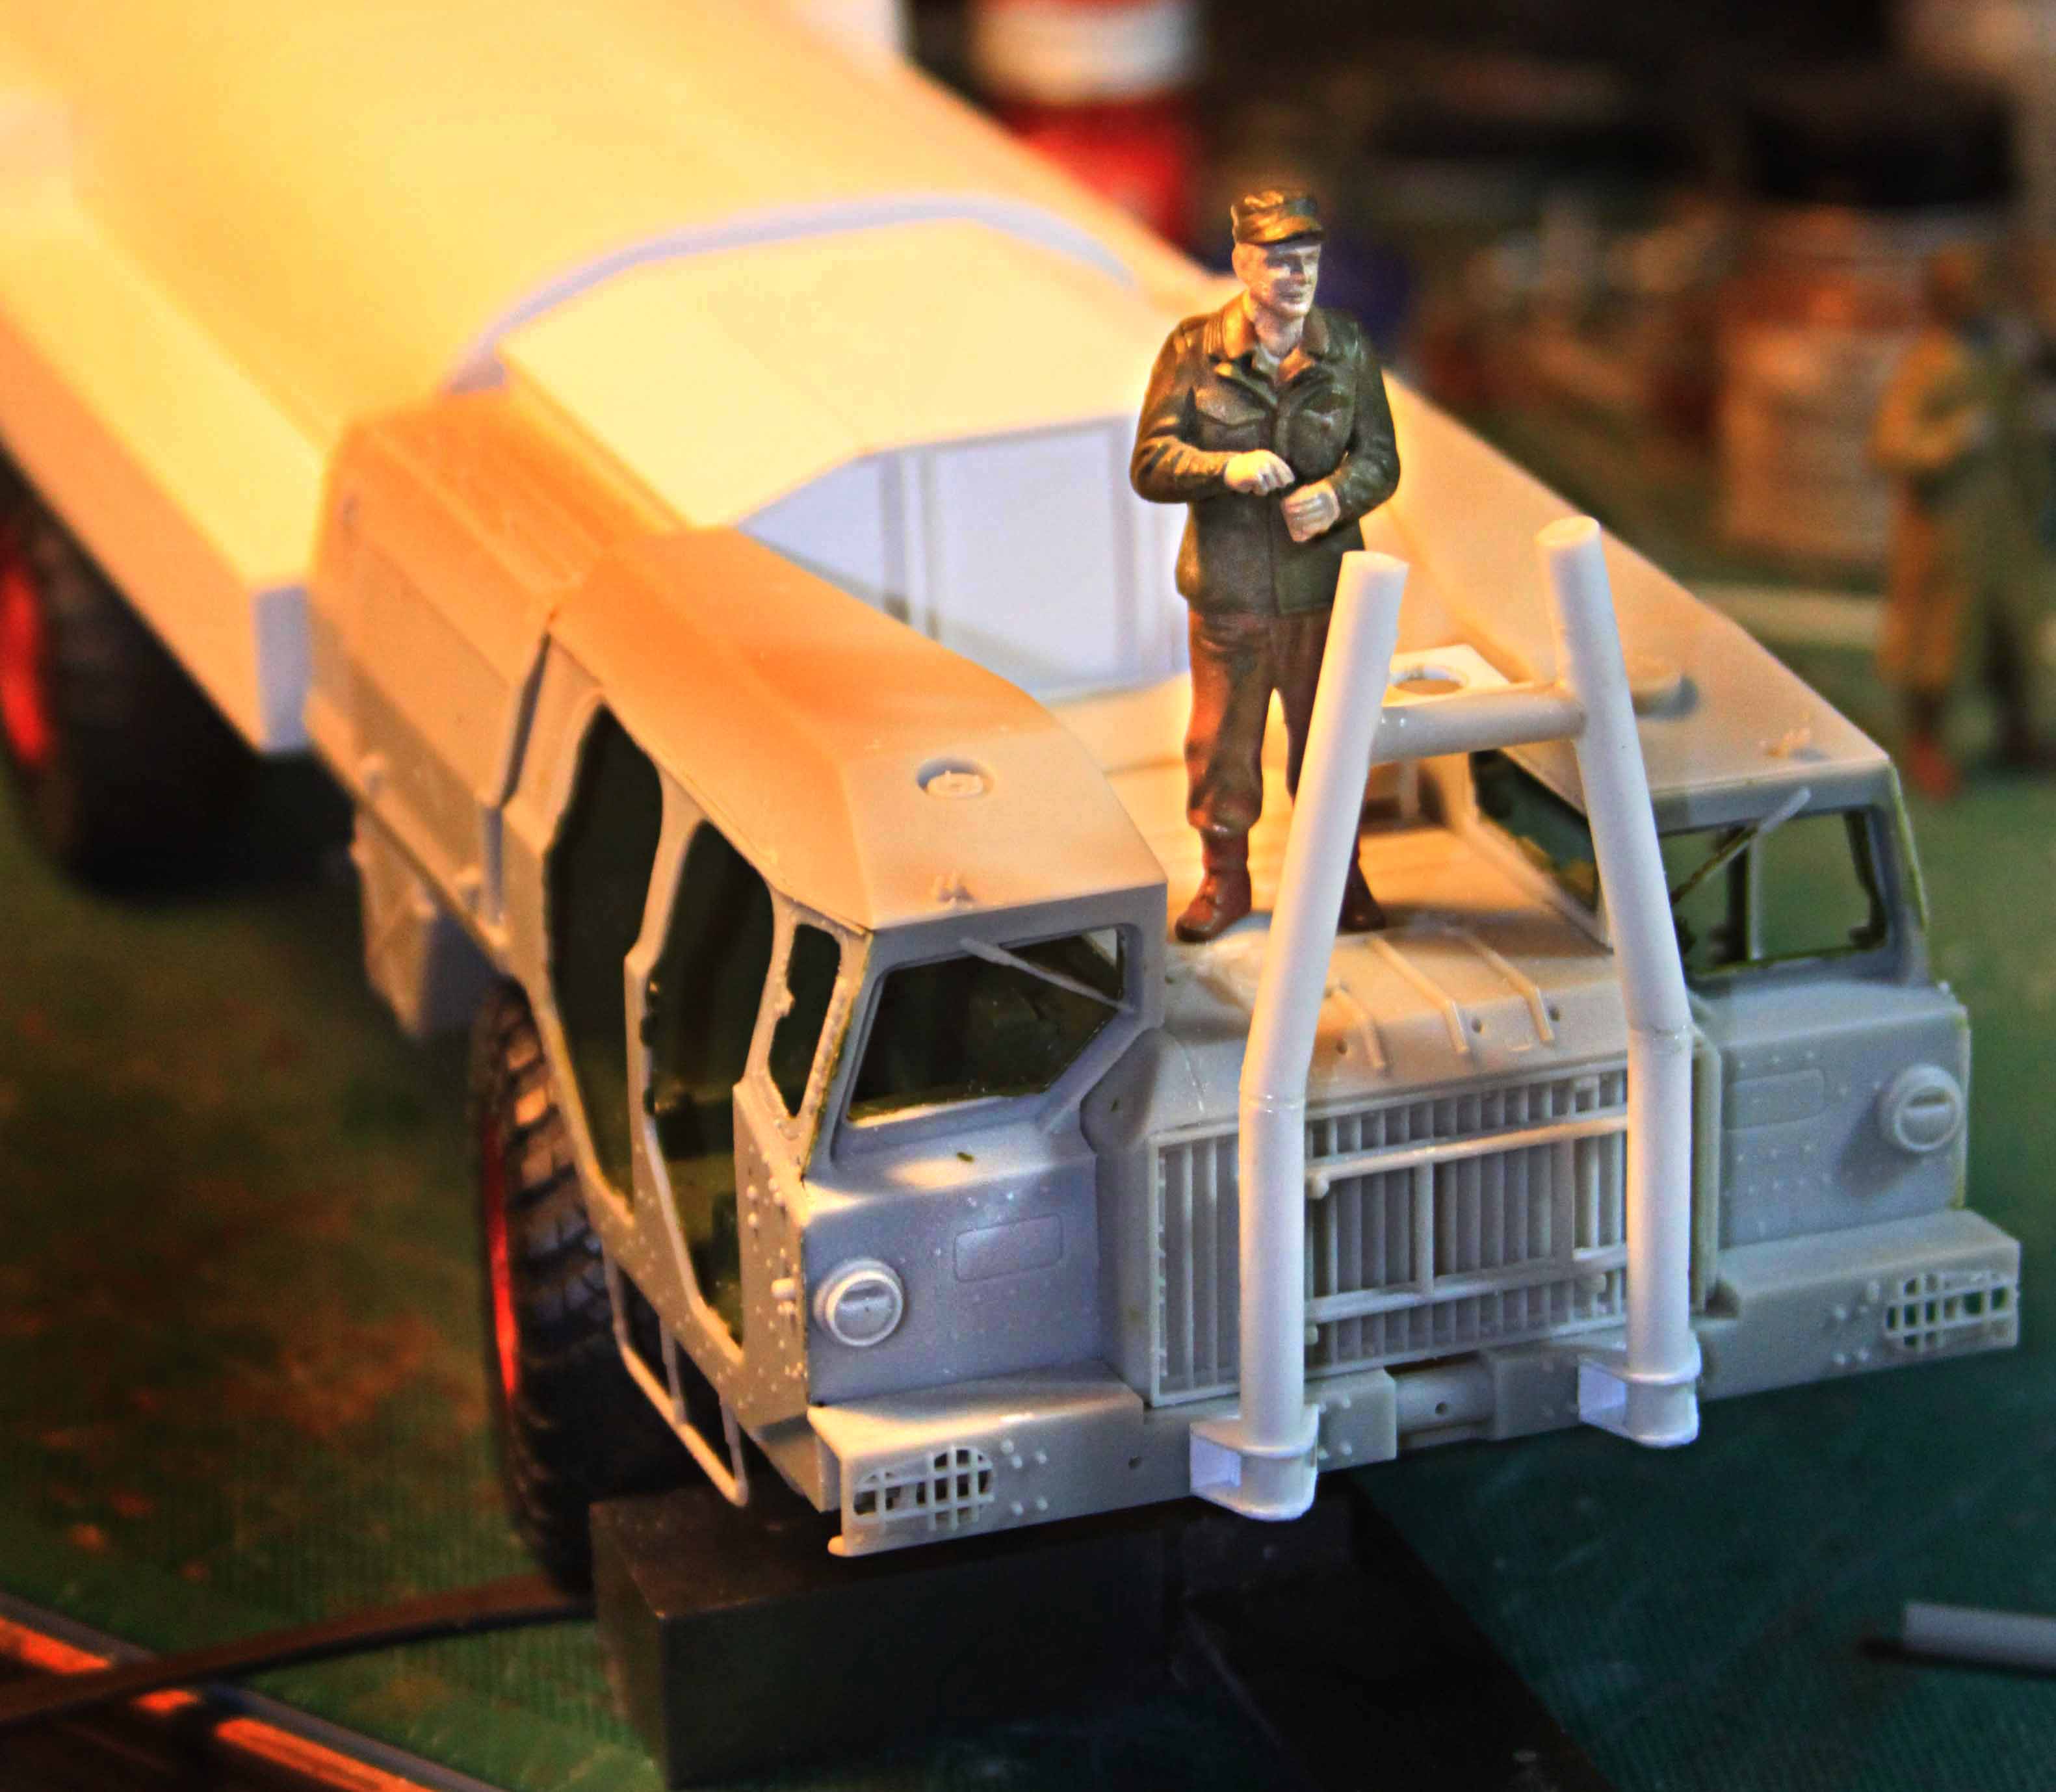
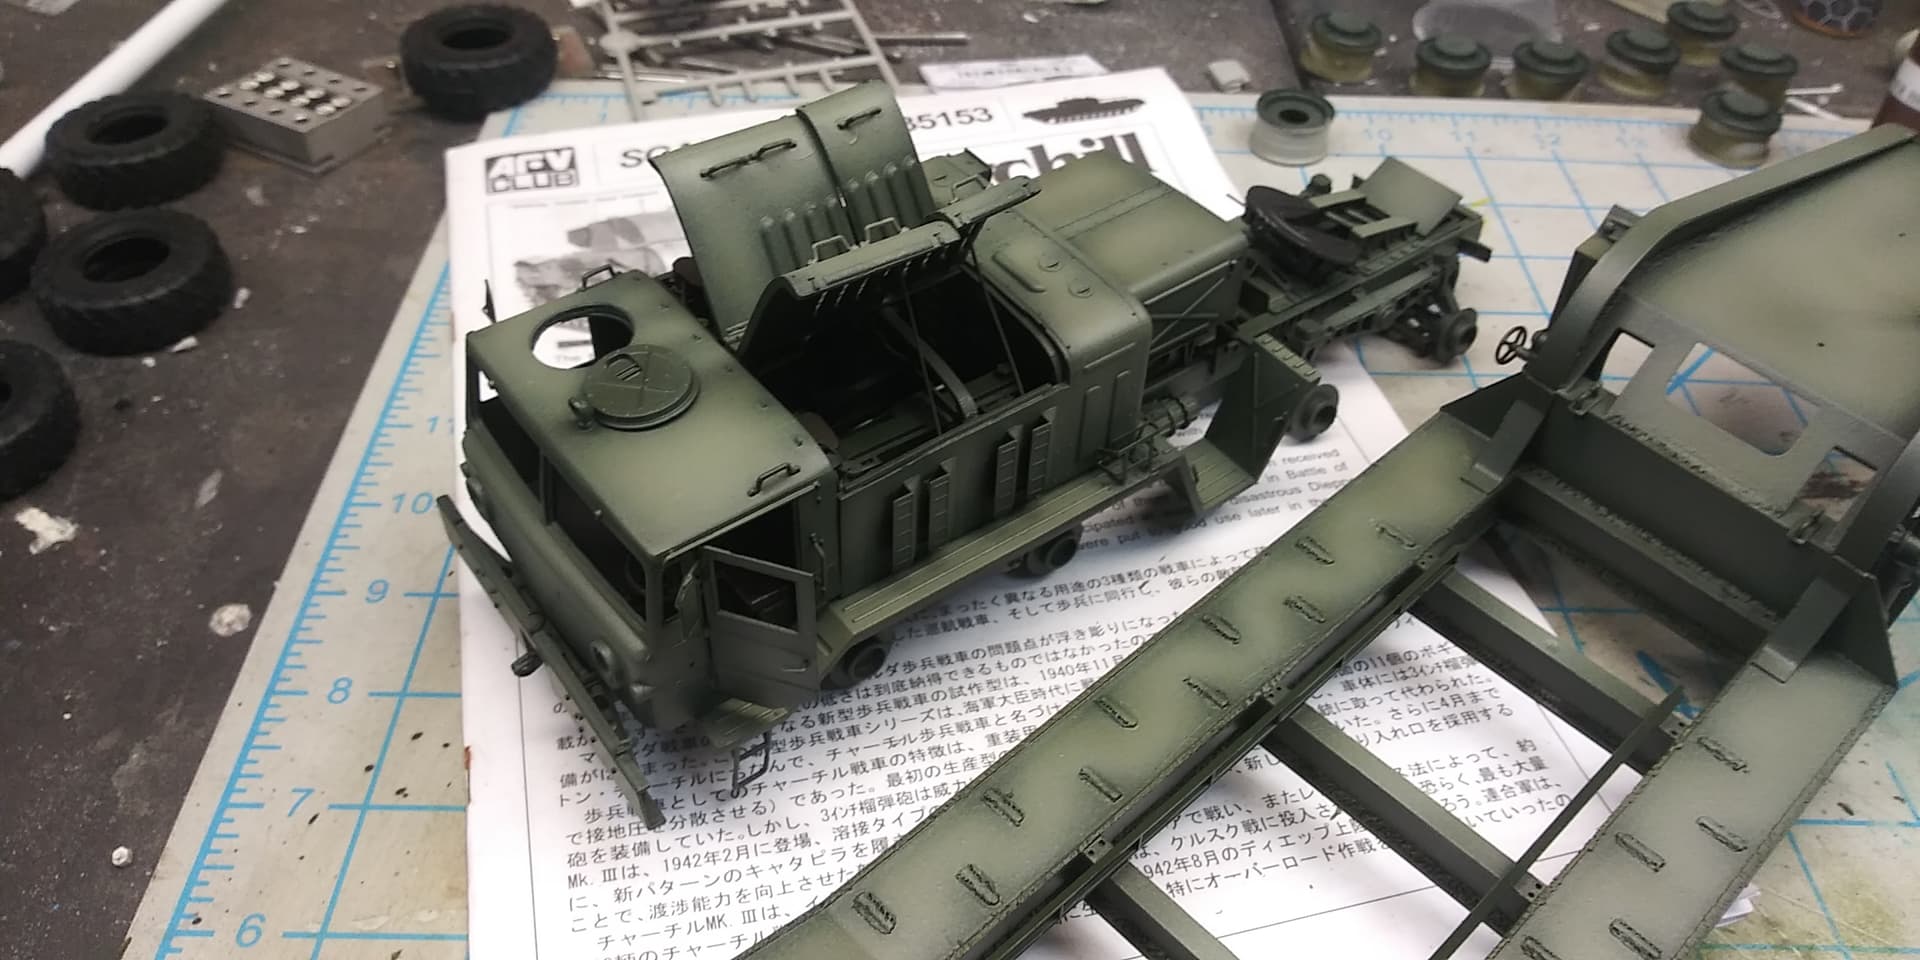
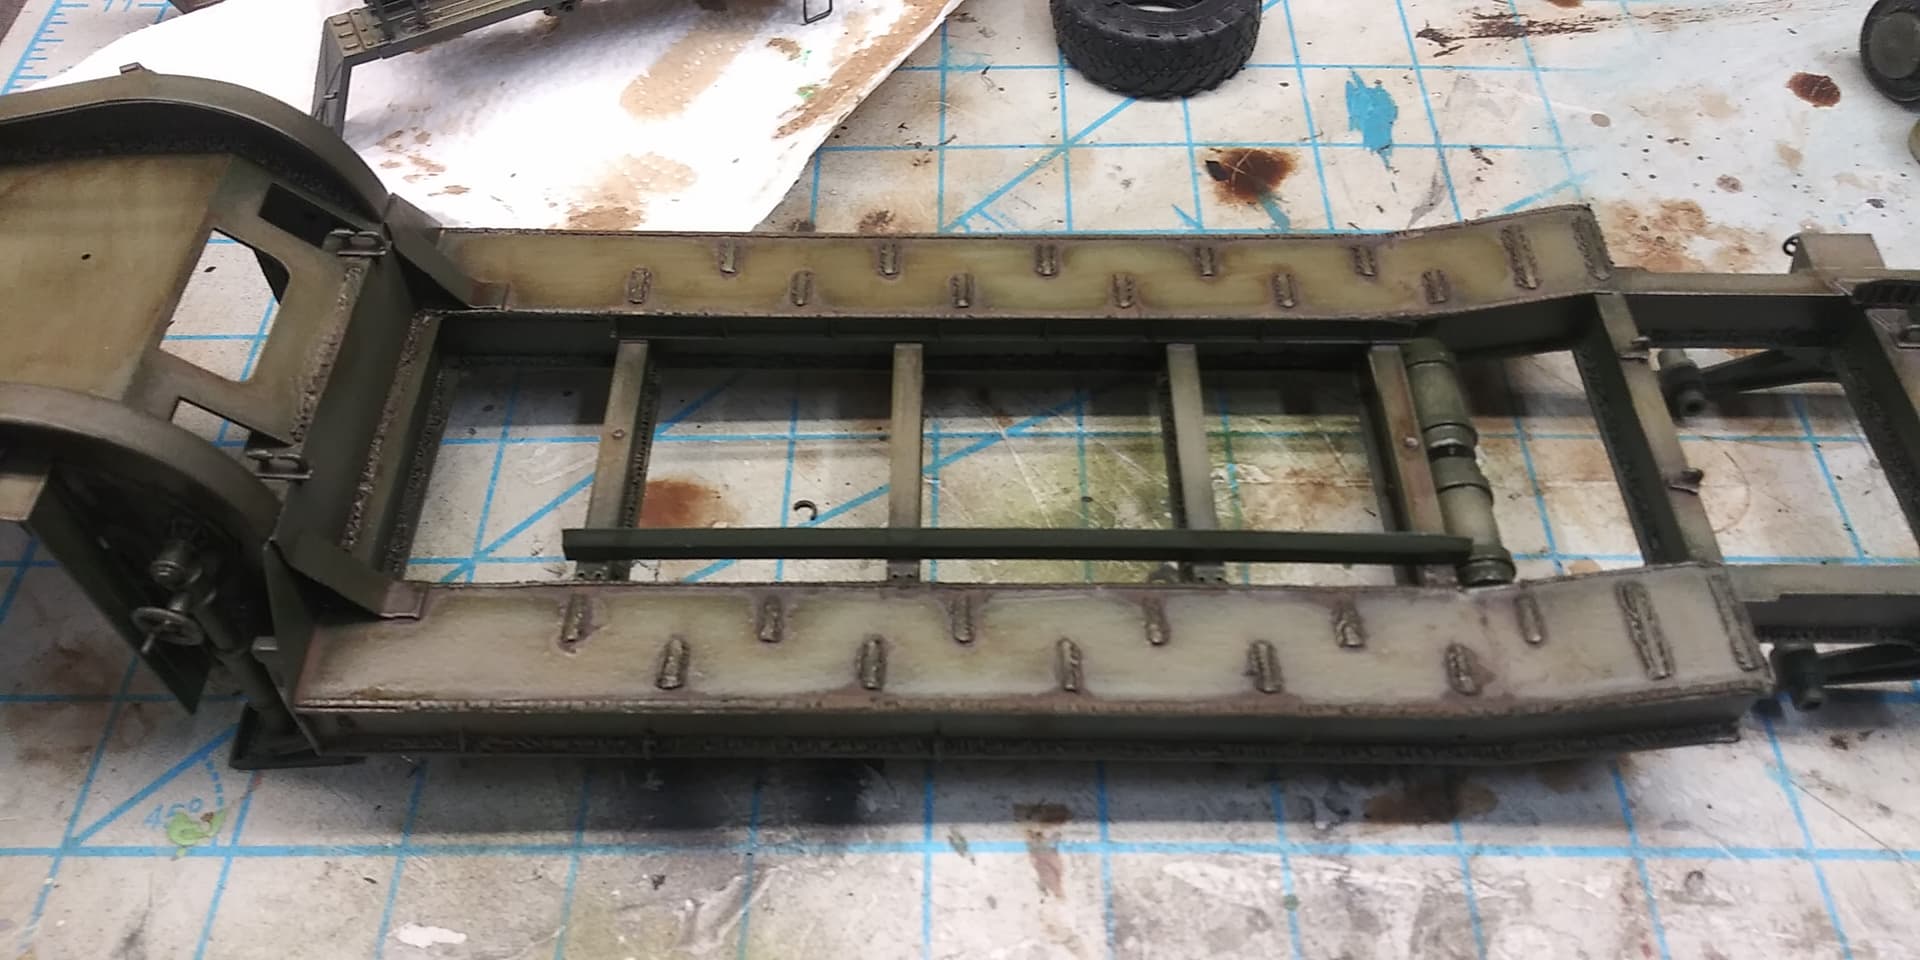
Thank you my friend. This vehicle was screaming for the work to be done. There are 164 individual weld beads on the trailer.
This has turned into one of those builds that suggest the builder has some mental health issues …lol
2 Likes
Chris ~ I certainly know what you mean there. I am beginning to wonder about my own mental health in taking on the 7410 project.
Yes indeed. I am watching your work on that and am impressed as always.
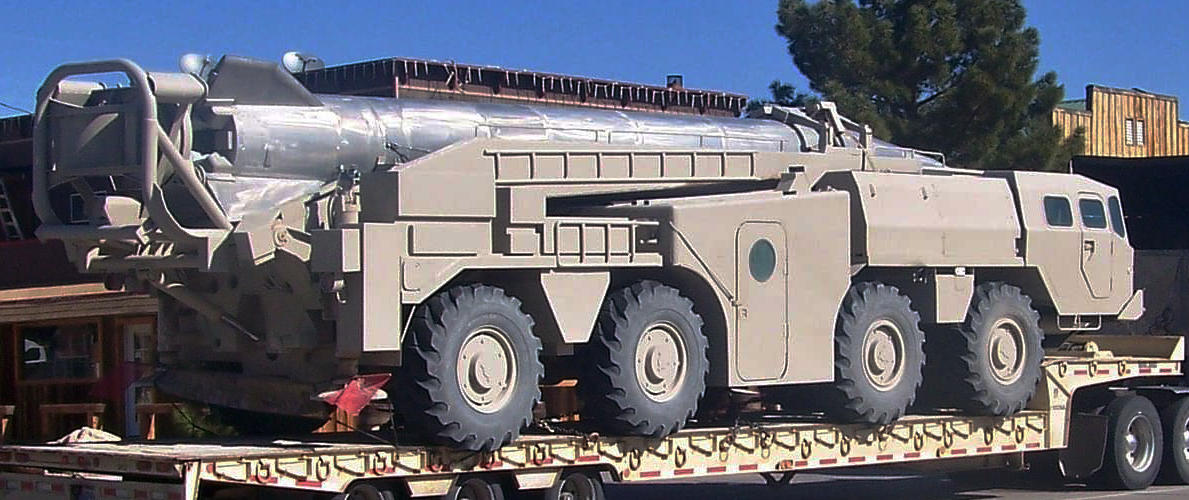
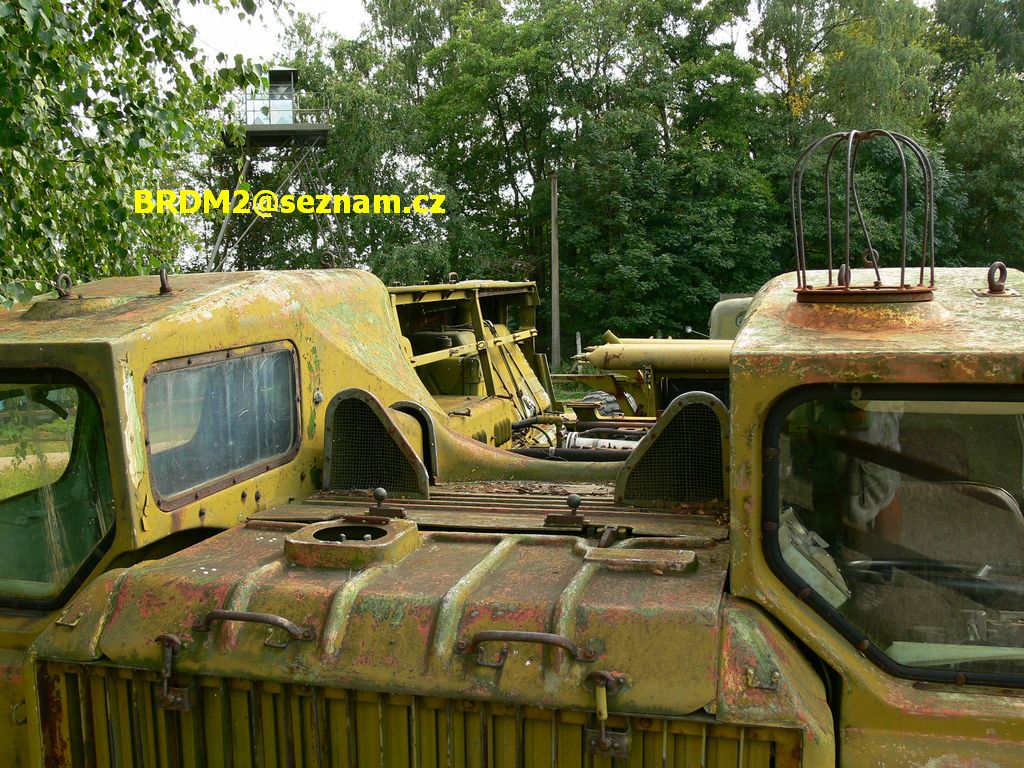
@165thspc . Just throwing this out there brother , do you have a reference source for the old dragon scud b / MAZ?
1 Like
Sorry but I only have very limited research on the Scud B TEL. I guess that comes from my primary focus always being on all things “softskin,” rather than offensive missile/artillery combat hardware.
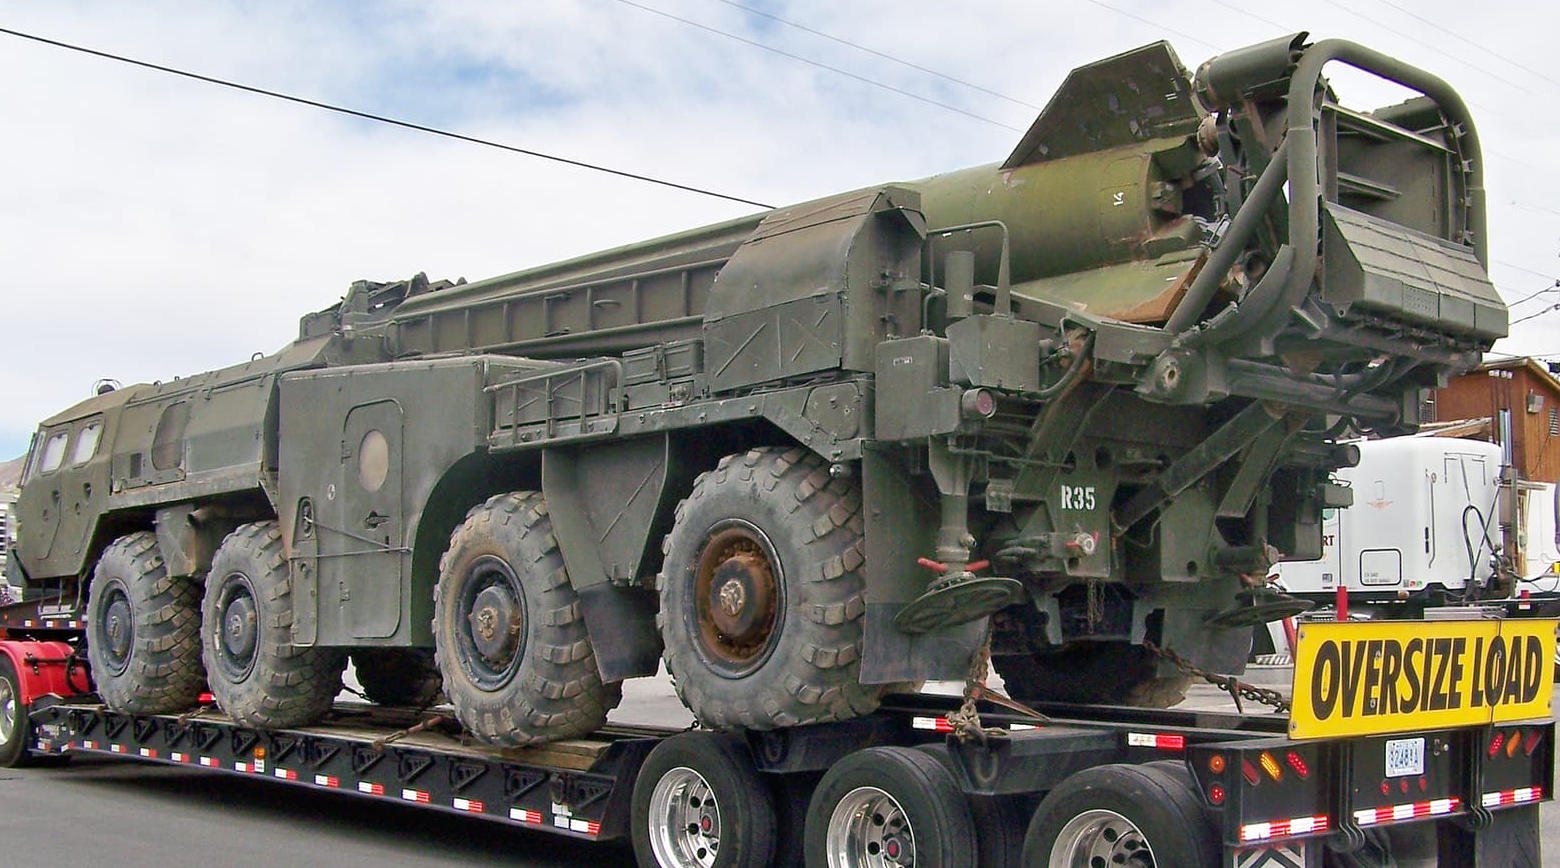
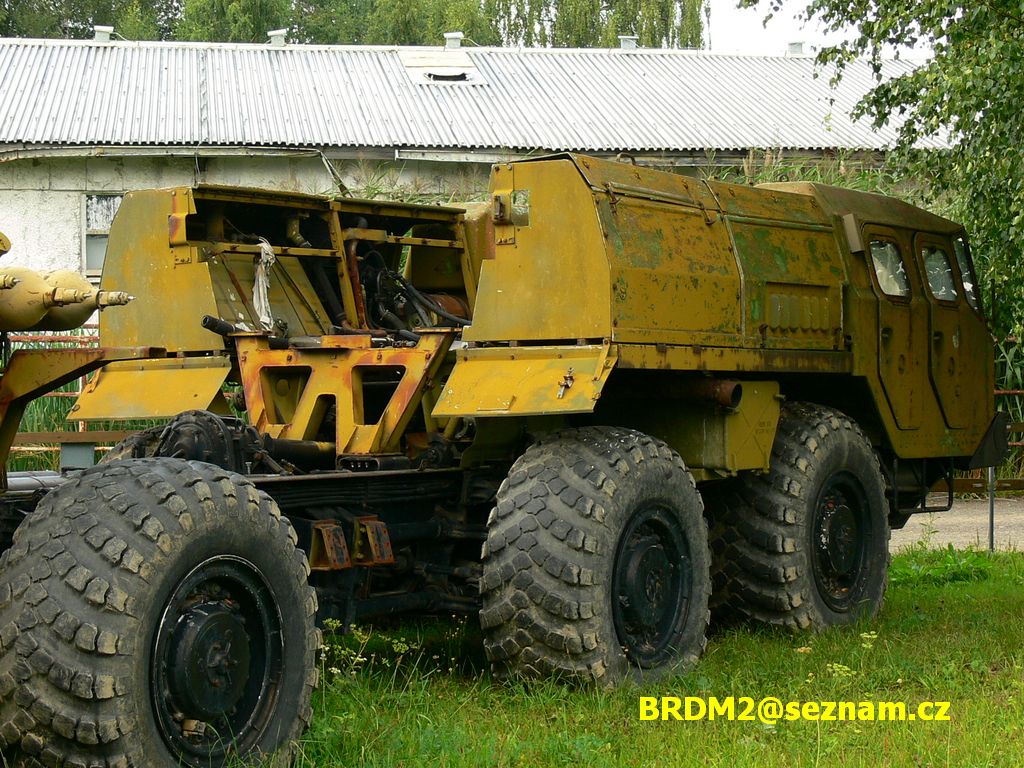
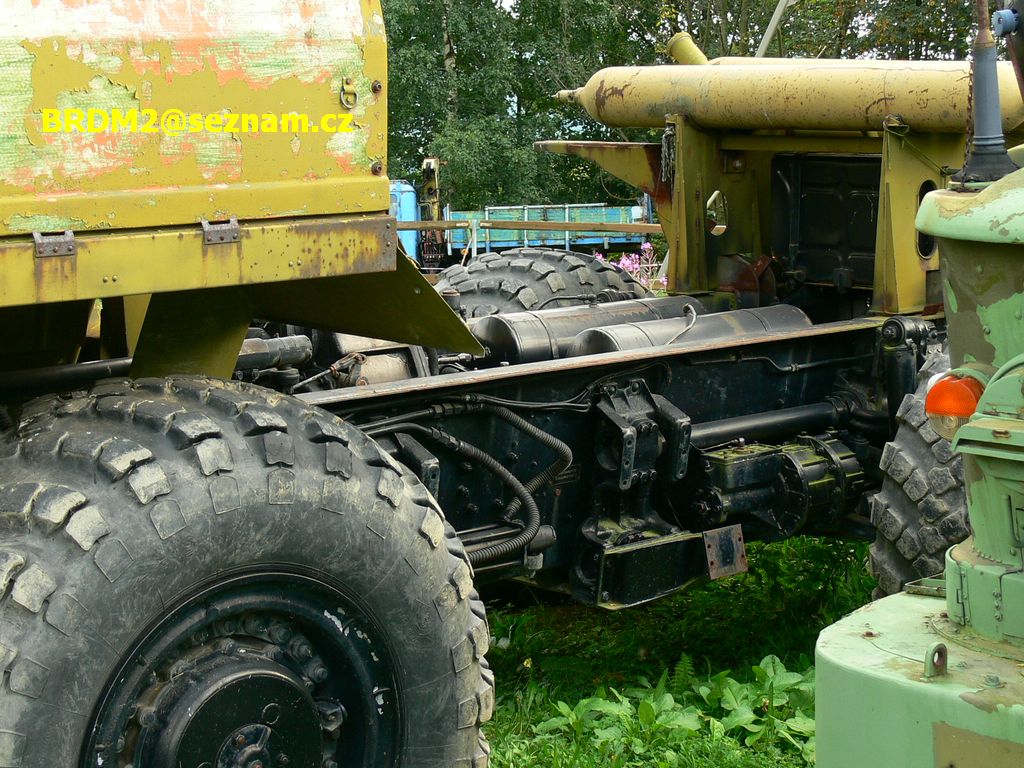
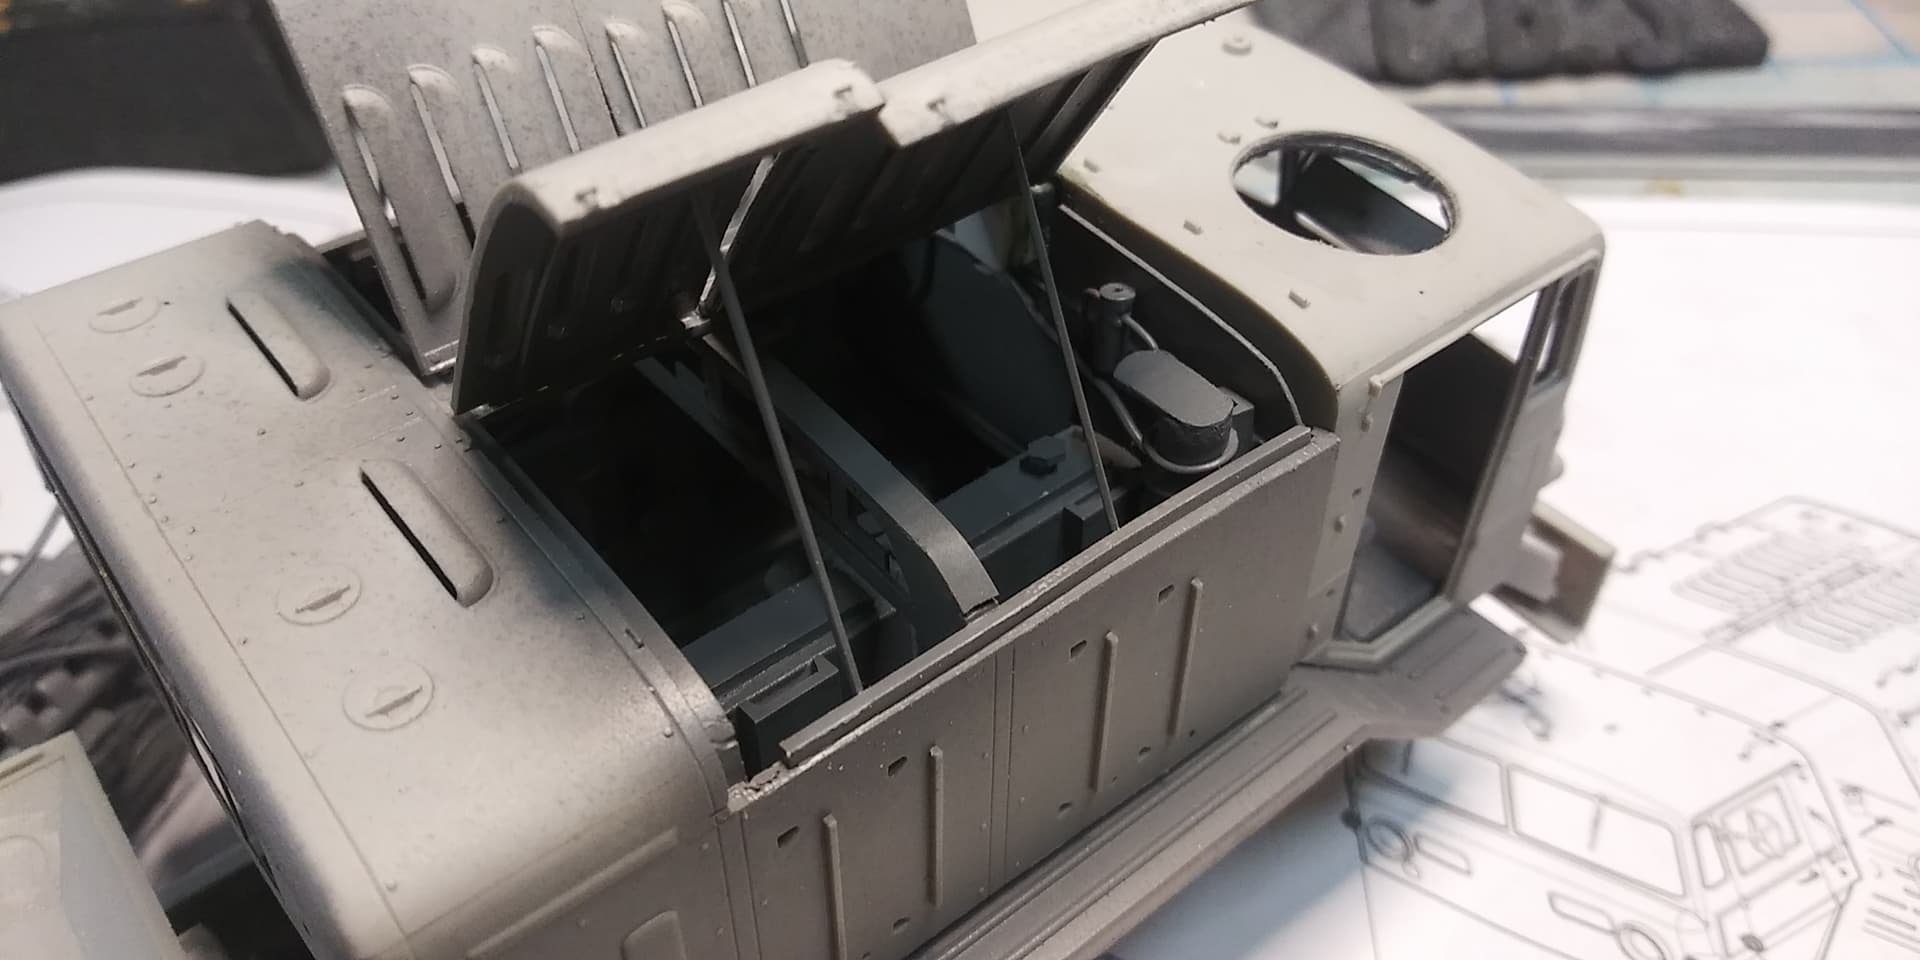
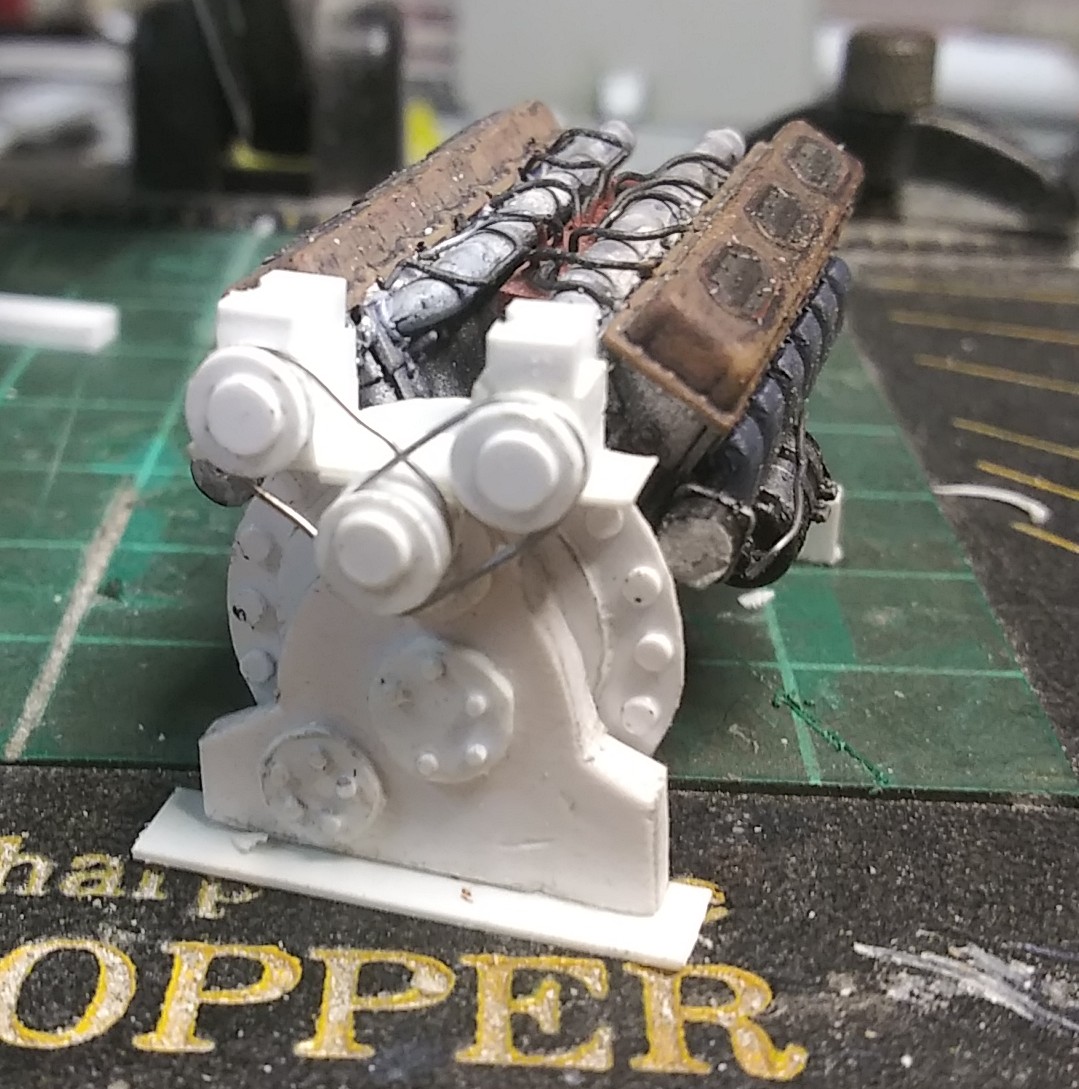
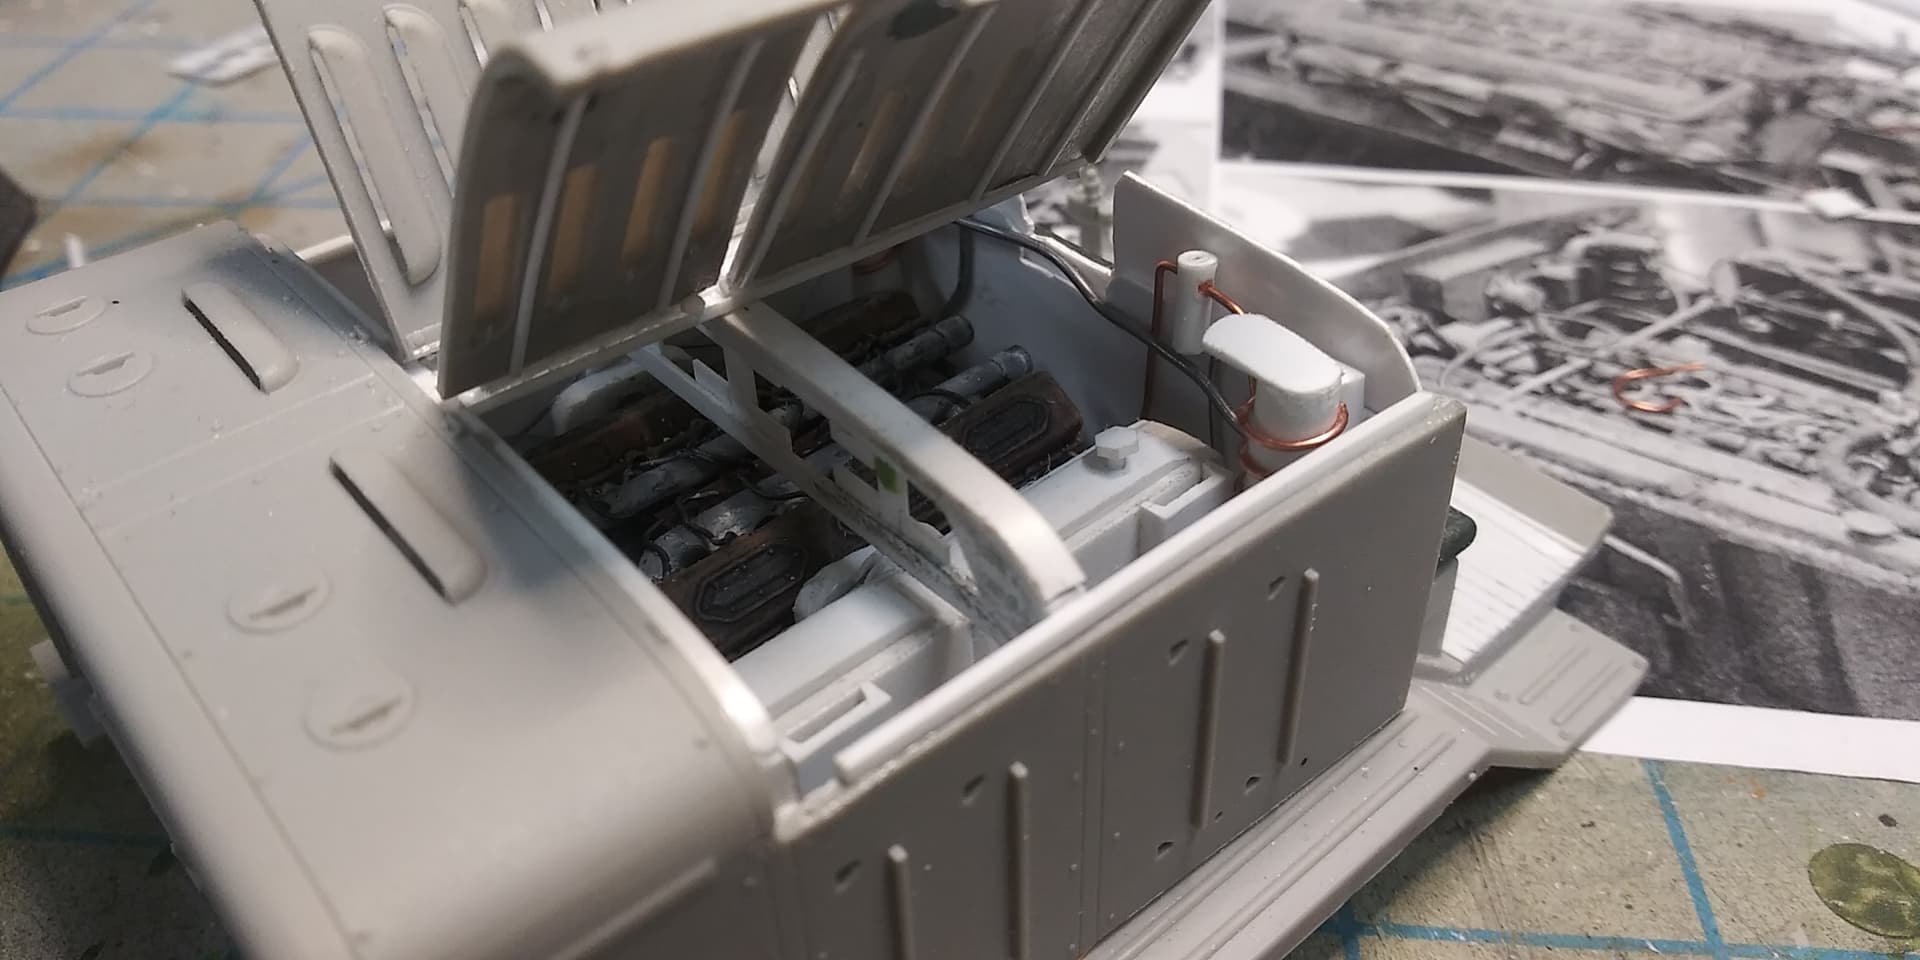
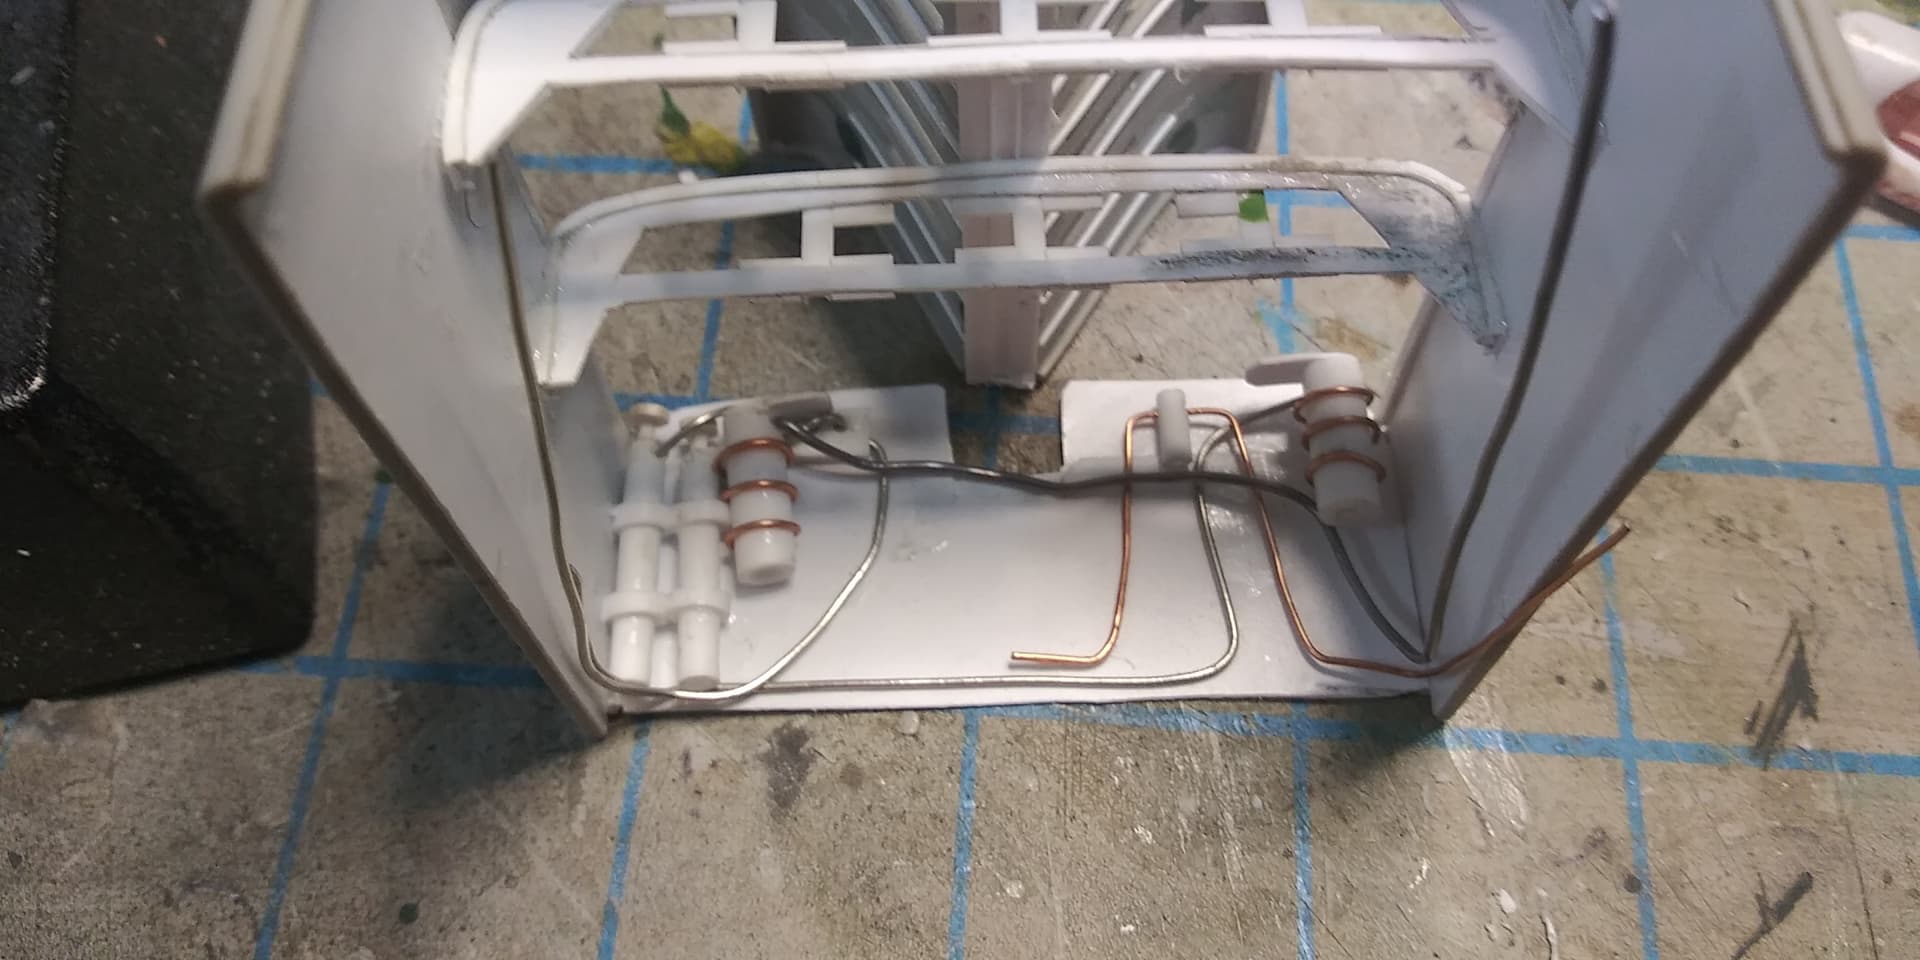
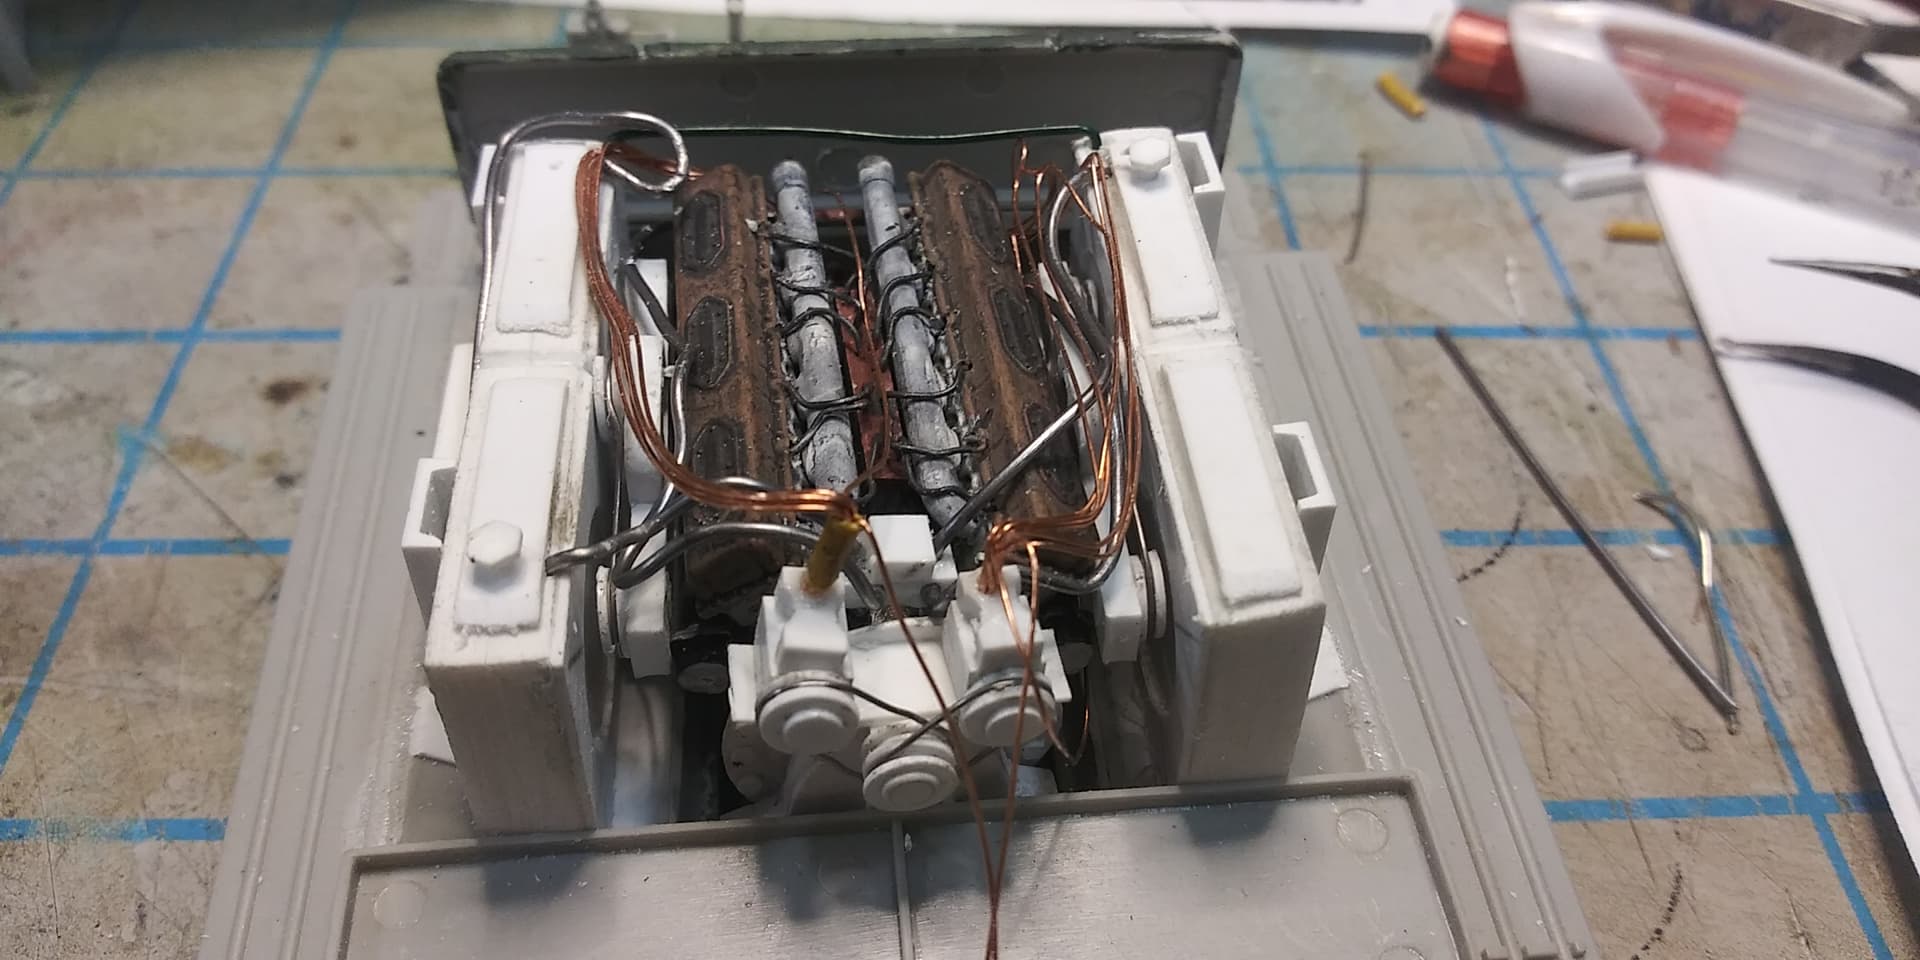
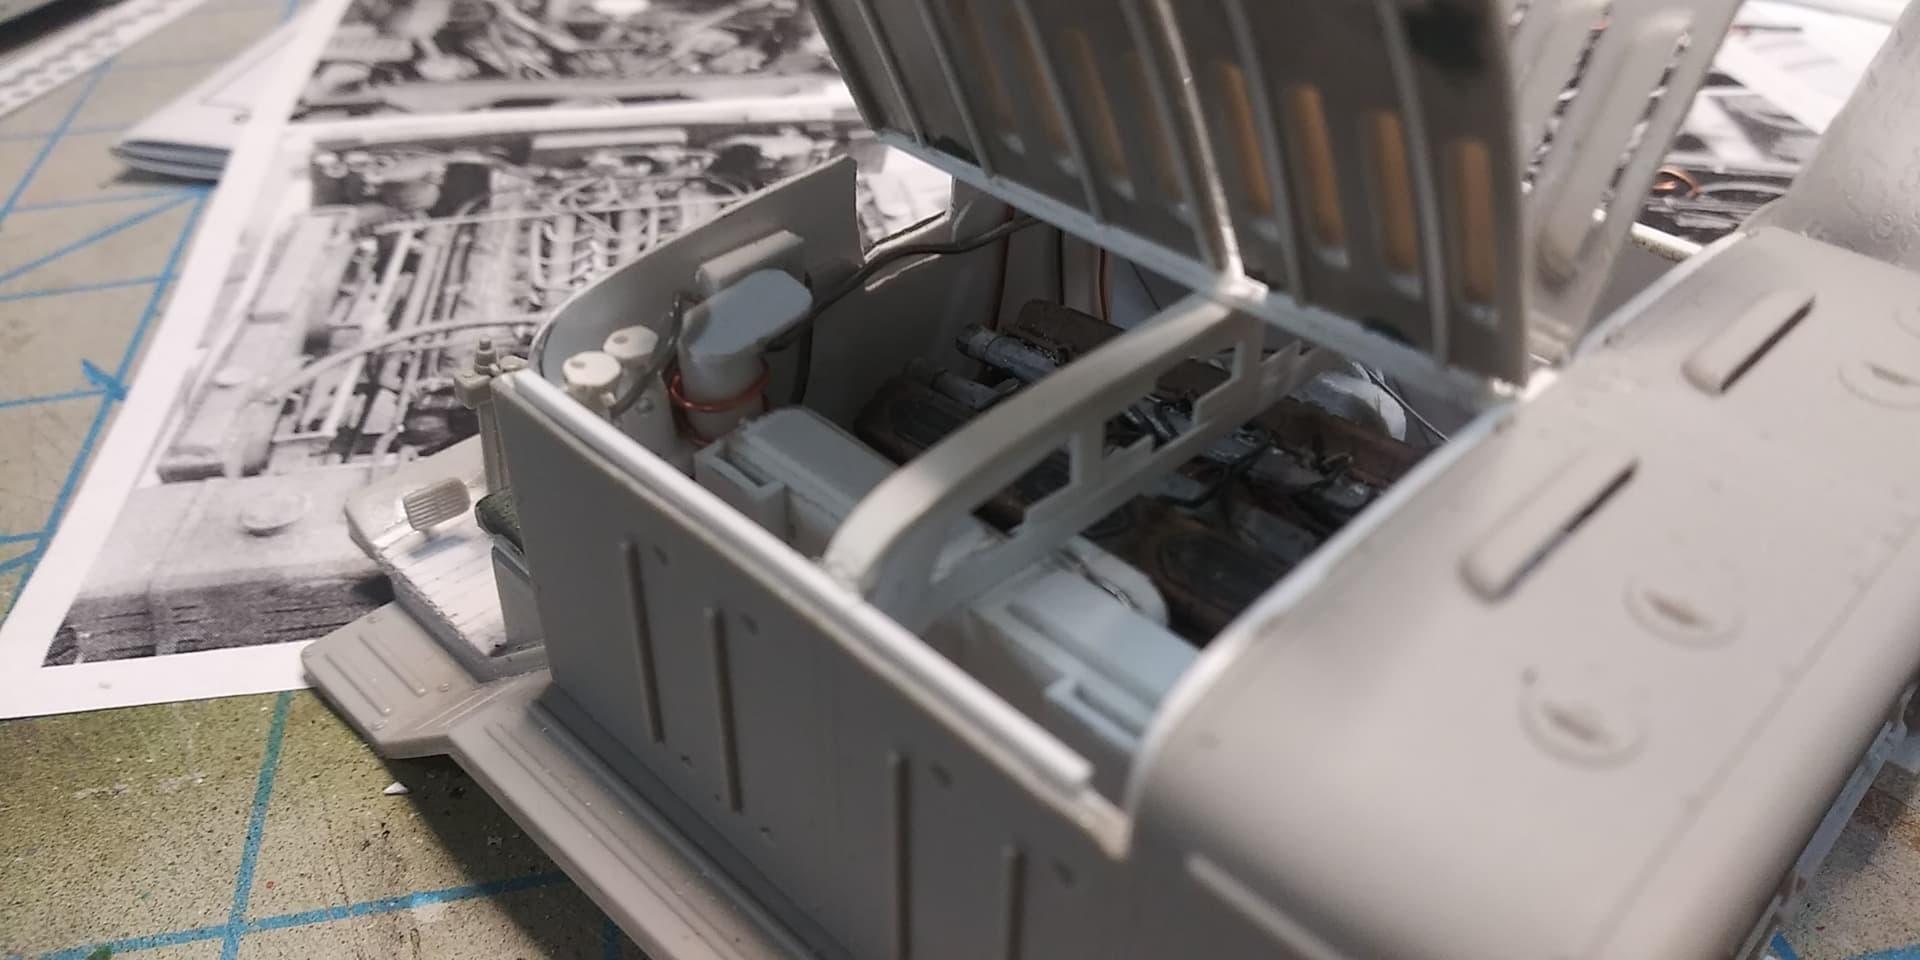
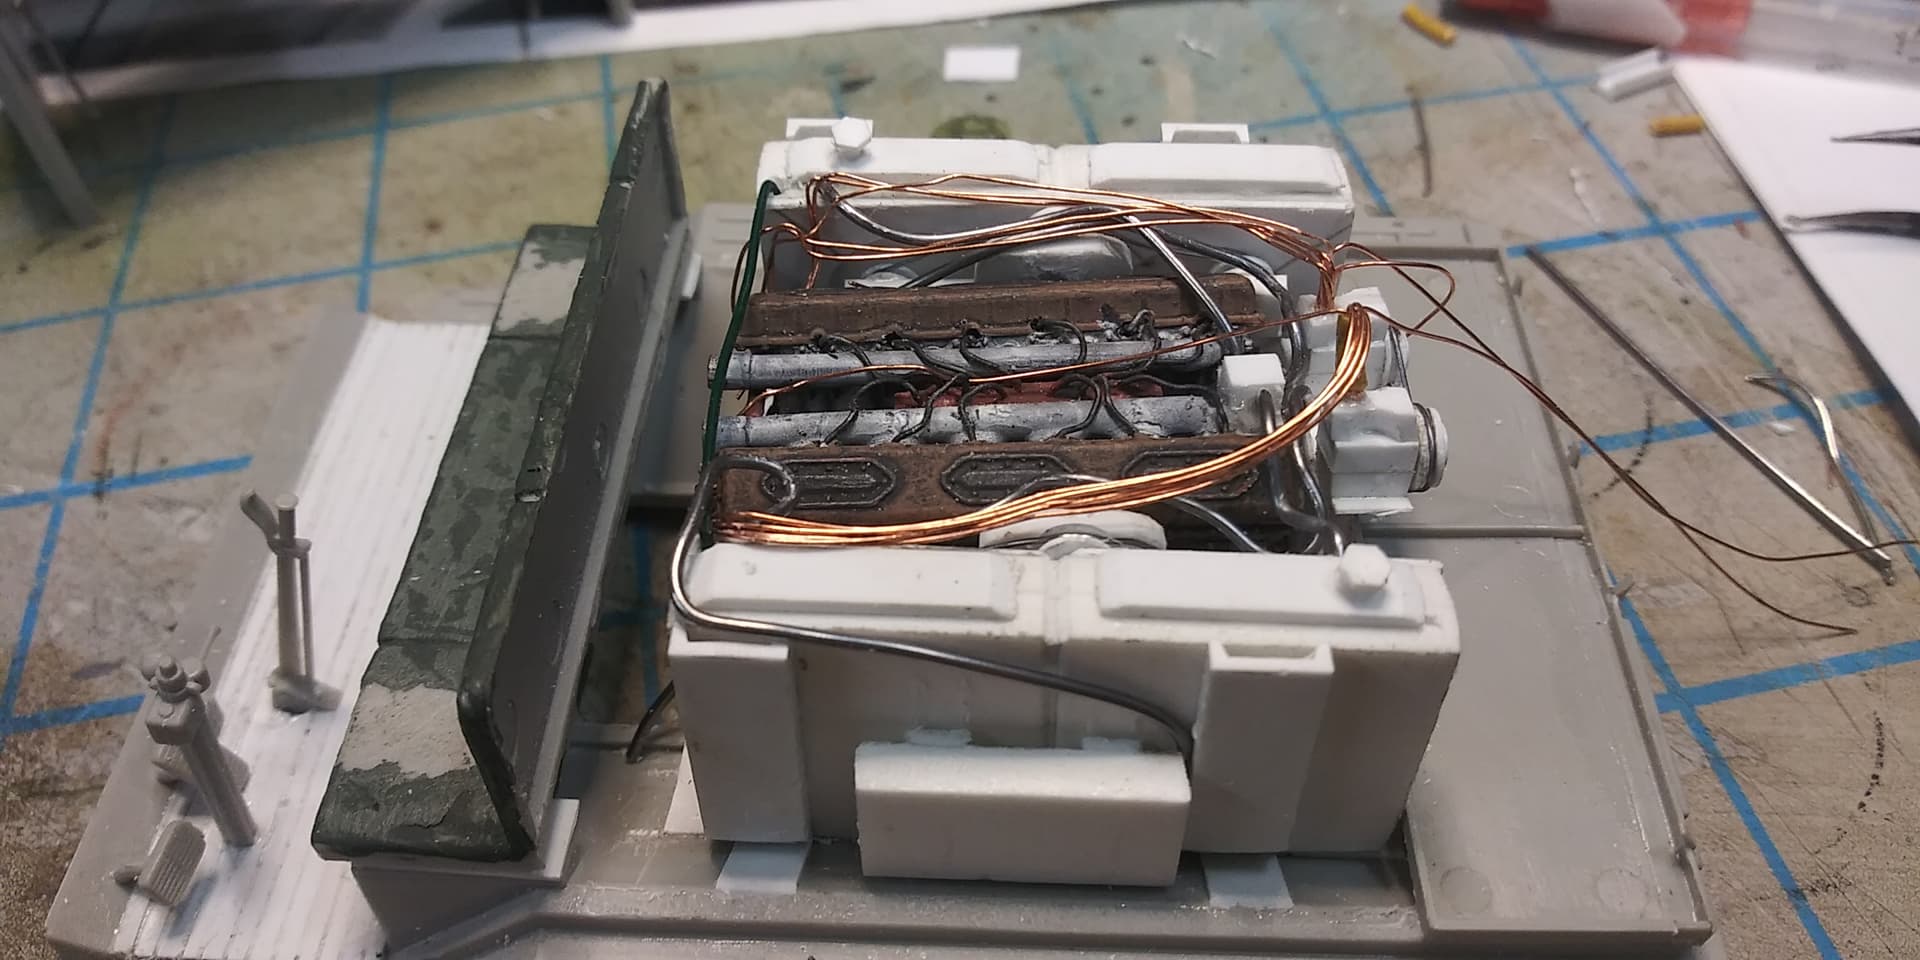
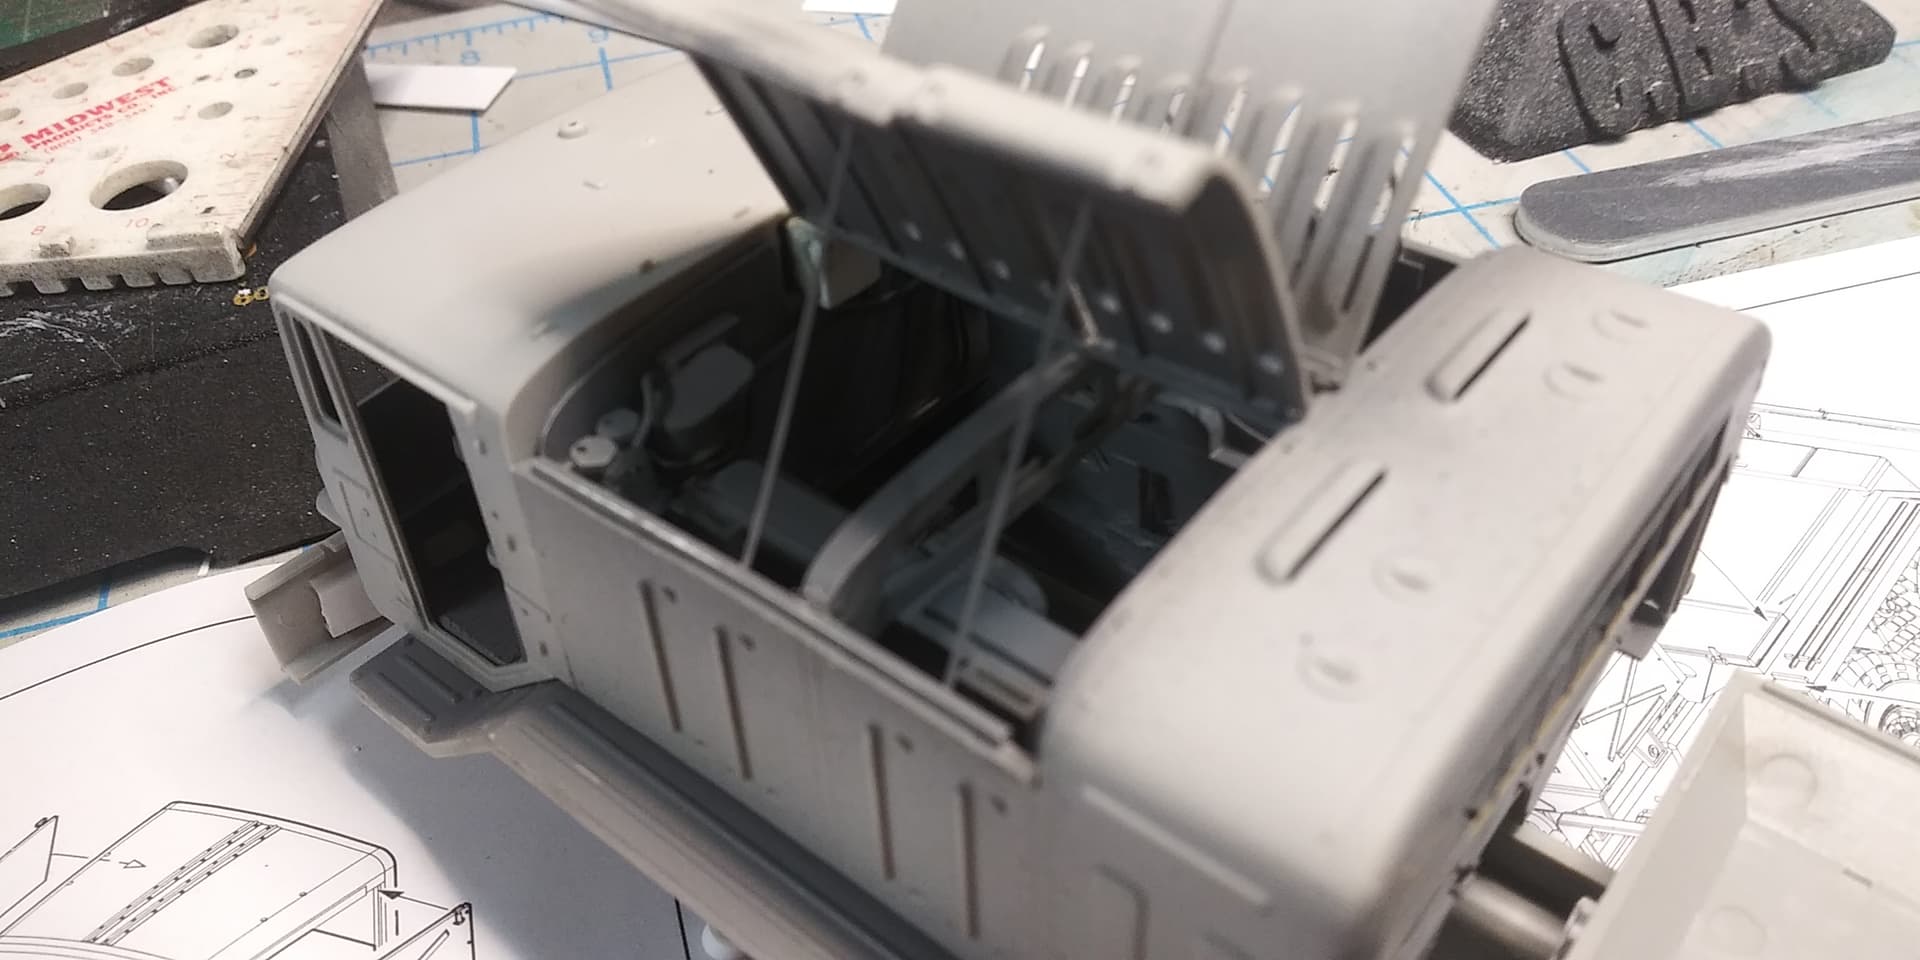
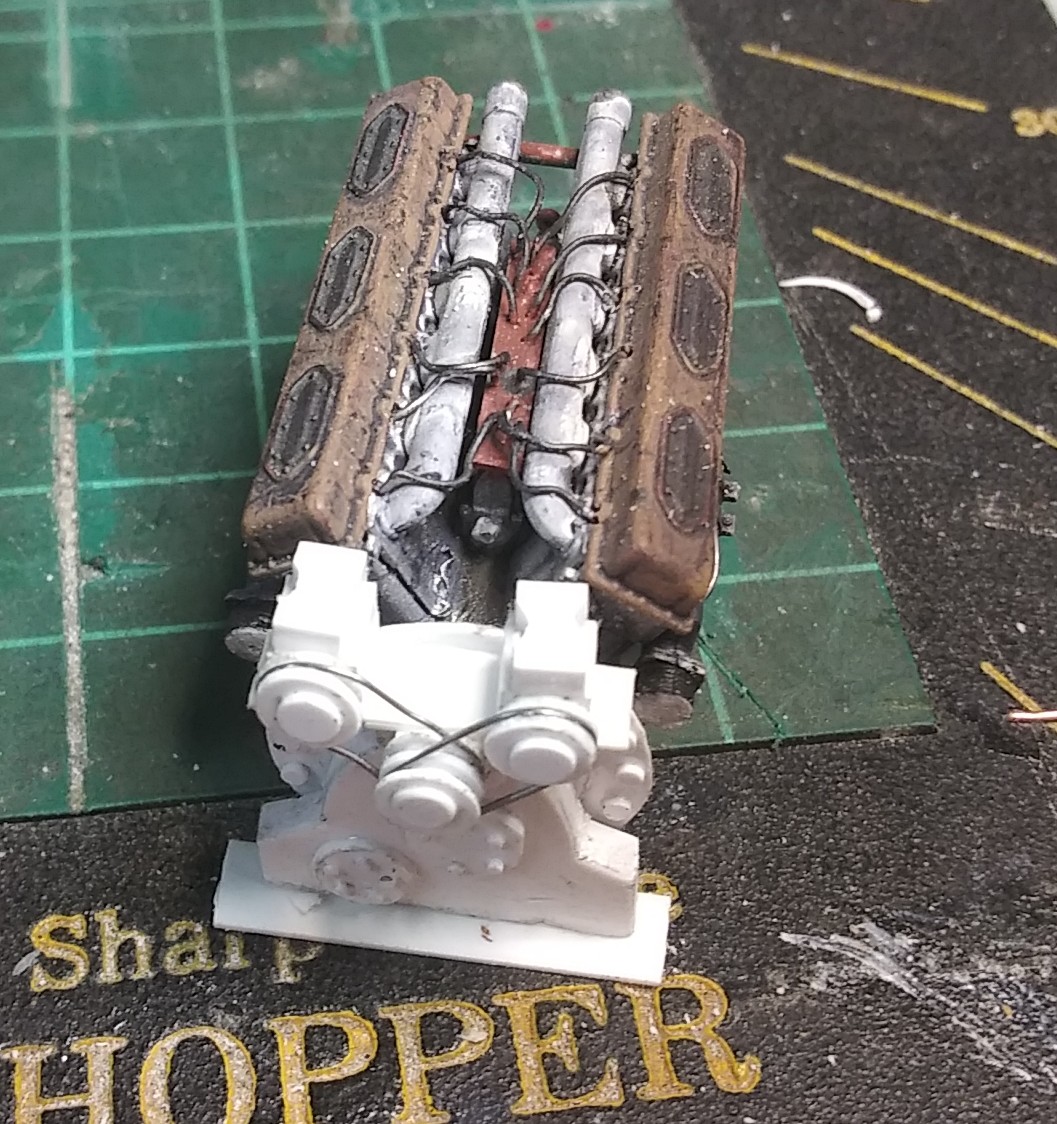
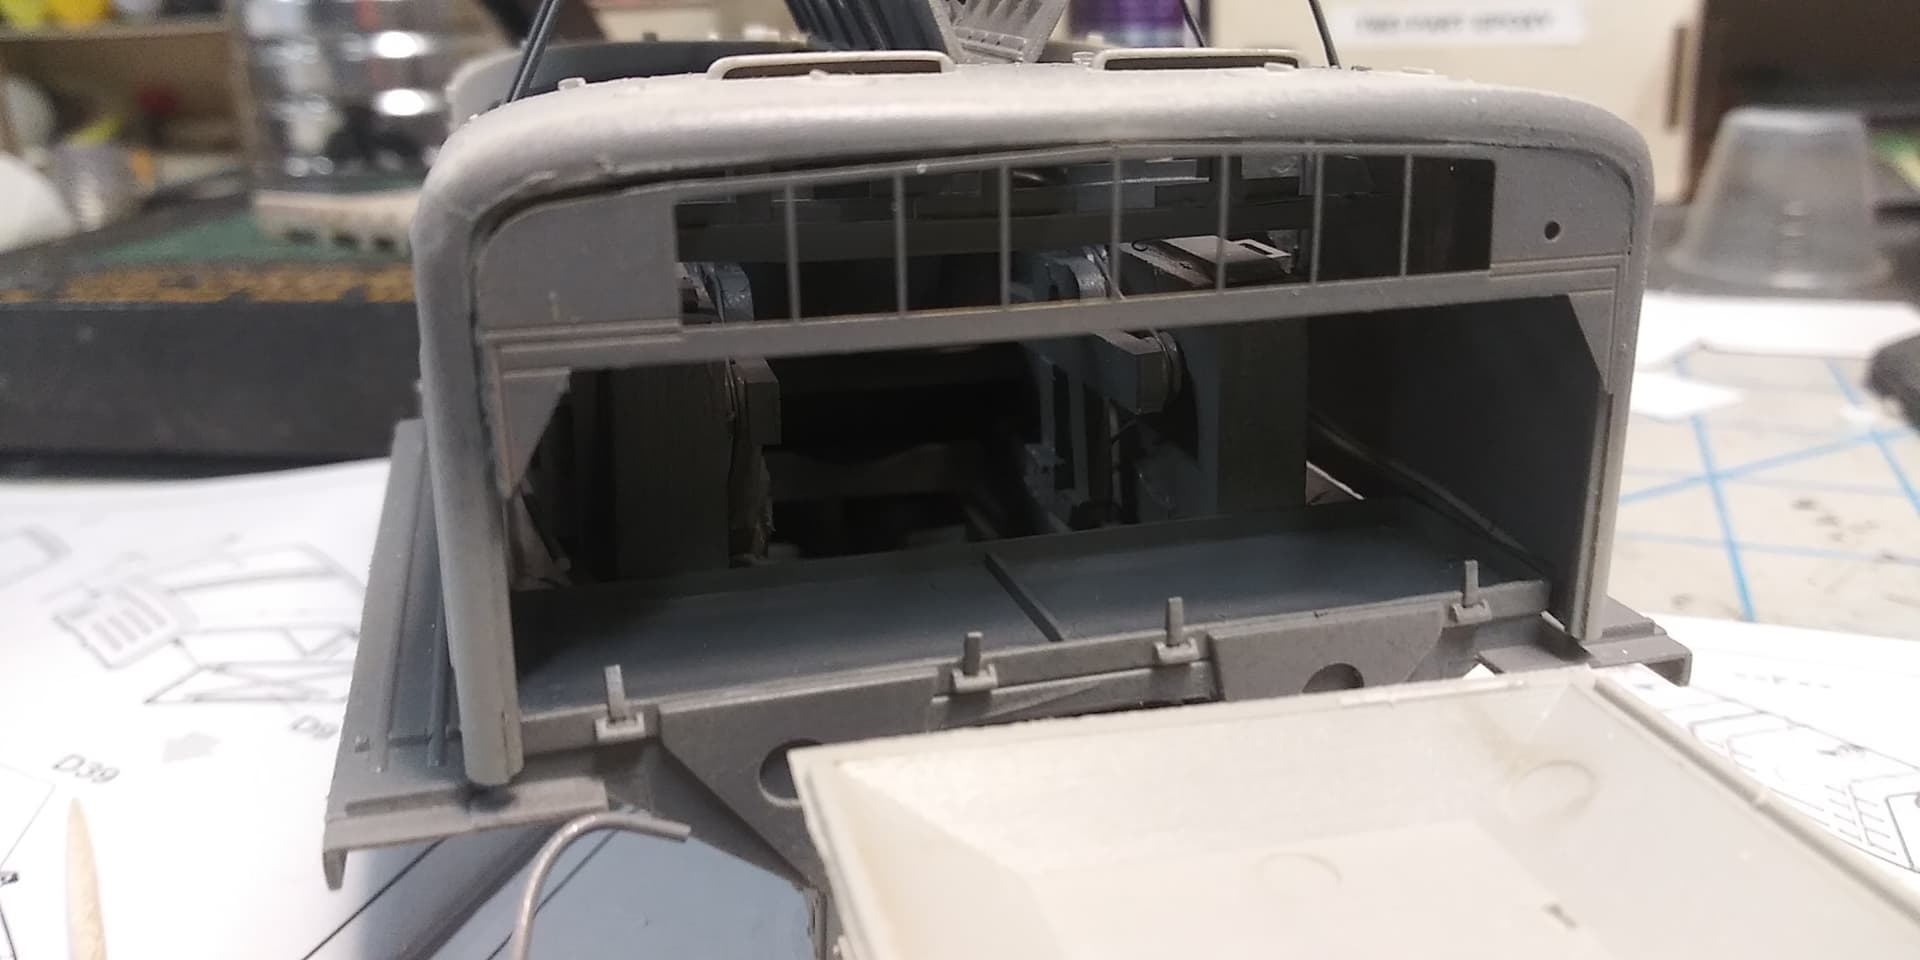
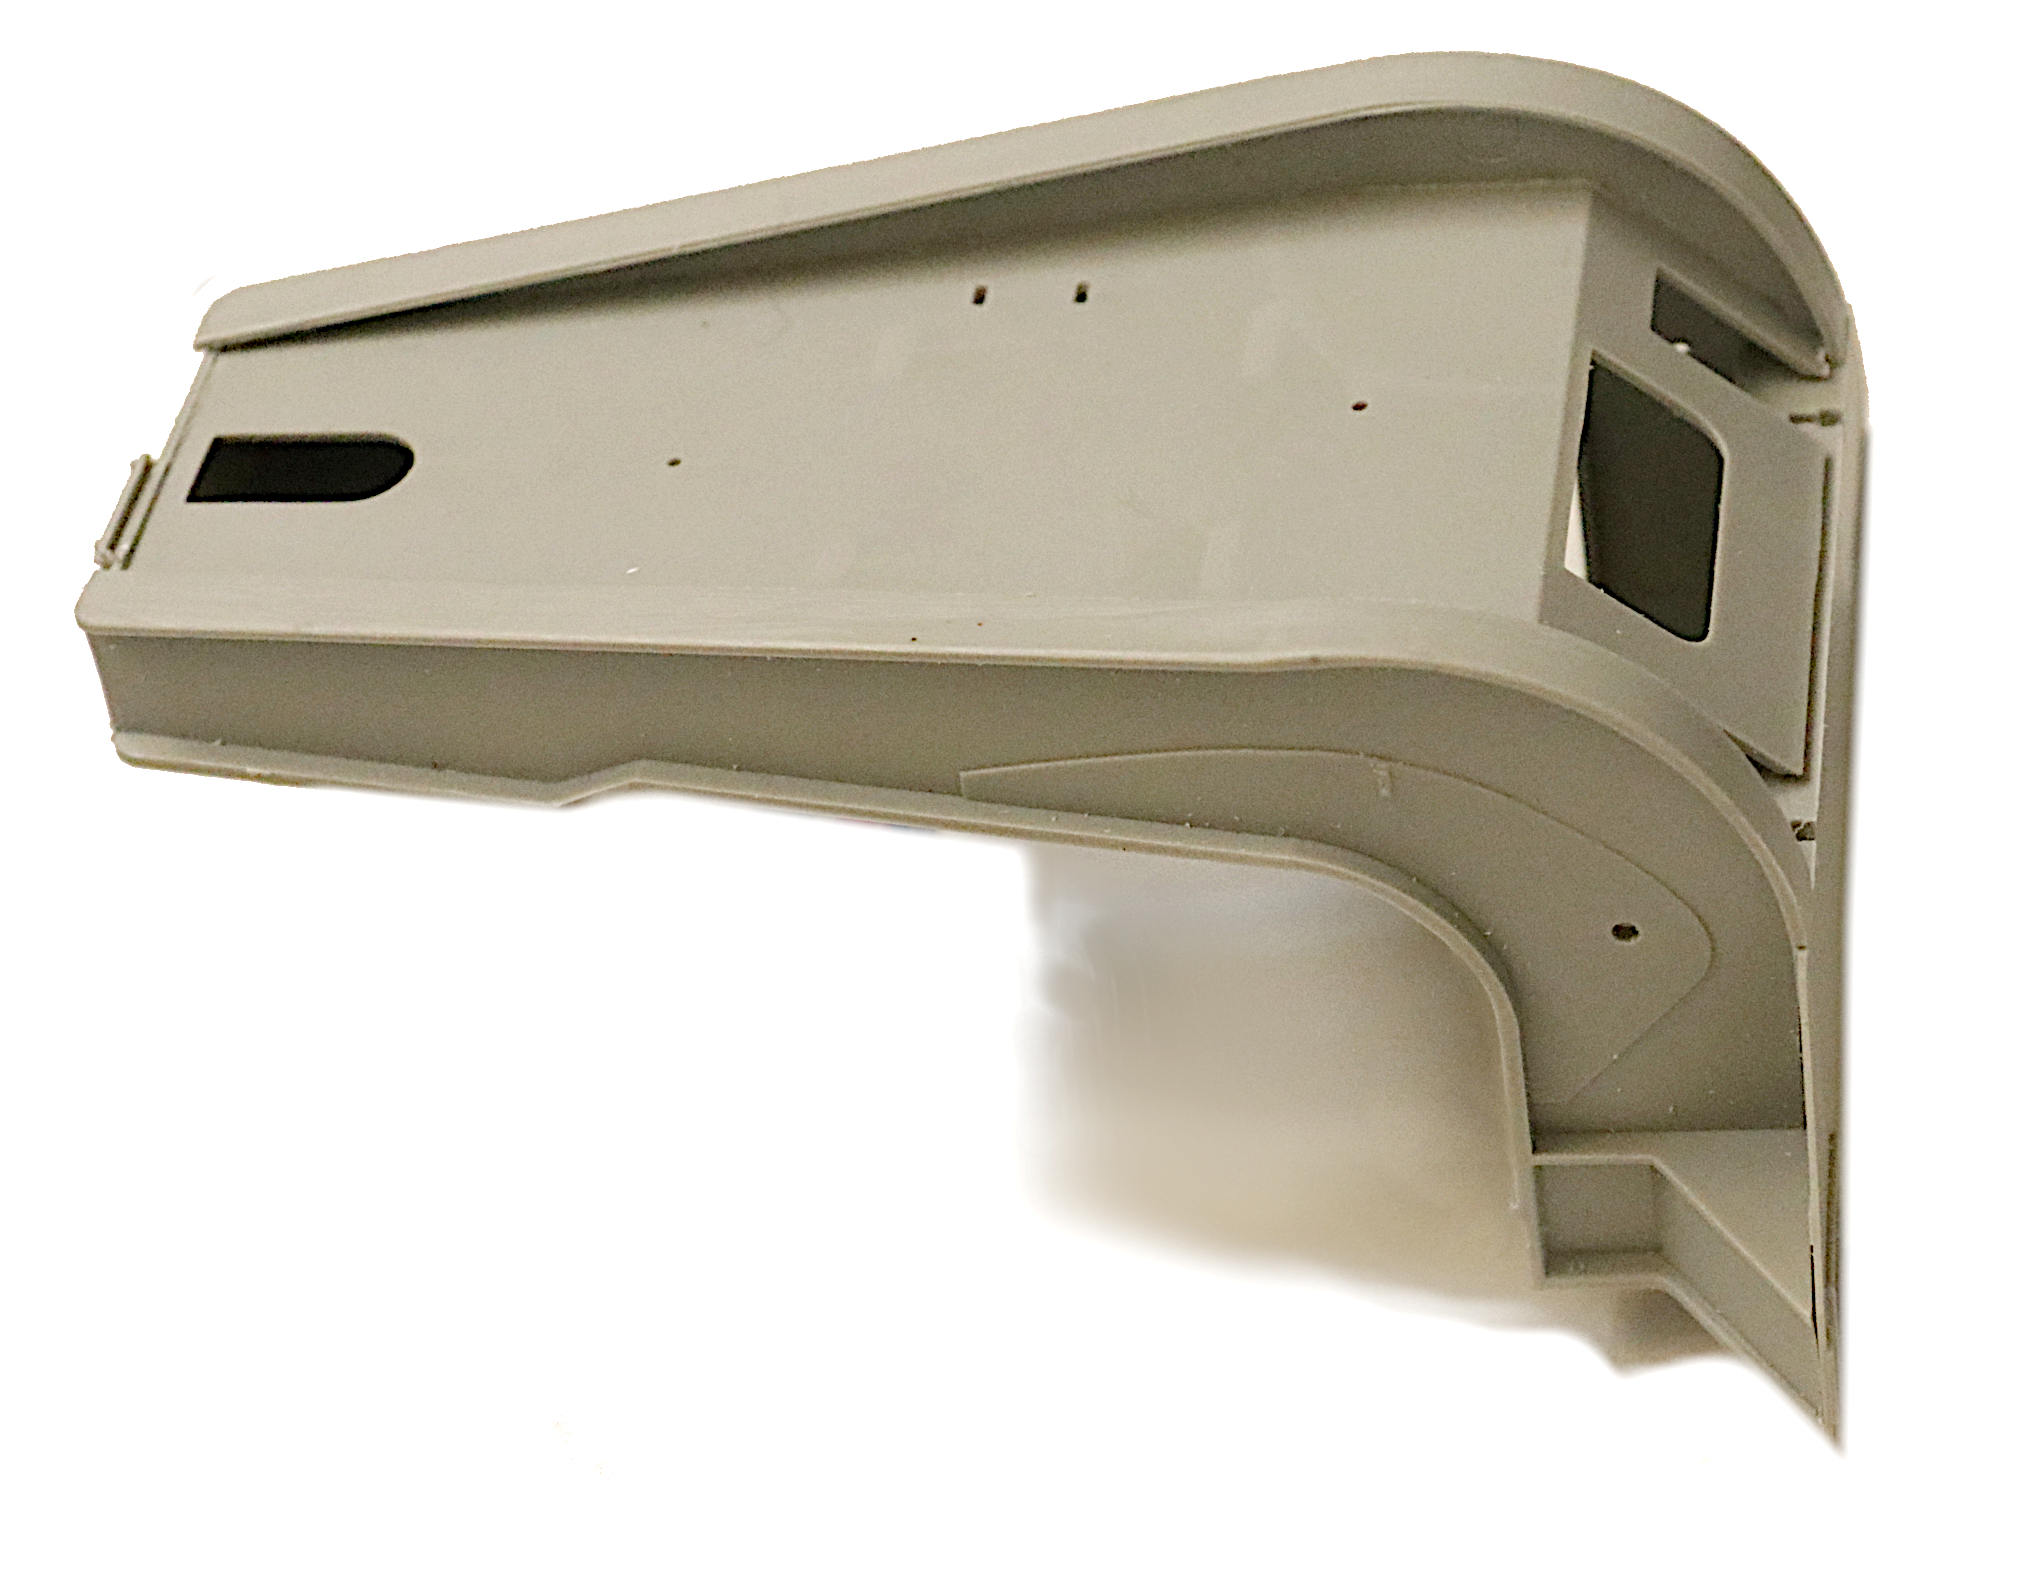
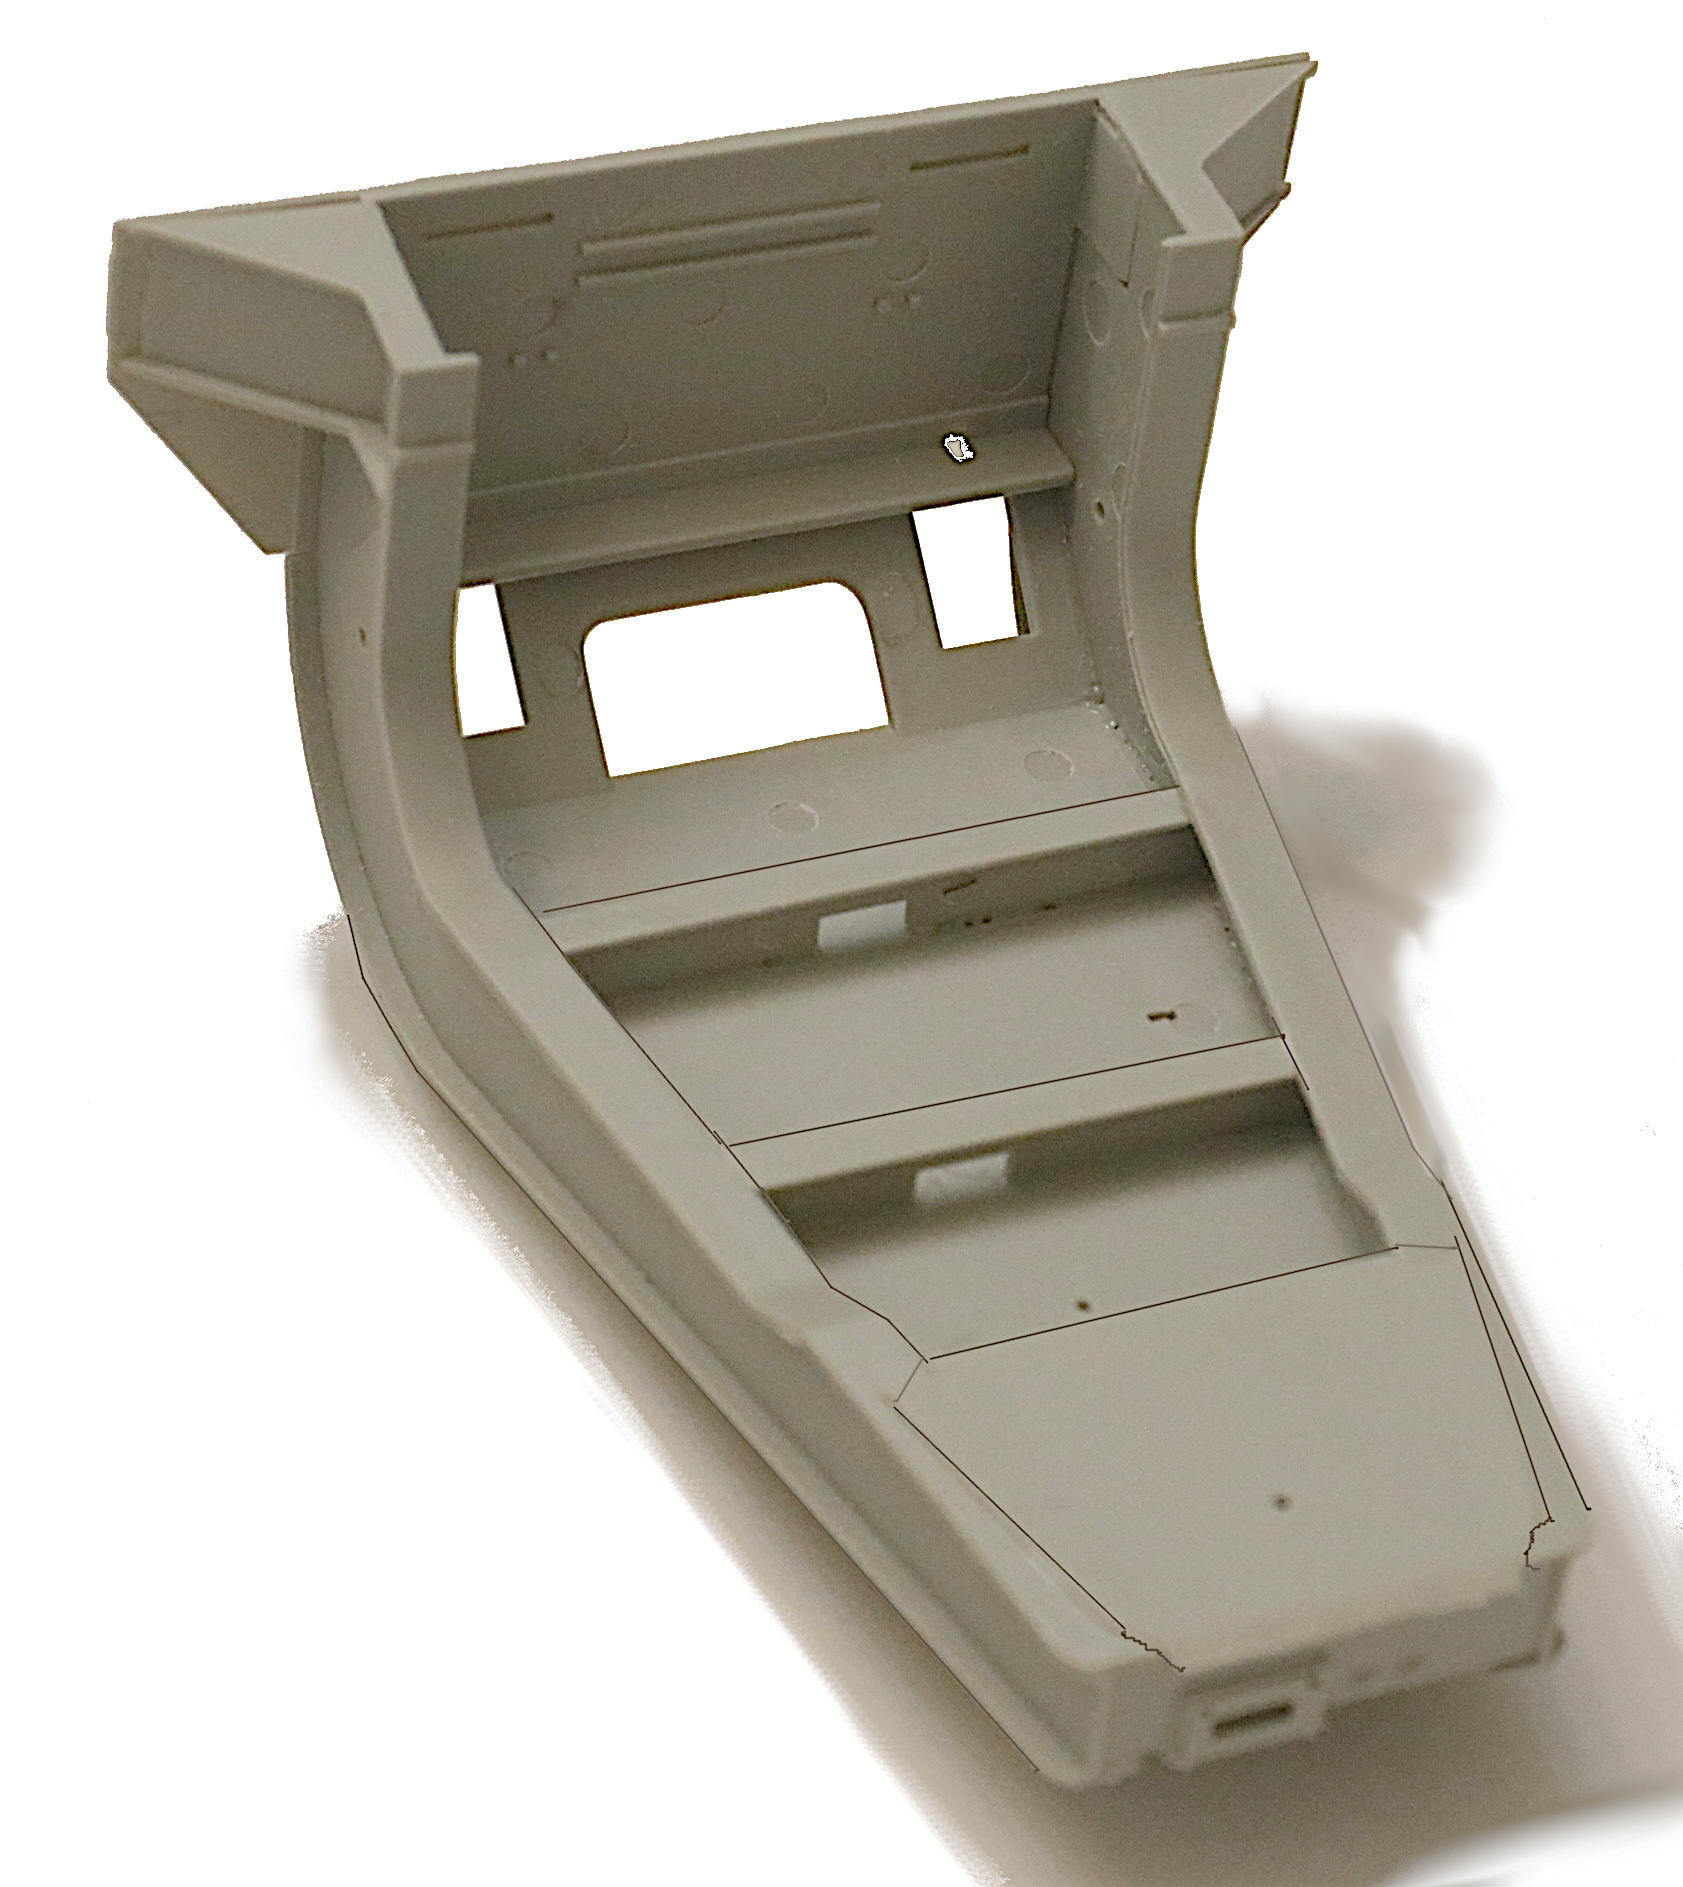
Here below is a partial shot of what I have been calling the “attic” area on the TEL. With the top of the air cleaner visible in the lower right corner and the driver’s cab in the distance.
1 Like
These should keep you busy for a while… ![]()
http://www.primeportal.net/artillery/tim_roberts/maz-543_scud_b_tel/
http://svsm.org/gallery/SS-1C_family
H.P.
1 Like
Thanks H.P. - I thought you might come thru when I could not help with his request.
Oh thats good reference and you guys are amazing
My only Dragon Scud kit was on its’ way to becoming a fire truck before the Trumpeter kit hit the market.
.
1 Like
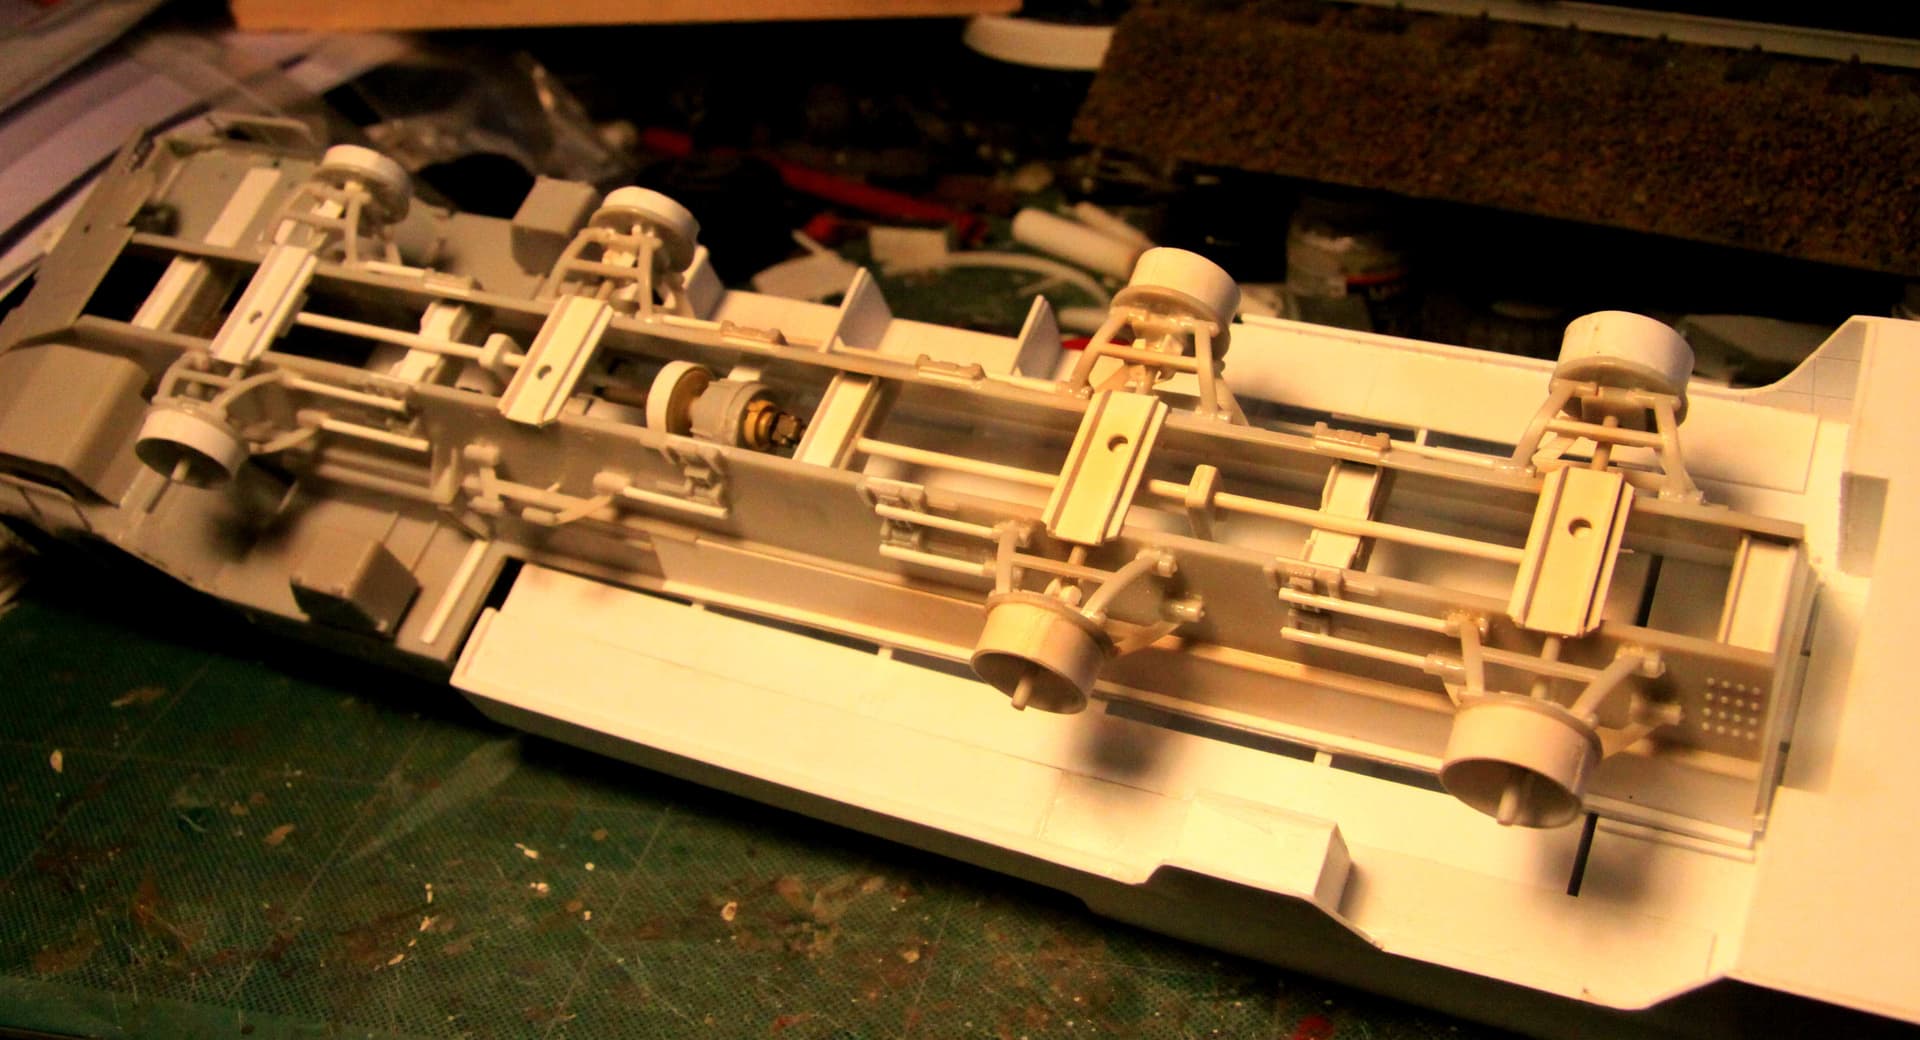
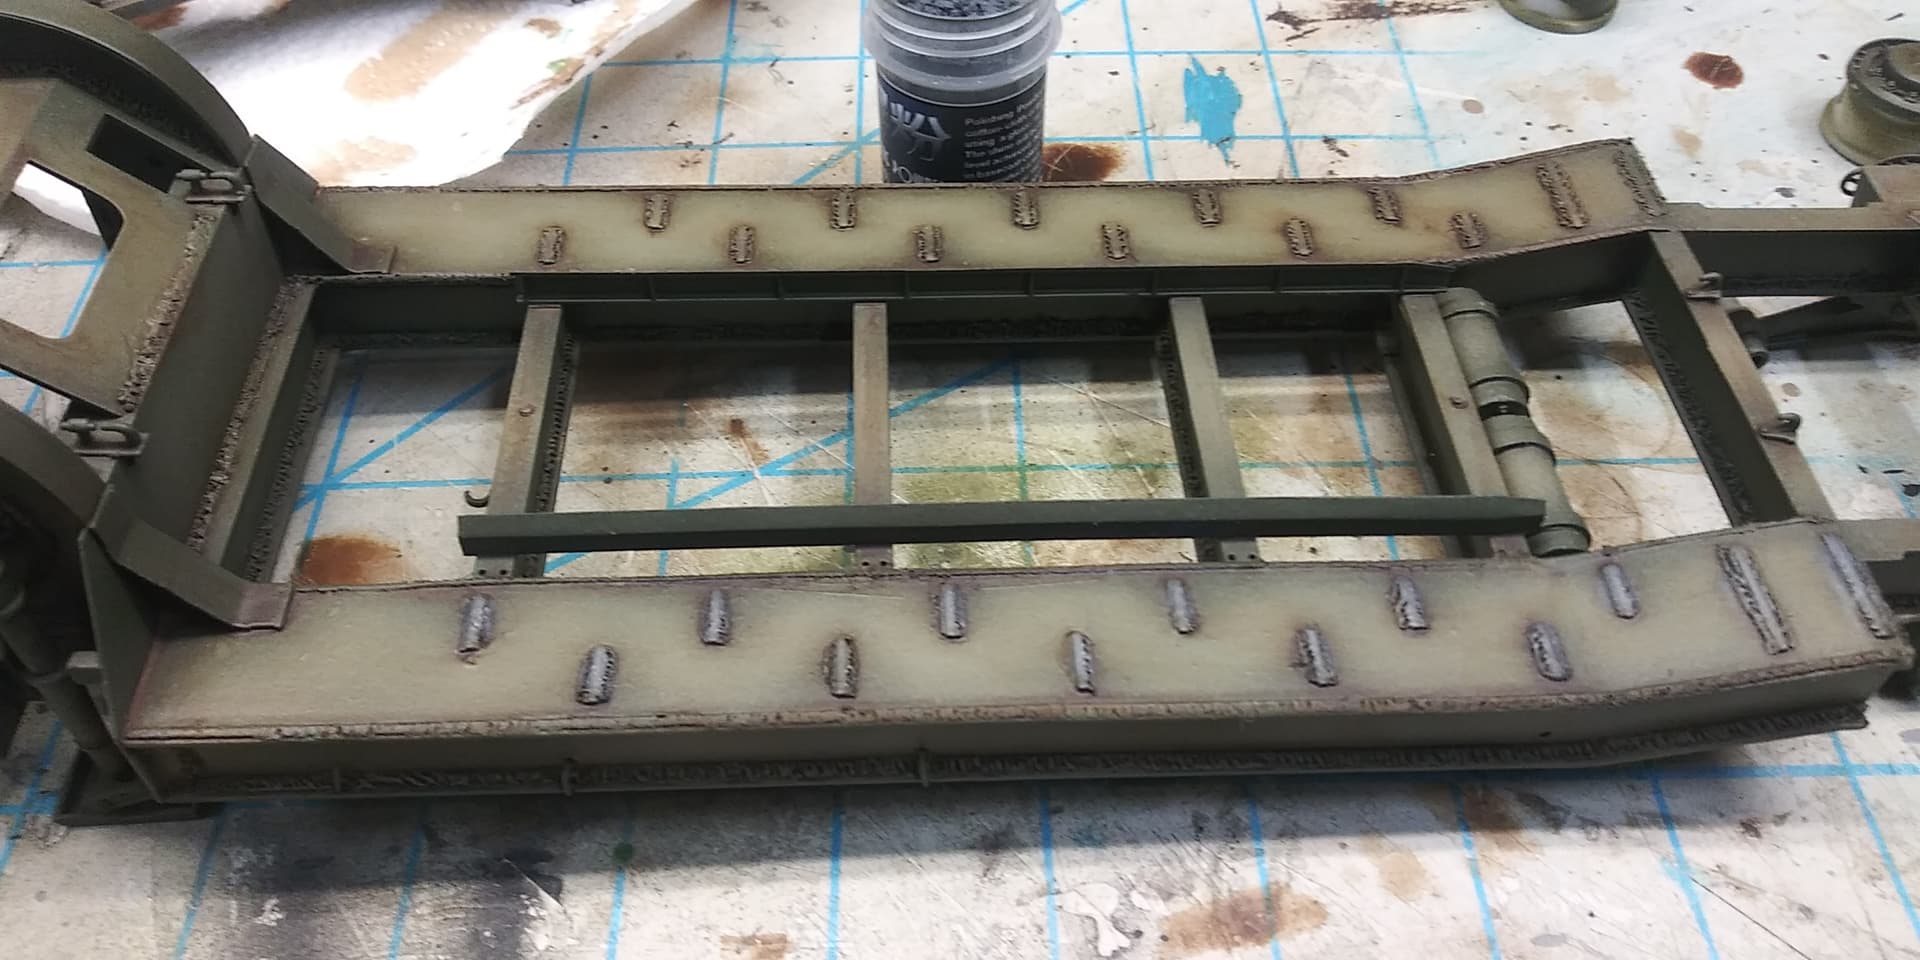
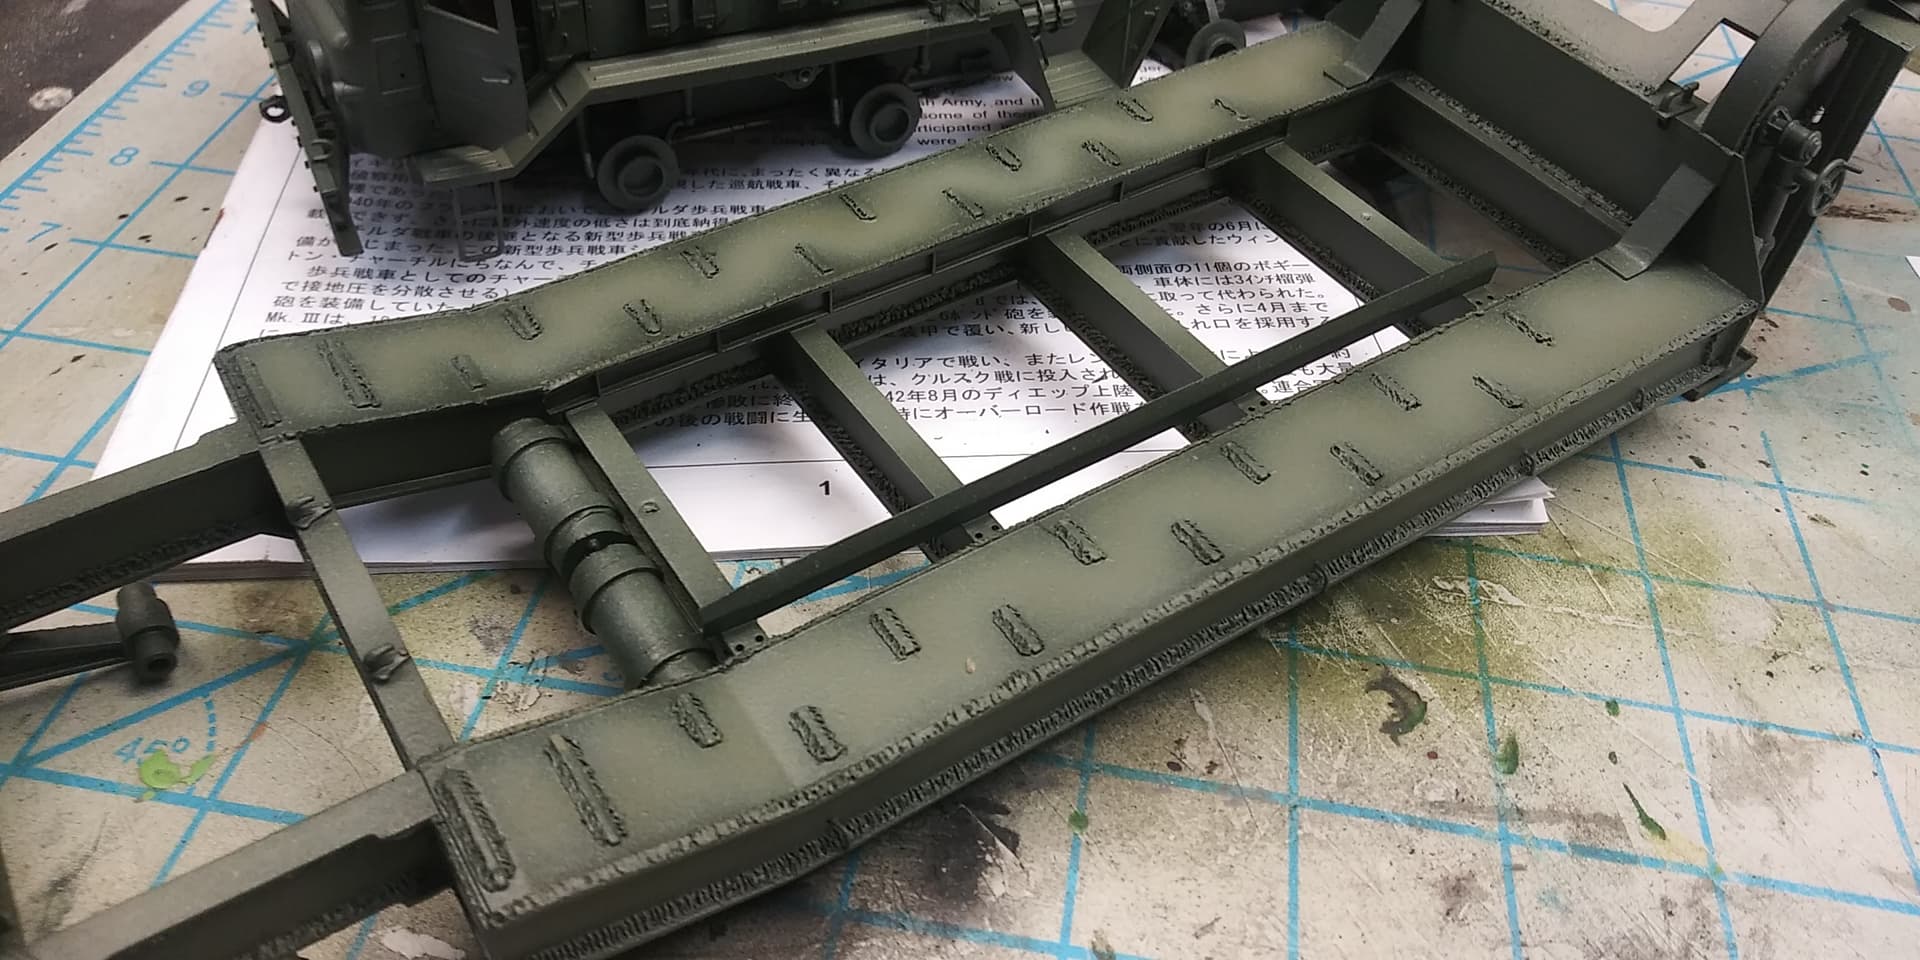
WOW ~ That trailer gooseneck is massive, even in 1/35th scale plastic! - Just built one last night. Impressive.
You mentioned the weld beads. How are you handling these beads on this trailer? What are you using for the beads? I just started building the gooseneck last night and I have so far only run some long beads of glue underneath just for strength but they are nothing I would be proud enough of to try topside were it will really show.
1 Like
This is what they look like with a bit of paint and some weathering in the early stages.
I used evergreen rod and a small round tip on a variable temp soldering iron set to 225 degrees . The weld marks are just done very close with the iron dragging in the desired direction either up or down and then lightly sanded.

5 Likes
Fyi. Most of the heavy oil wash is wiped away so it will not stay that dark
GREAT looking paint work there!
Jealous!
1 Like
@165thspc . Its easy brother. I will see if I can fund the sbs tutorial on how I do it
1 Like