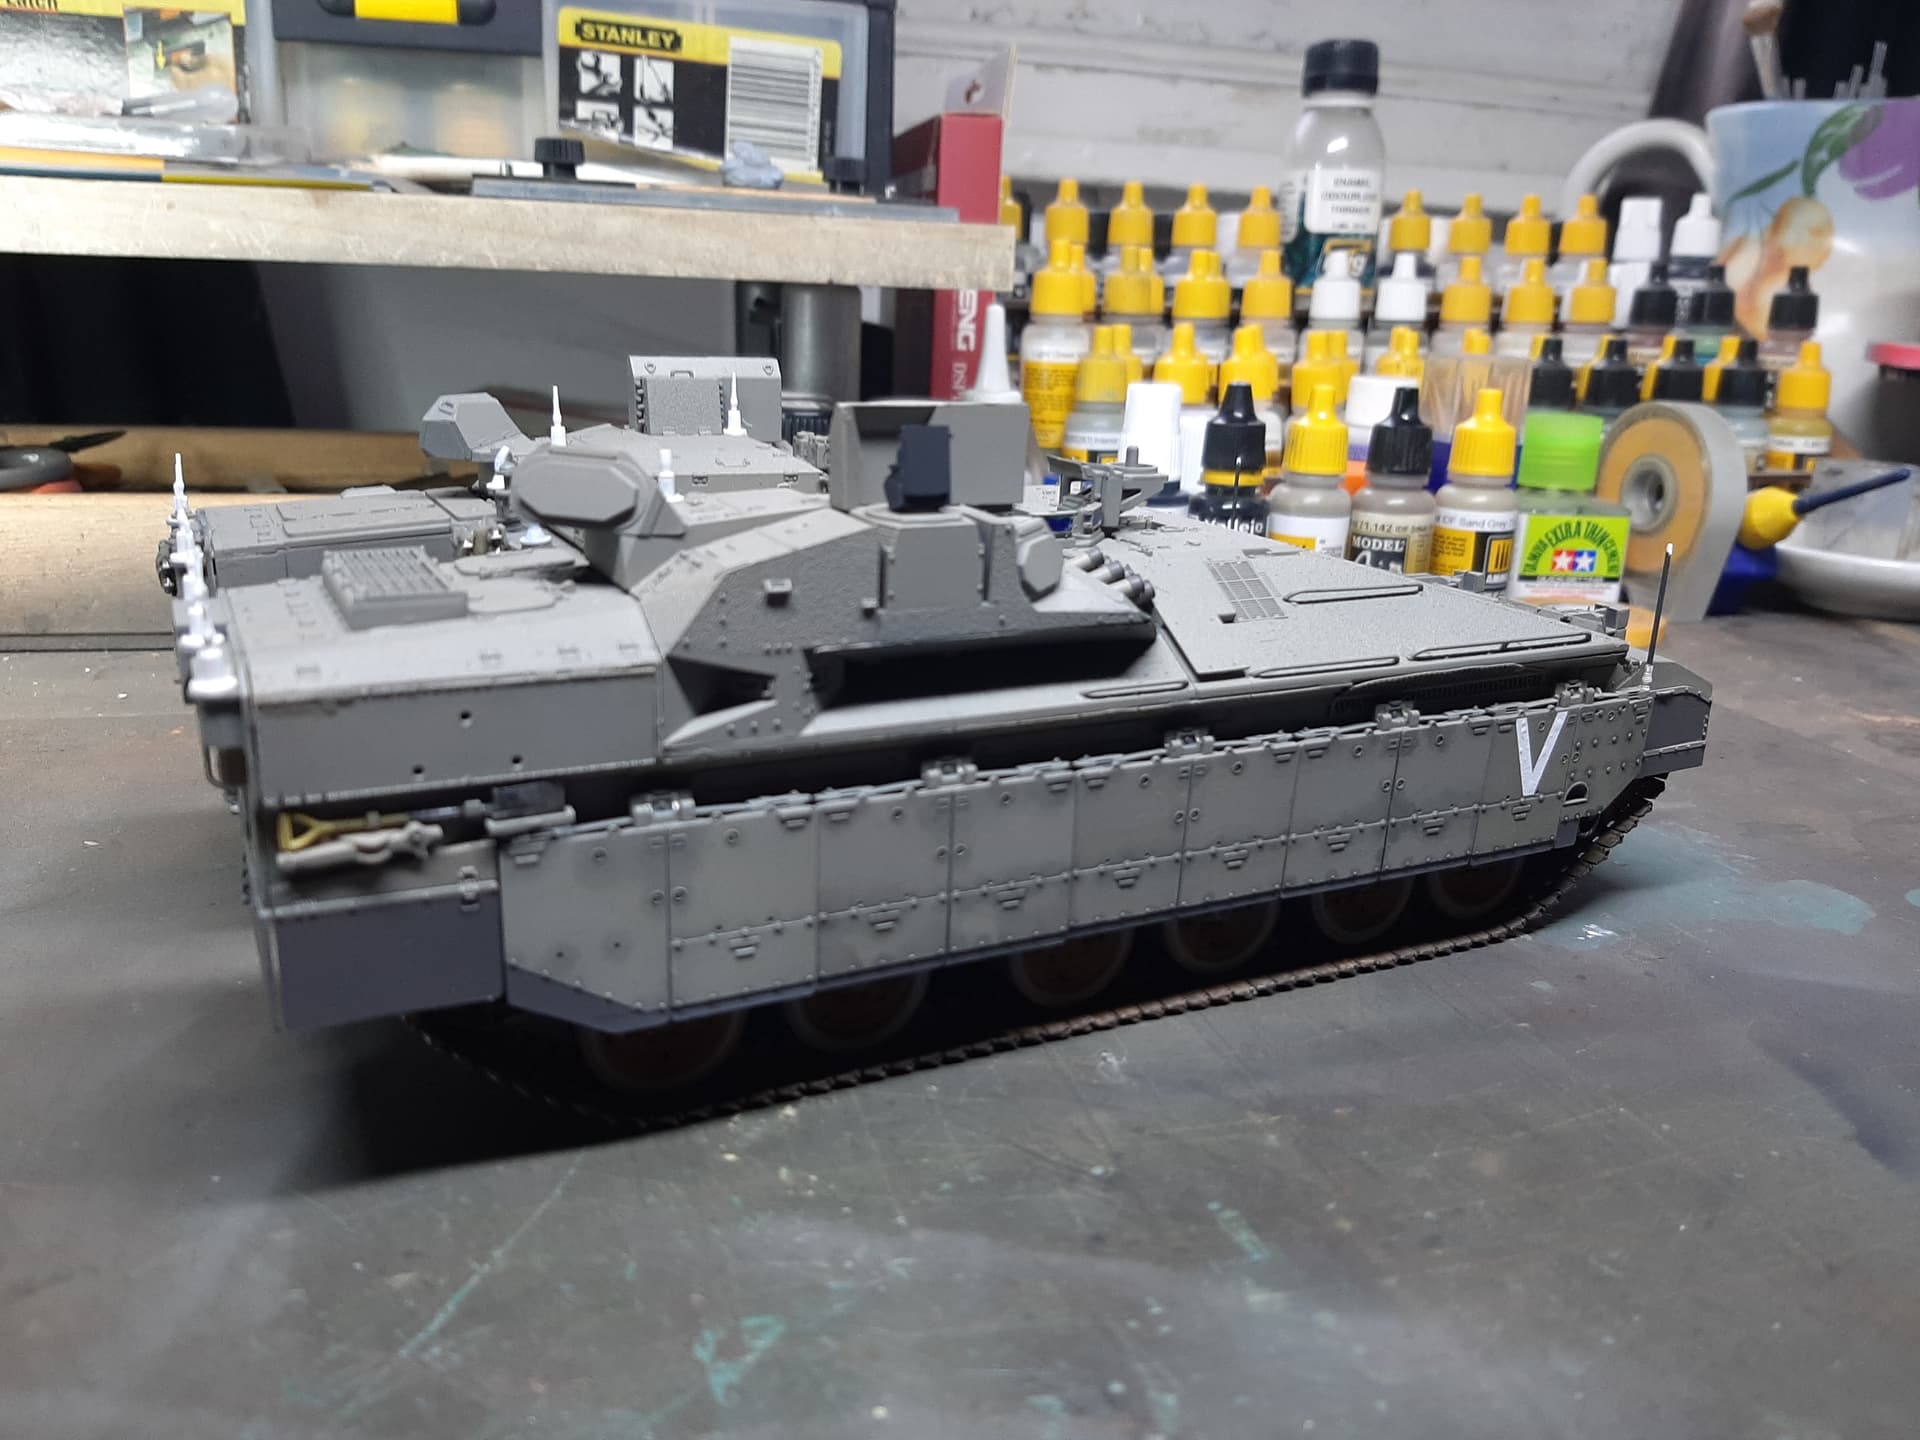
At the risk of being rather superficial, you can now see that the upper hull is complete and has the base camouflage colour applied. There is some subtle countershading and modulation of the Sinai Grey, but it is difficult to see under the constraints of my phone’s camera.
I repainted the inside of the hatches the base Sinai Grey colour, but kept the handles red.
I did take quite a few more pictures, but I just didn’t achieve the quality I wanted and so have discarded them.
Have you thought about the antennae you’re going to put on the Namer? I have 3 x Leopard Workshop AS-1729 (6 antennae total) and a Voyager Model PEA171 (just the base, without the actual rod). I’m looking at the reference pictures here and cannot decide which and where to use…
Beware, as I found out, if you’re going to fit the ‘Q’ parts, DO NOT fit parts N12 & N13, as there is a compatibility issue - you either have N12 & N13 fitted OR the ‘Q’ parts, not both.
As I ponder the vehicle’s tools, I am yet again forced to admit that I can’t paint realistic wooden handles to save my life - anyone with advice would be most welcome.
I use something similar to this for wood - you can play with the base and glaze coat colors to match whateveryou want. However, a lot of times the handles are either painted the camo color or made of metal/composite so check references.
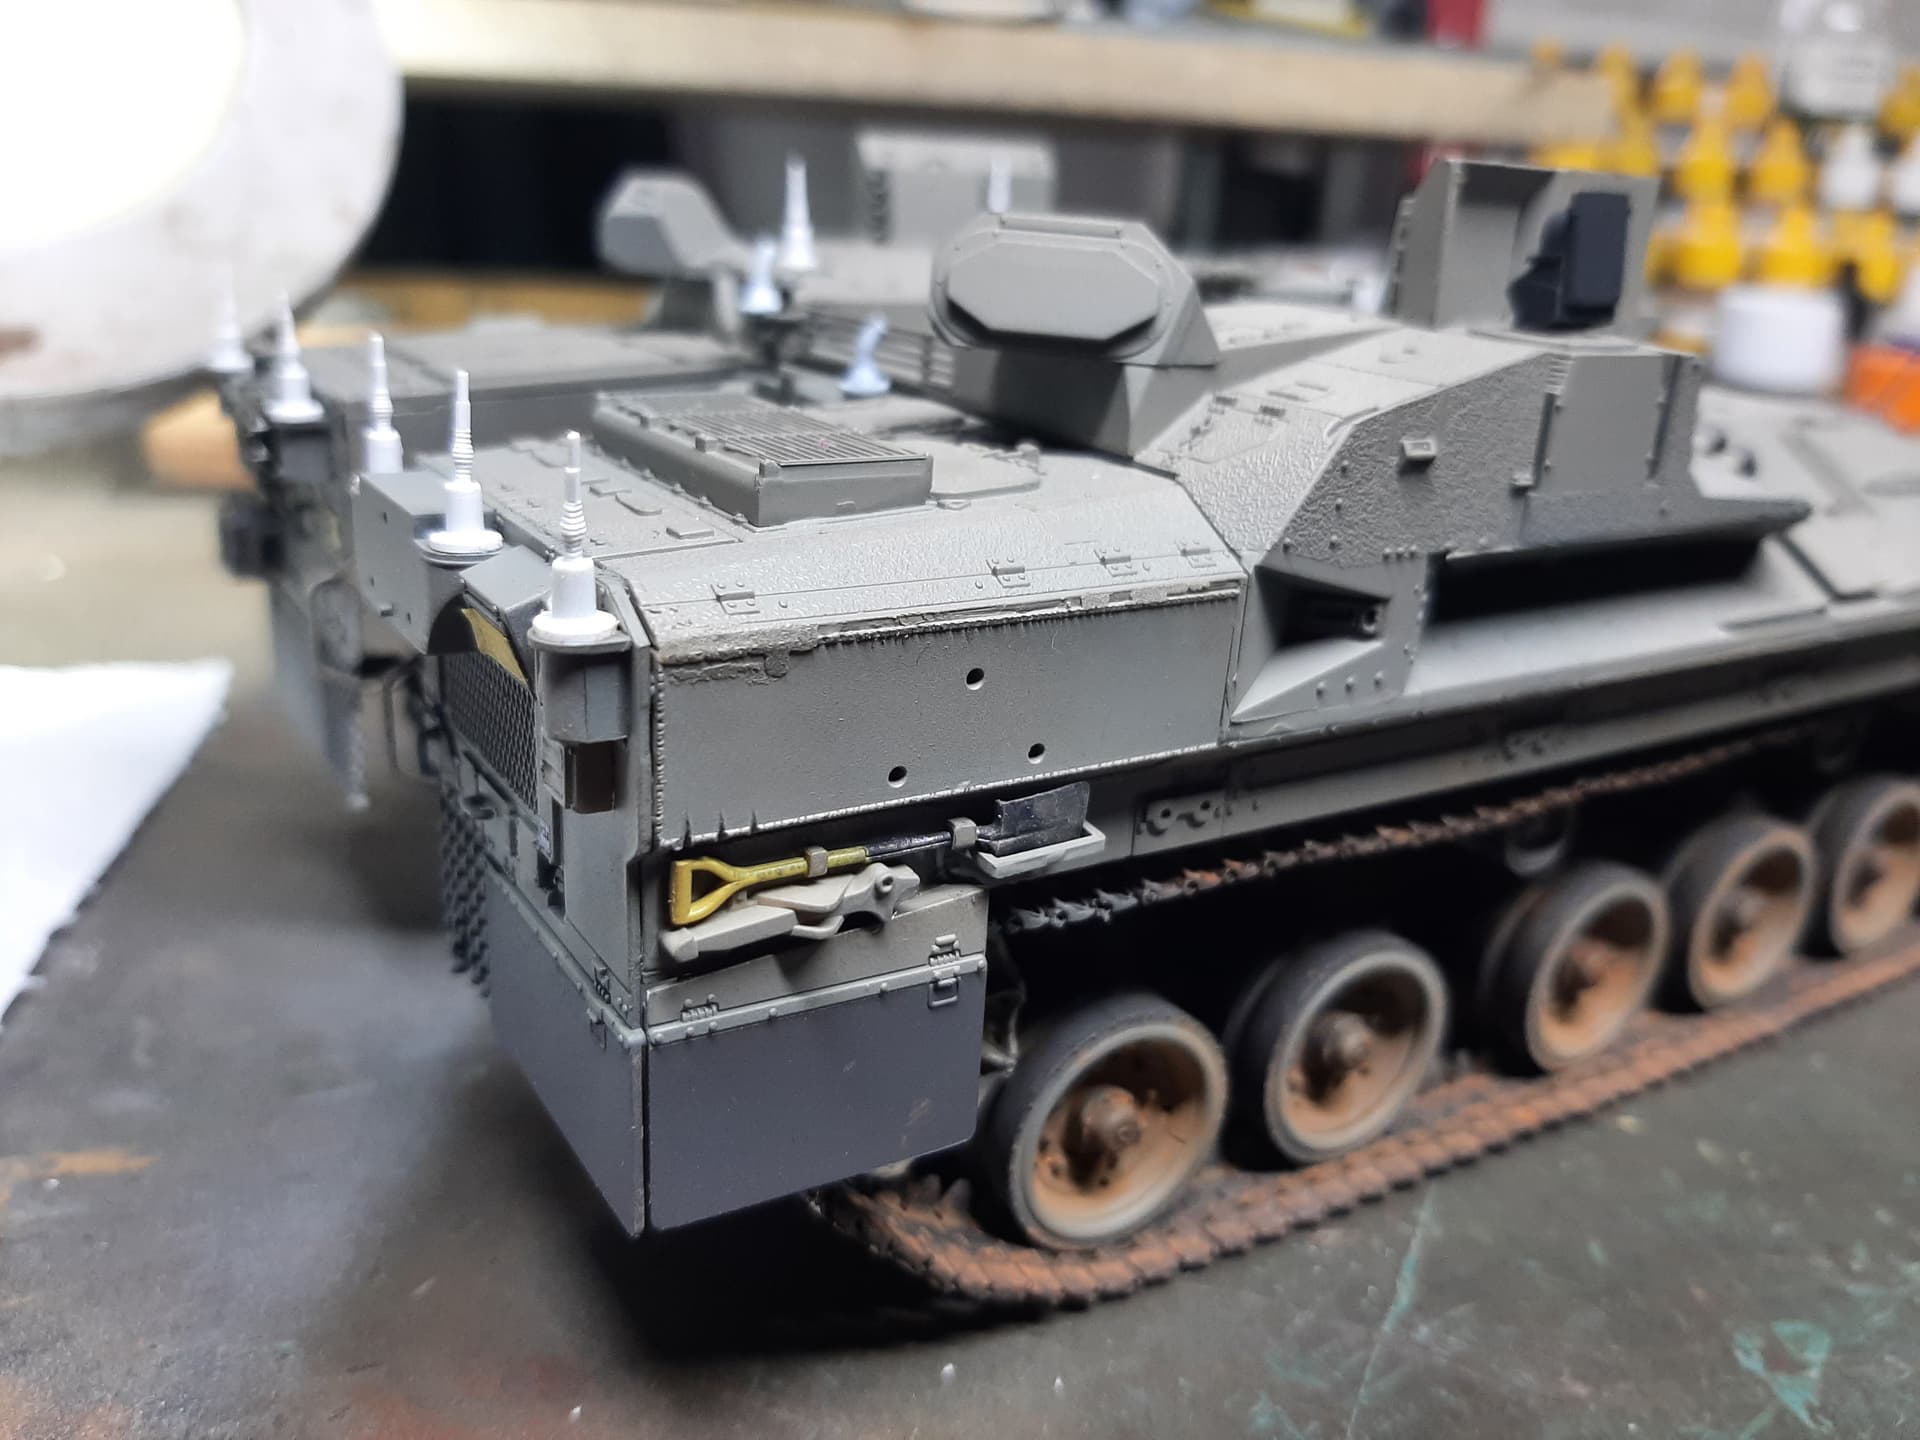
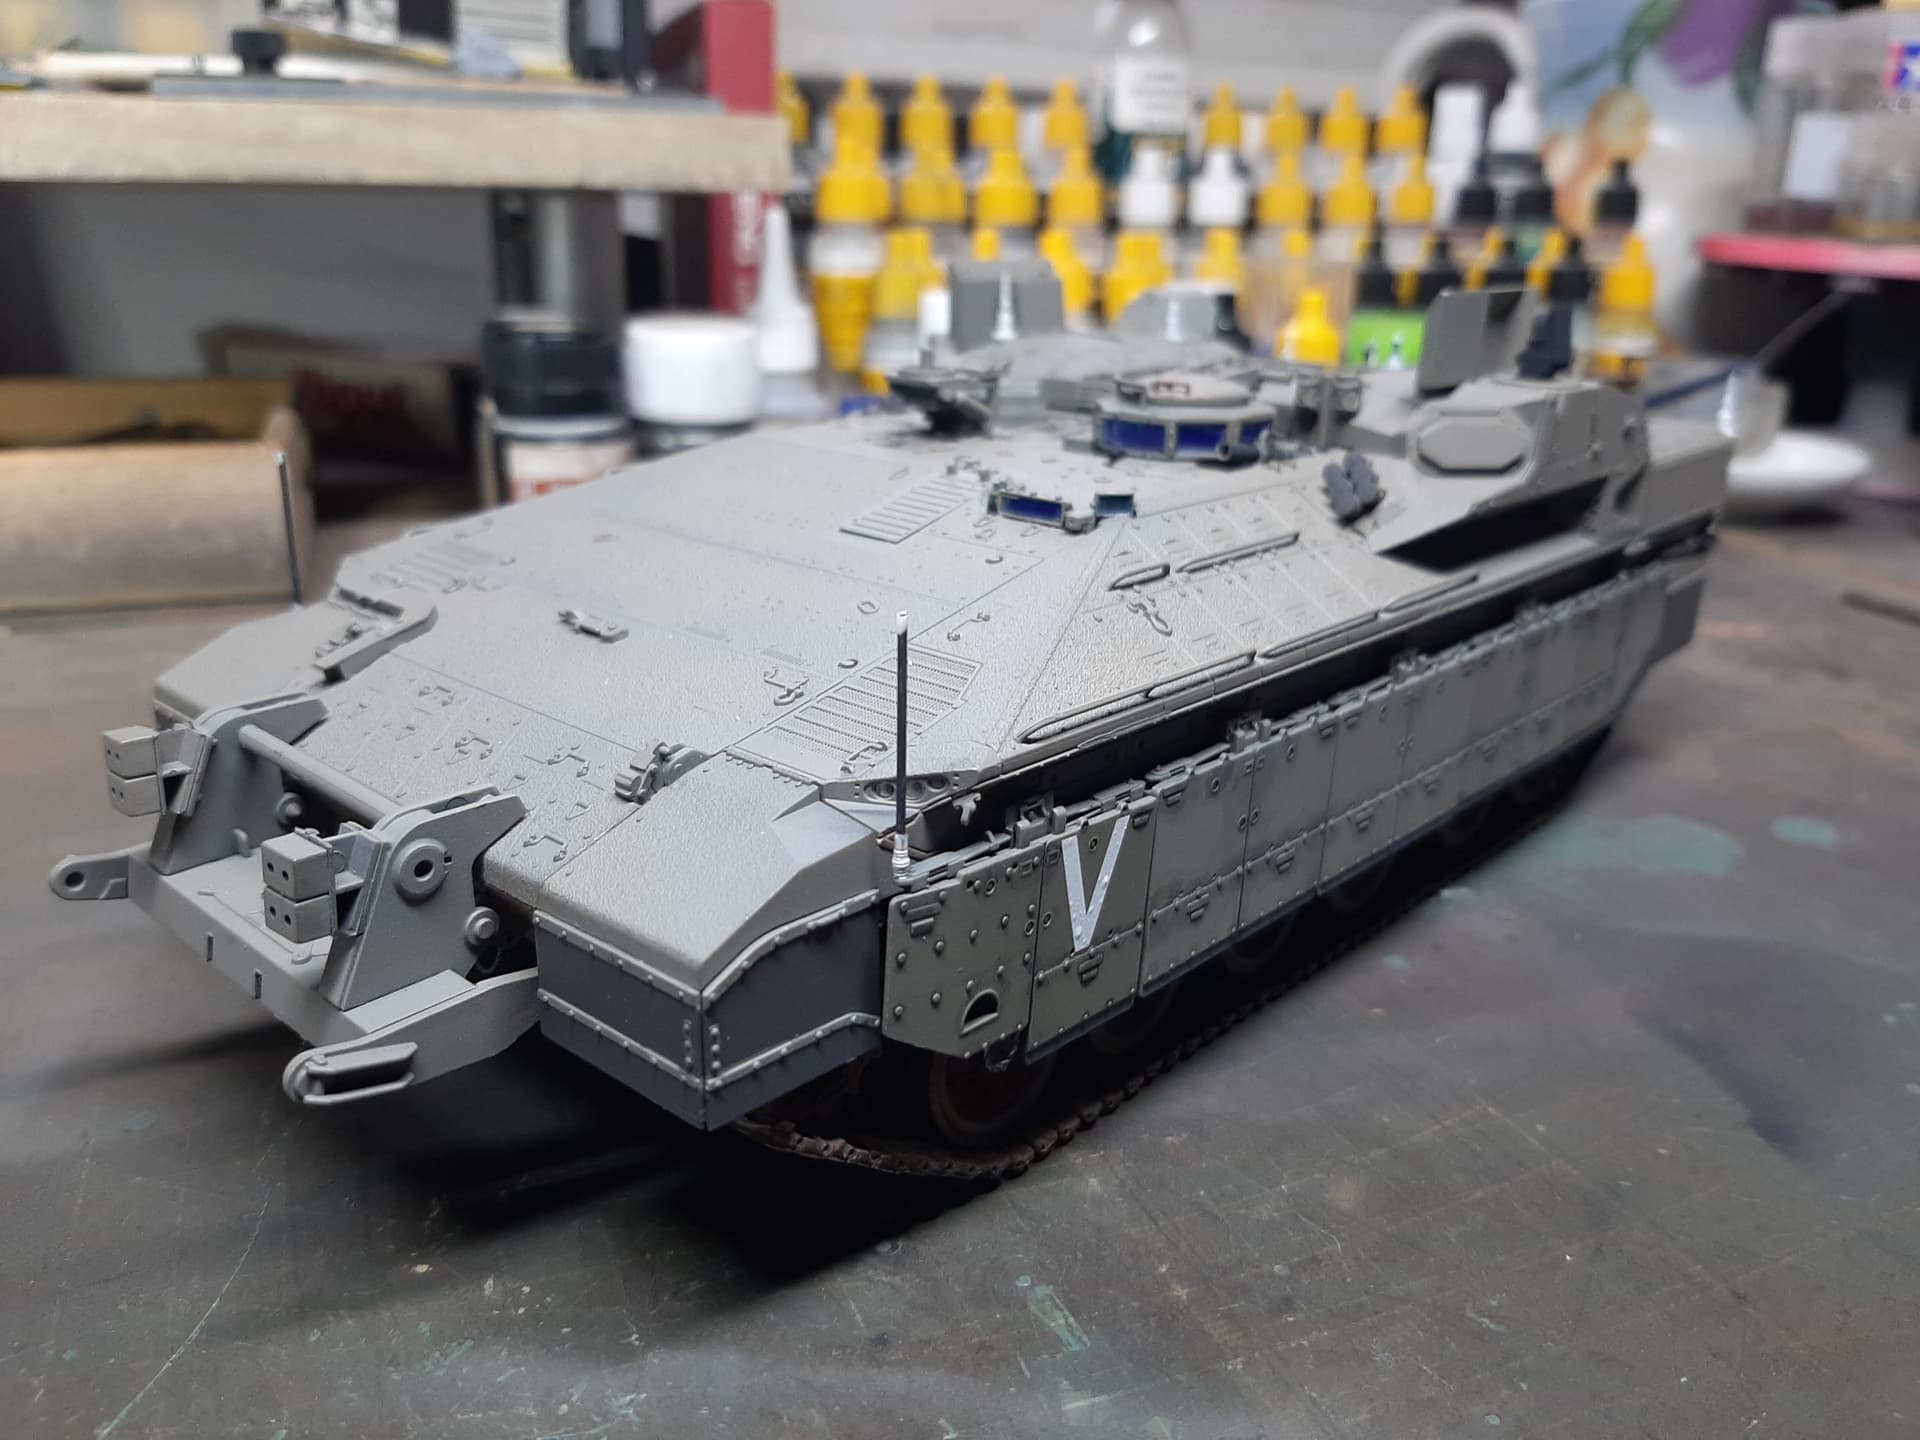
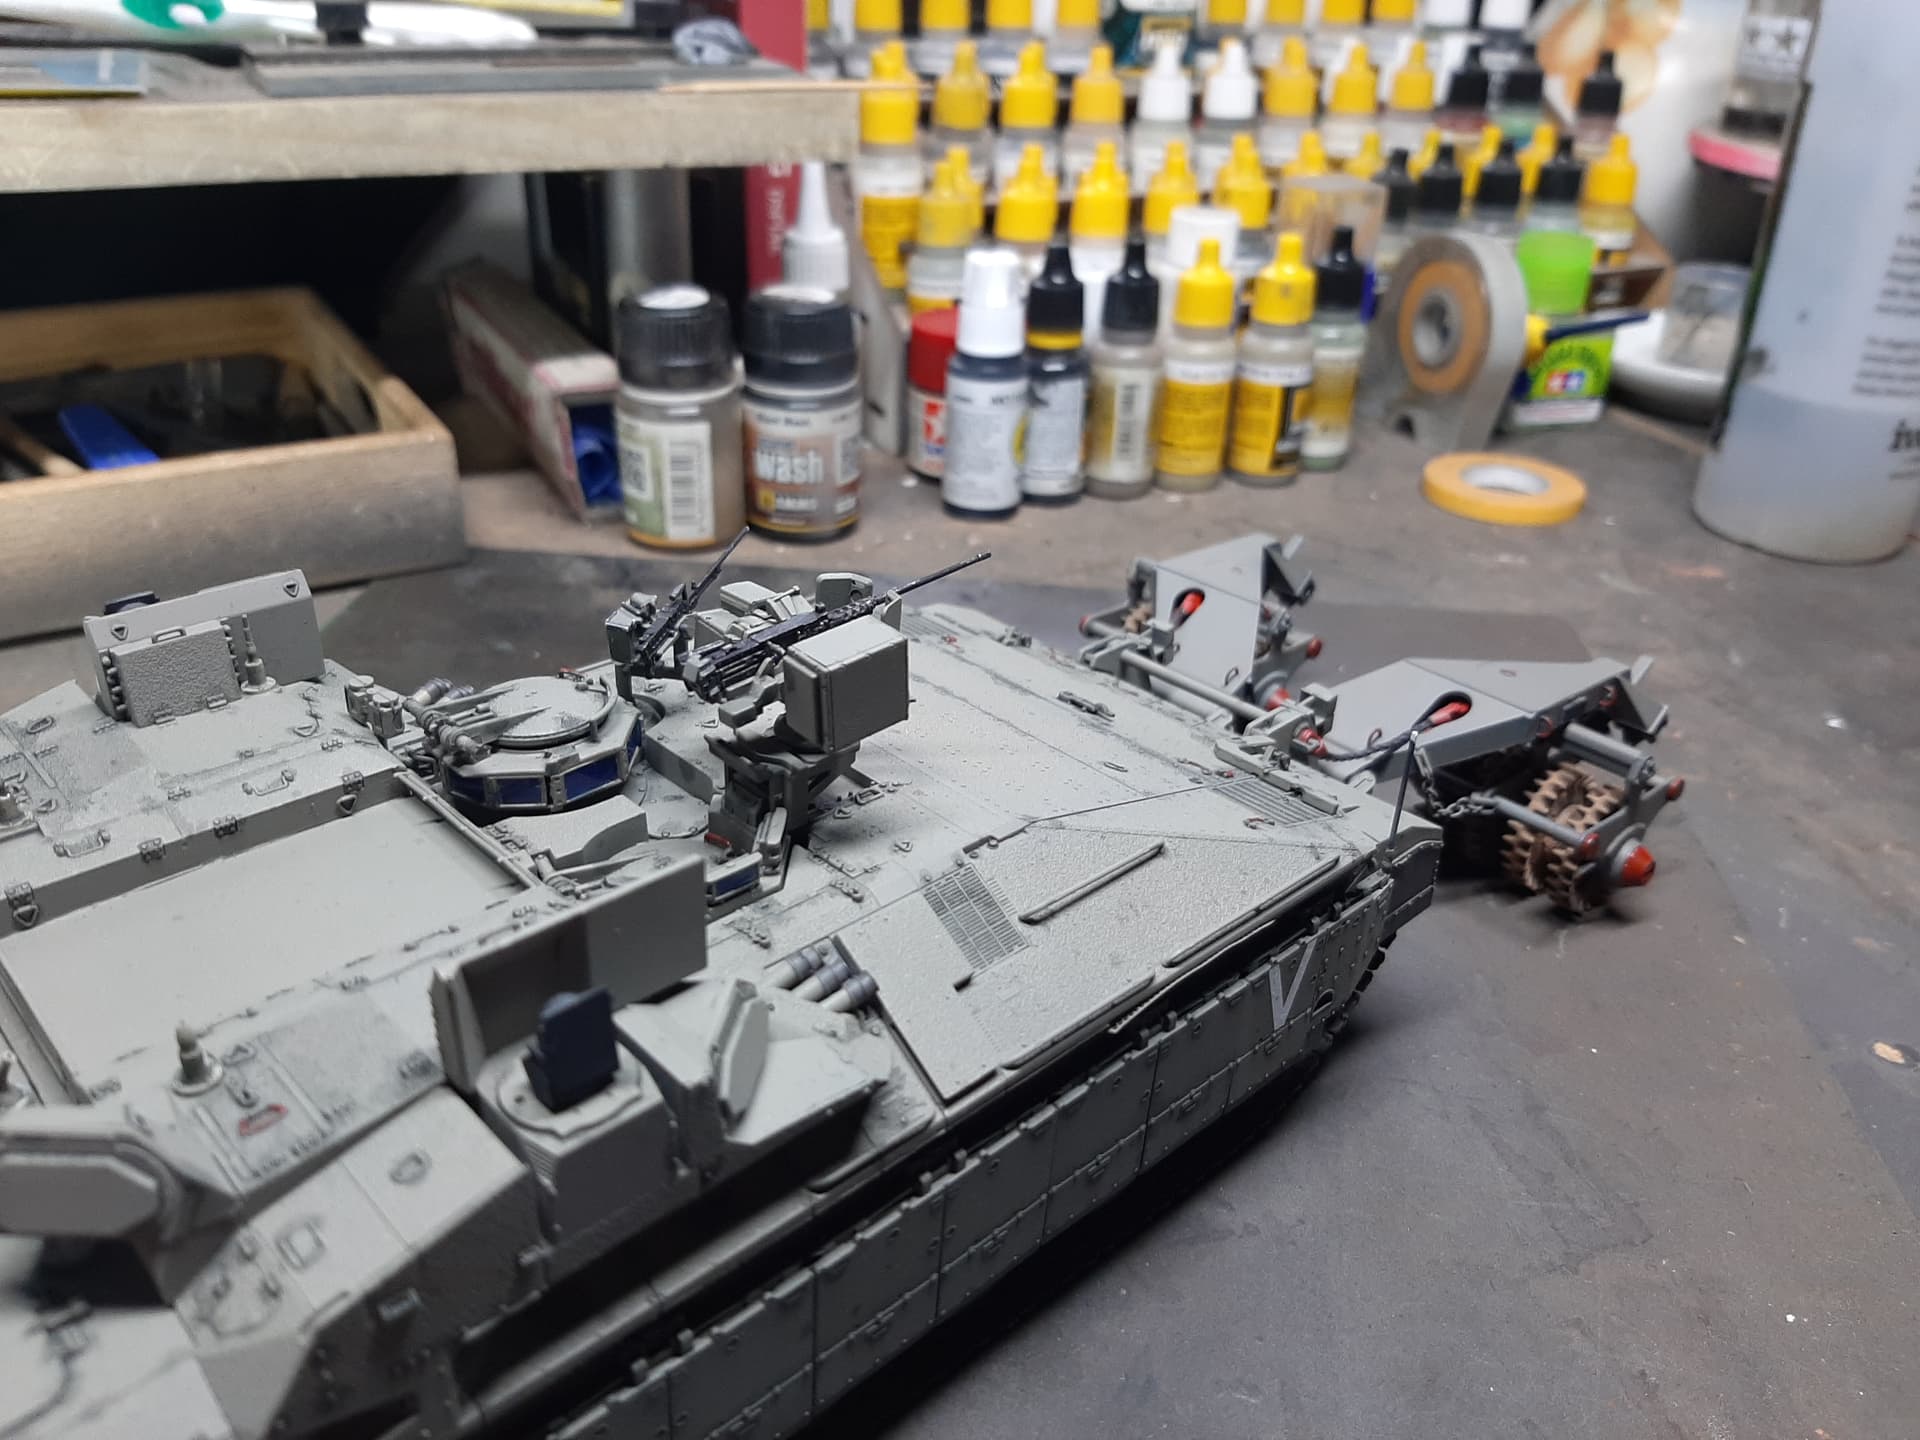
It is taking more shape now. The mud guards are on front and rear, and the rear armour is in place too. The vision ports and lights are masked off on the rear until the weathering is complete.
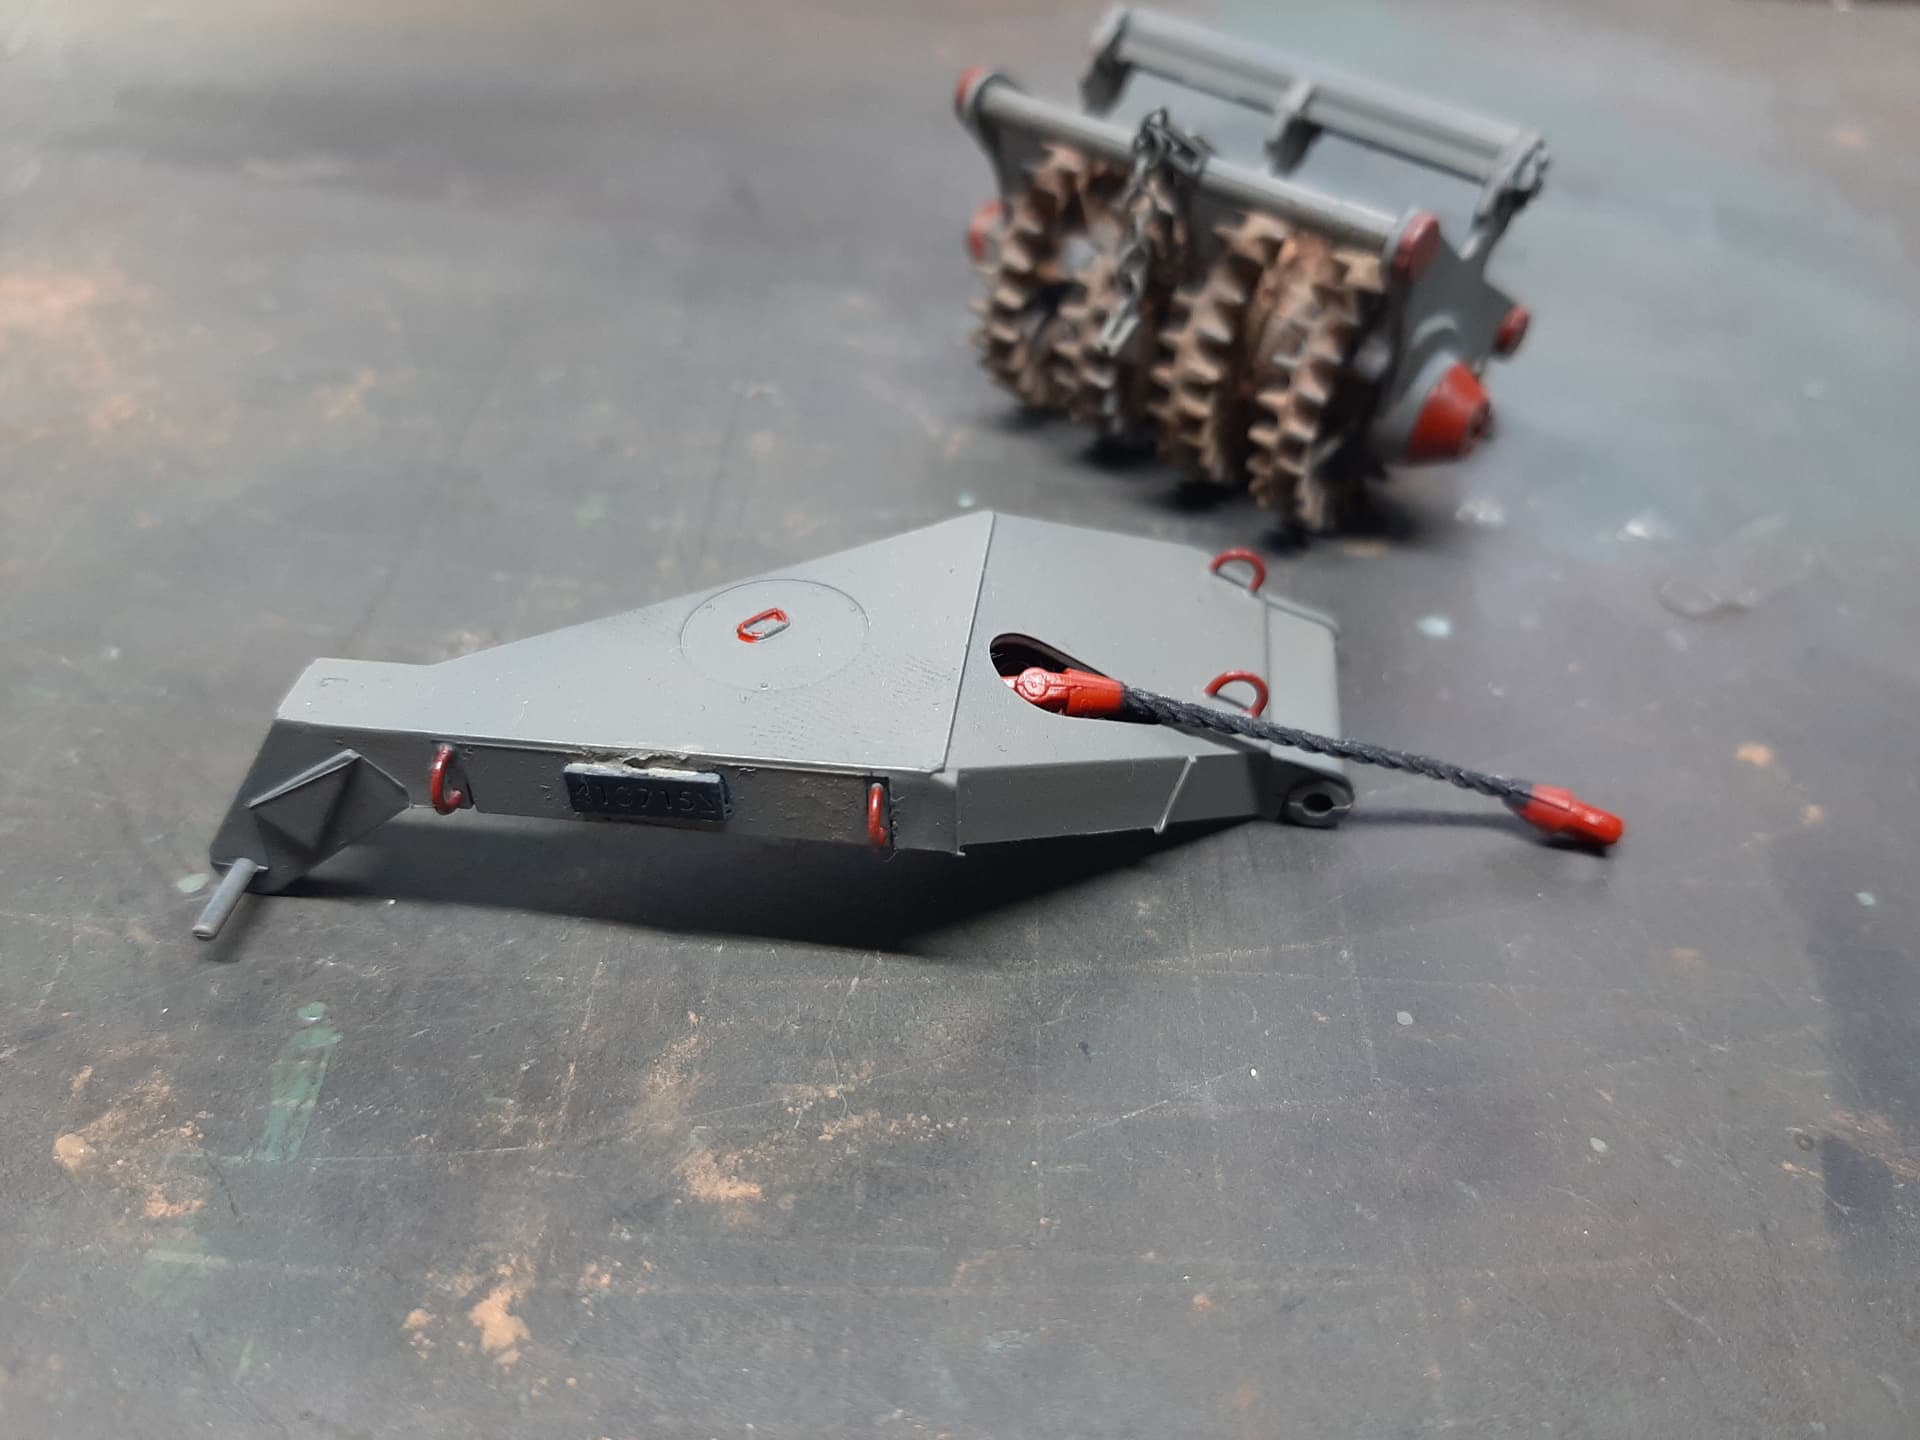
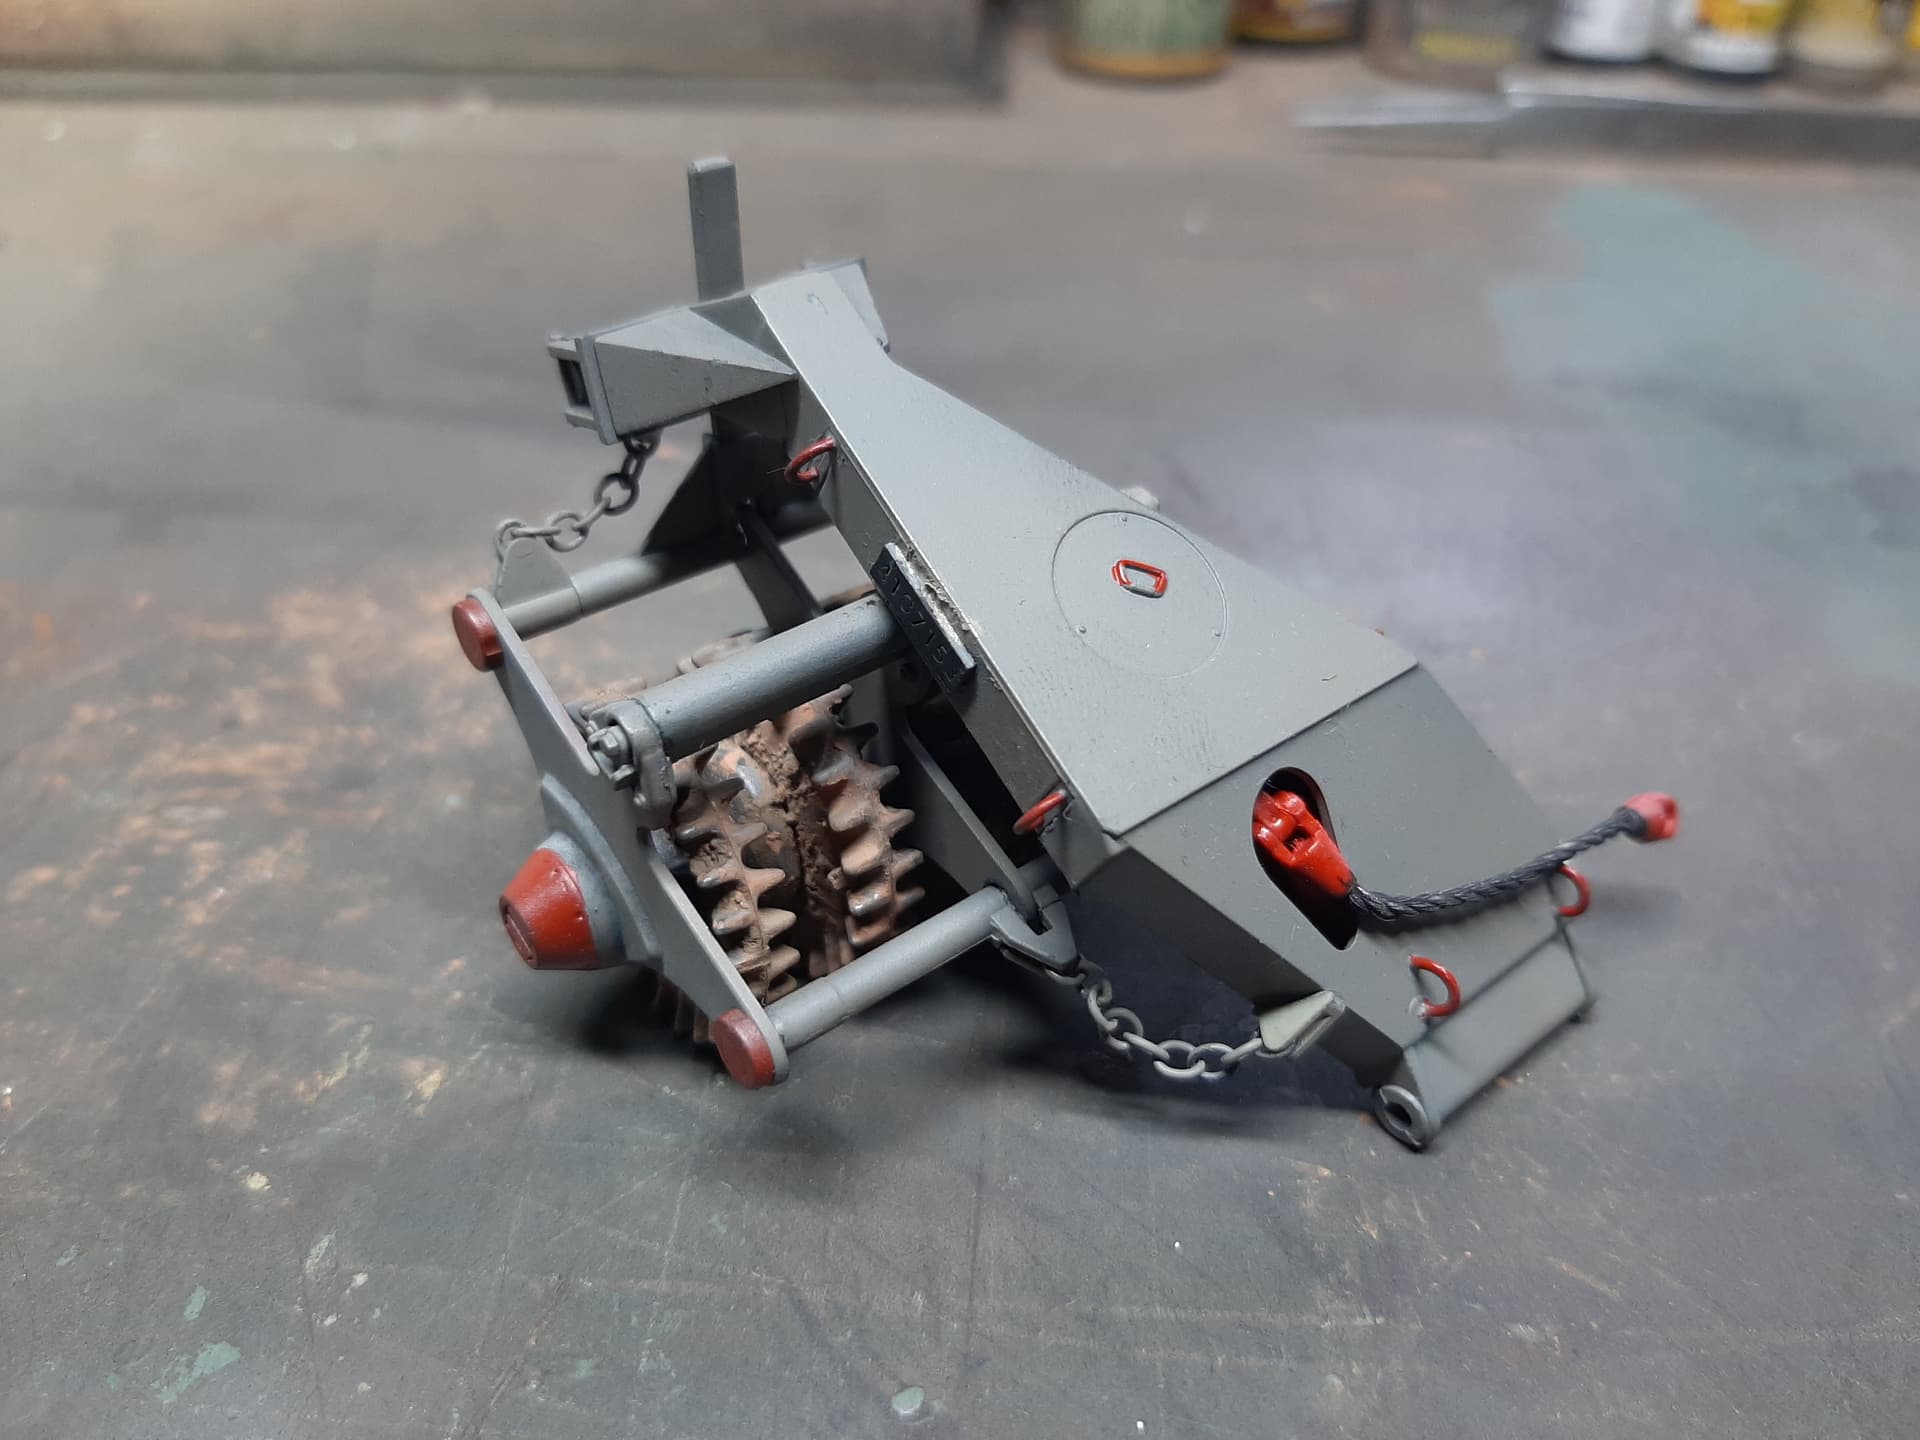
Also, the mounting frame for the mine roller is fitted at the front.
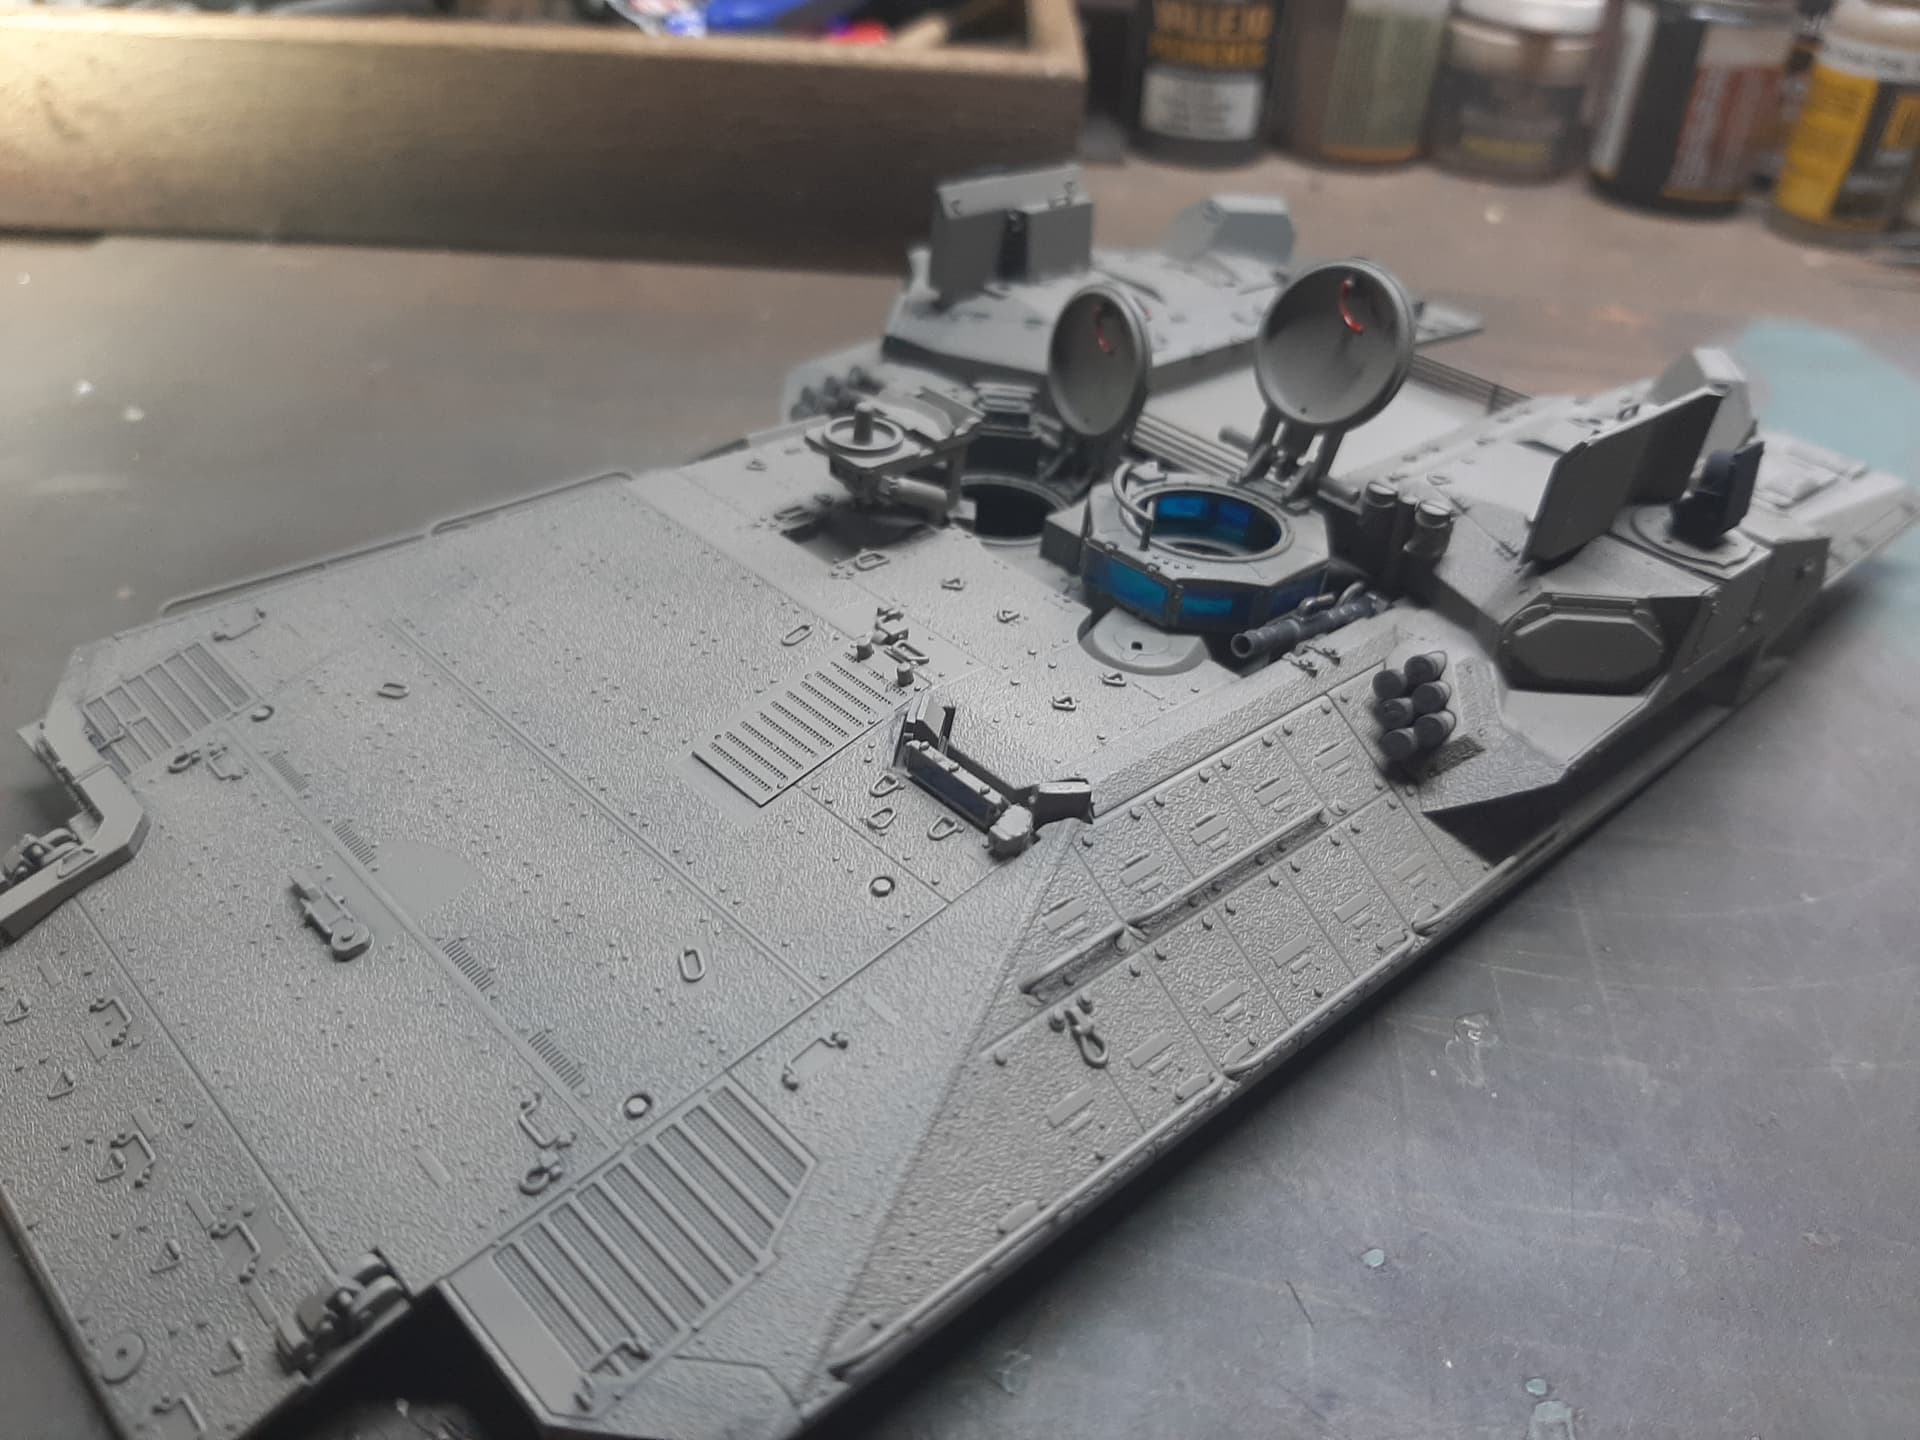
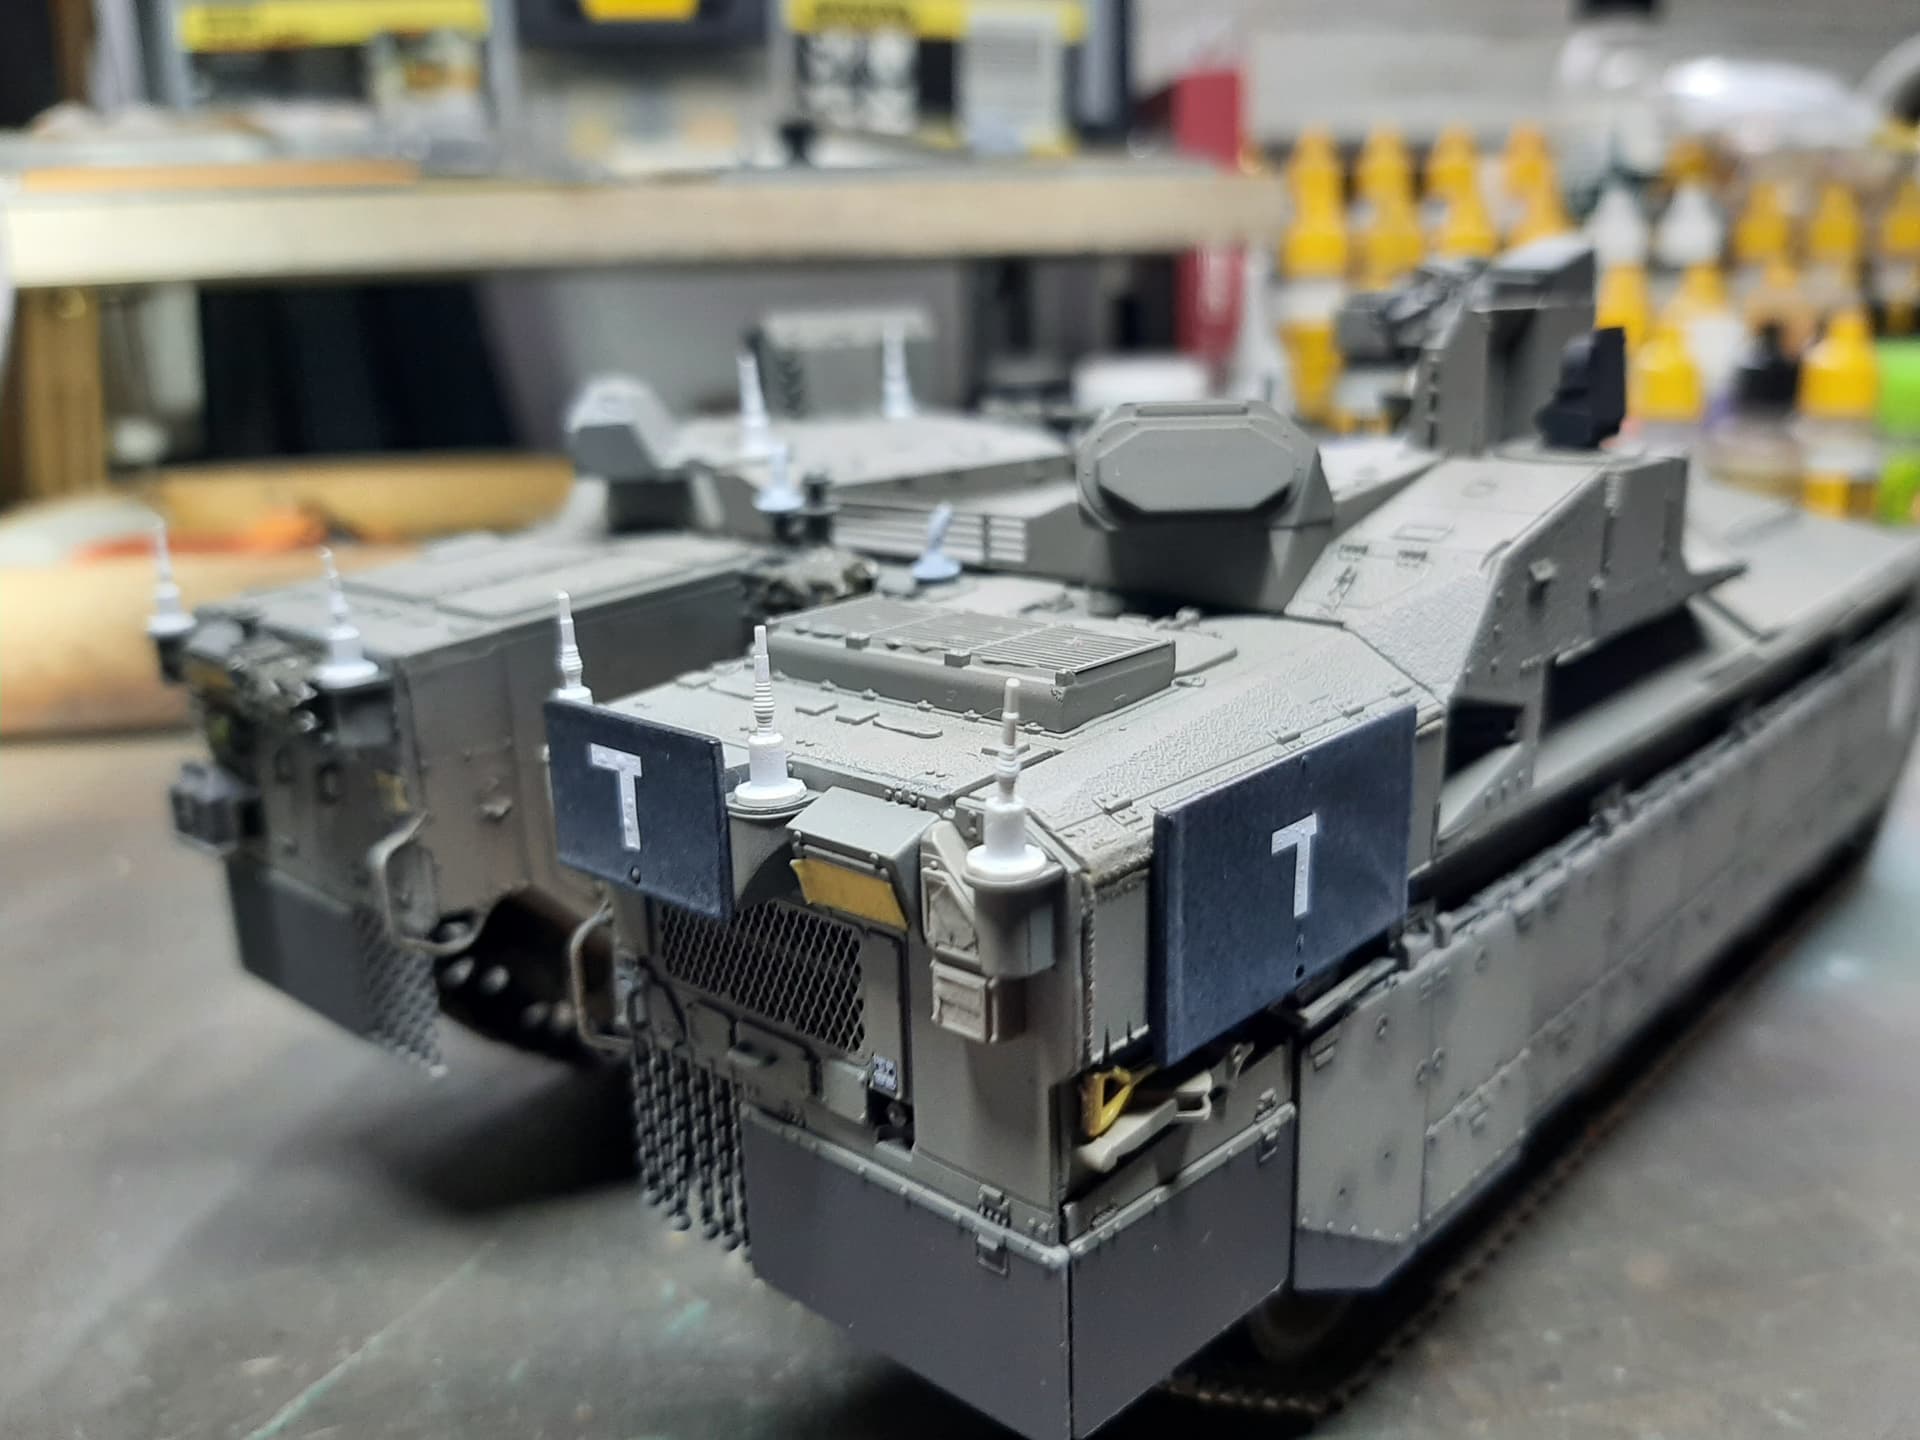
There are so many antenna mounts on this vehicle, up to 12 depending on the variant you want to build. Surely there’s no need for that many, but anyway, i’ll be using three and for these mounting positions you can probably just see the two over the rear door will be forward facing and one on the flat roof will be going striaght upwards. All the rest are ‘dummy’ mounts.
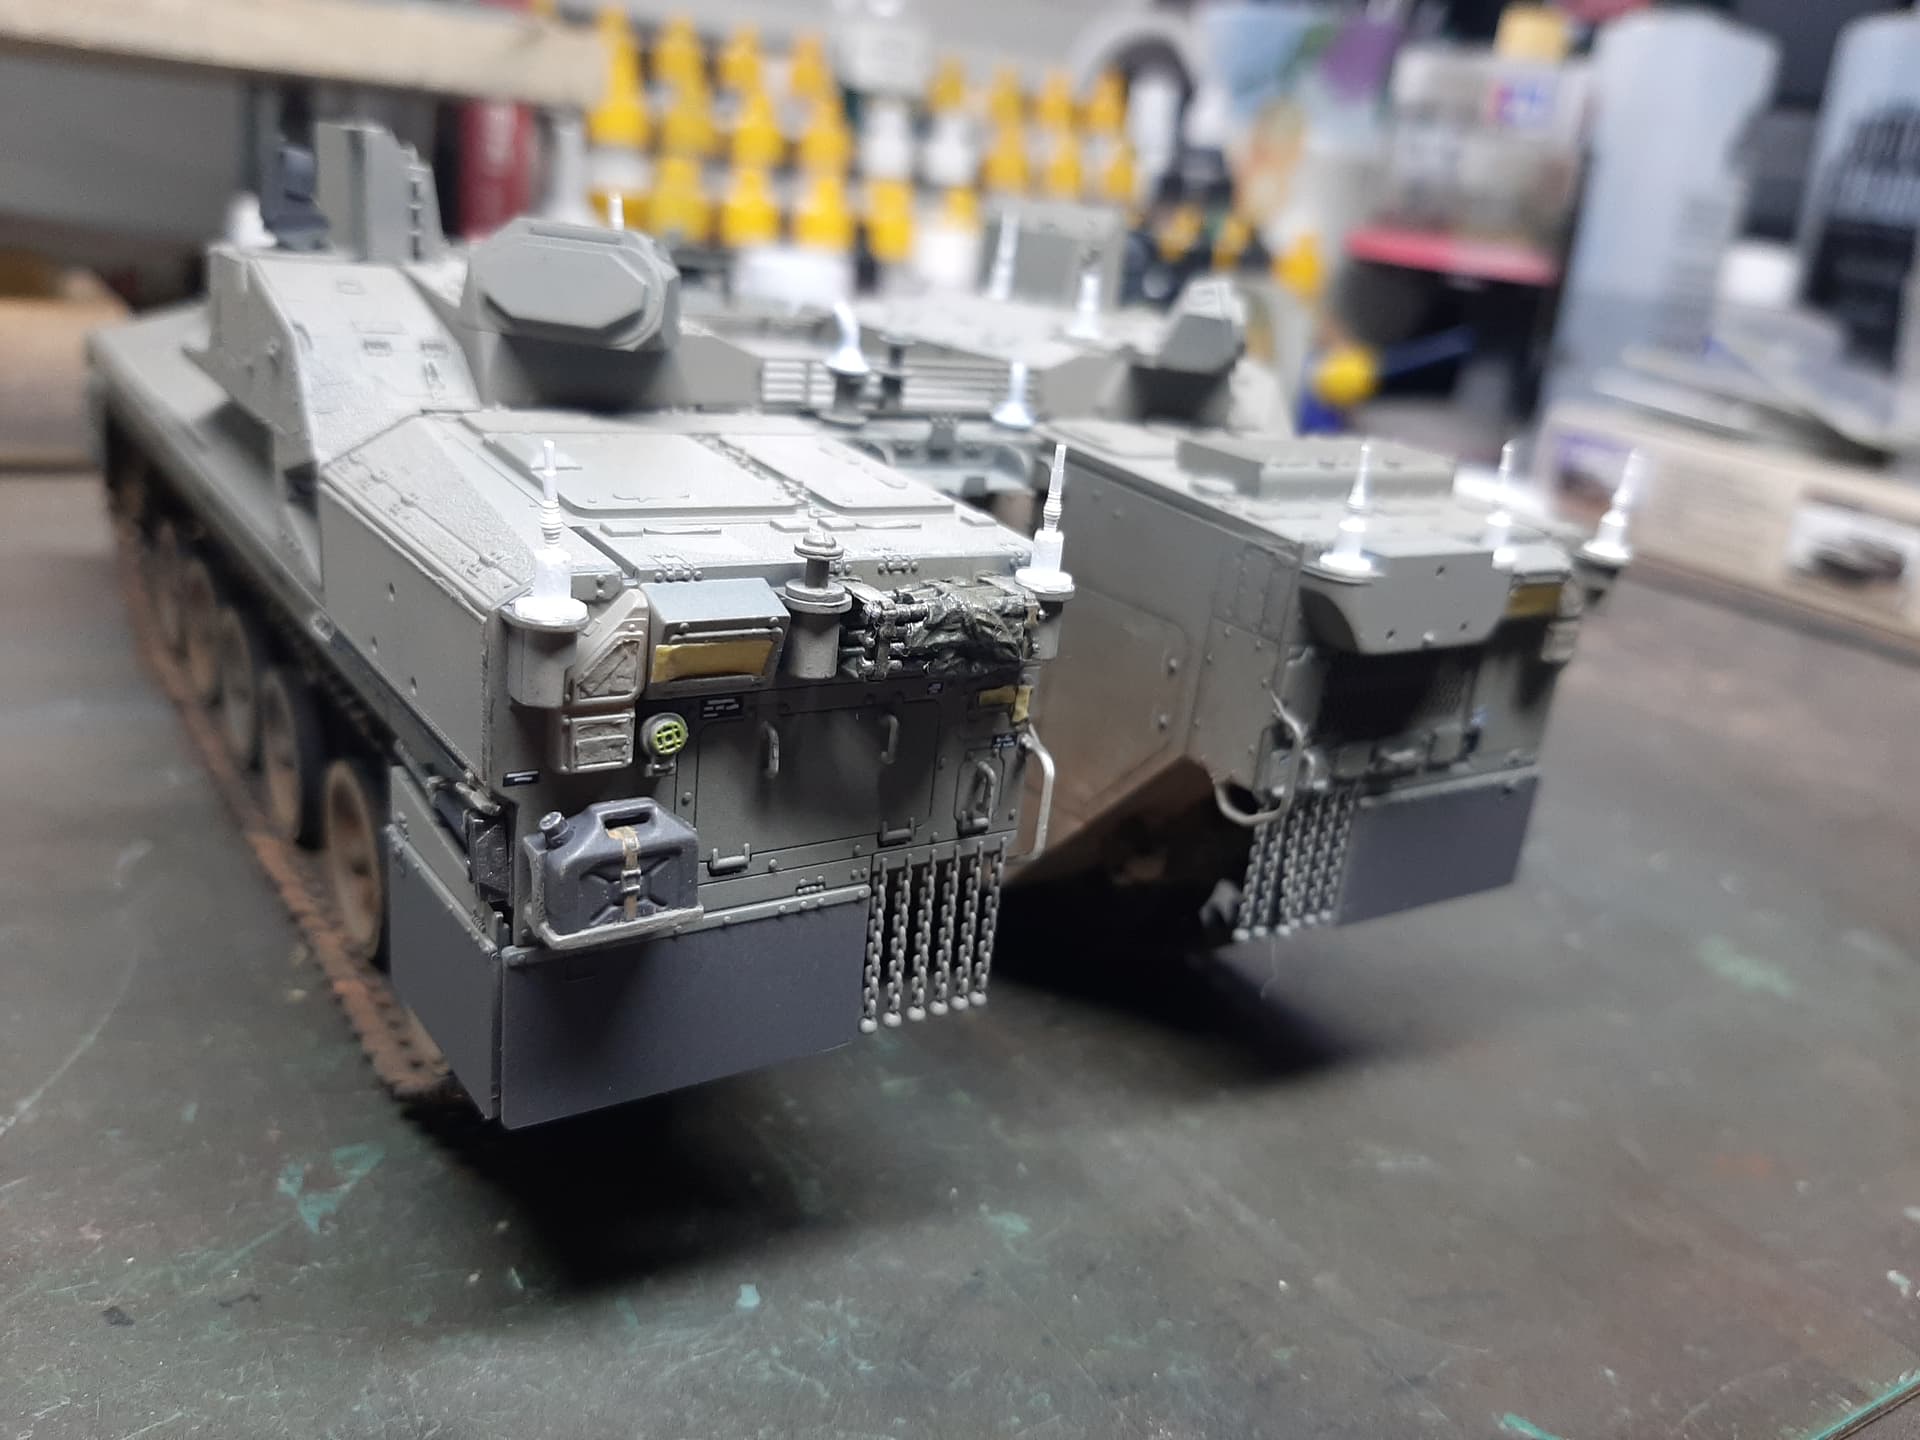
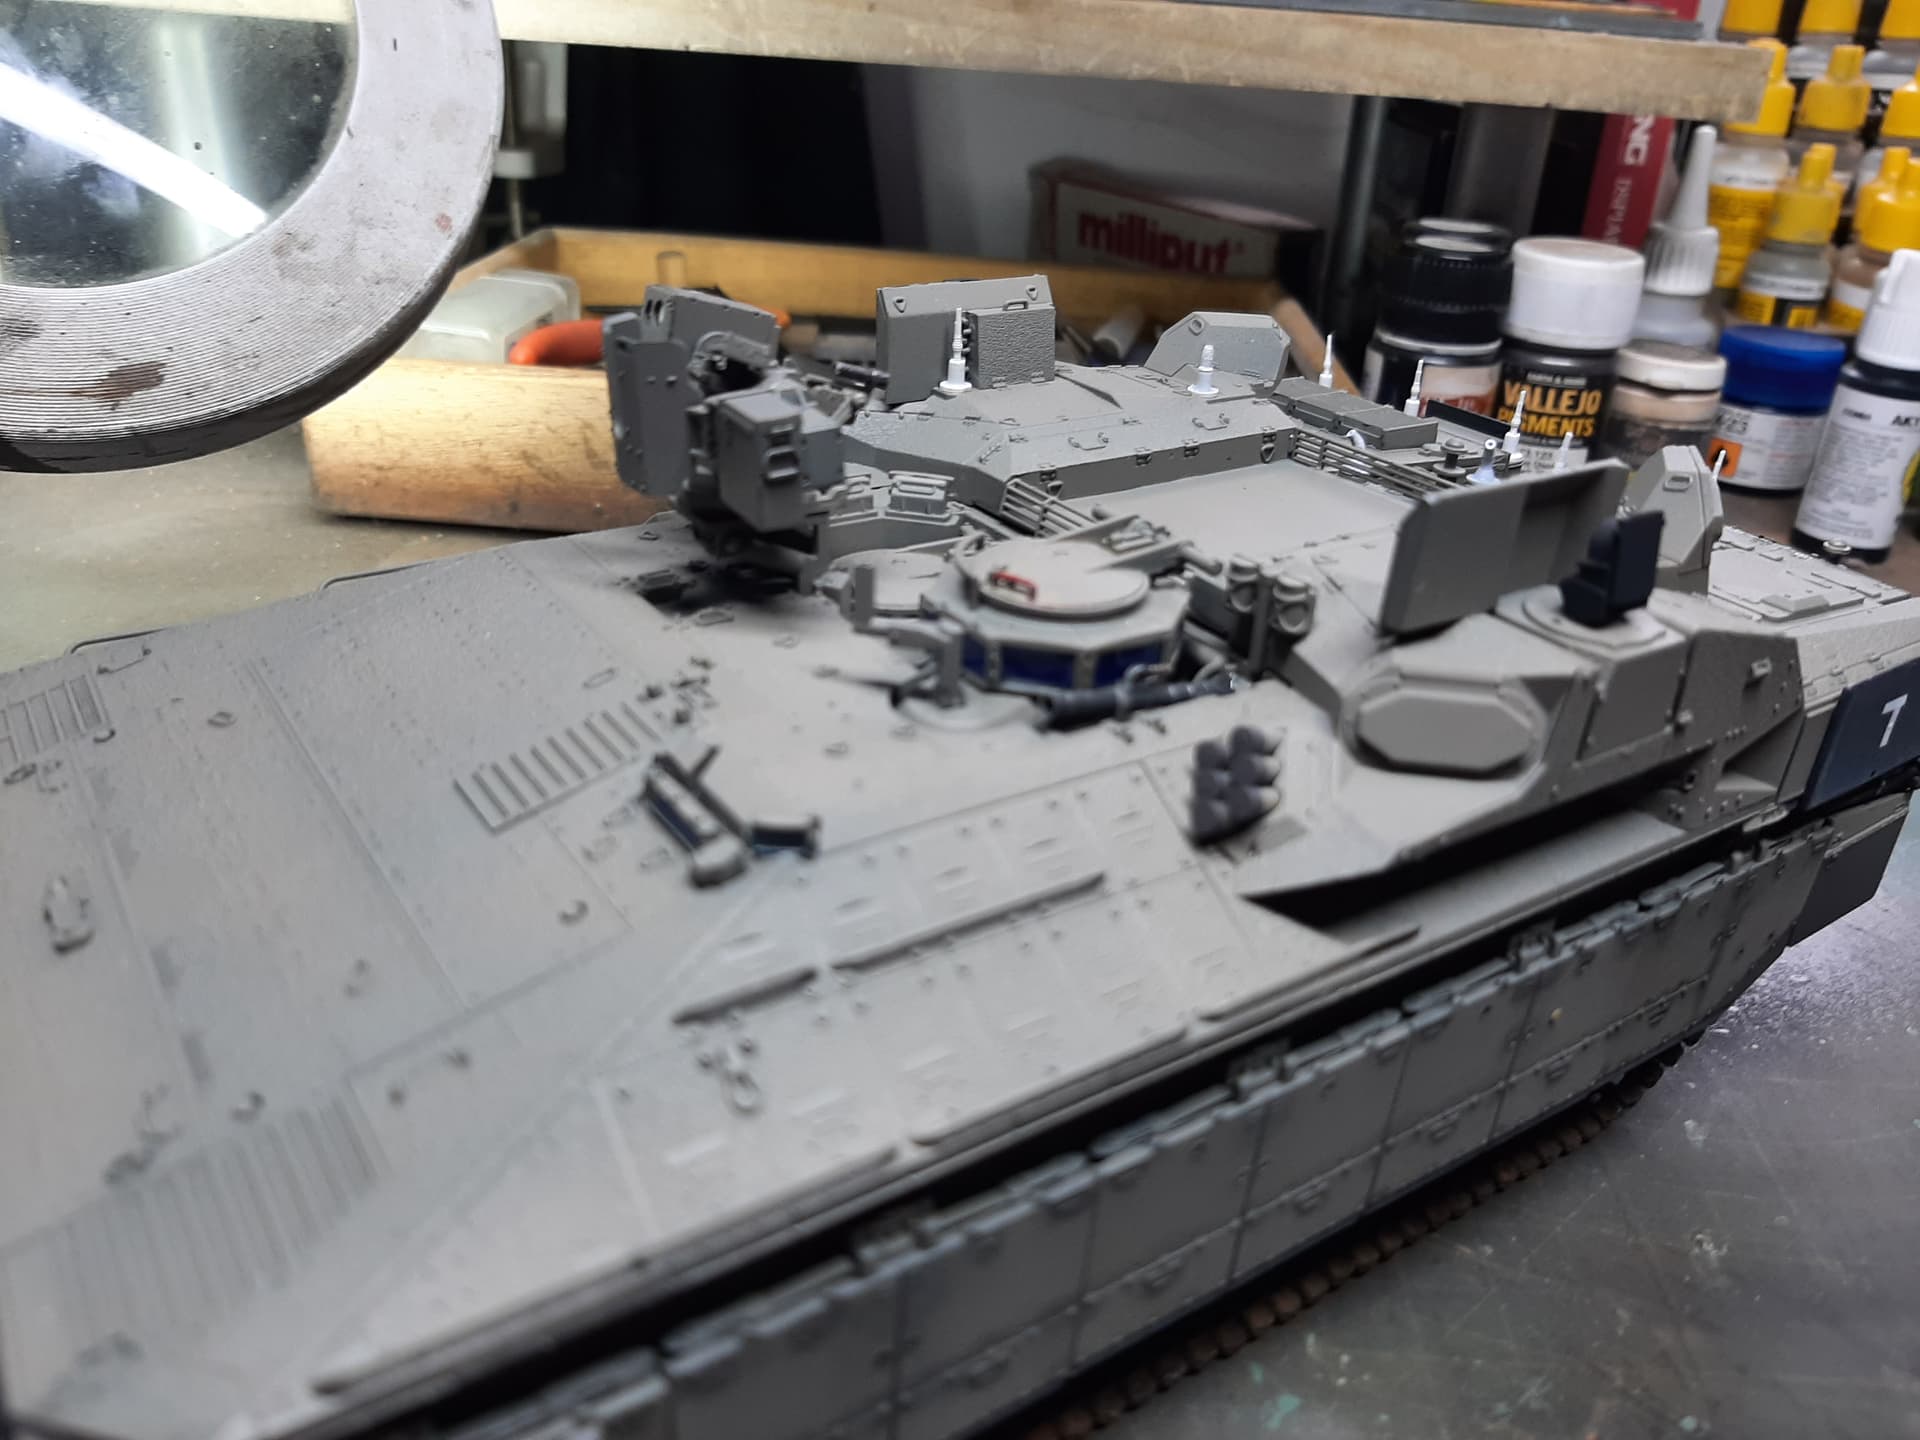
Some of the detail like the folded stretchers and small water container on the rear armour are quite small and fiddly to build and paint, especially when you’ve already negotiated the complexity of the transparancies, chains, PE grill and tiny decals on the rear armour too. Just do it methodically, and try to move from one stage to another so you don’t get bored of one thing to the point of apathy.
Our gun tanks had minimum of 2 veh fits & sometimes we had a manpack as well for dismounted stuff - Sqn Ldrs tank had a min of 3 (possibly 4 with a manpack- rare) and C.O’s had 3 to 4 fitted…
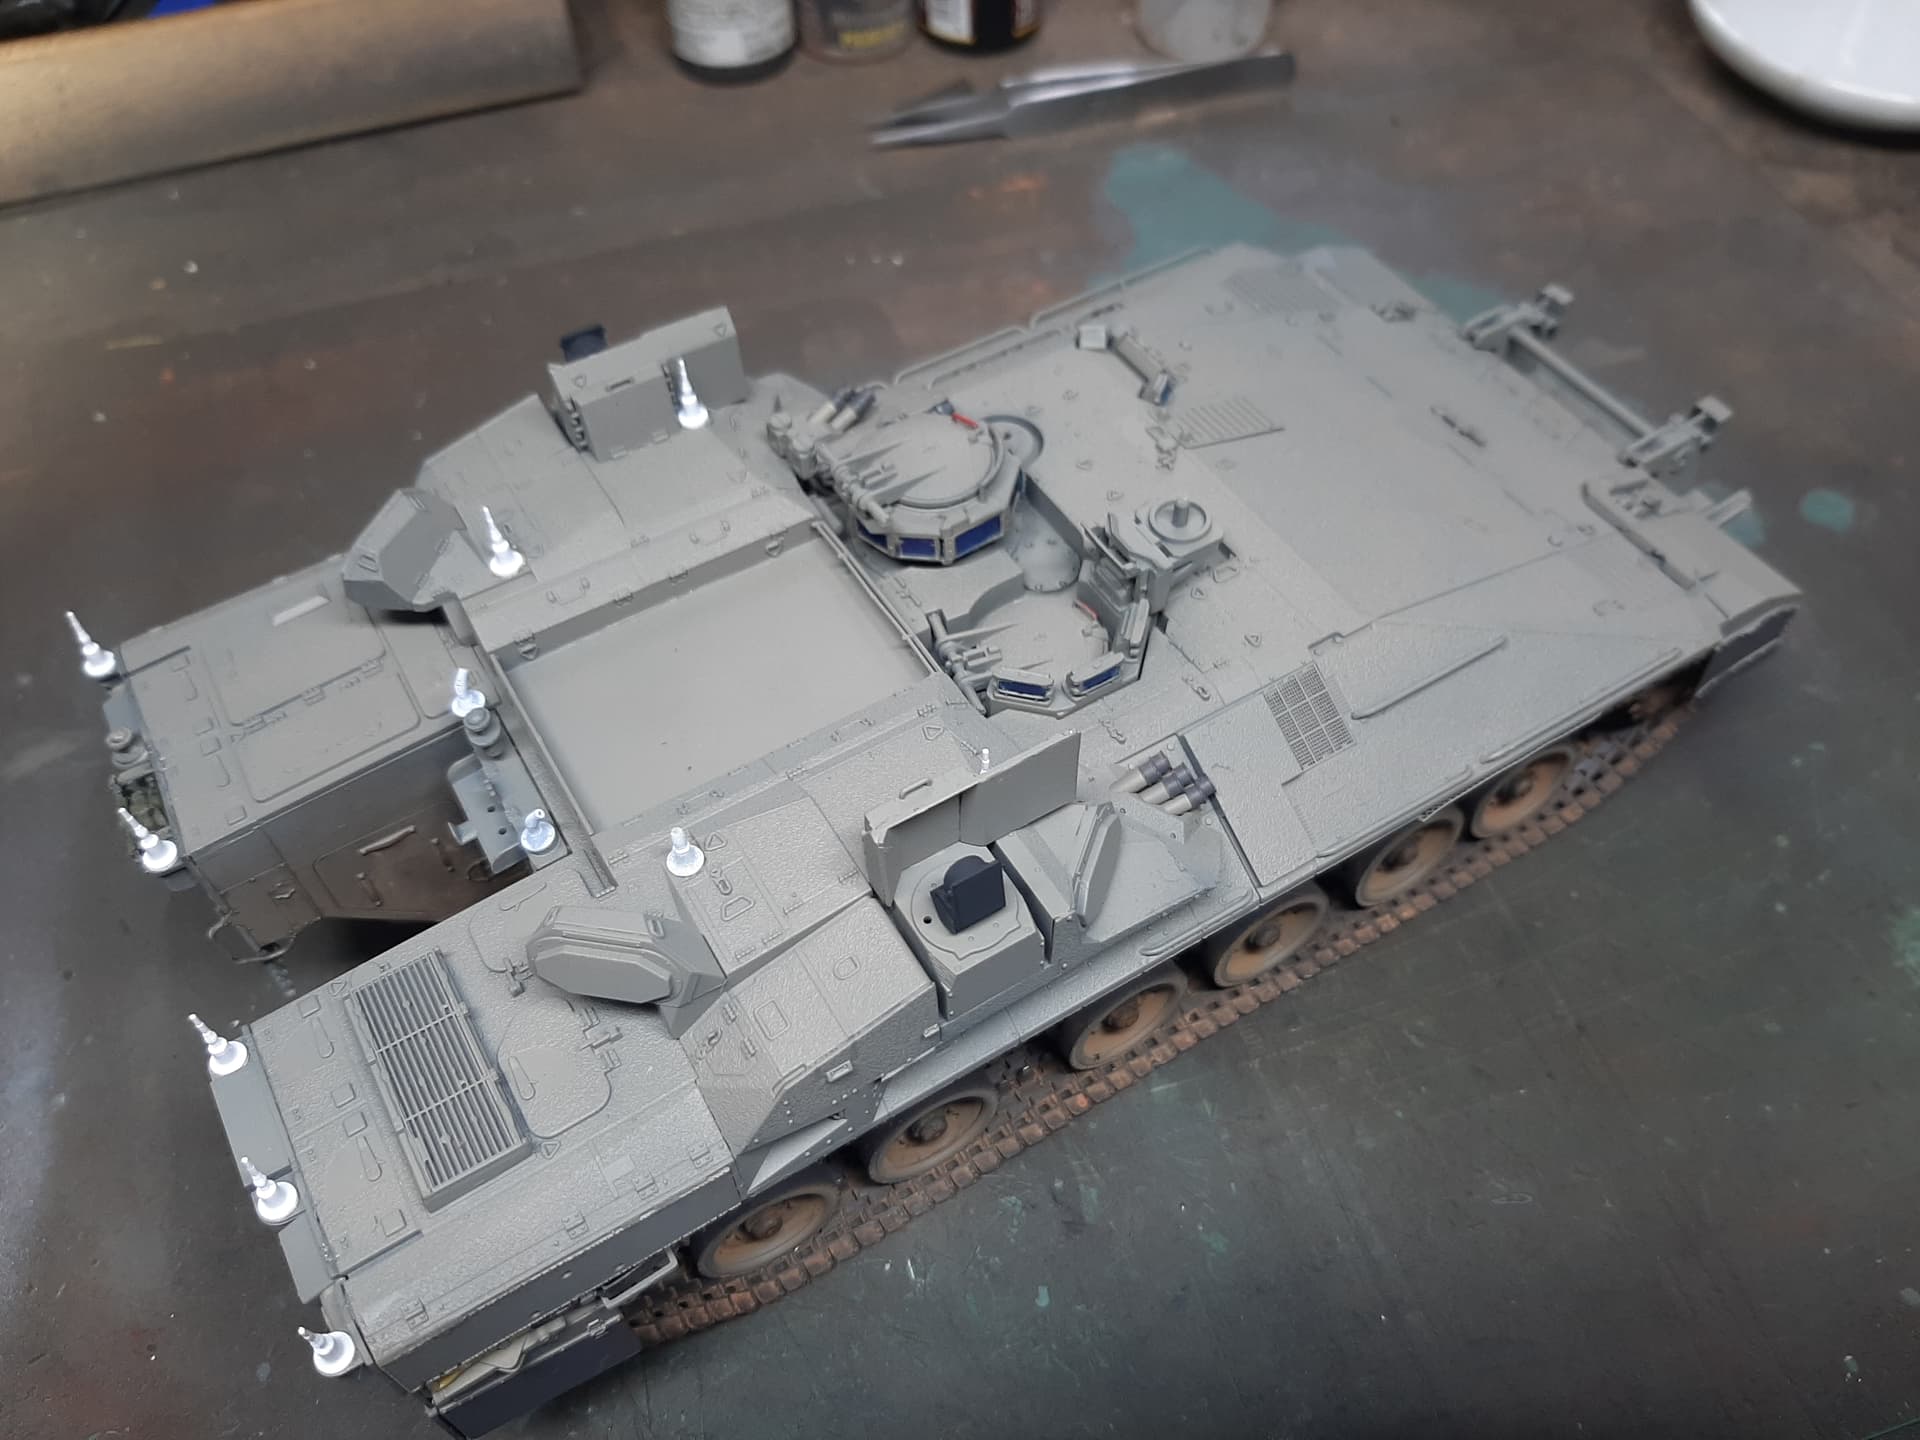
Now it is starting to look like a Namer. The side armour really goes towards making this vehicle look complete.
Quite a menacing machine but also, like a lot of IDF equipment, oddly aesthetically pleasing too.
The side armour comes as individual (pairs of) modules so there is scope to leave the odd one or two off if you’re in the business of diorama building and want to show some battlefild damage. If you want to show missing mud guards, you’ll need to scratch build hinges etc that would otherwise be hidden as the kit does not include that level of detail.
Side armour was painted on the bench, with some colour modulation, panel washing and decals. I just find it easier to do it this way rather than wait until its on the vehicle. So you can see that the upper hull still needs that same treatment.
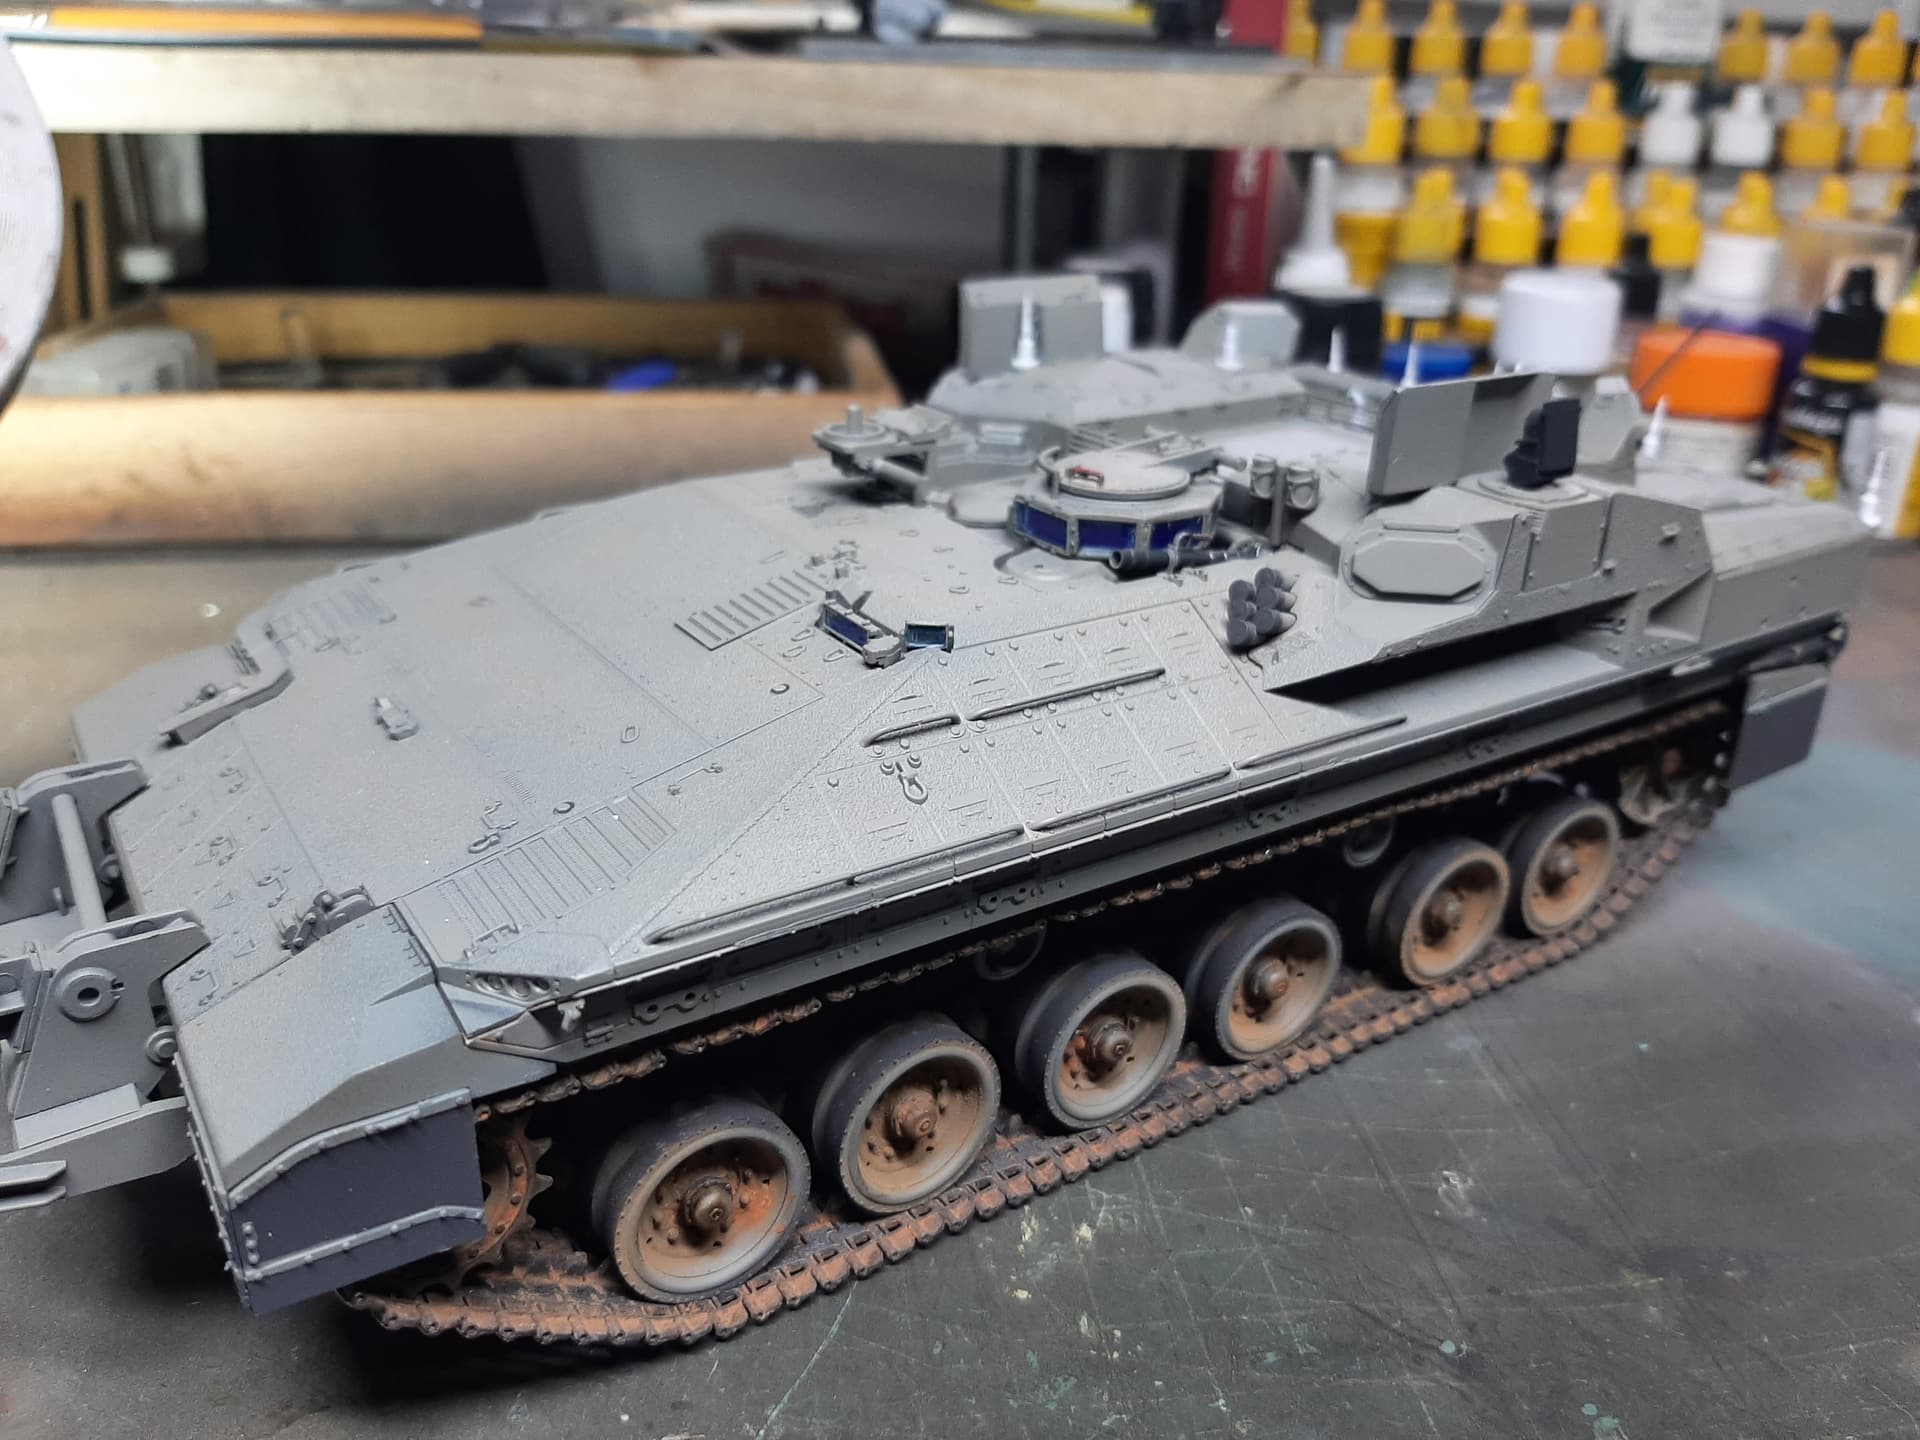
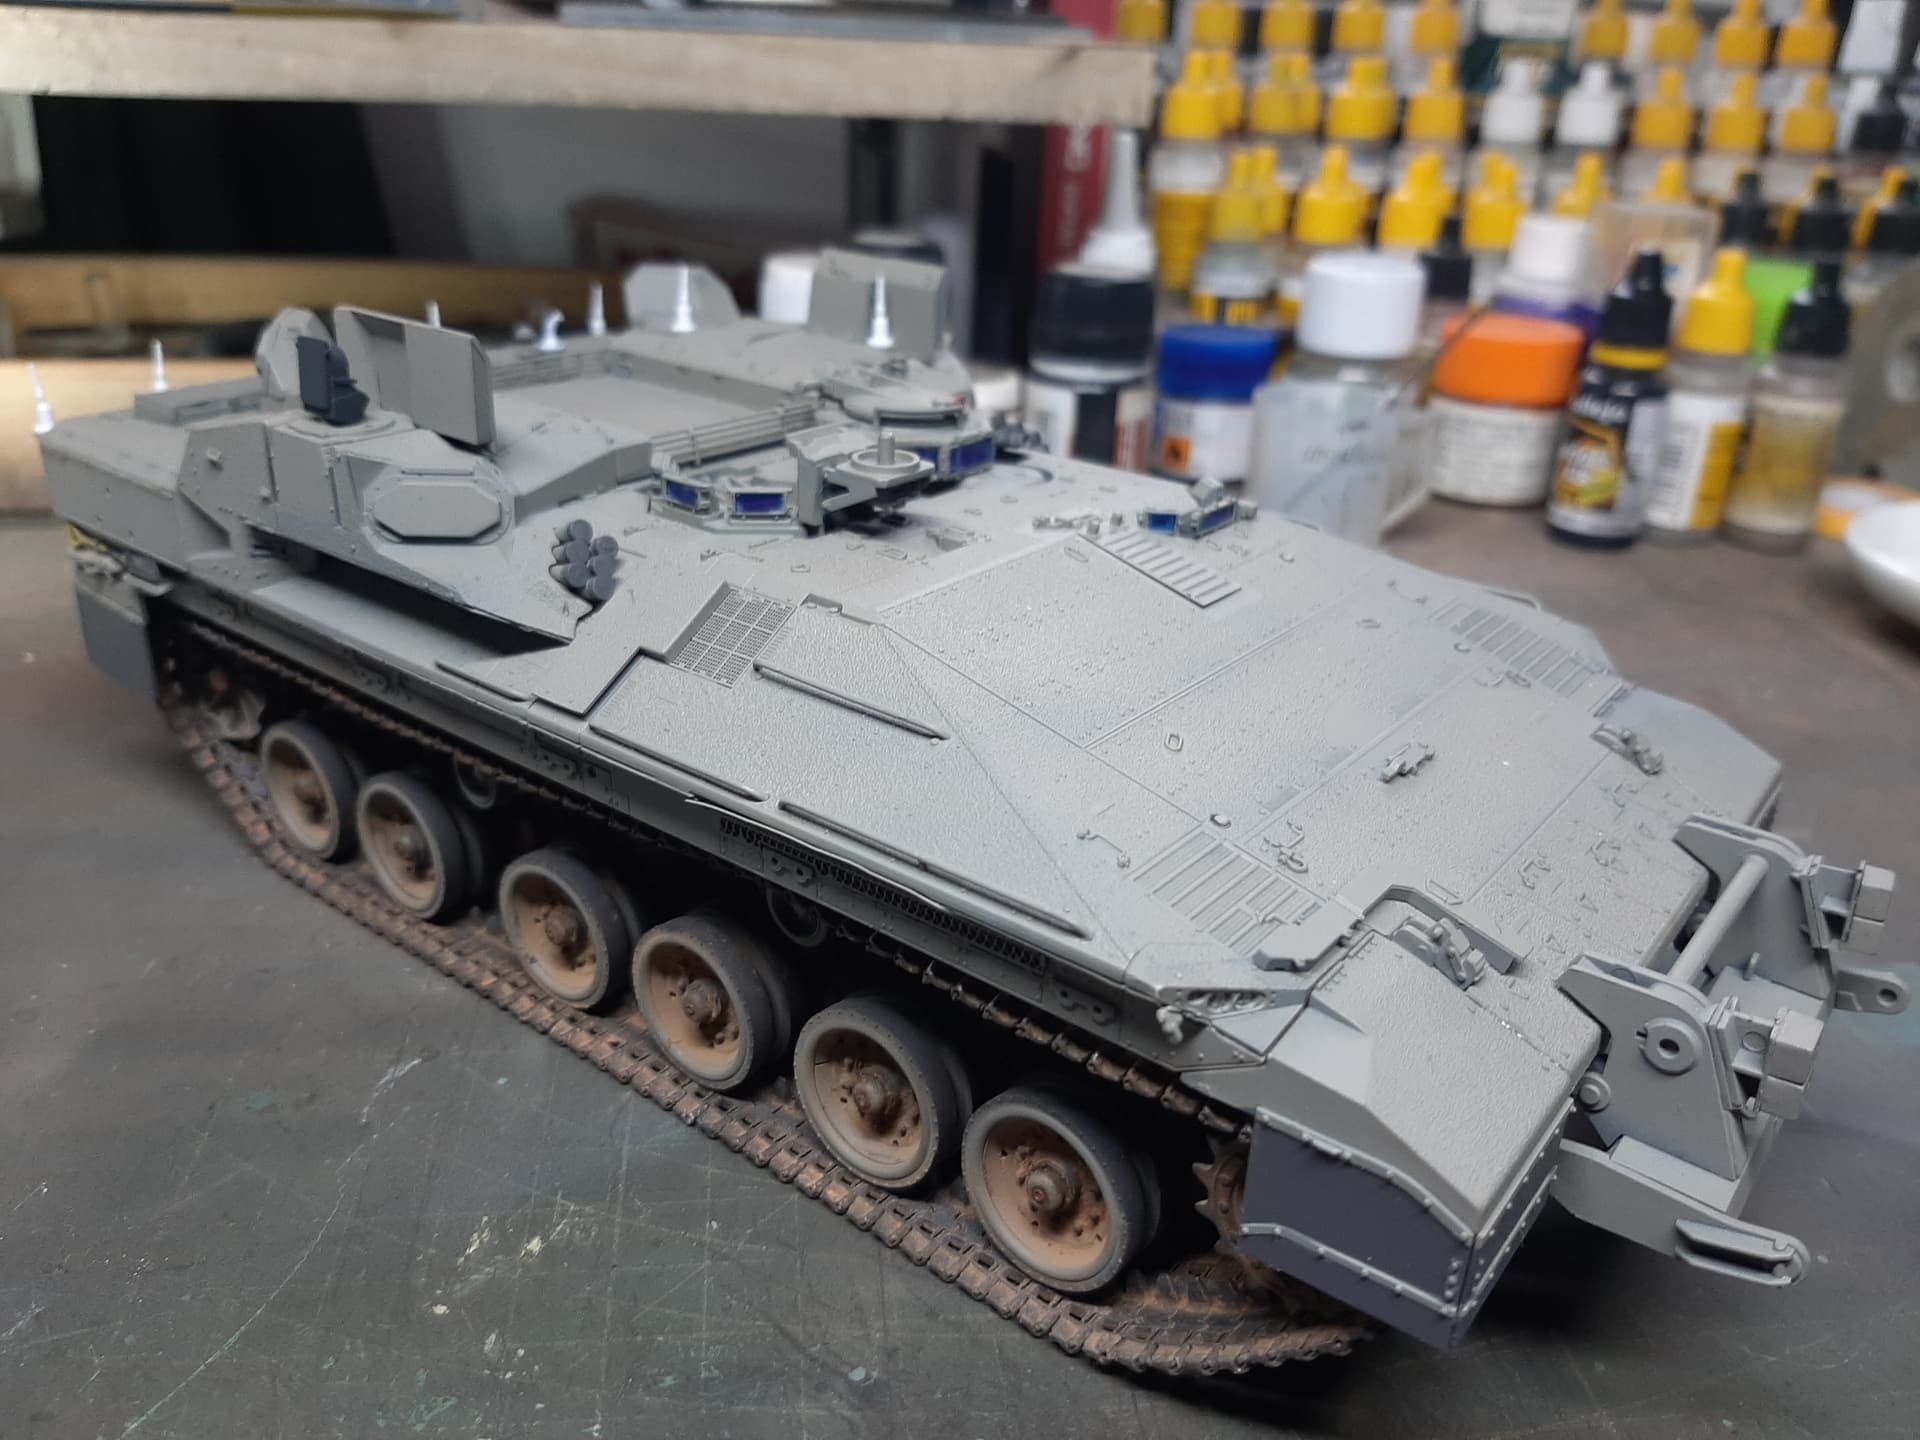
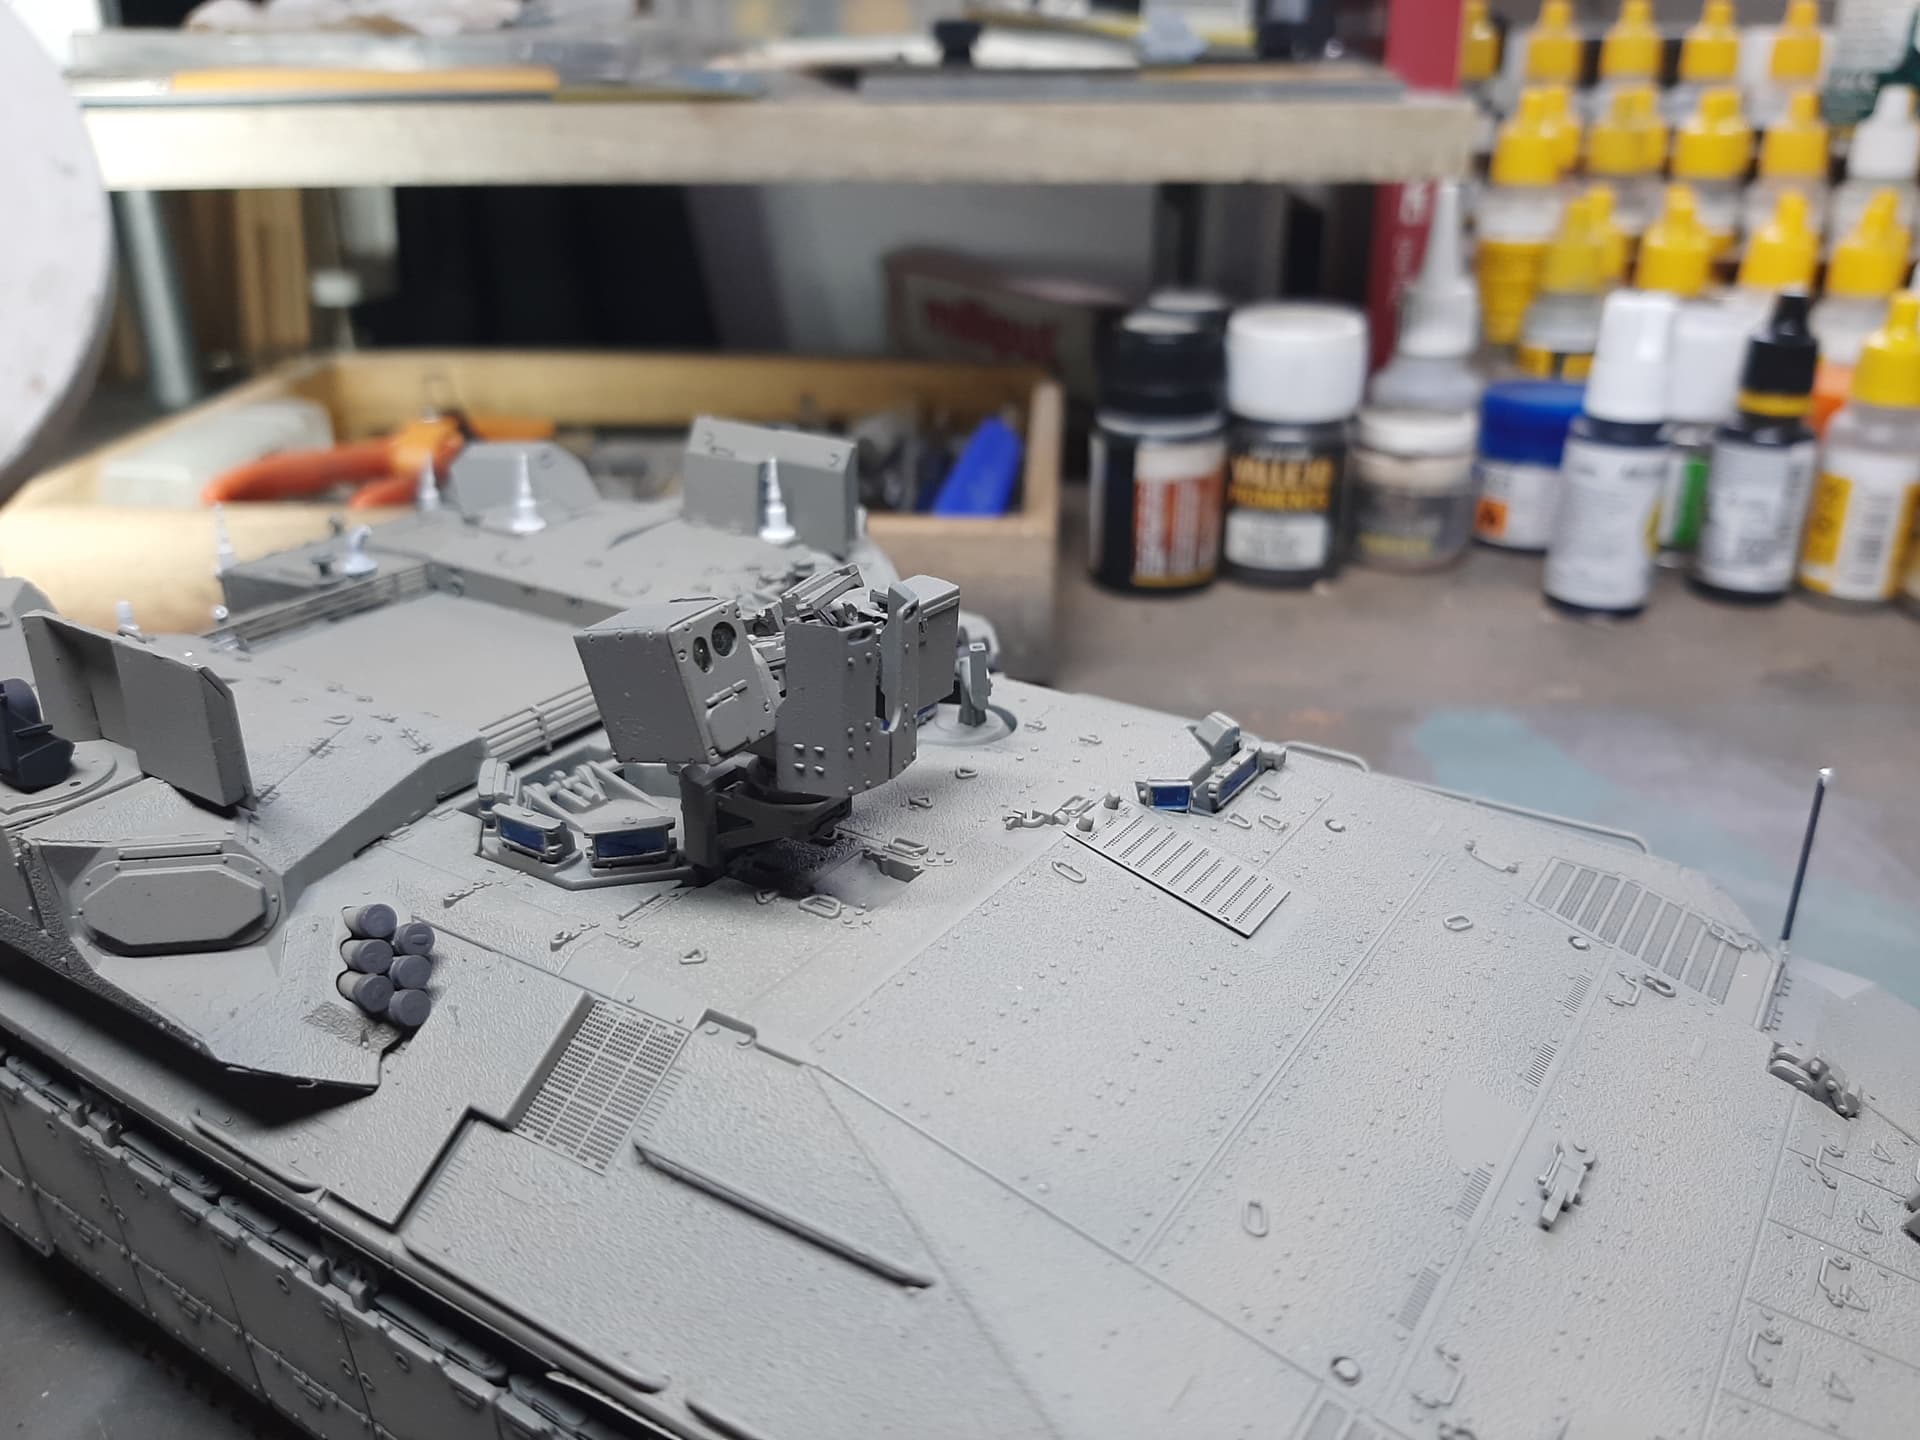
Nearly there with the main build, just the MG mounts left really. Weathering and detailing to come of course.
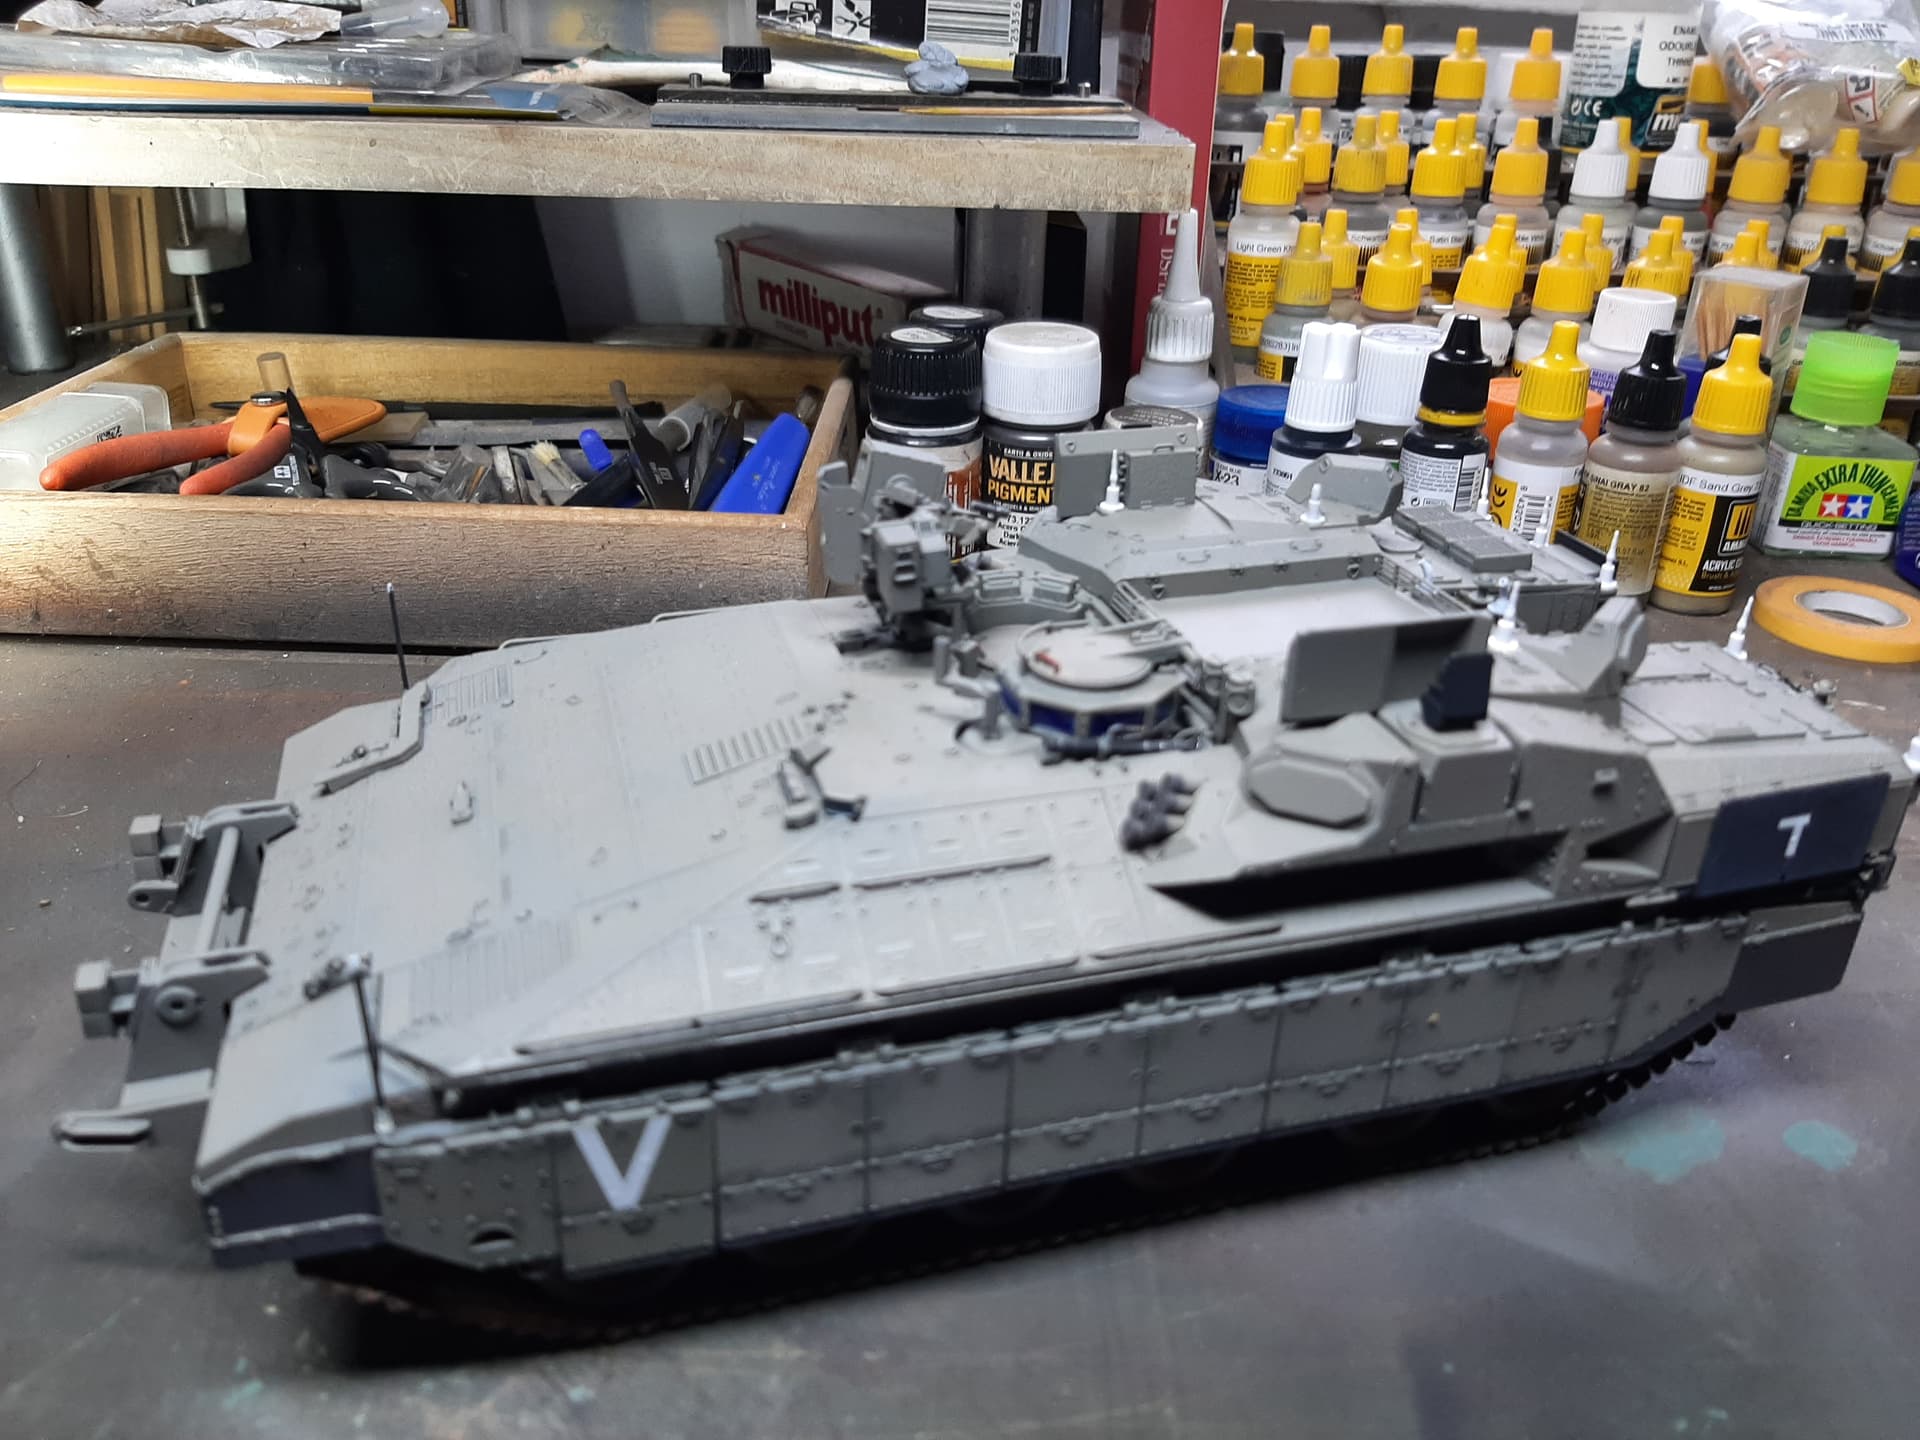
Main construction is complete. Tried some further colour nodulation on the upper hull and it is okay I think, although these rubbish pictures won’t give you much of an idea - sorry.
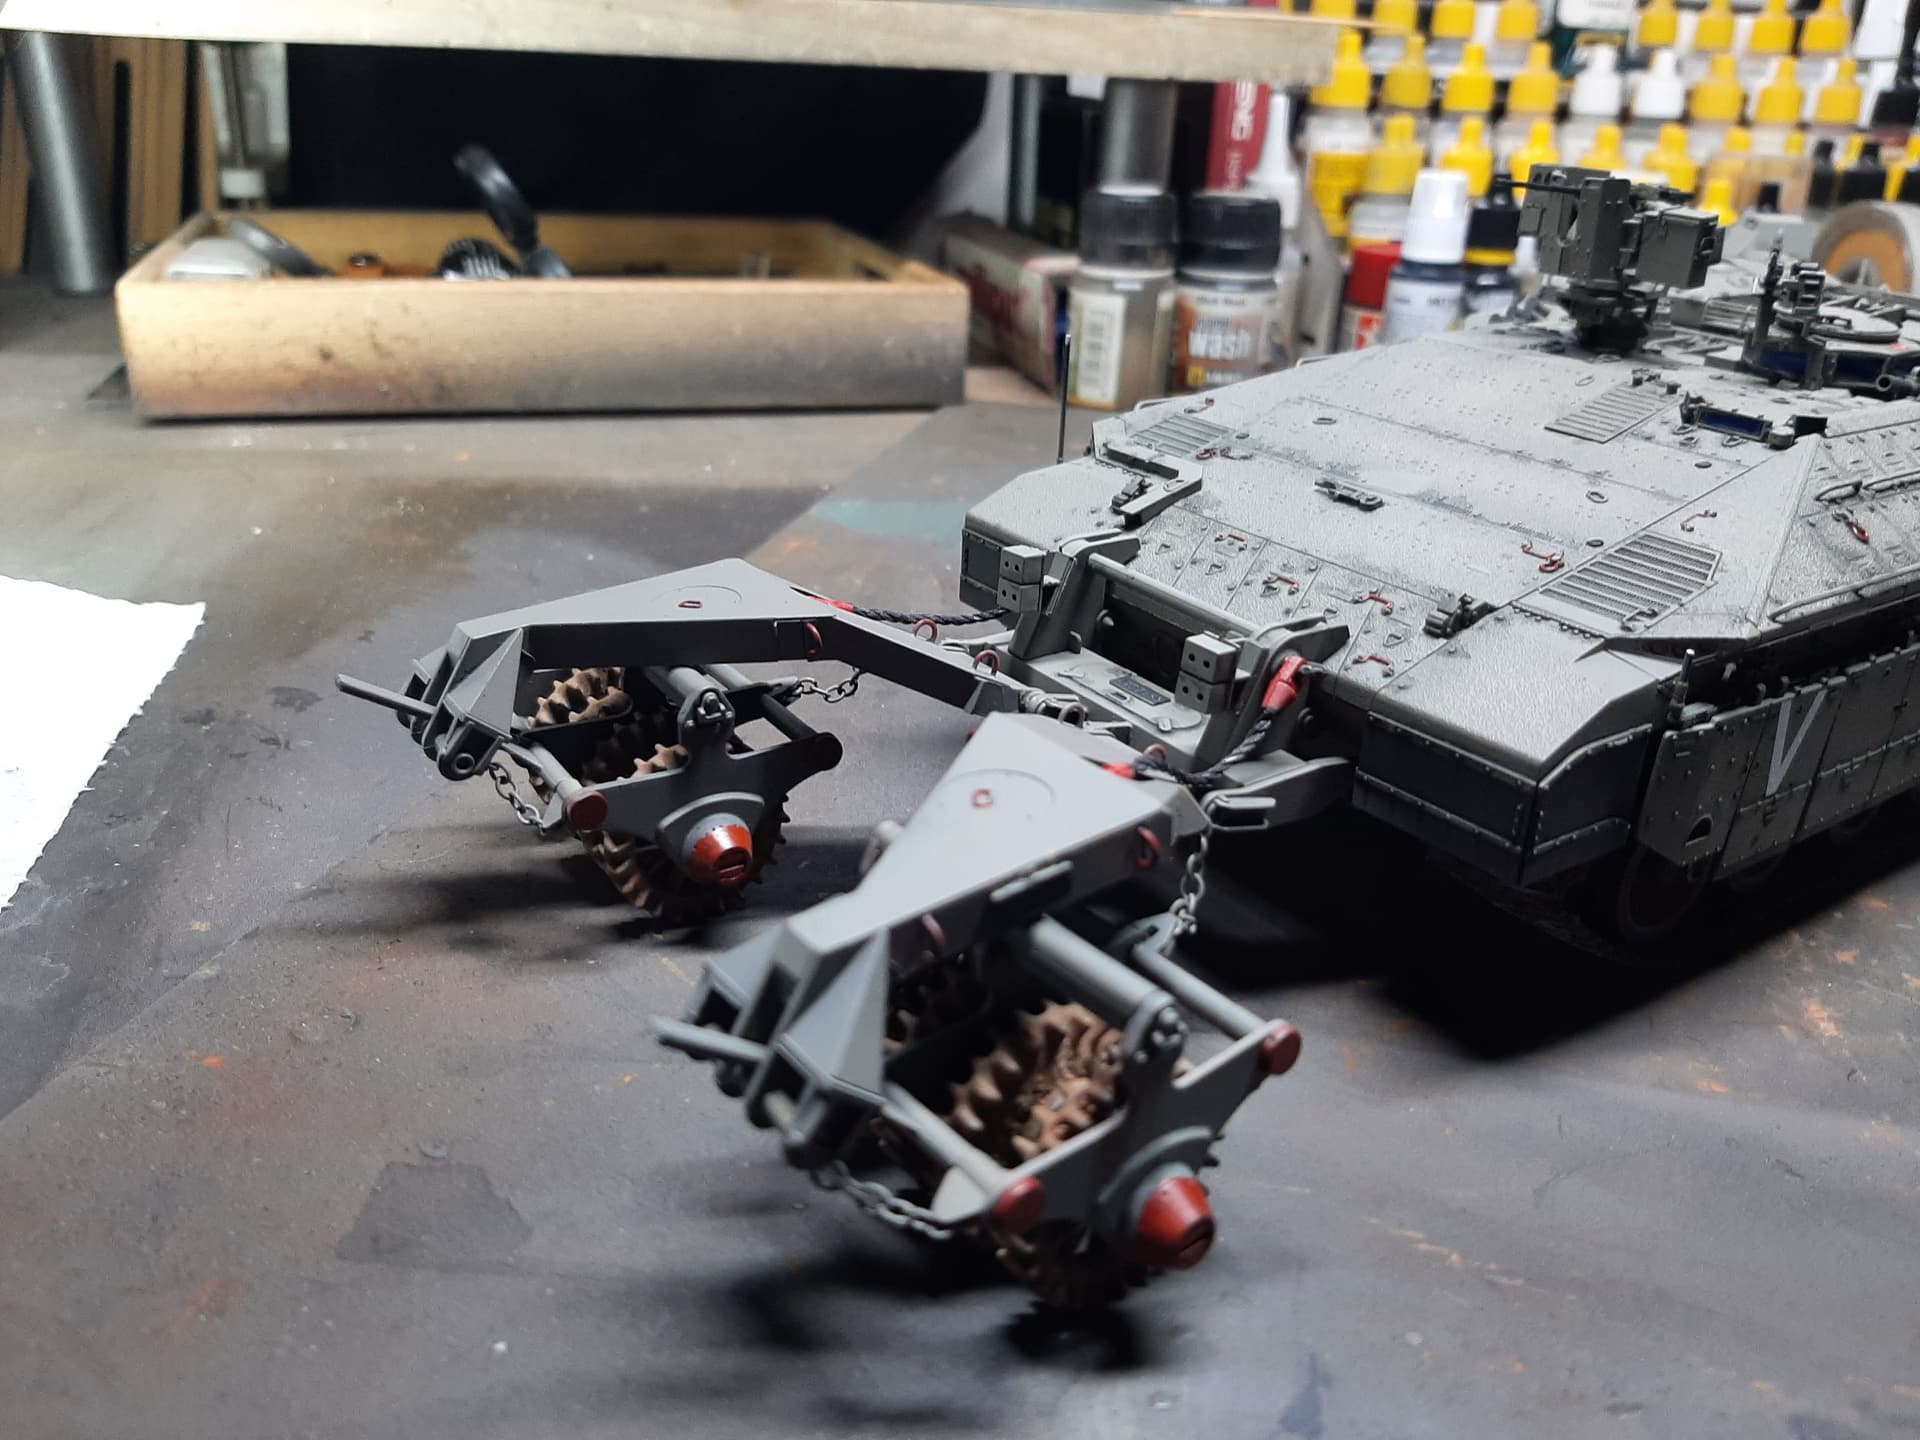
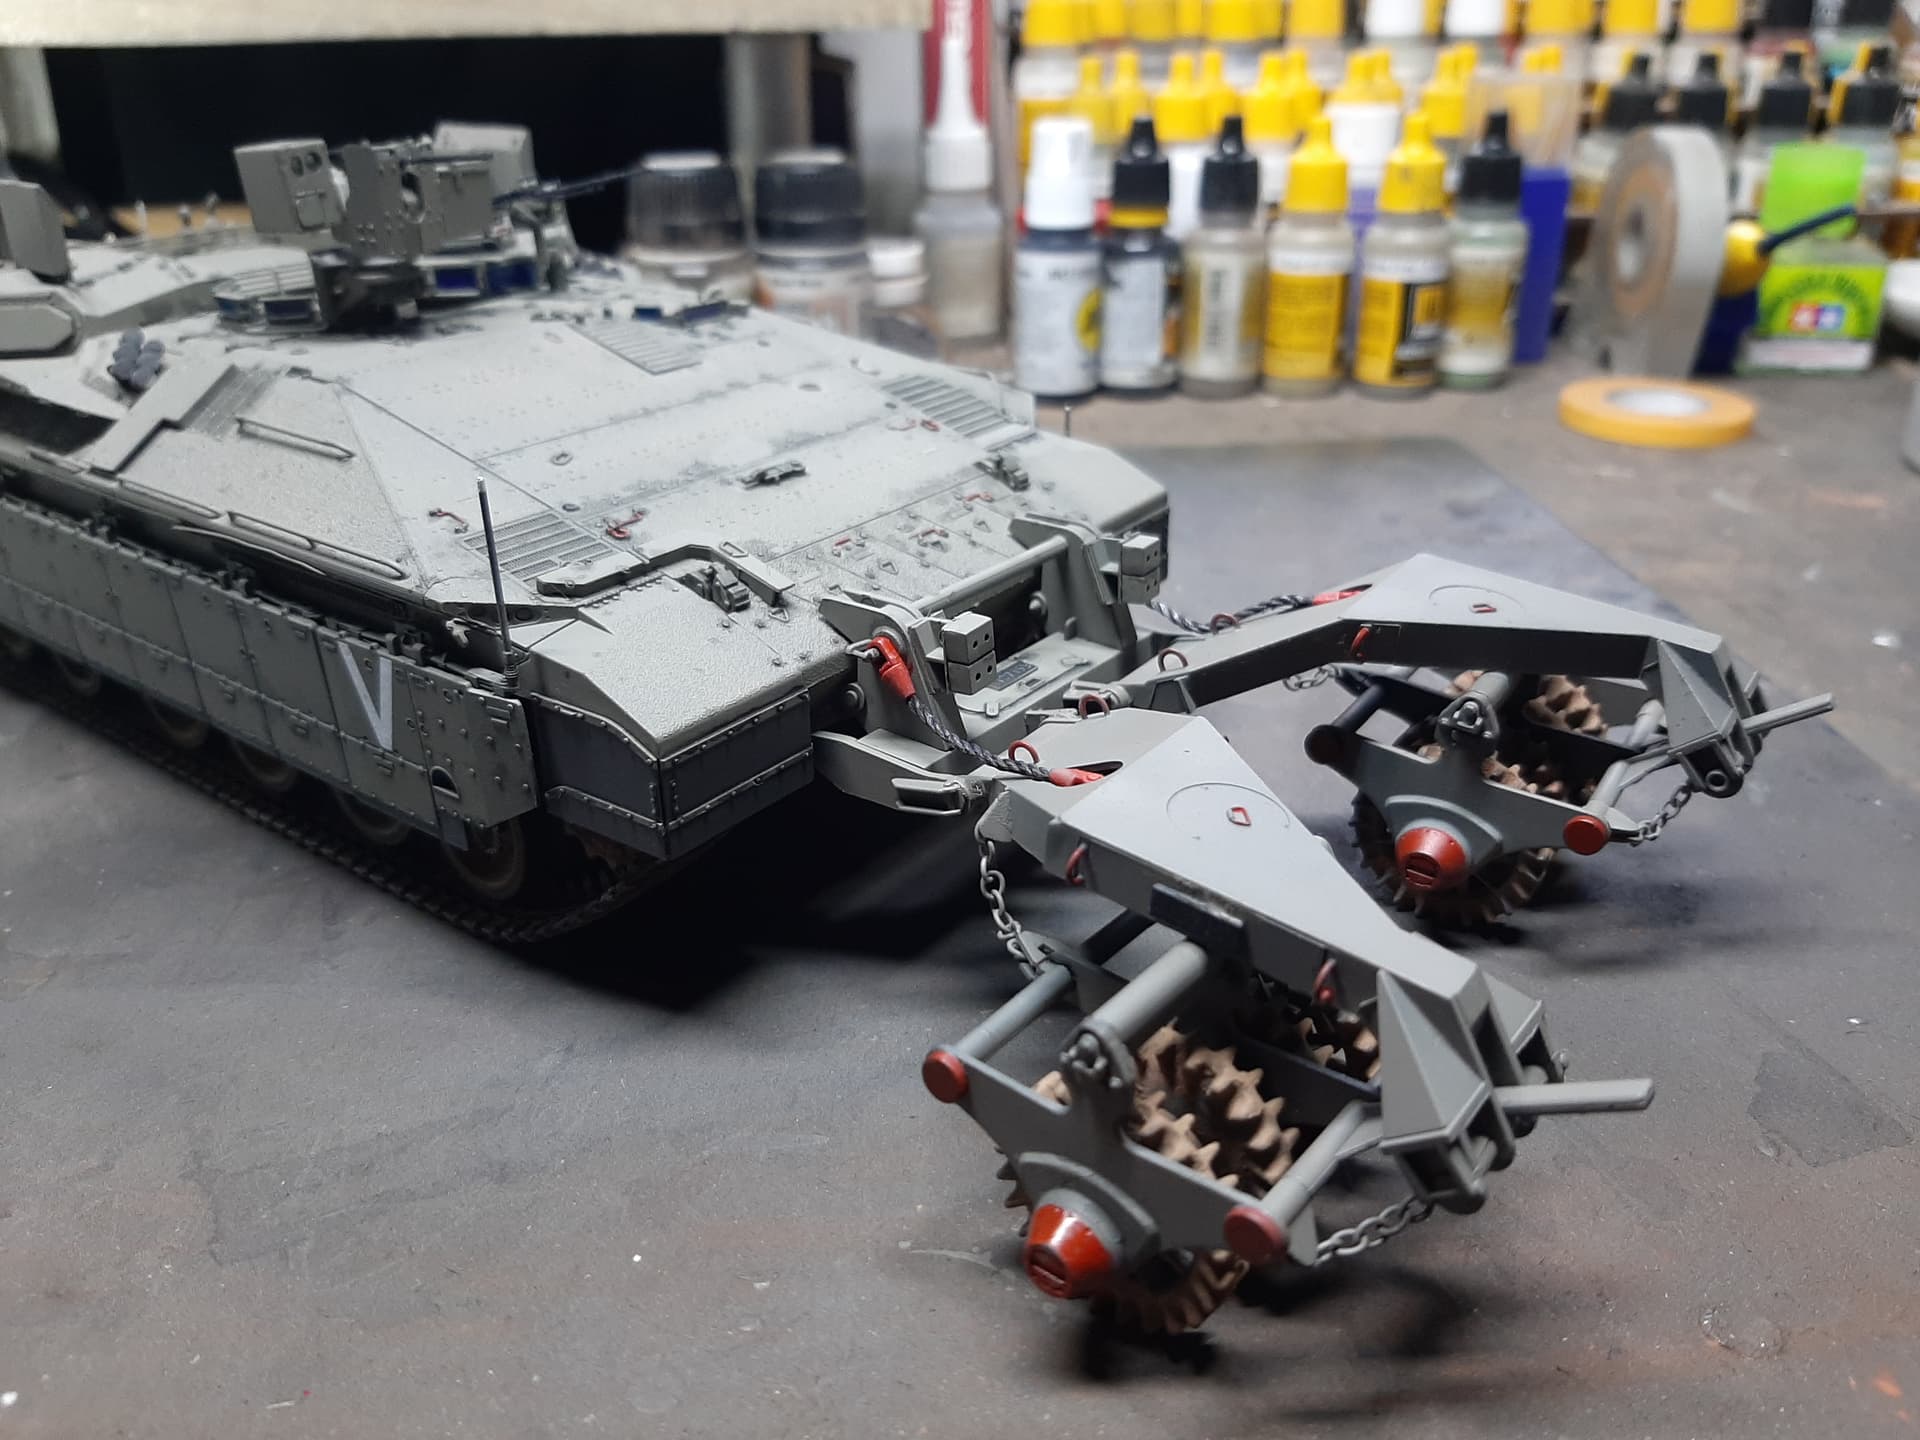
Going to move on to some panel washing next followed by some work with the pigments too soften everything up before I start work on the mine rollers proper.
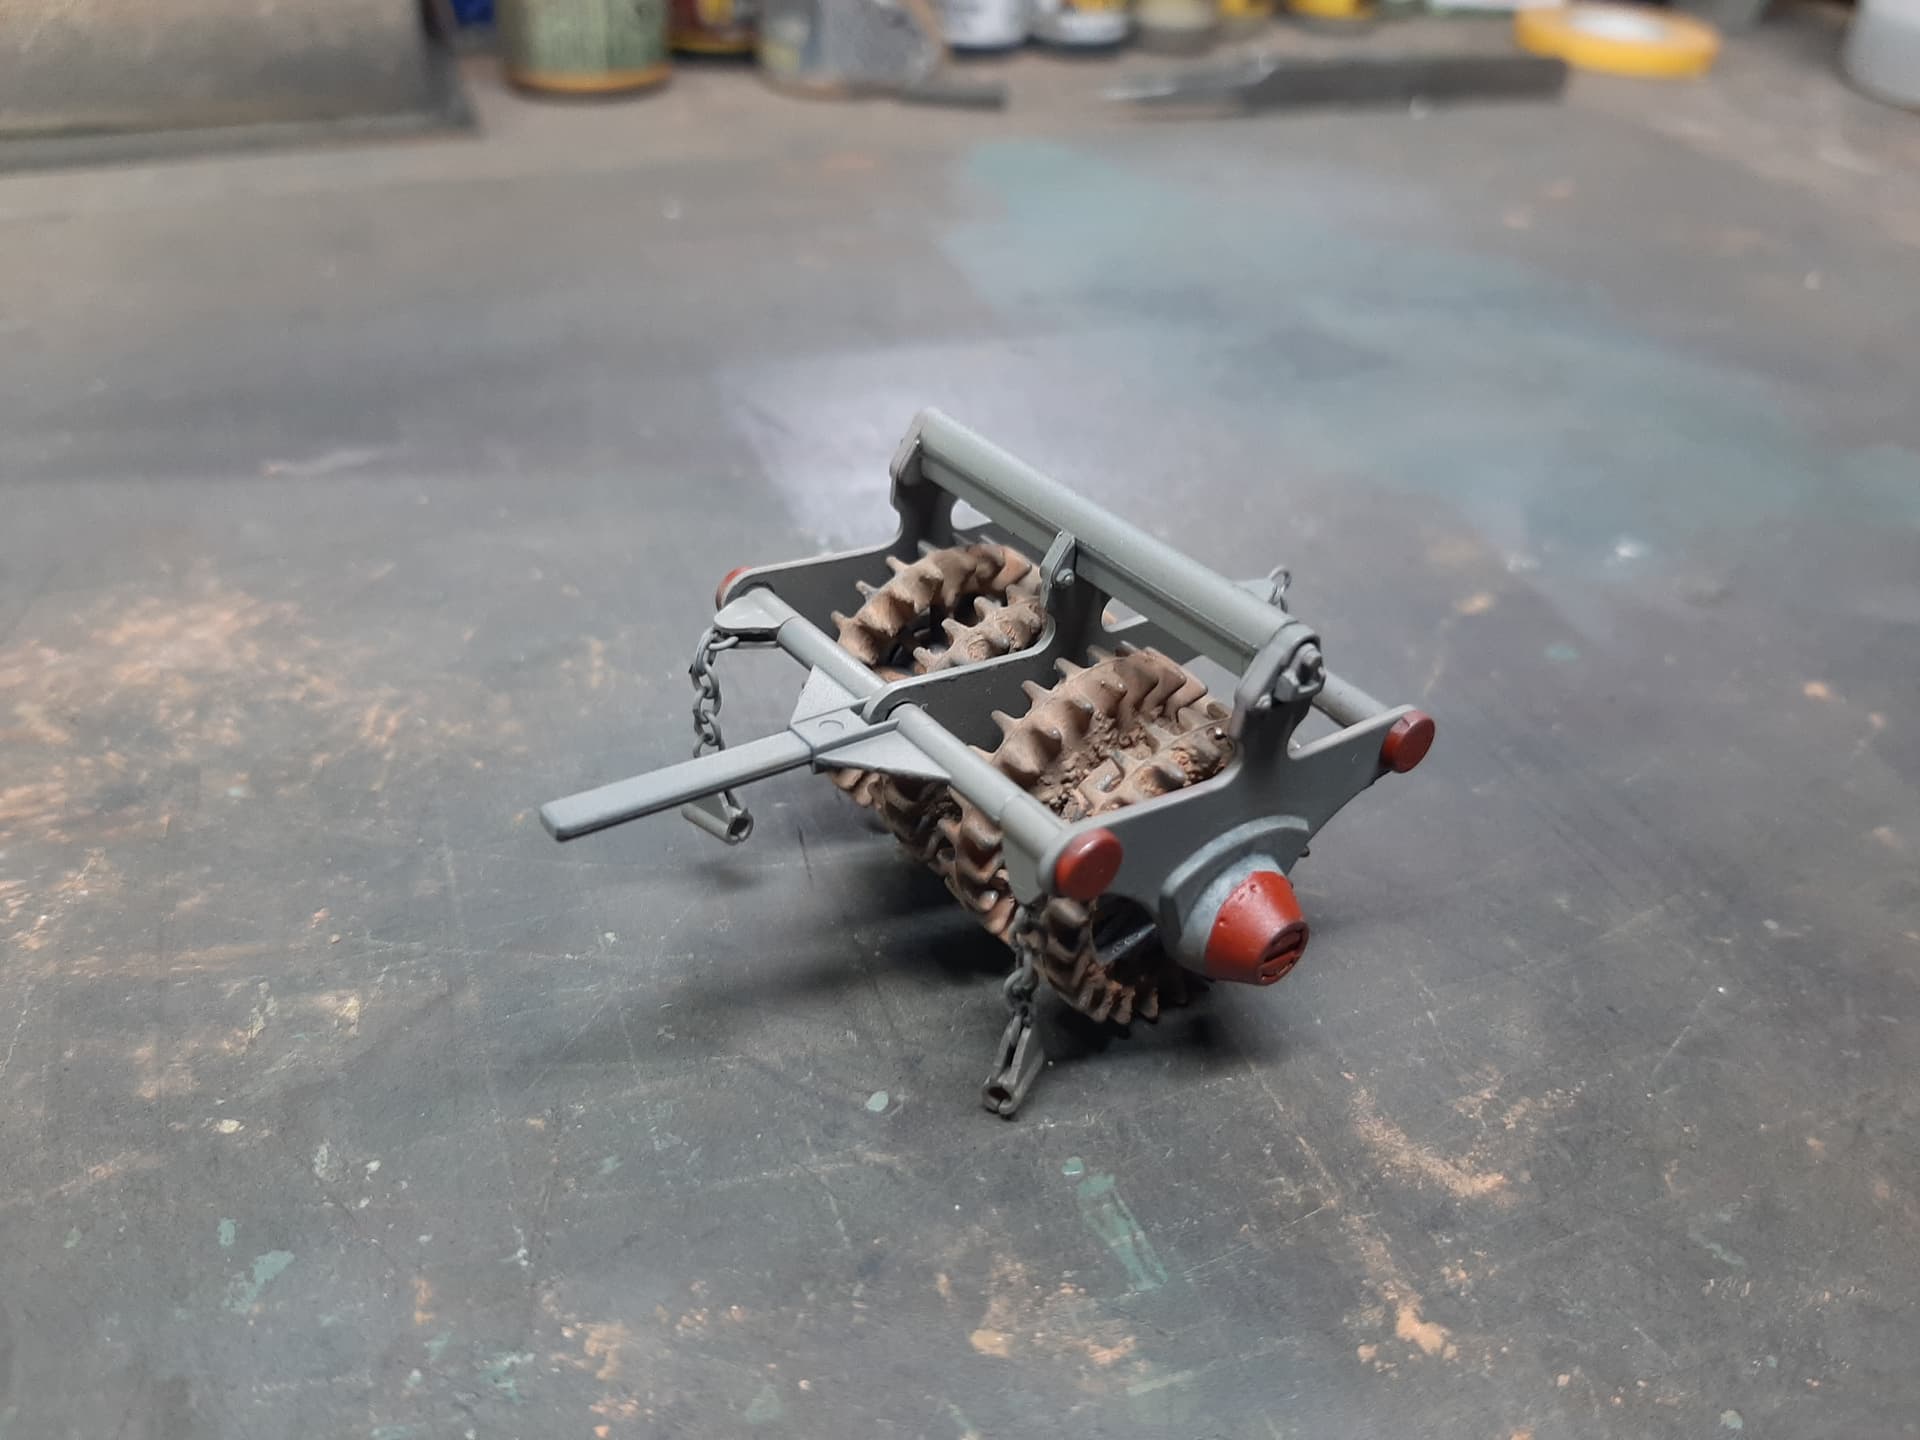
I pre-weathered the rollers themselves because they are difficult to get to when the modules are assembled. I’m not going to tell you how to assemble this - you should be able to work it out for yourself. But it was a real pain.
A good example is the circled part here which consists of four individual pieces including the chain. It is quite literally impossible to assemble this without securing the chain to the lower half of the arm first which is just not obvious in the instructions - you will get the idea.
They should be, but if you cut them to the prescribed length of 32mm, they are far too long. By the time you discover this, it is too late to change what you’ve done. So, they will hang on mine and be damned.