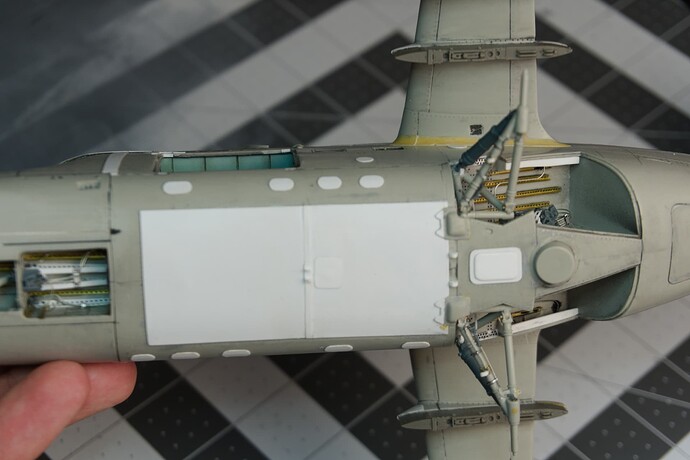
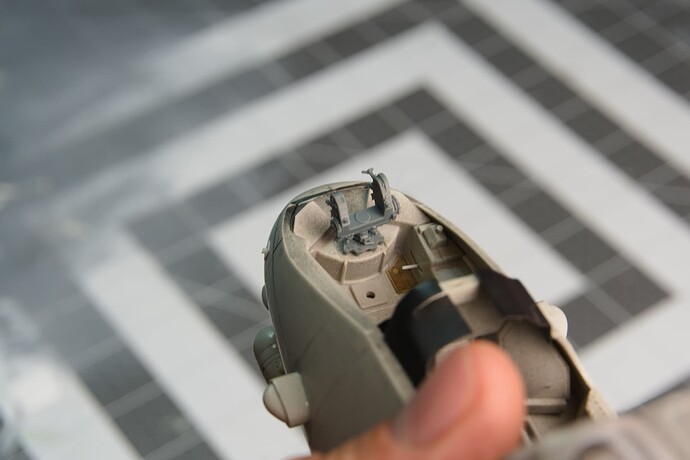
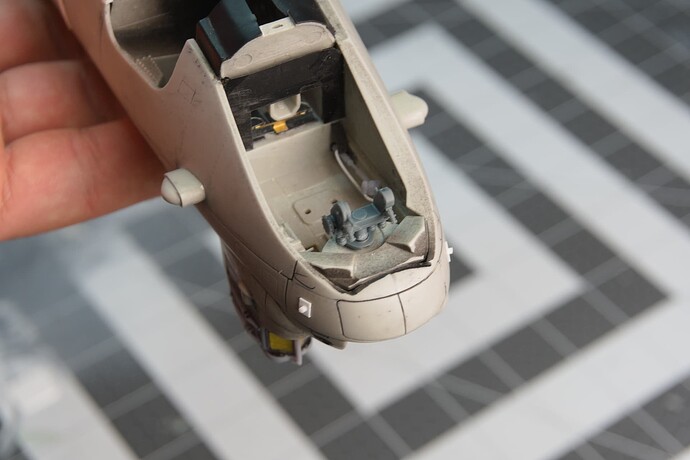
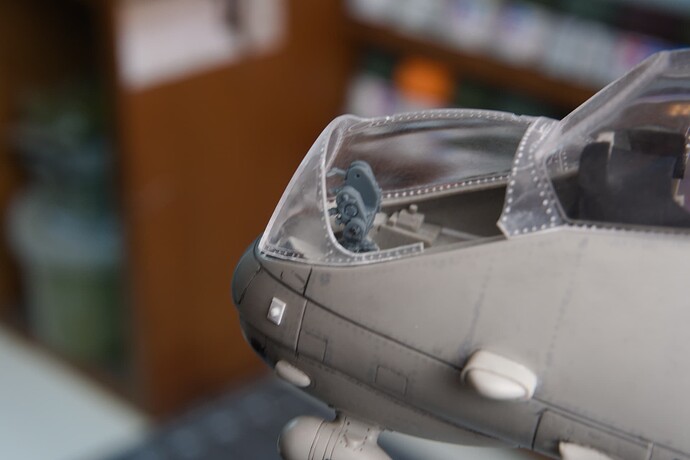
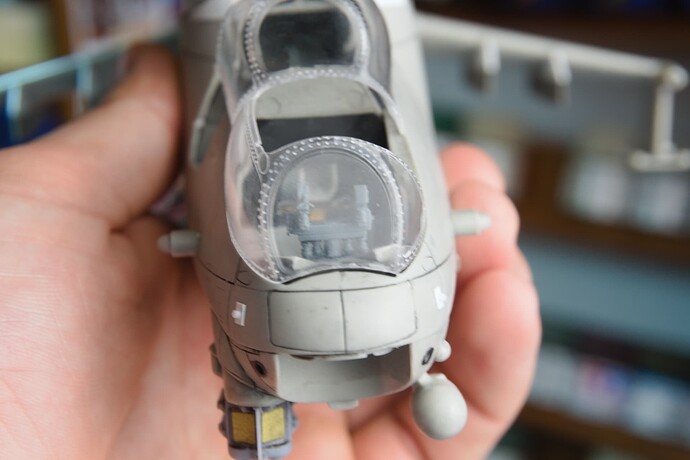
That looks fantastic … Great detailing on the landing gear and wells. Totally transforms them all. ![]()
Some progress pics!
The more I work on this thing and the closer I look the more inaccuracies I find. It’s not the biggest thing to fix them but it honestly at times feels insulting how lazy the design on this kit is.
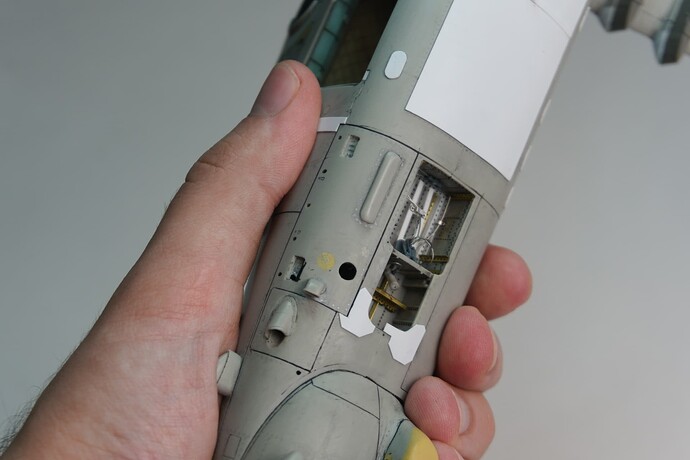
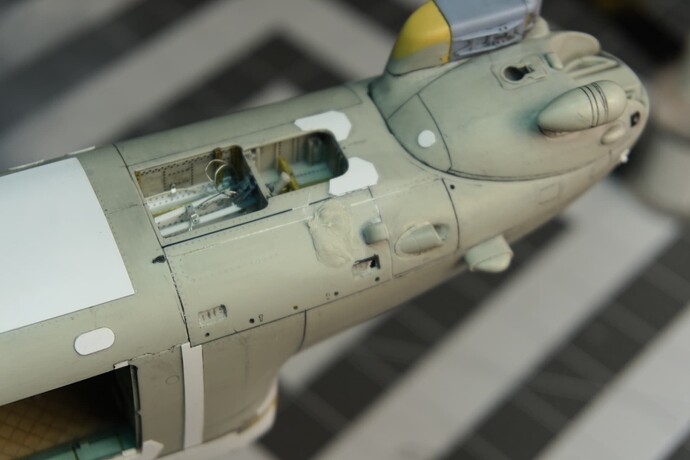
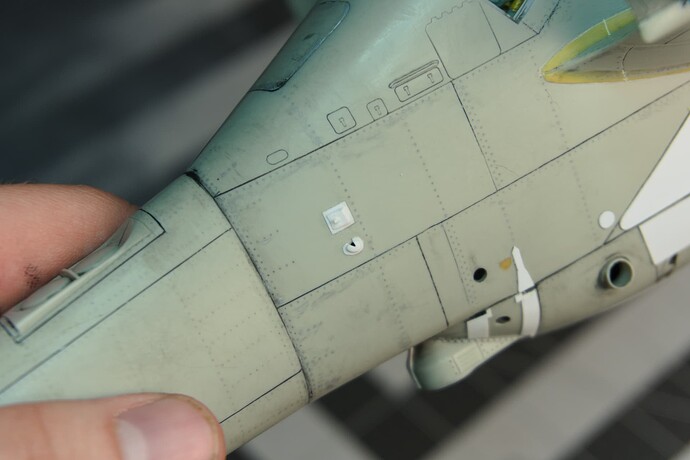
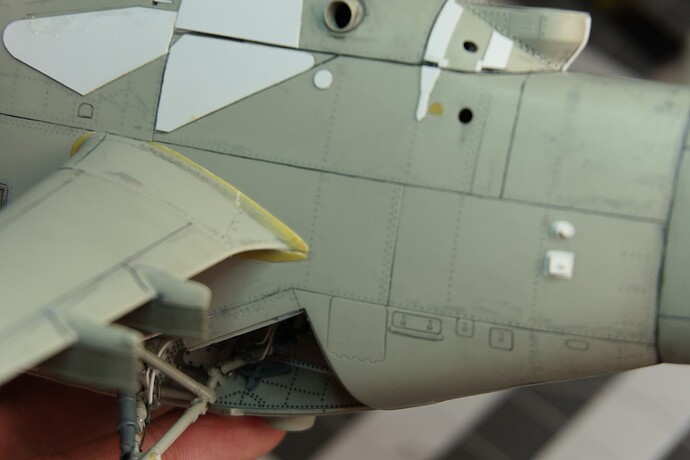
What I have started is fixing this hole. I had to move it AGAIN after realizing the panel line is in the wrong place and would get in the way. I decided to try something new and used sprue goo for the first time.
he line of the large panel needs to match the one of the smaller one.
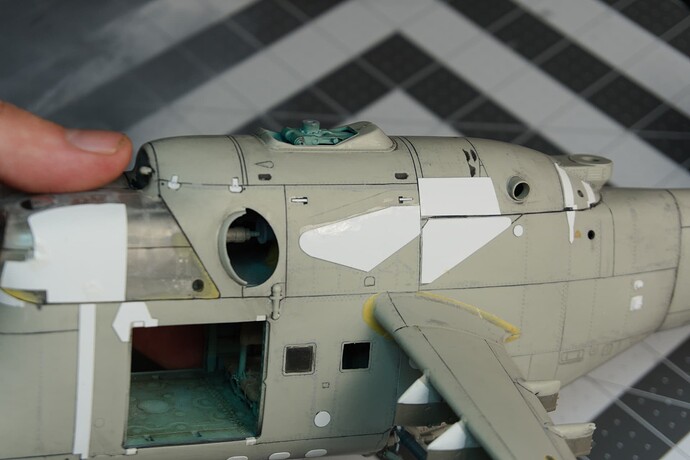
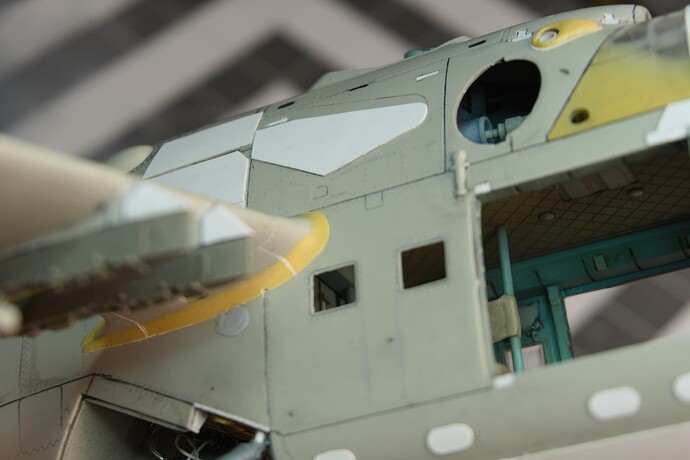
It will take a while to dry but in the meantime, as you can see I started working on a lot of the raised panels. I decided to use .25 mm styrene board as I did on the tail but this time I used white instead if black so I can see the black rivets later. I will be sanding them down to a much thinner level but I would rather do this than use thin metal as it just shapes better.
I still have lots of these panels to work on and add but this is the progress on them so far.
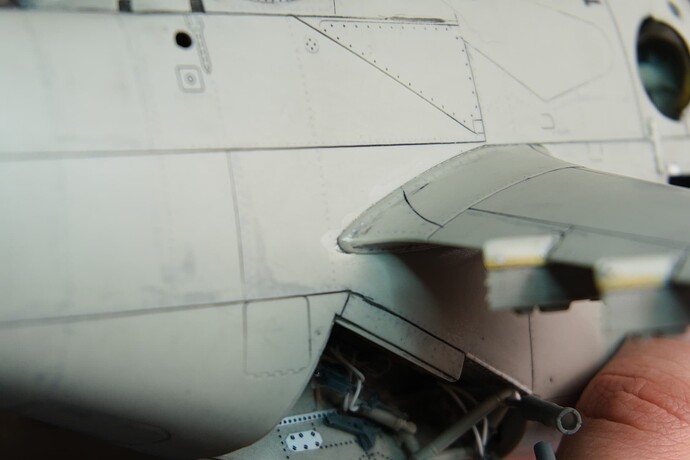
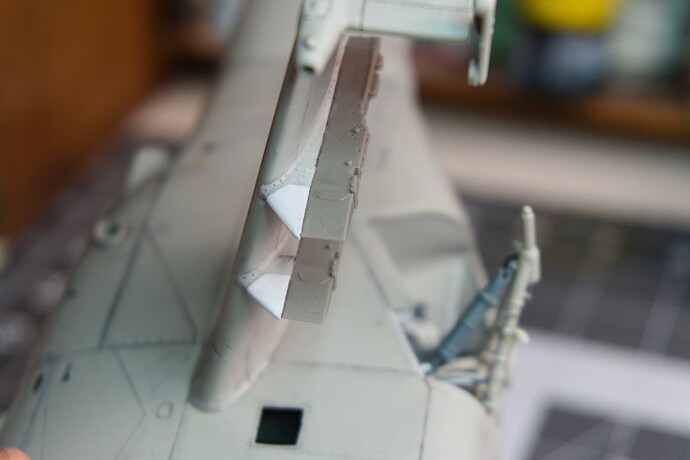
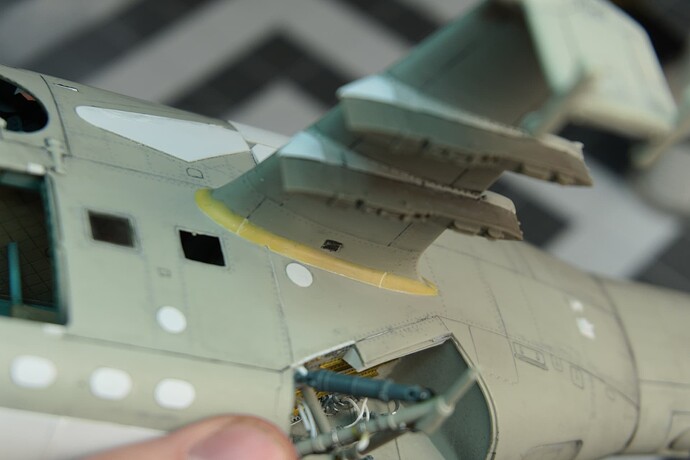
I also fixed the roots of the stub wings with putty to get their shape right:
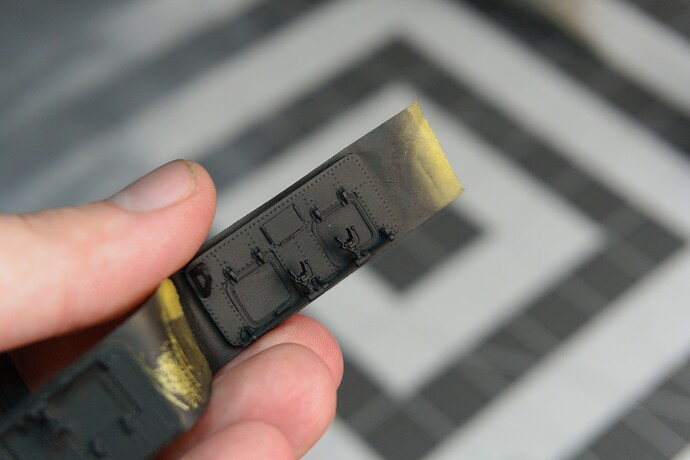
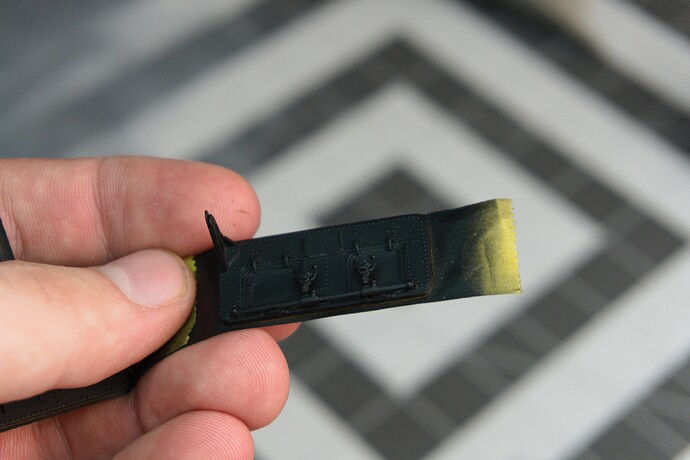
While these are all nice My main effort has been in remaking the doors as I am coming closer to being able to work on the cockpit.
If you followed my previous posts you would remember that I already had remade these before so why destroy all my previous work and remake them again? Well, the more I looked at pics the more I realized they are not very accurate bost mostly because I wanted to use raised rivets and the old doors had negative rivets instead that were honestly not that good.
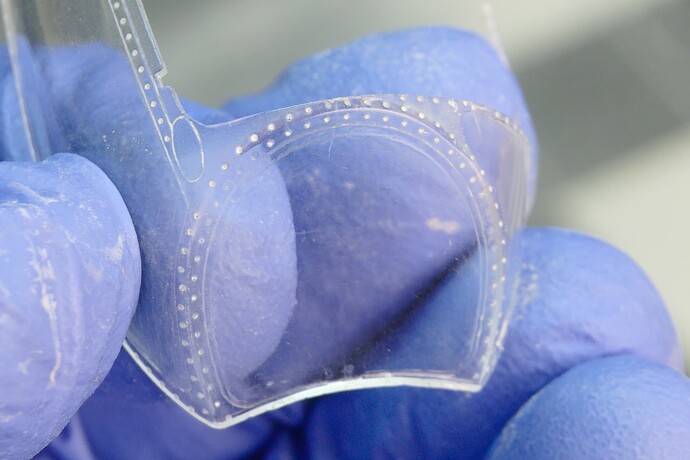
I made the edges thinner and added another panel on top creating a channel that runs around the inside of the door and filled it with putty. I then ran lines through it to represent the rubber seal that inflates to seal in the doors. The bottom doors needed some extra panels to get the shape right. I still missed some spots but I don’t think anybody will notice. Then I added some mental parts of an old pop can and rivets. The upper doors needed a little more love and some 3D printed parts The window trim was from an upgrade kit.
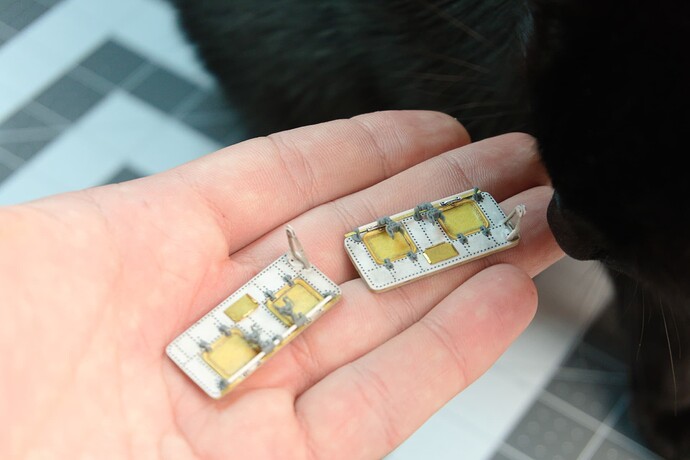
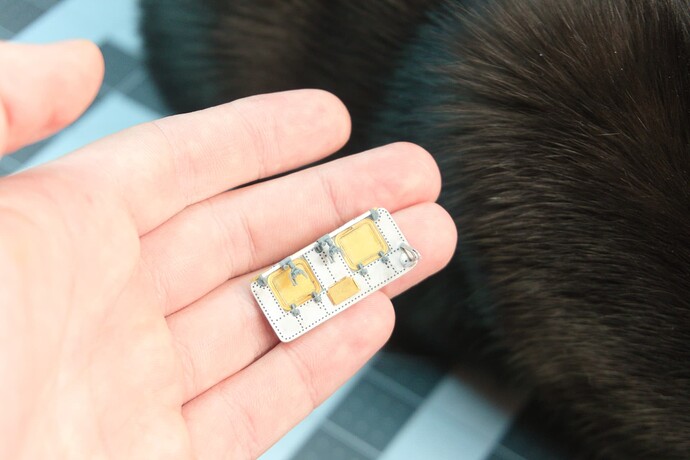
My main goal with these was to test the rivets and see what they would look like. Overall I am very happy. There is still a little bit of the carrier film left on them but not everywhere. I think If I use some softer over the top it might dissolve them like it did in some spots. They look like this primed.
Great work. It is looking awesome.
Thats a pretty impressive big old bird
Intricate work. It all looks outstanding. This is going to be a long build.
Long time no update, have been extremely busy so I don’t have much to show honestly.
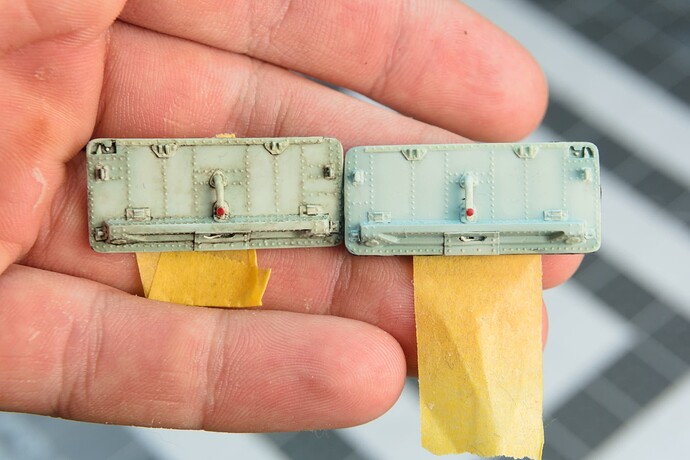
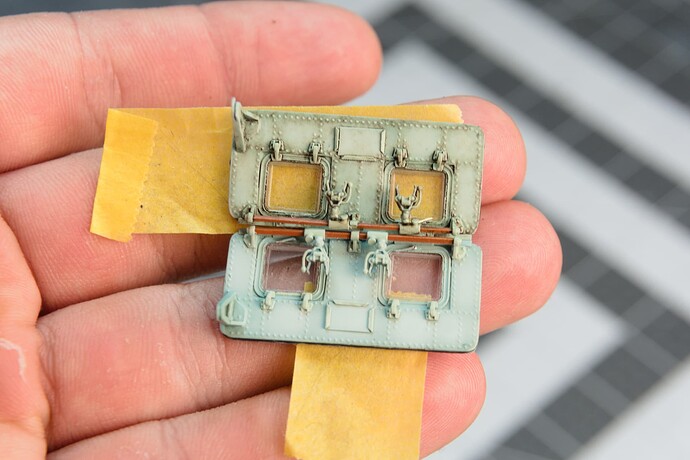
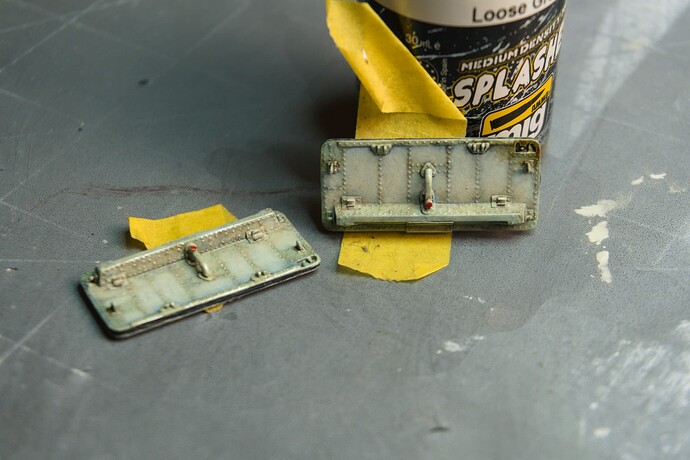
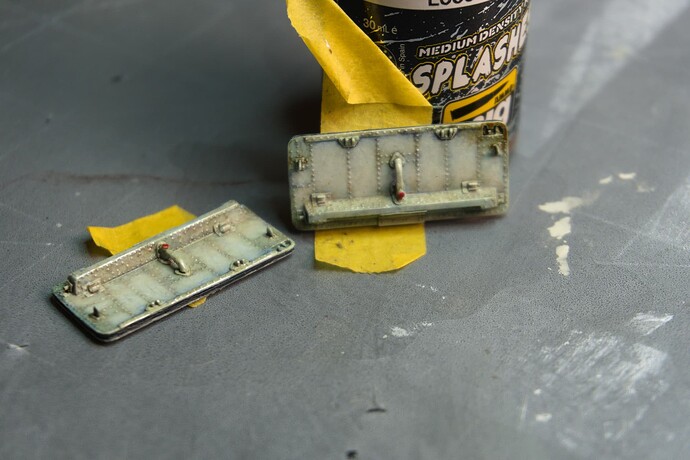
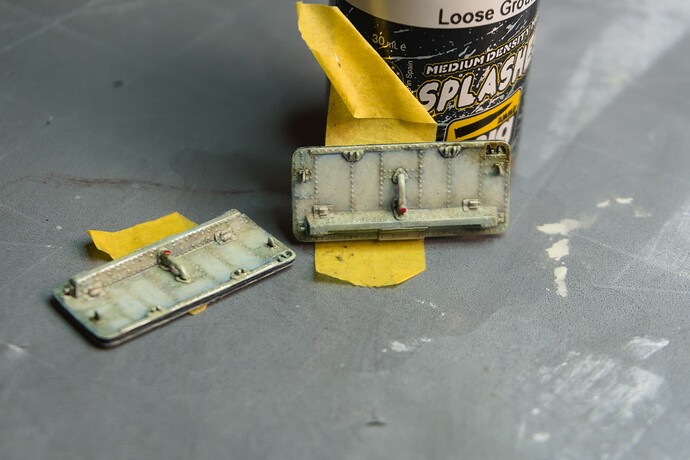
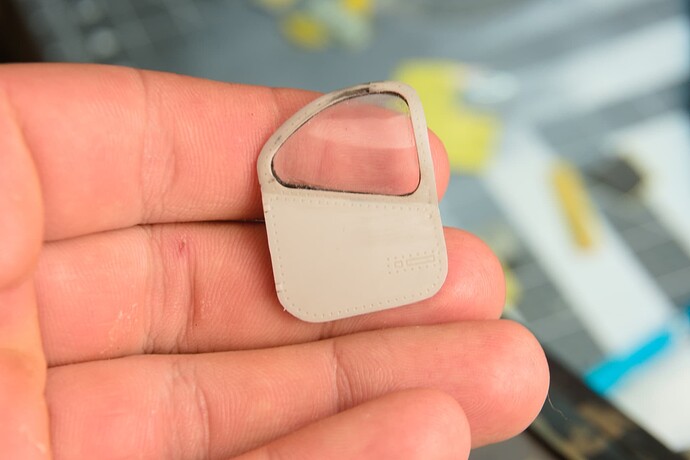
I ended up finishing the doors. I did leave the outside blank as I will be printing the hinges. At first, I thought of using styrene and scratch but I need them to be quite symmetrical on all sides.
One thing that was a pleasant surprise is how much the decal lines on the rivets disappeared once the paint and varnish went on.
With base paint and a wash, I wanted them to be quite dirty:
And here they are done with chipping and oils, enamel dirt:
One thing to note is that the silver chipping is not showing at all in these pics for some reason.
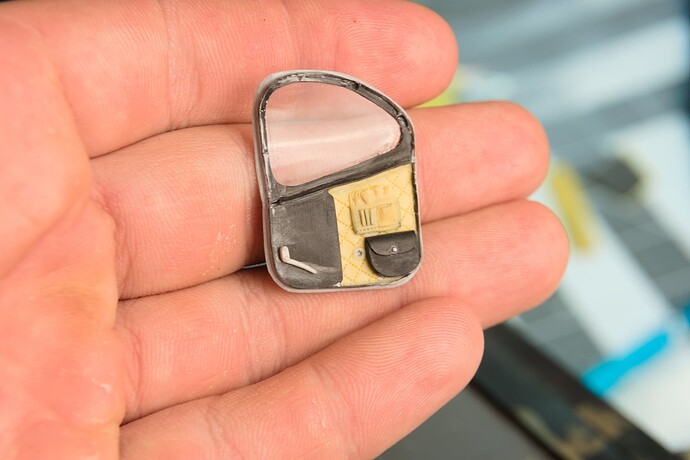
I will now move on to the door and cockpit next. I am pretty sure I posted the door before but here it is again for continuity. I will be mostly spending my time designing and 3D printing certain parts for the cockpit so probably be another long stretch of little to no updates but I should have more free time to work on this thing.
Here is the door so far and what I plan to add:
-Door latch mechanism
-Rivets
-Mirror
-Handles
-Air-tube
-Hinges
I will try to make as much as I can from scratch but there will definitely be 3D printing some of the pieces.
What it looks like so far:
Lastly, my biggest hurdle will be the inside of the Canopy. There are two main issues:
-The canopy is complex and hard to model
-The clear parts got damaged and I am currently trying to get replacements.
Thanks for reading!
Lot of works, i likes it!!! I saw on youtube a video where a guy used liquid glue with micro balls to fill all the rivets holes. The result was nice and certainly more easier than filling and put some 3D decals.
I have seen it as well but there is only one issue, a lot of the rivets on this thing are in the wrong spot or are the wrong size, or should not exist at all while plenty of others are missing.
Because of that, I decided that it would be easier to just do the decal ones.
Your commitment, attention to detail and pure skill is phenomenal.
I’m in awe just watching what you’re able to do to make this collection of bland plastic into something so detailed and realistic.
Very nice ! ![]()
Great work.
That’s not a good news if Trumpeter did a bad work on their kit ![]() thanks for the information.
thanks for the information.
Excellent work so far. Probably the best helicopter build I’ve seen, and it’s not even finished.
I saw that done on their CH-47D. It was outstanding. I just don’t have that kind of patience. And there are some rivets on the wrong places on that kit as well. Nothing to worry about, unless you’re actually opening some of the panels and things don’t line up correctly.
Small Update, I just couldn’t resist sharing.
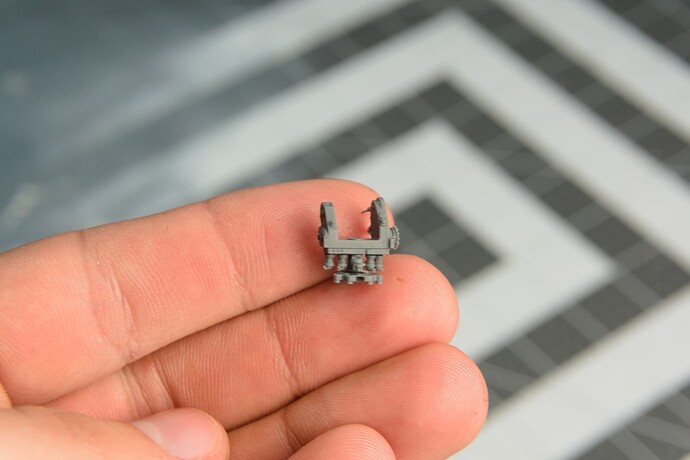
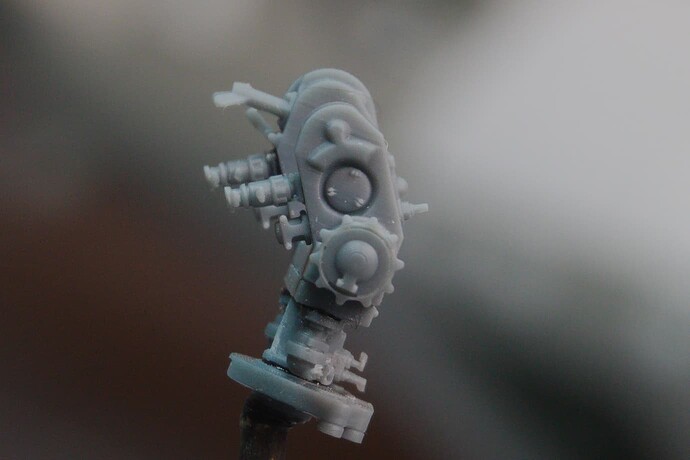
I am printing this weekend and should be done with the Pilot door today but wanted to post how good this prototype came out!
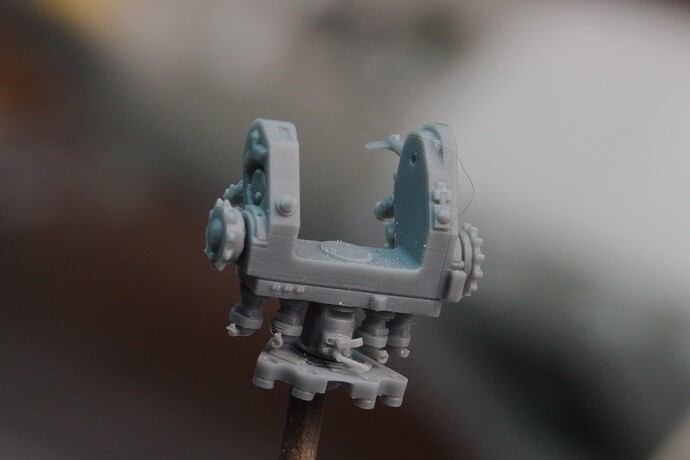
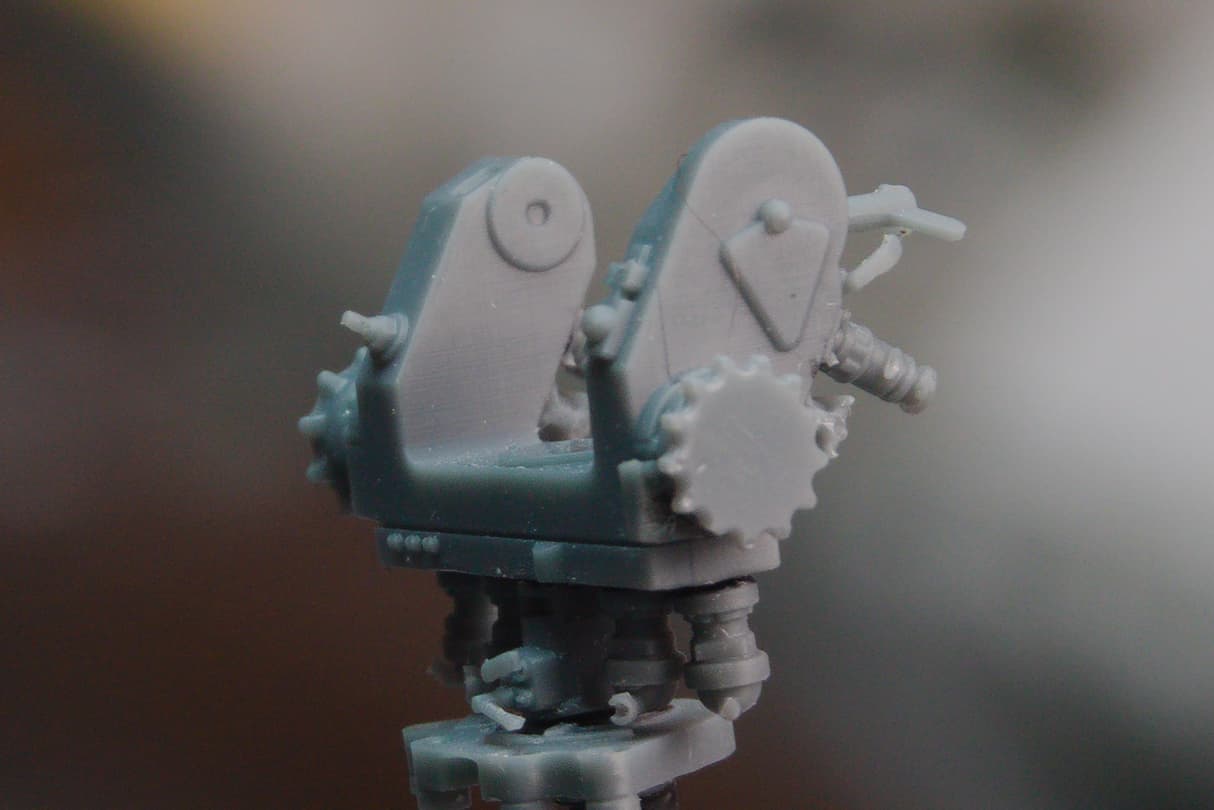
This is the gunner’s Flex sight and this was just half of it. I wanted to see if the prototype would be in scale and it seems that it is just a bit oversized. I am currently reprinting it at 80 percent to see if it looks better.
Since this is just for prototyping I did not do the best job cleaning and removing the print so plenty of little faults and damage on it.
It is obviously still missing the top part aka this:
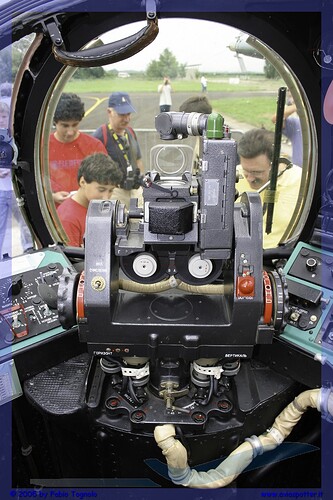
(Note that this sight is a bit different because it is a foreign export version)
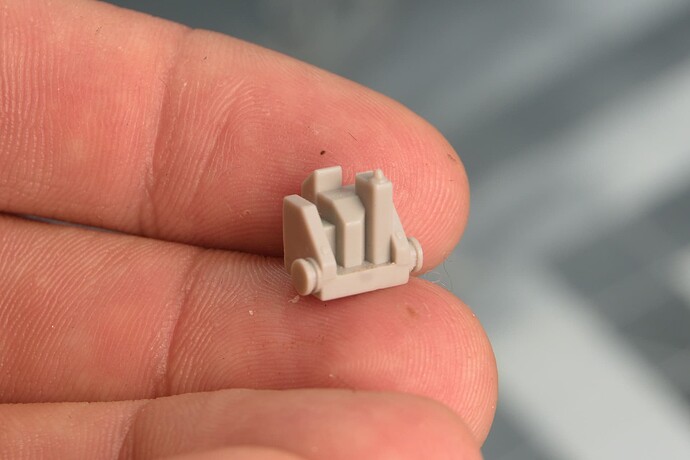
This is what the OG part looks like:
As you can see from the references the sight is a bit big but all the proportions are correct:
See you guys later today when the pilot door is done!
The detail is awesome. ![]()
![]()
I agree… amazing work
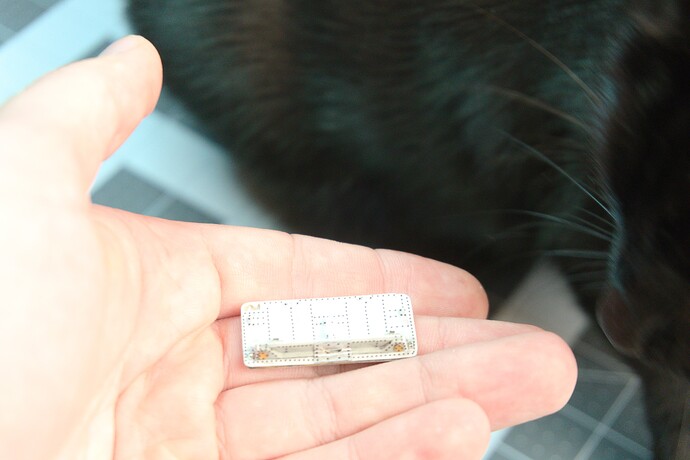
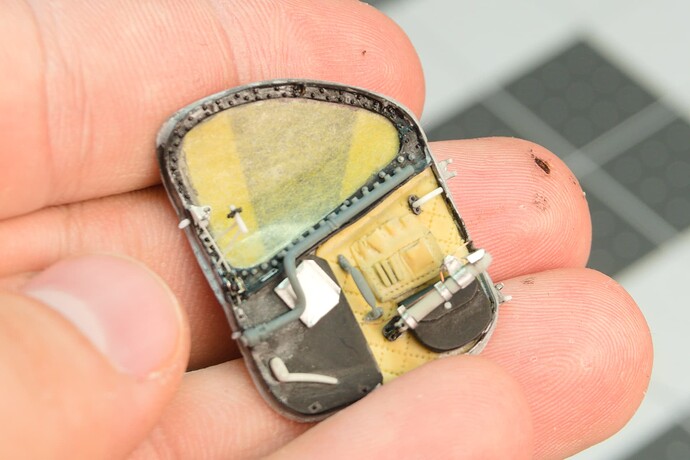
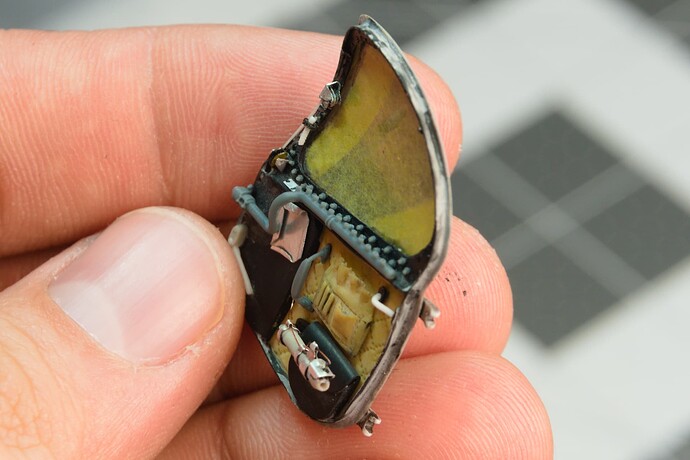
Little late with the door but I had some setbacks.
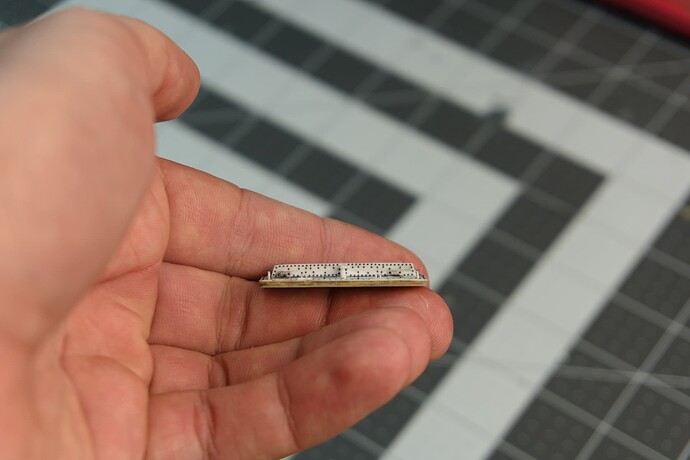
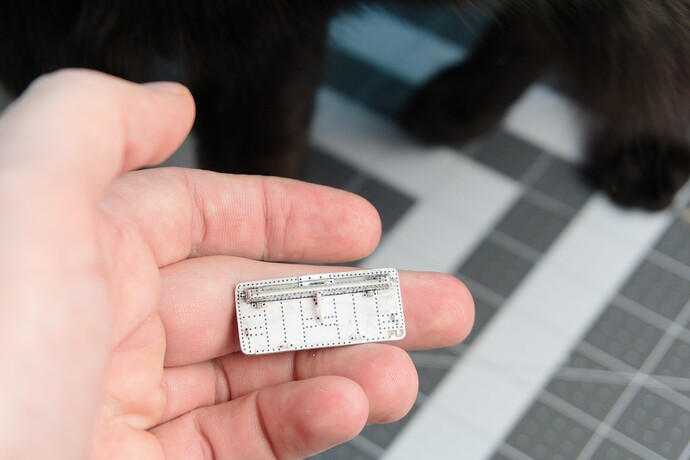
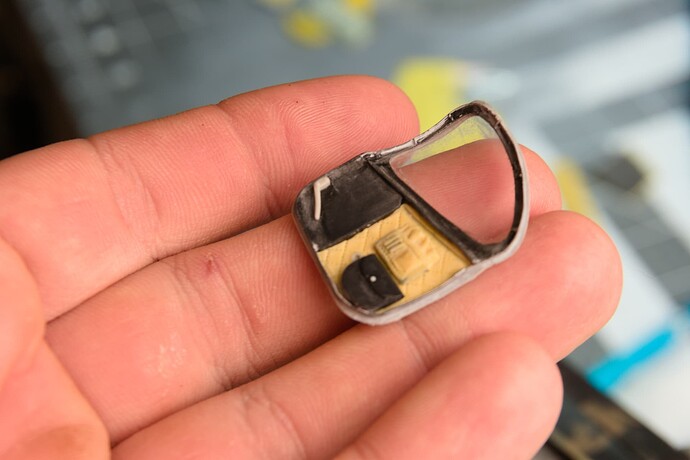
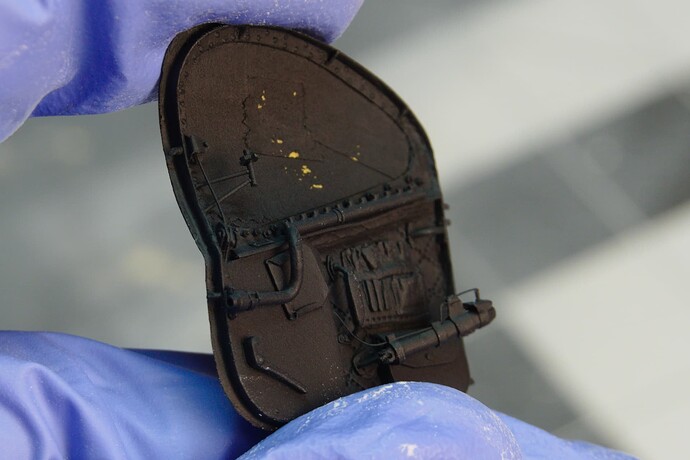
I had some trouble with the door because the modifications made the door very fragile and you can tell where it has cracked before but they are filled in with some black CA. The only parts that remained from the OG kit were the door itself, the handle, and some of the piston. Now you can’t see some of the details but a lot of work went into this thing.
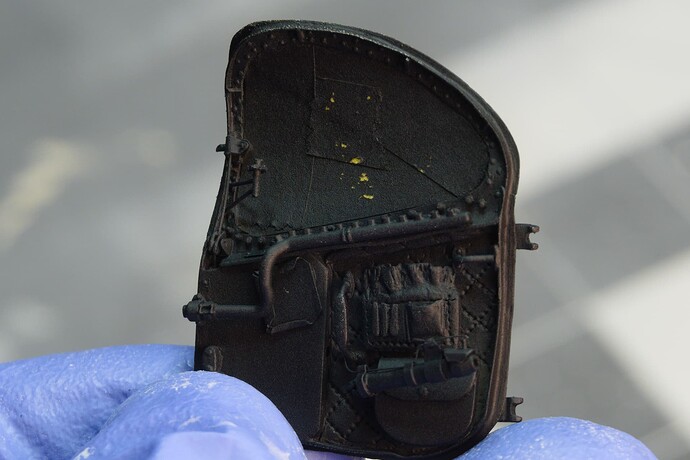
What’s left to do is some cleanup/washing before I prime this thing but I won’t be painting it until the whole cockpit is done.
The piston will also get a polished needle for the sliding part of the piston once it is painted.
Here it is folks:
Overall pretty happy but nervous about finding mistakes once the primer is on because of how fragile and packed this thing is.
The outside was quite the experiment because this part of the helicopter is made of steel and instead of rivets they used screws. To achieve this effect I took a 0.5mm needle and grinded the end to just a flat tip. I then heated it up a bit over a flame and indented it into the plastic. Later I sanded it down and used a hobby blade to make the screw slot. Mistakes were made as it was really hard to control the temperature of the needle, Otherwise happy and hope they don’t disappear with paint.
This is the door before any modifications other the me starting the black trim around the side. The only thing this door would have without mods is the piston, handle, and a tube that I printed but it was just a plane bent tube with no features.
I will now start on the cockpit itself , beginning with the canopy!
I am just glad you are overseas cause there is no way I could compete with this level of detail. Simply amazing!!
Wow! Is all I can say super impressive.
Hello everyone!
I need some advice and it has to do with the Canopy. Now the molding on it is great BUT its broken in two ways.
The first is my fault but it’s easily fixable… I broke a trim piece off :
The second one is what I am truly worried about and is NOT my fault. This crack in the front portion:
It’s not SUPER visible but if you look at it you definitely see it. With this, I have 3 options:
1: Just leave it and start building the inside, hope nobody notices and it doesn’t get bigger.
-
Cut out the front glass piece and replace it with a clear acetate like I did on the pilot door. This won’t be too hard and I can definitely do a good job but I am worried especially because the canopy will have a boom attached.
-
Try to order a new one. This will seem like the best choice BUT it might not be possible. Trumpeter has outsourced all their spare parts to hobbydna.com. Now this won’t be a problem as they do have the spare parts for this kit…except the canopy. They do technically have it but it has been out of stock since February and the website will not reply to any email or through their Facebook page.
I sent them another email today asking if the item will ever be restocked and if so, when. I do not expect a really as they didn’t last time either but I will hold out hope.
For now, I will work on other things but if I get no reply by Tuesday I will just go with option 1 or 2.
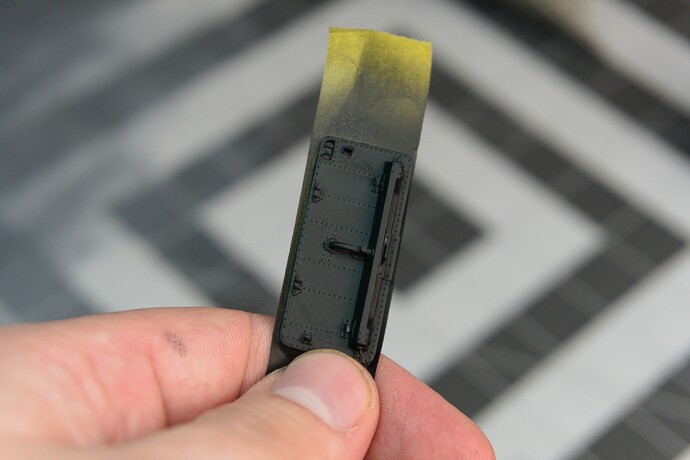
As a last bit I have primed the door:
Would love to hear some advice it regard to the canopy,
Cheers!
Can’t tell from the photo but if it’s a hairline crack with no displacement consider flowing in some super thin liquid cement carefully placed to avoid crazing the surface.
