Some closer options. Ultracast has some options that would be similar.
I have only used Ultracast in the past so I cannot speak to Greathobbies.
HTH
Some closer options. Ultracast has some options that would be similar.
I have only used Ultracast in the past so I cannot speak to Greathobbies.
HTH
Cheers man! Tamiya also has a set of saw that look similar to the ultracast ones. I can get them locally, think they’ll work?
I think so, at least better then the zona saw in my opinion. Either way I recommend going slow and steady.
Cheers. Thanks for the help!
No problem, glad I could possibly help. Proof will be if it really does later.
I often use my saw (the same as @Mead93 's picture) for all types of jobs but haven’t tried using it to cut away parts, I can see the benefit of getting one in the near future though. Something I do for removing parts, especially tiny ones, is I have a popsicle stick with a small rubber pad glued to one end that I place under the sprue at the injection point to the specific part and cut the part away with my xacto knife, this supports the part from the bottom and allows for a more precise cut.
Cajun
The issue I have had with that technique that on Miniart and Bronco kits is that those small parts with more then one sprue gate the stress applied on the one gate is transferred through the part and break/bending the middle or end. For me I have found that sawing the part has eliminated that issue.
I’m with Ryan on that. When I was doing the 3 ton crane you could see the stress going through the part as I was using cutters on it. The Miniart kit does seem to have a lot of sprue/pour gates per part … and the most fragile ones… I used a saw where possible and that was a big help. I do need to get a blade with a finer more narrow tip as the ones that came with the tamiya saw are a bit chunky for some bits but they went through resin blocks like a hot knife through butter.
Any tips for cleaning up. (Sanding sprue stubs and mold lines on small parts?
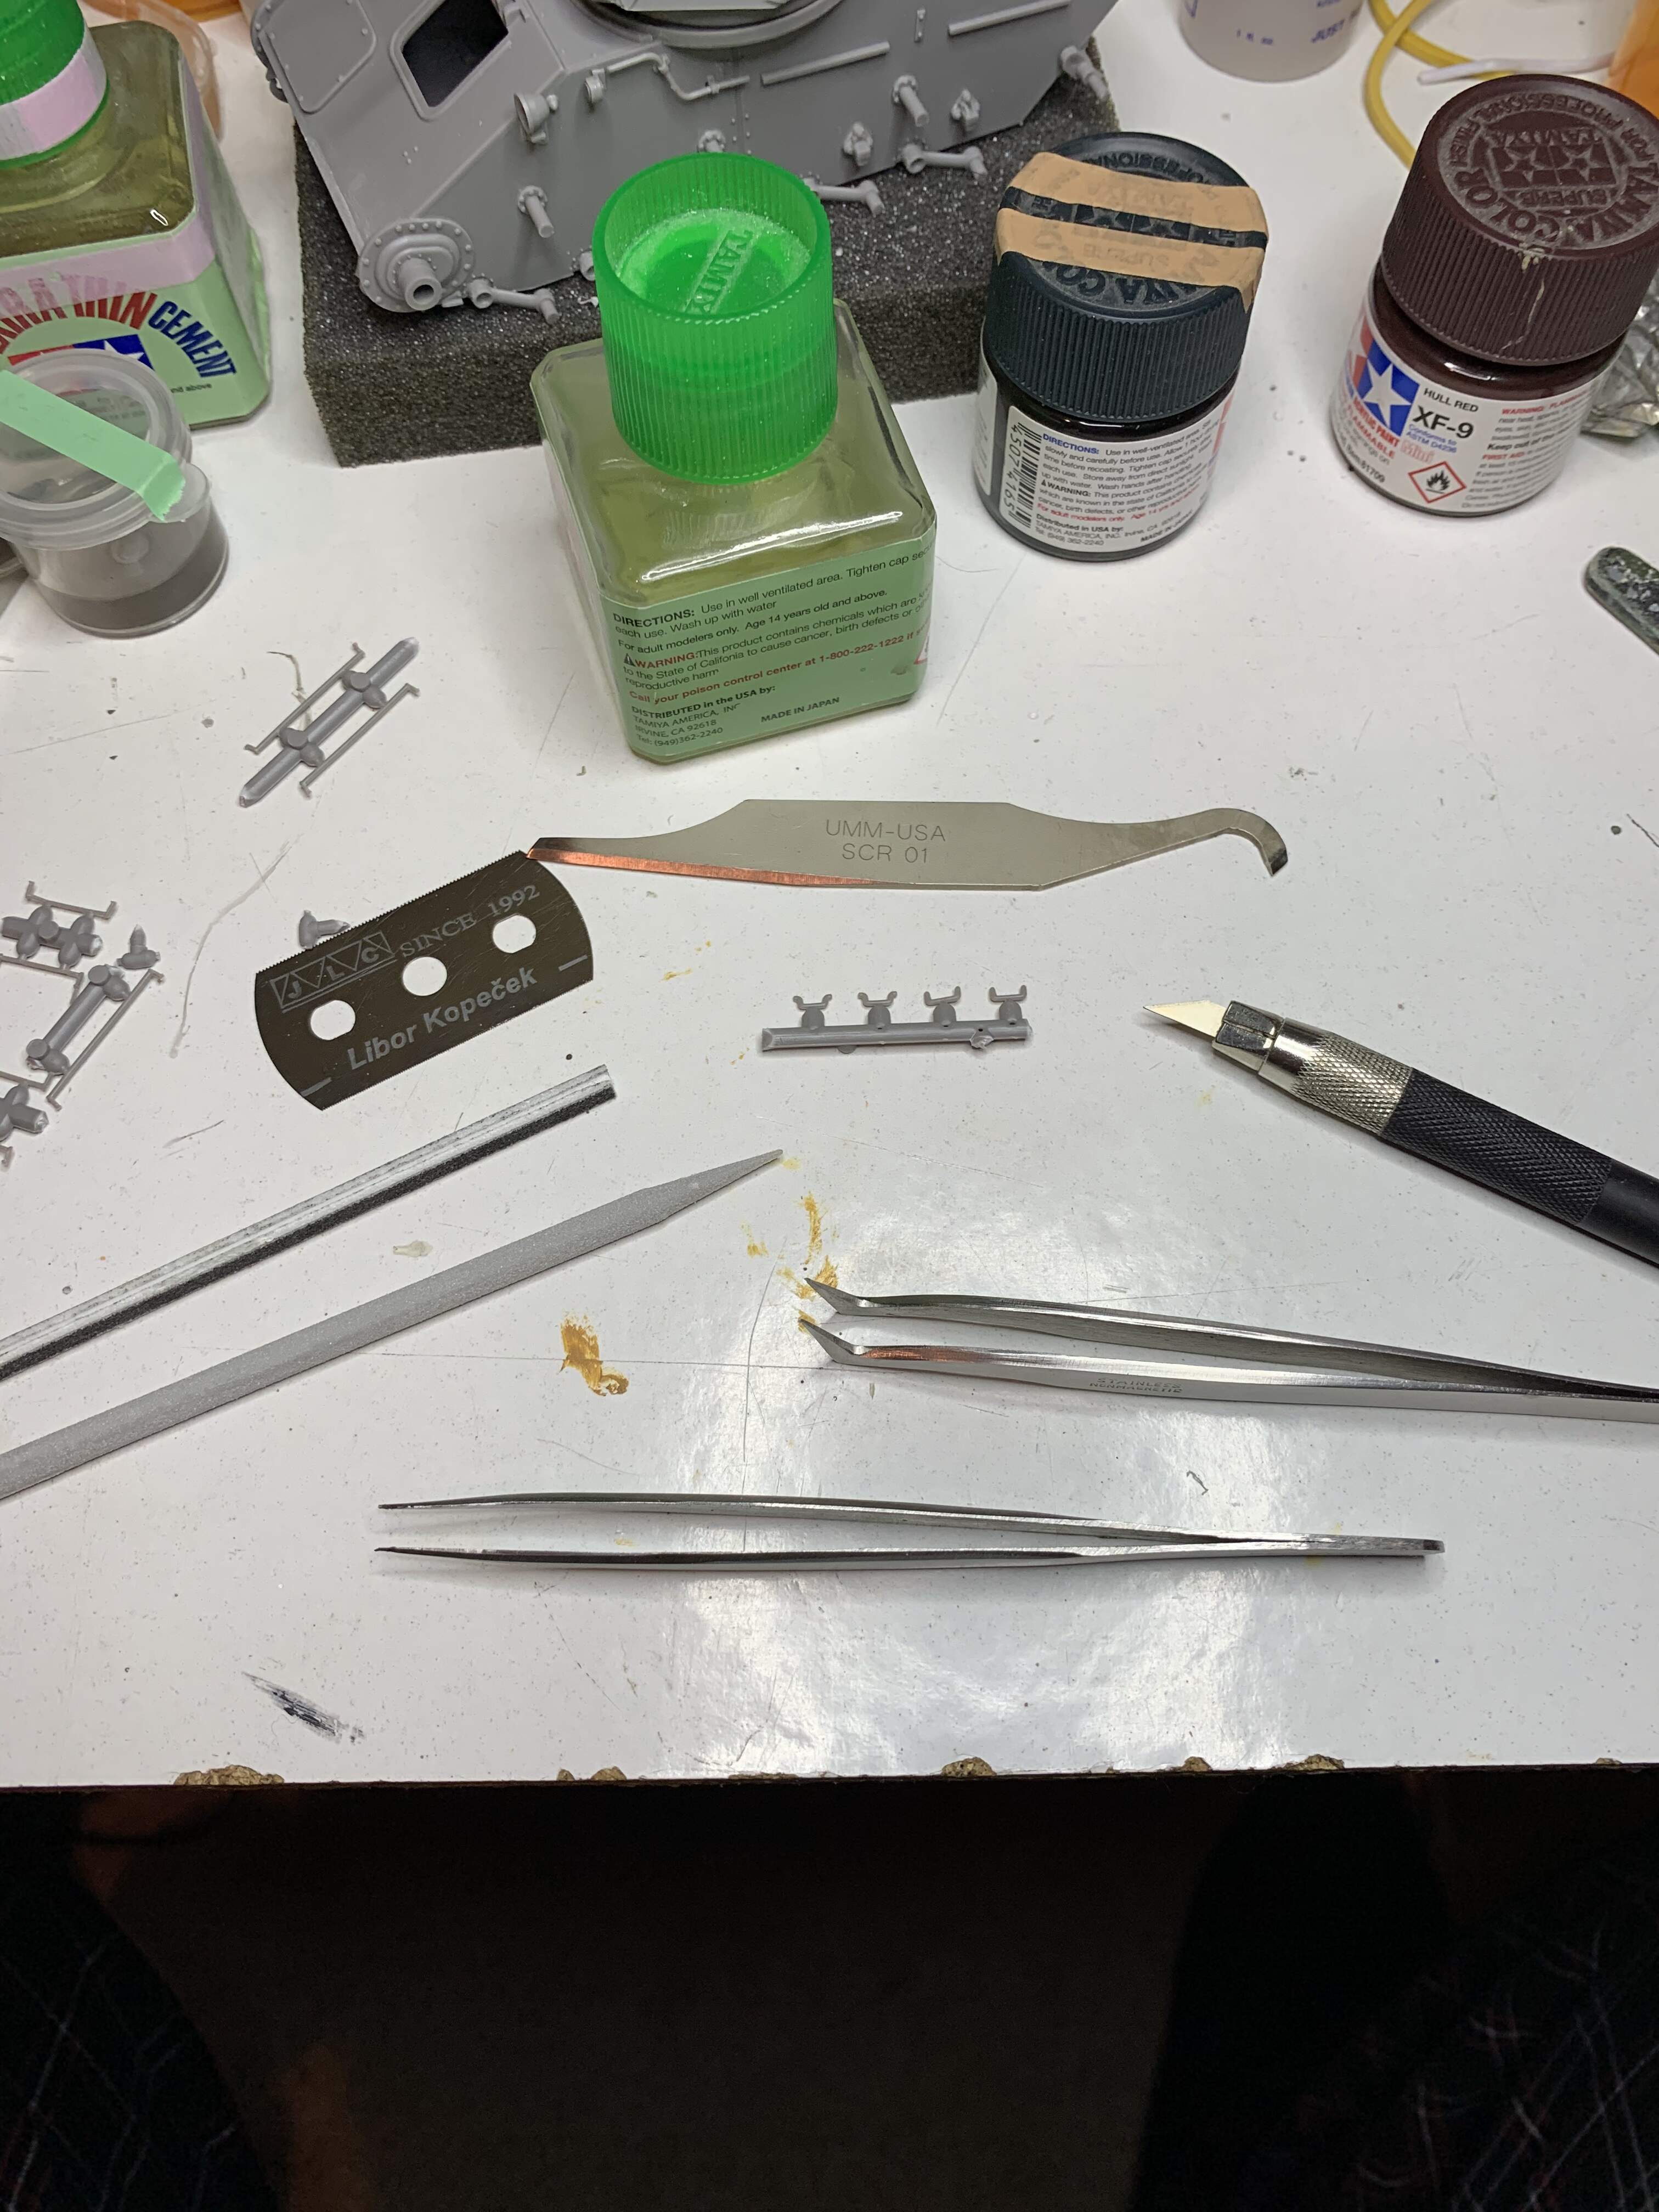
I use sanding stick twigs, sanding needle, scraper and a sharp blade (Meng knife). Having tweezers to hold parts saves fingers and skin. I also have a magnifying lamp to help see the parts. I will take a photo later.
Another important decision I make is will I do more harm then good. Sometimes it’s best to leave alone then to create a bigger problem. Will realistic weathering or stowage cover the part/s. As I don’t complete for contests or to win them if I do enter, this is helpful if I decide to leave it alone.
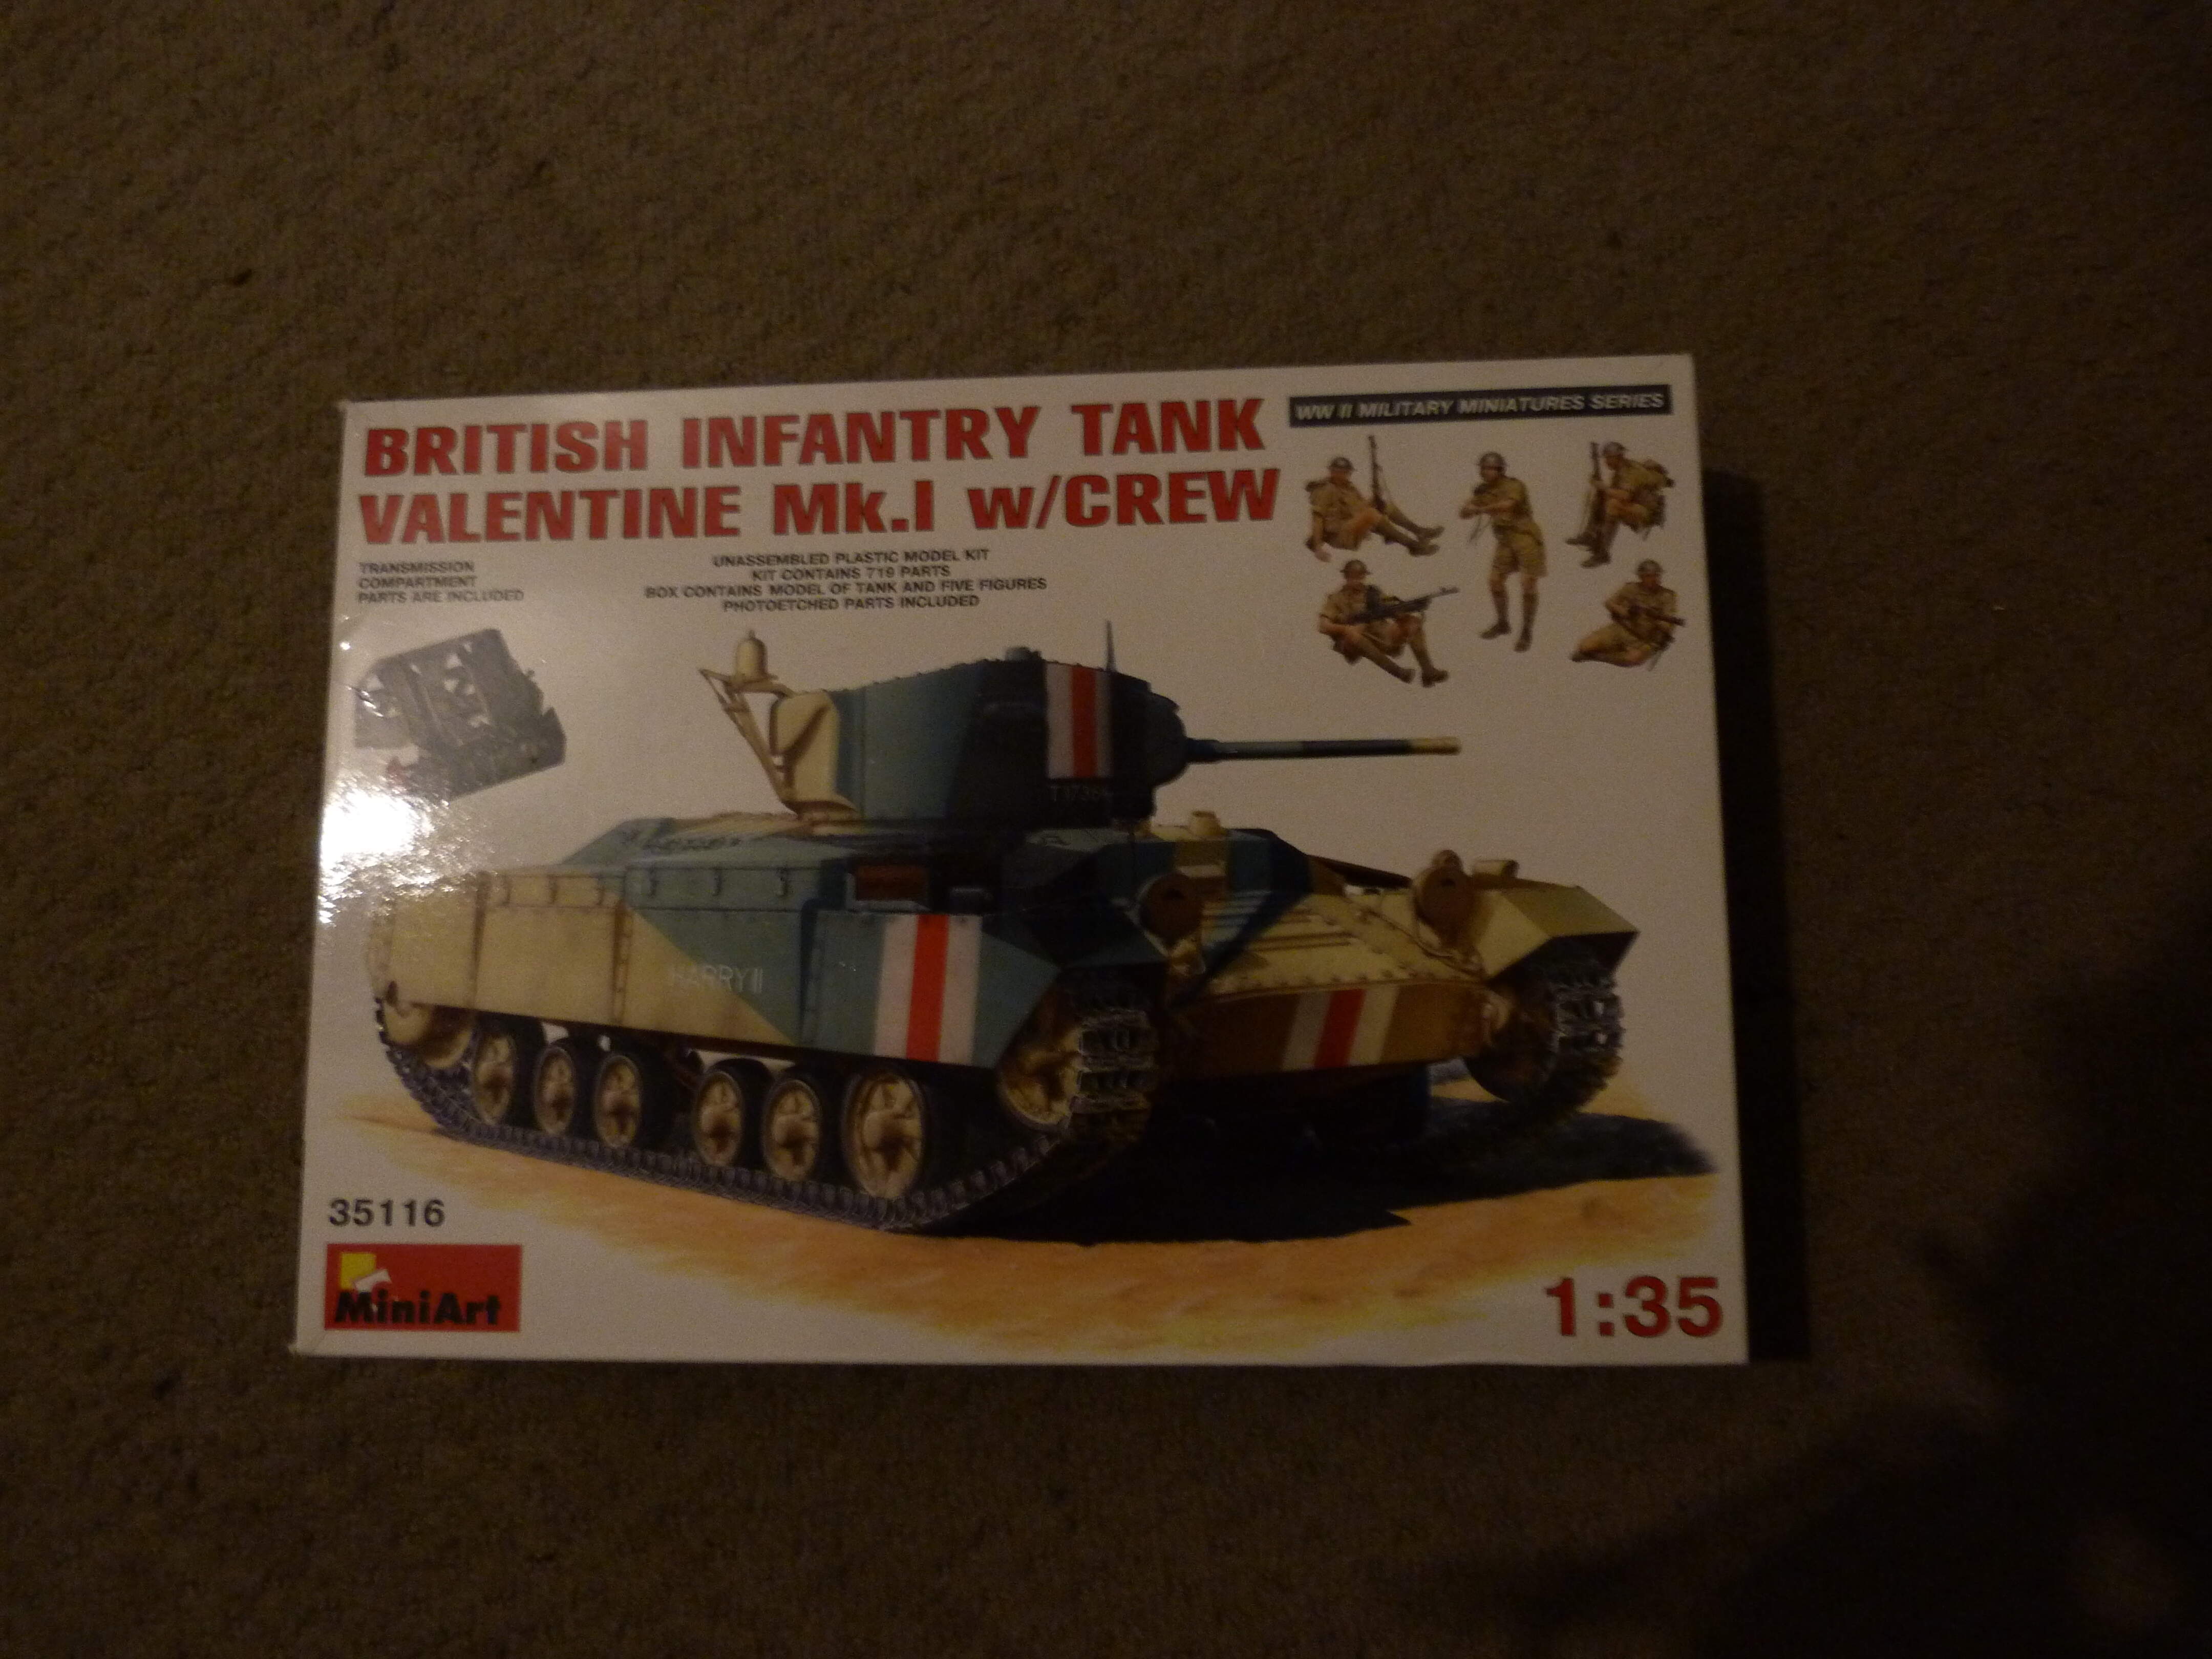
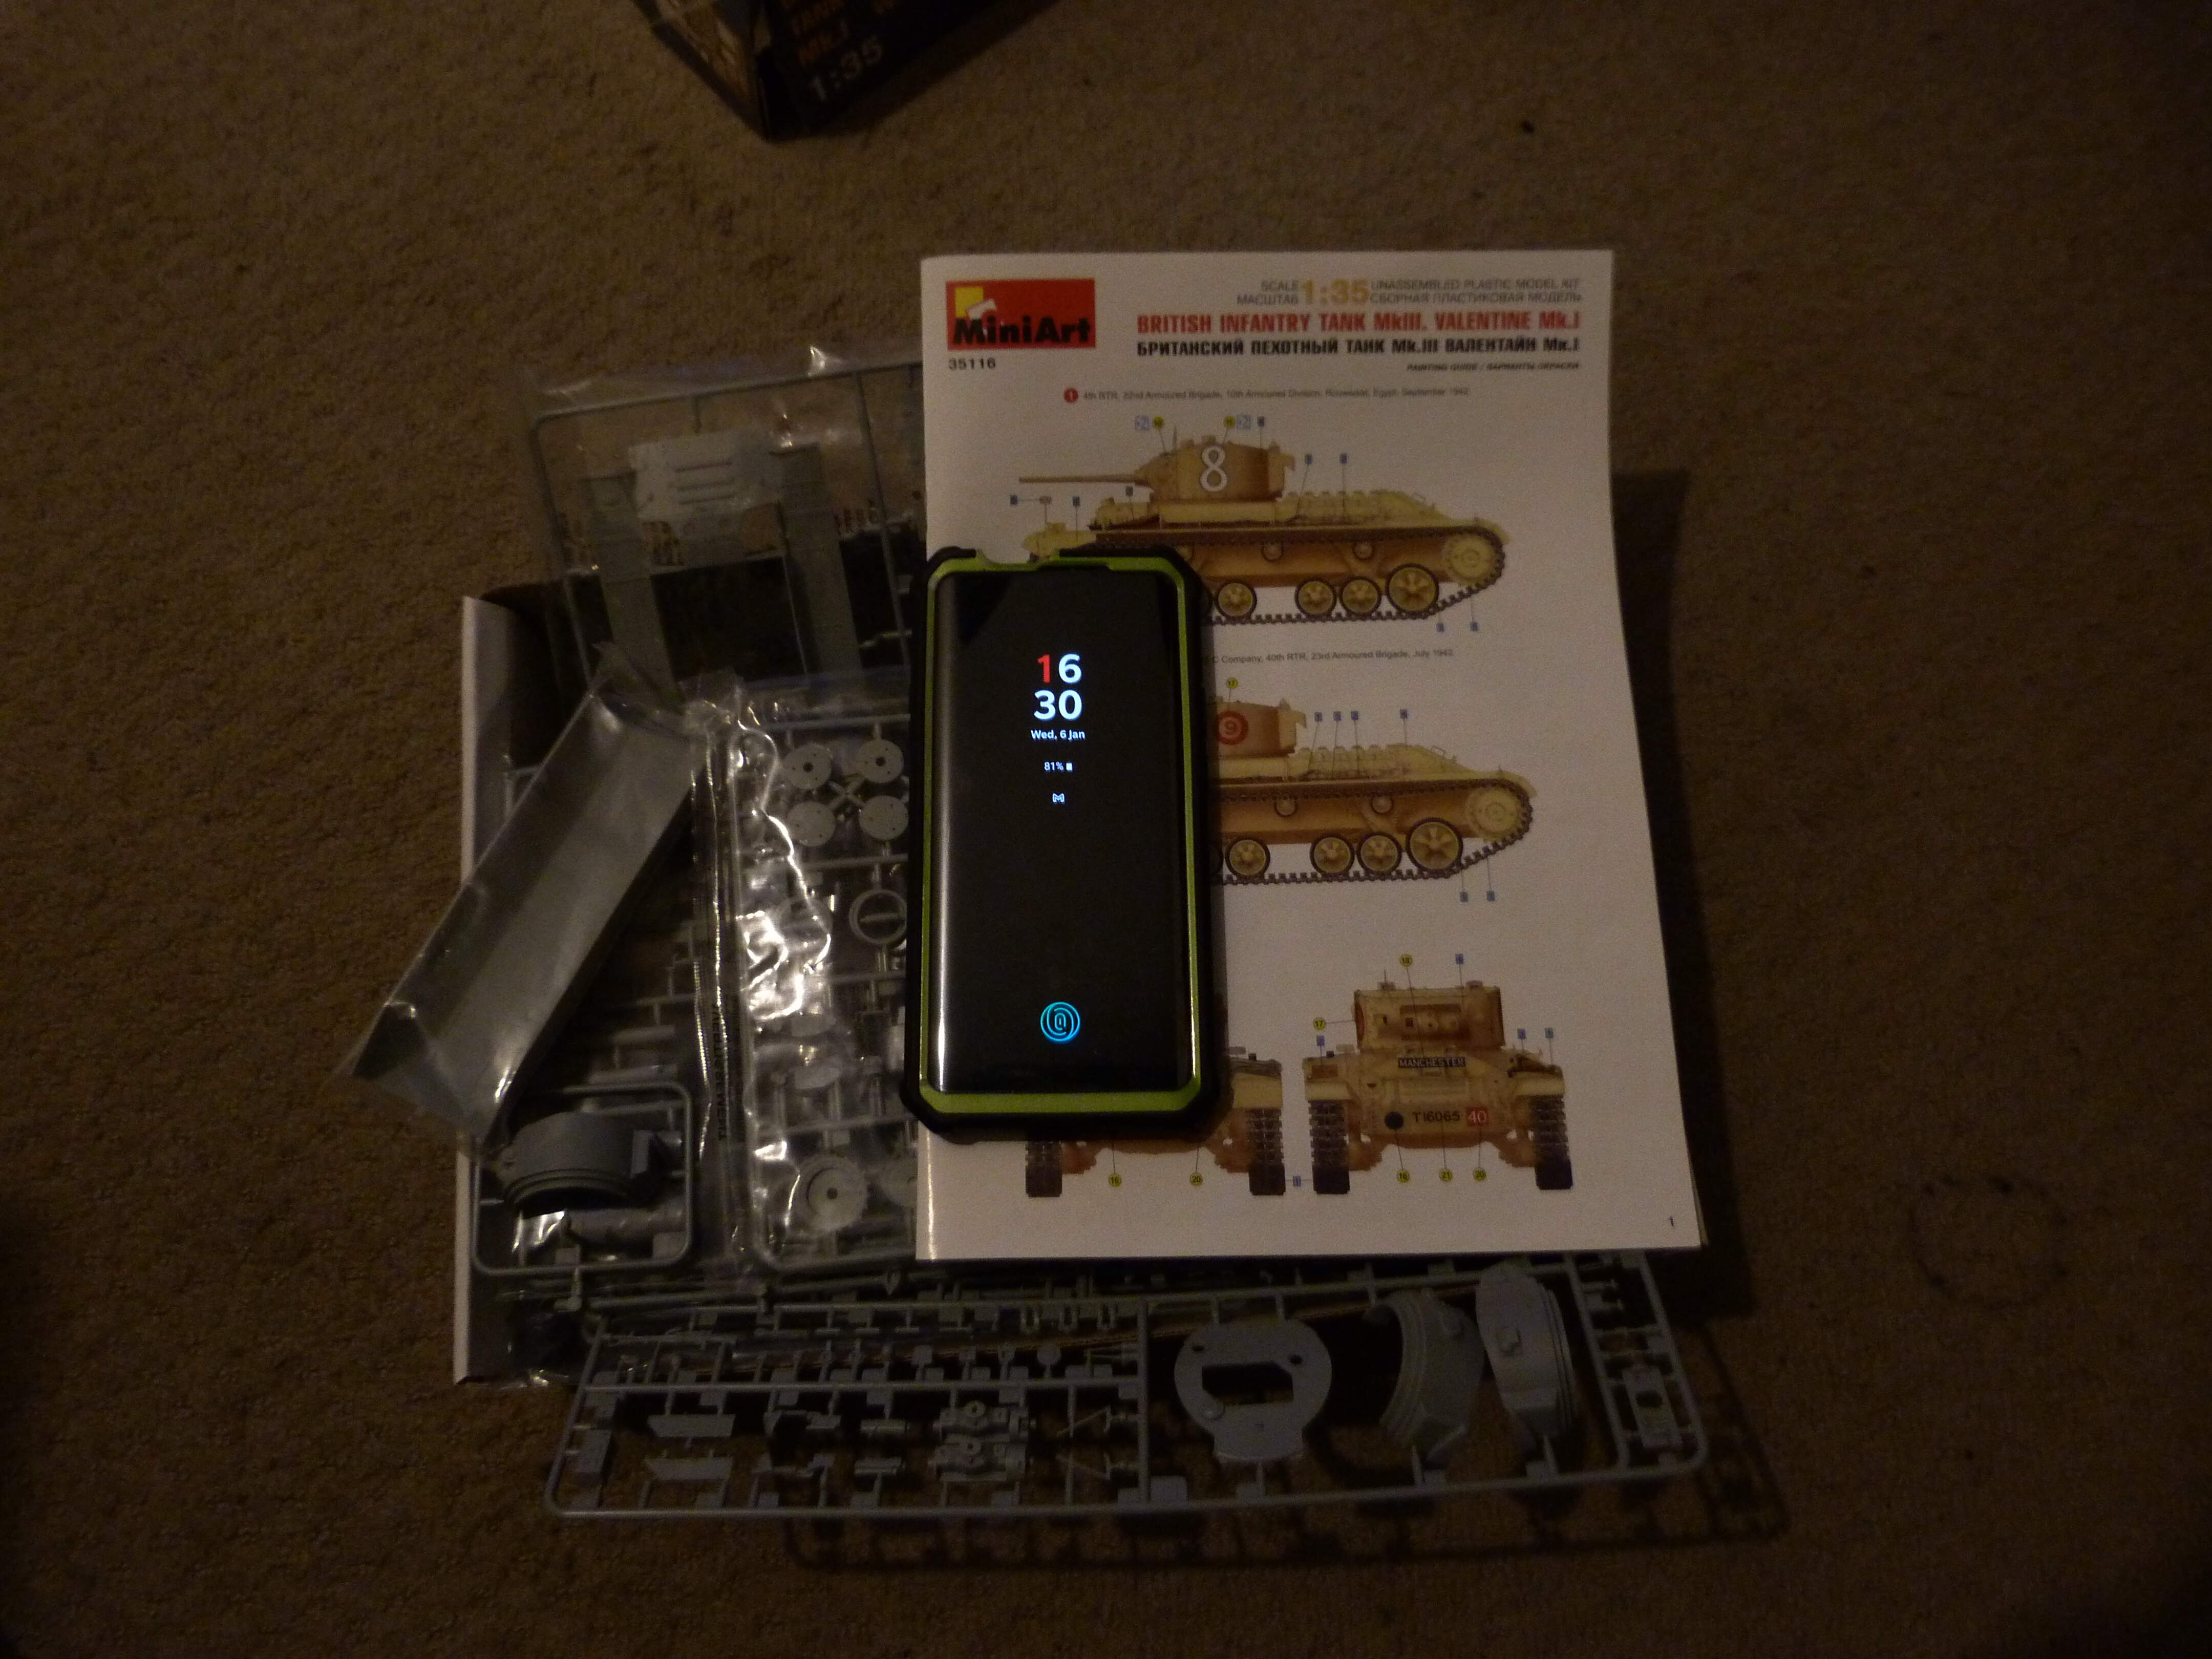
Right then, decision made, I’m going to go with the valentine MK1 and I’m probably going to have a crack at the ever contentious ‘caunter’ camouflage scheme too, in for a penny, in for a pound eh?
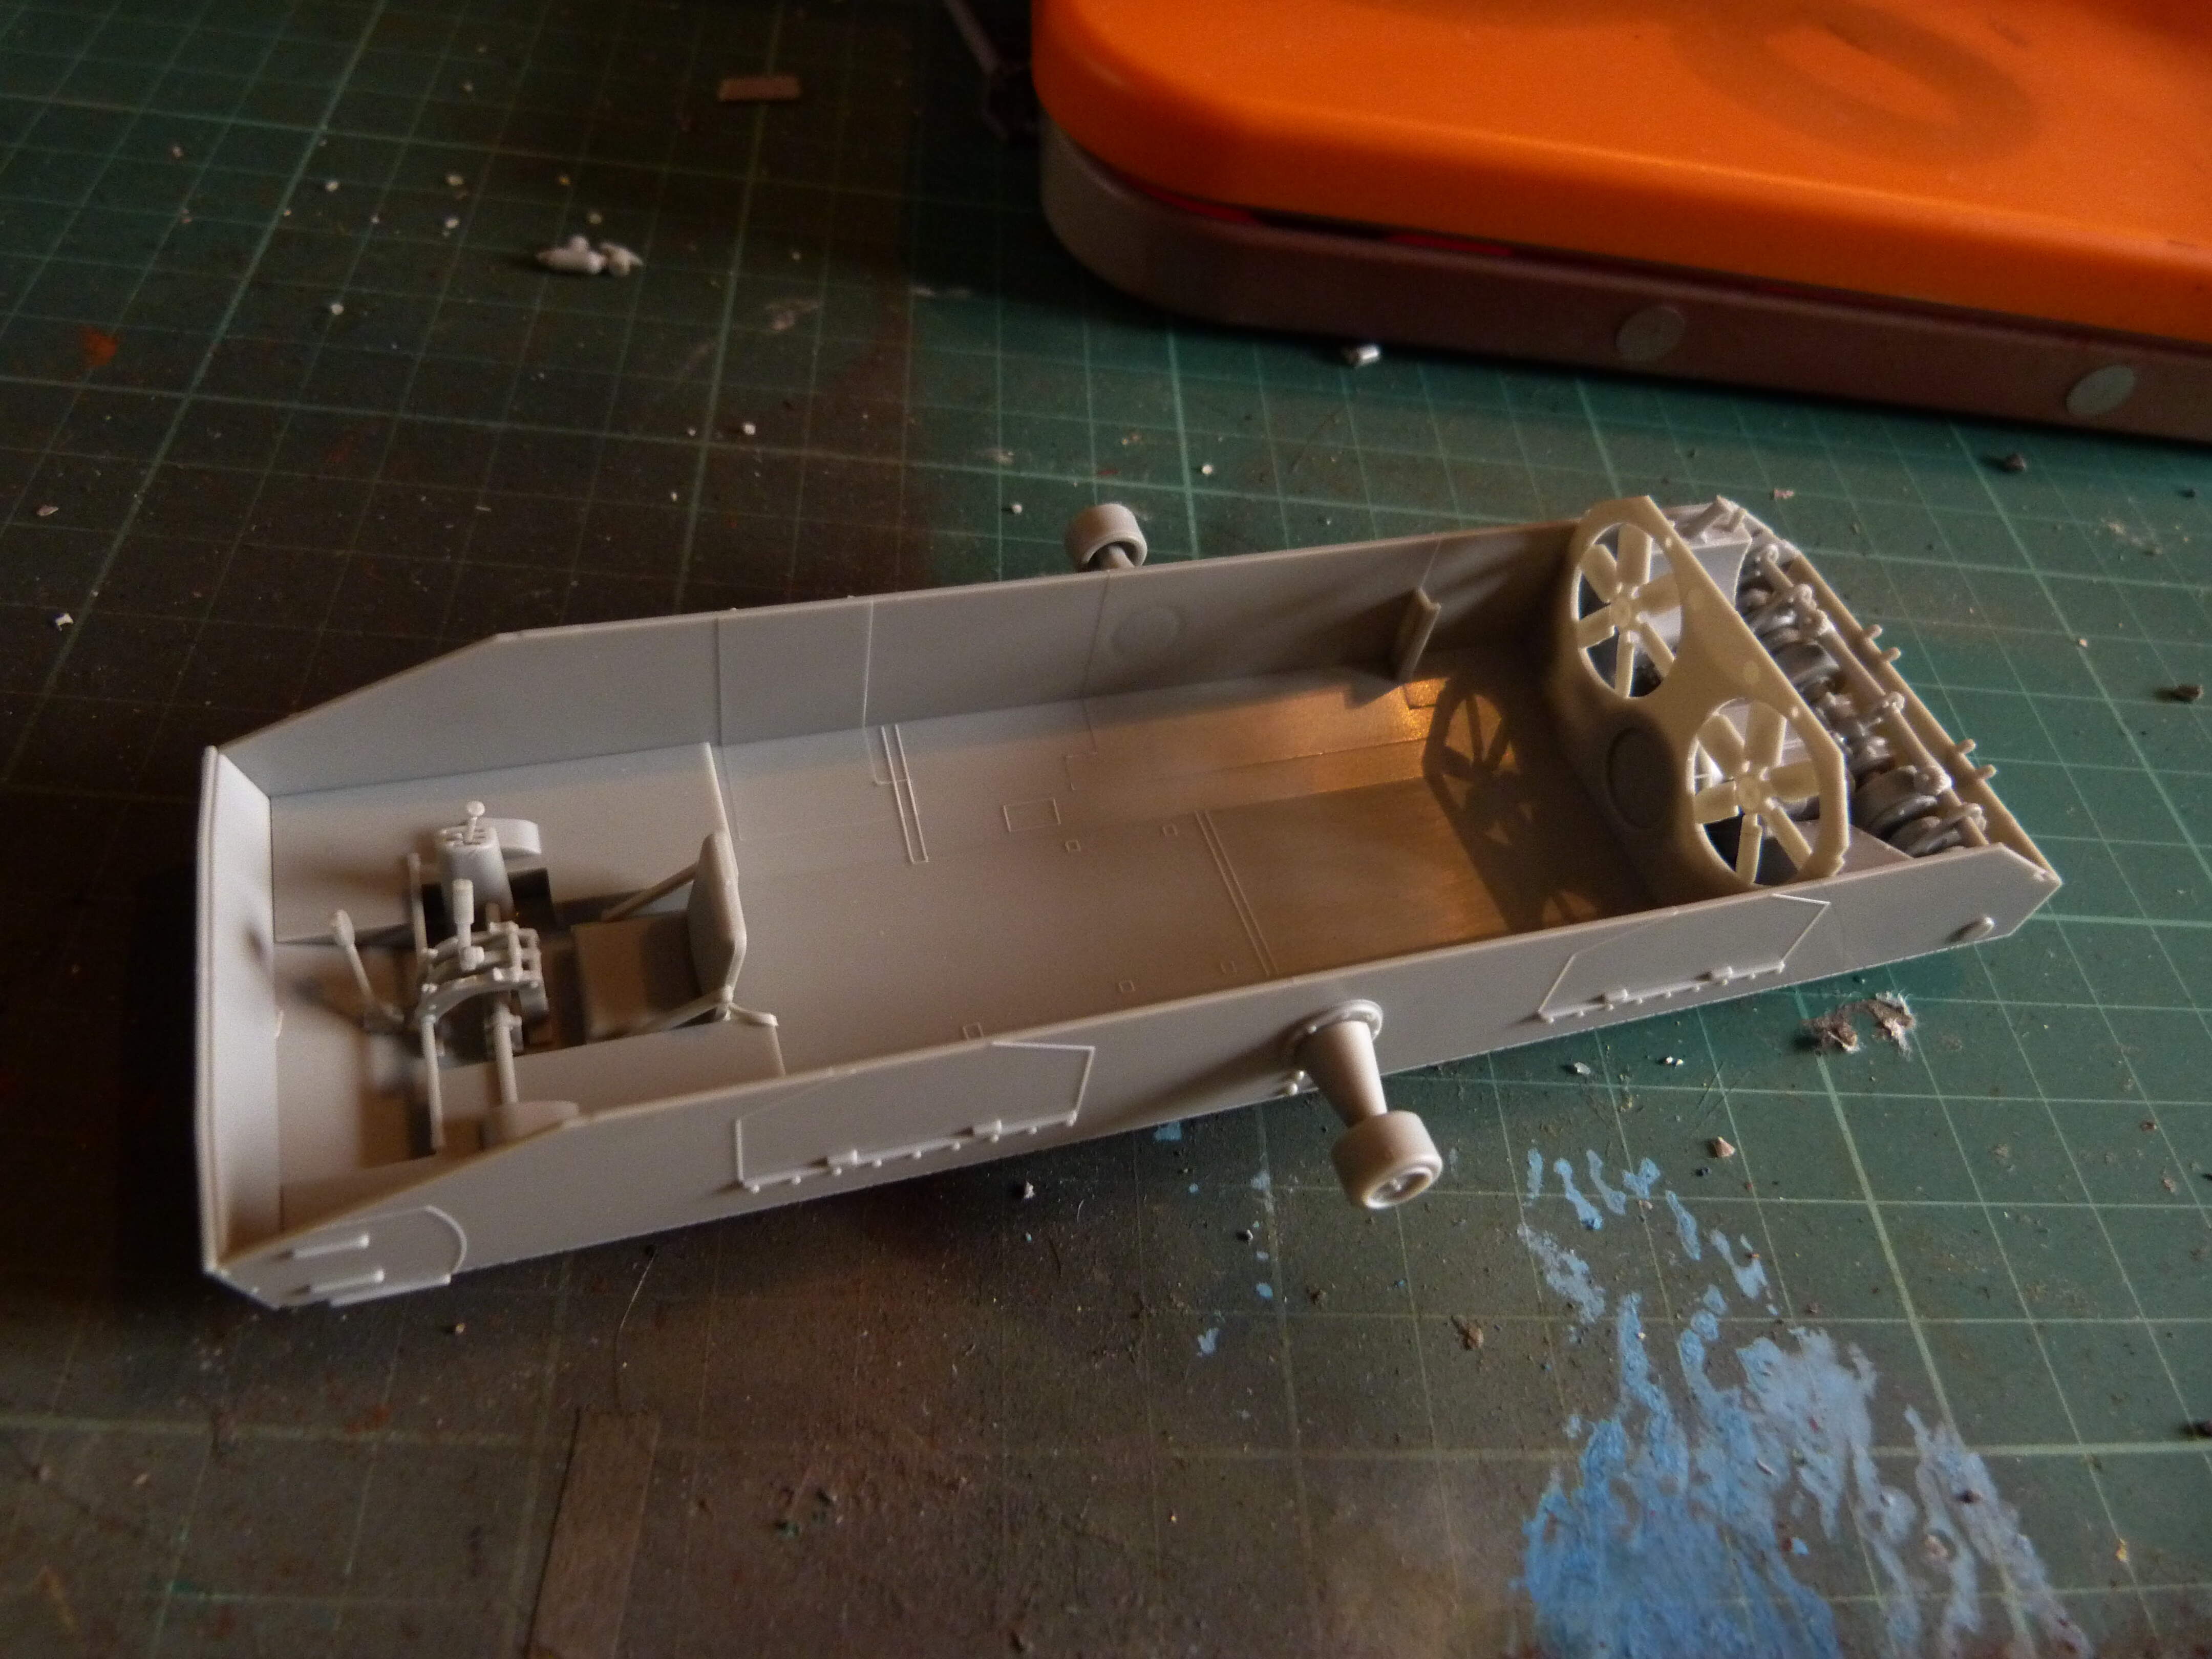
I have made a start on the lower hull with the interior details, however I think for the most part this particular valentine is going to be ‘buttoned up’ so none of it will be visible when the model is finished. Its a shame really but hey, its probably a bit wonkey anyway and the carpet monster has eaten a couple of lifting eyes from the transmission assembly already
Gents,
Just jumped in and had to spend a huuuuge time to read over the comments and look at the progress pics. So amazing work you do, I cannot stand waiting to start my T-55 kit from Miniart.
Take care and do post your masterpieces!
Tamás
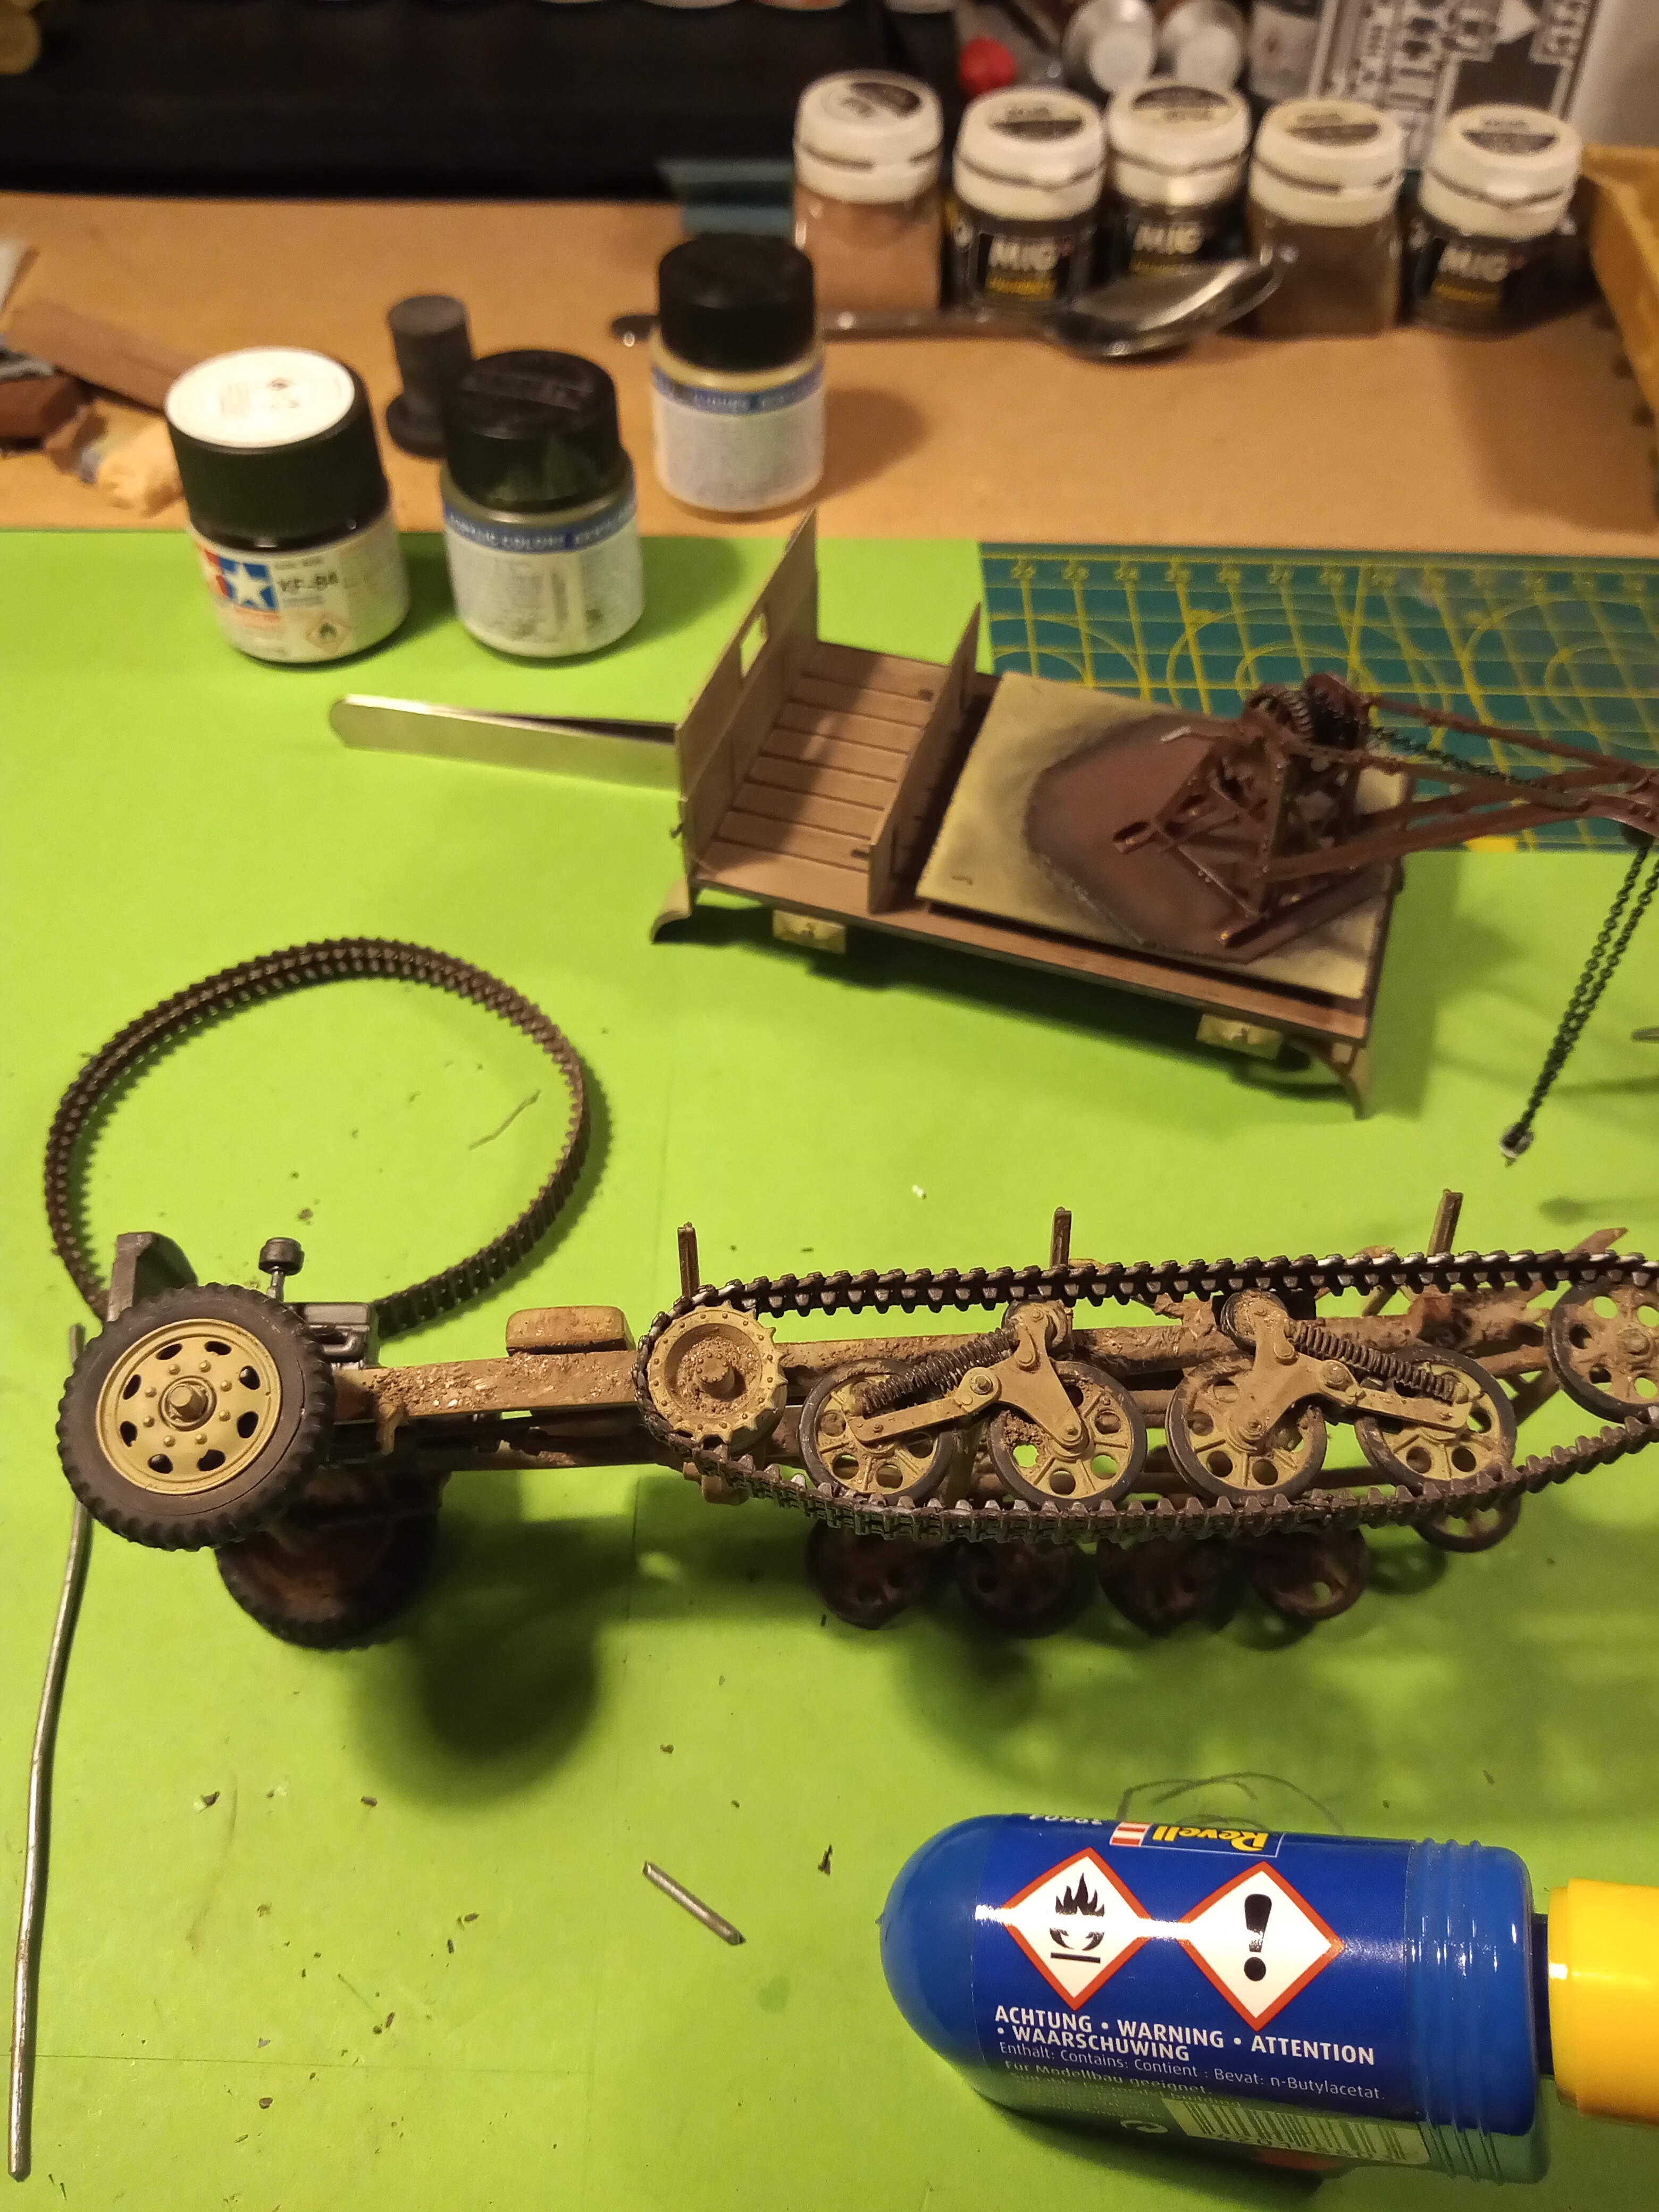
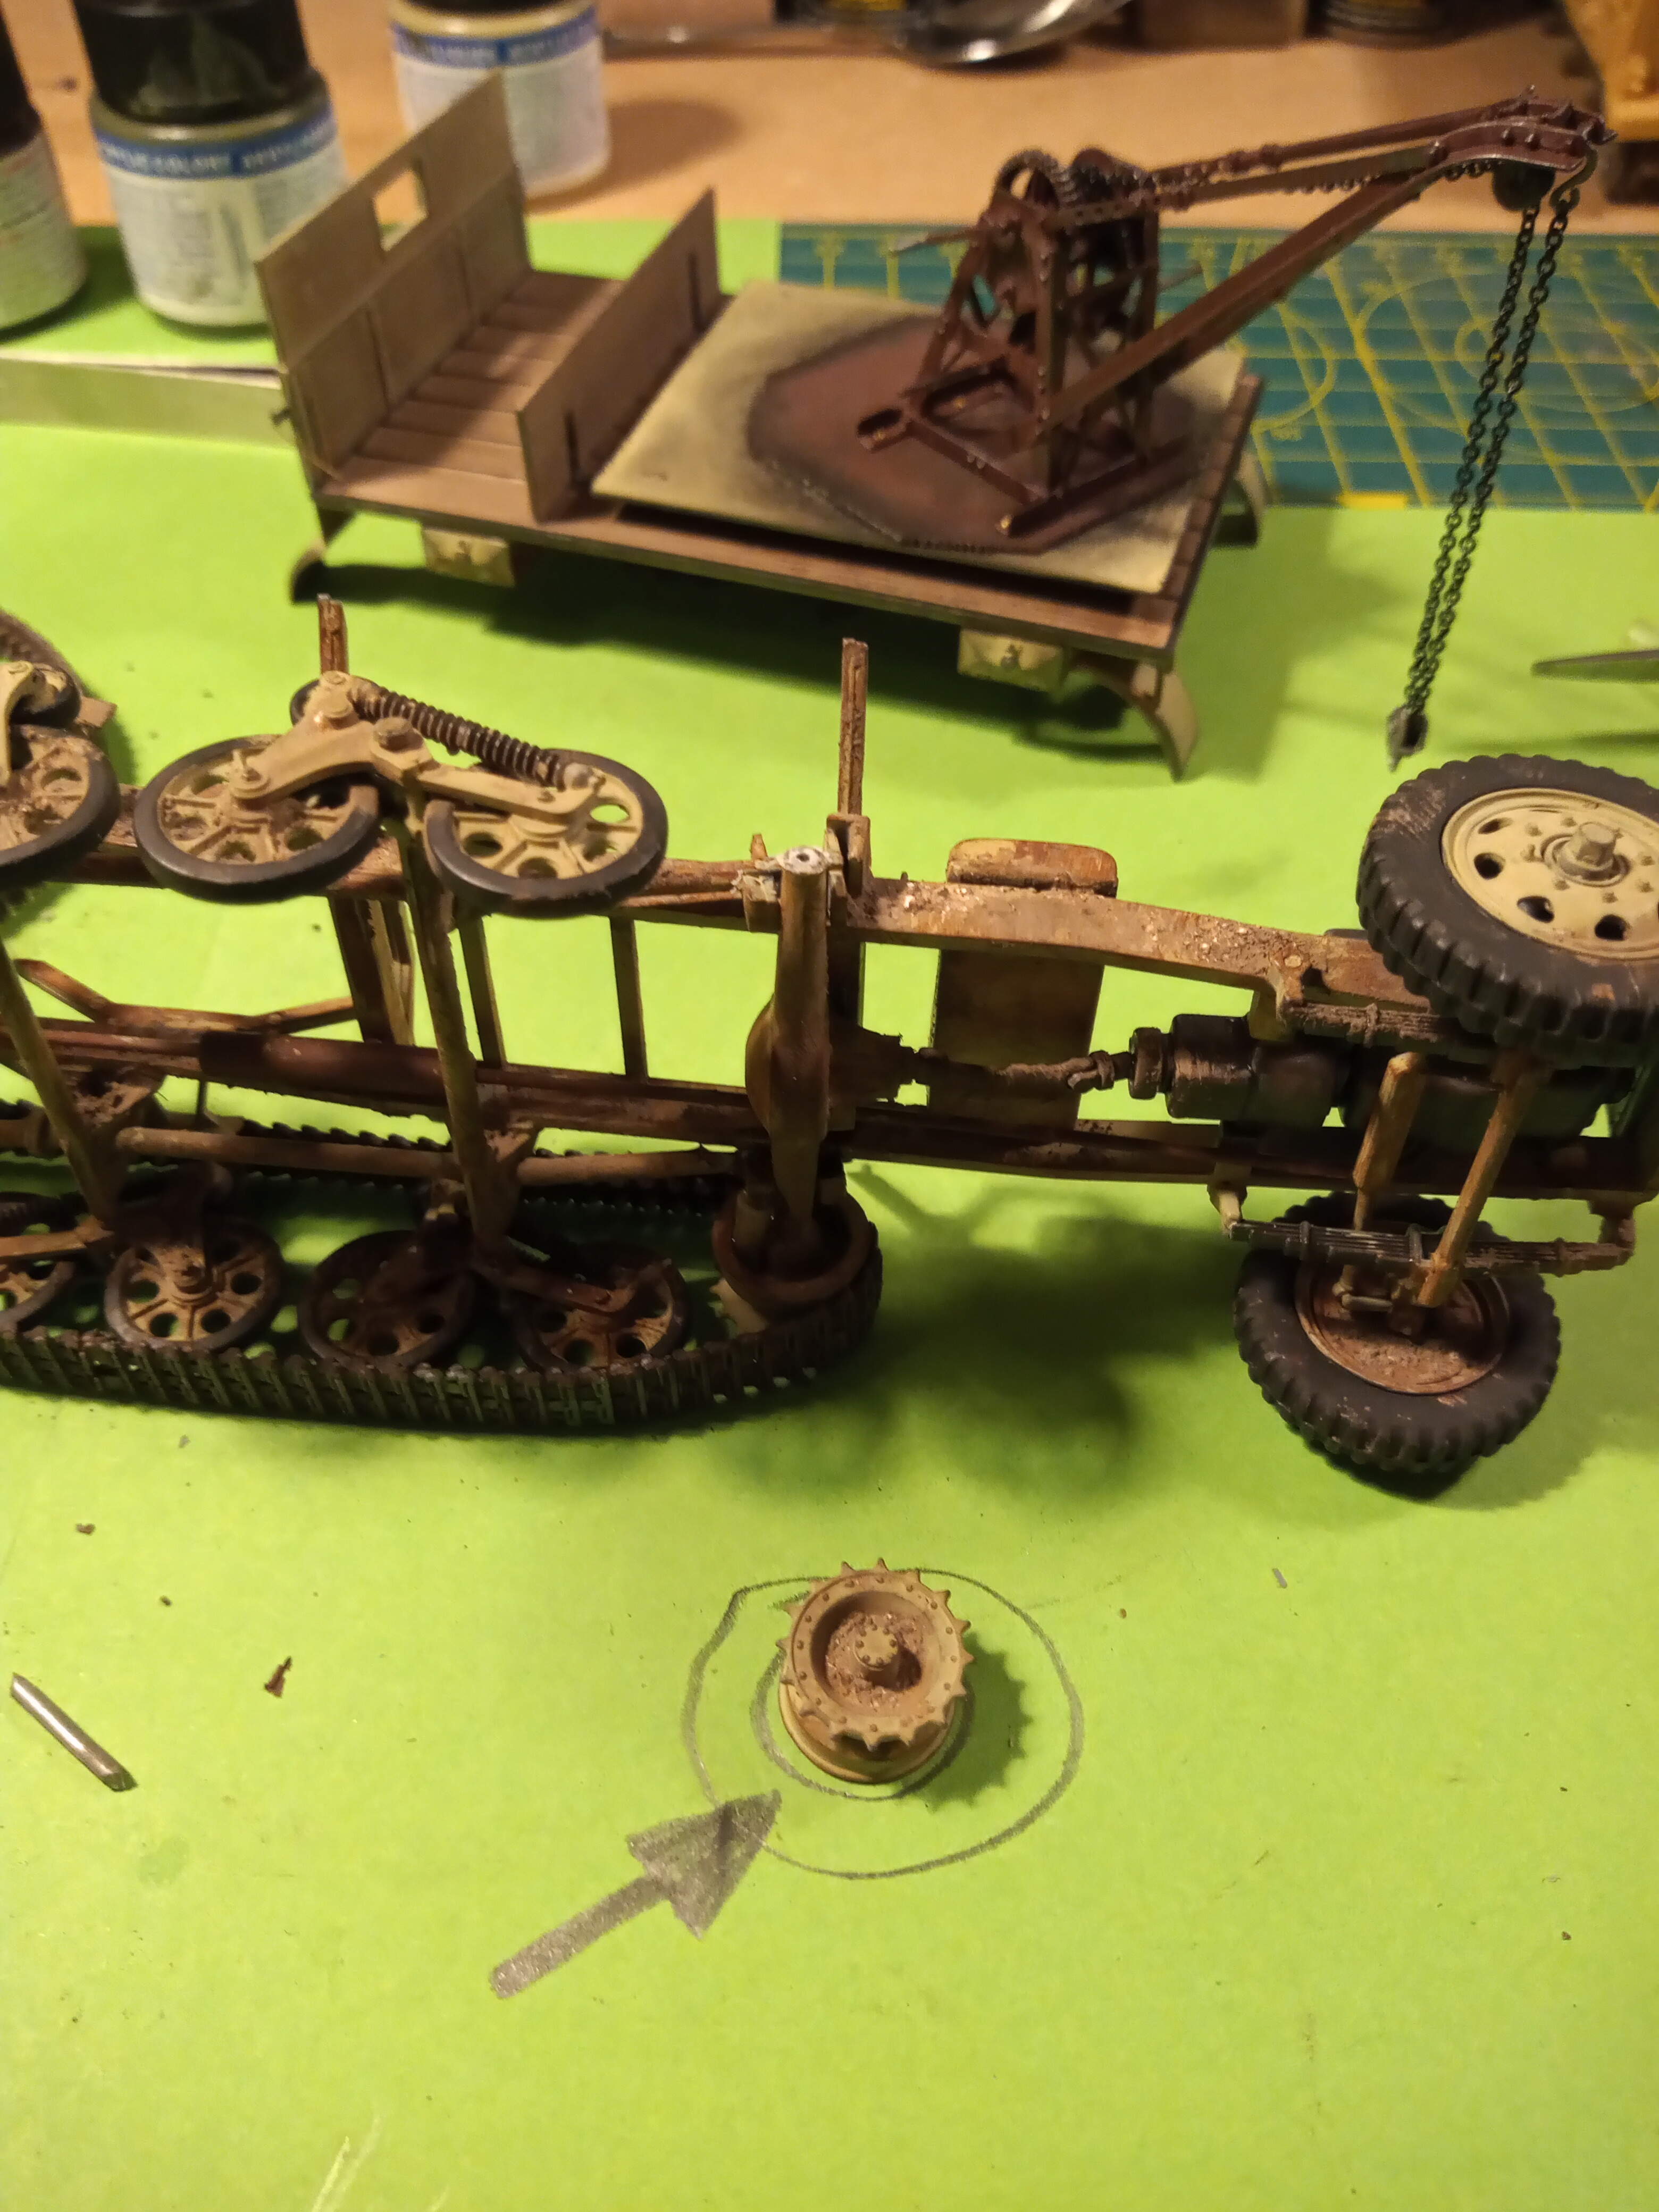
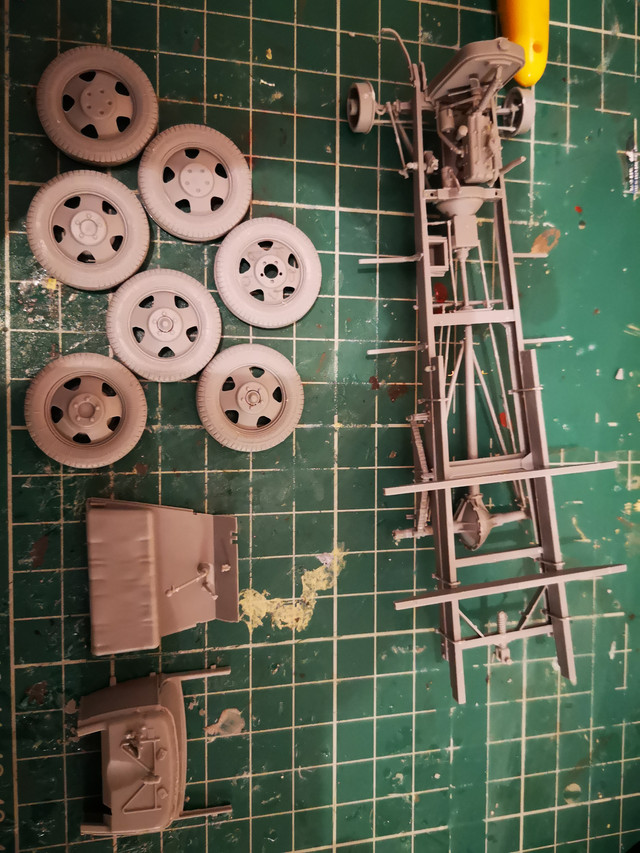
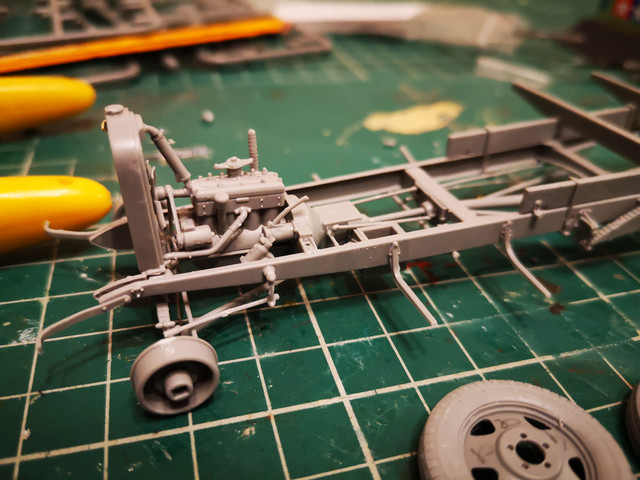
I love all the builds we have going - I have 3 interior kits (SU-122, T-54 and T-60 TACAM) as well as the PzIII Ausf D/B (will start that one next month and add it to this thread). in the meantime the LAP-7 has progressed… wheels done, chassis done, now on to cab sub assemblies… a lot of this needs to be painted black so aiming to get all that built up first…
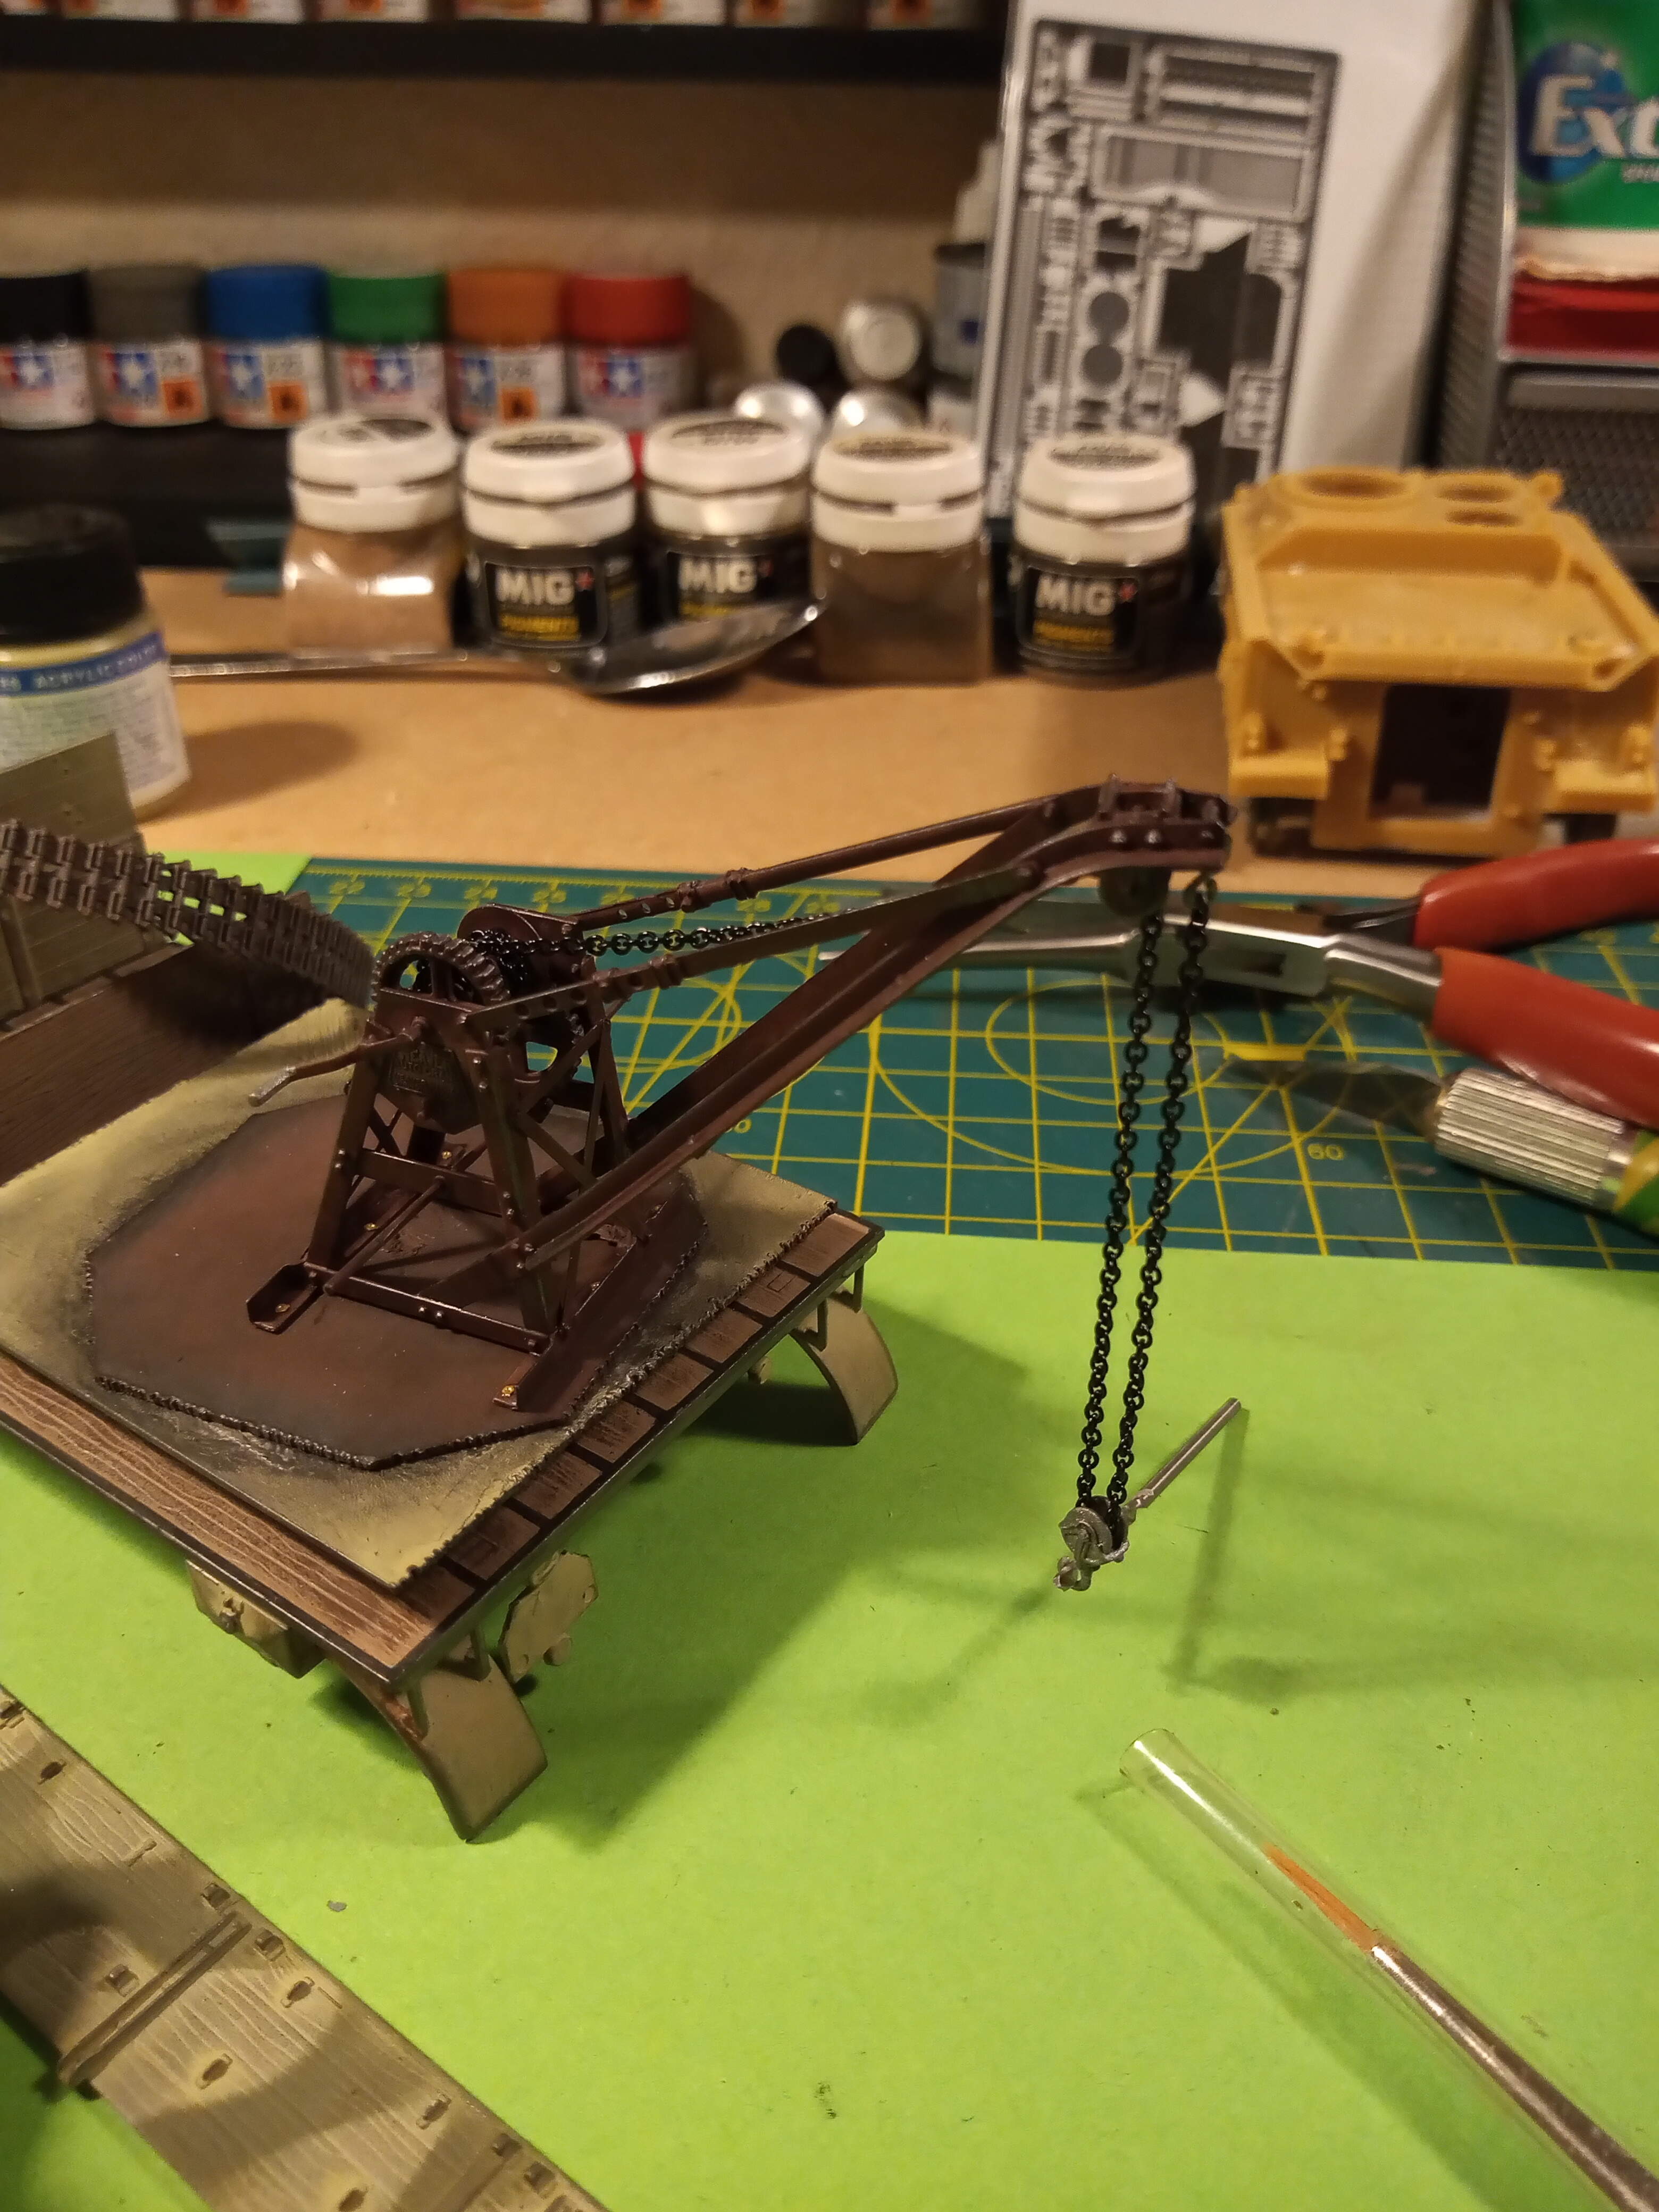
So, I thought a nice cheeky hour on the Maultier to get the crane finished and ready to go on the Miniart building base I’m trying to find.
Get the tracks on, put the glass in the cab then get the cab and cargo bed fixed to the chassis.
Firstly… Taking the clear windscreen off the sprue… It snapped in half… Just great !!! However I wasn’t actually worried about it as when it was fitted it looks like a natural cracked windscreen, so I’m going to leave it.
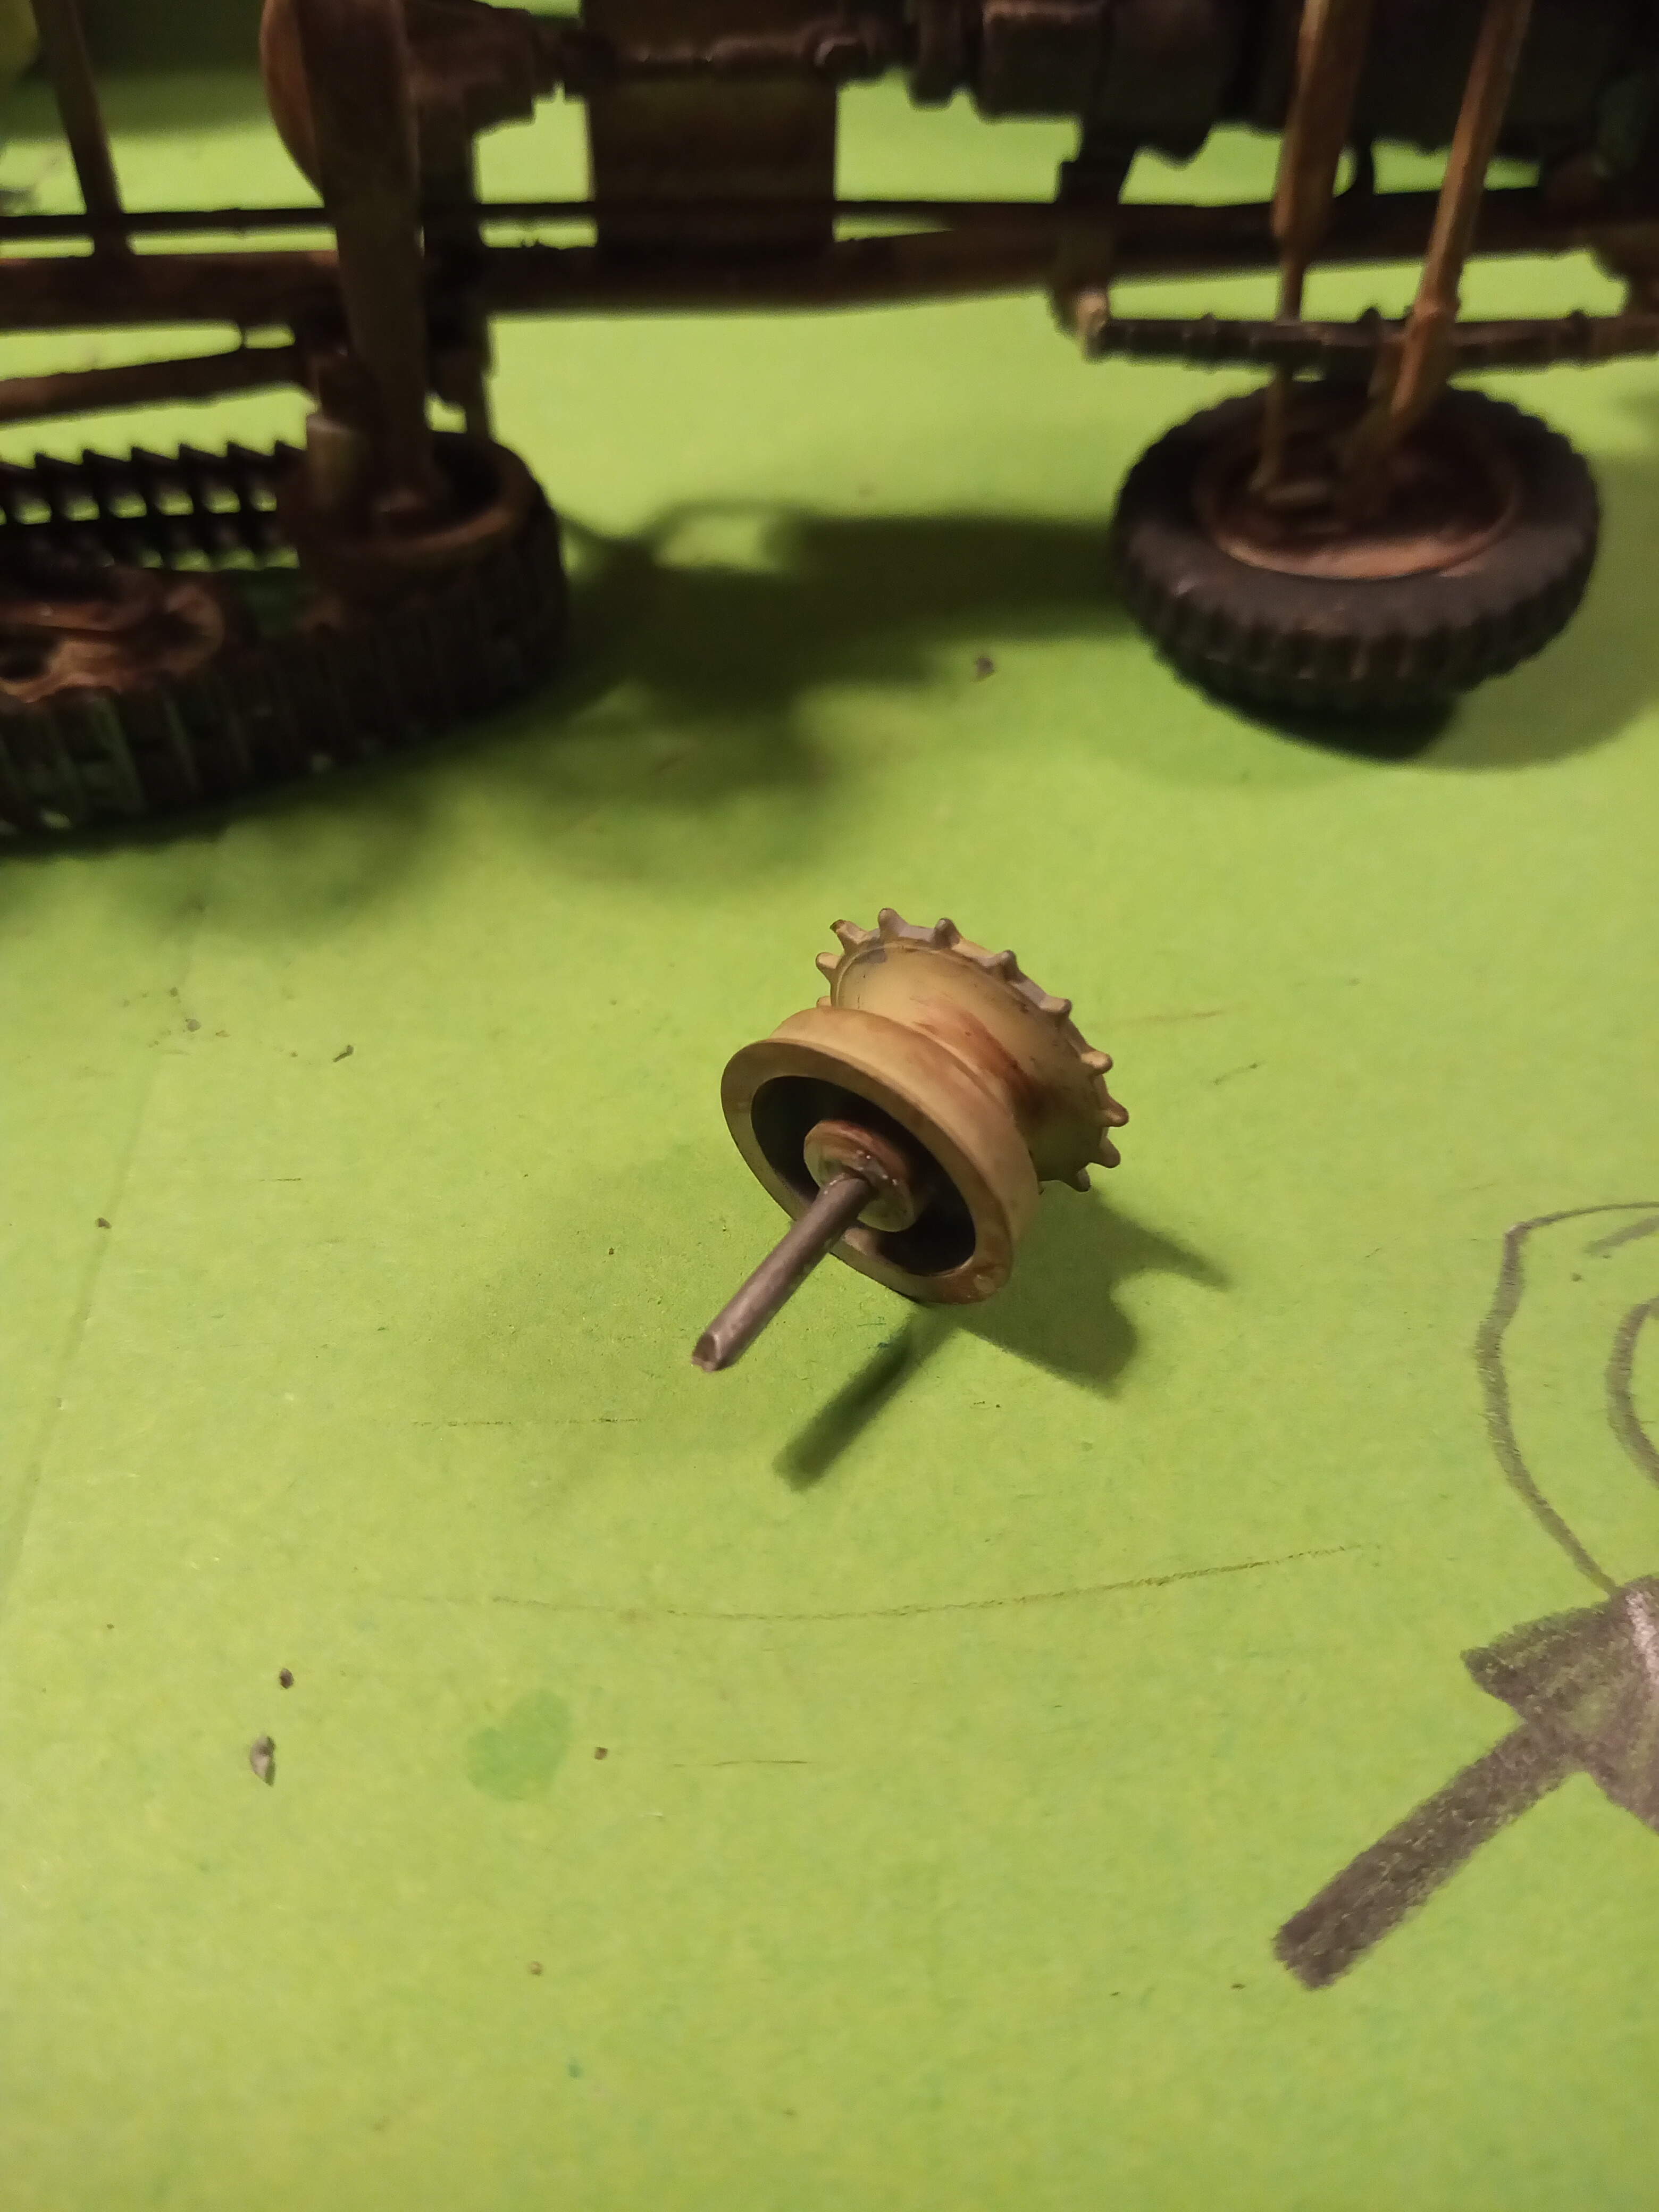
Next … Tracks … Easy … NO !!
Sooooo, drilled out 2 holes and have now cut down some strong steel cable I had laying around and will attempt to super glue that in and then onto the axle and let set fully overnight.
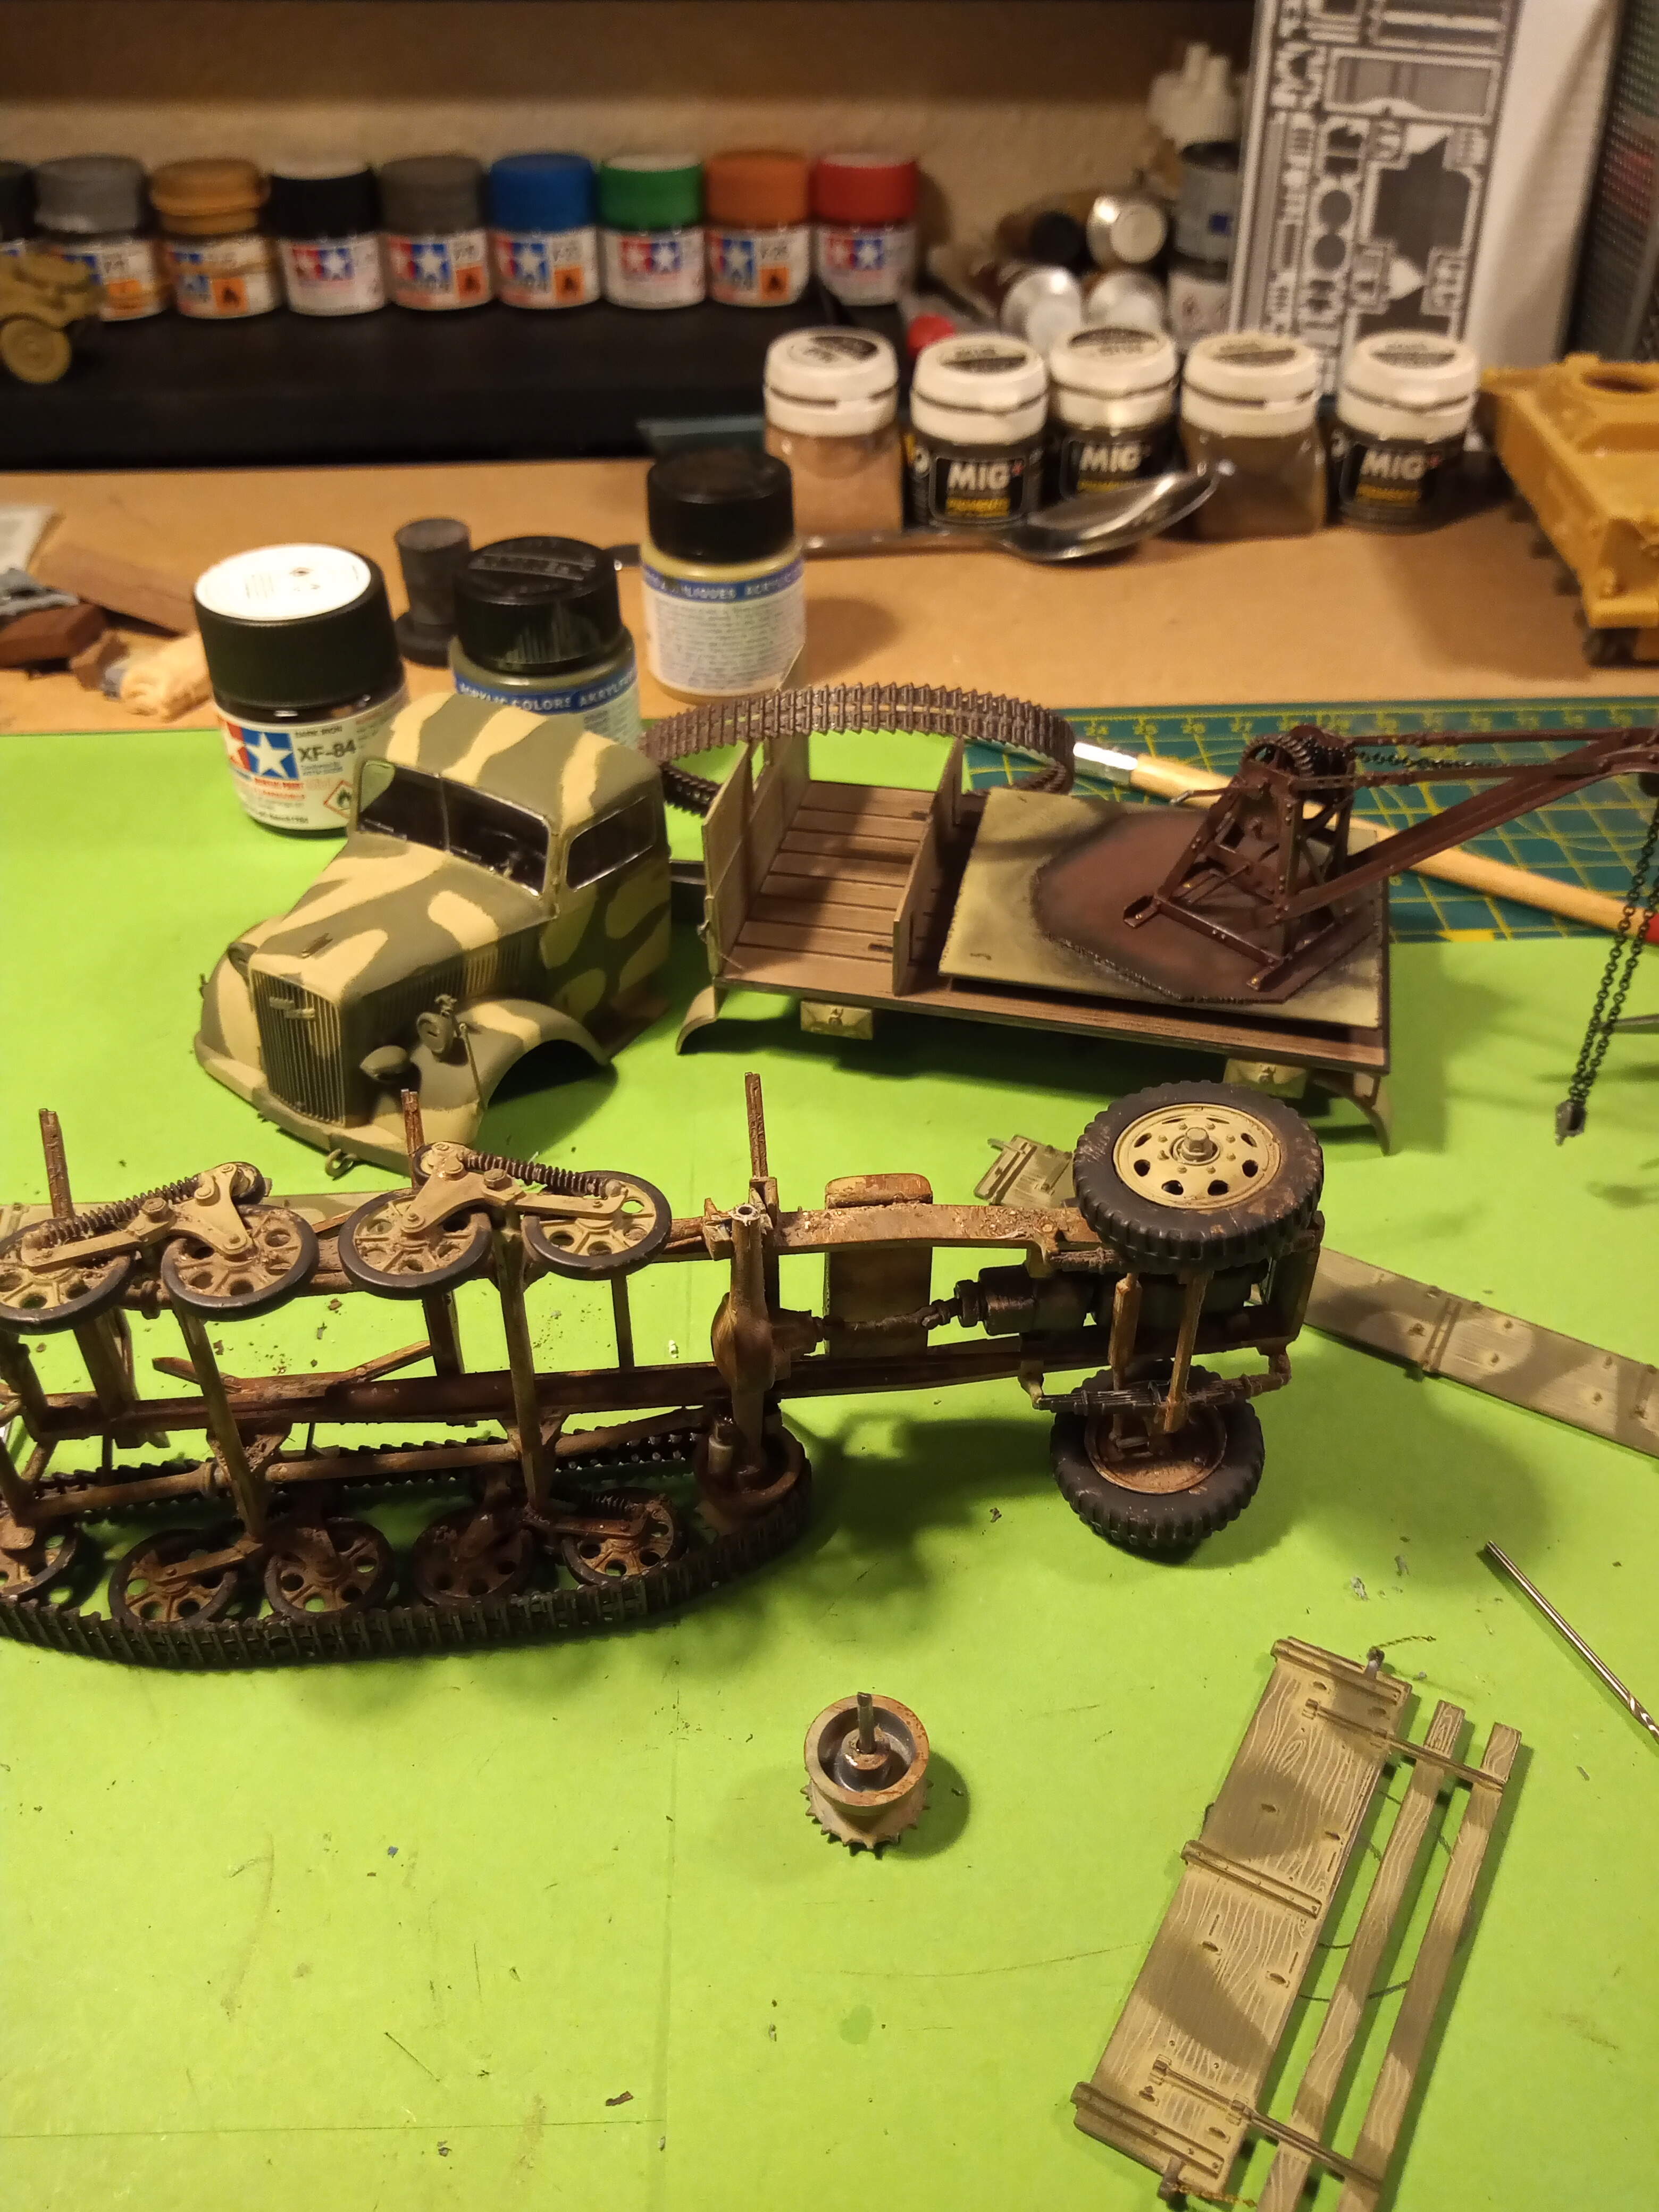
Next pic are the bits that I was hoping to have all fixed together into a whole Maultier…you can just see the cracked windscreen ( which will have a thin dirt wash applied and the wipers will have their arc applied)
I decided on just a green cam application. And that will get weathered later once I source the MA base.
Last pic shows the chain and hooks fitted to the crane .
So the cheeky easy hour turned into a 90 minute salvage operation  …
…
Why do I do modelling… I thought it was meant to help me relax lol
Sometimes John the stars just aren’t in alignment… your crane looks awesome though!
No plan survives contact with the enrmy.
Cheers Matt and DV… I did contemplate tears but then thought just suck it up buttercup and fix the problem lol… It’s nothing a sympathetic mud weathering won’t hide at the end…
@SSGToms, Matt, it is indeed a very nice little crane which would fit alot of scenarios and I would highly recommend it to others.
Oh I have had that thought typically everyday since I started building again.
Best laid plans of mice and modellers…
Your choice John, but I would not do the wiper mask. This is something that became a fad with modellers like charring on the end of gun barrels. To me is unrealistic. There was no water reservoir in these vehicles and dry blades do not clear the dust film, just streak it. Do a Google search and try and find one picture of a WW2 Opel truck/Maultier with wiper marks… or any truck for that matter…
Yeah, this MiniArt plastic is very soft. I’ve already broke some smaller pieces in my build.
Adapt and overcome is what we do.