Nicely said @petbat … I will just gently and very lightly weather it at the end. 
2 Likes
It was actually the Italeri Maultier part that failed… But I also agree about the Miniart and it does seem softer…
1 Like
“wiper masks”
Peter, Are you reading my mind? I was agonizing over that very same thought today. Thank’s!
—mike
2 Likes
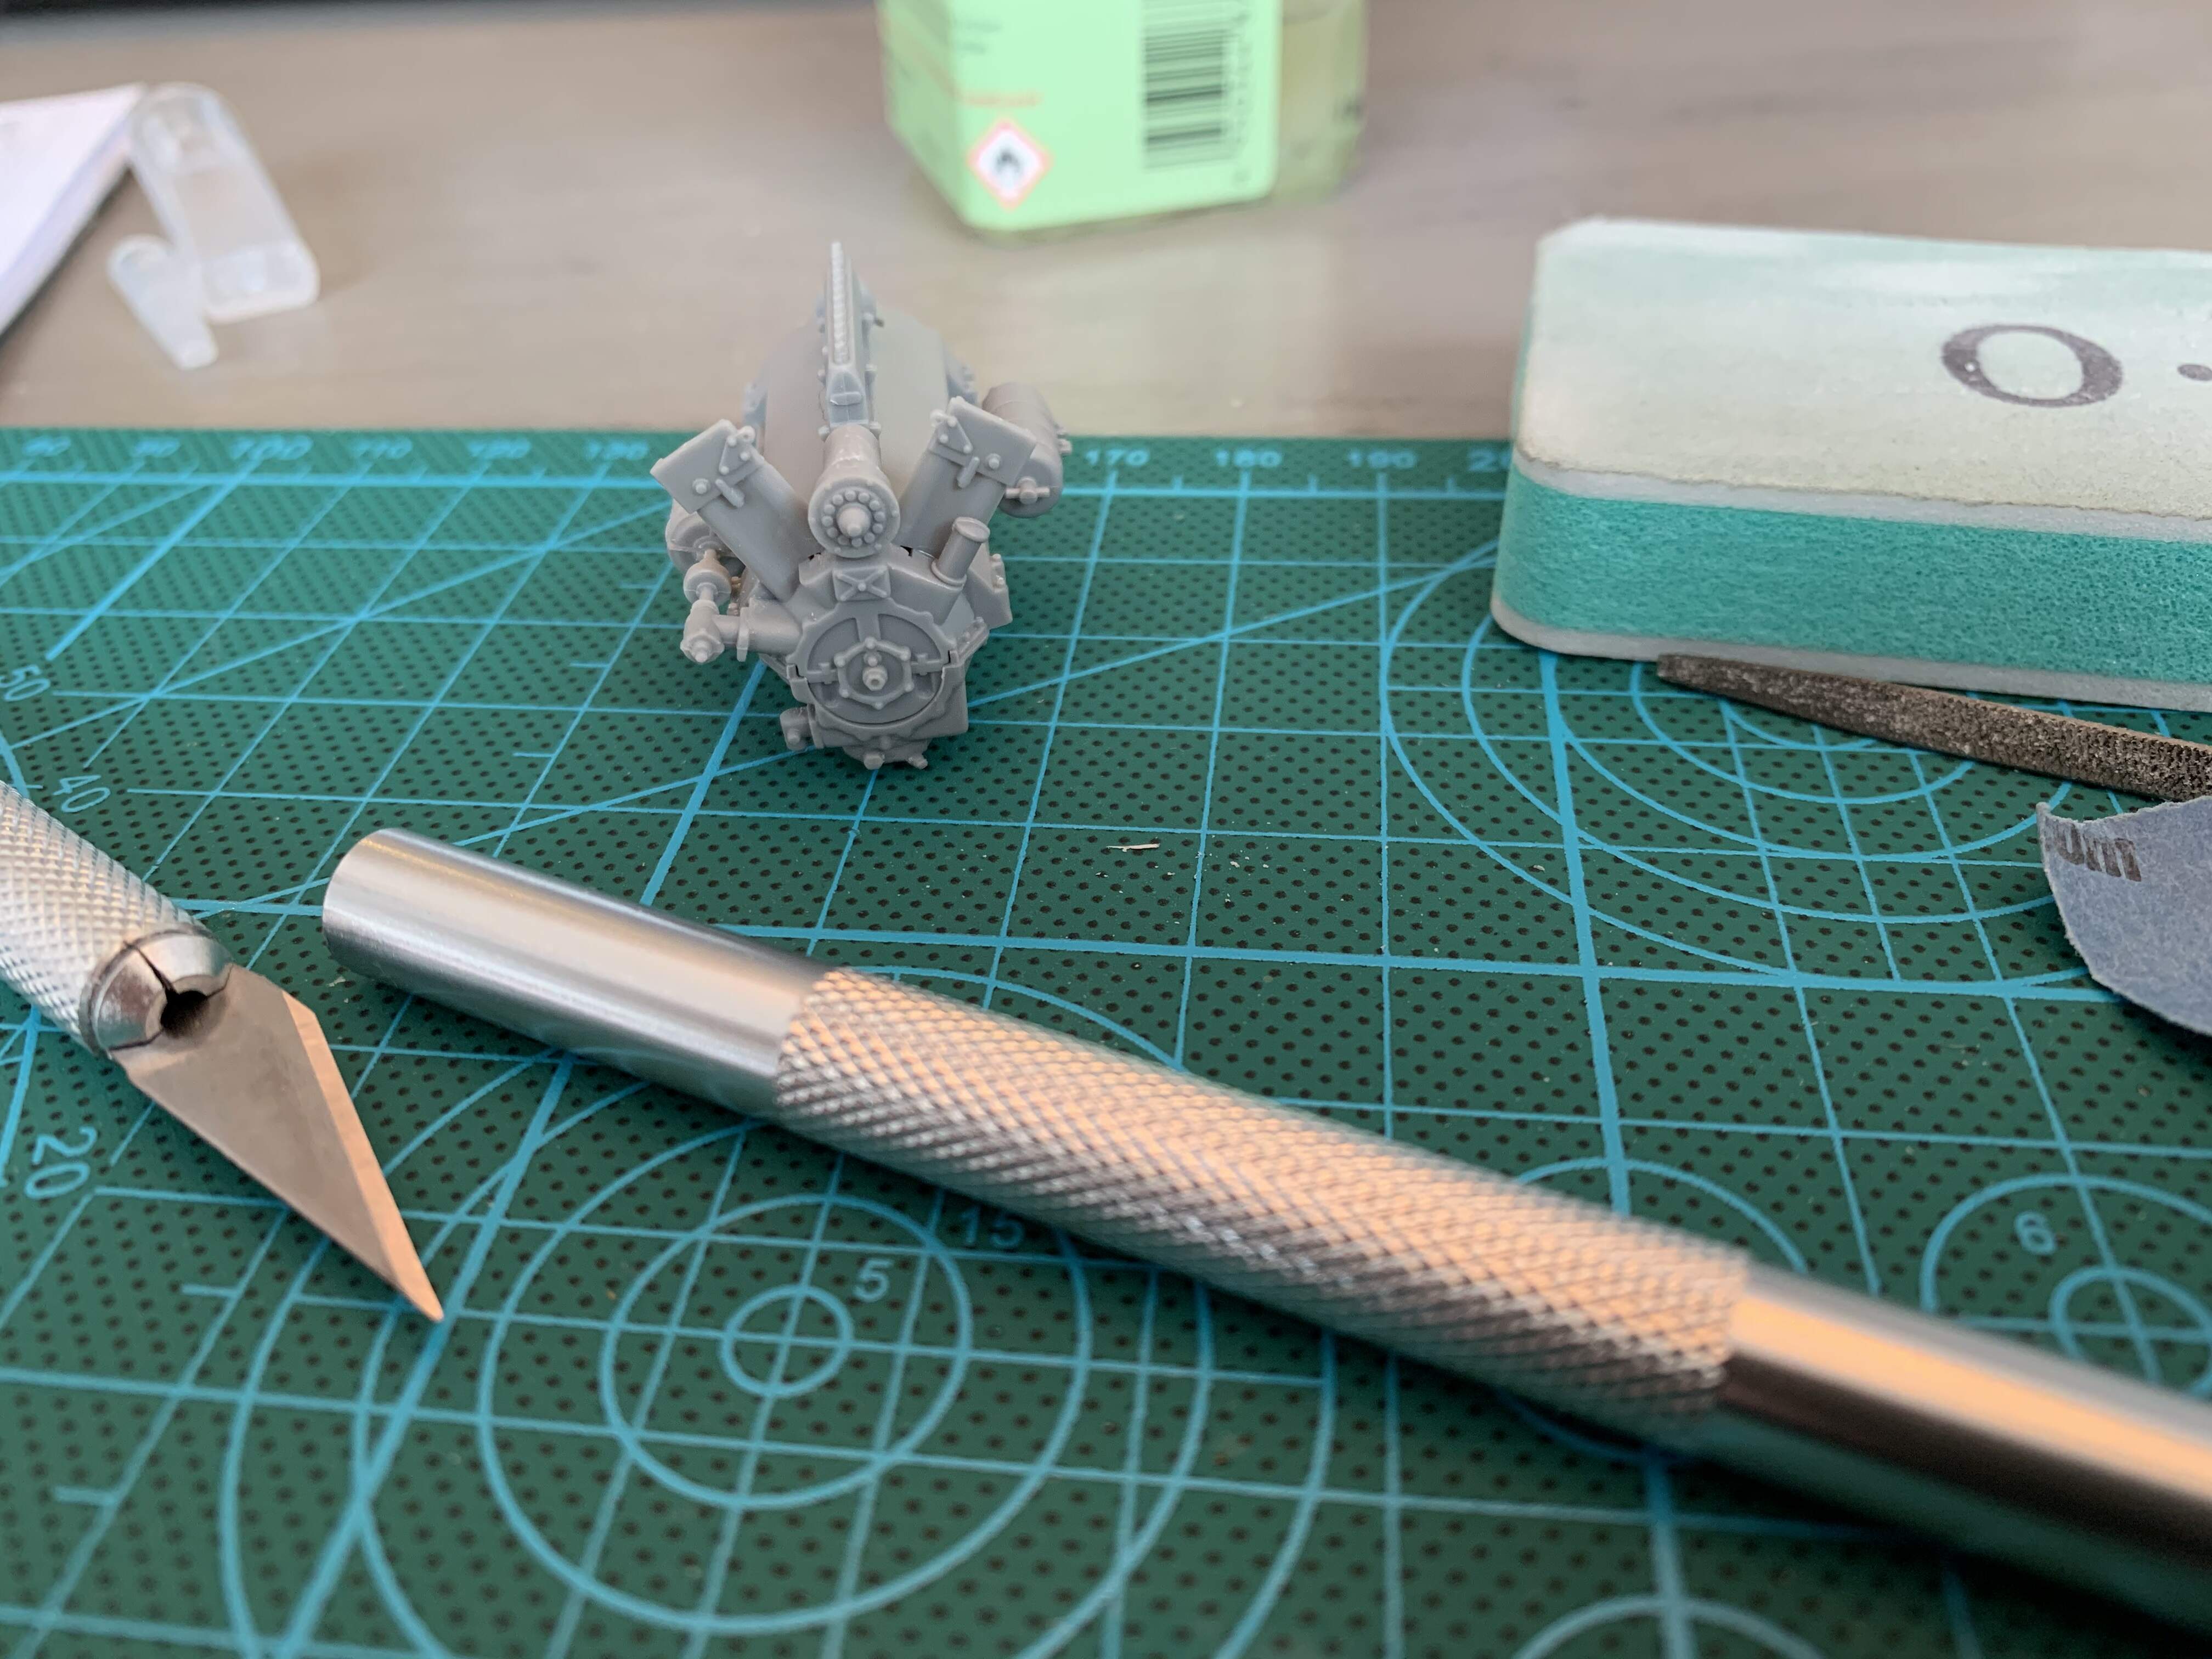
Cheers everyone for suggesting getting a saw for the small parts, already saved me from breaking a part. I too find the Miniart plastic soft, parts seem to melt together faster with Tamiya cement than other kits. Here is my starting work, only two steps in on the engine. One problem area I encountered were a lot of mold connectors on curved parts of the engine requiring care not to sand flat spots in.
2 Likes
@justsendit Yes I was Mike- a quick read though 

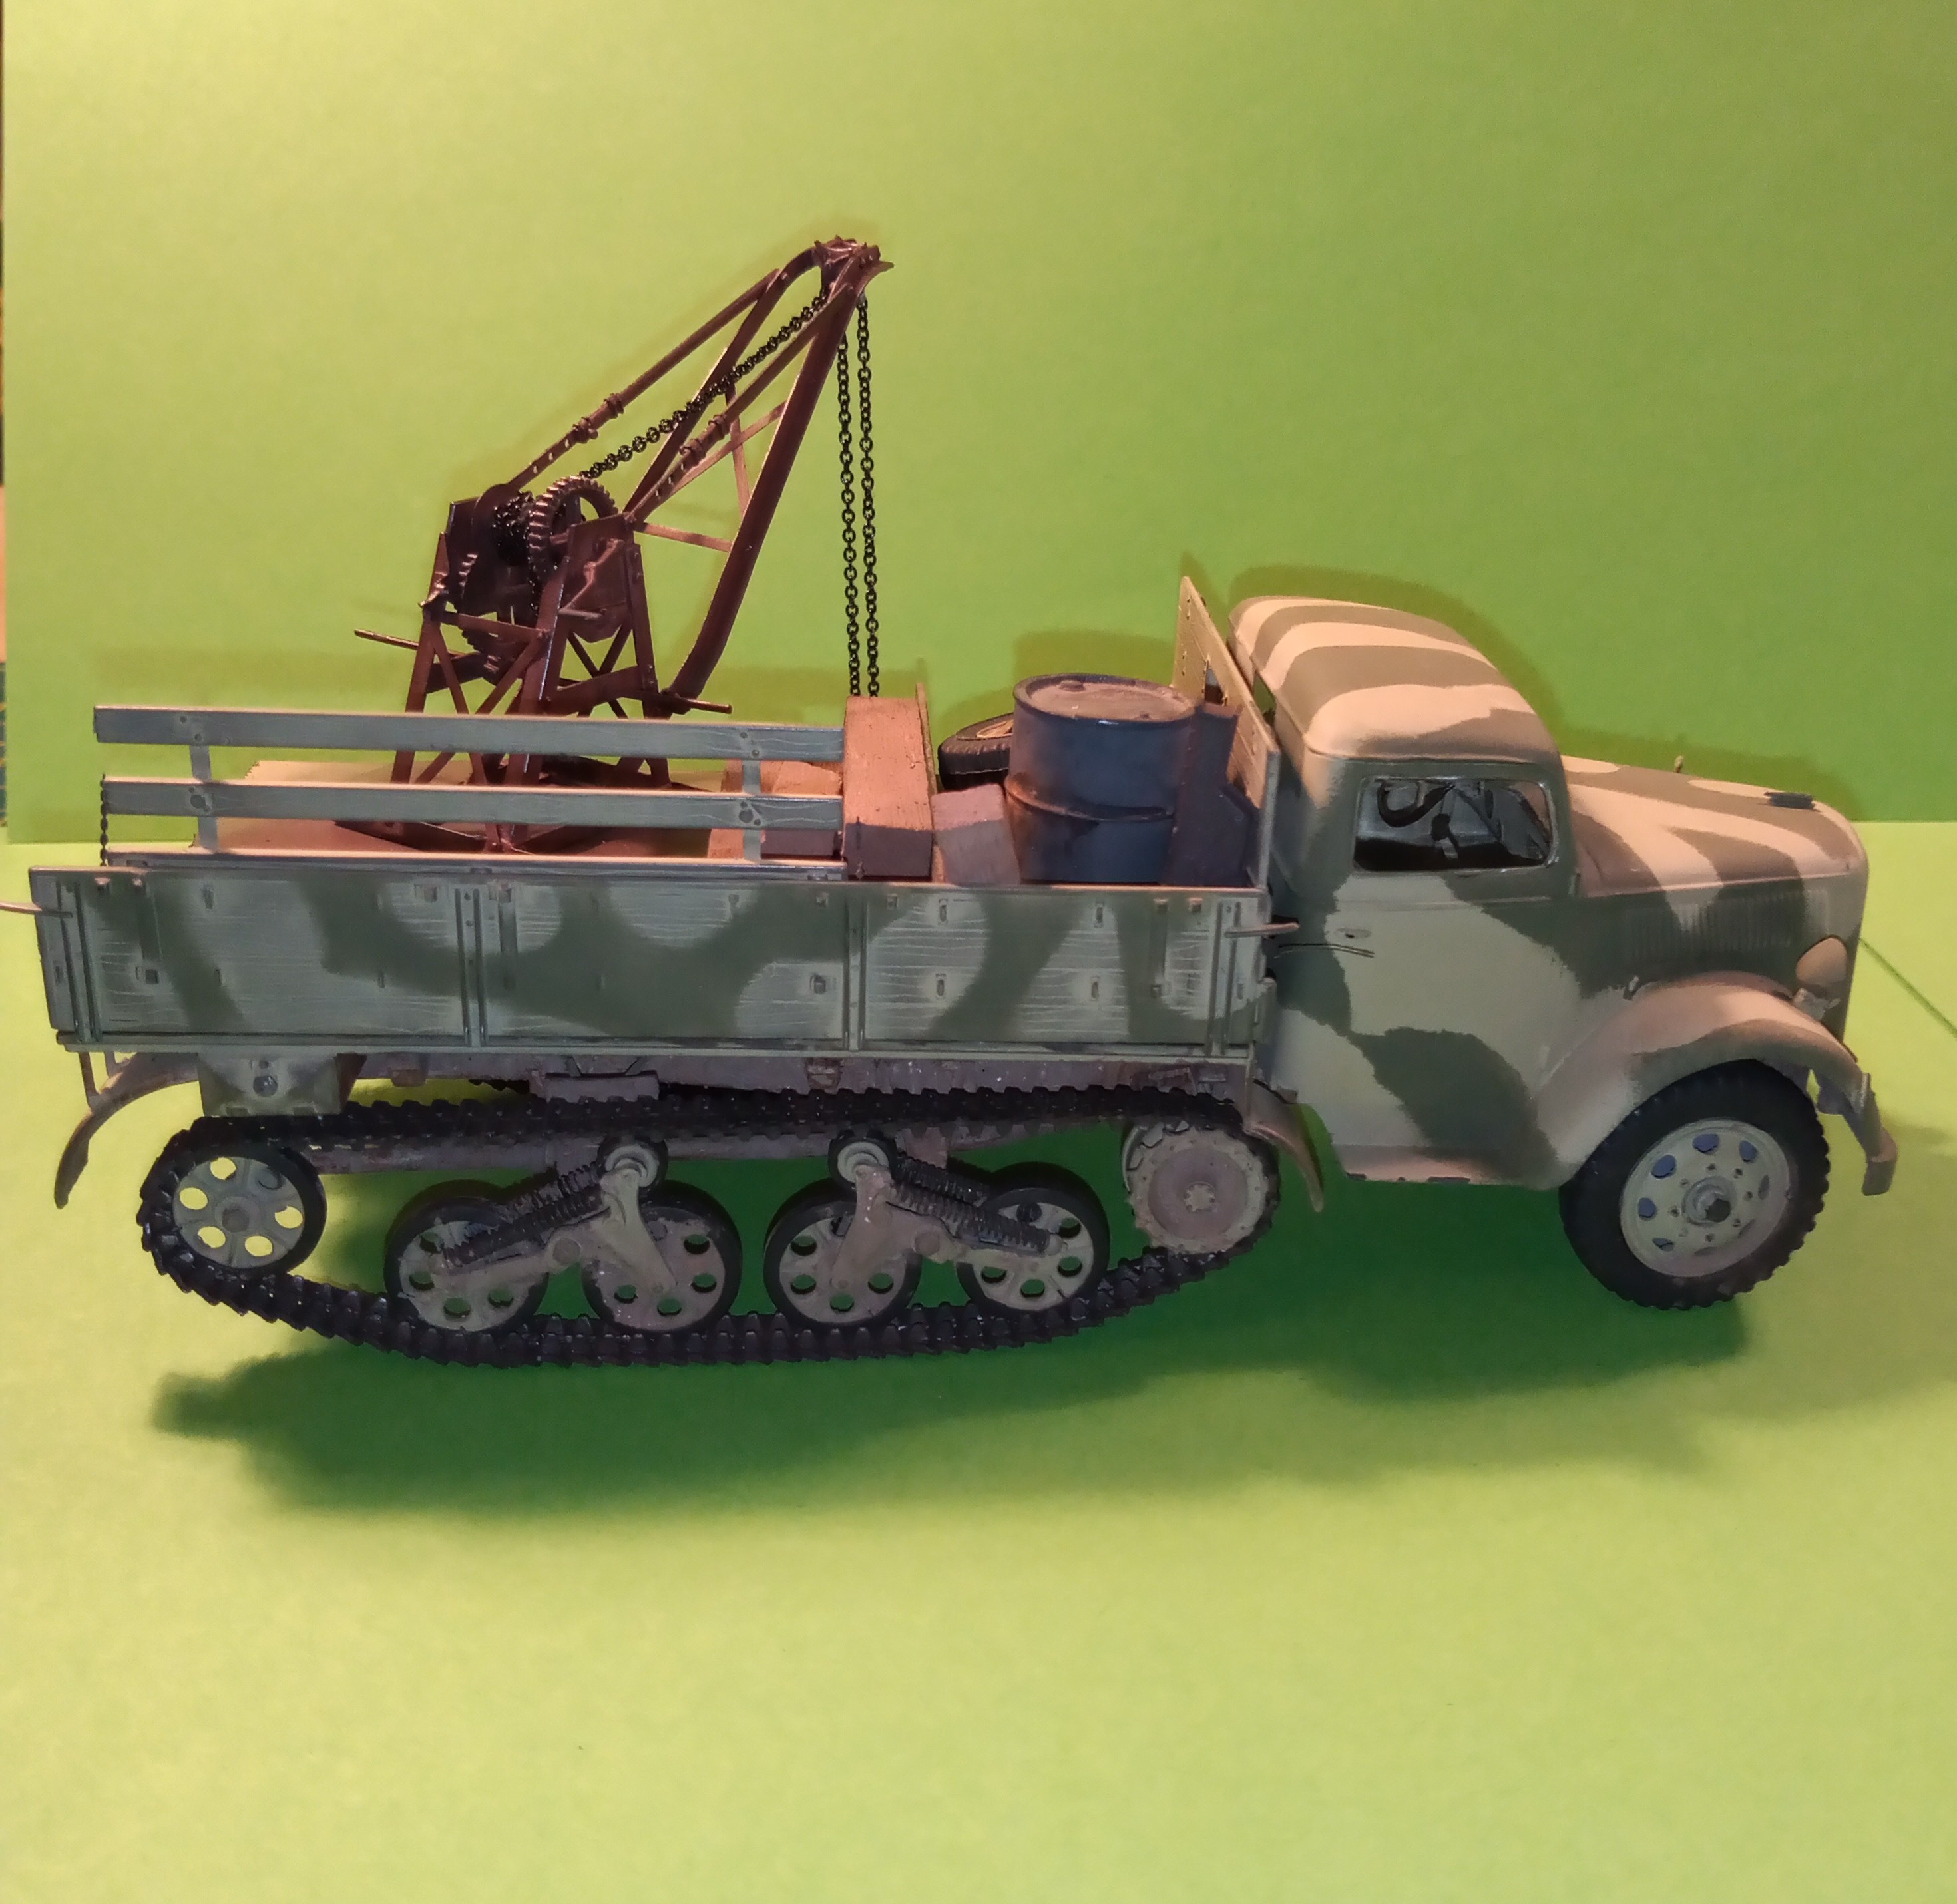
Eventually everything went my way ( I won’t mention the bit about the RH idler snapping off  ) and the running gear and tracks went on.
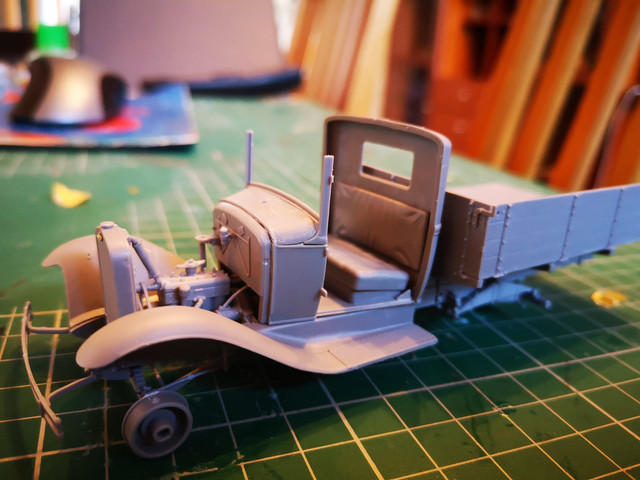
I have now secured the RH cargo bed side panel, and shown the LH one as dropped. The tailgate is propped on the side but will finish up in the attached but dropped position.
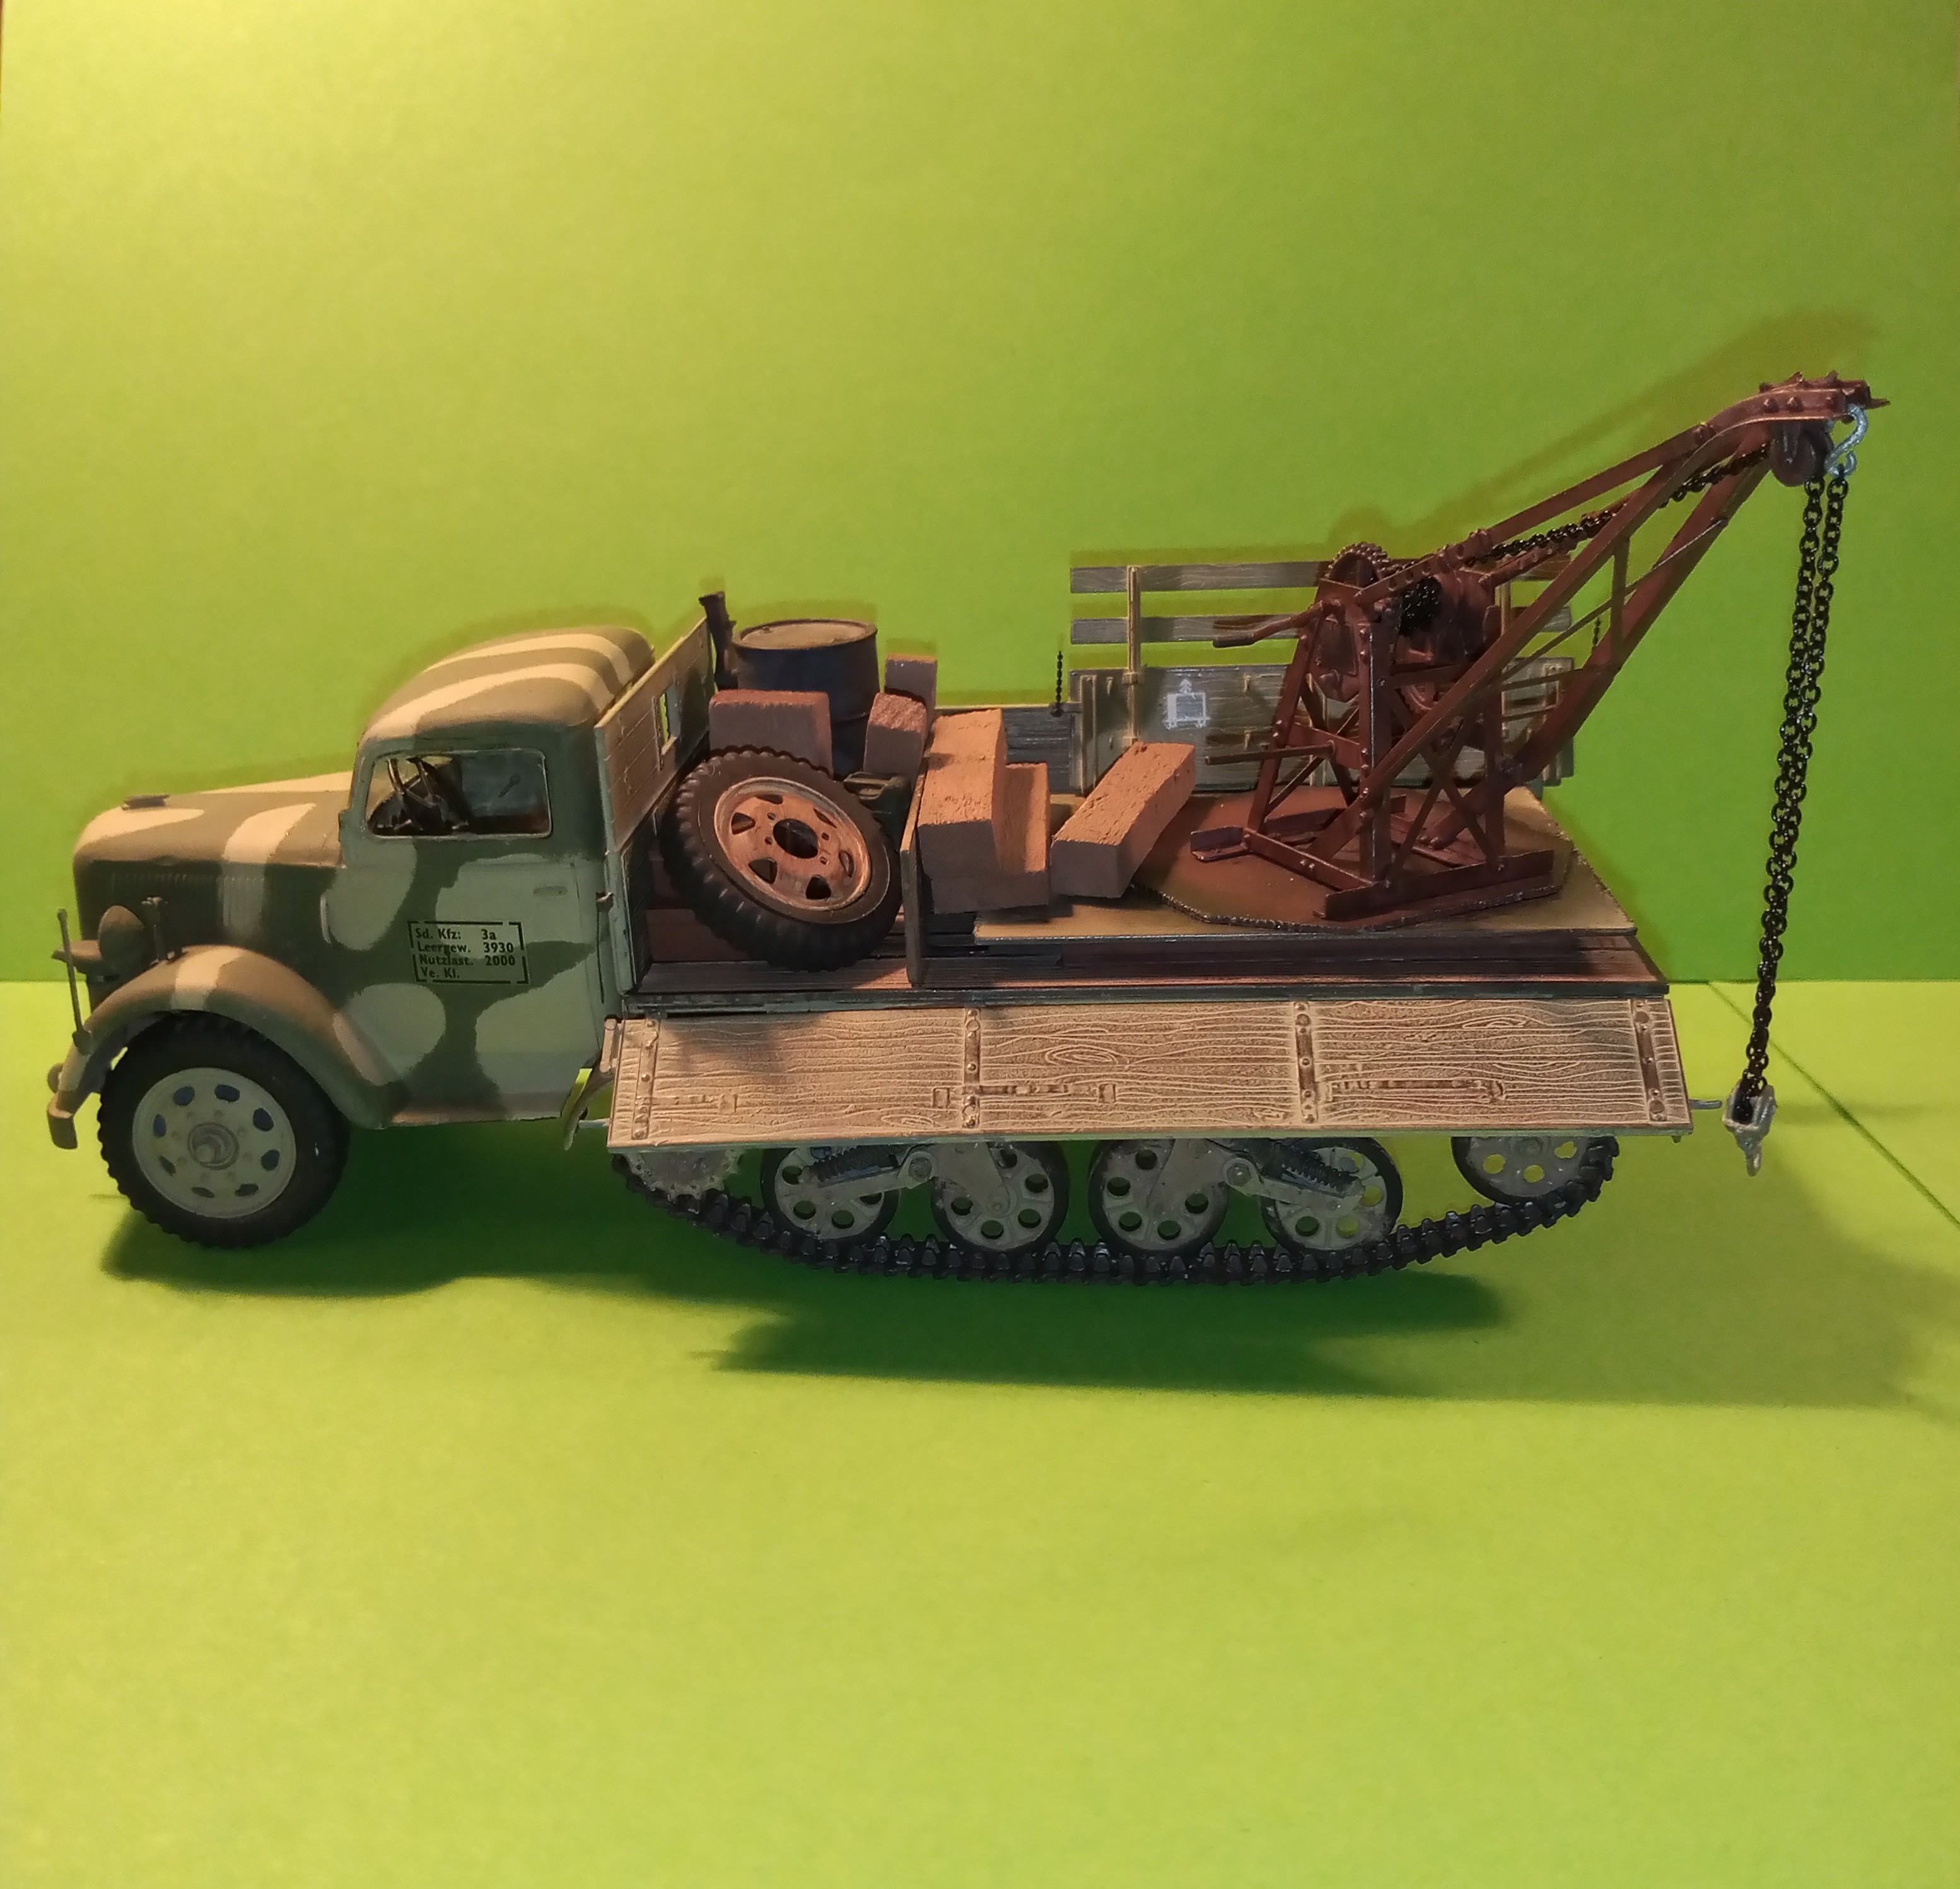
The cab is on but I won’t permanently fix it in position. The stowage is pretty much as it will be except a large rolled canvas and 2 more jerrycans.
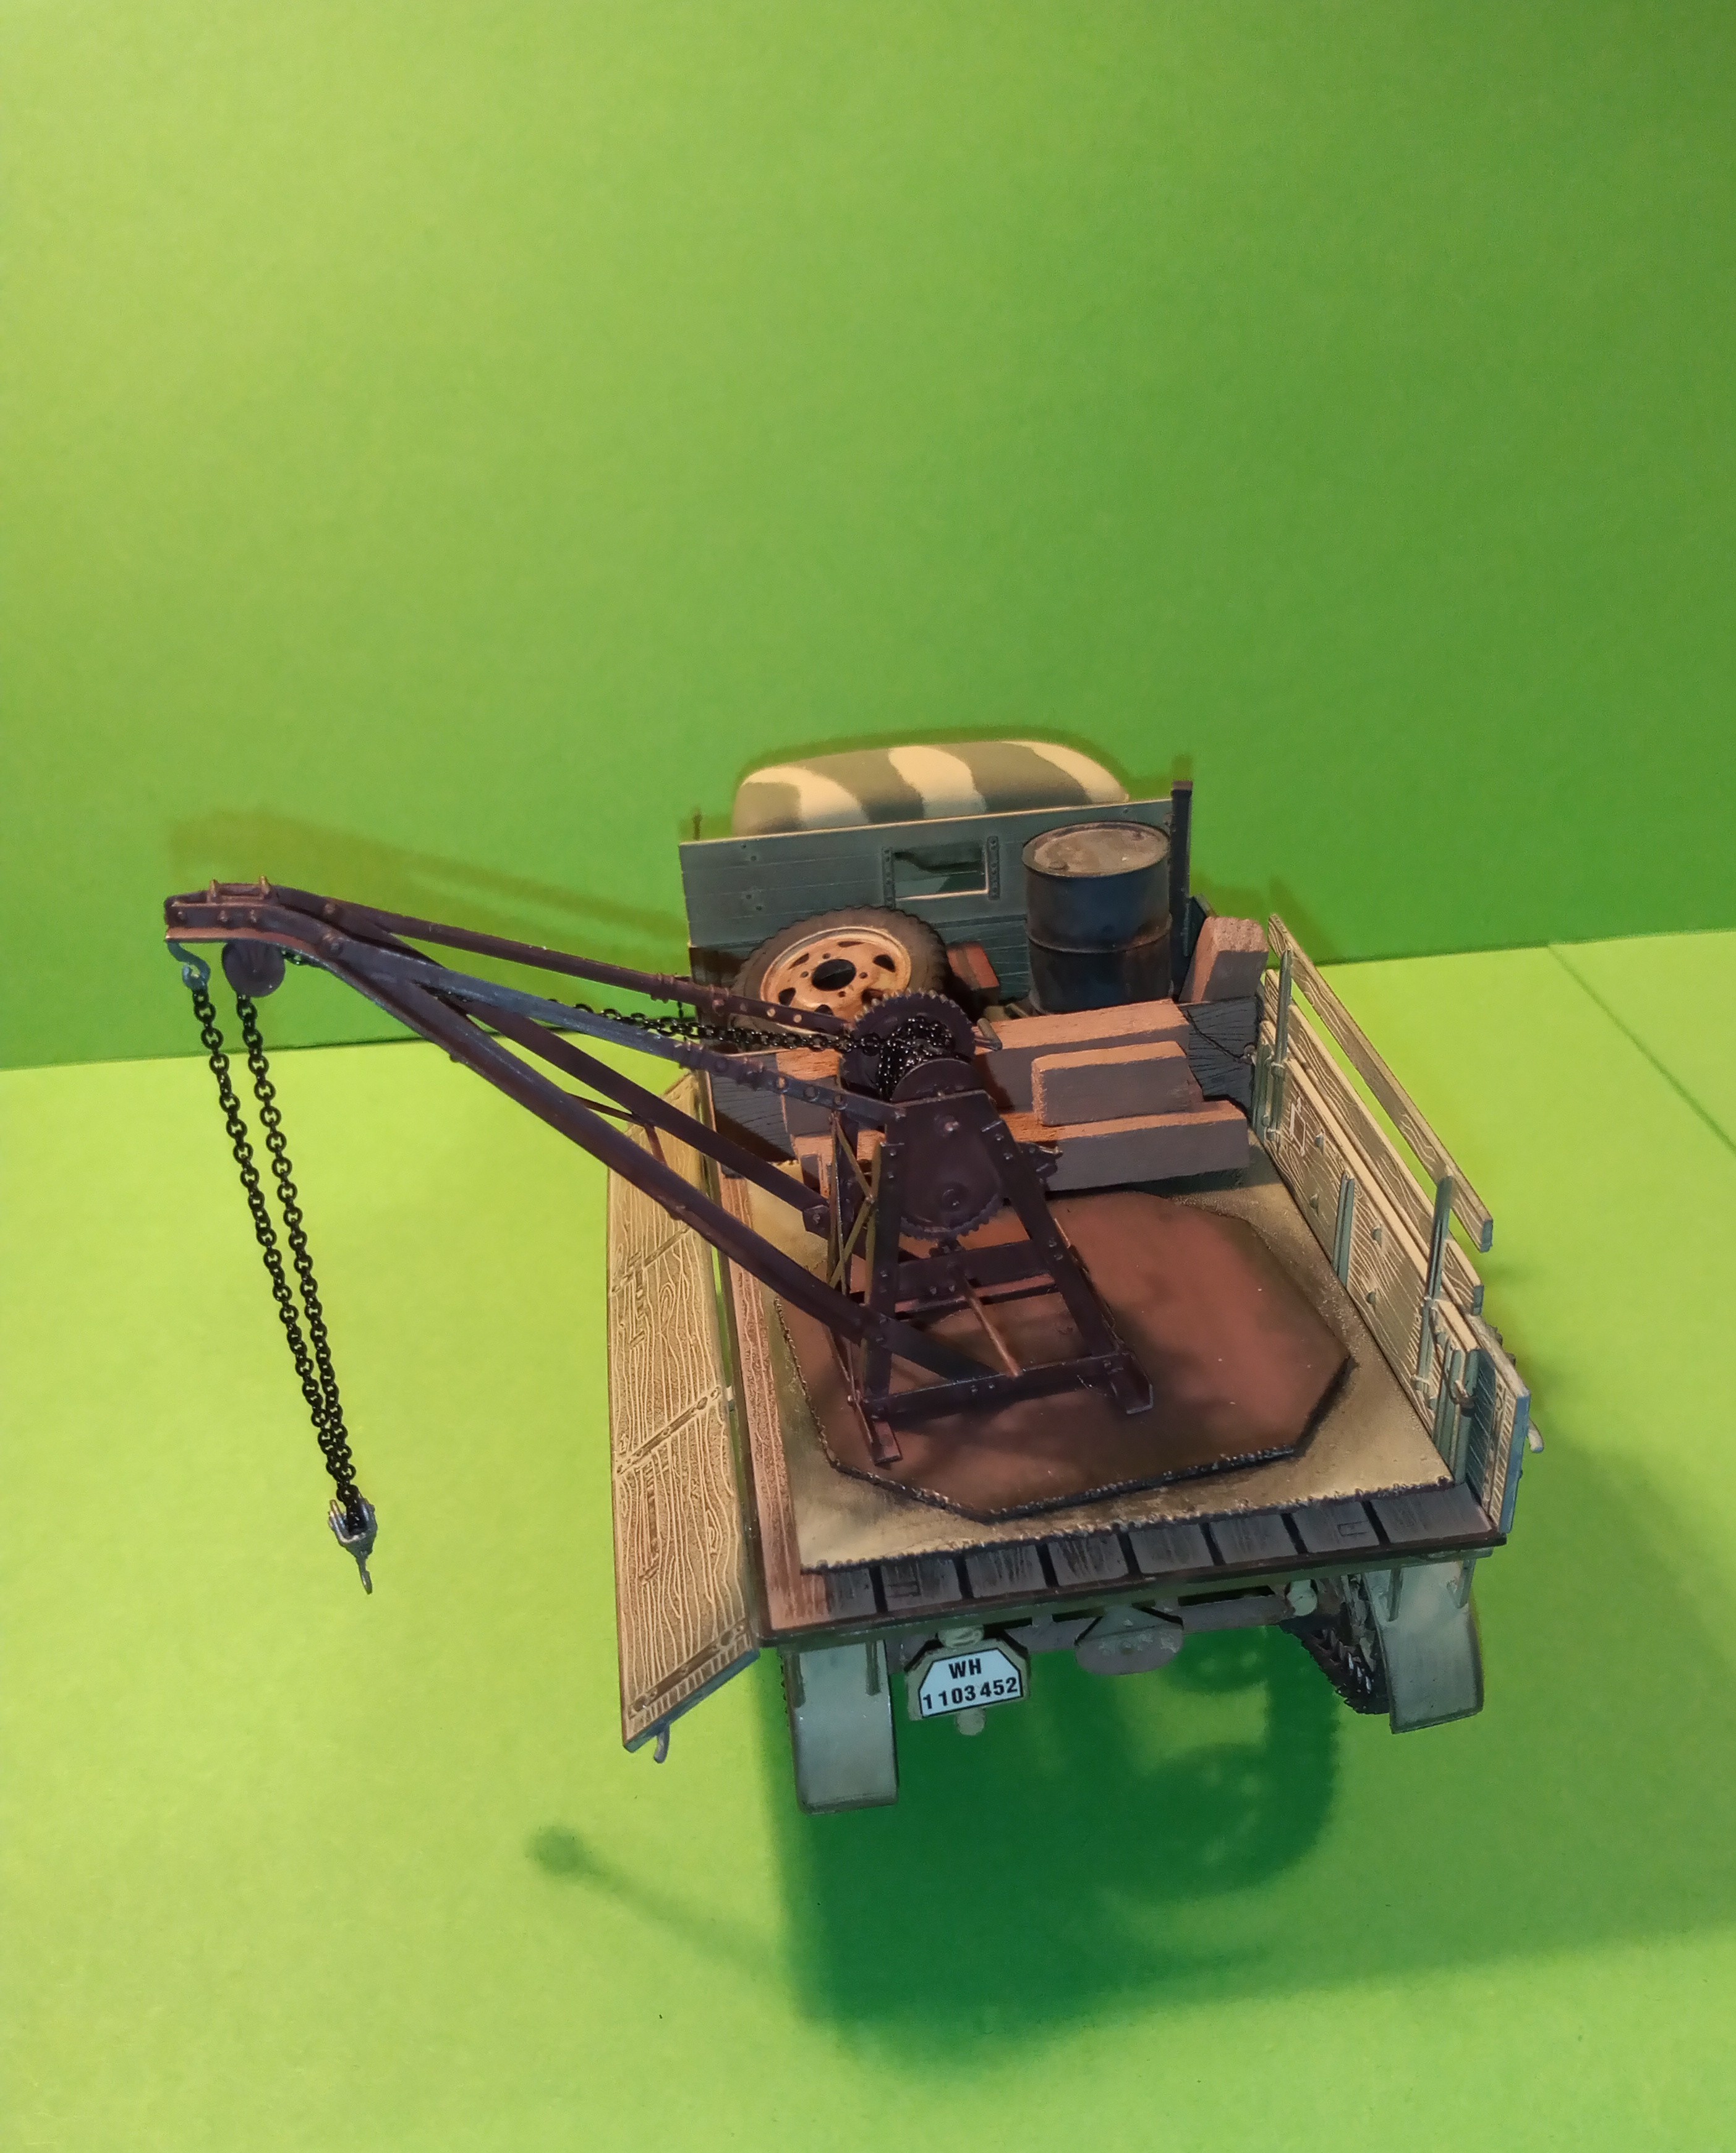
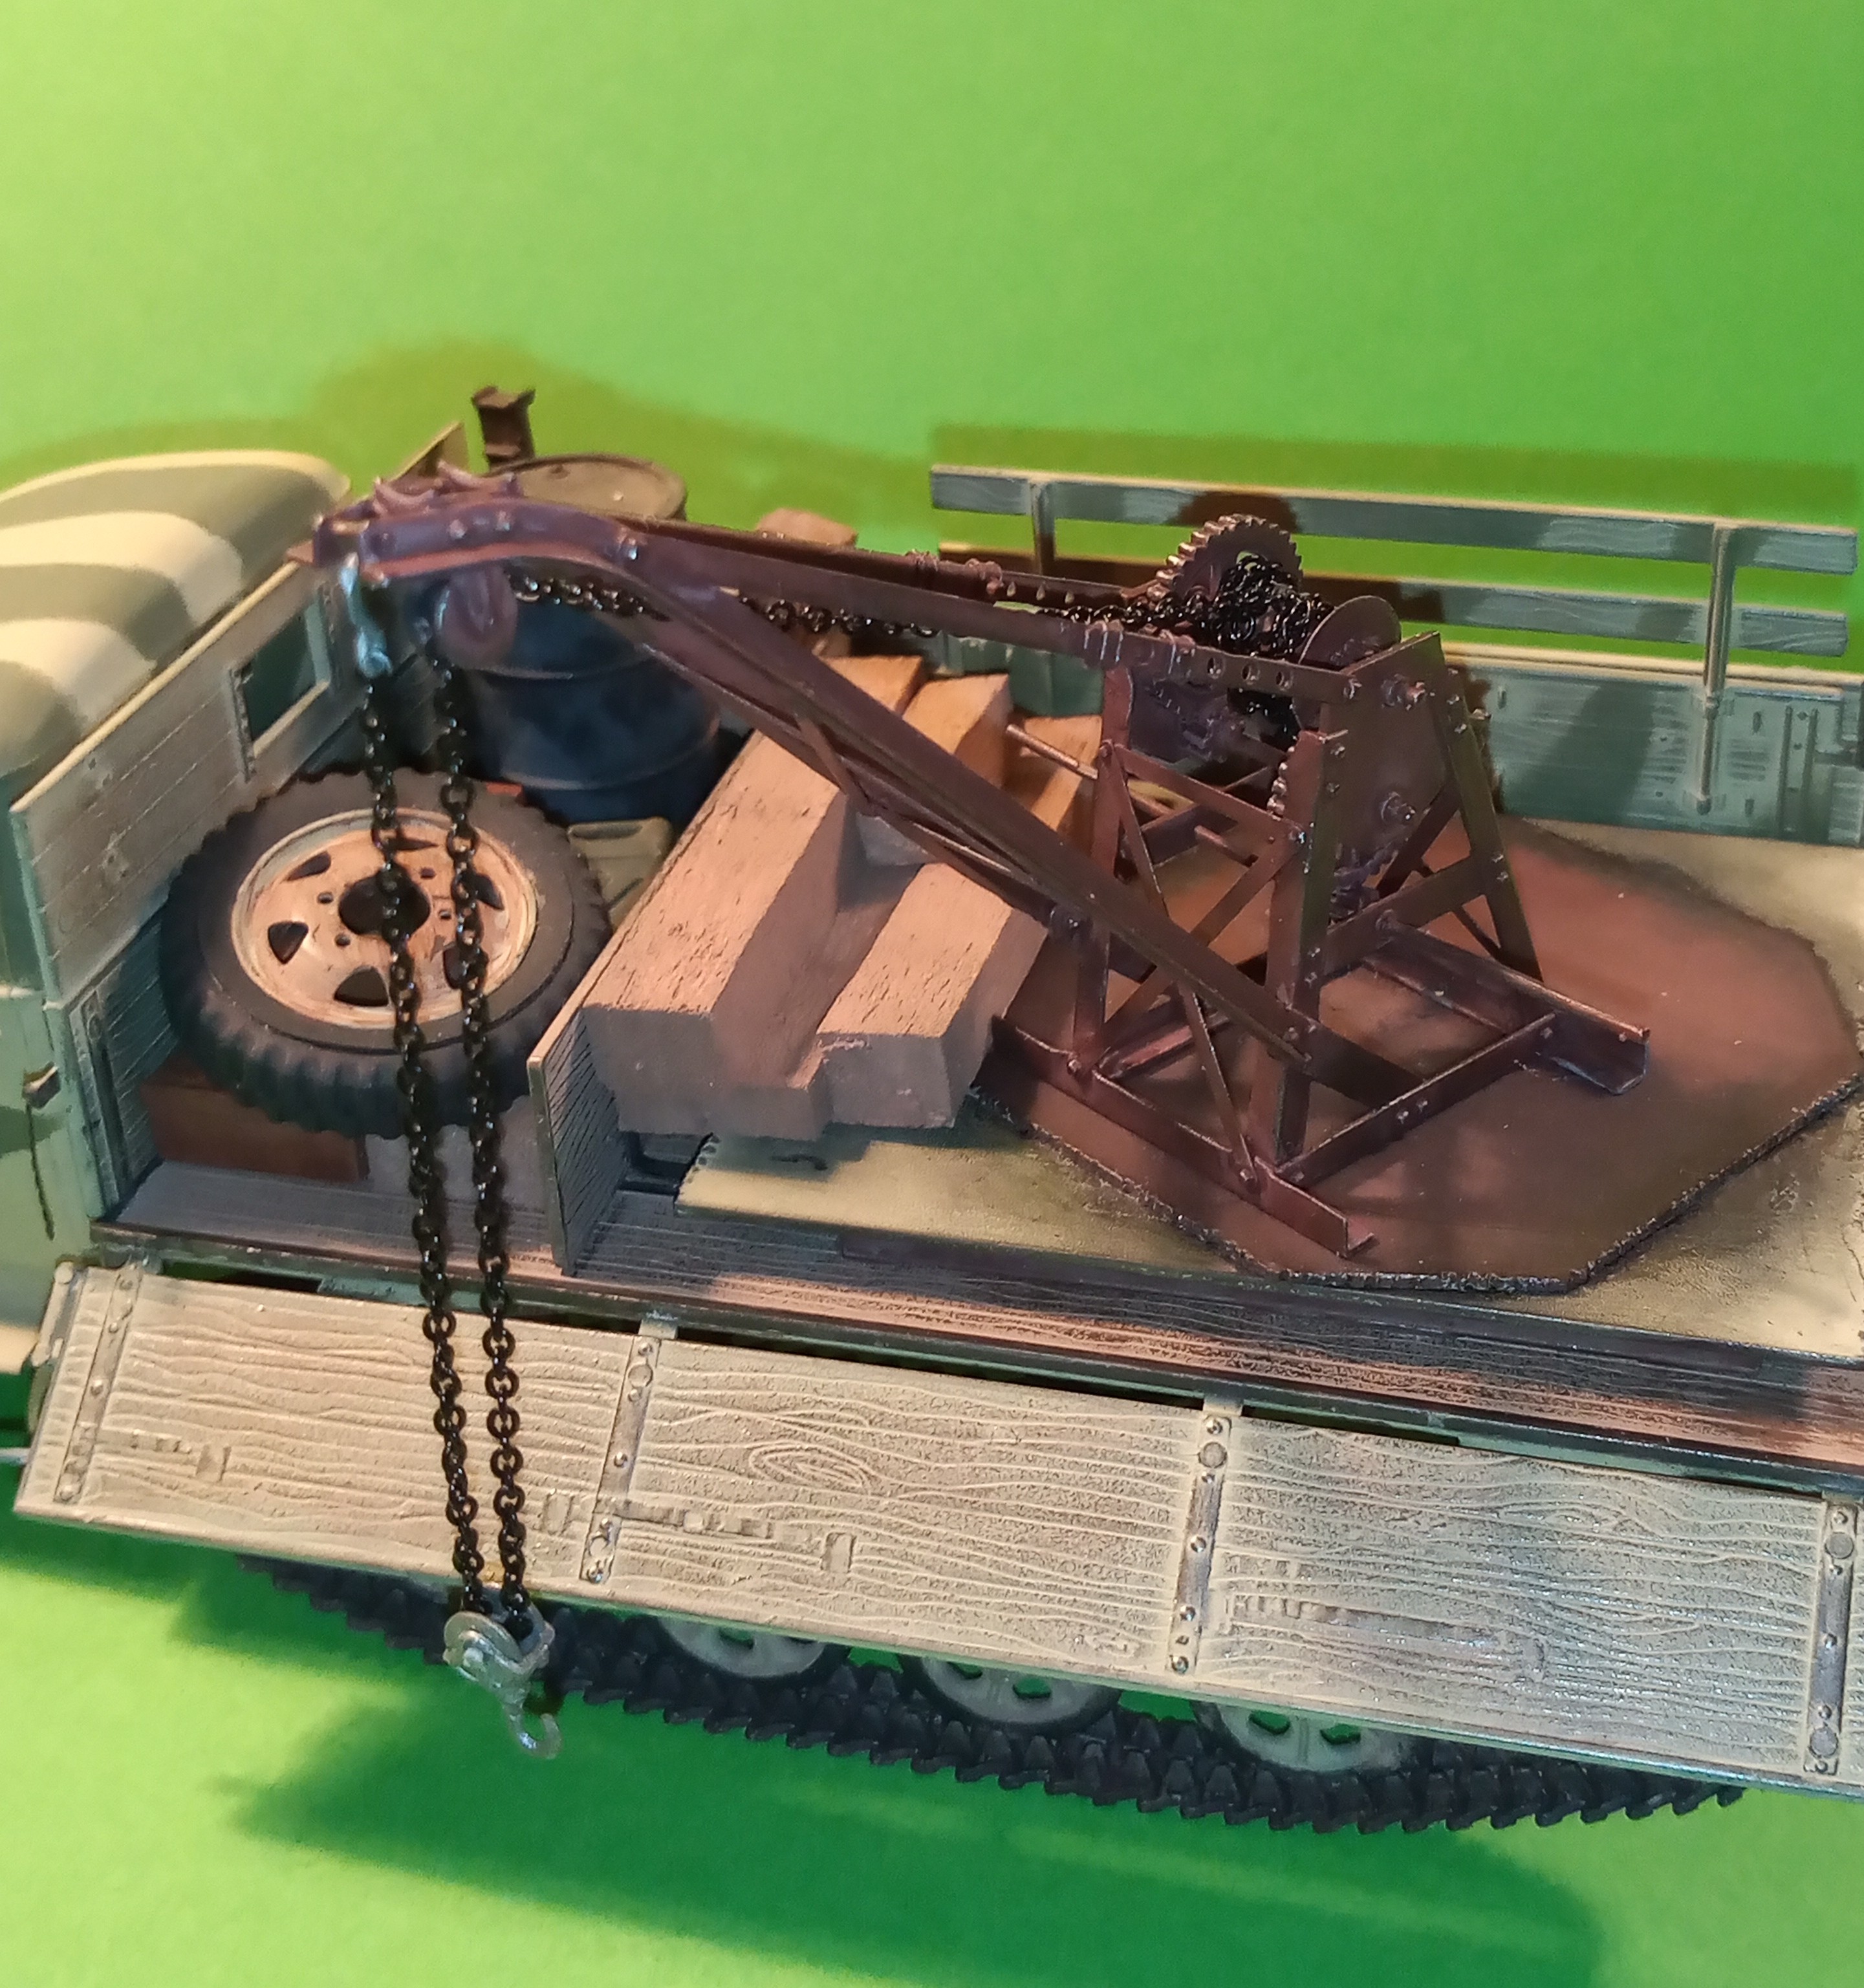
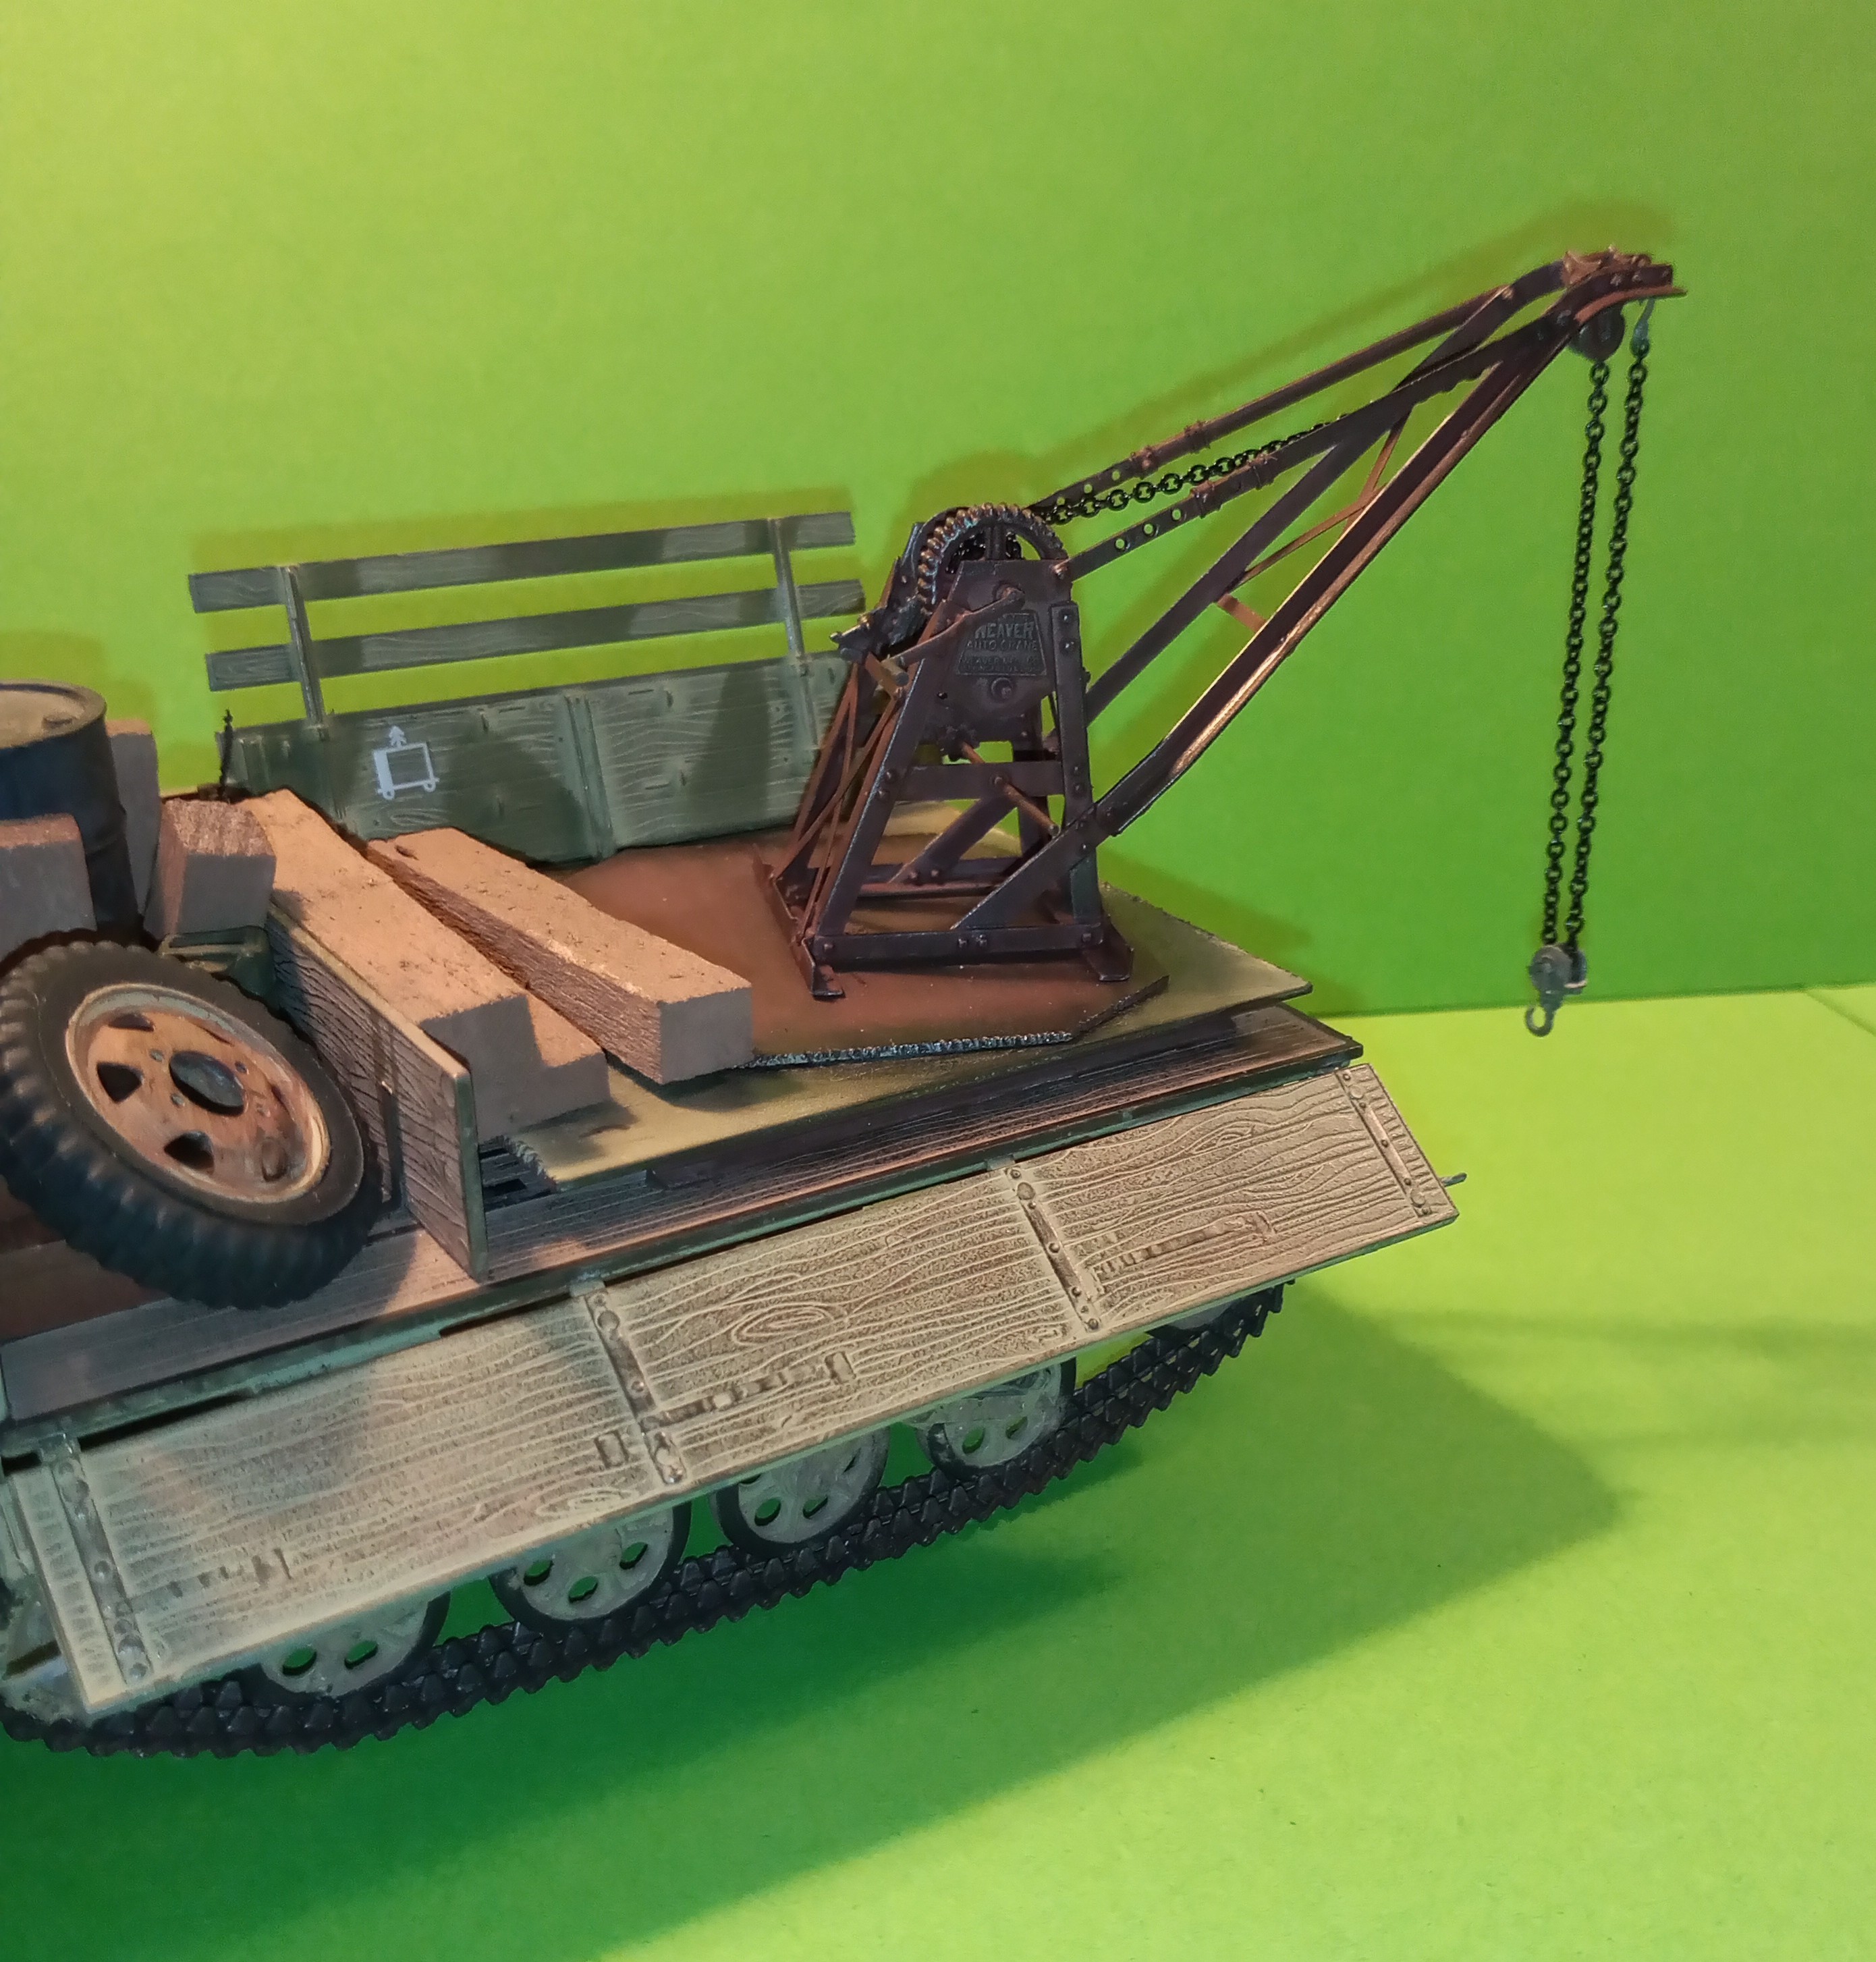
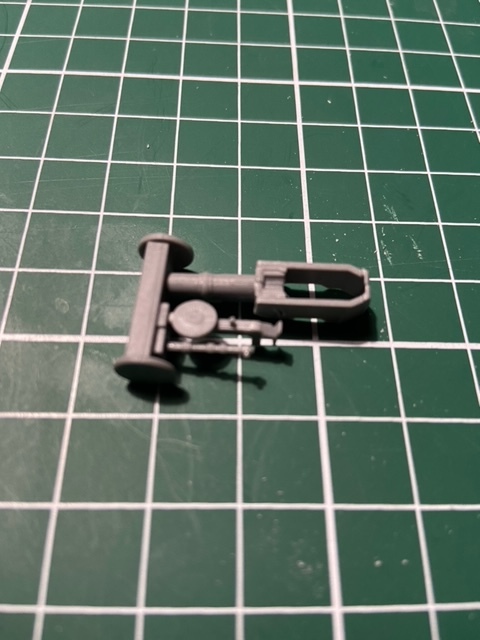
The crane is now done and it just needs a final weathering and gentle finishing on the chain. Will be putting this to one side for a while now it’s complete and start looking for a Miniart building base to go on the Dio. There will be at least one figure and a Kublewagen with various tools placed around it all.
14 Likes
Wow, it all came together really nicely!
1 Like
Thanks Phil. It was a bit fiddly in a few parts like the chain and fixing that to the spool, and then before that slotting it through the pulleys as you need to think how high or low to show the chain, then secure the hook end then slot the chain through and around the pulley and then the drum. As it is now, it is just about the right height to have the Kublewagen hanging from the hook by its rear bumper so both rear wheels are well off the ground.
I’m also glad I decided I would scratch the turntable so it can rotate. Its nice being able to have the crane at various positions.
Looks good Johnny. Look forward to seeing the other bits of this project. I need to get back to this one soon. Not sure if my tank needs all its track links or not but as I was debating the thrown track idea I have noticed a number of links broken. It might make the decision for me.
1 Like
Wow! That looks really good! And weighting the chain as you did earlier-on really helped to keep it strait and very realistic looking — many modelers tend to overlook this. One question: Shouldn’t the LH cargo side be dropped completely down? Ultimately, you can do as you’ve done and chalk it up to artistic license to show as much of the running gear as possible.
Cheers!
—mike
1 Like
Thanks Ryan and Mike. And Mike, If the kit is a pretty true representation of the real thing and everything is placed for real, then no, I don’t think it does lay flat against the side as the 2 storage boxes under the cargo bed on the LH side stick out and the side panel rests against them at a slight angle.
Not said much or anything so far as I couldn’t get excited about the crane. That said I do like the way it sits with the truck and load. Very nice. Liking the camo pattern as well.
1 Like
The side gate should be hanging straight down.
1 Like
further progress - cab assembly “done” (need to add glass, upper part of windshield, dashboard and build doors. Started on the truck bed (just to get some bigger parts done) - all sits nice & square after a bit of a battle with the front mudguards… at the moment all cab parts & truck bed are loose for ease of painting - hope to be able to start painting (well doing a black chassis) this weekend
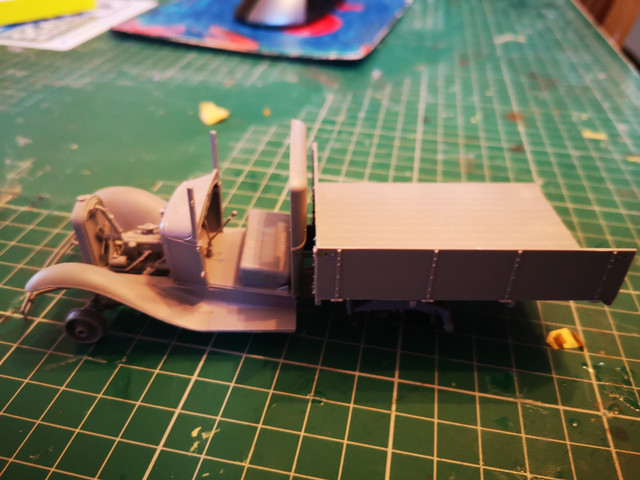
4 Likes
I get what you’re saying DV … At the end of the day it is just a crane lol… Once I get going on the base and other bits, the Maultier will end up looking a bit more battered and bruised though.
Nicely done Rob. Looking like a neat little truck
1 Like
I would tend to agree with you @brekinapez, all the trucks I have ever worked with in UK military had sides that drop straight down. However there are a few other factors for this one.
I did look for ages and could not find an image with the sides down on a Maultier.
I guess there was no huge reason to drop the sides as when it’s in the troop transport role, de-busing troops will either exit out the back or do the leap of faith over the side if the canvas isn’t there. Also I think the bench seats are fixed or mounted onto the side panels so it would be impractical anyway.
On this pic ( sourced from the web and used as reference only)
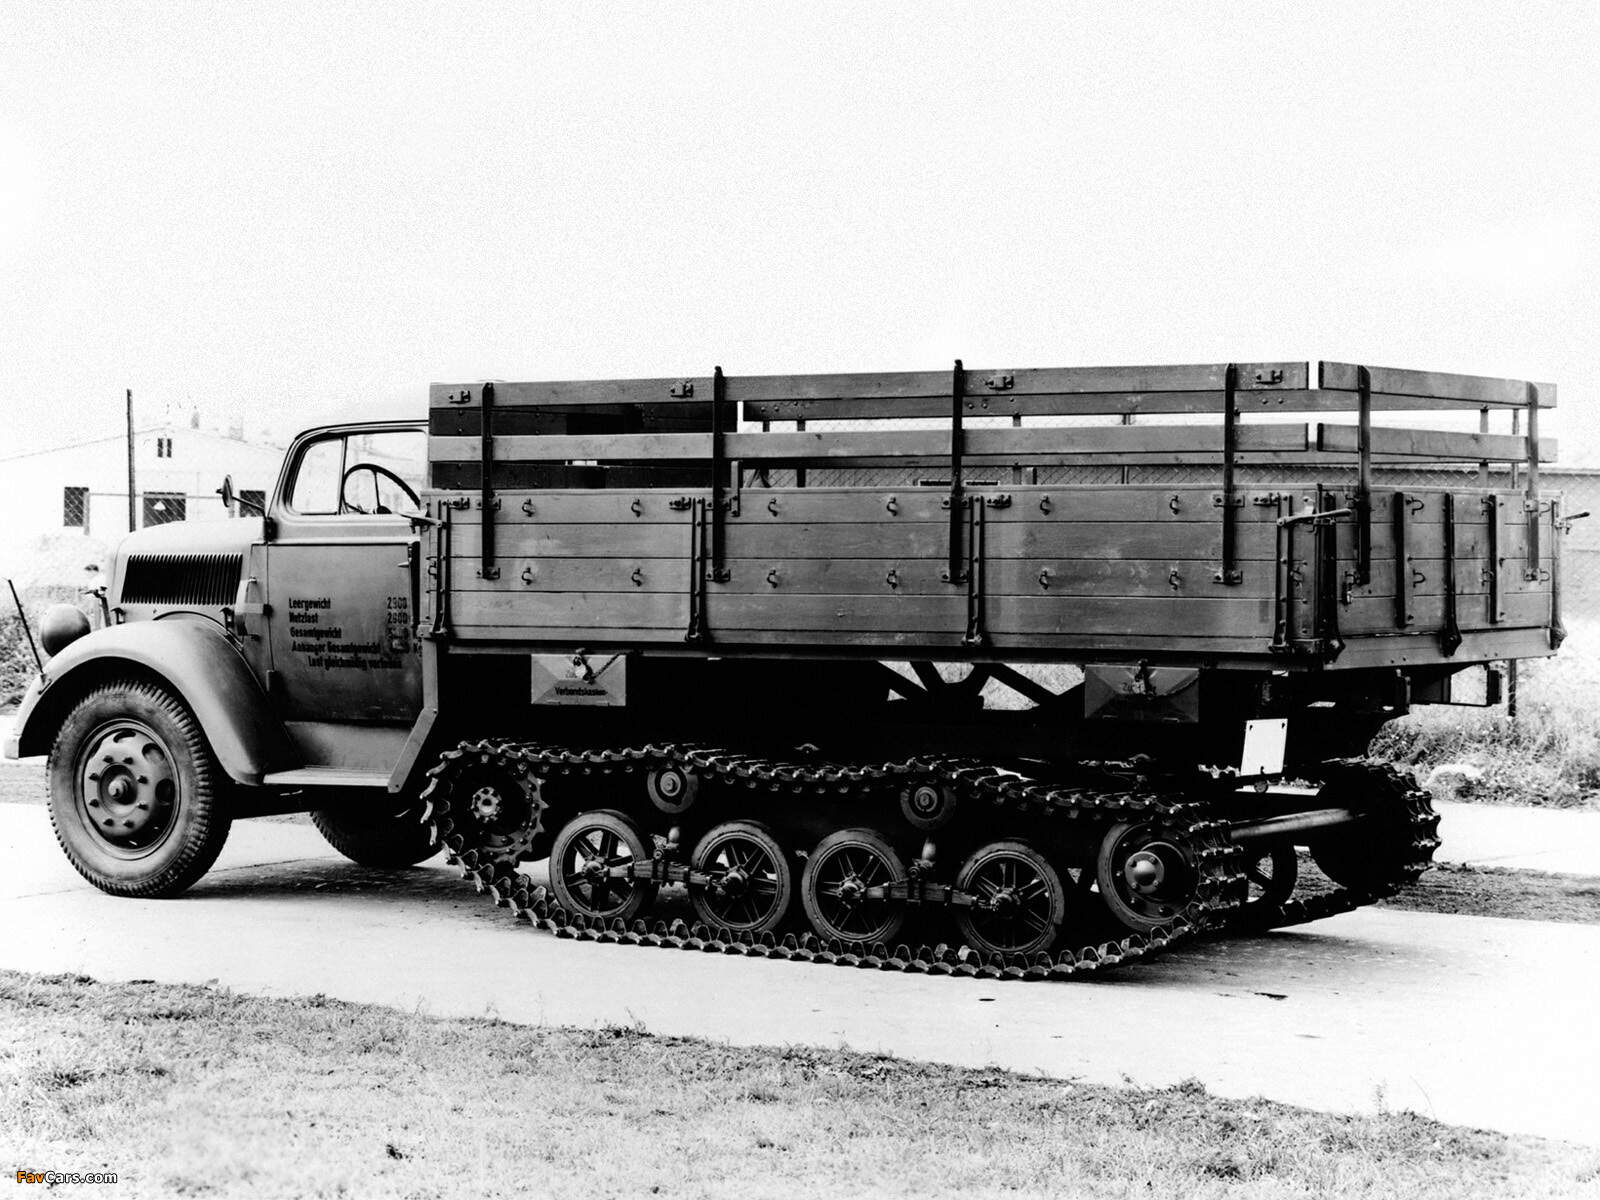
You can see that the 2 LH side bins sit proud from the side of the wagon, and on these bins the lids have an angled build and this is what the side panel sits on. You can also see this in other pics of that type of stowage bin.
However on some other ref pics the bin lids are flat with no angled bits so the panel sides may drop flat on those vehicles.
The kit bins only fit one way so that isn’t the issue and going by the ref pics, they are positioned correctly.
The same issue will also happen with the tailgate when that is down. This time it rests against the rear track mudguards giving it a slight angle…
1 Like
Nicely done John it all came together beautifully and it looks fantastic. The truck really has that “old workhorse” look to it and you’ve really given it character with the weathering on the crane and the stowage. Camo is cool too. Can’t wait to see it set in the scene.
1 Like
Last weekend Finally had time to start with the T-70.
First time I am building a Miniart kit. As mentioned by others the plastic is surprisingly soft, compared to the Zvezda or Tamiya kits I have been building lately. This was a pro because of the flash, which I did not expected from Miniart but had to remove which goes easy with the soft plastic.
Secondly the sprues do not contain a label or numbers, so I have to double check the sprue numbers in the booklet for every step. Especially since there are errors in the manual with parts being wrongly numbered or without any label at all in the manual. I guess it is because of the age of the kit.
I think the kit is from 2015 but the sprues might be older.
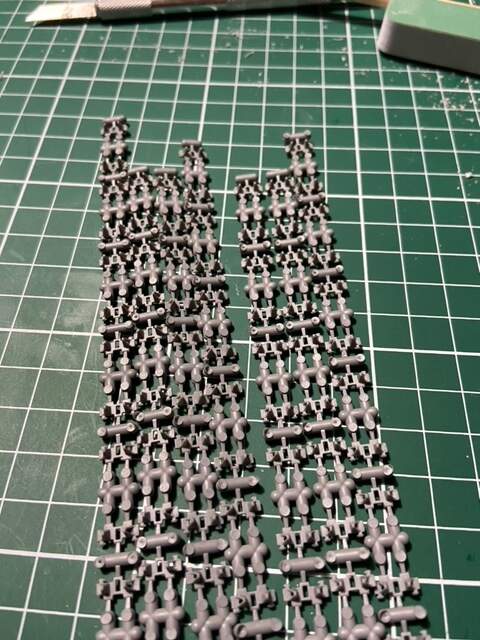
Example of some of the flash:
The backside of the gun and the coaxial machine gun, these will be invisible when finished.
(Sorry for the image quality, still learning how to make proper pictures with my phone)
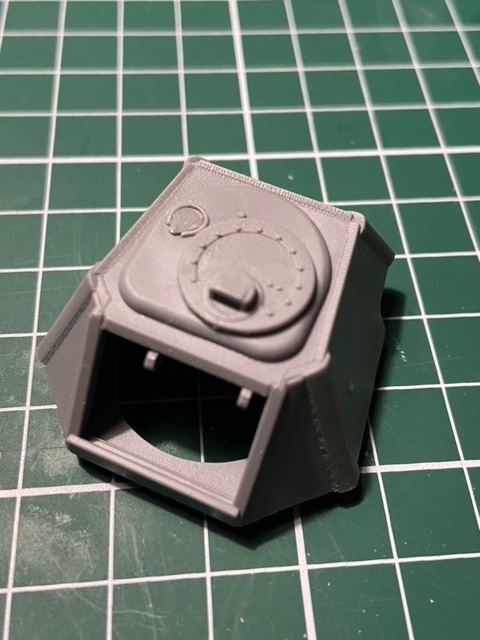
The turret so far.
Since I have an Aber metal barrel for it, I need to enlarge the hole for the gun.
Didn’t have a 3mm drill but ordered one, hopefully it will come today or tomorrow.
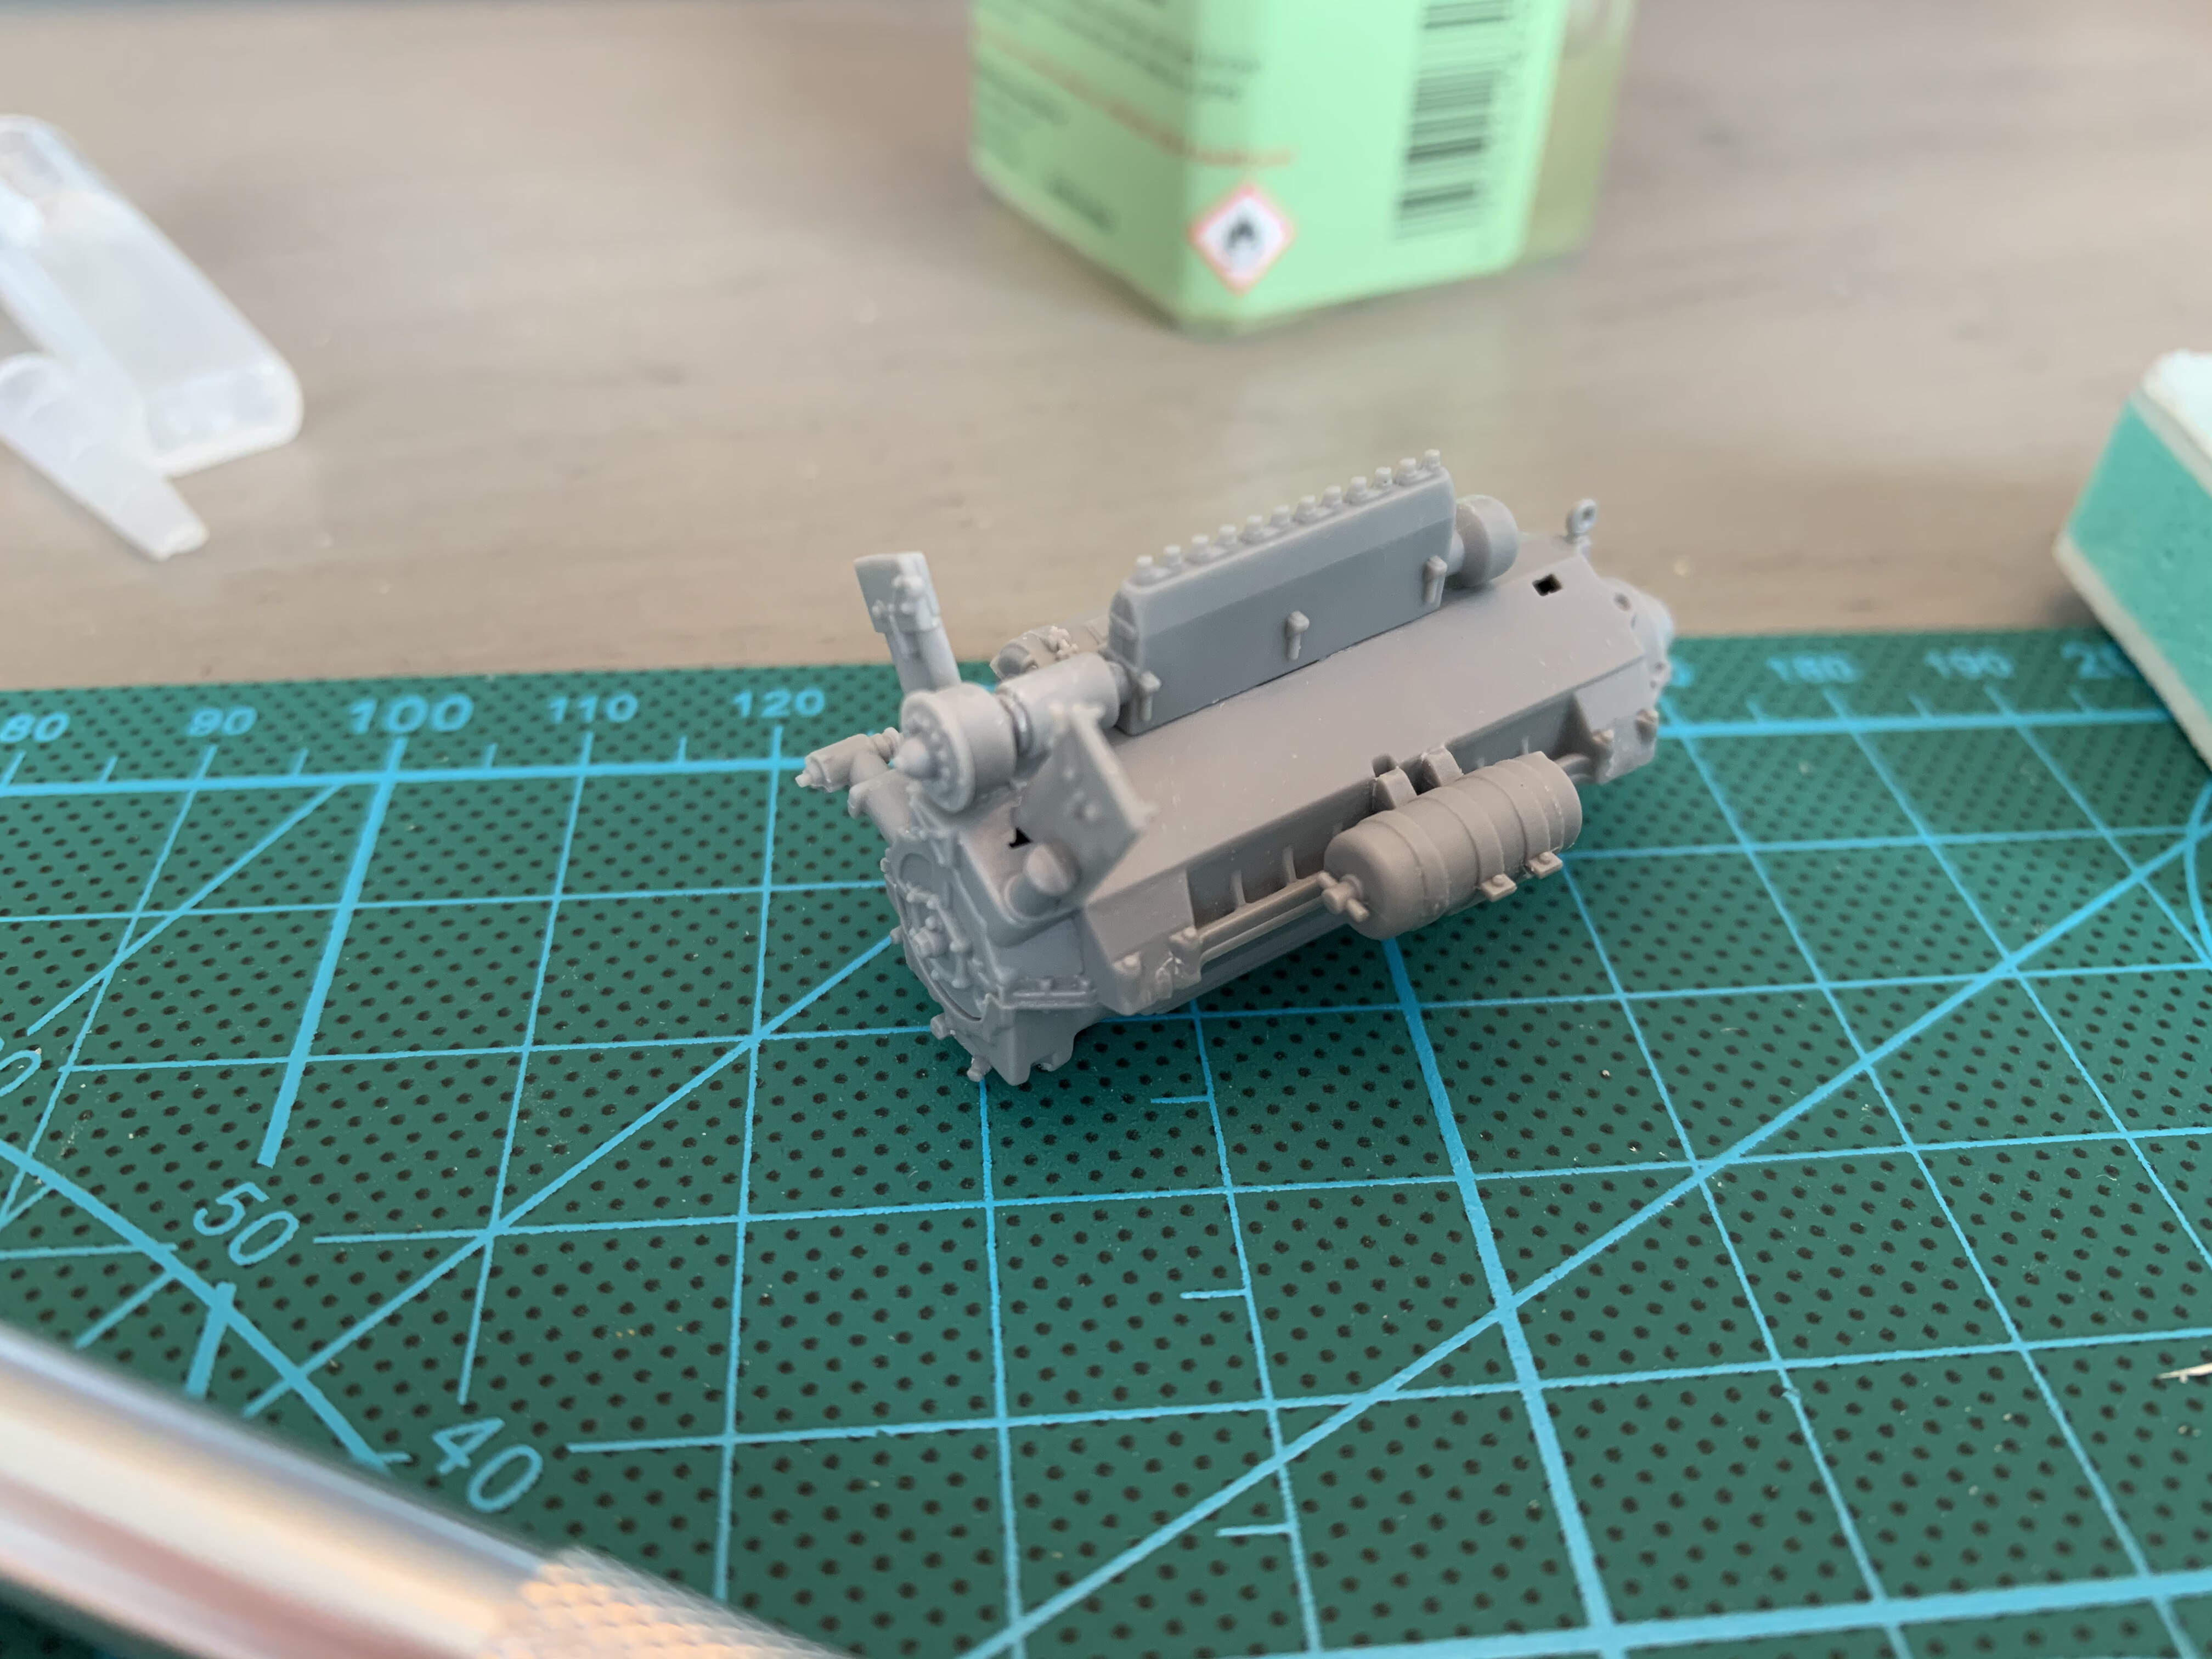
Instructions said to remove this pannel since it will be covered with PE.
So I first drilled holes to easily cut it out. Then cut it out with a knife and a saw.
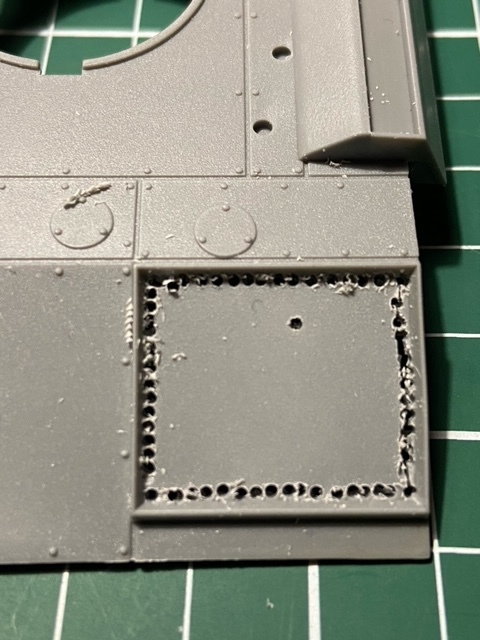
So this is the result:
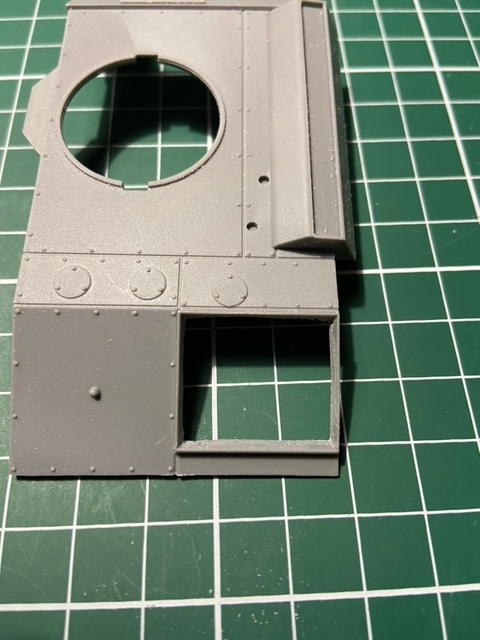
Next step will be…
1 Like
Looking good. The first sprues where from the 2006 release. I need to check my instructions again, as I don’t recall them saying to remove the engine plate. Yes it is a pain to go back and forth. I did separate the instructions to make it a little easier in that regard. Later kits like ball tank, crane or wheel set have numbers on sprue.
Edit, my kit doesn’t ask to remove plate to add engine pe. When I get to that step we will see if I can keep or need to remove.