thanks, guys!
Cheers!
L
I recall a discussion a few years ago about plastic issues, as I recall they changed the formula or had a bad batch for a number of kits.
1 Like
@logandavis74 Hi Logan. the dio is looking good. You asked for feedbacks, so I hope this helps.
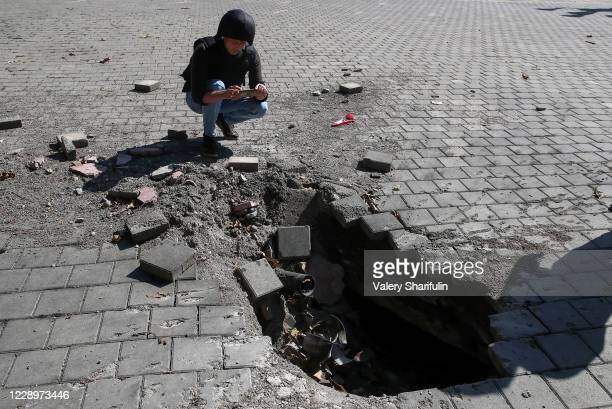
Shell craters are formed due to the pressure wave of the explosives. Depending on the type of shell (Heavy artillery down to mortar round, the effect can be dramatic or not so. Based on the size of your crater you would be looking at a light artillery round, so maybe it needs to be a little deeper. The explosive wave has a tendency to push soil down and sideways where the natural resistance of the ground scoops out soil and pushes it outward. This creates a ring of soil and matter as material is pushed out. Hence the crater is deeper and the soil dislodged forms a high ring outside the intense blast area. Also due to the forces applied, cobbles are also lifted and removed as the dislodged soil is pushed upward below the cobbles. So on the outside ‘ring’ of your crater the cobbles should not be flat and even, they should be pushed up at angles where the main blast was focussed (opposite from where the shell was fired and some could be hanging downward where the soil beneath them was removed.
Then, those closest to the epicentre are blasted free and the pressure wave will make them rise and fall outside the main blast zone, so you should have more rubble, broken cobbles and soil deposits scattered around the outside of the crater, less and less as you move away from the crater.
You might also consider making the dislodged cobbles smaller. The base has brick size cobbles rather than the larger slab ype you have added.
The following may give you an idea.
http://michaelhiske.de/Allierte/USA/TManual/E9-1901/Part01/Sec03a.htm
And Pics are always a good reference point
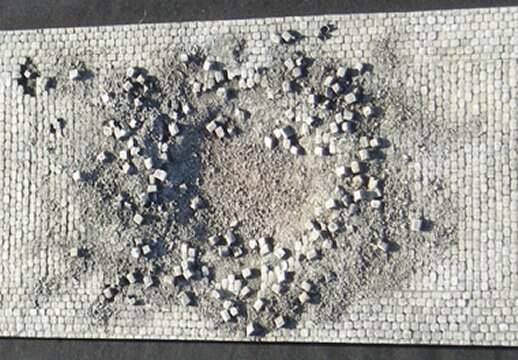
Like most things, you won’t get it perfect the first (dozen or so…) time… so play around with your layout until you are happy with the outcome then stick with that. I am confident you can pull this off.
3 Likes
Yes, they had bought a supply of plastic that turned out to be badly mixed by the manufacturer and popped out a lot of kits before people started noticing there was an issue.
1 Like
If you are only a couple short, an option is to cut out the centre strut section, drill a hole into each link section and along the face of the track segment up to the outer ‘V’ section. Then insert a brass rod or piece of steel pin between the track segments. Use the repaired link as part of the bottom run under the road wheel and that way the rod that passes over the track face is facing down and not seen and the road wheel hides hides the issues on the inner face. I have success doing this in the past.
1 Like
That is great idea Peter and one that might used on this build. I am not sure on the number of links needed or the final display of thrown track. I keep thinking about the denotation of a anti personal mine or track pin failure for the thrown track. I have some Miniart engineers that can be shown mine hunting. I need to research more on the T-60/70 family for what thrown track looks like for this vehicle.
@petbat- thanks for the info! I’ll be sure to put it into action in my next dio.
Cheers!
L
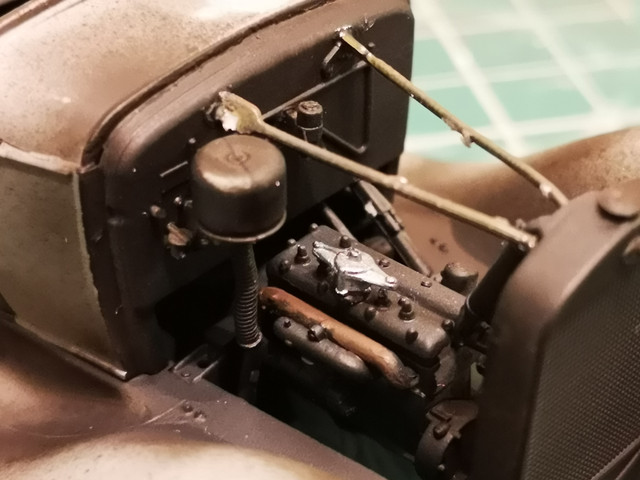
Engine done, minus some weathering to make it look dirty and used. Added some wiring for fuel lines.
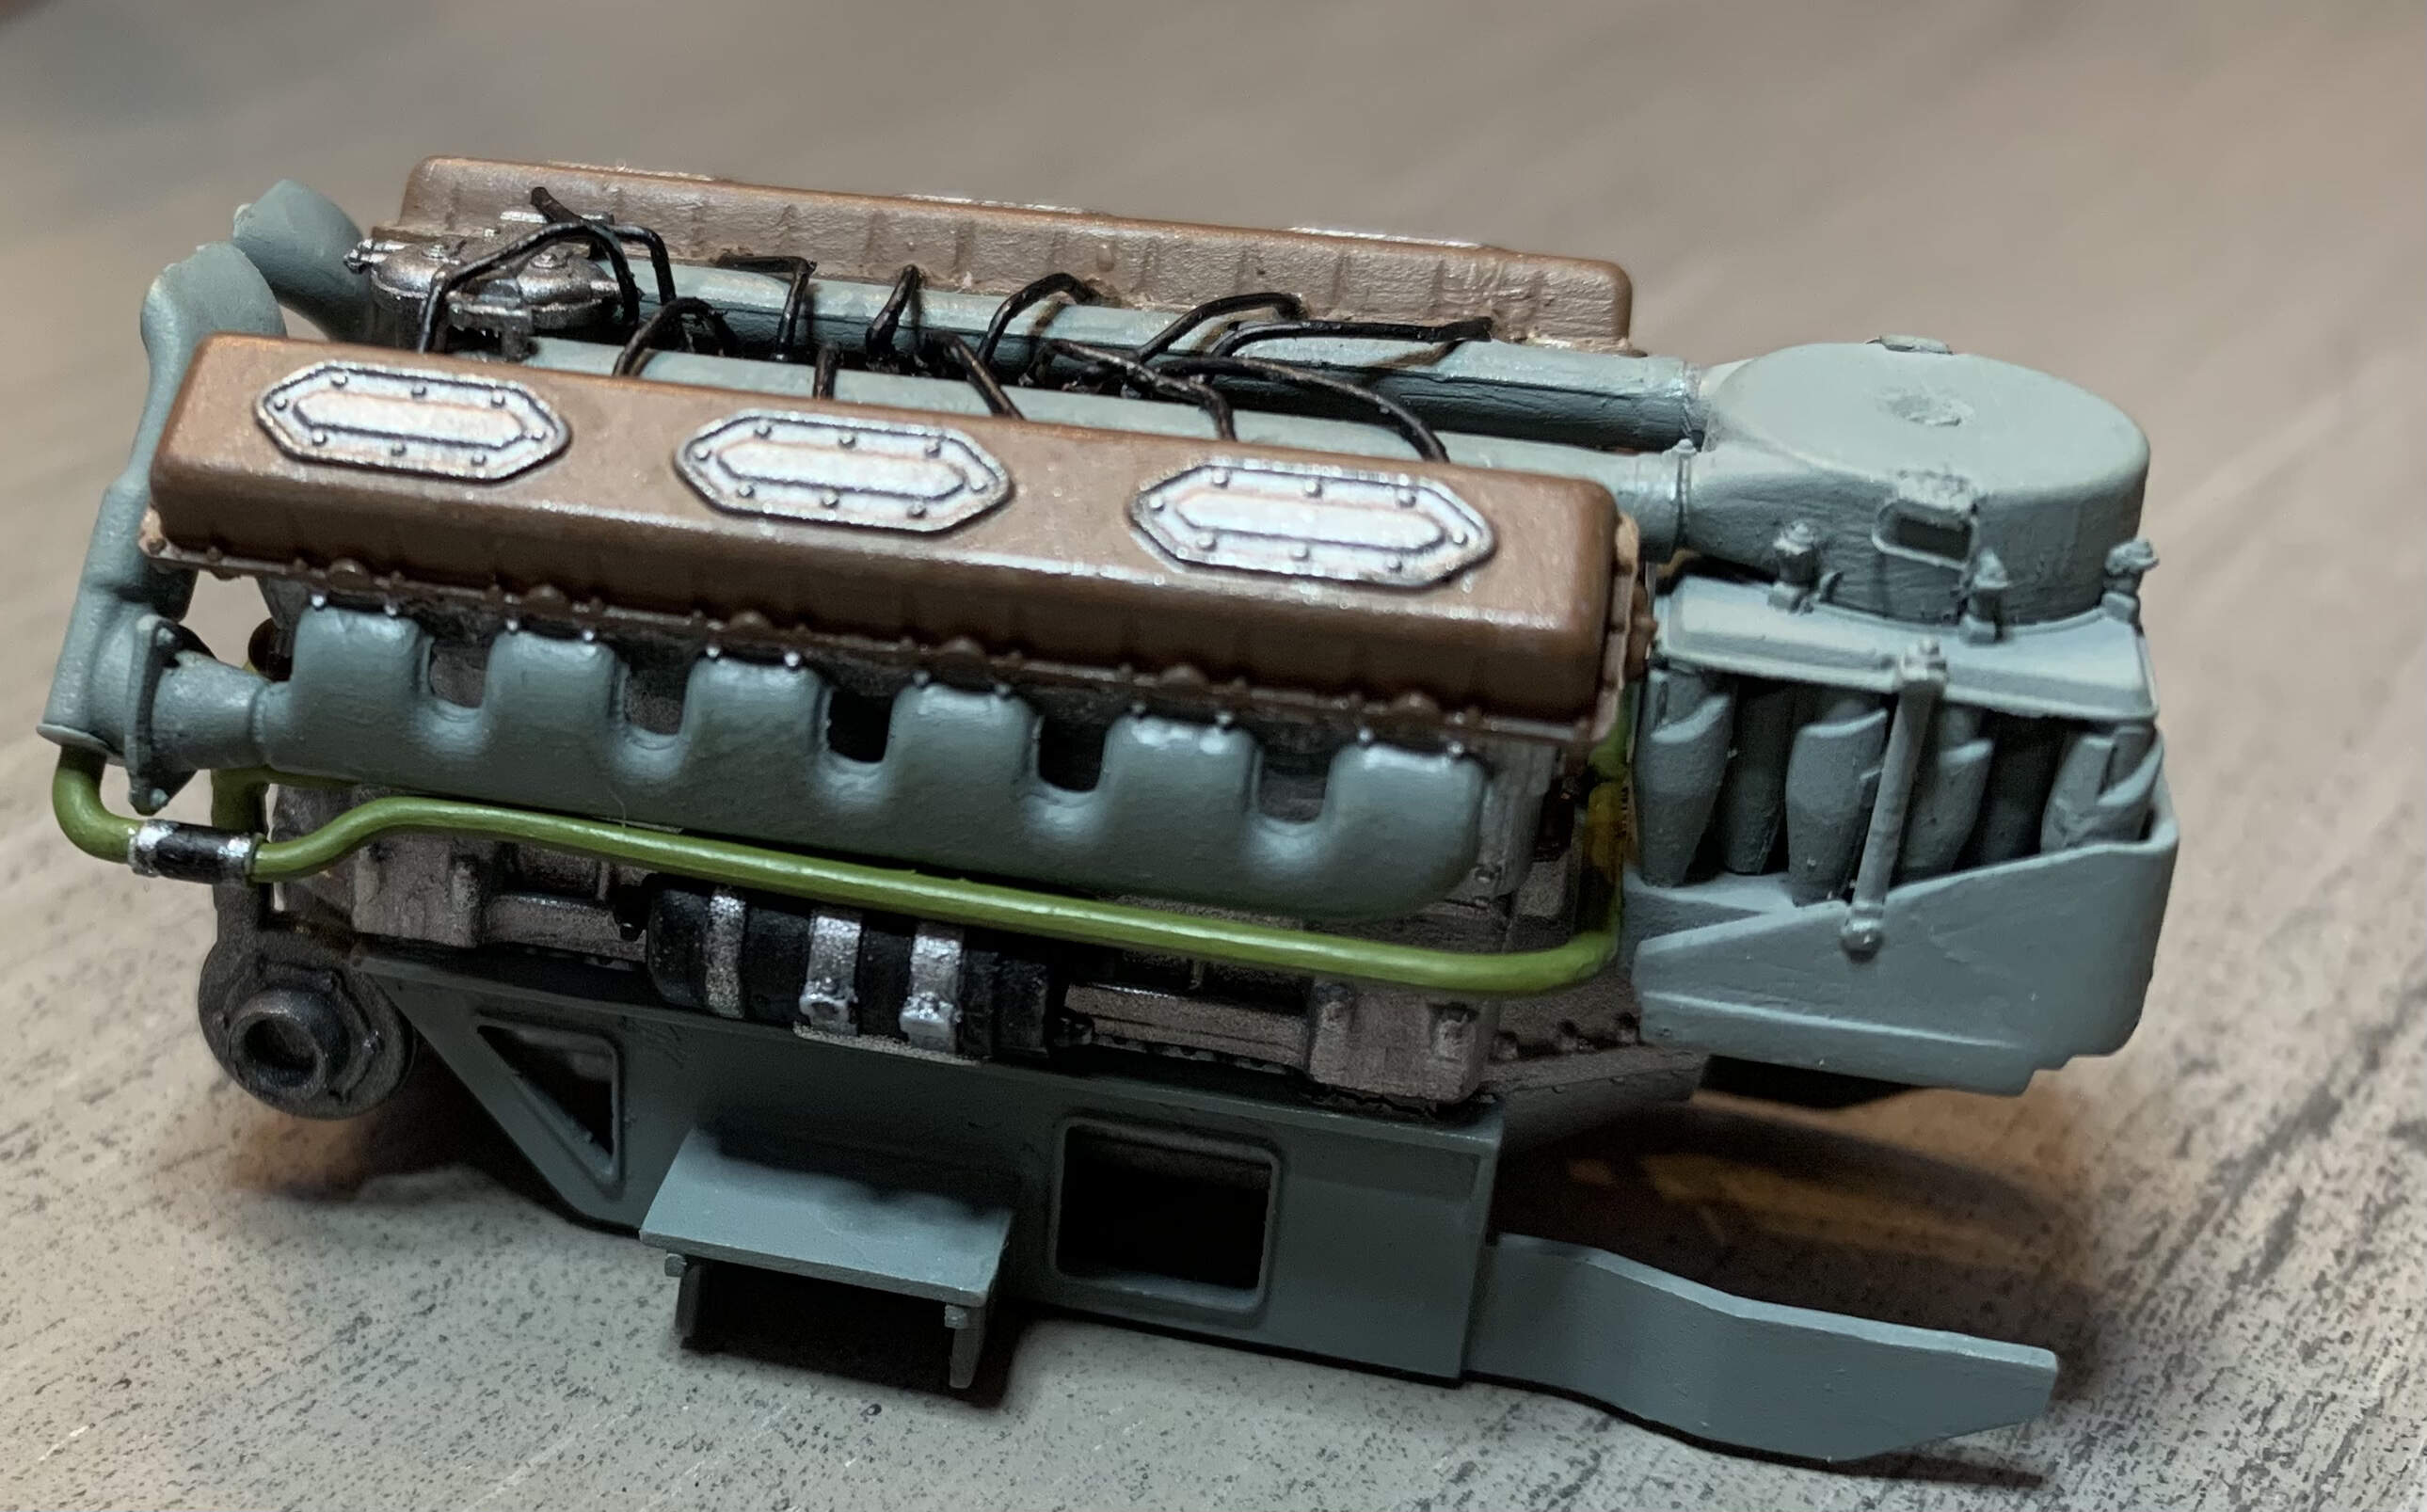
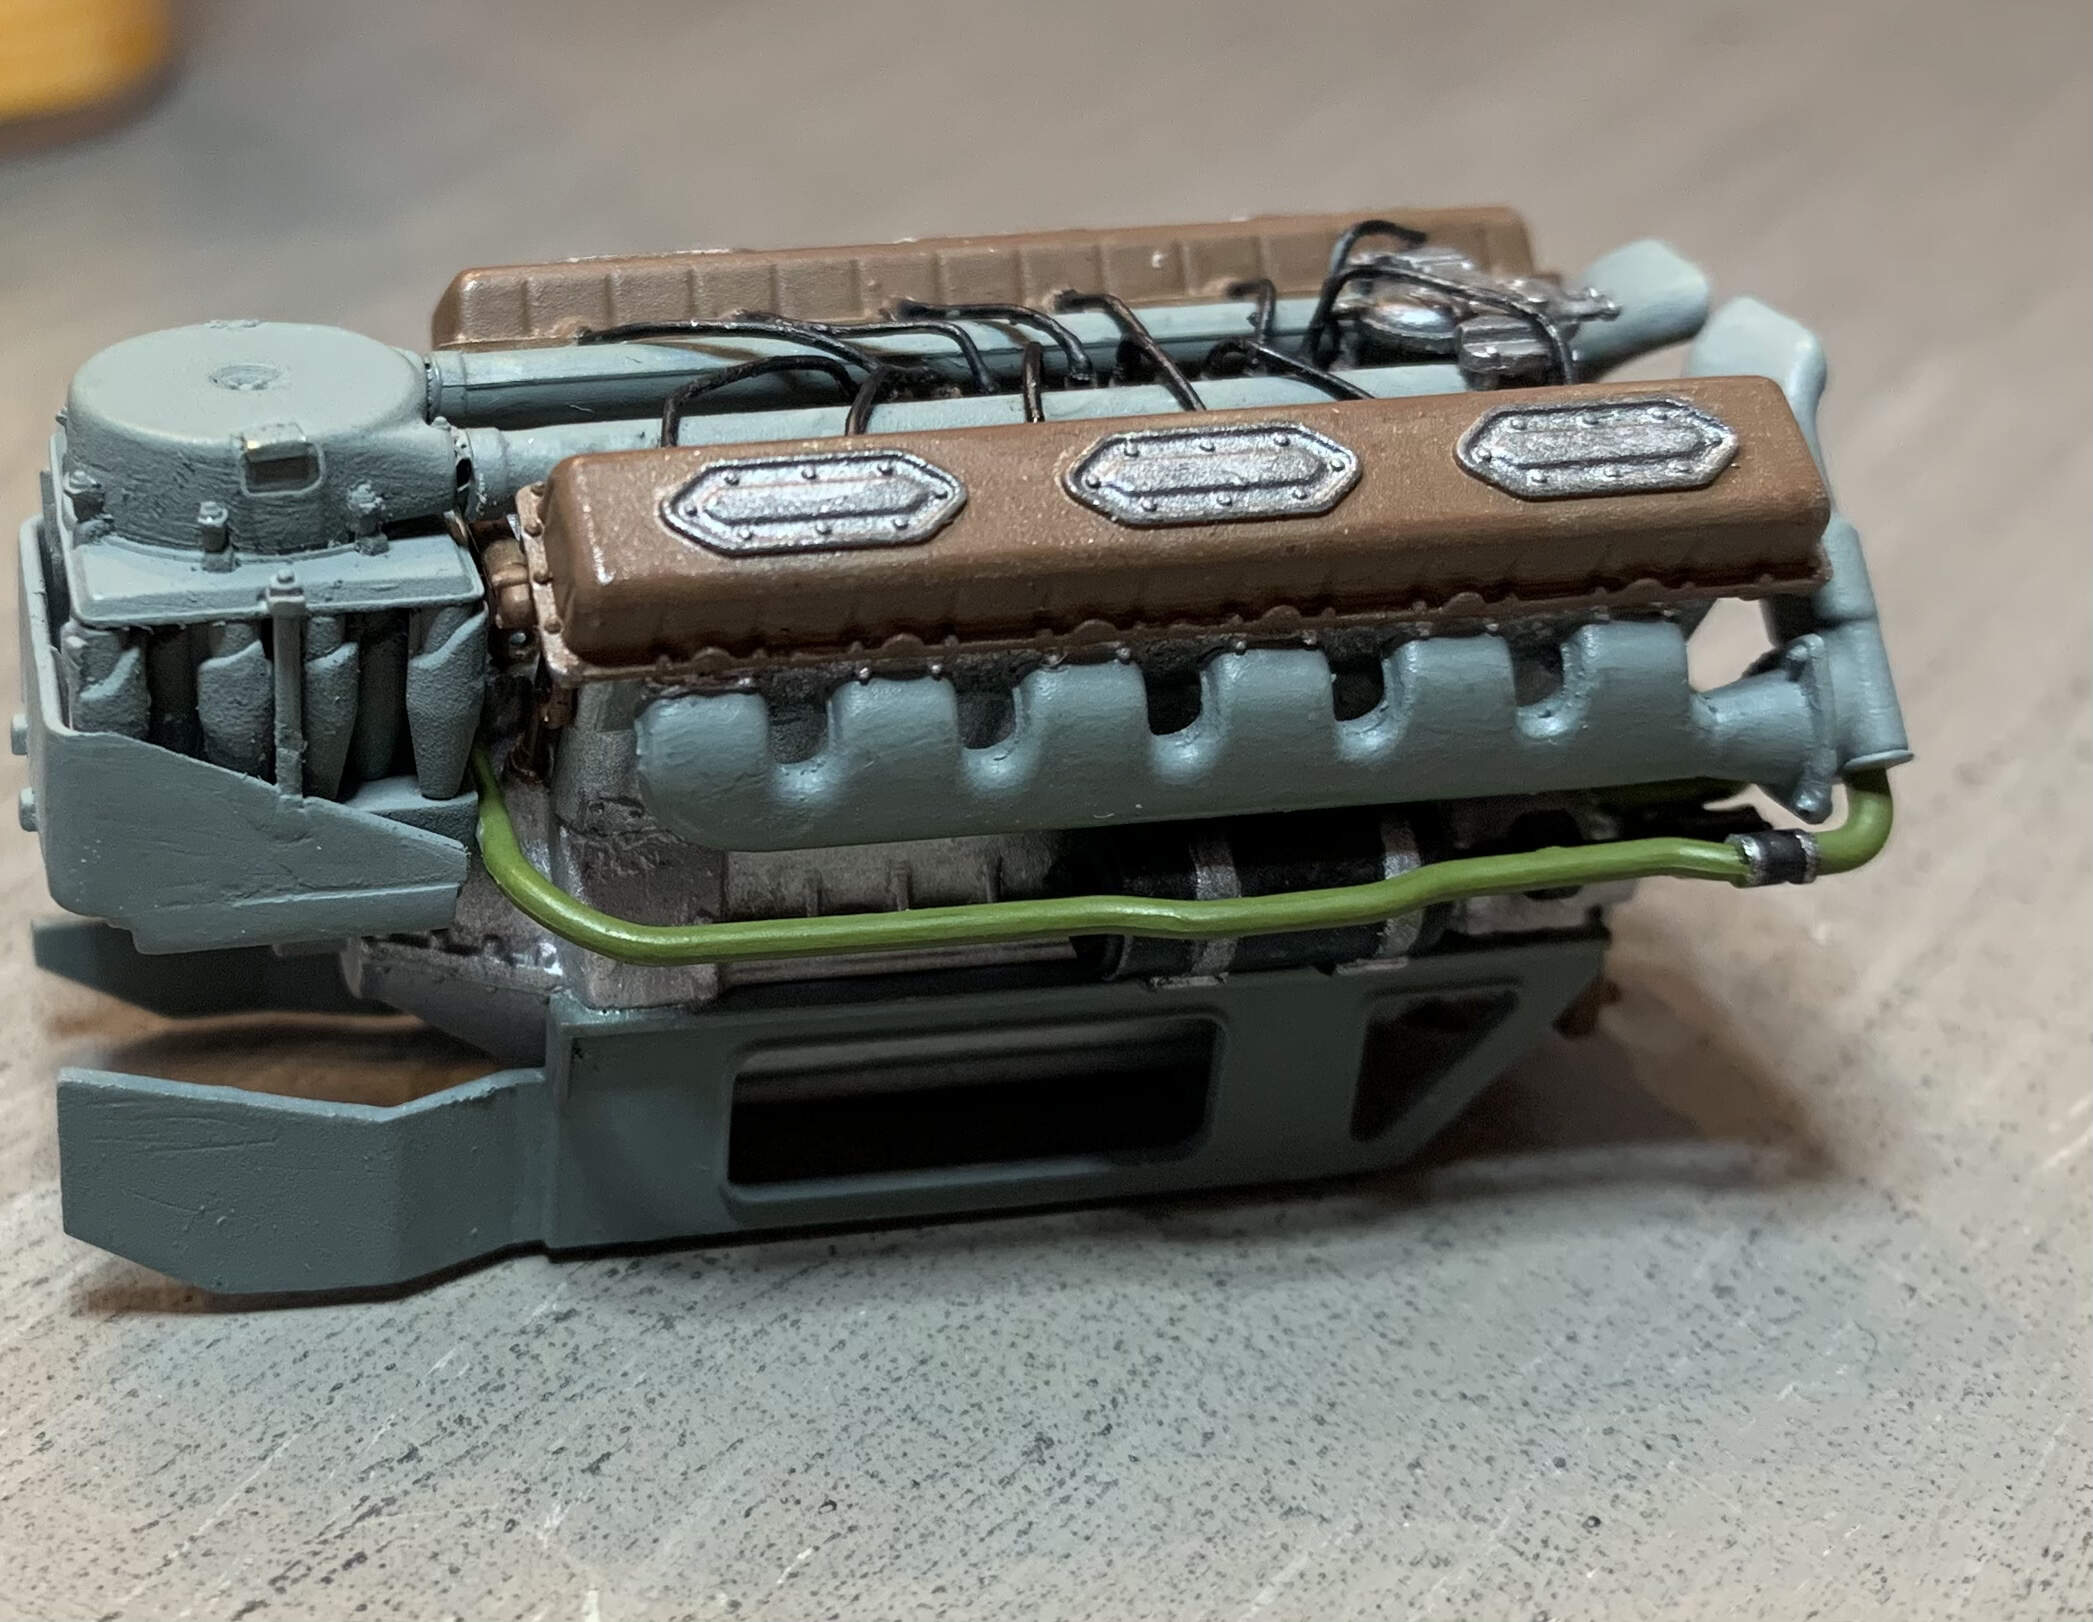


10 Likes
Sweeeeet! 
Wow, that looks really great!
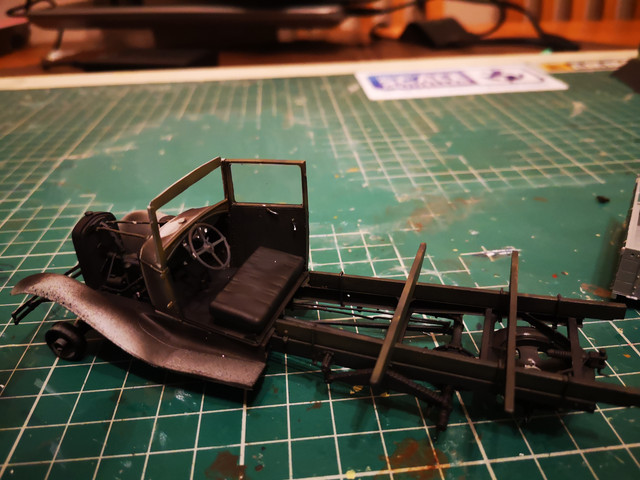
I’m game, i have an Austin Armored car and two figures that will make for a nice Polish armored car diorama.
2 Likes
Looks great!
Thanks guys! Appreciate the feedback! Happy I got back into this hobby. Next is to start on the hull tub which will start next week sometime. Have to paint camo and decal my stug IV build before it gets too entrenched on the back burner!
3 Likes
Looking forward to progress on your stug!
Mead, that engine is going to look amazing with a bit of weathering on it! Cant wait to see how the rest of the model comes together!
After that, this is probably gonna lower the tone a bit, but hey! Here goes
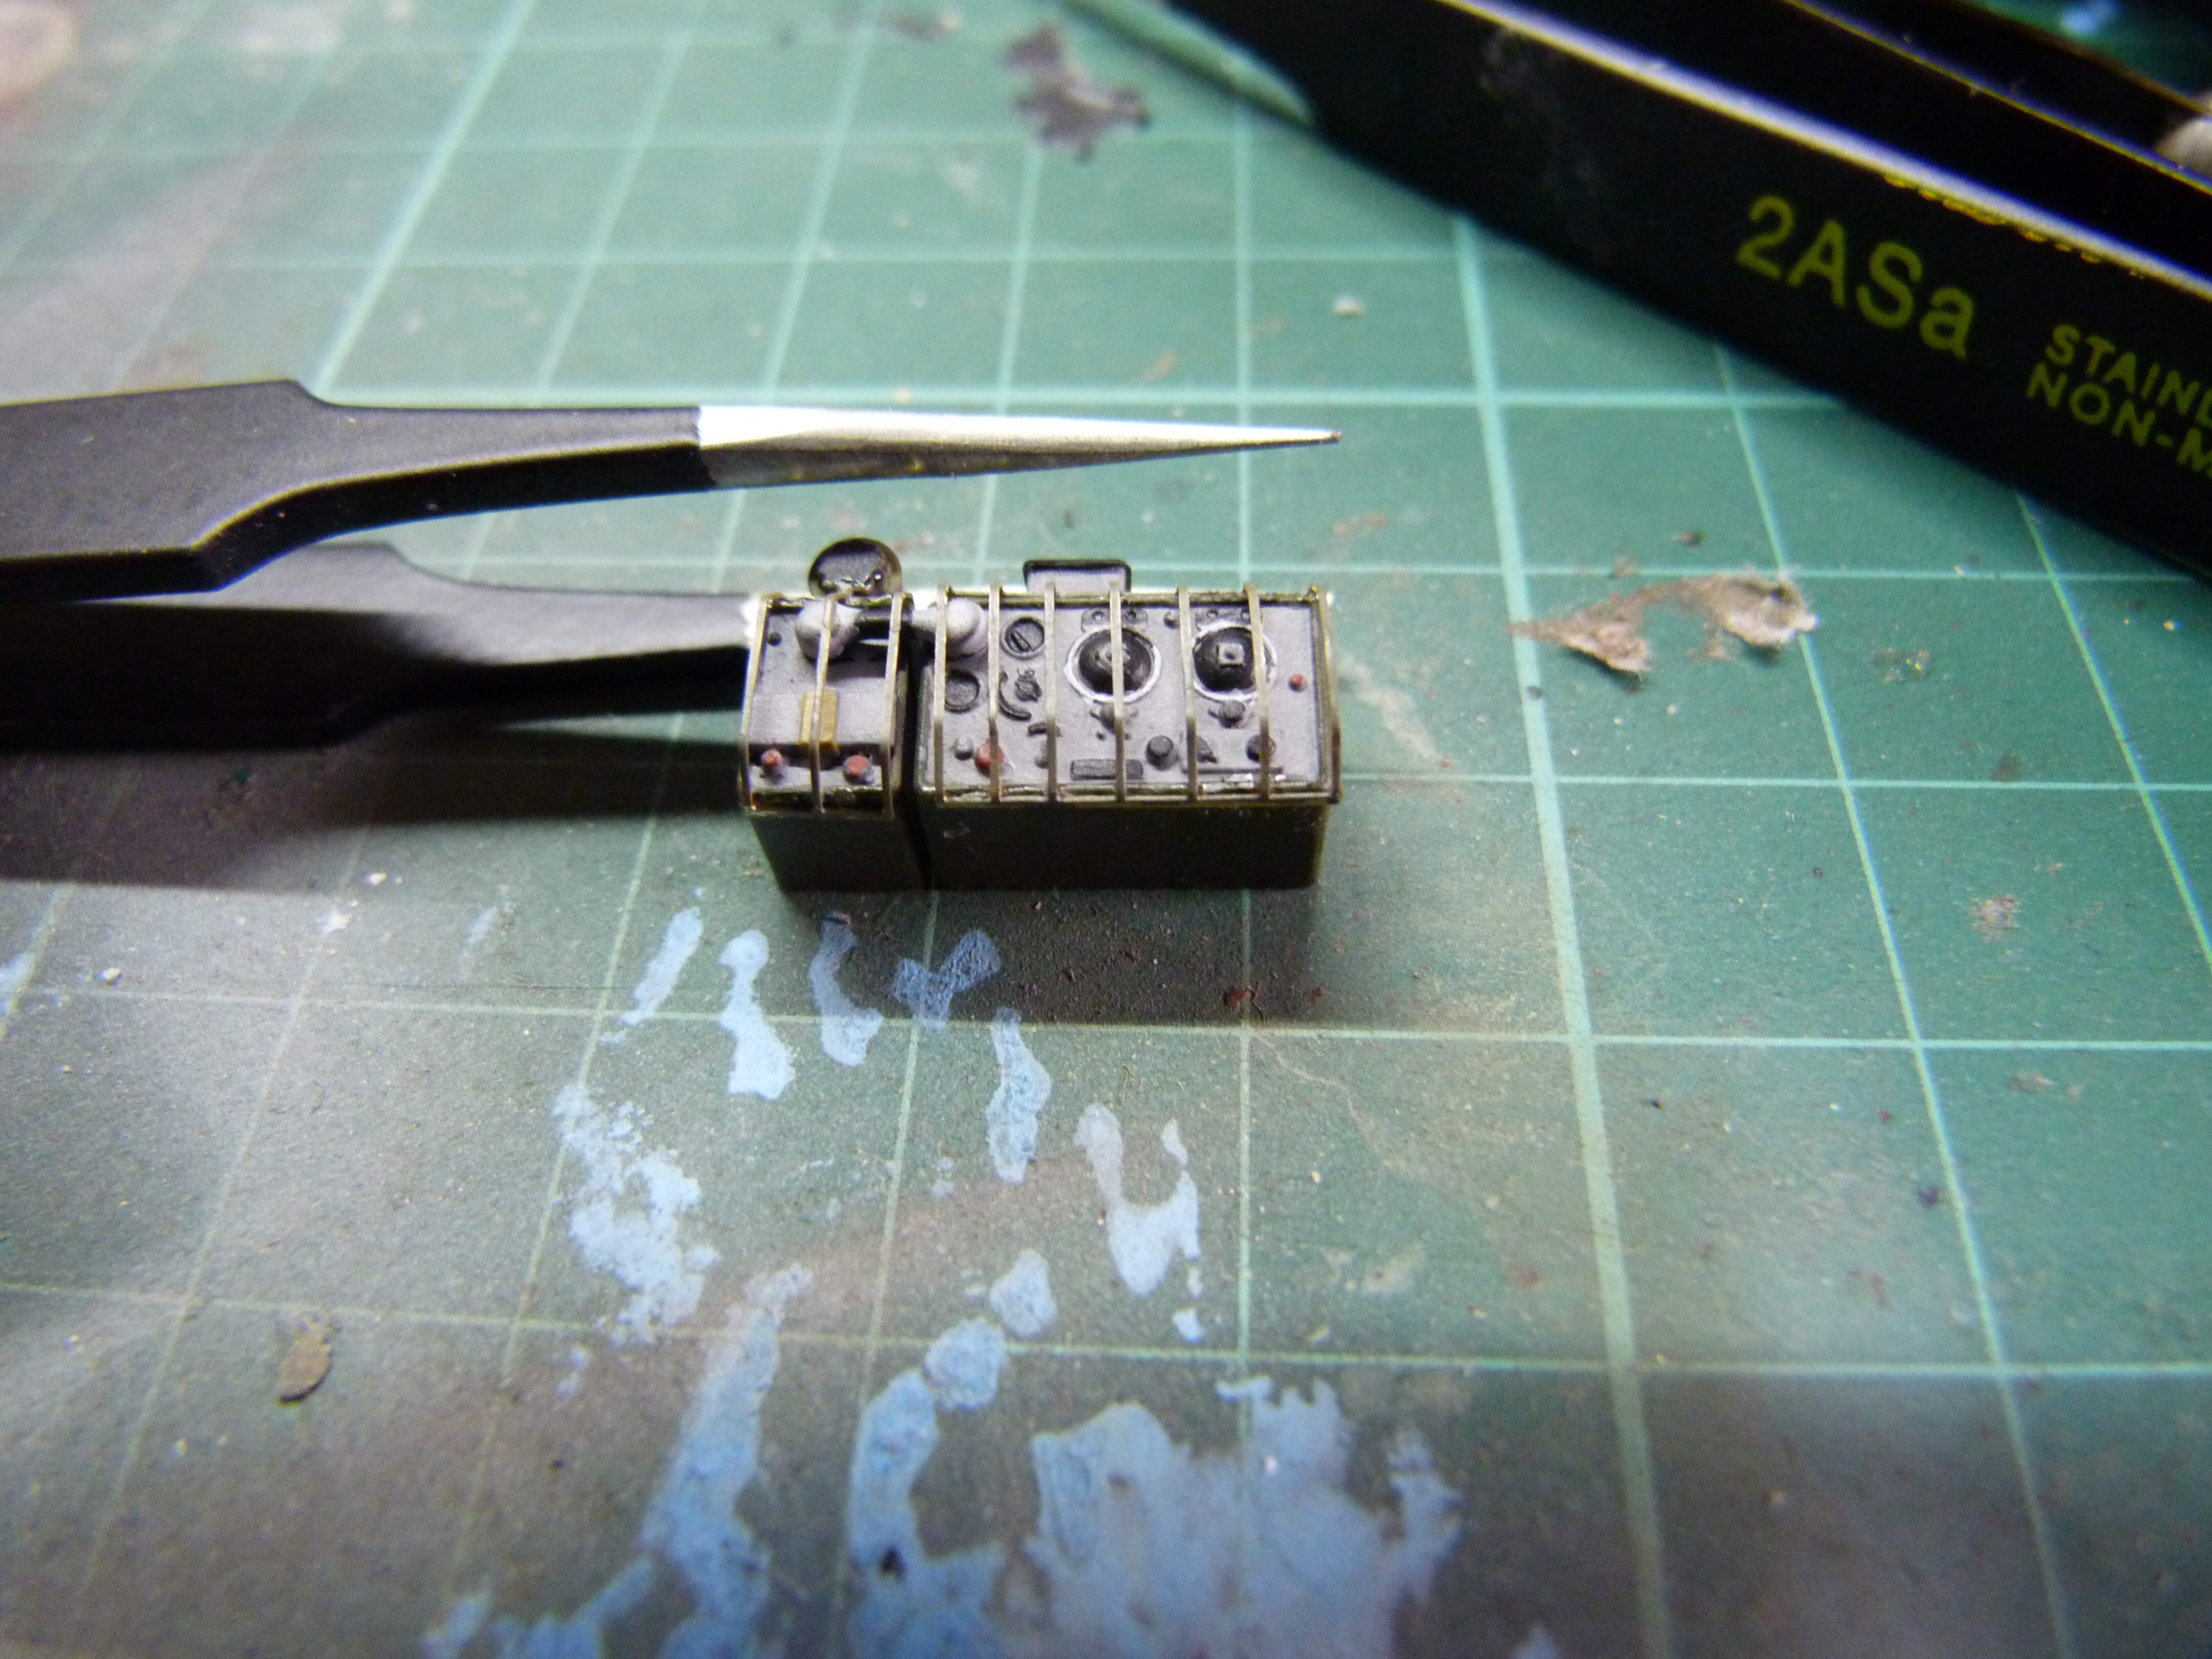
I found the errant tweezers, so have started doing some of the small fiddley stuff, like the radio, however I did drop one of the antenna mount brackets which immediately ceased to exist, so I had to make a new one from some small plastic rod, its a bit of a bodge but I’m hoping that once everything is all painted and weathered it might be a bit less noticeable? Here’s hoping anyway!
1 Like
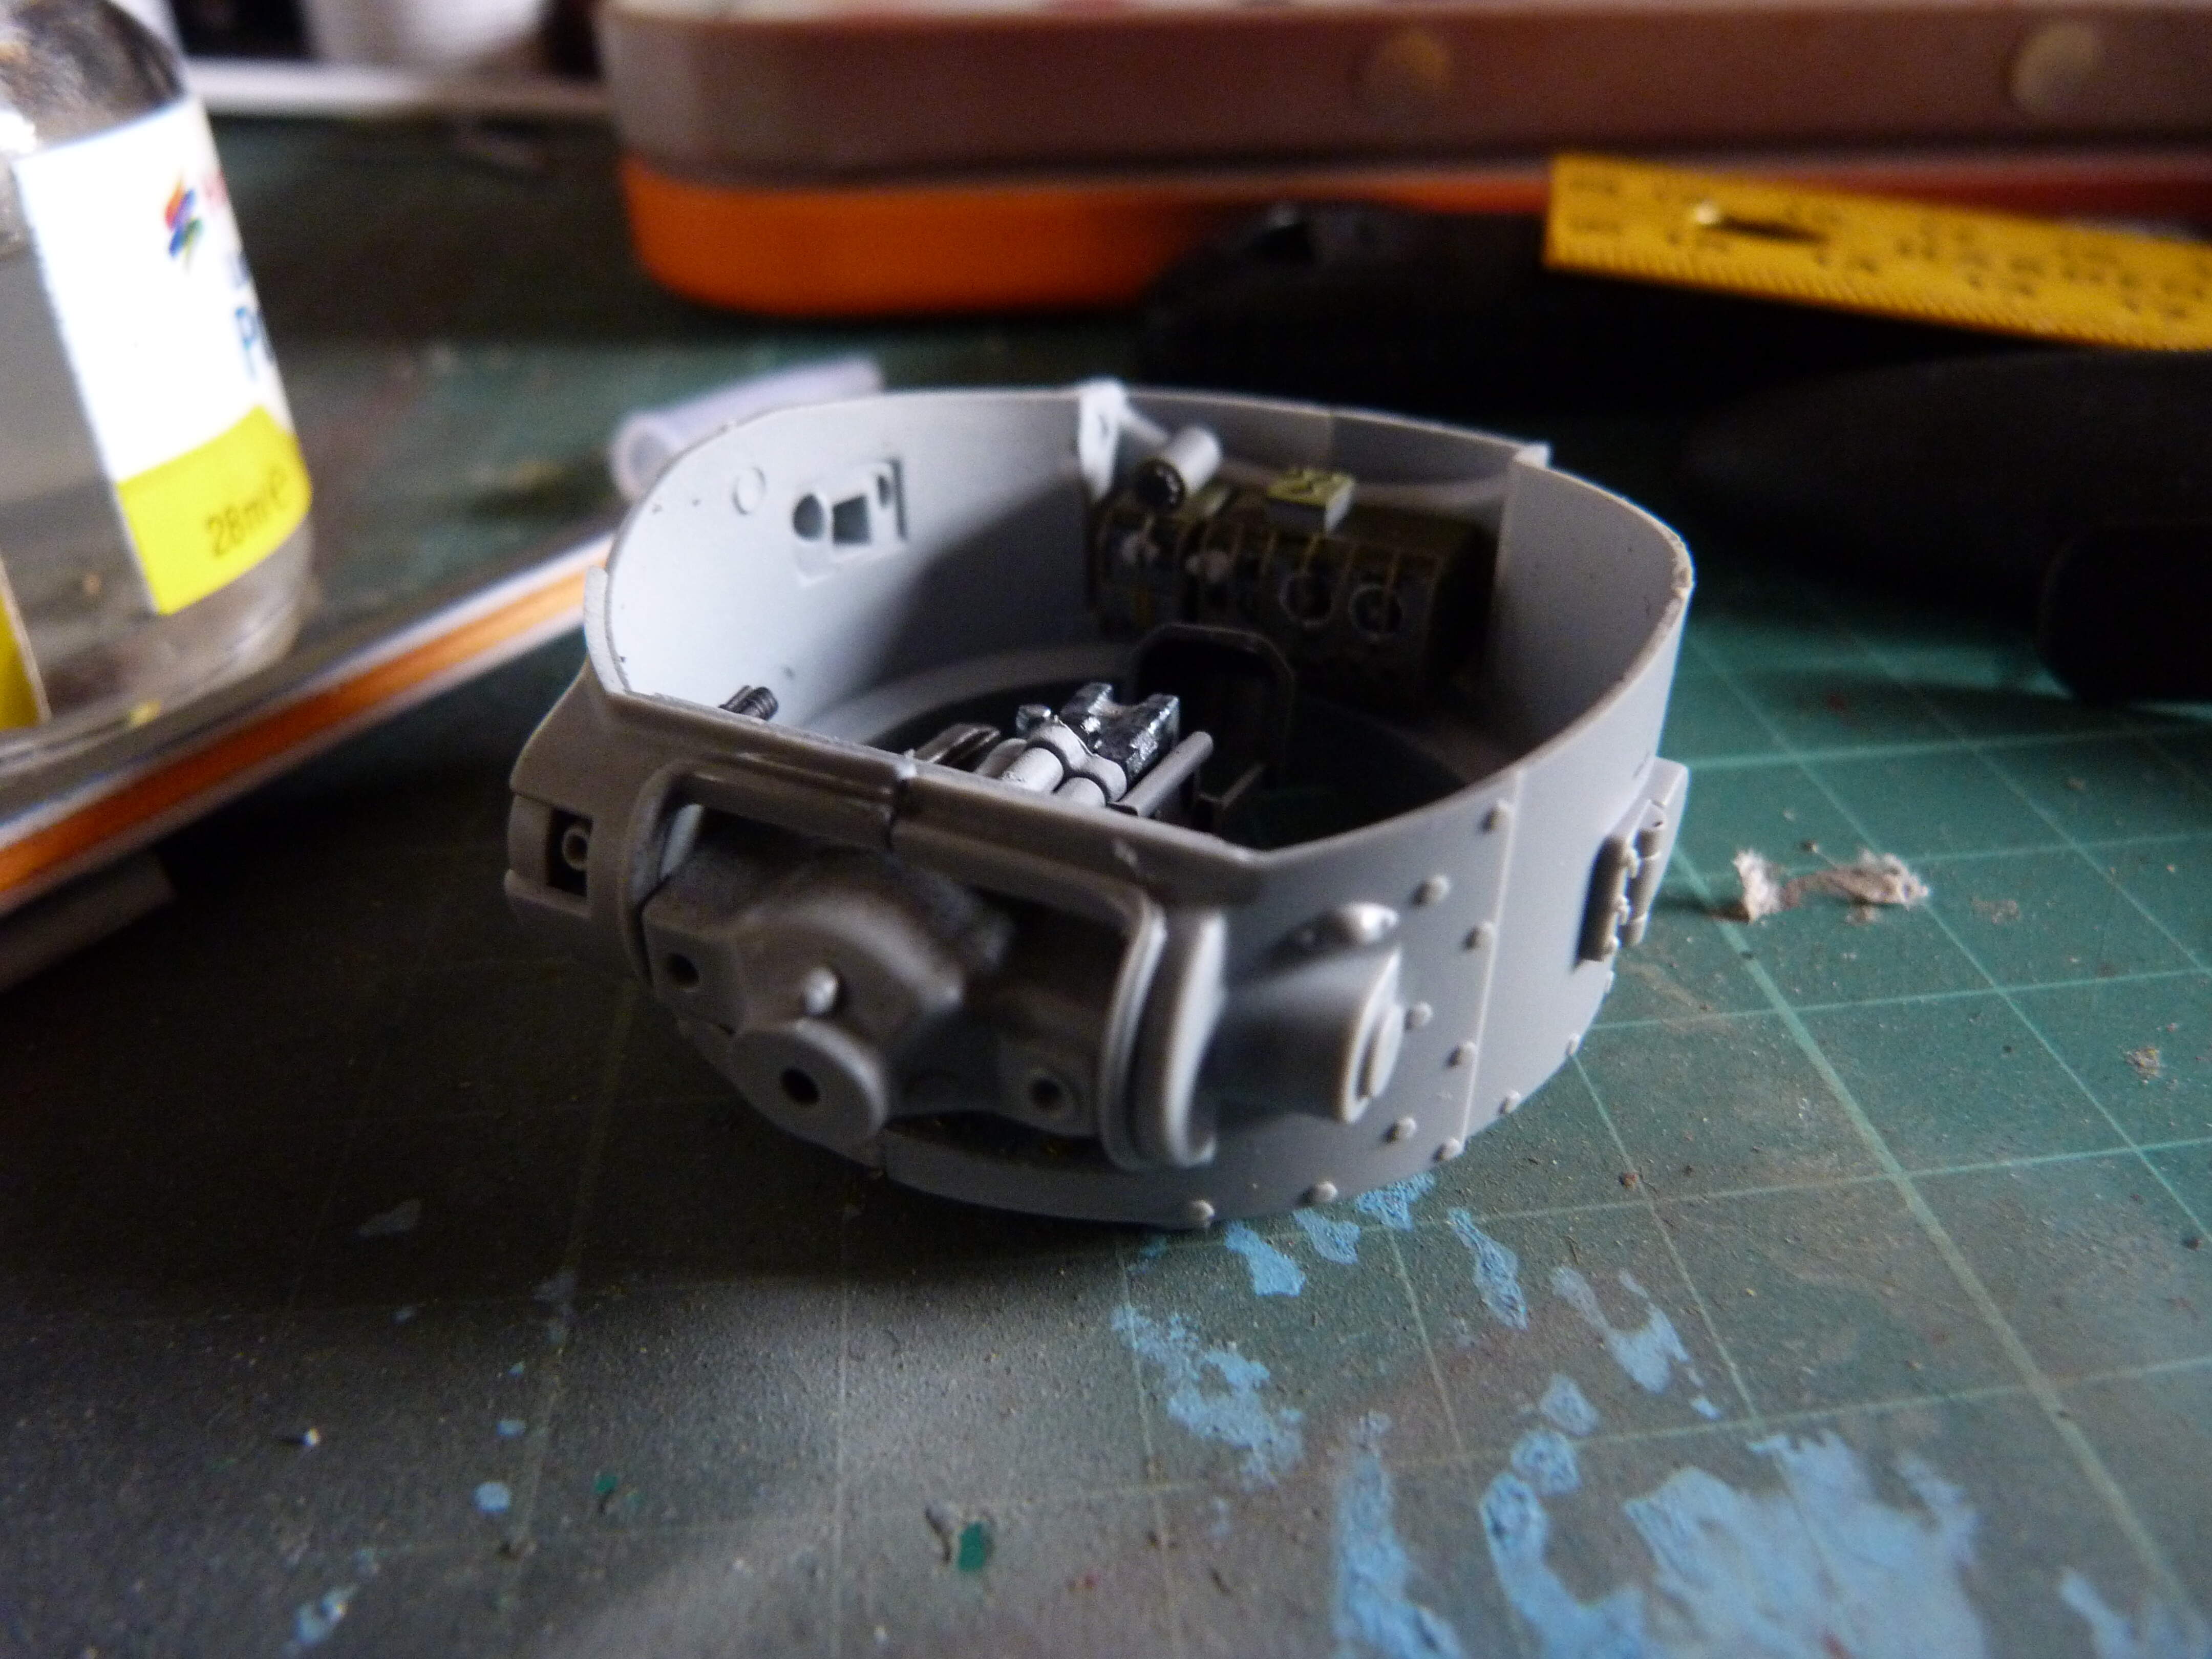
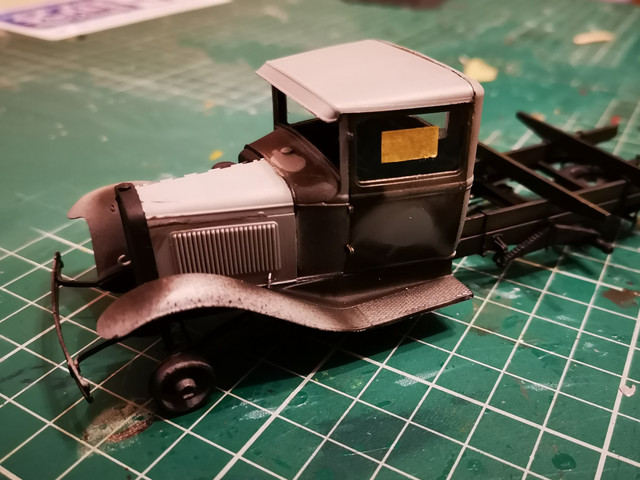
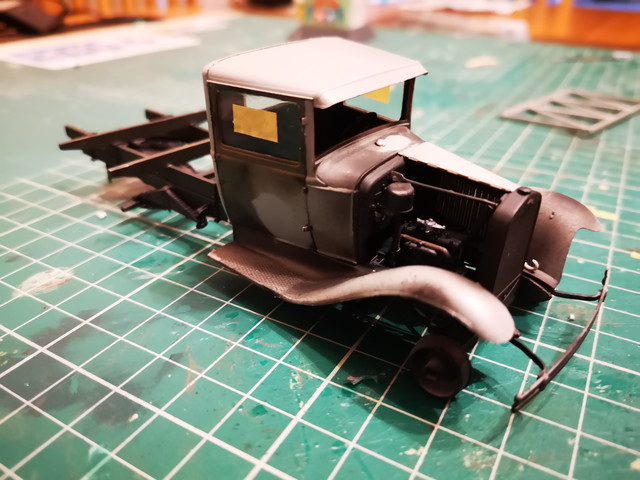
some great progress through out this campaign. I am getting closer to starting my 2nd build for it (pz III Ausf D/B) as the LAP 7 is moving forward… some fiddly bits but so far parts go where they are supposed to. Chassis painted black primer then a light coat of dunkelgrau to give it a bit of definition, green in the cab is MiG 4BO… bit of dark tracks for the rust… this is building up really nicely I must say - may have to look at some of the other AA/AAA kits (some of the anti-air or the refueler for example)
7 Likes
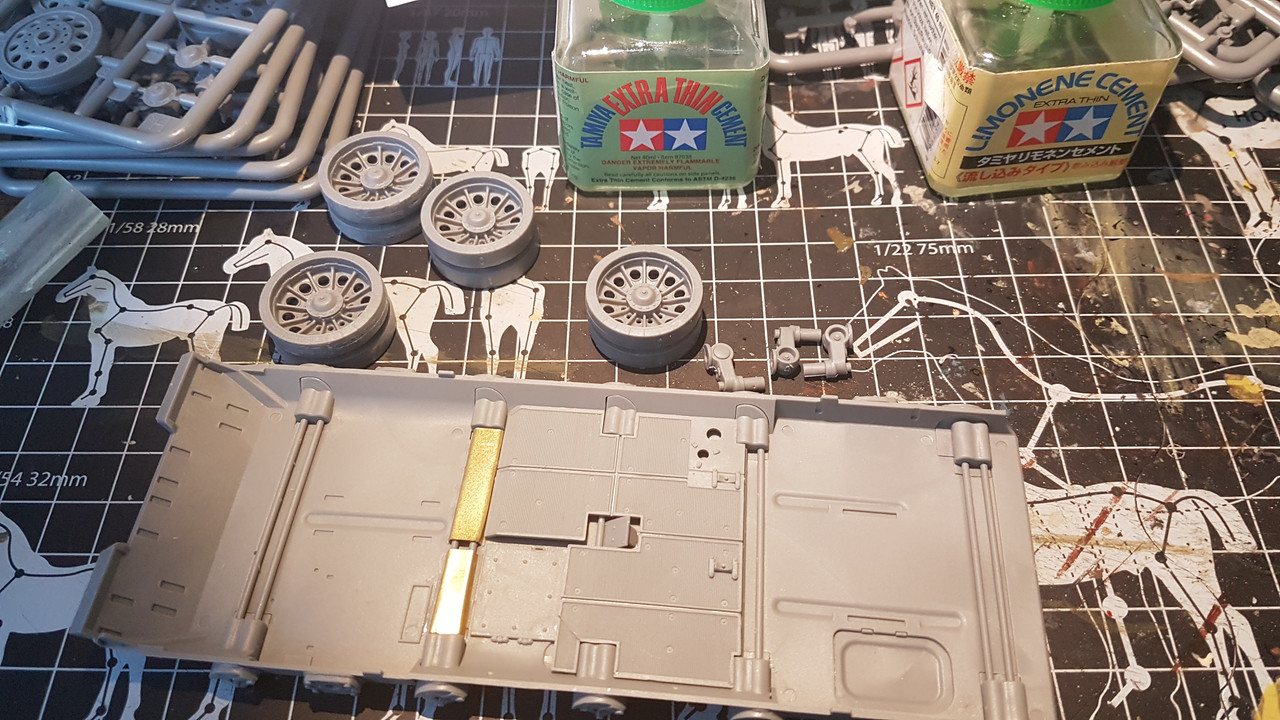
If it’s not too late to enter, I’m in. Just waiting for my kit to get here. I using the German Tankers painting camo.
Jesse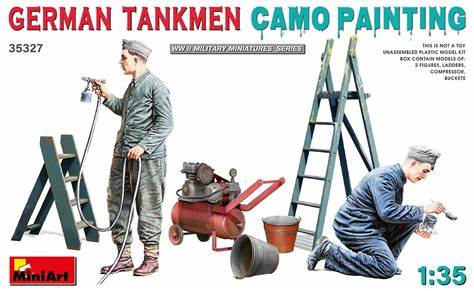
It’s not too late to enter! You just have to finish by the end of the year 
Here is my progress so far.
Currently I am working on Merkava 2 for IDF campaign and few more projects.
3 Likes
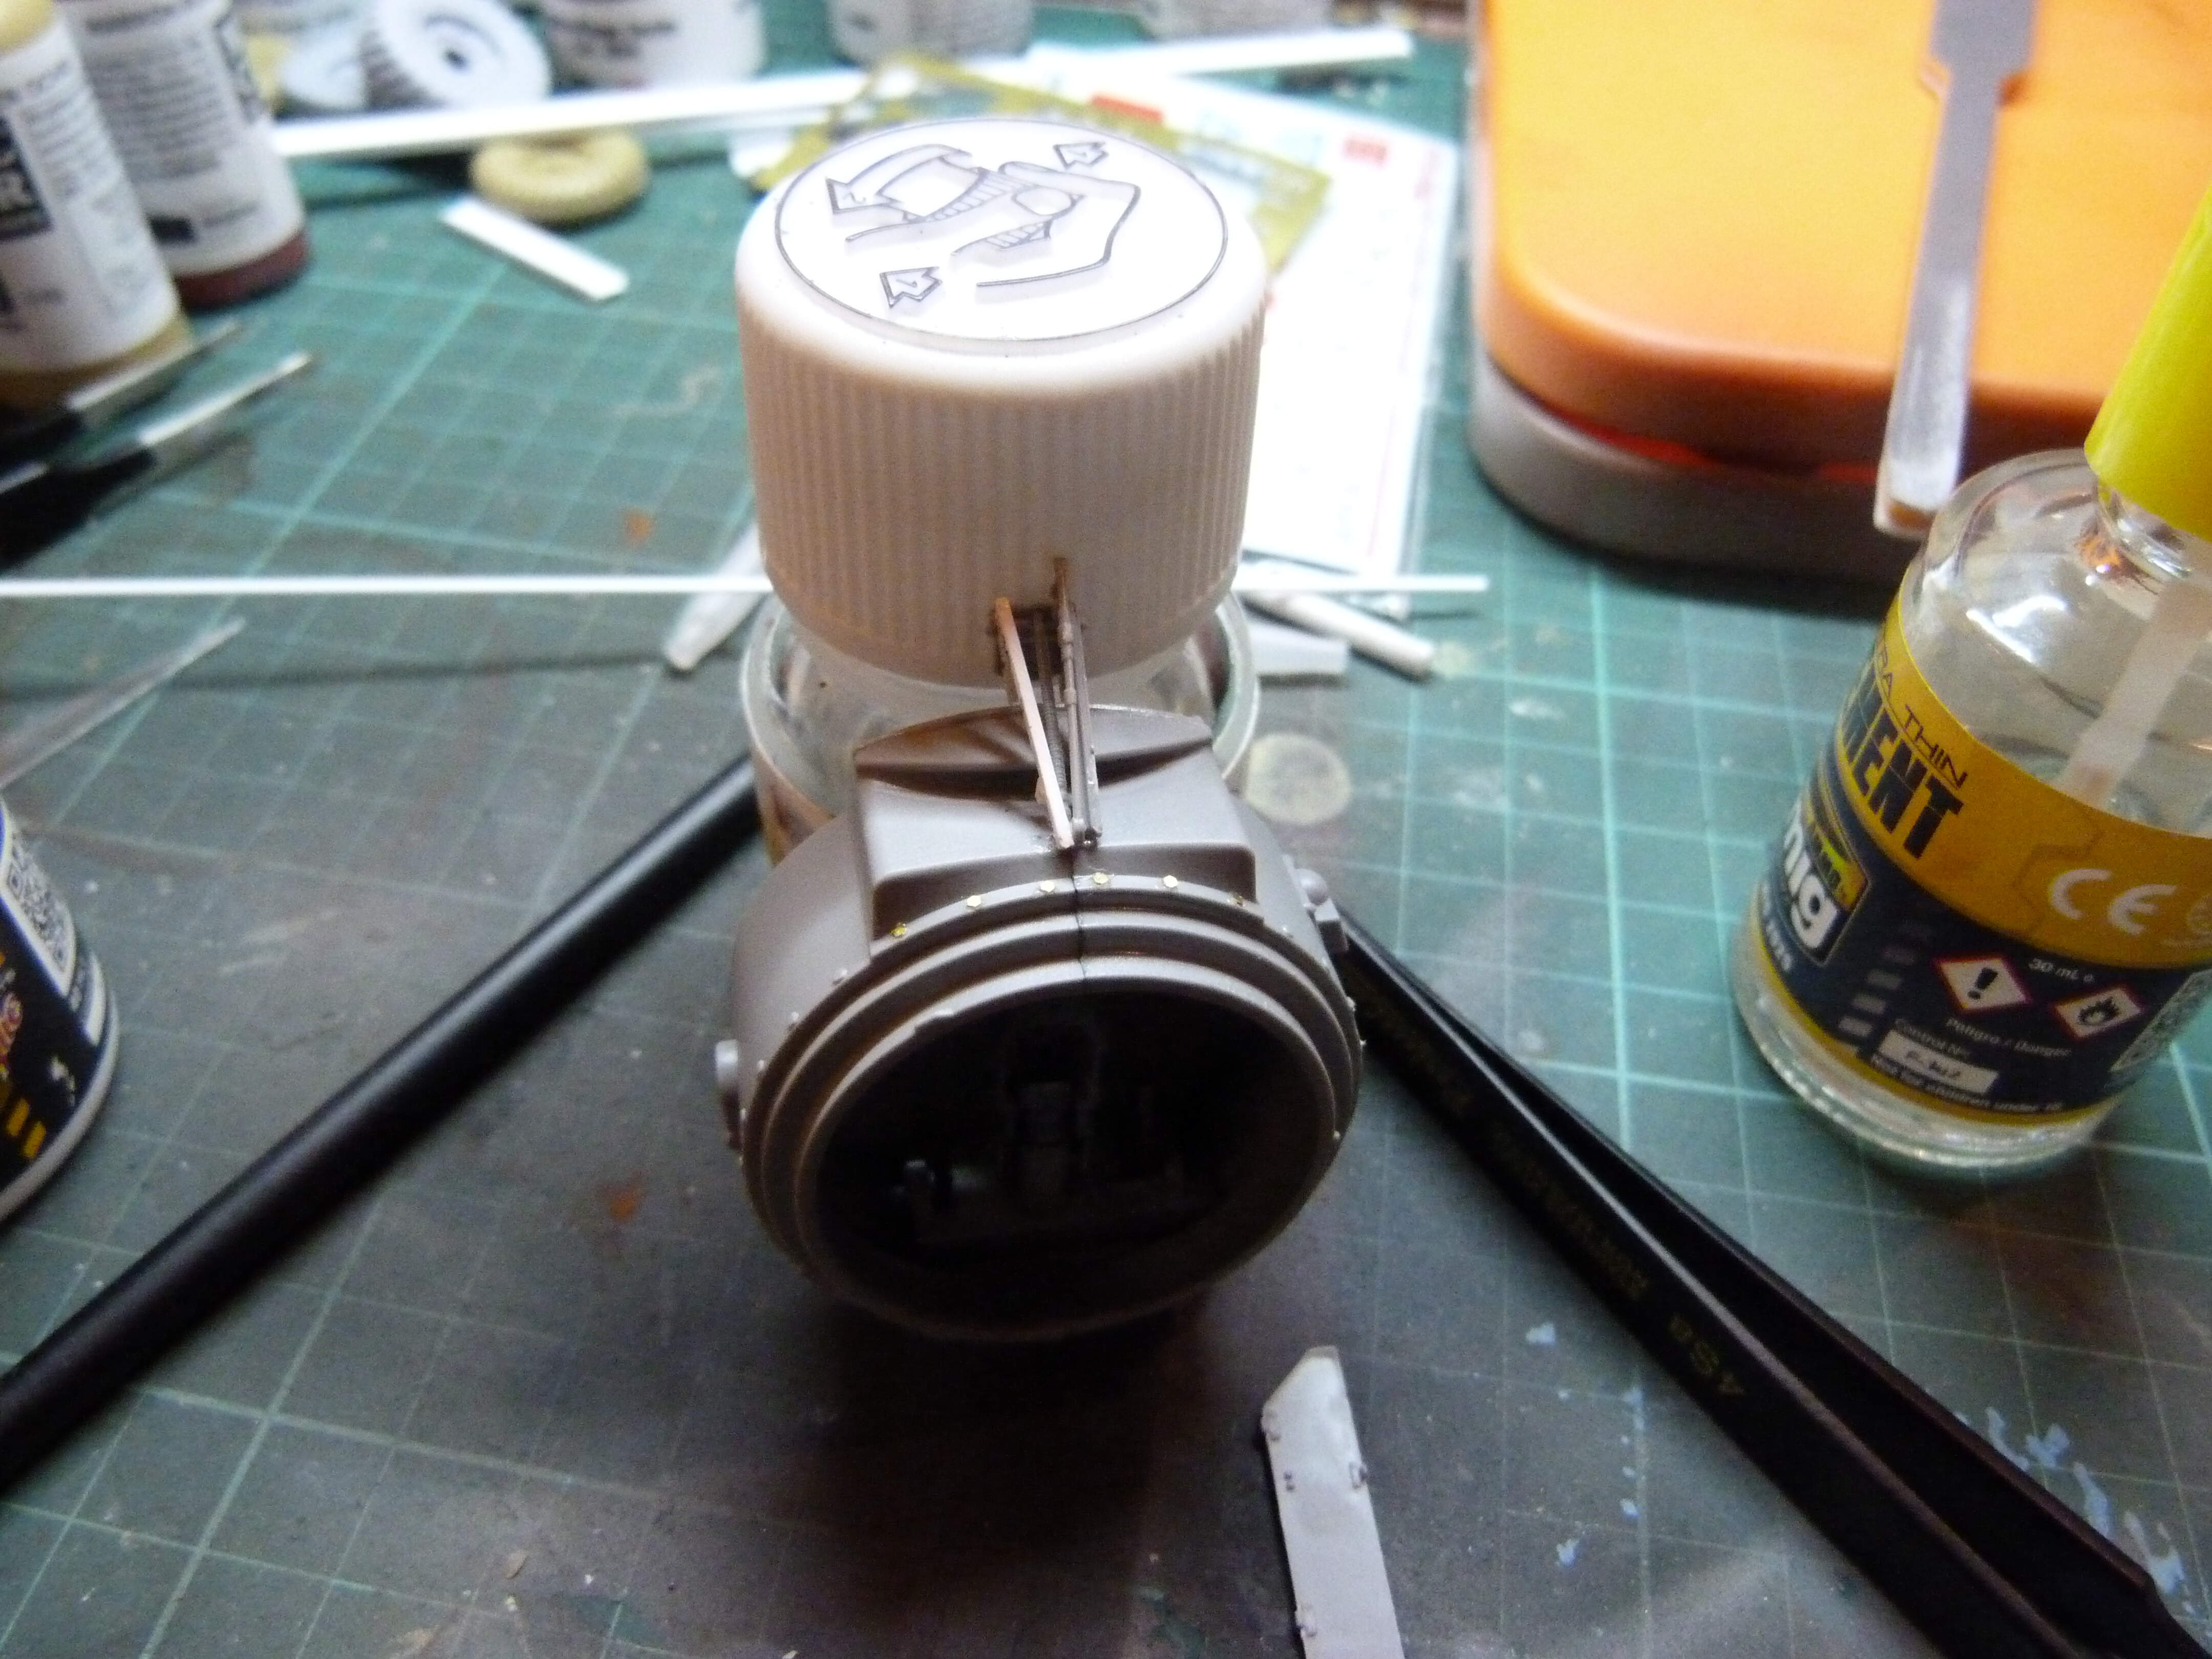
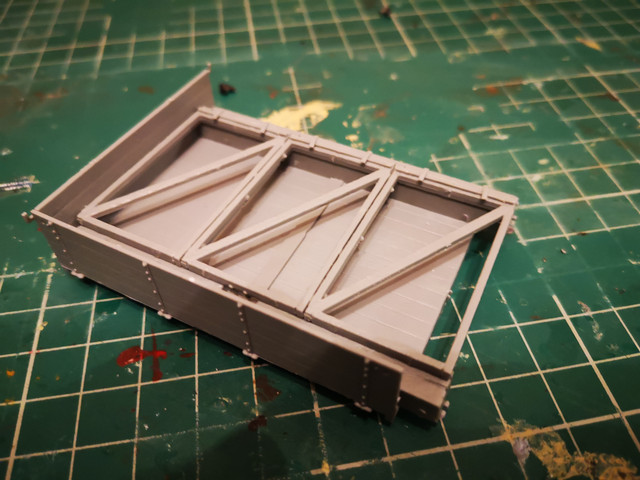
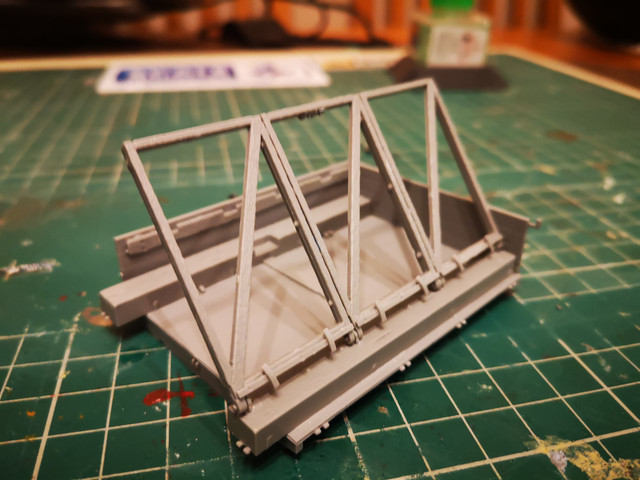
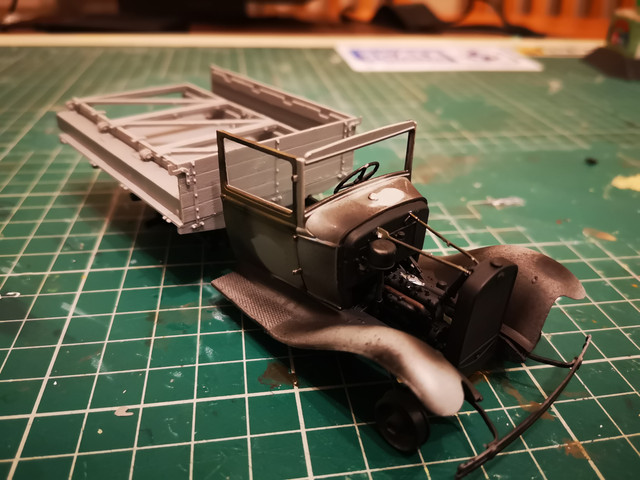
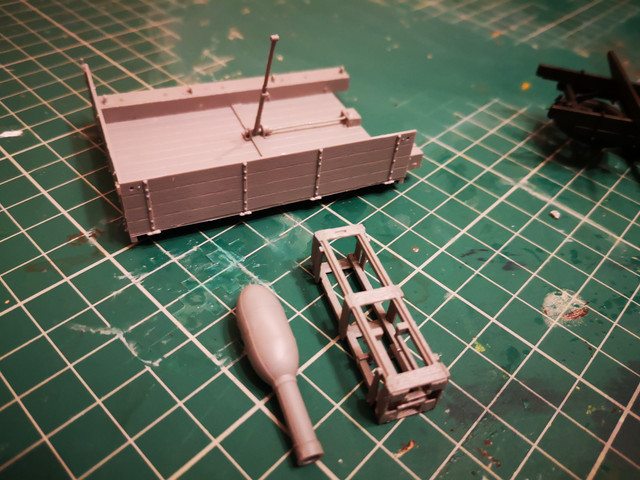
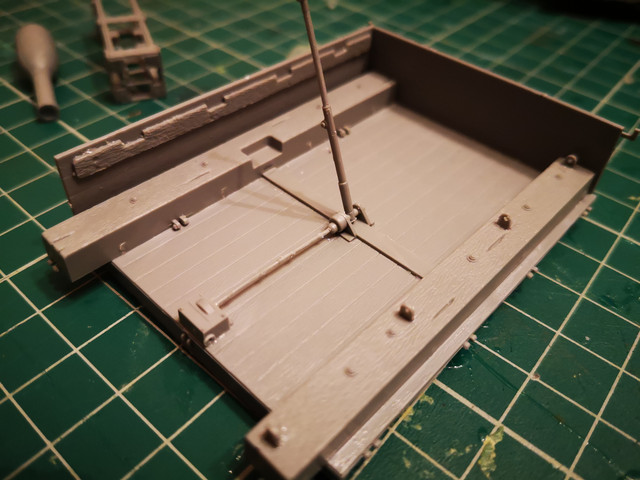
must say, despite the fiddly parts this is moving on a-pace with this.Cab on, half the bonnet on, elevating mechanism on, started on the 6 rockets and crates… I think a couple of weeks and this will be done & dusted…
5 Likes