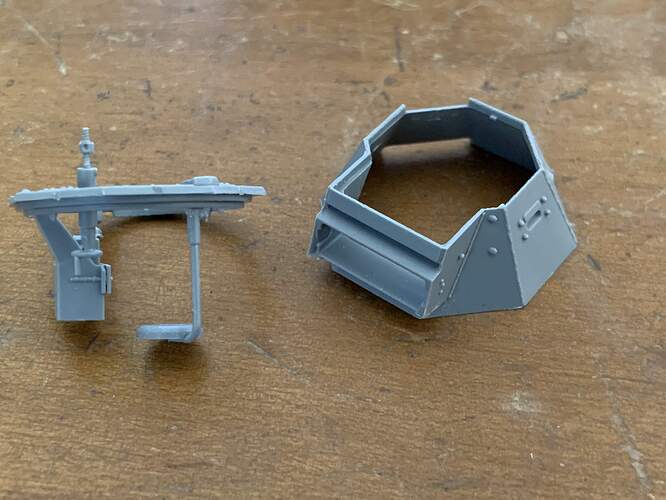
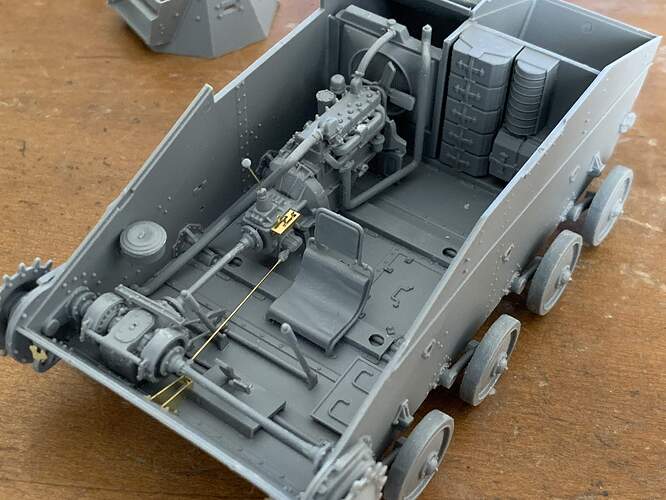
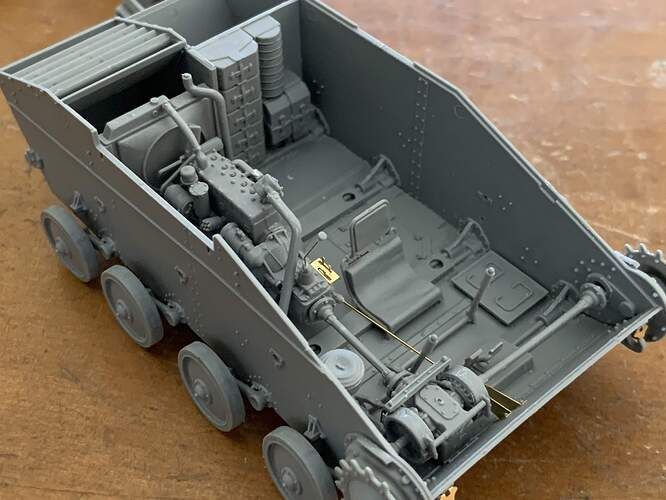
I am working on T 54 1.
I don’t have bending tools, so I used pliers.
It is not the best solution.
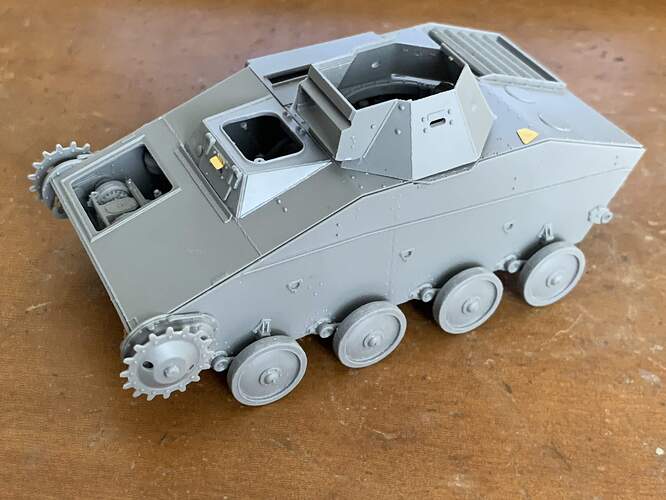
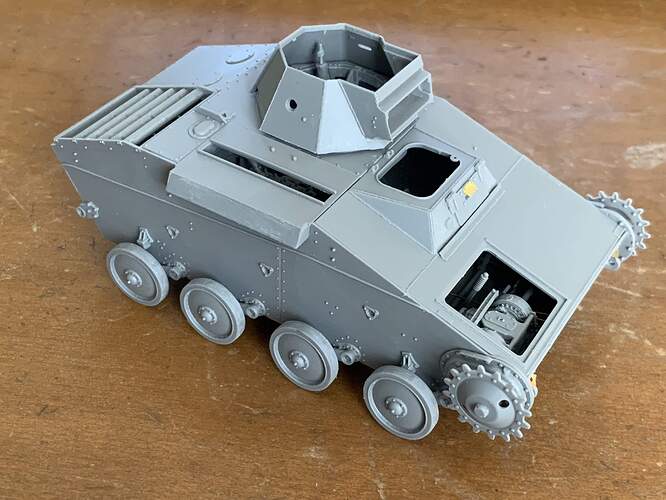
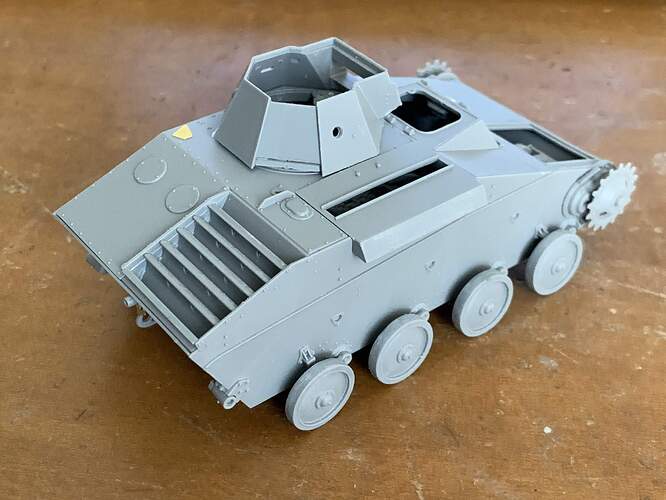
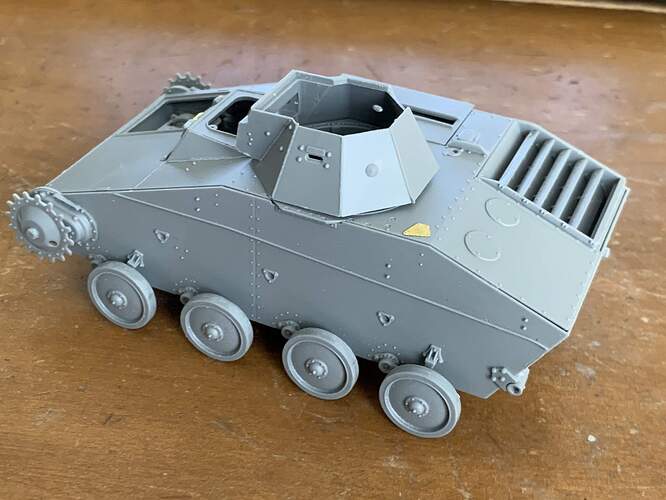
I was able to put in a lot of time on the T-60
over the weekend. Made a lot of progress.
On the last two photos, I just noticed that I broke off one of the pipes coming out of the engine. I’ll fix it and will post another picture.
The kit is pretty nice. Plenty of details. I’ll have fun trying to weather both interior and exterior. I’m planning to have a winter camo scheme for this. The only thing I didn’t like is that the road wheels are not locked in place. I had to guestimate how low the torsion bars would be and then try to match in for the other side. Not too sure if I have the right height but I’ll go with what I have now.
Looks pretty good.
Looking very nice so far … Lots of great details throughout.
Nice work.
Since I am working on interior kit as well I am looking for idea how to display interior.
Some cut out would be nice.
I am open for sugestions.
I’ve seen peoples have a cutout type view where the turret, hull top, engine hatch, etc. Are up on “stilts” made from sprue. Check our here
I am planning showing Hungarian freedom fighters and British embassy staff examining a captured T-54 during the Hungarian uprising allowing me to have all the hatches and engine grill open
Darn, the detail inside is superb! But I gotta ask . . How are you gonna paint the engine and other parts (assumeing they’re cemented in)?
Cajun
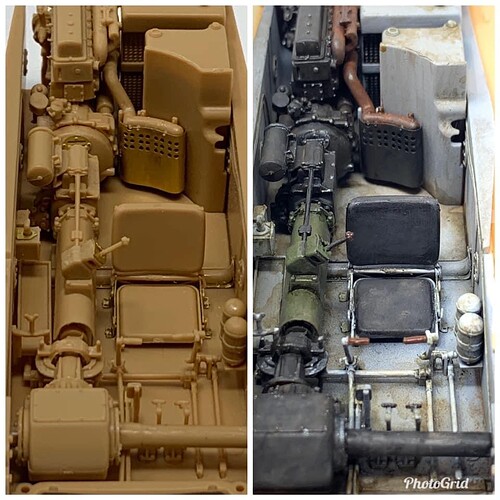
Thanks everyone! Hey cajun, I will paint the interior first before I glue in the exterior armor. I will not glue the turret and hatch or engine covers. That way, I can still view the interior. My very first attempt at interior painting was on a Hobbyboss R35. Here’s a side by side photo of the interior before and after I painted it. I hope to be able
to repeat this.
I just don’t see how some can assemble the whole vehicle and then paint it, especially these MiniArt tanks with interior.
all these lovely interiors - wont get to my interior kits for the campaign but some great inspiration… on the LAP-7 the build is 90% complete, just need to add the lights on the front and rear and then the wiper unit to the windshield frame… priming at the weekend I hope
I’m the same. If I tried that there would be paint everywhere, except on the right part. My painting technique just isn’t delicate enough for that sadly.
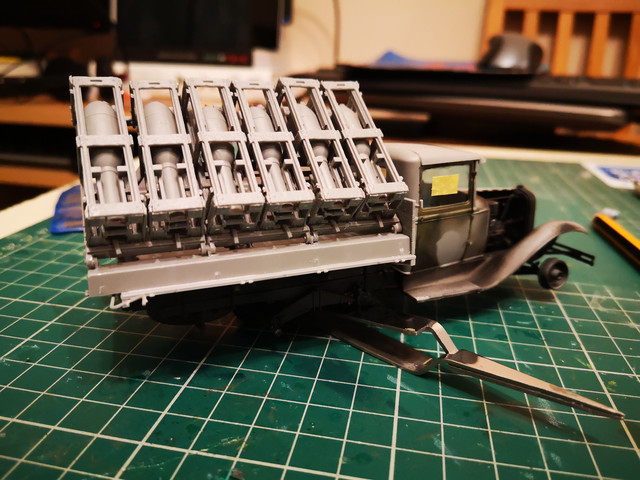
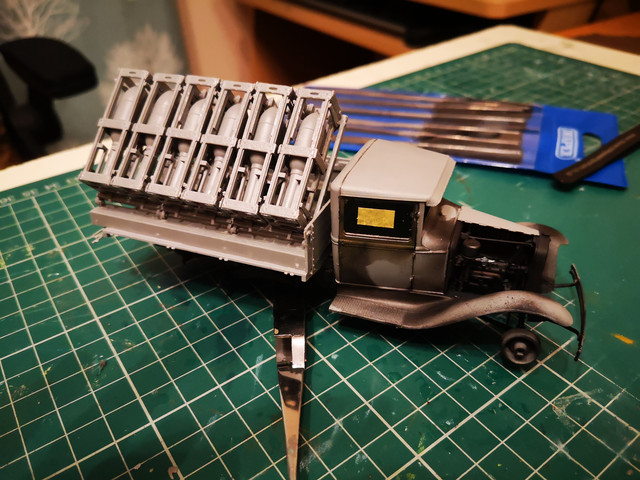
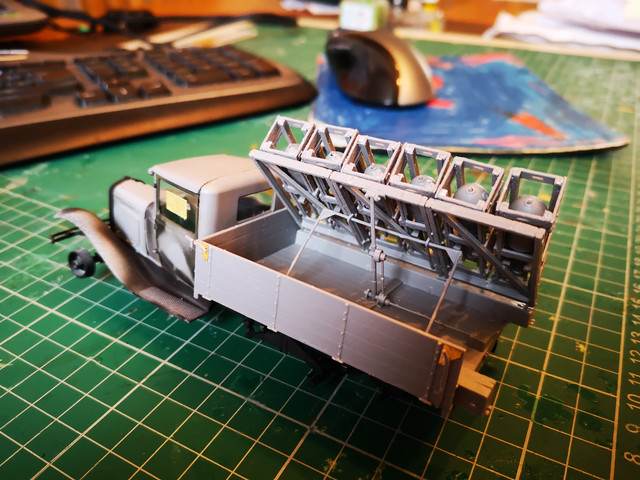
Looks very nice Rob. The rocket frames are all sitting and look completely uniform  . Any chance we can get a pic from the other side ?
Cool cheers Rob. Looks good. I bet they had to do a lot of nut and bolt tightening after they fired the rockets… The vibrations and rocking on the chassis and body in general must of been epic.
Pipes look great!
I’ve made a little bit of progress. This weekend should be a good weekend of getting stuff done. I’ve spent the last few days on my Stug IV to move it out of the painting booth.
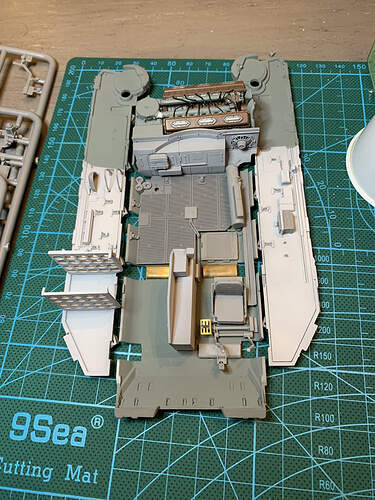
I’ve added some interior details to the floor, and hull walls and gave base coats to both.
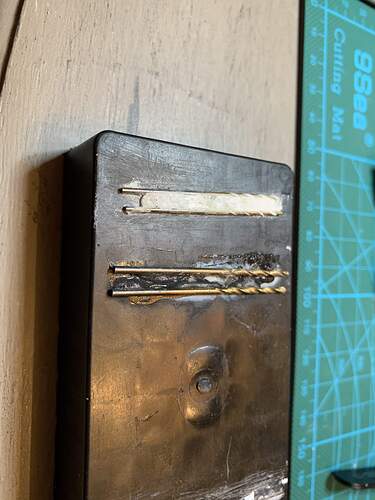
The brass curved pieces that go over the torsion bars were a bit of struggle but after some advice I maxed that bending form out of cheap drill bits and milliput
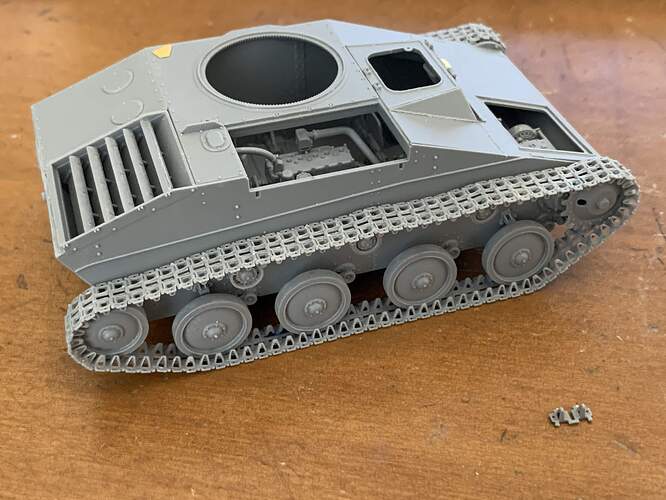
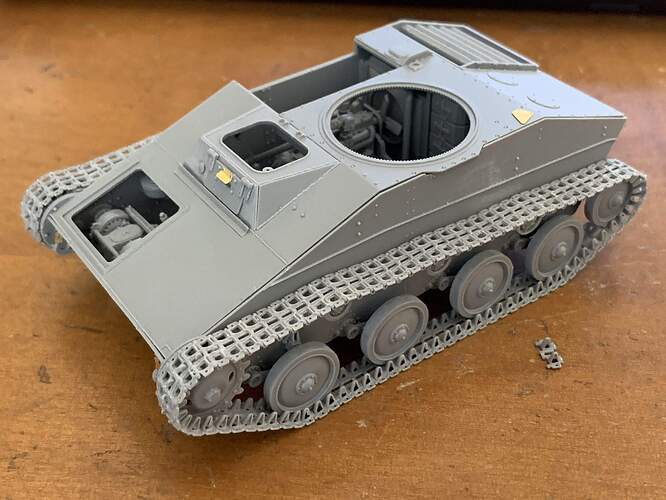
Completed installation of the tracks. The individual tracks are so small I could not handle and work with them with my bare hands. Tweezers were my friend.
I lost only one track to the carpet monster and by the time I completed the install, I had one track to spare! Talk about cutting it close! Glad I am done with this phase.
Looks good! I am dreading this phase on my build. I’ve read similar stories of only having 1-2 extra links so lots of care required.
Thanks! Yup, tracks are not my favorite thing to do. But, even though they are labor intensive, I prefer the individual links over the rubber type.
That’s looking really nice and very tidy. You’ve done a cracking job with it and the tracks… 
