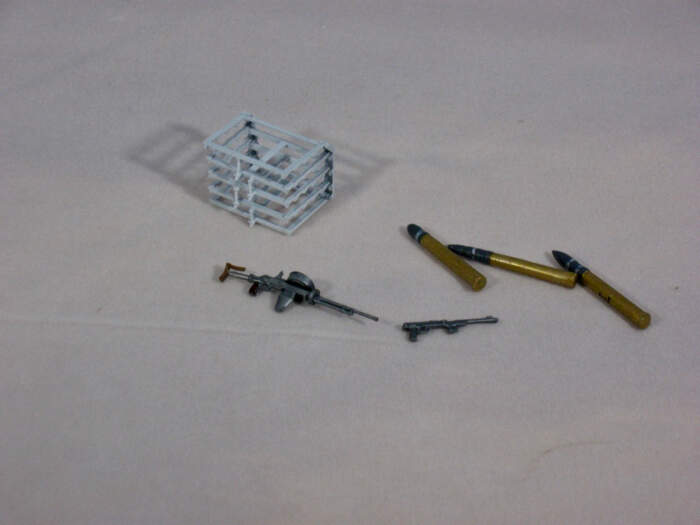
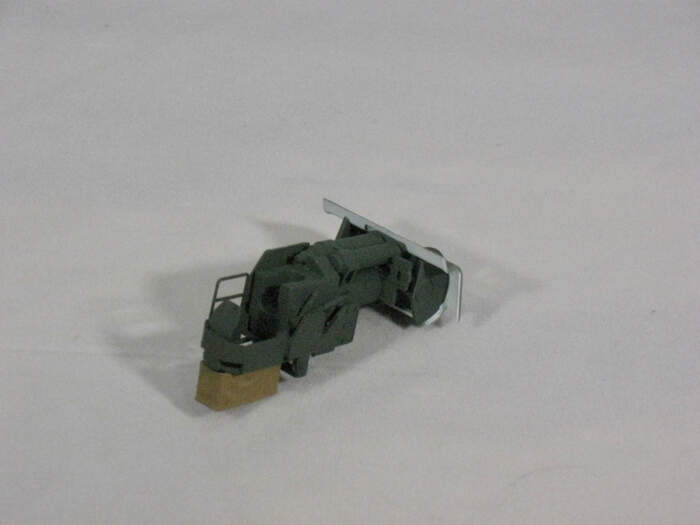
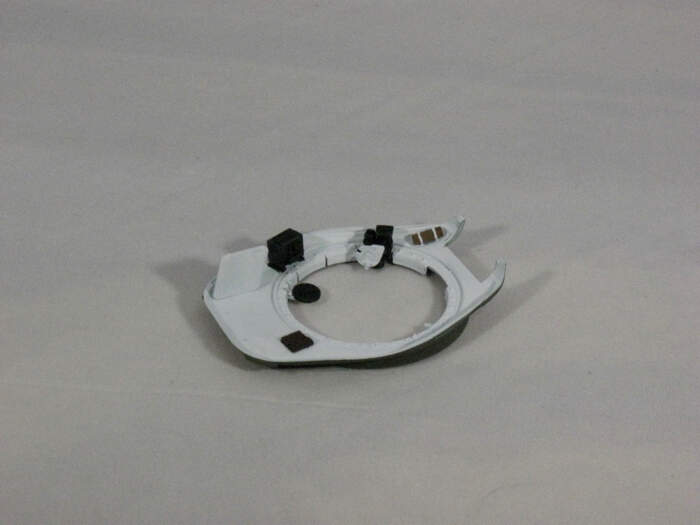
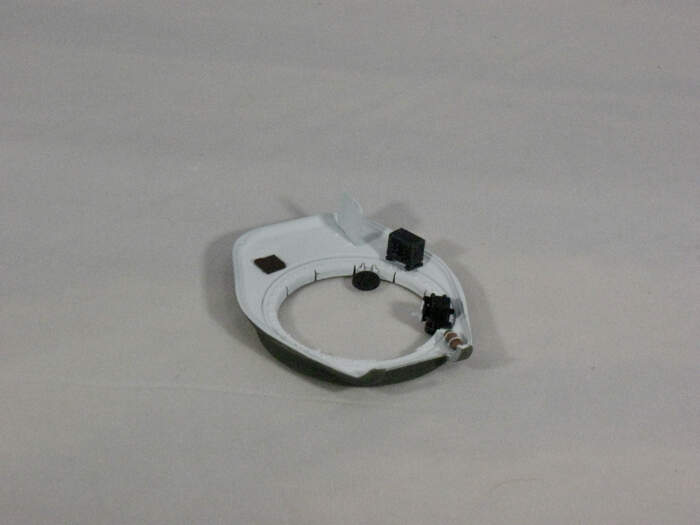
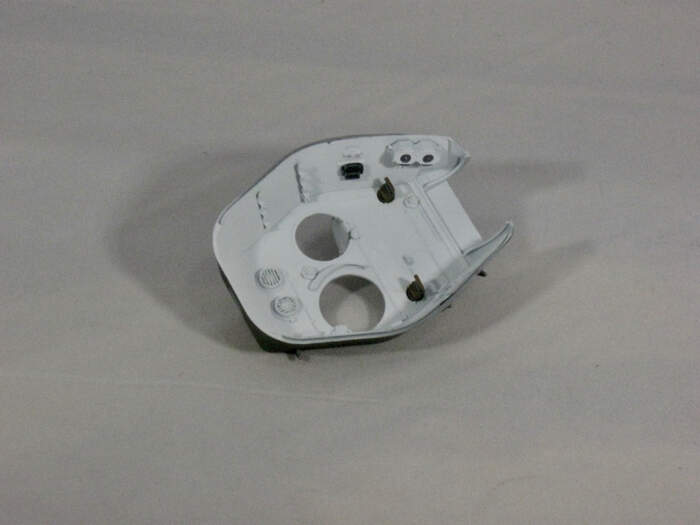
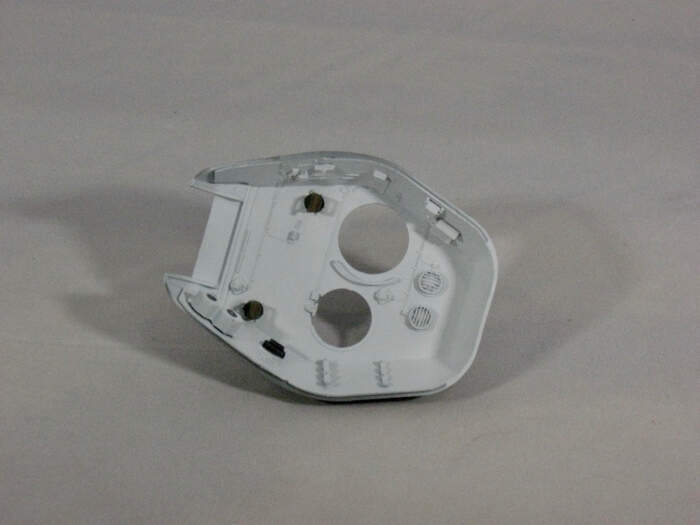
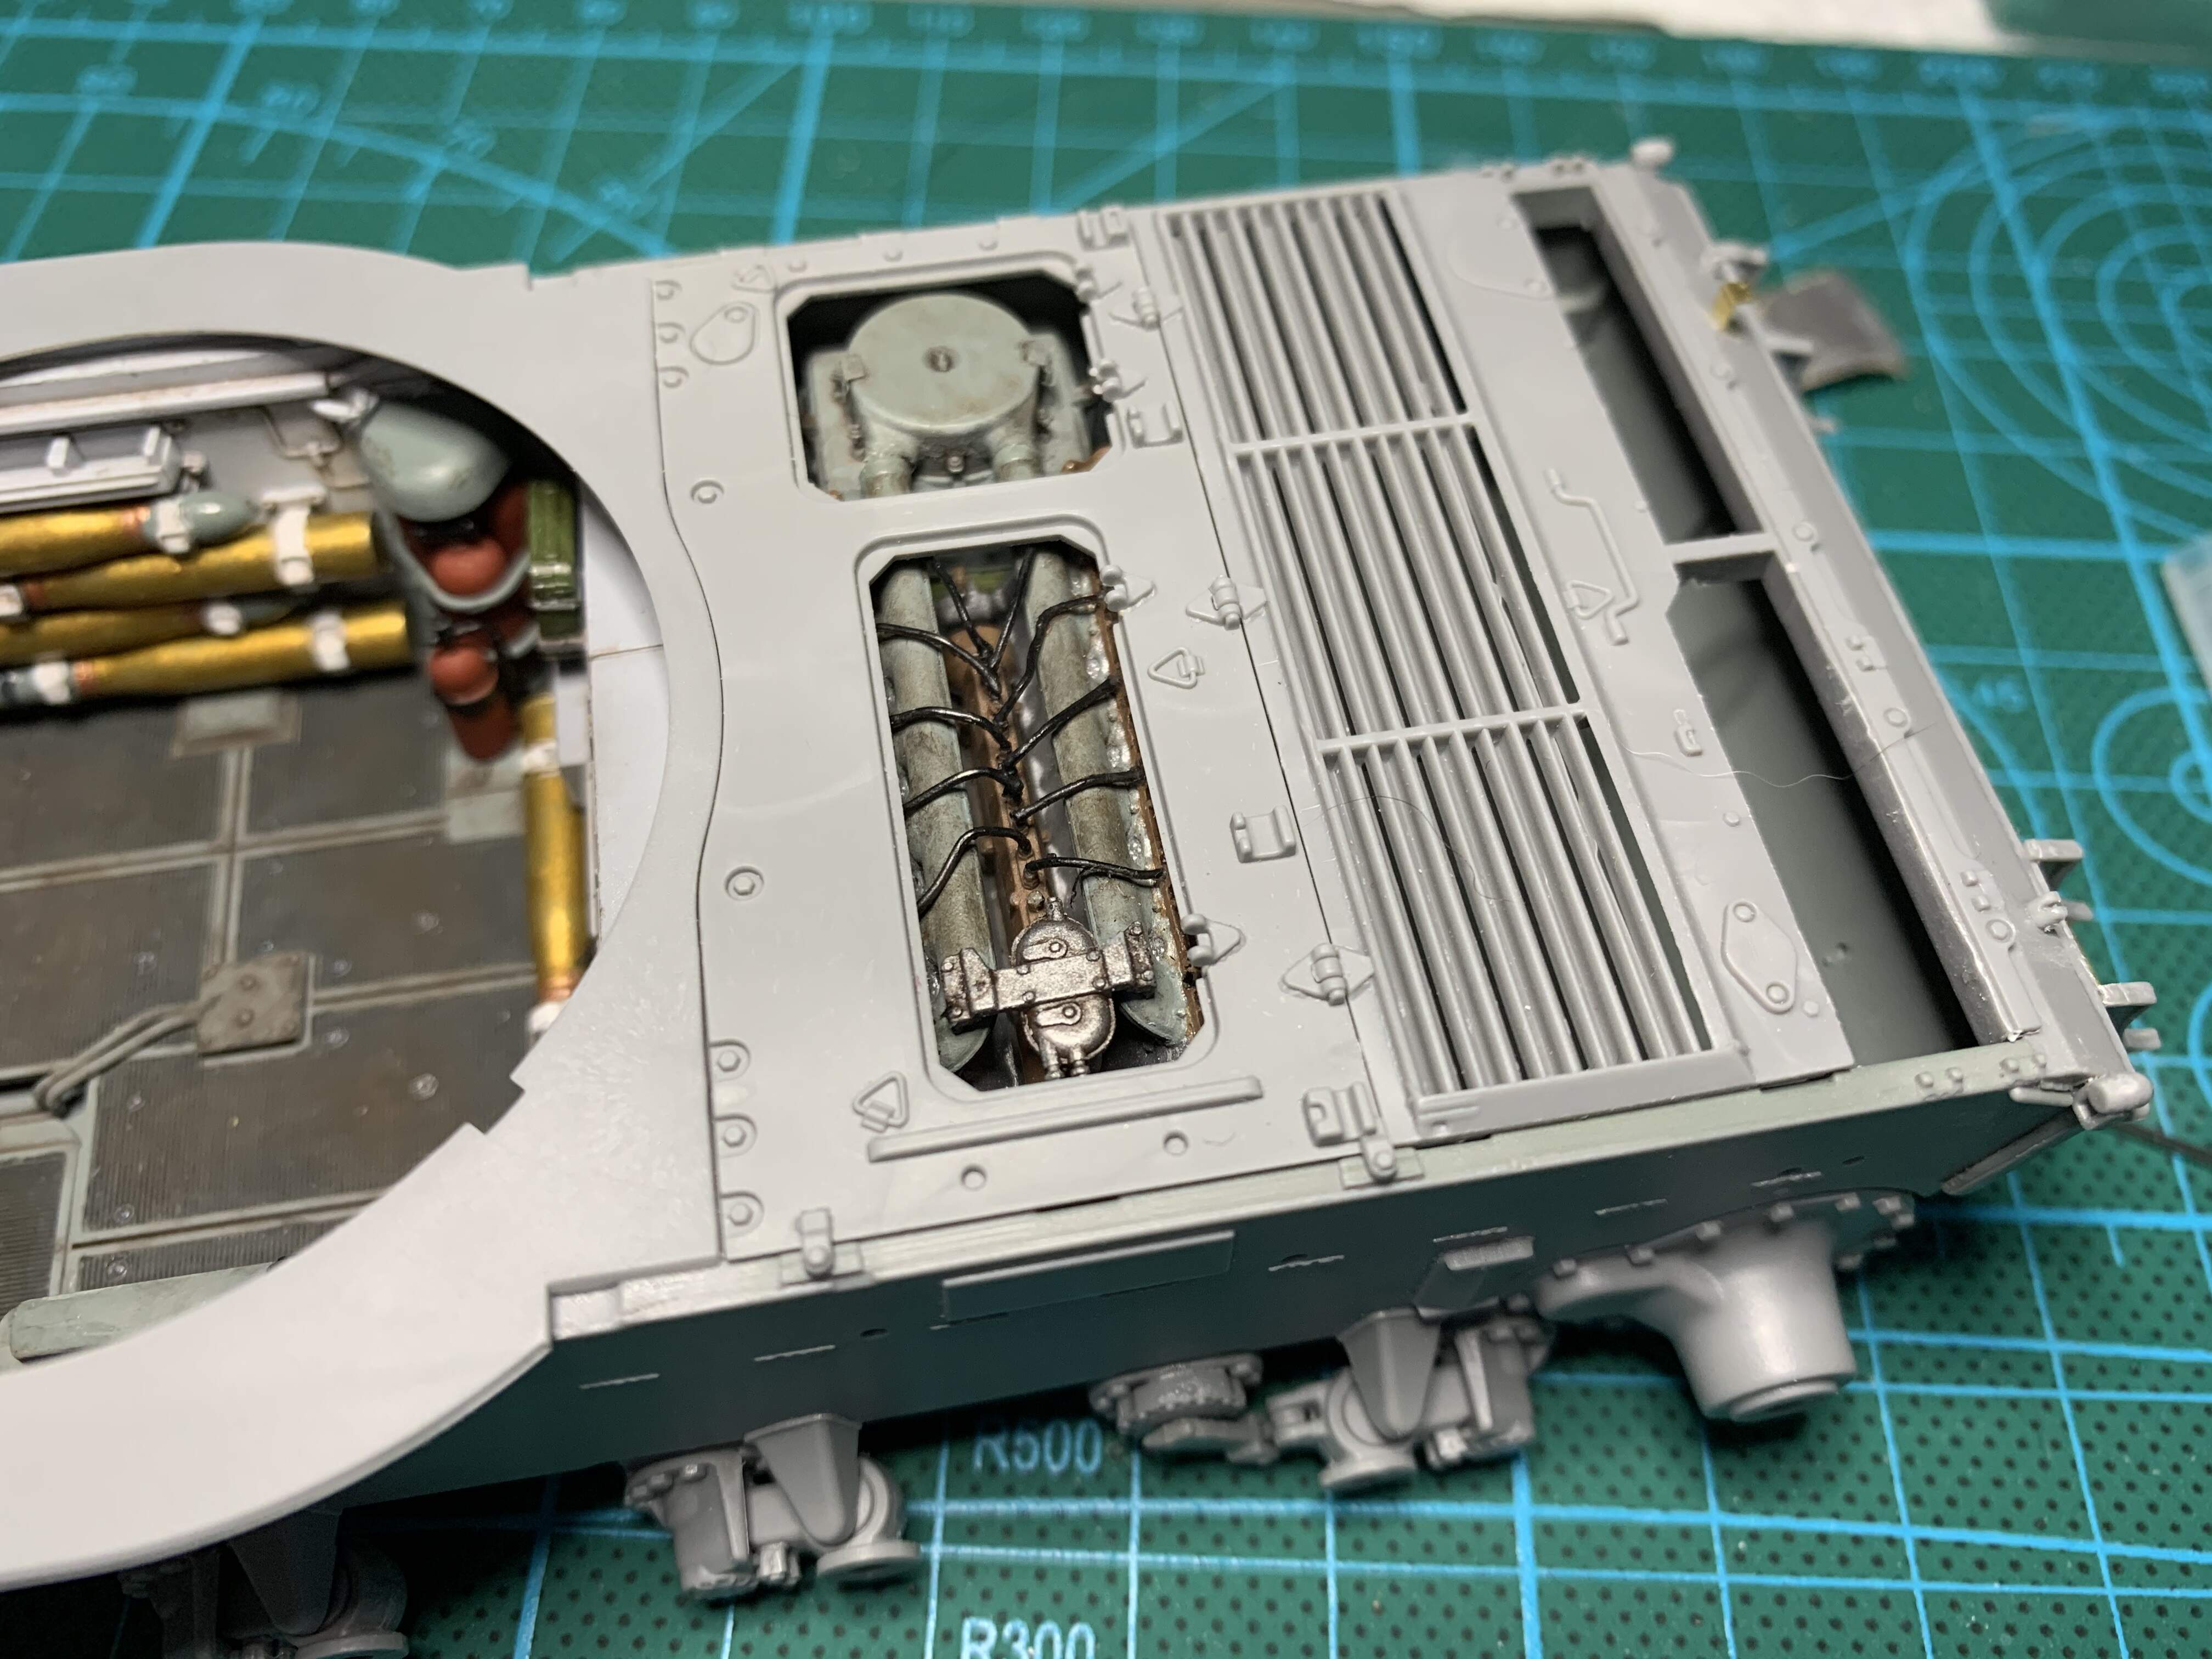
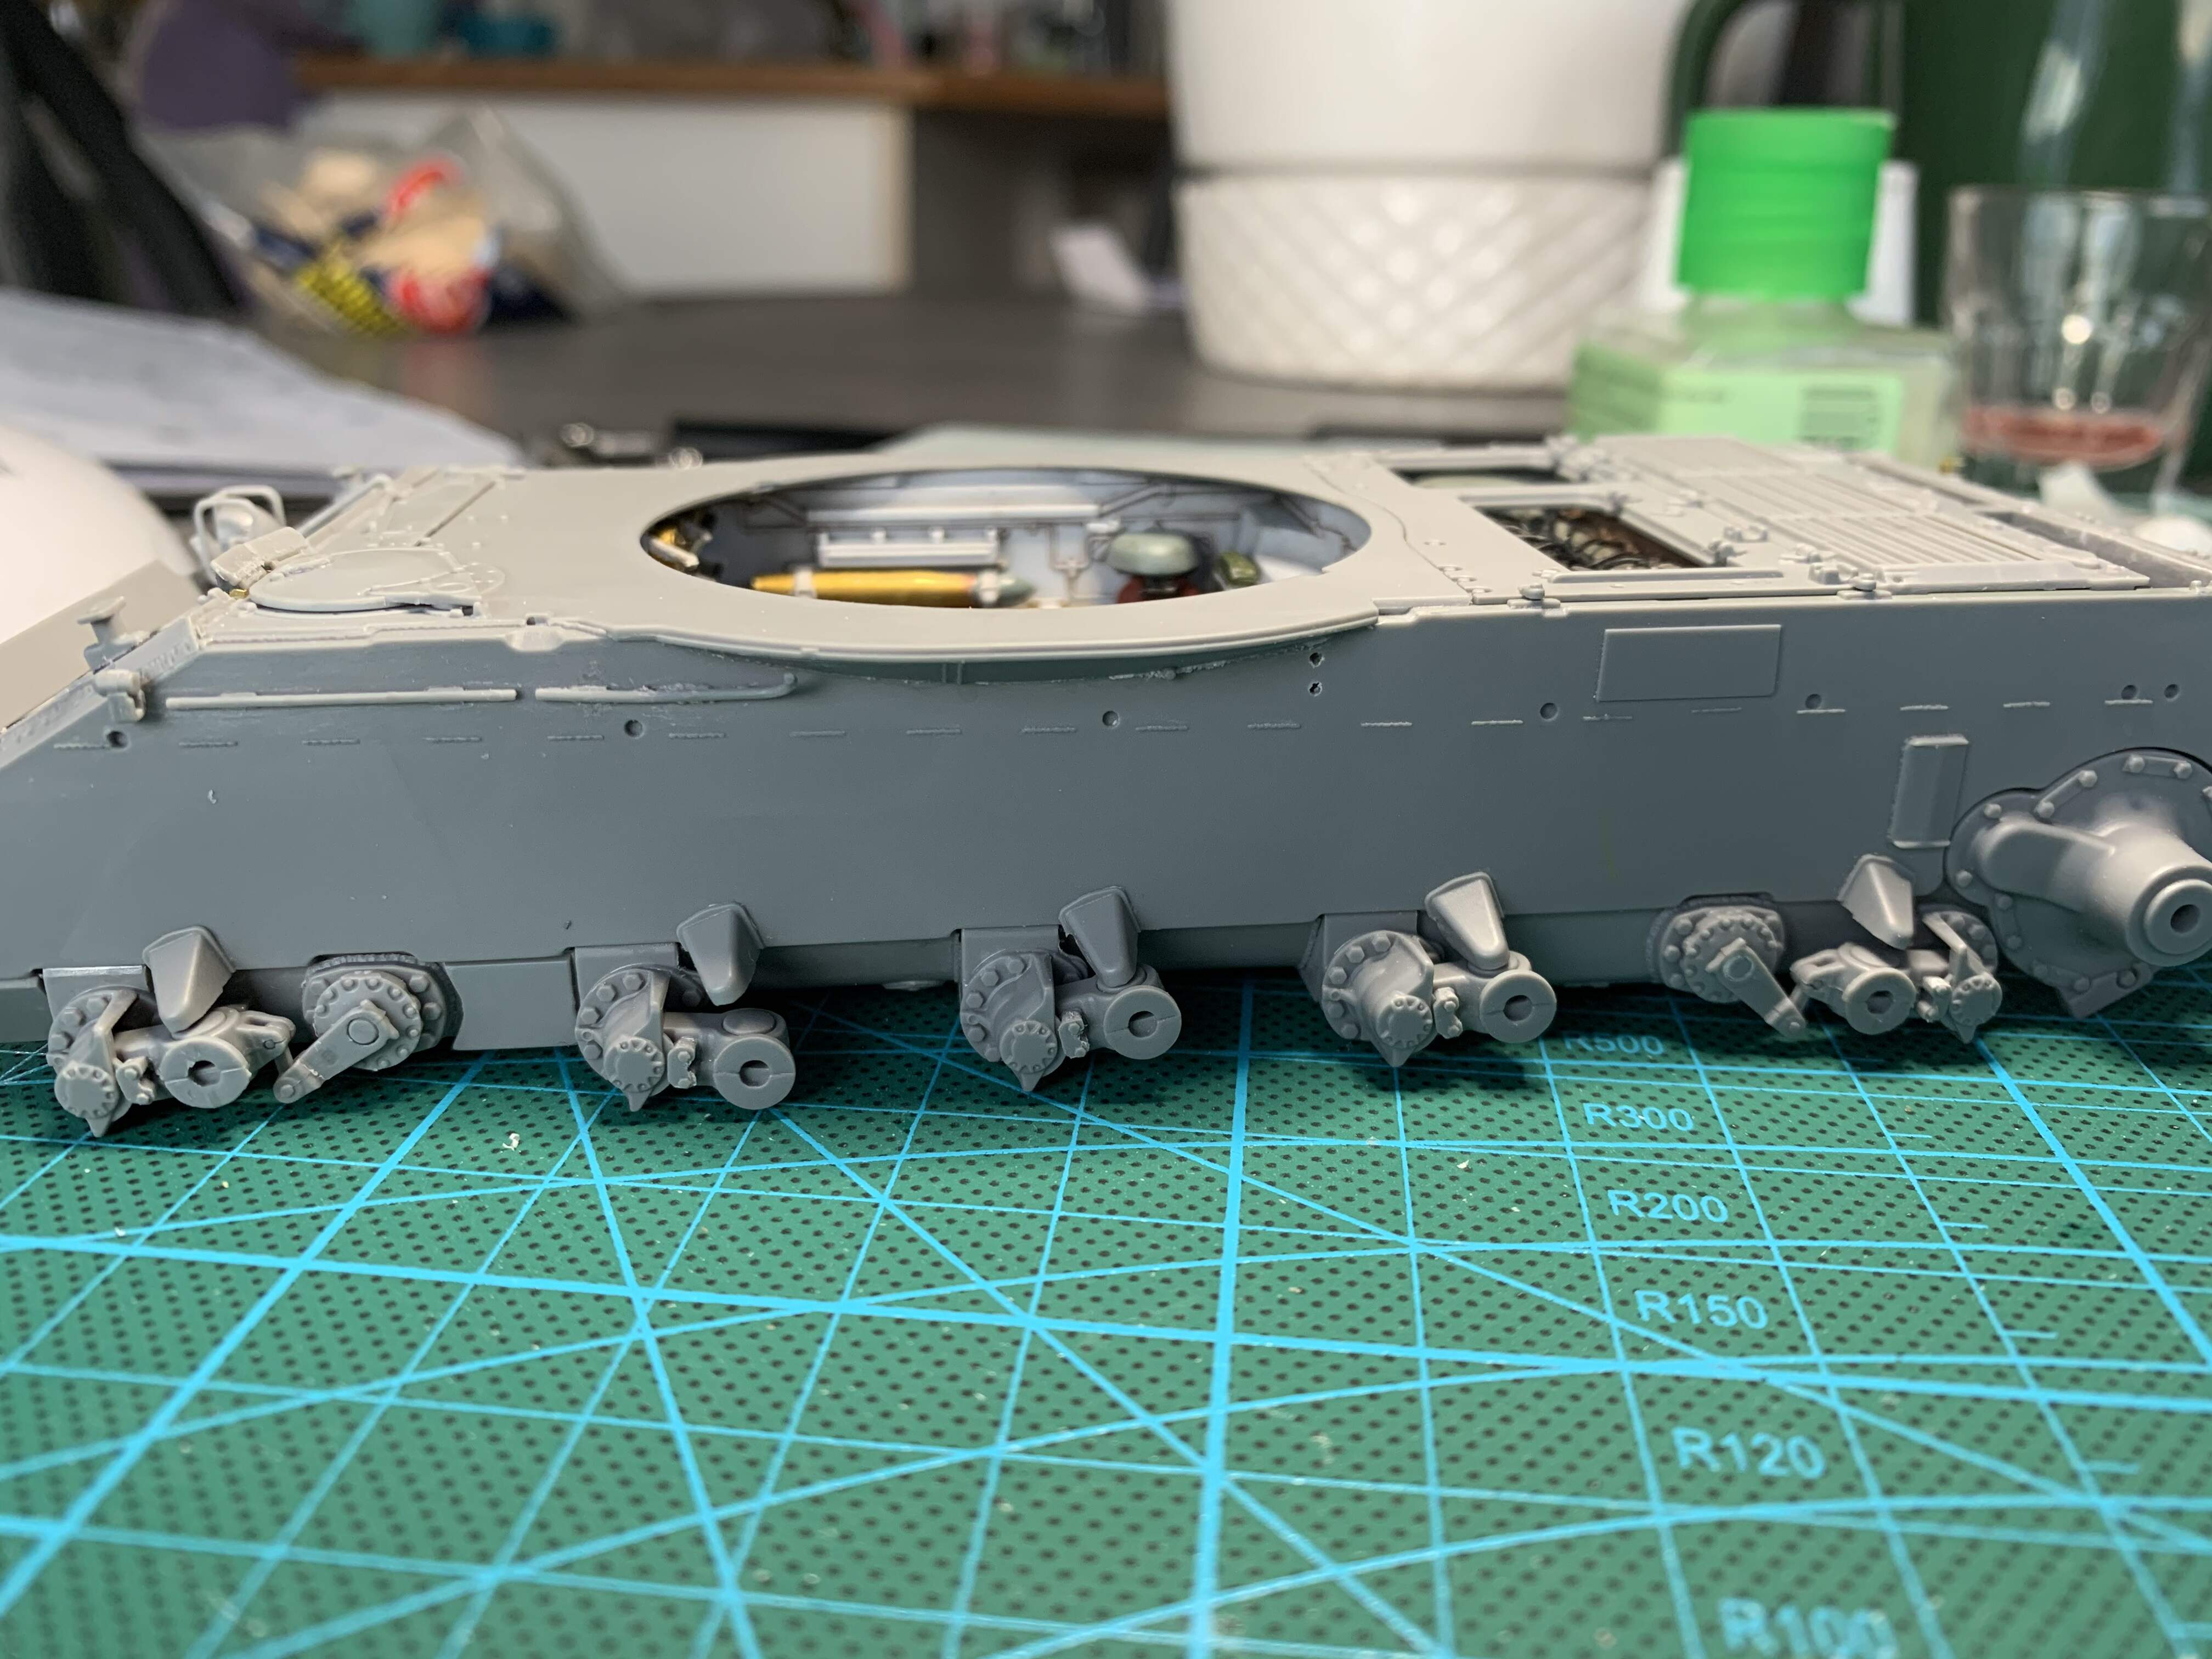
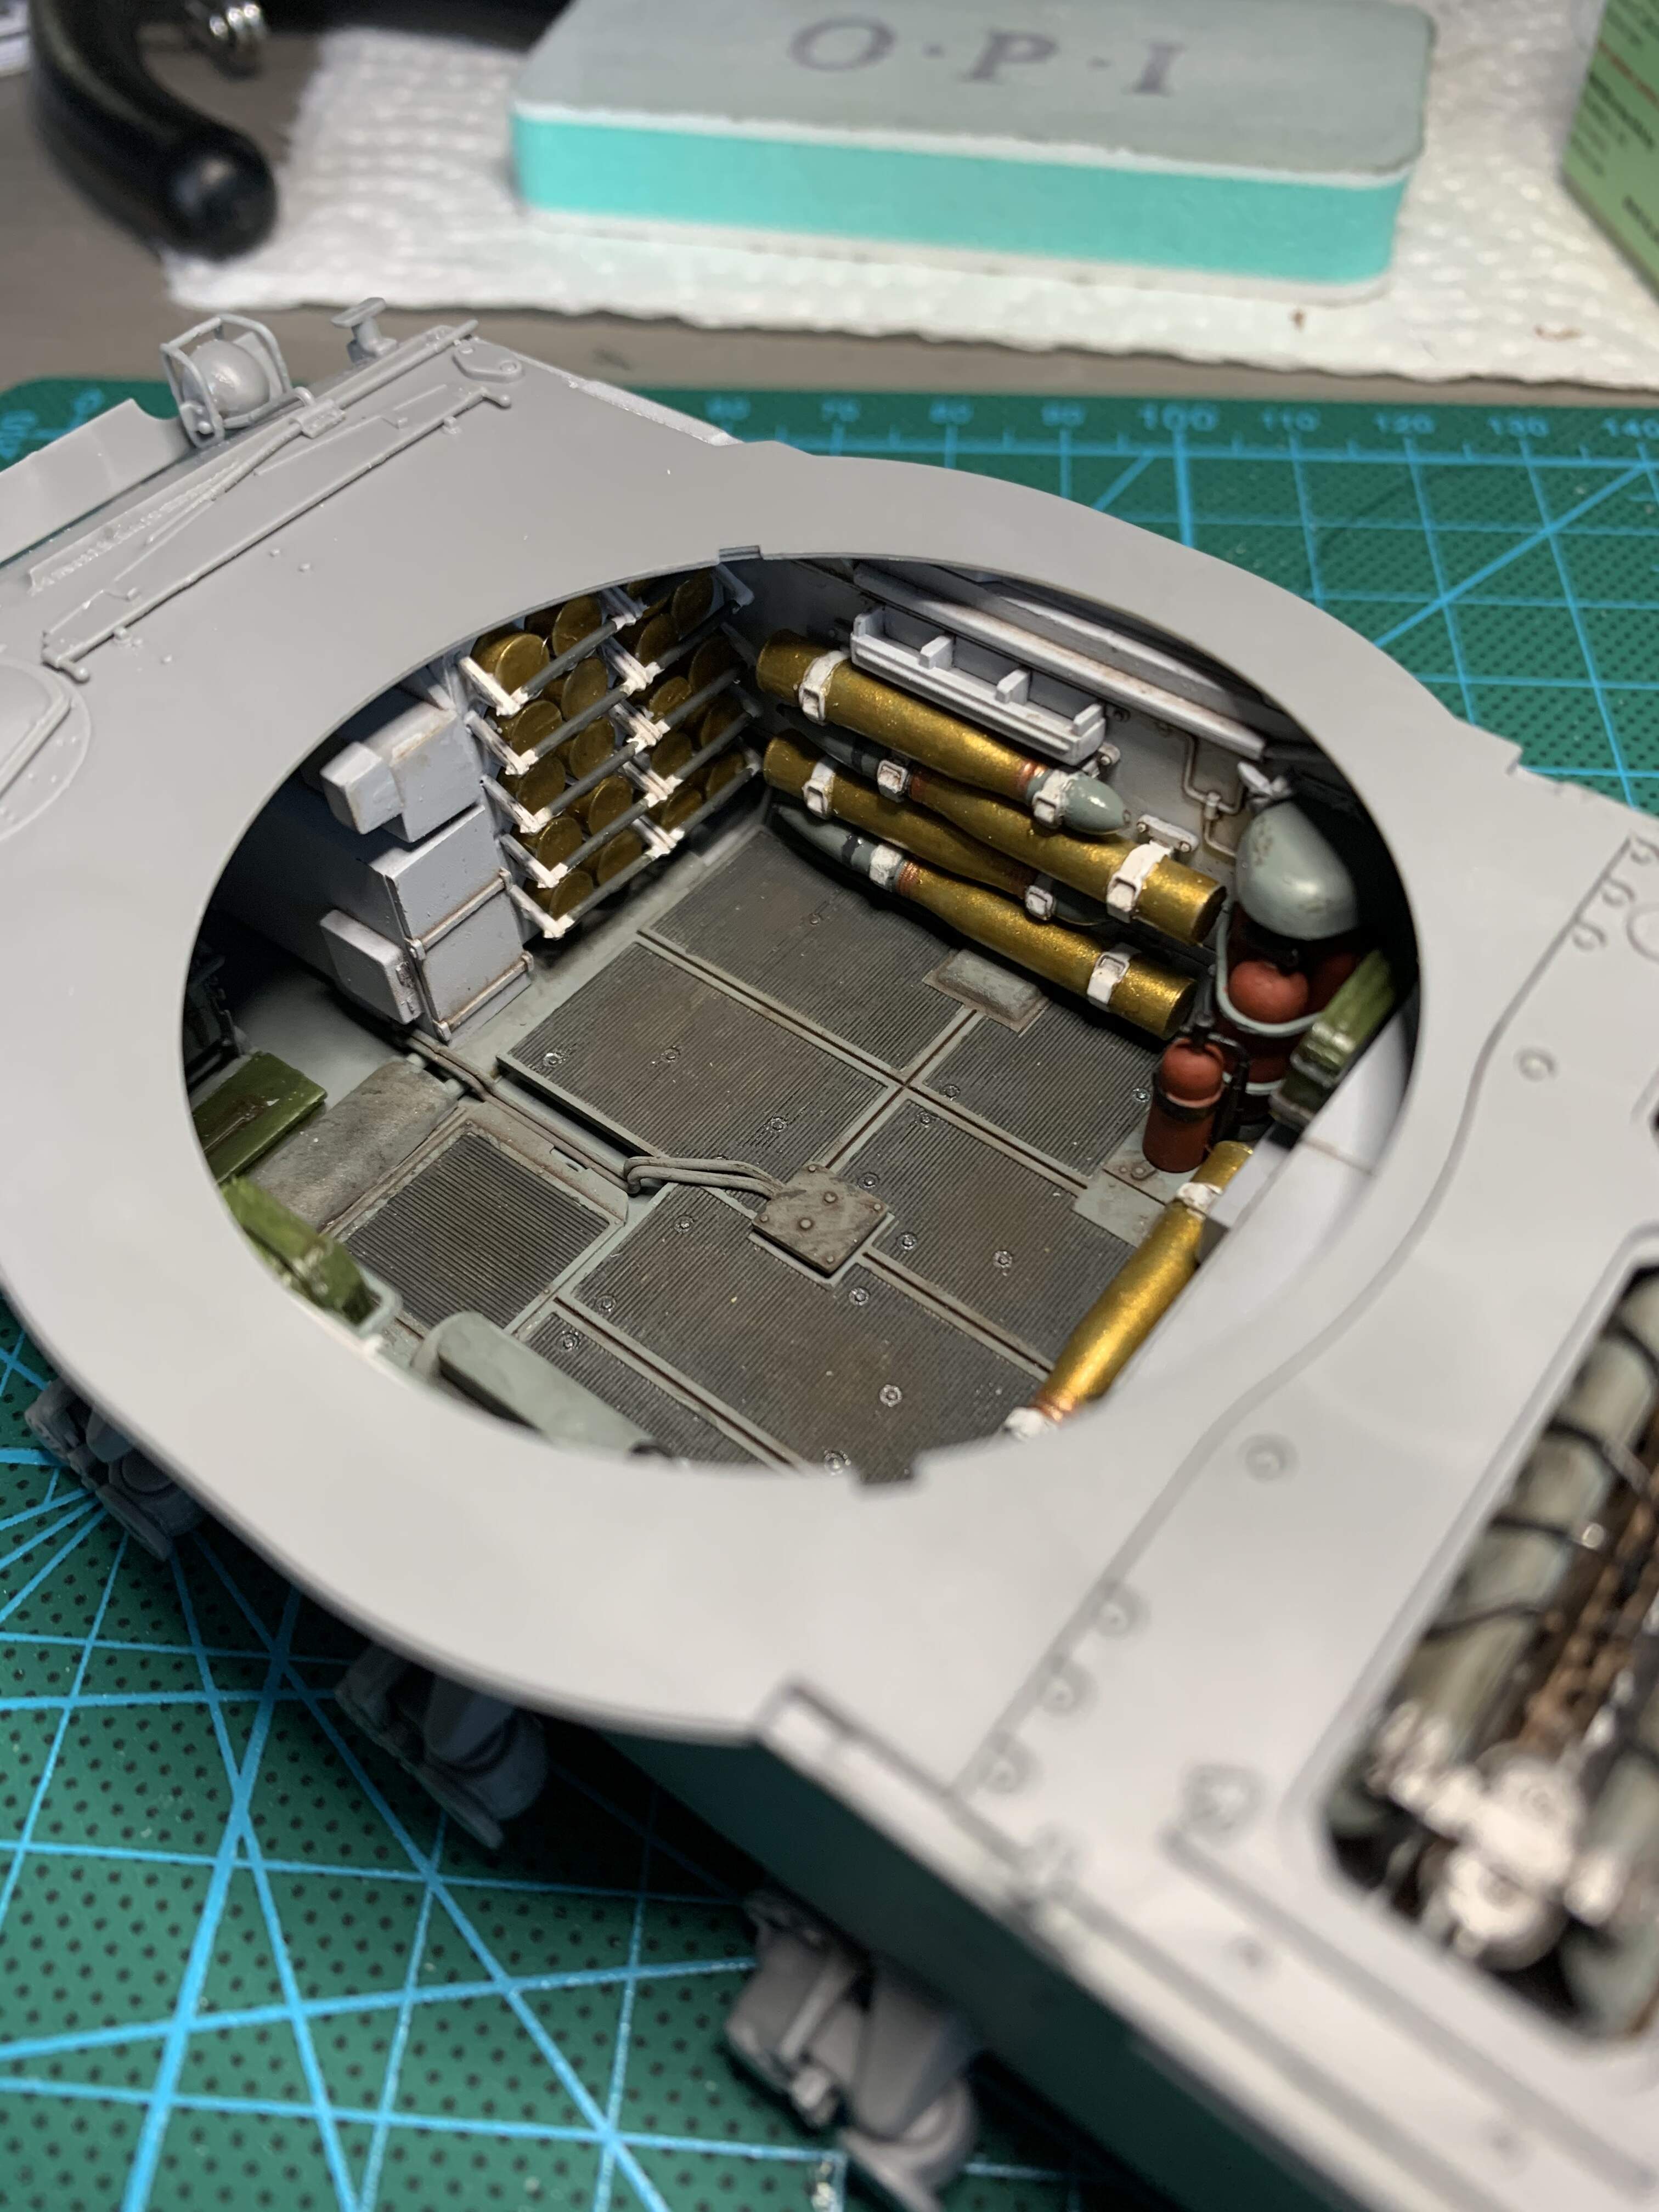
The components of the inside of the turret are done. I started with the turret, not sure why. It’s really fun and seems like a gorgeous kit. I wish I could get some better pictures.
I have only nits:
the view periscope (there’s got to be a different name for that inside a tank?) has a handle that is fully extended. They don’t offer one where the handle is folded up so it occupies most of the open space in the hatch
the gun is pretty nice but there were a couple of awkward fitting bits. I couldn’t figure out why. A couple of parts just seemed too big. One I could sand the other didn’t really have a sandable surface…
the turret is assembled by glueing the bottom ring to the rest of the turret so there isn’t a convenient way to leave it openable
Putting it together took a long time. A lot of that time was me trying to figure out how to paint things, then deciding to paint them separately, then being careful. I ended up with three major subassemblies.
I’ll add some washes to bring out the details. But until I figure out how to take better pictures that won’t be obvious…
Good deal.
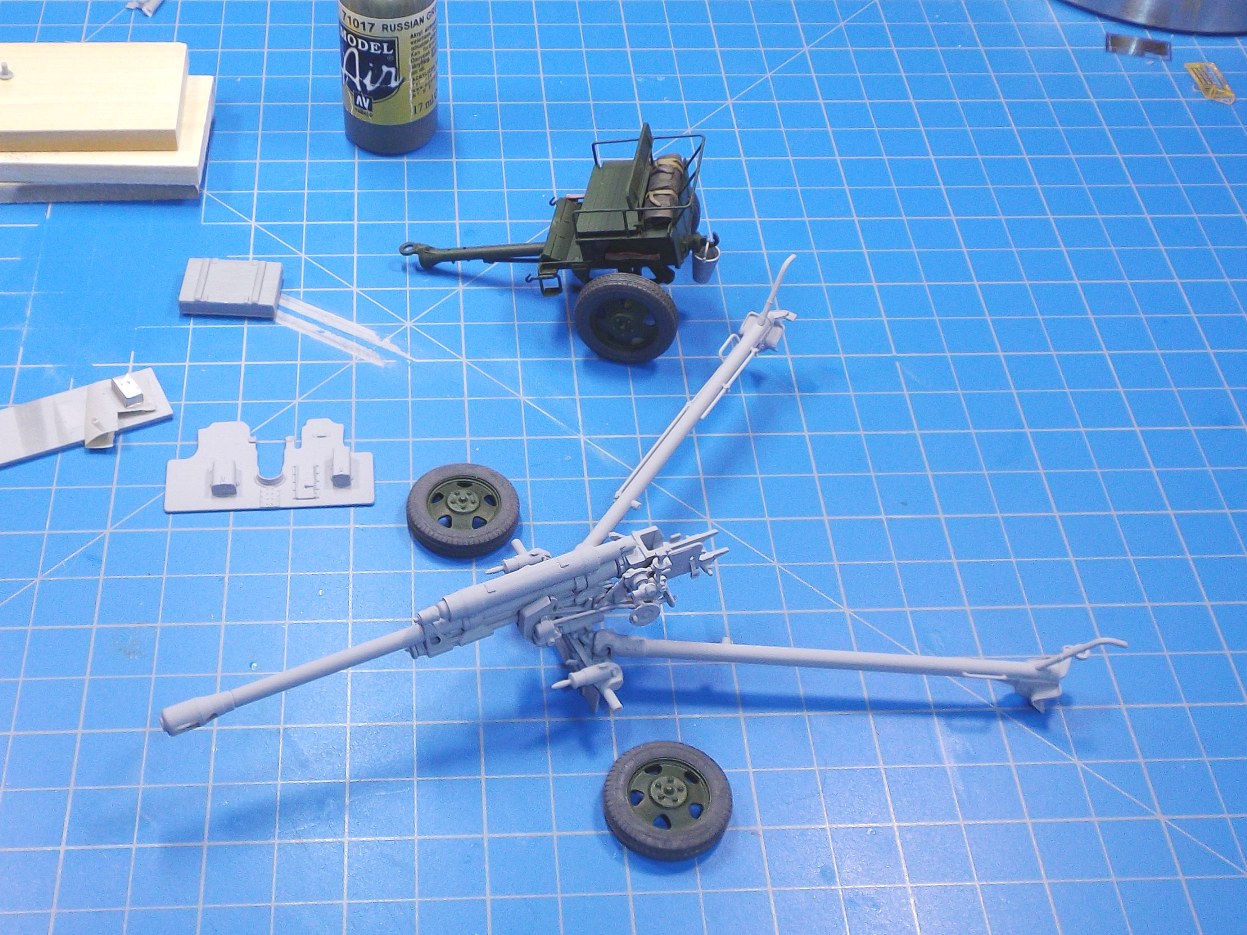
I just started my T-60 today. ( cut and sanded a few pieces before mama started bothering me , like clockwork.)
Any Advice? ( on the build!)
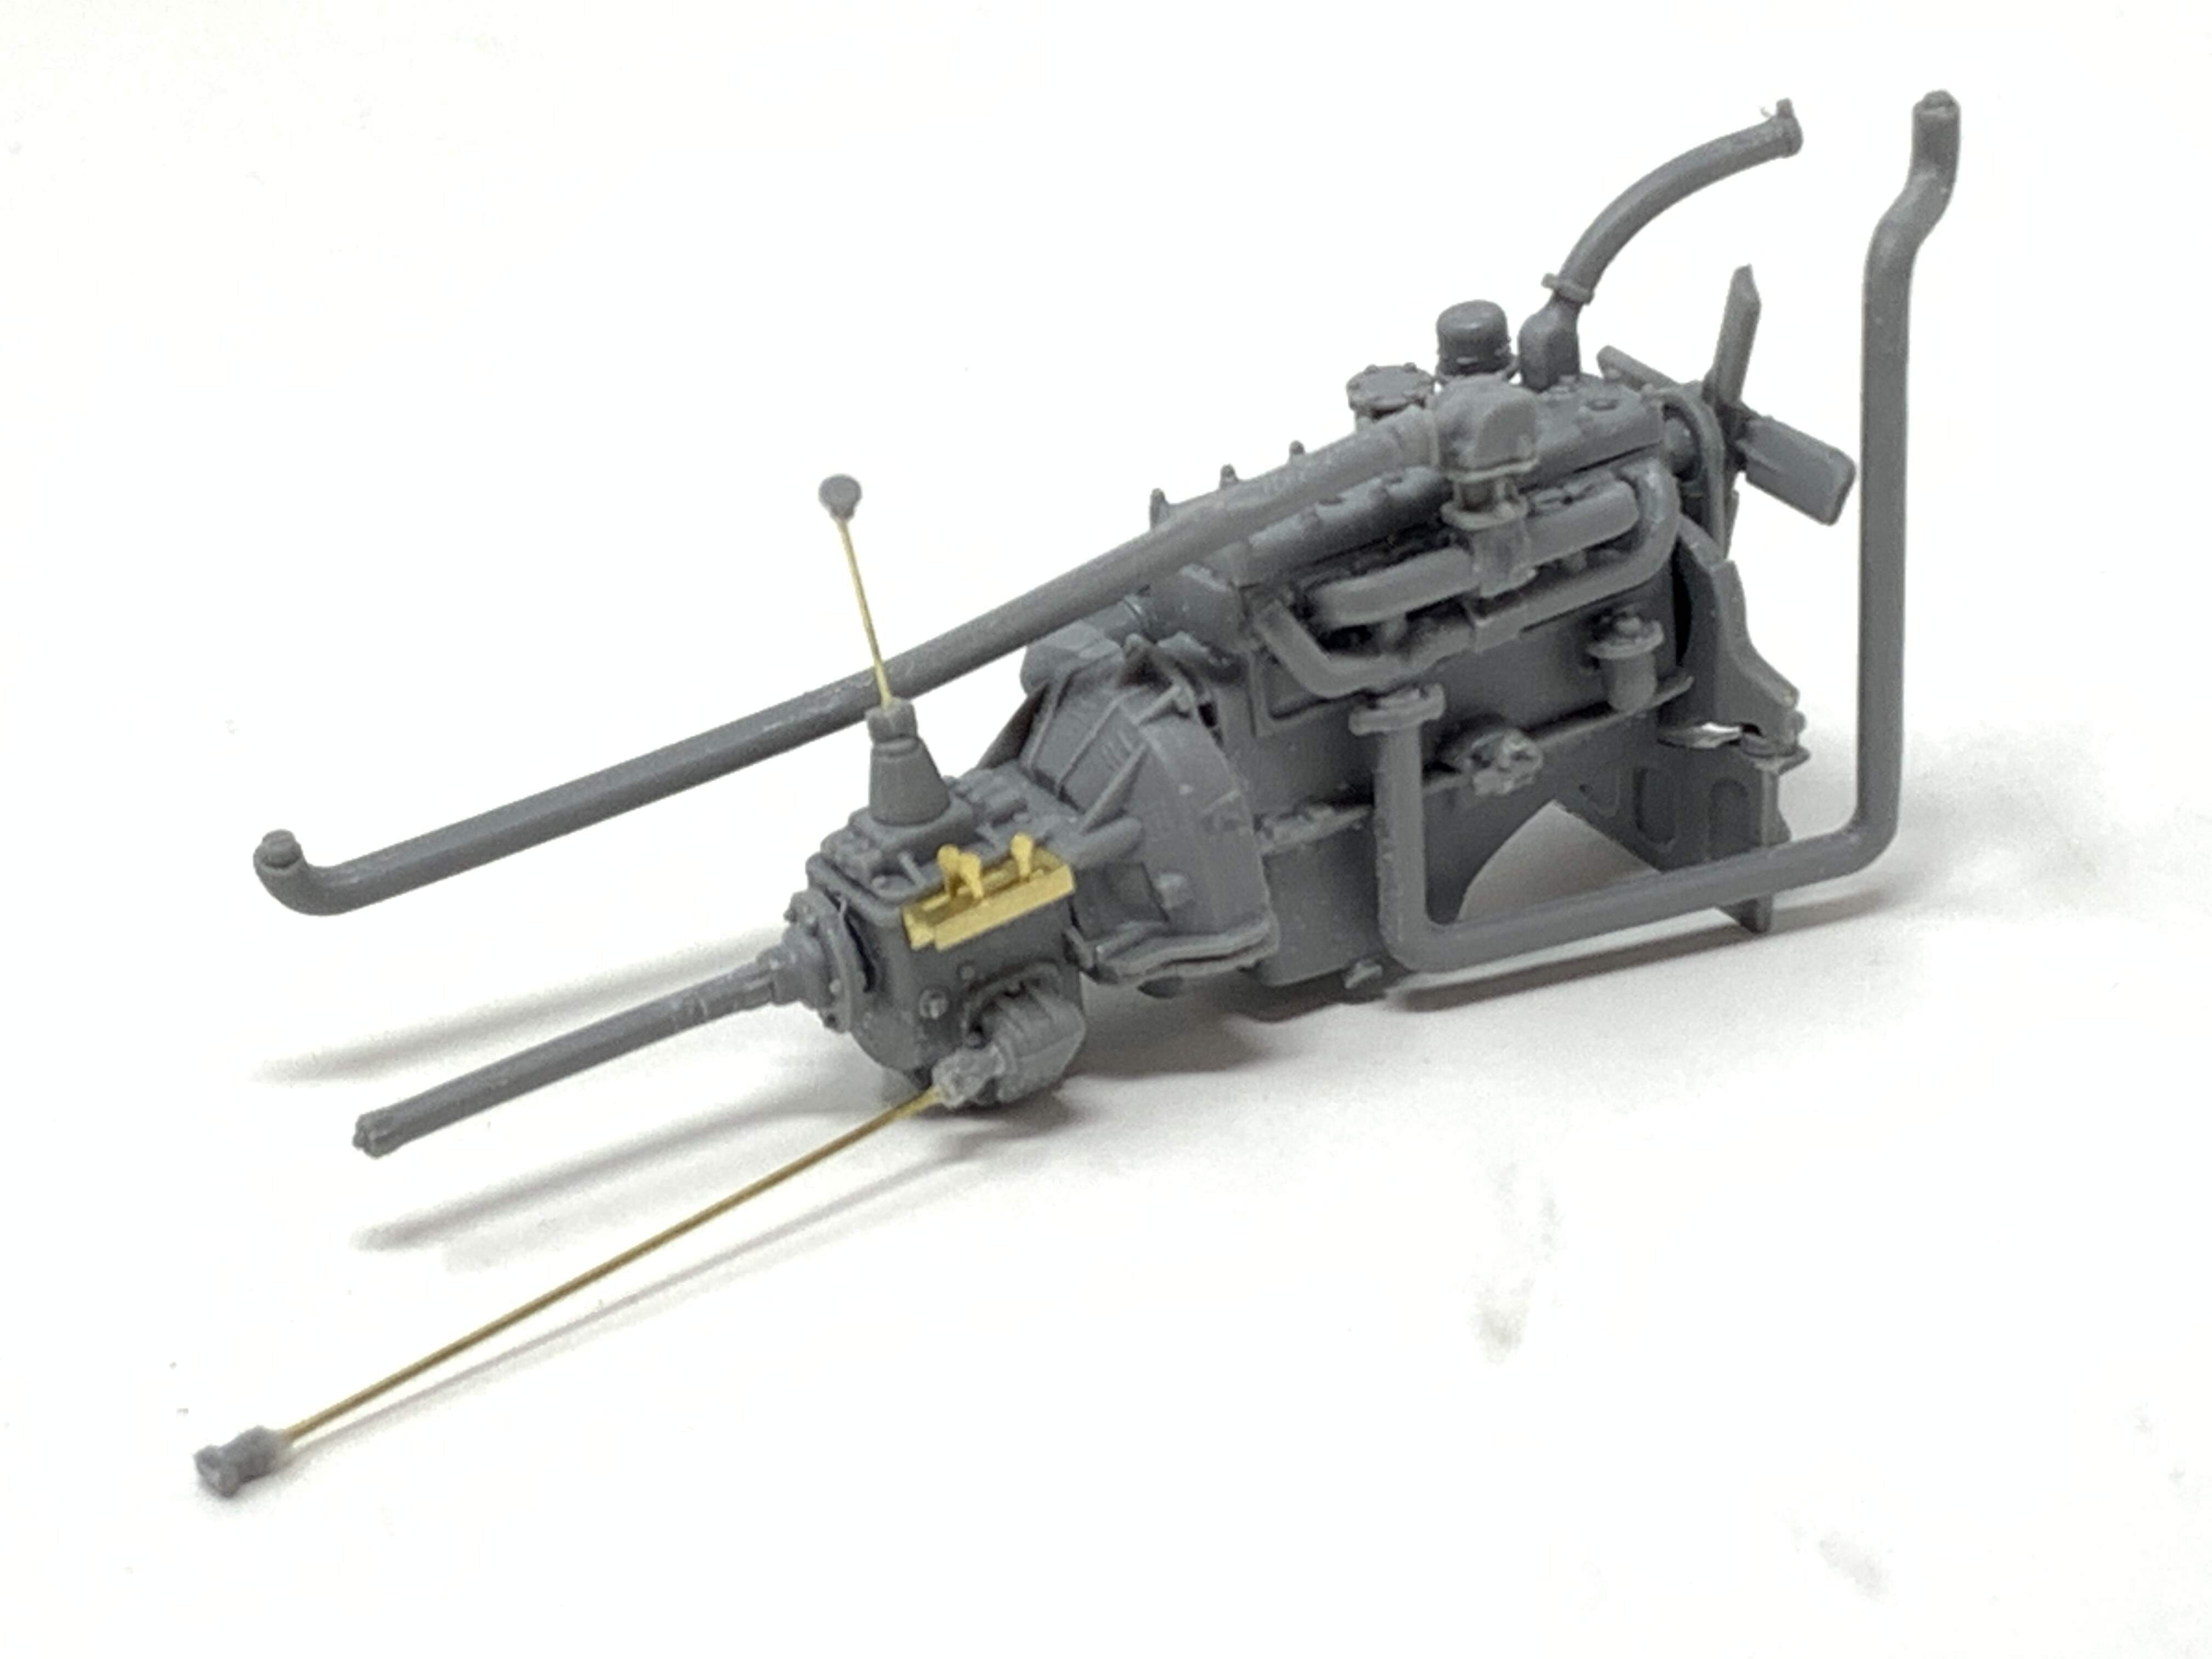
Va bien ese T60. Dos observaciones: la manguera que va del motor al radiador es de goma, la pintaría gris oscura o negra; el tubo que viene del filtro de aire al motor lleva aire frío, checa el color adecuado ya el color óxido no parece adecuado.
That T60 is going well. Two observations: the hose that goes from the engine to the radiator is made of rubber, I would paint it dark gray or black; the tube that comes from the air filter to the engine carries cold air, check the correct color and the rust color does not seem suitable.
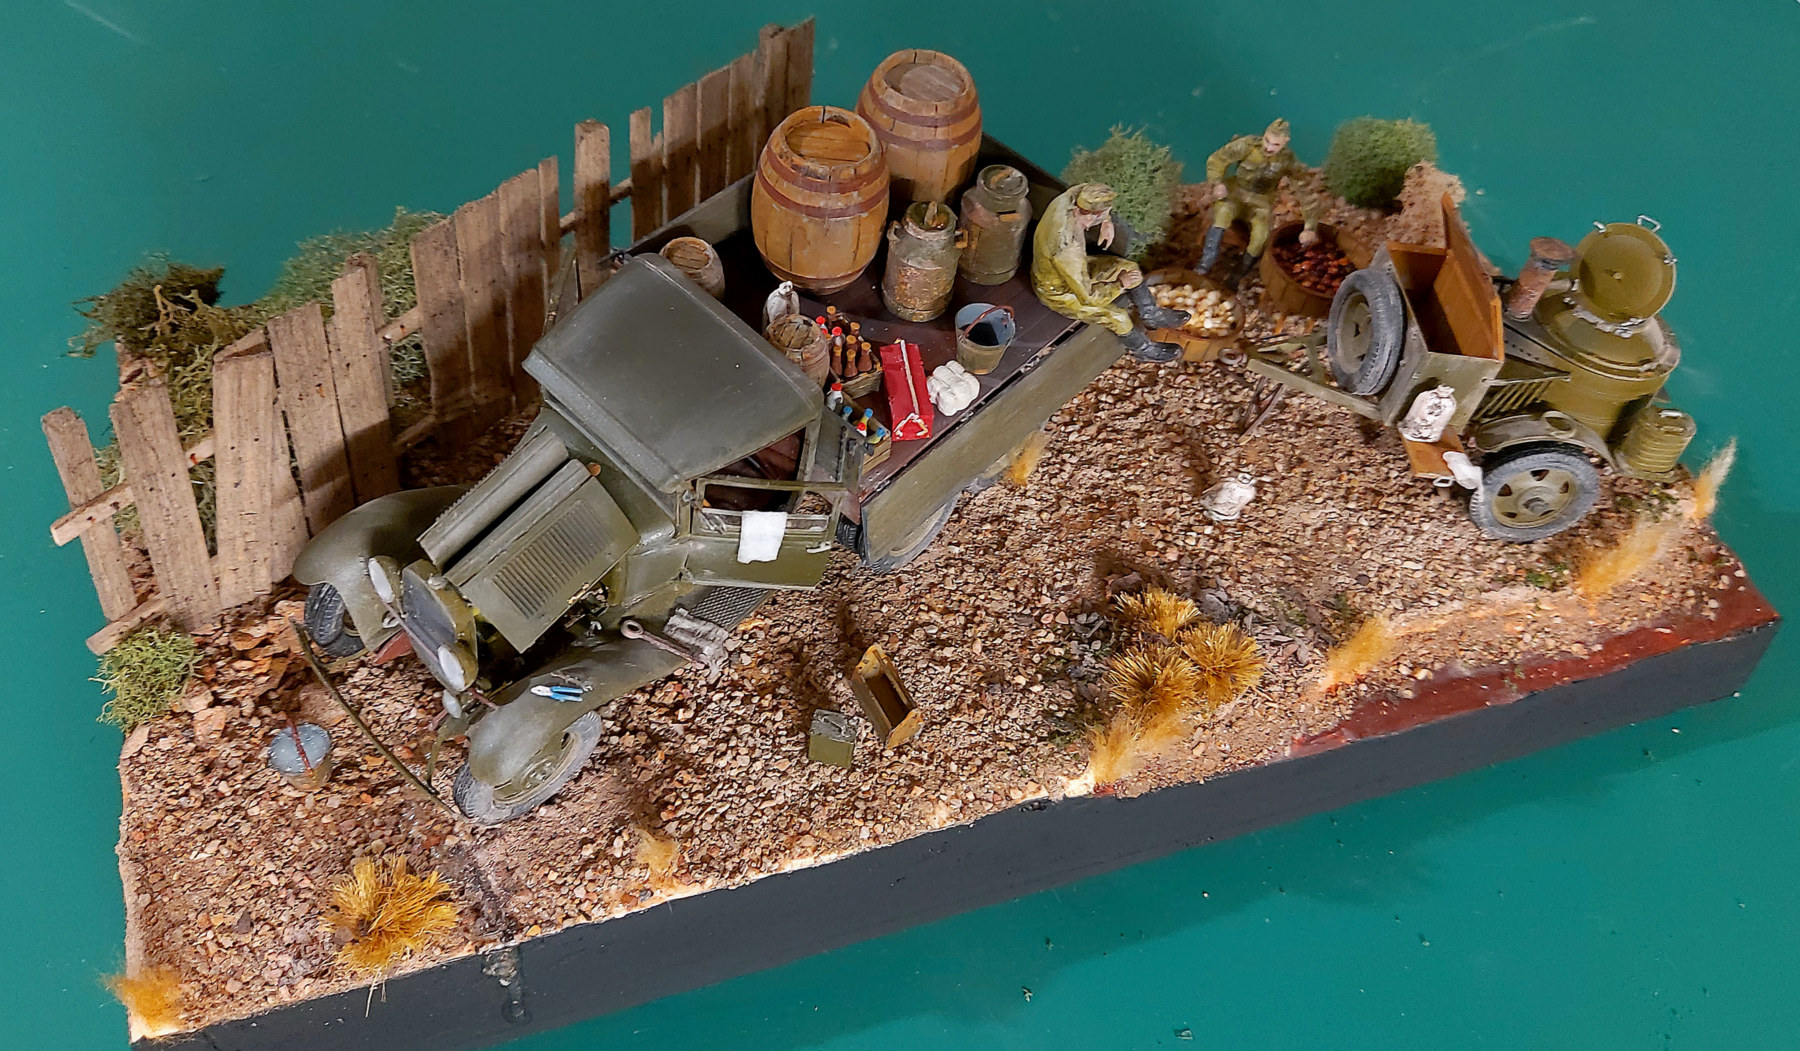
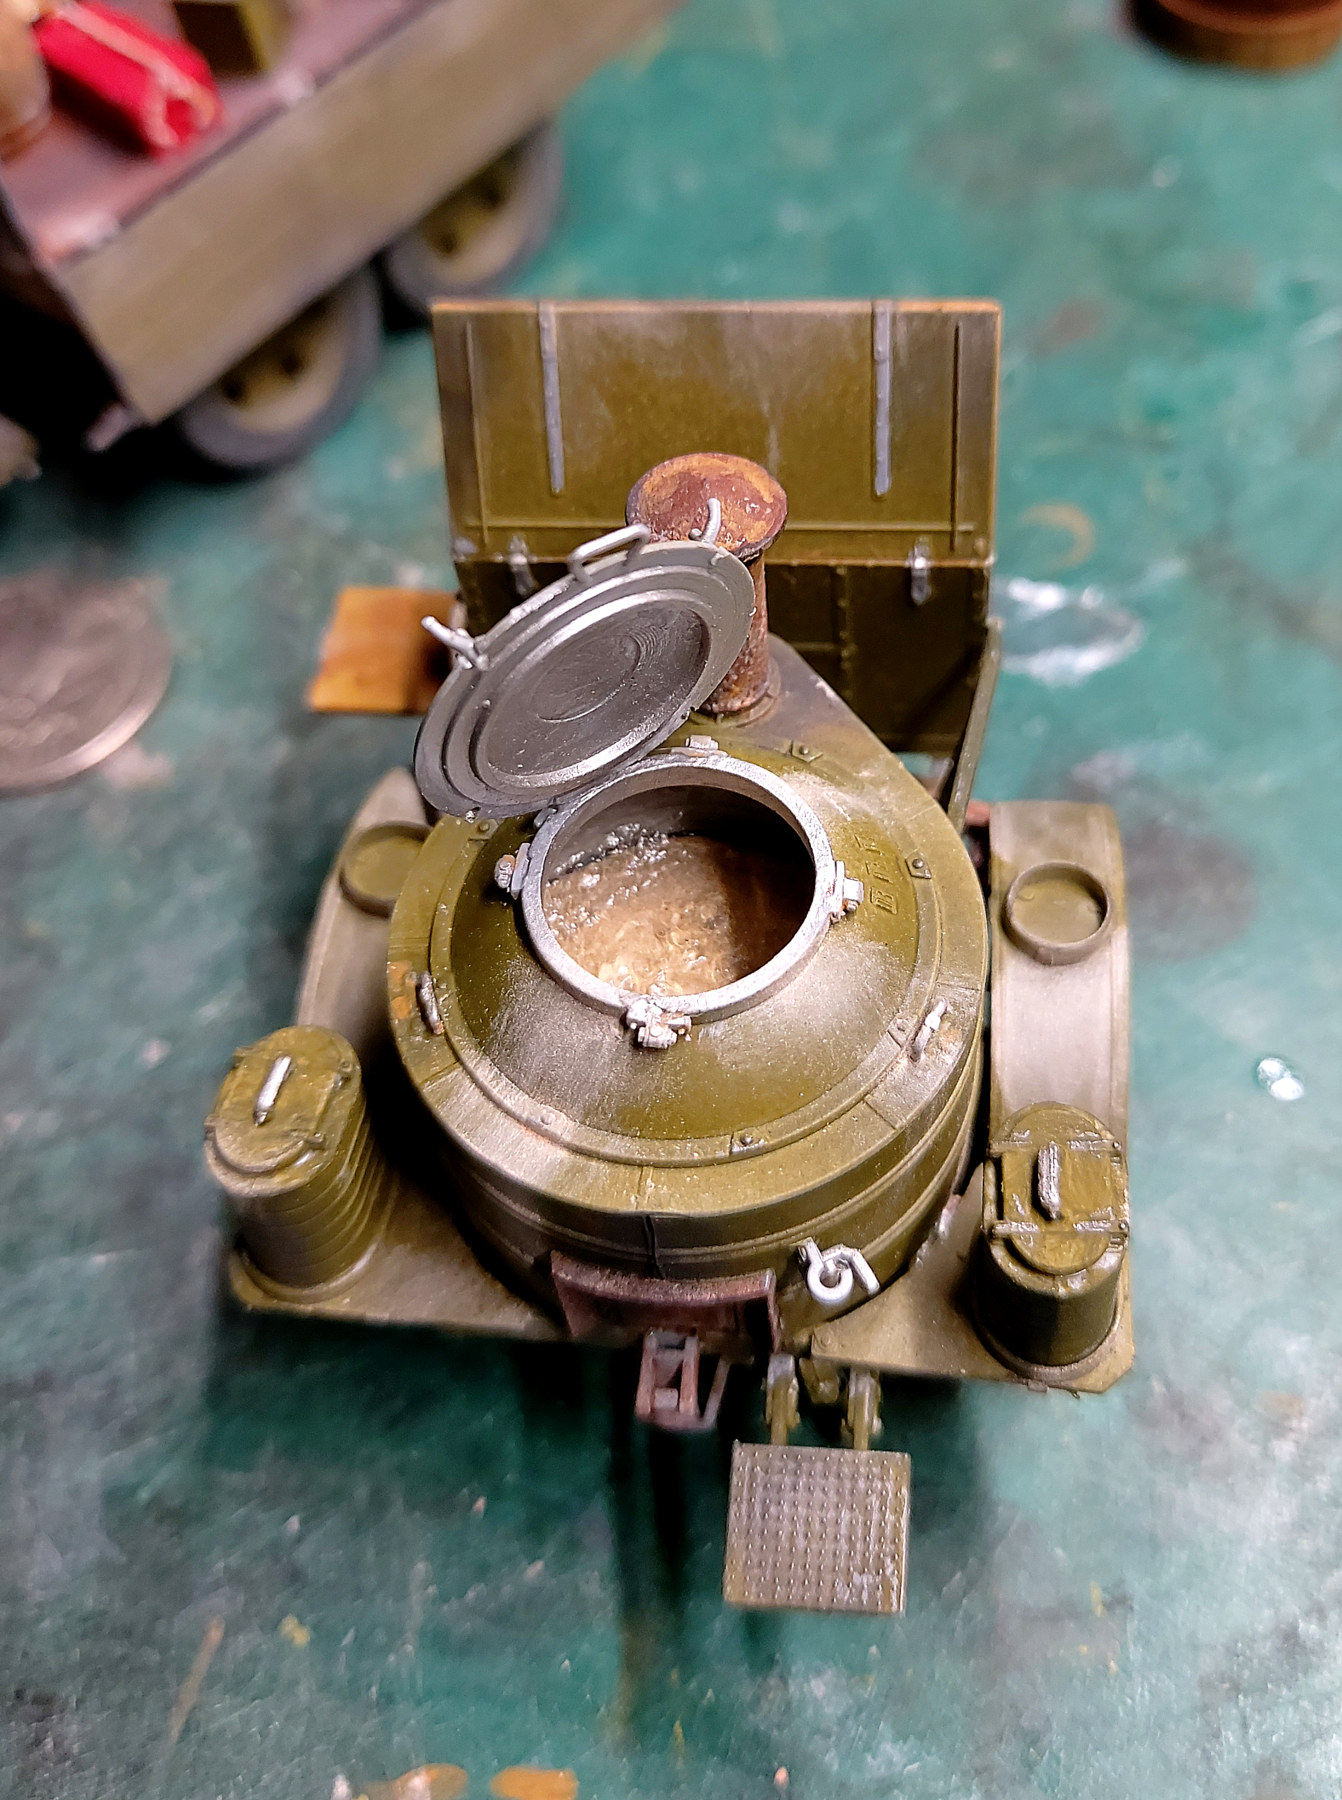
It’s 95% from the Miniart 35257 kit. A few tools from some of the Minart detail kits. A couple of items such as the bags are from my junk box. Rags are tissue. Fence is balsa. nails in the fence are just short pieces of wire. Water in the bucket is Liquitex gloss super heavy gel. (It will go clear over time). The potato peeler is peeling white and dark rice. I used mat Liquitex gel in the cooker as well.
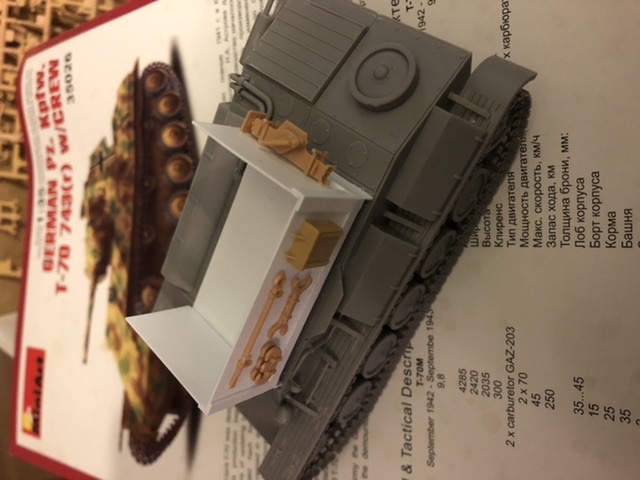
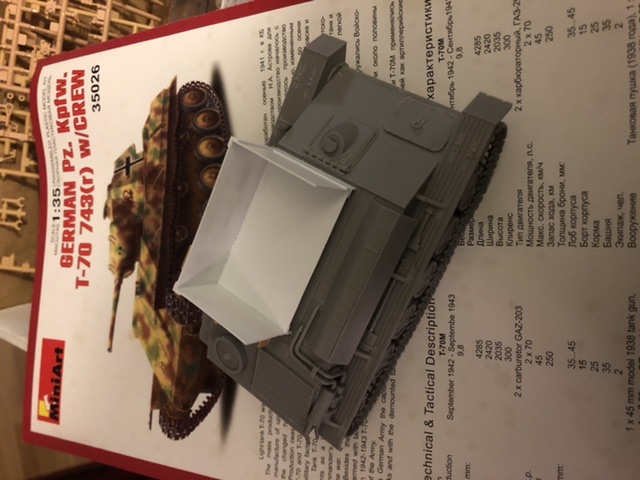
Opening the Mini Art Garage Workshop, there are 14 sprues and one fret of PE. Overall very nice looking kit. The kit consists of 24 separate Final Assemblies, numbered 1-23 (there are two large 55 gallon drums in step “1”. A quick look at the items and at first guess I think I’m going to incorporate 19 of these into my Maintenance Truck Build, although I’ll have to wait on building the shelter to insure that the two cabinets and the work stool will work.
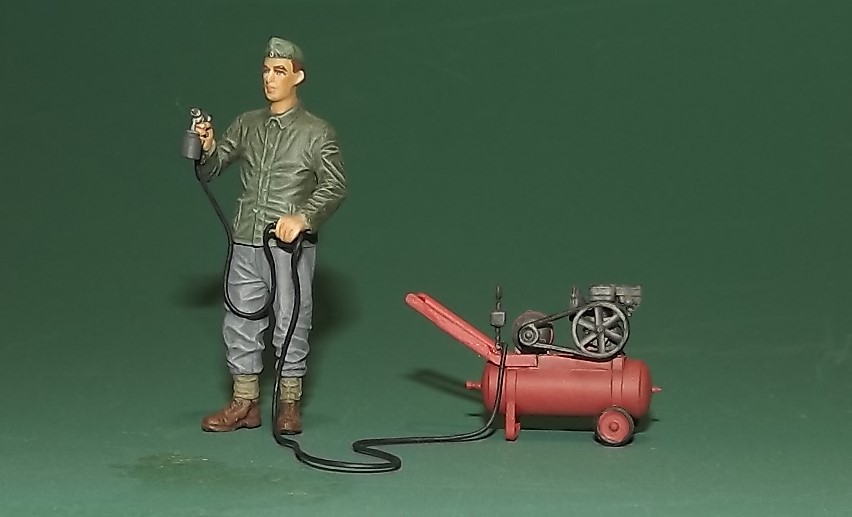
Moving forward with my German tank men painting Camo. Our two figures I have named Werner and Max. First up is Werner: Werner is wearing a standard reed green tunic, baggy grey trousers and saucy ankle gaiters and short brown work boots. On his head is a typical green side cap. He is using a small electric compressor with an air hose made from solder painted grey/black.
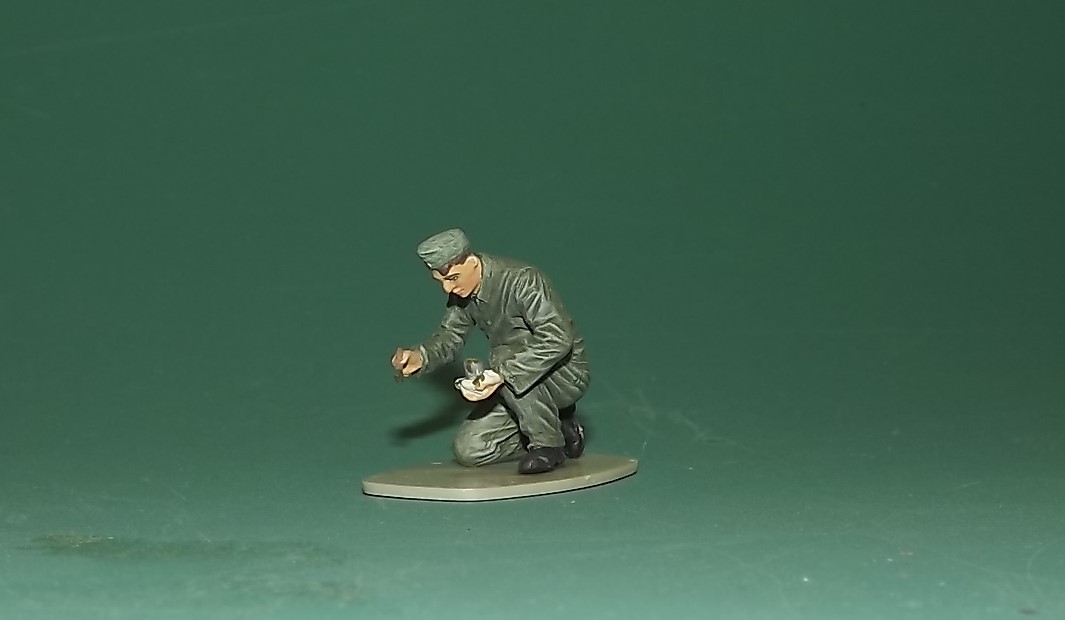
Next up is Werner’s buddy, Max. Max is sporting a stylish baggy reed green baggy top and pants with sassy black work boots to keep his feet safe from dropped tools tools and other items. He is holding a small paint brush for touching up Werner’s mistakes/overspray and a small can of touch up paint and rag in his other hand.
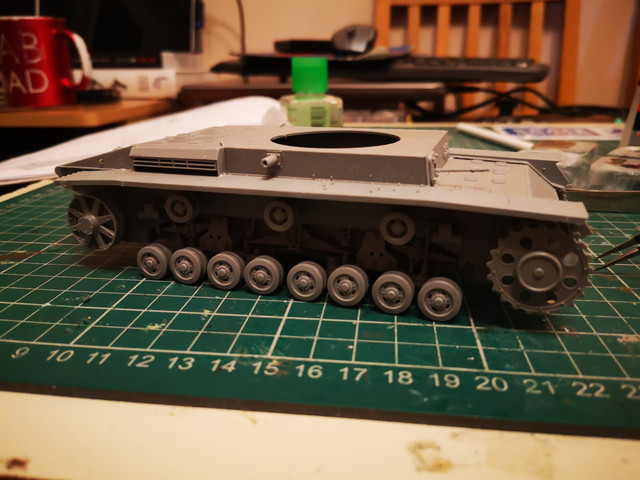
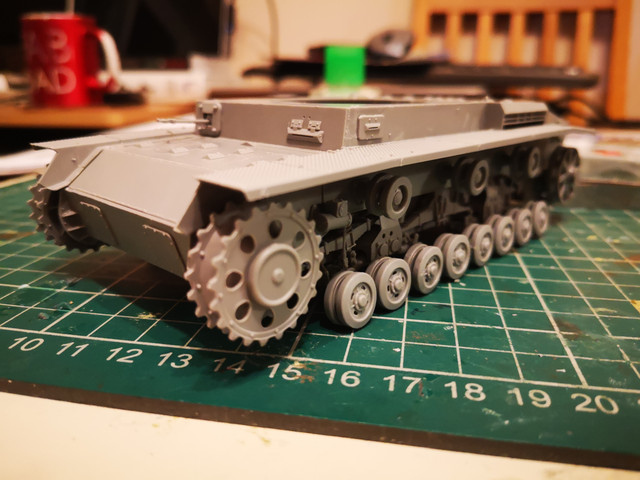
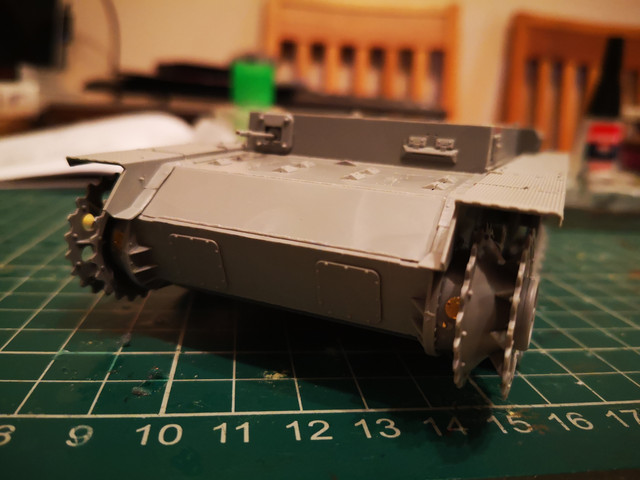
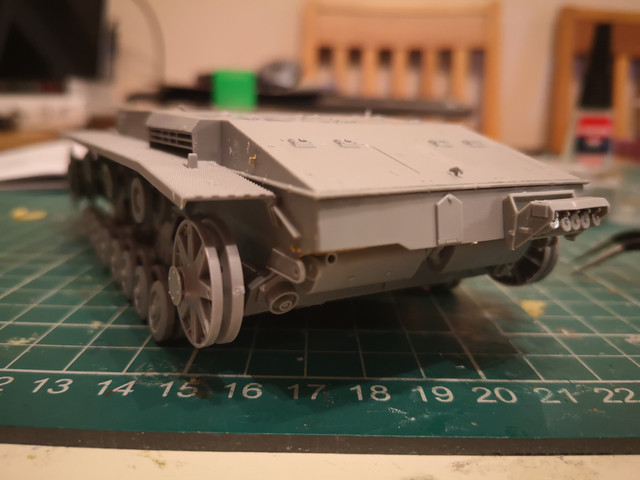
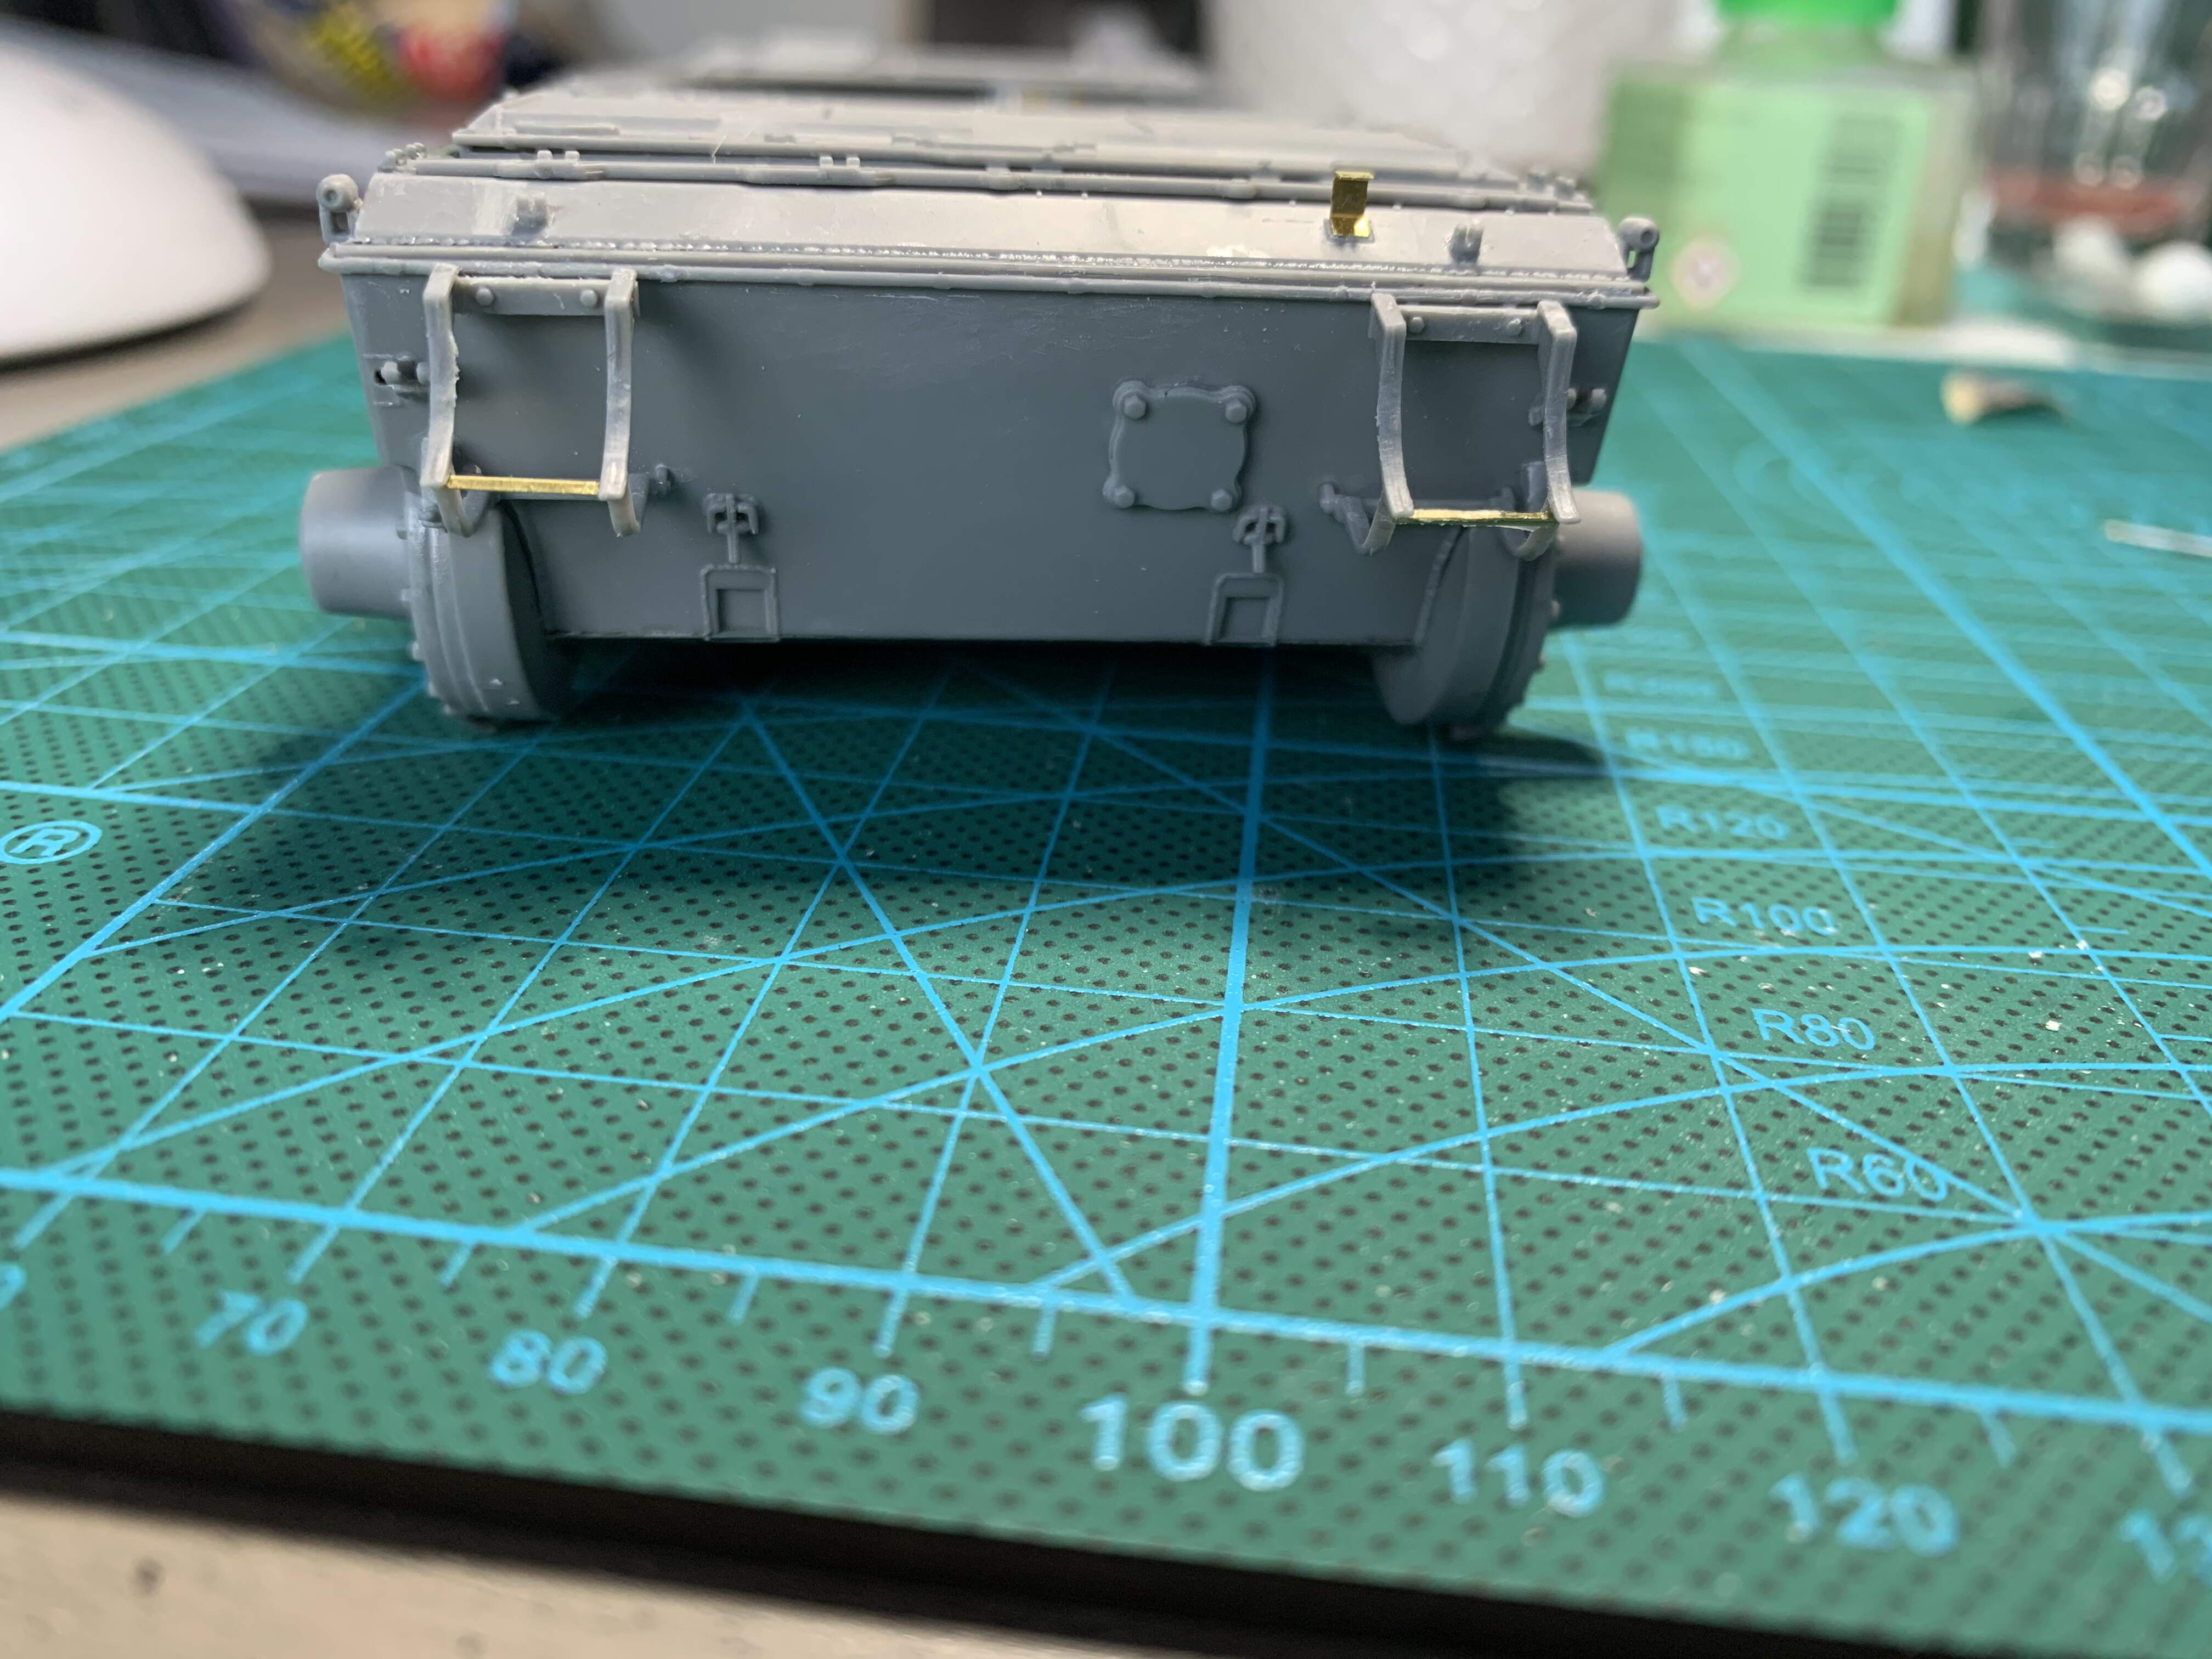
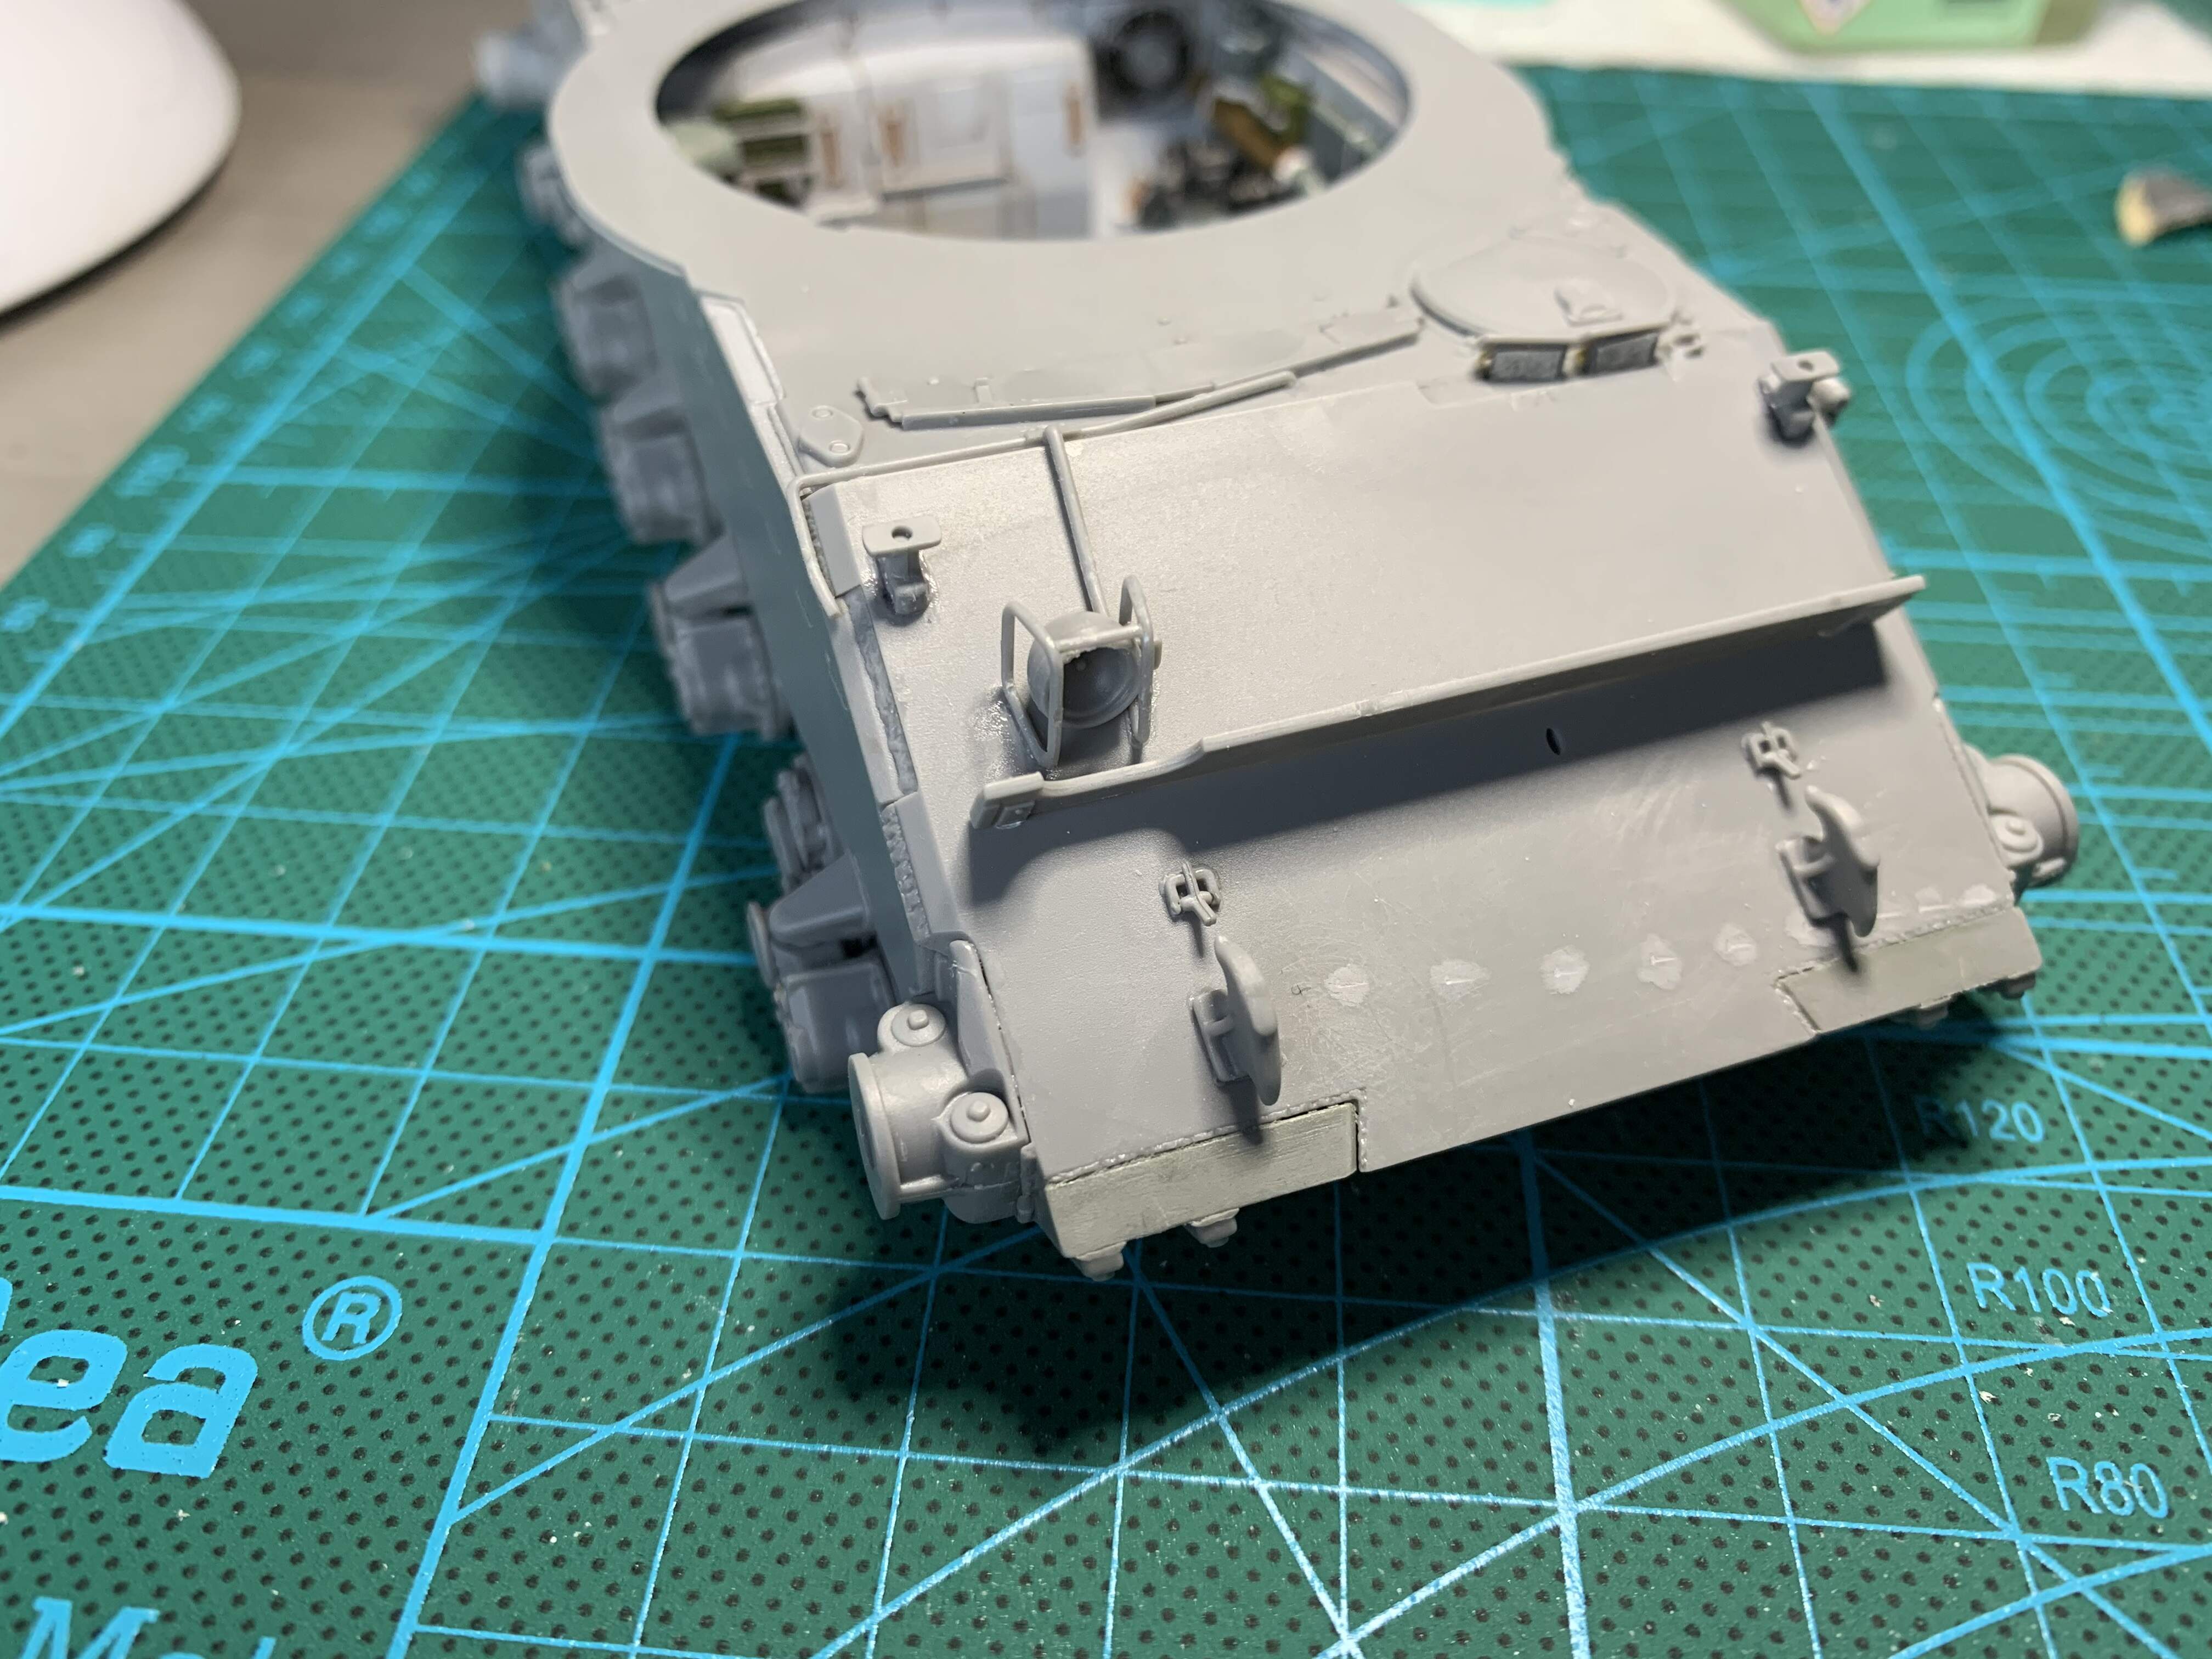
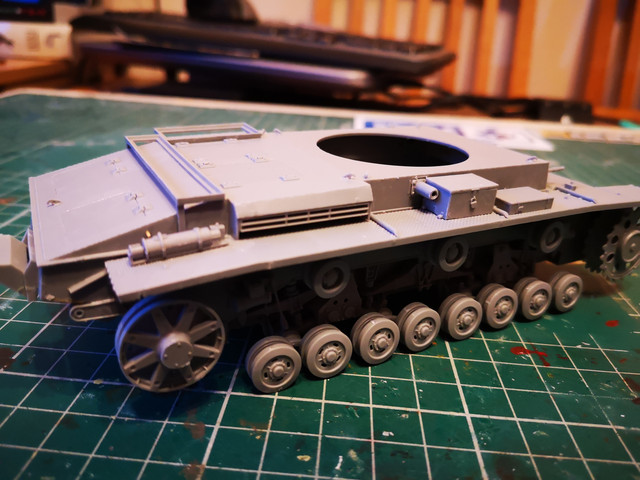
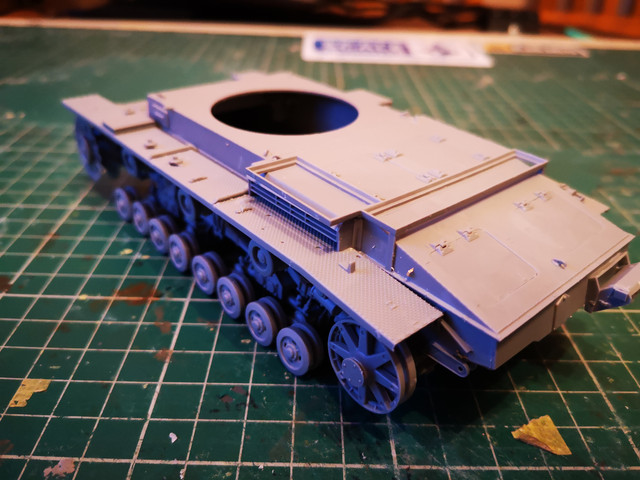
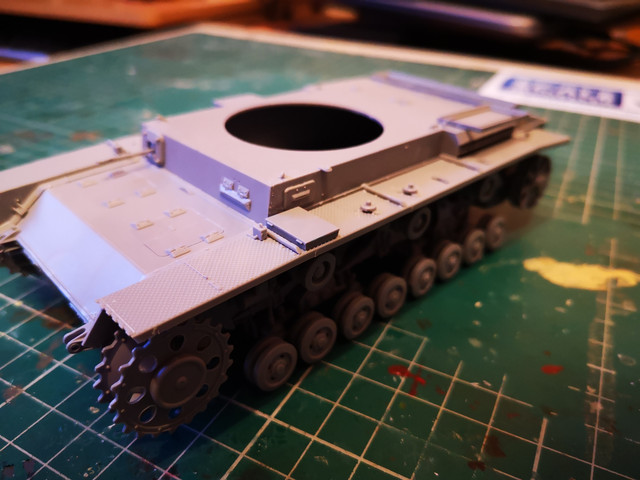
Mostly done the hull. Just a few more fiddly bits and PE screens to add. Will probably leave the screens off till I paint so I can paint the panels under them then attach them and paint the screen.
@Mead93 nice work - what paint did you use for the shells?
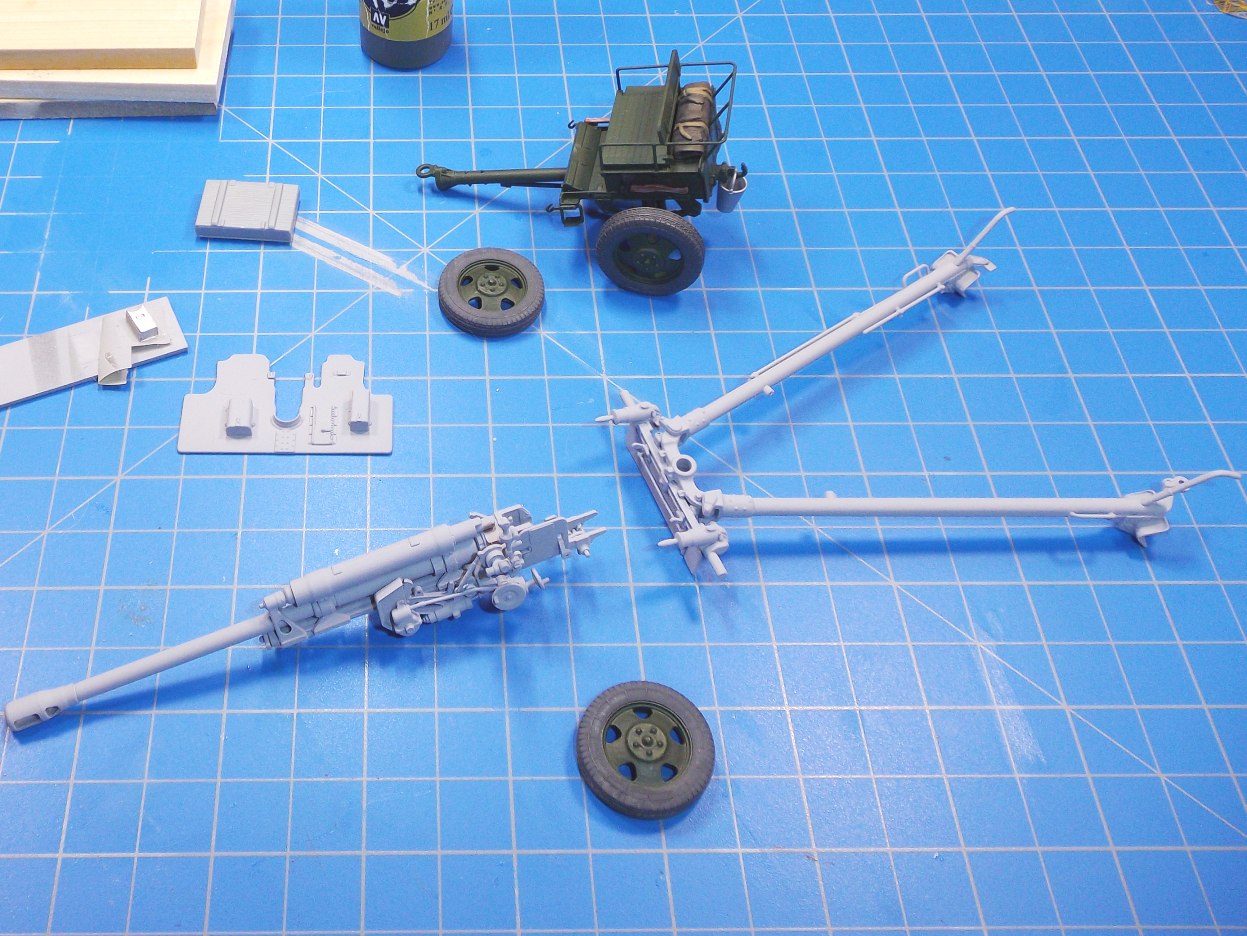
the Pz III Ausf D continues - more progress on “fender furniture”. I have added all that should be grey (apart form LHS fire extinguisher which would block the crow bar location once fitted). Also added the start pf the boxes - the locating brackets on the engine deck. I need to add the tow cable brackets but will leave them til closer to painting. I need to research 1 box on the RHS to see what colour it was and then I think I am on to the turret.
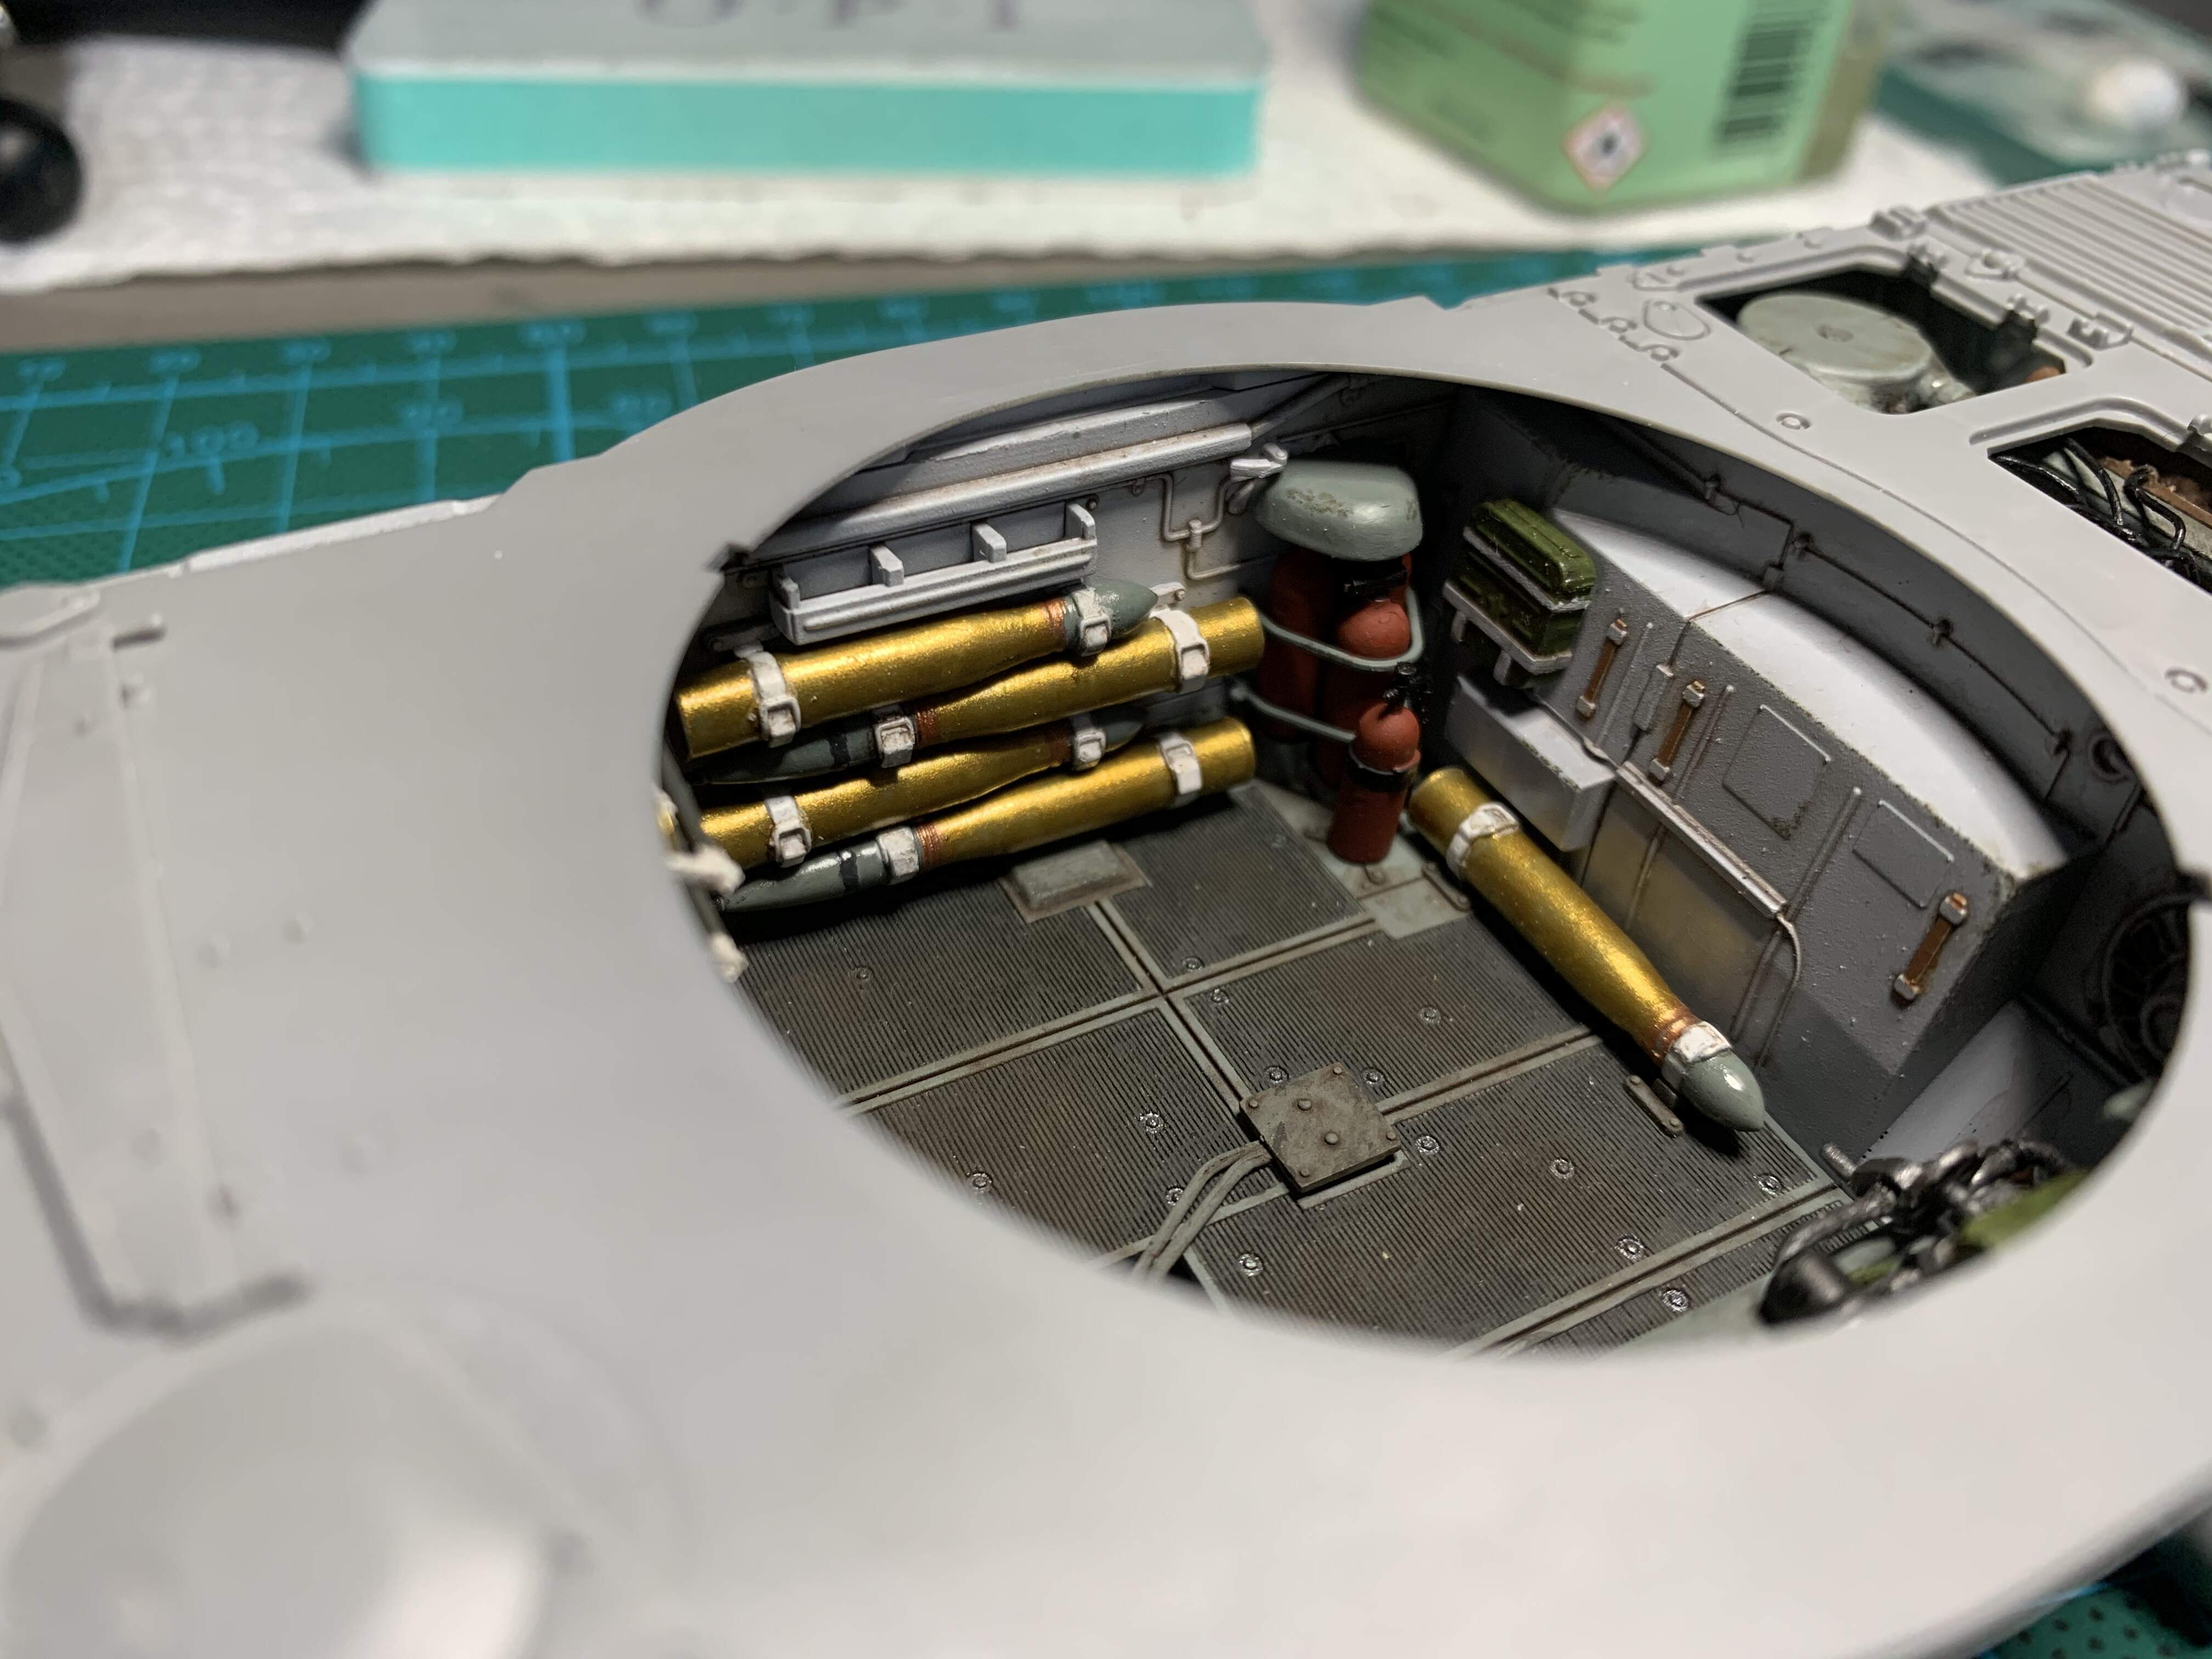
The interior was a mix of Tamiya and Vallejo, the shells casings were painted with Vallejo brass (70.801). I really like the color of it for shell casings. The shells themselves are Tamiya light sea gray for the blueish ones and field grey for the dark green ones
make sure you don’t lose more than 2 track pieces. I lost one and barely completed two sets with only one spare left.
tow cable (part Ba16) is also very fragile. The Youtube video I watched (search for “T-60” and look for the video build by Sergio Solo) showed replacing the cable with wire. I didn’t go that route because I wanted this to be out-of-the-box build. It was a pain but I used it anyway.
Thanks for pointing those out. Yes, I will probably repaint the radiator hose to dark gray. For the tube that comes from the filter, it does say in the instruction to color it as red brown. I will leave it as is. Besides, I will button this up and that tube will barely be seen.
I am building the German winter tank crew for this campaign. I decided to do the T-60 tank that was in the same box as well. I am building the T-60 as a captured tank converted into a munitions and maintenance tank.