Very interesting, look forward to seeing more about this vehicle.
1 Like
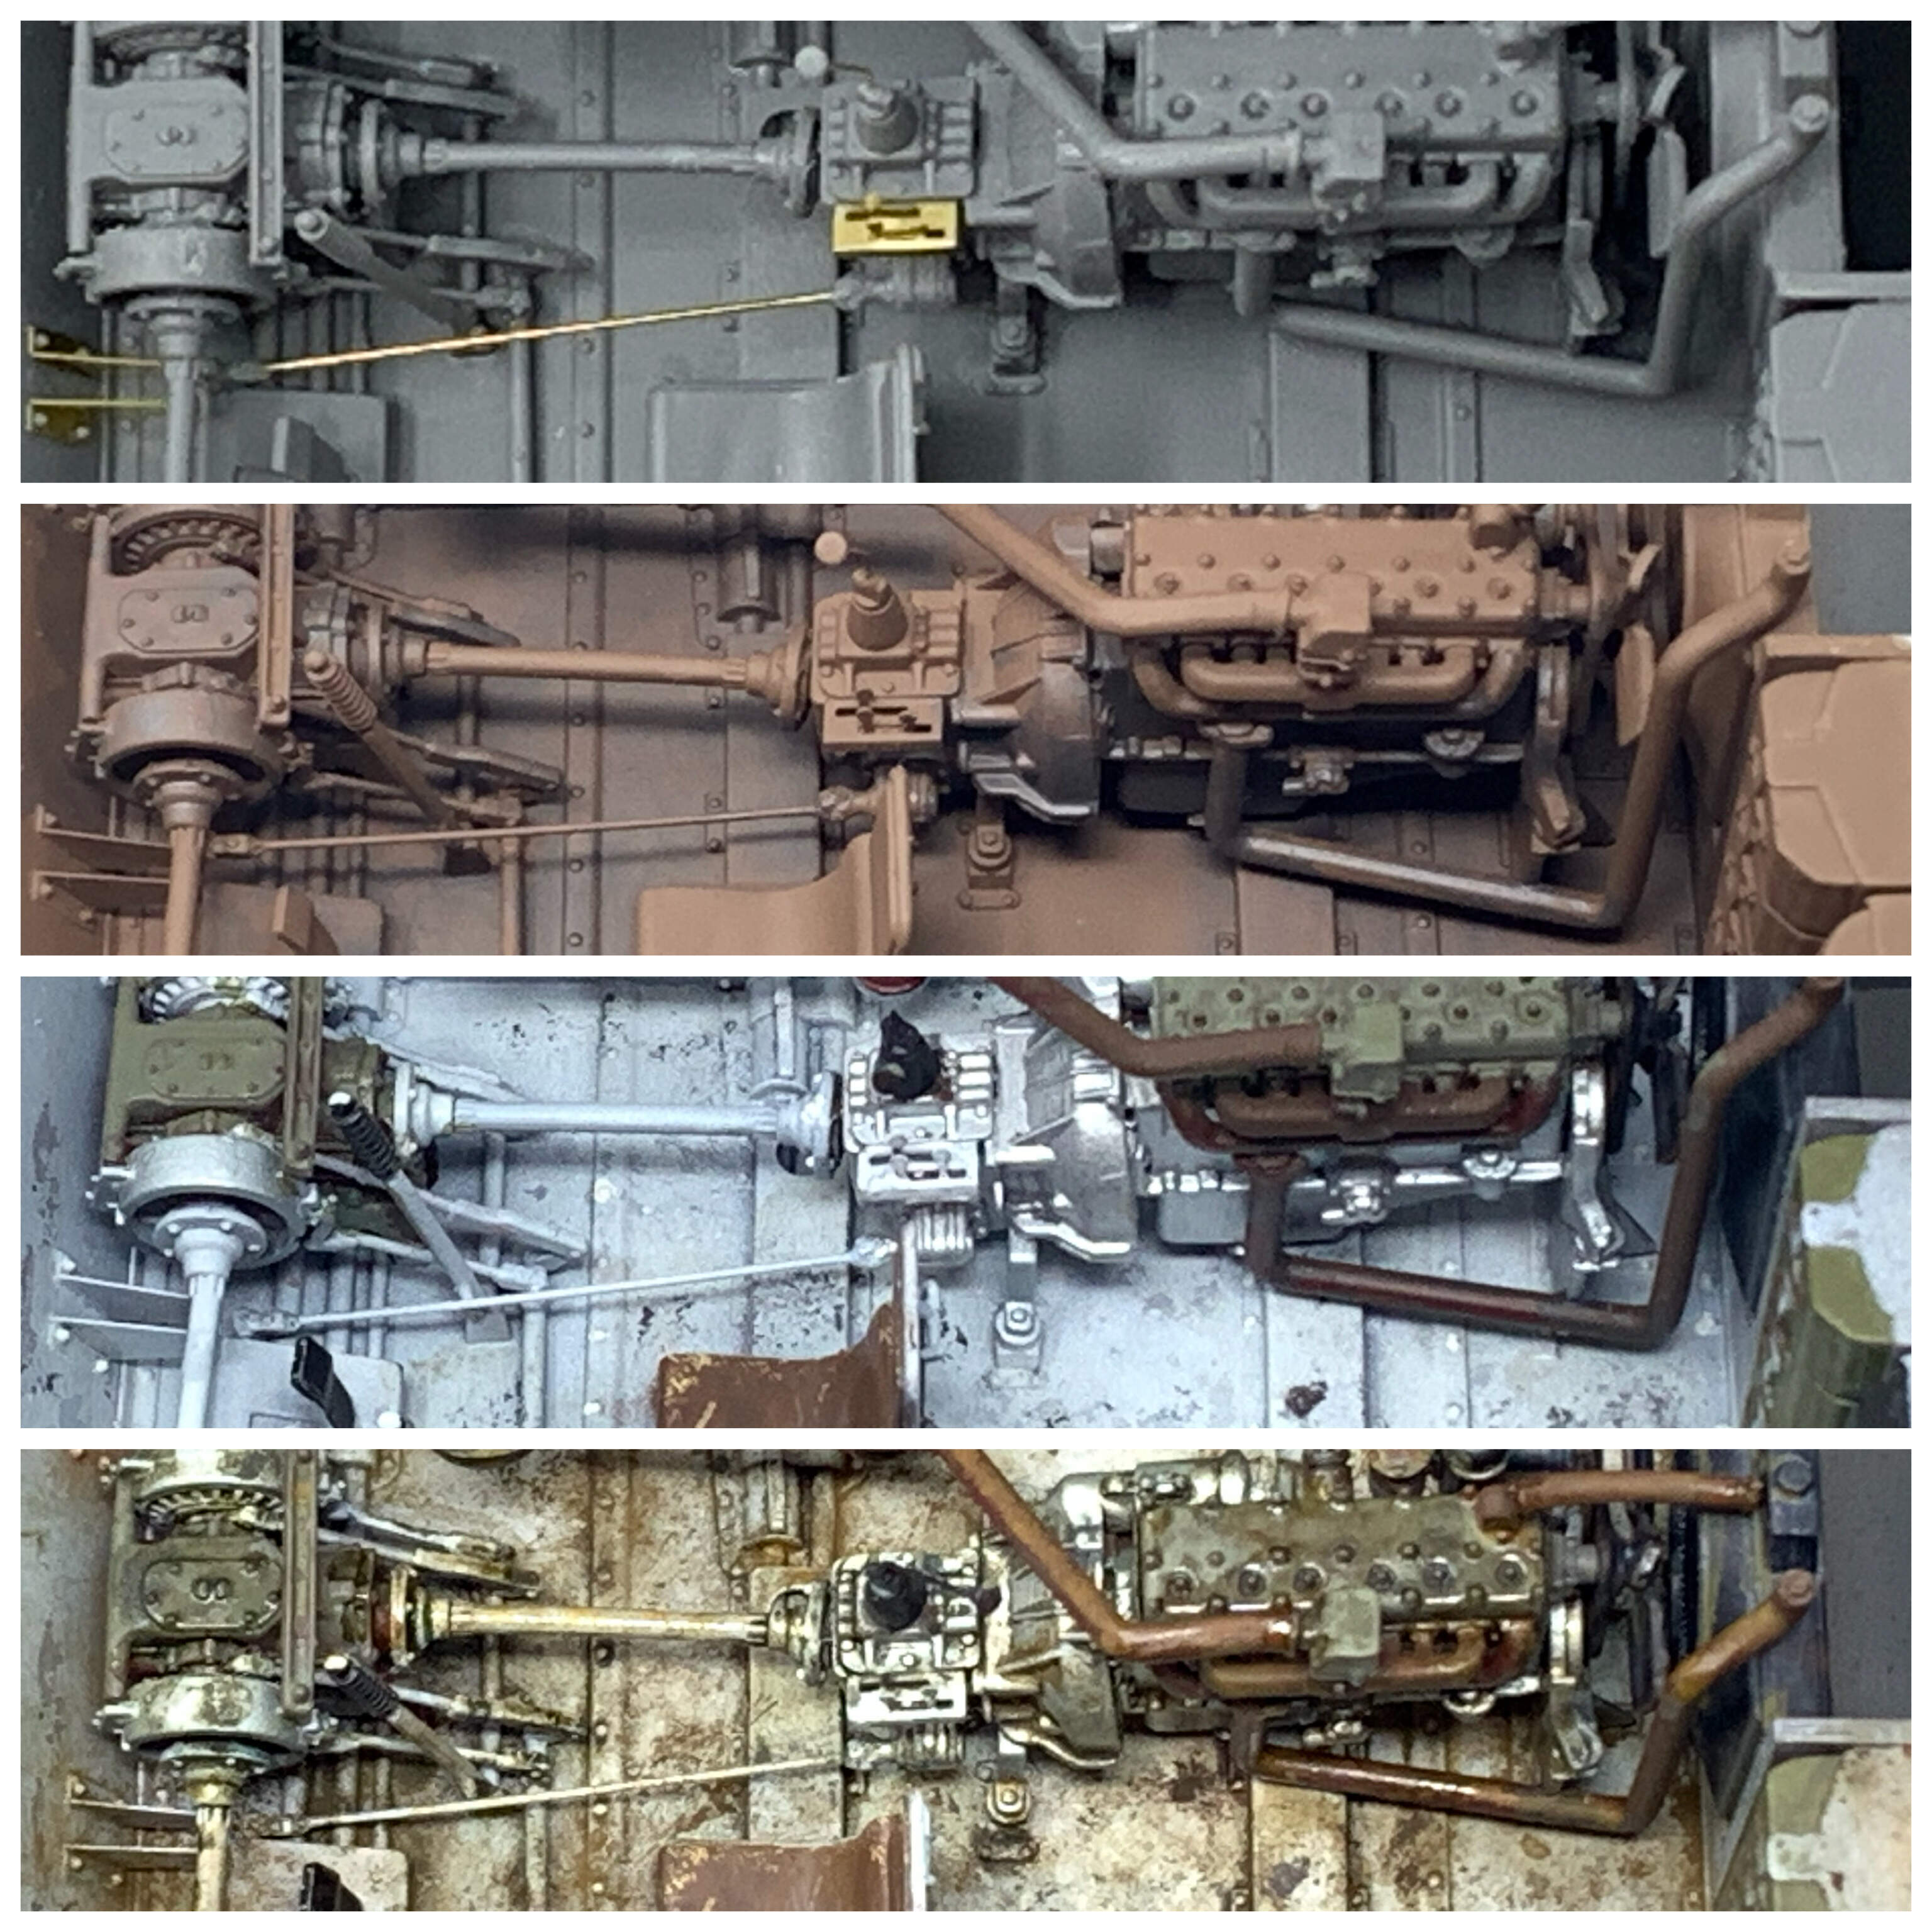
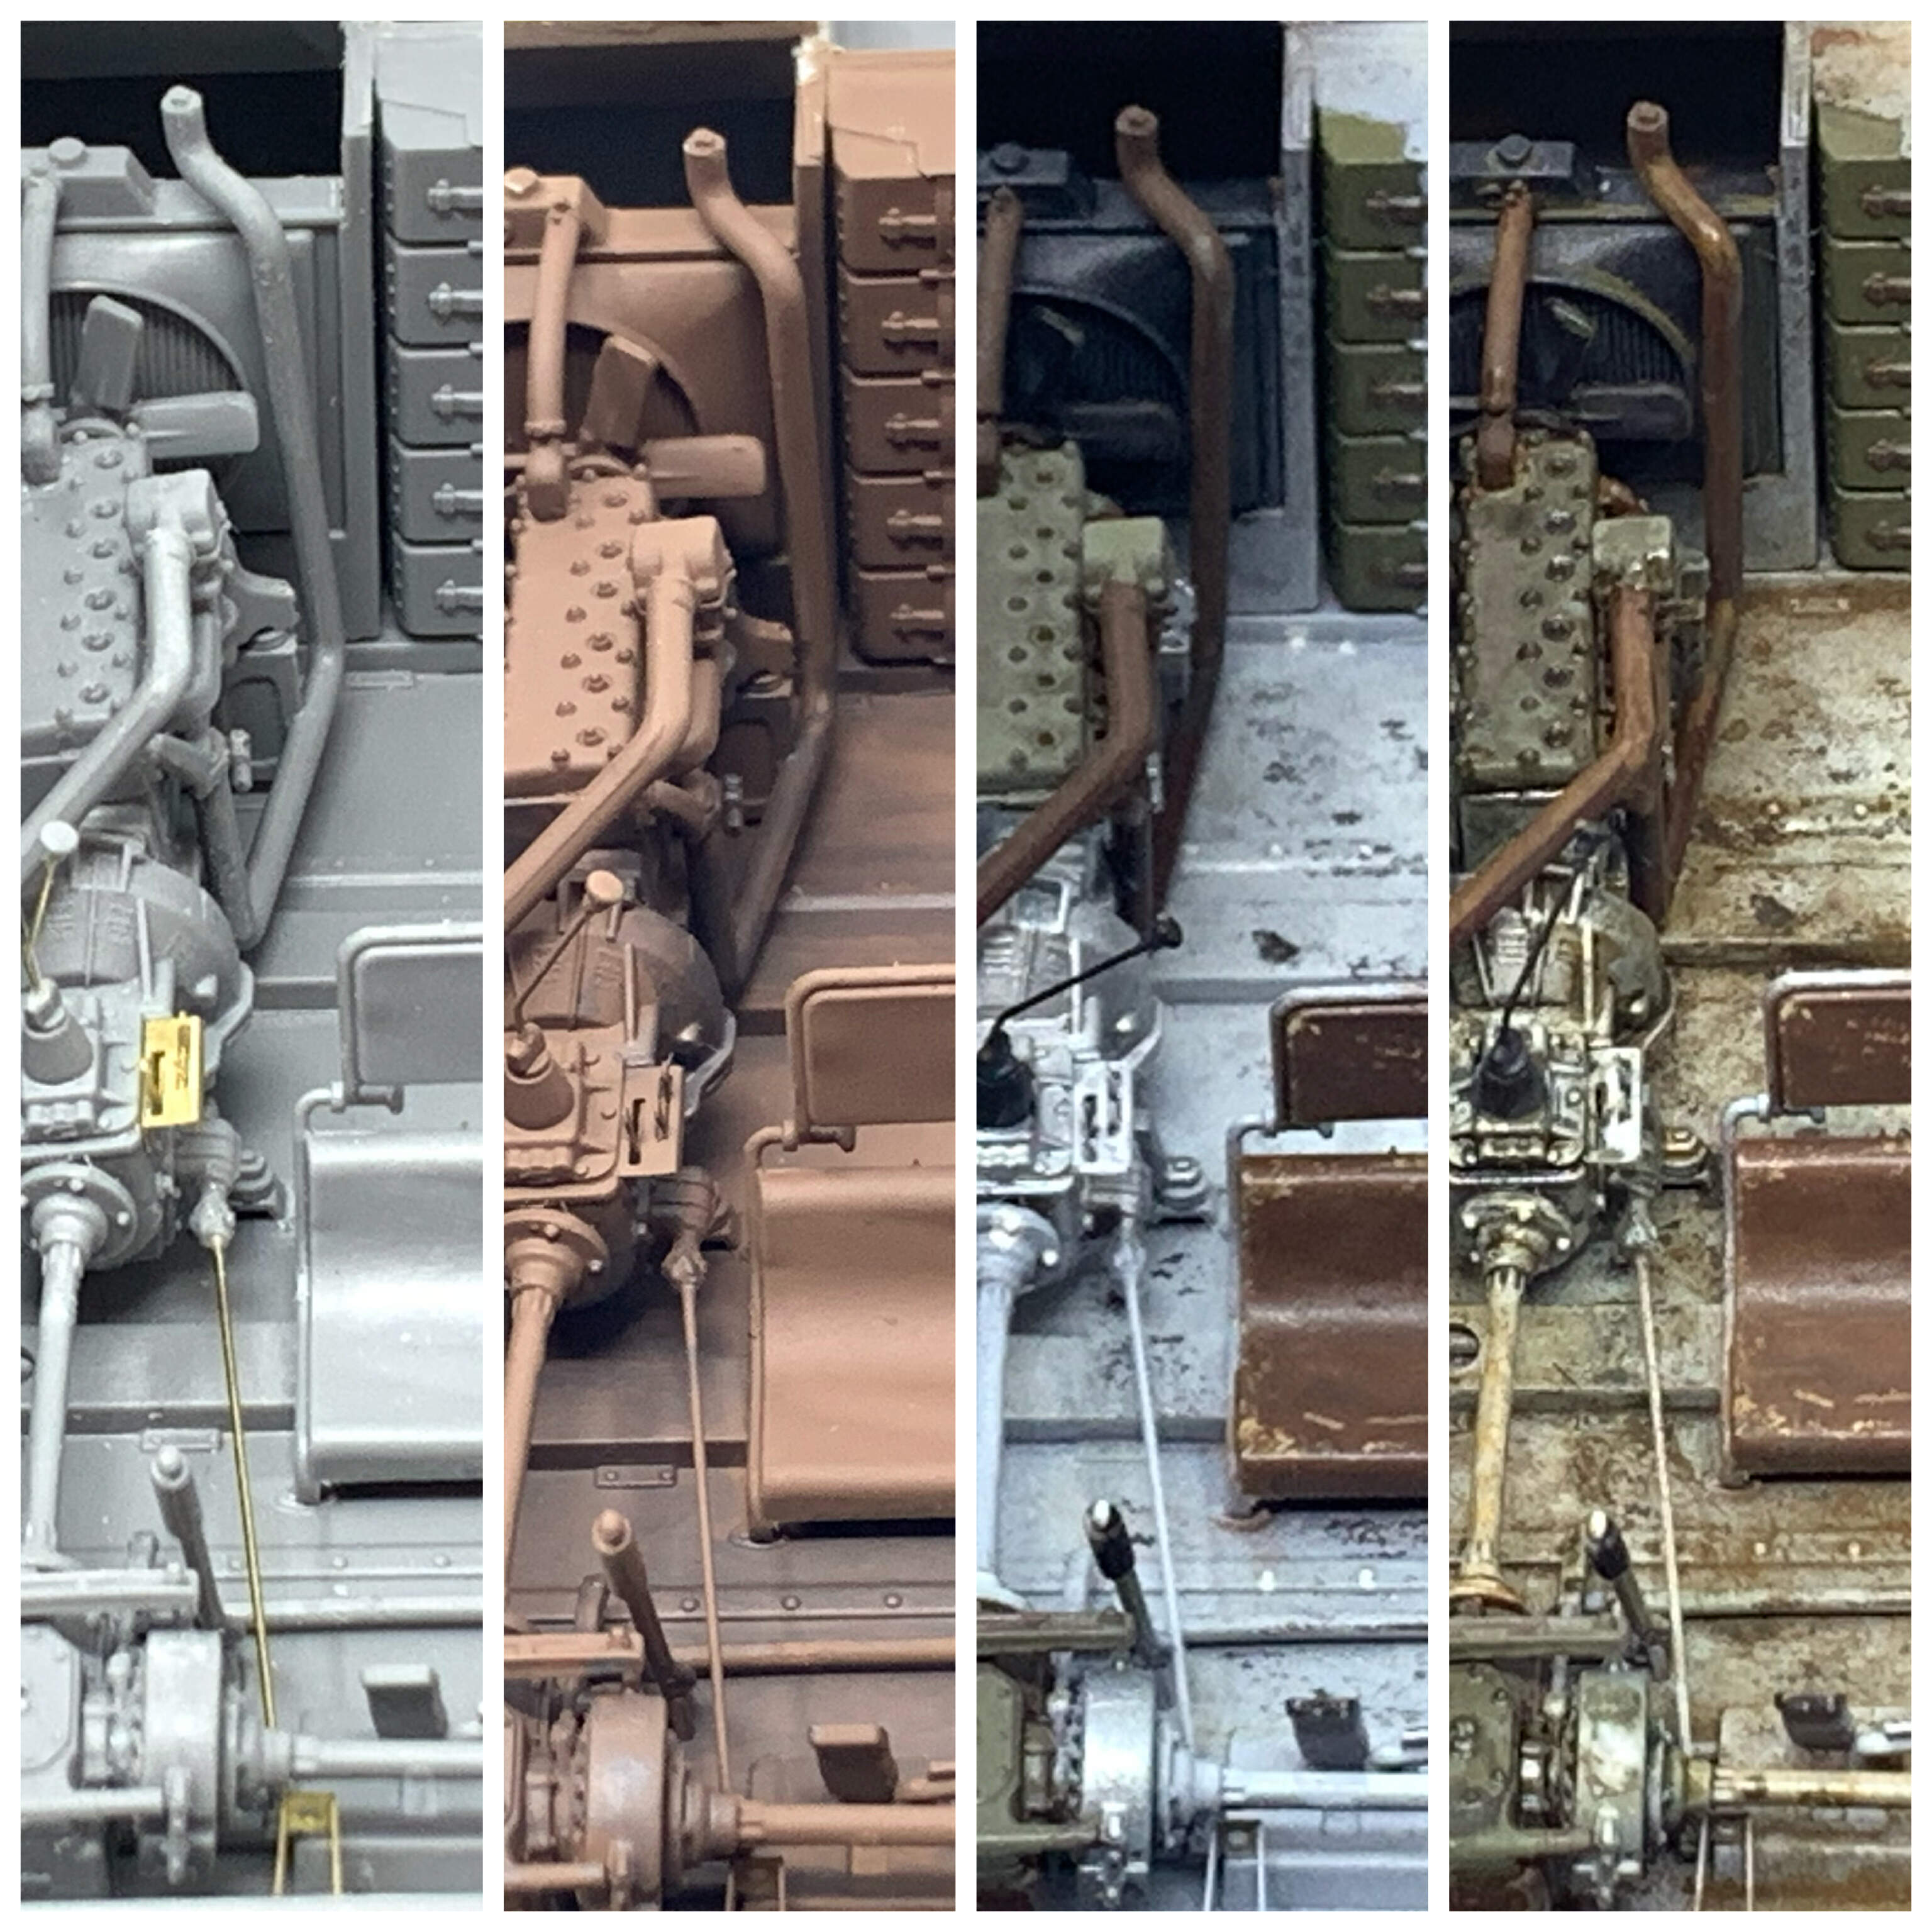
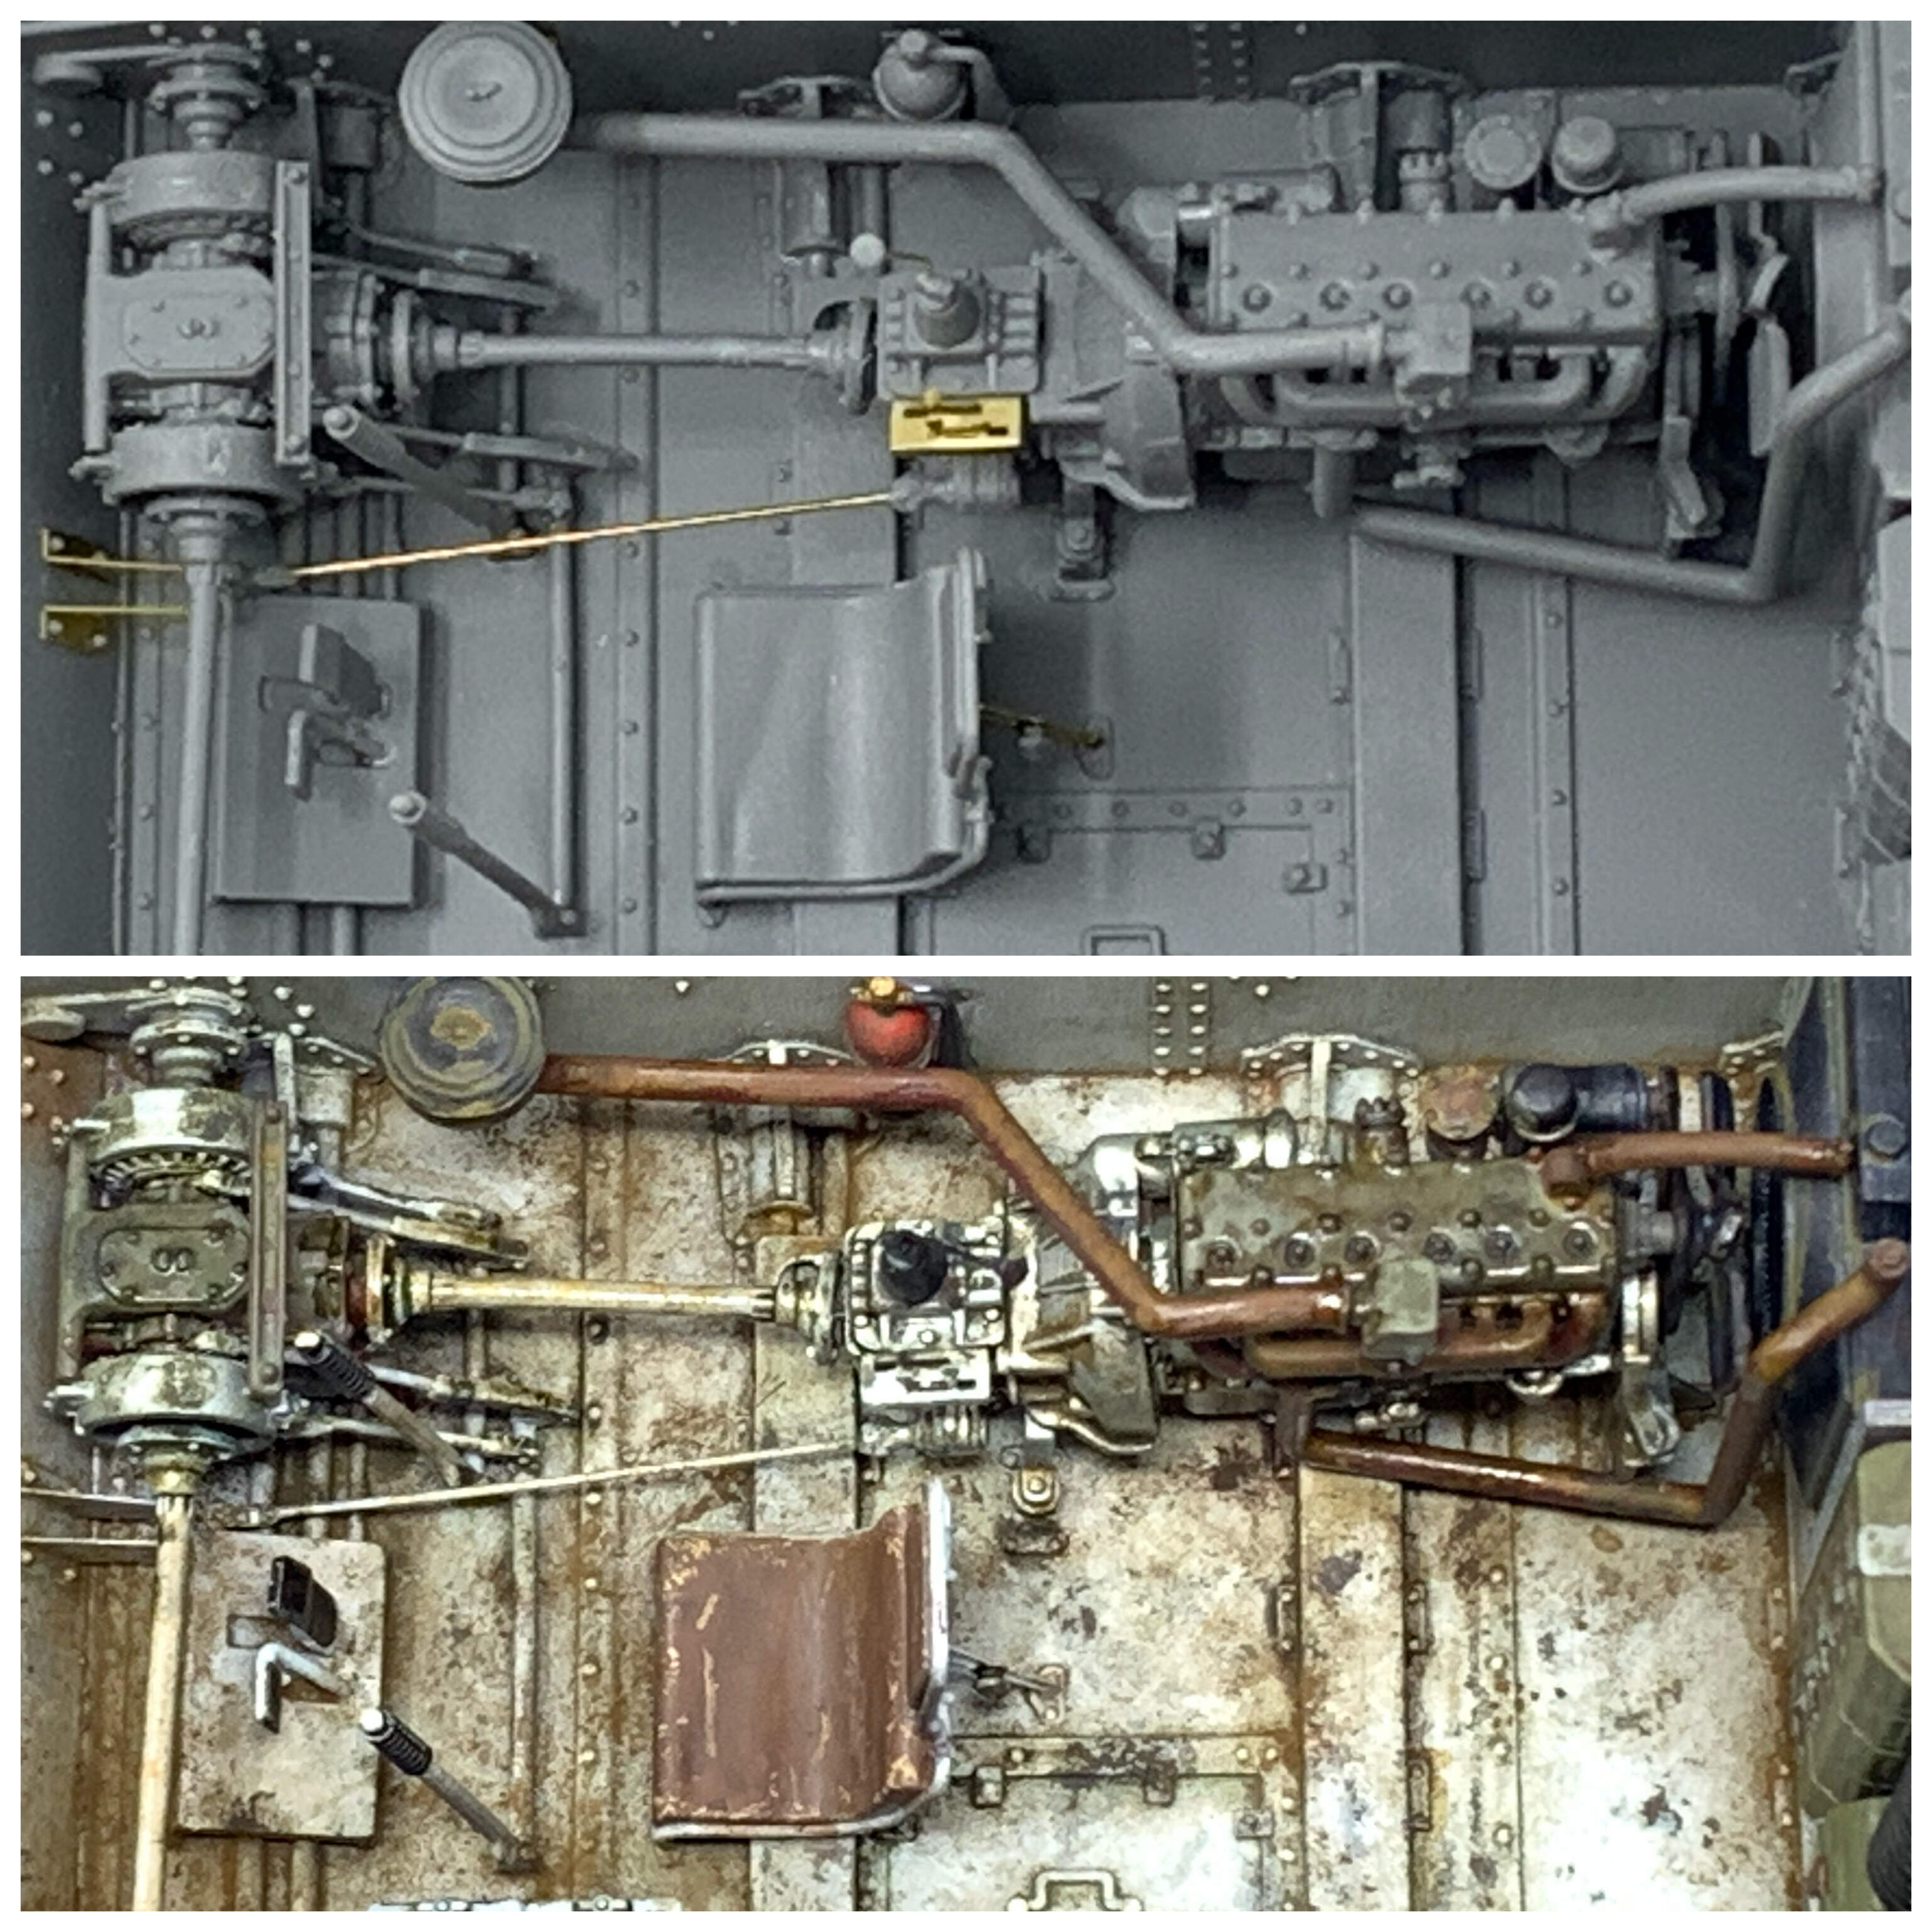
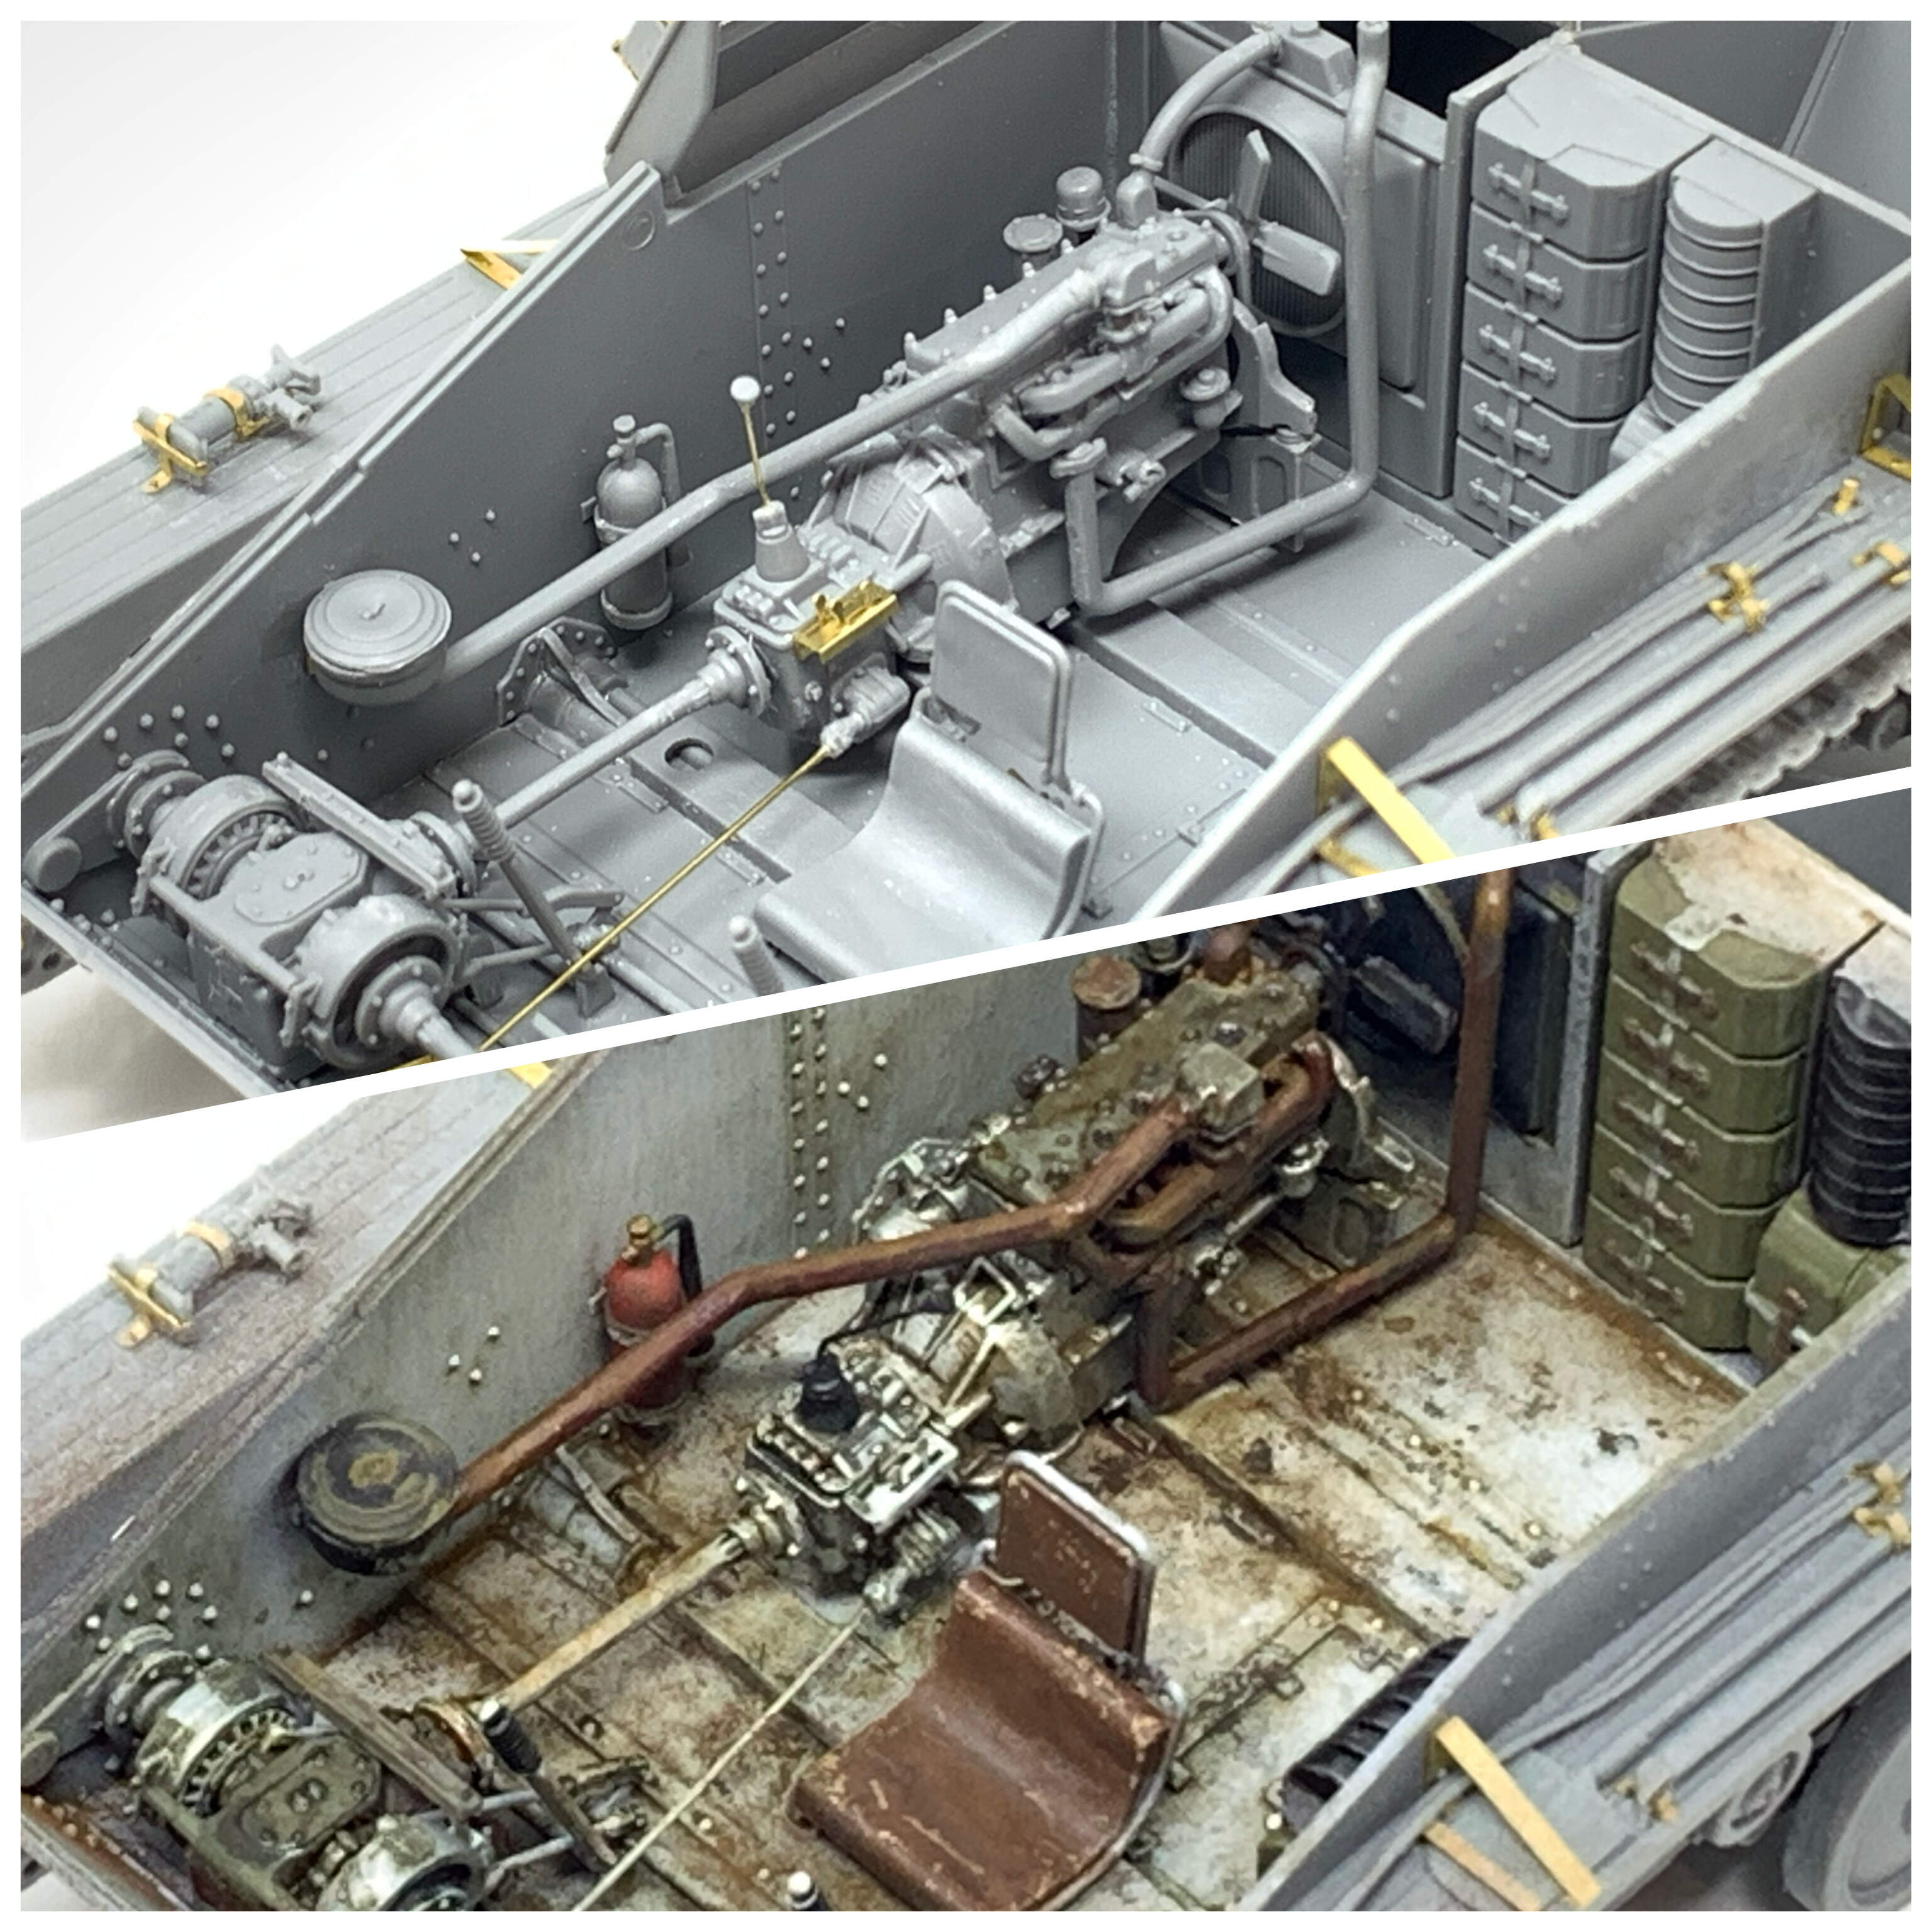
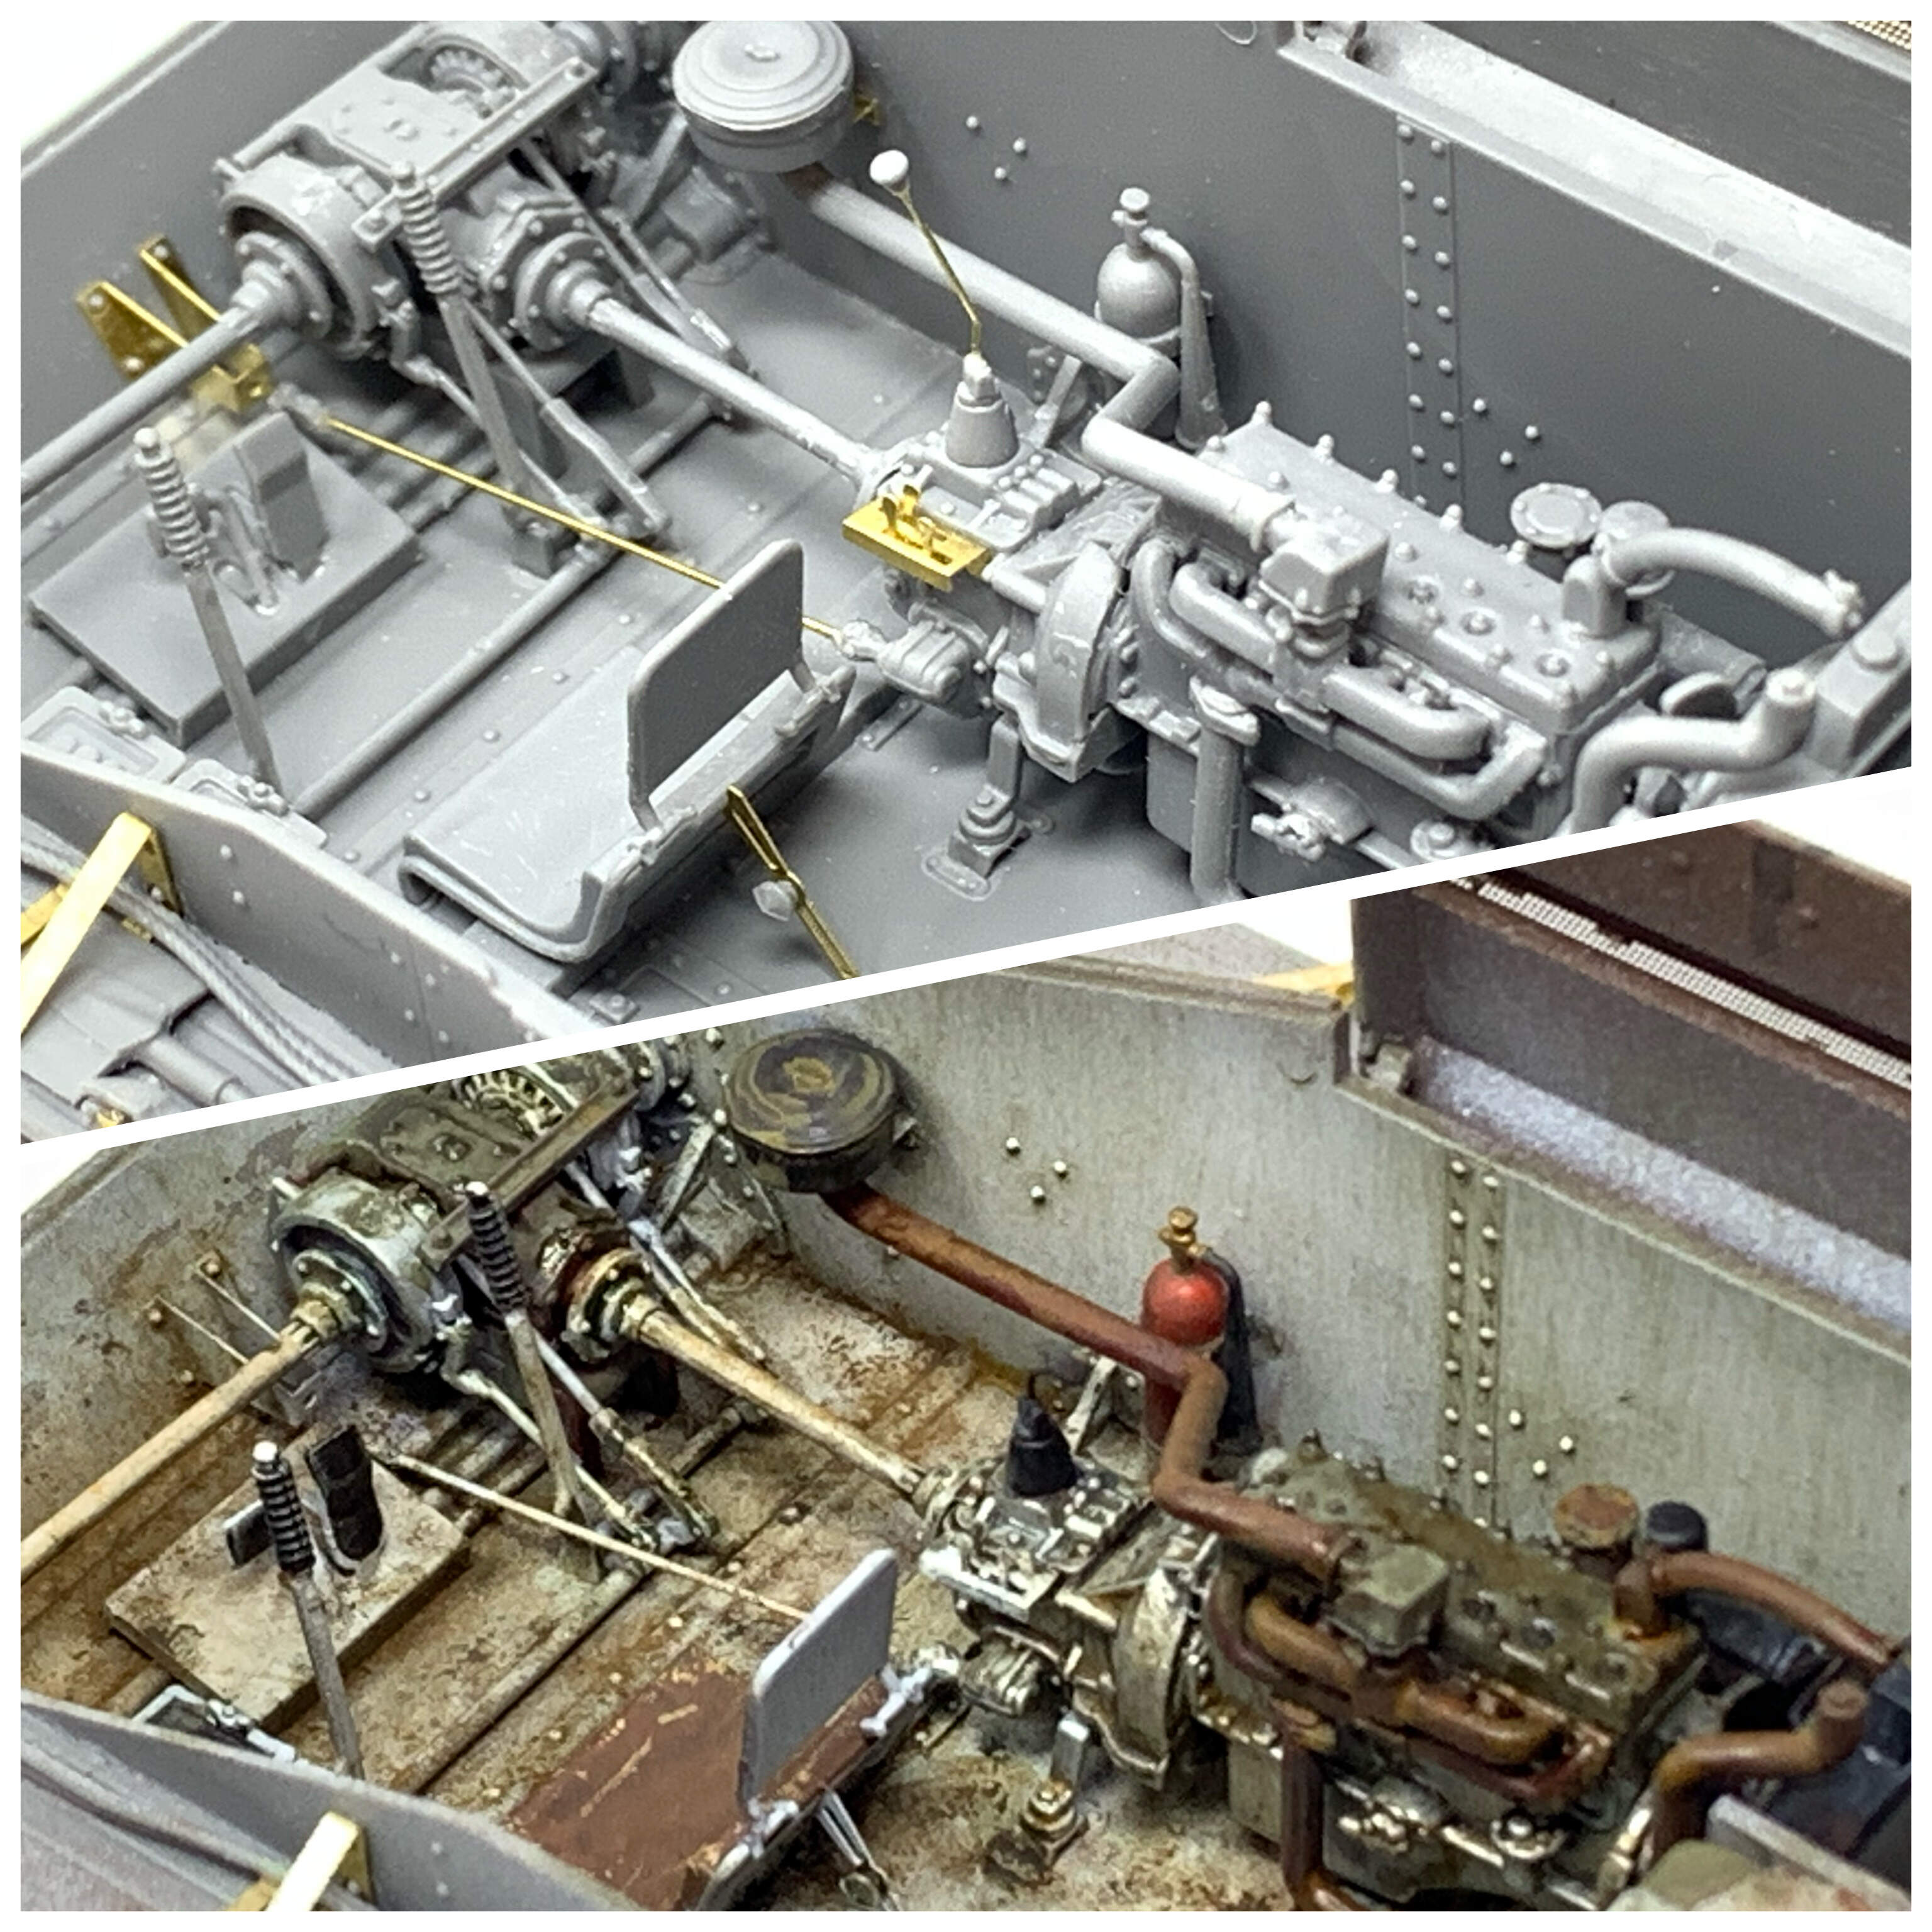
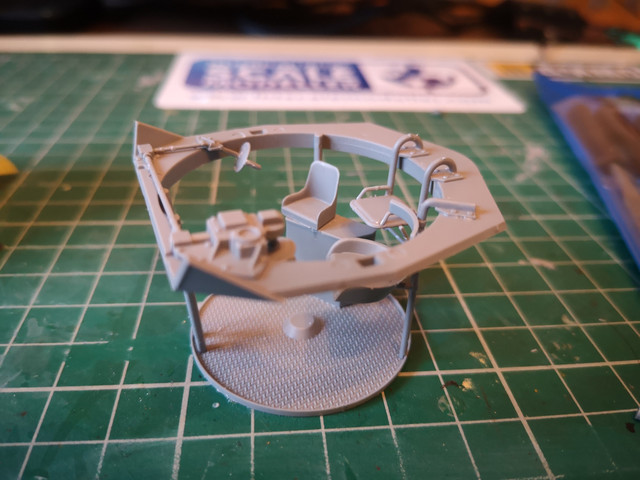
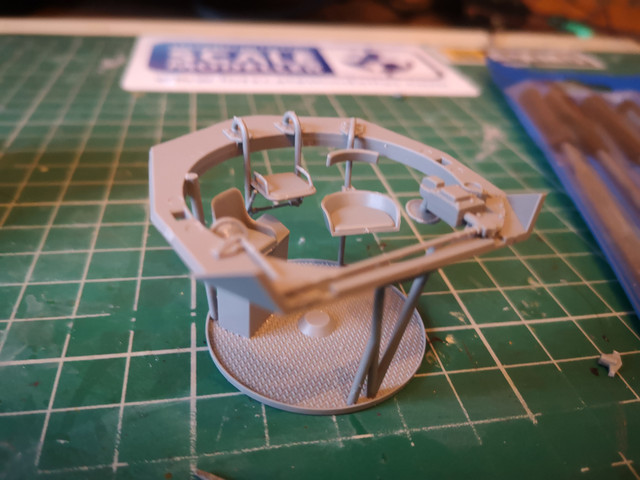
Hello everyone, just wanted to share photos of the T-60 interior. I still have not updated the radiator hose color here but I thought it was pretty cool to show progressive and comparison photos.
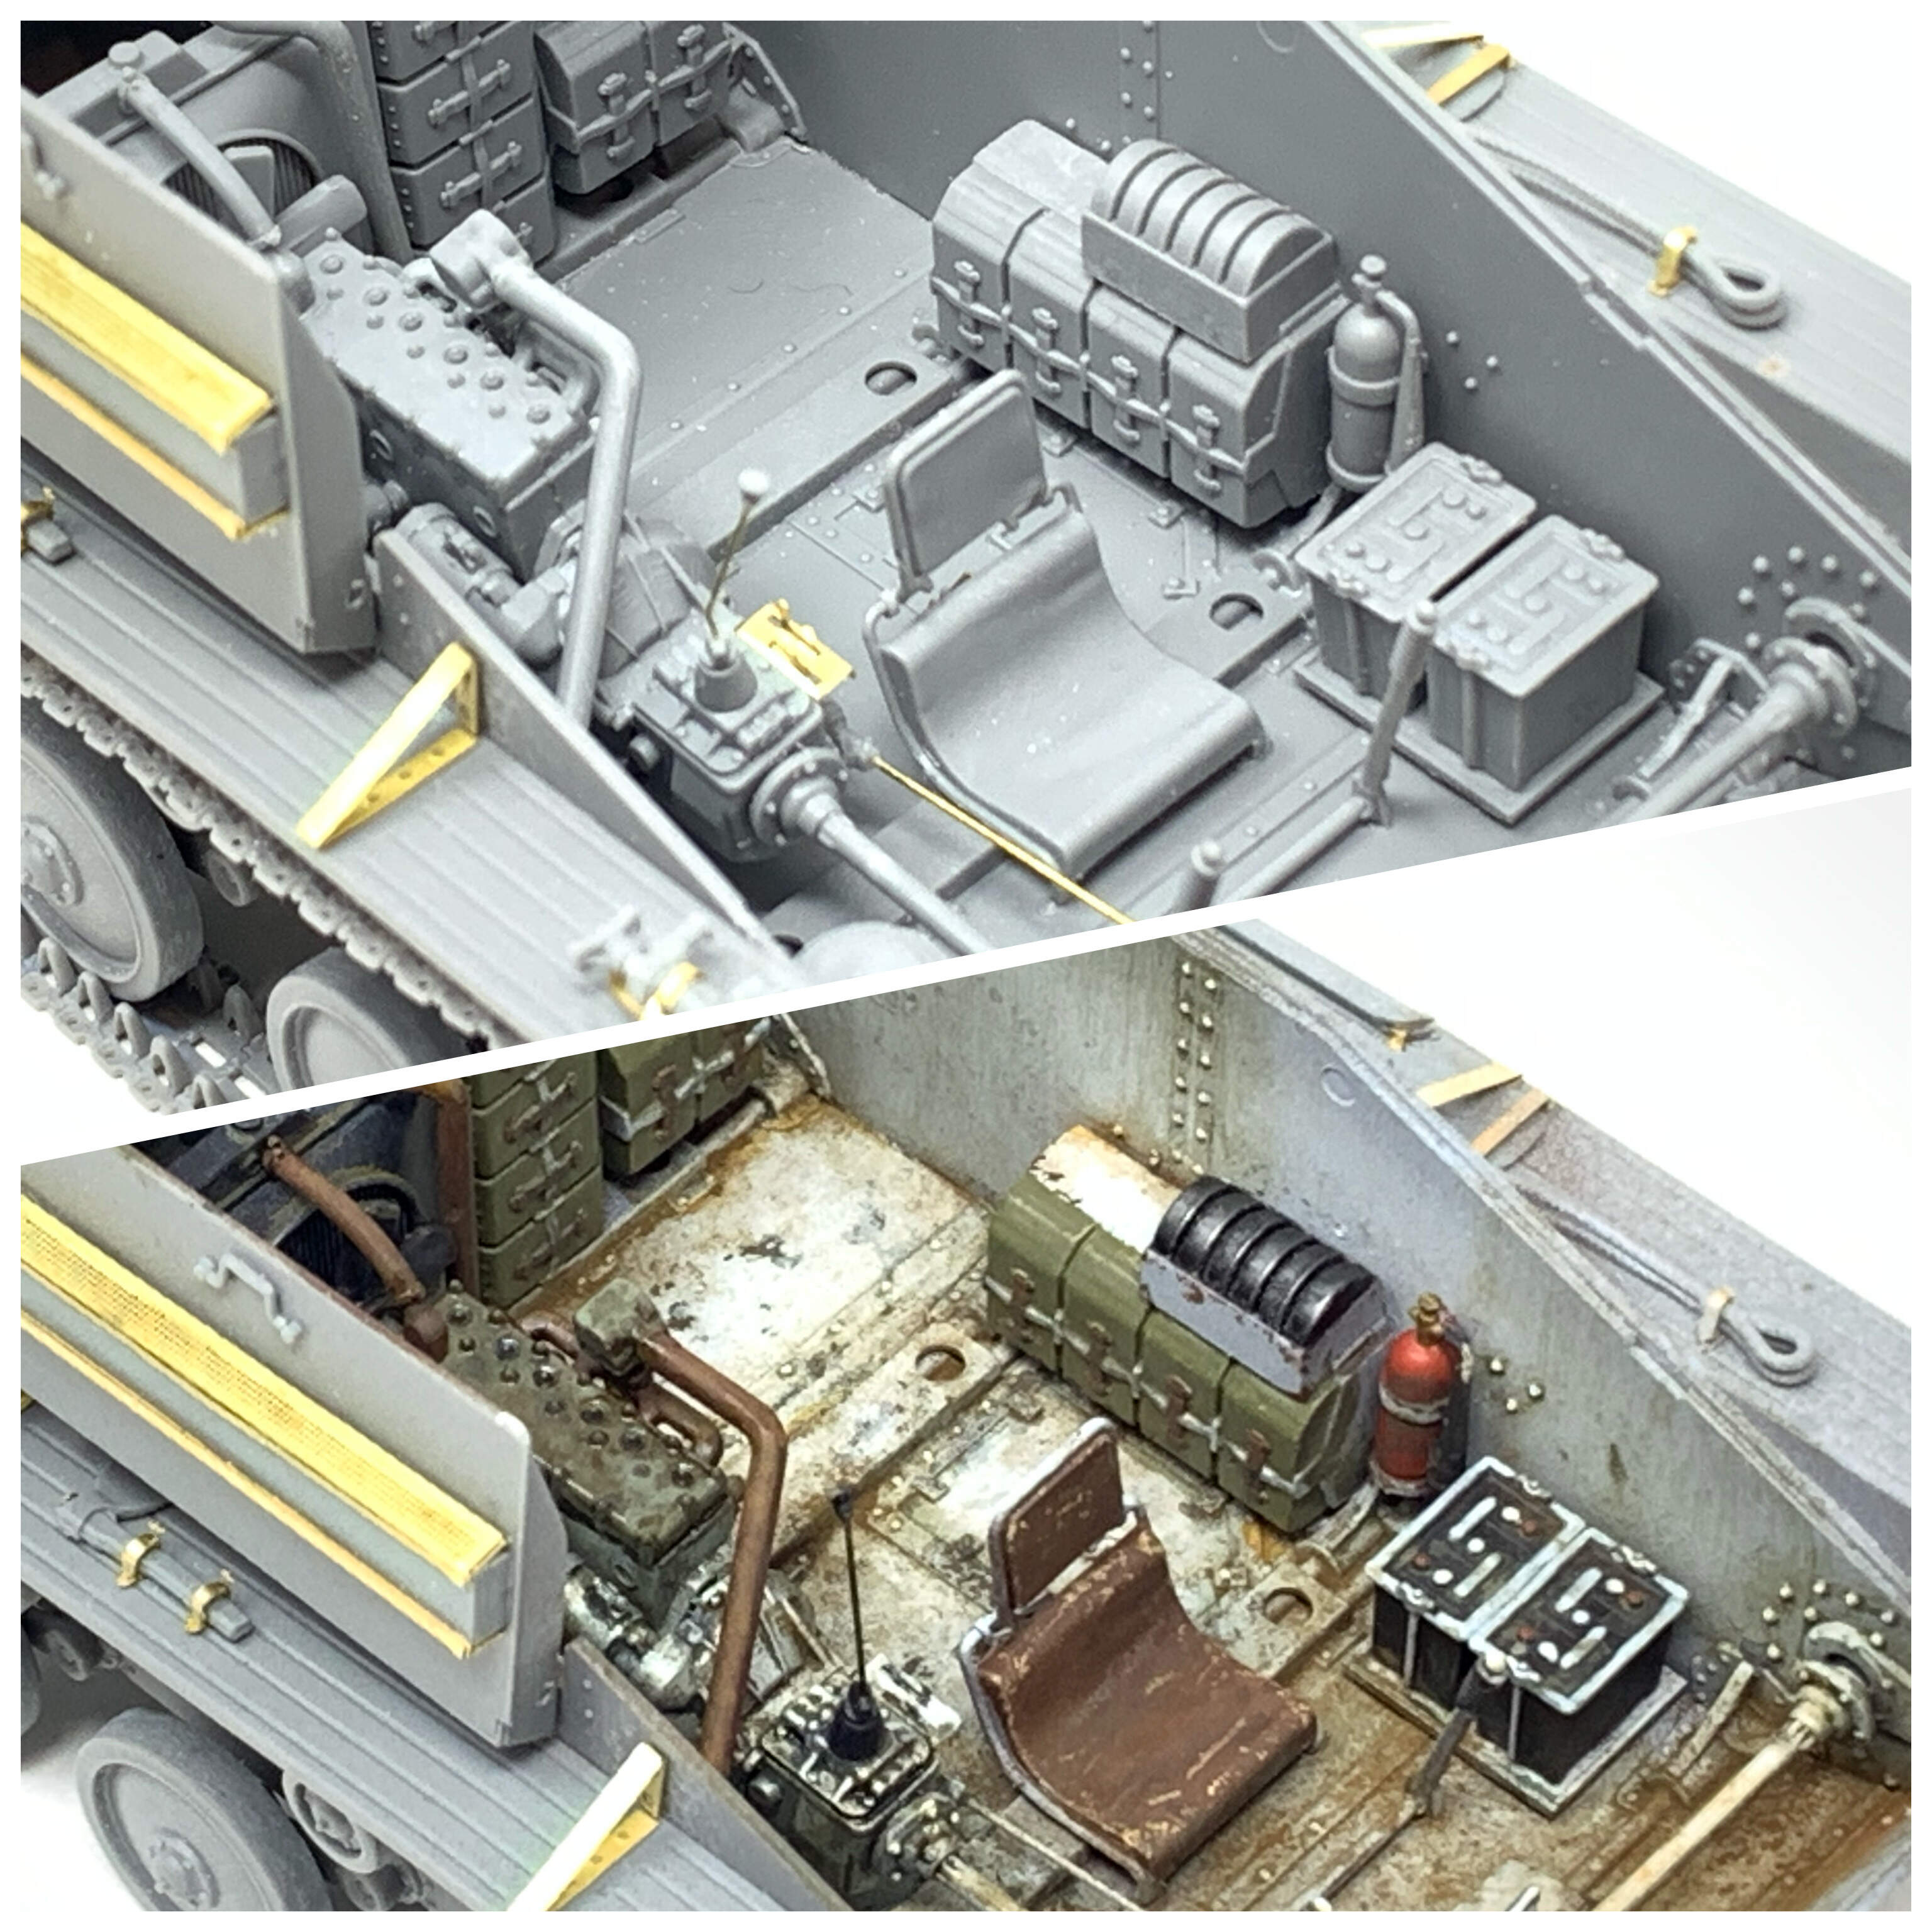
I’ll be painting the turret interior next.
18 Likes
I agree it’s pretty cool.
3 Likes
Now that is some great work. I really like the dirt and grime.
1 Like
that t-60 is amazing… can you describe the process from white interior → grime please
1 Like
Thanks very much everyone. I can’t really take the credit because I only followed videos that are available out there. Speaking of which, this is the video that prompted me to buy this kit. It is by Sergio Solo. How to build, paint and weather a tank interior! MiniArt's 1/35 T-60 - YouTube
He went through his steps on how to paint the T-60 interior. I pretty much followed it with the exception of making mine more grungy. Hope this helps.
1 Like
yeah have seen that one as well… will watch again when I start my interior kits (the Pz III has a turret interior for me to practice on then have 3 miniart, Tamiya M8 Greyhound and IBG Otter to go to town on)
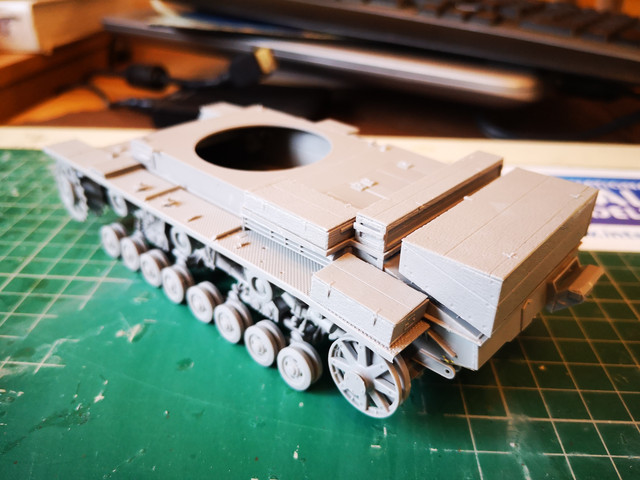
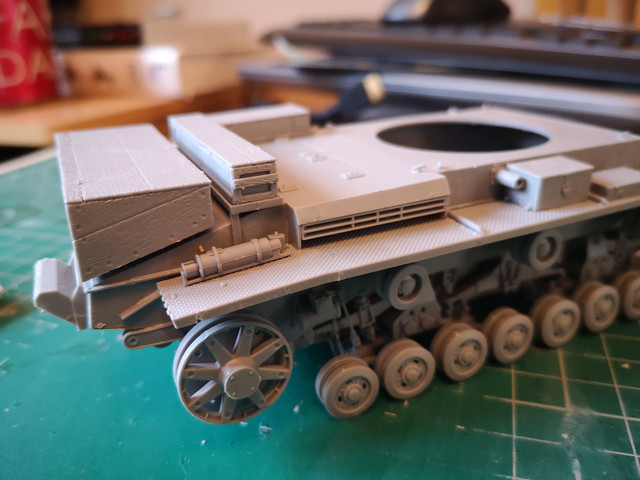
Pz III Ausf D progressing - went with the full floor - know it is not accurate but i like it… and rear boxes done (just placed for now)… some small fiddly parts (and more to come with the main gun), not that you will see much of it
6 Likes
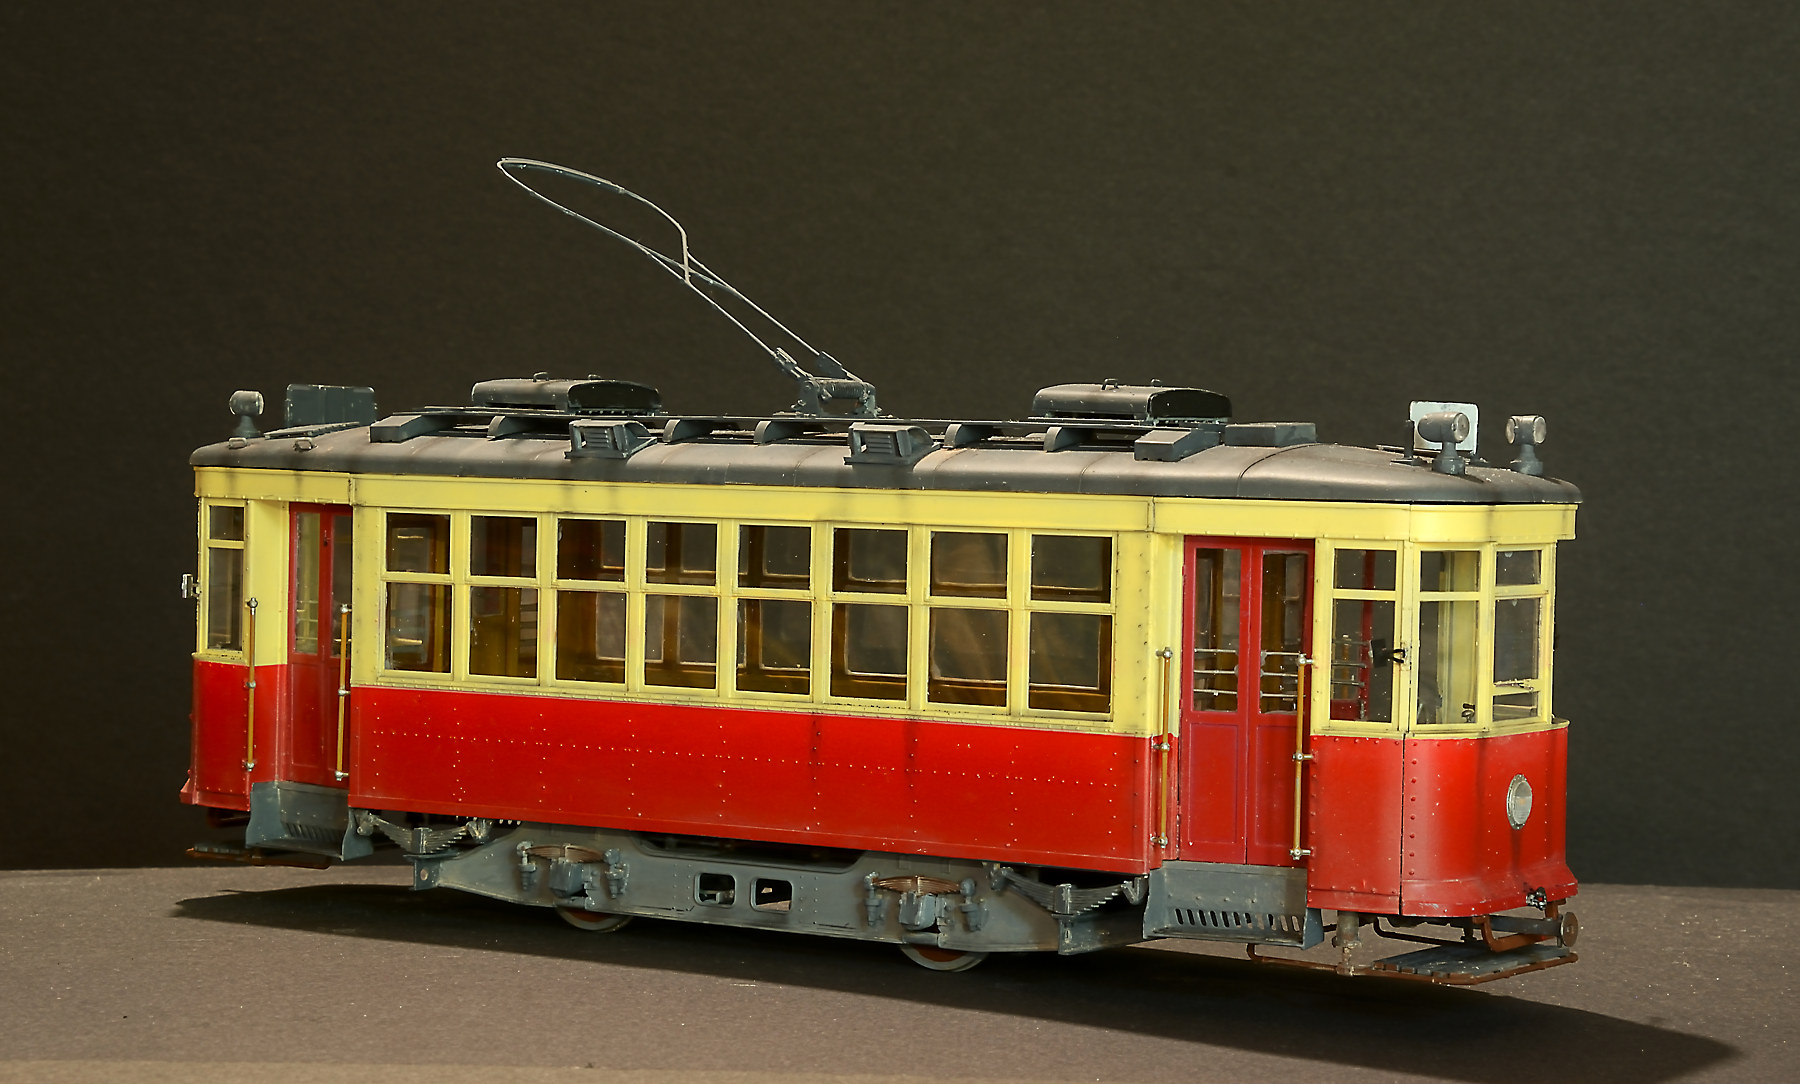
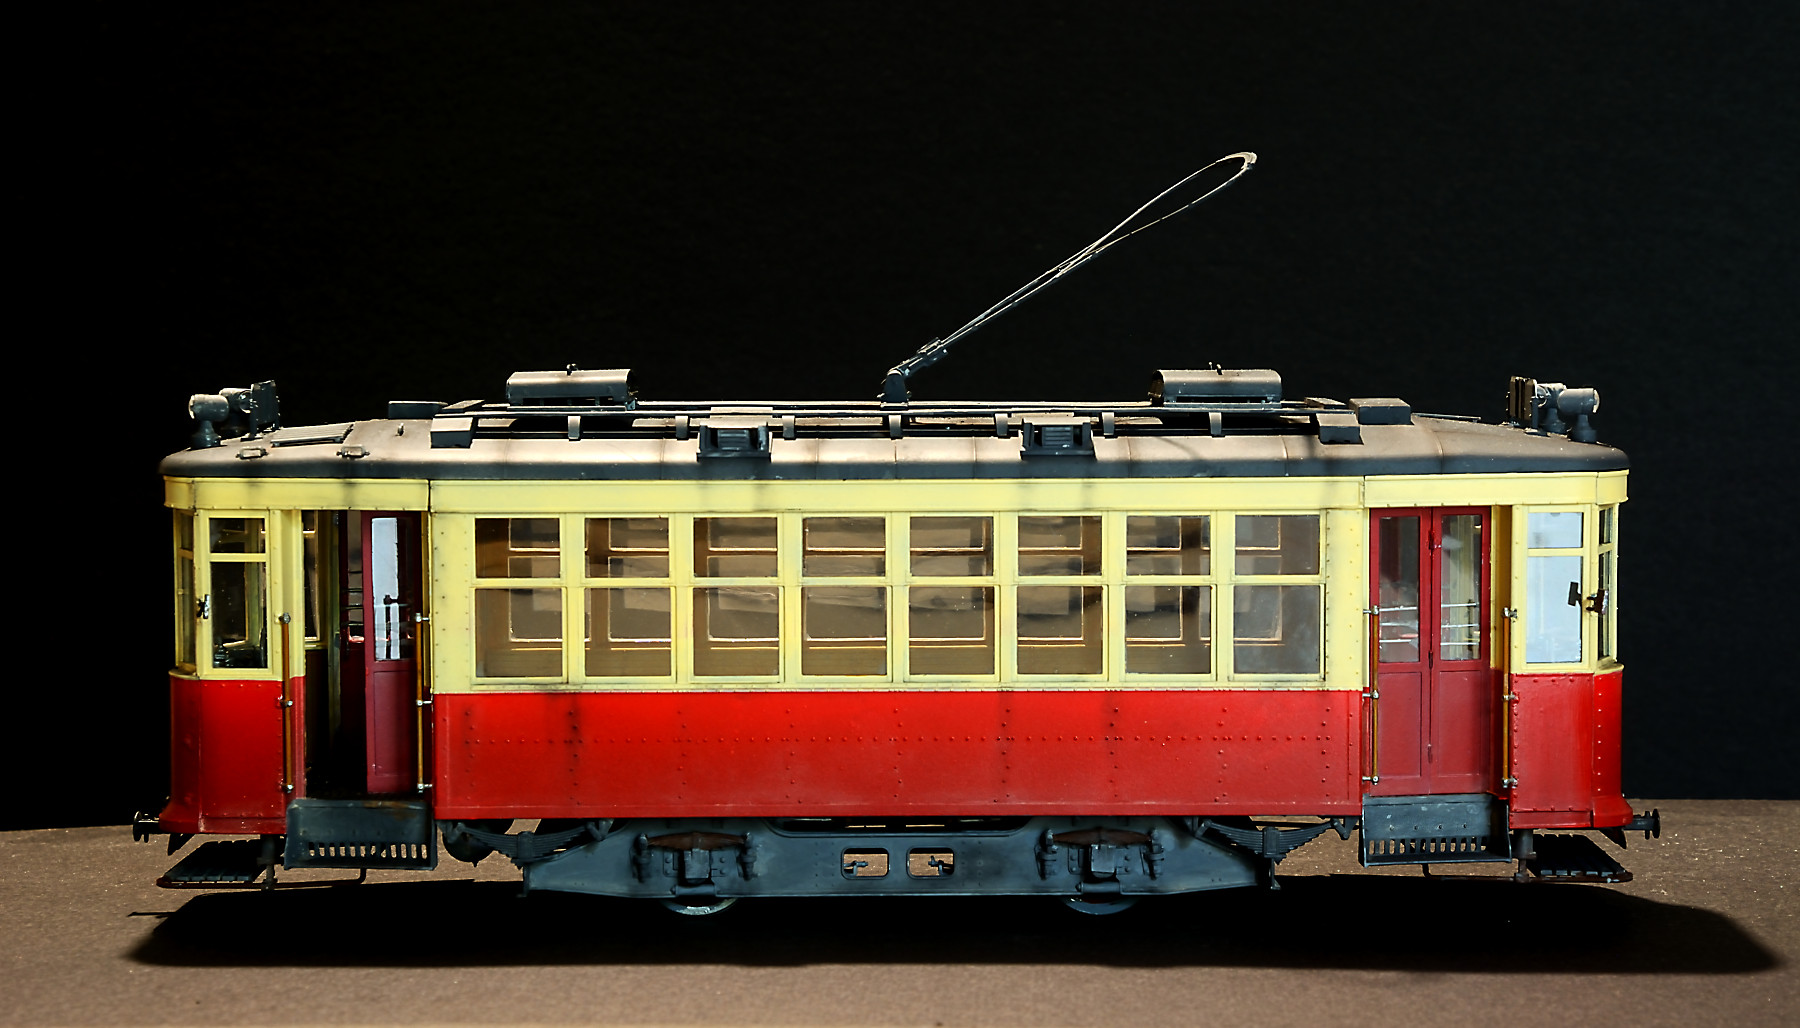
I really want to do one of those trams. It is beautiful. Tell us all about it!
1 Like
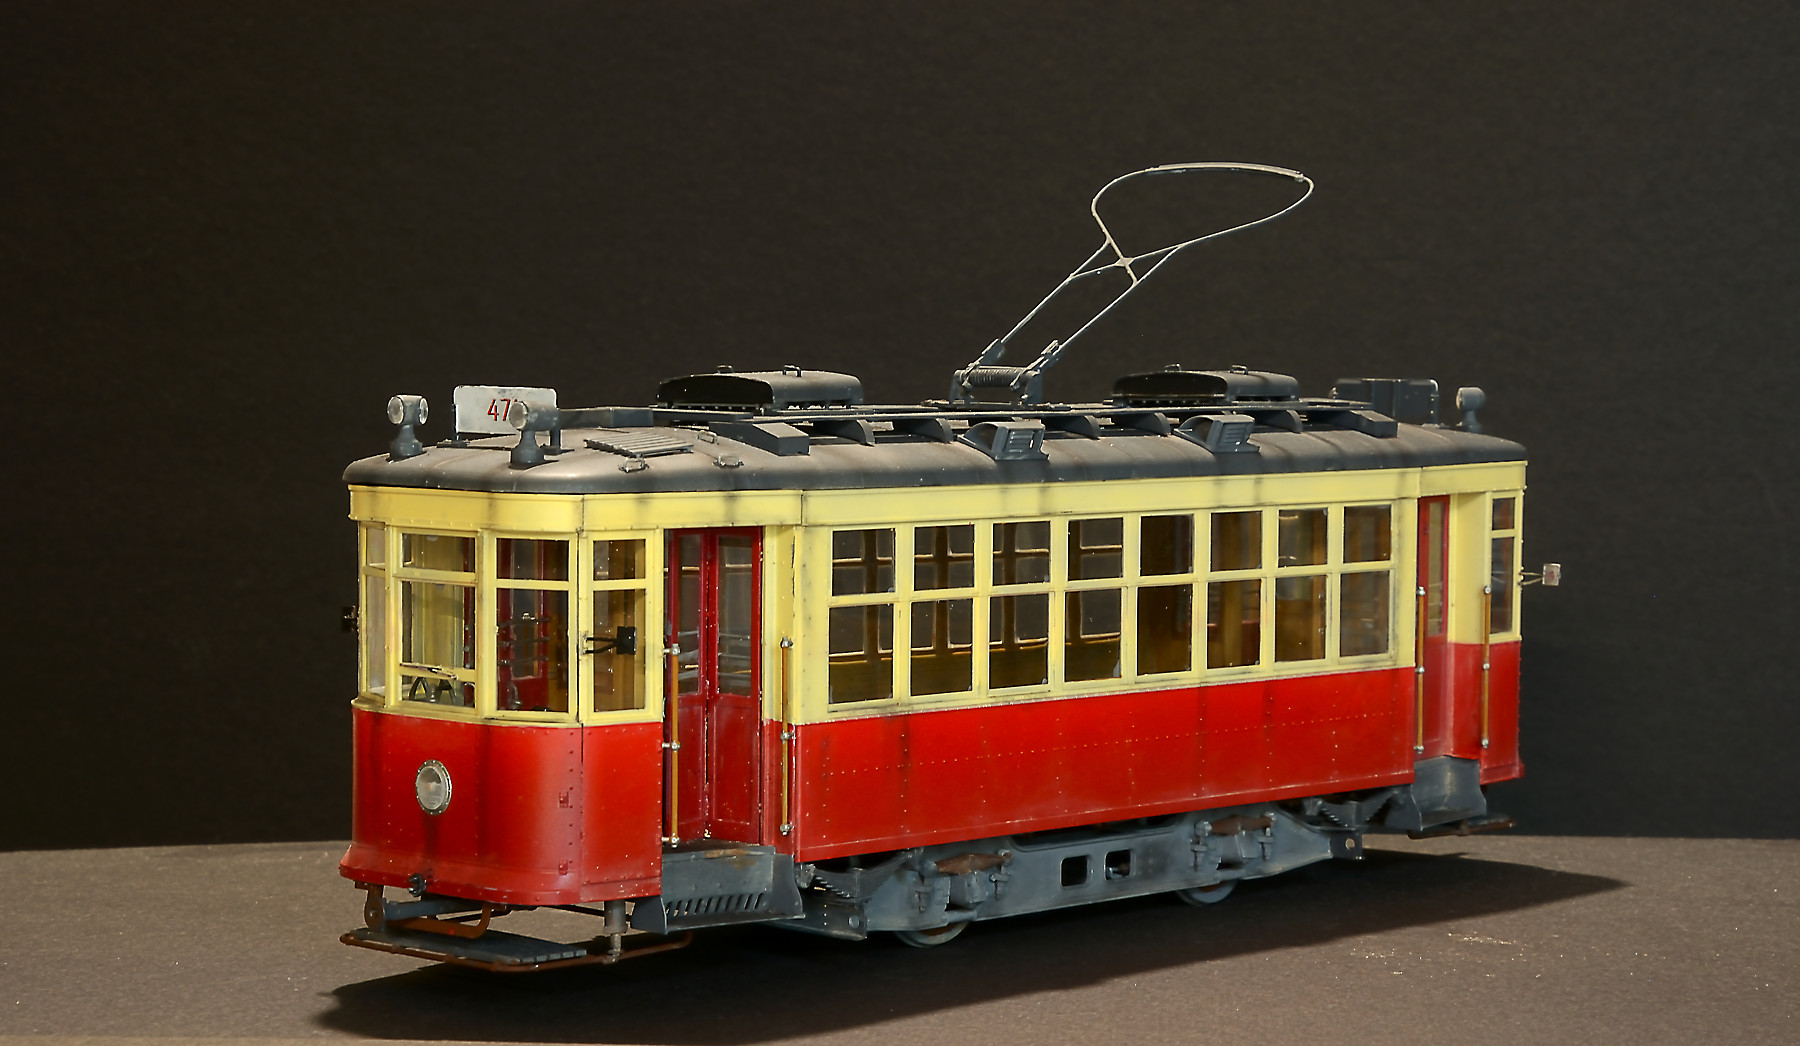
No real dramas with the tram. It was my first Miniart build so a bit of a learning curve. Like all kits the instructions were a bit vague. I would like to see another way of fixing the clear windows. You have to be super careful gluing them in to avoid any glue on the clear plastic. Keep an eye on how you build the doors. They to could do with better instructions.
The big pity is that when finished to super detailed power bogie is hidden. I left mind un glued so I can lift the body off.

Over all a great kit. I would do the European version as well if I could find one for sale.
7 Likes
Beautiful job on the tram, Bruce!
The interior and the way the you showed the pictures. Well done, Joseph!
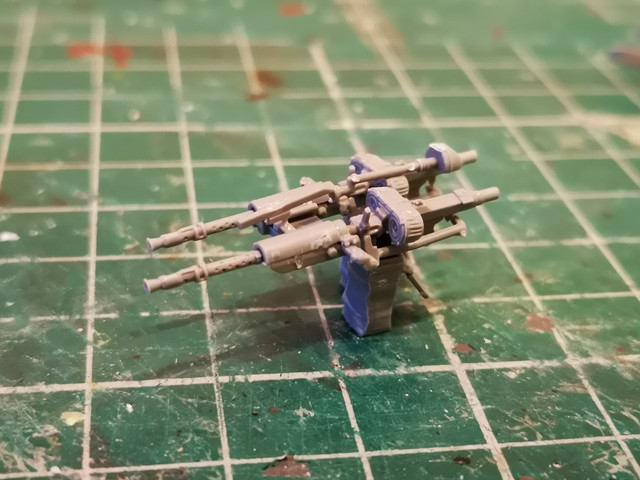
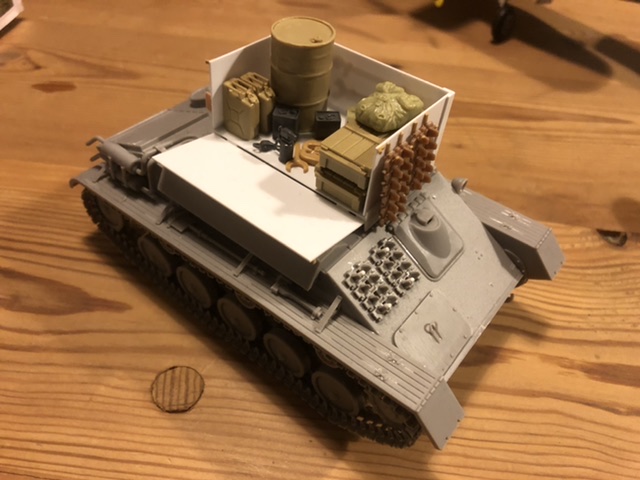
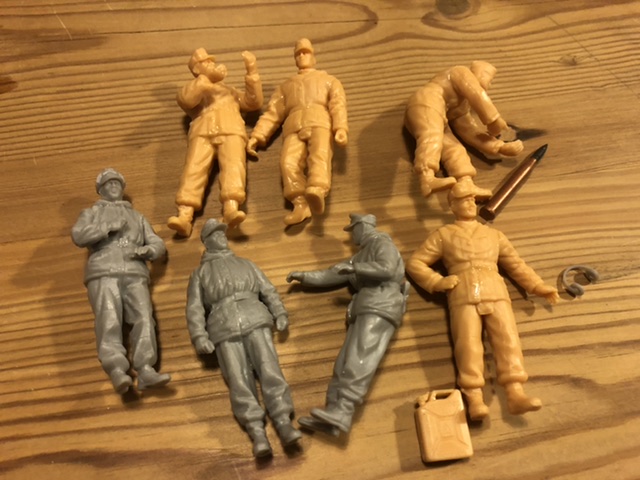
I have made a bit of progress on the crew - a mix of Miniart and Dragon.
Also some progress on the rebuild munitions / repair panzer.
Next base coats - more to follow 

7 Likes
Gotta say, everything here is starting to look properly amazing, I really love the painting on the interior of that T-60 Joseph, the finished model is going to be something else!
Unfortunately, I have had a bad time of it with the Valentine, and I have a word of warning for you all, if your decals are anything like the ones I got with the Val, they’re absolutely terrible. They damn things basically disintegrated around all the bolt/rivet heads instead of conforming to the details as you would expect, especially with the application of micro set and micro sol which I have been using for years without issue, so I decided to apply a few good coats of varnish over them and mask off to paint the markings on, which seemed to be going great until I came to remove the masking tape, and it pulled up all the decals with it. Up to this point I have never had this much trouble with decals but these are really doing my nut in. Additionally I managed to place my mask for the red bar on one of the side skirts way off centre in the white square so it looks god awful and I gave up at that point so for now the Val has stalled out completely, I will have another go tomorrow once I have finished stewing and try to recover it. 
2 Likes
Cool job on the T-60 so far, Joseph.
Very convincing result on the Tram, Bruce
1 Like
Pz III turret done… well enough as I need to paint it before putting it all together…
6 Likes
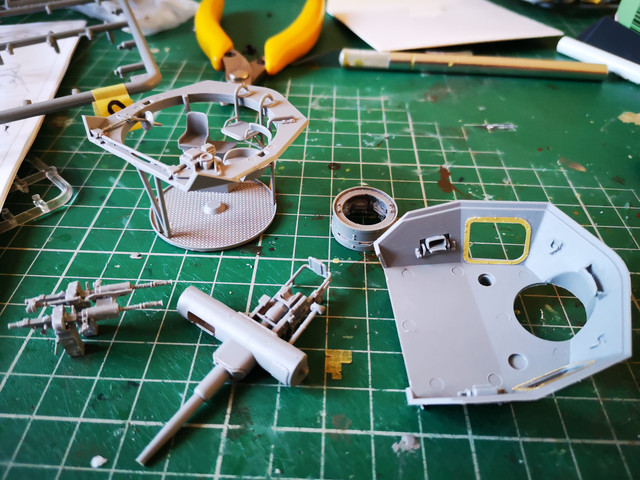
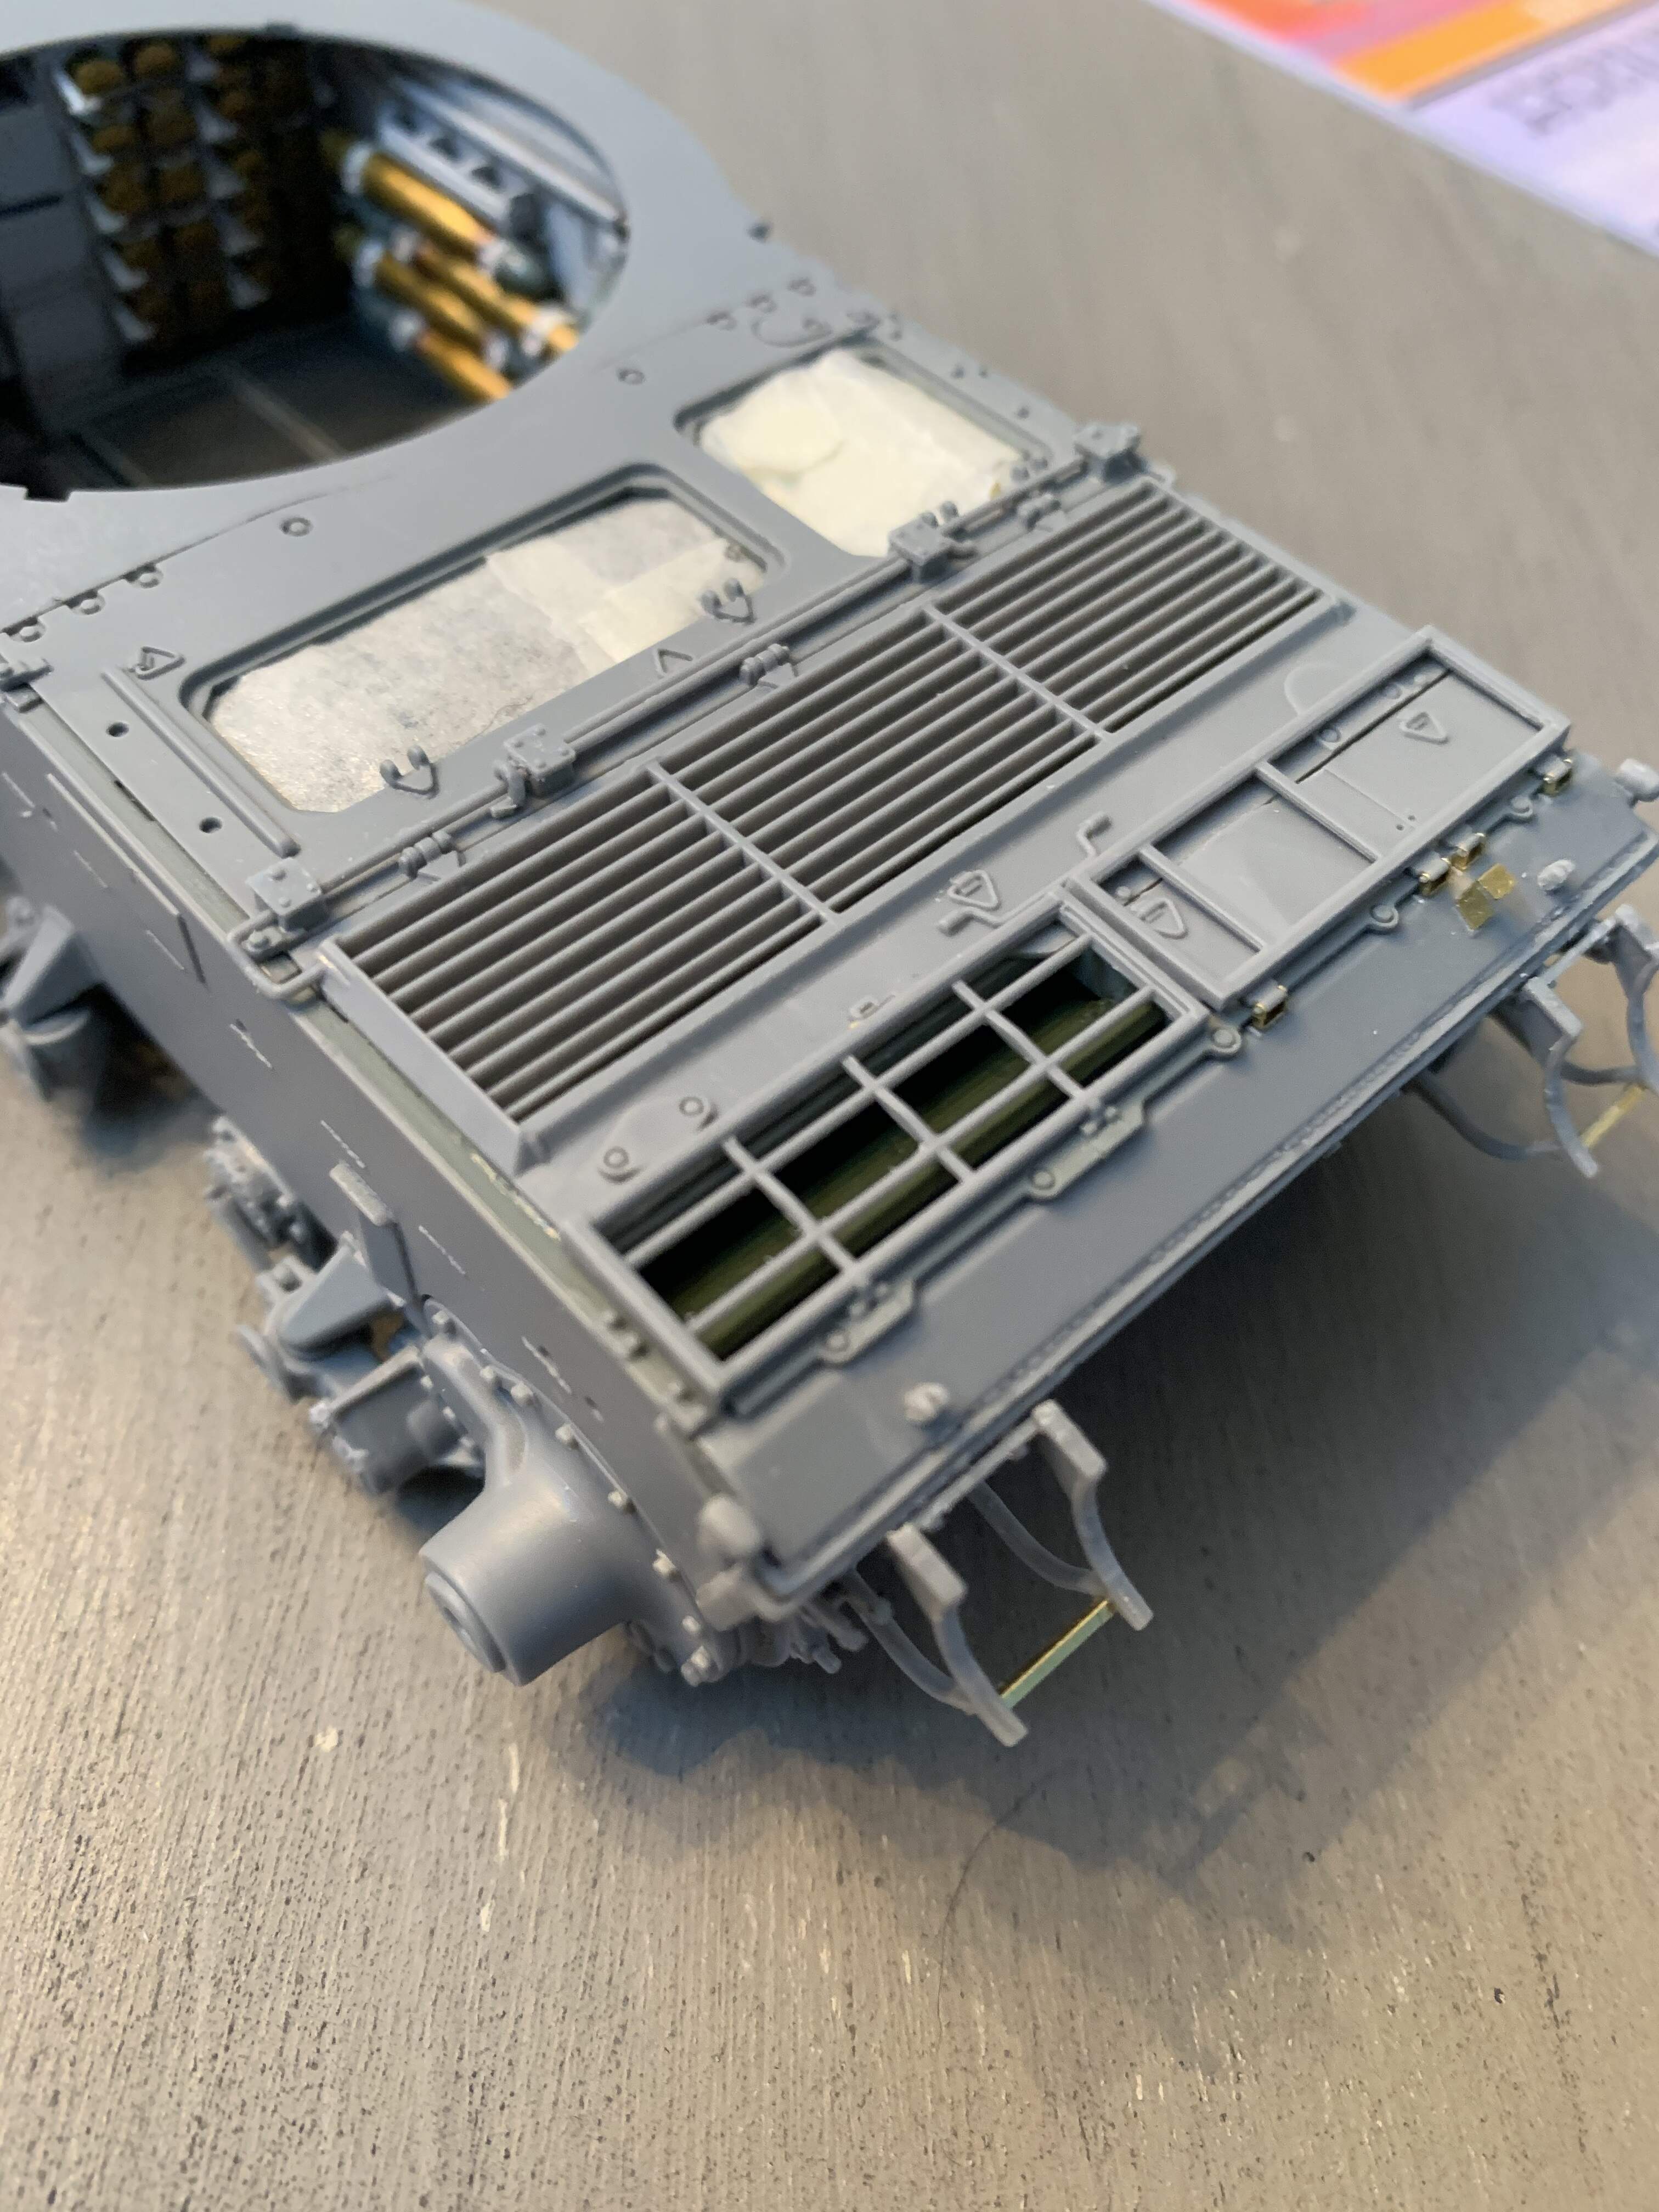
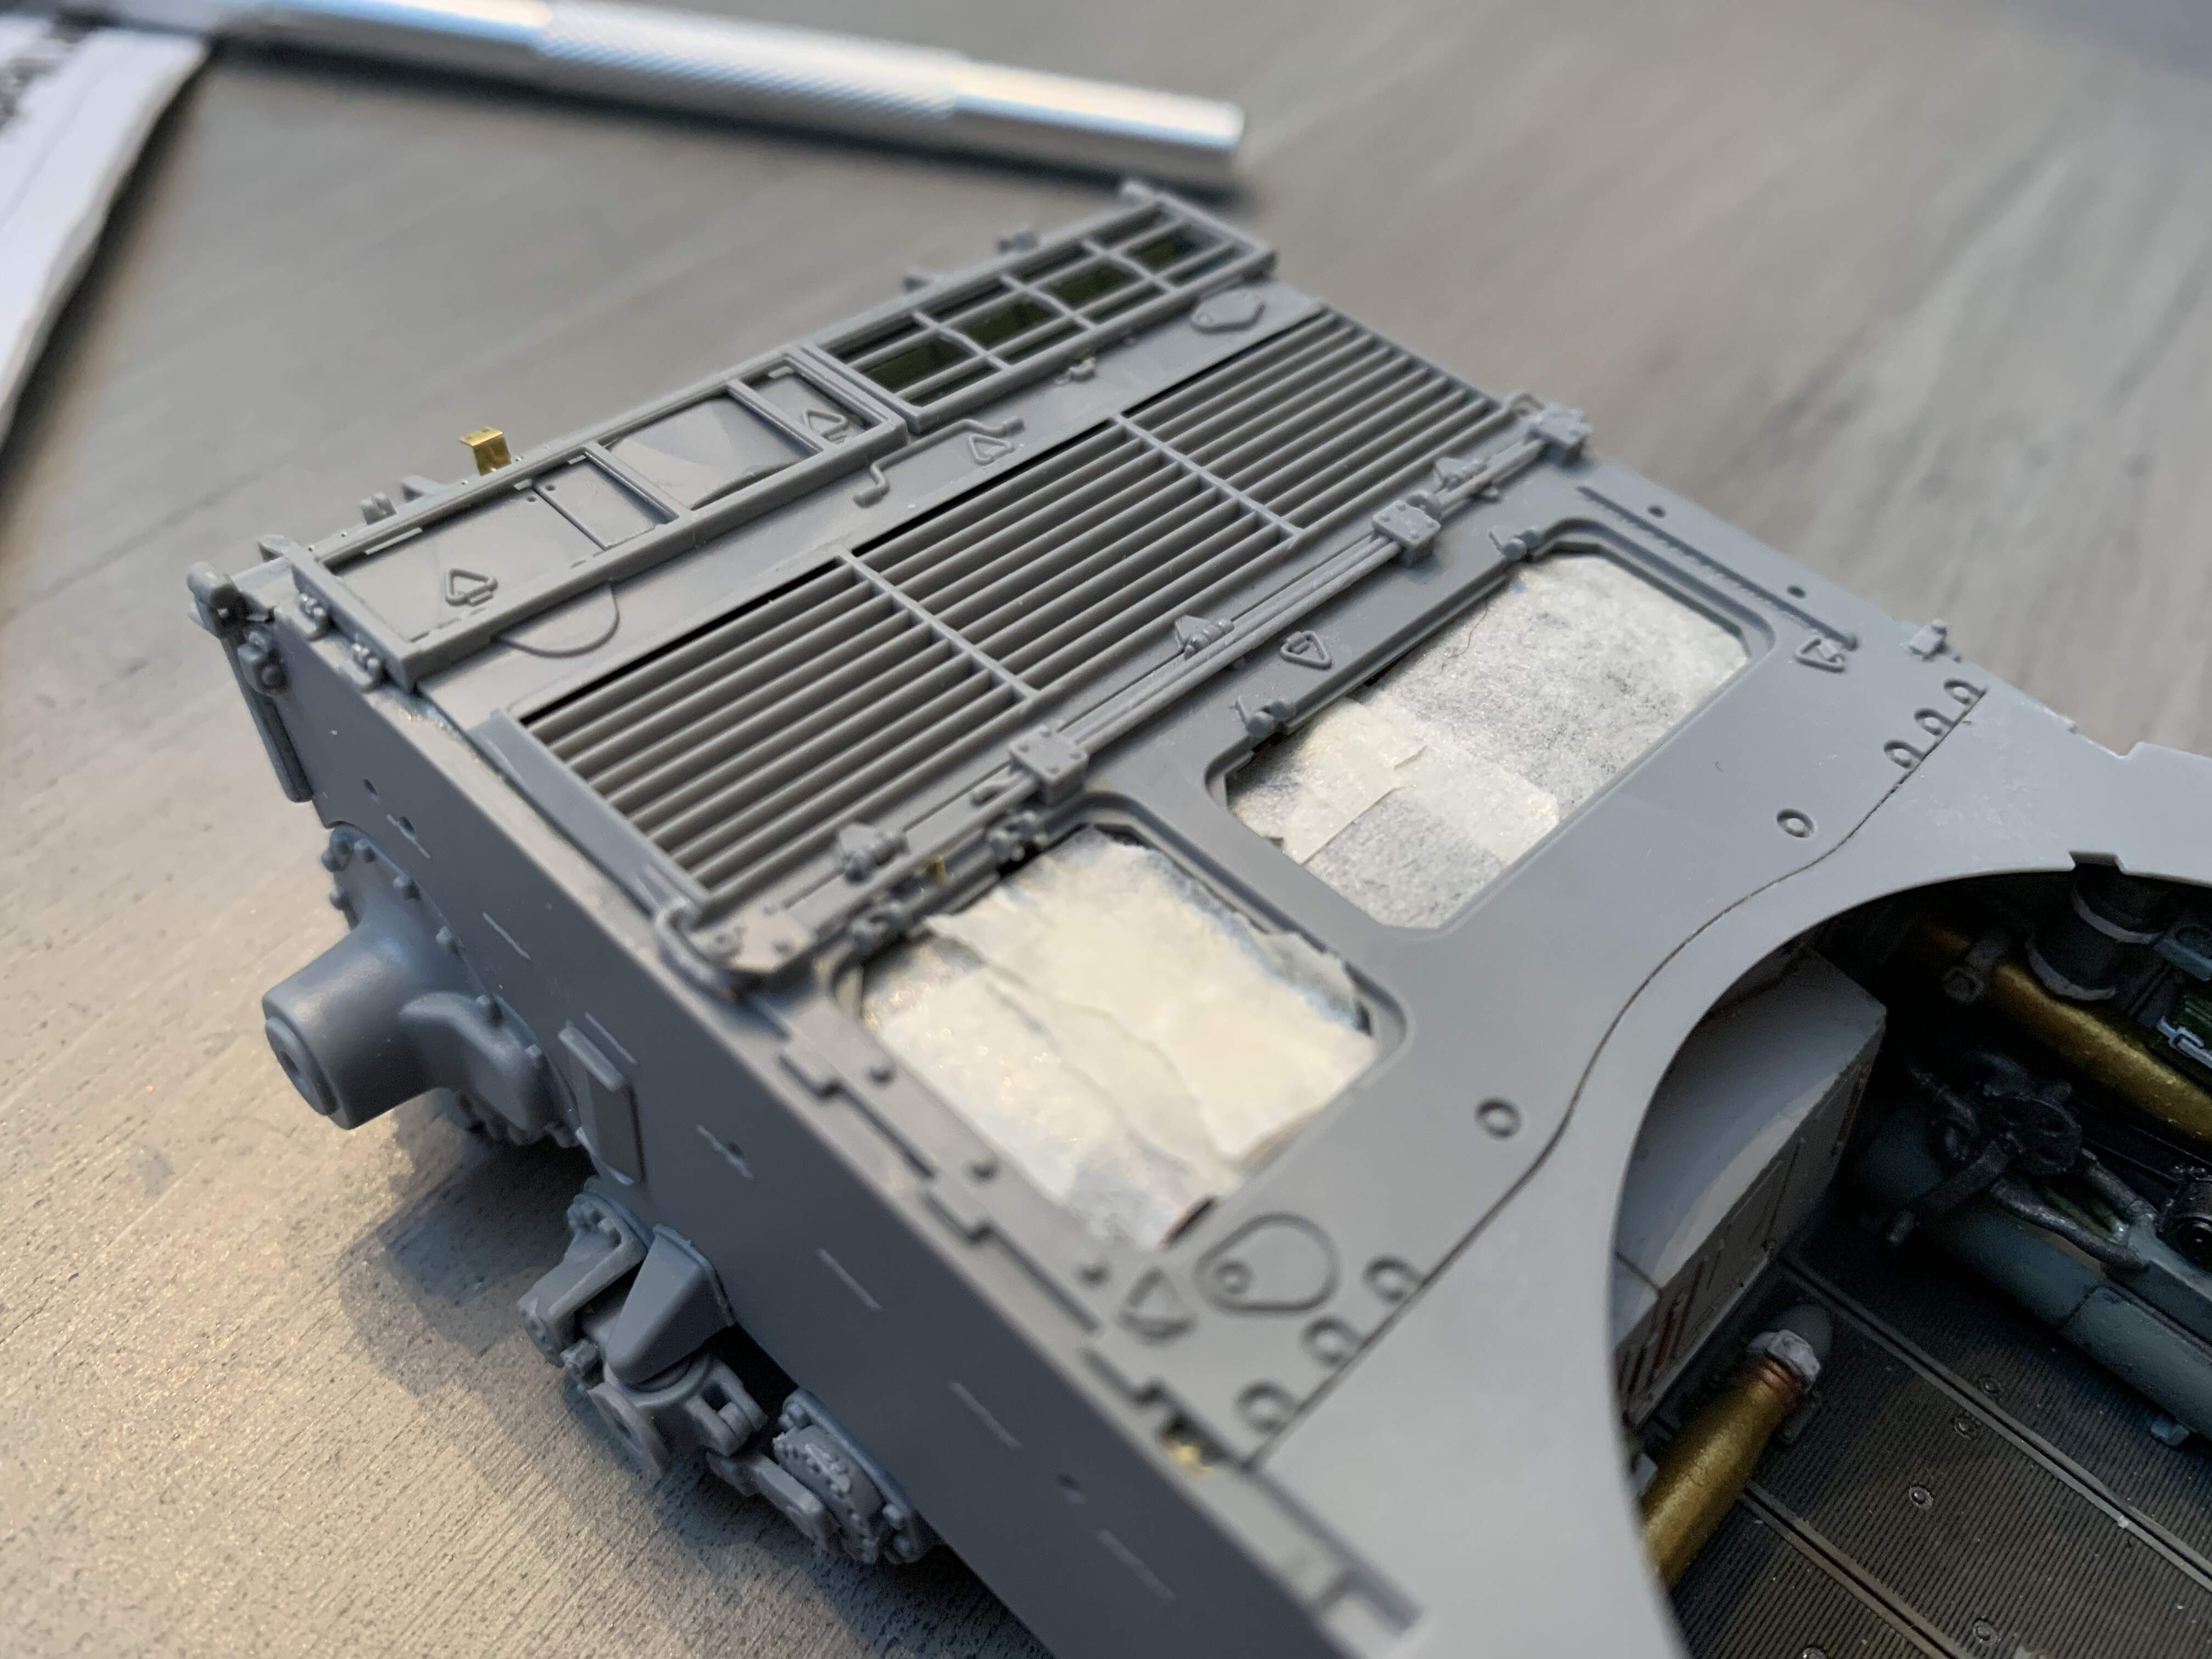
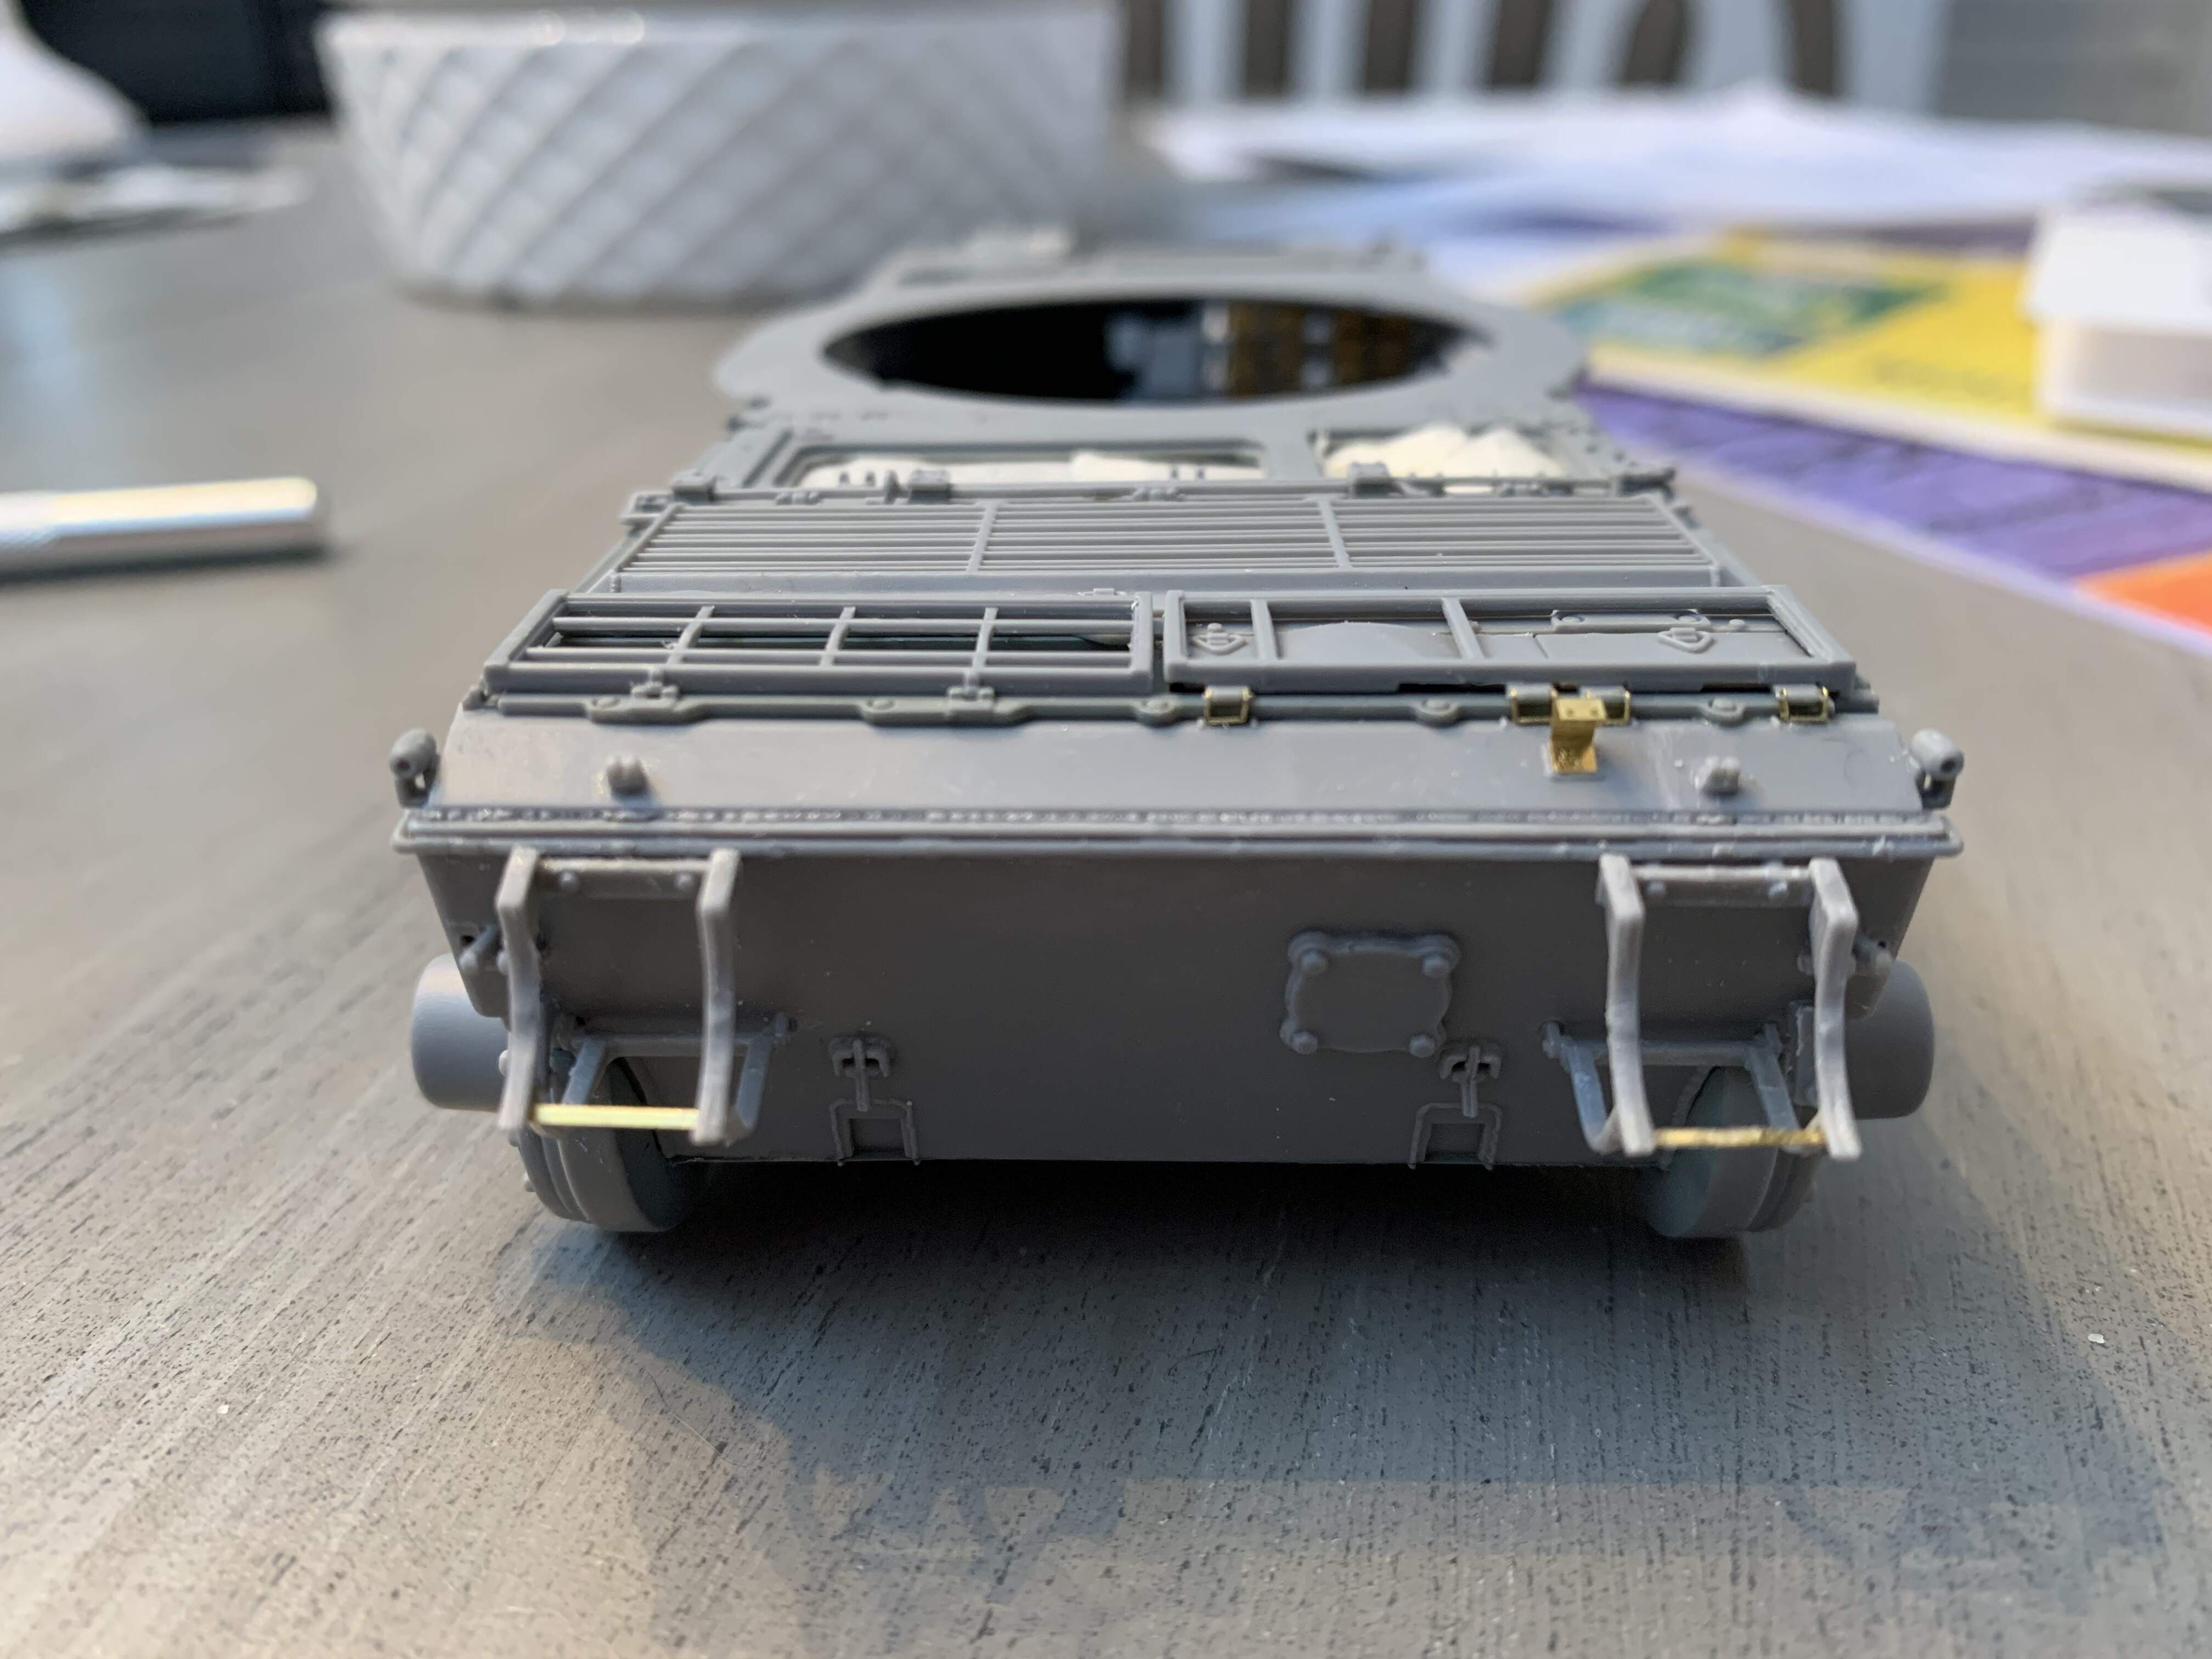
Minor updates. Added some of the rear vents, and PE and then finished the fenders. Up until this point everything had gone fairly smooth. It is still going well b it I found the fenders a little finicky in that there are no really location holes just narrow slots. I found it handy to have the hull close by to test fit the fenders after every part. This served two purposes, one it insured no interference between fender and hull and two there are location holes and slots on the hull too. This allowed parts to dry square. Next up is adding some of the fiddly PE to the hull I have been putting off until my acrylic glue arrives, and turret. I am leaving the fenders off for now both to allow easier access to paint and to allow easier fitting of tracks


8 Likes
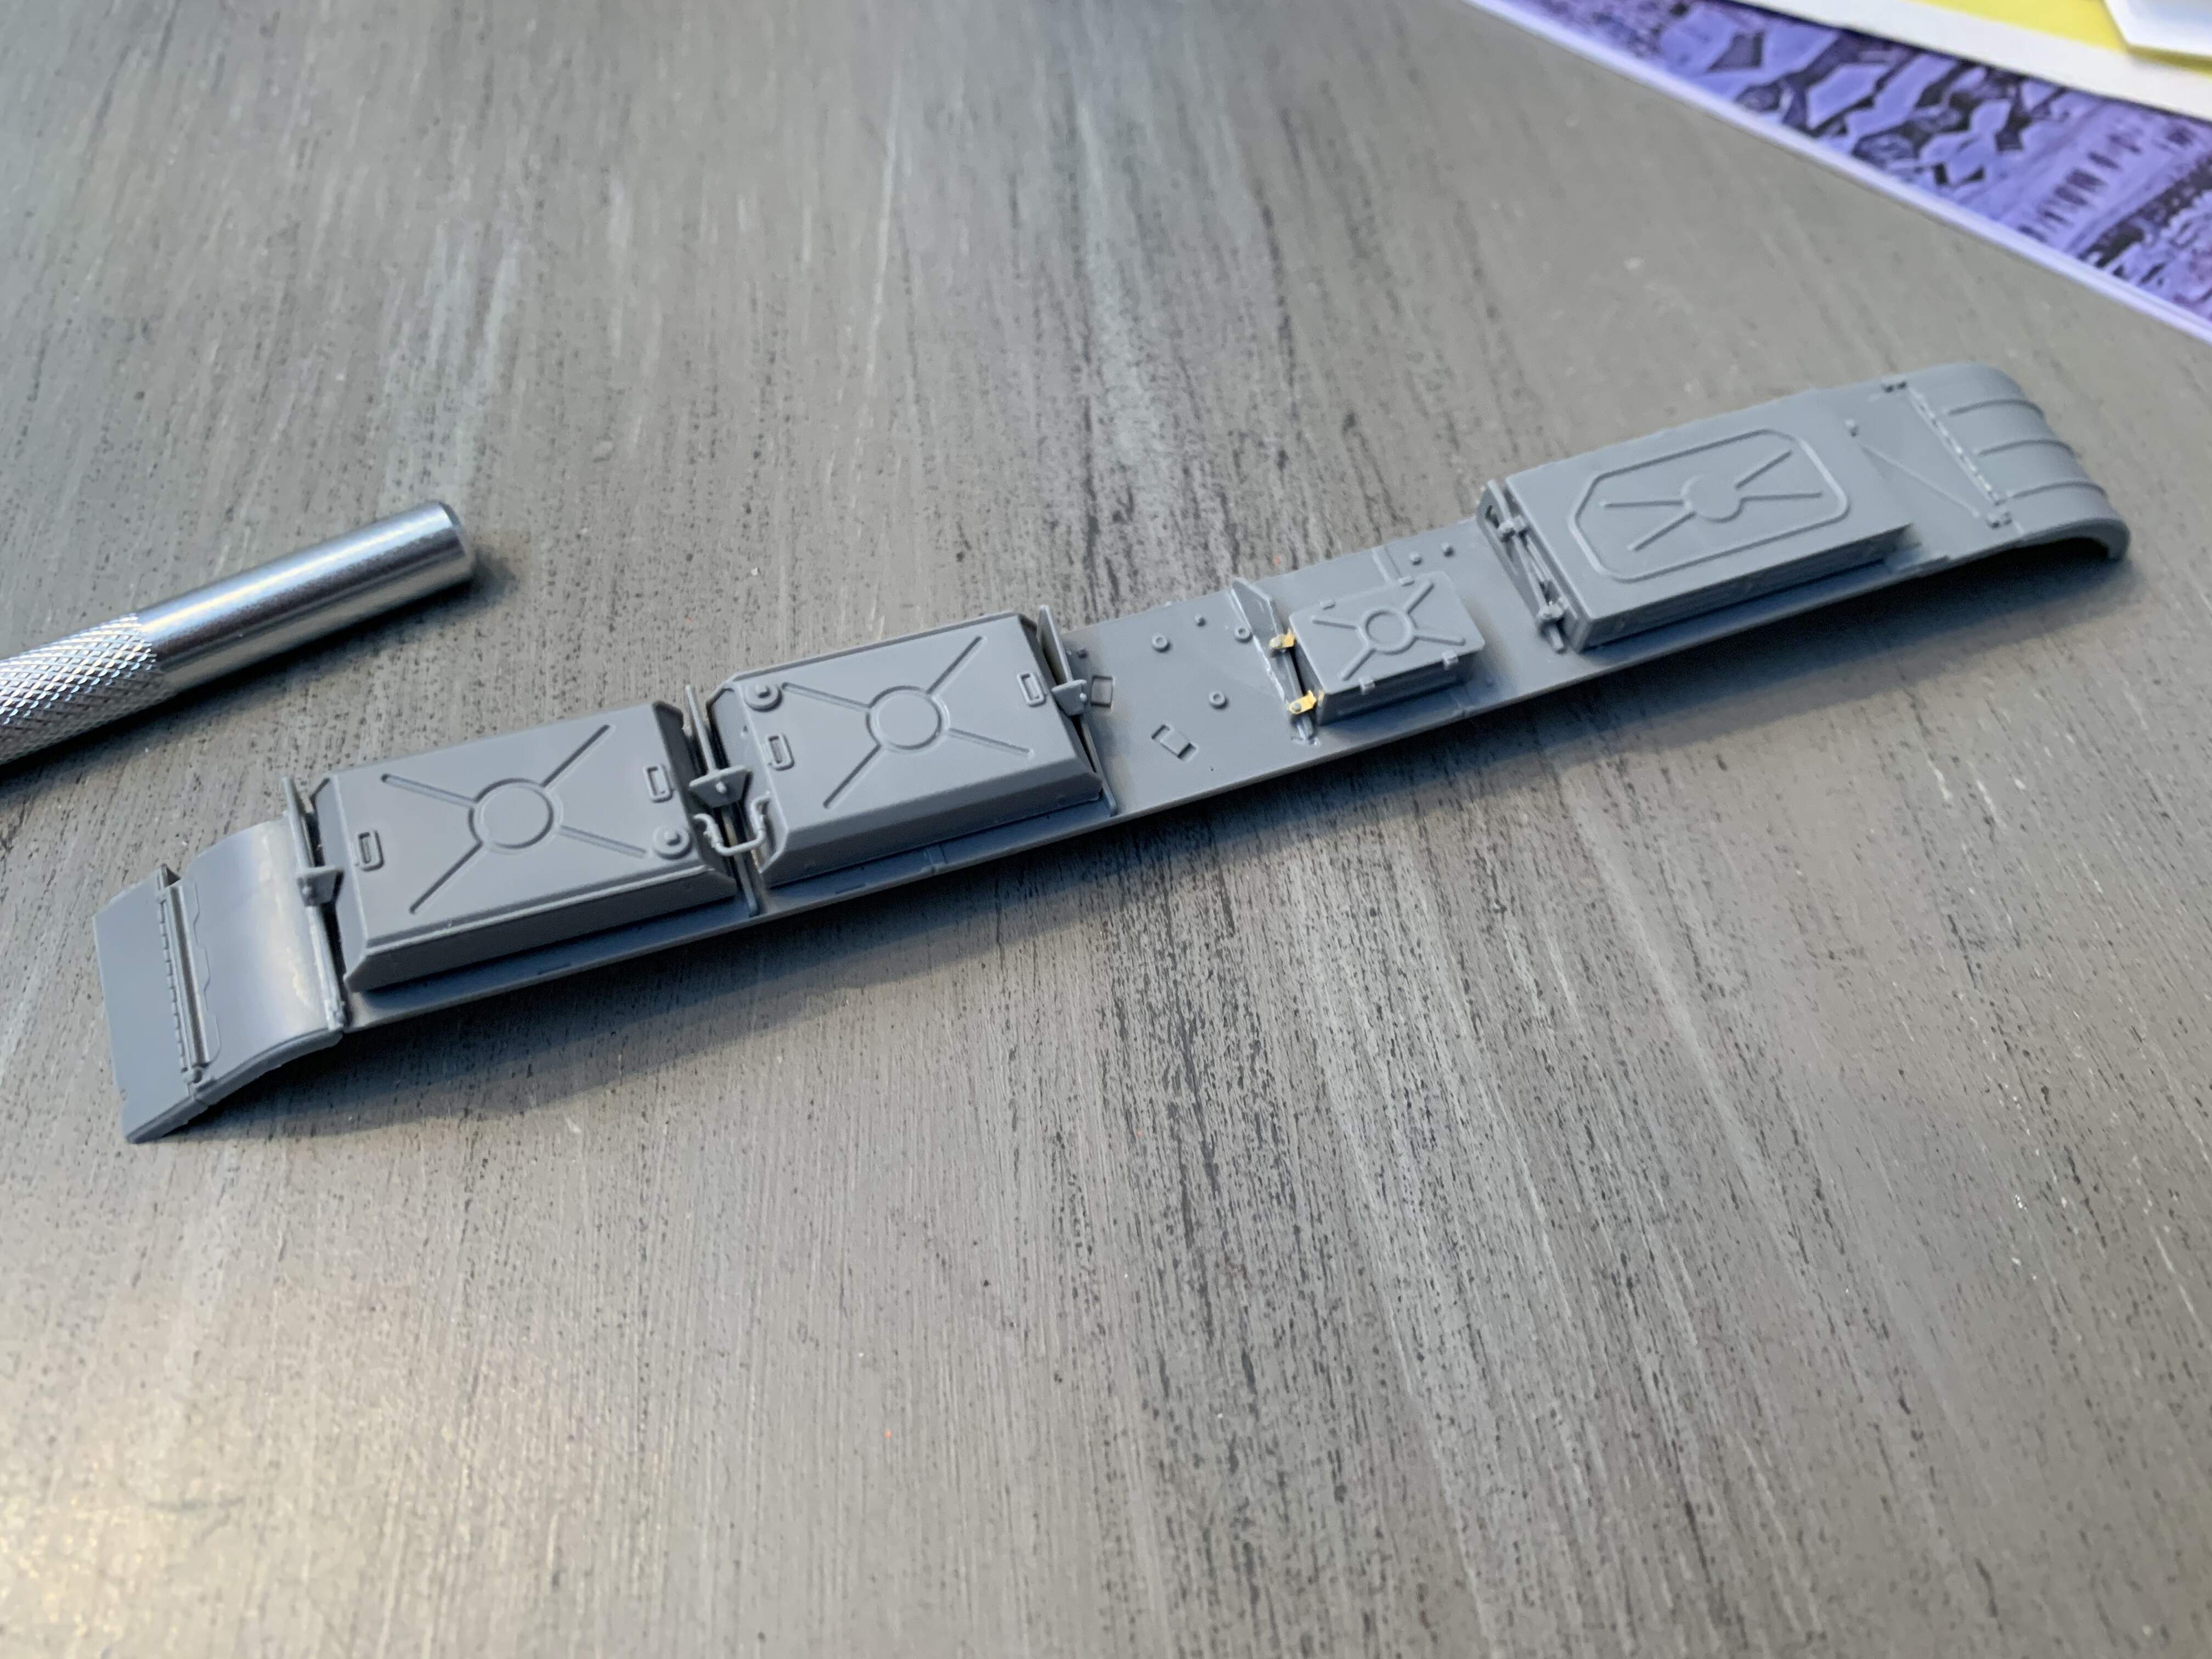
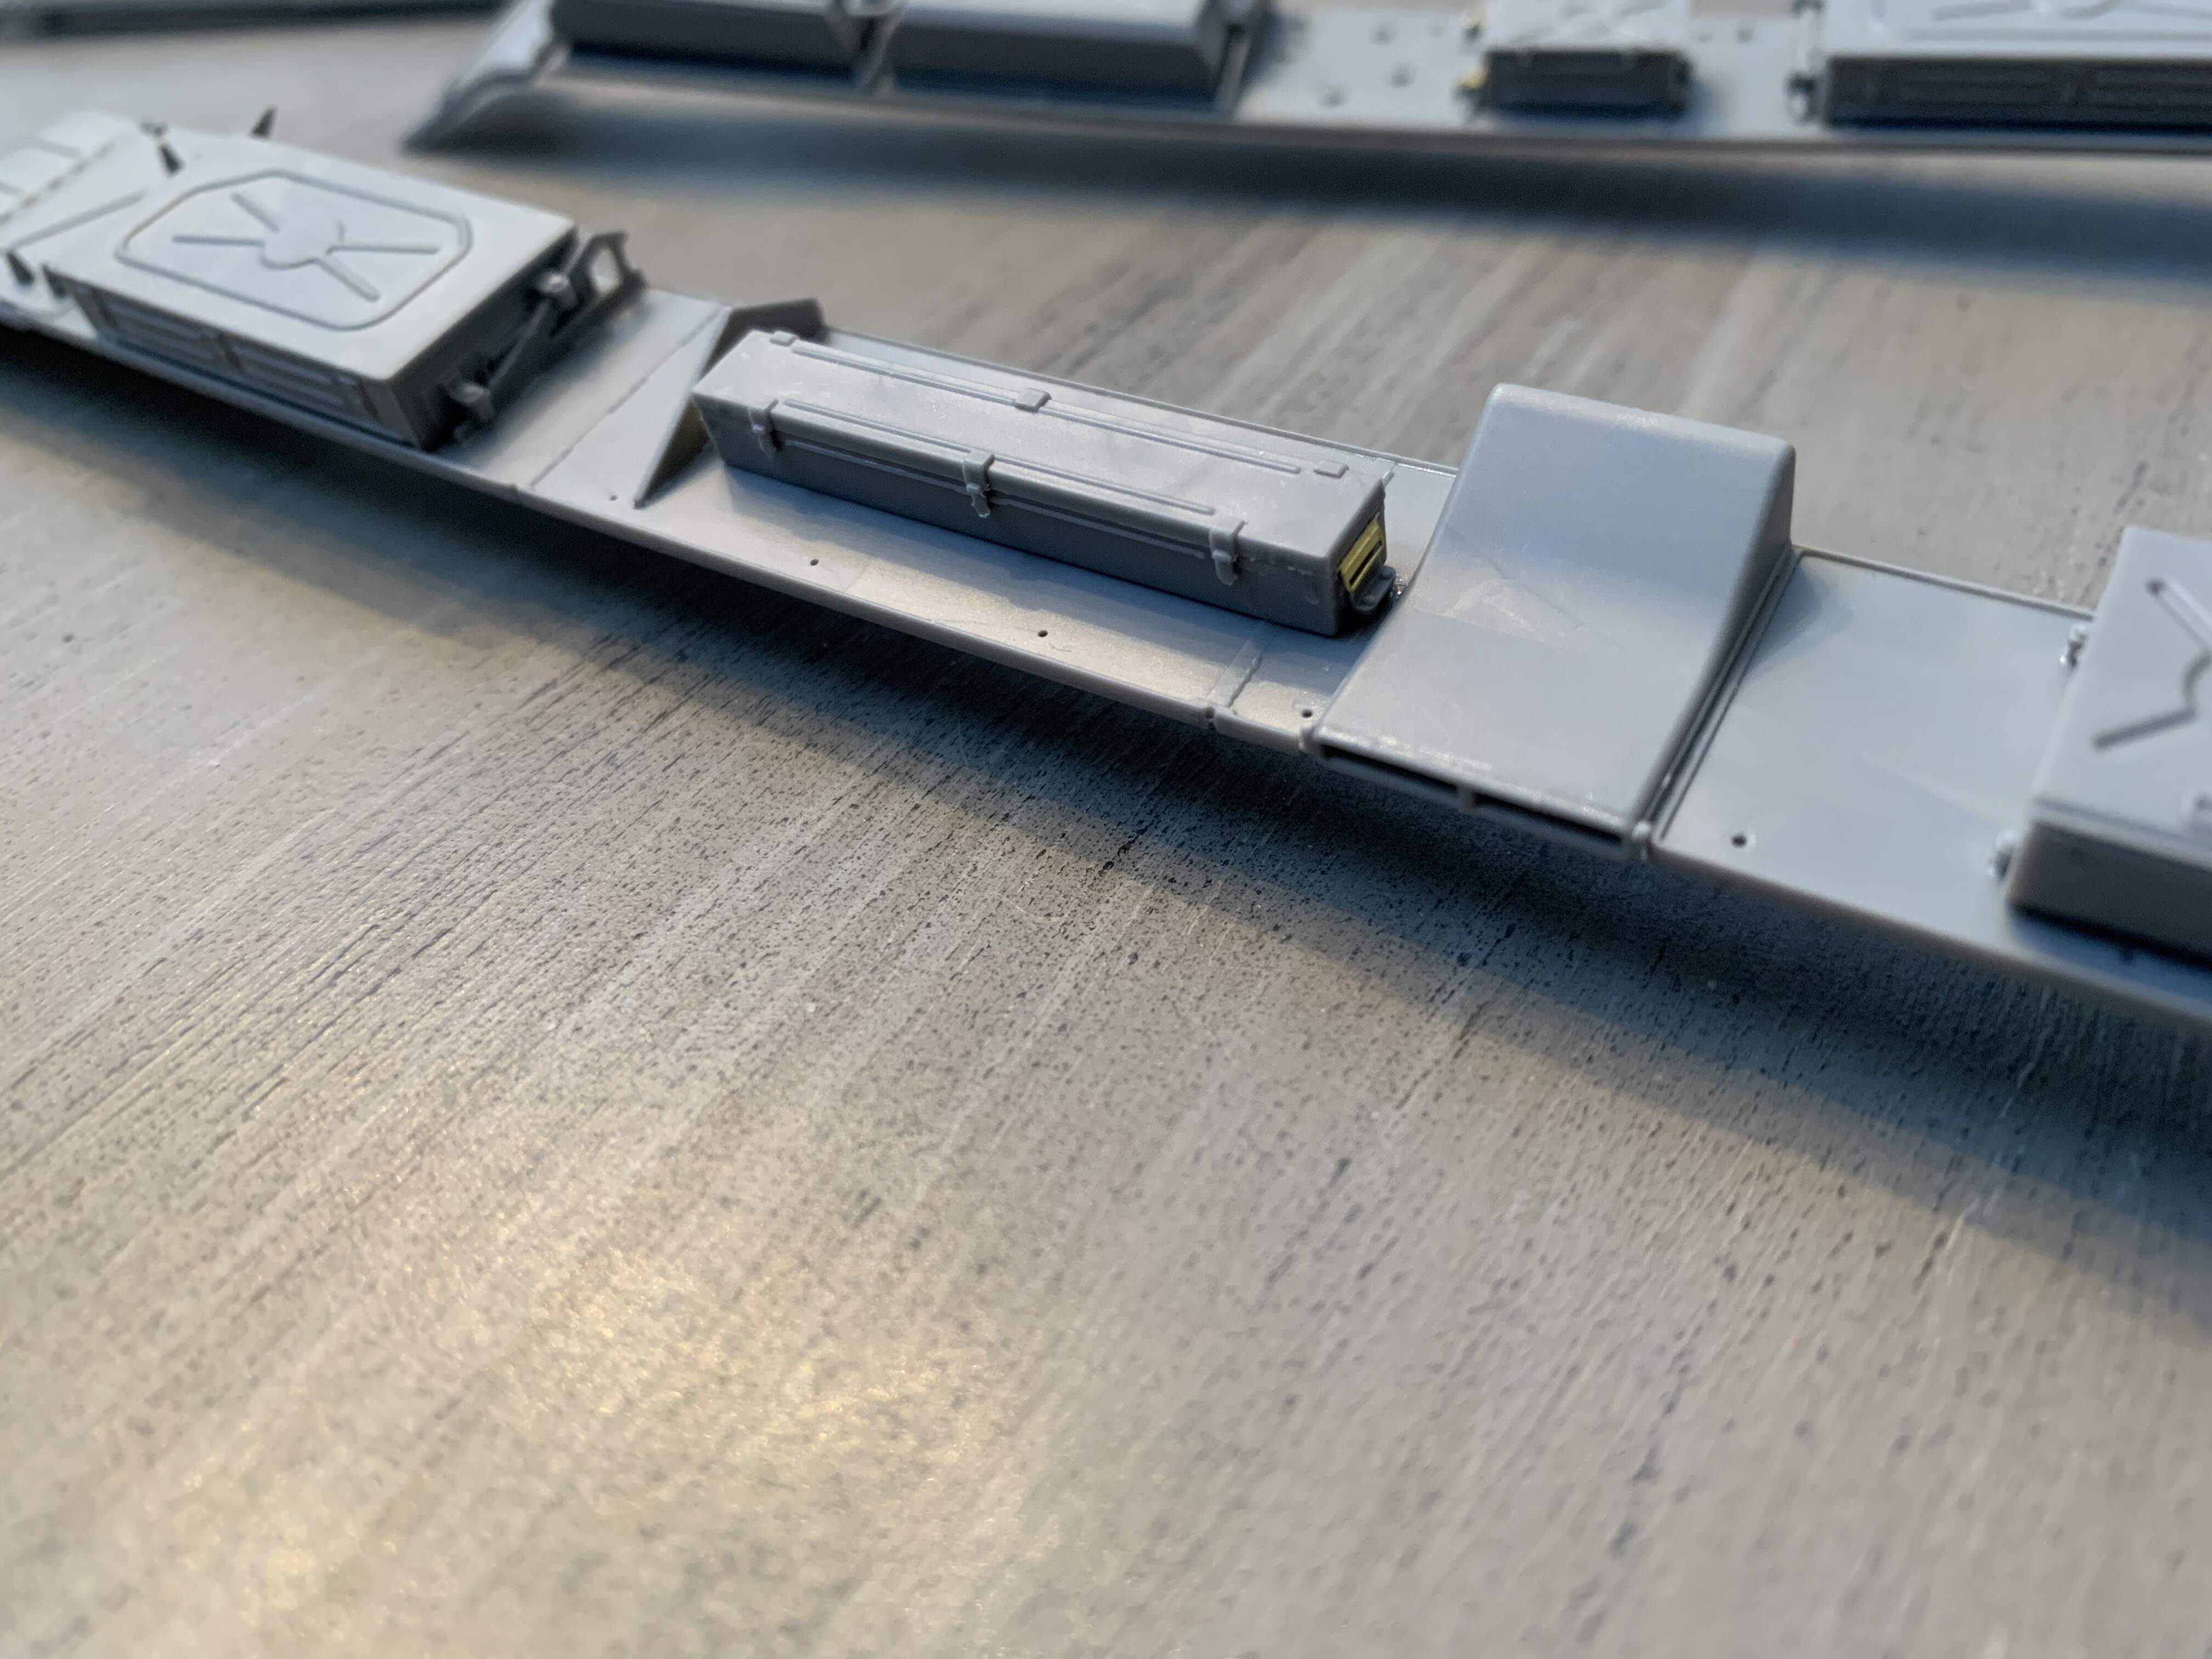
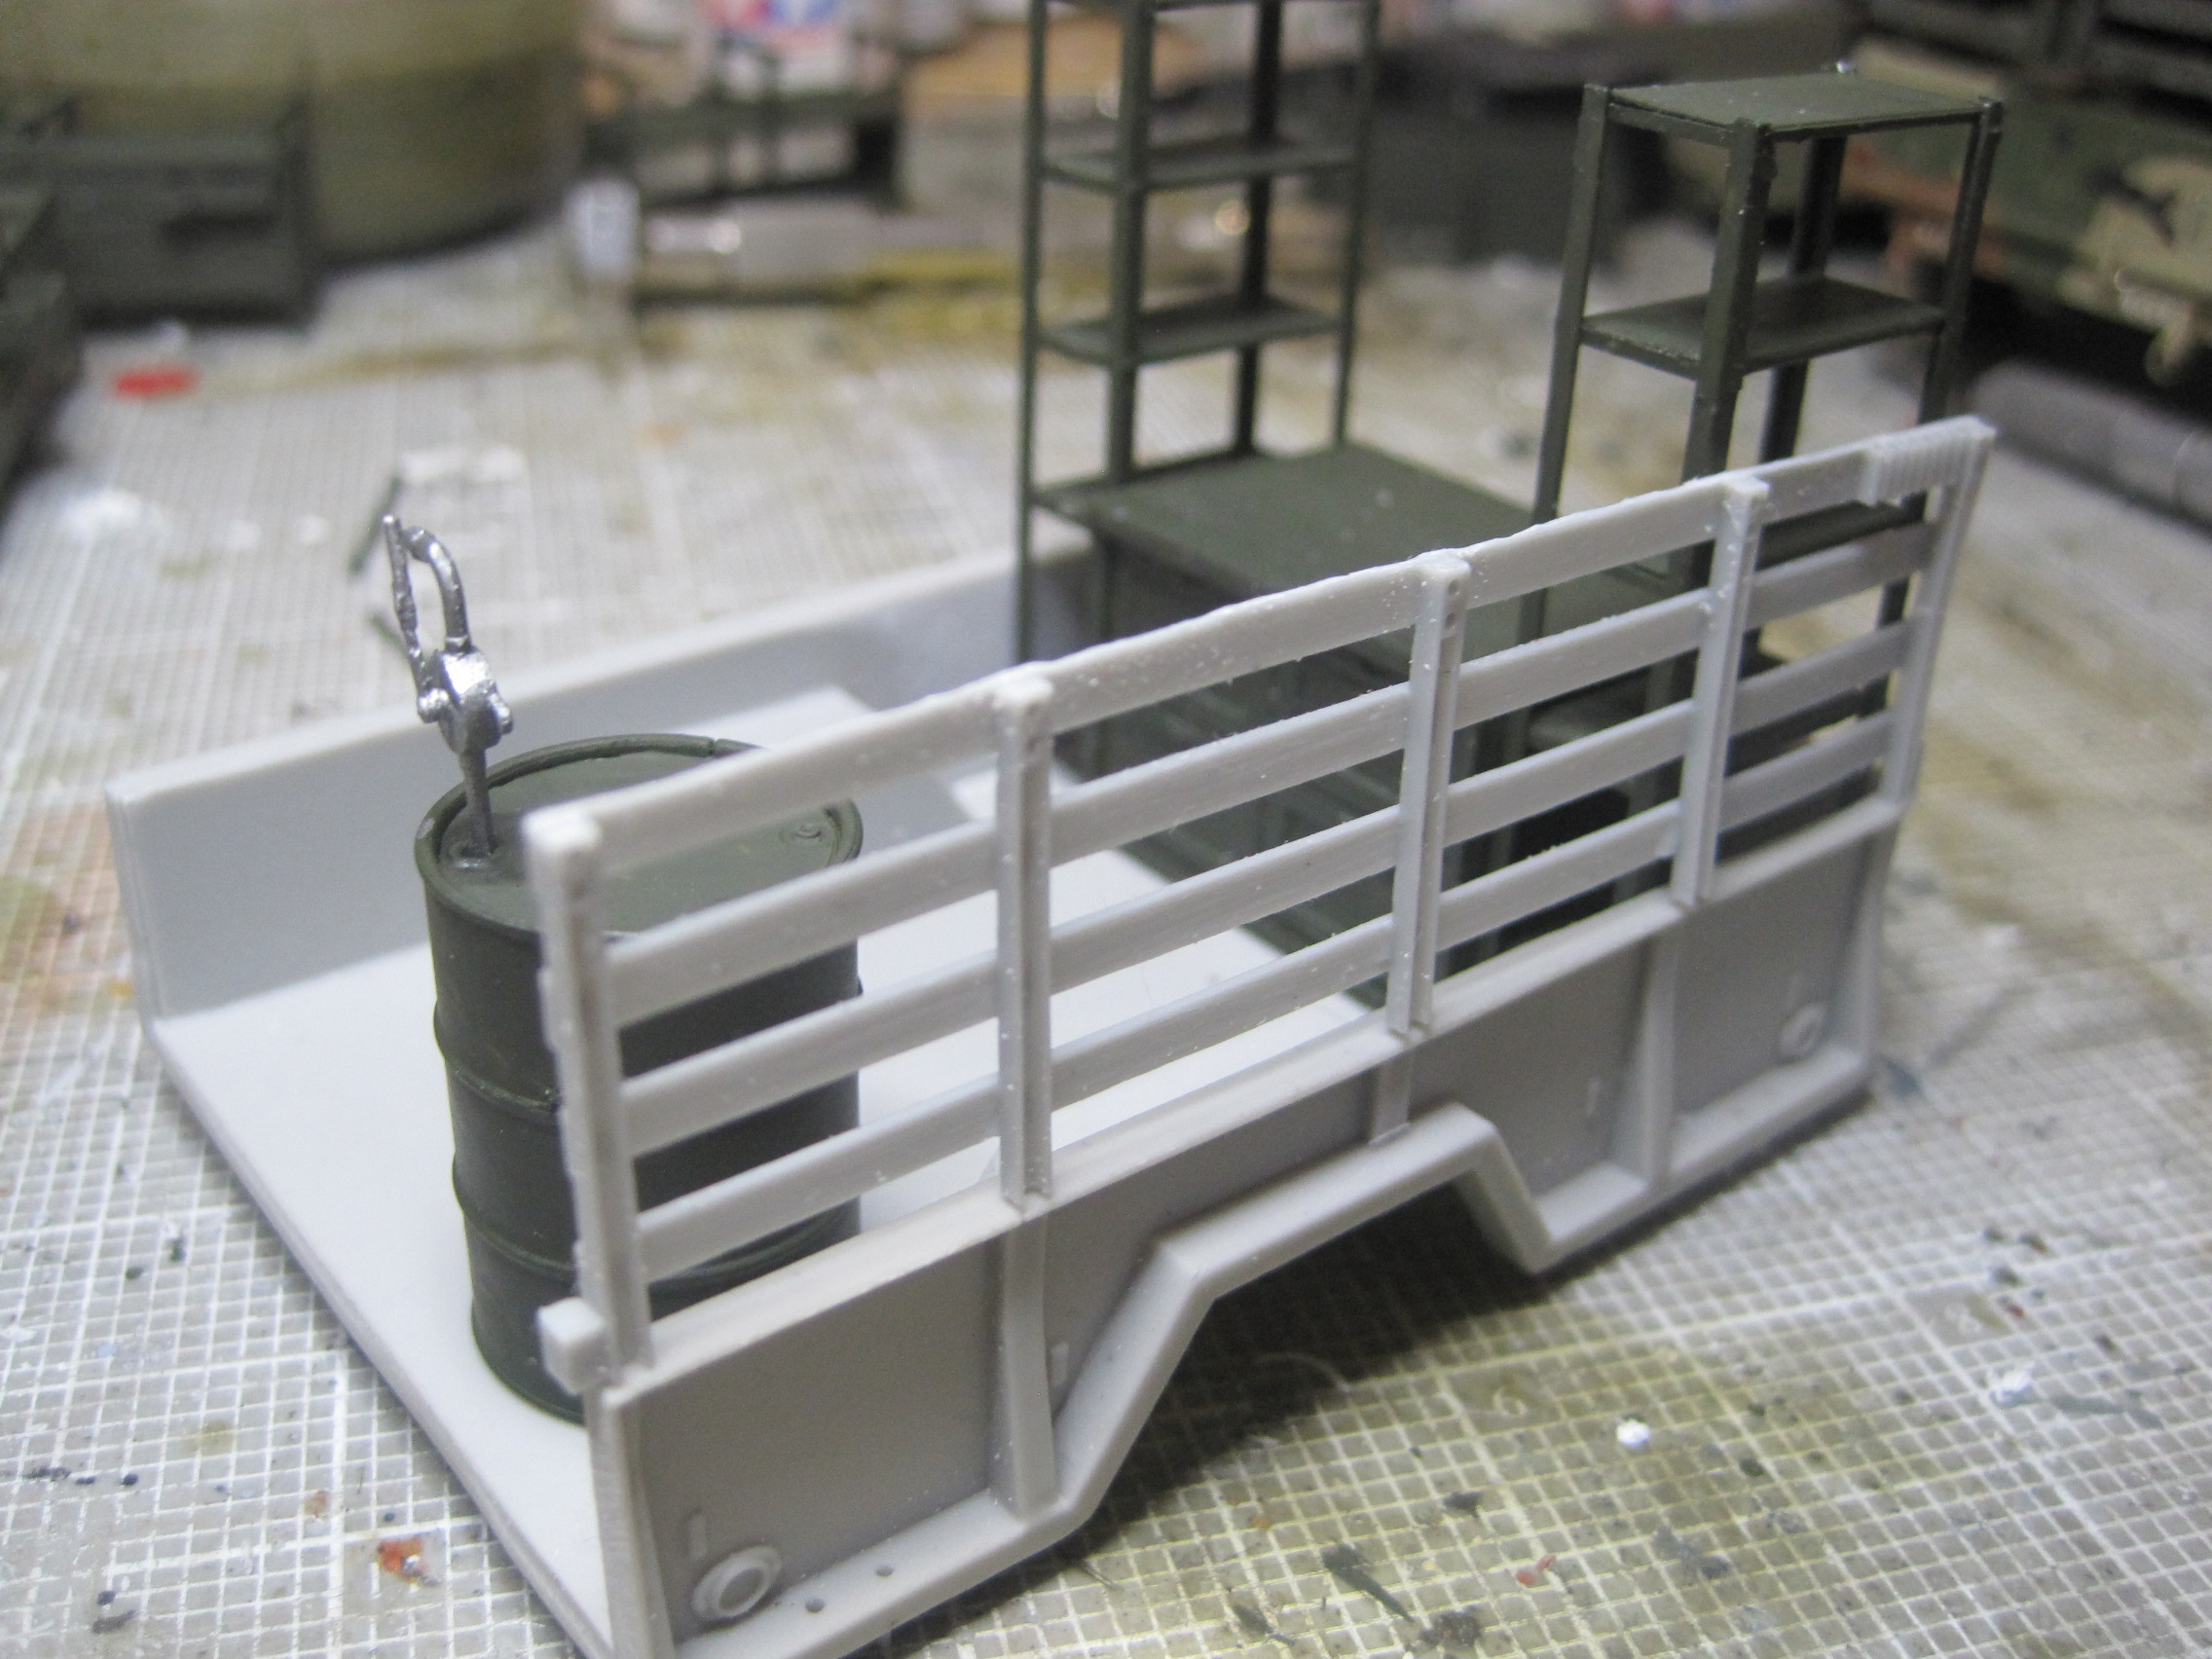
Here’s my update on the Garage Workshop items that I’m incorporating into my Field Artillery Battery Maintenance Truck.
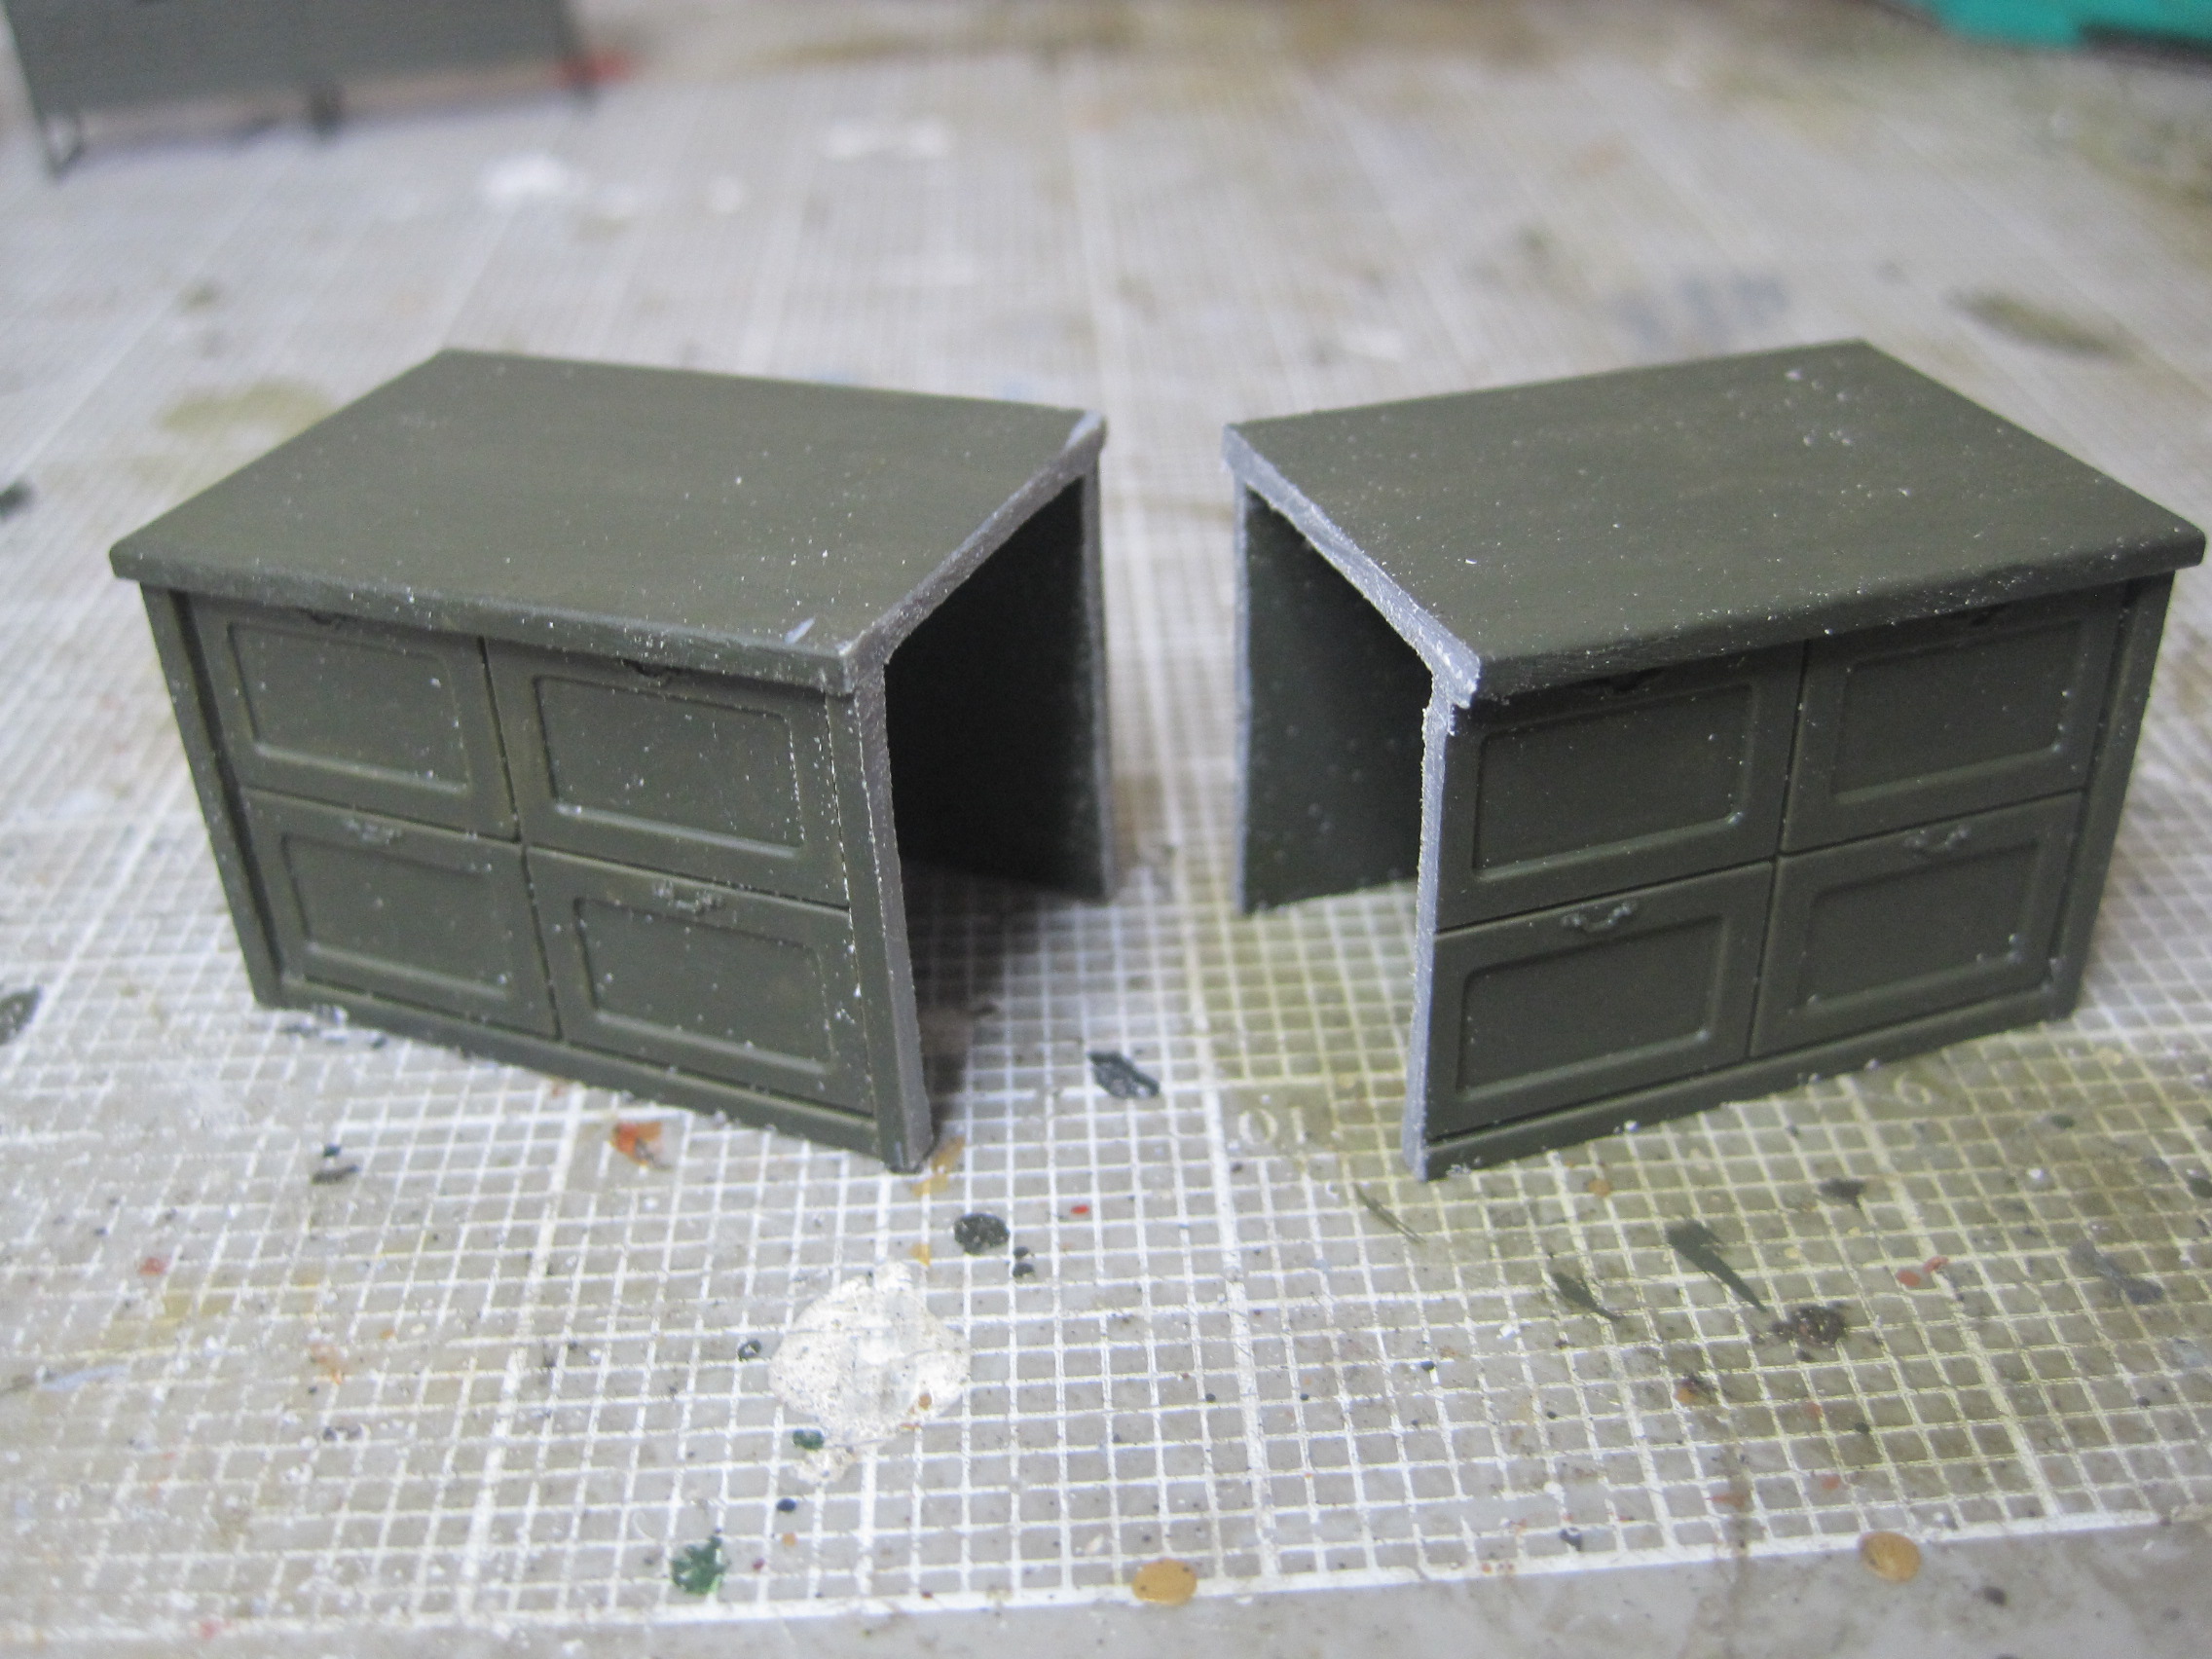
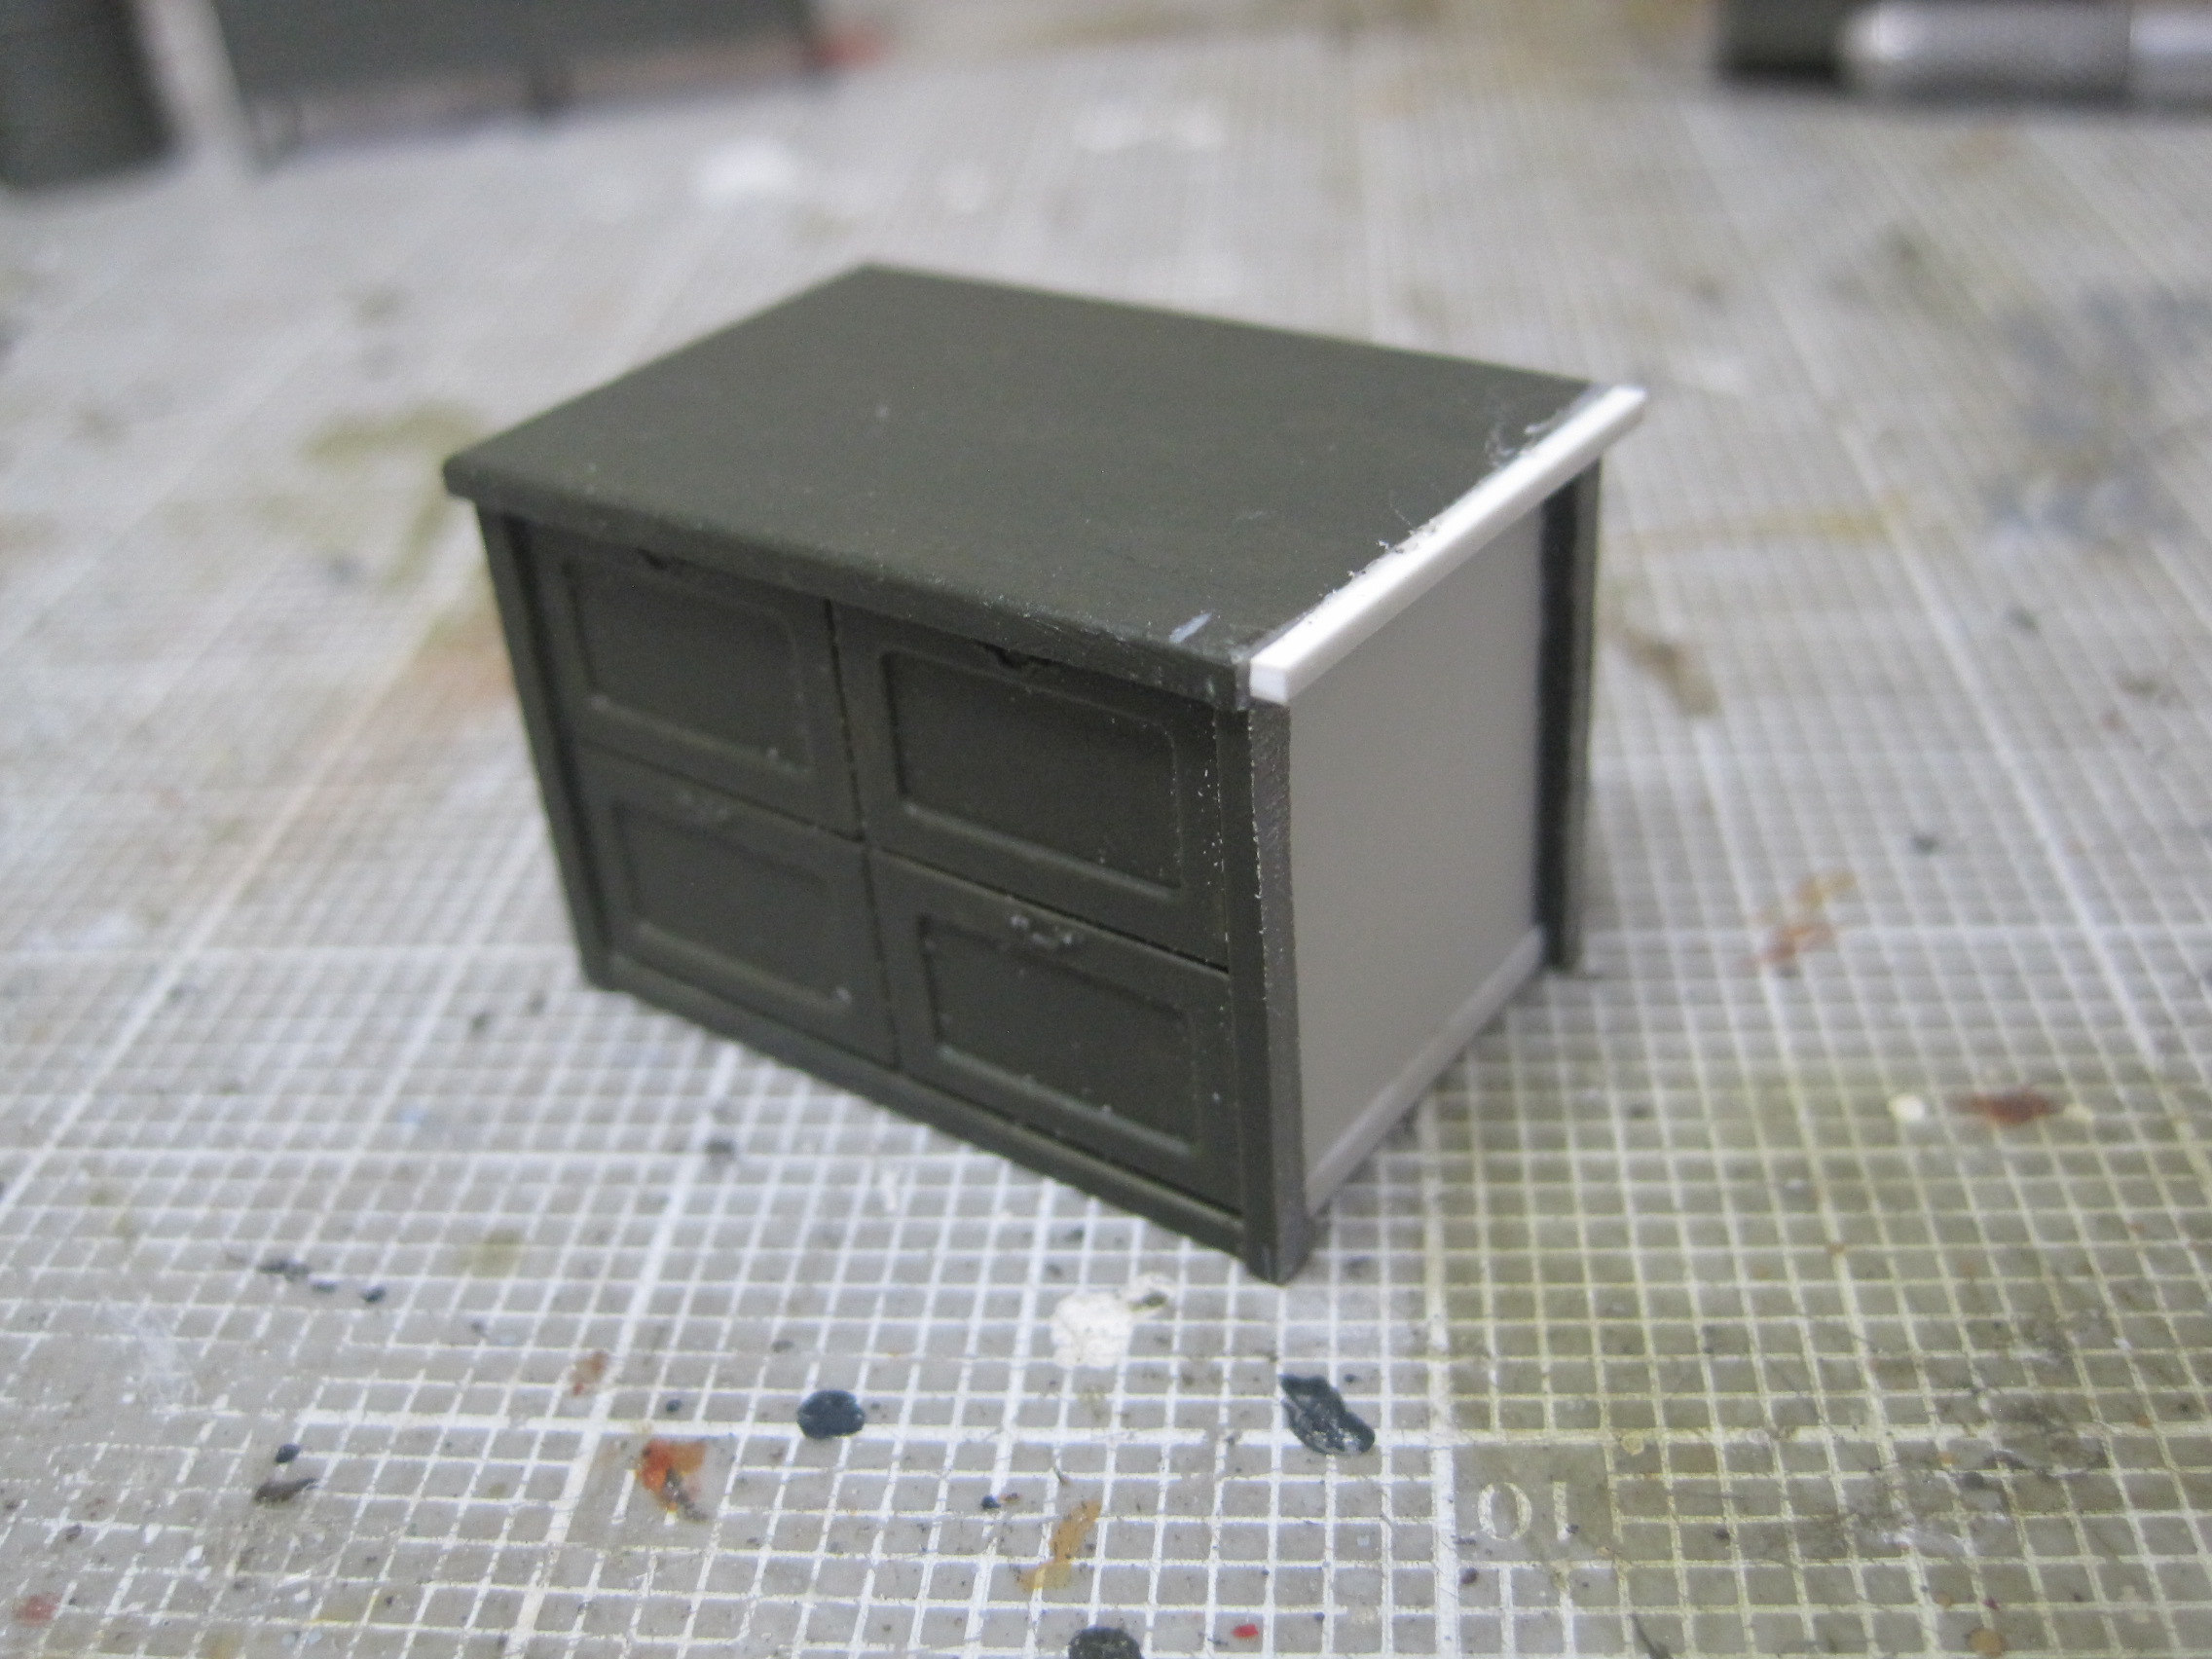
I was planning to use the counter inside the truck, but it’s too long to place into the truck across the bed, and it is too deep to place down the side of the bed of the truck and to allow enough width for the door and the aisle.
So, plan B. The vehicle will be pulling a trailer, and with some modifications (cutting the unit in half) it will fit across the front wall of the M105 1 1/2 Ton trailer, with enough room for the two shelf units to go on either side. So that’s where it’s going, along with one of the 55 gallon drums.
And the remaining items, once they are all painted will wind up in various places in either the trailer or the truck itself.
I hope that making modifications to the items, as well as leaving some out isn’t a problem. The kit has some really nice items in it, but as I said, the bench with drawers just won’t fit. Plus it didn’t make sense to include a large two man cross cut saw and some other carpenter tools (like a hand held plane and a saw) so I won’t be including those.
Here’s where things are at the moment.


9 Likes
Looks like a nice varied equipment kit there … Some of those wouldn’t look out of place with Maultier and 3 ton crane
Oh, absolutely! It’s a good variety of items you’d find in any sort of mechanic’s shop anywhere in the world, so it could go in just about any country and any time frame from the '30’s to today.
1 Like
The garage workshop is starting to look really good already, I am looking forward to seeing that finished!
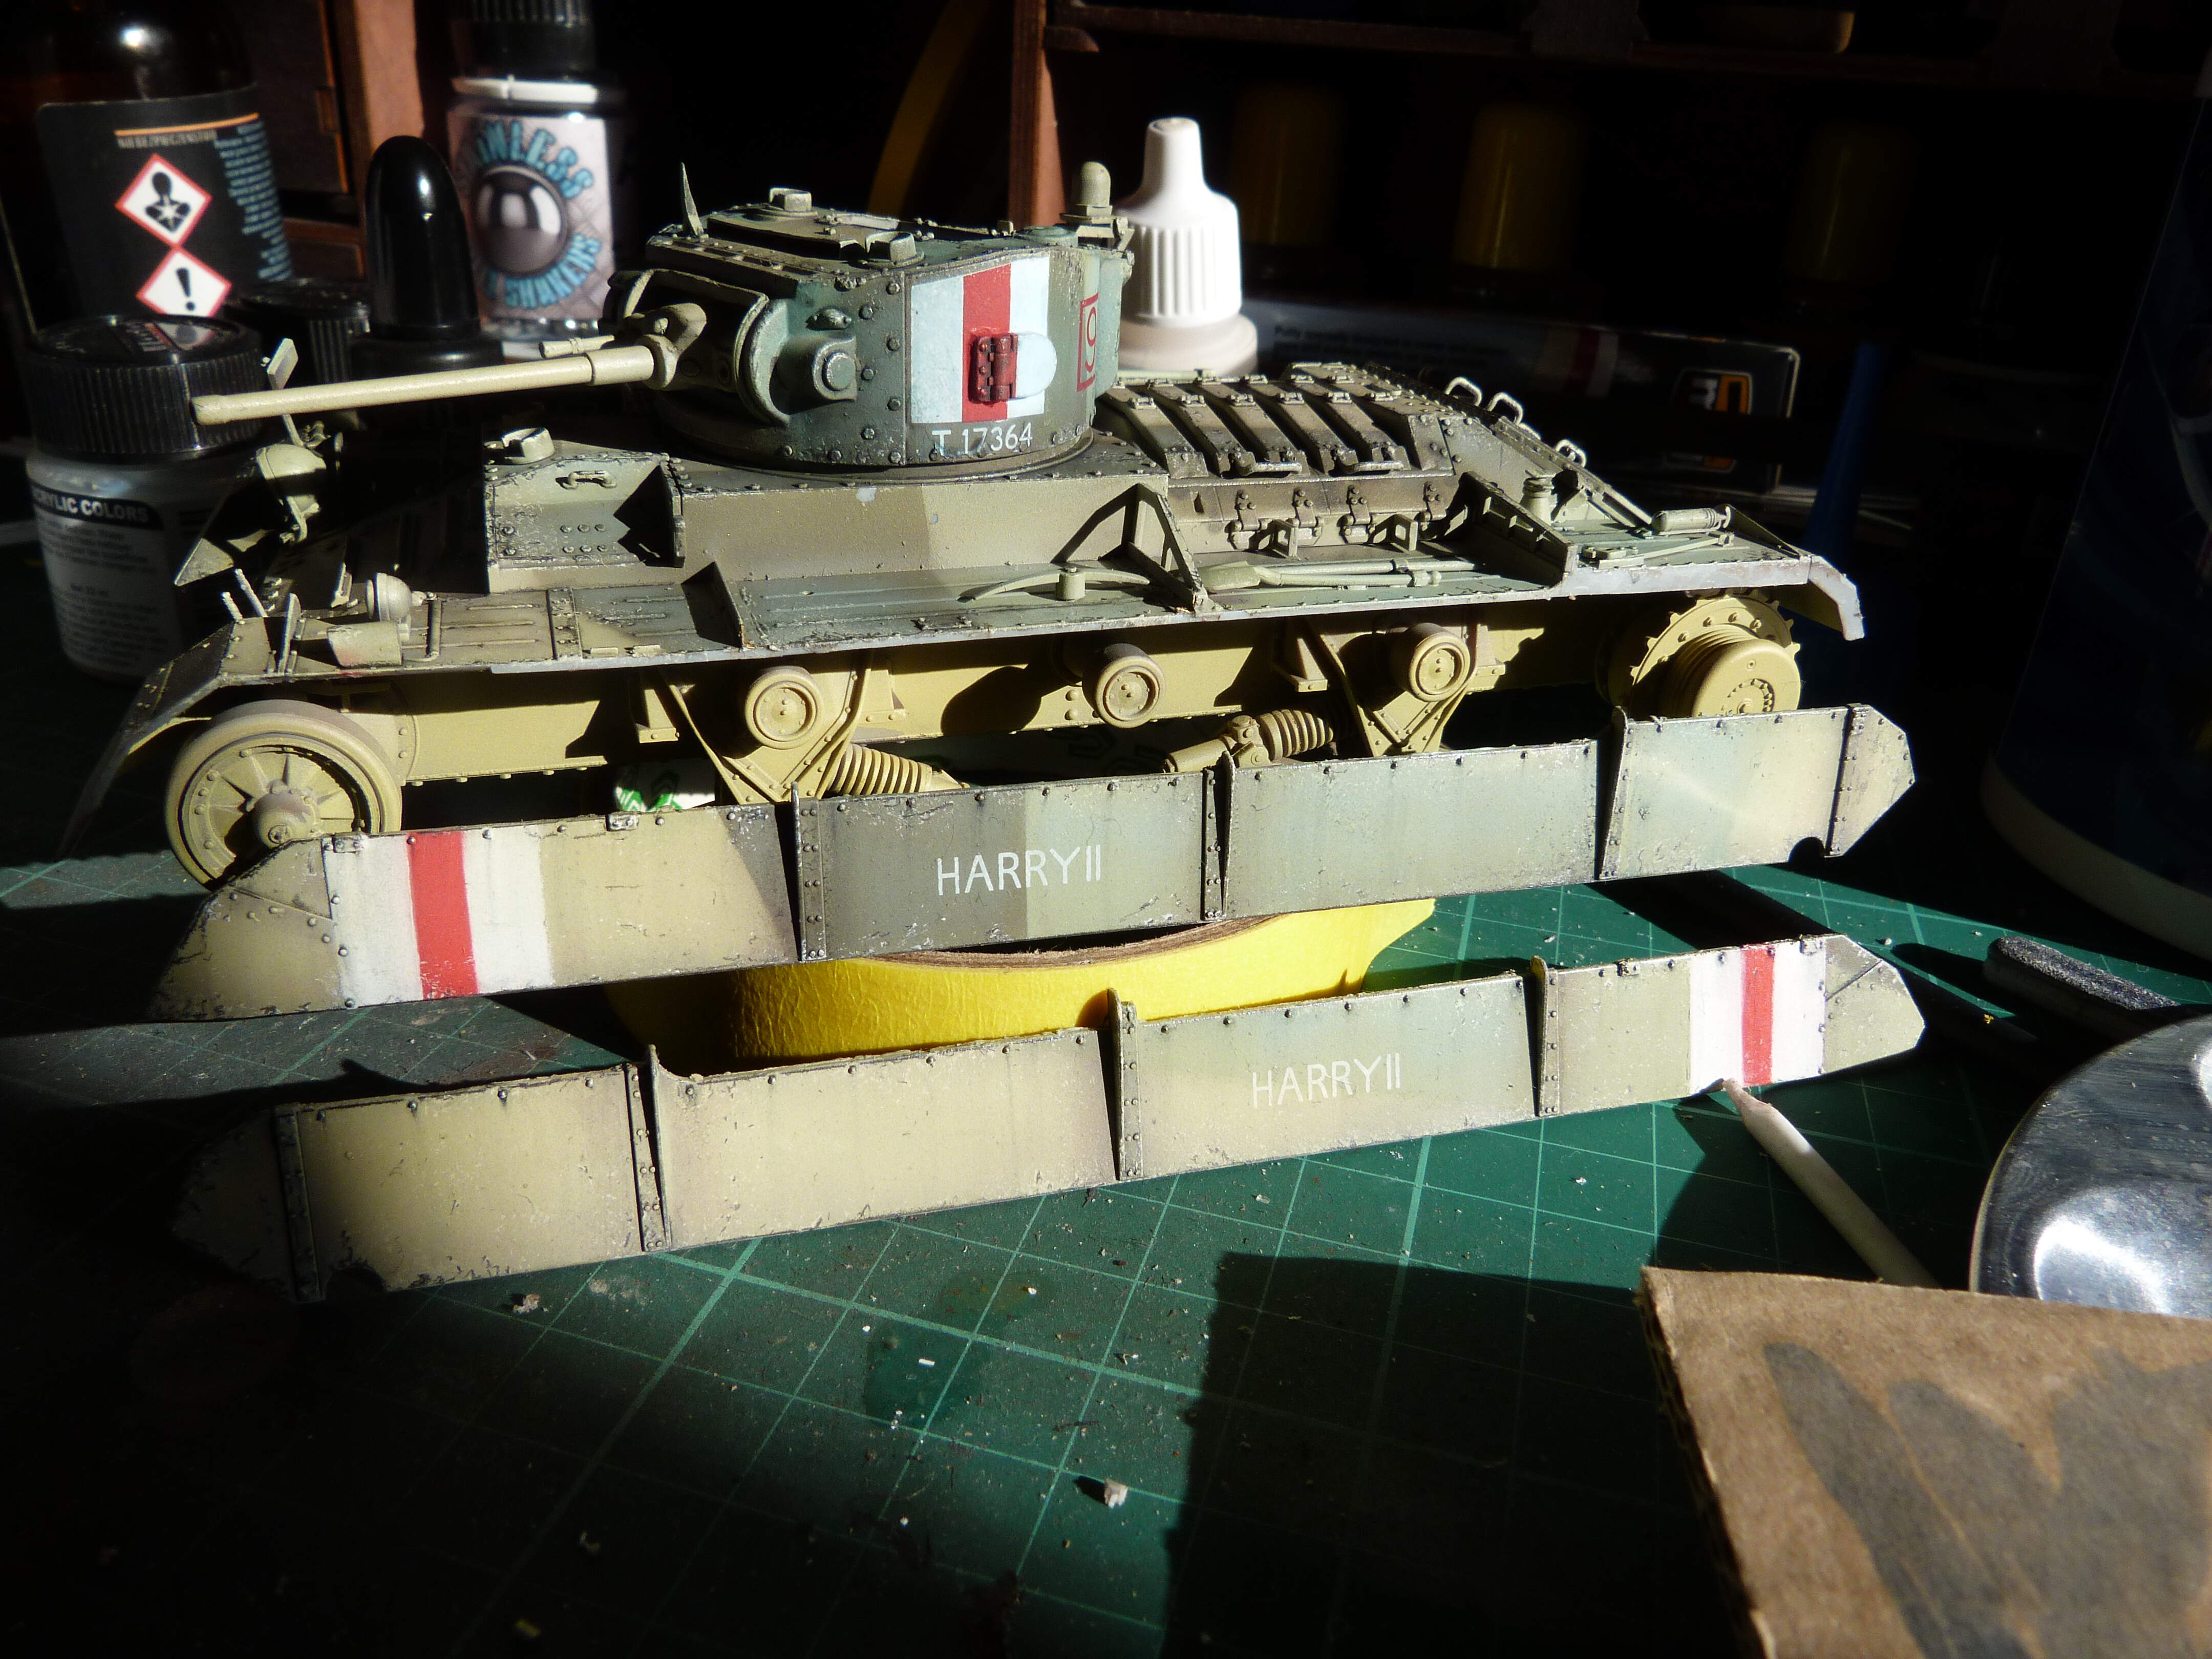
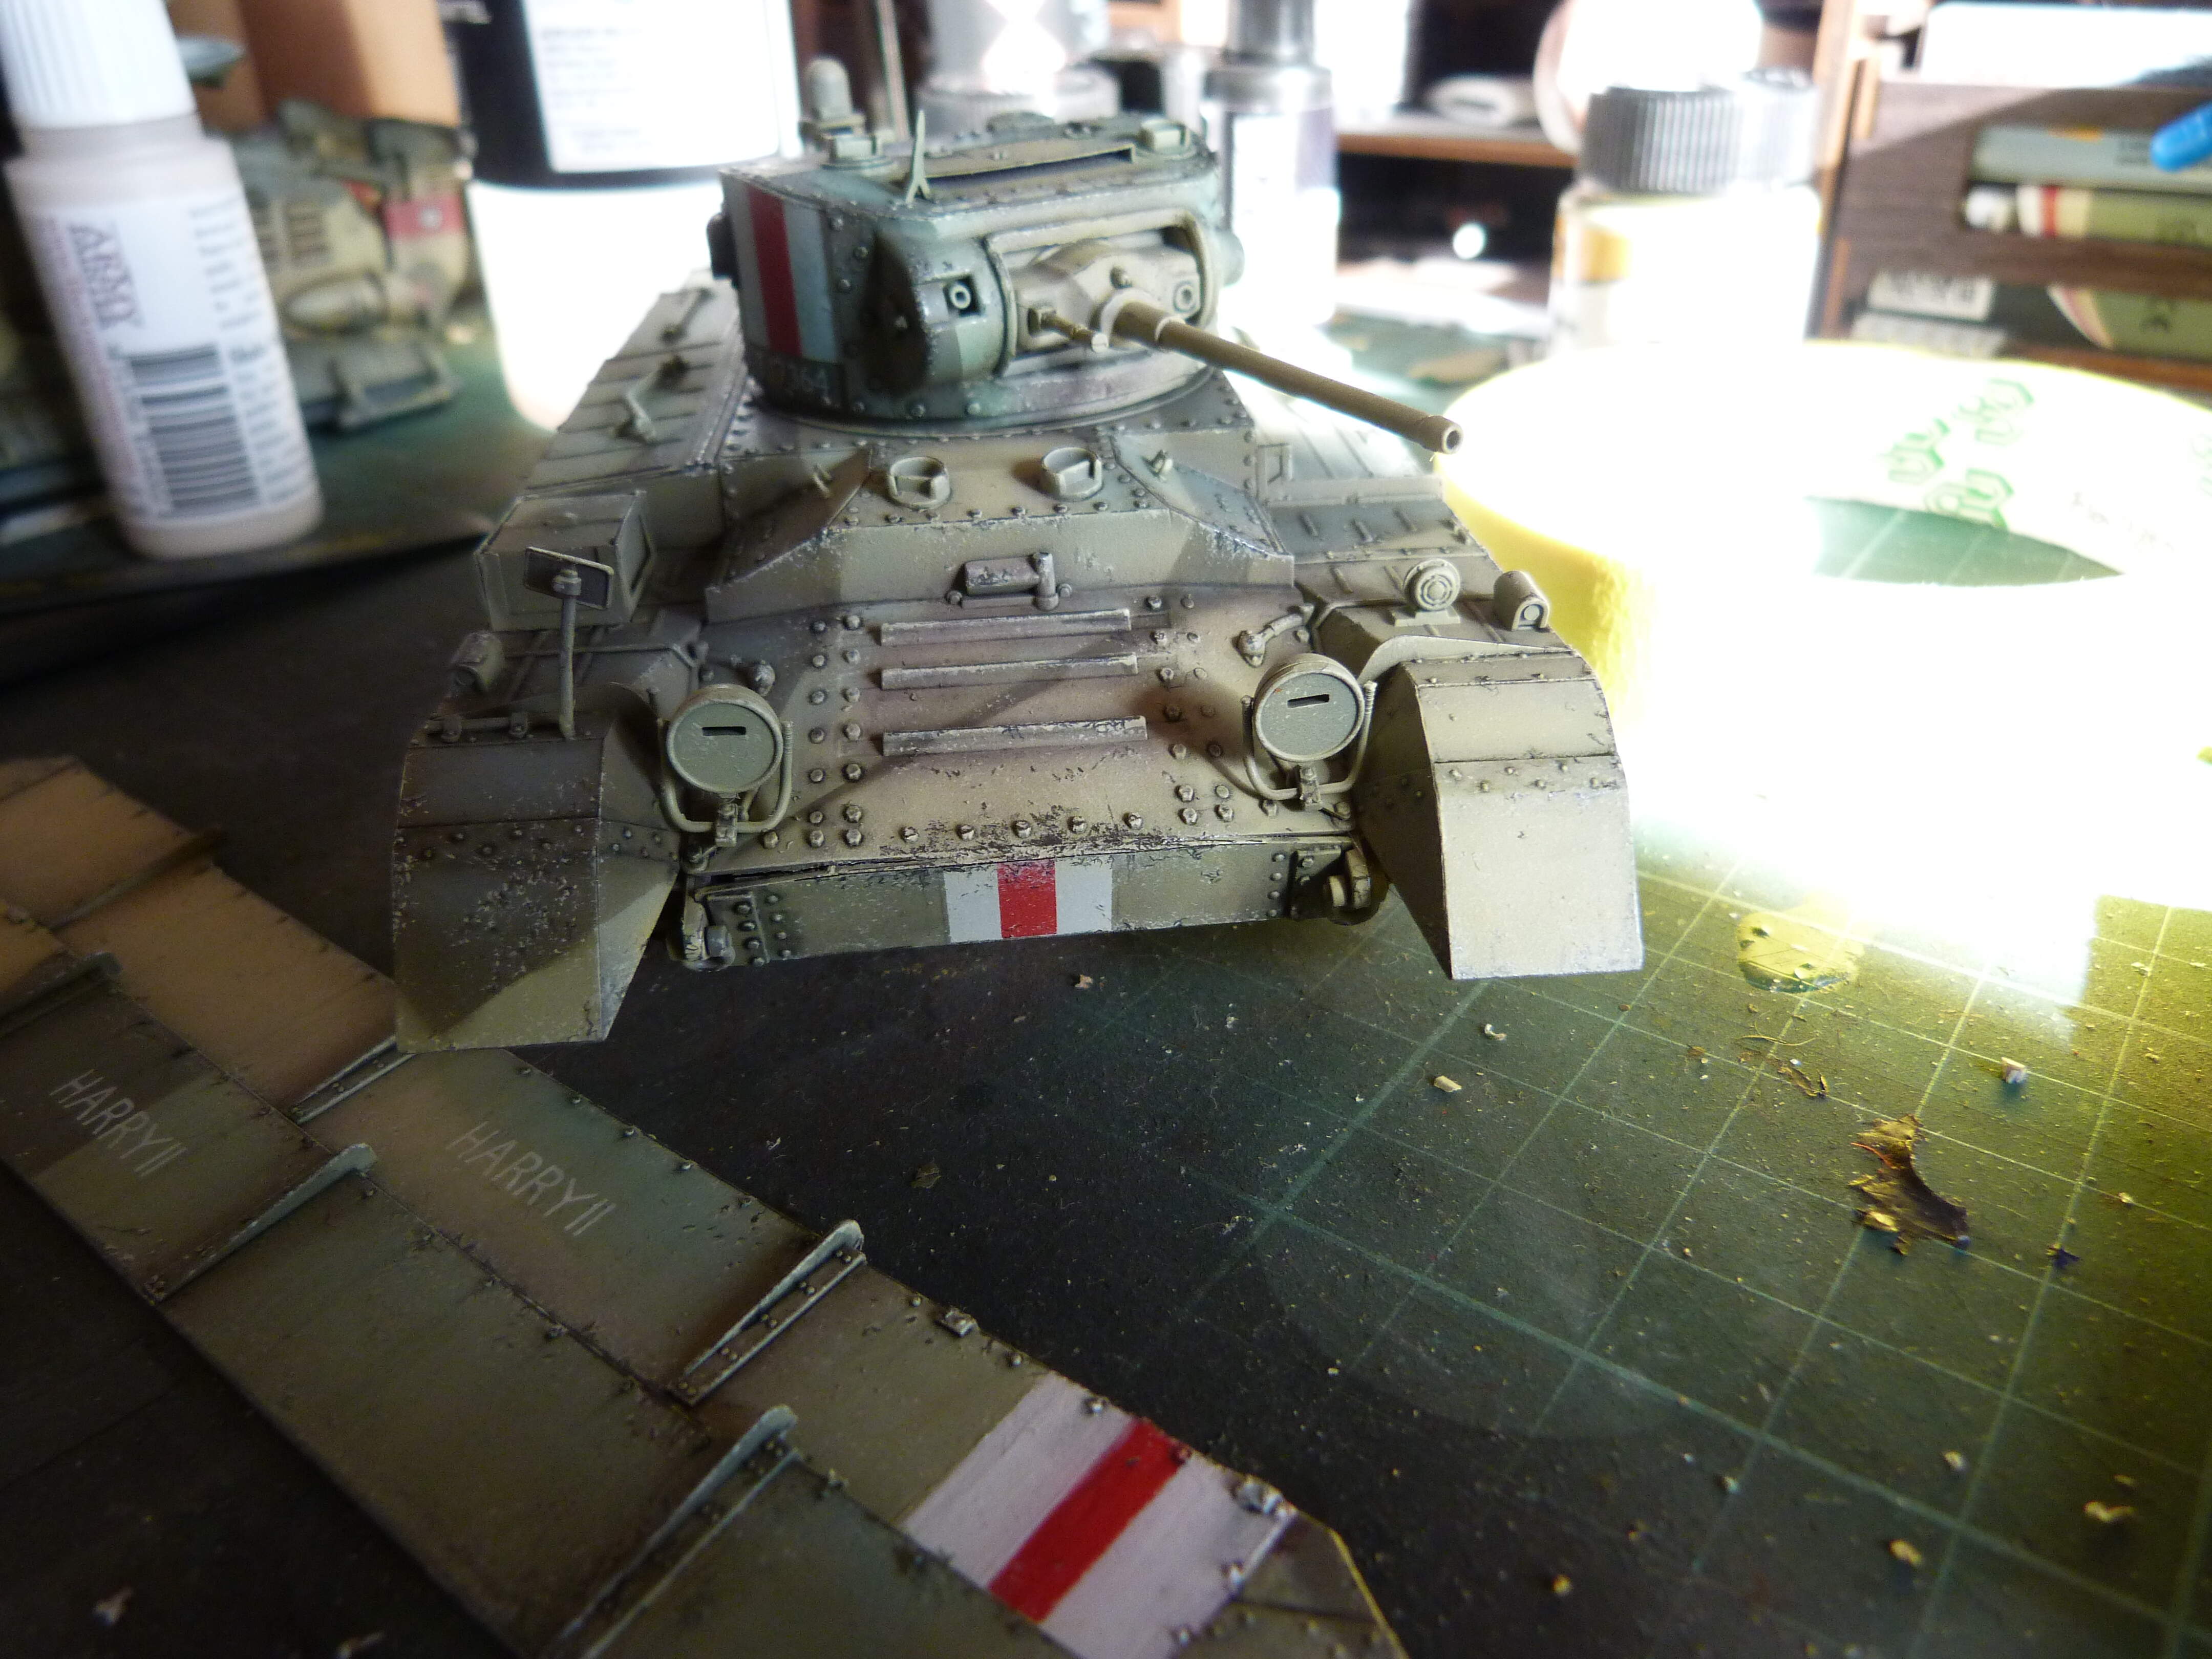
As for my own build, I may have gone a little bit too far with the weathering already and I haven’t even got to the dust and dirt side of things yet…Anyhow, here it is, I went back in and sorted out the decal problems by re-painting the red and white bars on the side skirts which took many many coats of white paint to cover up the mis-placed red bar on one side once I had finished pulling up all traces of the decals using a piece of masking tape that is.
Once I had done that I decided to go ahead and varnish everything up and put on a pin wash made from a mix of blue and brown oil paints. I left that over night and then came back in this morning to do some chipping, the first stage was done using a sponge and a light sandy colour for some superficial chips, than I came back in using a pencil to do fill in some of the bigger superficial chips with a bare metal effect, I know its hardly realistic but it does look good, when it is done well that is. The only problem is that I probably went way too far, so there’s that. Let me know what you think, its probably too much but I was trying something new, I tried using the pencil because I am crap at hand painting tiny chipping effects and I discovered that it is much easier to make tiny in scale chips using the pencil.
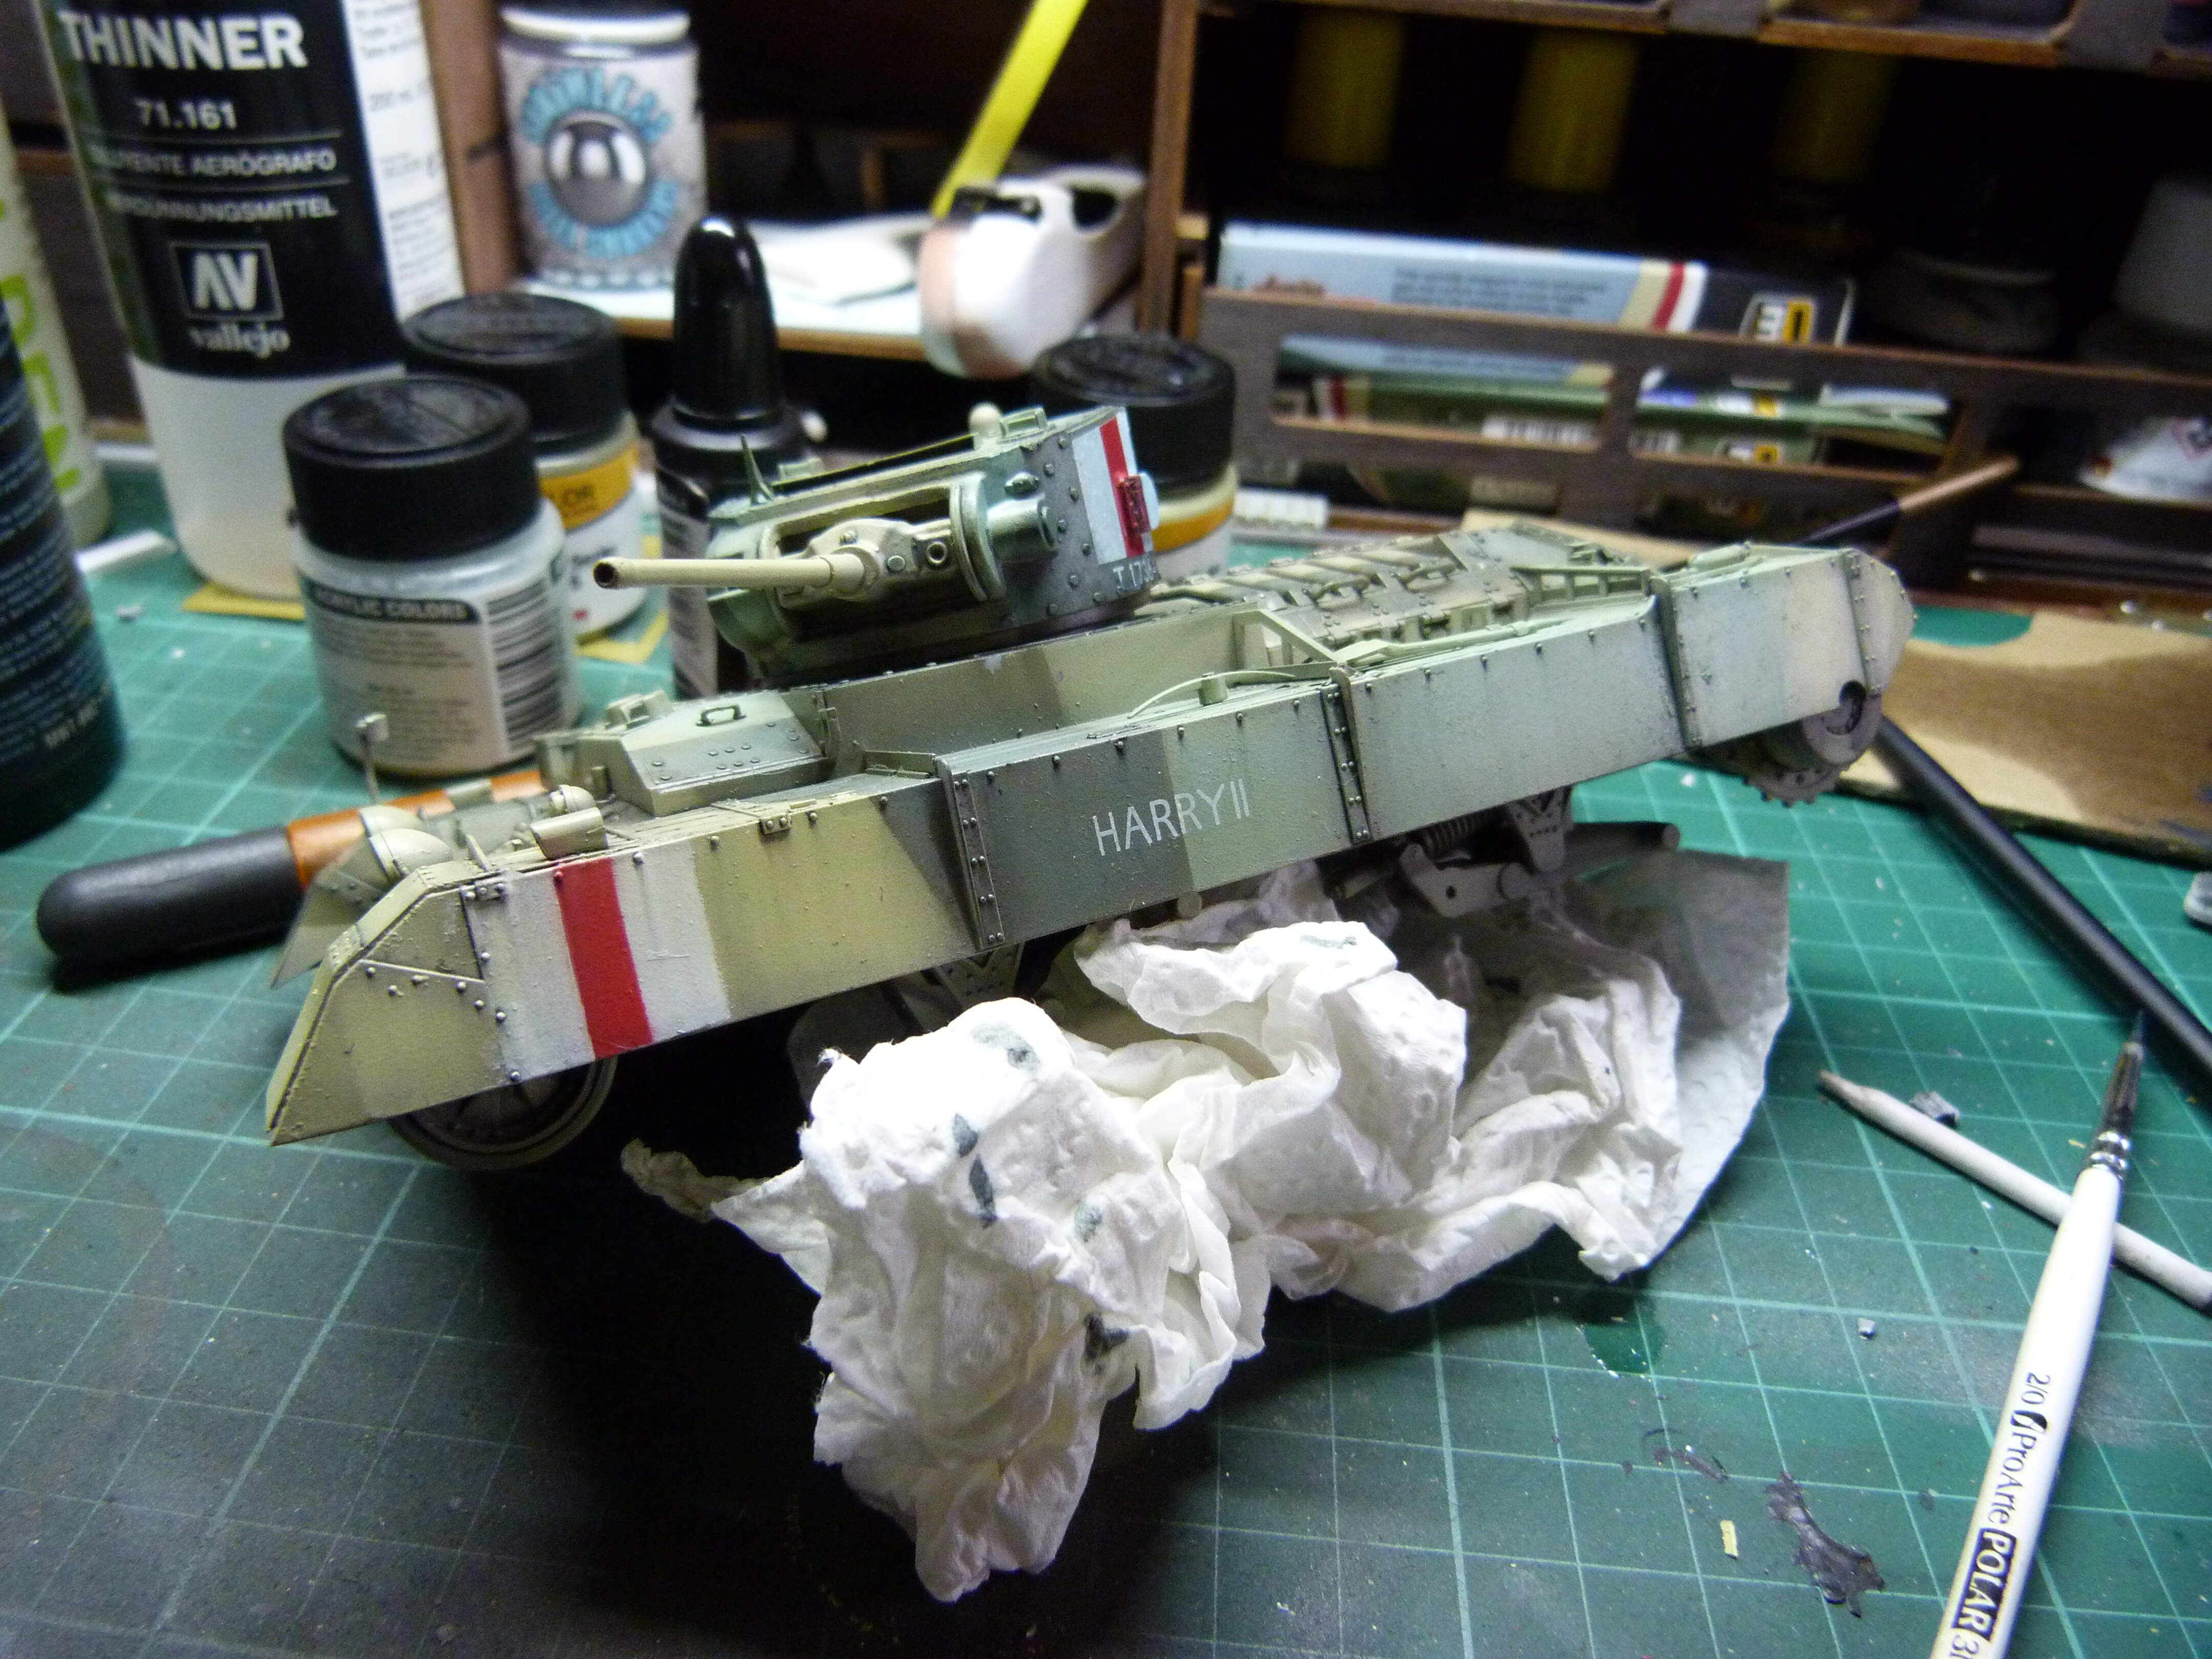

Many thanks for reading all that waffle, and any feedback would be much appreciated!
10 Likes