Thanks Peter - sound advice . I have made one pour and will de mold tomorrow . I will report the results and thanks for the advice.
Cheers- Richard
2 Likes
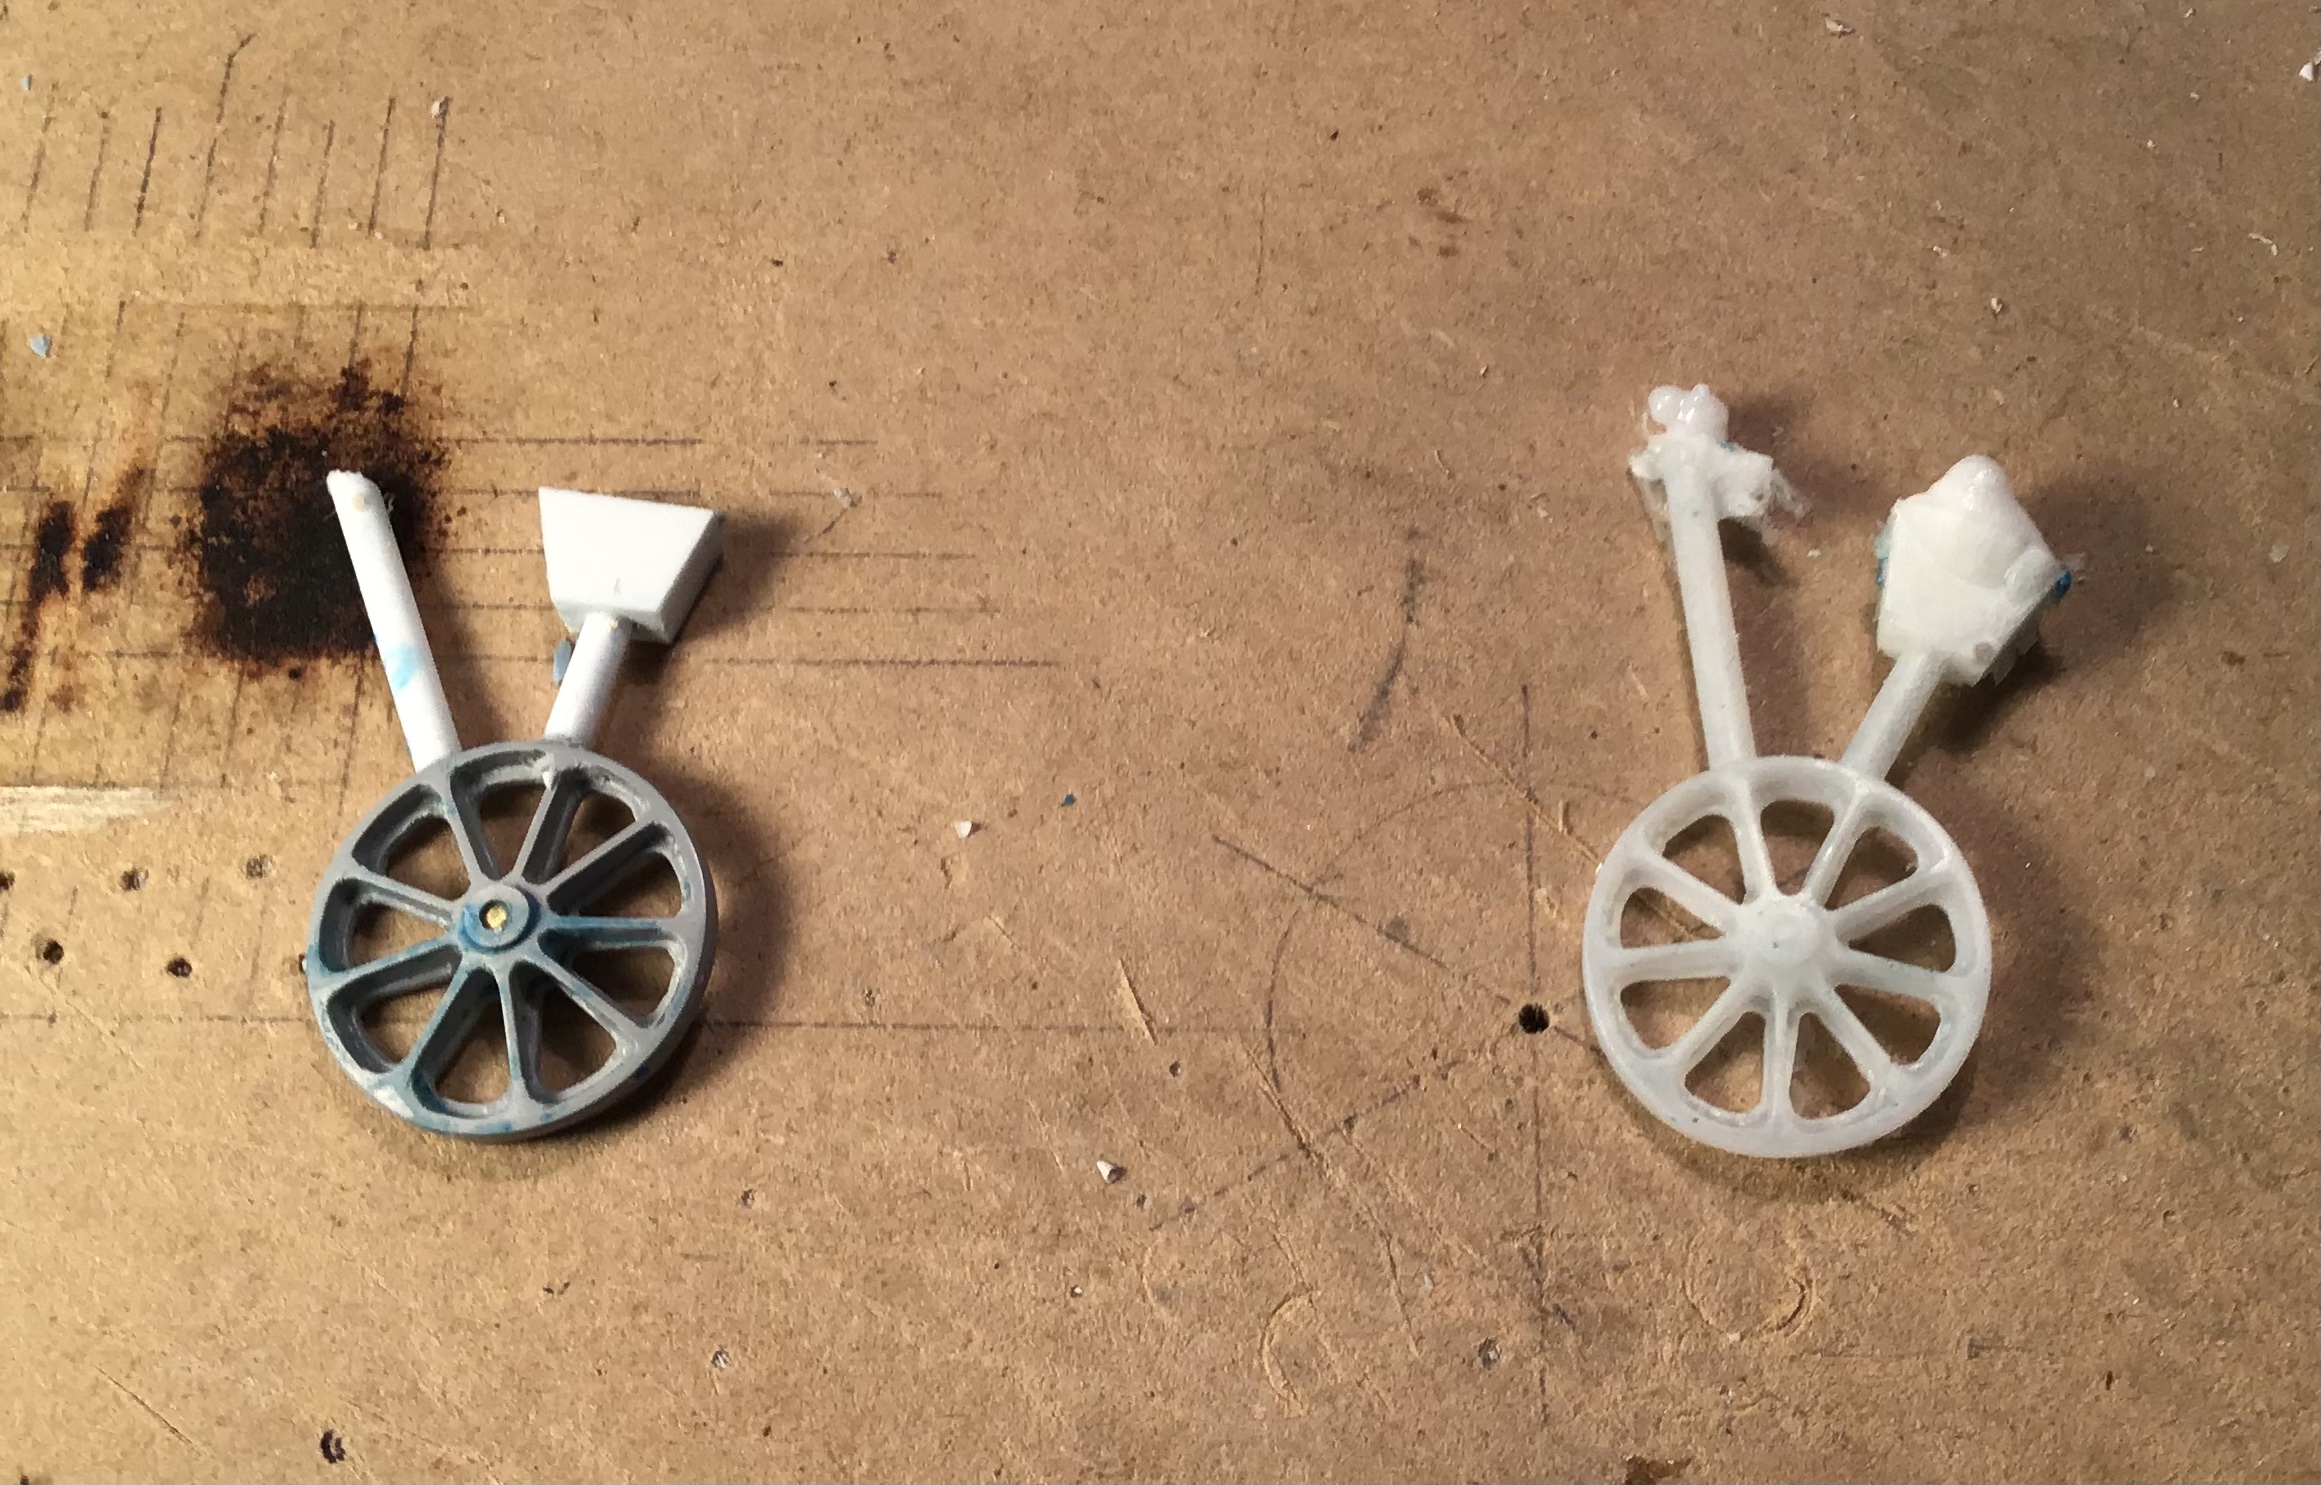
I have released the first casting from the mold .
Largely successful - one tiny void on one spoke but easily fixed. This success may be more good luck than good planning . So one down and seven more to go . I have taken Peter’s advice and cut in another vent and enlarged the pour
sprue . Another pour today that will be a bit of a test - The instructions for the resin state that the minimum mix is one fluid ounce but that leaves a tremendous amount of waste and this stuff is expensive . I am going to cut that in half and see what happens.
7 Likes
Main components of arch going together now - couldn’t resist a set up with the D7 …
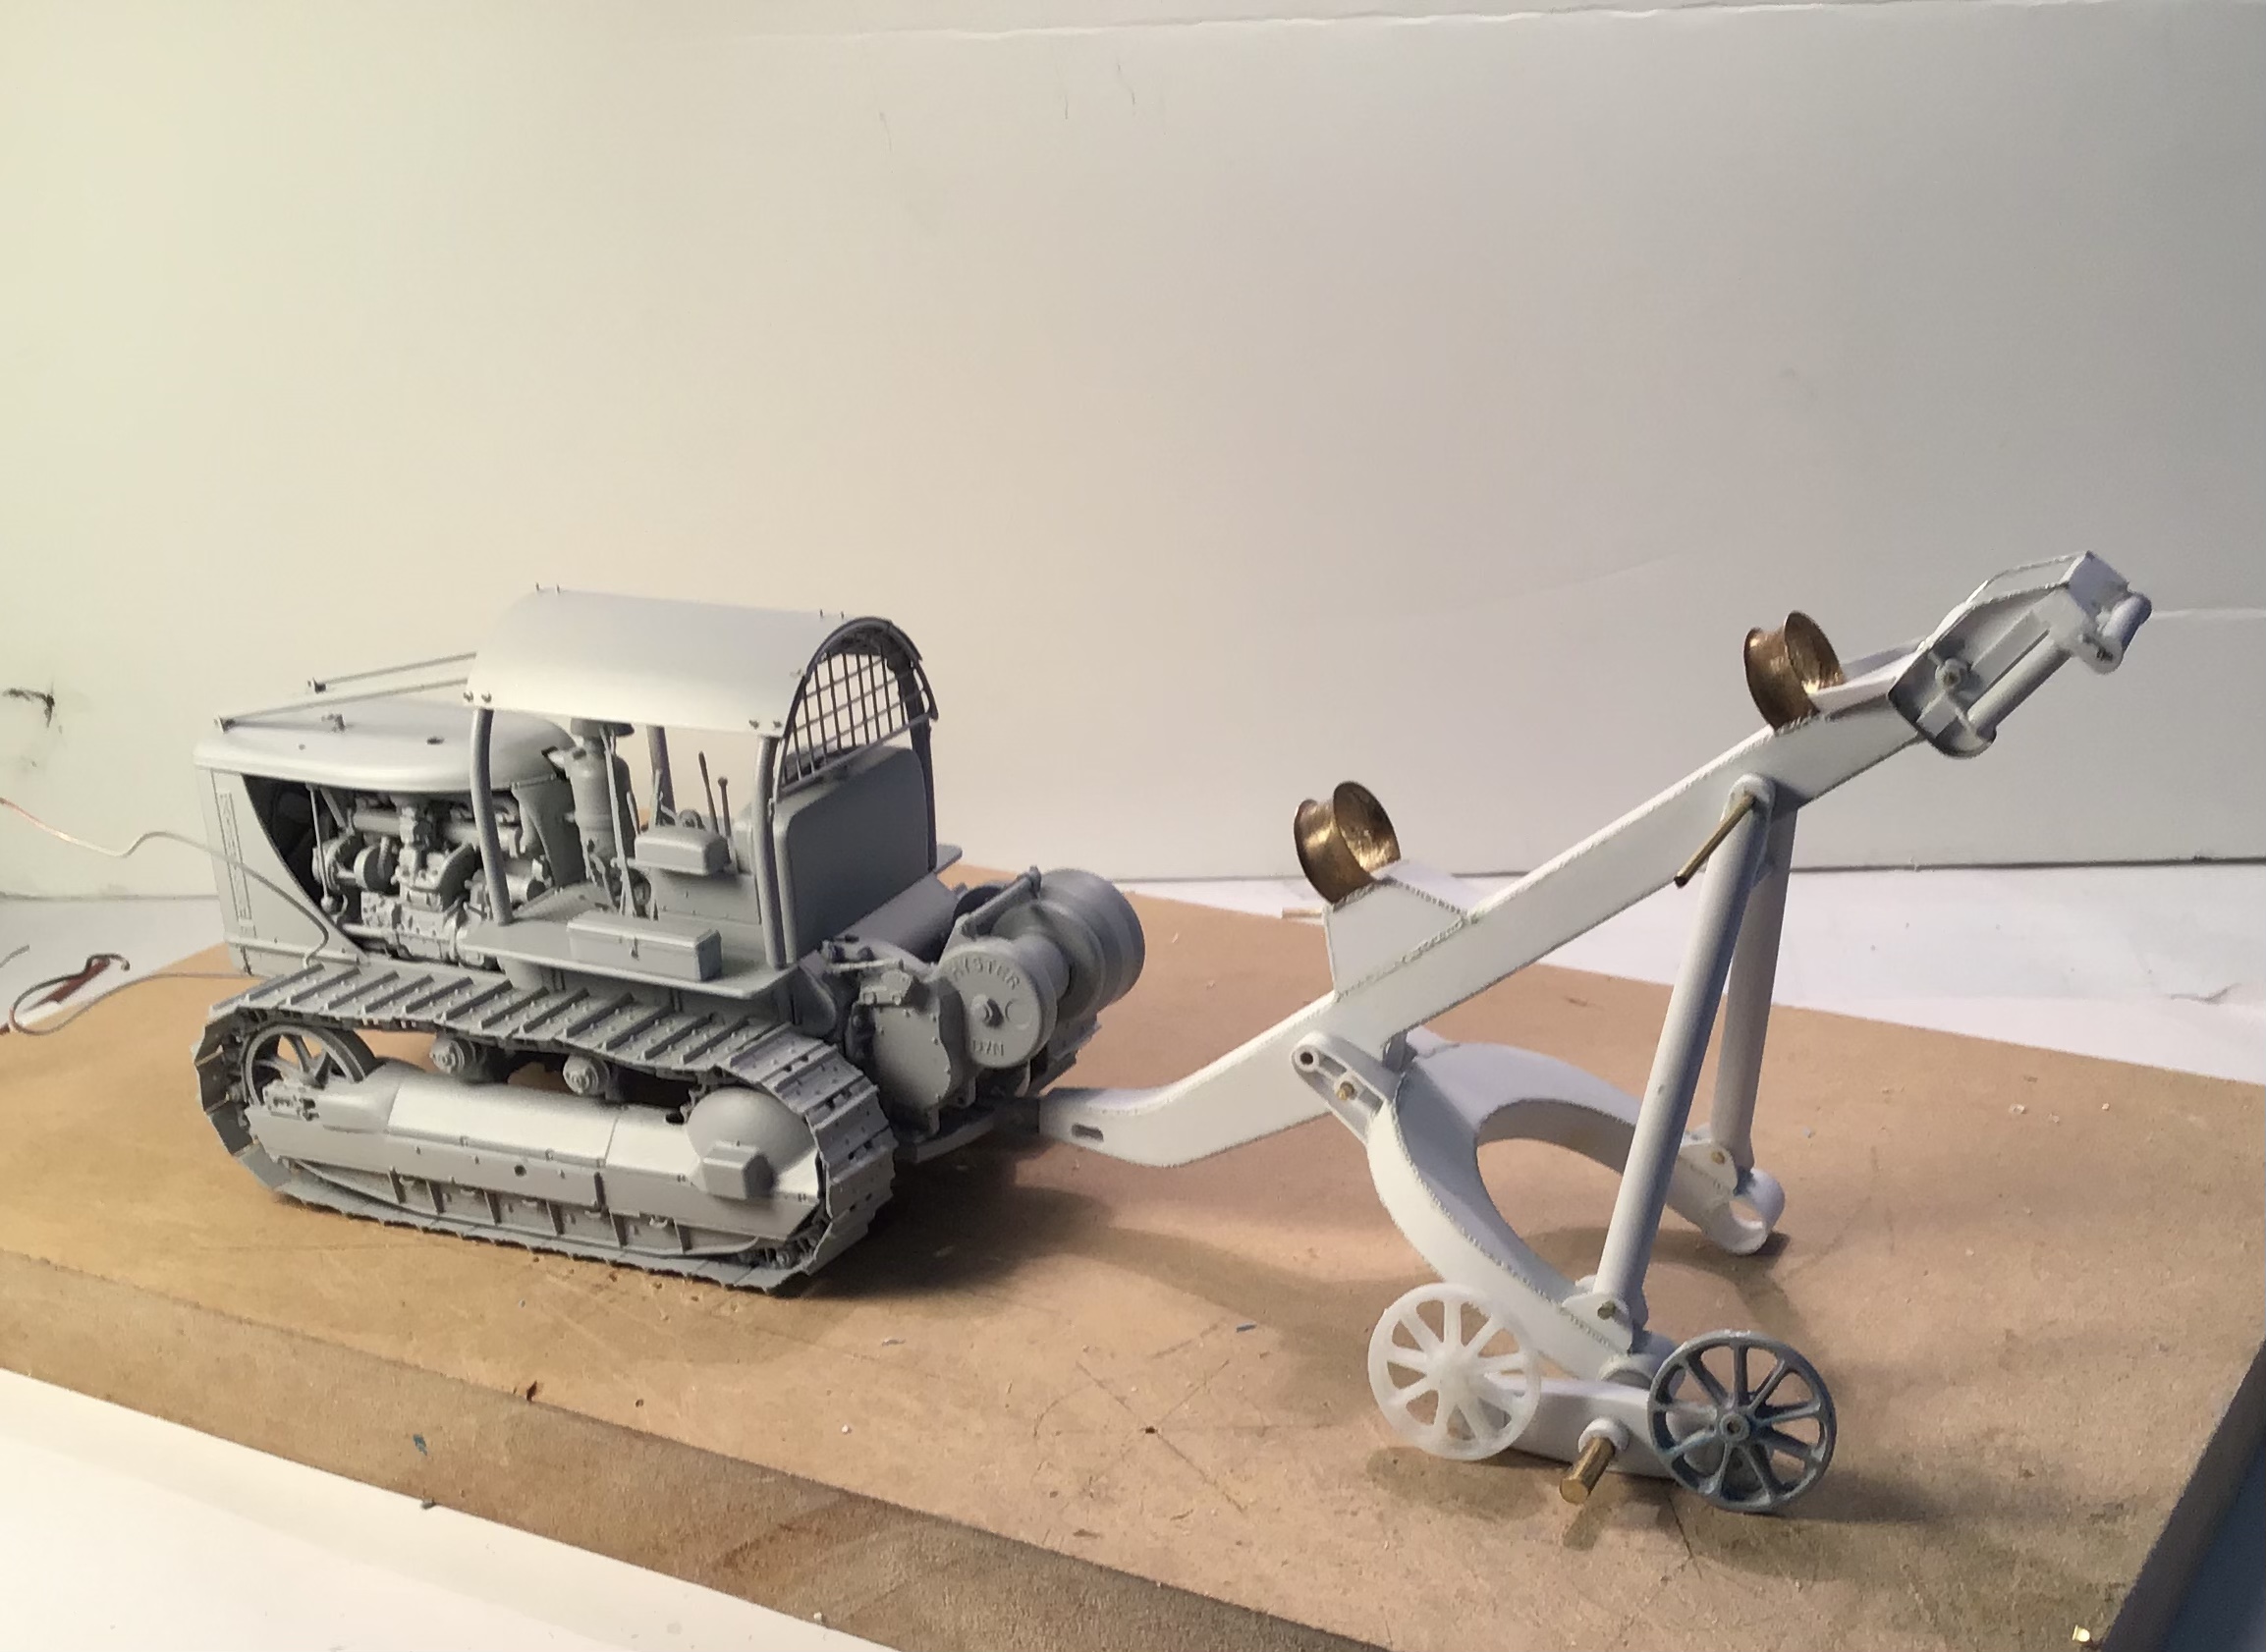
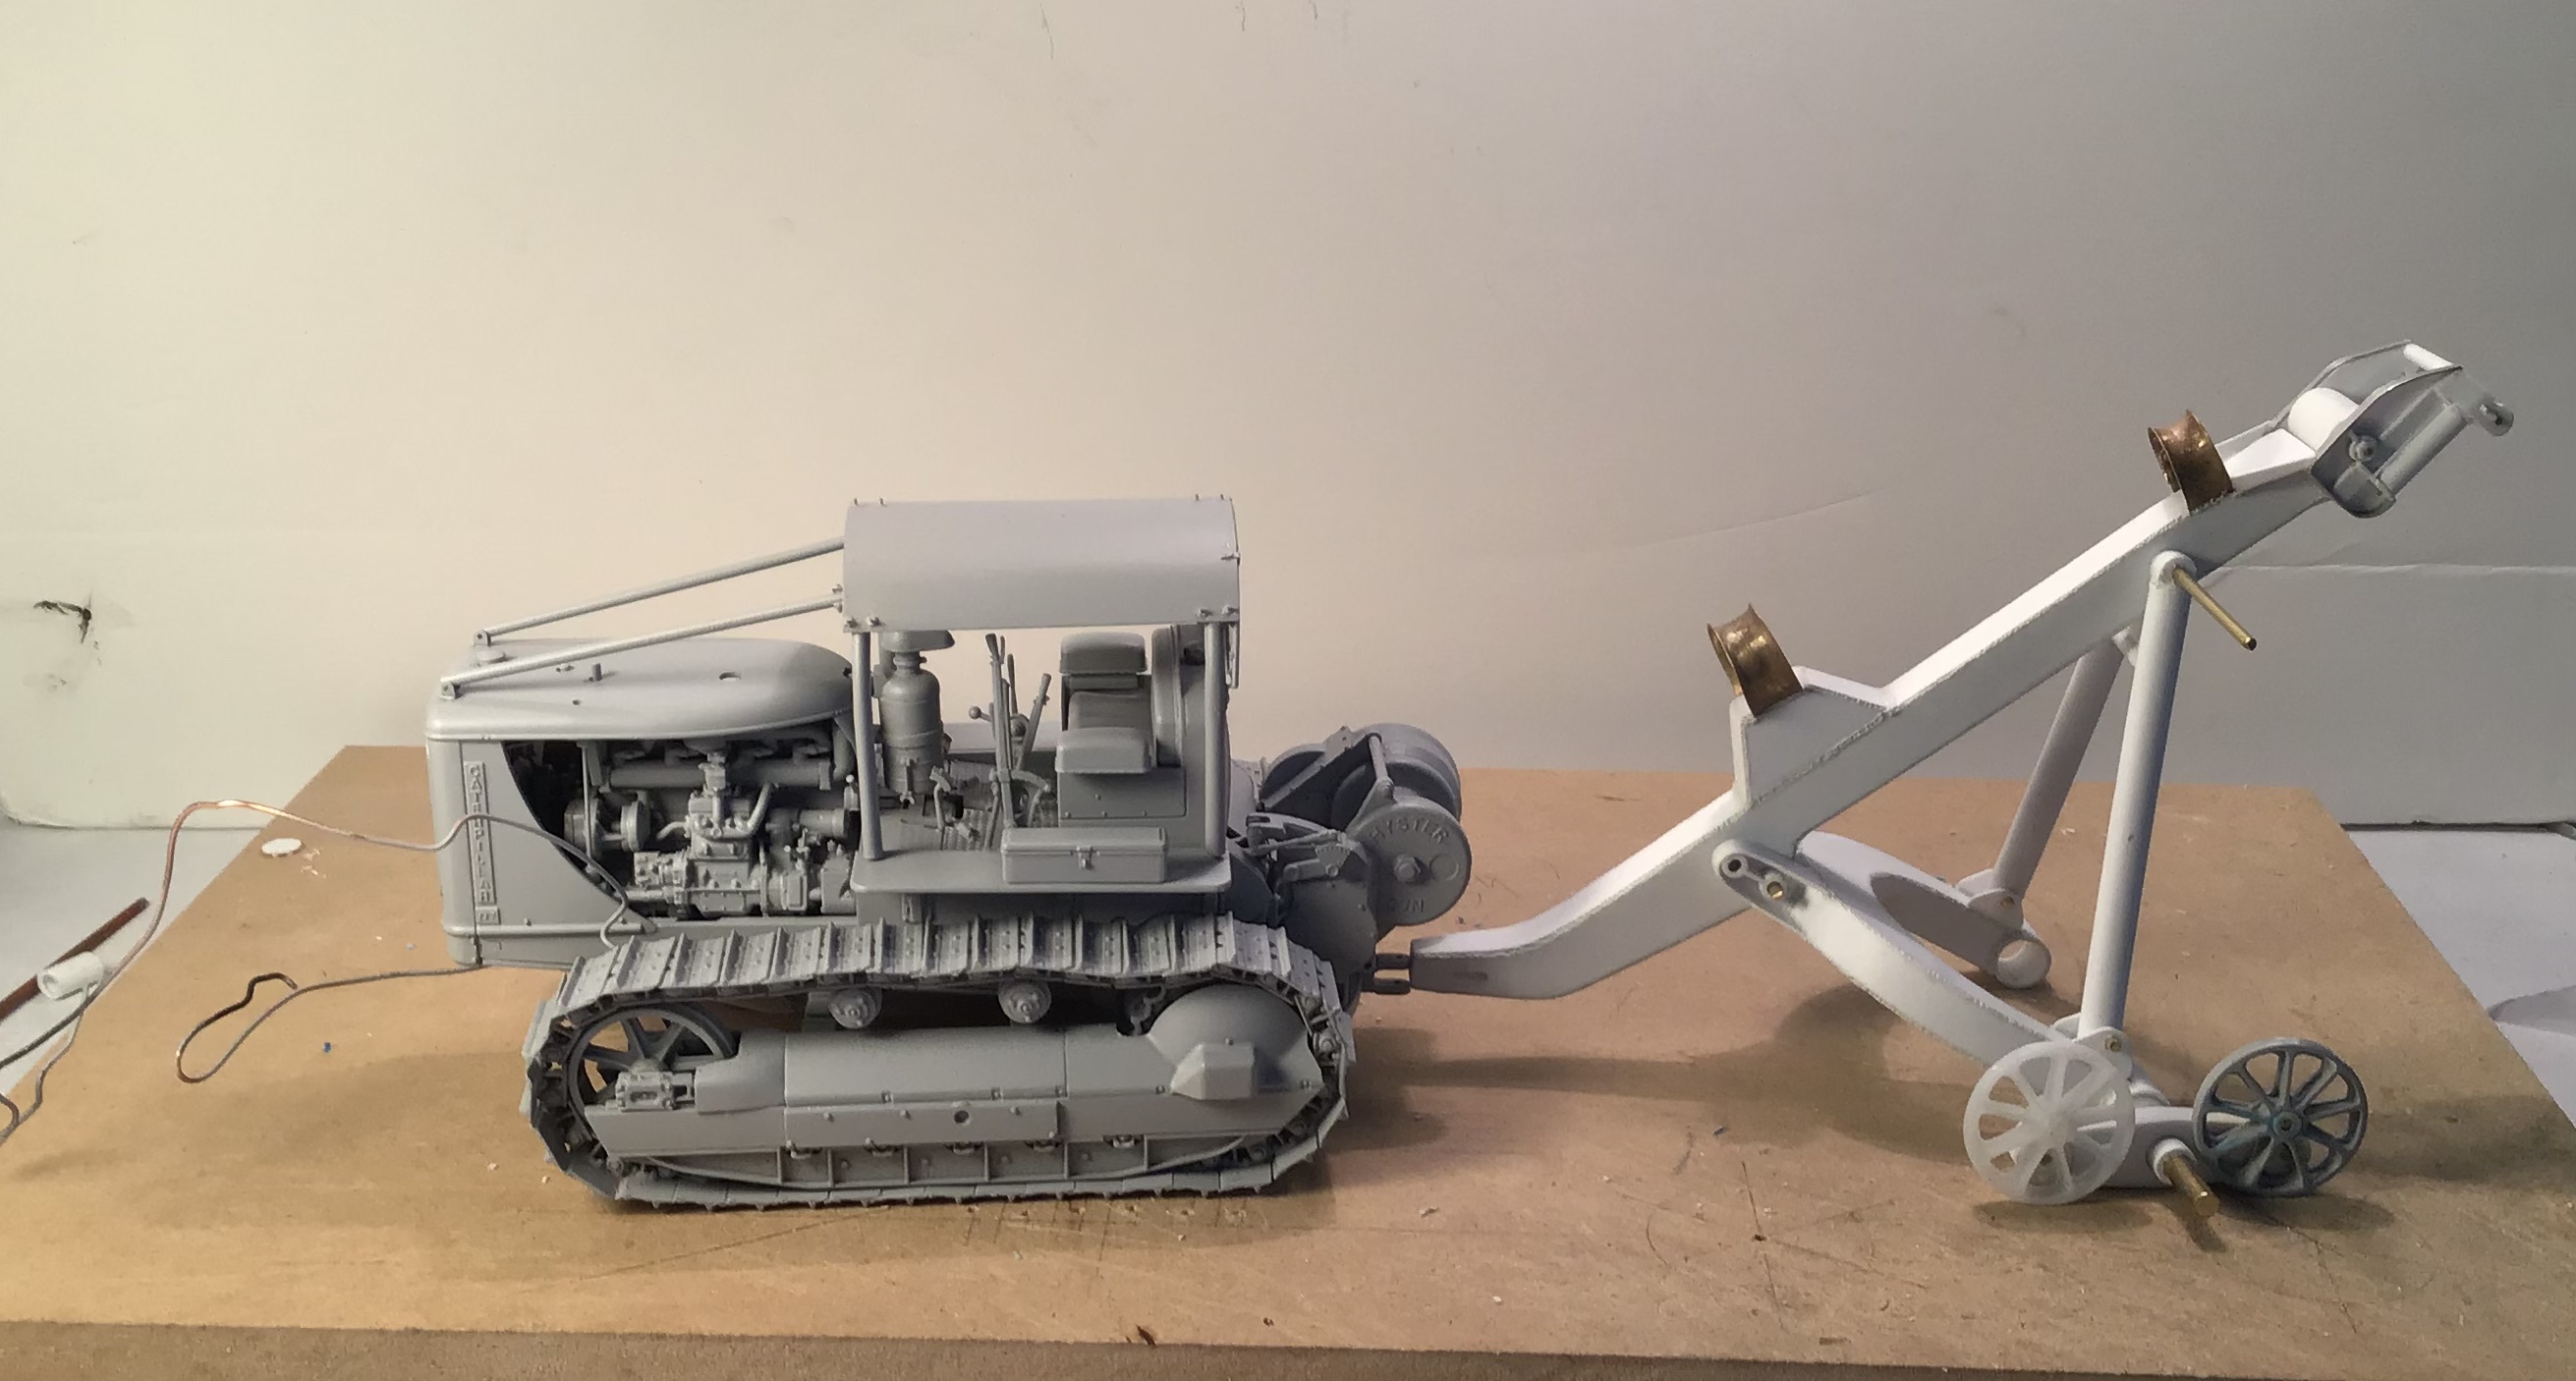
If the second cast of the wheel is successful I will mount them axially and begin to puzzle out the track links .
11 Likes
Well, resin casting - check.
Is there anything you are not outstanding at?
3 Likes
Thanks for the compliment Matthew - it would appear that I am not outstanding where resin casting is concerned. Some voids here and there on second effort . I am going to try filling the mold half before joining them together as Peter suggested for the third try . I’m learning.
2 Likes
“Painting” the insides of the molds with resin before joining them could also improve things.
2 Likes
Something I forgot to mention. Add a little talcum powder to the mould, shake and tip out the excess leaving a dusting on the mould. The resin will be drawn in to the powder - helps to minimise air bubbles in the finer details and the powder does not compromise the resin.
2 Likes
Amazing work!
1 Like
Thanks all for the interest and kind words .
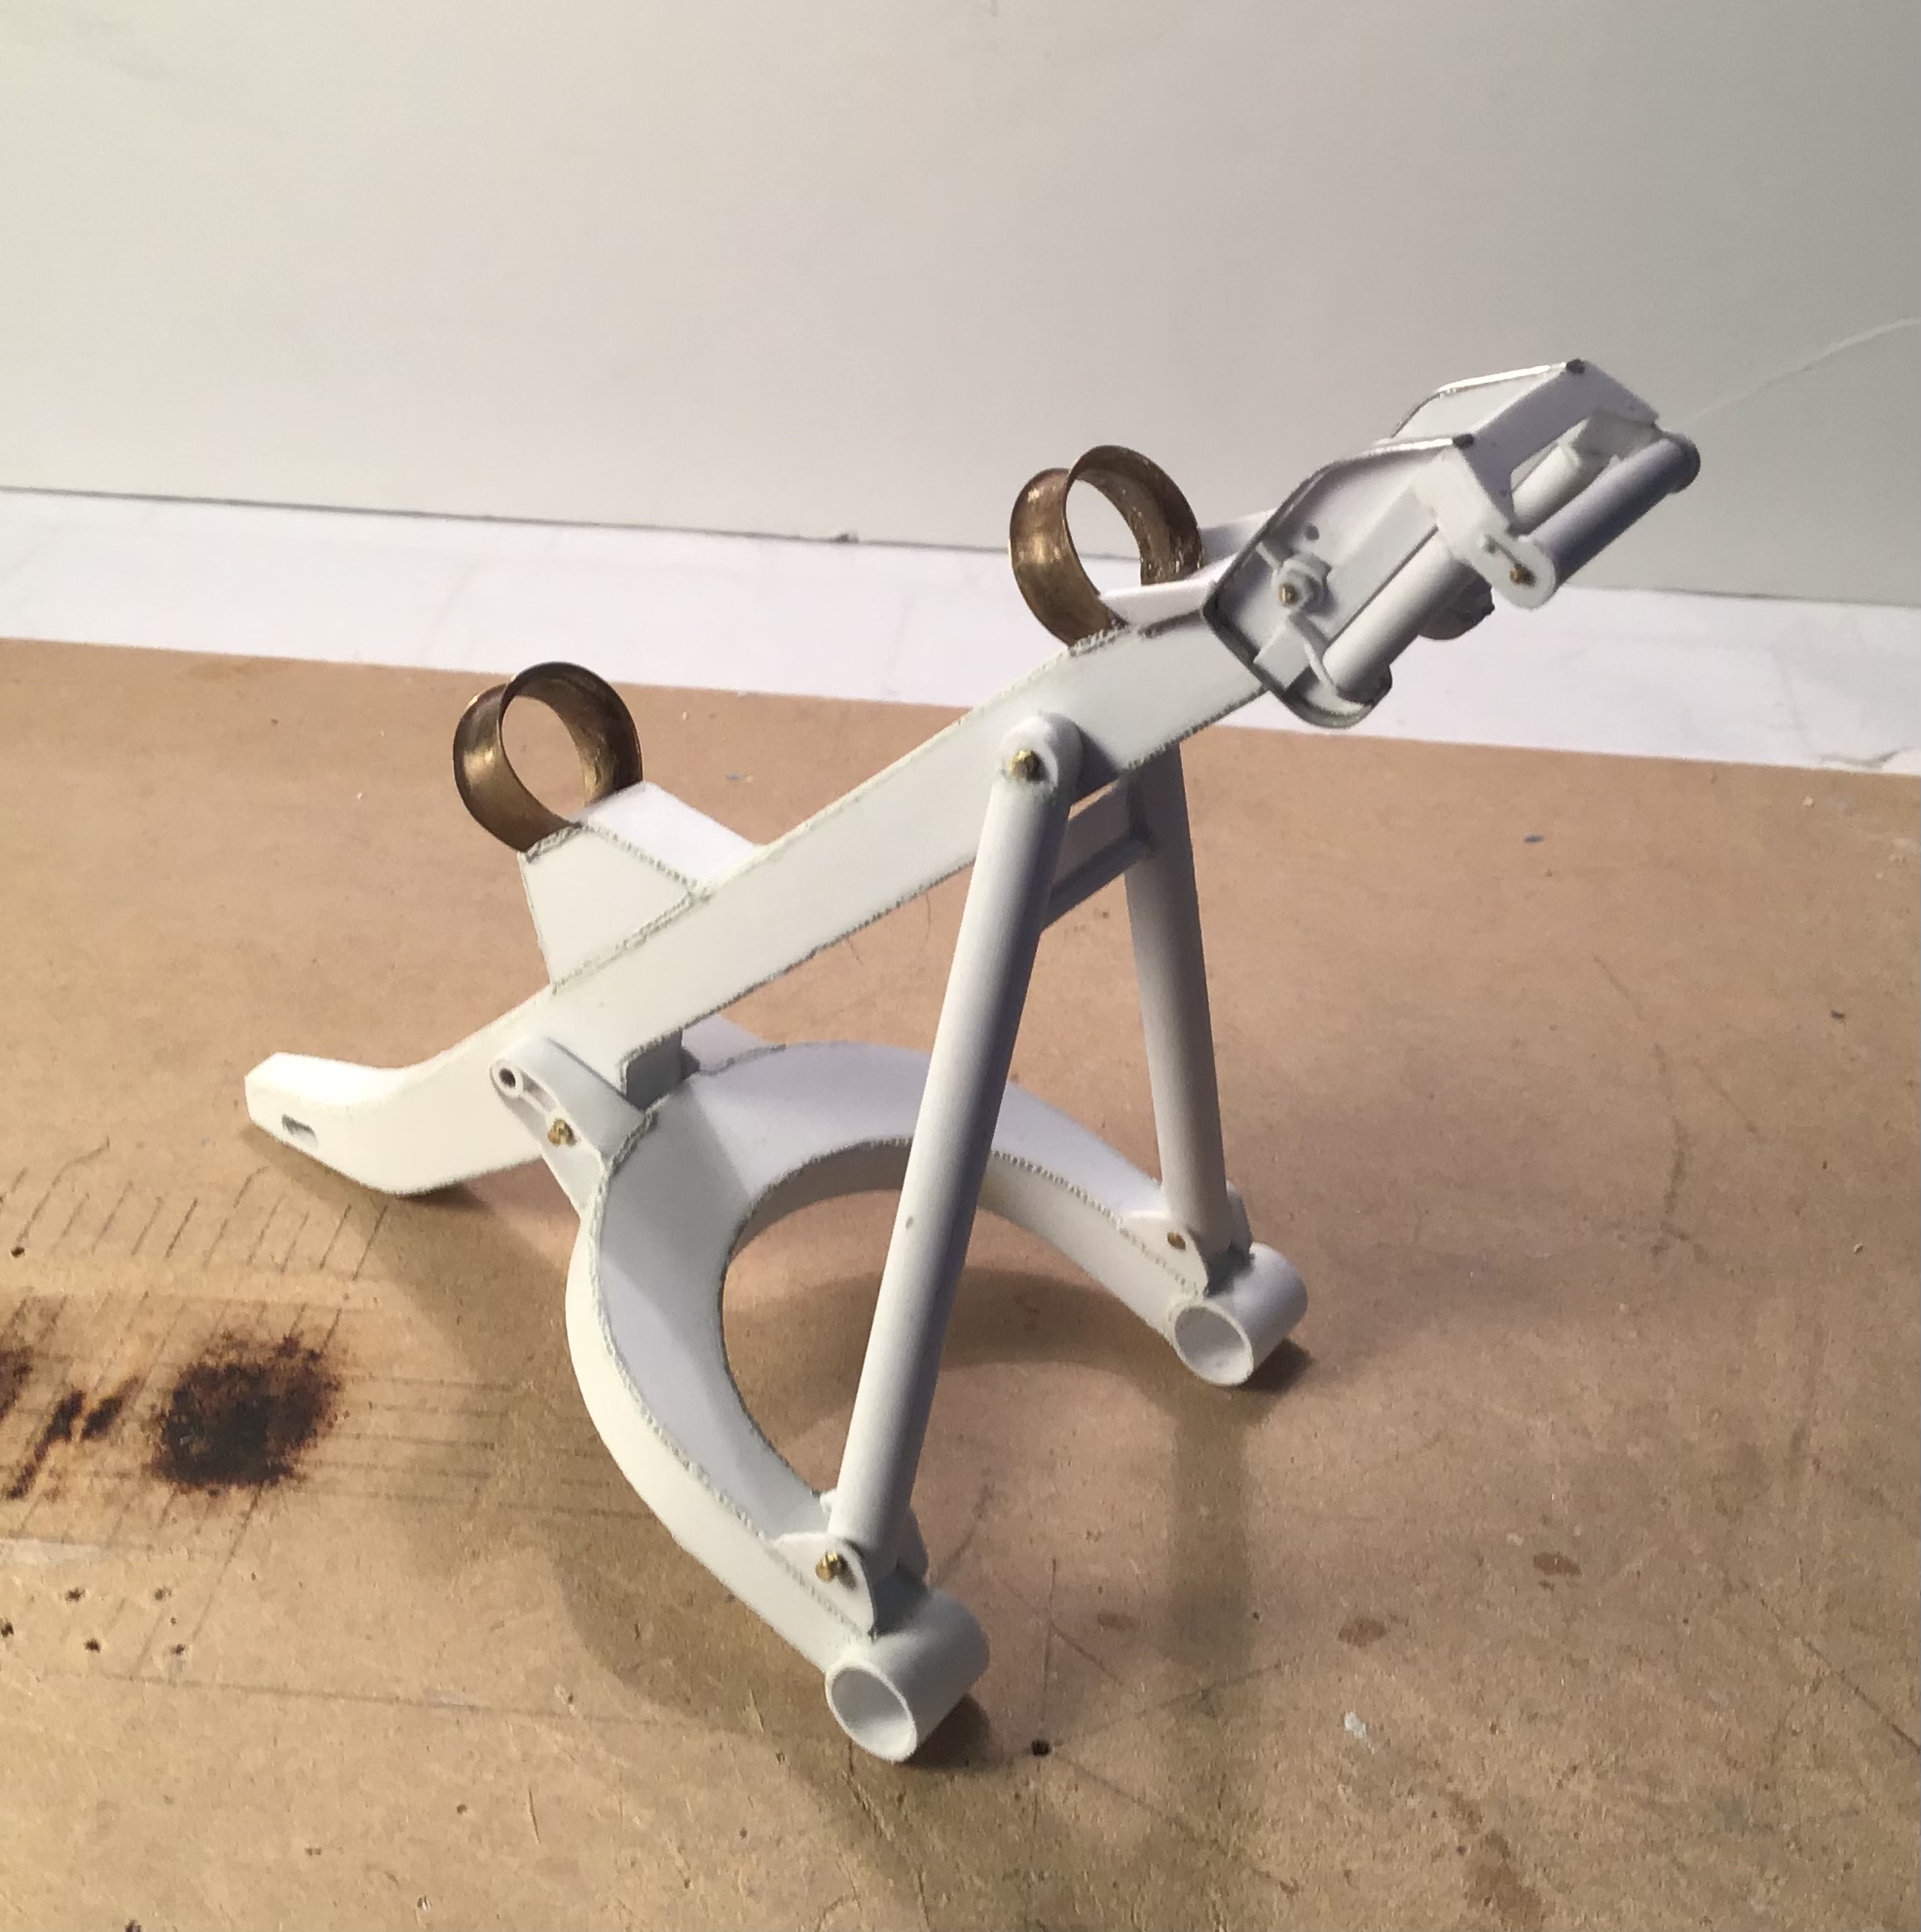
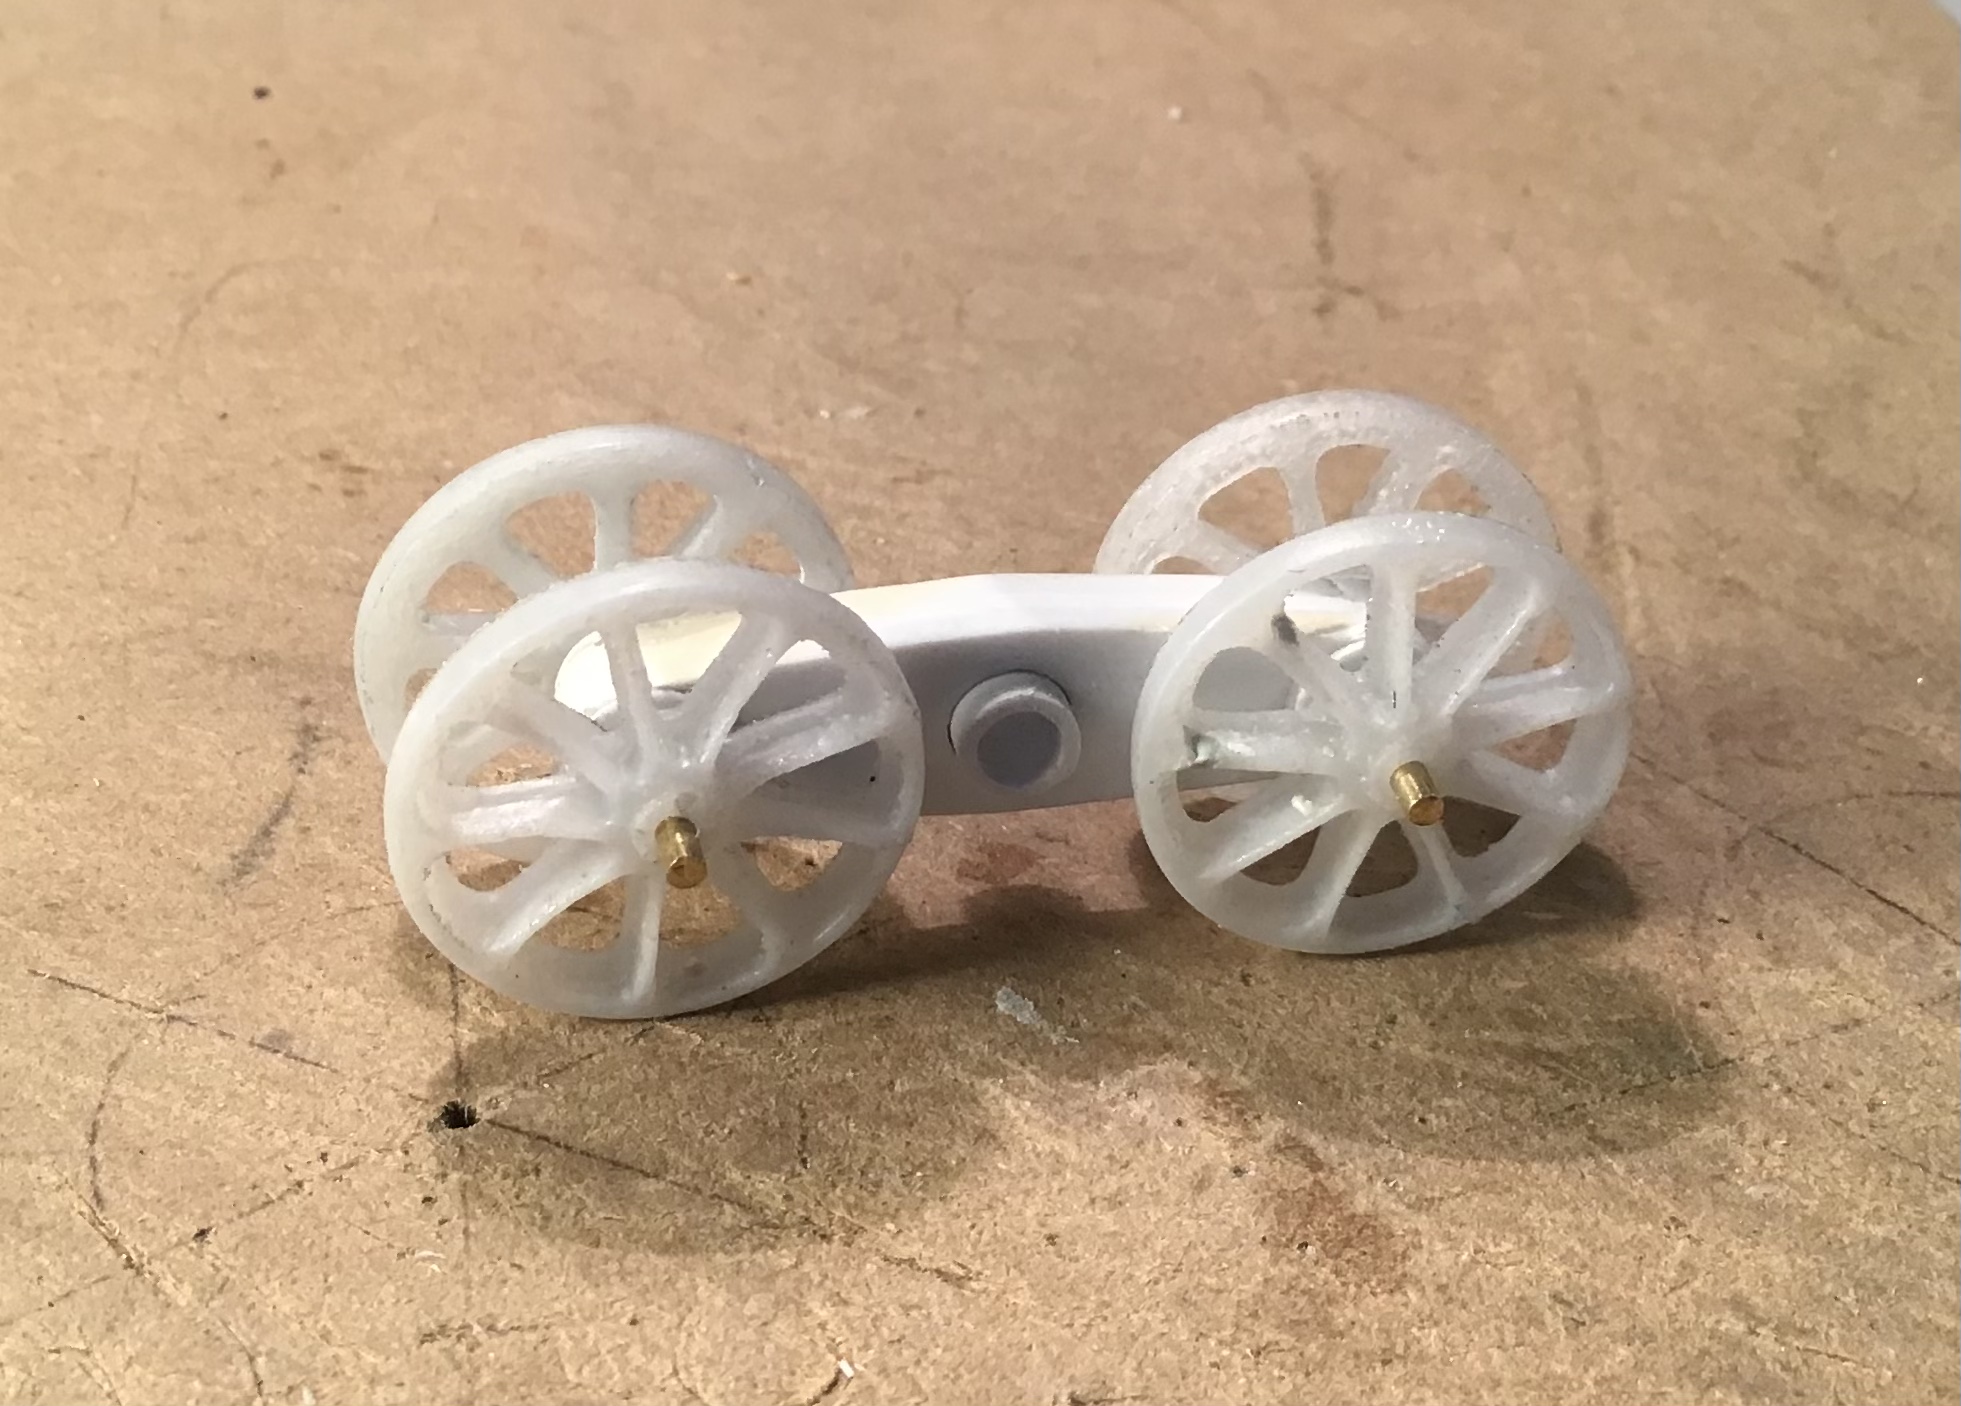
I’ve finished up all the connections on the
boom /chassis . These were apparently held together with pins that were cross bolted on the ends to retain them . Pins made of brass rod with photo etch nuts to represent the cross bolts.
I’ve gotten four of the eight wheels cast …
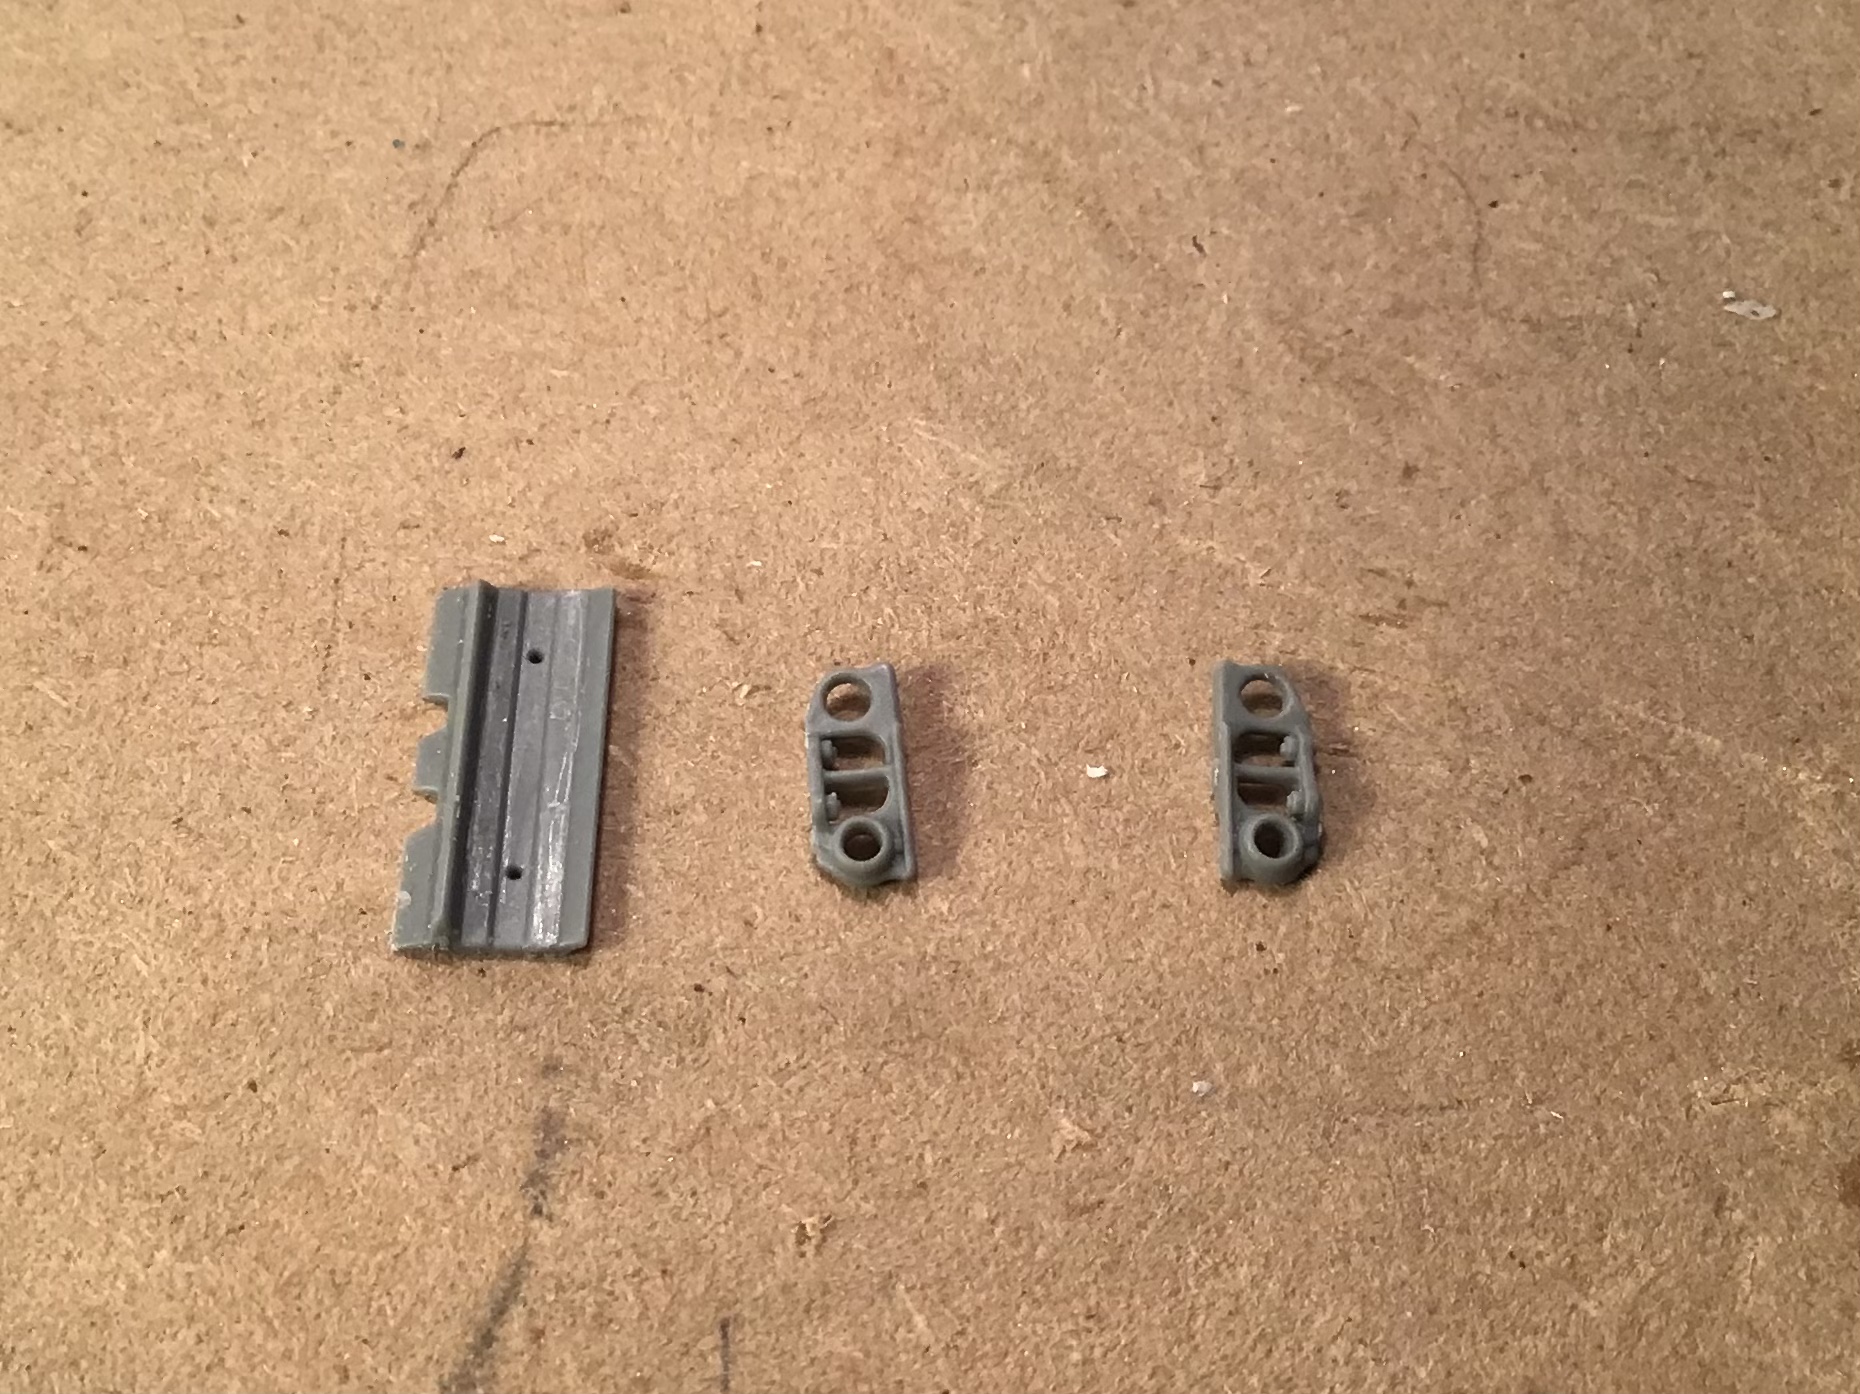
and made up a track link master . I used a track pad and links from one of the MiniArt D7 kits . There are no spares of these but Fruil make a track set so I will order one to have on hand against the day I may want to build another.
I shaved the nuts off the pad as the links needed to be moved outward . They were re cemented in the proper position. The strange enormous interlocking guide horns were made up of plastic sheet . I hope to be able cast these in a two part mold but they have some deep undercut detail - hoping the silicone is flexible enough when de-molding .
If it doesn’t work then I will have to cast the links/guide horns separately from the pads and assemble afterwards.

I’ve ordered some talc to try dusting the mold as Peter suggested to see if that improves things .
Meanwhile I’ll create the mold for the track link.
It will be a few days till all is ready to try - fingers crossed.
Cheers- RT
6 Likes
One possible way to avoid having the mold getting stuck in holes/undercuts
is to make them shallow and then drill them out after demolding,
Leave enough of a hole to guide the drill or insert a plug with a
conical hole (shaped like the cutting end of the drill bit).
It will be easier for a conical silicone peg to leave a shallow conical hole
than for a cylindrical peg to be pulled out of a deep hole.
Some resin casters insert a disc in holes so that the molding process
leaves a thin skin to be removed when the part has been demolded.
2 Likes
Looks like the resin wheels have come out very well.
Good luck with the tracks.
2 Likes
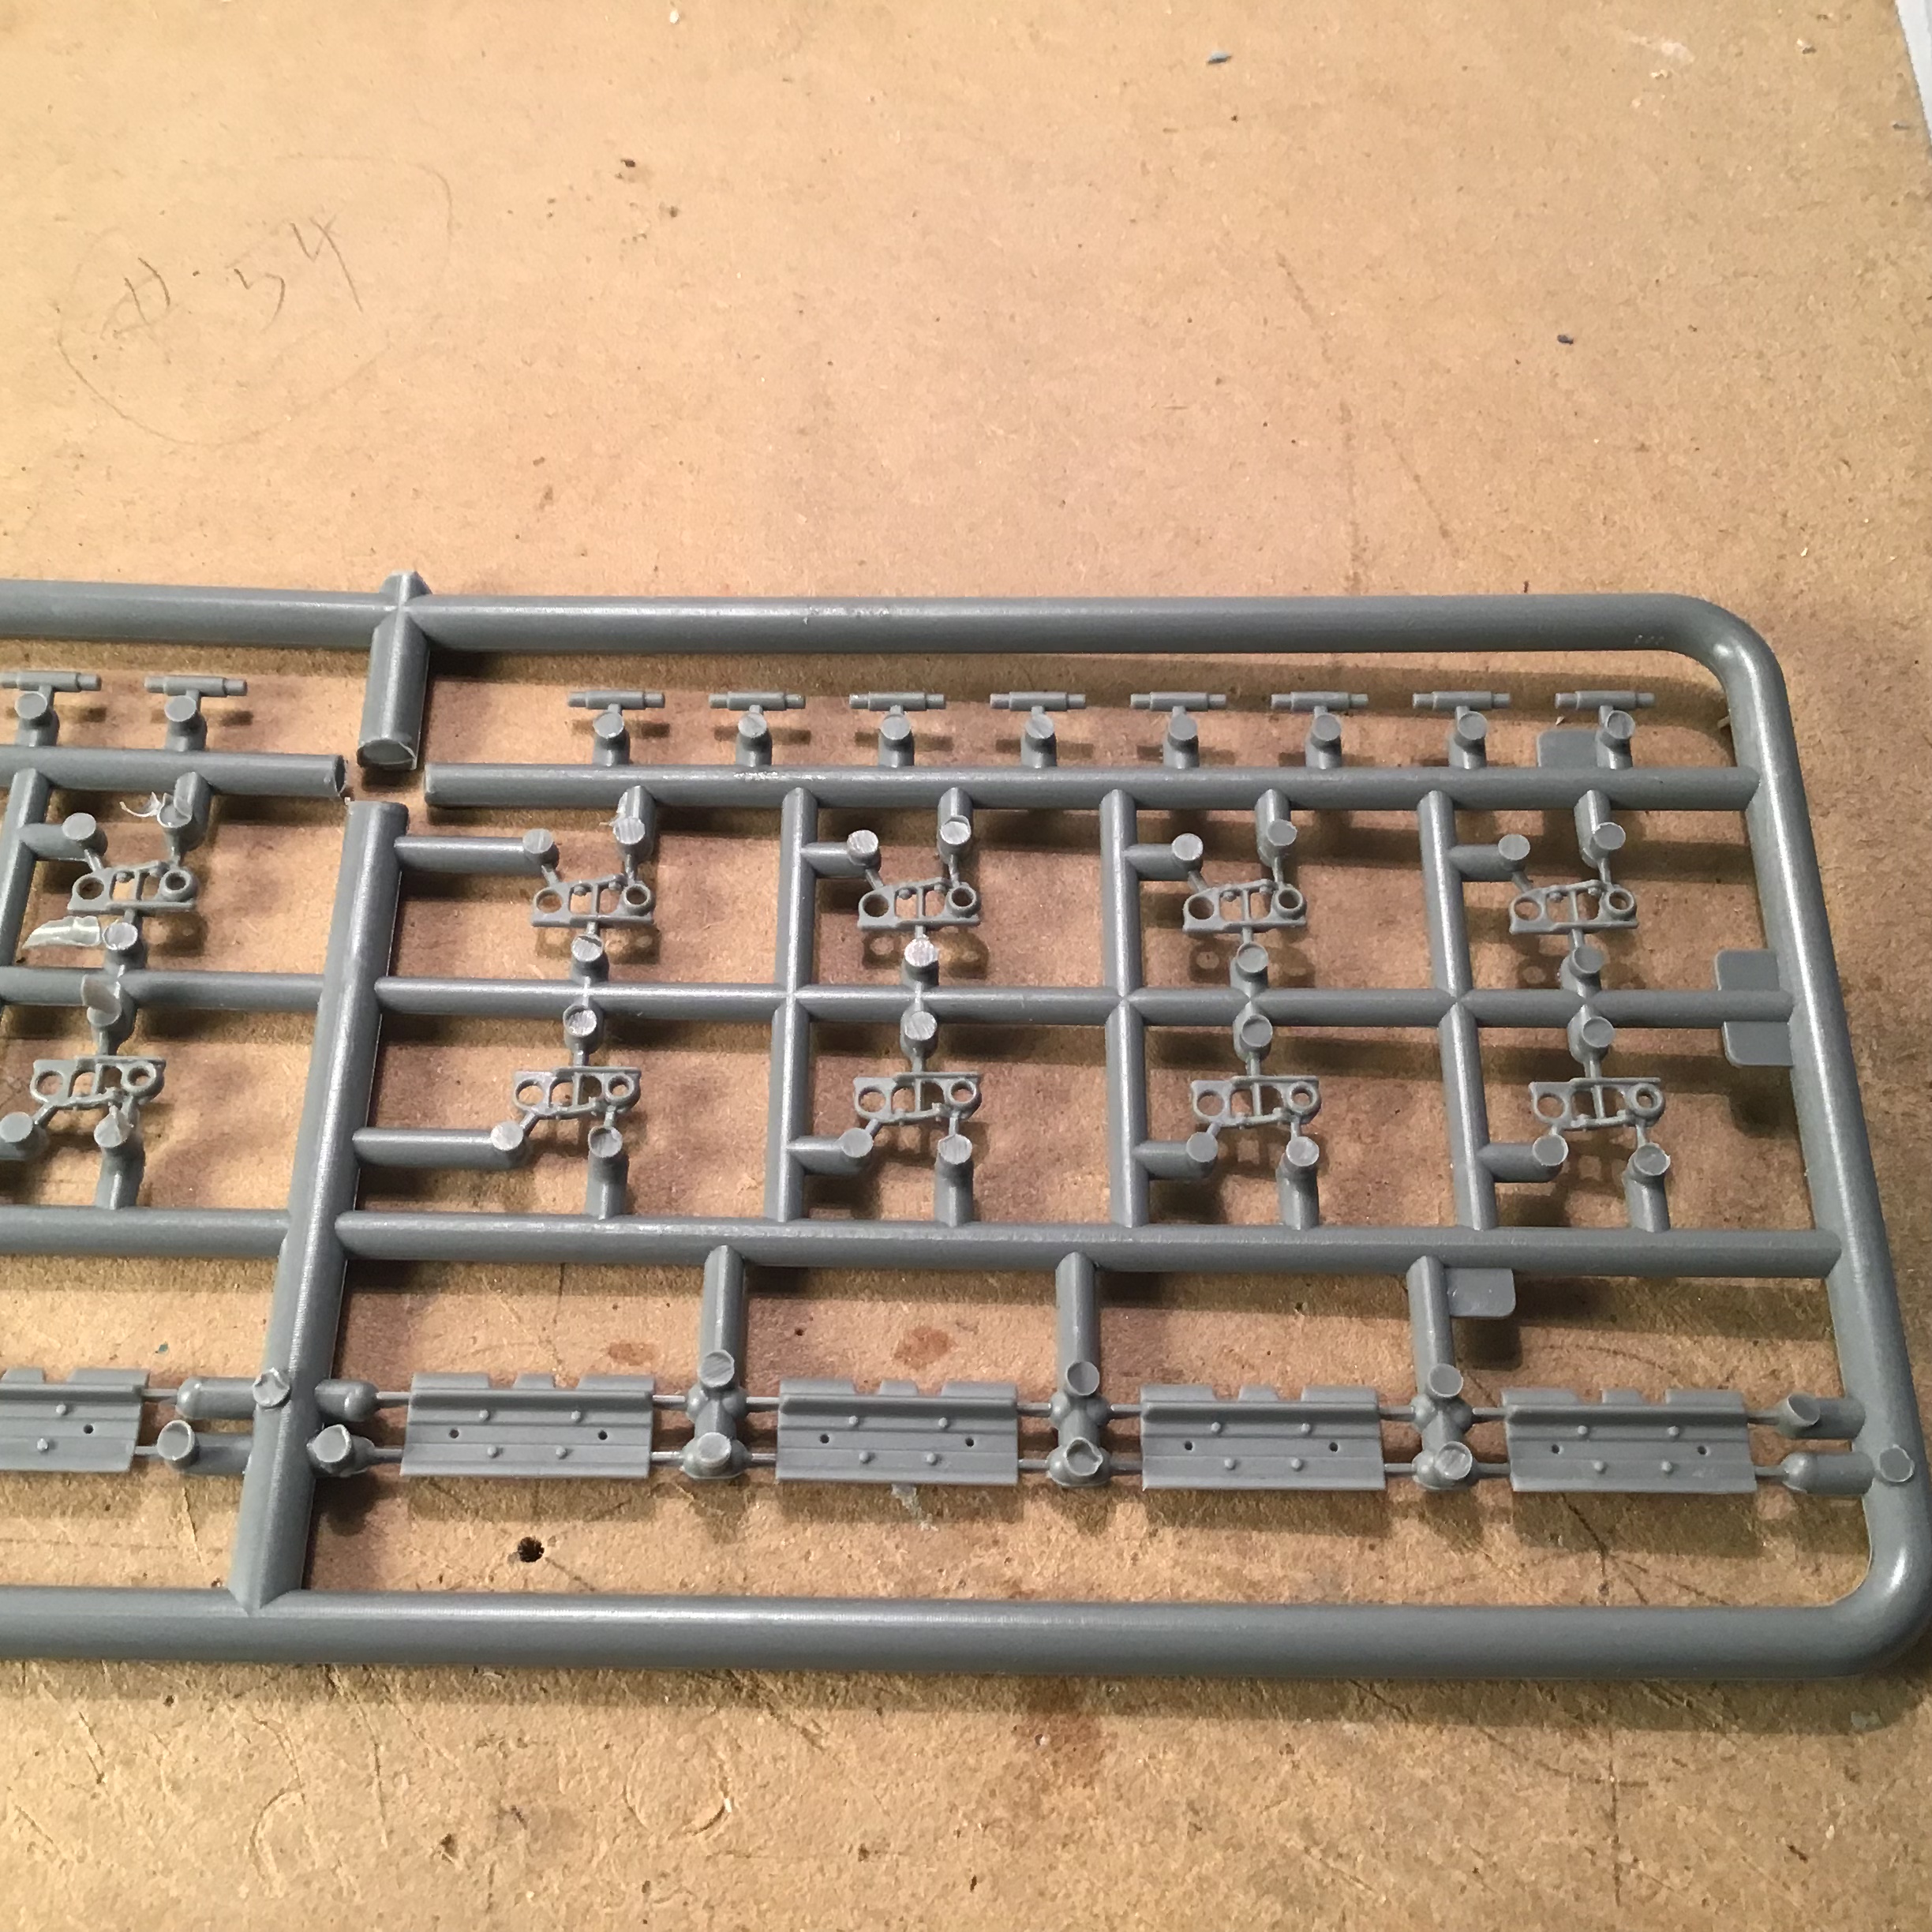
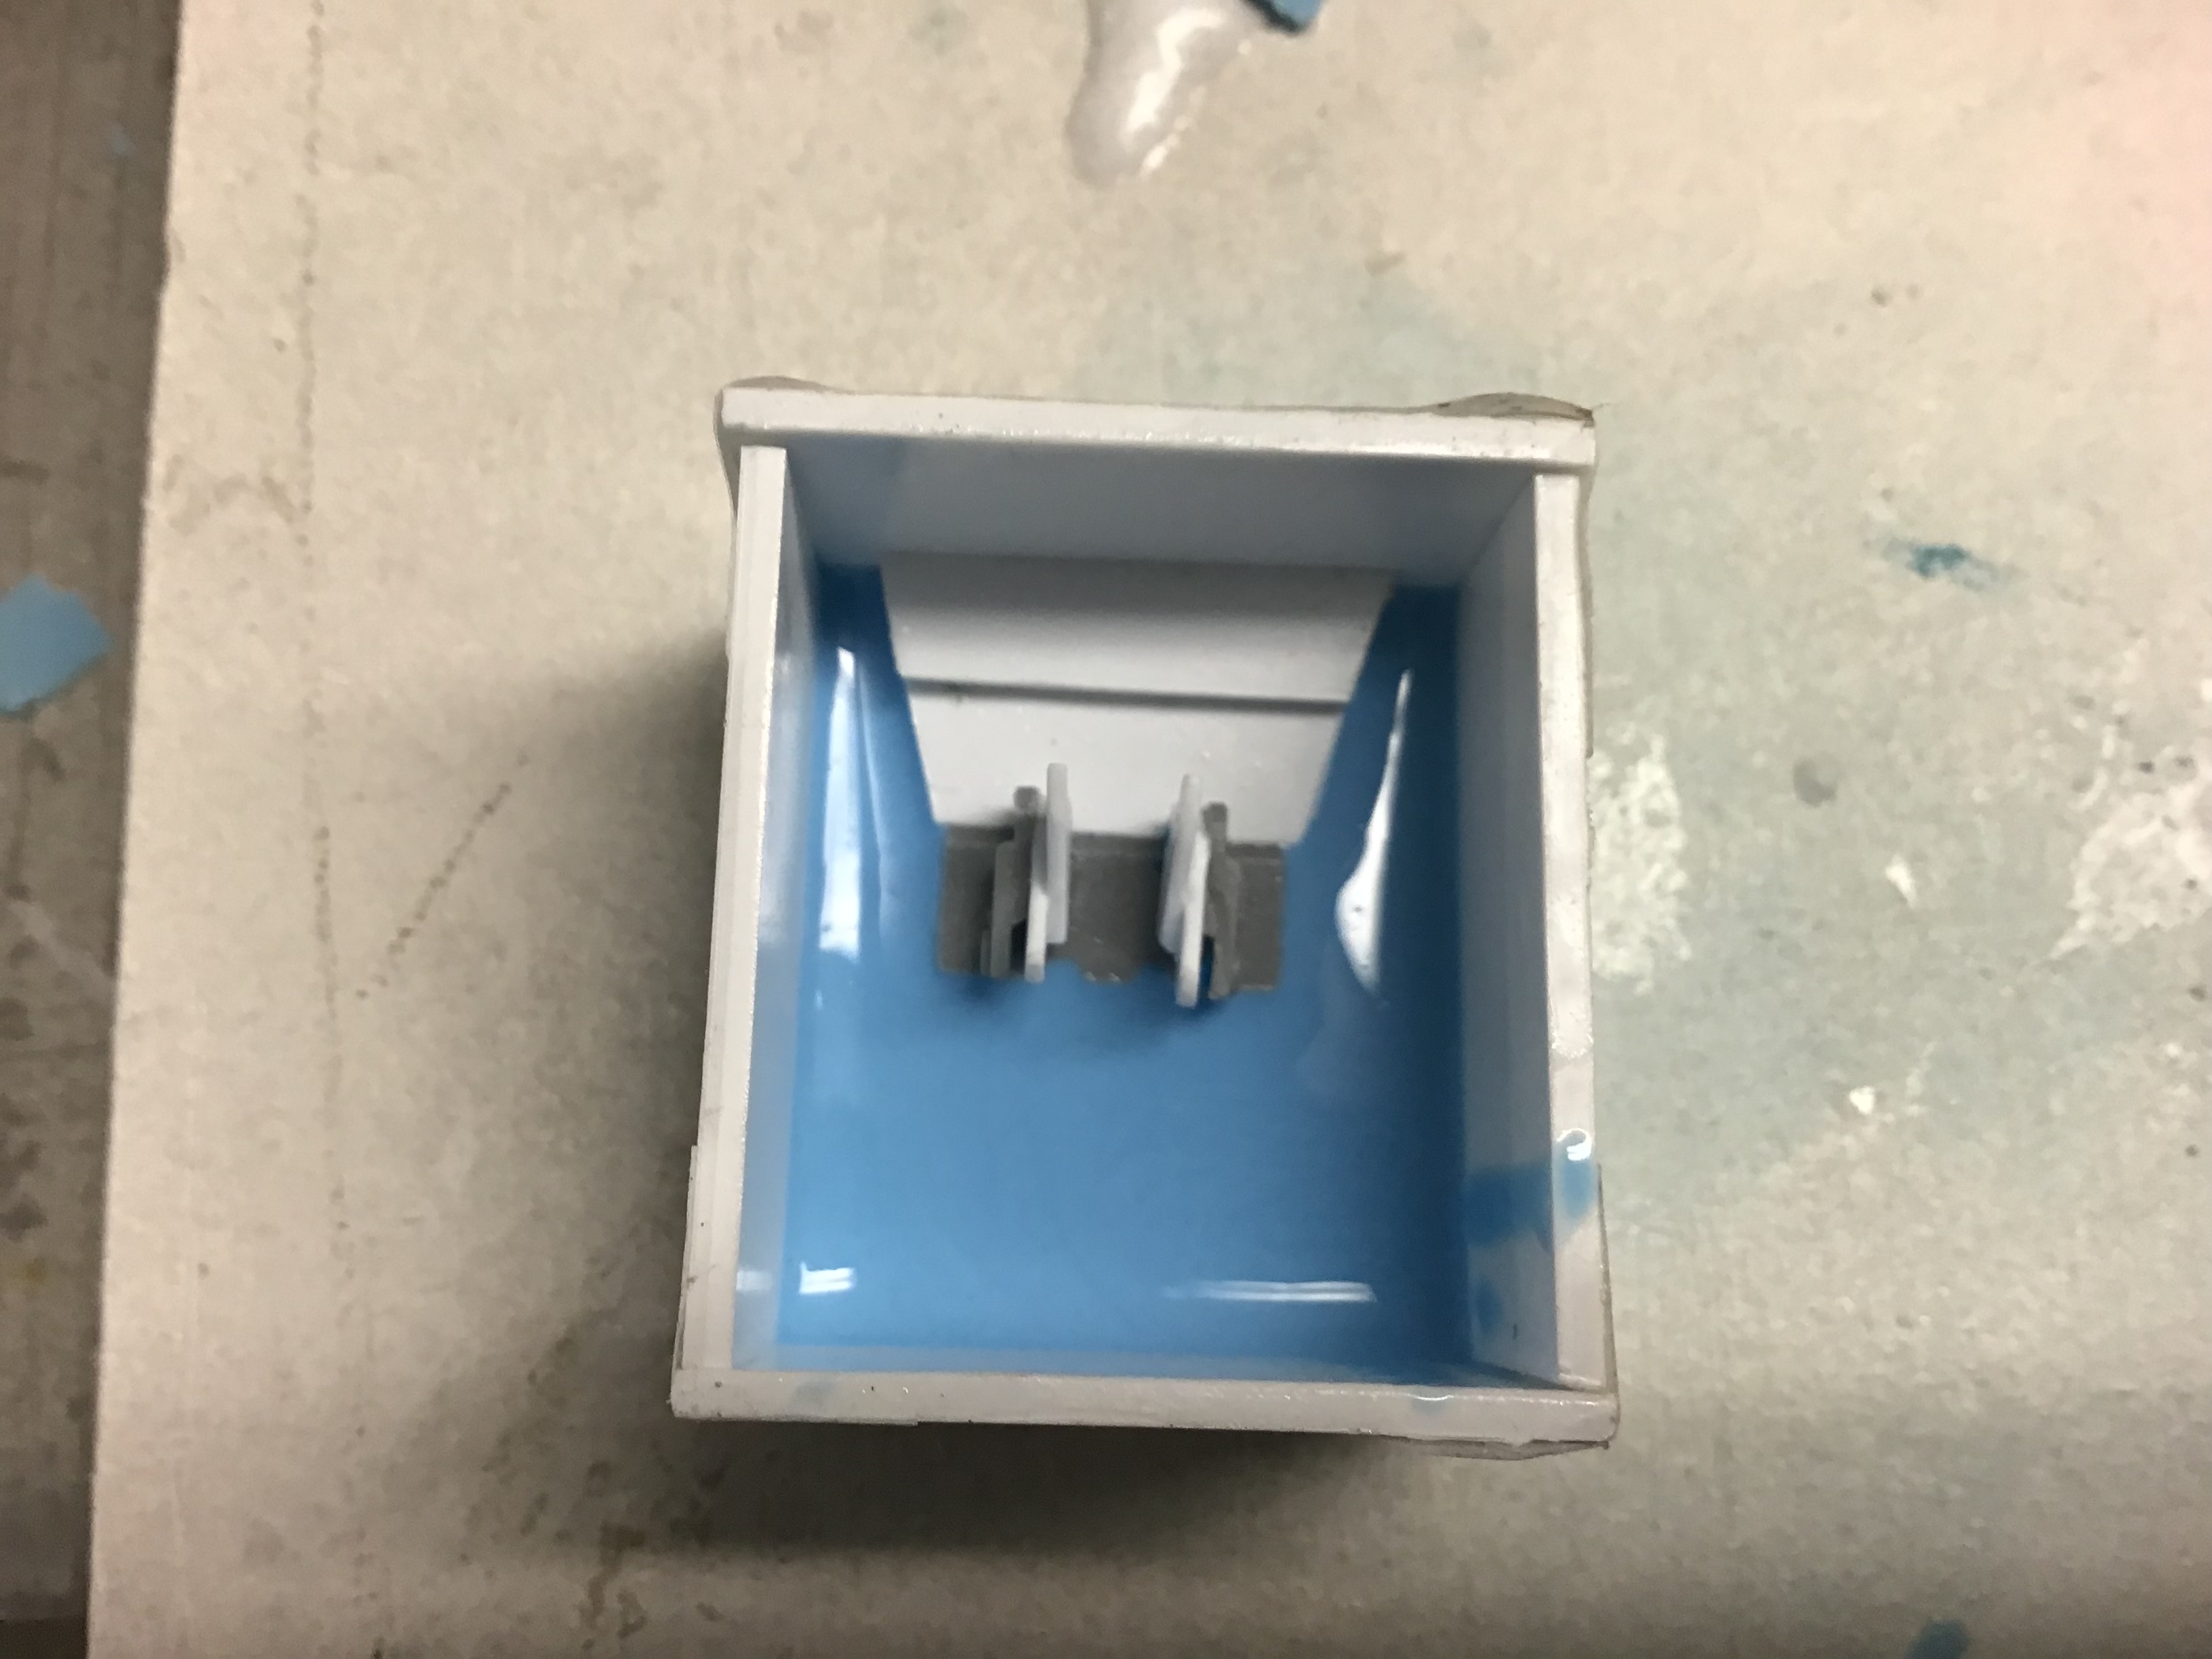
Thanks Peter for the help . I have followed your wheel sprue advice for the tracking link master and also made a styrene box for creating the mold .
If the first link cast is successful I will make multiple molds to speed up the process as I think I need 48 links !
2 Likes
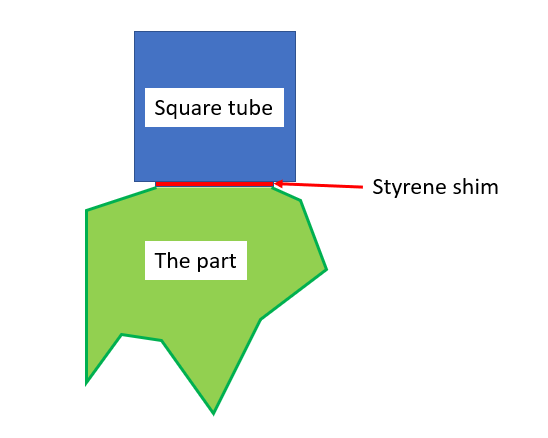
The link is quite complicated for moulding. If it does not work, consider making the link a three part assembly - the two styrene scratch built parts separately and the link itself. Glue the scratch built parts onto a thin bit of styrene and then glue that to some square tube. You just need to raise the part above the square tube to have enough to room to get a clean separation.
For the holes on the link, as Robin says, consider punching a disc of styrene and inserting that in the holes. That will become a separation point for the mould to make it easier to get both the master and the resin copies out. It also will help overcome the risk of that part of the mould tearing out. Just drill out where the disc is is filled by resin later.
2 Likes
Thanks Peter and Robin . I suspect that it may be too complex a shape for a single pour but worth a shot to save assembling all those pieces. I have arranged the master so the guide horns and links can be separated from the track pad and cast separately if it comes to that - which it very well may.
I plugged the holes with silicone compatible clay leaving slight indents for locating.
Fingers crossed-
Thanks again for the suggestions guys .
1 Like
Diagram to further clarify Peters suggestion,
and I felt like playing with powerpoint …
3 Likes
Thanks Robin - that is essentially what I have done.
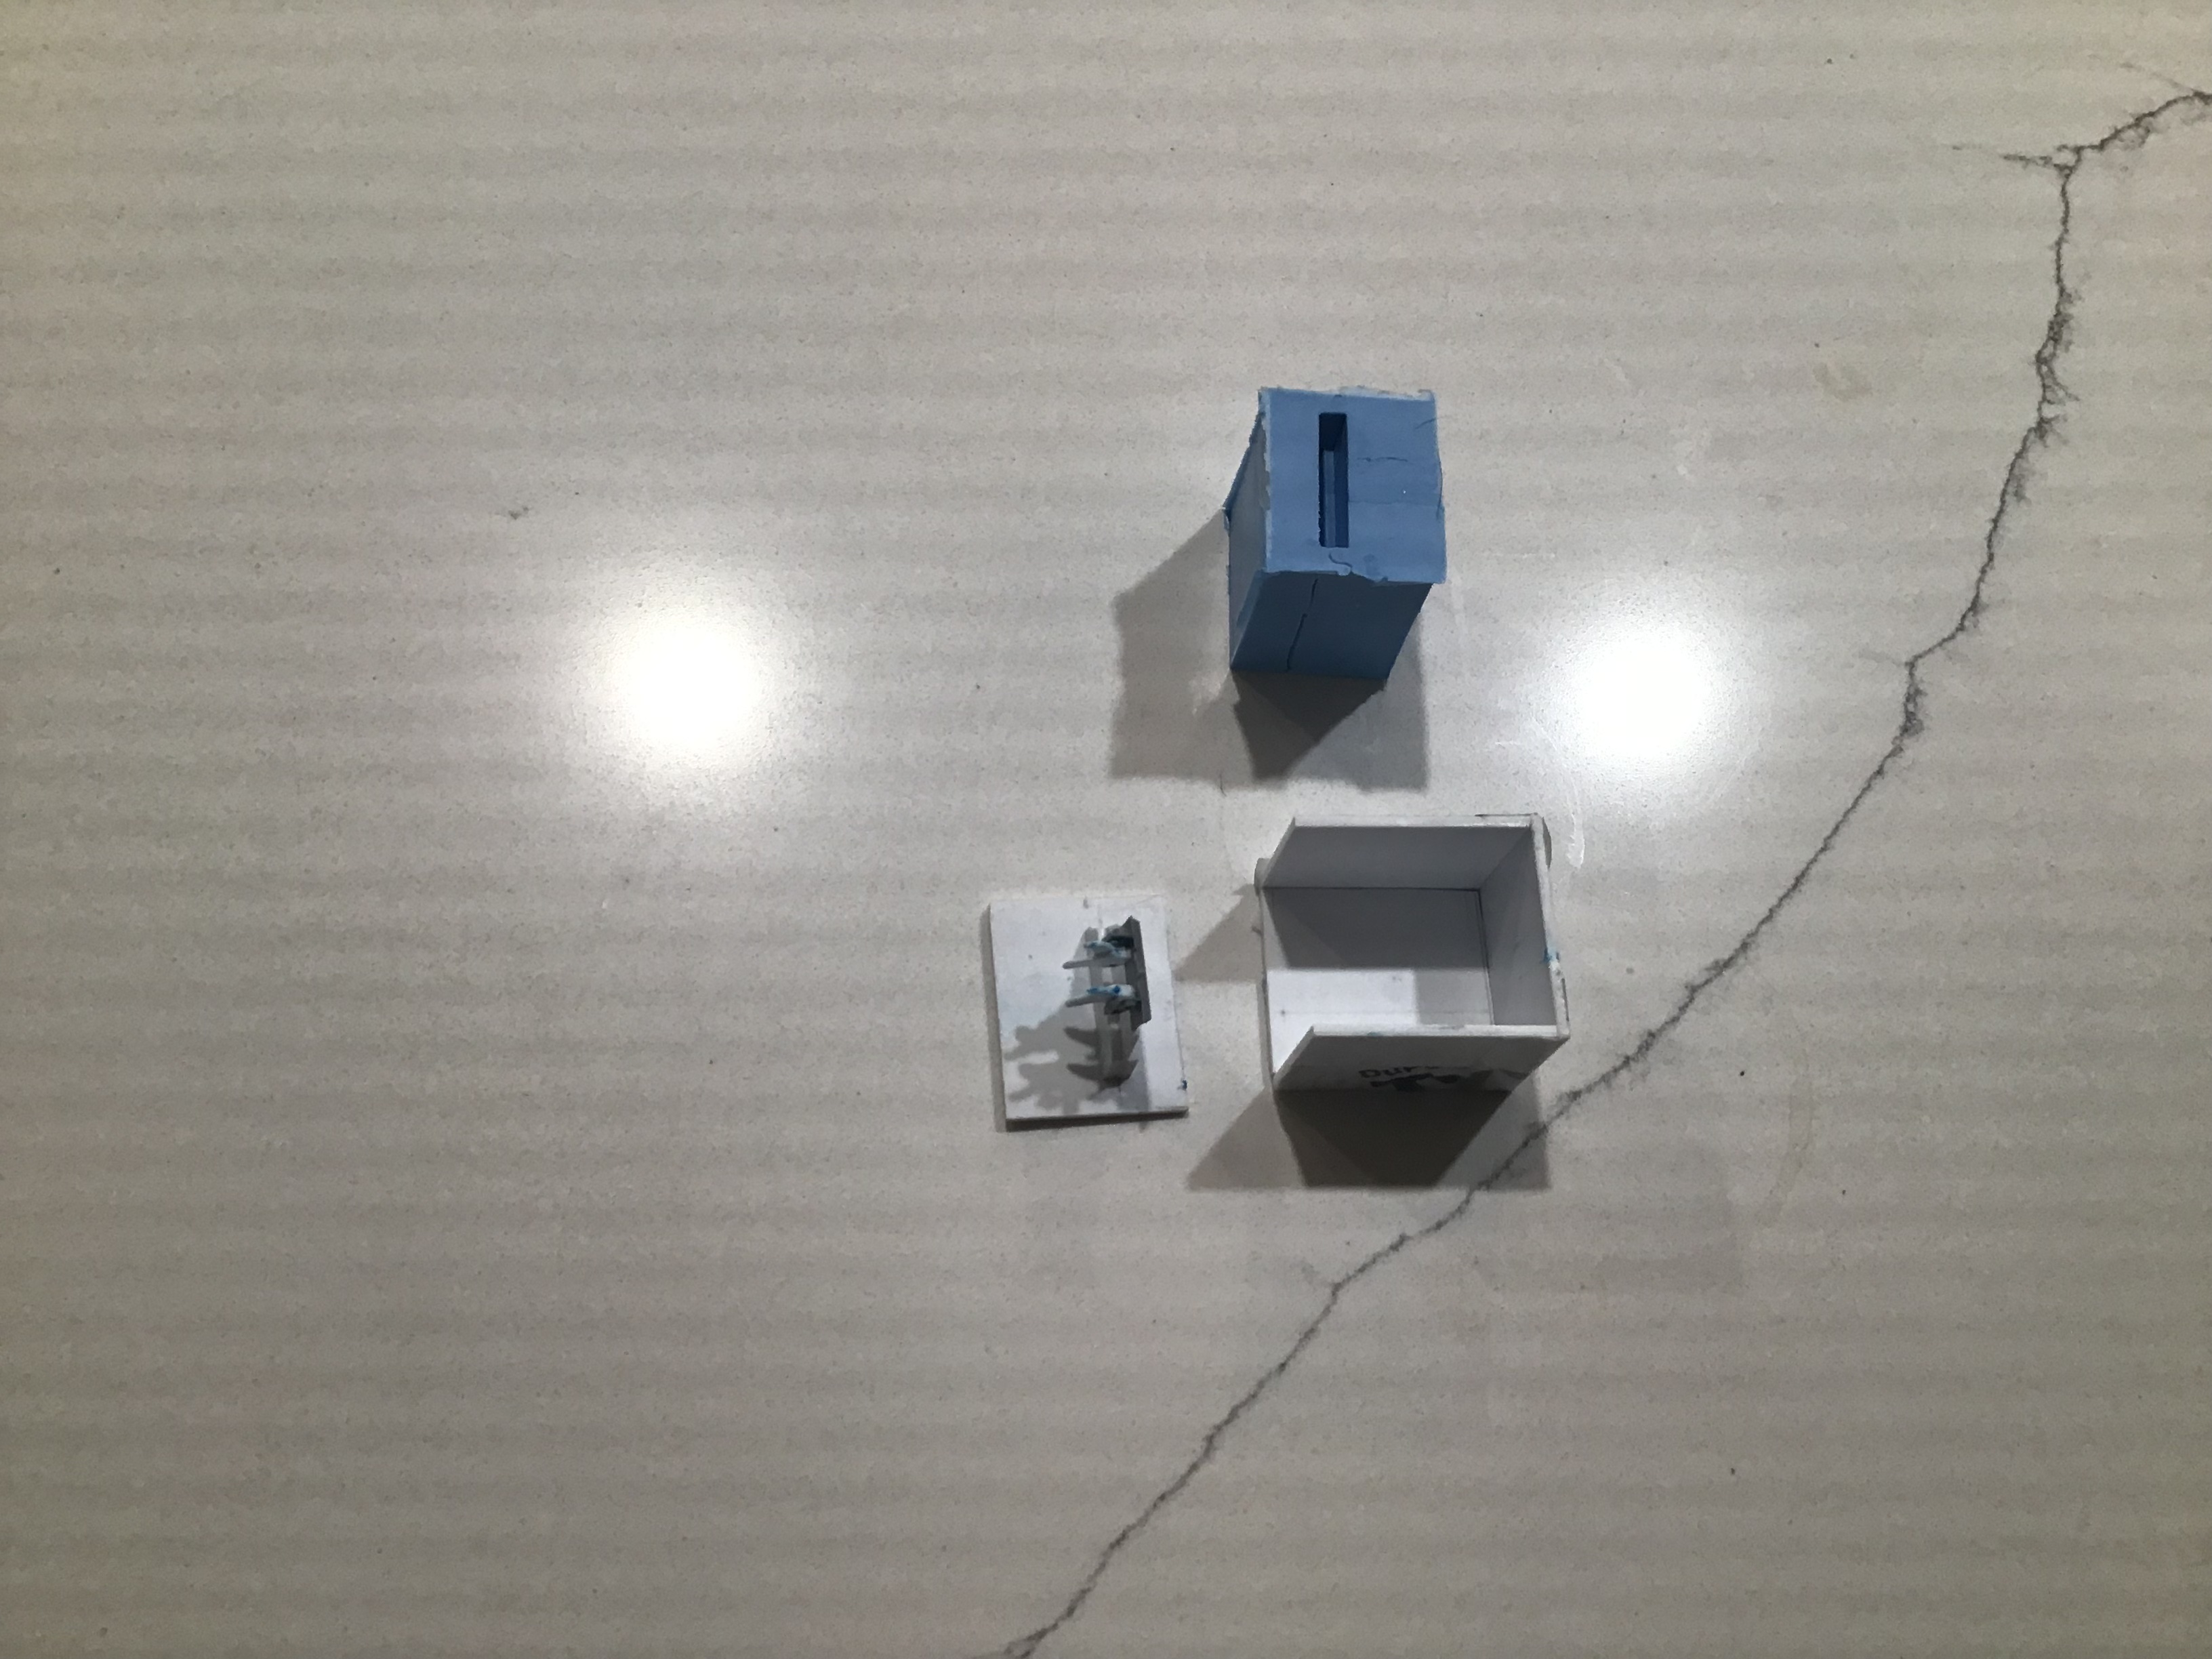
First half of mold poured - when cured registration keys will be cut in . Vents will be cut in after separating two halves.
3 Likes
I’ve got the mold made . After some thought I elected to make the second half in three pieces so to minimize the trapped undercut areas . I don’t know how well this will work . I have ordered some talc for the molds and tracking says it will arrive today . If so then I will pour the first link today and tomorrow will tell the tale . If does prove successful I will make two or three duplicate molds to speed up the process and spread the wear and tear over a few molds - fingers crossed ! Pictures were taken before I cut the vents in .


Thanks for looking - Richard
8 Likes
The castings look great.
Cheers,
Ralph
1 Like
Thanks all for the kind words.
All eight wheels are now done . I made a fixture for the lathe to bore them squarely. A scrap of bronze rod faced and bored to accept the boss on the back of the wheel . Wheel held in place with double sided tape.


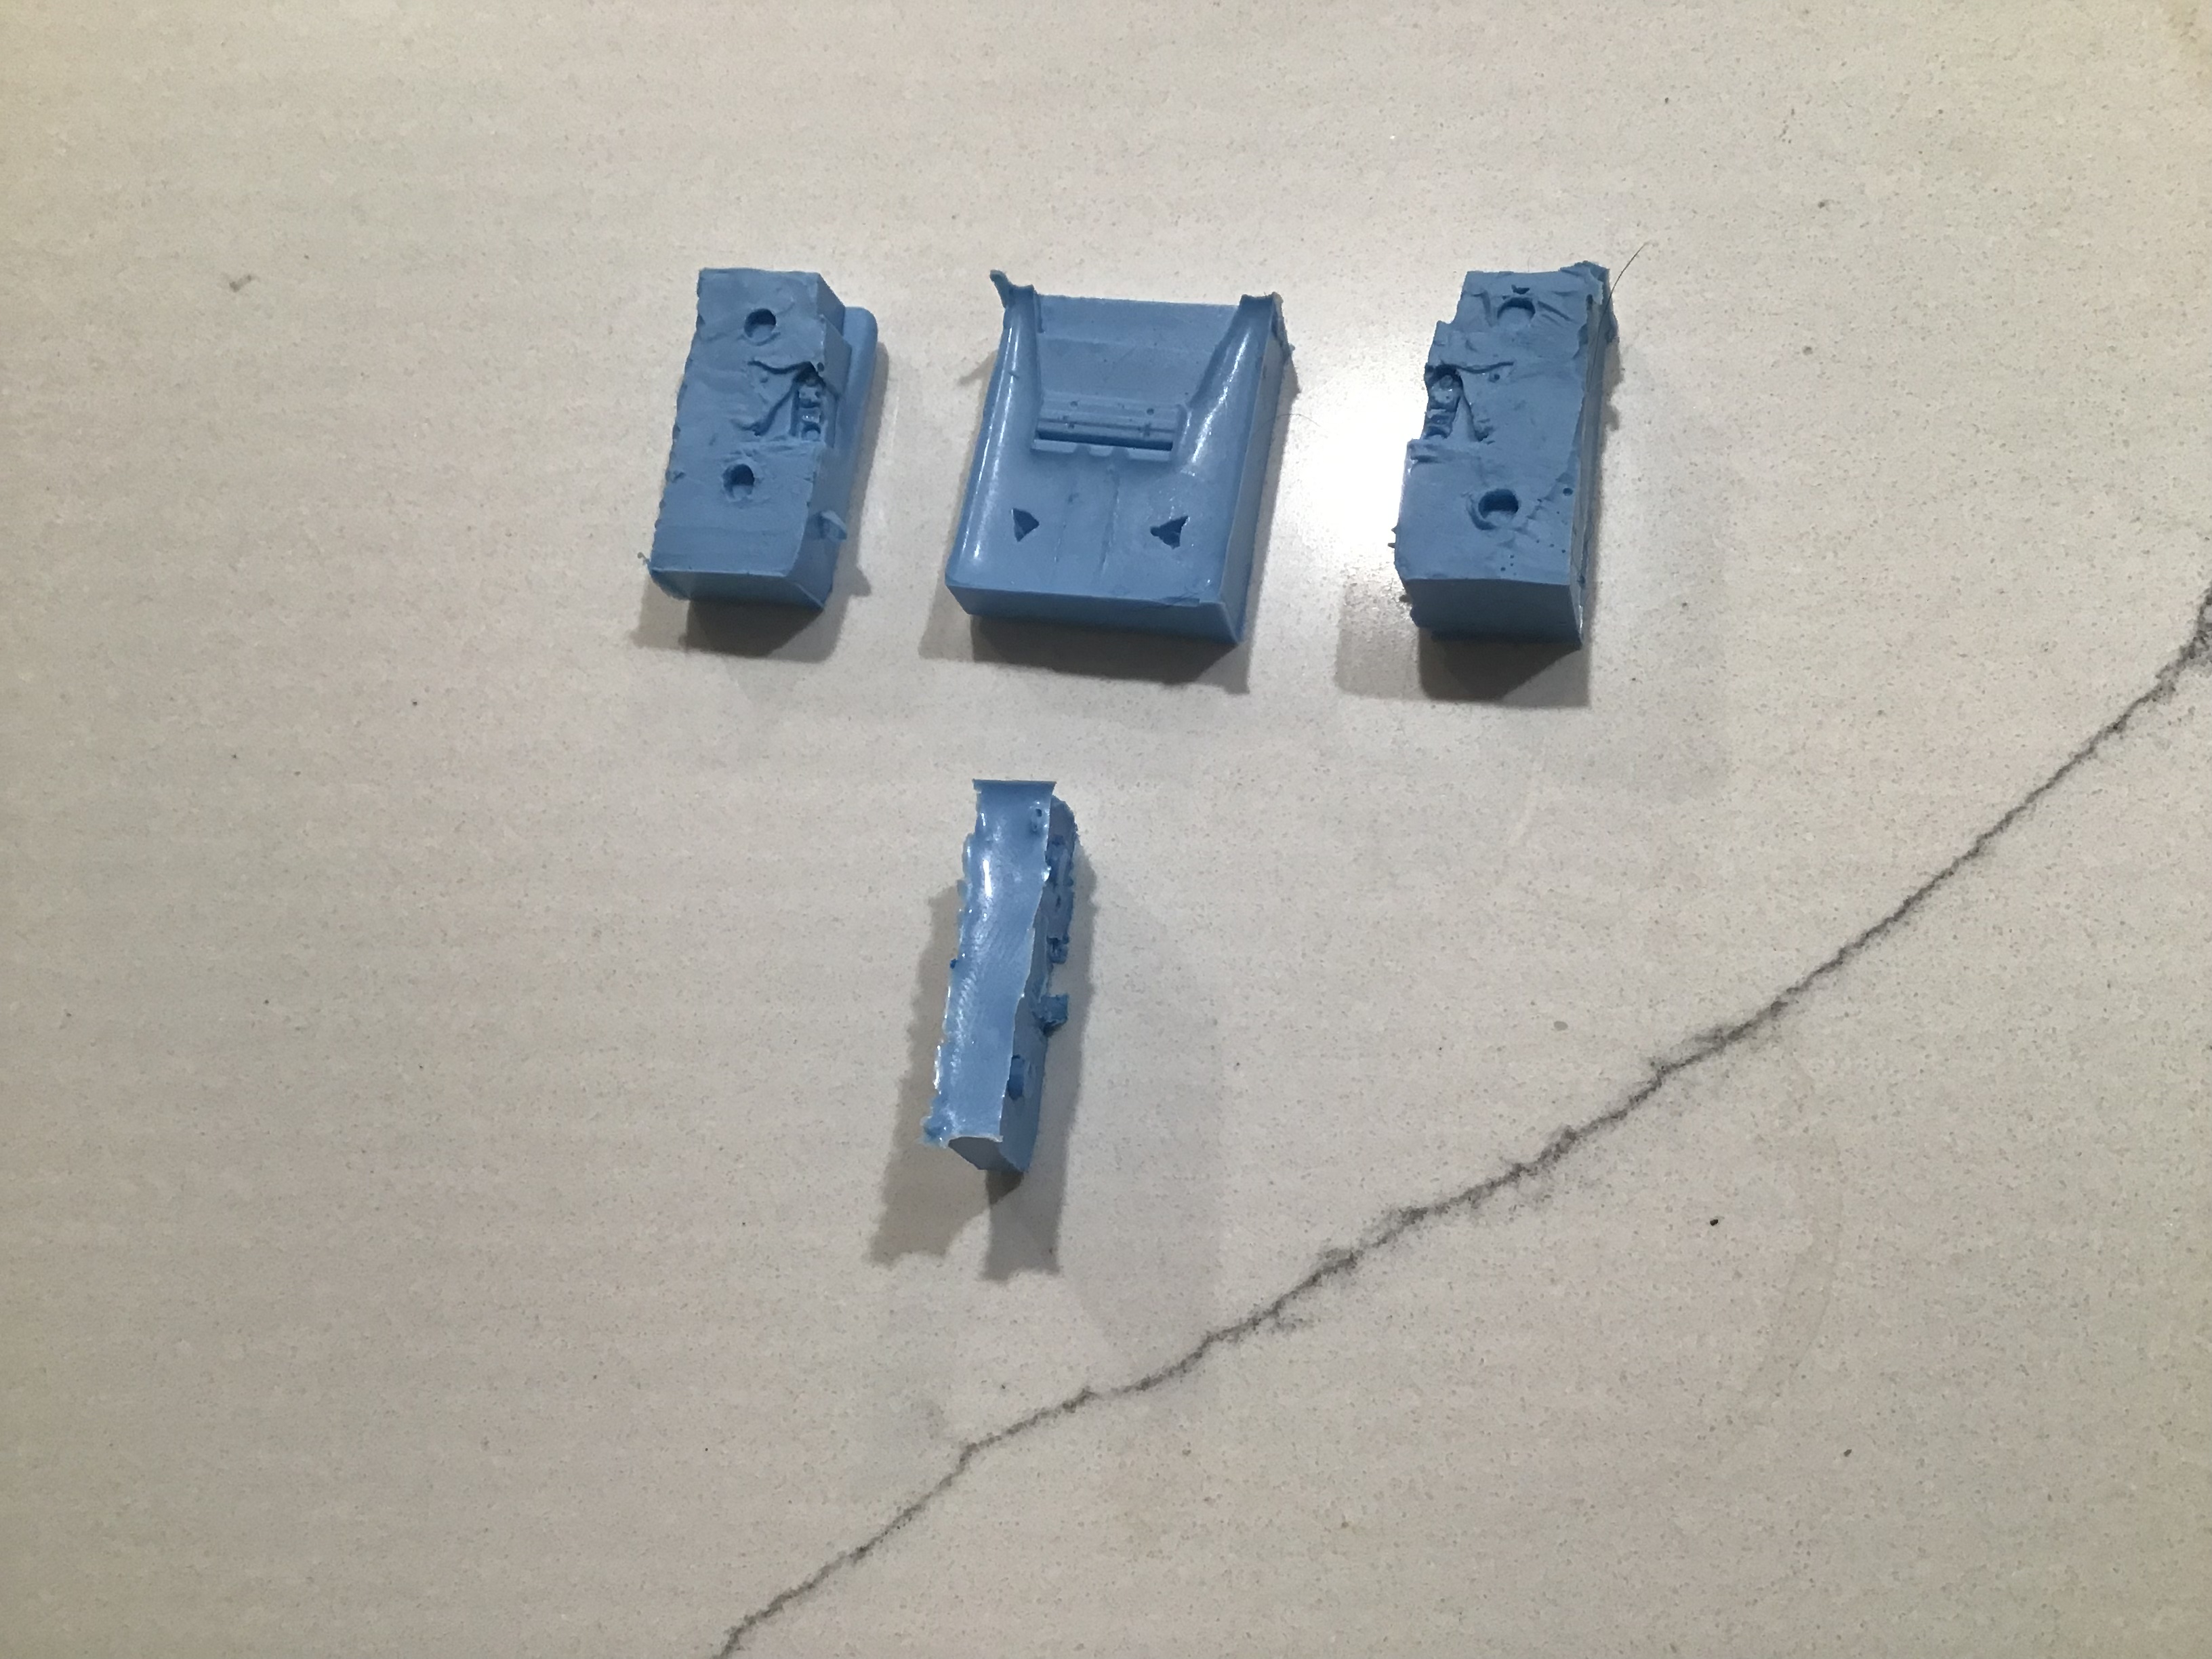
I had hoped to avoid assembling each link out of multiple pieces by casting them in one piece but only met with minimal success. Cleaning each one up and fitting each to the other turned out to be more work than assembling separate components so I am shifting to plan B . I will cast the guide horns separately and use the kit track shoes and links .
Here are the one piece castings-

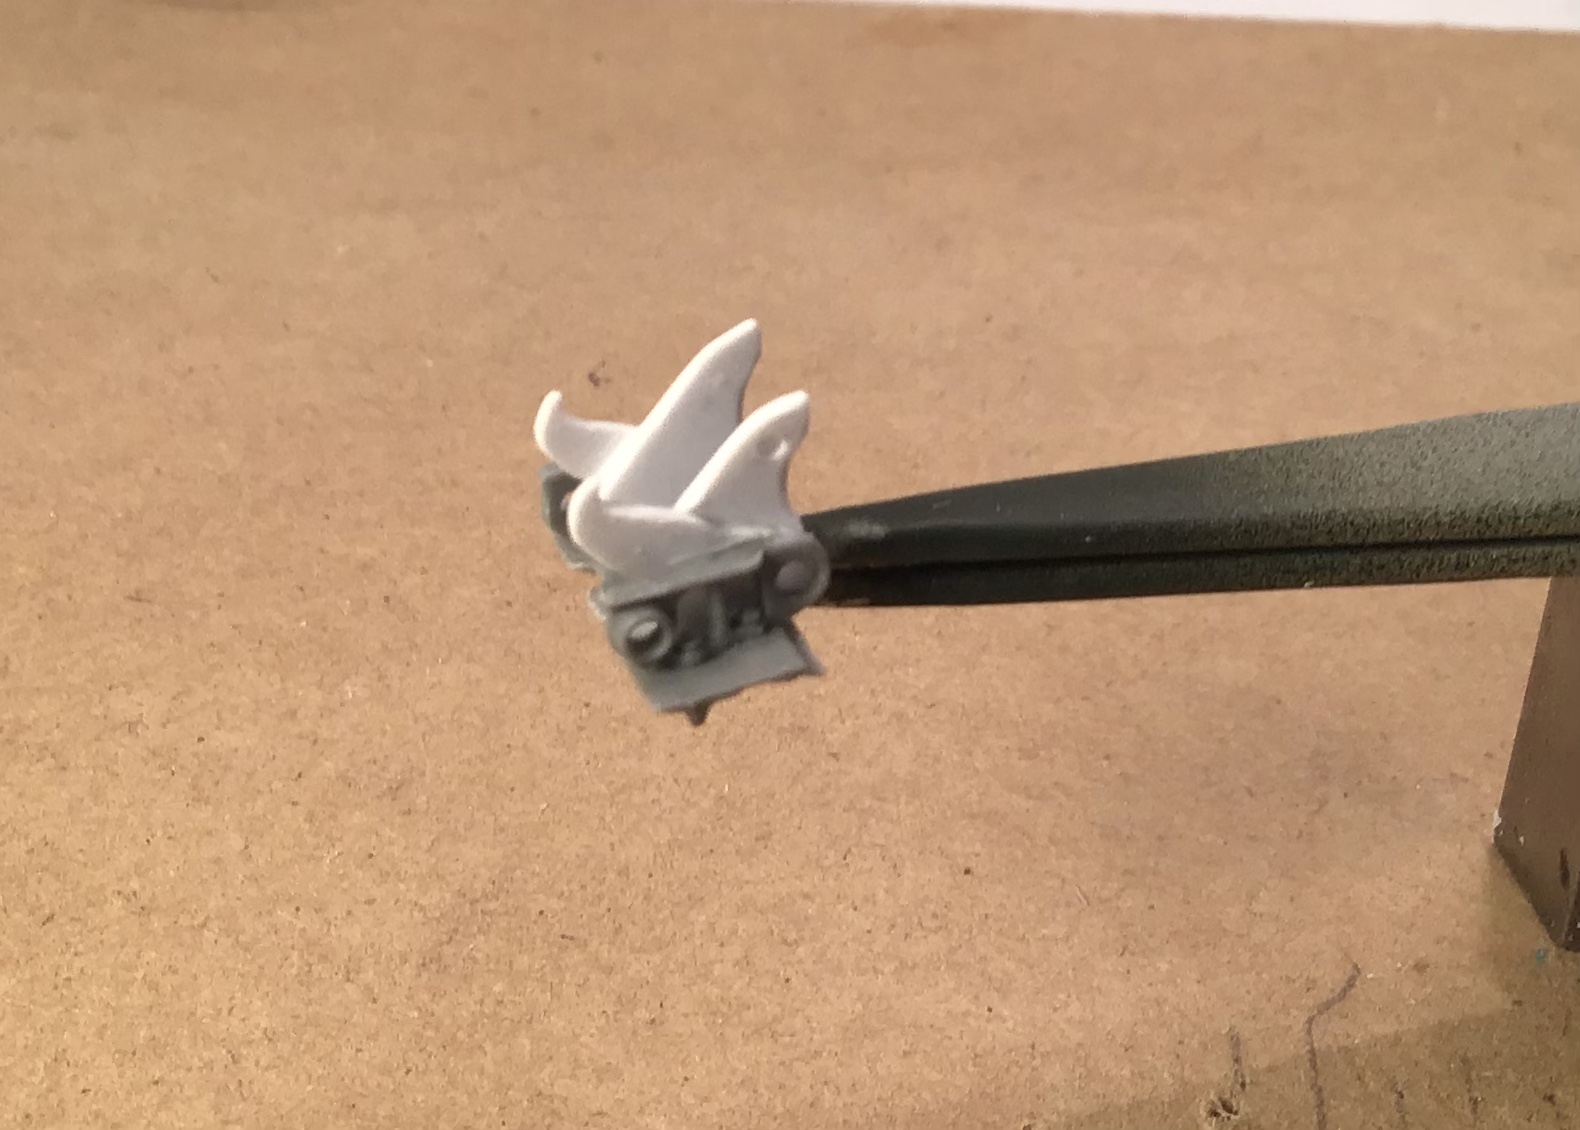
The mold started for horns alone -

And the first horn casting …

I’ve started a second mold for the horns and will likely make four to speed up the process.
Thanks for looking !
Cheers- Richard
9 Likes
The learning curve is steep, but you are well off the bottom of the bell.
When making these two part moulds, when you roll the clay and press in the master ready for the first half pour, use a pencil, or even a piece of slightly tapered sprue, and press the point into the clay to make the keys for the next pour. It is clean and prevents the jagged dags that cutting keys out after curing can make. It also means a better snug fit of the halves.
2 Likes