It keeps getting better and better
1 Like
Looking great do far
1 Like
Did you leave the suspension workable? I’m wondering about that on the T-55 I will be starting on soonish. The Modeling News guys recommend just fixing the height and glueing them in place - I’m not sure how to go about that either…
Yes I did. I’m not sure about the T-55 but I assume it is similar. The t-54 comes with two types of torsion bars, ones that go all the way through to the other side and can rotate and short ones that get glue in placed at a specific angle. This angle is preset as the short bars have a square locator hole. The full length torsion bars, the ones required for workable suspension, are circular so they can rotate. Word of caution, I did have to drill out the holes as the bars were quite tight and they are fragile so don’t force them.
I have read peoples complaints that the torsion bars are too weak to hold the weight of the tank and it will bottom out. I am not sure if people built them wrong or if I hadn’t encountered the problem yet but here is my half built t-54 on the swing arms full extended and they can support it.
And here half extended and again supporting the vehicle.
One thing I found helped stiffen them up was to make sure these little retaining pieces were tight against the torsion bar housing
Now where I can imagine where a problem may arise is when I go to do track fitting. The bars can be fairly easily moved by your fingers and I can see this being a pain to fit the tracks. What I may do is use blue tack or acrylic glue like gator grip to temporarily fix the swing arms at the desired height. Once the tracks dry the swing arms aren’t going anywhere and the blue tack or gator grip can be removed
3 Likes
Looking good. I ended up gluing the torsion bars on mine solid. The way I look at it, once the track is on, they won’t be able to move anyways.
Thanks. It’s a really fun kit, but quite the grind. Pre painting is really slowing it down. Especially airbrushing white 
Yeah that’s a good point. I guess the only point of workable is if you had a scenario in mind where it was driving over rubble or something. But again in that case you’d probably set the one or two bars to a different height and glue solid.
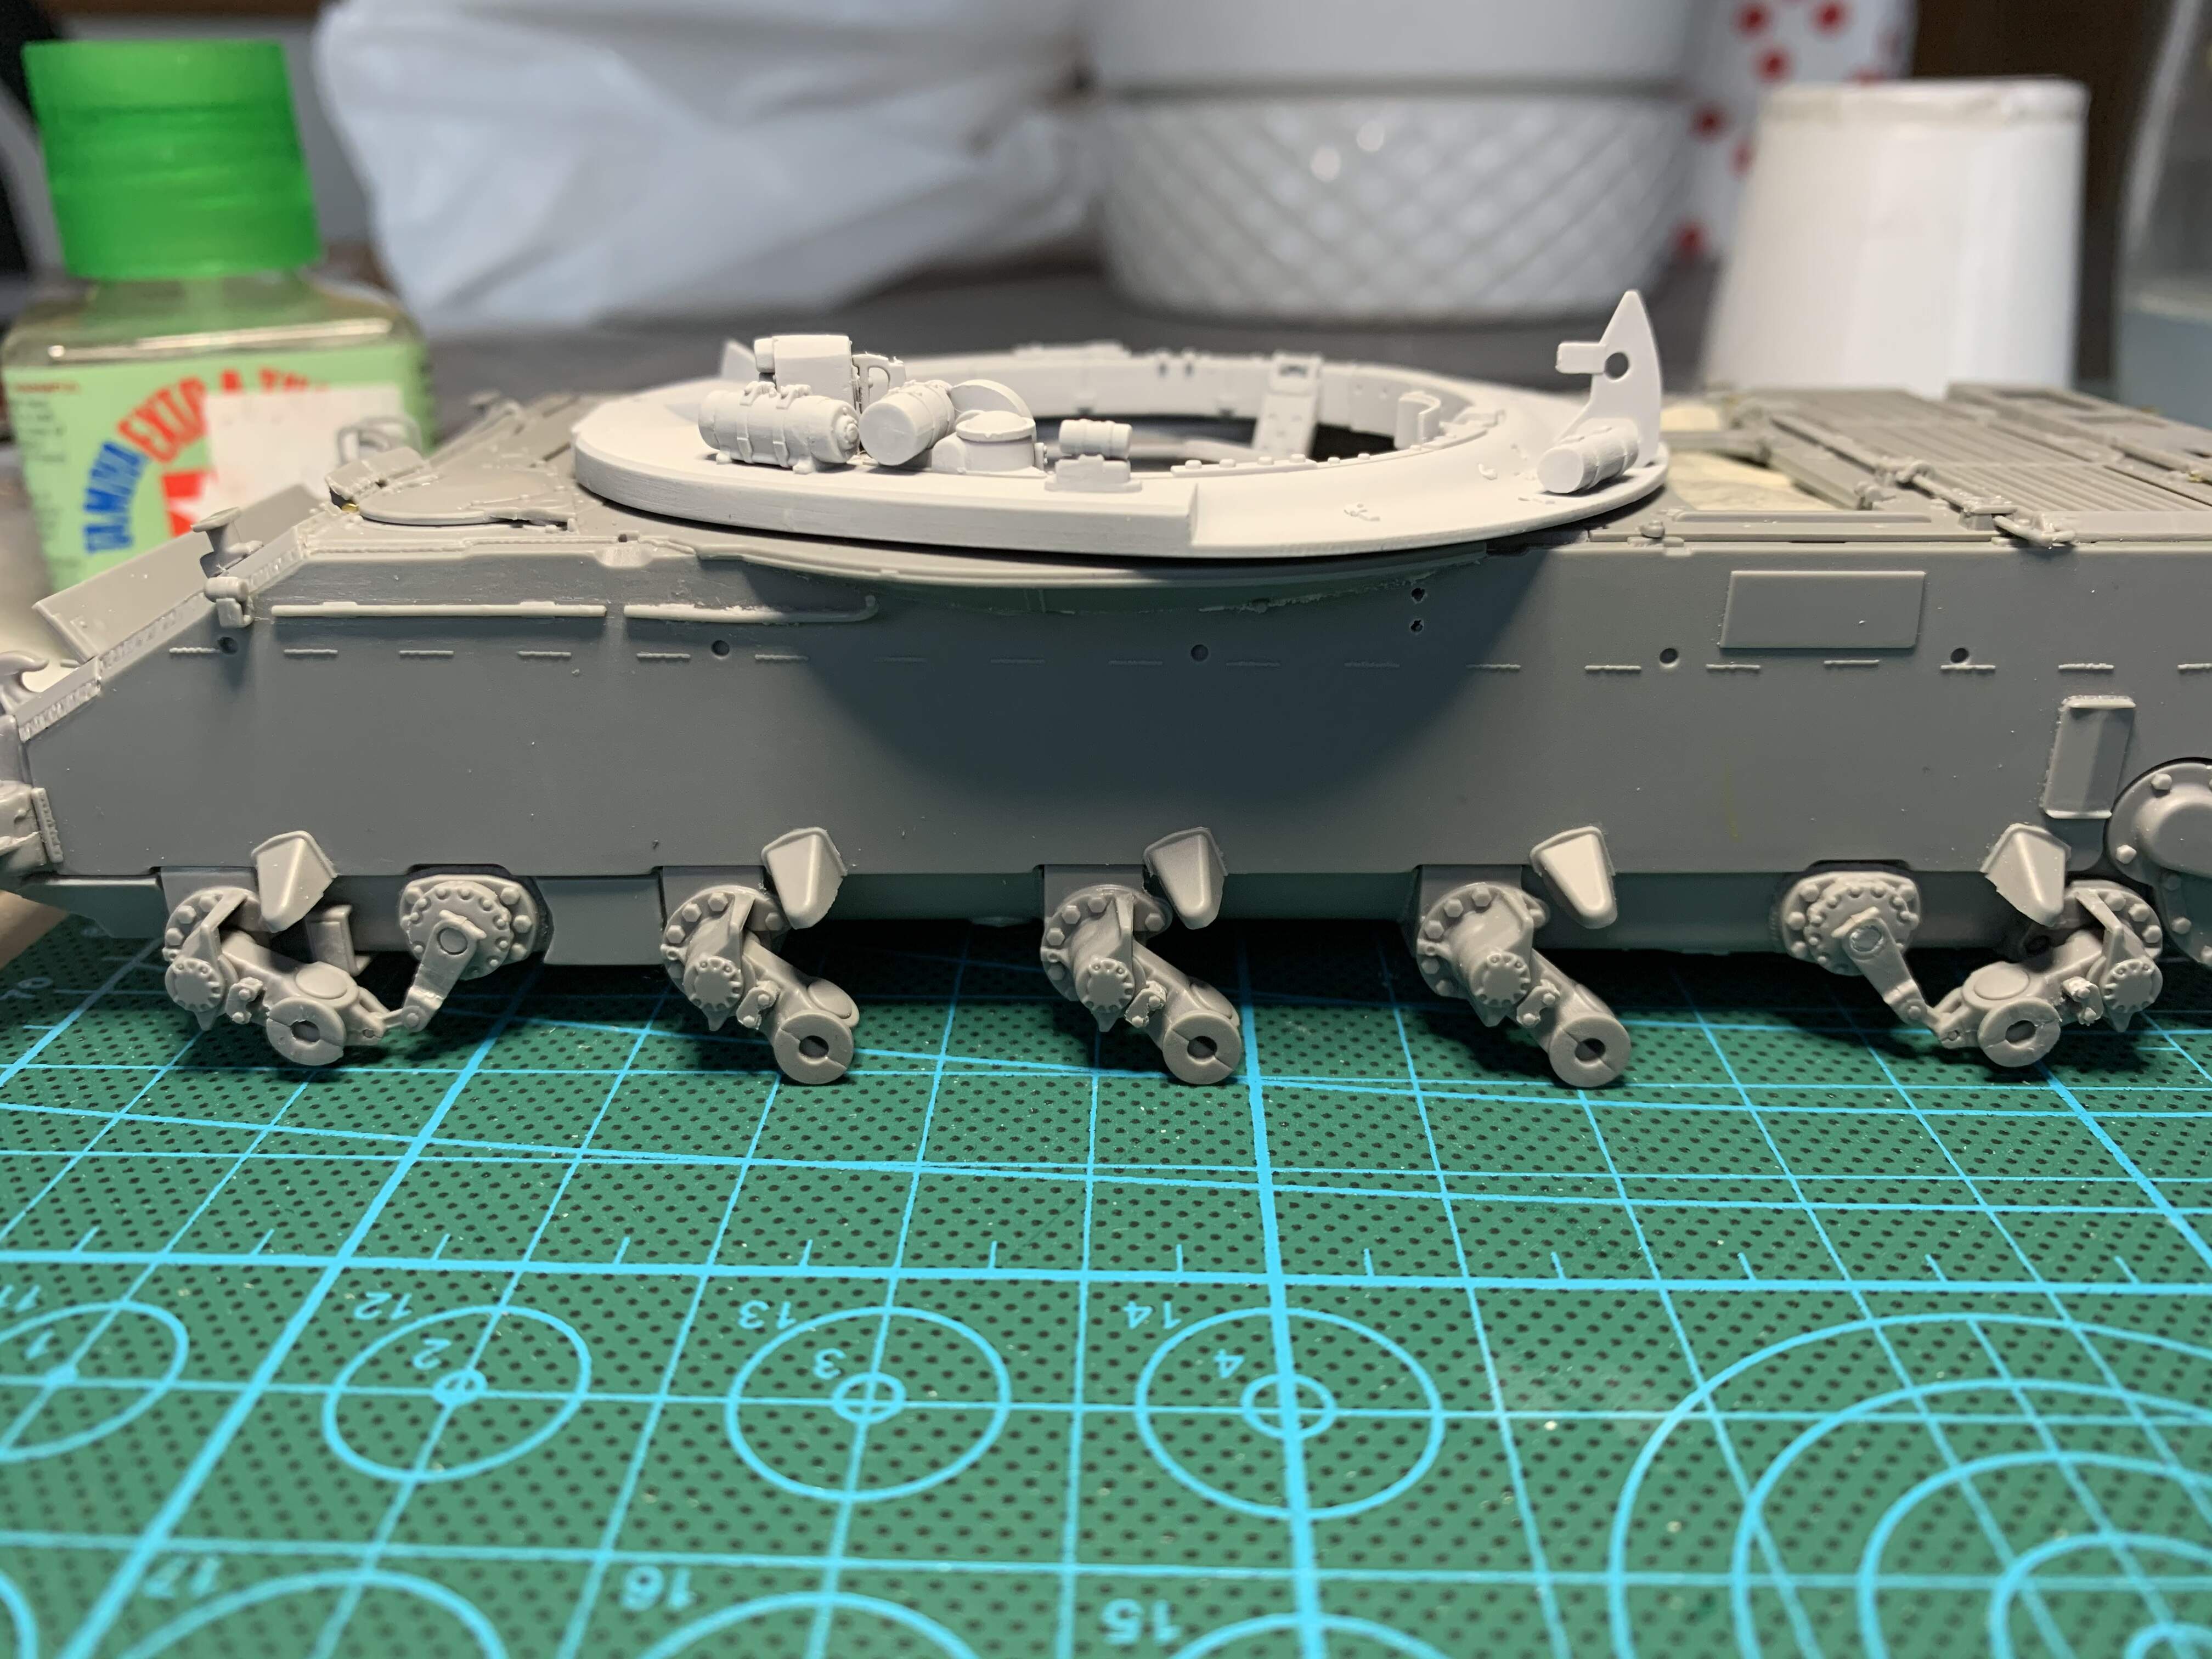
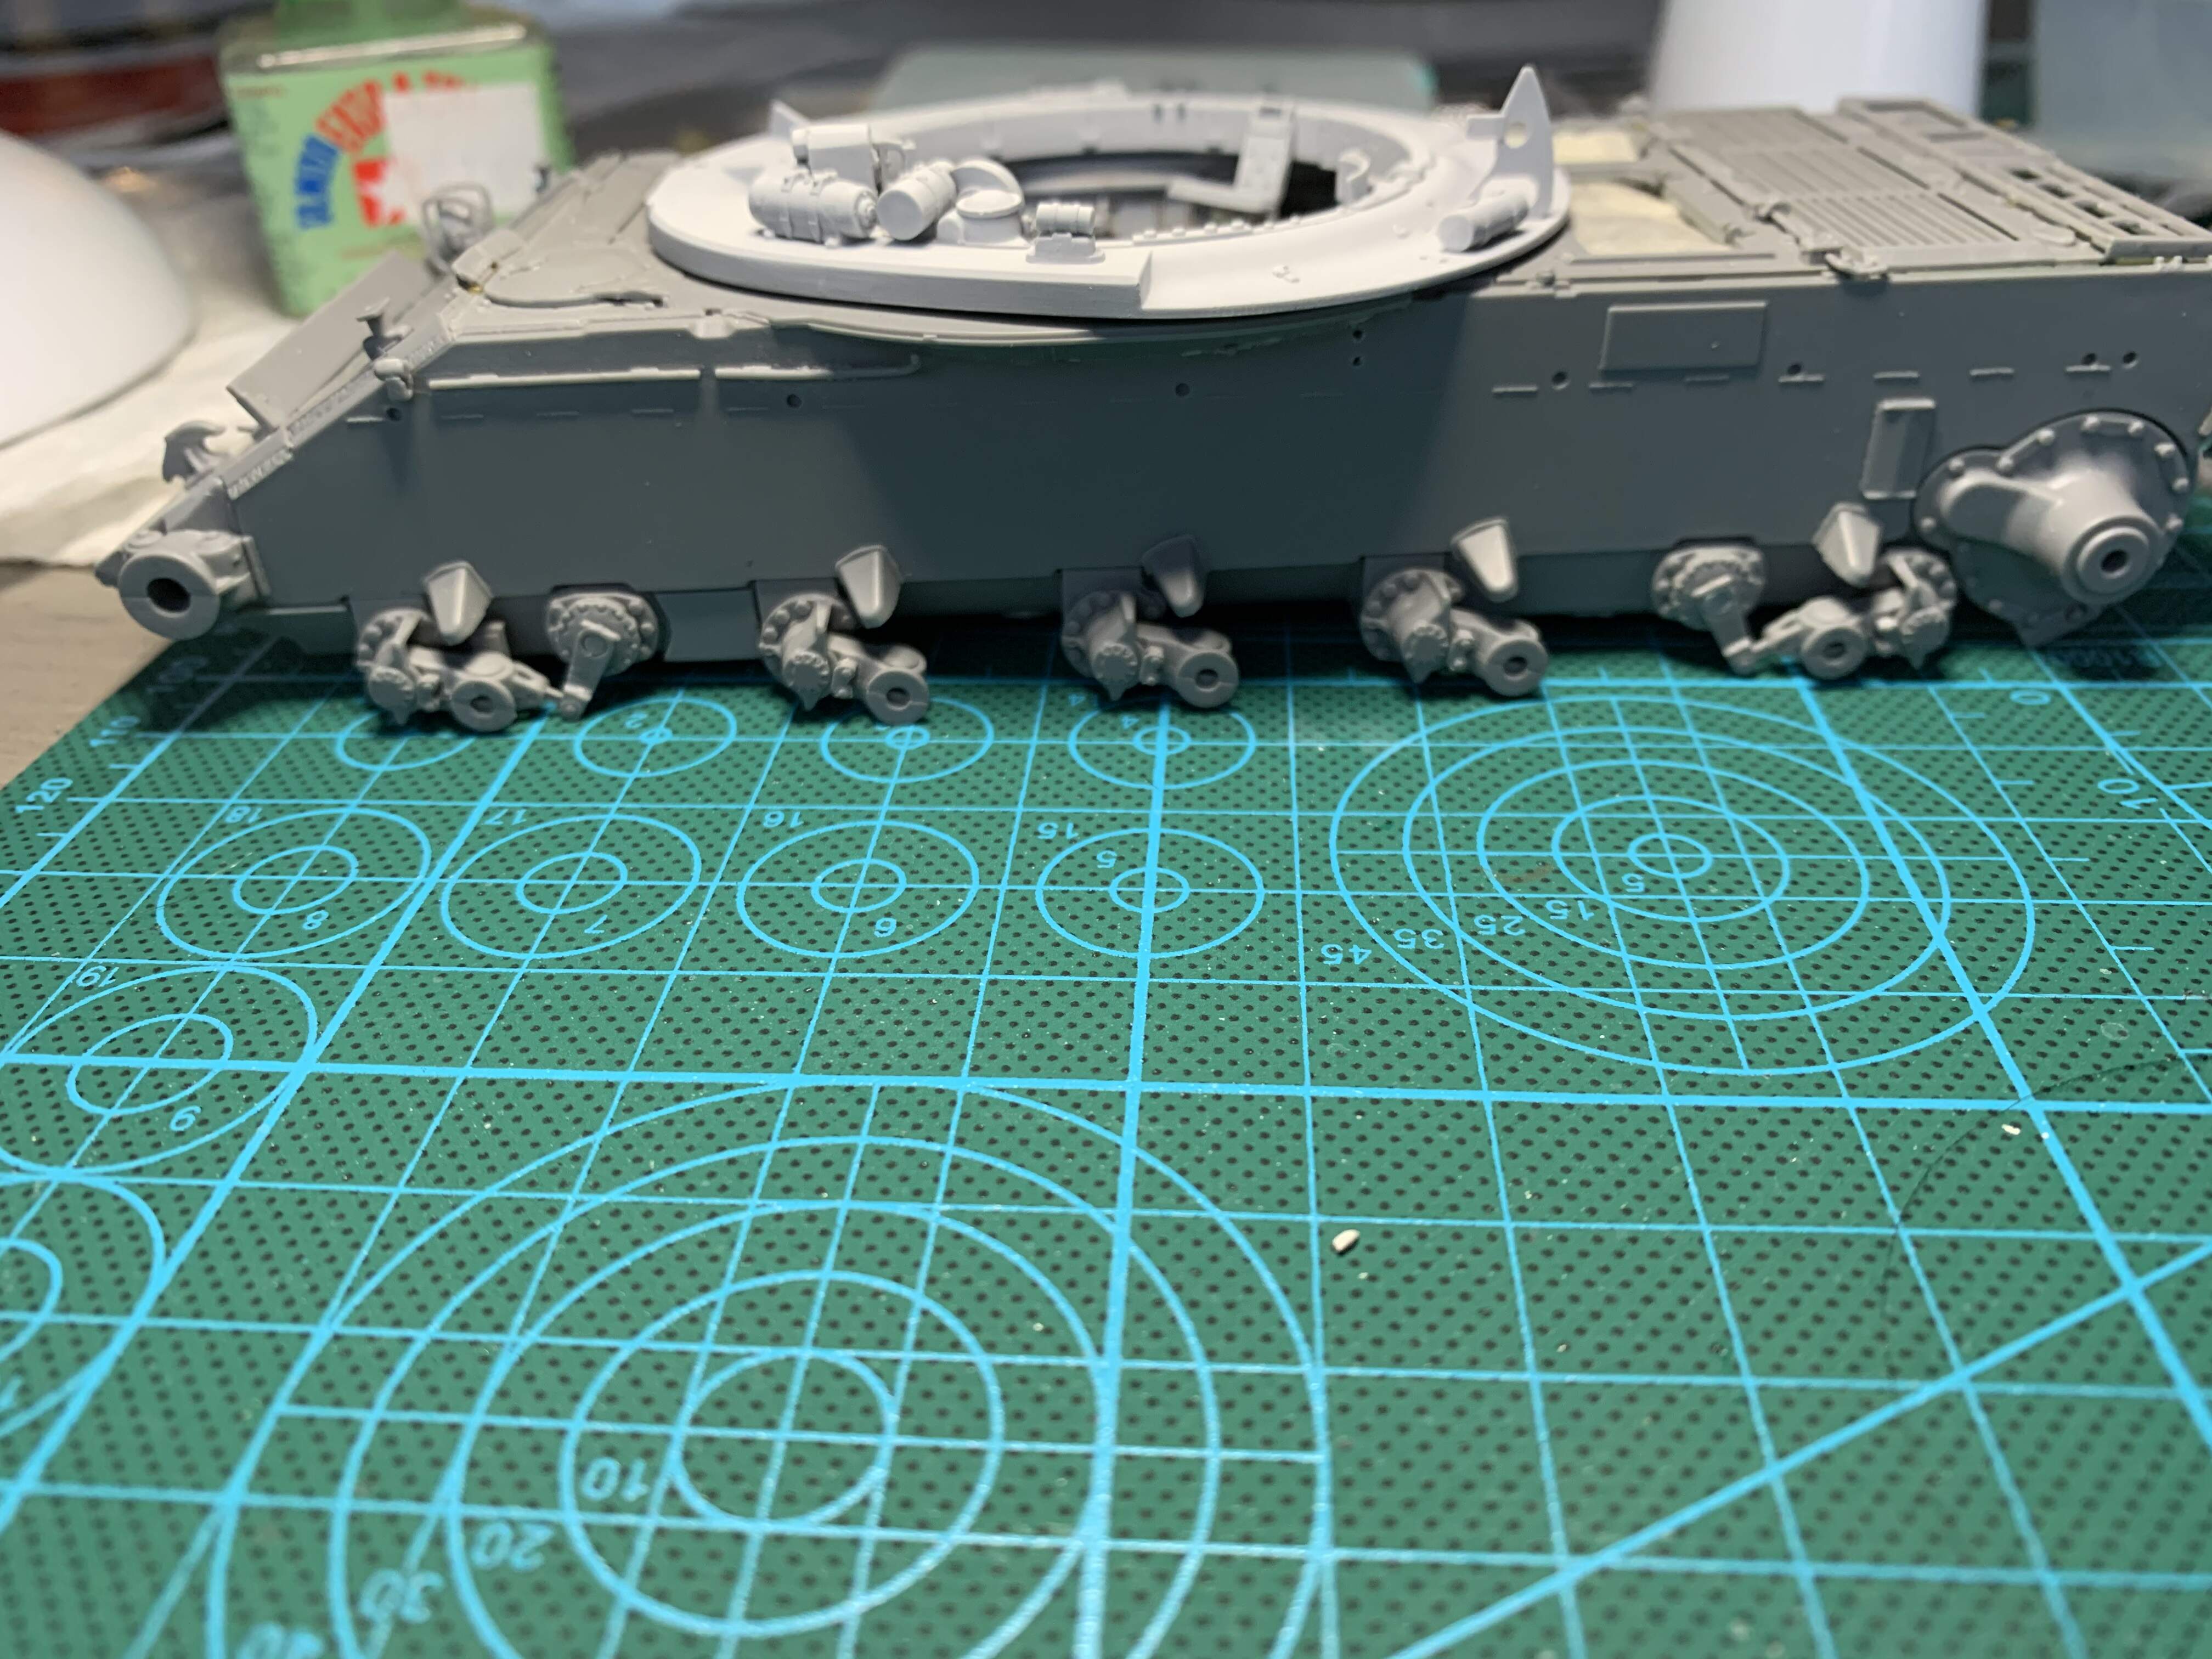
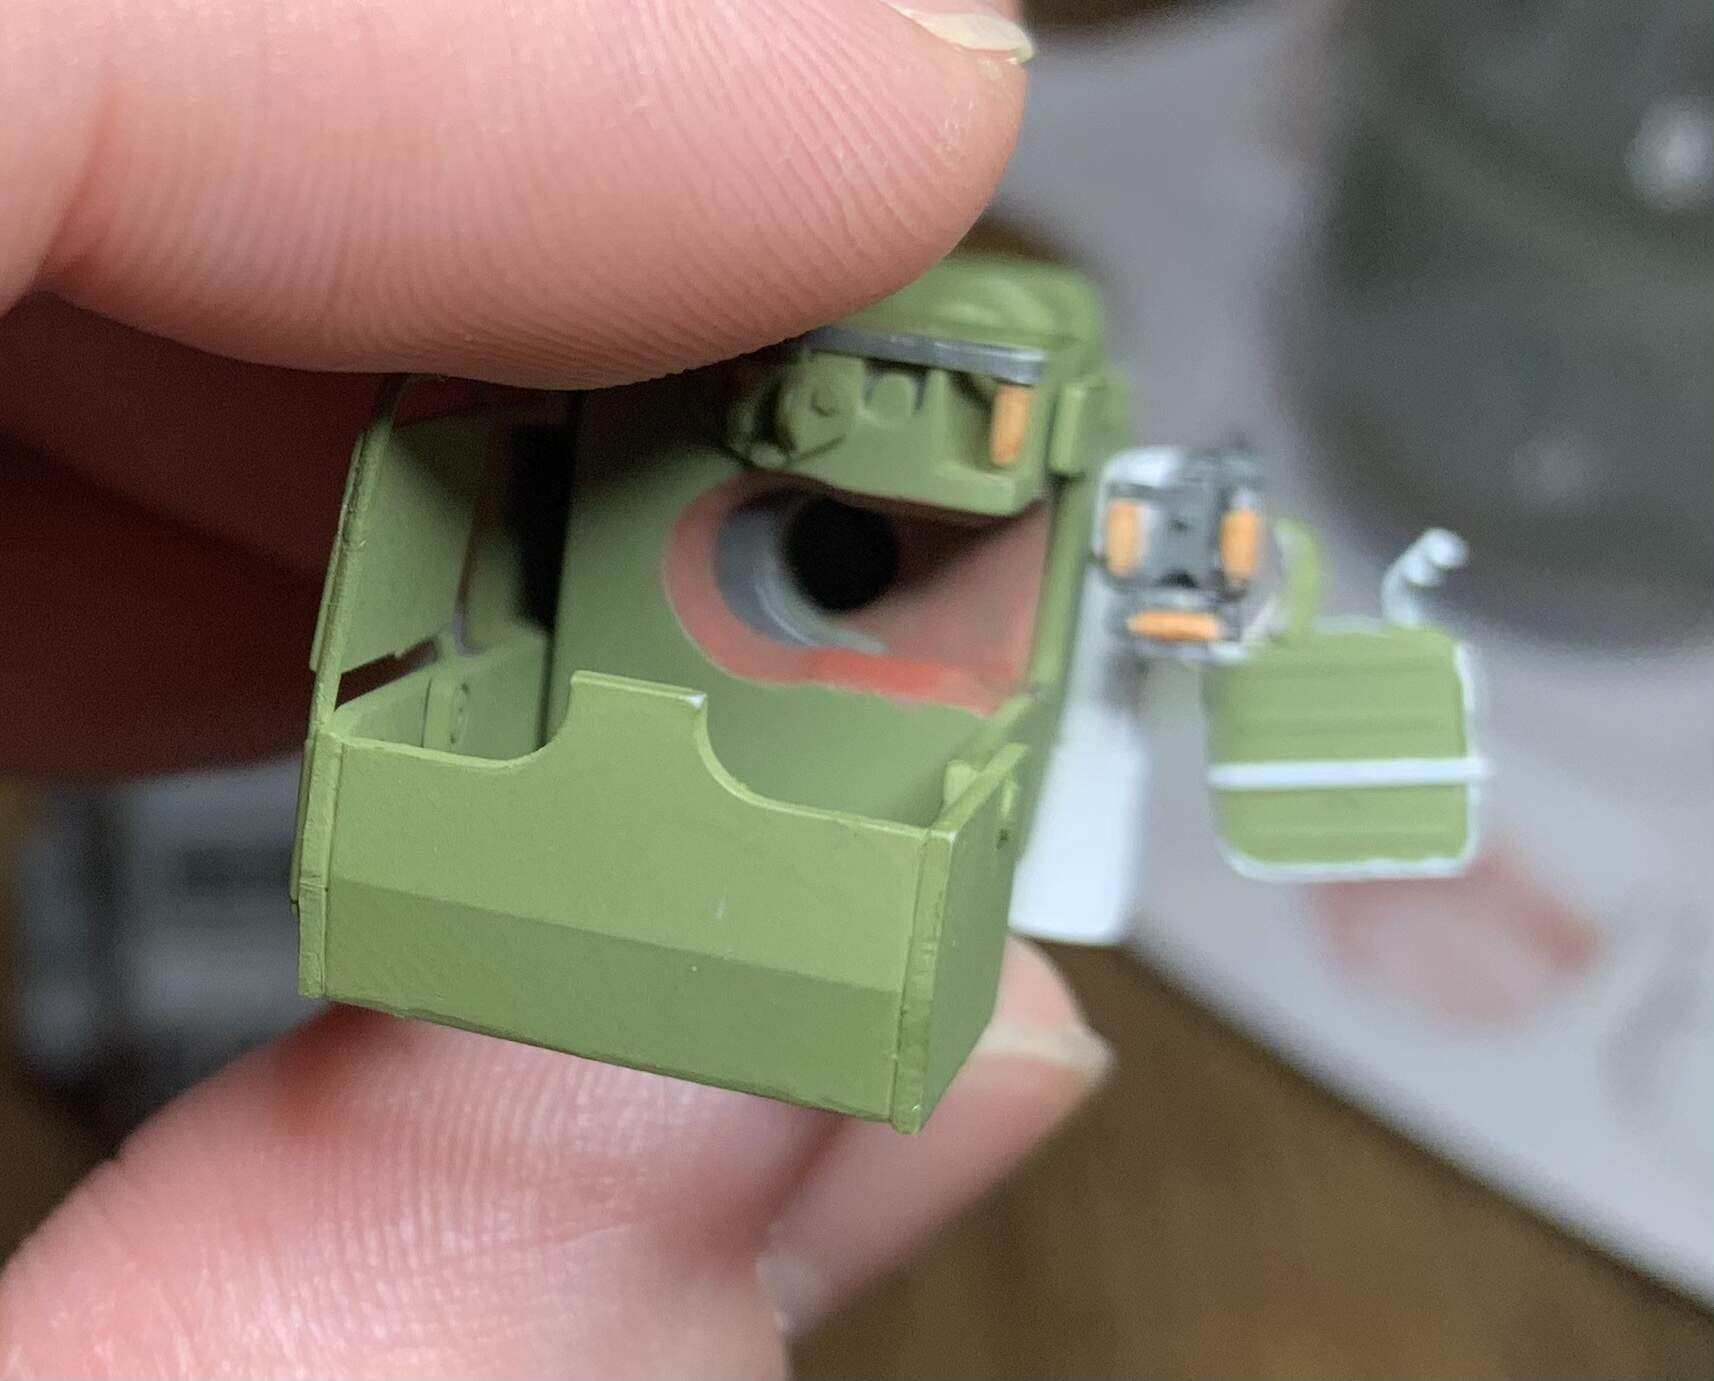
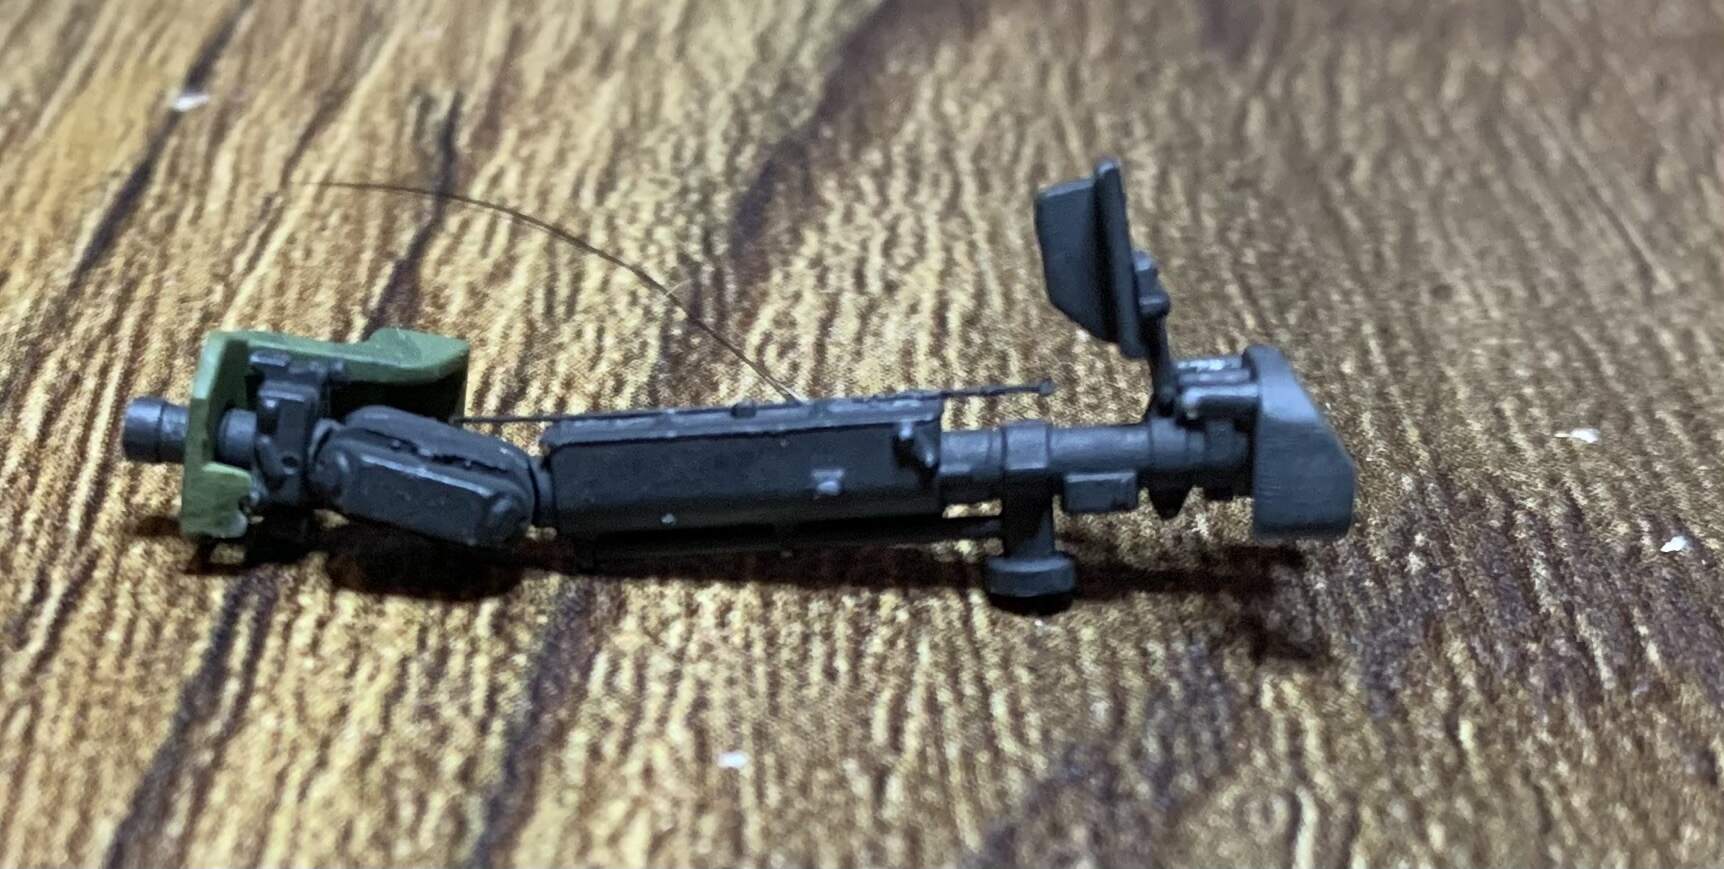
Alright making some progress. Got the rest of the lower turret interior built up and detailed painted. I really enjoyed this part of of the build despite a fit issue with the breach ring and one poorly molded part (the azimuth indicator the turret rotation handle). It was pretty distorted and ugly but it was salvageable and mostly hidden after the turret is done.

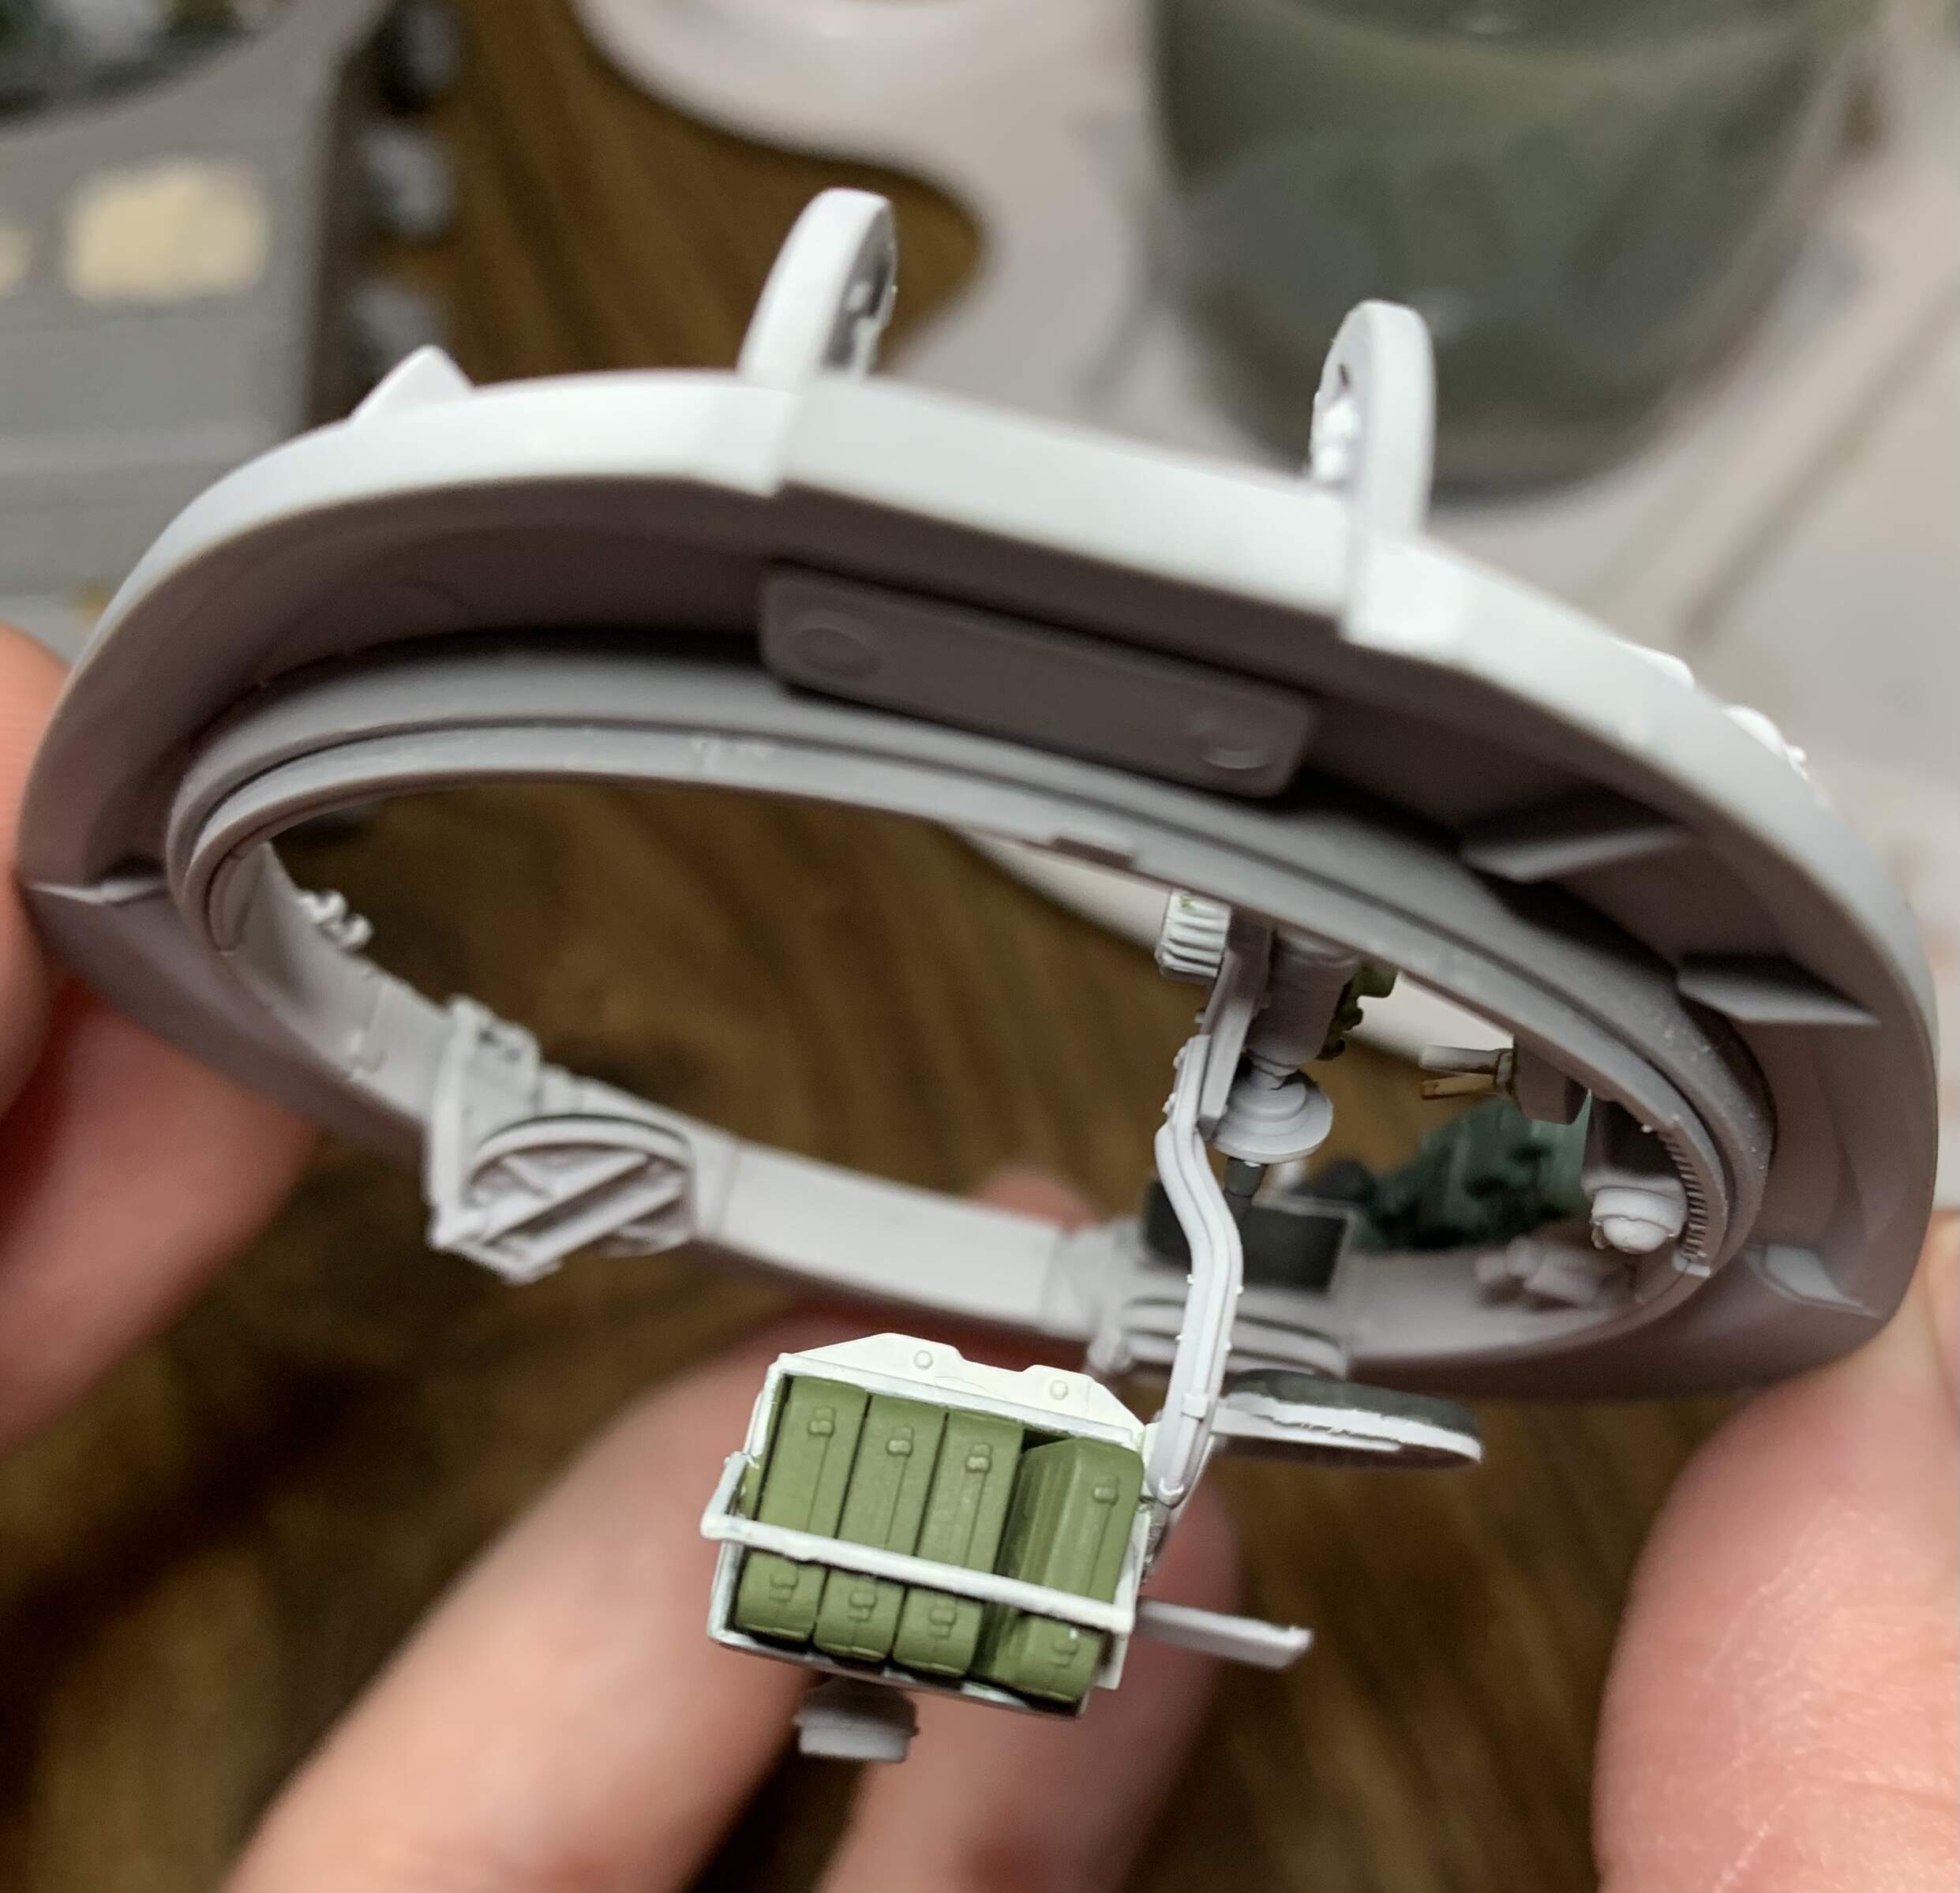
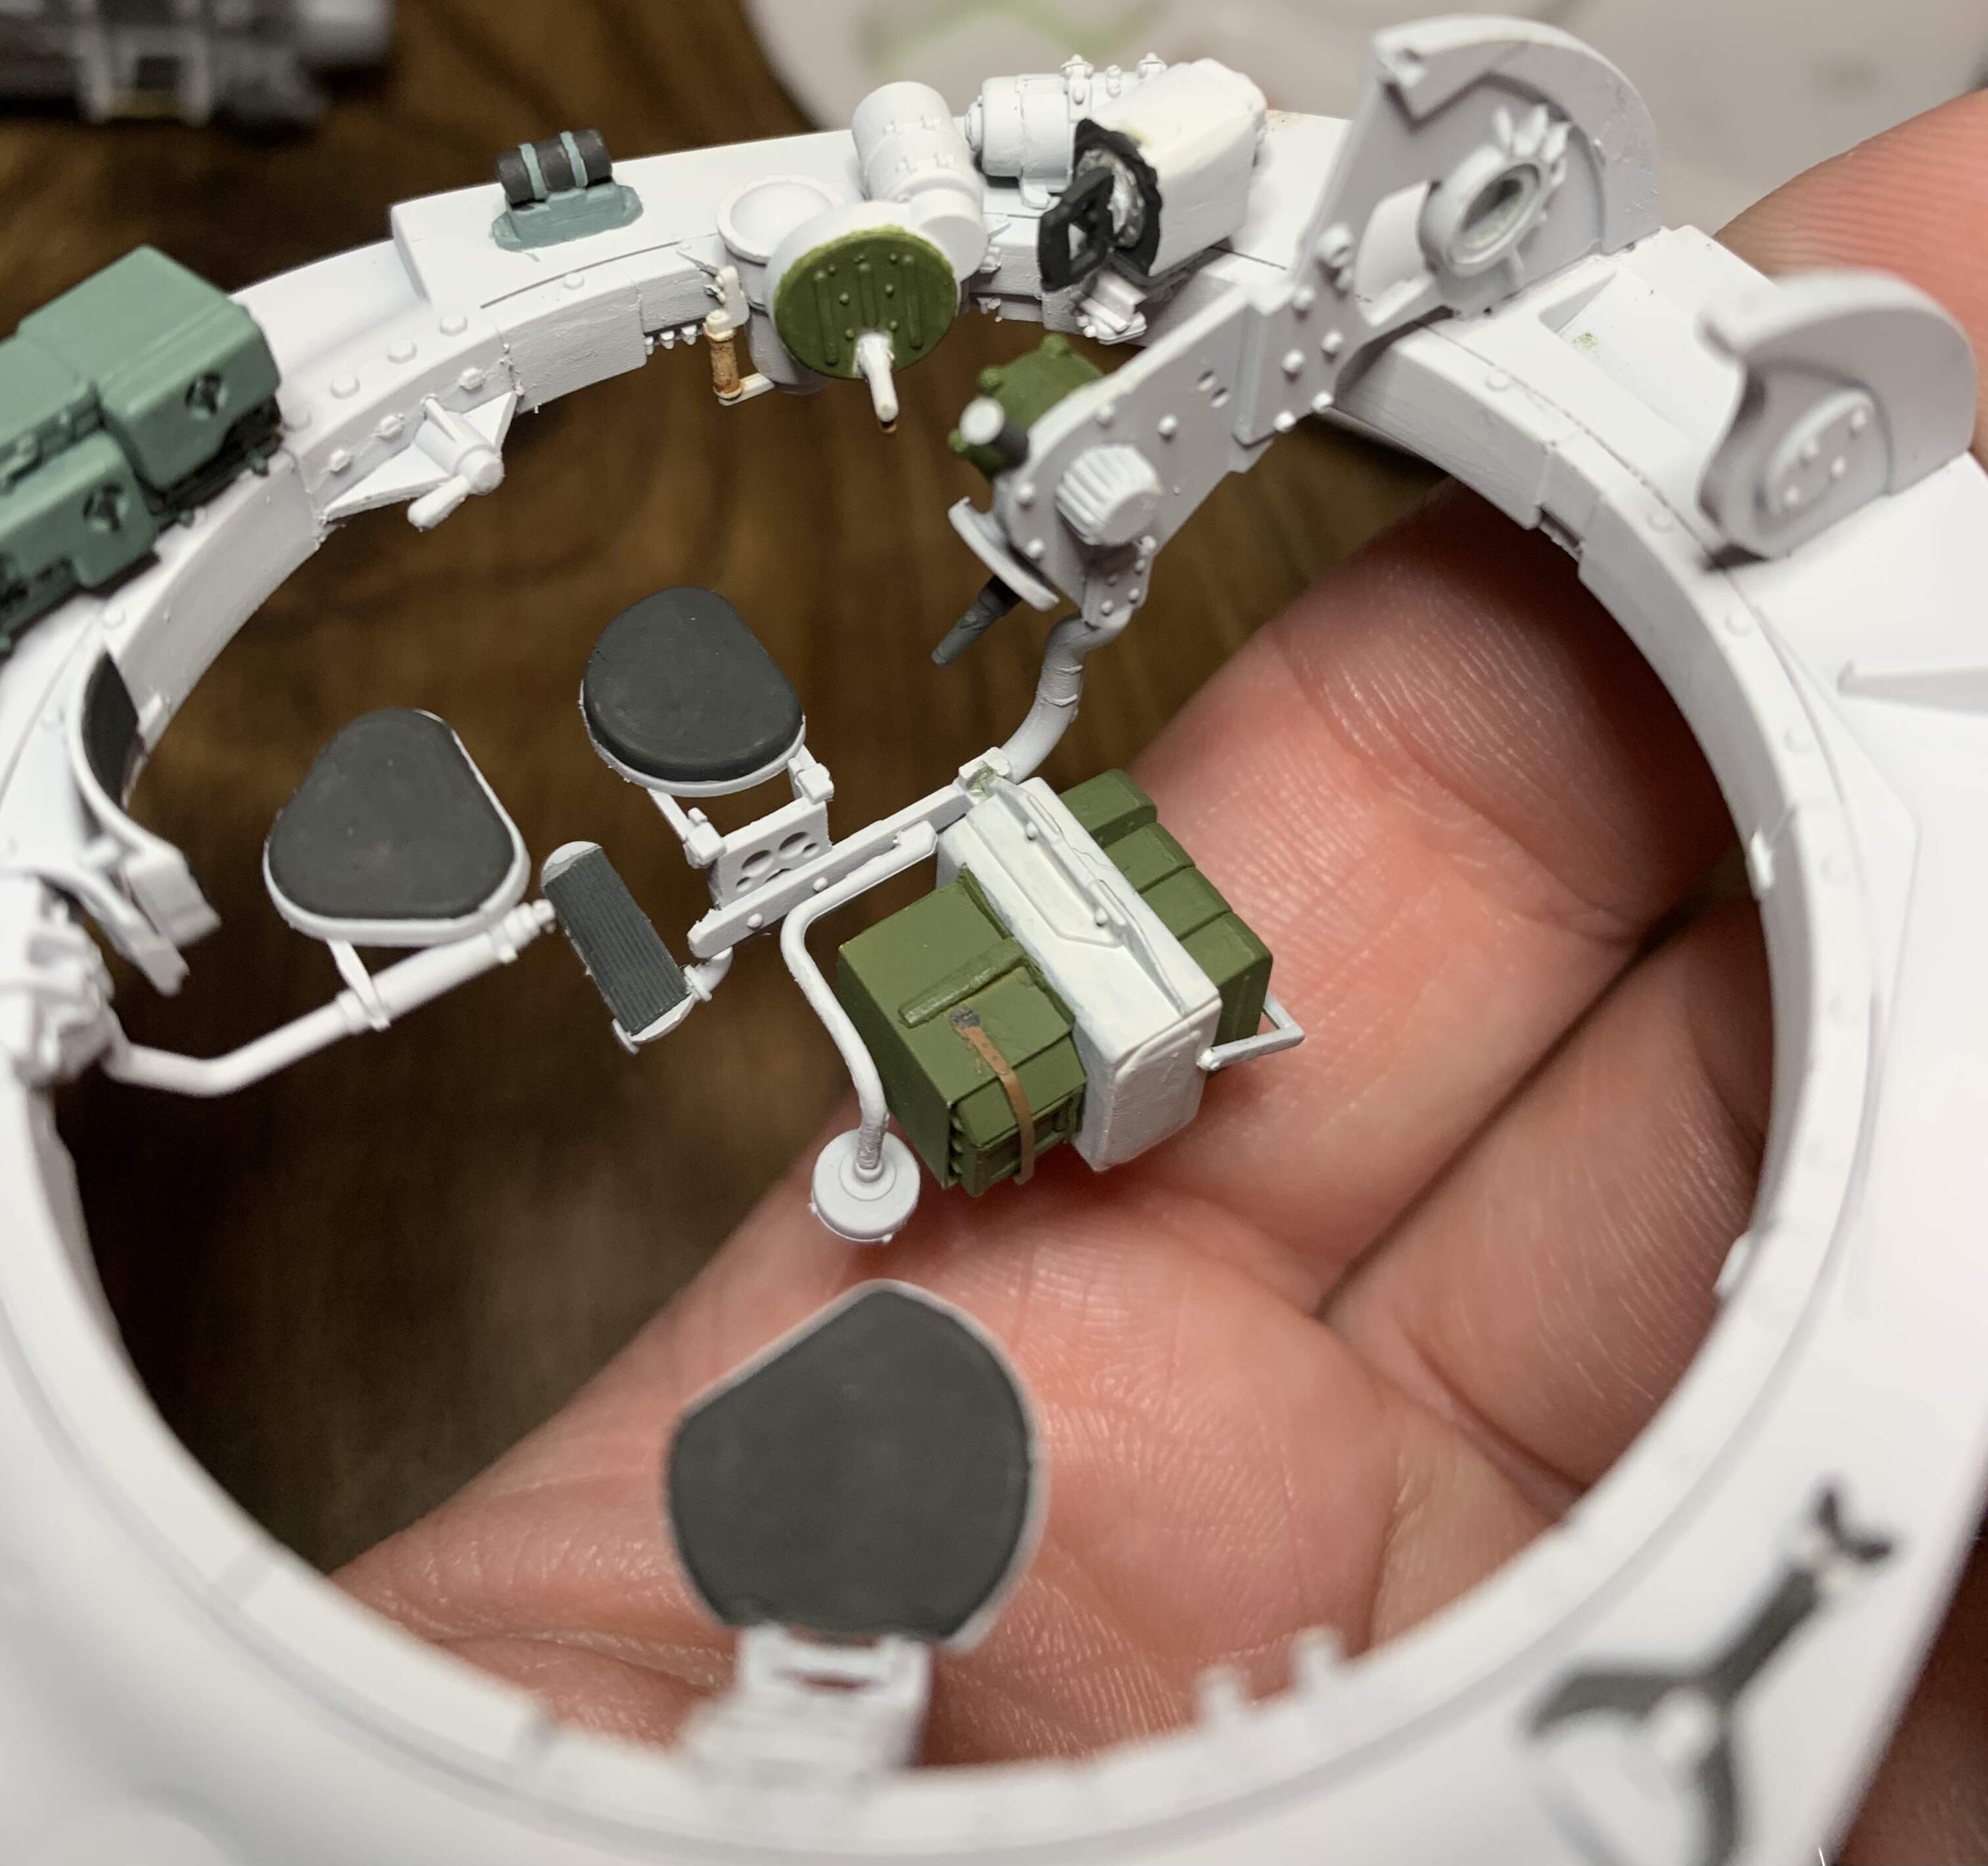

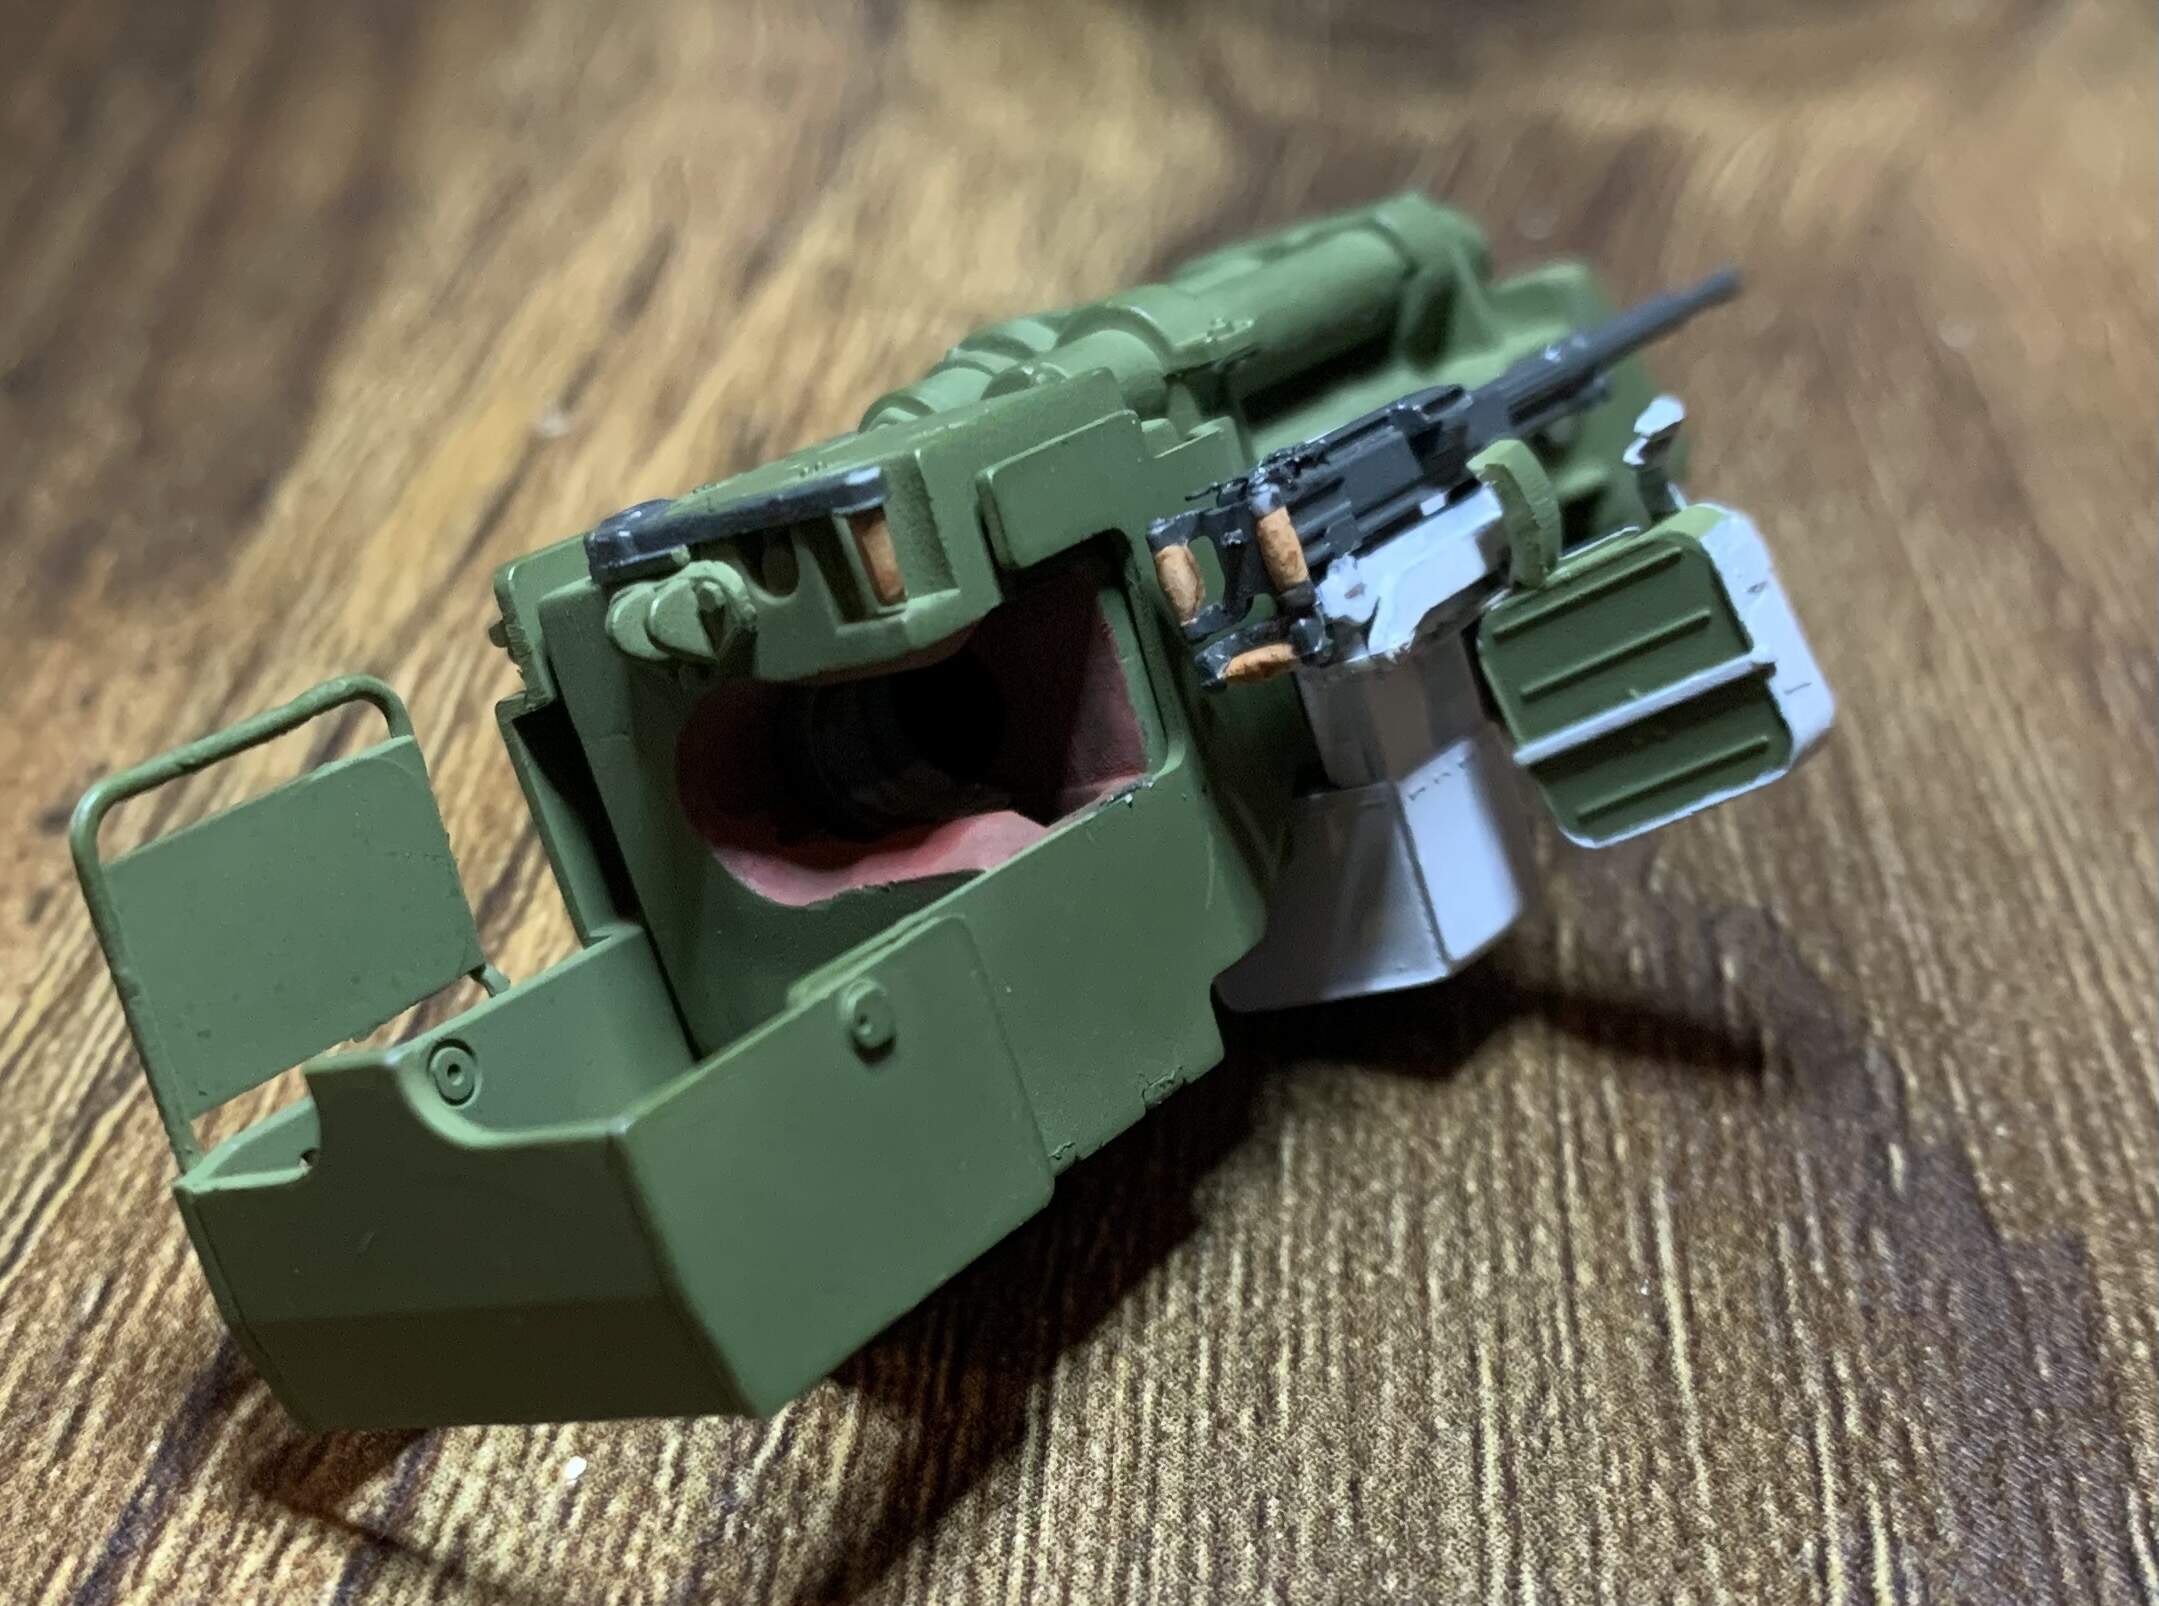


I’m most happy with how the gun breach assembly and radios turned out. Up next weathering of the lower turret and finishing of the upper turret. I am hoping by next weekend to have everything done and ready for painting minus the tracks
6 Likes
Sorry to jump late into this. I have built three T-54 kits, T-54-1, Tiran 4 early and Tiran 4 late. The best option if you do not intend to mount the tank on a ground/uneven surface is to glue the suspension in place. If the kit does not have the interior added it sits too high.
The position is not indicated by miniart. The center of the wheel hubs should be about 2mm lower of the the hull bottom. The suspension arms sit at a very small angle but not parallel to the ground.
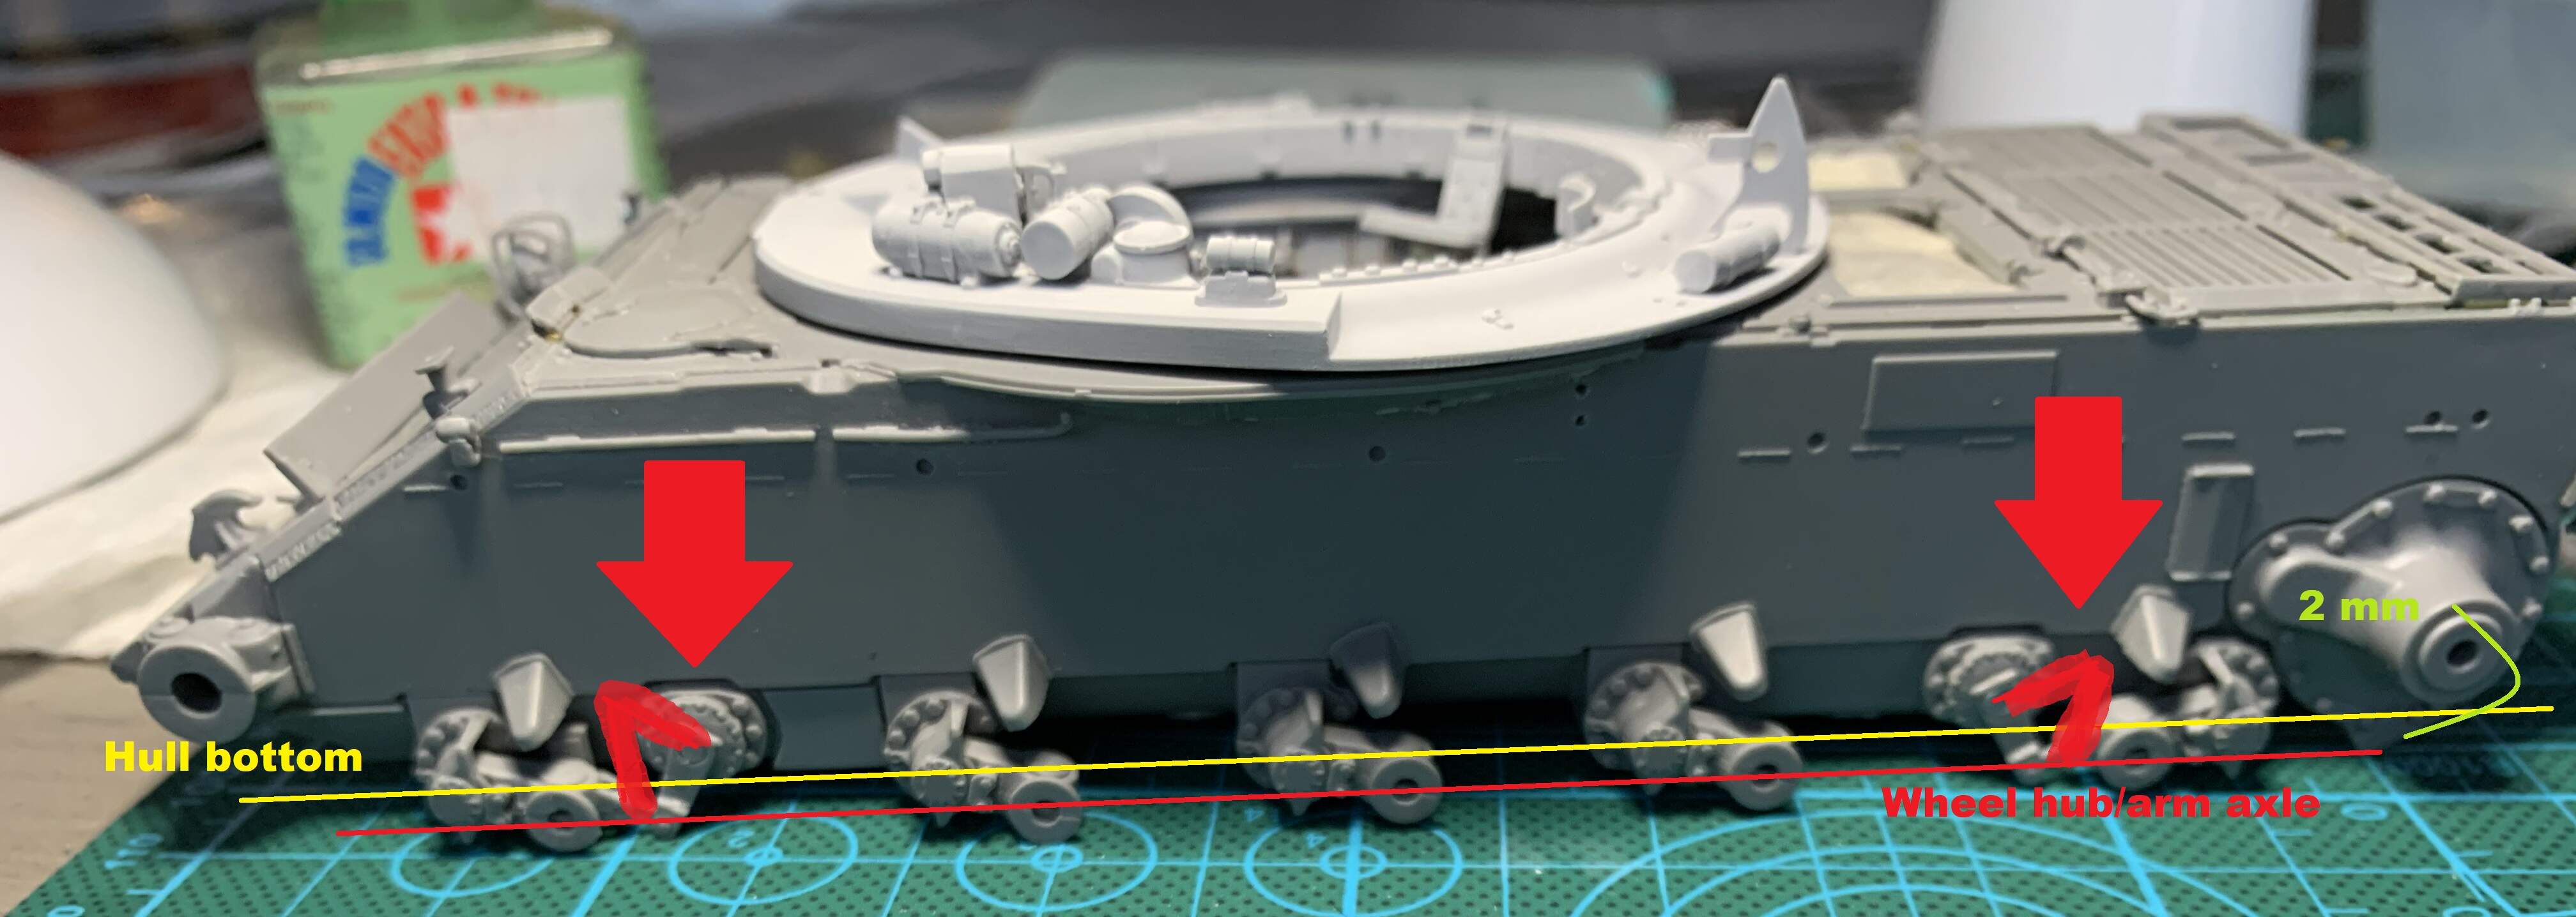
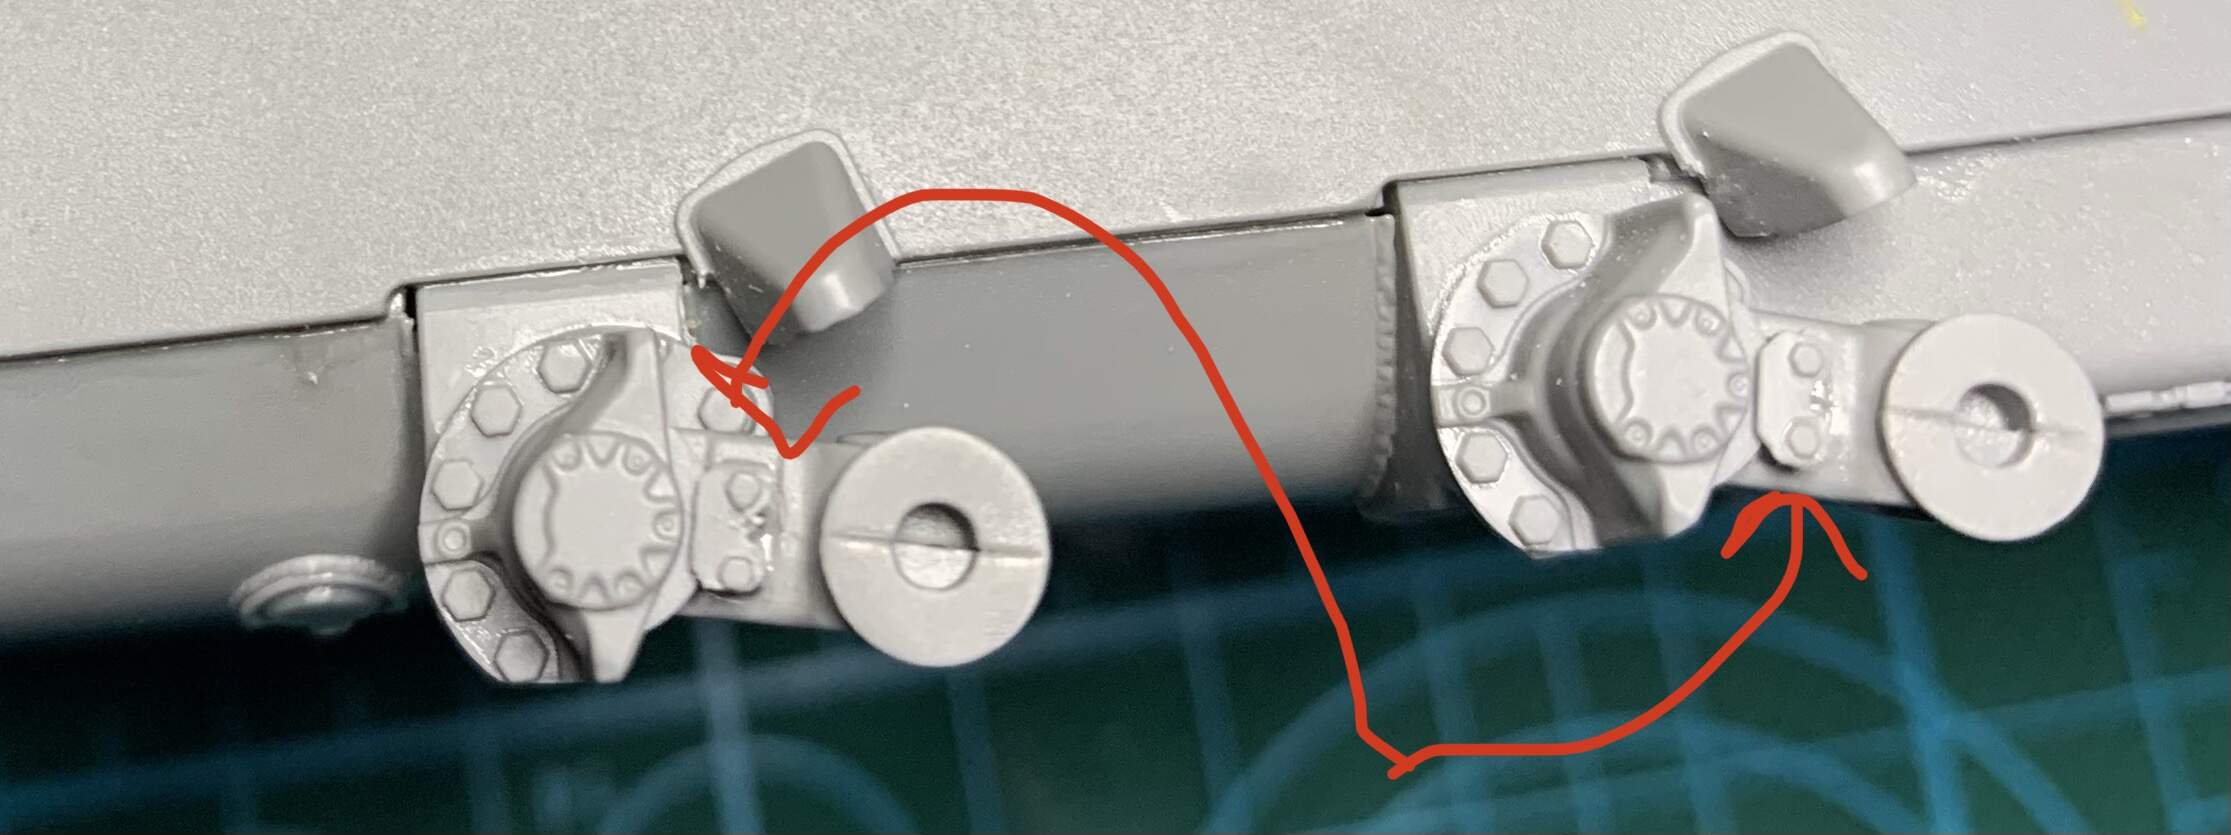
@Mead93 Nice work on the gun breach and lower ring, I had many issues making mine look decent and many fit problems due to twisted/bent parts. Be careful with the 1 and 5 suspension arms, the return arms need to be above the suspension arm. Again sorry for the late answer.
3 Likes
No worries, you aren’t late! My suspension are still
movable but I did plan on gluing them in place at some point. It’s helpful to know the height and the return arm position.
Thanks, the lower ring and breech has probably been the most challenging part so far, but also the most fun. Only major fit issue was a large gap in the breech ring that I fixed with stretched sprue
1 Like
what size wire did you use for the “spark plug wires” - I doubt that’s what they are called, but what I remember from working on my Chevy Nova in high school.
I’m about to put some on my T-34 engine.
They are fuel injection lines, running from engine manifold to I think glow plugs? Being a diesel. I used 26 gauge wire, I think I got at Michaels a while back
Works out to roughy 0.4mm
Thanks. I have some 26 gauge wire. I think this is the first thing on this kit I’m dreading. My hands are so unsteady it’s easy for me to imagine wiping out a few previously mounted wires with one twitch of the tweezers…
You’d be surprised how strong they are once the super glue locks them into the hole. I actually had one break off when I bumped it but the super glue held strong.
I would strongly recommend bending them how you want prior to gluing them. They didn’t hold up well to being bent after.
You must have better super glue than I do…
I’m using BSI maxi-cure (red bottle) for the wiring. But yes so far the wiring has been the most challenging part of this build though not awful
Instead of brass or steel wire you might try either copper wire or soder. Both are much easier to bend and work with. In either case good luck.
1 Like
You remind me of the other thing that kind of stresses me out about this step. I do have 26 ga copper wire. I’ll need to paint it first I think - there is no way I’ll be able to paint underneath - and I don’t know how to paint it and not chip it with handling…
I “painted” mine with stynylrez black primer, it almost forms a coating making the wire look like hose/tubing. It was also decently durable after curing for a few hours. A bit flaked off but I just touched it up with more primer once I had the wire in position
If you can see the chipped paint you can paint it
If you can’t see the chipped paint you don’t need to paint it.
Cover the jaws of pliers and other bending with duct tape or similar to make them slightly less abrasive. Bending using fingers and wood dowels et.c. is almost totally safe for the paint.
Some types of paint get chipped if you stare hard at the painted surface so use a more durable paint …
Edit: Bending the wire to shape before the final paint might be another way to eliminate the possible danger of chipped paint.
@phil2015 Phil, there are a few copper darkening chemicals available that can be used before painting. If the paint chips the darkened copper doesn’t have the bling bling shinny look. Not sure if it’s worth the effort but that might be a possibility.
Sort of like using Blacken-It on photo etch so if the paint flakes off the PE is black or dark gray instead of shiny brass.