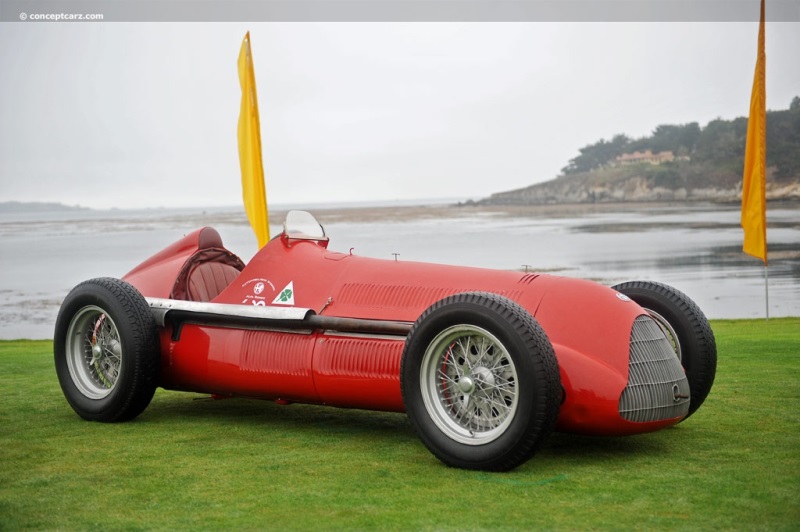
I’ve made a start on the Alfetta.
For unboxing see here - Unboxing Model Factory Hiro 1/12 Tipo 158 Alfetta
Given the cost of the kit I was a bit unprepared for the condition of some of the white metal components.
The chassis is supplied in two parts that must be joined together. This is a concession to offering two types -
158 and 159 that have different rear chassis. You get only the parts you need for your chosen model .
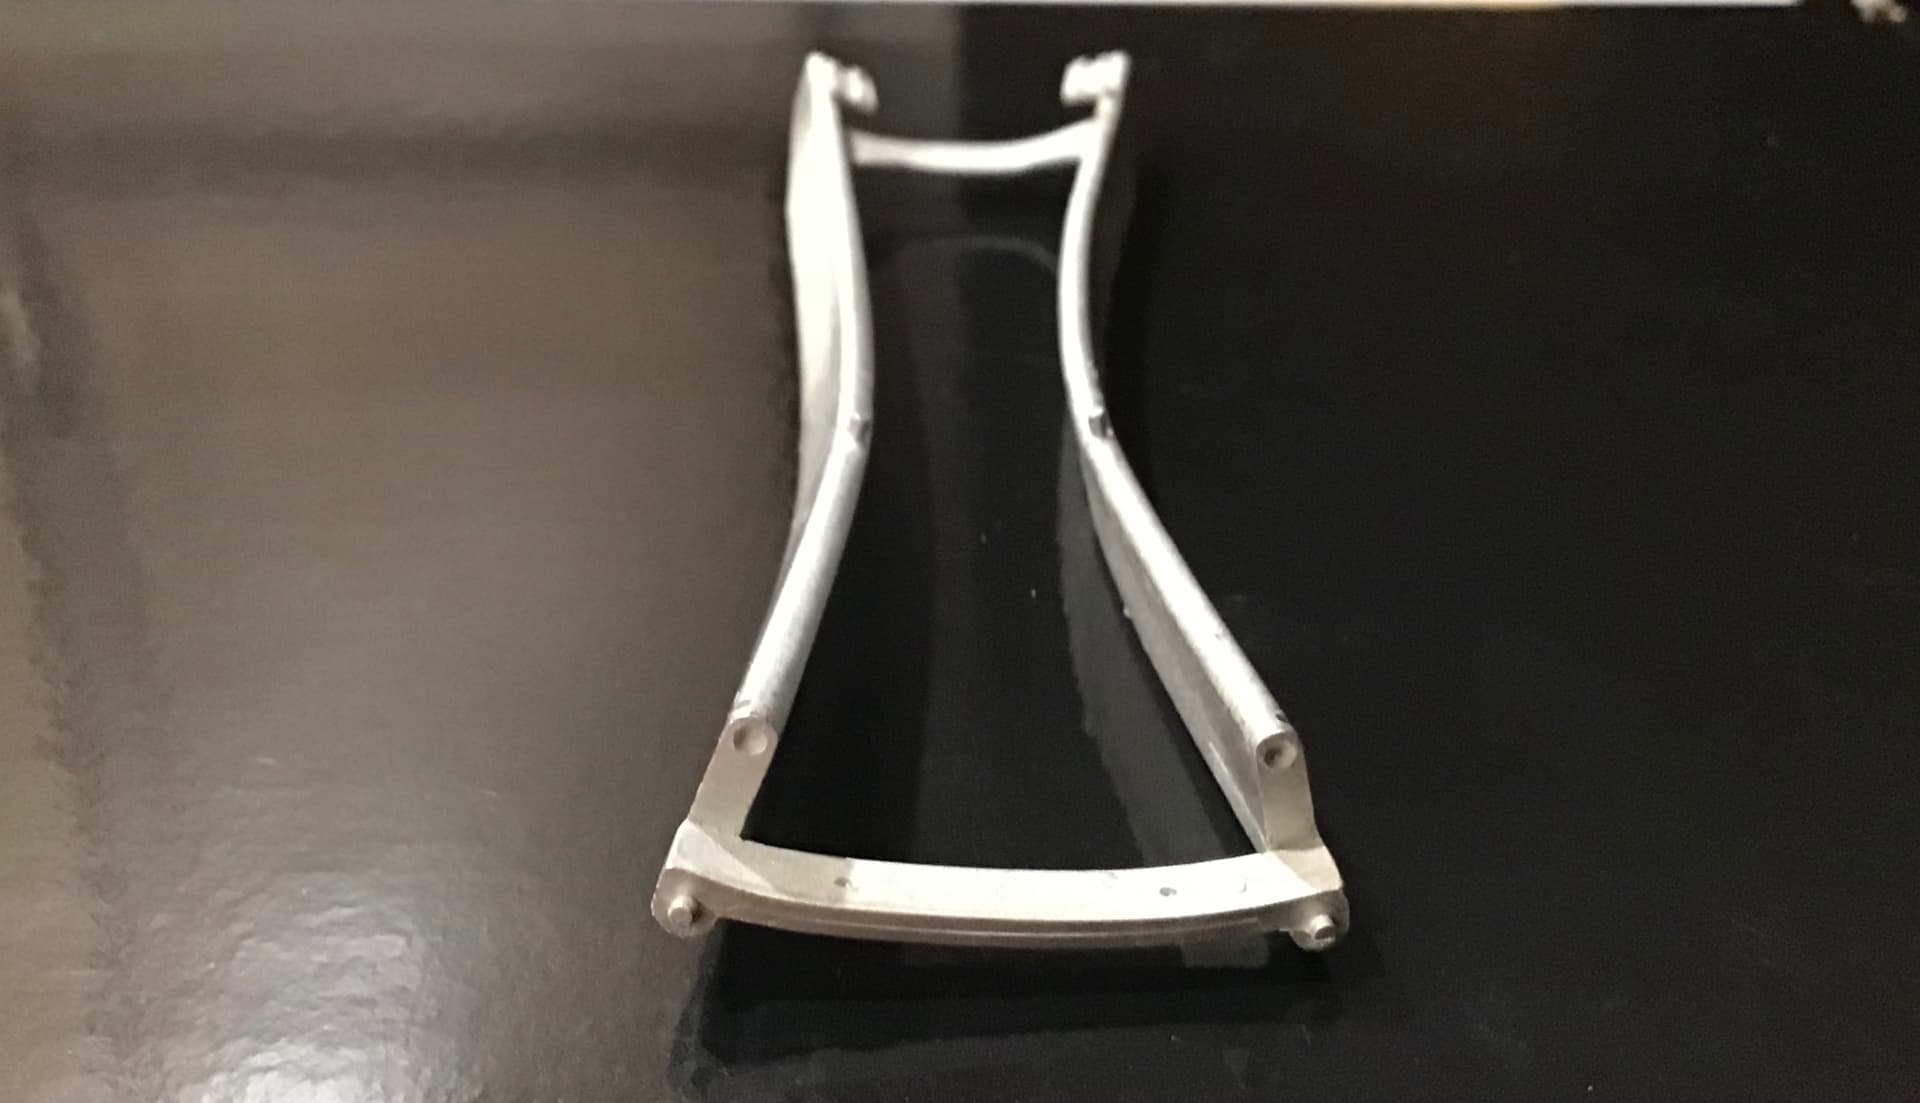
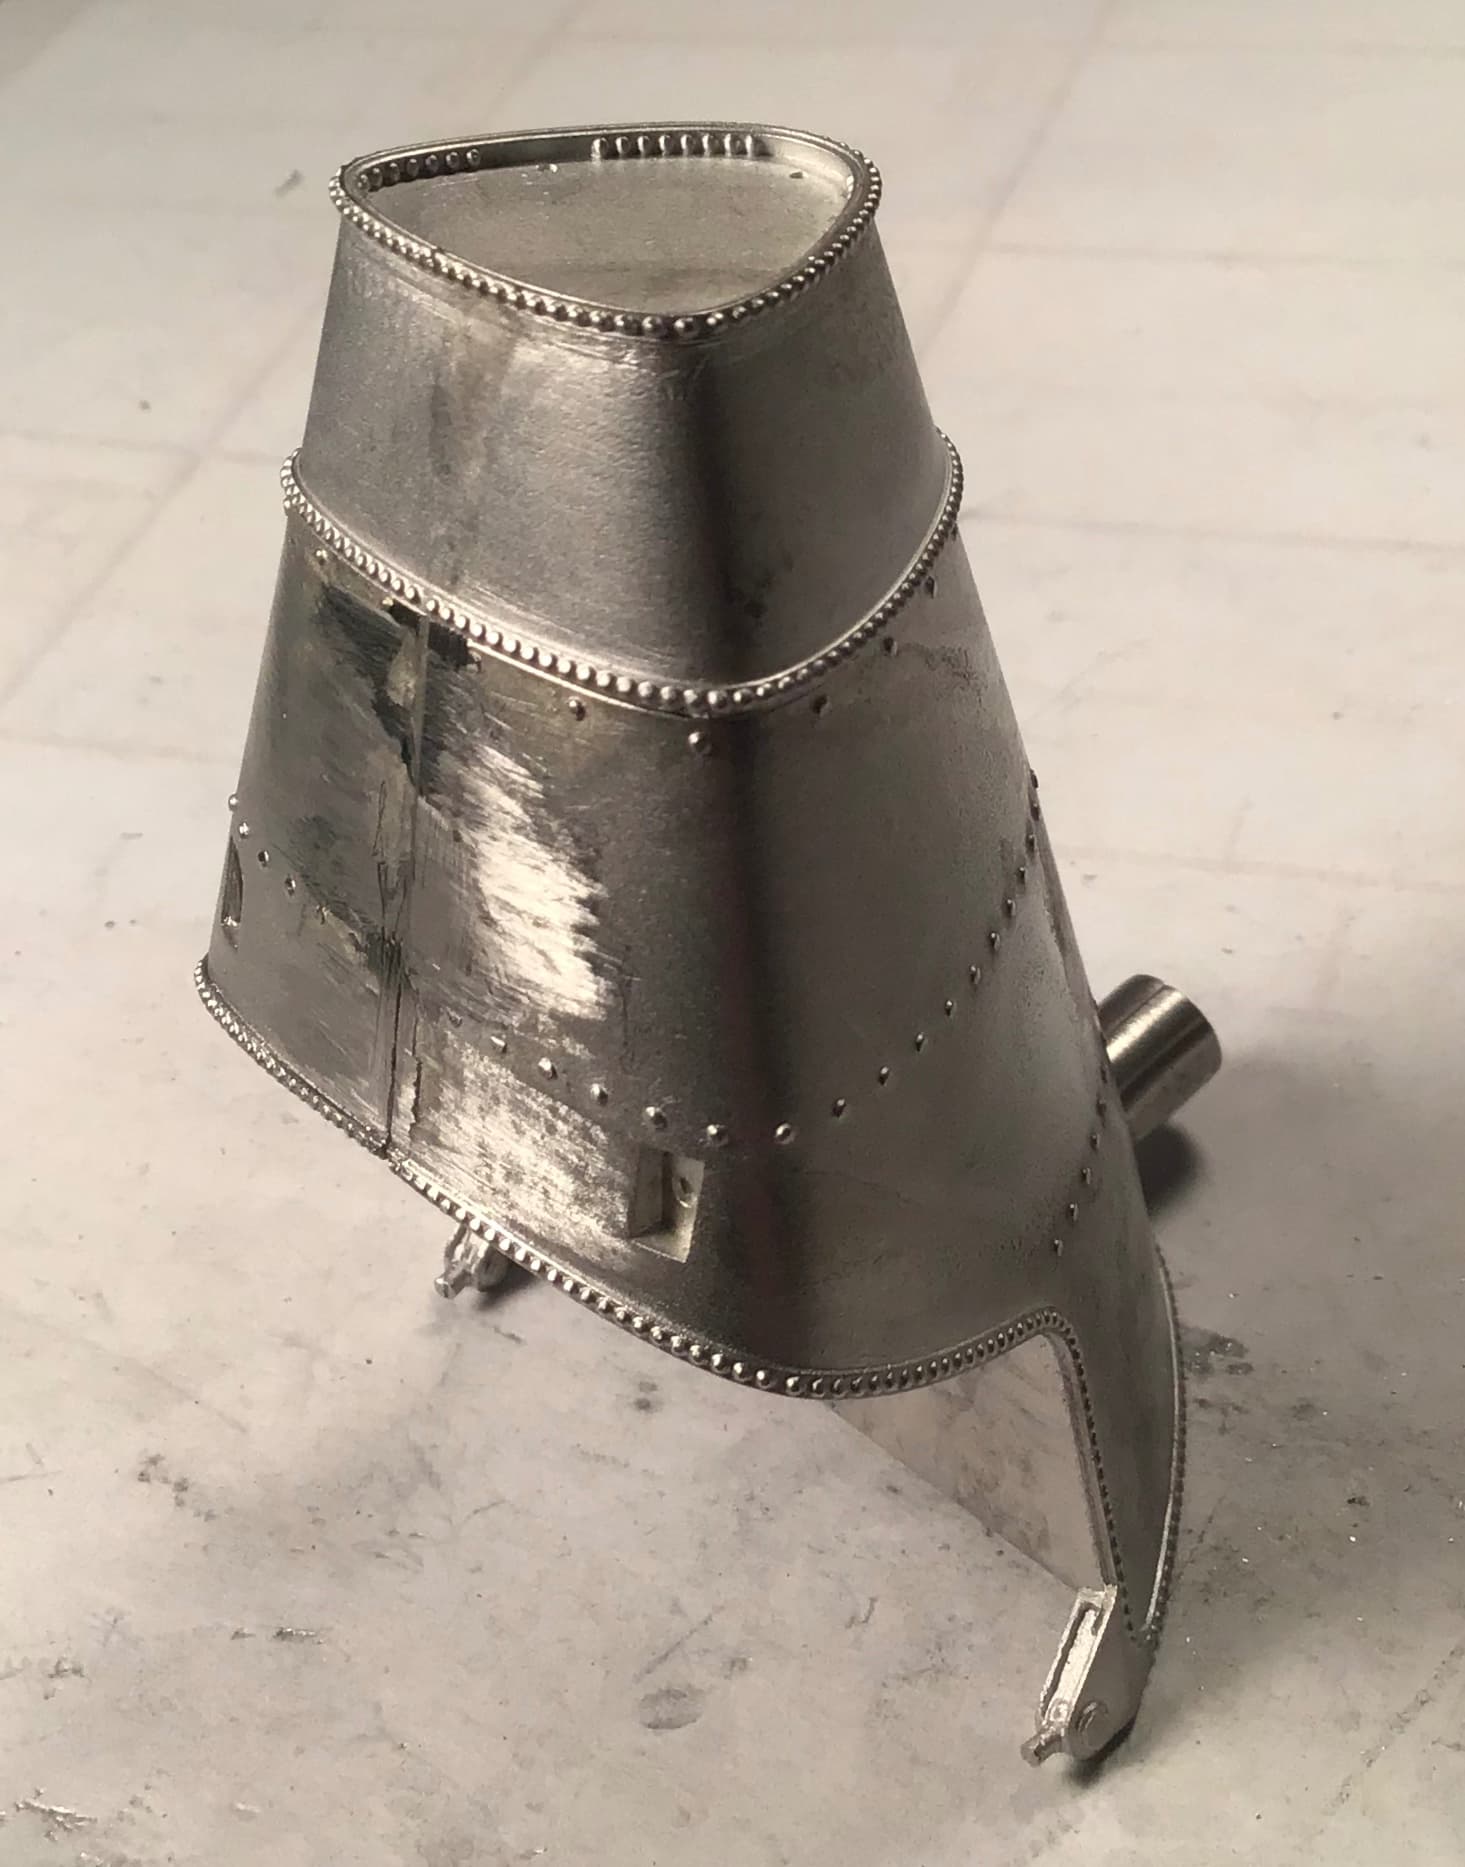
Here is what the main chassis front section looked like when first unwrapped-
Very disconcerting - fortunately Michael ( cosimodo) has built a few of these kits and through the benefit of his experience assured me the metal was very soft and can be manipulated with your fingers without breaking.
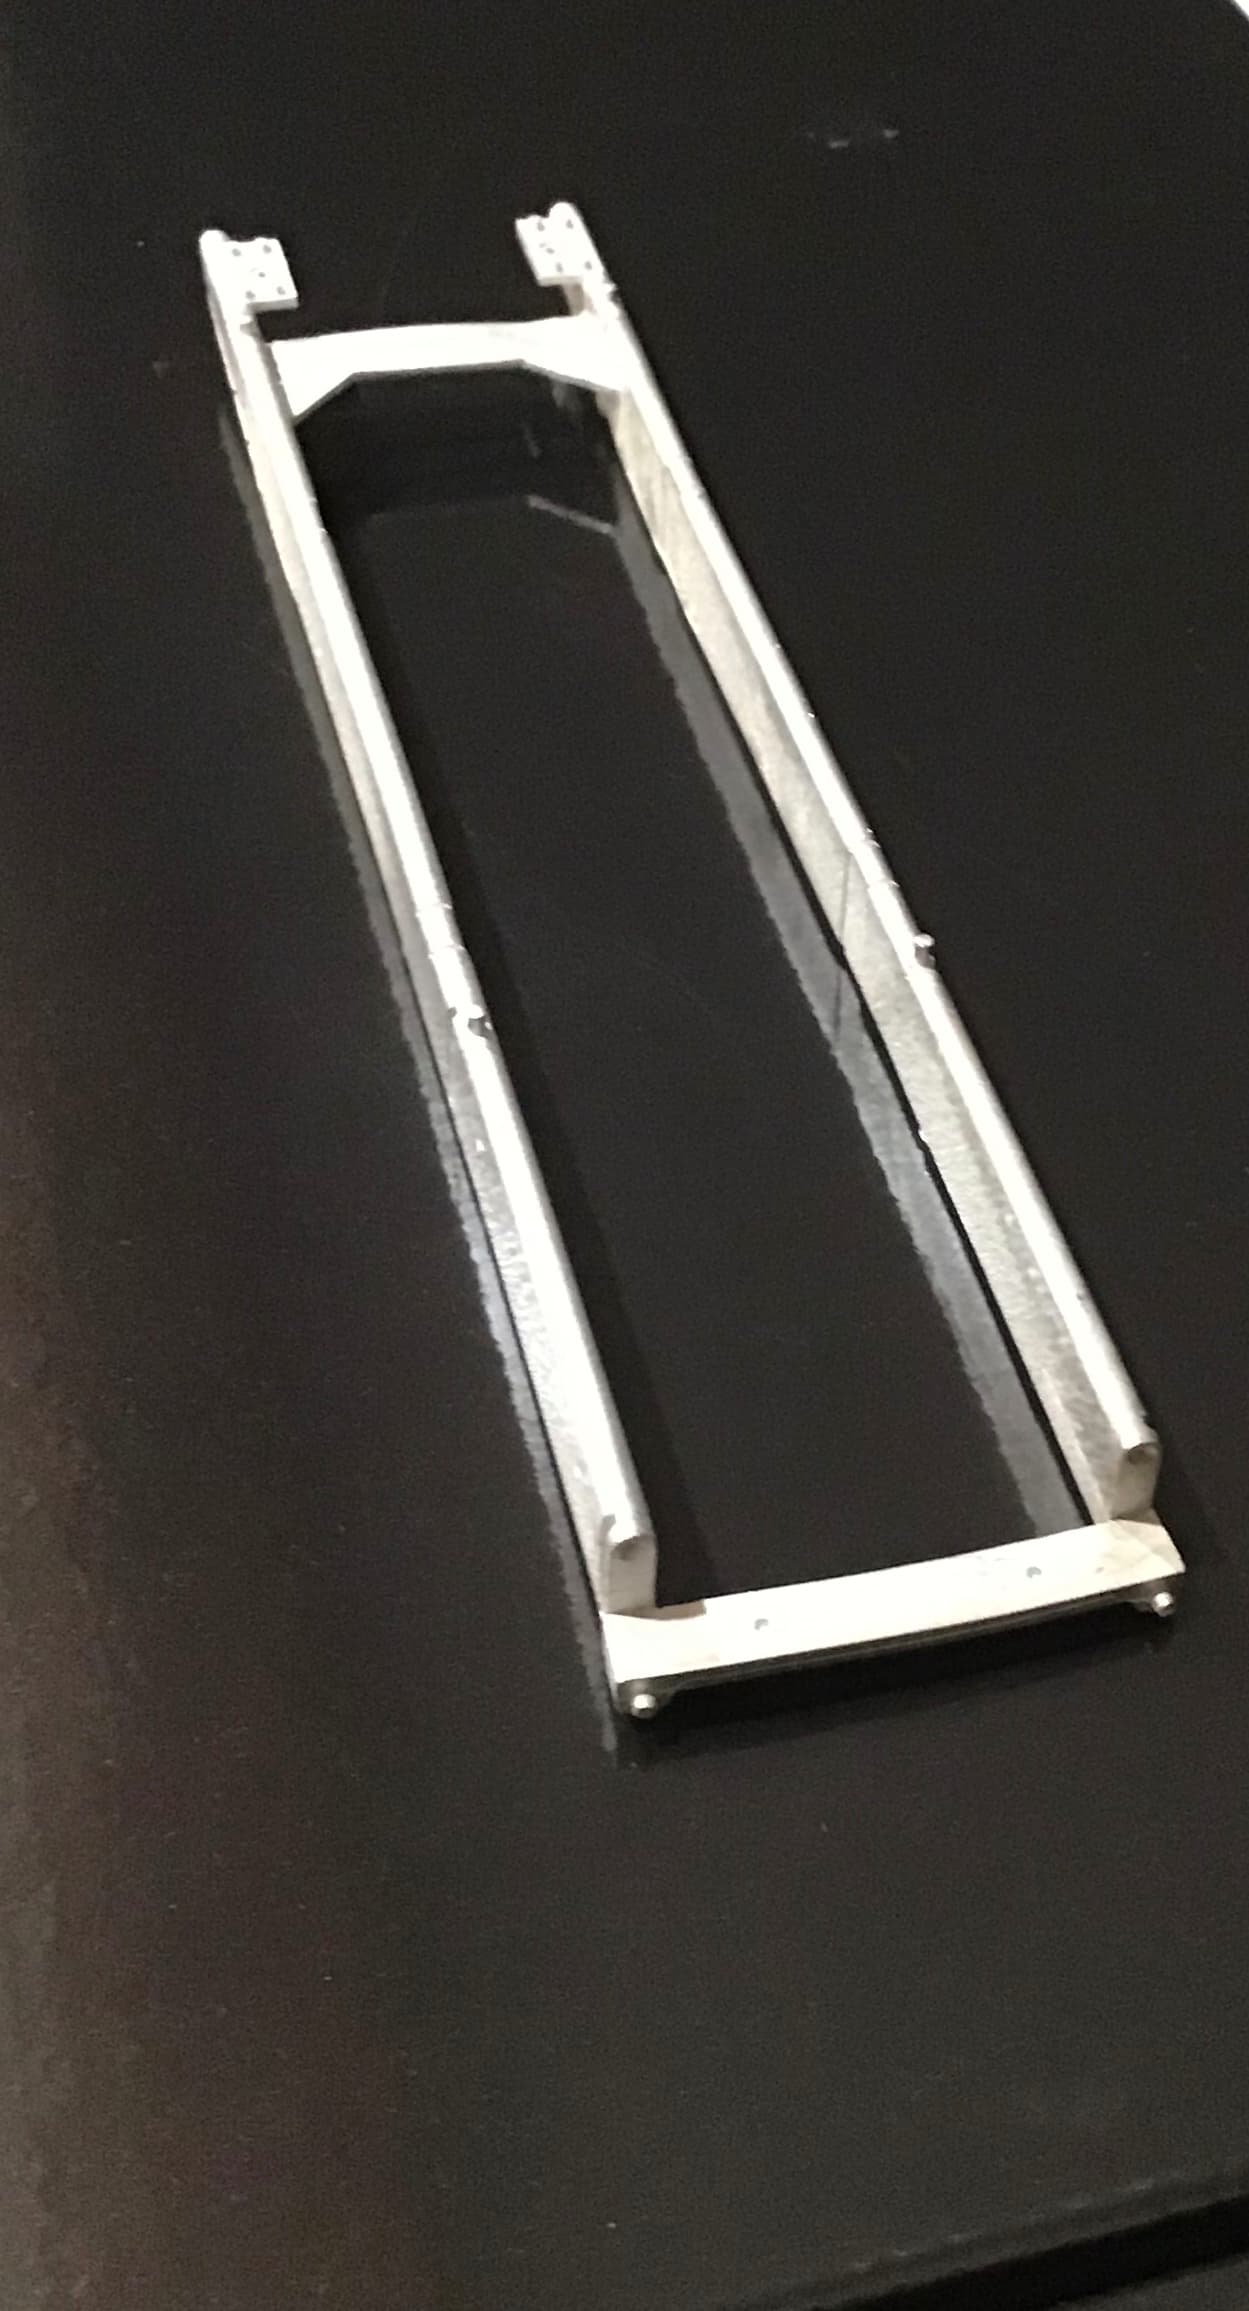
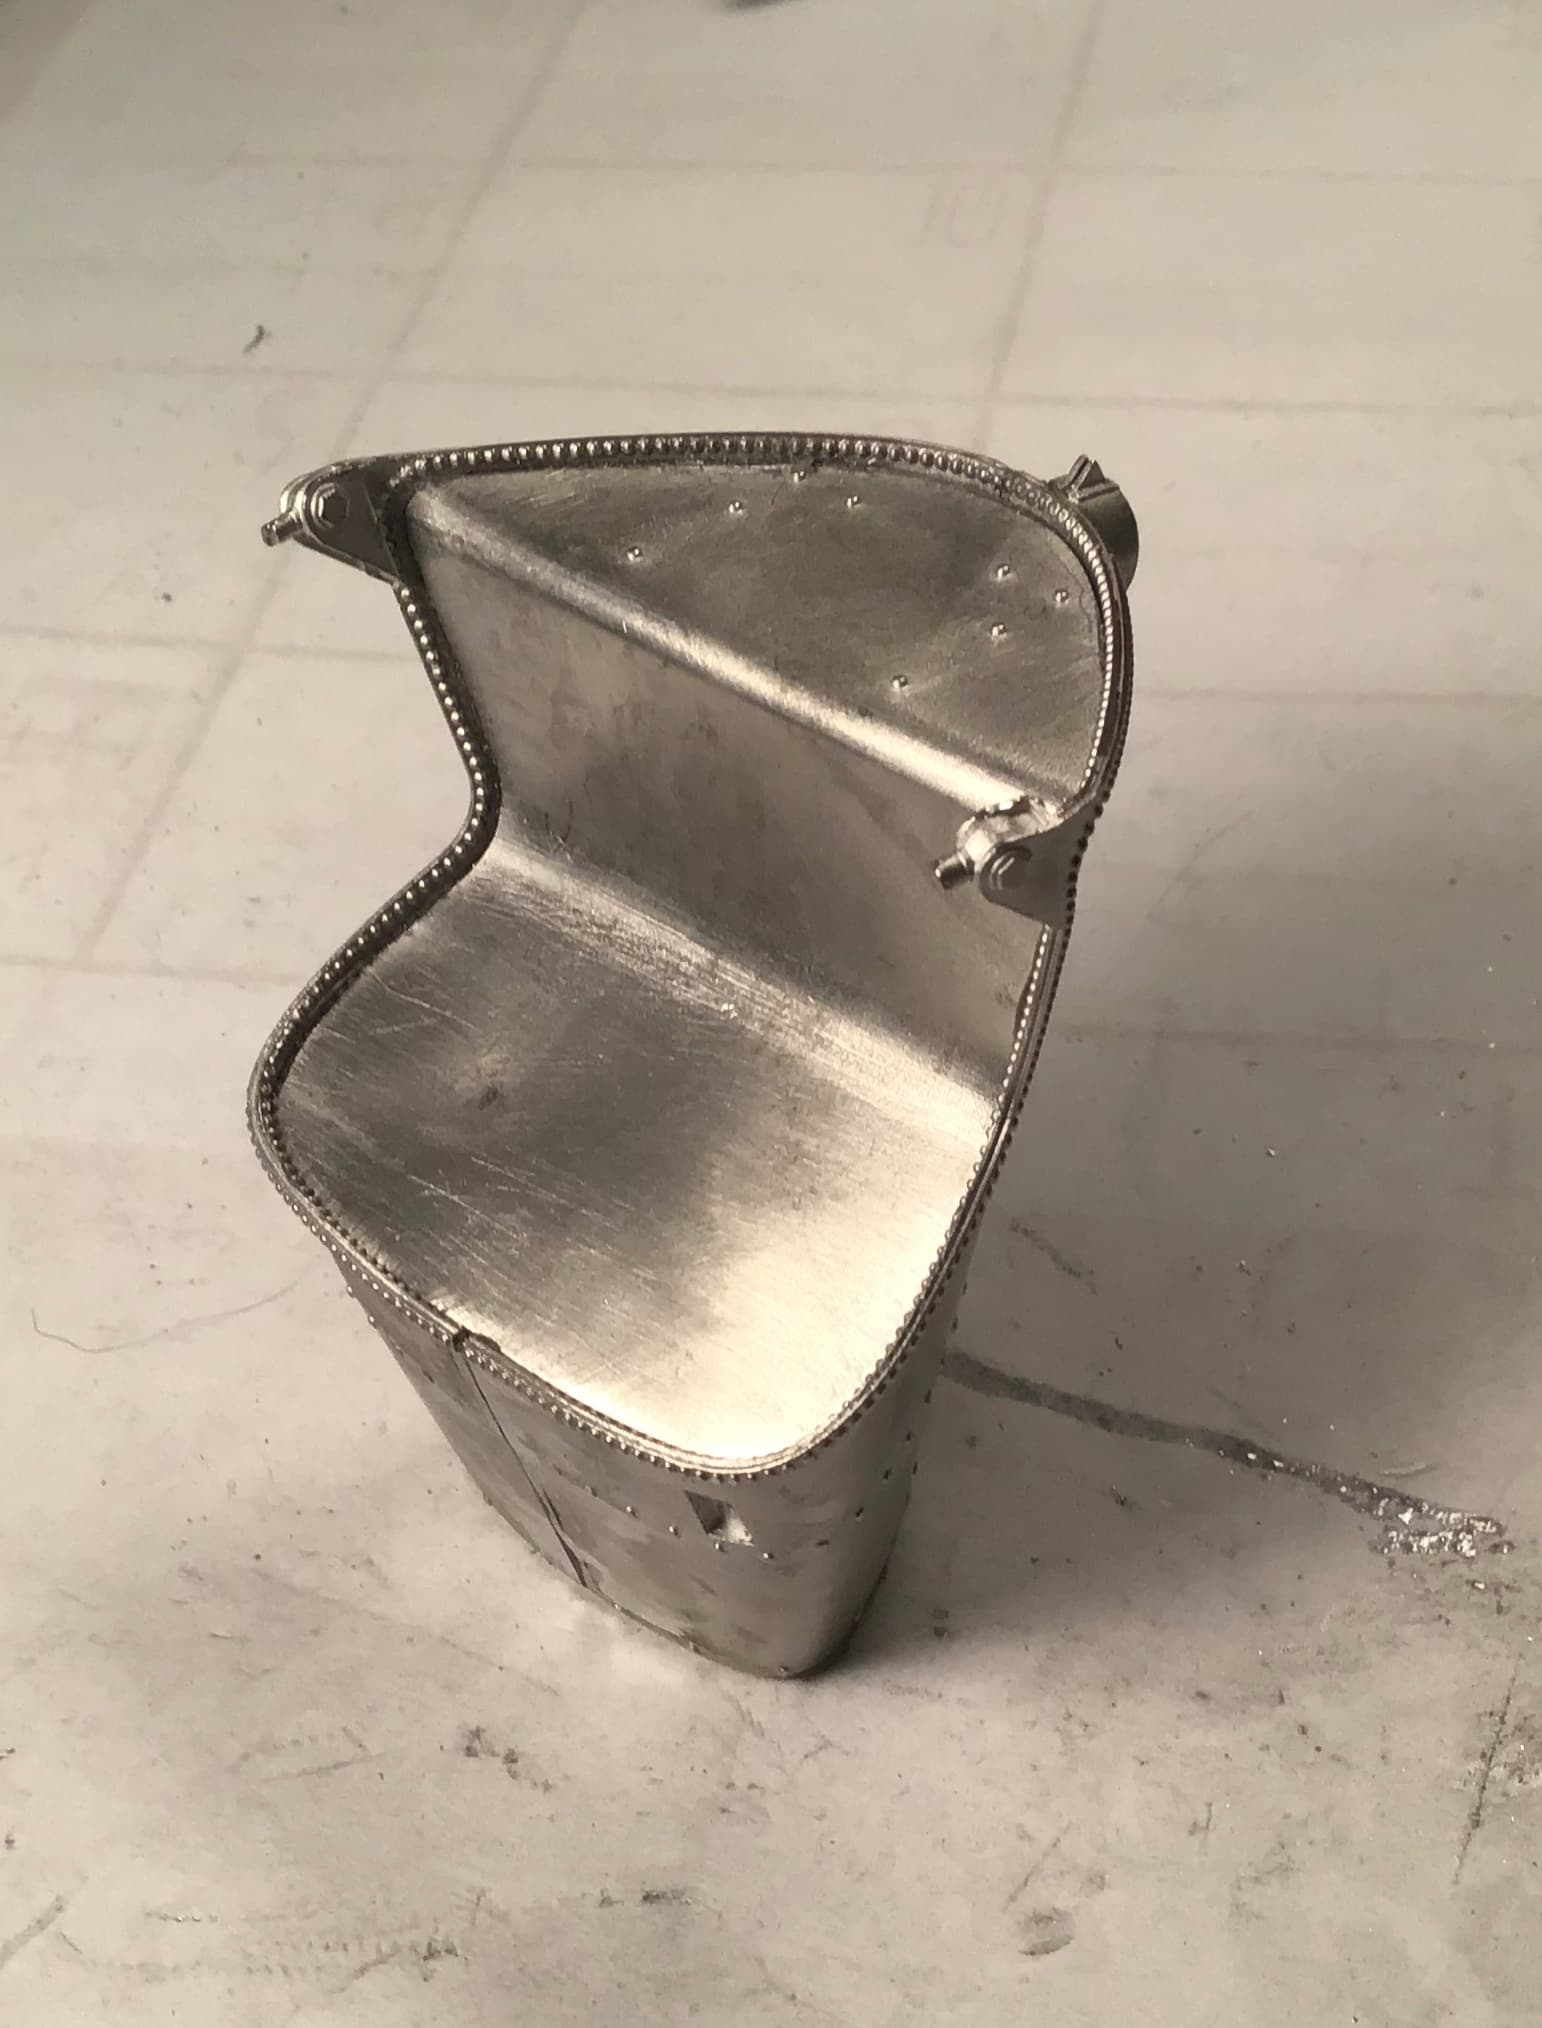
Indeed in a few minutes time I had it looking a whole lot better -
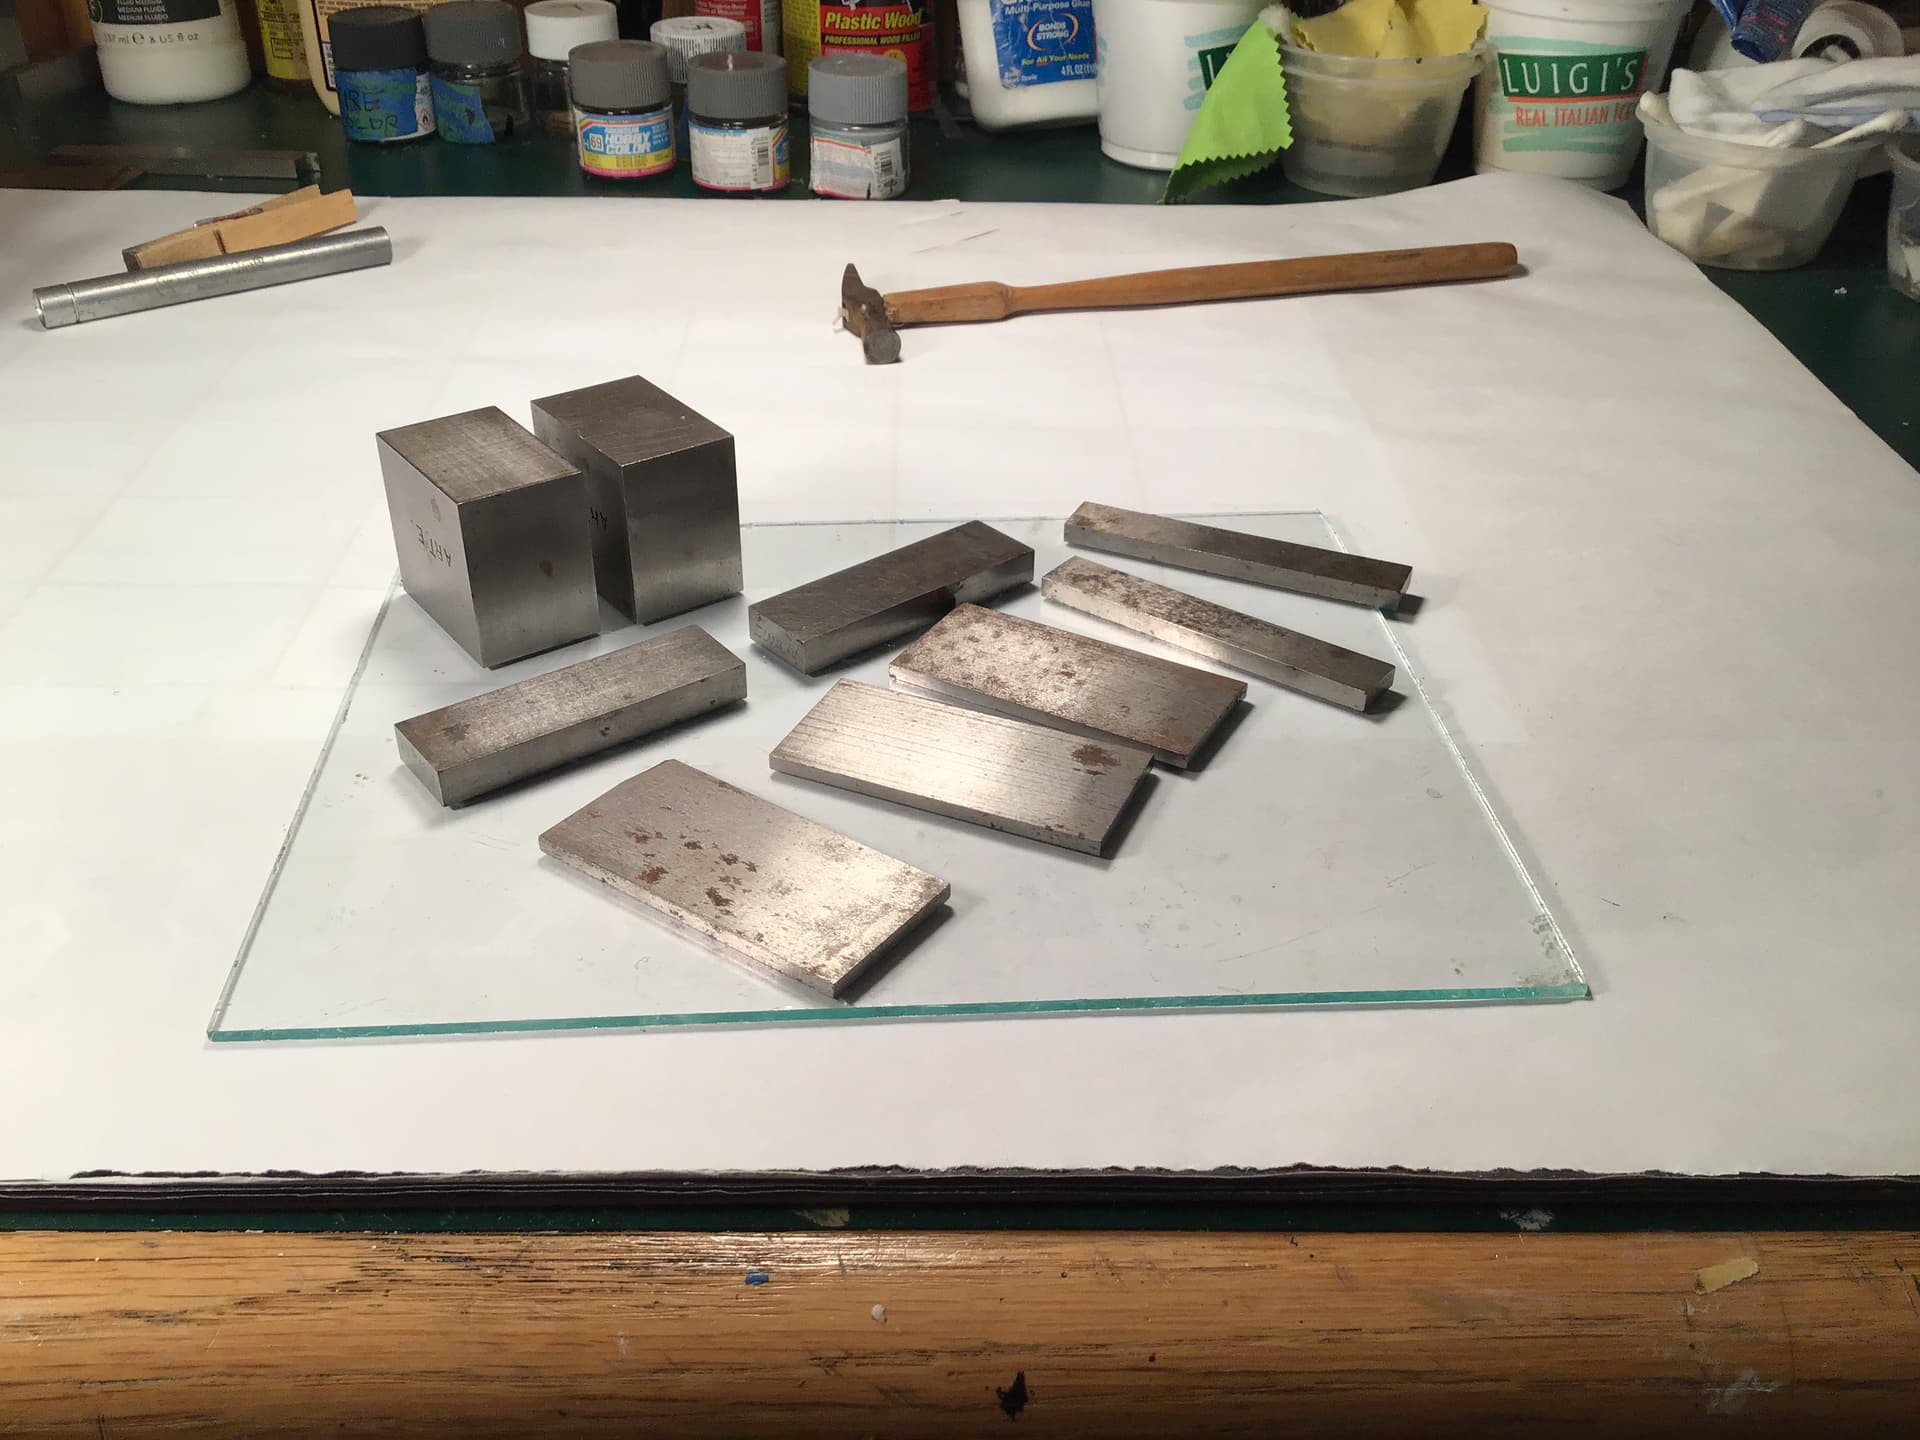
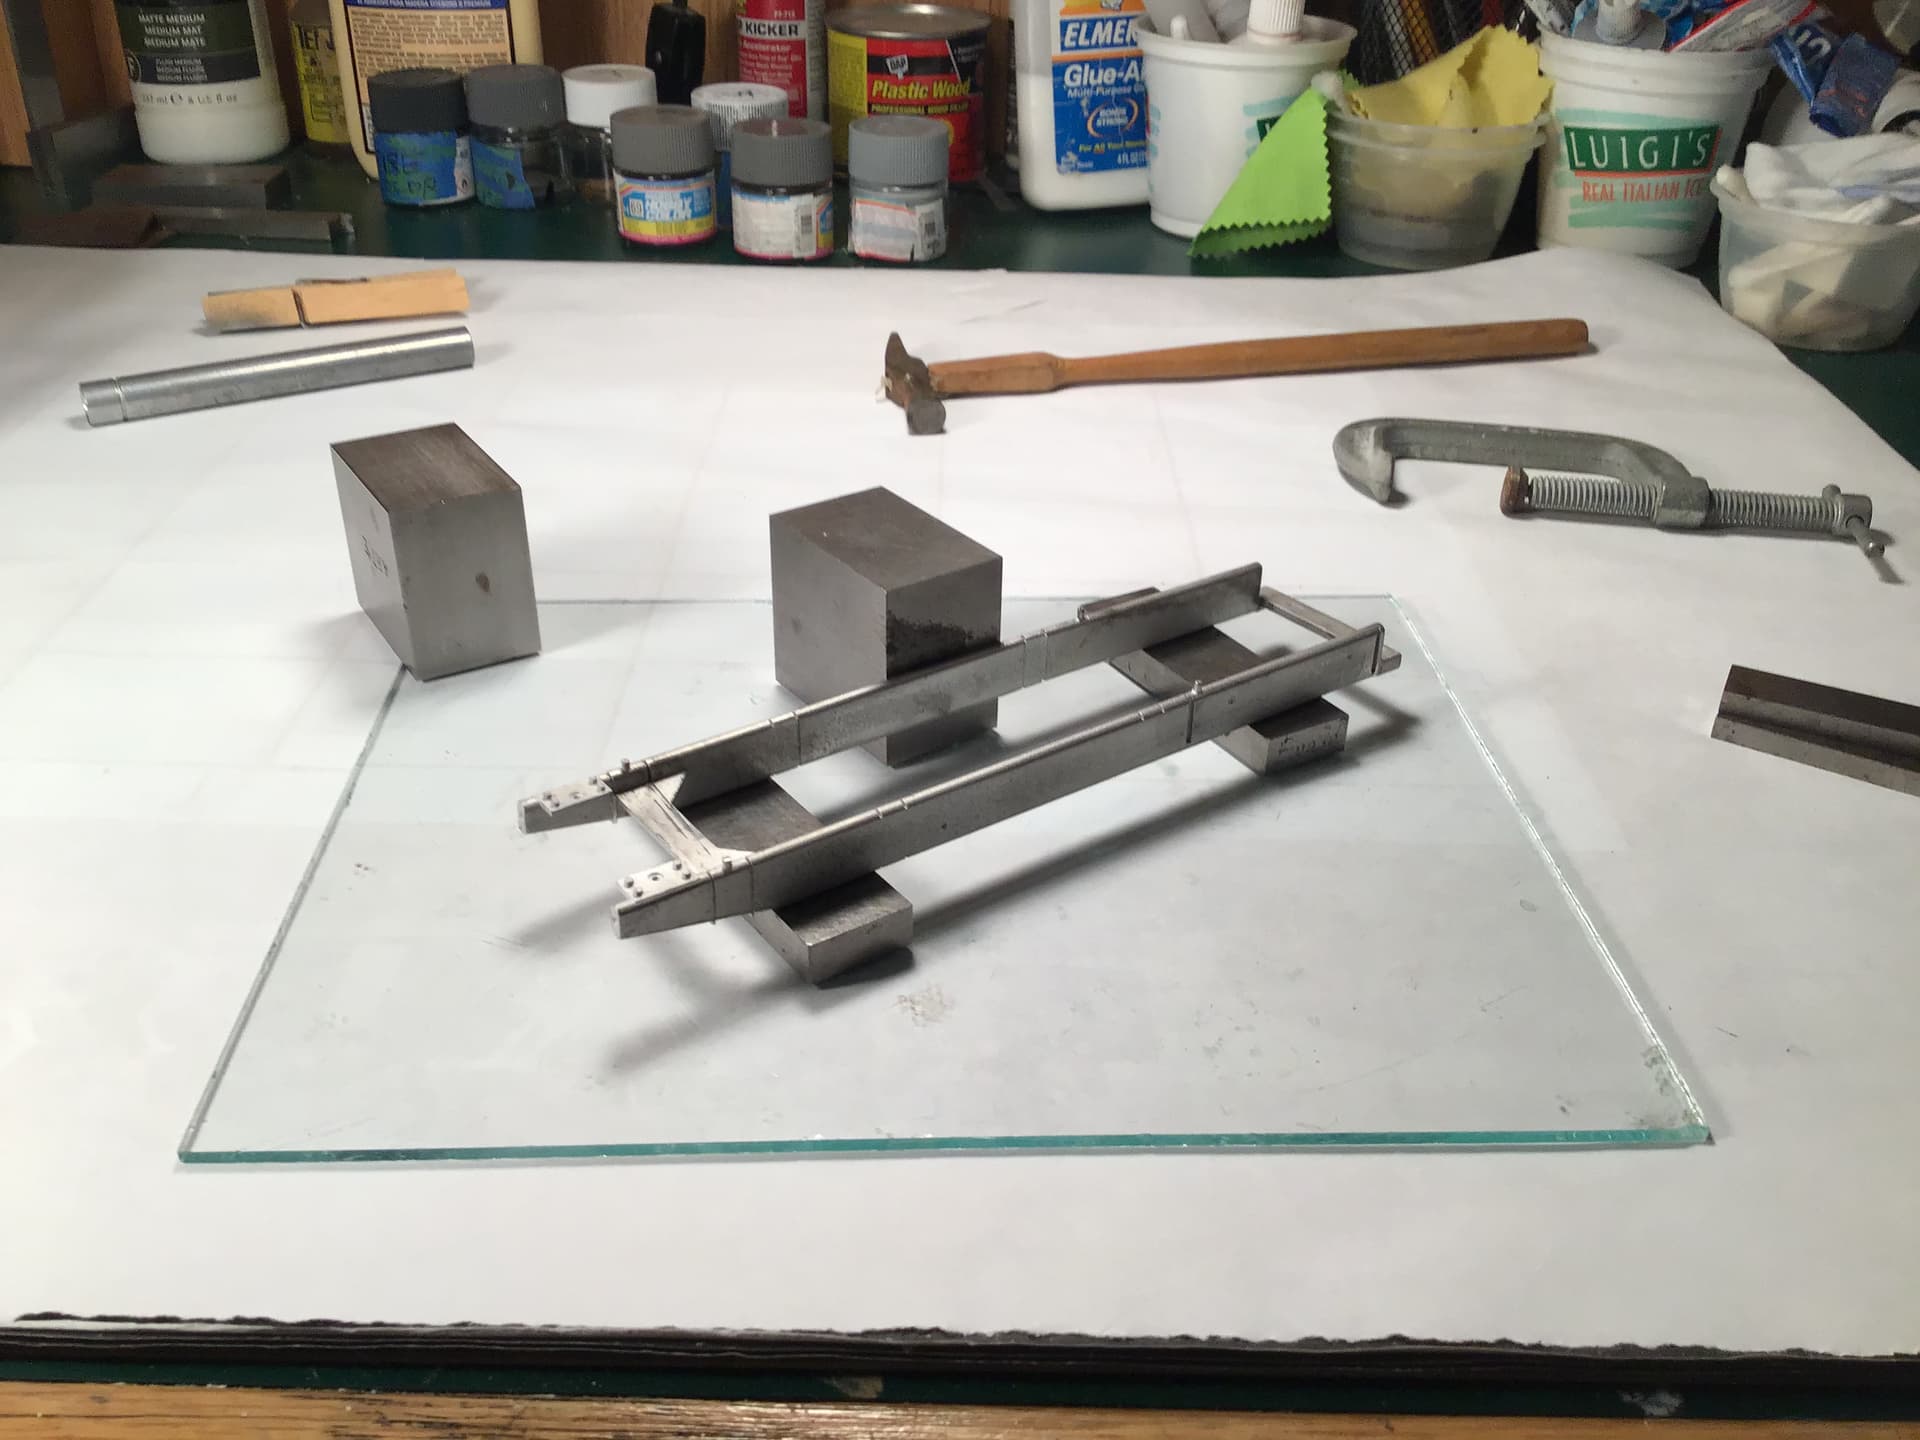
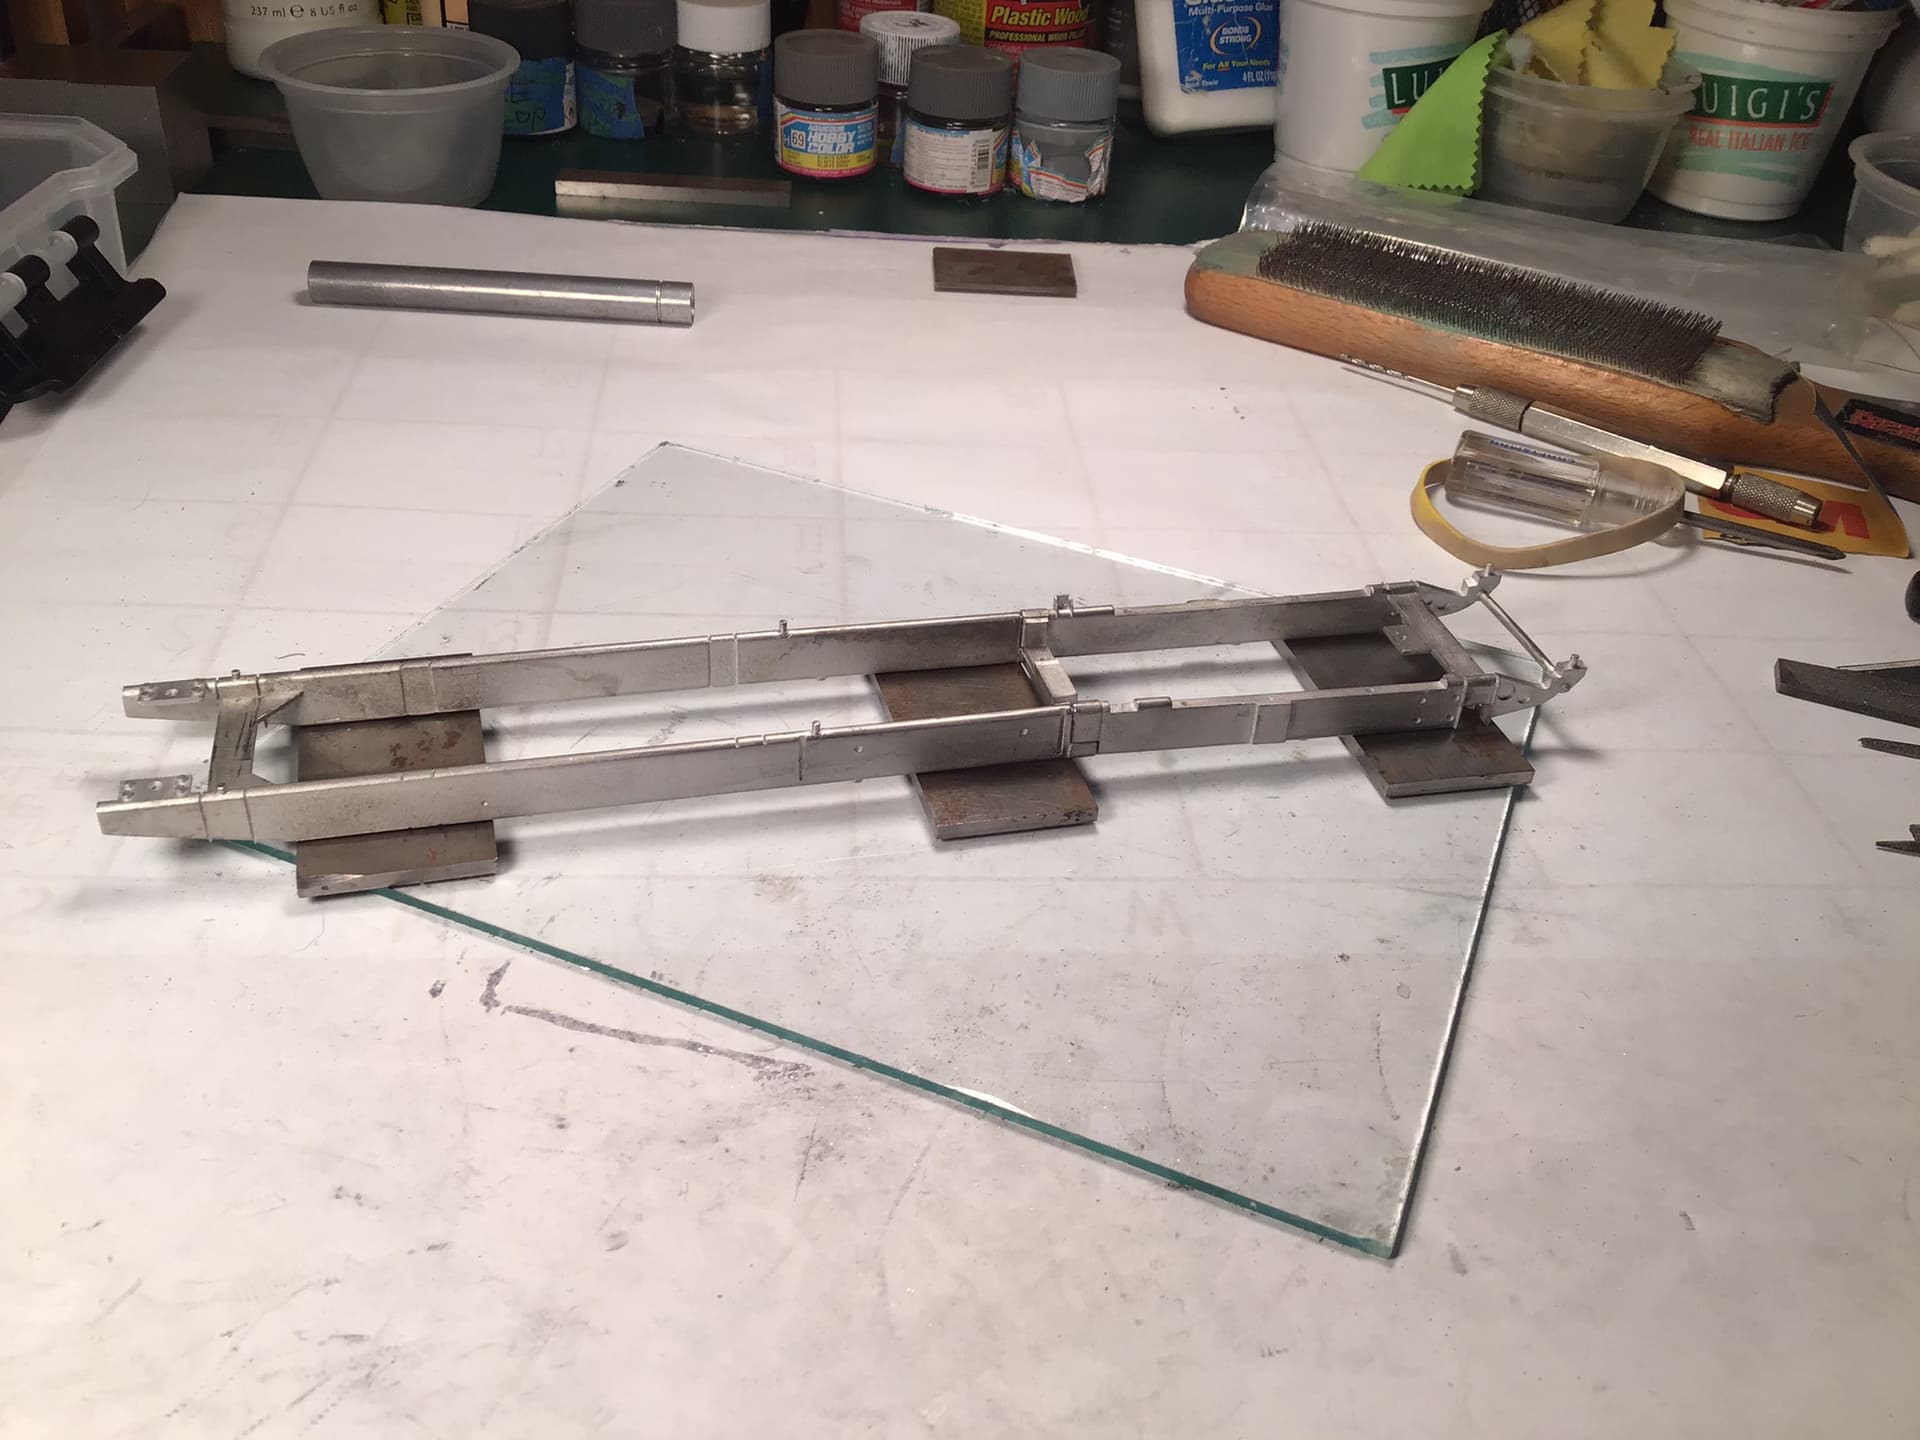
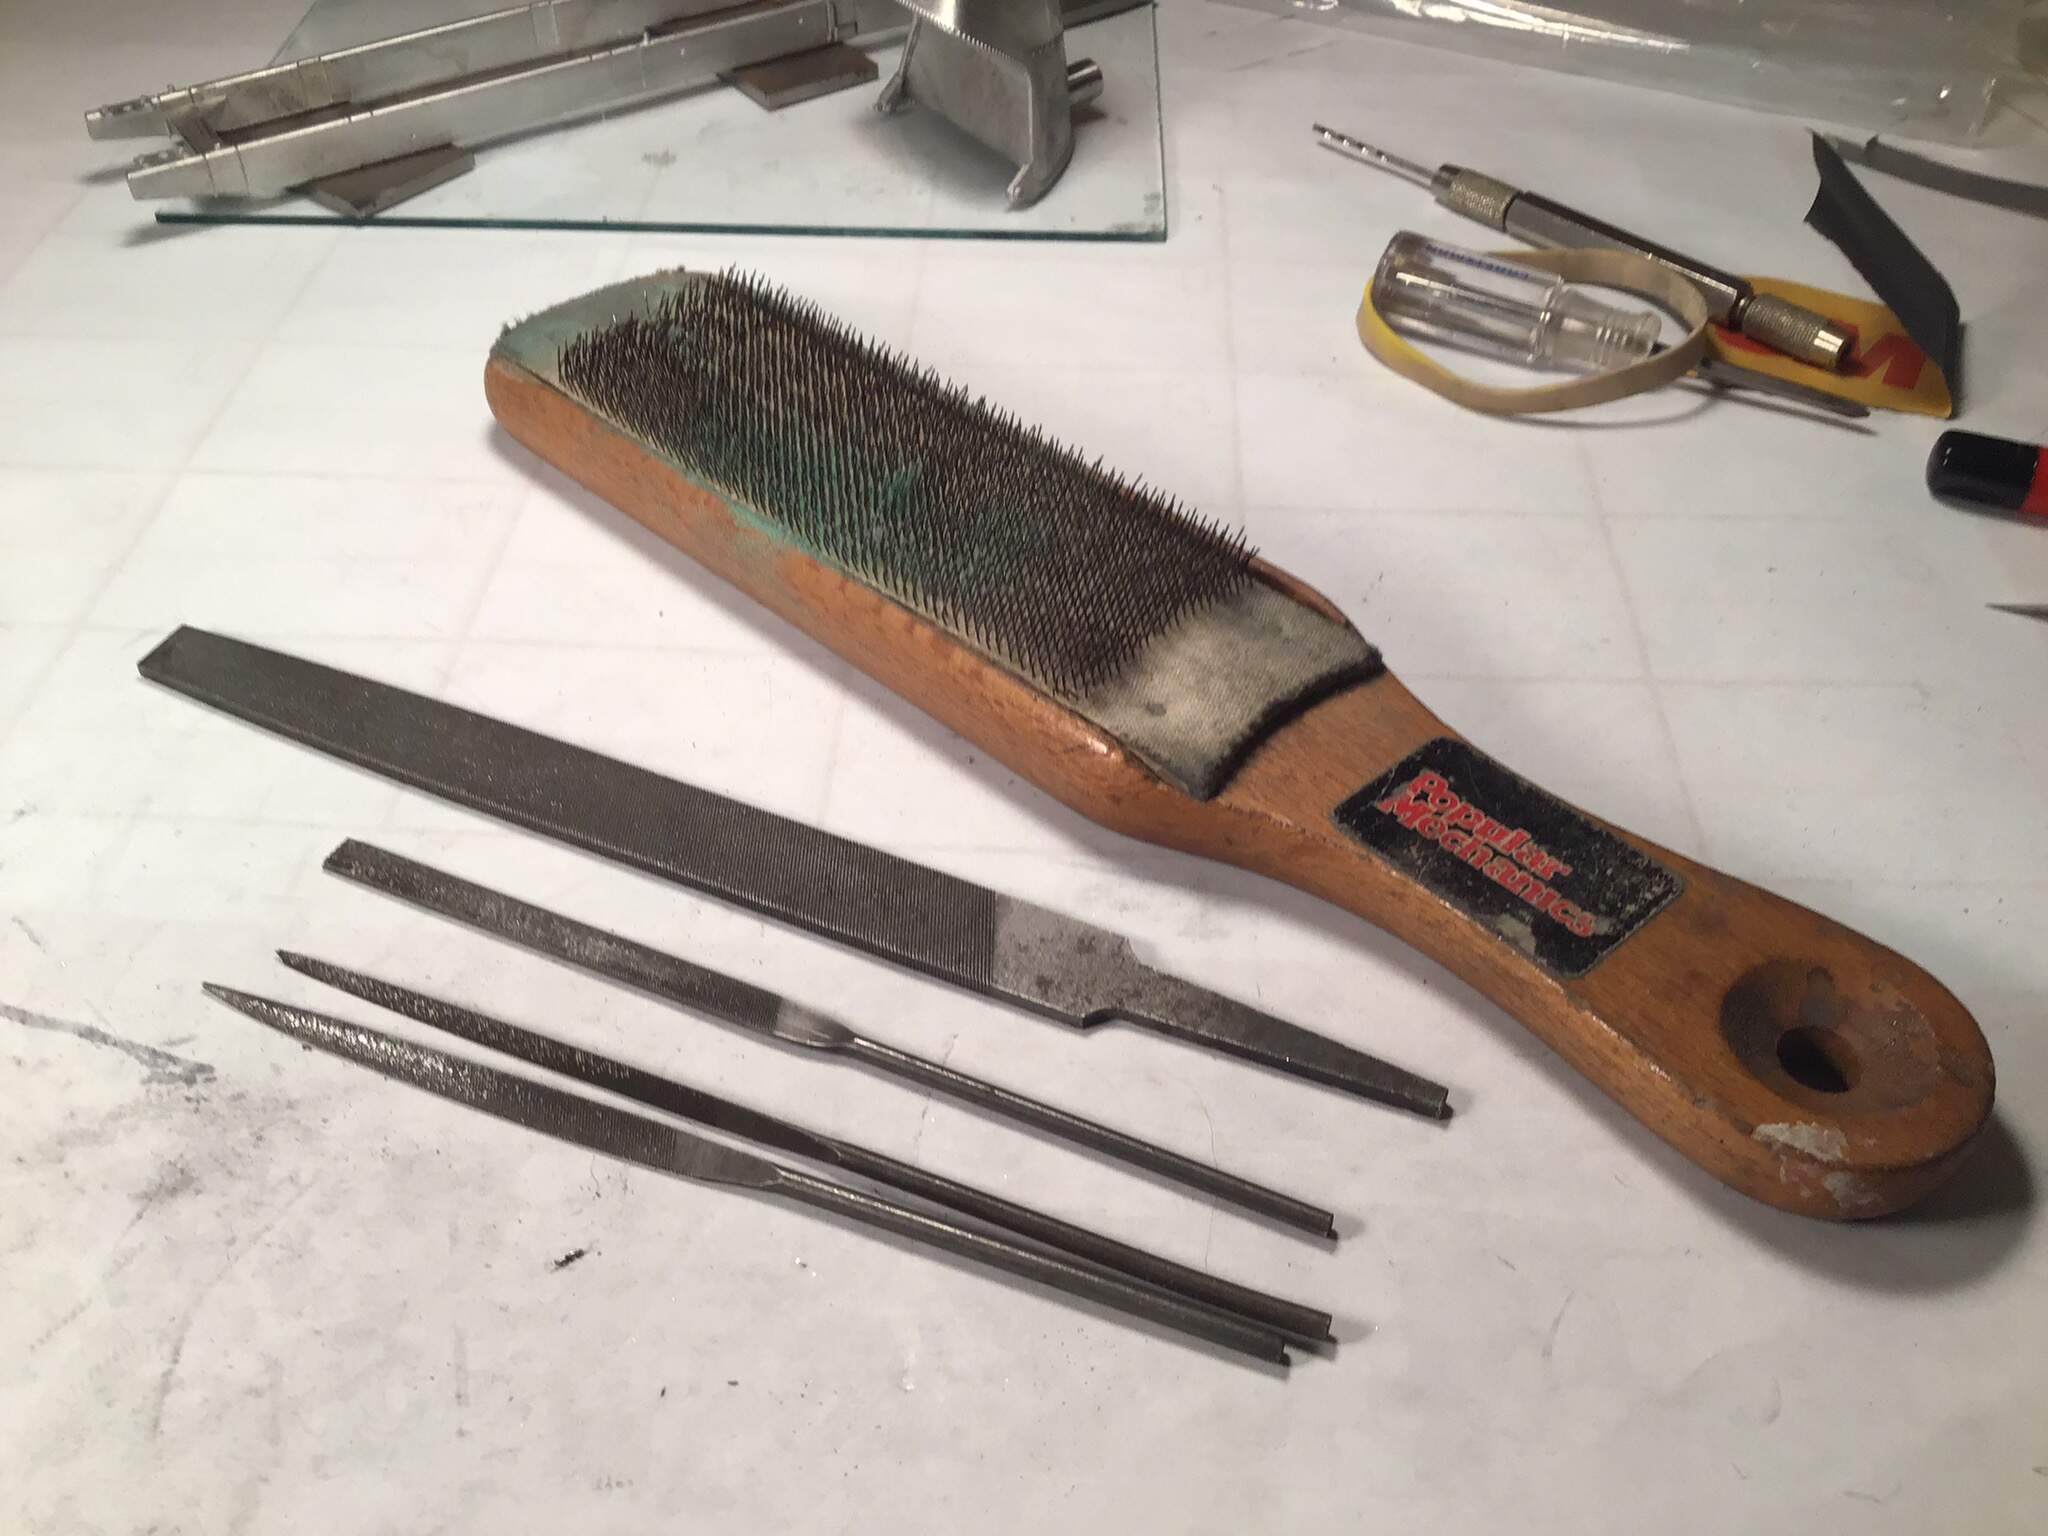
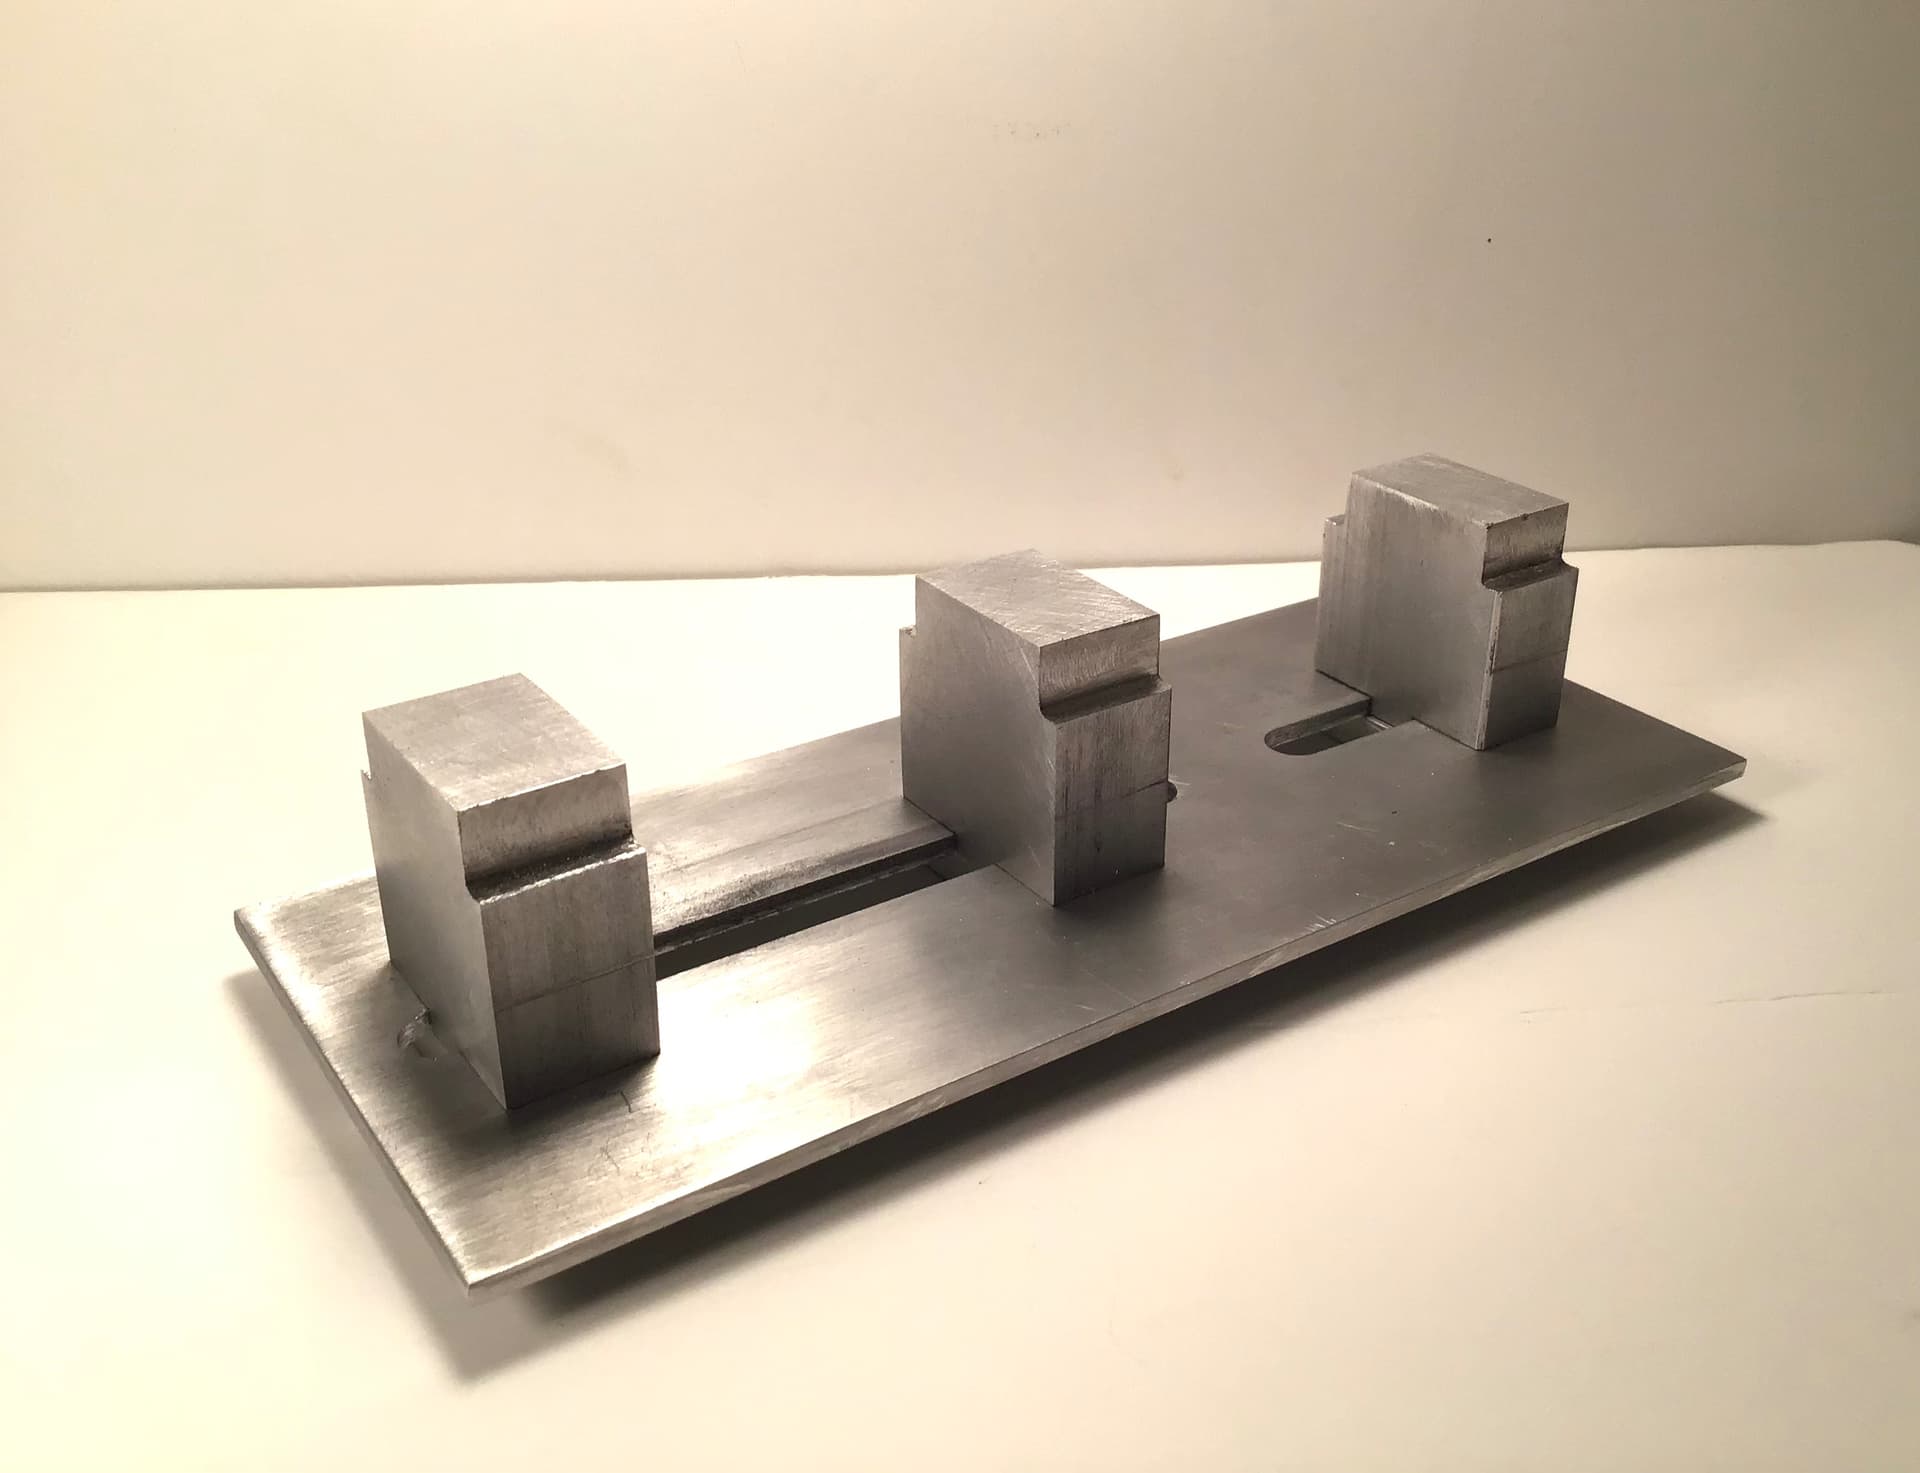
Very helpful for these kits is a glass flat surface plate
and an assortment of precision ground machinist’s blocks for checking trueness and squareness.
A little more tweaking brought all mostly in line . While the softness of the metal is an advantage when it needs to be straightened it also allows it to be easily deformed from handling.
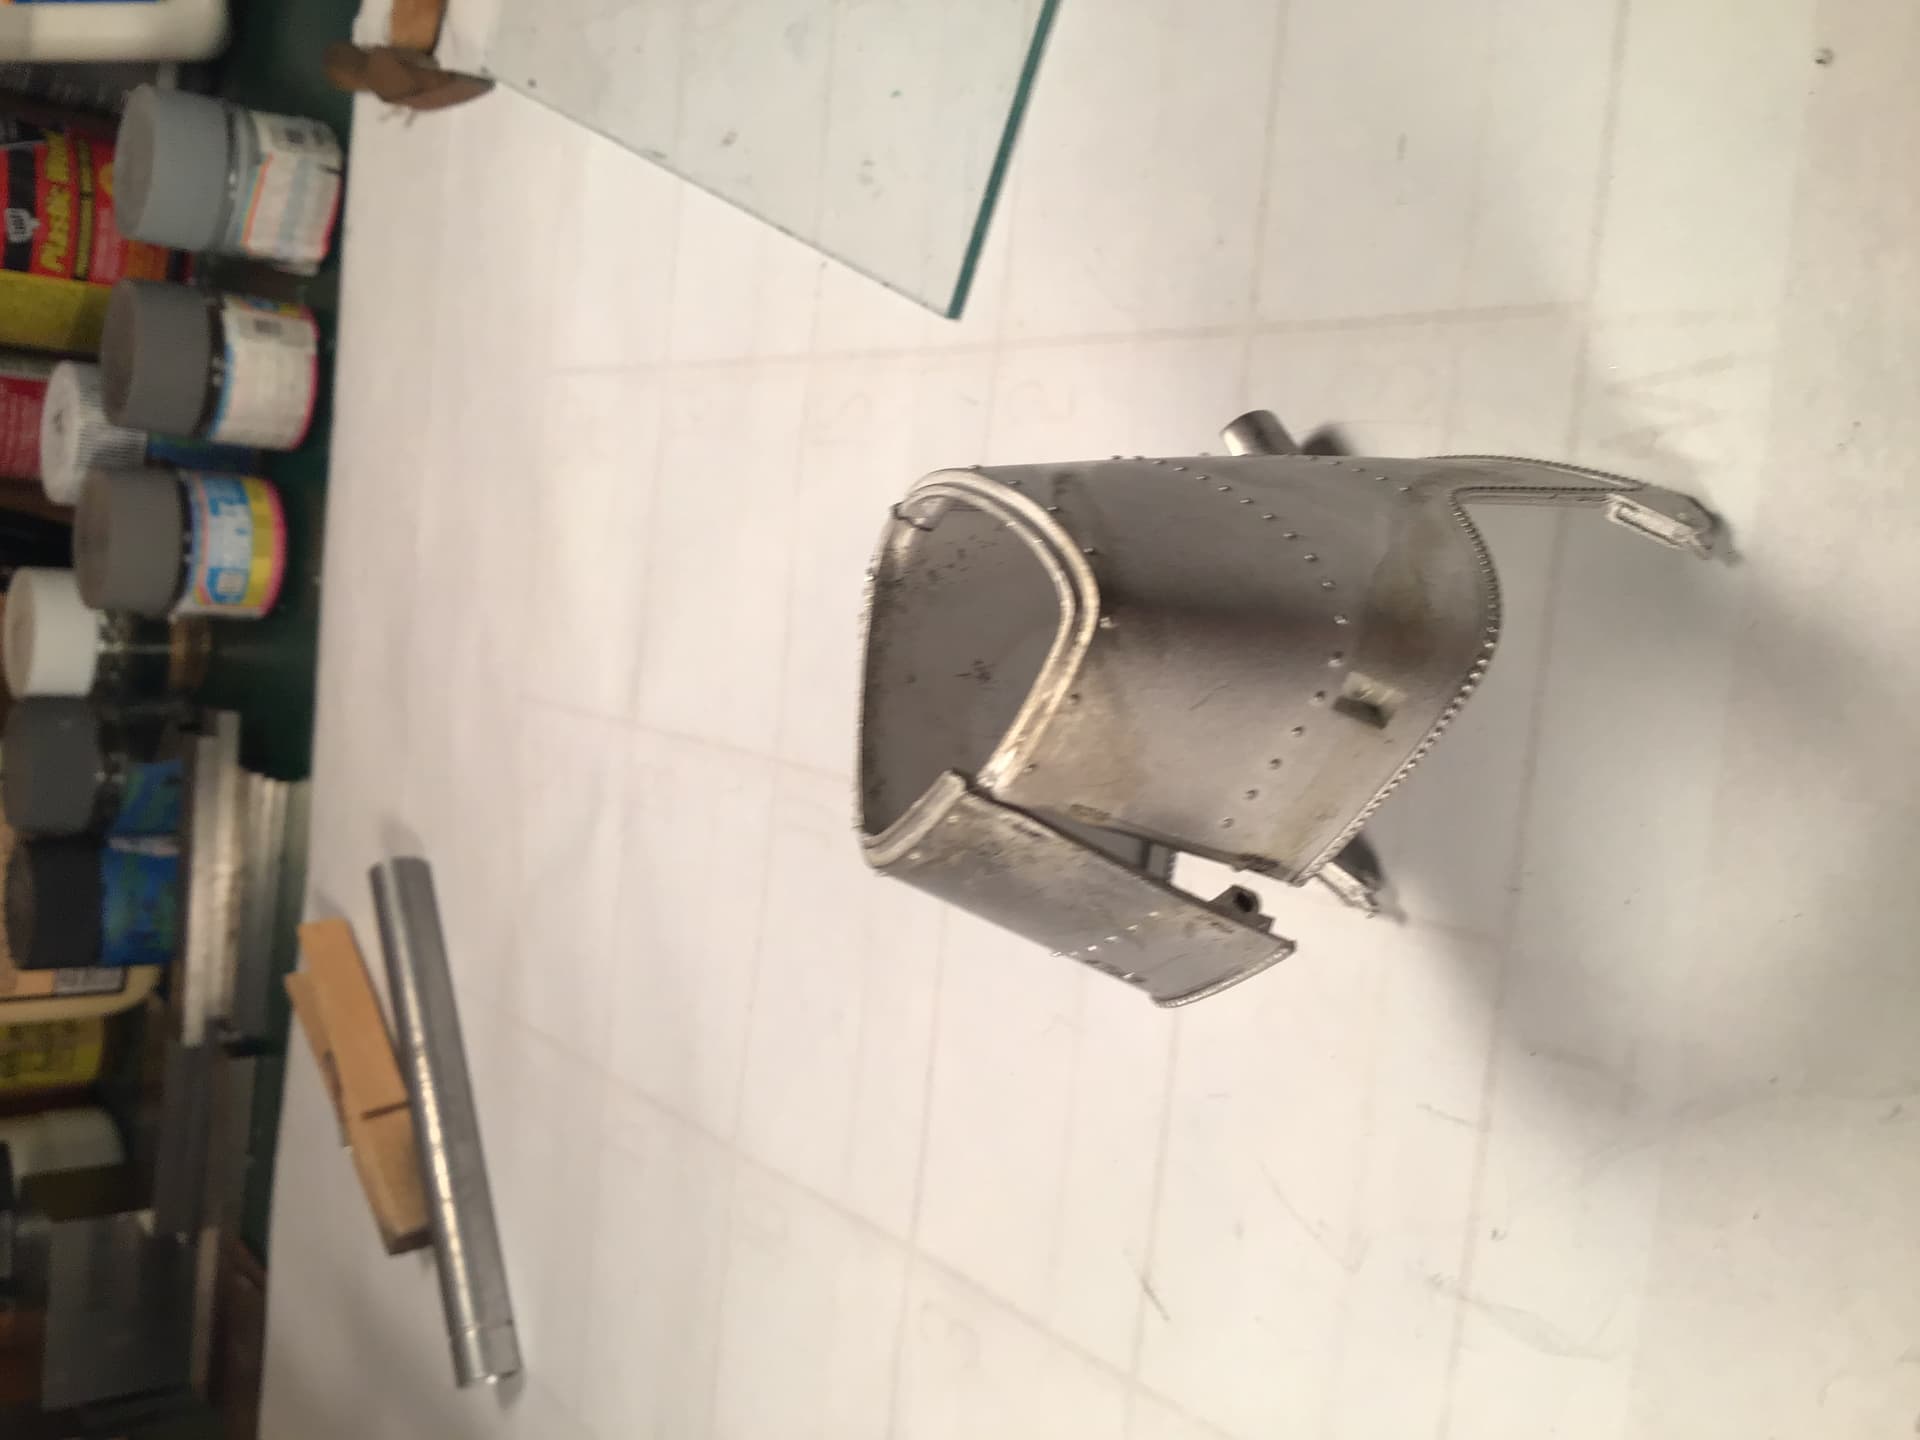
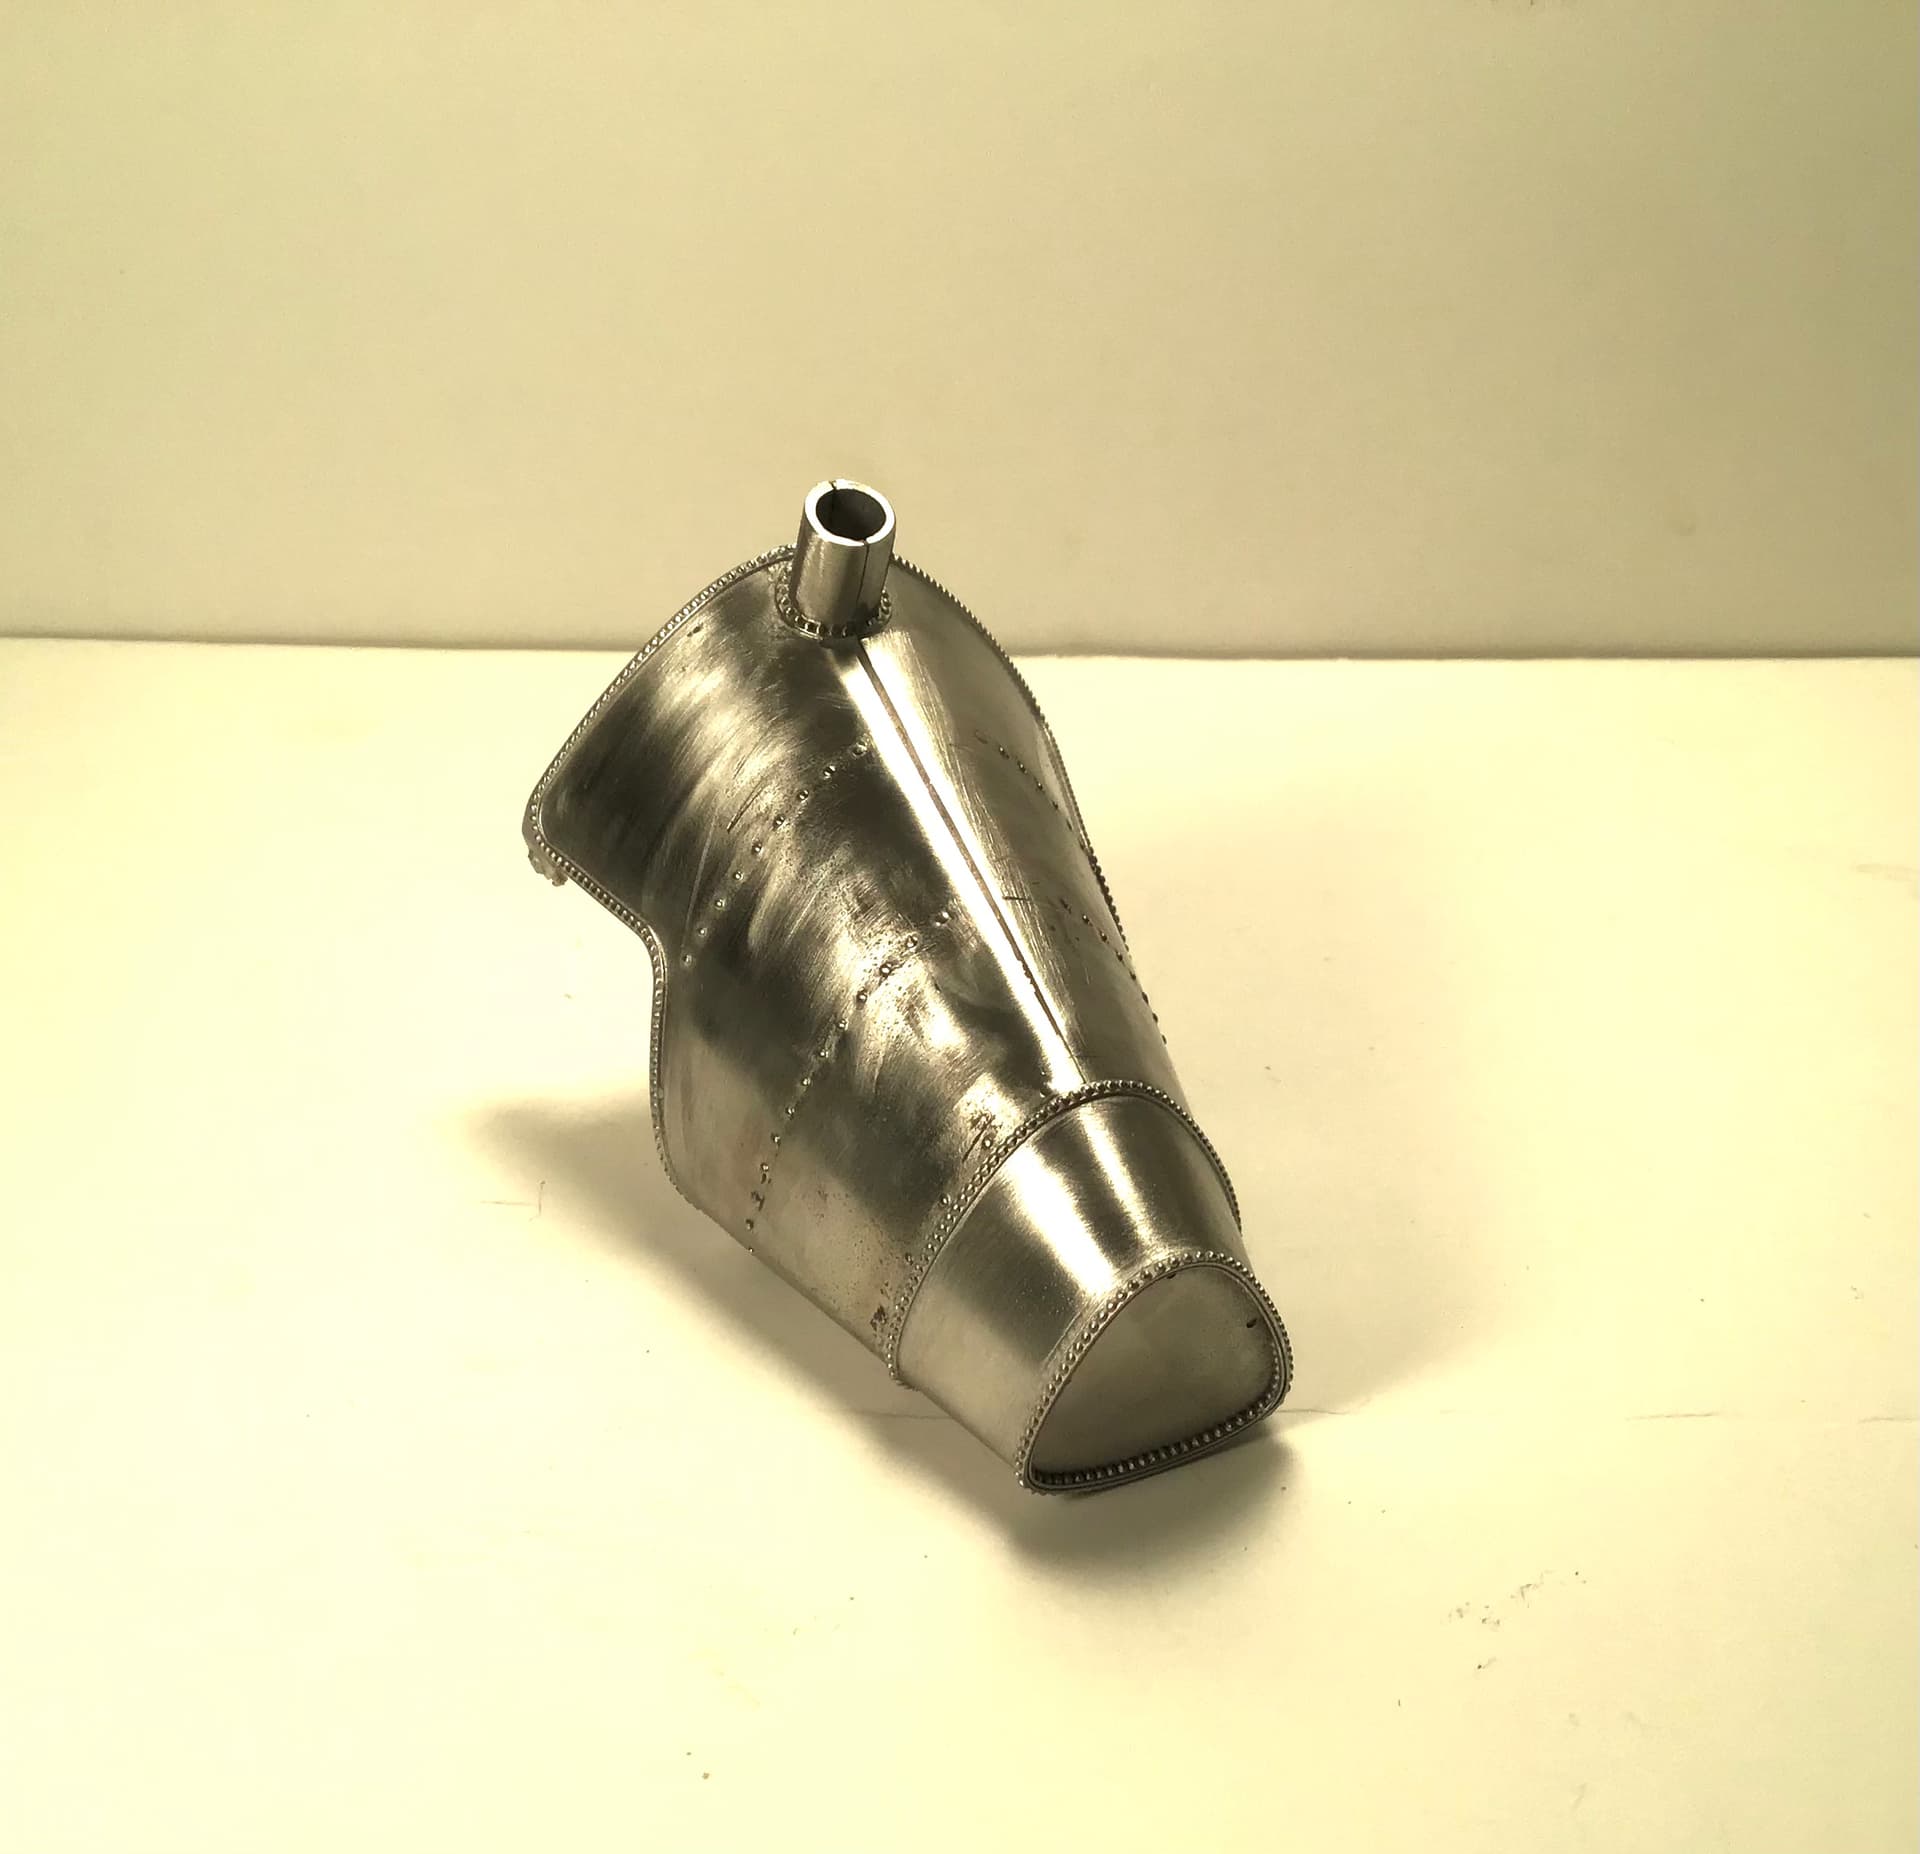
Here is what you can expect in the way of fit from some of the white metal as it comes from the box before tweaking . This is the large main fuel tank .
I am going to order a metric scale as the locations for holes , etc are given in mm.
A big shoutout to Cosimodo for the help and moral support as I begin to feel my way around this new genre.
In contrast to the Just completed Lotus project , I have no doubt that this kit will be worth the effort.
To be continued…
RT
Looking forward to seeing this build to mate. Have been following a few of these builds on other forums and you’re not alone with the disappointment with the fitment quality. Seems to be something you need to prepare for for these builds.
I have the MFH Honda RA300 Of Surtees on its way to me at the moment and I’m expecting the same issues.
Also working on a couple of smaller 1/43rd scale builds as well from Merri and Tameo and you have to wonder what they were thinking when they casted the molds lol.
Great to see this up as a build blog. Looking forward to seeing how you resolve the issues with the kit but with your deft touch I am sure we will get an amazing Alfetta at the end.
Richard,
I was hoping that the kit metal parts would be in better condition then they are in reality. I have a friend on my other forum: Chris Smith who only builds MFH 1/12 scale kits, and faces this issue with every kit. The vast majority of time he can correctly align the parts, but every once in a while he’s come close but not totally successful. But with your machinist’s skills I have no doubt that you’ll make every correction so that the parts all fit like a glove.
Thanks Joel . I’ve got the fuel tank sorted and epoxied together. Took some pics but something is amiss. Gets stuck trying to upload from my photos . Gotta get my kids to help .
Richard,
I’ve got 101% complete confidence in your skills & abilities to build the Tipo 158 to museum quality.
Strange that you’re having issues uploading pics. It’s one of the best features of the new site. Try again tomorrow as the Net does strange things these days.
joel
So I installed an update in my iPad and that seems to have cured things - let’s see.
I am starting to get the hang of straightening the white metal parts . I’ve learned that it is a waste of time to get them 100% when there is still further work to do - drilling , clean up , fitting etc. because they only get deformed again while performing operations. Seems best to do your best at the last possible moment.
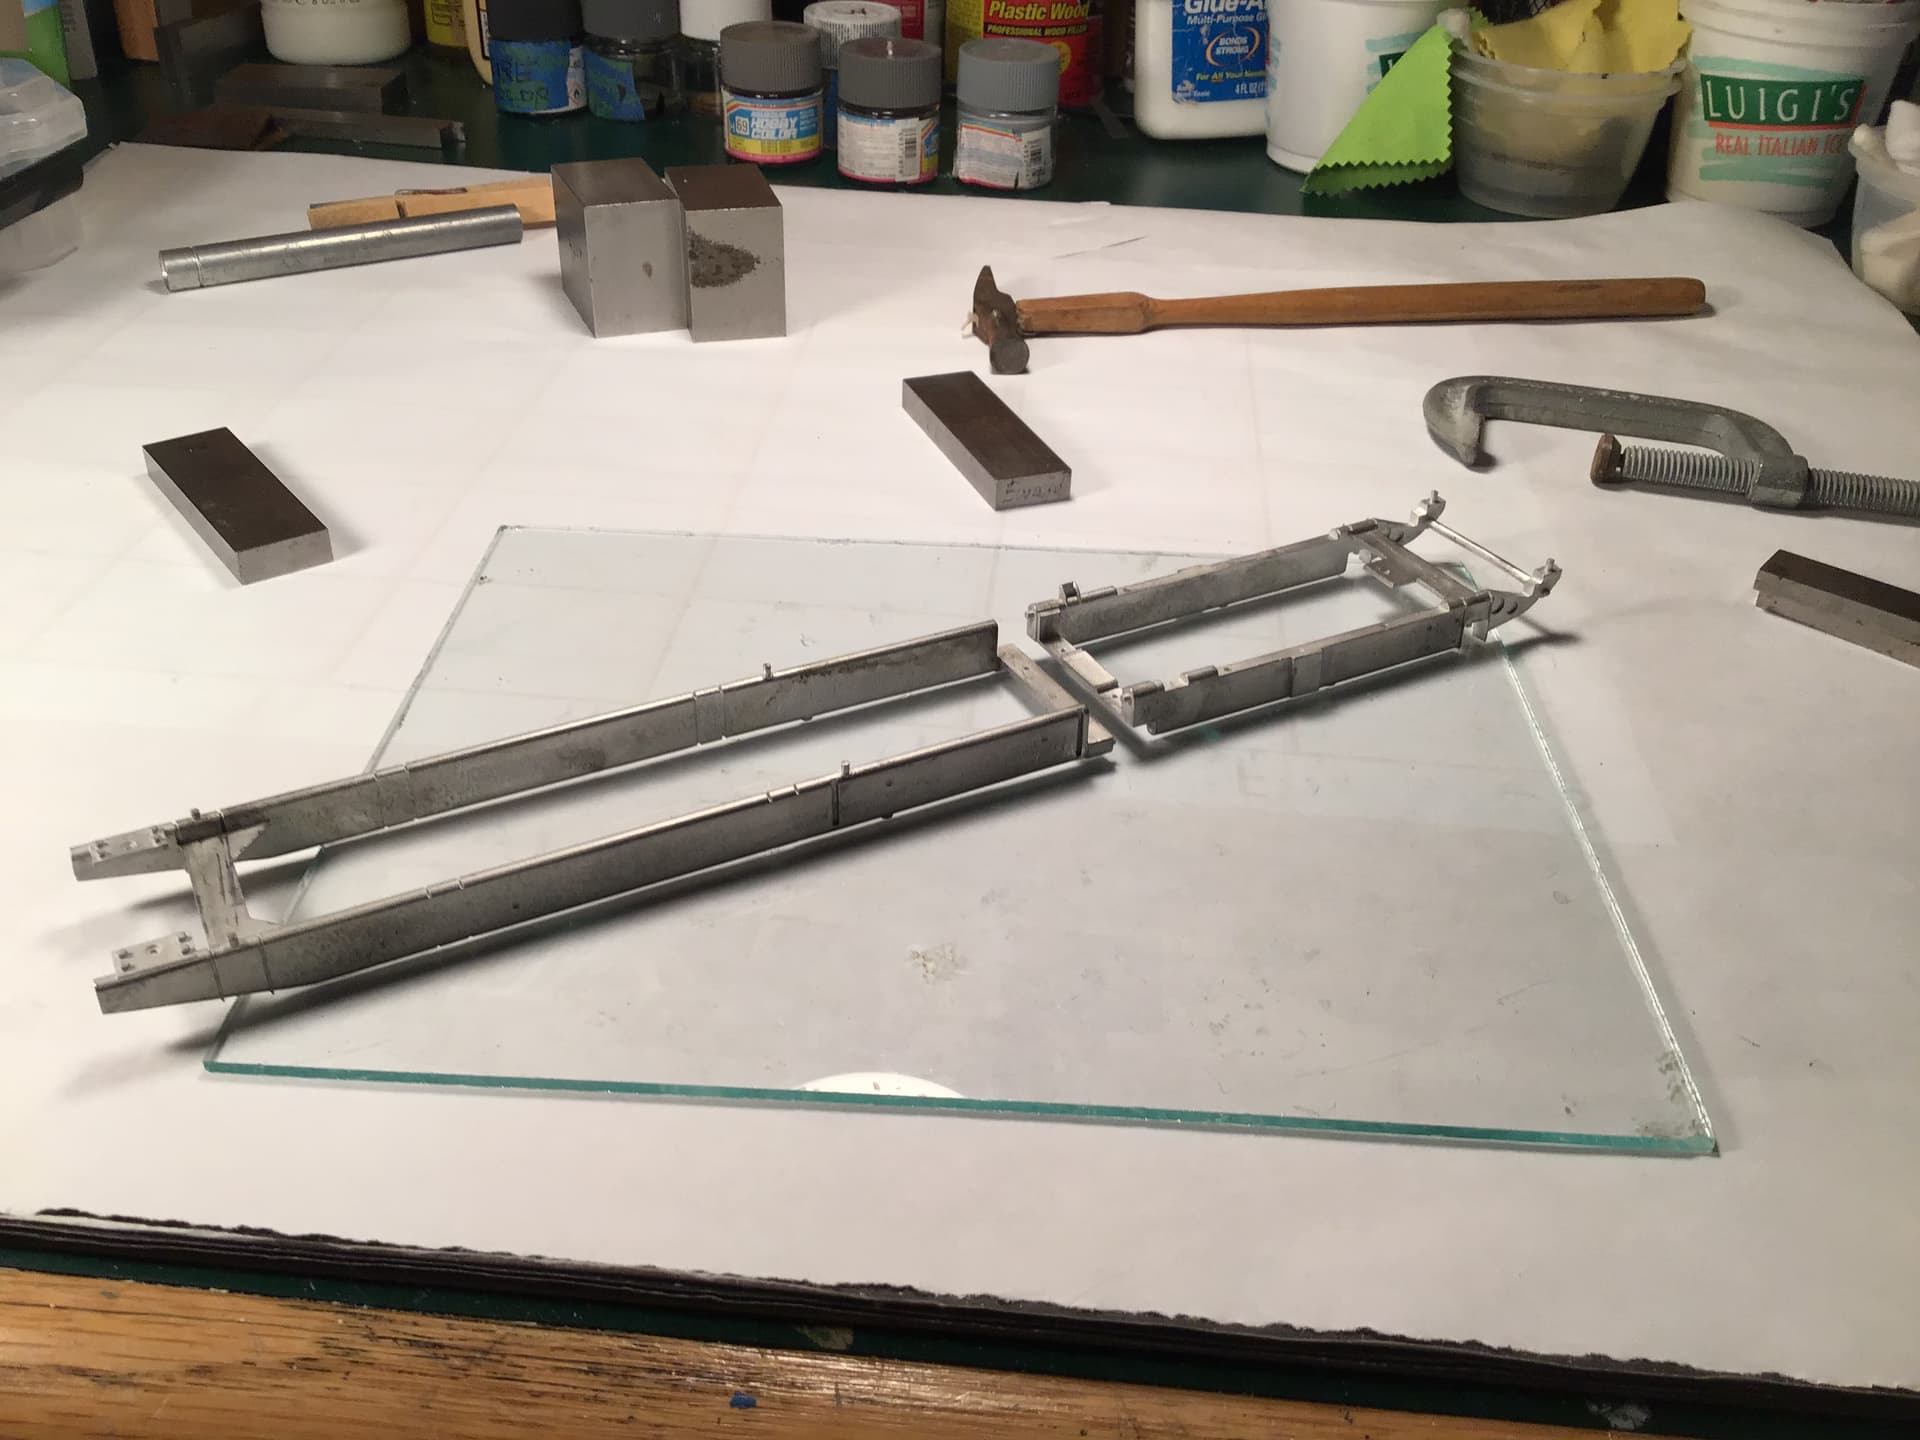
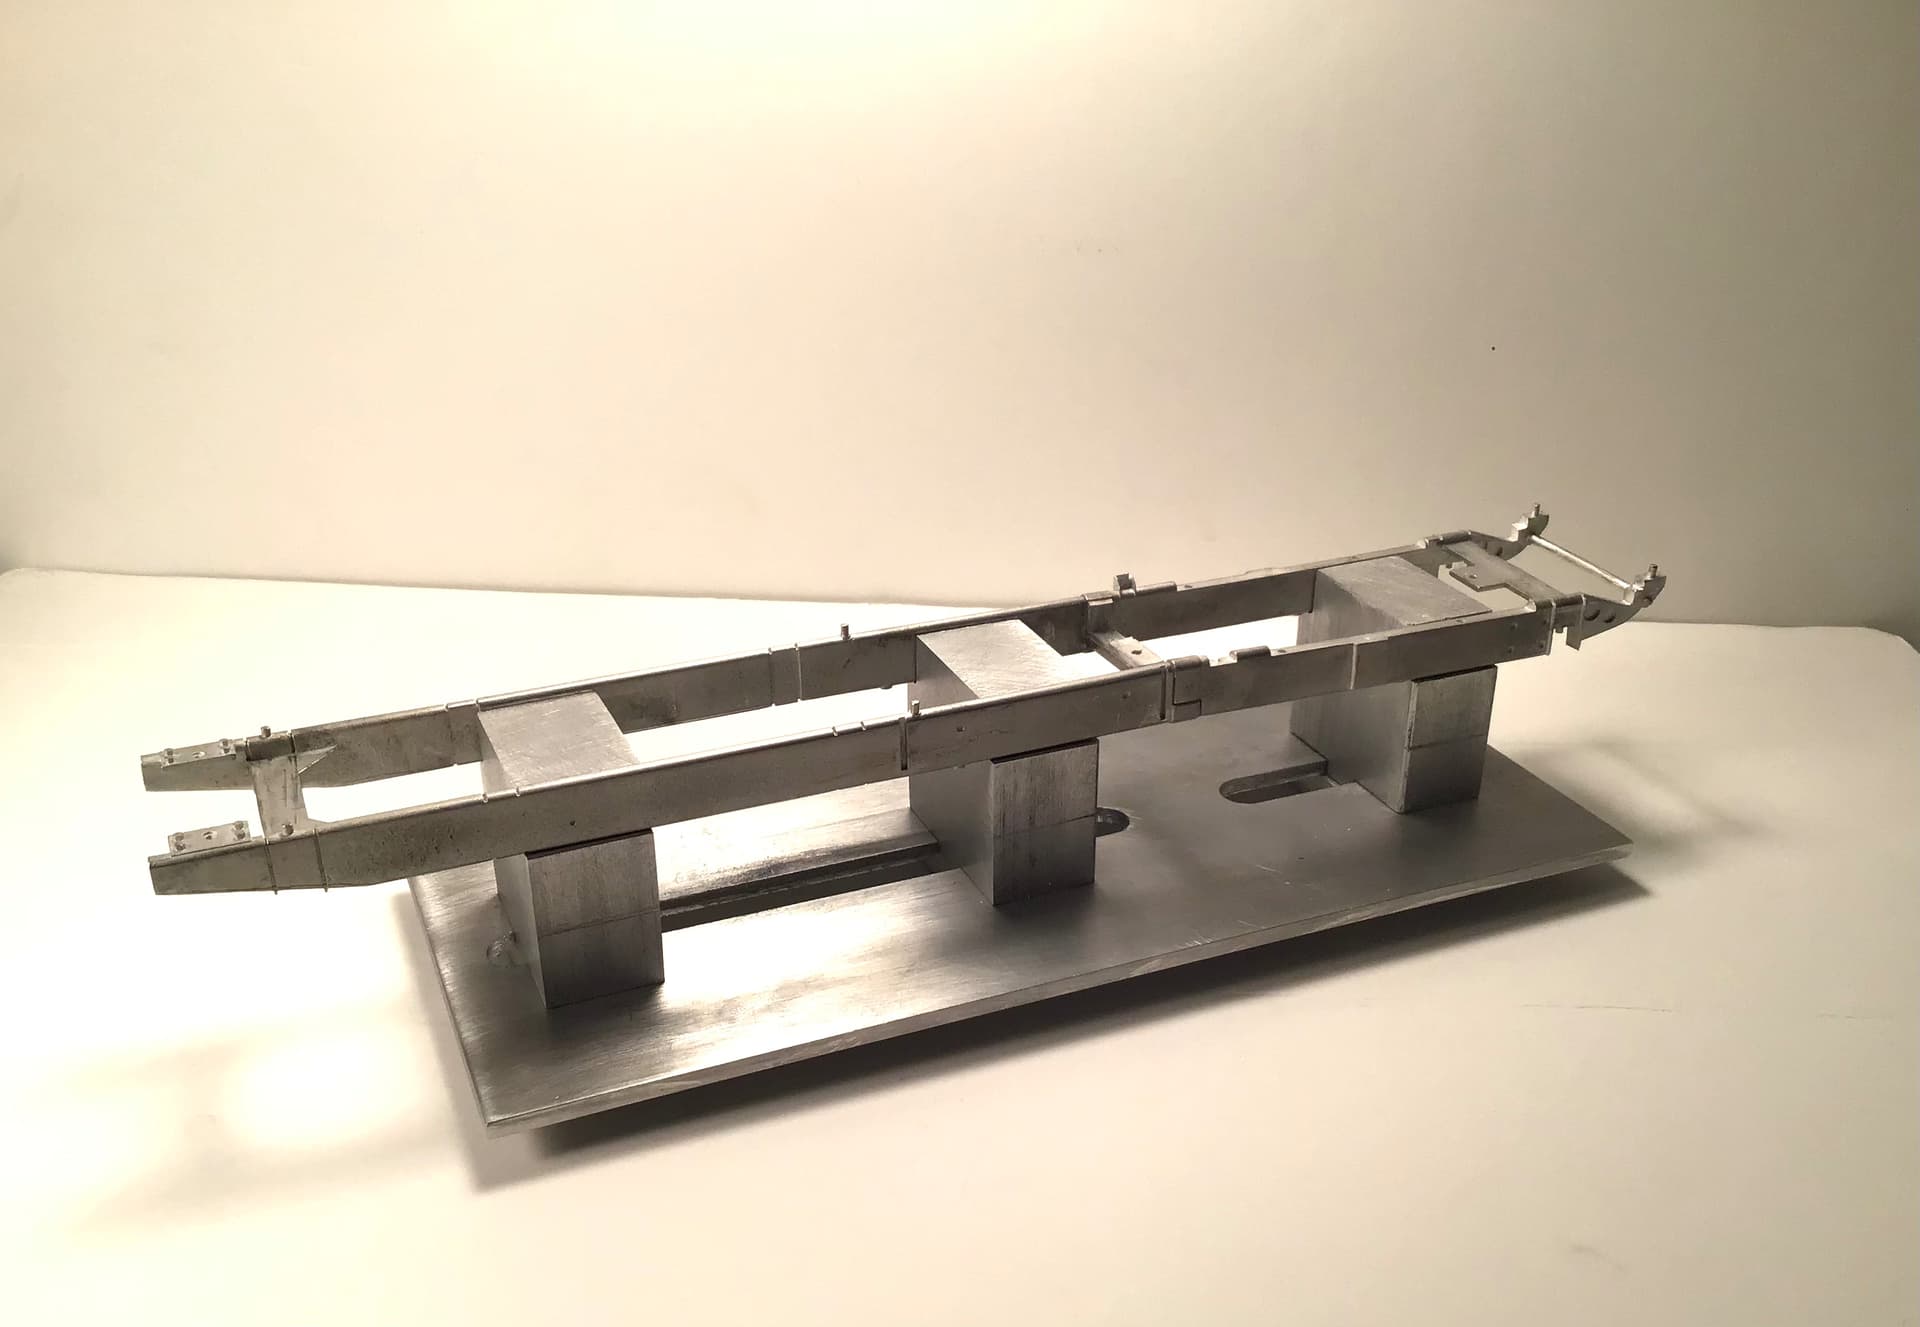
I’ve fitted the joint between the two chassis sections. Locating pins and dimpled marks that need drilling to accept the pins . I am going to make a fixture to hold the rails straight and true before final joining and hopefully I’ll be able to engineer something that the chassis can stay in for the most part while assembling all.
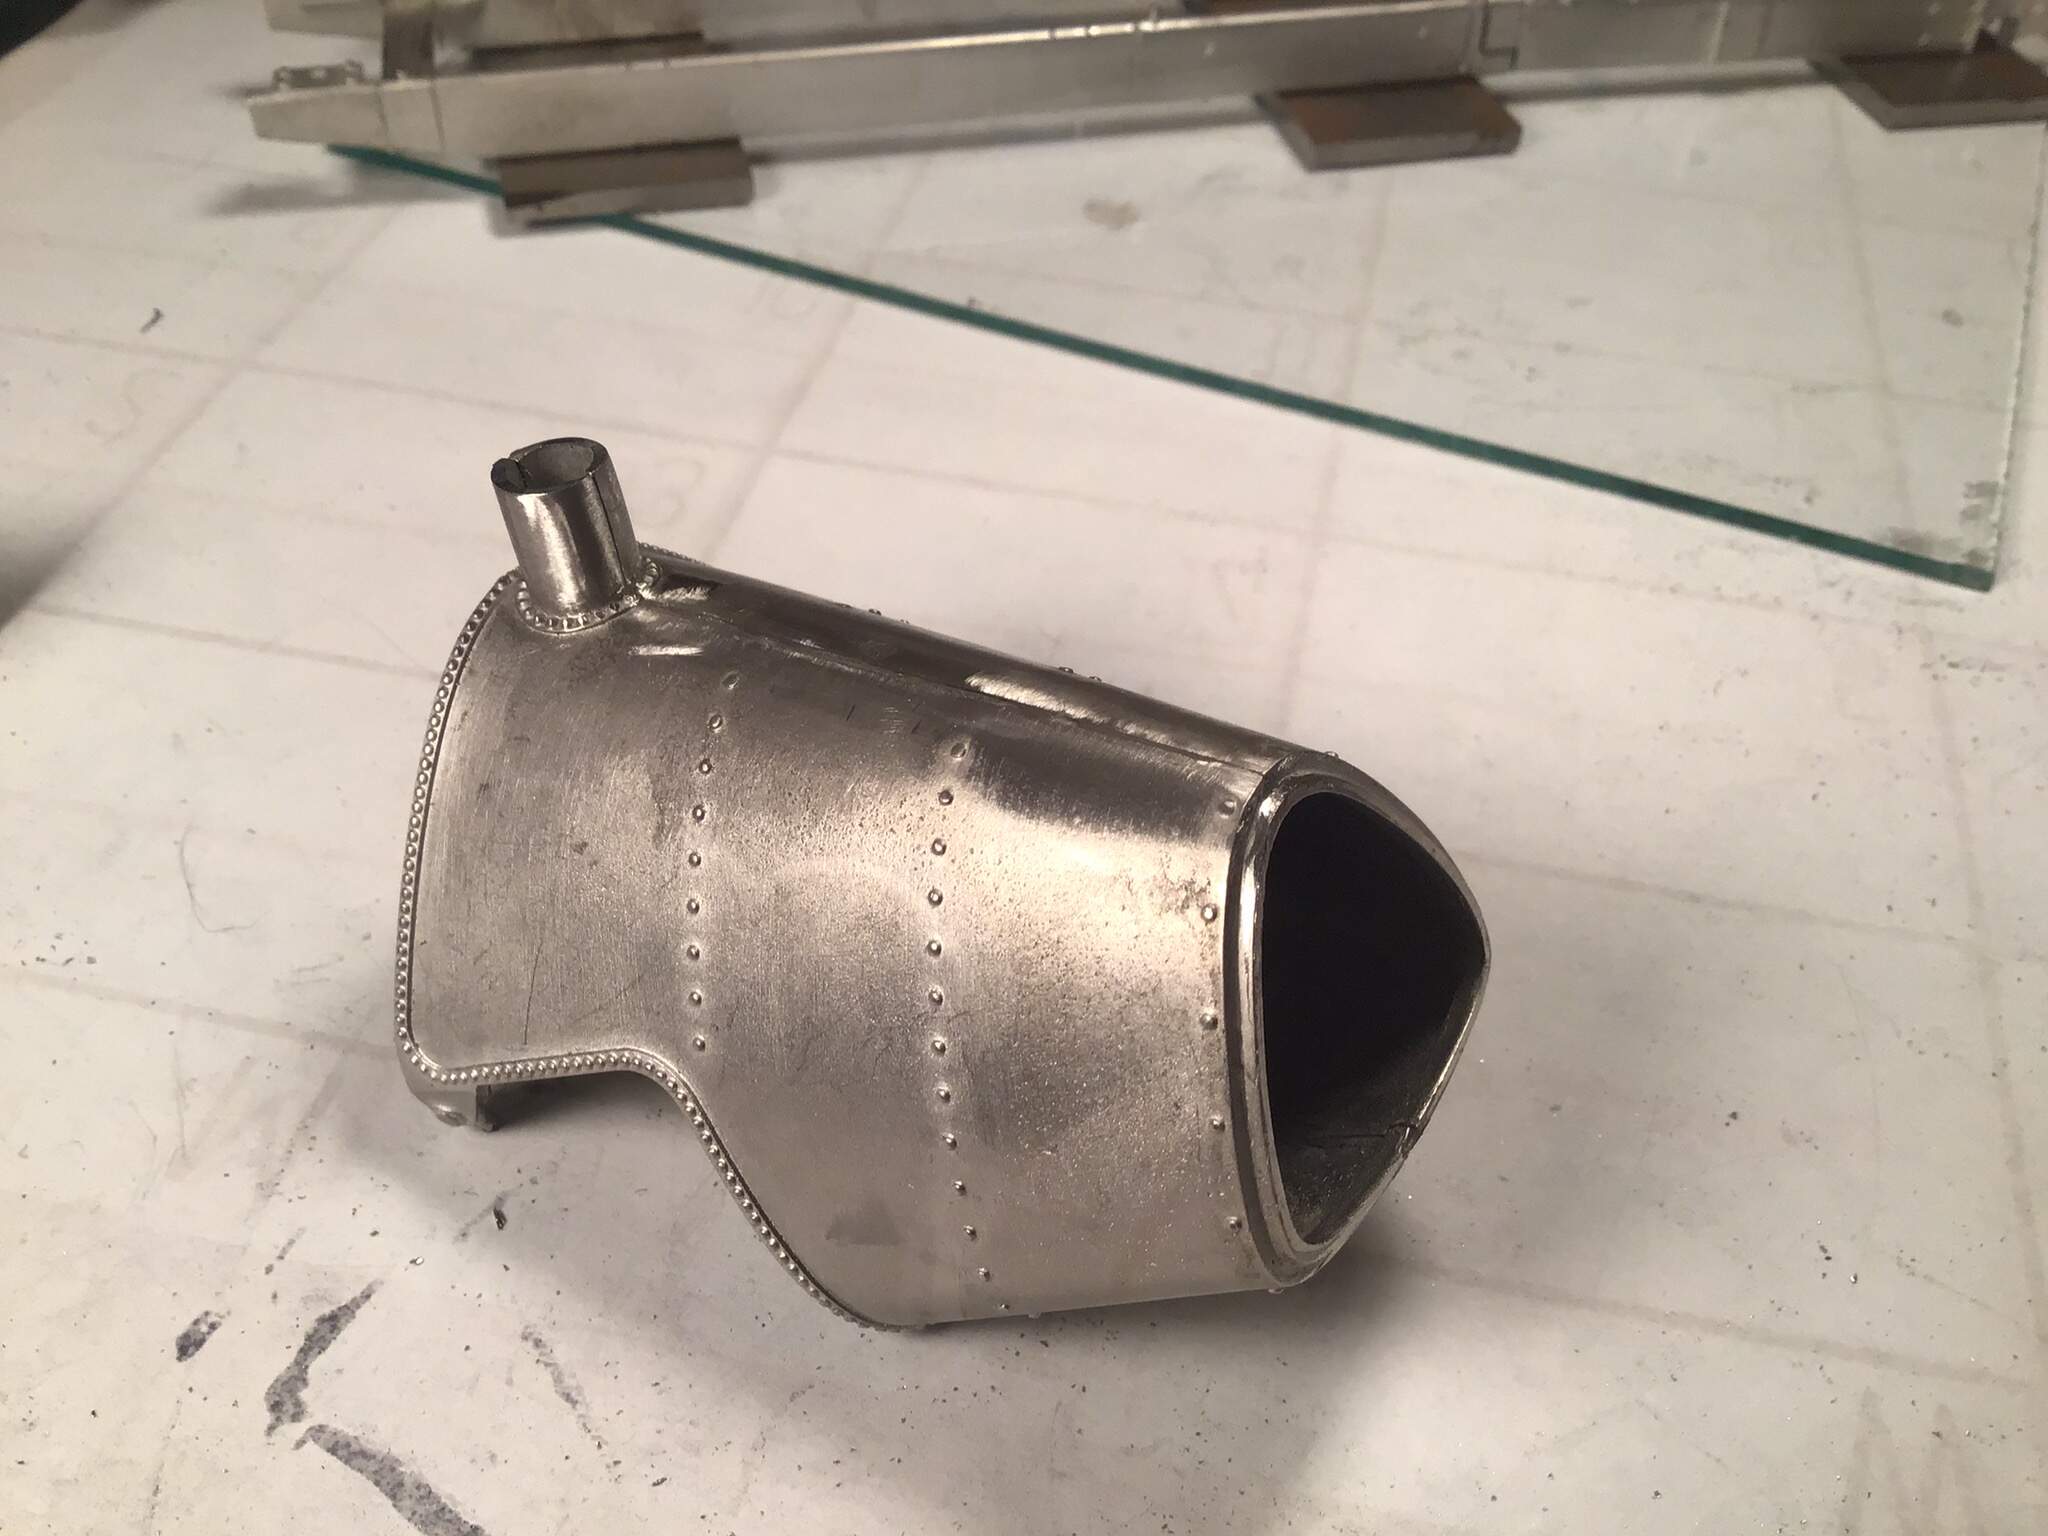
I’ve straightened the main fuel tank and assembled most of it with epoxy. The joints needed dressing off and I plan on using auto body polyester “ icing “ as a filler. Some rivet detail was lost but should be easily replaced with Archer resin rivet decals .
When filing soft metal like this you must card the file frequently to clear the file of swarf, otherwise you run the risk of having tiny chips gall the workpiece. Rubbing French chalk ( sometimes called “engineer’s chalk “) into the file will help keep it from clogging as well .
The need to dress the joints and use filler has made it necessary to finish this piece with paint rather than polish and clear coat but I think that will look better anyway.
Liking this a whole bunch - bent parts and all .
Thanks for looking
Richard,
looking forward to seeing what you come up with as a jig for the chassis to stay perfectly straight.
The gas tank looks a million times better after the epoxying the parts together. What type of filler will you be using on that nasty looking top joint as it looks pretty massive.
joel
Nice recovery on the fuel tank, it did seem somewhat marginally out of shape… It’s a shame you couldn’t polish it. I think it would have looked better than painted which I know will help hide the seams.
Richard
in real life, is there a wielded joint seam where the part seam is? If so, then you could replicate it, and then polish the tank rather then paint it. If not, then your Alcad 2 HSA would do the trick.
joel
Thanks Joel - I don’t believe there is a seam it appears that it is all riveted construction - no welding . There are other issues that put polished finish in question as well .
Some deep pitting cast in and dents here and there that I couldn’t level out so Alclad it will be .
BTW - are you still on track for medical procedures on Monday ? Wishing you good luck as many others are as well.
Richard
Richard,
sounds like you’ve really got this under control.
My Angiogram has been put on hold due to scheduling issues. I’m hoping that it will be rescheduled for mid Jan so my wife can drive and pick me up at the hospital. My ride for Monday can’t make it, and the cab service here is so unreliable that I would never have made it to the hospital by 5am, nor gotten a cab to take me home in a reasonable period of time. Twice the cab never showed at the Hospital when i taken by ambulance.
joel
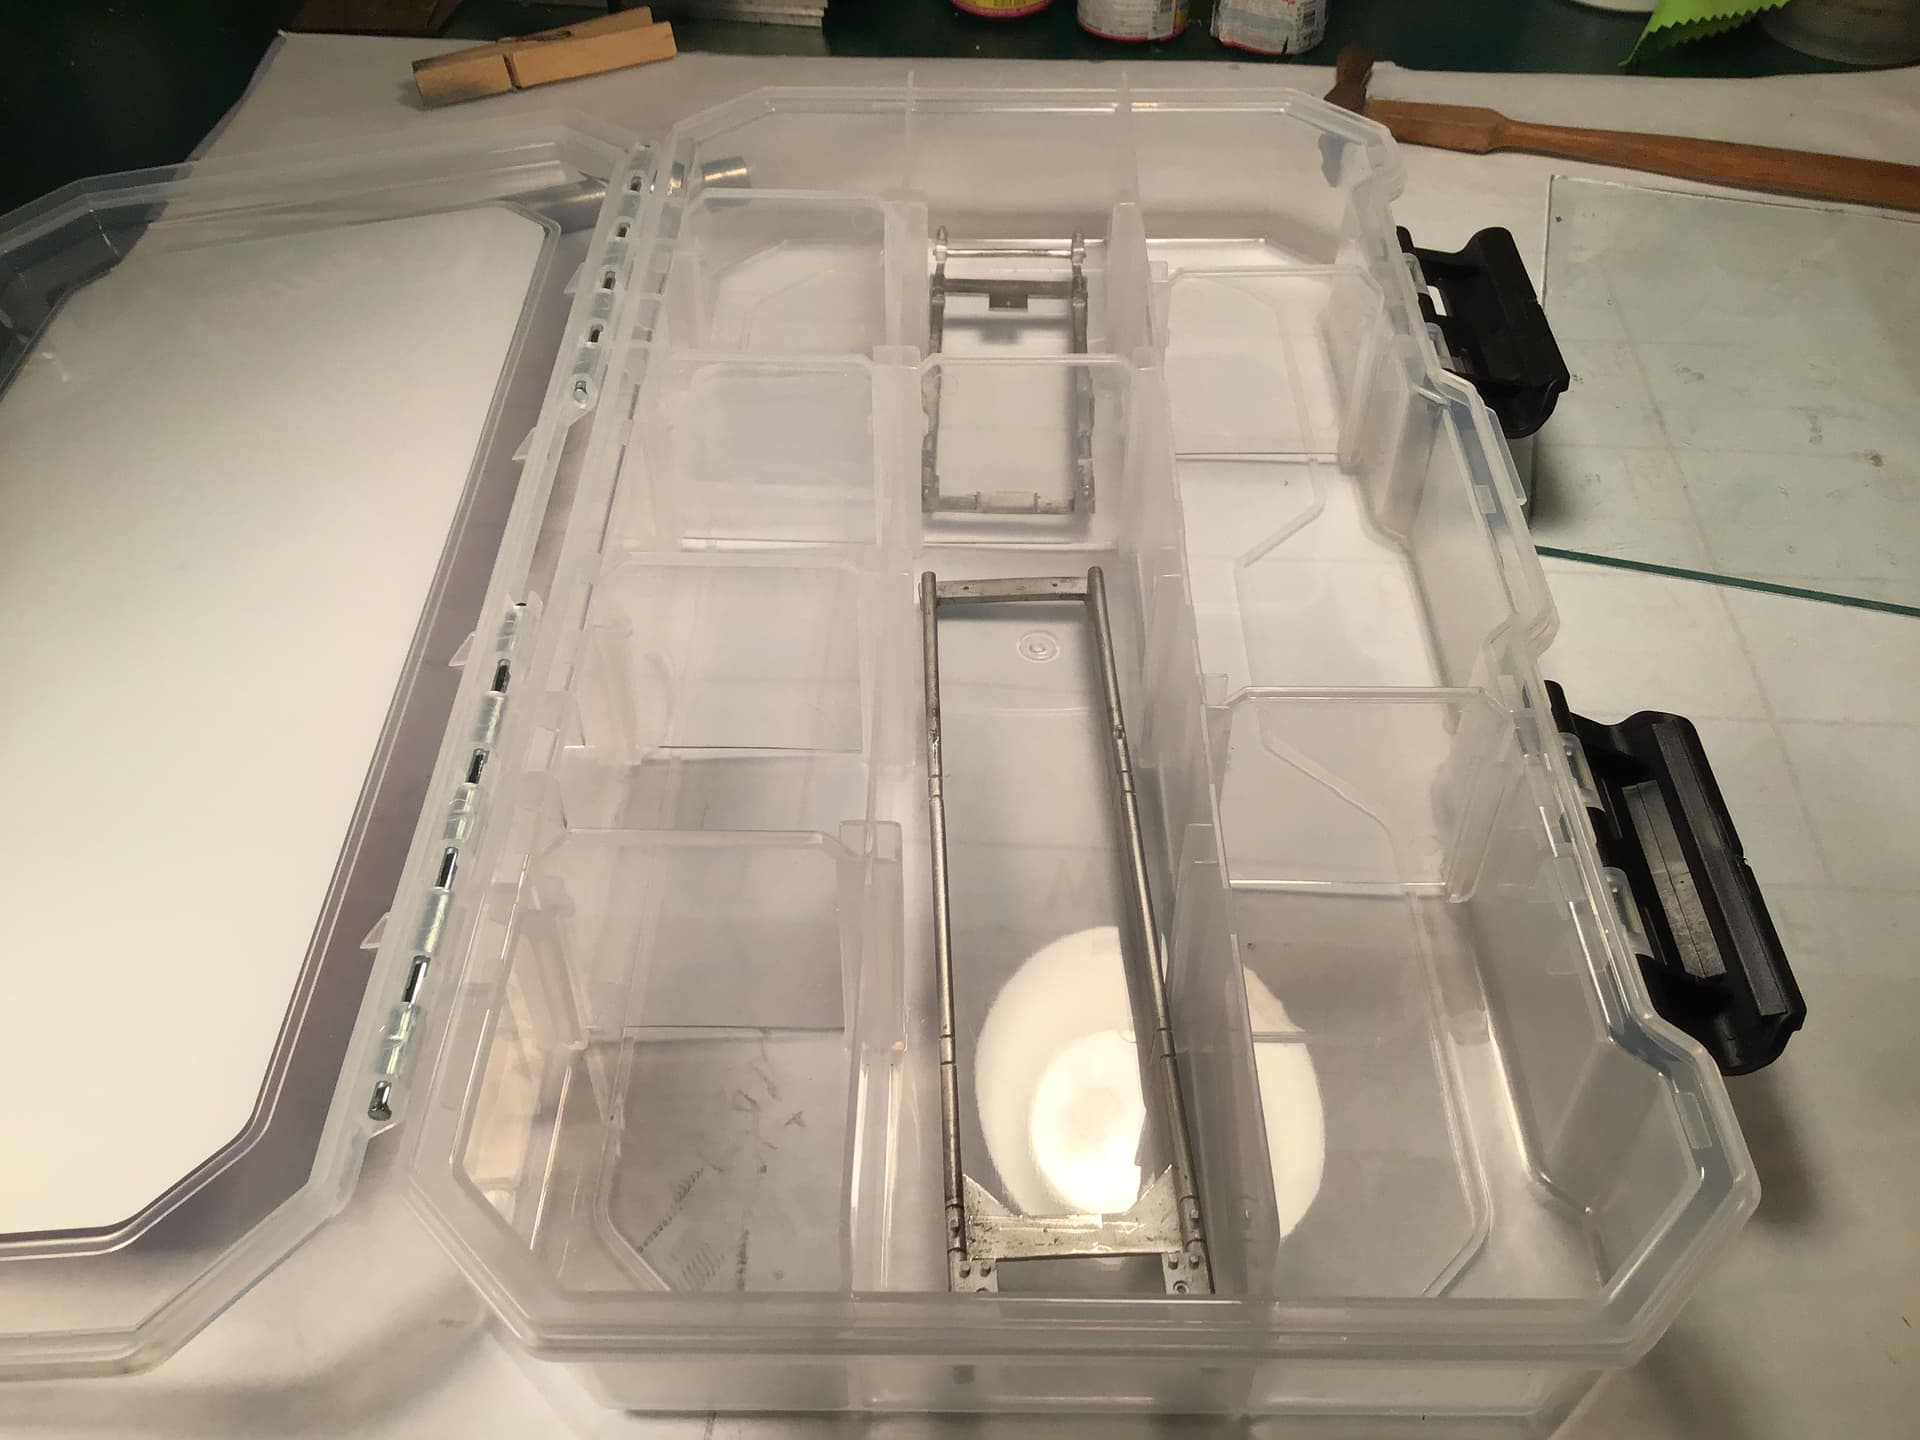
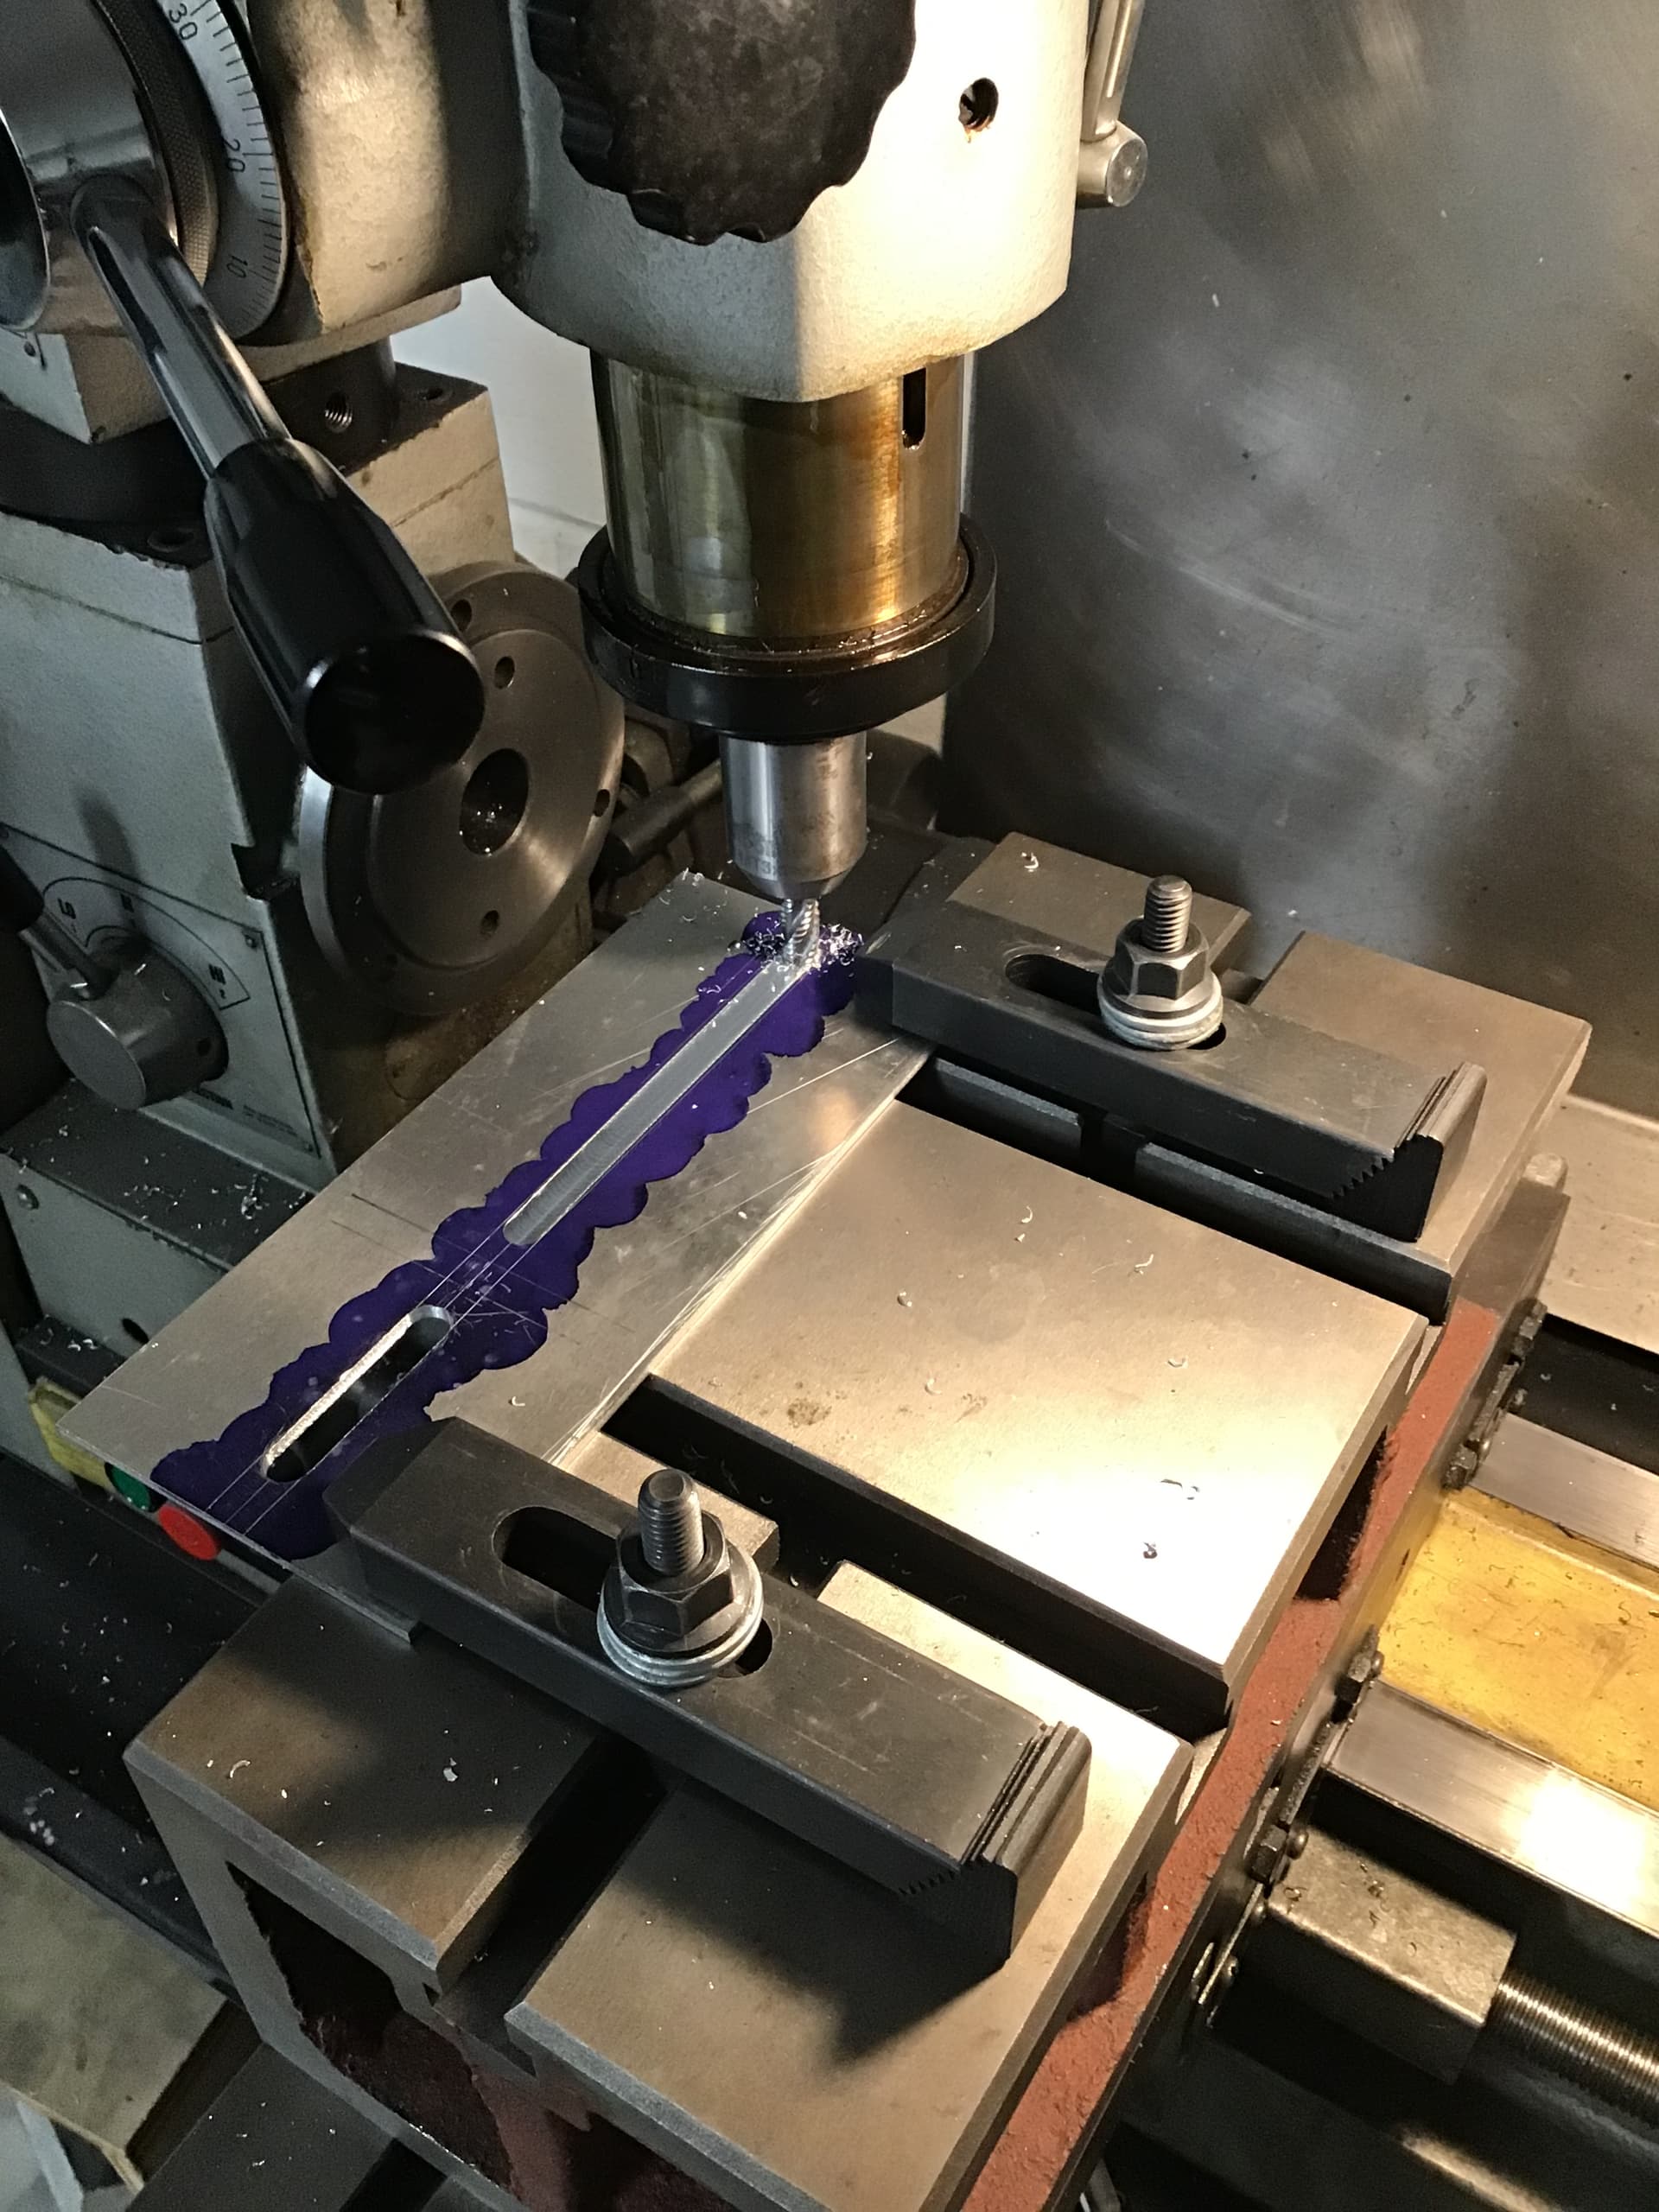
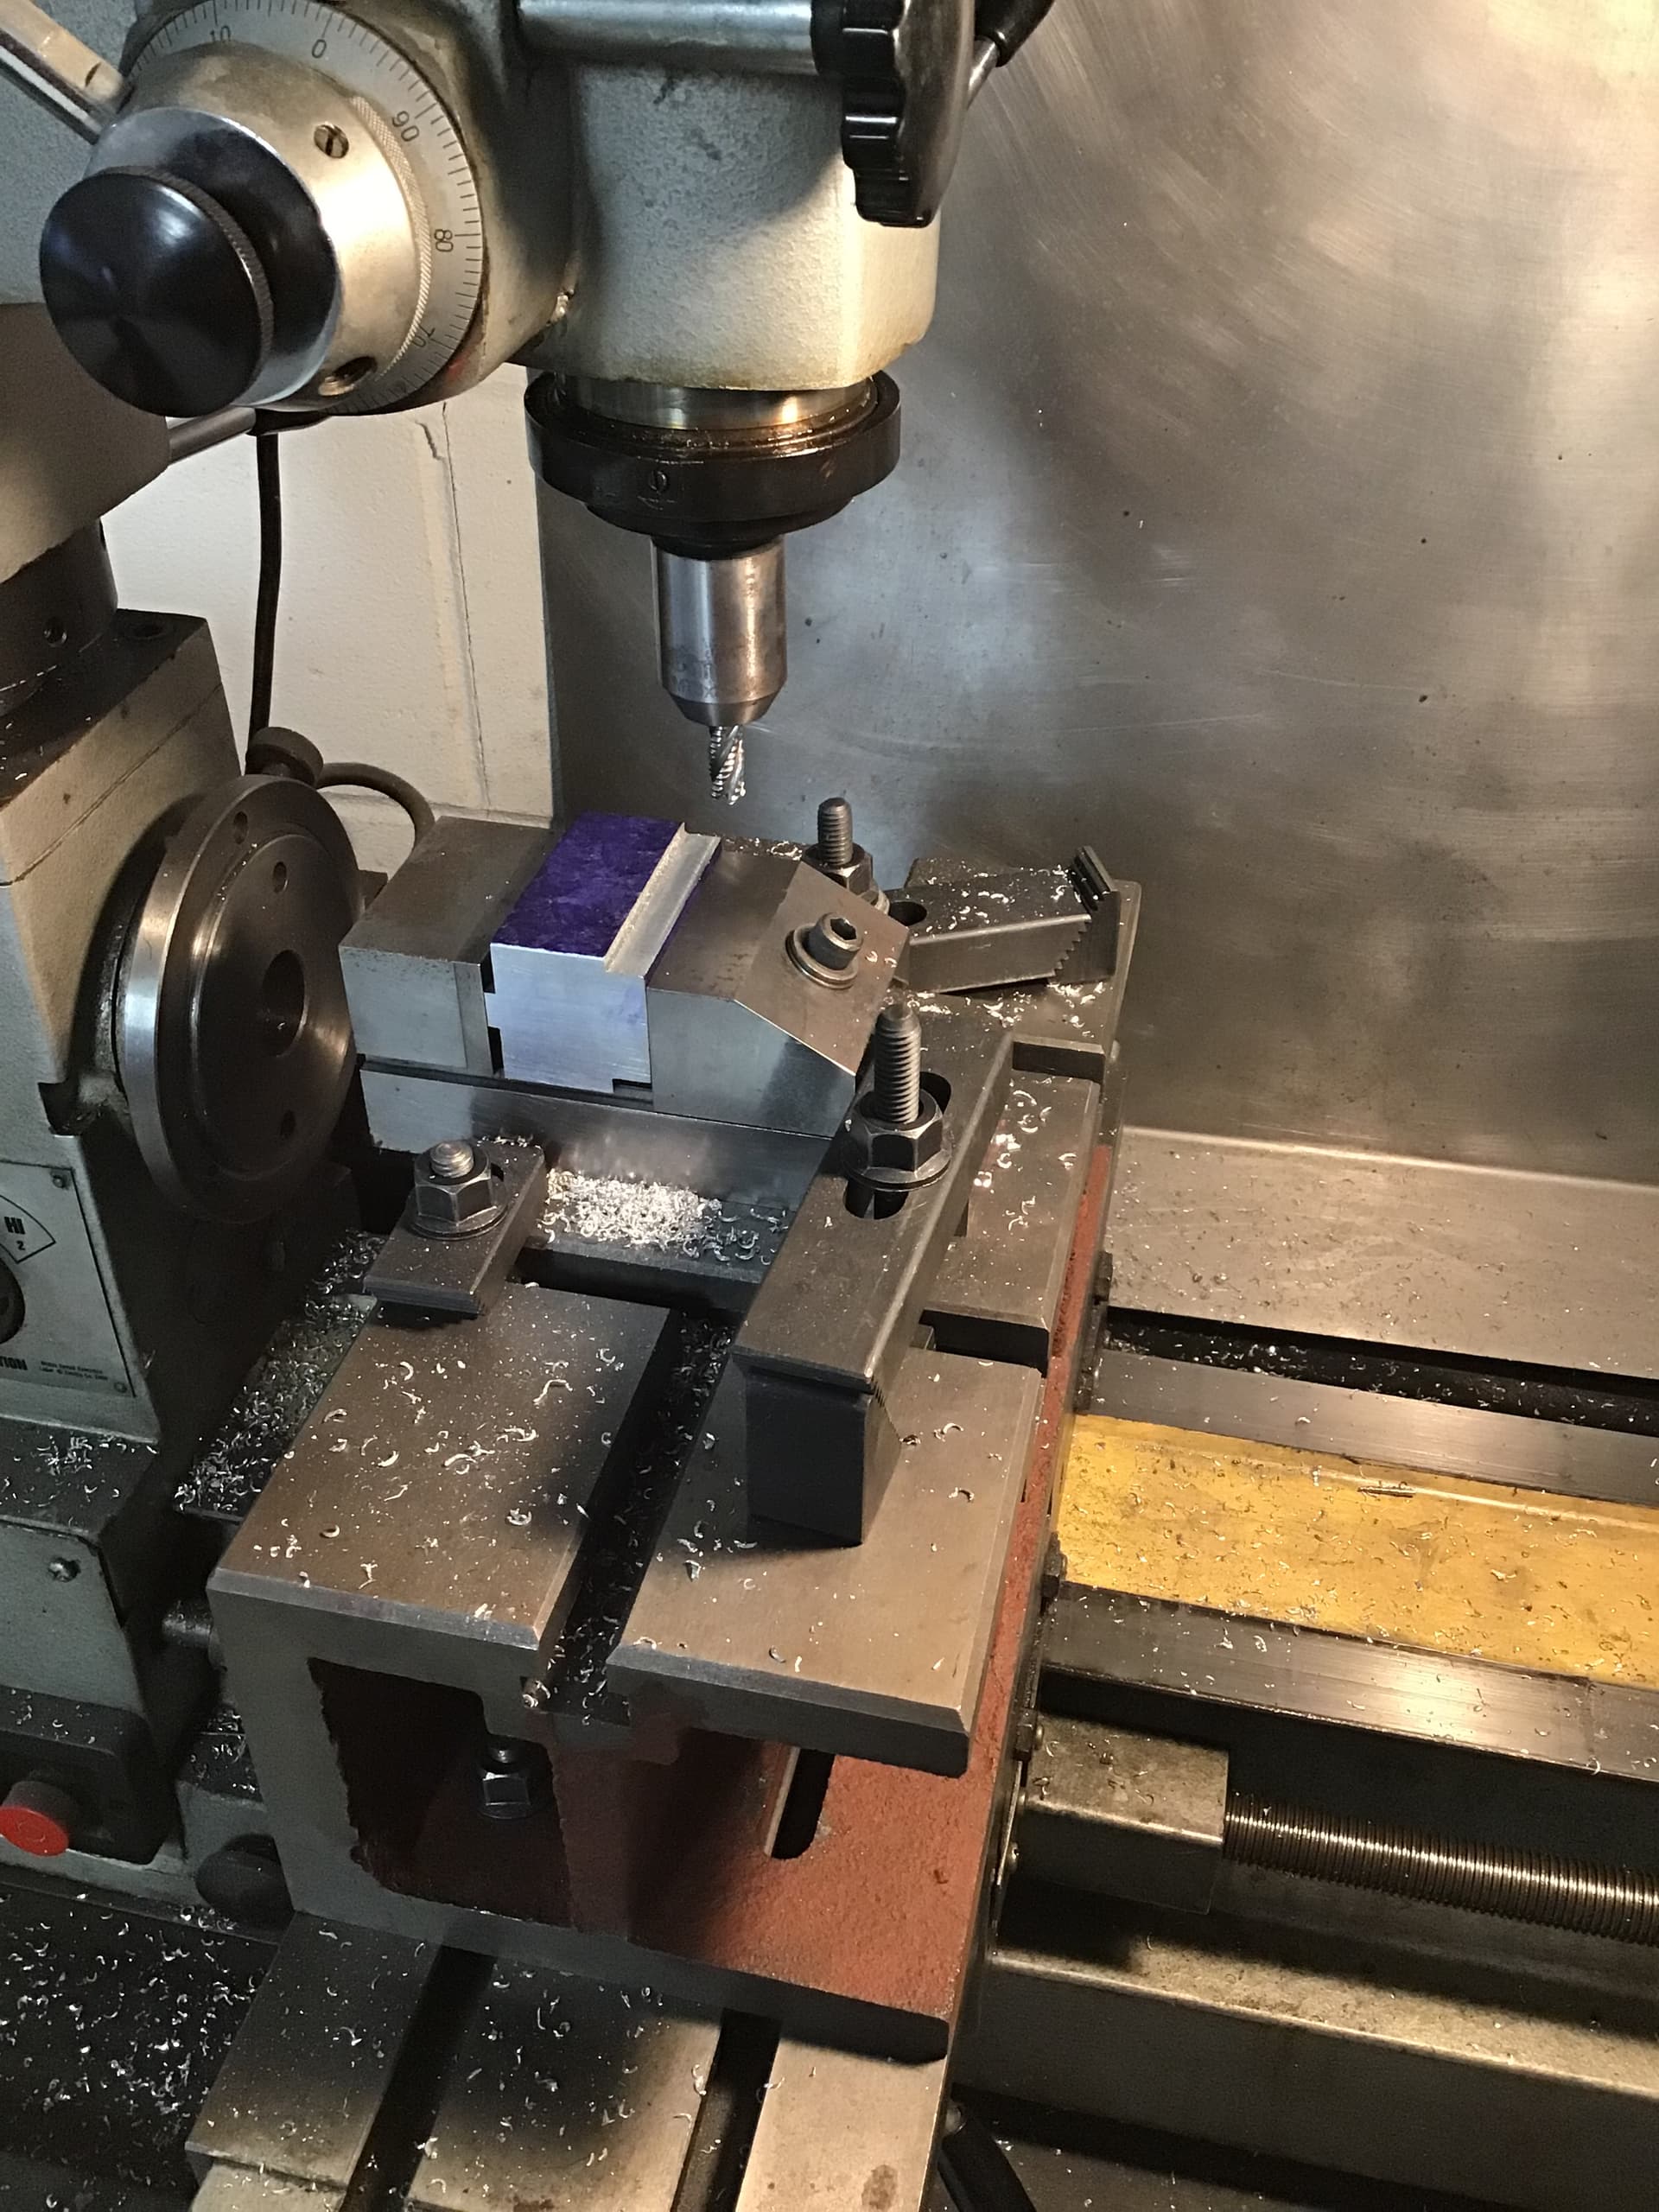
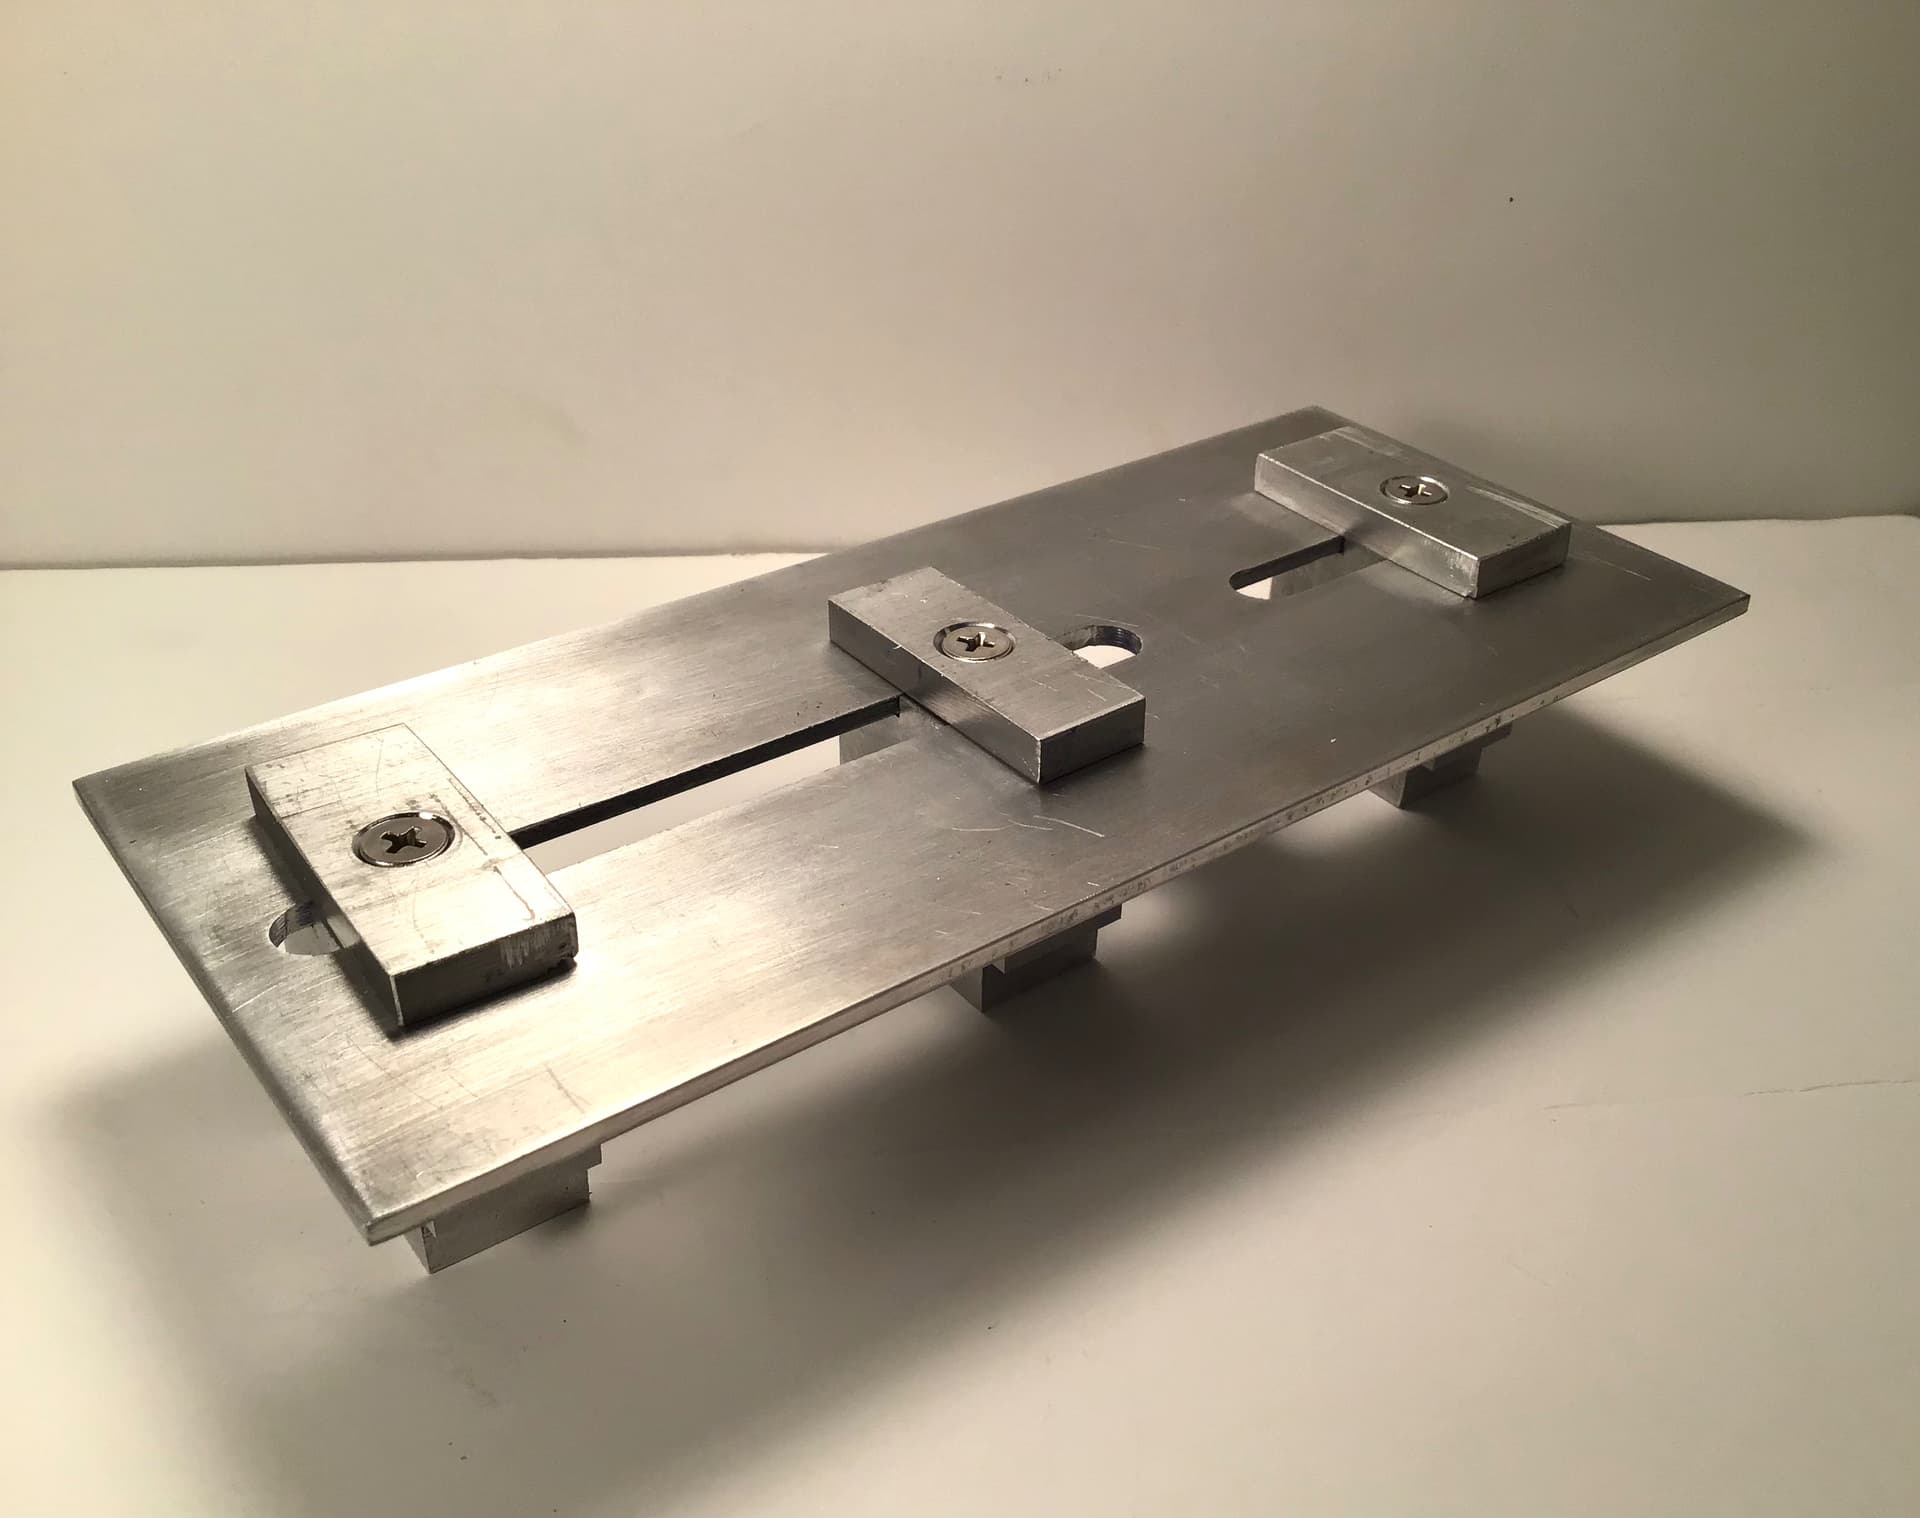
Fixture made up out of aluminum from leftover material laying around . Uprights are adjustable fore and aft in hopes I can use fixture while adding bits here and there.
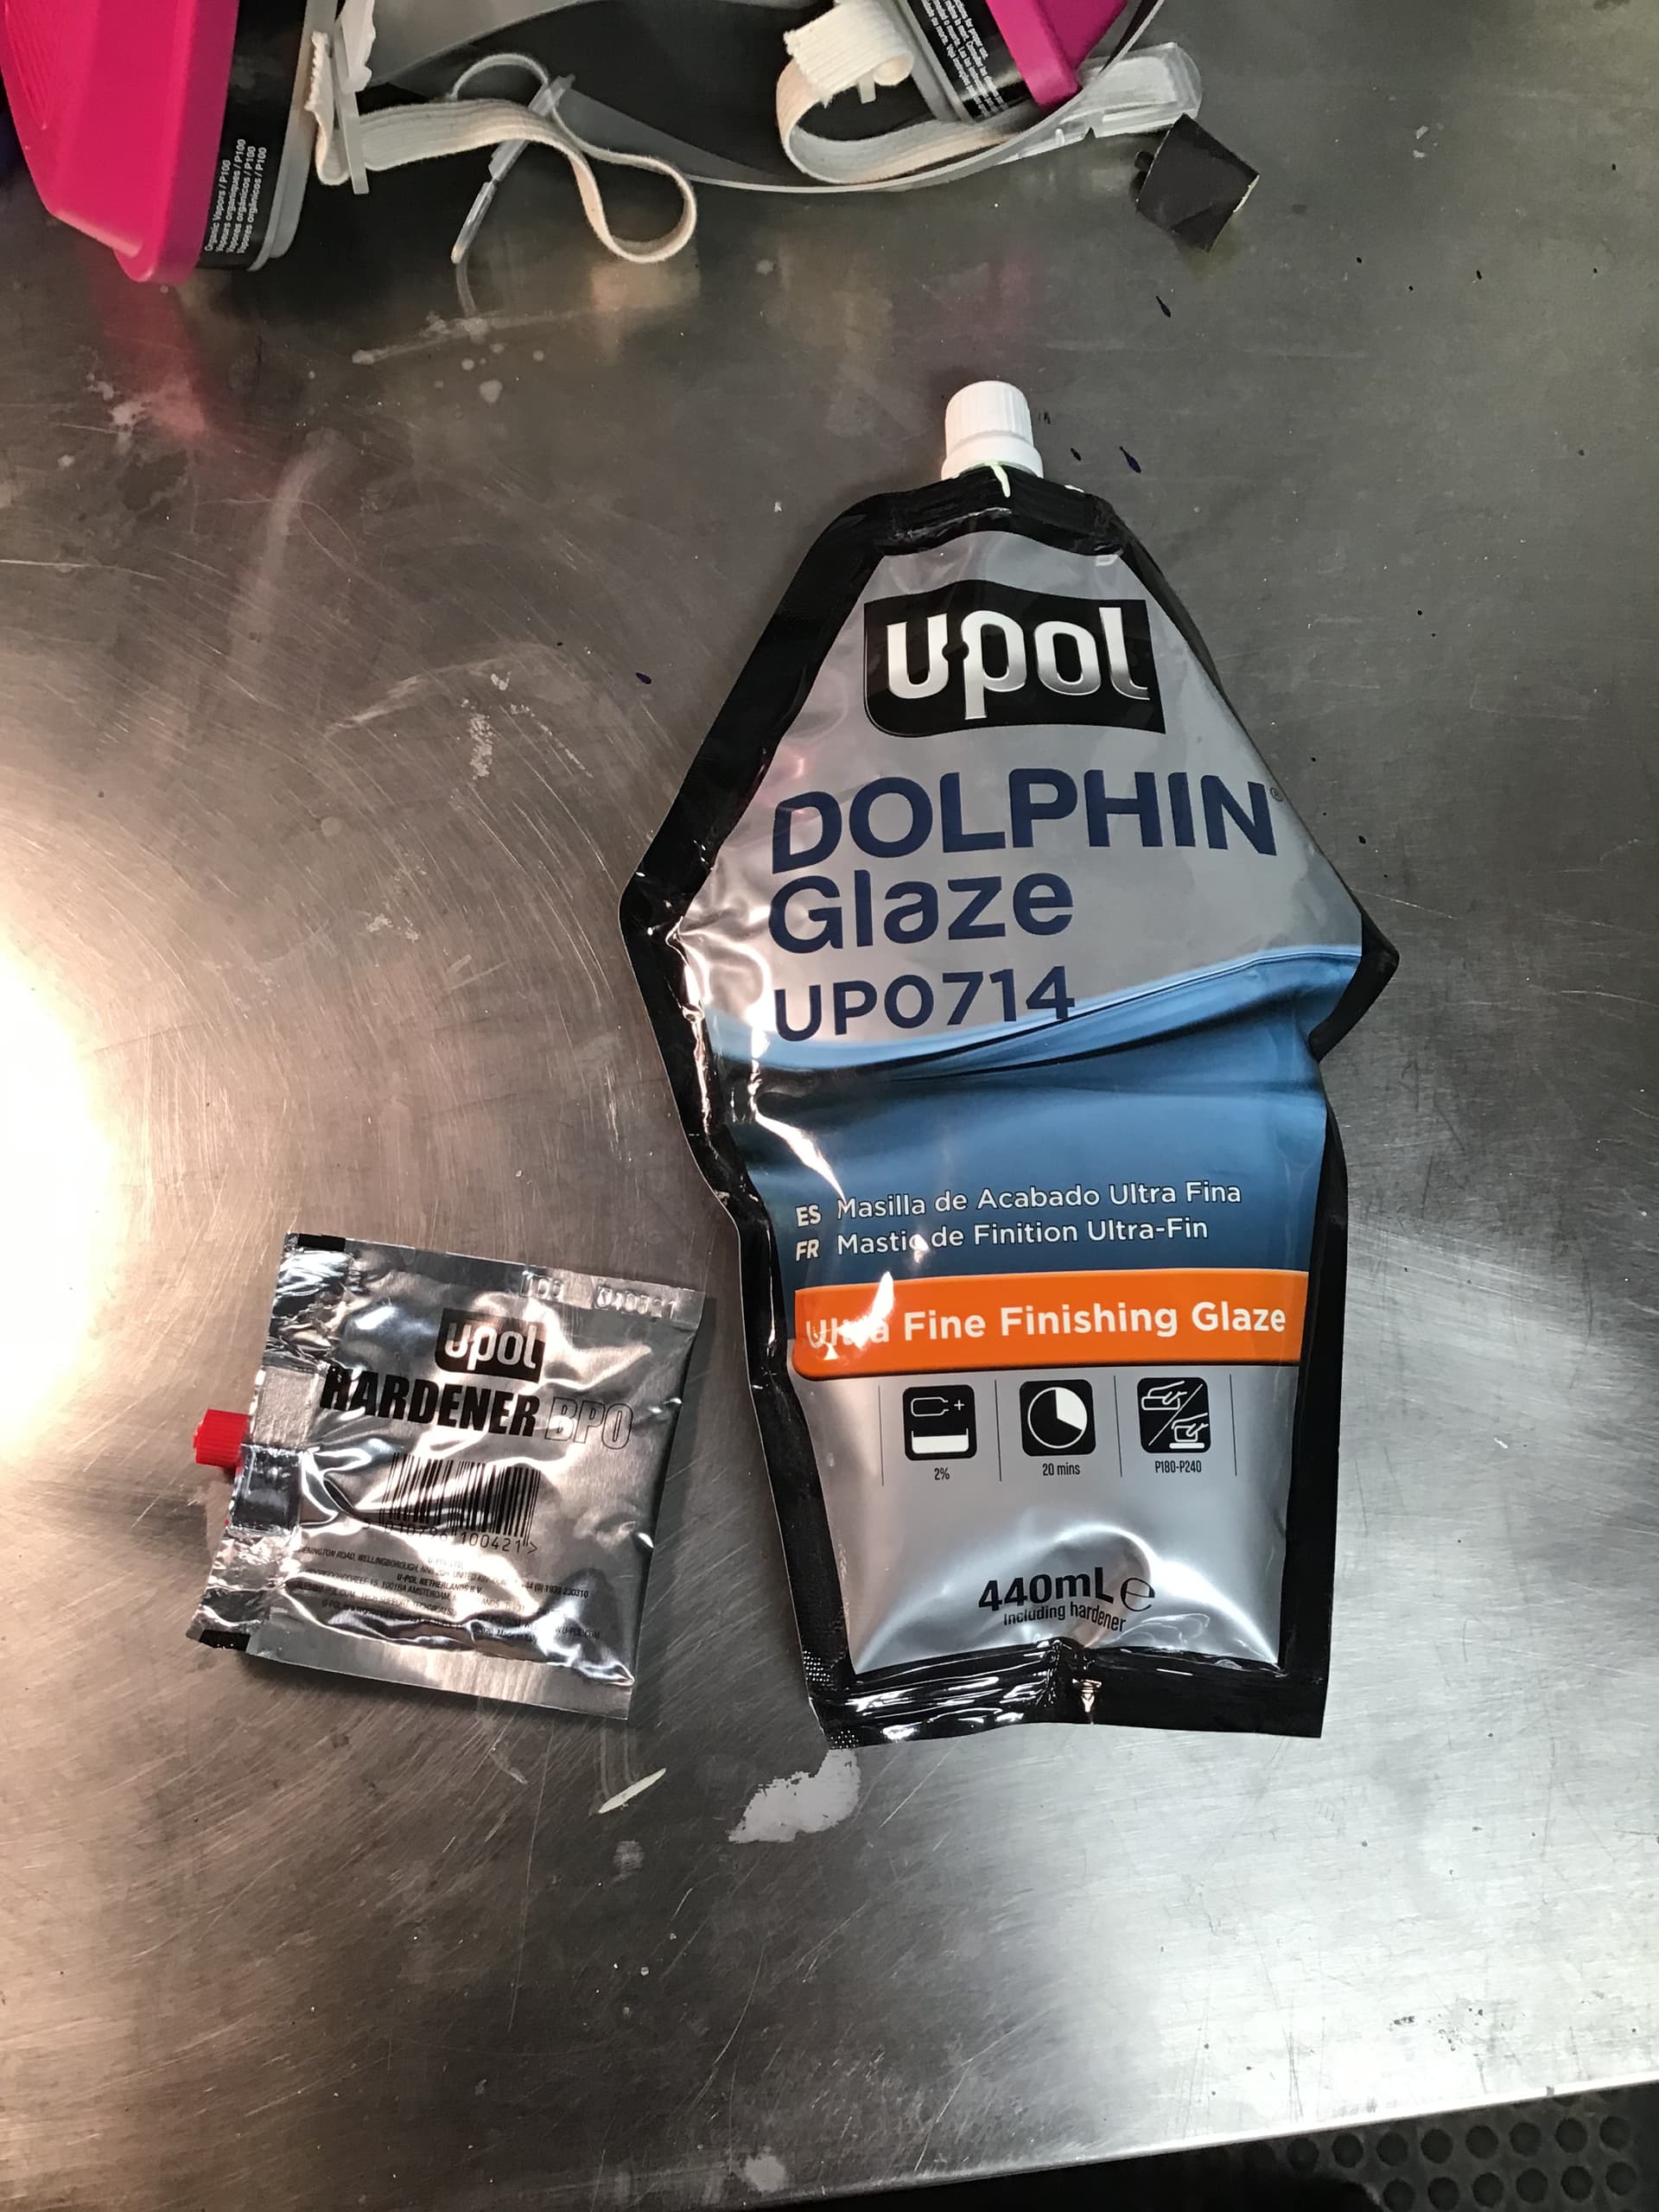
Main fuel tank done and filled /faired up . I am trying auto body finishing glaze ( “icing “) for the first time. Seems to be just the thing but won’t know until primed.
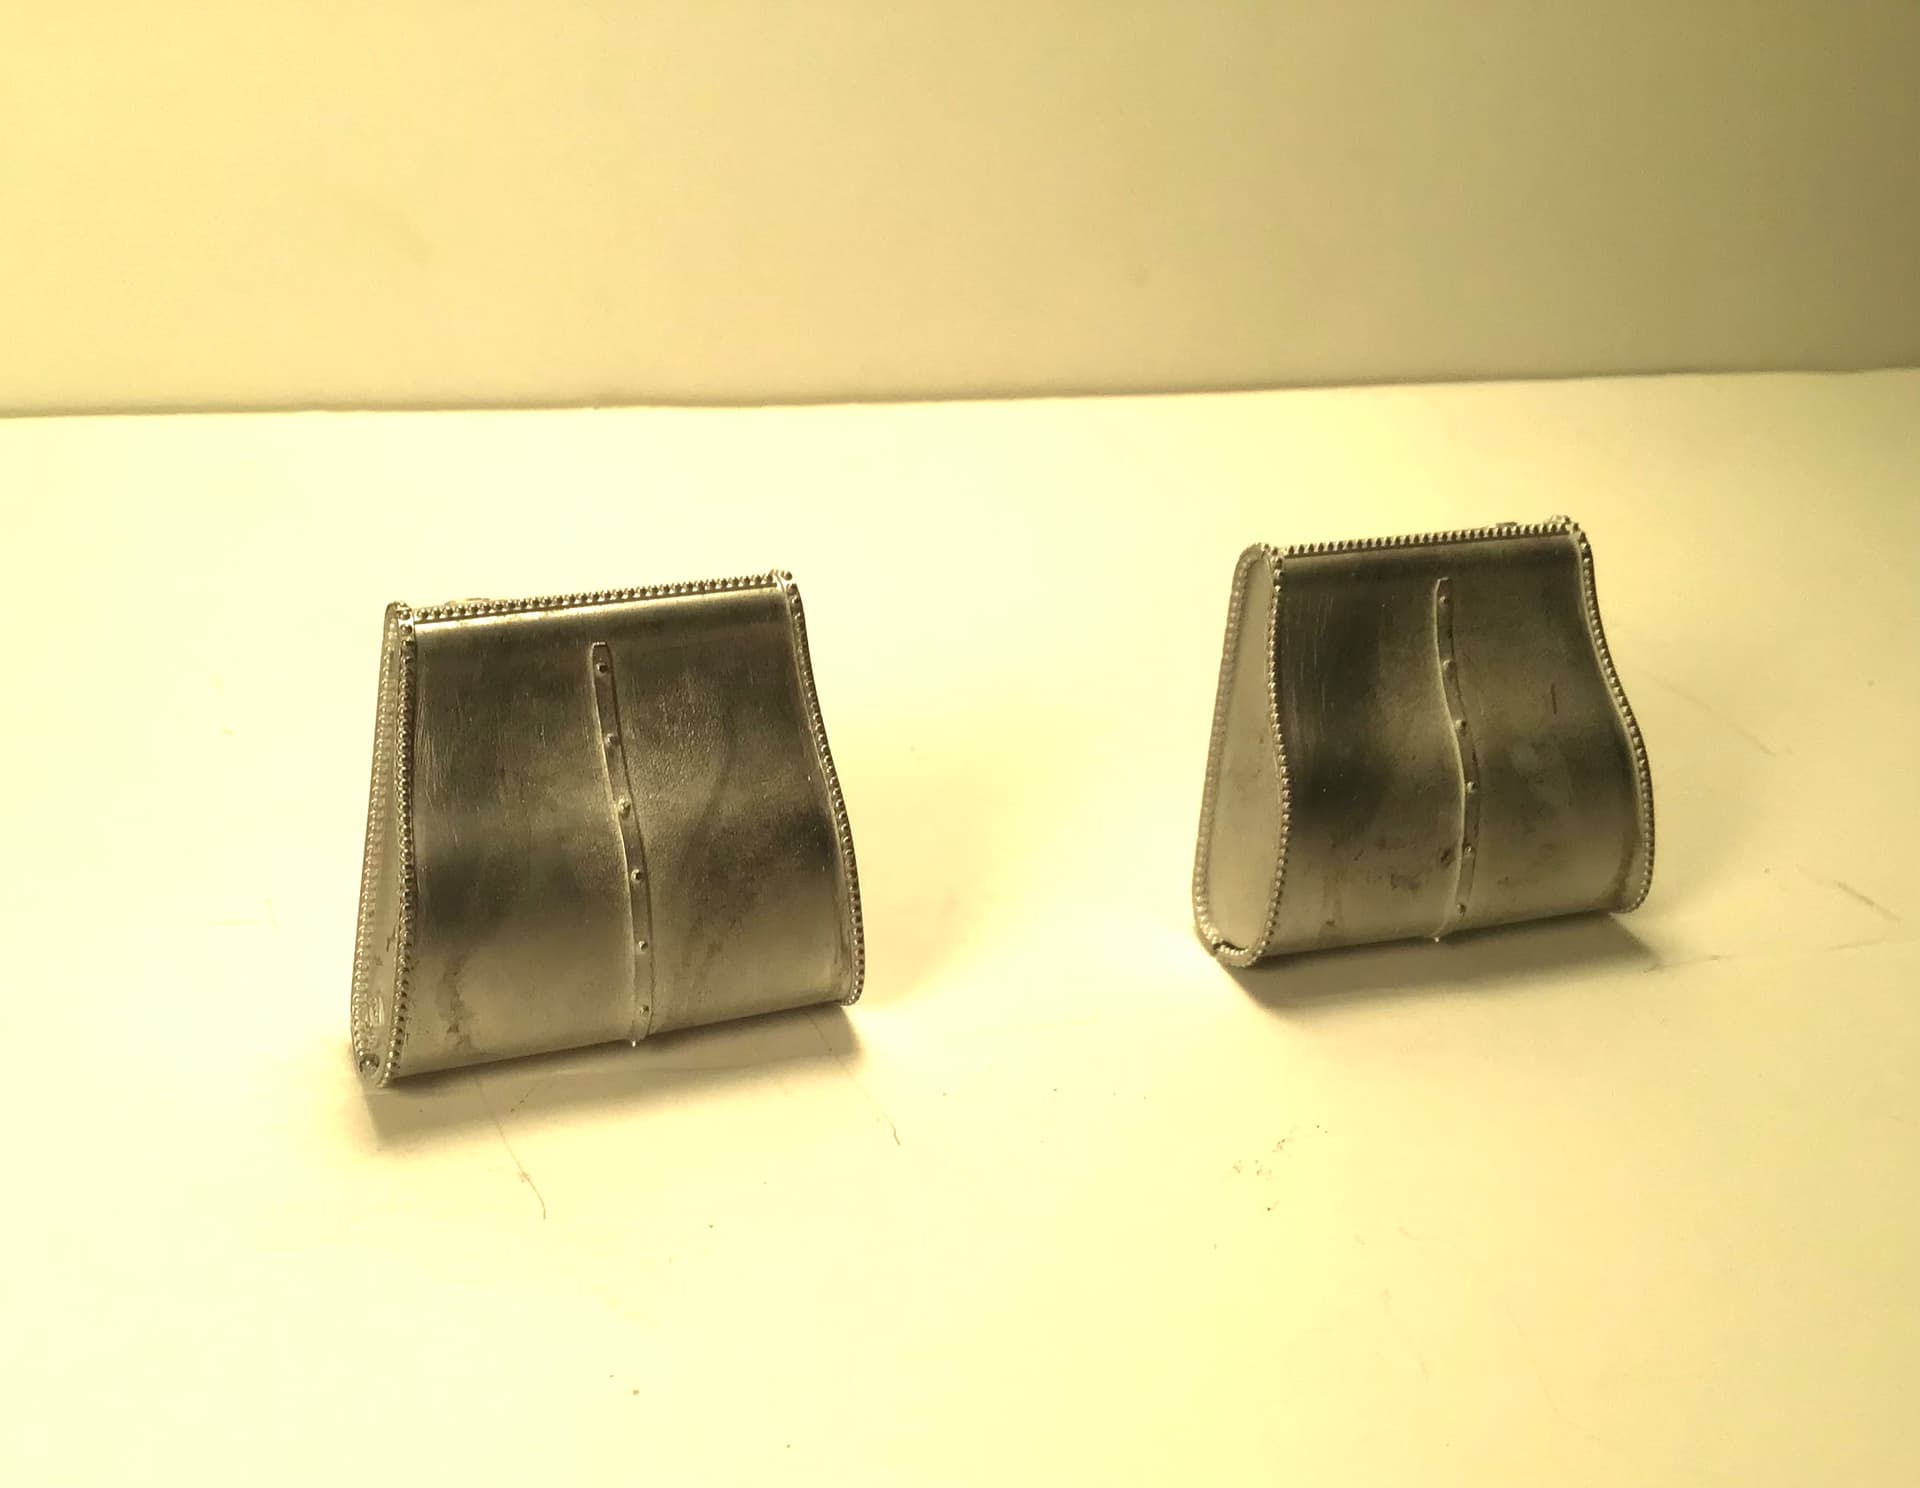
Two cockpit saddle tanks assembled. The left one is oil tank for the dry sump engine - right one is gasoline. To the best of my knowledge the rear tank contained methanol and the small gasoline tank was used for starting and before shut down to purge the corrosive methanol from the fuel system / engine.
Wow Richard, that jig is something else. Mail it over when you’re finished OK!
It’s hard to believe these days but driving at 150 mph surrounded by flammable liquids using drum brakes to stop dressed only in cotton overalls and a flying hat for 3 hours. It’s why they wouldn’t wear seat belts of course, safer to be tossed out than caught in an inferno.
The tanks look great. I will be interested to see how the experiment goes with the automotive paint. Is this to give it a bare metal finish or just a form of primer before using a metallic finish?
Outstanding start to what will be an epic journey here Richard! Some ingenious work with the chassis jig will no doubt prove invaluable along the way as well.
Thanks Michael - the glaze is filler . It is like Bondo but much finer grained and thinner viscosity. Beyond the seam issues on the fuel tank there were areas of surface pitting on the castings which would make a polished finish difficult. I used the glaze to fill these as well as the seams . We’ll see how it looks after primer.
Cheers - RT.
Richard,
your jig came out fantastic. Your expertise as a machinist constantly is paying off big time.
All three tanks look nearly perfect. As for using glazing putty, I still use Bondo Glazing at times. It dries harder and much quicker then any of the lacquer based modeling putties, but does shrink a little. Lite coats usually are rock hard in about 30 min max and sand to a perfect feather edge. Like all putties it’s somewhat porous but seals perfectly with thinned primer/sealer. What’s more you can scribe it and it doesn’t chip unless you really push pretty hard.
joel