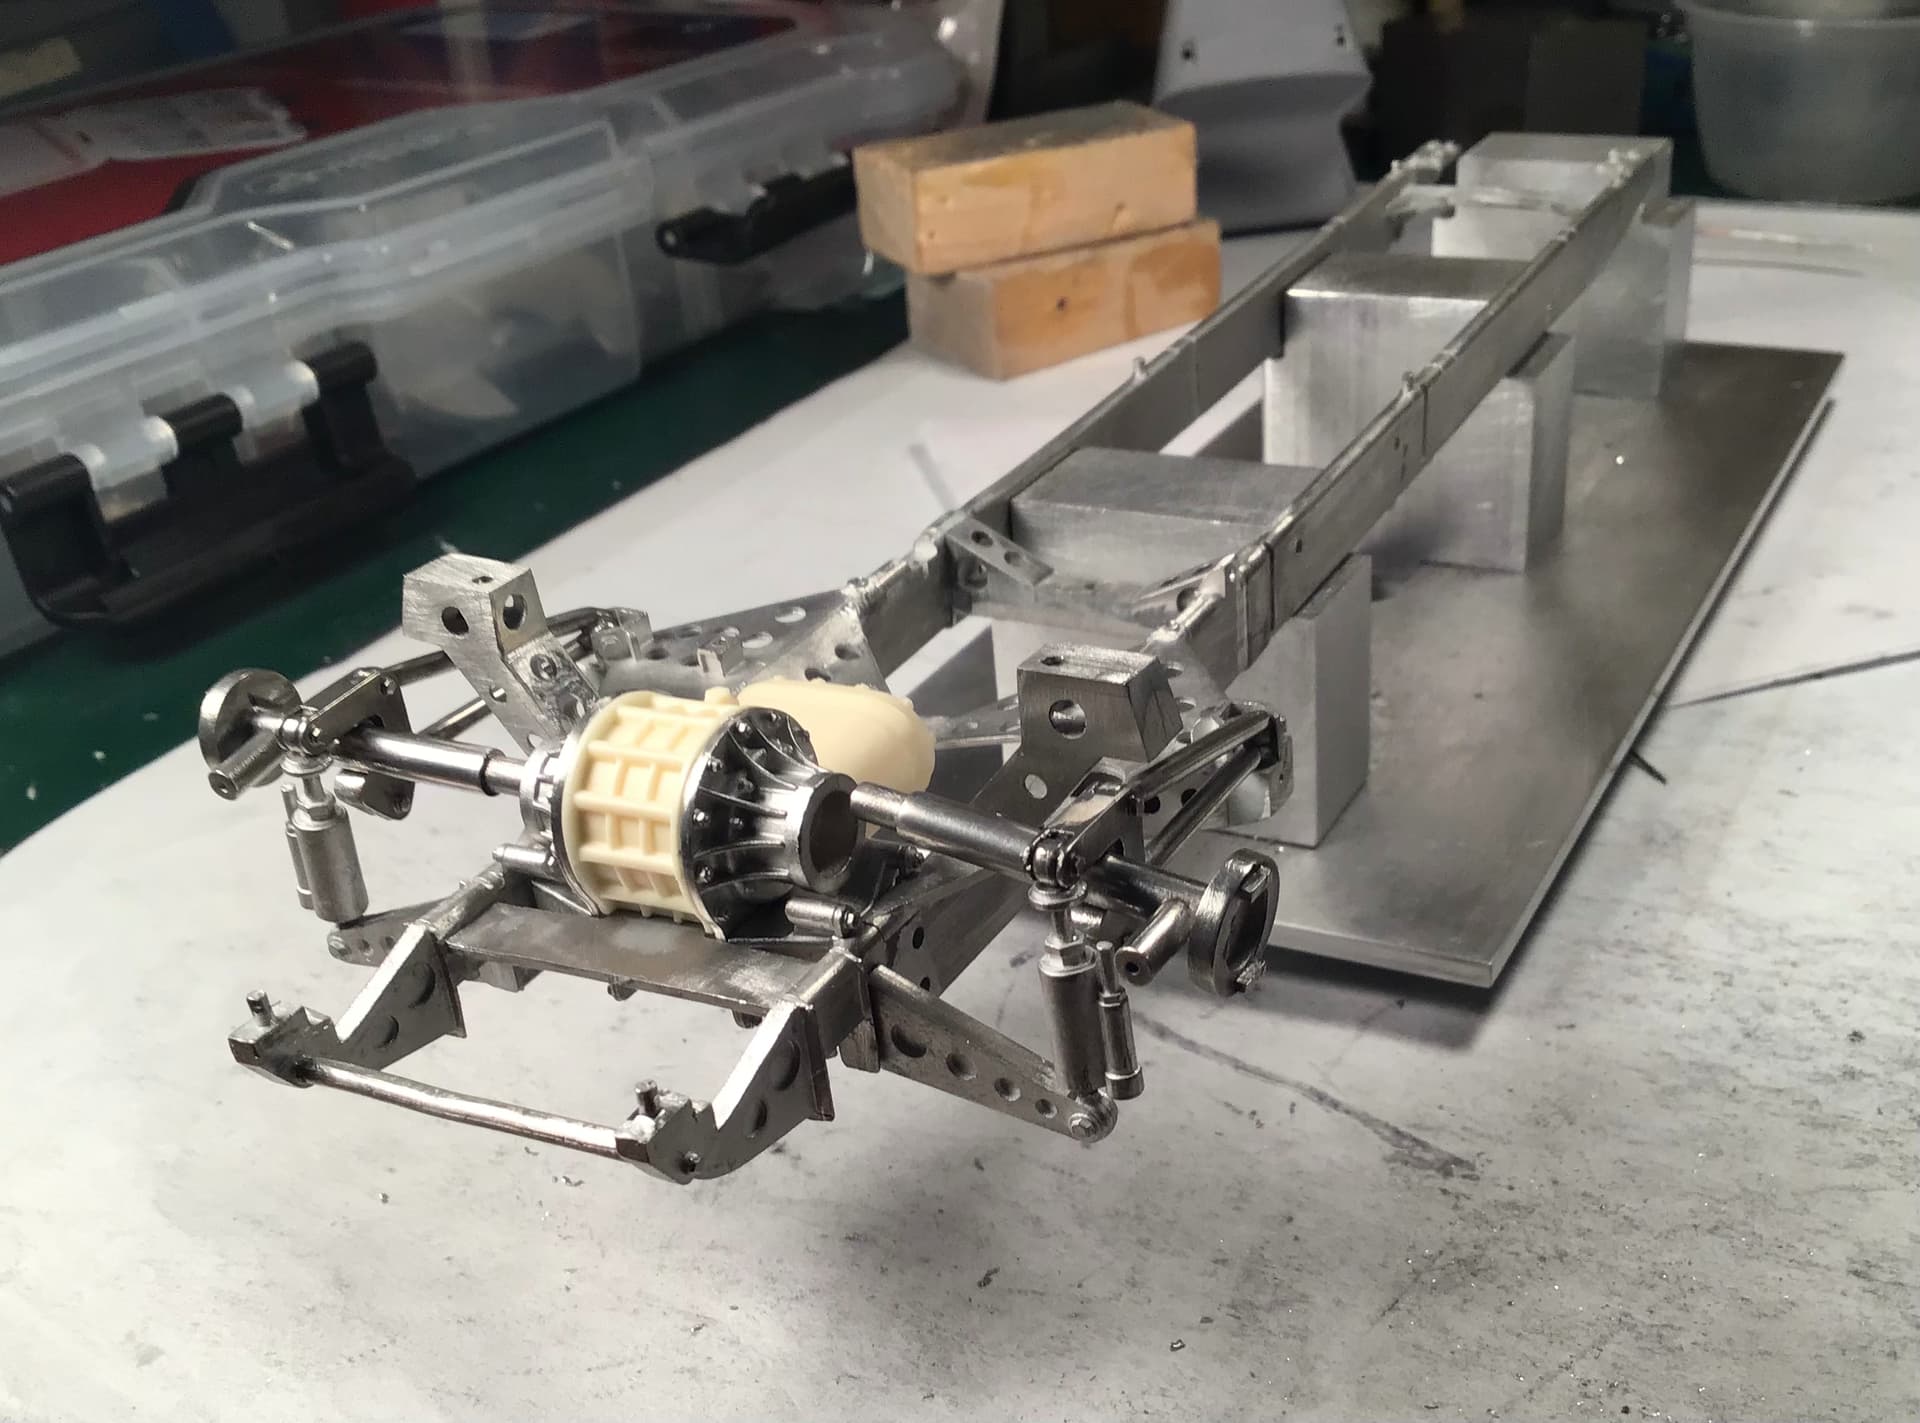
Brief update - inching forward with the final drive - half shafts and radius rods polished . Castings cleaned up with files and 400 , 600 and 800 abrasives then polished with Blue Magic and Dremel / felt wheel . I had to buy a new variable speed Dremel as my two speed one was too fast and I risked melting the white metal .
MFH supply rubber boots at half shaft and drive shaft connections to transaxle.
The Alfetta had both hydraulic and friction dampers at rear axle . Shown are the hydraulic units . The friction units mount forward of the hydraulic ones and tie into the lower part of the radius rod yoke . I will likely leave them off till later due to painting concerns.
Richard,
Wow!!!
The rear assembly really looks fantastic. Like Michael, the polished parts look so much more realistic then everything being painted. No doubt about it, you’re a master at bringing all those metal pcs to such a high level of finish.
As for needing a new Dremel. I had two, and both died from old age and over use. Would your variable speed drill run slow and smooth enough to buff out lacquer clear coats without to easily burning through it?
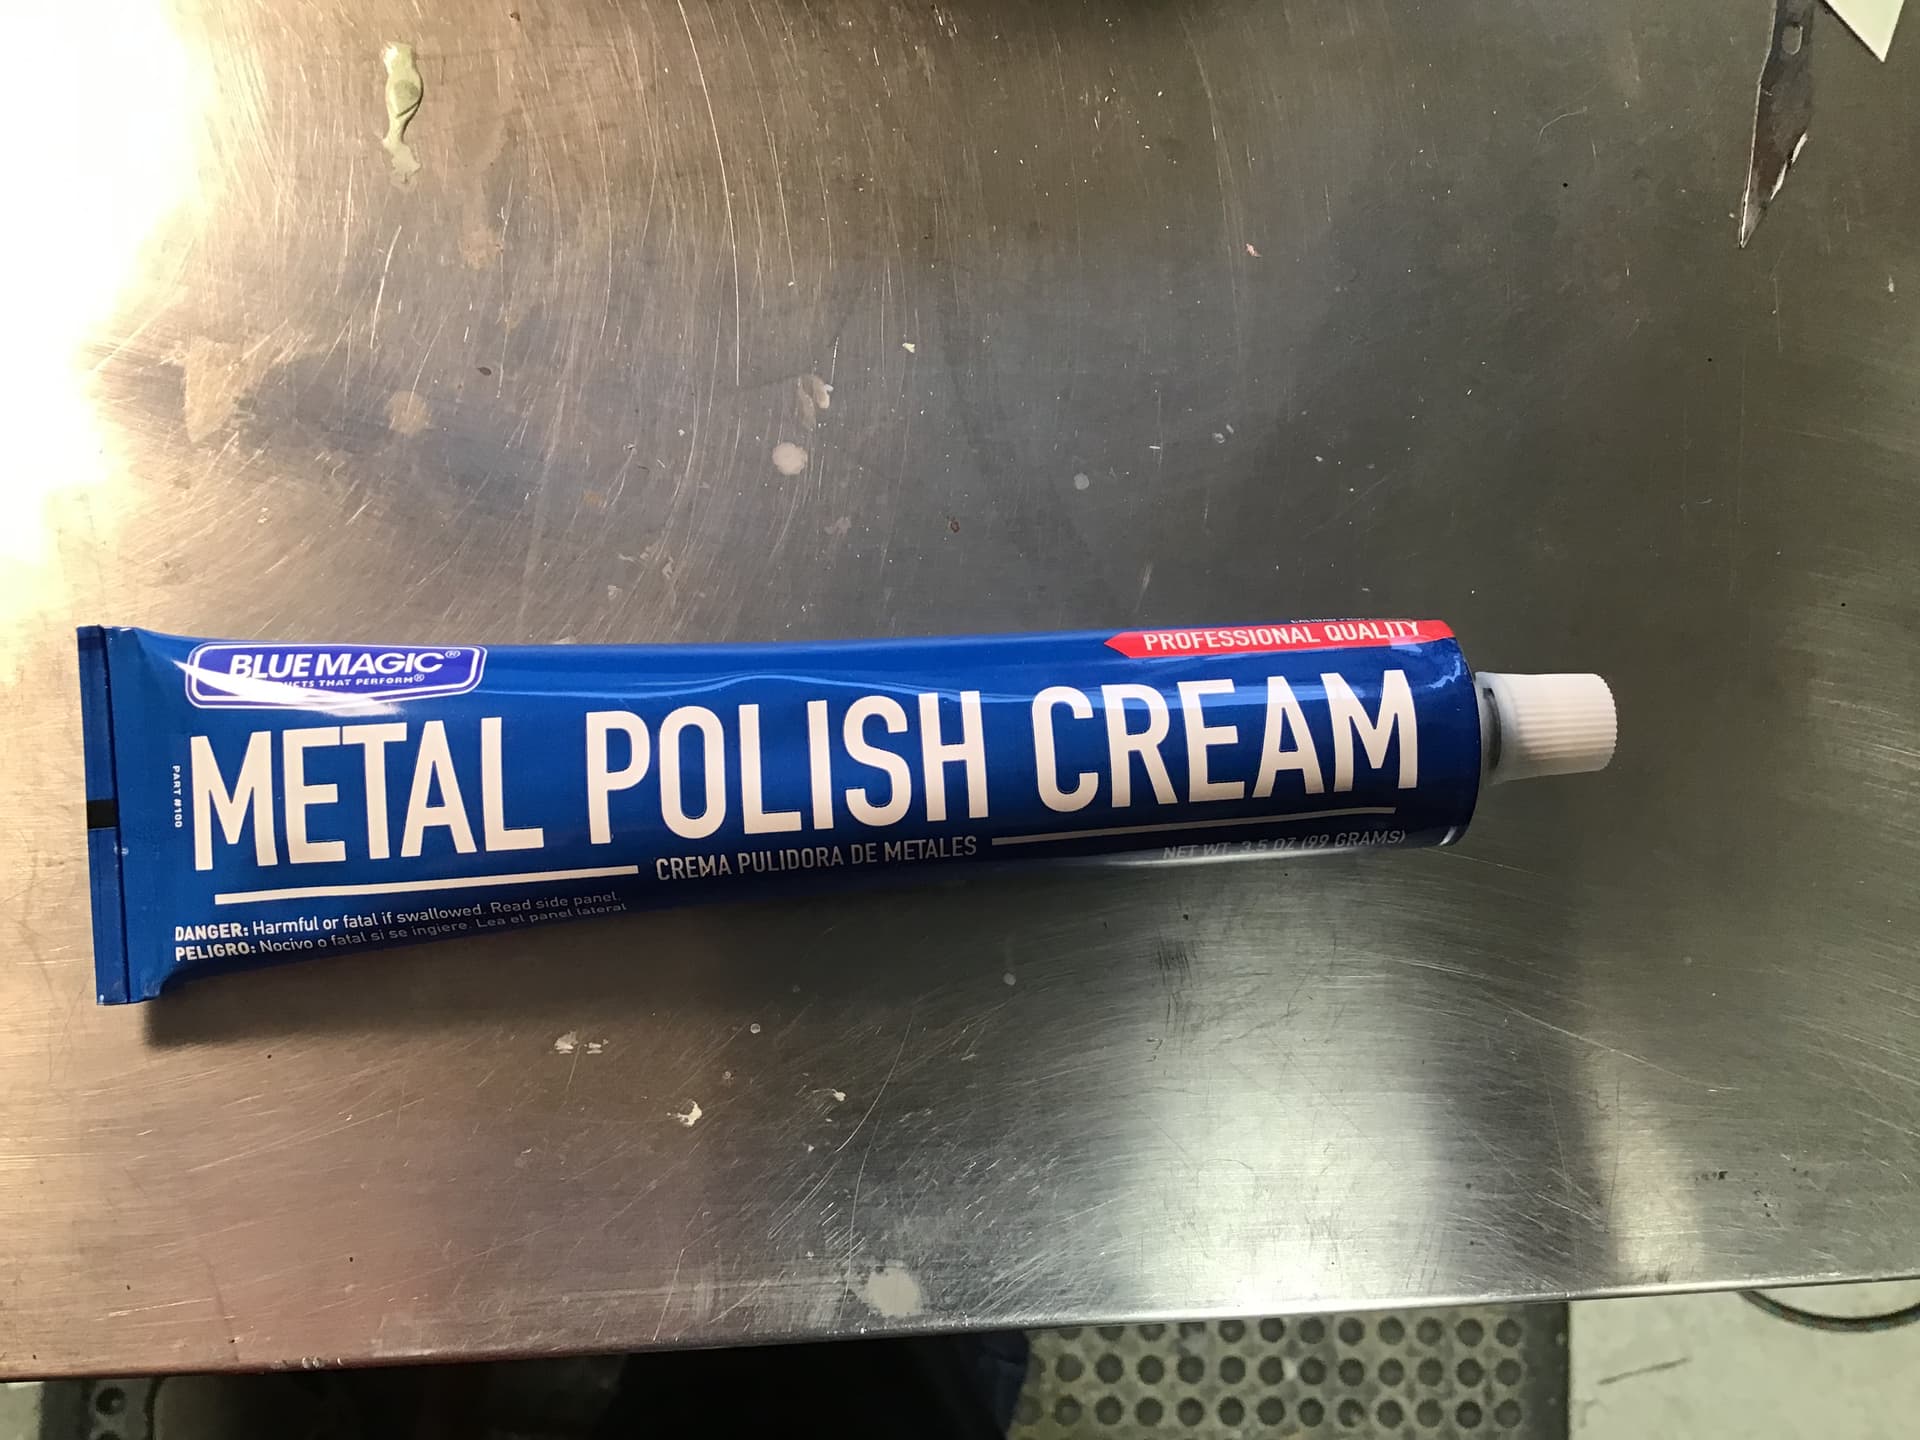
Hi Michael - Blue Magic is a polishing cream that works great . I use it for all the alloy and nickel on my real motorcycles. It can be used to rub out paint . I have used it for polishing paint and clear parts on my models as well . To use on paint and plastic I cut up white cotton
t-shirts into squares and smear on some Blue Magic -
let it dry so the solvents evaporate and you are good to go .
Hi Joel - I get it at auto parts store - hardware and home center stores probably have it as well.
Re: your Dremel question - I don’t think I would use it on paint - it would be too easy to burn through even at lowest speed .
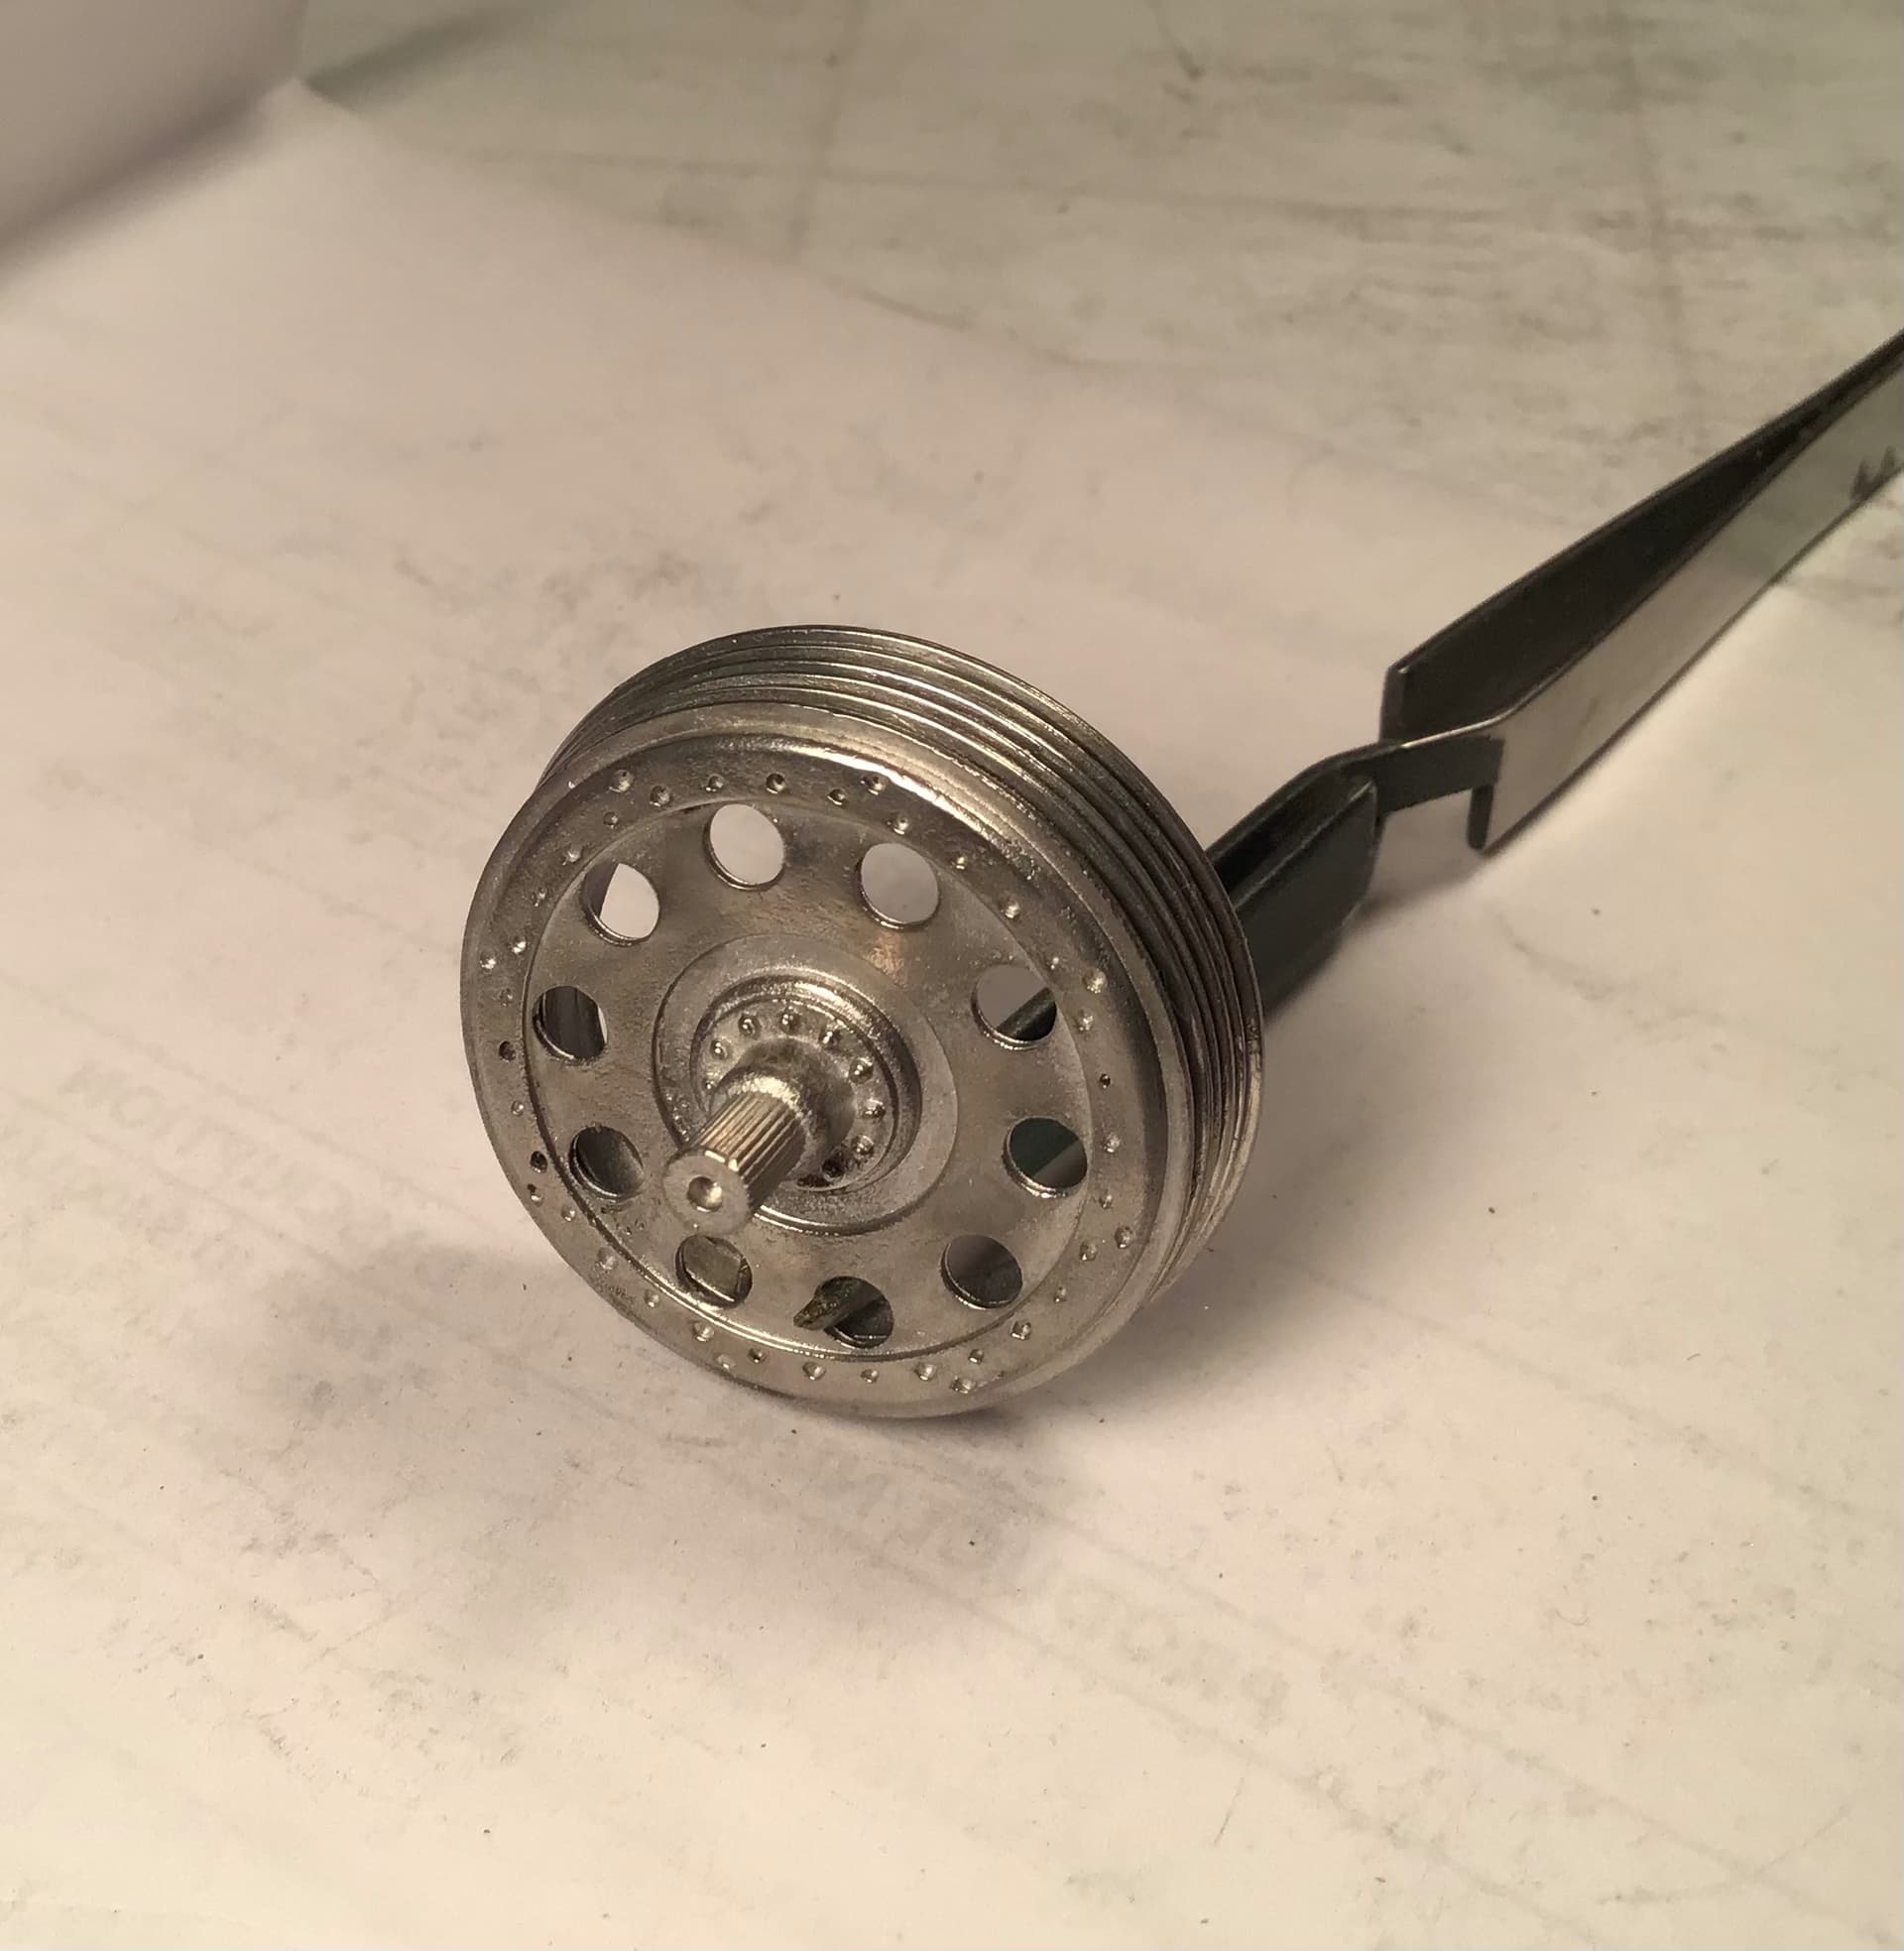
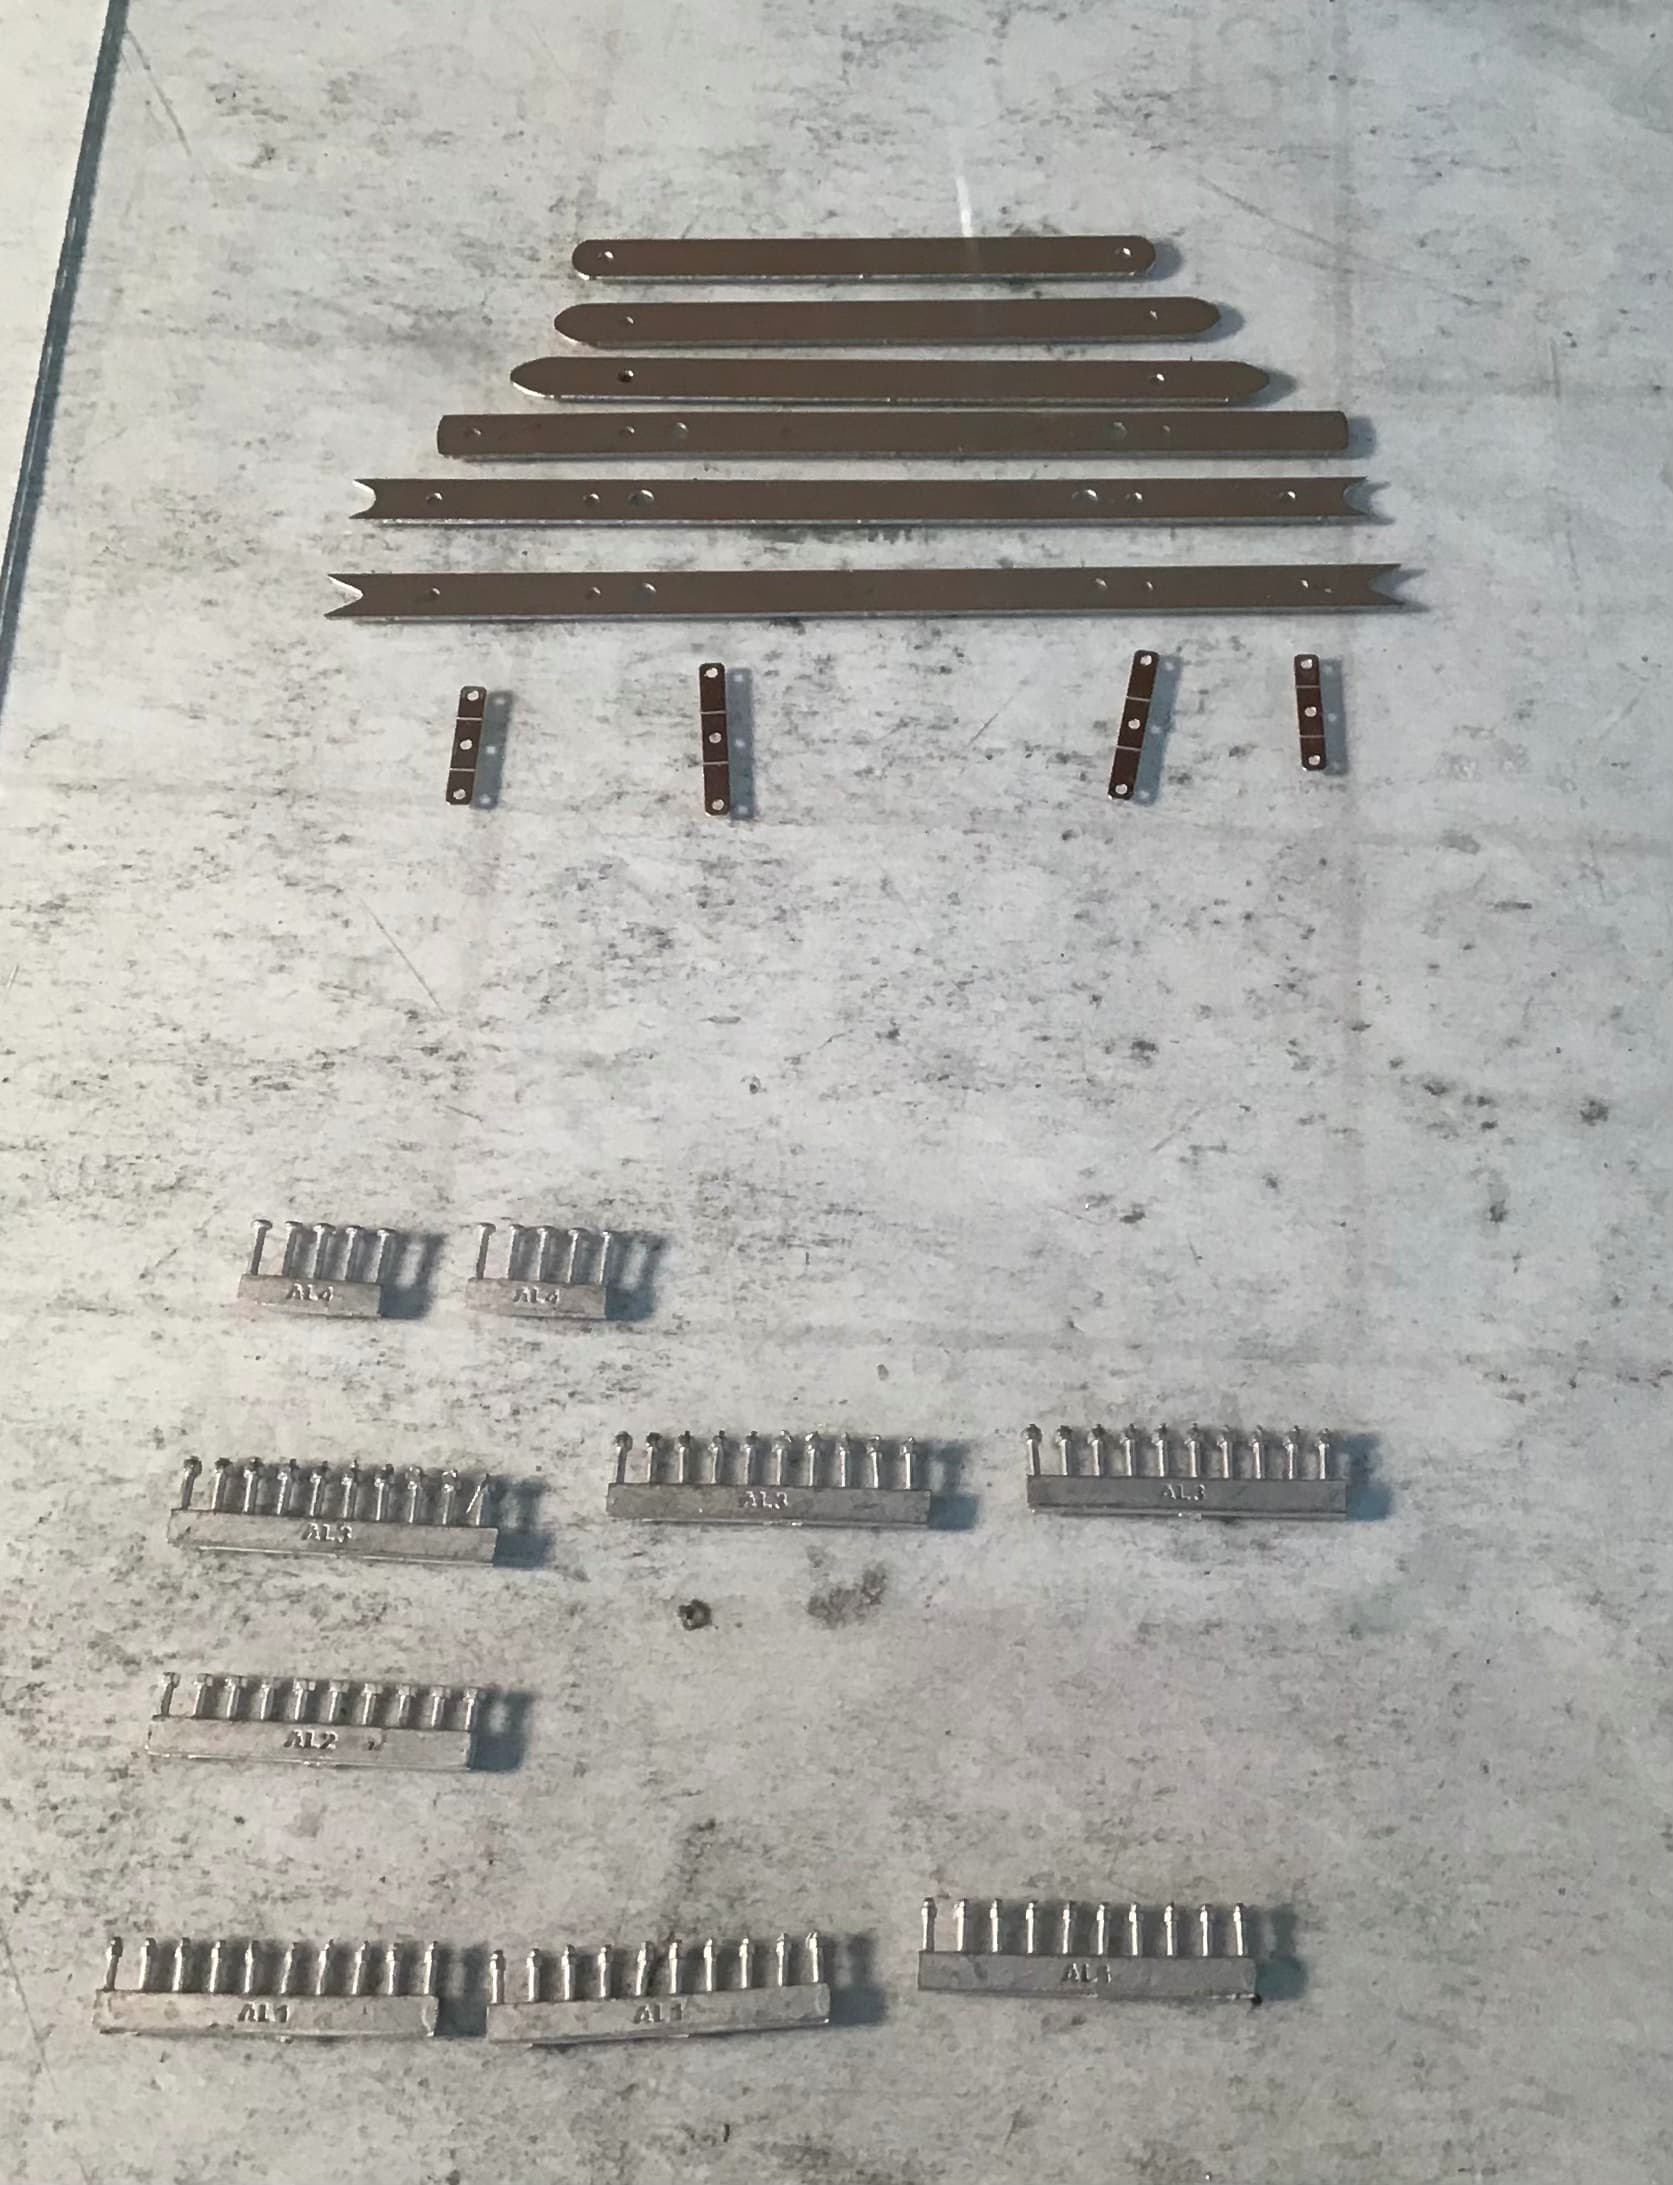
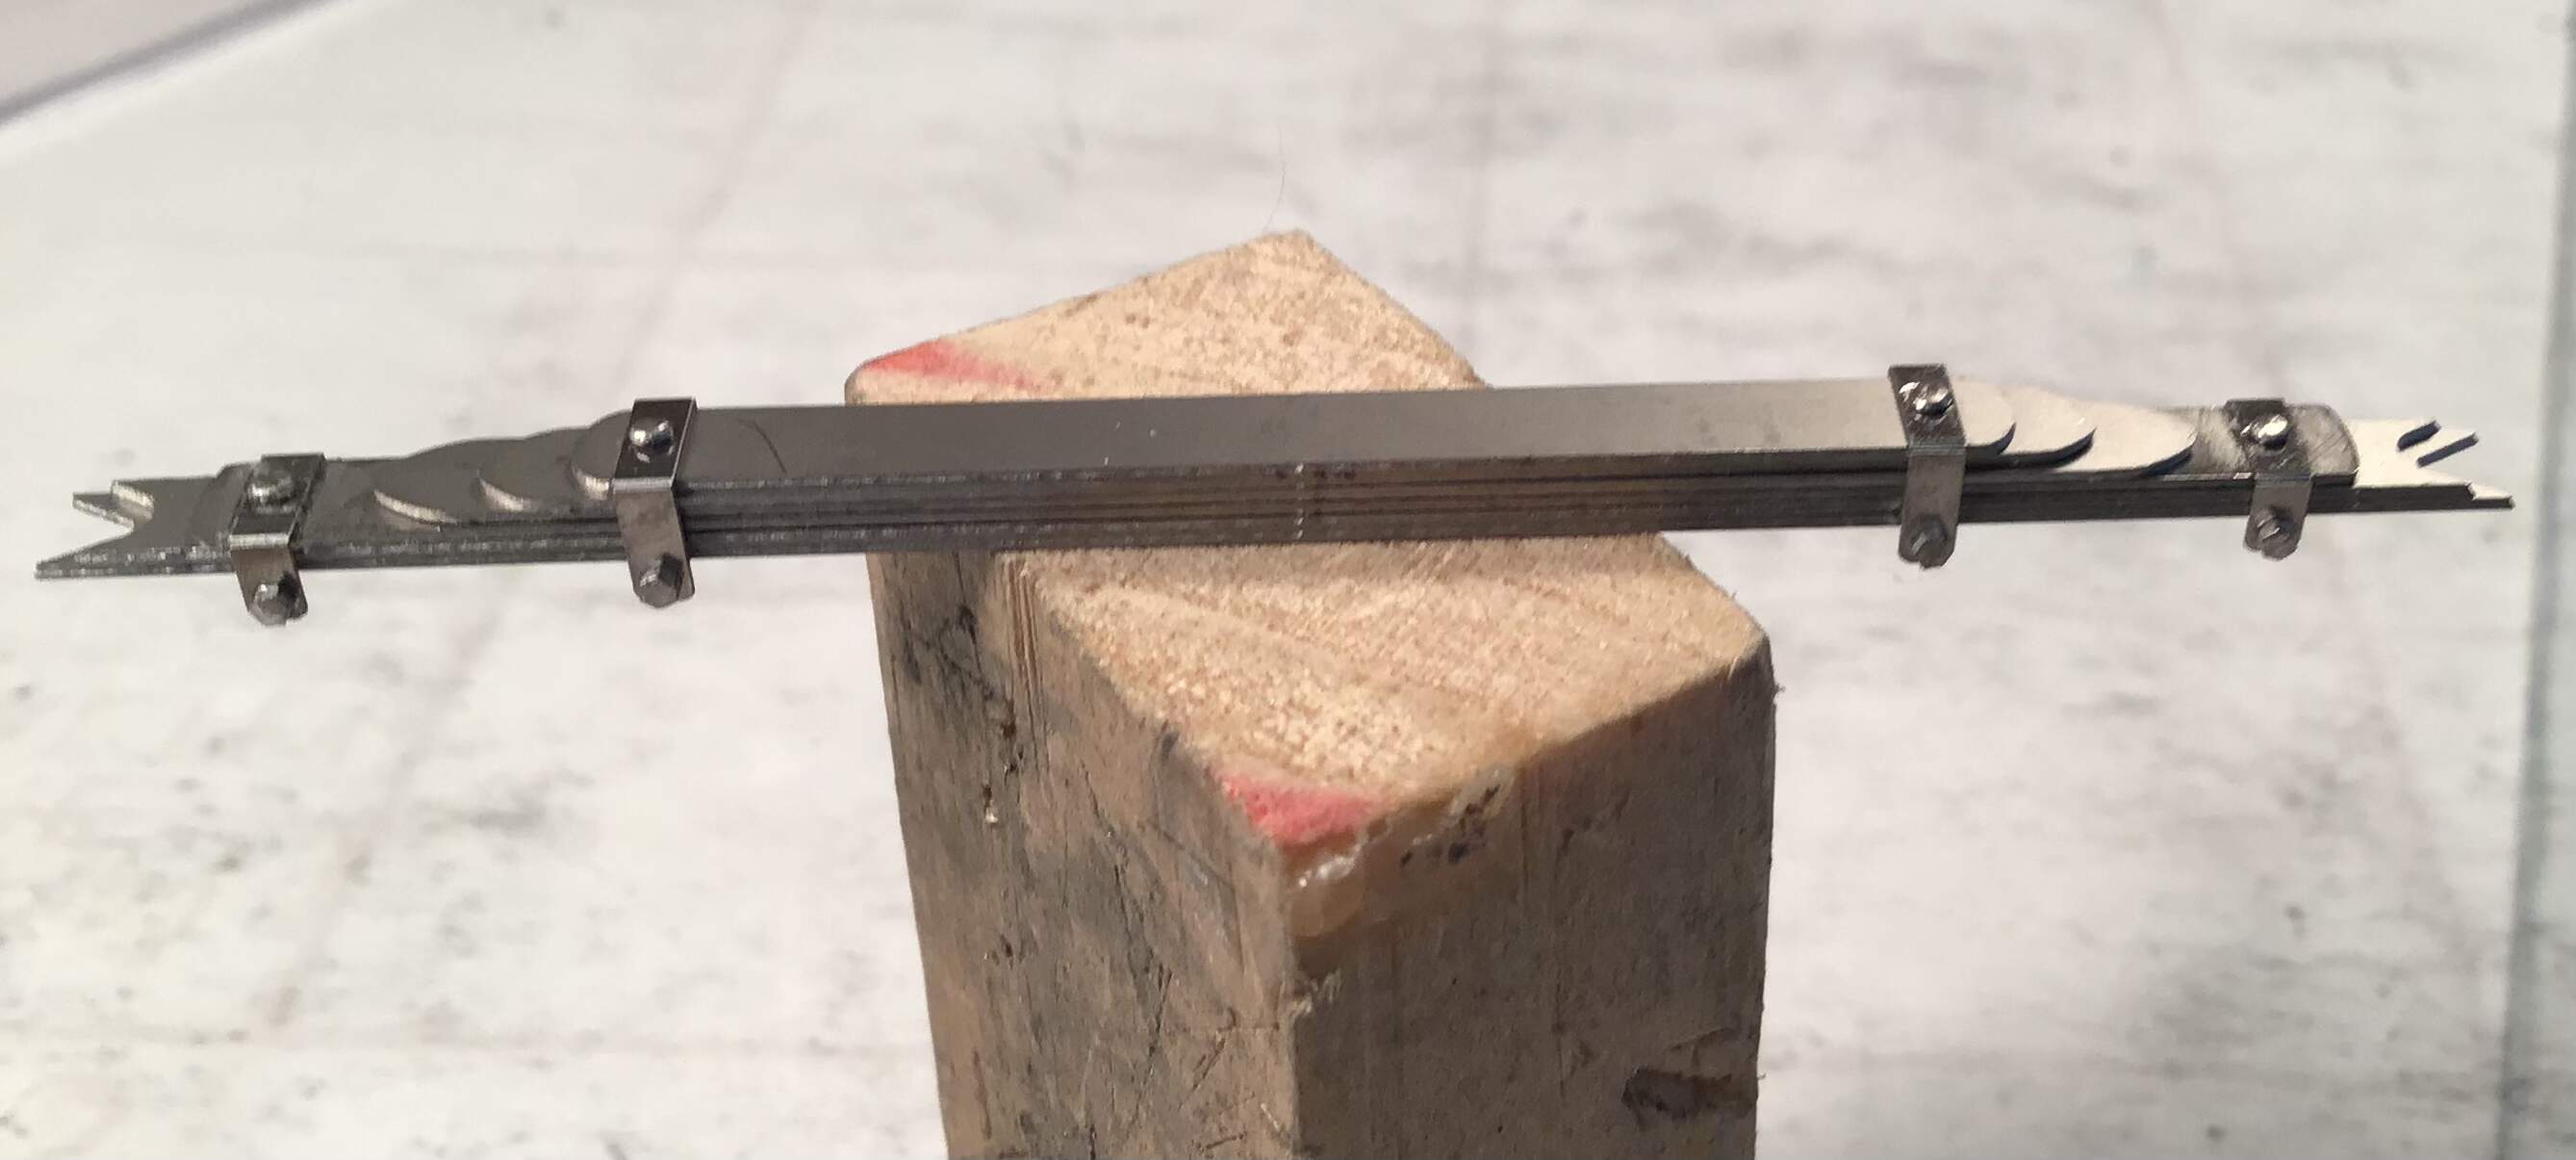
I’ve begun to puzzle out the brake drums . Each one is built up of 7 pieces. Backing plate , drum , four rings for finning and web/hub. The instructions call out numbers but there are none on the parts and they are all loose in a bag . I then noticed that the fin rings are each slightly different in diameter and they are marked with dots . First has one dot , second two , etc . No mention of this in the instructions. Placing them on the drum in order starting with the one dot piece produces the correct conical arrangement.
Just when I think I’ve seen about everything I pull this thread up and realize that I definitely have NOT…seen everything. I don’t think I’ll ever do anything like this in my modeling career but I sure as hell can sit back and admire all the planning and beautiful execution of those plans that I see here.
Richard, I’ve just read this thread from start to finish 2 more times to take in all of the different tools and techniques that you are throwing at the build. Just amazing skillset and results so far.
As Joel said, between you and Michael we have an awesome reference point for anybody brave enough to tackle these kits.
Happy New Year, keep the progress reports rolling in !
@Joel_W @mustang1989 @AussieReg
Thanks gents for the interest and compliments.
I have seen what each of you can do and I have no doubt that these MFH kits are within your skill sets .
I think the issue for many ( beyond the cost ) will be the amount of time necessary to complete them . The straightening of the parts was initially concerning but I now view it as just another facet of this new genre .
If you weigh the cost against the hours of entertainment it may prove to be not so pricey after all .
I can say unequivocally that I am having a great time with this kit - it is new and exciting again .
If any are seriously considering one don’t let the fear of not having the skills deter you - it’s not that hard and as I noted above , you three guys are very good modelers.
Richard,
Thanks so much for the vote of confidence.
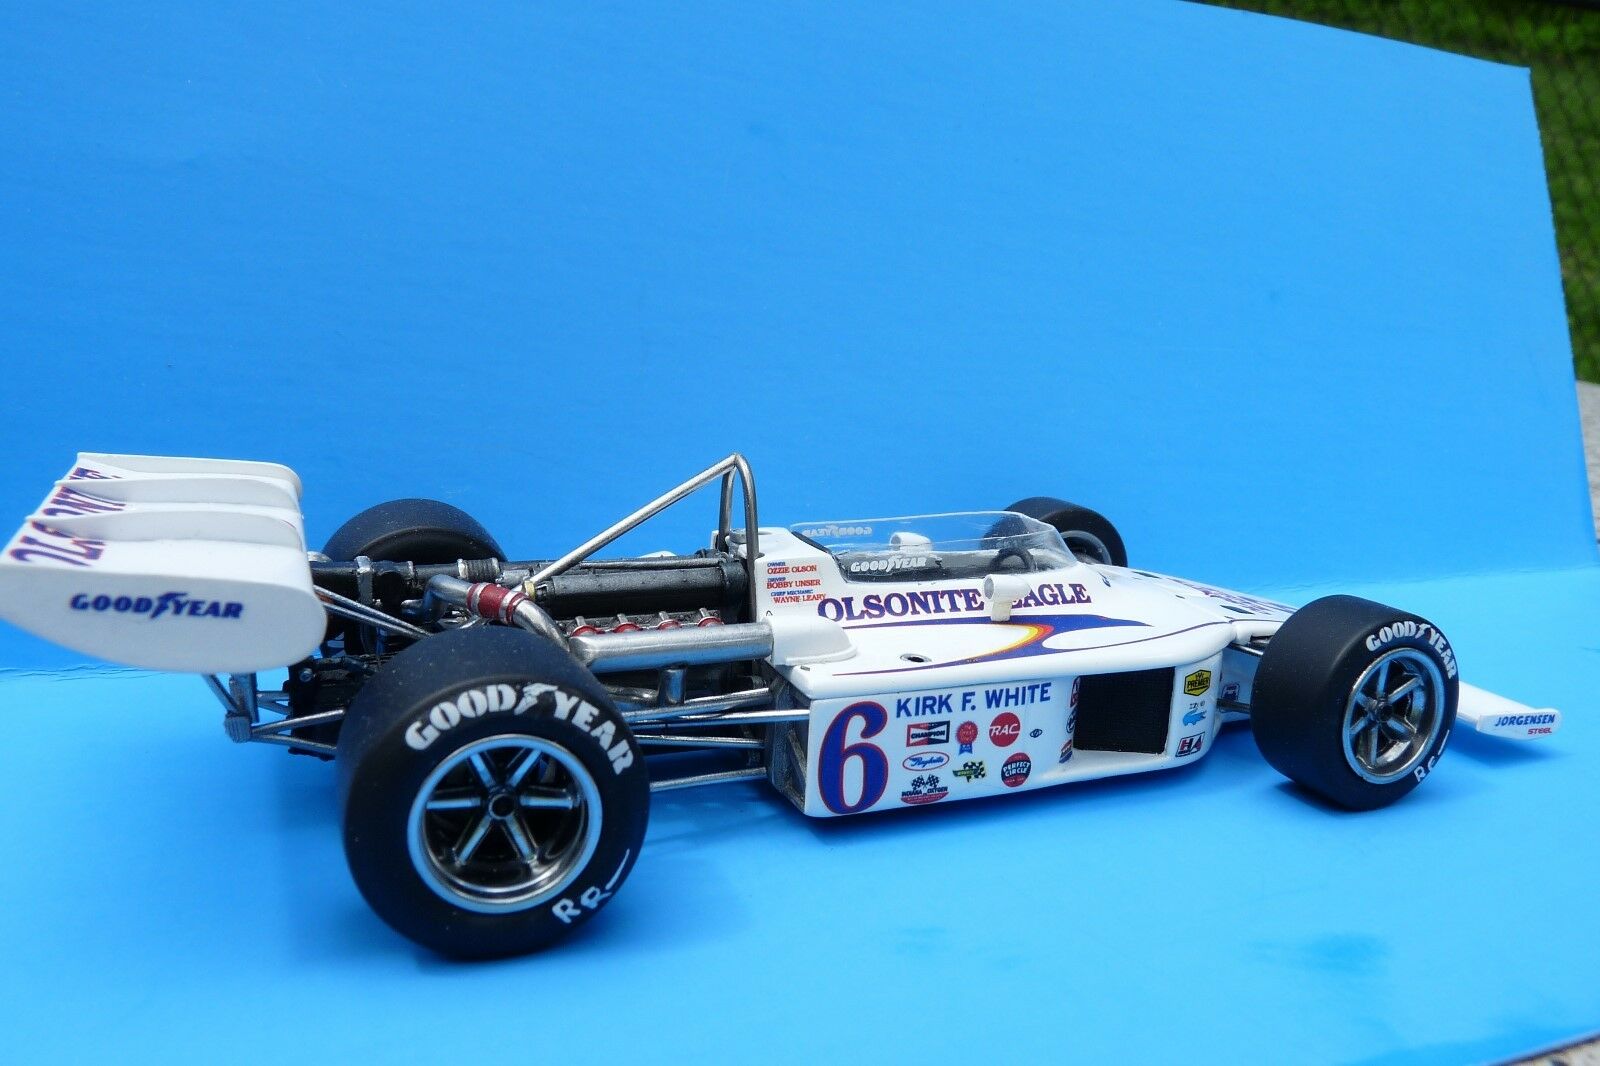
I’m thinking of going a different route for a few builds this year: 1/25 scale Resin/multi media Indy/Cart cars. Kits cost from $100 to $140, so it’s not a huge cash investment, and a great learning tool.
Richard,
the kits are all by silvercitymodels2013
on ebay. I’ve known him from my other list for a few years, but never bought one of his kits till now.
He has quite a few Offy rear engine Indy cars, but no roadsters as yet. If he had any, I’d have bit the bullet long ago.
I’m just looking for something different then the constant F1 & GT cars I’ve been building non-stop for the last several years. The kits don’t have a crazy amount of parts, so the builds should mostly fall in my 3+ month build routine.
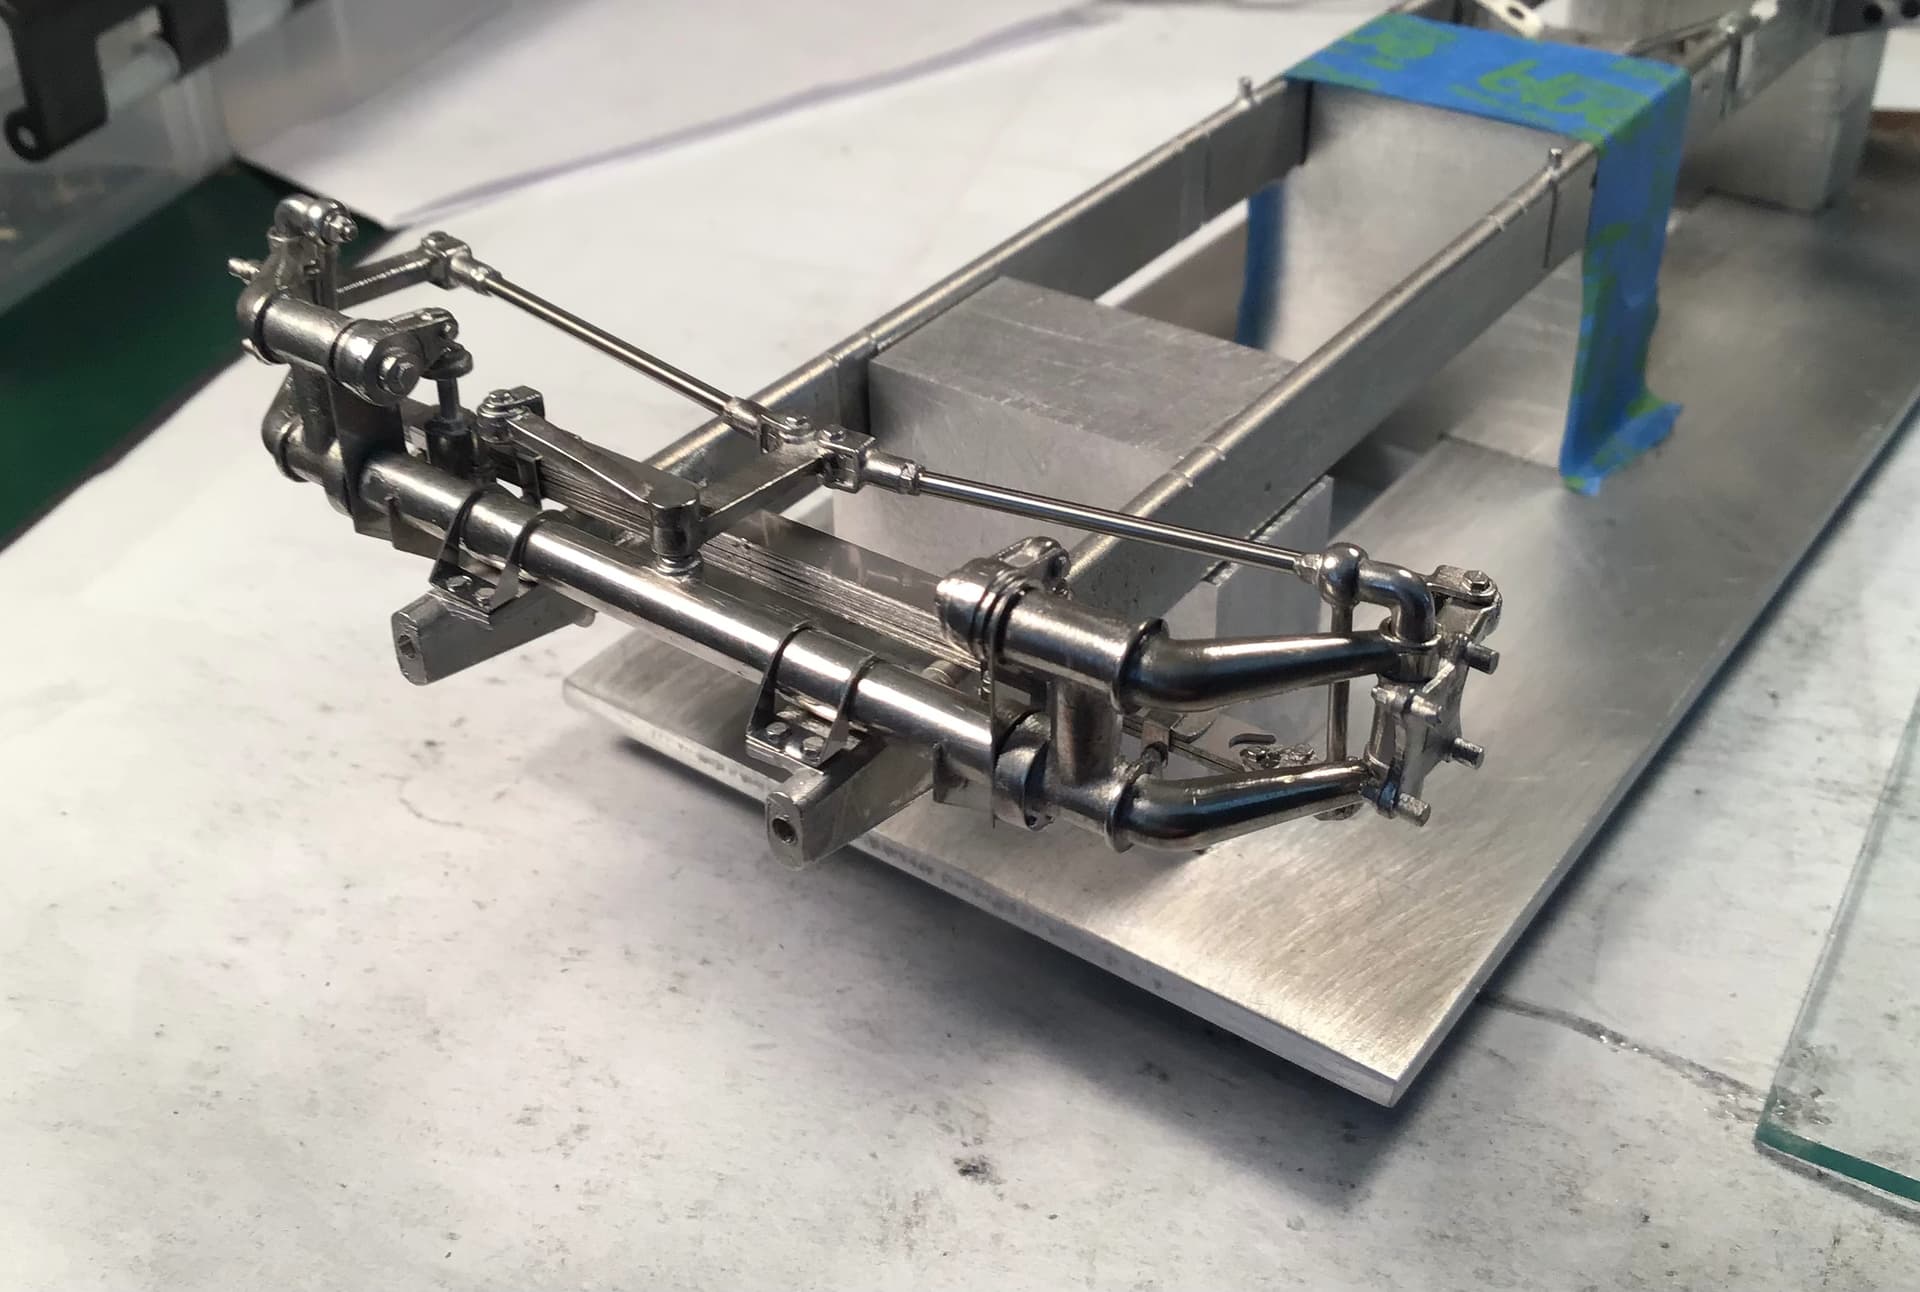
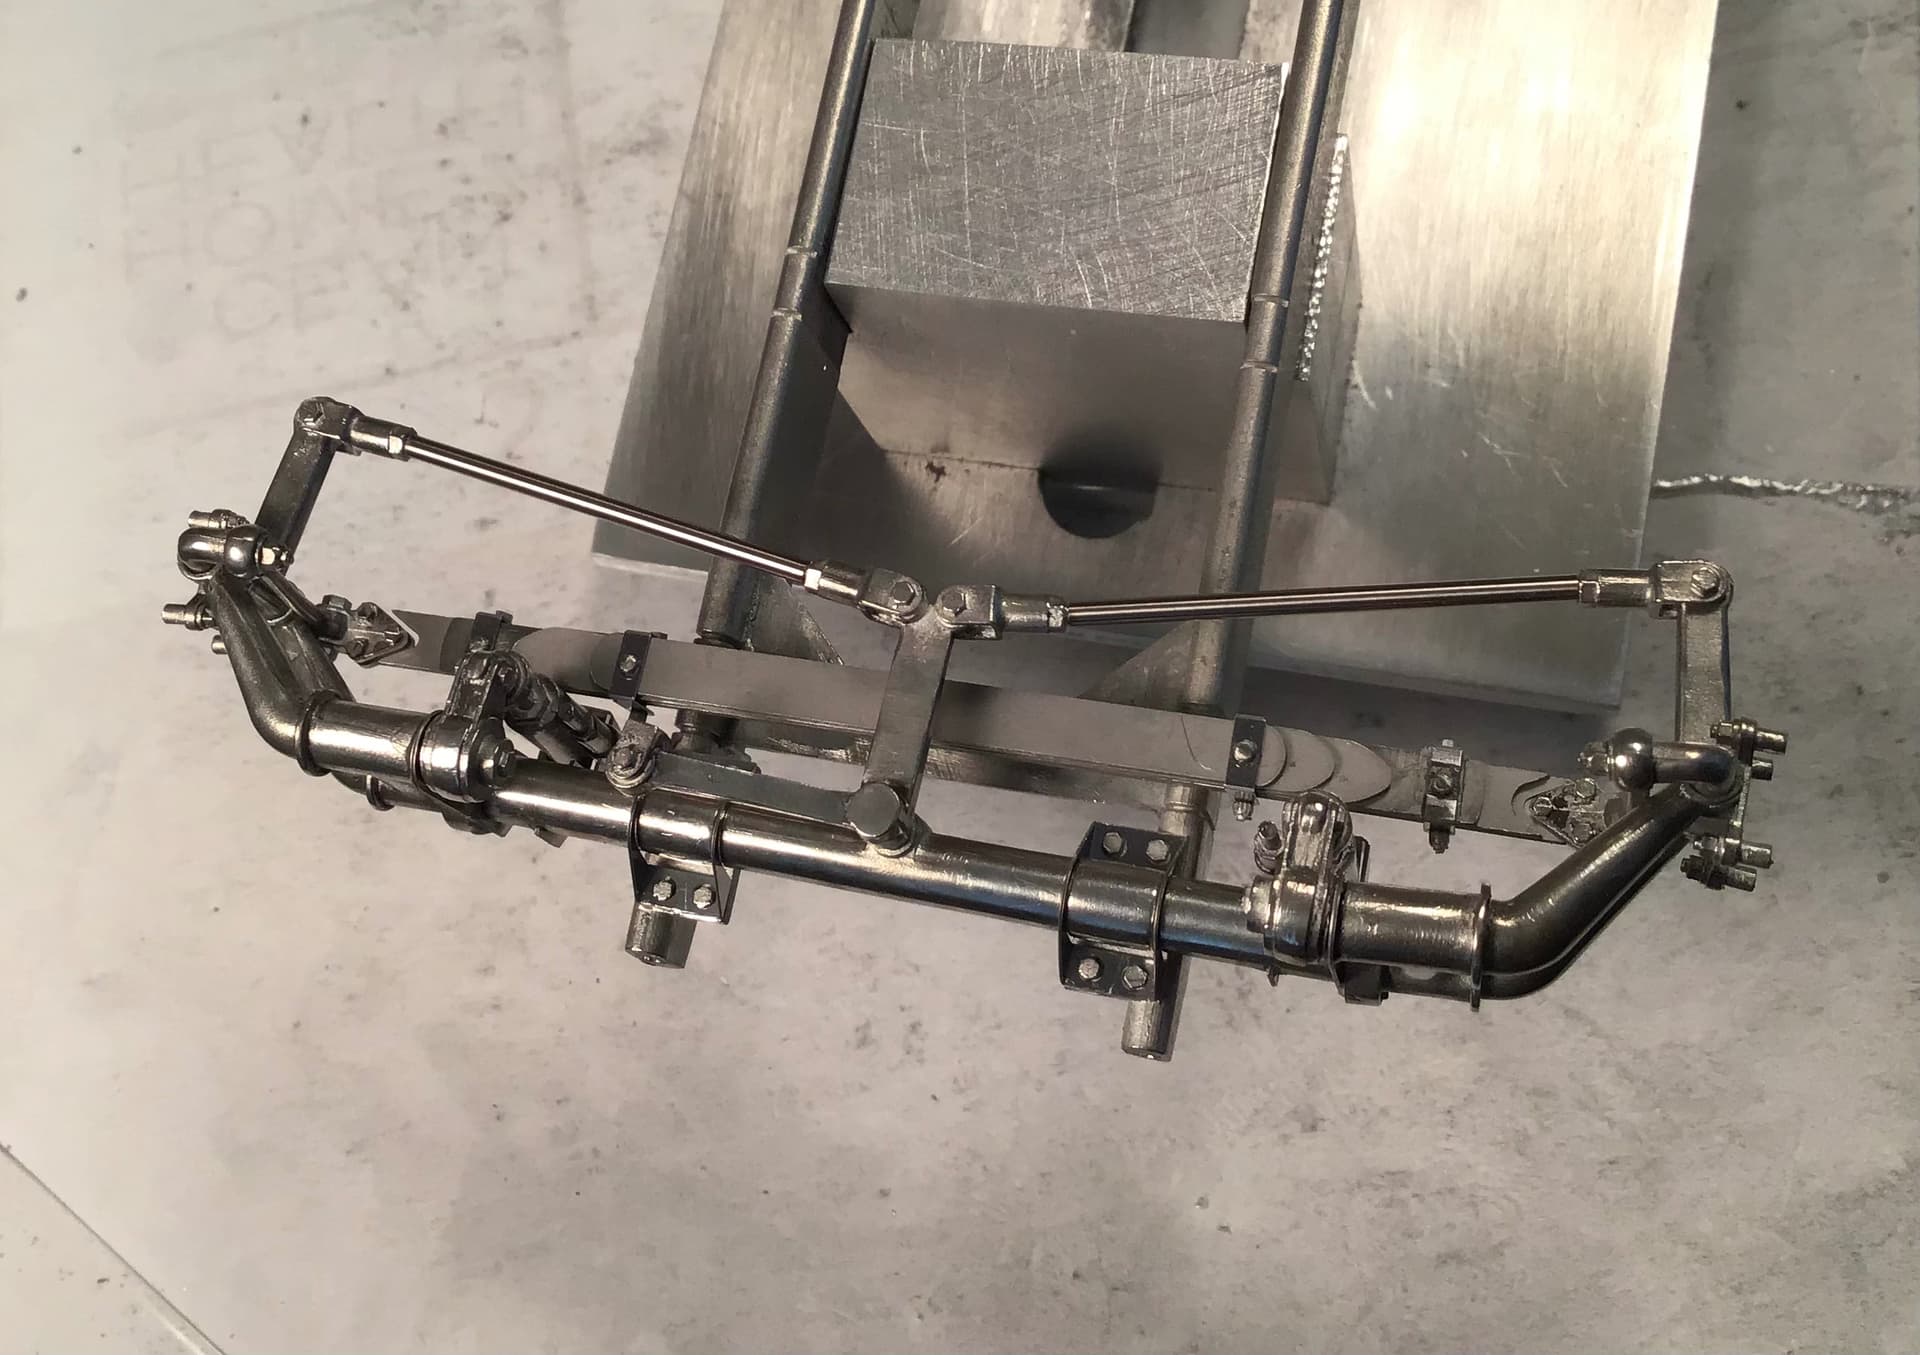
Making some headway with front axle/ suspension.
The transverse leaf spring is built up of photo etch leaves and shackles with white metal bolts .
Probably due to language barriers MFH refers to the white metal parts as Rivets but they are cast in two components. One represents bolt heads and the other the nut and bolt end . They are inserted from both directions to represent the entire bolt . This leaves some gap and alignment issues but it is on the underside where hopefully it won’t be seen. They also goofed when creating the photo etch by missing one hole in one leaf . The instructions would have you cut off one bolt and just use the head but I drilled out the missing hole .
Here are the spring components…
Richard,
Exceptional work as I would expect. The rough/non polished texture to the spring really contrasts quite nicely to the polished front axle and steering assembly.
The transverse spring I would assume acts more like a front sway bar then a traditional spring would. I wonder if they got to the point of reducing or adding to the total thickness of the spring to create more or less sway, thus increasing or decreasing oversteer or understeer.
Good question Joel - I don’t know how much the spring would act as a sway bar because it will be anchored at both frame rails when finally attached. These perches are yet to be made . I also wonder if the lower trailing arms are independent of each other or if they are tied together with a live axle . Hmm - time for a little research.
Richard,
Since I got back into cars from aircraft, I spend almost as much time researching every question I have to the nth degree. Even with Ken’s Alfa build, I just had to find out about that pipe color, and I’m still trying to find out the answer of exactly what it’s for.
My question as to a thicker or thinner front sway bar would still be firmly anchored at each end. It’s the thickness of the bar that changes the degree of sway, with each side being the same.
Great work on the front suspension Richard and interesting discussion on the layout. I have to admit my mechanical knowledge is limited to opening the door, turning the key and pressing the loud pedal!
Michael,
That’s all you really need to know to get from point A to point B., and it’s way more enjoyable then trying to find a few 10ths per lap on the track.
joel