Richard,
Even I learned a thing or two.
I’ve been thinking about trying a professional electric nail polisher to polish and wax my car bodies. I figure if it’s safe for artificial nails, it’s safe enough in my hands as well.
joel
Richard,
Even I learned a thing or two.
I’ve been thinking about trying a professional electric nail polisher to polish and wax my car bodies. I figure if it’s safe for artificial nails, it’s safe enough in my hands as well.
joel
Thanks for the tutorial Richard esp. since I have just starting using Blue Magic on your recommendation. I hadn’t thought about cleaning the felt wheel that way though I don’t use a Dremel too often as I found it hard to hold the small pieces so hand polish for me.
cheers
Michael
Progress to share …
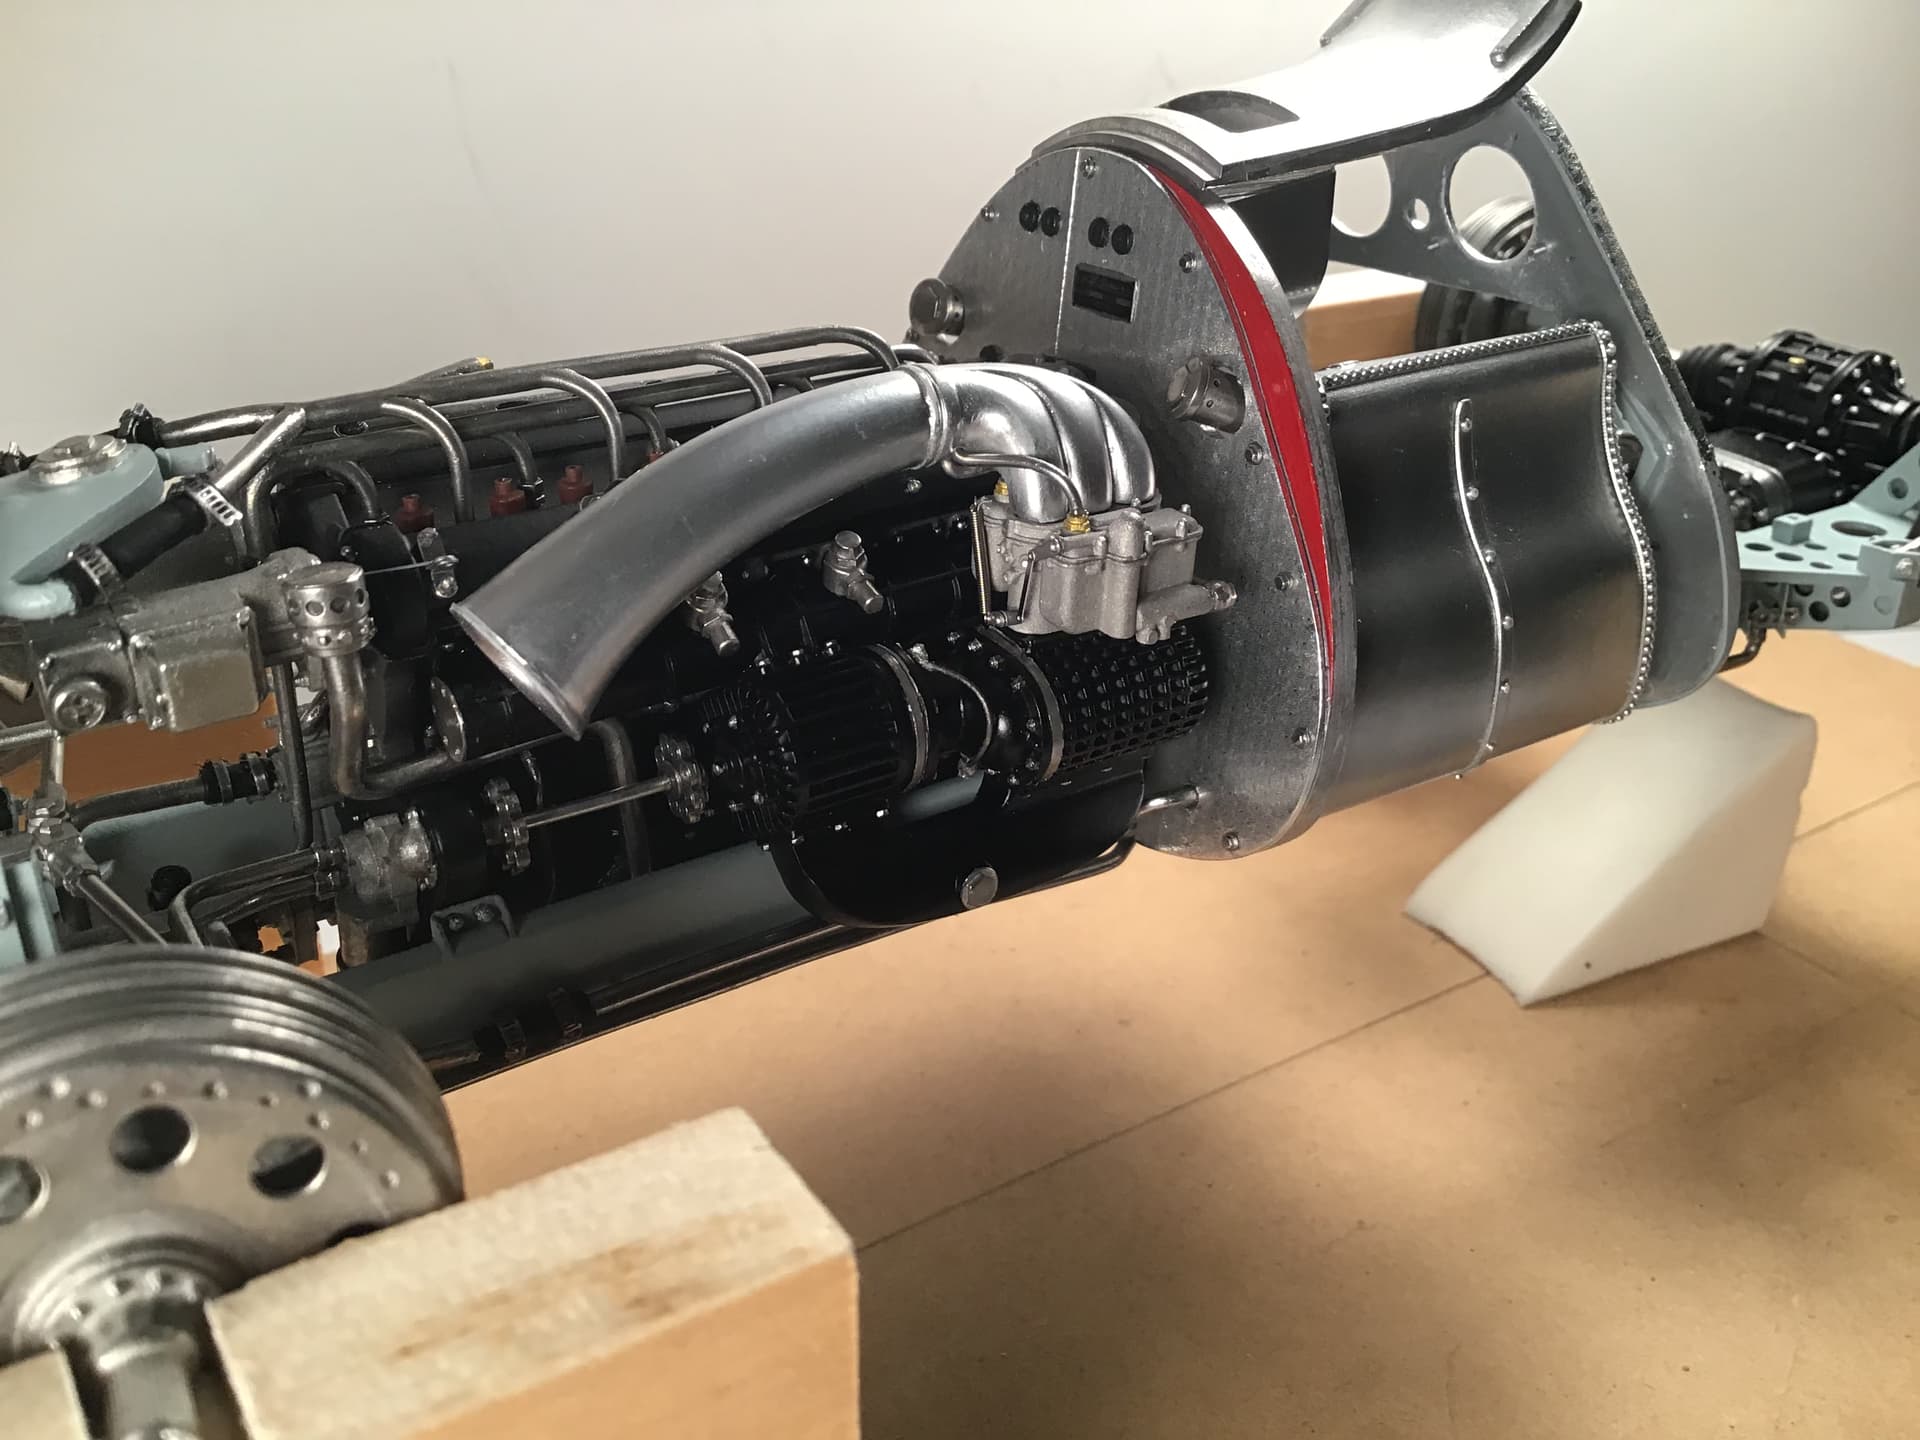
The “ elephant’s trunk “ intake horn done and installed. This was another piece that needed considerable seam work and so it had to be painted rather than polished.
Also MFH missed the two lines that lead into the horn from the top front of the carburetor. They included the material for the 159 version which has a different intake system and the lines are shown on the instructions for the 159 but not for the 158 . No big deal and easy enough to scratch. Also missing is an oil line from the 1st stage supercharger to the 2nd stage unit . I am experimenting with making one but it may be too late to add it as I may not be able to drill the holes required now that it is assembled.
The firewall and instrument panel bulkhead are done .
Primed and painted on the sides that face each other. Gloss light gray after primer and rubbed out with 1500 and 2400 grit then shot with Alclad II high polish aluminum. Same painting on the intake horn and fuel / oil tanks . MFH supply a piece of adhesive backed foil for the engine turned areas . This is much like Bare Metal Foil .
I screwed up the first attempt on the firewall because the pattern is actually embossed, not printed and it is easily wiped out by burnishing. Fortunately there is enough for a second try - this time only my fingertips for burnishing.
I added what I believe to be the tachometer drive cable from the back of the exhaust cam through the firewall. MFH included the drive unit but no mention of the cable itself. Fortunately there were a few extra grommet castings and so I added one behind the cam and small piece of wire painted silver for the cable. Steering gear all completed as well .
![image|690x471]
(upload://iUlQjyKEoBS27ahCsQpLYfqs600.jpeg)
I also drilled and tapped a hole in the body pan backed up by a nut in a spot under the seat where it can’t be seen . This will be for mounting the model to a base . A support tube will be needed as the model will be quite heavy when completed and will likely tax the suspension.
Thanks for looking !
Richard
Exquisite work on the supercharger Richard and paint finish is pretty amazing as well.
I just the view as a rolling chassis. It looks very close to the picture I sent you of the restoration back in Dec. The cliche of it looks like the real thing is probably apt here!
cheers
Michael
I’ve figured out the secret: you’ve got a bunch of 6" tall Italians who come out at night and build that thing for you. Seriously, that’s some spectacular work.
Richard,
As usual your work is simply outstanding in every facet of the build. I looked closely at the firewall/Instrument panel as that’s the only pattern panel I could see in the pictures. The pattern looks perfect. I’m surprised that MFH actually embossed the pattern rather then just printing it, but on further thought, the embossing in 1/12 scale just wouldn’t look right as just printed.
joel
@cosimodo - Thanks once again Michael - this child is partly yours…
@loncray - Thanks for the kind words Lee - I was wondering where the tiny empty bottles of grapa were coming from every morning…
@Joel_W - Thanks Joel . I wonder if a printed decal might have been better. On a similar note I am apprehensive about the upcoming upholstery. MFH supply a sheet of thin adhesive backed suede for the seat and headrest area . If it is thin enough I suppose it will be ok . The seam around the seat at the piping is going to be challenging. Another instance where perhaps a decal might be better - we’ll see.
Any chance you could use real leather for the upholstery? There’s some really thin glove leathers out there. You could draw the seam on with a thin Sharpie pen.
The kit includes real leather - suede texture. I believe some of the original cars may have been corduroy.
Richard,
I have the utmost confidence in your ability to apply the suede to the seat as well as the piping. A decal would have been my 1st choice as I’m most comfortable working with them for all sorts of finish applications.
joel
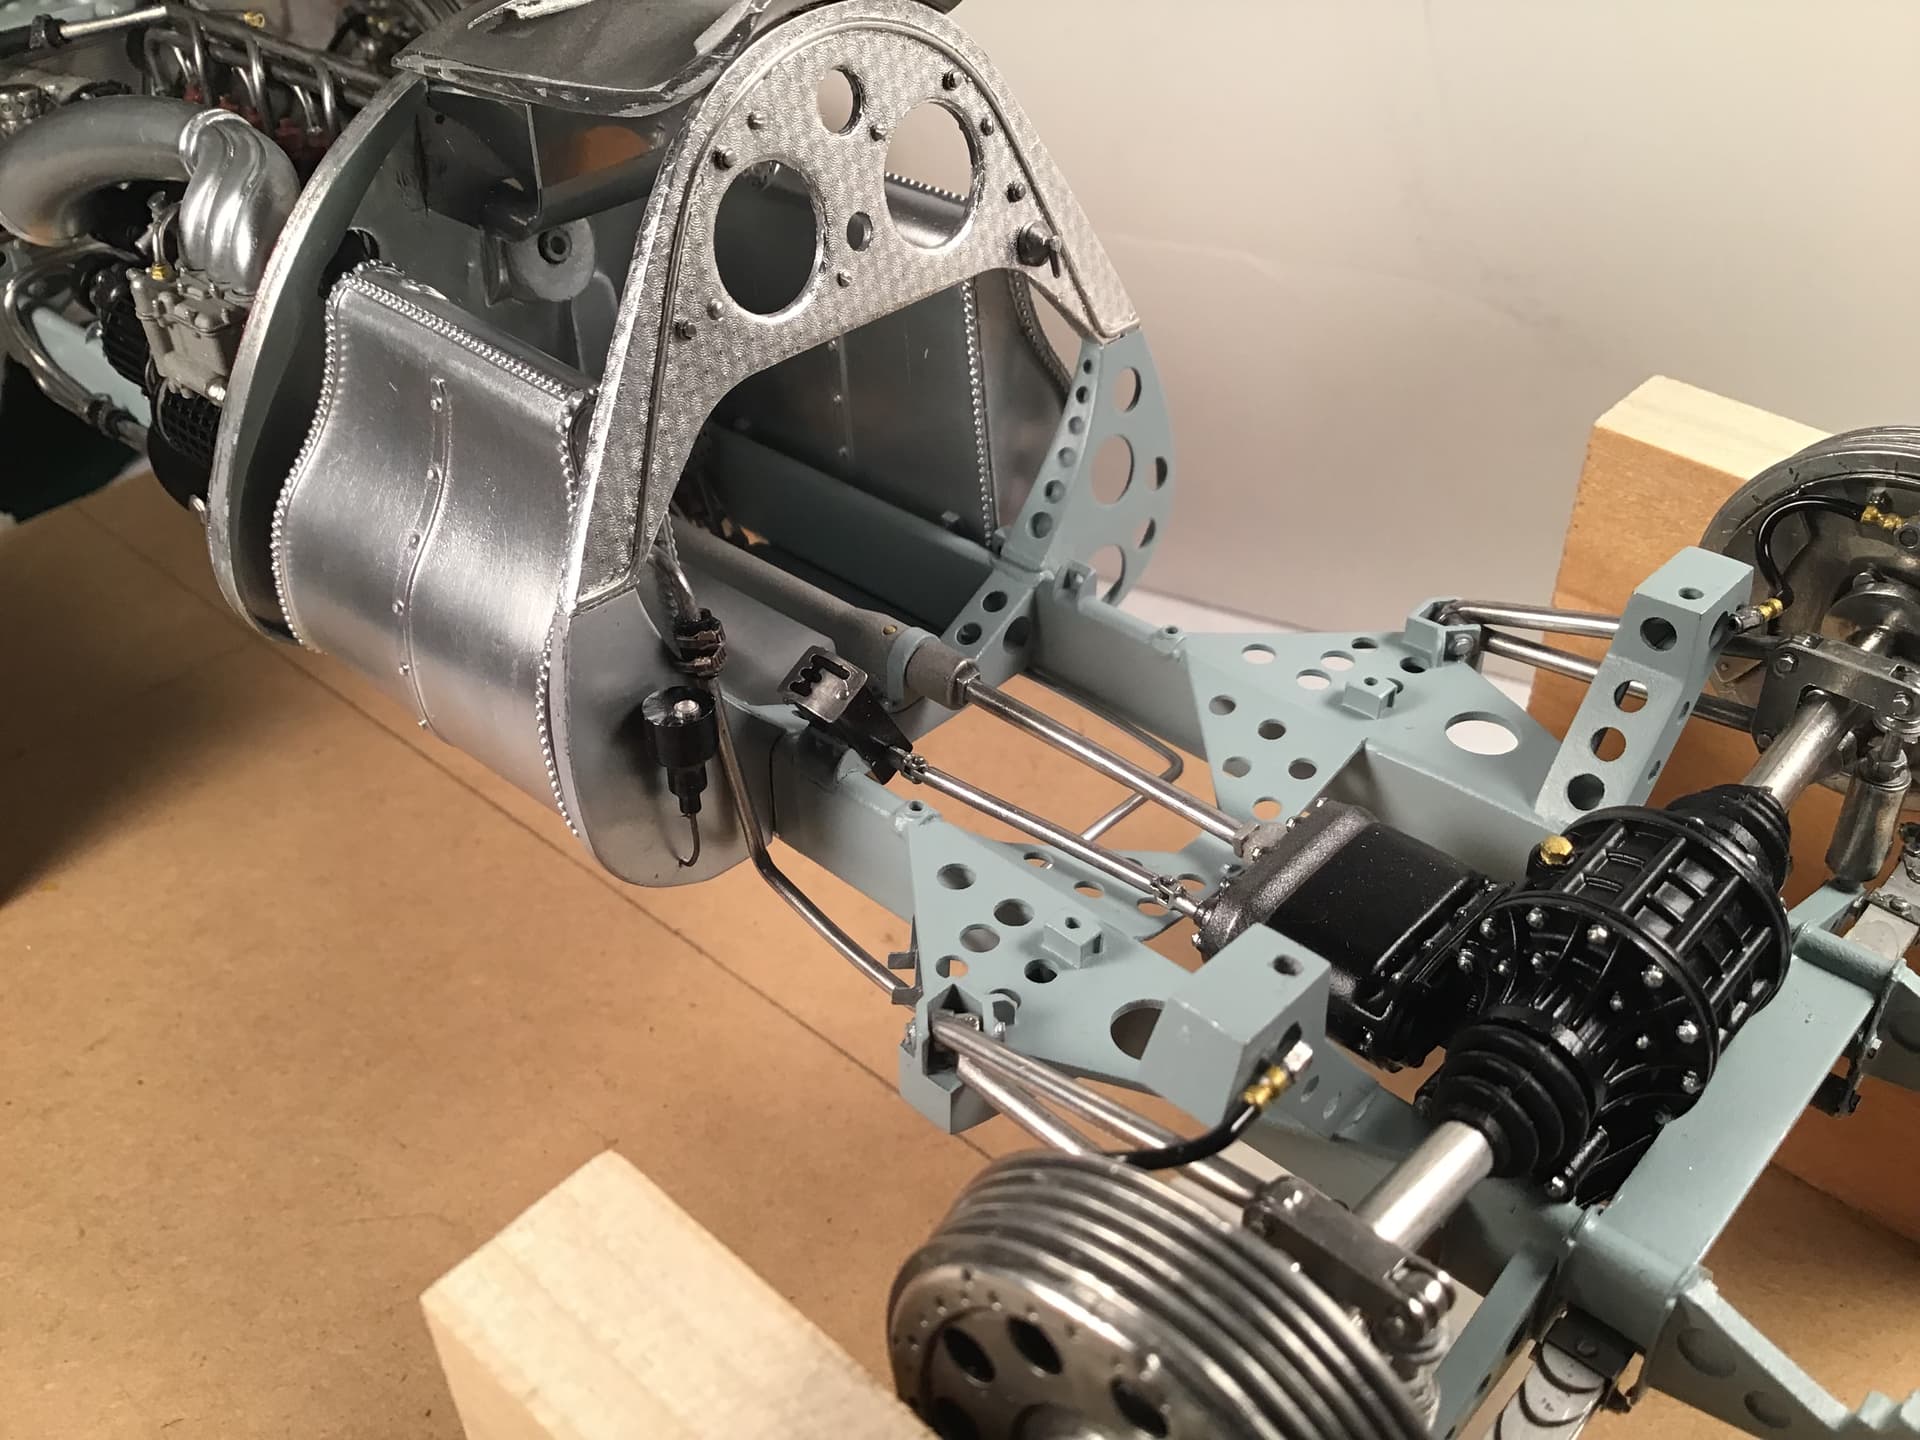
I’ve been somewhat of a plumber - making up piping for fuel and oil . I wanted to post some shots of the underside while it can still be seen as it will be covered by the belly pan eventually.
Here are the oil lines , both feed and scavenge.
The return ( scavenge) line just stubs into space between floor pan and belly pan as it’s connection to the oil tank cannot be seen.
And fuel lines that meet at a tee that has a valve lever yet to be installed.
Gear change box and linkage installed along with piping from oil tank and brake fluid reservoir.
Here is oil piping from above and supercharger installed.
I managed to scratch build the oil line between the 1st and 2nd stage superchargers that was missing.
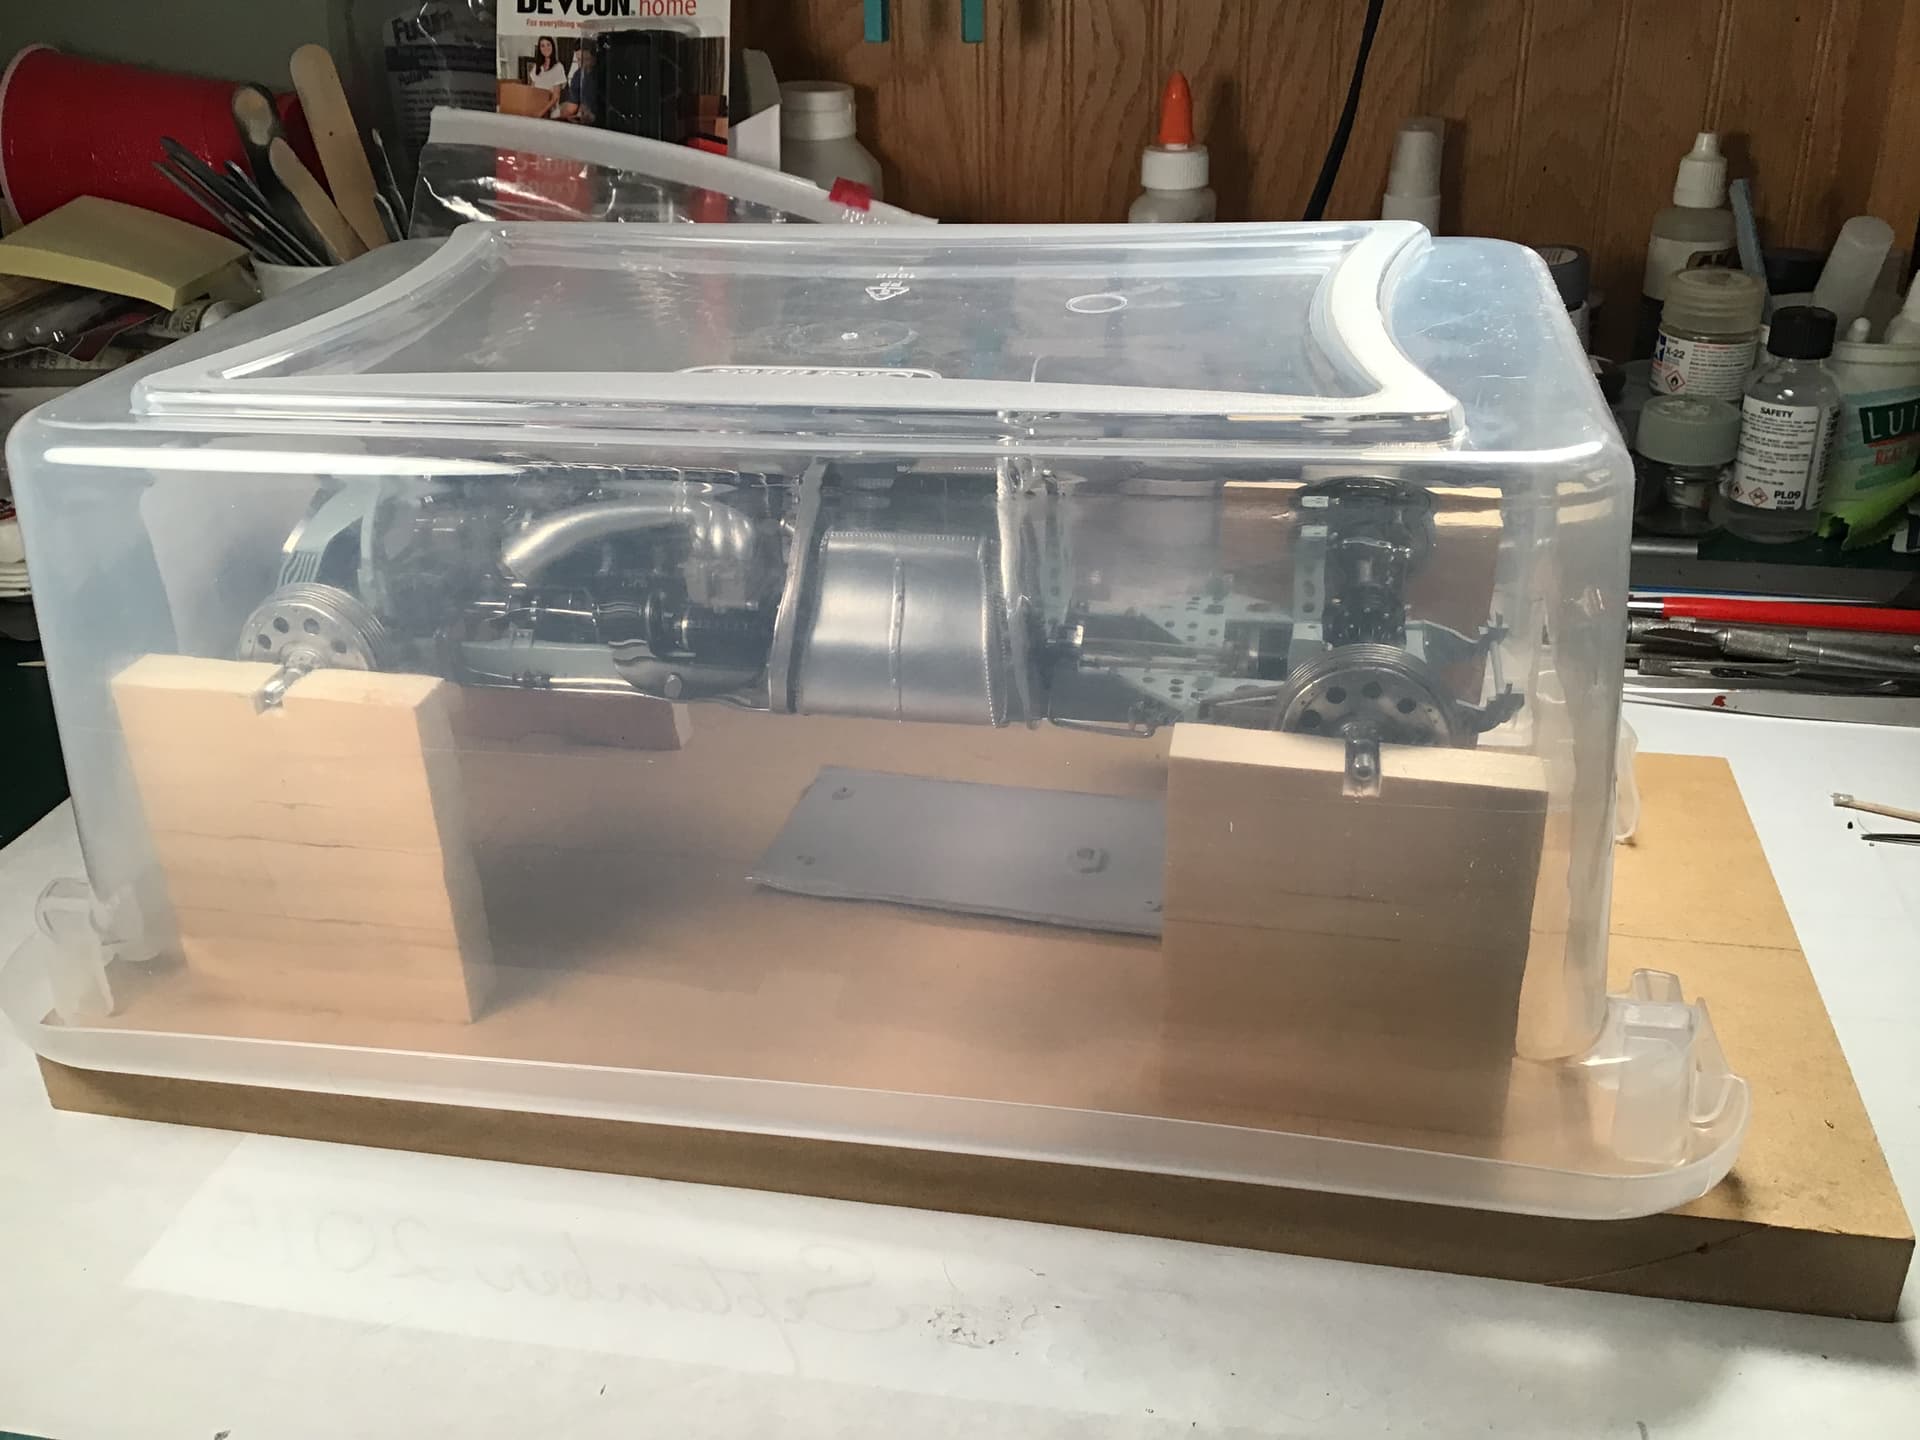
… and a dust cover from a plastic shoe bin .
Thanks for looking ! RT
Run out of superlatives for this one!
Was all the plumbing supplied with the kit bar the oil line for the superchargers. You’ve made it incredibly neatly whichever.
cheers
Michael
Thanks yet again Michael - some of the piping ( fuel , oil lines at the front and the vertical oil line in the cockpit ) are supplied as white metal castings. The fuel lines in the rear are supplied as a length of aluminum wire that must be bent to shape and cut to size .
Richard,
OMG !!! Your build has just reached new heights. I just can’t imagine anyone else doing more on a similar build then you’ve accomplished, It’s just that darn good.
BTW, It’s been lightly snowing since 6am and it’s still snowing at 7:20 pm with no let up in sight.
joel
Thanks Joel - I appreciate the compliments but many others do nice work as well . We were supposed to get snow earlier today but it just started about an hour ago .
Richard,
On my other site there’s 3 guys who specialize in MFH 1/12 scale kits. All have been at it for years, with a 4th just getting into that modeling specialization. Your work both encompassing perfect OOB as well as added details where needed is right up there with the best of them, and this is your 1st build!
I can’t wait to see just what you’re capable of by your 6th MFH kit,
Got in 45 min ago from snow blowing the driveway. It’s a large upside down L that holds 6 cars. The base is the garage entrance which faces due North, so no direct sunlight to melt any snow. I had 3+ solid inches there with just 1-2 inches the rest of the way to the street. Since I had The Big Red 1 out to deal with the 3 inches, I just did the rest of the driveway. Only issue was that it was a balmy 16F and the wind was already in double digits.
I hope to do the 1st update for the Porsche 917K today, just so that you guys know I haven’t been on a vacation from modeling.
joel
Way late to this party & I threw out the thesaurus maybe a quarter thru the thread – Model-making at its finest, my jaw won’t move off the desktop. Out & Out Outstandingly beautiful work Richard 
Ha - I don’t think there will be sixth kit - I won’t live that long !
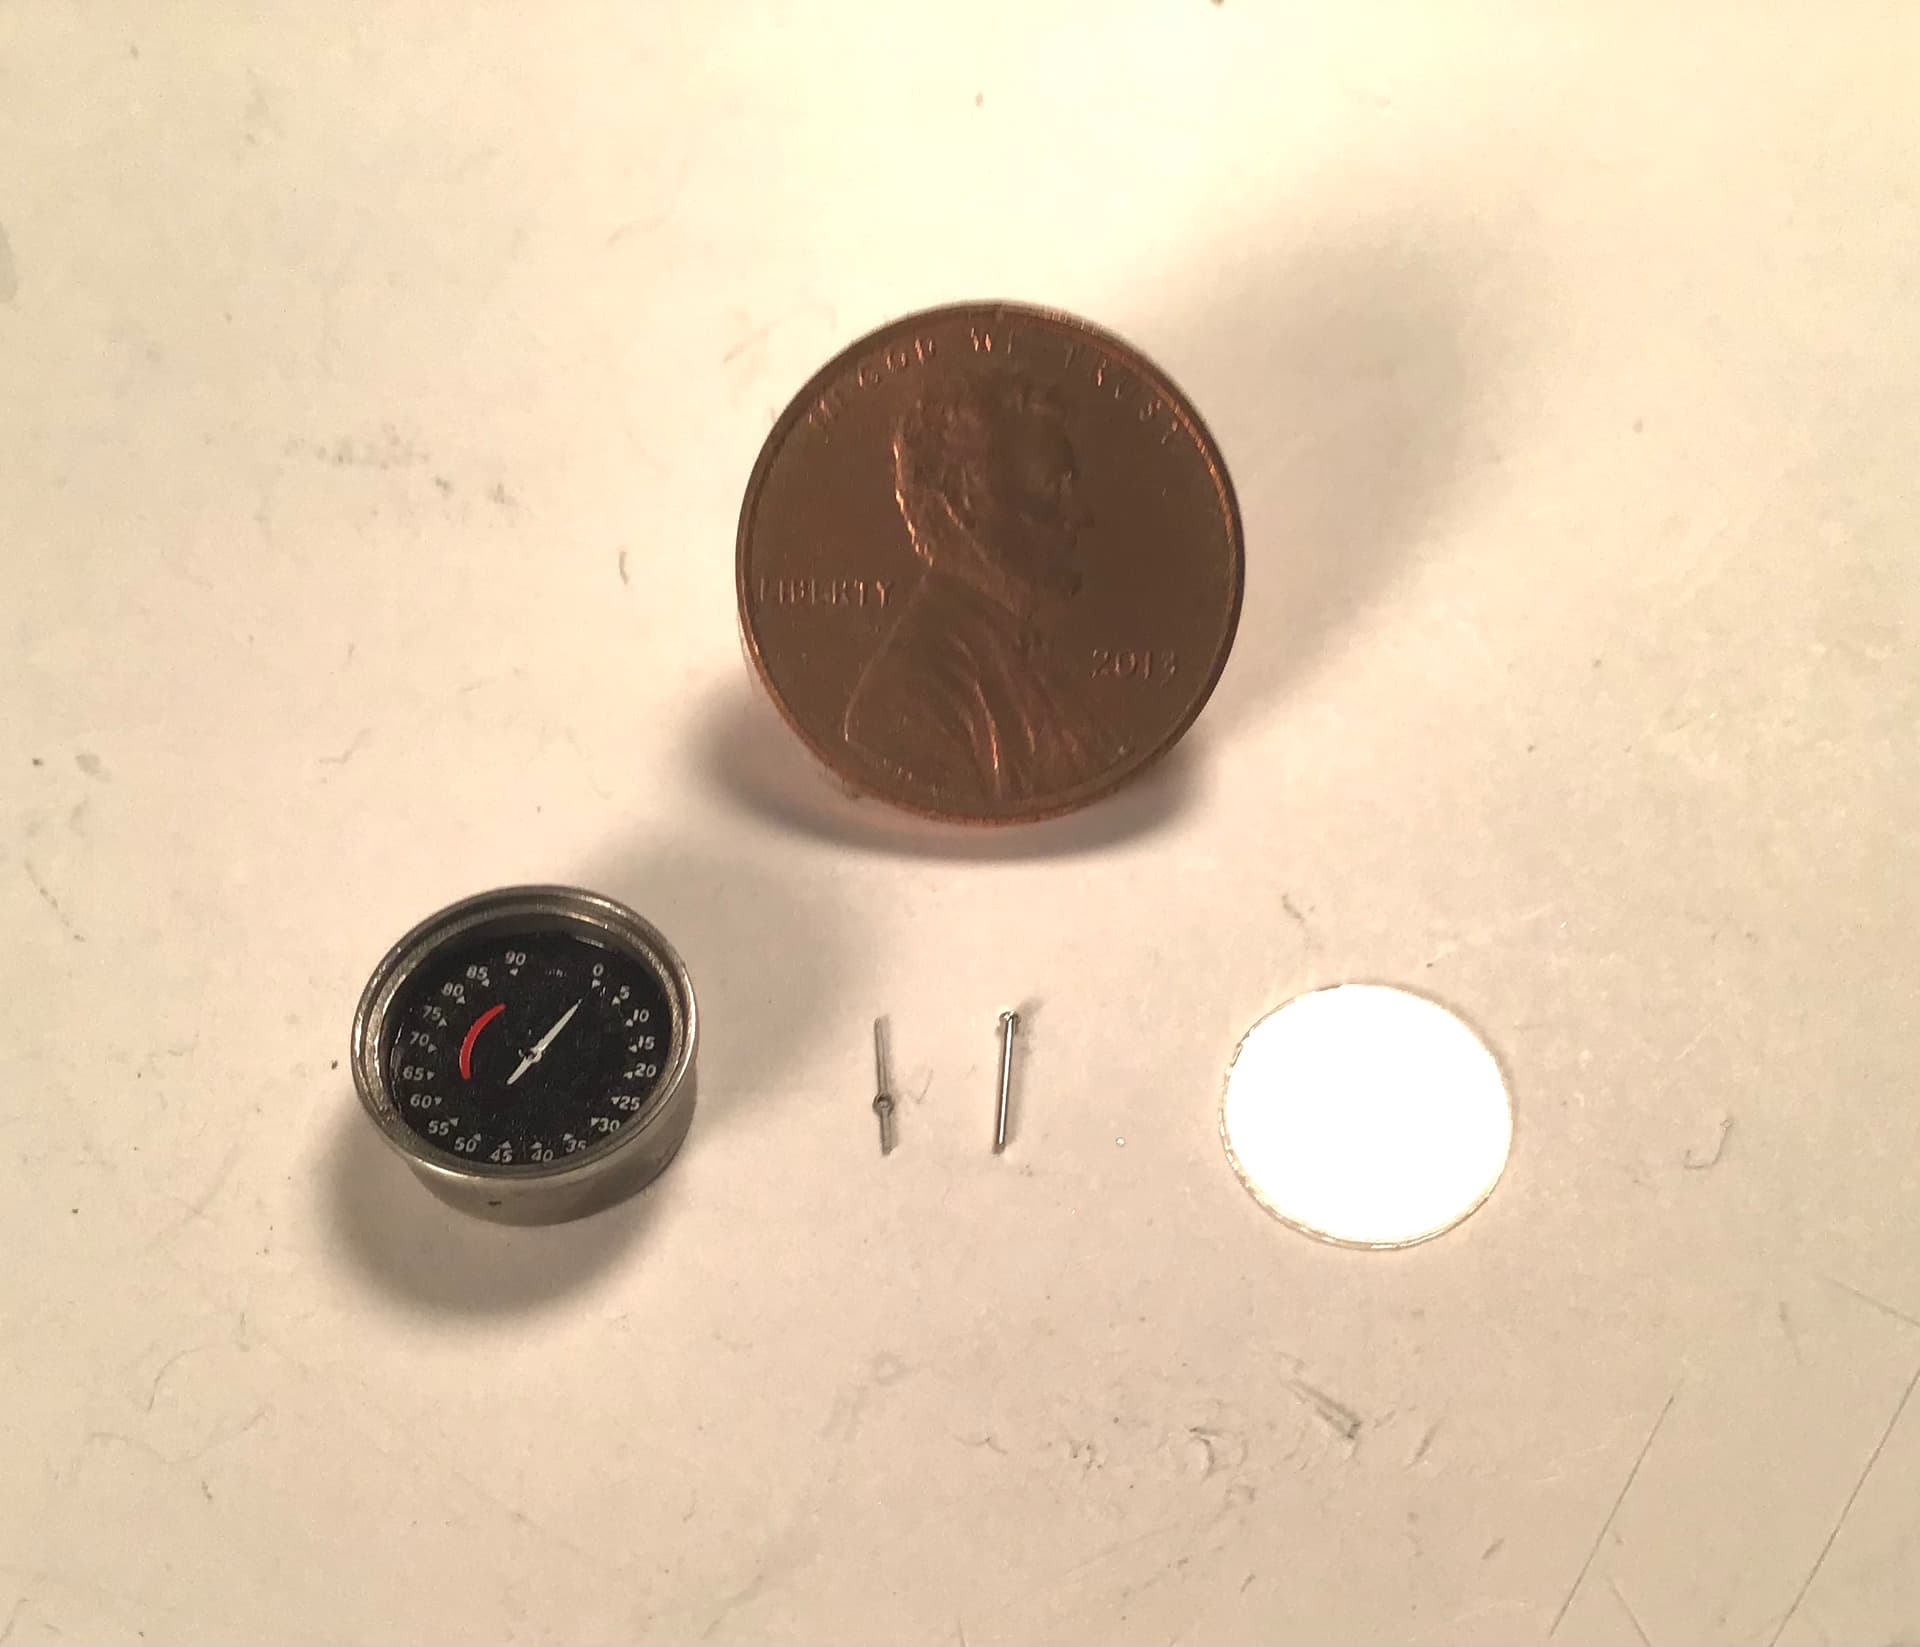
Quick post here - here is the piece I started off with.
Main fuel tank finished . High build primer , Gunze Mr Color gloss light gray . Sanded between coats and after up to 3000 grit then Alclad II High Shine Polished Aluminum.

I may leave the big fuel tank off for a bit - I’ll have to alter my dust cover to accommodate it.
I have also discovered that some of the louvre detail in the cockpit body work is short shot - I am hoping MFH can replace them.
Meanwhile I may move on to lacing the wheels.
Cheers- RT
Well thanks Tim - your post must have come in while I was putting my last one together.
As some may be aware I consider myself an aircraft modeler for the most part but I have dabbled in just about all genres.
These kits got my attention and I finally bit the bullet and bought one compliments of the points on my business credit card. They are certainly challenging but this has renewed my modeling mojo to a level I haven’t had in years. I have just purchased a second one - MFH’s most recent release.
One should always remember where they came from but I forget what an airplane looks like … LOL
Richard
Richard,
The gas tank looks, well, like a real gas tank just polished and ready for installation at the factory.
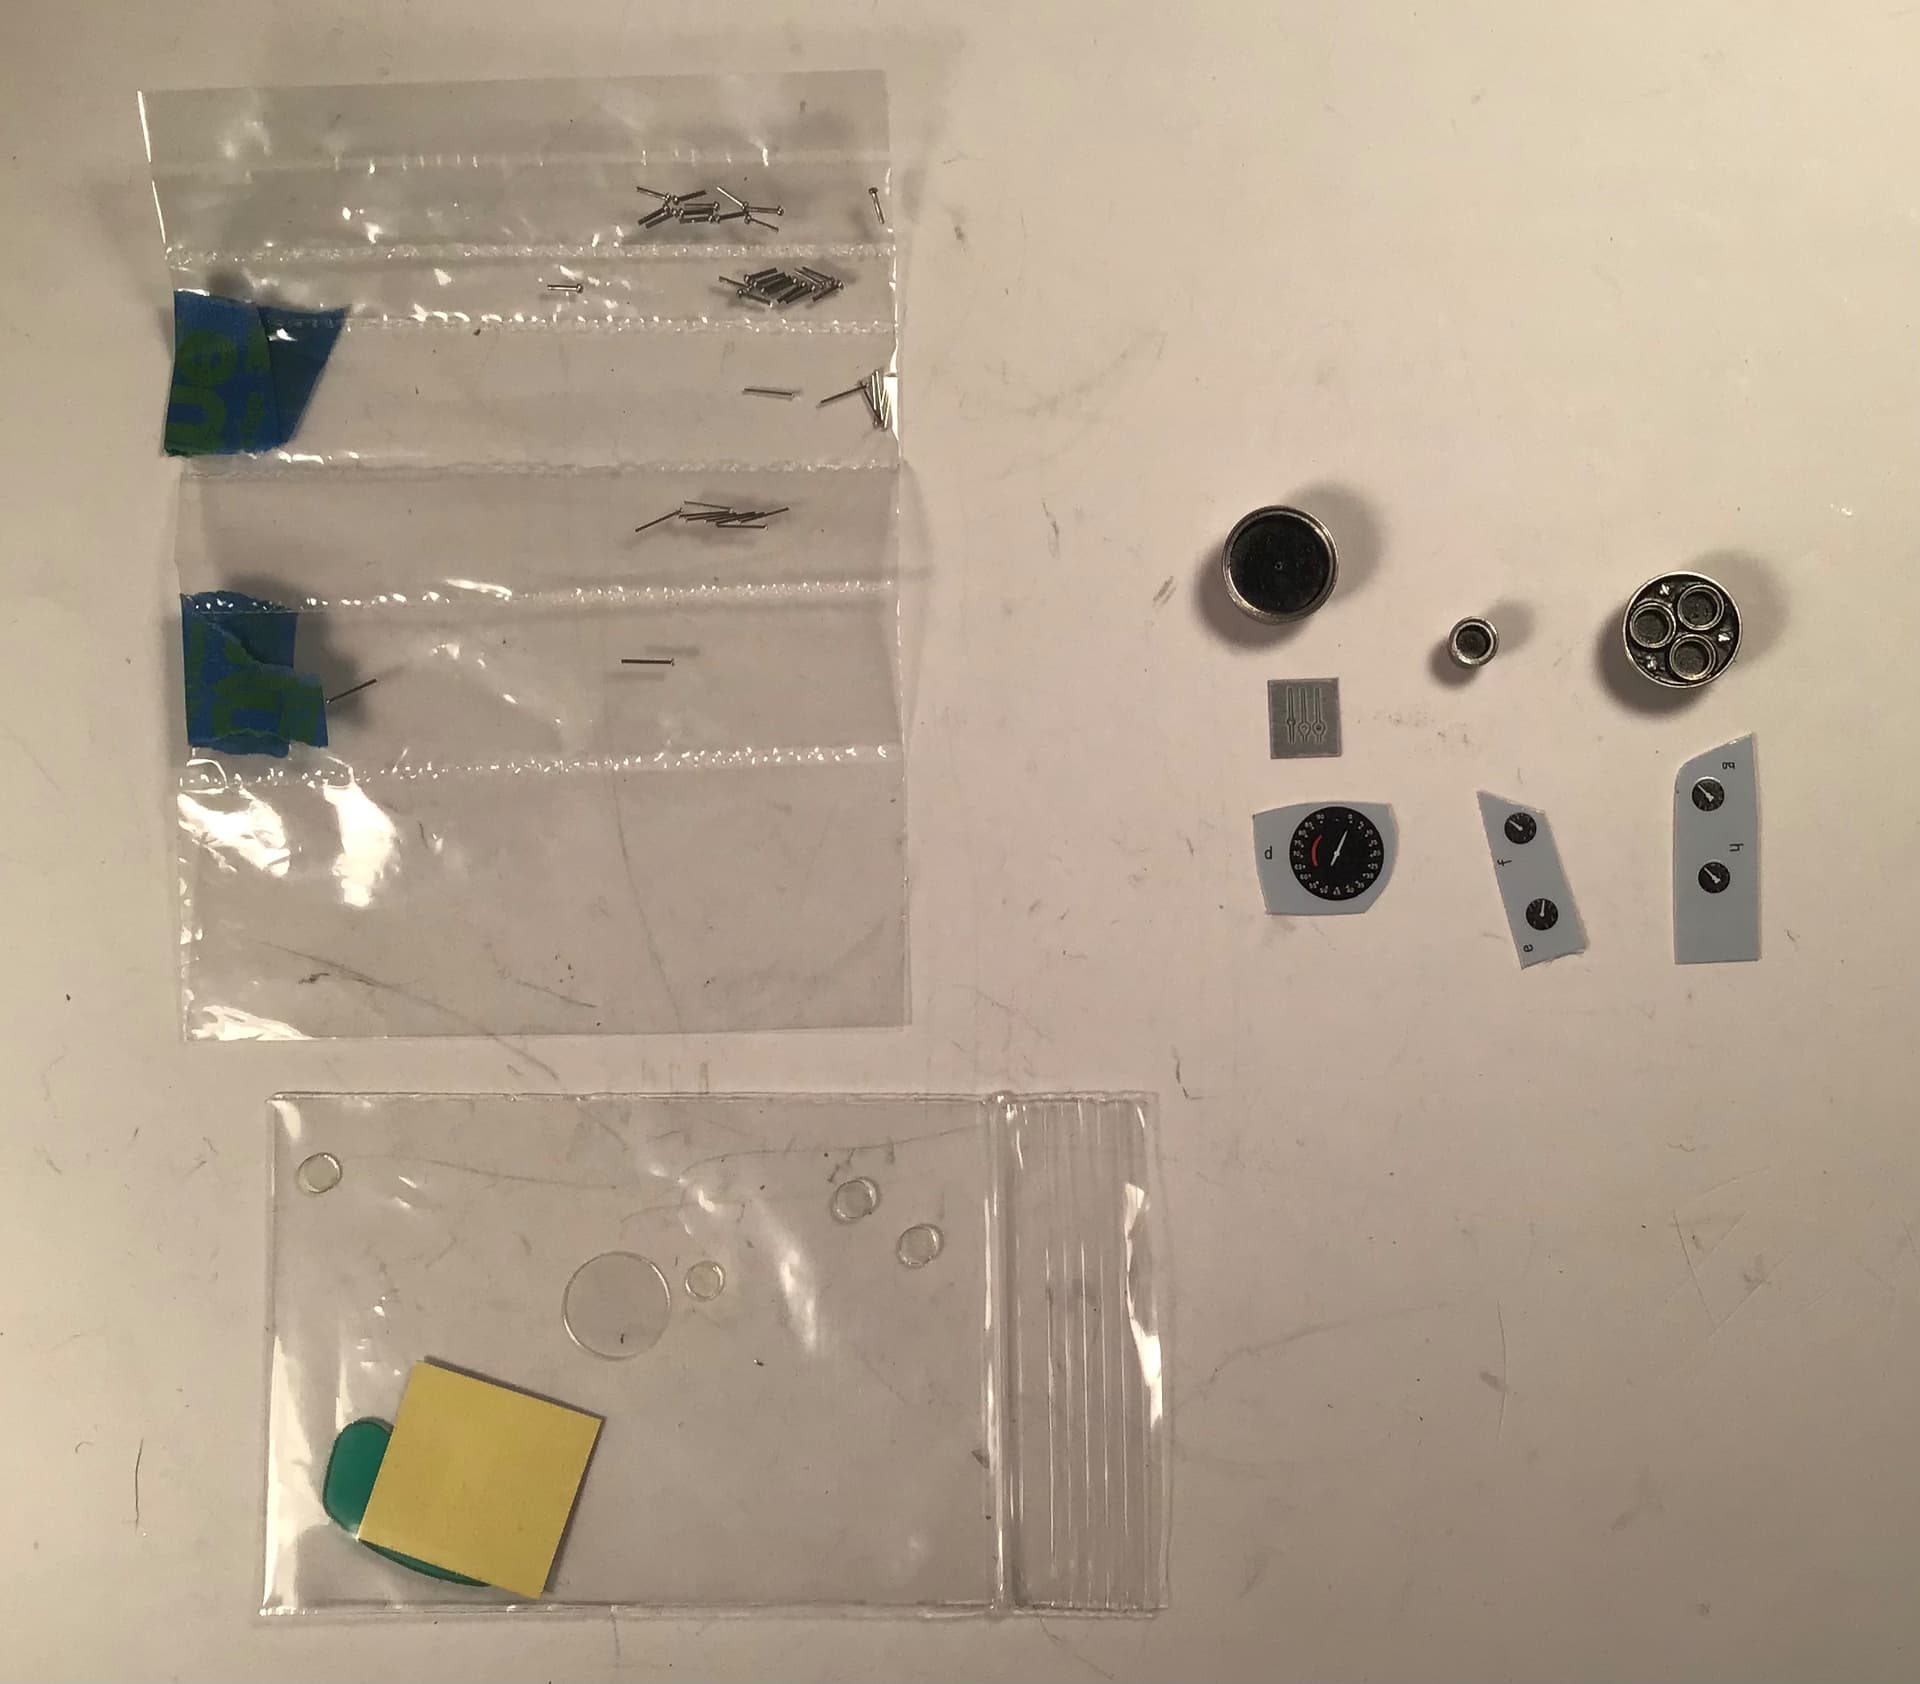
The instruments look like the real deal just shrunk down to midget size. I see that you opted to go with the PE needles.
Looking forward to your build process on the laced wheels.
joel