This seems to be the best place to post this. I had an idea a while back to expand my workbench. It hung around in the back of head for months, and after finally clearing the Uragan off my bench I decided to run with it.
So here’s what I was working with,
Not a bad setup. Like most I started at a computer desk, worked my way up to a dedicated, but still small desk. But then I bought a house, and after demoing the basement, I had to make a dedicated workbench. It’s served me well for a few years now, but space is getting tight, some of my storage solutions weren’t ideal, and basically, after a few years you get a better idea of what you really want.
So the plan. First, more room is always welcome, so I’ll expand into an ‘L’ and take up that other wall. Next, I tend to have at least a couple projects going at once, so a dedicated building section and painting section would be nice. And finally, I wanted a computer (many times I’ve been building and thought some modeling videos or music in the background would be great) and my reference books at hand.
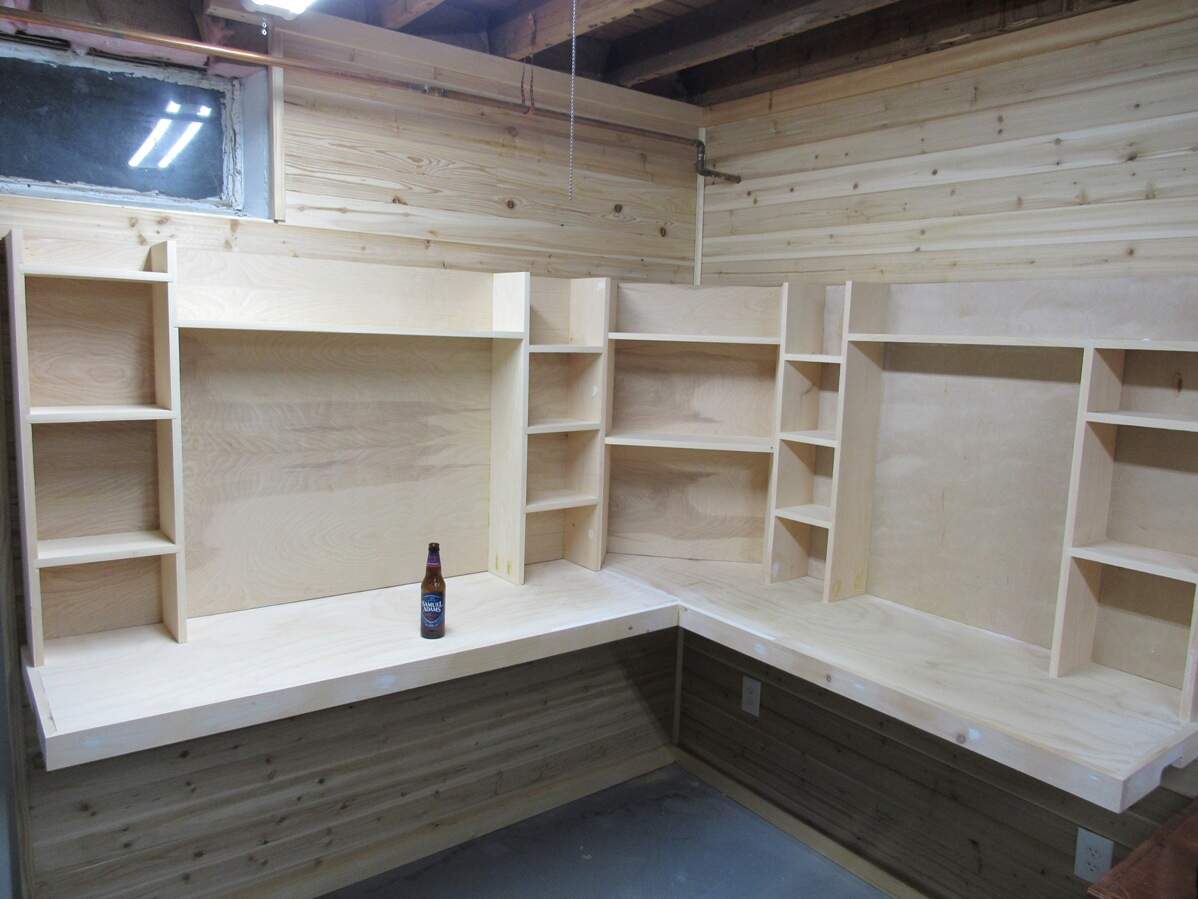
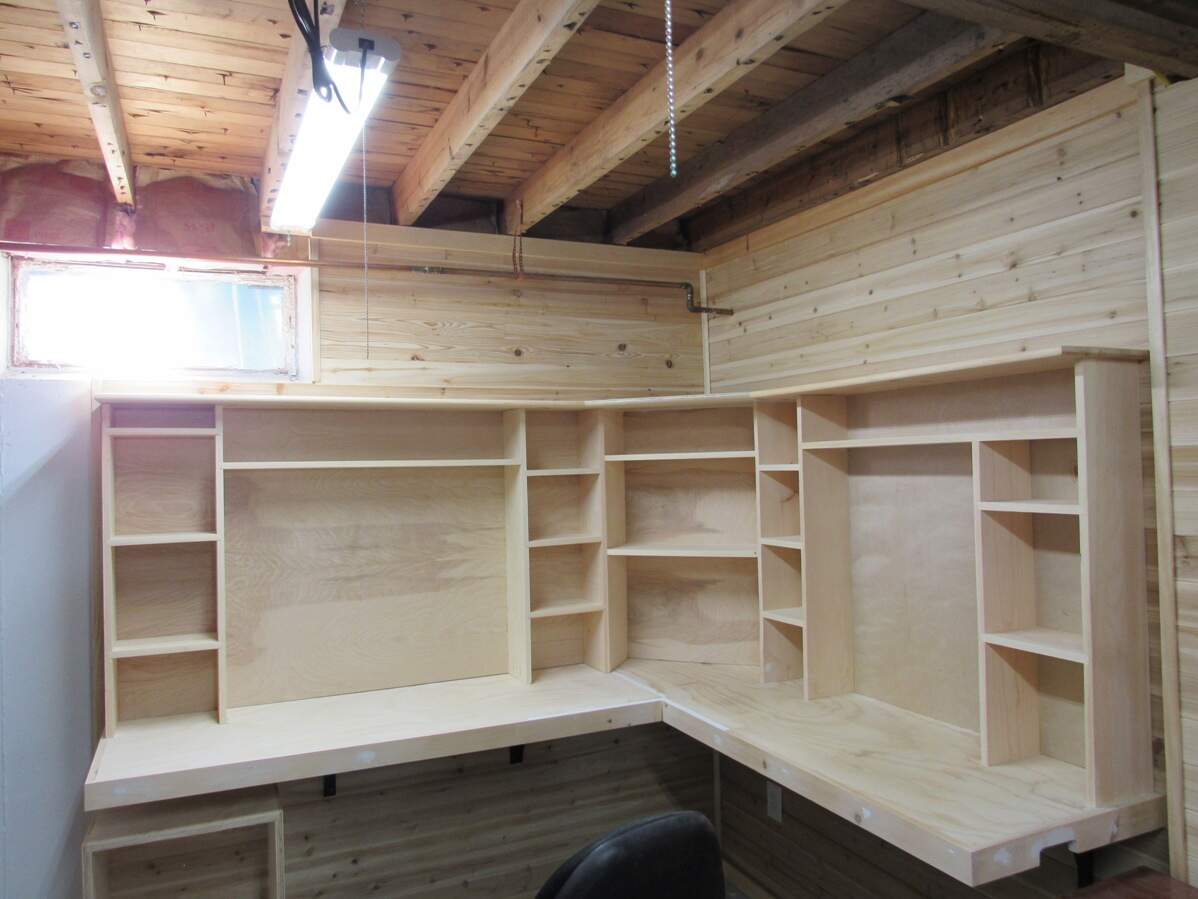
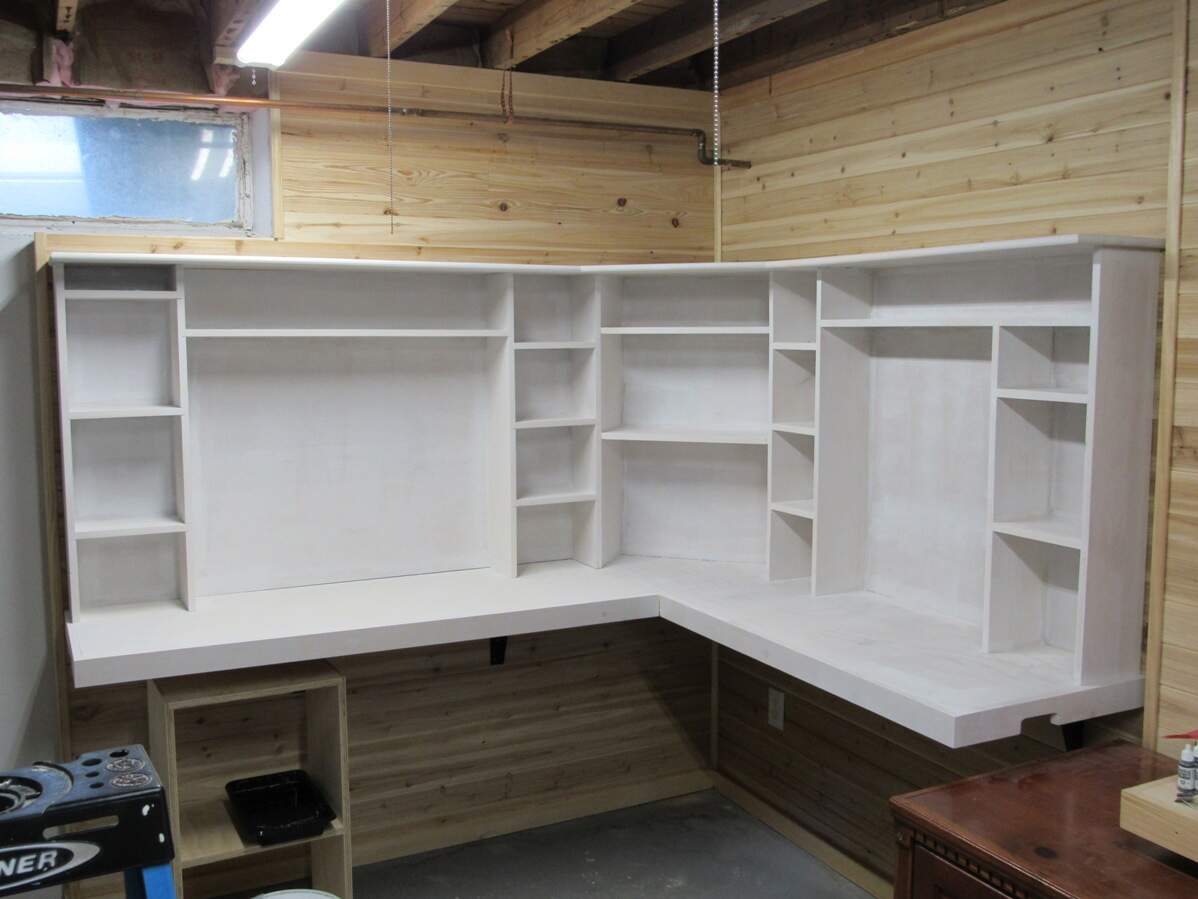
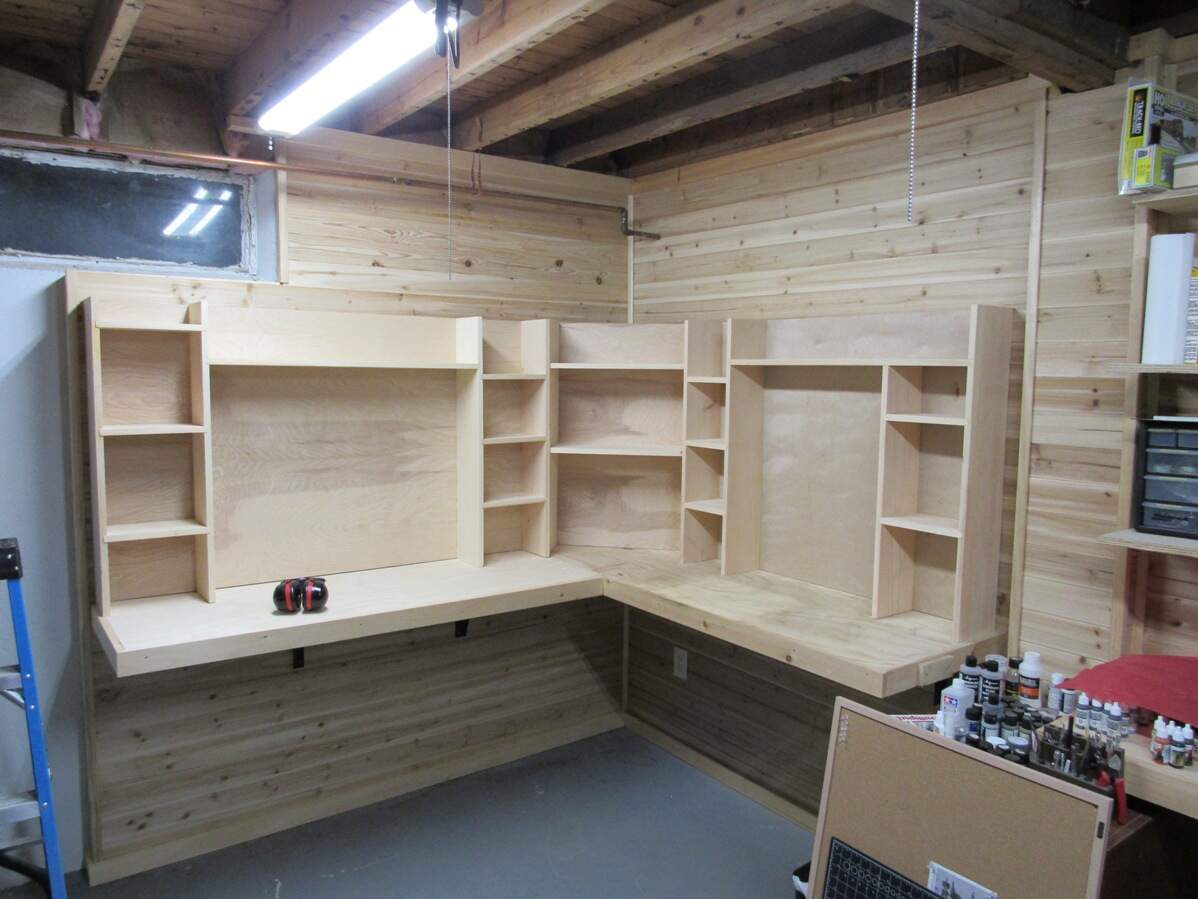
This is what I came up with,
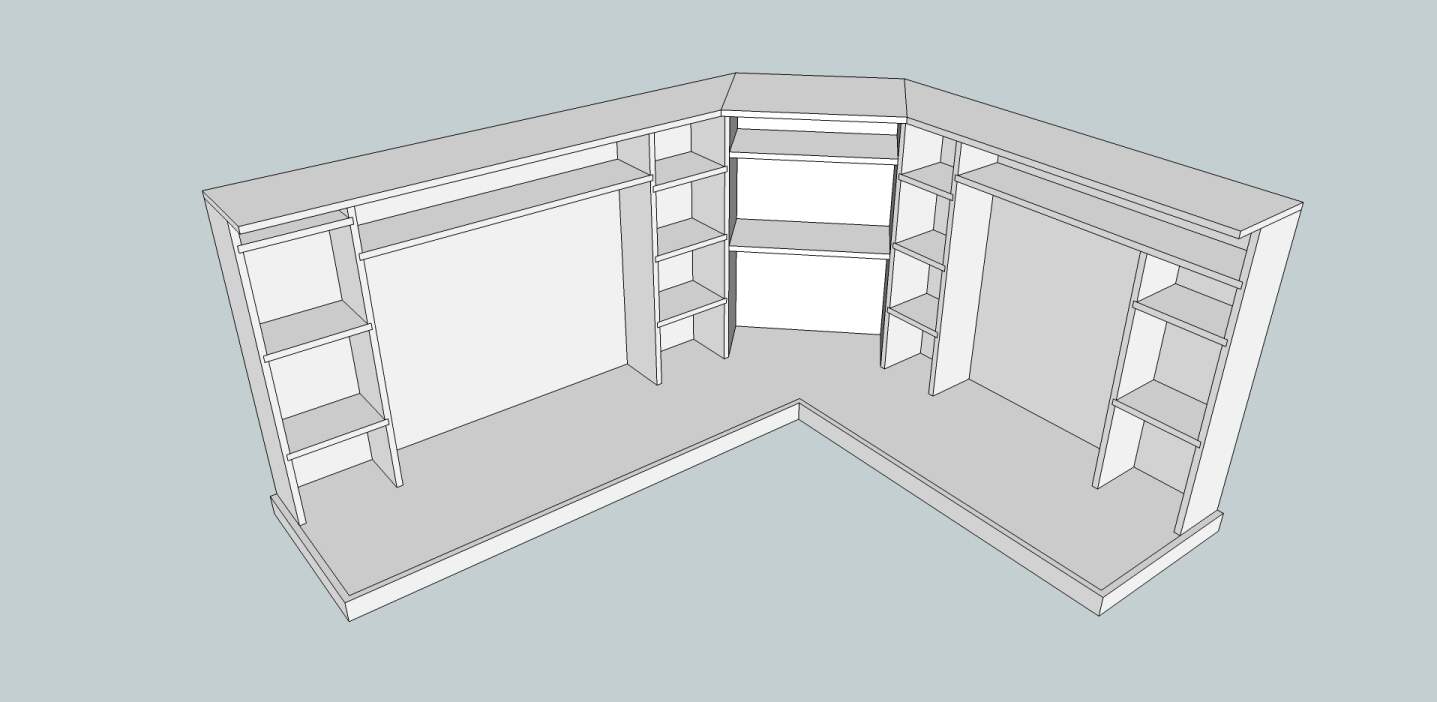
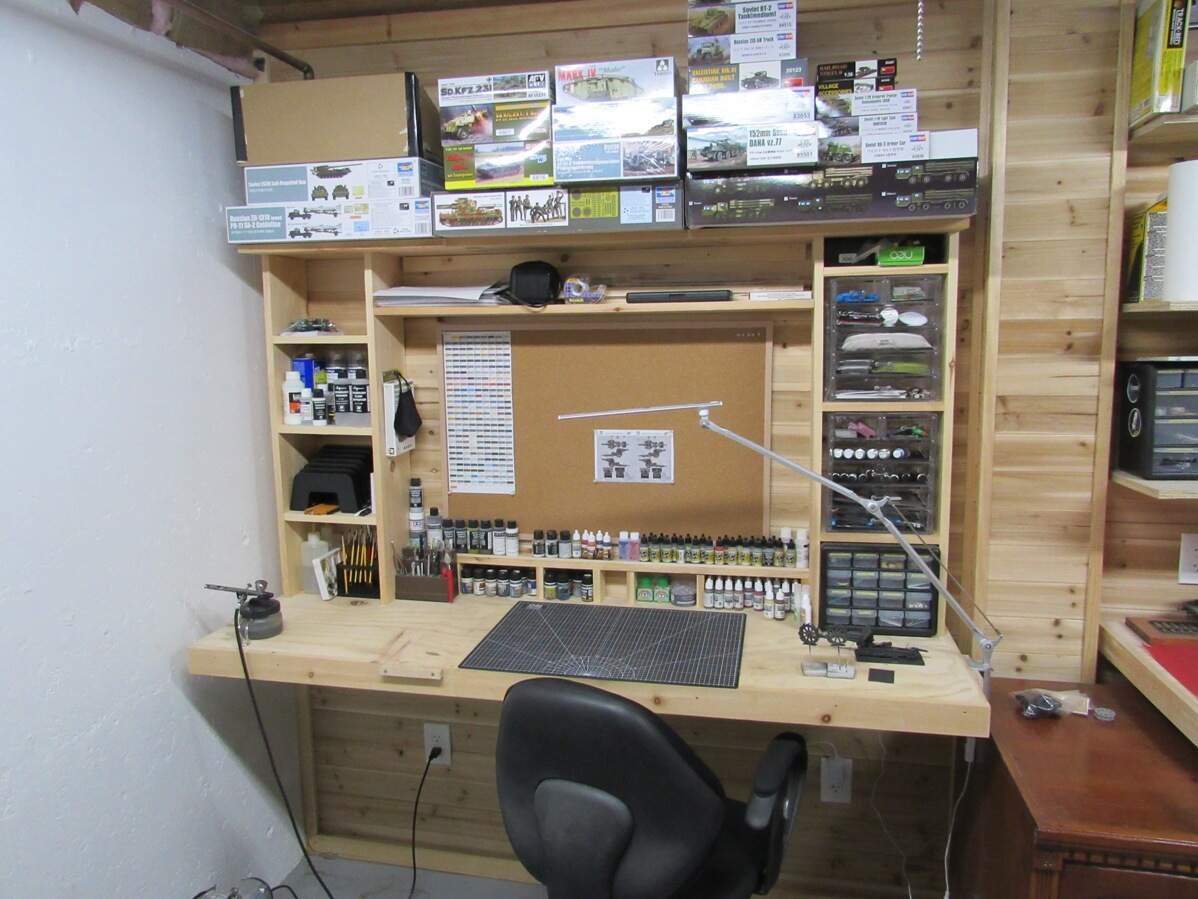
The left side is the build area, the middle section is where the computer and reference books will go, and finally the right side is the painting area.
First thing I had to do was build a wall to mount the bench to,
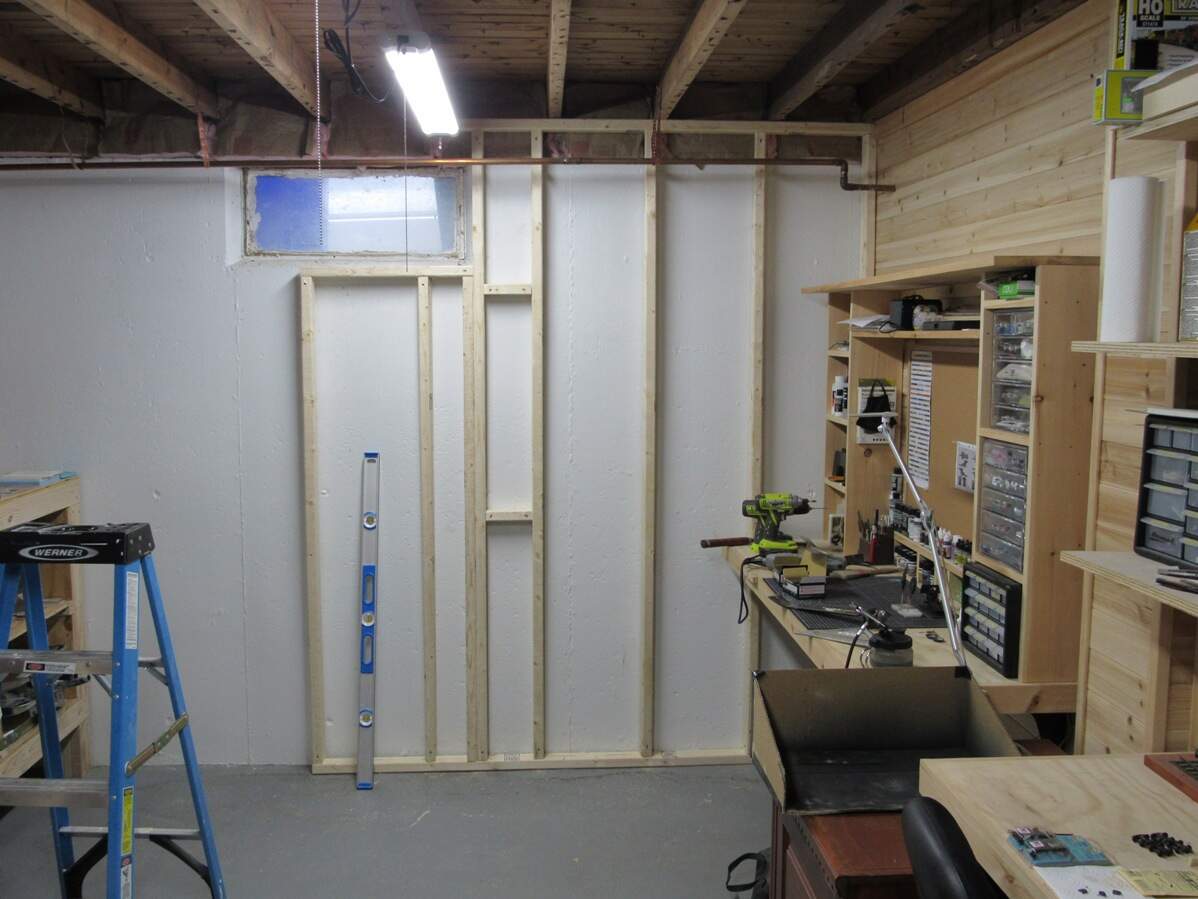
Those cats in the middle are just stiffeners as the framing under the window could twist out with some pressure.
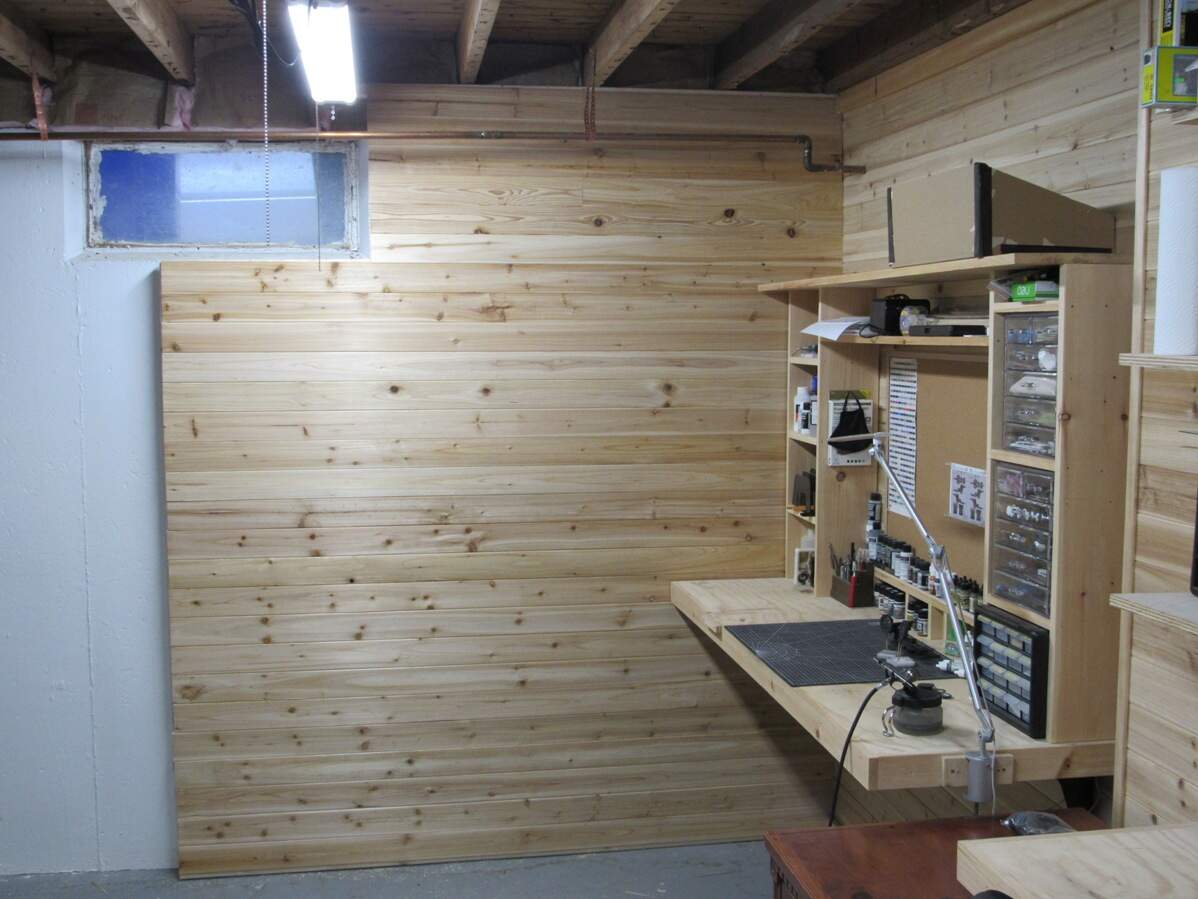
Quick and dirty sheathing with some 1/4" cedar T&G.
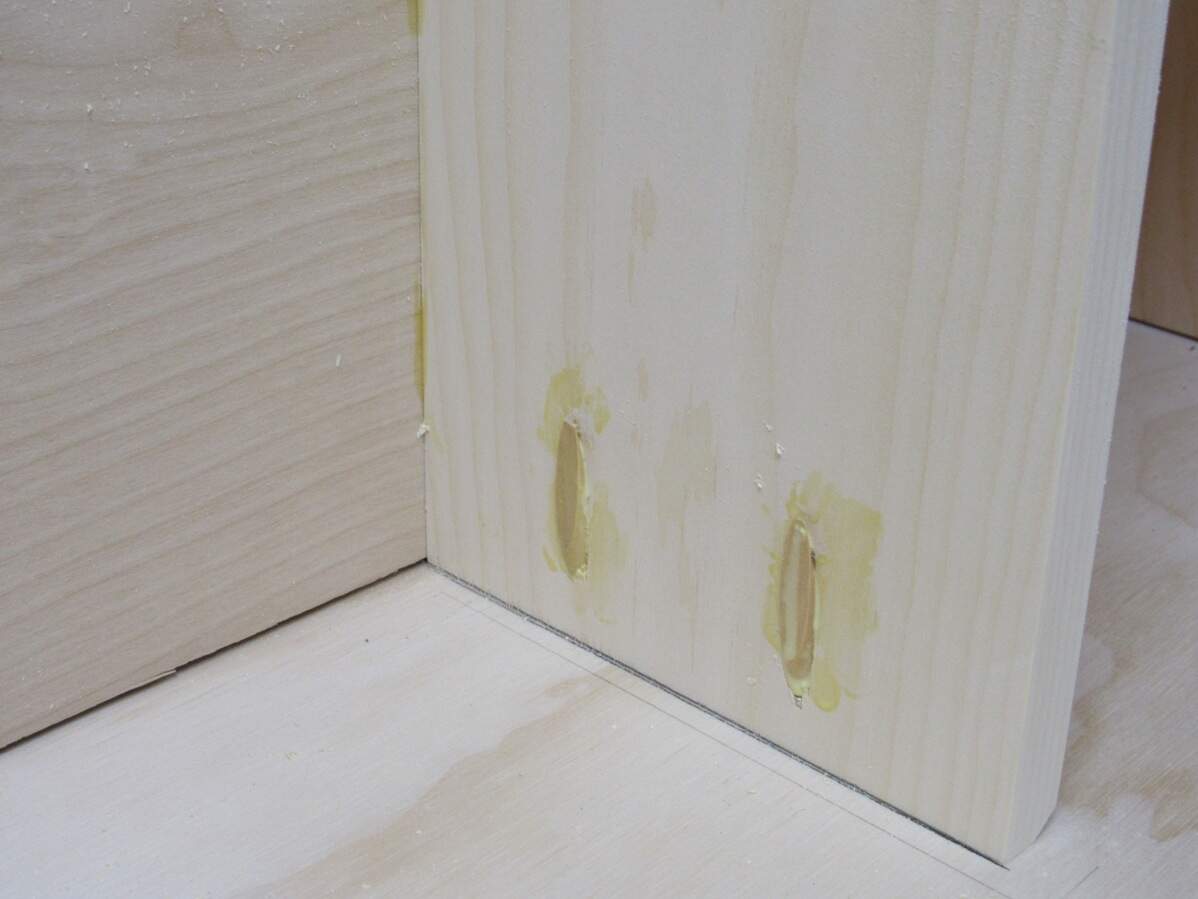
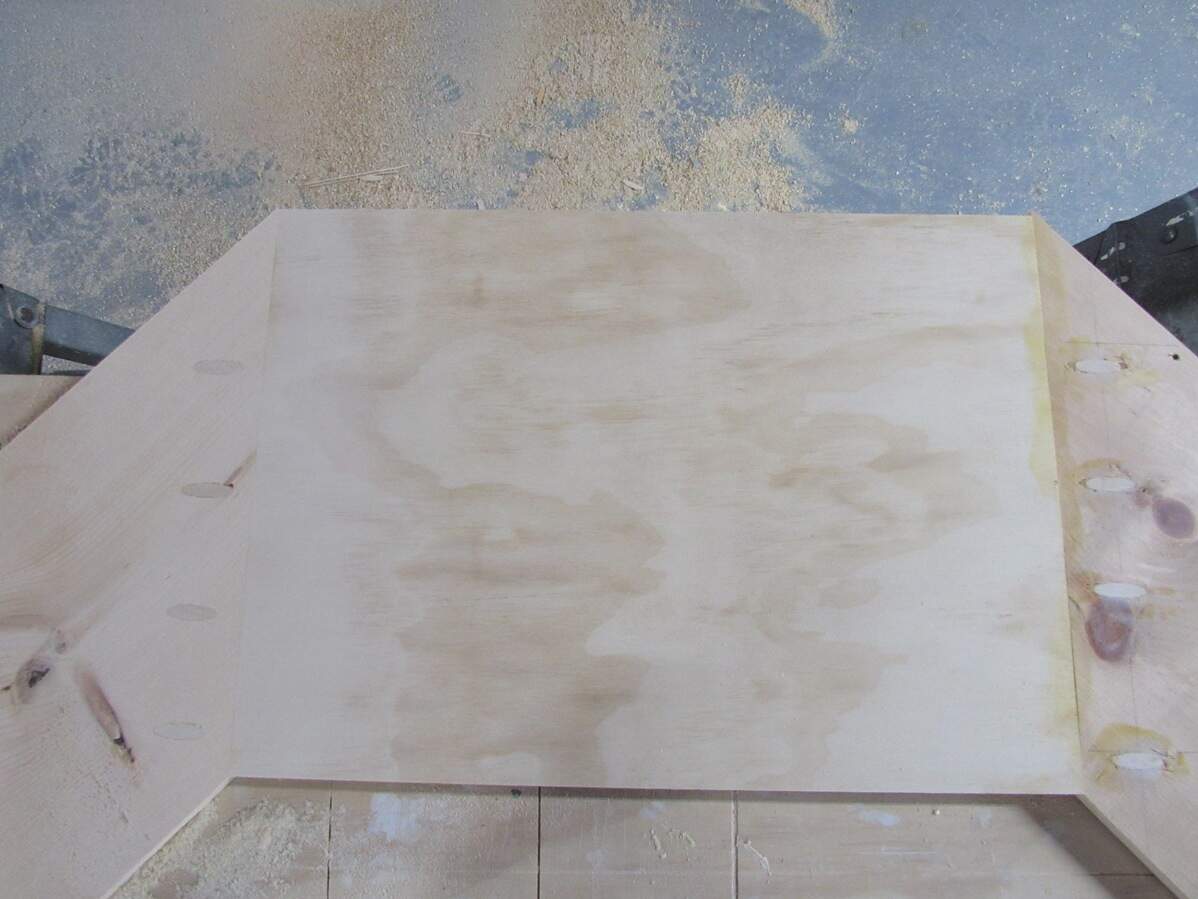
I had also started building the shelving units. My last bench was pine with the shelves attached with trim screws from the outside. A little hacky, wanted to step up the quality a bit this time around, but nothing crazy. Still using home cheapo pine that’s cupped to all hell, but I’ll be using dados for the shelving and rabbeting out the back for some sanded ply backing. I don’t have a proper wood working bench, let alone a planer or jointer, so these things will be held together by wood glue, pocket hole screws and a prayer.
The build shelves were the first ones done,
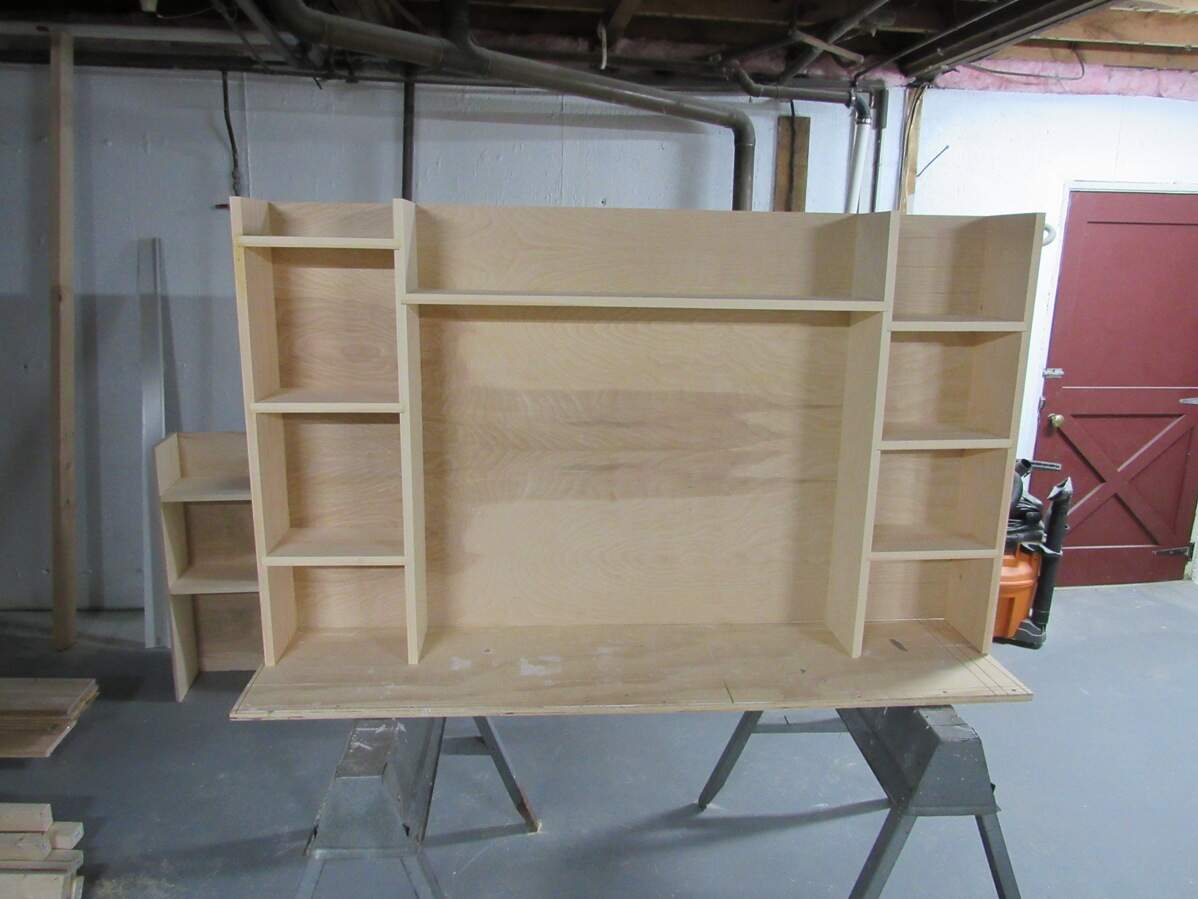
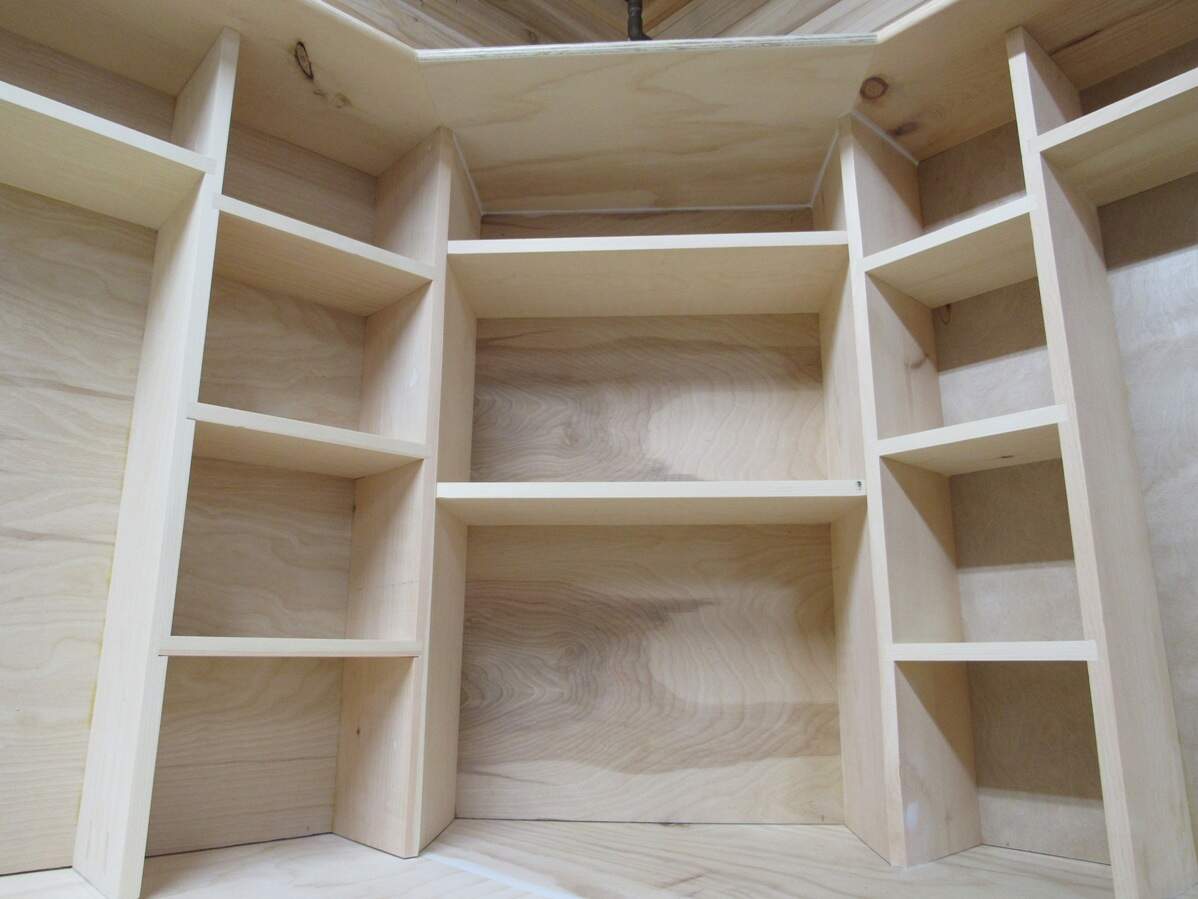
Followed by the computer and reference book section,

I had been out of the game too long and made a number of dumb mistakes. Routered from the wrong direction, it pulled away from the straight edge and ruined two support pieces. Rabbeted the wrong edge of another, etc, etc. But I got through it.
Meanwhile the old bench was disassembled,
A feature I’m keeping from the old bench is the beefy brackets. They can easily handle all the weight with no support legs so I’m free to scoot around in a rolly chair.
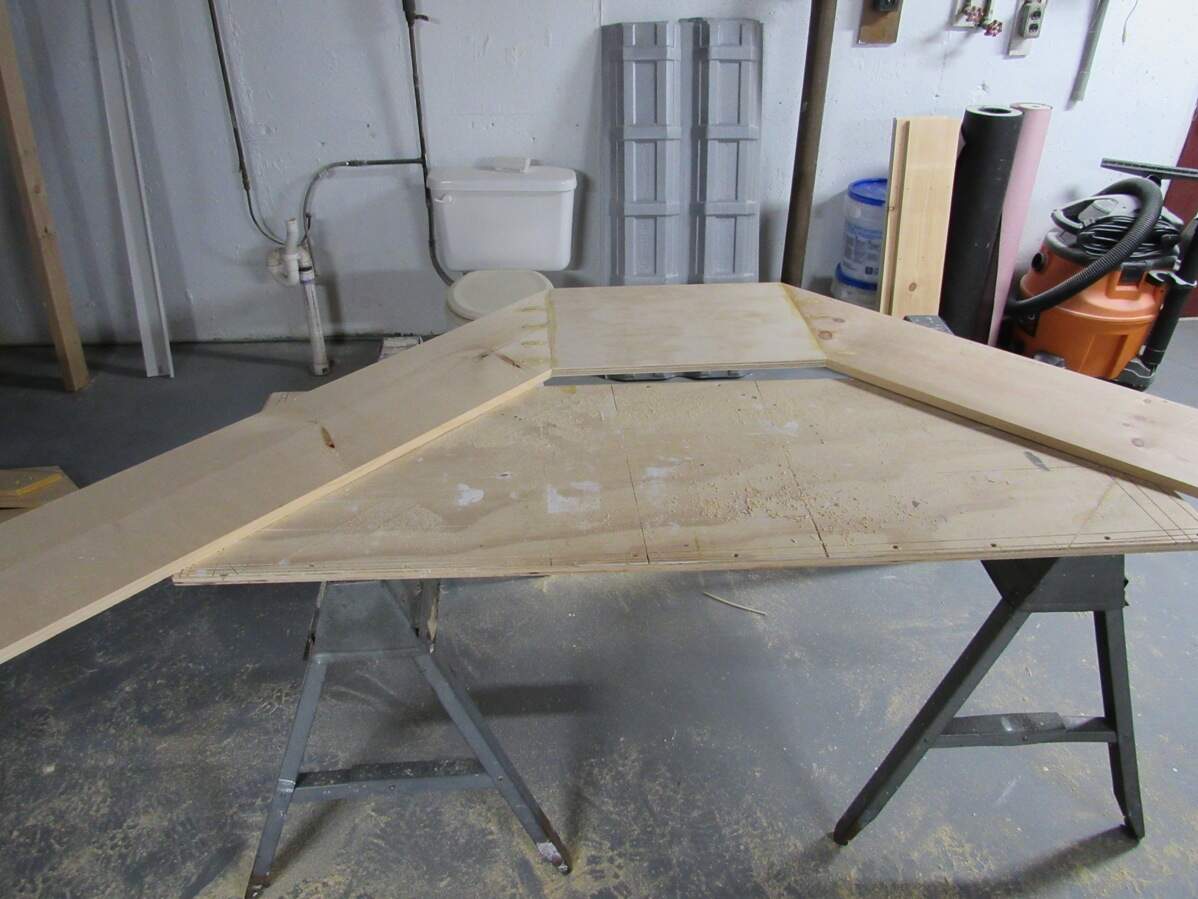
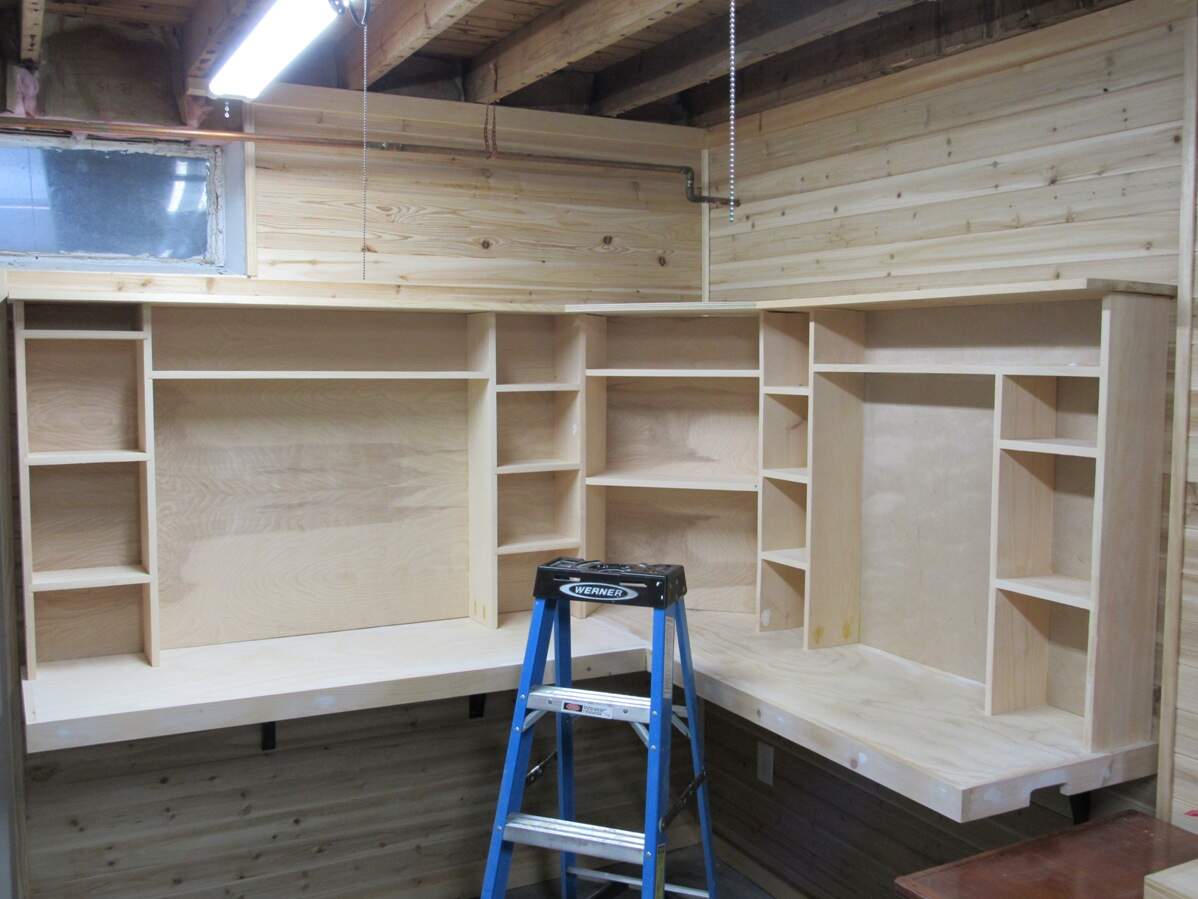
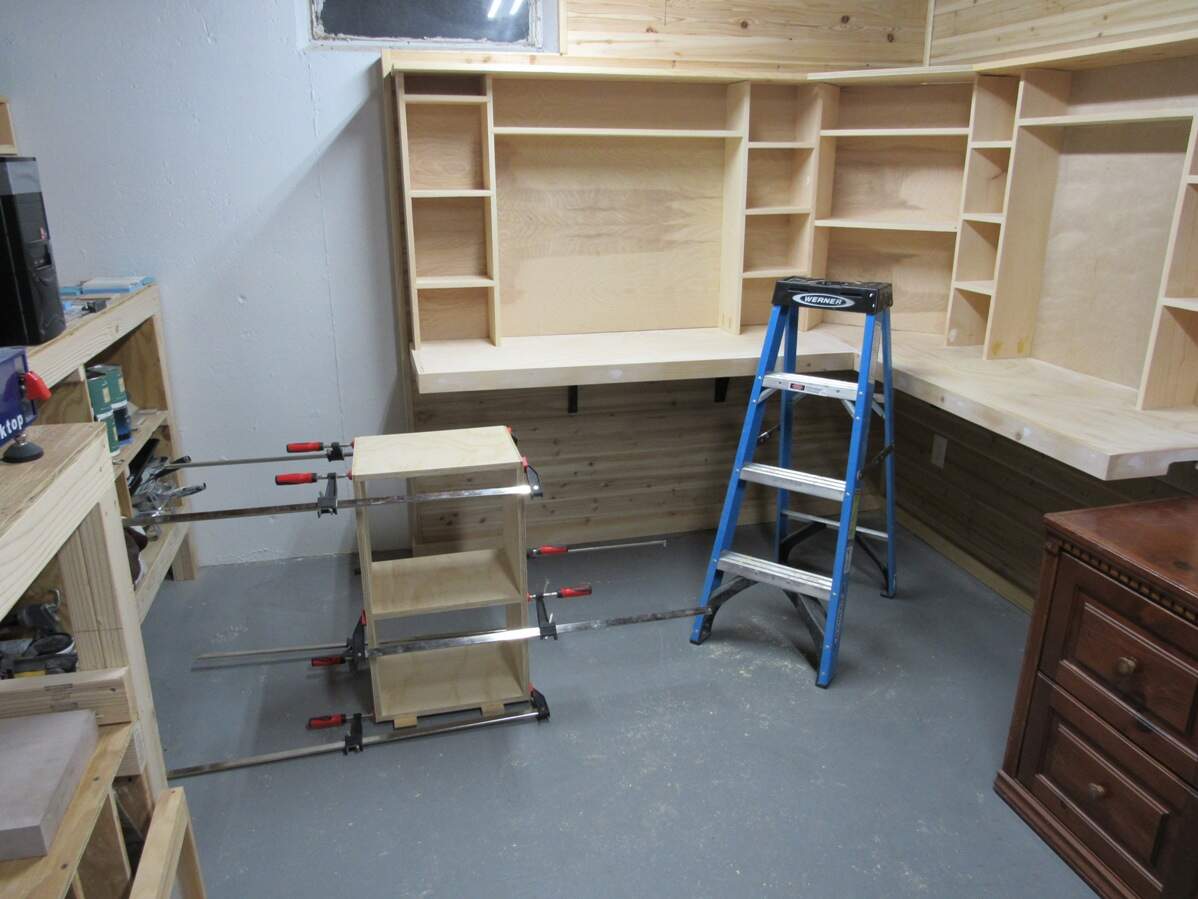
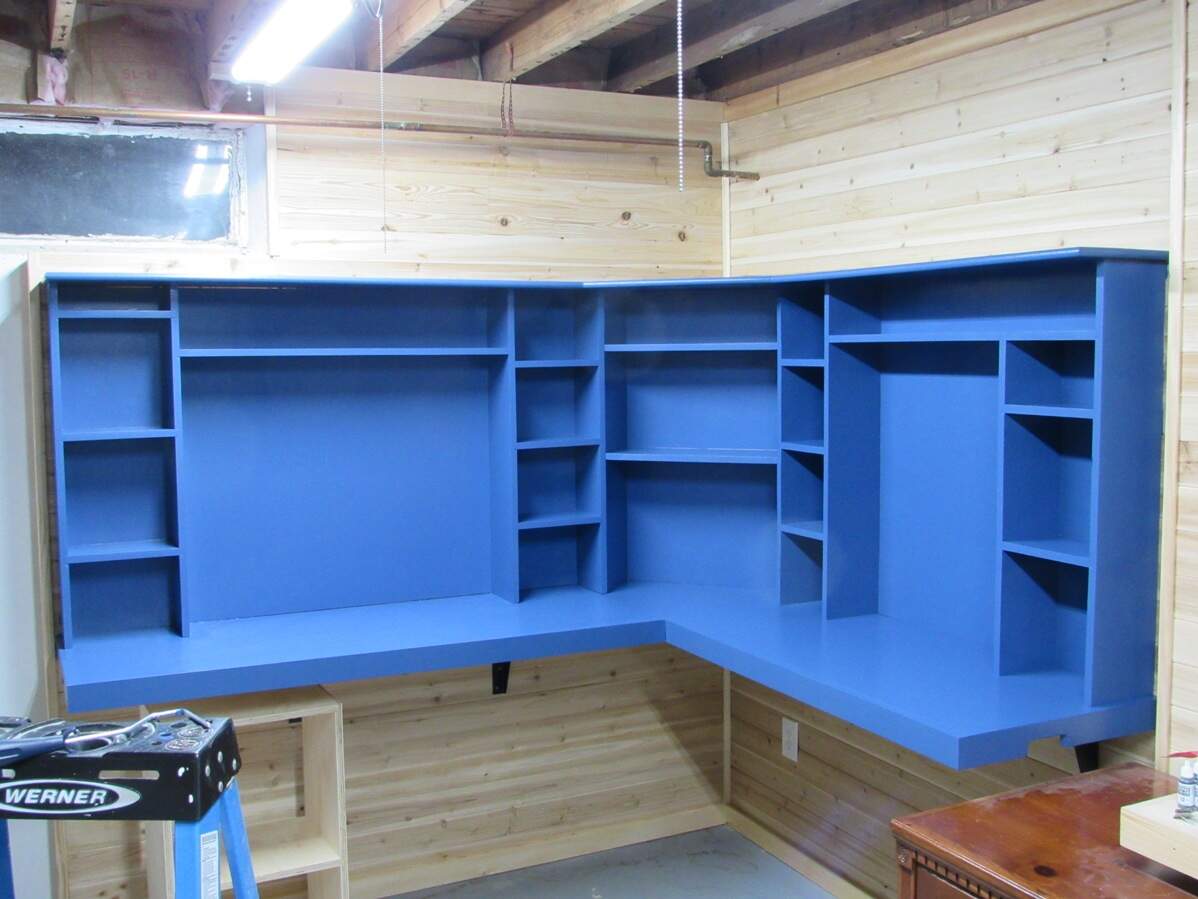
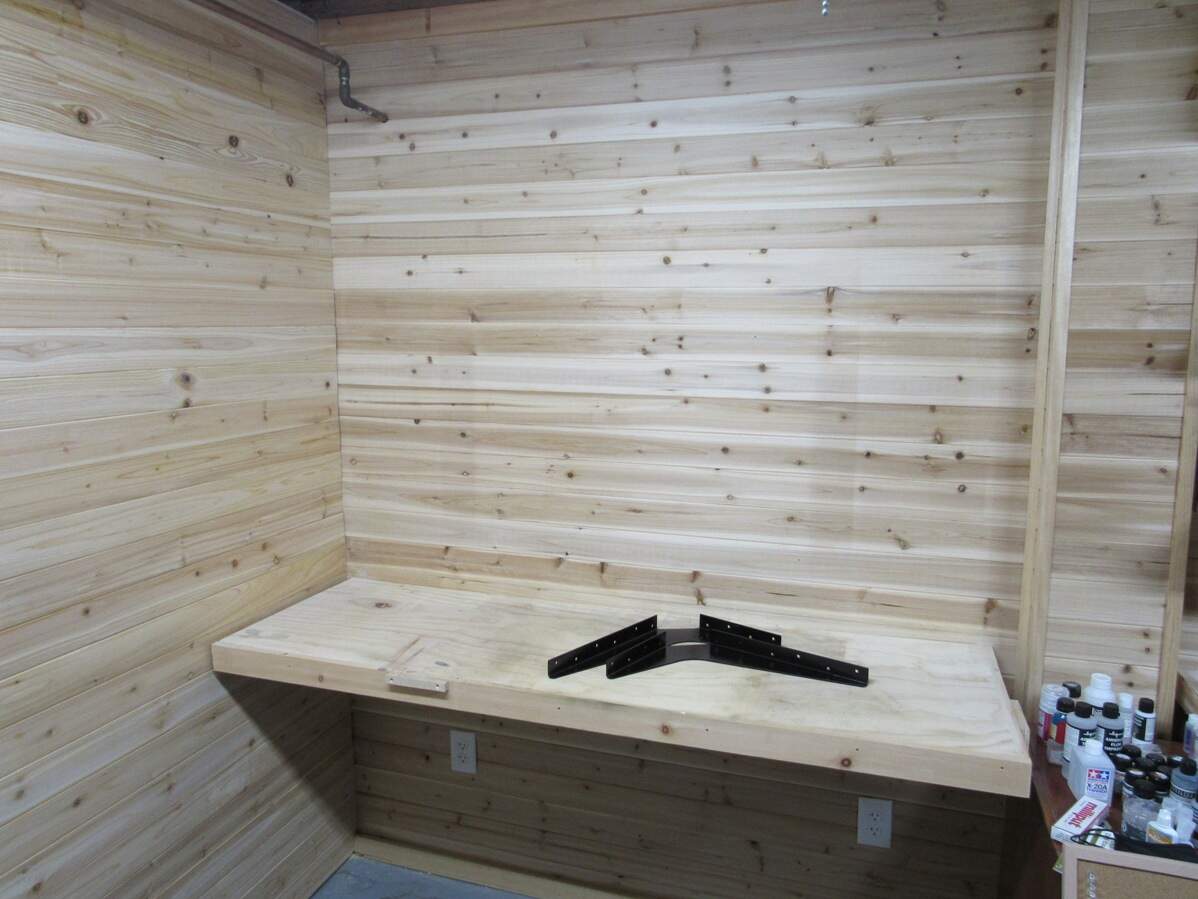
The wall was trimmed out with some 1x and generic cove and edge trim. Brackets were mounted and bench extension added with the rim boards. The painting area shelves were finished tonight, and here she is now, ‘dry fit’ together,
Next step, sanding everything flush. Shelves to supports, rim boards around the bench, and the butt joint between the new and old bench. After that I’ll fasten the shelving units in place and start work on the top shelf.
I plan on painting the bench (I am a paint grade carpenter after all), and with the color I have in mind I think I might lose some of you. Regardless, one of the things I learned with an unfinished bench is that a gloss or semi-gloss surface would be best. The old bench was impossible to clean and just sucked in stains.
That’s where I’m at as of tonight. I hope to have this done within two more weeks. After all, when the bench is out of commission, that means no building!