Thanks. I was intending to build this A3 as a Blackhorse tank (hence the OD color, so I could hand paint the MERDC camo).
I was using 11th ACR pictures as reference.
Thanks. I was intending to build this A3 as a Blackhorse tank (hence the OD color, so I could hand paint the MERDC camo).
I was using 11th ACR pictures as reference.
My First M-60 was the Tamiya Kit with the ERA, wished I had thought more about the kit and purchased the P.E. Part’s and Gunners Copula. HOWEVER…I will be getting Ryefield Canadian Leopard A6M1 in the next month or so. Which is going to have quiet abit of additional parts that will be a first for me. So I’m looking forward to that.
I built the Tamiya M60A1 ERA and added a mine rake to it.
Then I decided to build a second one after I got my hands on the original 1970s release of the M60A1 and wanted to play with some ideas.
Several changes later; I ended up with the “Frankentank”.
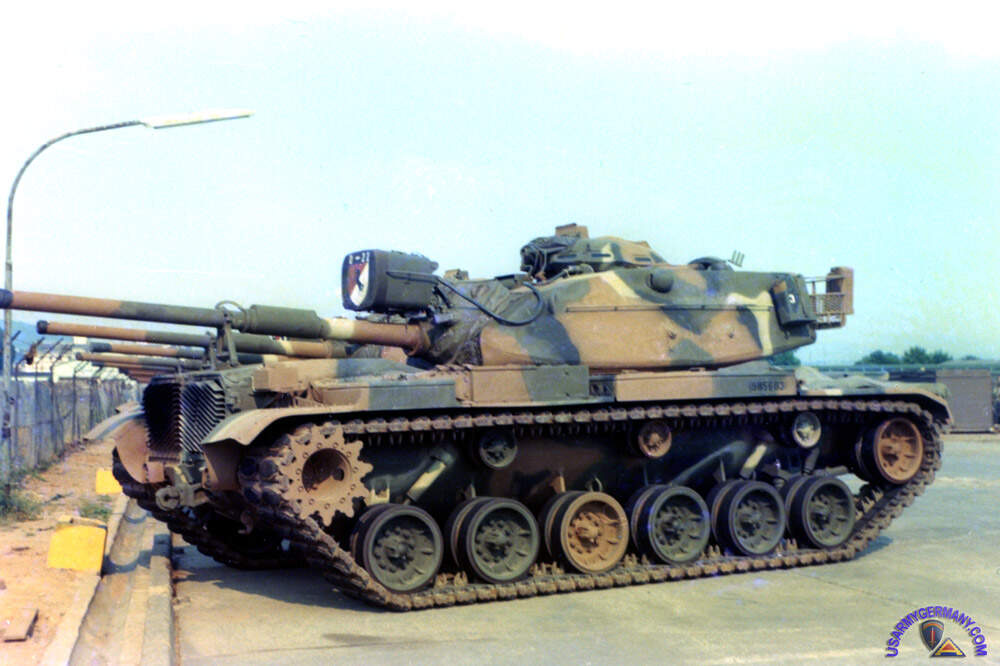
The best bet is to find the MERDC manual which has all the patterns. The camouflage was hand marked on the tank by the crews and sprayed by them as well. I marked and painted my own tank. So there was a pretty wide variation between tanks.
Yeah. I have the color patterns. Winter verdant was the standard i Europe while Summer Berdant was the norm in the US, except in places like Texas and California, where Grey or Red Desert.
Thanks for the information. Wished I had known that before I purchased the kit. I might have invested in the P.E. Stuff depending on what they were. But still it’s always interesting to find out stuff like this for a future build. I’m looking forward to the next 3 armor builds I have waiting. Tamiya T-72M1, Tamiya Late G Panther and the RFM Canadian Leopard 2A6. which will be a serious challenge for my skills
If you still want to build an M60 Patton, you can go either AFV Club or Takom, with Takom being “my” primary choice.
The Takom kit is really well designed and much more detailed. The Tamiya is still a decent kit, but it lacks a lot of details that Takom corrects.
My next M60 will definitely be a Takom.
HUMMM ok thanks. But right now I have several other kits waiting to be built. So maybe Next Year
I have over a dozen kits on my build stash… What’s “One More”? ![]()
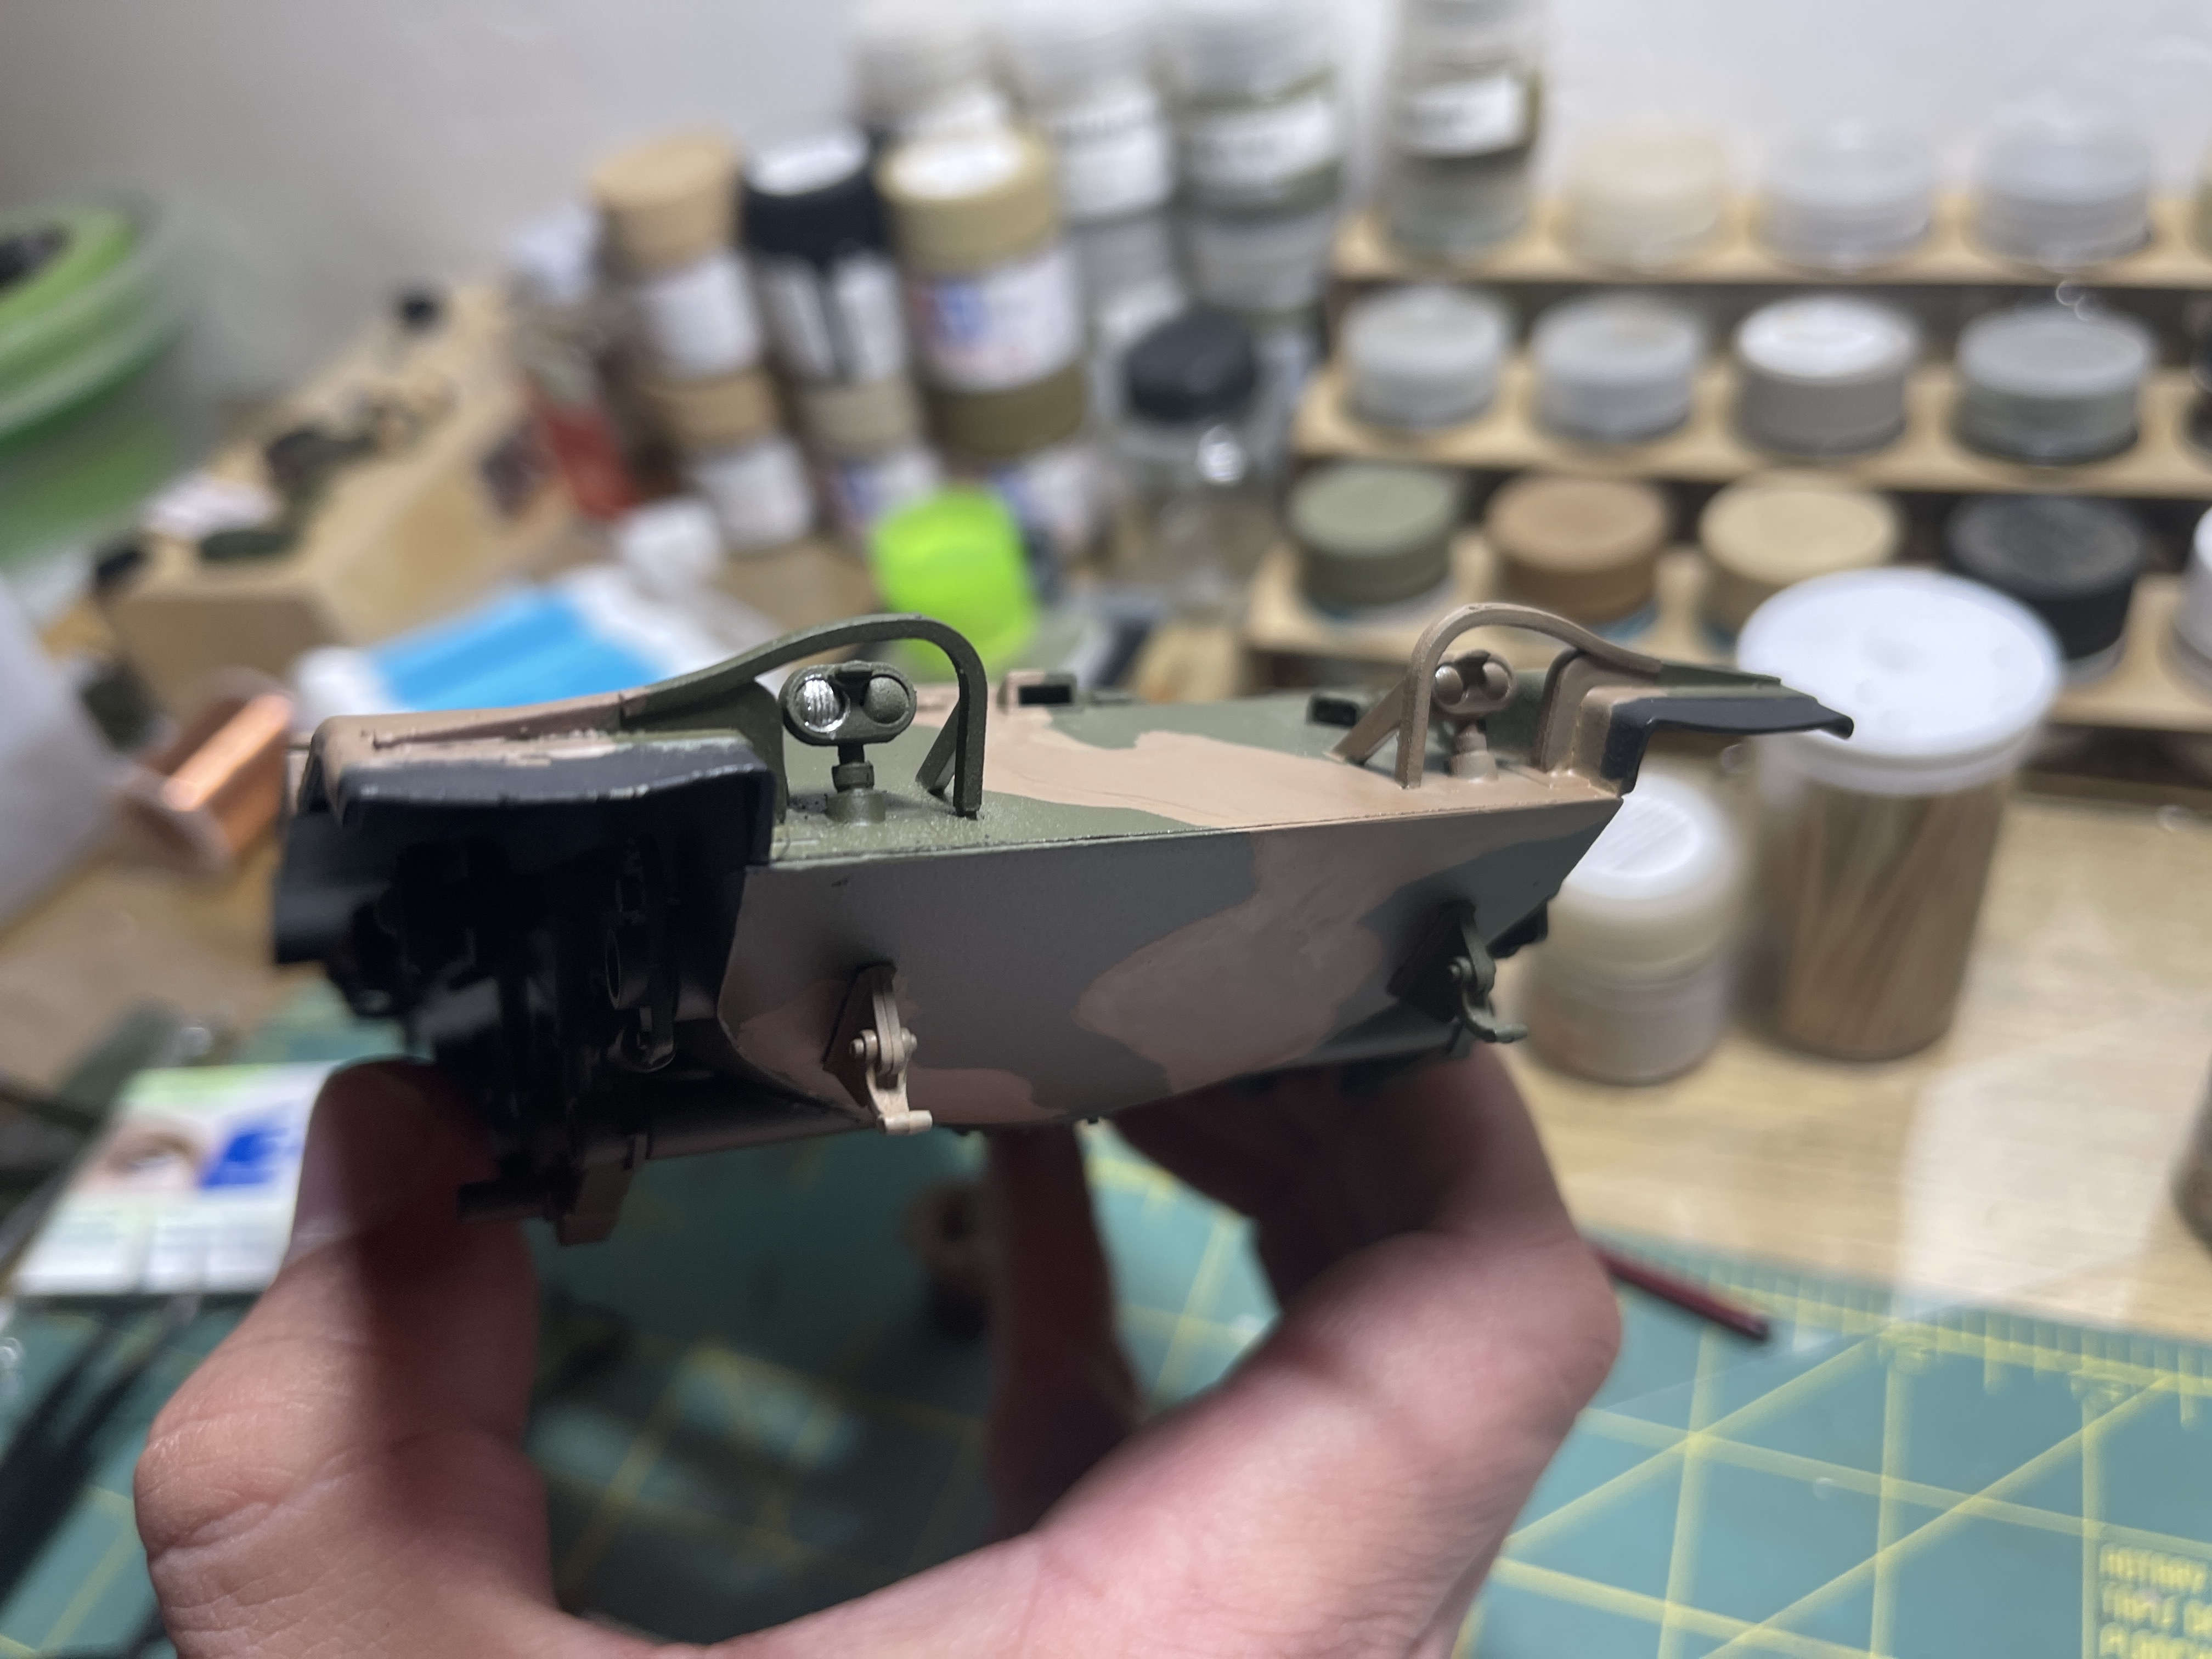
I want to secure at least a Takom M60A1, so I can build it; then maybe the M60A3 with the M9 Mine Plow so I can build it like one of the two tanks used by the US Air Force’s 401st Fighter Squadron’s EOD unit during Desert Storm.
Nicknamed “King Kong” and “Godzilla”.
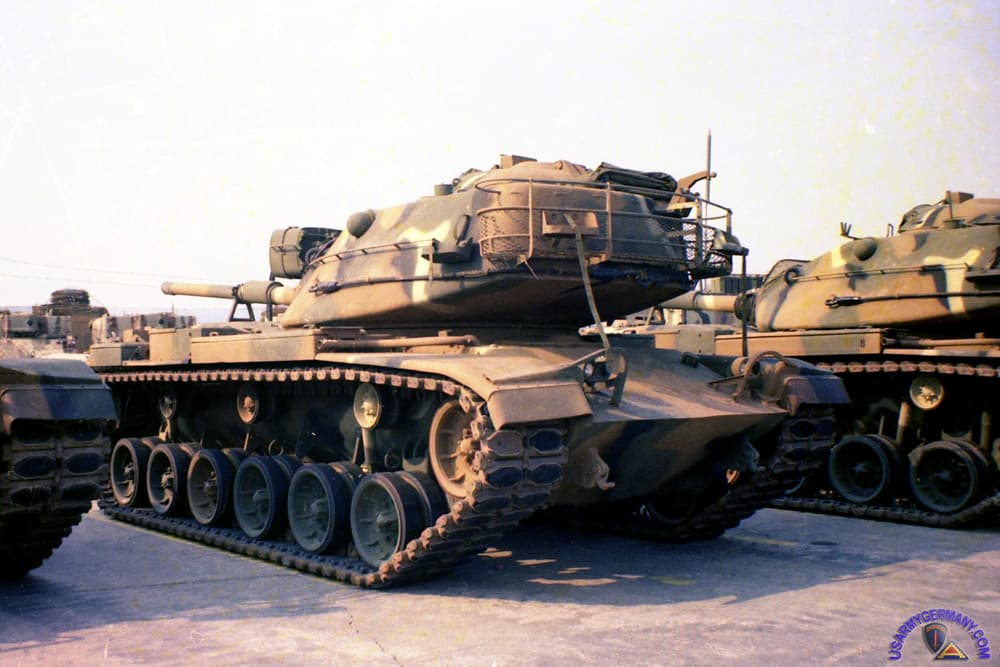
Might as well get two of them as you need two decal sheets to finish as they don’t give you enough names. Need to get back to that build. You also need ribbed wheels not provided in the kit. I think I posted on this forum other details needed based what I saw from the other photos taken by my buddy who took that one.
Both tanks side by side.
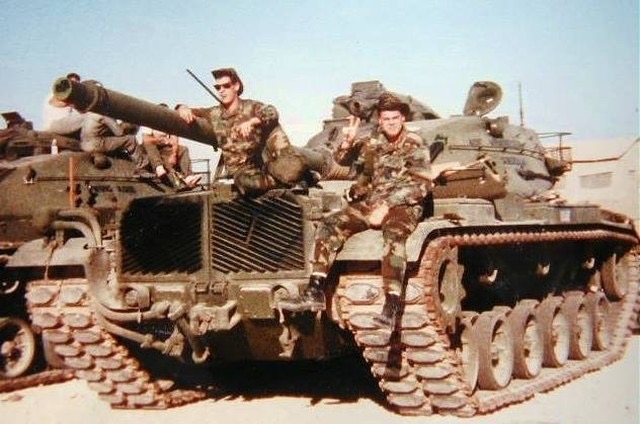
So. Both panted in Medium Green (CARC 383).
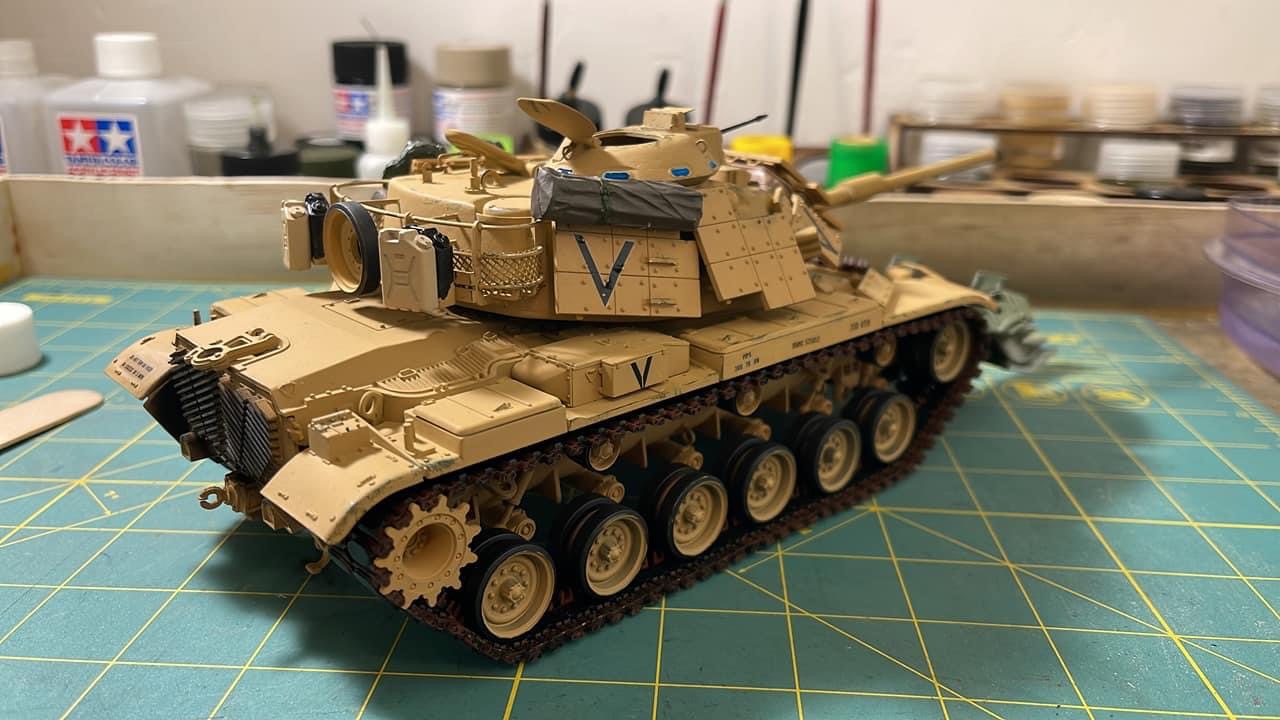
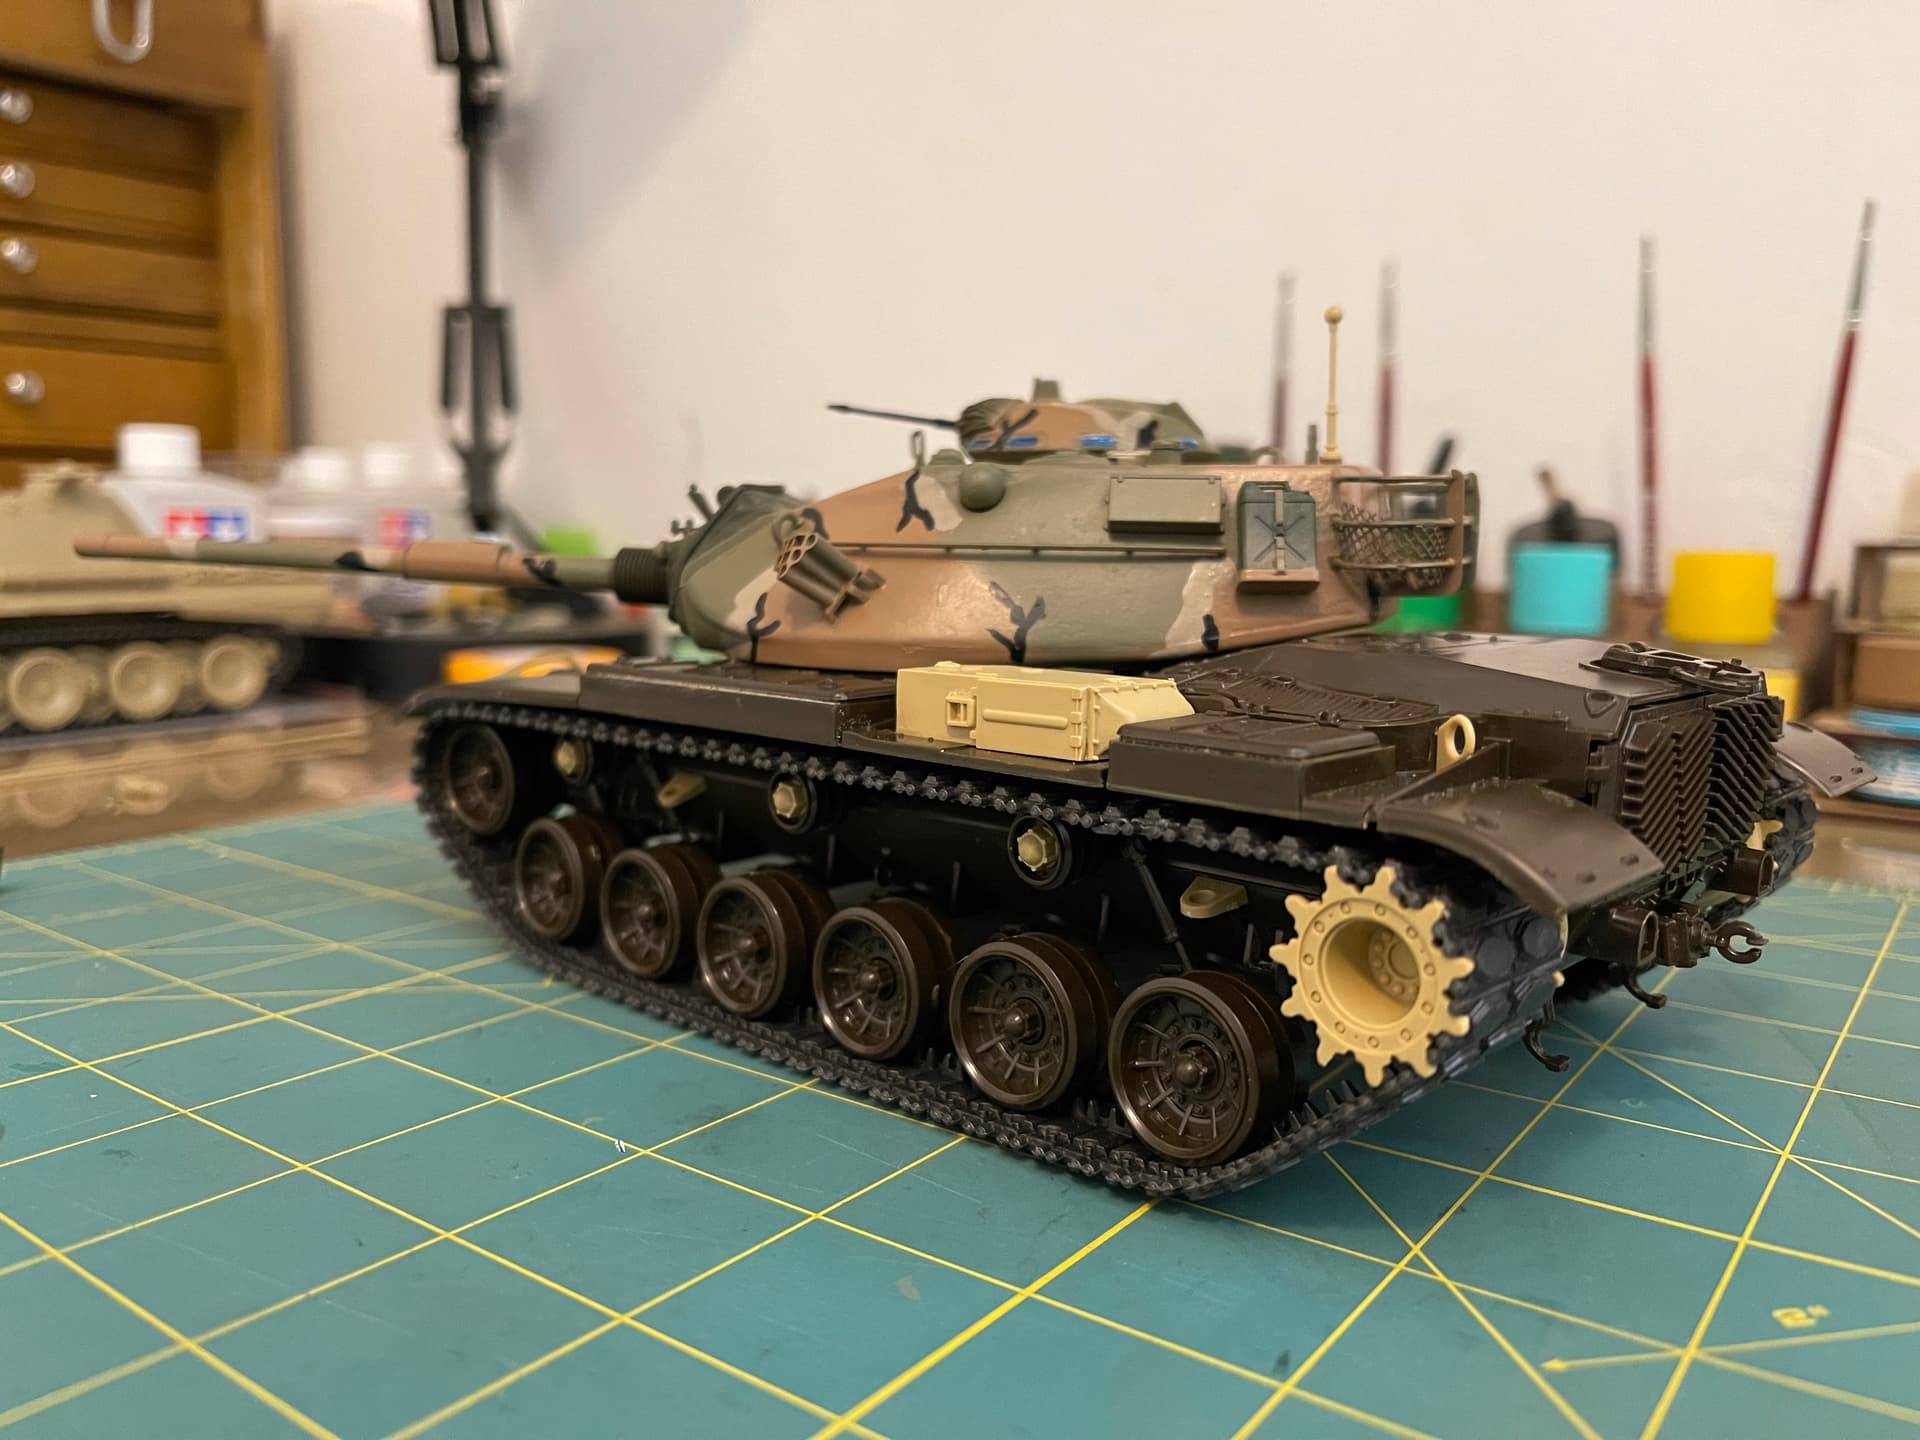
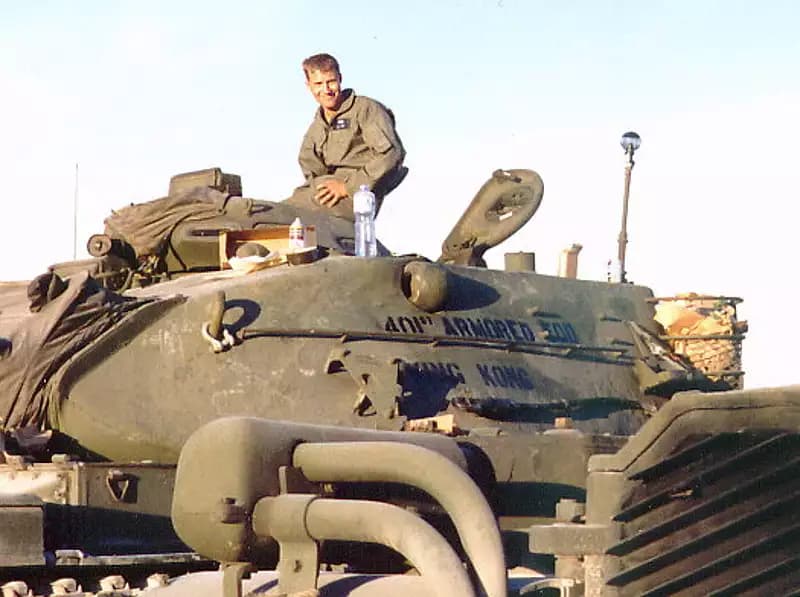
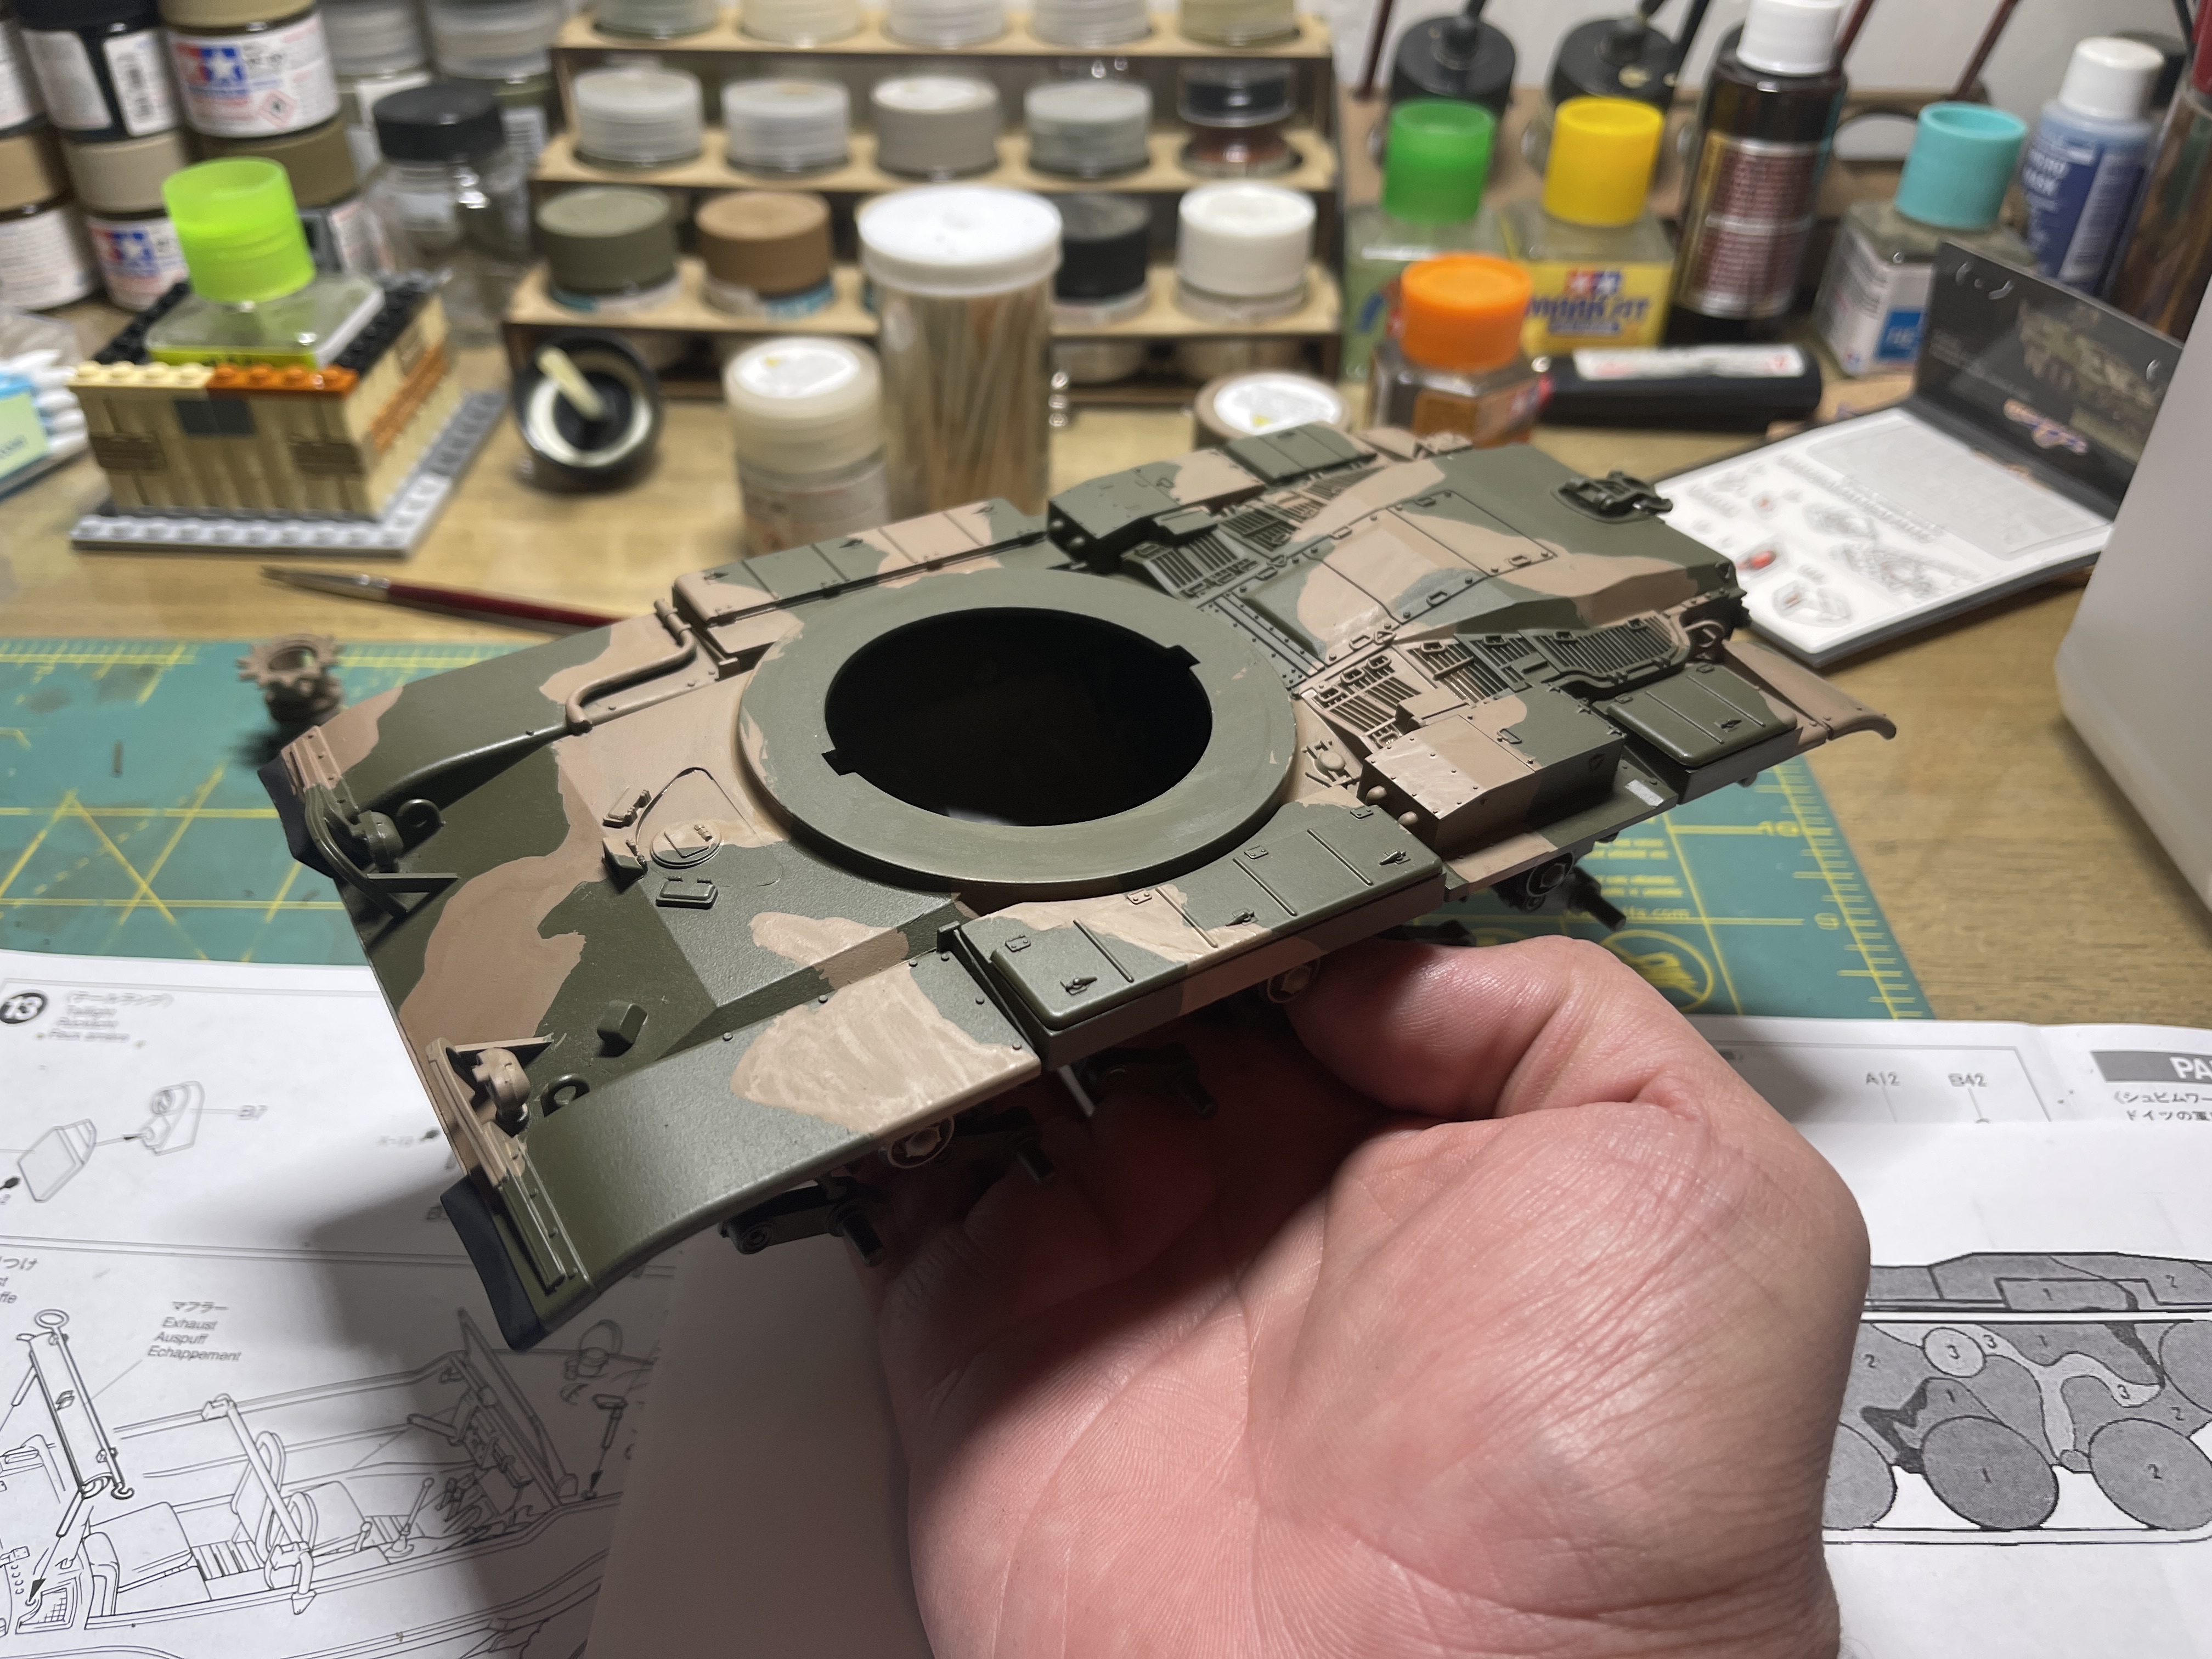
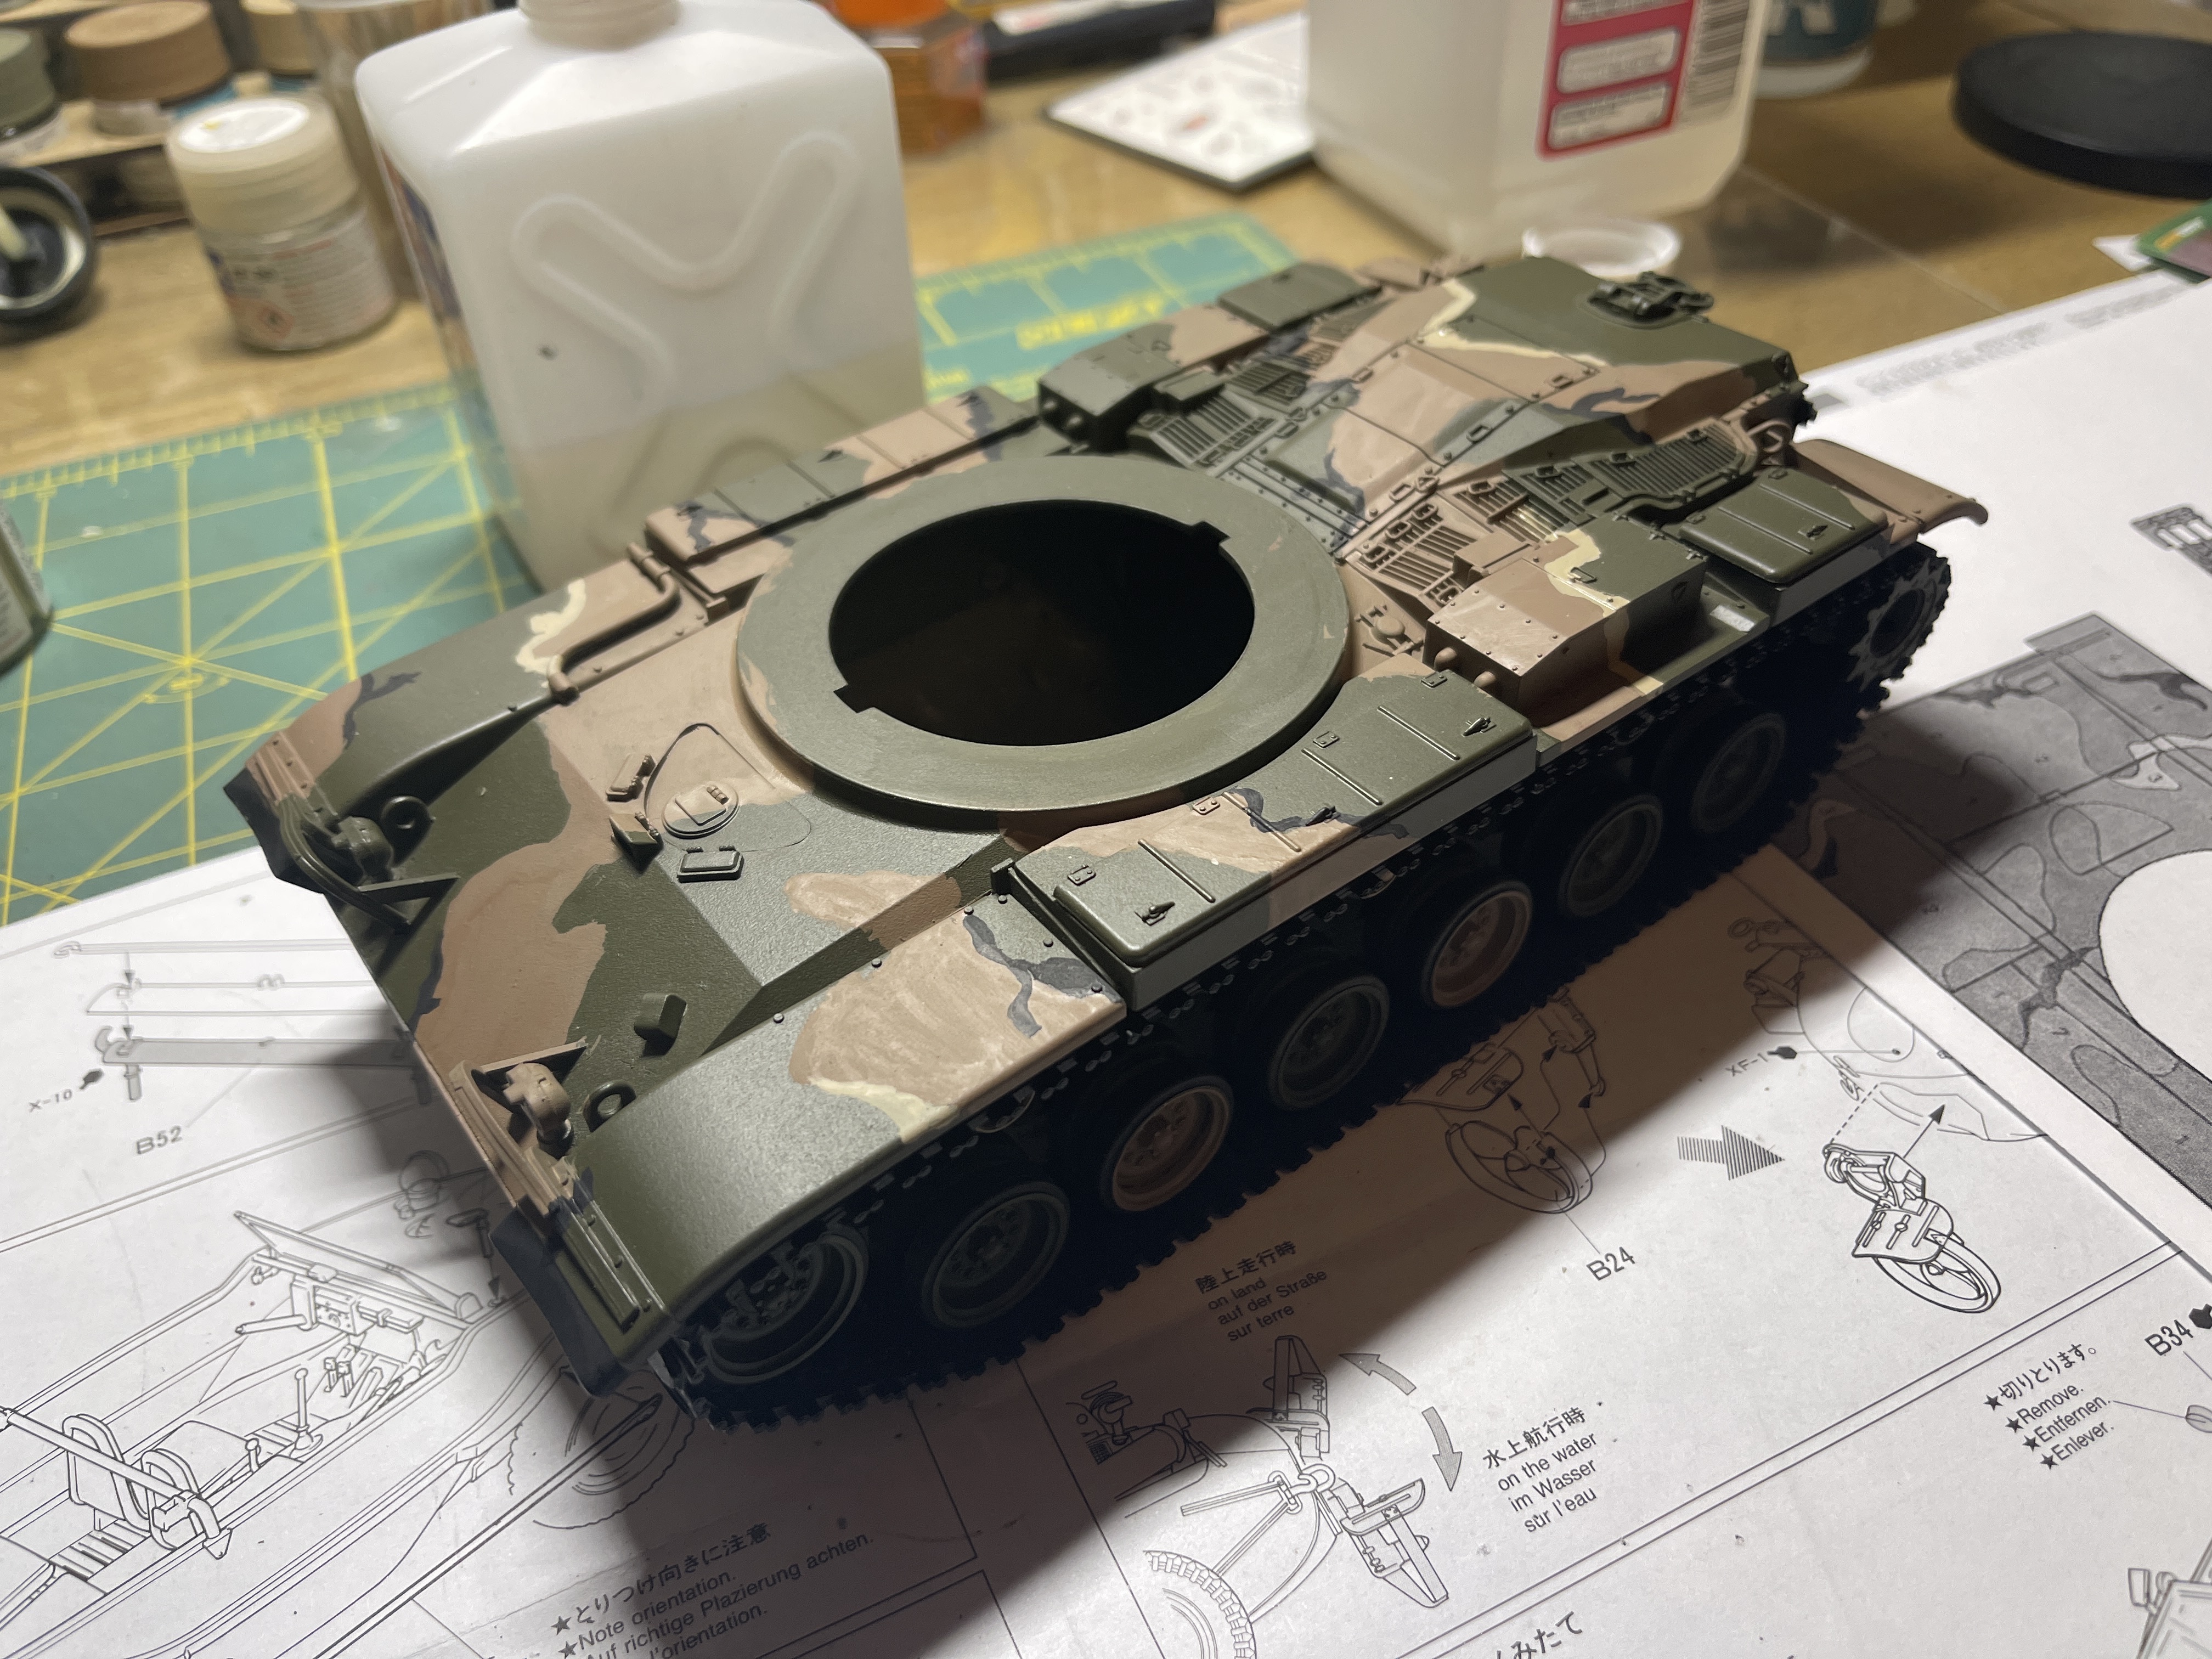
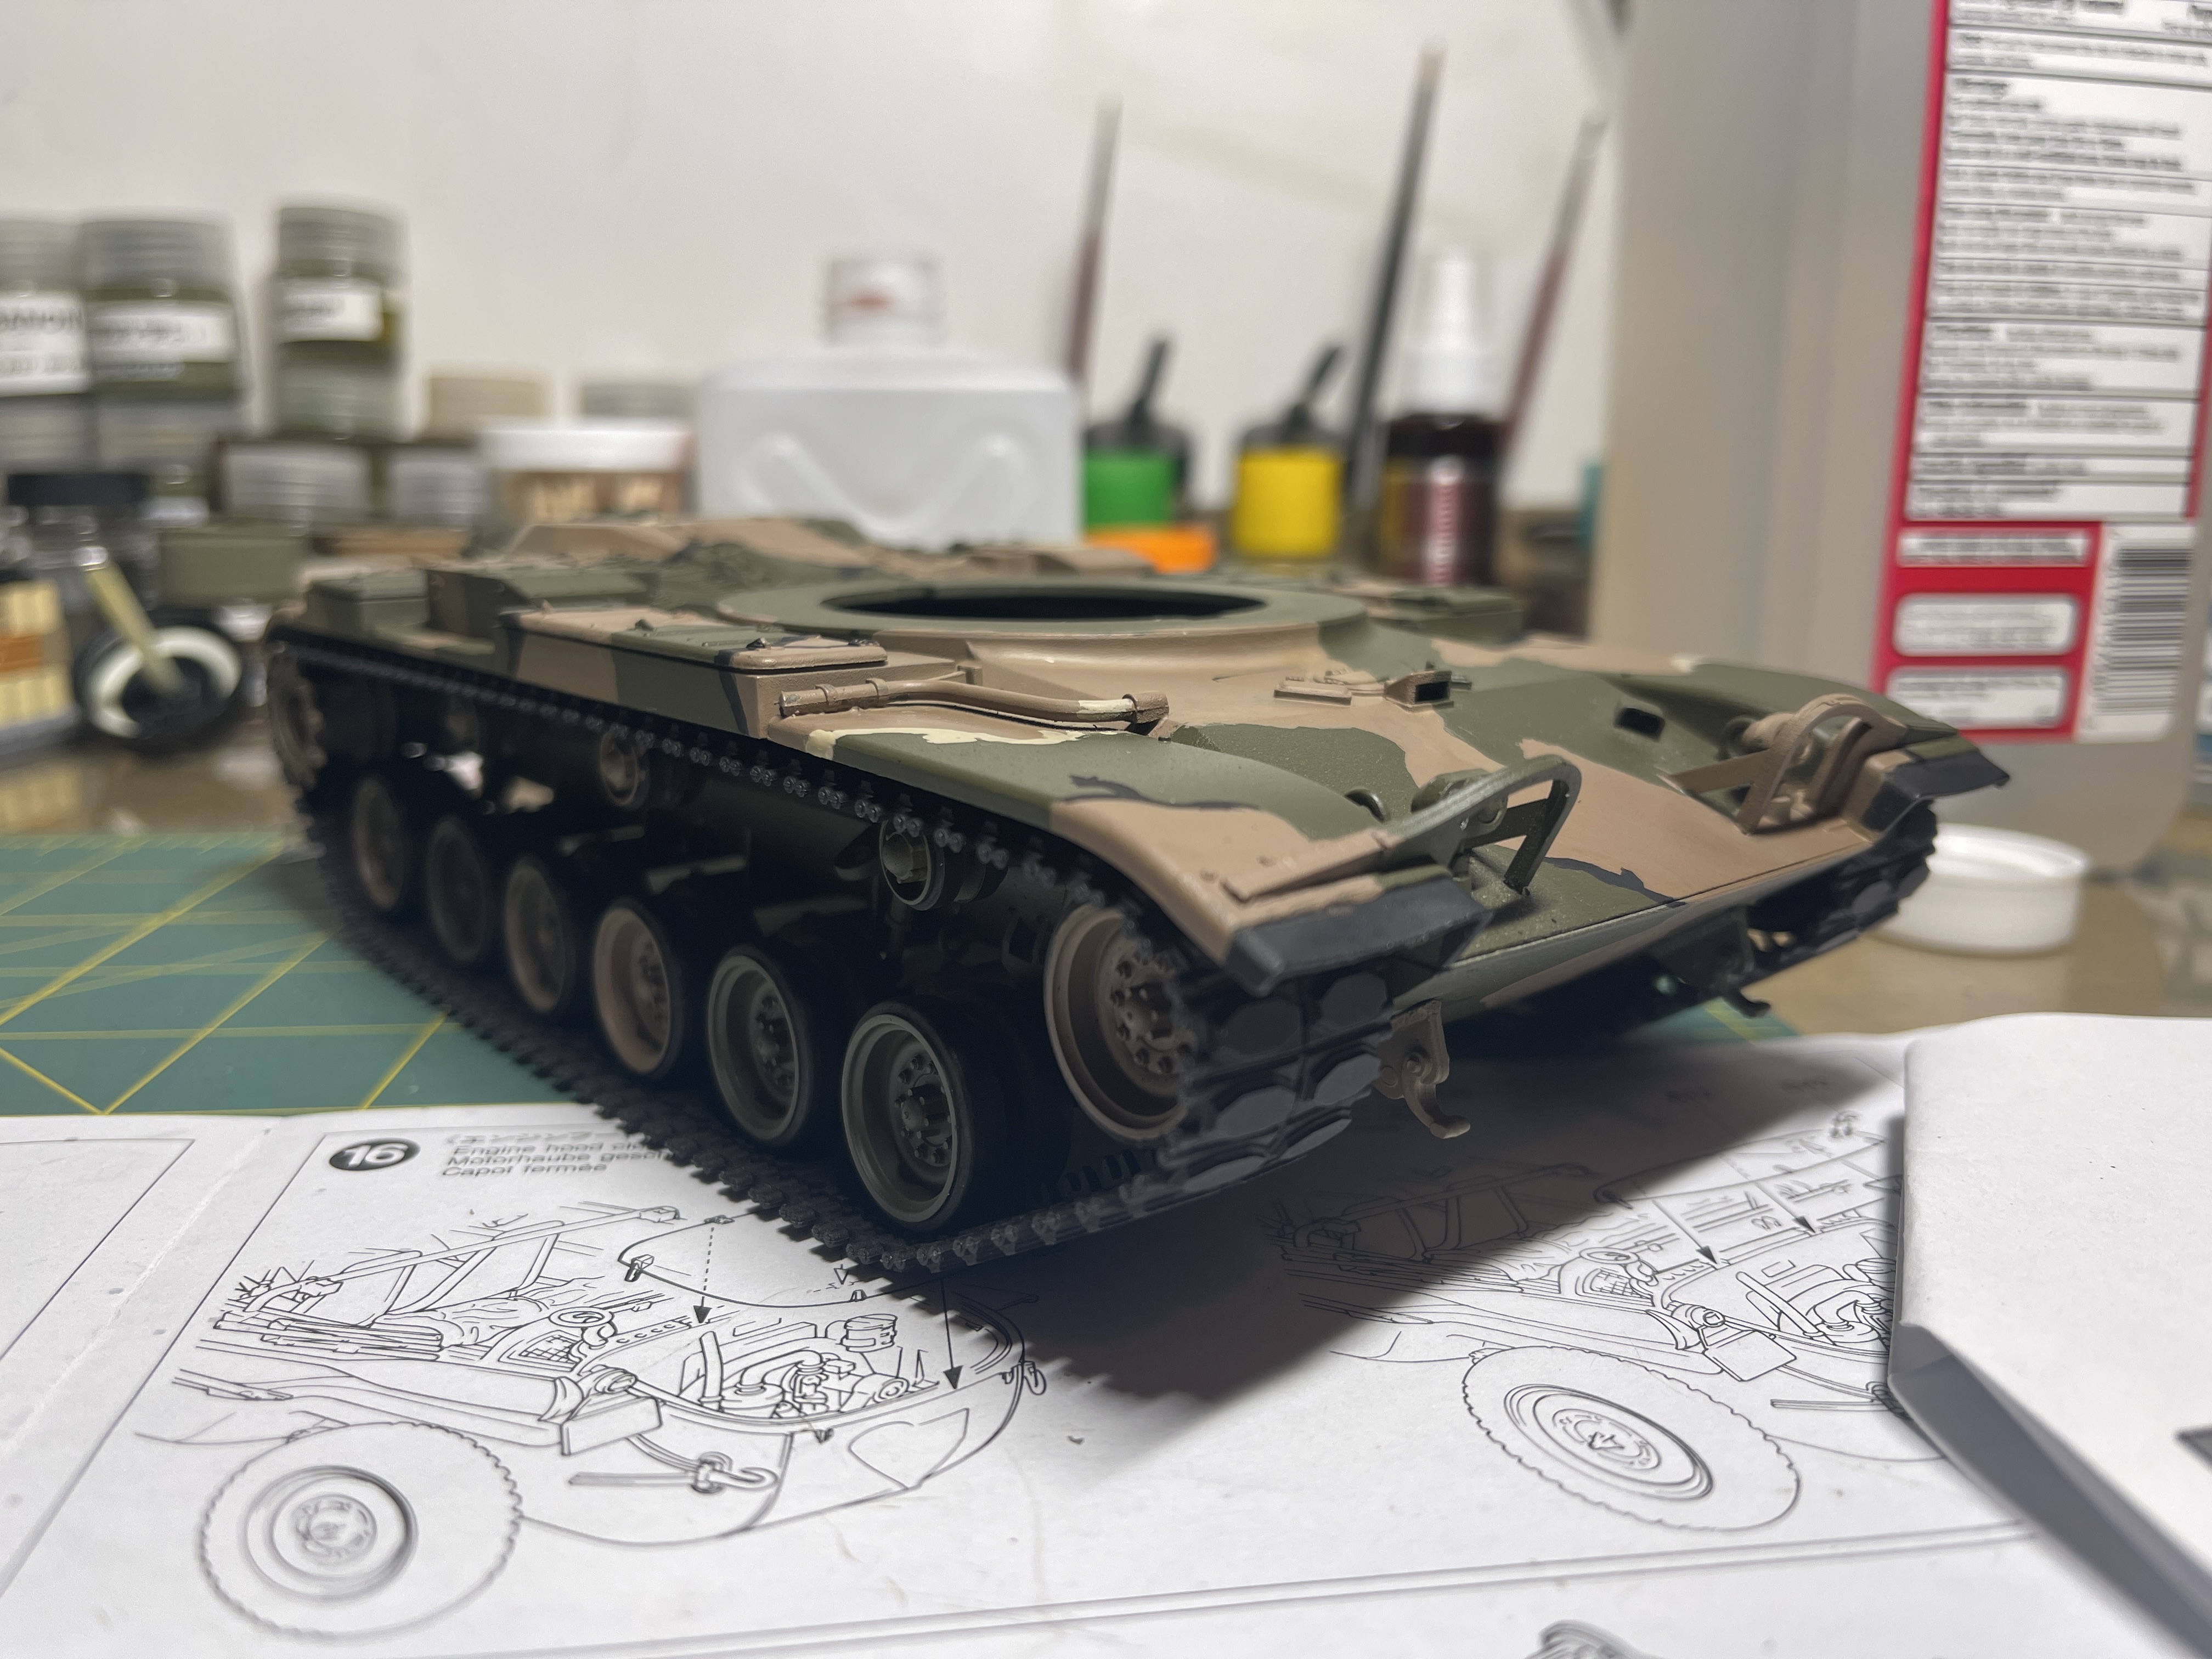
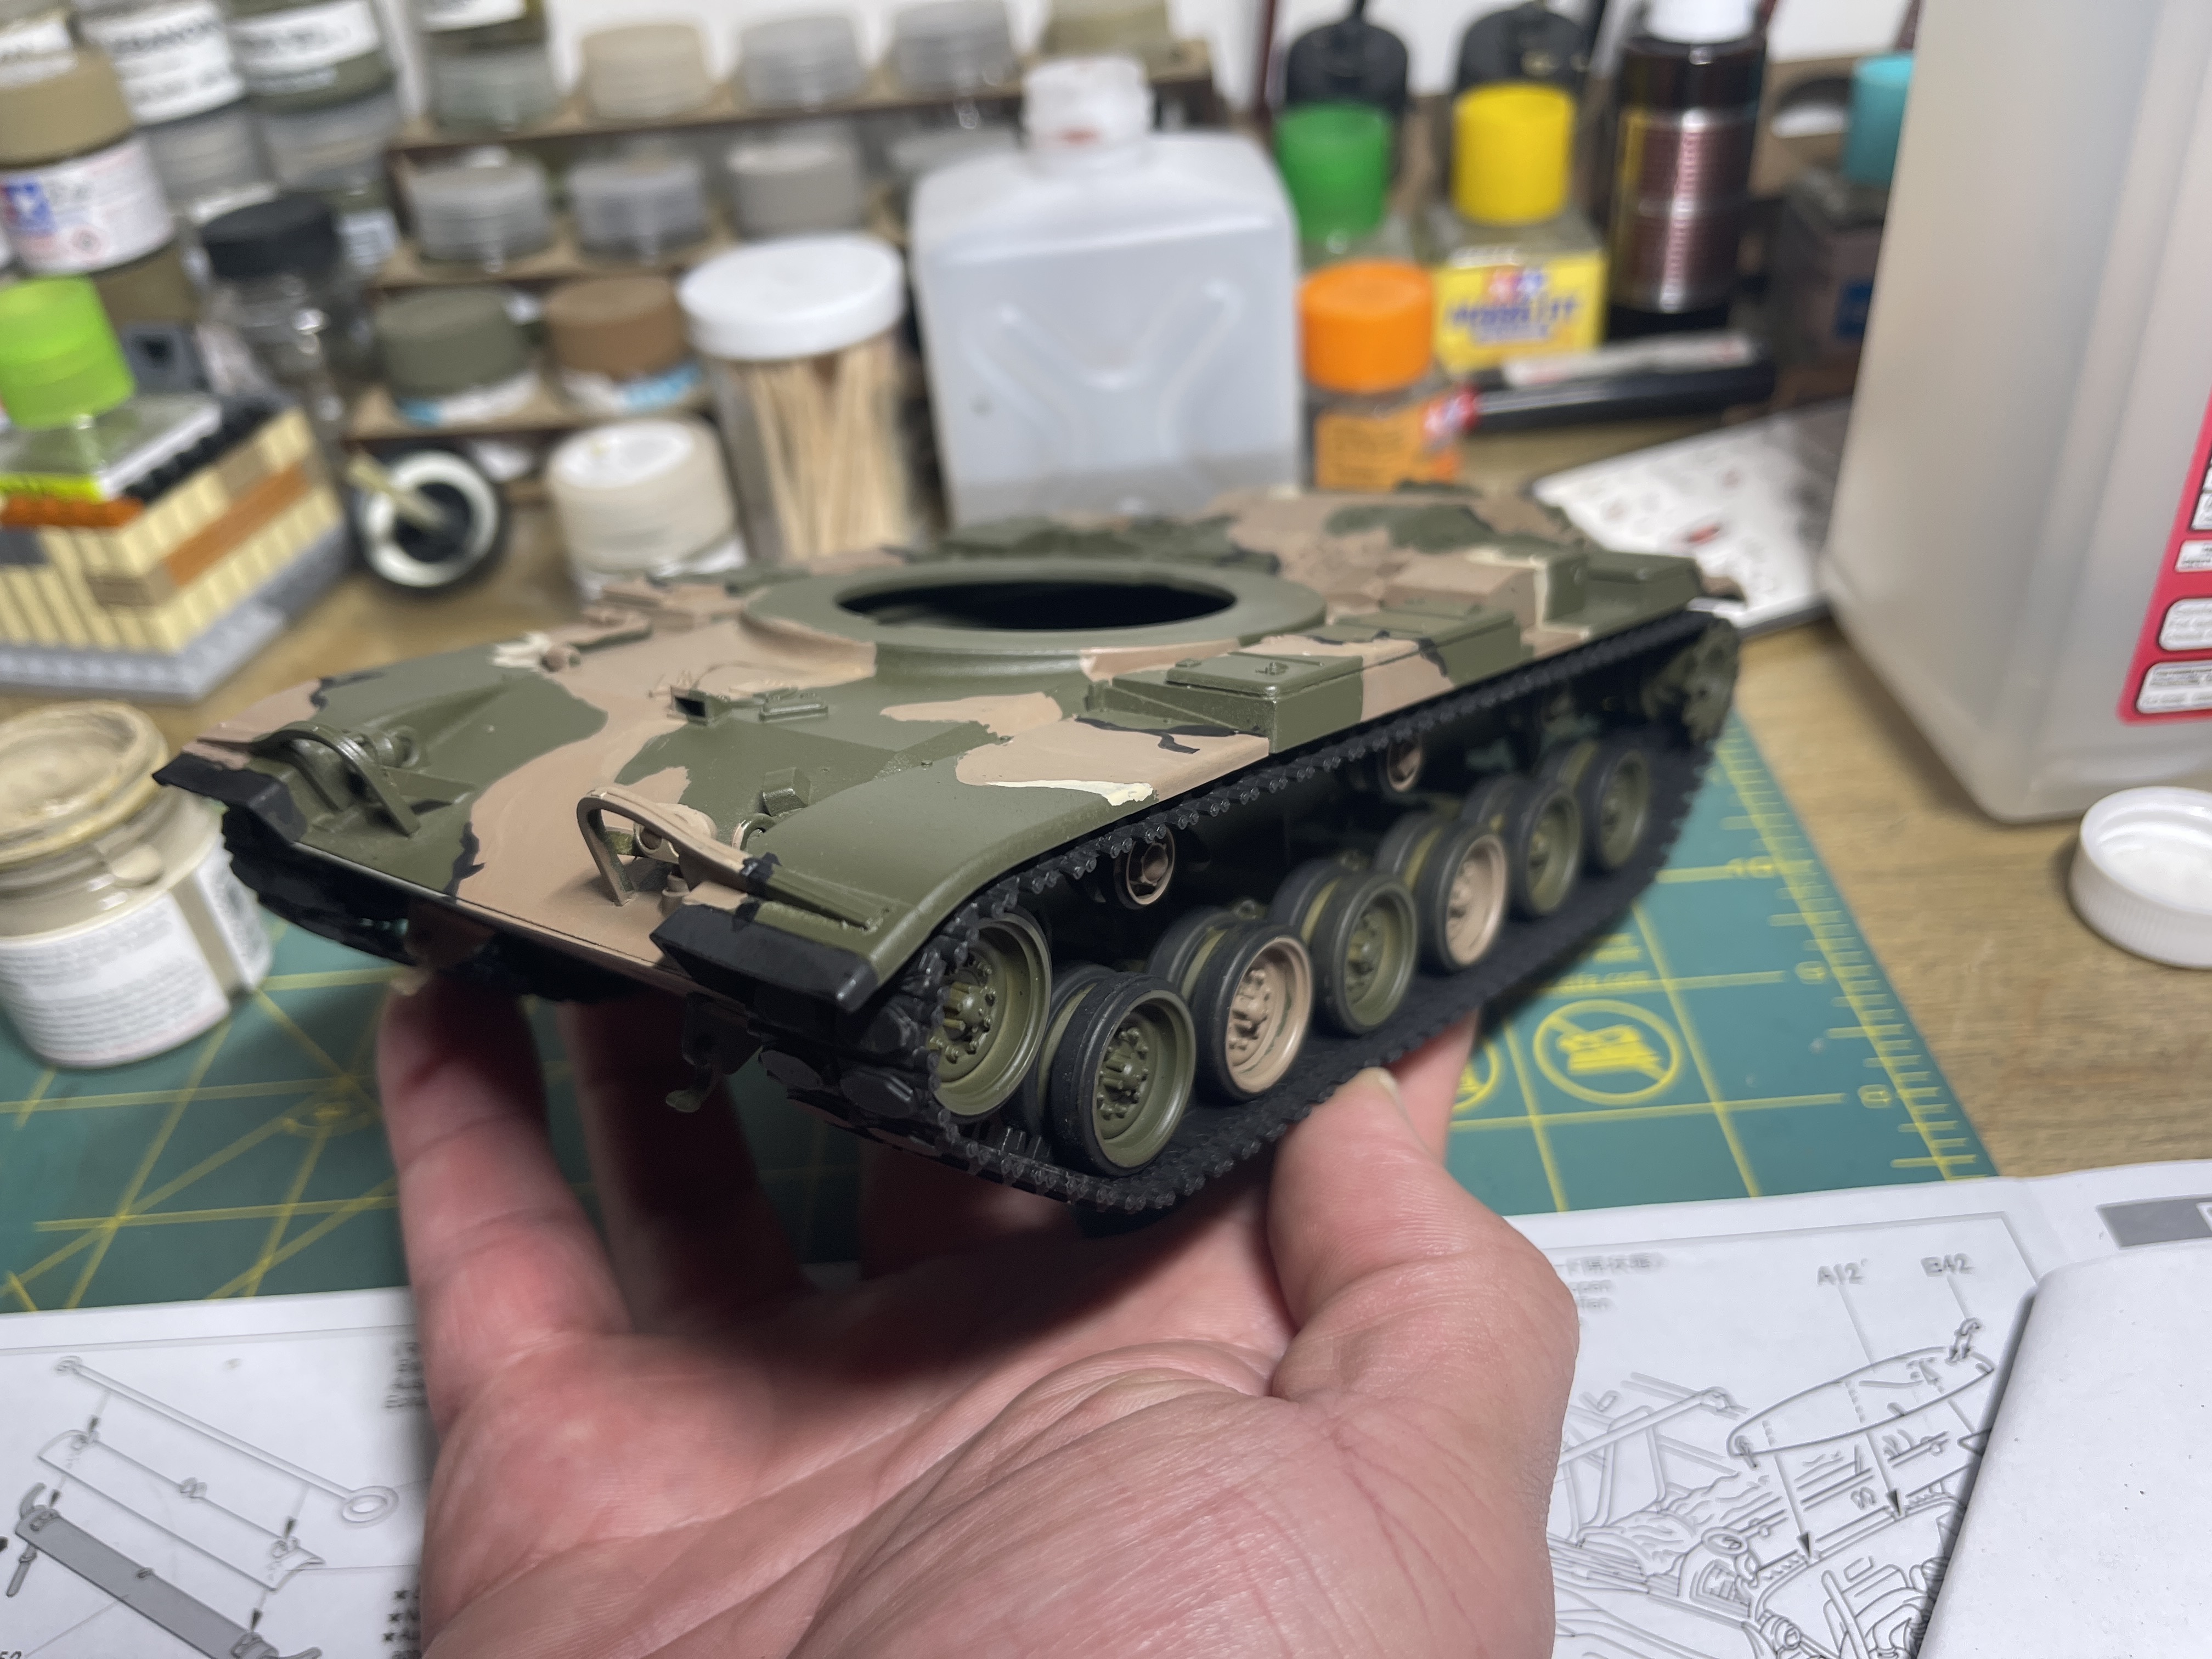
Finally got the courage to start hand painting the MERDC Winter Verdant on my M60A3 “Franken-Tank”.
Since the patterns on these paint jobs were never standardized (just a guy at Brigade Support drawing outlines with a chalk stick at the shop). It won’t be perfect, but that’s how it’s supposed to be.
Added black and buff.
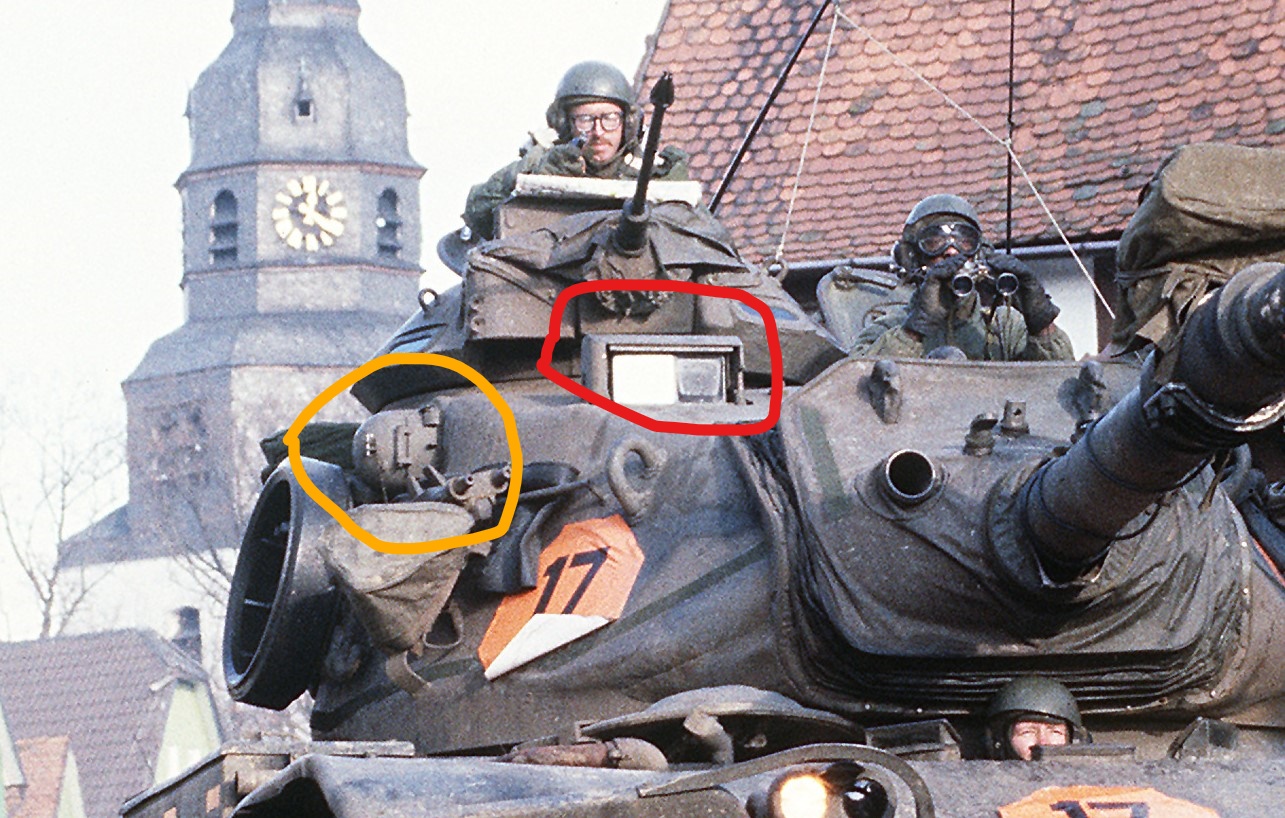
I’m also adding a clear plastic panel to cover the hole on the Gunner’s Sight system.
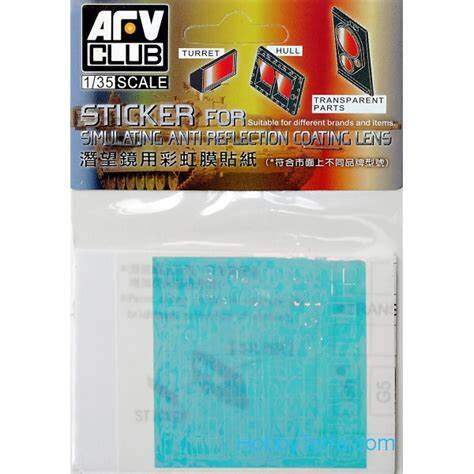
I’ll add a reflective decal from AFV Club to replicated the ARD coating on the tank’s Night Sight.
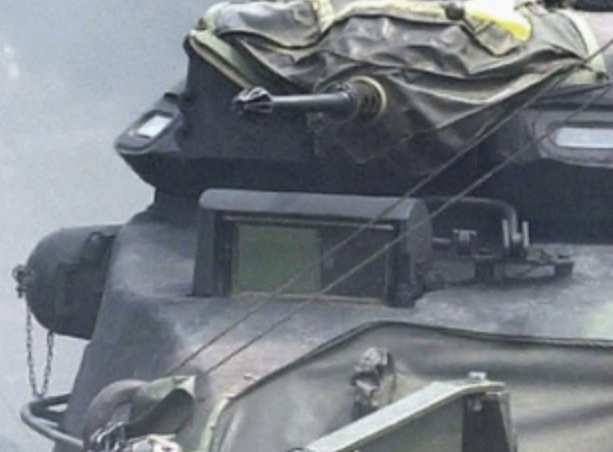
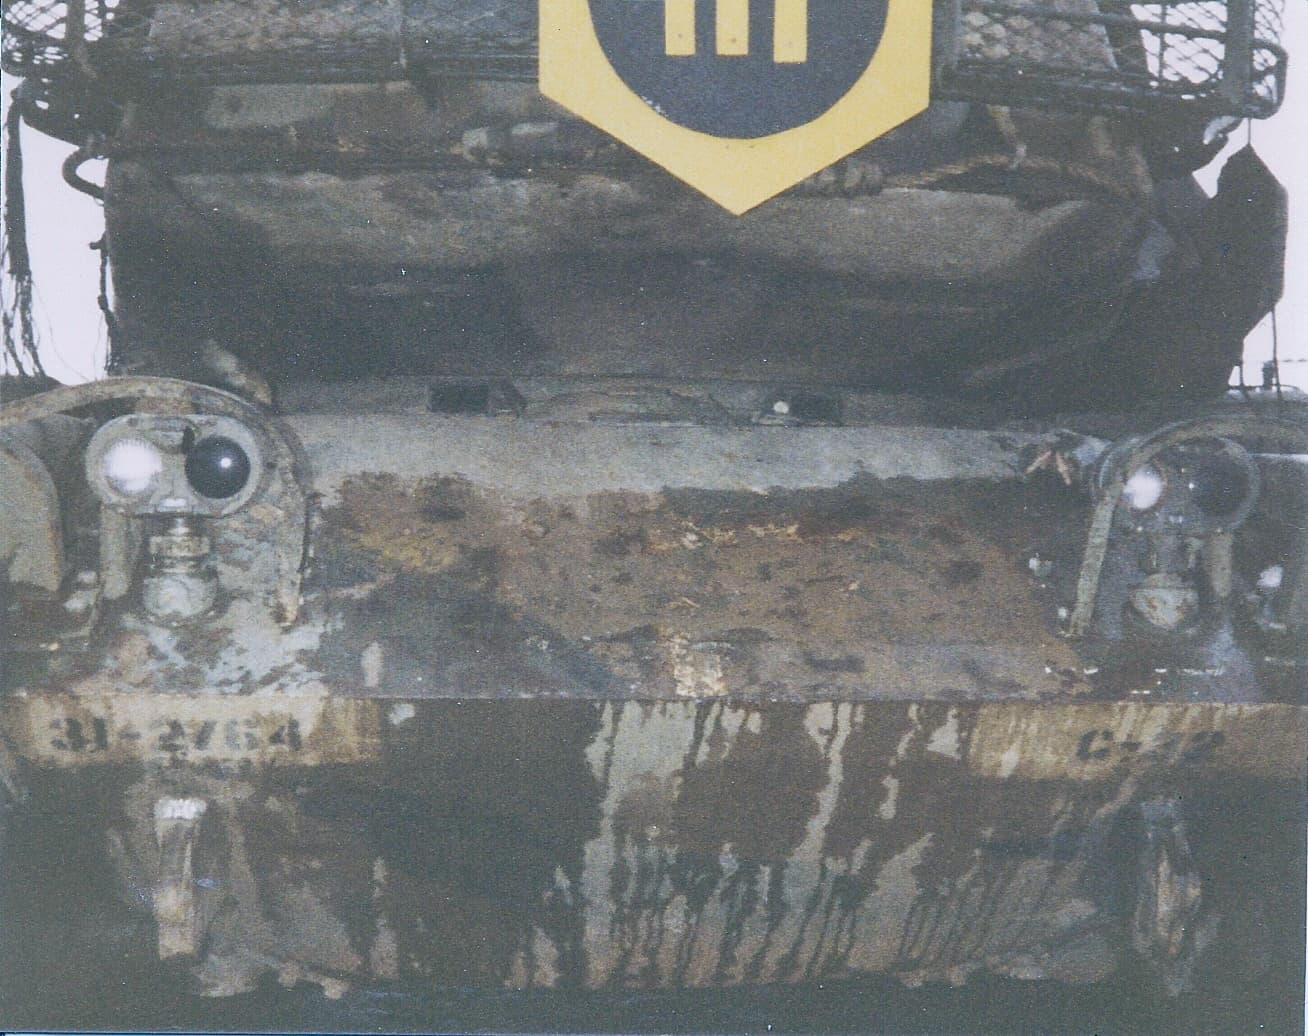
Just a note as a retired M60A3 tank commander. If the turret close up is your kit the gunners sight is split in to 2 sides thermal on the right and day light on the left. The split is very obvious as in the real tank image posted. Also don’t forget the safety cover on the right side blister. It is designed to keep the laser rangefinder safe when not in use. It was not eye safe. It had to be locked when not in use. Keep up the good work. Also some units had no option but to hand paint the MERDC cammo.
I actually used an ERD decal from AFV CLub to replicate the coating on the scope (marked in red).
I will have to cut the old rangefinder (marked in dark yellow) off and glue the correct covered laser rangefinder blister, which I have on my spares box.
Okay, quick question. I have decided to go with the markings of the AFV Club M60A3 for this build.
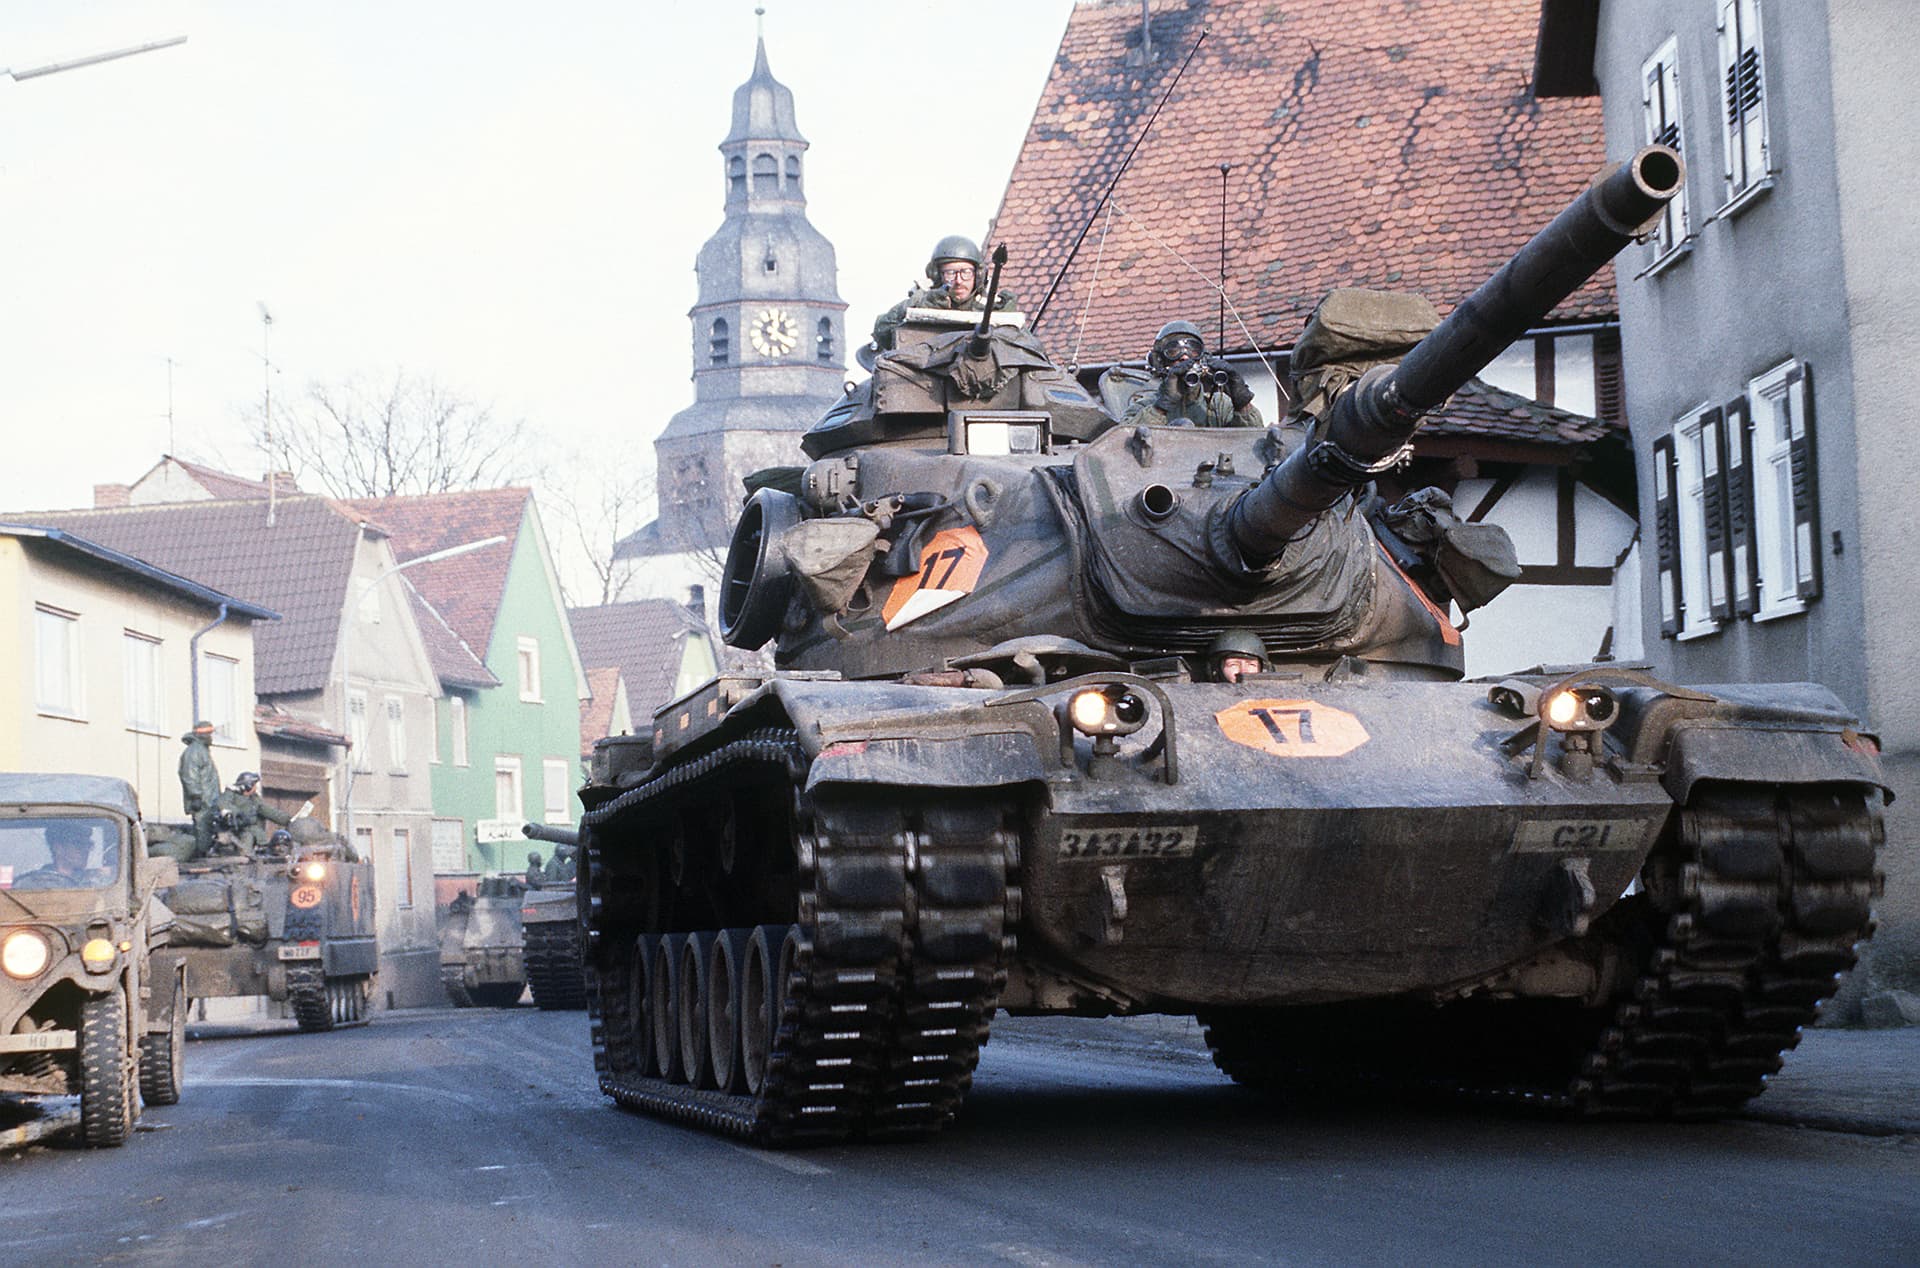
It represents a tank from Charlie Company, 3-32nd Armor, 3rd Armored Division, which is this particular tank during REFORGER '85 - Central Guardian.
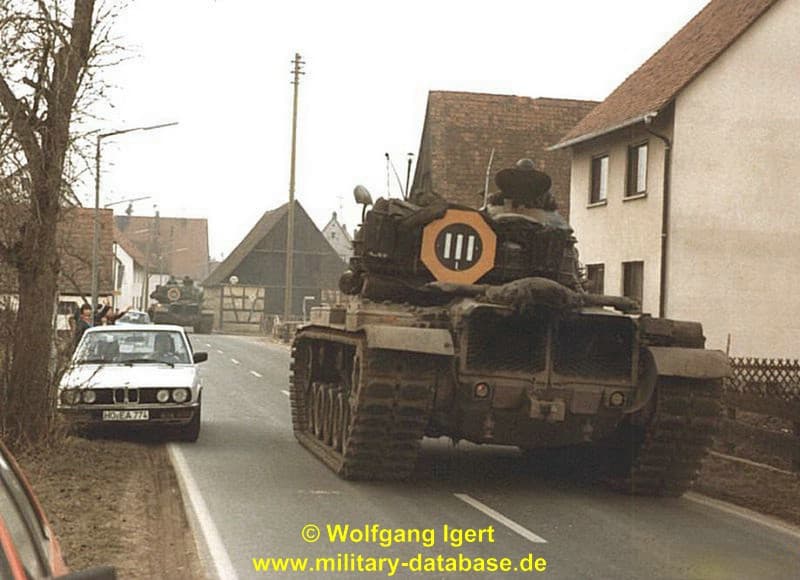
My question is, for all the '60 tankers in this forum. This this vehicle had the unit placard on the rear bustle rack, and if so, what markings were they?
Like this?
I vaguely remember them. It was used to identify the unit and tanks place in it. The shape meant company I’m not sure any more which one. The bars meant platoon and I think the tank number is 1. I tried to make out the bumper number and I think it is 31. That would indicate 3rd platoon tank 1 which would be the platoon leader a 2nd LT. This is a fuzzy memory from the 1980s when we did this in my NG unit. I left the regular Army for the National guard in the early 1980s.
Thats basically it. The outer shape (yellow) identified the battalion. The inner shape (black) was the company. The bars were the platoon. Here is my tank from 1981.