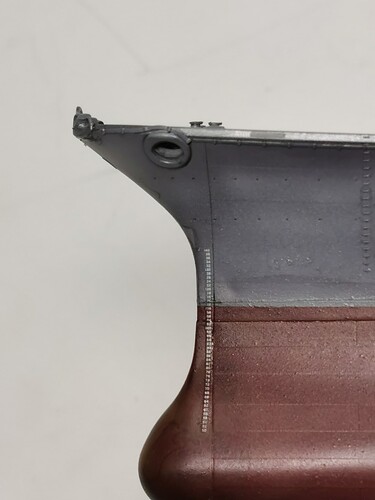
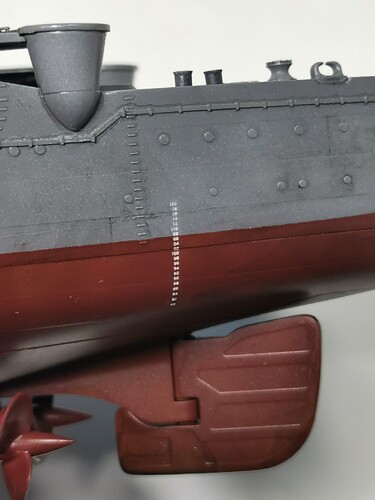
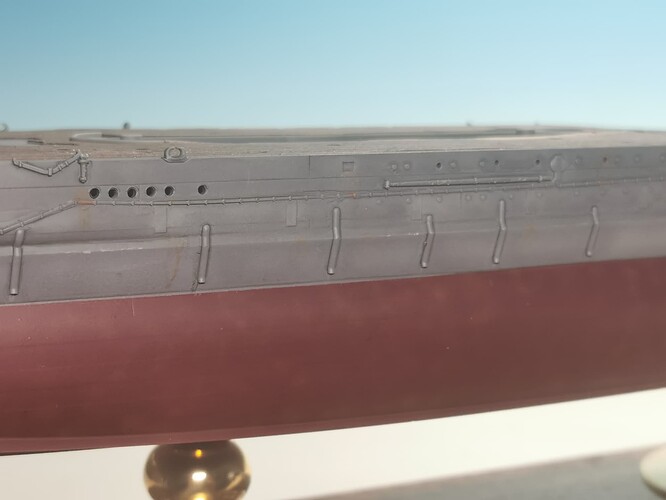
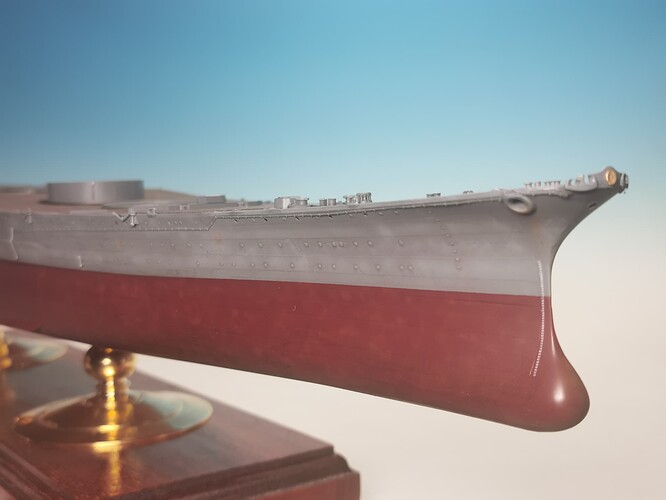
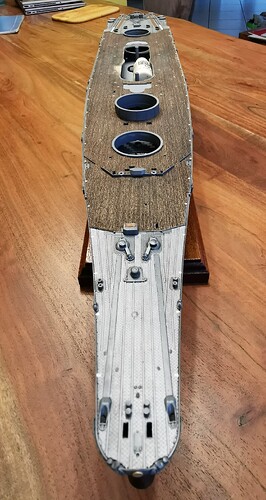
Wow, Thomas! The level of detail is mind boggling! ![]()
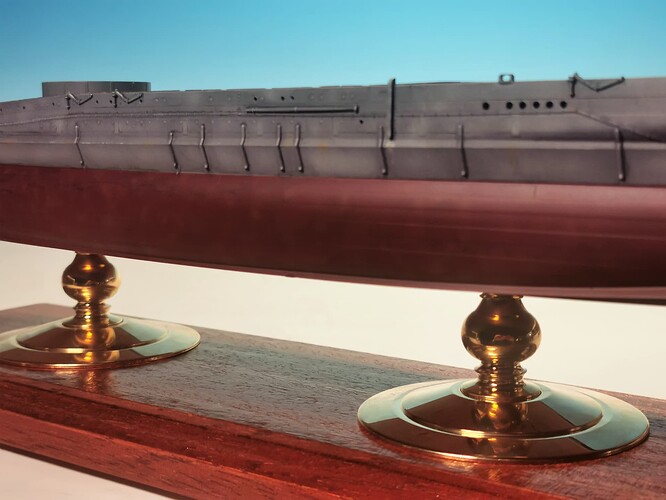
Fantastic detailing Thomas. The paint on the lower hull looks very nice well, nice contrasts and the hanger girder look lovely.
Nice Progress Thomas,
The little detail touches are adding depth.
Cheers, Si
Thomas,
finally reporting on board here, too. Real life wasn’t very model-friendly lately, I hope it’s getting better…
Beautiful and splendid work so far - your usual standards, if I may say so - looking great so far!
Cheers
Jan
Hello Jan; thank you for the flowers and also welcome aboard ![]()
![]()
Continued with applying a thin black wash over the ship´s side surfaces. There is no picture yet as I just need to clean up later when everything is thoroughly dried up. Bevor the wash I spraypainted gloss color above everything and applyied the depth markings
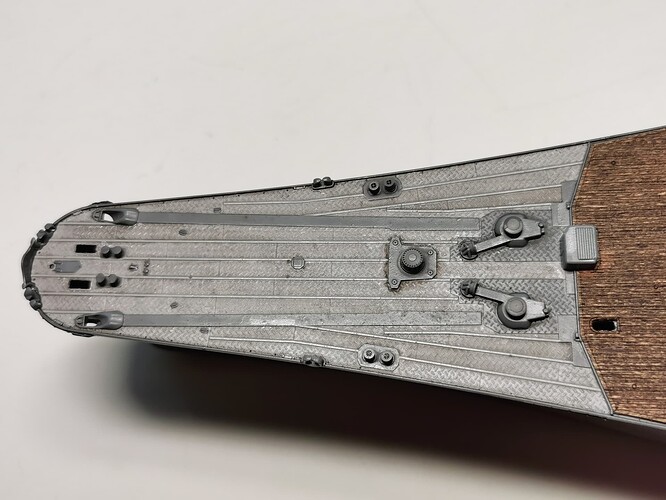
I also painted the forecastle anchor deck with Vallejo 70989 Sky grey as the real ship was painted here with zinc-cromate color as a rust primer. After drying I made some washes with Black glaze. Drypainting, all the small details and the anchors will be added later when the ship is finally resting safely at its pedestal
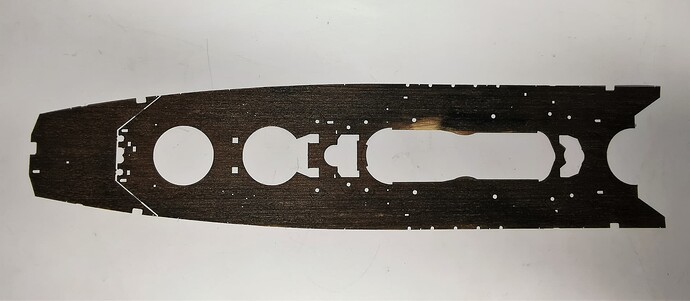
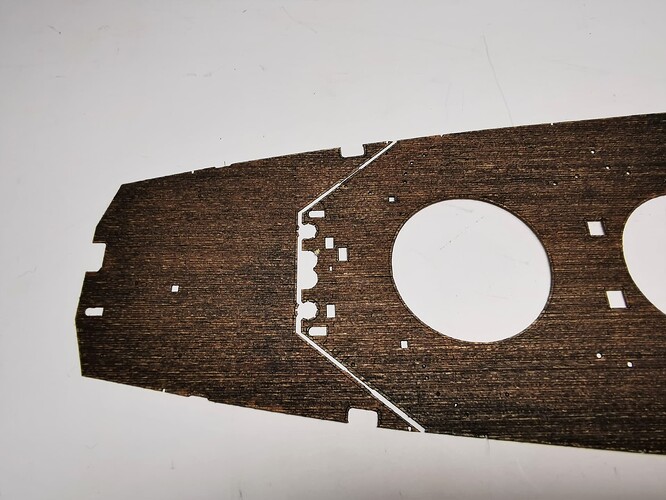
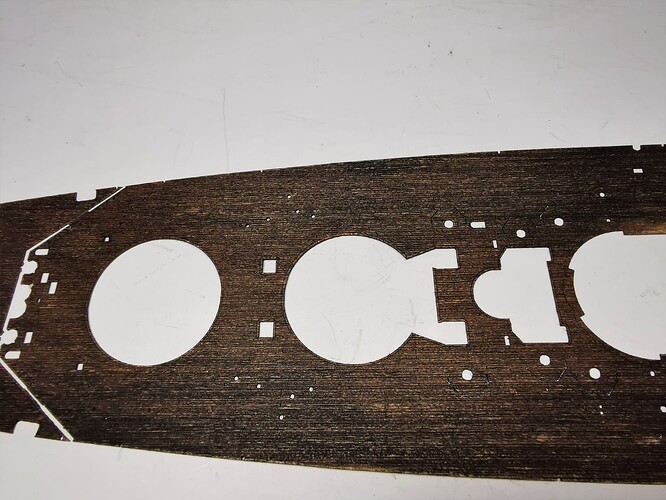
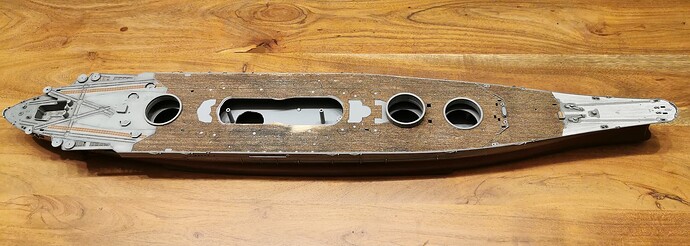
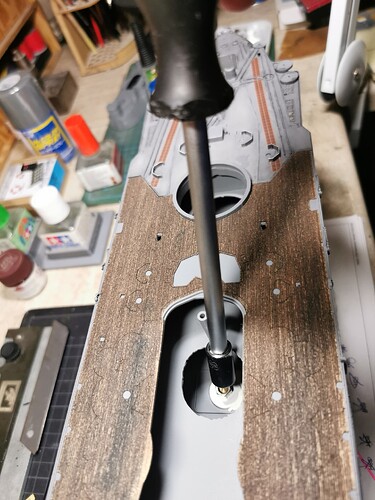
And during waiting for getting the wash dry I painted the wooden deck. It is mentioned by some sources and survivors that Yamato´s wooden decks were covered with soot for camouflage and for a better grip for walking/running around during combat. I therefore mixed burned sienna and black oil colors and painted the decks straightforward. After drying I carefully sanded the surfaces to simulate wear. The decks are still missing the white rectangles all 10 Meters at the deck edges which were applied for better crew orientation at night.
Thats it for this weekend. Thanks for watching ![]()
![]()
Nice update Thomas ![]()
![]()
Thank you Thomas, and very nice update! The deck looks good, so does the forecastle with the washes!
Cheers
Jan
Enjoying your Build updates Mate…Cheers Mark
Monstrously magnificent & mind-boggling model-making…mmmmm ![]()
![]()
![]()
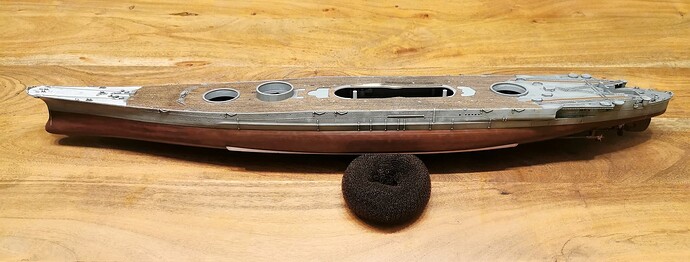
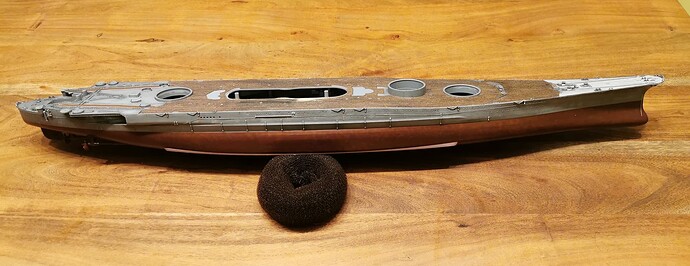
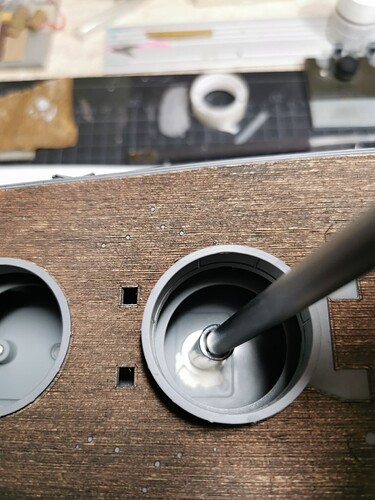
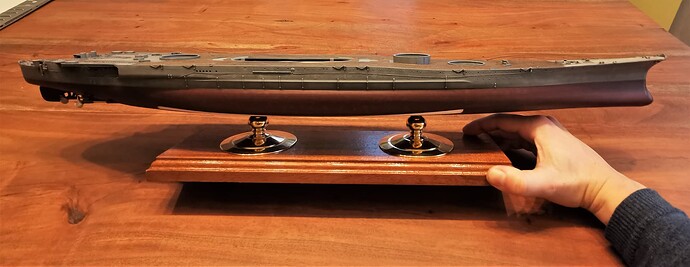
Hello mates, today I can show some serious progress: I glued the blackened wooden deck onto the ship´s hull and sealed it with flat enamel. I think I have nailed the look of the real one ![]()
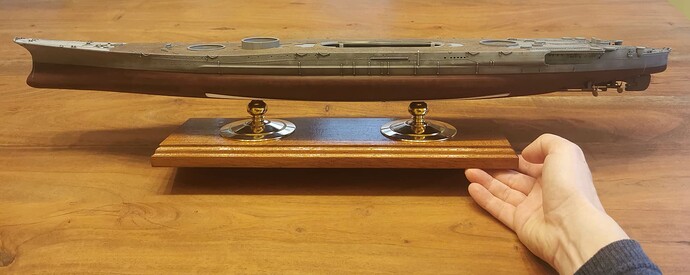
I then used the wooden pedestal and screw it together via the glamouros pontos Type 90 brass pedestals with the ship
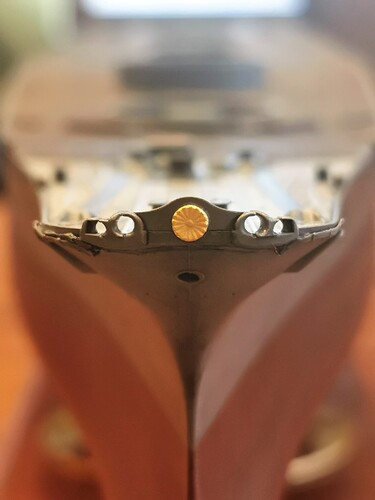
The Imperial kikkumon chrisantemum seal (real gold piece from KA1 upgrade set) was also placed at the ship´s bow
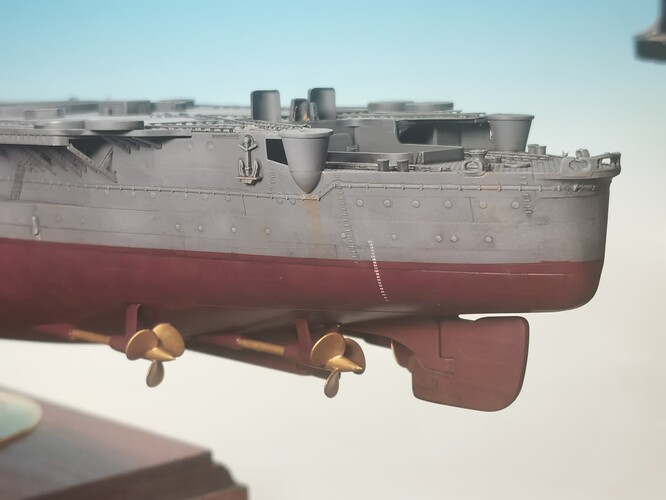
With the pedestal securely fixed, handling of this huge ship is more comfortable and safe now. I made some soft washing and very light rust effects on the ships sides (this flagship was kept in pristine condition until the very end, thats why I kept back with overdoing rust effects). Propellers and shafts were painted with enamel brass color
Tamiya also provided the ship´s name in white Katana for the aft part of the ship. I would have loved to show it but IJN deleted the ships names after start of hostilities against USA in 1941. So I kept it off, too.
Next are the small white rectangles all 10 mtr. along the outer ship´s deck. These rectangles were applied from October 1944 until the End in 1945. My reference book says this was for better crew orientation at night.
Cheers ![]()
![]()
You are going such a great job with this Thomas…she is looking magnificent ![]()
I really like the way the wooden deck has come out.
Thank you very much, I am happy you like it ![]() . Actually I was a bit afraid with oilpainting the deck at first - never did something before and I just had one bullet for it in the revolver. But luckily it worked nicely. Just after spraying the matt seal cote some small wet areas of the wooden deck popped up but after pushing it at the surface it kept sticking again until now
. Actually I was a bit afraid with oilpainting the deck at first - never did something before and I just had one bullet for it in the revolver. But luckily it worked nicely. Just after spraying the matt seal cote some small wet areas of the wooden deck popped up but after pushing it at the surface it kept sticking again until now ![]()
![]()
For all of you who are interested to see more of the interior details of the Yamato: I just found by accident an interesting three part walkaround inside the ship from bow to stern. Don´t know if all details are historical accurate but nevertheless I found it very interesting - even if the female voice is a bit unnerving to me. Would also have loved to have some english or so subtitles for any understanding
Part 1 (ship´s main deck)
Part 2 (aircraft and boat hangars, galley, crew and captains quarters)
Part 3 (funnel, main superstructure, bridge, top rangefinder)
have fun ![]()
Yesterday evening I painted all these small white rectangles which were all 10 mtr. along the outer ship´s deck. Also the two white stripes at the aircraft hangar were done. These rectangles were applied from October 1944 until Yamatos last mission in 1945. These were meant for better crew orientation at night.
I used Vallejo 70837 pale sand which resembles very good a worn off white. First I tried to mask all these tiny rectangles but in the end I made them all faster hands-free at last without any problems.
Next I will add some small deck parts and missing stairs at the aircraft deck before I will start some superstructures ![]()
Hi Thomas,
the deck comes out great! I can very well imagine that a soot-stained wooden deck could have looked like this, the impression is very convincing.
The hull on the pedestals just looks great, your weathering is very convincing - and she is one beast of a ship, that impression is already apparent!
Cheers
Jan
Some very nice looking progress!! Love the deck, keeps the looks of the wood planking and grain whilst looking as dark as it should.

It is looking magnificent… Love watching these behemoths get built with such a skilled approach ![]()
Thank you all for your warm words, I do feel honored ![]()
![]()
Ahhhh I do so love the doffing of the cap … thank you sir ![]()
