Naval Air Campaign

Mead! That is one sexy looking flying dump truck!!

1 Like

Fantastic work with the build so far and the masking on the stars and numbers and arrow has worked fantastically, they look superb and really worth the effort.

1 Like

Thanks @Johnnych01 and @john41492

I am pretty happy with how this one turned out! I’ve since applied all the stencils (88 of them) and applied a panel line wash. Needs to add some pin washes tonight, and detail paint a few items. Then it’s flat coat, some streaking, exhaust stains, and dry brush and she is done! Hope to have it done tomorrow

3 Likes

Really nice TBF!

As for me, I’ve stalled out and spun in on the big SBD. I’ve started a real rarity in my stash, an unopened kit:

I realized that this is the 80th anniversary of Operation Torch as well, so planning to do a Wildcat from VF-41. I’m only using an Ultracast resin seat with cast on belts, otherwise out of the box. Maybe I can finish this one.

One of the biggest issues with the Tamiya kit is the cockpit floor. This just isn’t right:

20221016_151532

There’s been much wailing and knashing of teeth about this over the years, but really, it’s a five minute fix:

20221016_152701

OK, on with the build!

Michael :stuck_out_tongue:

5 Likes

Hi Everyone,

Michael, nice choice and great point. Cutting out the floor is really easy, just did it on the two I’m building for the Guadalcanal 80th campaign. I also used the Ultracast seats, which are nice, but know that you’ll have to play with some bits of plastic under them to get the space between the seat and the back bulkhead. I look forward to seeing a Wildcat that is a bit lesser known.

In my last update I’d gotten the Vindicator up to the painting portion of the build. My goal here is to try and replicate the paint job from White 6 flying out Midway at the end of the battle. Hopefully it’ll look something like this.

Though typical with this build I’ve messed it up already, as I removed the baby bombs from the wing pylons, and the grey and blue demarcation line is off. Oh well, for me the fun/challenge will be getting a good representation between the metal and fabric covered areas. Considering there’s a lot of fabric on this bird it could prove quite a challenge.

First off, I painted the underside in what I call PTO grey early, which is Tamiya sky grey and white mixed 50/50 and diluted 1:4.

I then flipped the bird over, and turned my focus to the canvas portion of the airframe. These areas were given a tight mottling of white. This was then bordered with my early PTO blue/grey, Tamiya medium blue XF-18 plus white at 50/50 and again diluted 1:4.

Next, I mottled the metal areas to give them a well-worn appearance, then applying more coverage with a even more diluted solution of the blue/grey (~1:10).

I then went over the fabric areas with the diluted blue and found myself having to take a step back as it became much to blue compared to photos, once lightened with some dilute white, I masked these areas off so that I could focus on the metal portions and the demarcation line. To facilitate this I added some more random mottling of white.

Once complete I was pretty happy with the outcome.

I proceeded to then work on the canvas areas which were way too light, so I took some white and lined in the fabric seams, with the hopes of blending these to get a more faded effect.

I then proceeded to blend in the blue on the canvas areas with the diluted blue color.

Well, that was easy! I’ve given the bird a nice clear gloss, so that I can begin doing the decals.

Till then, have fun modeling!

5 Likes

Well that’s a wrap! More photos can be found here TBM Avenger Okinawa (finished) - #8 by Armorsmith


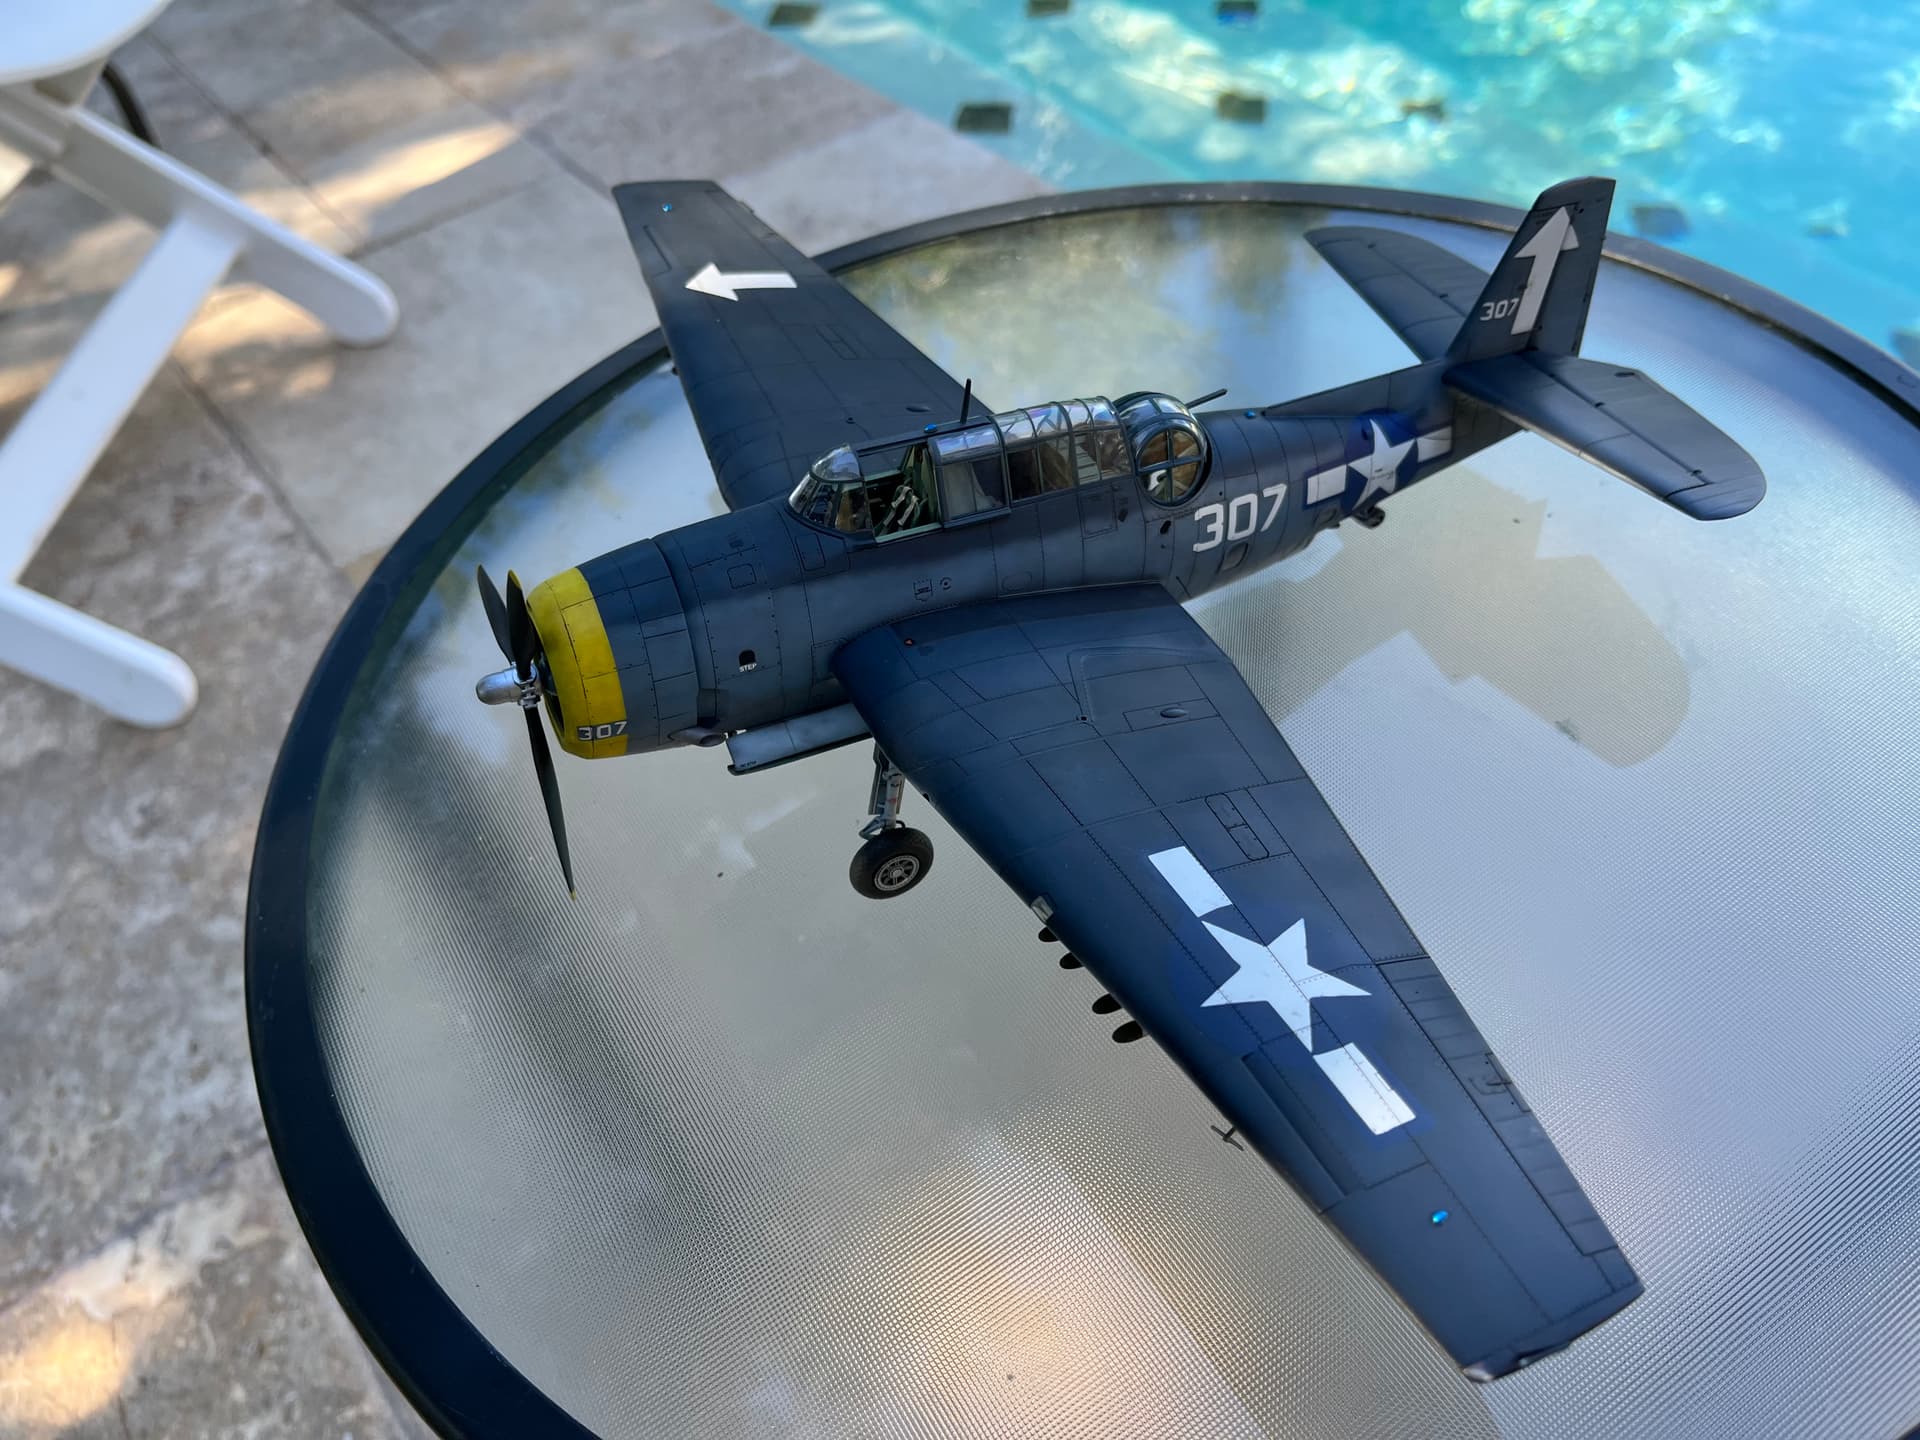
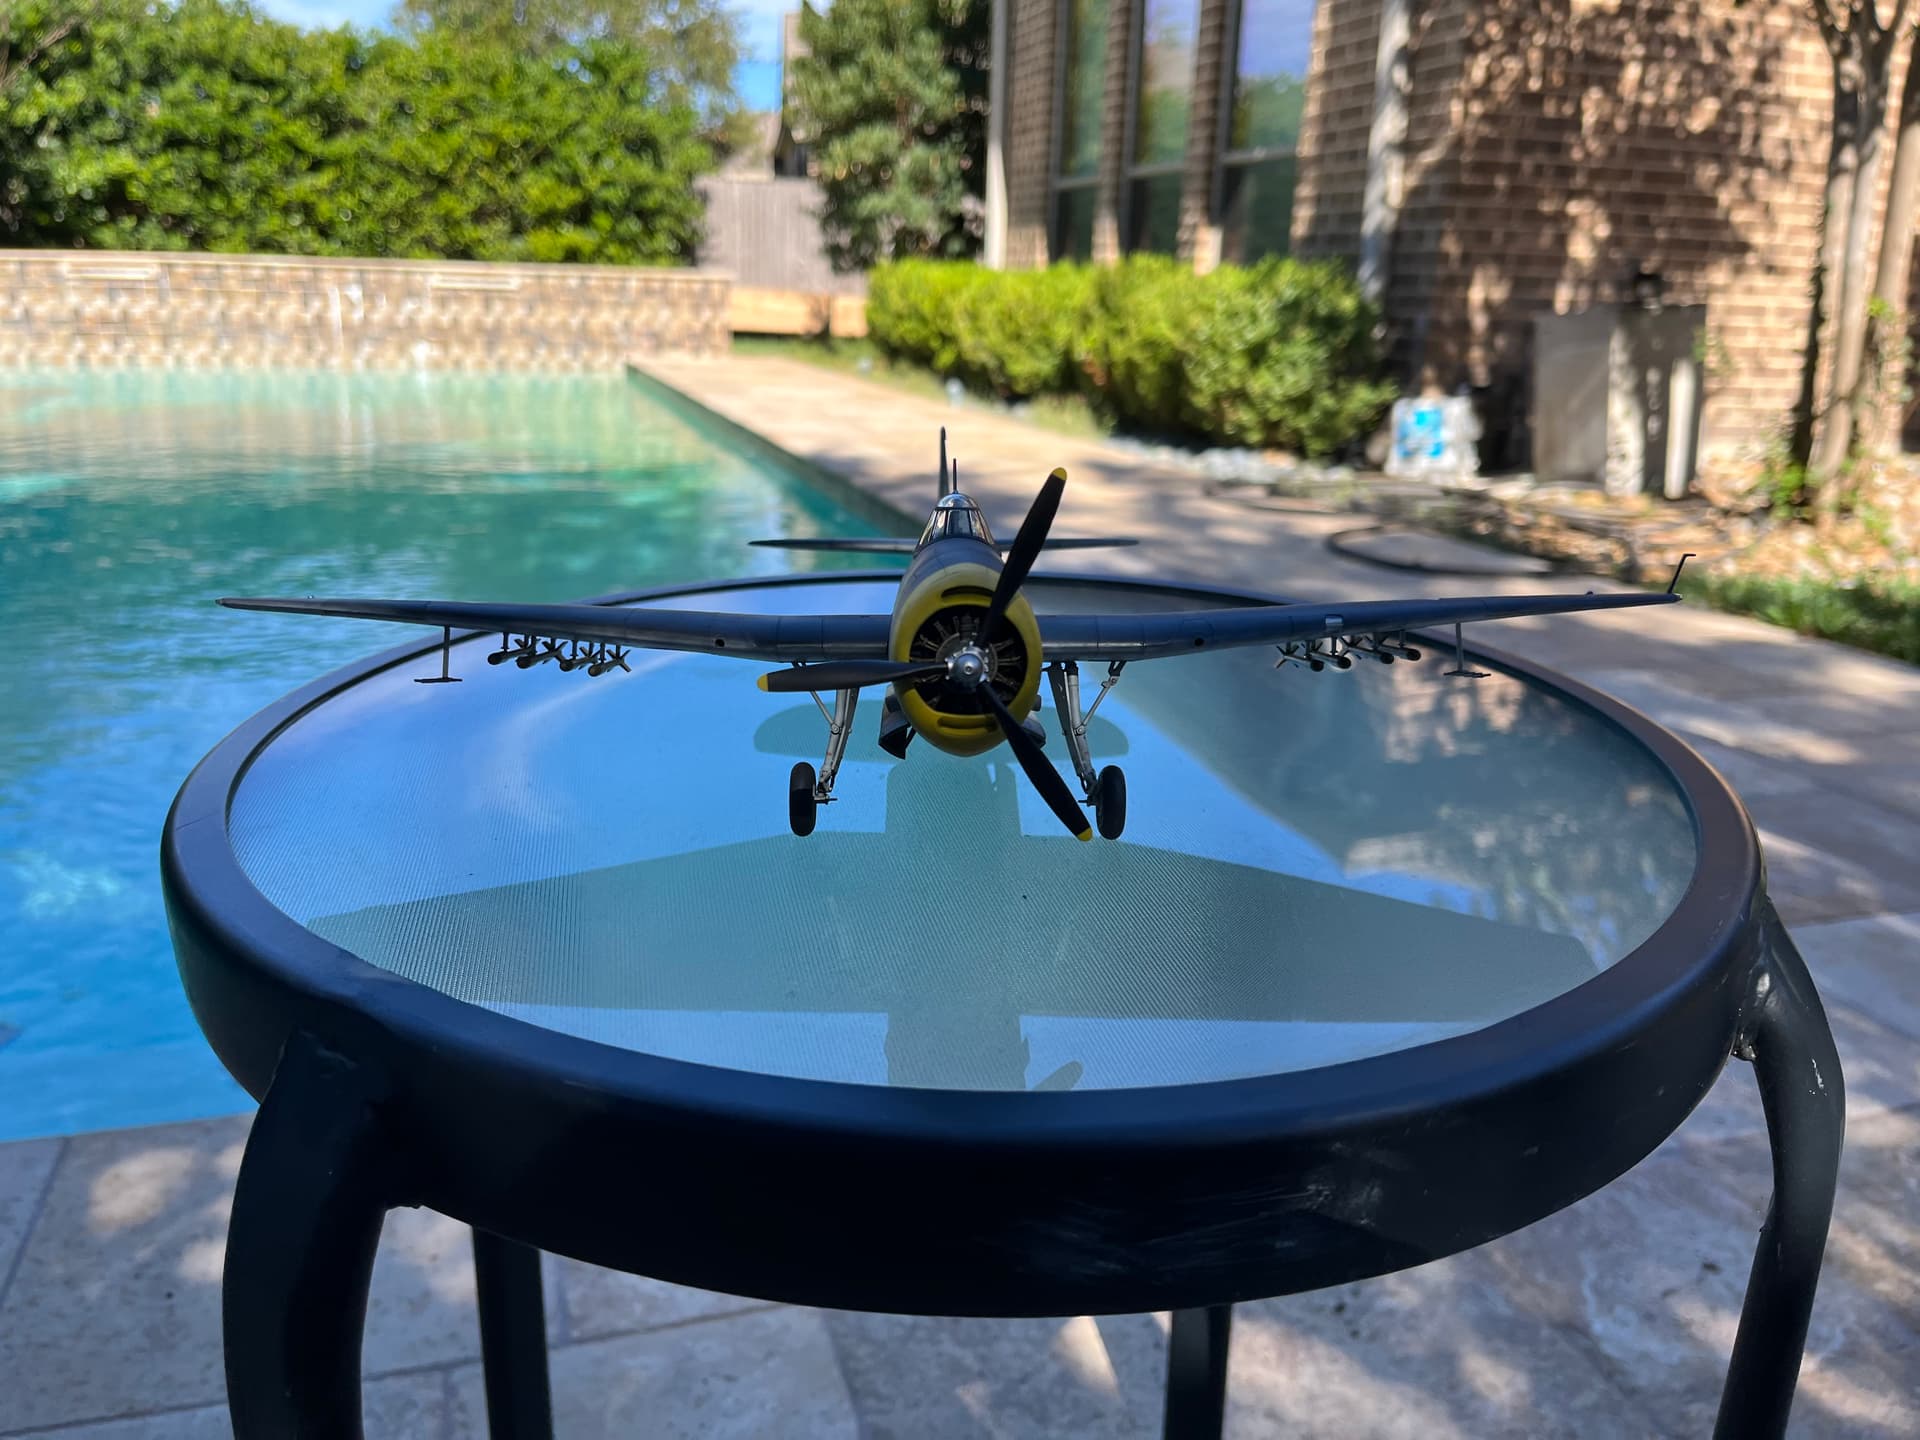
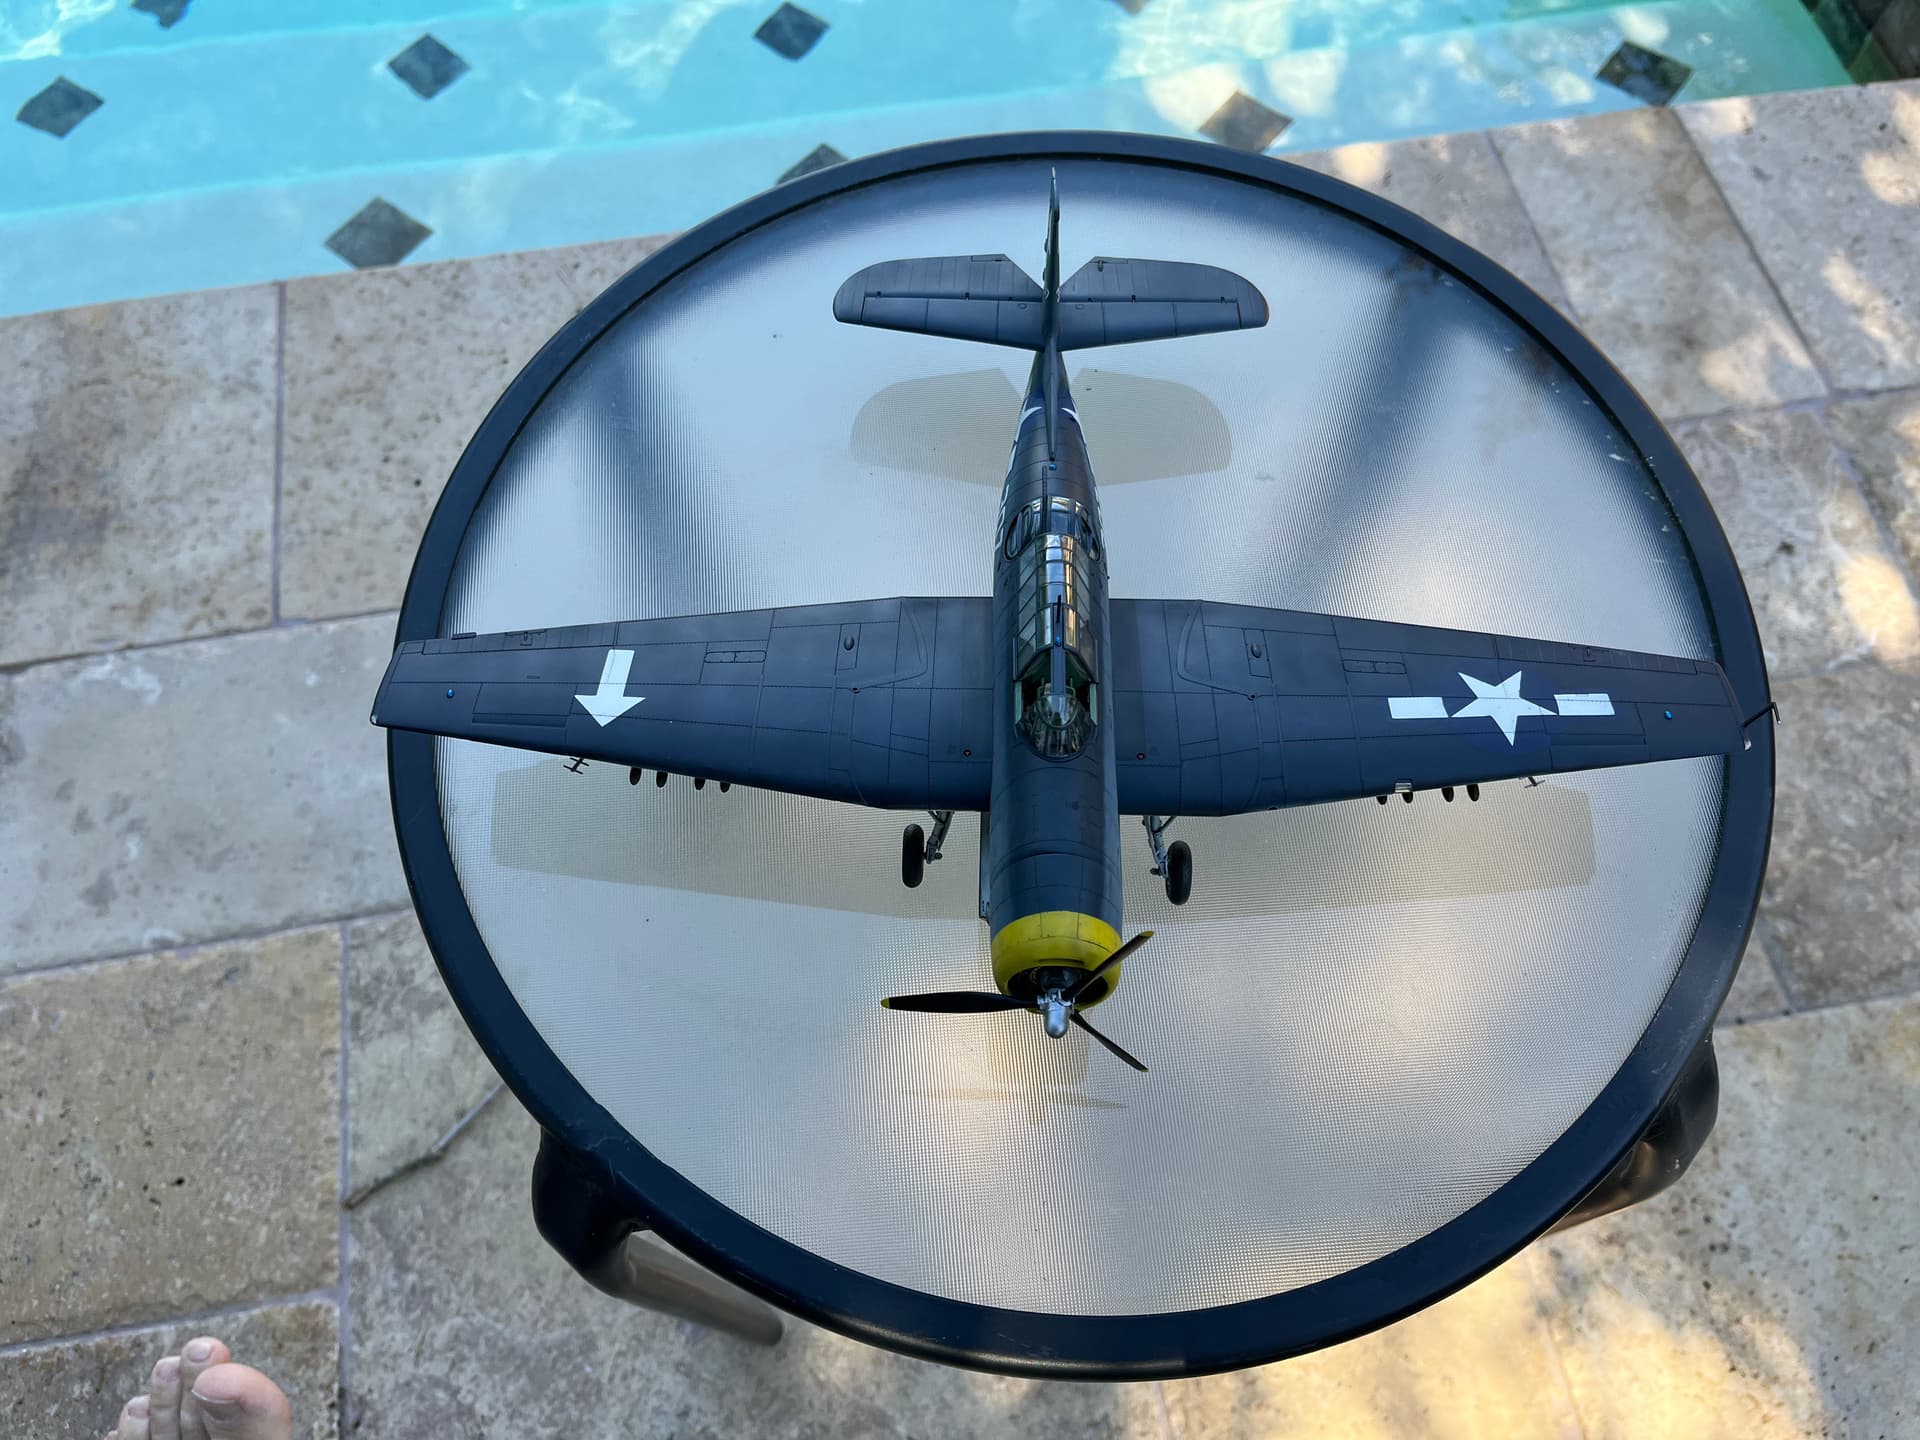
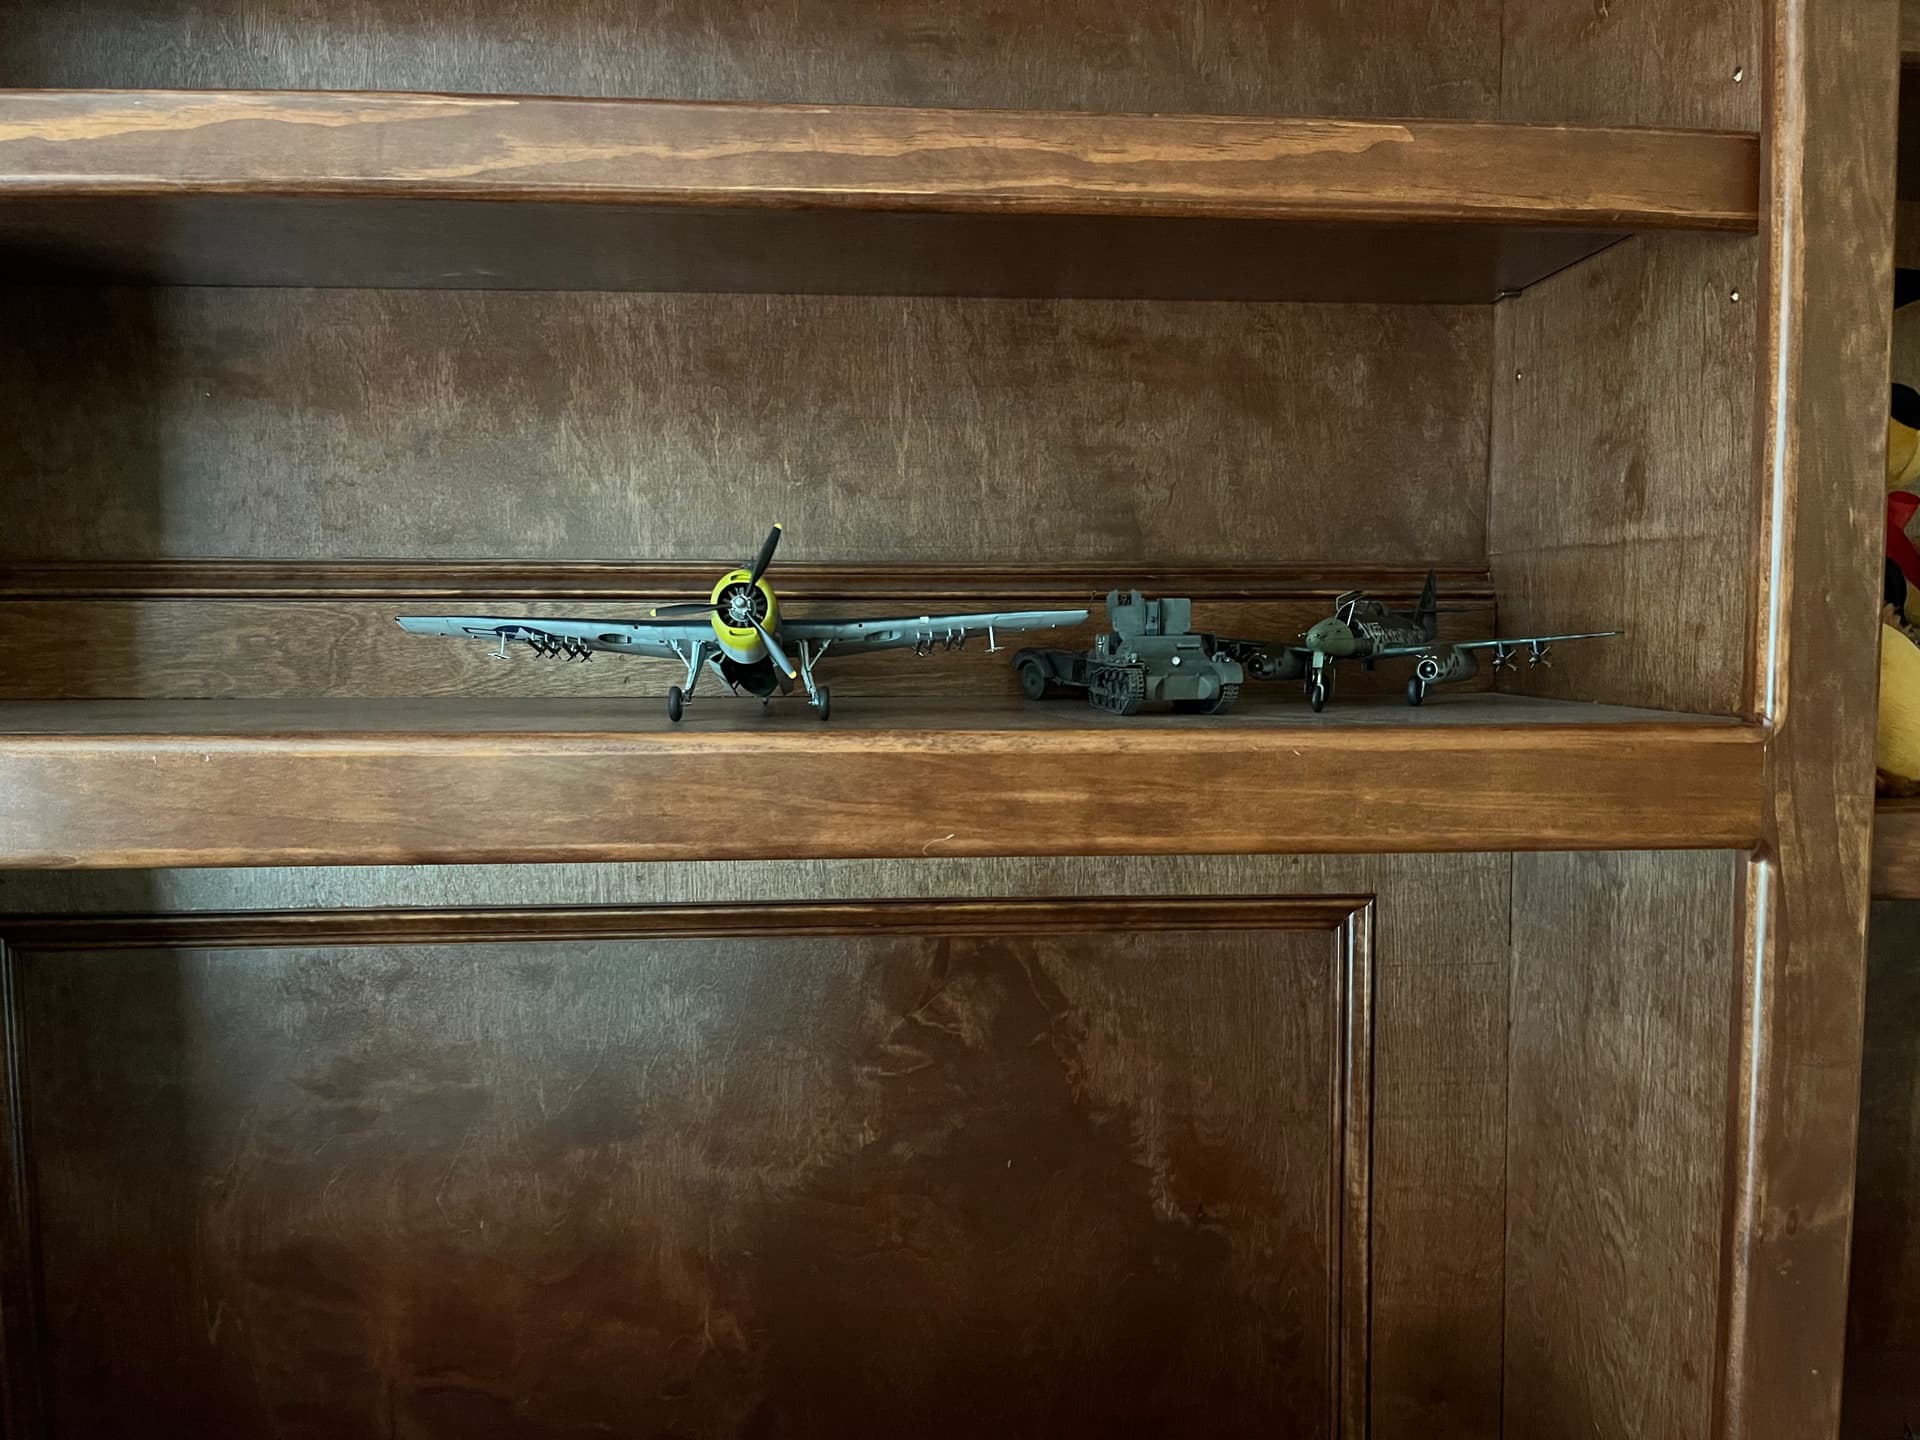
Thanks @michaelsatin for this campaign! I really enjoy naval aircraft. The AM kit was really nice. I have another in the stash I want to do in Atlantic or RAF scheme. I think I’ll get a wing fold kit for that one though. This thing is huge! It absolutely dwarfs my ME-262 in the shelf

8 Likes

Beautiful build, Mead. Very nice crisp finish that really brings out the details.

“Whats that?”
“Oh nothing, just an Avenger lounging by the pool” :grin:

1 Like

Thank you kindly!

It had a hard war! It needs some R&R by the pool! It was patiently waiting on its pina colada :rofl:

1 Like

Mead, lovely finish!

1 Like

Very nice job, Mead!

Some progress on the Tamiya F4F:

Michael :stuck_out_tongue:

3 Likes

I haven’t forgotten, but I’m moving slow. Somewhere under all this tape and primer is a Hobby Boss (not an) F4F-3.


:wave:

6 Likes

Looking very colorful!

And speaking of Wildats, my version is about ready for some rather more drab paint:

20221127_164530

I really wish Tamiya hadn’t molded it with the holes for the drop tanks already open, they’re kind of a pain to fill. But at least they’re on the bottom.

Michael :stuck_out_tongue:

4 Likes

This kit has fought me tooth and nail every step of the way. But now I’m just a couple of steps from the finish line.


Hobby Boss 1/72 (not a) F4F-3,

7 Likes

It’s been awhile since I’ve updated on my build, because it’s been awhile since I’ve had time to work on it. It’s almost ready for a gloss coat and decals. The nose is done, but I forgot to stick it on before I snapped these. I need to get the colors on the tail, then gloss coat, and decals will begin. I don’t think I’ll finish it by the end of the year, sadly, but life intervened.


3 Likes

IIRC all the sbd’s carried 500lb bombs that day to save weight.

It’s over, I’m done with this one. Hobby Boss 1/72 (not an) F4F-3 Wildcat.


The plastic in the box is an F4F-4, only the decals are for an F4F-3. To try and back date it to the -3, I added intakes inside the cowing (put them at 4&8 instead of 5&7 :stuck_out_tongue_winking_eye:)

Sanded off the 3 cowl flaps and rescribed to show the single flap per side. Sanded off the exhaust flaps and installed brass tubes. Removed the fairings over the hinge locks, filled the wing fold lines, scribed the correct panel lines for the -3 (mostly), filled in the 3rd gun port and the gun access panels. Filled in the pitot tube mount and replaced it with a piece of straight wire.
The fits were a bit questionable, I spent a lot of time trying to get the one piece wing to fit flush to the fuselage and the cowling looks to be at least 1/32nd smaller than the fuselage. The decals were a disaster. The wing stripes and fuselage band weren’t included so I had to paint them. I lost 4 decals during installation since they had little to no clear layer, so they folded up and tore. An accidental drop of water on the squadron codes sent them sliding off in all directions. :wave: :cold_sweat:

7 Likes

Actually, as far as Air Group Six went, VS-6 carried 500 pounders but VB-6 had 1000’s. Which is a good thing, since research seems to show that Akagi only got hit with one bomb by VB-6’s skipper, Dick Best. Luckily, it was a 1000, as that did the job.

Michael :stuck_out_tongue:

OK, here’s where I am with the 1/48 Tamiya F4F-4, VF-41 during Operation Torch:

This is my first time using AK for the blue-gray topside color. I’ll admit I’m a little disappointed by how light it is, but hopefully a gloss coat will darken it up. It sure went down nice!

Can I get it done in time? Not many decals go on it, so we shall see…

Michael :stuck_out_tongue:

4 Likes

looks good michael, i think the blue looks pretty accurate. weathering will darken it a little’
about the bomb loads, are you sure? i was watching a documentary with rusty kleese, who was also a sbd pilot and he stated the command decided to go with the 500lb bombs instead because of the weight and extreem range of the jap fleet.
joe

Pretty sure. Kleese was in VS-6, so they would have had 500 pounders, as would McCluskey’s command flight. But everything I’ve read says VB-6 had the big ones.

Michael :stuck_out_tongue: