Thanks for the link and the build is progressing very nicely.
1 Like
No worries! I found the mixes to be quite good, I did add a tad more medium blue than was called for in the mixes. I found using the mix they suggest for intermediate blue was a bit too close to baby blue, adding a touch more medium blue added a grey hue to it that appears to match intermediate blue better
Paint the wings and tail stabilizer top surfaces tonight. I used the same blue as the fueslage top with a bit of flat blue and black added to shift it towards semi gloss sea blue from non spec blue. Hopefully it shows up in the pictures. The camera really wanted to make the wings super dark but they aren’t nearly as dark in person. I need to touch up a couple of areas of the intermediate blue where I got a tiny bit of dark blue overspray and same for the white underside. Then I may go over panel center with a slightly lighter blue for the wings and upper fueslage as it is a bit dark for scale. After that I just need to pain the landing gear and yellow cowl

3 Likes
Hi Everybody,
Mead, I’m really liking the Avenger! Definitely going to build up one of mine, sadly I’m going to have clear a few projects off the benches. Can’t wait to see your final presentation.
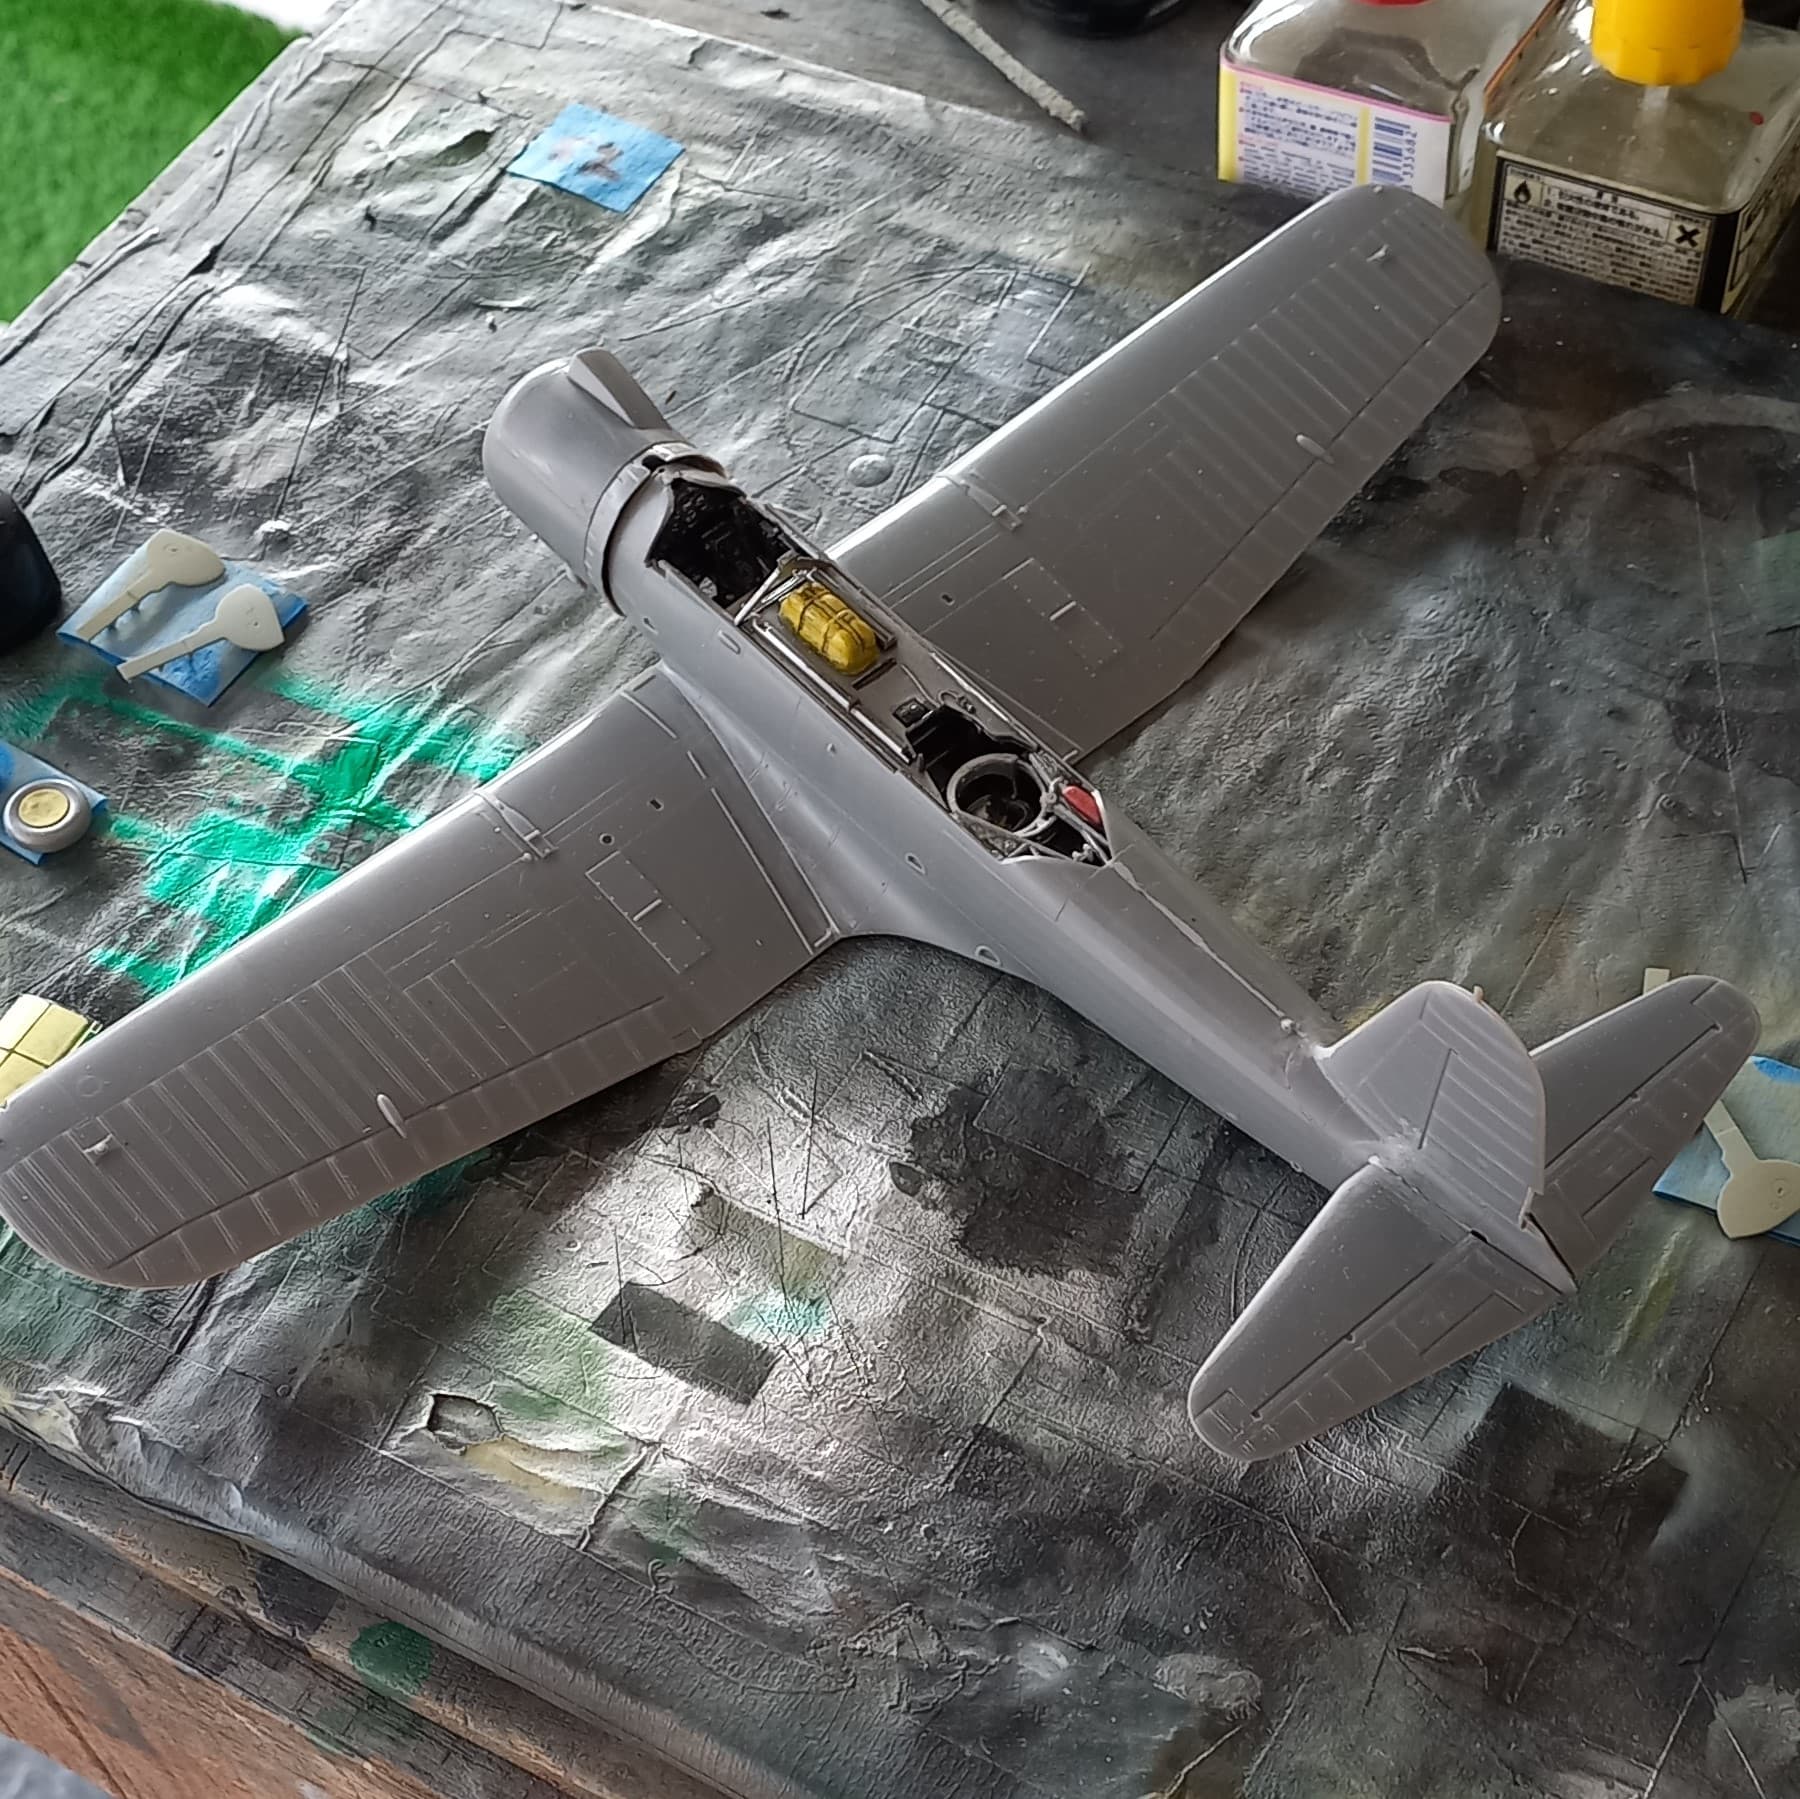
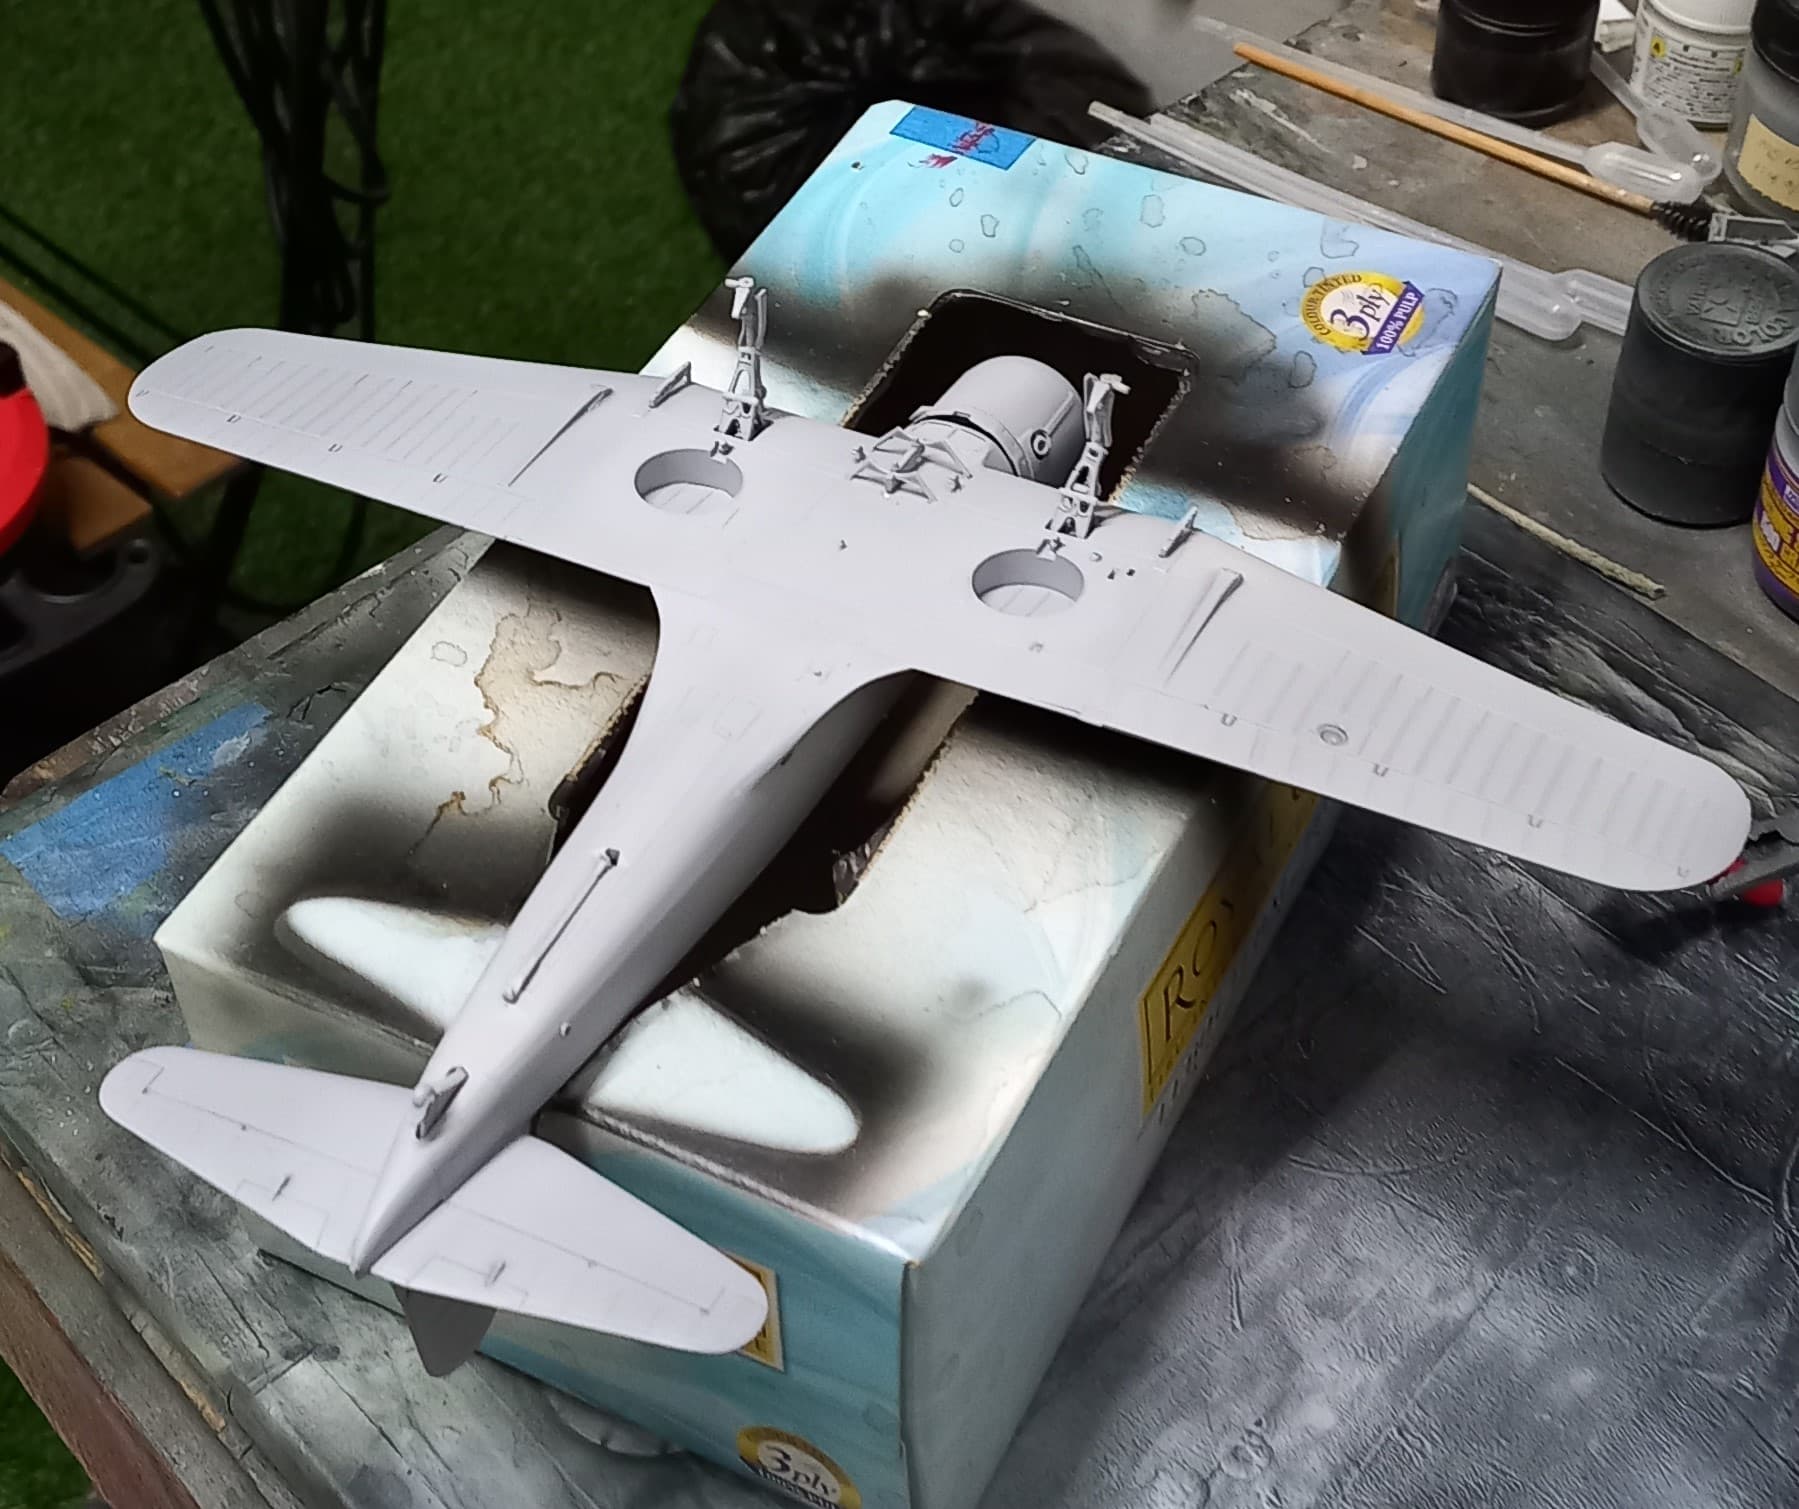
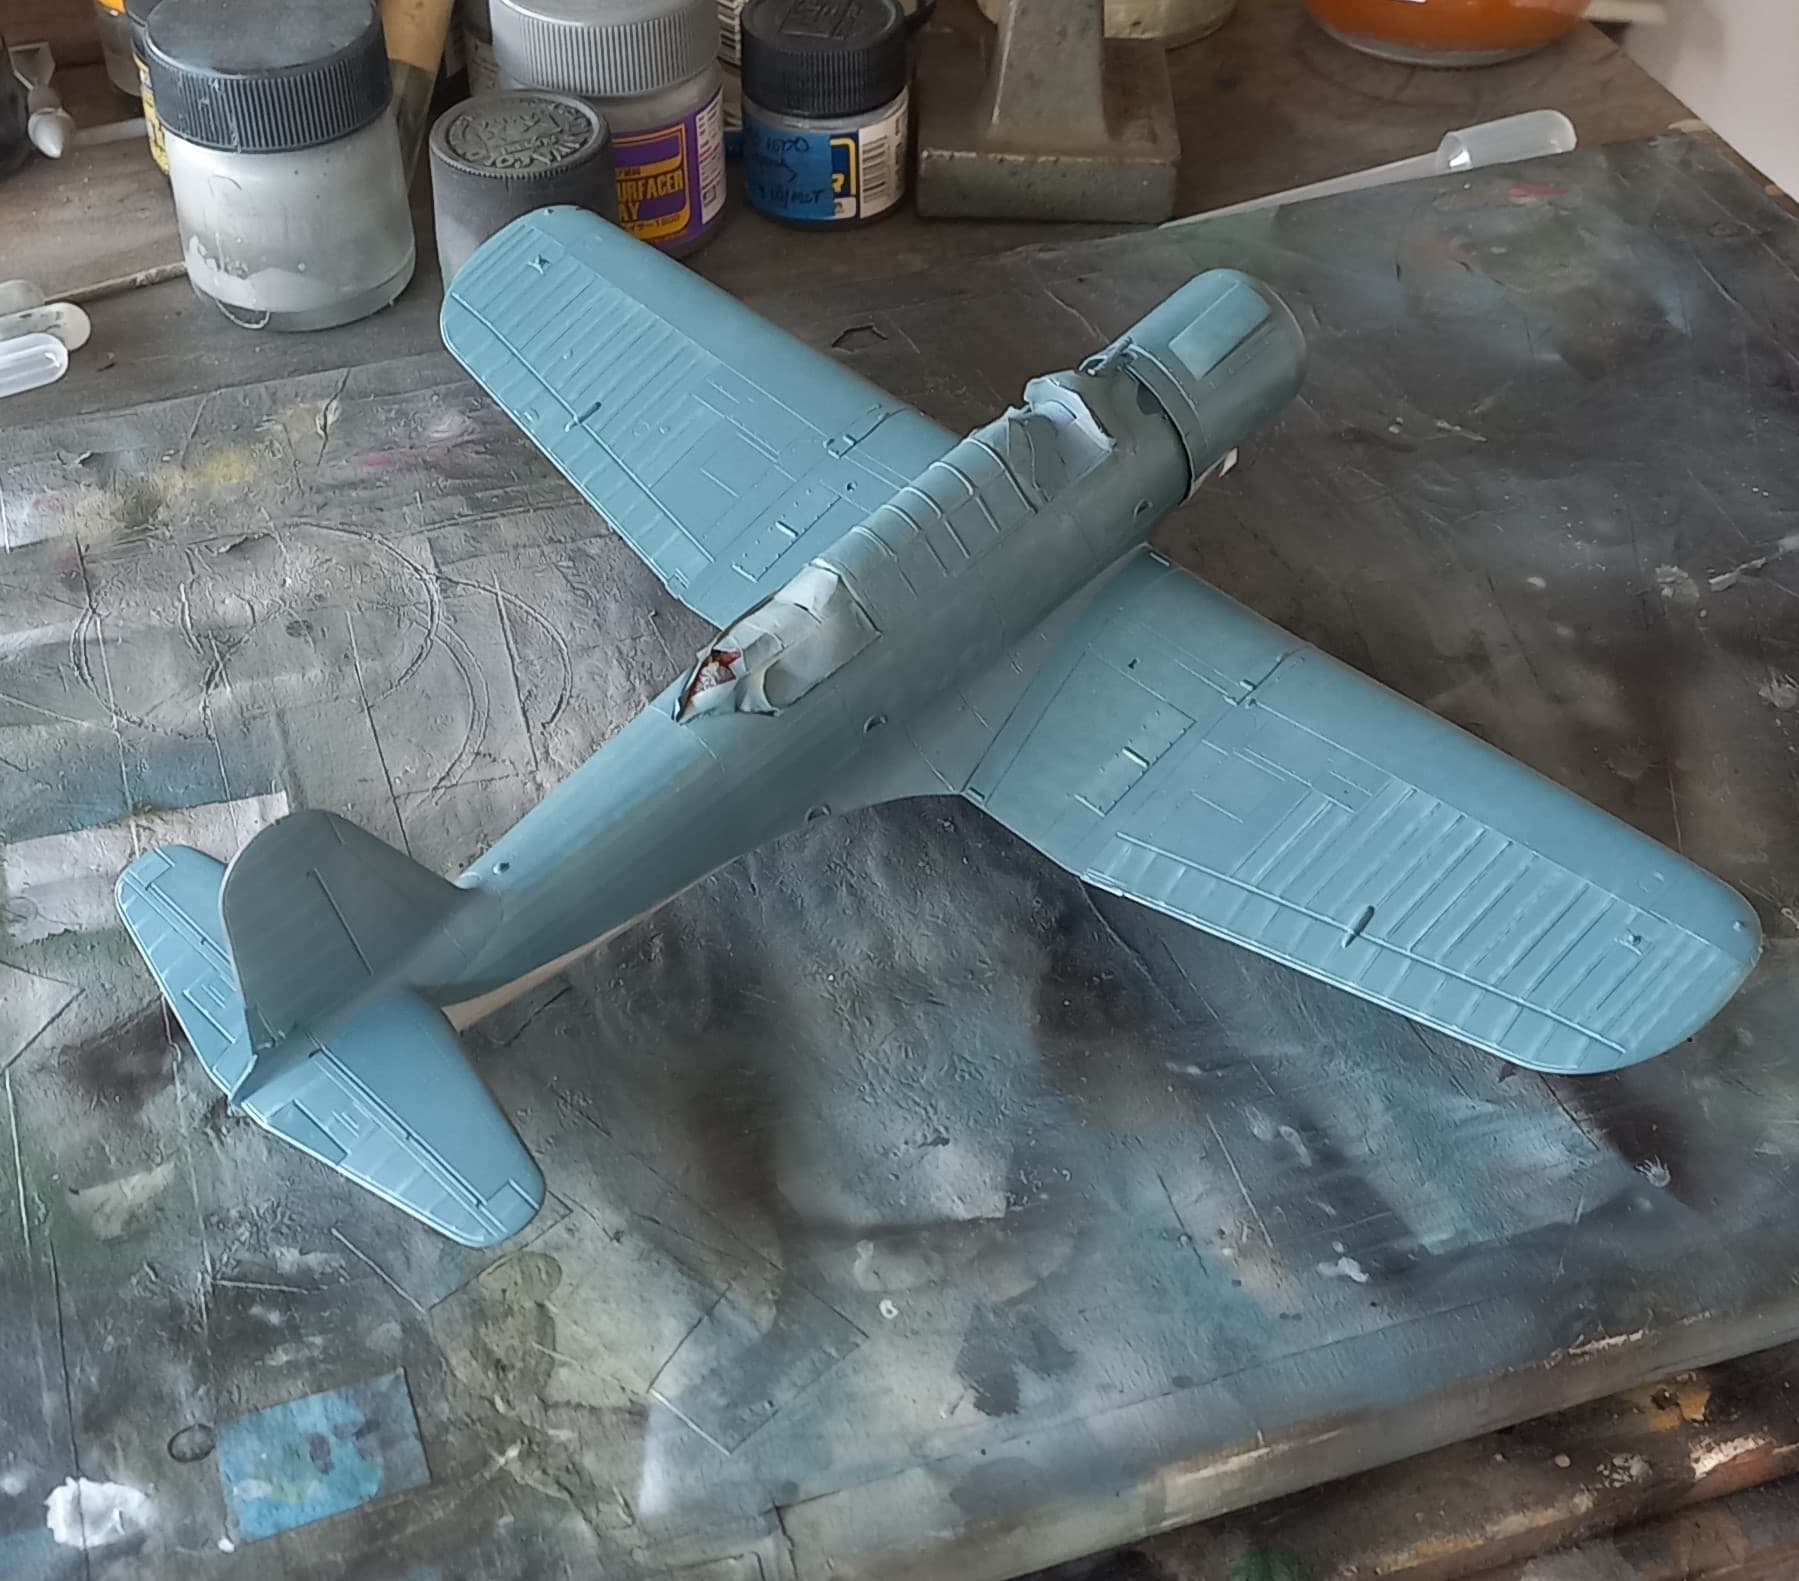
So, last update I had closed up the fuselage of the Vindicator. I moved onto the wings, AM did a pretty good job on these, I do like the use of the internal spar that helps align the wings.
I considered lowering the flaps, and AM makes it a doable thing if the modeler wants, but after a lengthy online review of pics it appears that Vindicators didn’t sit around with them in the lowered position. I got the wings together, and then moved onto attaching them to the fuselage. This went quite well as the fit was near perfect. I then attached the stabilizers which went smoothly as well.
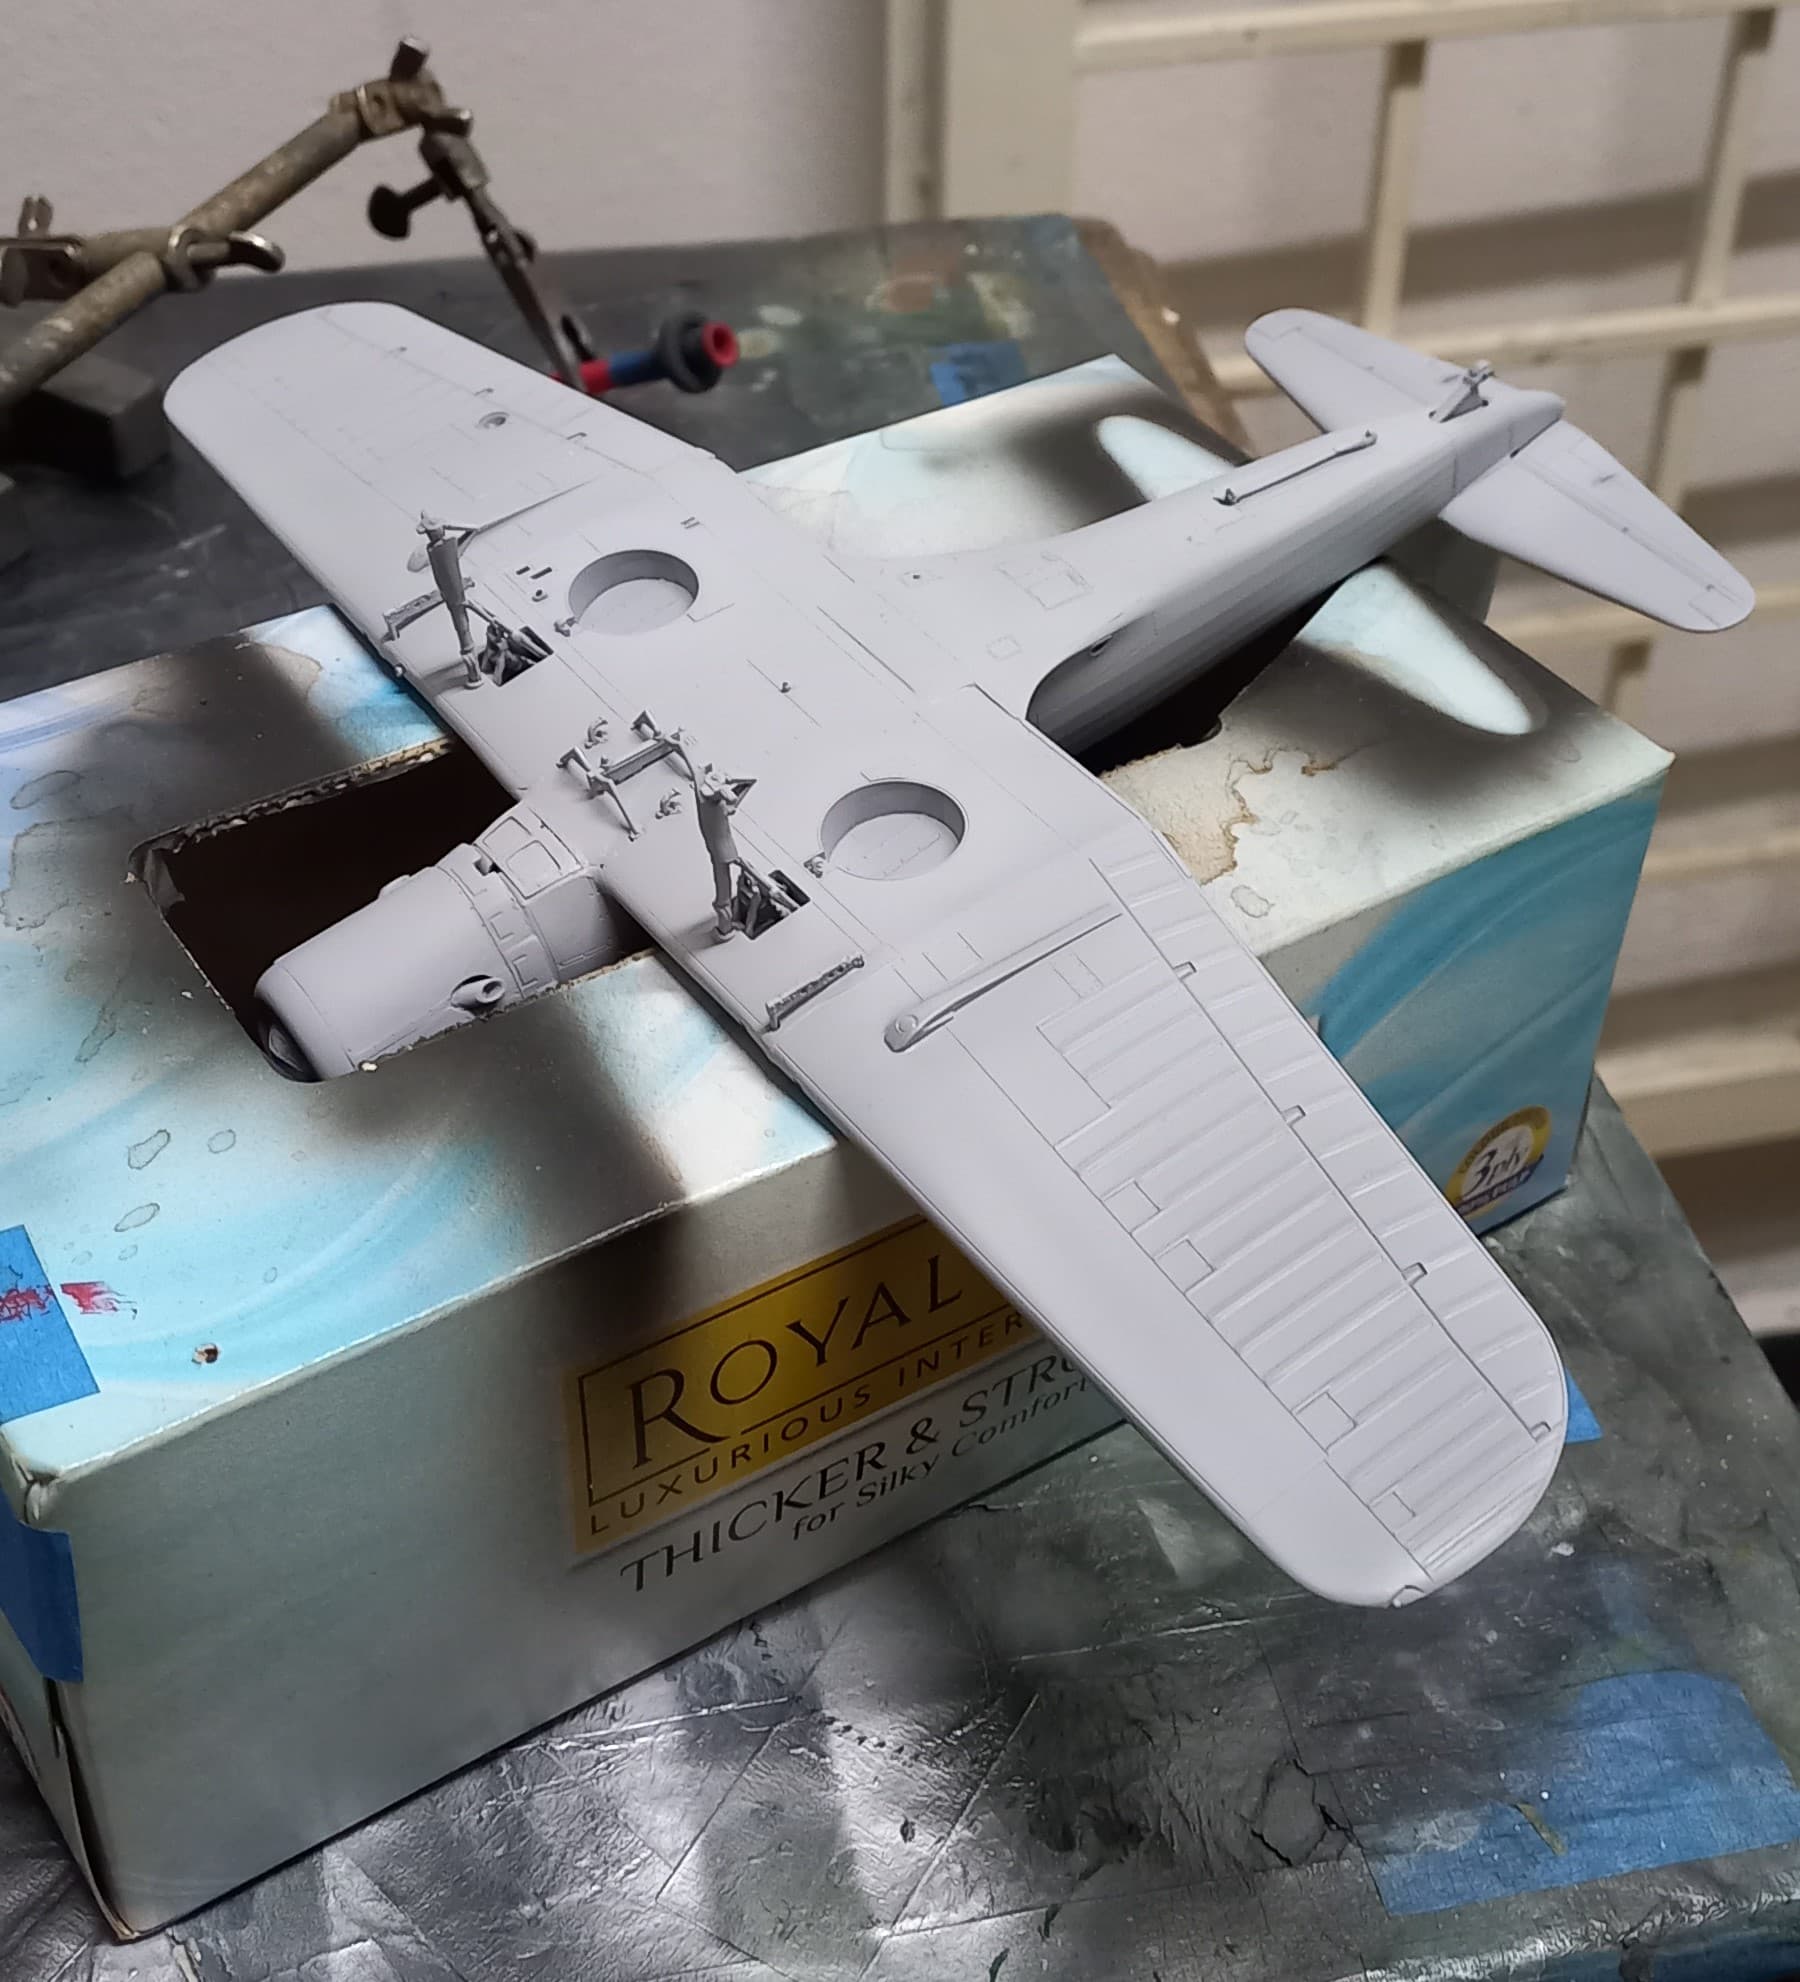
I did some seam clean up, which wasn’t very much and then did a once over before moving onto the canopy. One thing that I do when dealing with birds that have large greenhouse canopy’s is to use Eduard masks. The time saving is well worth the investment, not to mention it’s less frustrating. As with most cool things in our hobby, it still takes a little time to get the masks on. So, after an hour plus, I was able to start placing the canopy on.
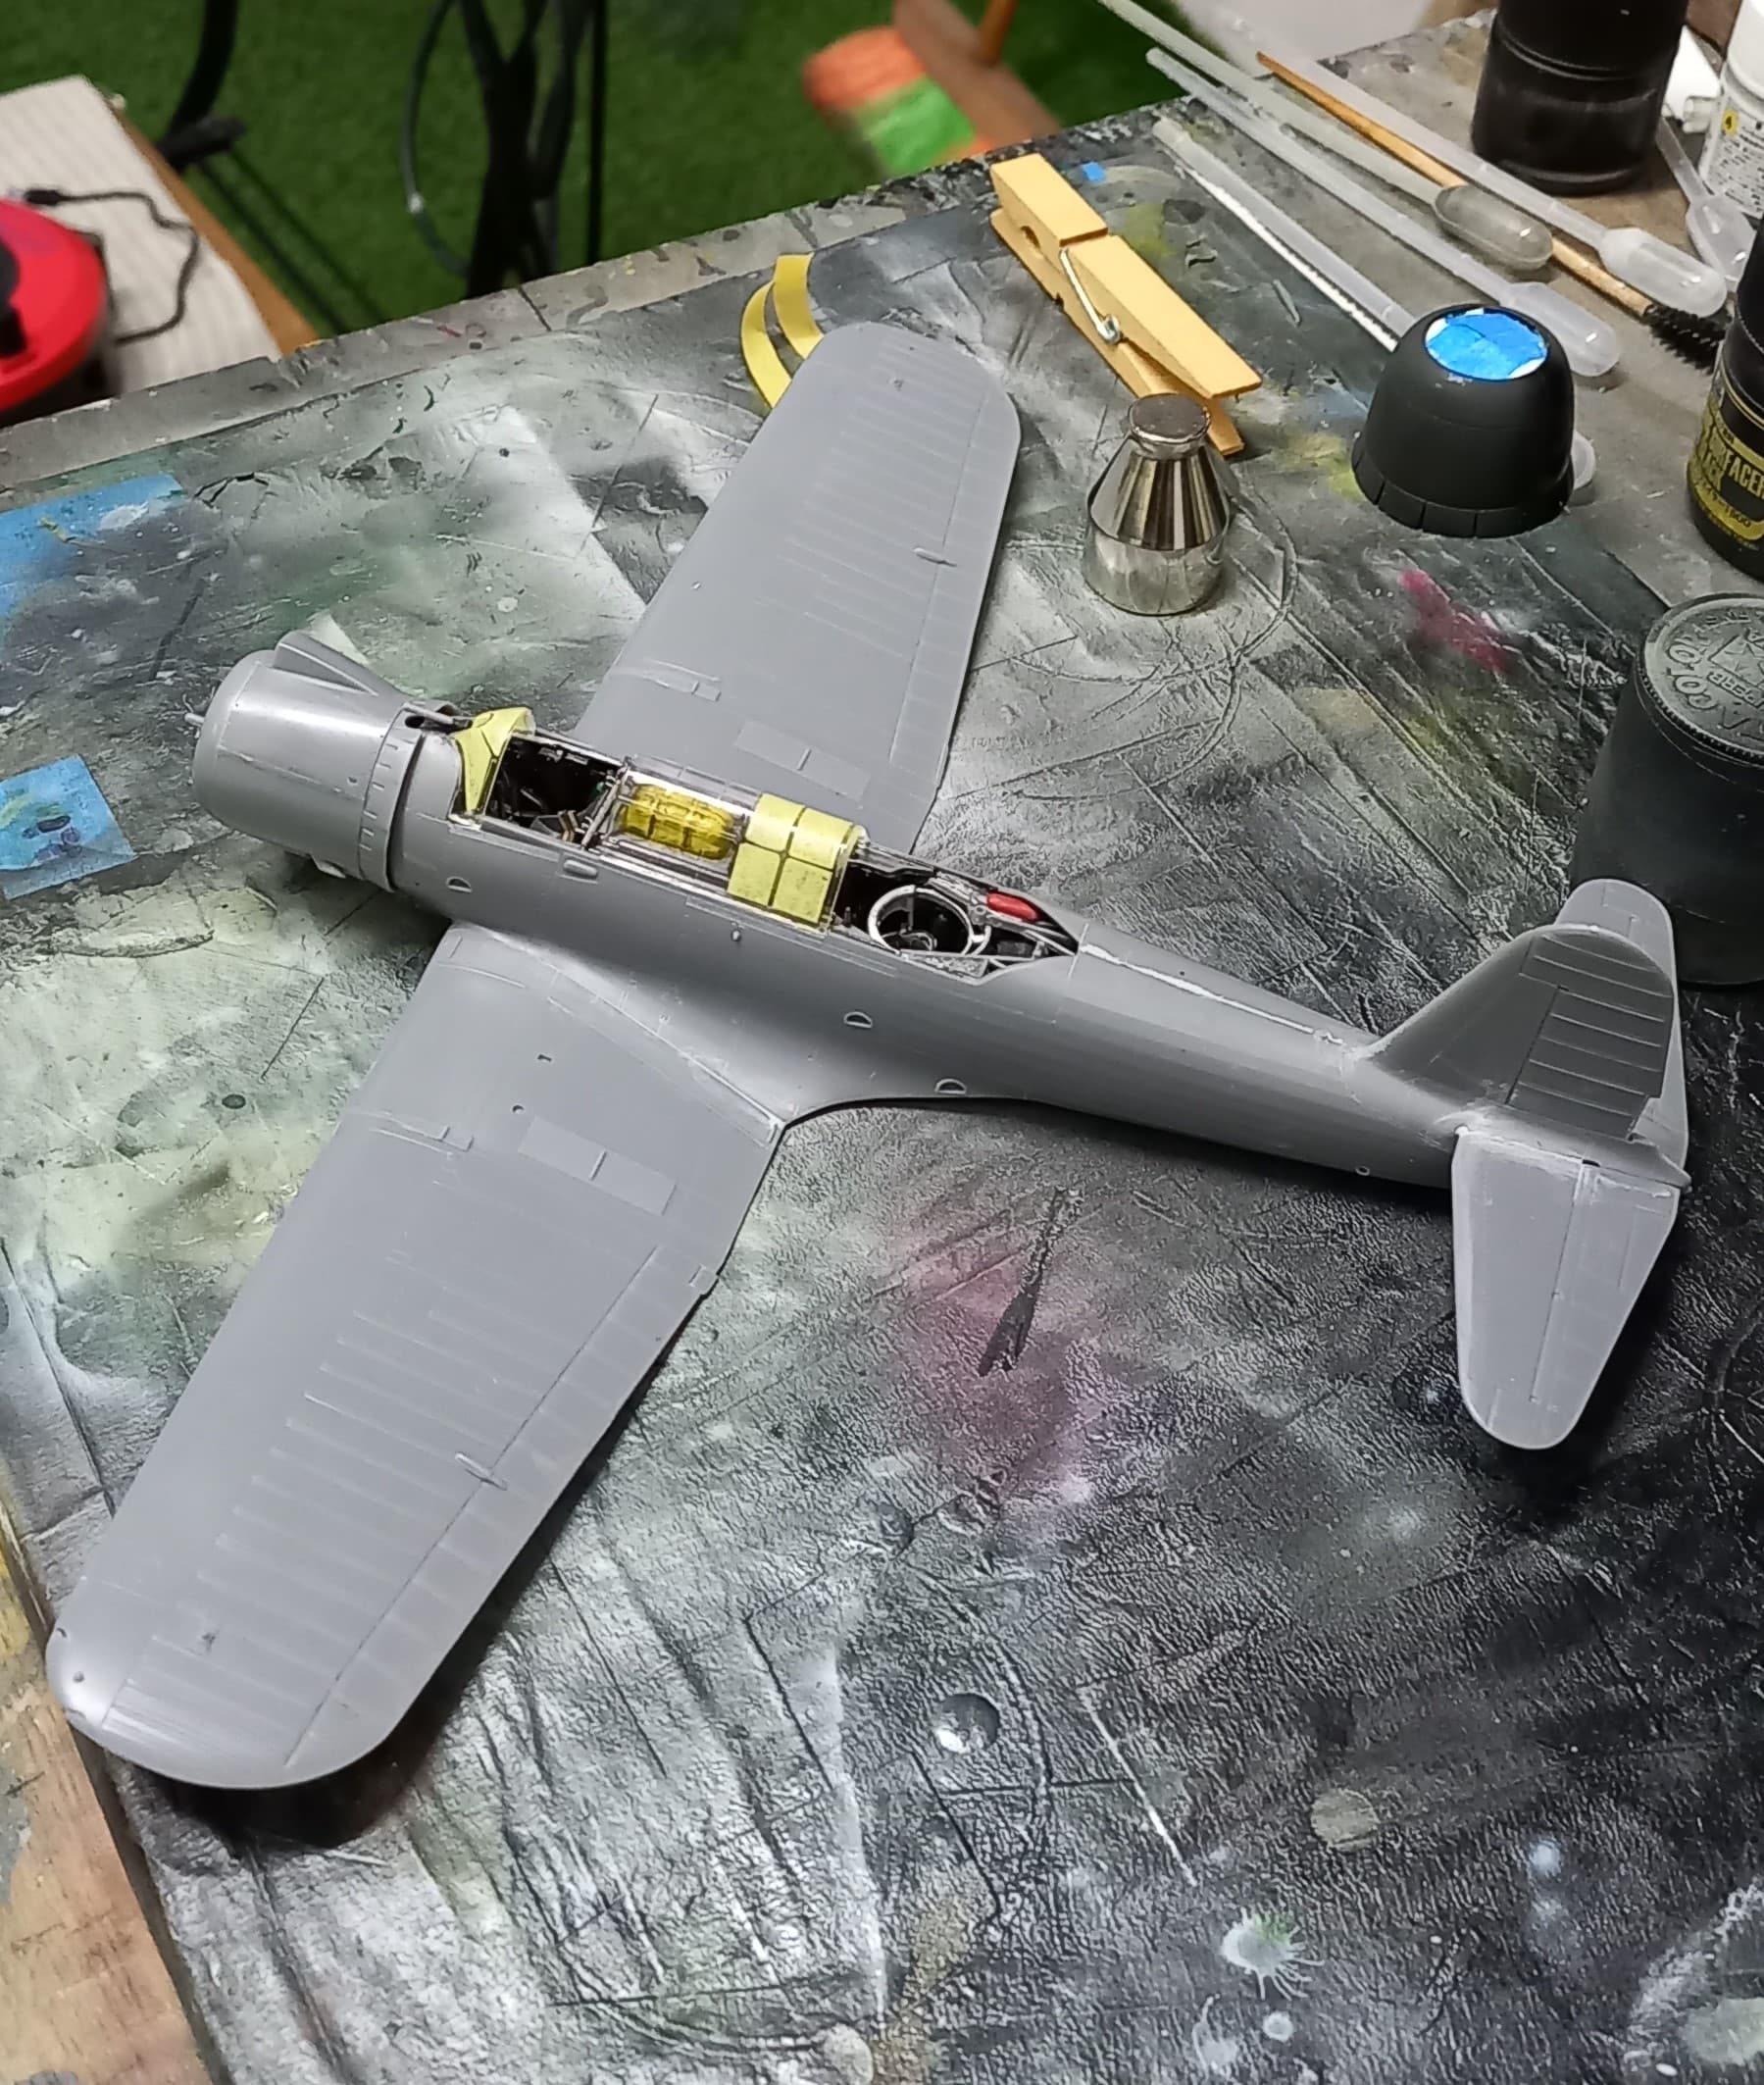
While attaching the windscreen, it became apparent to me that the instrument panel is most likely misplaced and a little on the low side. Oh well, at least my audience won’t notice. Which does lead me to say that there’s a couple of places that the vague instructions lead to misplaced parts which lead to issues down the line (instrument panel, the side panel in cockpit, rear framing with the fire extingusher). This initially lead me to believe that I’d messed up as the nice fit of the build hit a sour note when buttoning up the fuselage, though a review of other builds seems to indicate that this systemic with the kit. Either way, I was able to overcome the slight issues. It’s a good kit, I just wish the instructions were a bit clearer for parts placement within the fuselage.
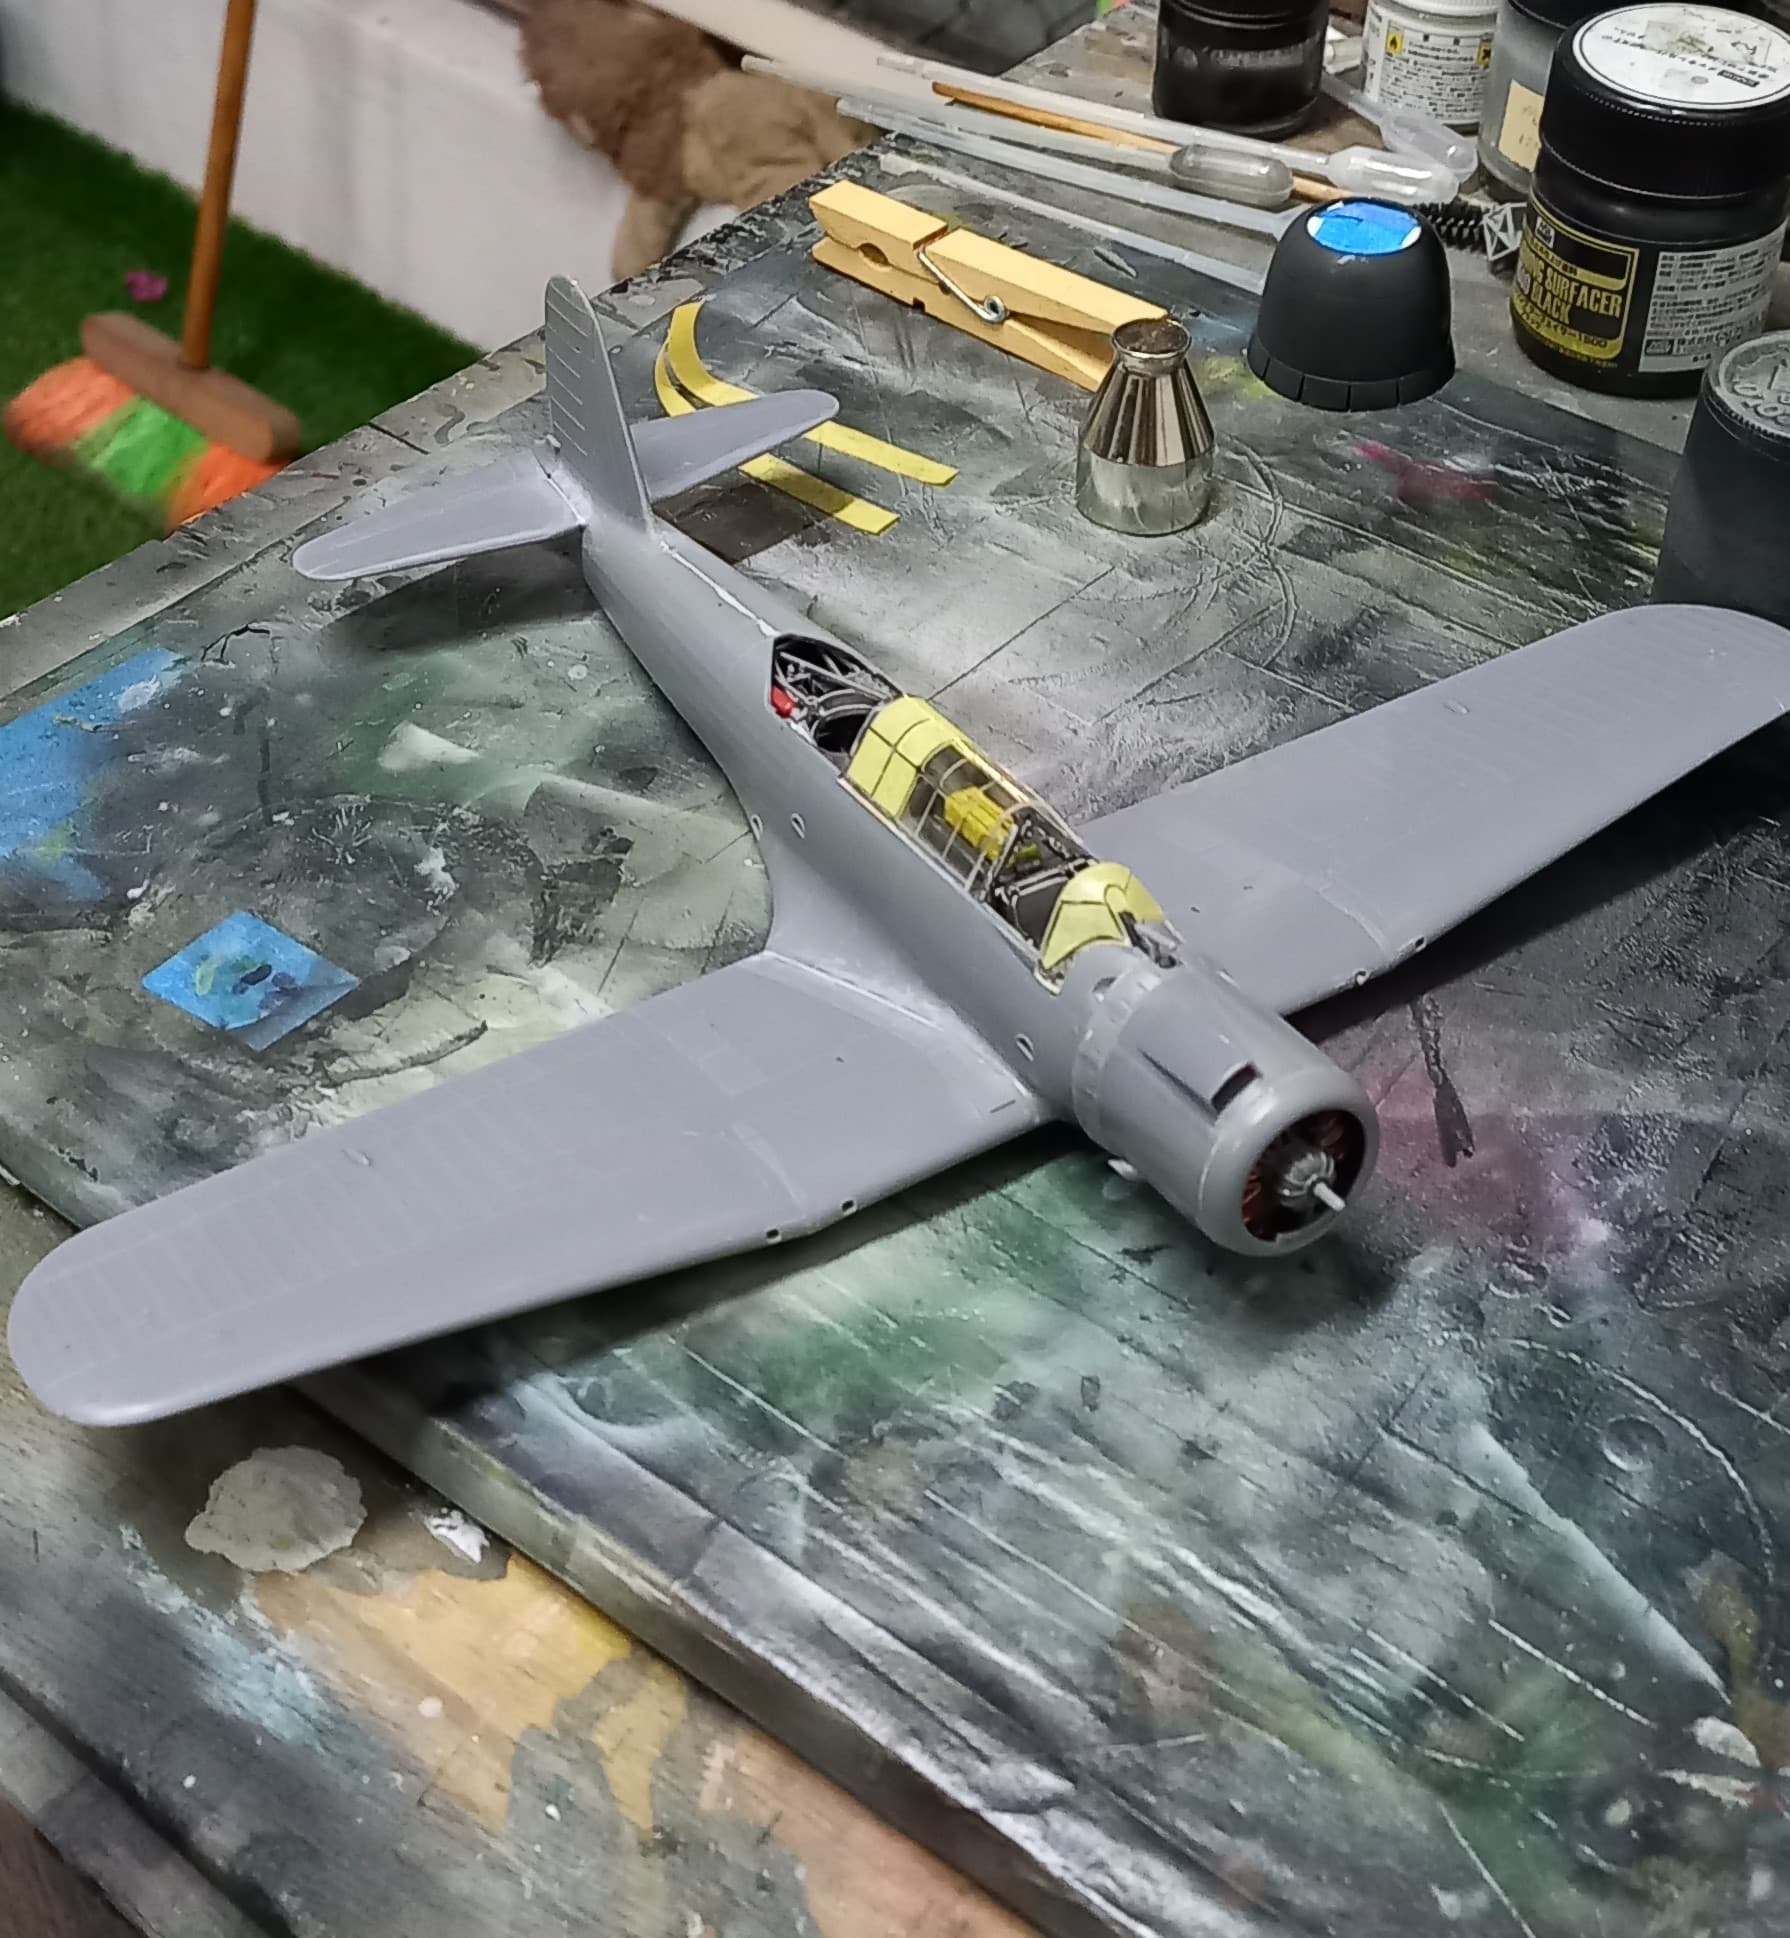
After reviewing some pictures of the Vindicators on Midway, I was able to determine that the rear glass was removed from the planes prior to their mission. This was a nice discovery, as the main canopy didn’t sit properly with the rear sliding canopy’s underneath. Whew!
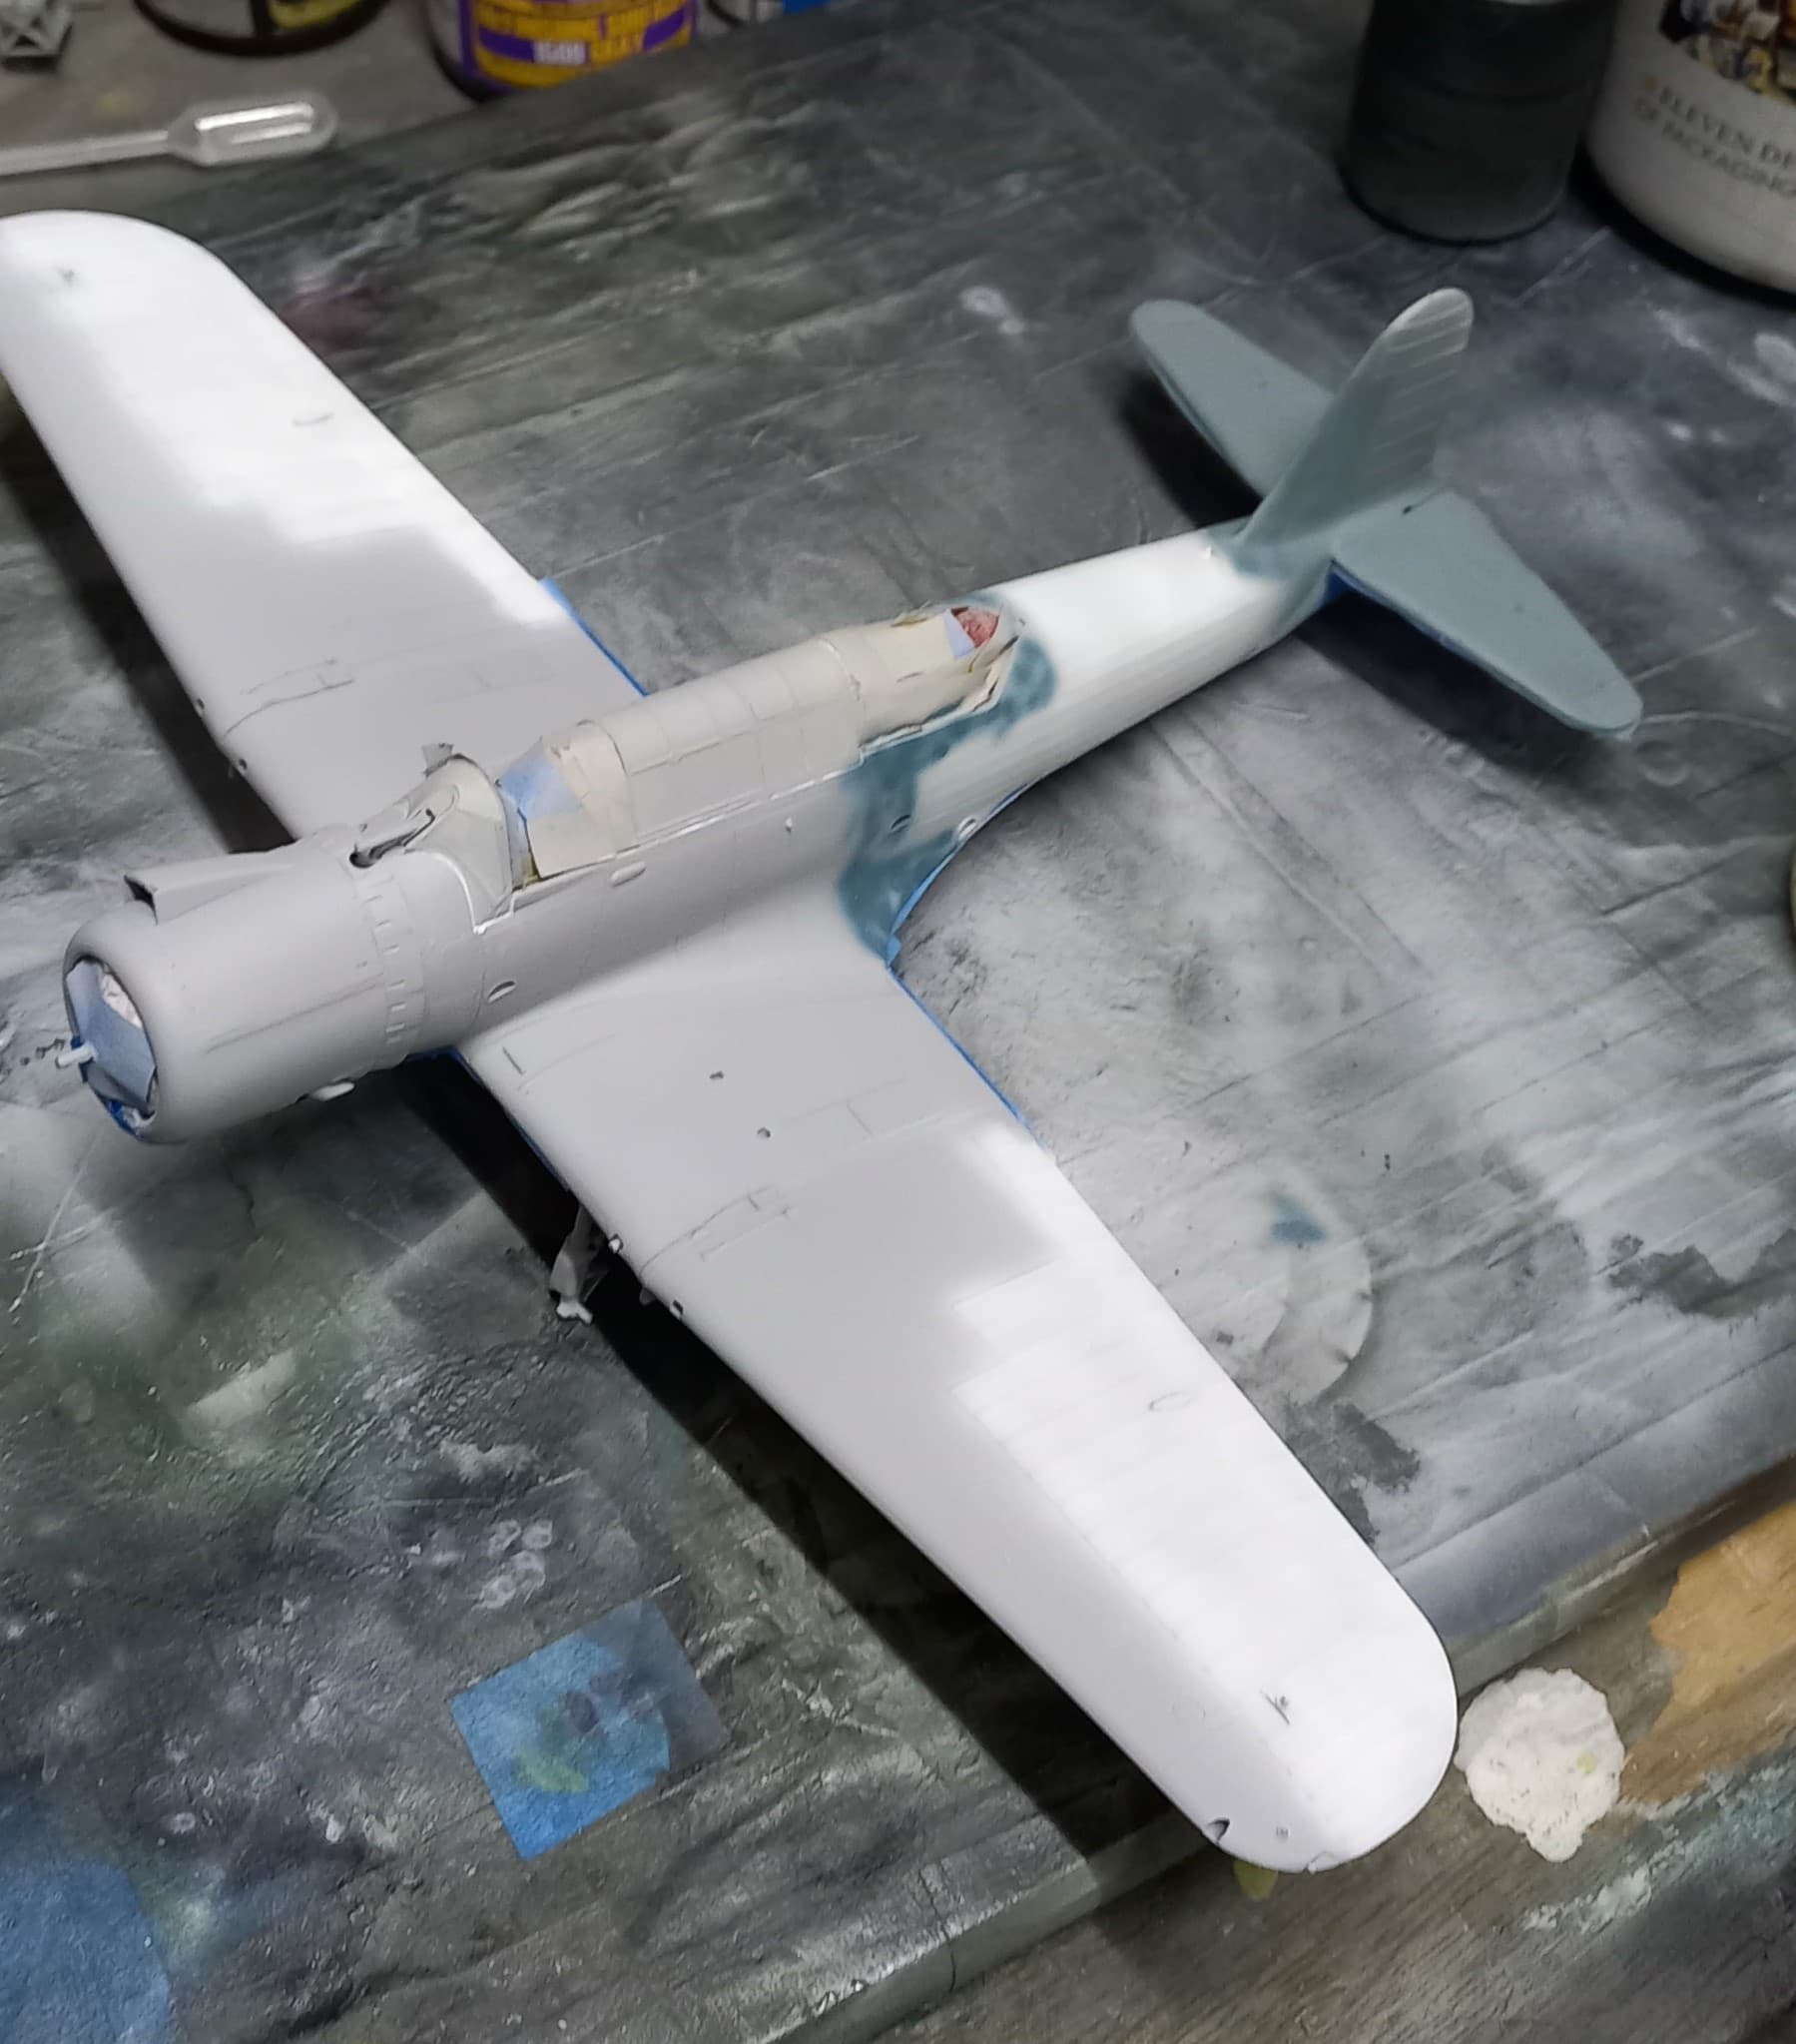
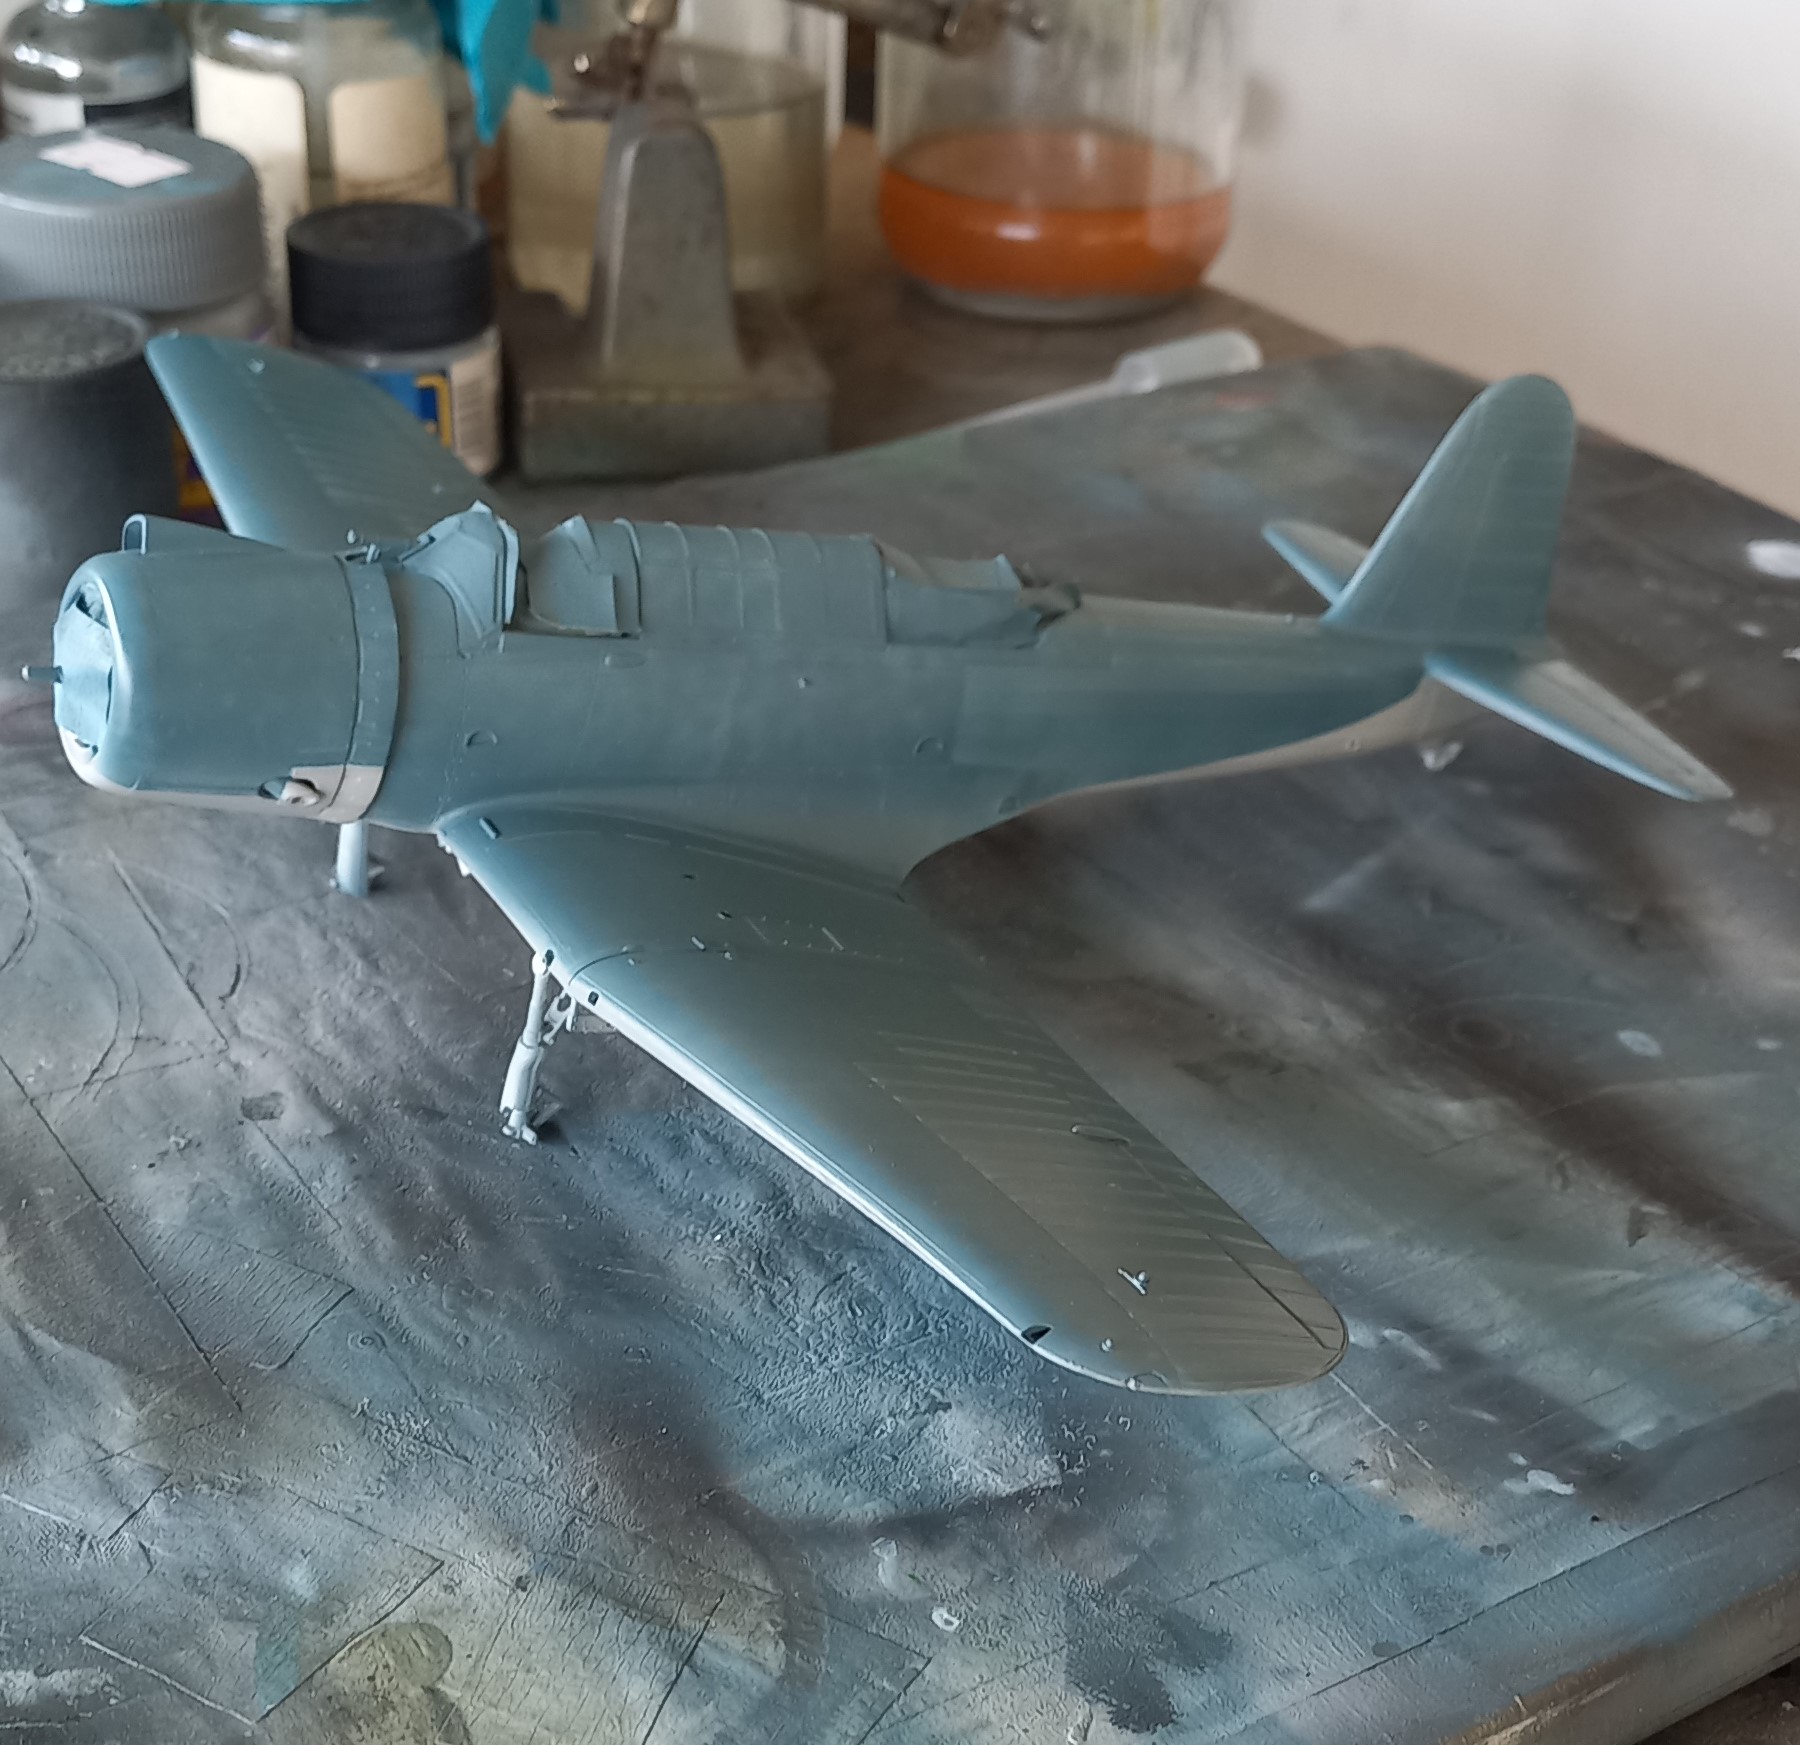
Since the entire underside was a light sky grey color, I did something that I normally don’t do, but given the complexity of the landing gear I opted to assemble and attach it. This was a good decision, and the fit was superb.
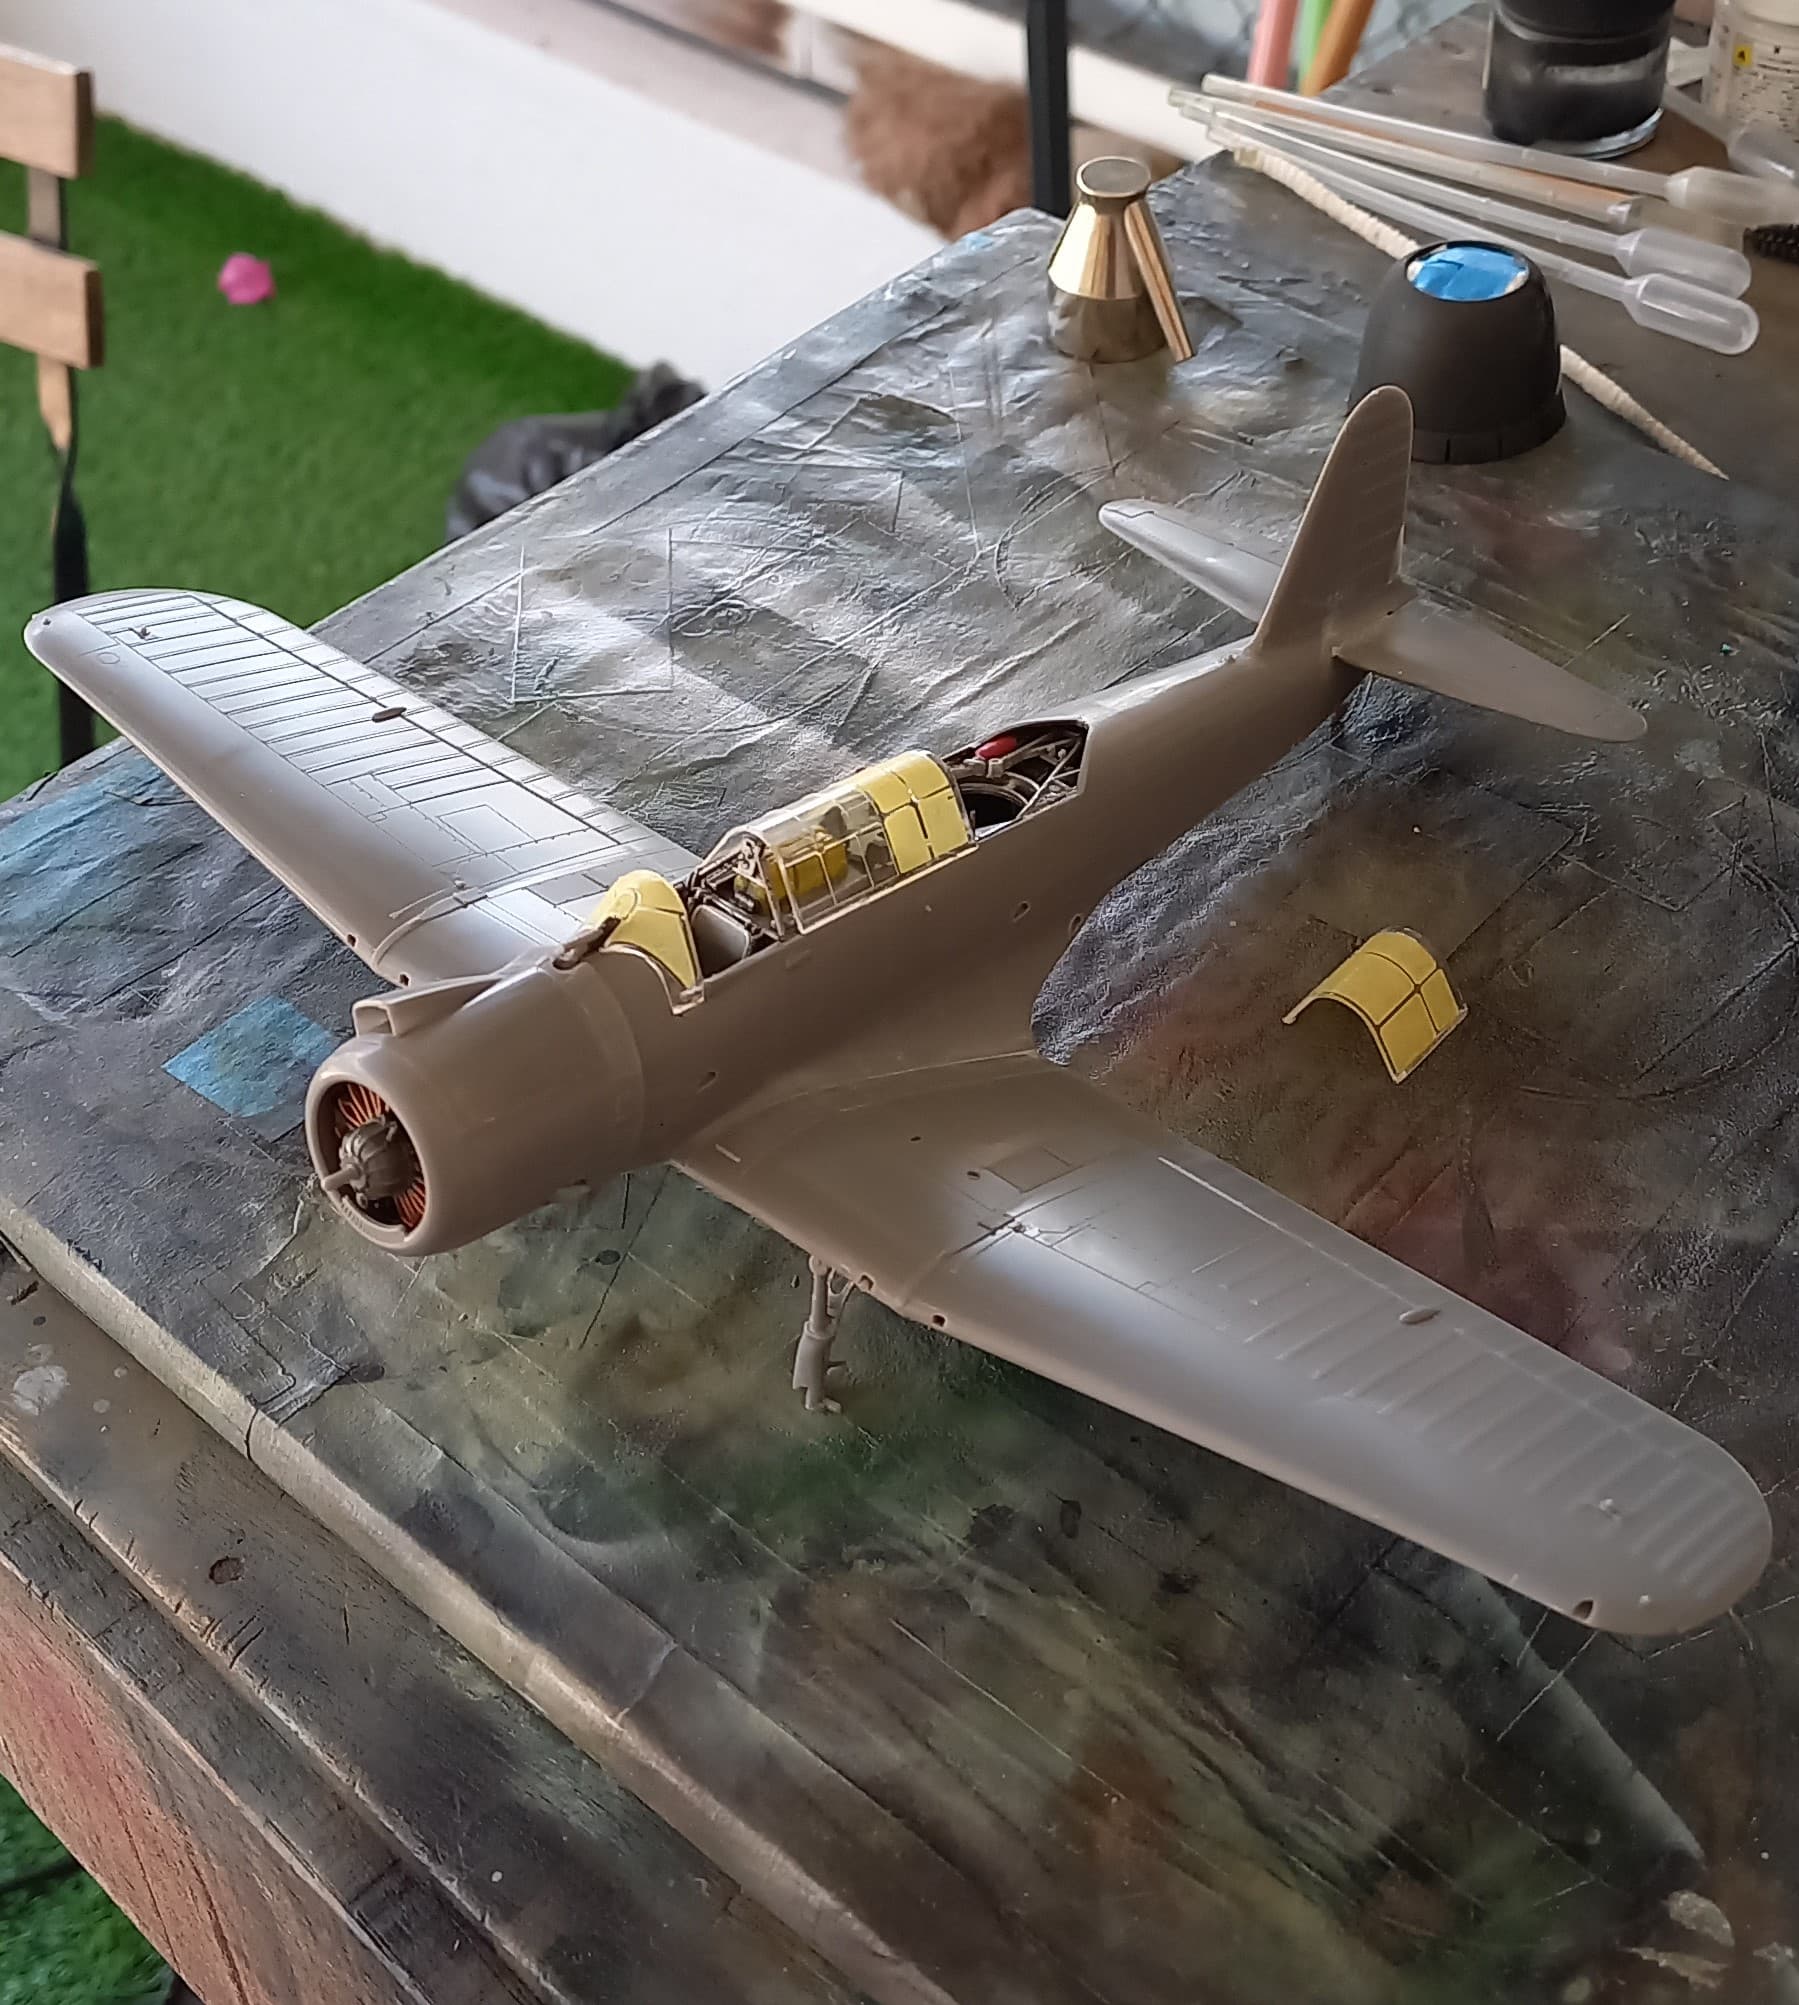
I plugged along getting the bird ready to paint, and for this build I want to really to beat up the paint job given the environment of Midway. So, I tried something different, I gave the plane a primer coat of Mr. Surfacer 1500 (diluted 1:4). Then I went over to look for any flaws, and as always there were. Specifically, an annoying seam along the bottom join which refused to comply until I did 3 superglue filling sessions.
That done, I’ll be moving onto painting this using a black base style only it will be a grey basing. We’ll see how it goes. Till then have fun and stay safe!
6 Likes
Thanks for the kind words, I am super happy with how it’s going!
The vindicator looks awesome! Looking forward to see it with paint
Base coating done. Really happy with how it went! Up next a gloss coat for all the stenciling, then stenciling, detail painting, a flat coat, and some light dry brush and exhaust stain weathering, followed by adding of detail parts I was worried about breaking during the painting (rockets, bombs, landing gear, and yahi antenna)

8 Likes
Mead! That is one sexy looking flying dump truck!!
1 Like
Fantastic work with the build so far and the masking on the stars and numbers and arrow has worked fantastically, they look superb and really worth the effort.
1 Like
Thanks @Johnnych01 and @john41492
I am pretty happy with how this one turned out! I’ve since applied all the stencils (88 of them) and applied a panel line wash. Needs to add some pin washes tonight, and detail paint a few items. Then it’s flat coat, some streaking, exhaust stains, and dry brush and she is done! Hope to have it done tomorrow
3 Likes
Really nice TBF!
As for me, I’ve stalled out and spun in on the big SBD. I’ve started a real rarity in my stash, an unopened kit:
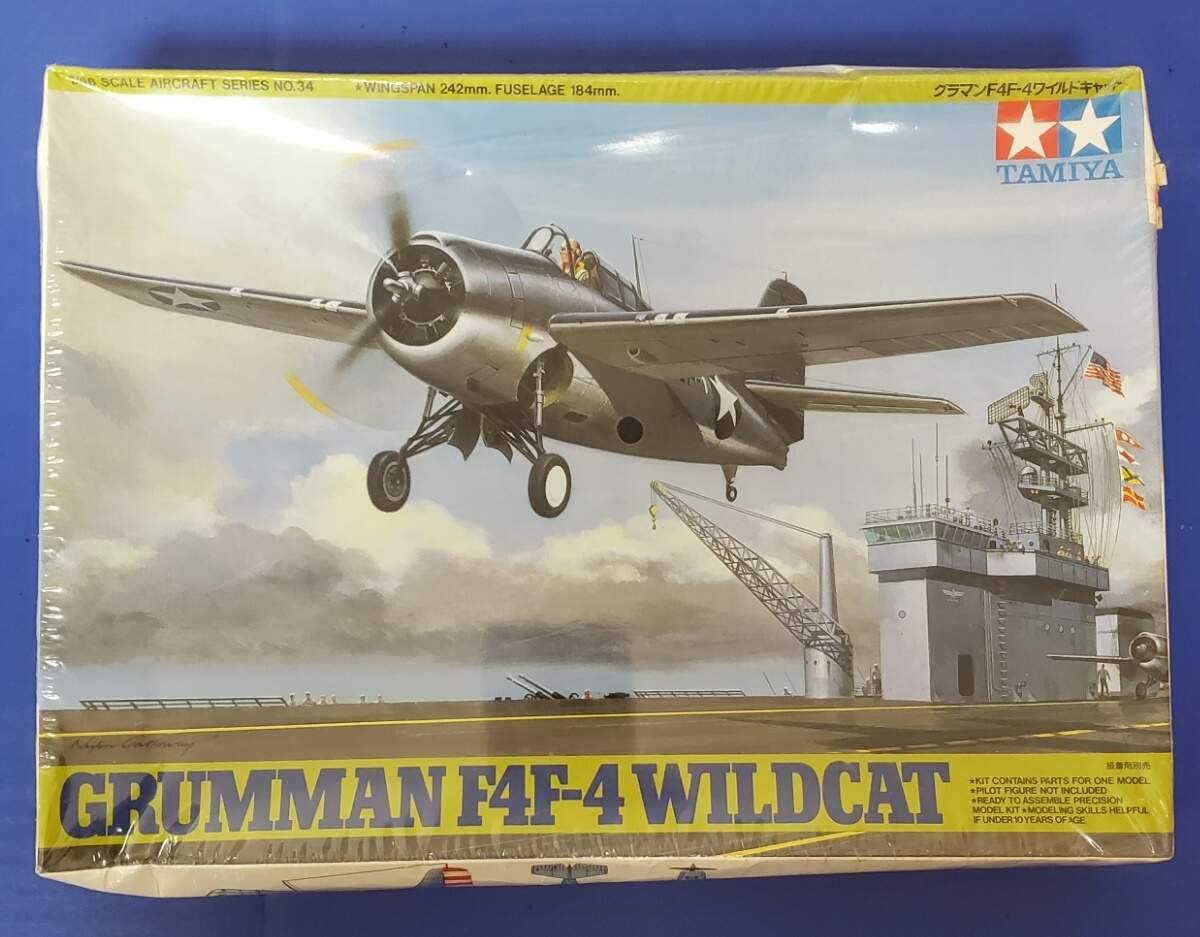
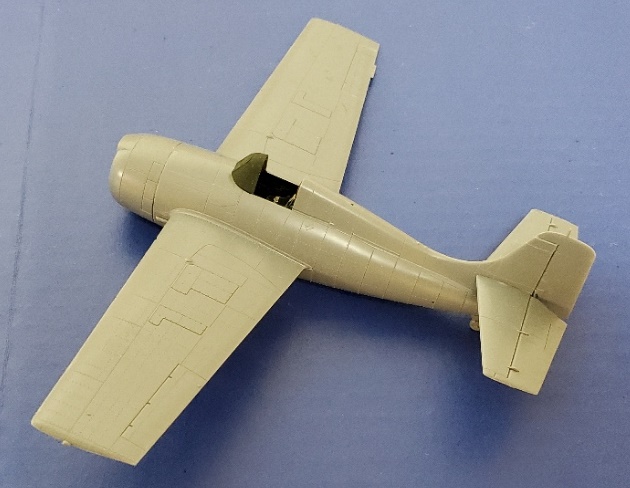
I realized that this is the 80th anniversary of Operation Torch as well, so planning to do a Wildcat from VF-41. I’m only using an Ultracast resin seat with cast on belts, otherwise out of the box. Maybe I can finish this one.
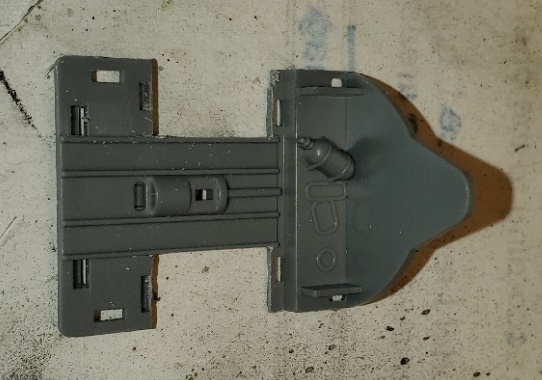
One of the biggest issues with the Tamiya kit is the cockpit floor. This just isn’t right:
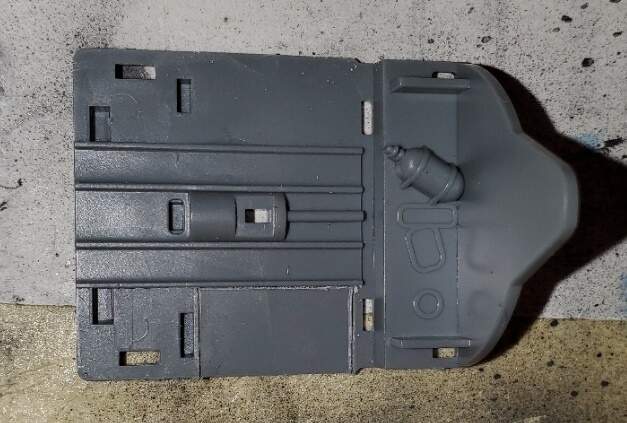
There’s been much wailing and knashing of teeth about this over the years, but really, it’s a five minute fix:
OK, on with the build!
Michael ![]()
5 Likes
Hi Everyone,
Michael, nice choice and great point. Cutting out the floor is really easy, just did it on the two I’m building for the Guadalcanal 80th campaign. I also used the Ultracast seats, which are nice, but know that you’ll have to play with some bits of plastic under them to get the space between the seat and the back bulkhead. I look forward to seeing a Wildcat that is a bit lesser known.
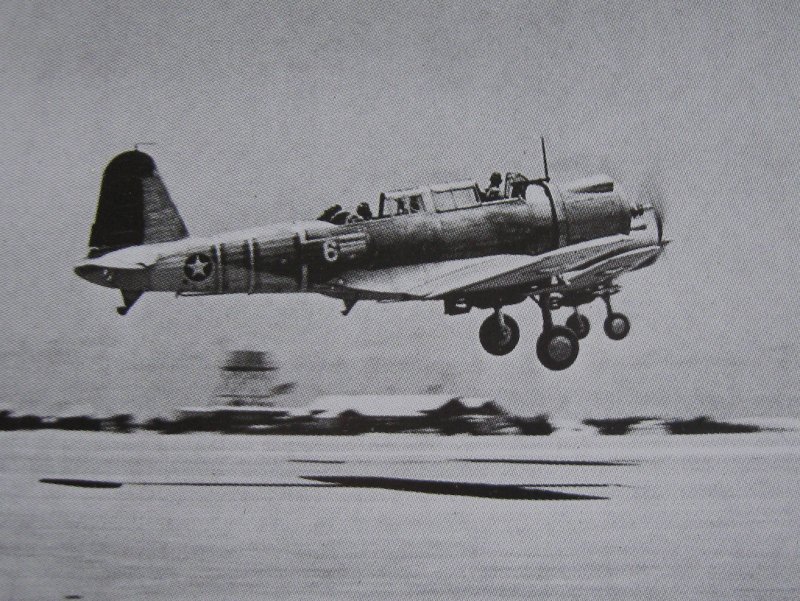
In my last update I’d gotten the Vindicator up to the painting portion of the build. My goal here is to try and replicate the paint job from White 6 flying out Midway at the end of the battle. Hopefully it’ll look something like this.
Though typical with this build I’ve messed it up already, as I removed the baby bombs from the wing pylons, and the grey and blue demarcation line is off. Oh well, for me the fun/challenge will be getting a good representation between the metal and fabric covered areas. Considering there’s a lot of fabric on this bird it could prove quite a challenge.
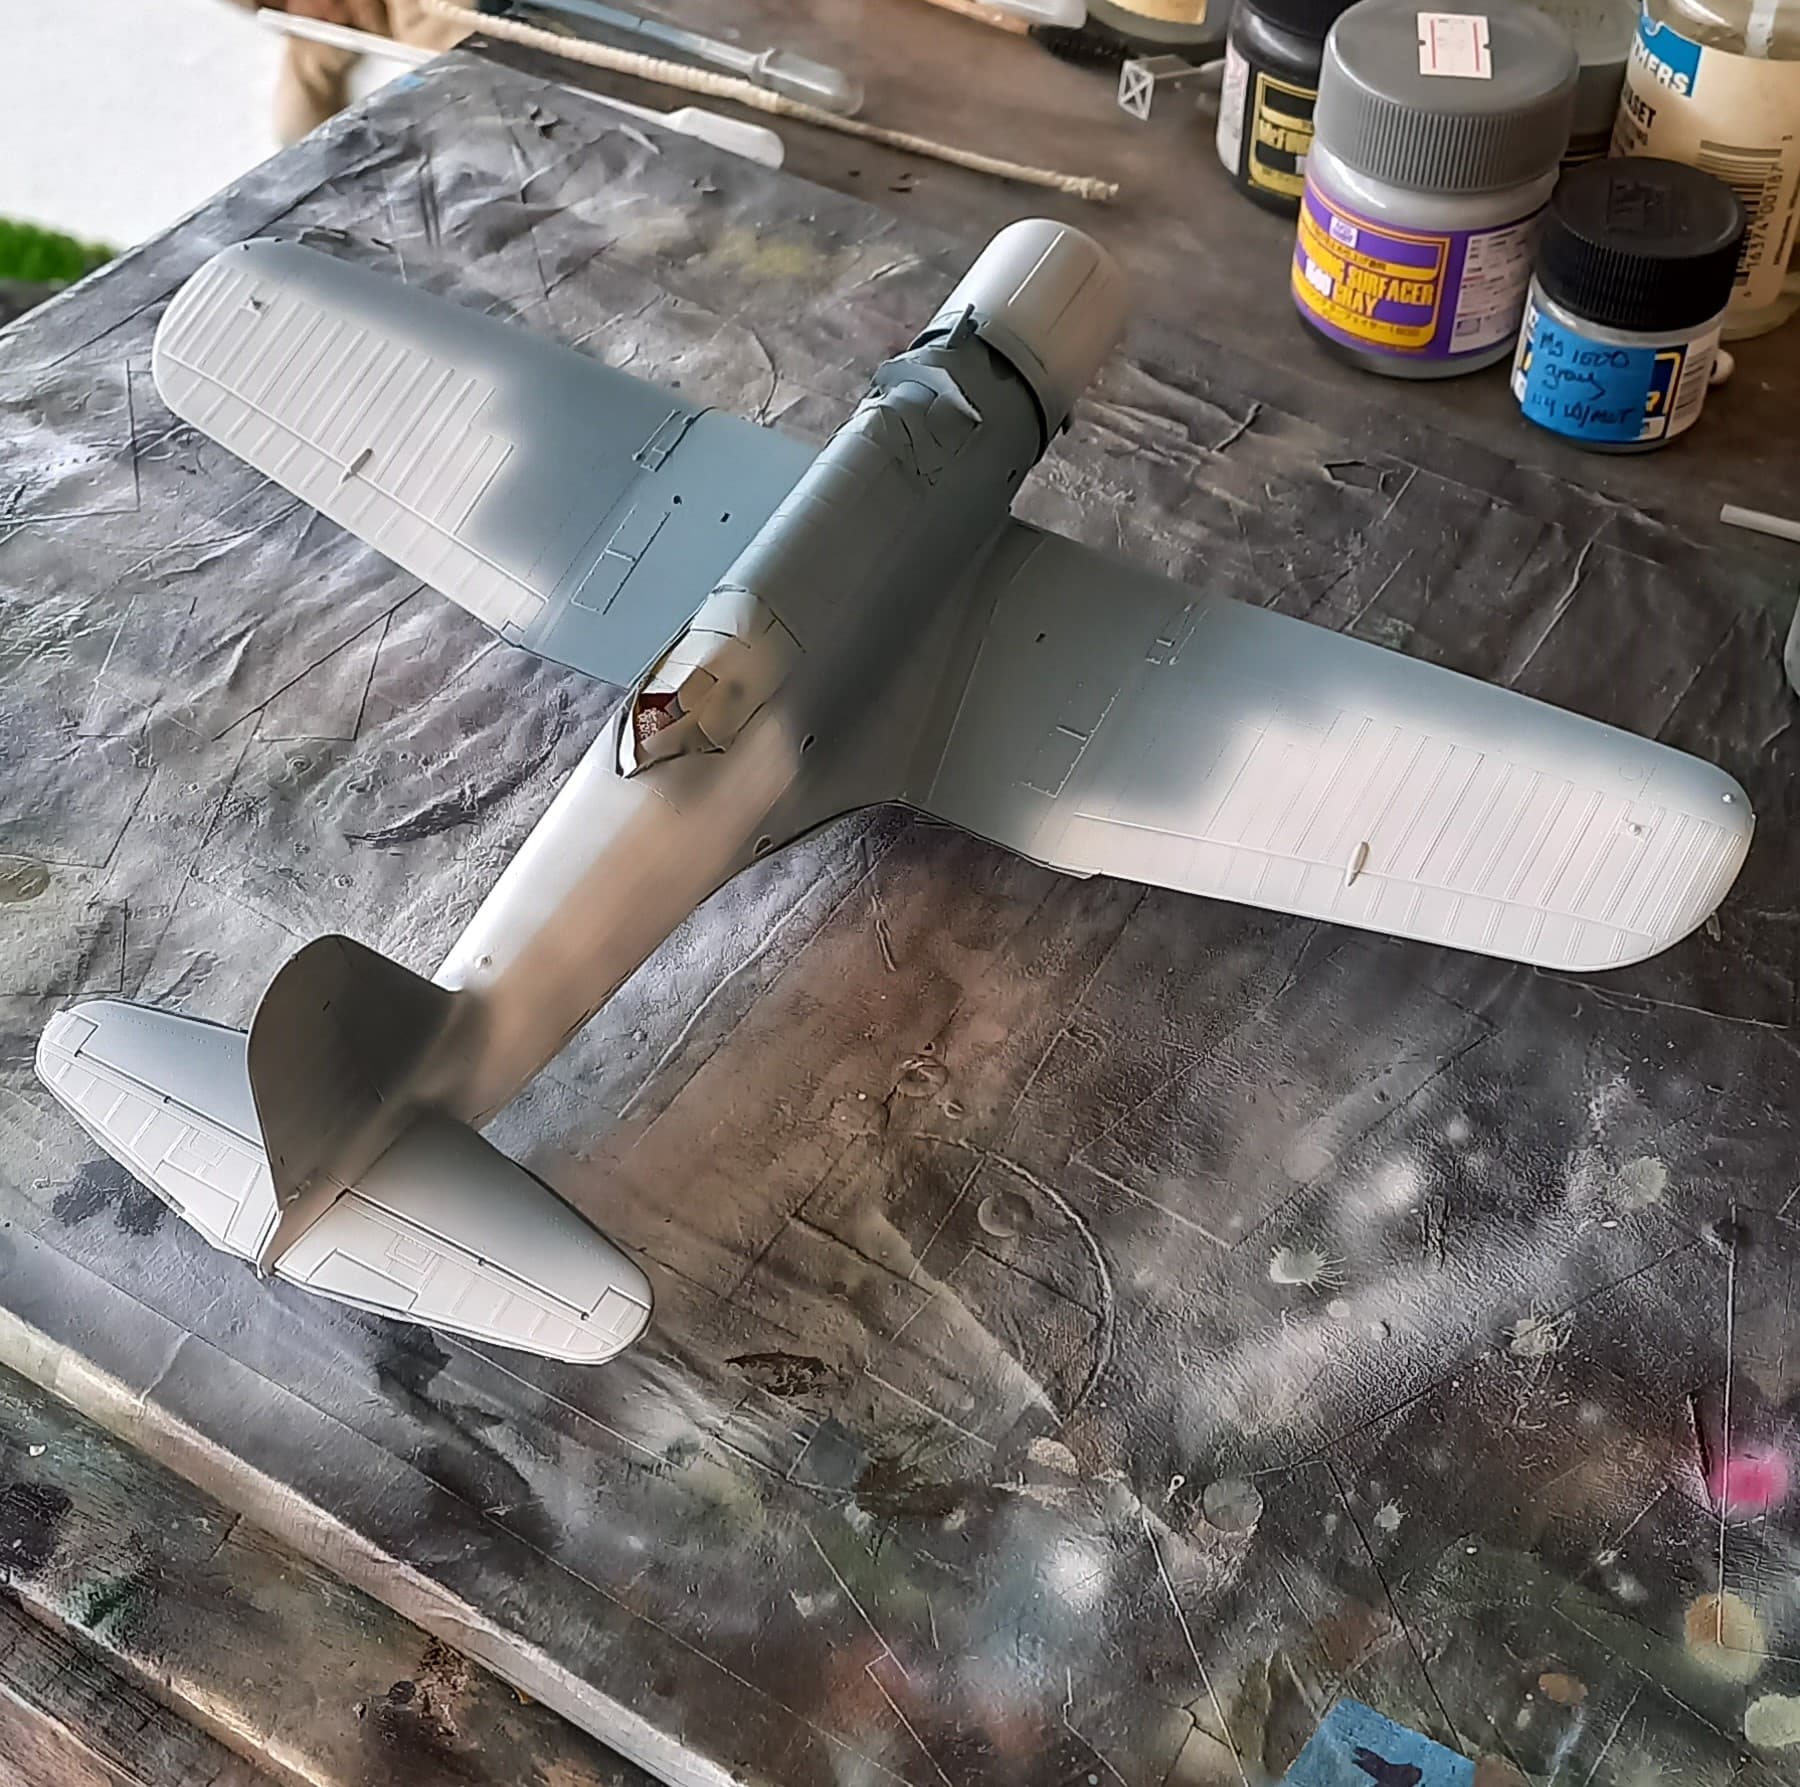
First off, I painted the underside in what I call PTO grey early, which is Tamiya sky grey and white mixed 50/50 and diluted 1:4.
I then flipped the bird over, and turned my focus to the canvas portion of the airframe. These areas were given a tight mottling of white. This was then bordered with my early PTO blue/grey, Tamiya medium blue XF-18 plus white at 50/50 and again diluted 1:4.
Next, I mottled the metal areas to give them a well-worn appearance, then applying more coverage with a even more diluted solution of the blue/grey (~1:10).
I then went over the fabric areas with the diluted blue and found myself having to take a step back as it became much to blue compared to photos, once lightened with some dilute white, I masked these areas off so that I could focus on the metal portions and the demarcation line. To facilitate this I added some more random mottling of white.
Once complete I was pretty happy with the outcome.
I proceeded to then work on the canvas areas which were way too light, so I took some white and lined in the fabric seams, with the hopes of blending these to get a more faded effect.
I then proceeded to blend in the blue on the canvas areas with the diluted blue color.
Well, that was easy! I’ve given the bird a nice clear gloss, so that I can begin doing the decals.
Till then, have fun modeling!
5 Likes
Well that’s a wrap! More photos can be found here TBM Avenger Okinawa (finished) - #8 by Armorsmith
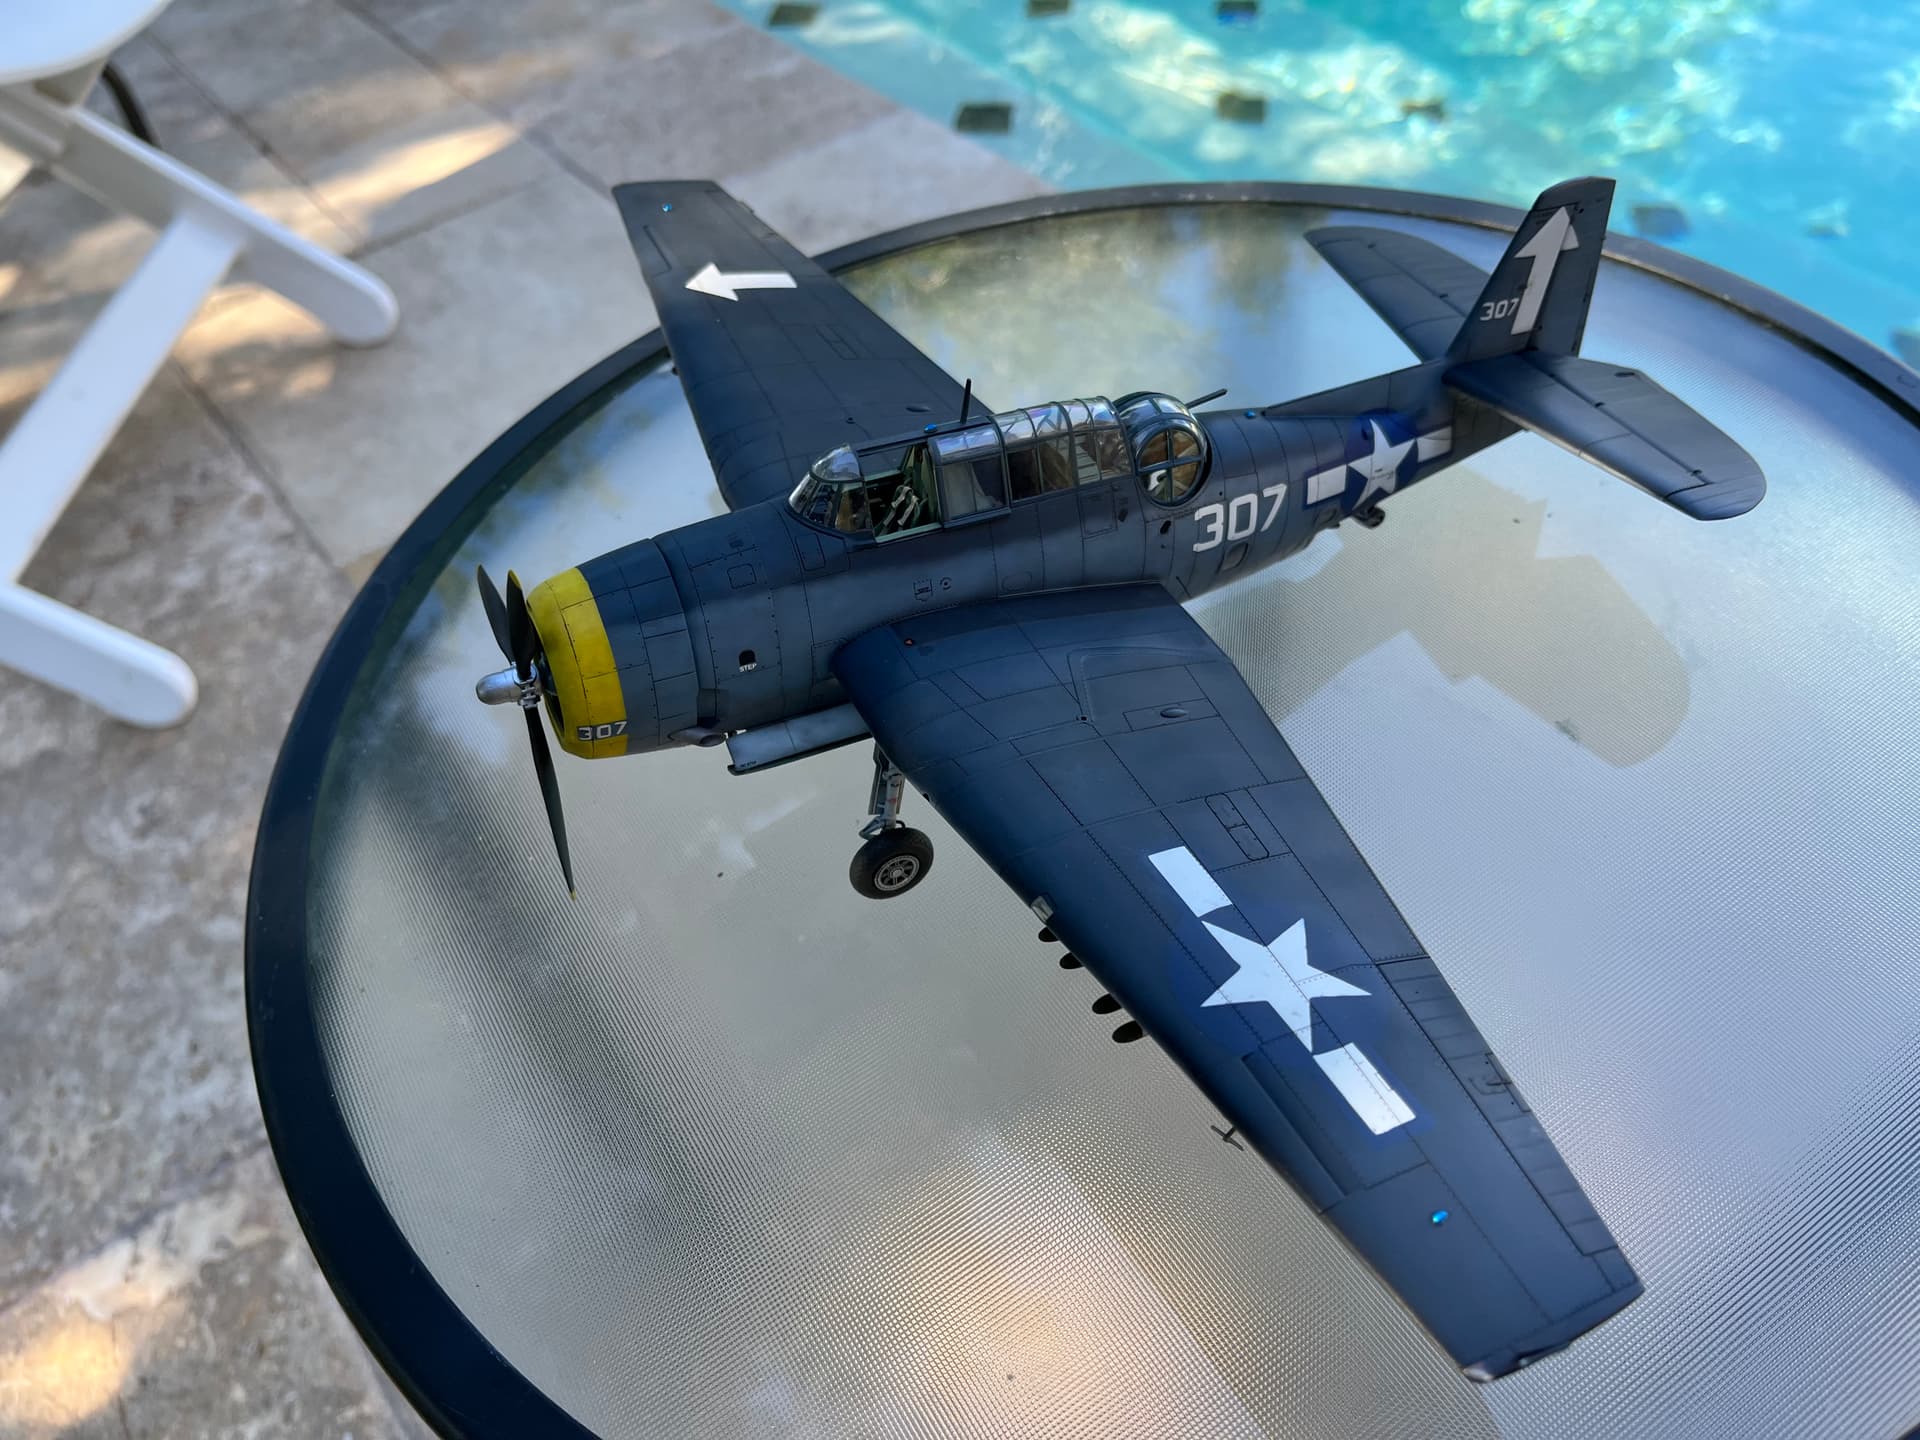
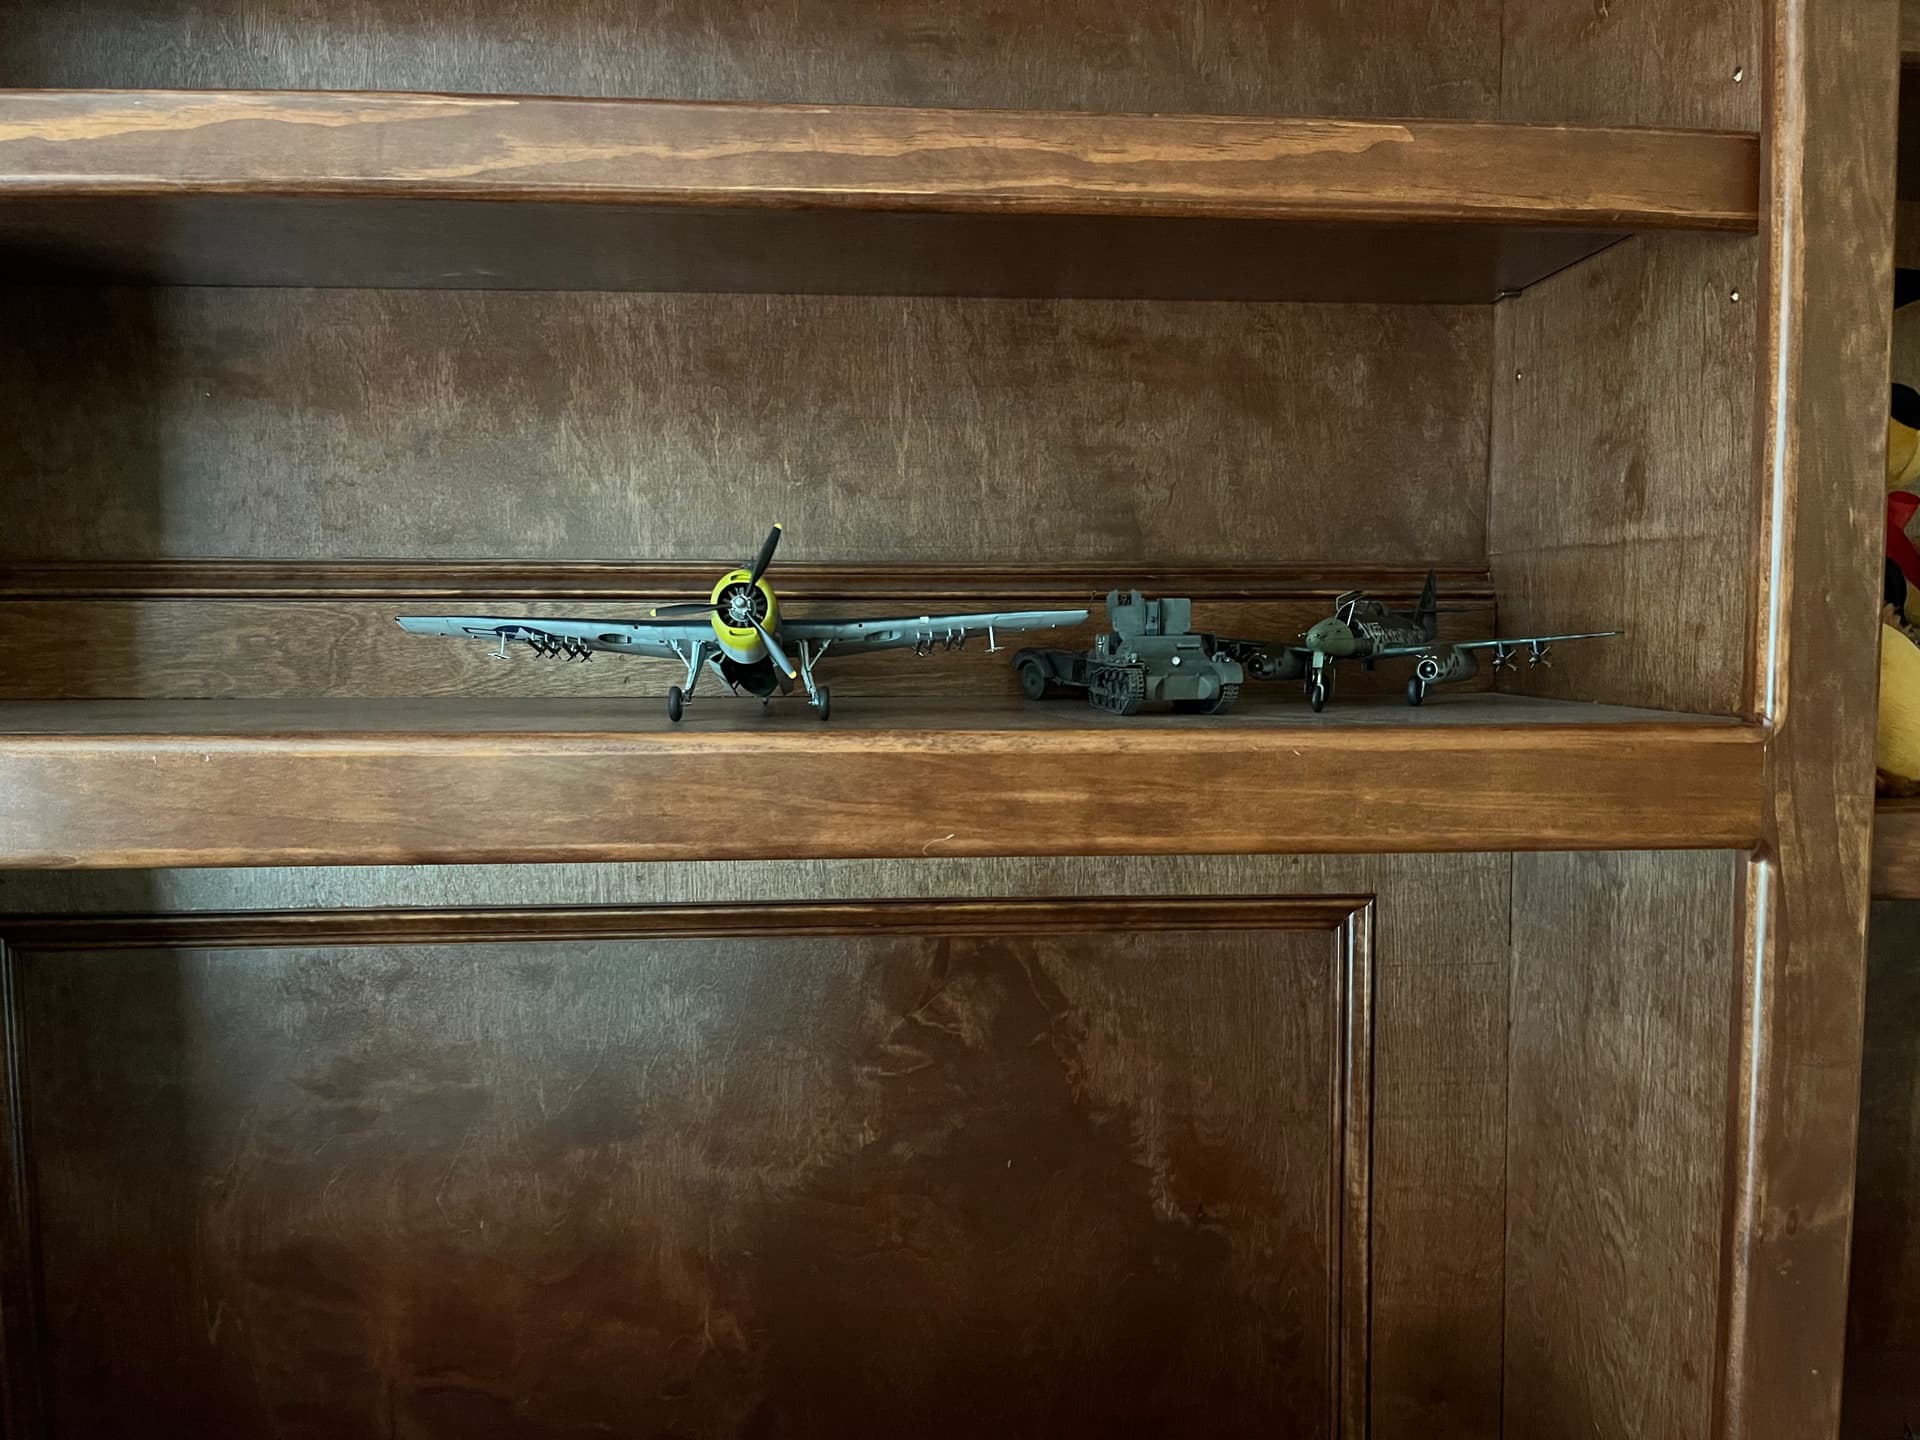
Thanks @michaelsatin for this campaign! I really enjoy naval aircraft. The AM kit was really nice. I have another in the stash I want to do in Atlantic or RAF scheme. I think I’ll get a wing fold kit for that one though. This thing is huge! It absolutely dwarfs my ME-262 in the shelf
8 Likes
Beautiful build, Mead. Very nice crisp finish that really brings out the details.
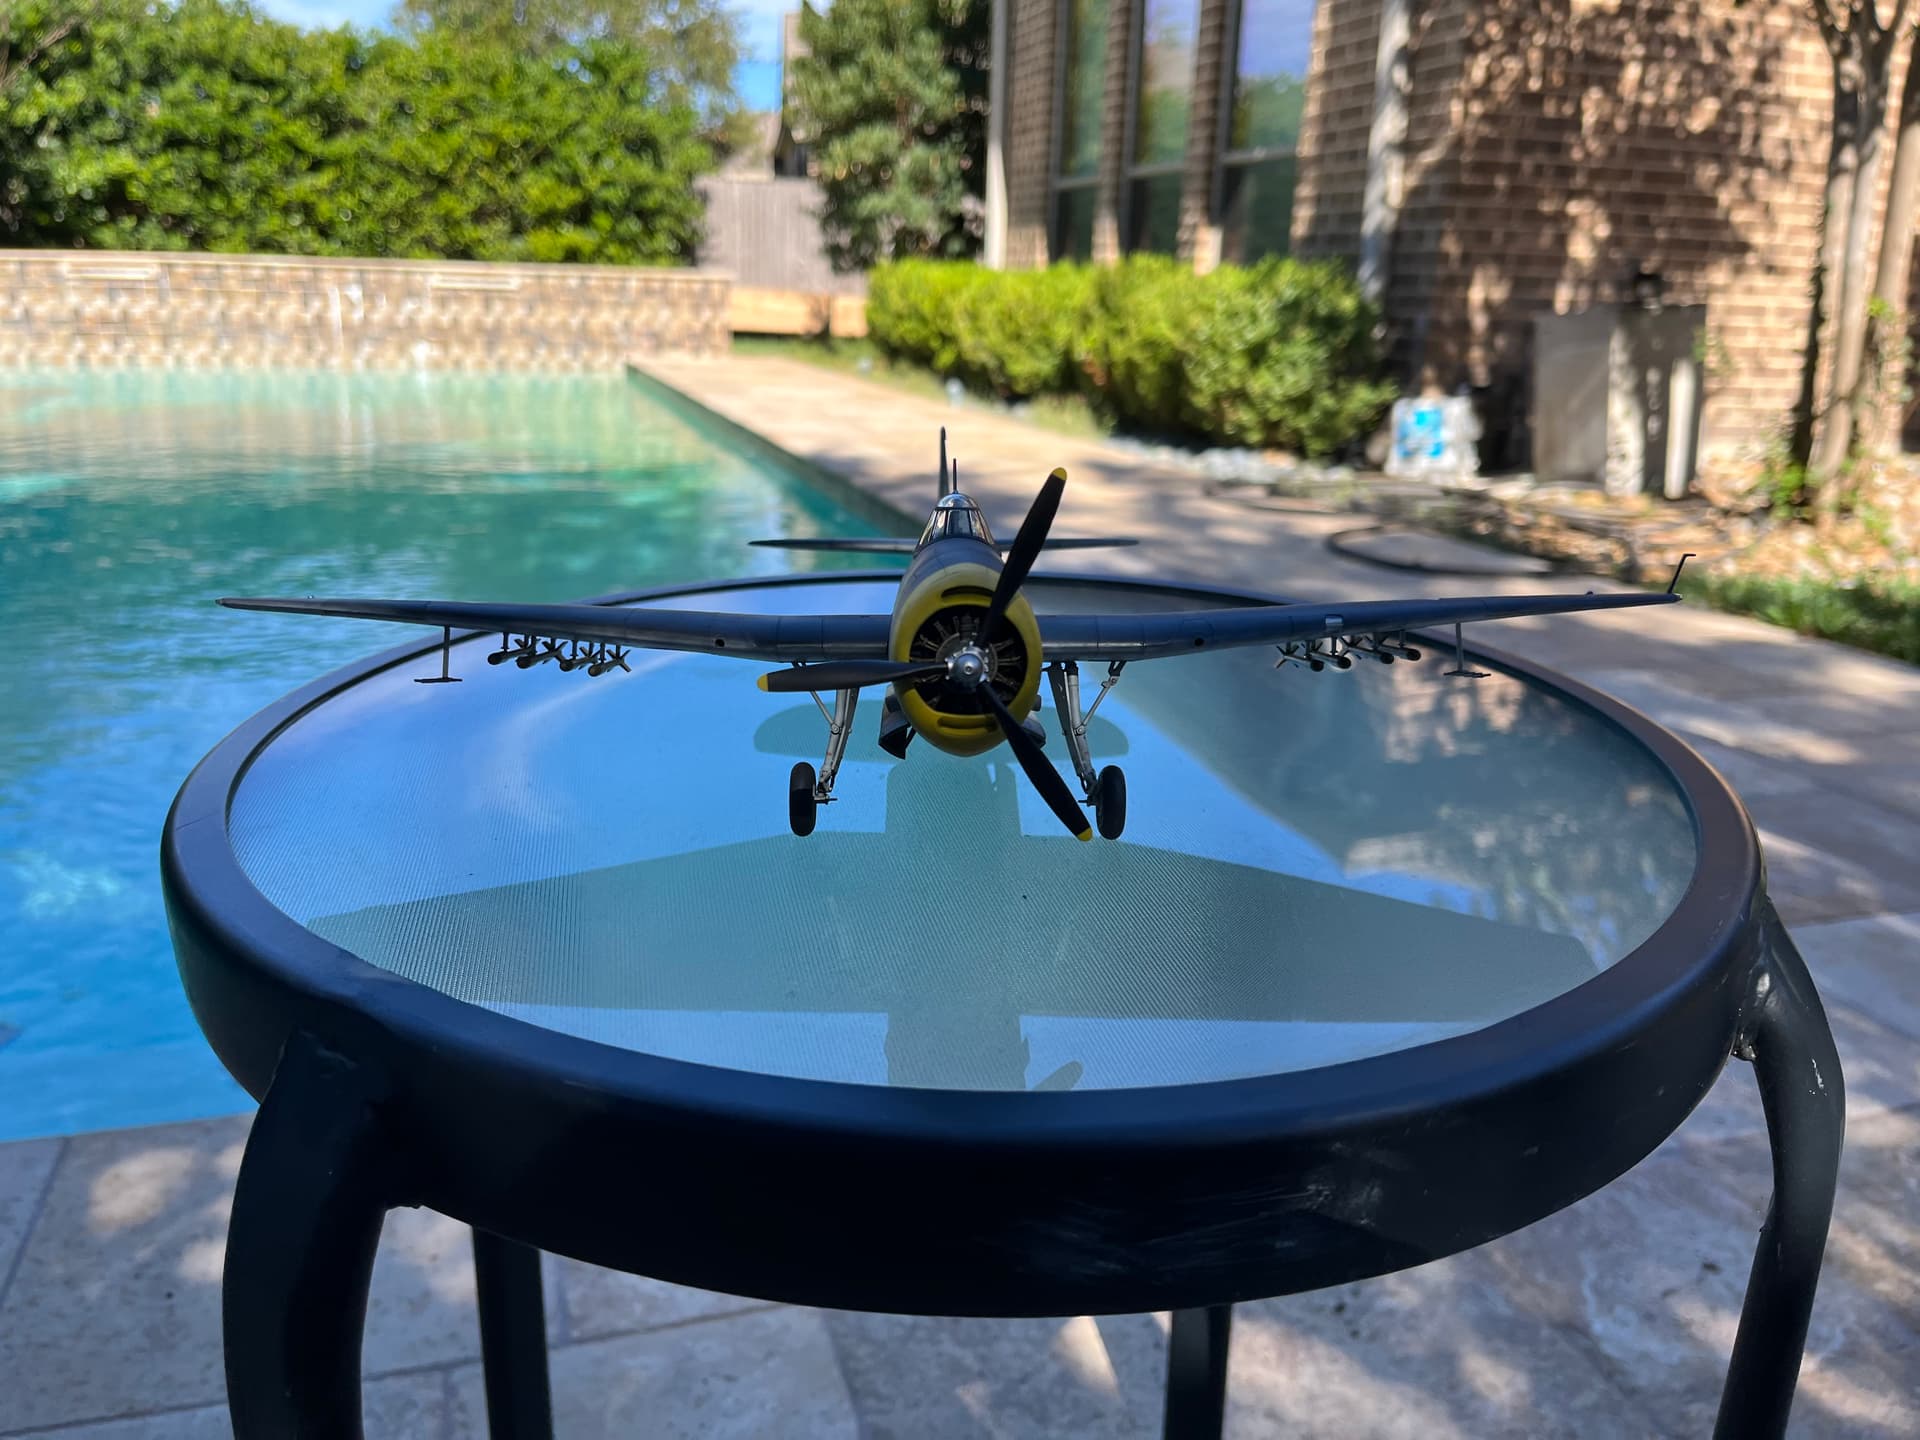
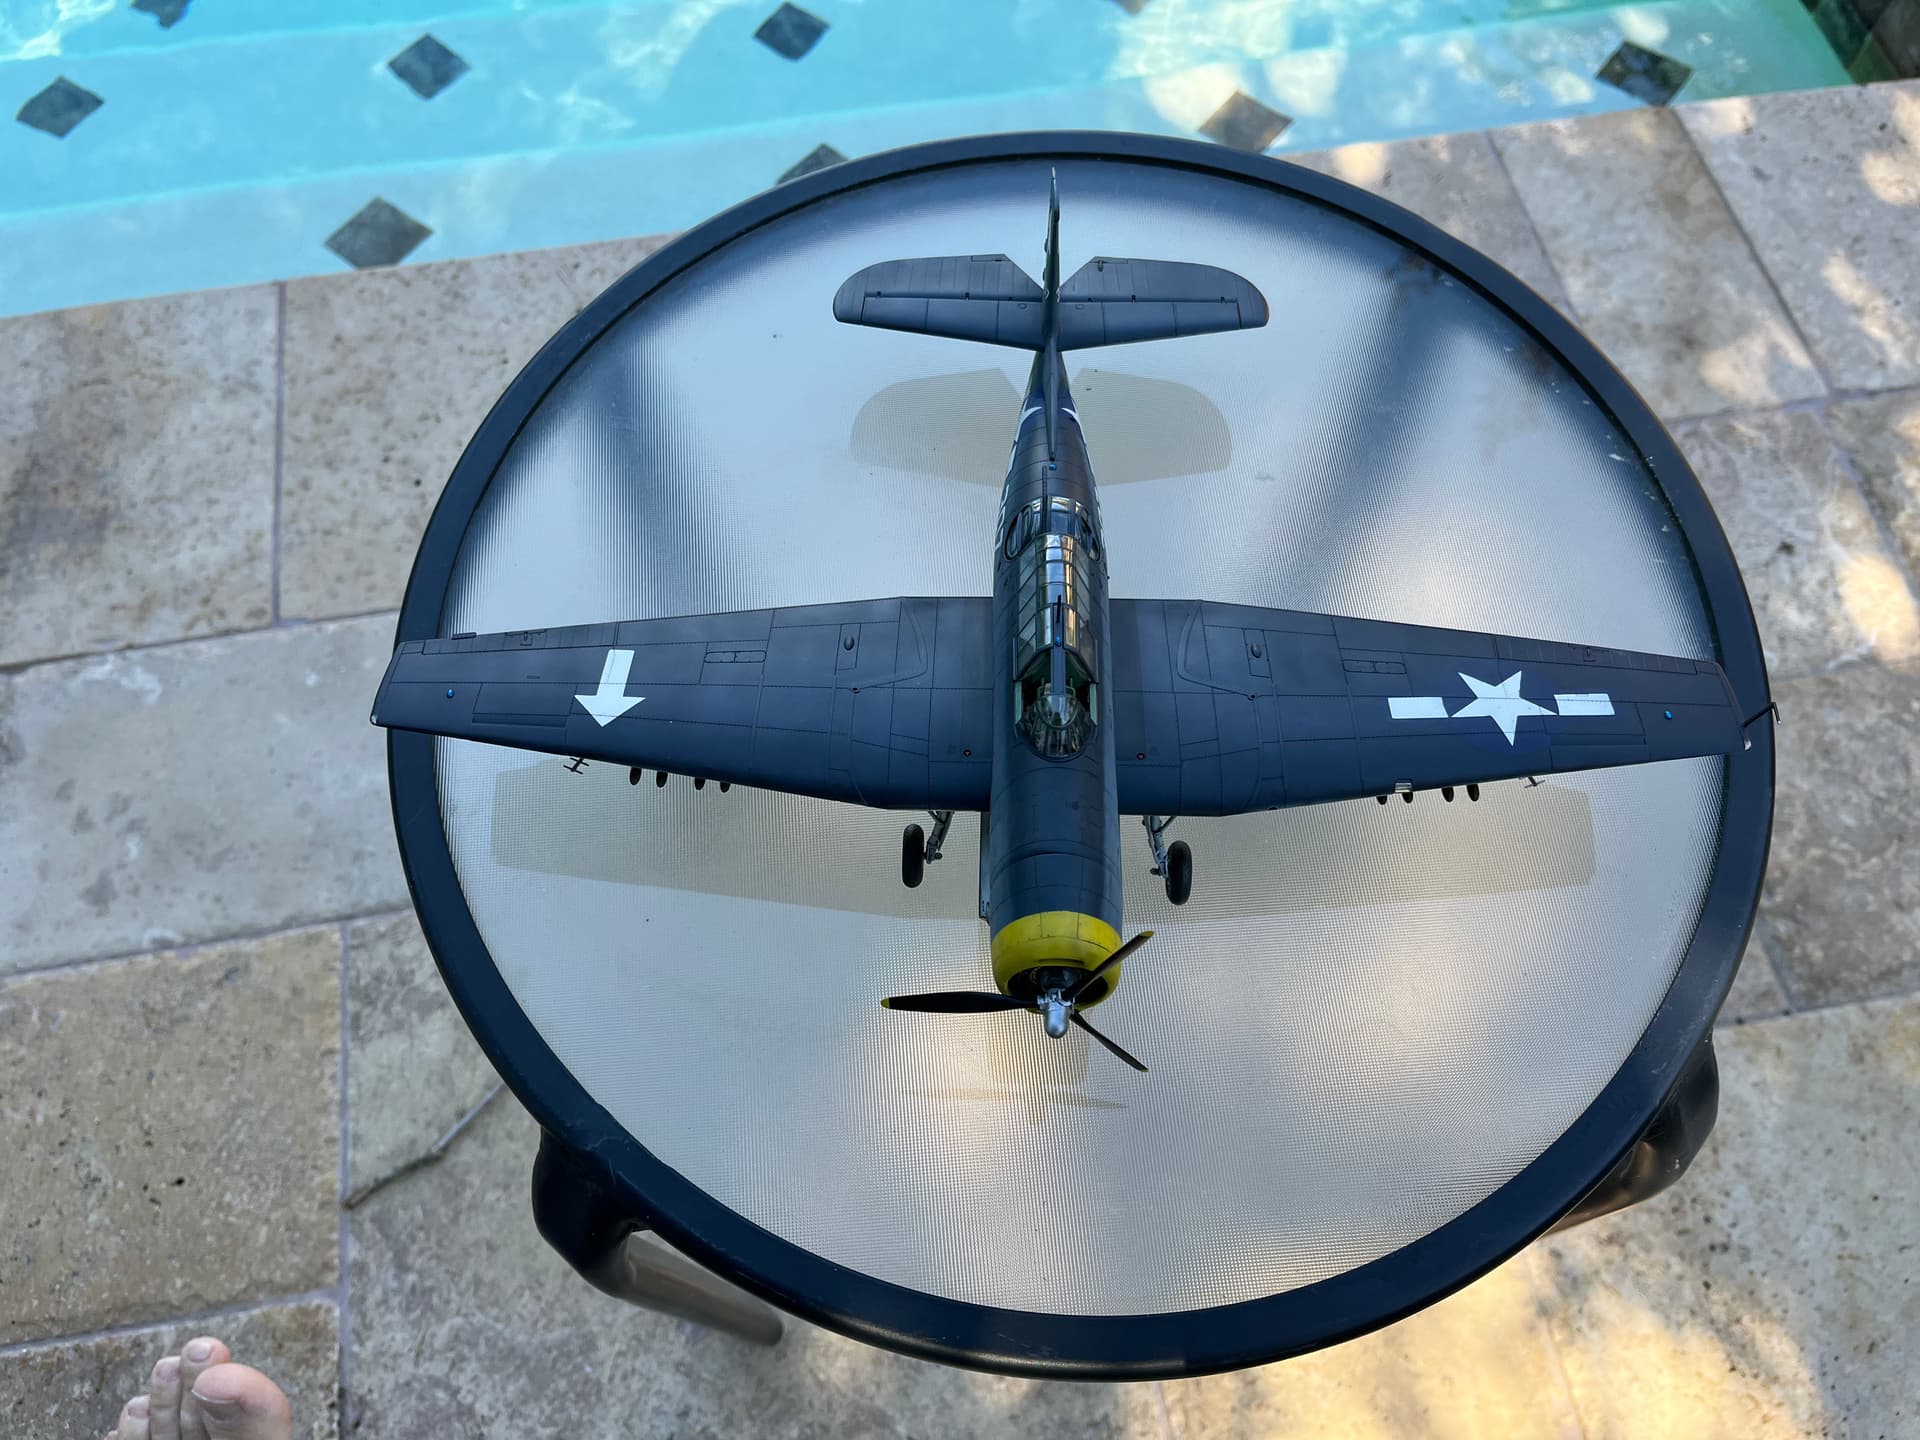
“Whats that?”
“Oh nothing, just an Avenger lounging by the pool” ![]()
1 Like
Thank you kindly!
It had a hard war! It needs some R&R by the pool! It was patiently waiting on its pina colada ![]()
1 Like
Mead, lovely finish!
1 Like

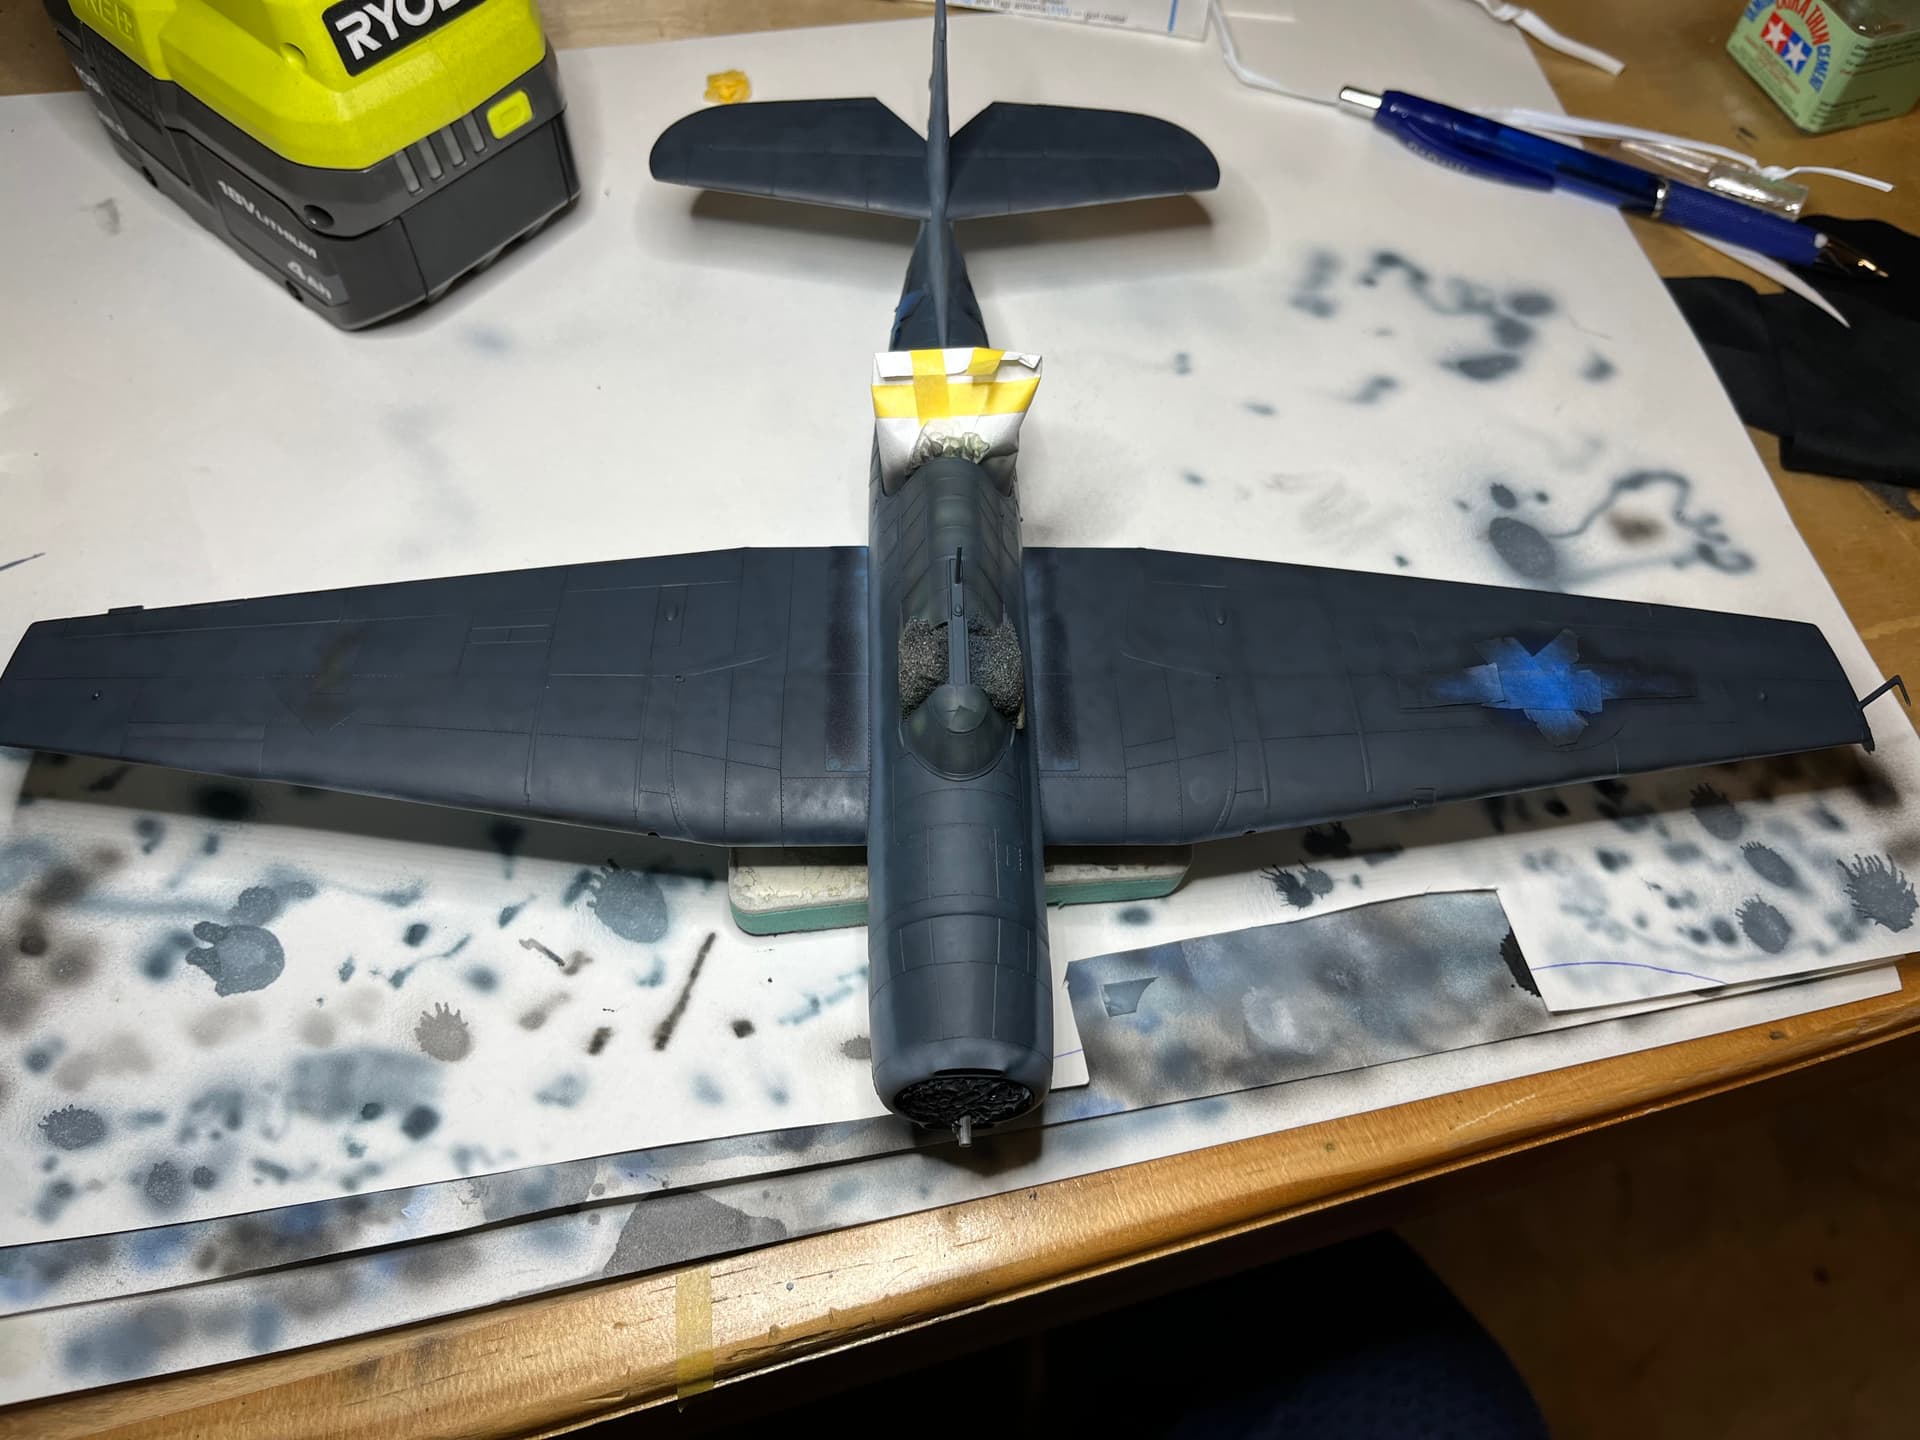
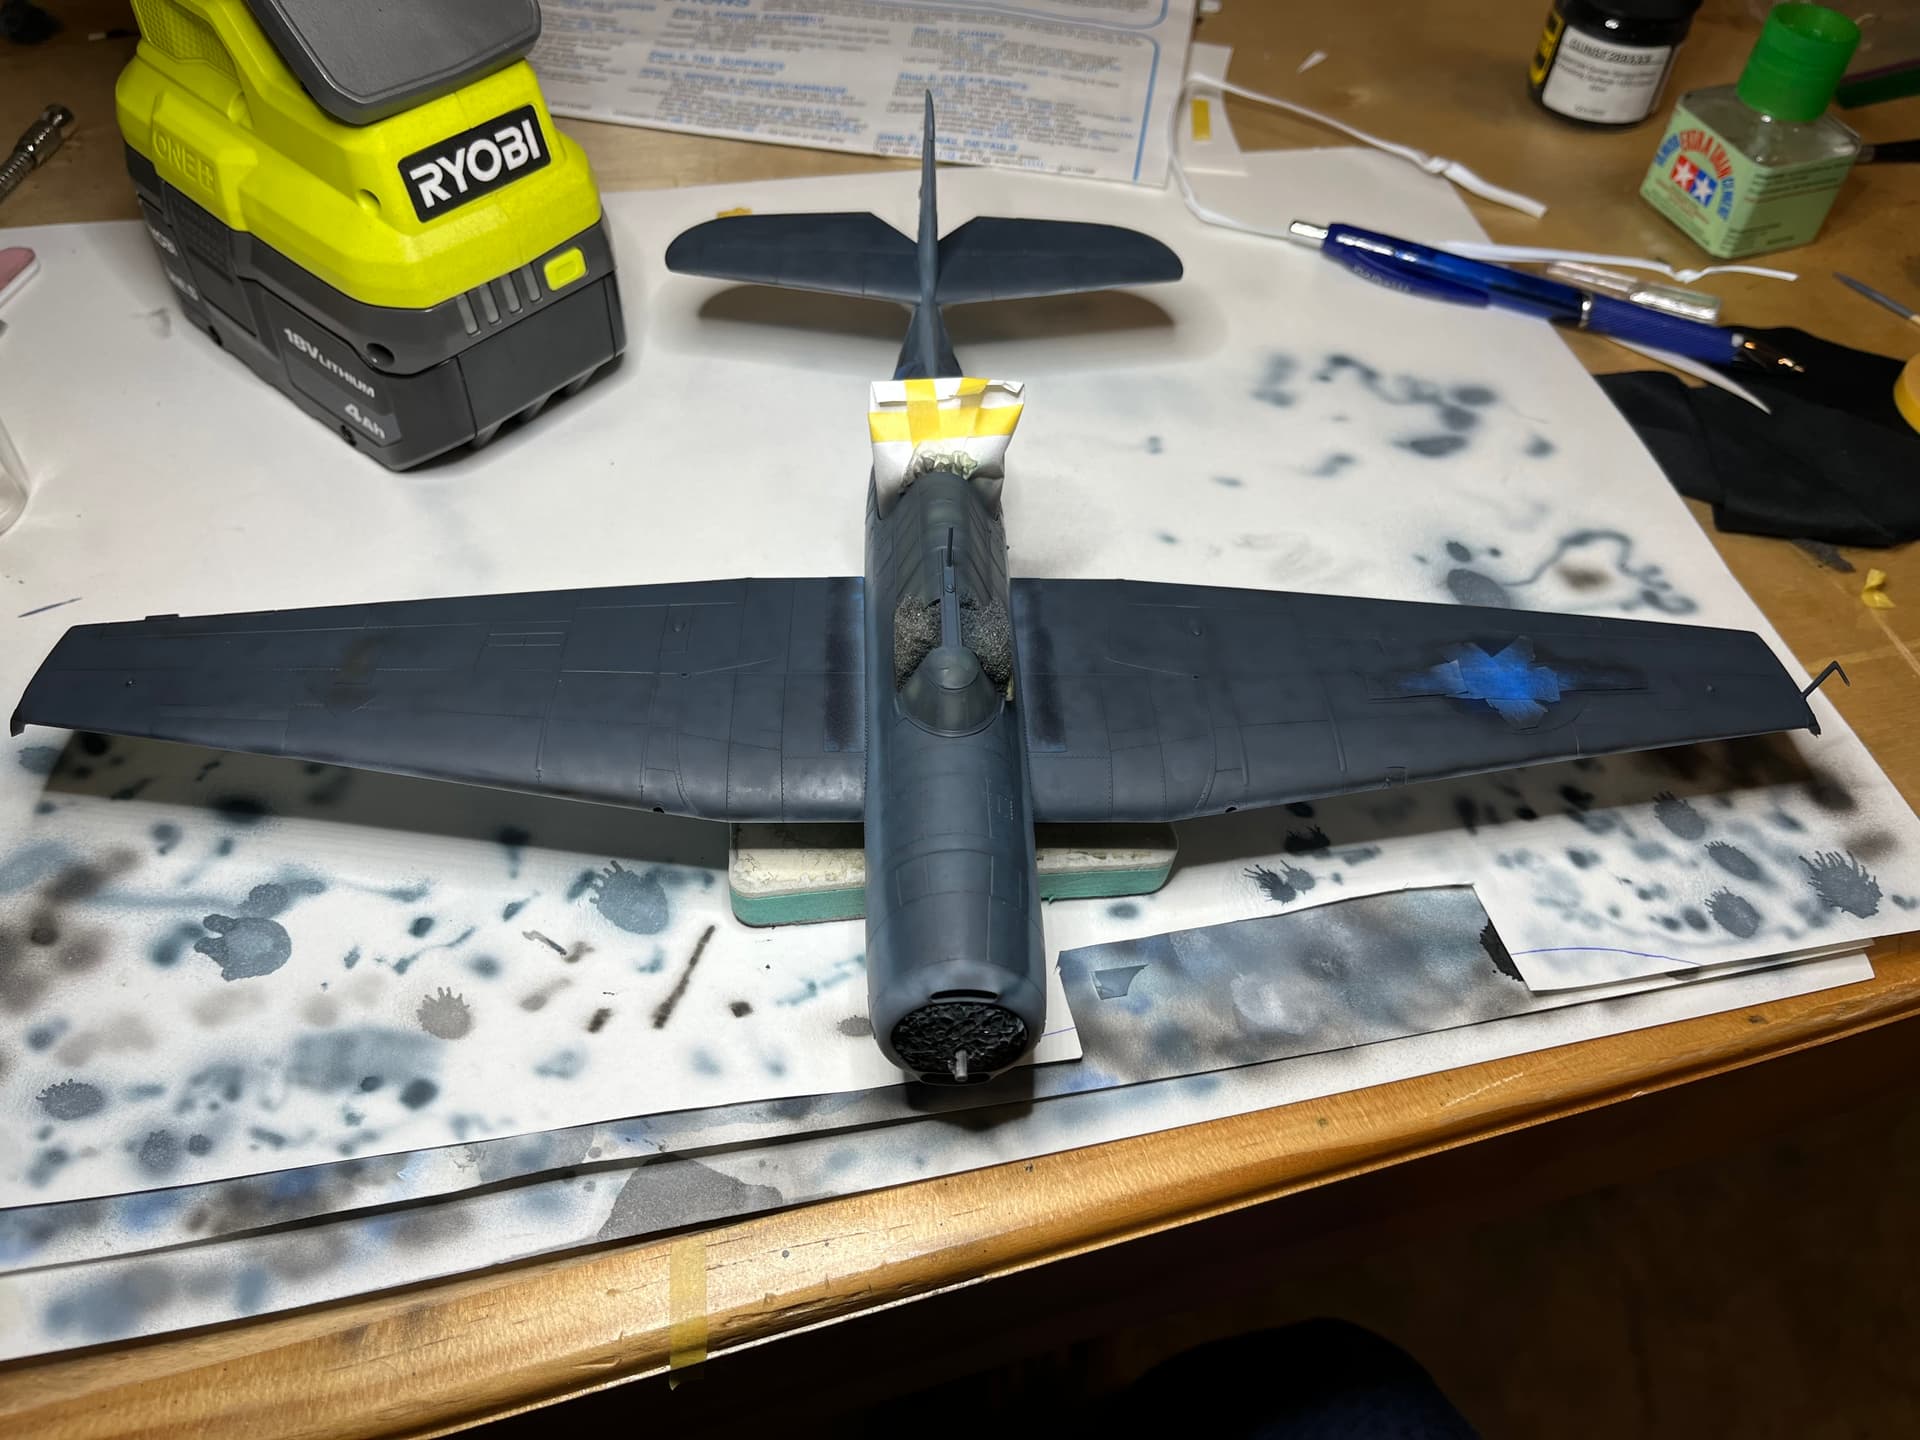
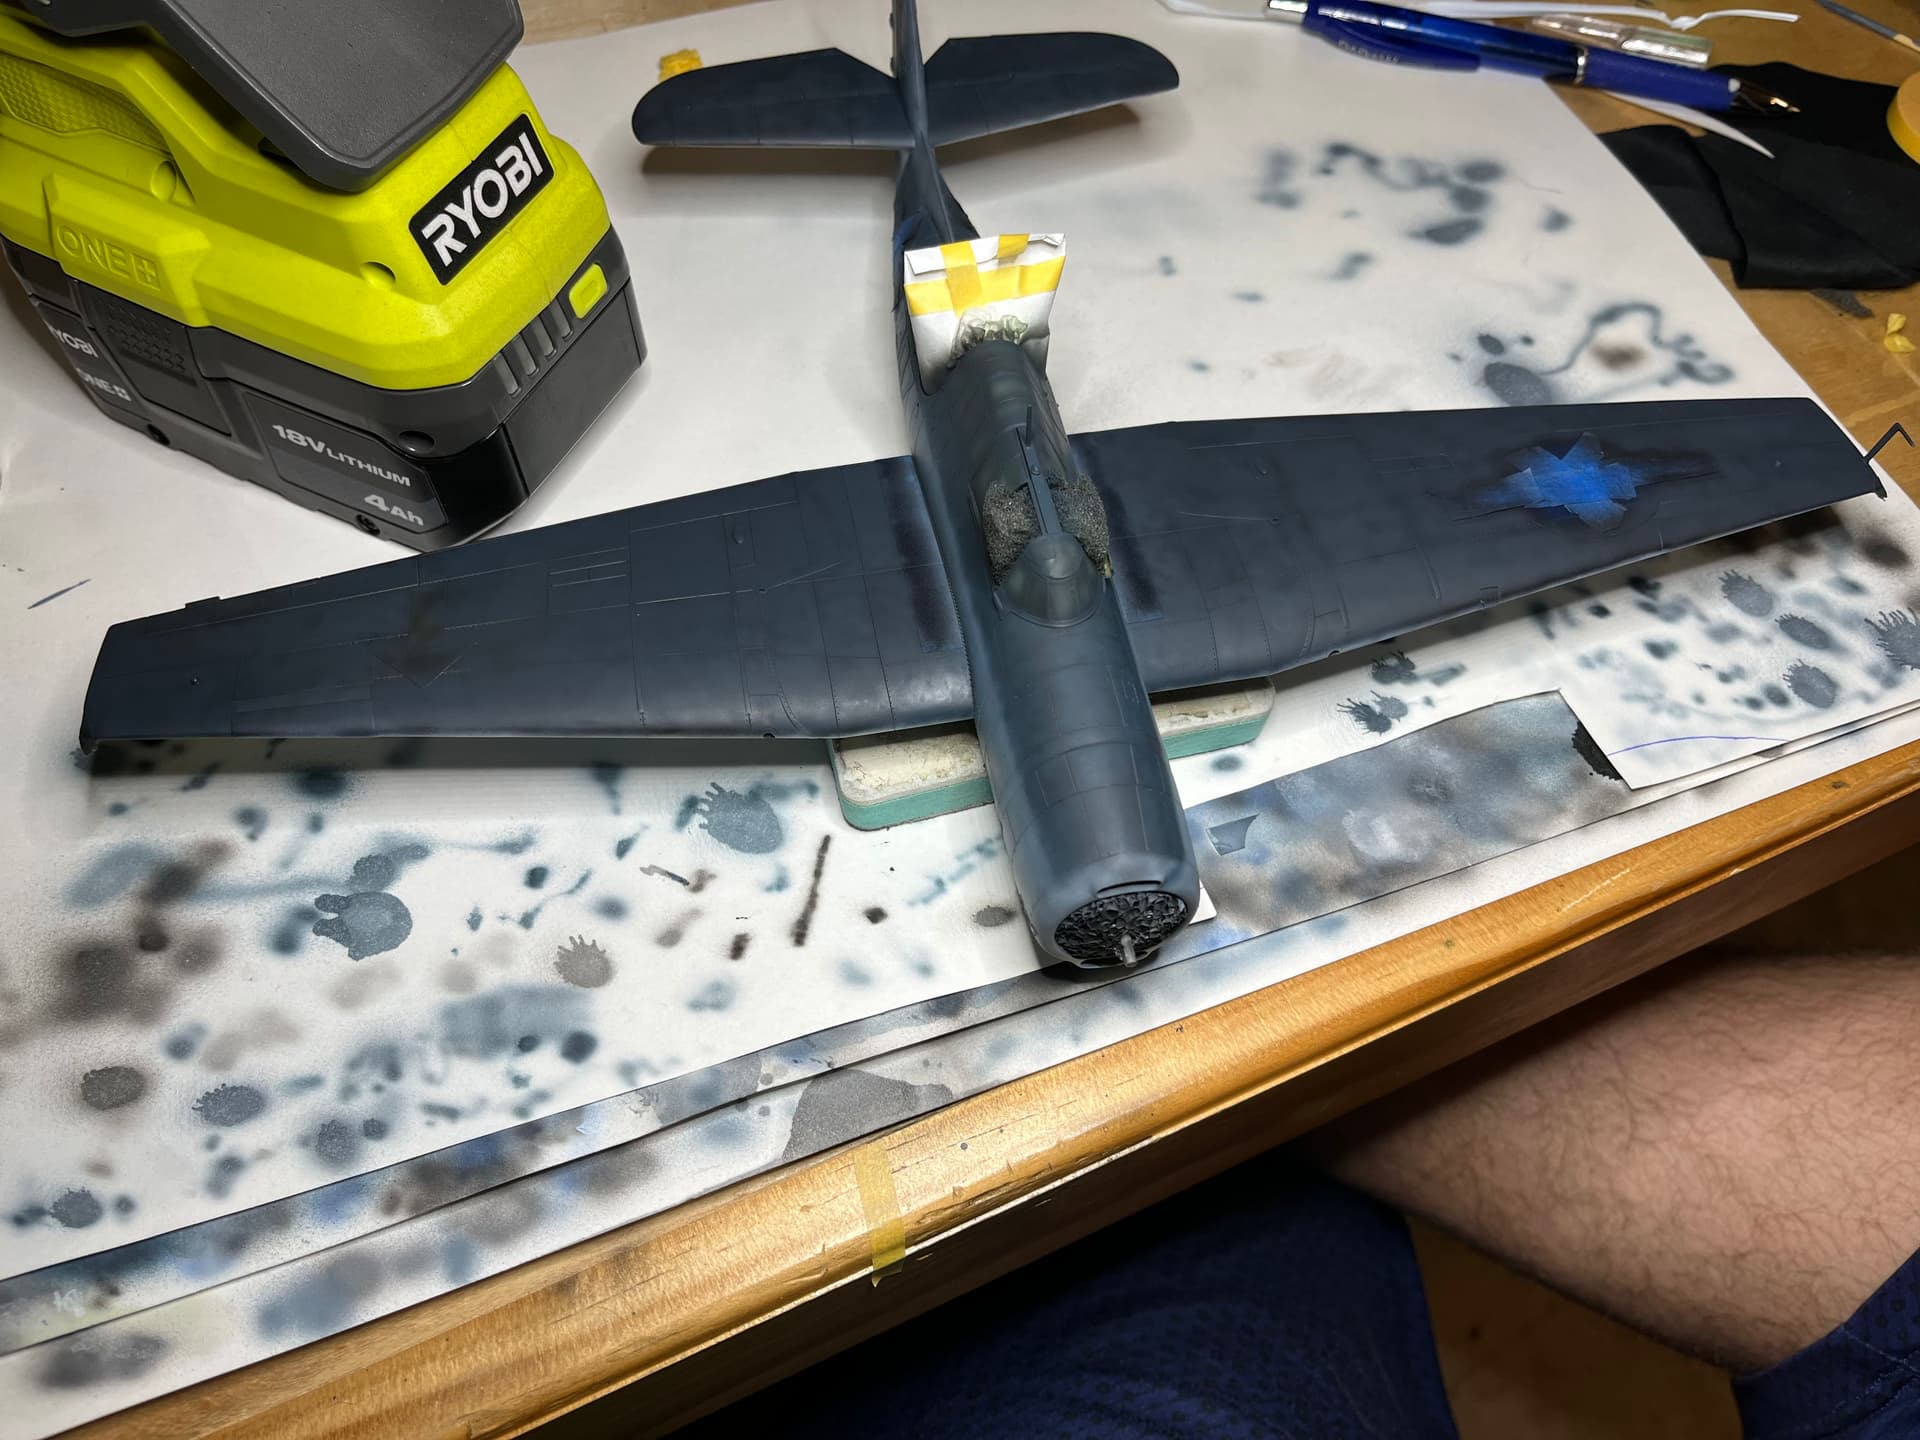
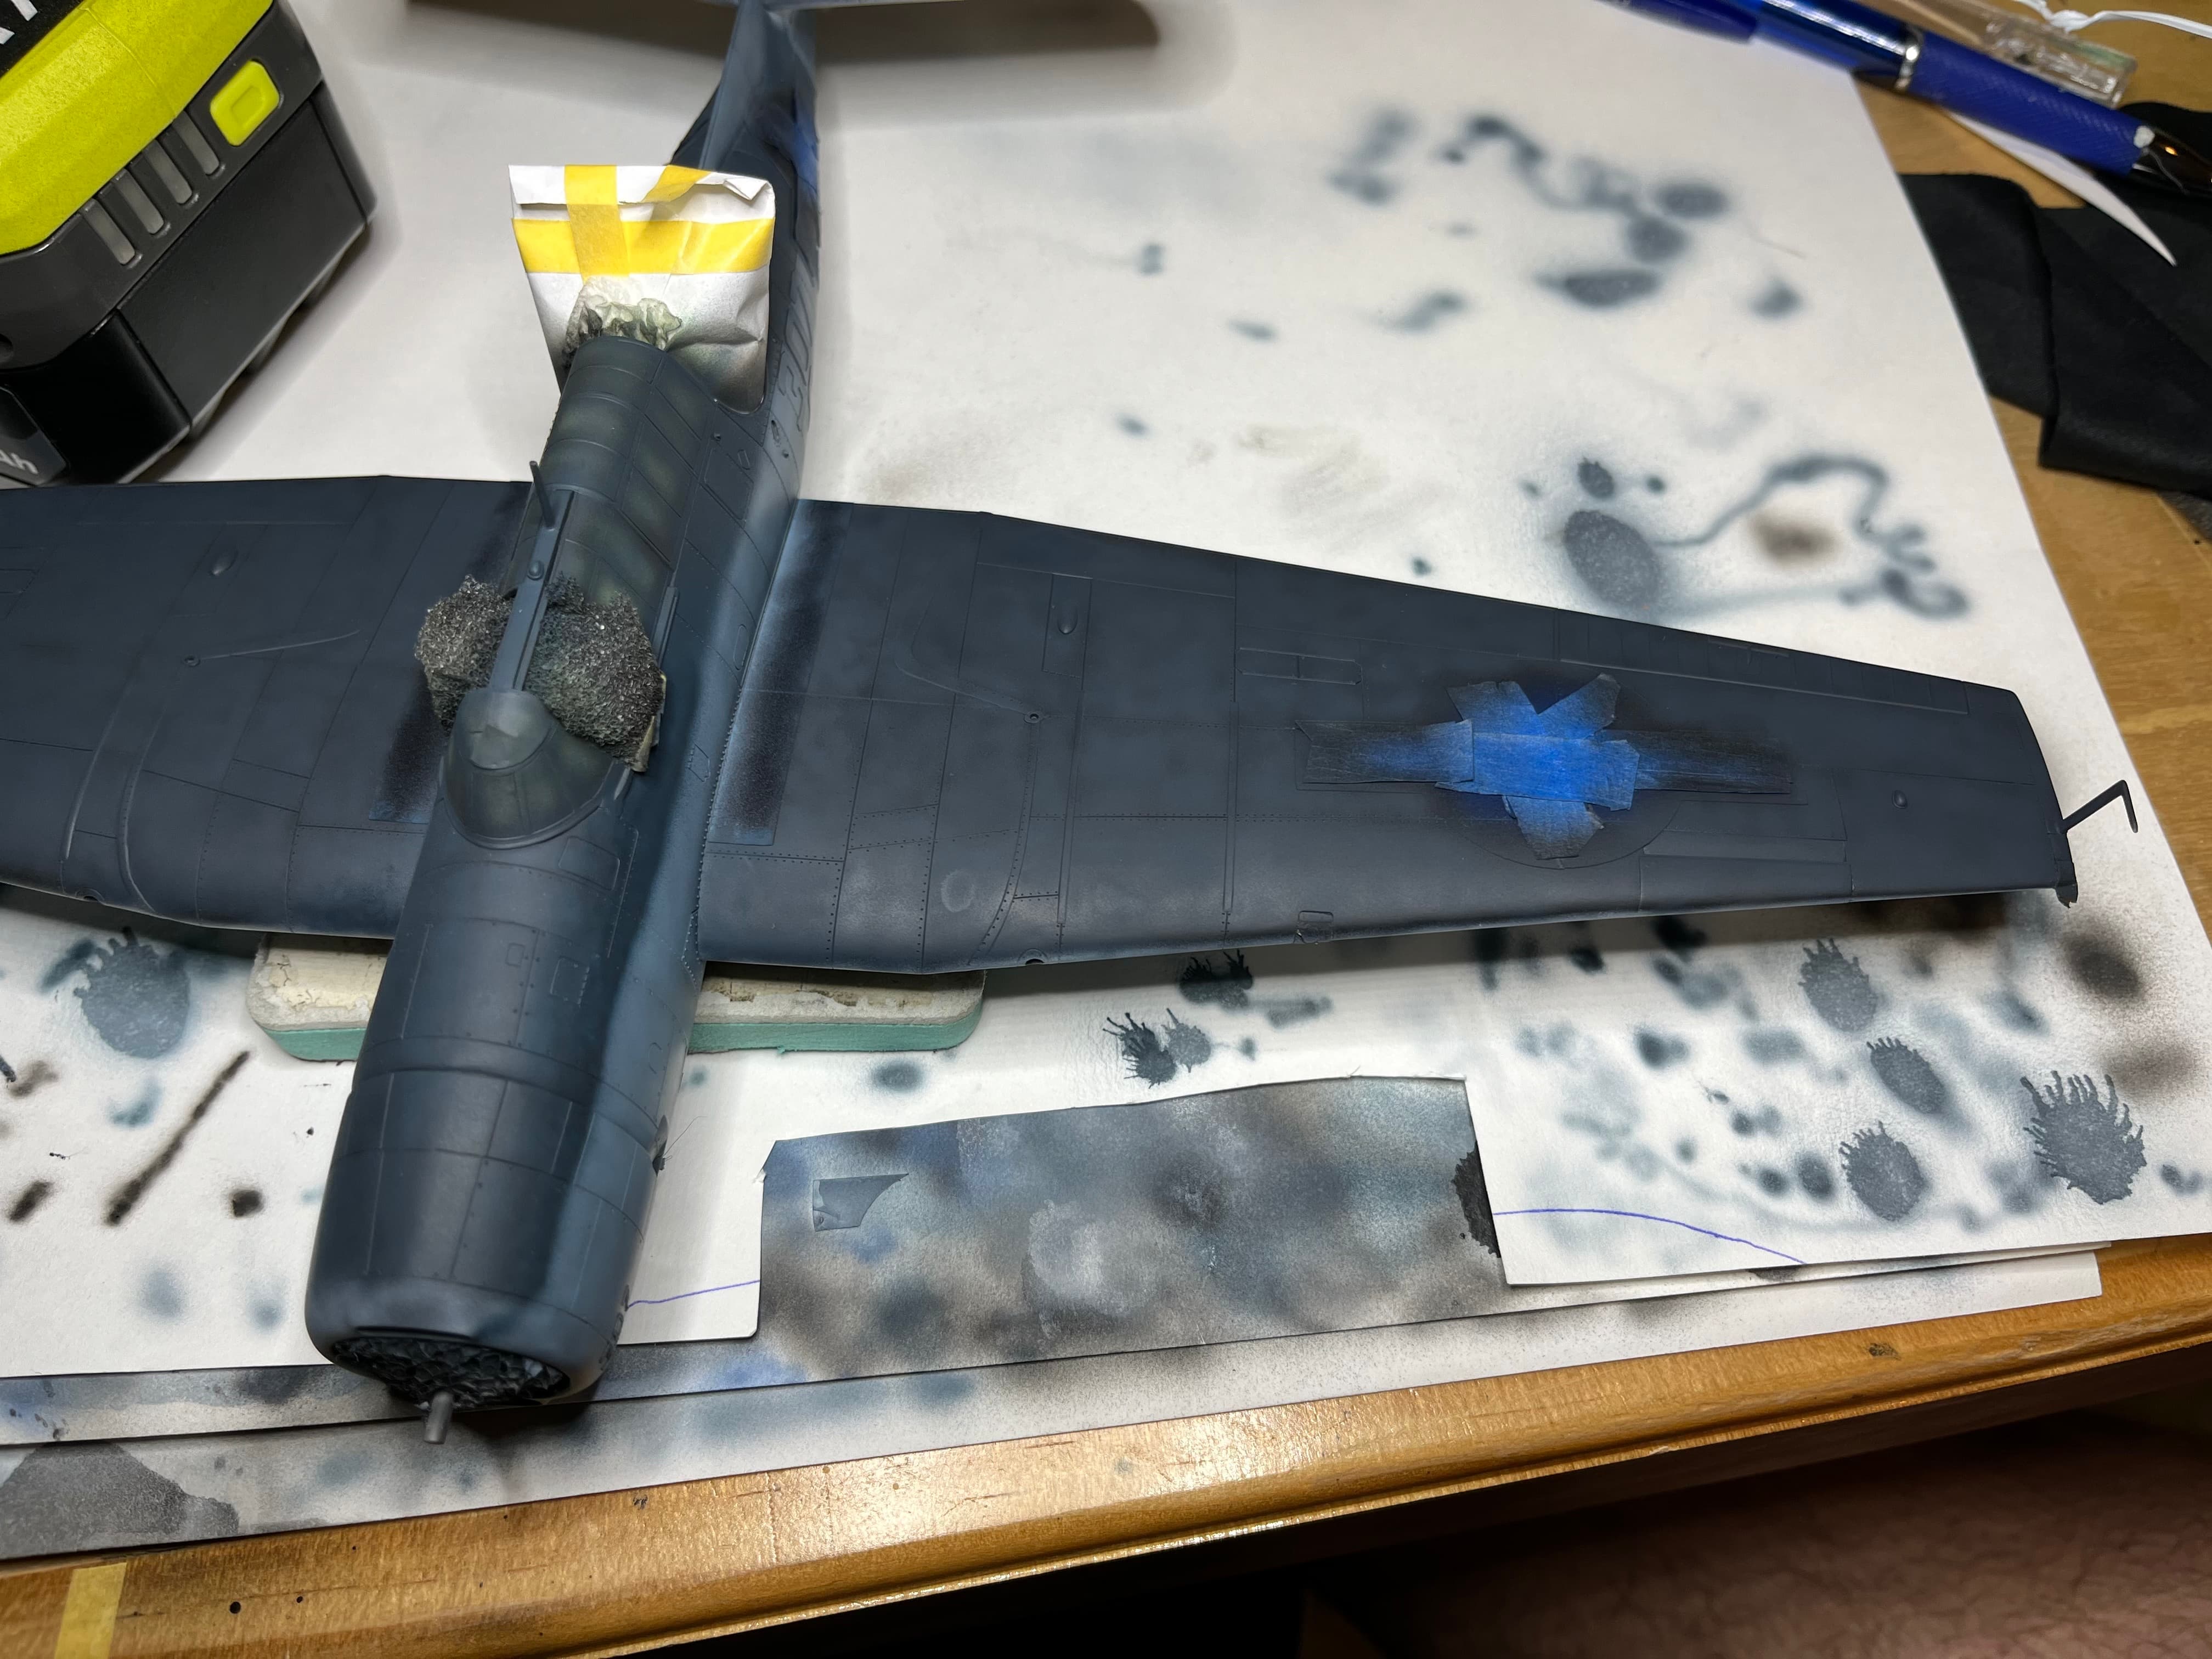
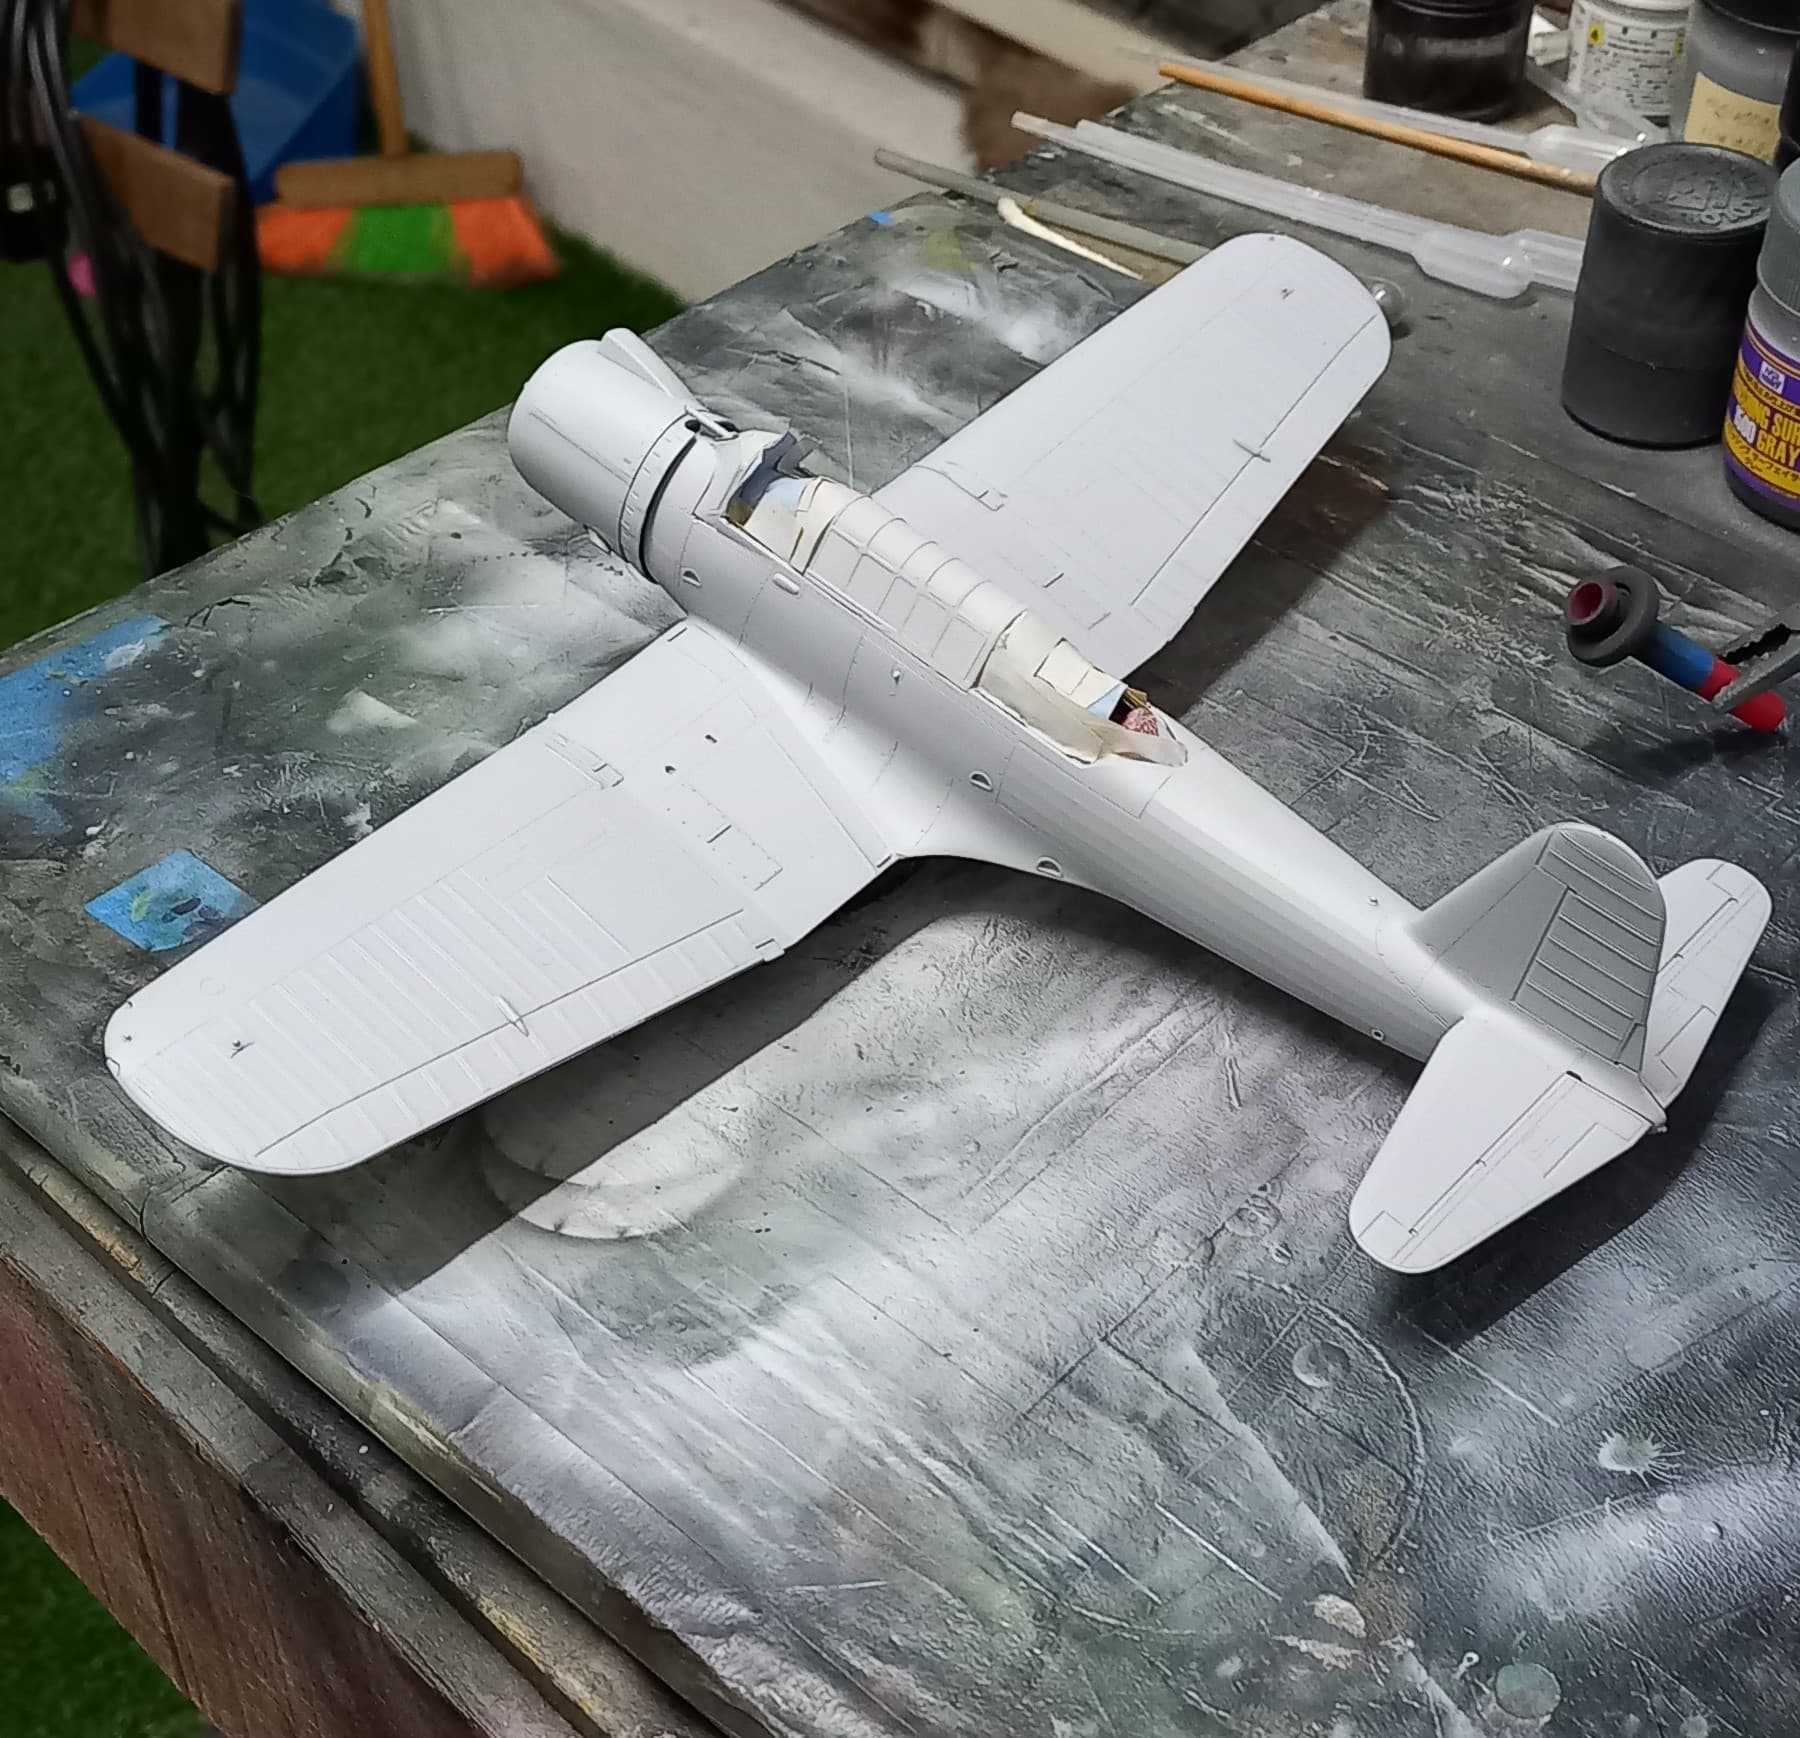
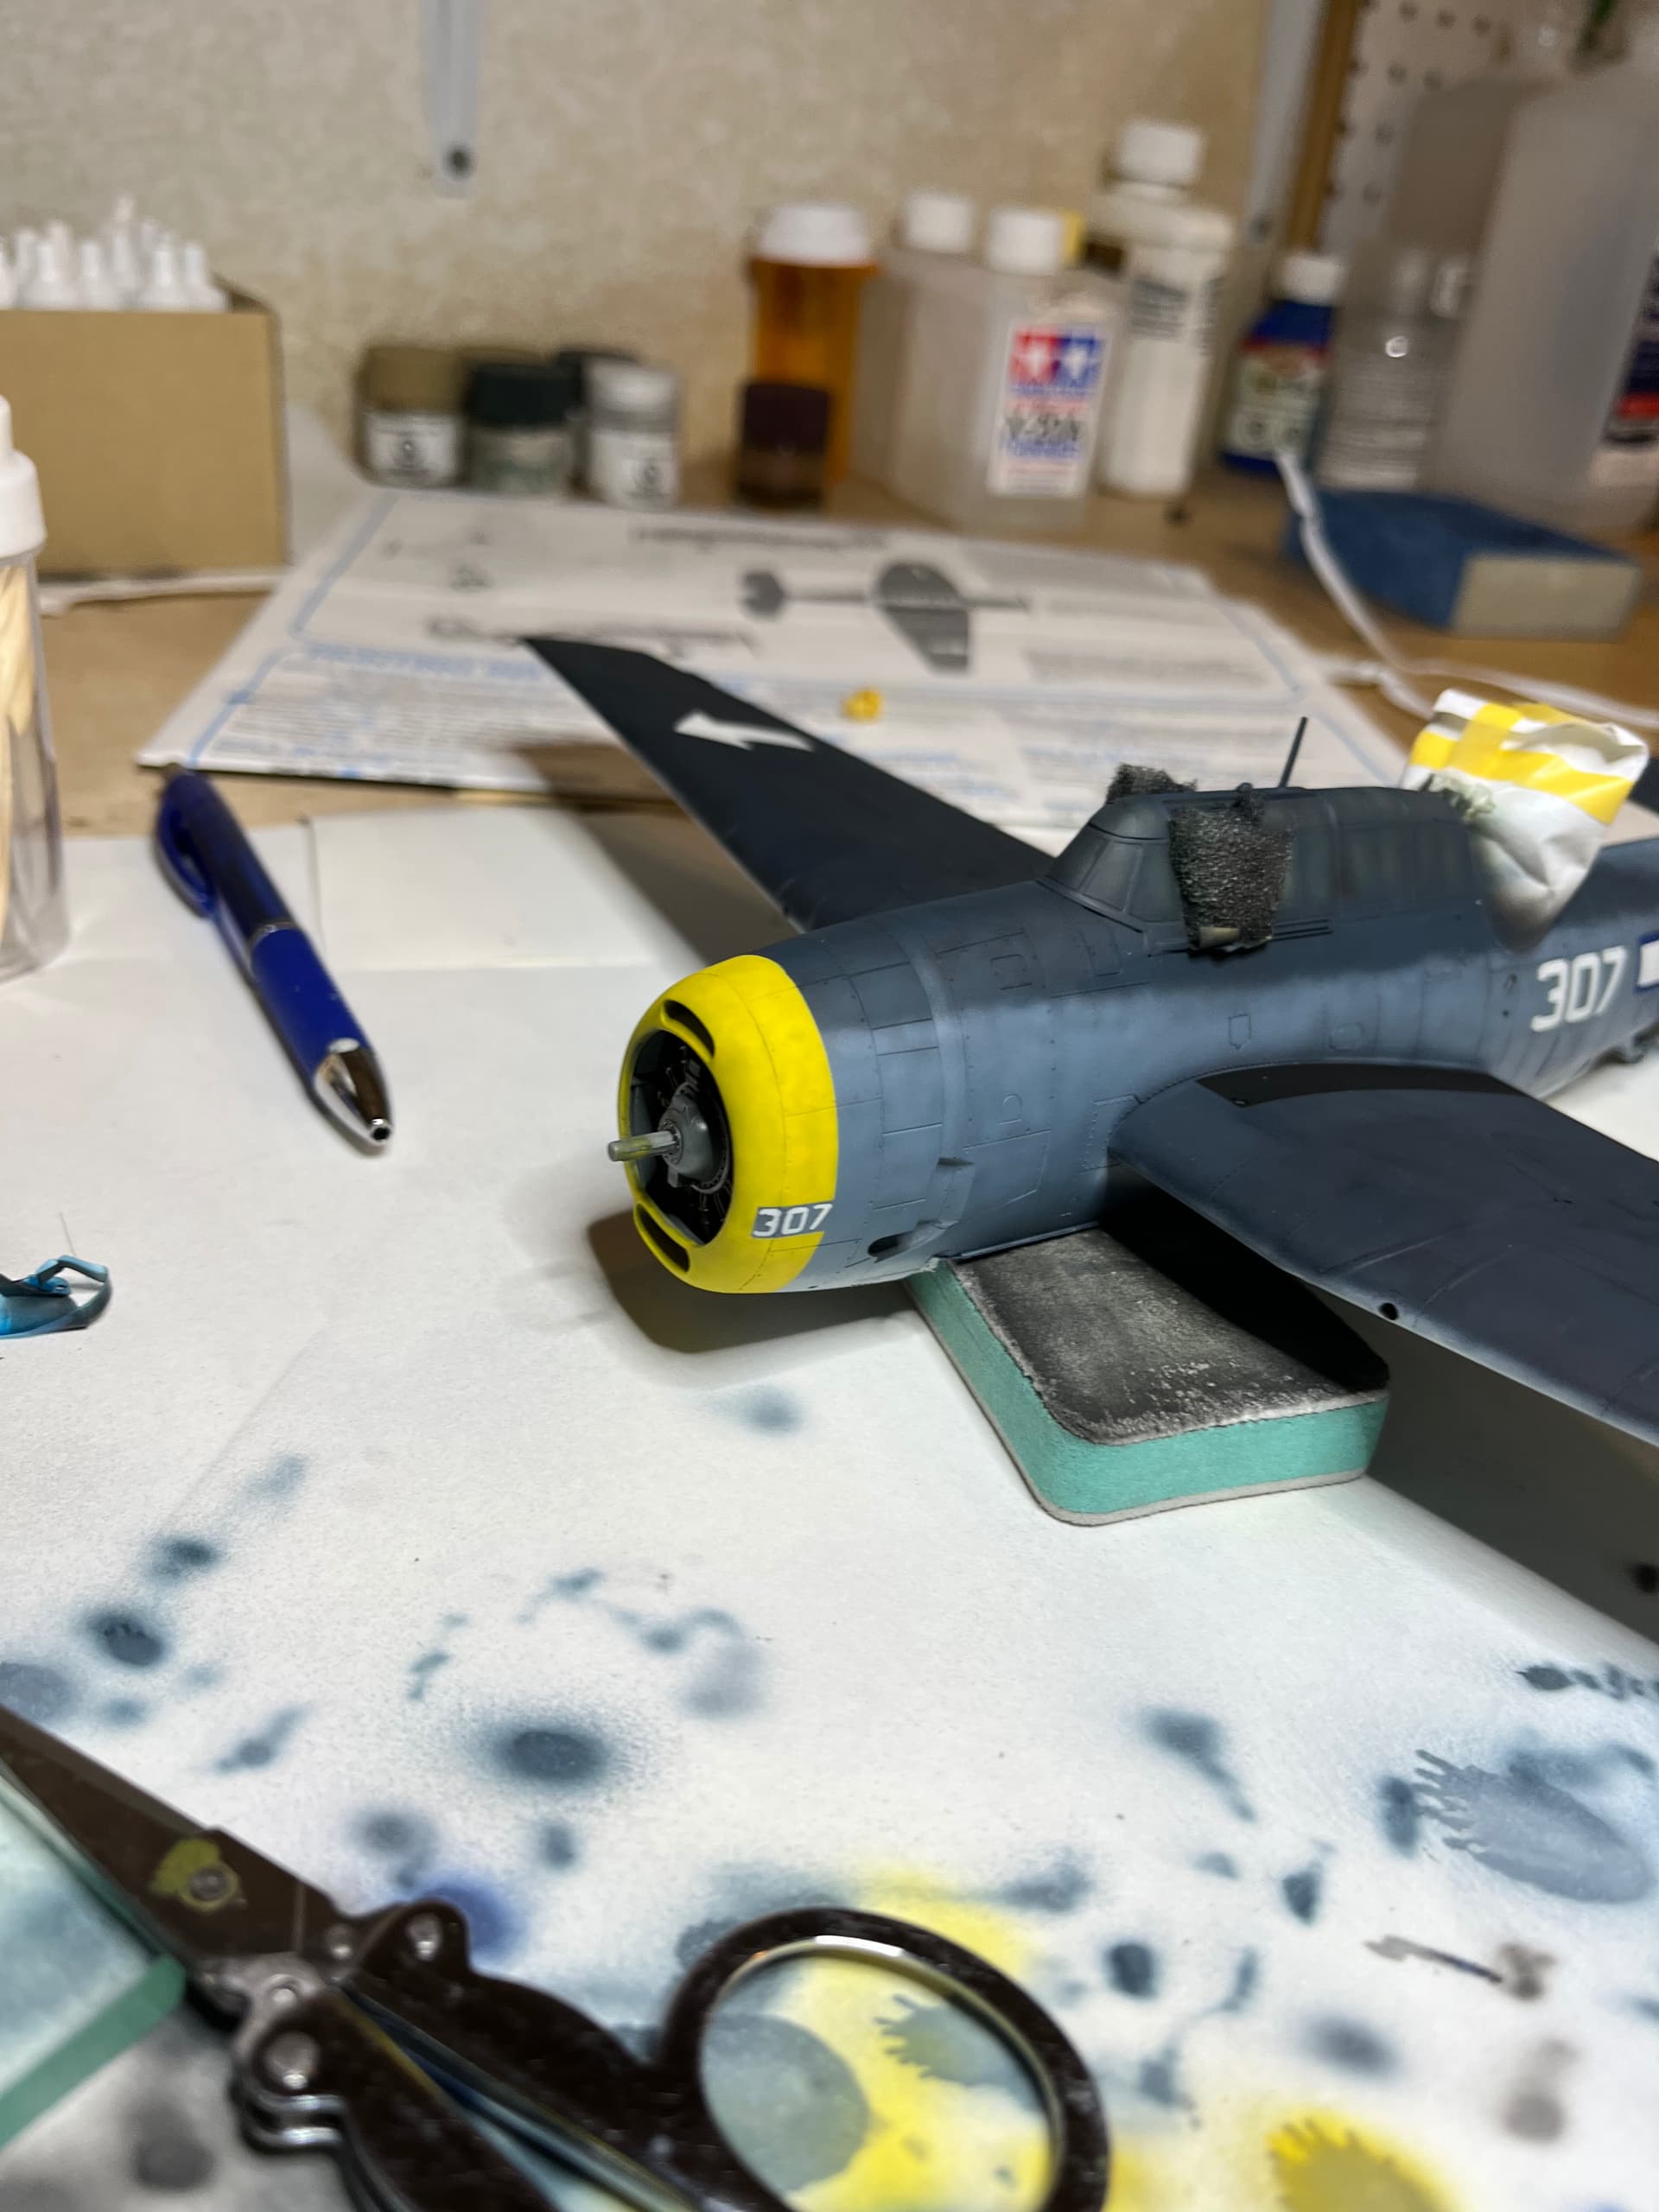
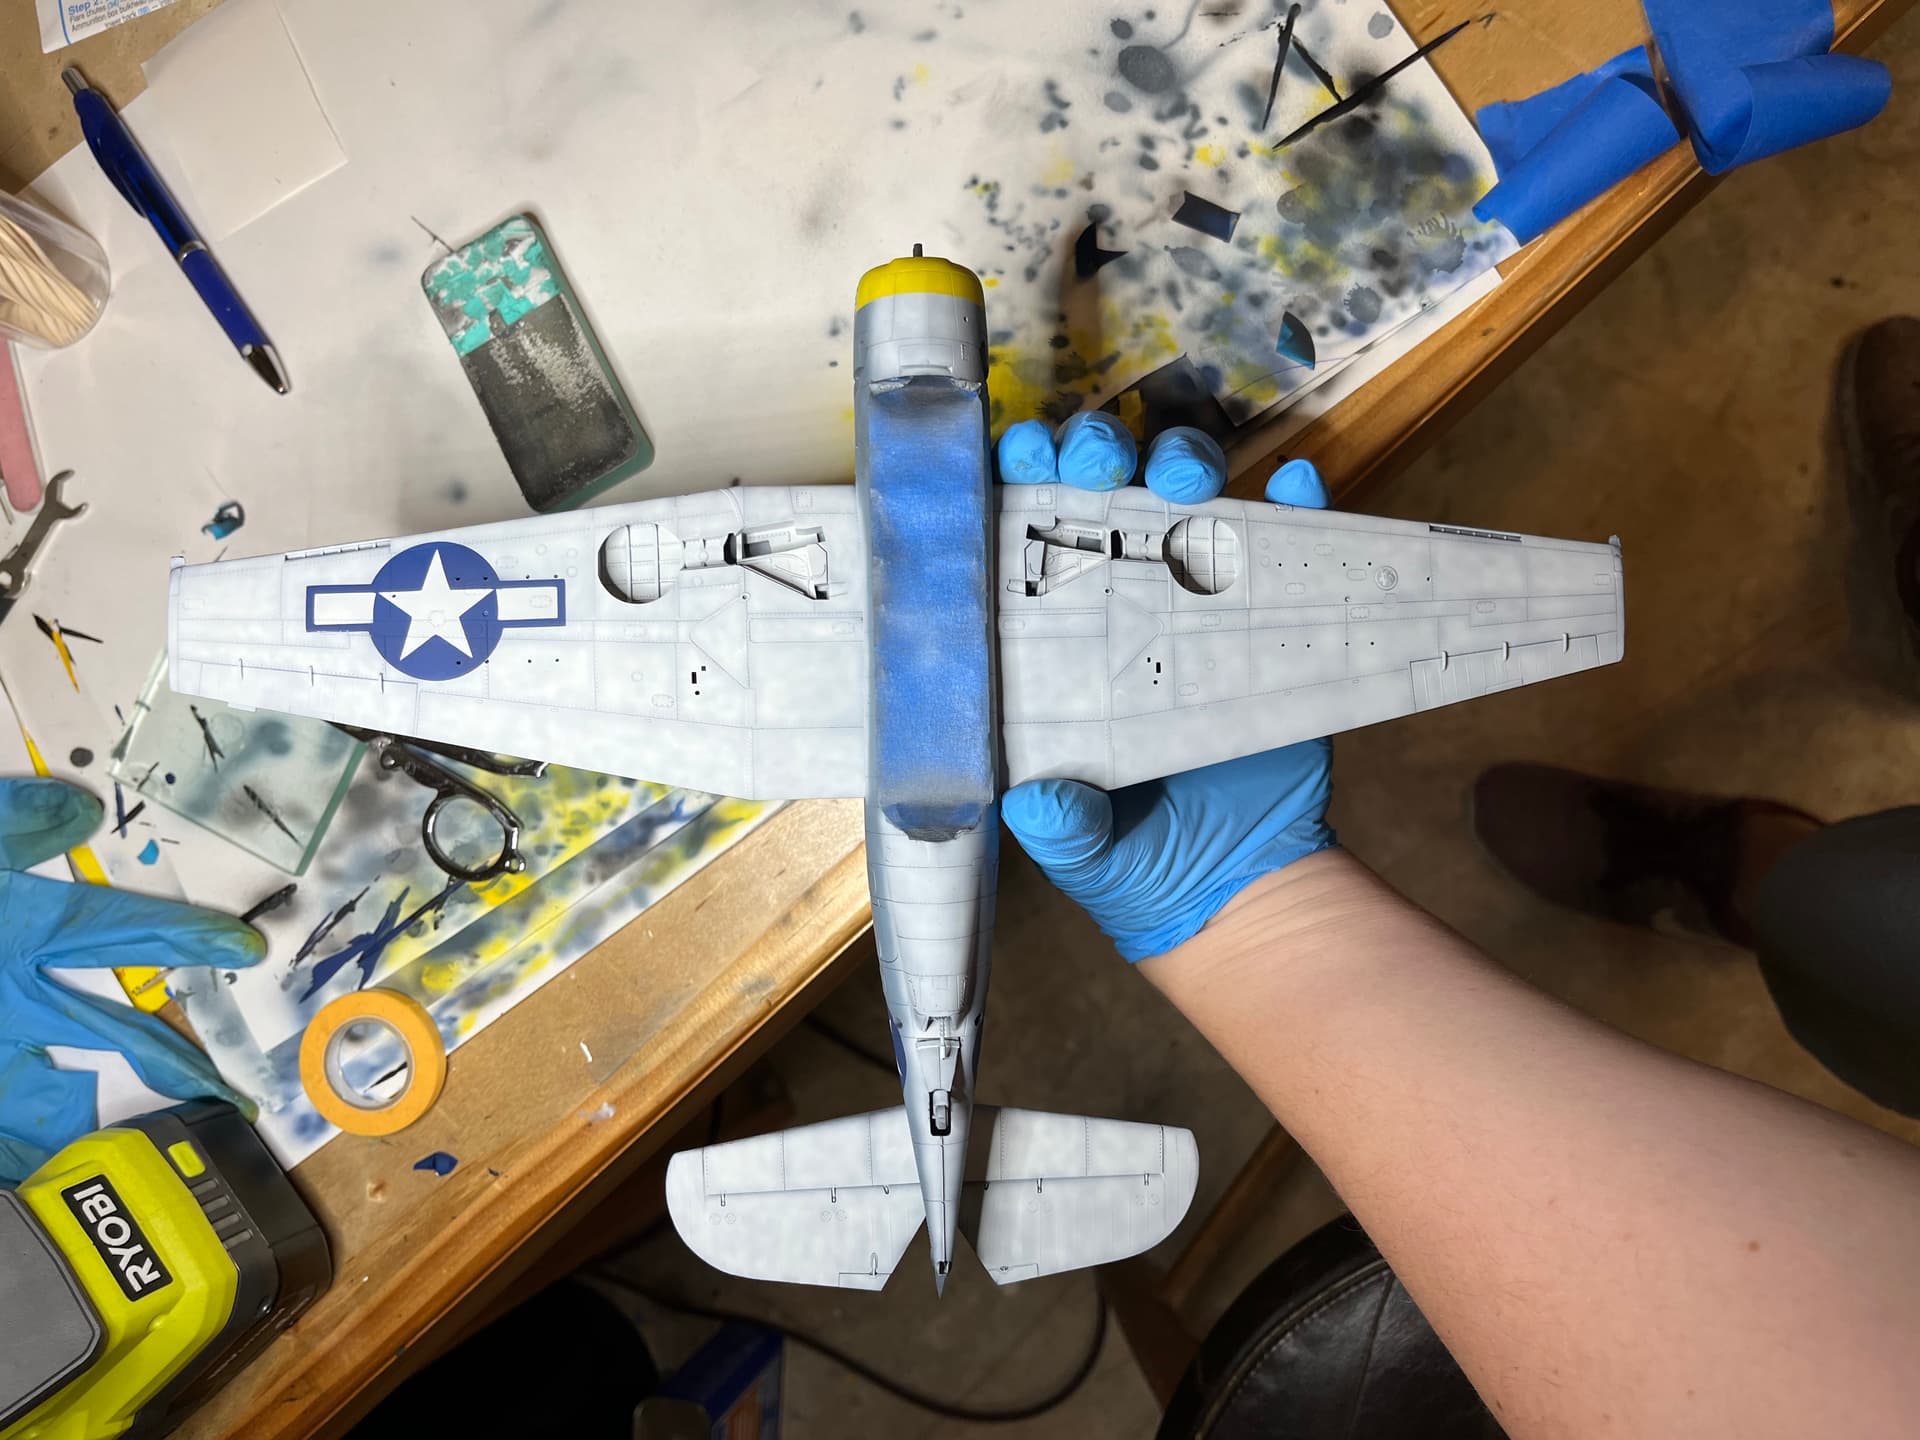
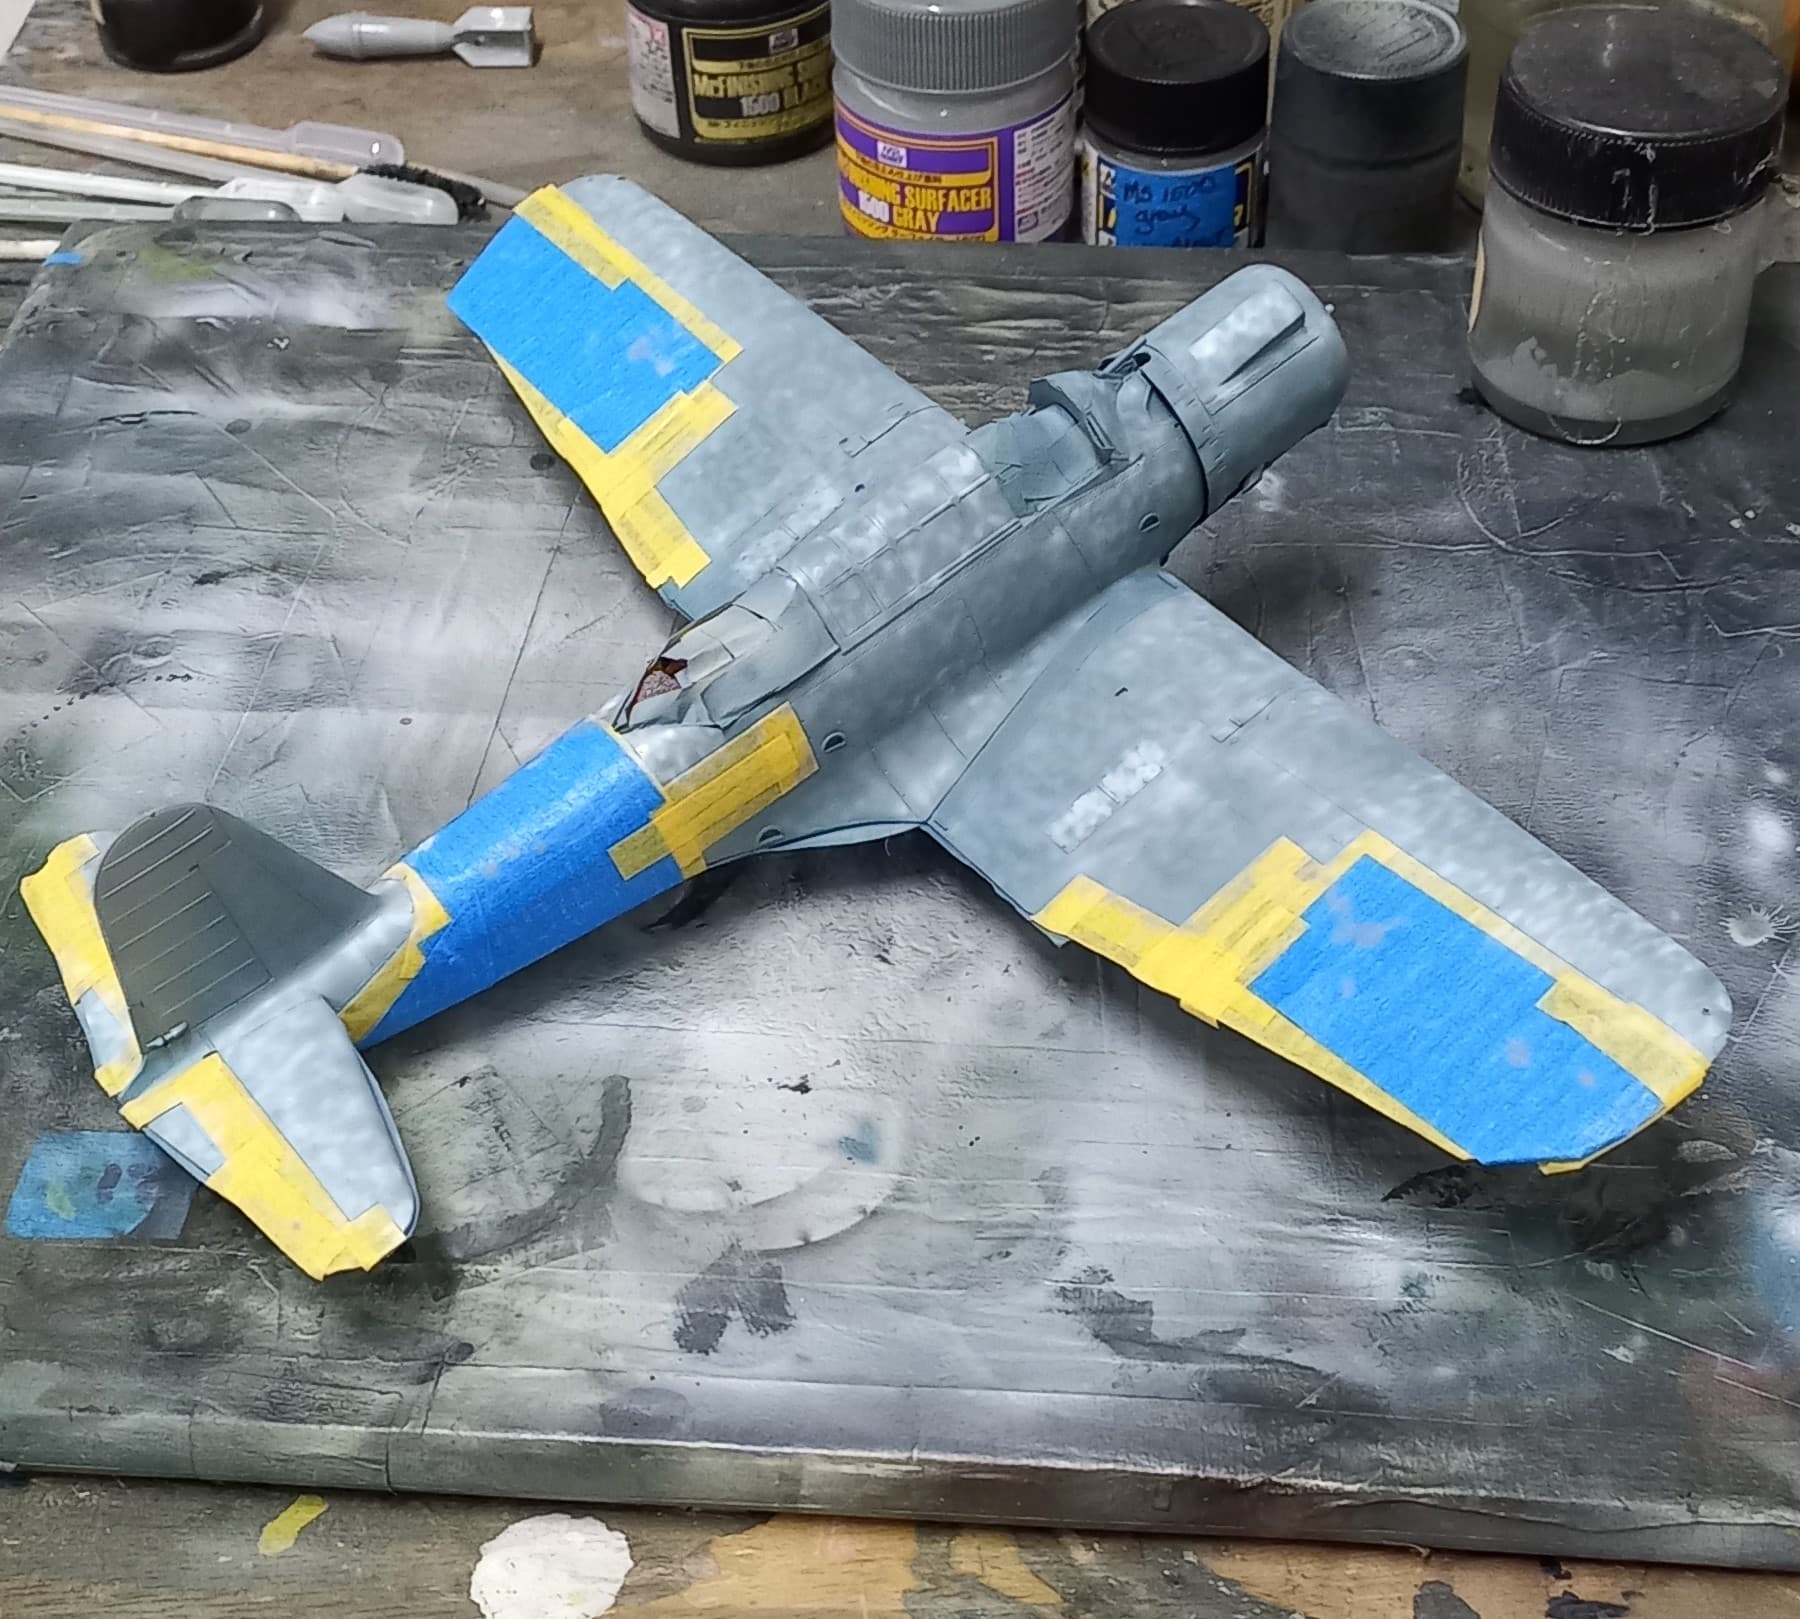
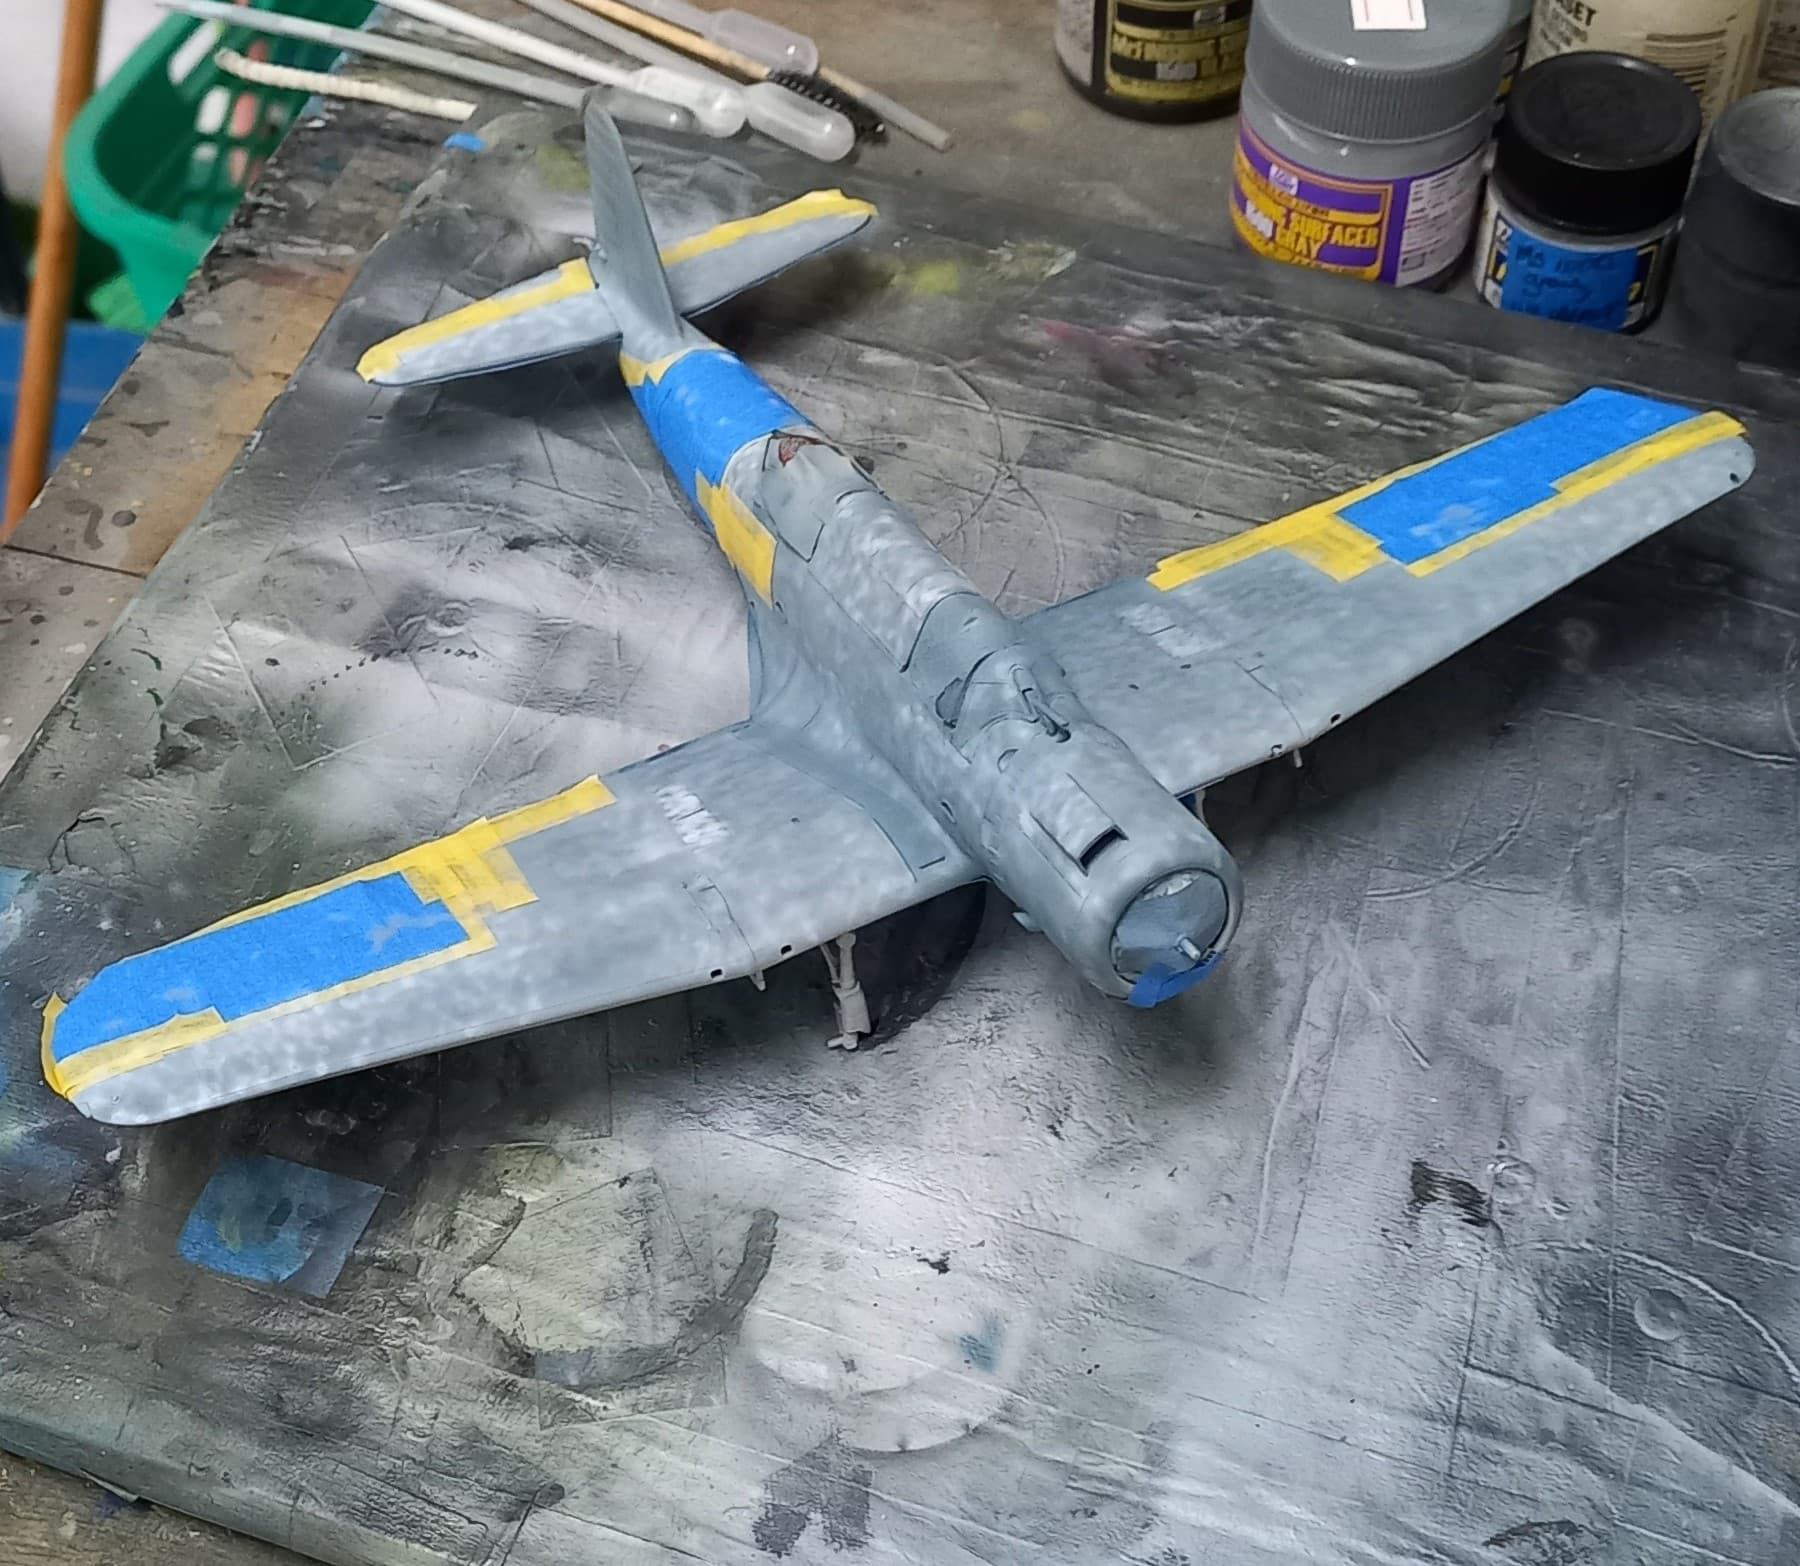
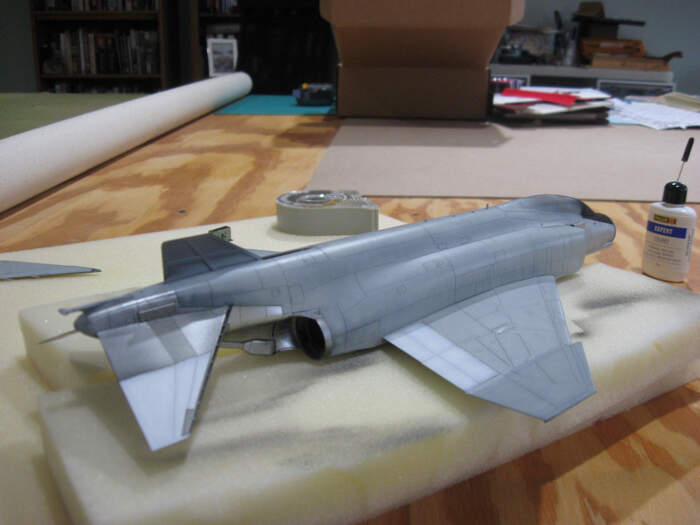
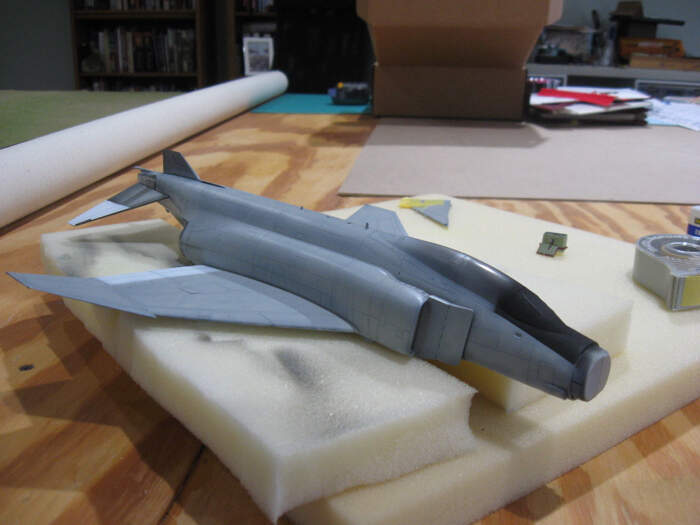
I haven’t forgotten, but I’m moving slow. Somewhere under all this tape and primer is a Hobby Boss (not an) F4F-3.


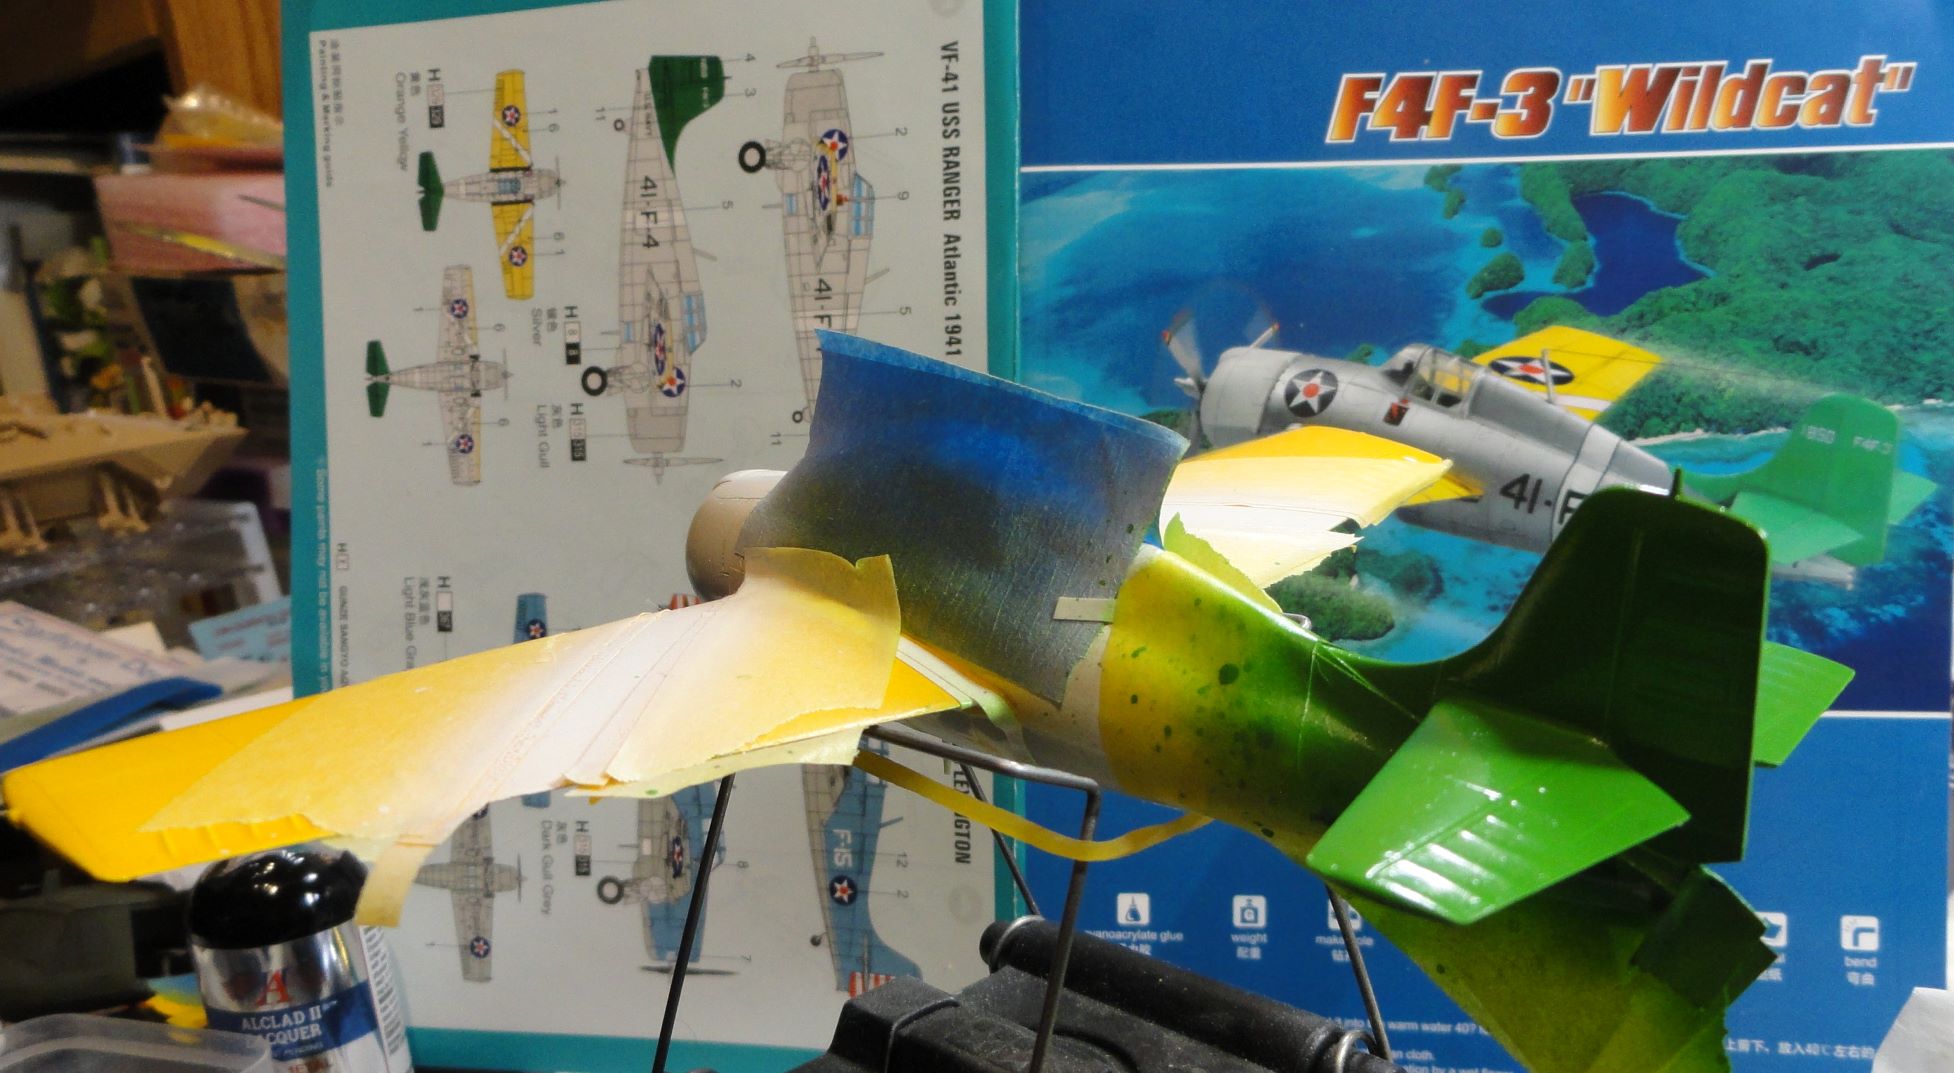
6 Likes
Looking very colorful!
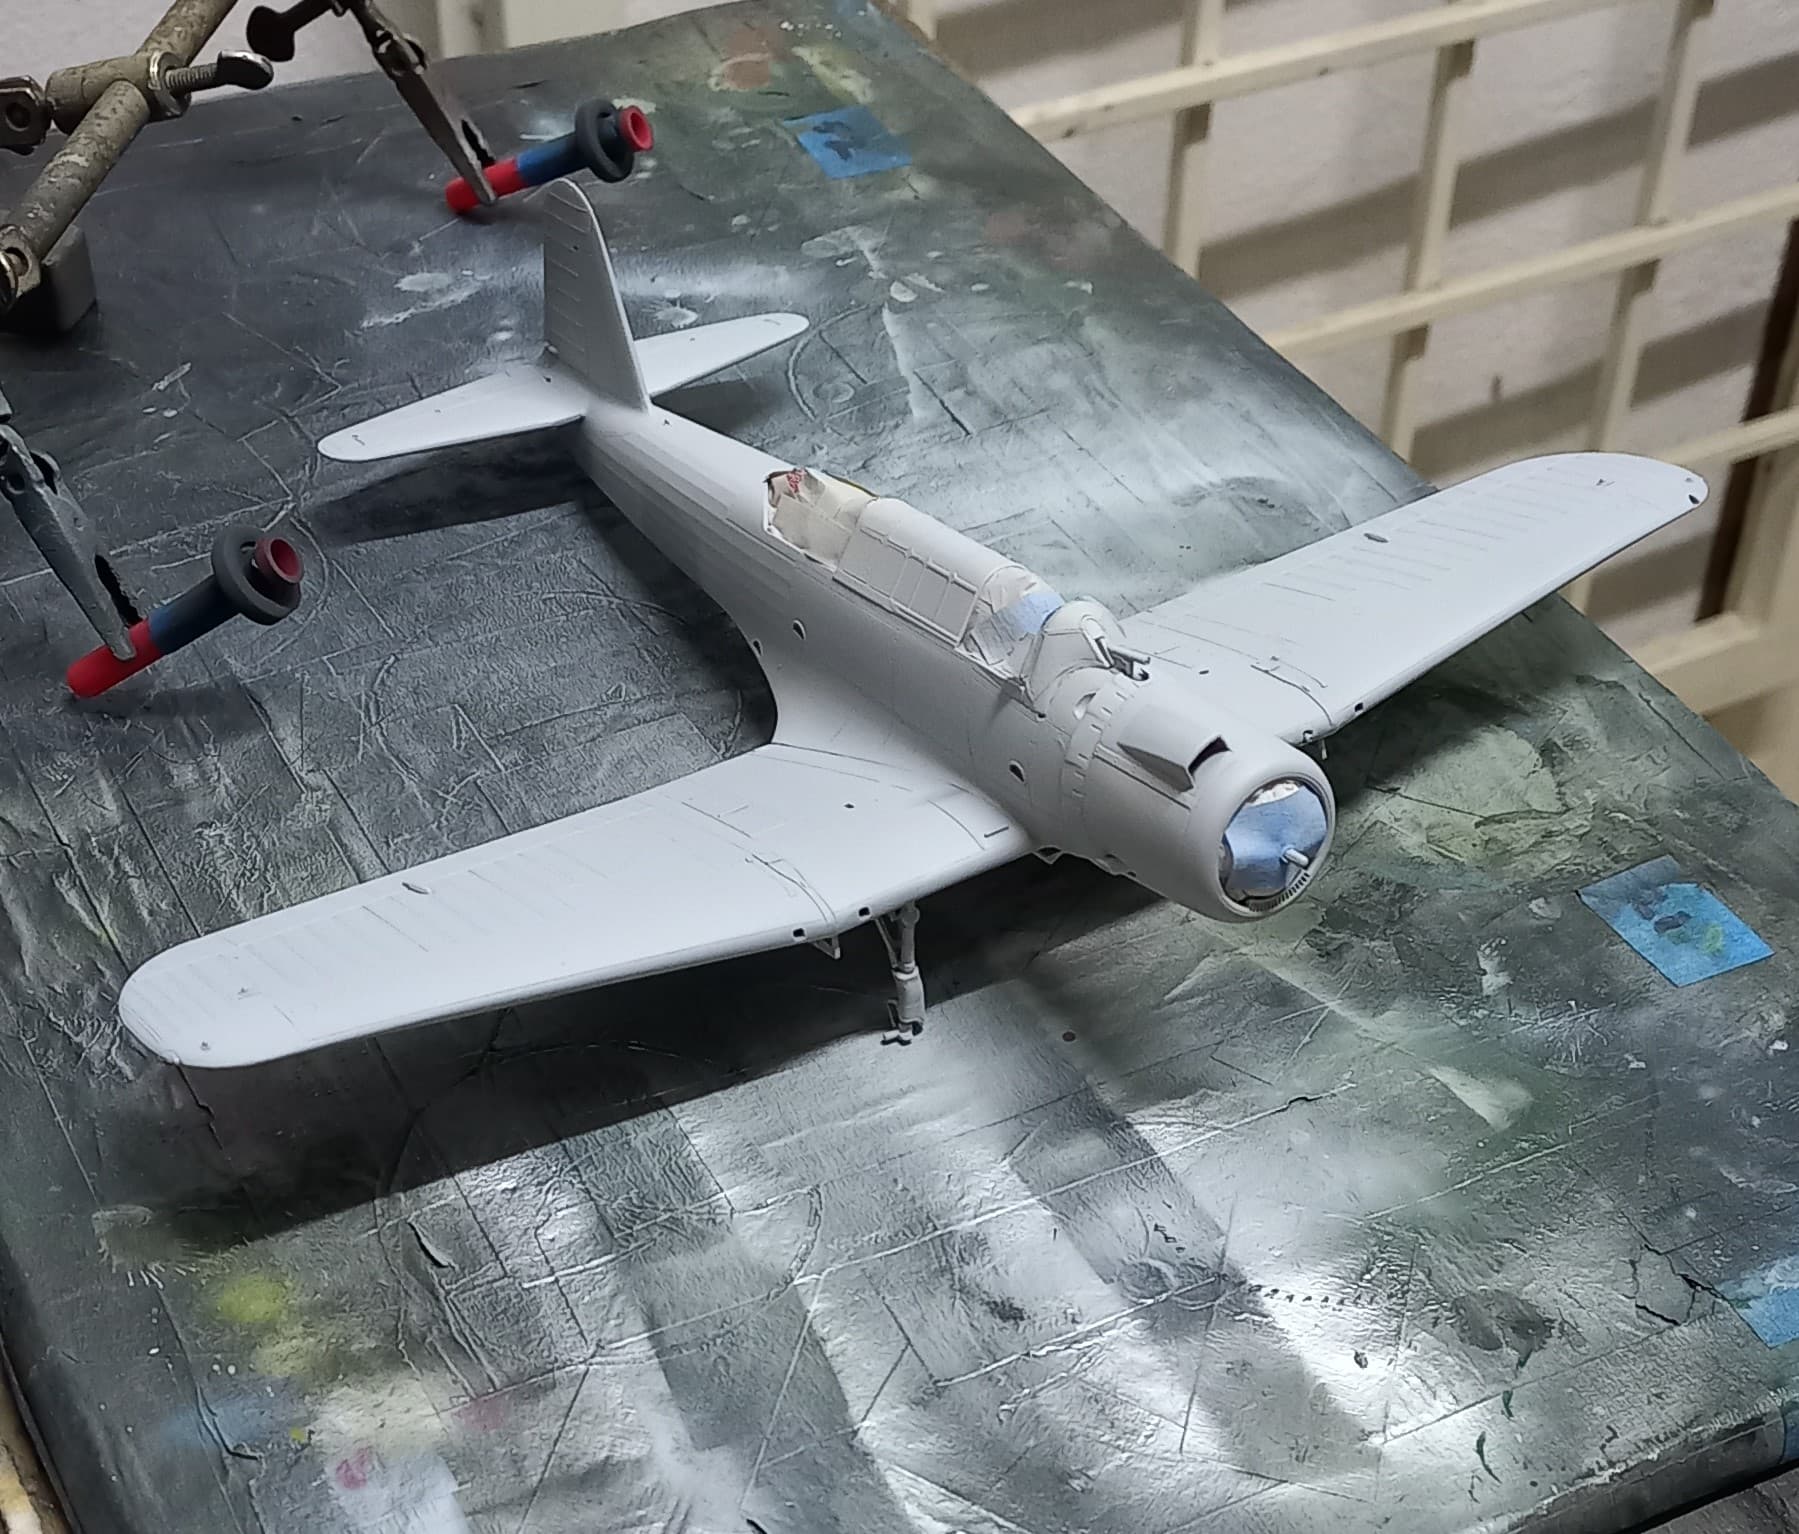
And speaking of Wildats, my version is about ready for some rather more drab paint:

I really wish Tamiya hadn’t molded it with the holes for the drop tanks already open, they’re kind of a pain to fill. But at least they’re on the bottom.
Michael ![]()
4 Likes
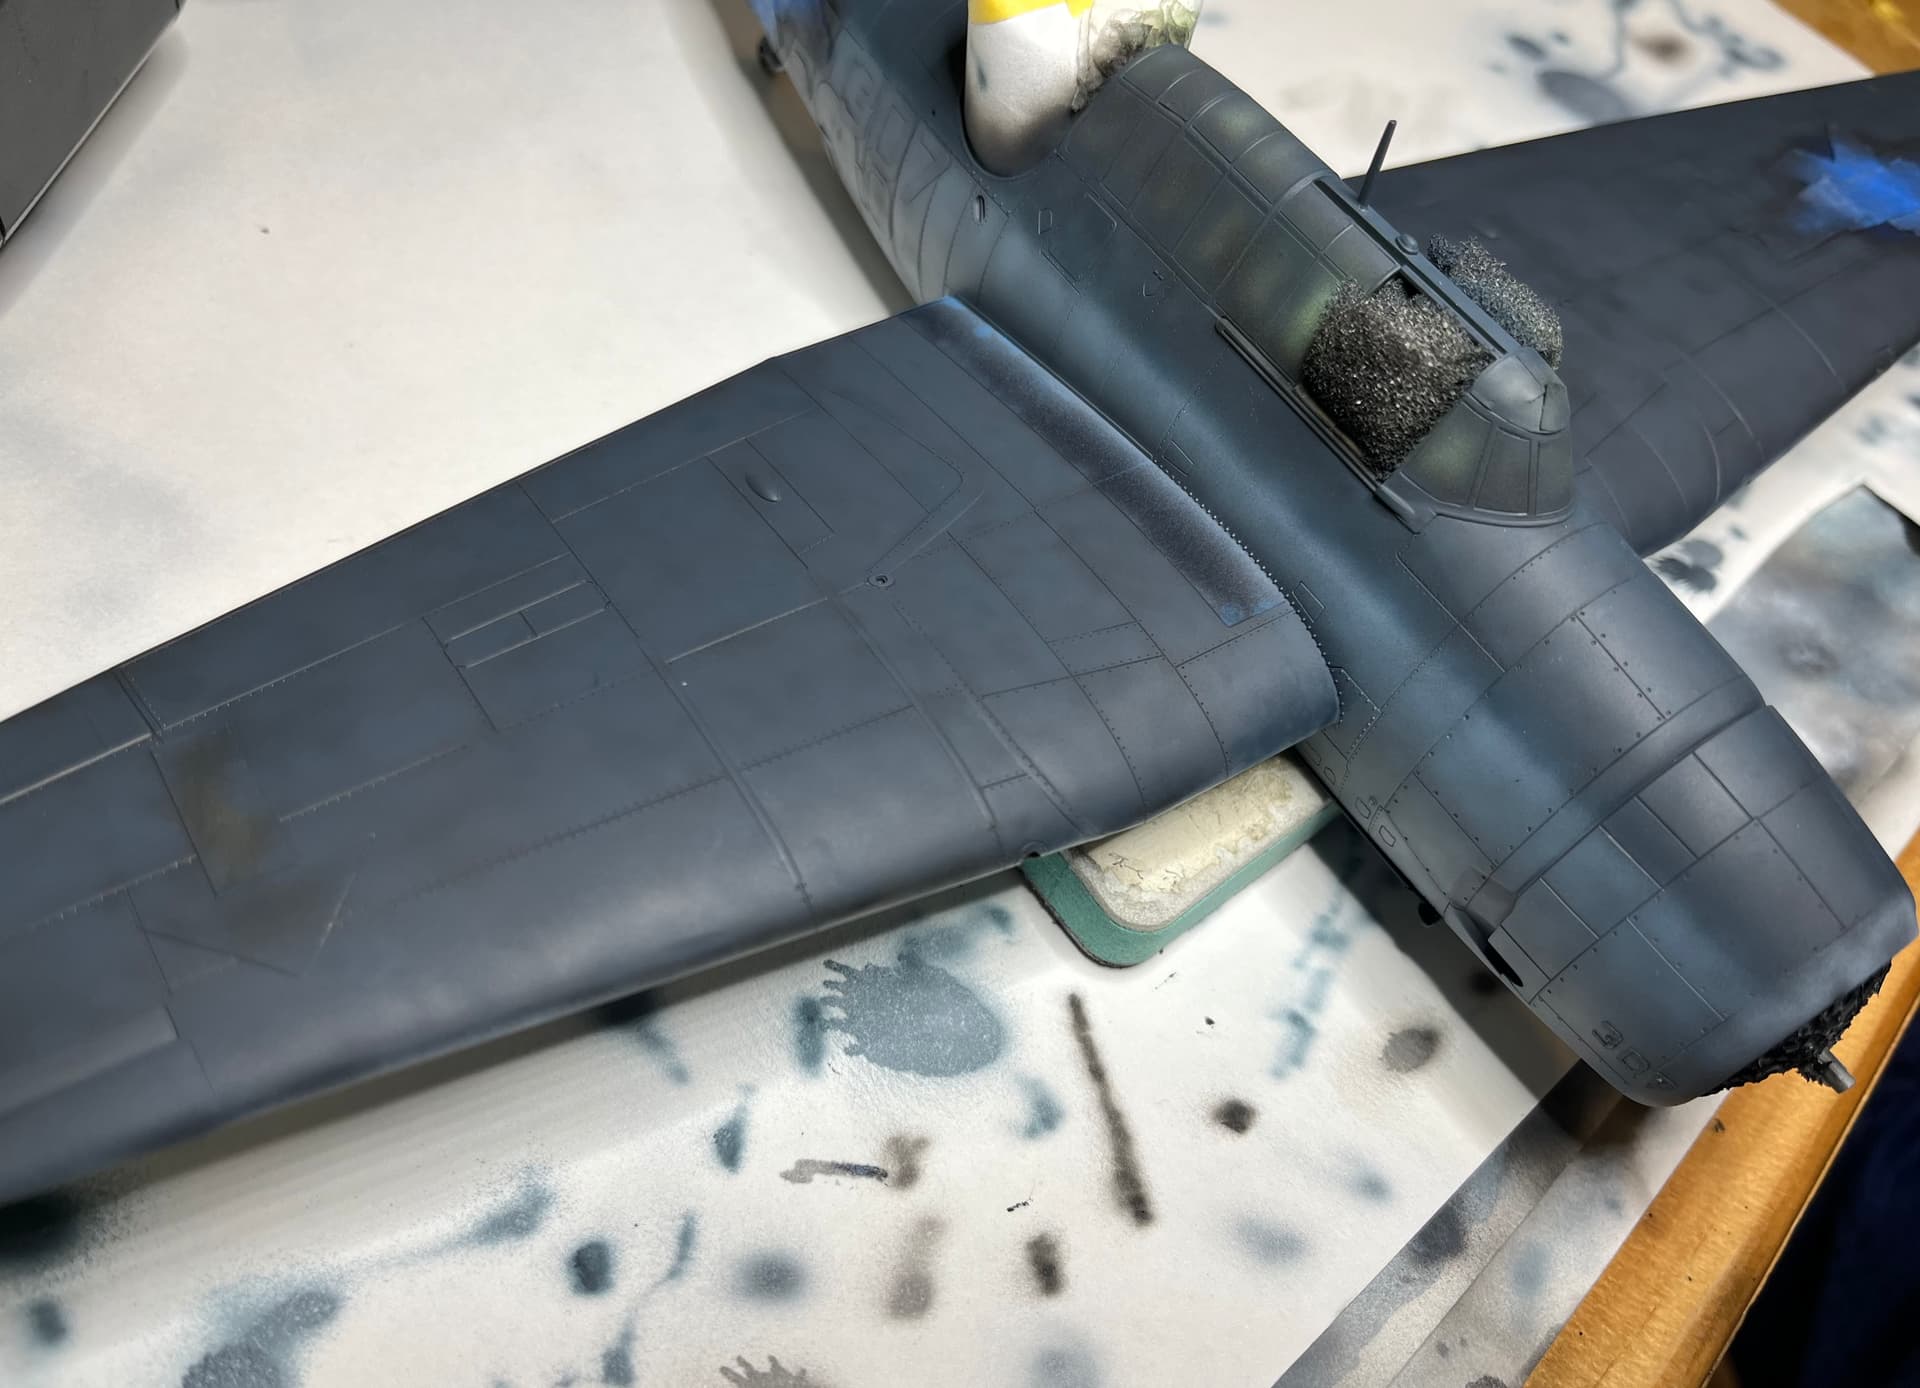
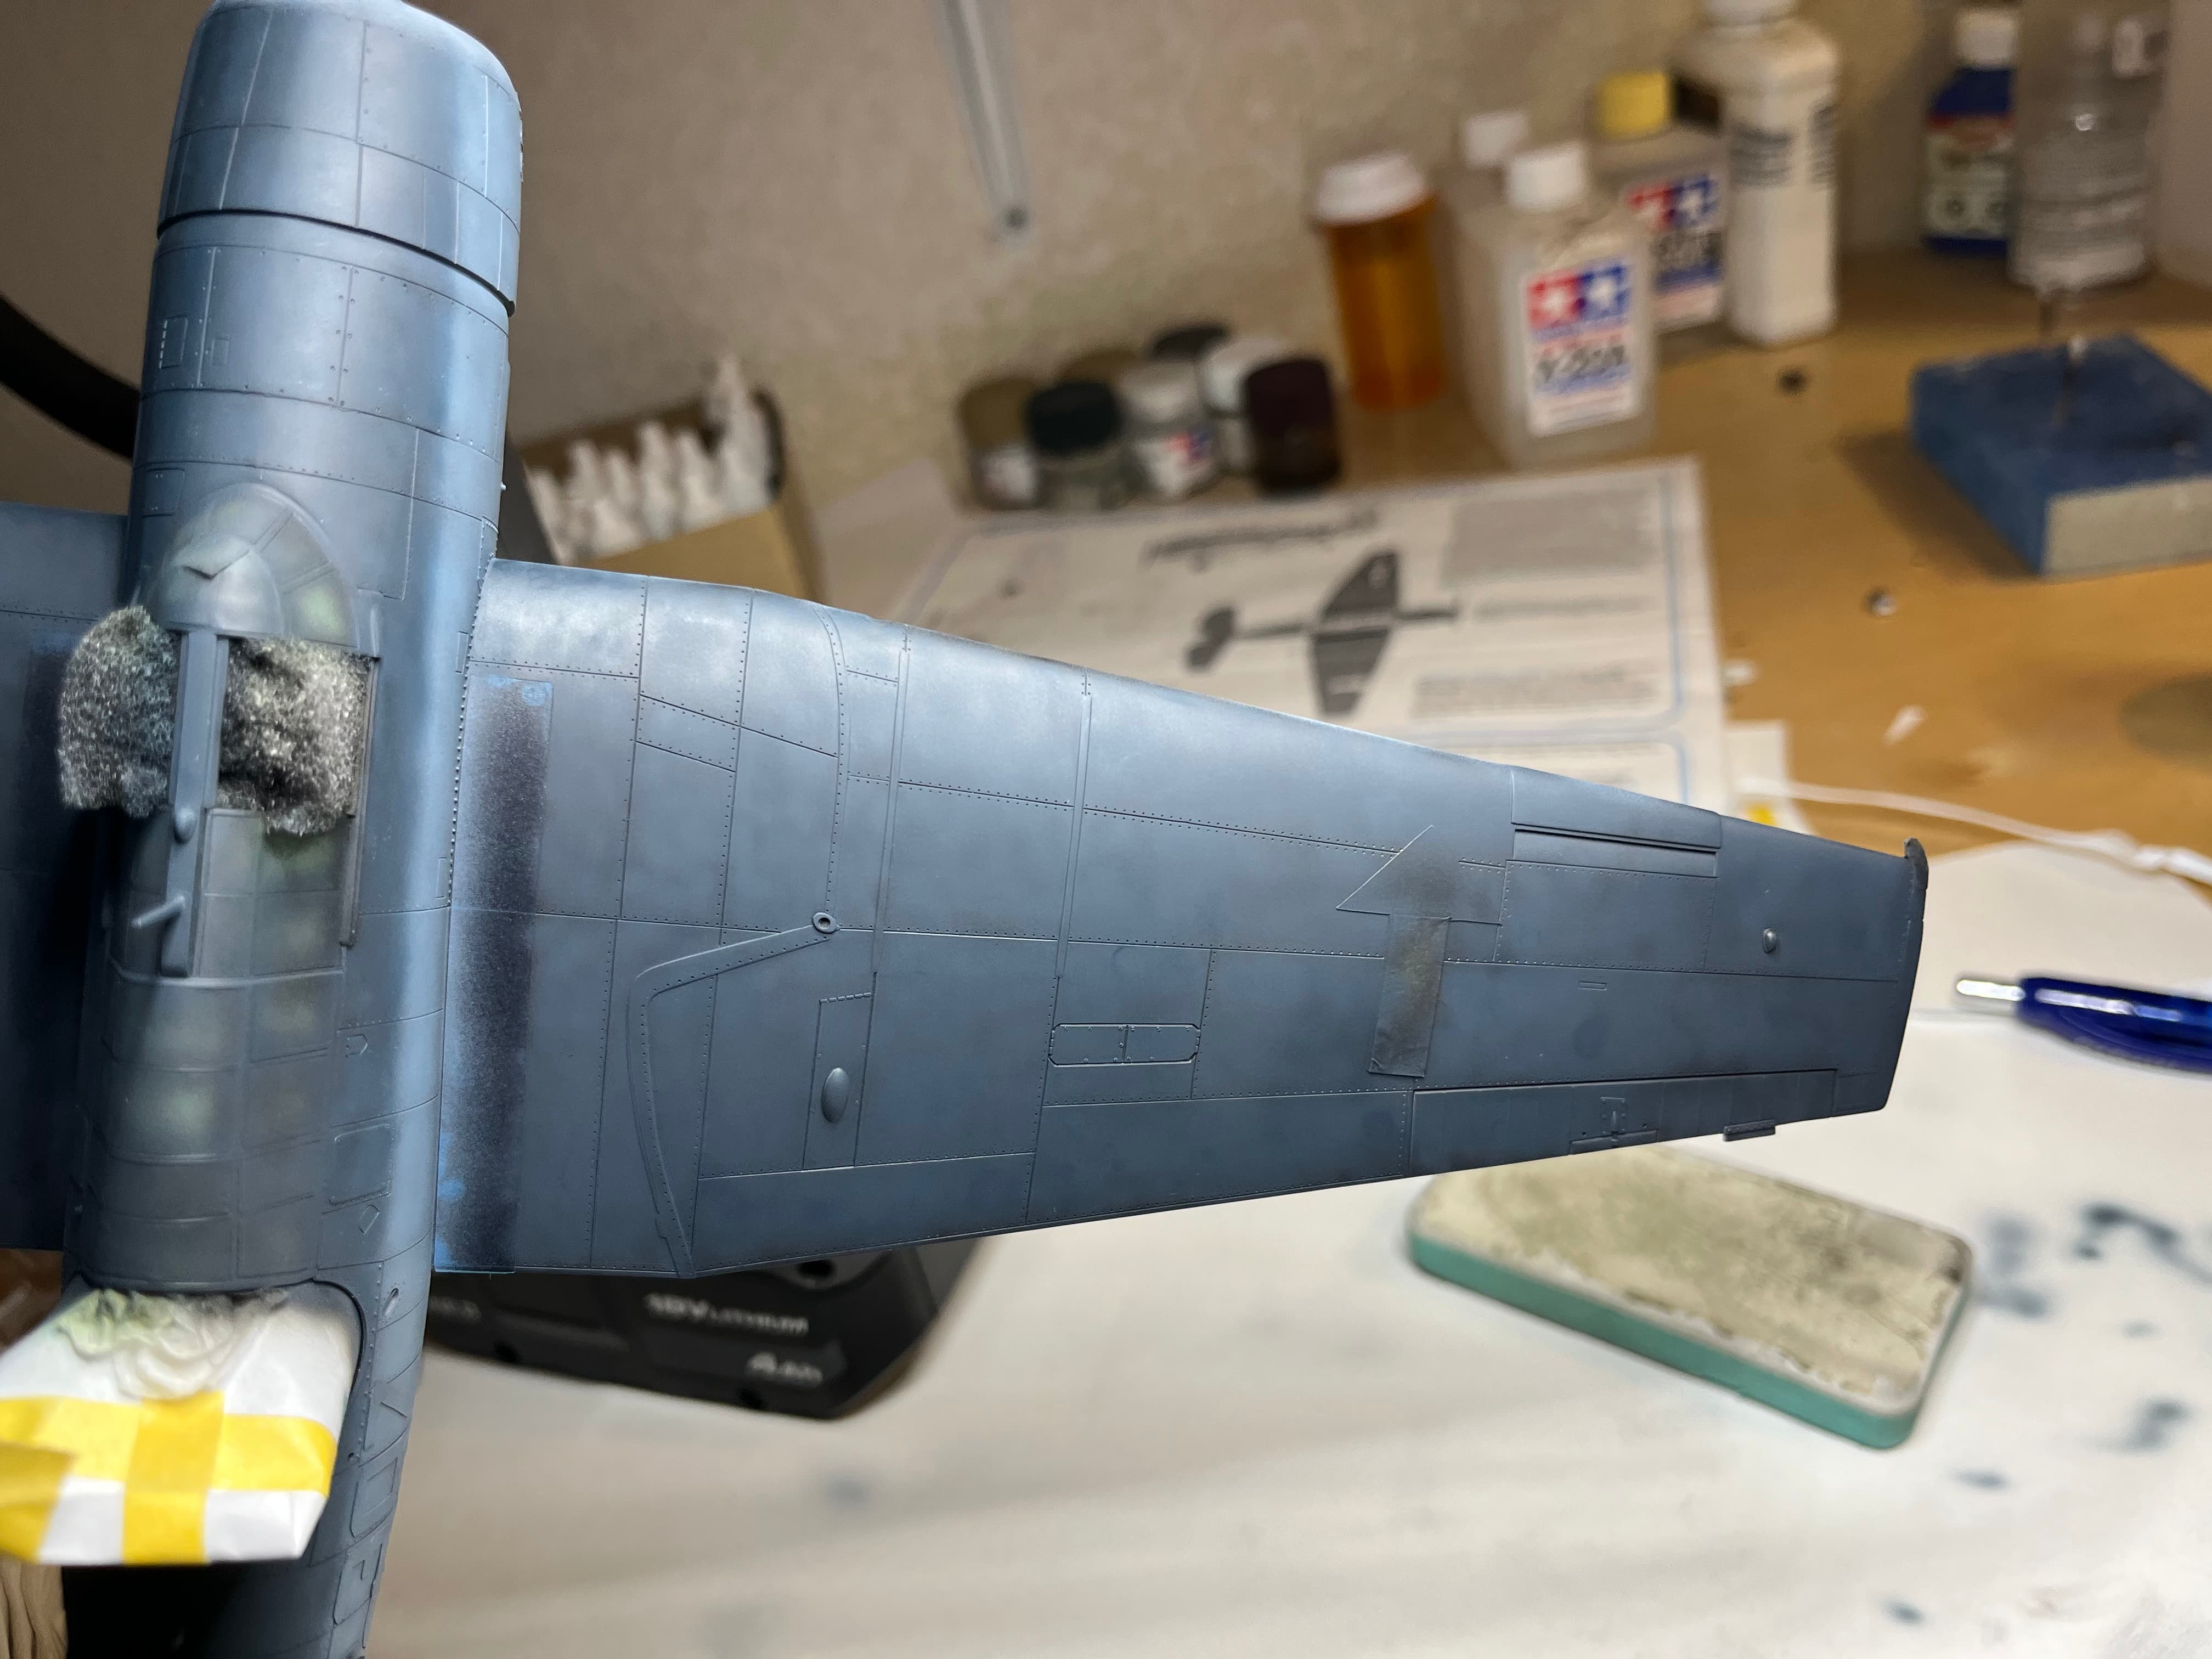
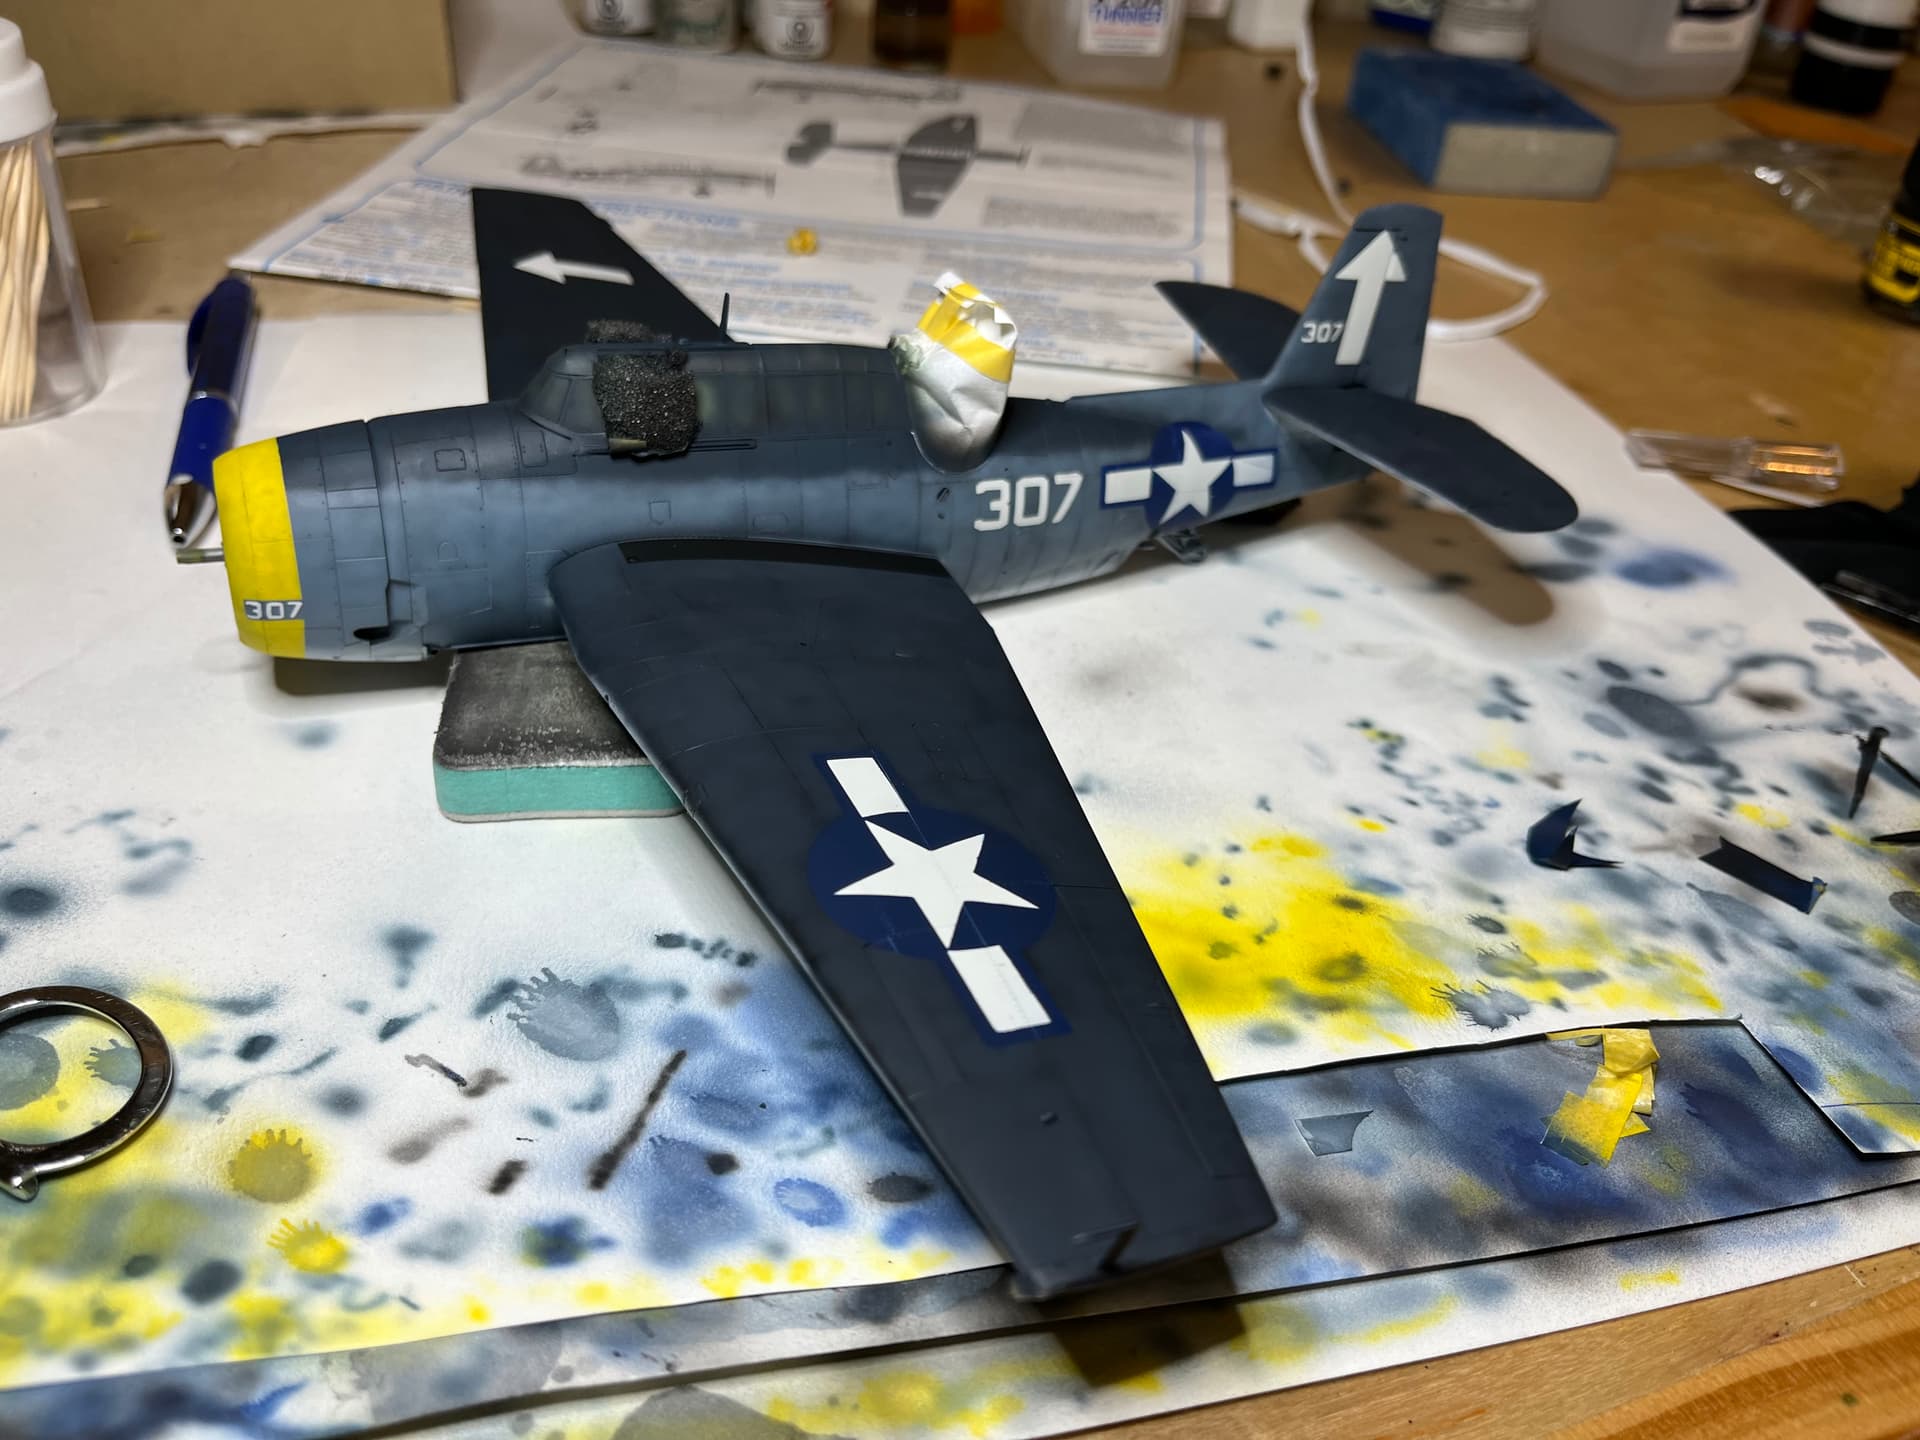
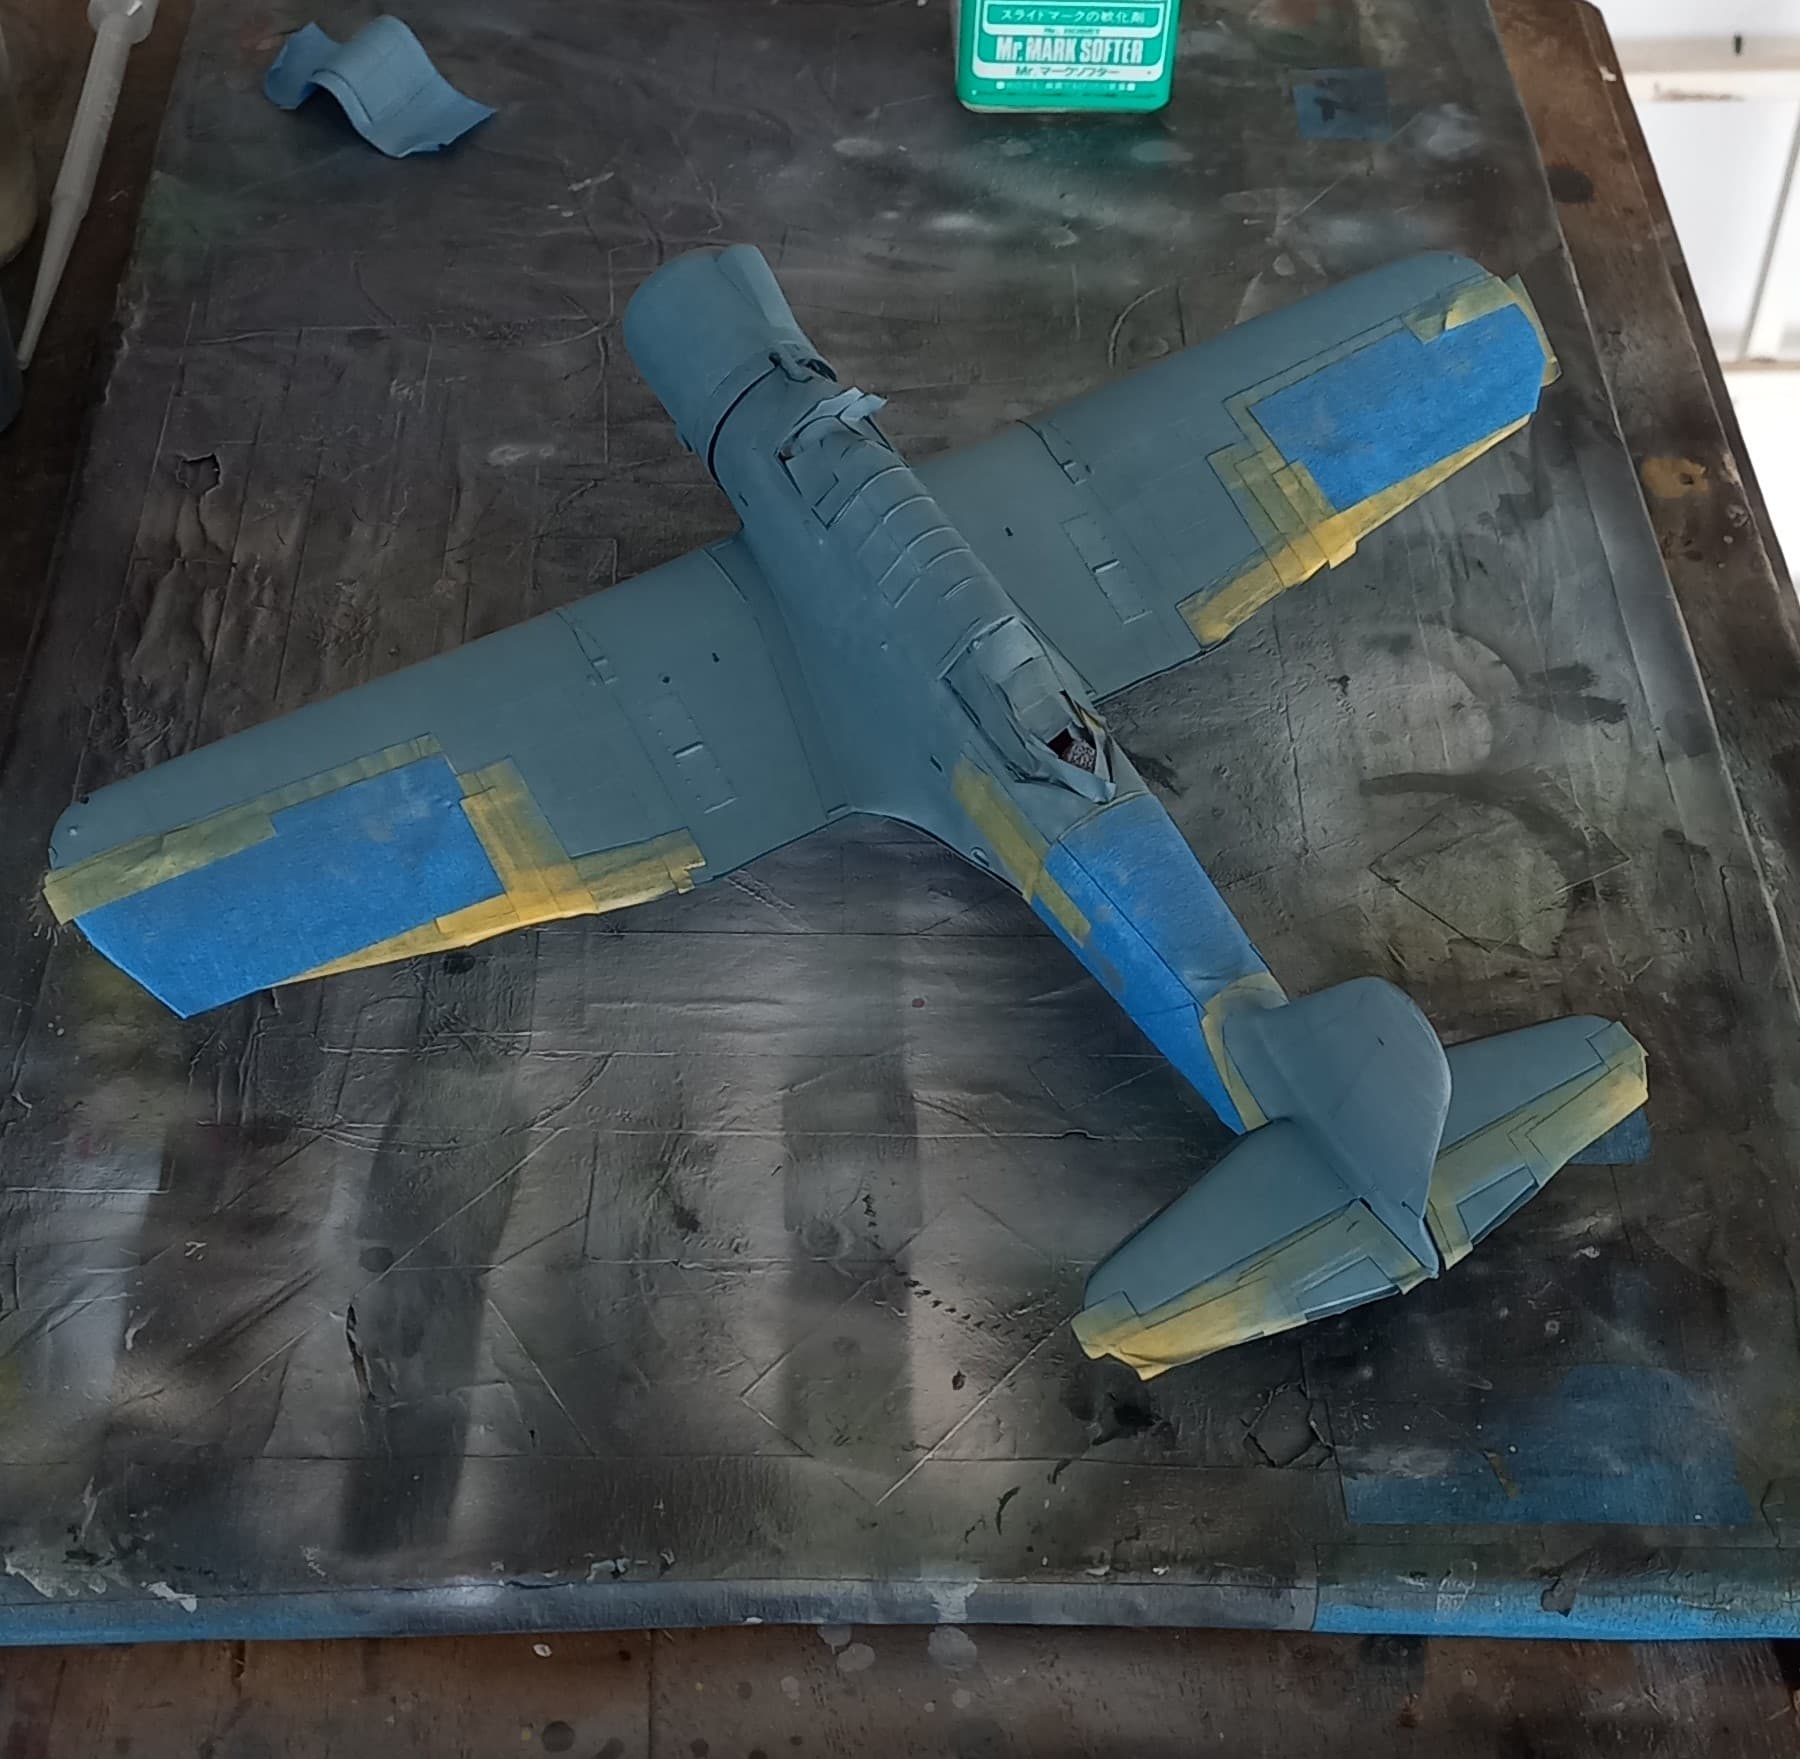
This kit has fought me tooth and nail every step of the way. But now I’m just a couple of steps from the finish line.
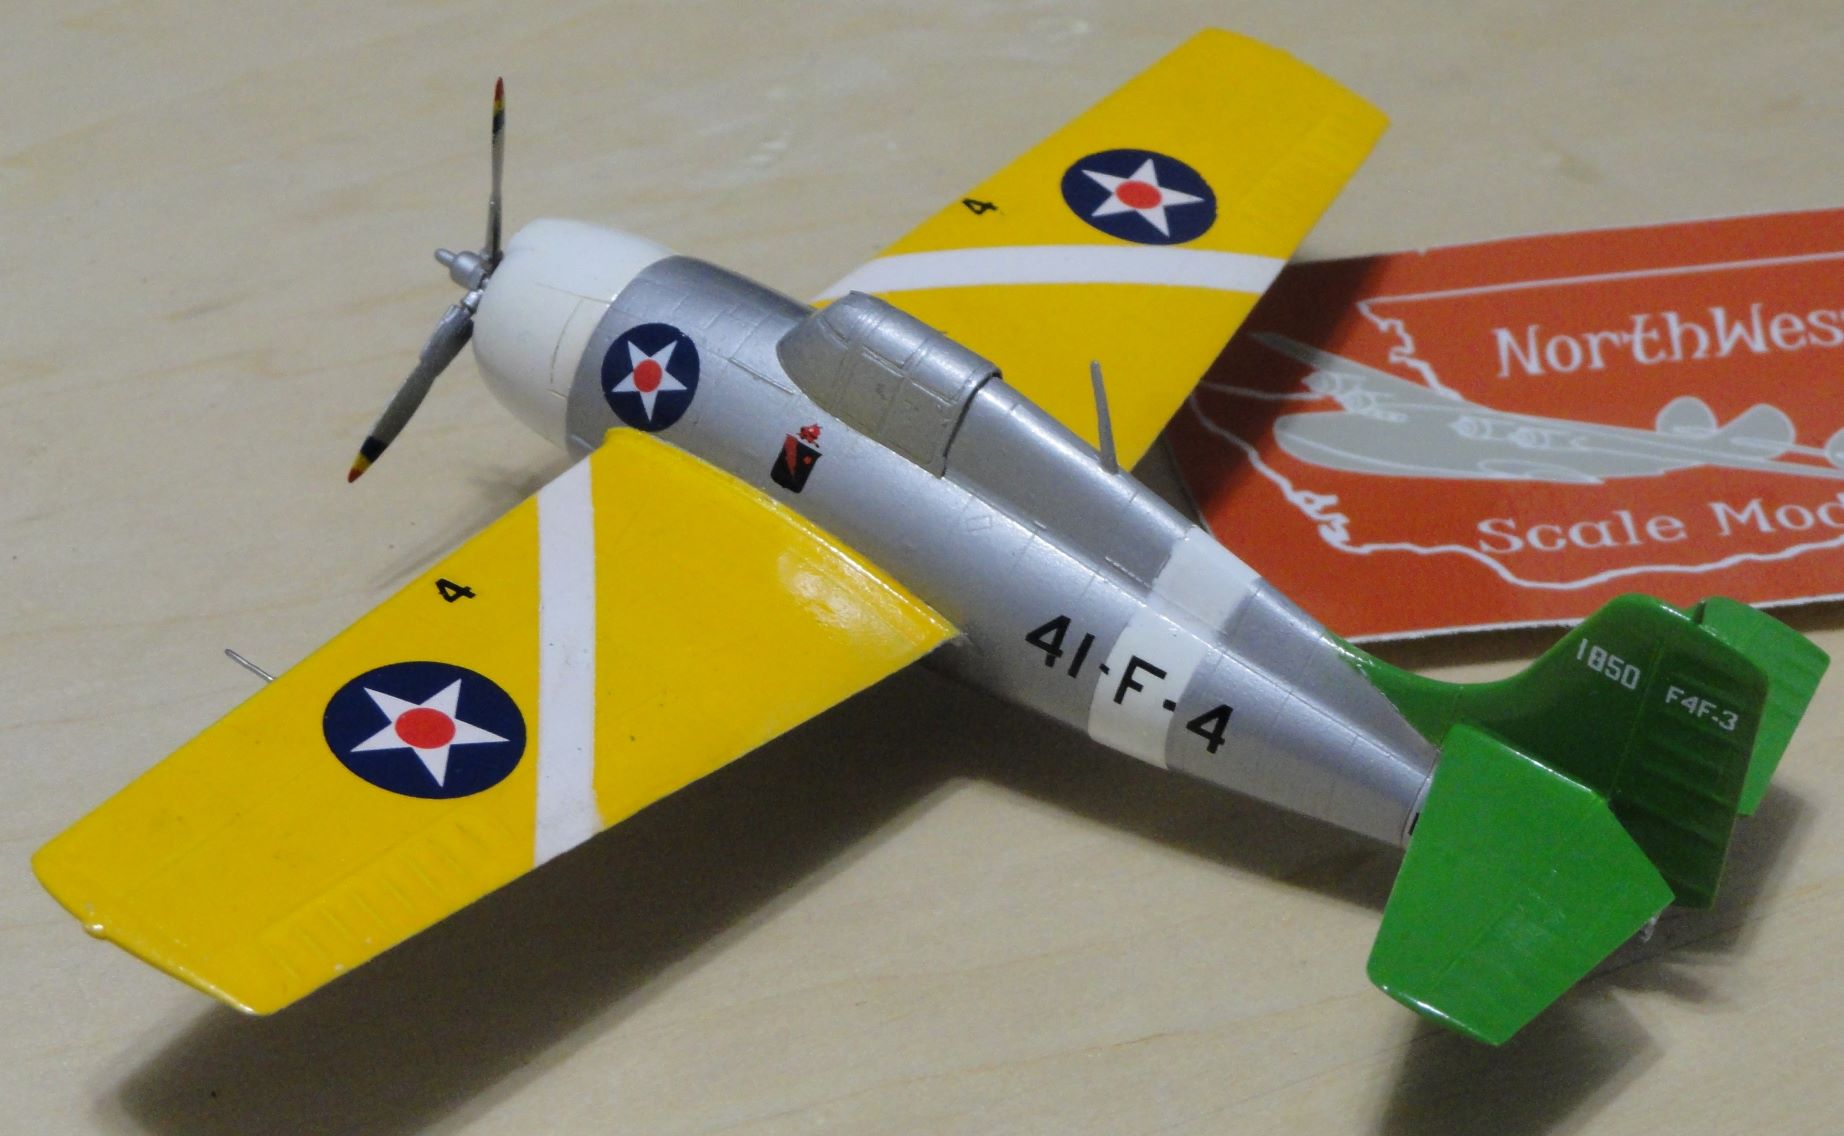
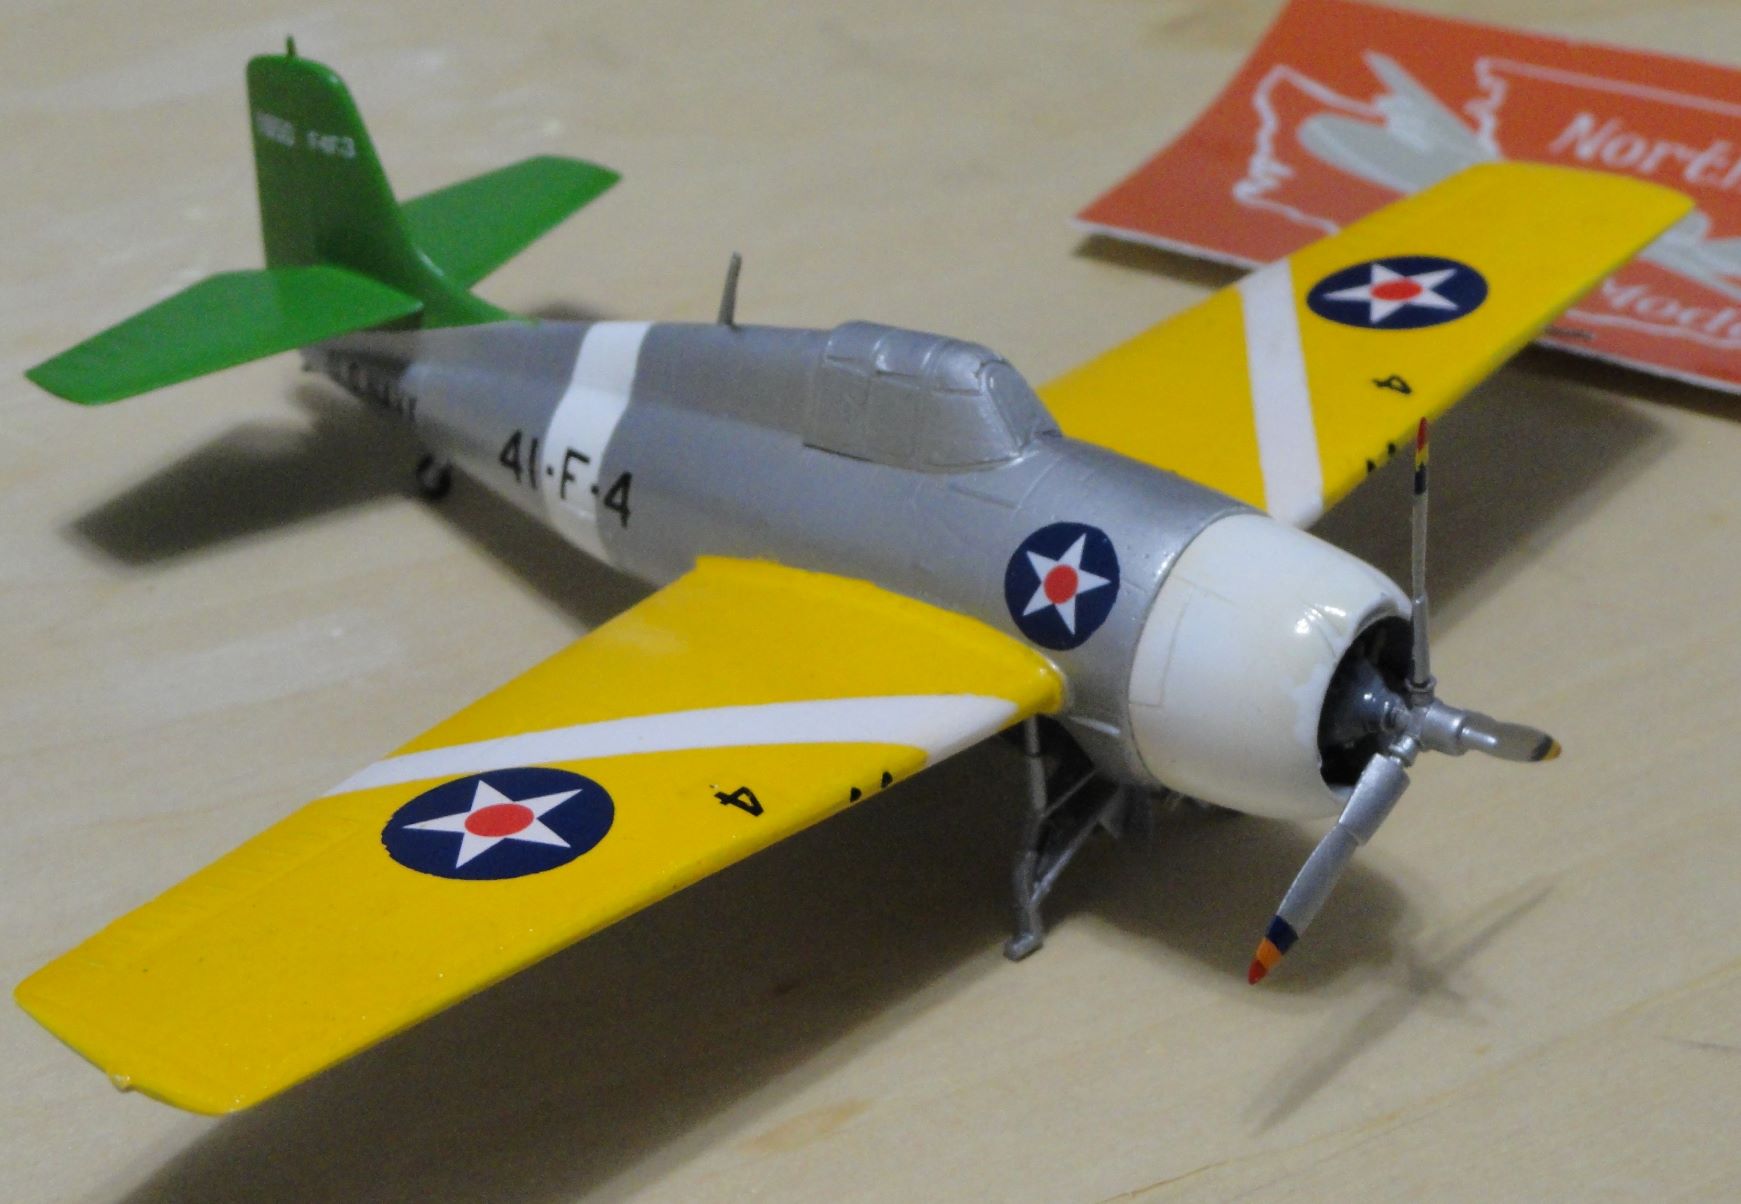
Hobby Boss 1/72 (not a) F4F-3,
7 Likes
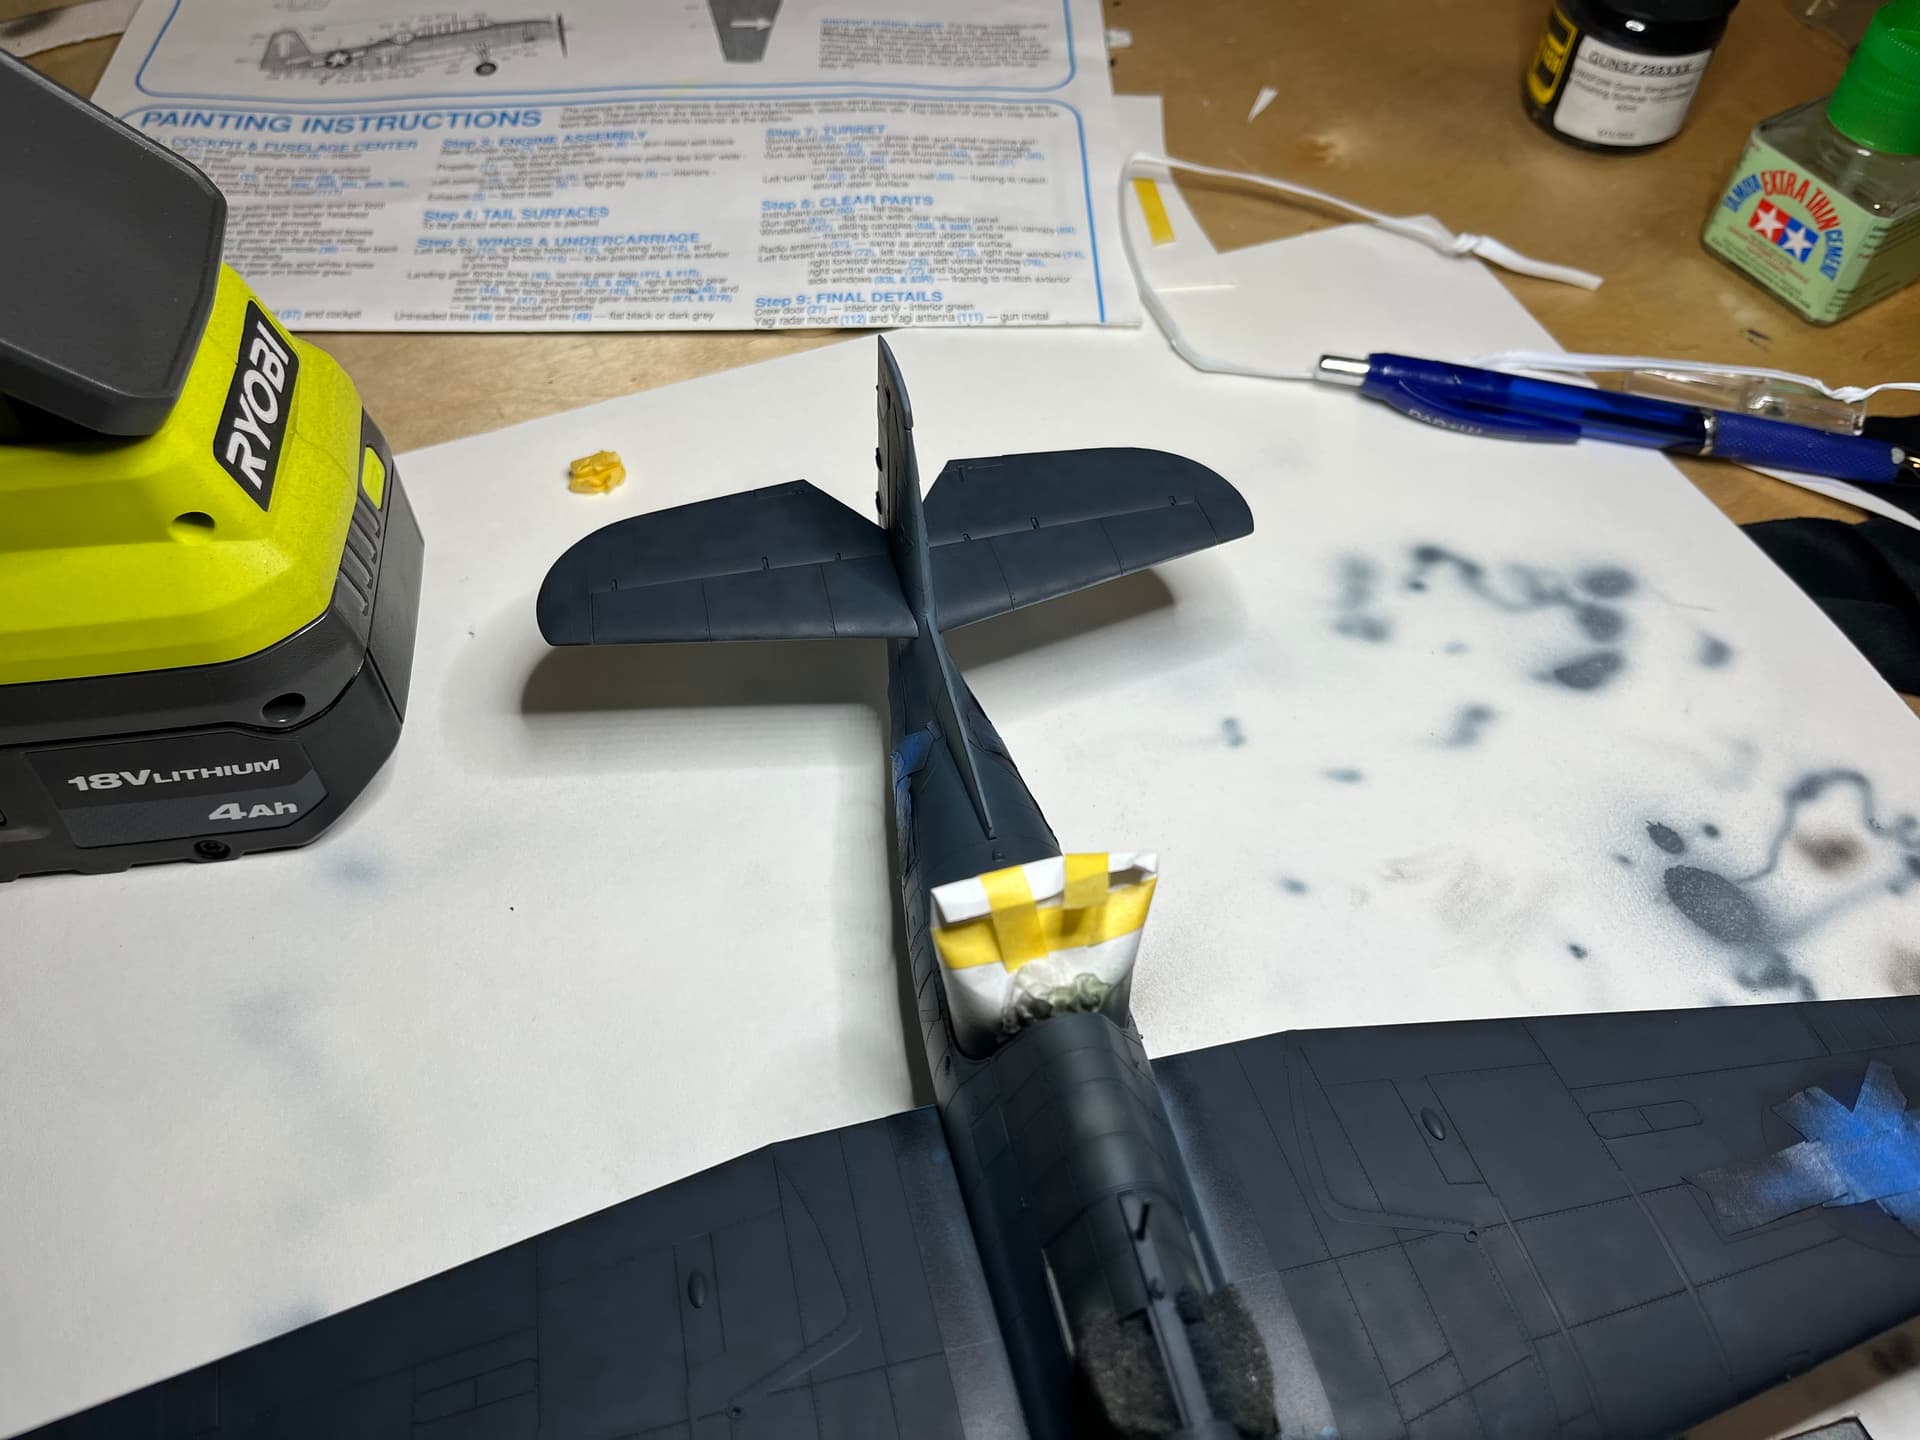
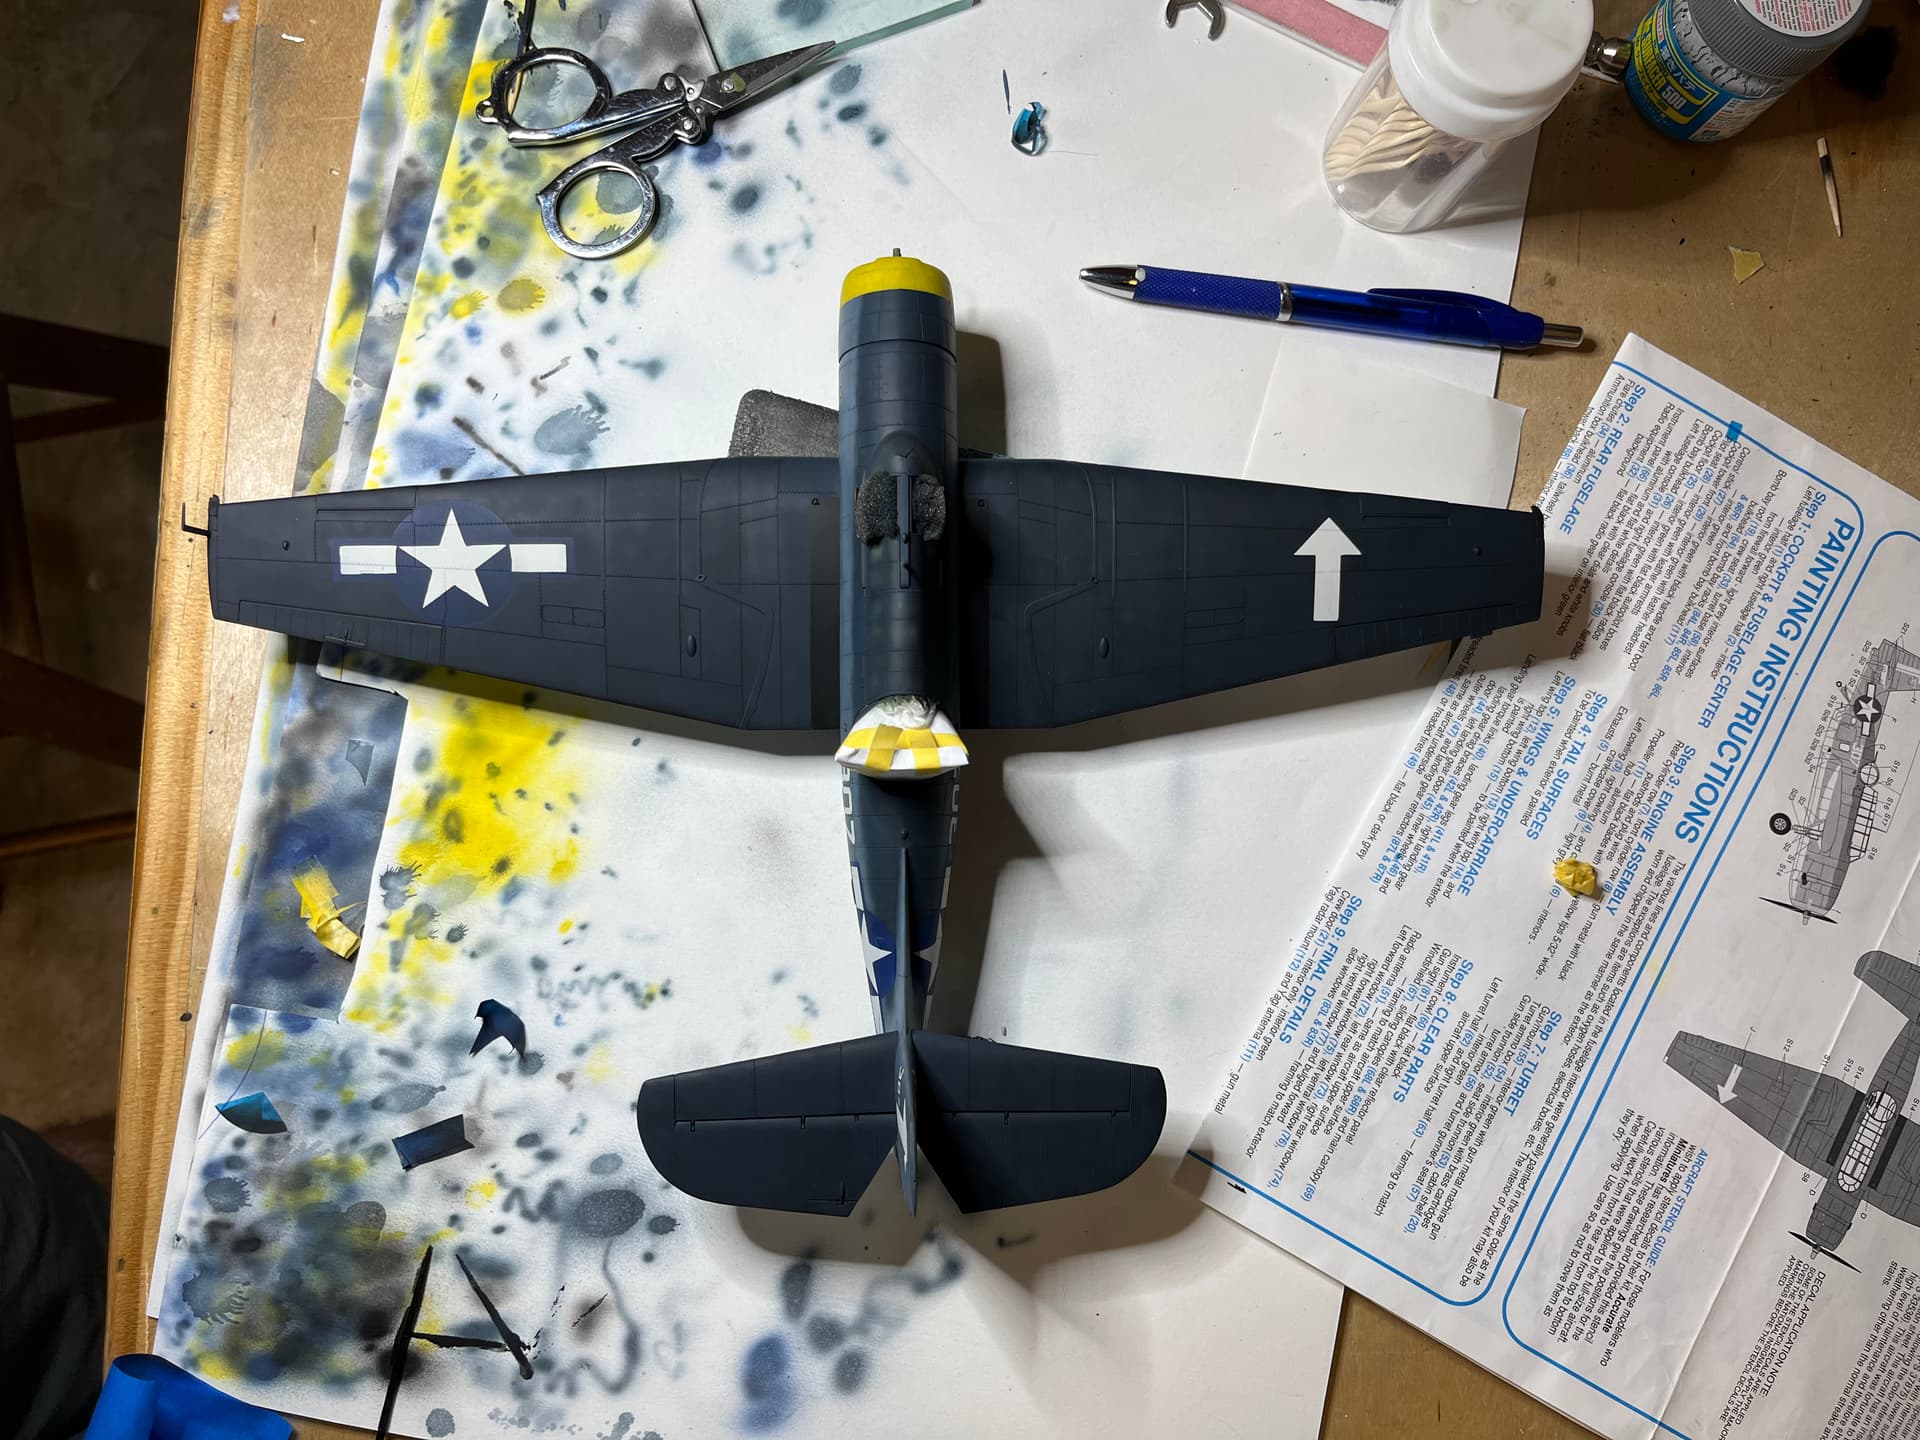
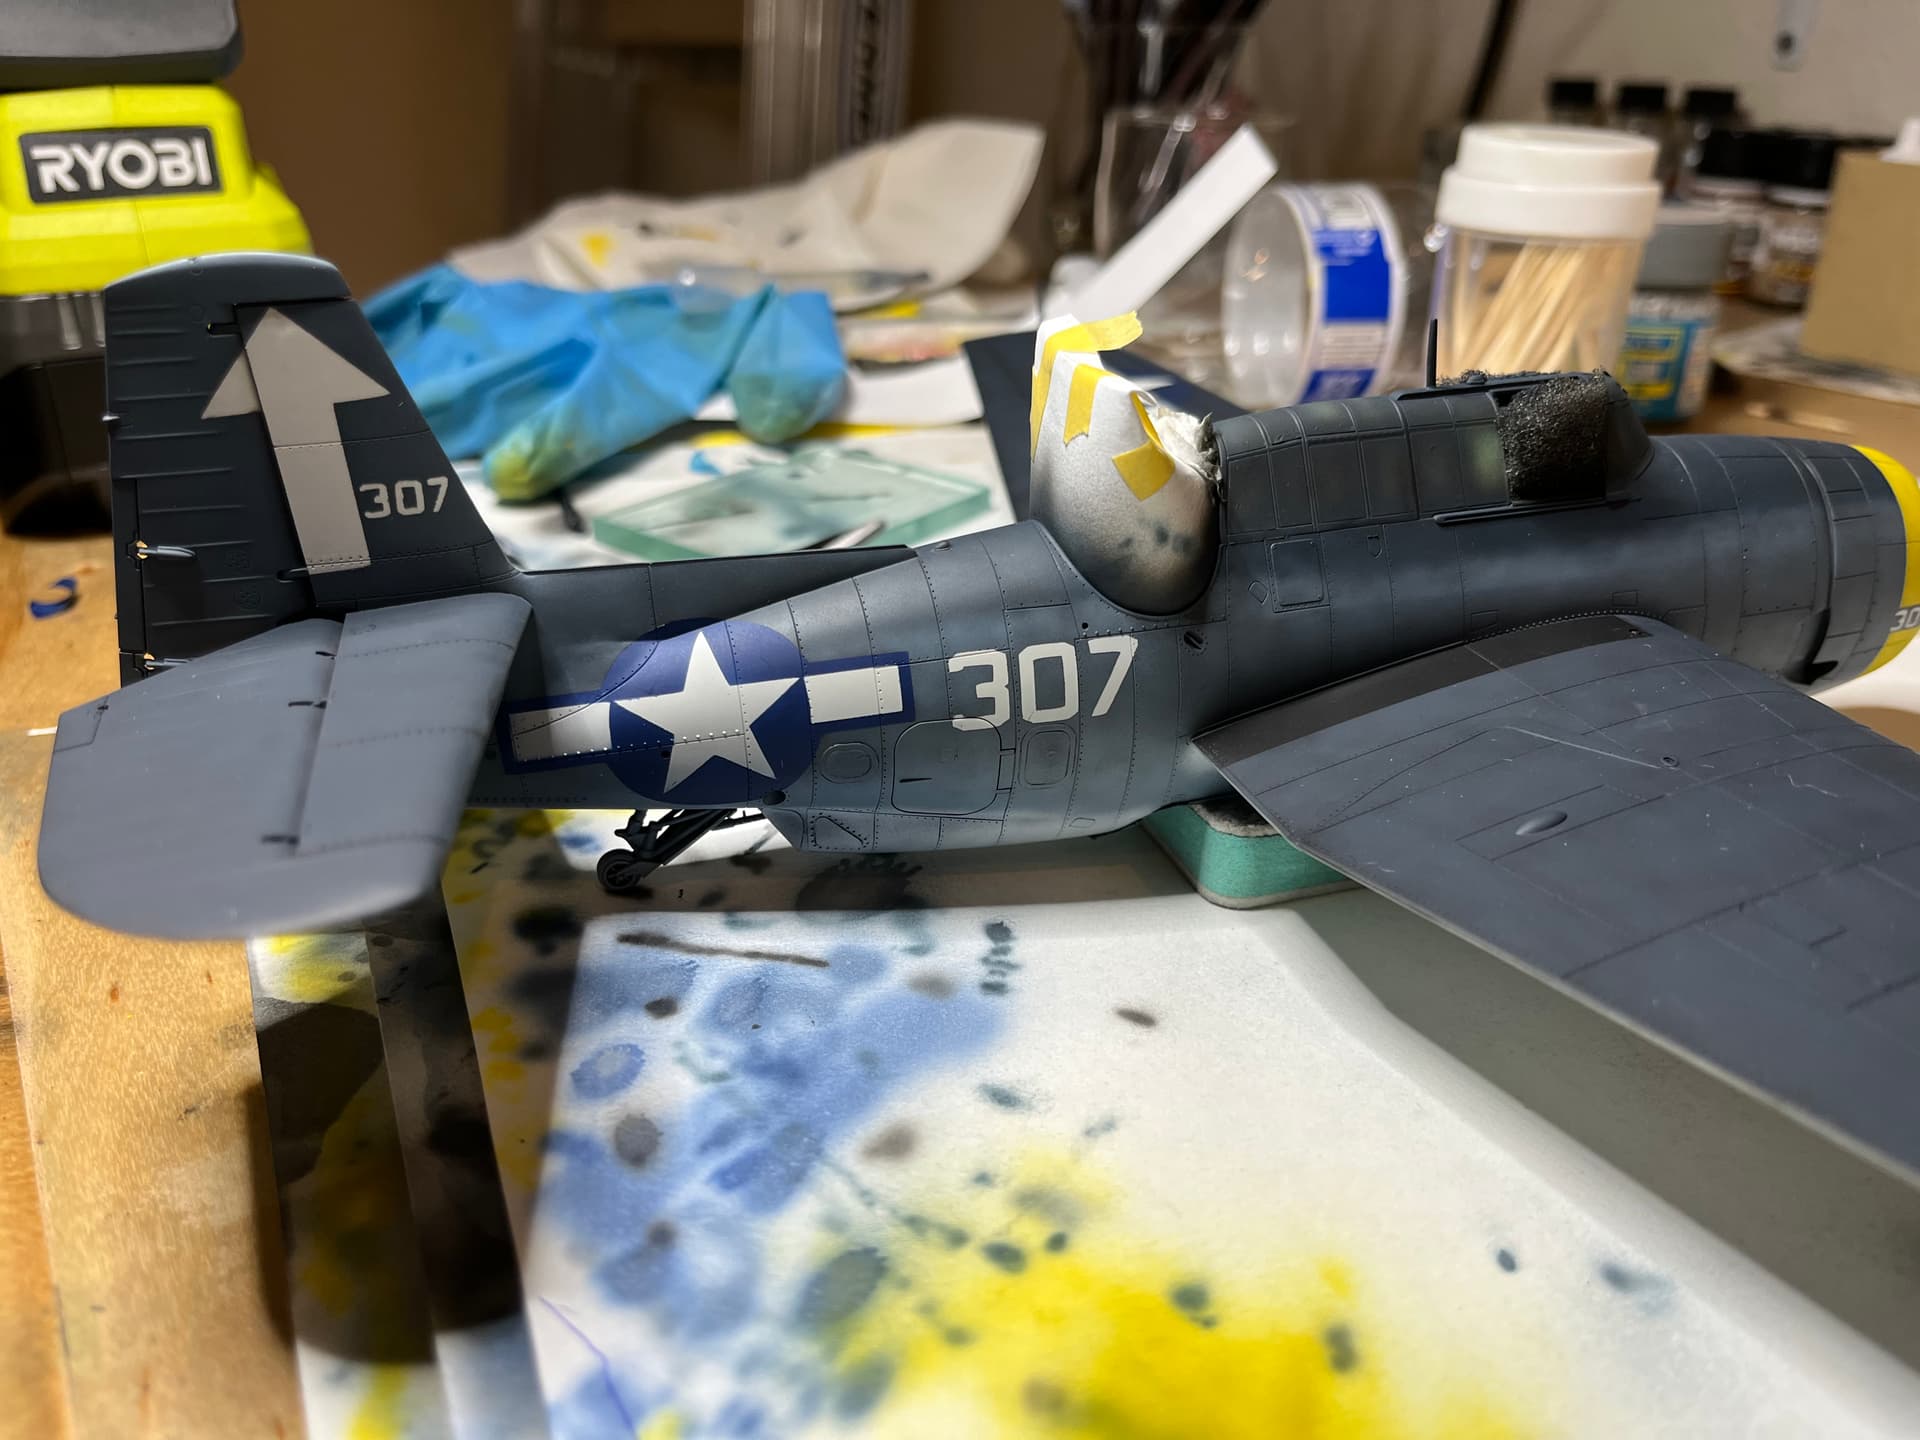
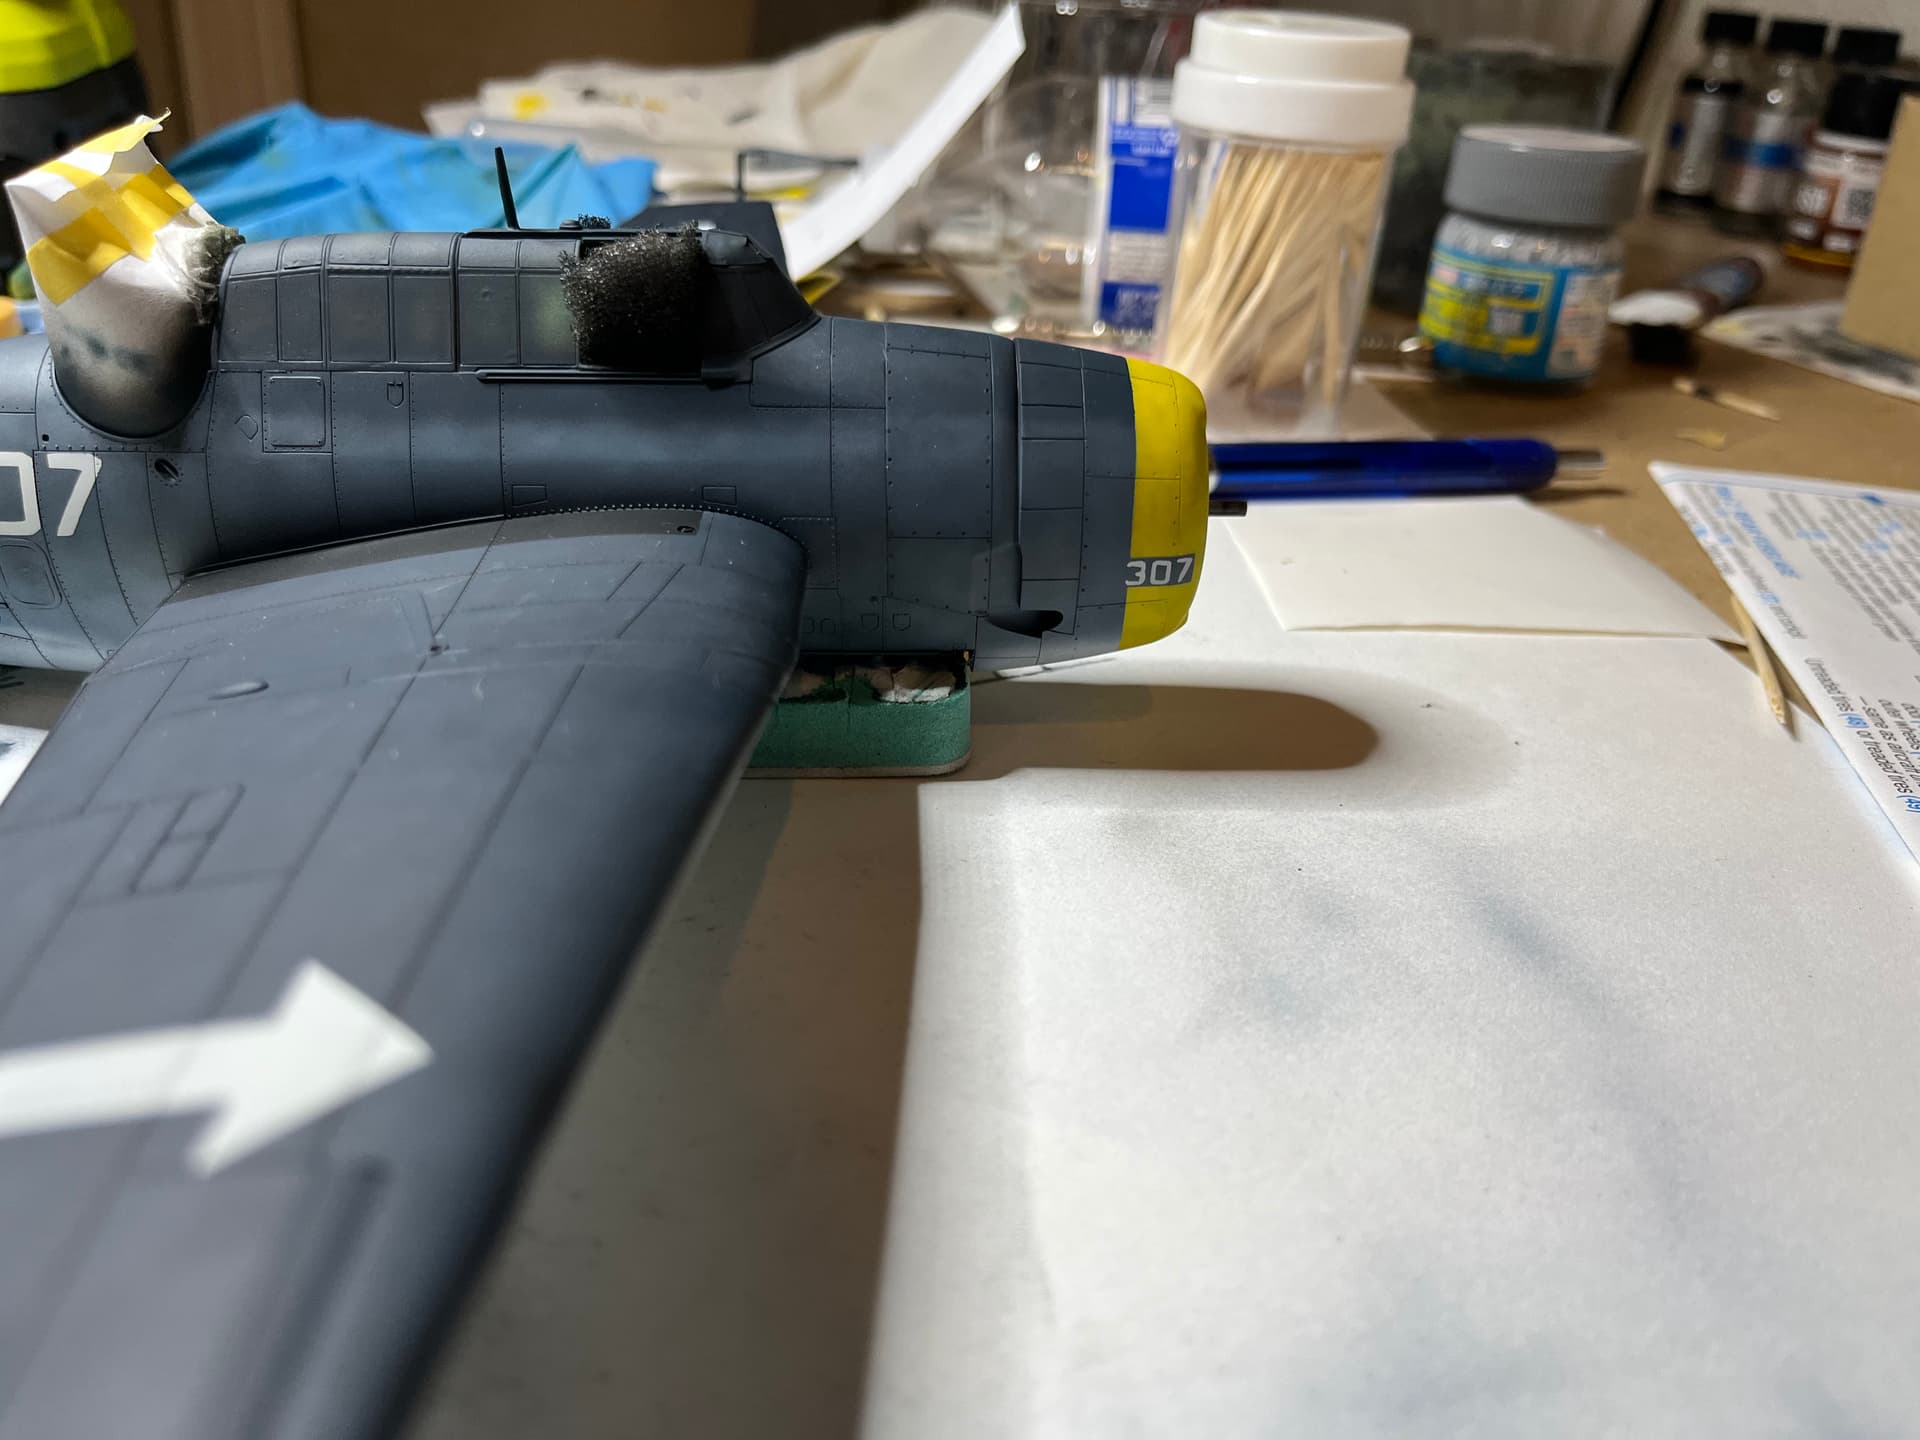
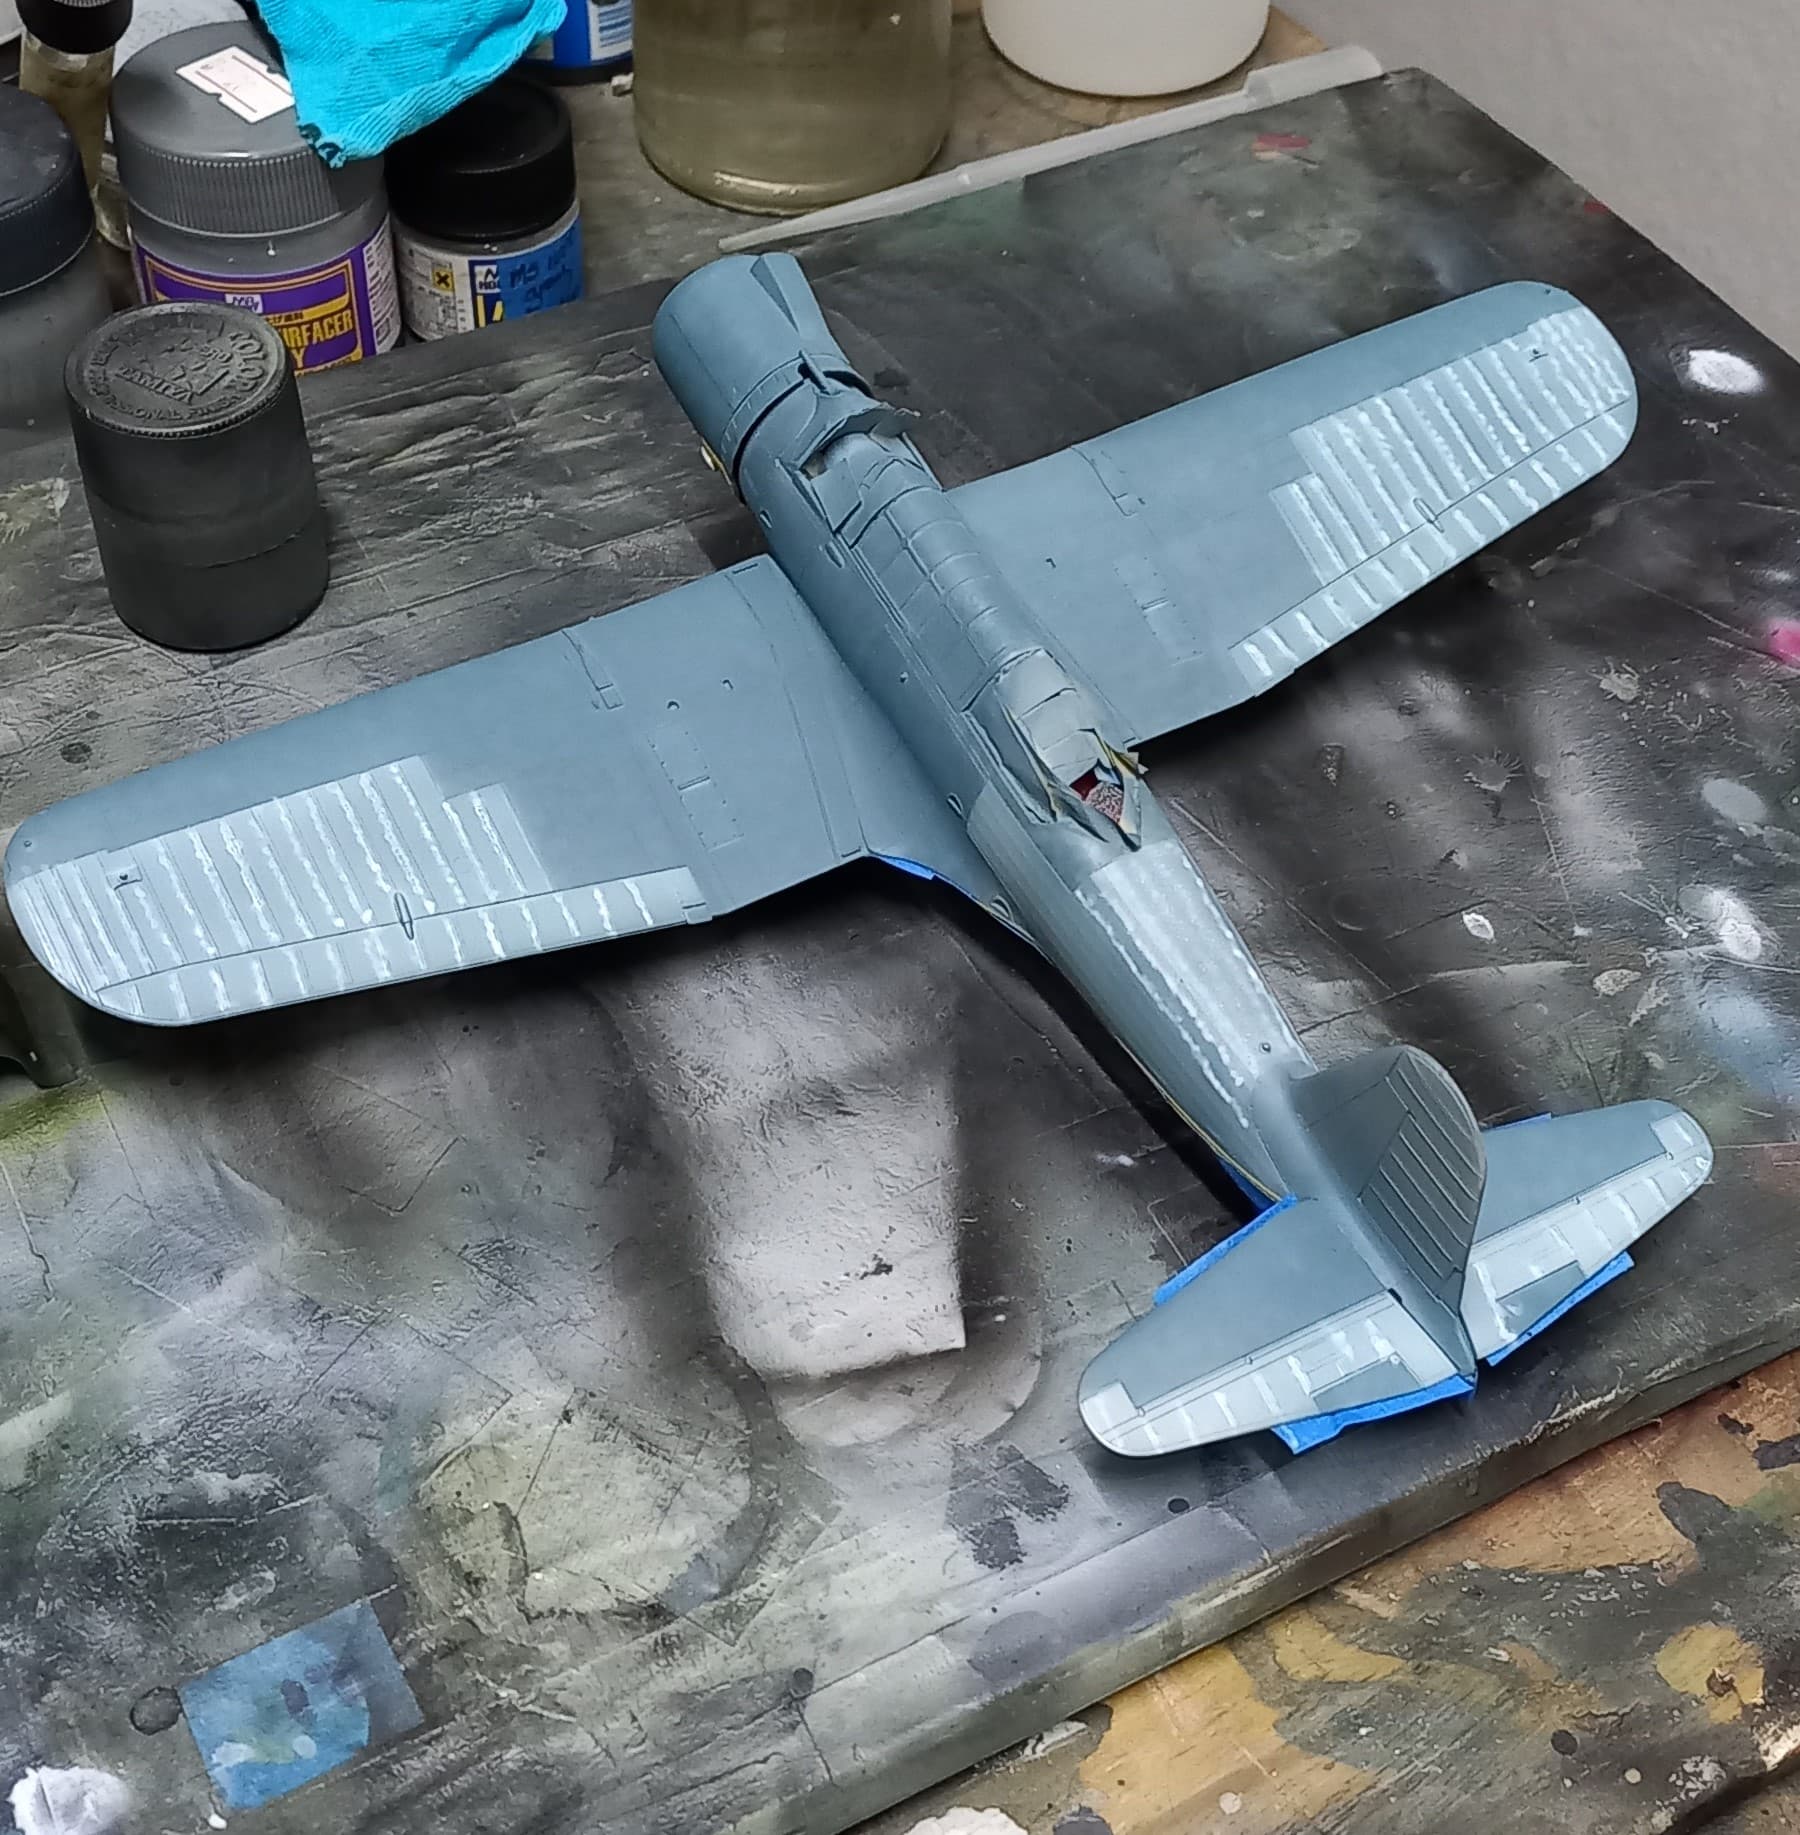
It’s been awhile since I’ve updated on my build, because it’s been awhile since I’ve had time to work on it. It’s almost ready for a gloss coat and decals. The nose is done, but I forgot to stick it on before I snapped these. I need to get the colors on the tail, then gloss coat, and decals will begin. I don’t think I’ll finish it by the end of the year, sadly, but life intervened.

3 Likes