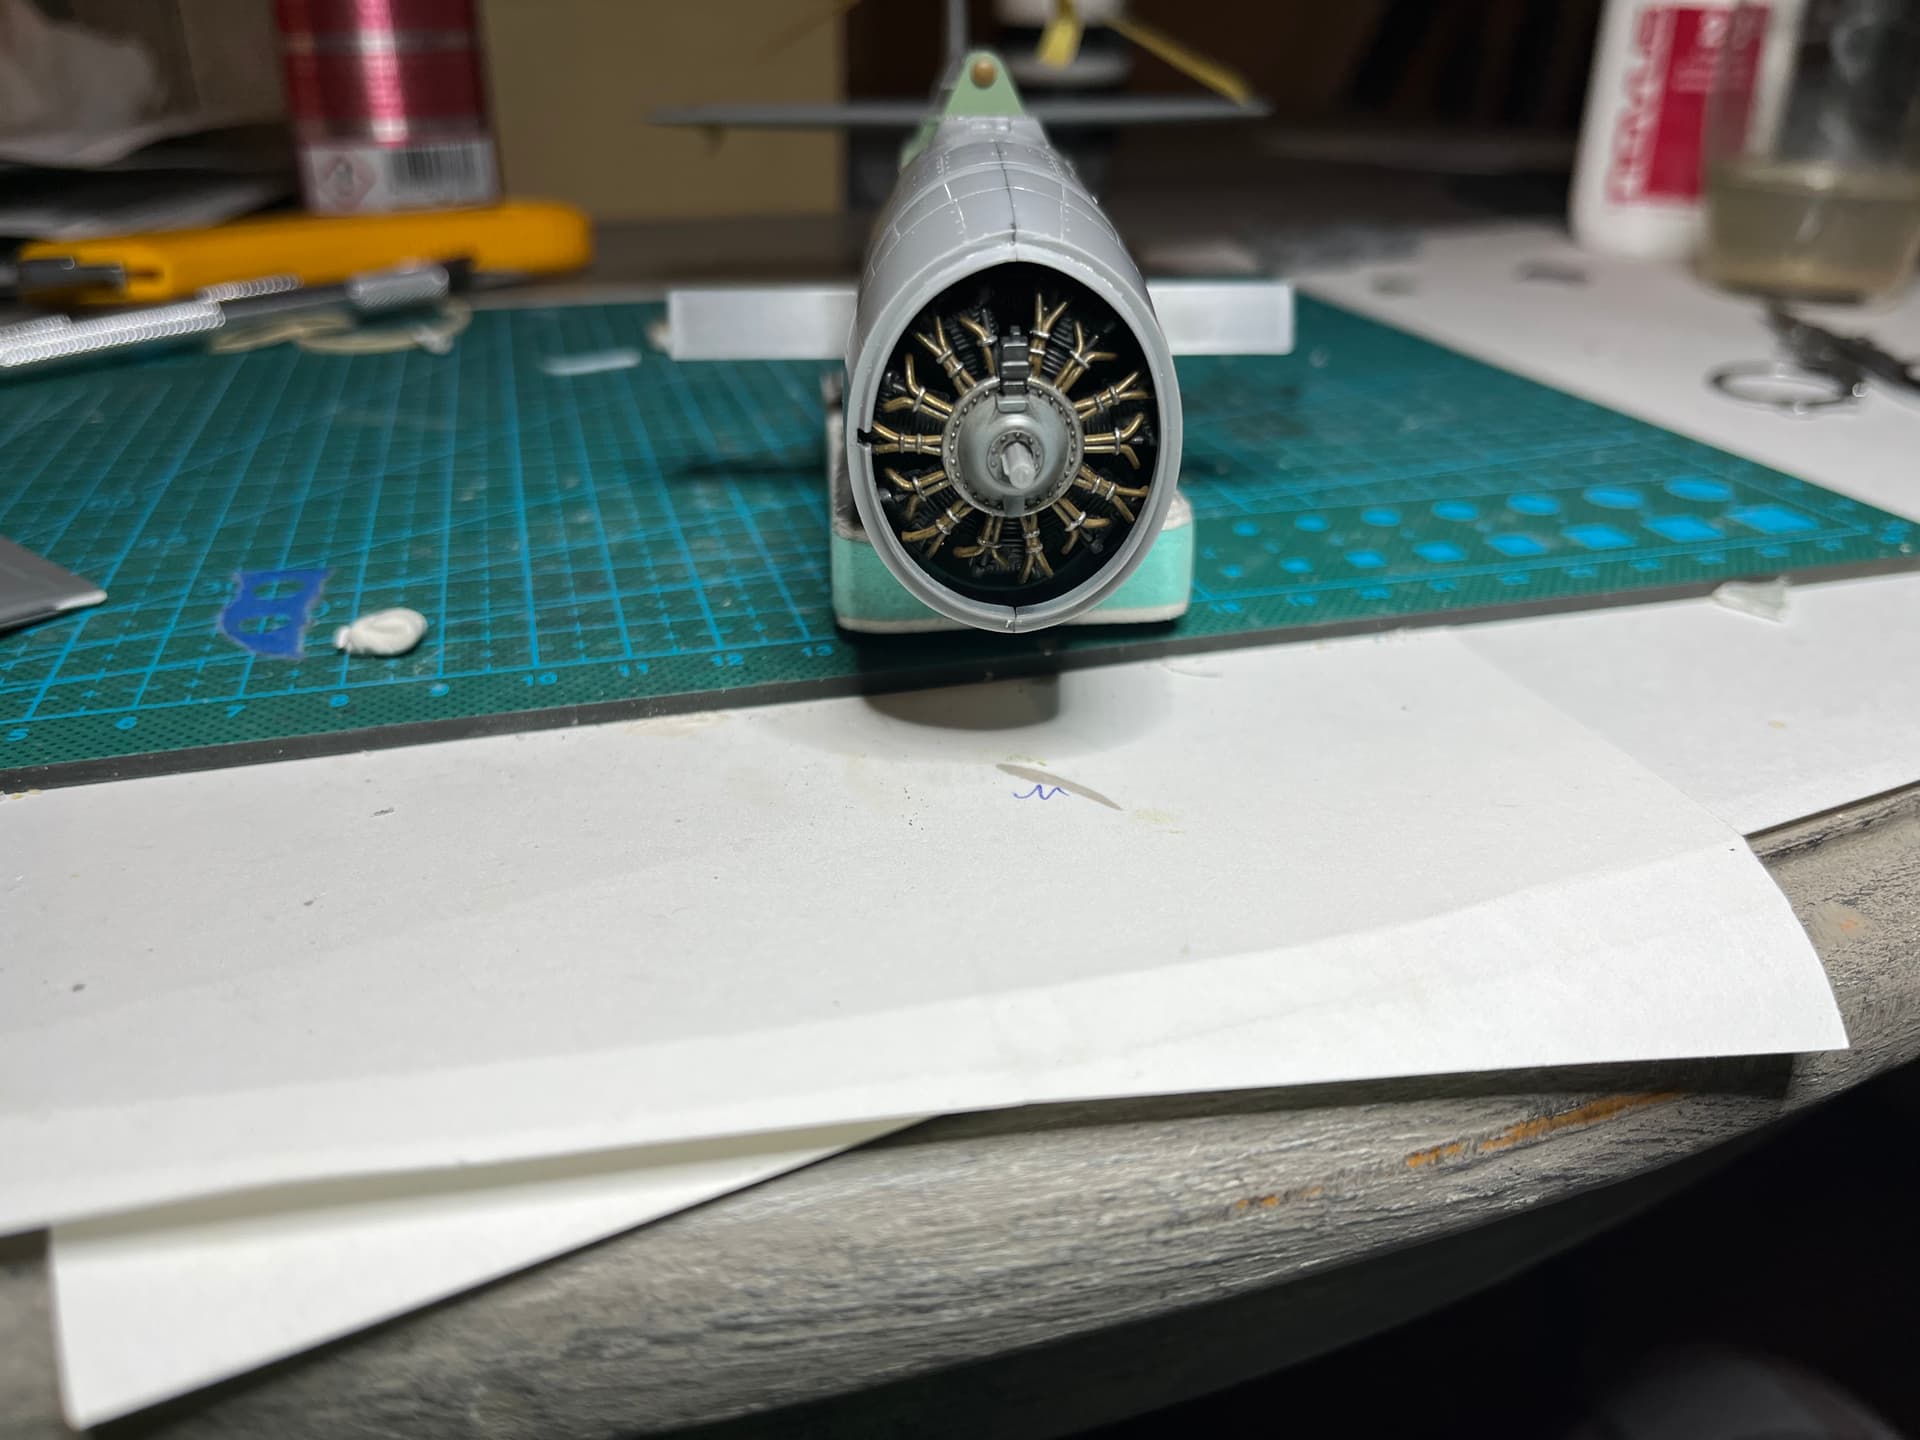
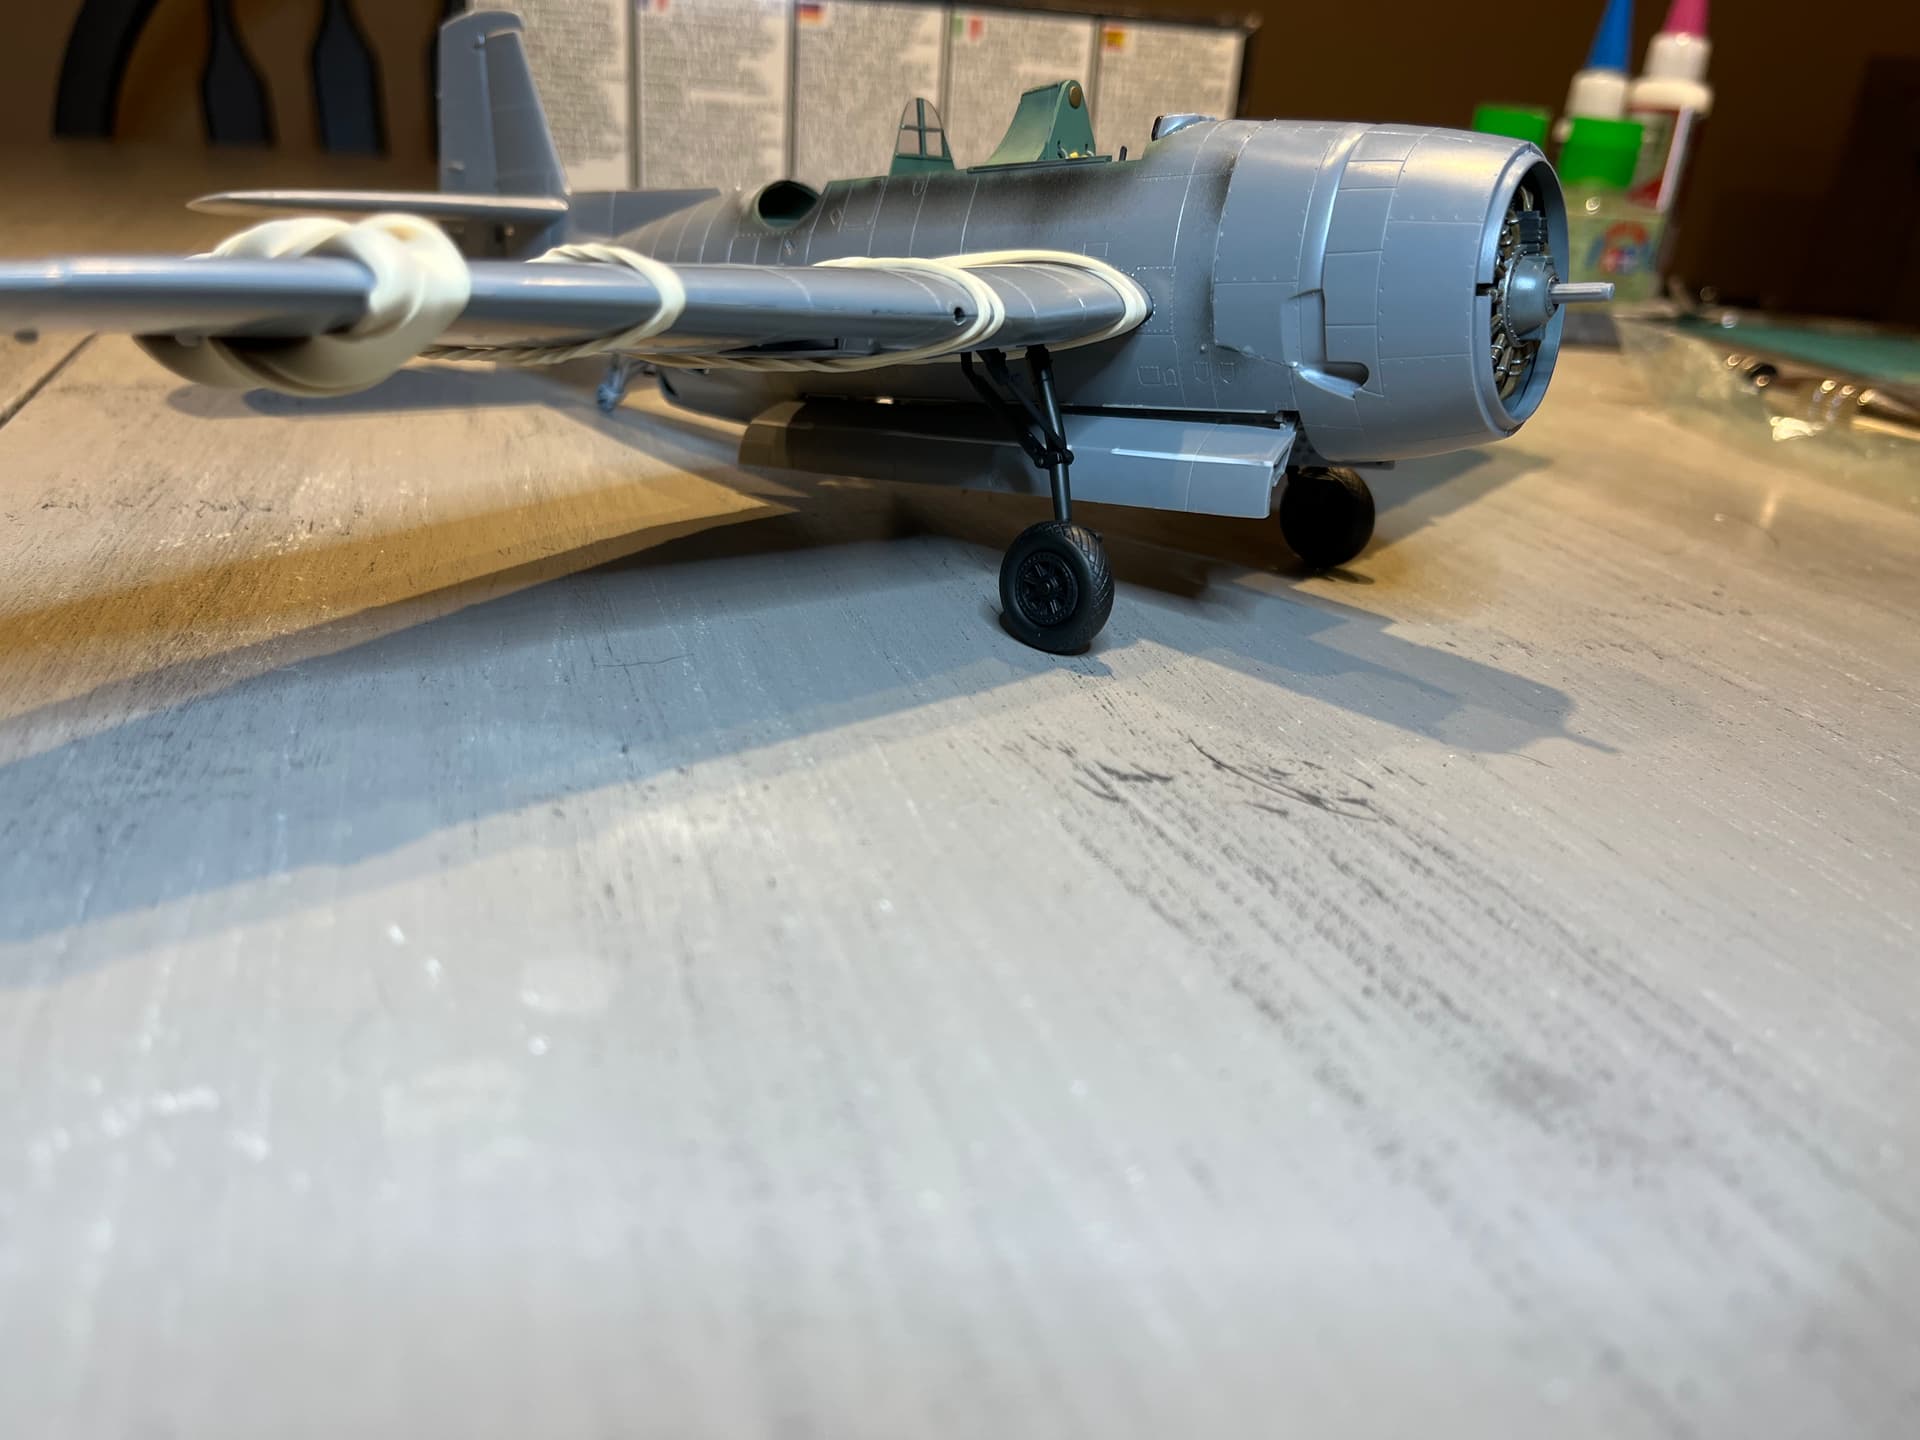
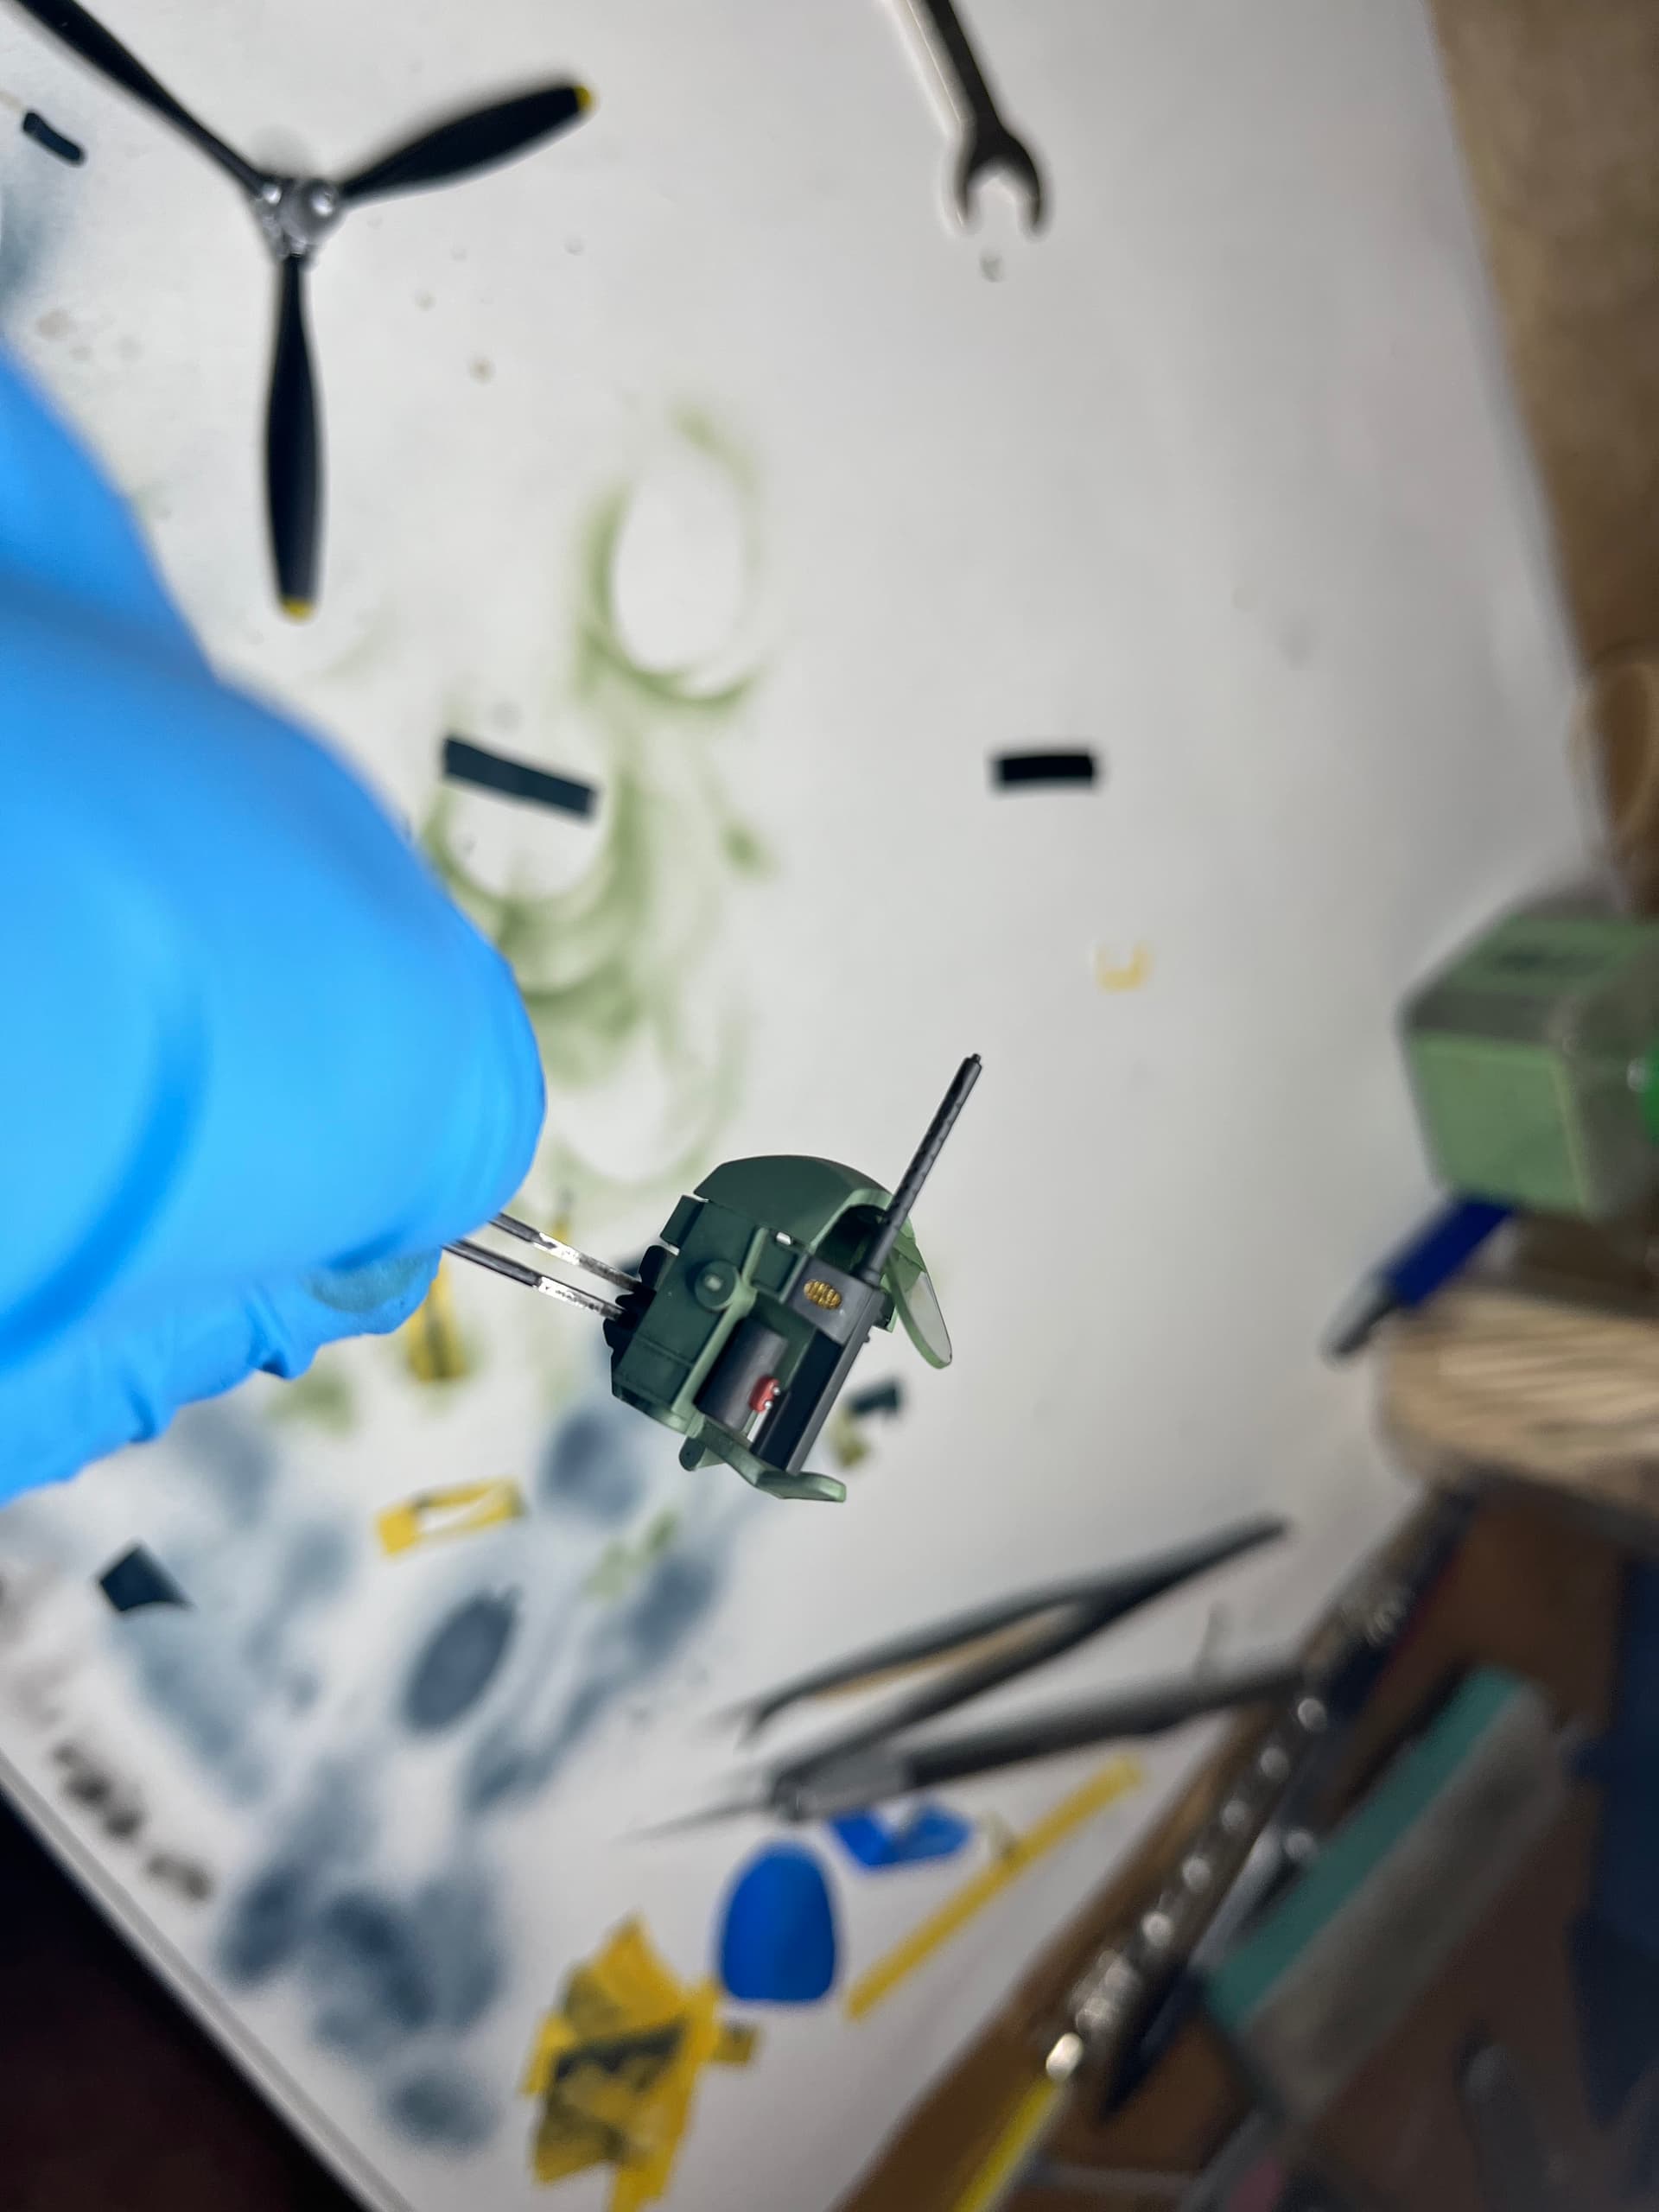
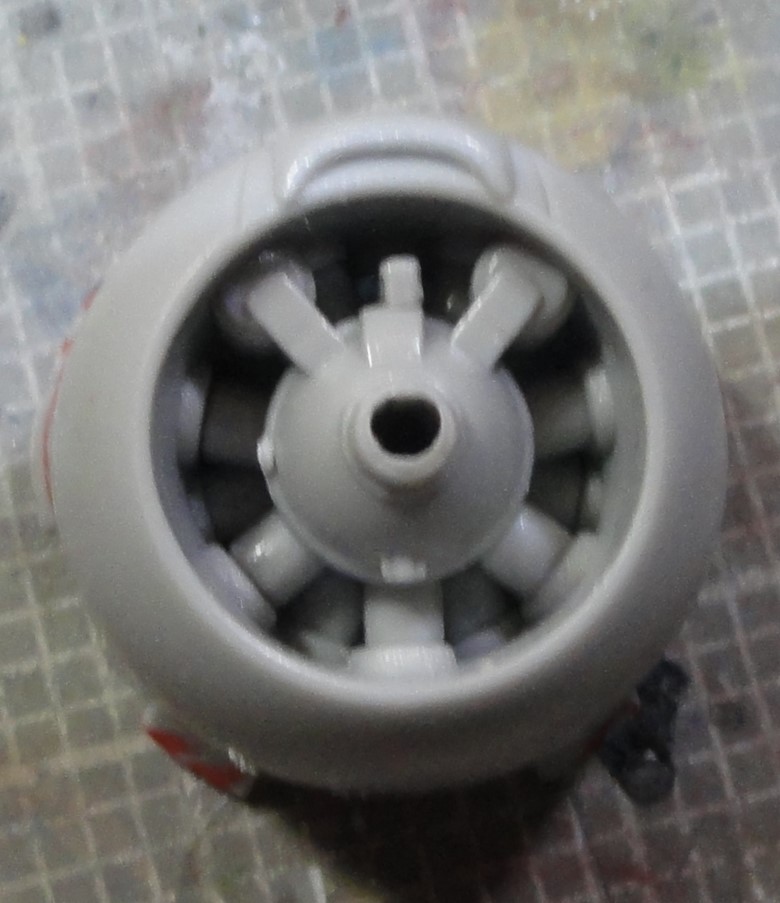
Mead, it looks great. You’re asking for feedback, and I’ve found that when you ask you don’t really get any. As one that loves feedback and advice I’ll share! Looks like a great base for the cylinders and head covers, so you’re metallic wash/dry brush will look great, as will the brass color for the sparkplug wire covers. And yes, they are brass, though when you look at them they look really dirty, same for the crankcase cover. When the crew chief worked on the bird, usually his last thing was a wipe on the cover, so it’d look good to the pilot, or his boss (most likely), remember despite the service, all crew chiefs consider the bird their plane, the pilot only flies it.
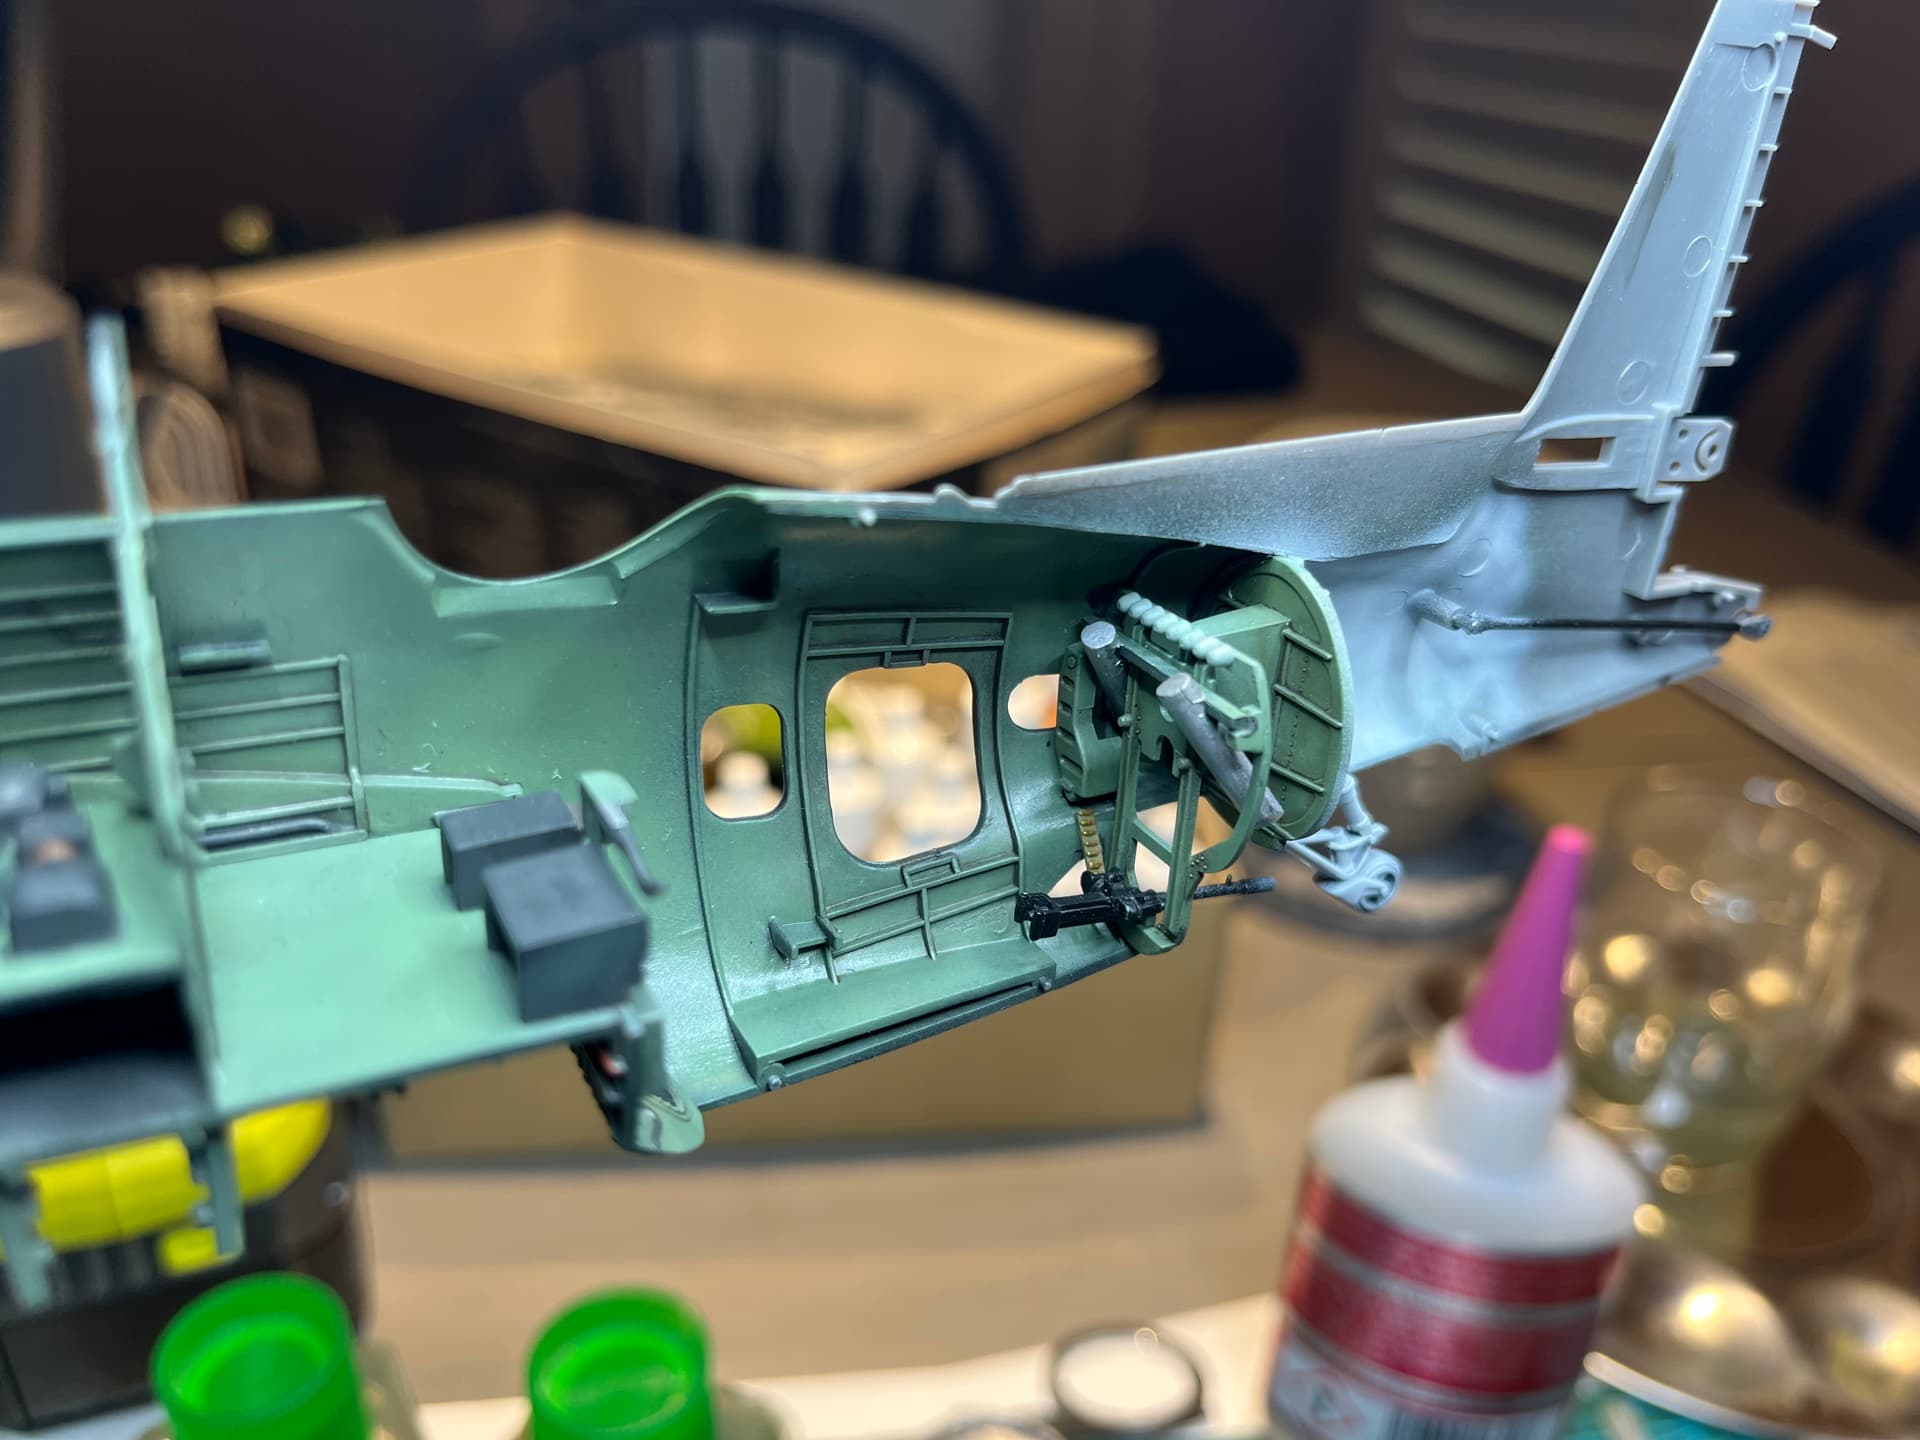
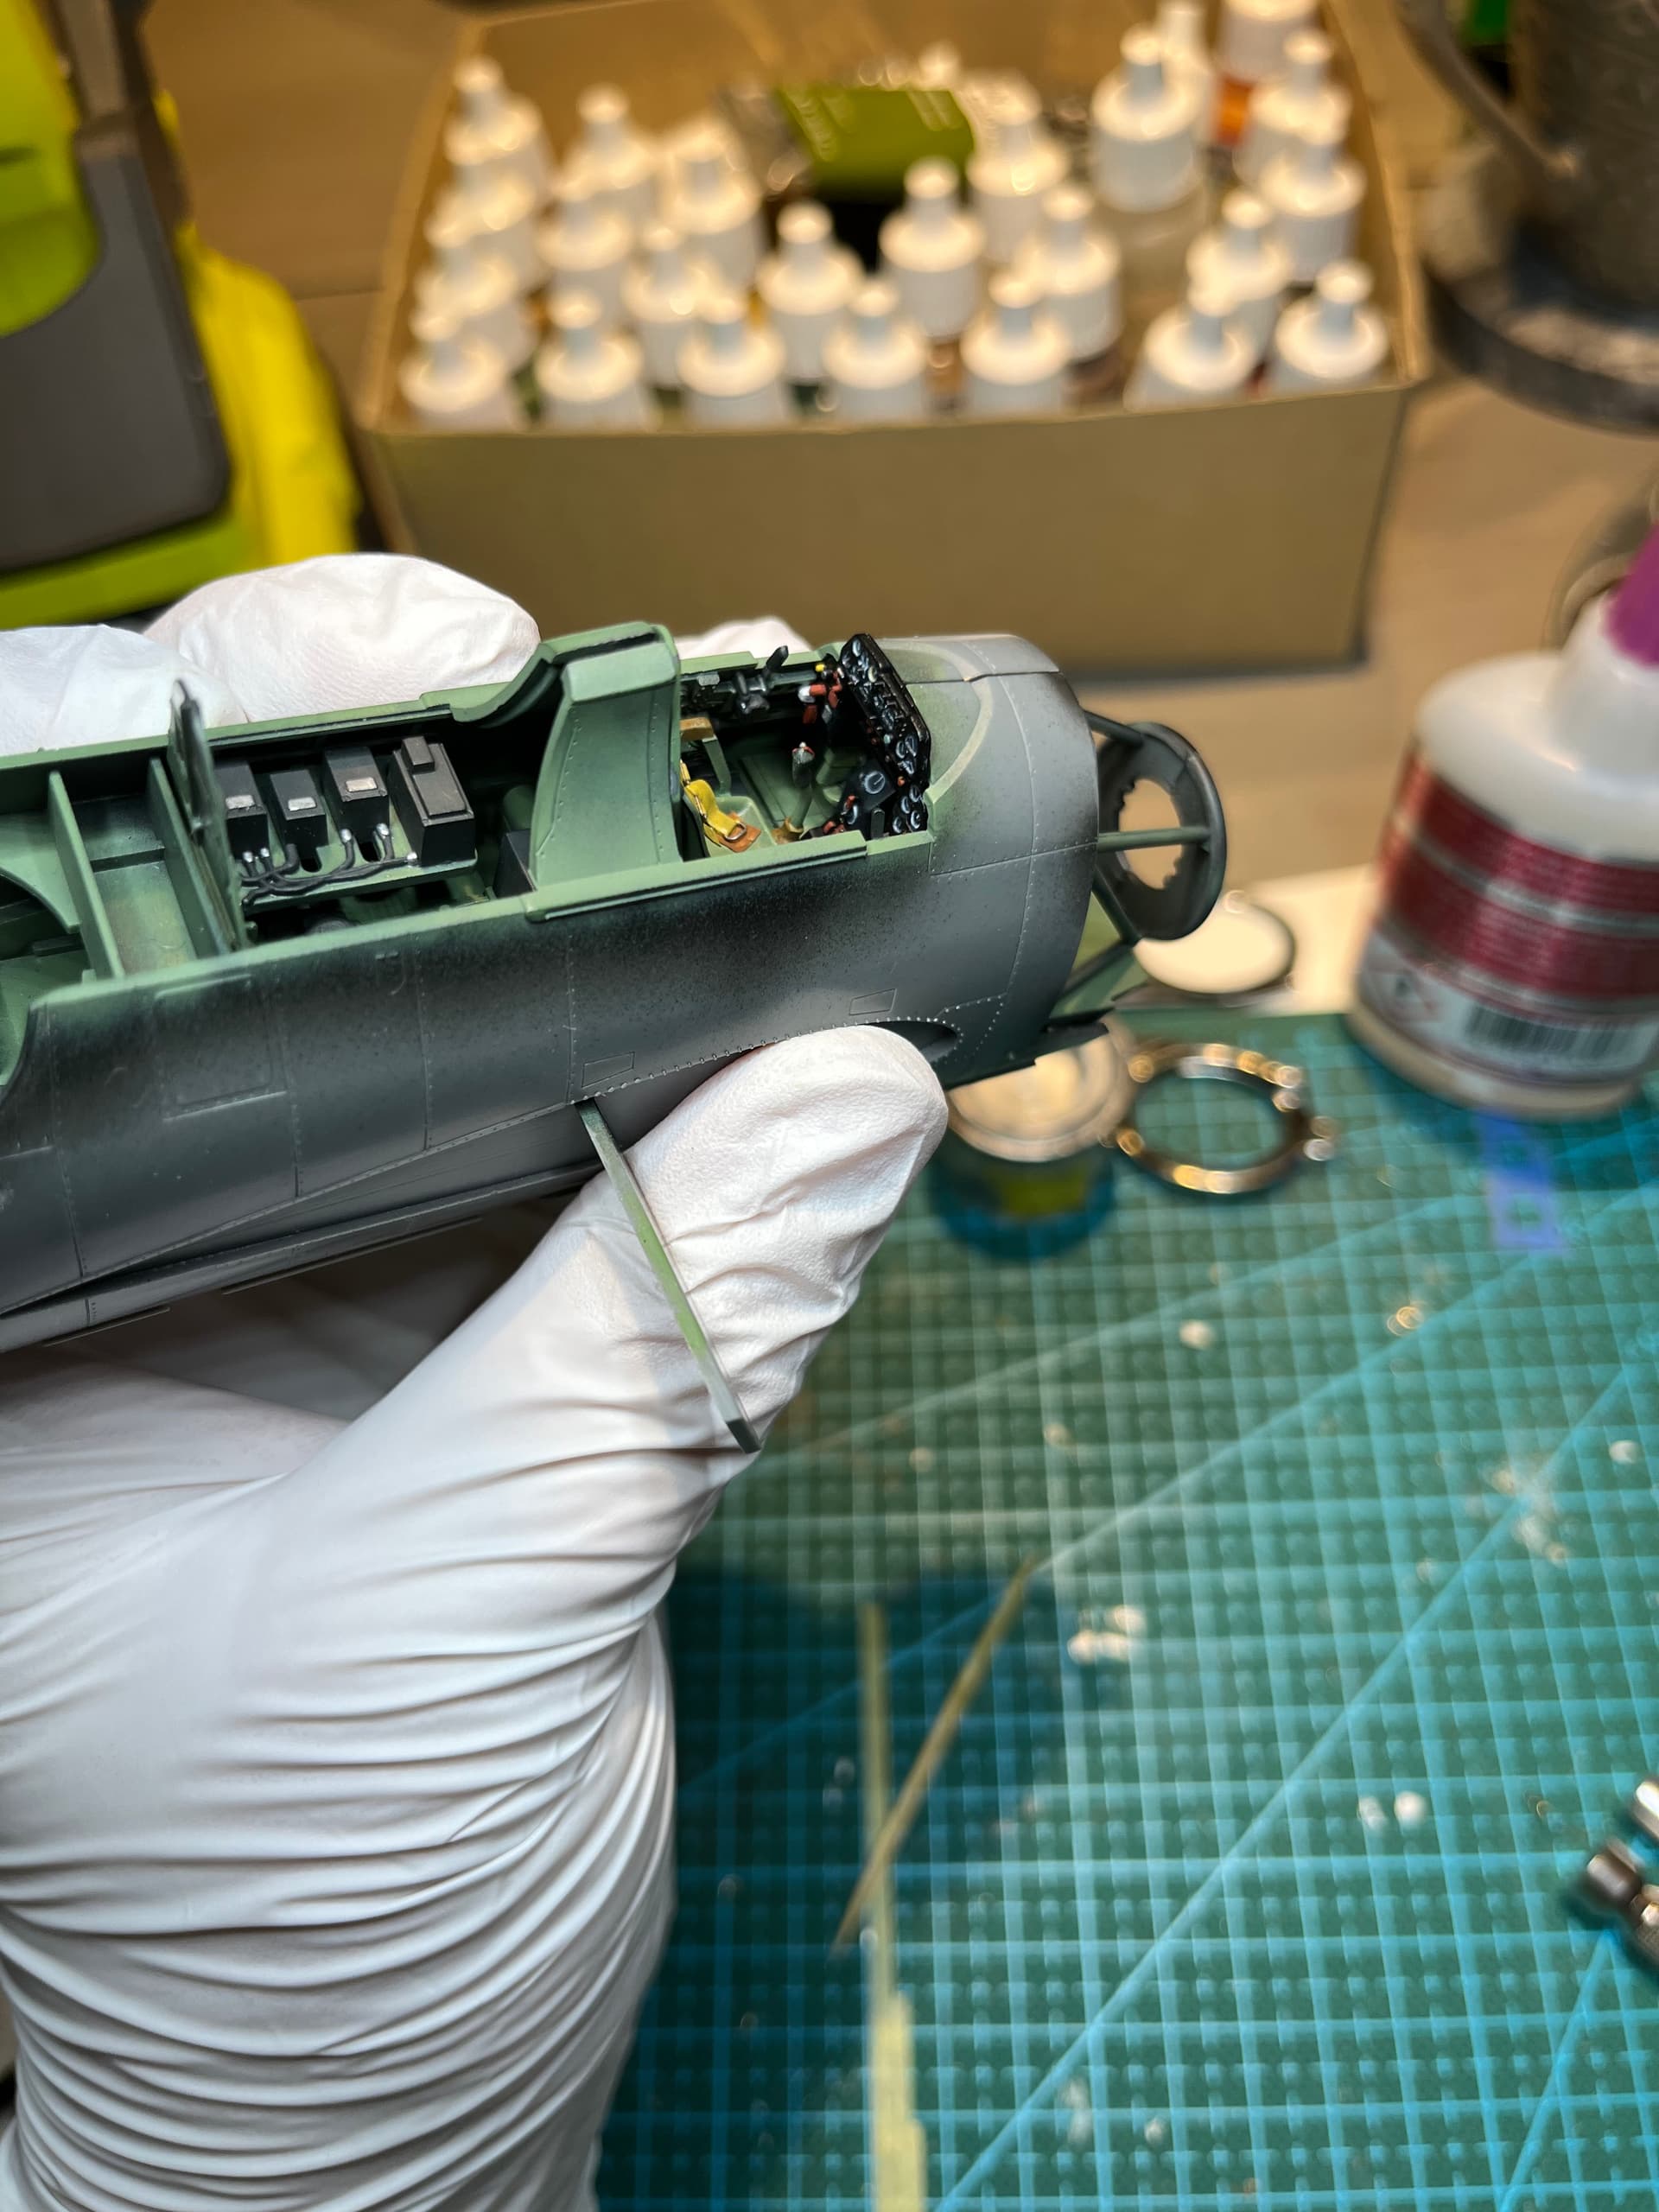
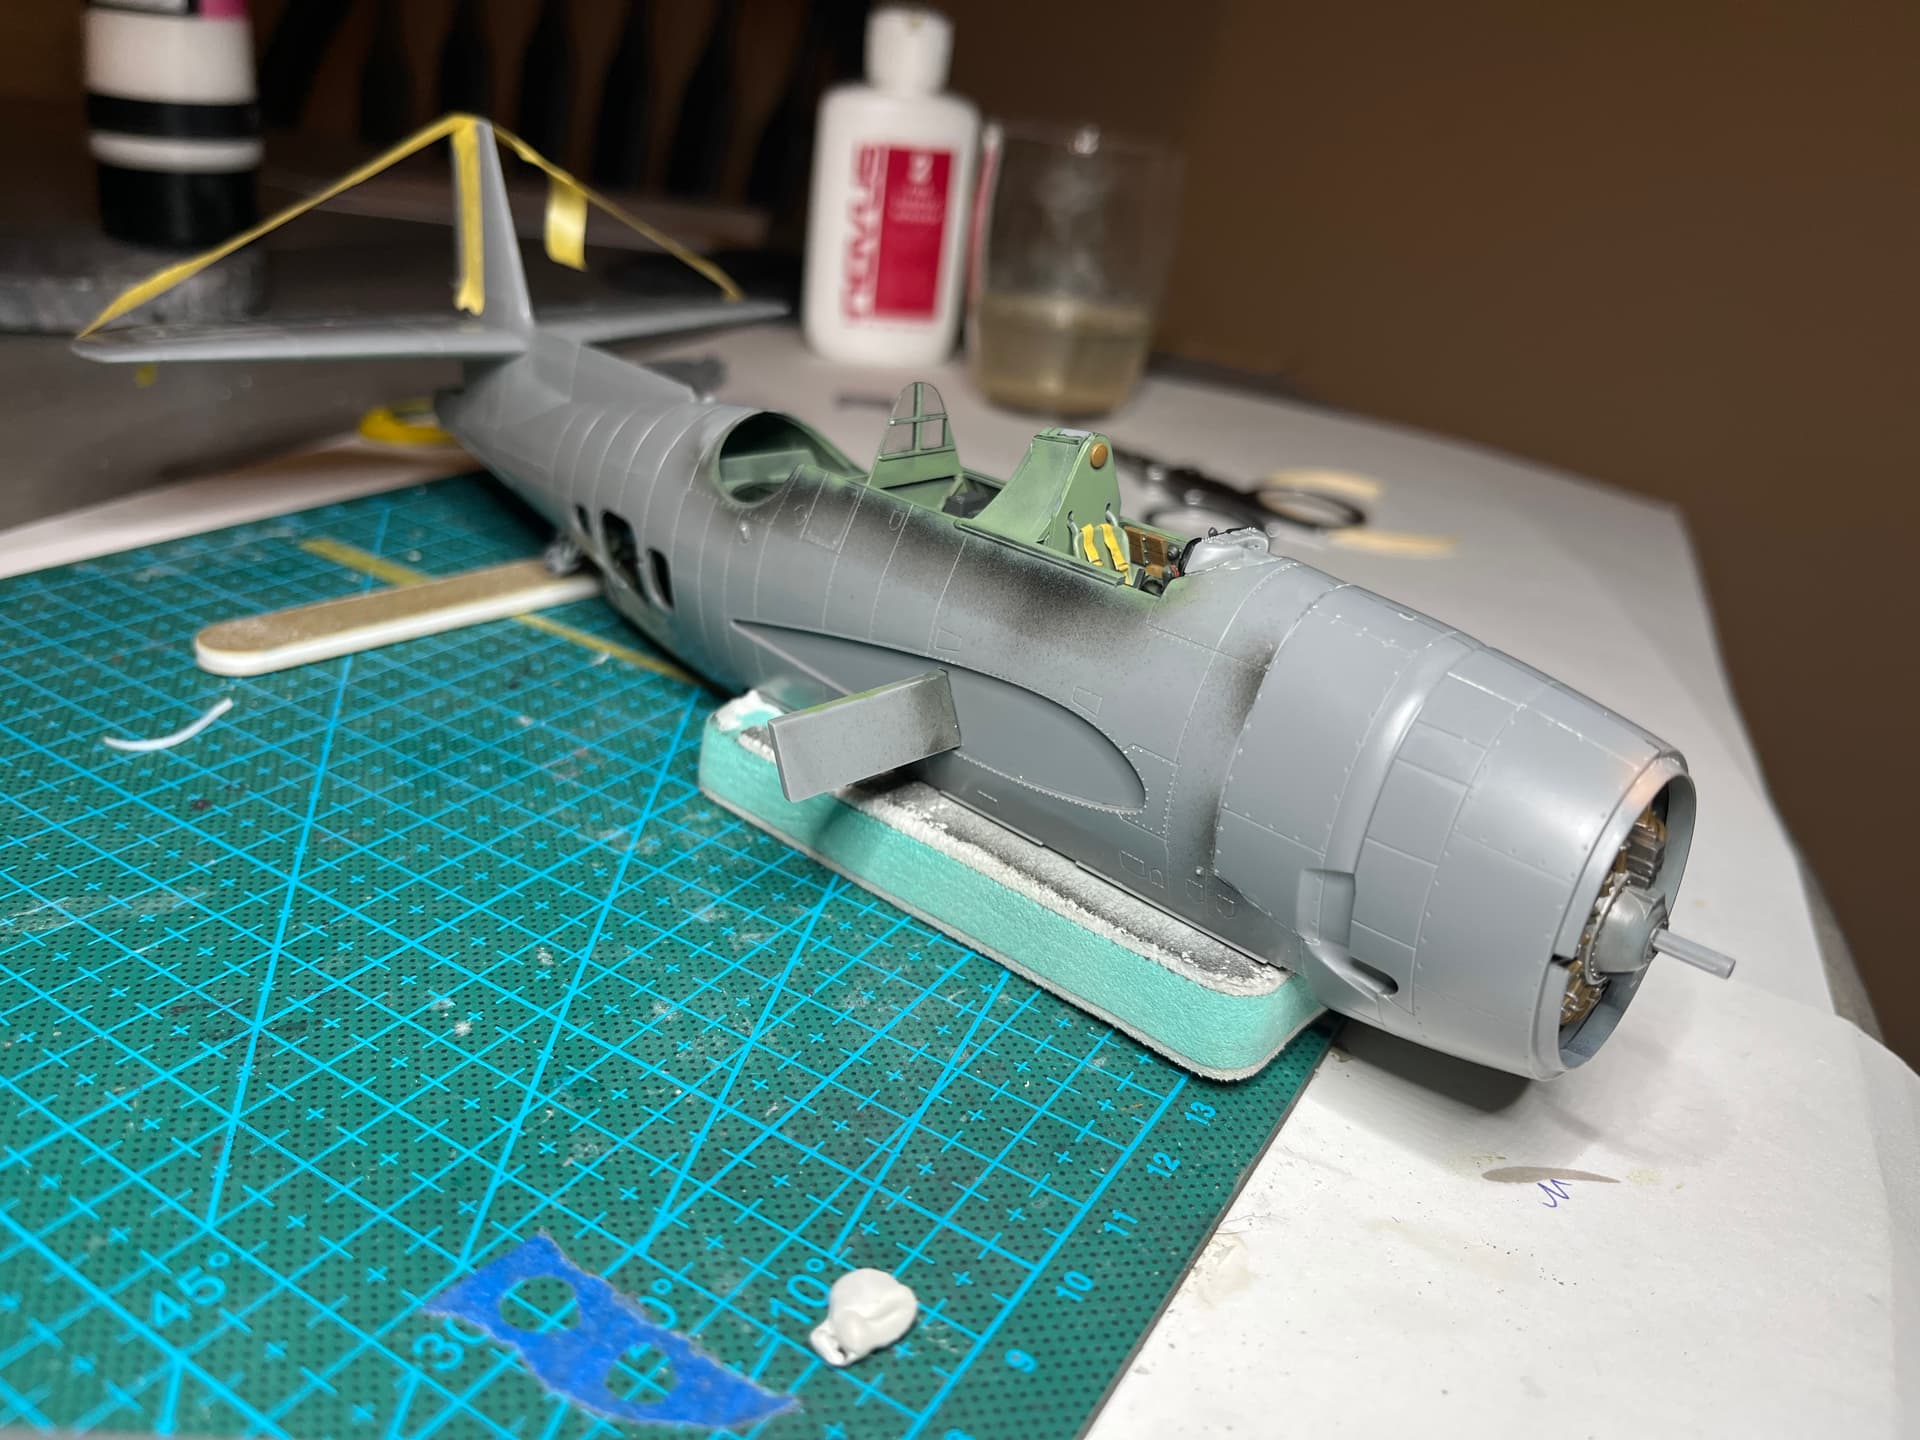
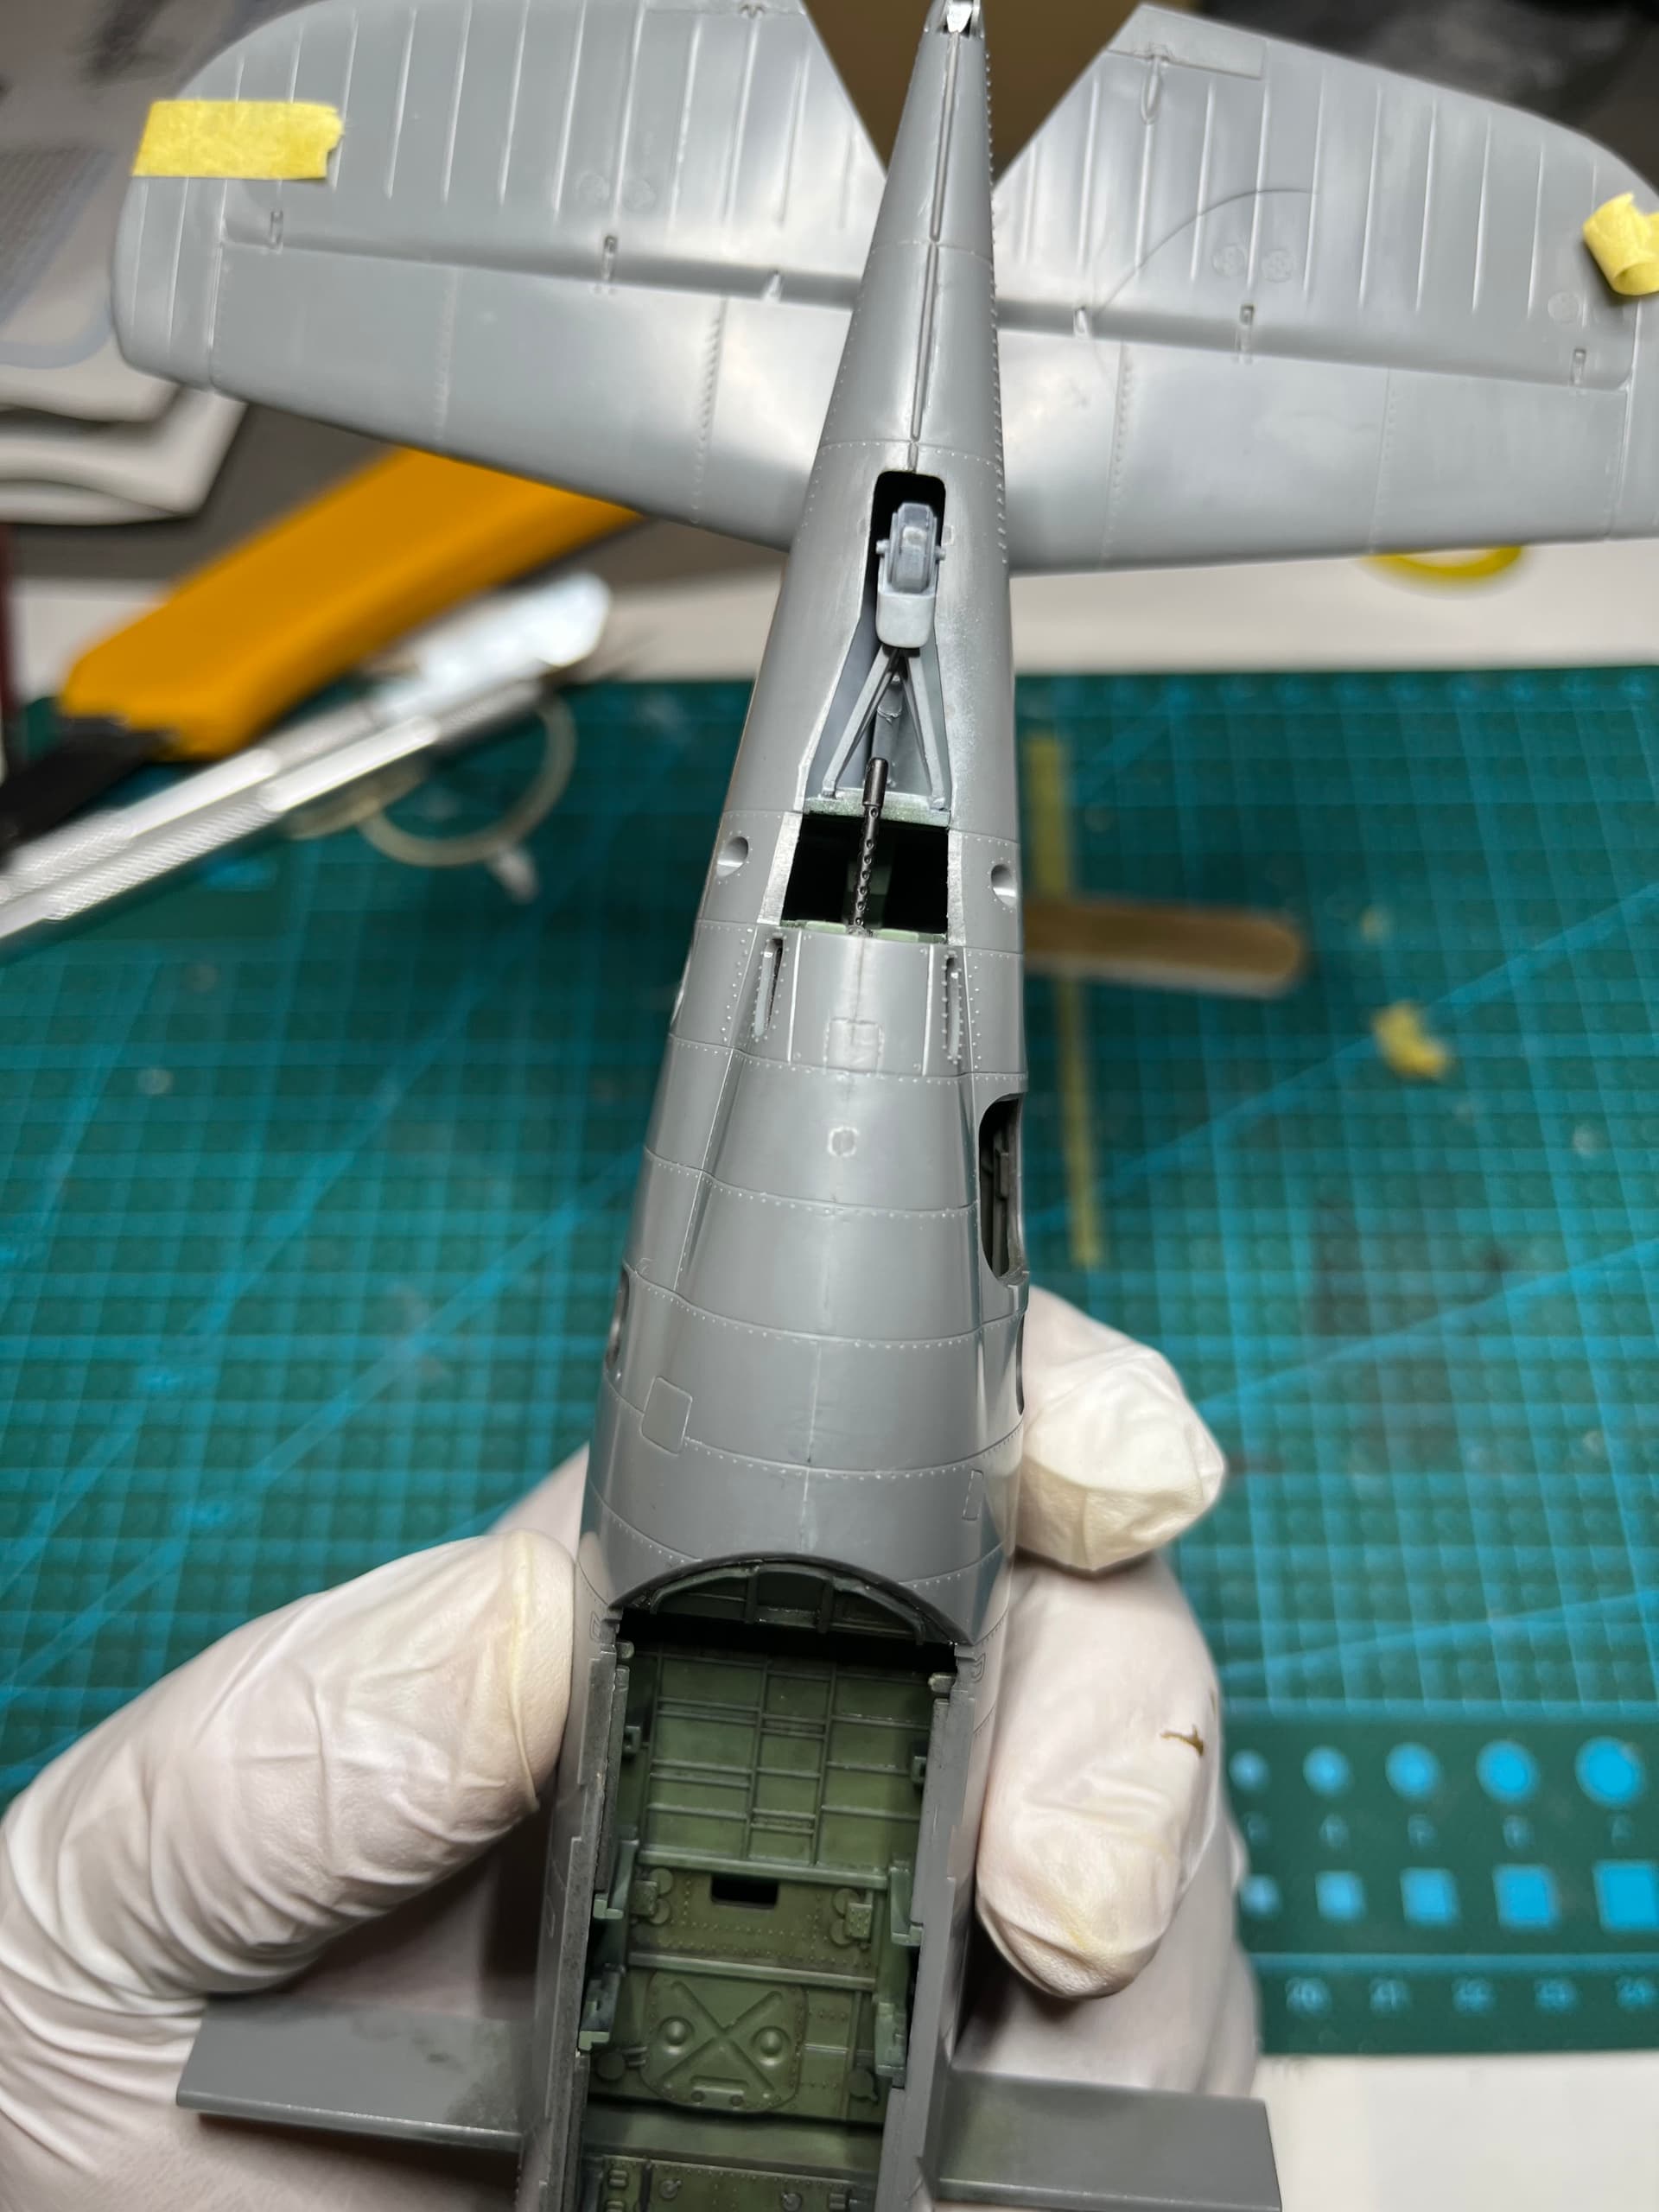
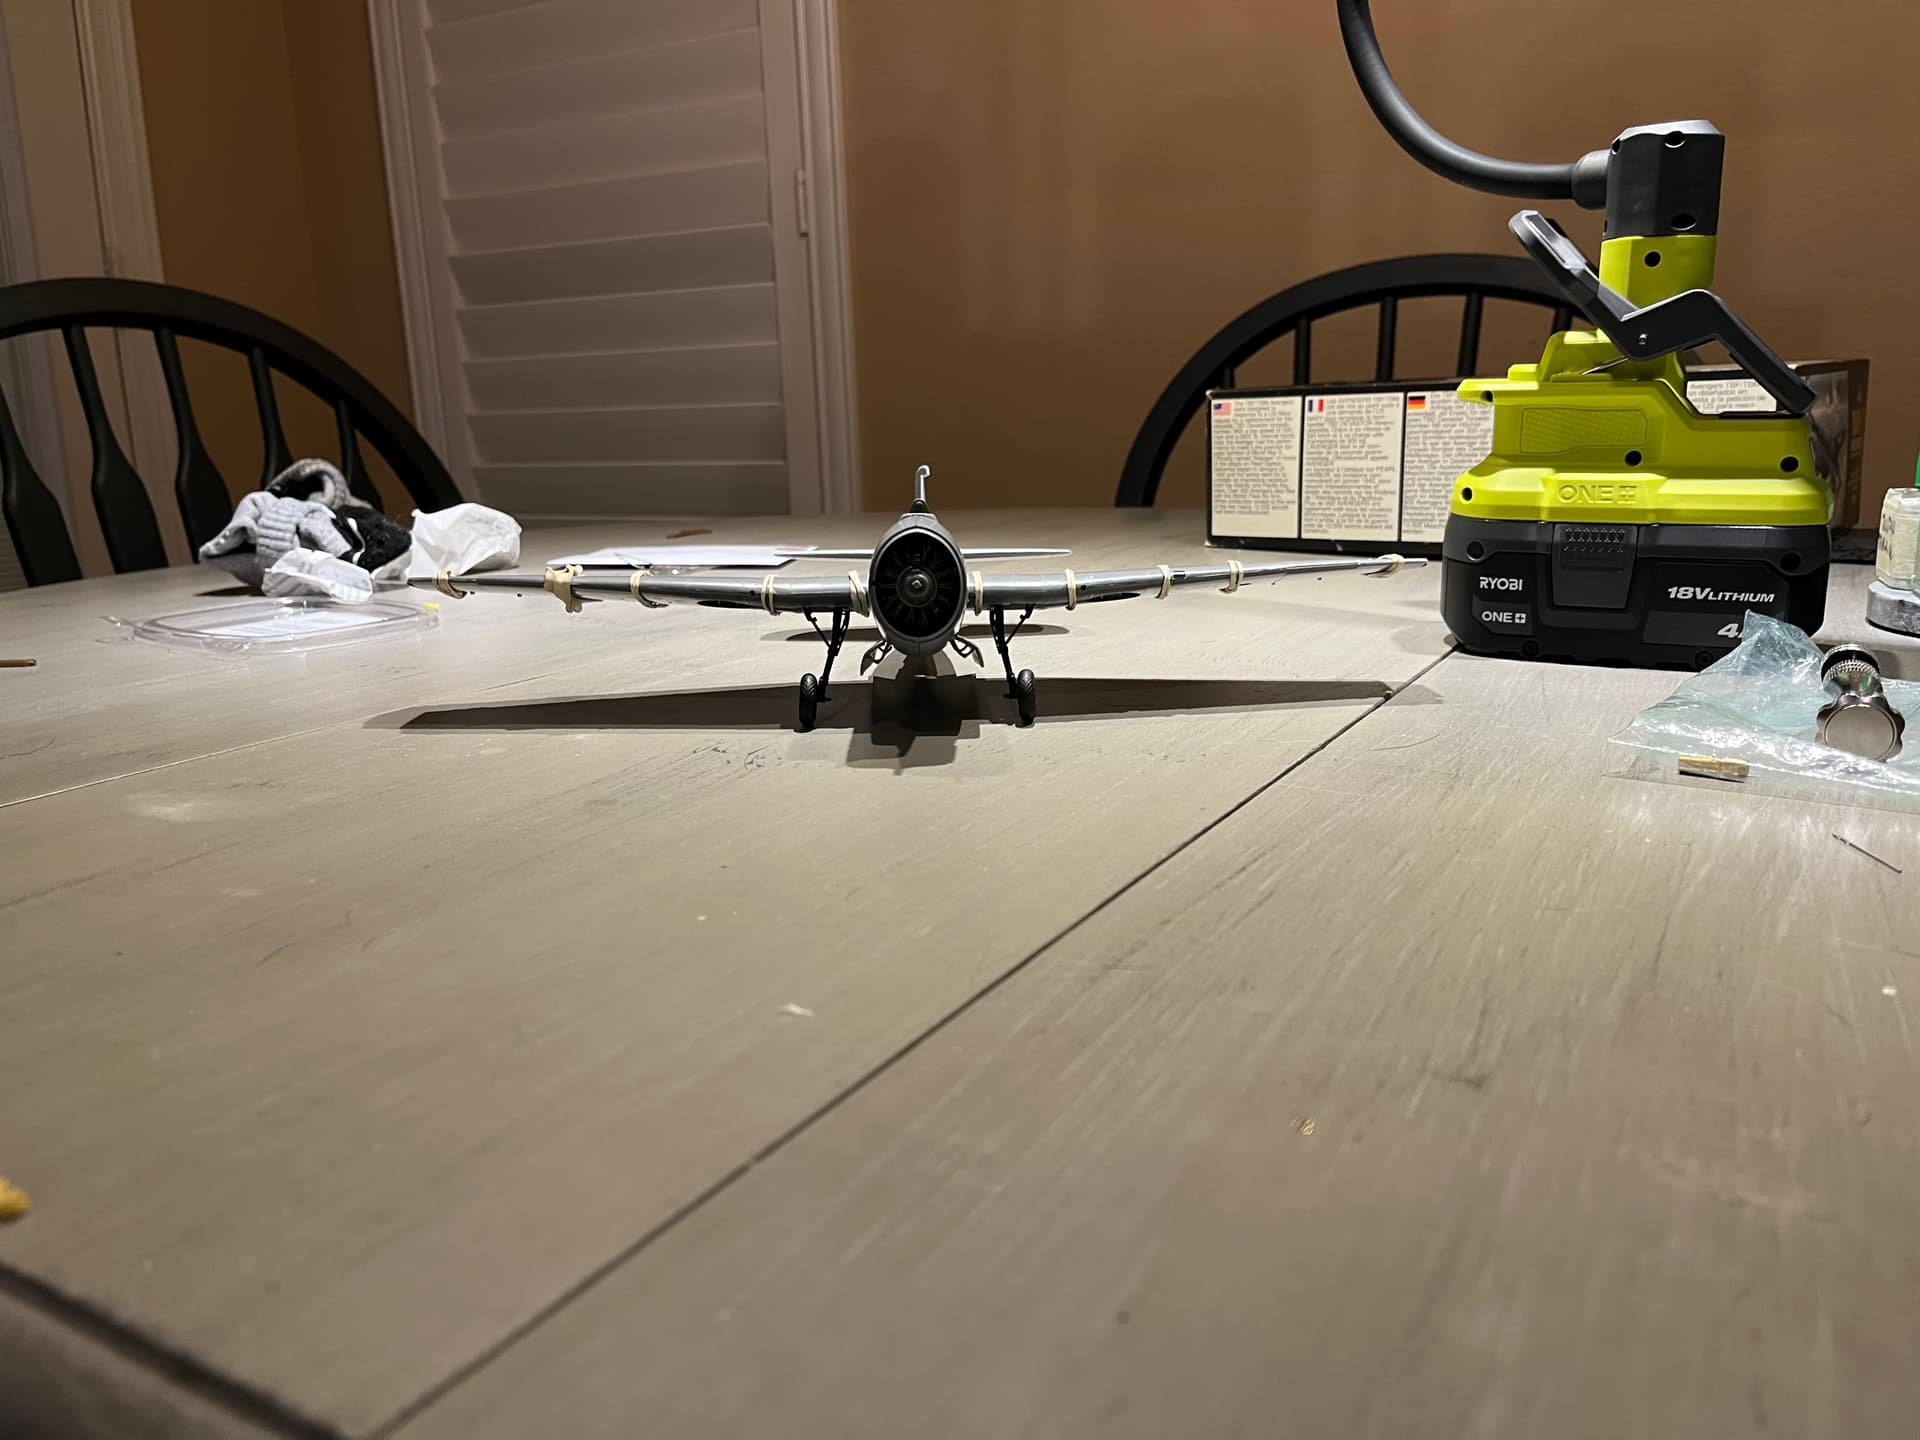
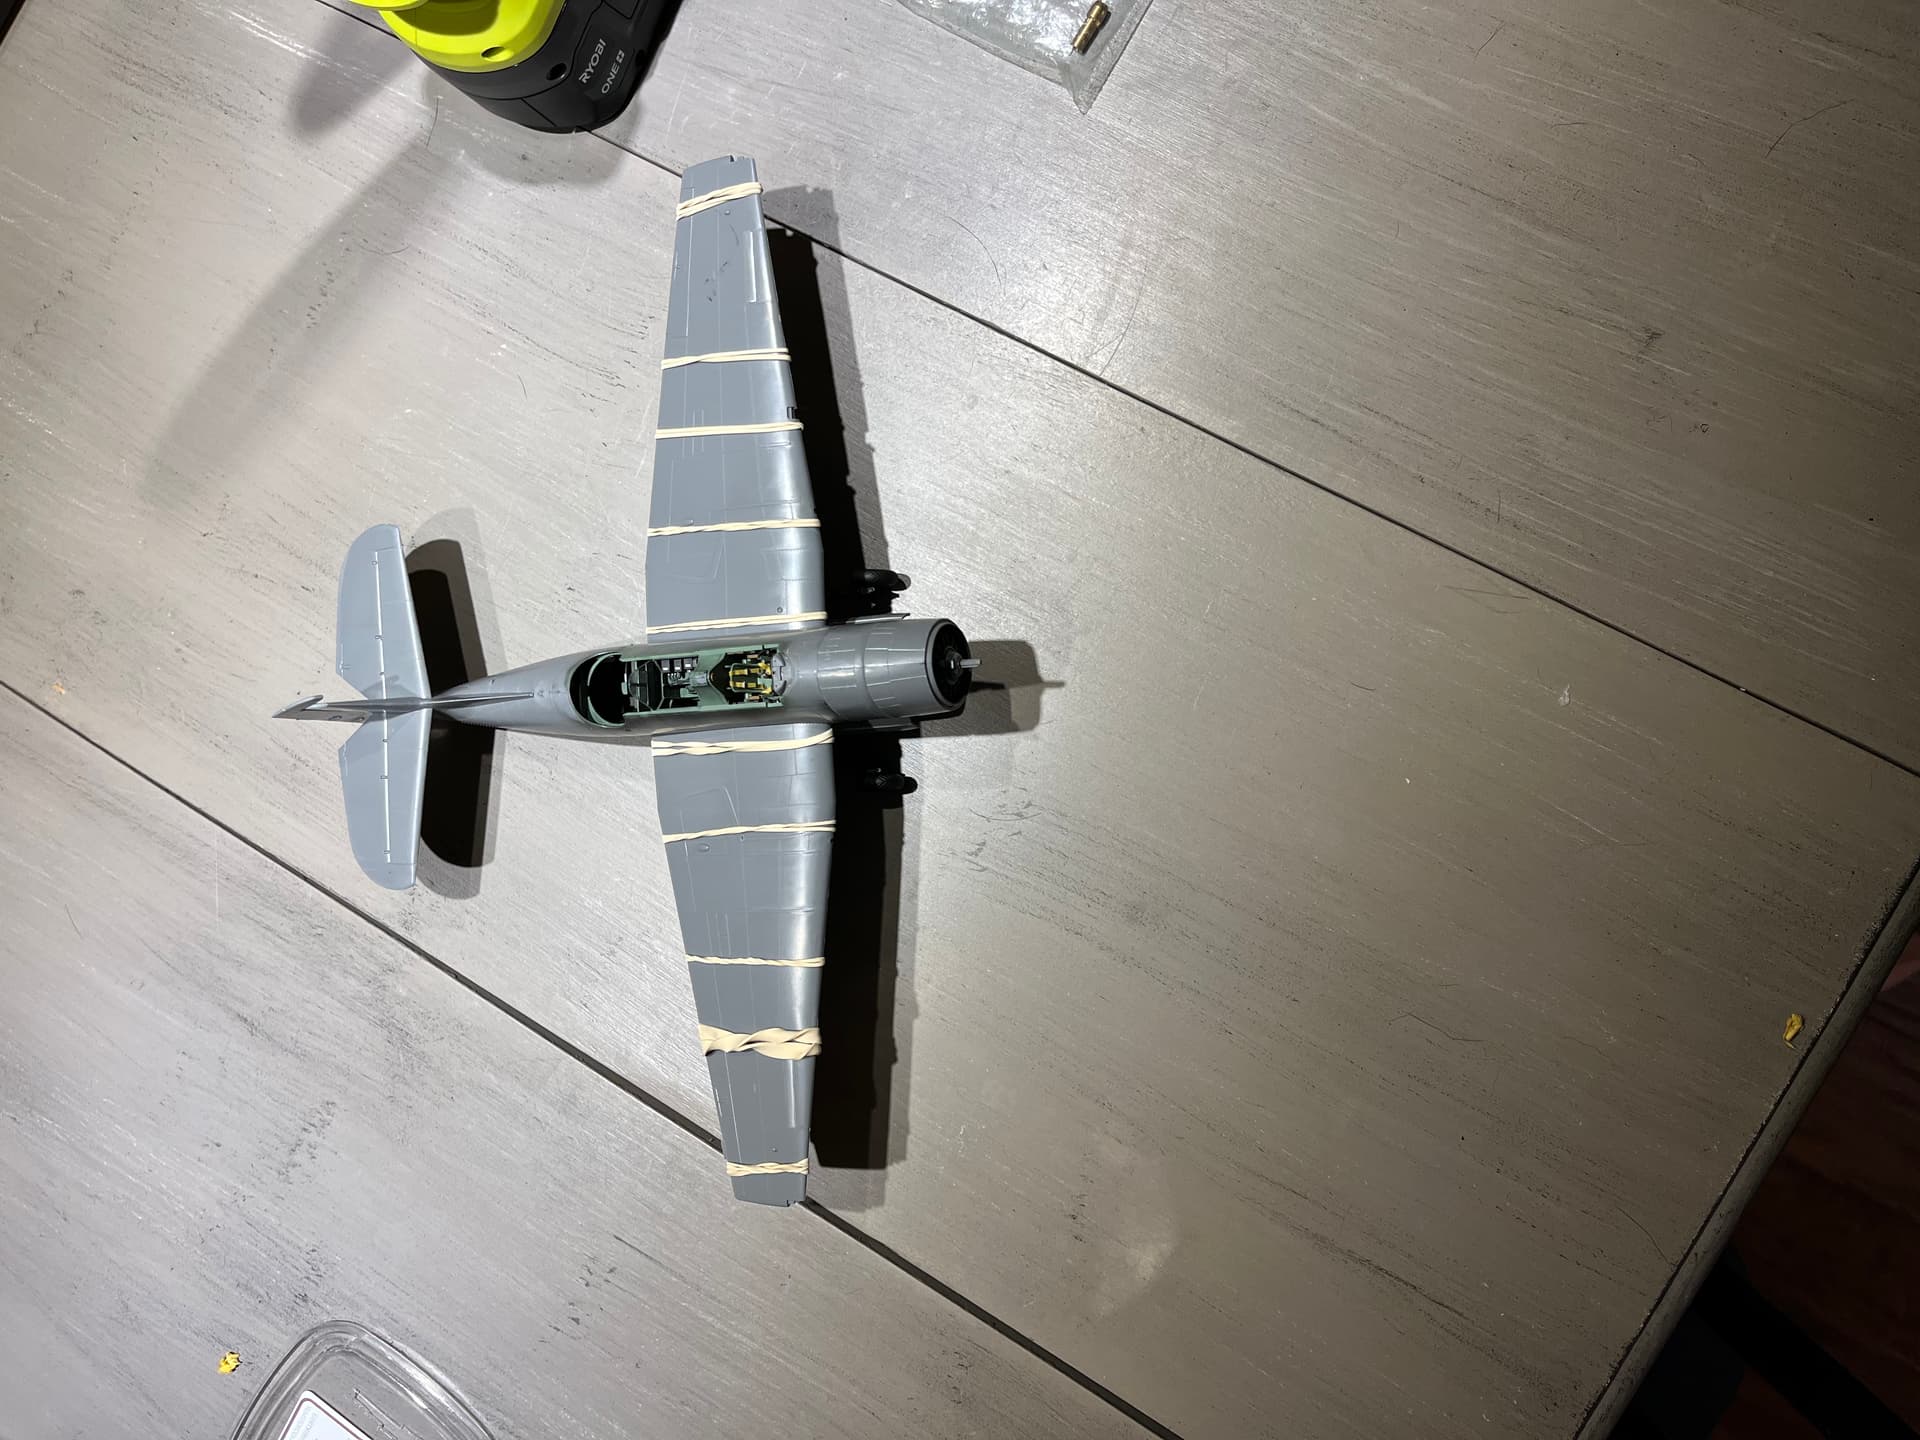
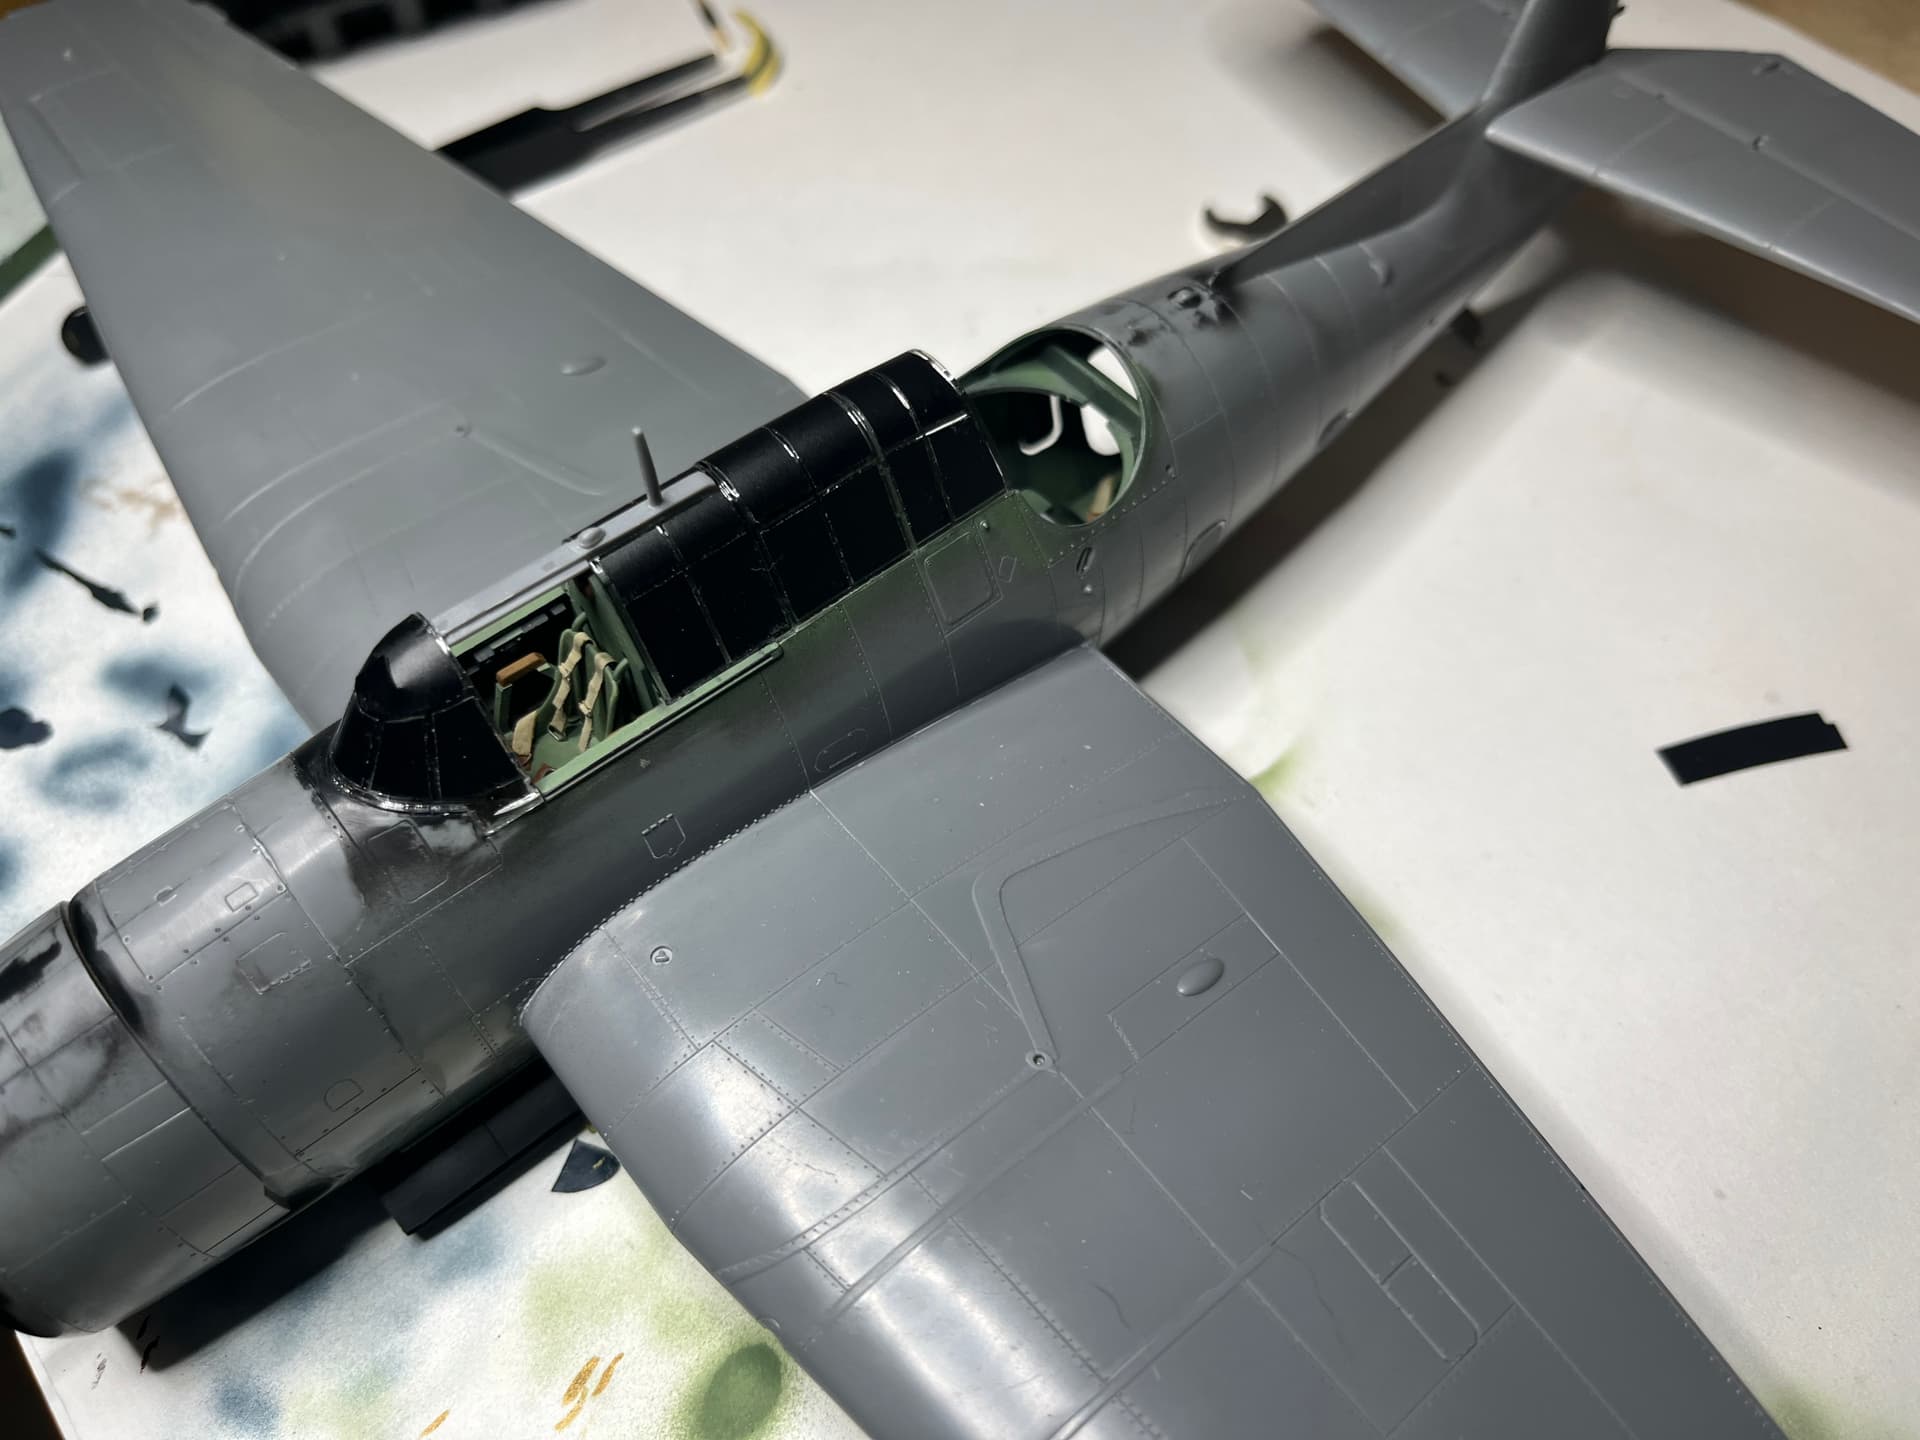
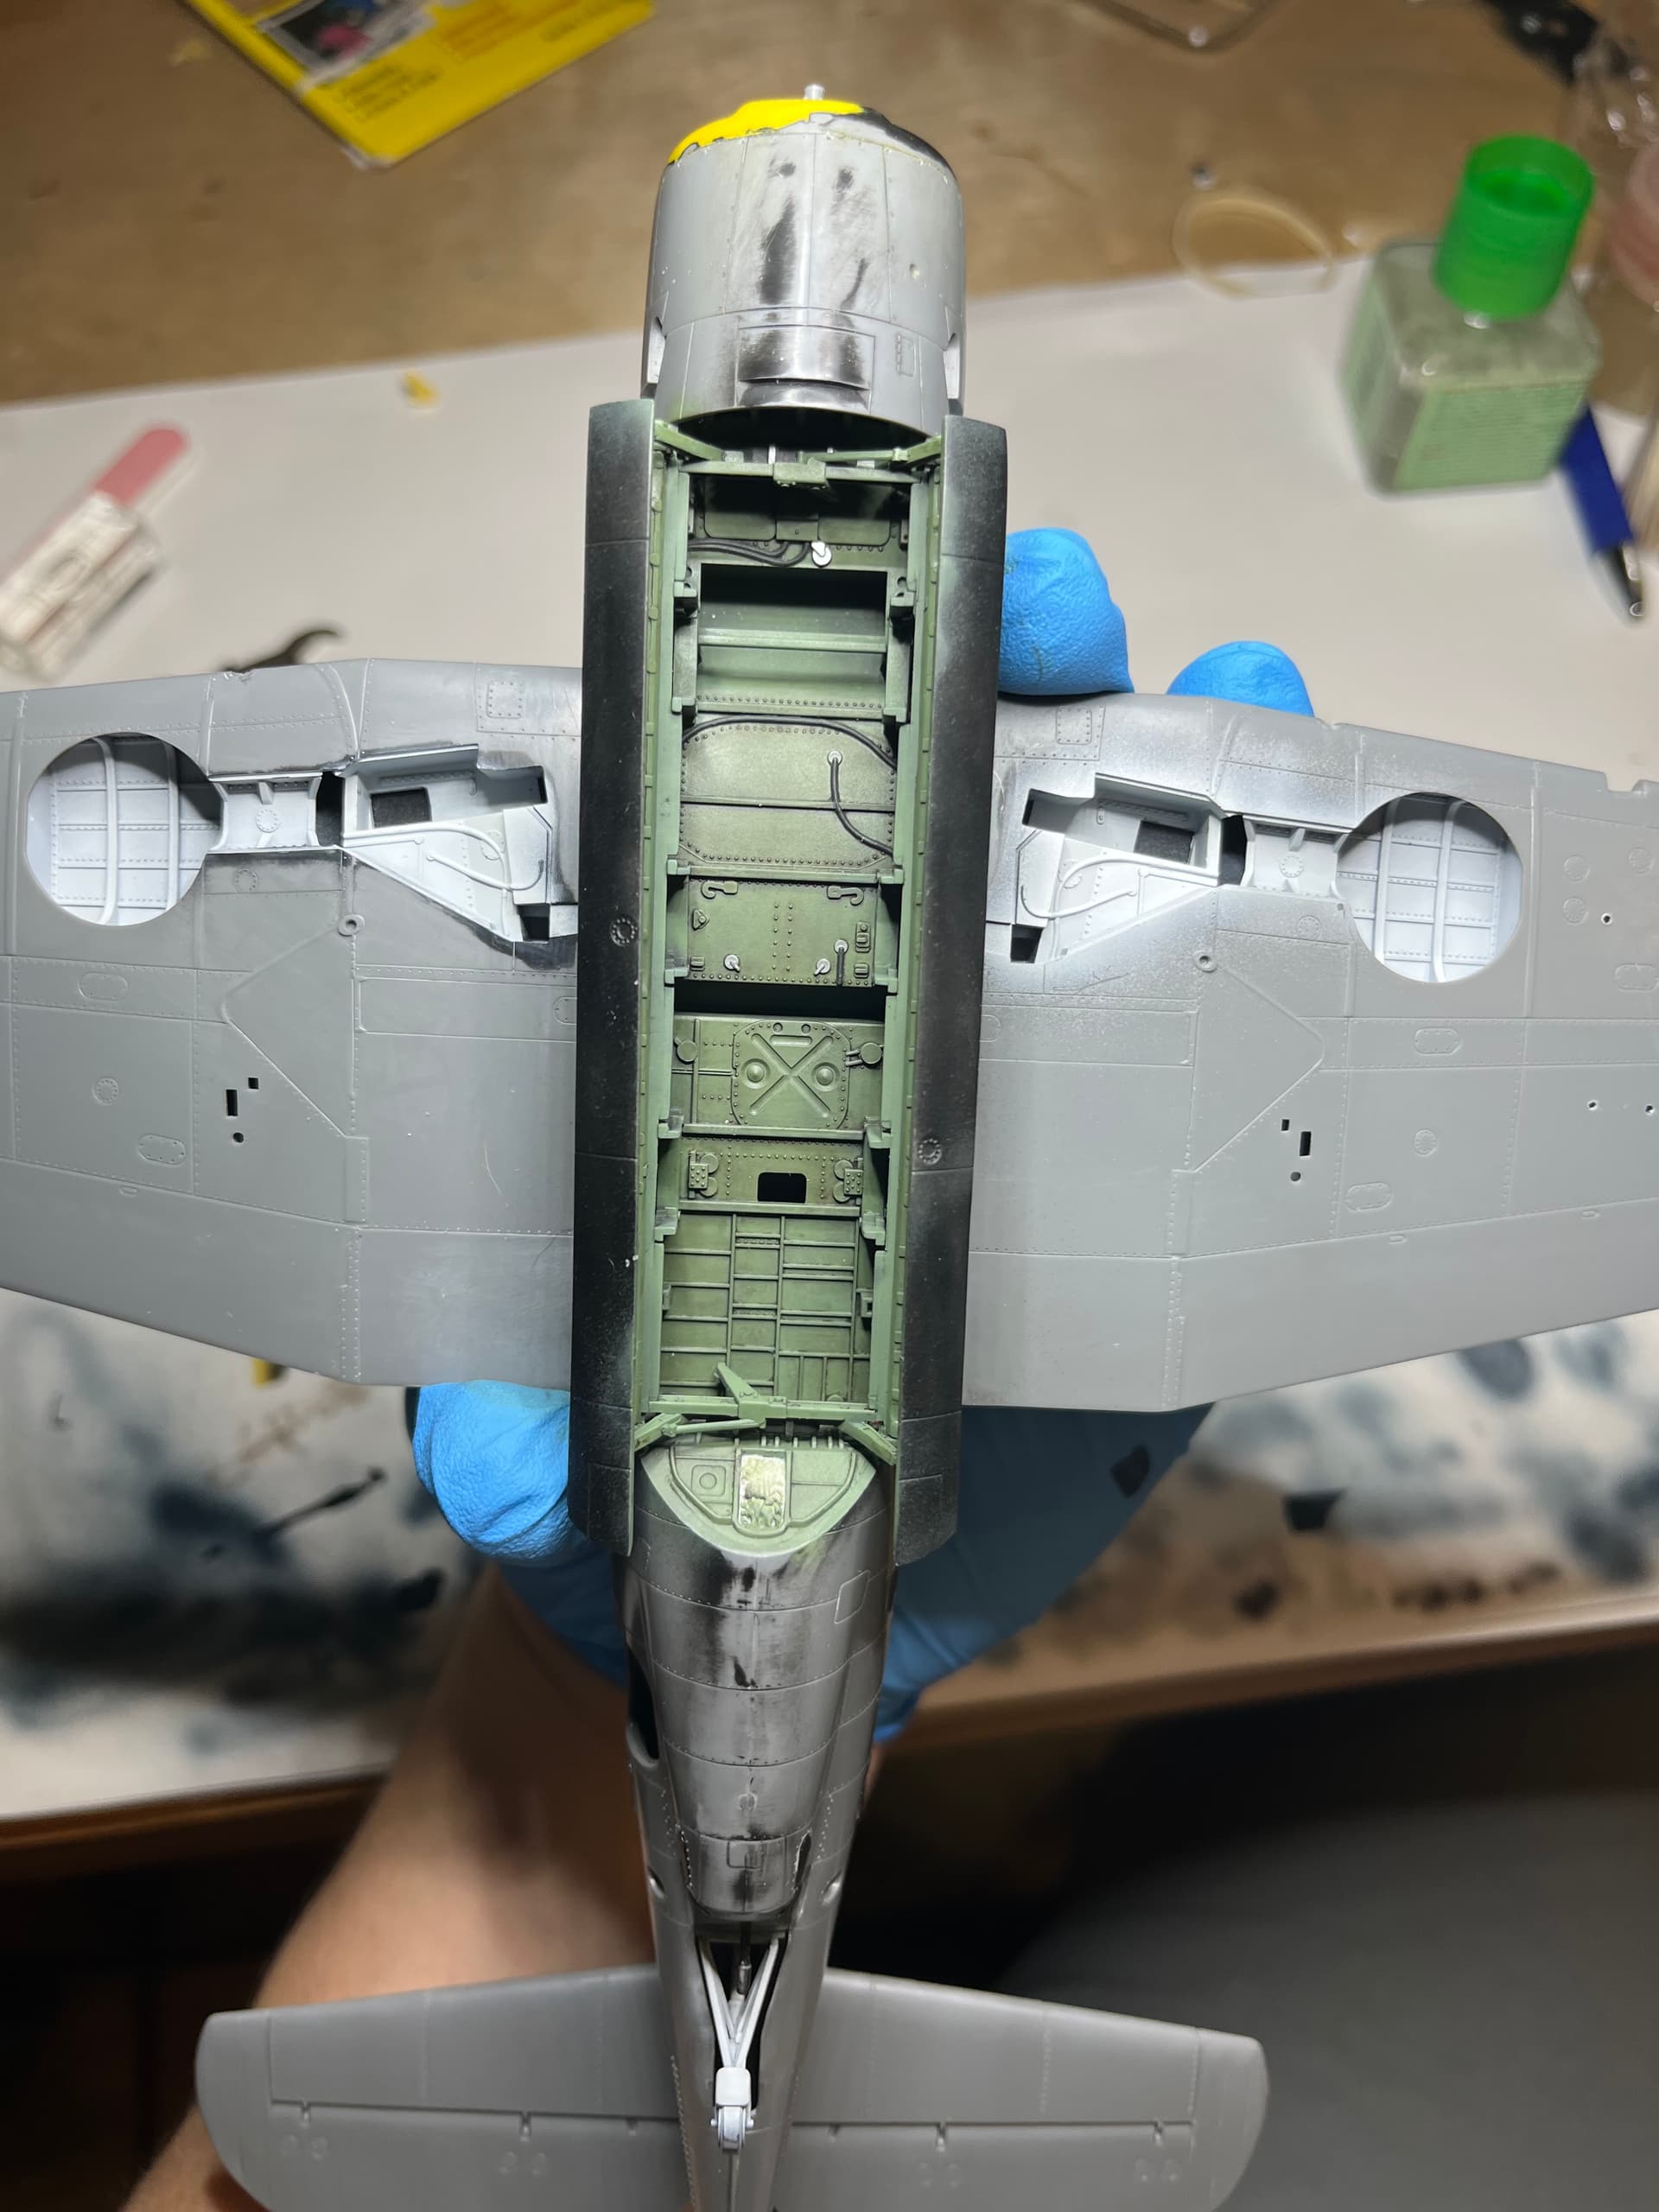
This kit fits unbelievably well, barely any filler needed. Just ran a thin bead of super glue down the center seam! The tail and wings need zero filler. The cowl has a tiny step in spots but photos show this is common on the real bird
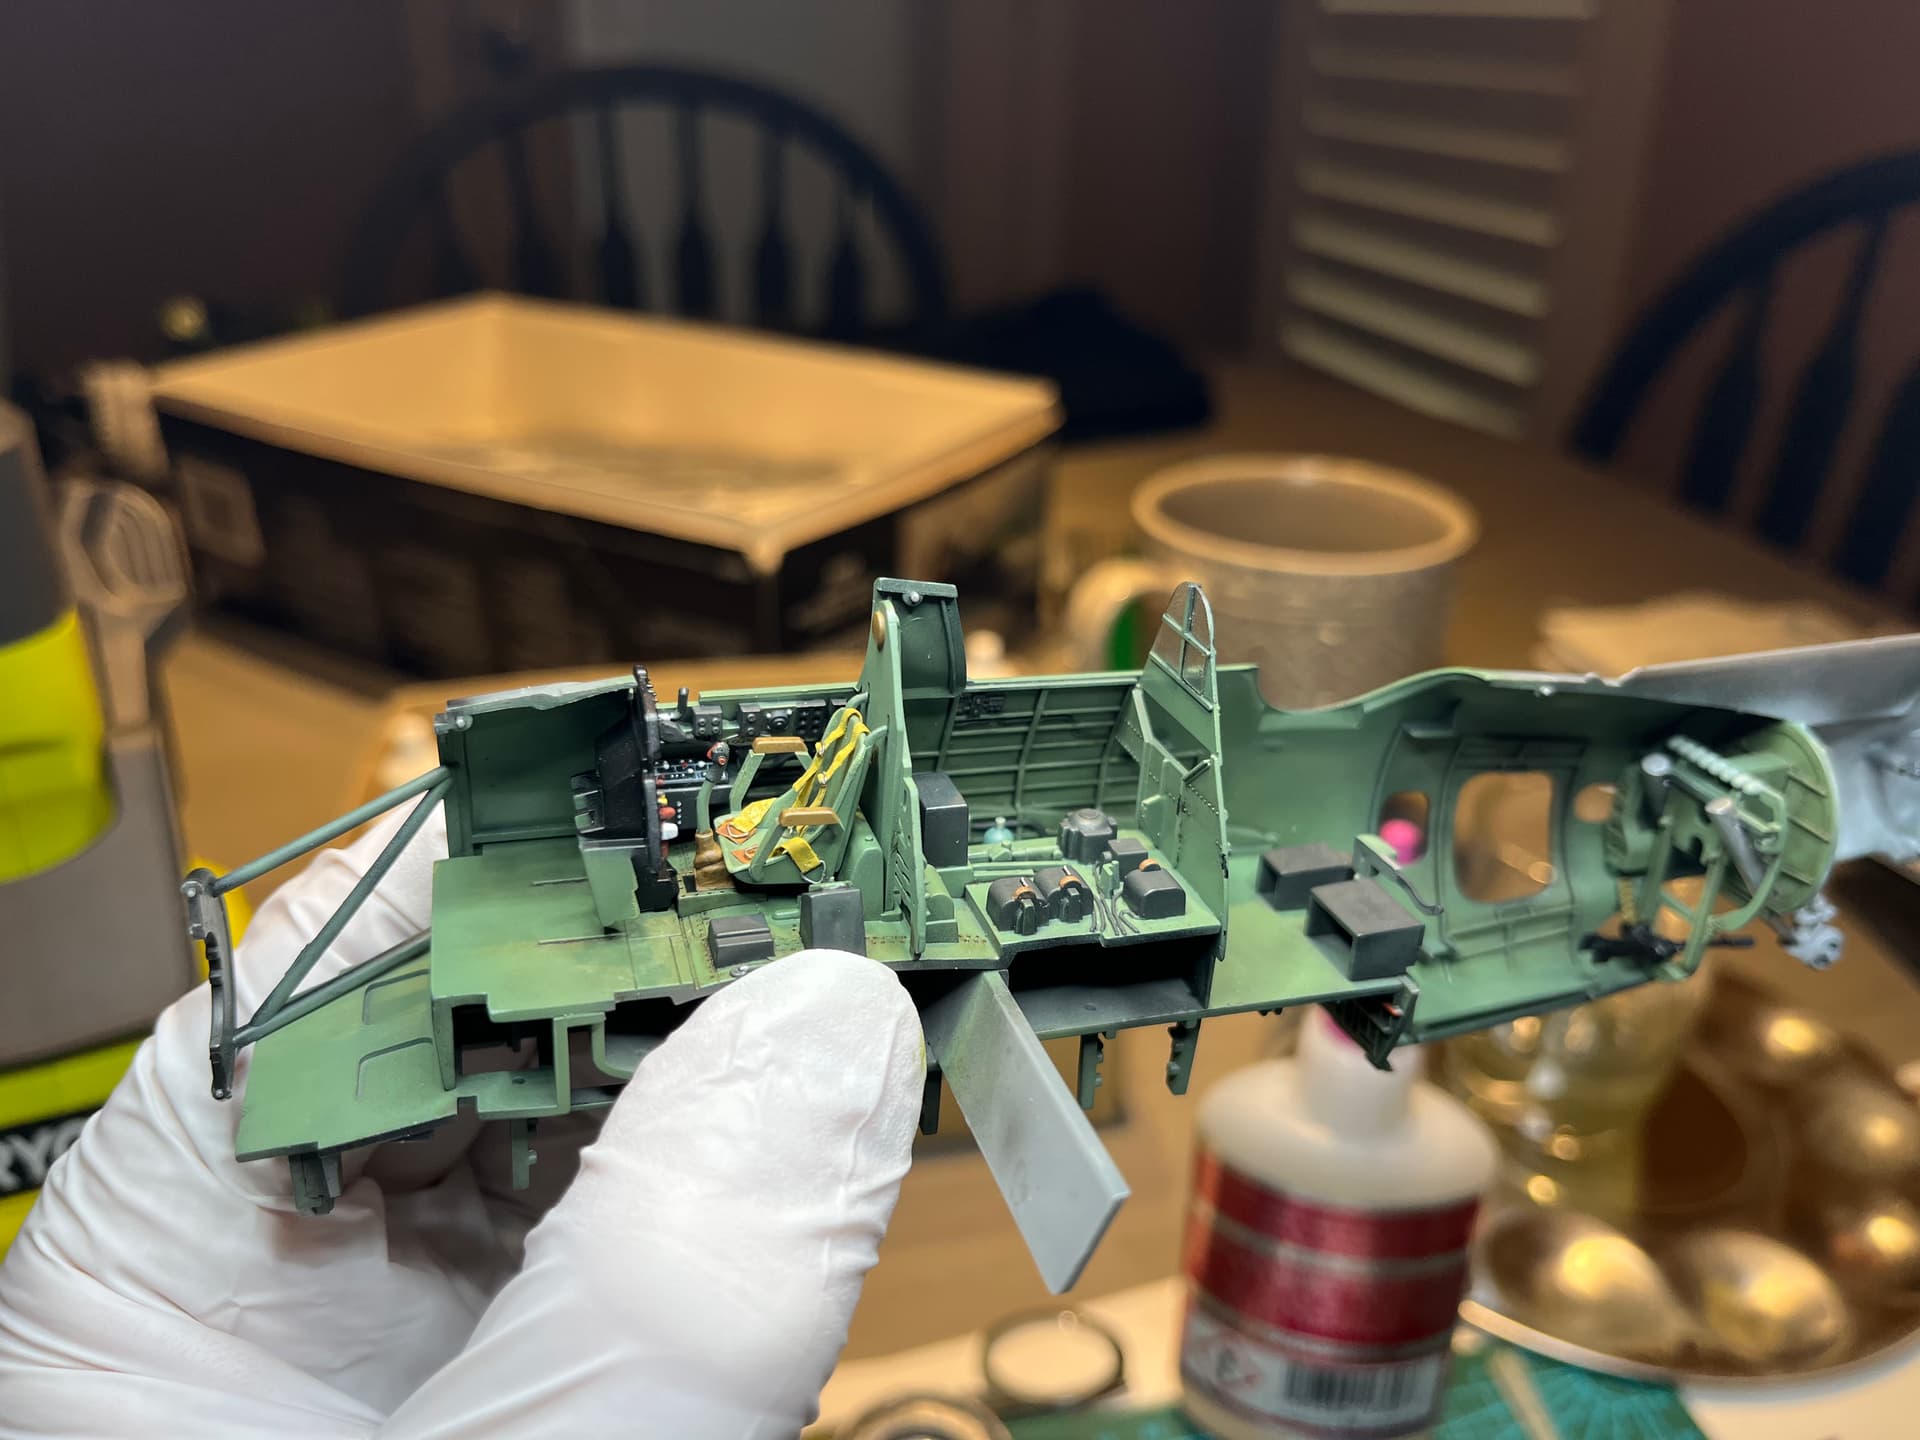
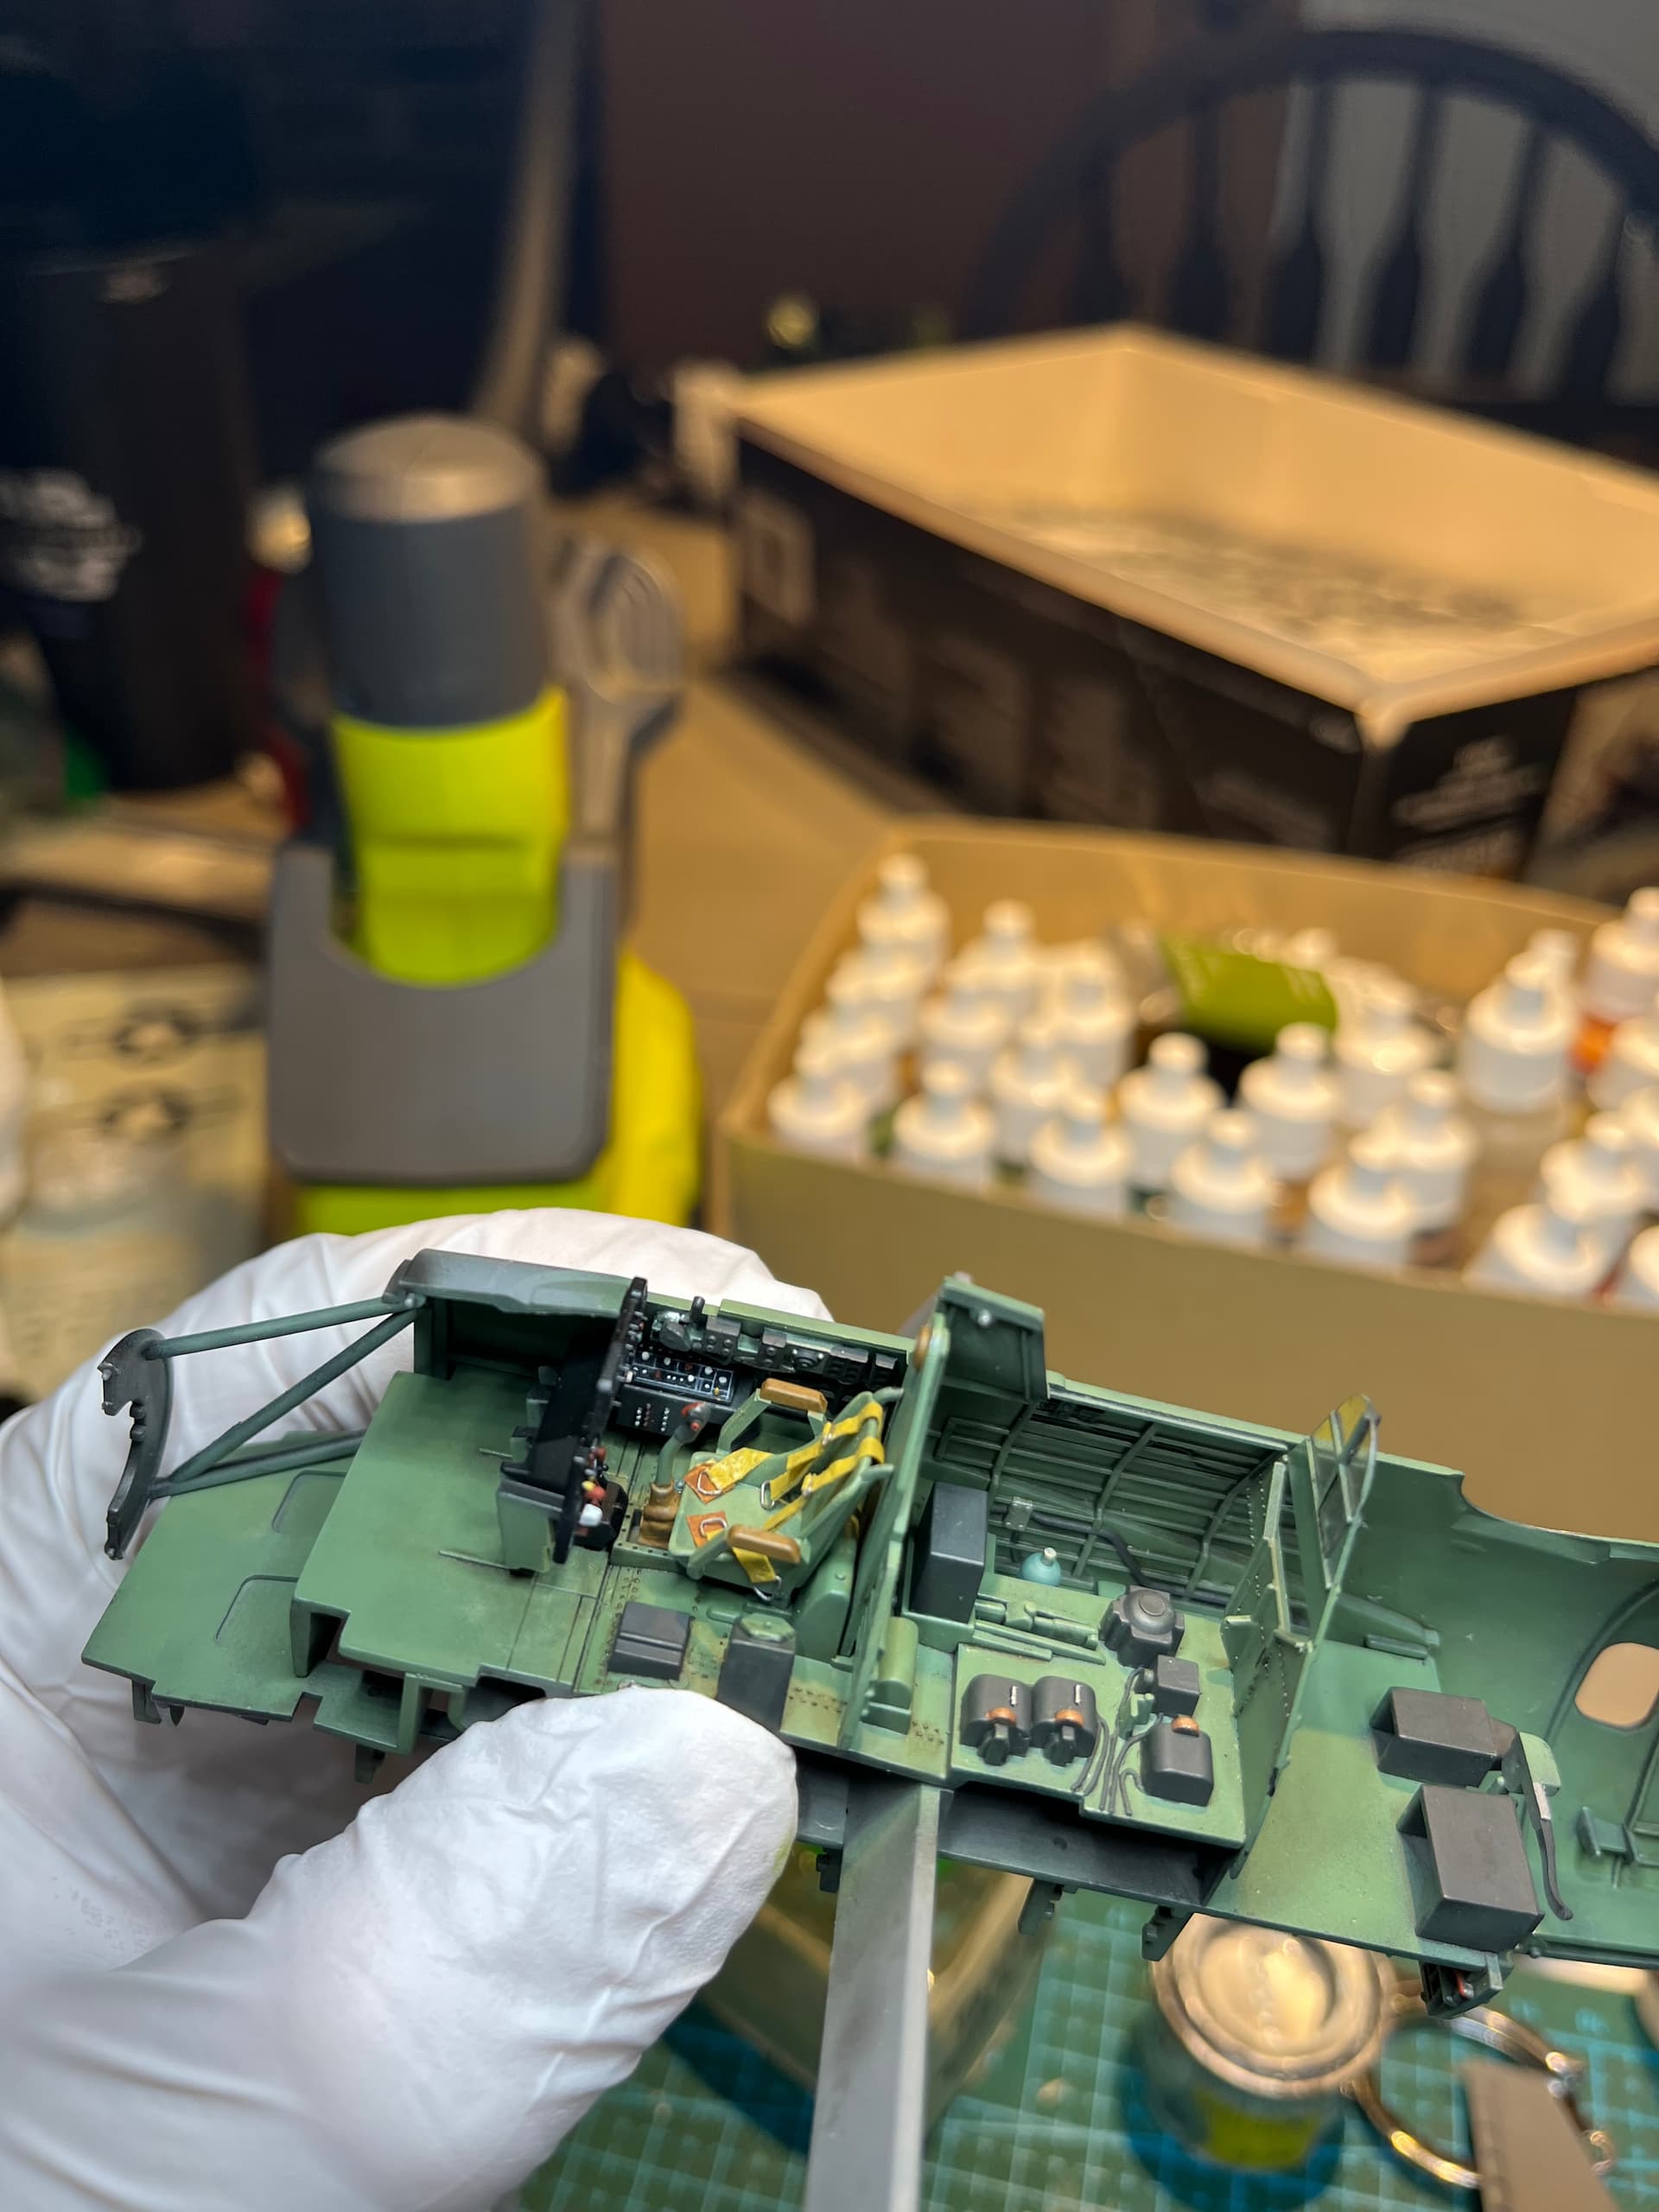
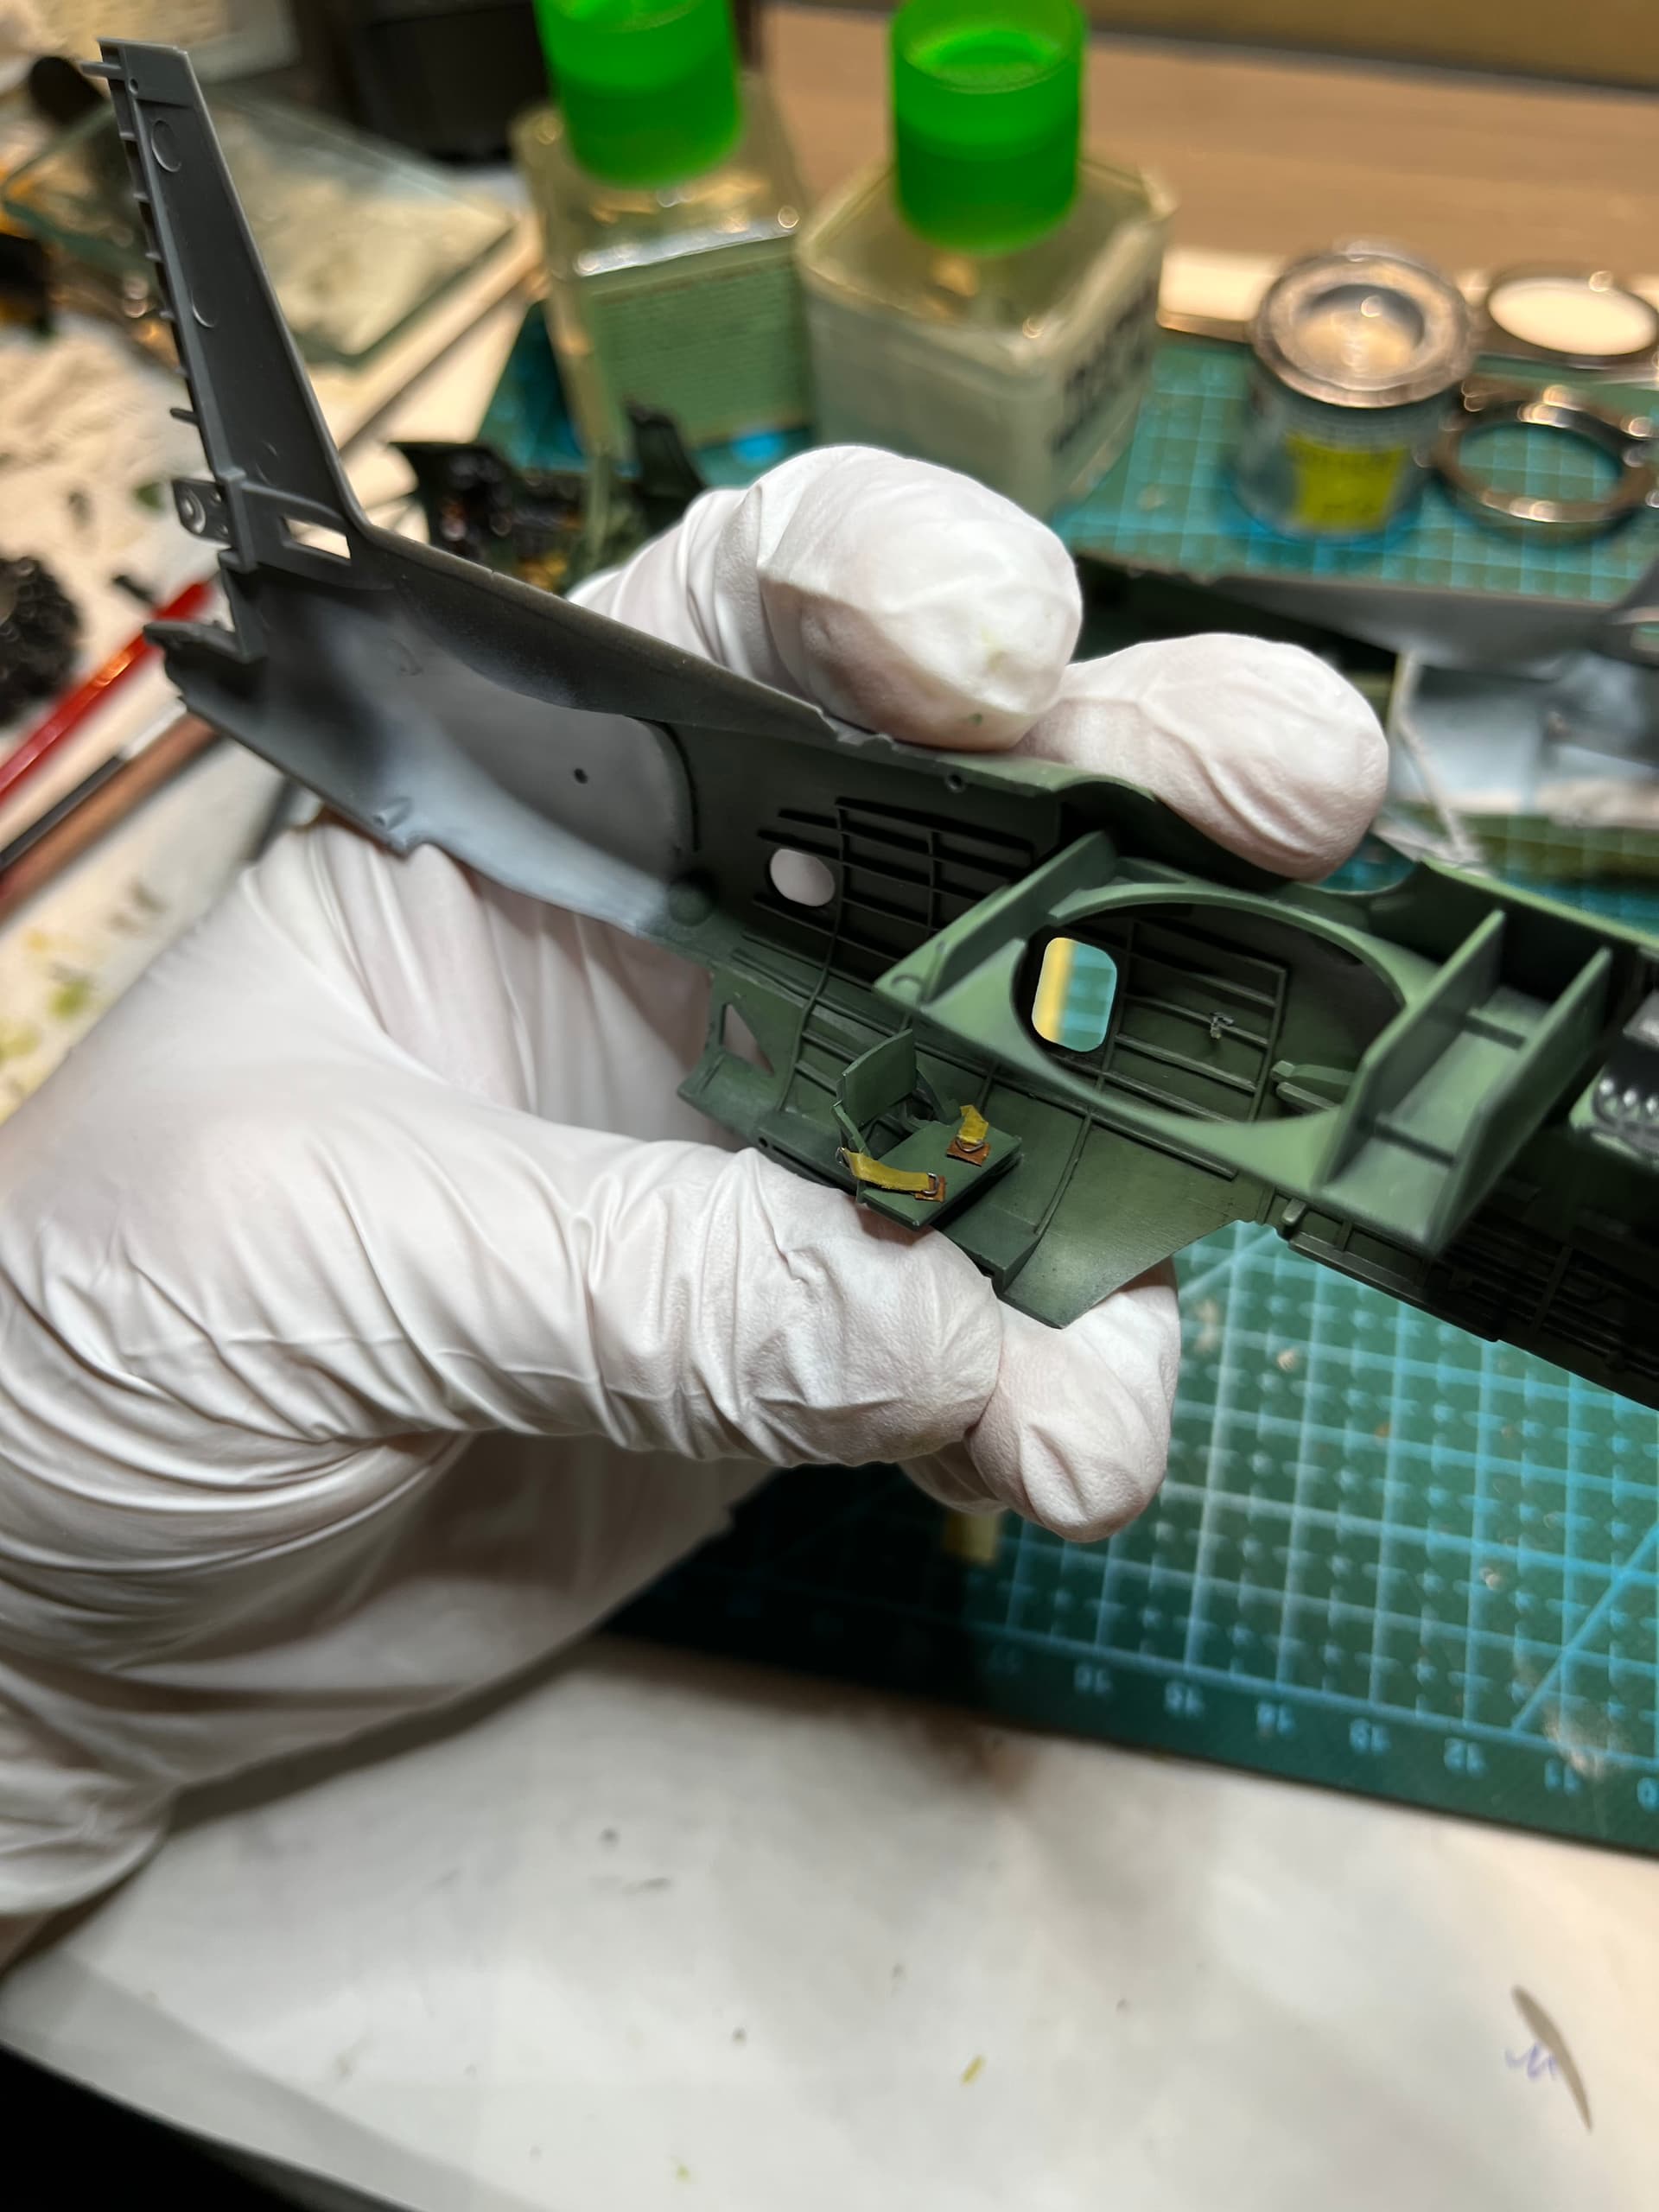
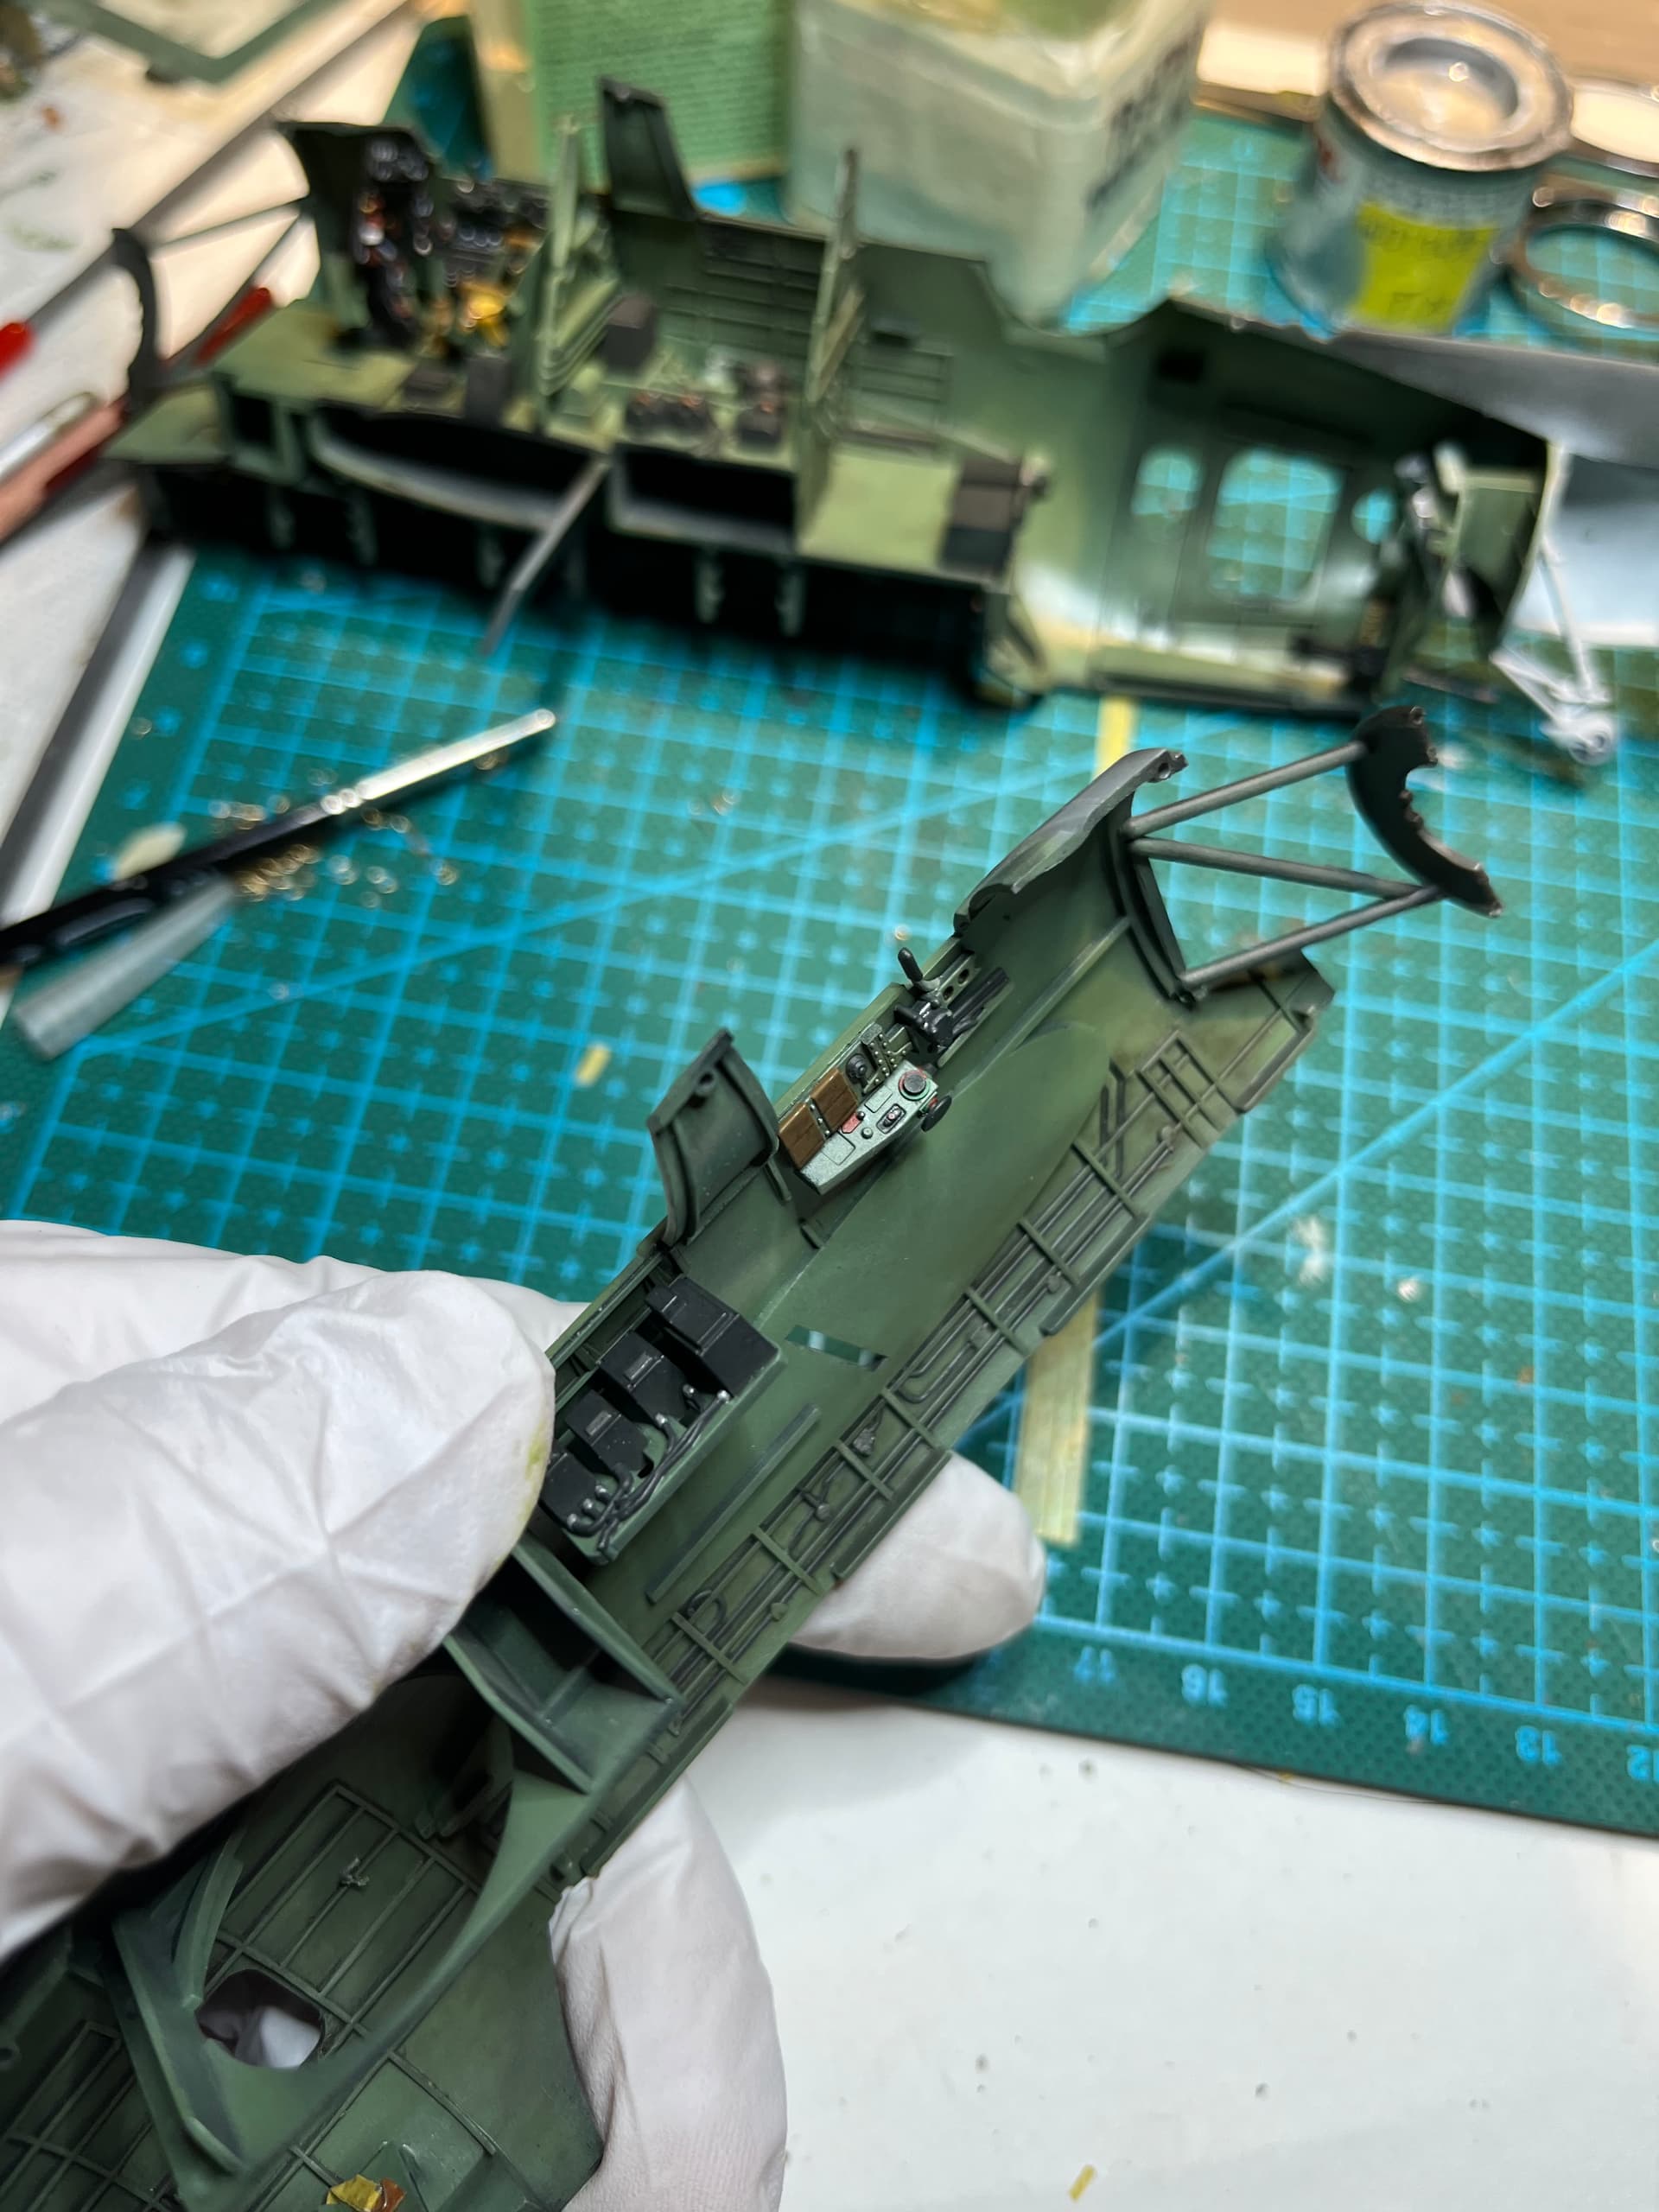
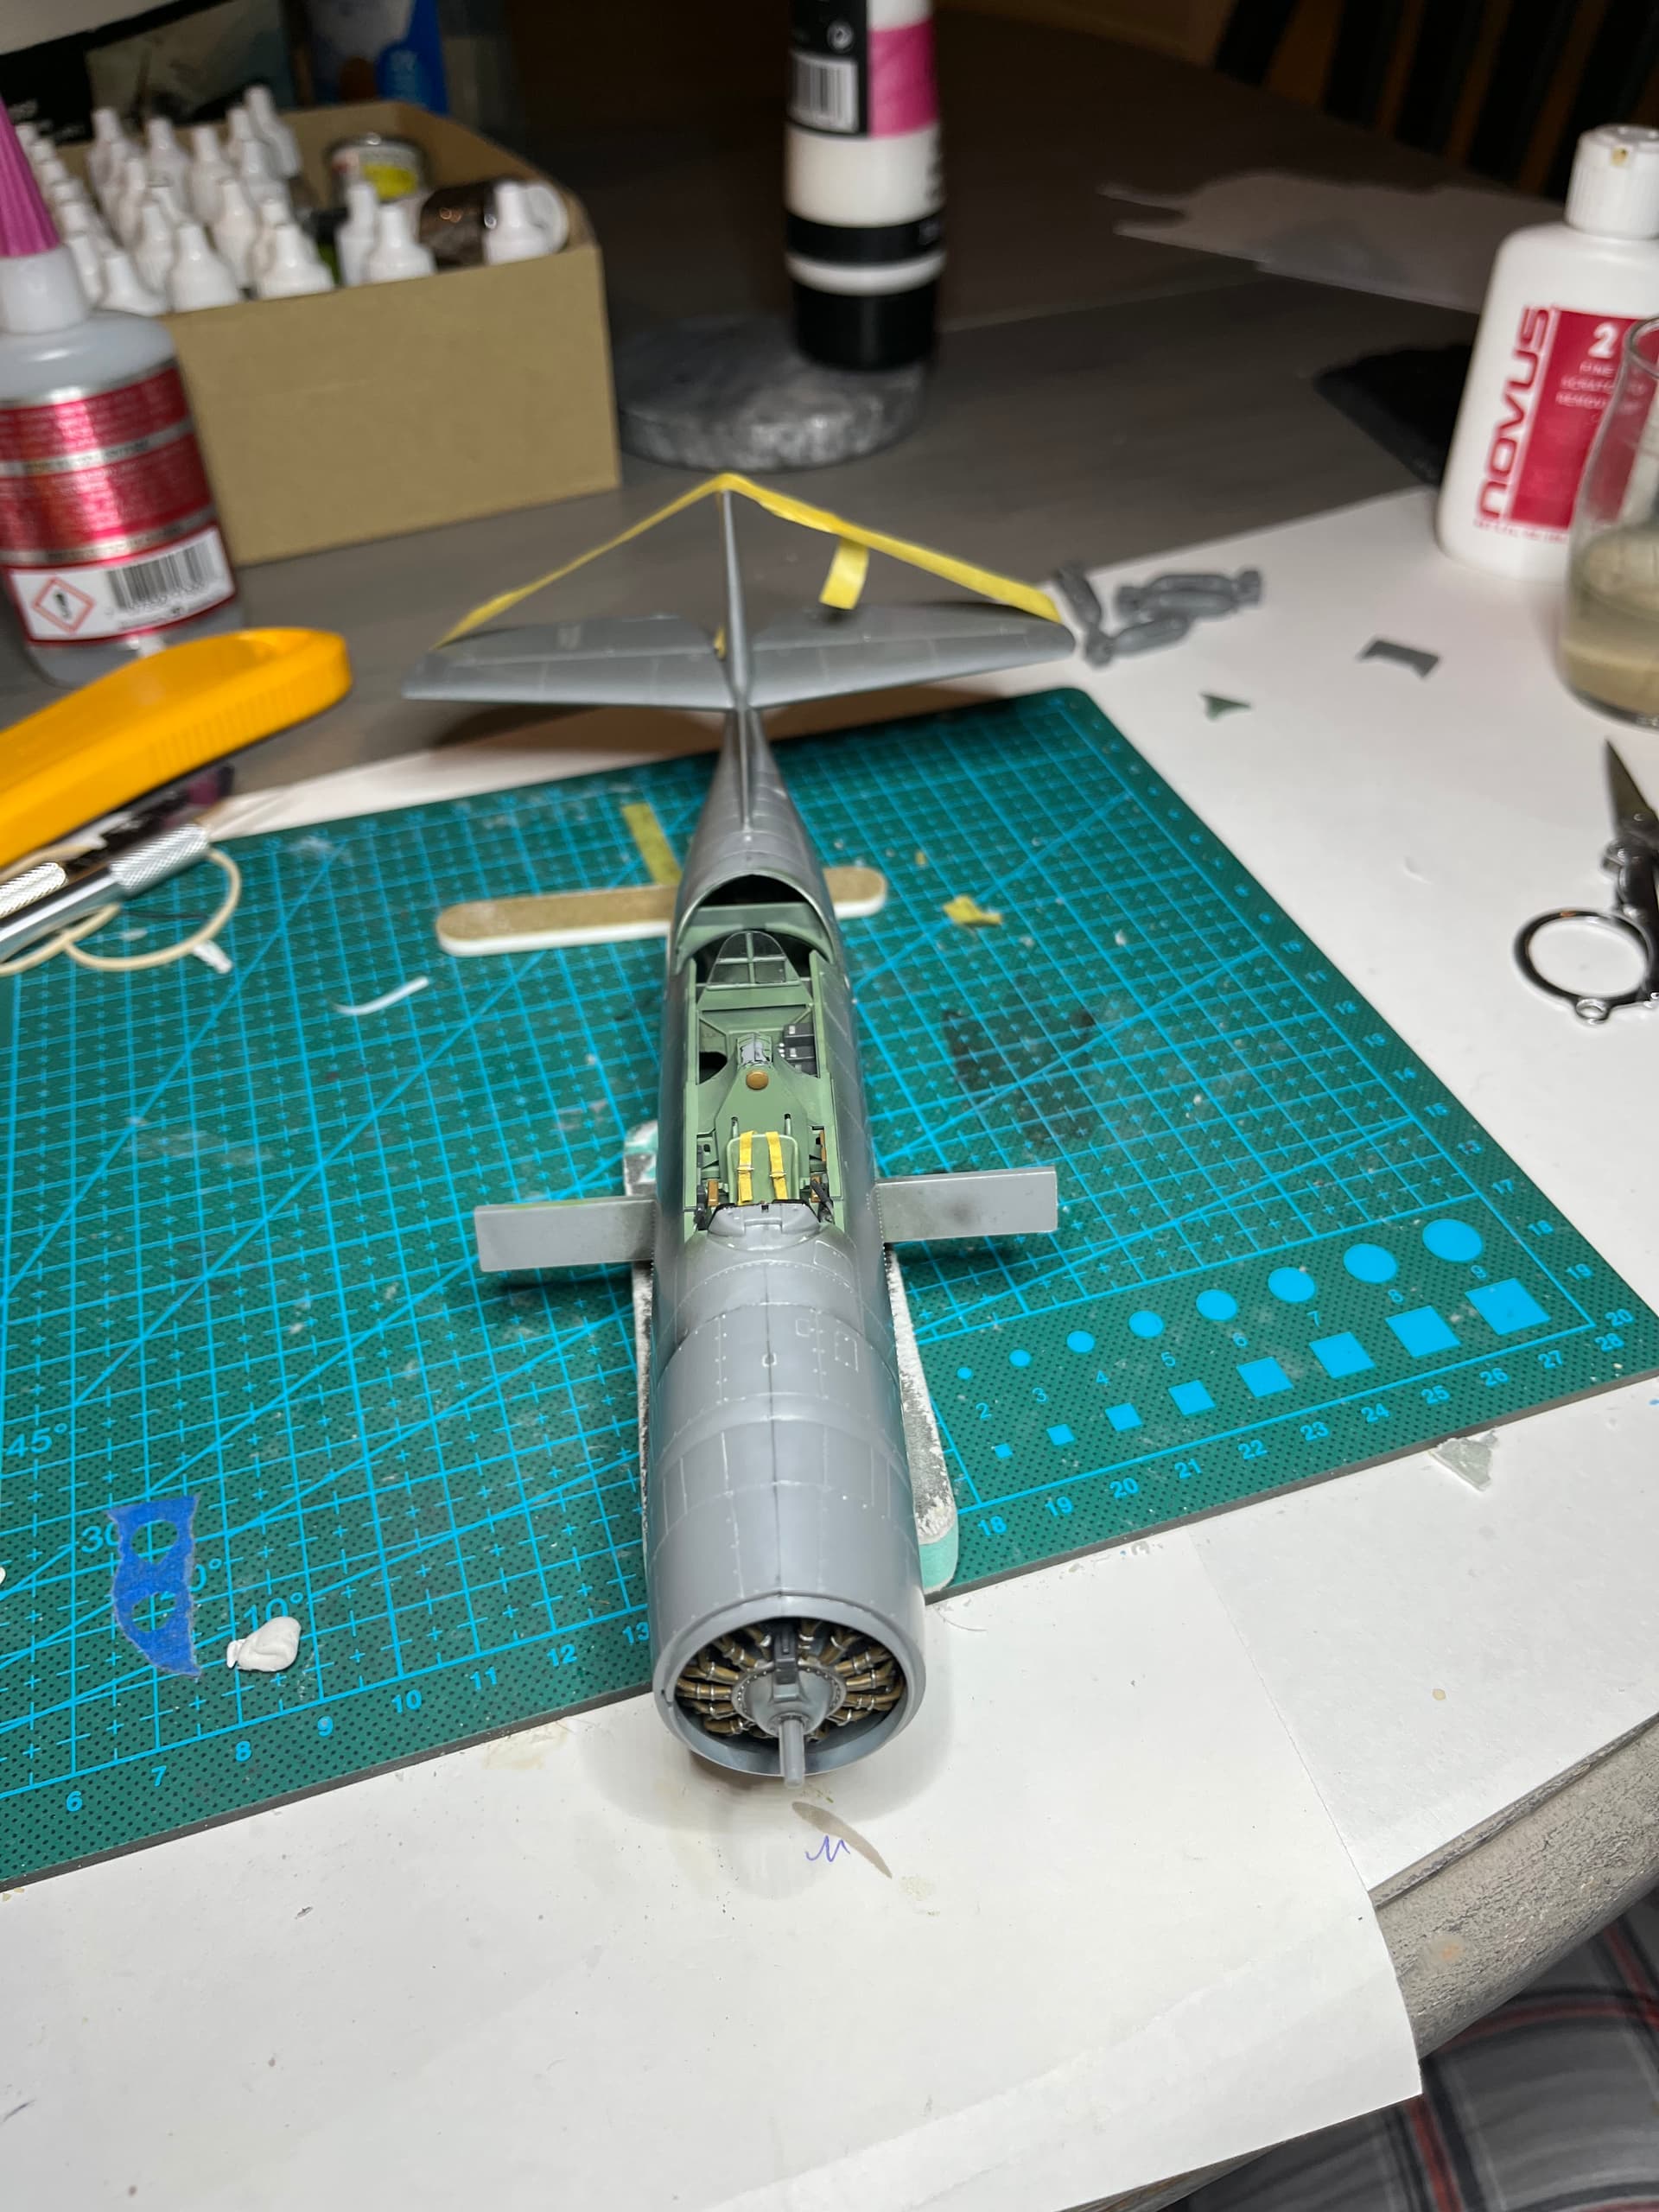
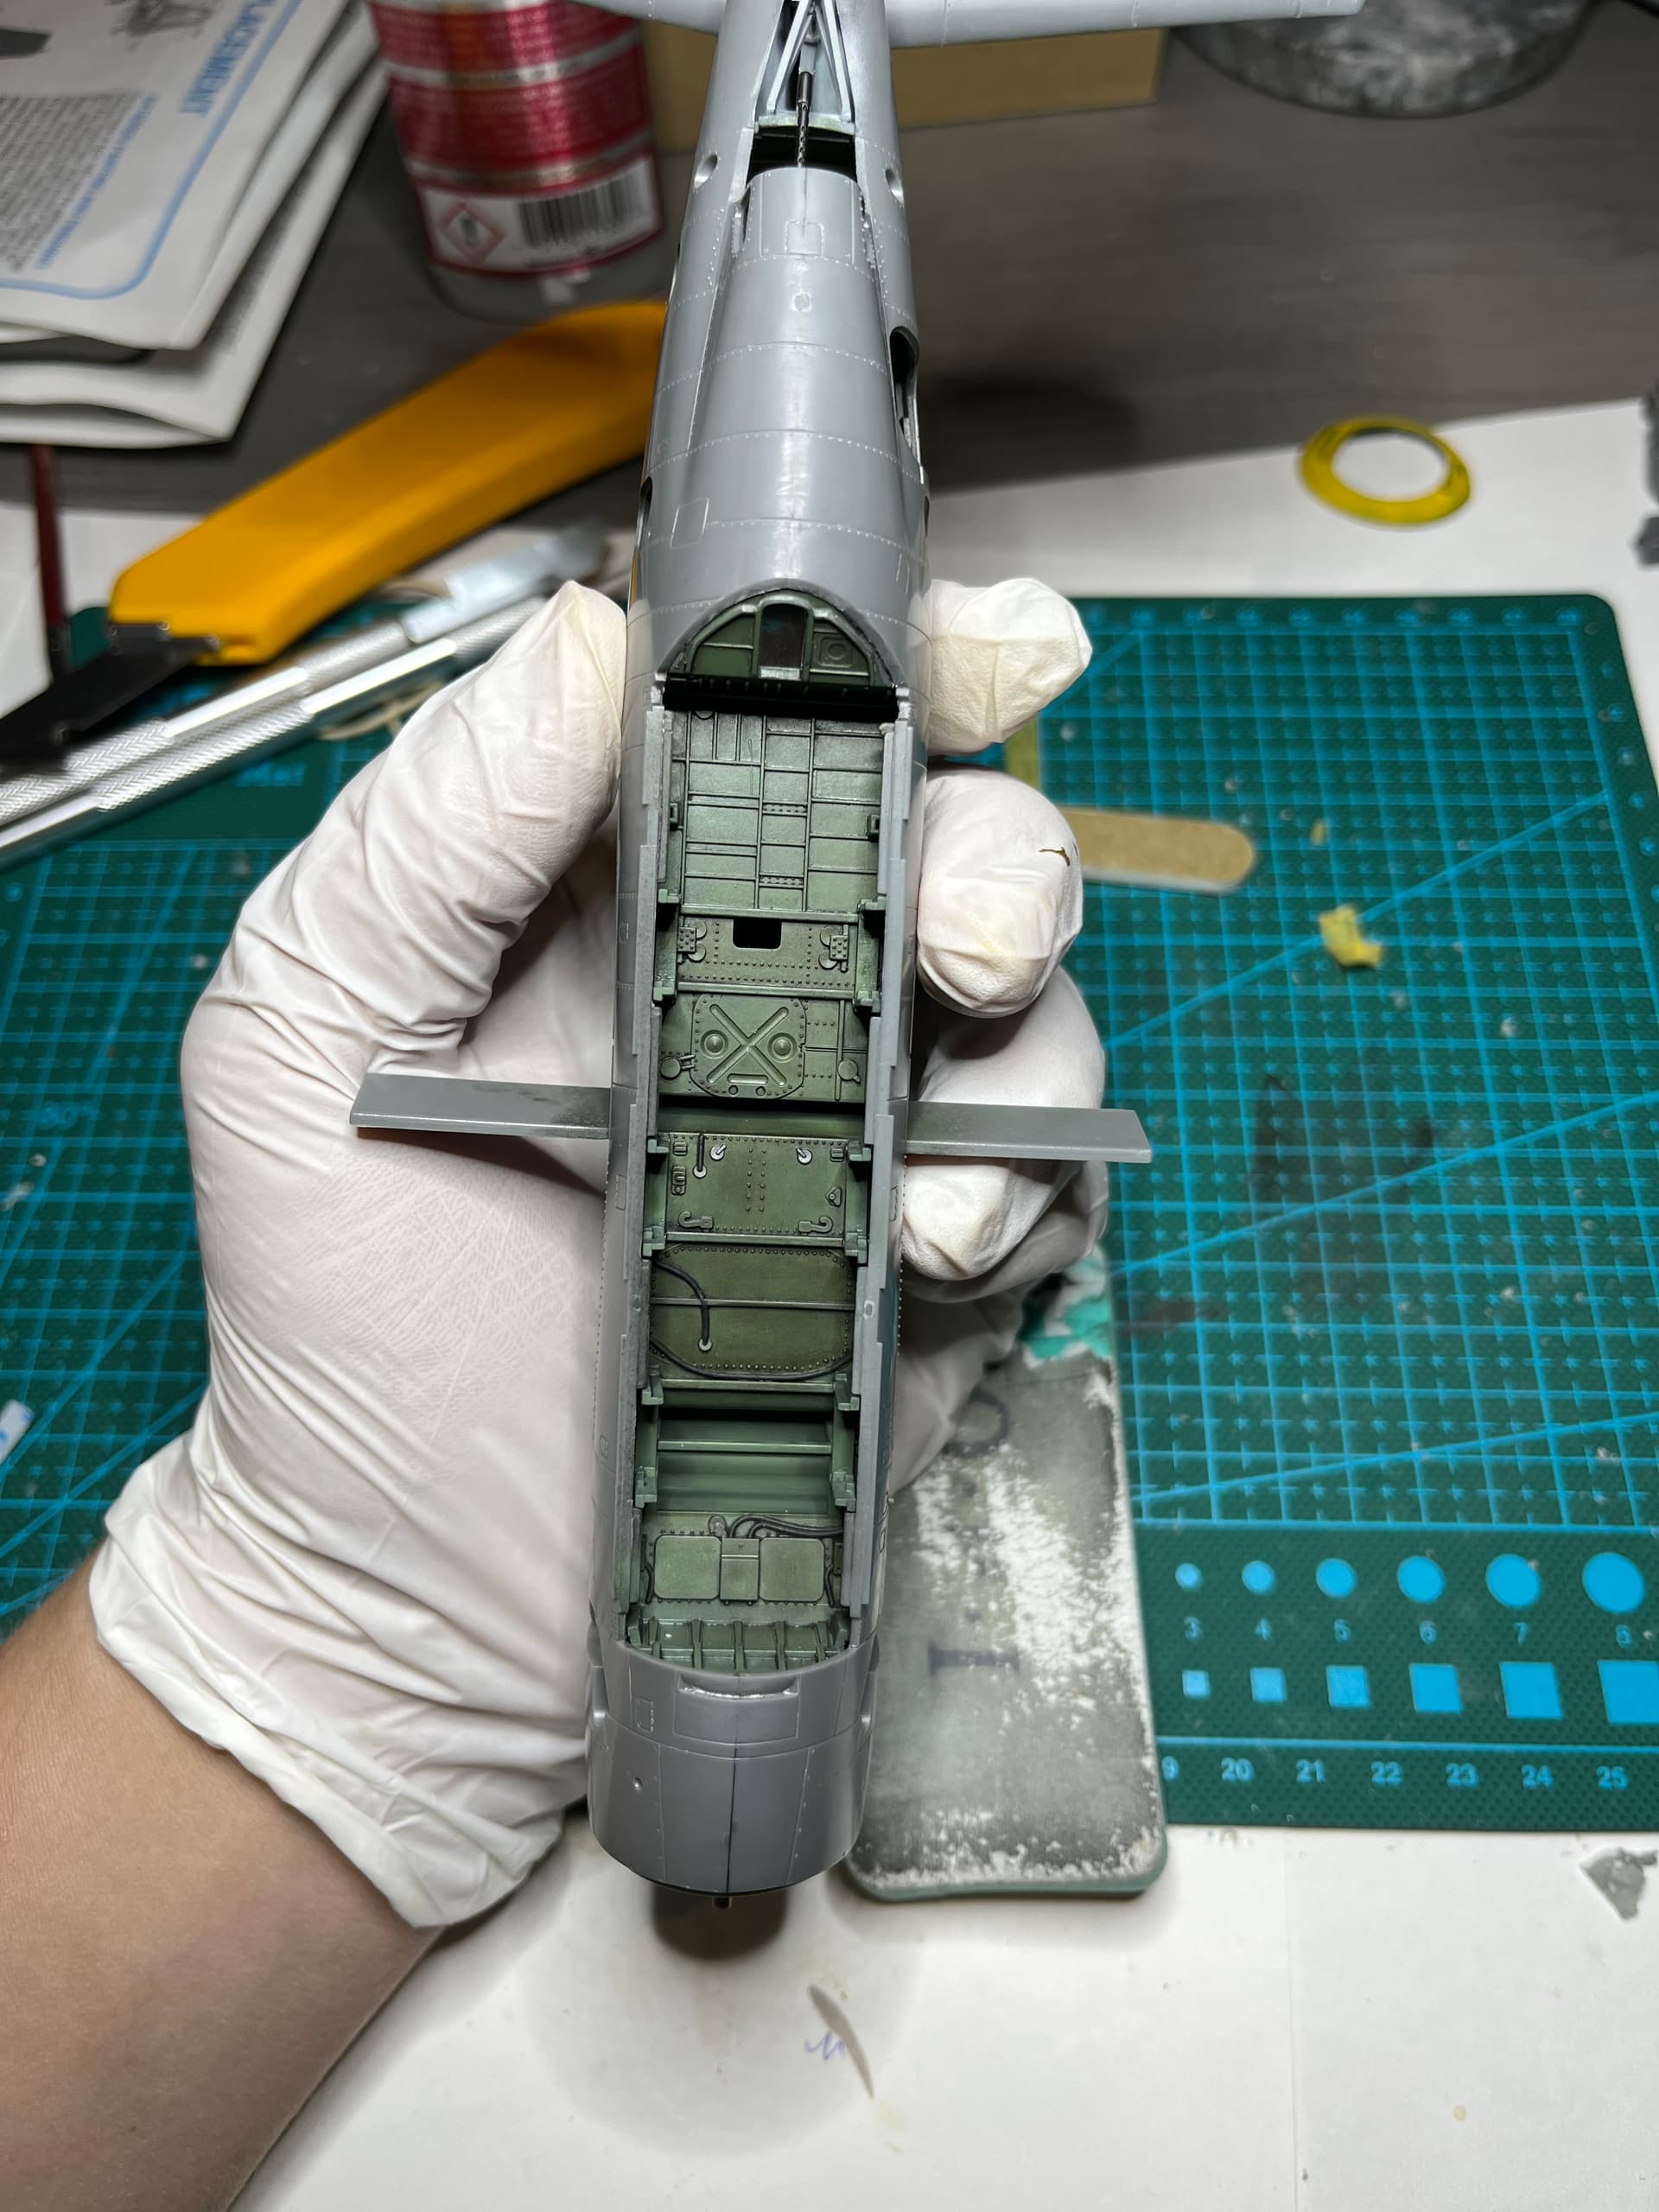
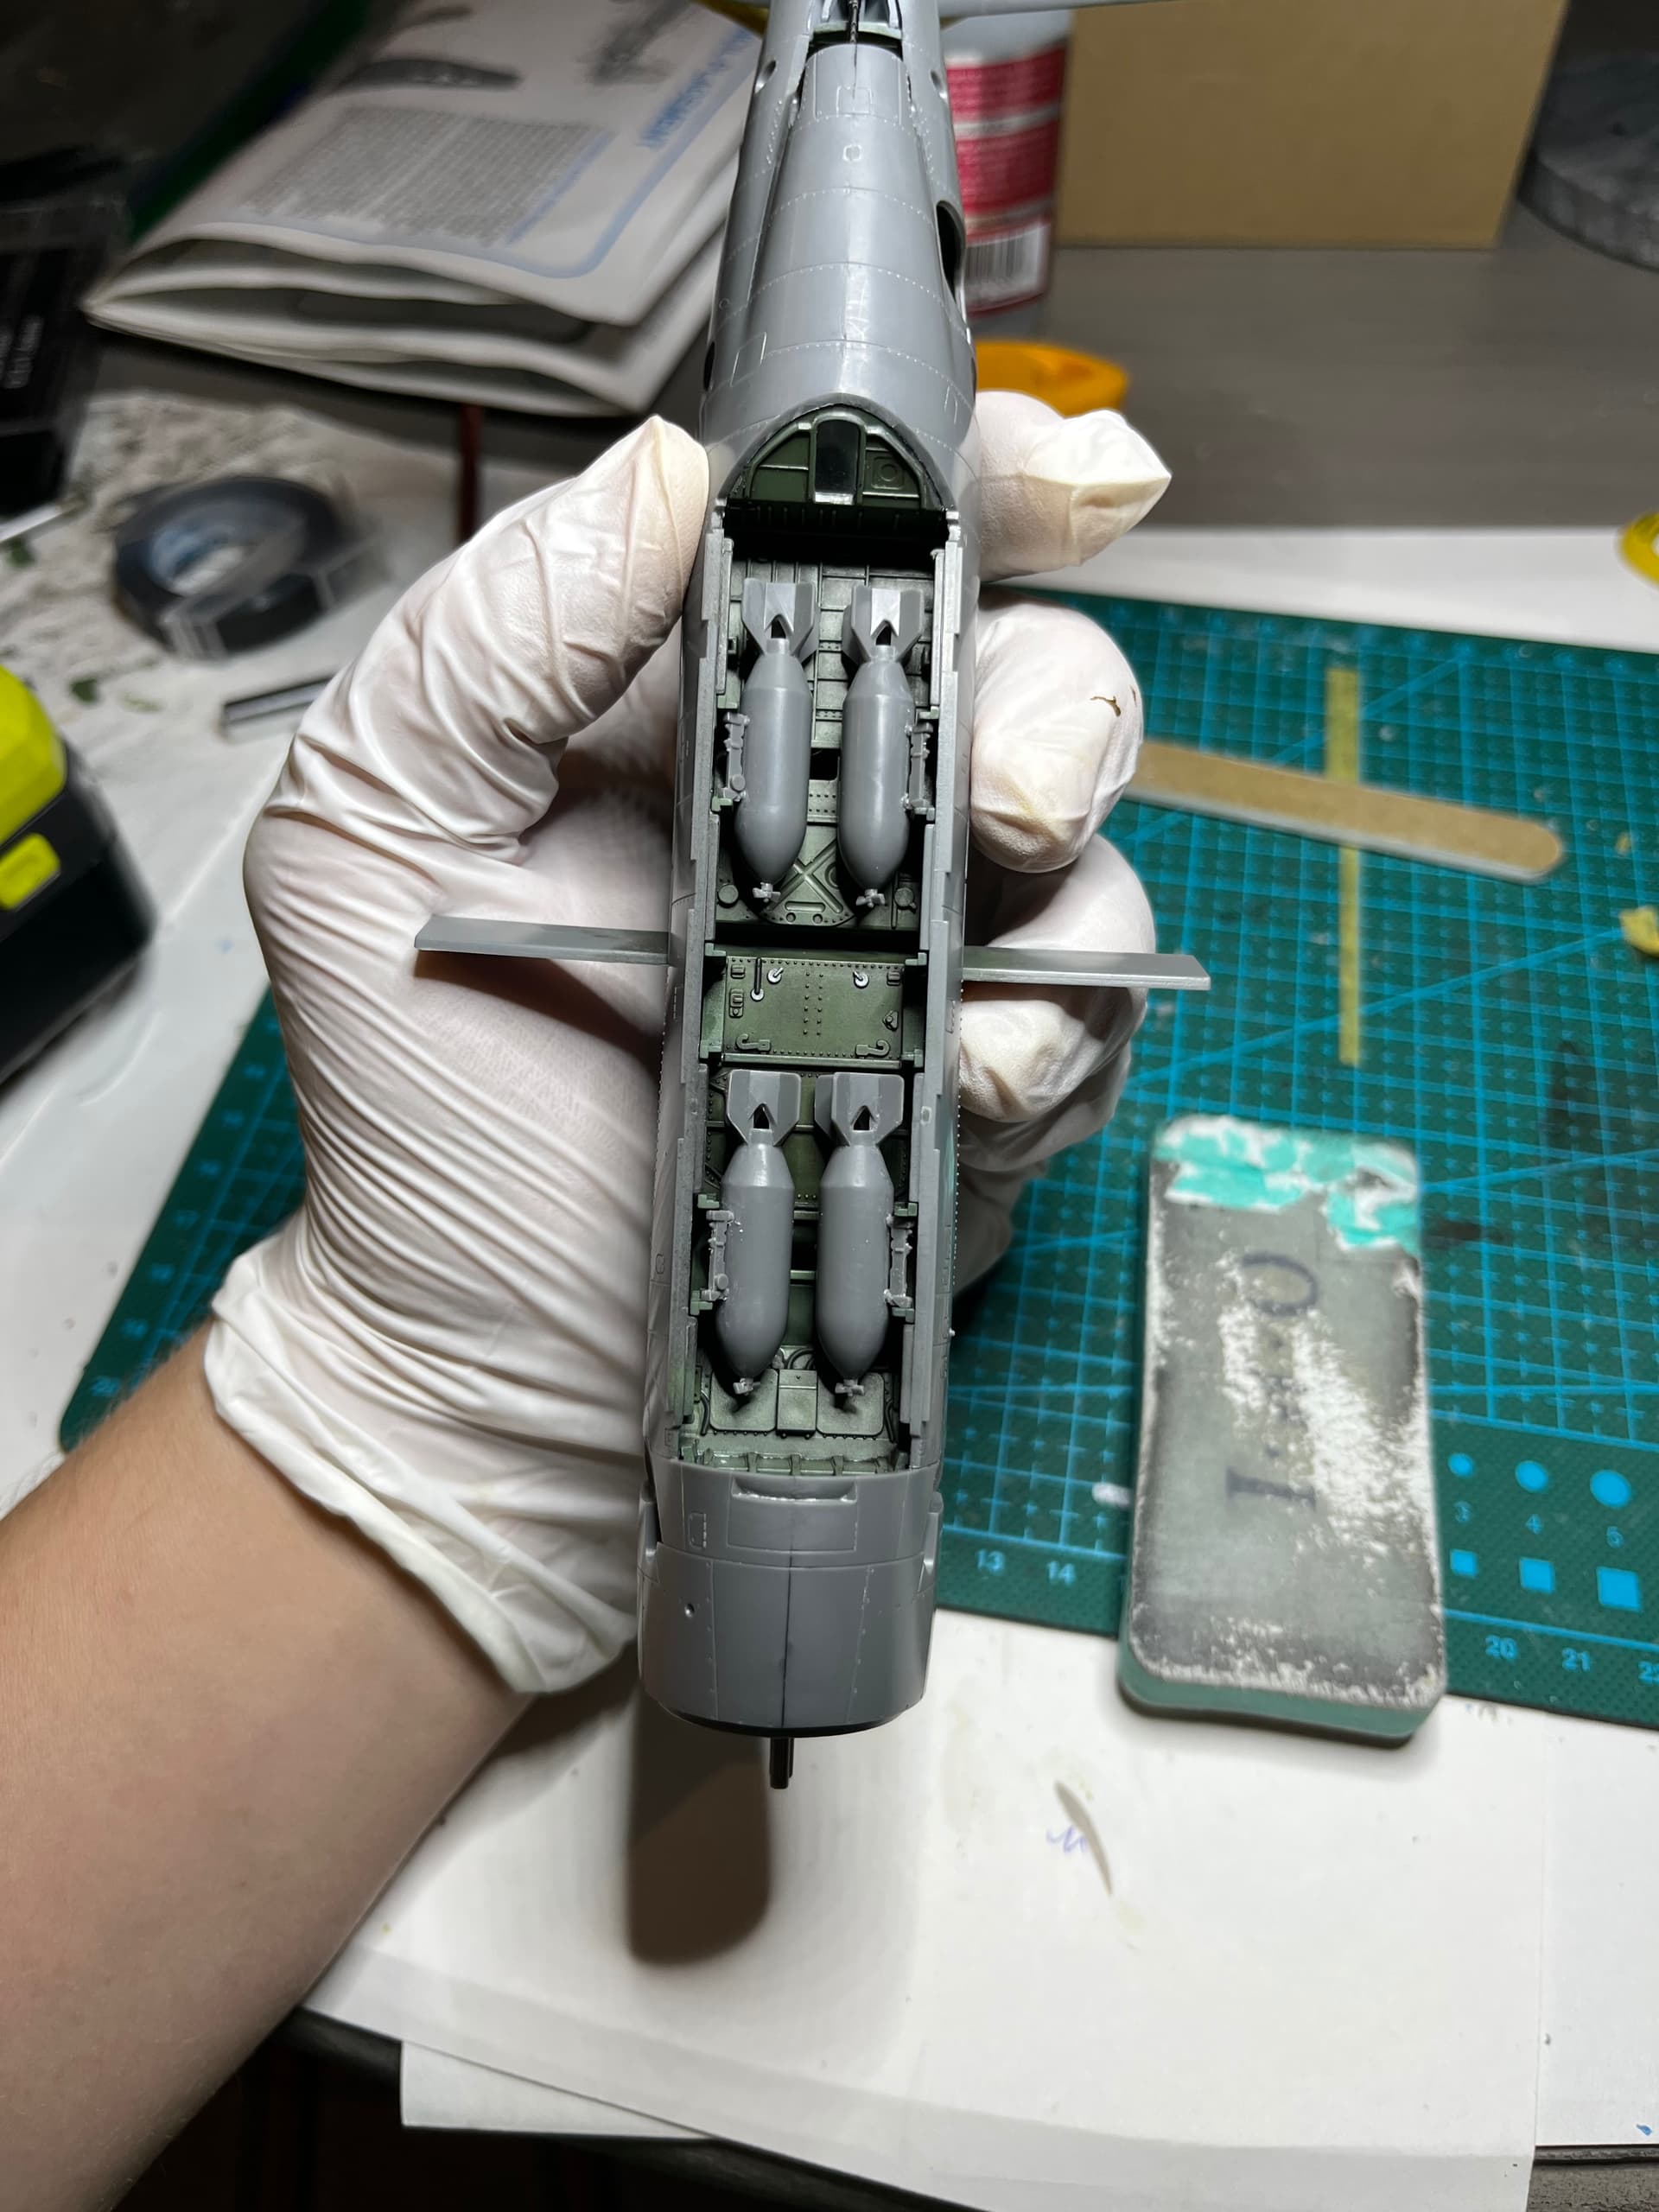
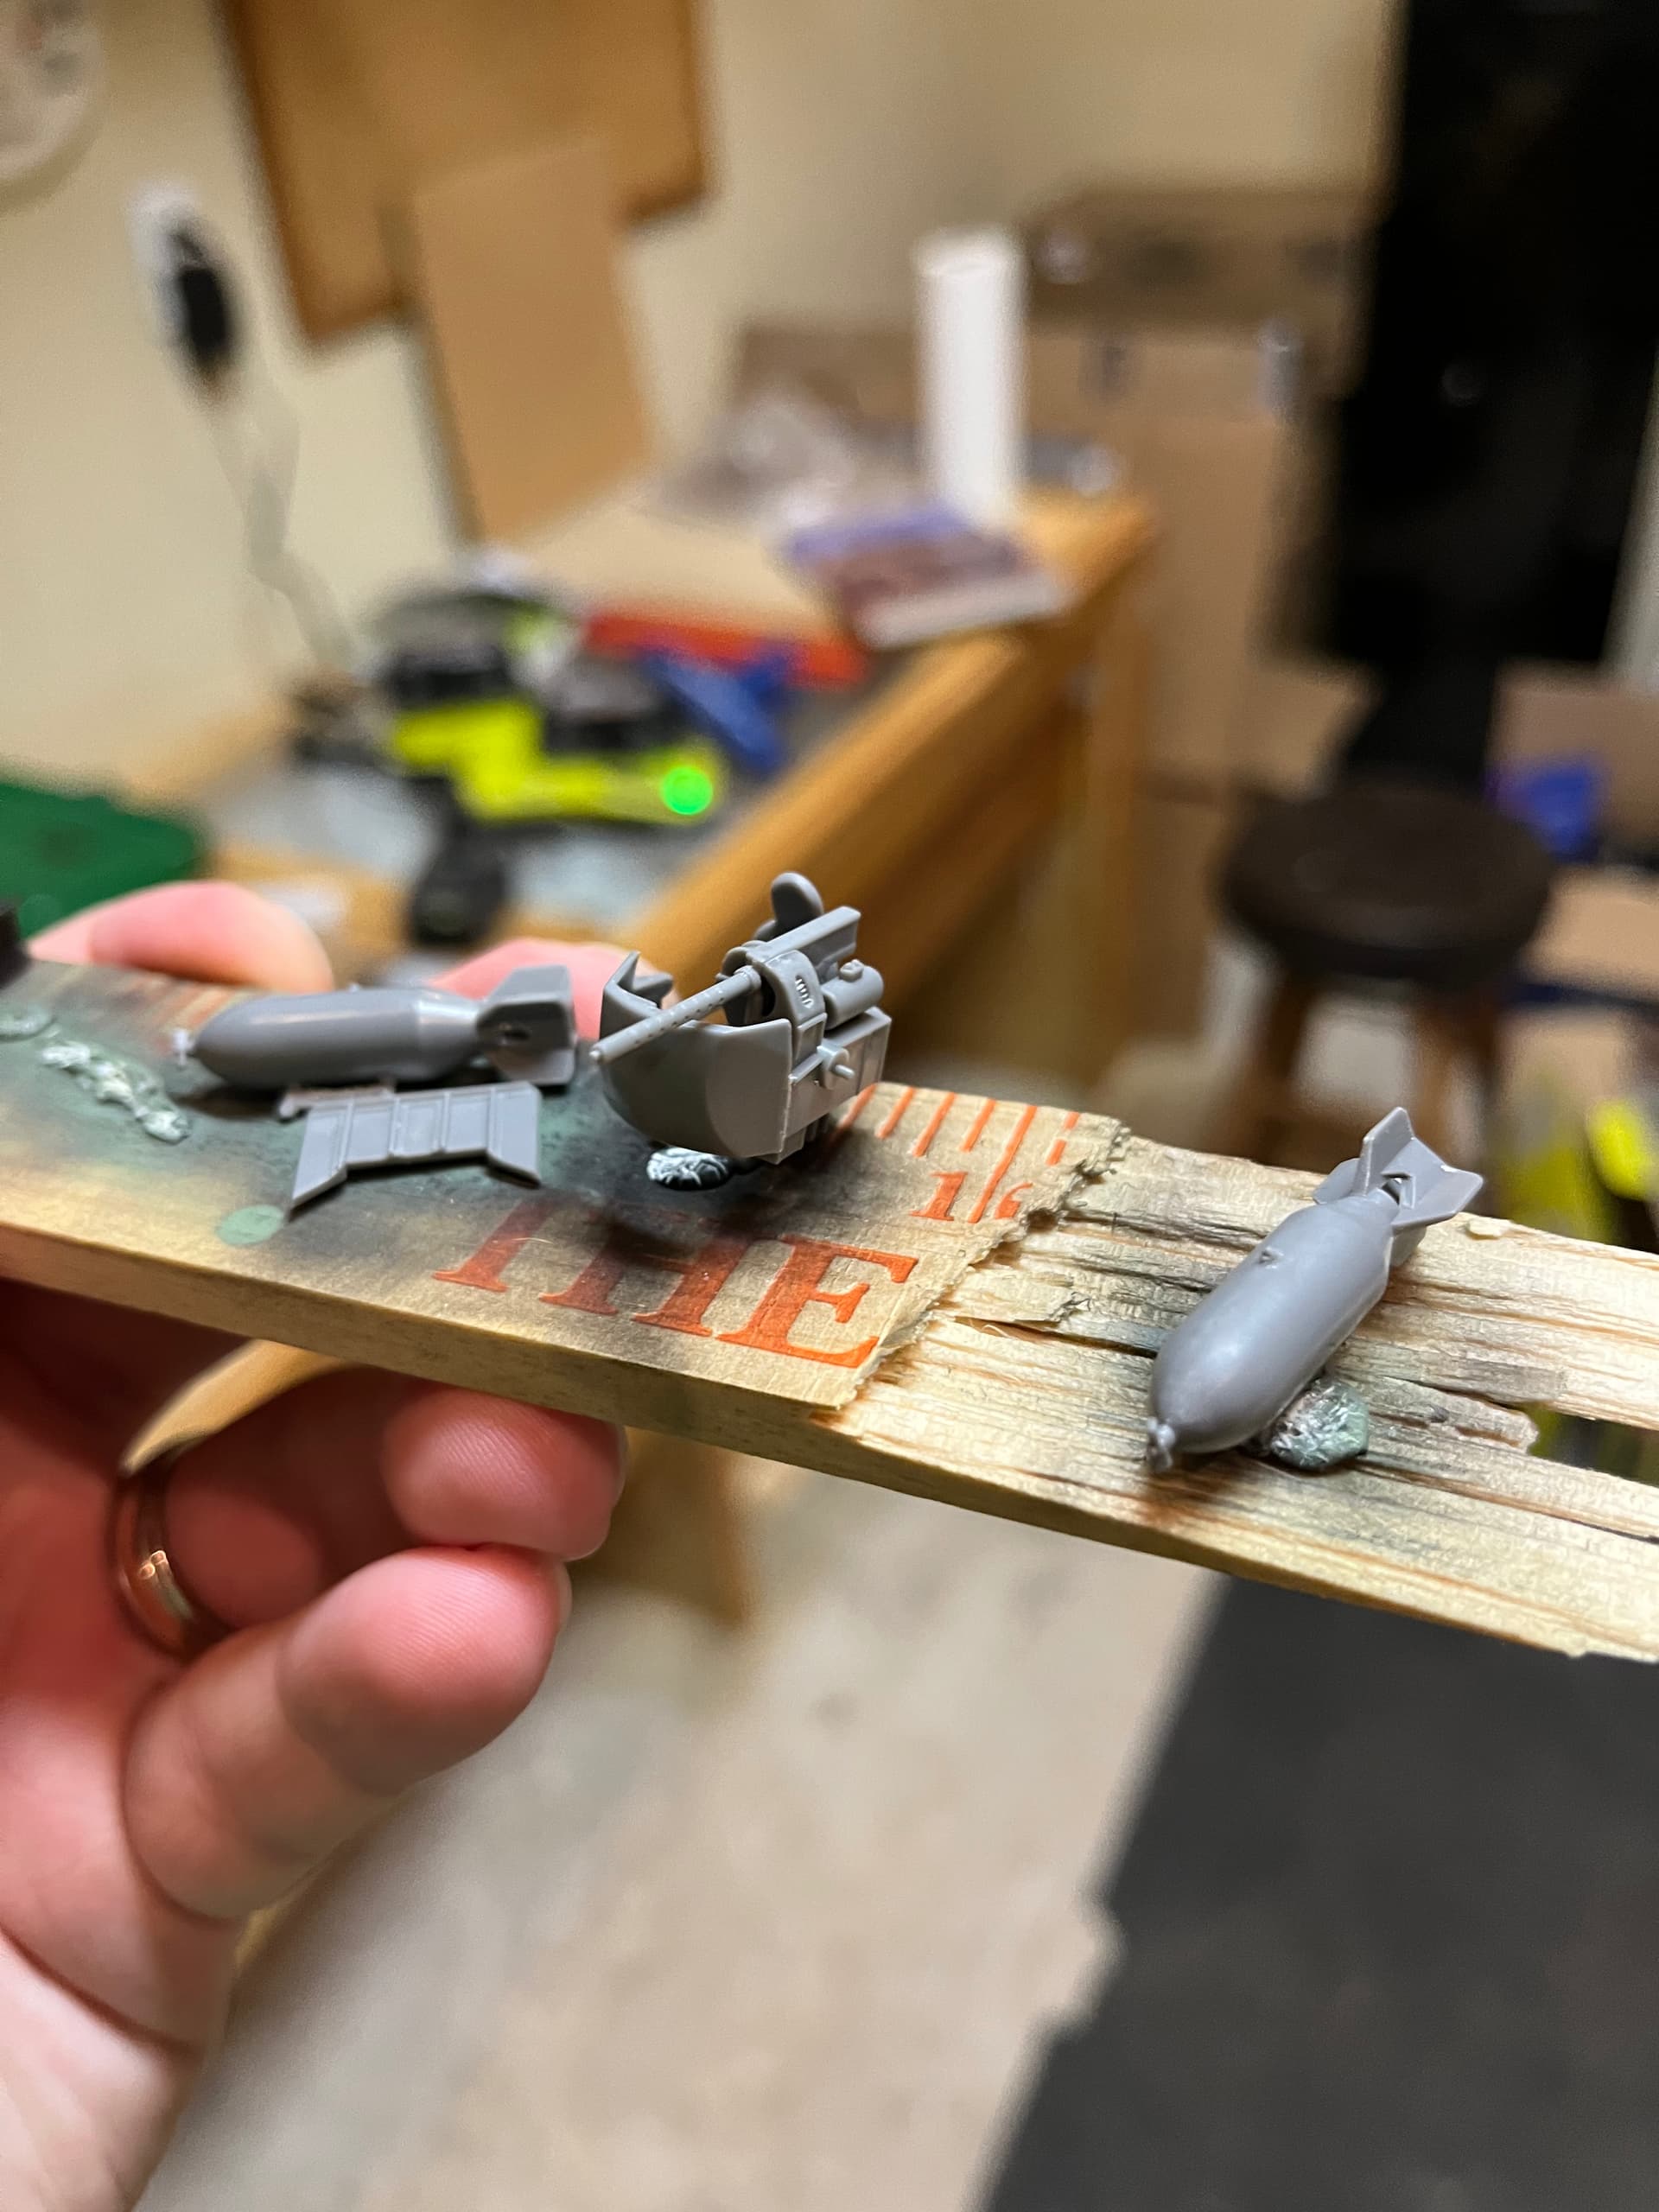
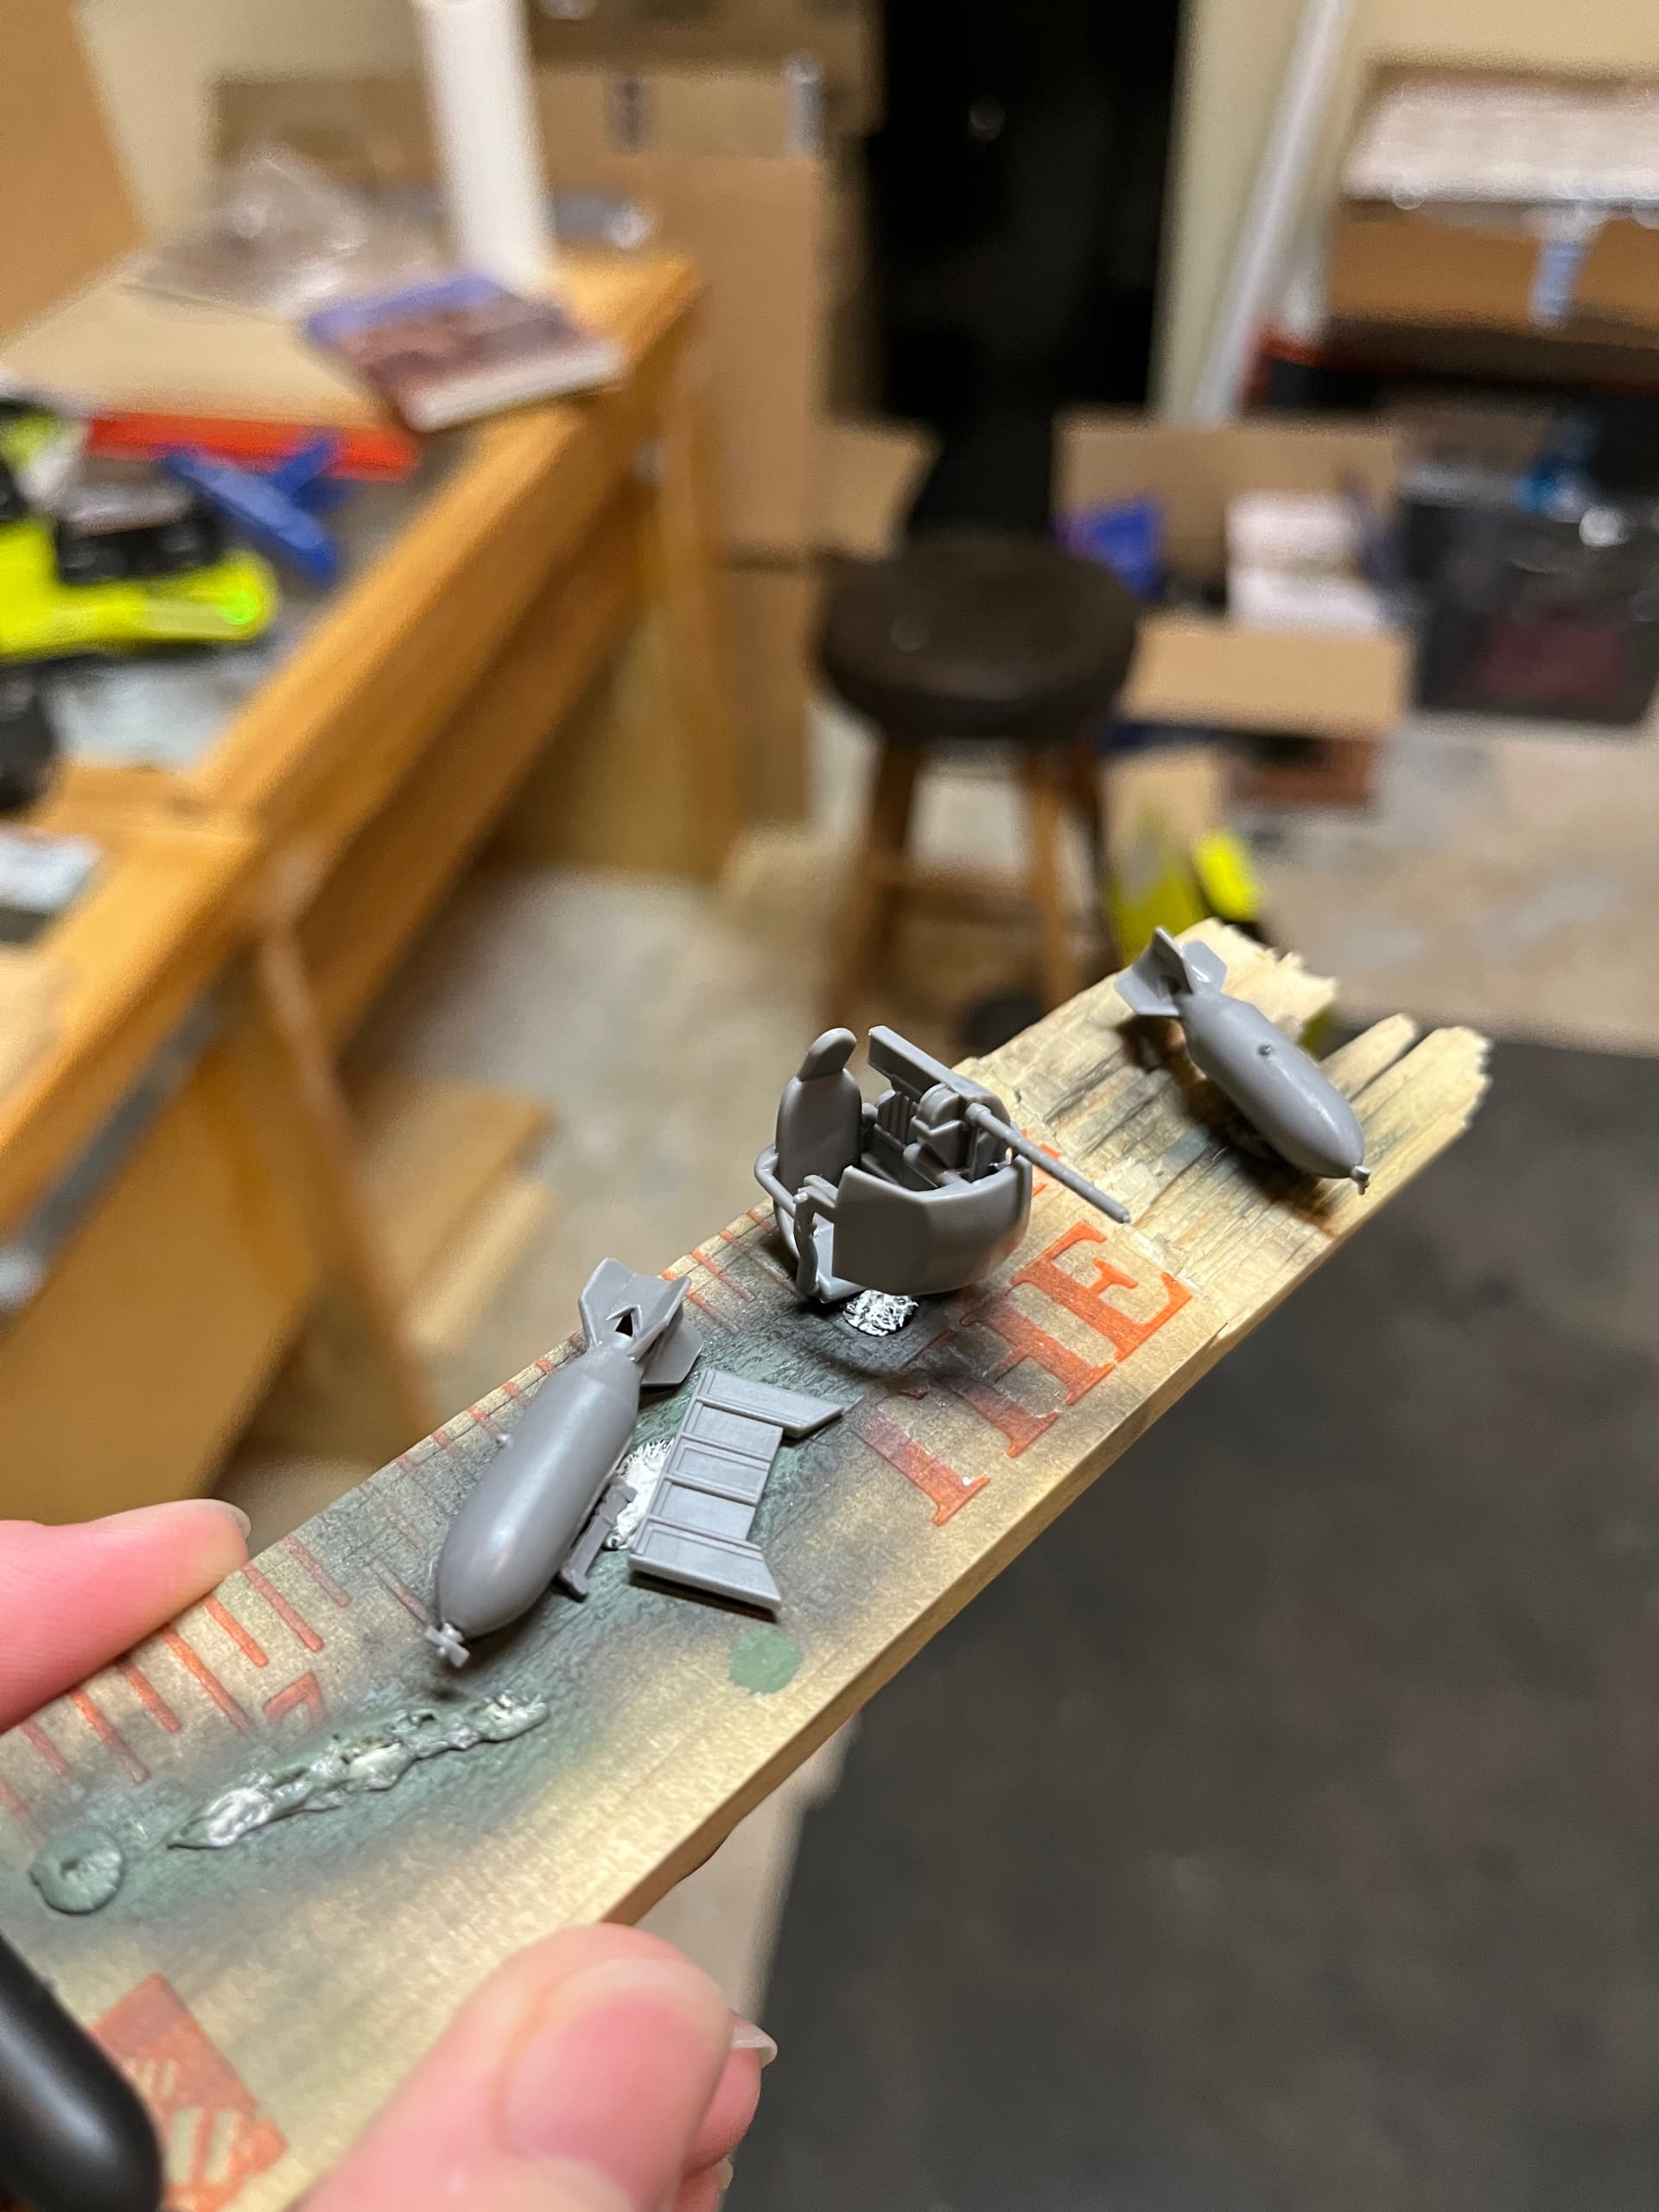
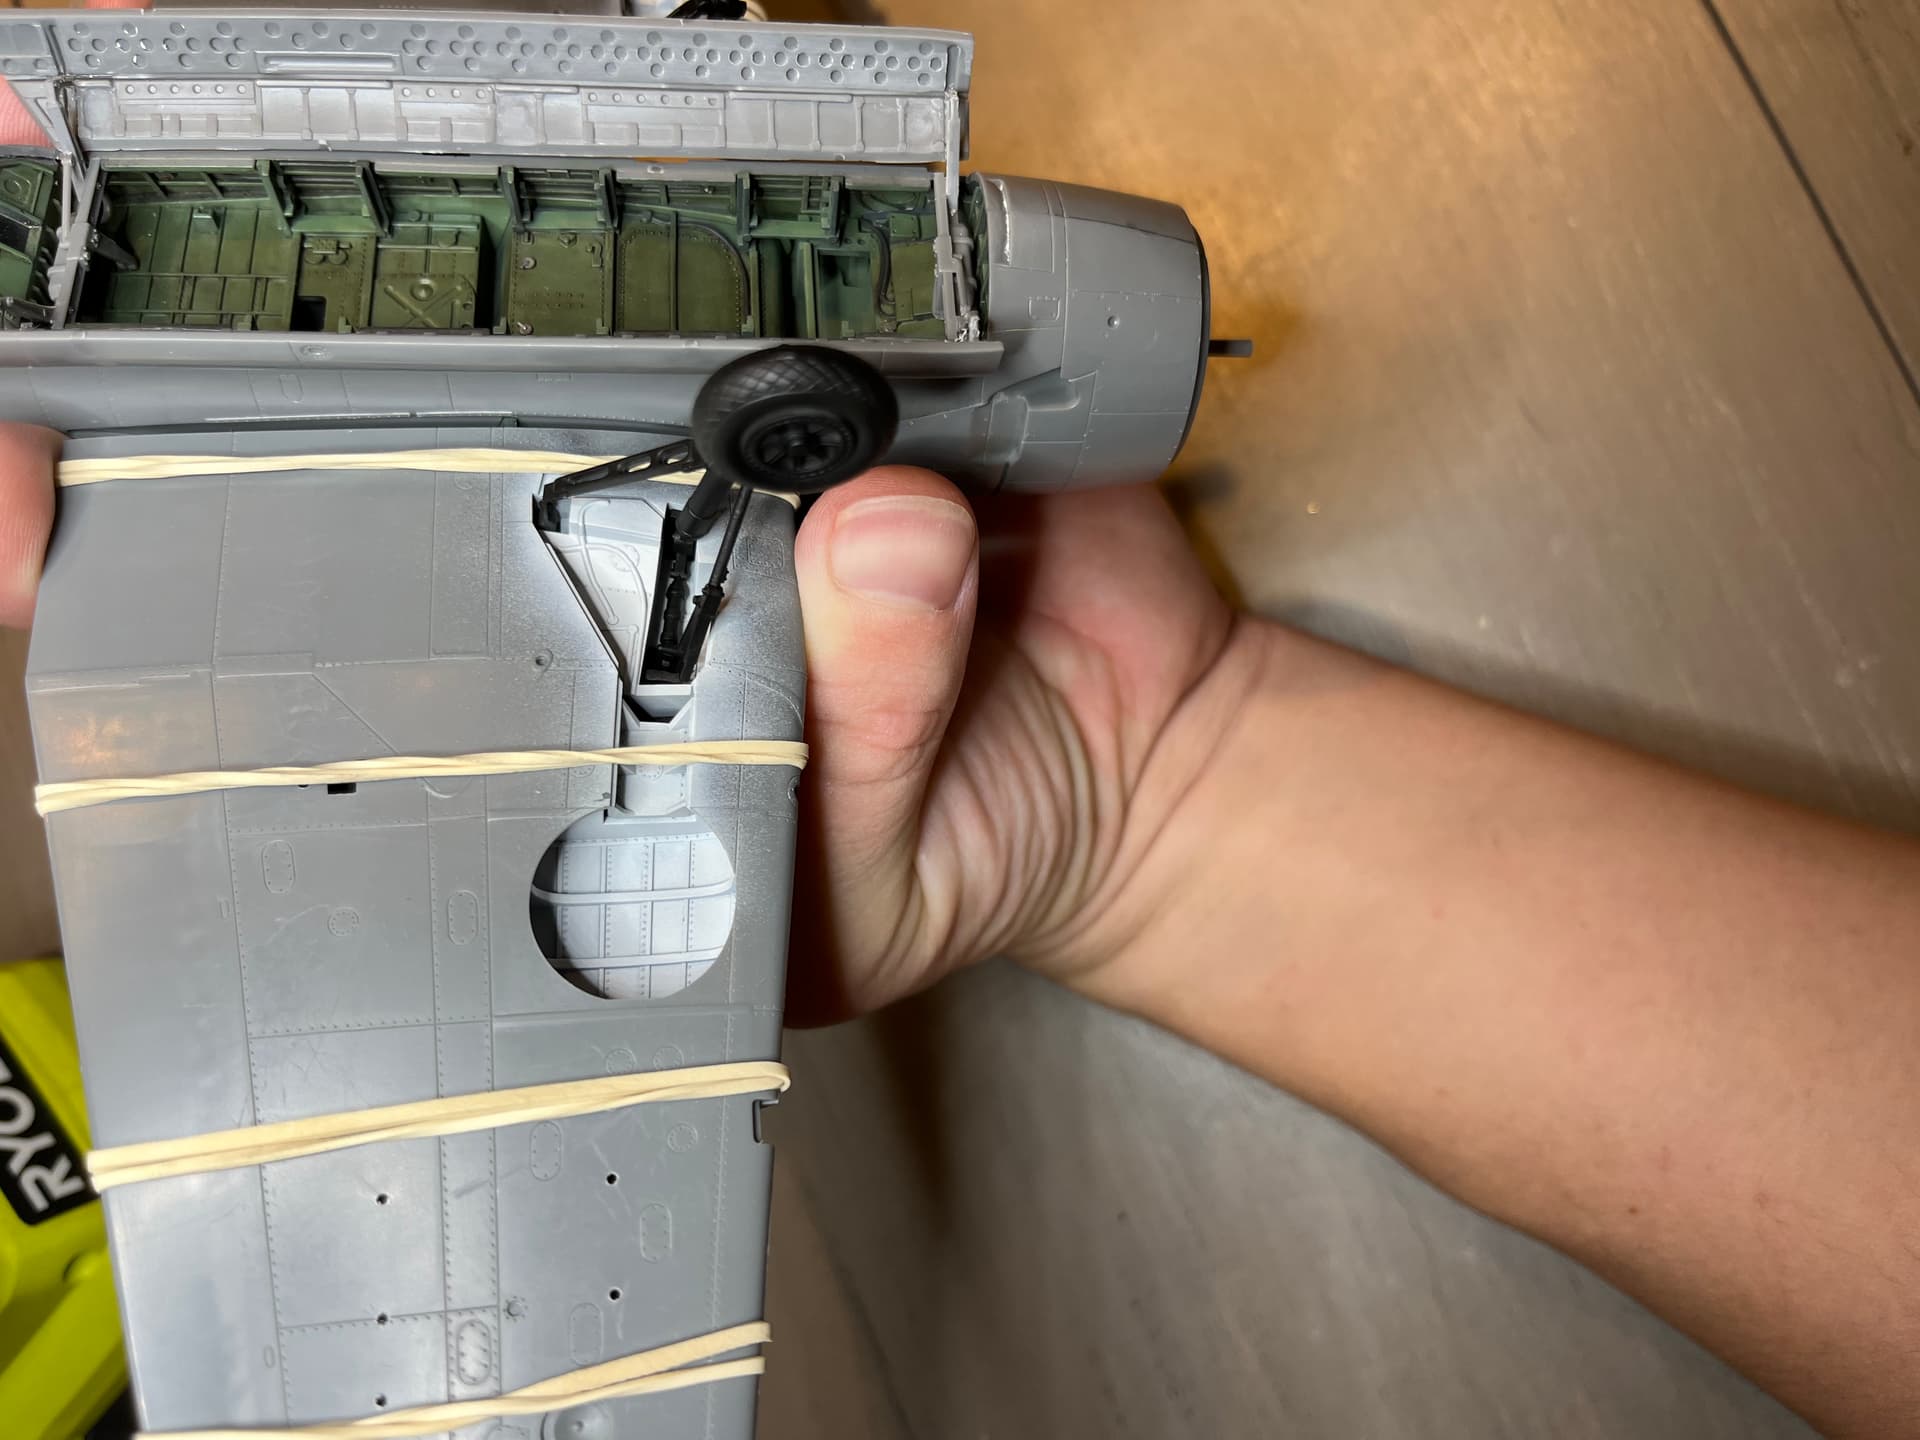
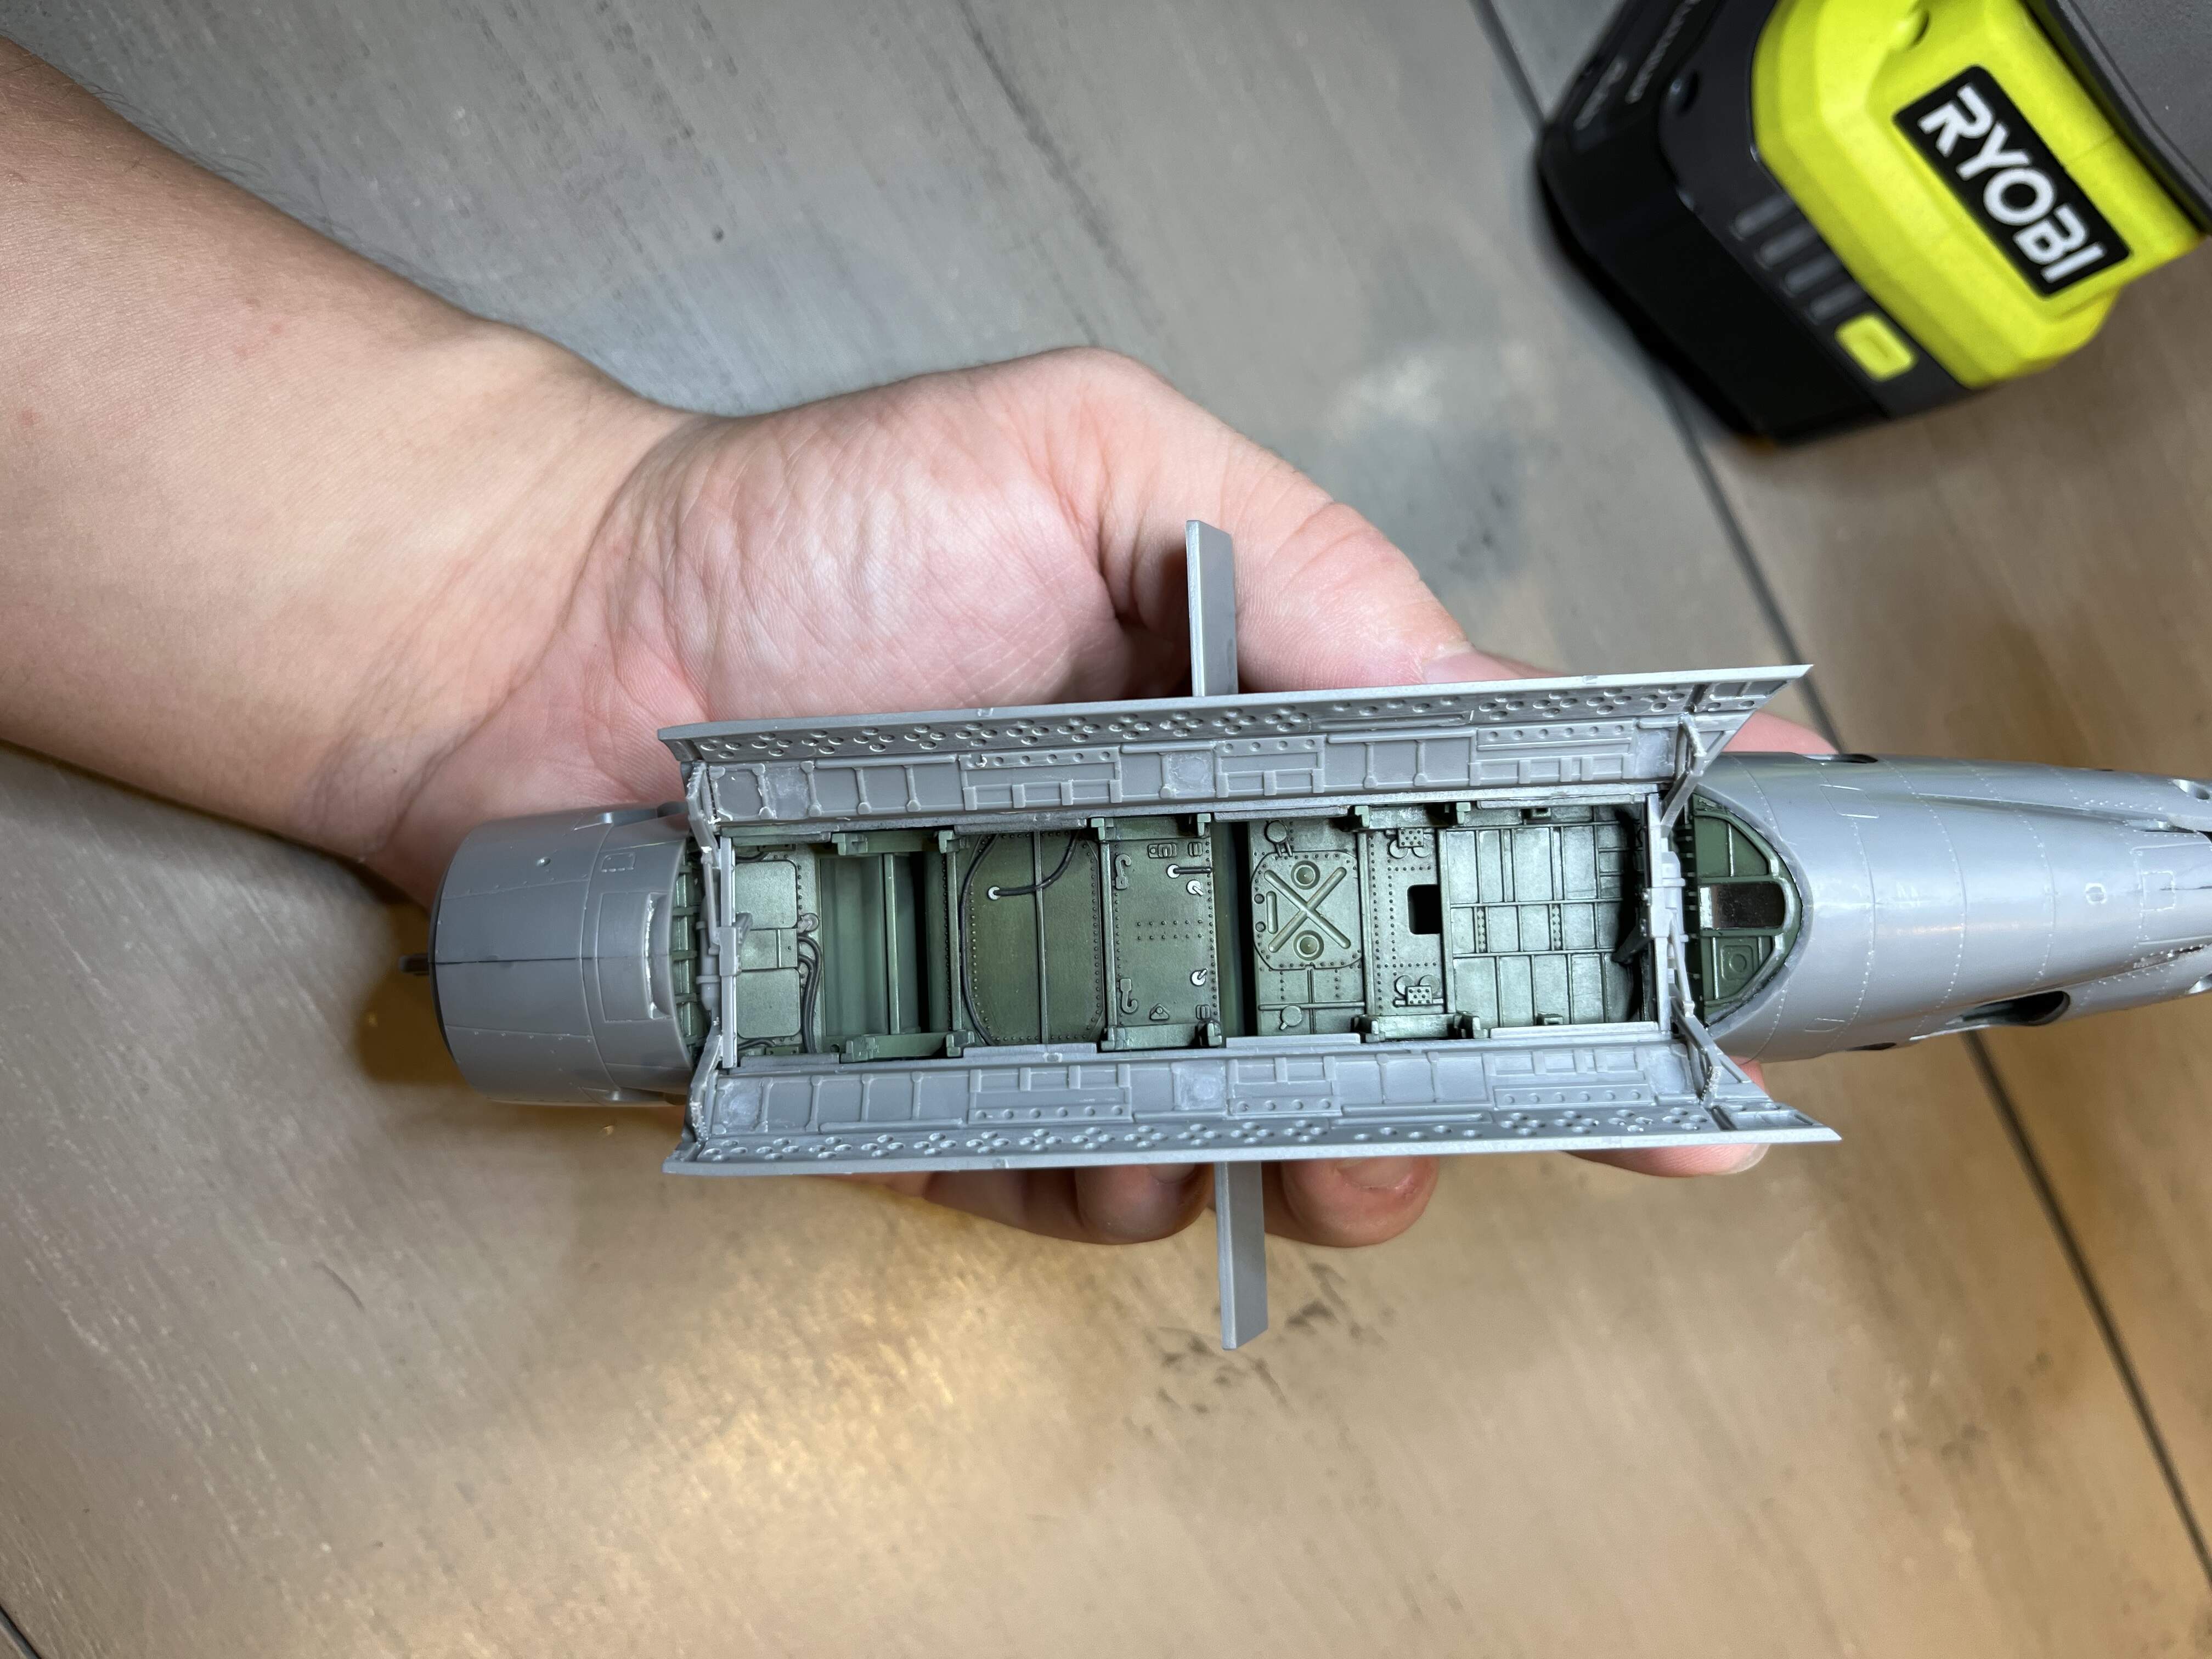
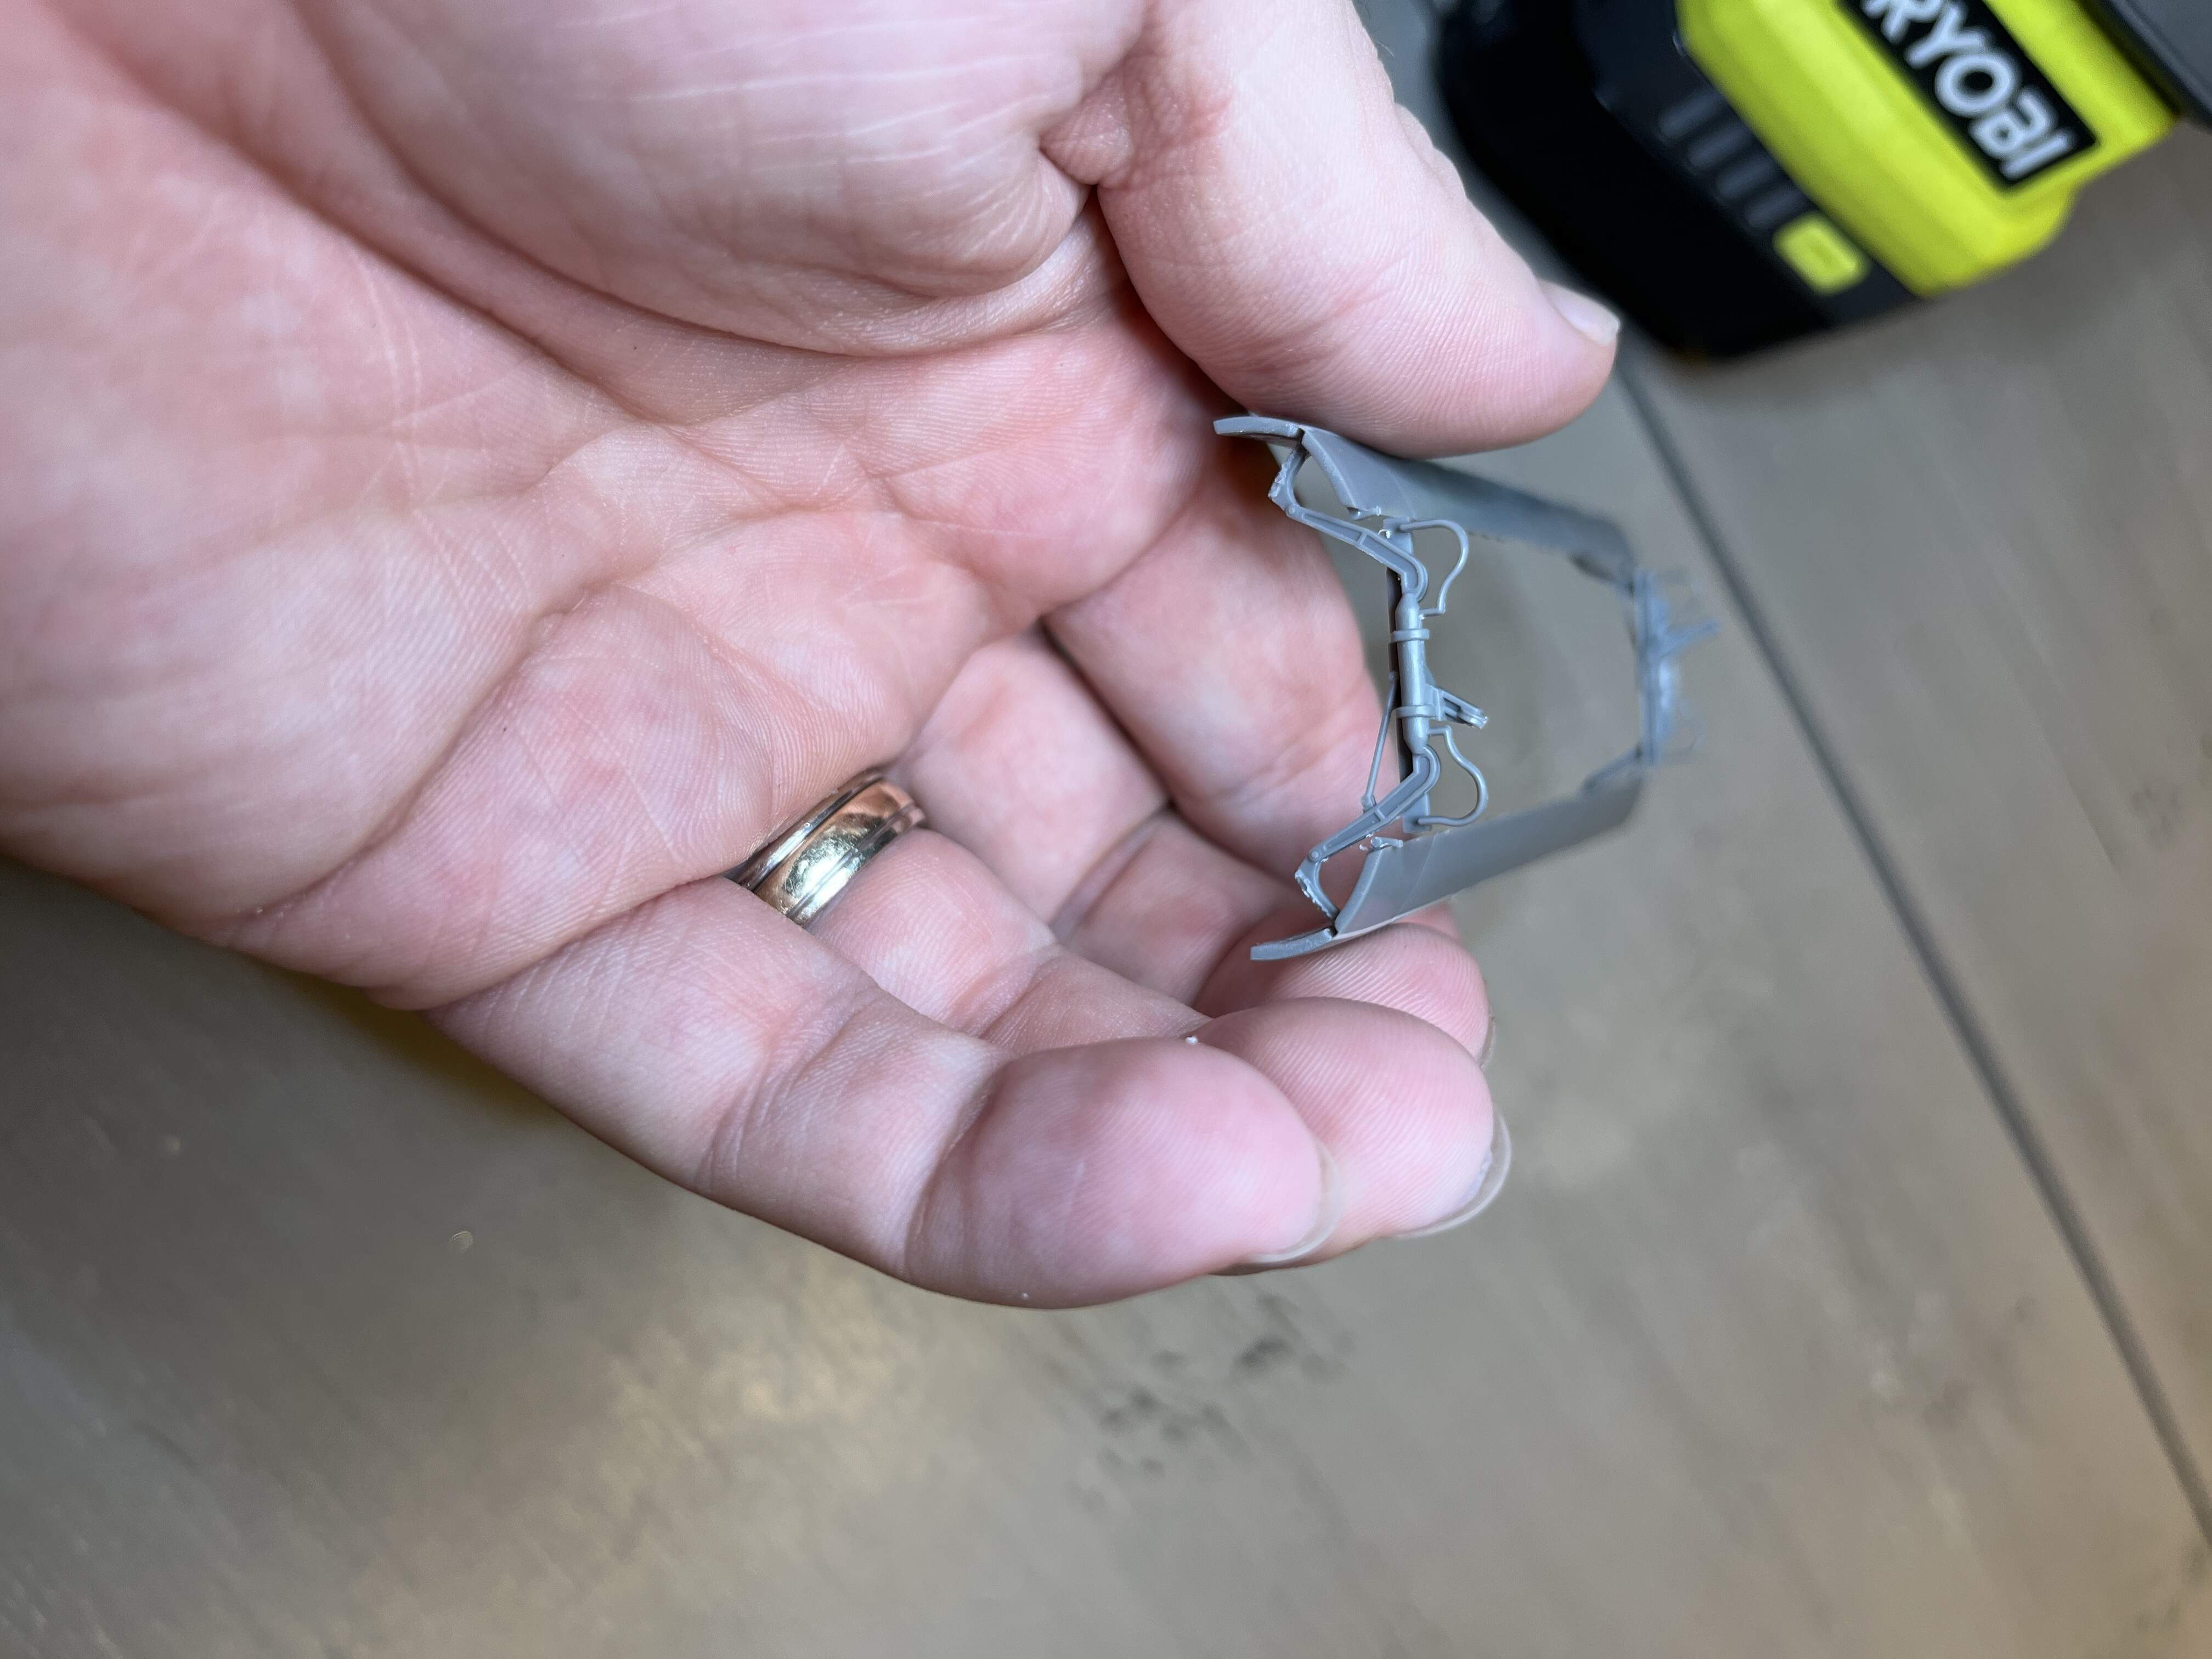
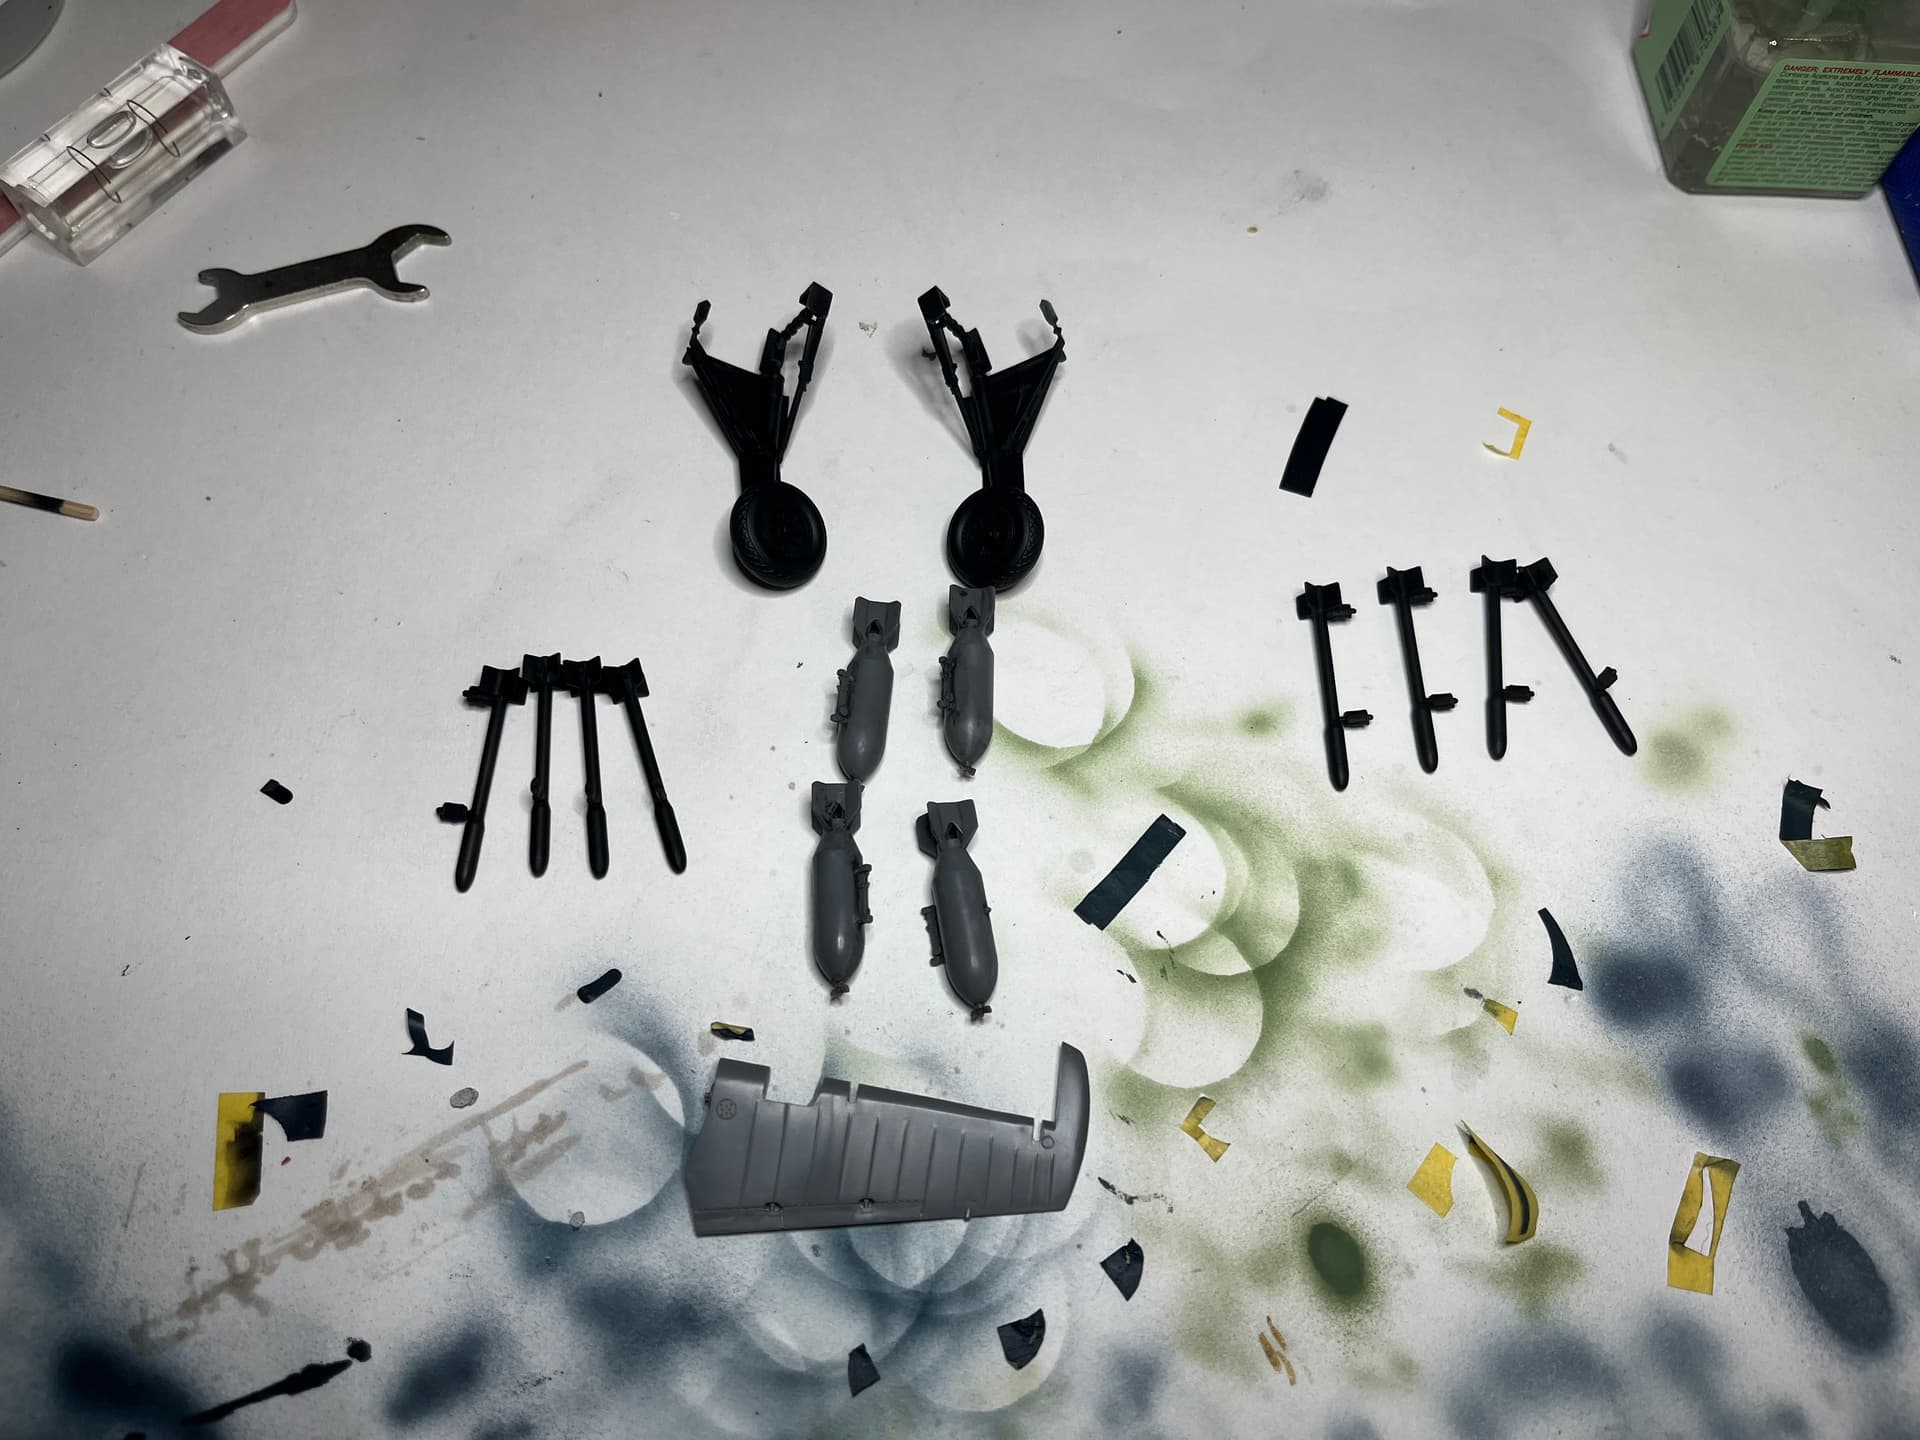
Got all of the sub assemblies done today. That included the landing gear, ball turret and bomb bay doors. (Wings still just dry fit, I promise the fit is perfect)
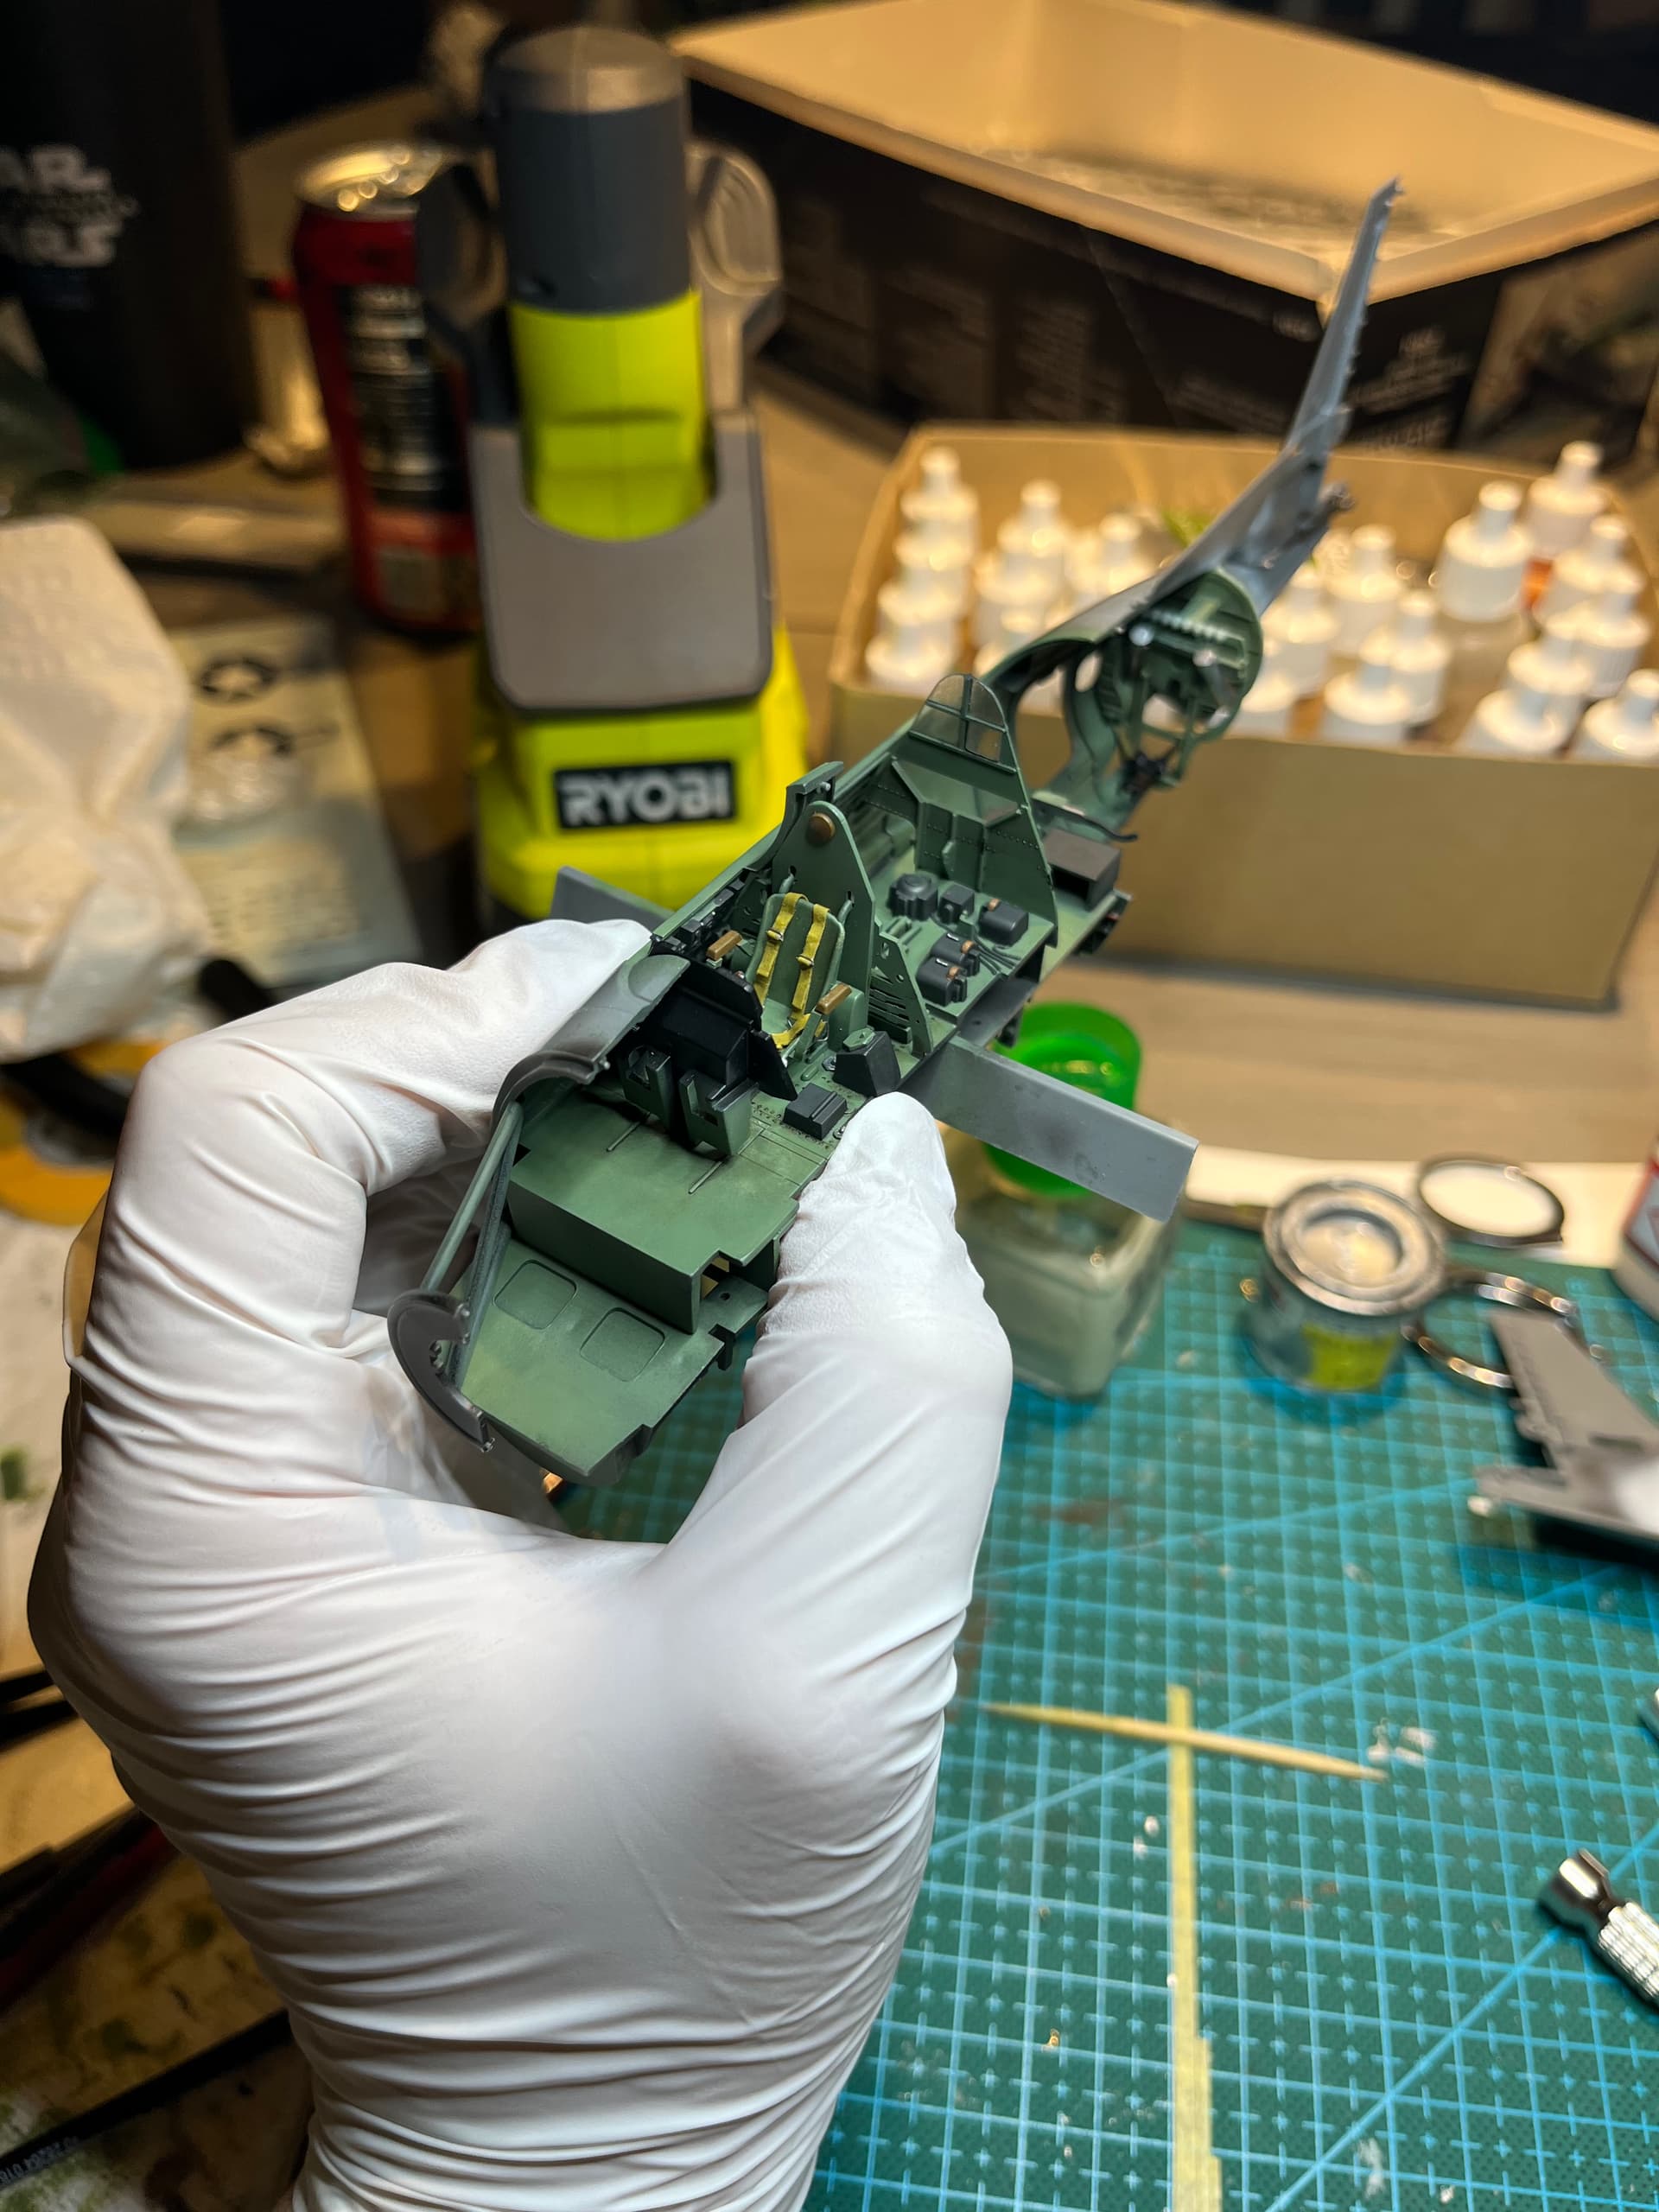
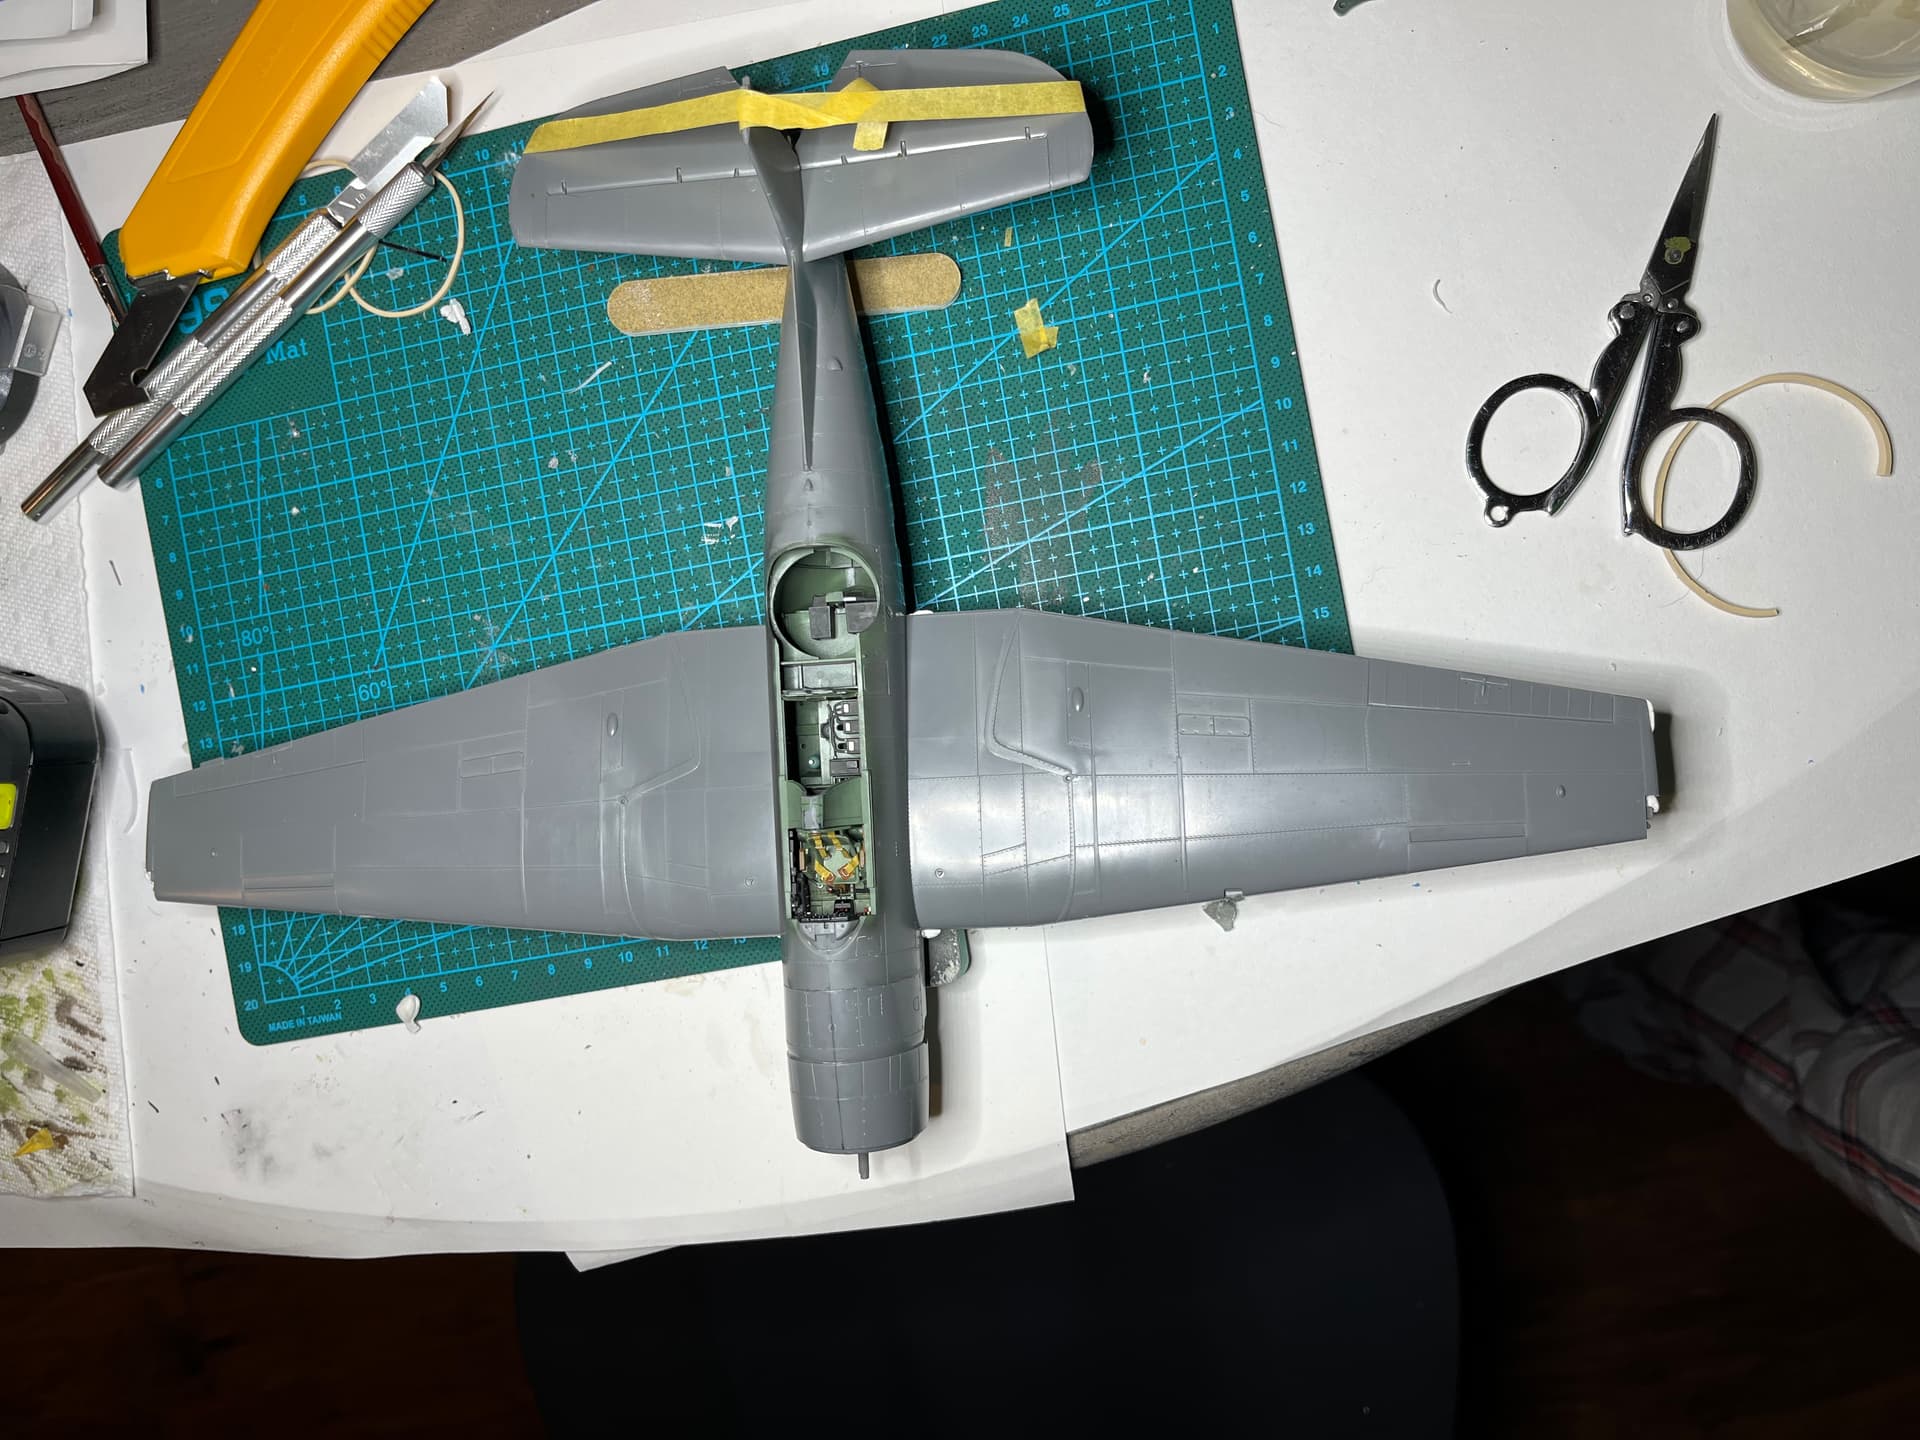
I had a lot of fun with this one, the kit engineering is fantastic. The fit is as close up perfect as I’ve seen in a kit, nice! Detail is pretty good for a 1990’s kit! I have another in the stash I plan to build as an Atlantic war bird, possibly RAF. Next up is to spray the clear sprue with some future, touch up paint on the Bomb bay and cockpit where I had to lightly sand seams, and then mask in preparation for paint! Should have her base coated next weekend
EDIT:
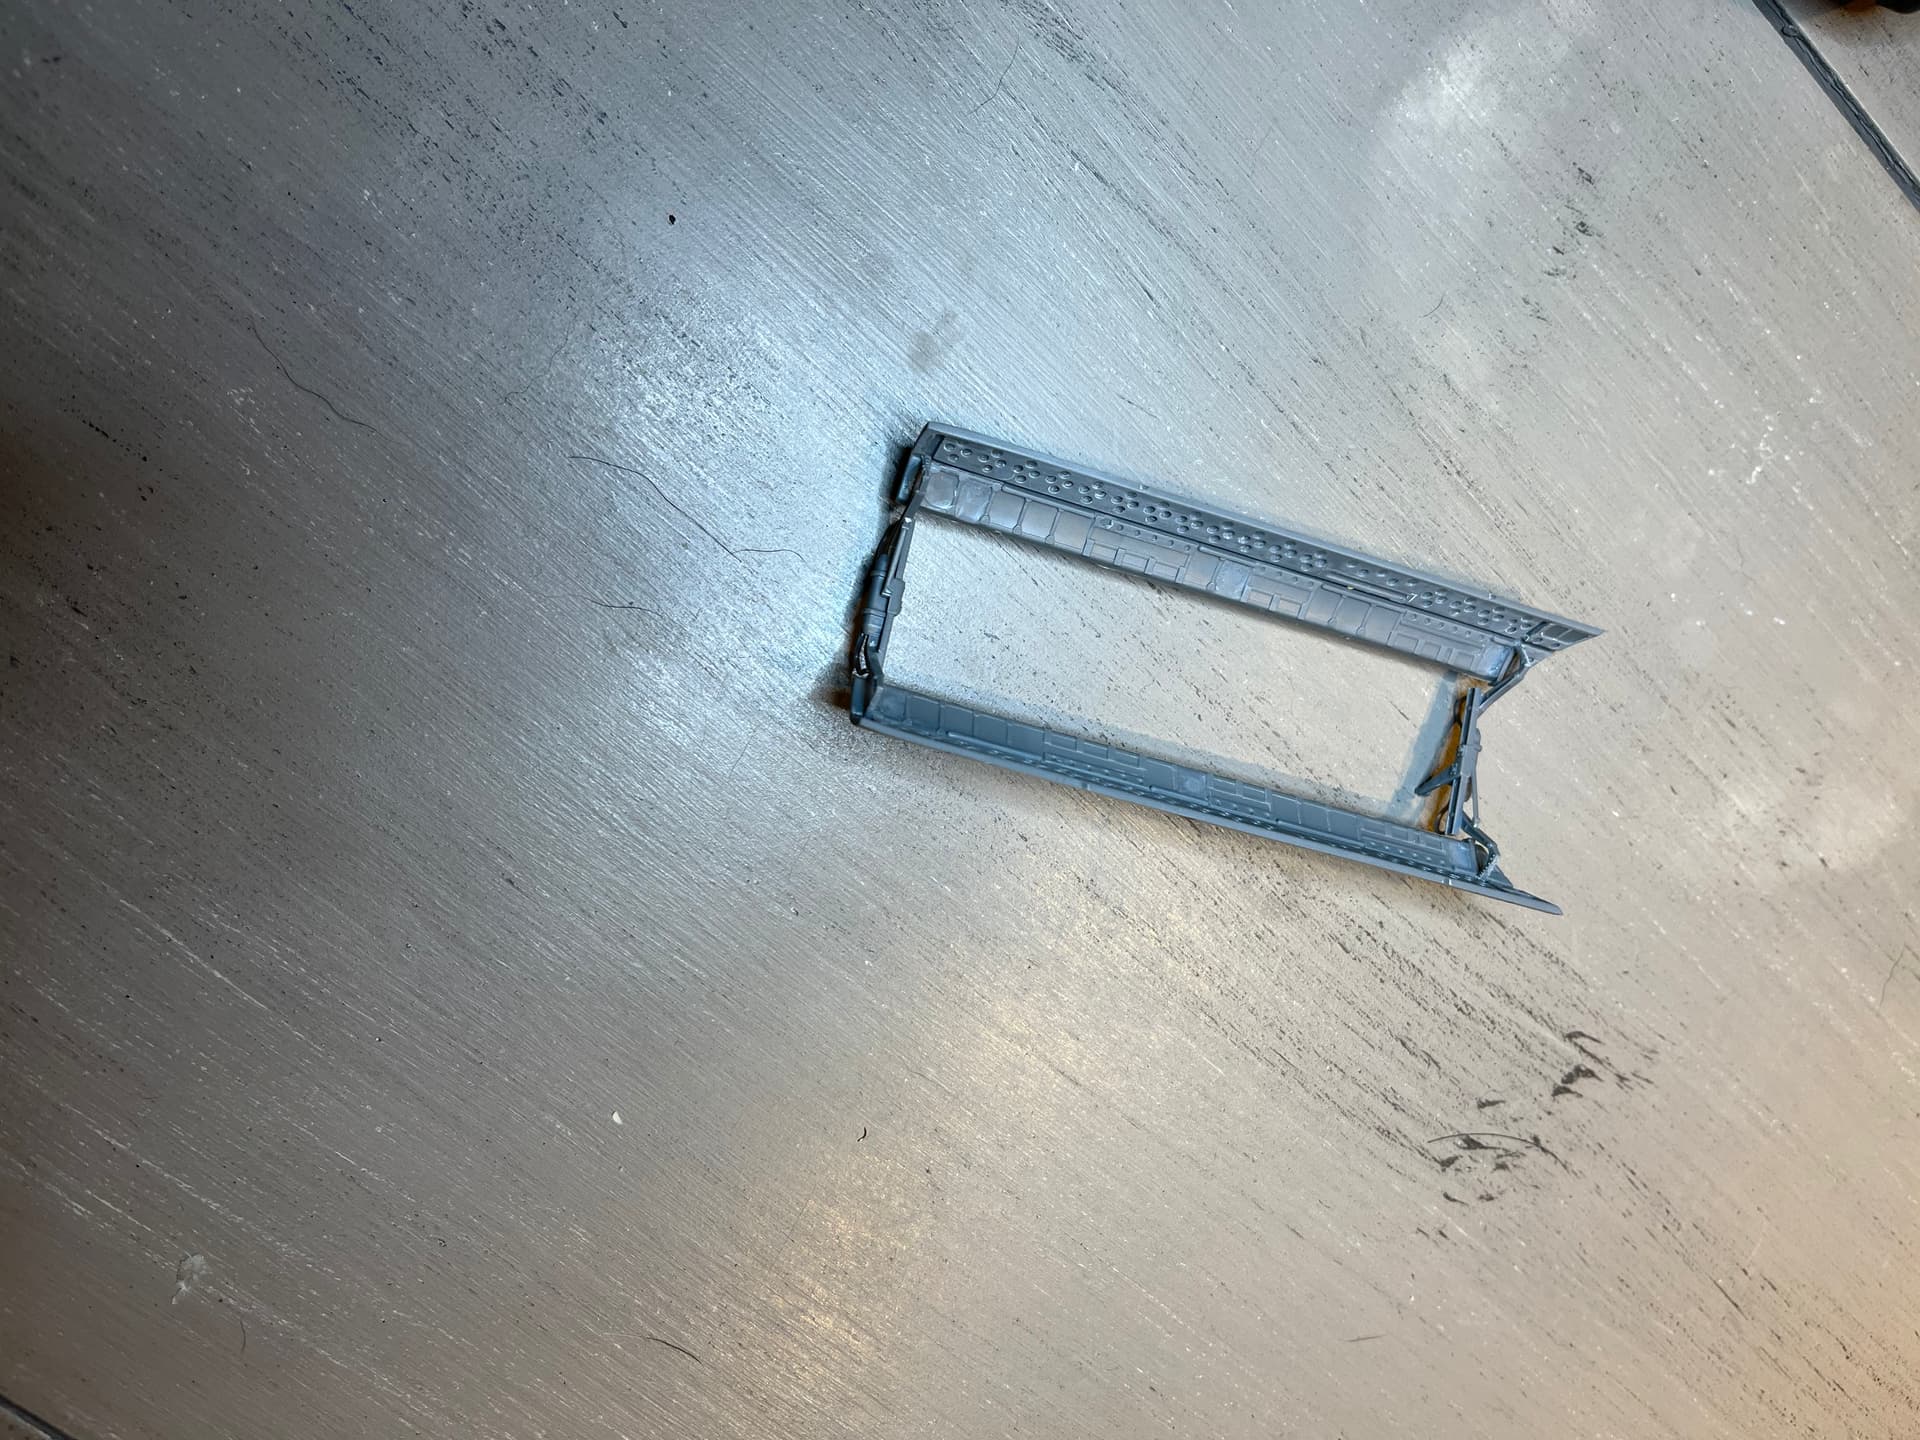
Just noticed I goofed the bomb bay doors a bit. One thing I hate about these AM kits is the instructions. They are terrible. I need to cut the Lower on each side away from the upper door and attach it to the lower hinge silly mistake but easy to fix
On a related note, I’m standing in my kitchen yesterday morning (Colorado Springs) when I heard somerthing that sounded suspiciously like a big radial. I went outside and not one, but two TBFs (probably TBMs, actually) buzzed my house. They couldn’t have been 500 feet up. Very cool indeed. Your build plus the flyover made me itch to get my Trumpeter 1/32 kit out. Must resist!
So, does anyone know what color the walkway should be on a 60s navy f-4b? I have decals for it, and I have masks for it. I’d rather paint it and mask it but I can’t seem to find an FS number for that one spot on the plane! It’s darker than the light ghost gray on the rest of the body but isn’t black so I would guess dark ghost grey, but I really have no idea.
I love this Tamiya kit. I’m sorely tempted to do another, but I have a long line of other kits I’d like to do first (including a second Tamiya P-38 - is it ok even to mention a P-38 on this naval air campaign thread???)
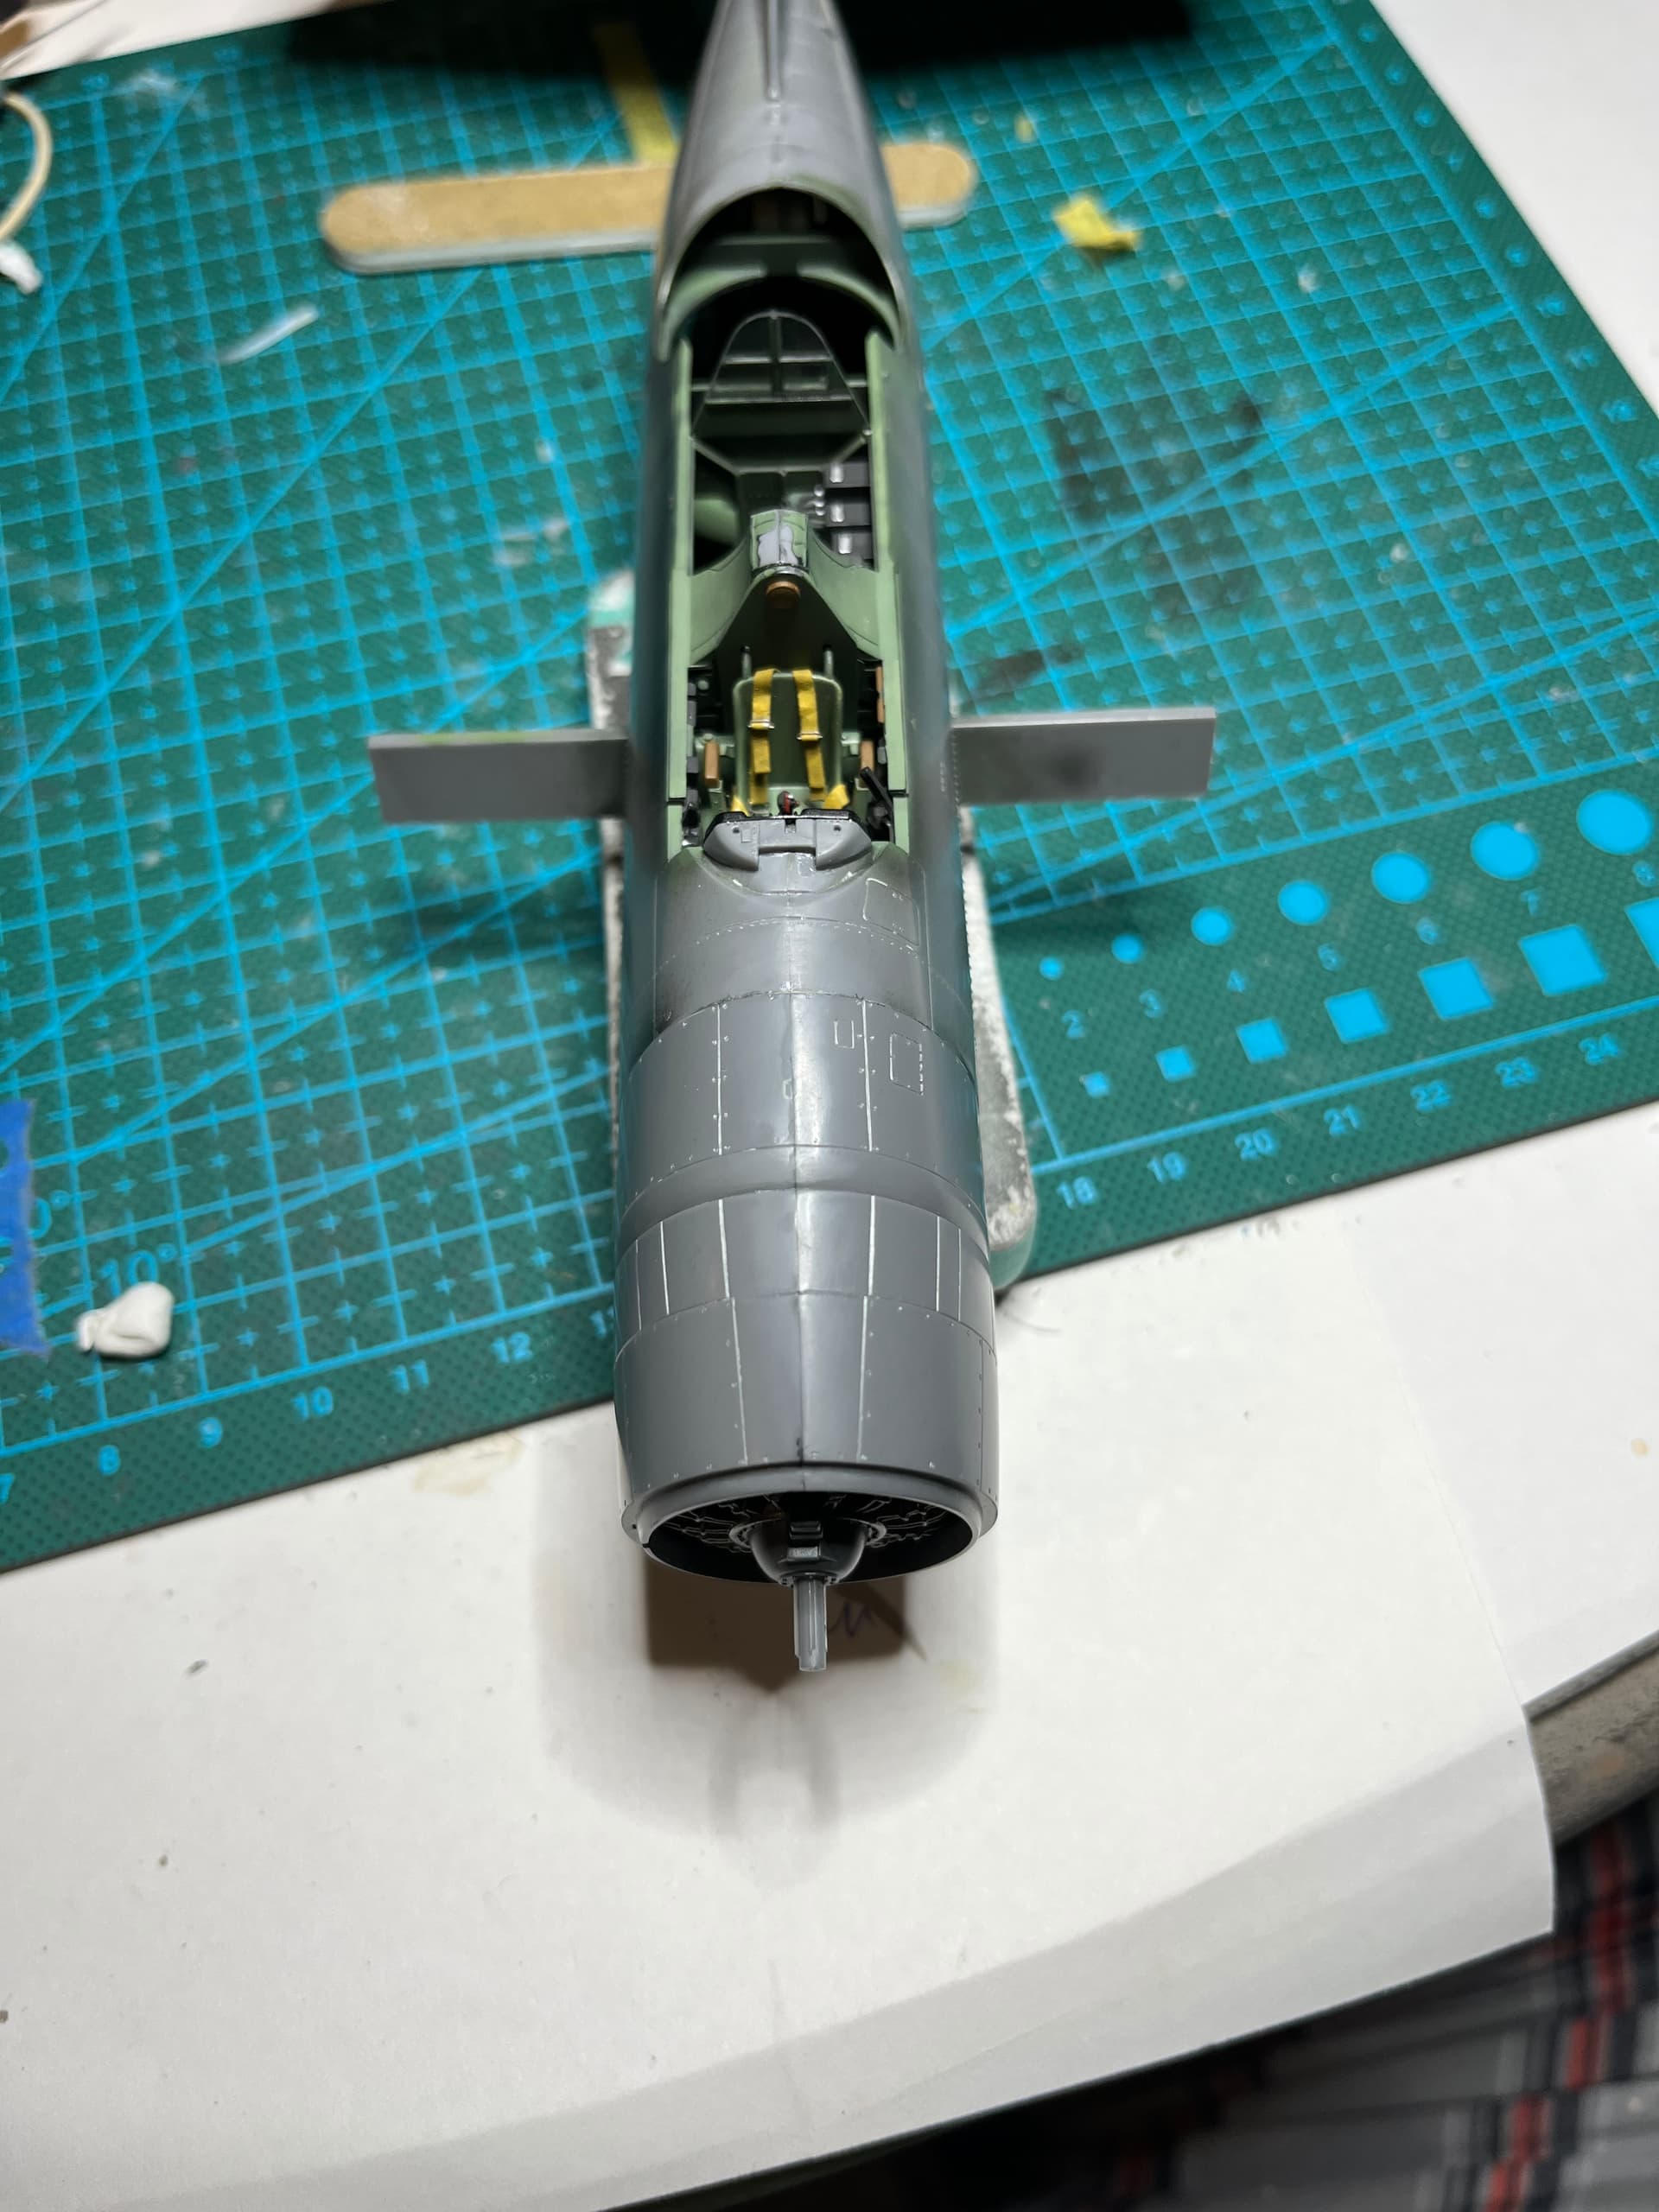
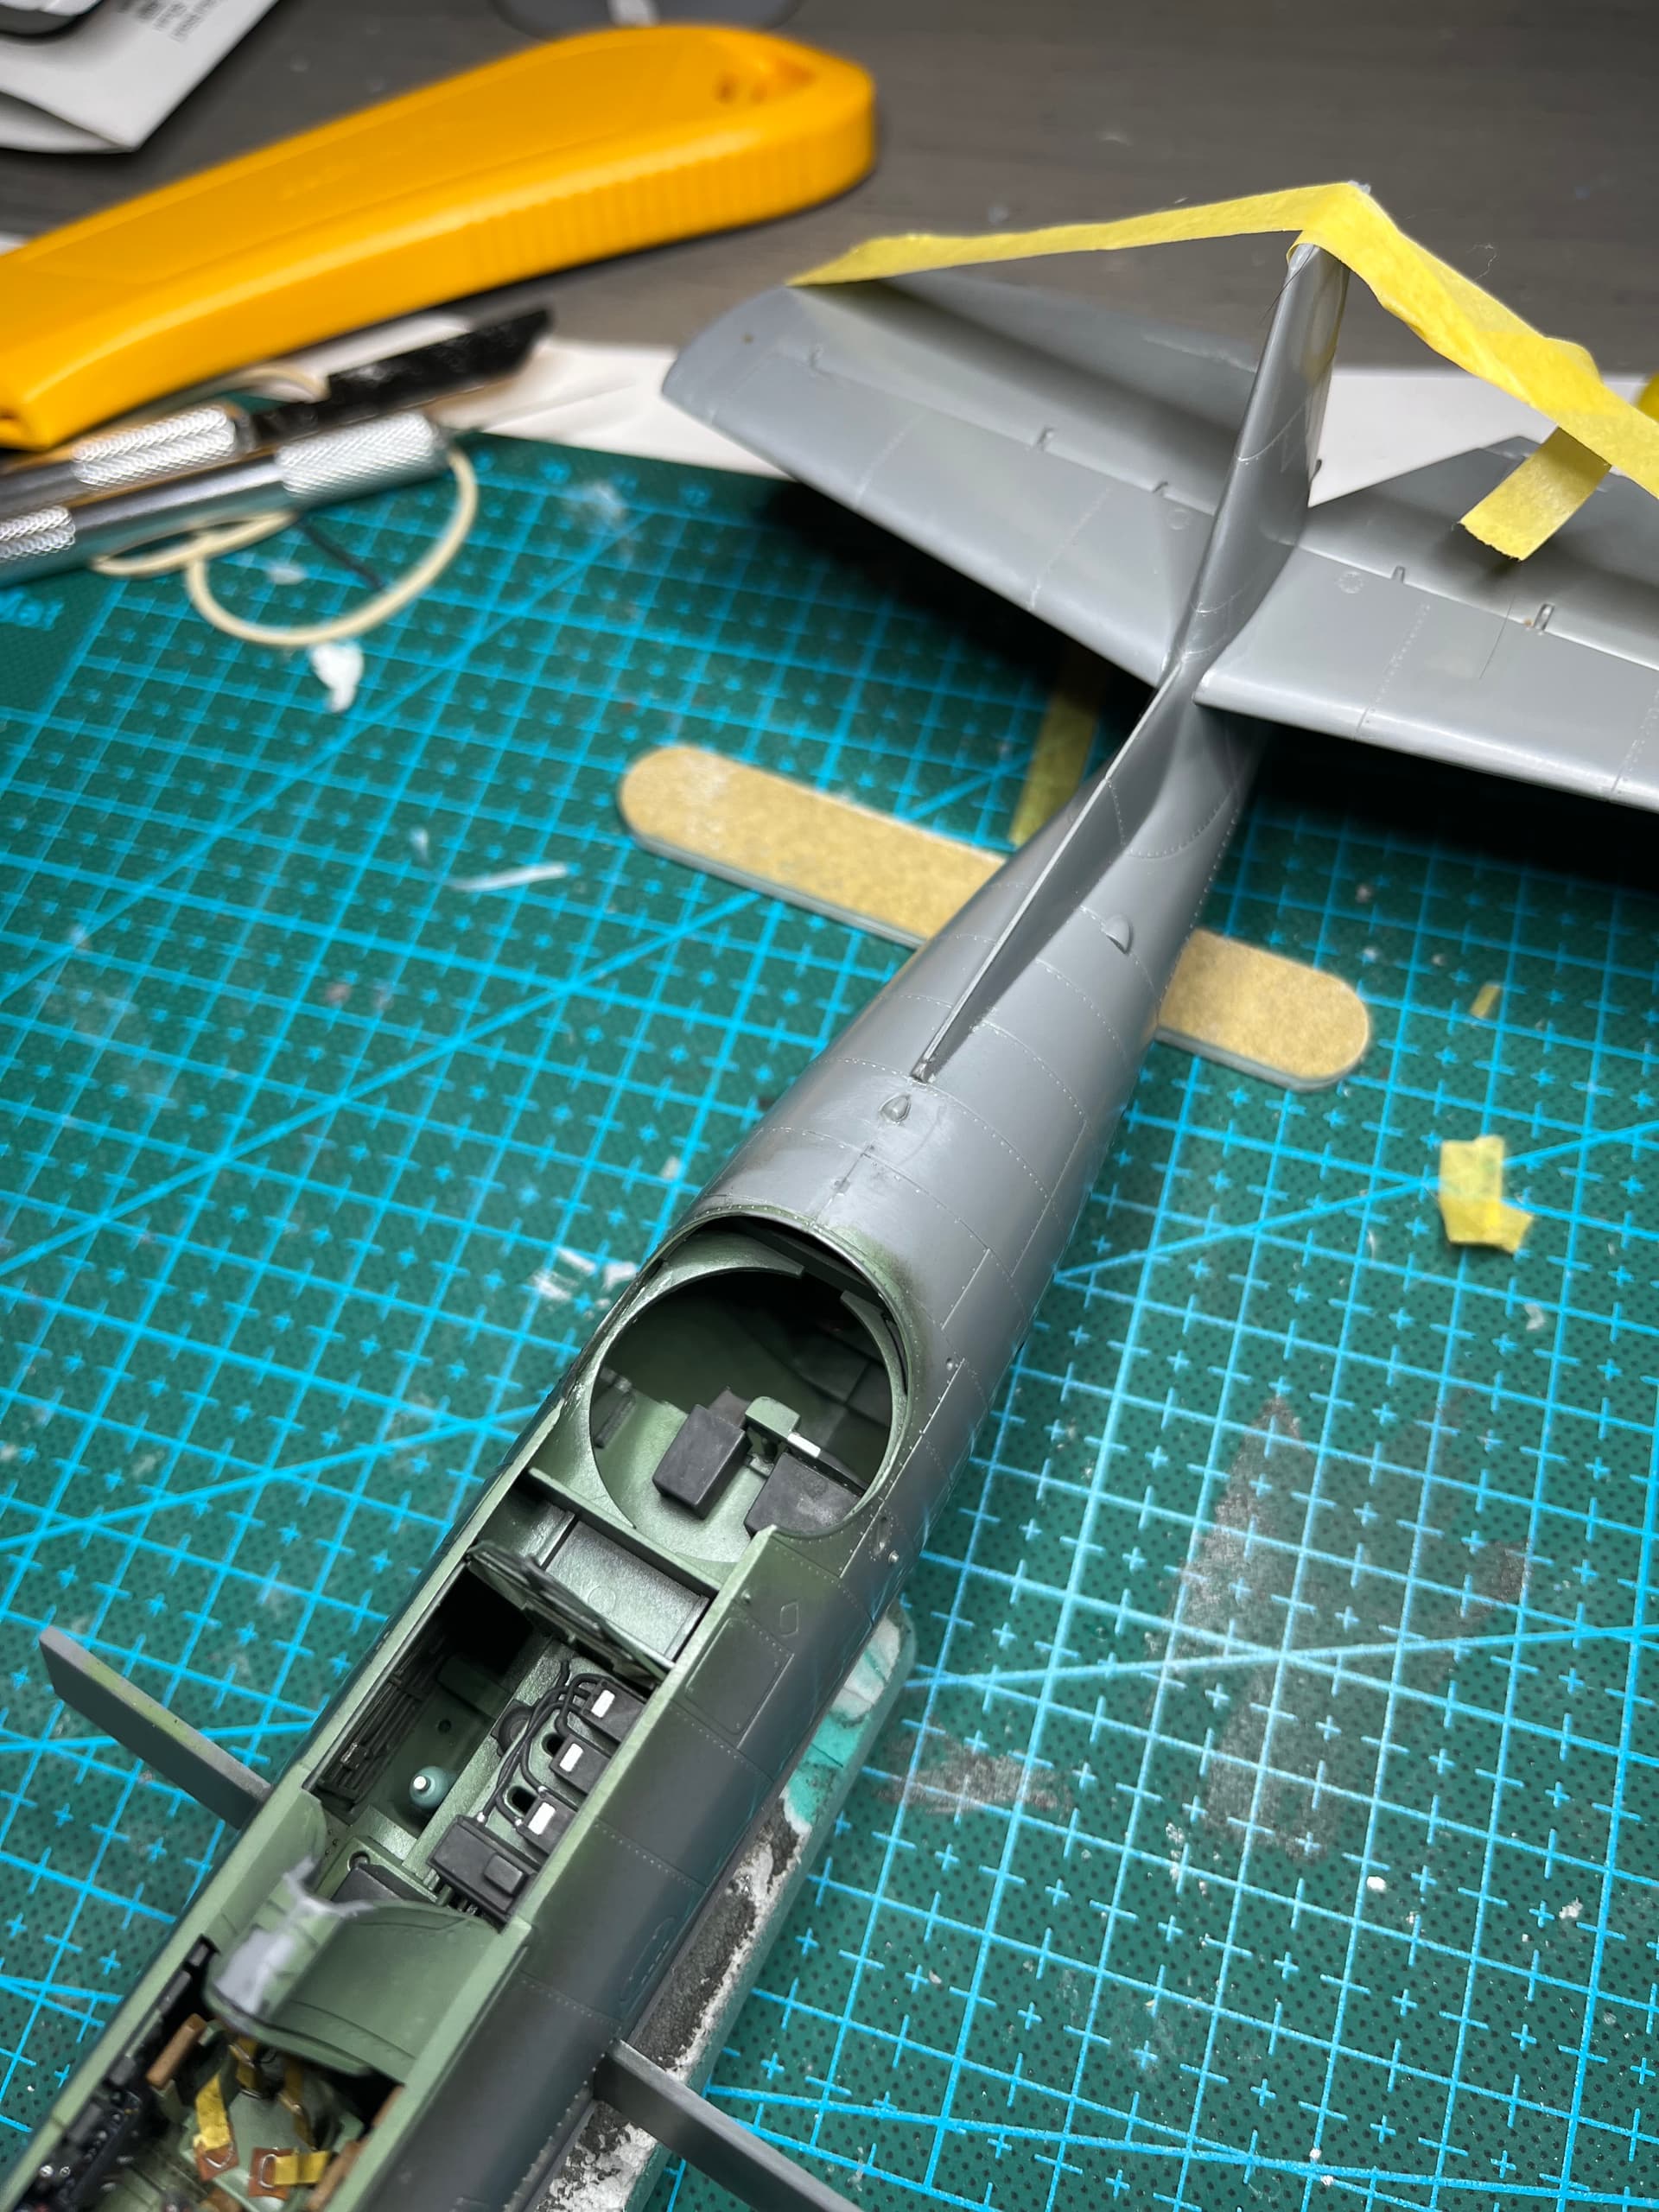
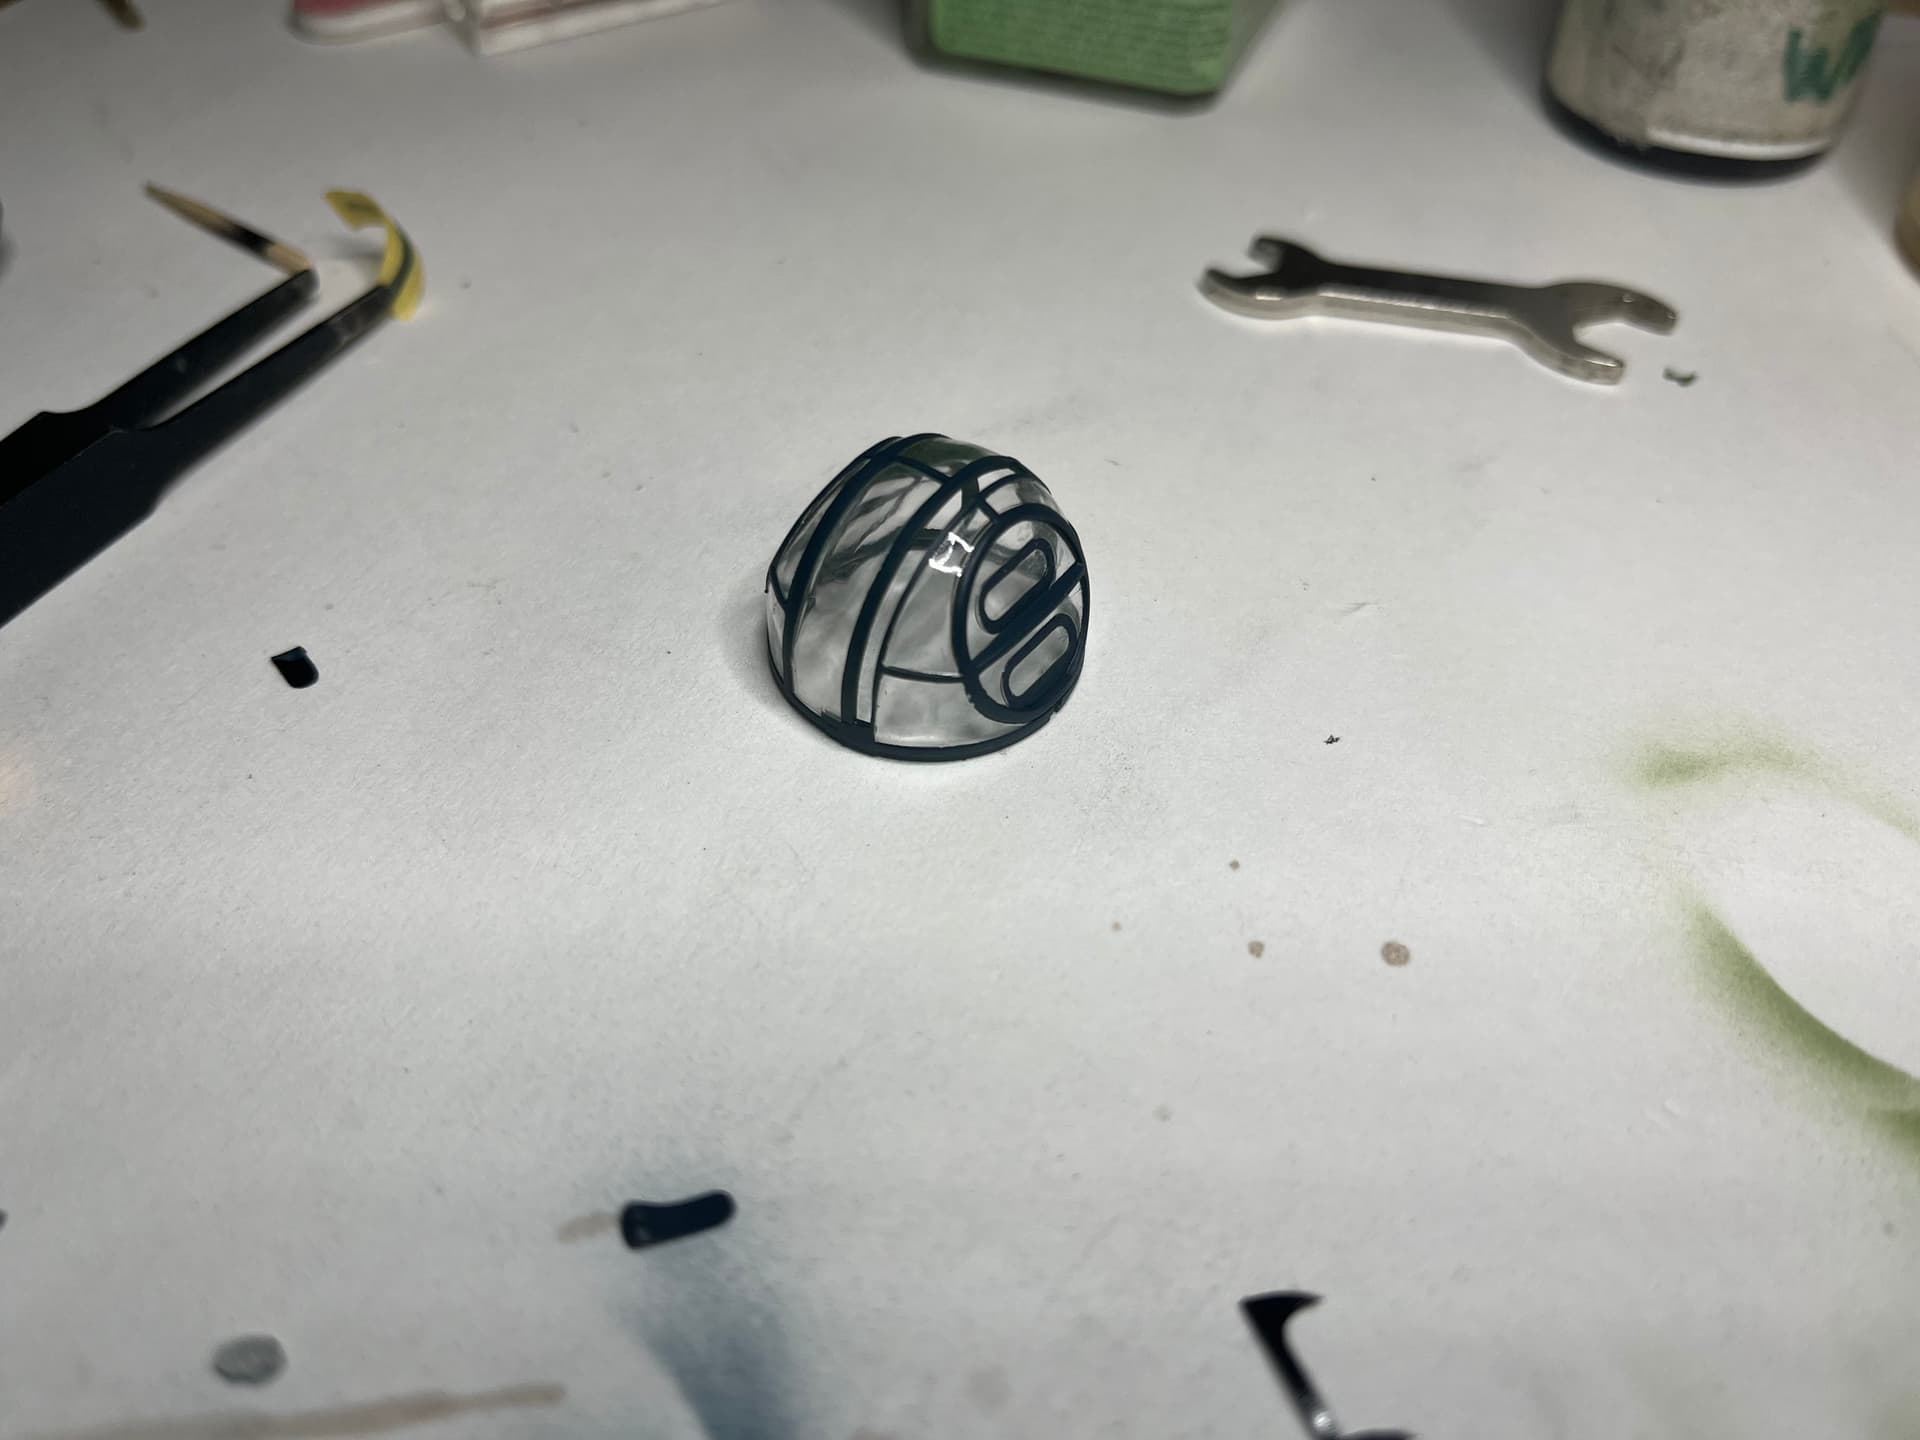
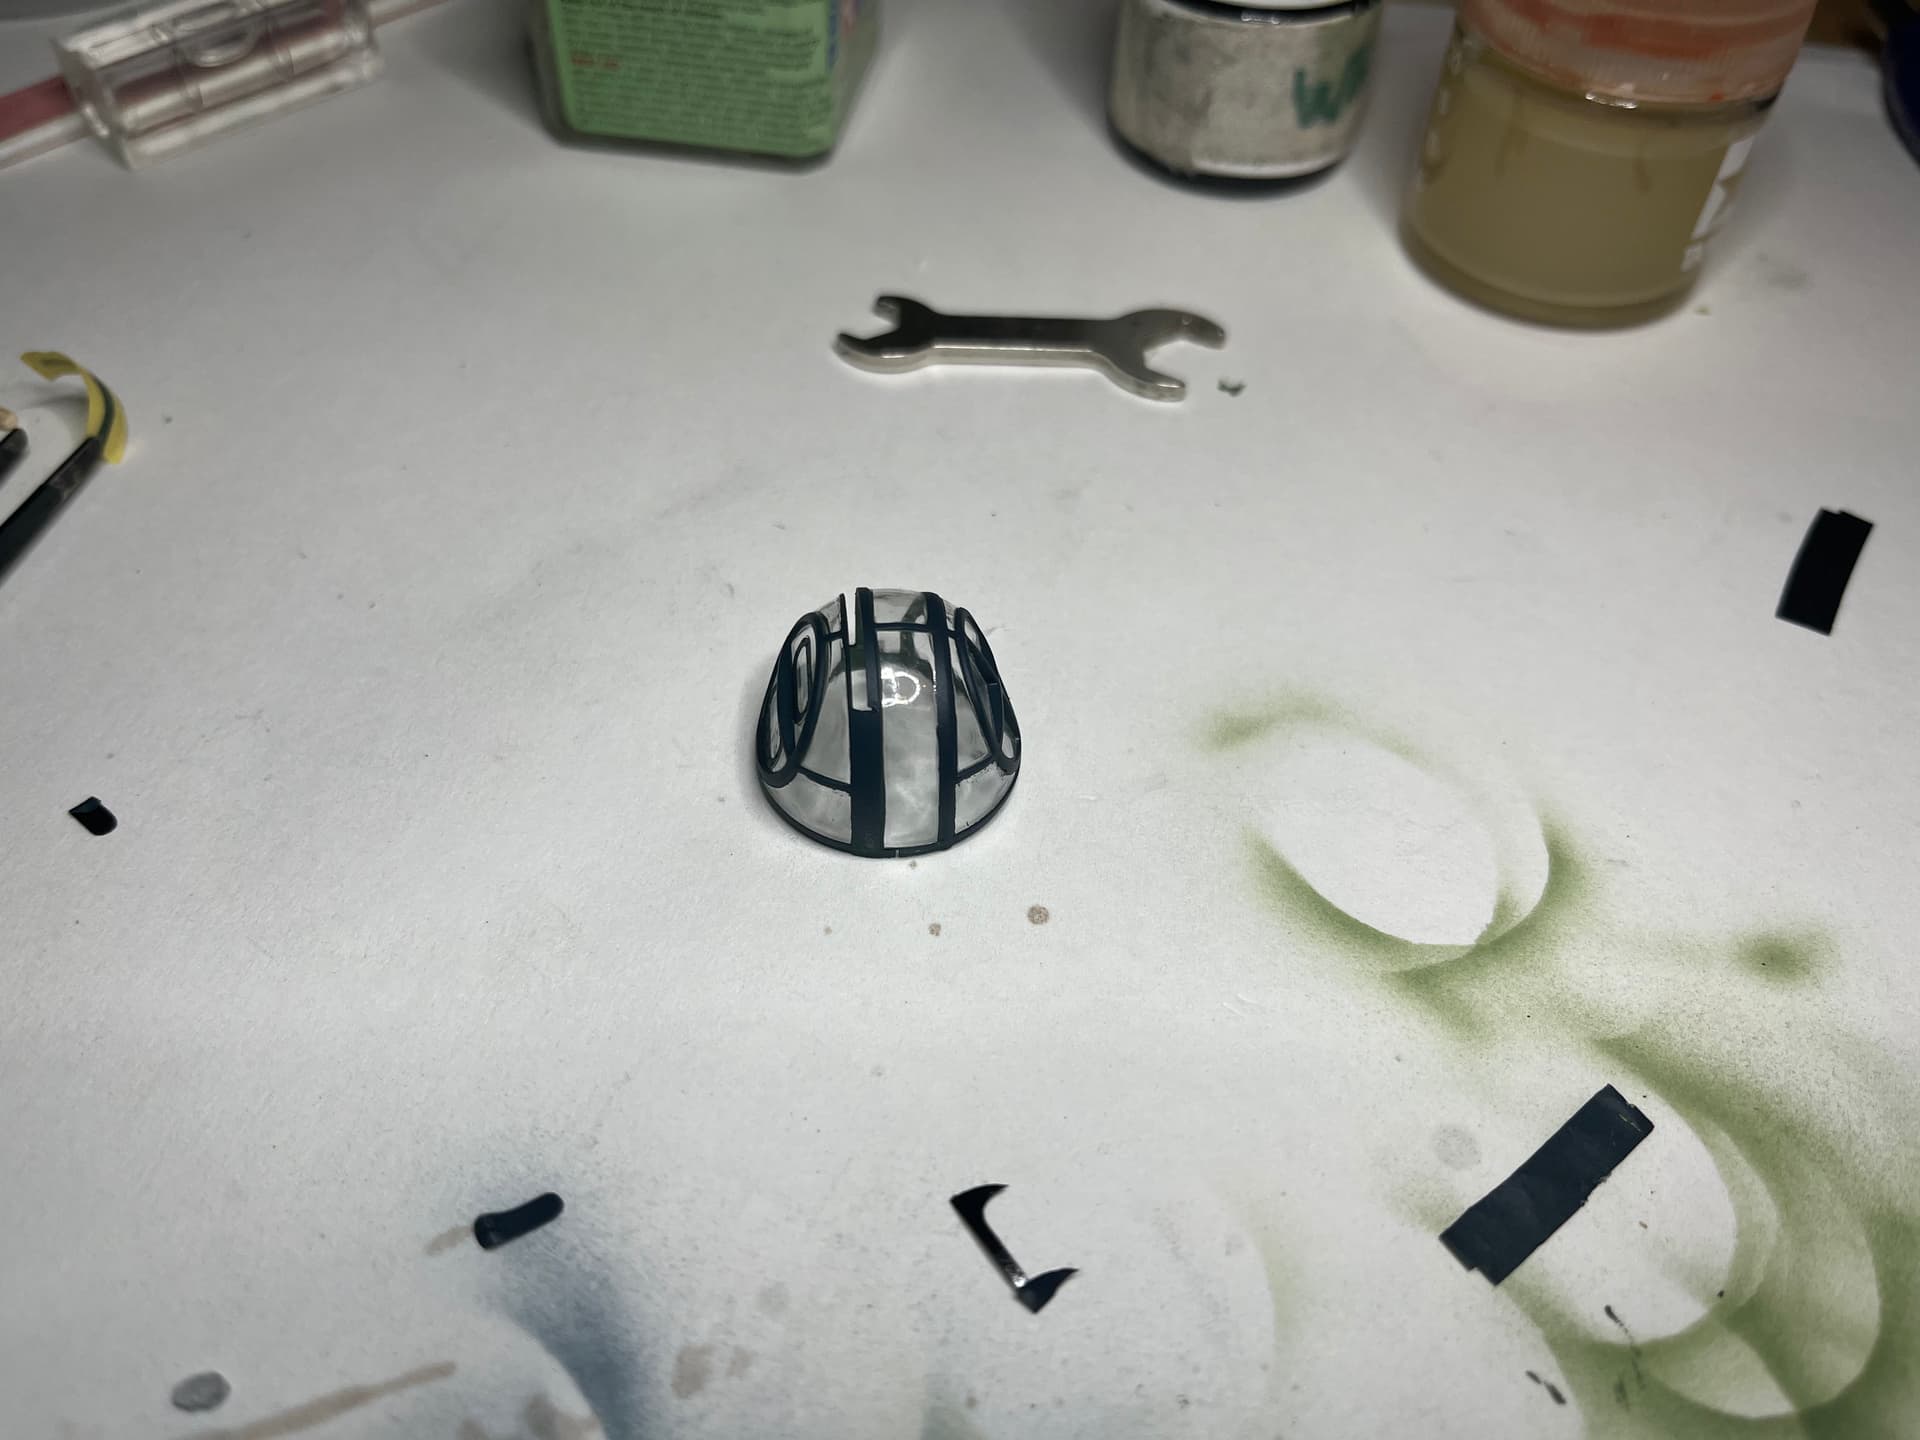
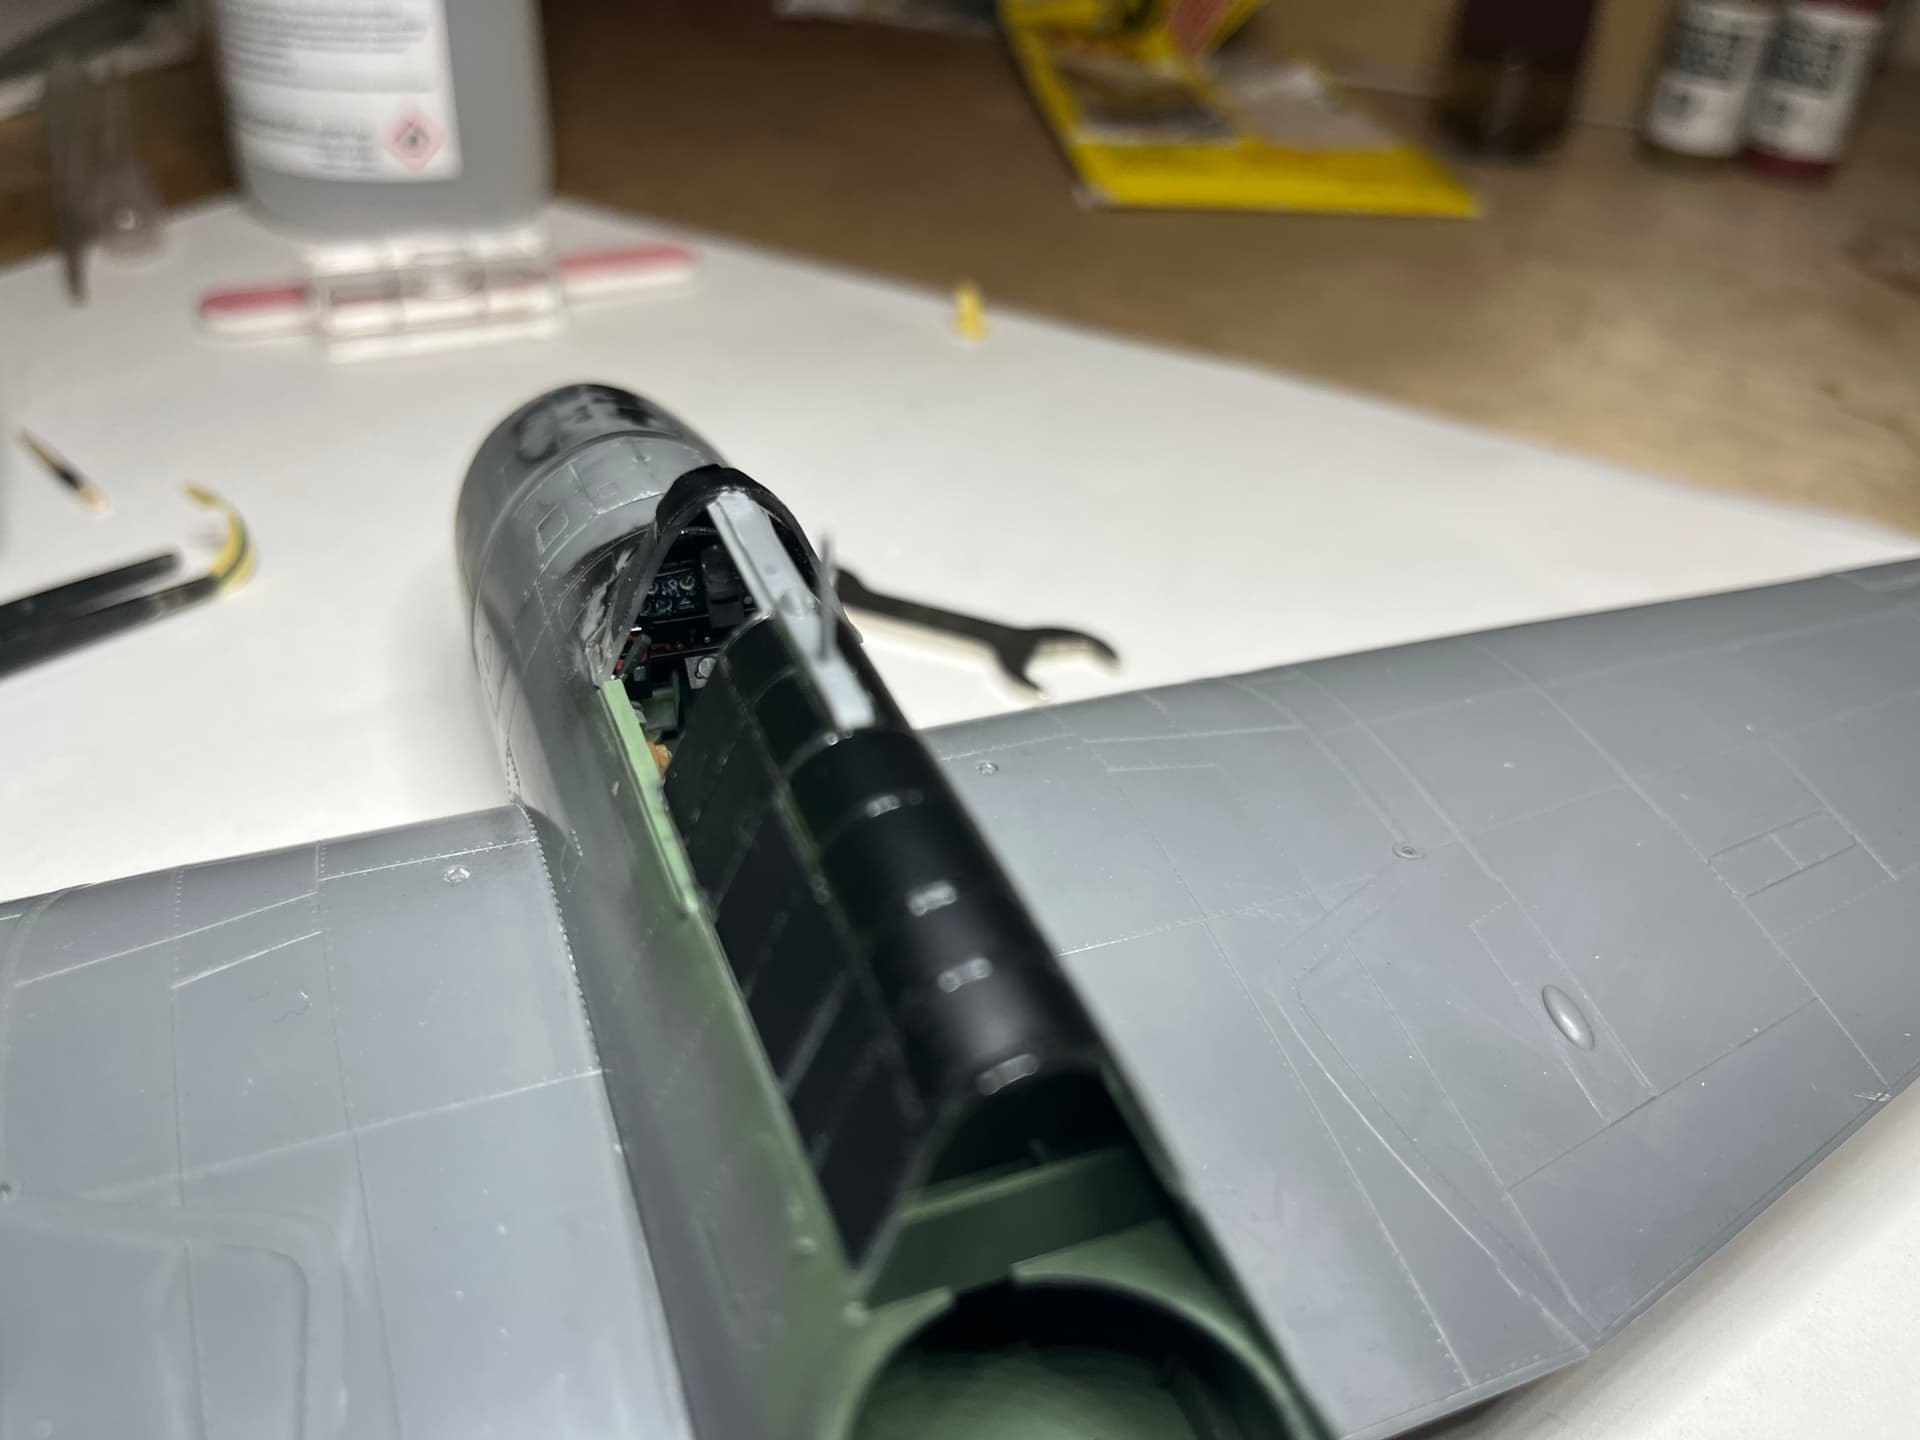
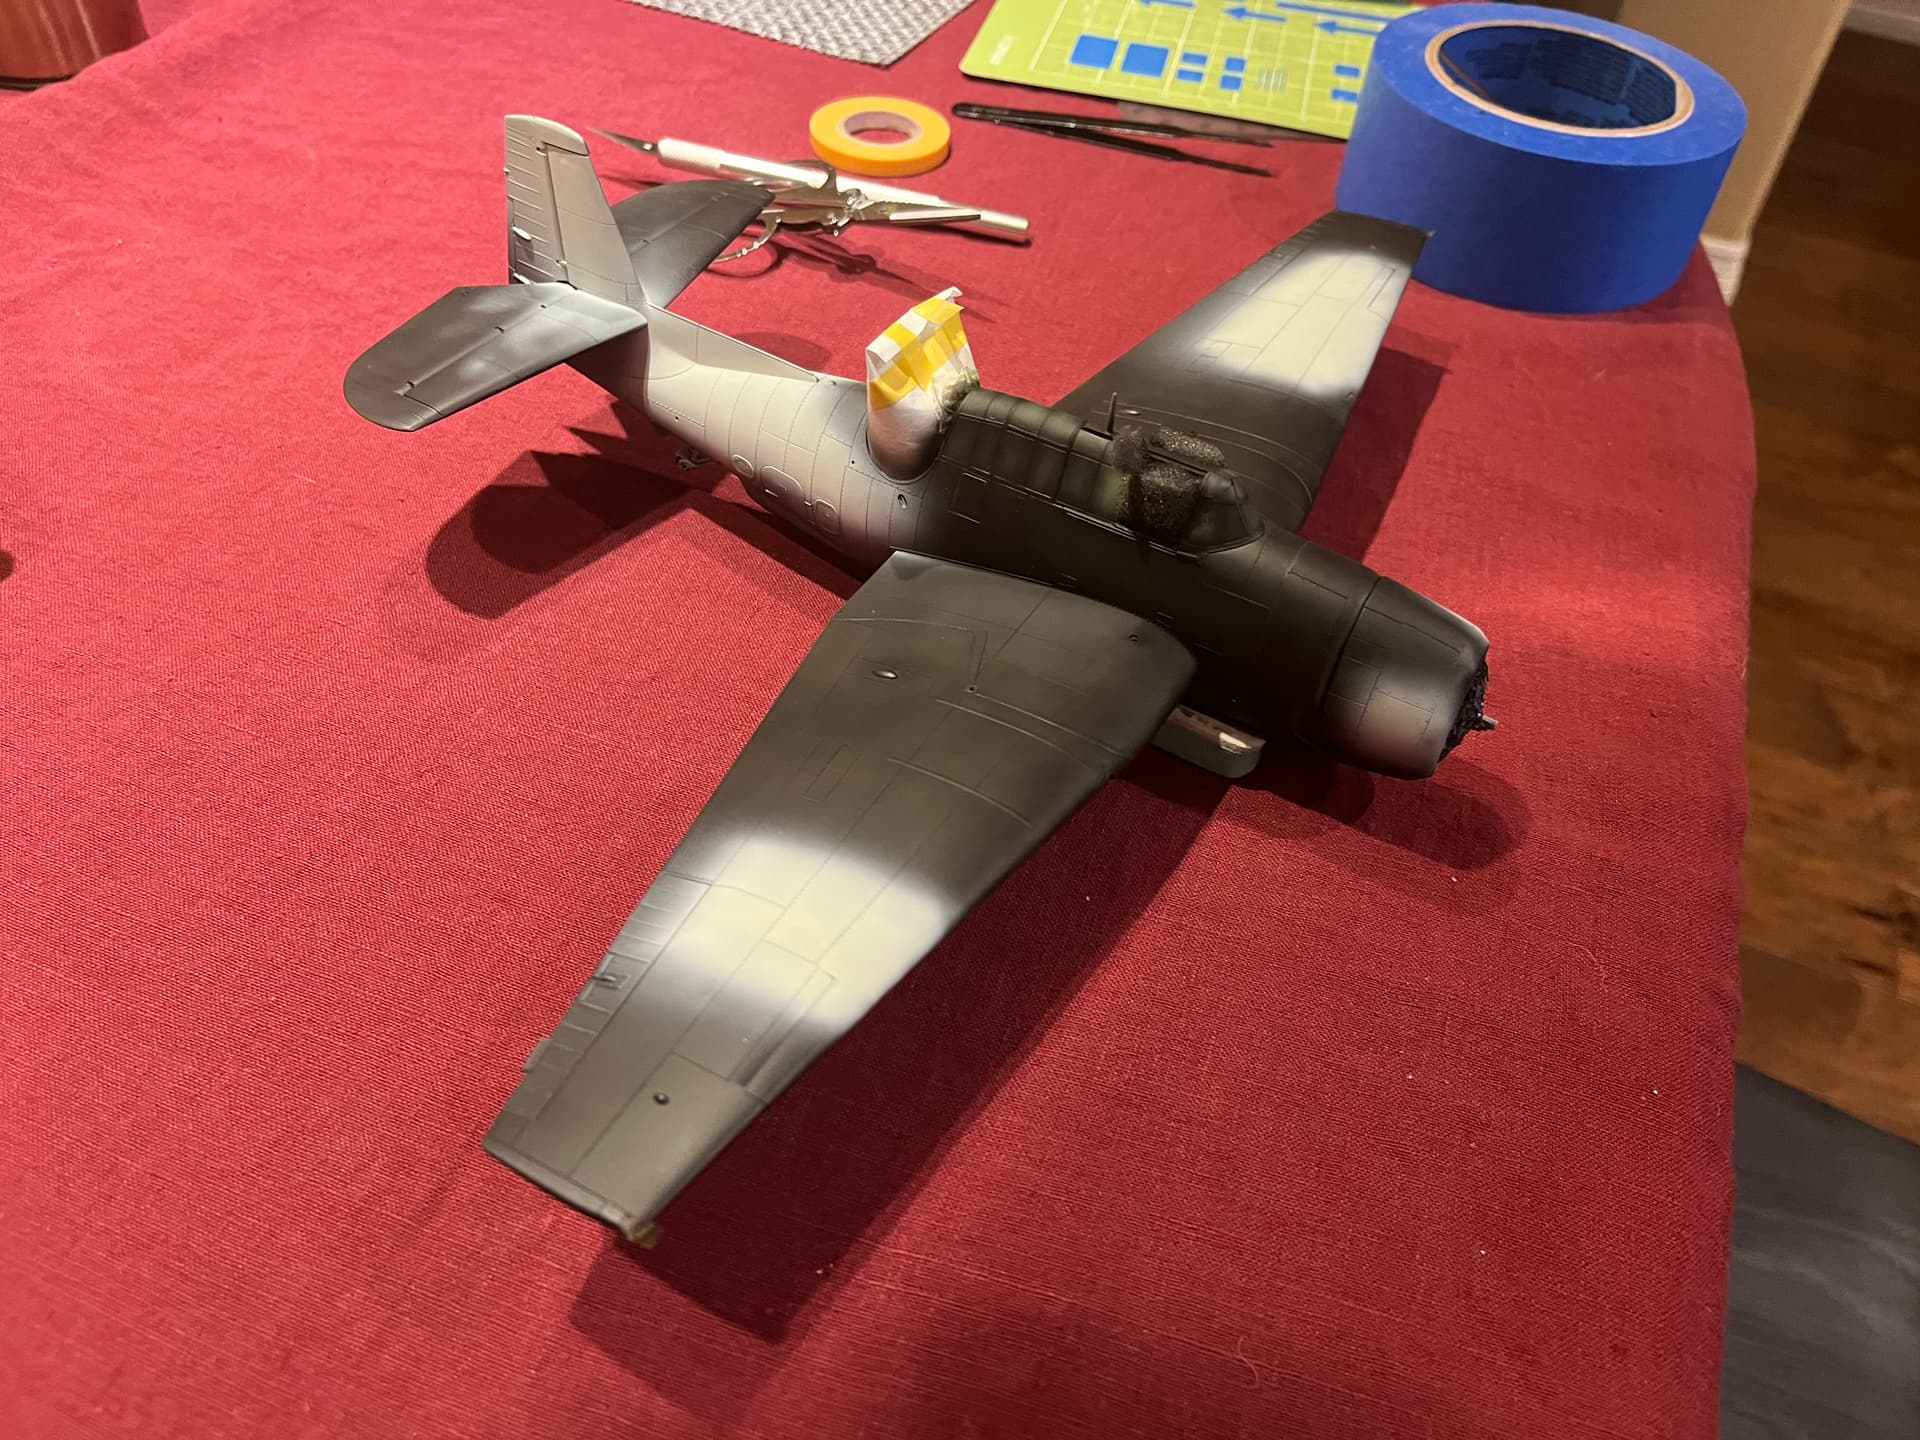
Turkey mostly ready for paint. Need to hit the turret glass with some mineral spirits to remove tape residue then build the turret. Then I’ll add the turret and mask it.
After that, it’s mask the cockpit pit openings and paint
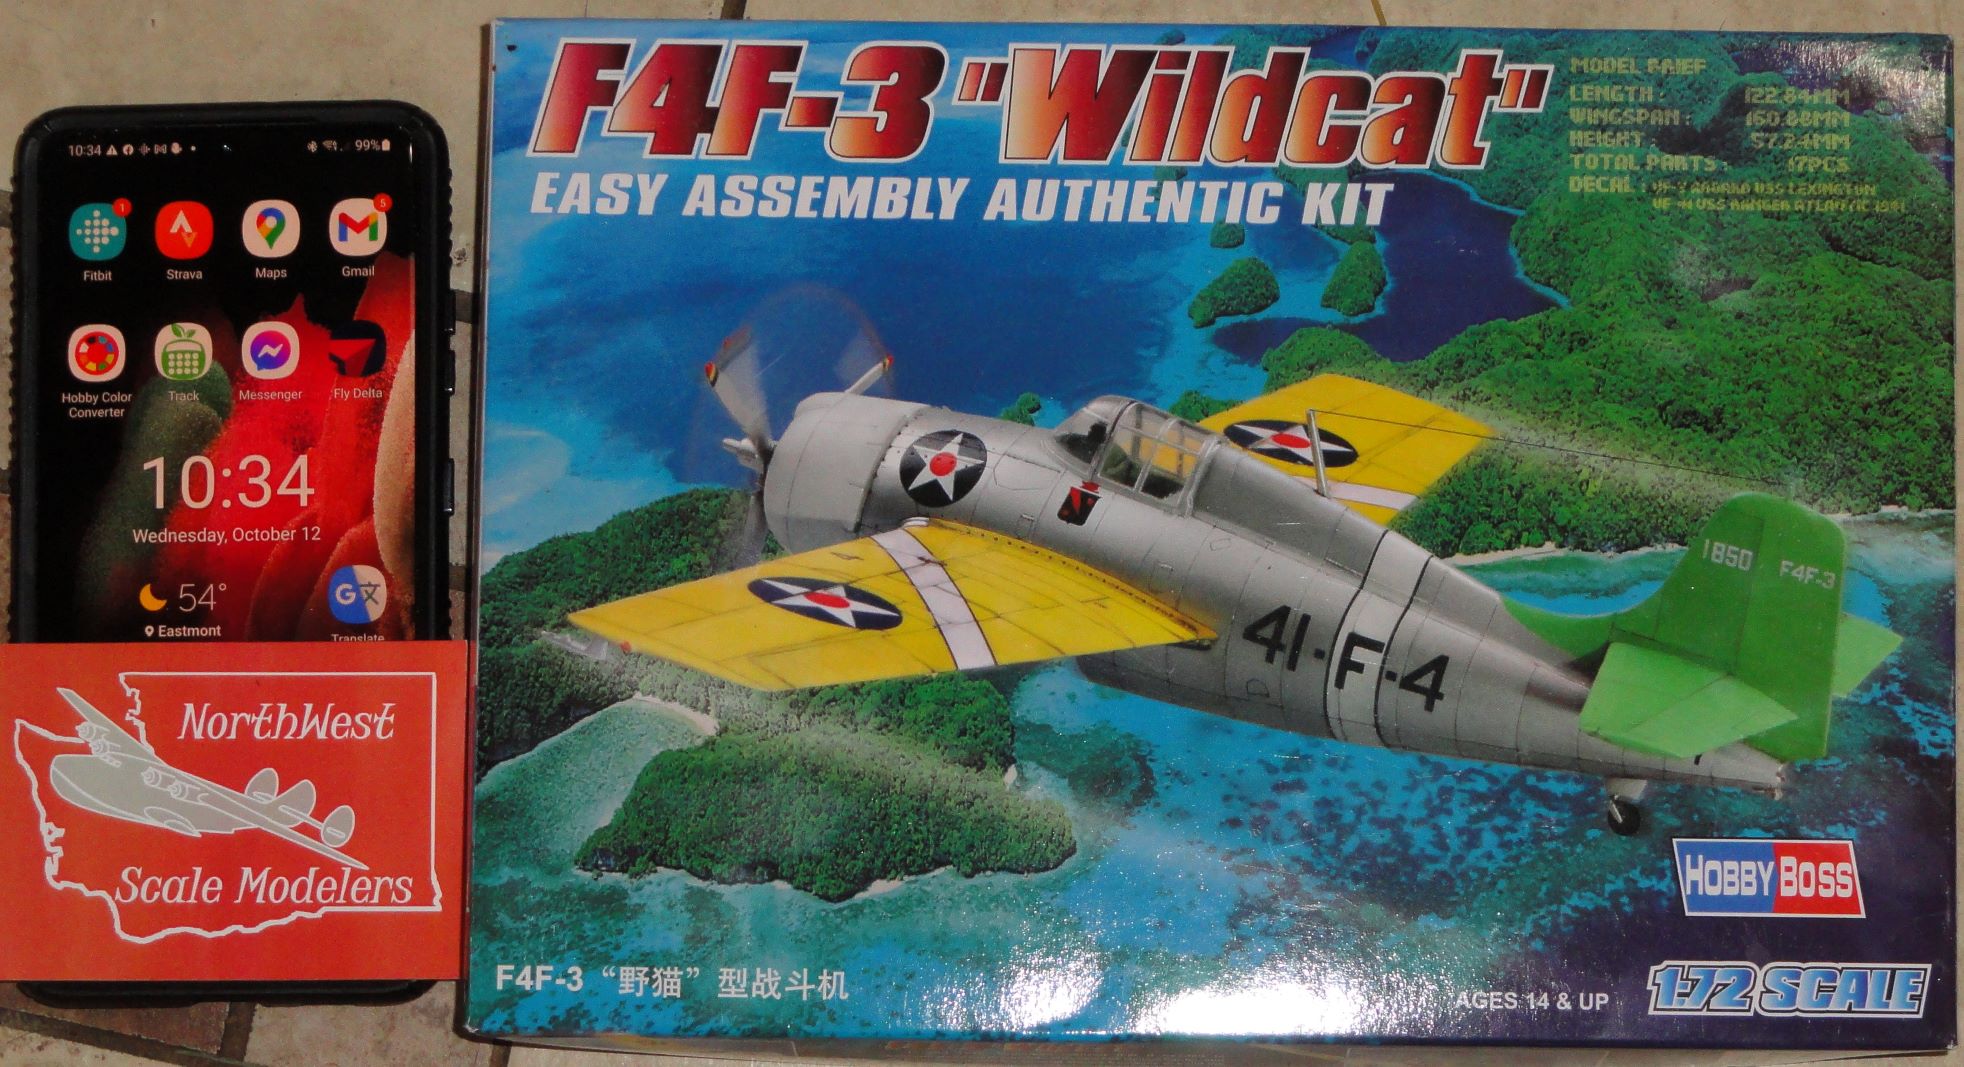
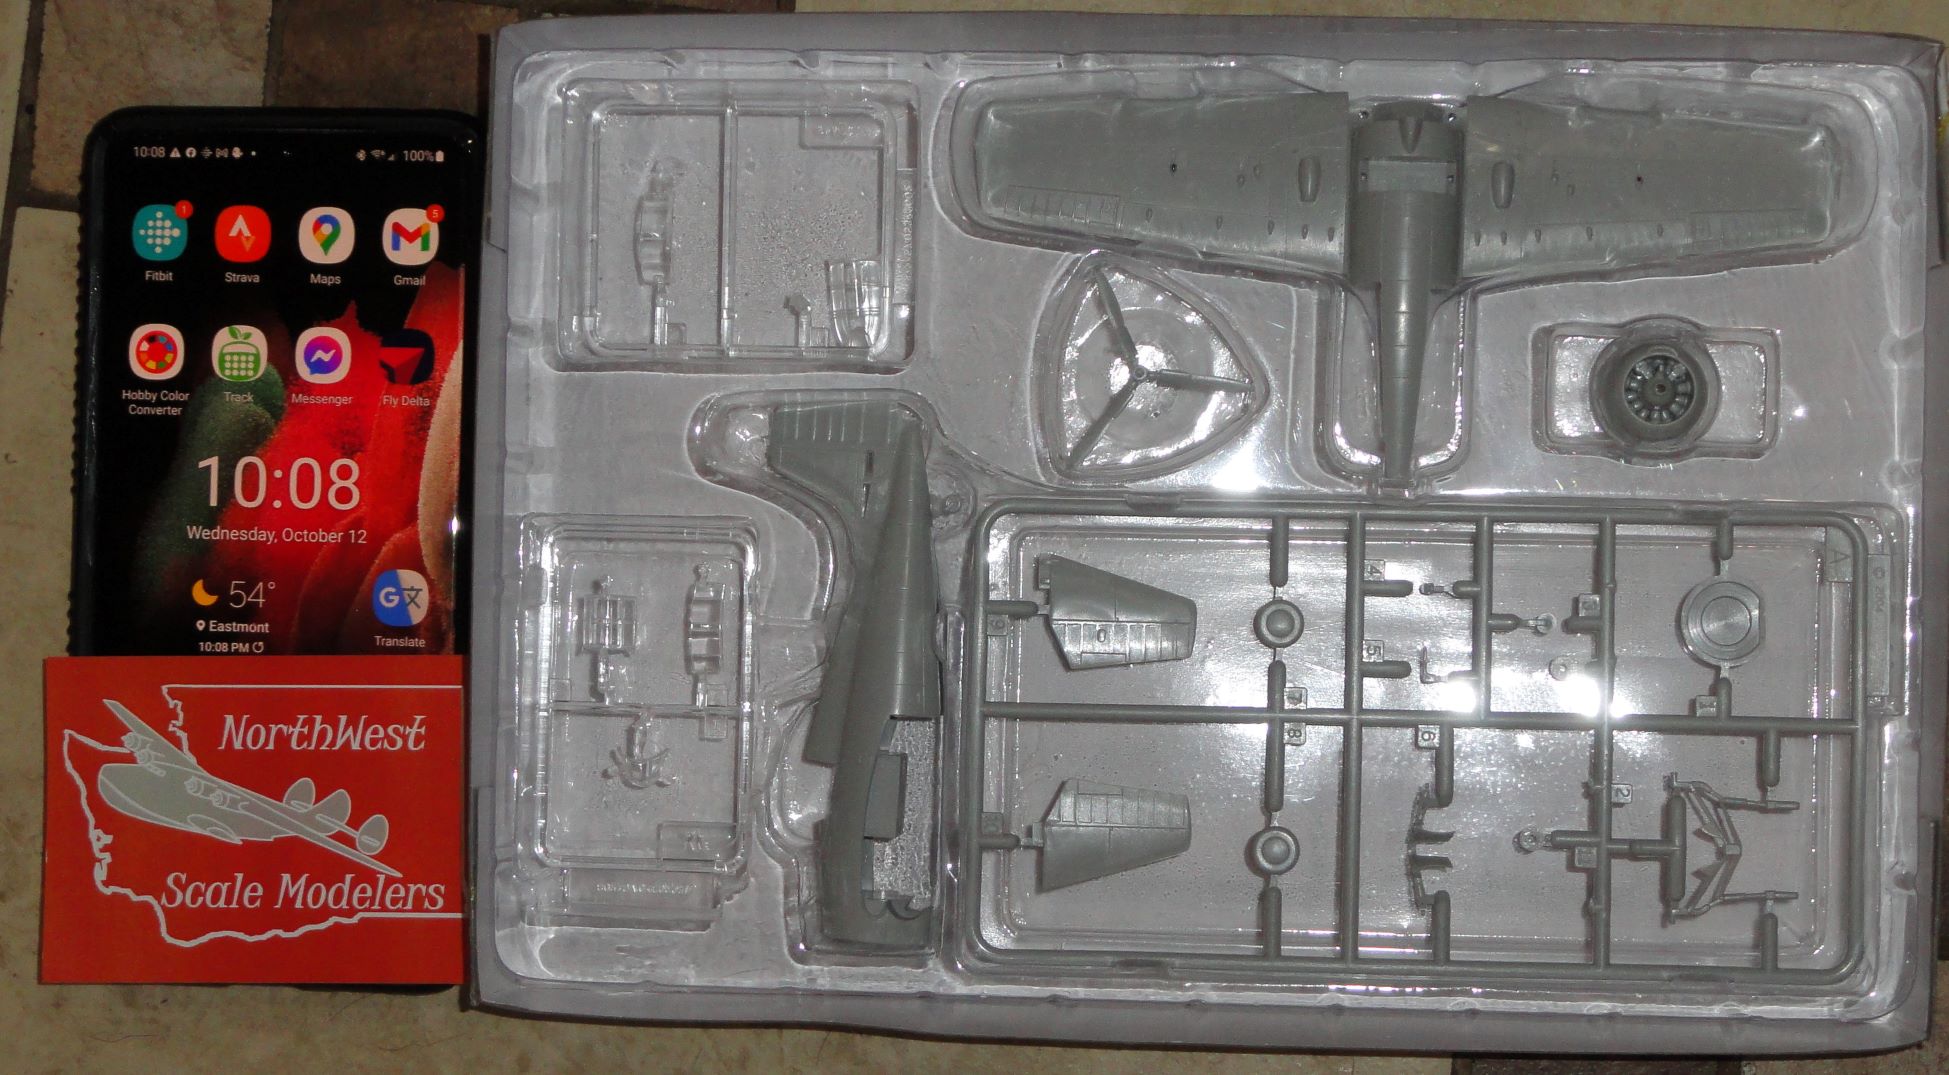
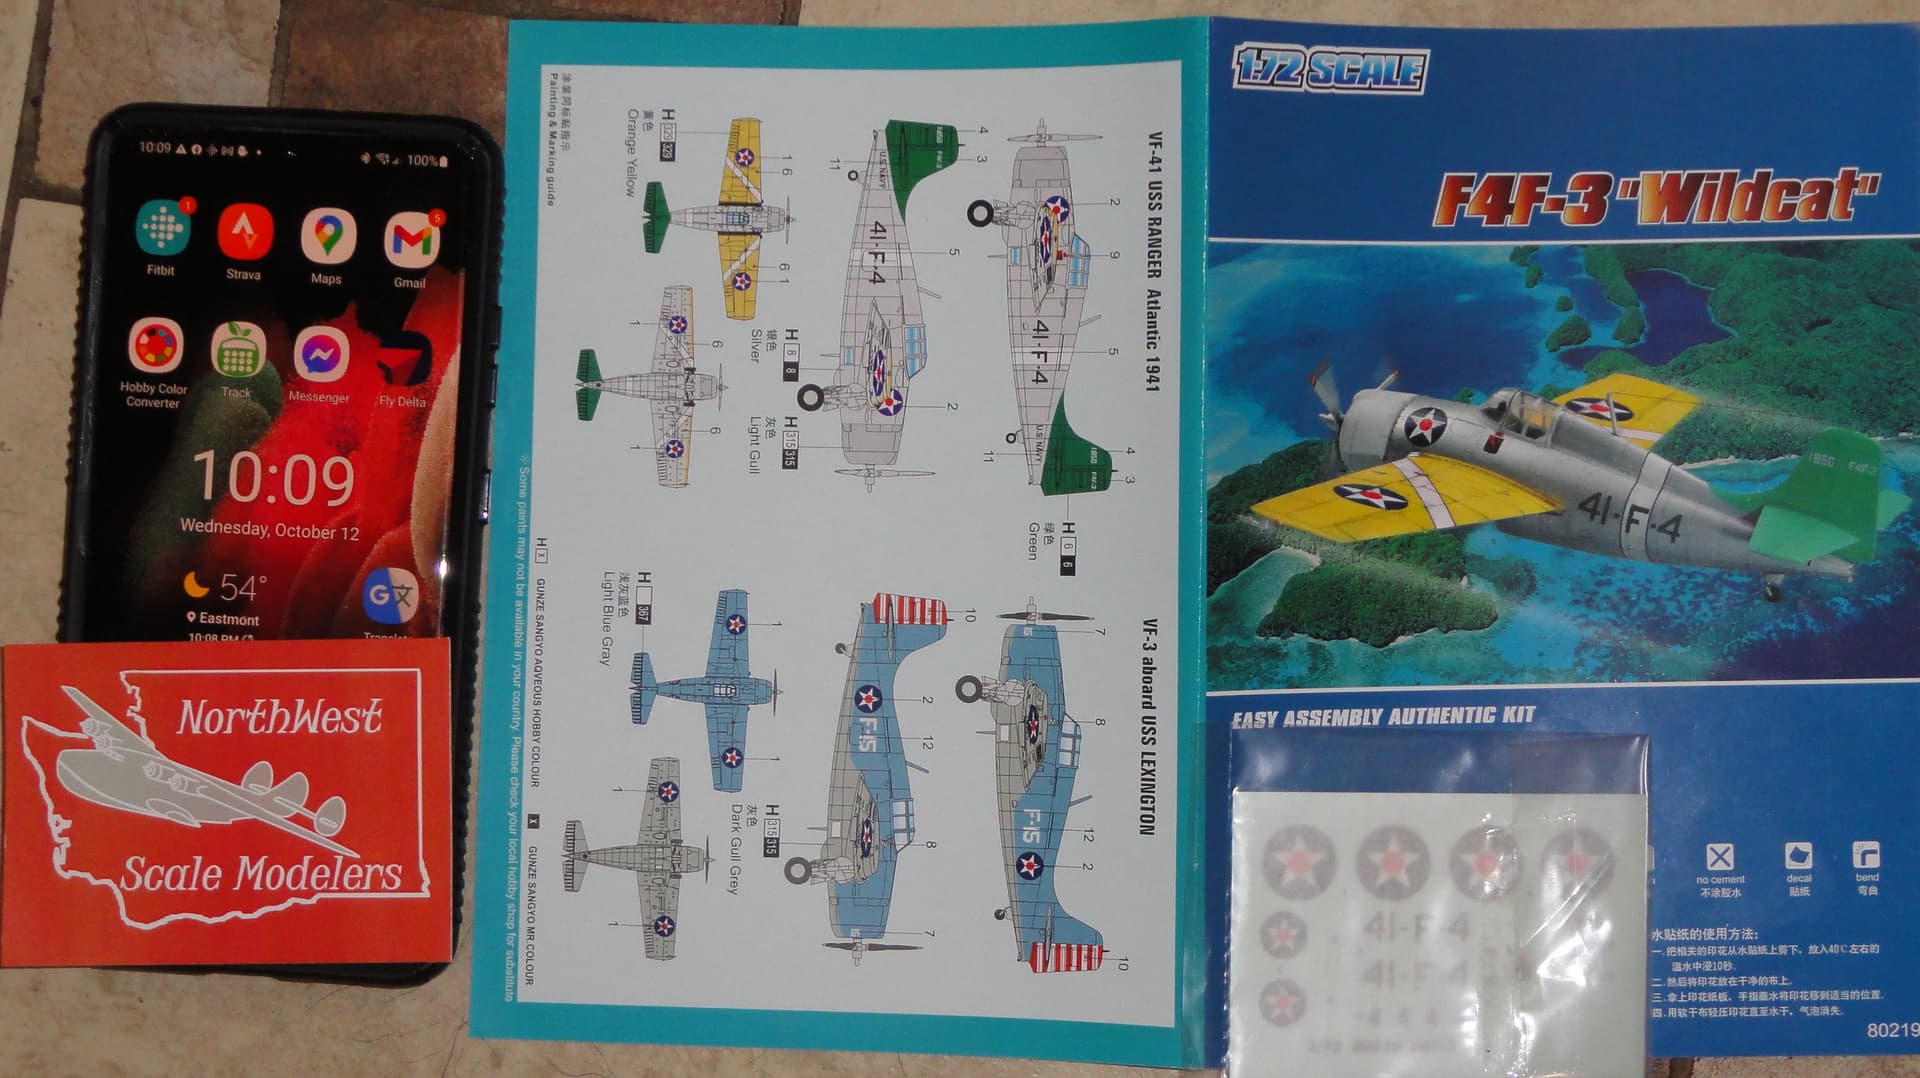
There’s hardly anything to it. It’s supposed to be easy, there are only 17 pieces and I won’t be using 4 of them. On the other hand, it’s an F4F-4 in -3 clothing. So it might not be easy.
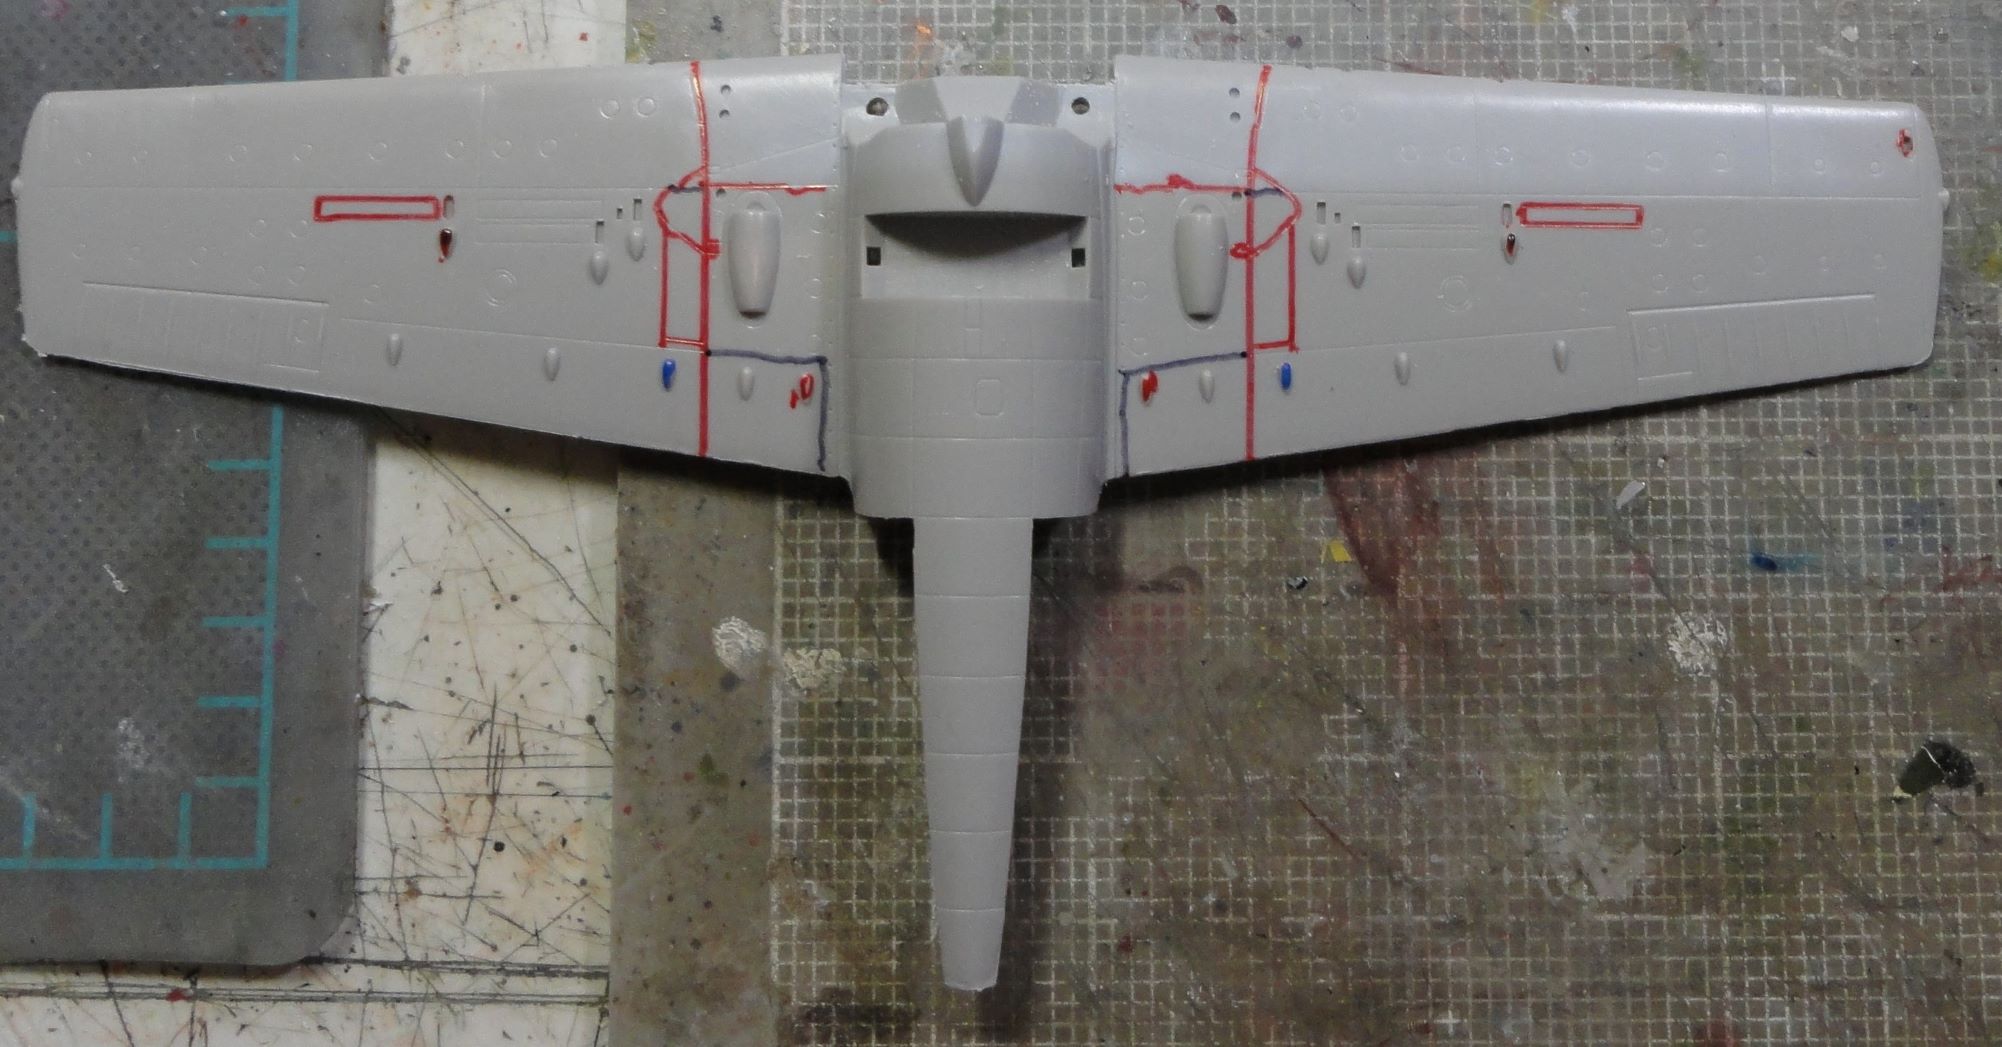
I’ll have to fill the wing fold panels, fill the 3rd machine gun bay, re hinge the flap and re-scribe it, A couple of other panels need messed with.
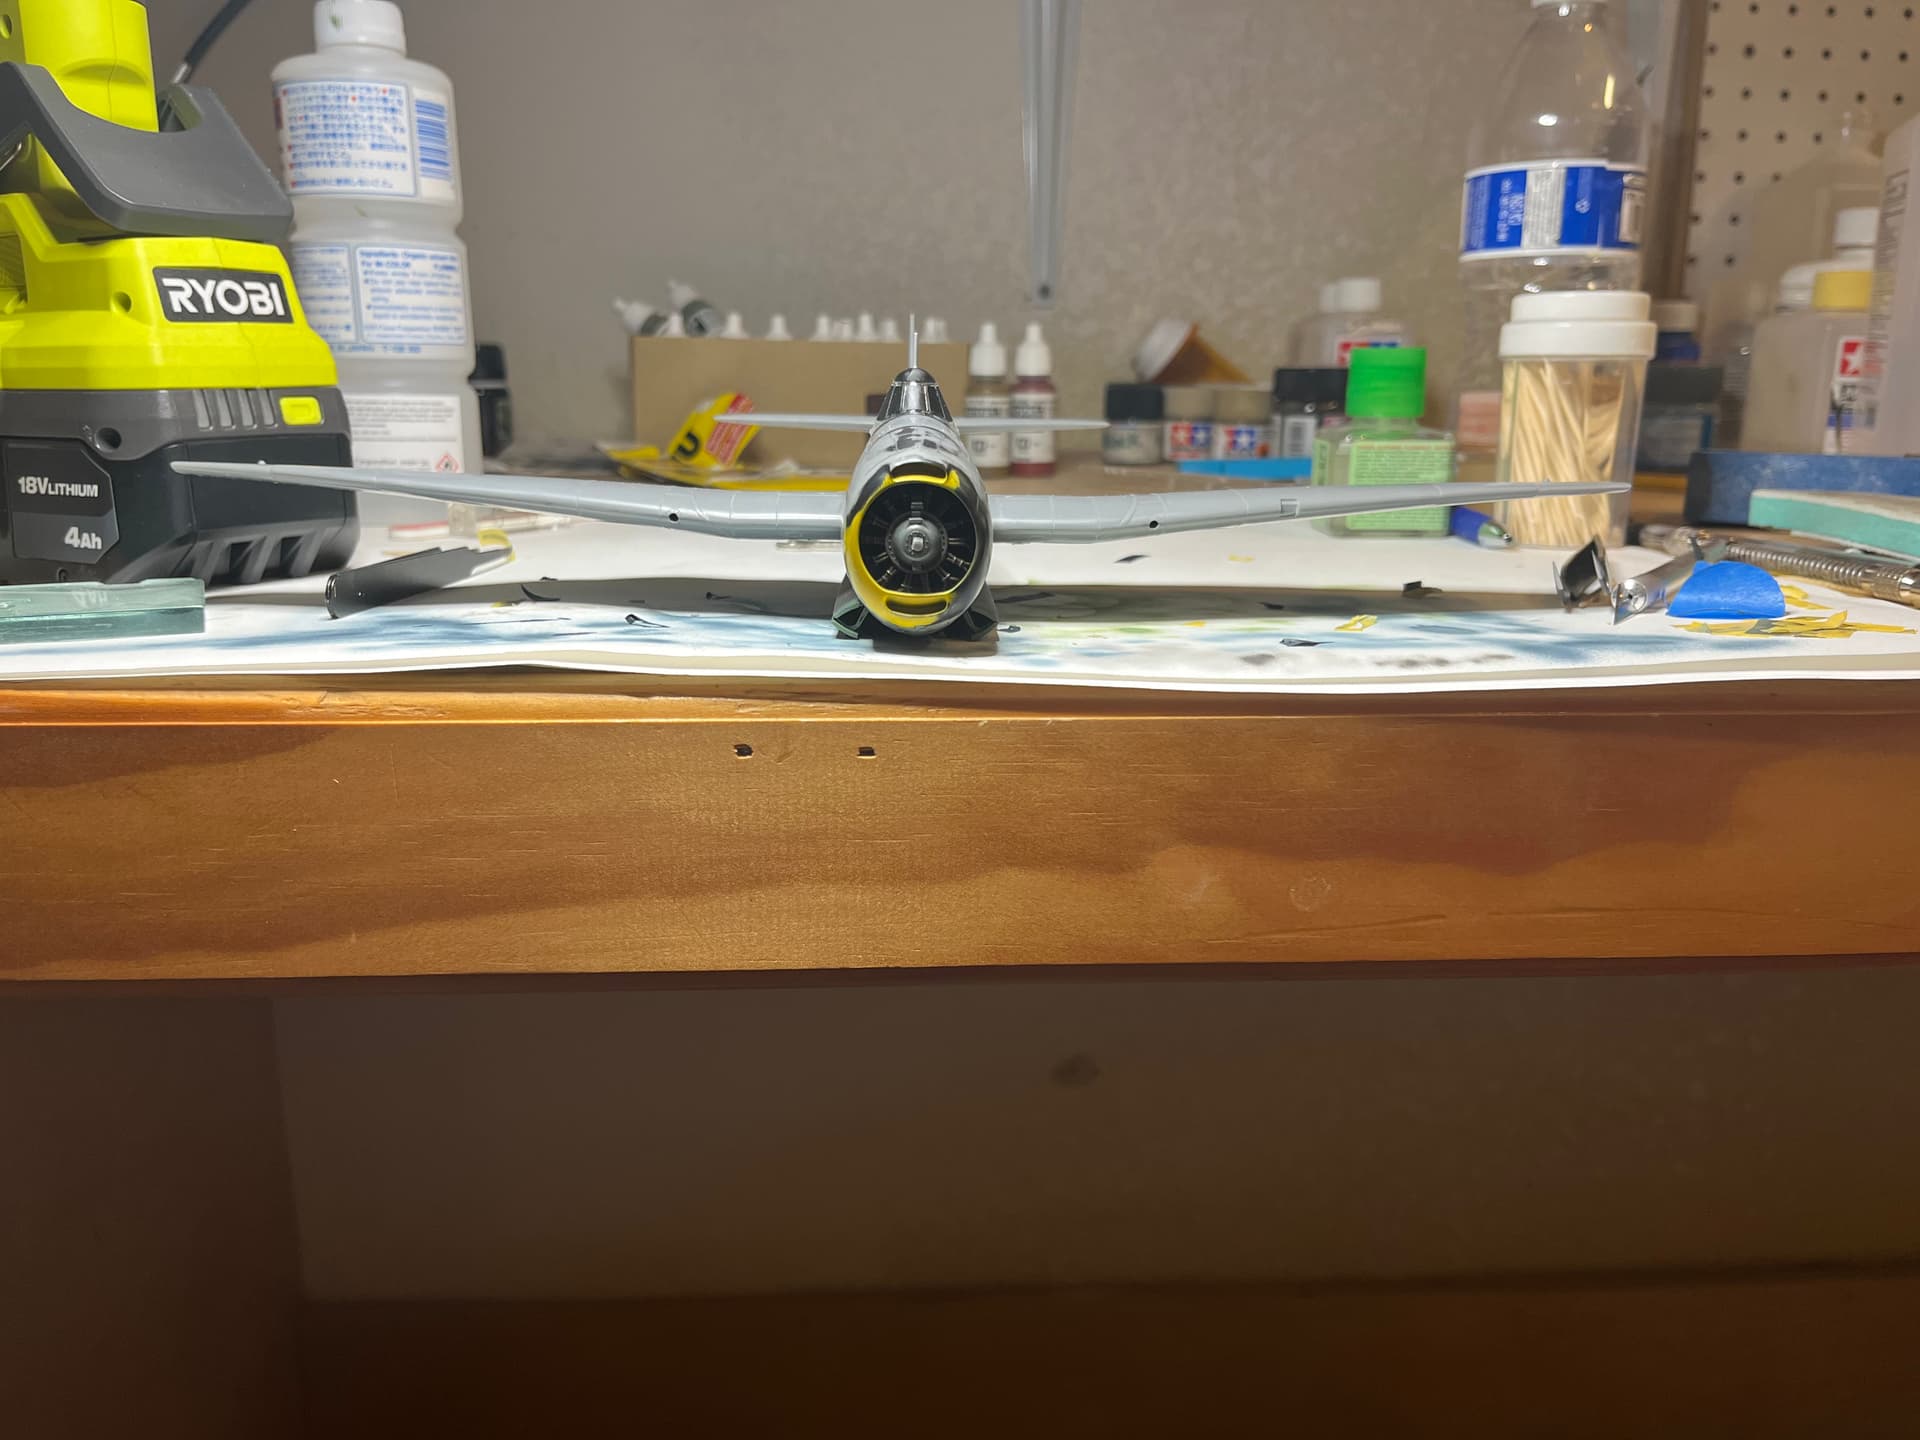
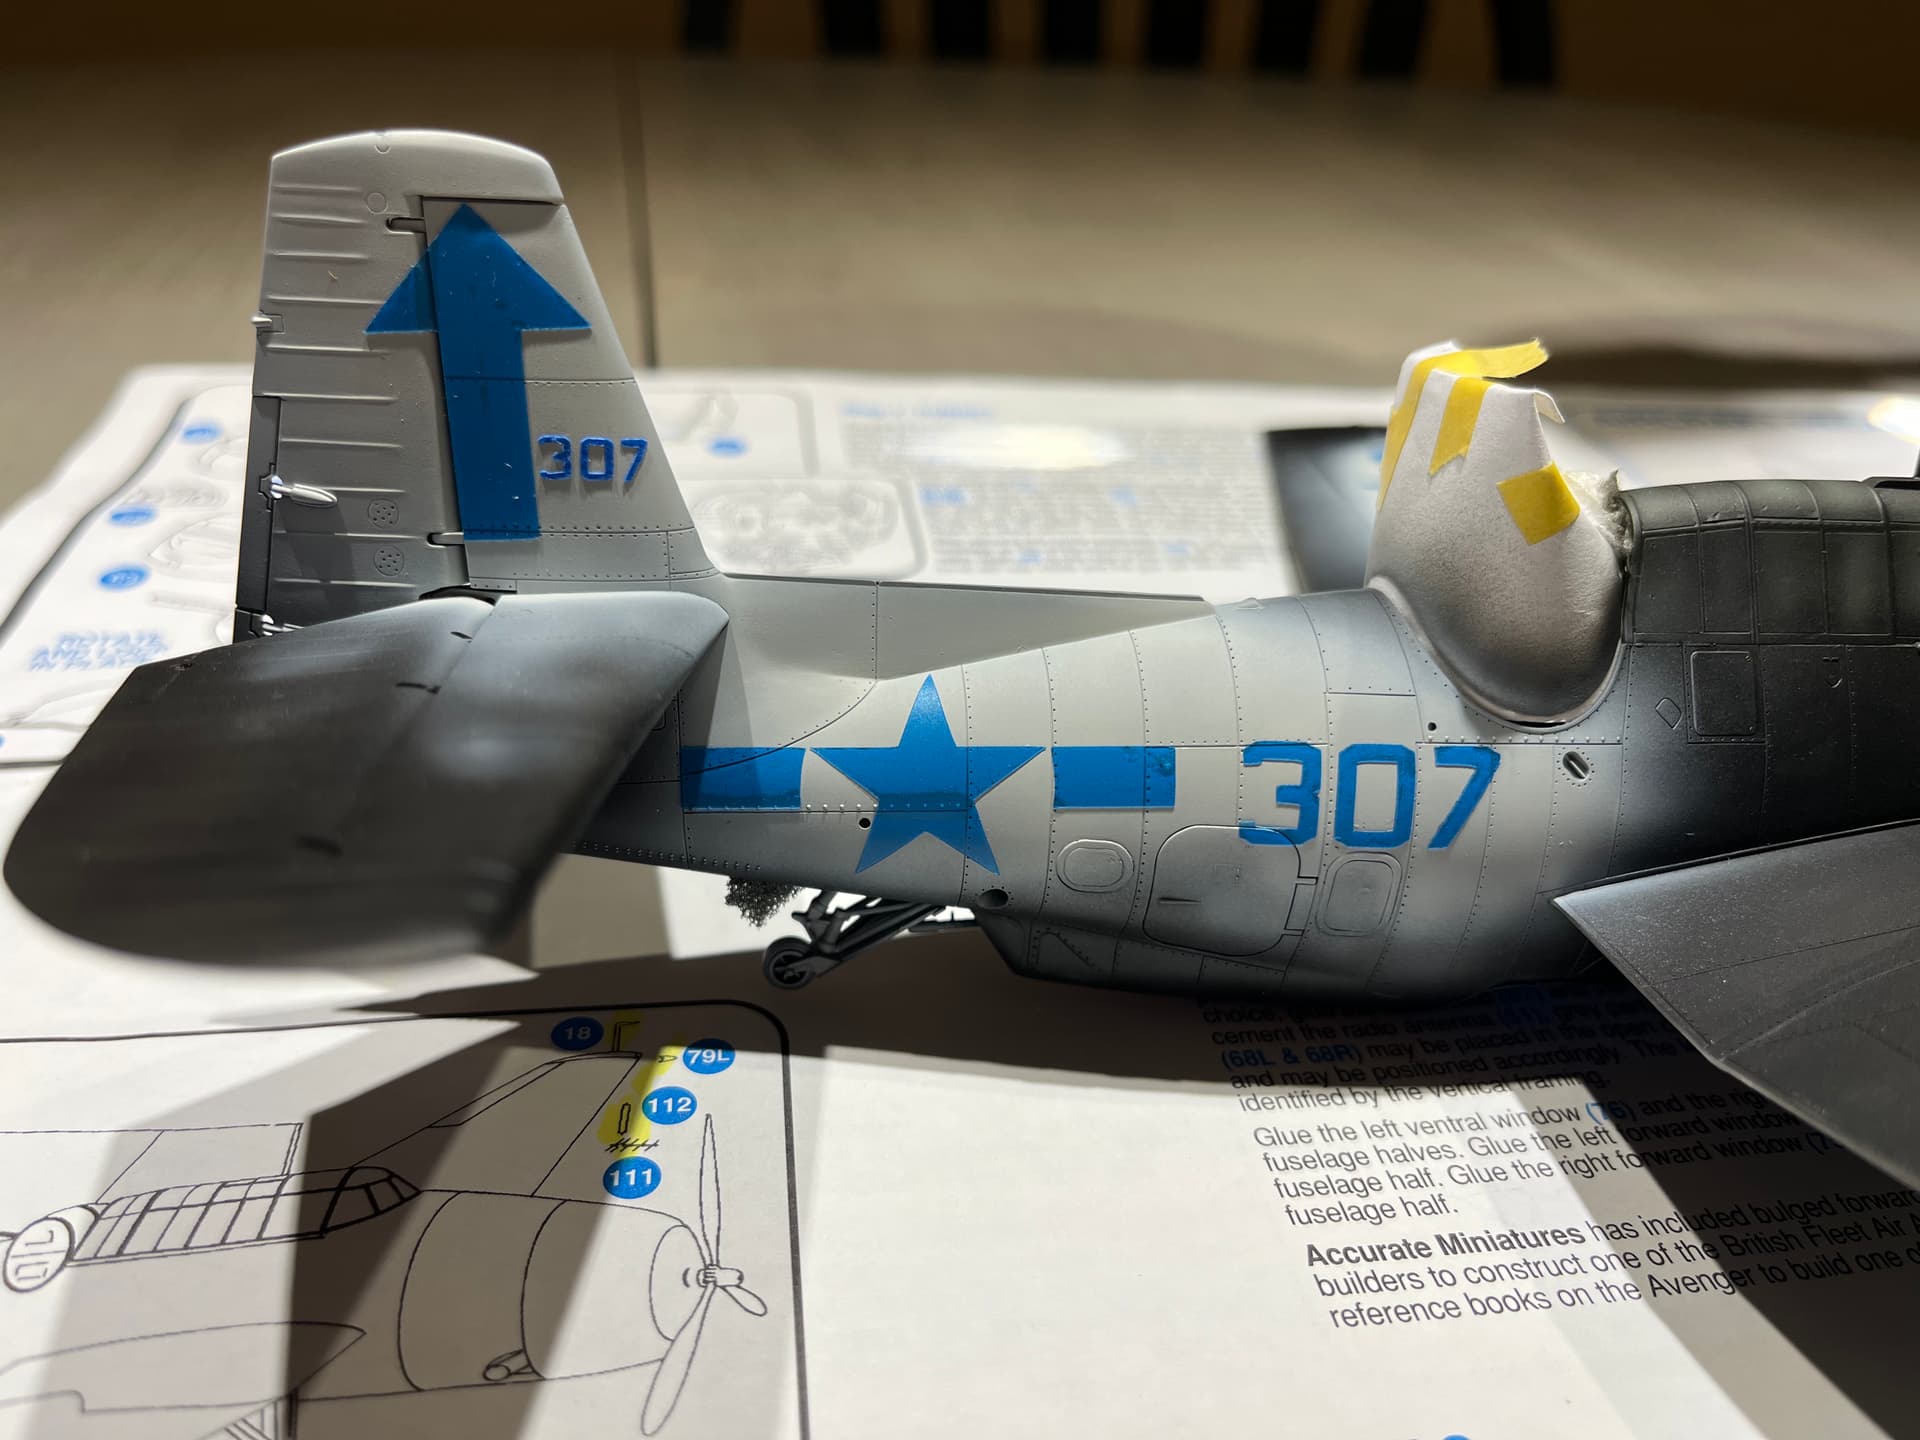
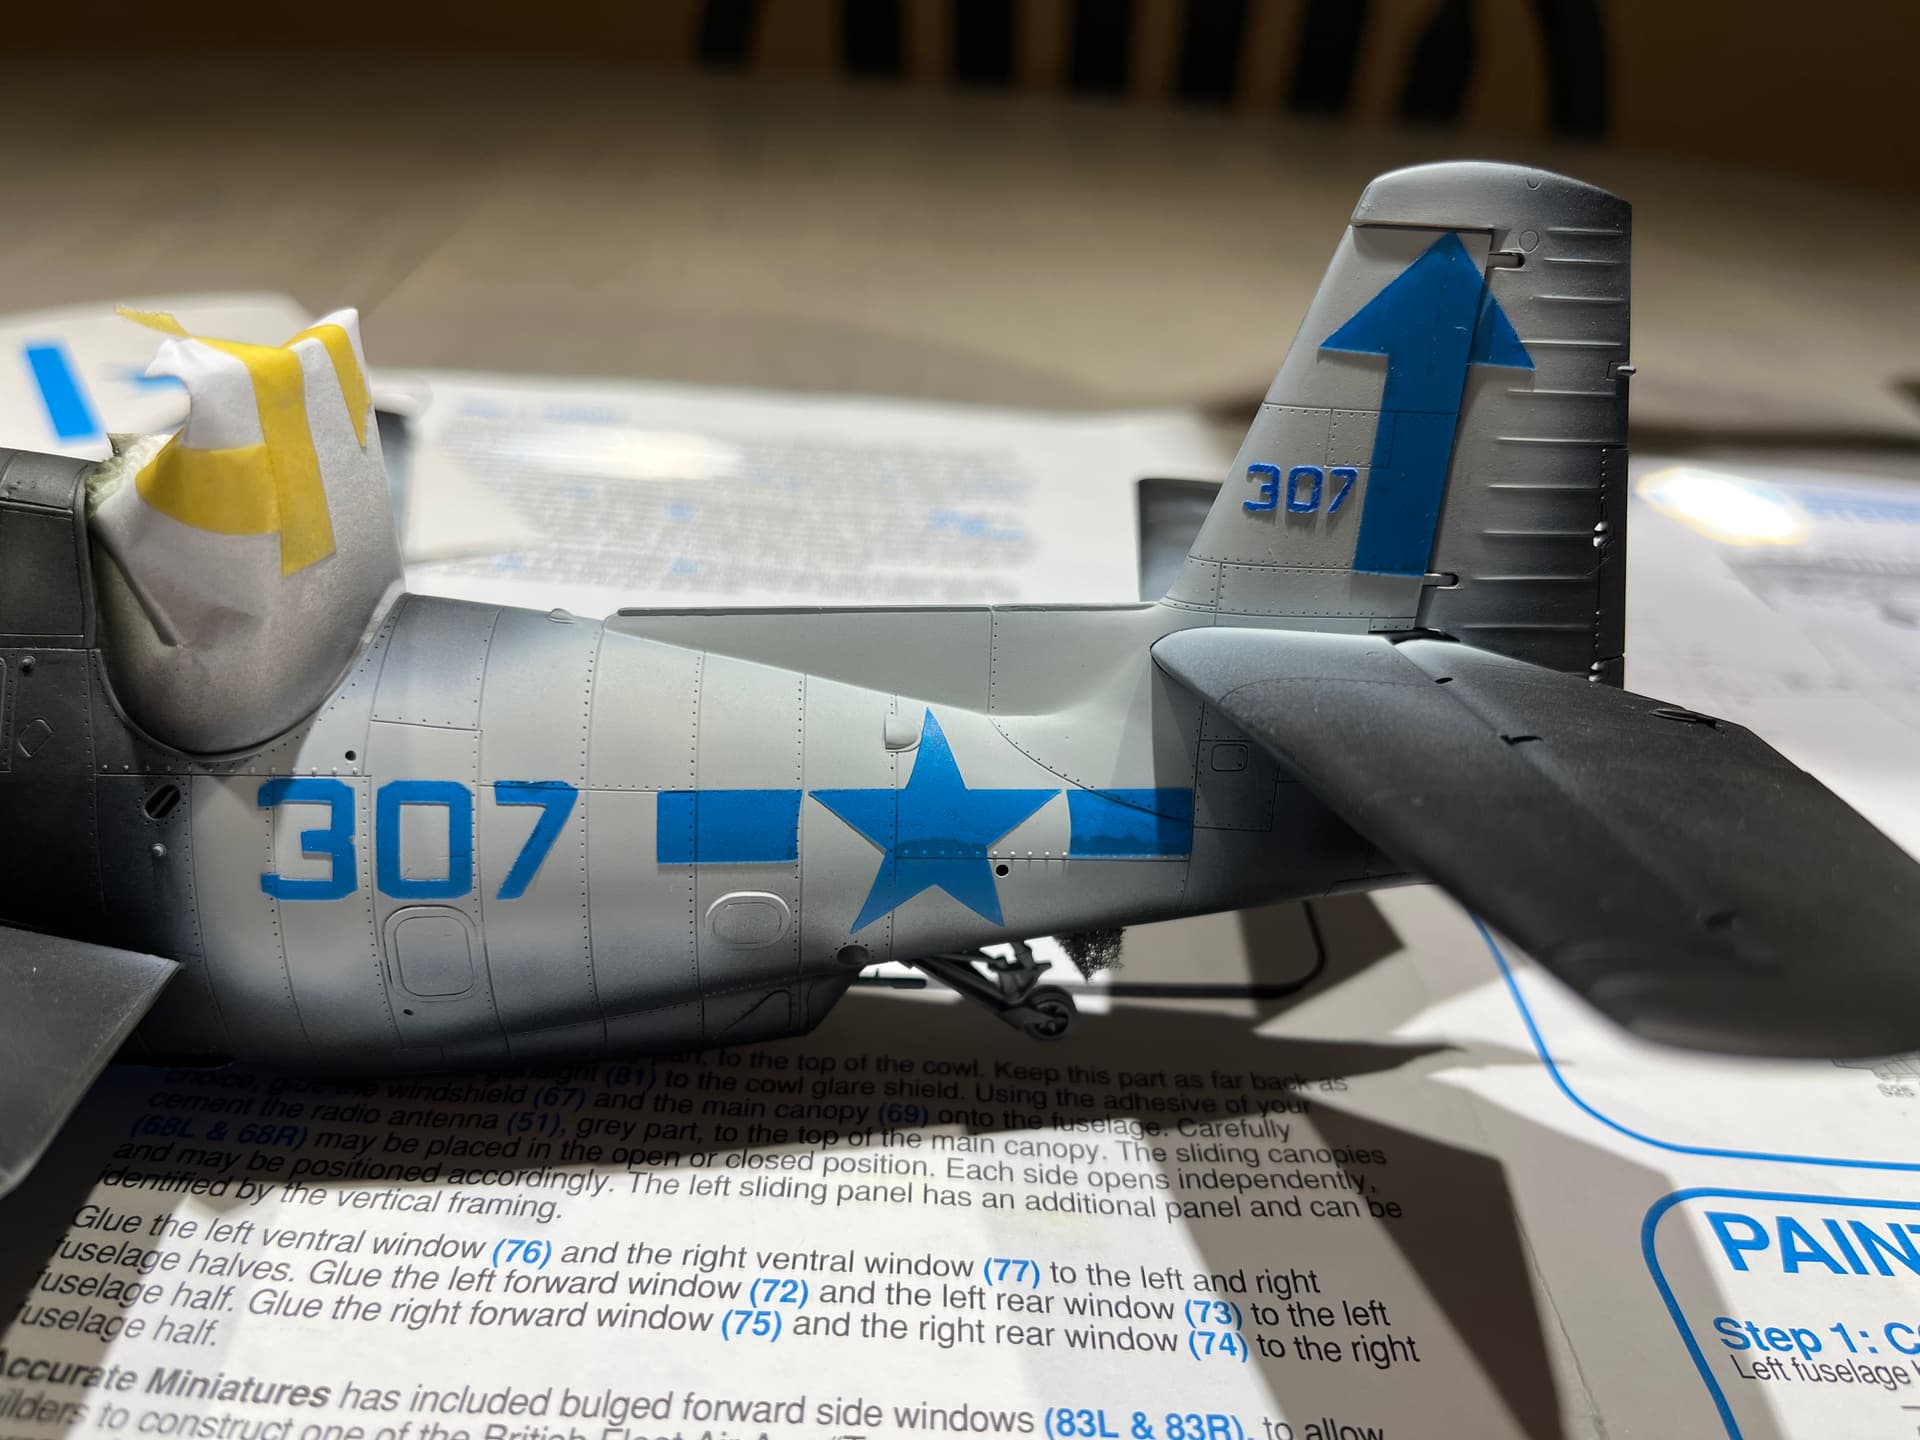
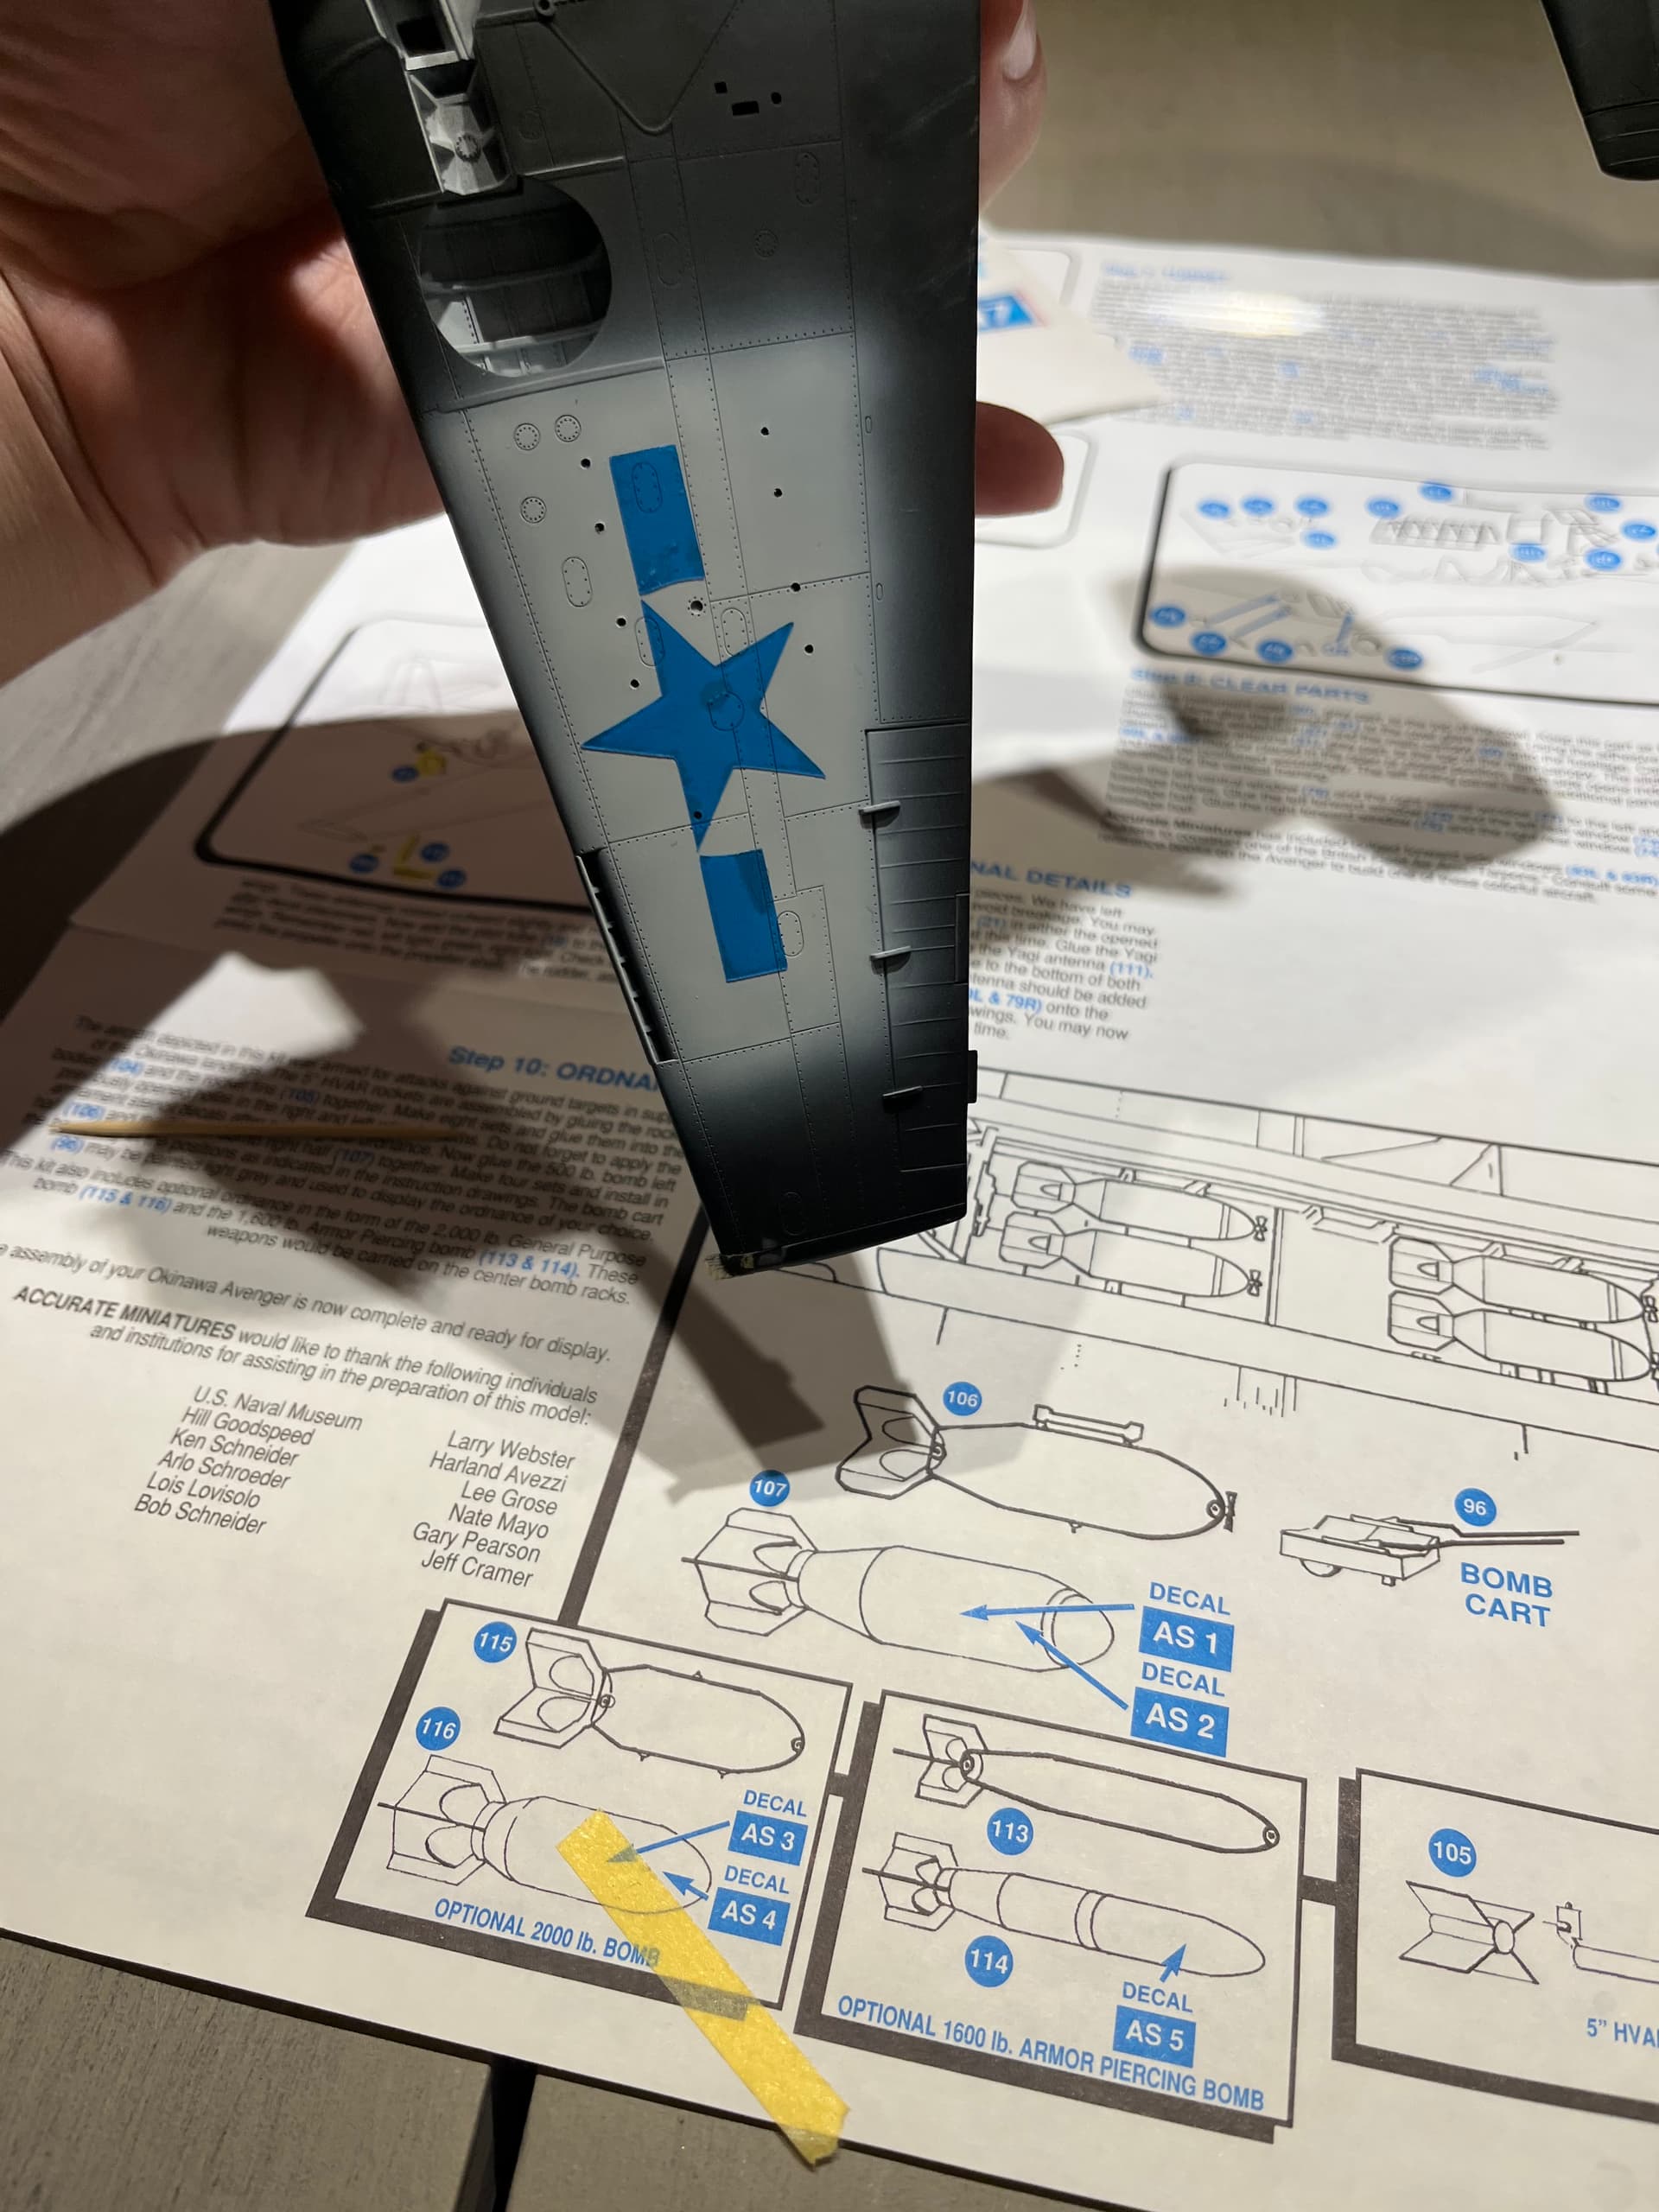
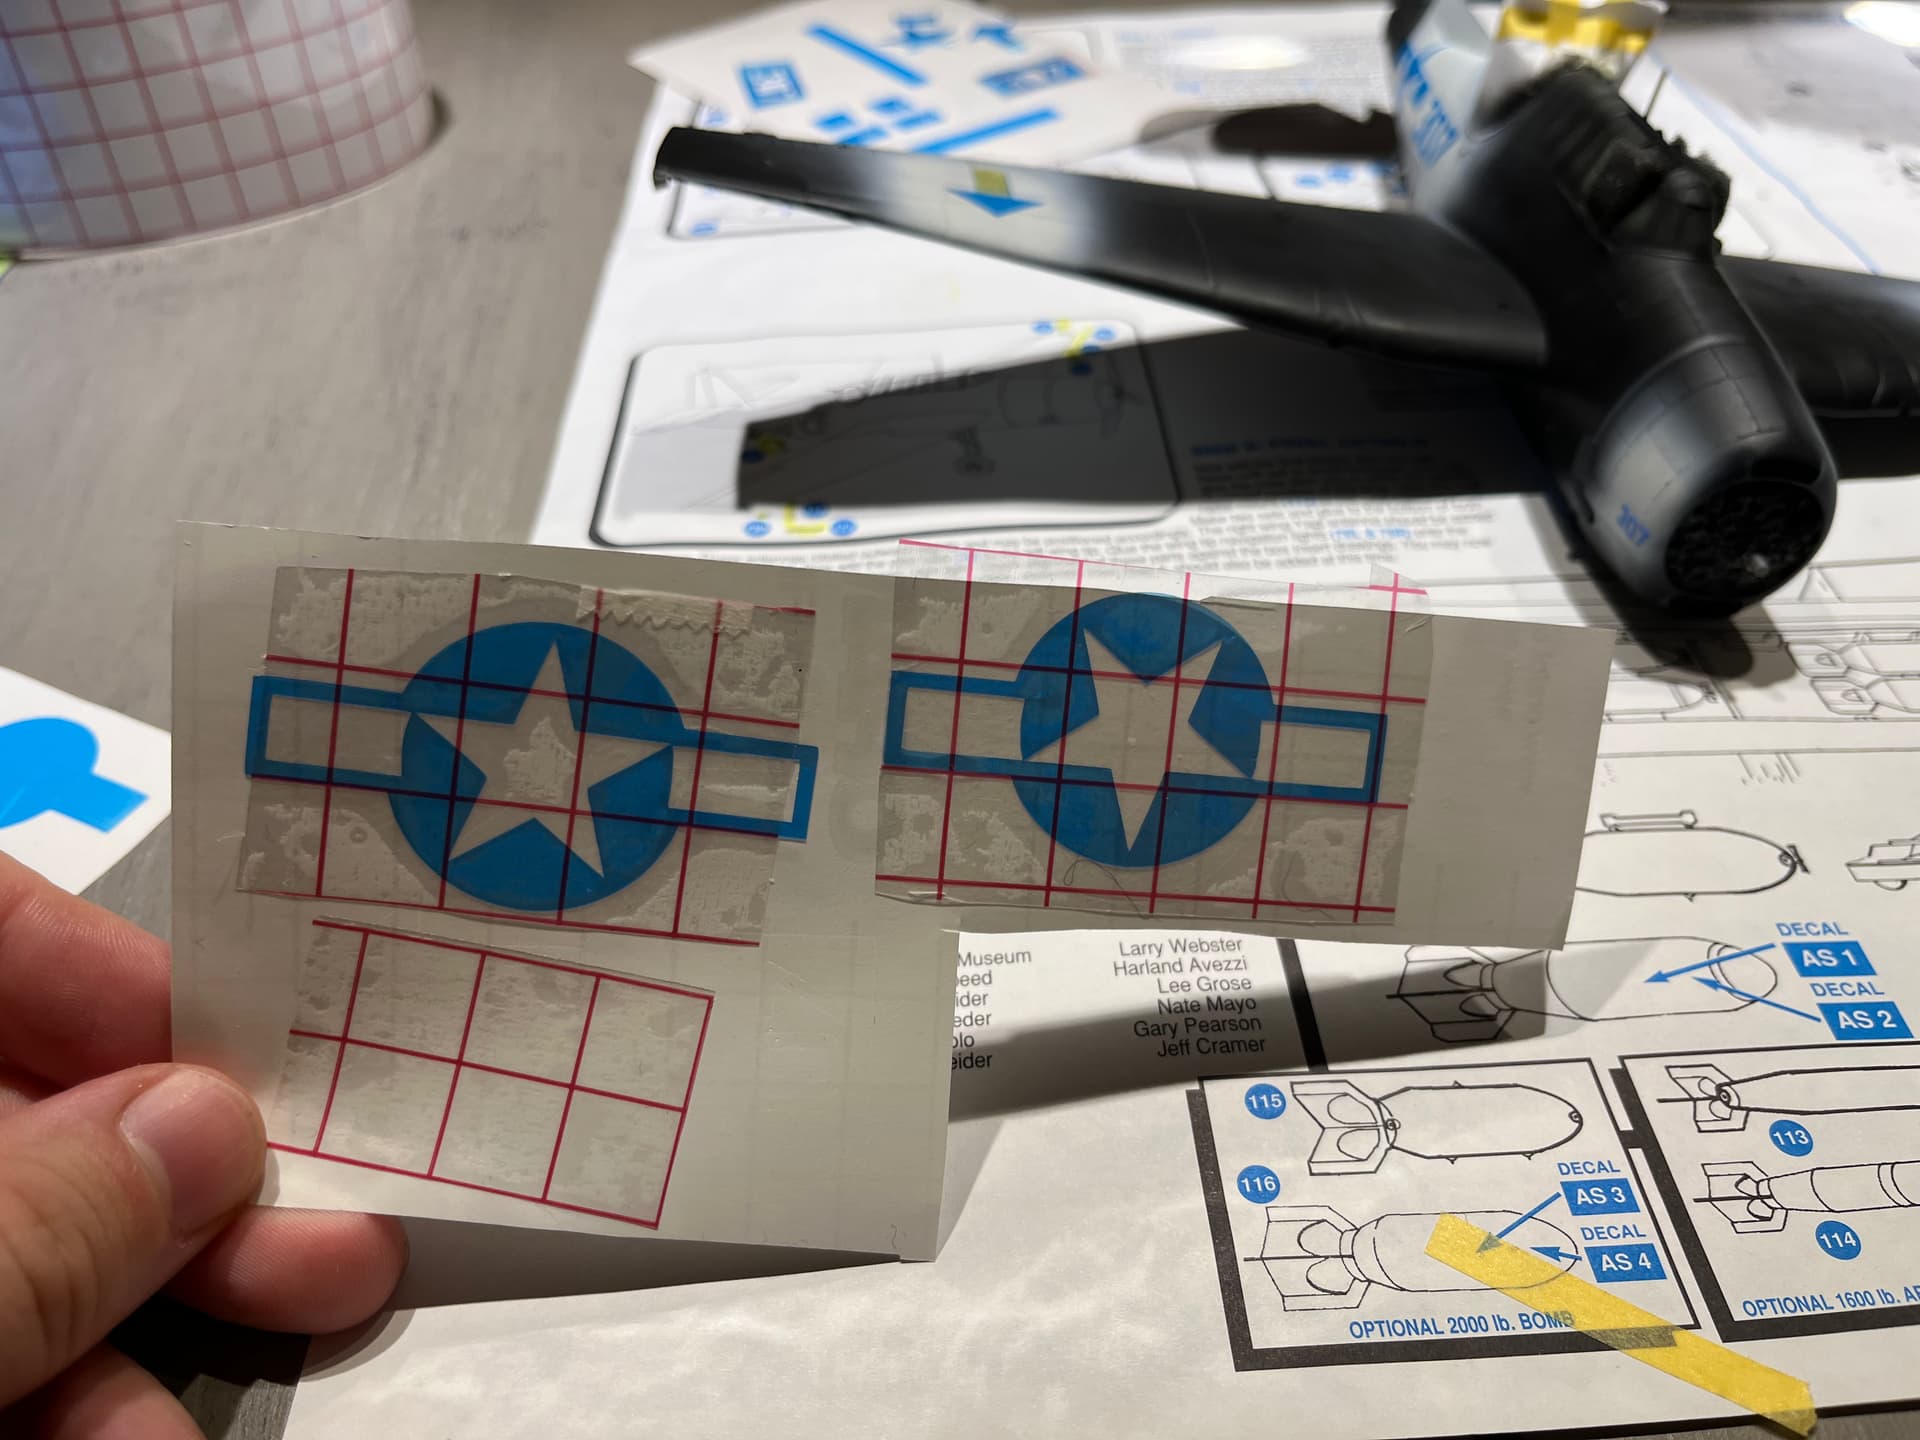
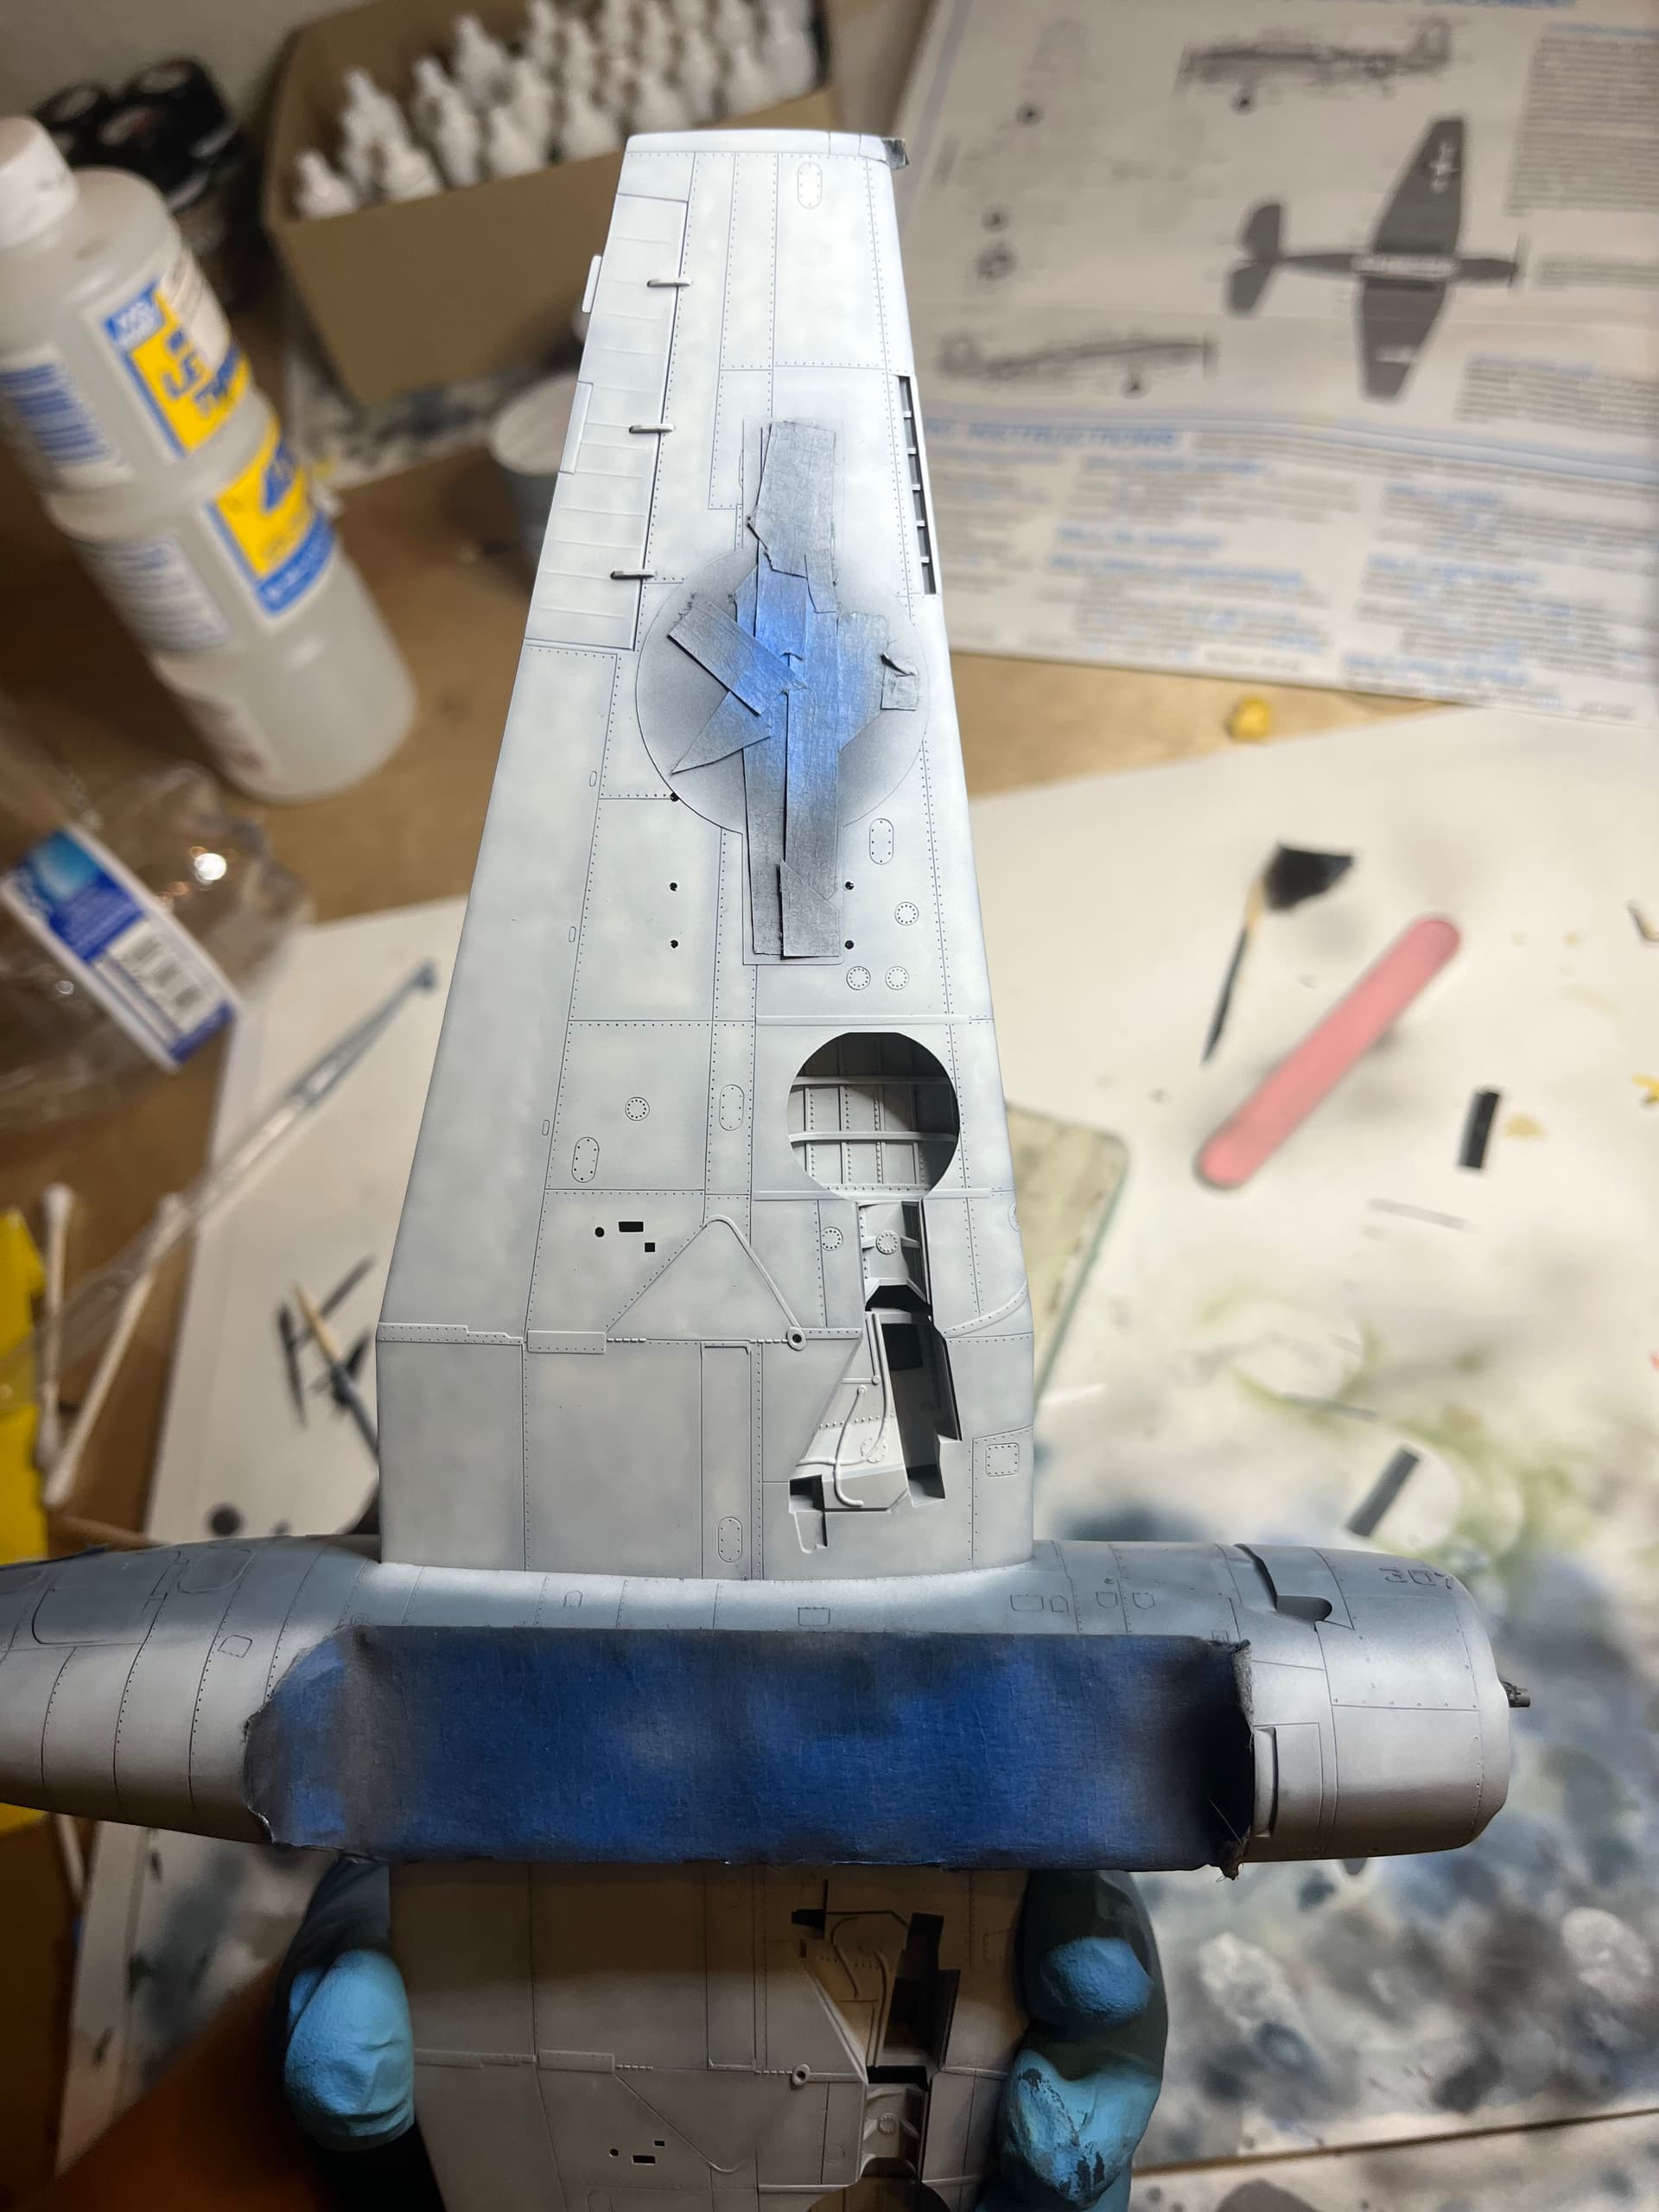
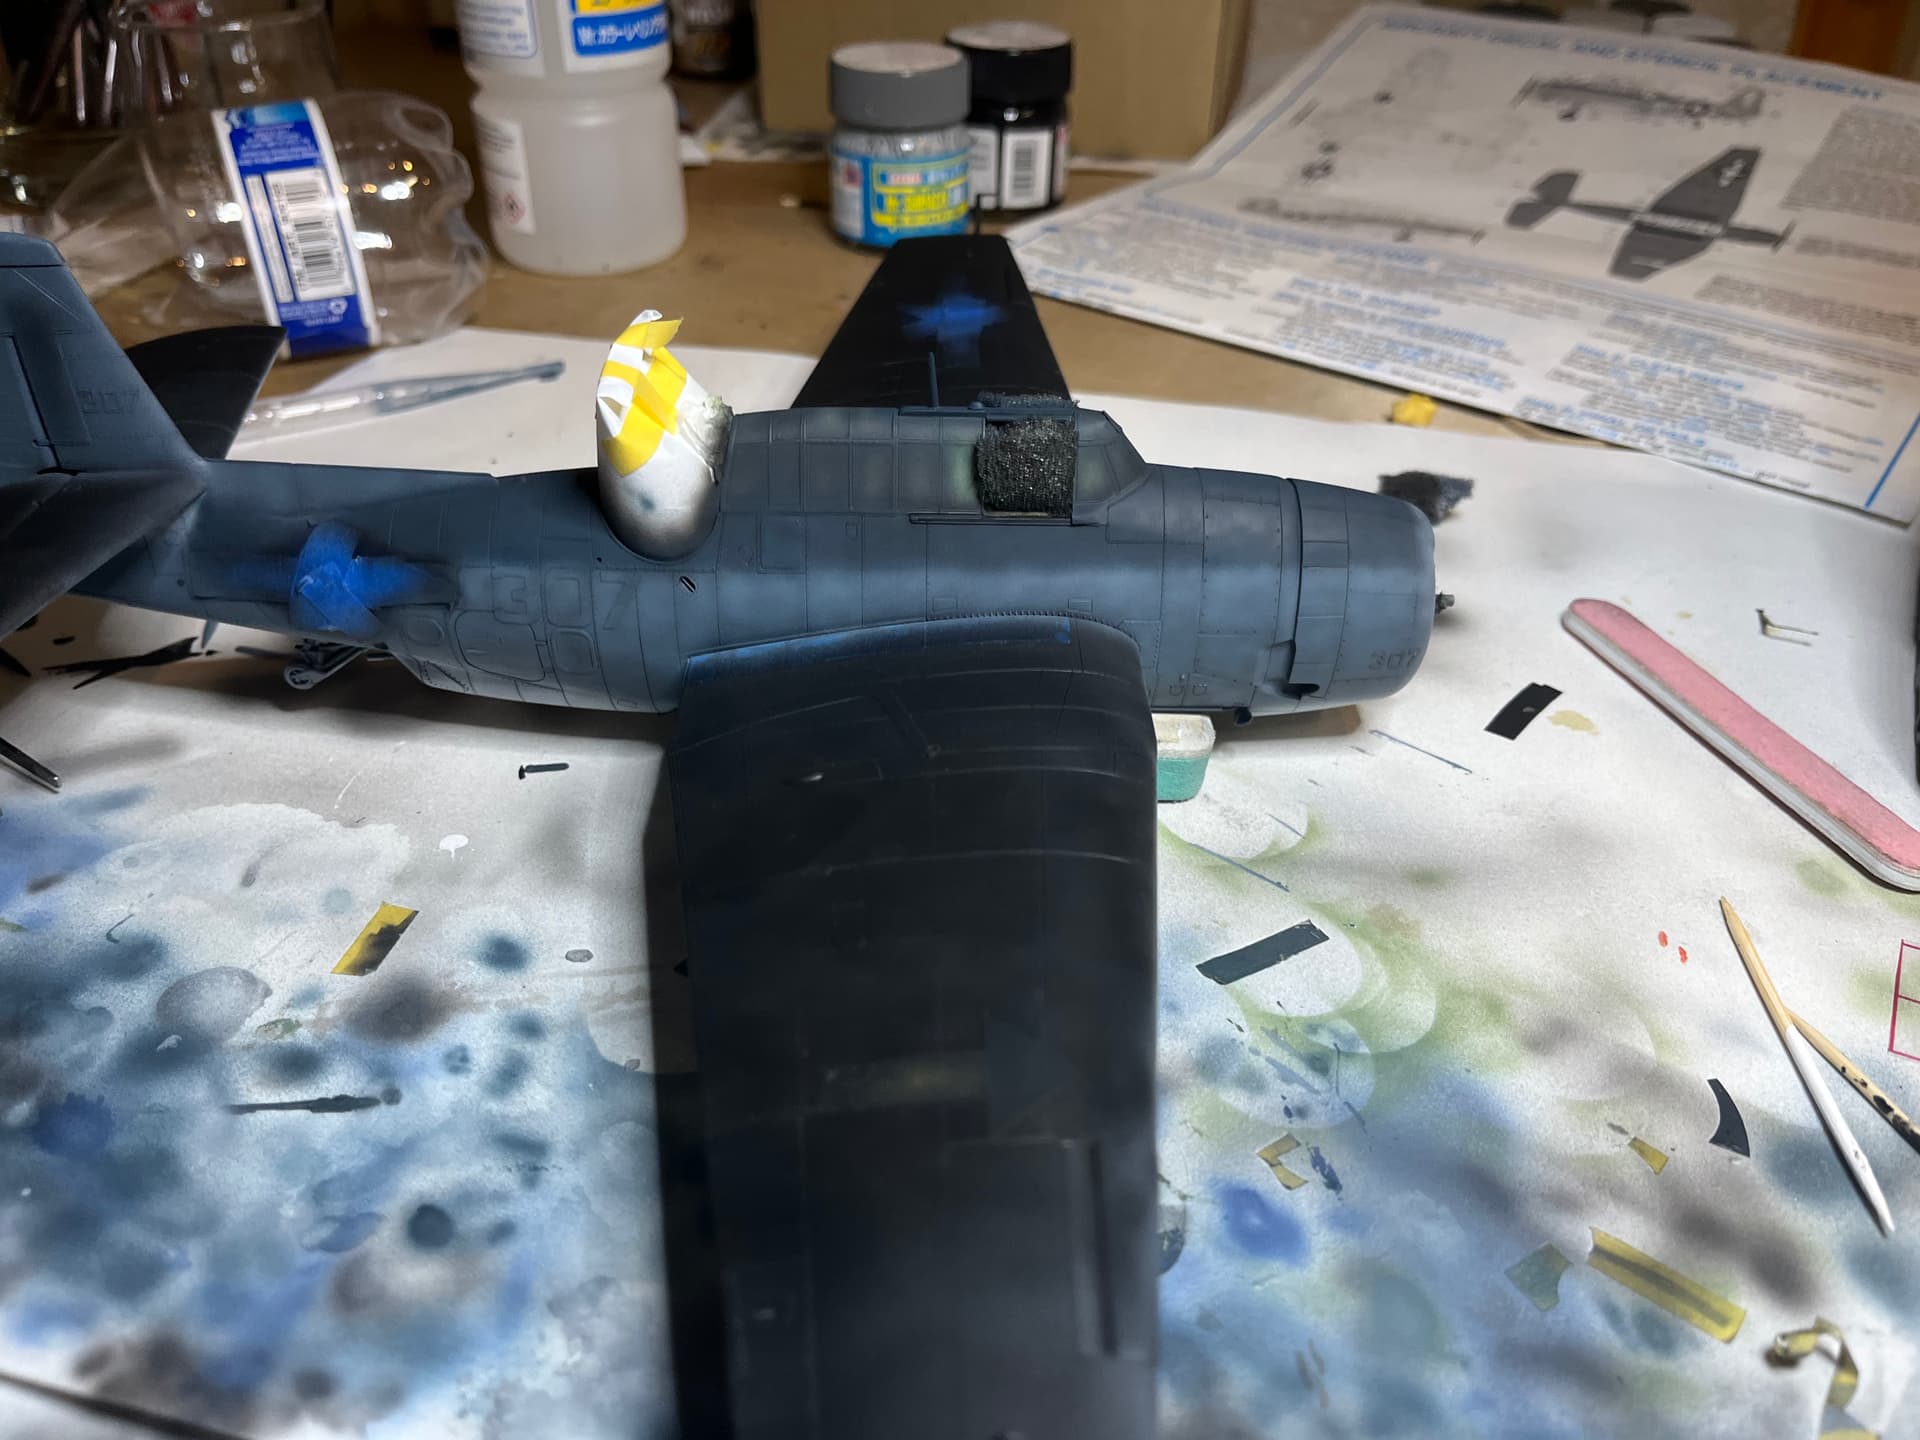
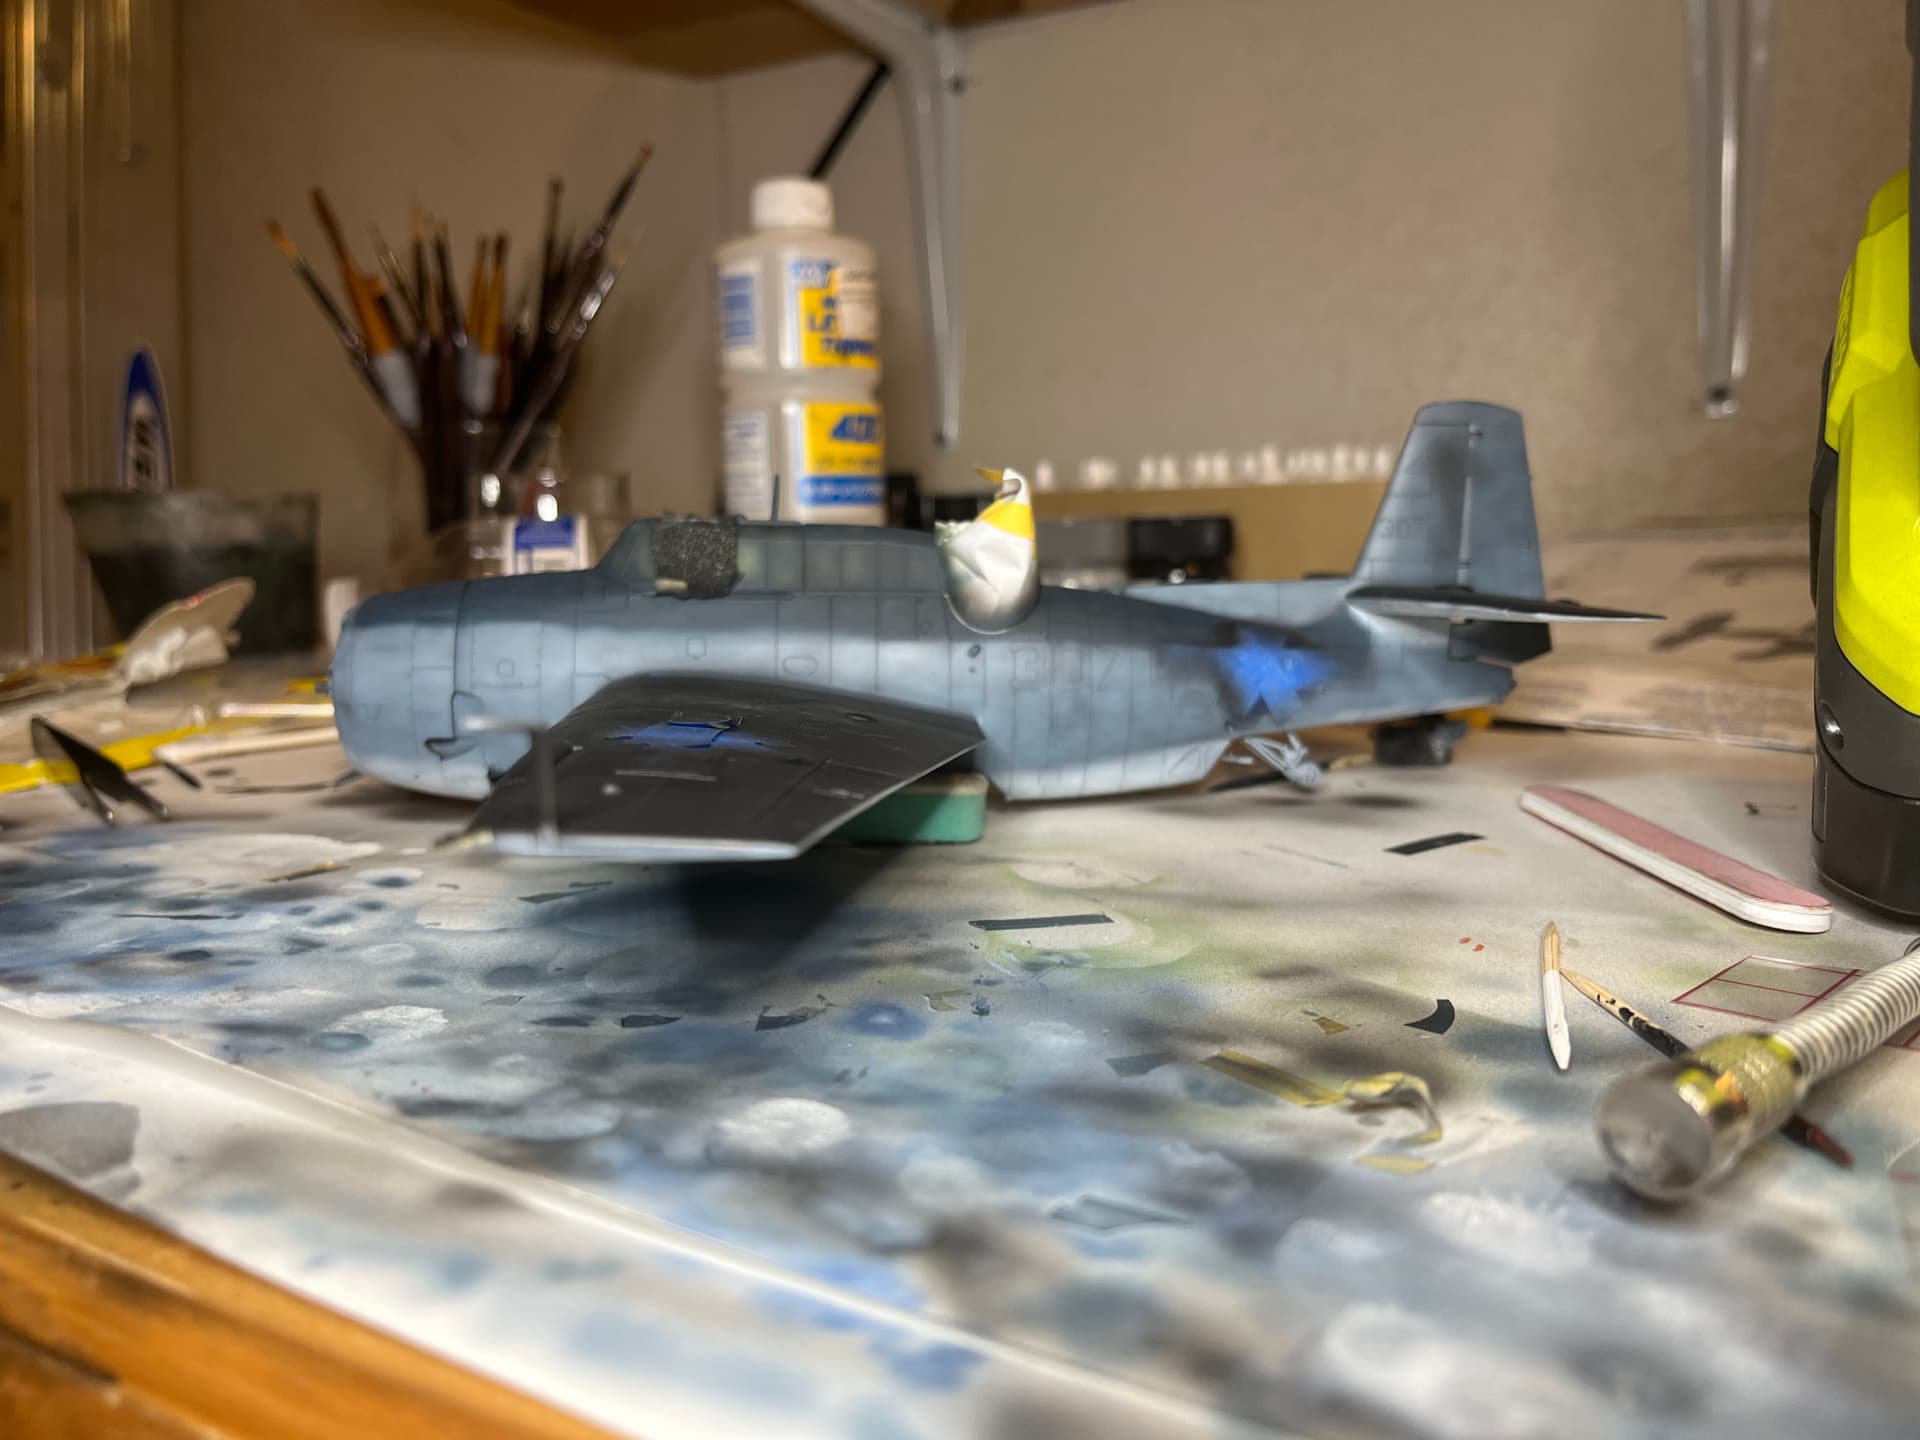
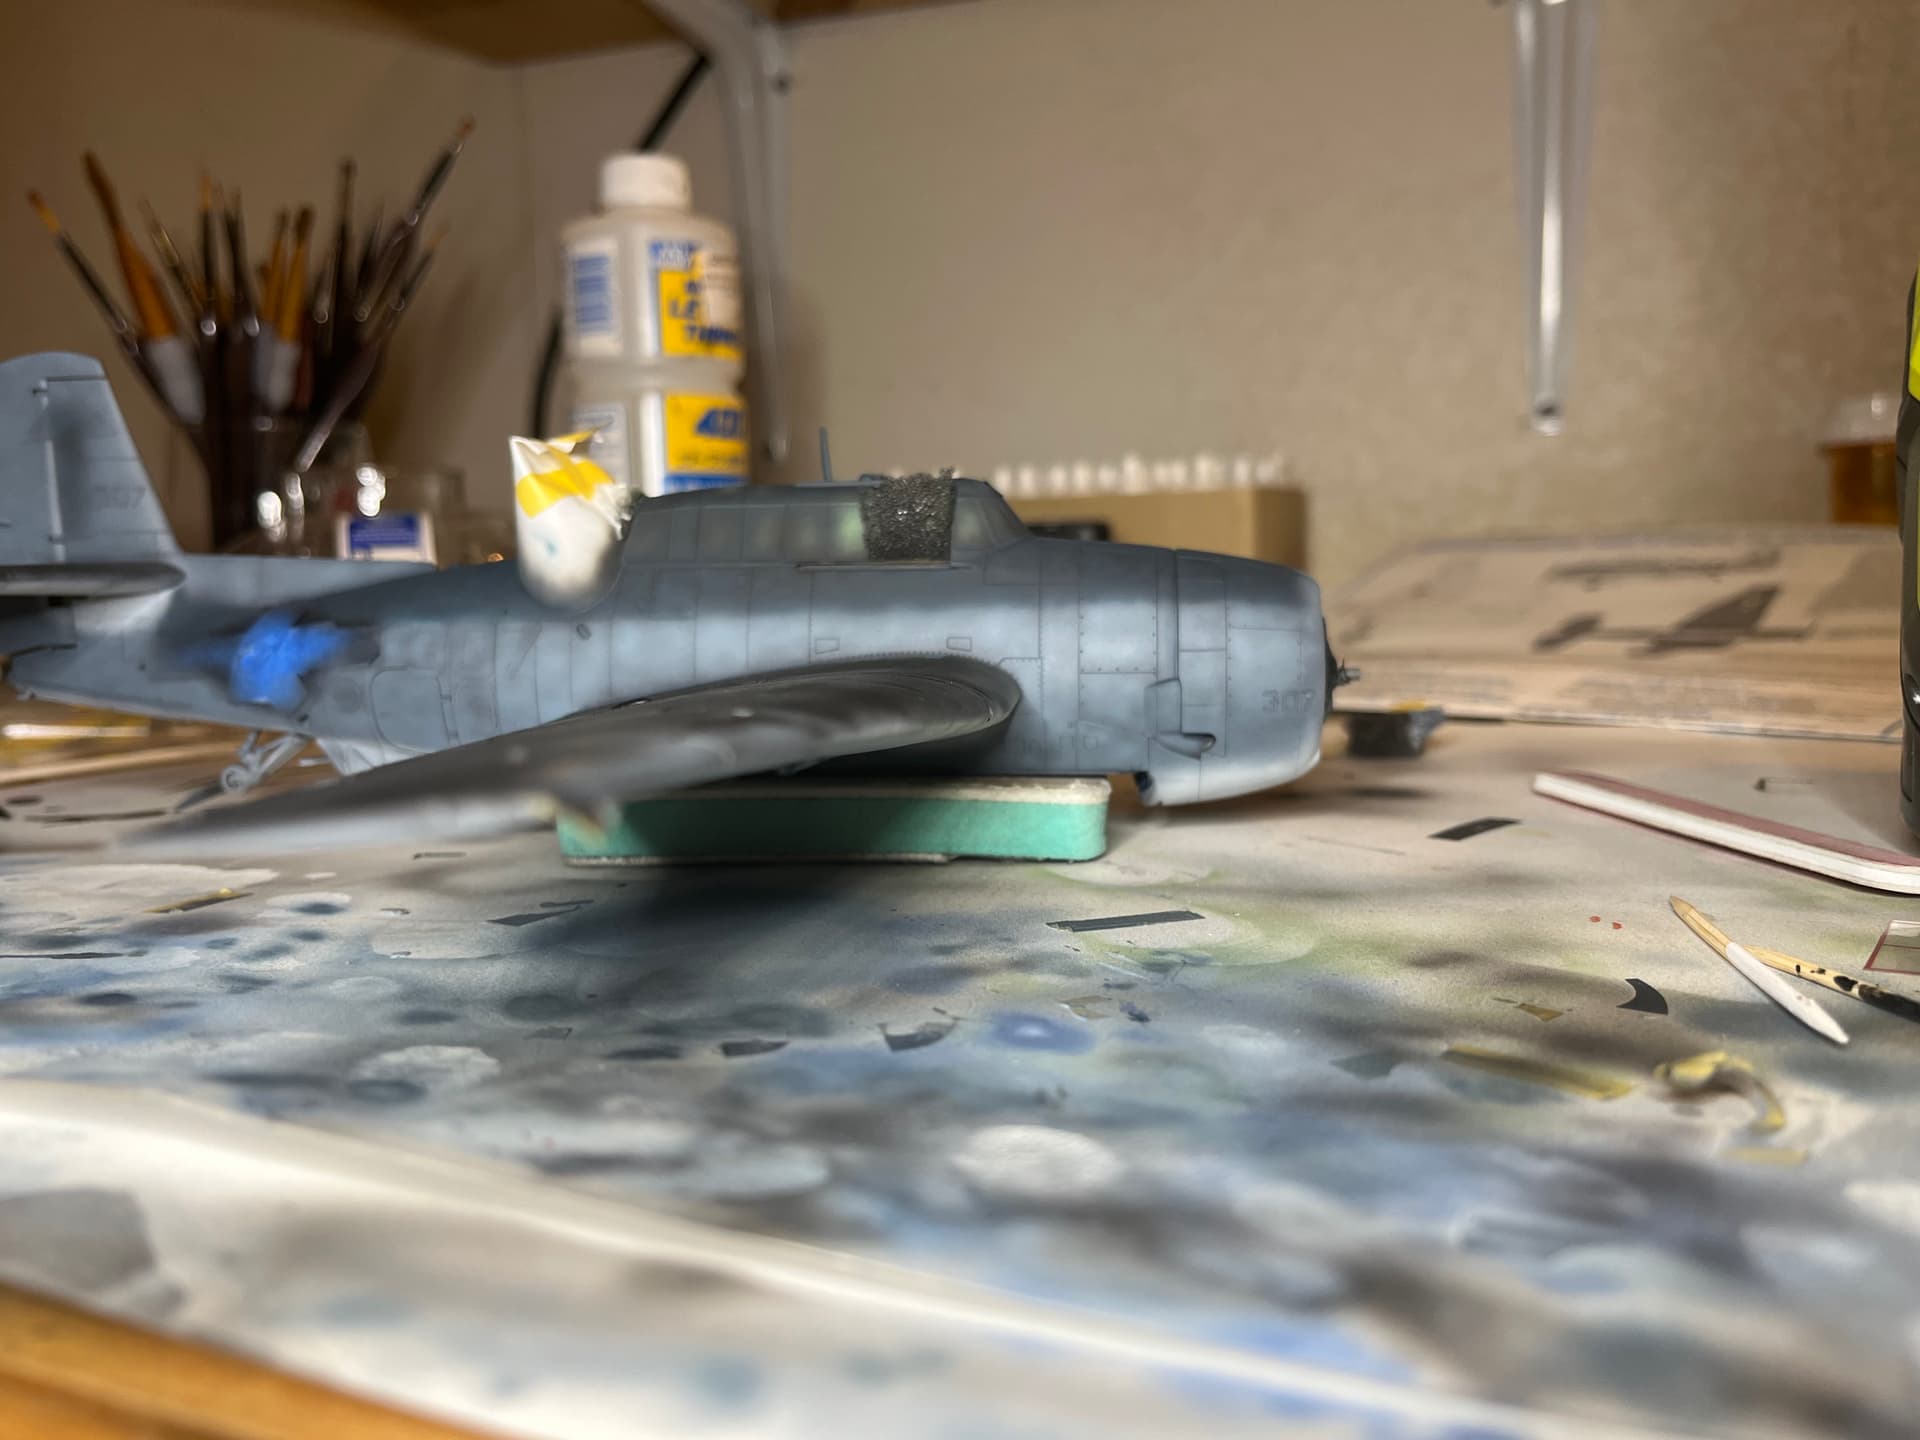
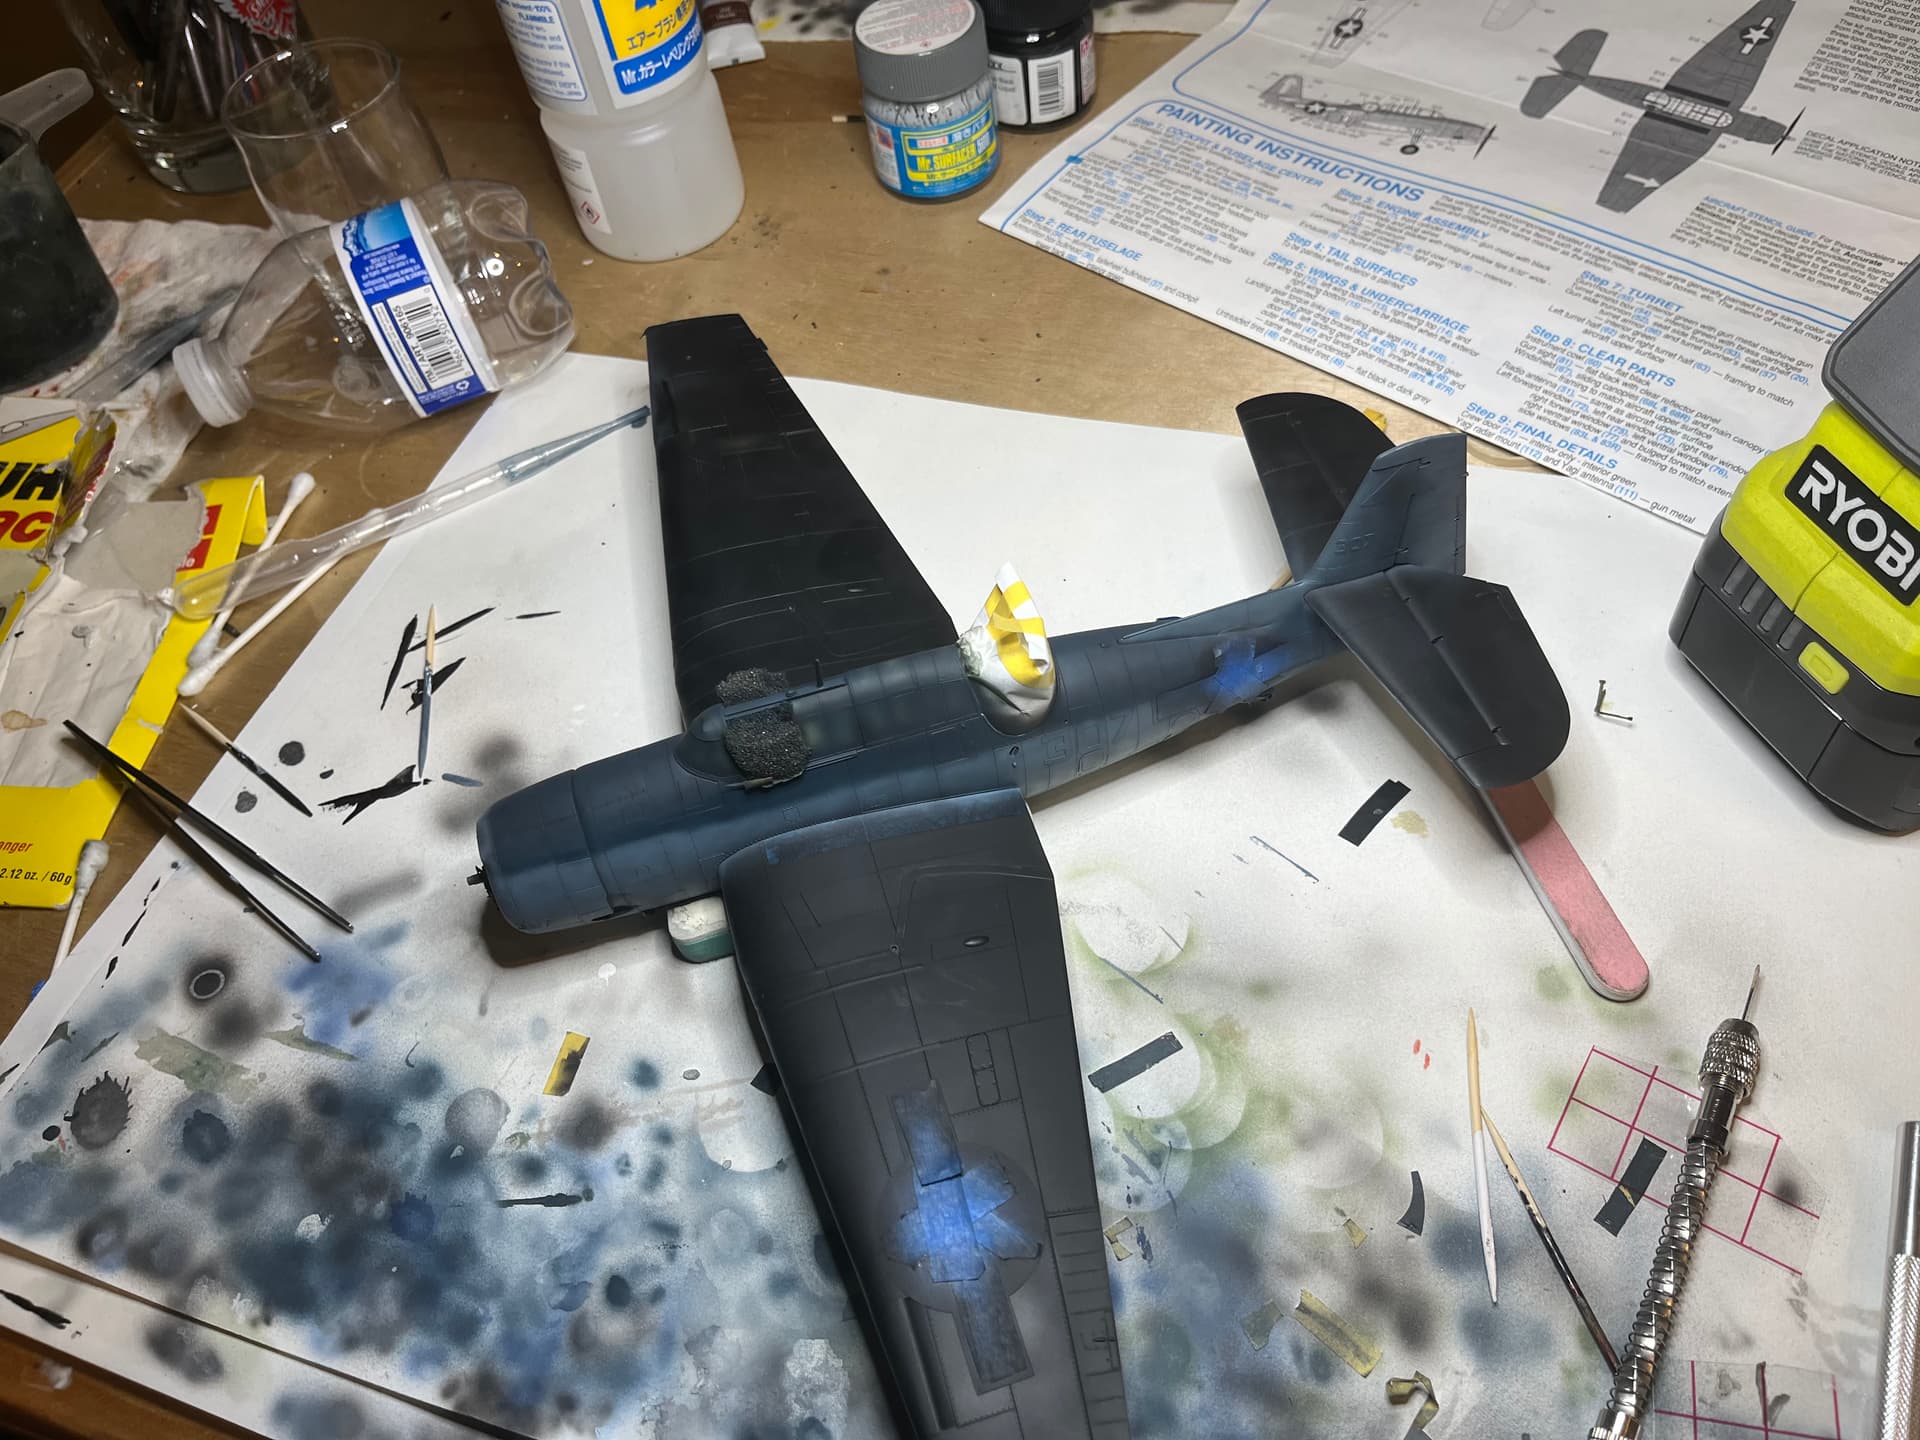
Jk just sprayed the white for all the various marking. Gonna mask those off then spray blue where appropriate for the insignia and mask up before priming the whole thing again
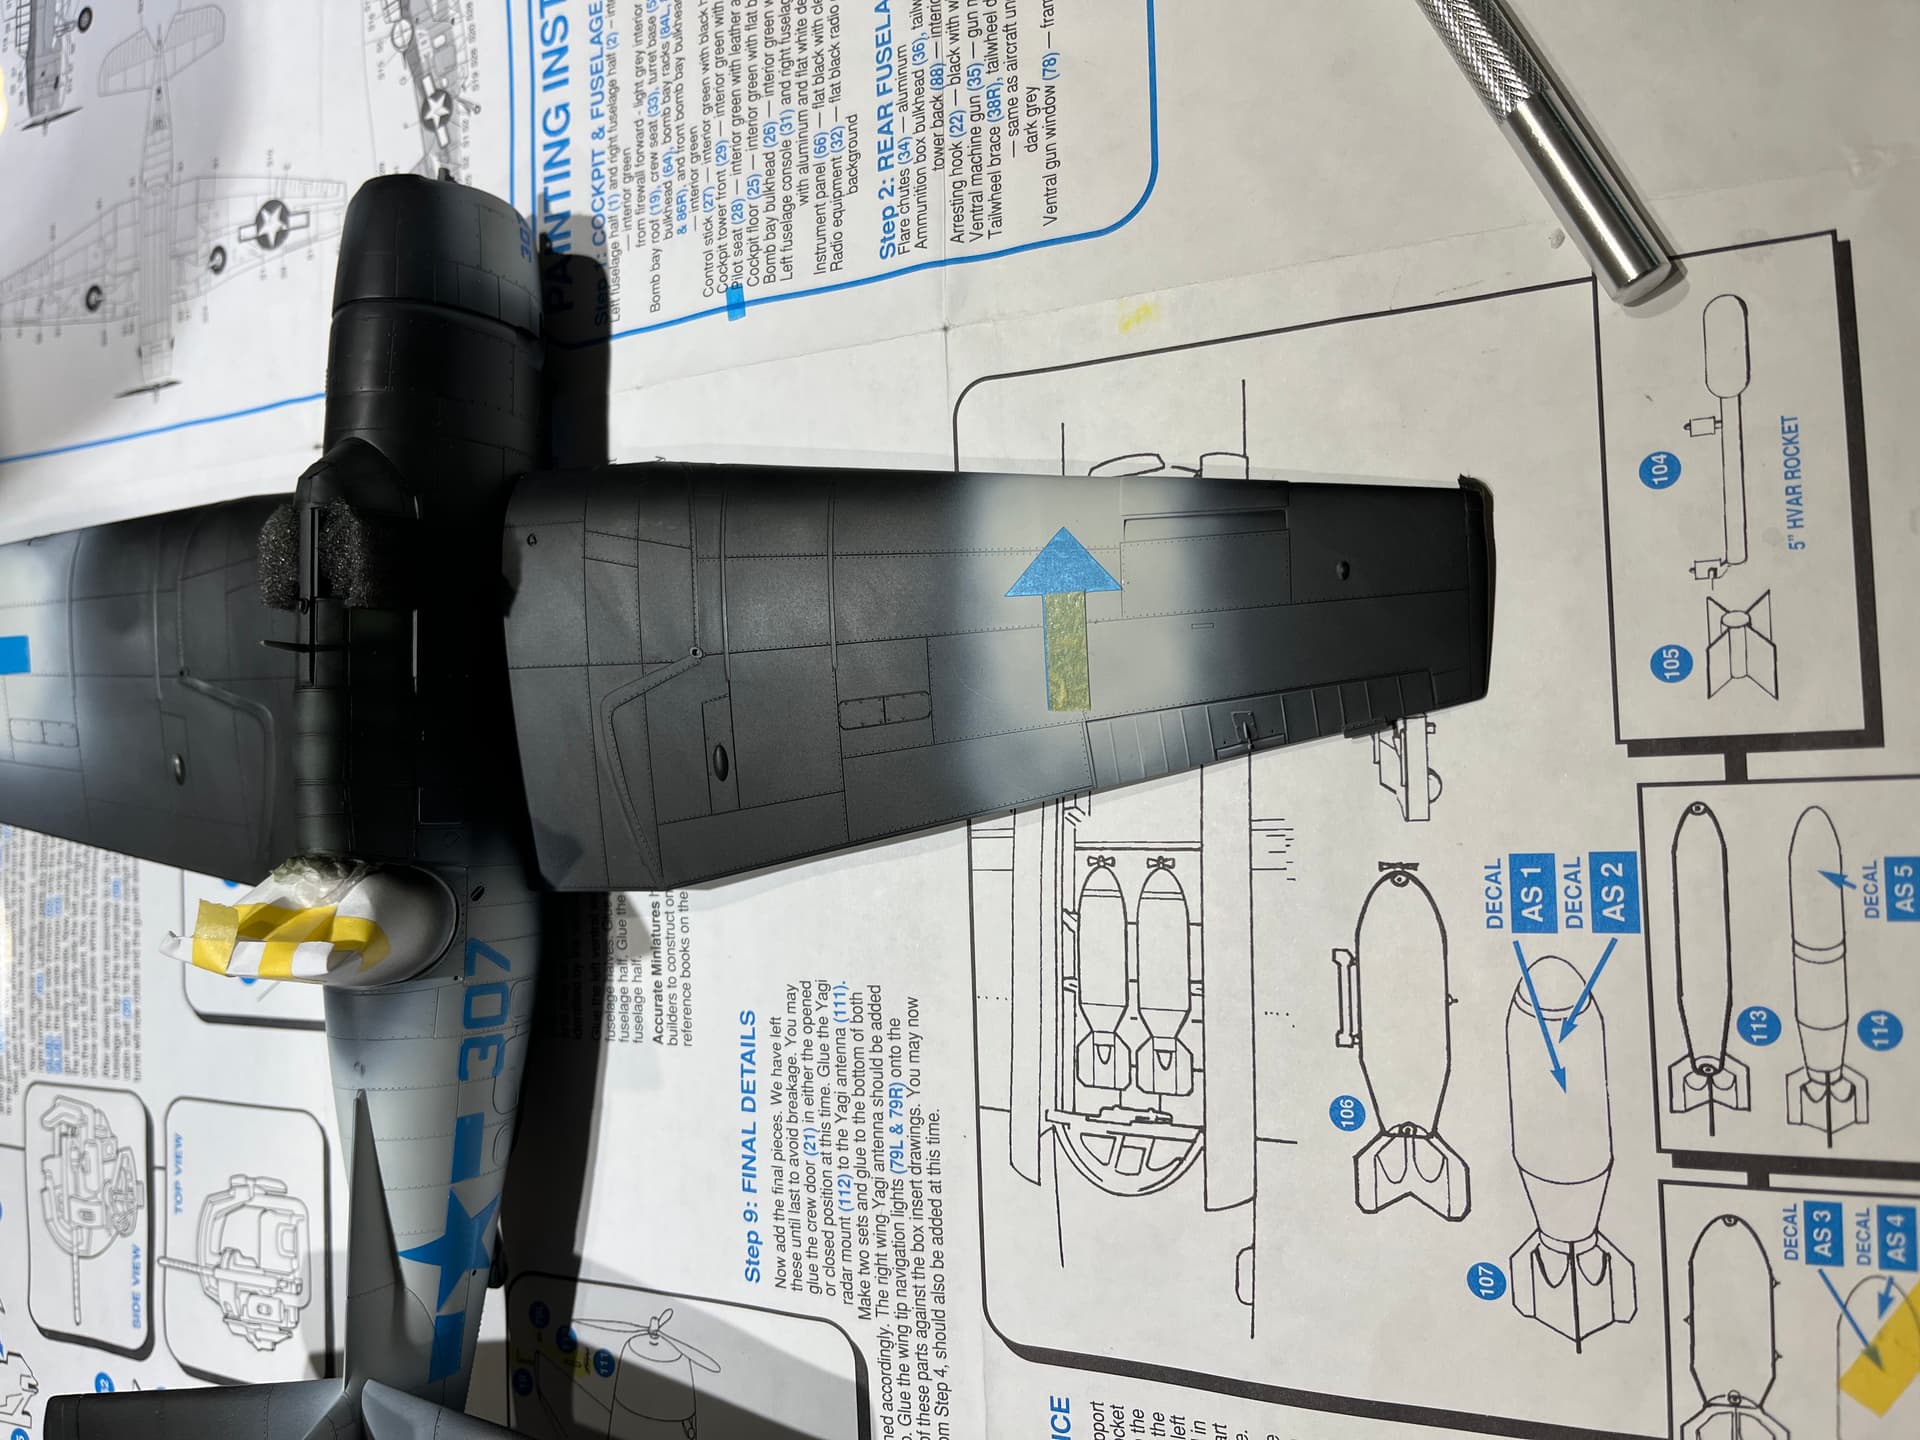
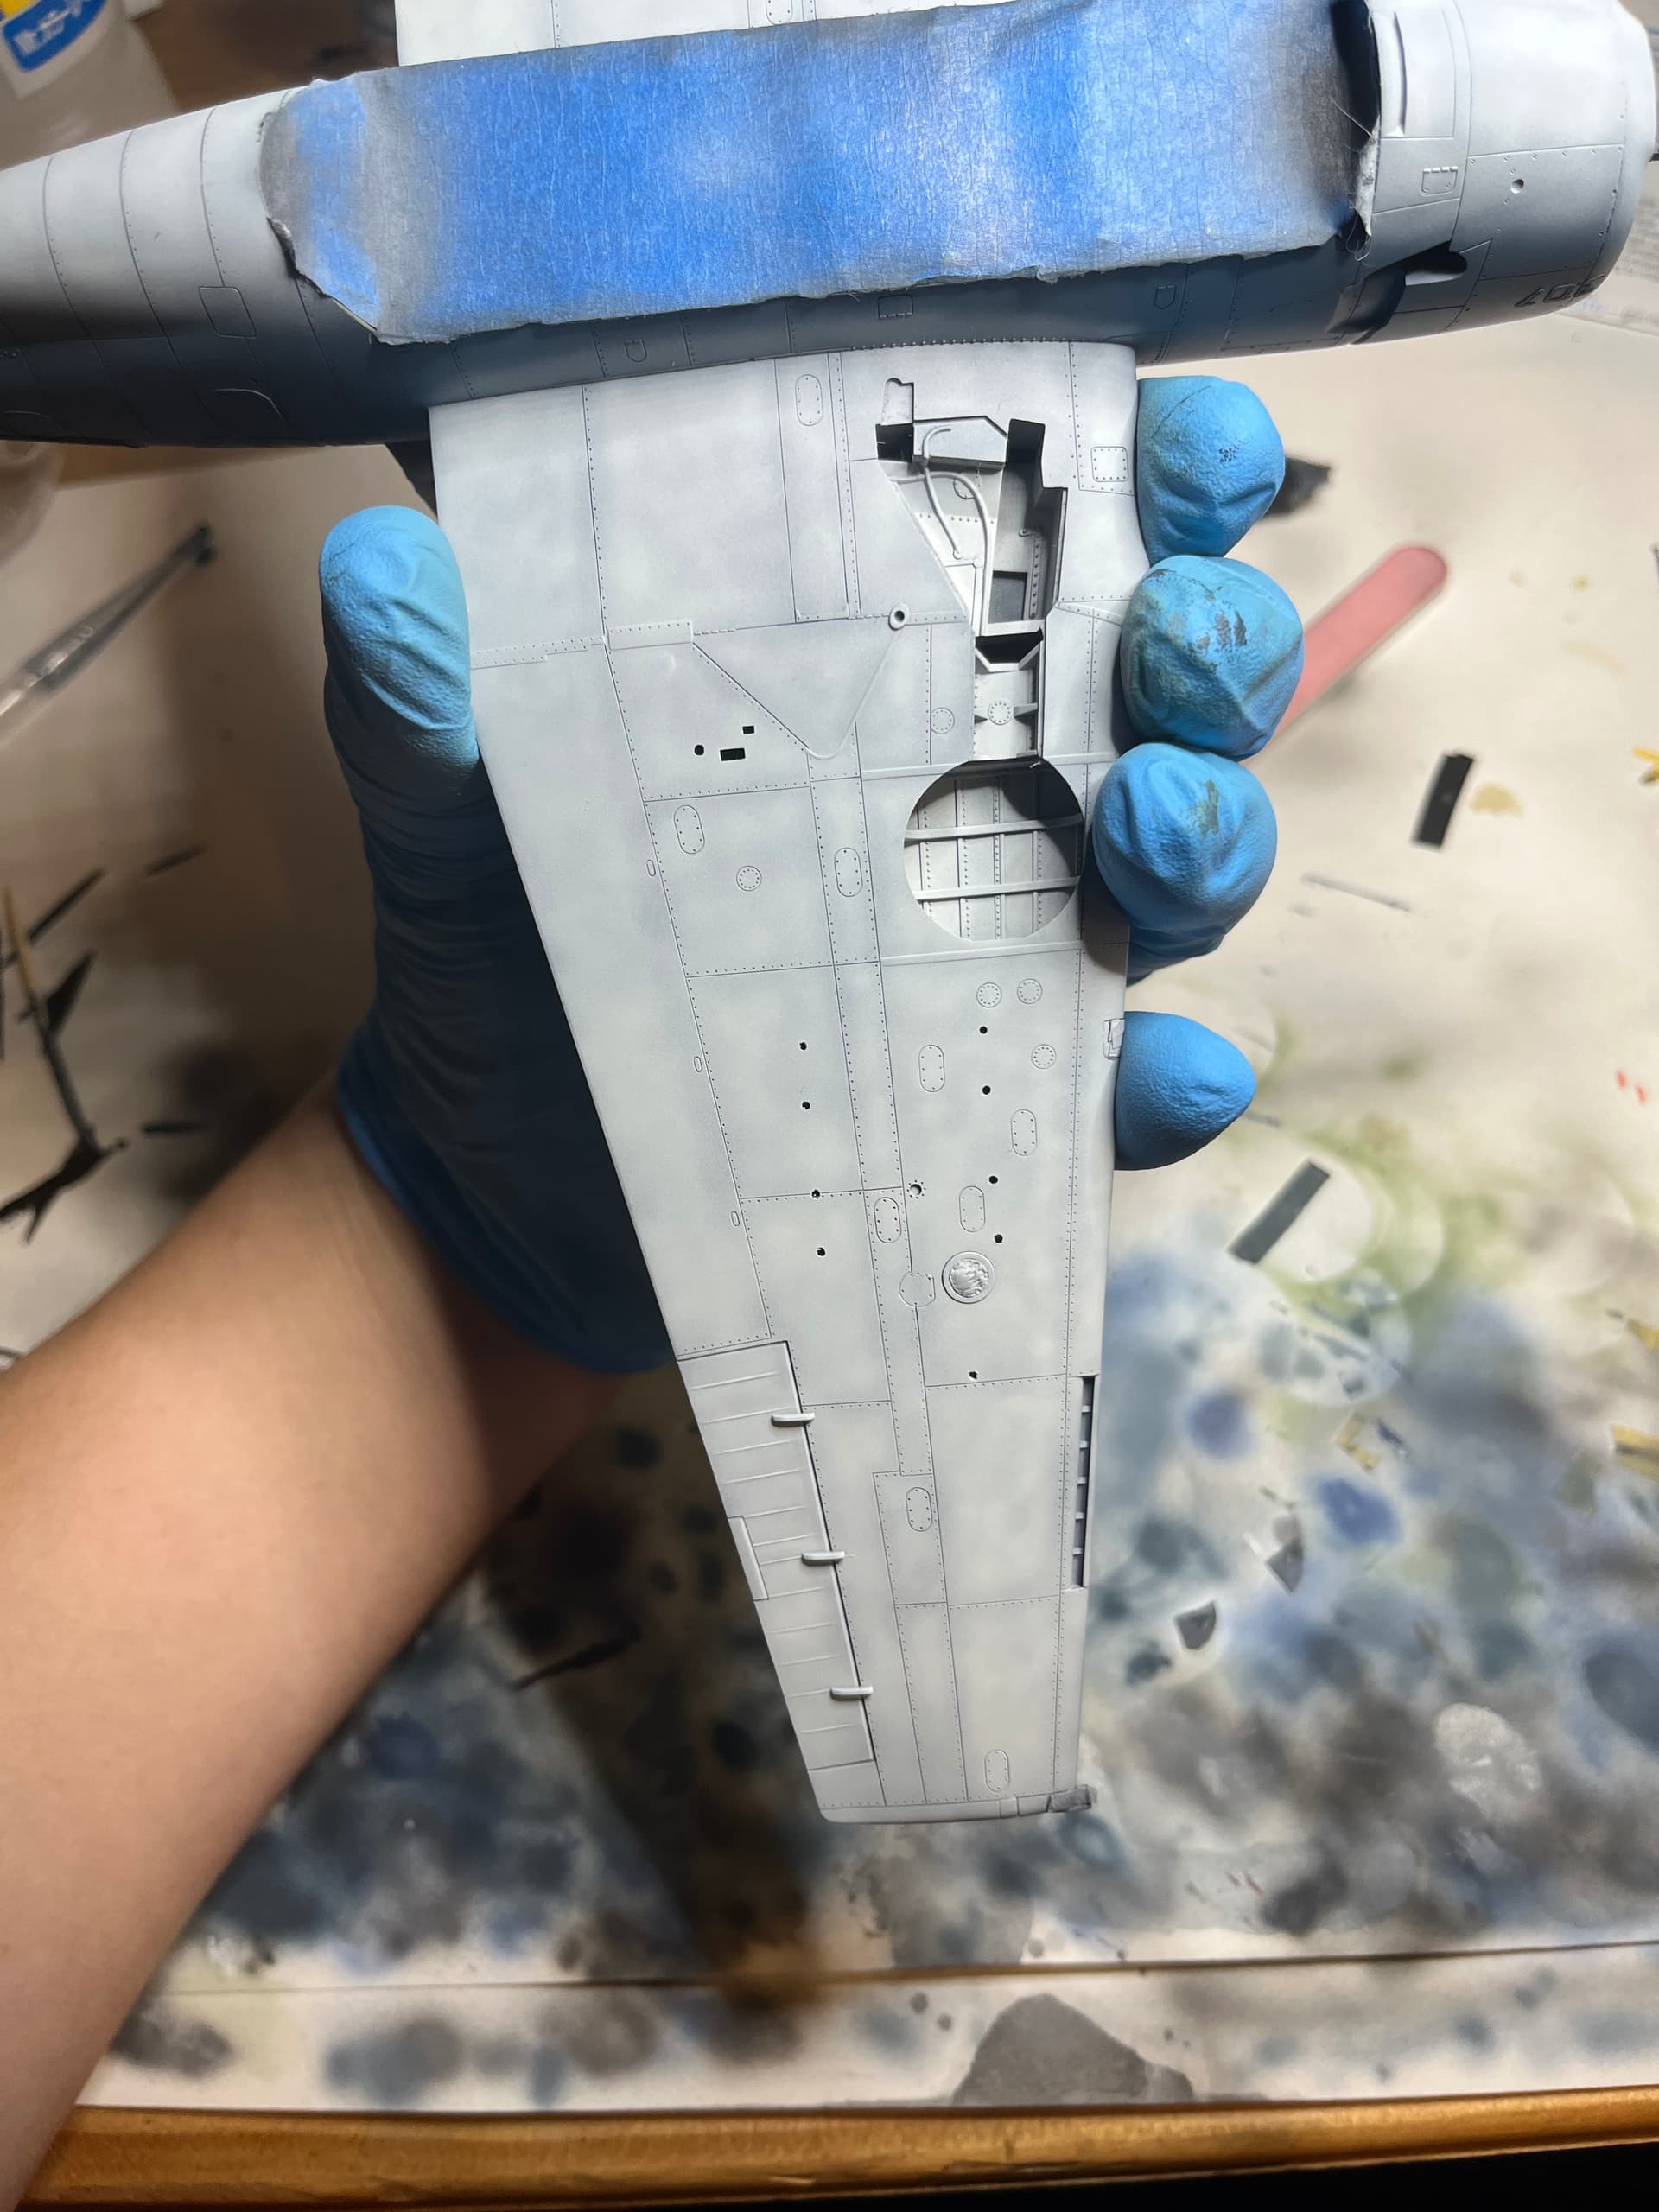
Gonna give it a day or two to dry since I’ll need to mask the fueslage sides and around the nose to paint the yellow cowl. Also seeing some areas in the intermediate blue that need some blending (went with black basing)