IIRC all the sbd’s carried 500lb bombs that day to save weight.
It’s over, I’m done with this one. Hobby Boss 1/72 (not an) F4F-3 Wildcat.


The plastic in the box is an F4F-4, only the decals are for an F4F-3. To try and back date it to the -3, I added intakes inside the cowing (put them at 4&8 instead of 5&7
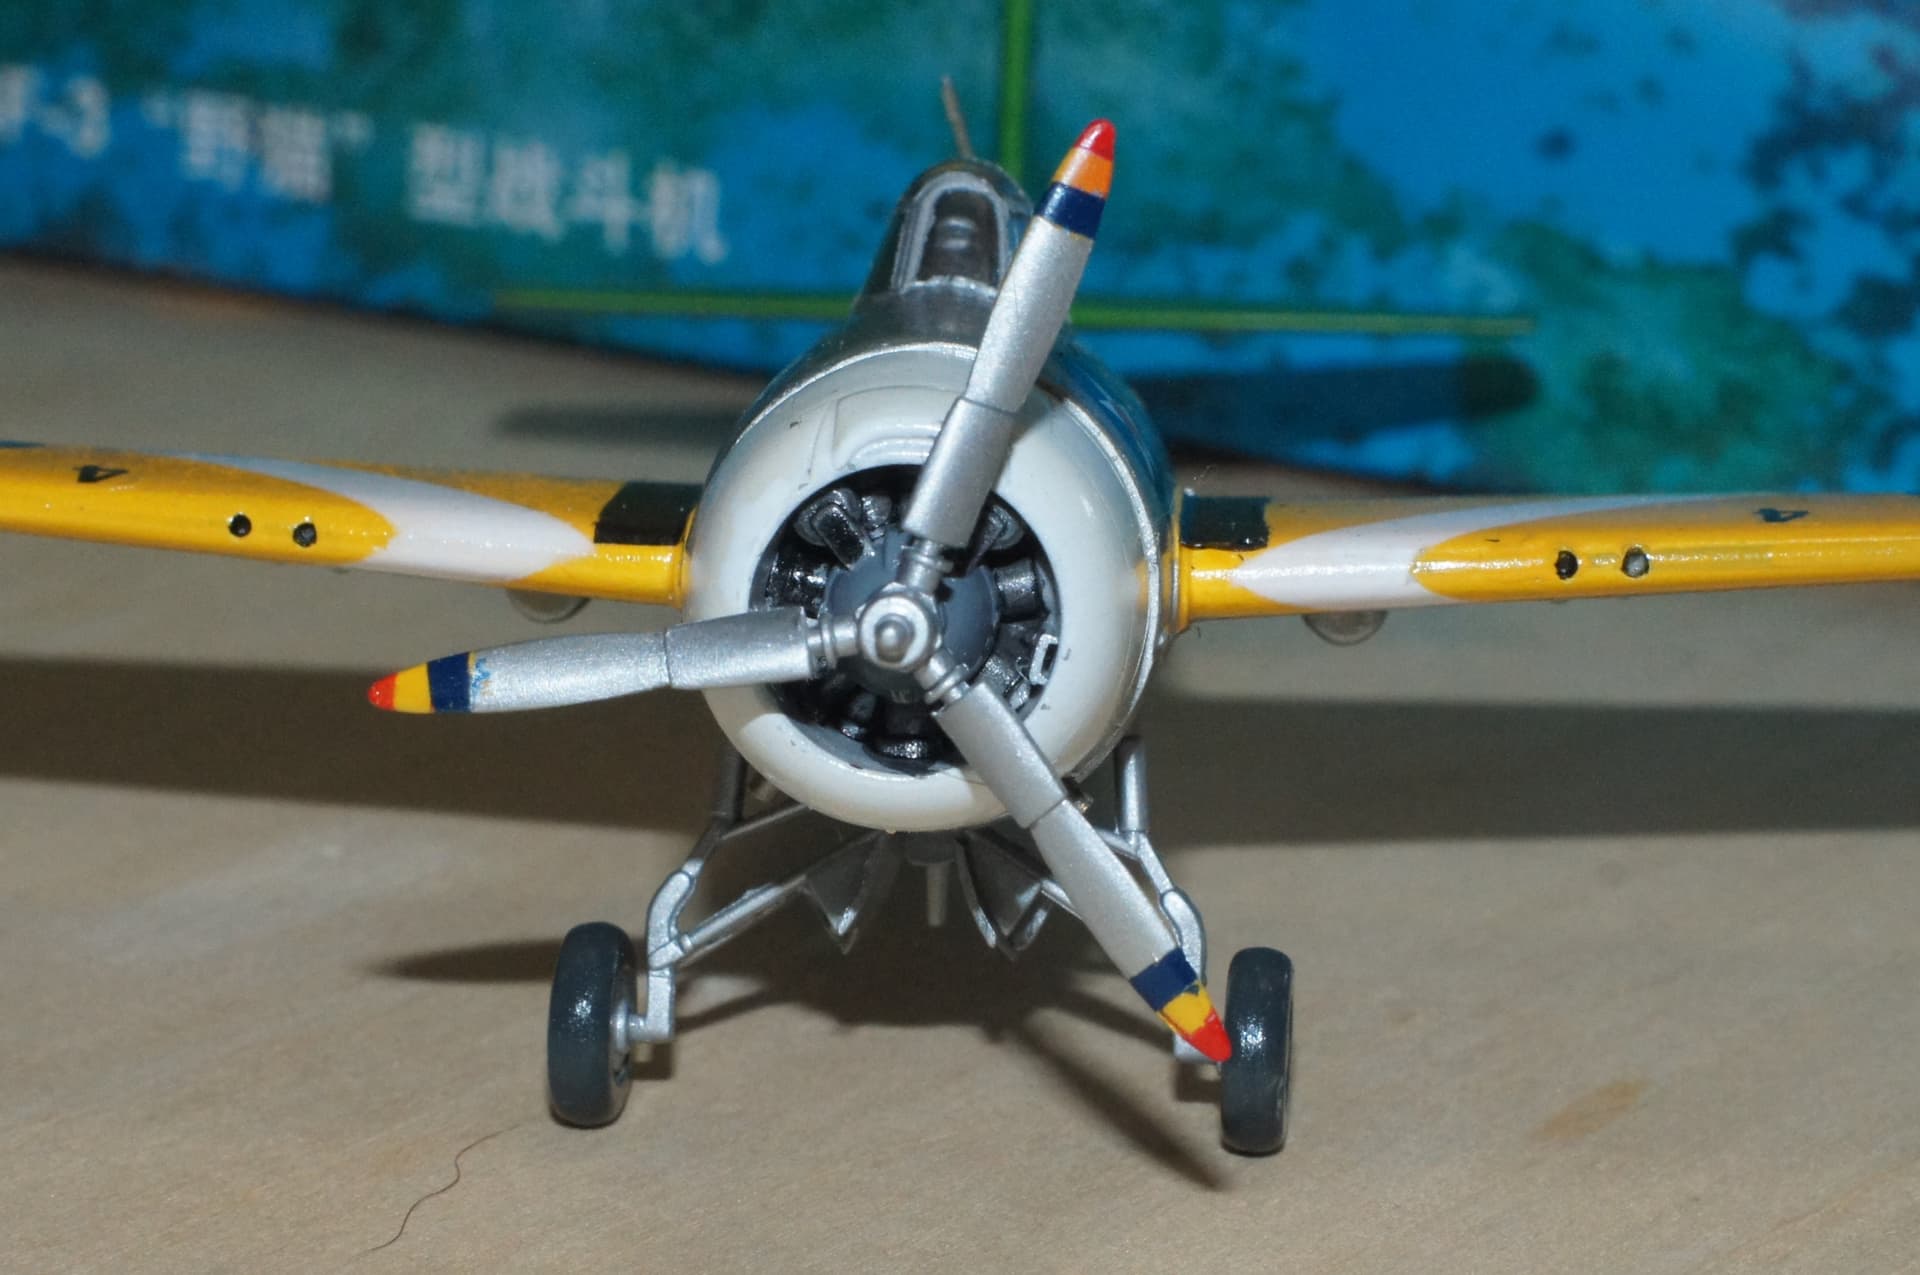
Sanded off the 3 cowl flaps and rescribed to show the single flap per side. Sanded off the exhaust flaps and installed brass tubes. Removed the fairings over the hinge locks, filled the wing fold lines, scribed the correct panel lines for the -3 (mostly), filled in the 3rd gun port and the gun access panels. Filled in the pitot tube mount and replaced it with a piece of straight wire.
The fits were a bit questionable, I spent a lot of time trying to get the one piece wing to fit flush to the fuselage and the cowling looks to be at least 1/32nd smaller than the fuselage. The decals were a disaster. The wing stripes and fuselage band weren’t included so I had to paint them. I lost 4 decals during installation since they had little to no clear layer, so they folded up and tore. An accidental drop of water on the squadron codes sent them sliding off in all directions.
7 Likes
Actually, as far as Air Group Six went, VS-6 carried 500 pounders but VB-6 had 1000’s. Which is a good thing, since research seems to show that Akagi only got hit with one bomb by VB-6’s skipper, Dick Best. Luckily, it was a 1000, as that did the job.
Michael ![]()
OK, here’s where I am with the 1/48 Tamiya F4F-4, VF-41 during Operation Torch:
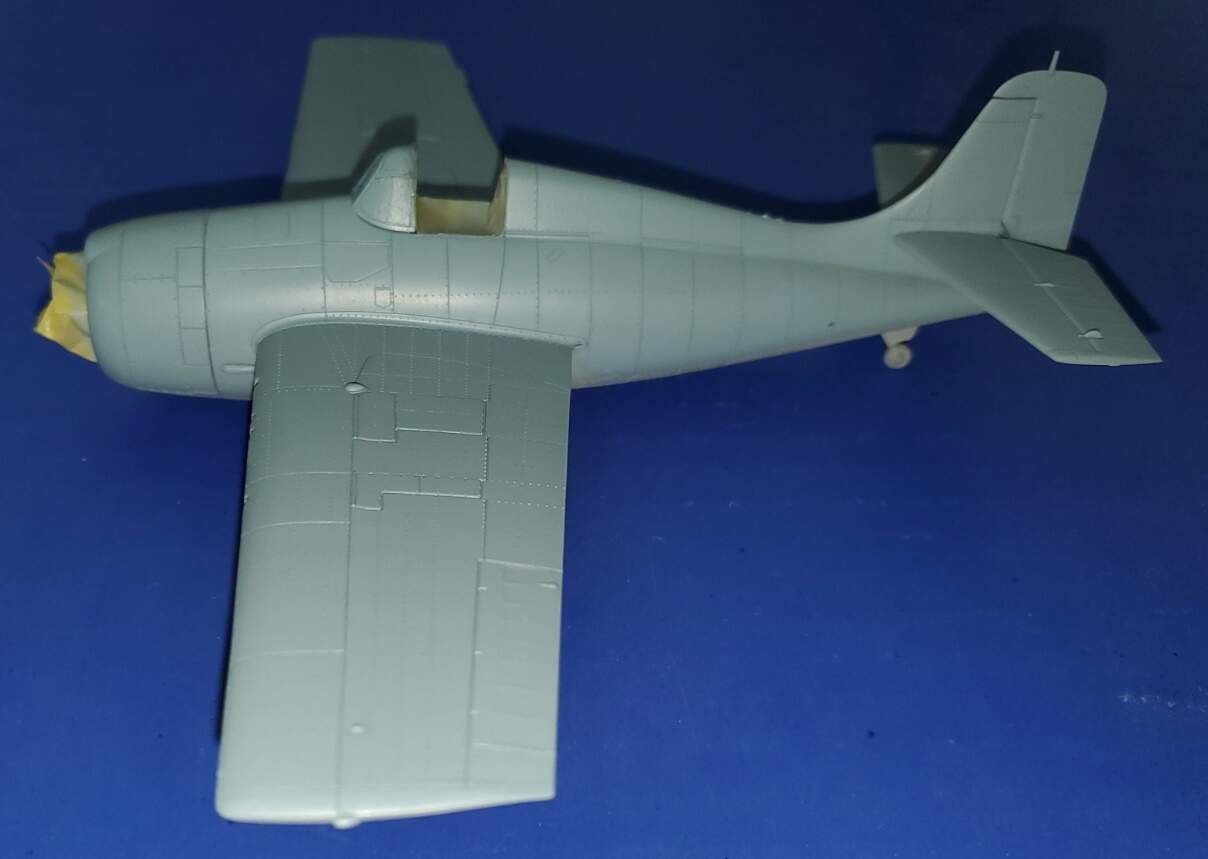
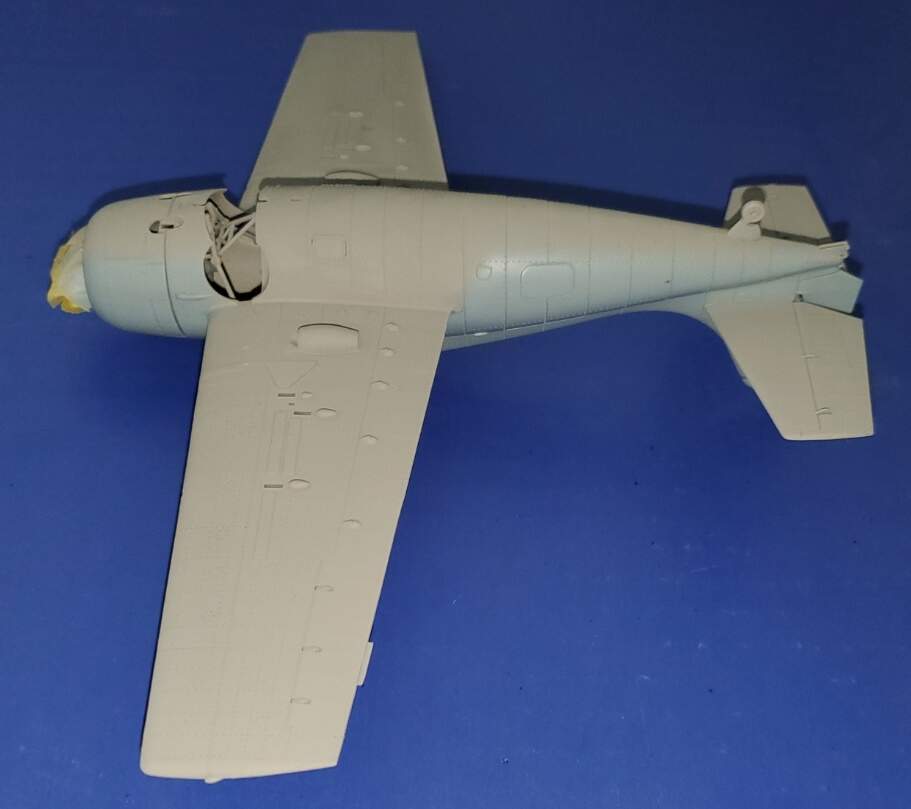
This is my first time using AK for the blue-gray topside color. I’ll admit I’m a little disappointed by how light it is, but hopefully a gloss coat will darken it up. It sure went down nice!
Can I get it done in time? Not many decals go on it, so we shall see…
Michael ![]()
4 Likes
looks good michael, i think the blue looks pretty accurate. weathering will darken it a little’
about the bomb loads, are you sure? i was watching a documentary with rusty kleese, who was also a sbd pilot and he stated the command decided to go with the 500lb bombs instead because of the weight and extreem range of the jap fleet.
joe
Pretty sure. Kleese was in VS-6, so they would have had 500 pounders, as would McCluskey’s command flight. But everything I’ve read says VB-6 had the big ones.
Michael ![]()
Hi Everyone,
Mark, that’s one colorful Wildcat! Nice finish. Michael, your Wildcat is coming along nicely, and I agree about the drop tank holes. I filled mine using the braces, glued them in, cut them off and sanded them down. A pain, but not too bad. And yes, Best dropped a thousand pounder onto Akagi, based on my research.
In my last update I was about to embark on the decaling adventure. As it turns out, since then the build has been quite the adventure. I used the kit’s decals and they behaved just fine, settling down with Mr. Softener. I then applied a coat of my mix of future (70% Future, 30% IPA and a drop of dish soap). This was where things turned wonky, I’m guessing from the heat and humidity here, the decals on the wings developed bubbles that weren’t there when I laid them down. So, pin holes and more Mr. Softener seemed to do the trick, yay!
It was at this time that painters came to the house to paint the main room, which also happens to be where my work desk is. Upon entering the house as they were busily painting away, I observed that they hadn’t moved the furniture, nor did they believe in drop cloths. After a firm and colorful discussion the drop cloth issue was resolved, as was the furniture issue. Sadly, the Vindicator had taken quite a few hits from the white paint that was going on the walls. Fortunately, the paint hadn’t had time to dry, and I proceeded to remove it with Q-tips dipped in 70% IPA. This worked fairly well at removing the offending white dots, but also did a slight number on the paint job. This got repaired using grey-blue, unfortunately not from the original batch. So, the finish was a bit more mottled that I’d hoped for. Disgusted, I pressed on, putting on the fiddly bits and stringing the antenna wire, which did turn out quite nice!
So, here’s my Midway 80th anniversary build of VMSB-241’s Vindicator number 6.
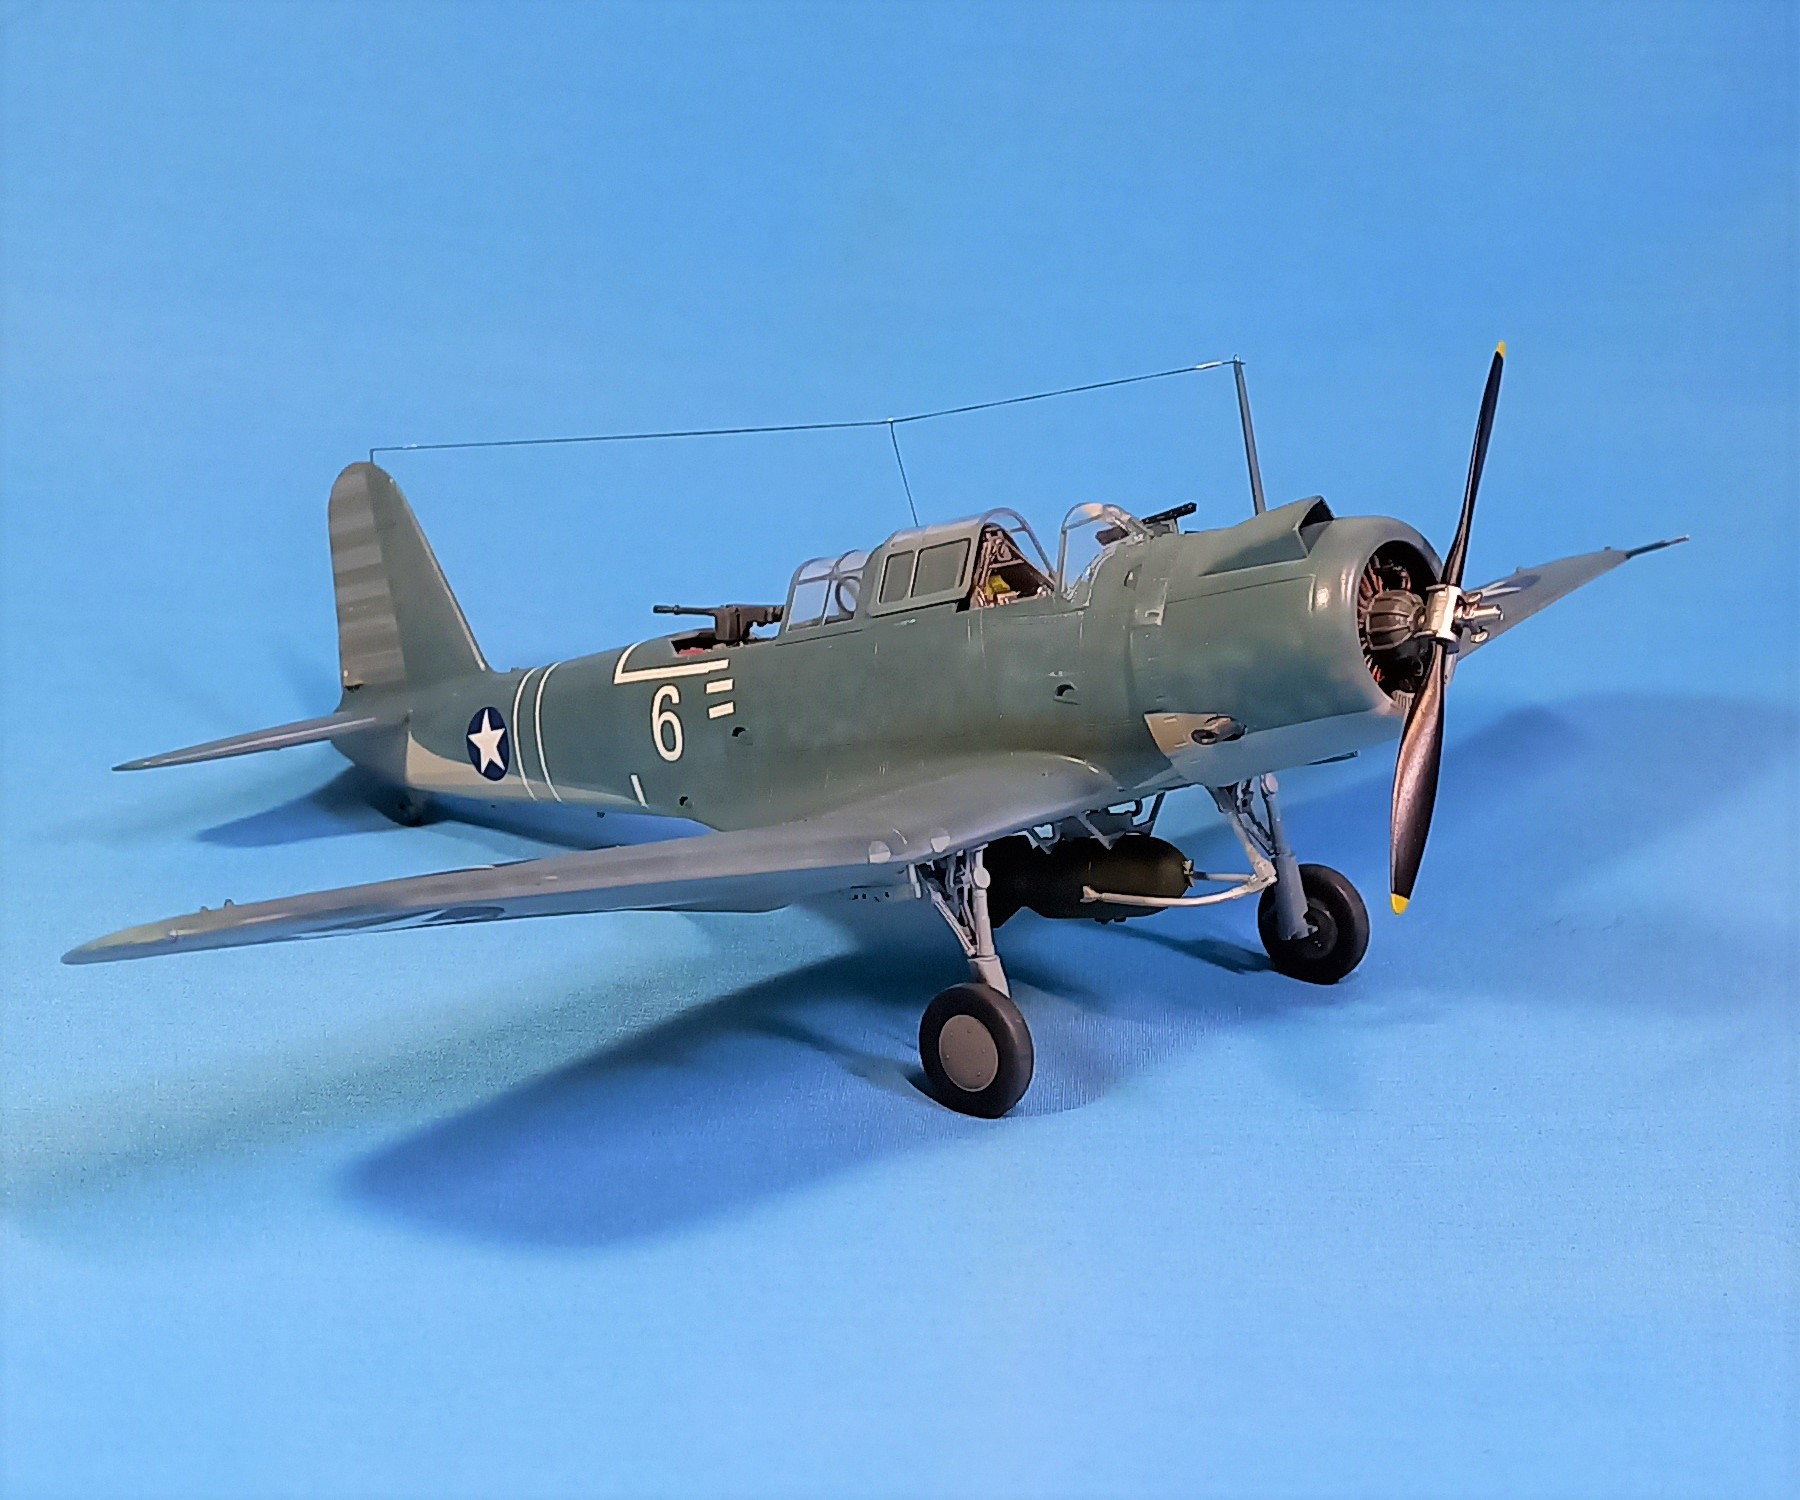

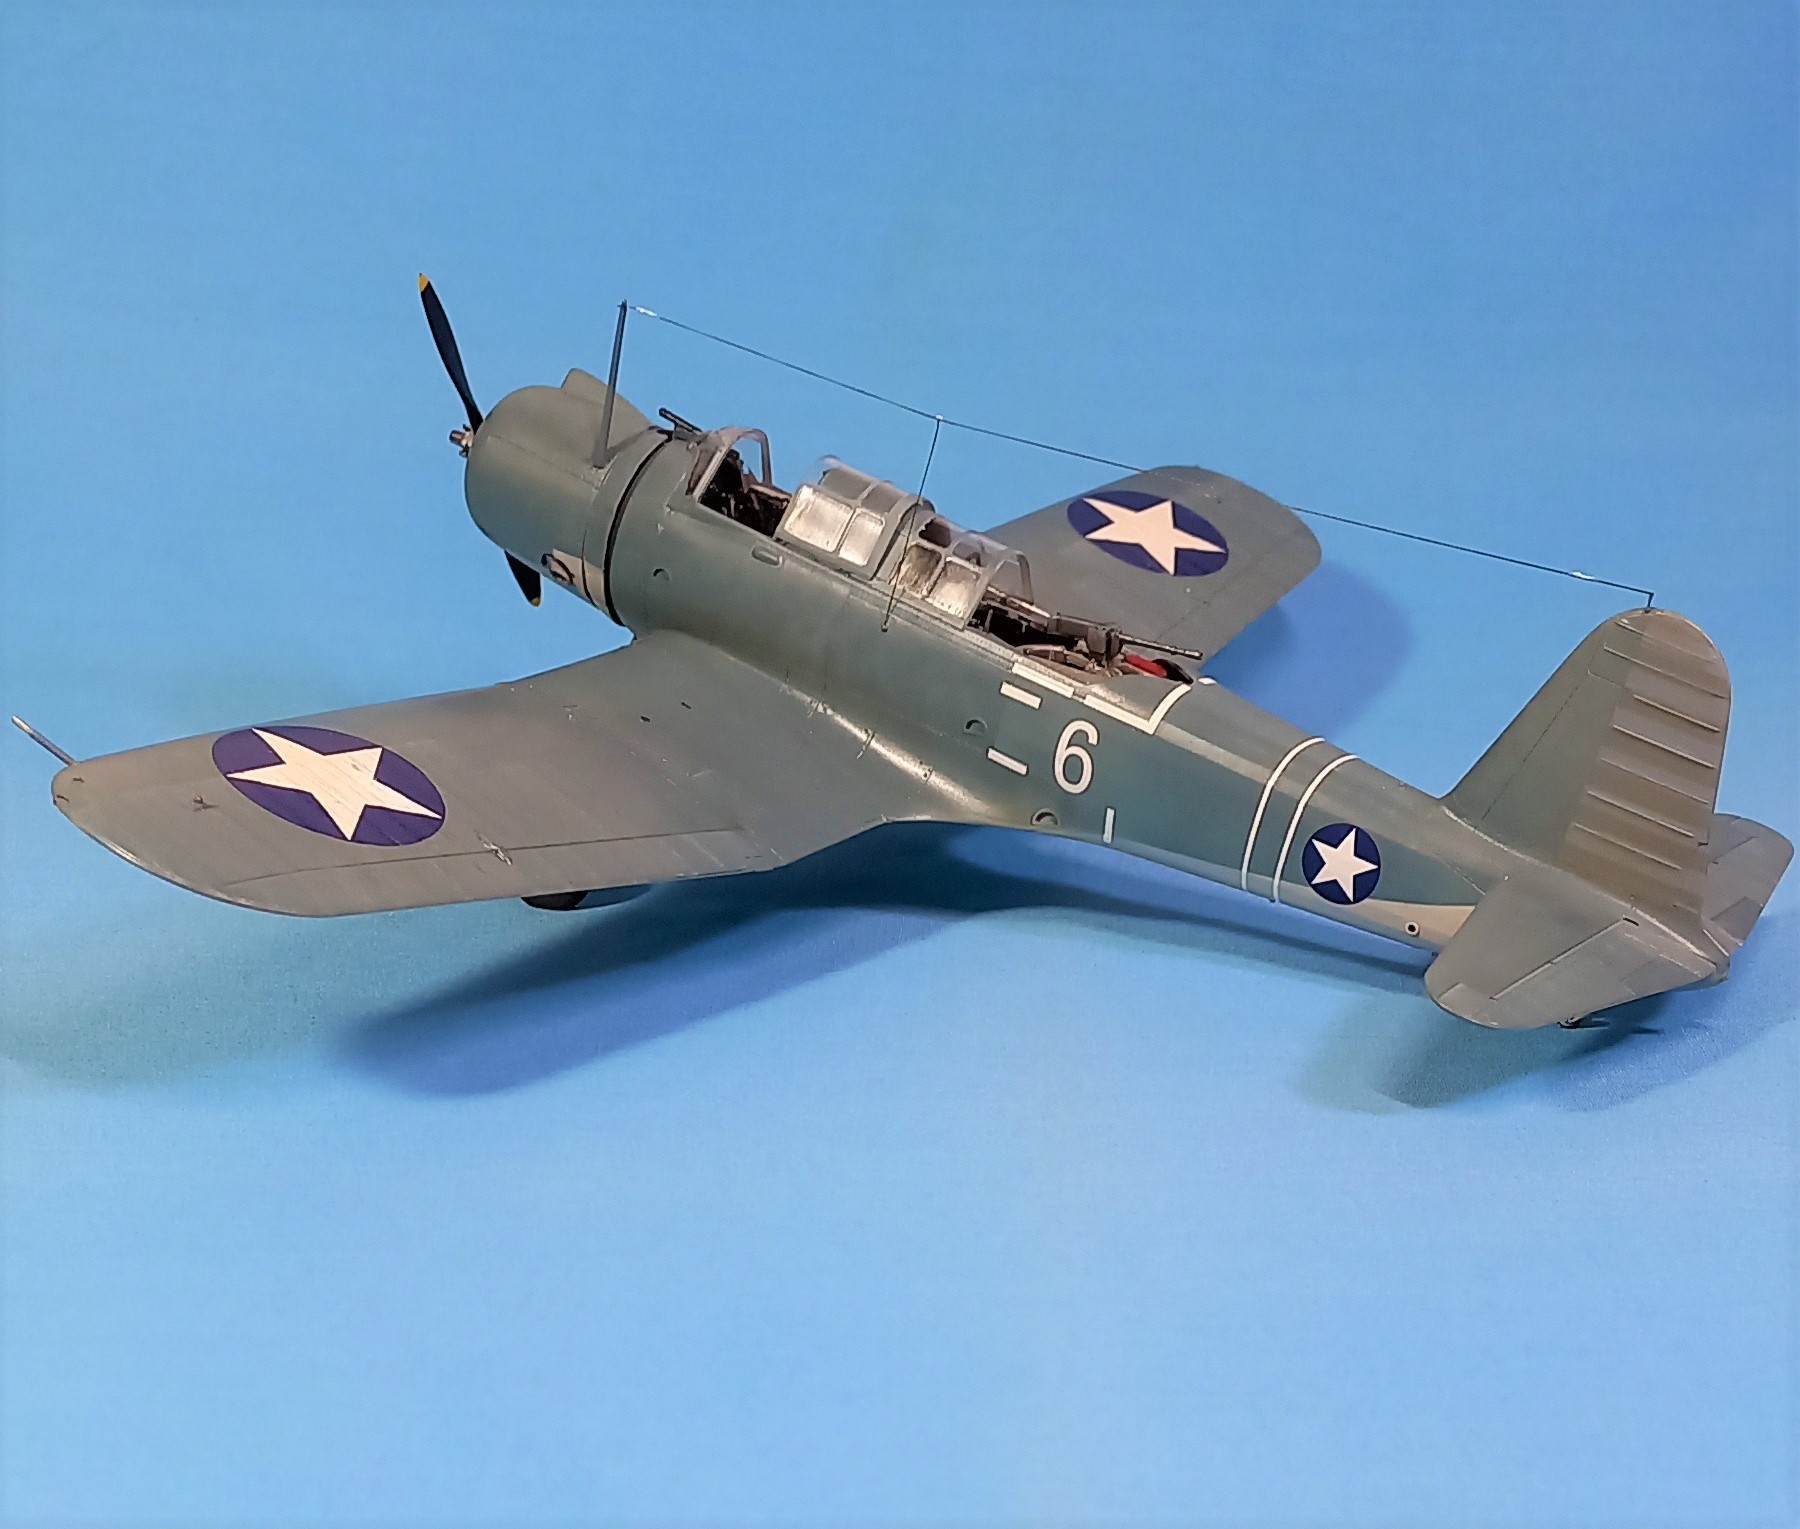
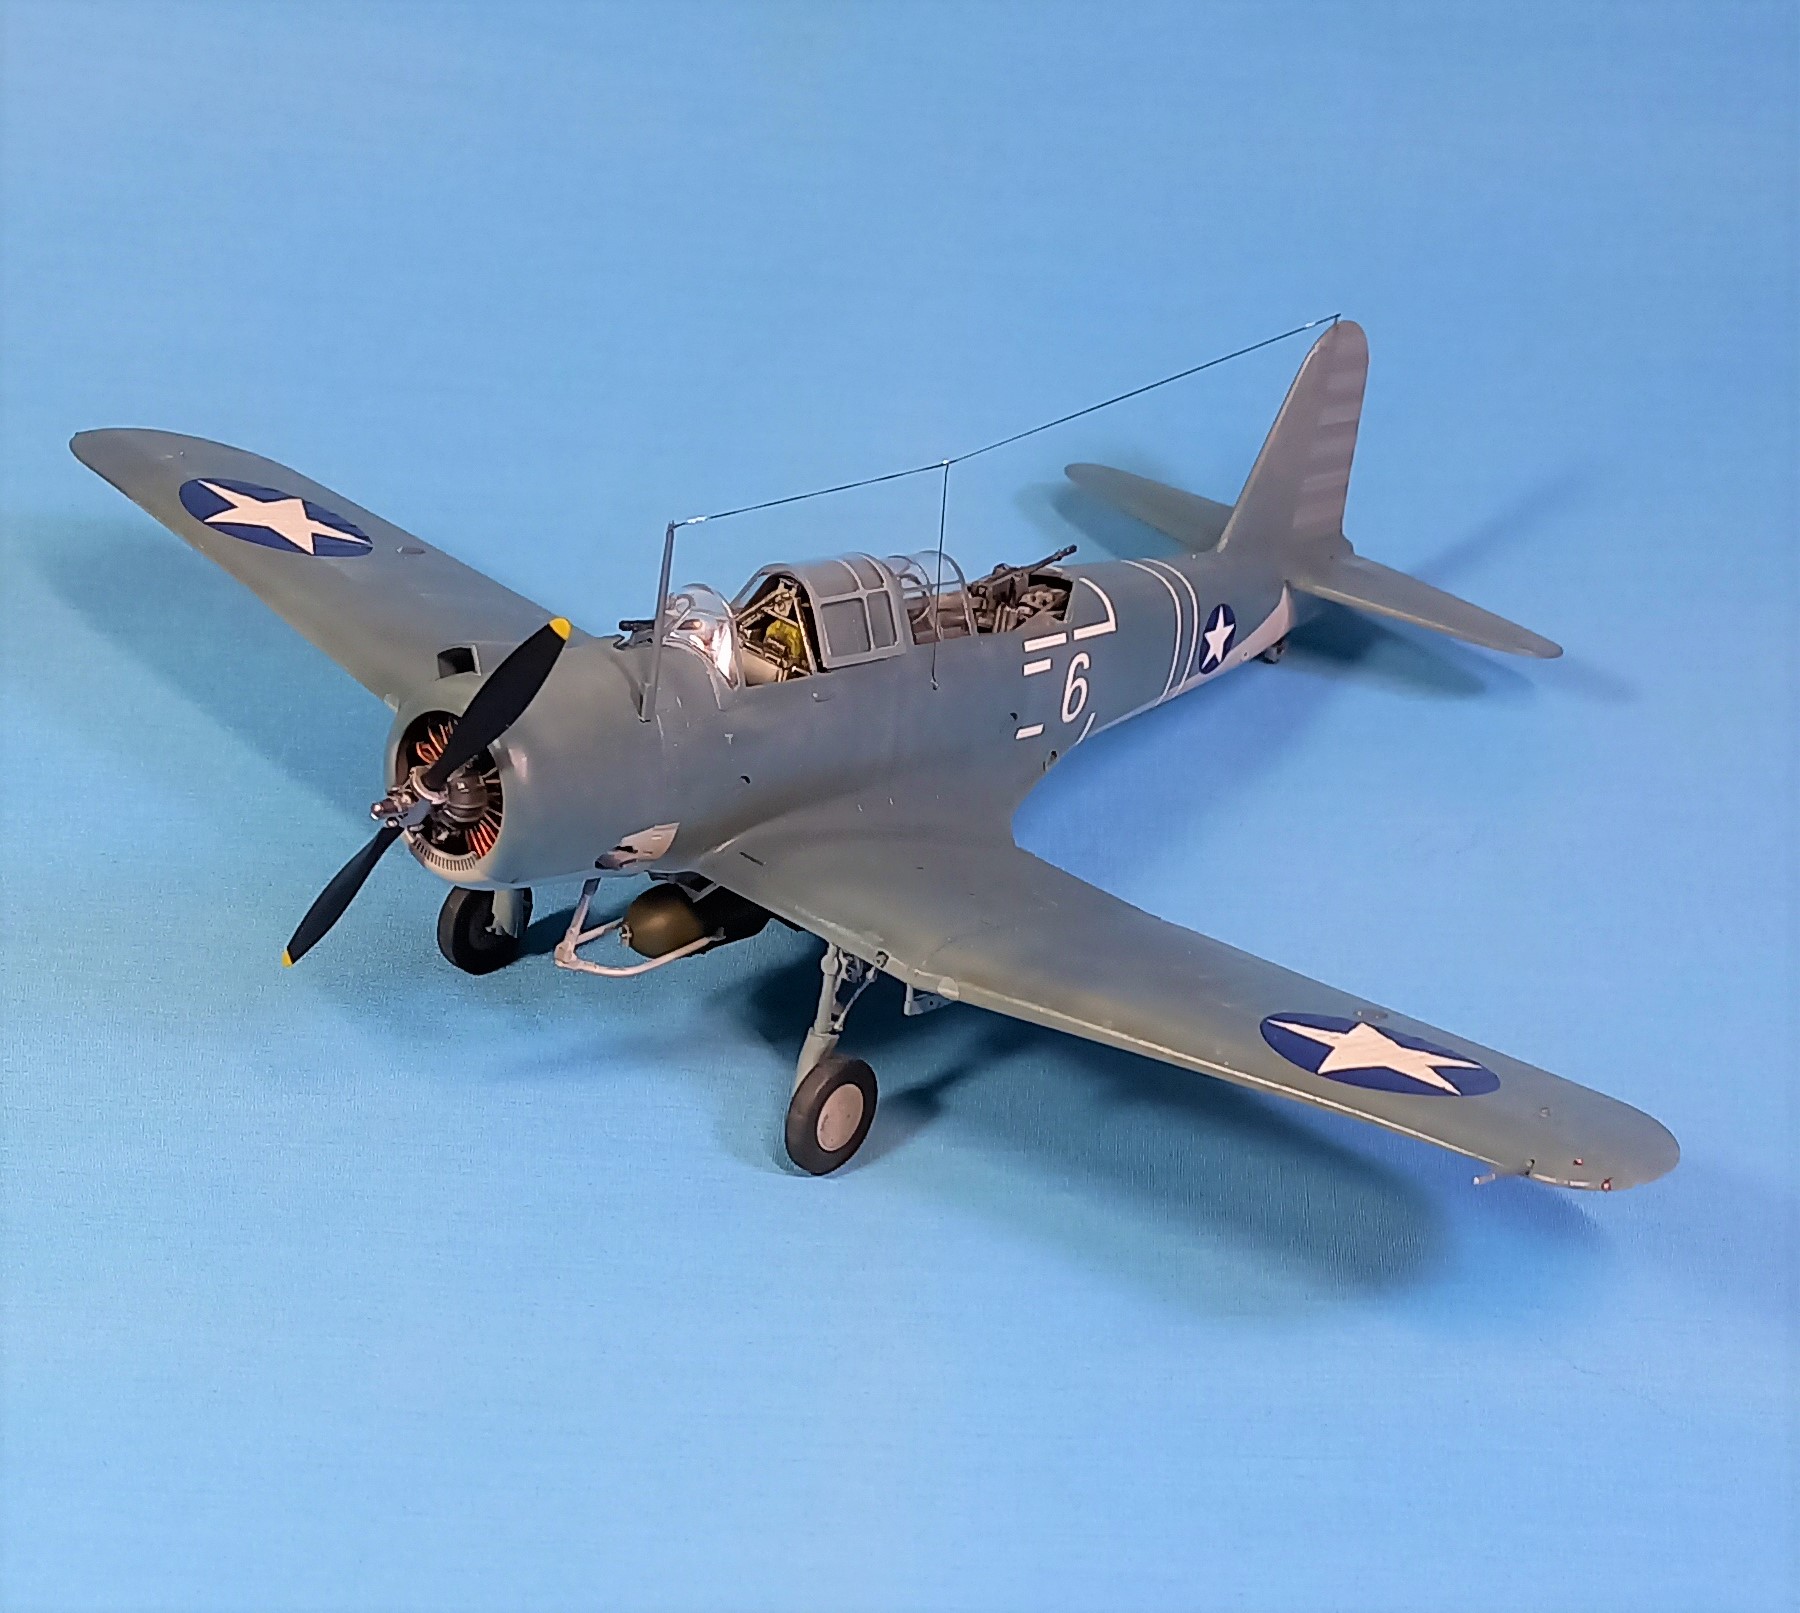
As hard as I tried, these photos don’t really show the actual color of the plane but will suffice. Overall, this kit is not Accurate Miniatures best effort, though not horrible, and makes a good presentation of the Vindicator. If I were to do again, I would work on the rear cockpit area for a decent fit and get some newer decals. Despite the issues I feel ok about it and now I have a nice Vindicator in the collection that is from the lesser-known part of the Battle of Midway.
Wishing everyone a Happy New Year! Have fun and be safe out there!
8 Likes
Nice work, all! Started decaling the Tamiya 1/48 F4F. Turns out the big roundels with yellow surrounds were from a pretty old SuperScale sheet, and they haven’t aged well. So some yellow touch up has been required. Luckily Tamiya XF-3 is a good match.

I know that all of the pictures of VF-41 aircraft during Torch don’t show the squadron insignia under the cockpit, but I don’t know why they’d bother to remove them when the squadron designator is still on the side. Anyway, I wanted it on there, so there it is.
Tick, tick, tick. There’s still time to finish!
Michael ![]()
7 Likes
Looking good Michael!
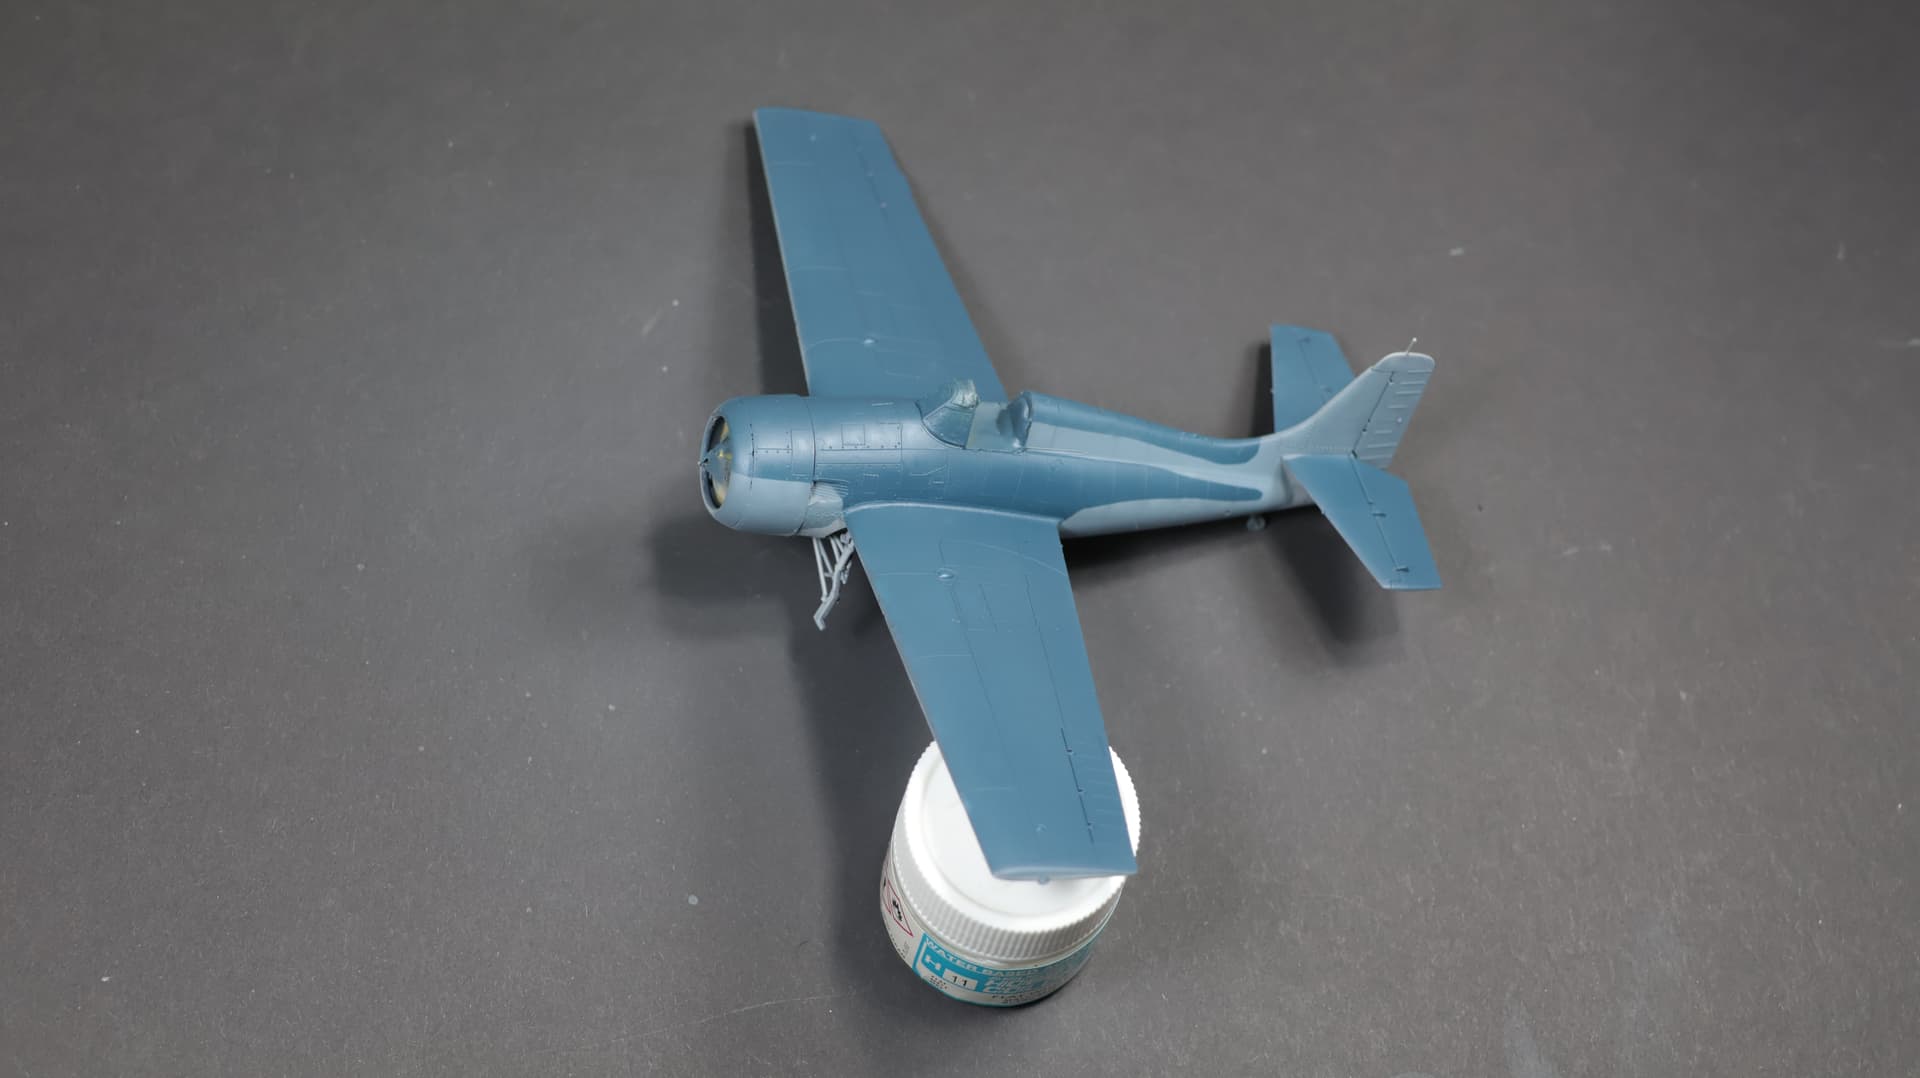
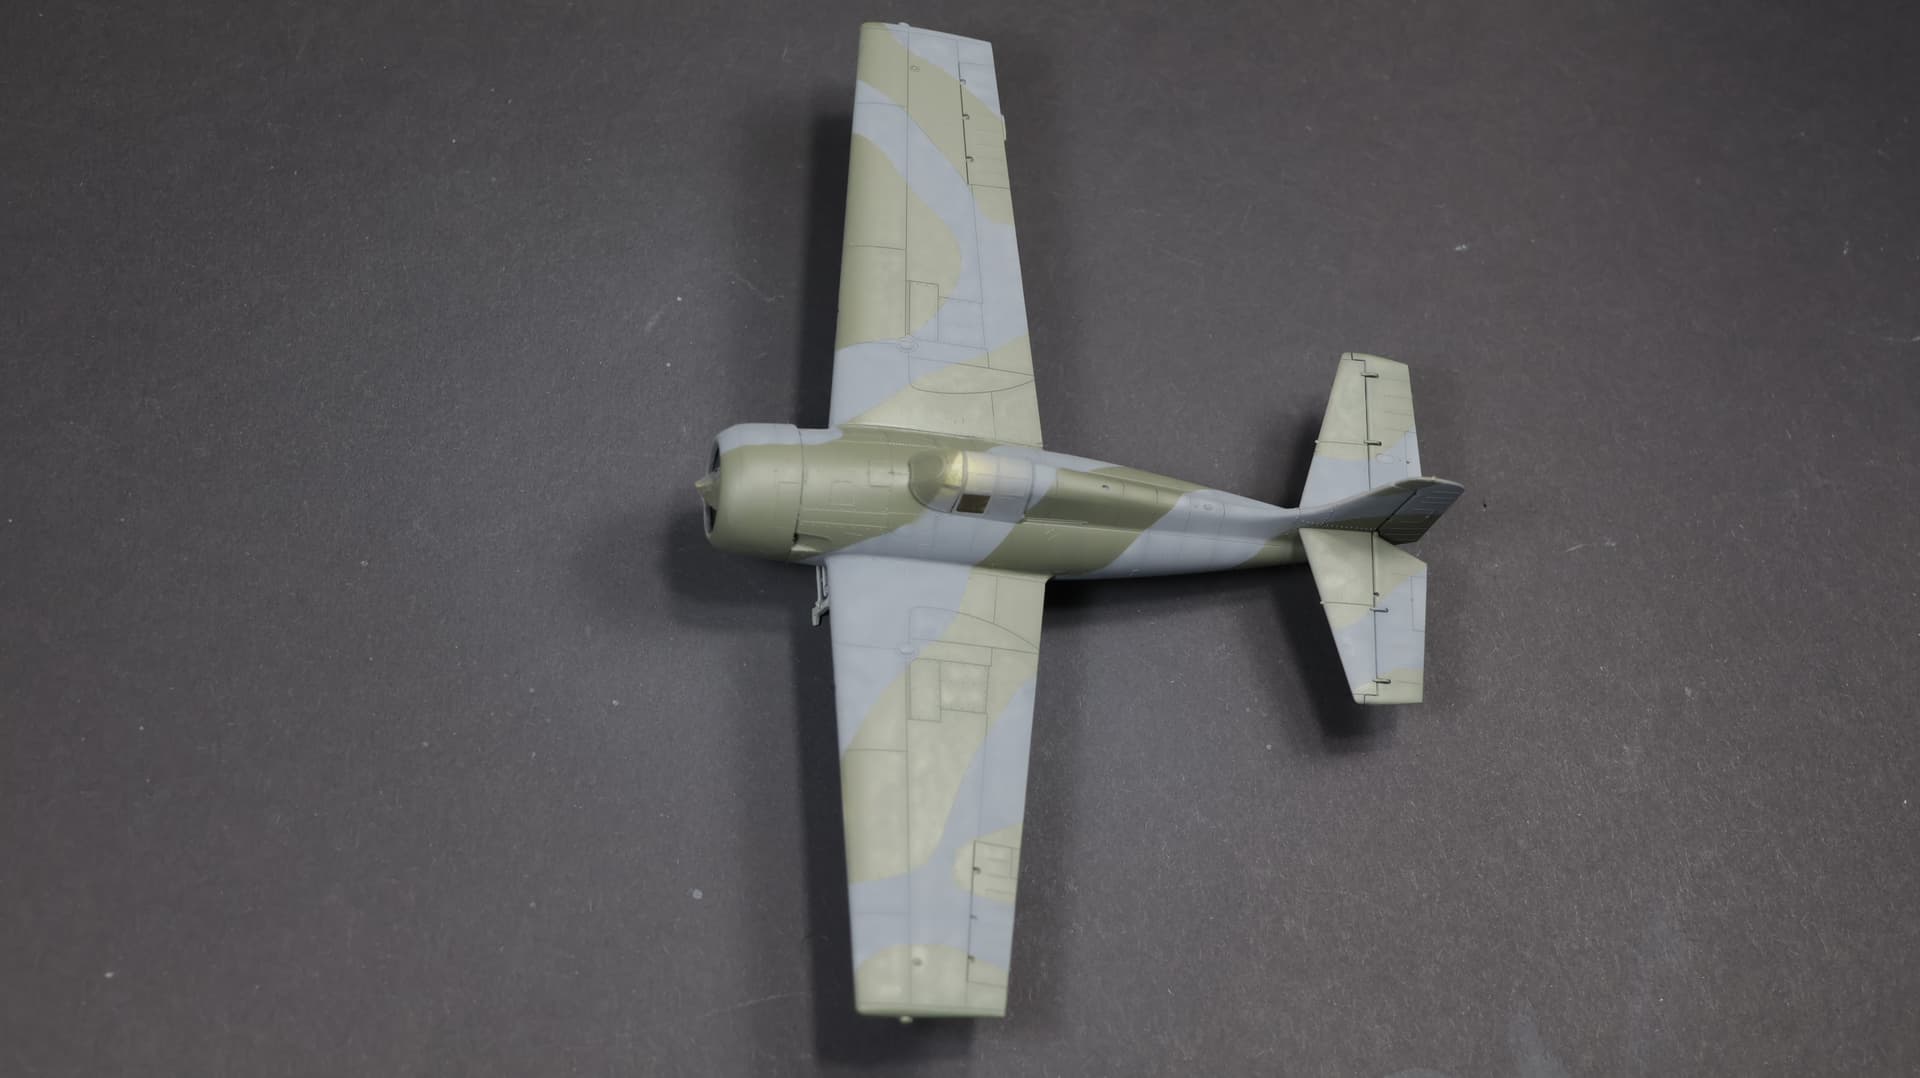
It’s been a while since July, my Wildcats got some dust in meantime and I see you guys were busy with great builds in such short time ![]() , but as 2022 is finally coming to an end it’s time for “some” update
, but as 2022 is finally coming to an end it’s time for “some” update ![]() . I was struck by mild cold/flu so could operate a little bit with my trusty airbrush and here they come, one Royal Navy, one US Navy - main colours applied. I used Hataka Orange paints except grey colour on RN one - this was a Tamiya acrylic one.
. I was struck by mild cold/flu so could operate a little bit with my trusty airbrush and here they come, one Royal Navy, one US Navy - main colours applied. I used Hataka Orange paints except grey colour on RN one - this was a Tamiya acrylic one.


Happy New Year 2023!
Cheers,
Radek
7 Likes
I’m getting very close, and think I can make it, but what does everyone think. A little more time?
Michael ![]()
I’m always in favor of adding a little time to help people close to the finish line finish without unnecessary pressure.
I’m not going to make it on my build as I still have a long, long way to go, but I’d definitely add a little for you if I were running this, fwiw.
I’d appreciate couple of weeks more, I’m quite close to finish, but not in 2 days ![]()
Consider it done. January 16th it is!
Michael ![]()
1 Like
Nice work on the Vin John. I wouldn’t worry about the splotches of different color paint, probably just bullet holes patched up. I need to find one of these kits, hopefully academy has the tools and will release it.
Joe
1 Like
guess I stand corrected then but if i build a midway sbd I think i will make both bombs and figure a way they can be changed out. I have to do more research on it but I would have thought the bomb load was a fleet wide decision because of distance and fuel consumption.
The wildcat is coming along, now you will have no excuse not to finish it with the extension.
Joe
Hey Joe,
Academy does make this kit and it’s fairly reasonable in price. Not sure when they got the molds from AM, but it’s the same kit, not sure if they include the masks, but I would definitely recommend a set from Eduard if it doesn’t.
Happy New Year!
Joe,
I fully understand your questions. “I saw it on the internet, so it must be true” is NOT research. While the information about bomb size is in a number of sources, if you want to look further I recommend the following books specifically:
Pacific Payback: The Carrier Aviators Who Avenged Pearl Harbor At The Battle Of Midway
This book is about the SBDs of Air Group Six off the Enterprise. It covers the first six months of the war, but focuses in on Midway with consisderable detail, including tables of specific aircraft/aircrew on every strike. Very thorough.
The other book that will tell you what you need to know is:
Shattered Sword: The Untold Story of the Battle of Midway
This one covers the battle in considerable detail. While mainly telling the story from the Japanese side, here you will find a great deal of information about exactly how the strikes on the Kido Butai took place and what bombs hit where on each ship.
Your thinking about the bomb load being set fleet wide might make sense if the American carrier fleet were that well organized at the time. It was not. We were still learning, and at Midway it was still left largly up to each individual air group and ship captain as to how strikes were carried out. Pre-war practice was for scouting squadrons to carry 500 lb bombs, since they were supposed to fly out furher, and bombing squadrons carried 1000 pounders as they were the attack unit. While that division was breaking down by Midway, the Enterprise group at least seems to have stuck to the program bomb-size wise.
Also, as far as range went, when the strike group took off, they thought they knew where the Kido Butai were and had the range. As it turned out, the Japanese had the utter temerity to change course as they’d found out in the meantime where the American carriers were (the nerve of them!) Thus the SBD squadrons of Air Group 6 (VS-6 and VB-6) had to do a search to find them, burning up a lot of extra fuel. They actually did lose a number of SBDs due to running out of gas on the way home.
Finally (never thought we’d get there on this post, did you?), if you do an Enterprise SBD, you can stick with one size bomb. Unlike the Torpedo and Fighter squadrons, the SBD squadrons kept their unit designator painted on the side of the airplanes to tell them apart. Thus, while the VT and VF squadrons just had individual aircraft numbers (1, 2, 3, etc.) on them, the SBD’s had S1, S2, S3, etc. for VS-6 and B1, B2, B3, and so forth for VB-6, so you can choose the airplane and size of bomb and stay with it. I’m not as sure about the Yorktown and Hornet groups, as my research has focused on the Big E.
Whew. Bet you’re sorry you brought this up!!
Happy New Year!
Michael ![]()
2 Likes
OK, well, in addition to writing overly long replys to questions people wish they’d never asked, I did at least a little modeling as well and have finished the Tamiya 1/48 F4F-4. VF-41, Operation Torch, November, 1942:


I’d like to say I’m happy with how it turned out, but I’m not, particularly. The AK blue-gray is too light (I’ll be working on that for future builds), and I used a Squadron vacu-form canopy so I could pose it open and frankly did a lousy job on it. Aw well, better luck (and perhaps decal strips) next time!
Michael ![]()
7 Likes
It is still a nice looking bird. We are always our own worst critics since the issues are on our work bench staring us in the face.
Tim
1 Like