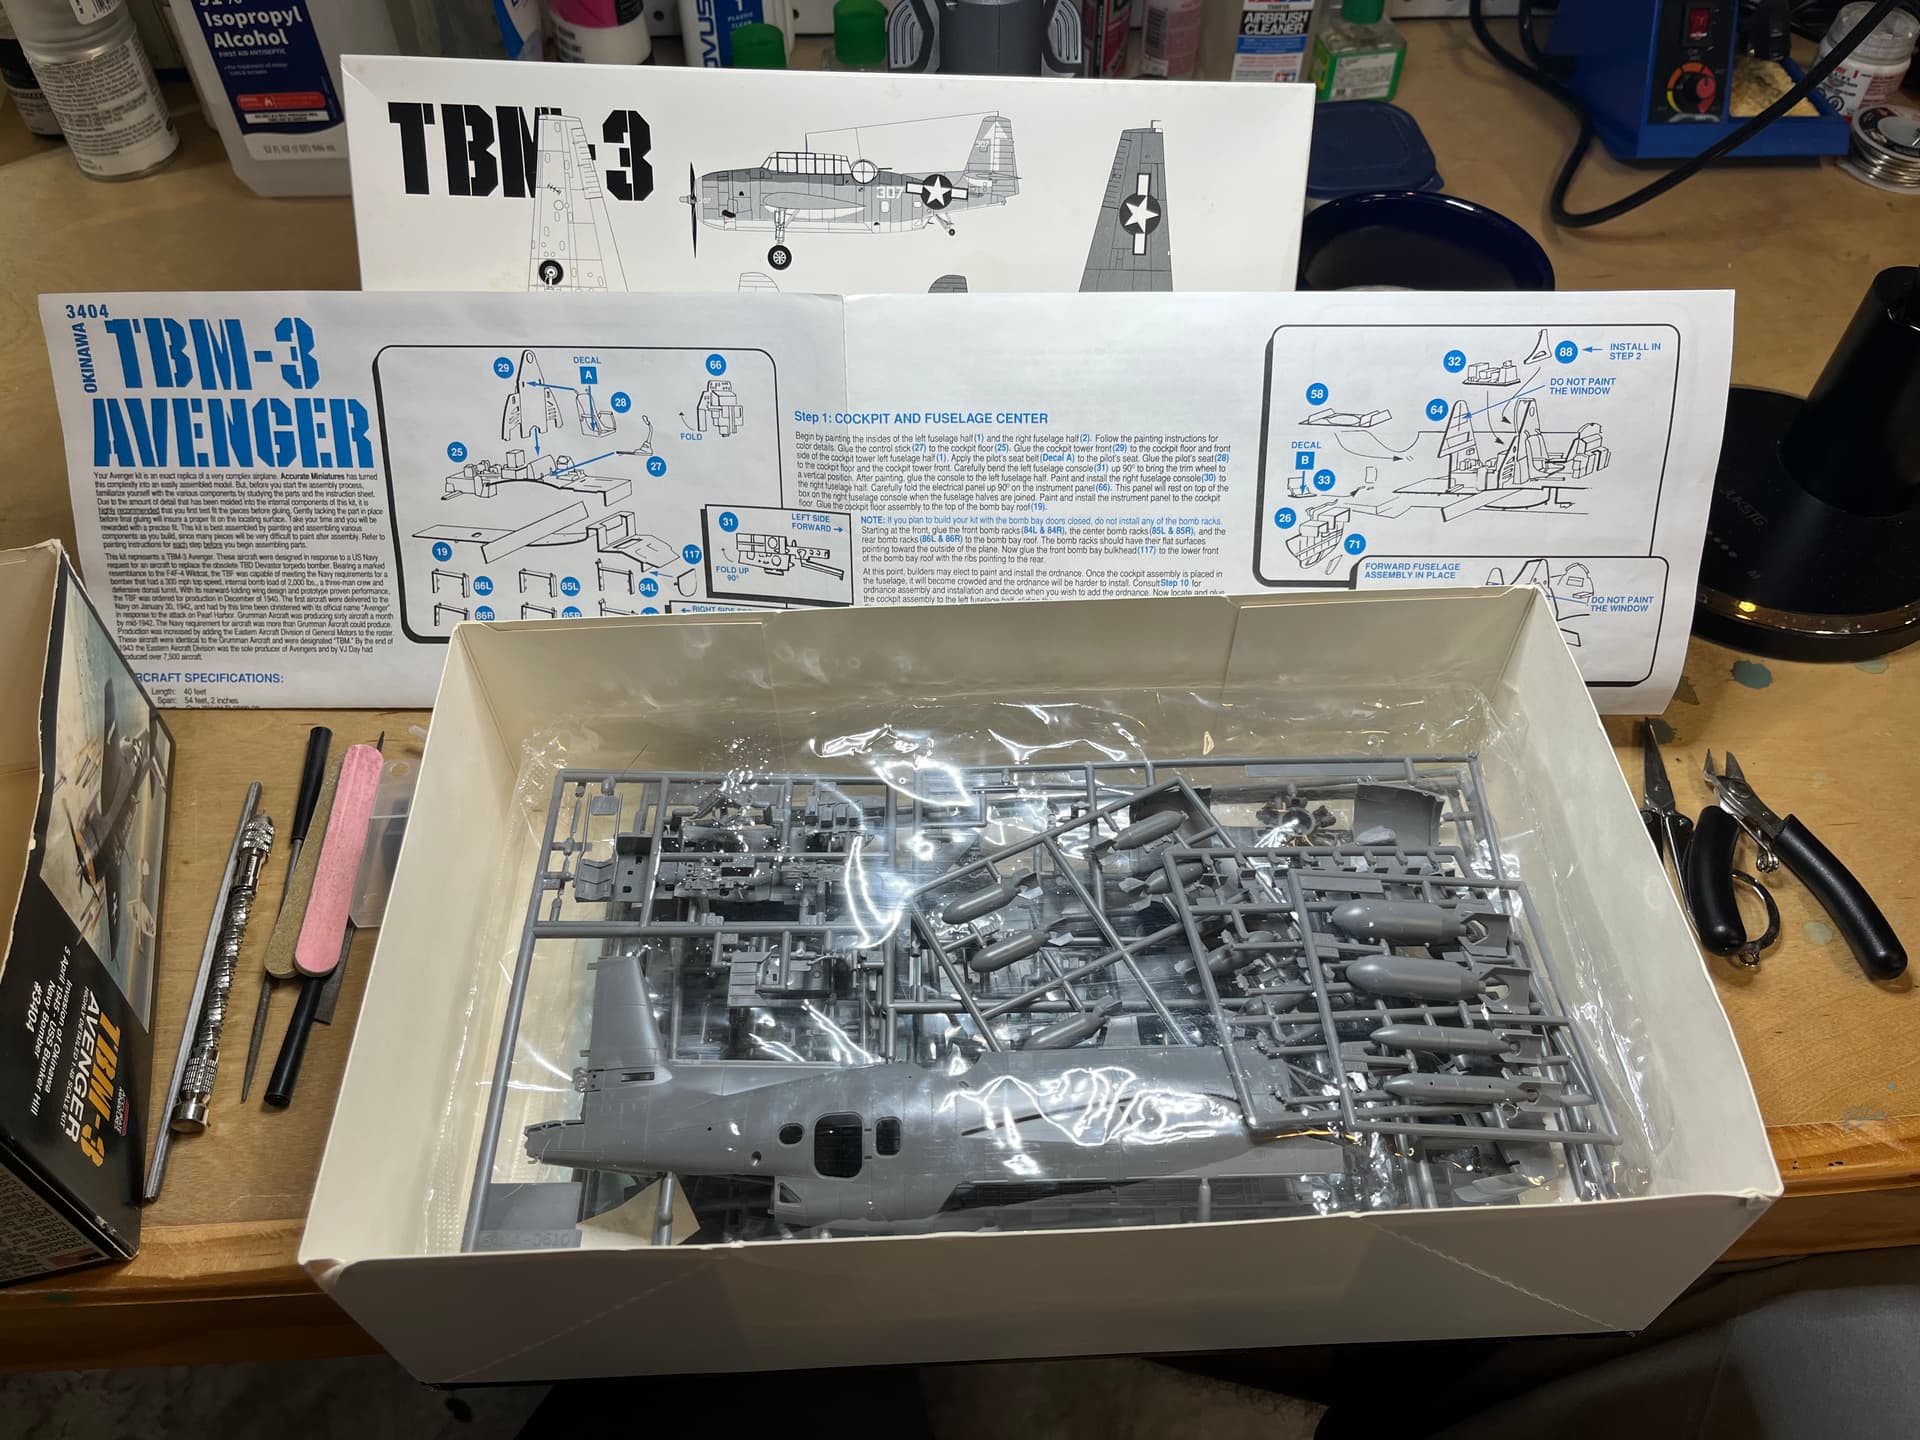
Gotta be able to reach everything, I suppose.
Michael ![]()
Gotta be able to reach everything, I suppose.
Michael ![]()
I’m going to need a bigger workspace…
About those engines. The Tamiya instructions call for making a mix of red (1 part) and dark metallic gray (5 parts) for the cones inside the engines. Are they really red or is that trying to depict an engine that is running or has recently been running?
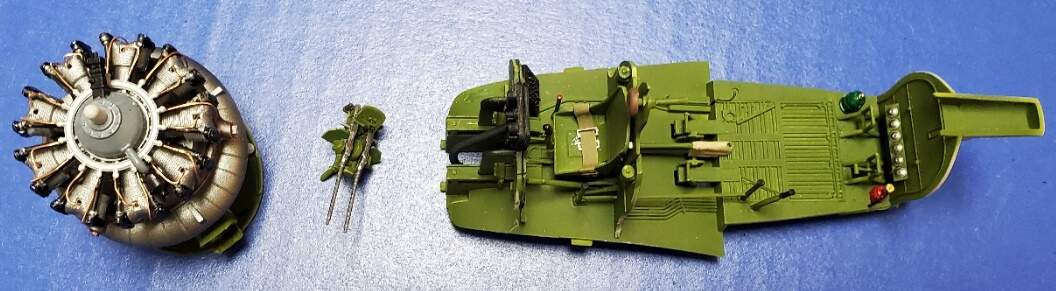
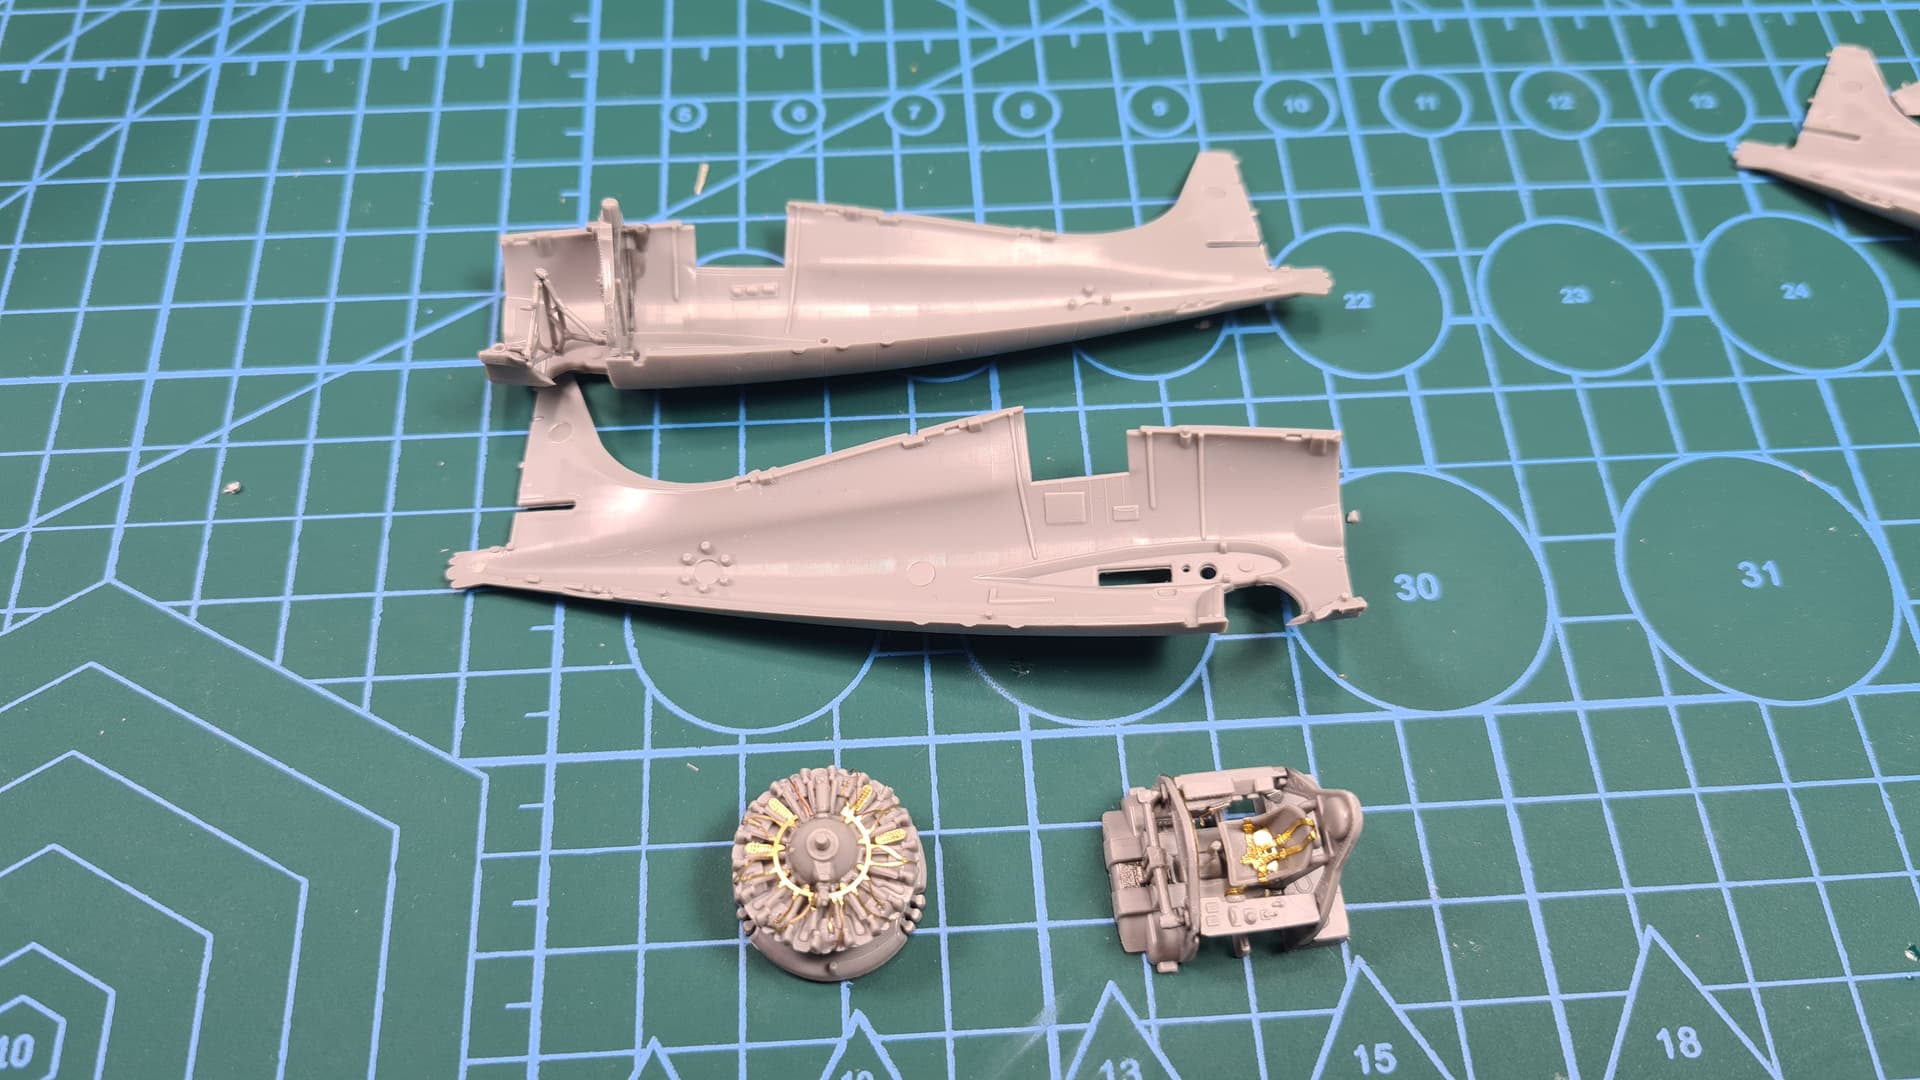
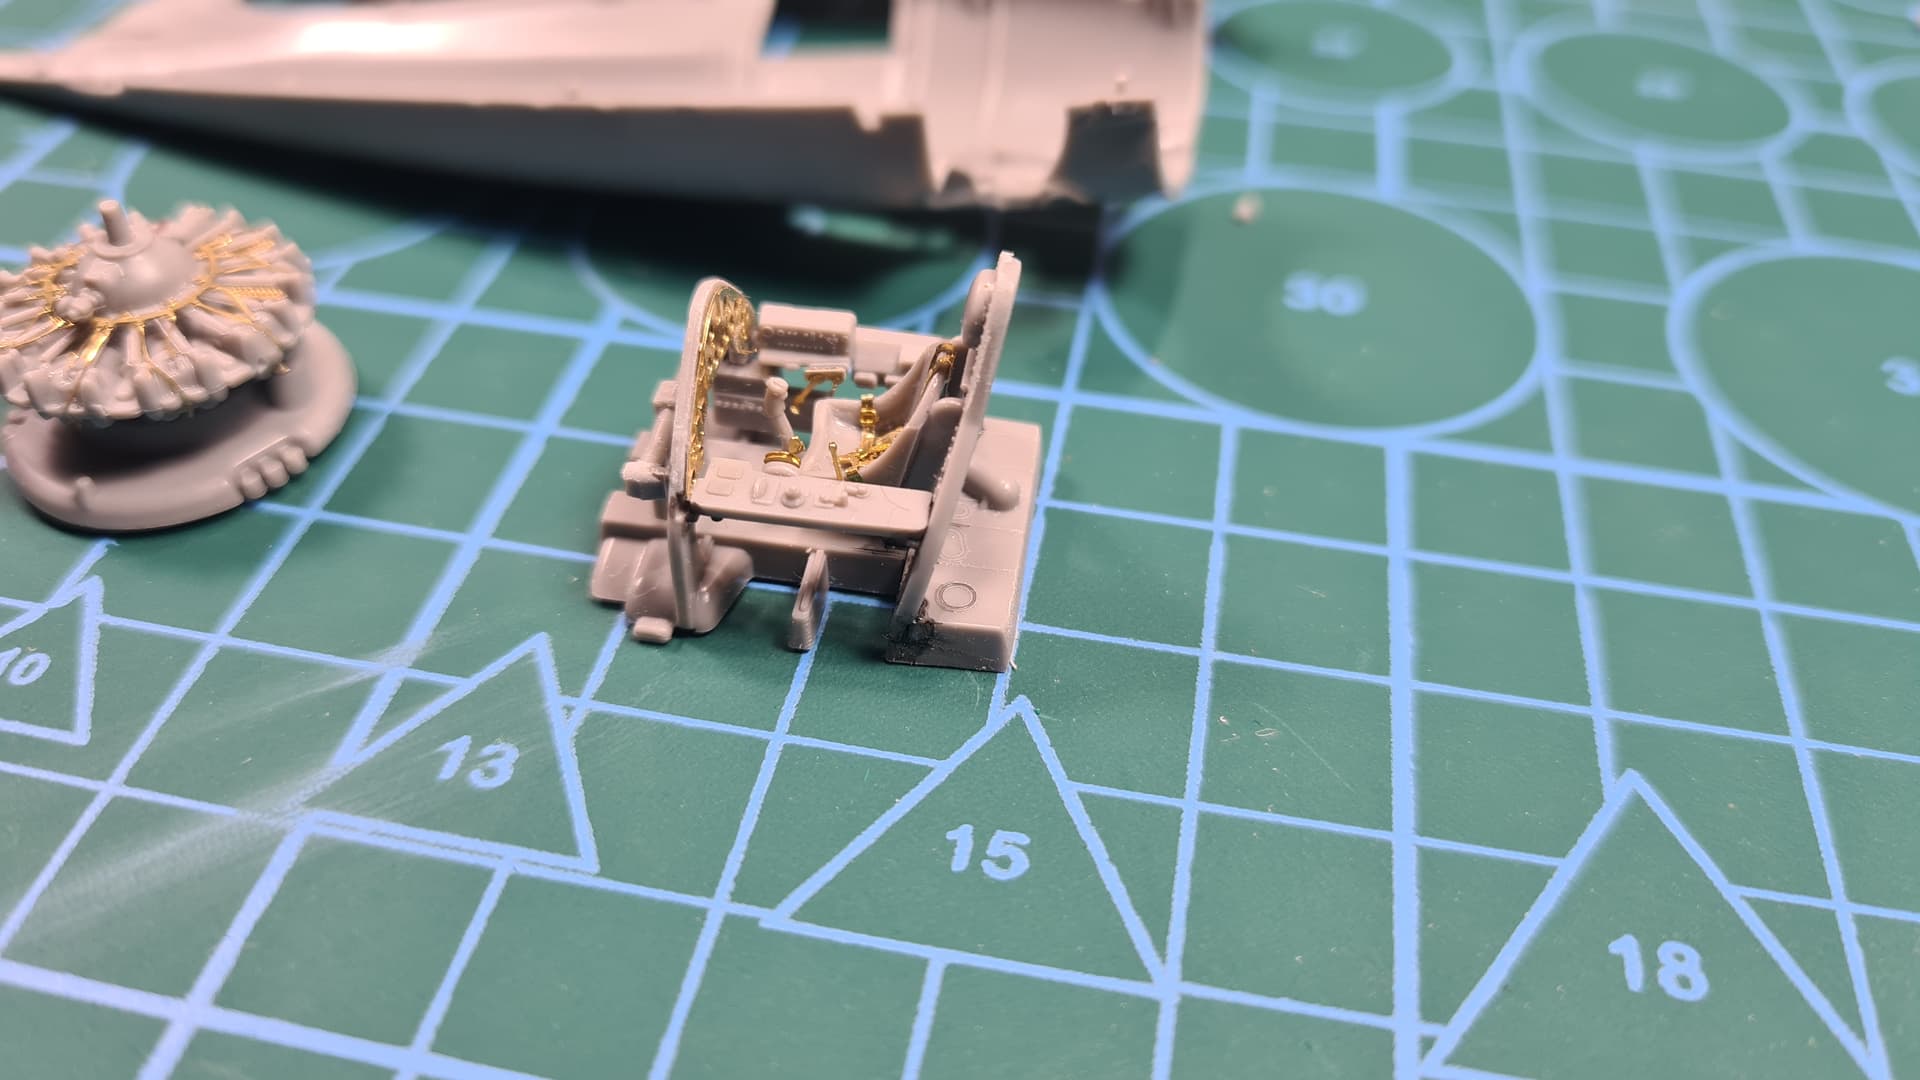
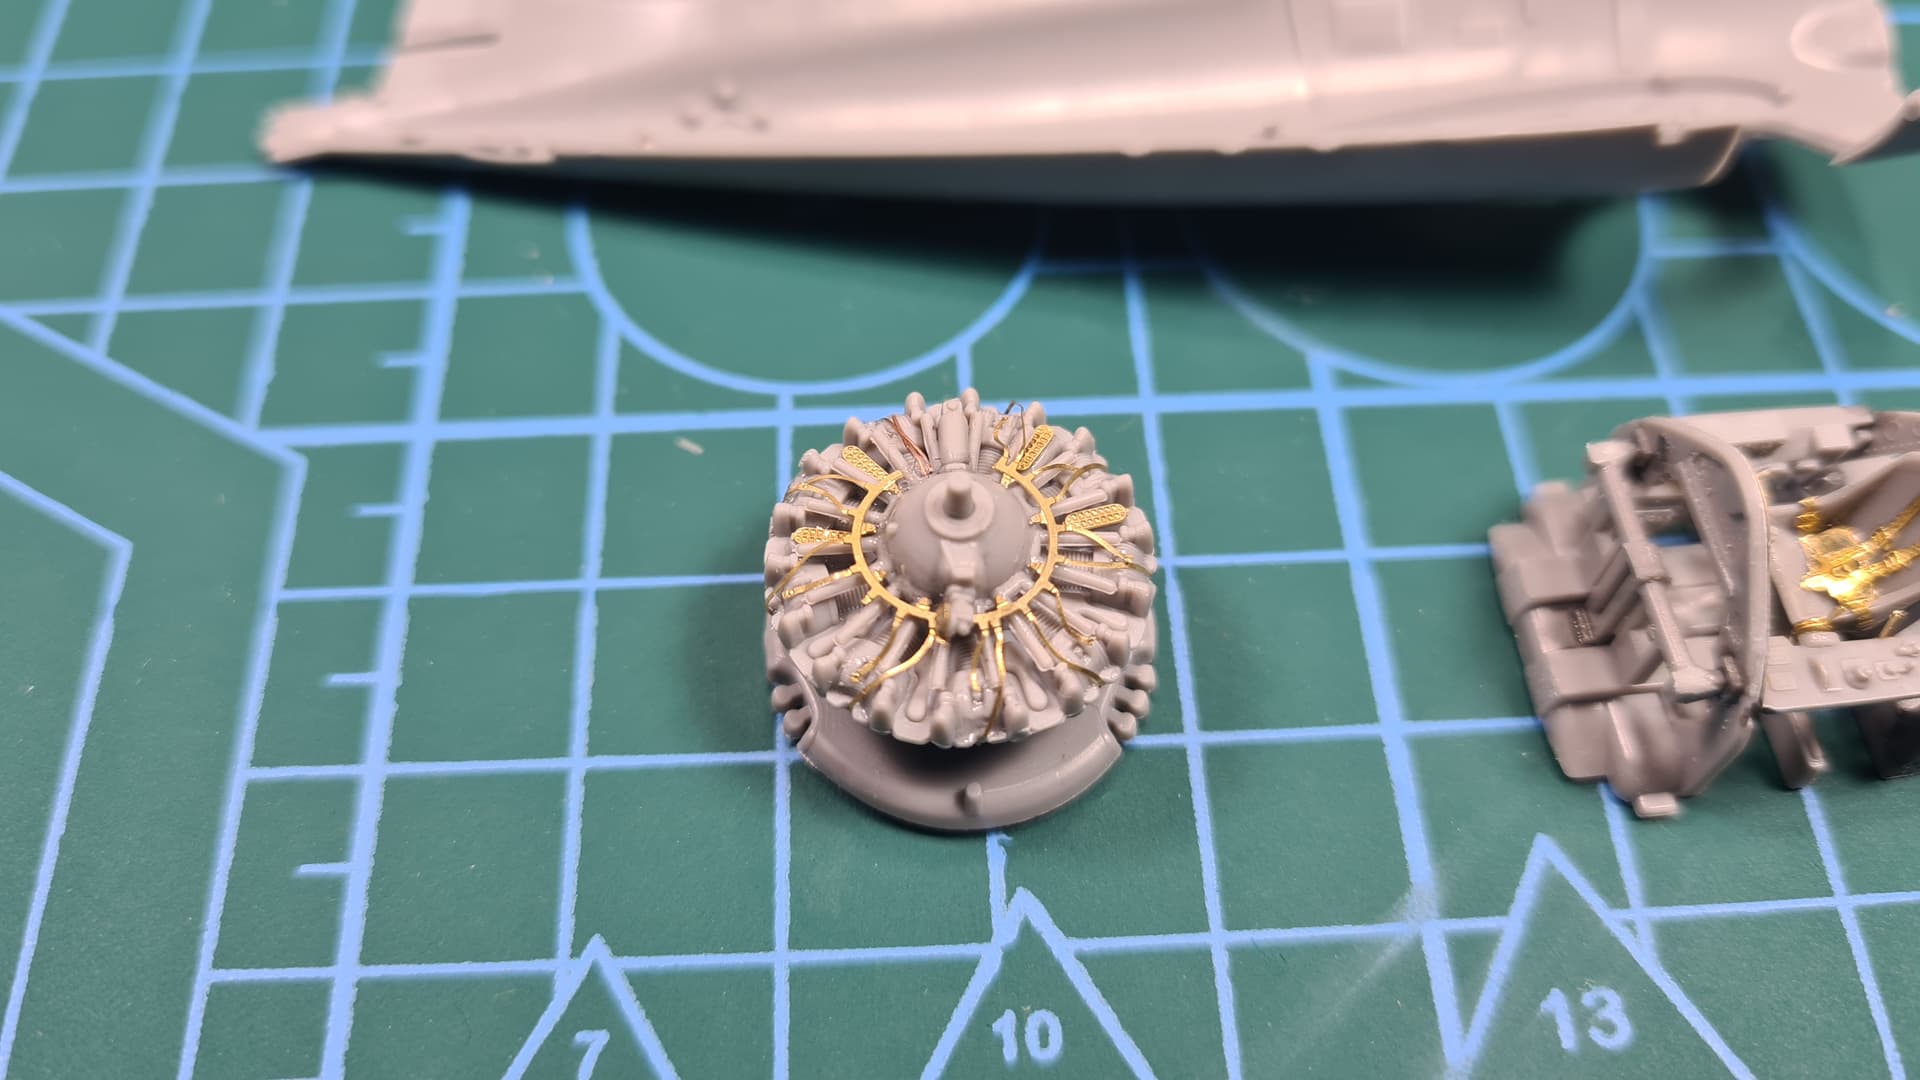
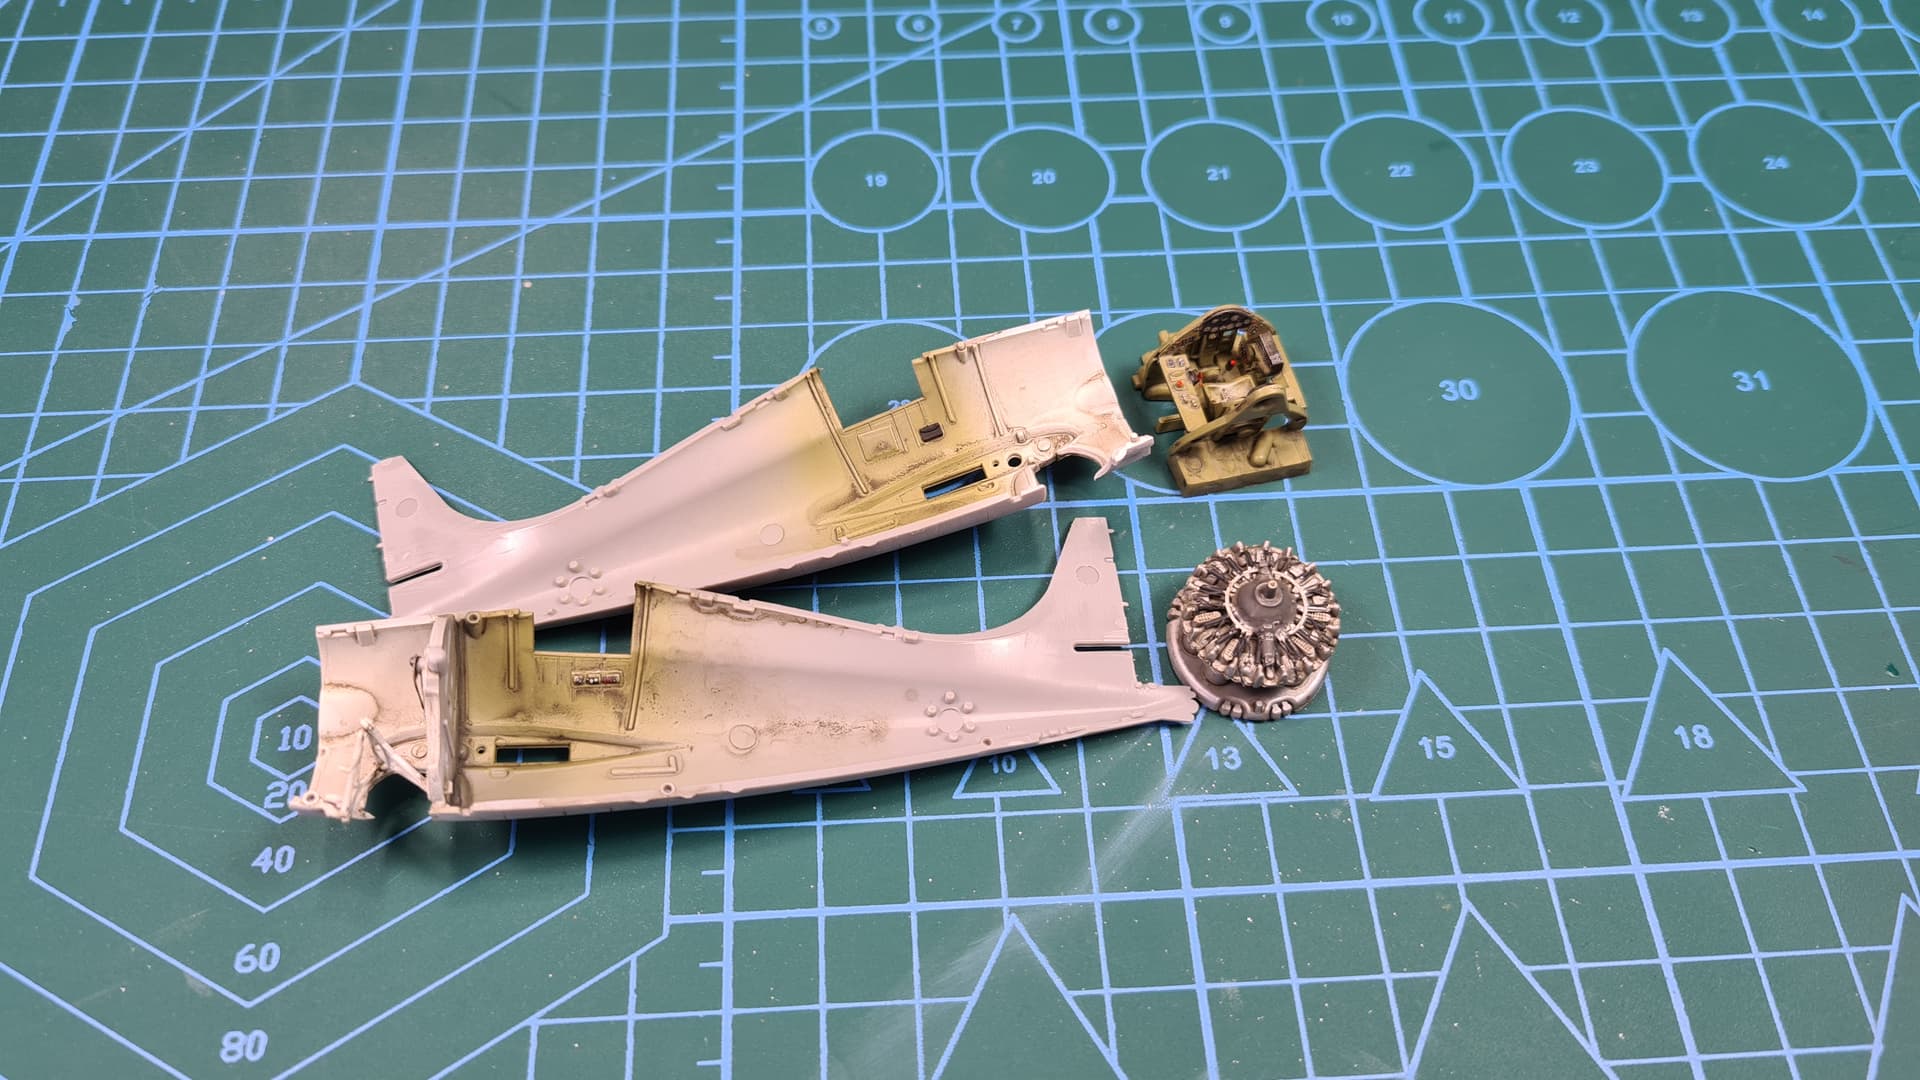
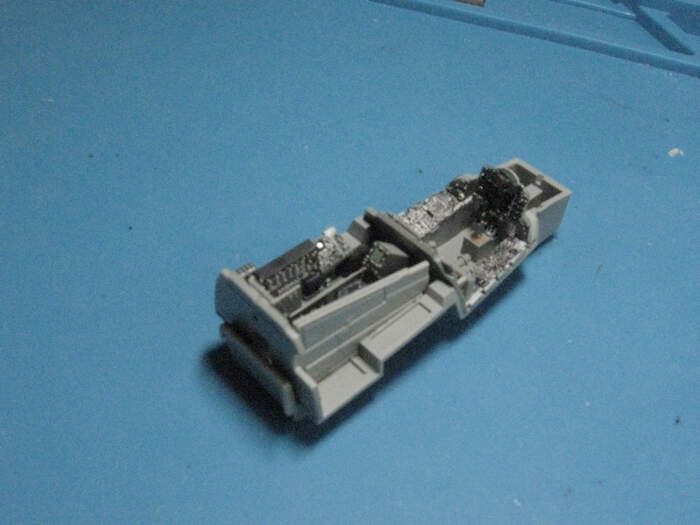
Some SBD progress. The Trumpeter instructions jump around a bit, from the stand-alone cockpit assembly, then to the engine and it’s components, then the flexible guns, then back to the cockpit sidewalls. Anyway, here are the first three of the above.
I have to work myself up to wiring radials, but feel like I have to do it on 1/32 kits anyway. At least this one is a single row. Twin row engines are a real drag. The guns were rather fiddly but they elevate freely now.
On to the rest of the cockpit area!
Michael ![]()
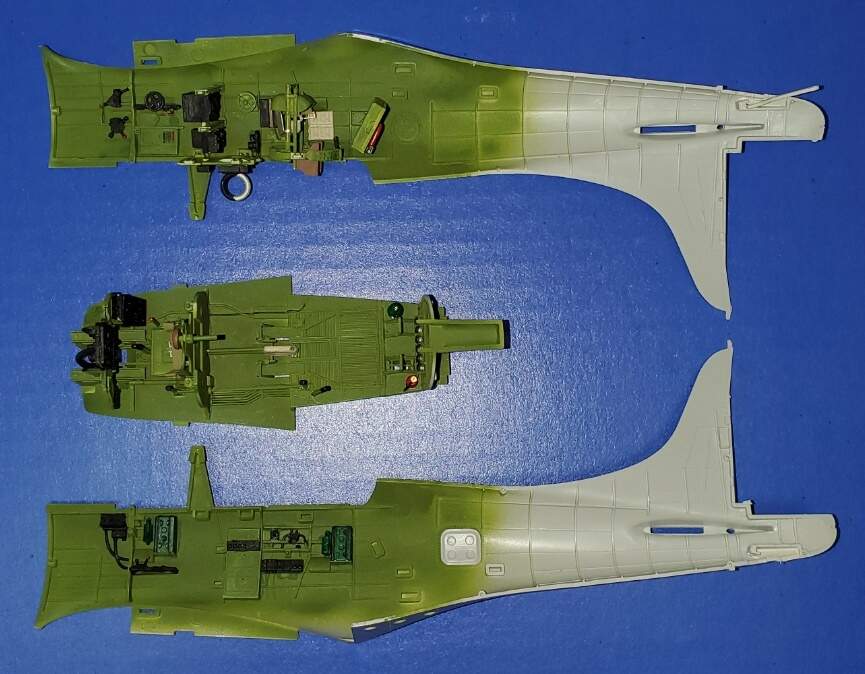
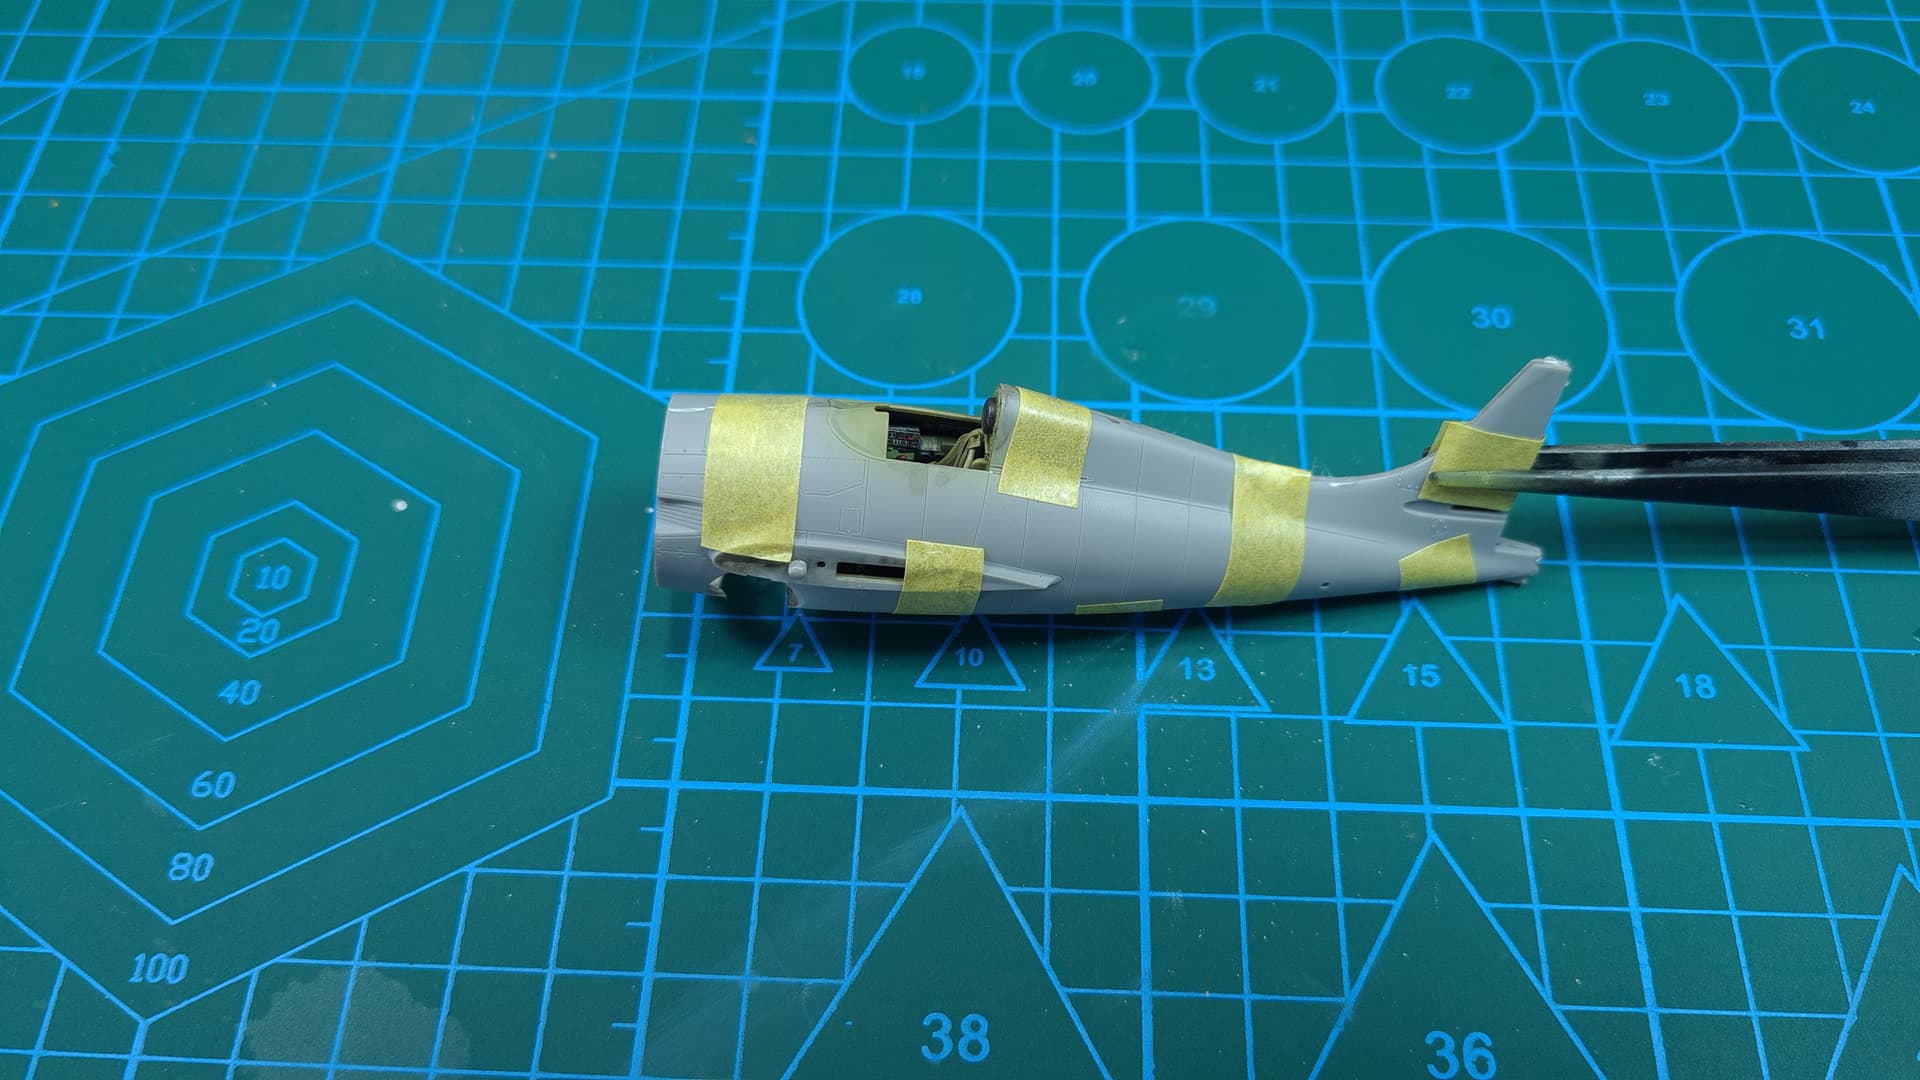
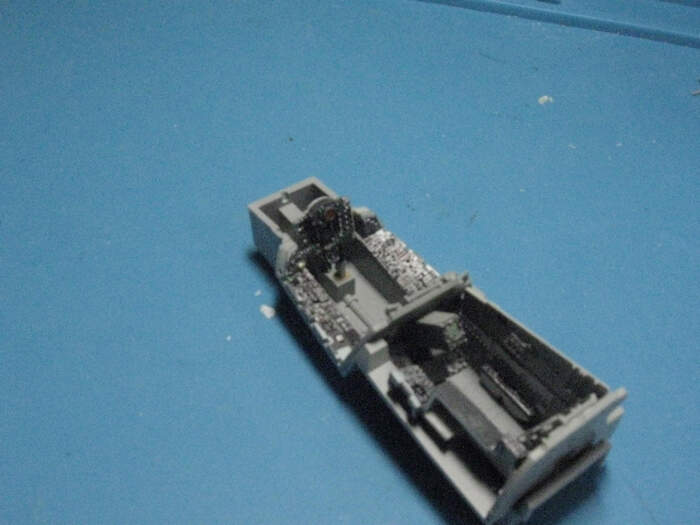
More progress on the Trumpy SBD here on Independence Day. Ready to close up the fuselage:
Lots of parts added to the interiors of the fuselage halves. Gonna be a tight fit.
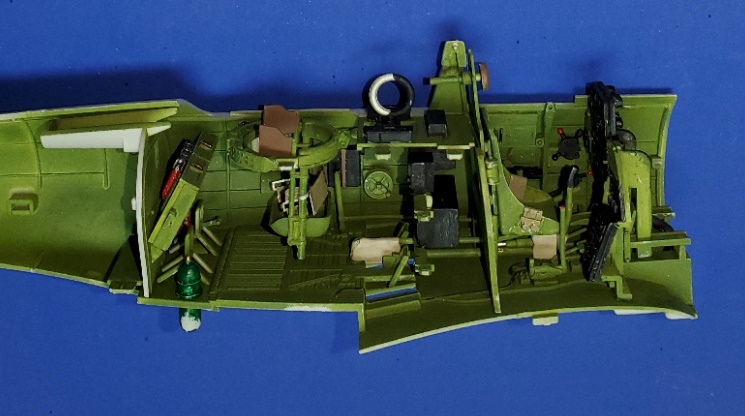
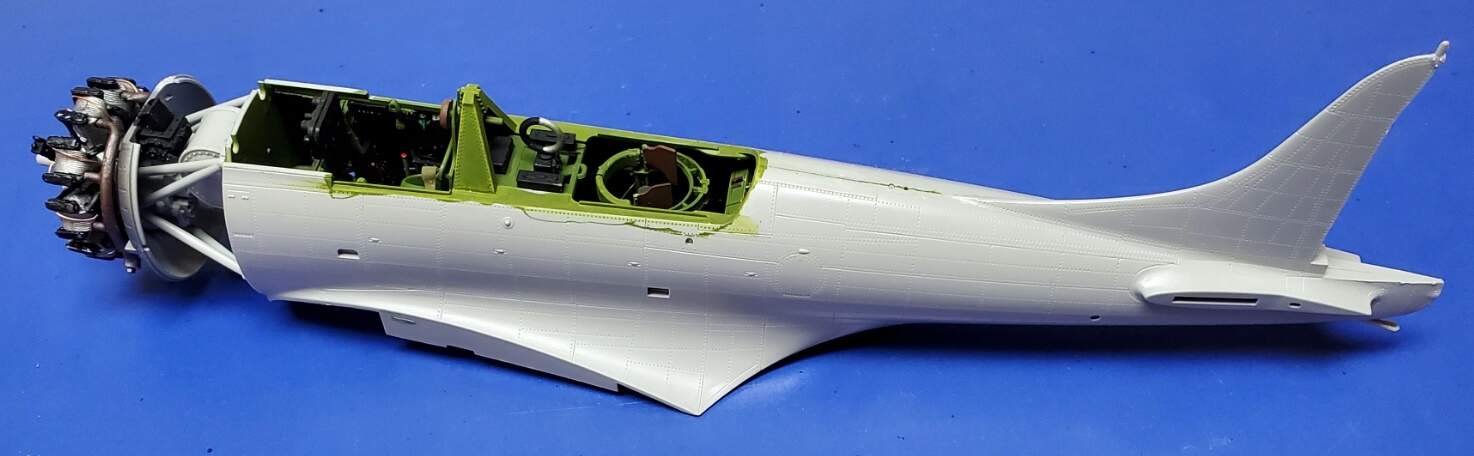
I was right, it IS a tight fit! I would advise anyone making this model to insert the cockpit floor into the left fuselage half before gluing the halves together due to the number of obsructions that need to be gotten around. Also, the rear pilot’s cockpit bulkhead, to which the seat is attached, needs to angle backwards to clear some of the side consoles. Not clear from the instructions but clear once you try to put it all together.
Michael ![]()
Looking great so far! Love the SBD!
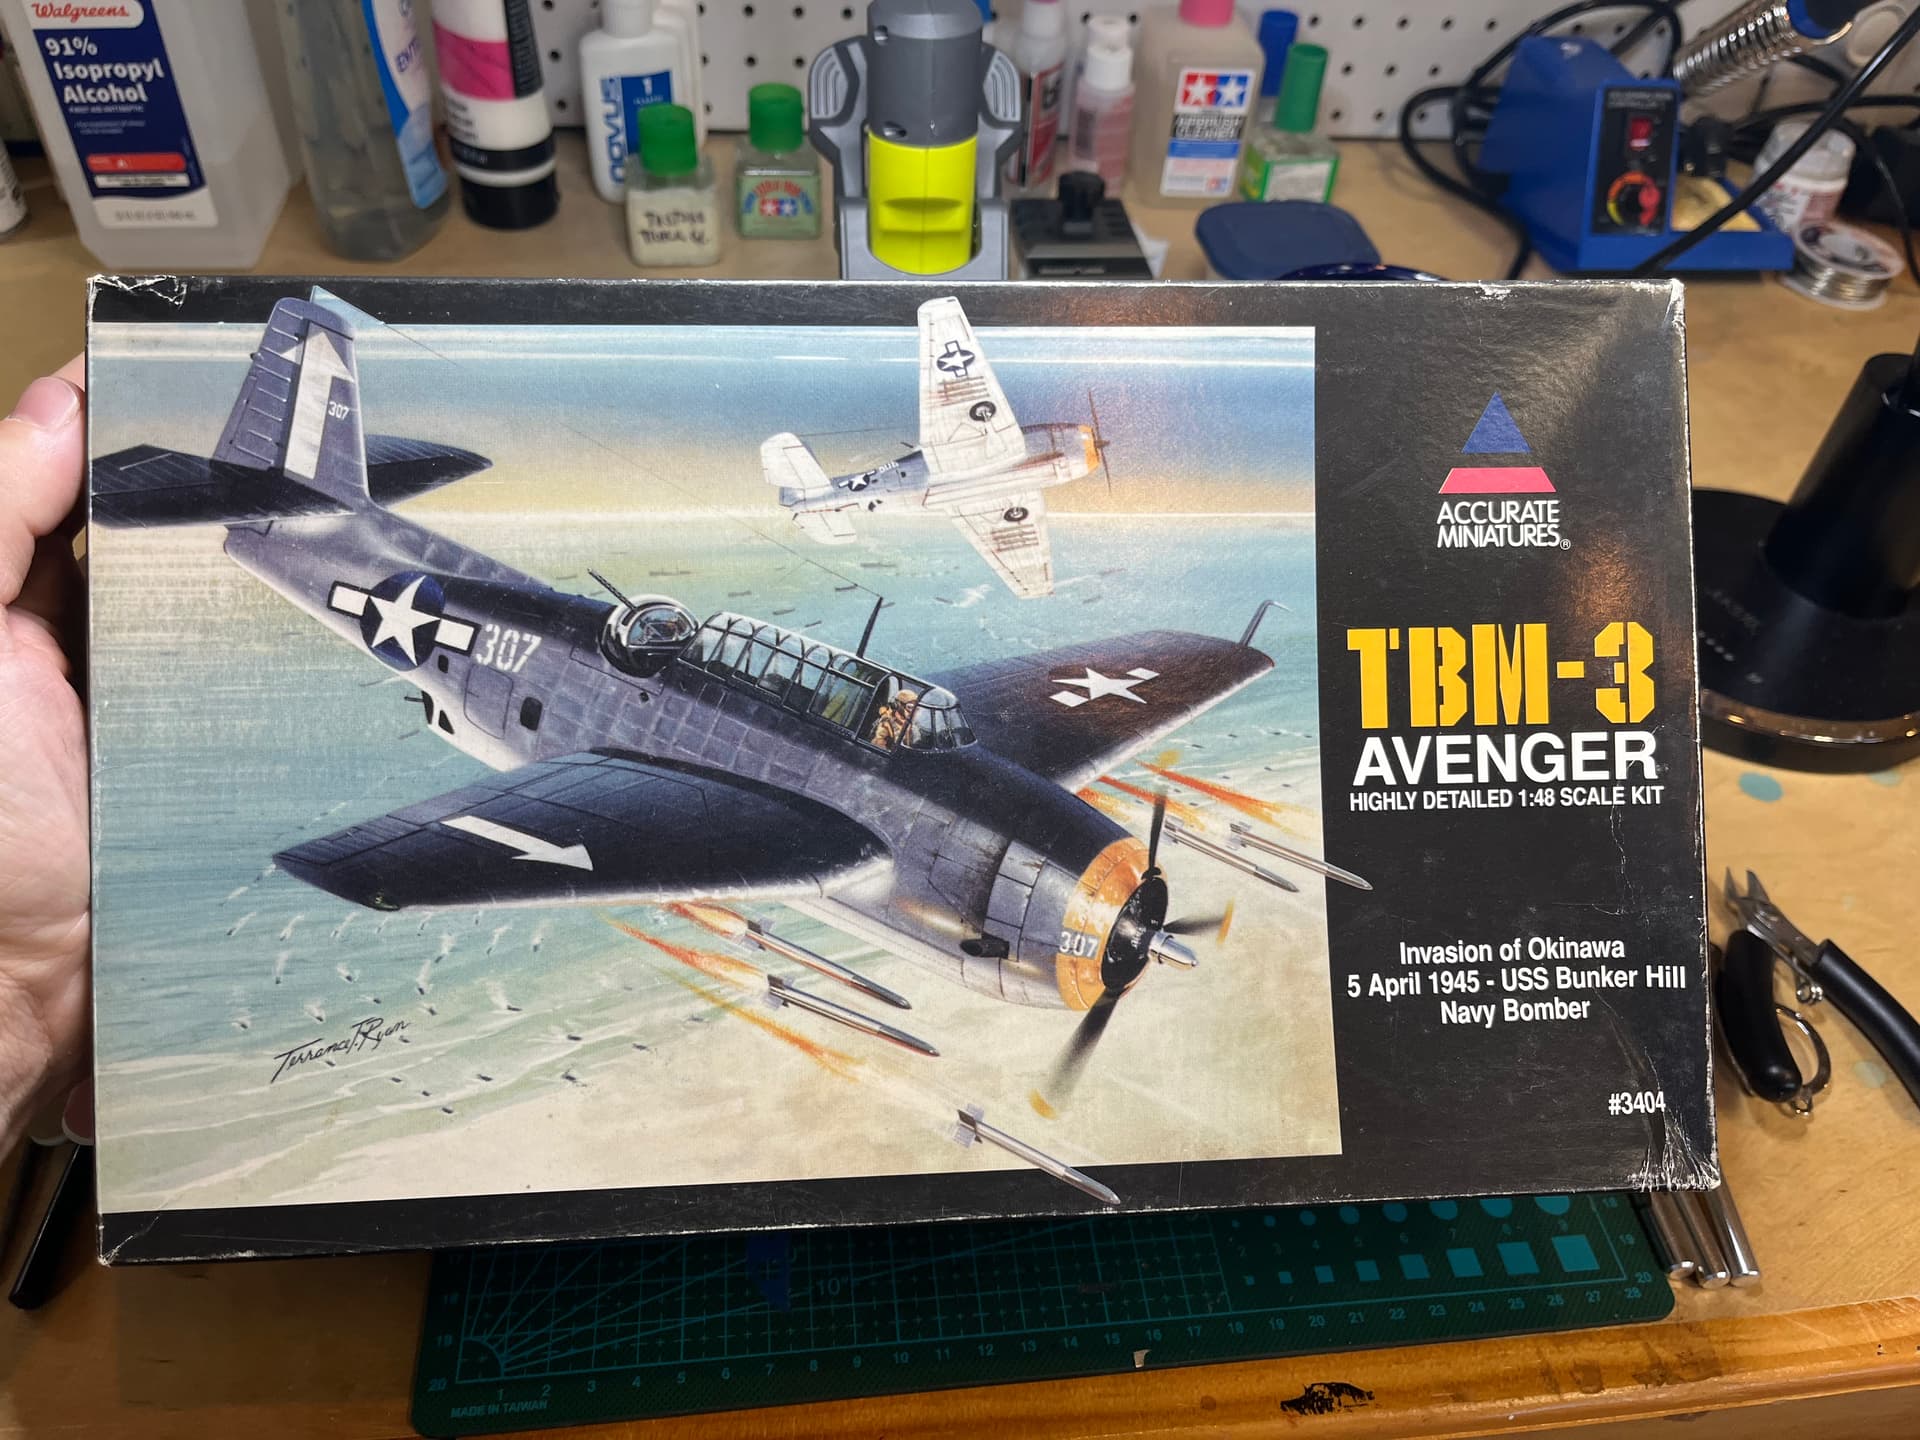
I’ve settled on an AM avenger i Hope to crack open next weekend wheb I get my four AFV to the weathering stage
I put my phantom on hold, but only briefly I hope. I was working on using the cockpit out of the box. It does look nice and is coming along fine, but then I accidentally got a glimpse of the Quinta set for the kit. I moved on quickly from that glimpse. But it seems to have caught me in its tractor beam. I’ll restart soon…
Michael, looking good so far!
That does look like dangerous stuff. I’ve tried to stay away, but I’m concerned that one of these days I’ll get sucked in too.
Michael ![]()
The set does looks very nice.
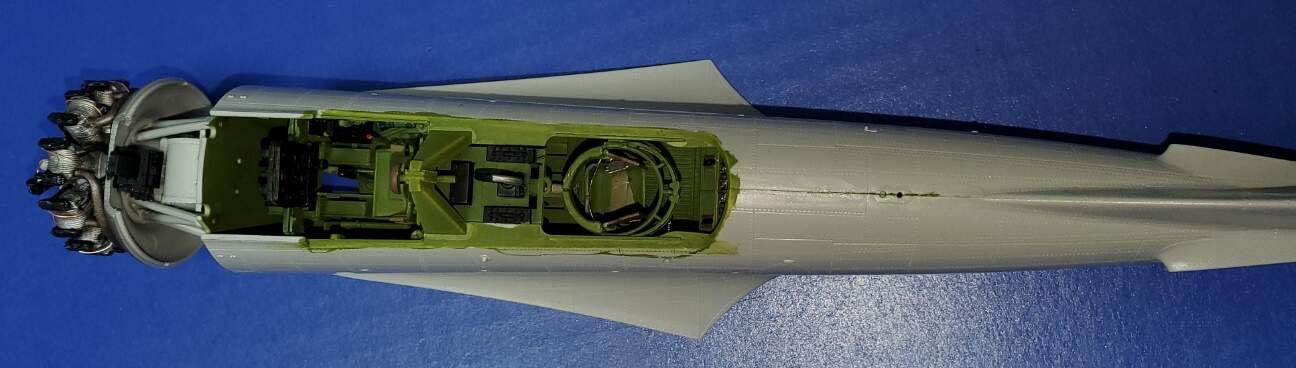
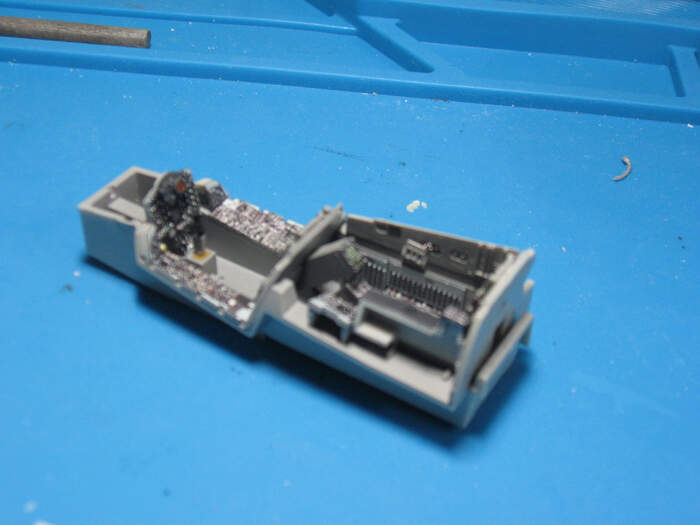
I can finally show something about my Wildcat build. As usual - started with cockpit area first and I must say this is quite nice detailing and fit is very good.
Of course first mistakes were made - while attaching PE parts for engine I managed to mismatch the sides and glued them opposite - I was deceived by tiny engravements that photoetch that made me believe I should glue them this part up. So it’s a little messed up, but… it will be mostly invisible under engine cowlings and propeller.
I also glued first parts of undercarriage and these elements are very fiddly, so had to be very careful not to misalign them on break.
Next step - painting and hopefully close the hull.
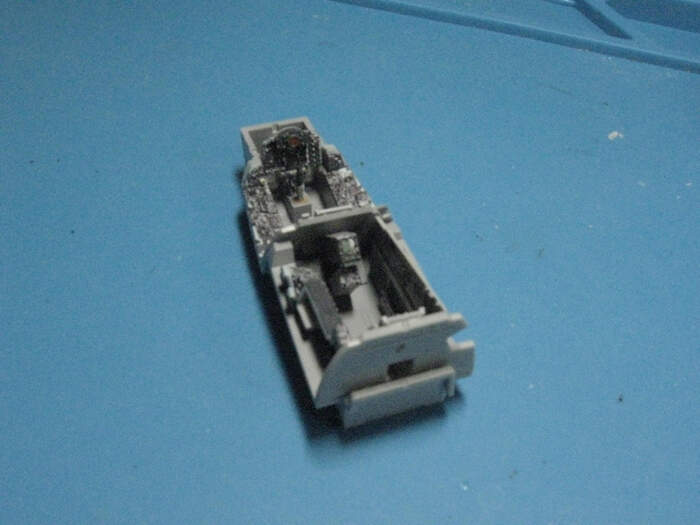
As with my other 2 Arma builds for other campaigns I managed to finalize interior and close the hull on my FM-2 build and as with other two builds I had to be very carefull as fitting was very precise.
In case of Wildcat I struggled with fitting pilot’s seat/instrument panel section with hull sides - seat mouint was glued at slightly wrong angle and didn’t fit into dedicated slot on hull side, so if you plan to build Wildcat in future I recommend to check alignment of this subassembly against hull sides before you let glue to set.
Here are a preassembled and hull closed pics:
My Quinta decals arrived for the phantom cockpit so I’ll get rolling on that again now. Hopefully I’ll get some pics posted this week.
I just got those for my F-4B and other kits as well. Look forward to seeing you use them.
Well, I’ve used a bunch of them. Sadly my pics of them done are sh*te. But attached.
One note - the Tamiya kit is a precise fit. Very precise. The quinta decals are pretty precise but not quite as precise, so a little trimming was needed in a couple of places. I’d like to trade secrets with other users of quinta “decals”. I’m using PVA glue to attach them to surfaces which seems to work pretty well as I can slide them about a bit after initially sticking them on. Anyone else have experience?
One other thing I noticed. When I put these in the P-38 cockpit (why did I close that up with a pilot inside making everything inside the cockpit almost invisible? But I digress…) I would take them off the backing sheet and let them dry completely. I went more less straight from taking them off the backing here and put them on. When I did that I got a little bowing under them that was a little hard to get them to press down. So I guess take them off, dry them out, then attach them? Others have a similar or different experience to share?
Here are the pics. They don’t do justice to the decals. They are simply gorgeous!
The RIO instrument panel goes in quite a bit later. I think I’ll go ahead and build it now though and be finished with the quinta set.
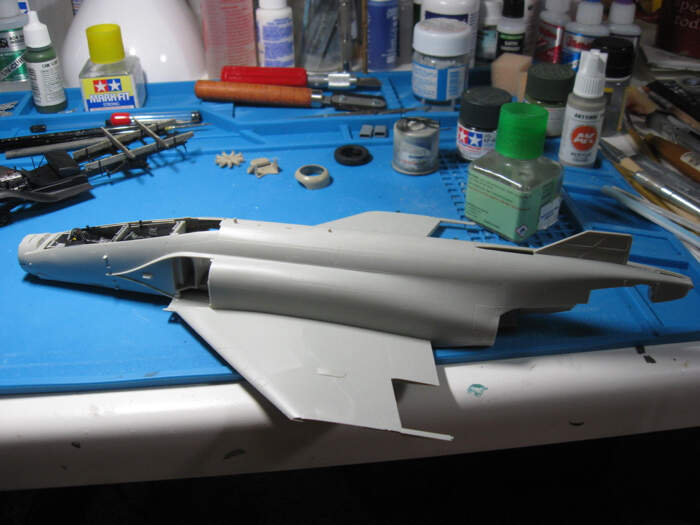
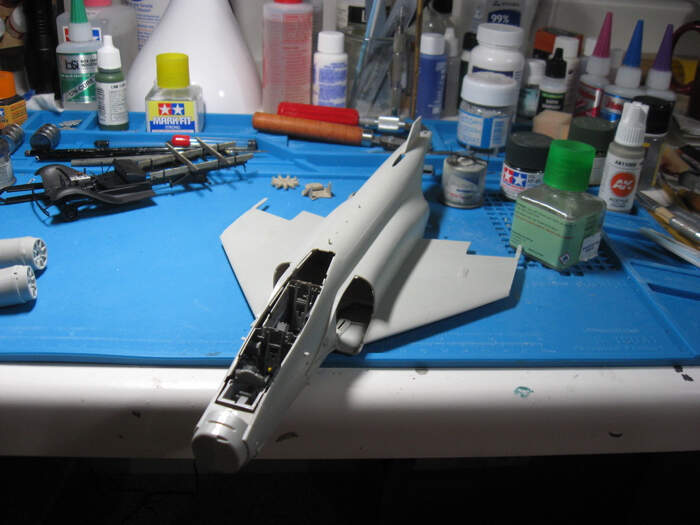
I glued the cockpit tub to the top of the front landing gear tub and dryfit those with the two fuselage halves. I was giggling seeing how well done that is.
This kit is disgusting. It’s so disgusting I nearly ordered a couple more! I want to do a marine version, or two! And well, you know, there are enough decals in my Furball set to make 2 models, so why let them go to waste! I think that means I need to order 3 more.
It’s starting to look like a phantom…
Nice progress. It is really taking shape and looks good ![]()
Looking forward to see more ![]()
Looking great!!
Told myself I wouldn’t start this till I cleared the bench. KV-1 and leopard C2 are in weathering. Found myself with an hour or so this morning. Not enough time to start weathering. But enough time to start cutting some plastic. So I’m gonna start
Hi Everyone,
Radek and Phil, Both are looking good so far, keep it up! Mead, great choice!
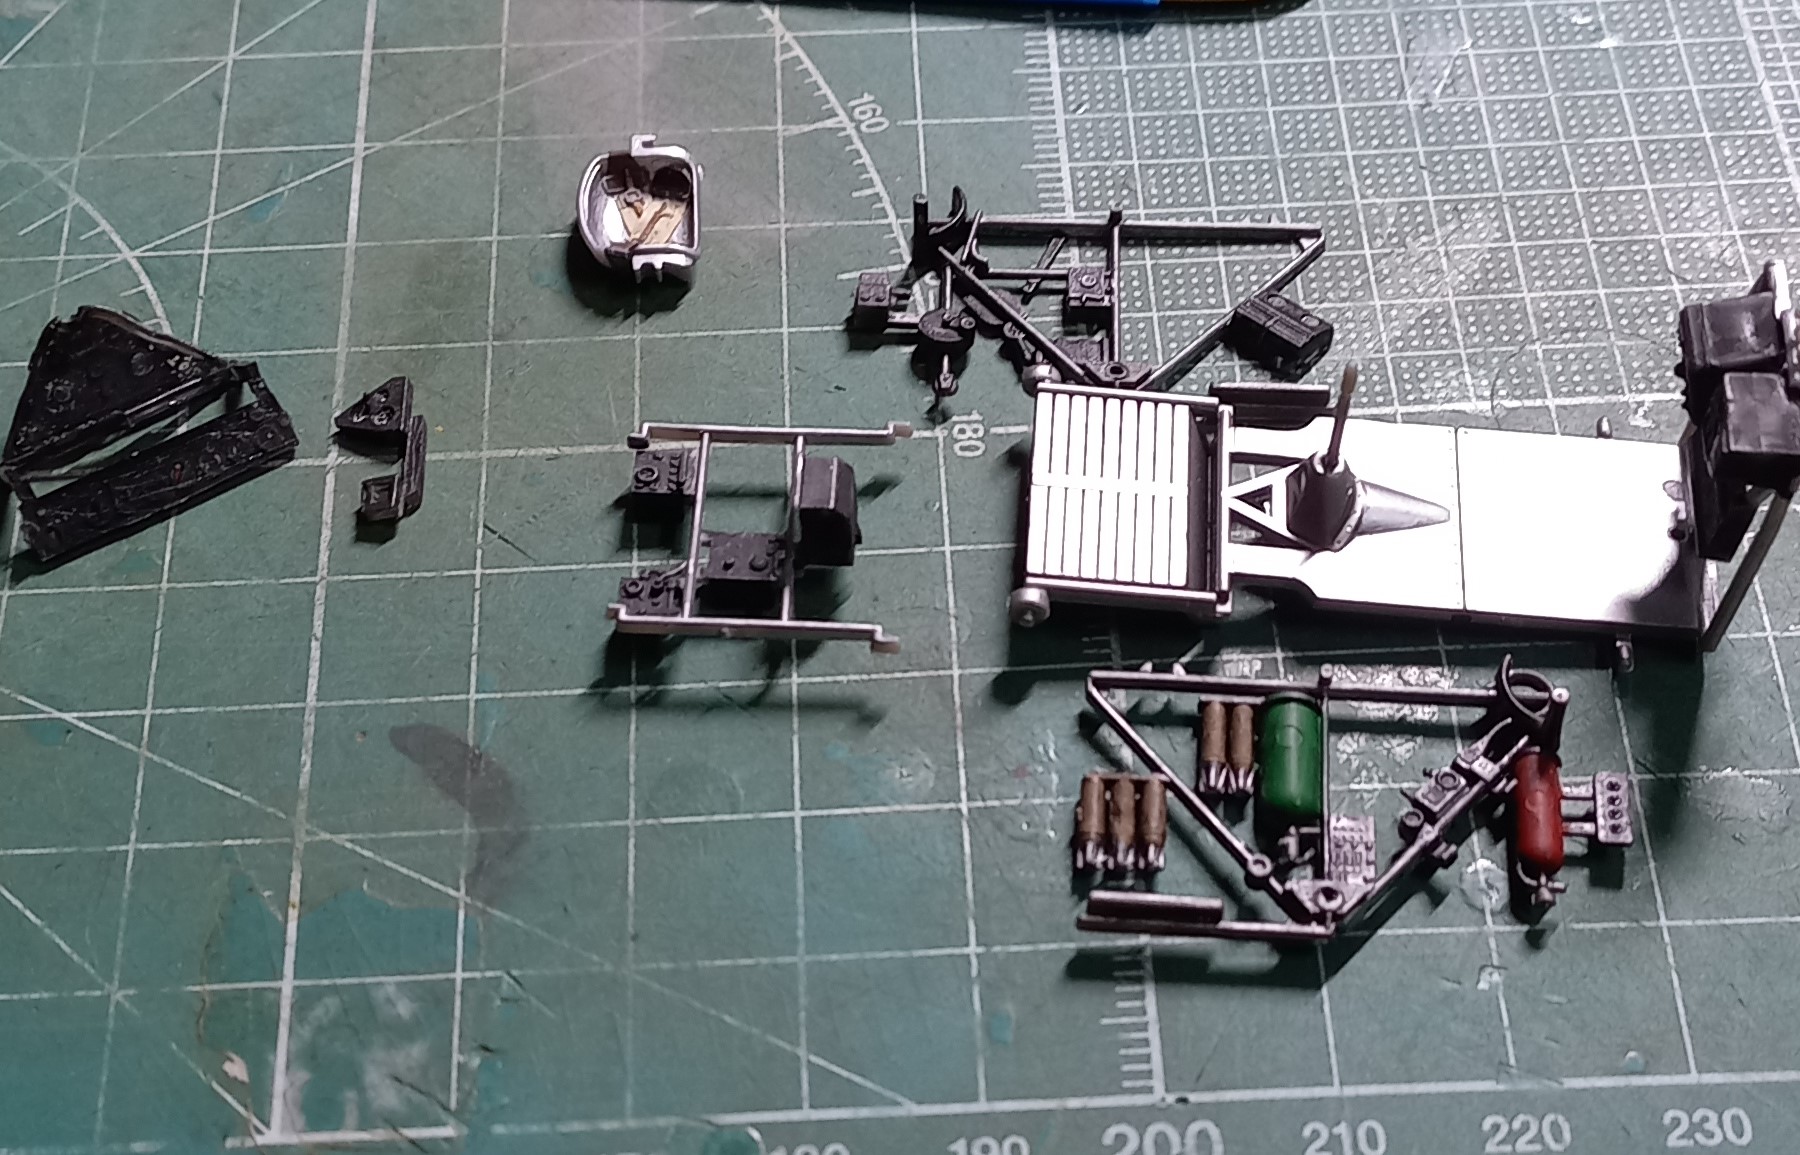
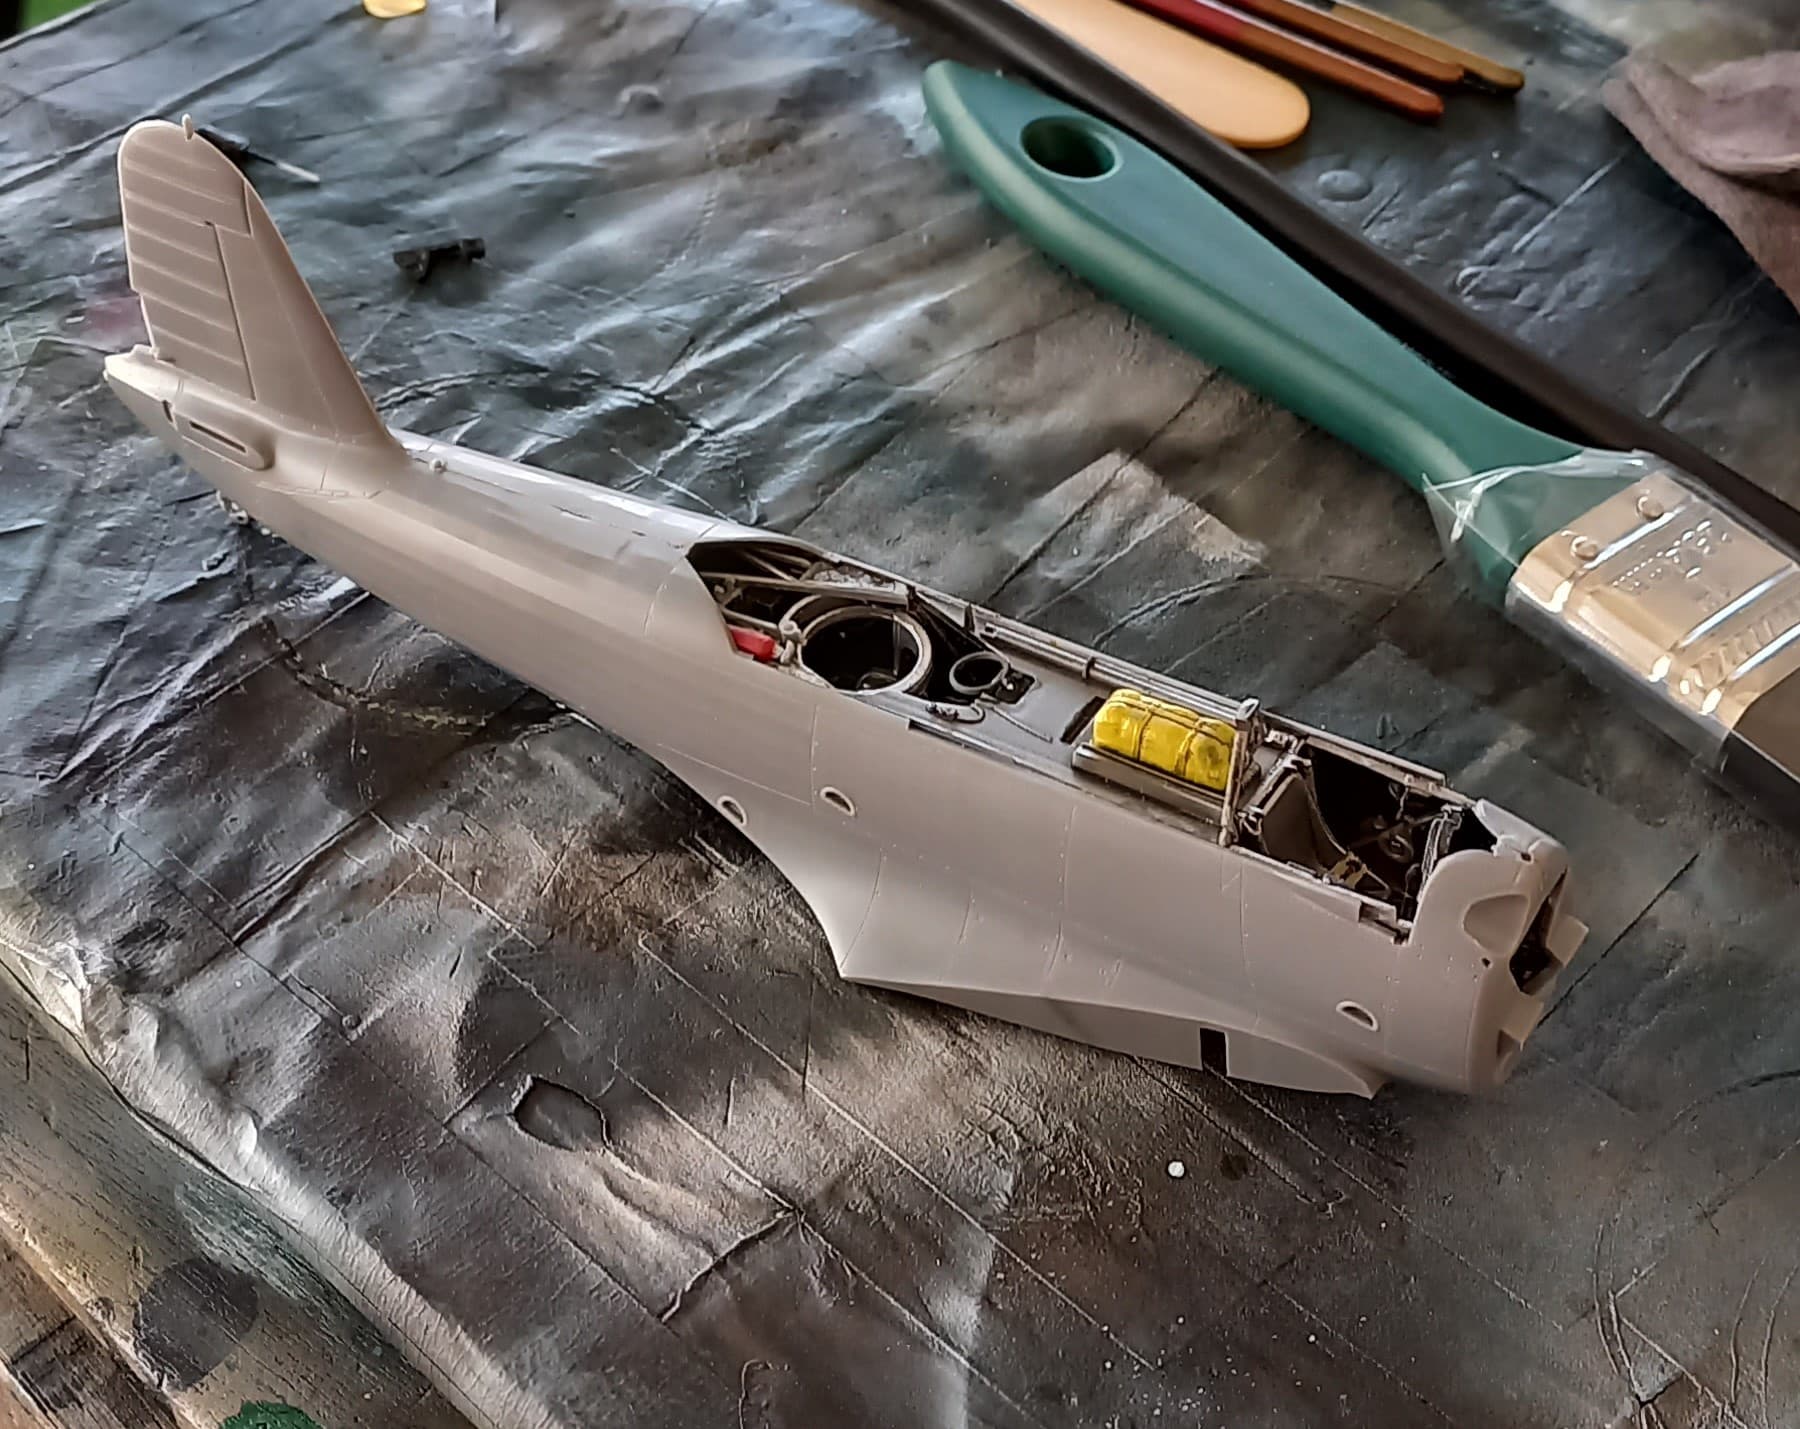
So, this will be my first update regarding the Vindicator. The birds that were sent to Midway did not go through their upgrades, and were on a waiting list. As such, the interiors were metal and painted silver in places as opposed to being an interior green. For a plane with such a large greenhouse canopy, doing everything in one shade of silver would make things pretty monotone. So, I used a couple of shades, Tamiya chrome silver and metallic grey, Mr Color silver, gun chrome silver and mixes of each with shades of gray.
First off I gave the interior parts a coat of Mr. Color gloss black, personally I prefer Tamiya’s but availability is an issue. Then came the various silvers, and additional interior colors.
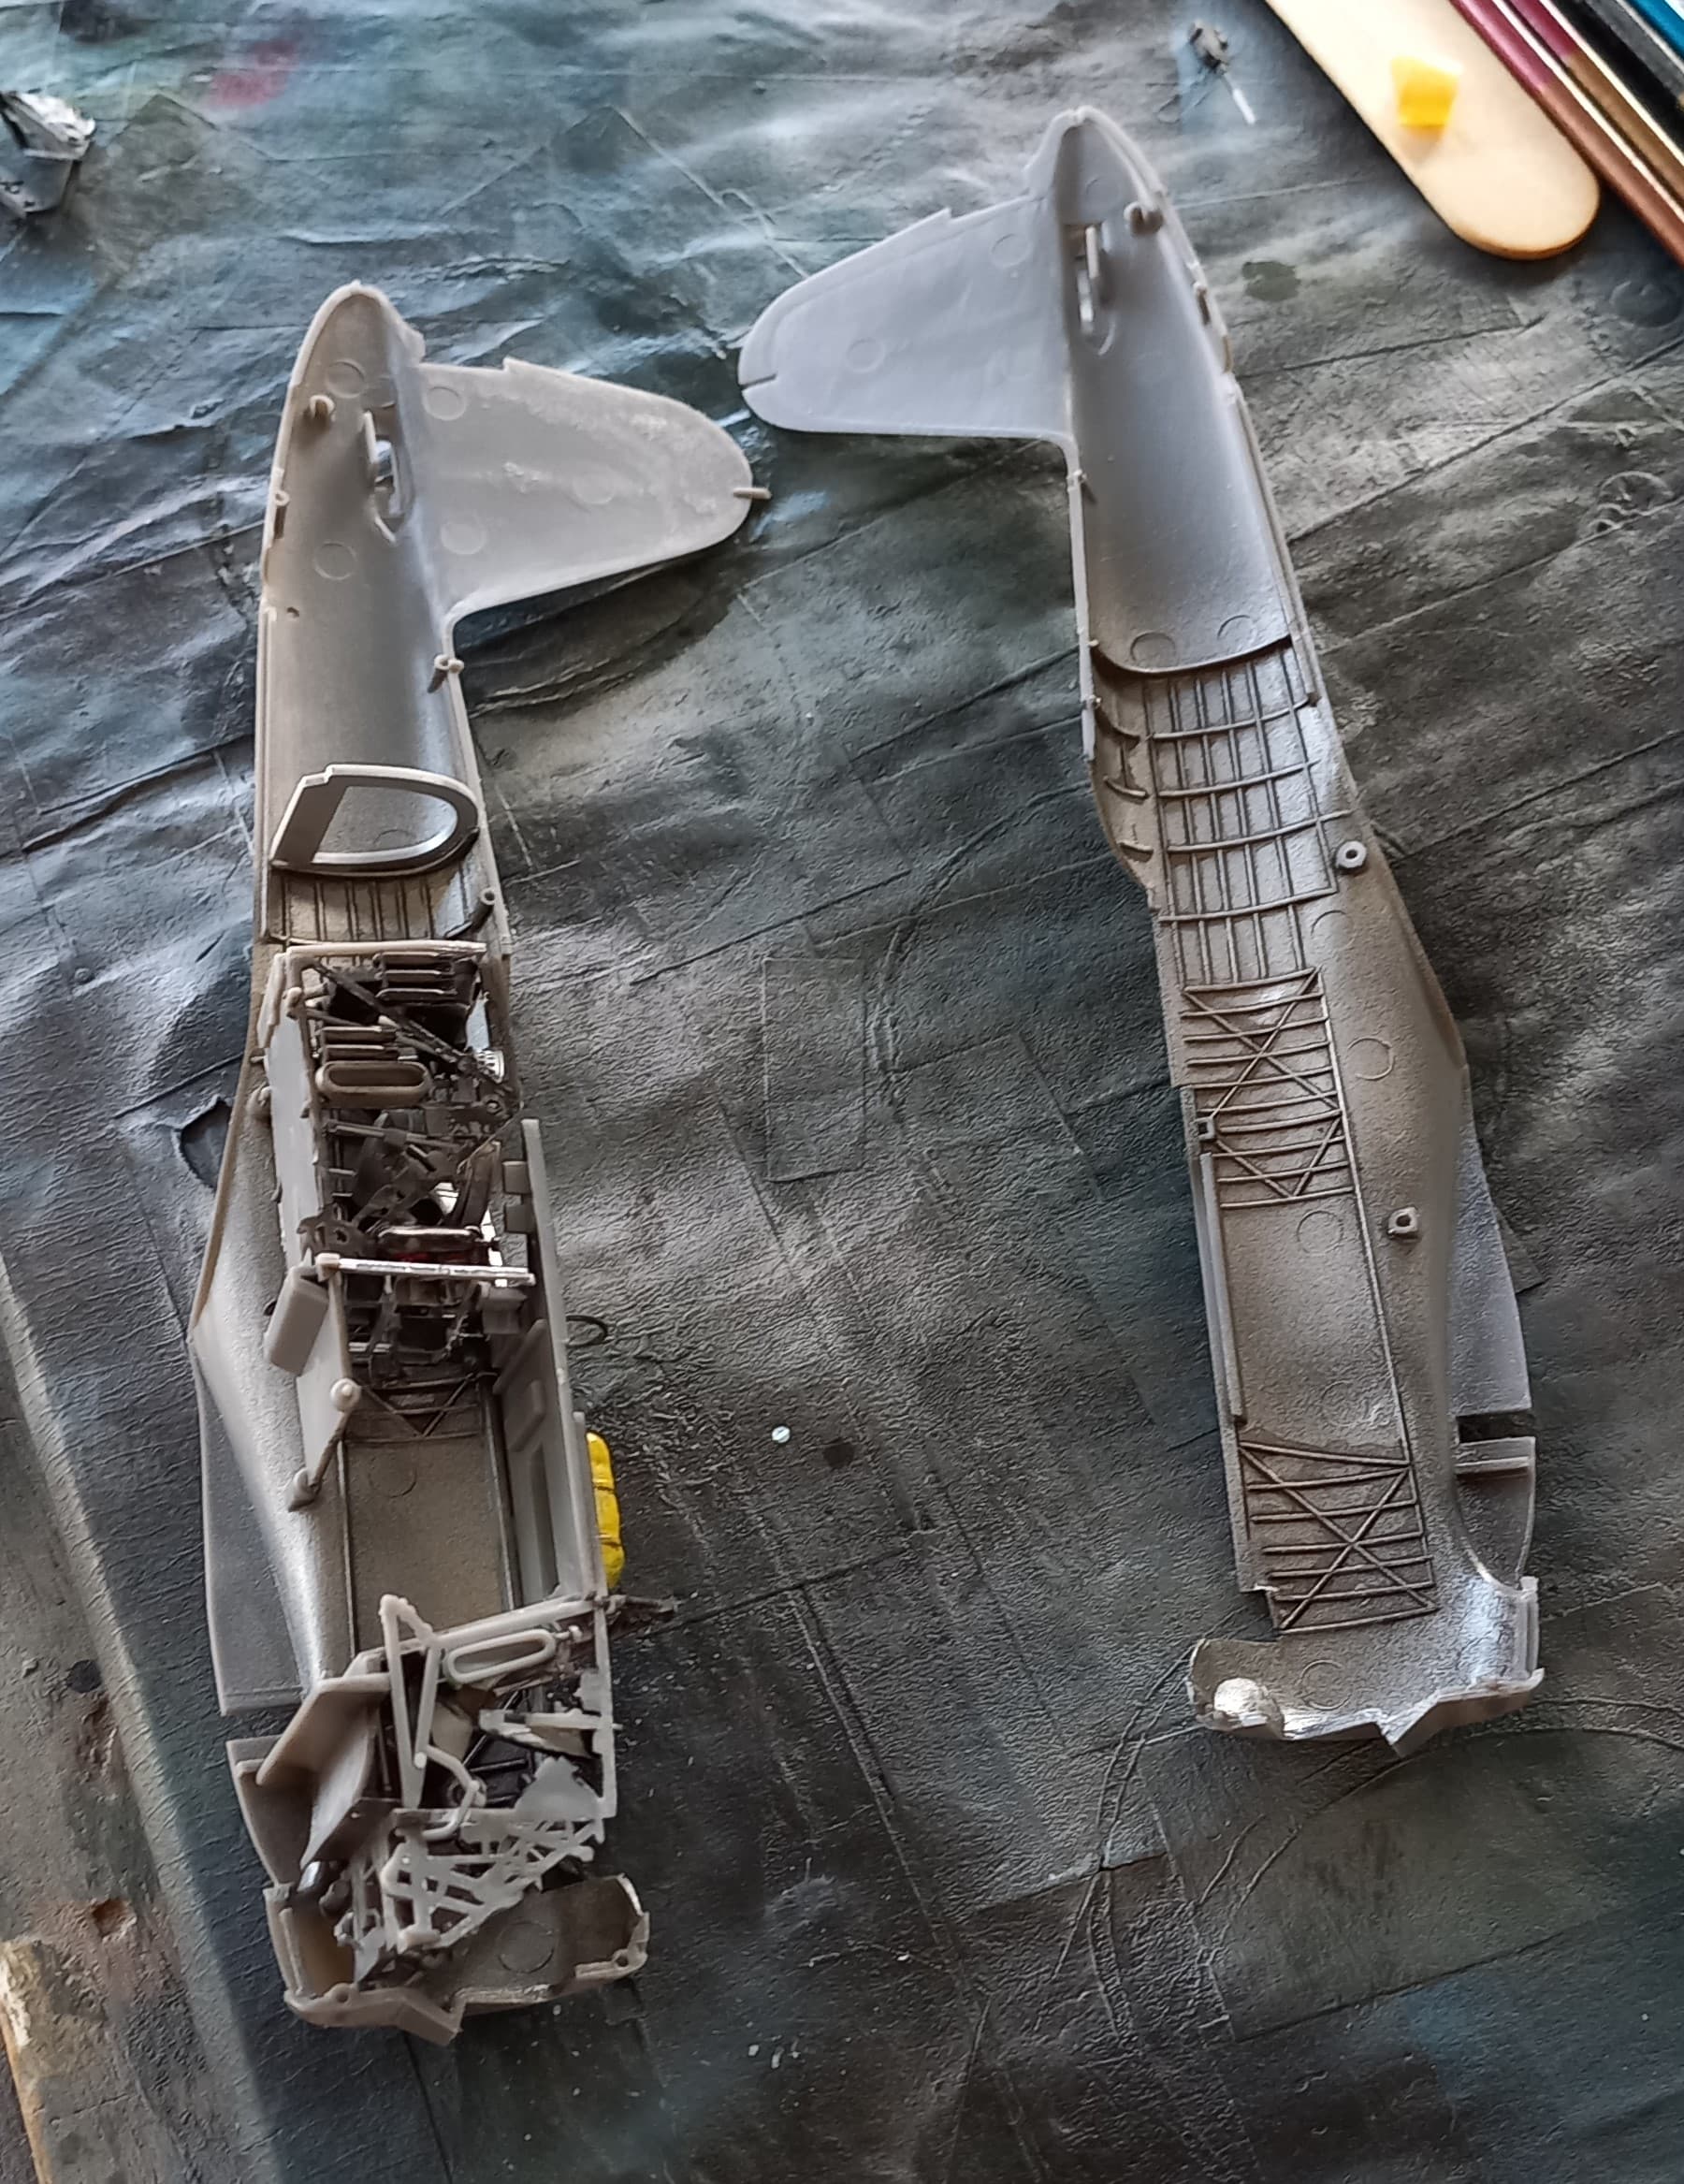
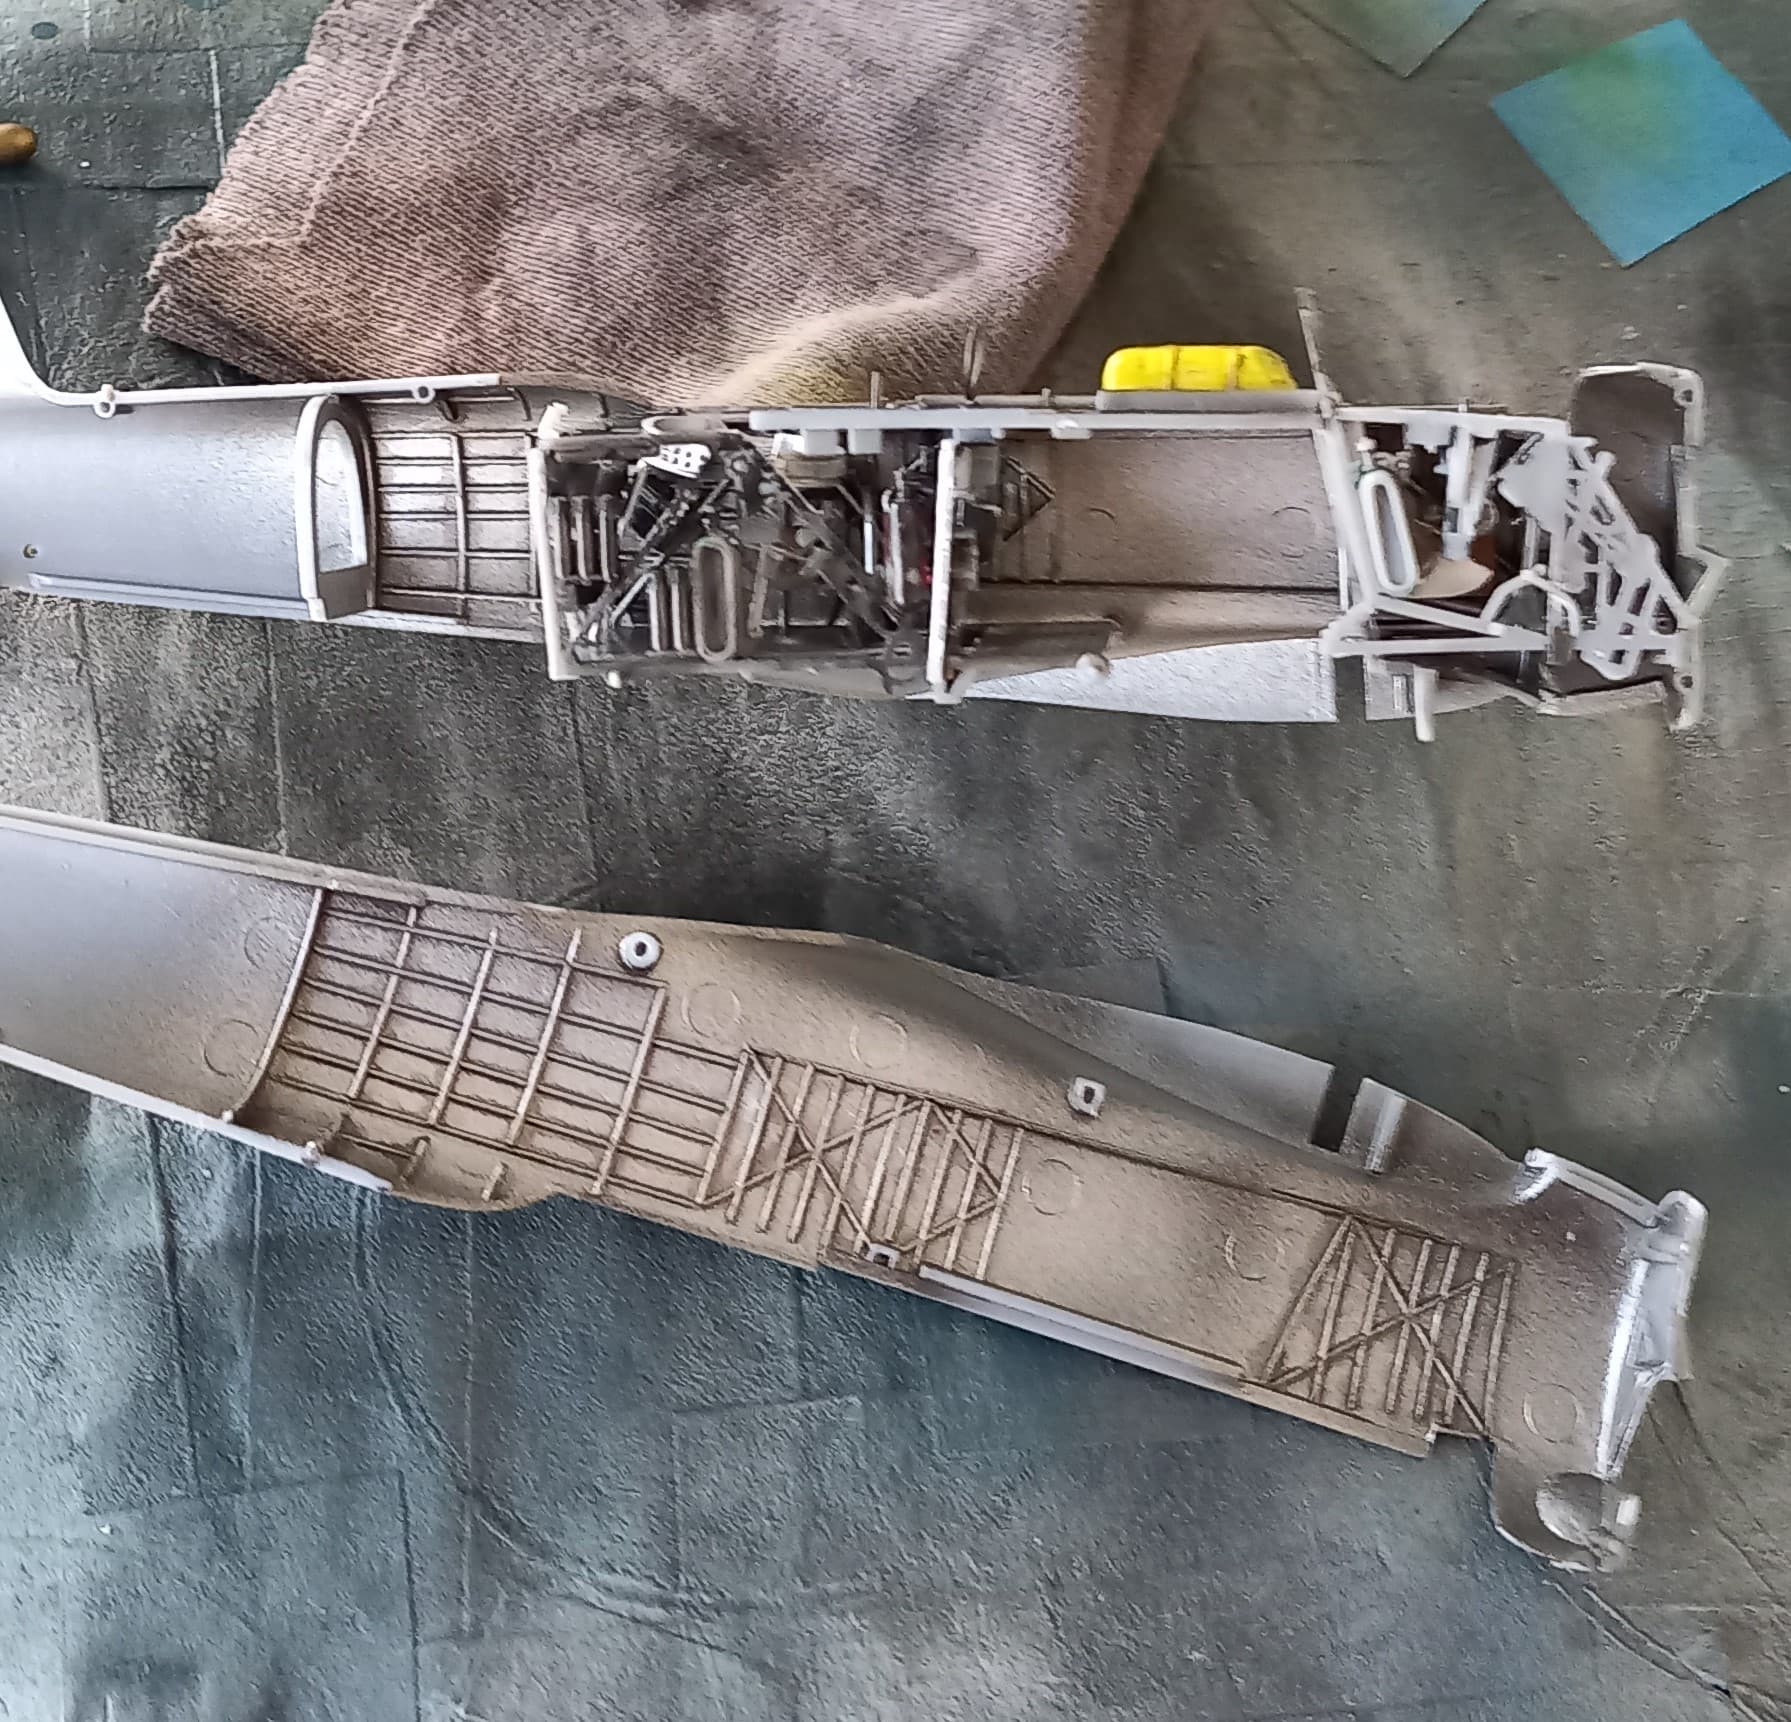
The interior parts were then placed into the fuselage, and I’ll admit that the instructions were a little on the vague side here. This did ultimately lead to an issue when finally closing things up. Overall, the parts are beautiful and one would be hard pressed to seek aftermarket things.
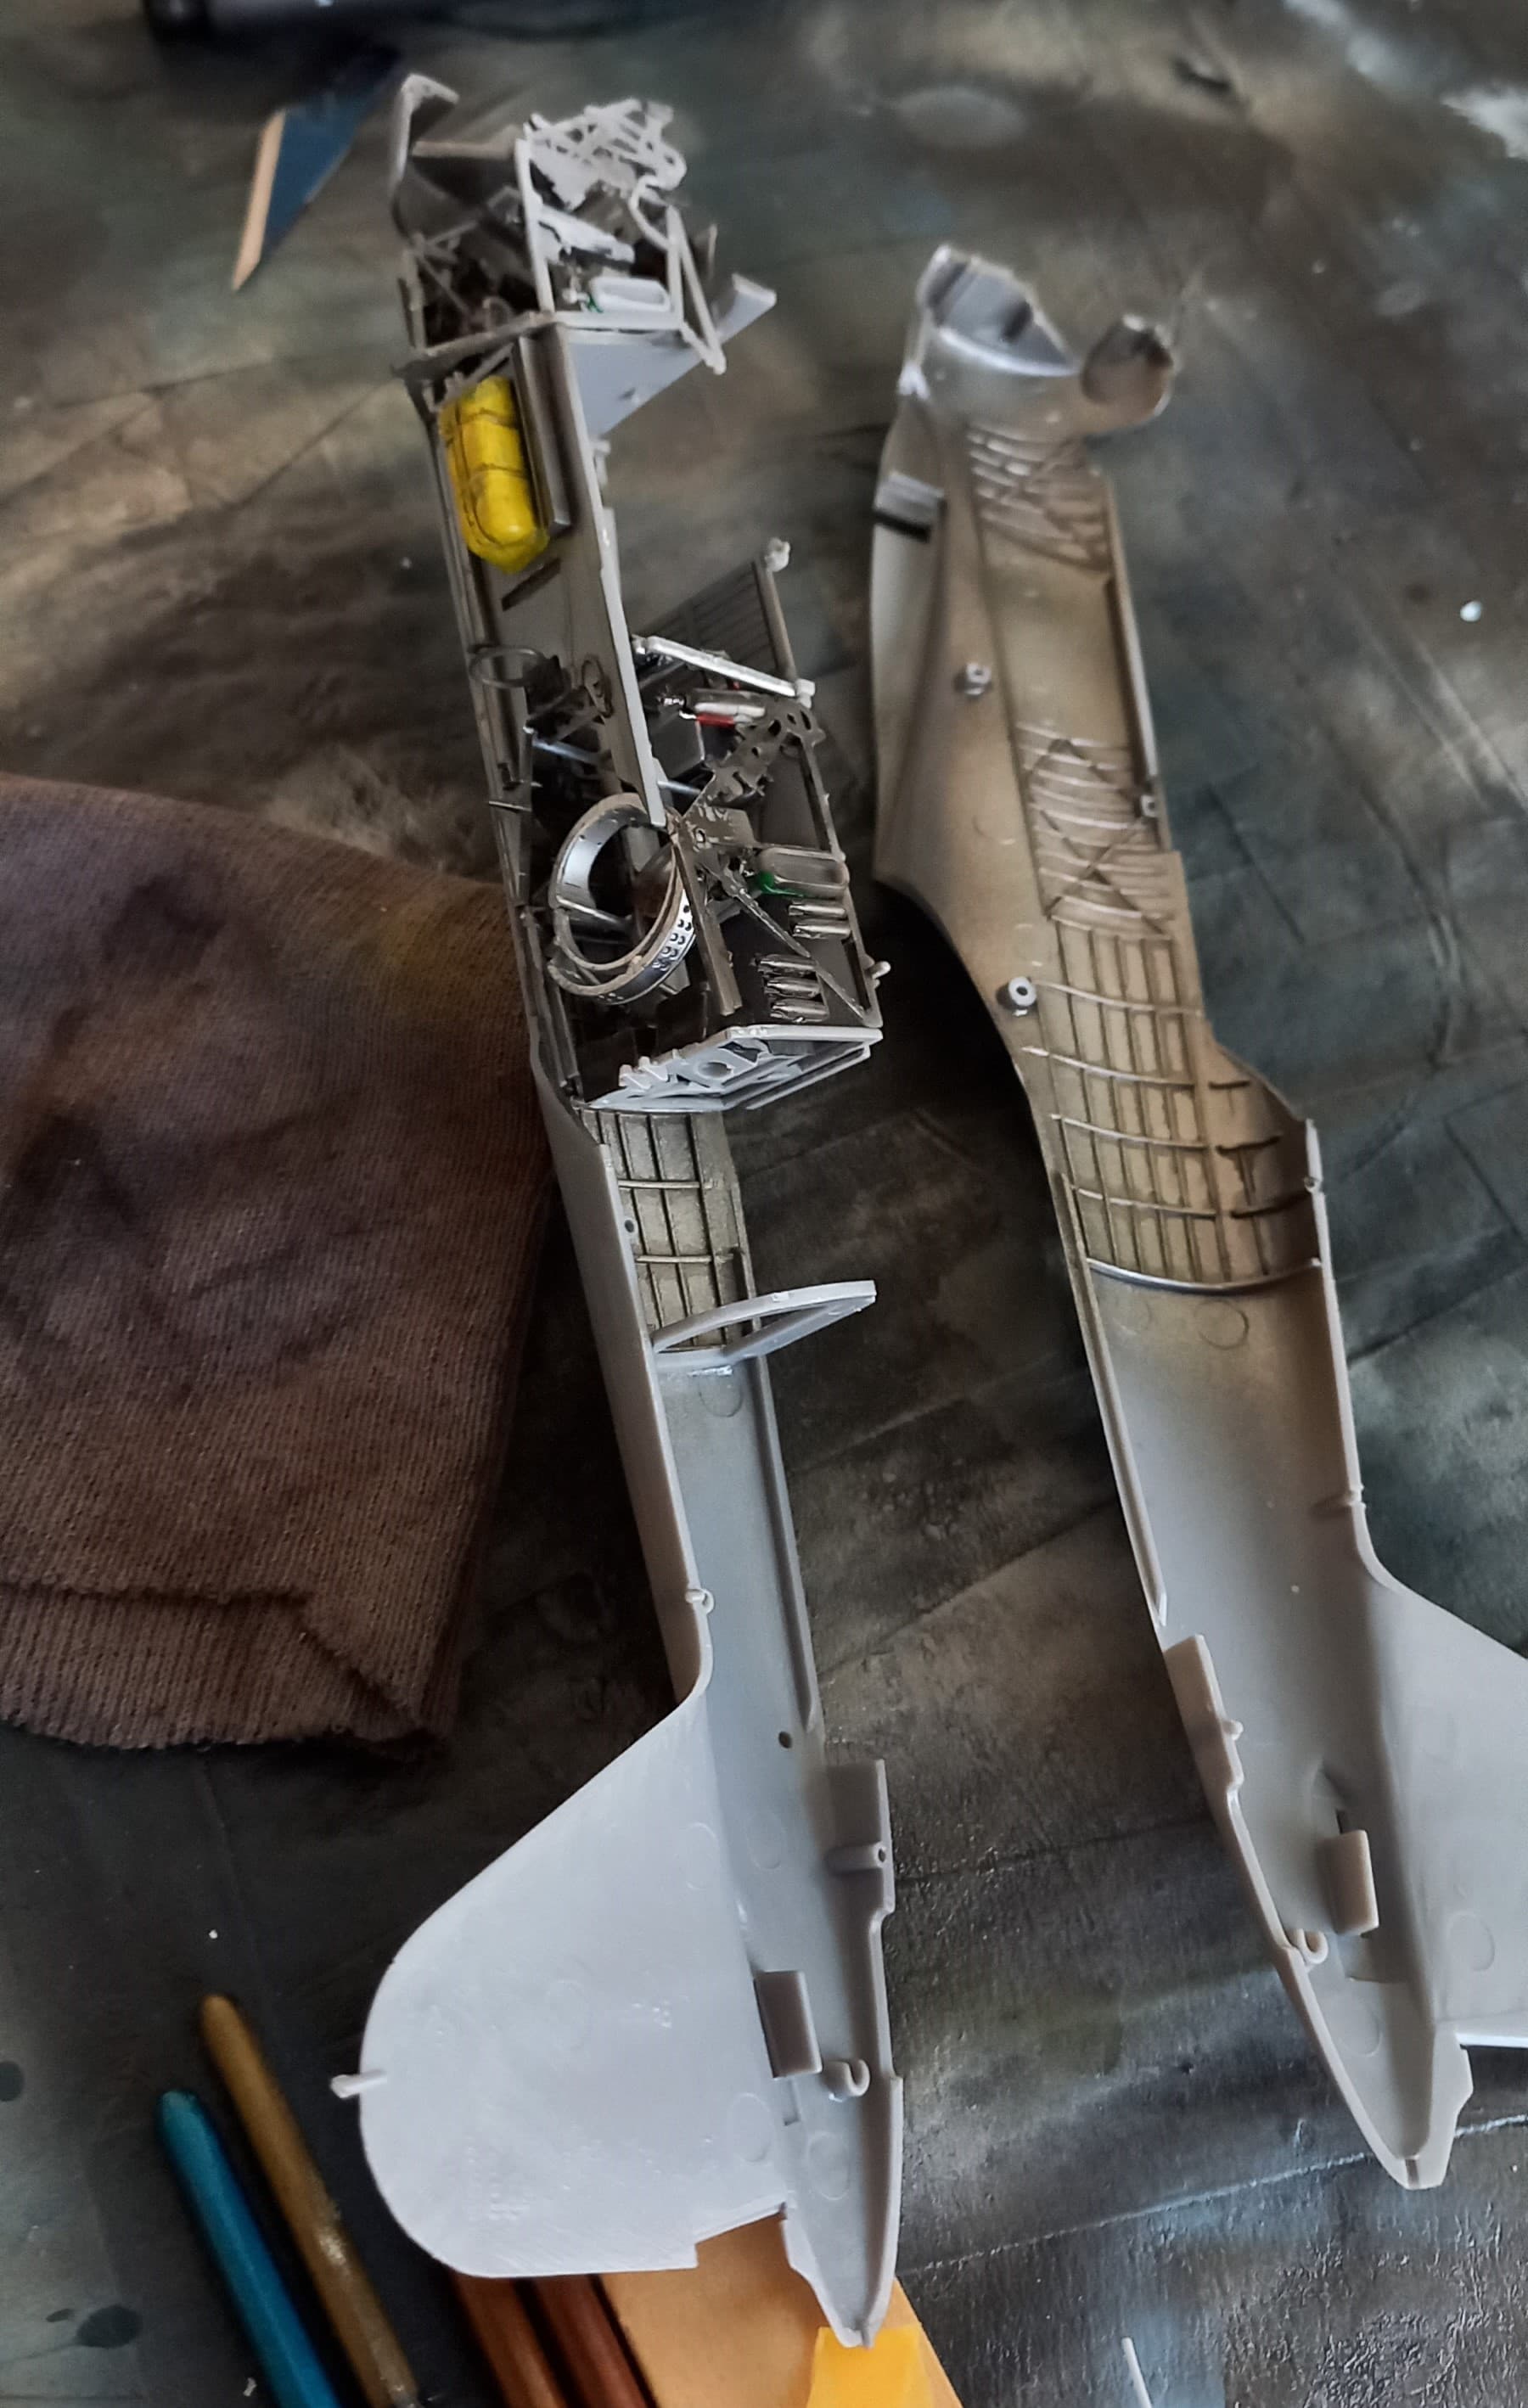
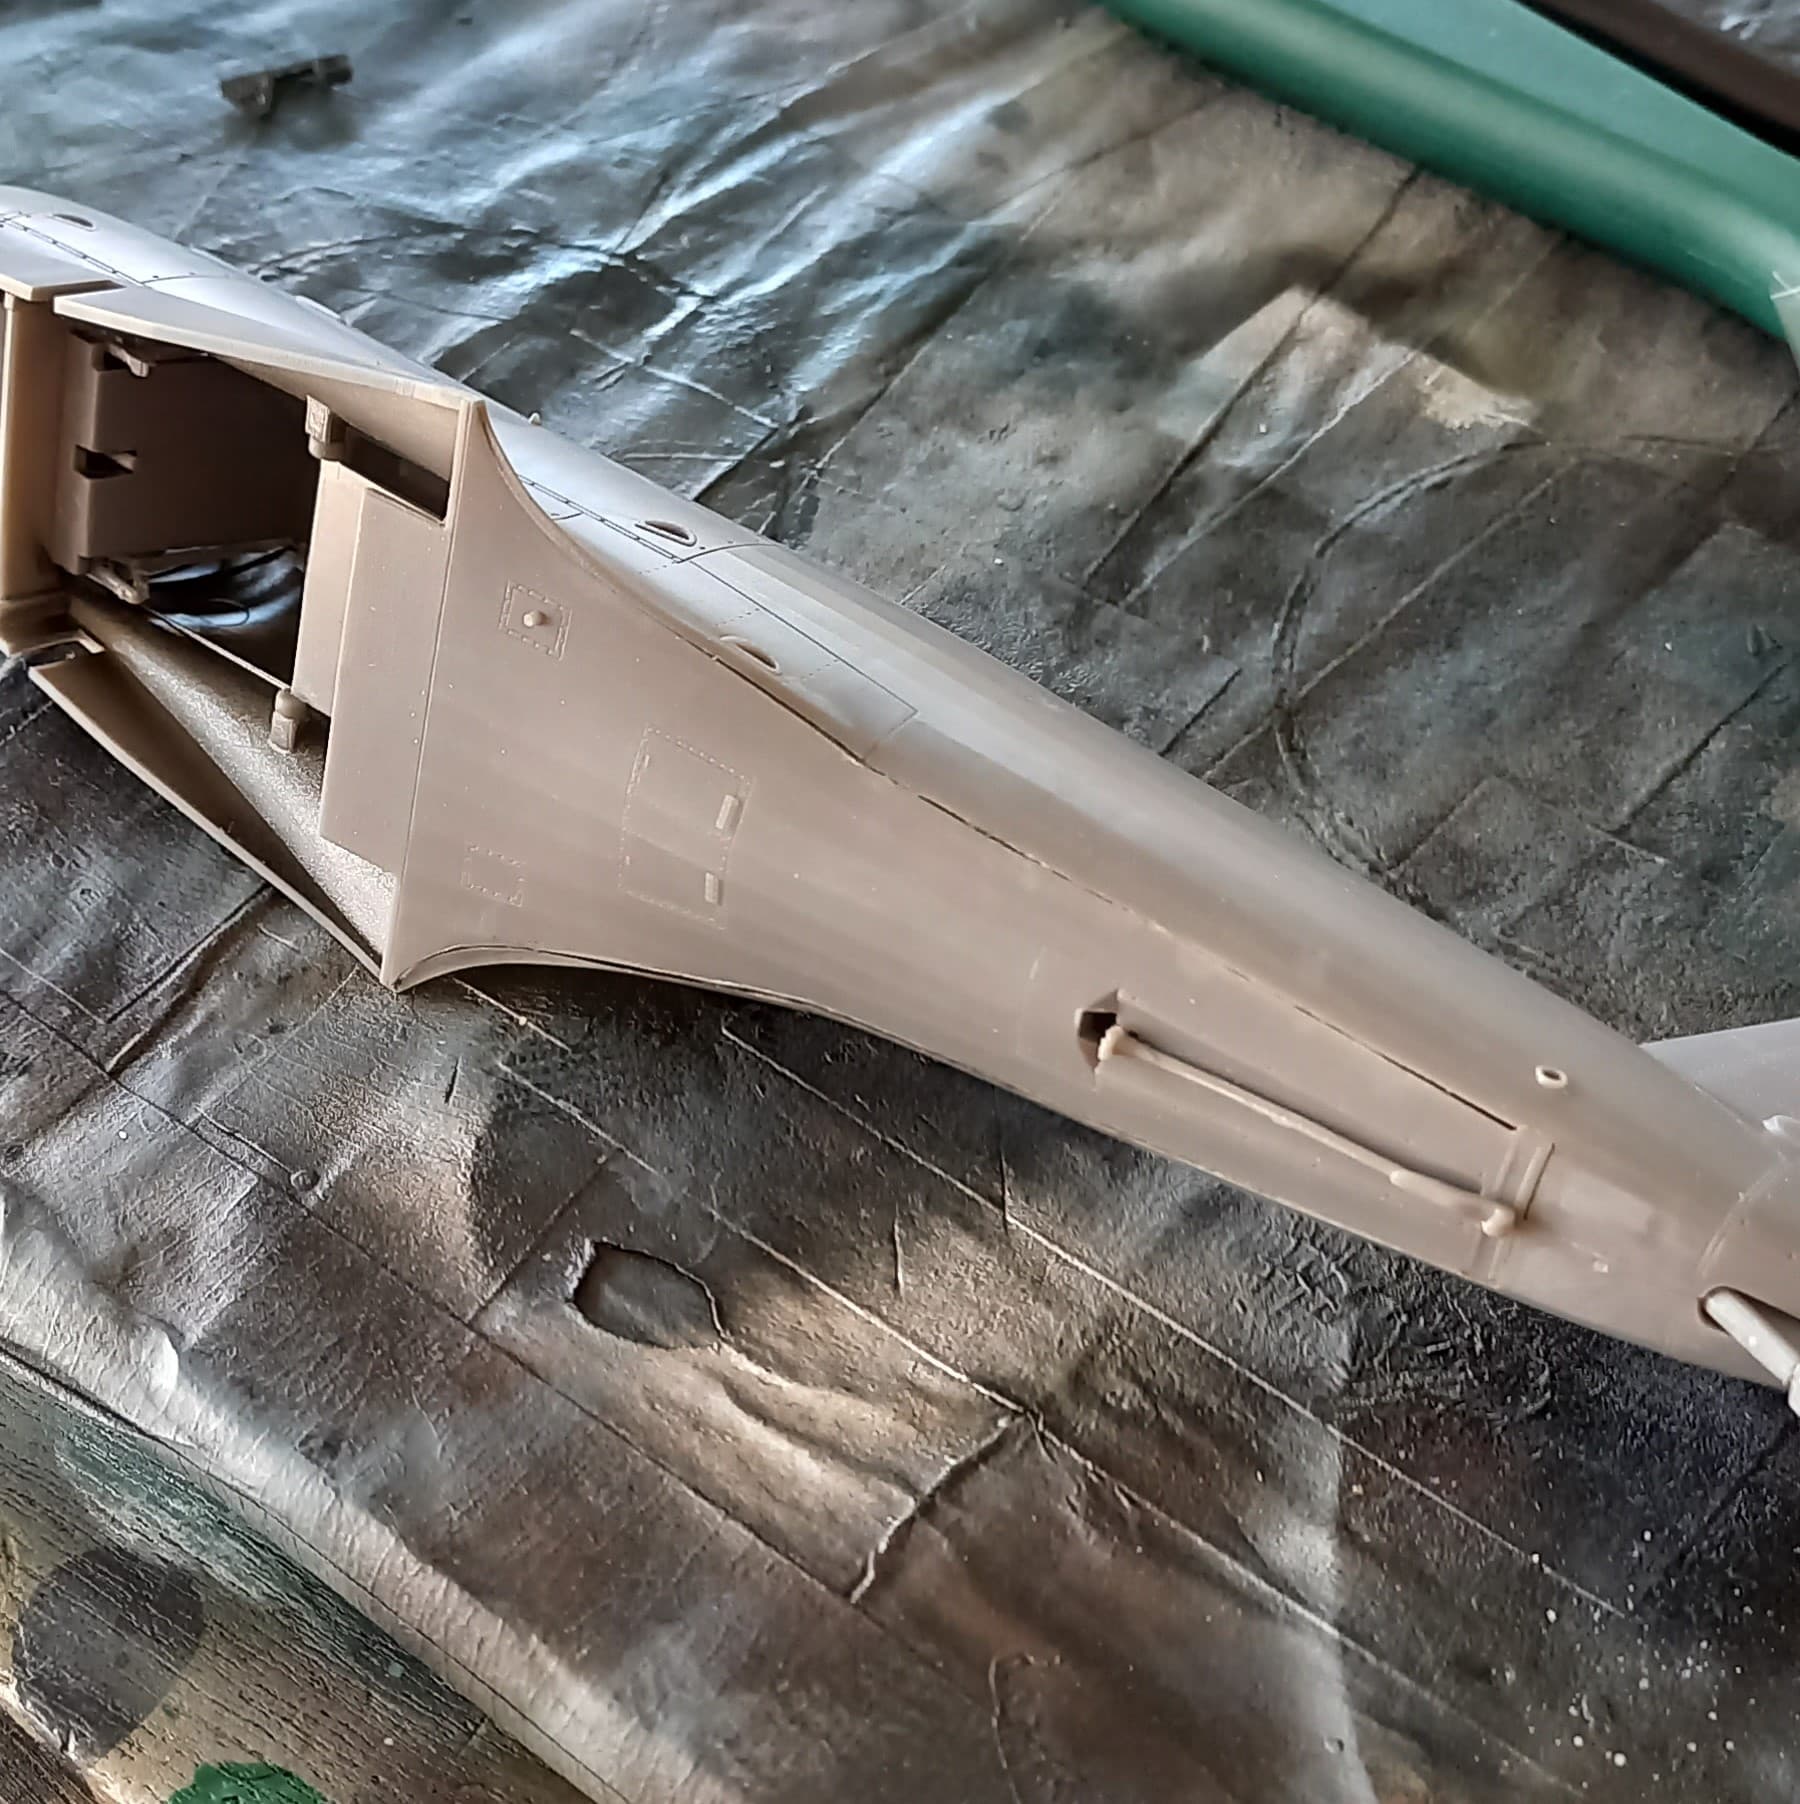
Finally, the fuselage halves were closed, and the fit was so so, my fault I’m sure. I also had a tough time getting the instrument panel to behave, and wound up getting in place still not sure why this was an issue.
There were some minor gaps that needed attention, but nothing a little Vallejo filler and Mr. Surfacer 500 couldn’t handle! Now it’s onto the wings!
Have fun!