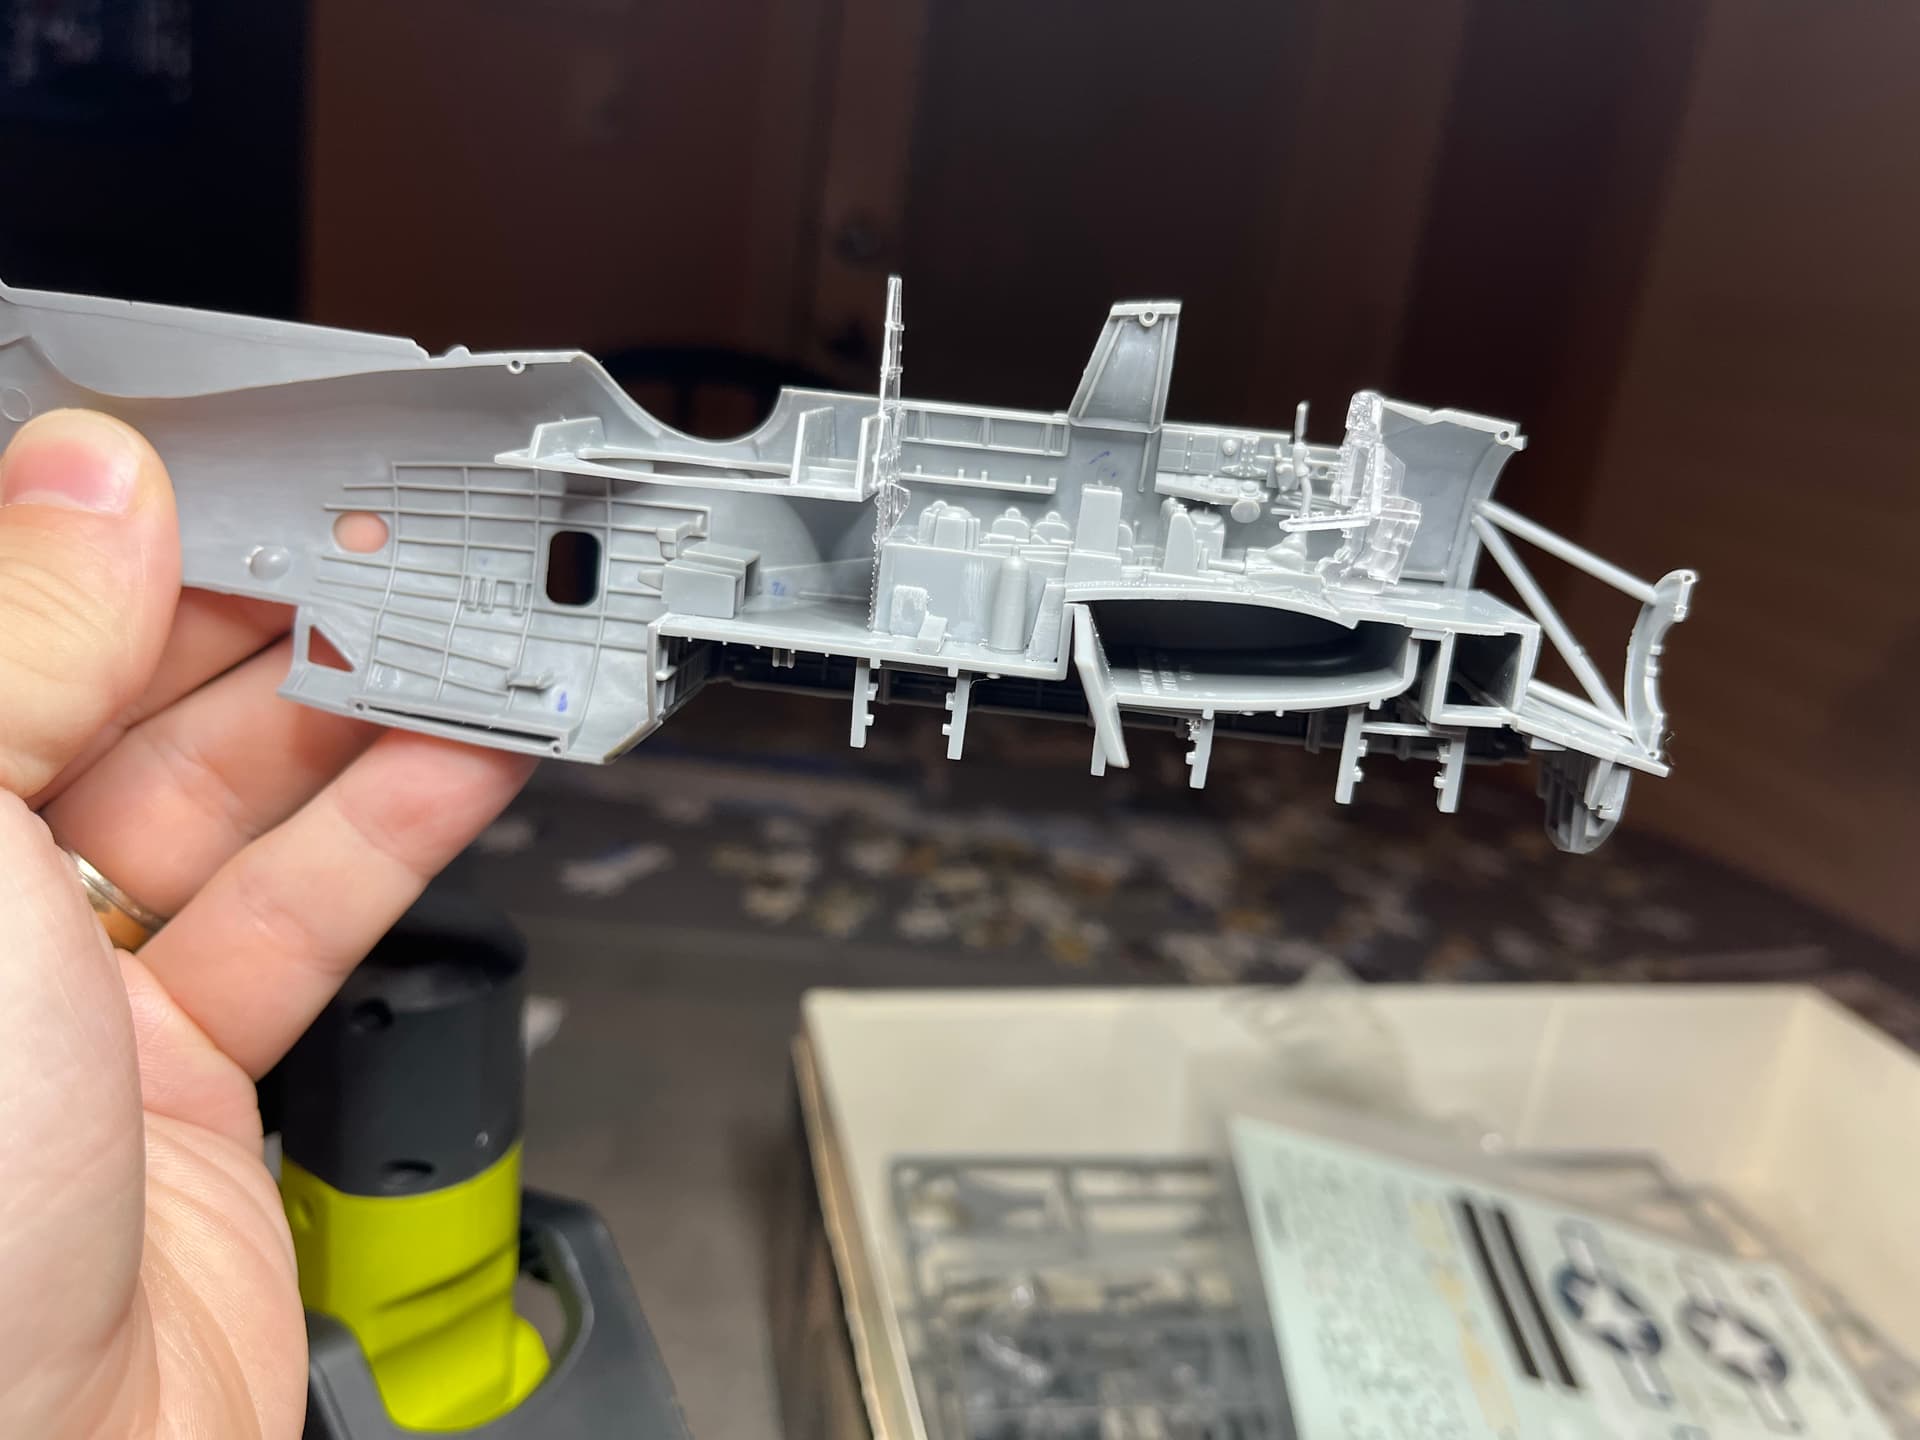
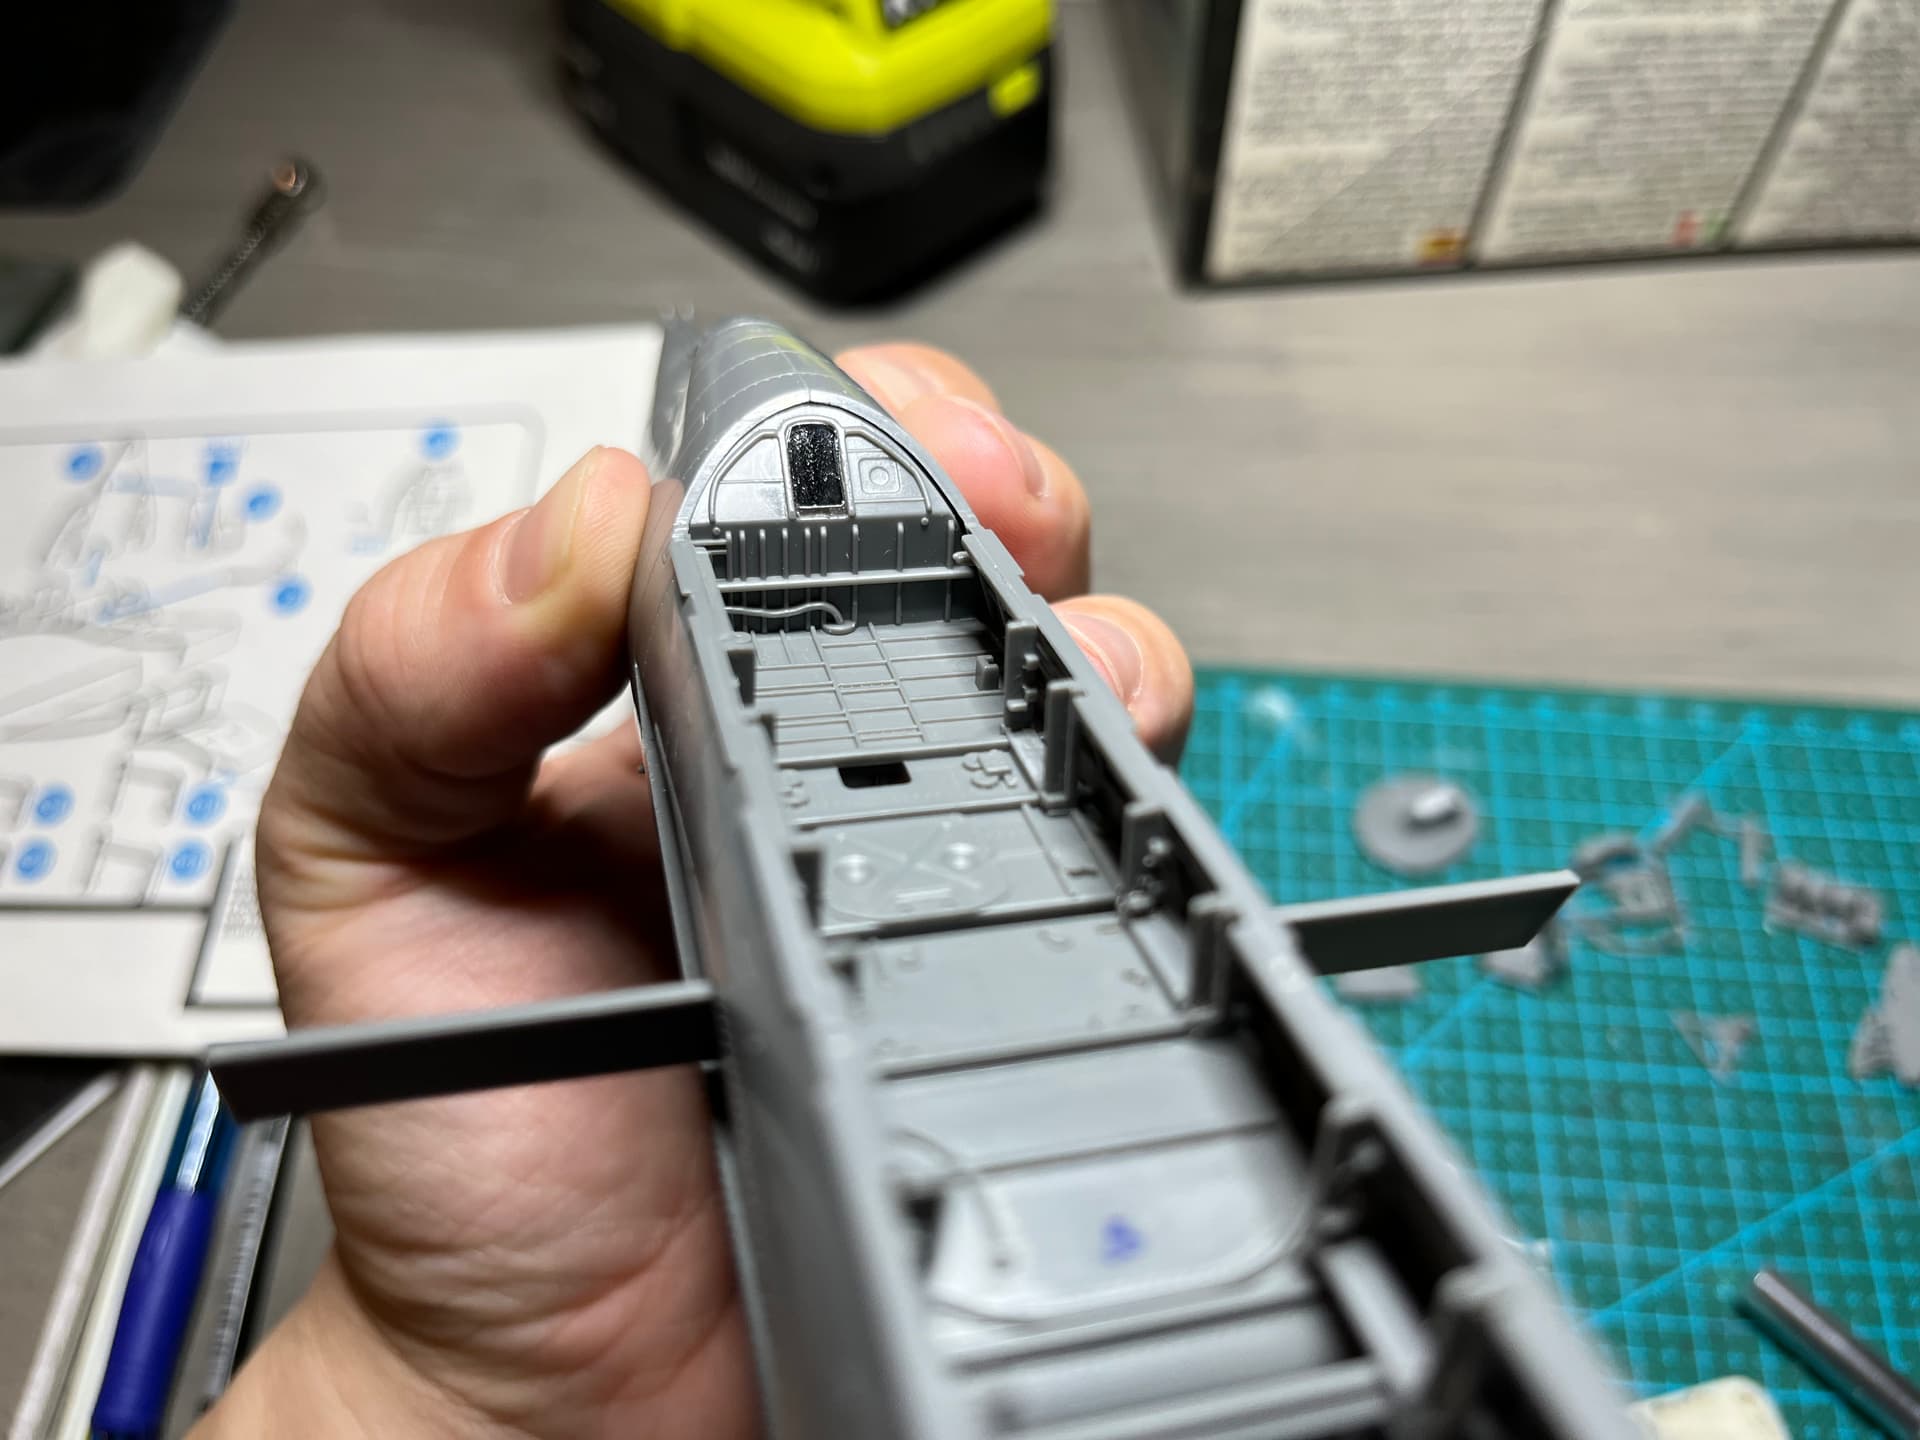
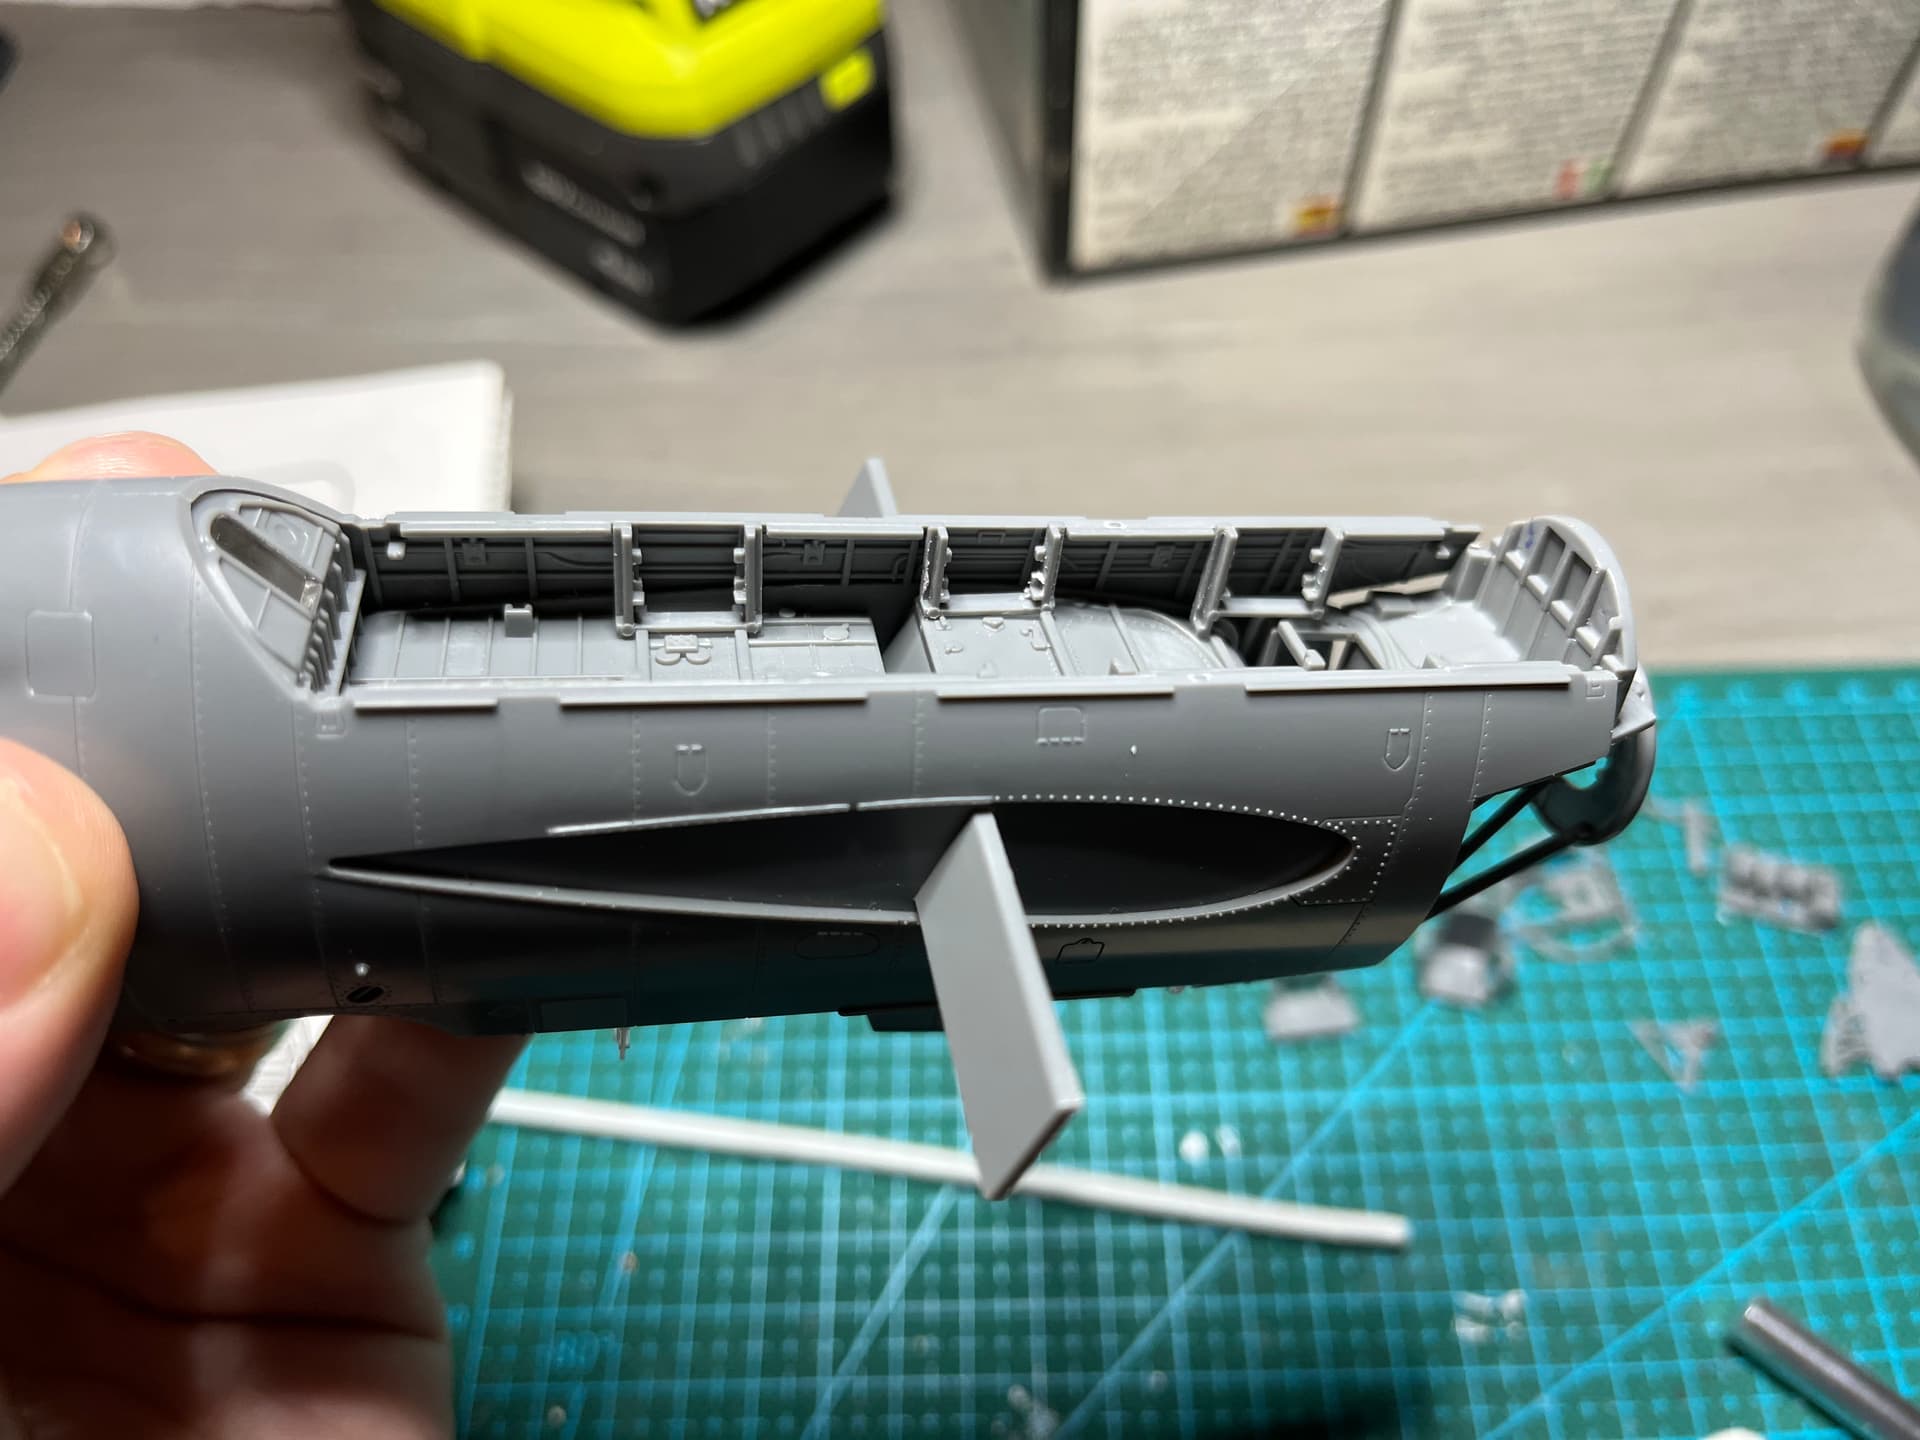
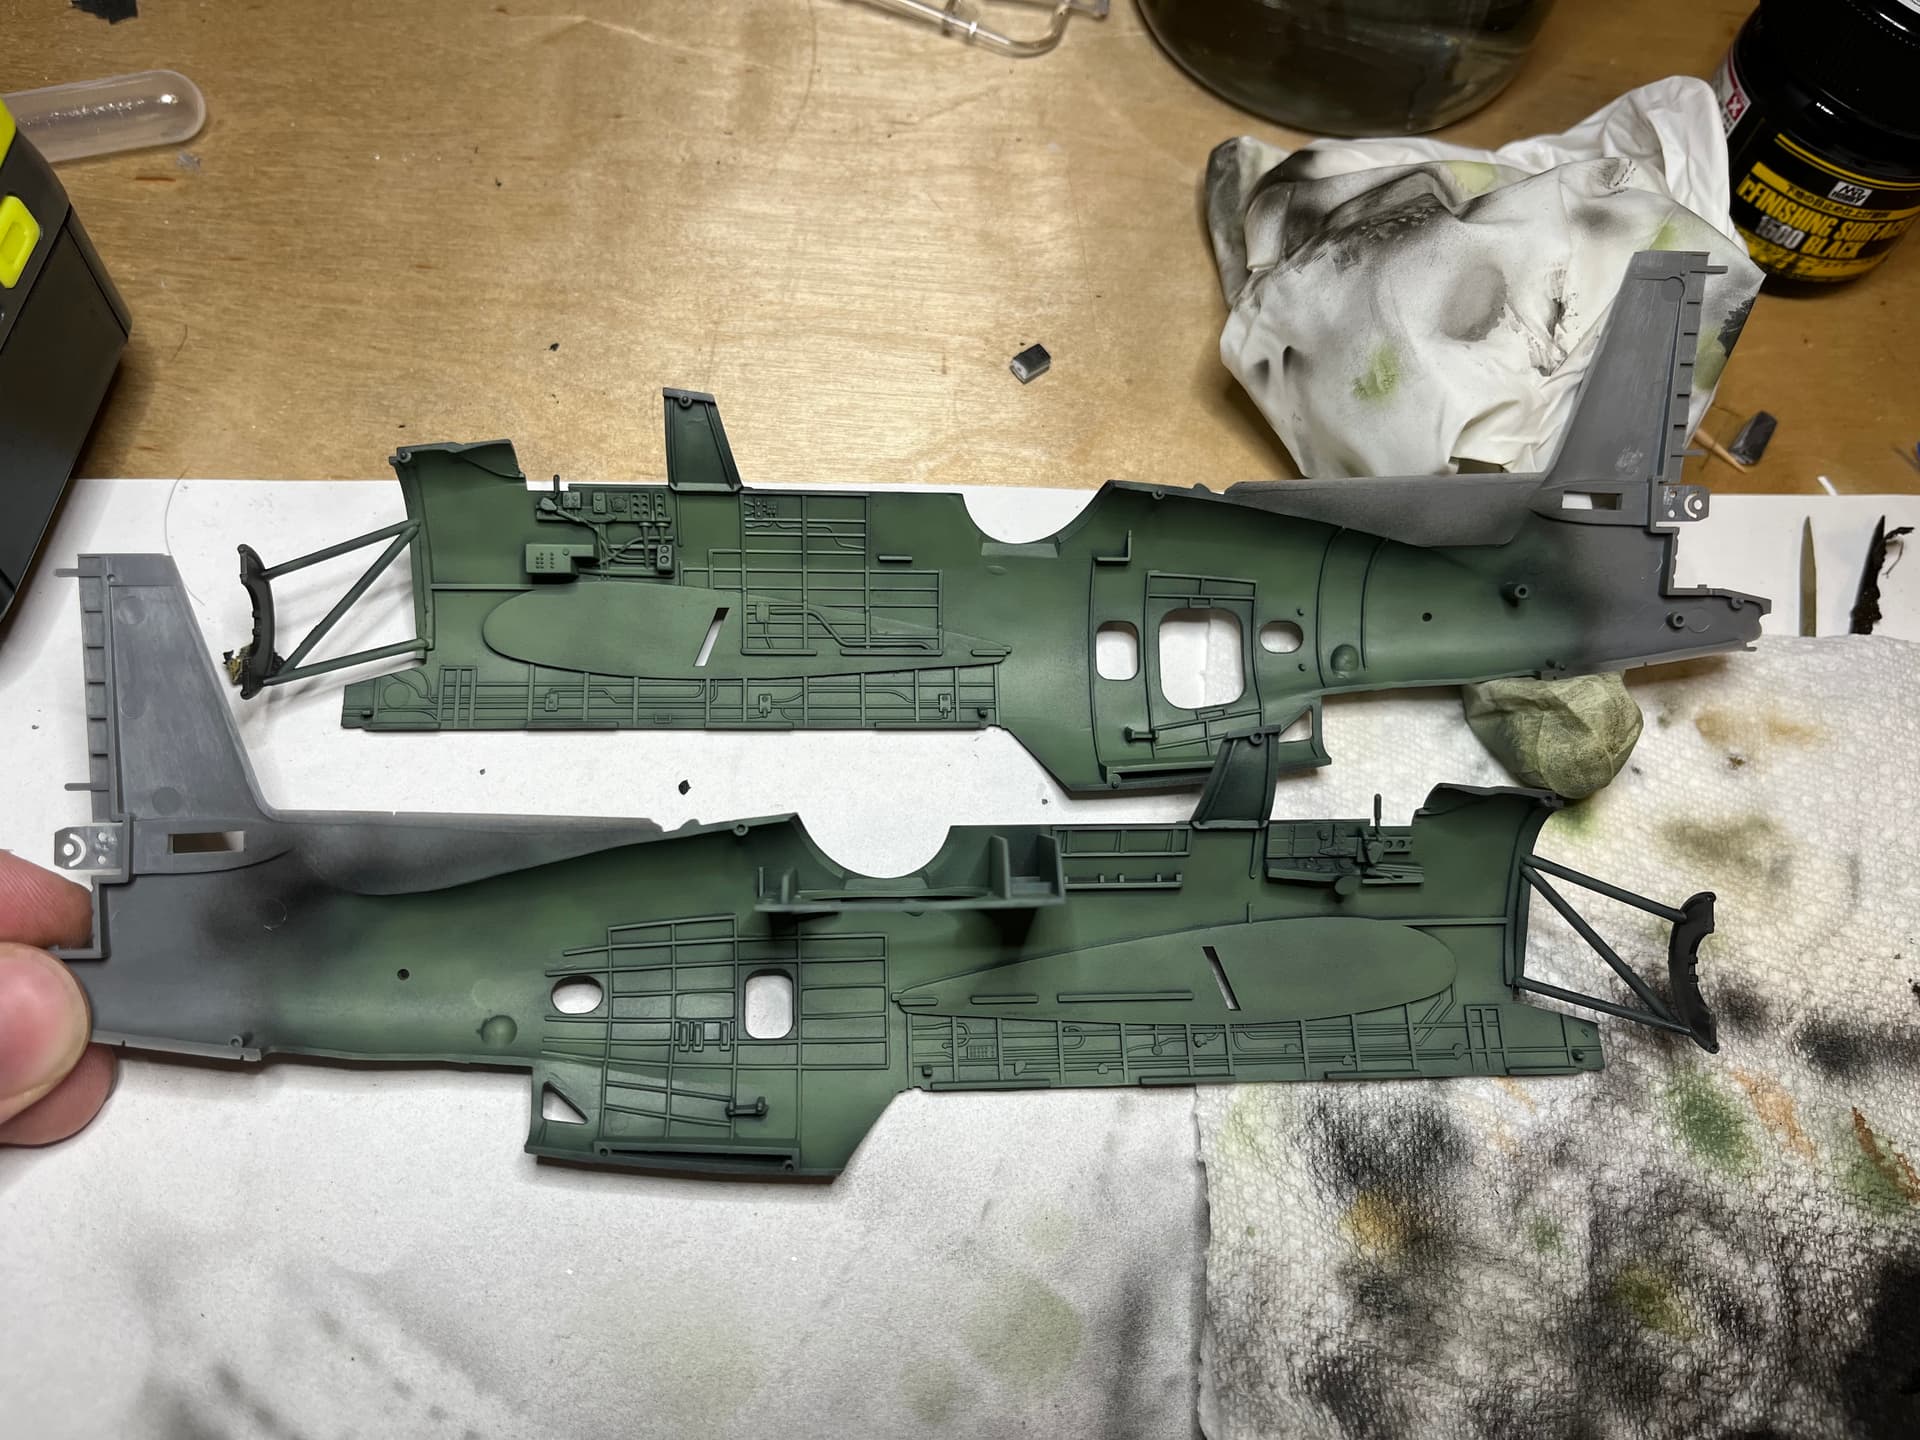
Got the first two steps done which composes most of the fuselage internals. I haven’t cut off the ventral gun or tail wheel yet, don’t want to break them.
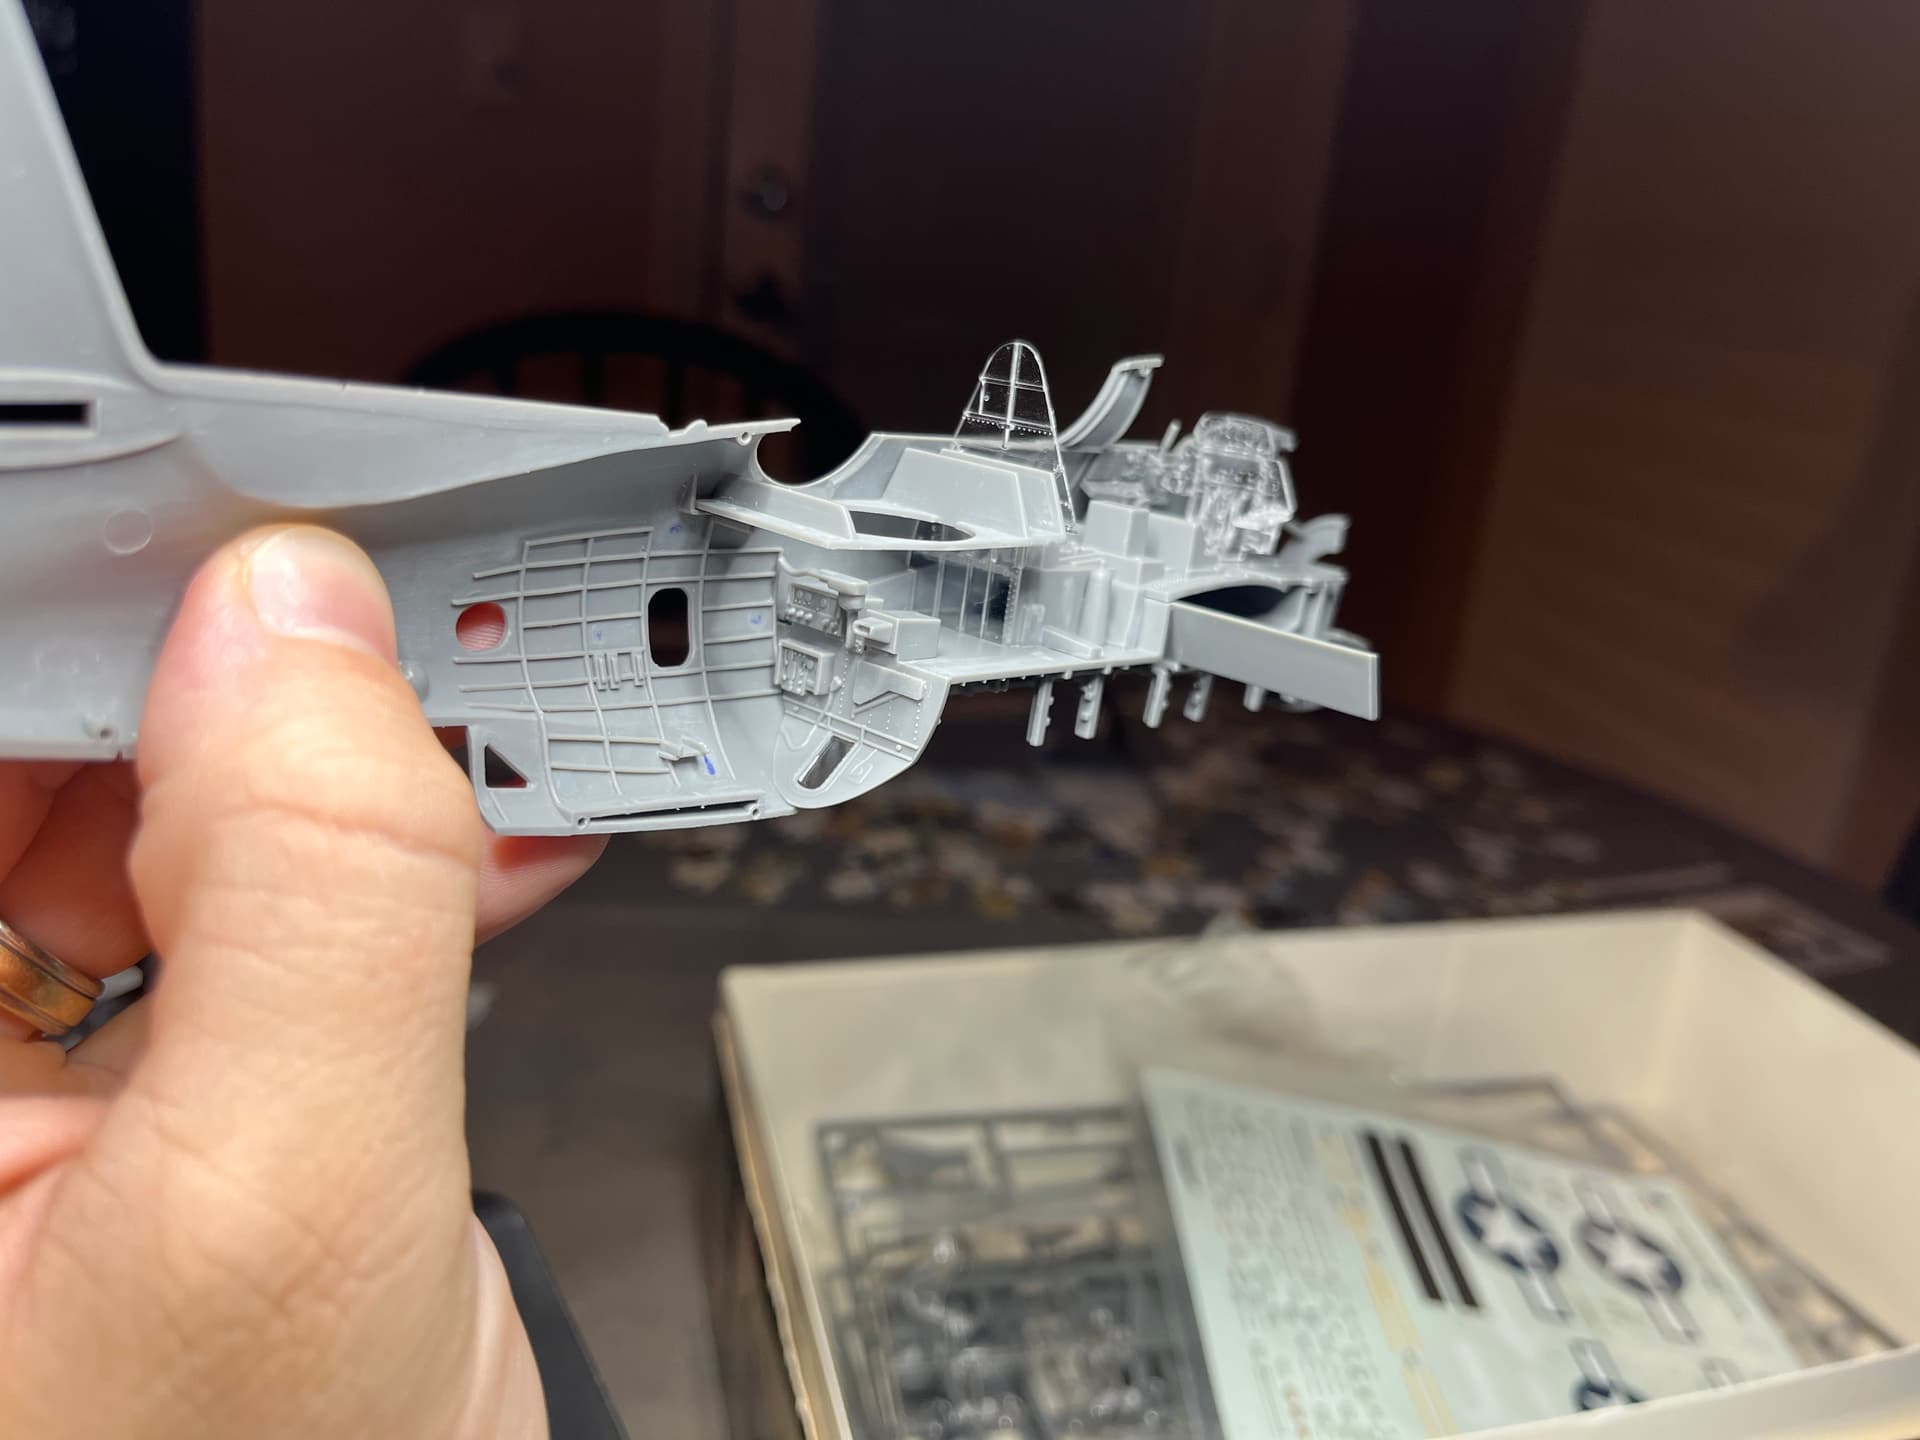
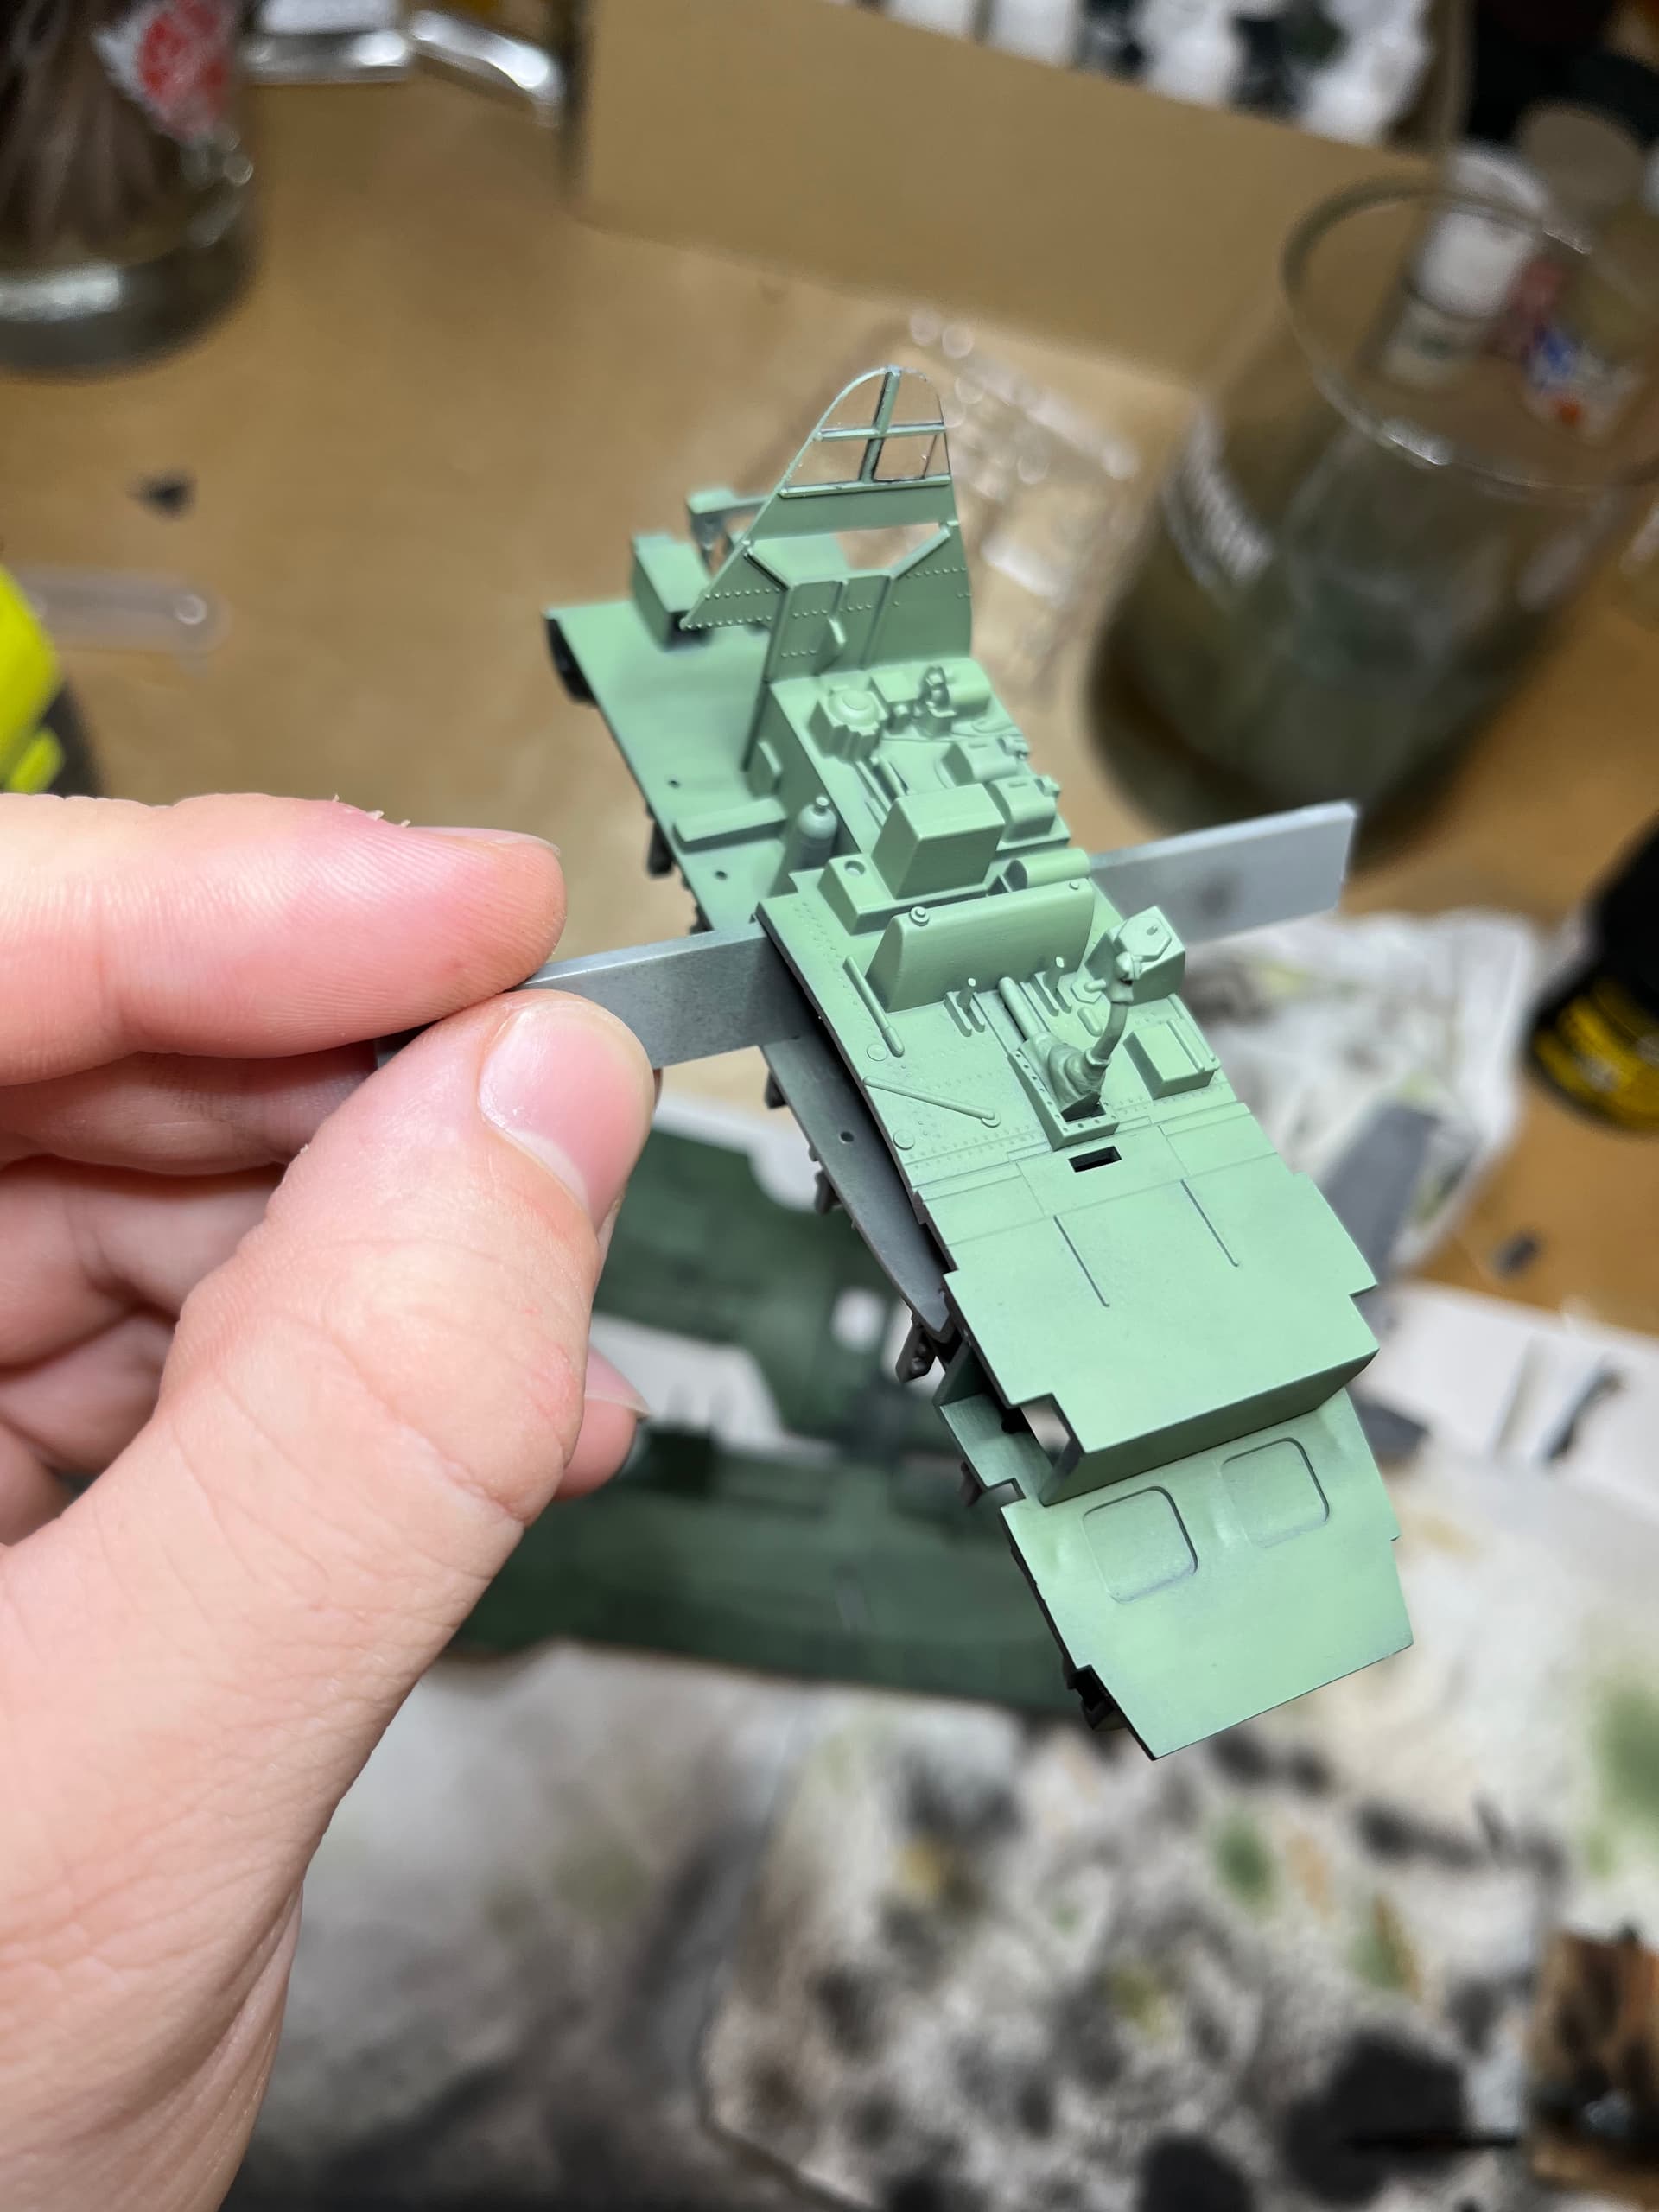
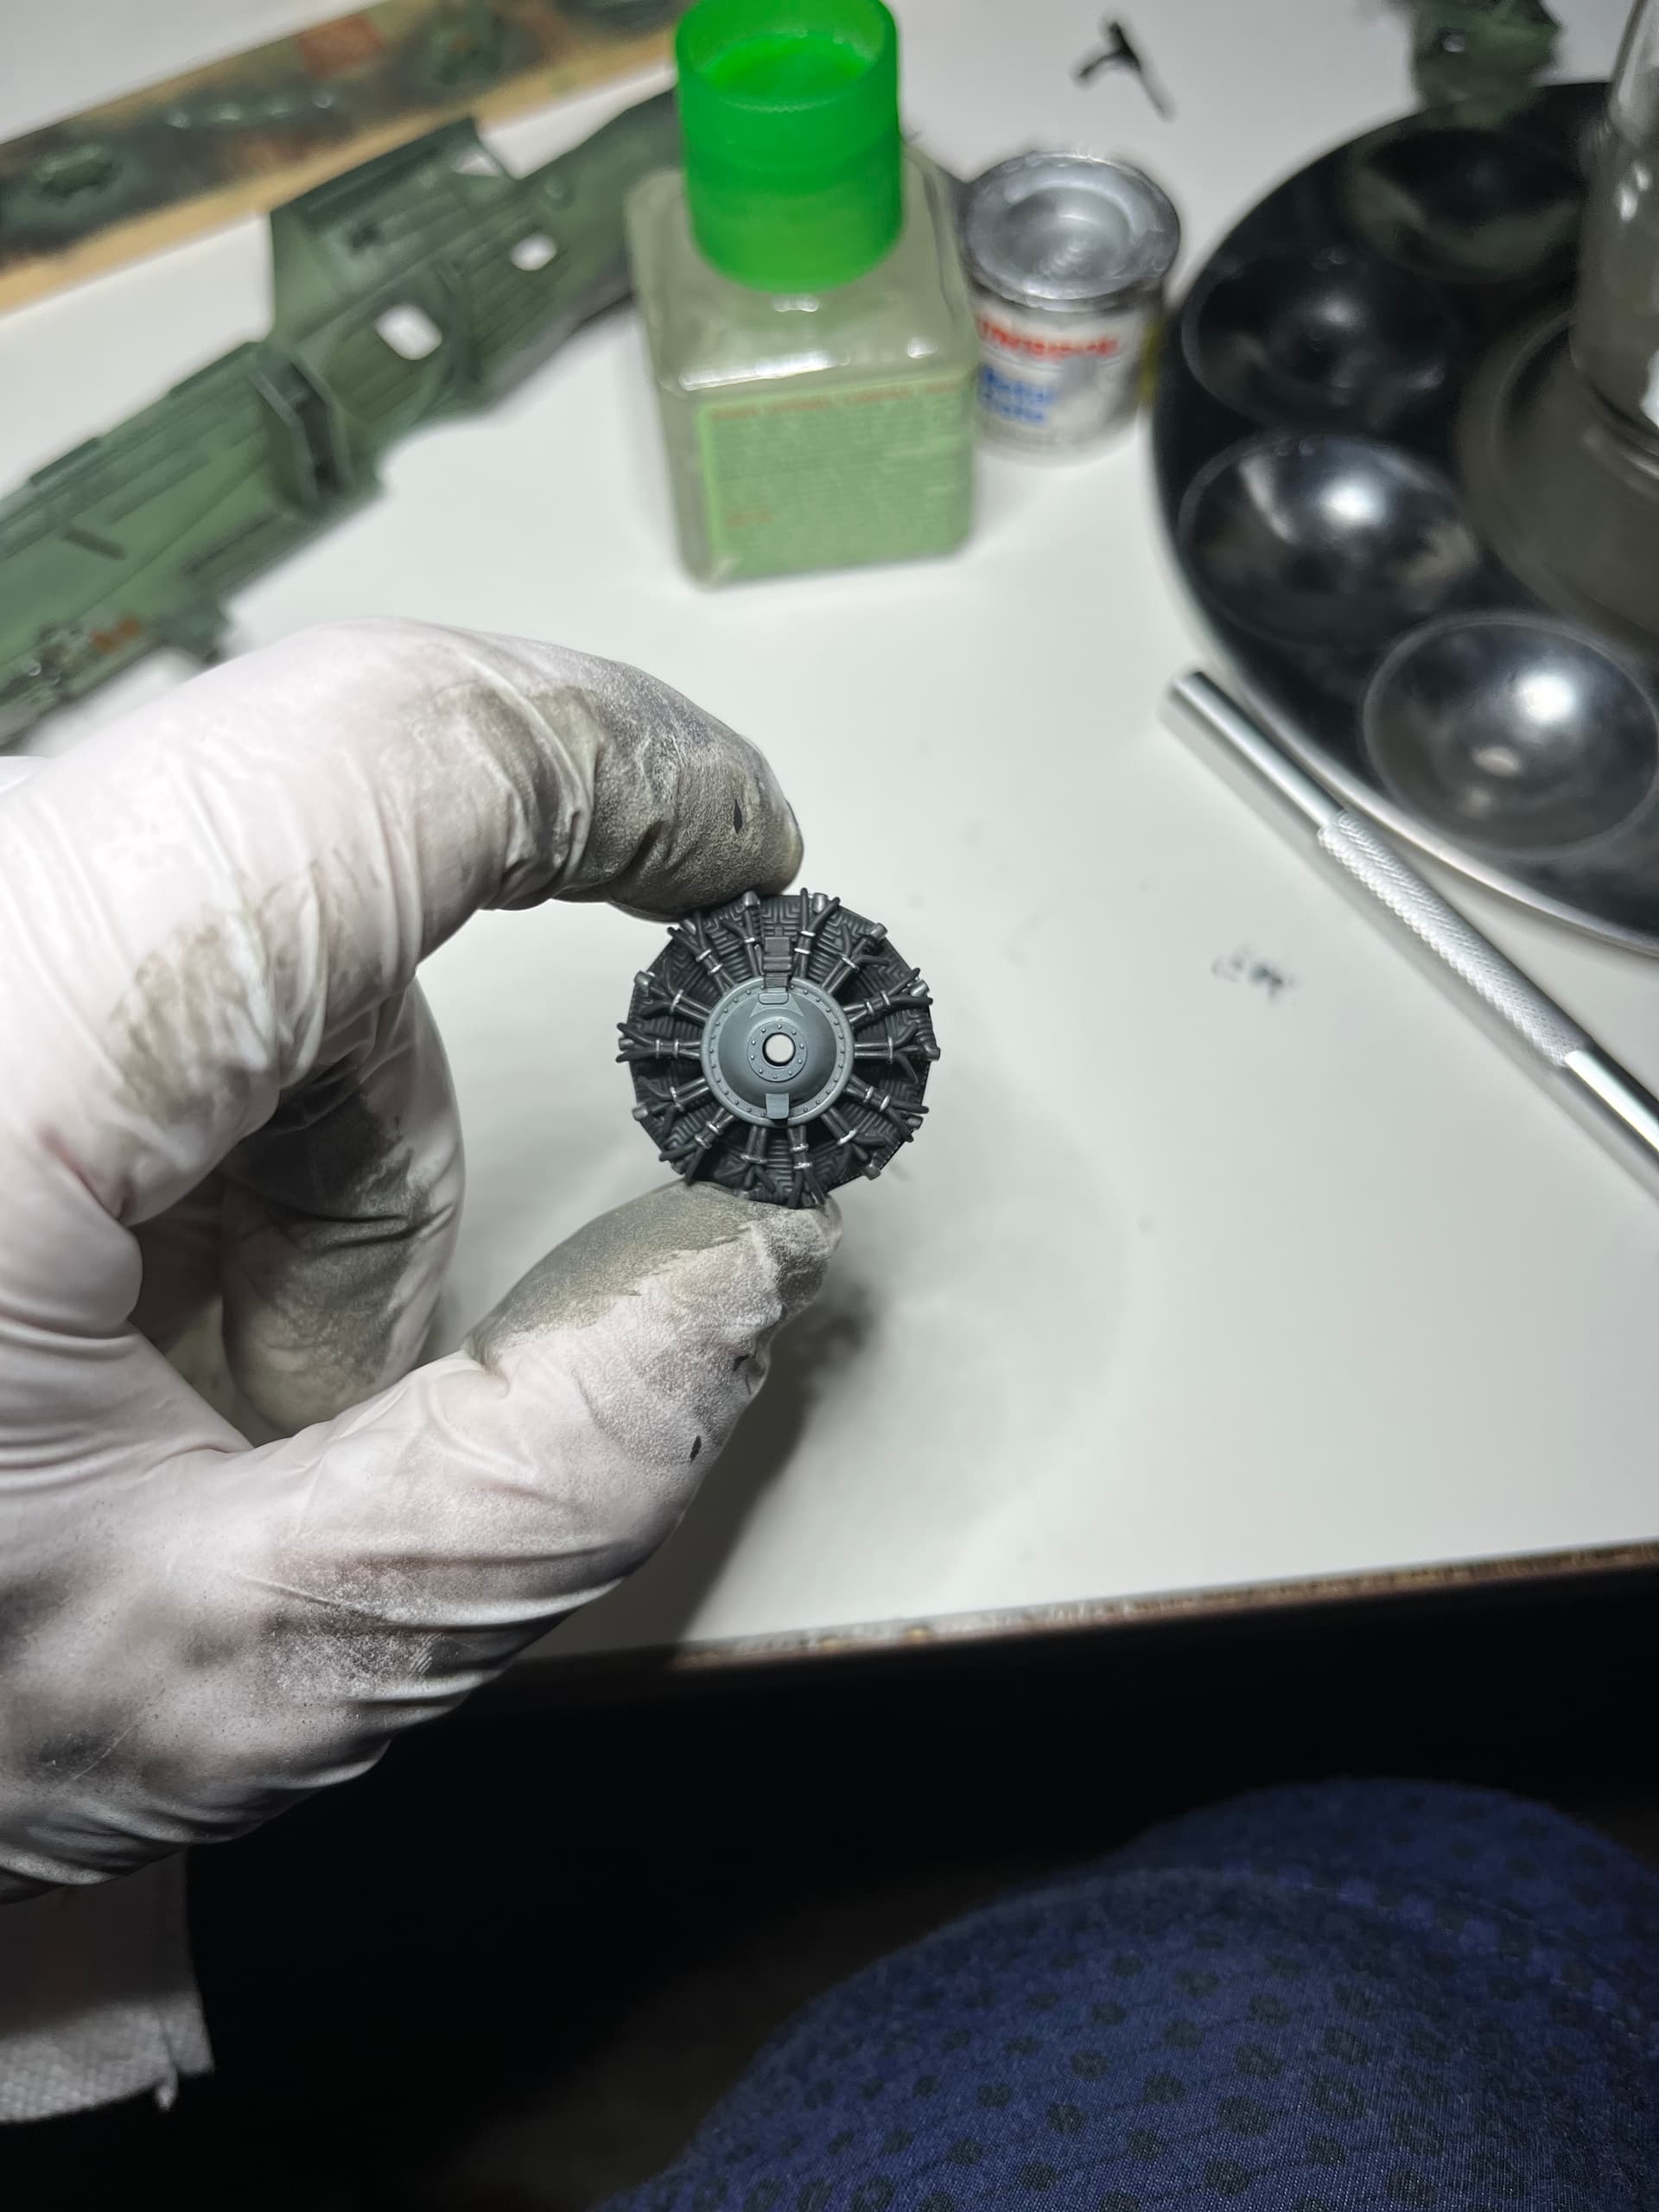
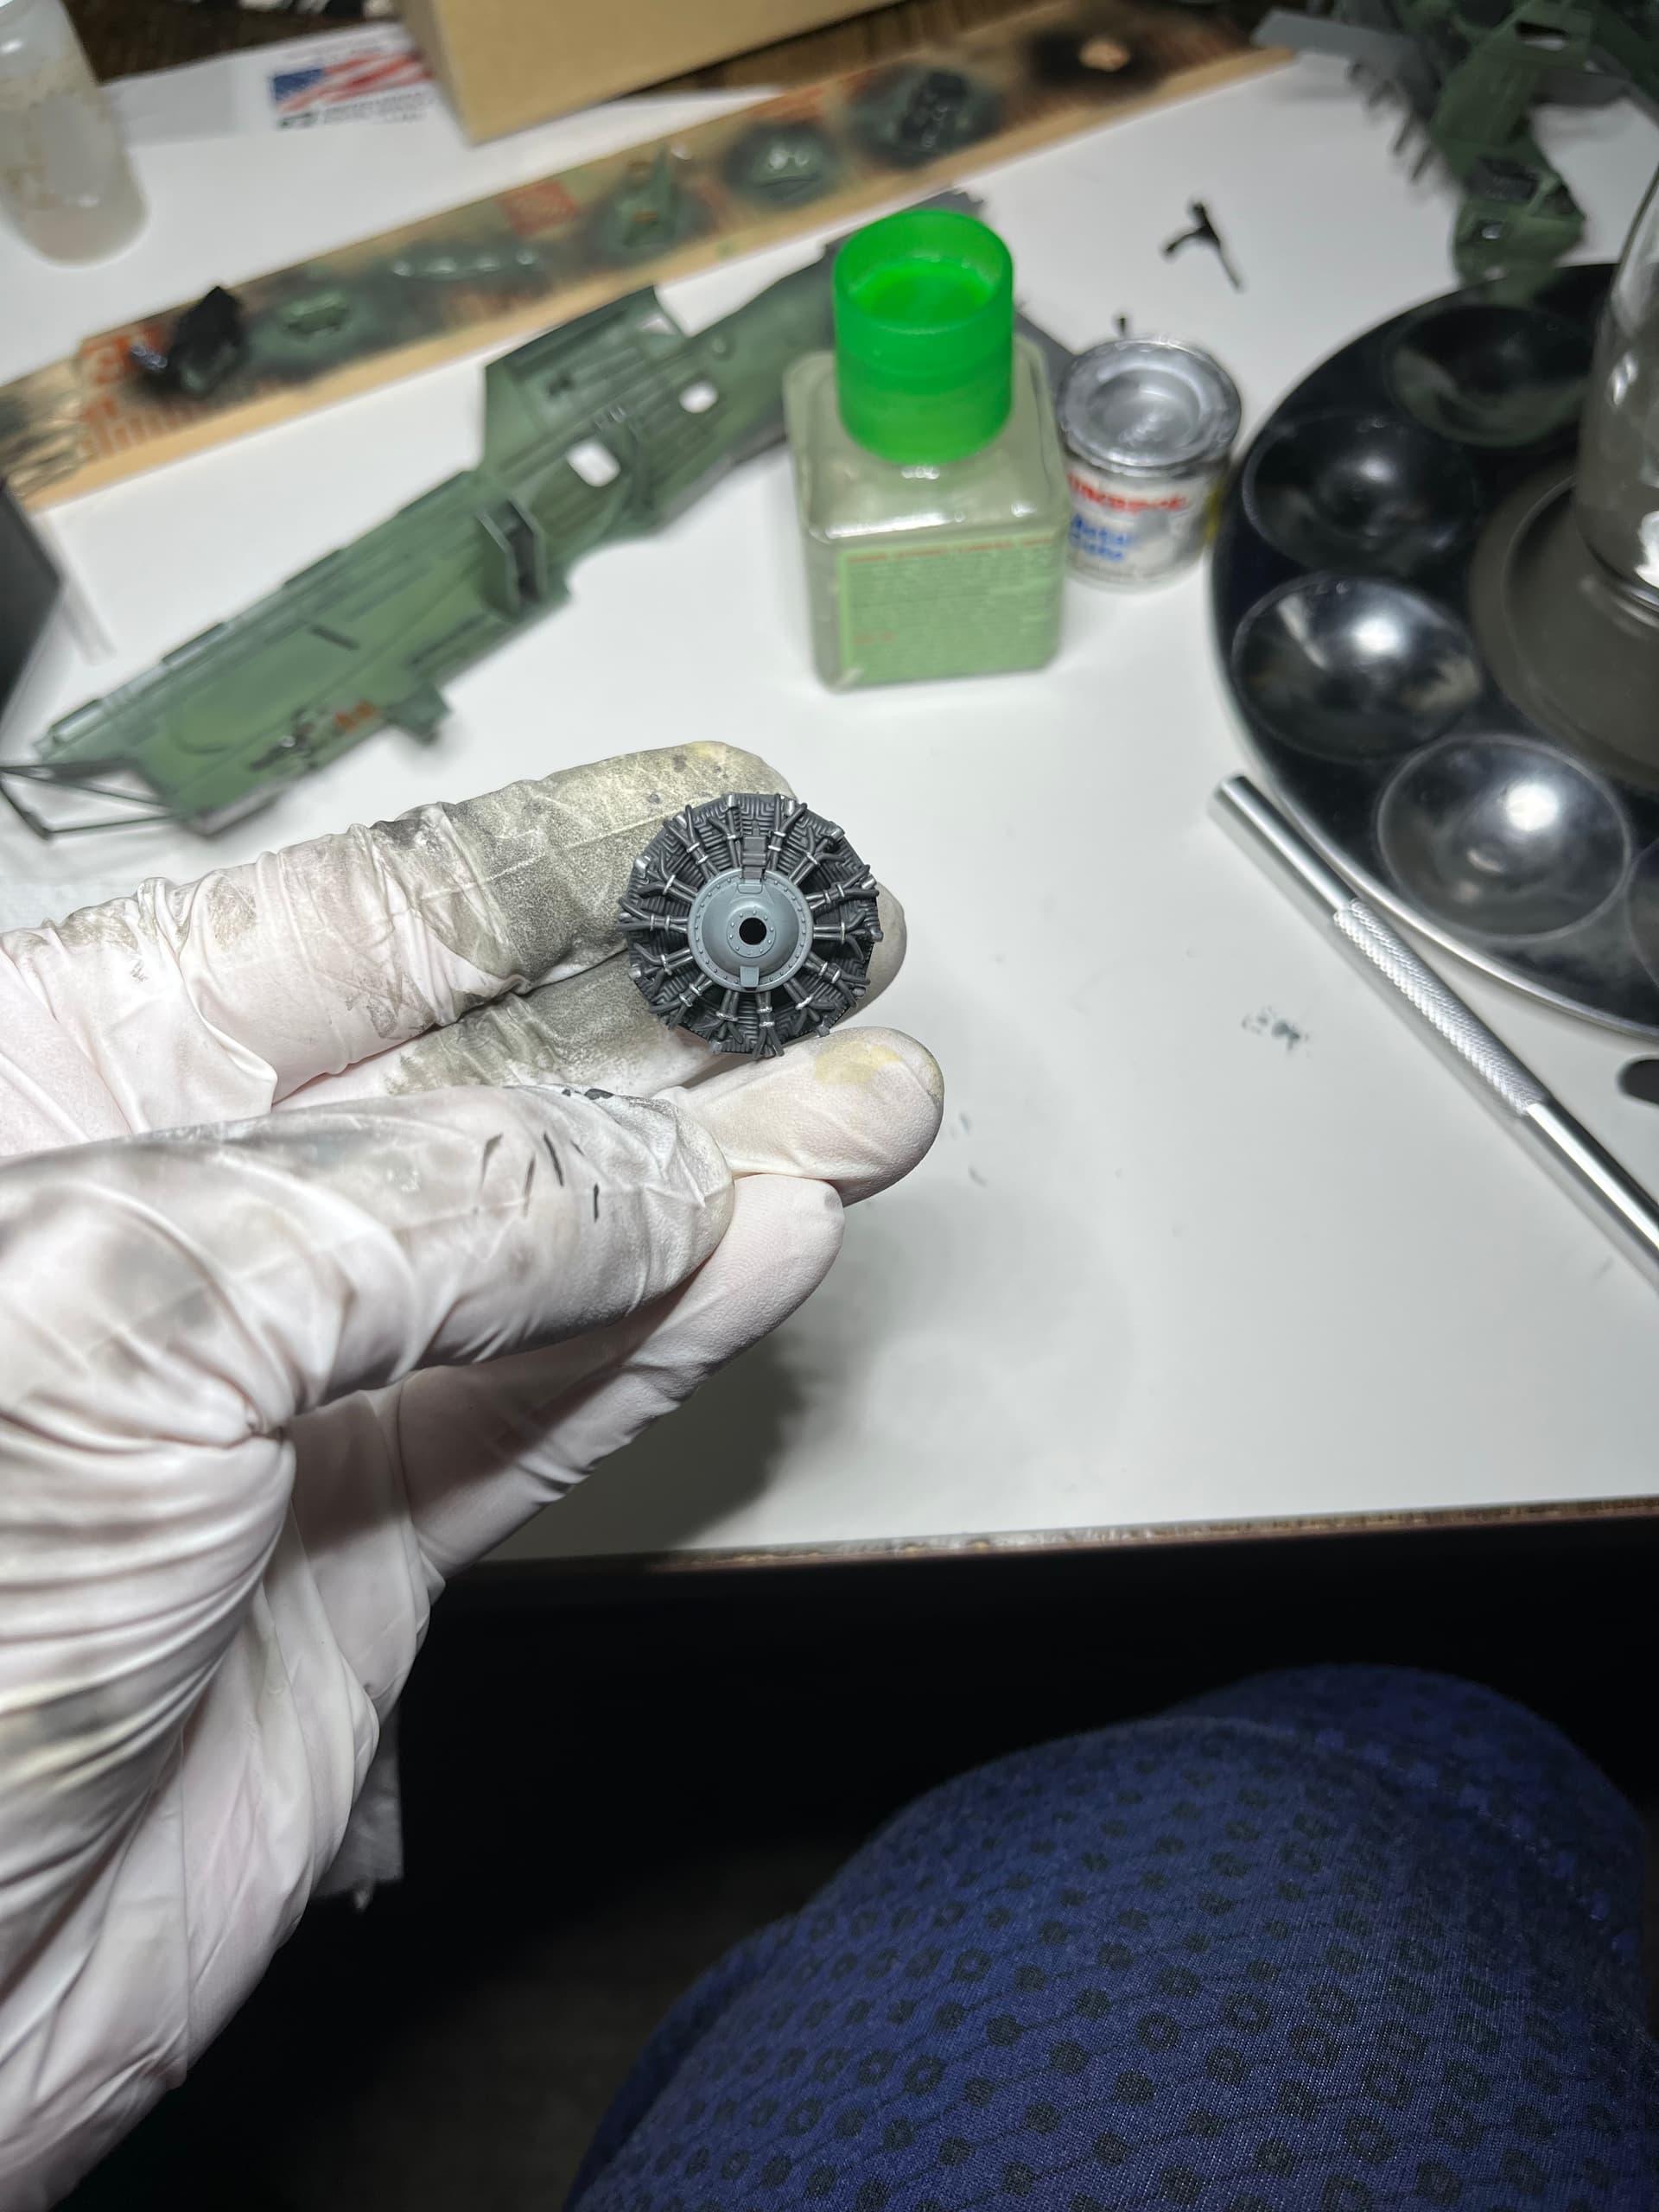
So far I’m really loving this build. Great detail for a 1996 kit. The fit is outstanding, and I find this bird fascinating. First off it is huge for a single engine plane, nearly as big as my me-262 on the shelf. Second, there is a lot going on inside that fuselage
Bomb bay is nicely detailed and will look great with the 4 500 Lb bombs or single 1000 or 2000 lb bomb. Not sure what I’ll load it with yet, it won’t be a torpedo as it’s an Okinawa ground attack variant.
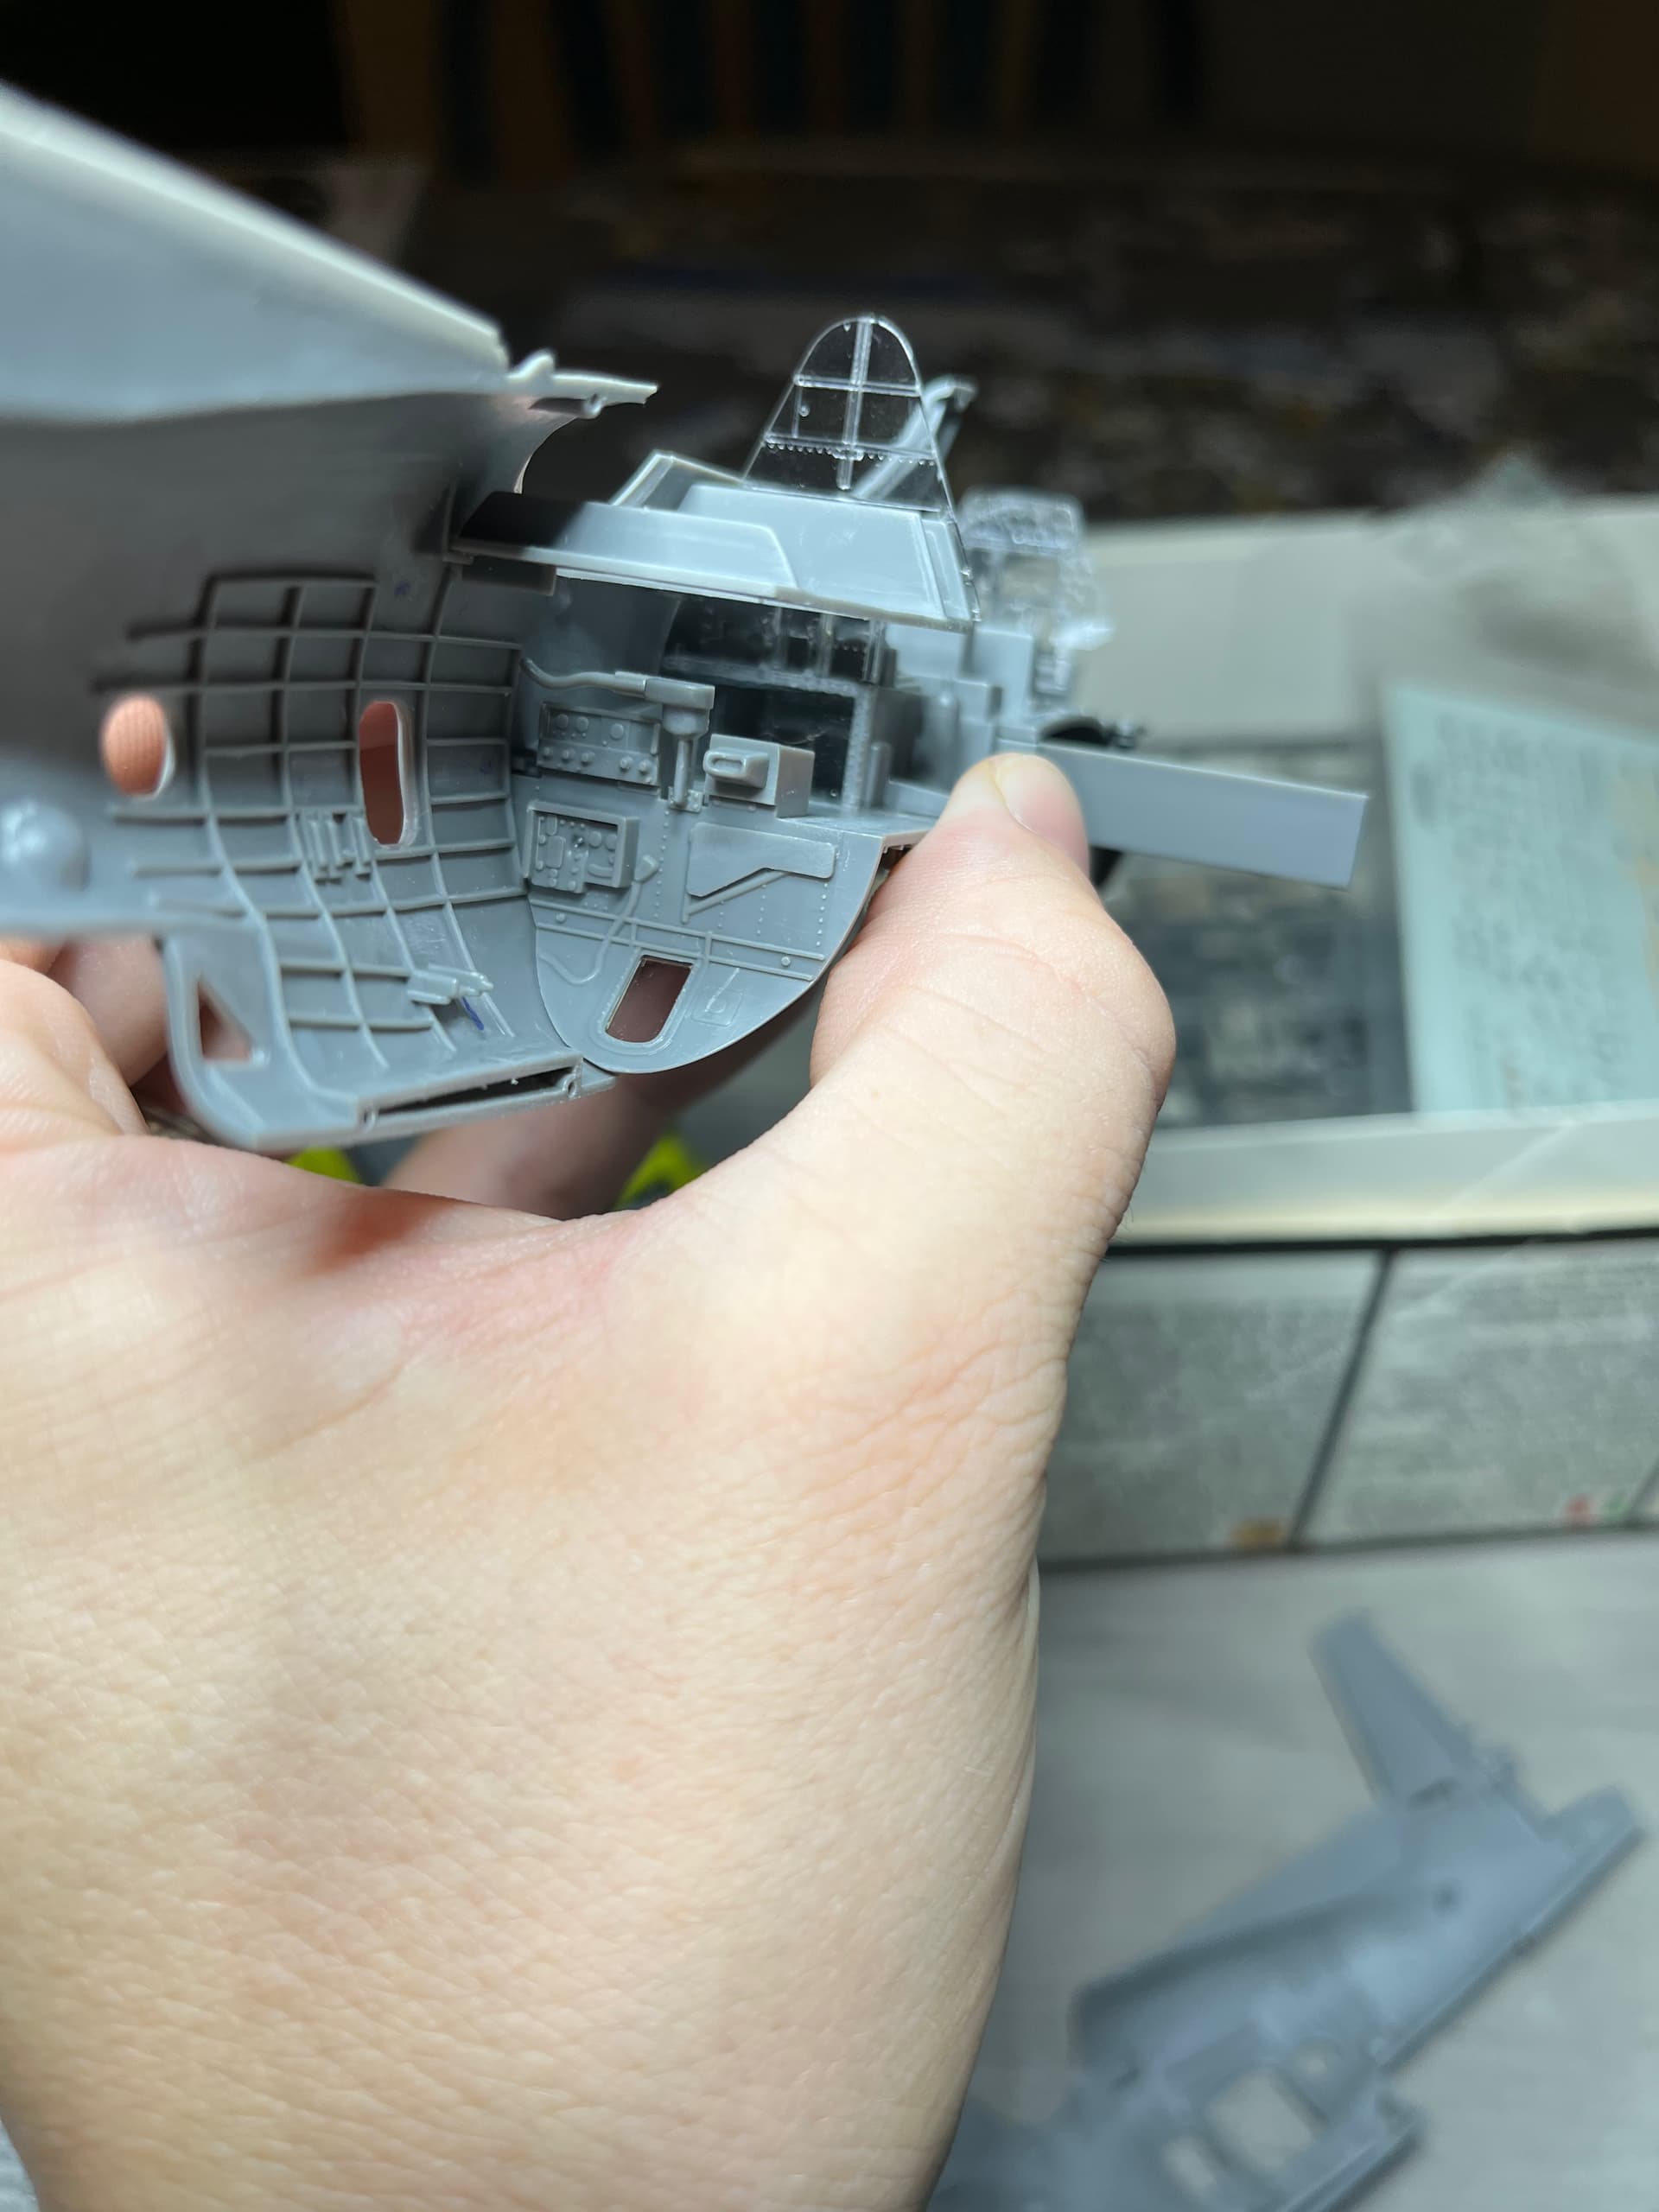
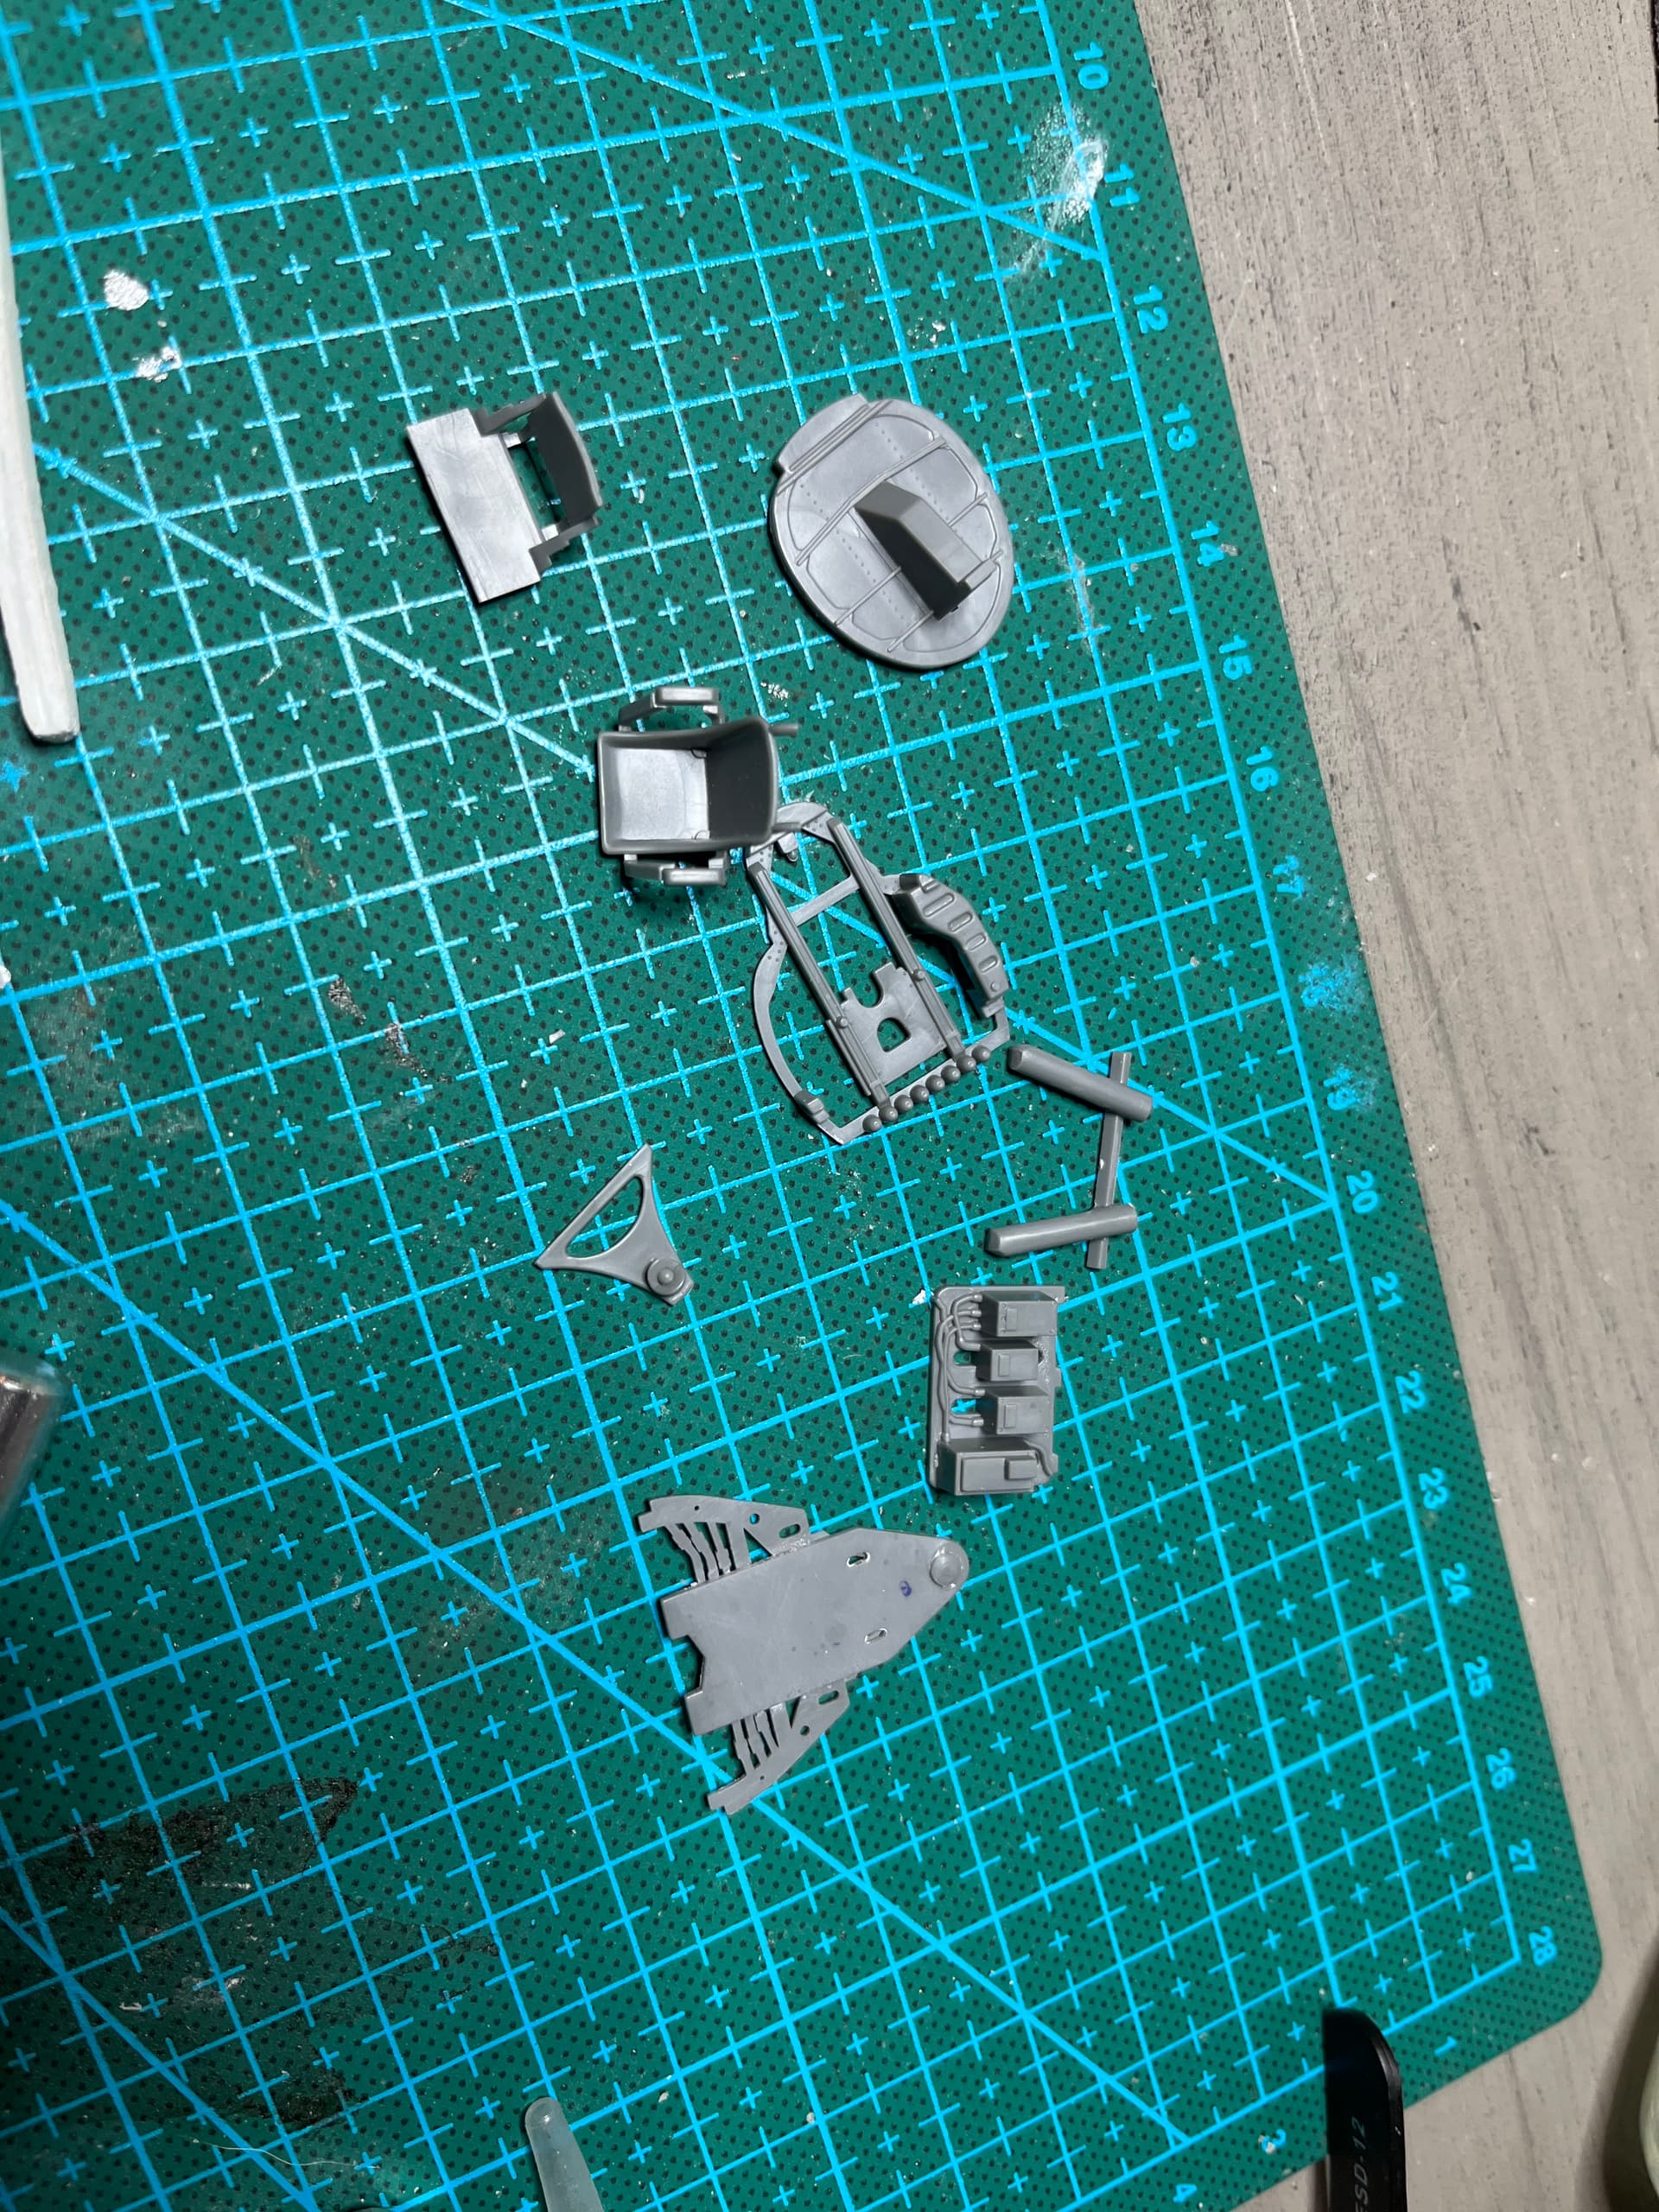
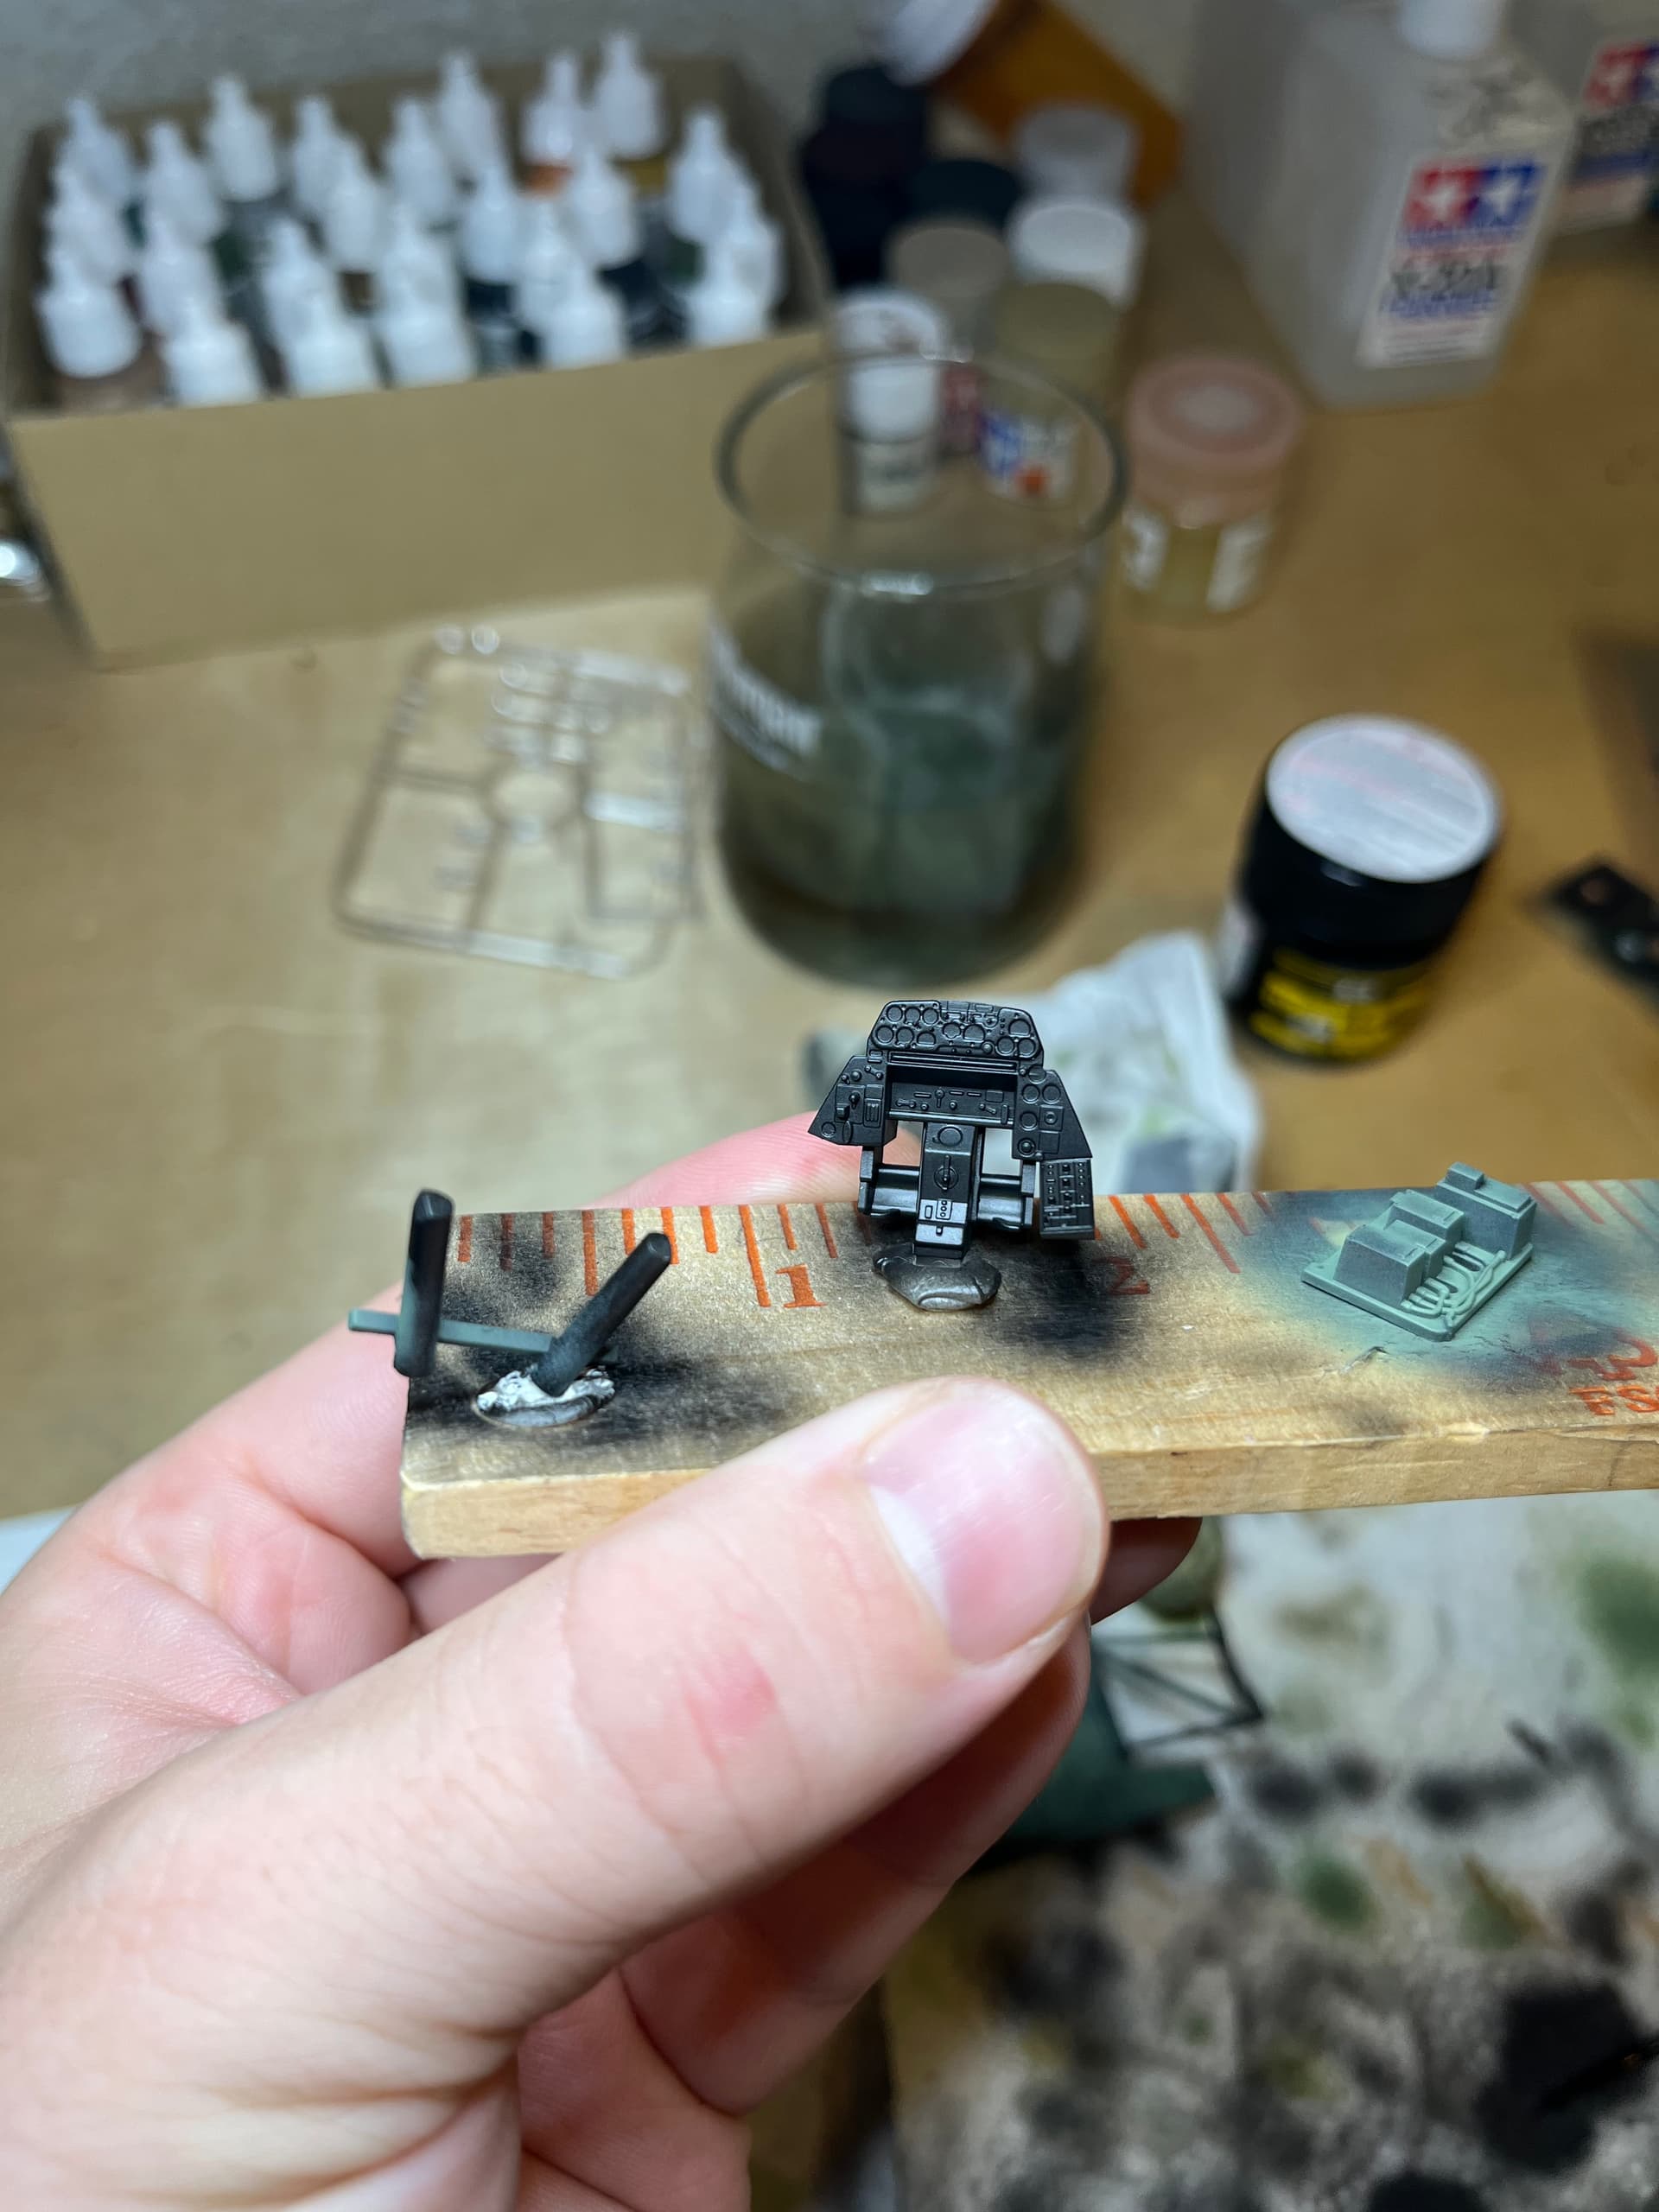
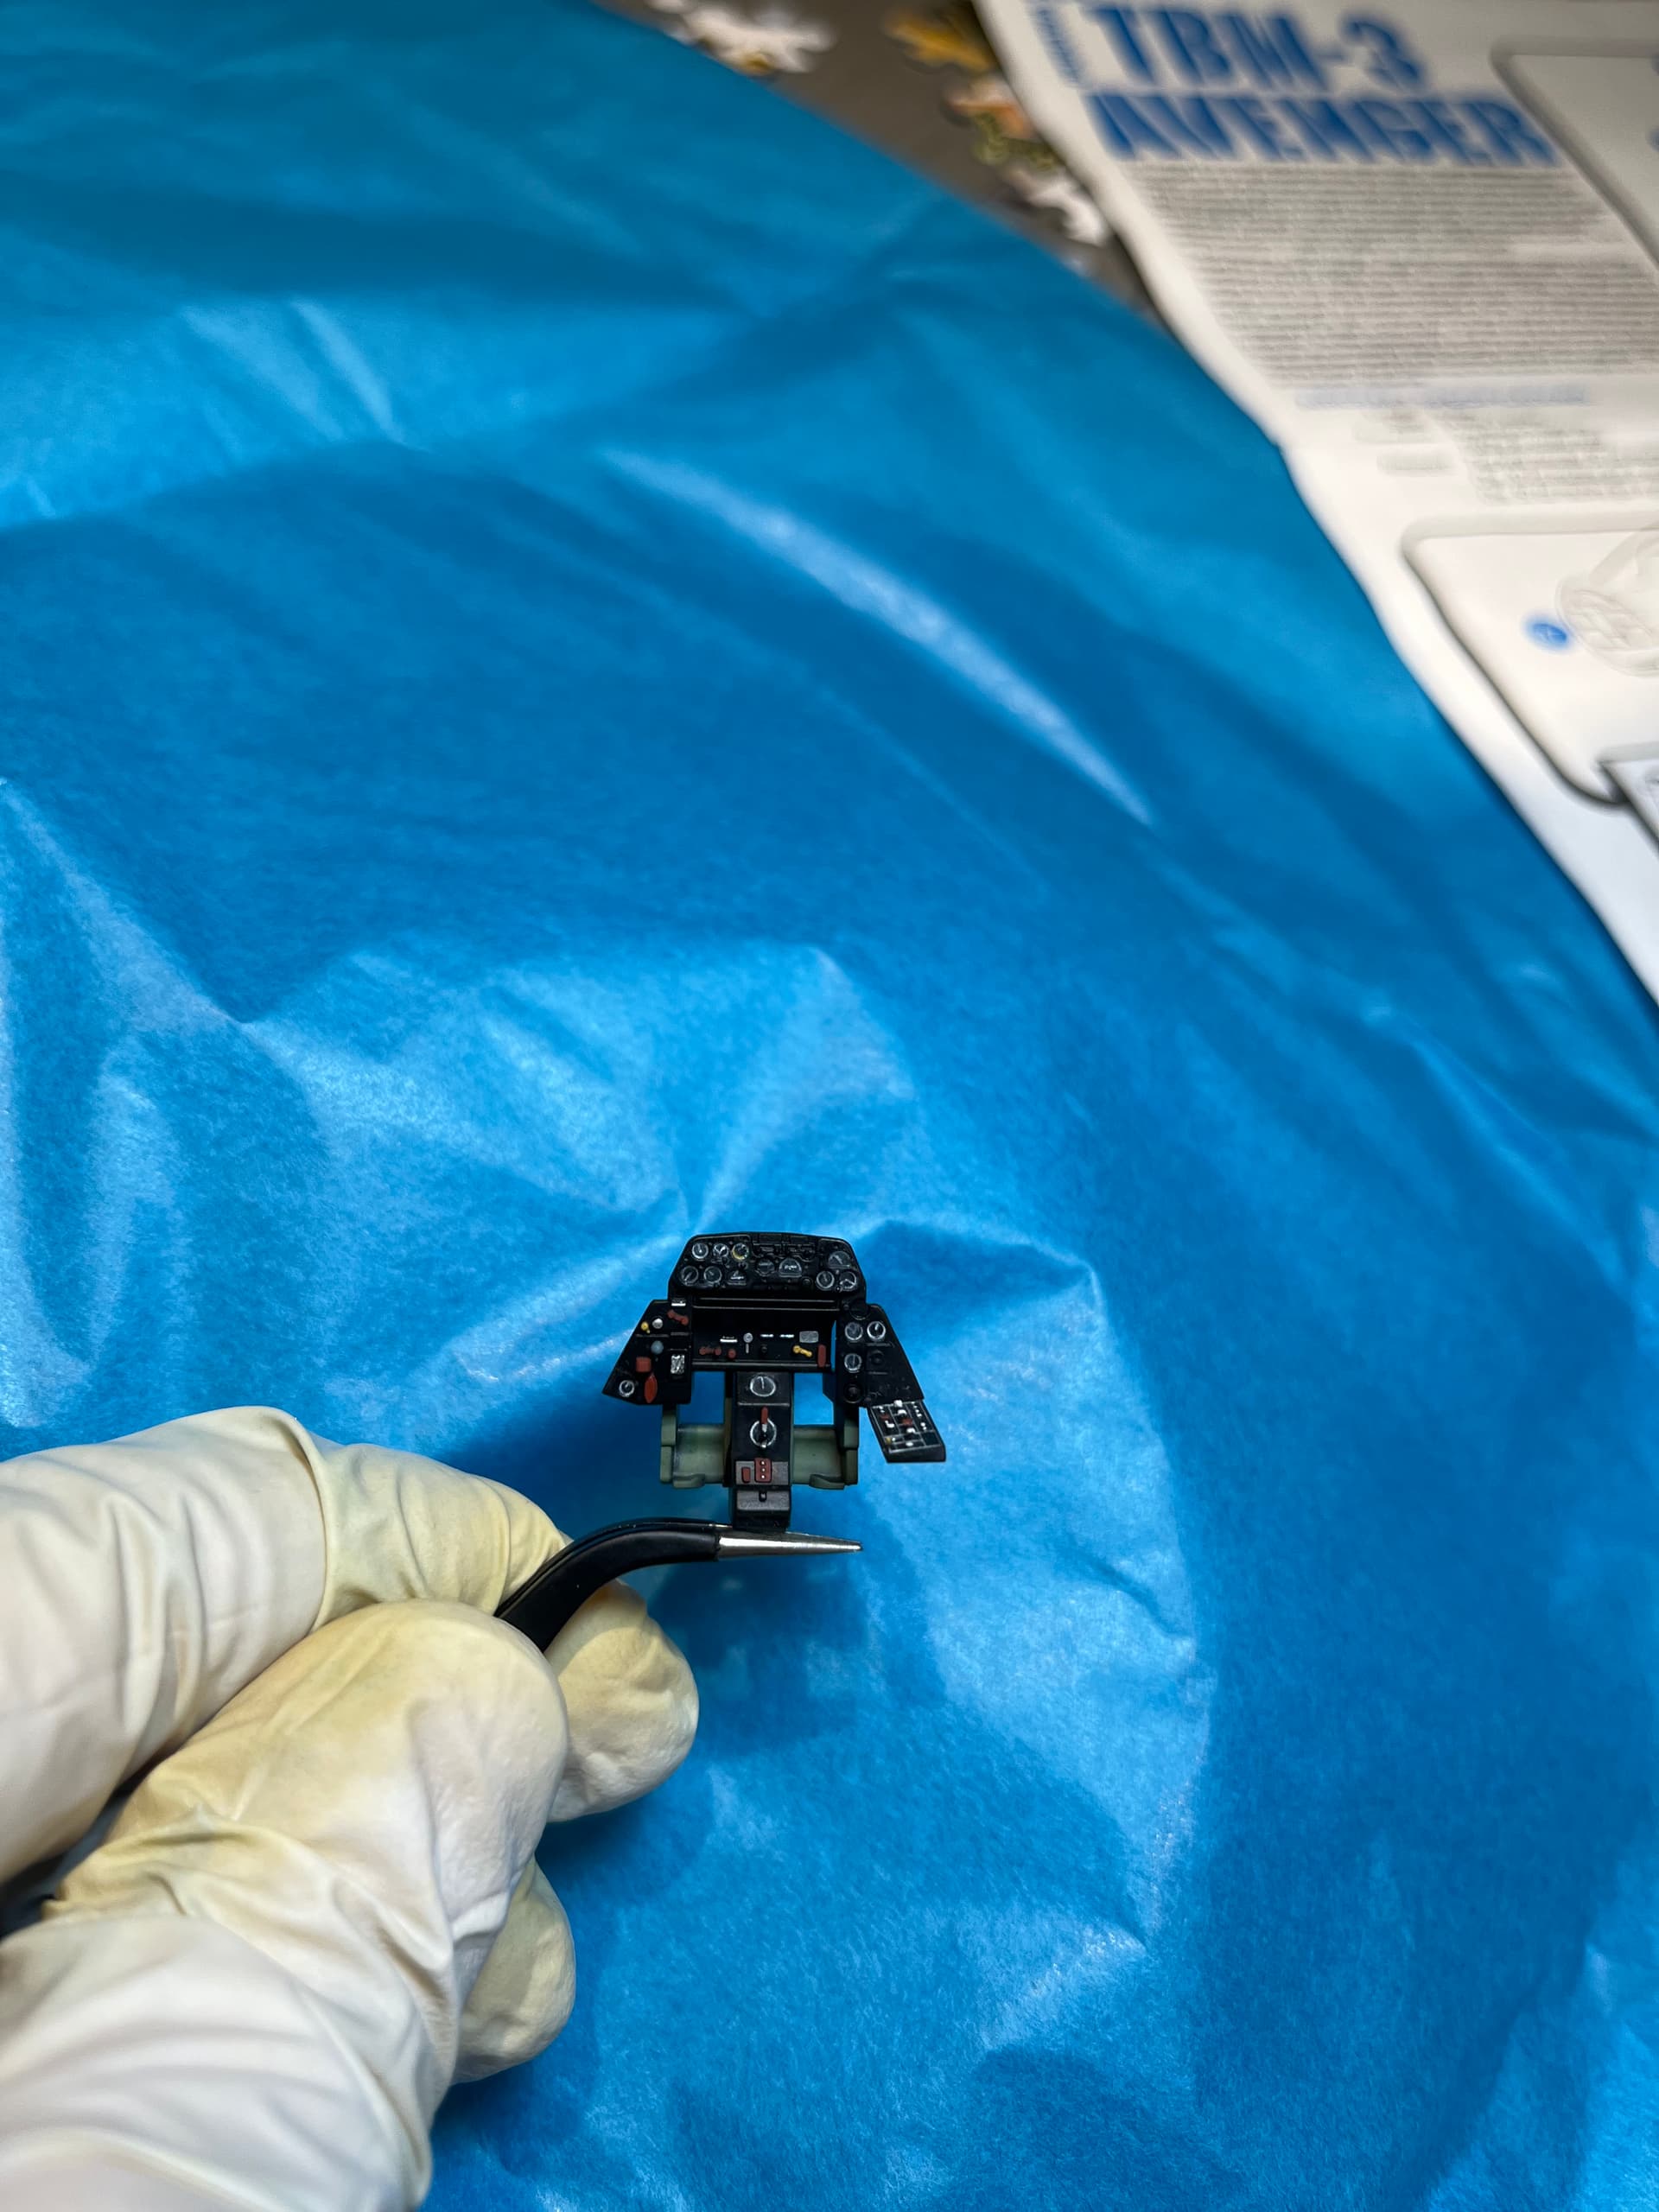
My only complaint so far is that one of the radios has a nasty sink mark (visible in the third picture) I don’t think I’ll be able to fix, and the instrument panel is provided in clear which no raises detail in the dials but has no decals so I’ve got some painting work ahead of me. Im not very good at instrument panel painting.
Mead, you’re inspiring me to do a TBF! But I’ve decided that this year will be a multiple build year for me, and since I’ve got a couple of F4F-4’s going on the Guadalcanal 80th anniversary build, I wanted to capture this build as well.
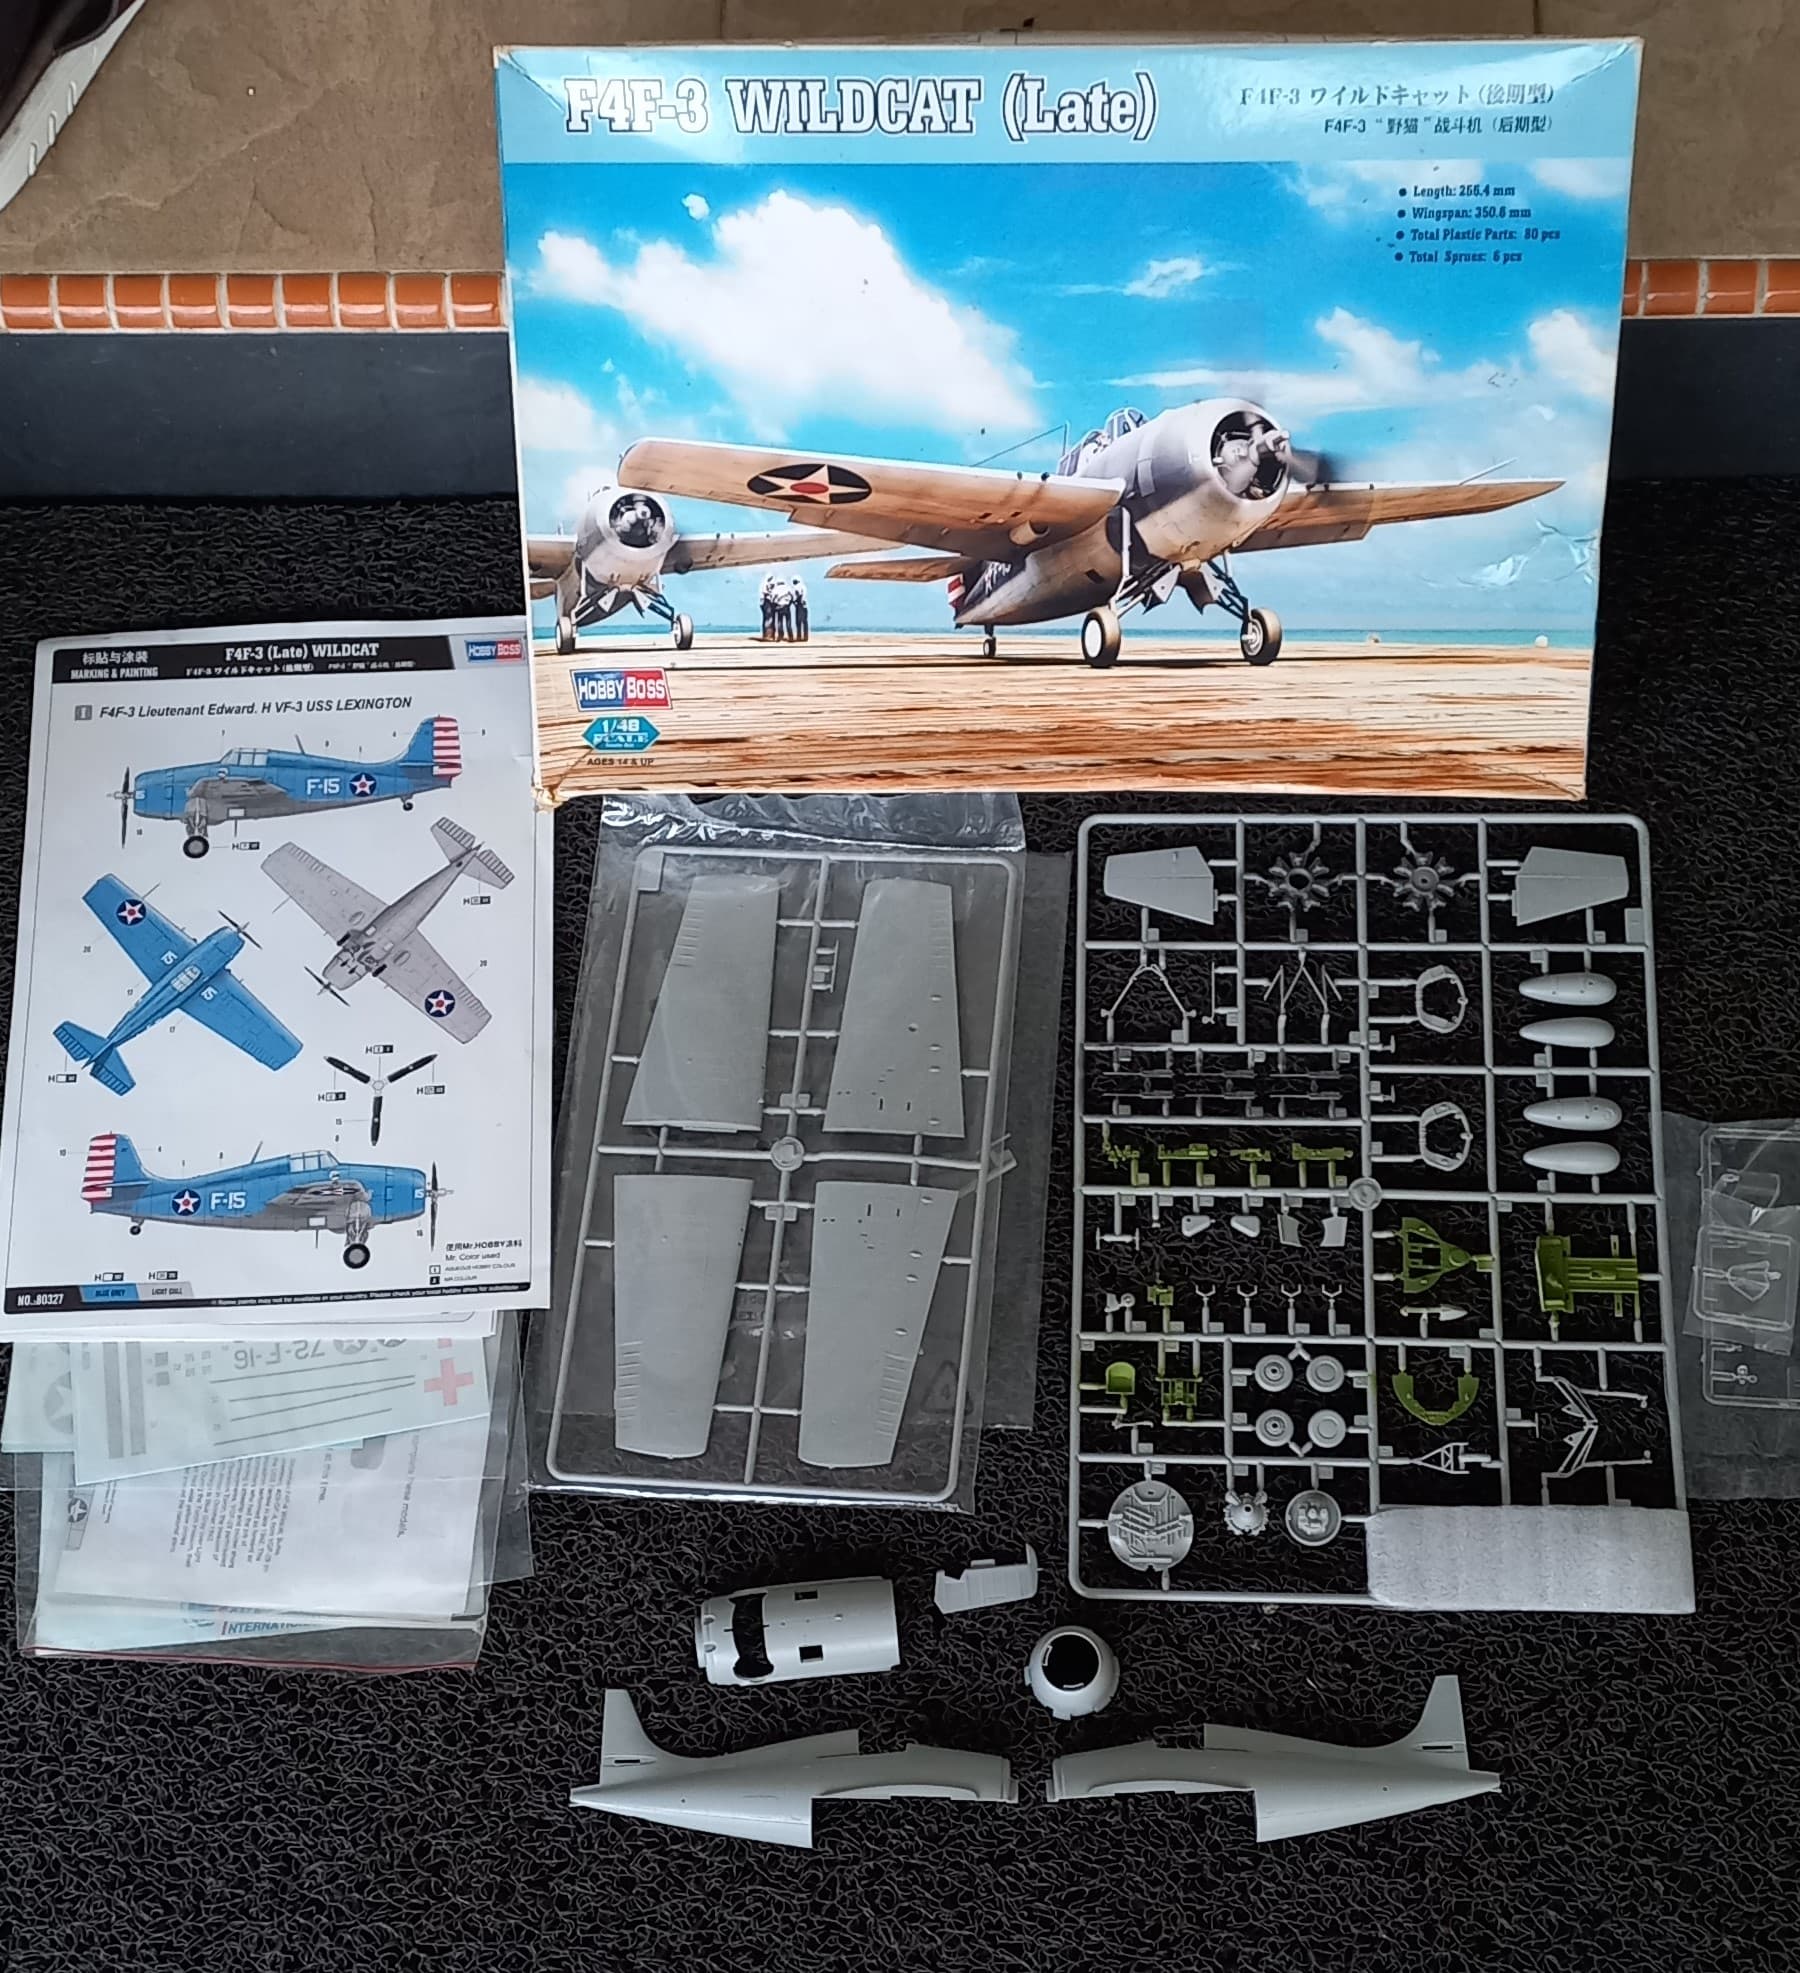
Some time back I started my own little campaign of the 80th Coral Sea anniversary. My goal is to finish the three main planes from each side, specifically the USS Lexington, and the IJN Zuikaku. To wrap up my US planes I’m doing either O’Hare’s or Thatches Wildcat, still haven’t decided, but will do the Hobbyboss F4F-3.
Noticed I misaligned the mask on the windows on the turret/radio firewall. Needs a bit of touch up. Also think I might have missed a piece of frame on it. Aside from that the priming and painting went well. Took a while due to some punch marks my ocd wouldn’t let slide. Gonna detail paint tomorrow I think
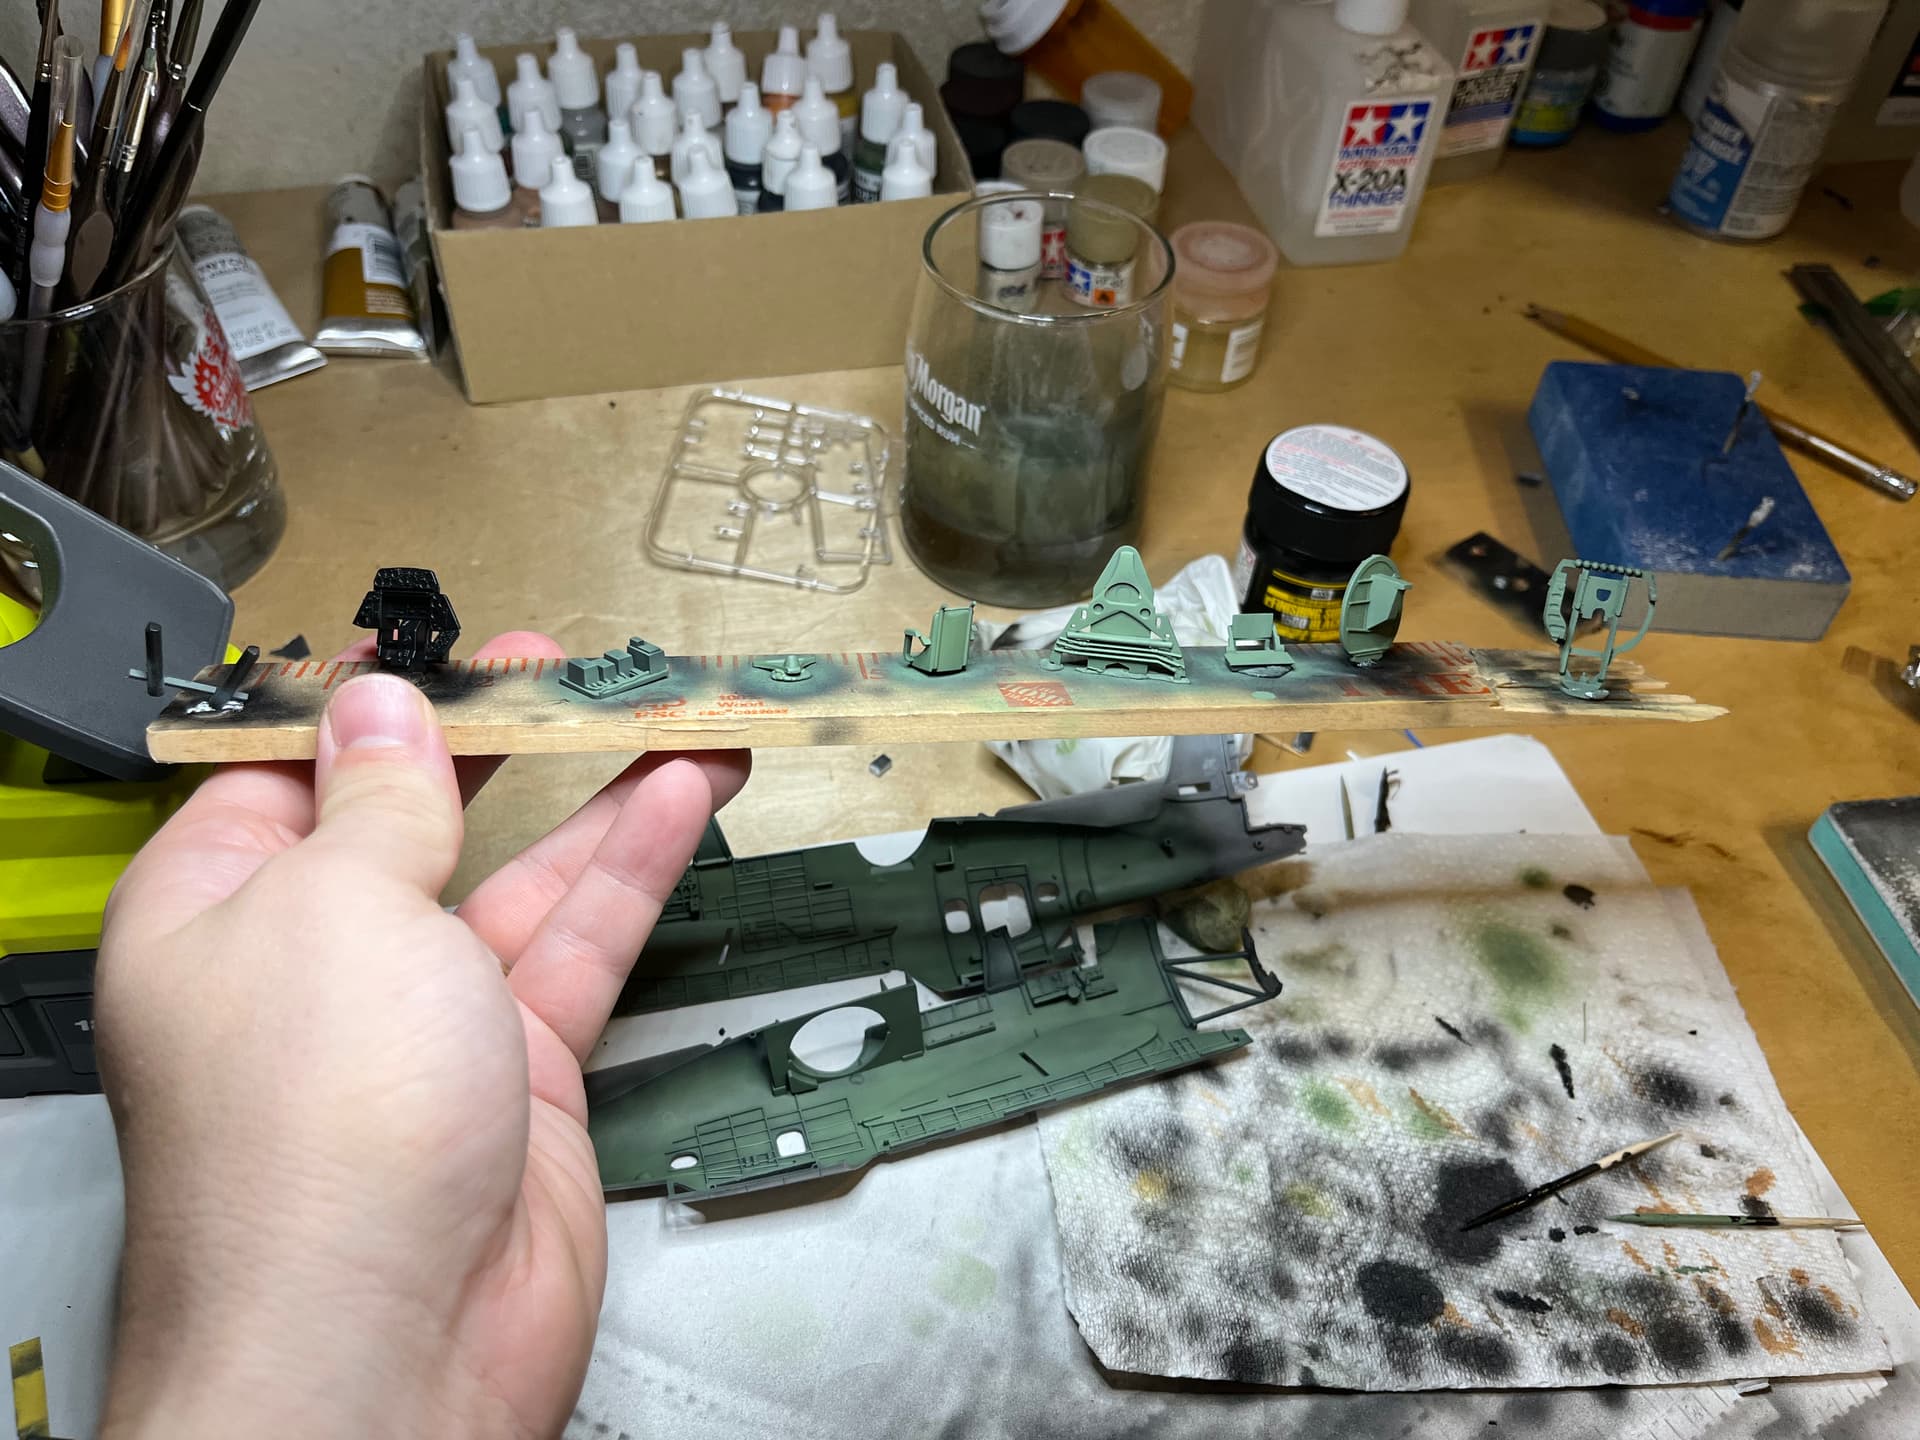
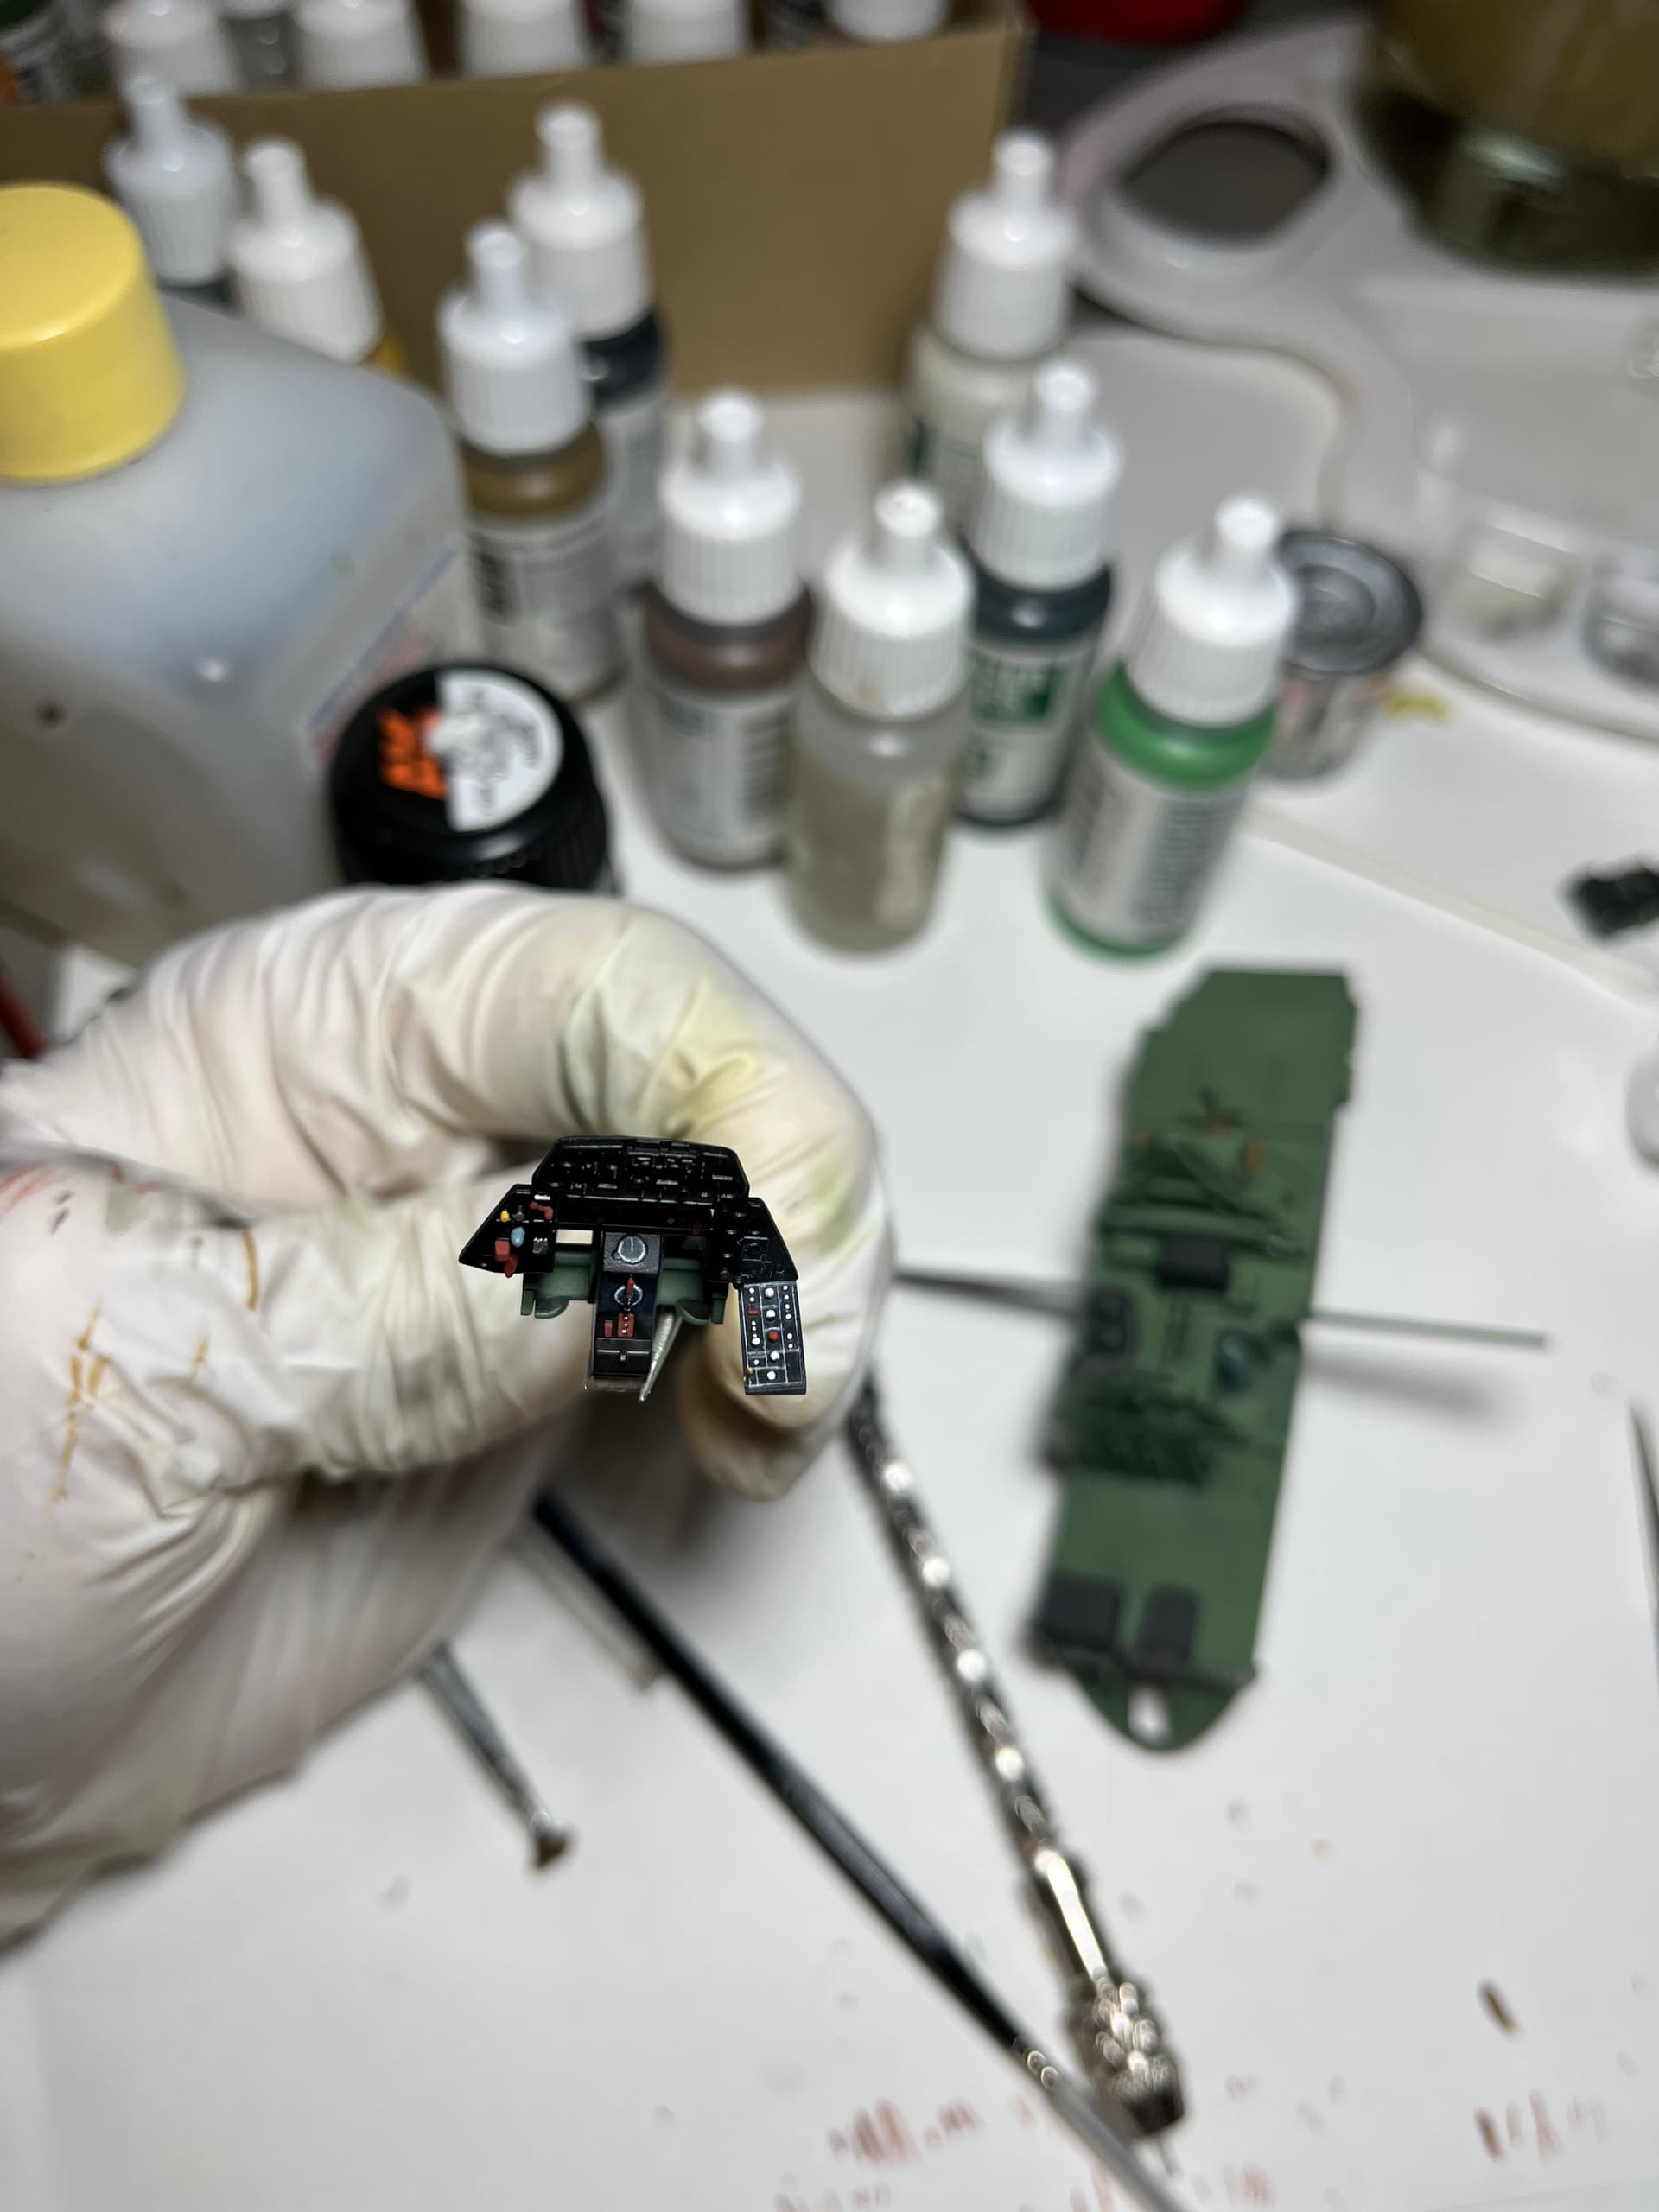
Got some detail painting done, but I am unsure of colors on some things. Does anyone have pictures of the rear radios, instrument panel and cockpit sidewalls? A lot of pictures I have are restored and the cockpit isn’t original
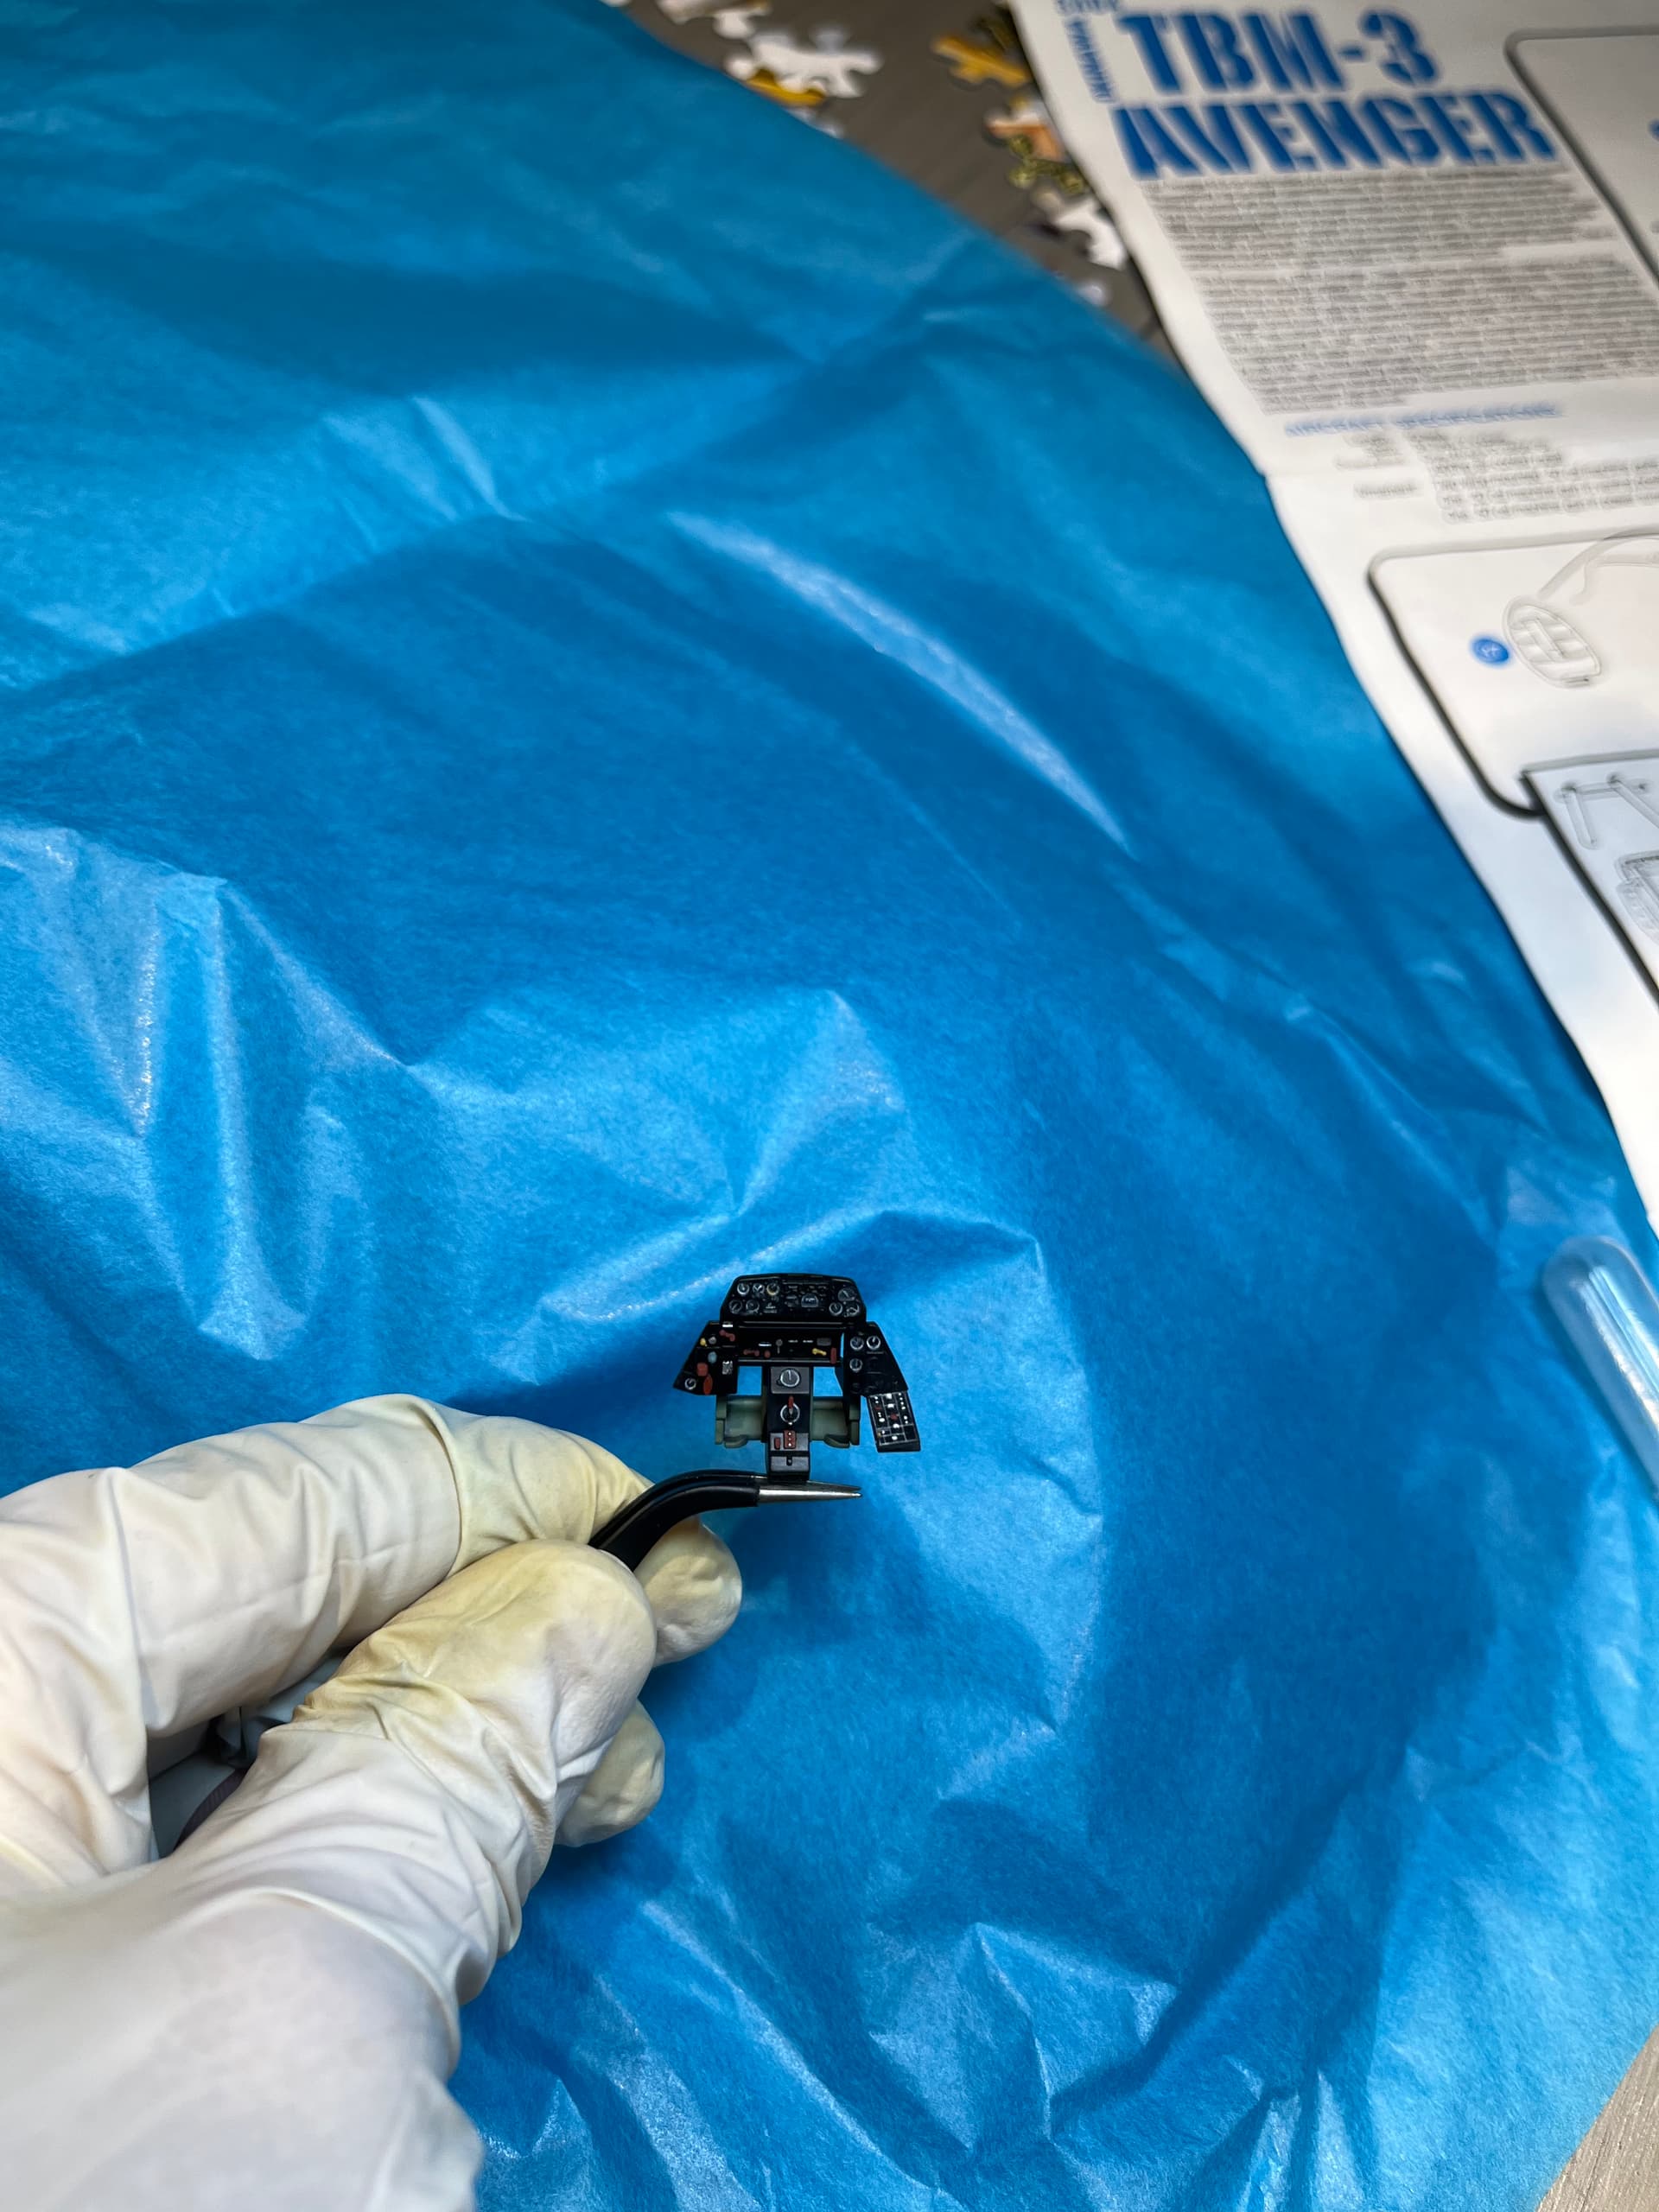
Started to chug away with a collection of different pictures and some artistic license. Here is the IP so far. First time painting dials. Any feed back before I start to tackle the others?
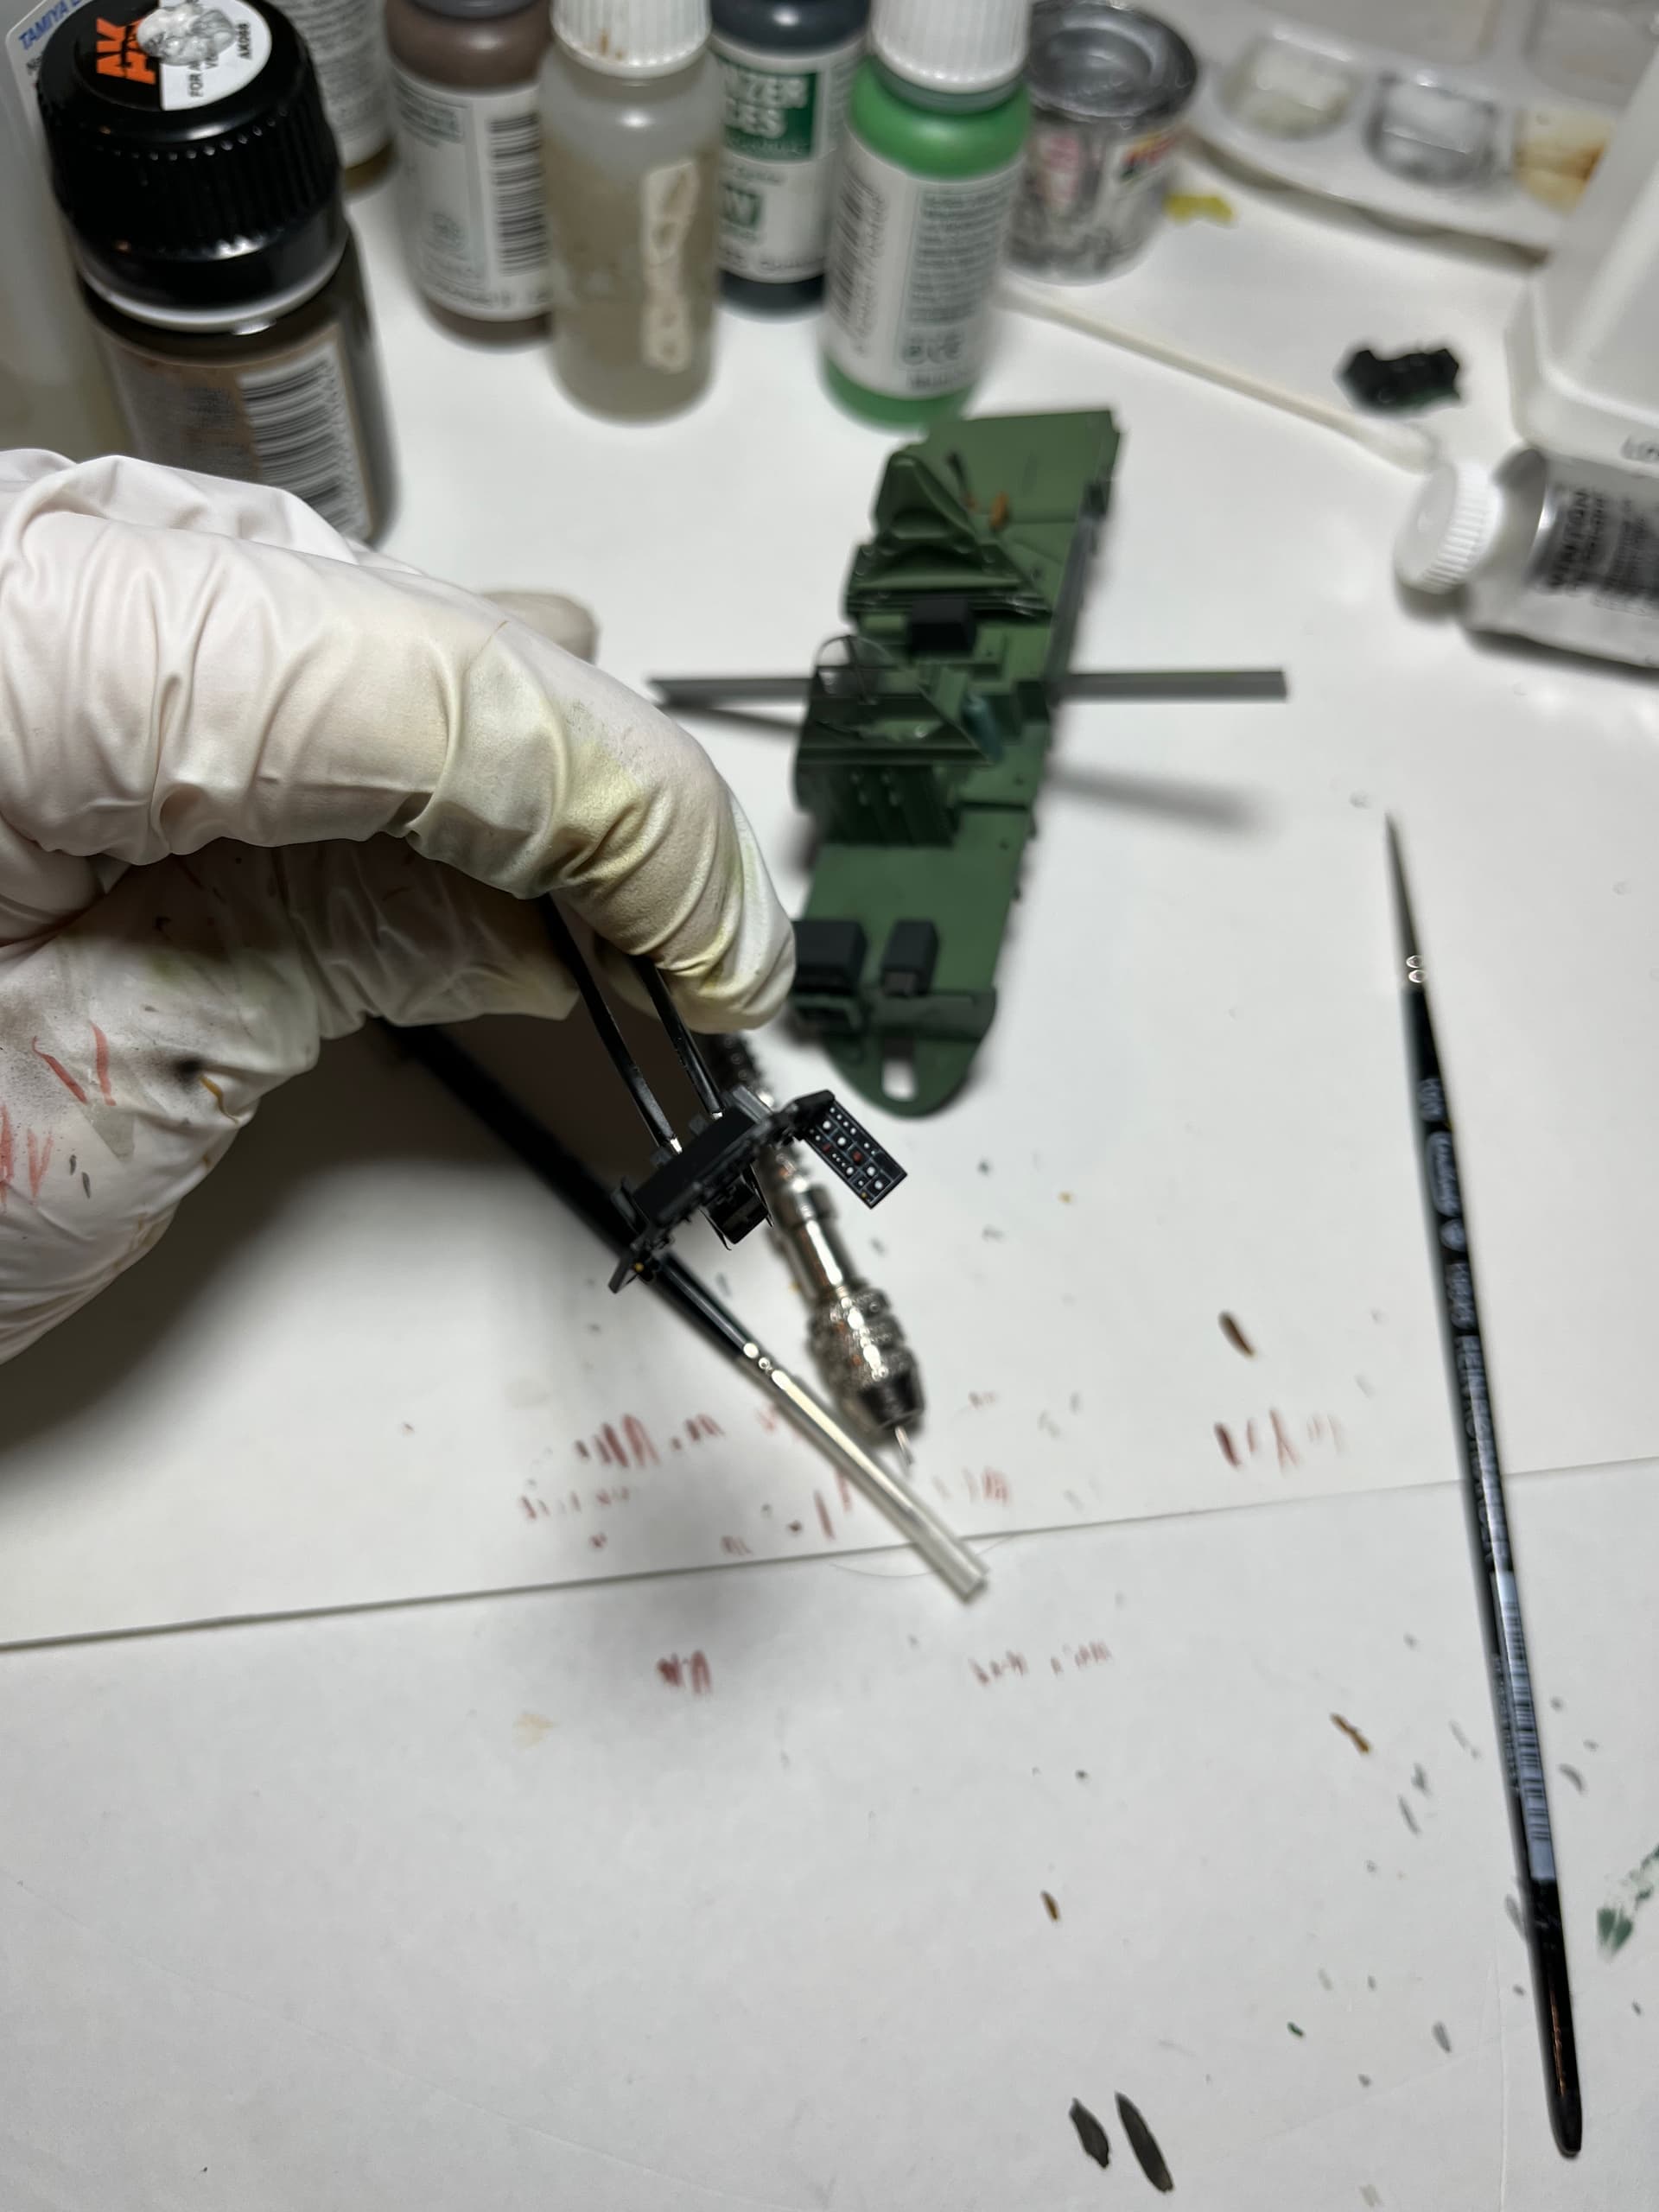
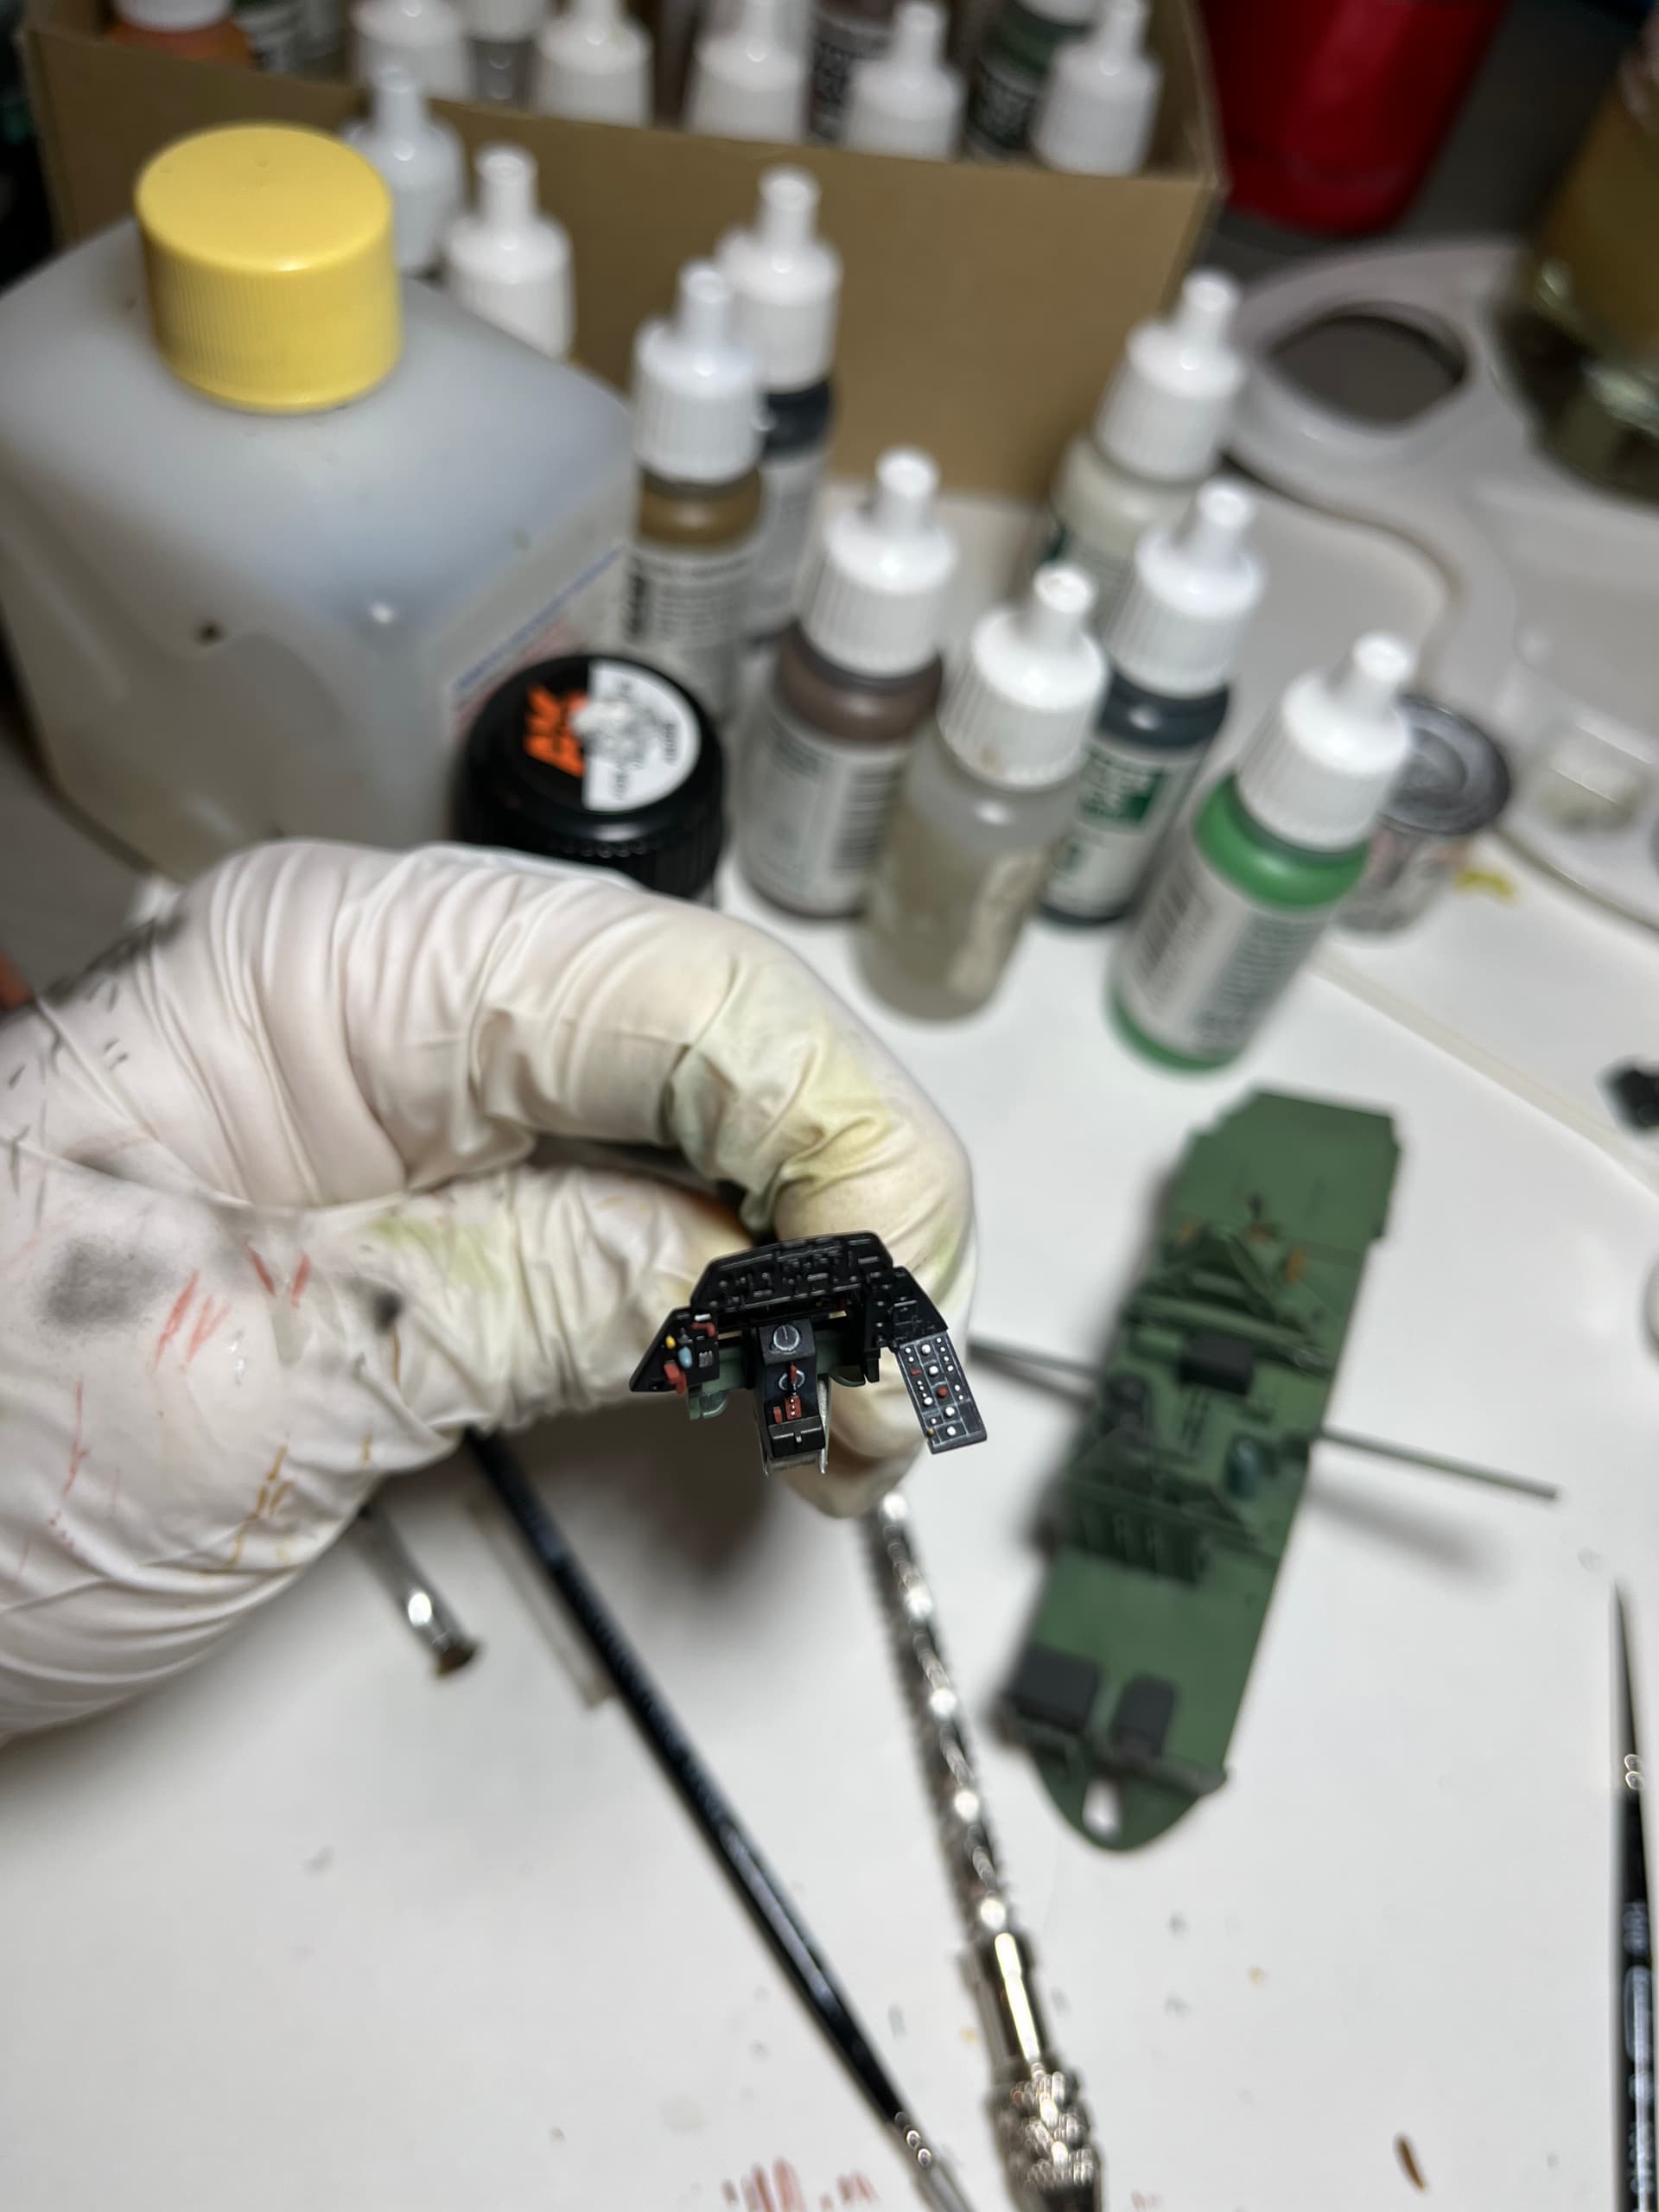
I am just about done the cockpit/interior painting, there are just a few parts left, but I don’t know what they are or what color they should be. Does anyone know what the highlights parts are and what color they should be?
Thanks. I was funnily enough looking at the same two links!
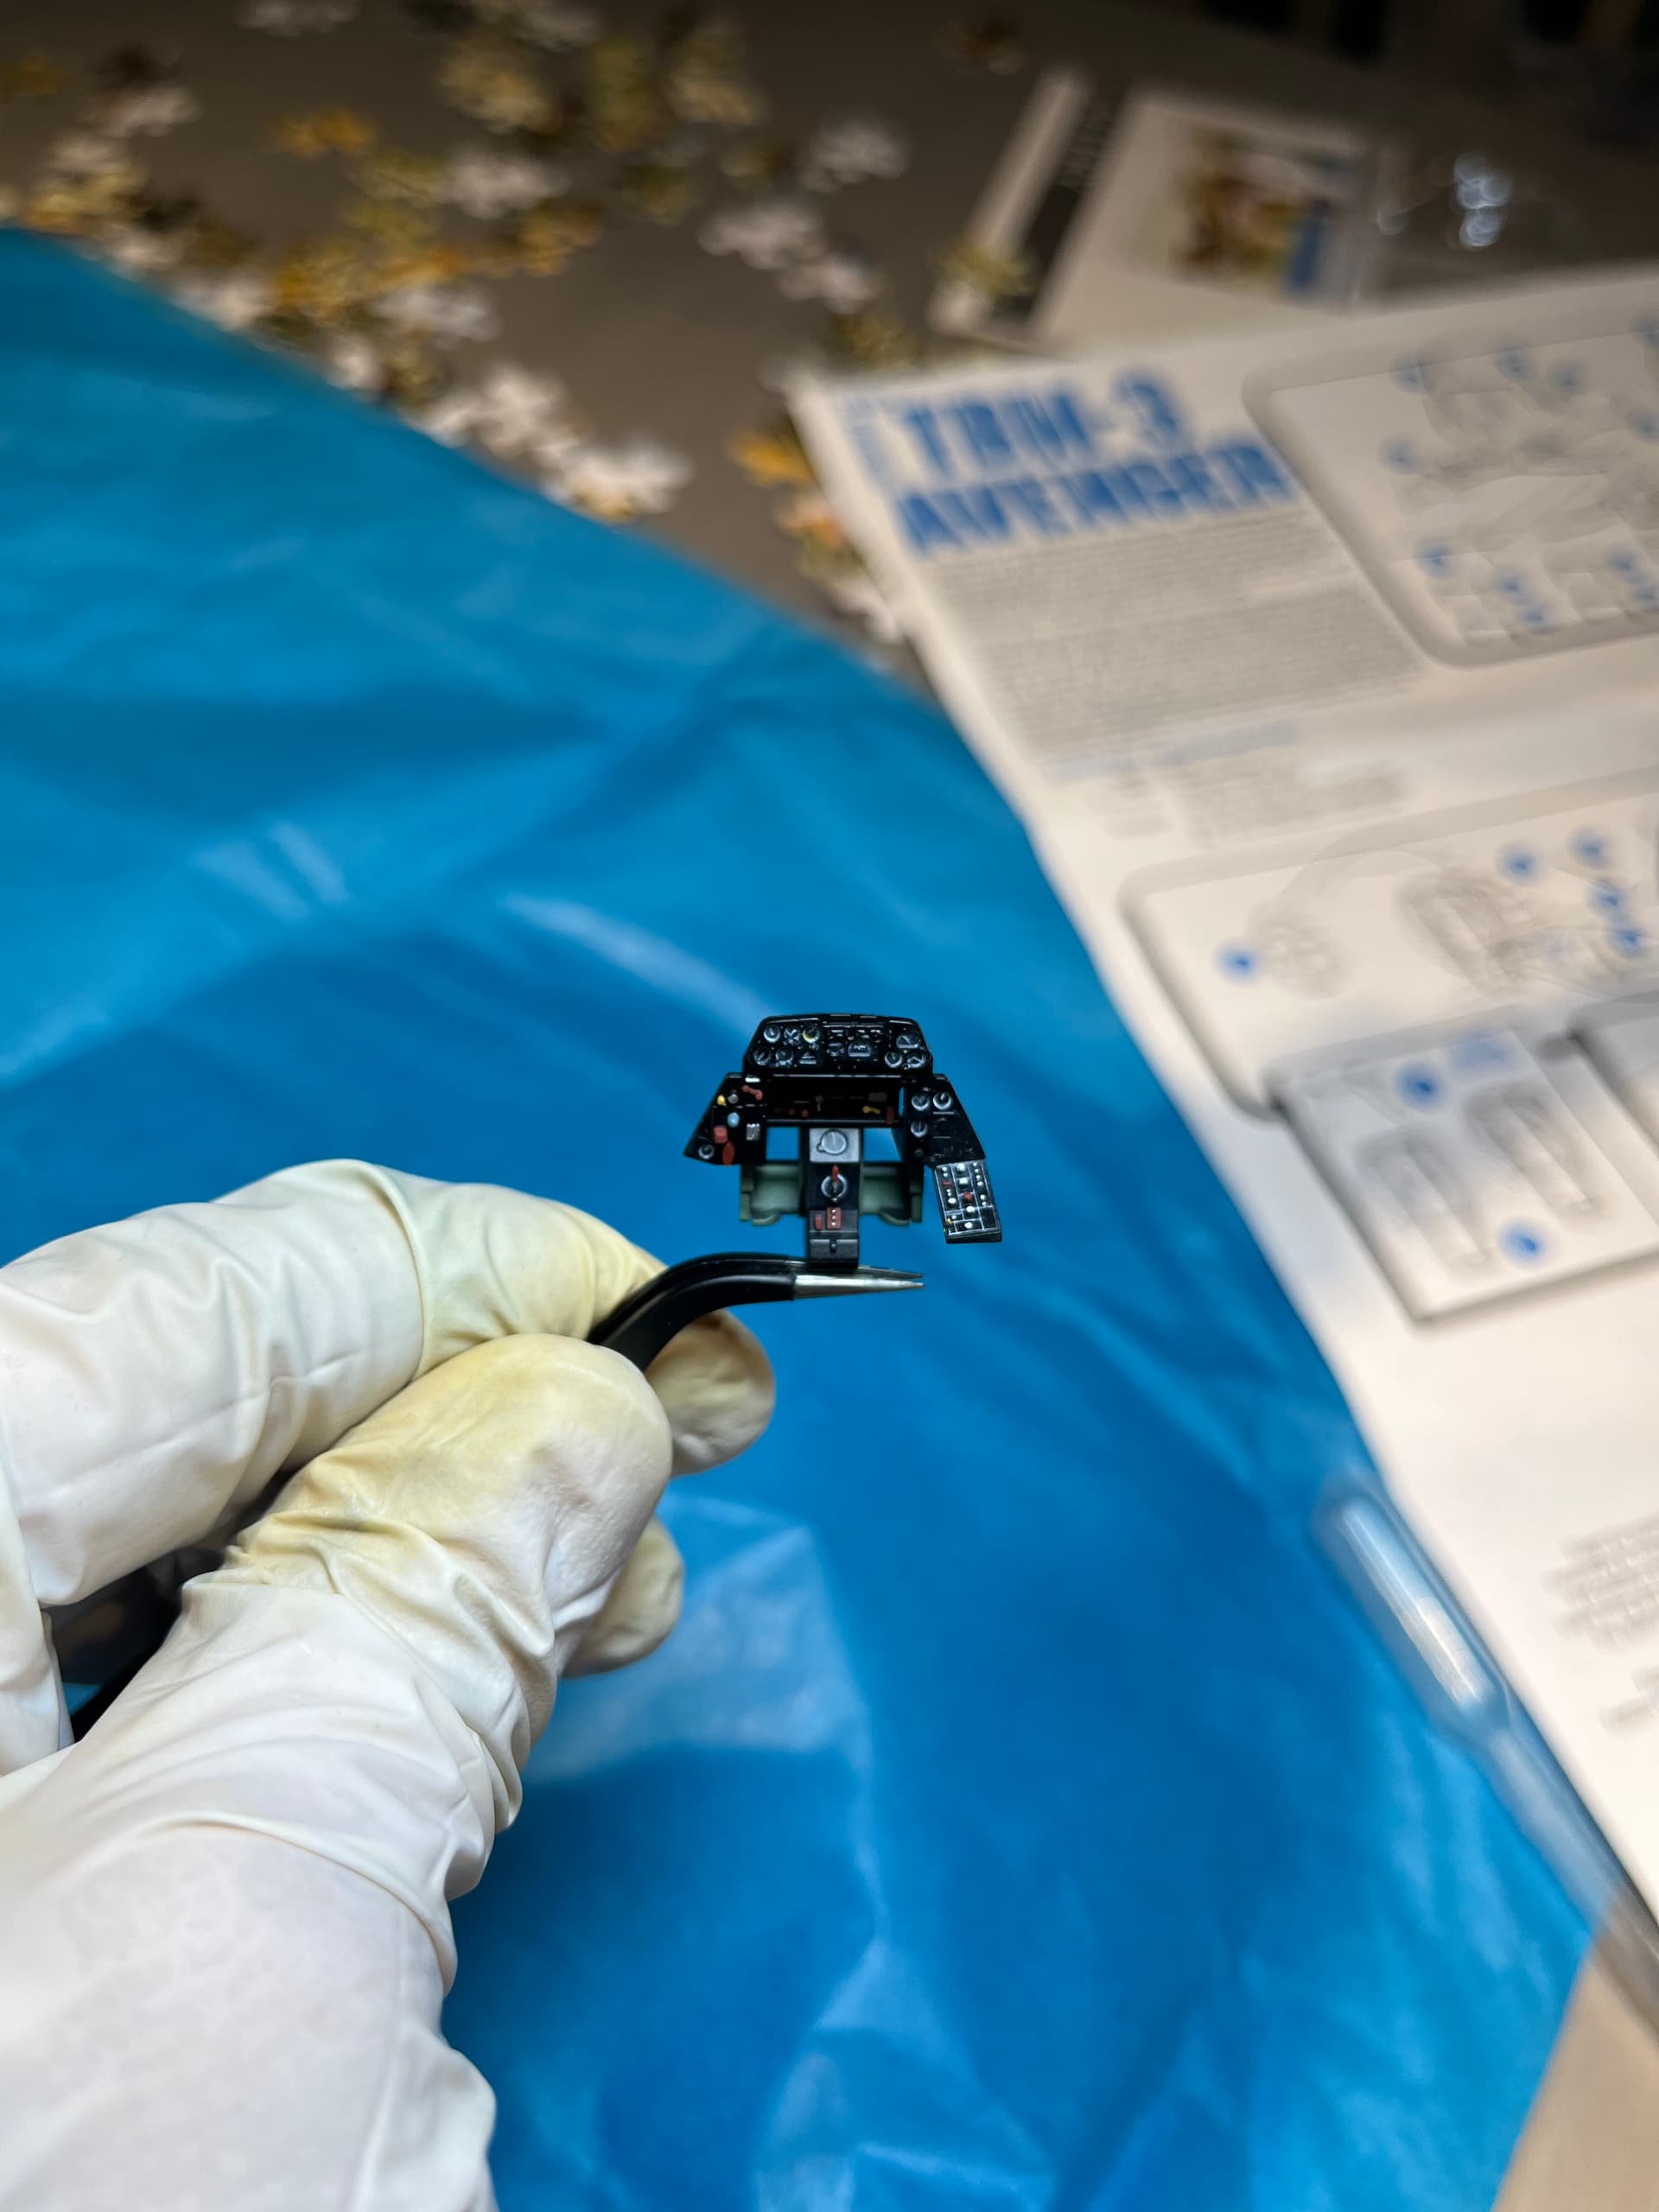
I find it very hard to find pictures of the center part of the avenger. On all modern examples I can find that area has been heavily modified so that it houses an extra seat. The forward part is hidden under the pilots seat and hard to see. I’ll go with black for the back one and white for the front.
I think the front one is possible the radar scope. Second link, pic above dual controls header text. Looks like a dark grayish color for the front one.
Cannot see/find the rear, I would probably go black to match the rest.
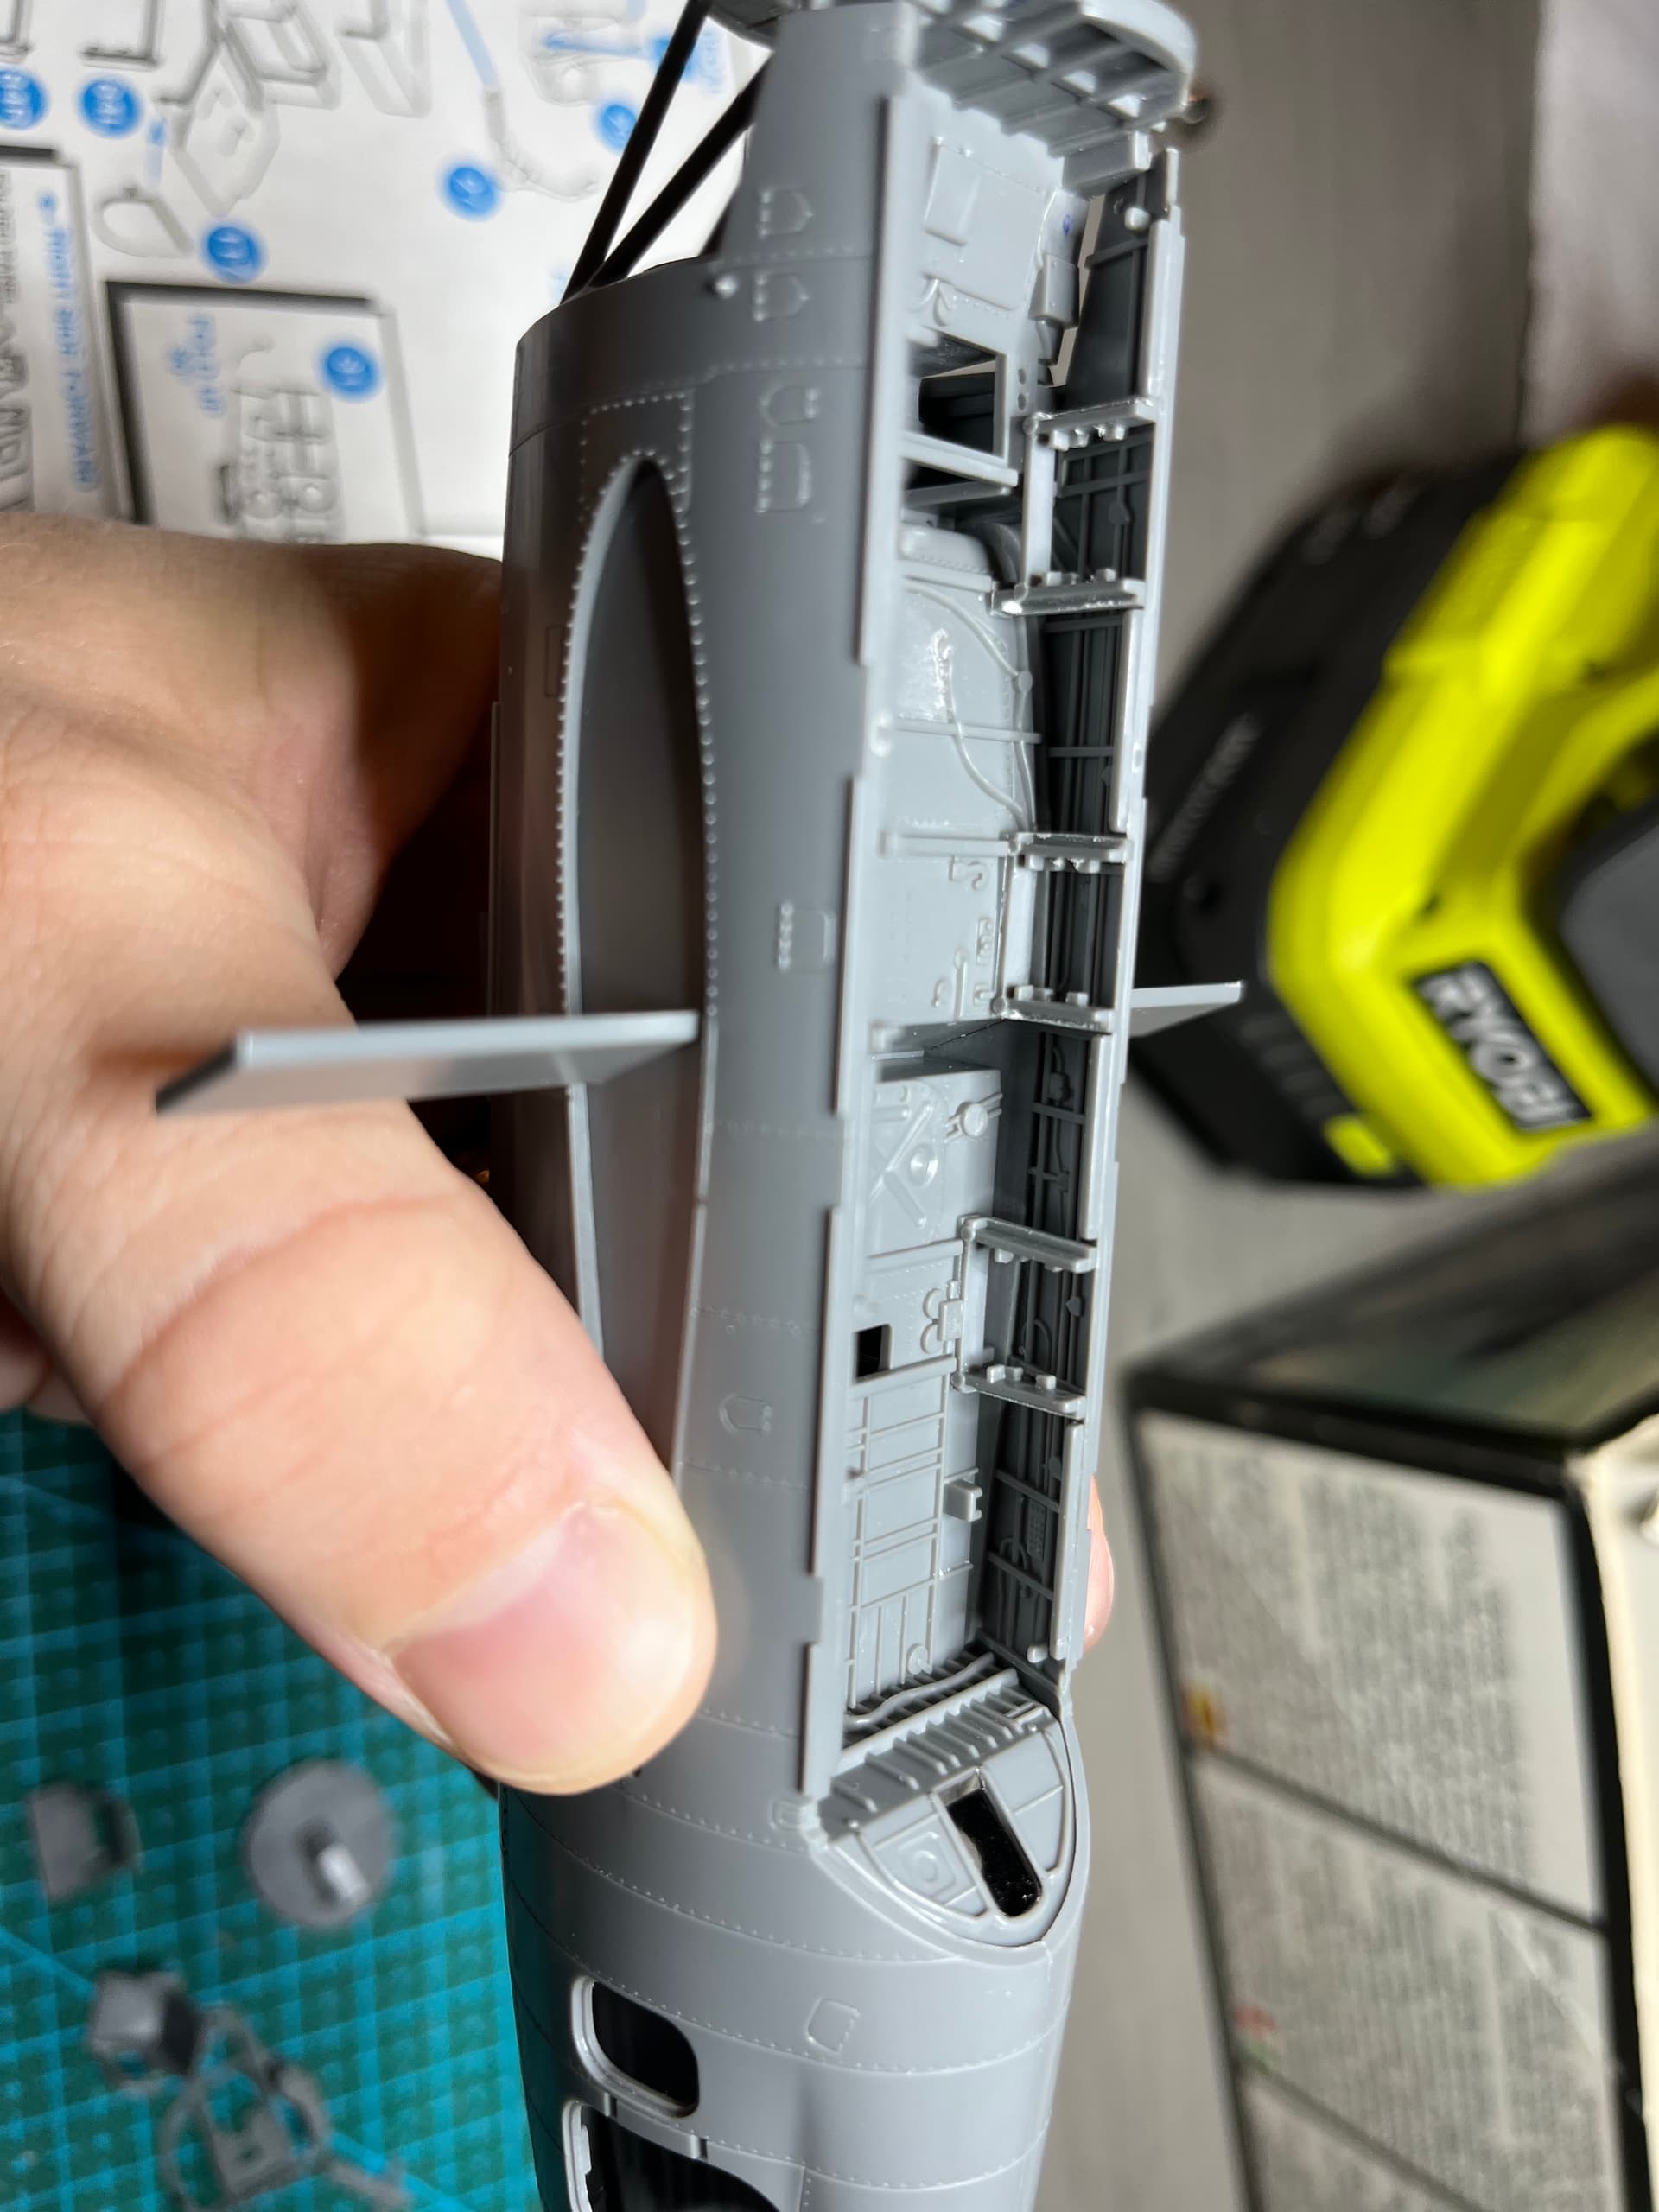
Ready for paint I think. I need to find something to stick into the landing gear bays which are already painted. I had a whole box of that gray packing material that they use in resin add-ons - anyone know where I left that?
Serious question. I’ve just lightly glued the clear canopy on this because it will be open canopy. When I’m done with the painting phase, I’ll pull it off and put on the open canopy bits. But, will I be able to strip this clear canopy part with alcohol afterwards without damaging it? Not that I really need to, but I’m just curious…