Coming back to the hobby after about ten years away. A lot has changed.
Question: I don’t have an airbrush and can’t justify the expense right now. About to start a 1/72 scale aircraft kit and I’ll be using rattle cans. The weathering I plan to do (washes and oil filters) obviously can’t be done over an enamel base coat. And last I heard, I can’t spray an acrylic clear coat between the enamel base and the oil-based weathering.
You can brush on future floor polish as an acrylic gloss clear. I don’t know a good brushable Matt clear but testors dull cote is great from a rattle can
This may not help , if you have acces to a compressor. You can get a master airbrush on amazon for aprox$25.0.
Its a great way to start and a couple rattle cans will cost that much.
If you decide to go that route I can walk you through a couple simple things that will make it shoot like a much higher end brush
There are plenty of acrylic rattle can paints on the market now . Try those and you wont need to worry about thinner reacting with enamel.
Also I think I did a acrylic paint tutorial on here before on using craft acrylic. Will try to find it for you . Maybe one of the fine gents on here can remember where its at.
Many will disagree with this statement but it comes directly from my Father (the paint specialist of many years) and from me.
Stay away from the big “Home Depot” spray cans. Their pressures and nozzle sizes are intended to cover rough fence posts and rusty bar-B-que grills in one heavy pass - and NOT small delicate models. You are almost guaranteed to lay down too much paint with such cans!
Stick with the model paint rattle cans that are made for the job!
Also I totally agree with the statements regarding BRUSH-ON Future floor wax. (I will admit to having purchased a life time supply of the OLD formulation.) I lay down a heavy base coating of the Future when applying decals and then go back with a second heavy top coat as the decal is setting. I don’t use any other form of Solv-Set as it is totally unnecessary. The Future dries super smooth and entombs the decal making the decal edge film almost totally invisible.
This trick was taught to me by an 83+ year old award winning modeler with more First Place “wood” hanging on his wall than I will ever earn!
After the Future dries, top coat the model in either gloss or matte clear coat and you will be amazed!
FYI - if you lay down a heavy coating of even a flat clear you are going to get a semi-gloss surface because the heavy coat flows out smooth. Any smooth surface will reflect some ambient light regardless of what paint you use.
For a super flat matte clear coating (and this applies to both air brush and rattle can) hold the “gun” some 18 to 24 inches (or more) from the work and allow the paint to fall almost dry onto the model surface. This produces a fine microscopic rough “tooth” to the surface which disperses any ambient light for an even “Flatter” matte surface.
Again this comes from years of working with my Father painting cars. He was always kicking himself when he would get the gun too far from the painted surface and would produce this rough dry “toothed” surface thereby causing the paint job to be less smooth and therefore less shinny.
I can’t stress enough what good advice this is on both counts!
Especially tip 2 I was disappointed in the highly praised testors dull coat as it left a less than flat finish. Until I started spraying further away with a dust coat instead of close going for even smooth coverage like you would with paint. Now I can get dead flat coats out of testors dull cote
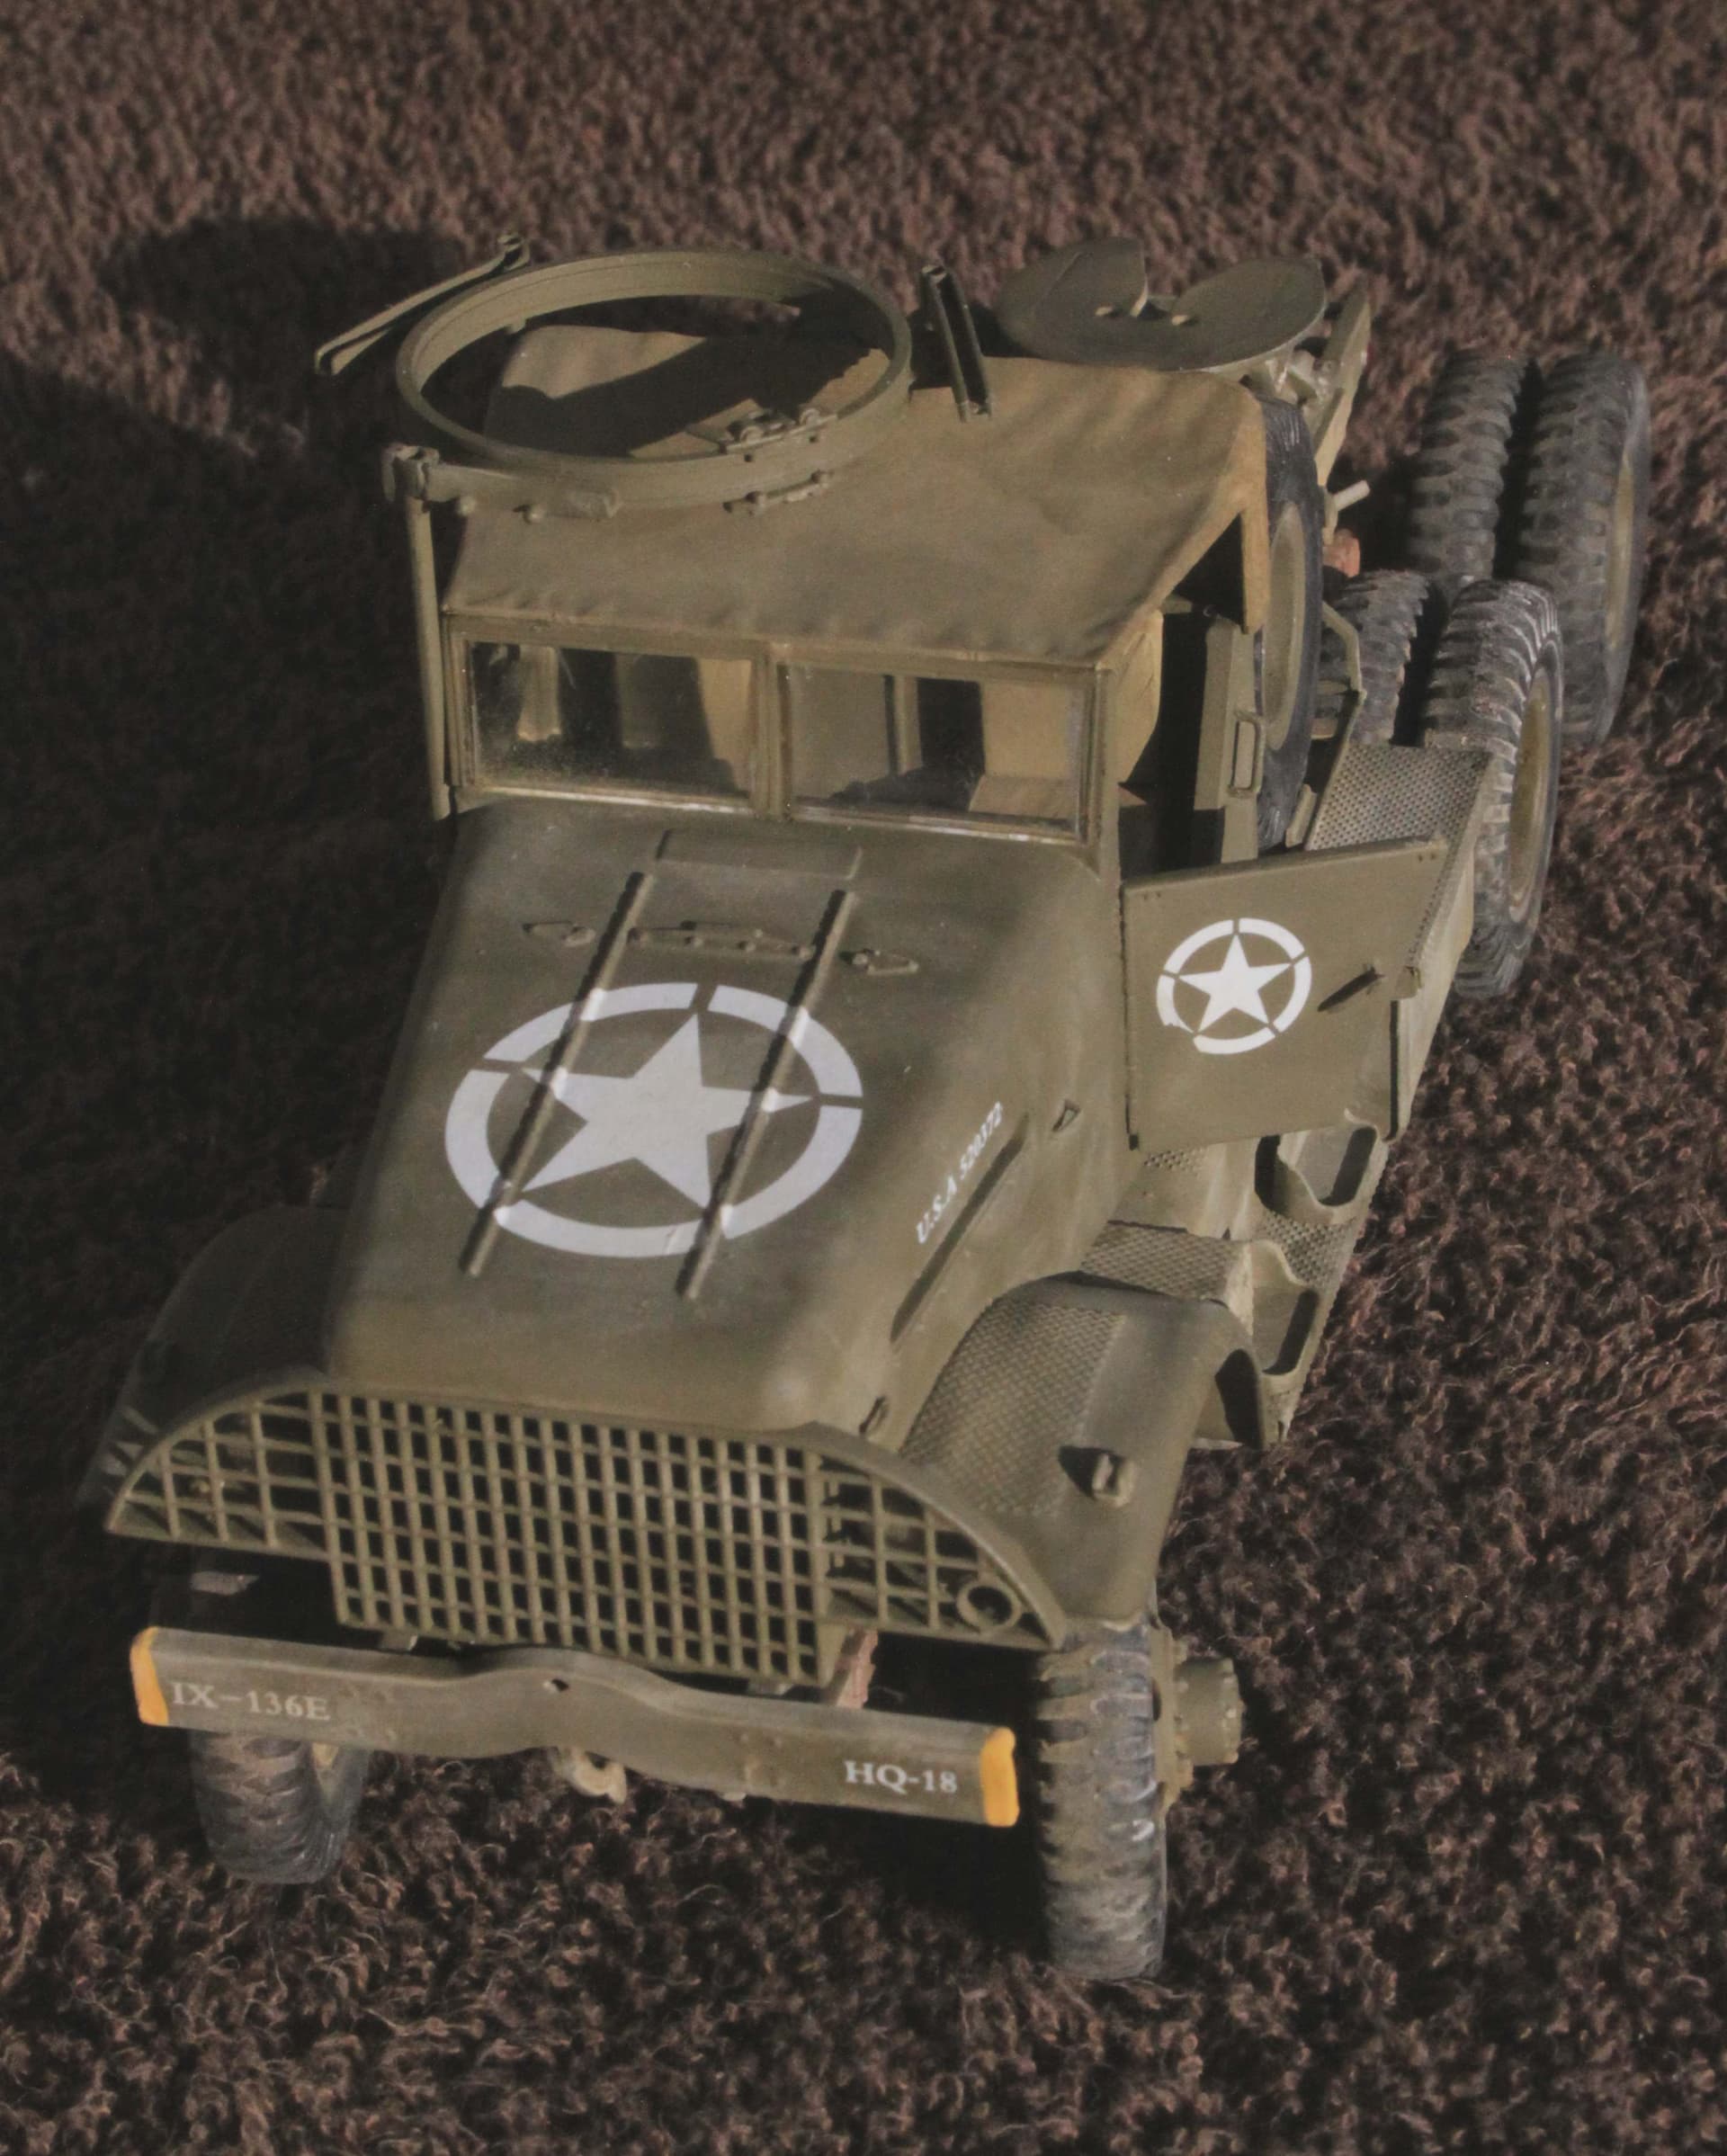
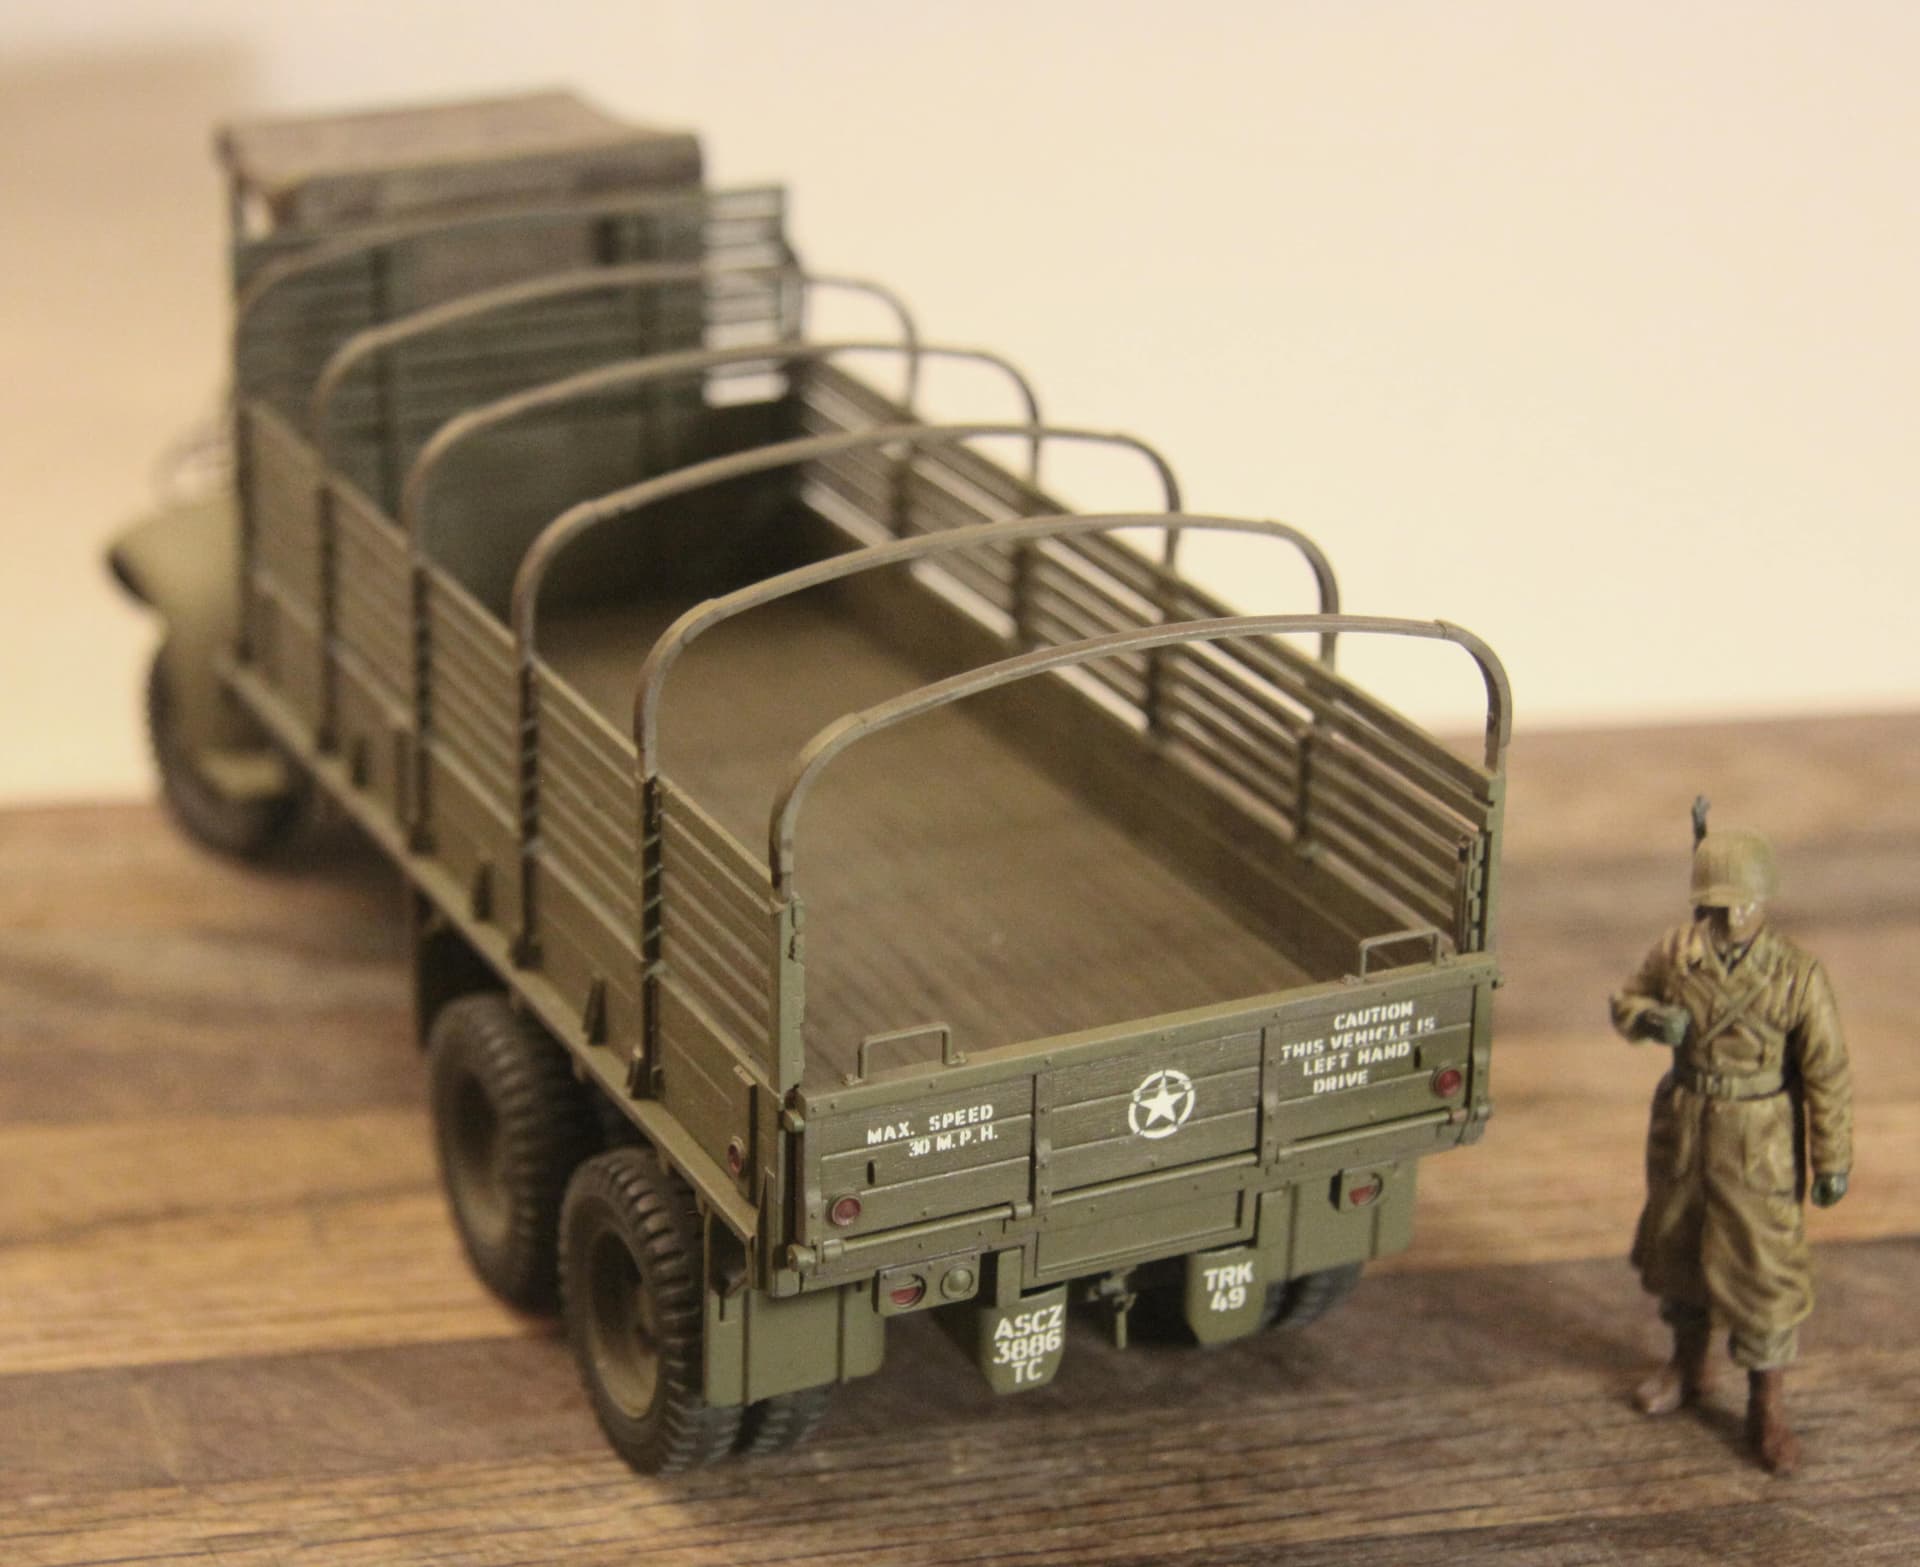
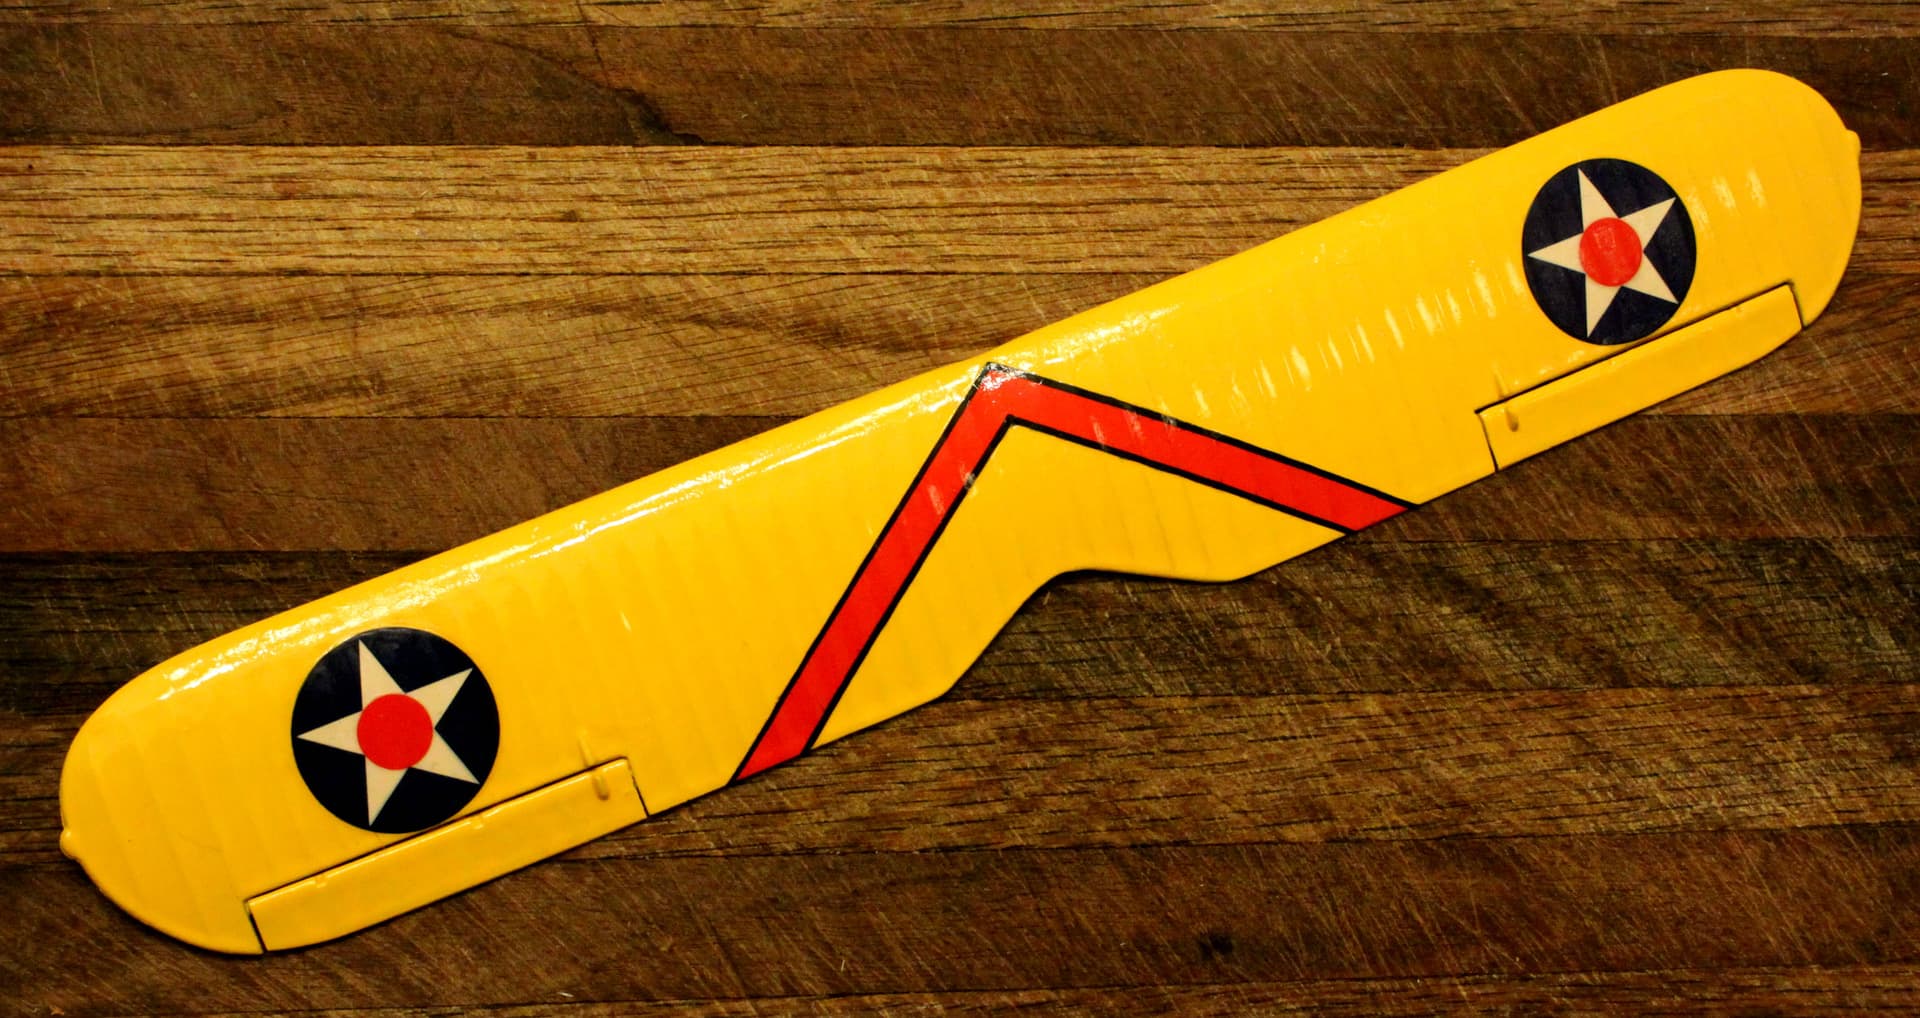
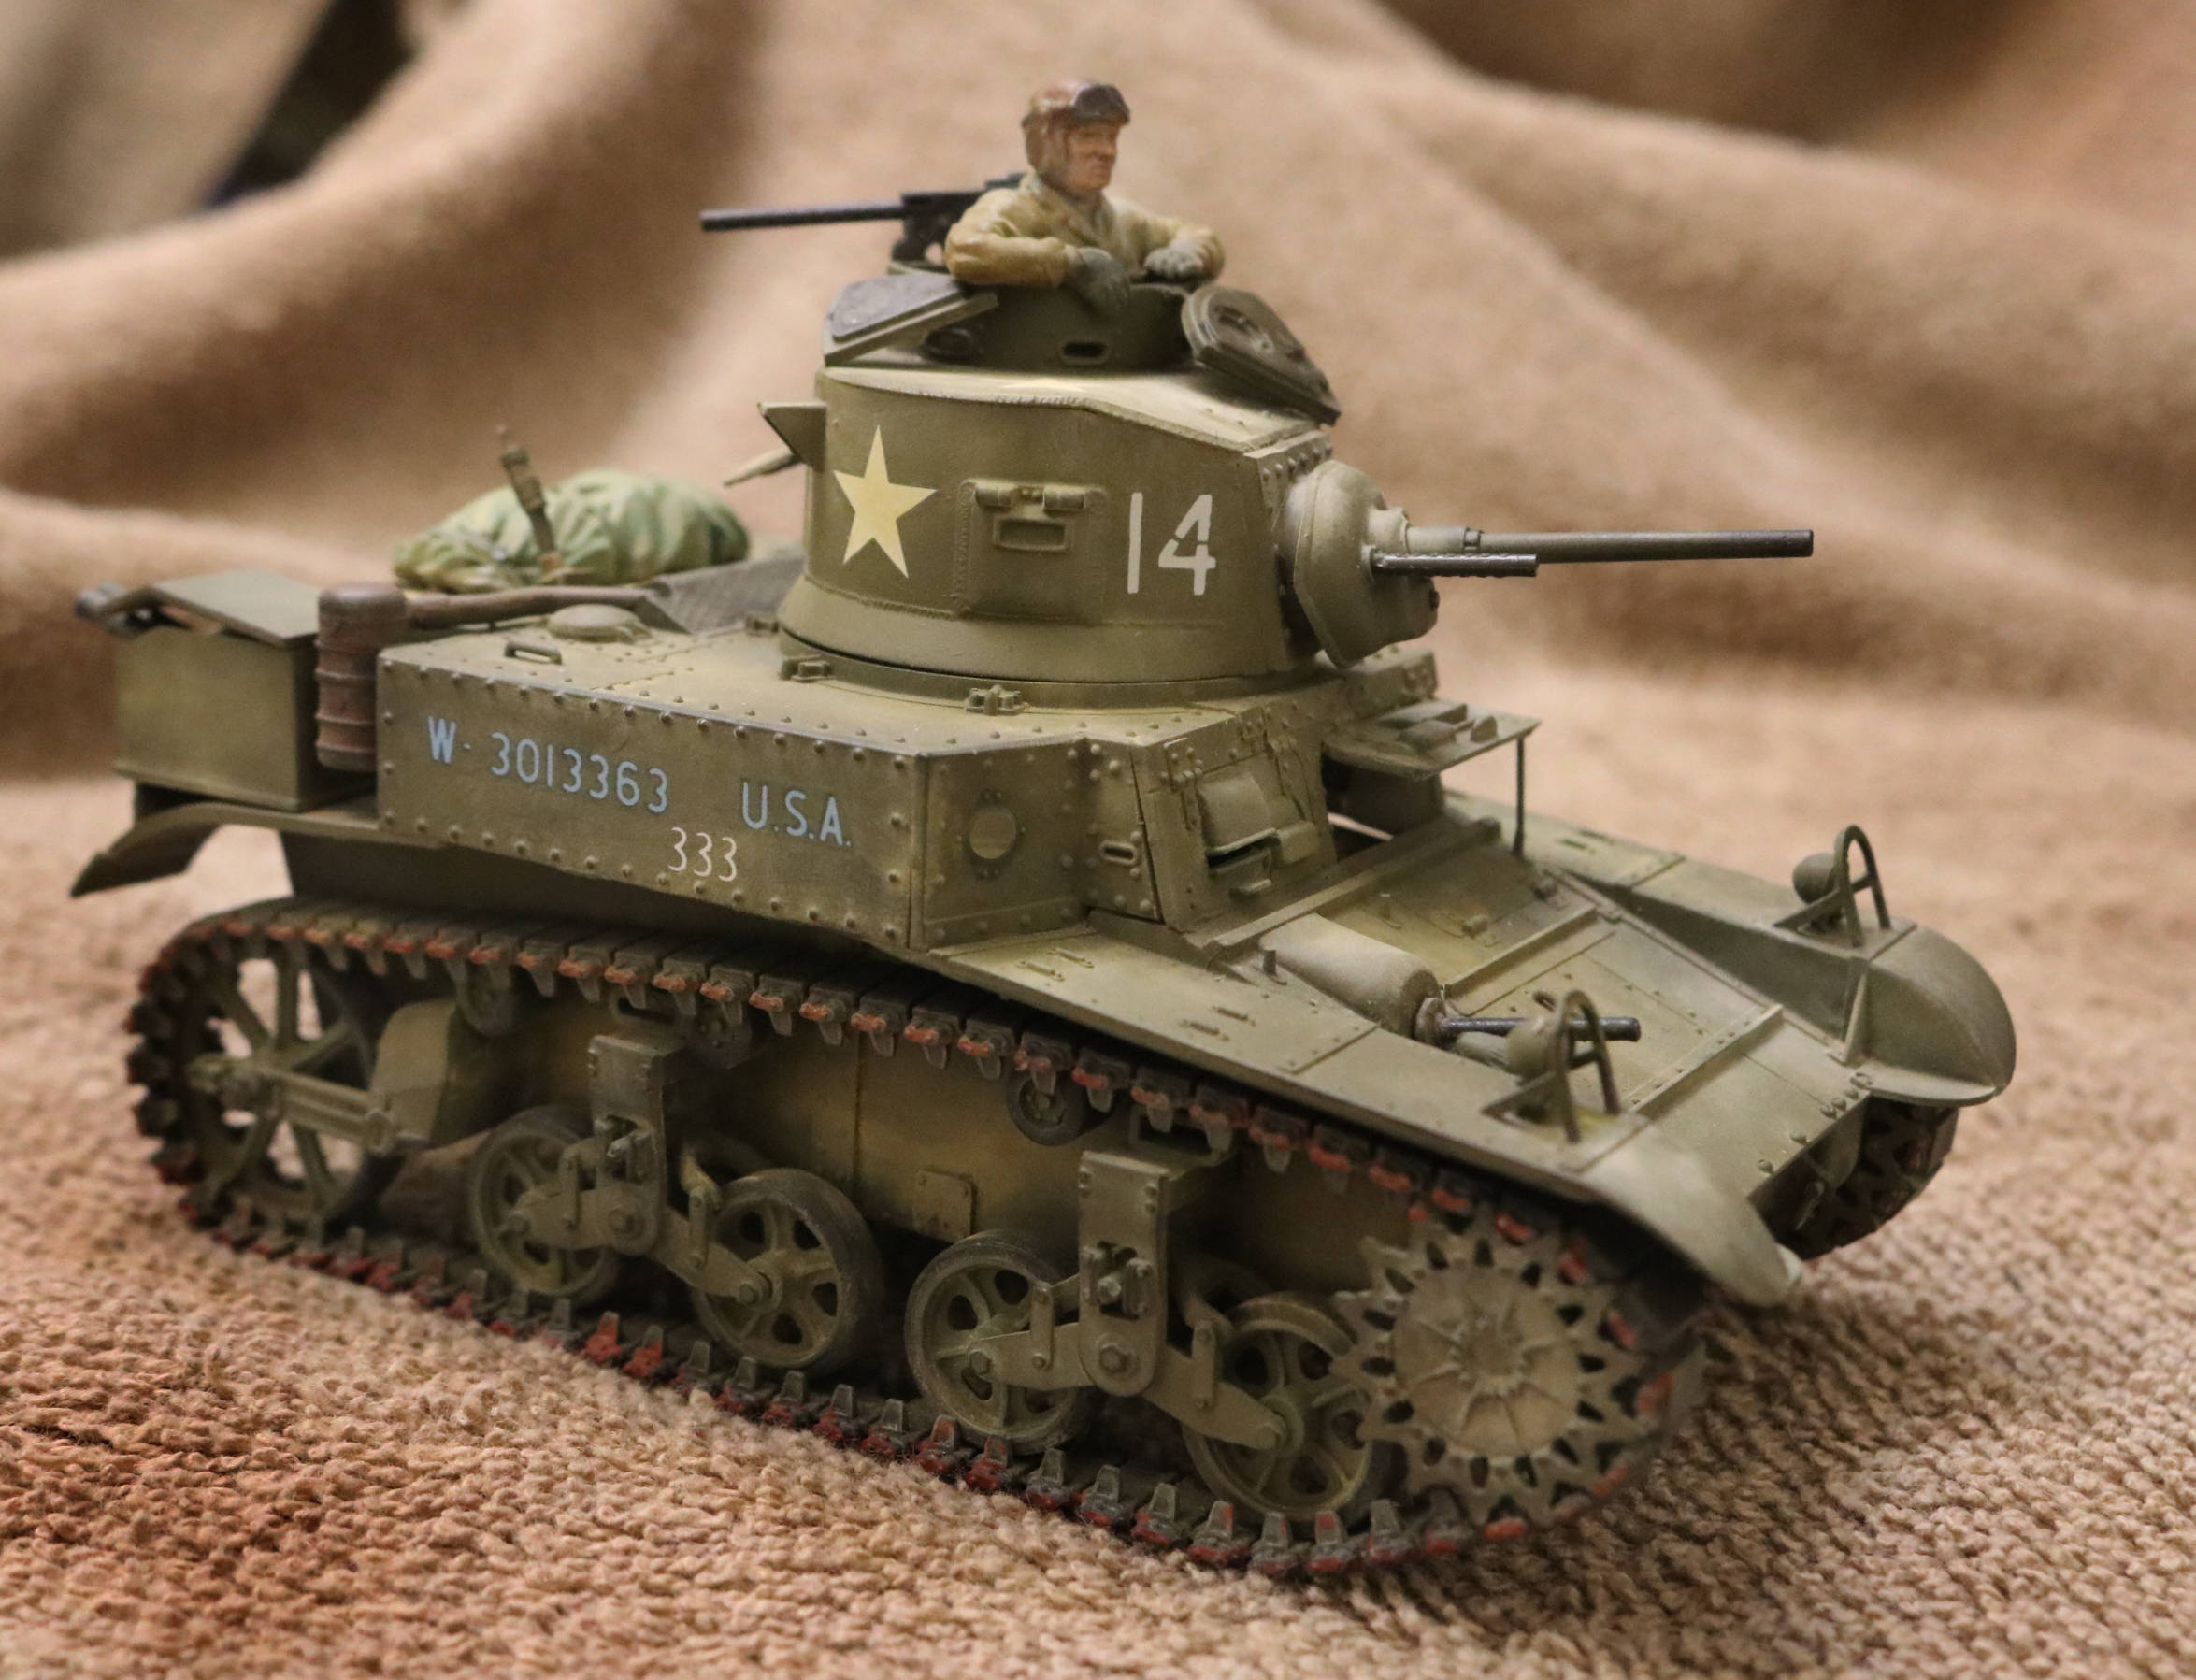
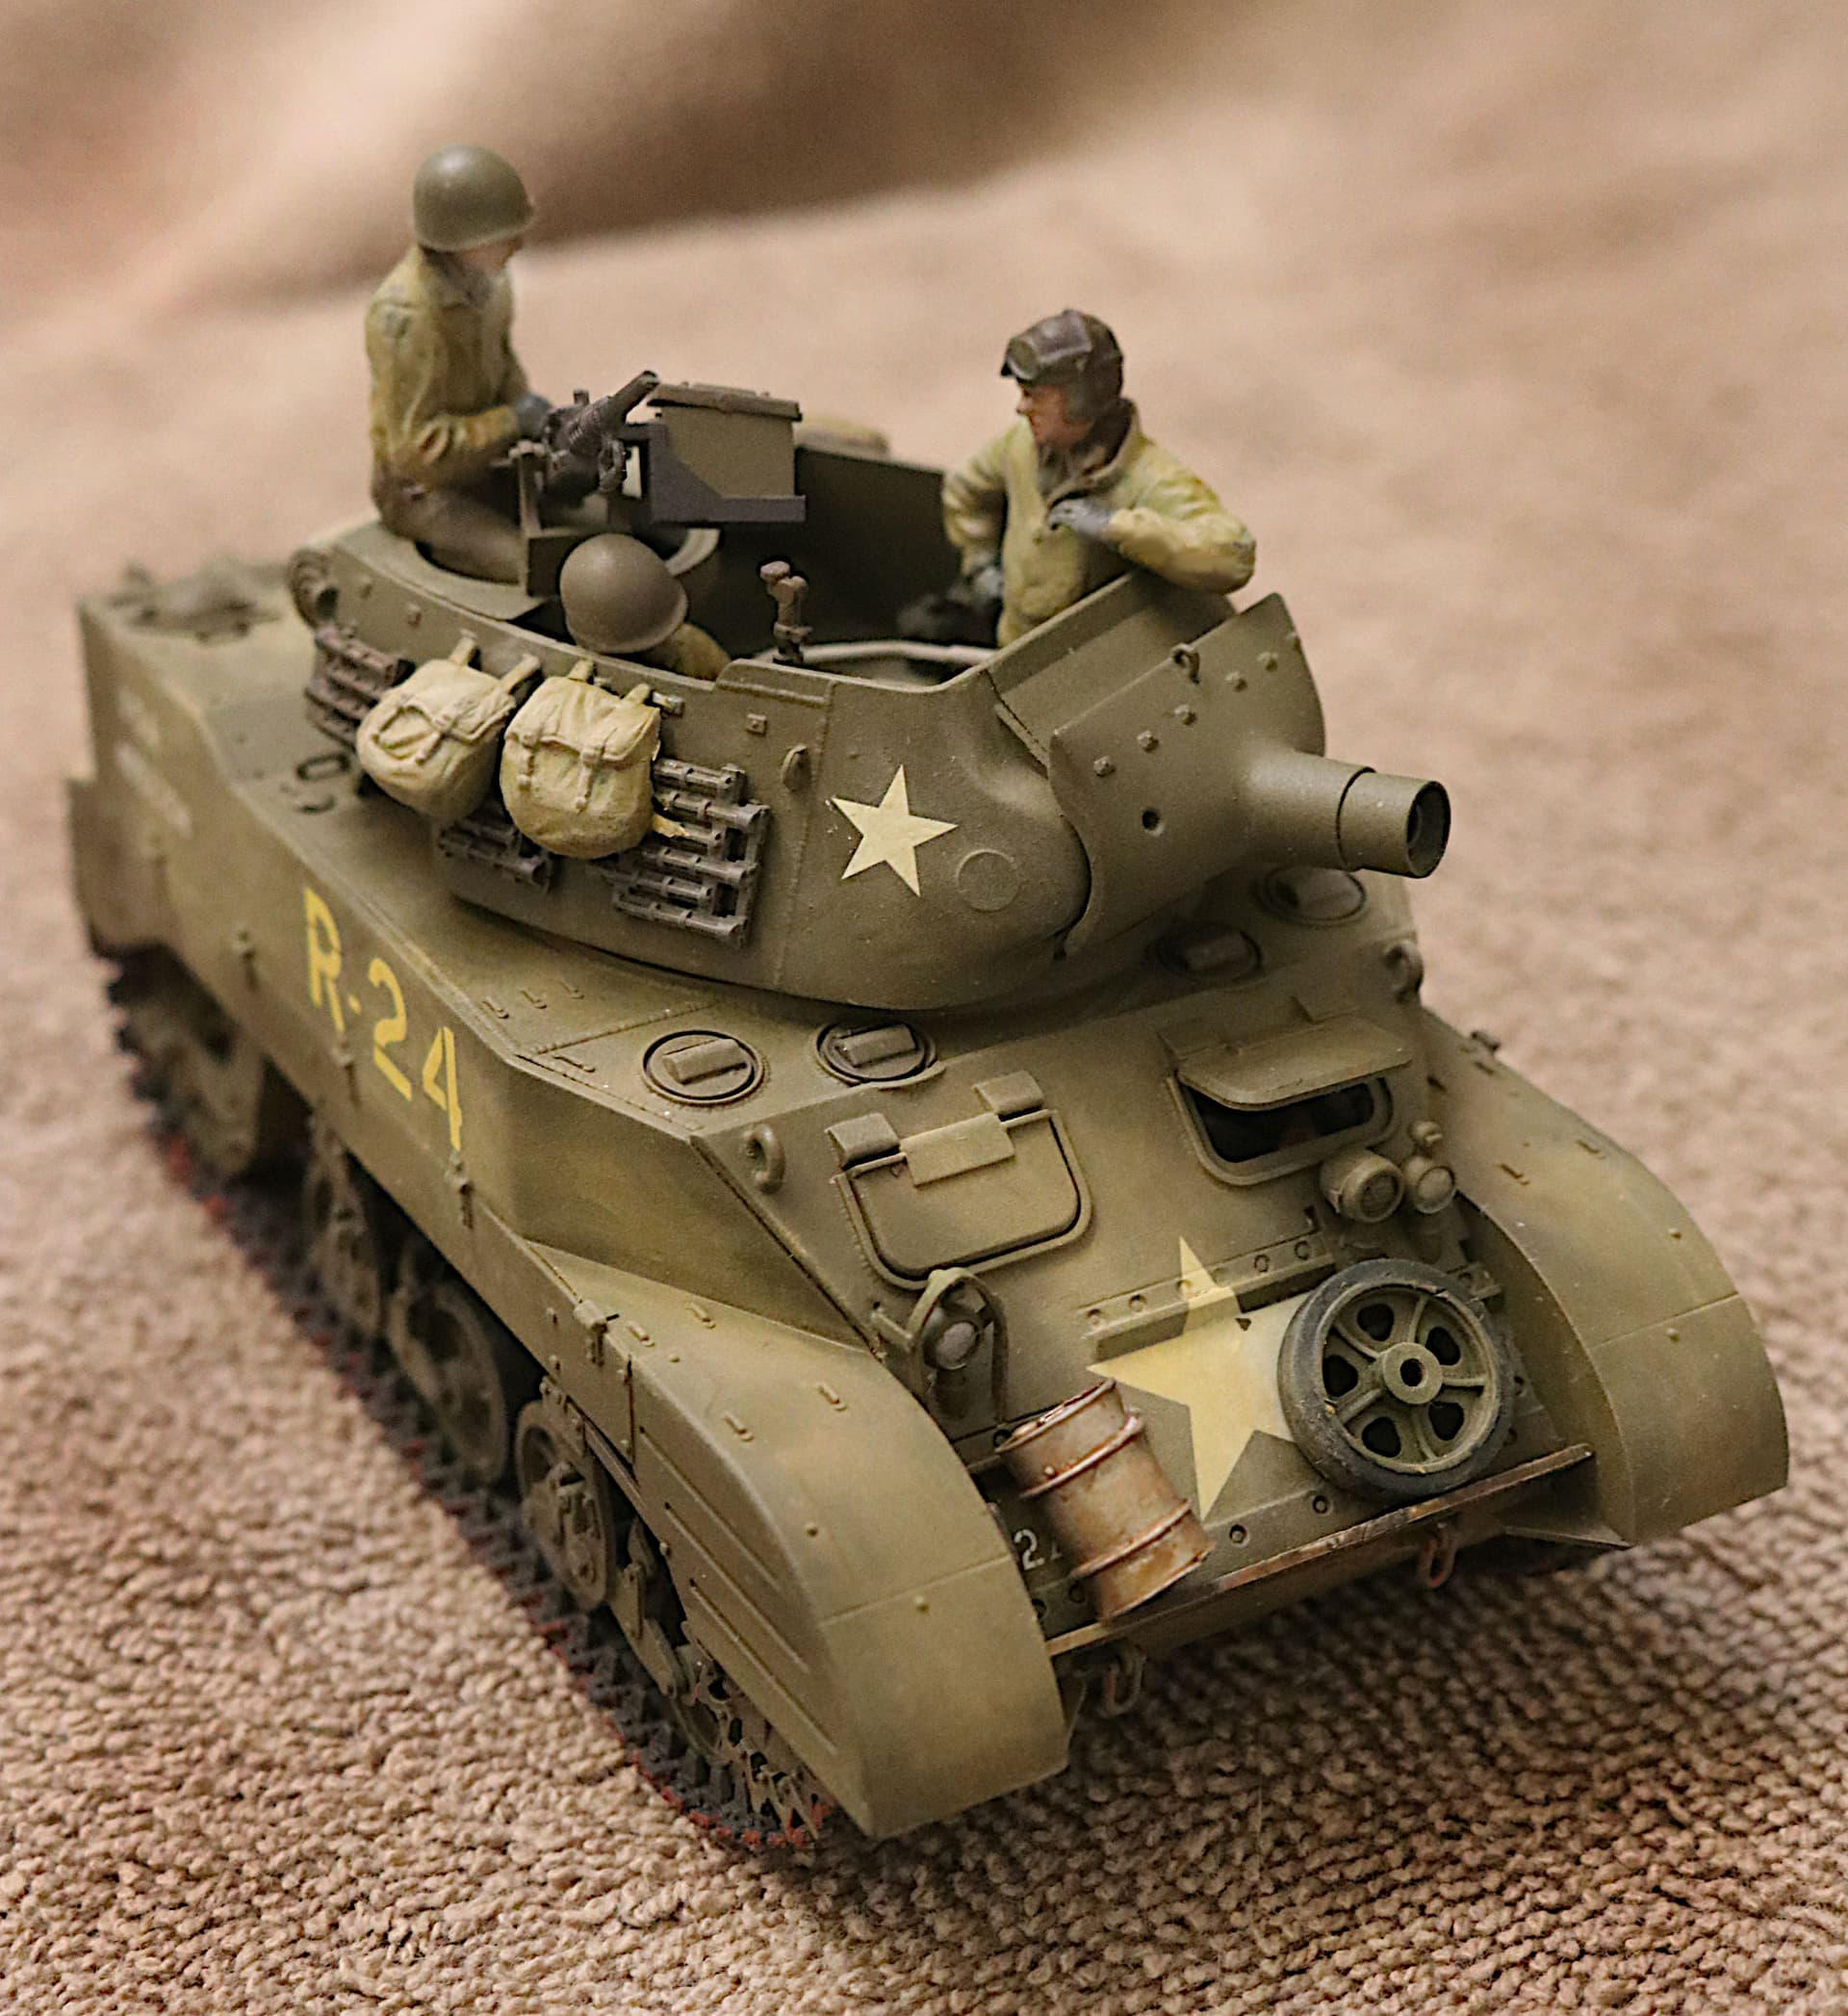
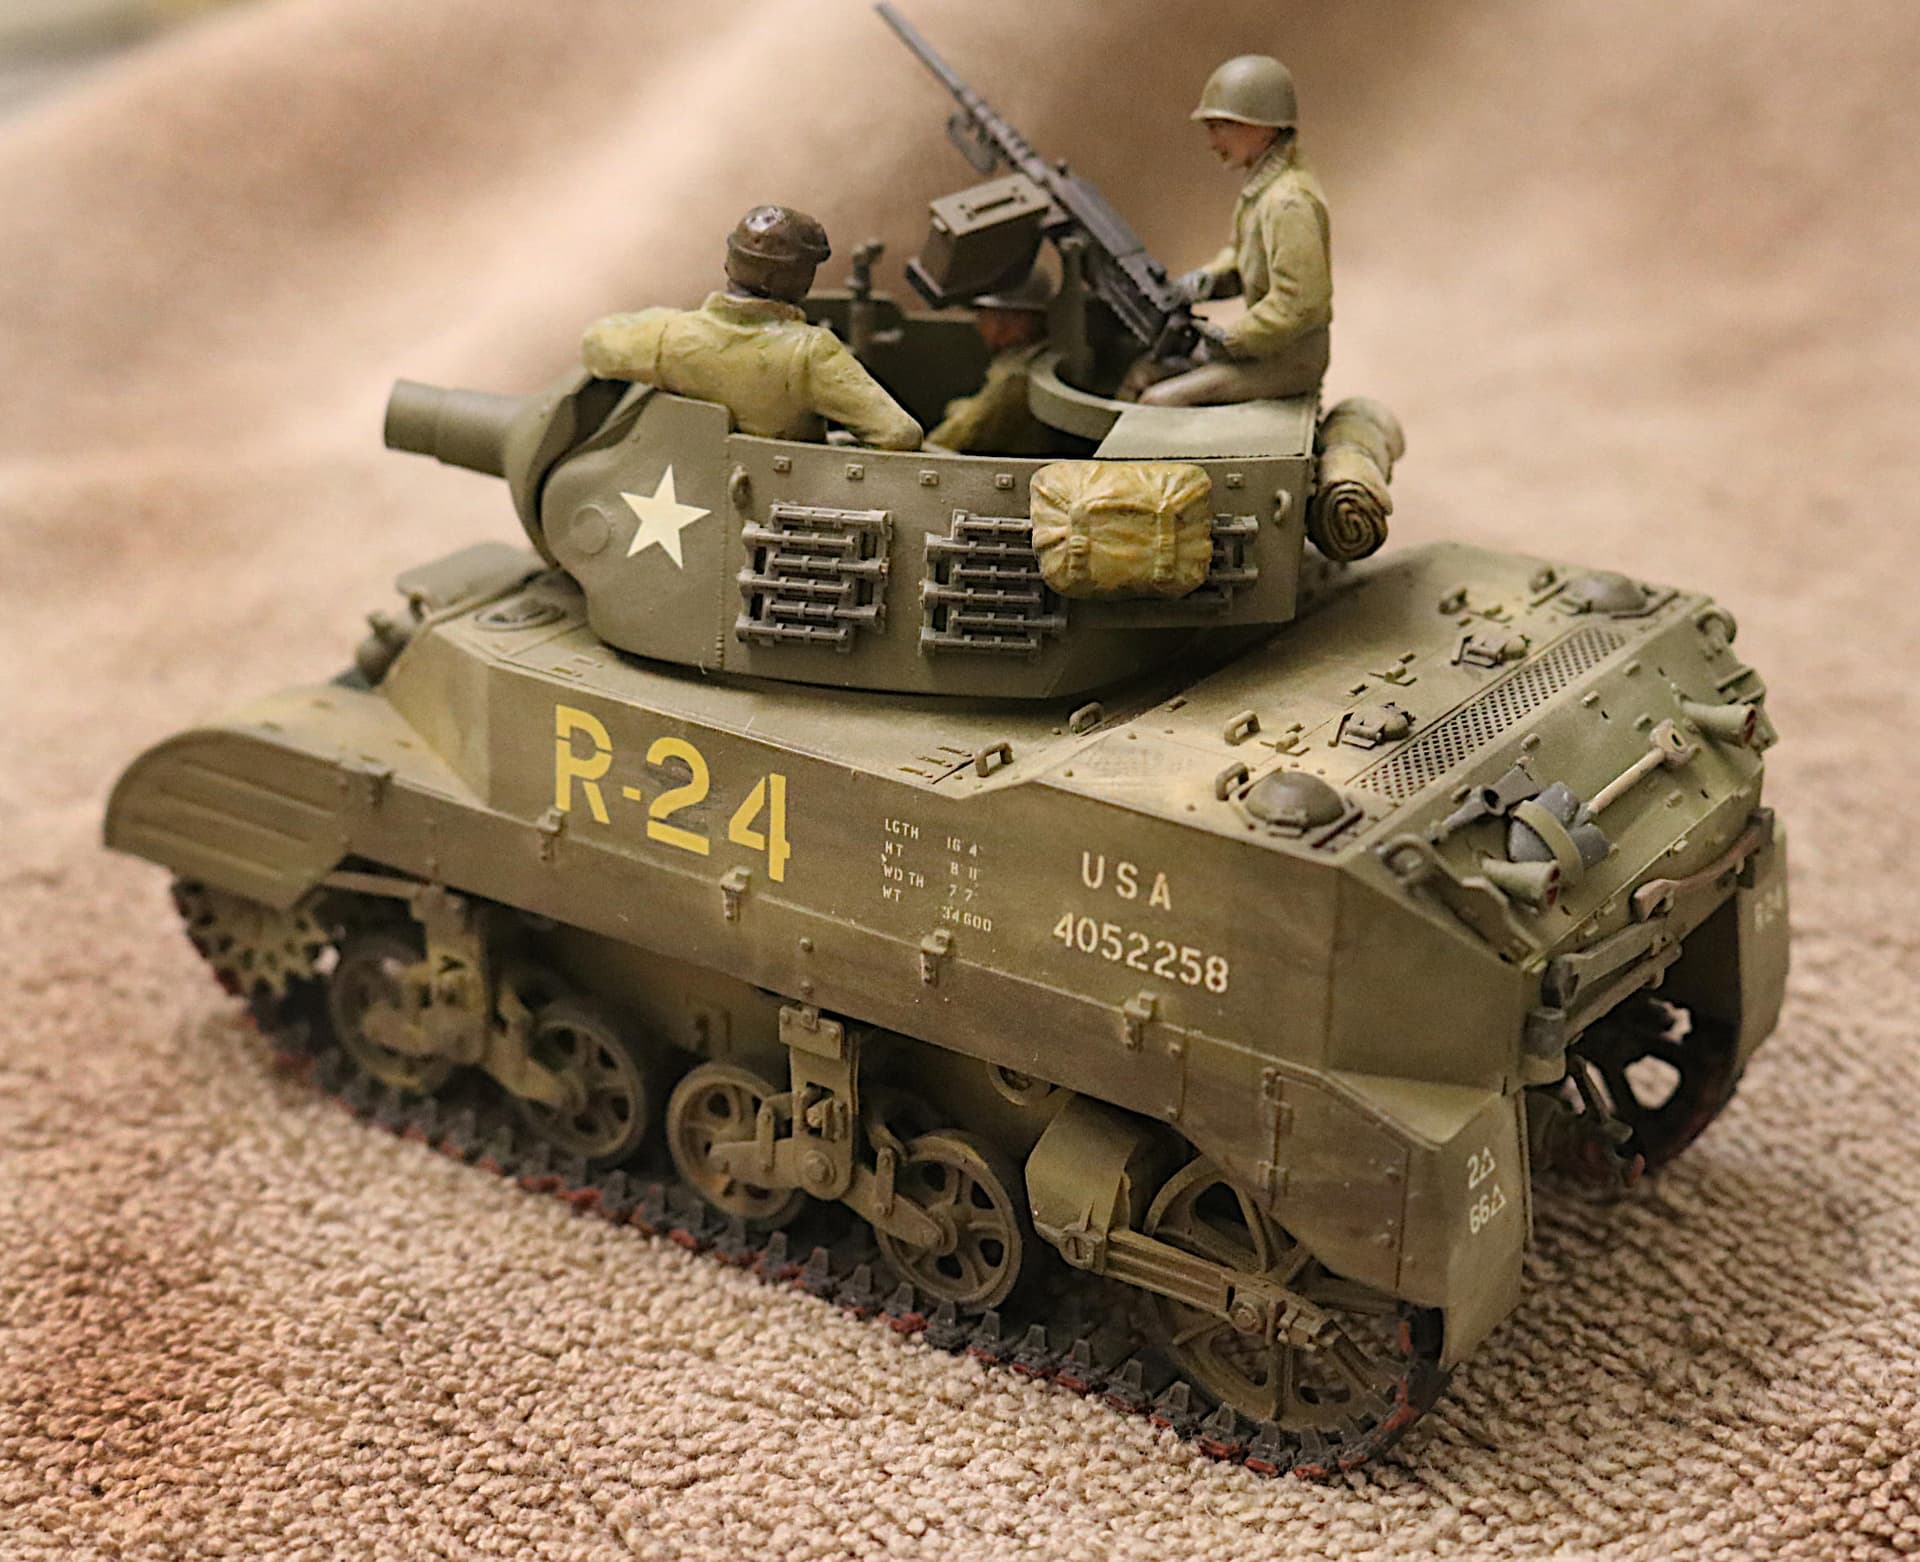
This is Tamiya OD (rattle can) then a brushed on wet coat of Future. Apply decals while Future is still wet. As the Future and decals start to set apply a second heavy top coat of Future to fully entomb the decal. Then when all is dry go over everything with a dusted on “dry” coating of Tamiya Matte Clear (TS-80 rattle can.)
I also finished up with a light application of soft oil pastel “dust”. Others call these pastels “pigments.” I scrubbed this into the tooth of the matte clear and it becomes semi-permanent with no need for a final top coat of matte clear.
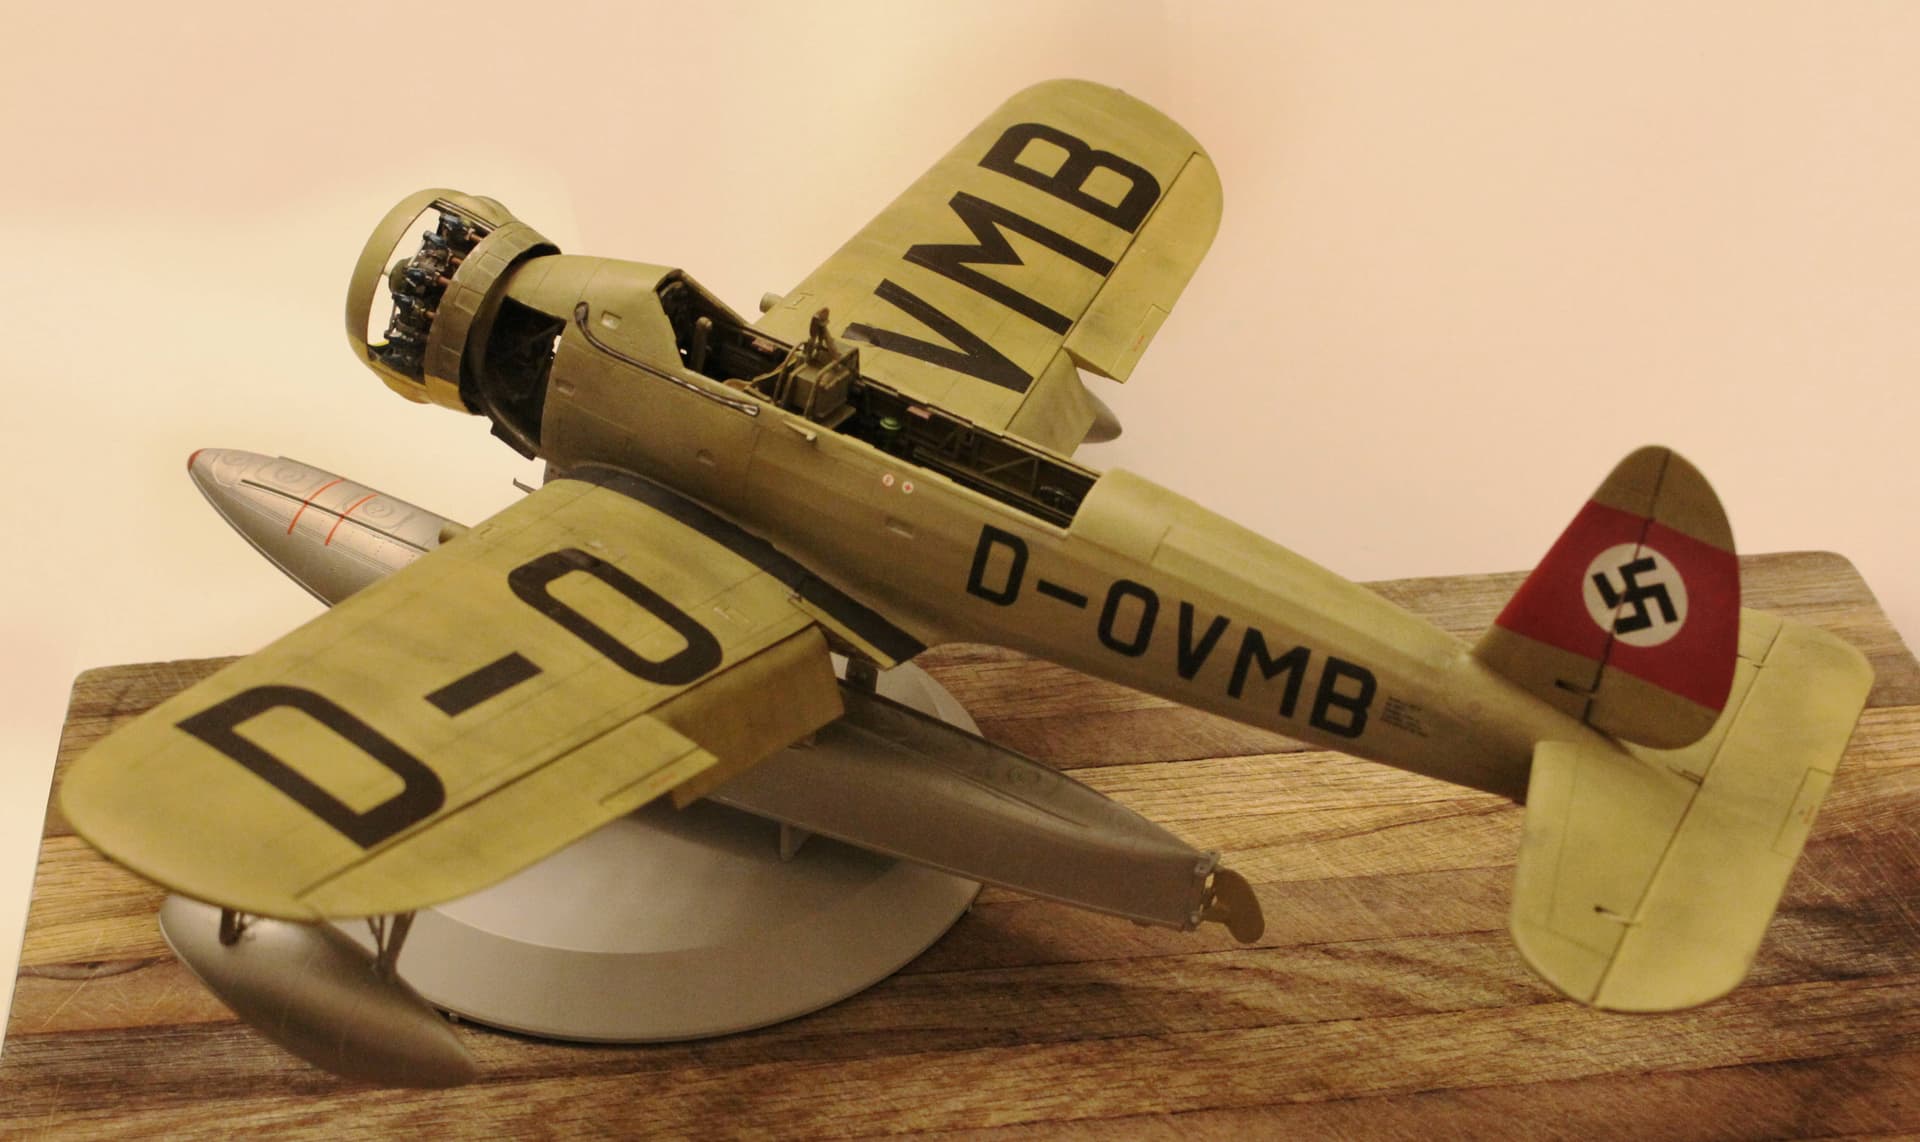
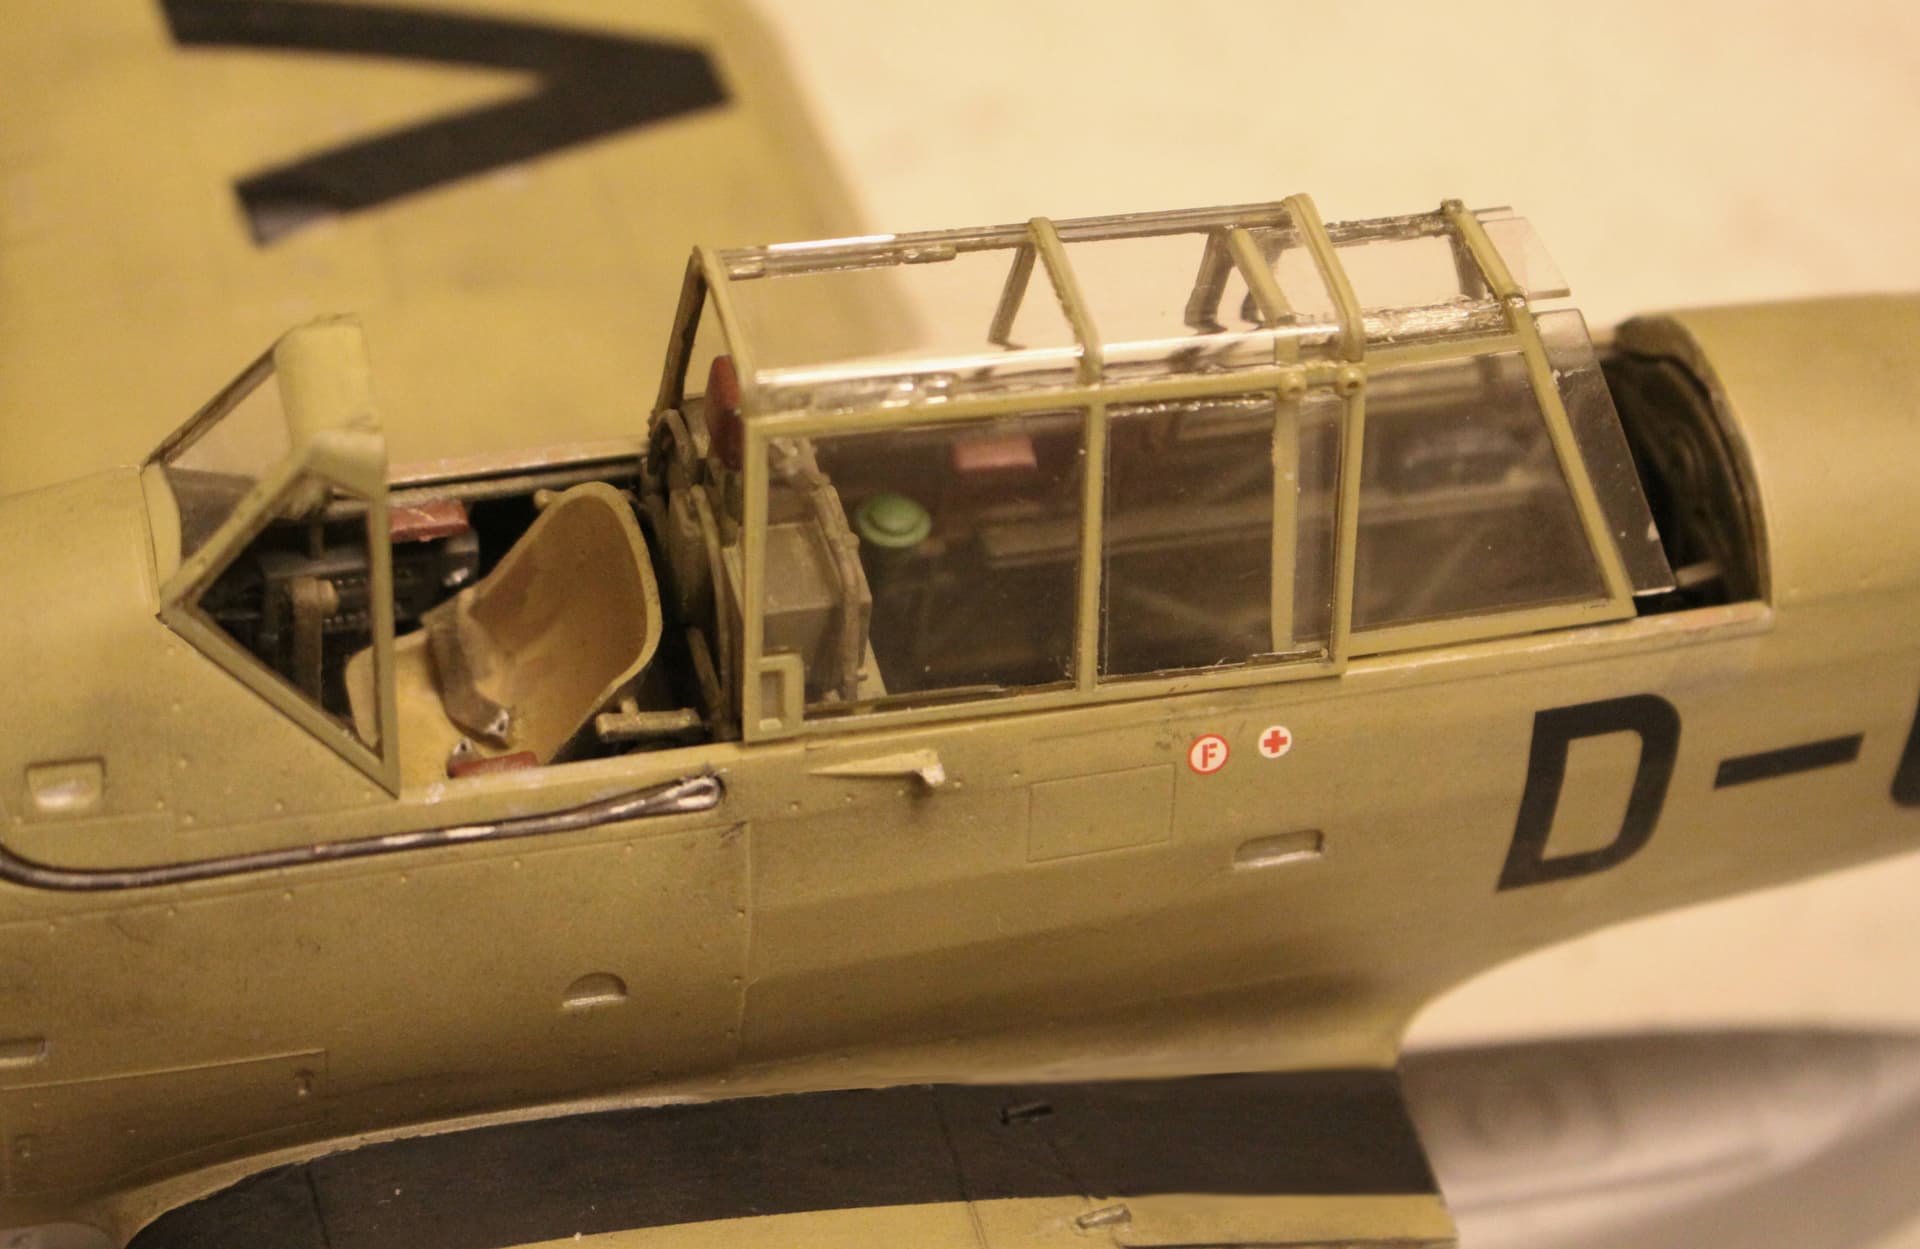
And for Aircraft?
Here with the Arado 196: (WIP) ~ Choosing to use a Matte Clear coat with slight pastel weathering. (Using the Tamiya TS-80 rattle can)
All this does not represent the ONLY way to achieve these effects but it does show ONE way to do it. Others will have their own techniques. That does not make one way right and all others wrong.
The main point here it that all this was achieved using only brush and rattle can, which was Spitfire’s stated requirement at the outset.
p.s. Also I do own an airbrush but have not used it in years!
You all are fantastically helpful. Either things have changed over the years or I wasn’t paying attention back in the day…I was always told you NEVER put acrylic over enamel.
Two questions:
So the matte coat of the TS-80 is okay for weathering? I though washes etc needed a high gloss?
Second, I’m using Tamiya rattle cans. So as I understand from these replies, TS-80 over the base coat colors will allow me to weather with enamel/oil based washes and oil paints? Just want to double check before risking the model. I thought all Tamiya sprays were enamels.
Tamiya TS spray paint is a synthetic lacquer that cures in a short period of time. The spray paint is extremely useful for painting large model surfaces. Tamiya spray paints are not affected by acrylic or enamel paints. Therefore, following the painting of the entire assembly, details can be added or picked out using enamel and/or acrylic paints.
Each can contains 100ml of paint, which is enough to fully cover 2 or 3, 1/24 scale sized car model bodies.
TS80 Flat Clear is useful to clear coat glossy paint finishes that you desire to have a final flat look.
Allow the paint to be clear-coated to fully cure before applying TS80. This will prevent the clear coat from cracking due to different cure rates from the paint underneath. For best results allow up to one week.
Make sure to test clear coating over decals before applying to a finished project. Applying clear coat can harm some decals. Do not spray over stickers, or decals.
NOTE: TAMIYA TS paint is not designed to be used with clear Polycarbonate/LEXAN R/C body shells. The paint will flake off. For Polycarbonate applications please use Tamiya PS spray paint.
PAINT COMBINATION INFORMATION
• Base Coat Acrylic/Top Coat Acrylic-Compatible
• Base Coat Enamel/Top Coat Acrylic-Compatible
• Base Coast Lacquer/Top Coat Acrylic-Compatible
• Base Coat Acrylic/Top Coat Enamel-Compatible
• Base Coat Enamel/Top Coat Enamel-Compatible
• Base Coast Lacquer/Top Coat Enamel-Compatible
• Base Coat Acrylic/Top Coat Lacquer-NOT Compatible
• Base Coat Enamel/Top Coat Lacquer-NOT Compatible
• Base Coast Lacquer/Top Coat Lacquer-Compatible