Okey time to finish a project I started for almost 2 years ago. Actually I have done 75% of the work I think, so it’s no big deal to finish it.
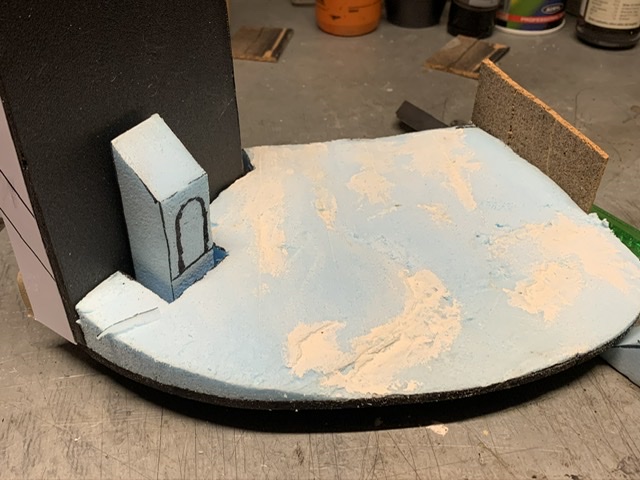
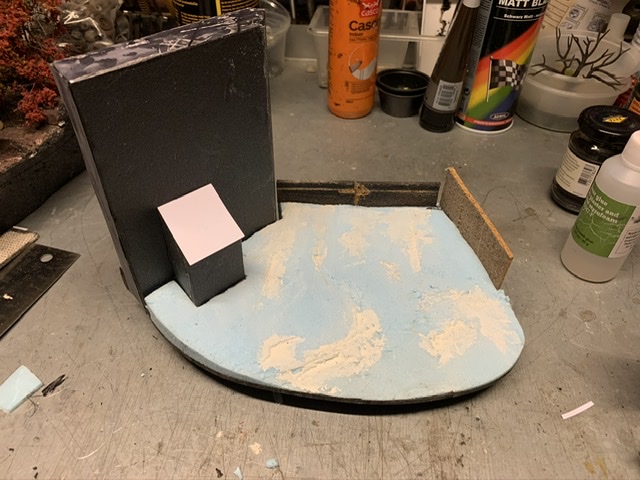
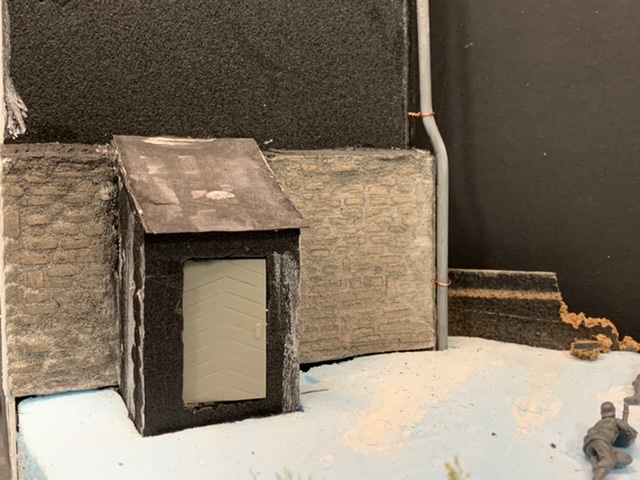
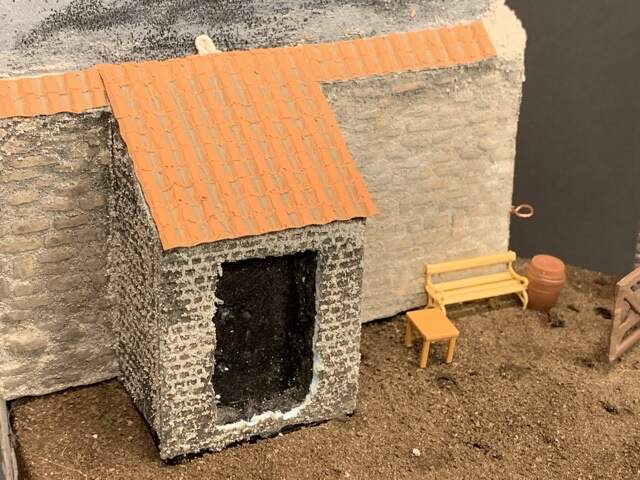
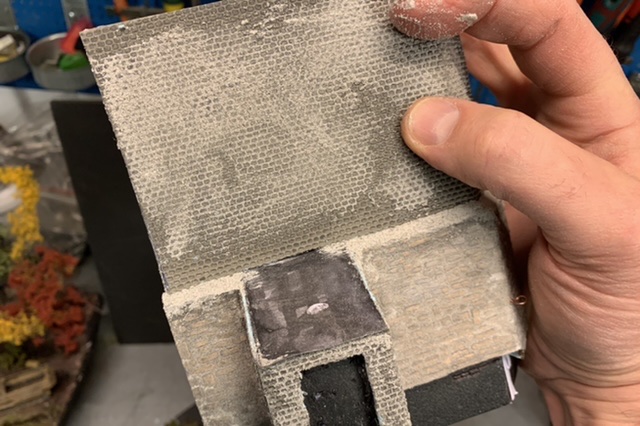
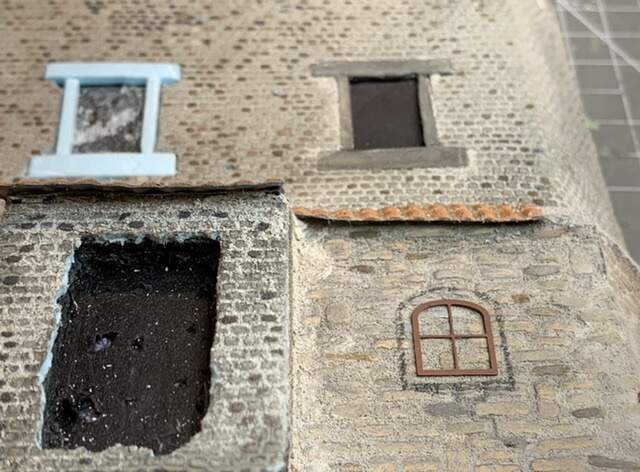
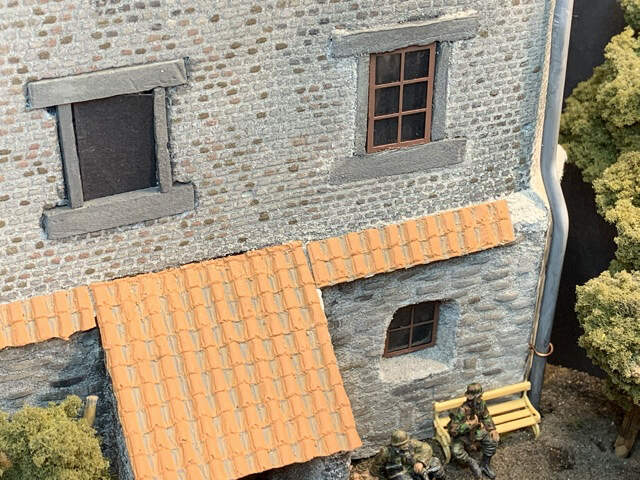
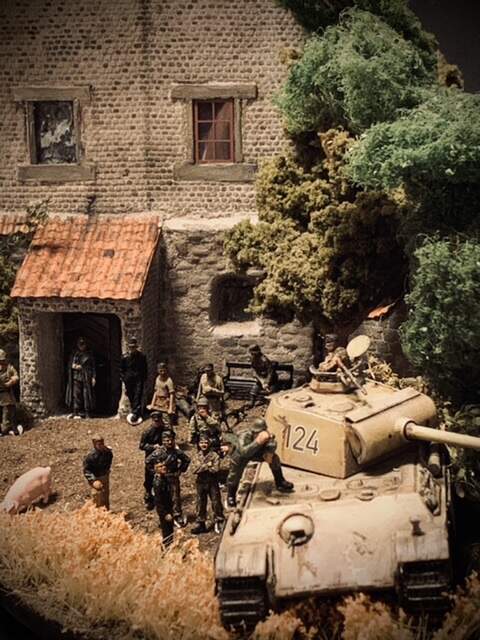
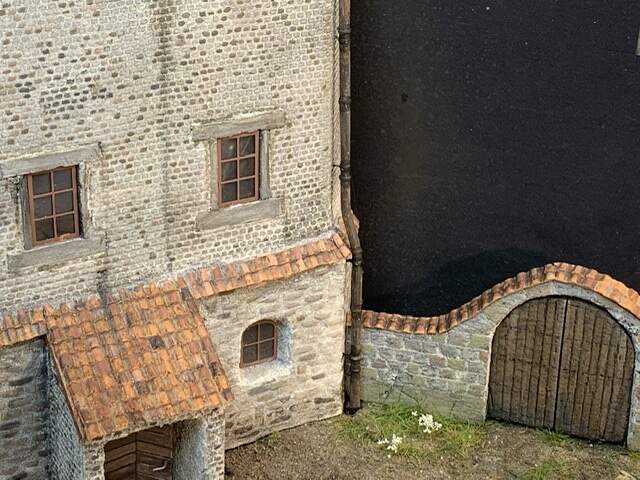
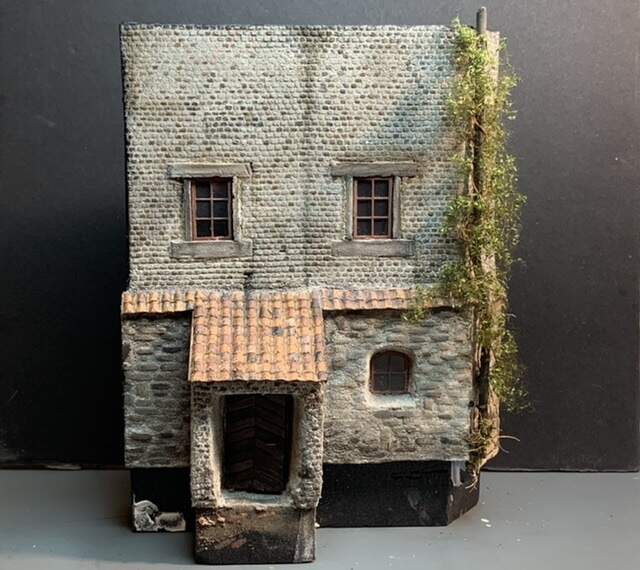
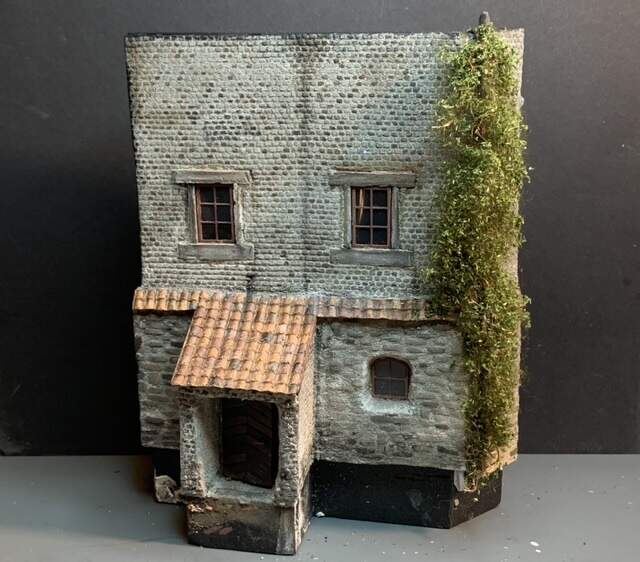
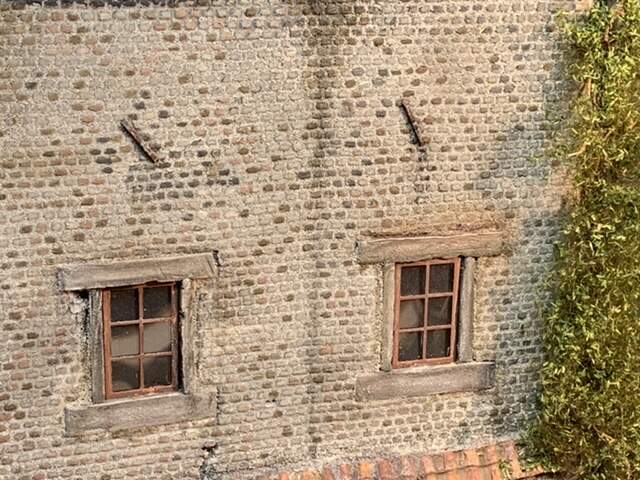
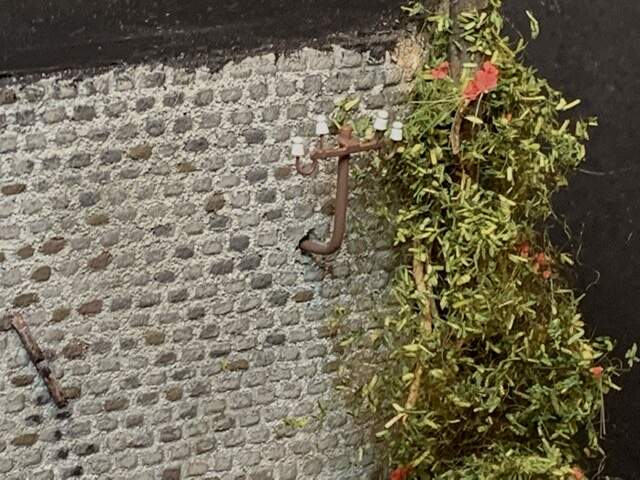
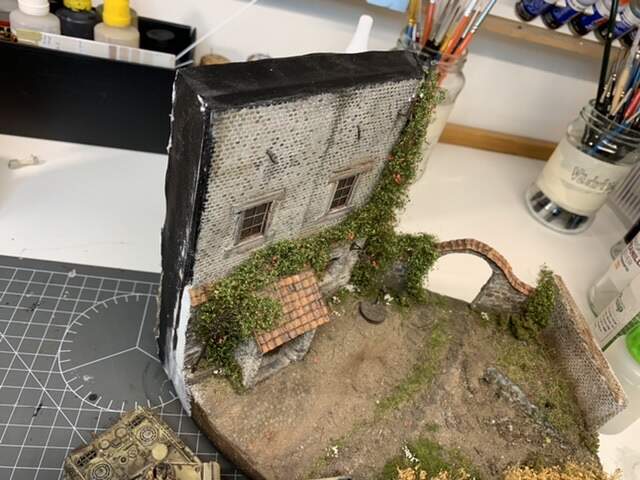
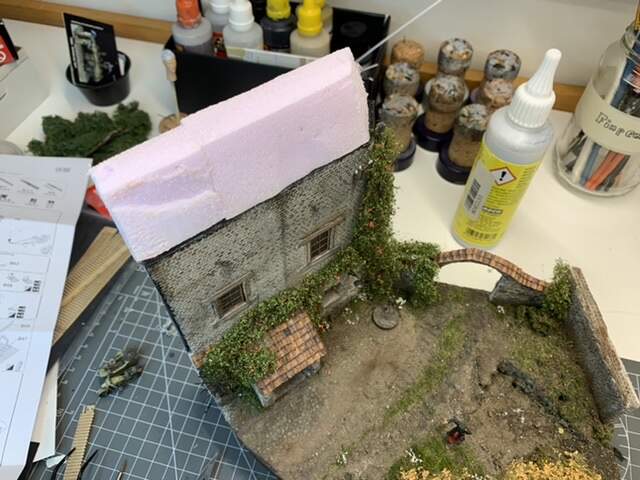
Well that was what I thought…. After seeing it with new eyes after this competition I need to do a little extra on the building, there is a “black area” on the left side of the building that I before thought not was if interest of the viewers…… but I don’t do that mistake once more:) Therefore I will include the left side of the house in the diorama.
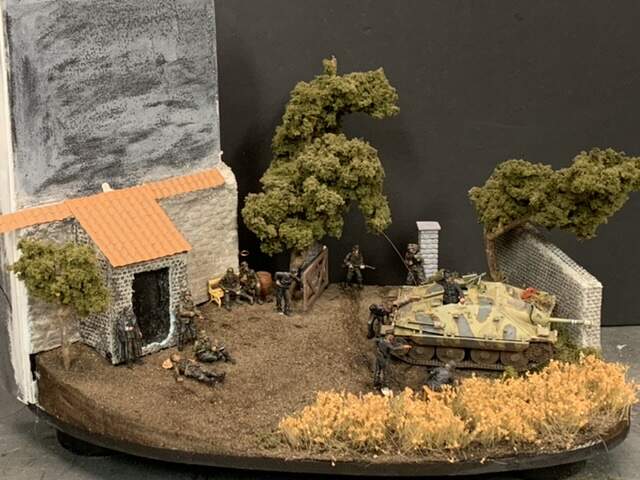
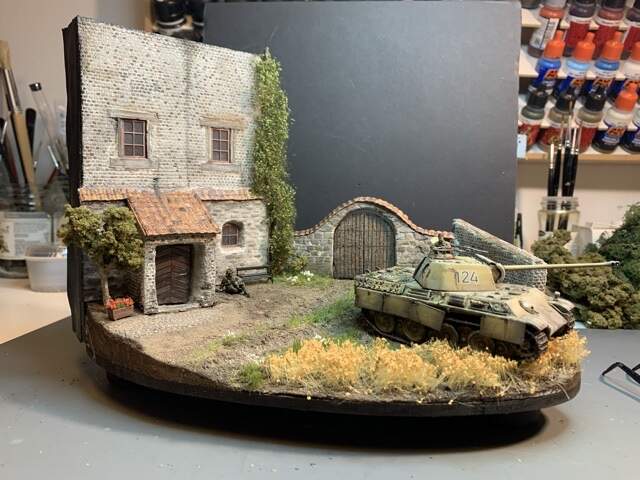
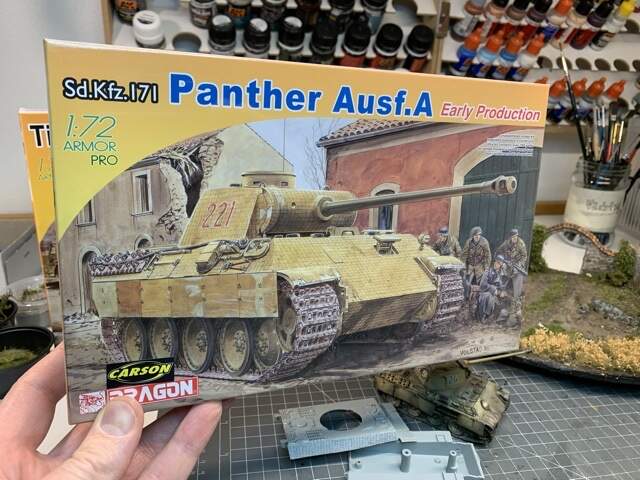
Another thing, the Panther that you see in the pictures bellow was the first ever tank I build since I started the hobby for 6 years ago. So I realize it’s not up to my standard of today, I can do better than that.
And because of the fact that I am very pleased with the rest of my work on this diorama, why not go for a gold:).
I know it’s very difficult to get the judges to like and see the value of a 1/72 diorama. Most people prefer 1/35, it is as simple as that. Let’s see if I can get a medal in the next competition for this one
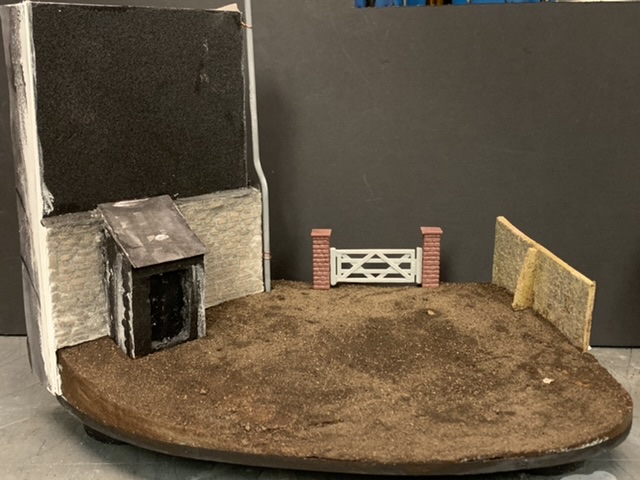
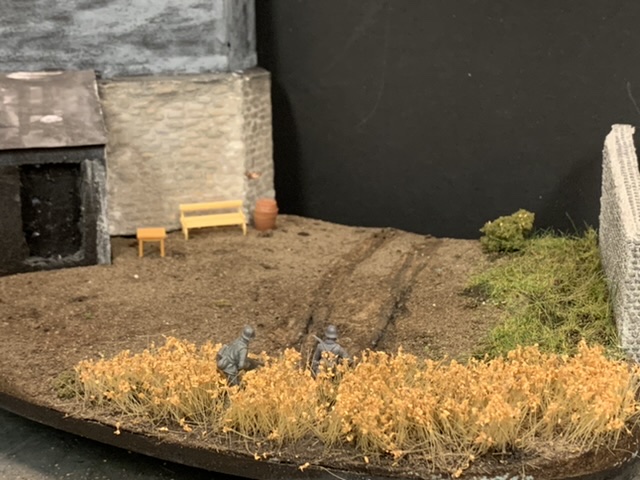
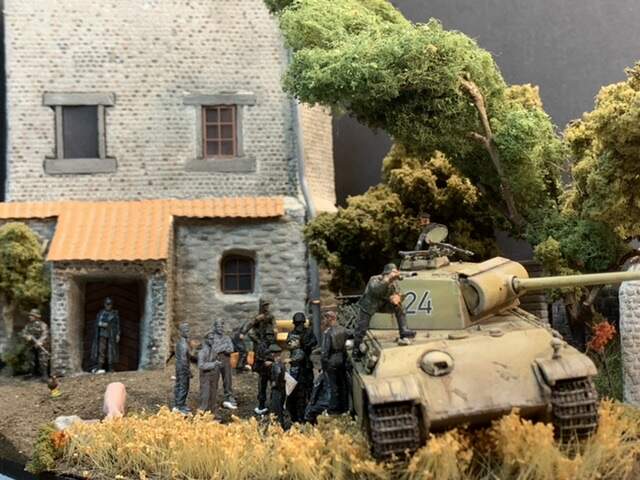
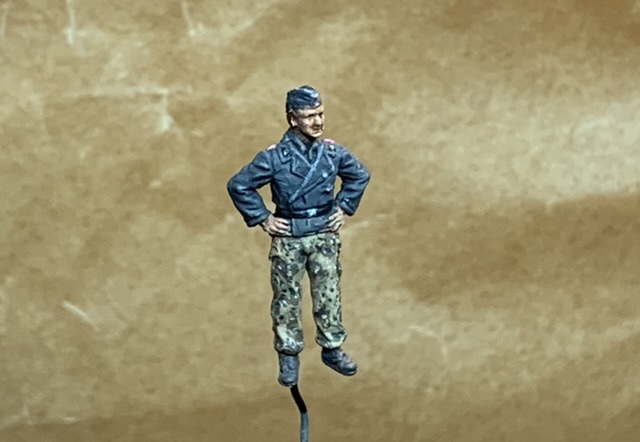
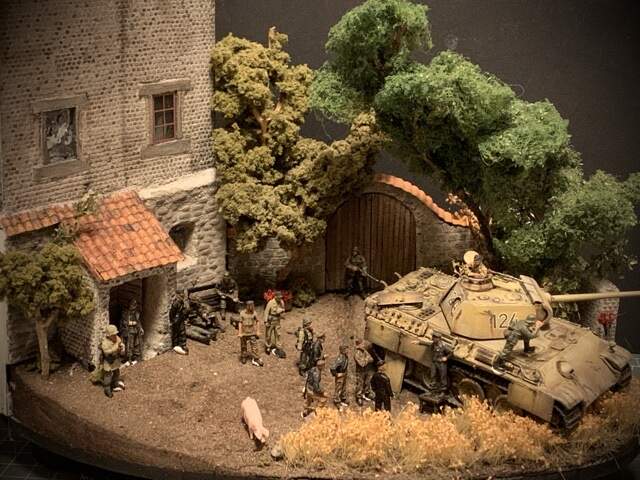
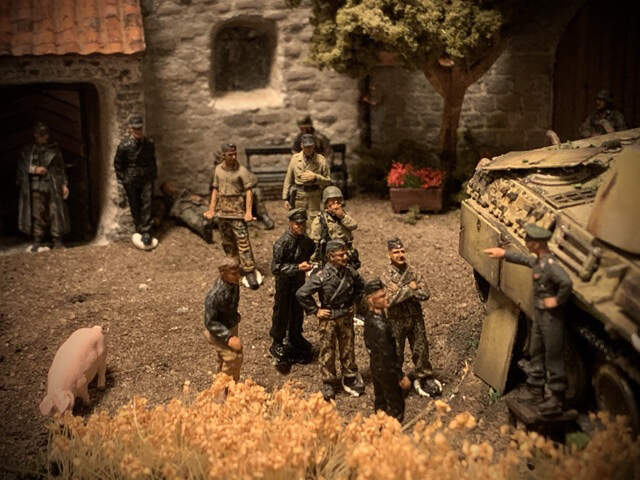
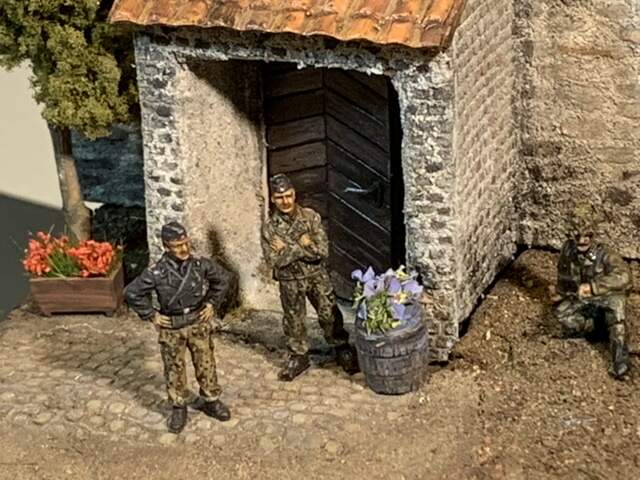
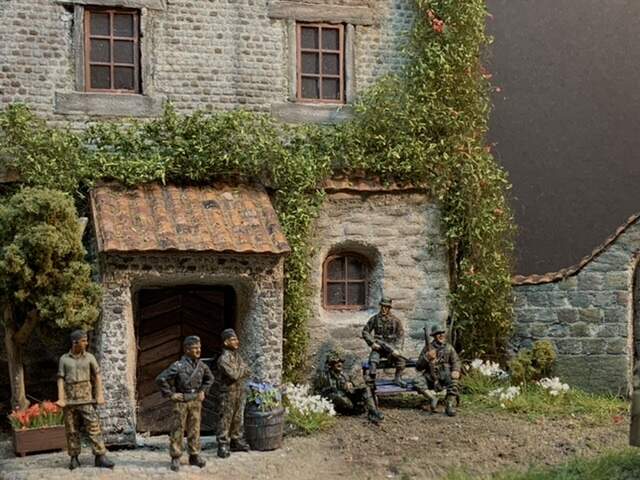
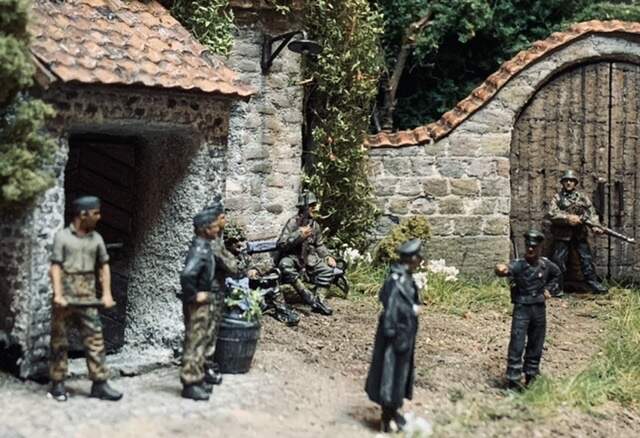
Theme: Normandy July 1944. A German leader of a Kampfgruppe is instructing the tank commanders in the unit that the order is: No retreat, No surrender! You get the rest.
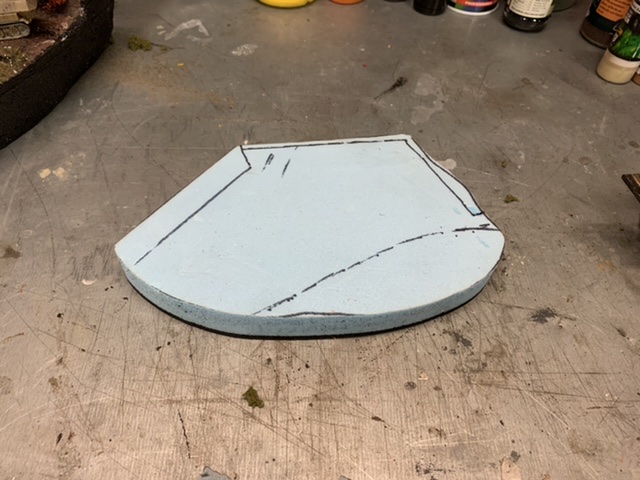
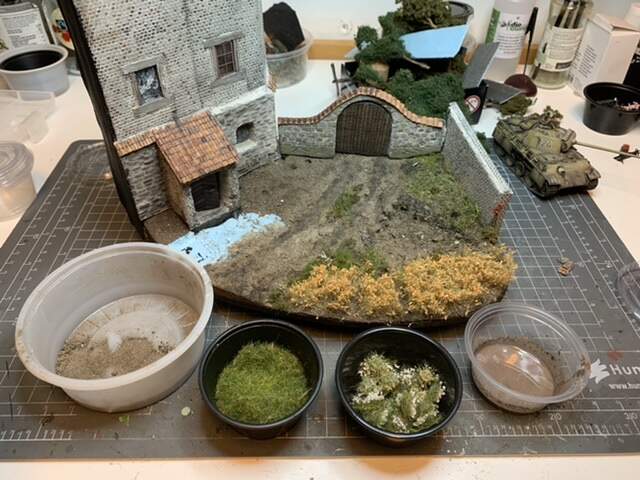
Anyway, here is some pictures from the very beginning:
Wow! Amazing diorama. Some of us really appreciate !/72 work. I can’t wait to see the finished product. This judge would give you a gold medal already. Keep up the great work!
Thanks man!
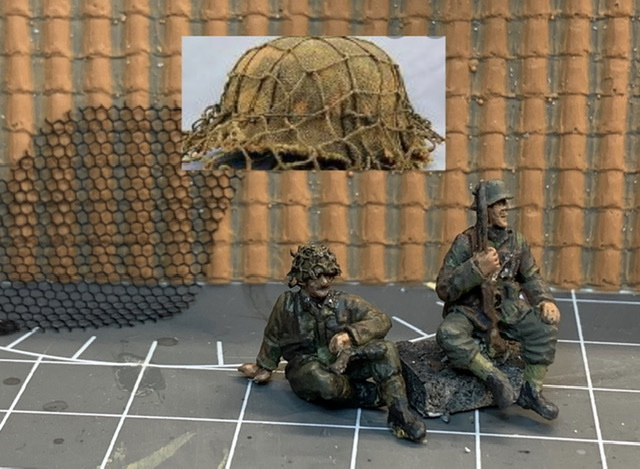
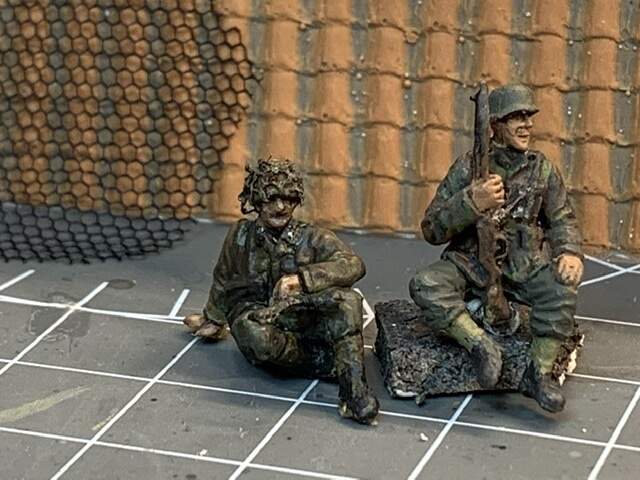
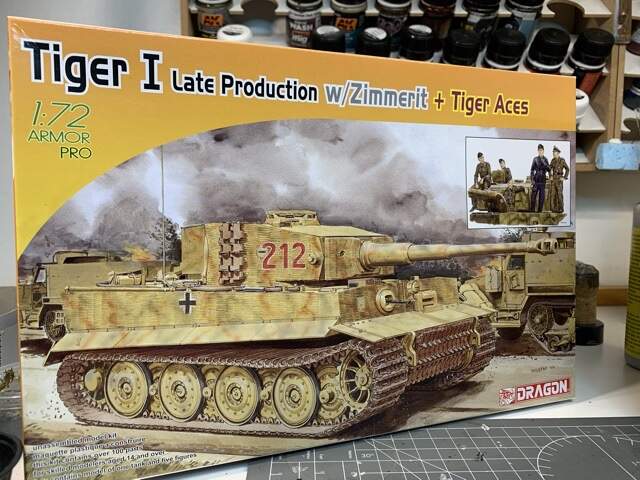
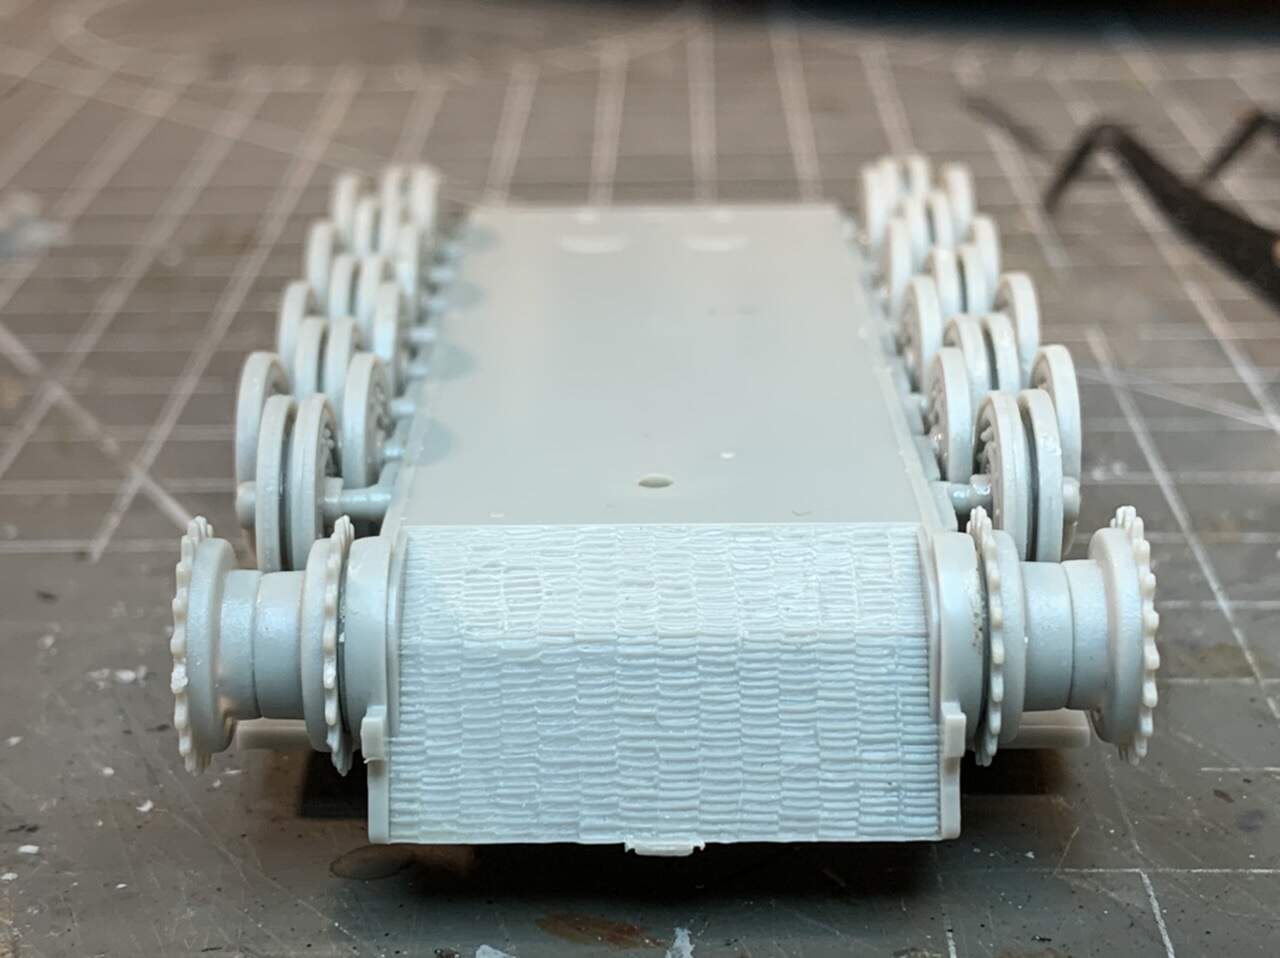
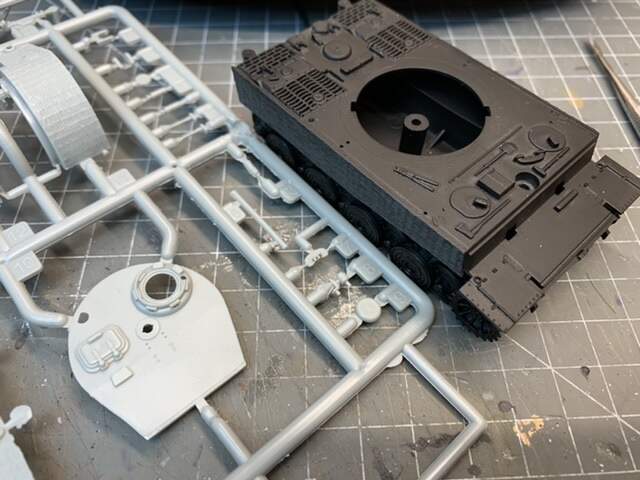
The two tanks a I have that suits this project is both made by Dragon. One Panther, if I use that I will have do my own zim, the other is a Tiger 1 with zim and figures! I probably chose the Tiger.
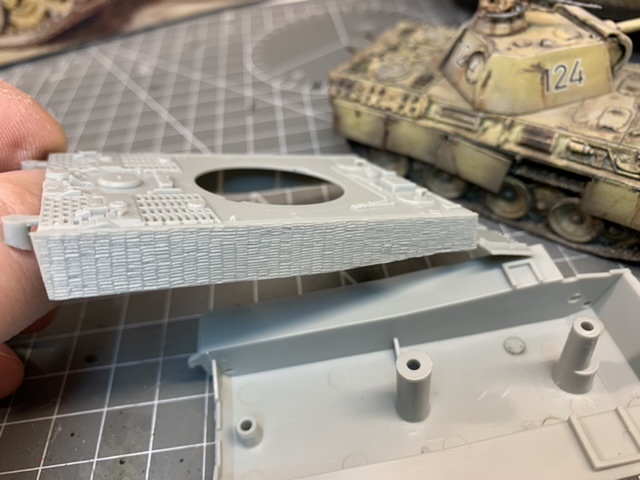
The zim looks good:)
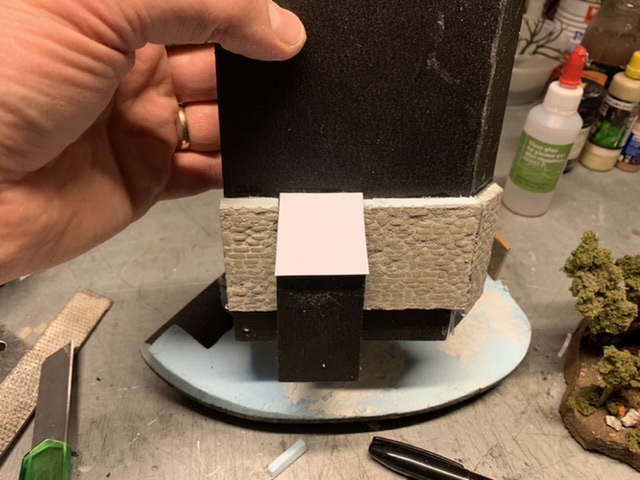
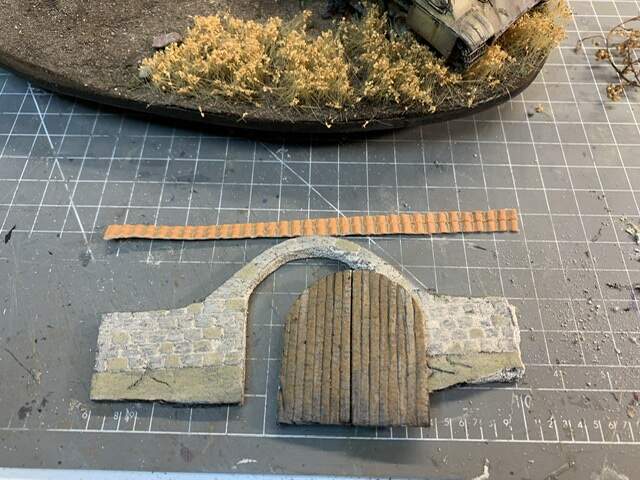
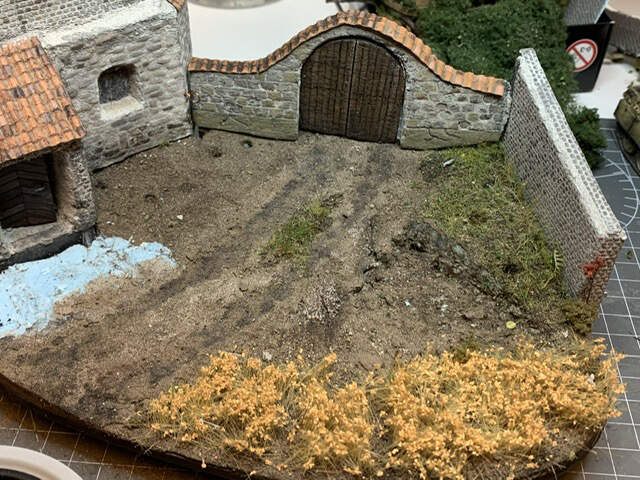
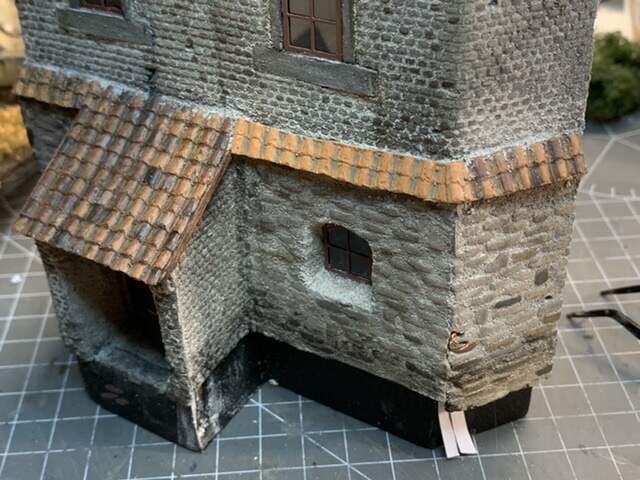
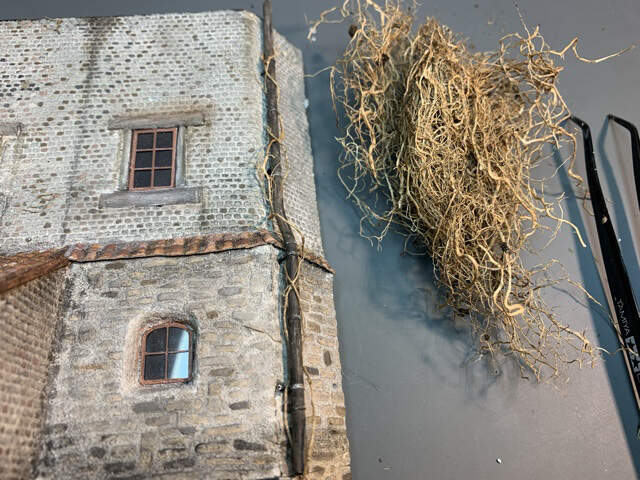
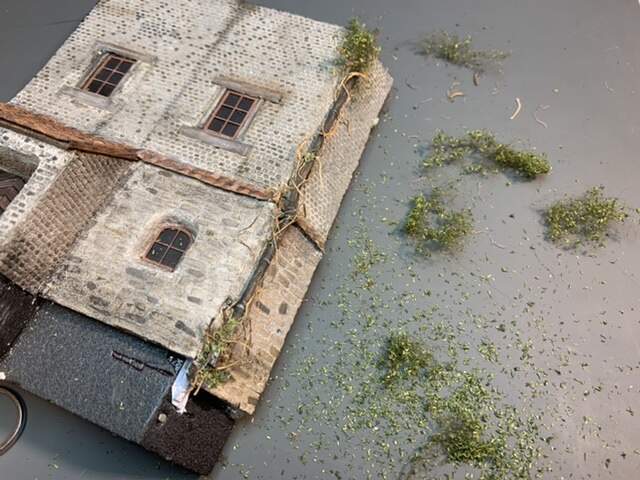
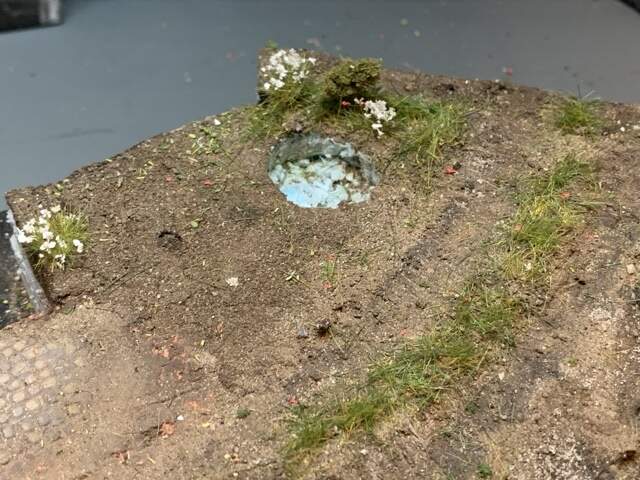
Here you see the black areas, it’s both the side and the roof I have to fix.
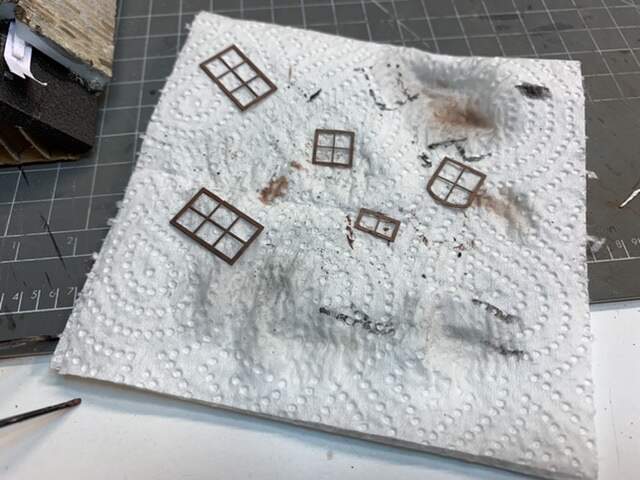
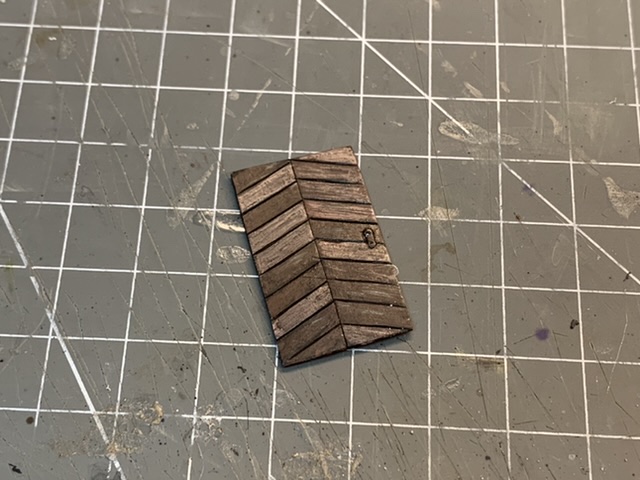
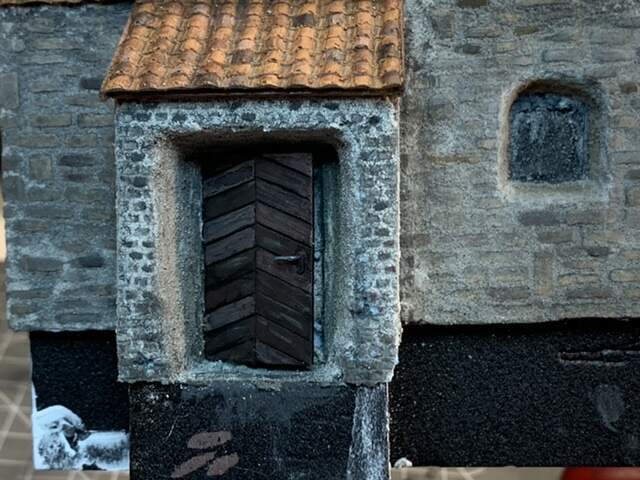
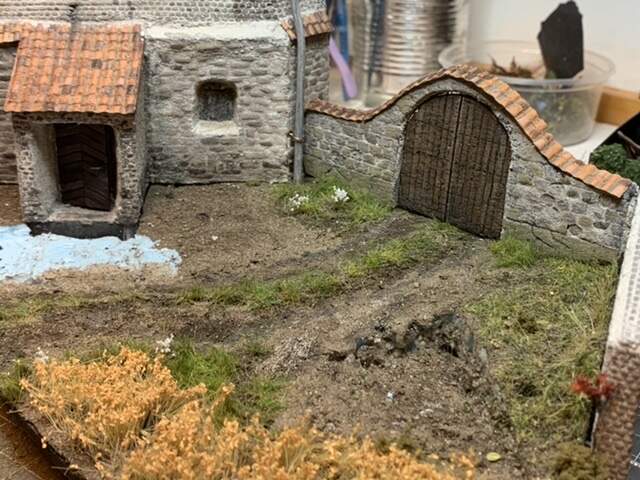
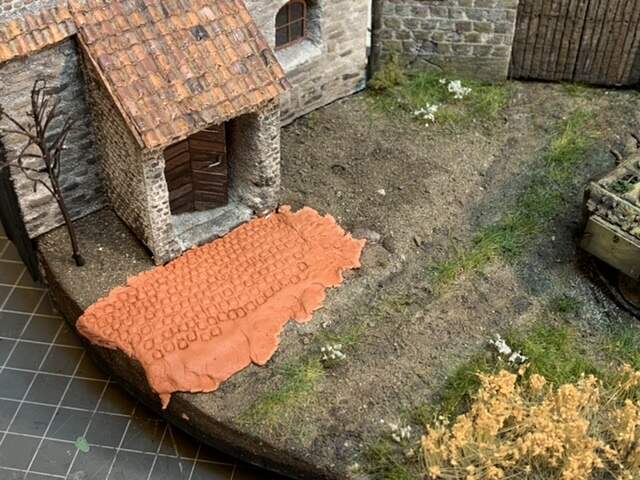
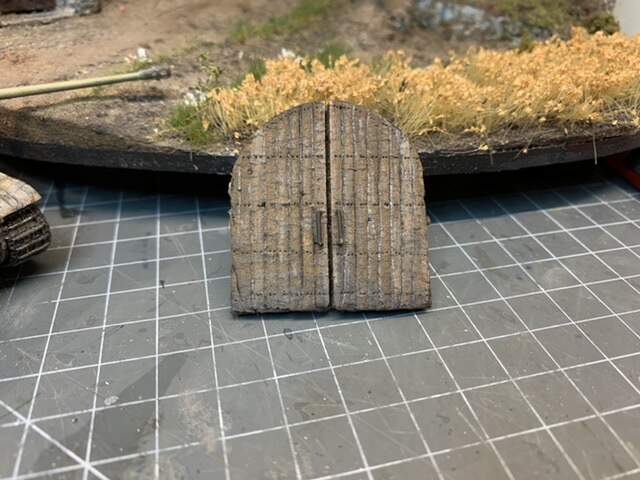
I will also do a new wooden gate in balsa wood, the one I made first was a bad job.
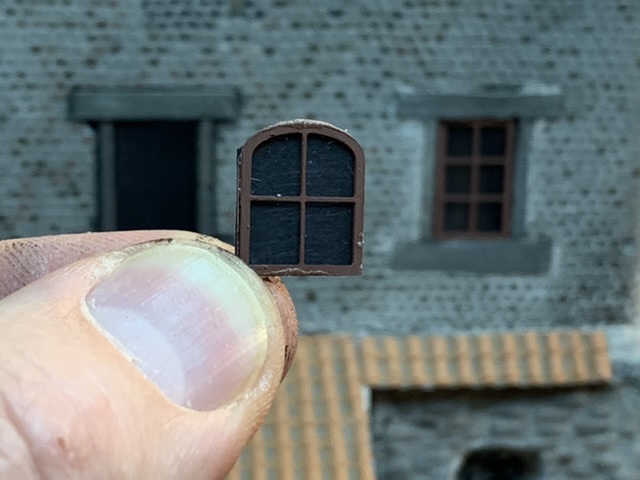
Ok, once again I’m hooked Erik, damn you lol. This was looking good from when you did it initially… The improvements you are now adding and little tweaks that you have learnt in that time are already turning this into a fantastic little captured moment in time. Your figure painting in this scale is super detailed and they look superb. The well, the flowers, the doors and windows… To name but a few pieces are exceptional, and again all in braille scale.
That Tiger looks very nice as well. Can’t wait to see more my friend
This is looking so good, so real it puts 1/35 scale work to shame. It’s easier to make a feta diorama in bigger scale. Doing it in small scale is the true mark of an artist, a modeller in thr true sense of the word.
(as a side note I restarted the hobby in 1/72 scale, not realizing the difficlties)
Your work in 1/72 scale Erik, is truly inspiring a thing to look up to.
Thanks a lot to all of you!
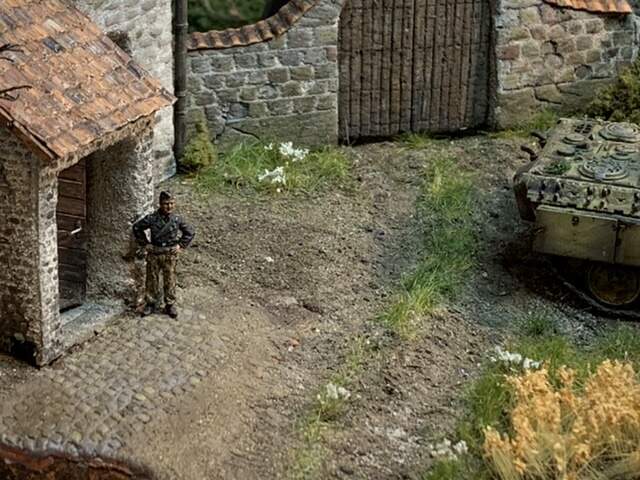
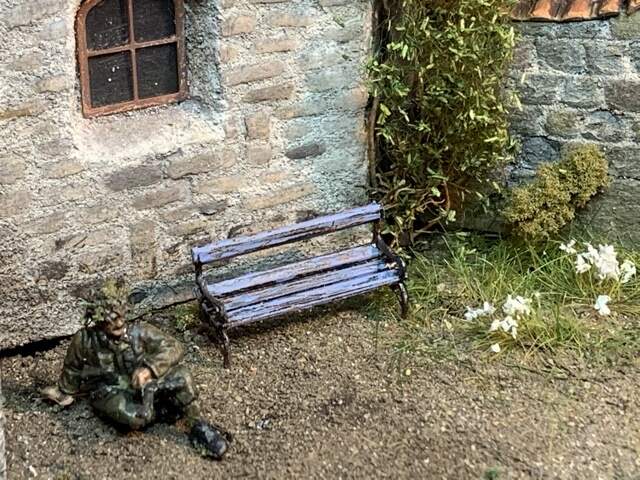
In my new artistic era in diorama building, I place the commander and lead character on a red and golden chair in the center of the diorama.
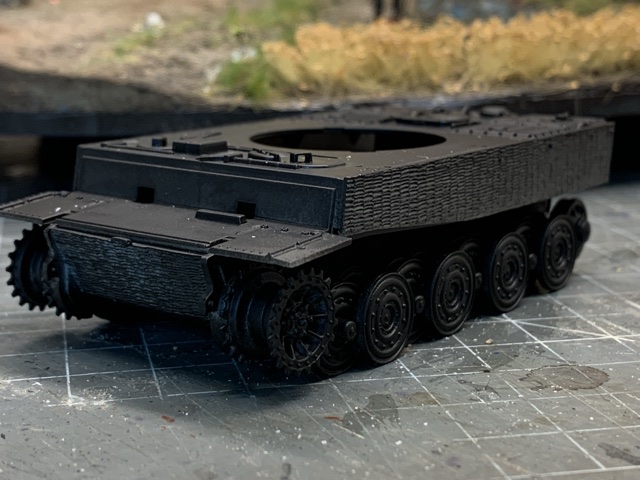
My problem now is that I realize that it’s only one of four hatches that is open…
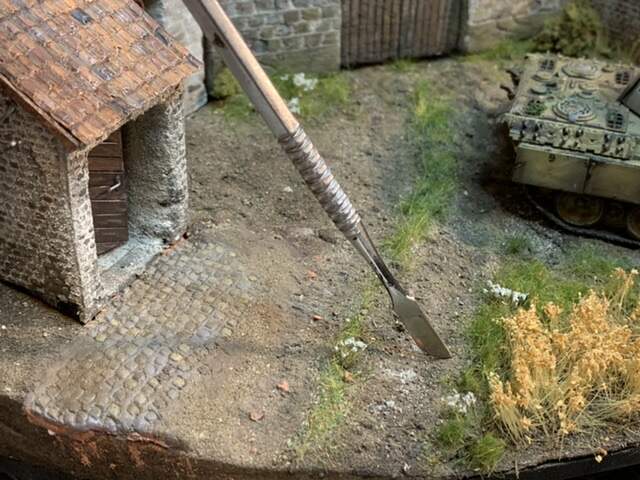
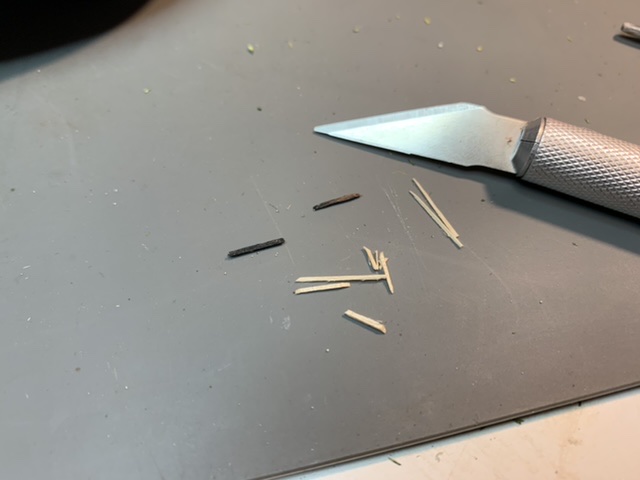
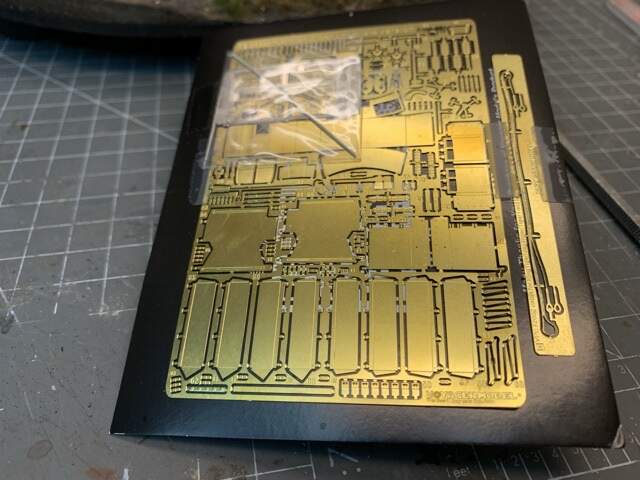
I would like to open one of the two hatches in the front. Hmmm I hope to have the courage to get the scalpel work…I also found some nice PE parts. Cheers
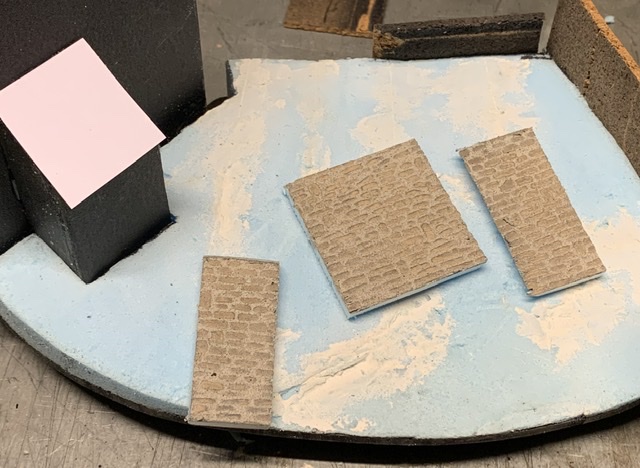
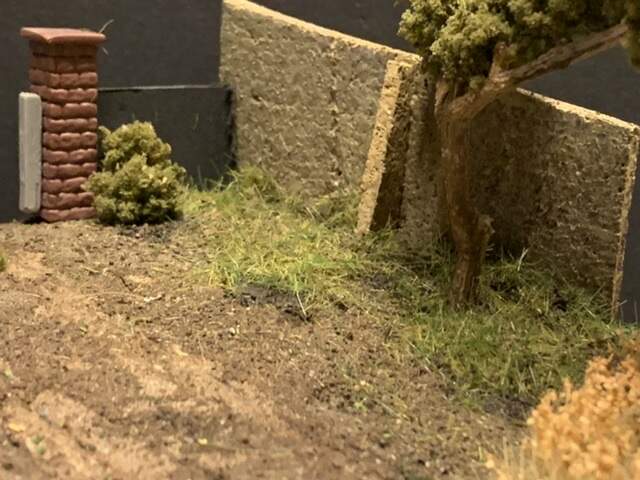
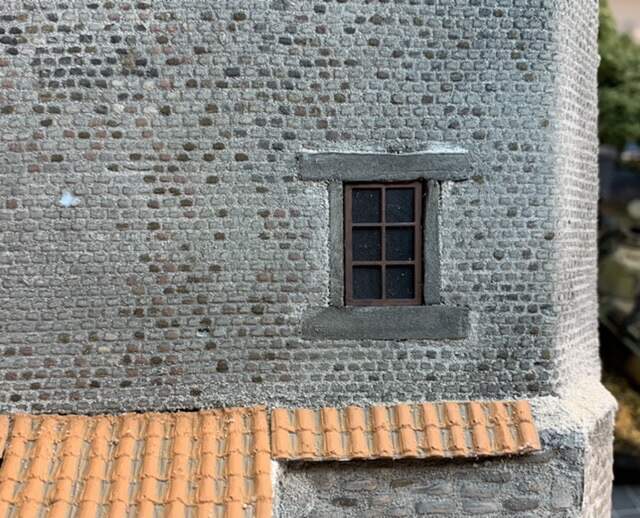
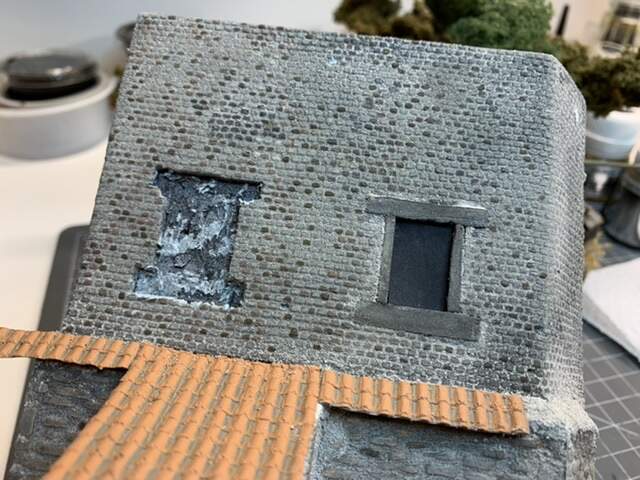
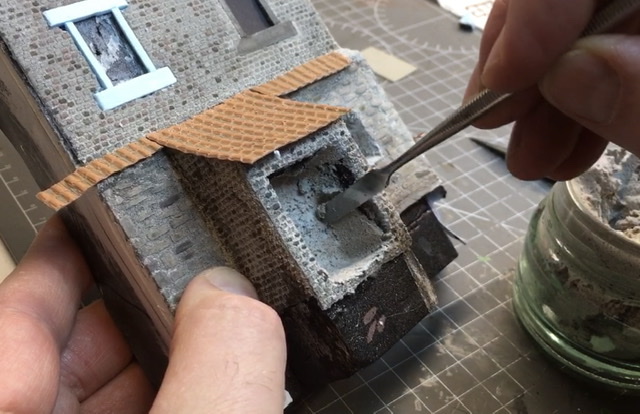
Ps I am preparing to make a roof and the wall to the right.
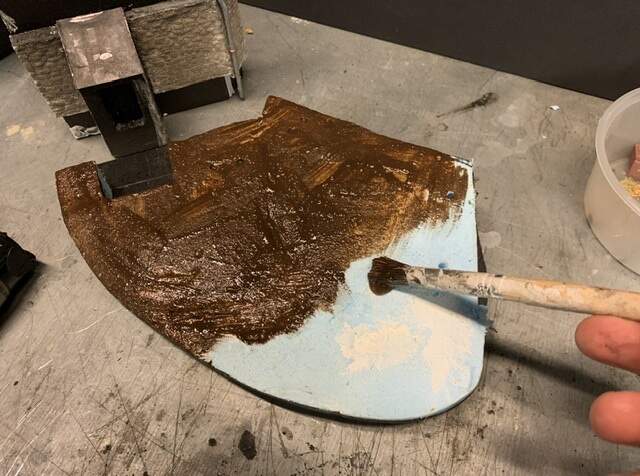
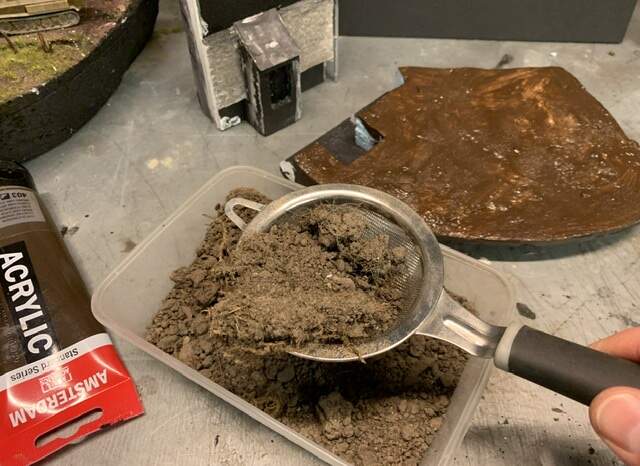
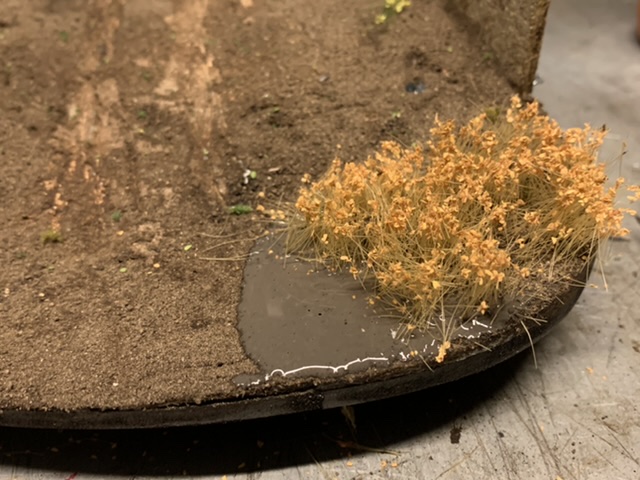
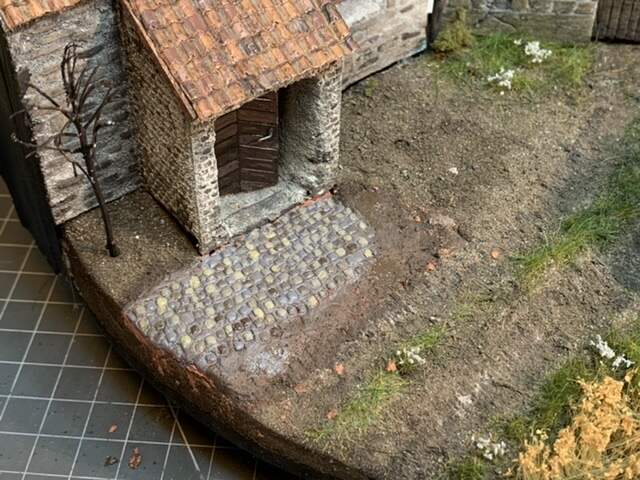
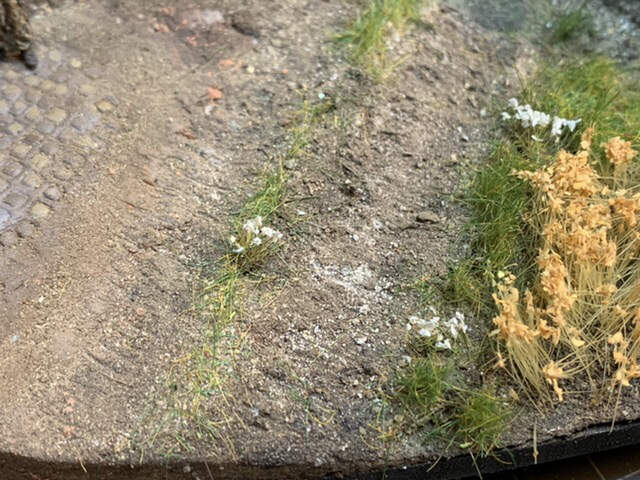
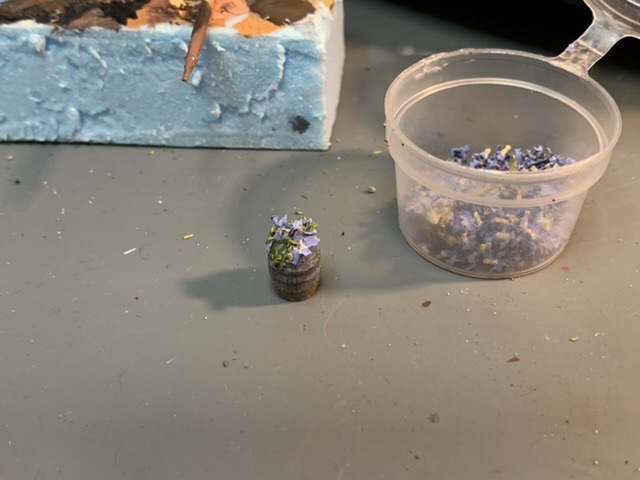
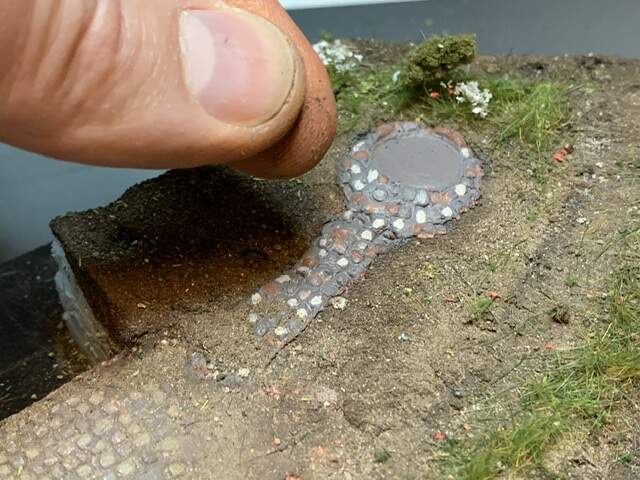
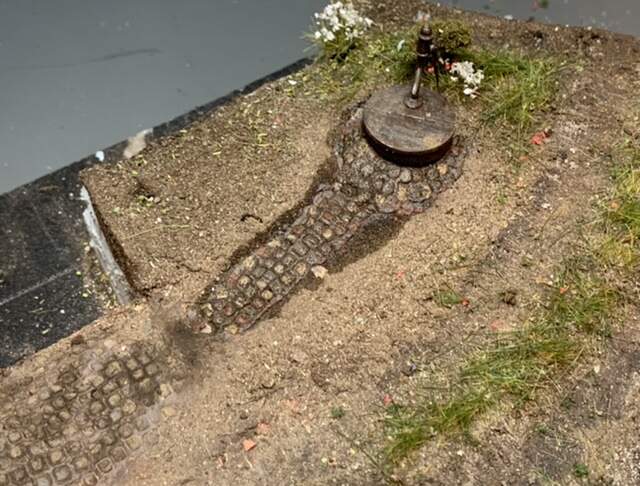
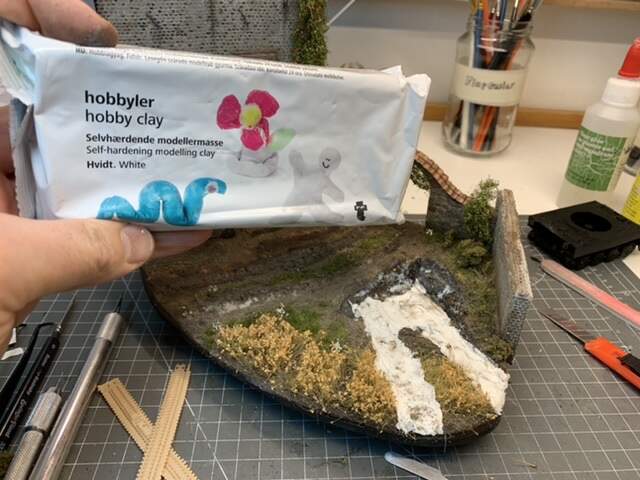
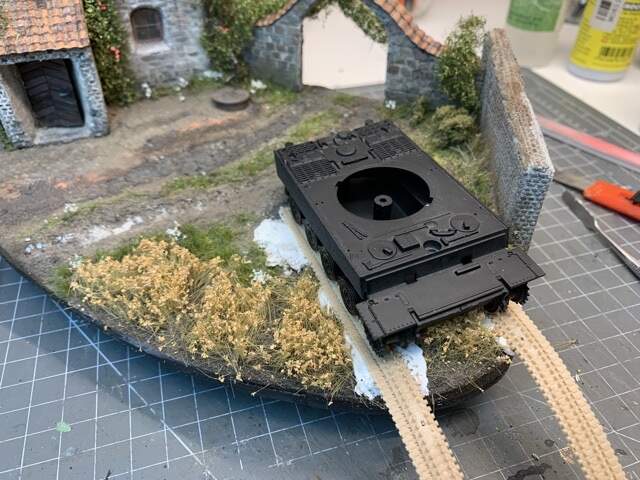
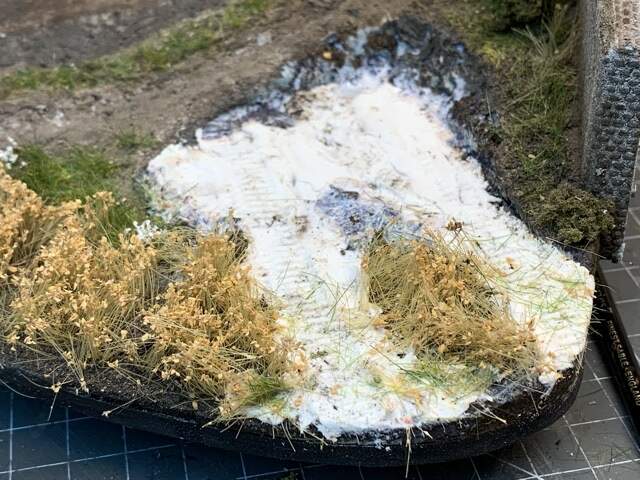
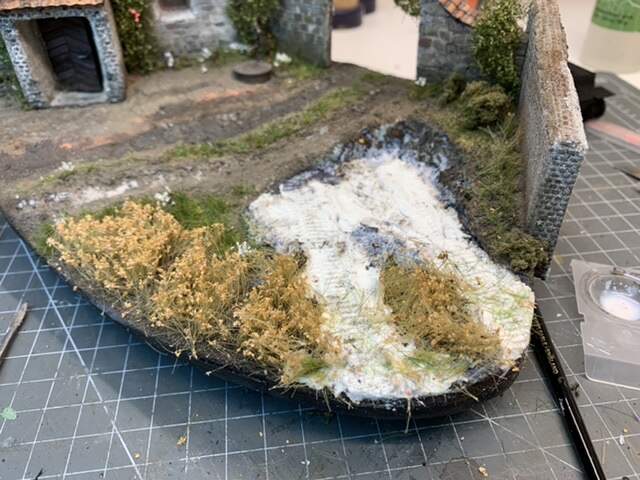
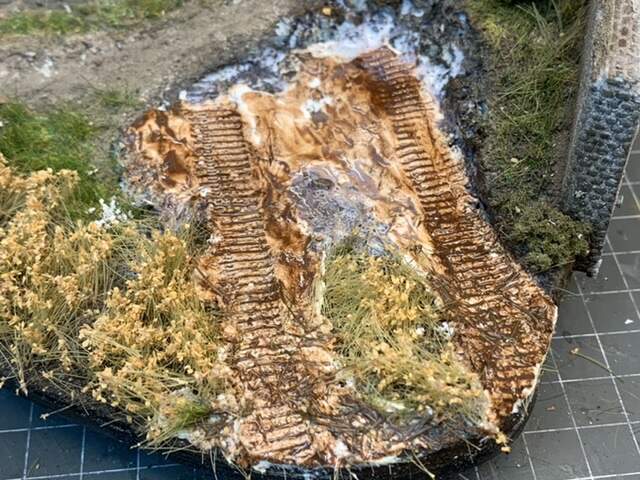
I worked with the track marks. Used clay, I placed static grass in the marks, glued it with white glue. I put some brown colon on just to see that the pattern was ok.
It’s all coming together great Erik.
The idea to get the track marks looking right is very good, and the results speak for themselves.
And the lead actor stood on his grand chair looks great … And is ready to address is soon to be added audience
I think with a nice new sharp blade you should be ok with very gently cutting out at least one of the hull hatches, are their parts for them on the PE set ? Looking forward to the next installment
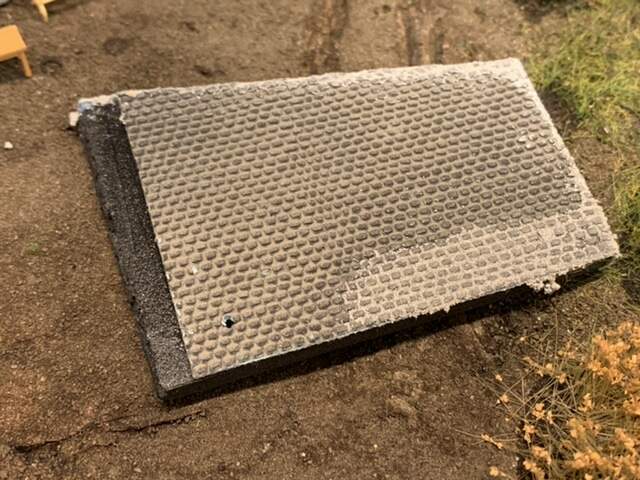
If that was a cake I’d want a big slice - looks delicious Erik…in fact how are your baking skills? Maybe you could pioneer the first fully edible diorama?
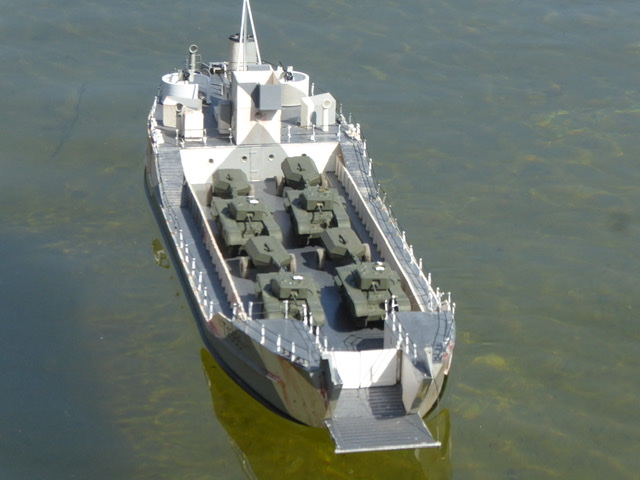
I work in 1/72 as well, but not to that standard, and my dioramas float, I never thought of them as that, but I suppose some are and I should up my game and treat them as that
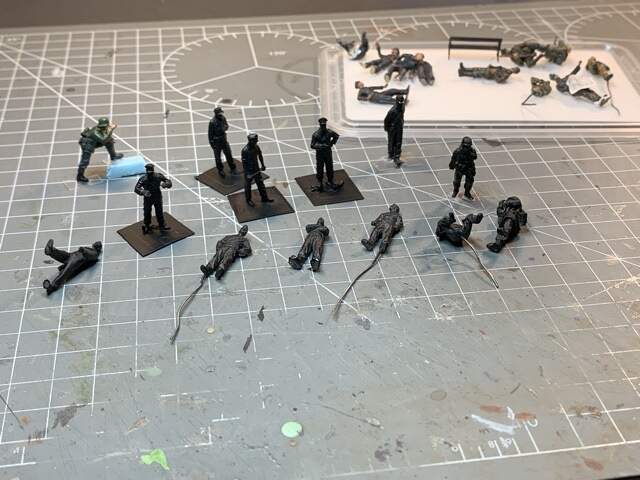
I tend to build a ship, the load is incidental. Just in the process of changing this load to an actual load landed on Juno beach on D-Day, and thinking that the vehicles on their own will not be enough, I need to add figures and bring it alive especially as the vehicles are Priest SP guns, Halftracks, Universal Carriers and Jeeps, all open vehicles.
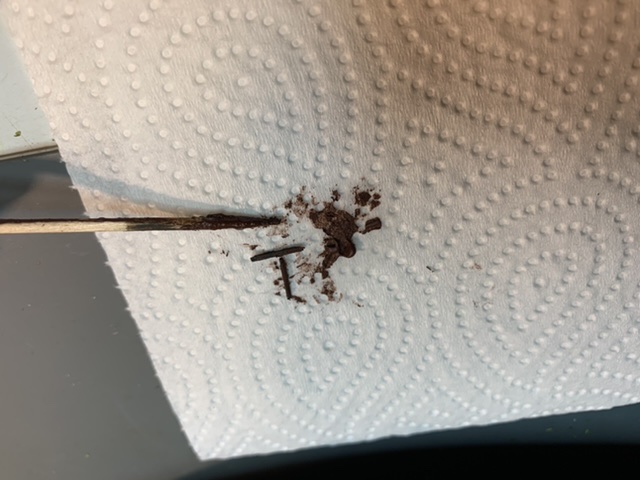
Thank you so much guys! @Johnnych01 unfortunately the hatch it self is not included. I have to use the part I cut out. @Dioramartin That is a great idea, a diorama cake!
I think its still possible Erik with a nice sharp pointed blade and just use it to pierce small areas around the hatch line and then sand it all smooth once you are through.