That looks not un-adjacent to excellent. Just in case, another suggestion – pastel chalks to avoid liquid stress. Mortar shade scraped to make a fine powder that can be gently brushed into the crevices, and then do the bricks by simply passing a stick or two of brick-shades over it i.e. using the long side of the sticks. Suitably flat/matt, with a lightly-sprayed flat varnish to seal it all. Worth a shot?
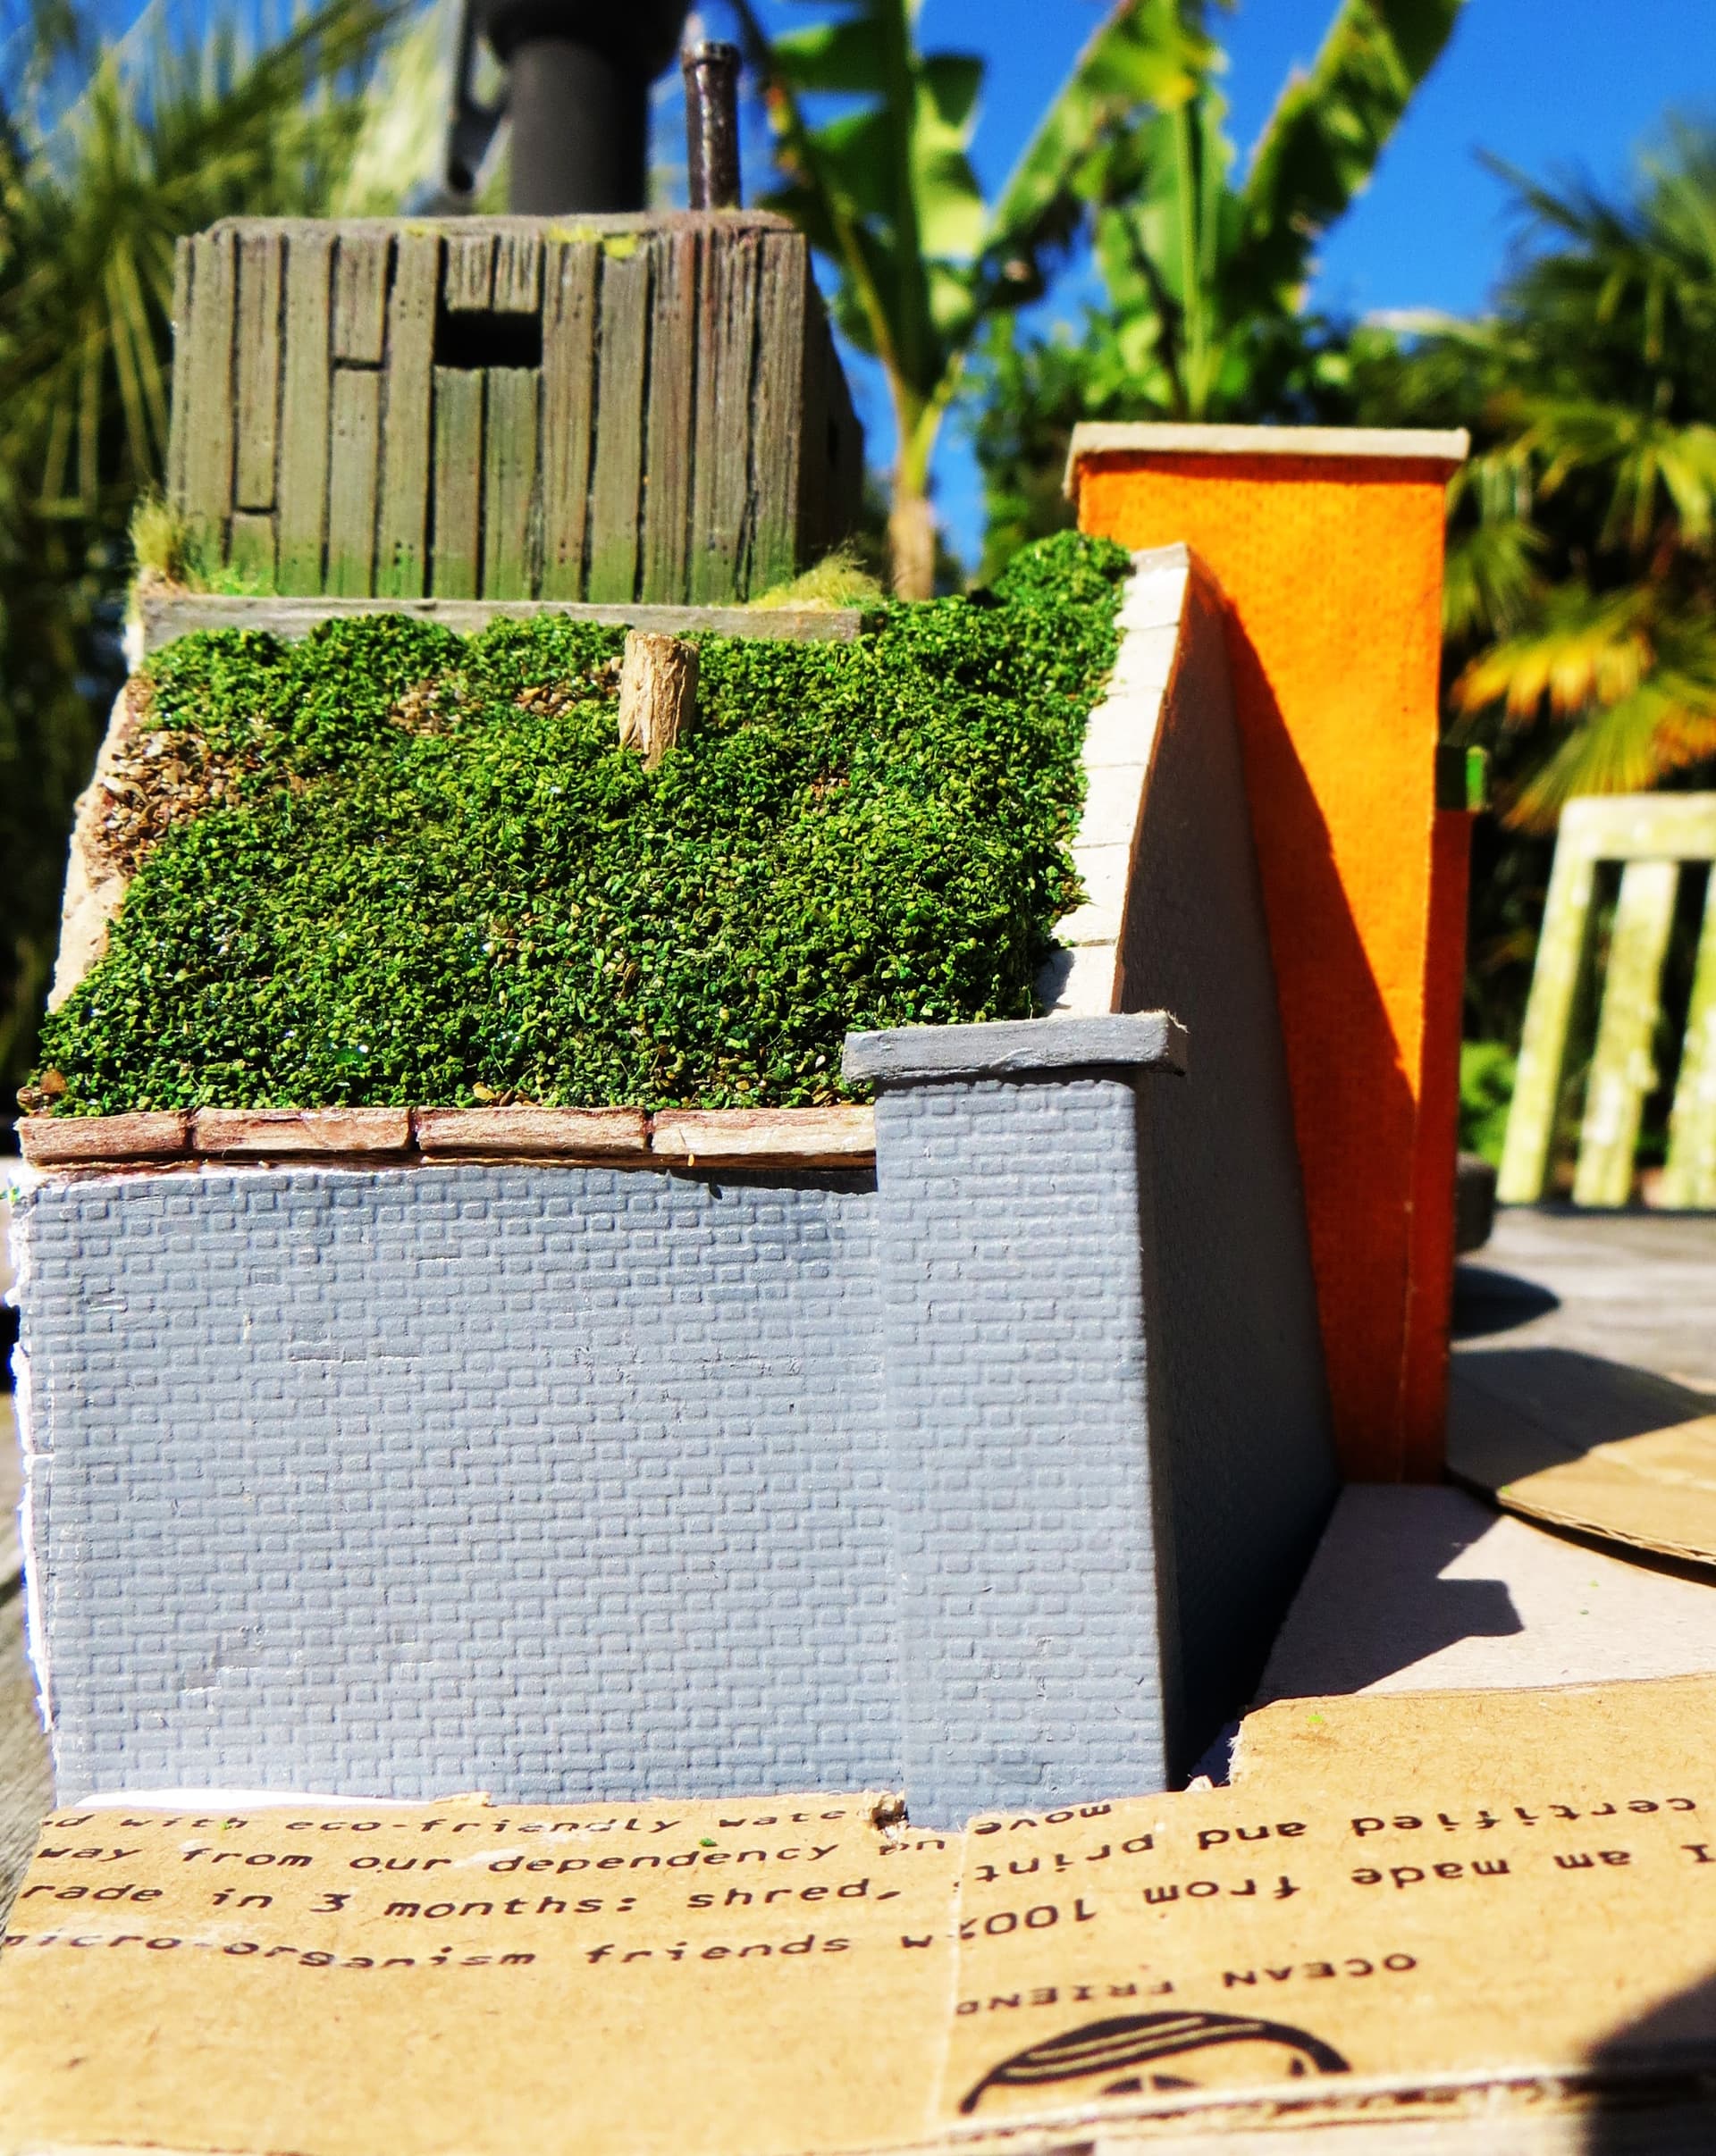
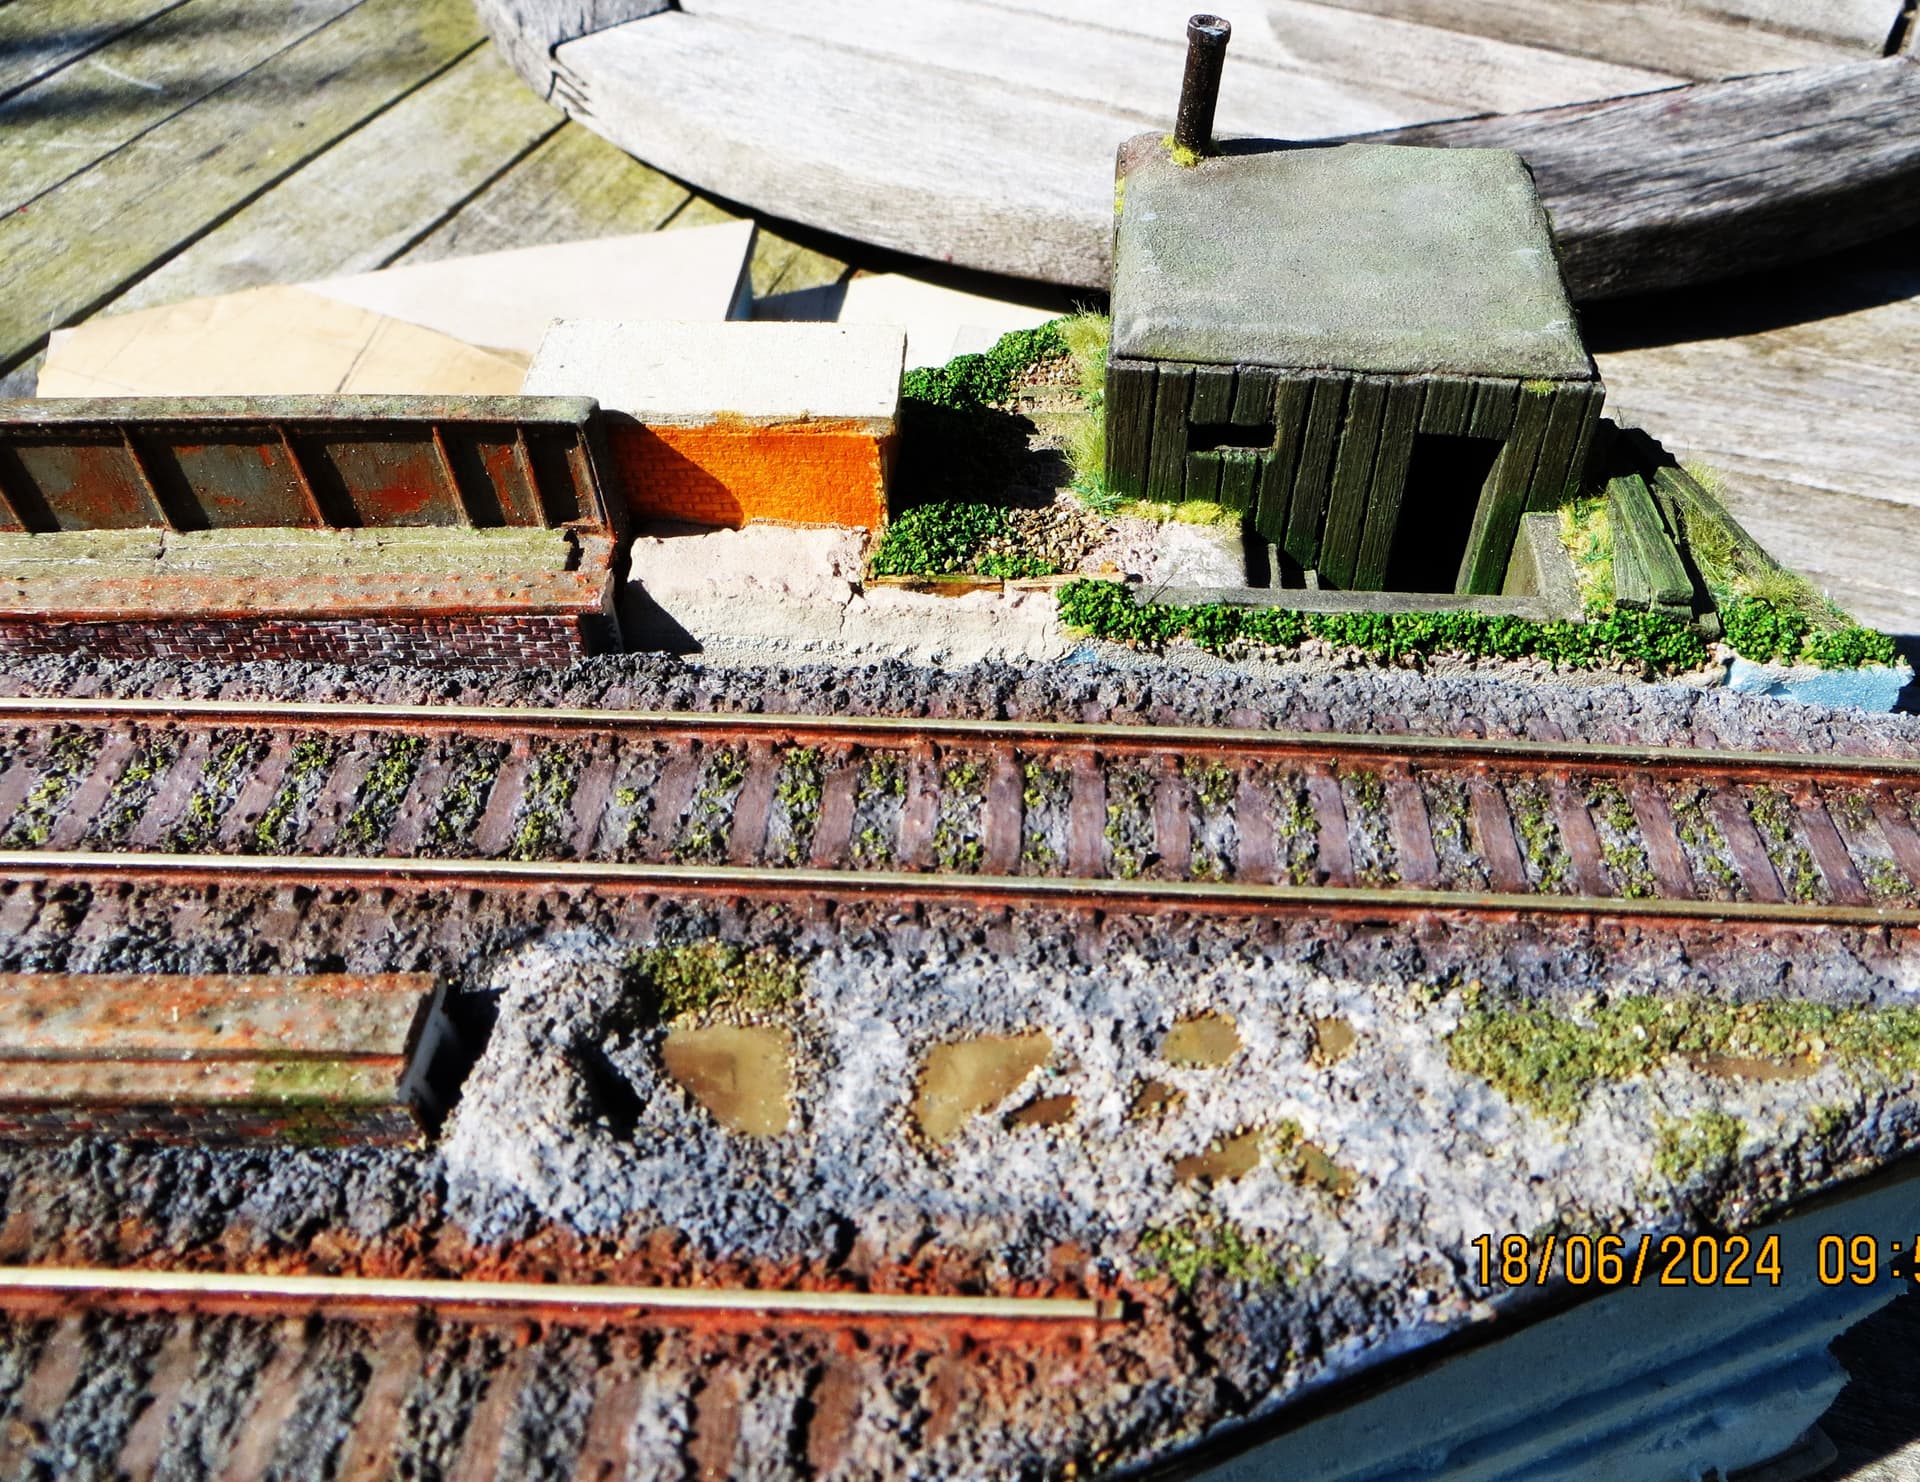
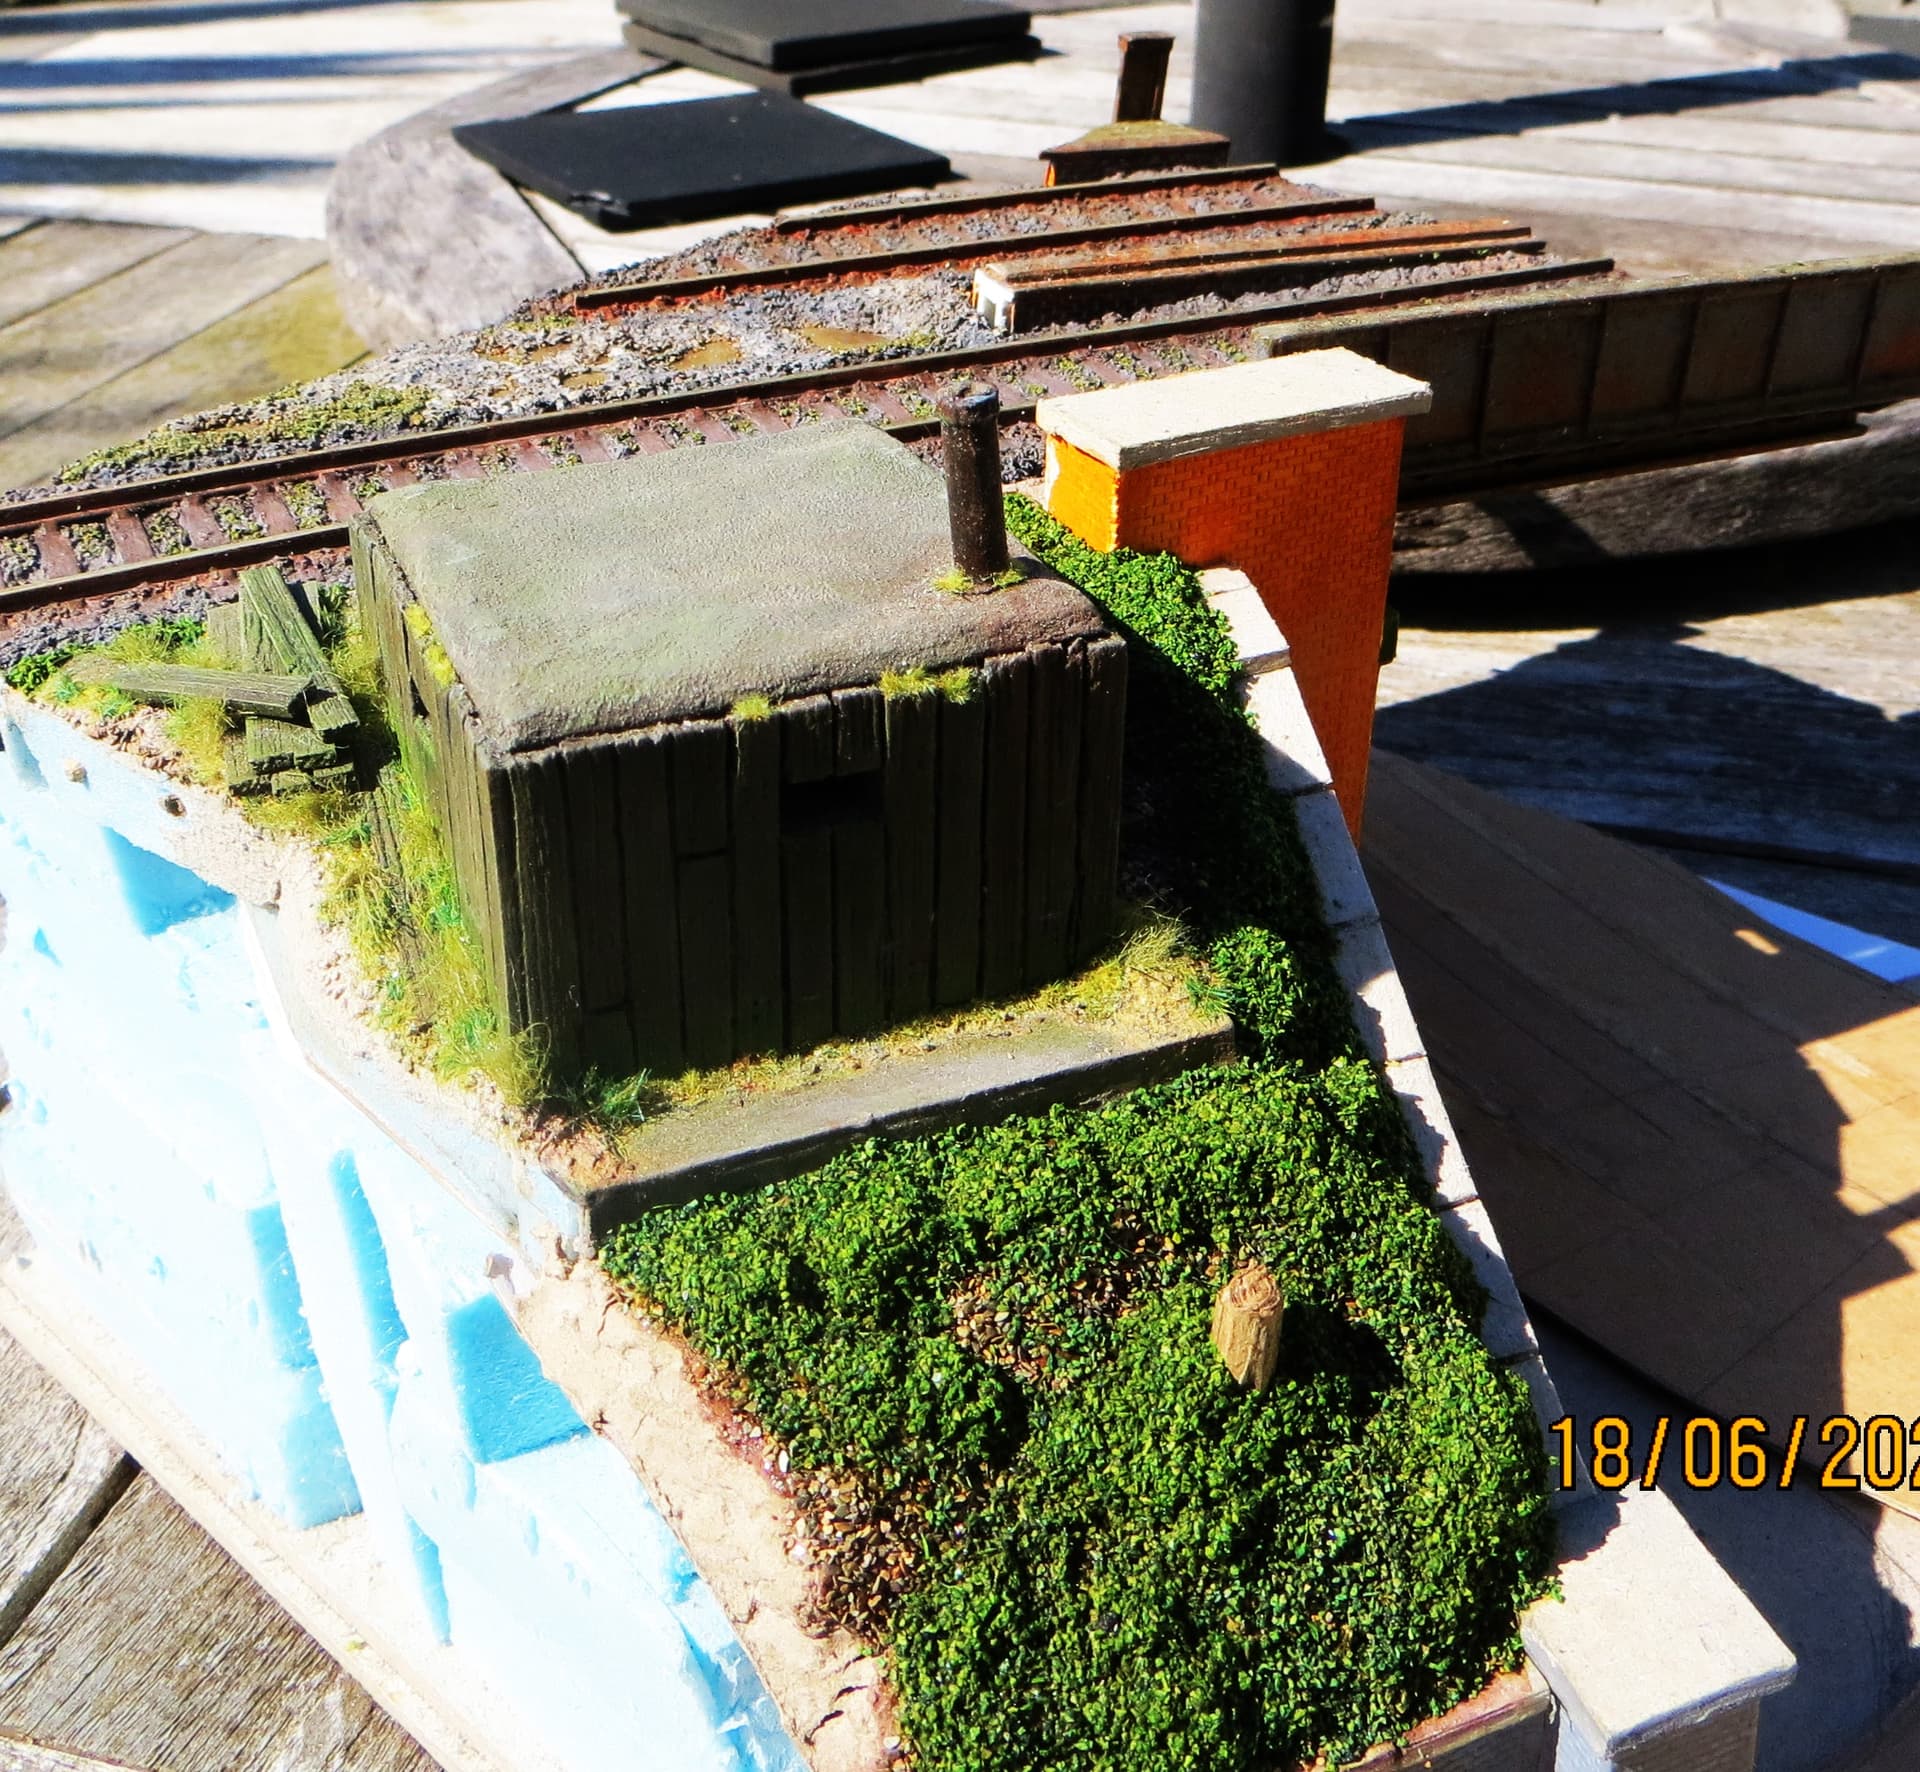
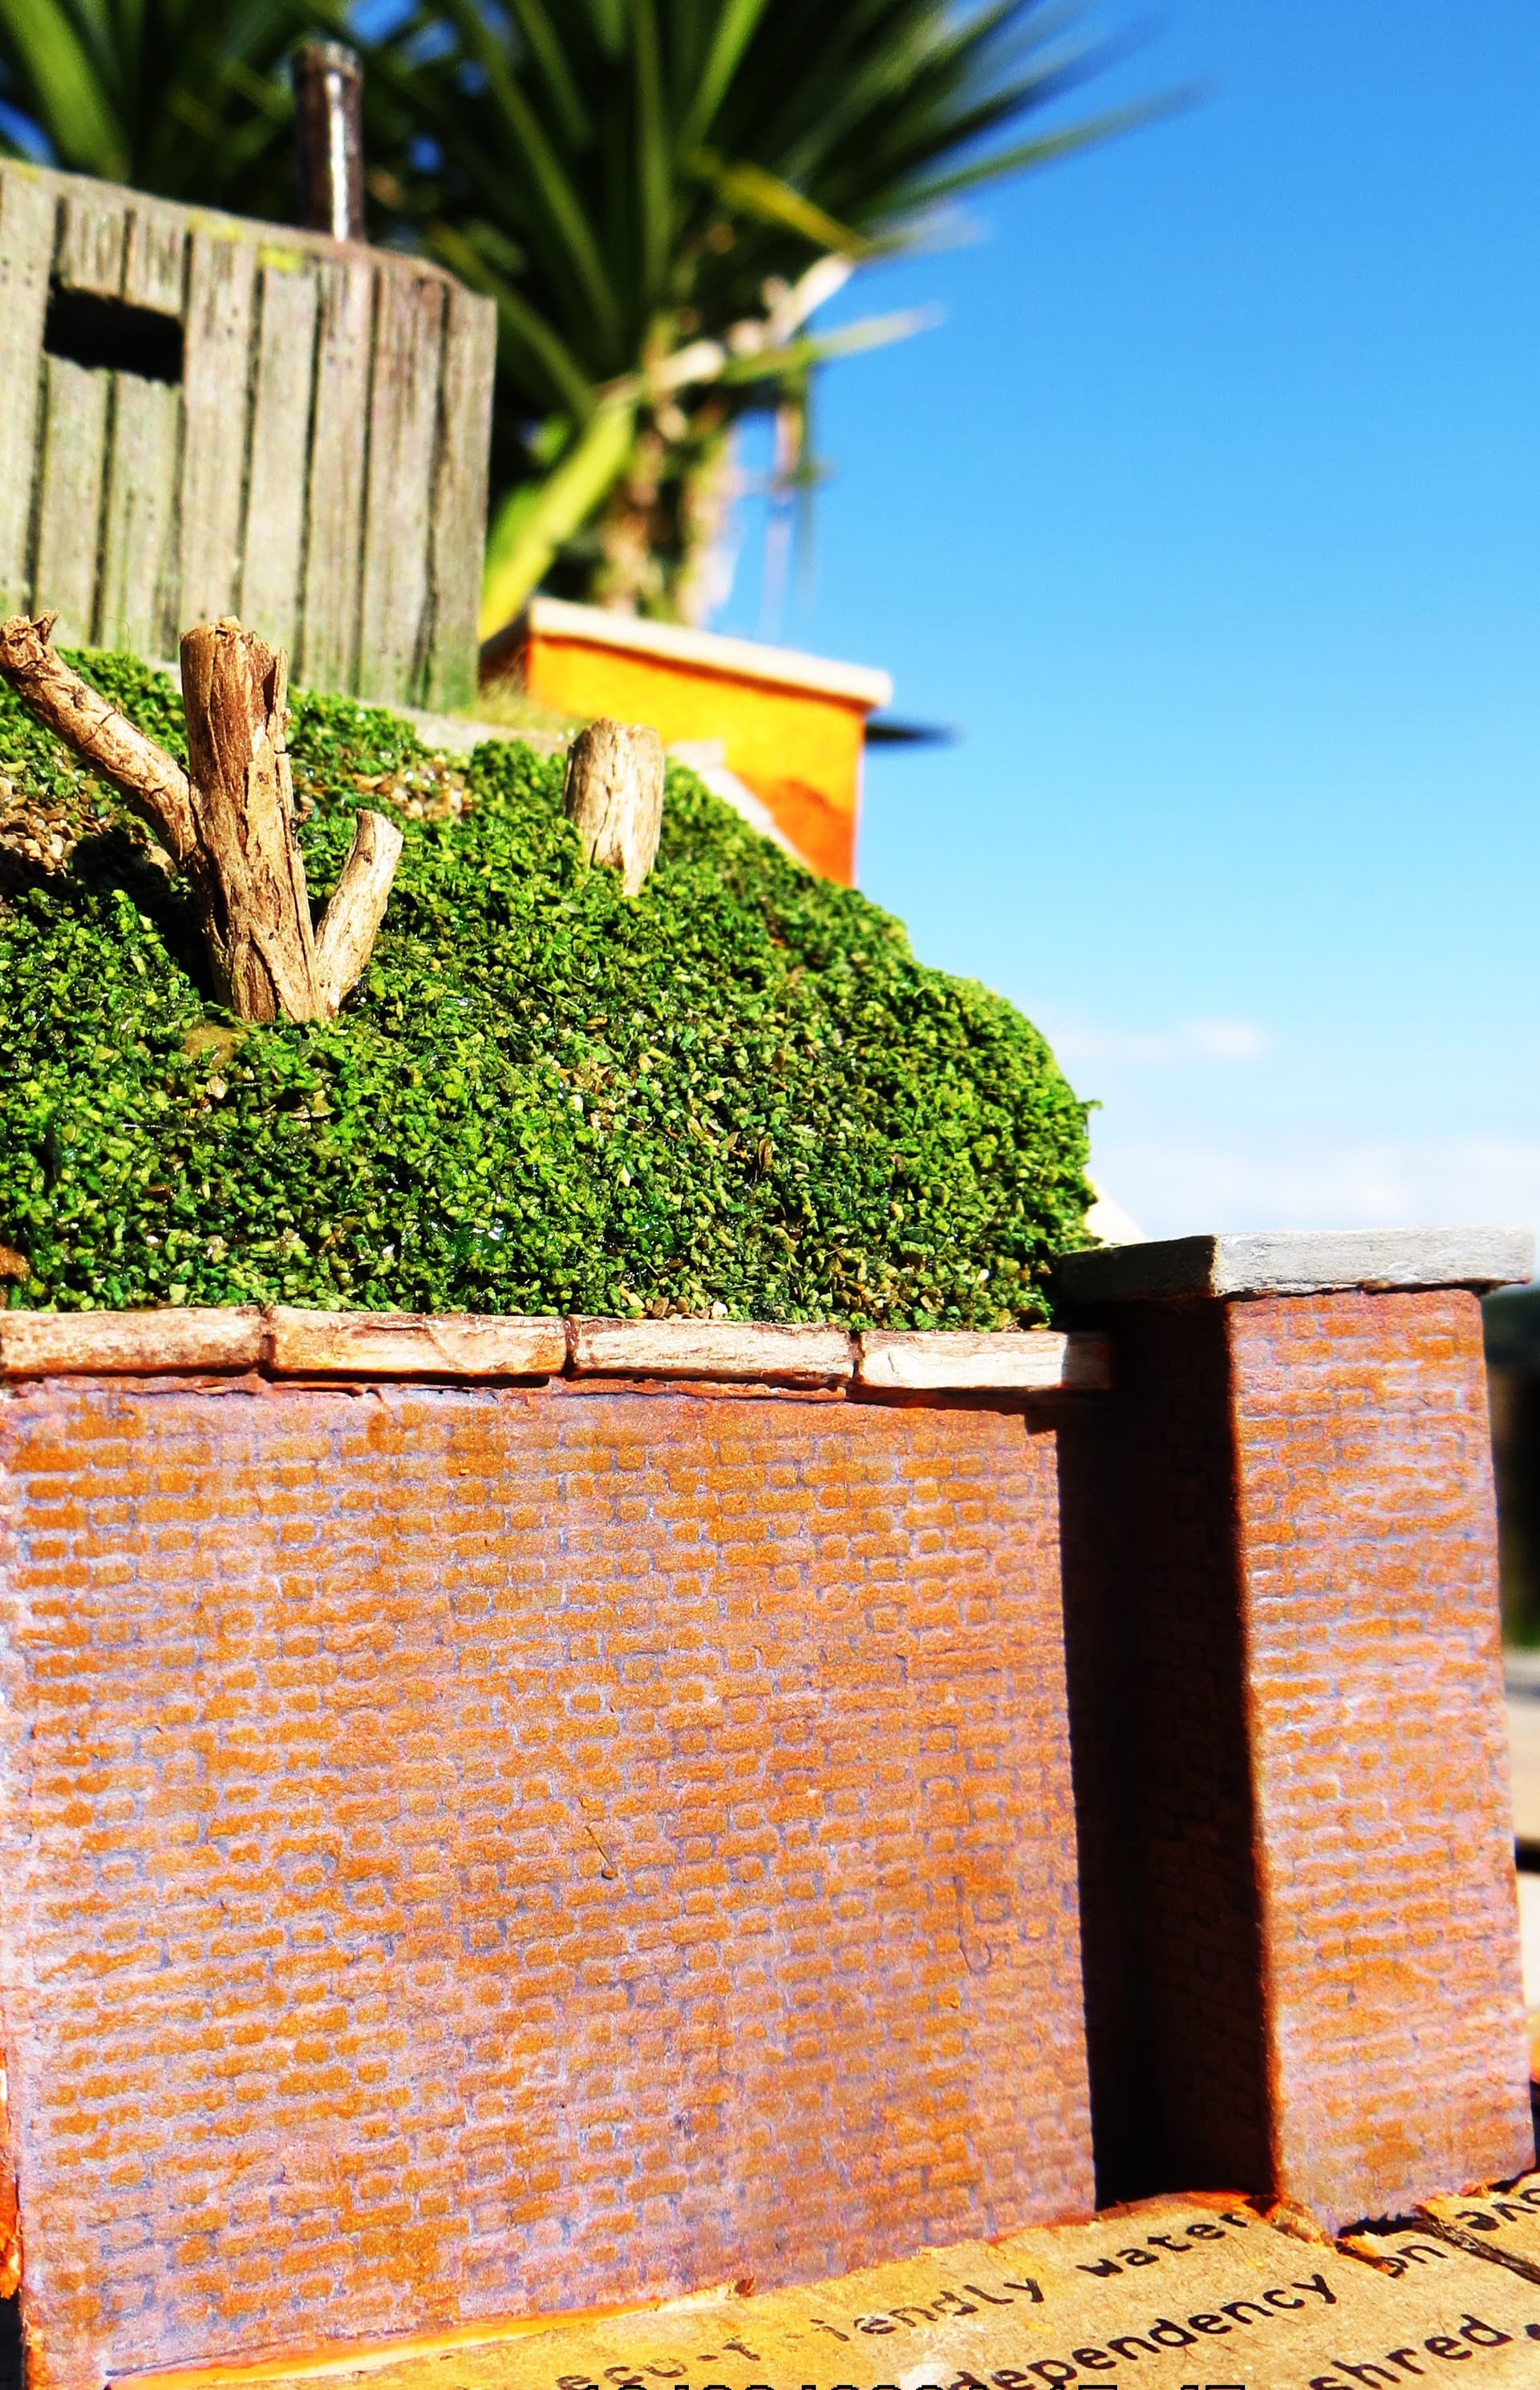
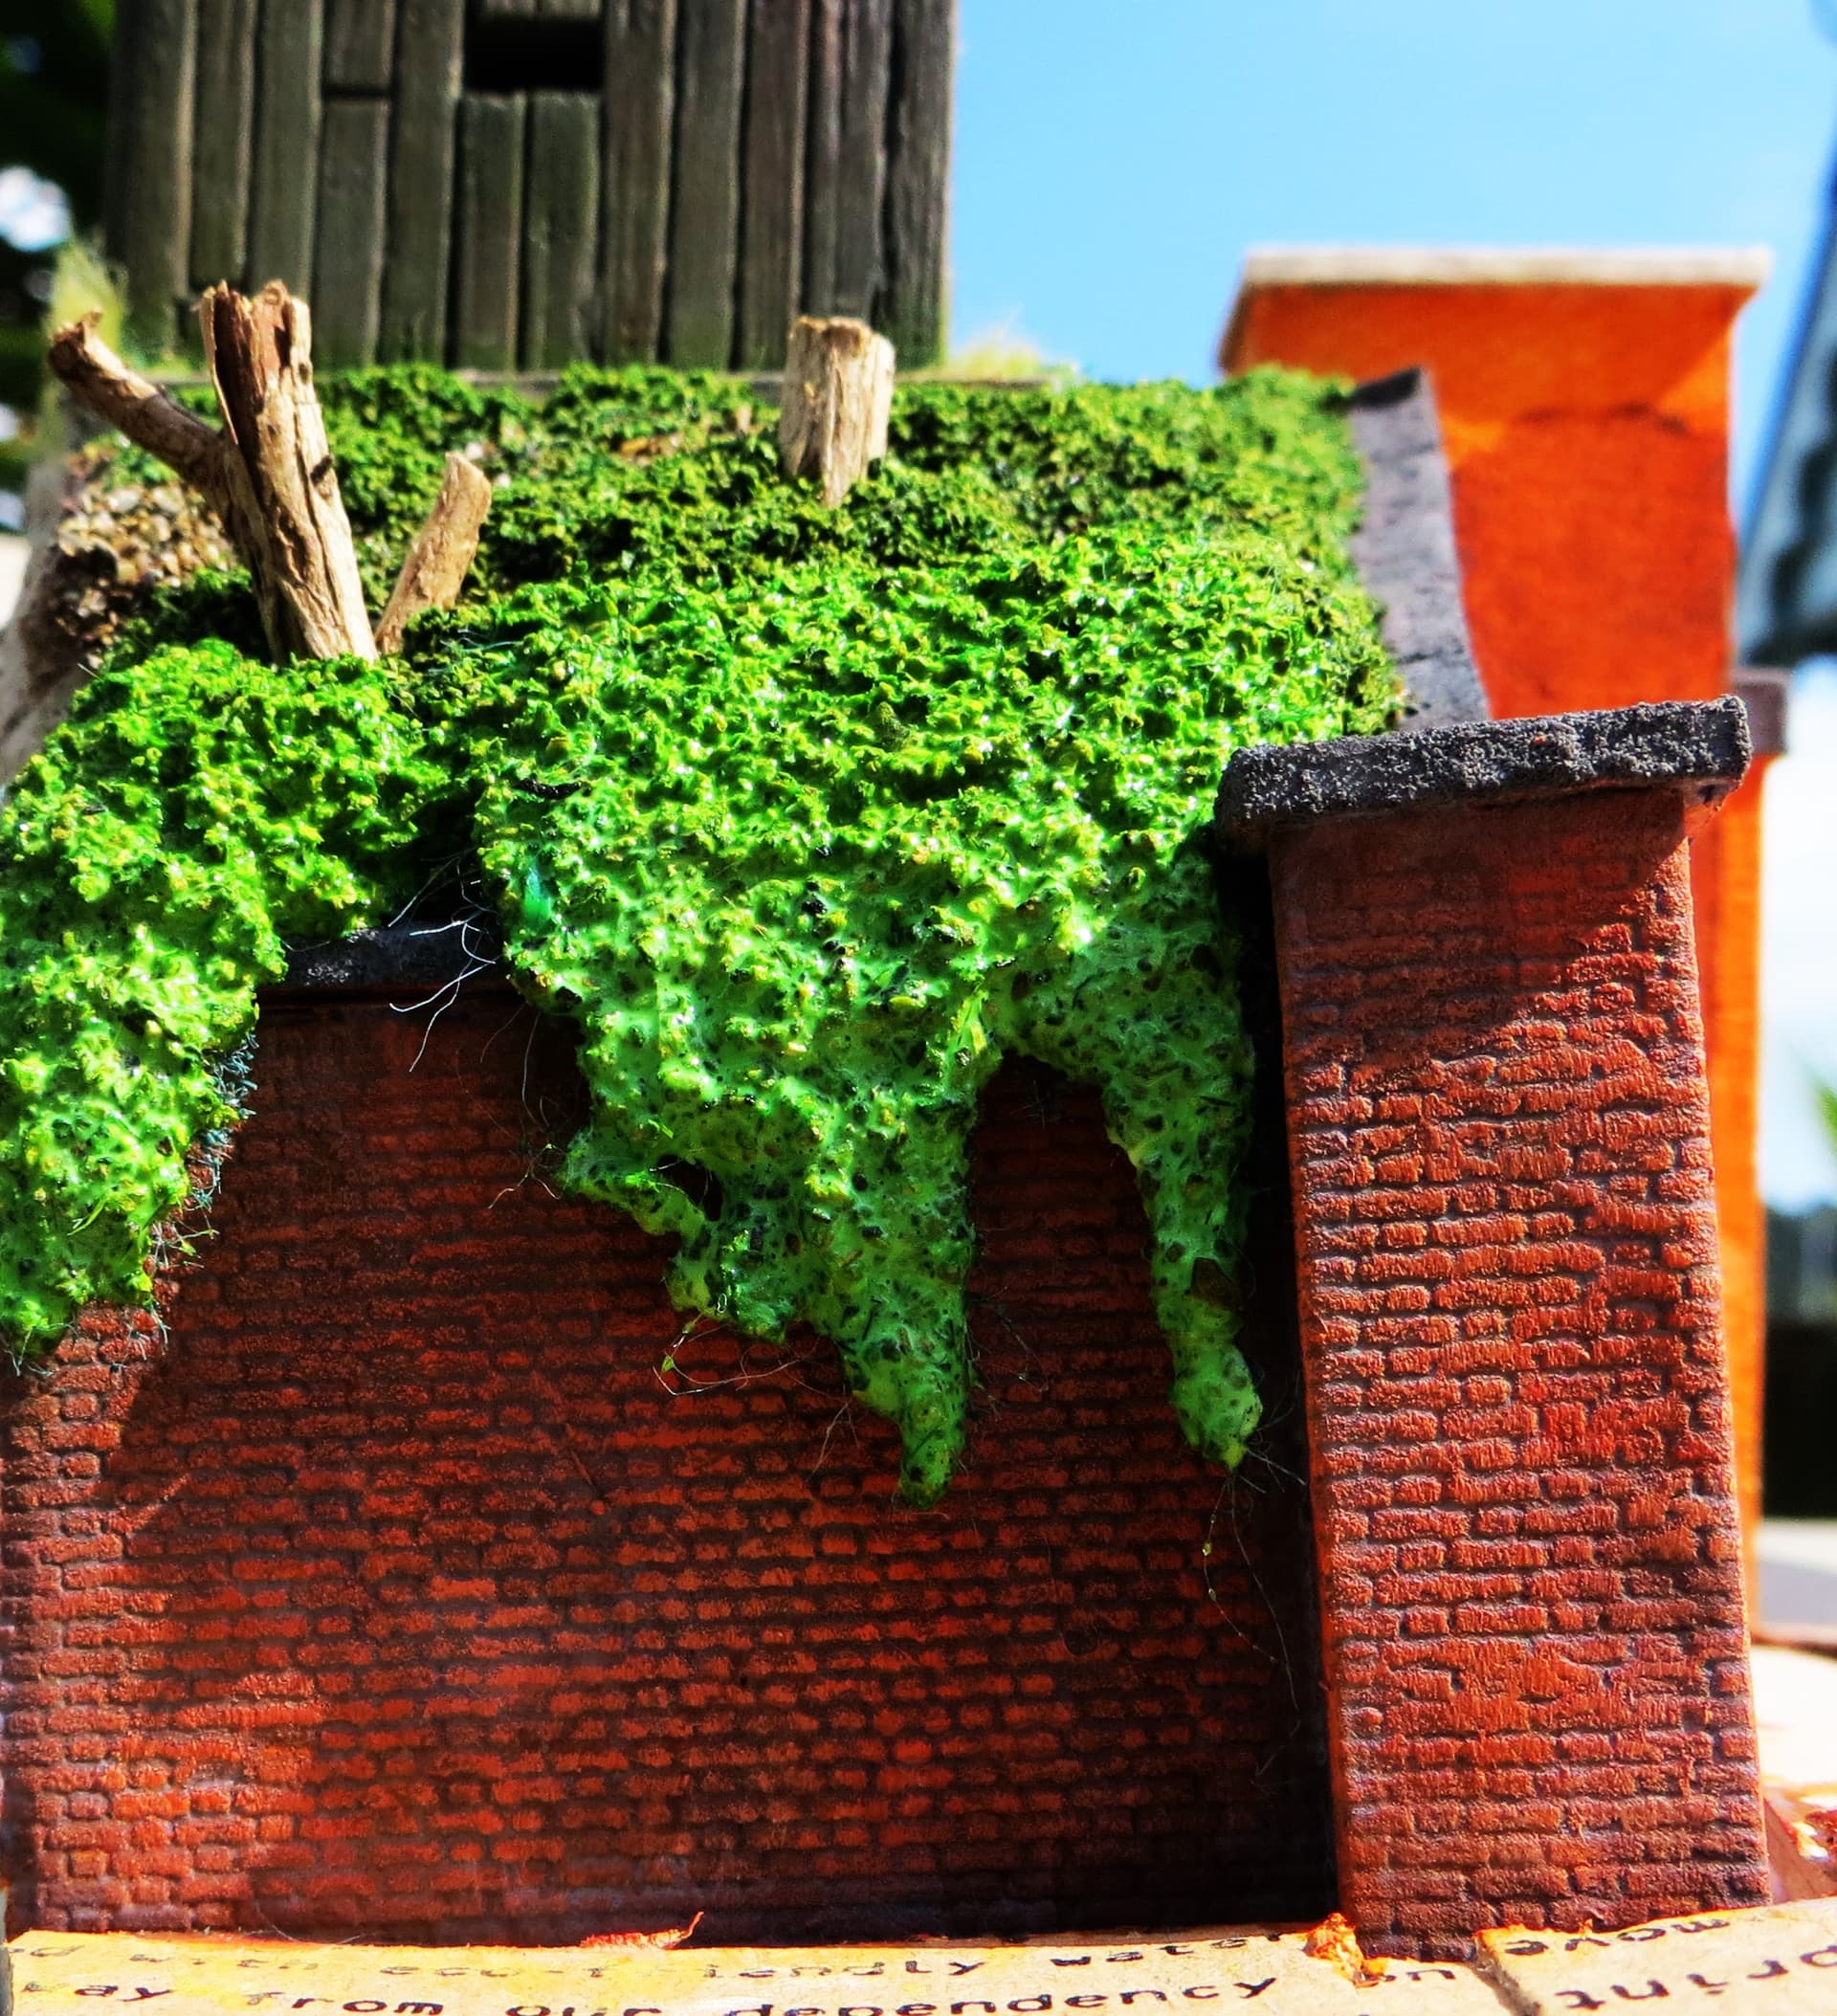
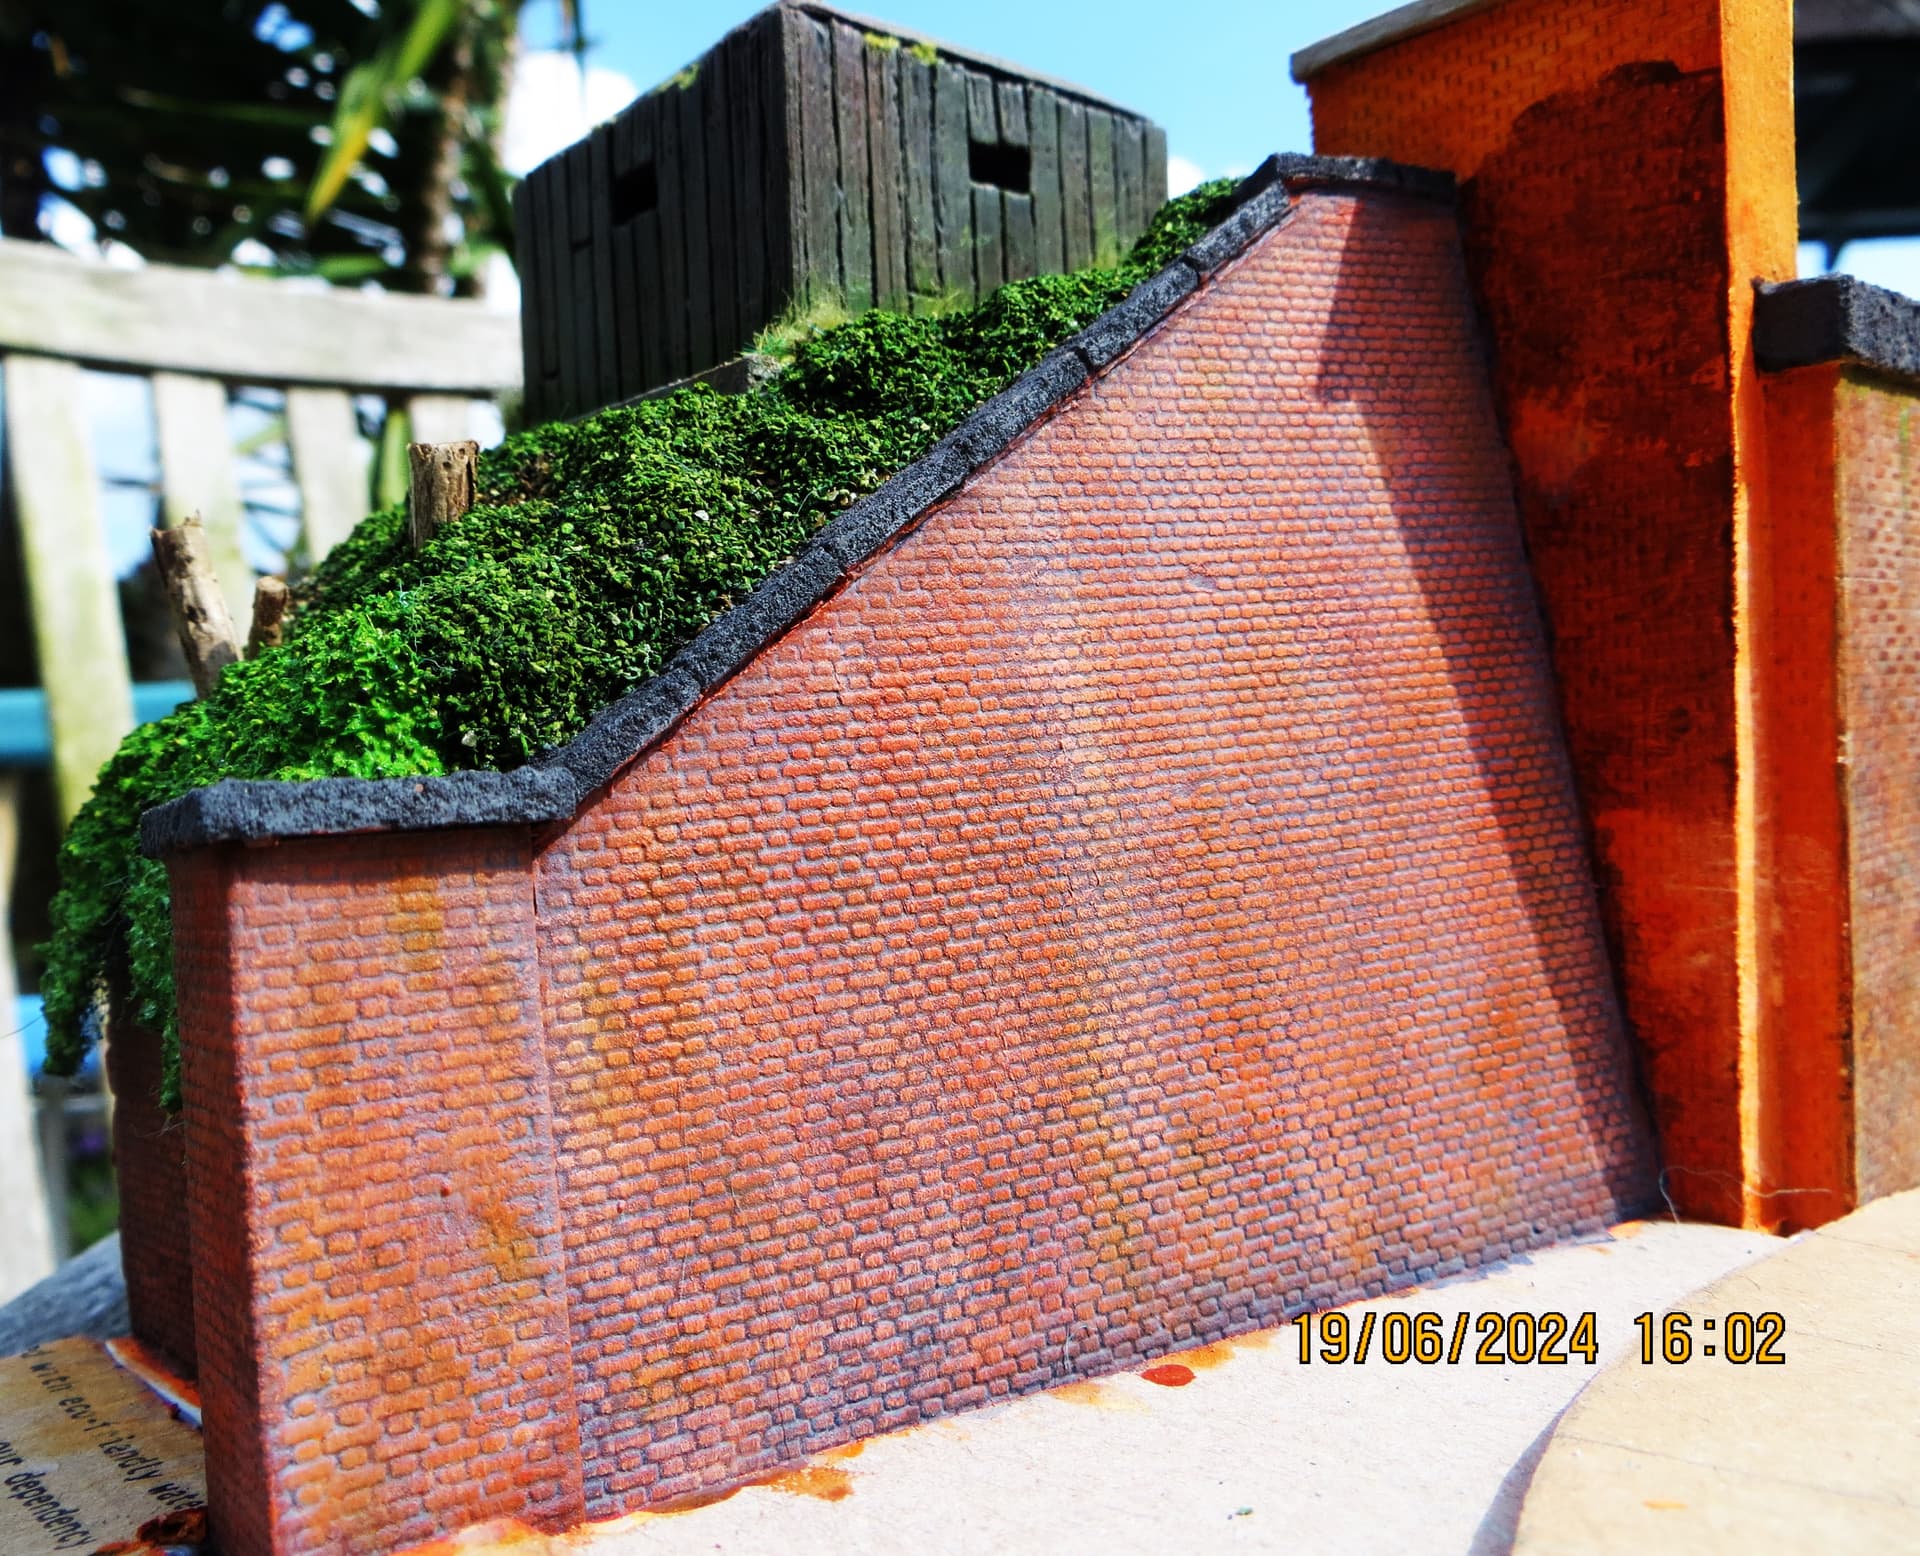
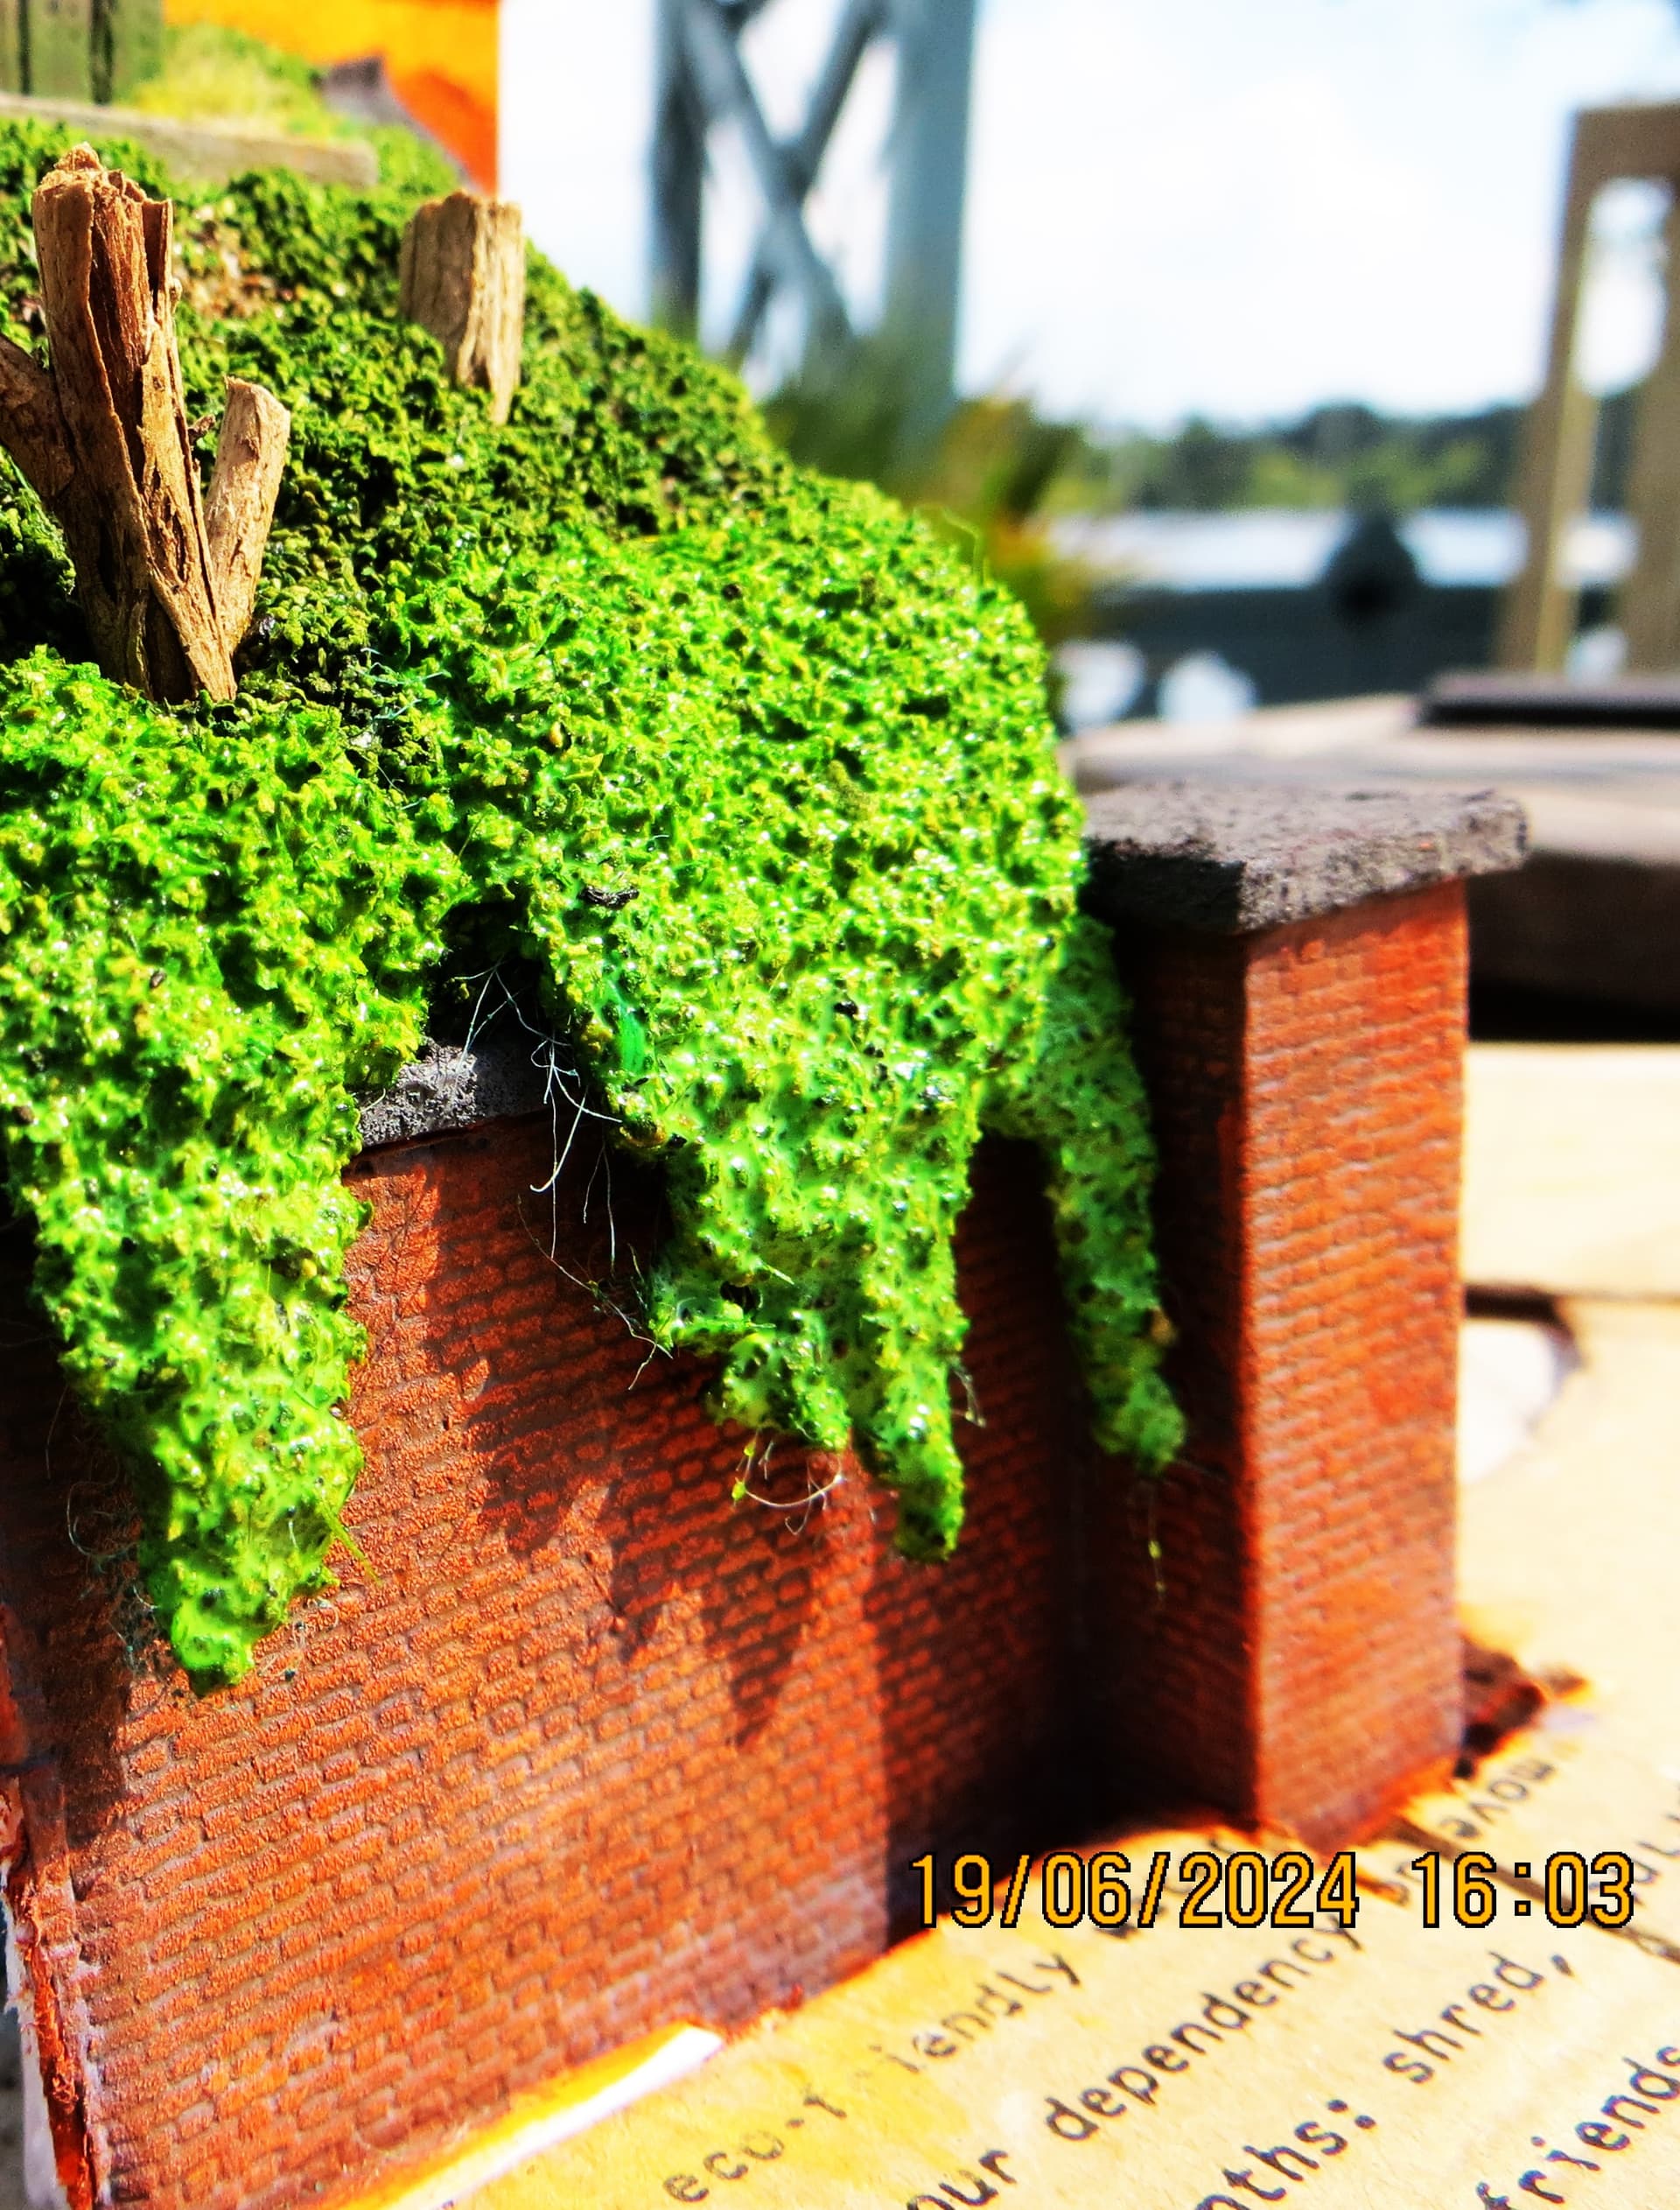
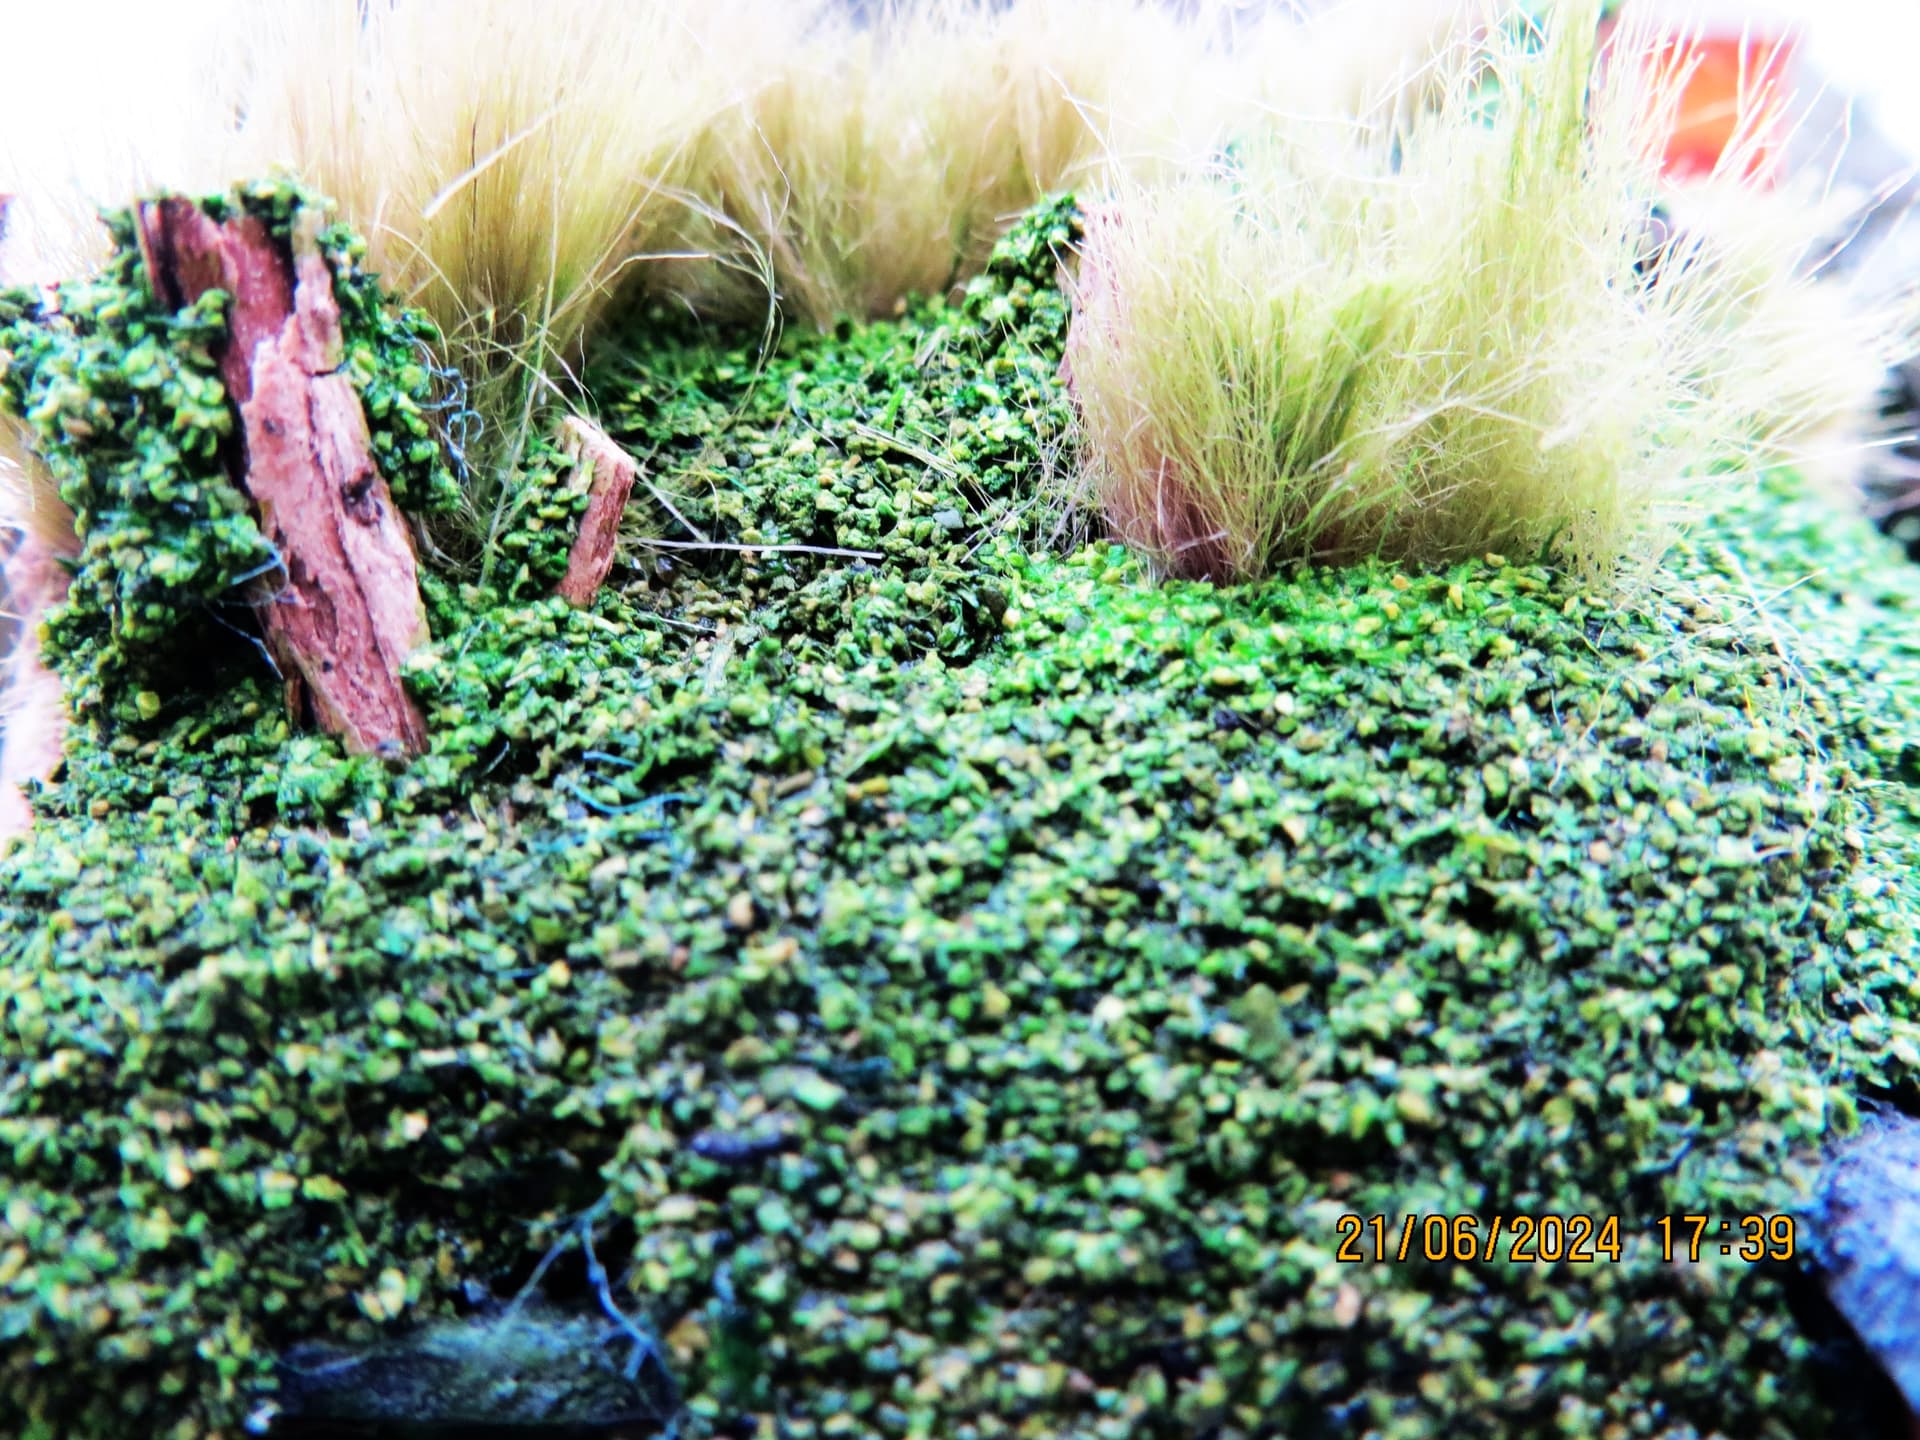
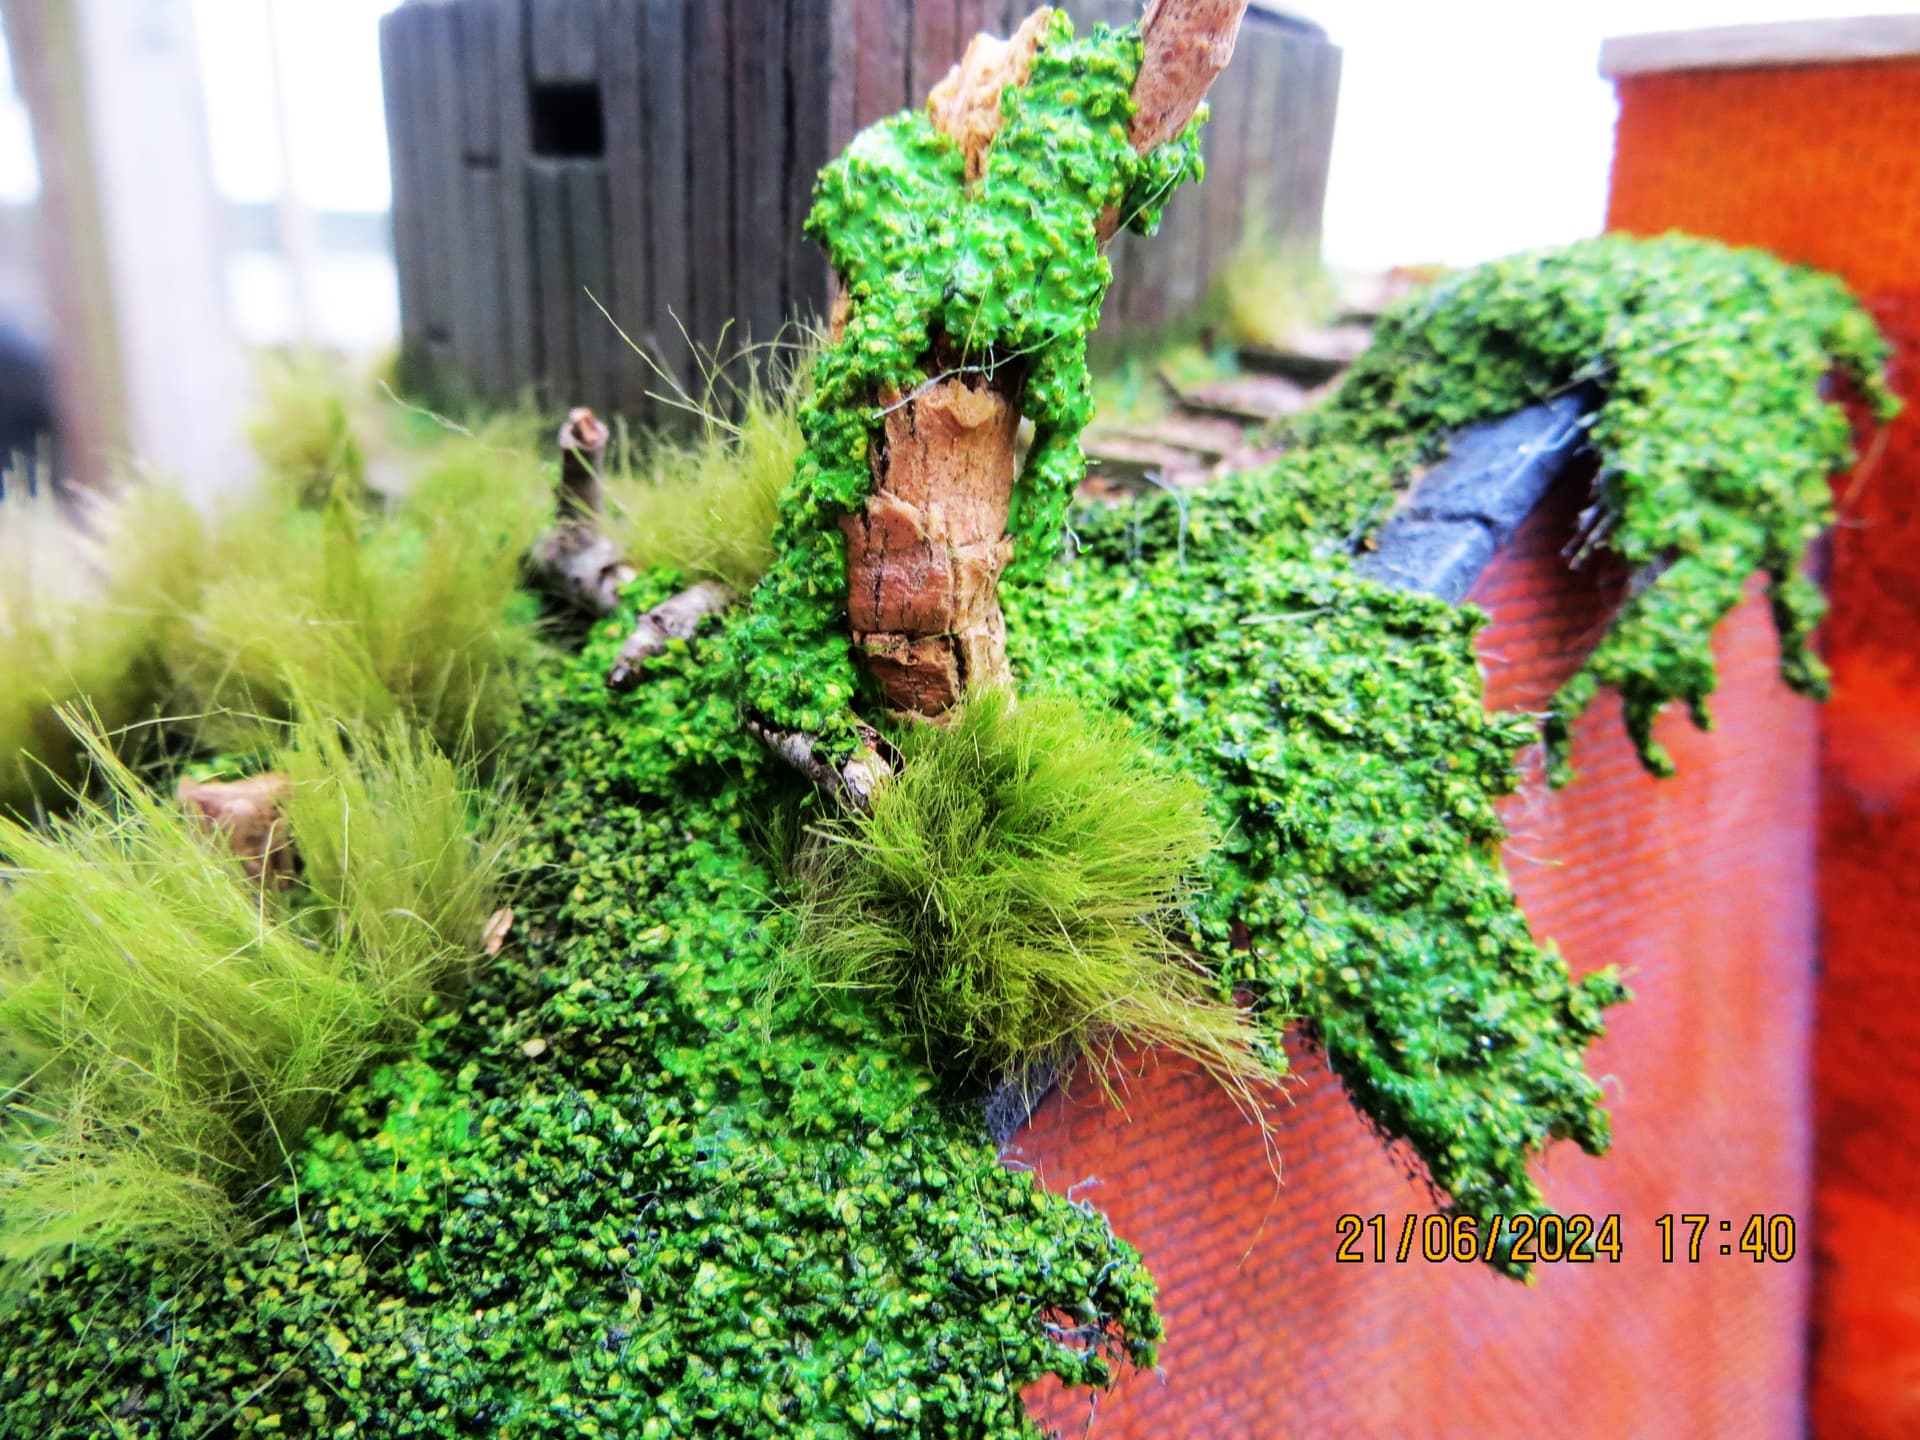
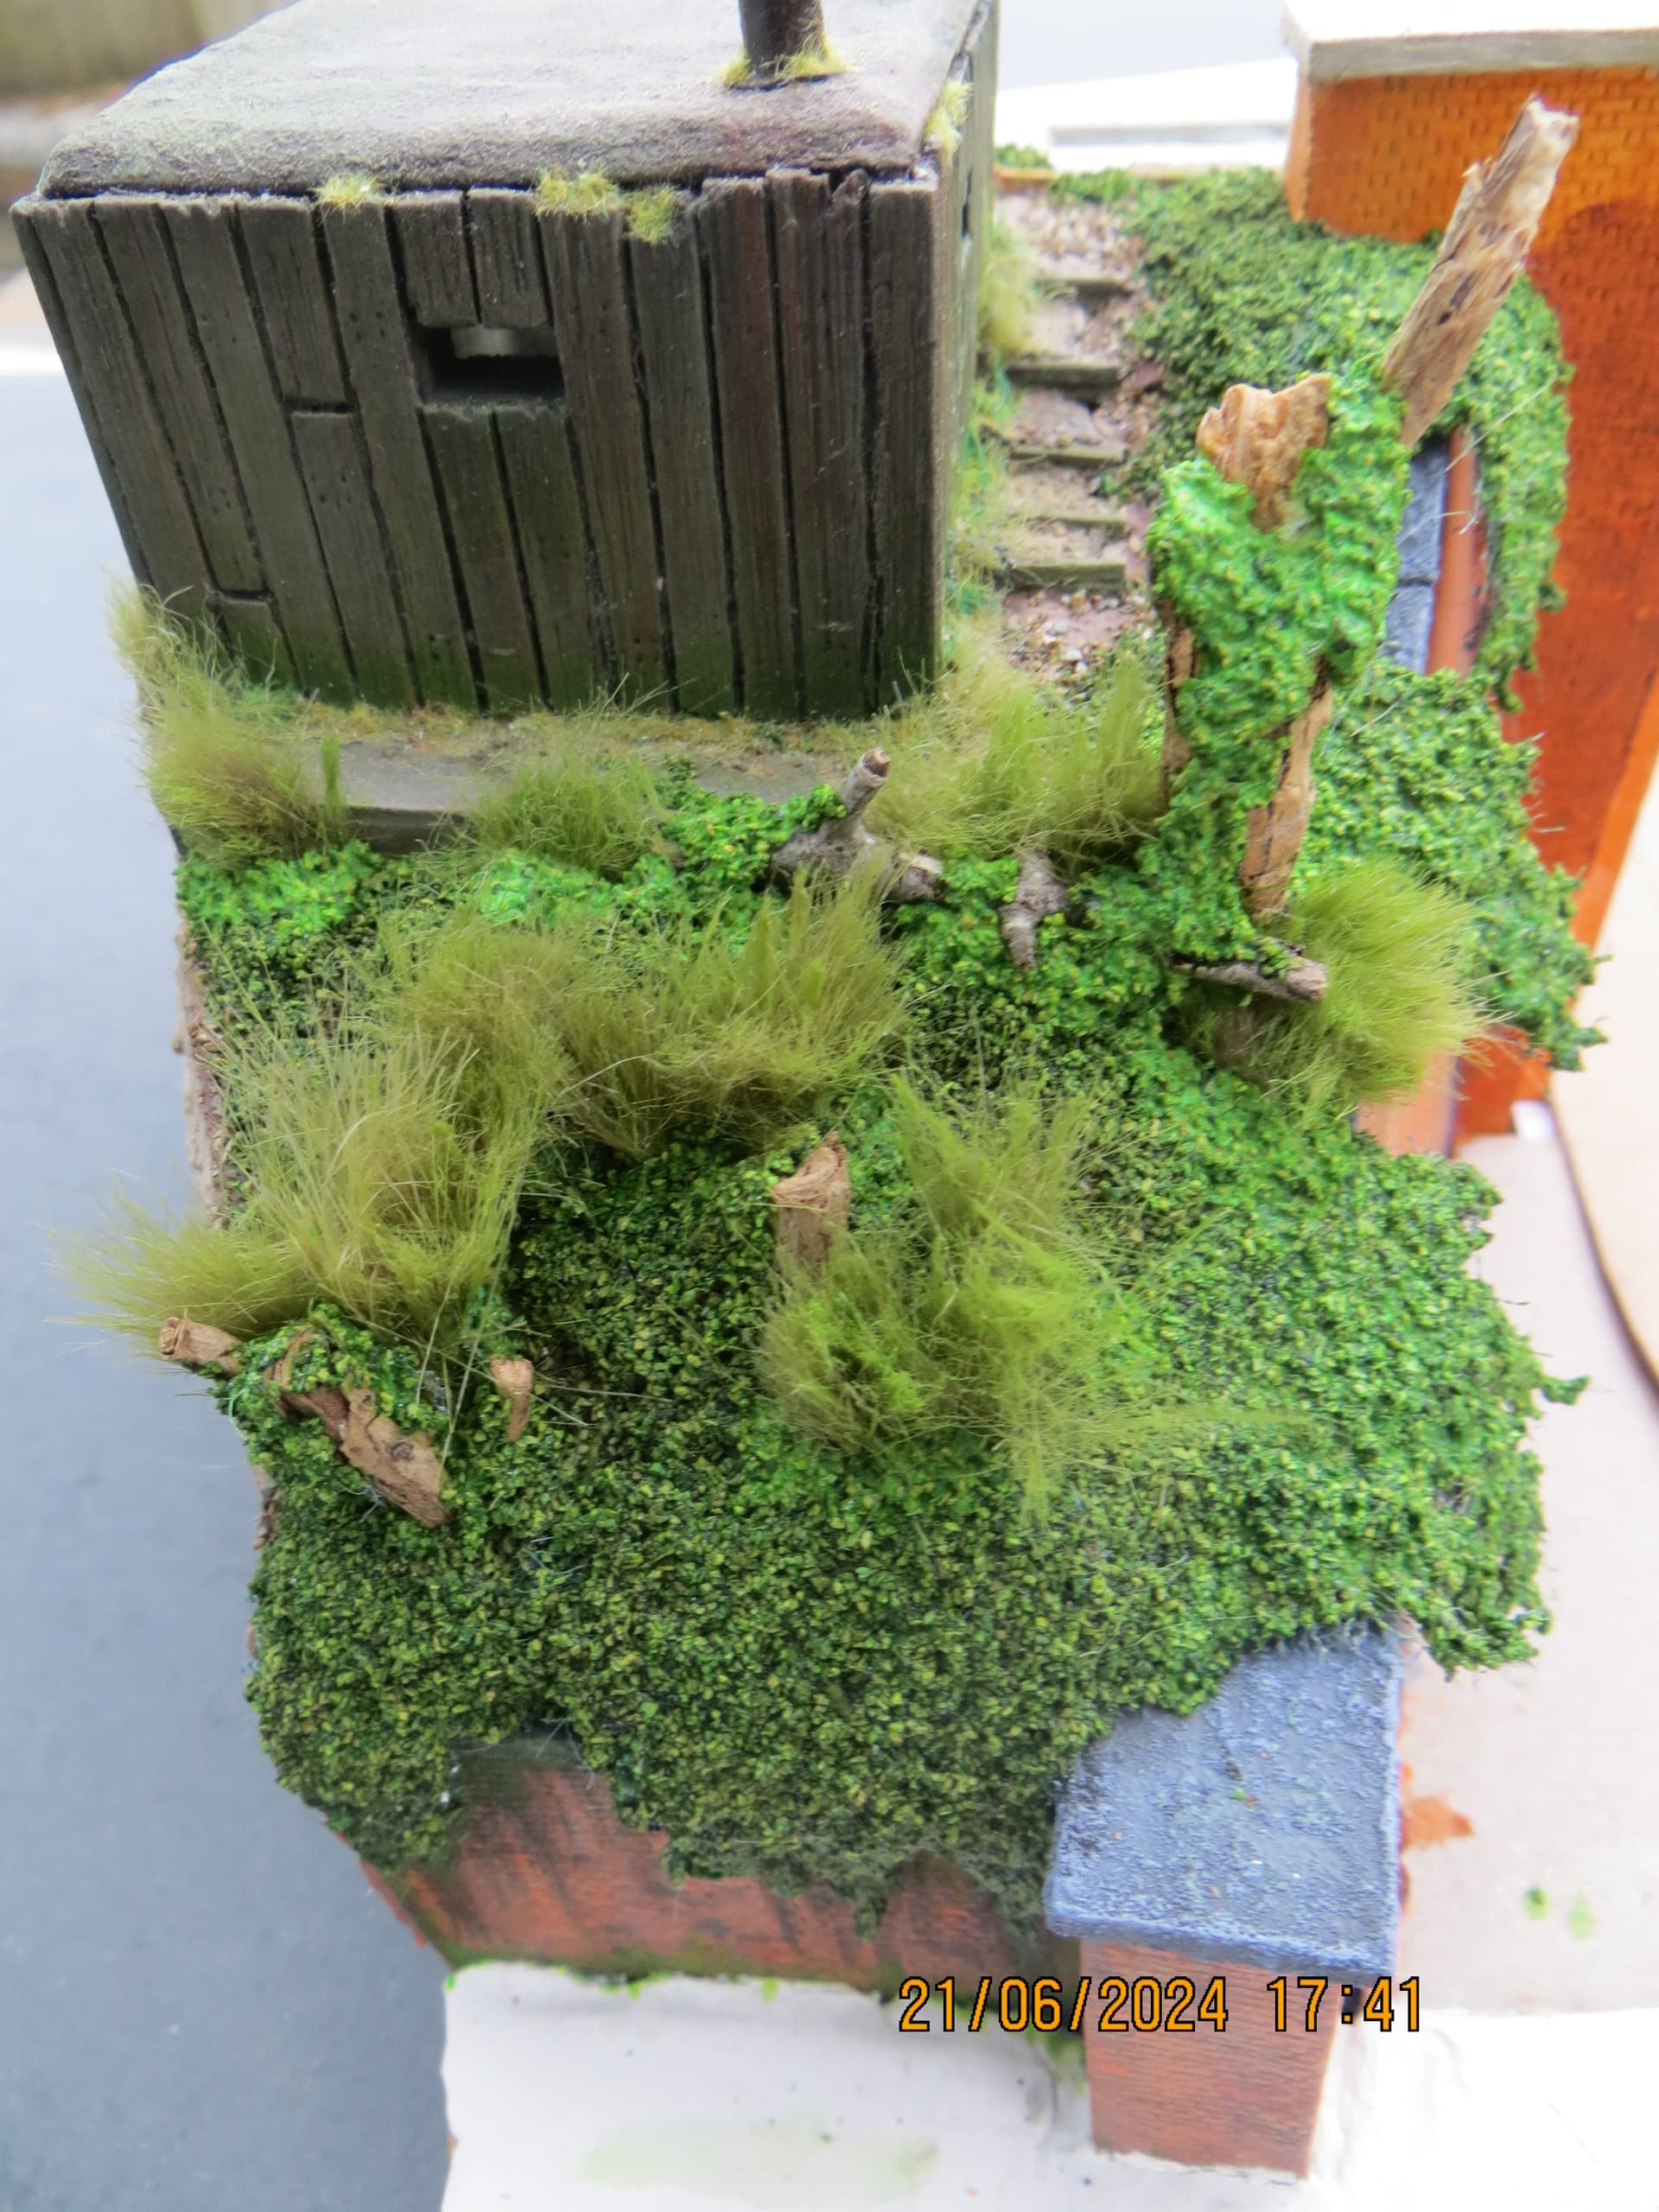
Fixed the wing and return wall in position and started on the first layer of embankment groundworks. It’s meant to represent ‘ground ivy’ which, looking at a nearby embankment seems prolific. I appreciate that in the era of steam the lineside was generally kept clearer than today but figured, right or wrong, that during the war years less attention was paid to such maintenance, .
Diorama do’s and don’ts:
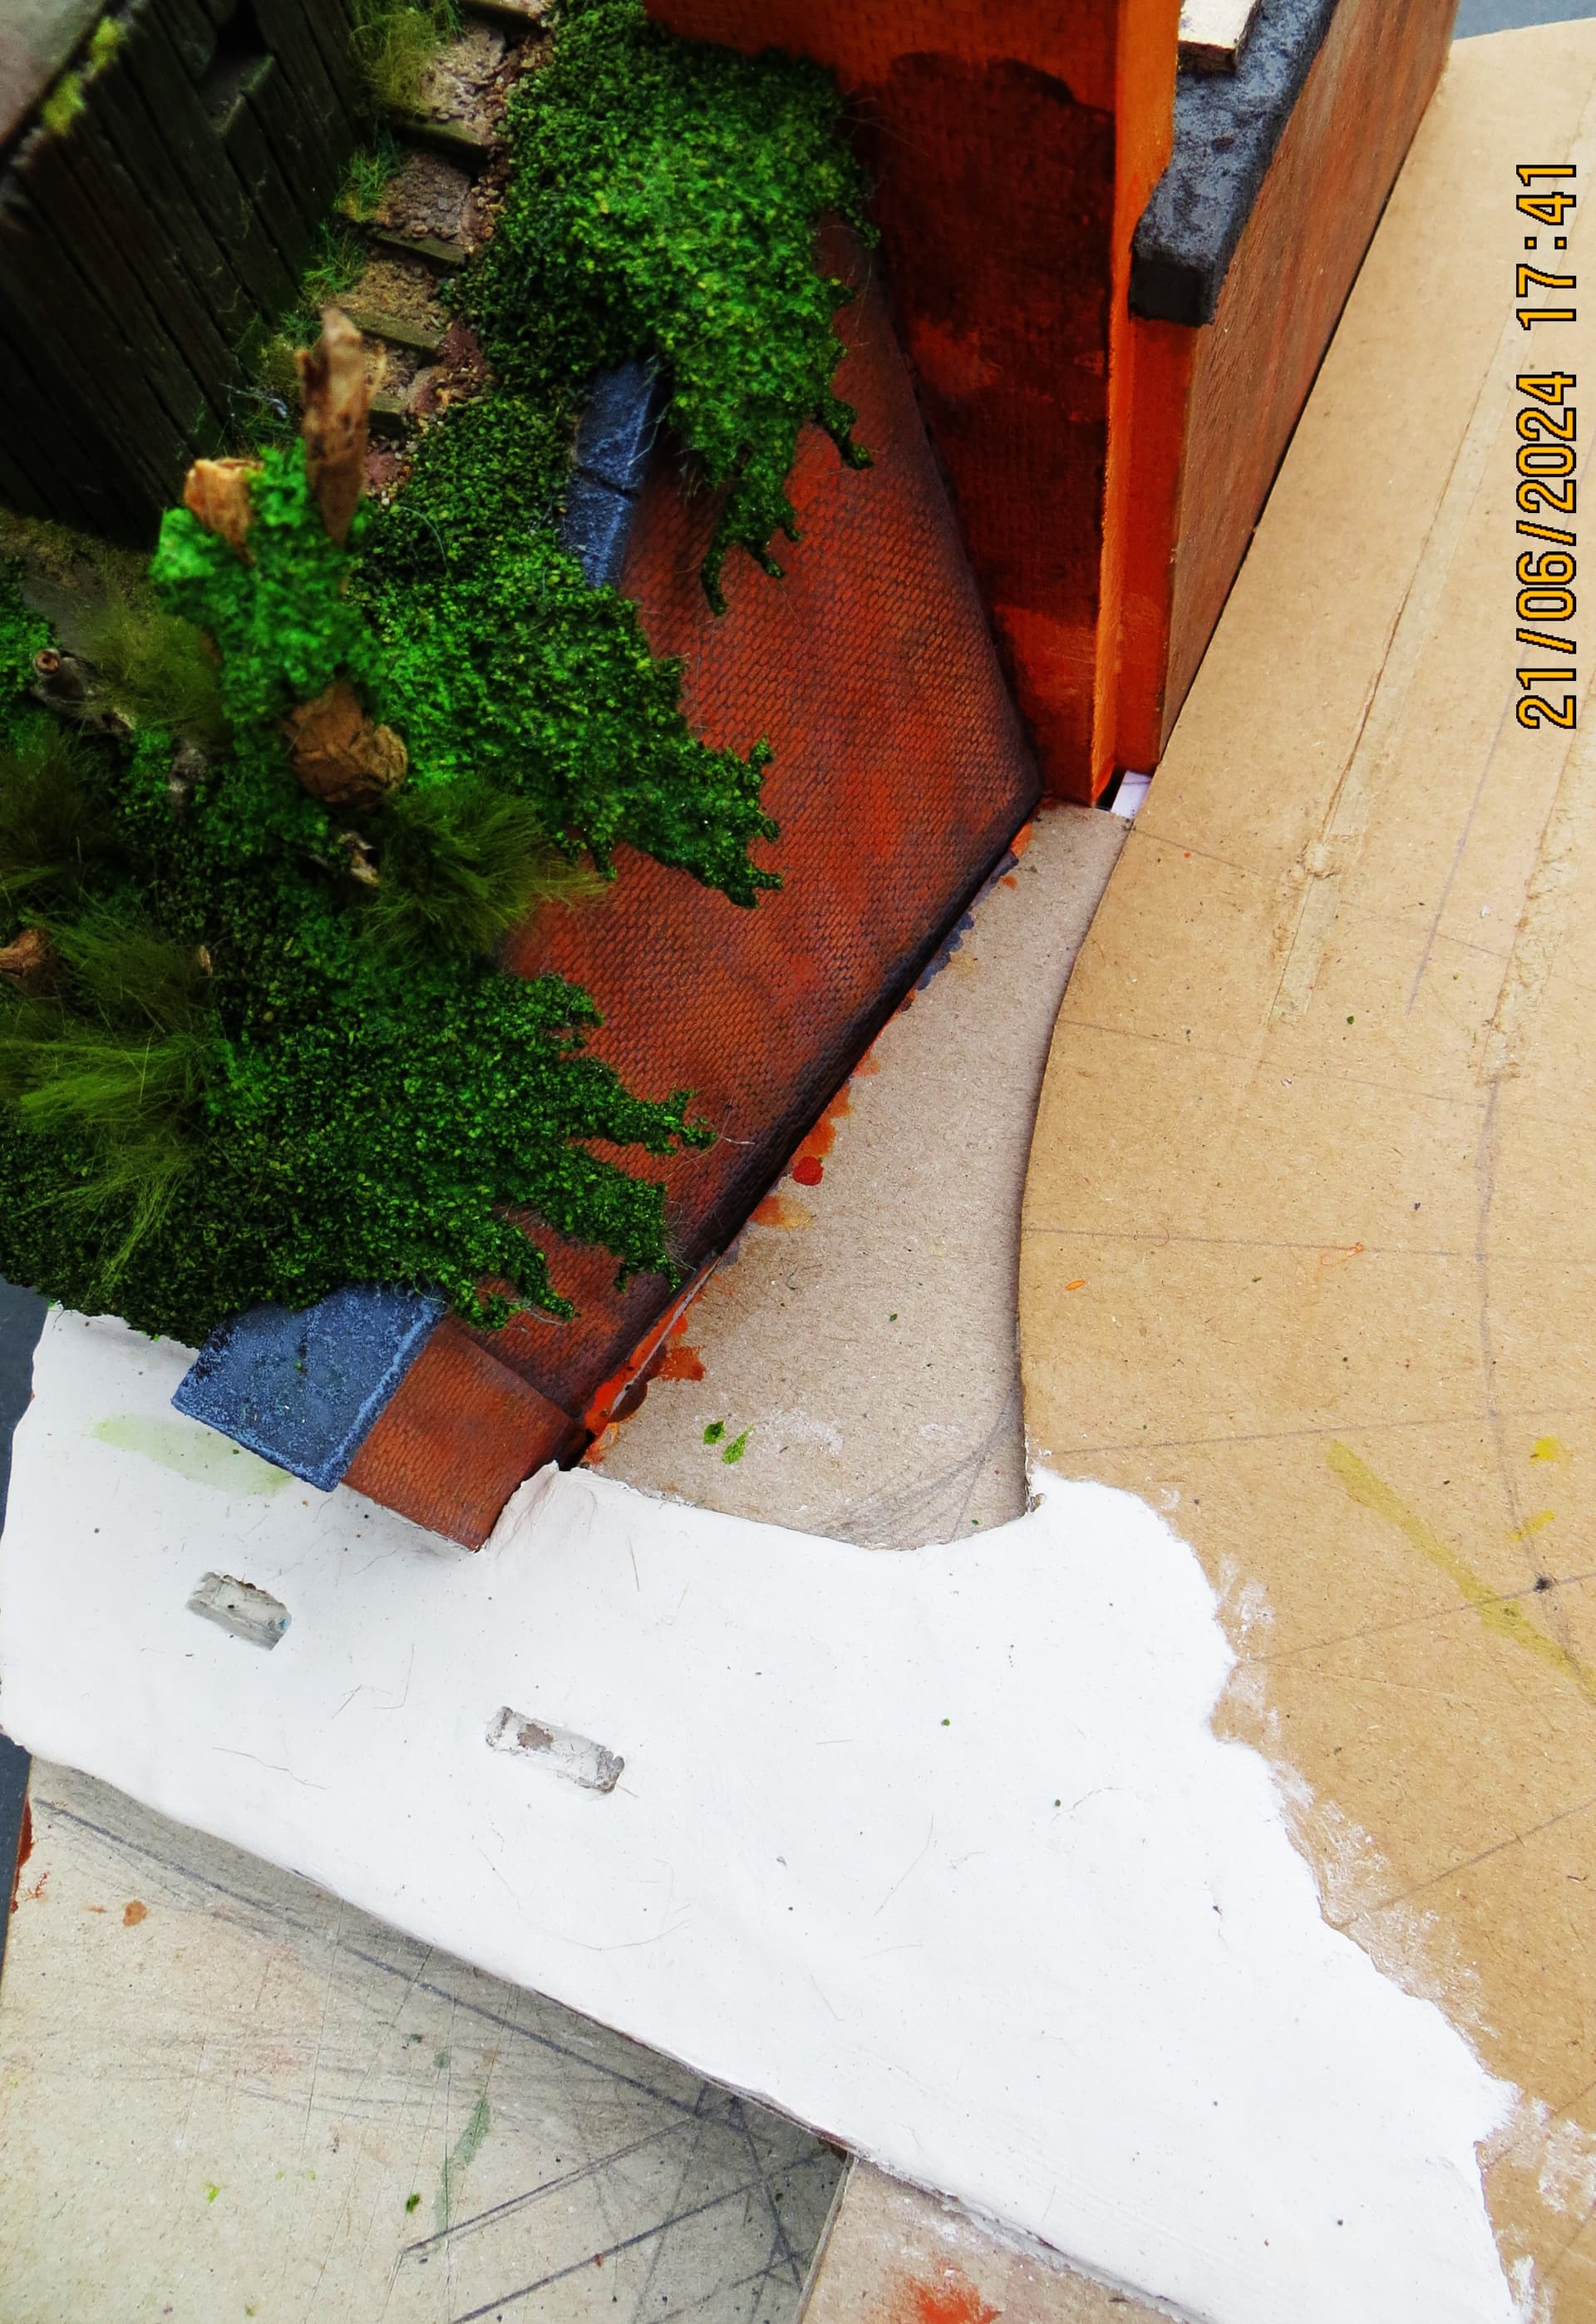
Objects that extend well beyond the limits of the diorama should be cut cleanly and the edge of the diorama to give the impression that the object does indeed continue beyond the edge.
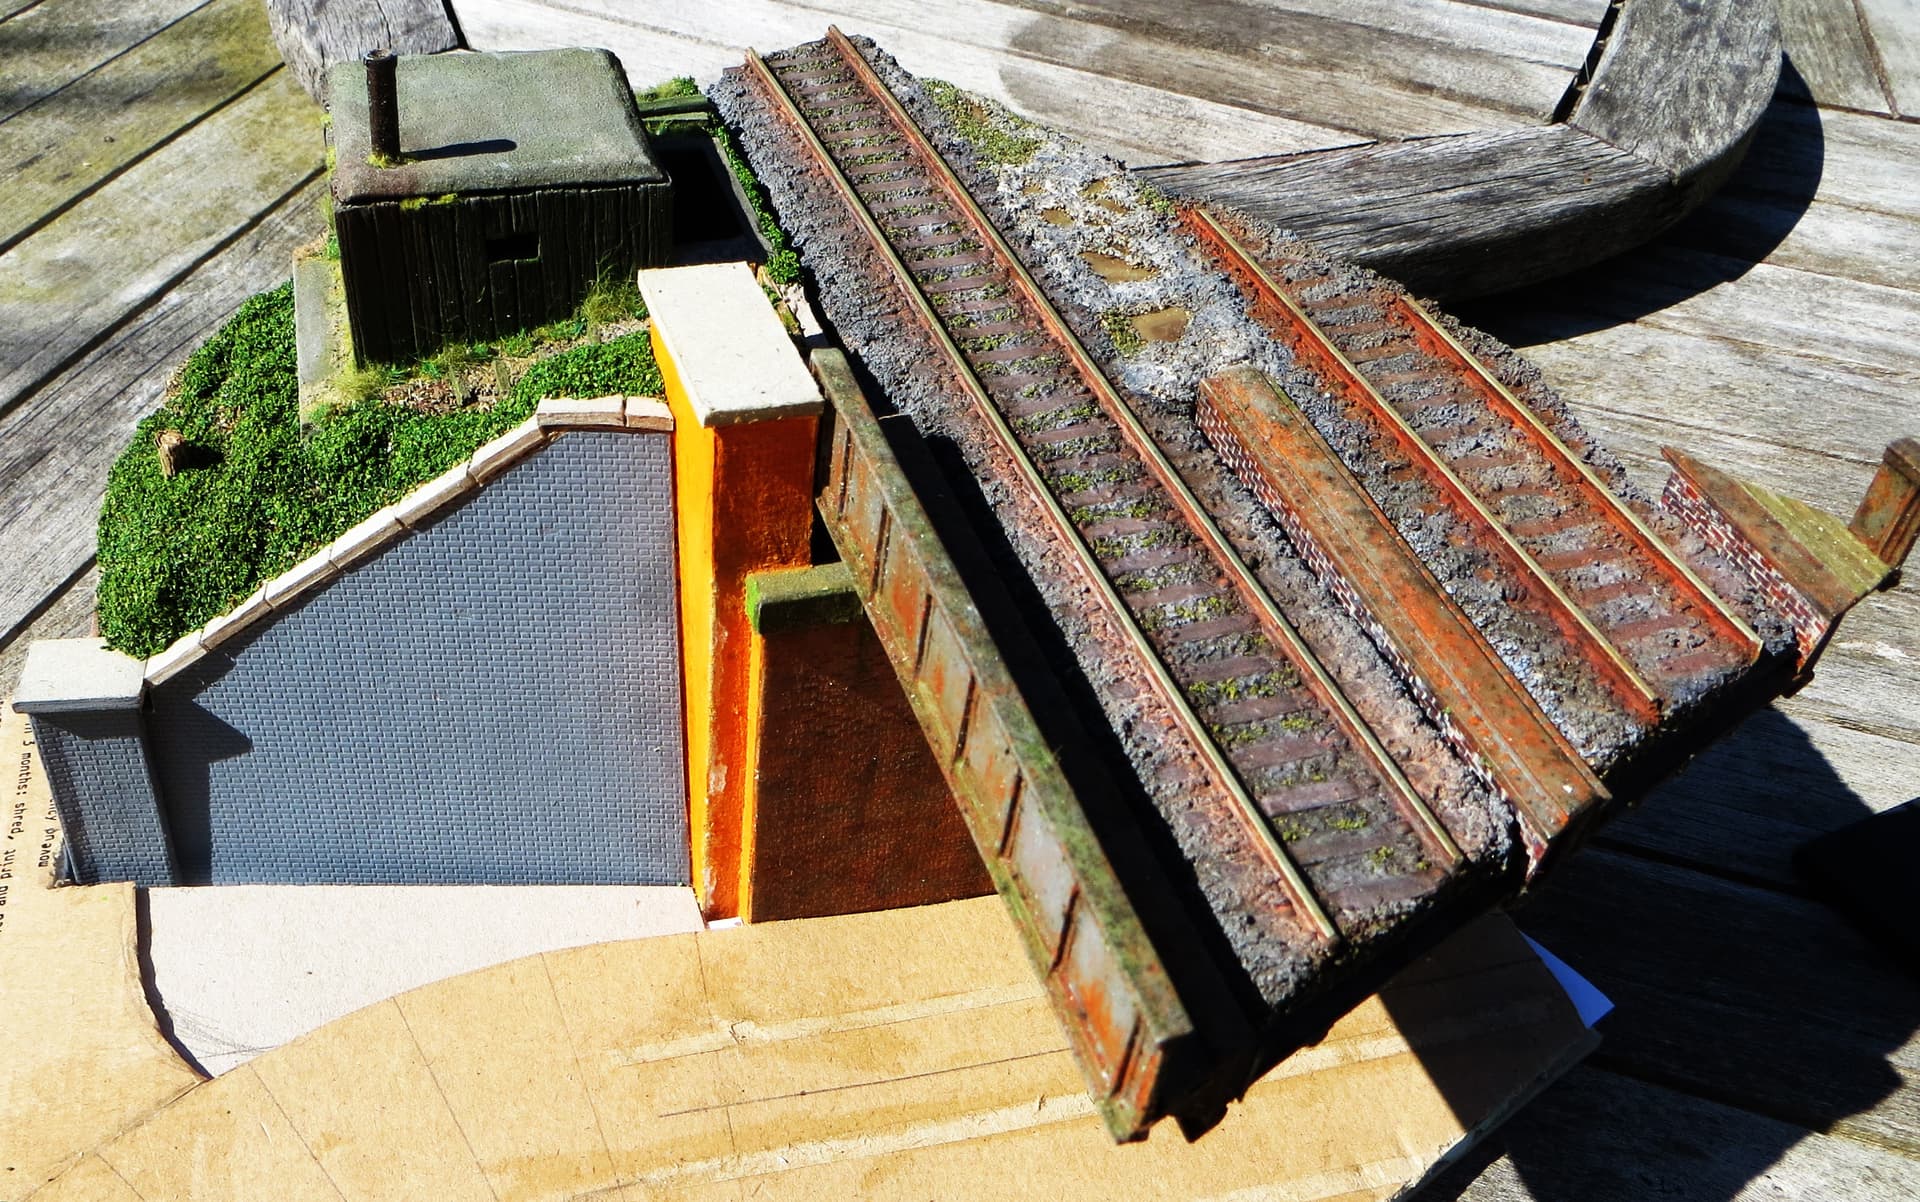
Looking nice with the wall detail in place … Were you adding anything on the tracks ? I couldnt remember … Agree about war side track maint … I think that would be a low priority back then.
Thanks to all above for their kind words and observations, much appreciated, as always, .
You’re absolutely right Robin, that was me being both lazy, and a tightwad, , I’d run out of track and didn’t want to buy a whole new length, . I promise I’ll rectify matters once I know exactly where the border sits, . I’ll either cobble a few mms of plastic strip to blend in, or else I could put some sort of rail stop, .
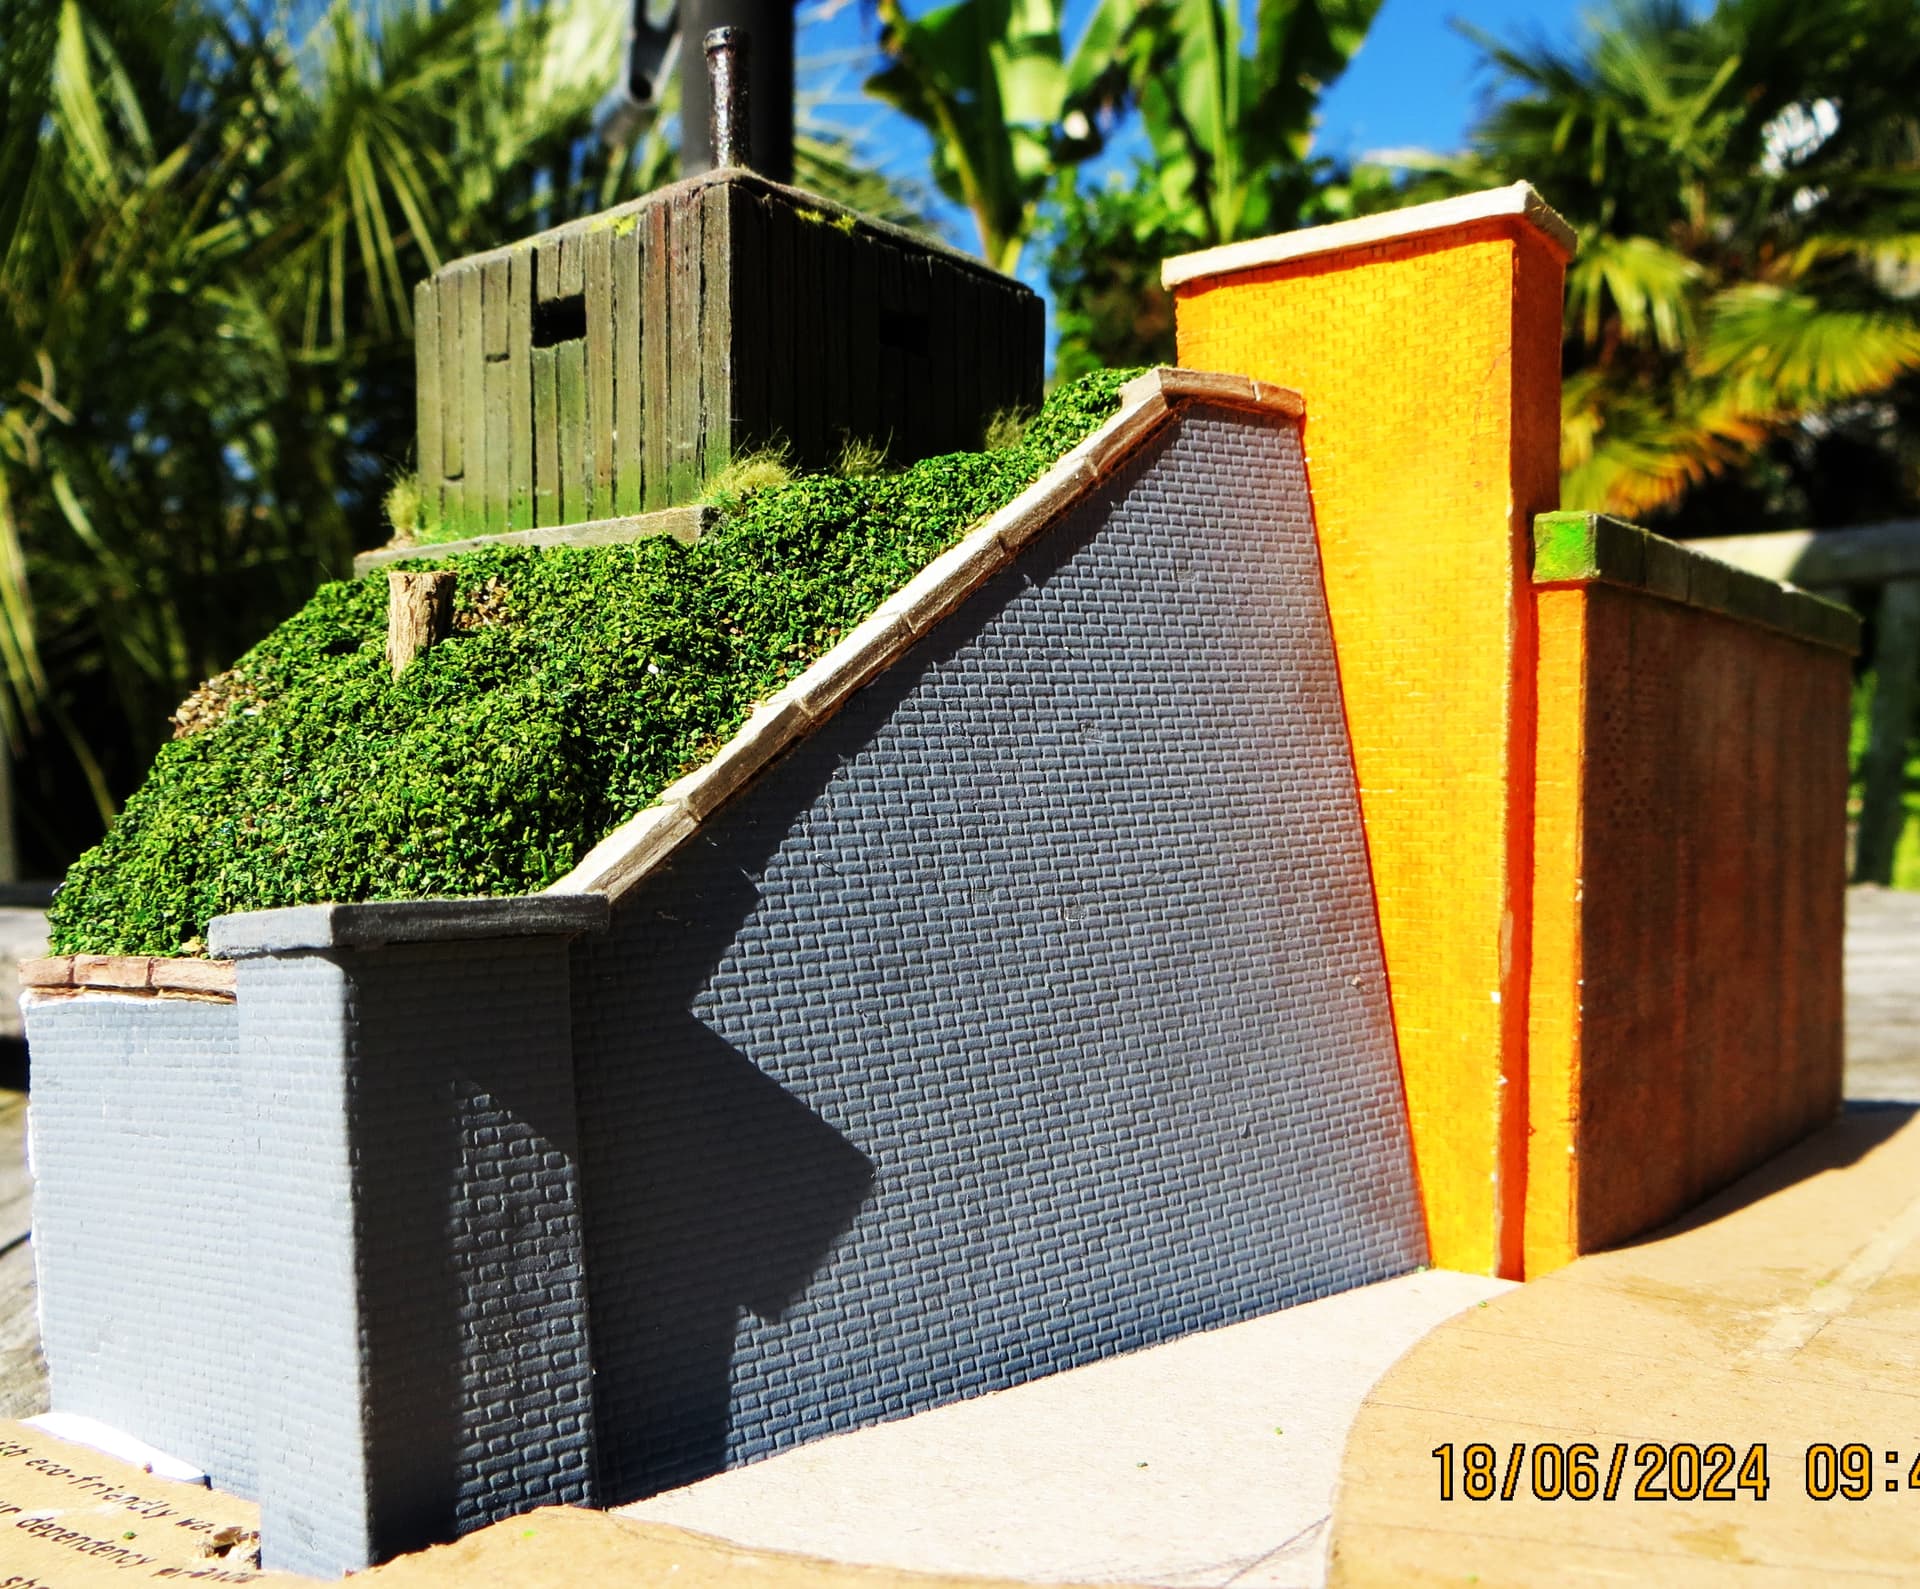
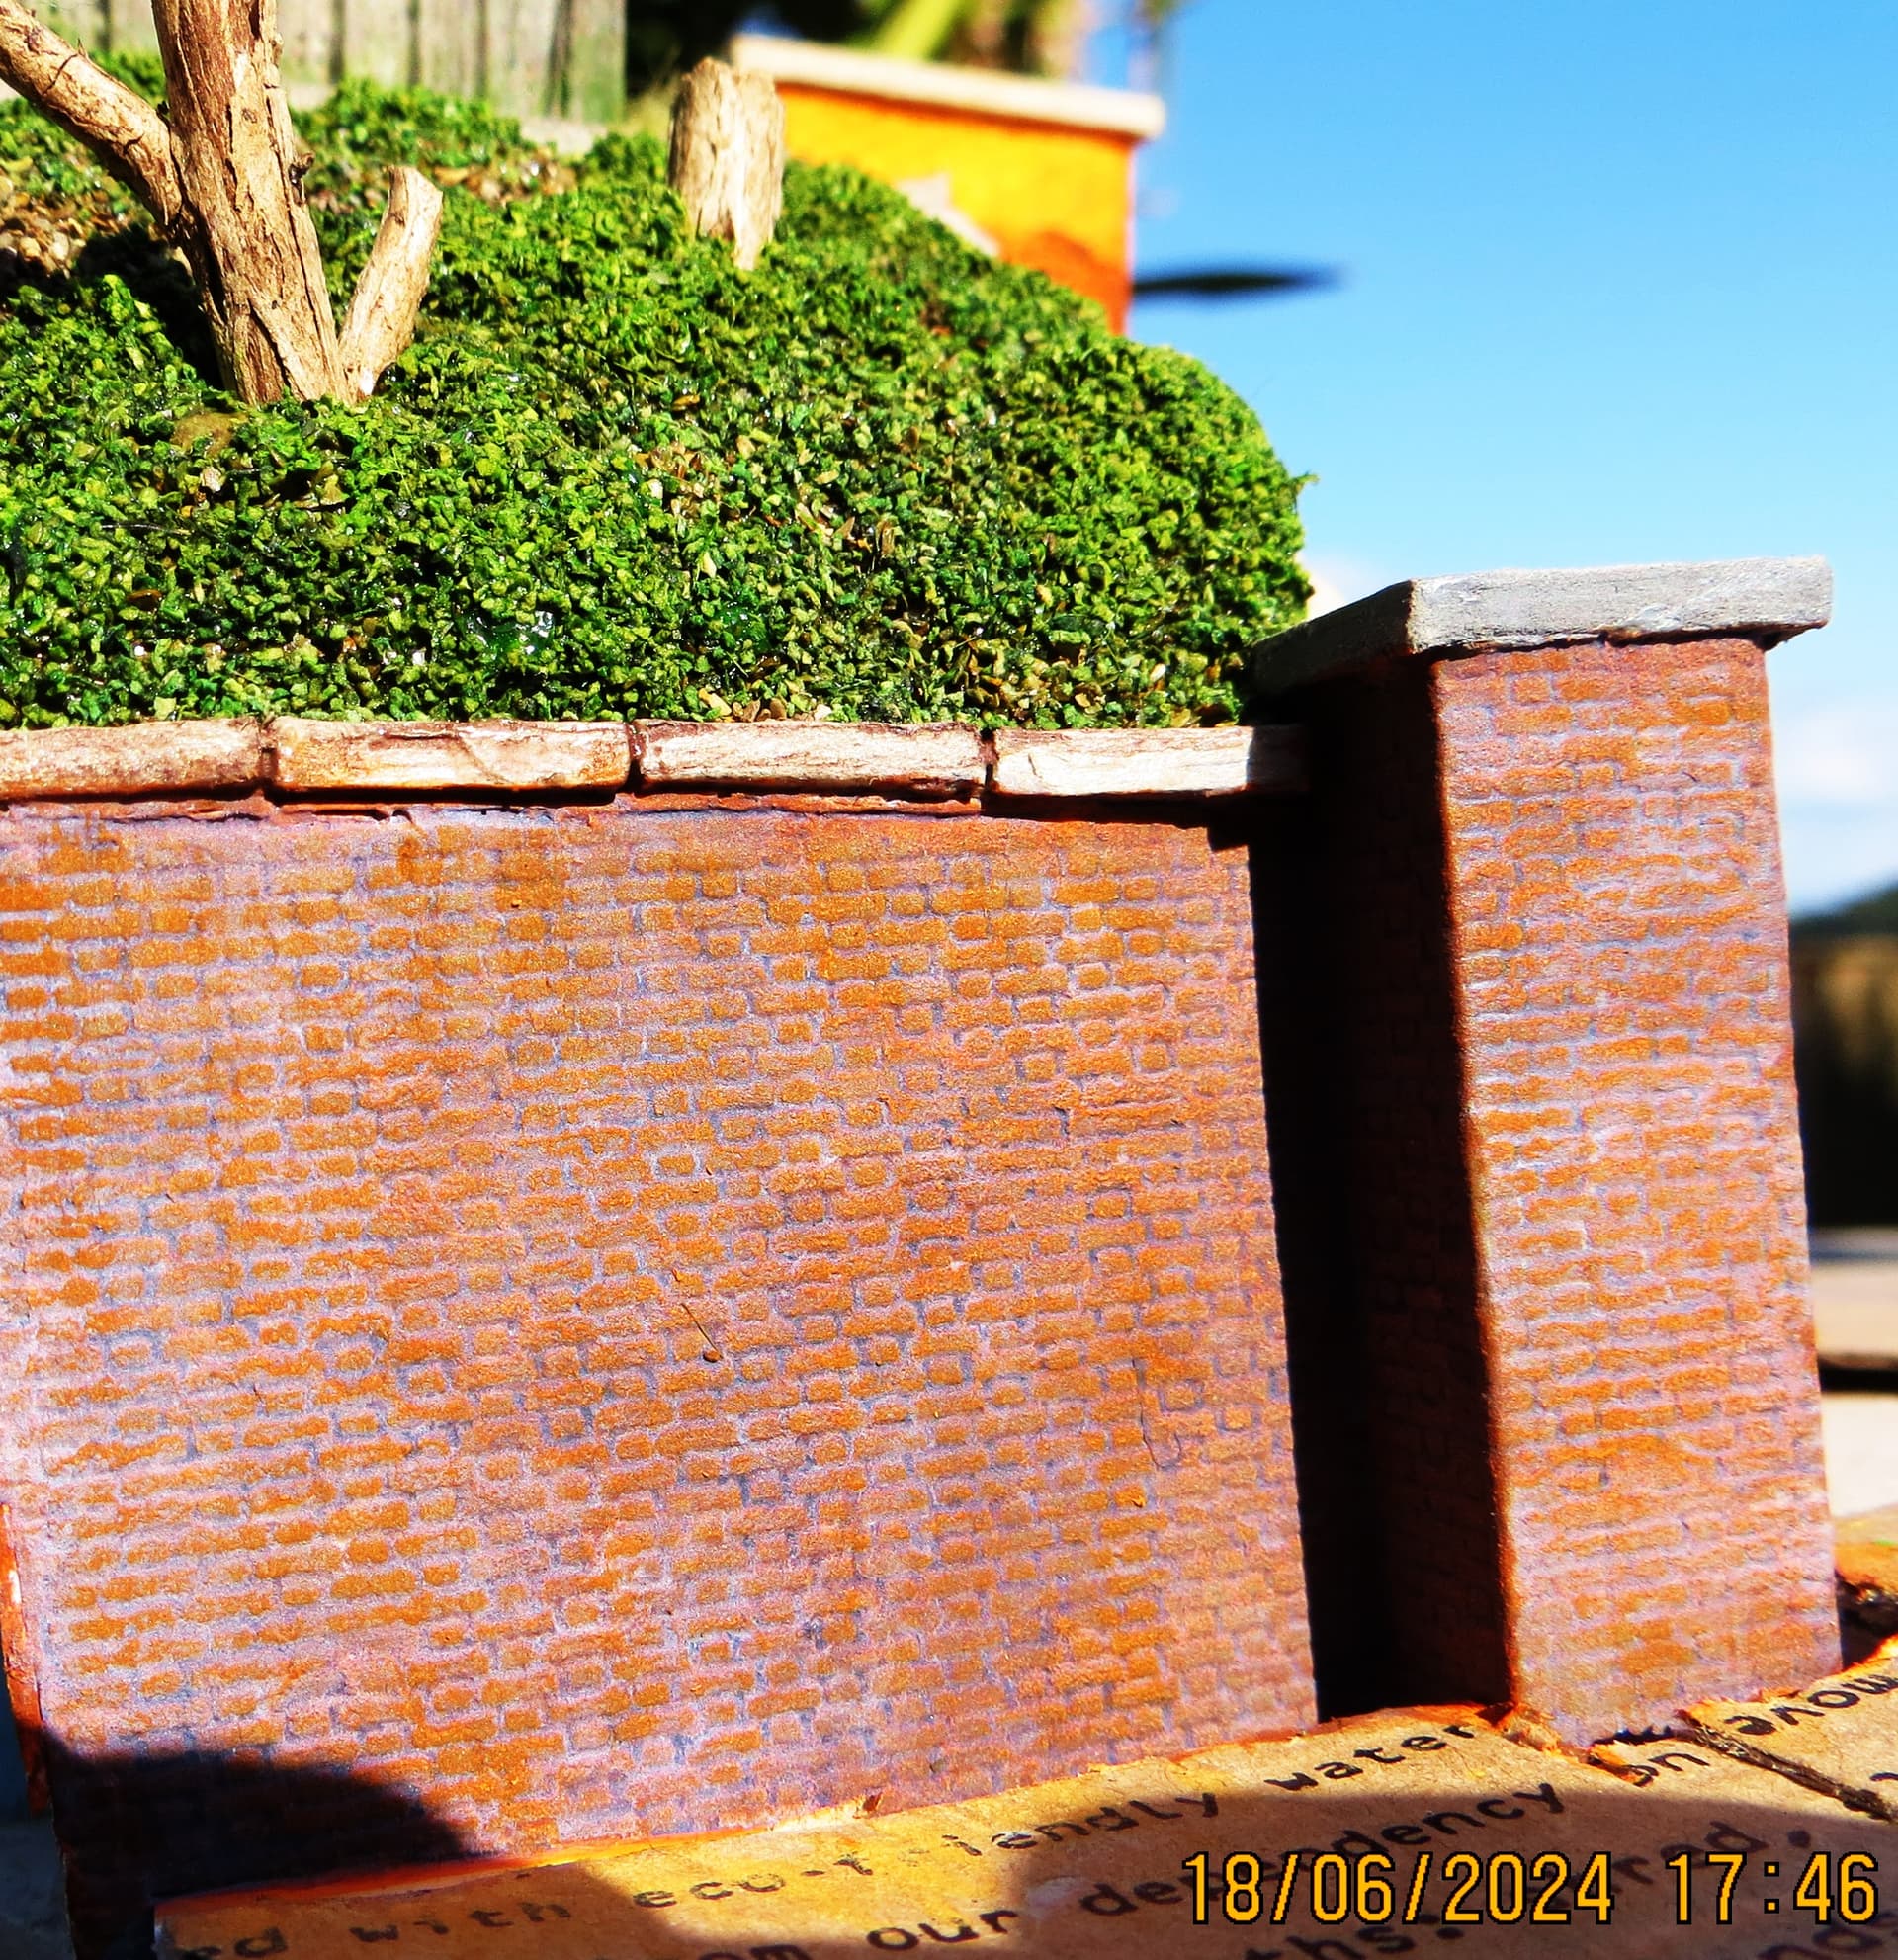
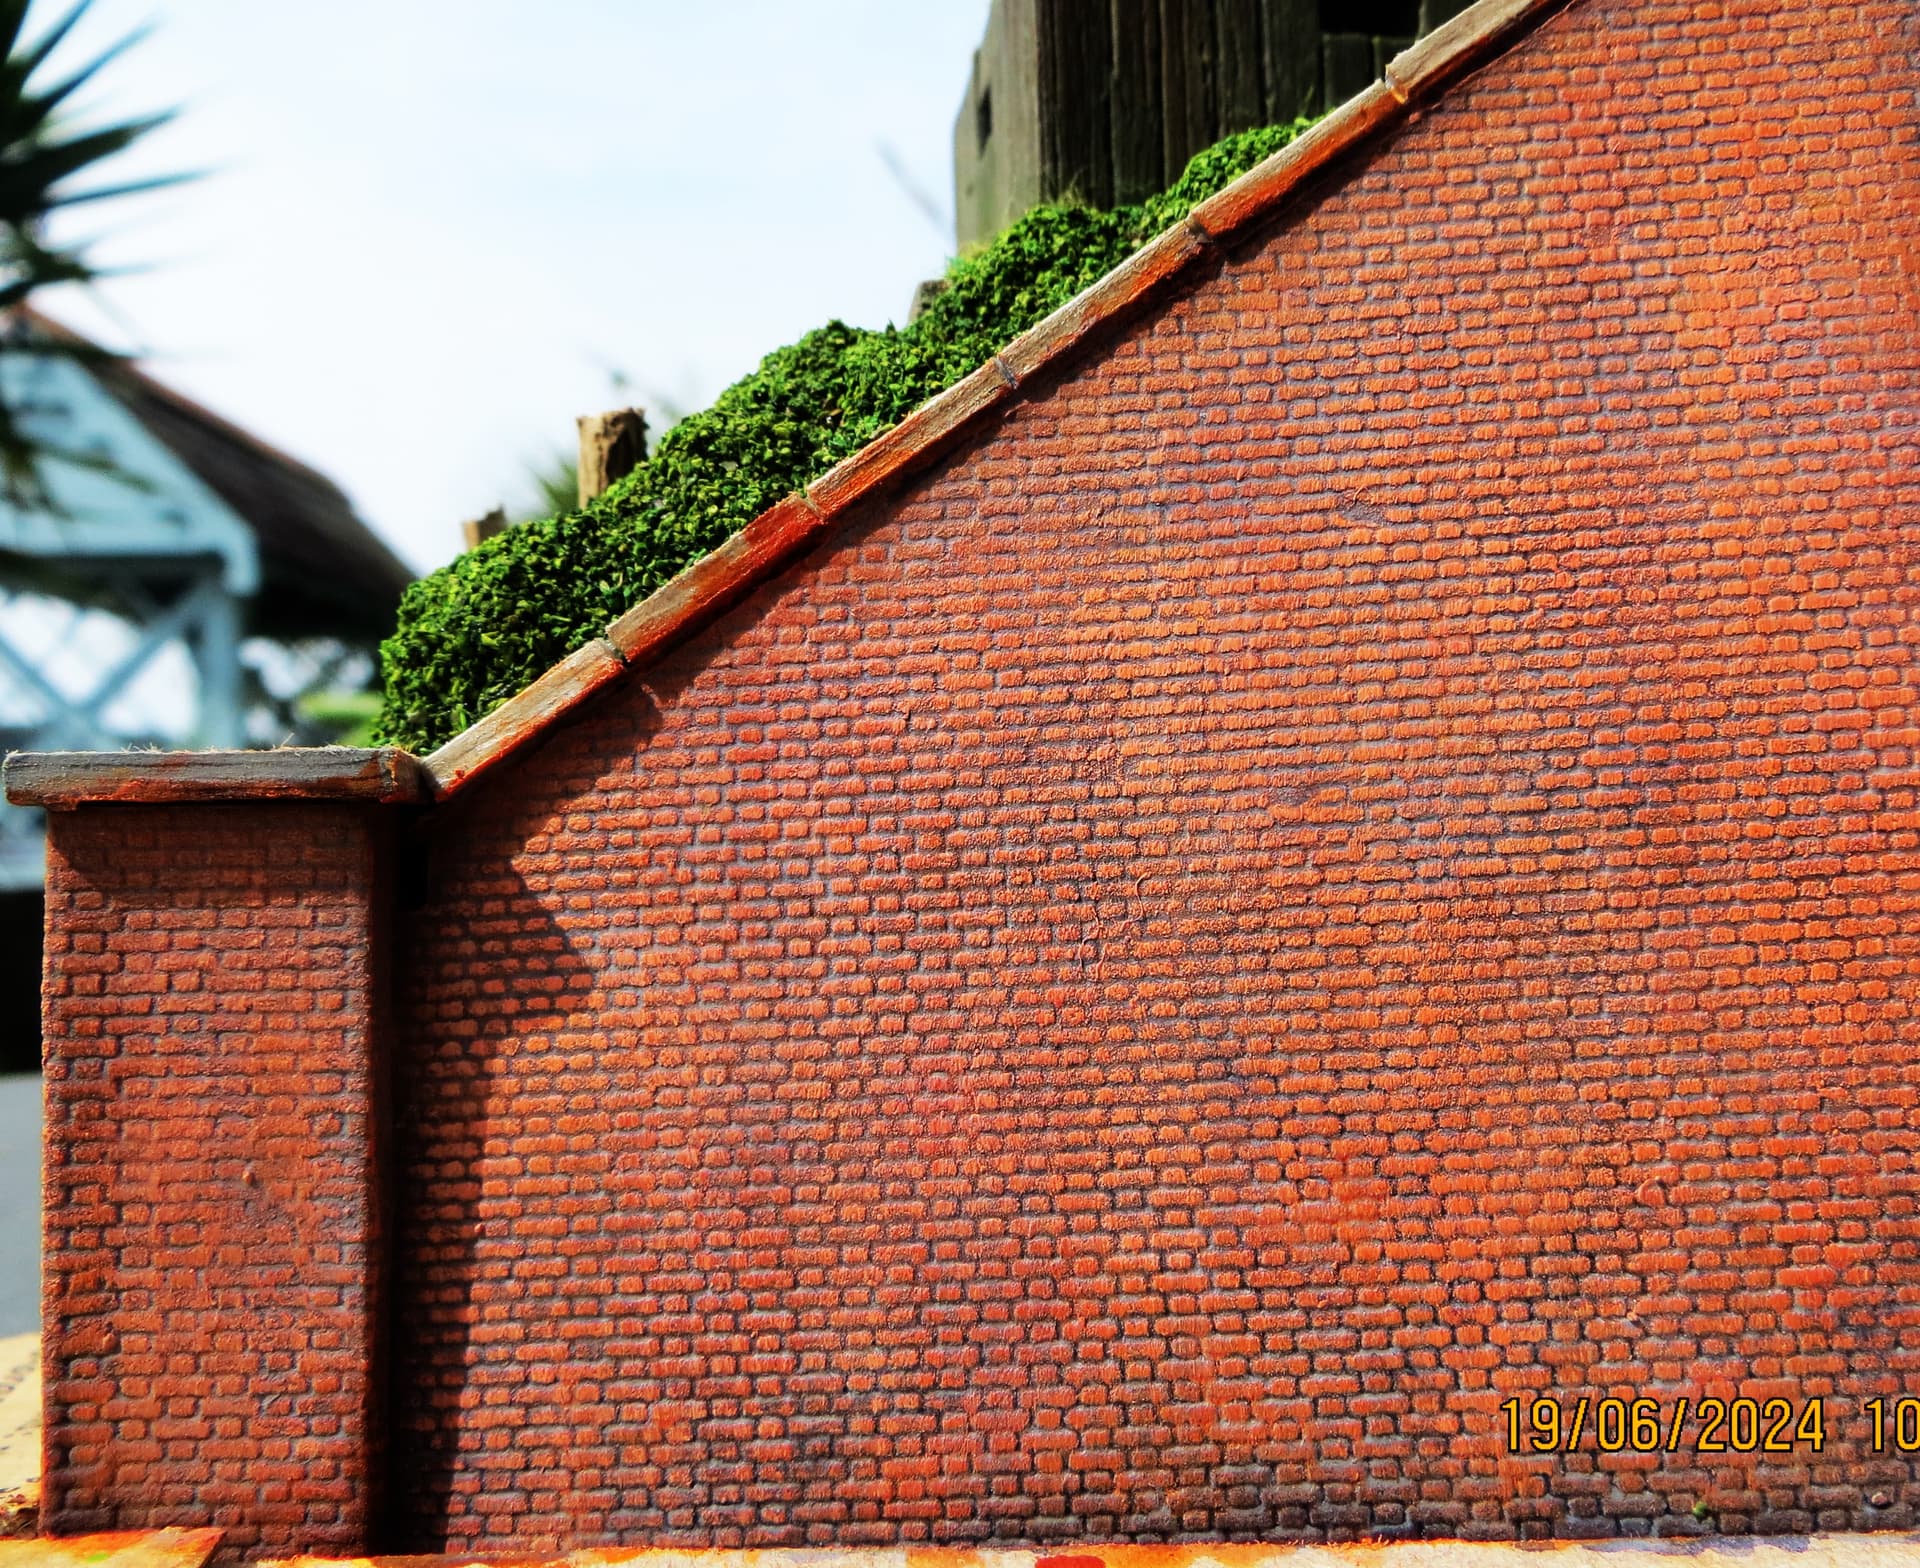
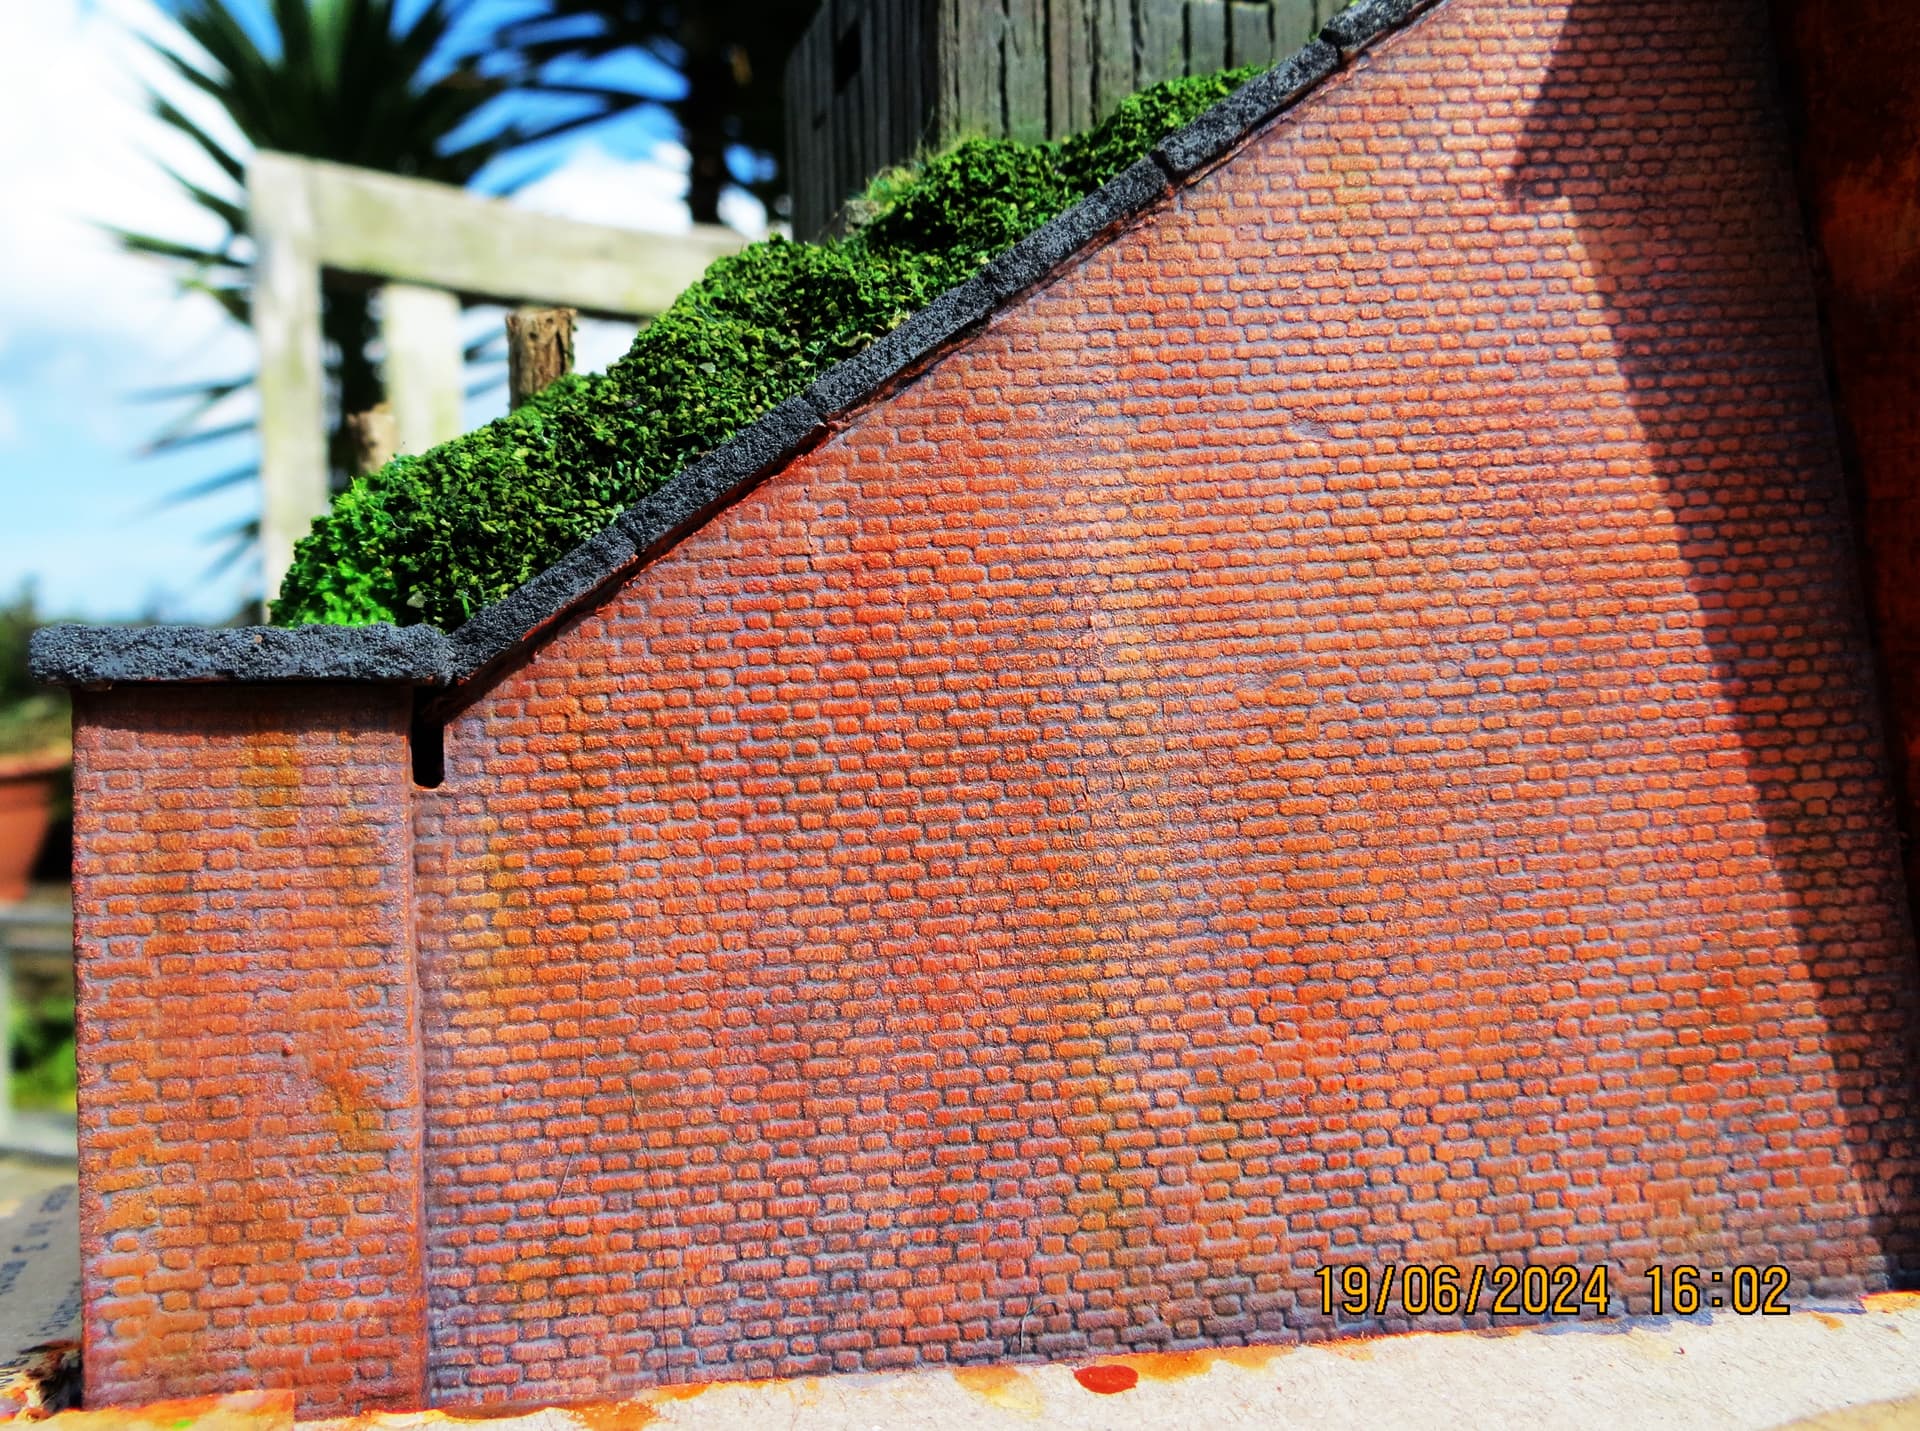
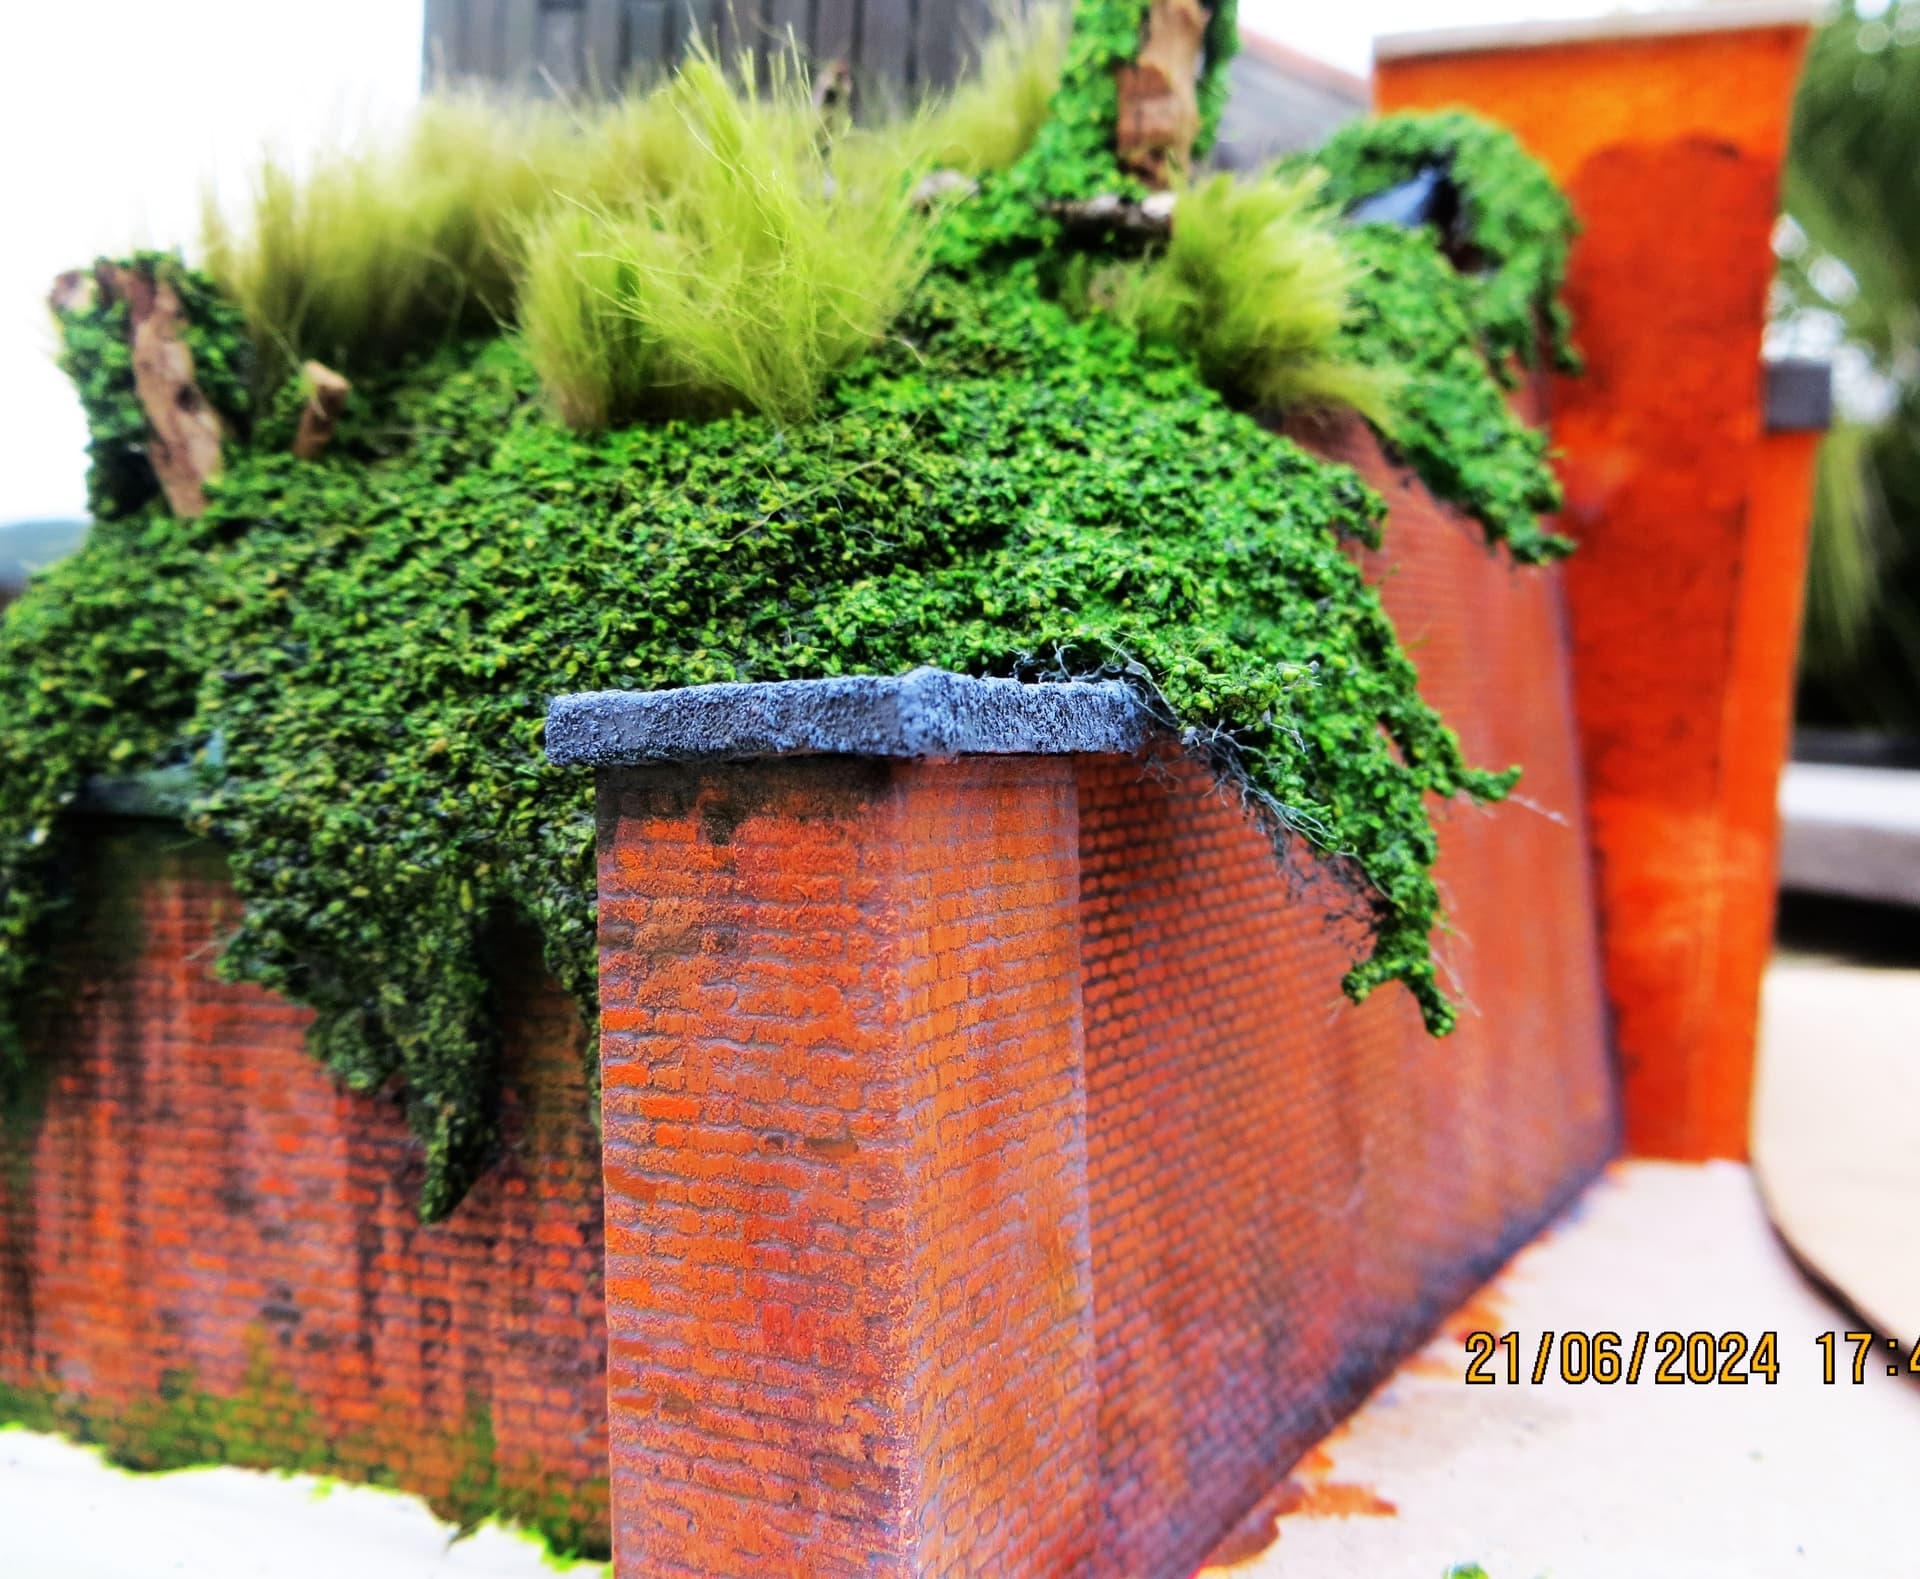
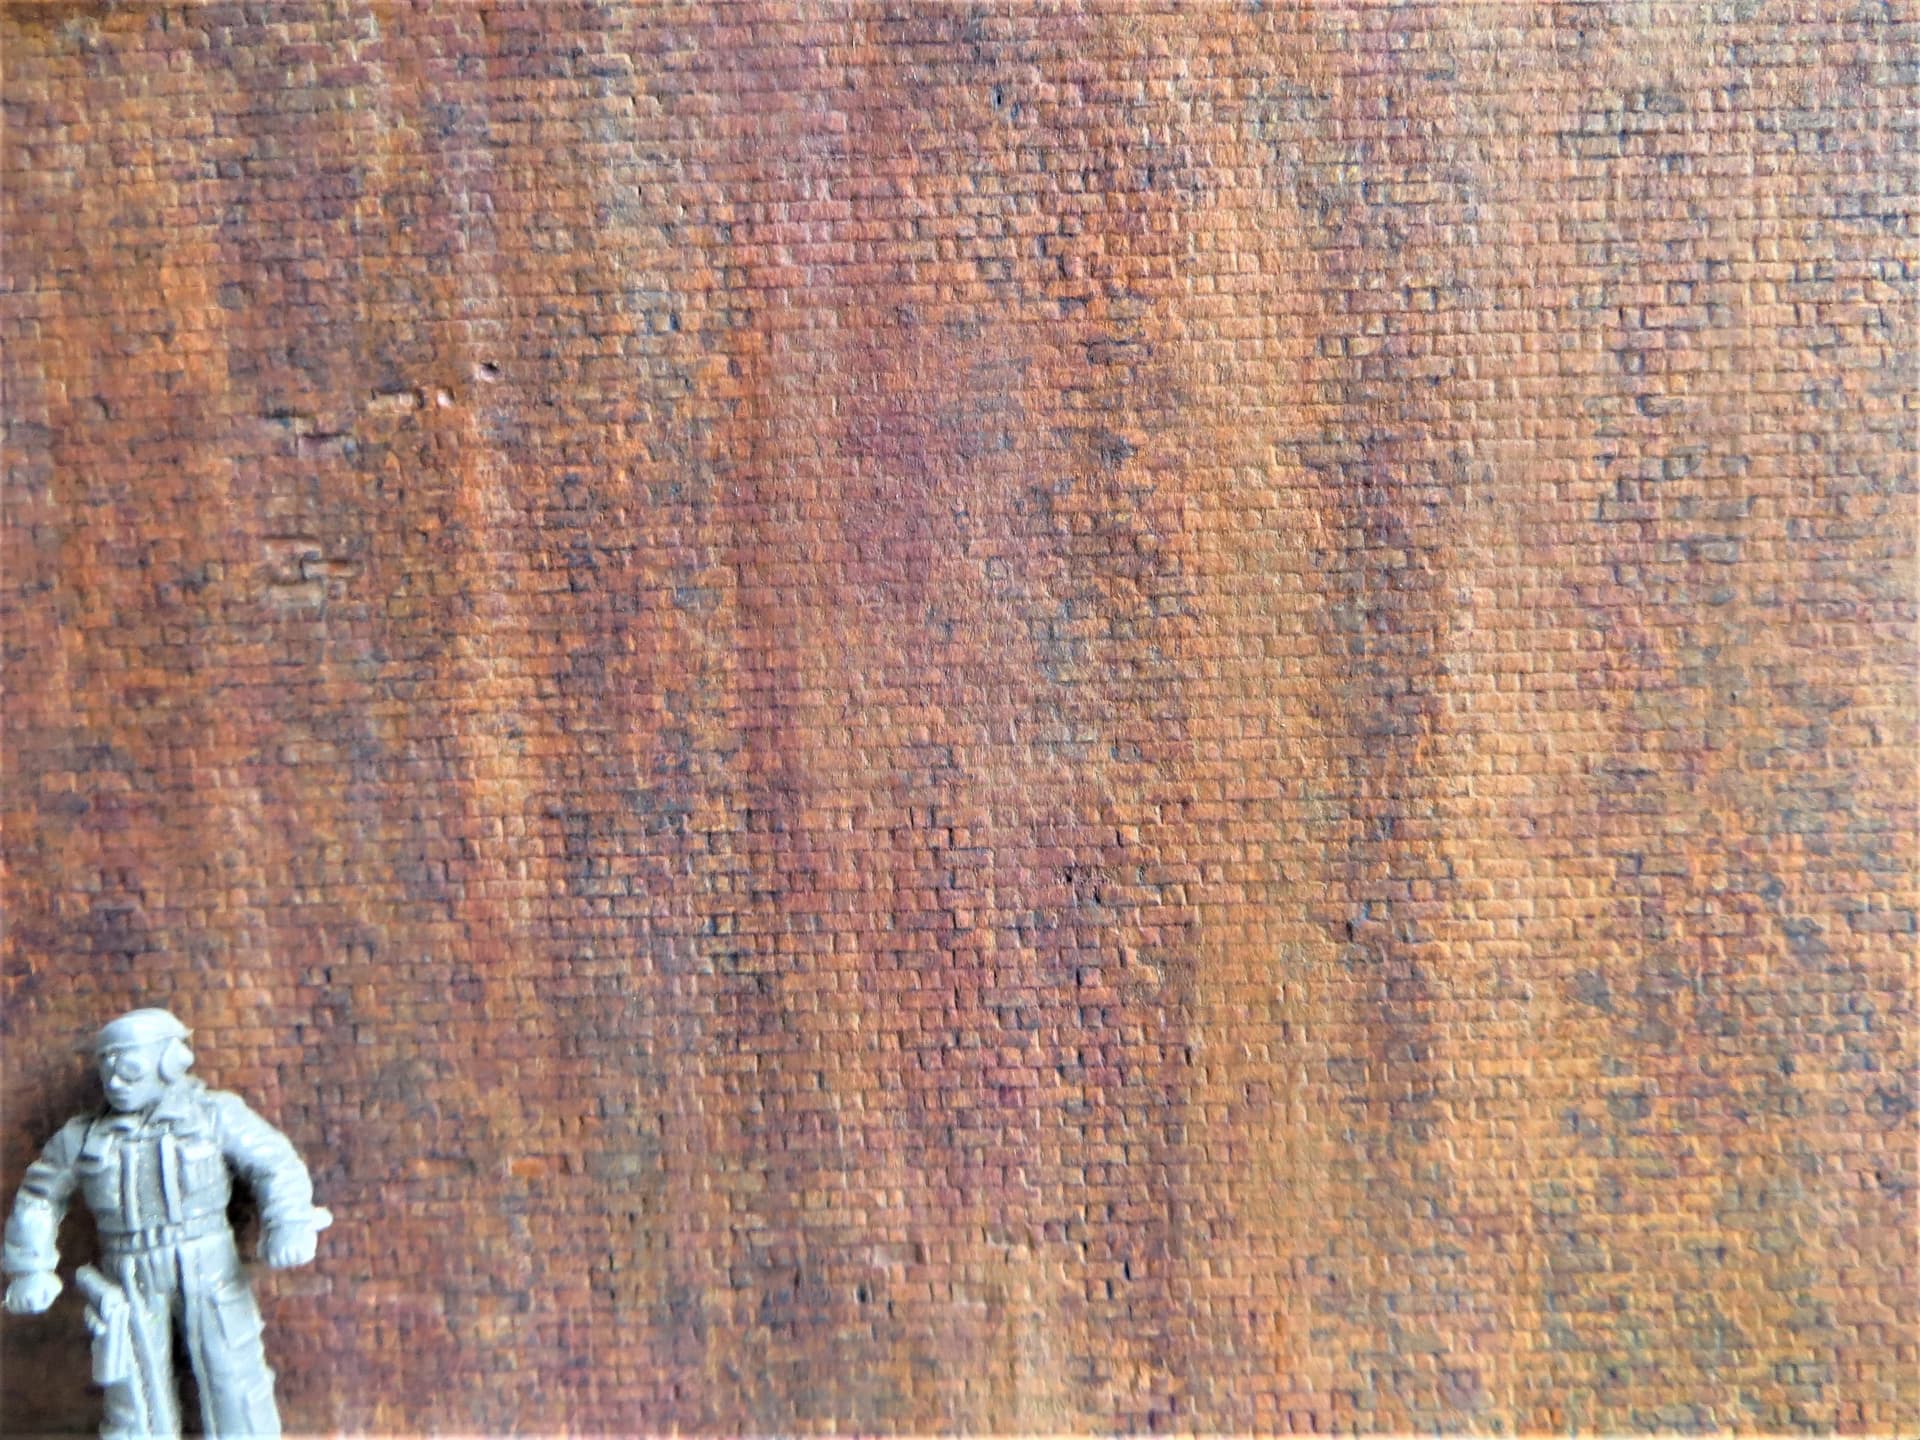
Started to block colour the brickwork, the initial layers, mortar and base for bricks are simply poster paint, this gives a fairly translucent covering, over which I’ll drybrush various colours until I’m happy with the result.
Thats totally changed the look just adding that new layer. It is beginning to get that dirty old grimy feel (like me lol) The red brick colour is very good … what did you use mate ??
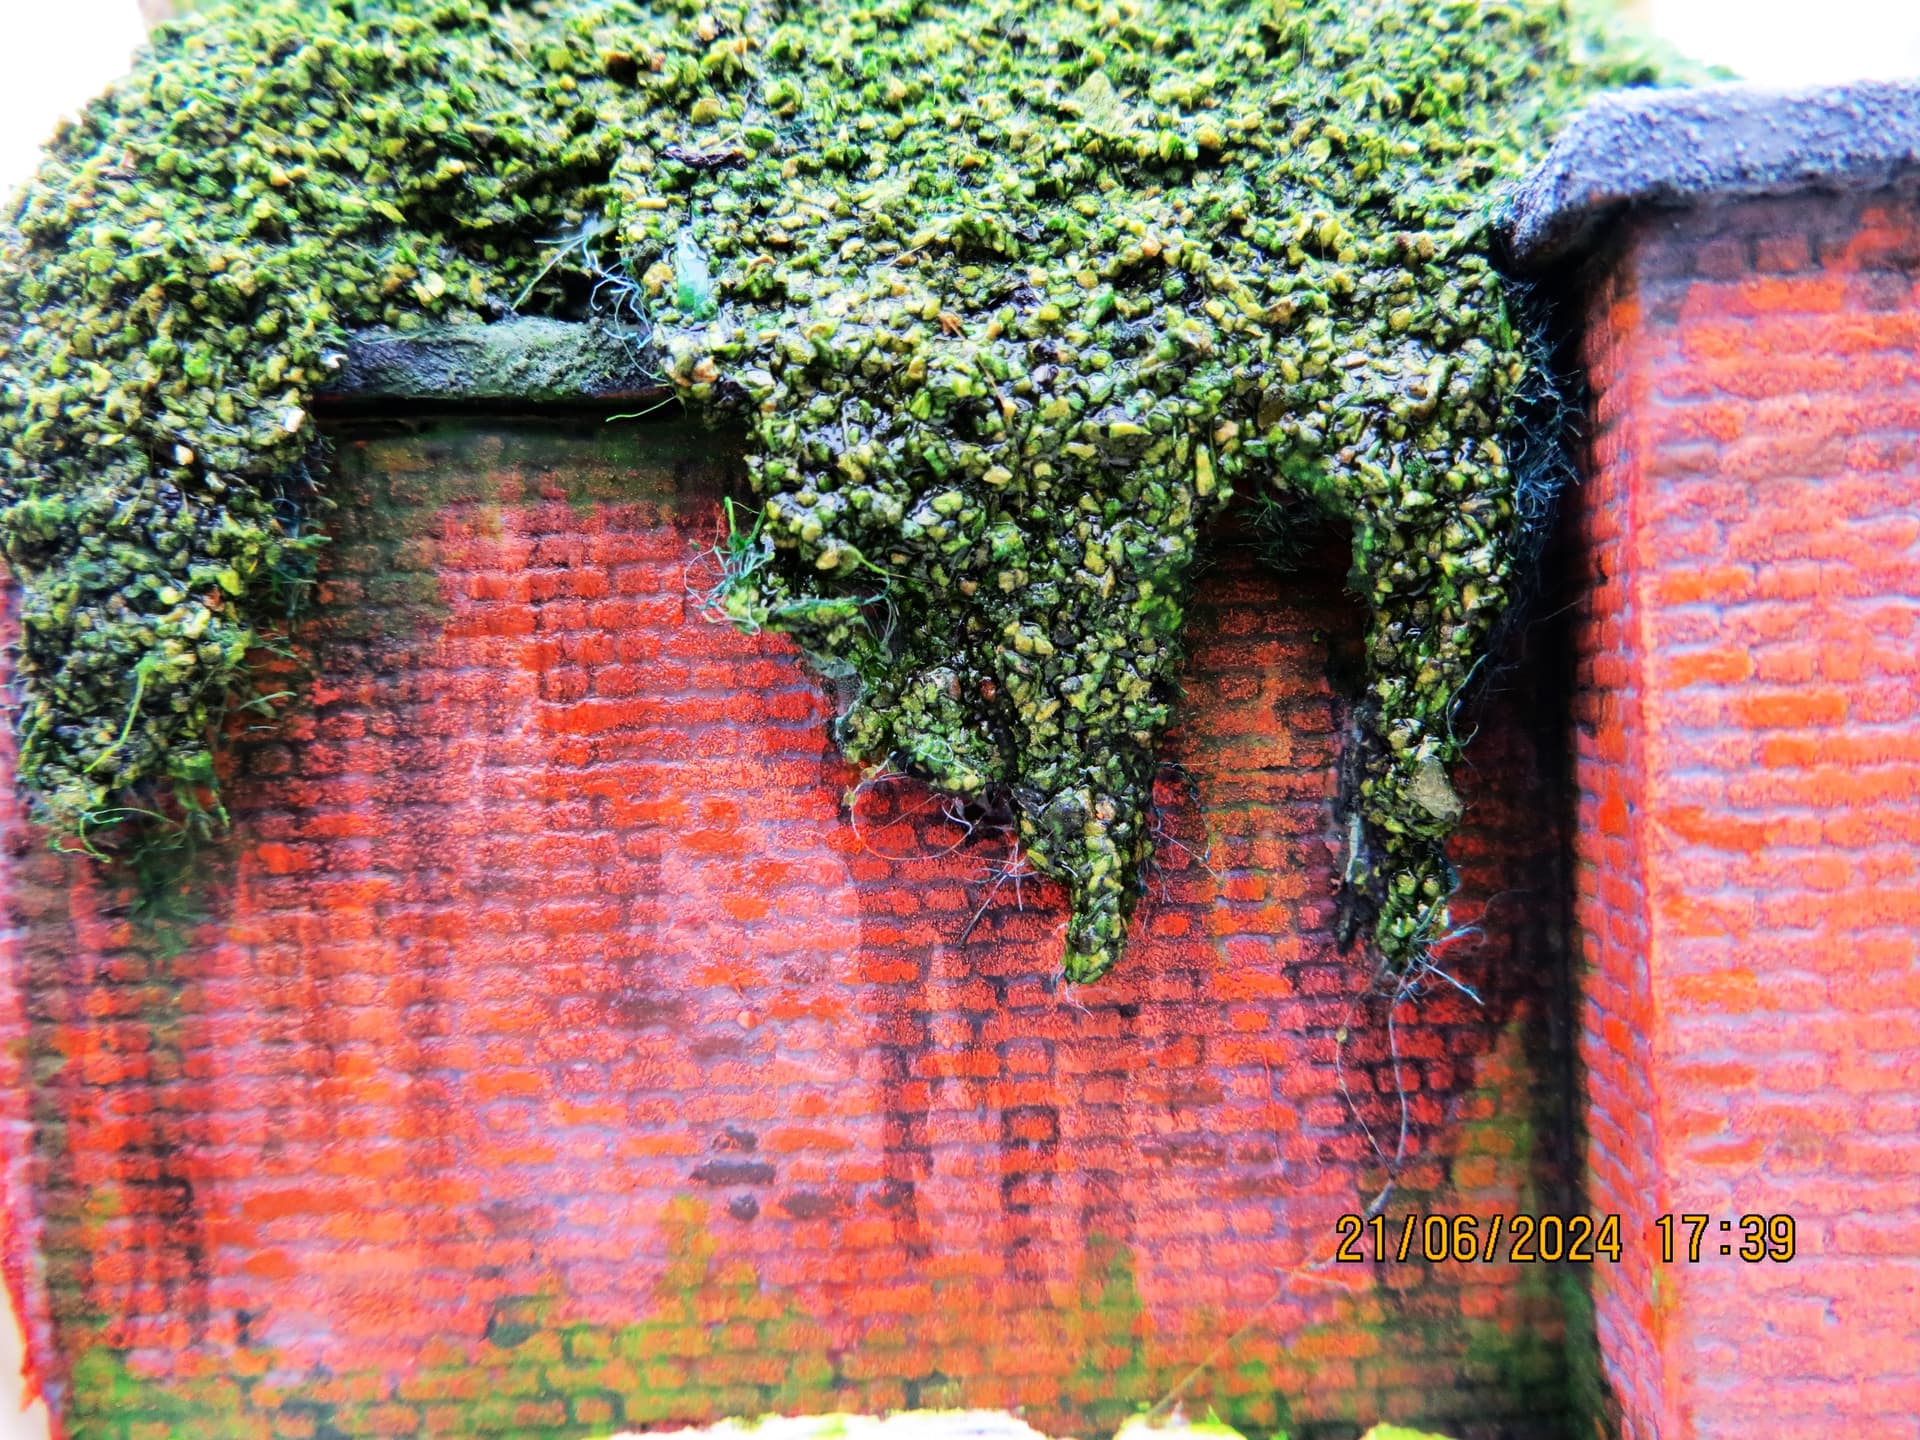
Brick walls in wet climates (Old Blighty) tend to acquire mold/moss/algae resulting in anything between a slight greenish tint to fully overgrown. Google image search
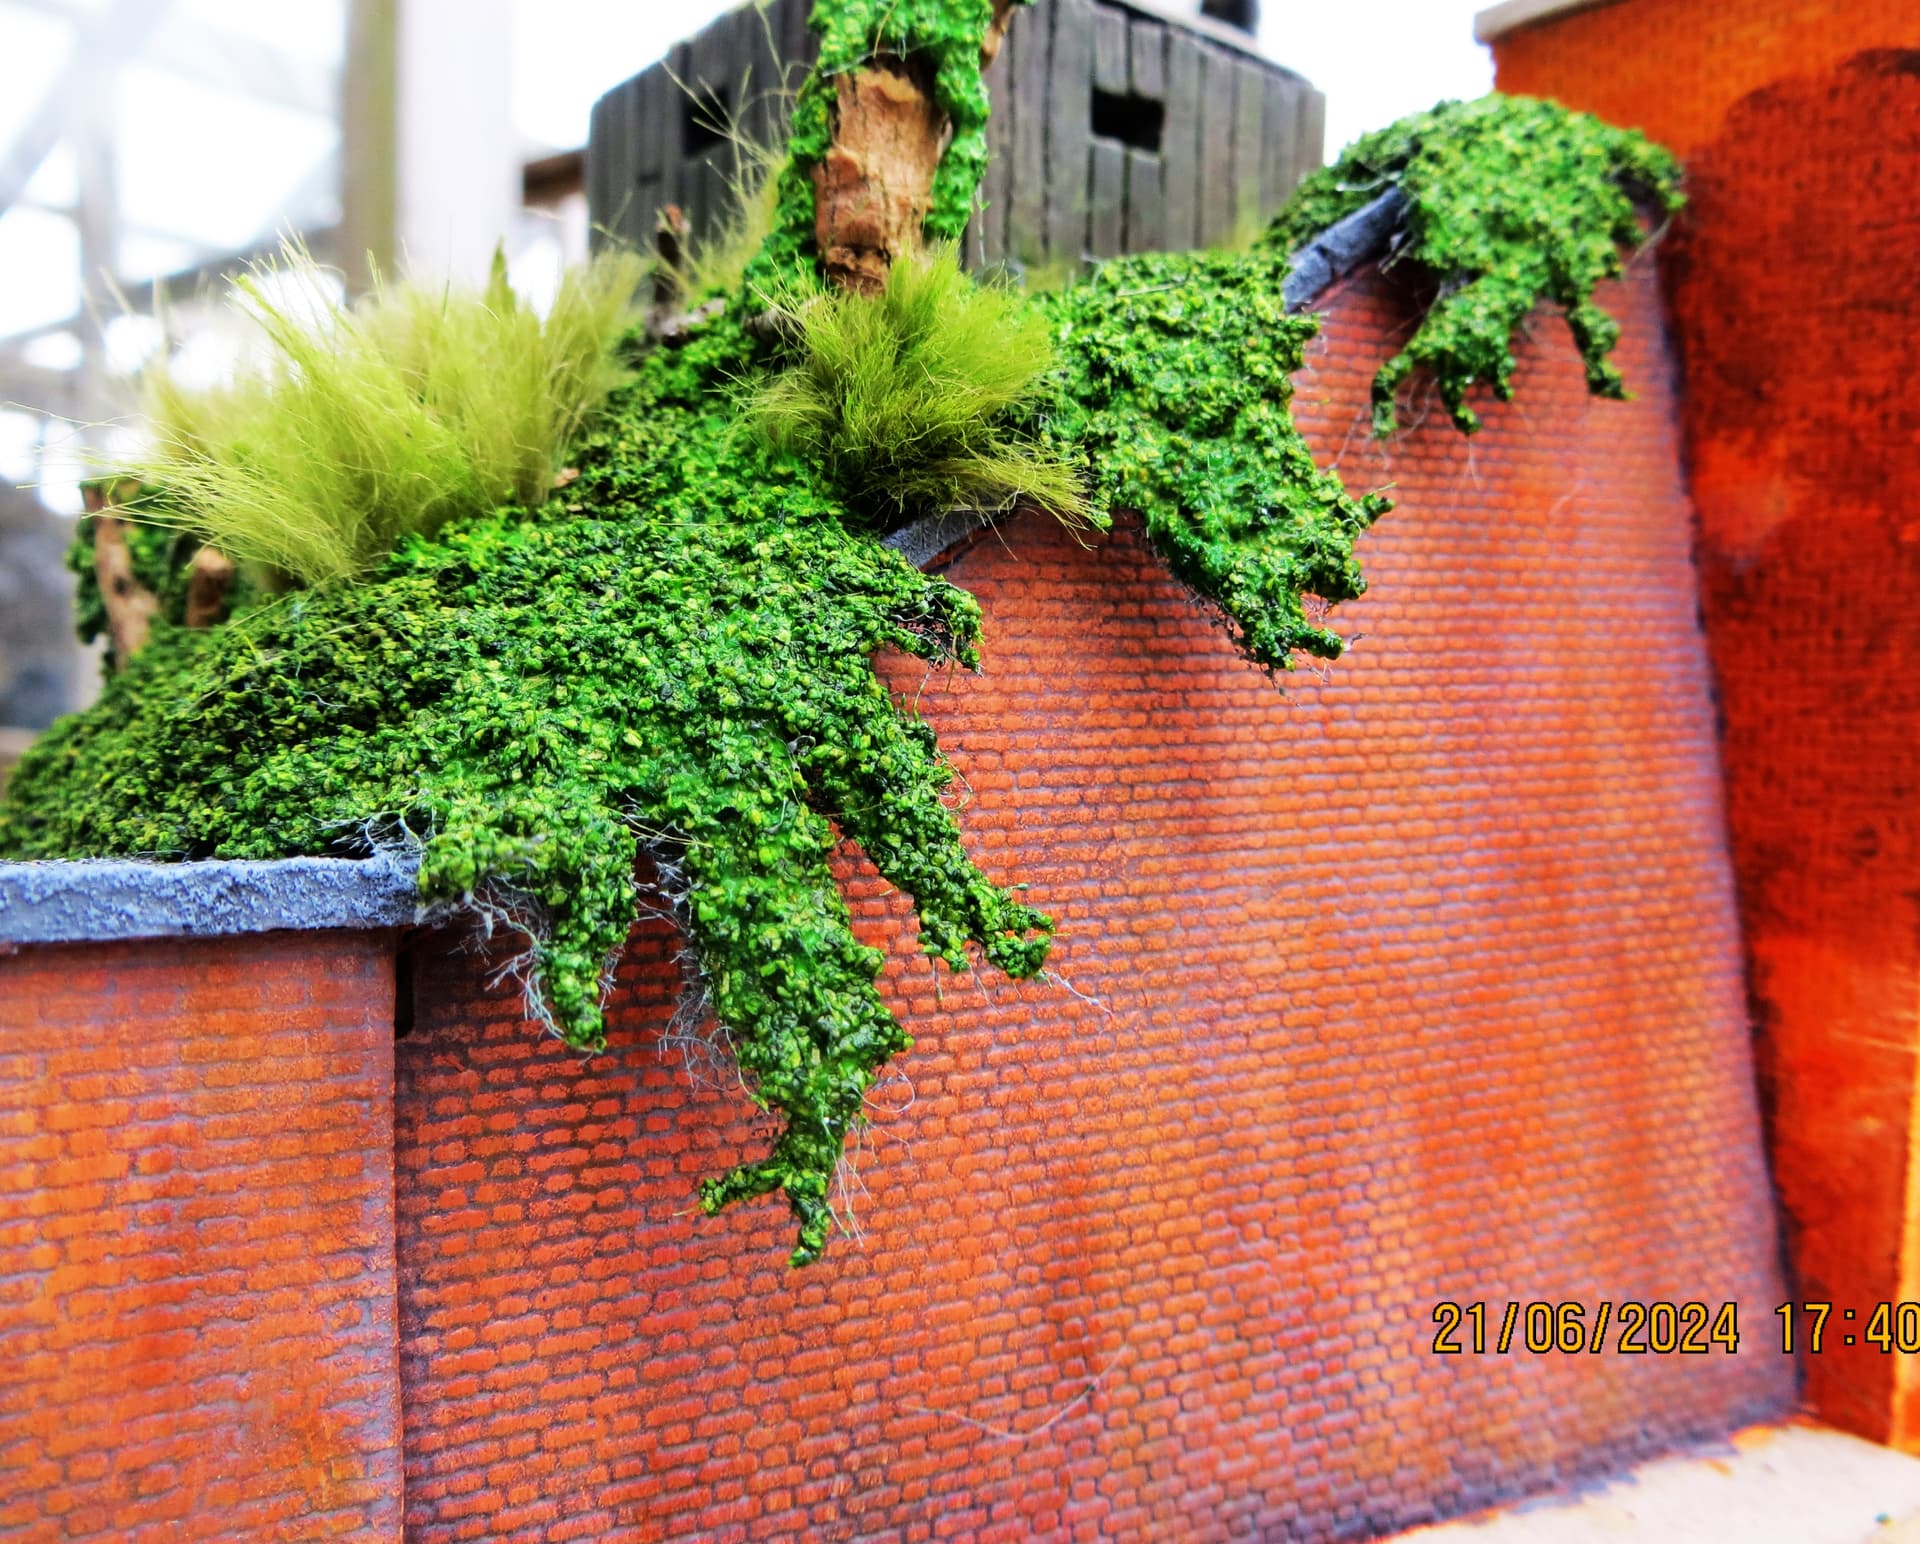
Maybe a partially cleaned wall? One side more exposed to sunshine and drying out and the other more in the shade and more affected by “growths”?
Thanks for the suggestion Robin, it’s a good idea, and would lend itself to the lower return wall as it’ll be alongside a narrow lane and adjacent to a corner shop, so very shady, .
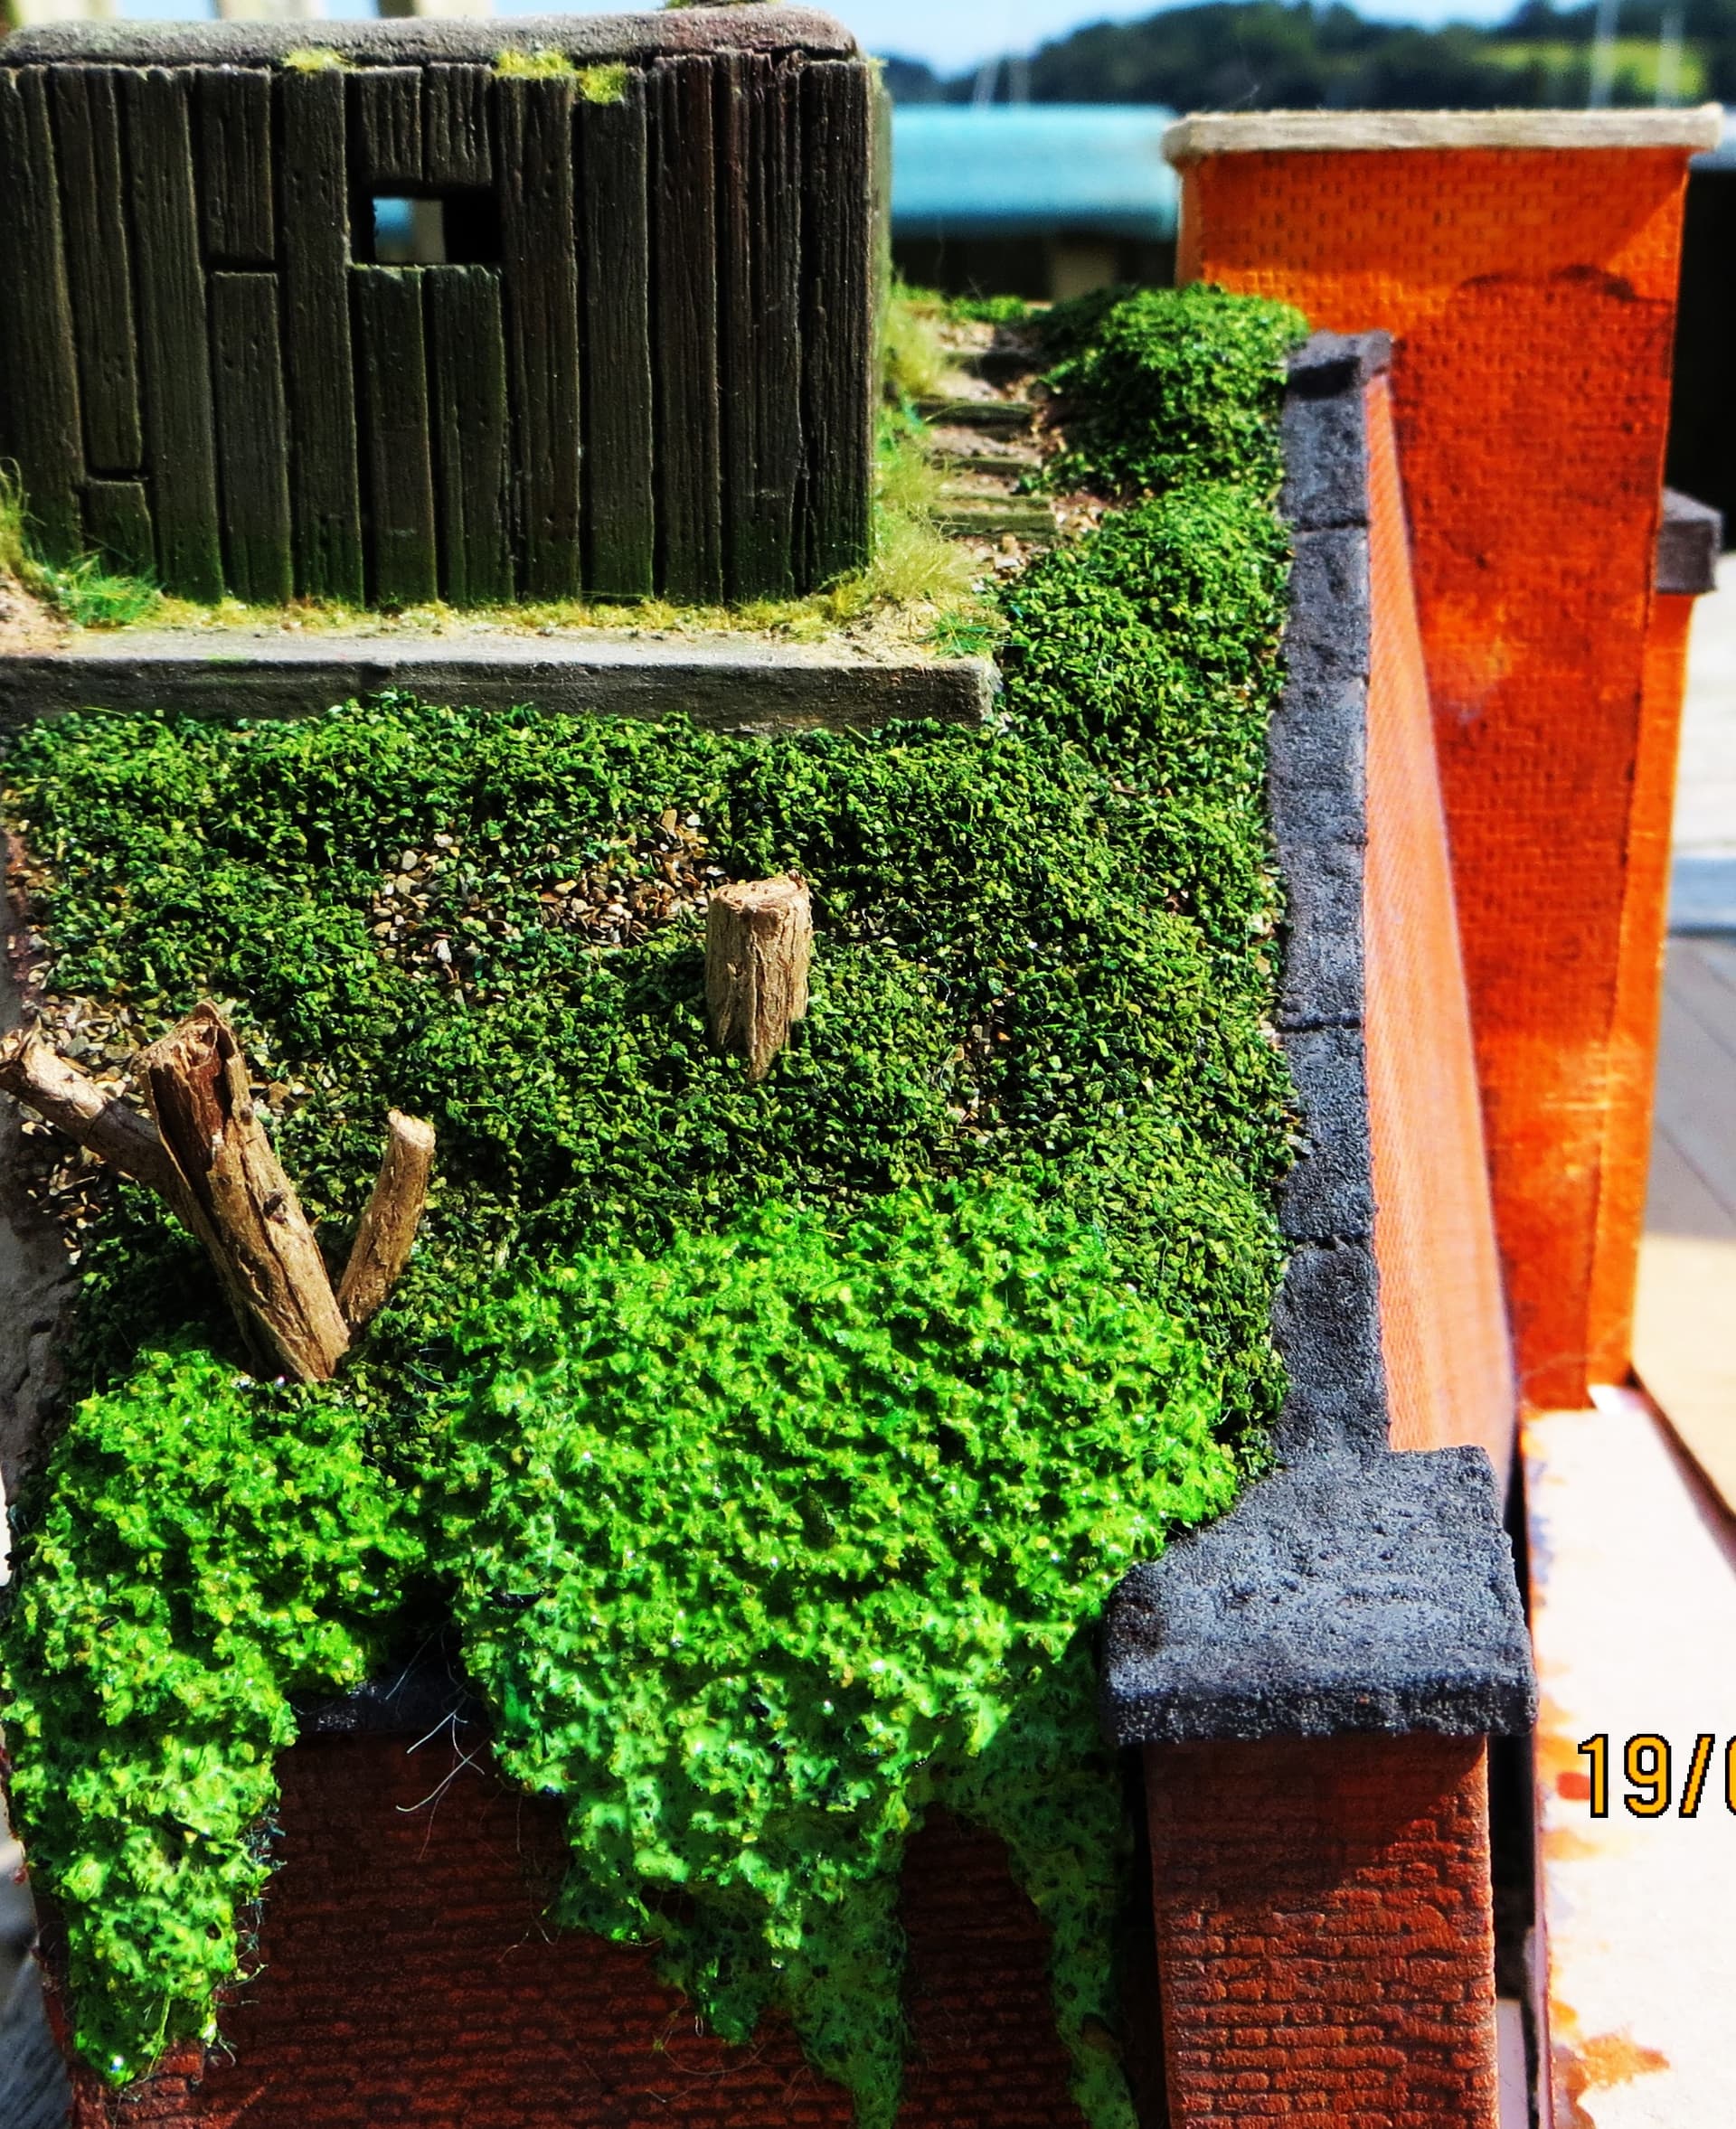
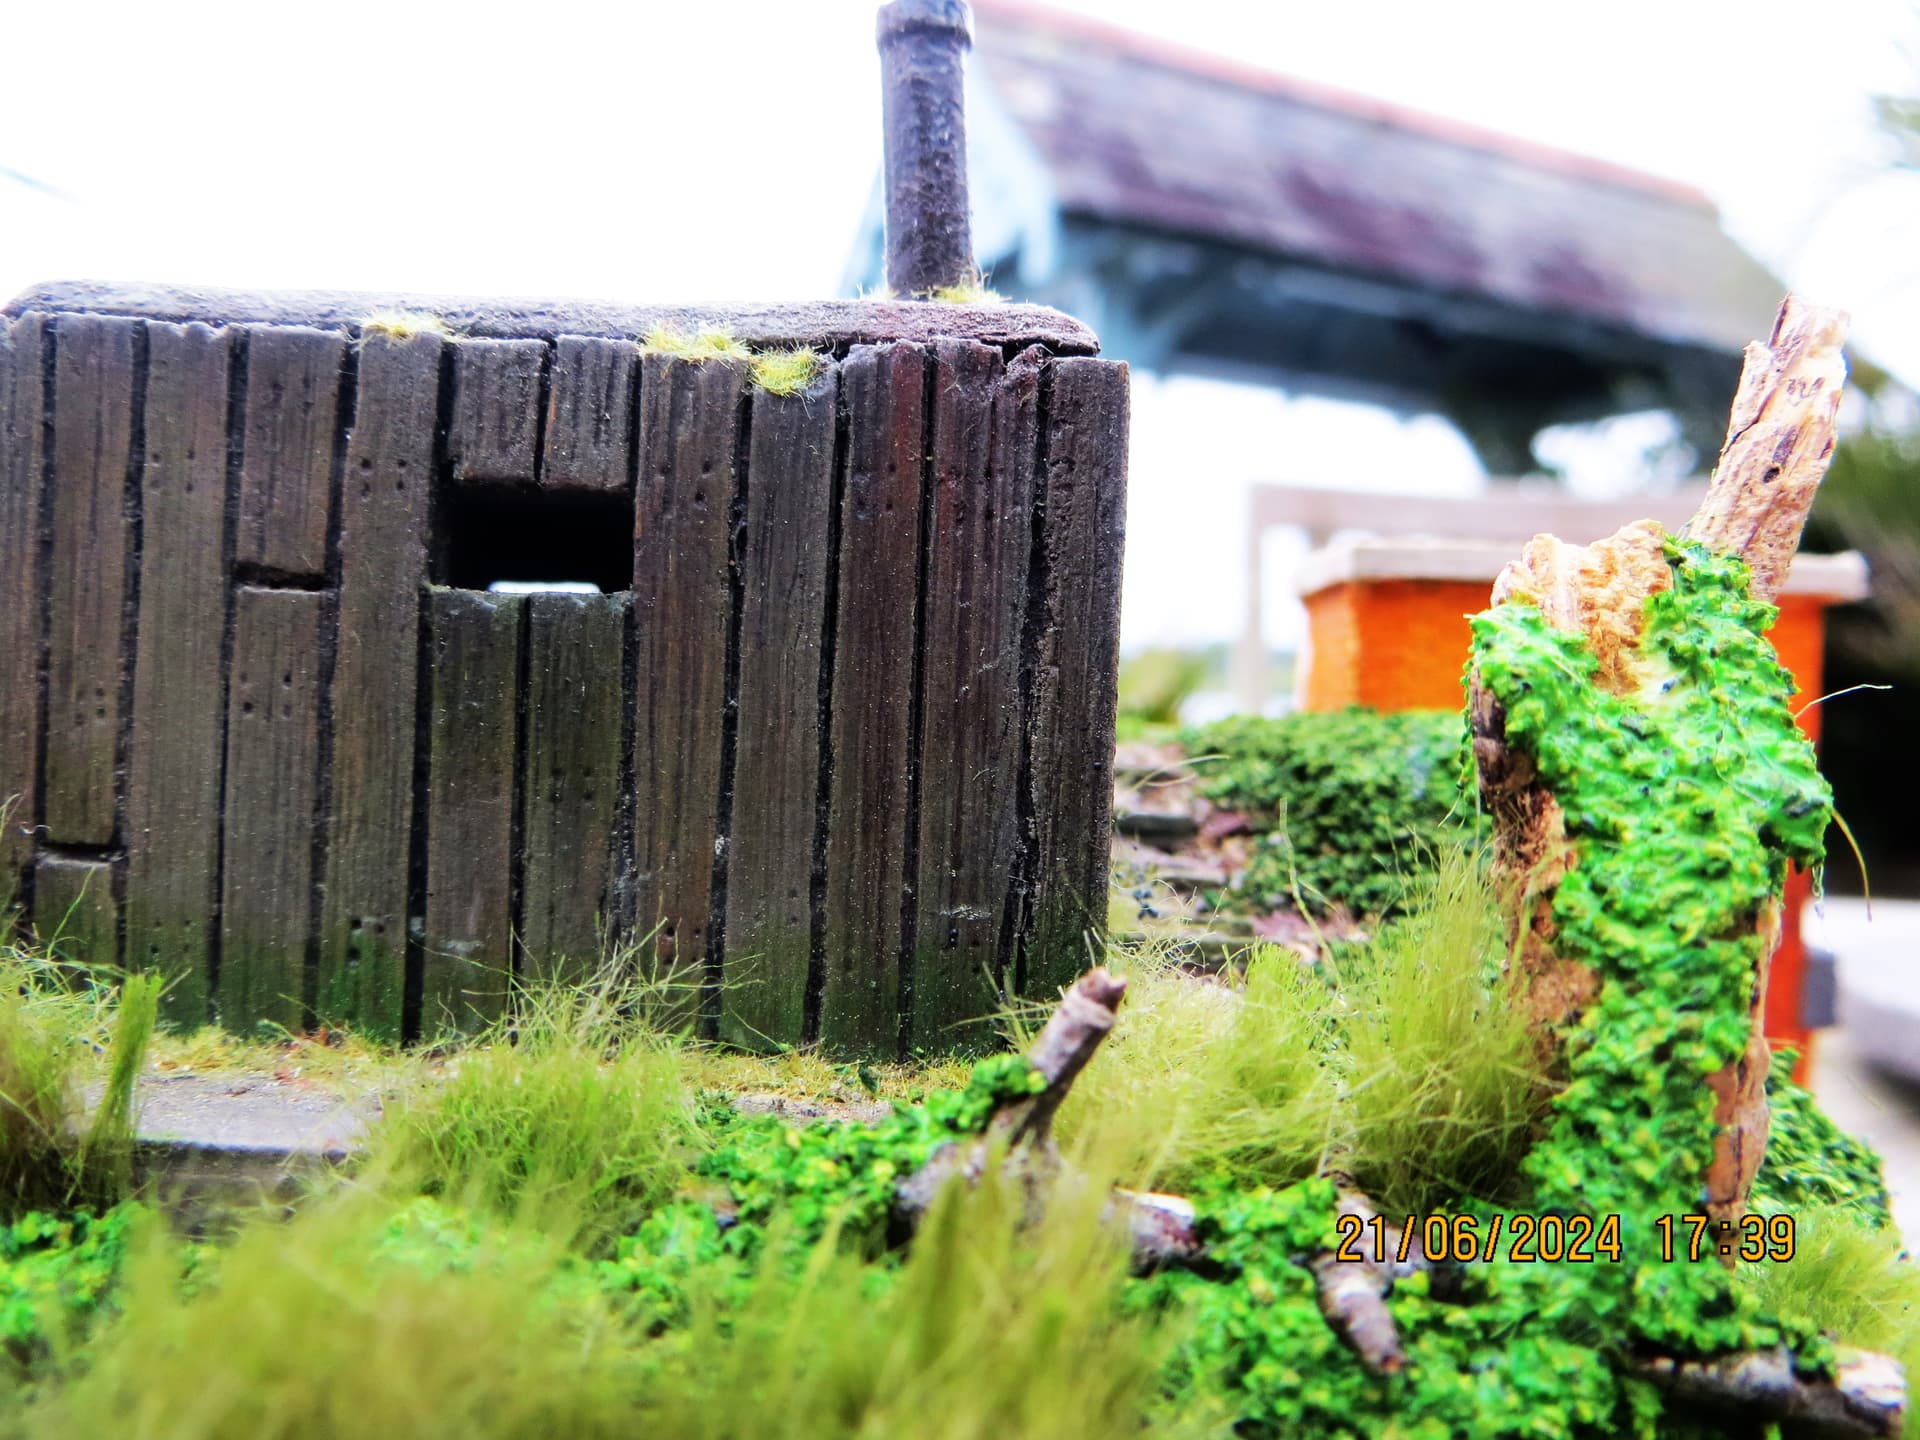
The grass will be trimmed much shorter once the glue has dried, and the overhanging ground ivy to the wing wall will be stuck back so as to hang more realistically. This wall also needs to be weathered. One drawback of the new scribed bricks is that I’ll have to redo the buttress wall…joy! …as the original scribing is not as well defined…see image below.
I’ve also added the DAS base to the narrow lane, this will be carved to represent a cobbled surface. The two slots are part of the central drainage, the covers at these positions will be left as if dislodge, the rest will be part of the engraving.
Dude, the way you achieve your ground work is superb. For 1/72 scale, it genuinely cannot be faulted. You nail the various verdant shades of green, the brick work weathering is amazing. Its creative work at its best …