Great progress! The uniform colour of the driver suggests he is of Luftwaffe prodigy?
2 Likes
Cramped indeed … but beautifully put together … you have really nailed it without overfilling it. Great detailing as well
2 Likes
That tends to hold true even today.
Ken
1 Like
Well spotted Erwin.
However… I have done my research! The waffenfarben (piping) of the SS Recce corps was golden yellow.
2 Likes
Thanks again for all the kind words and observations.
I have really got the bit between my teeth with this 250. It was actually the very first part of this project which I started over 2 years ago - before I started the actual diorama - so I am happy to see it approaching the finishing line. It’s especially gratifying to see the plastic and photetch disappear beneath a coat of paint and begin to tie in with the landscape.

As I have said, it would be practically impossible to paint the interior with the top and bottom halve of the hull mated together.
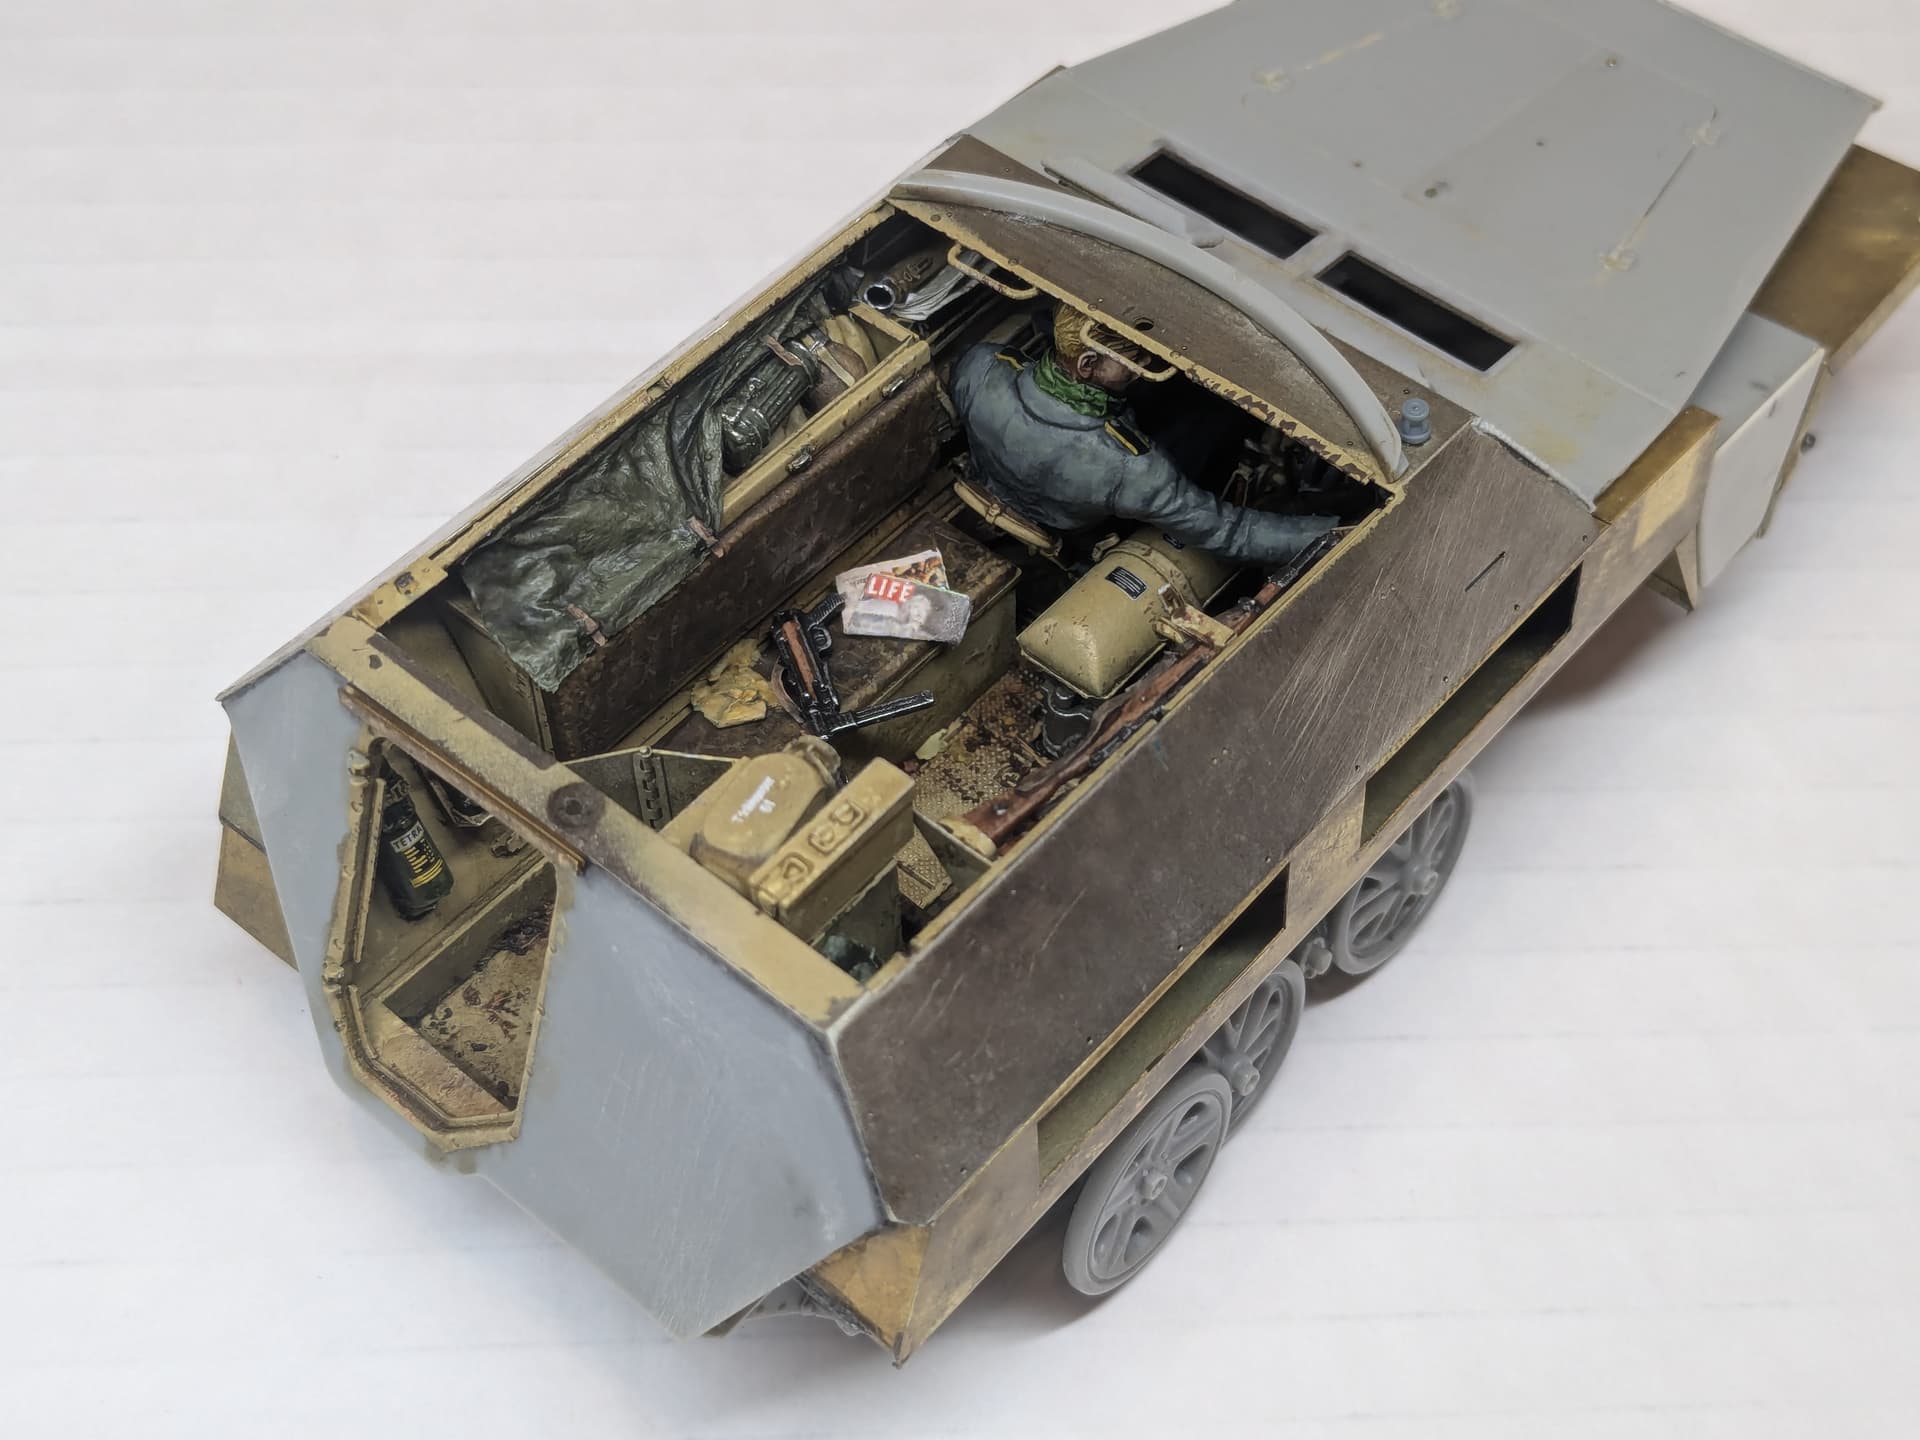
Painting started with an airbrushed coat of Mr Surfacer 1000 Mahogany followed by Tamiya Dark Yellow 2 XF-80. This is the ‘improved’ acrylic version of the classic German Dunkelgelb (RAL 7028). Since I had not used my airbrush for a while I forgot just how beautifully these Tamiya paints spray from the airbrush. After the base coat I added another coat or two lightened with some white and then finished with a coat of Semi-Gloss X-35.
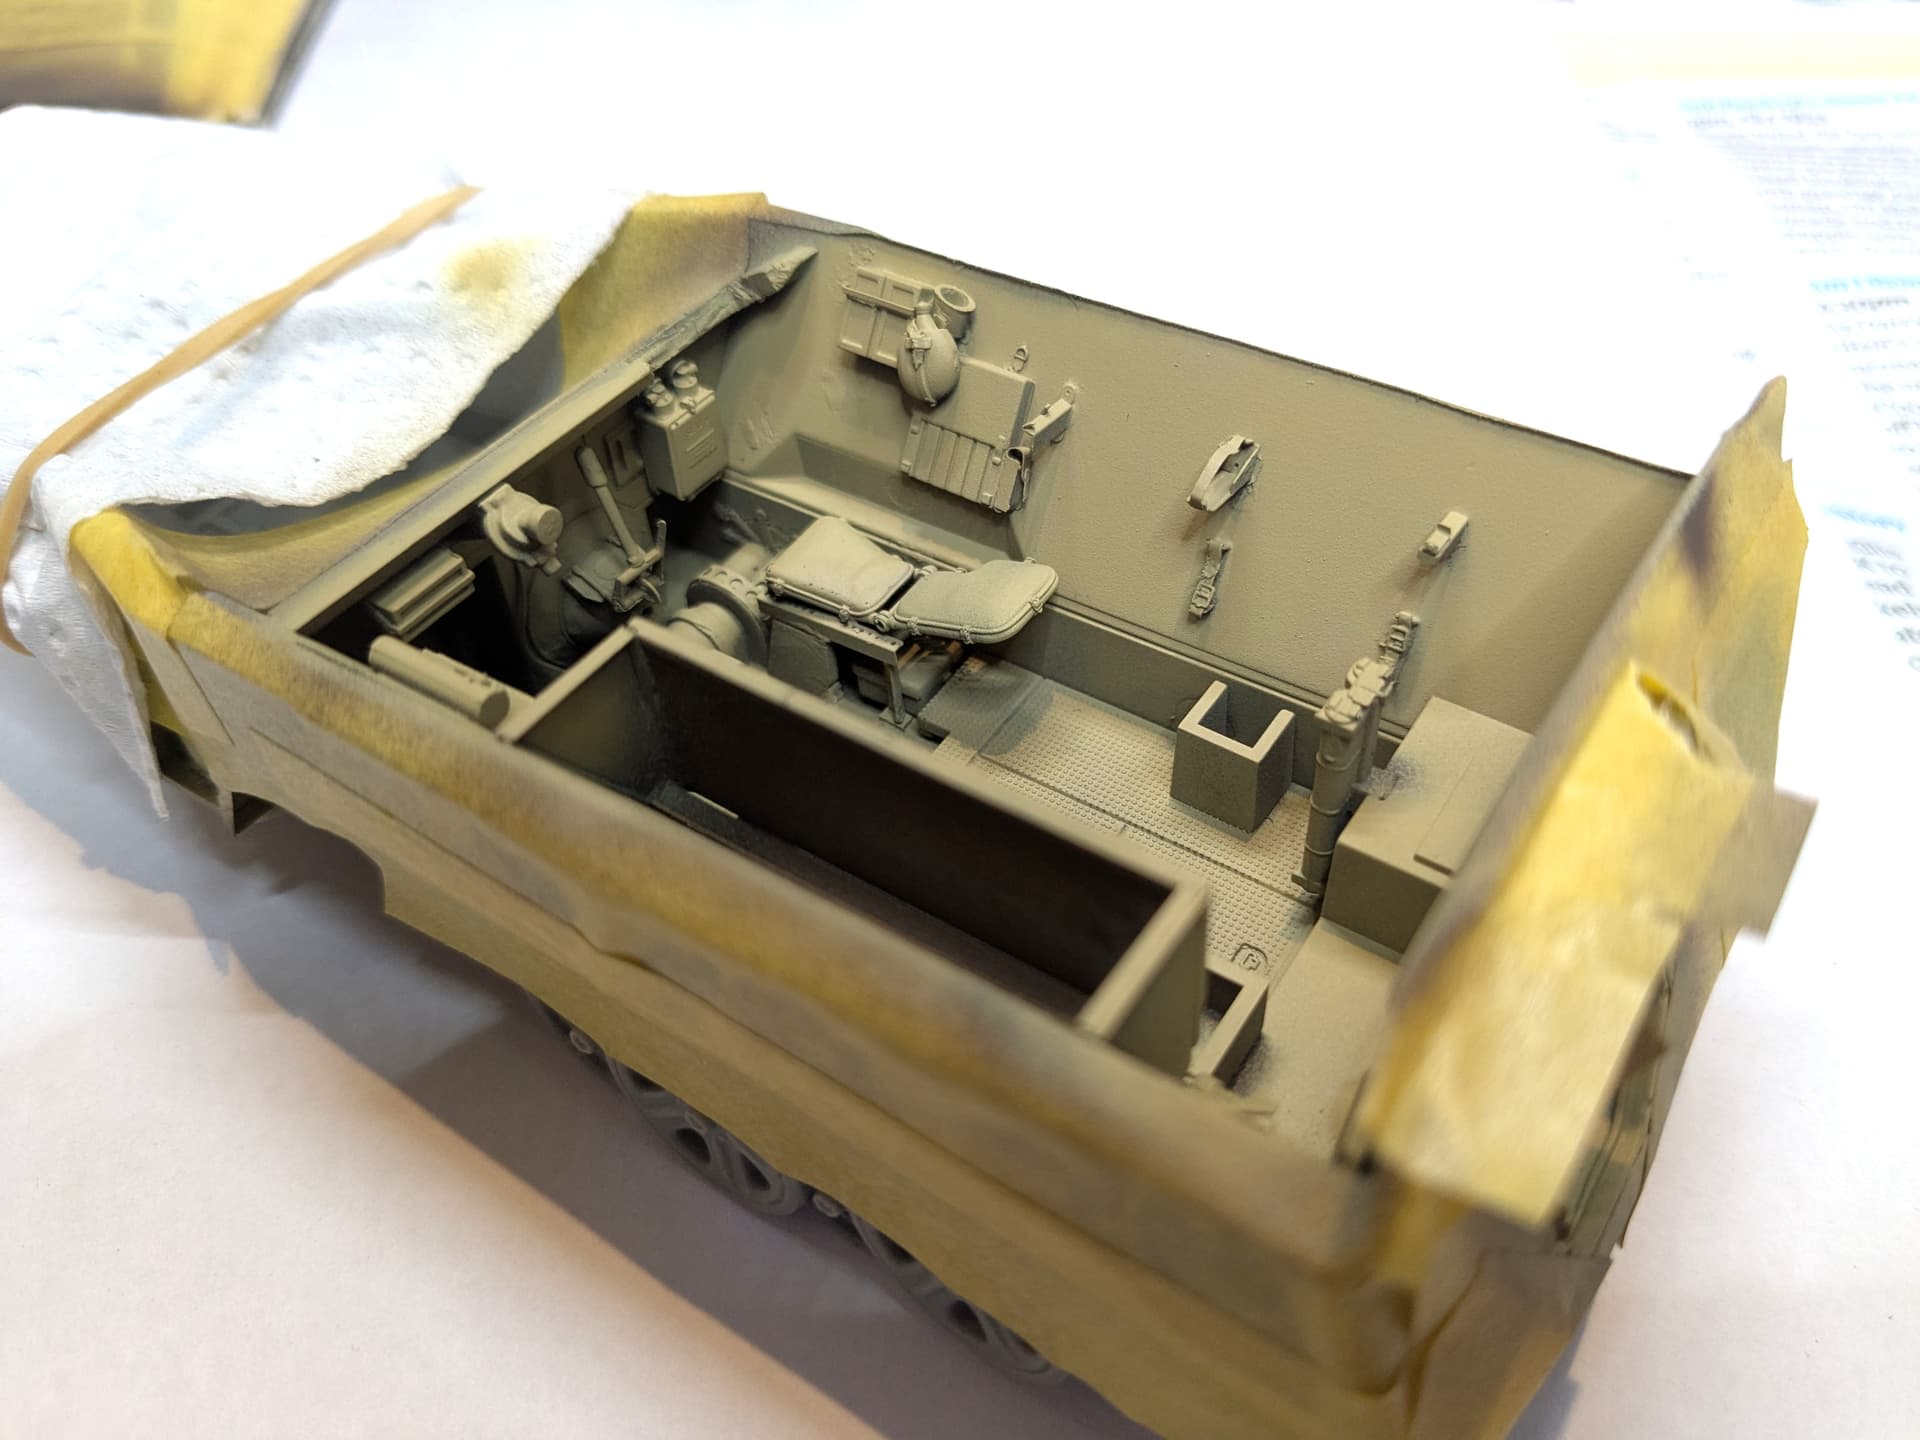

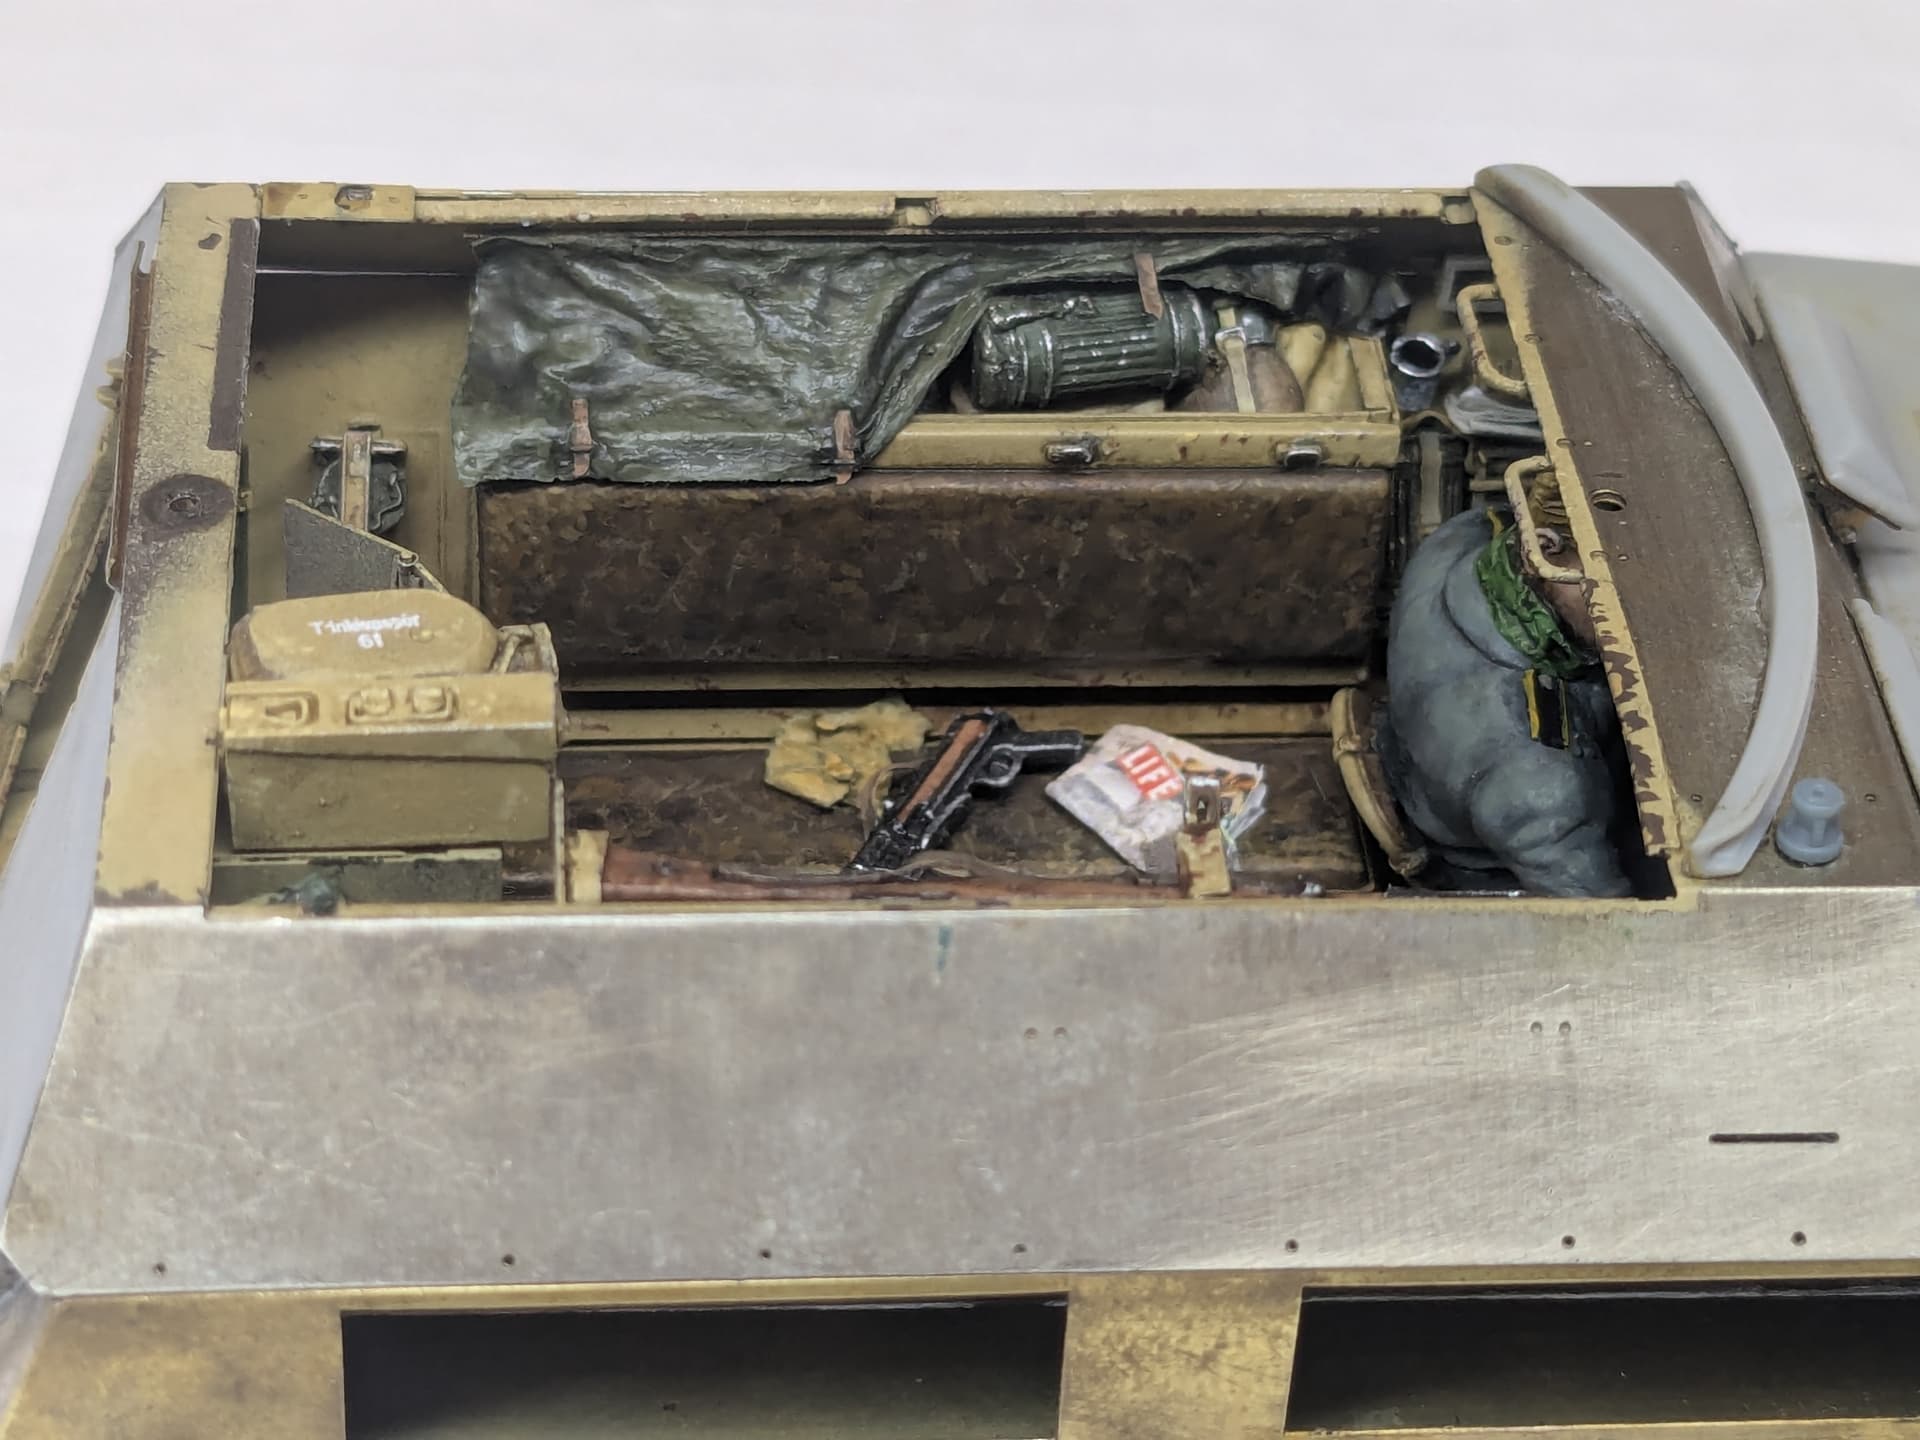
This is the bit where all the details start to pop out. Unfortunately, it’s also the bit where all the glue blobs and other mistakes also appear… Oh well, that’s why I started with the interior!
One reason to give everything a semi-gloss finish is to help the washes flow over the surface. I started with an emamel wash from MIG: Brown Wash for Dark Yellow. To be honest, I was a little heavy-handed, but I kept reminding myself that a lot of this was going to be almost hidden or in shadow… so it helps to create stark contrasts. I will be a bit more light-fingered when I get to do the exterior!
Next I added chips and scratches (some light grey, some dark brown, a few highlights of pale yellow) and started to paint the details.


This is by far the most satisfying part of the process because you really start to appreciate the details of the photoetch and even some of the original kit parts.
Here I have to give a special shout-out to Dragon for the seat textures. I have no idea if the Germans were still using real leather for seat covers at this stage of the war (although why not? They certainly had plenty of horses!) but the effect is very pleasing. I concede that the look is more artistic than realistic - a lot of stippling with wet-blended shades of black, red brown and yellows - but it works for me!
21 Likes
Superb work with that interior … it jumps out in all the right places showing that sweet detailing.
5 Likes
Wasn’t Erwin referring to the bluish colour of the uniform, not the piping?
2 Likes
Correct ![]()
2 Likes
Beautiful work Tim, you are very skilled. I for one really appreciate the descriptions and explanations, technically and artistically.
Your projects have inspired (hopefully) me to finally restart a diorama I began years ago depicting a French farmhouse etc during the German Army’s retreat up thru the Rhone Valley towards the Vosage Mountains after Operation Dragoon, Sept '44.
Yes Tim, your farmhouse did that dude, Thanks!
Cheers ![]()
Dave
6 Likes
Wow, thanks Strongarden. I’m happy to inspire anyone to get their projects going - just as I find inspiration from so many others on this site…
Be sure to post as you make progress, we will all want to see it.
2 Likes
Erwin, sorry (and John thanks for correcting me).
Of course, it’s the blue hue as well as the piping that makes him look like a Luftwaffe kid.

I confess, I may have gone a little strong on the blue. However, in my defence, I have been using this excellent reference book:
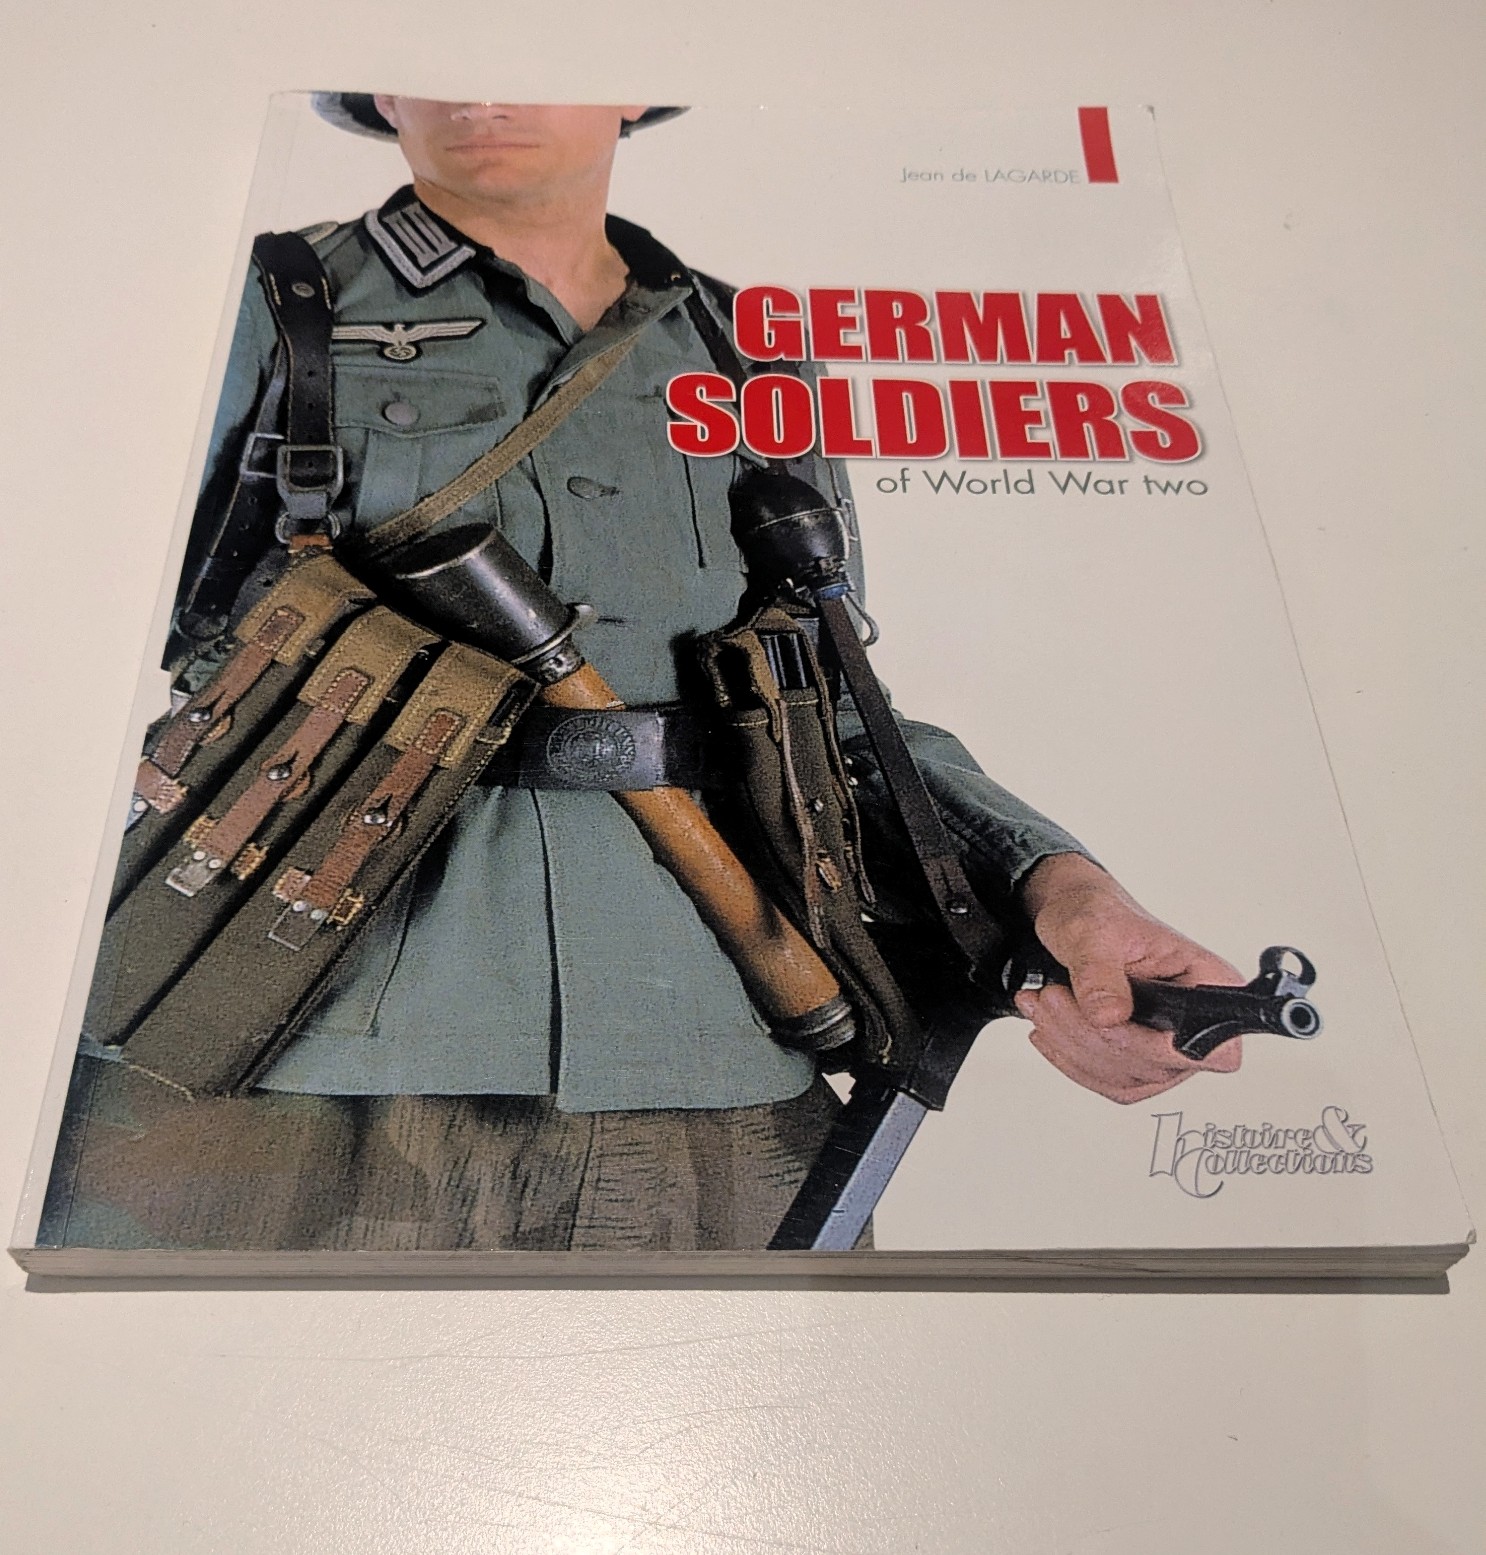
German Soldiers of World War Two published by Histoire & Collections in 2014. It’s an excellent resource showing uniforms and equipment throughout the war from all arms of service. One thing that comes over strongly is the myriad of shades of field grey.
I was basing my greatcoat on this figure:
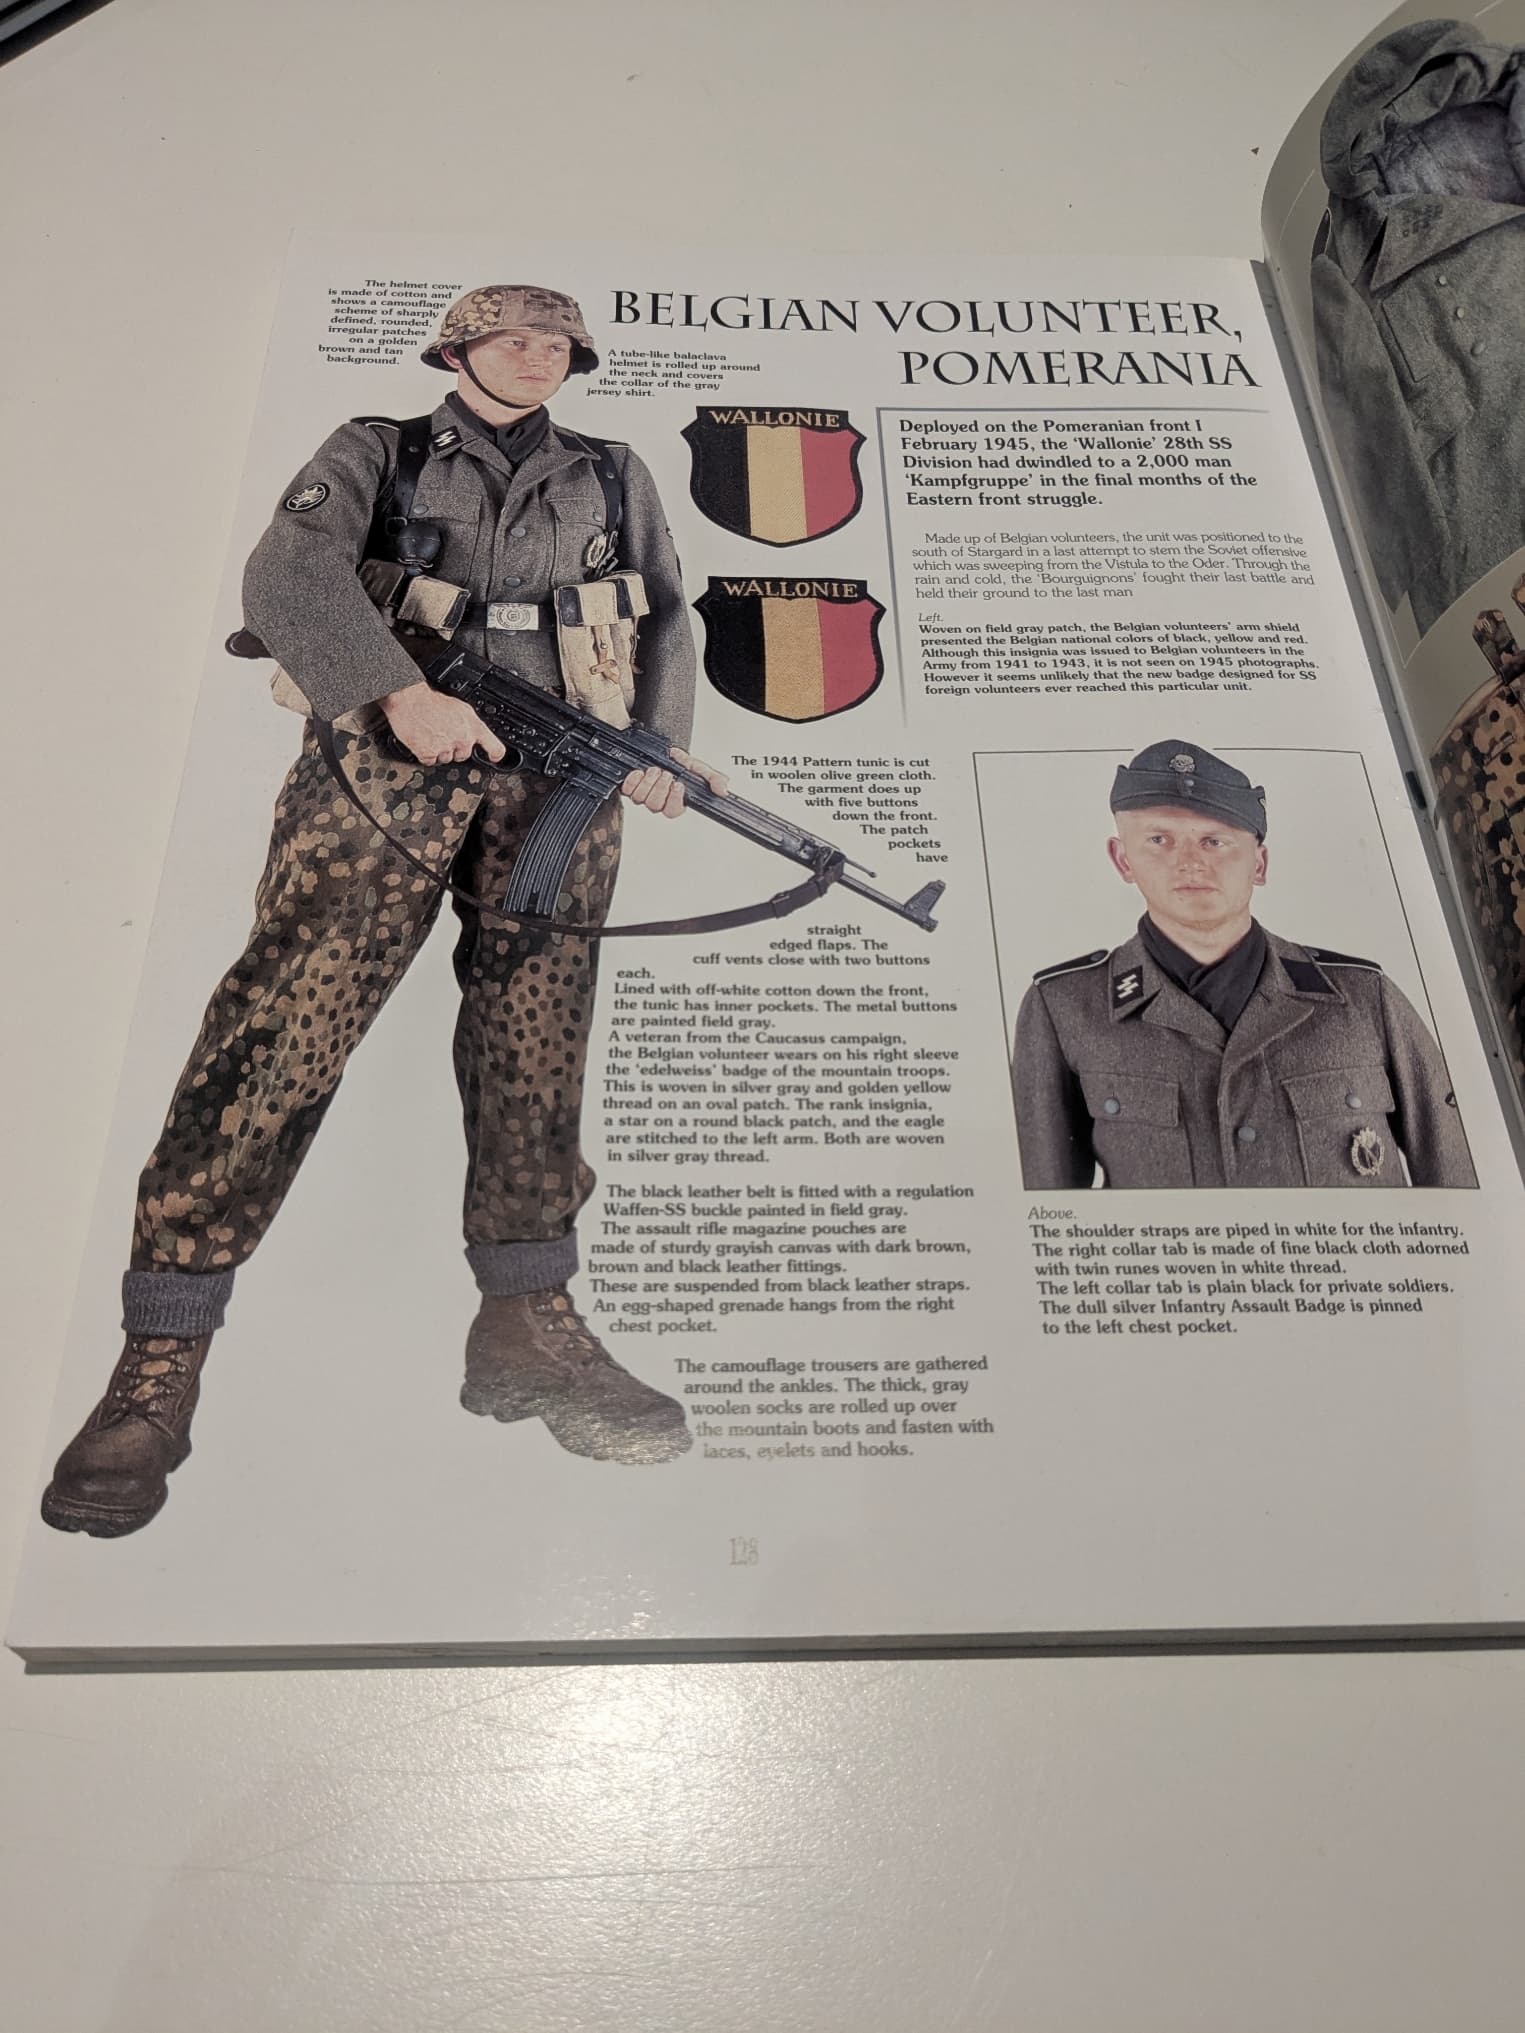
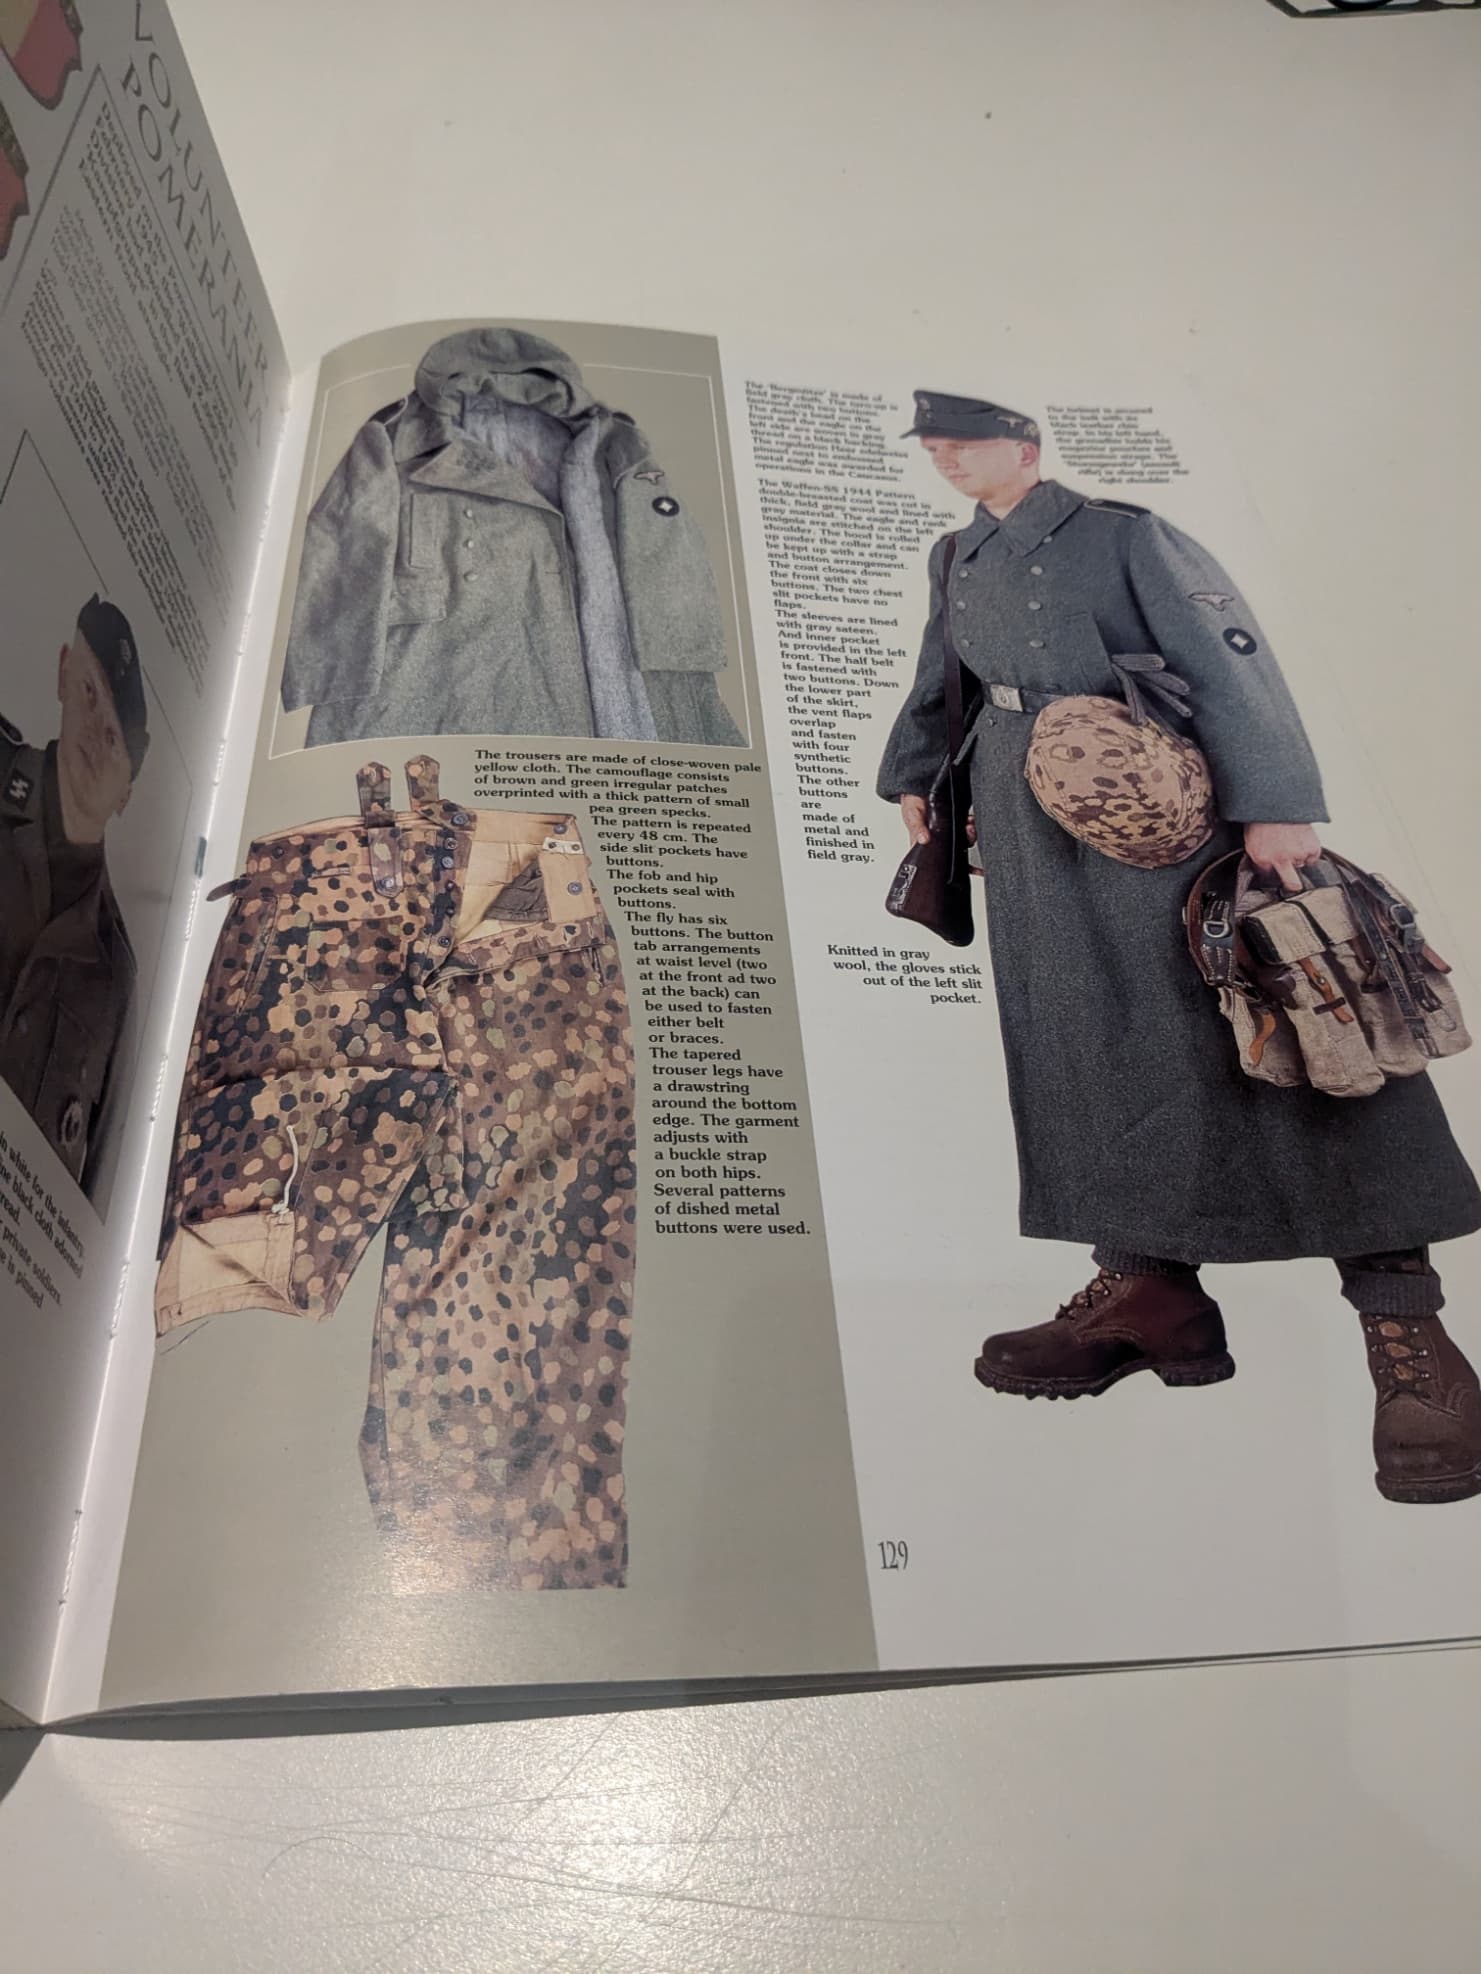
You can see that the greatcoat on the right is much more grey/blue than the field tunic on the left (which almost has a brownish hue). It may be the lighting, or the way the image comes out in print (it actually looks much more blue in the flesh!). Anyway, at the end of the day I am just trying to make my model look visually interesting. So that’s my excuse and I am sticking to it!
11 Likes
Thanks Johnny!
1 Like
Your diorama is excellent !
2 Likes
I indeed was referring to the colour of the uniform. Not the piping (Waffenfarbe), as I know these differed widely between different units…
And it is ofcourse your model, so your choice ![]()
3 Likes
So the build on the 250 is almost at an end… and the painting is about to commence.
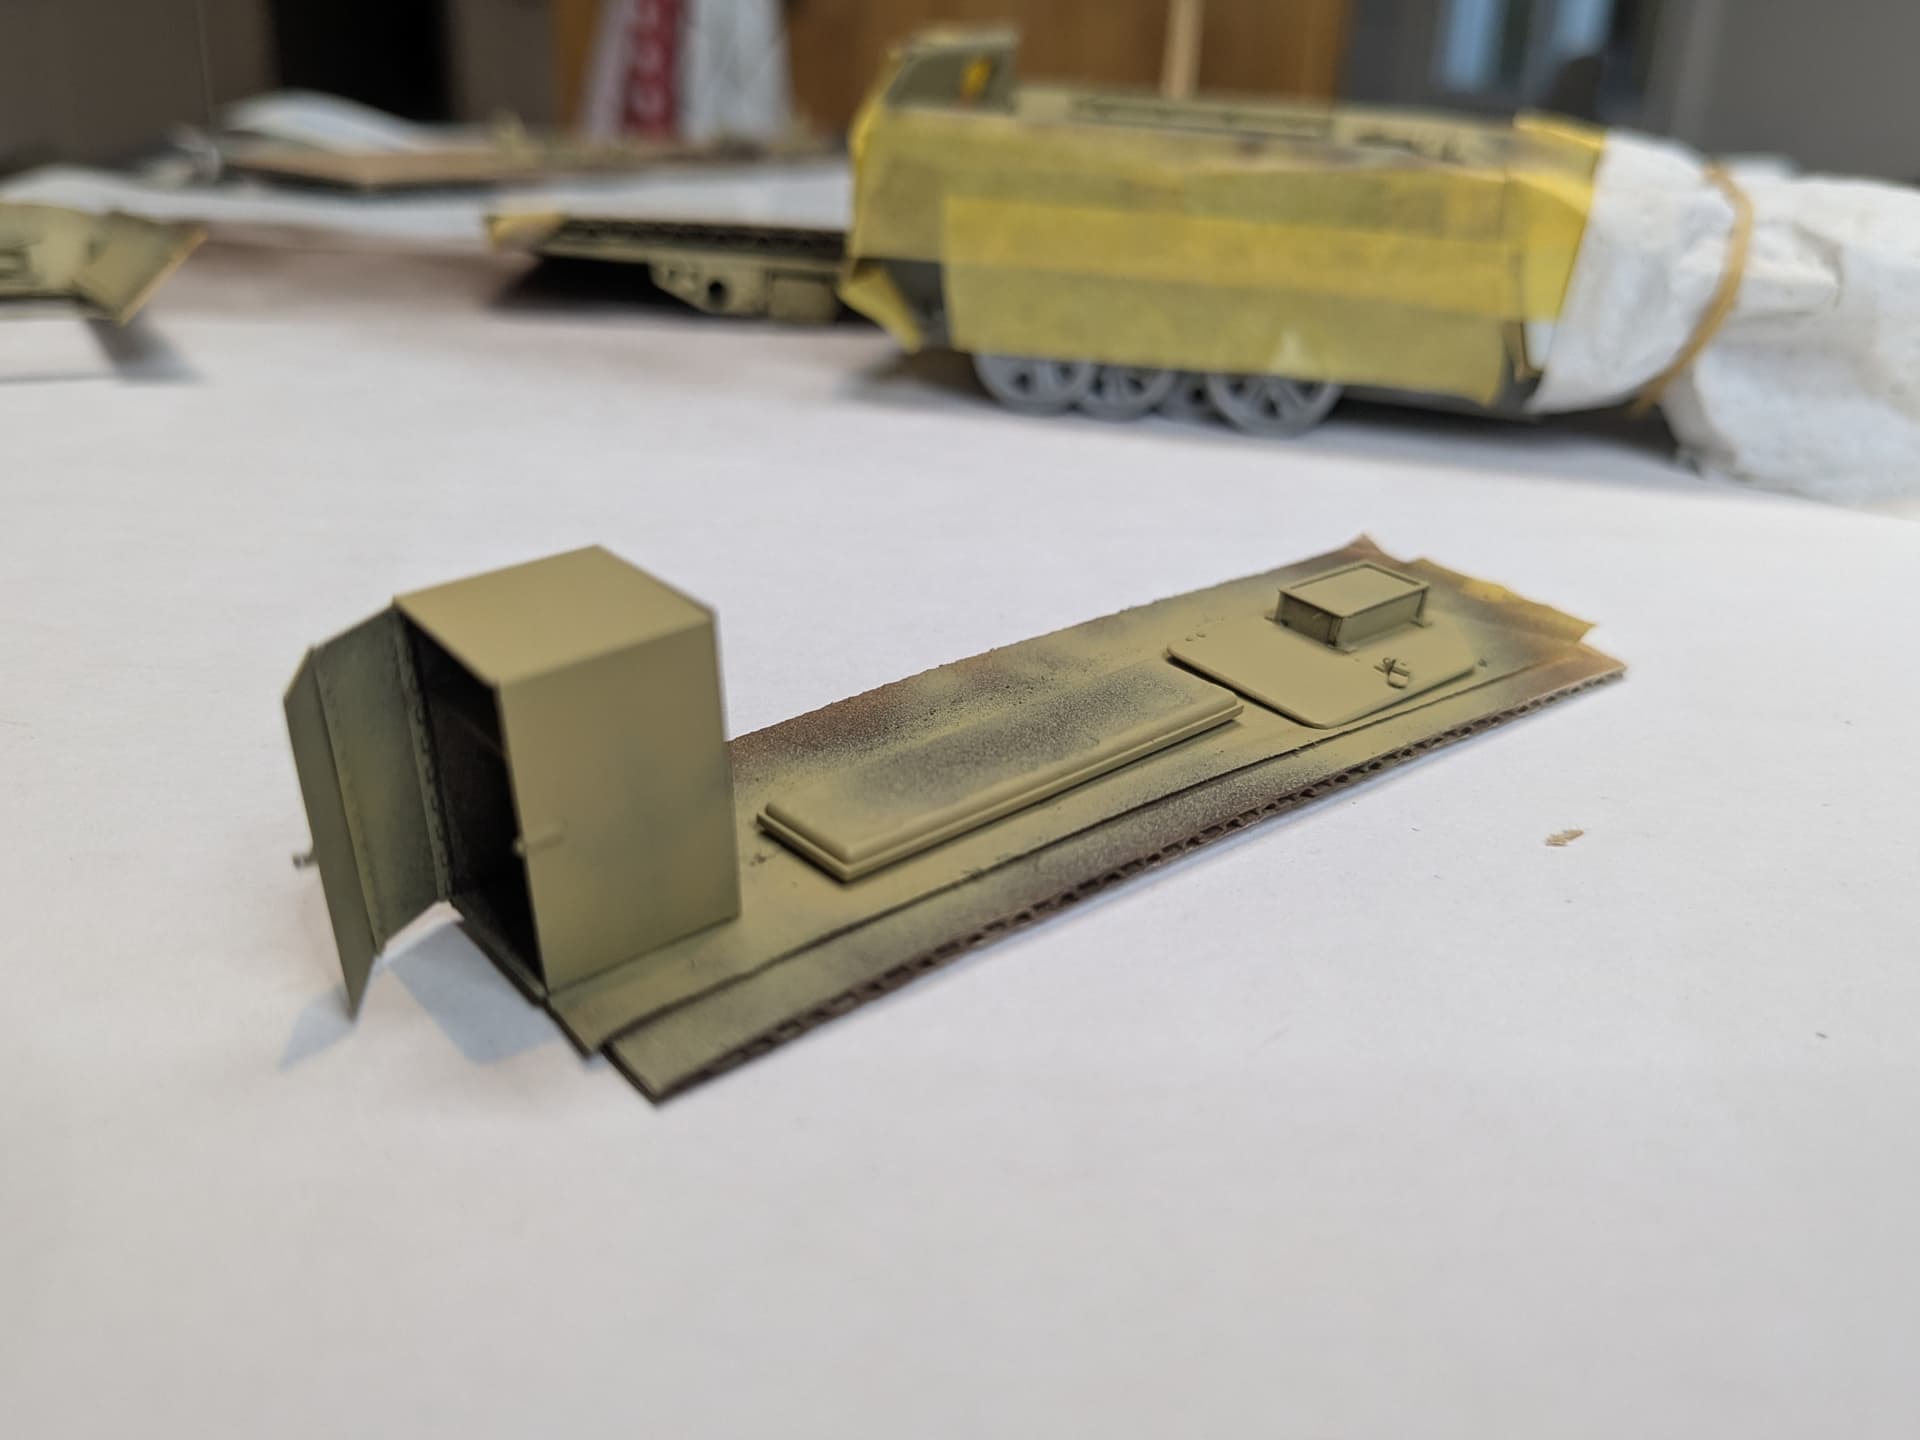
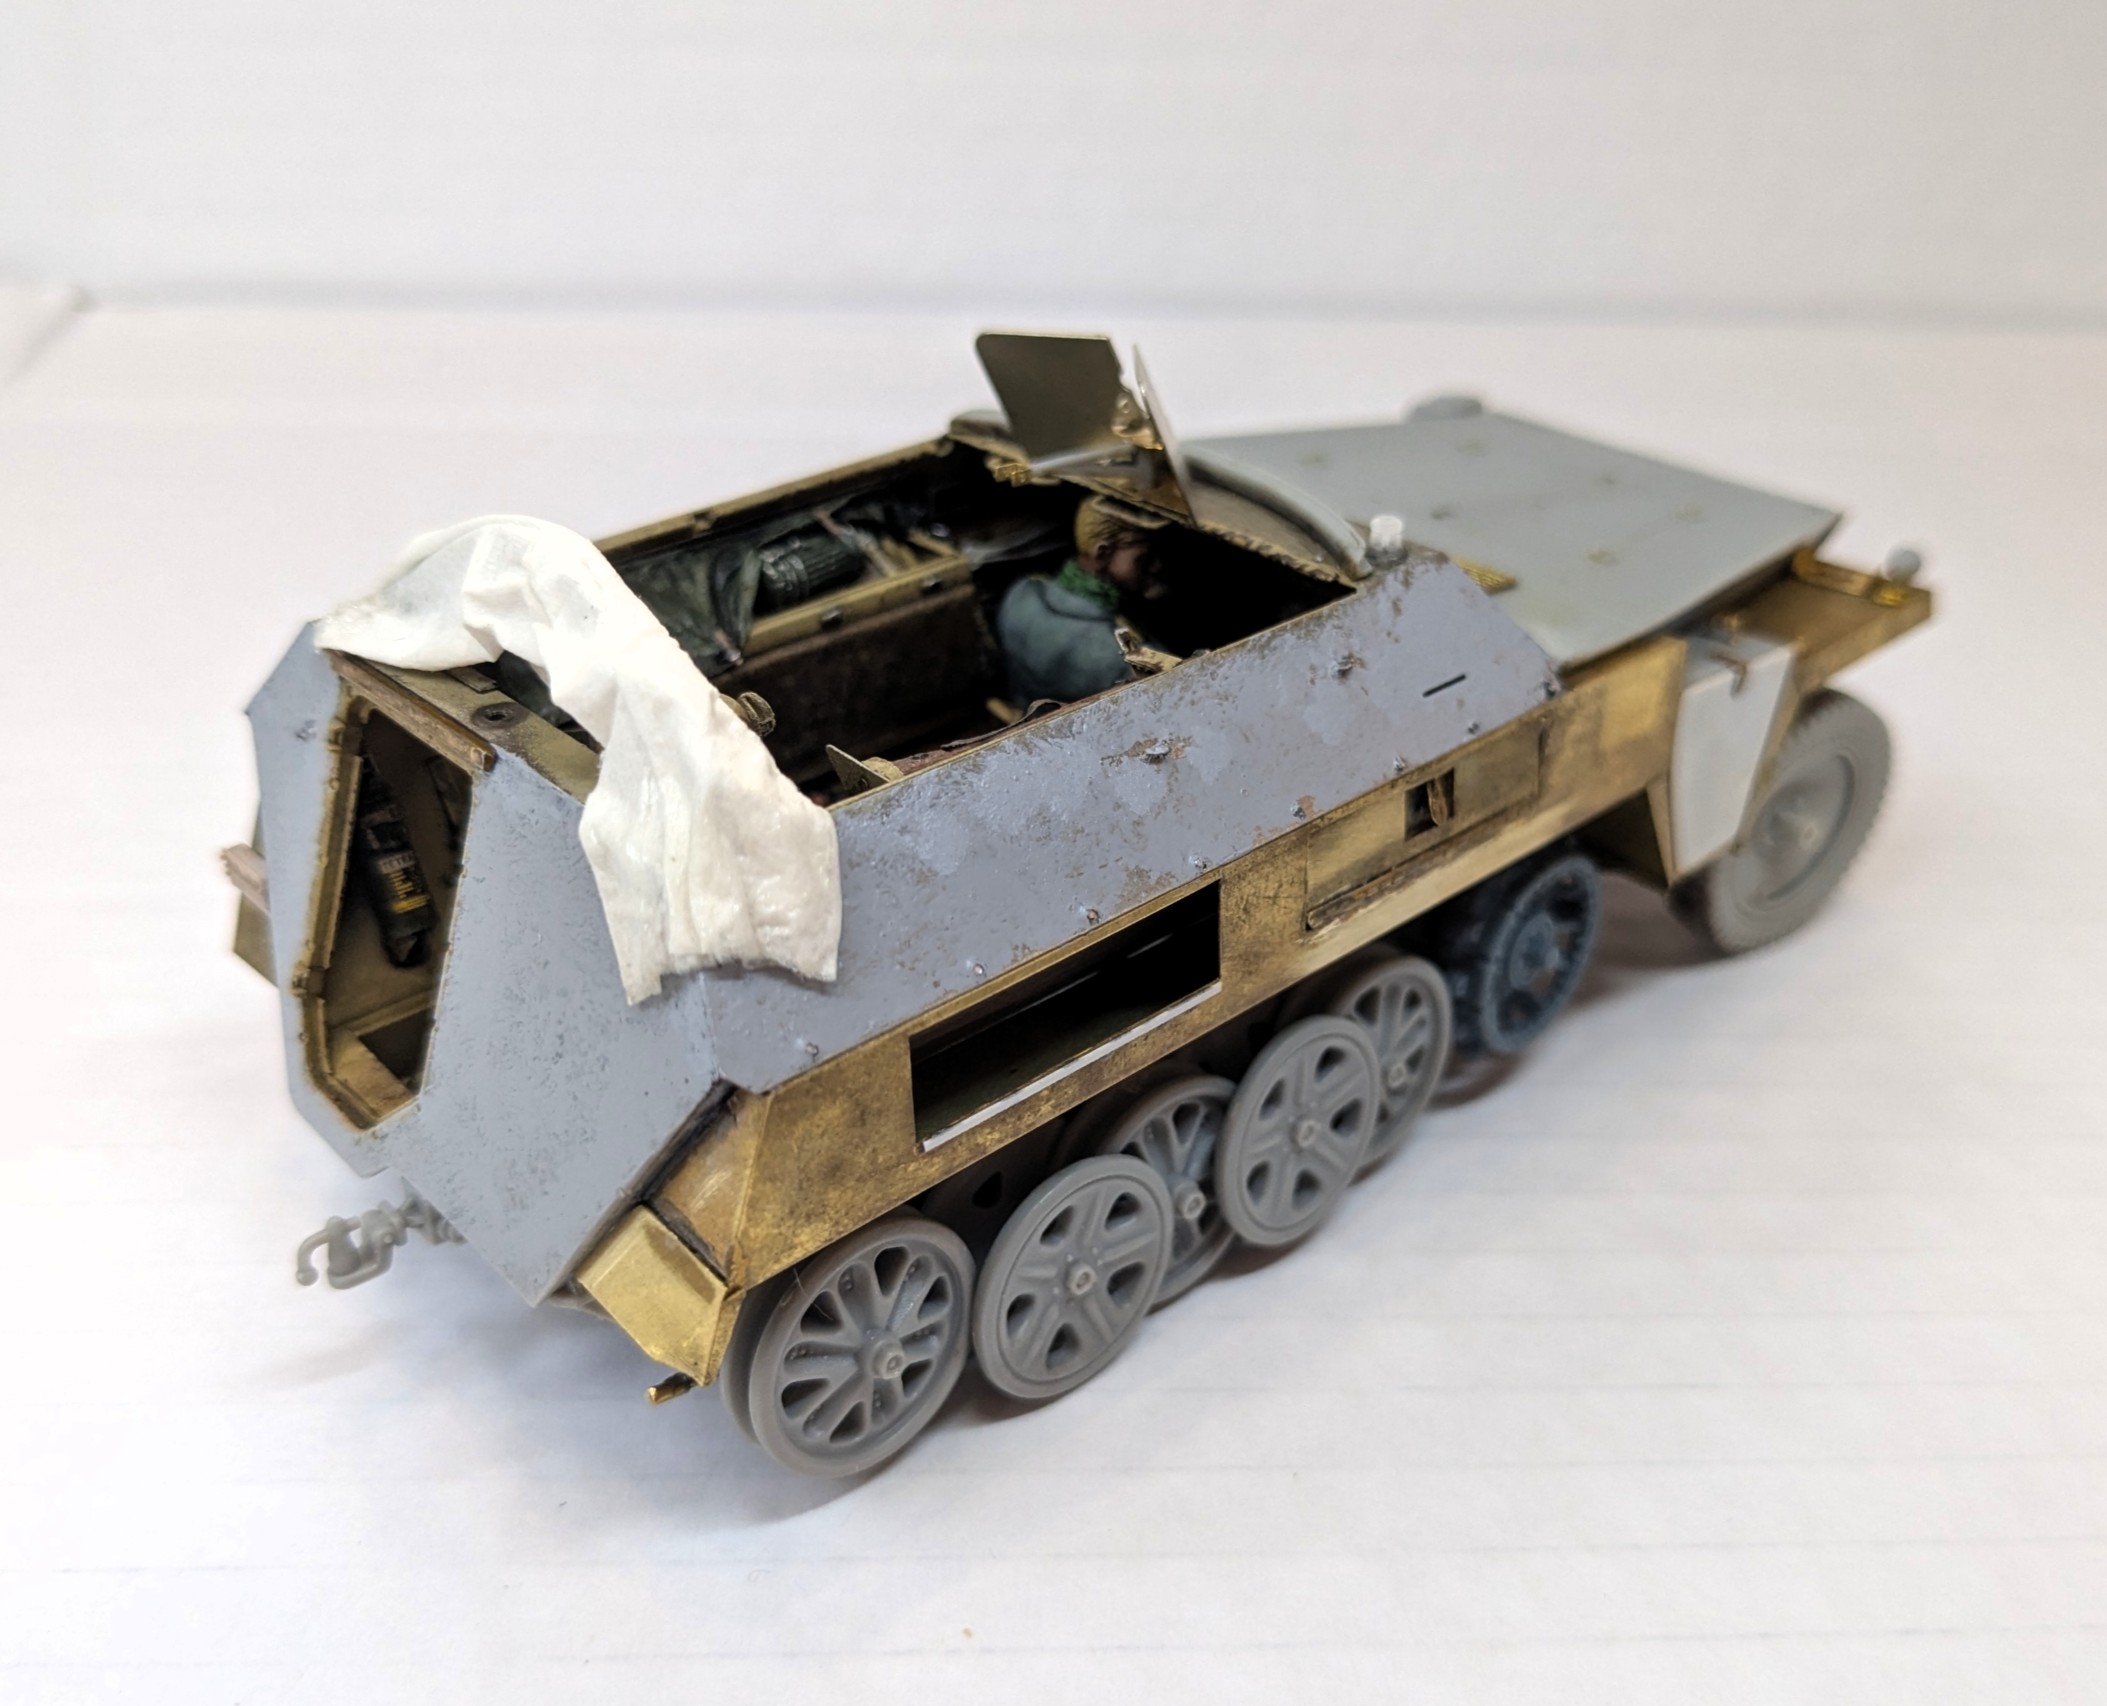
One important detail that I could only add after the upper and lower halves of the hull were mated together was the cover for the internal stowage bin. It’s not entirely clear to me how this attaches to the hull wall, so I improvised. This was made from the tried-and-tested tissue and diluted PVA method (given a coat of Mr Surfacer once dry) with tie-downs added from masking tape and photoetch buckles. I’m actually quite happy with how this turned out.
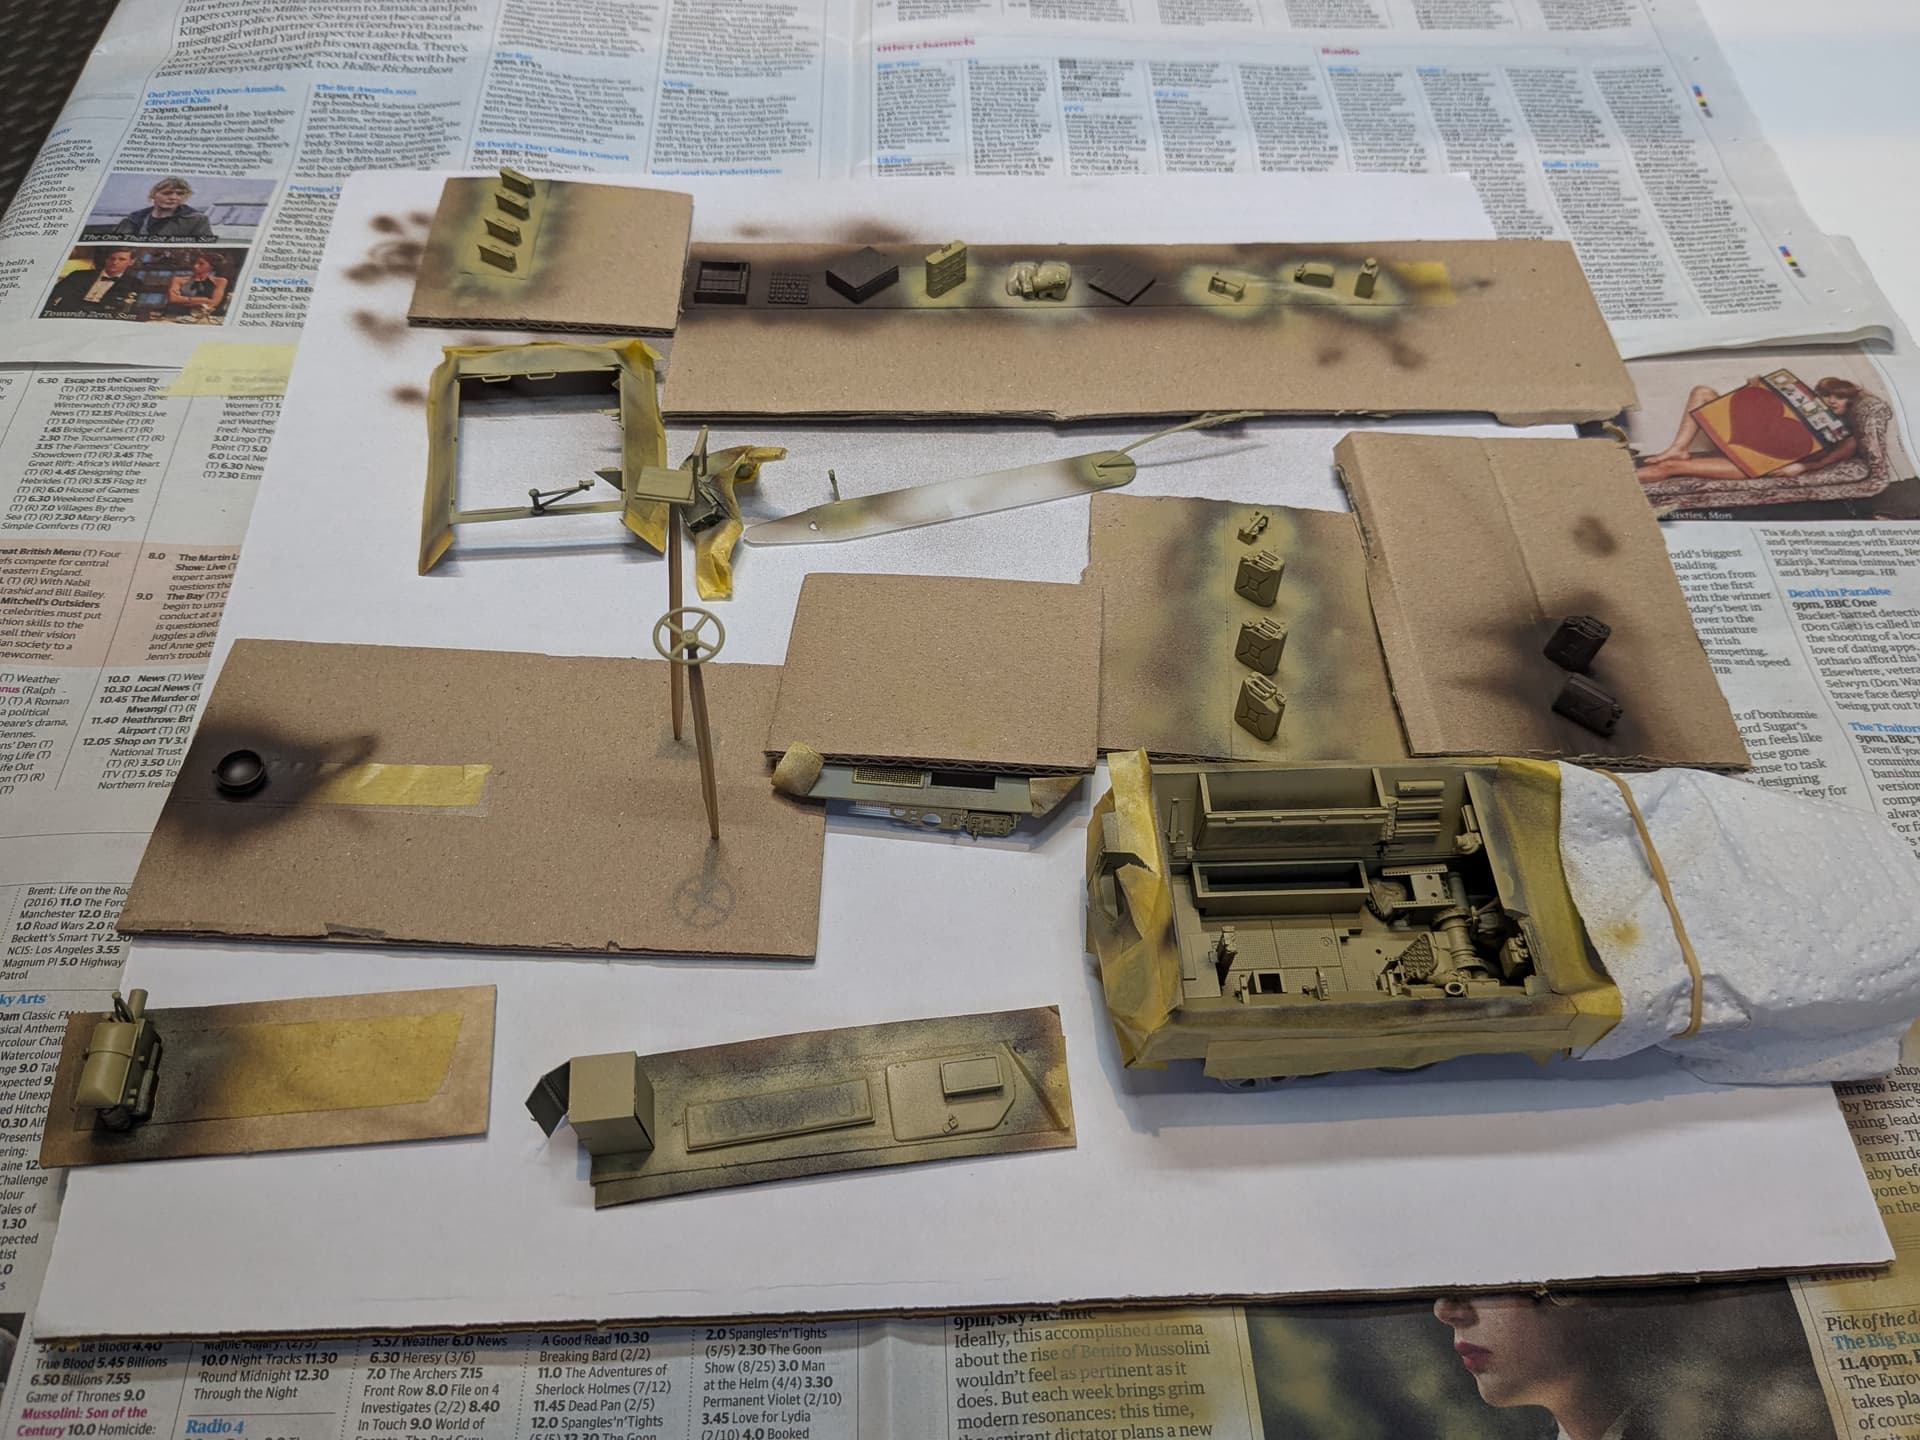
Here are a few shots of the exterior…

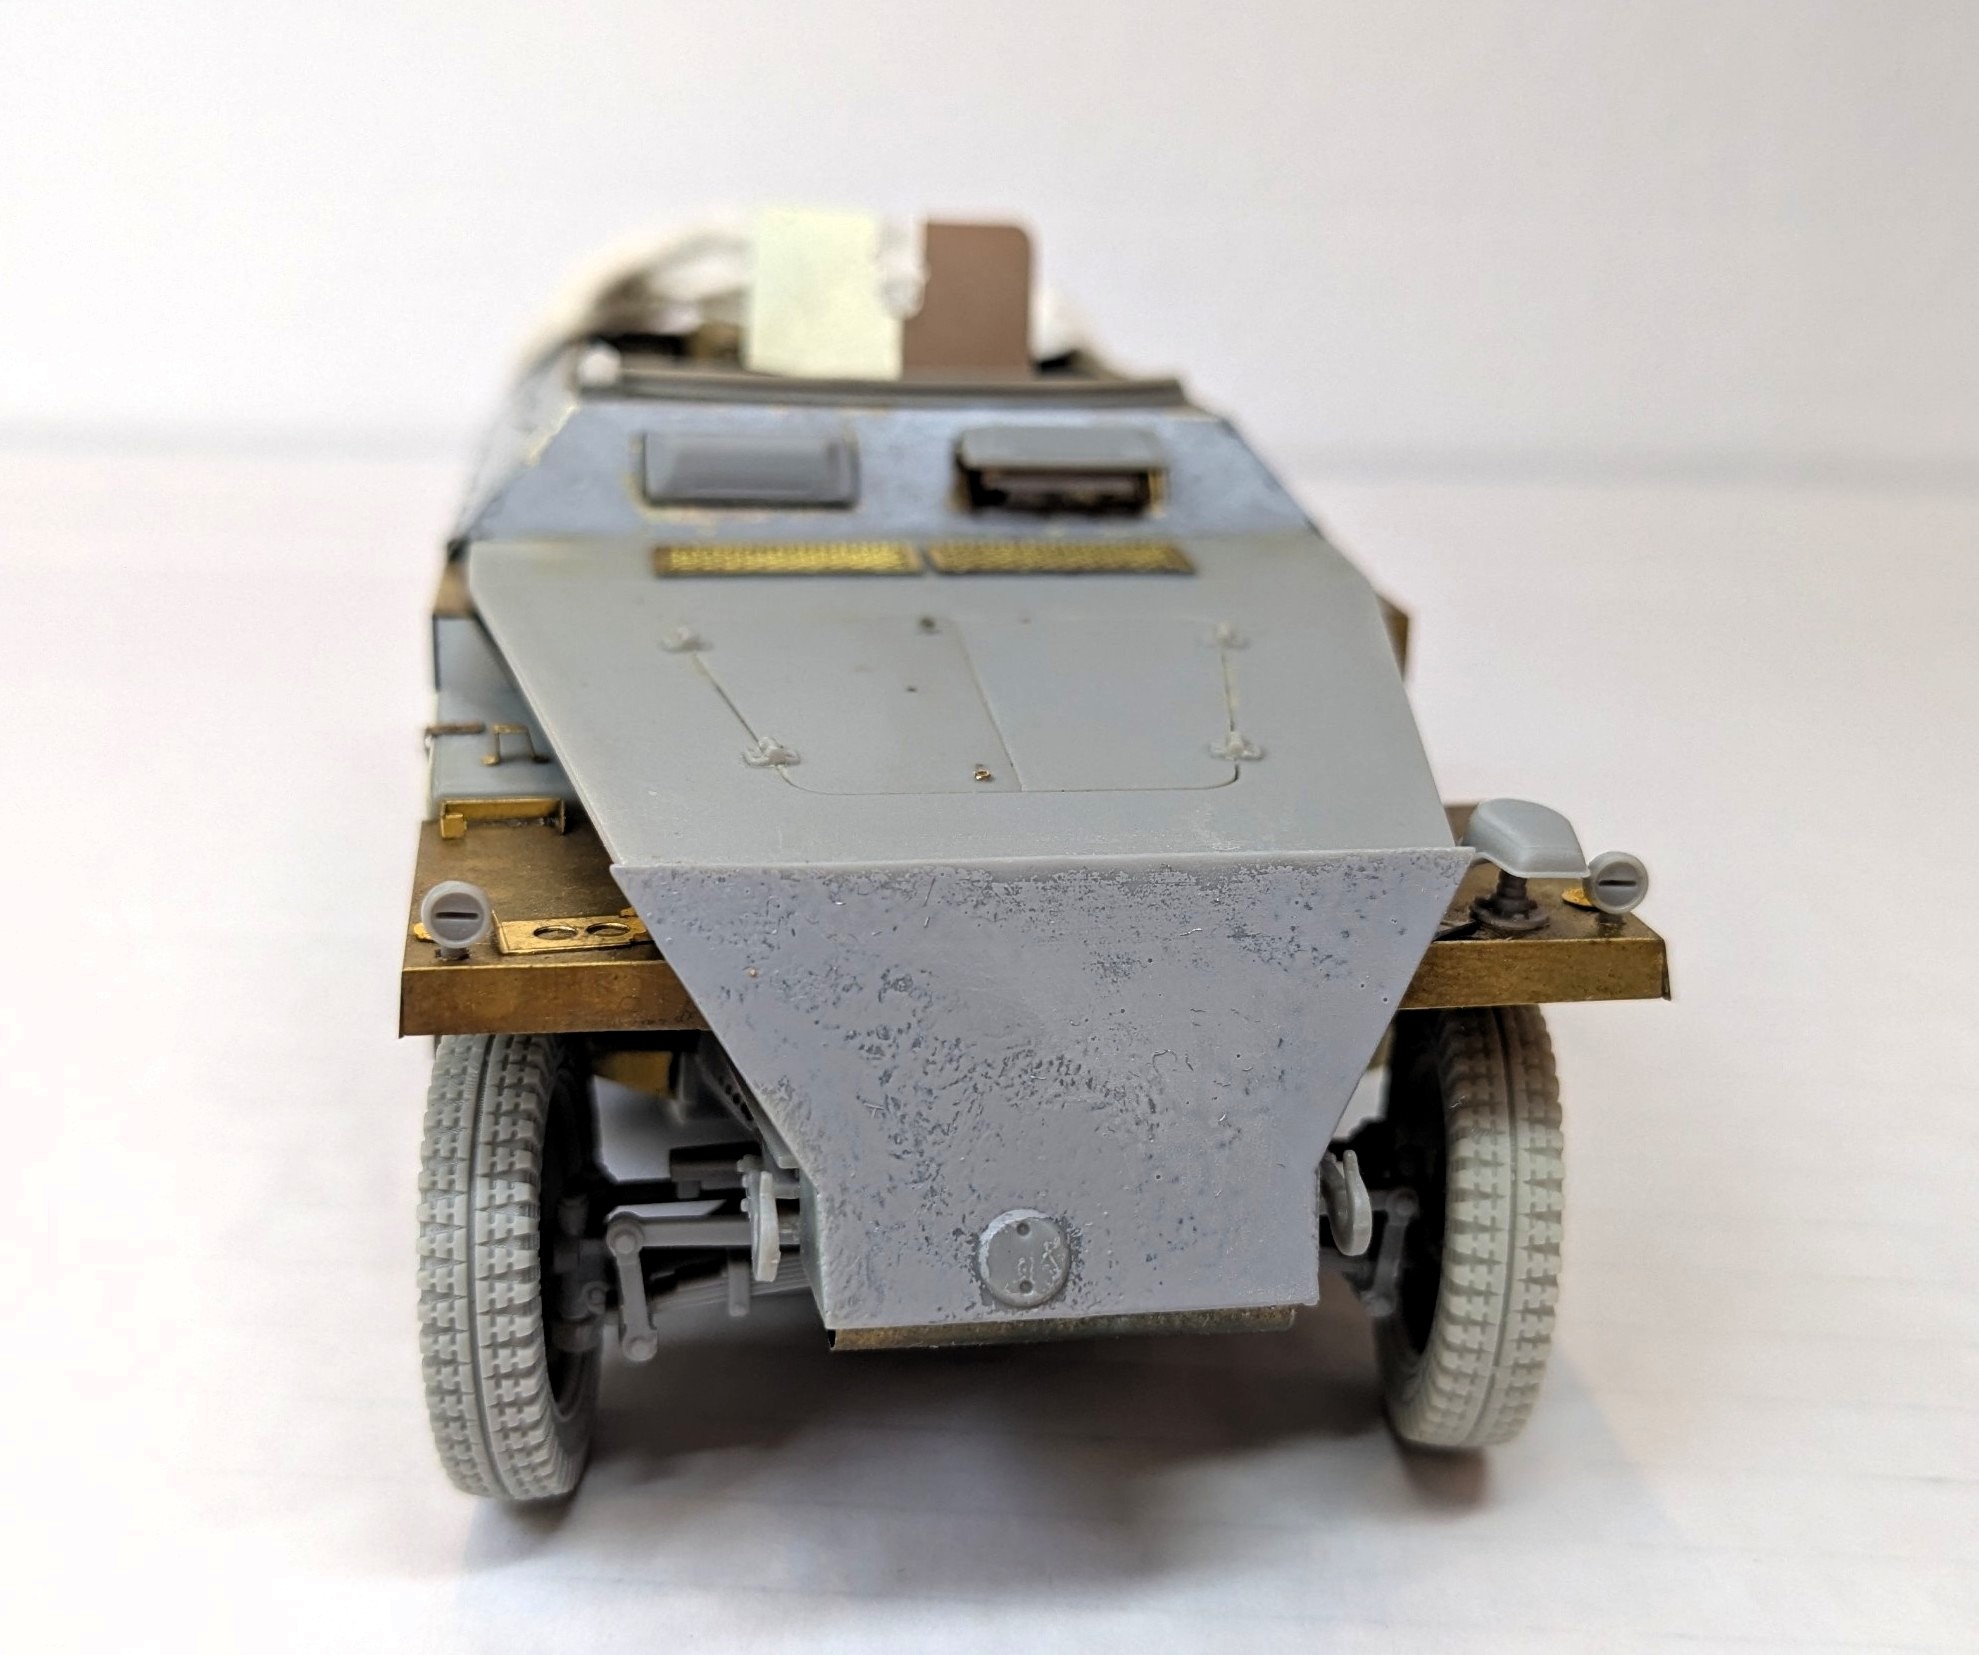
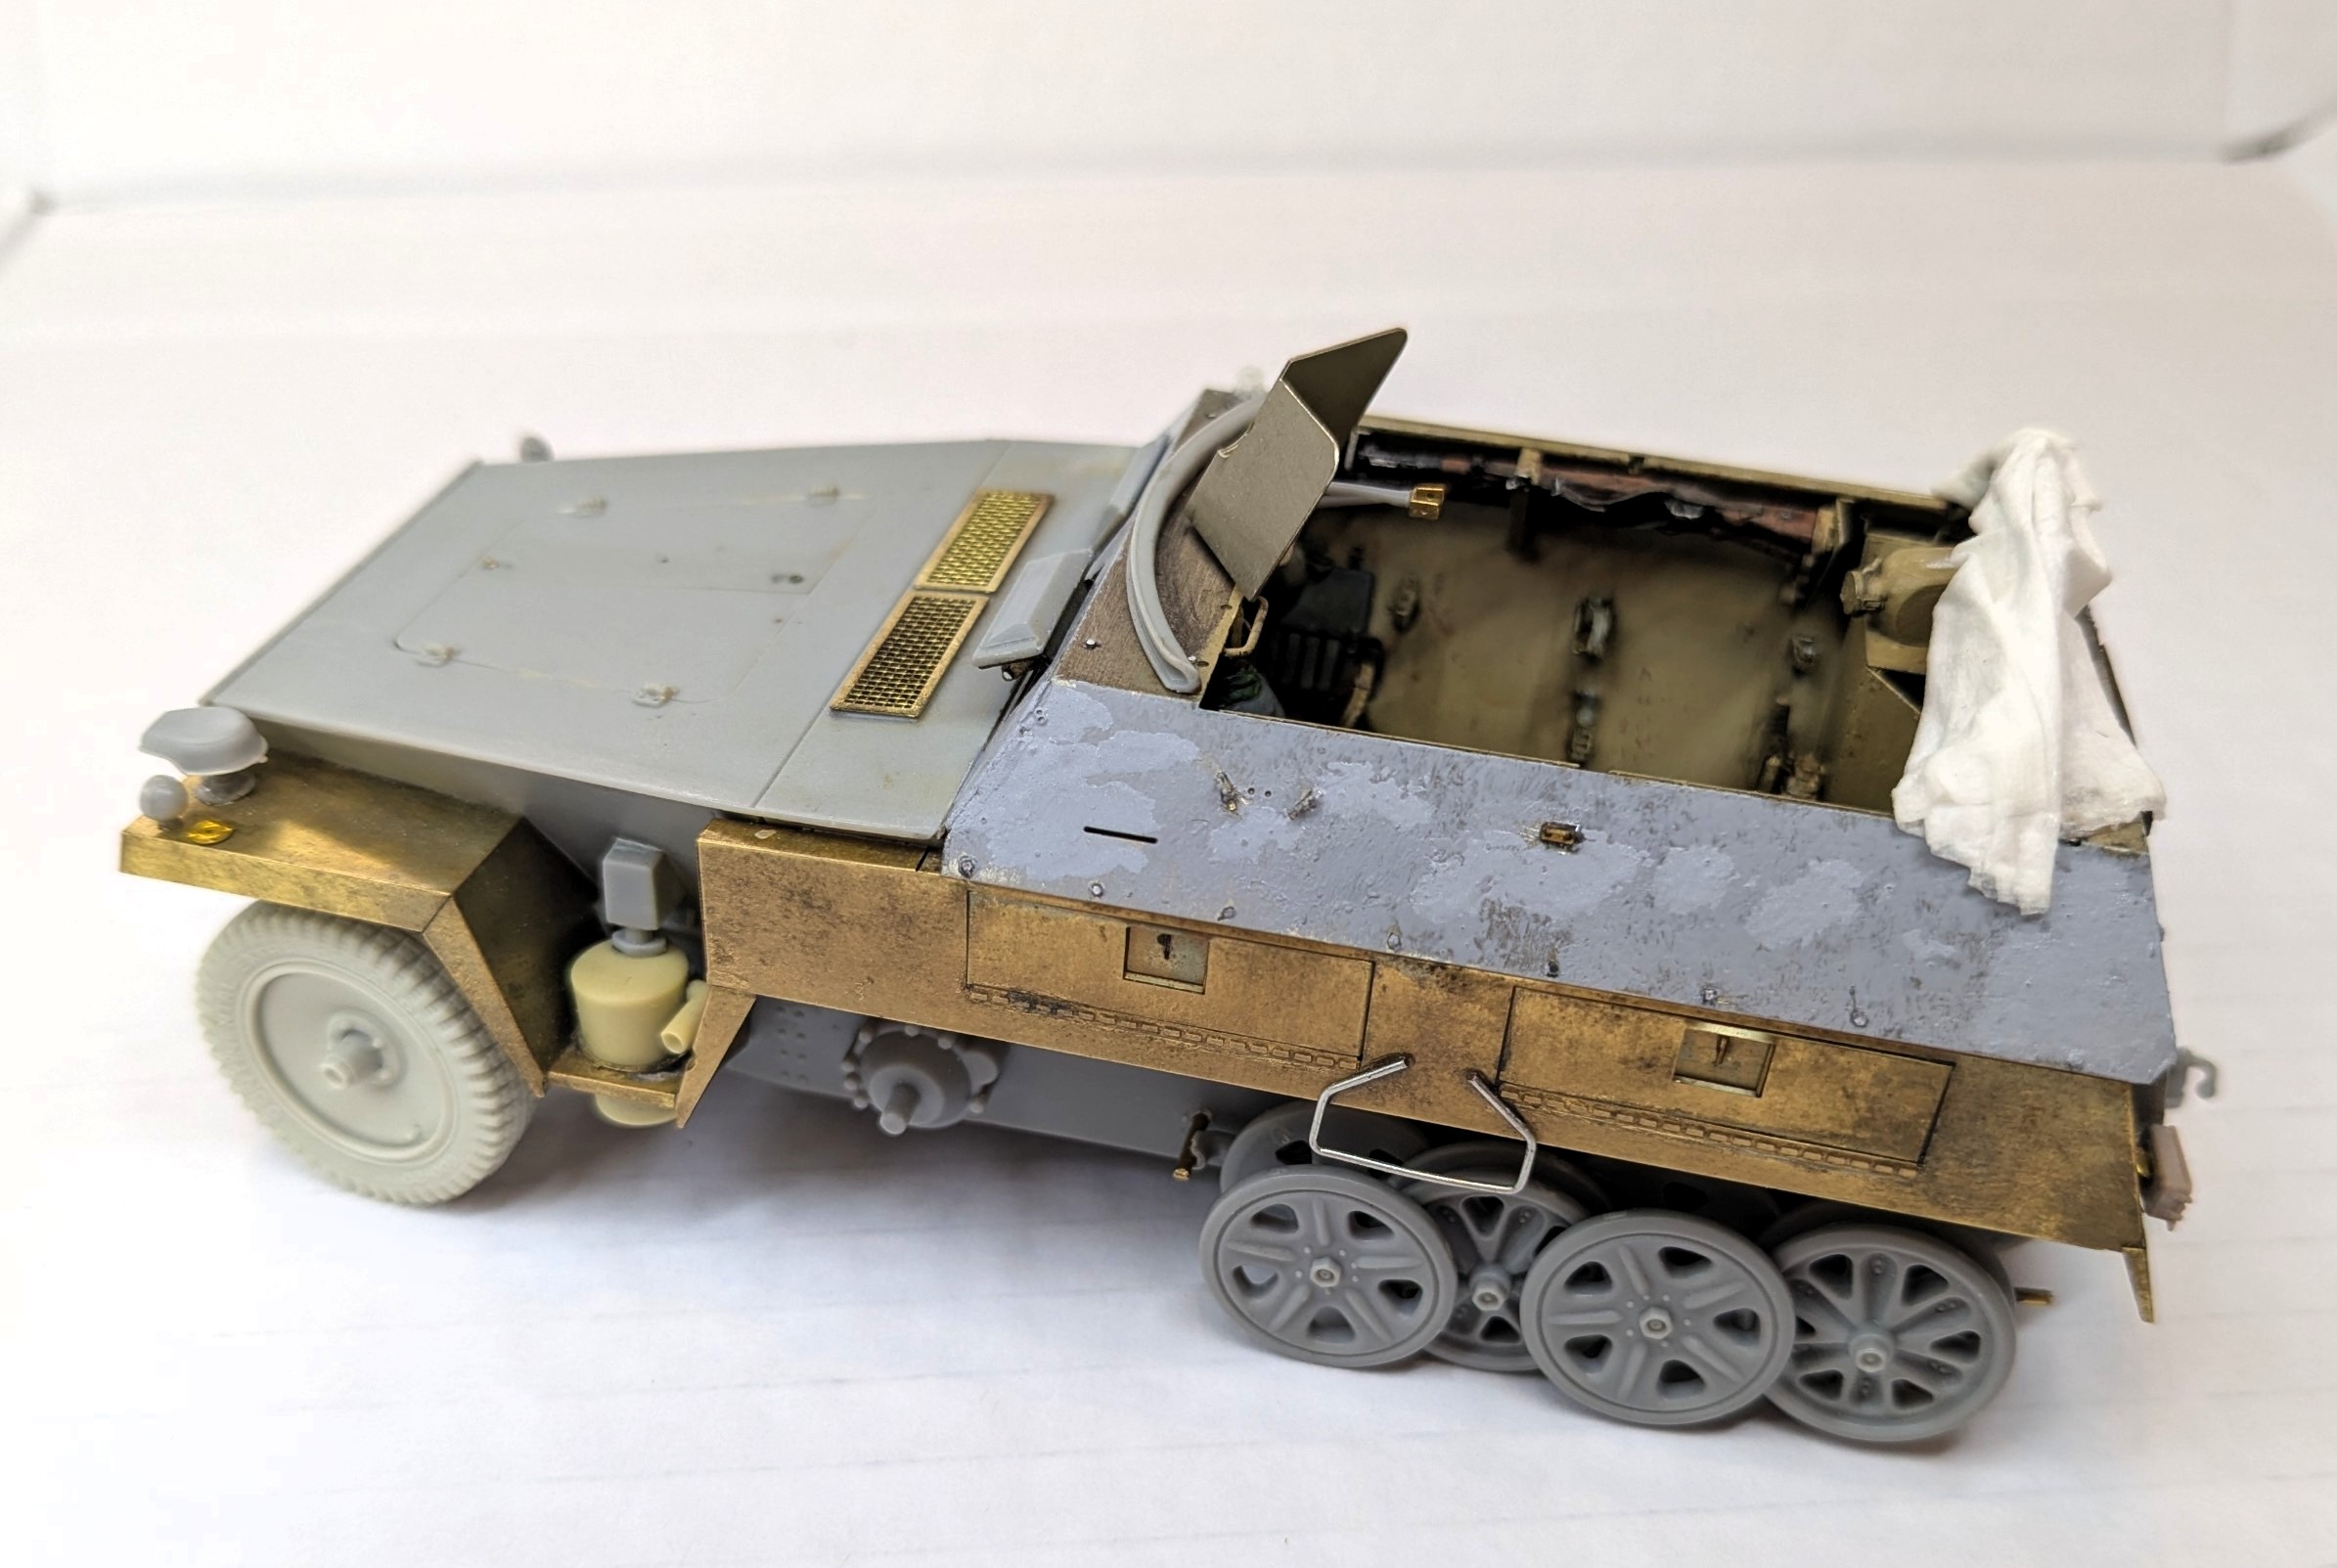
Just like the interior, the photoetch is a mix of the sets from Aber and Royal Model plus the odd bit of scratch-building. To be honest, the stowage lockers were a bit of a nightmare and I may still have a bit of work to do before I am completely satisfied. I have tried not to go for to much of a distressed look because most of these vehicles were relatively new at the time.
The Aber upper hull plates and the nose were given a little texture using Mr Surfacer 1000 mixed with a little liquid cement and stippled with a stiff brush.
The tarpauline still needs a little more work but I’m happy that I went with the old-fashioned tissue and PVA glue method. It sits on one of the metal hoops from the Aber set and it’s fully detachable.
The beautiful sagged front wheels are resin from DEF Models and the sprockets are 3D prints from SBS (the same people who provided the seats and radio).
It’s amazing how much better it looks with even the front wheels temporarily in place - I can hardly wait to see this with a the correct colours and tracks!
19 Likes
Tim, it is looking fantastic!
4 Likes

Another leap forward!
Actually this has been something of a crawl… I started the 250 about 2 years ago and the Schwimmwagen not long after. But its nice to finally see the top coats going on.
So let’s have a look at the Schwimm…
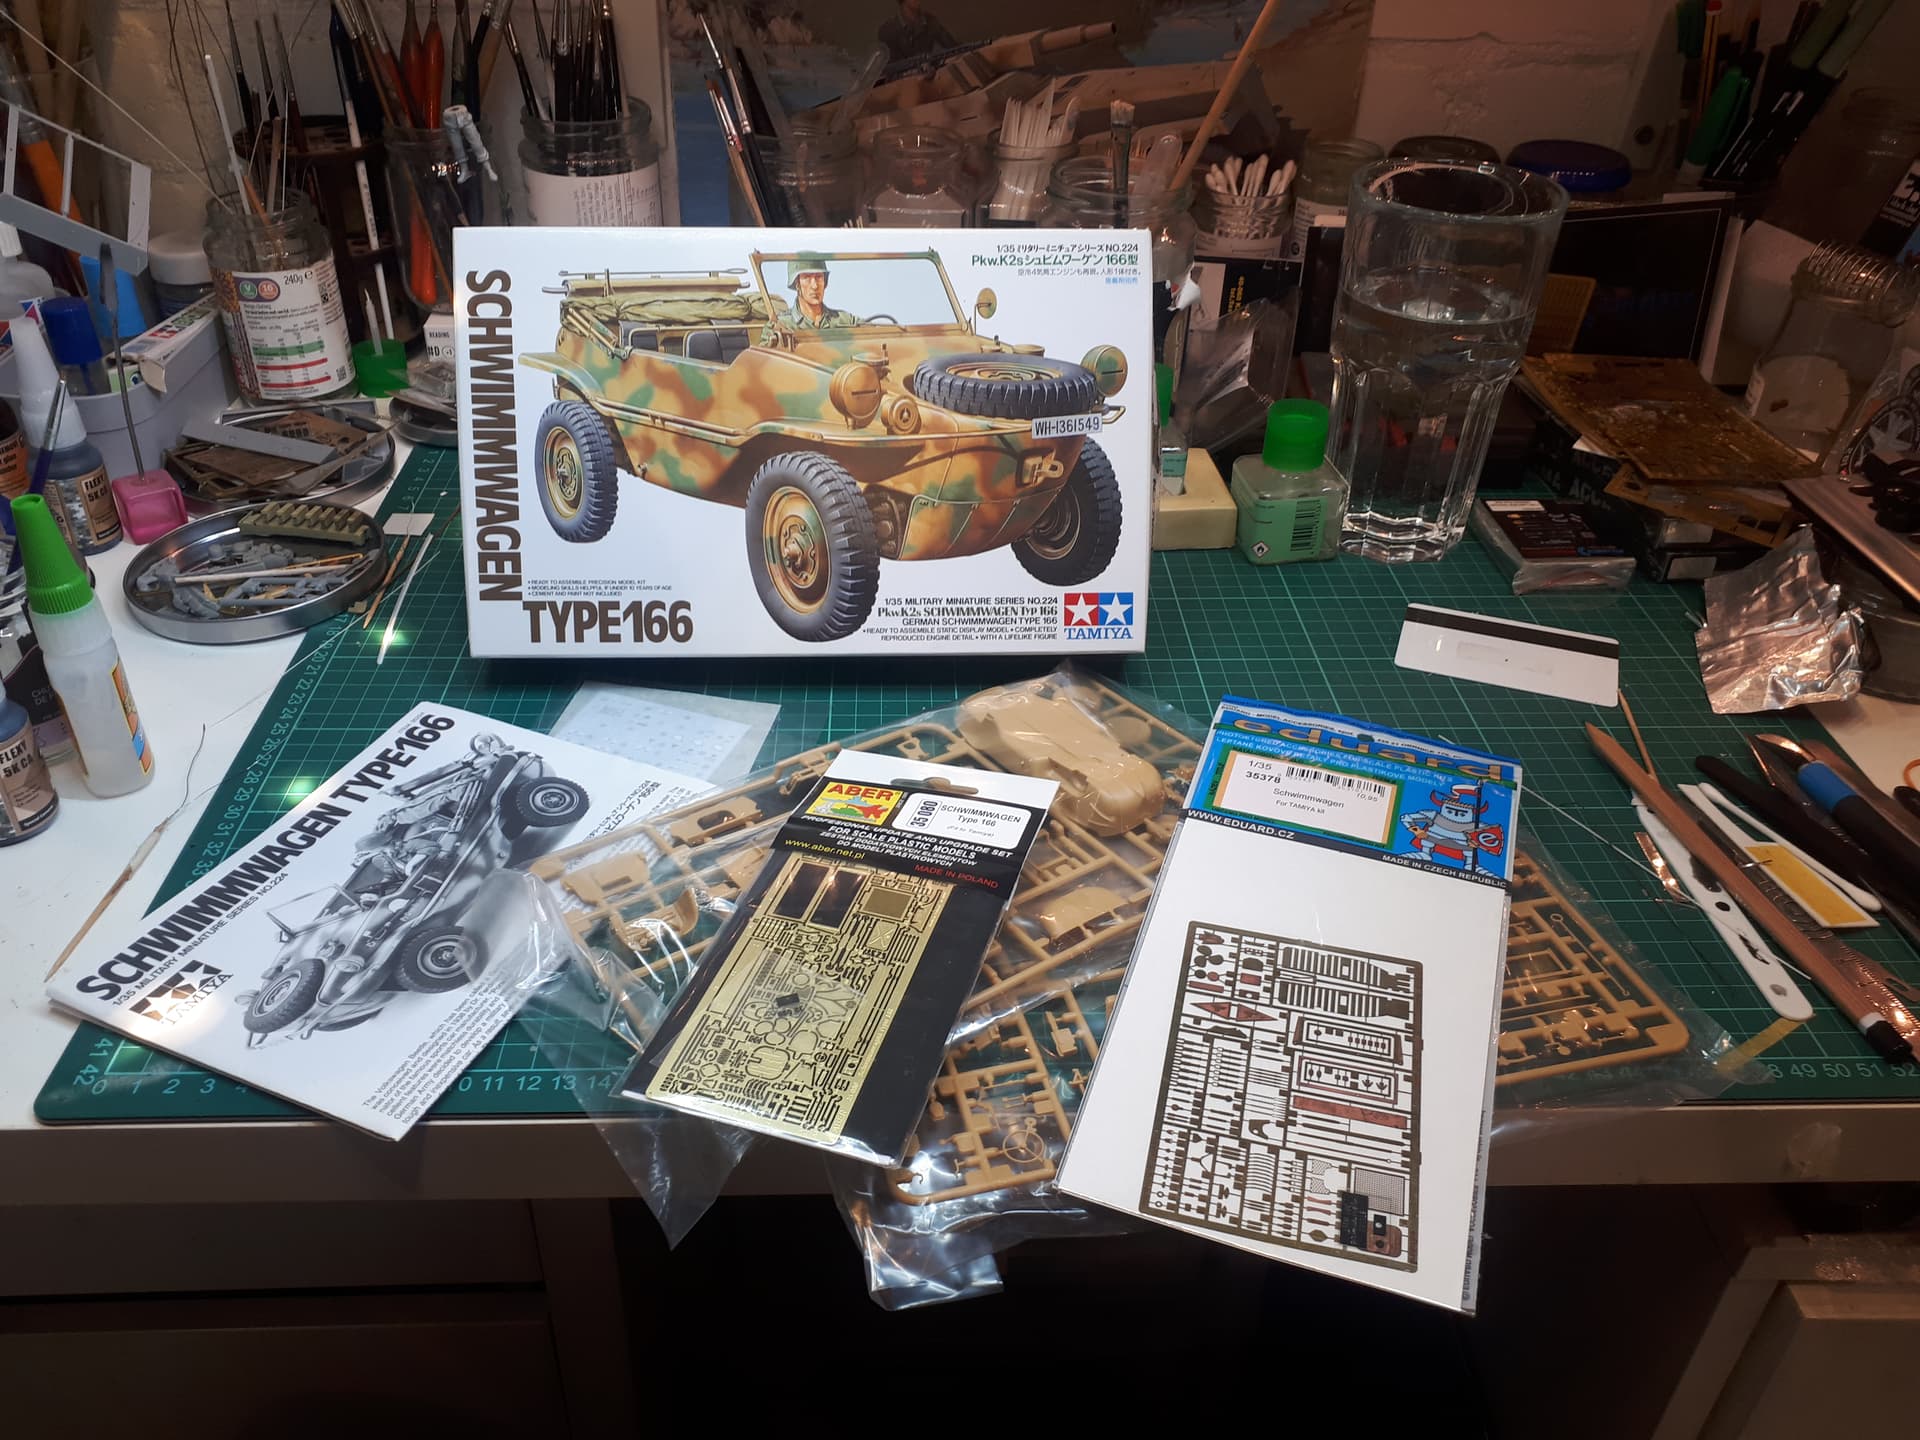
This is the excellent Tamiya kit with a little helping hand from Aber and Eduard photoetch. As usual, I chose two PE sets to give me options for the easier route (usually not Aber), plus there are almost always some details missing from one set and present in the other.
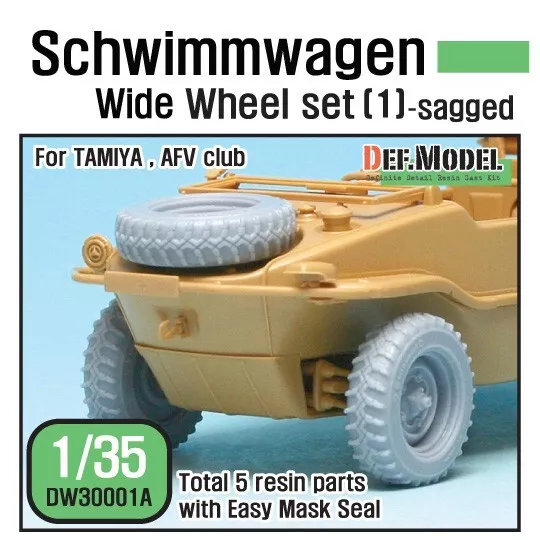
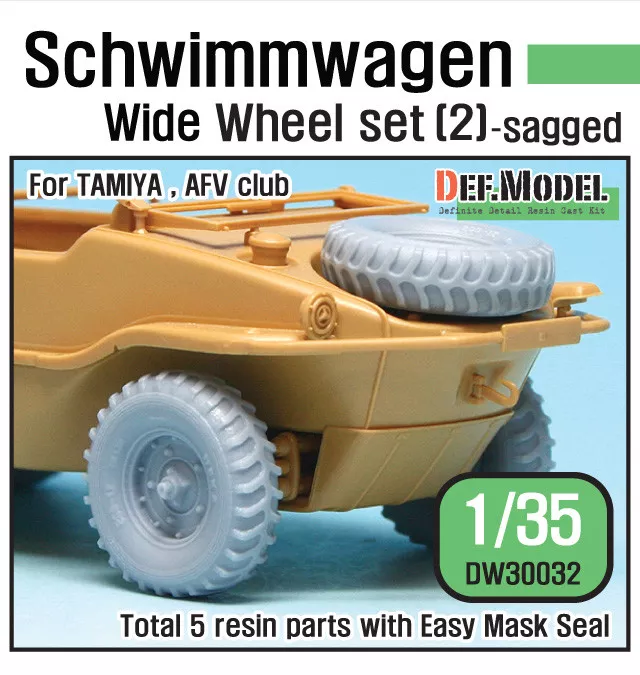
Another essential was the DEF Model sagged wide tyre wheel set. There are actually two types. I chose version 1 because it just looked more ‘busy’.
Here you can see how I modifed the front suspension to allow the wheels to adopt a slight turn. It’s a relatively simple fix - and just looks more dramatic.
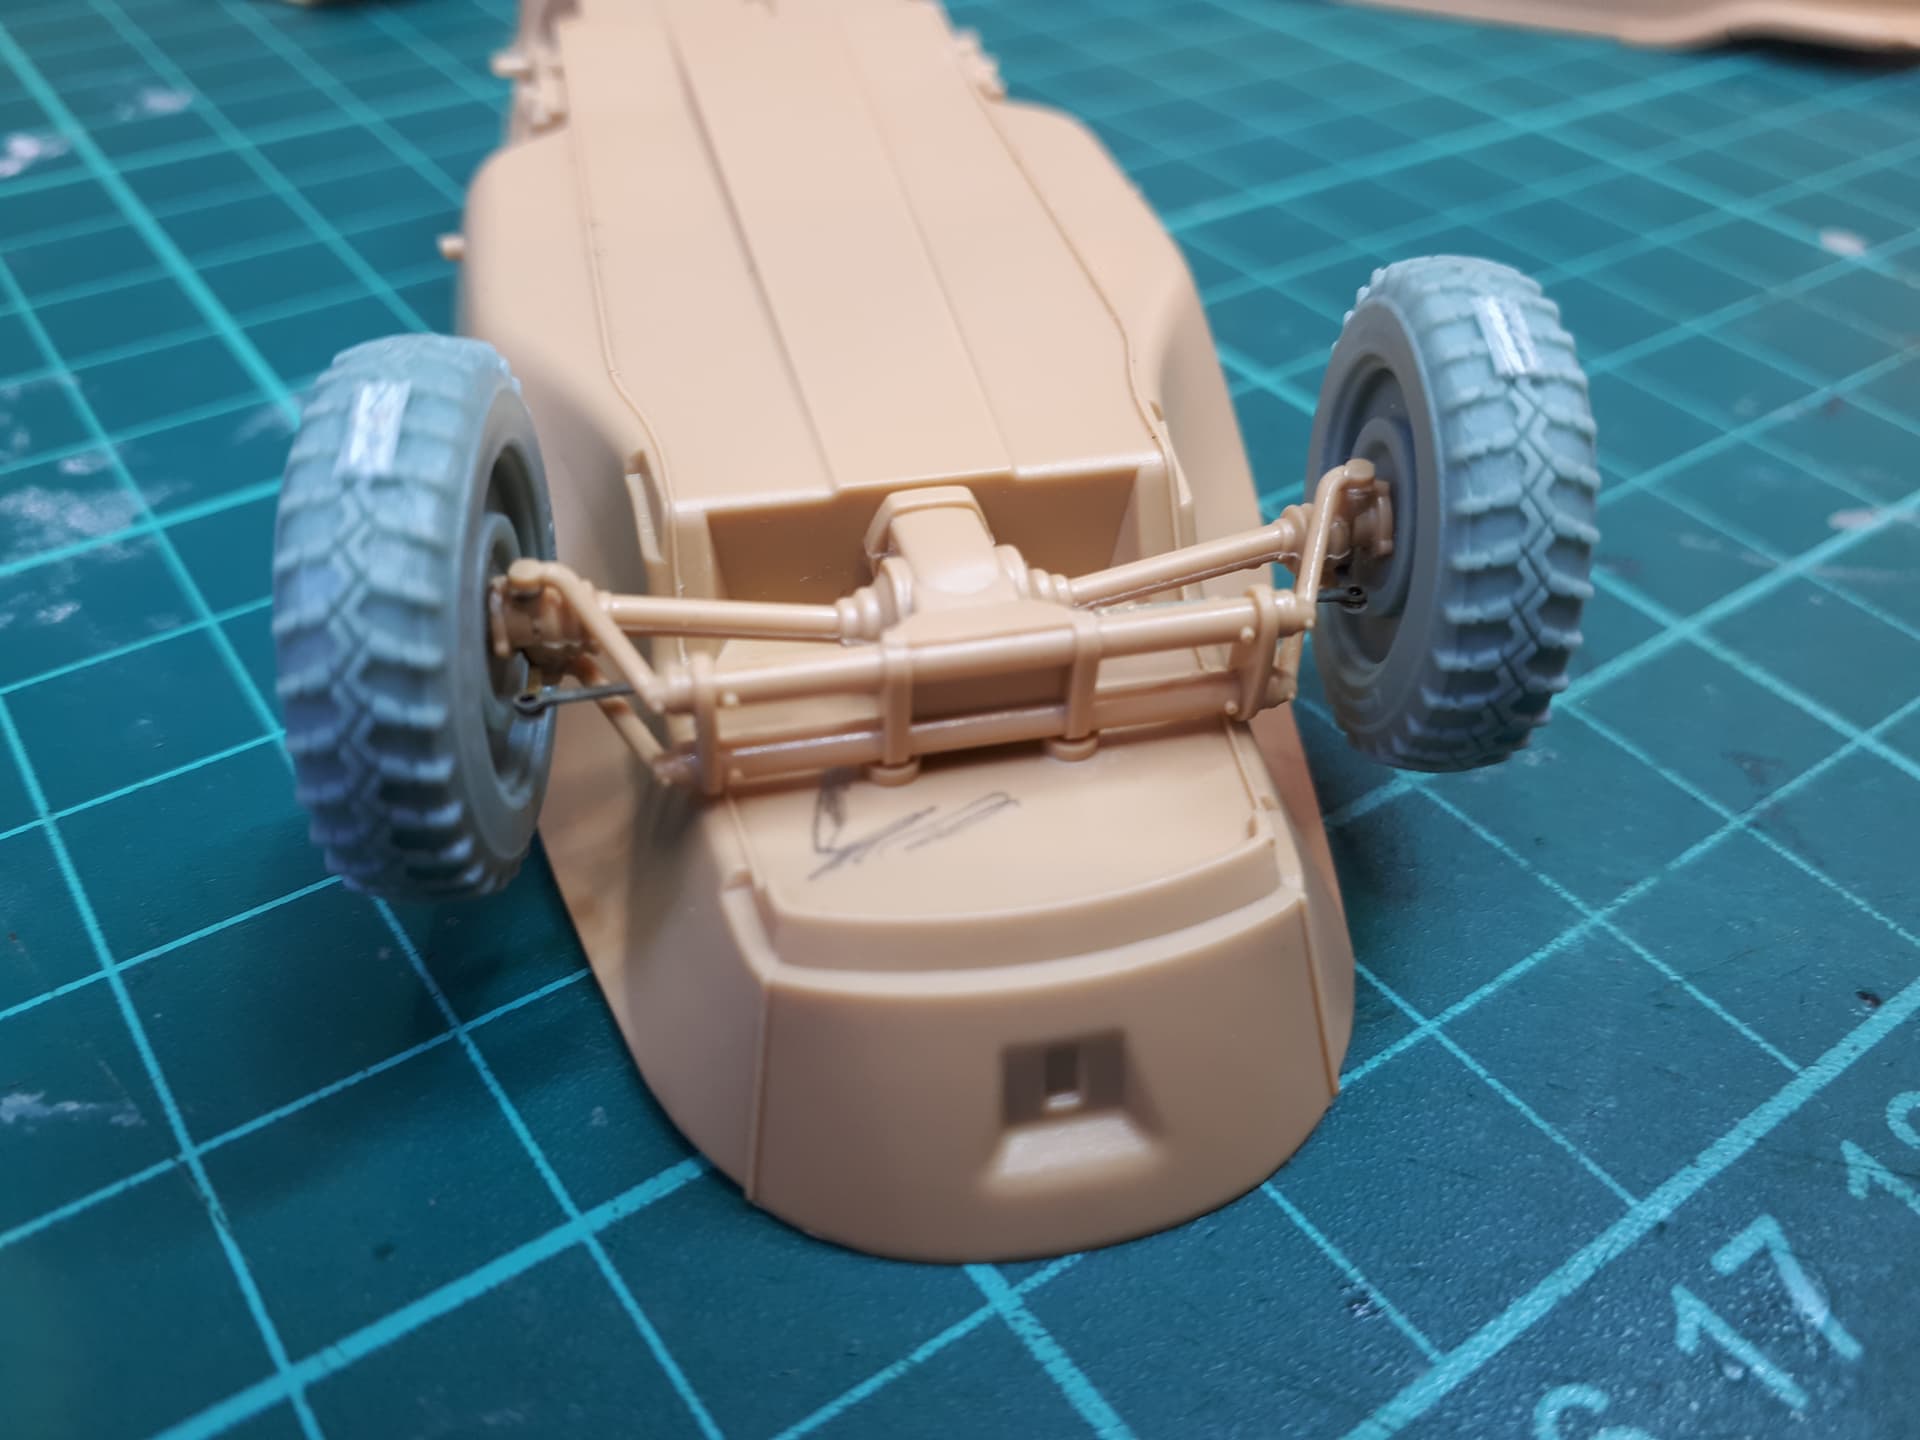
I also added some scrapes to the bottom of the hull.
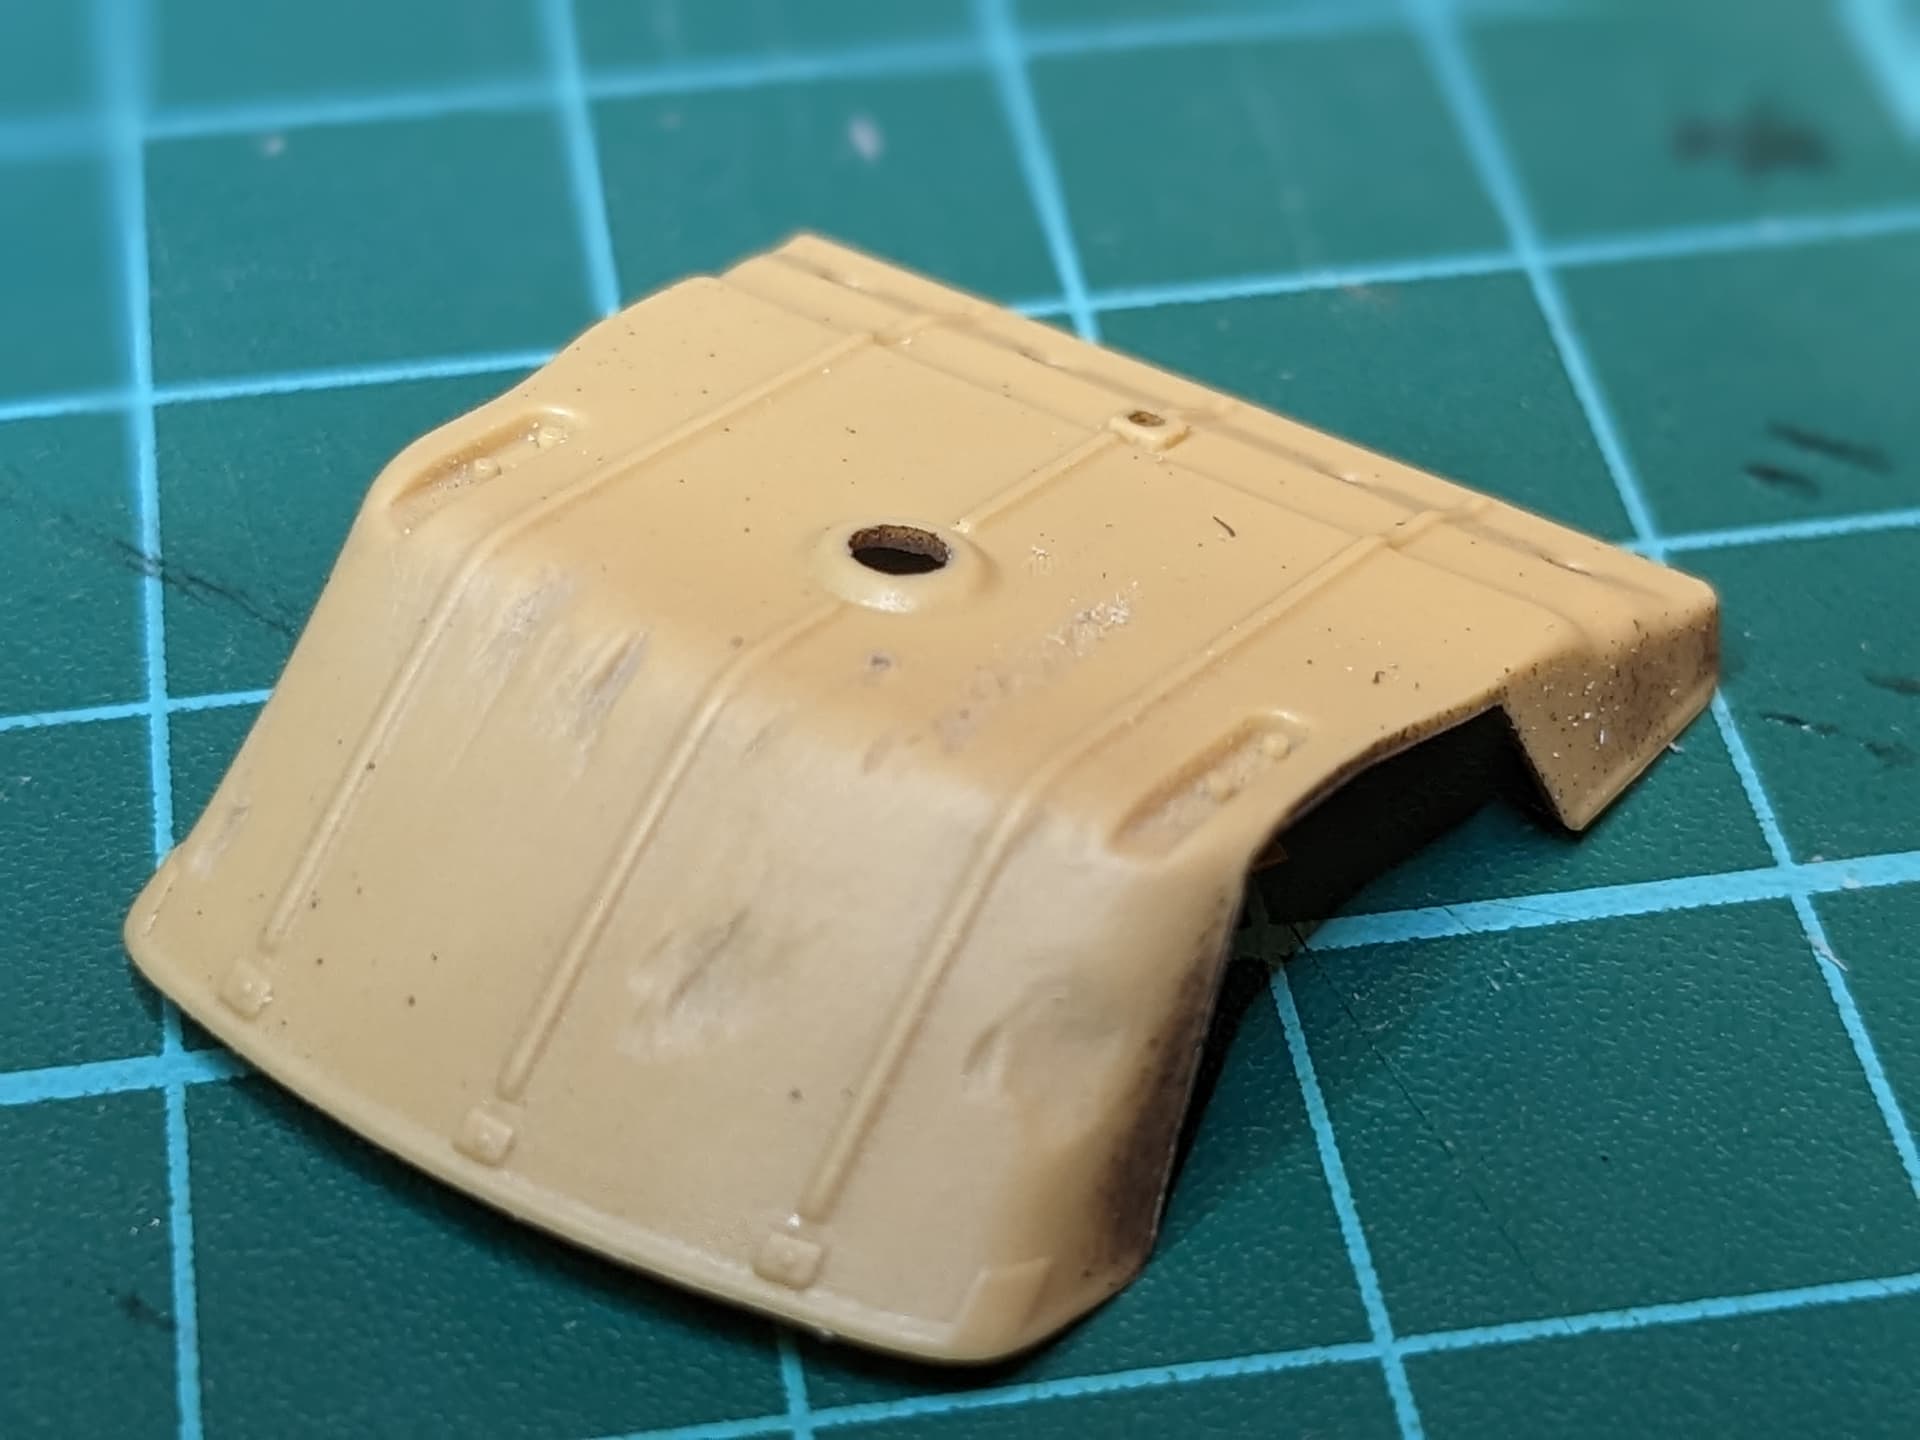
These parts were made from fairly thin sheet metal and even after a fairly short service life (and these Schwimms would have been pretty new at the time of the Adrennes Offensive) there would be some damage.
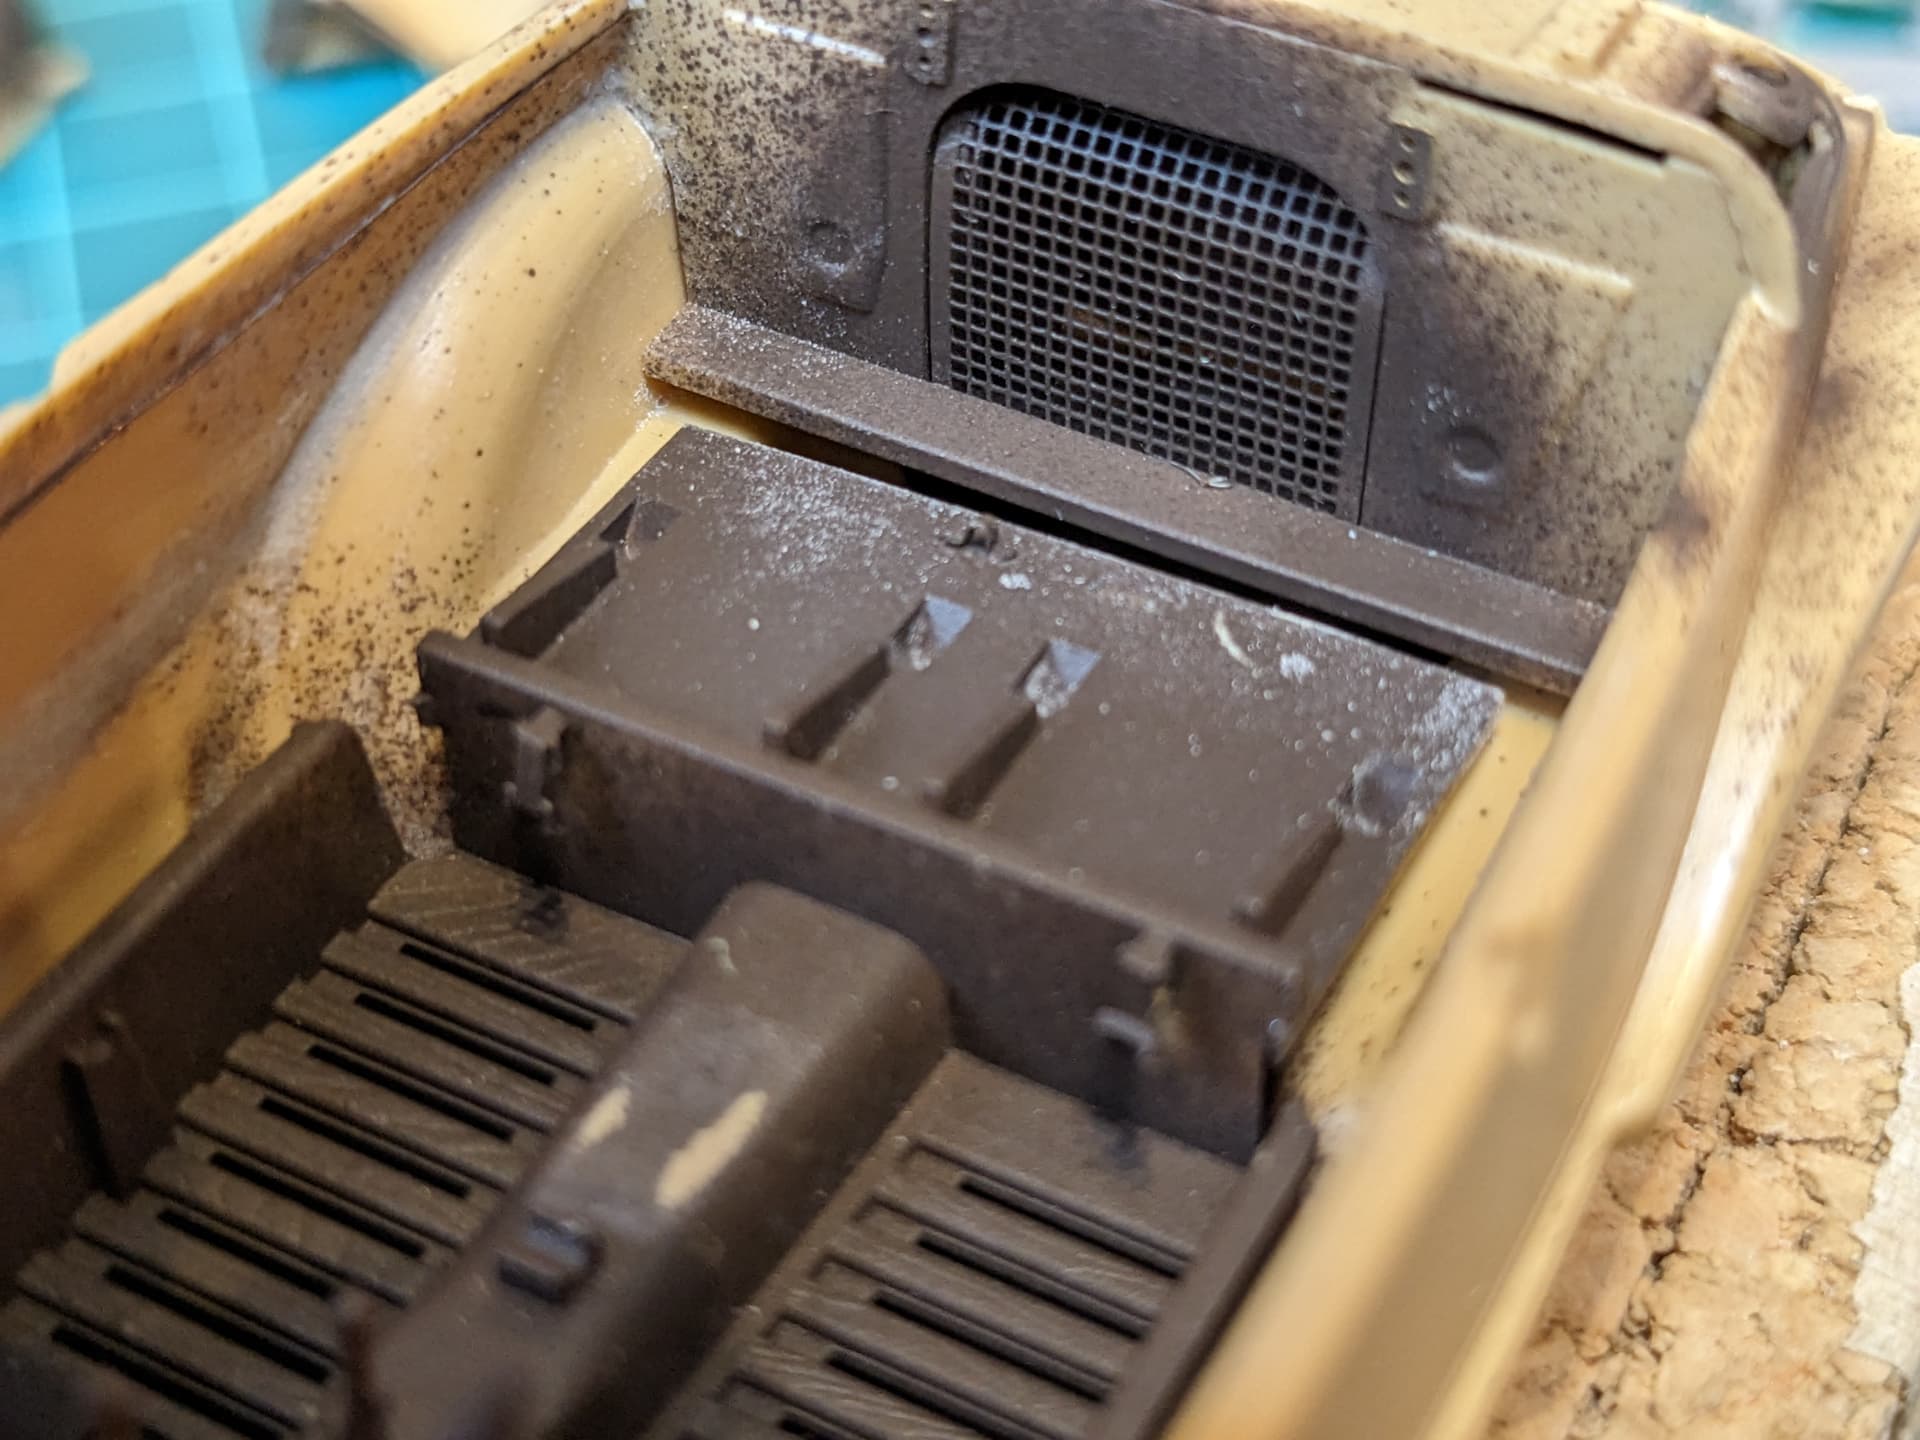
The Tamiya kit is actually very well detailed and some of the PE additions are completely unnecessary. For example, the Eduard set provides the wooden duckboards as brass parts which are actually far too thin in my opinion - the Tamiya originals look just fine.
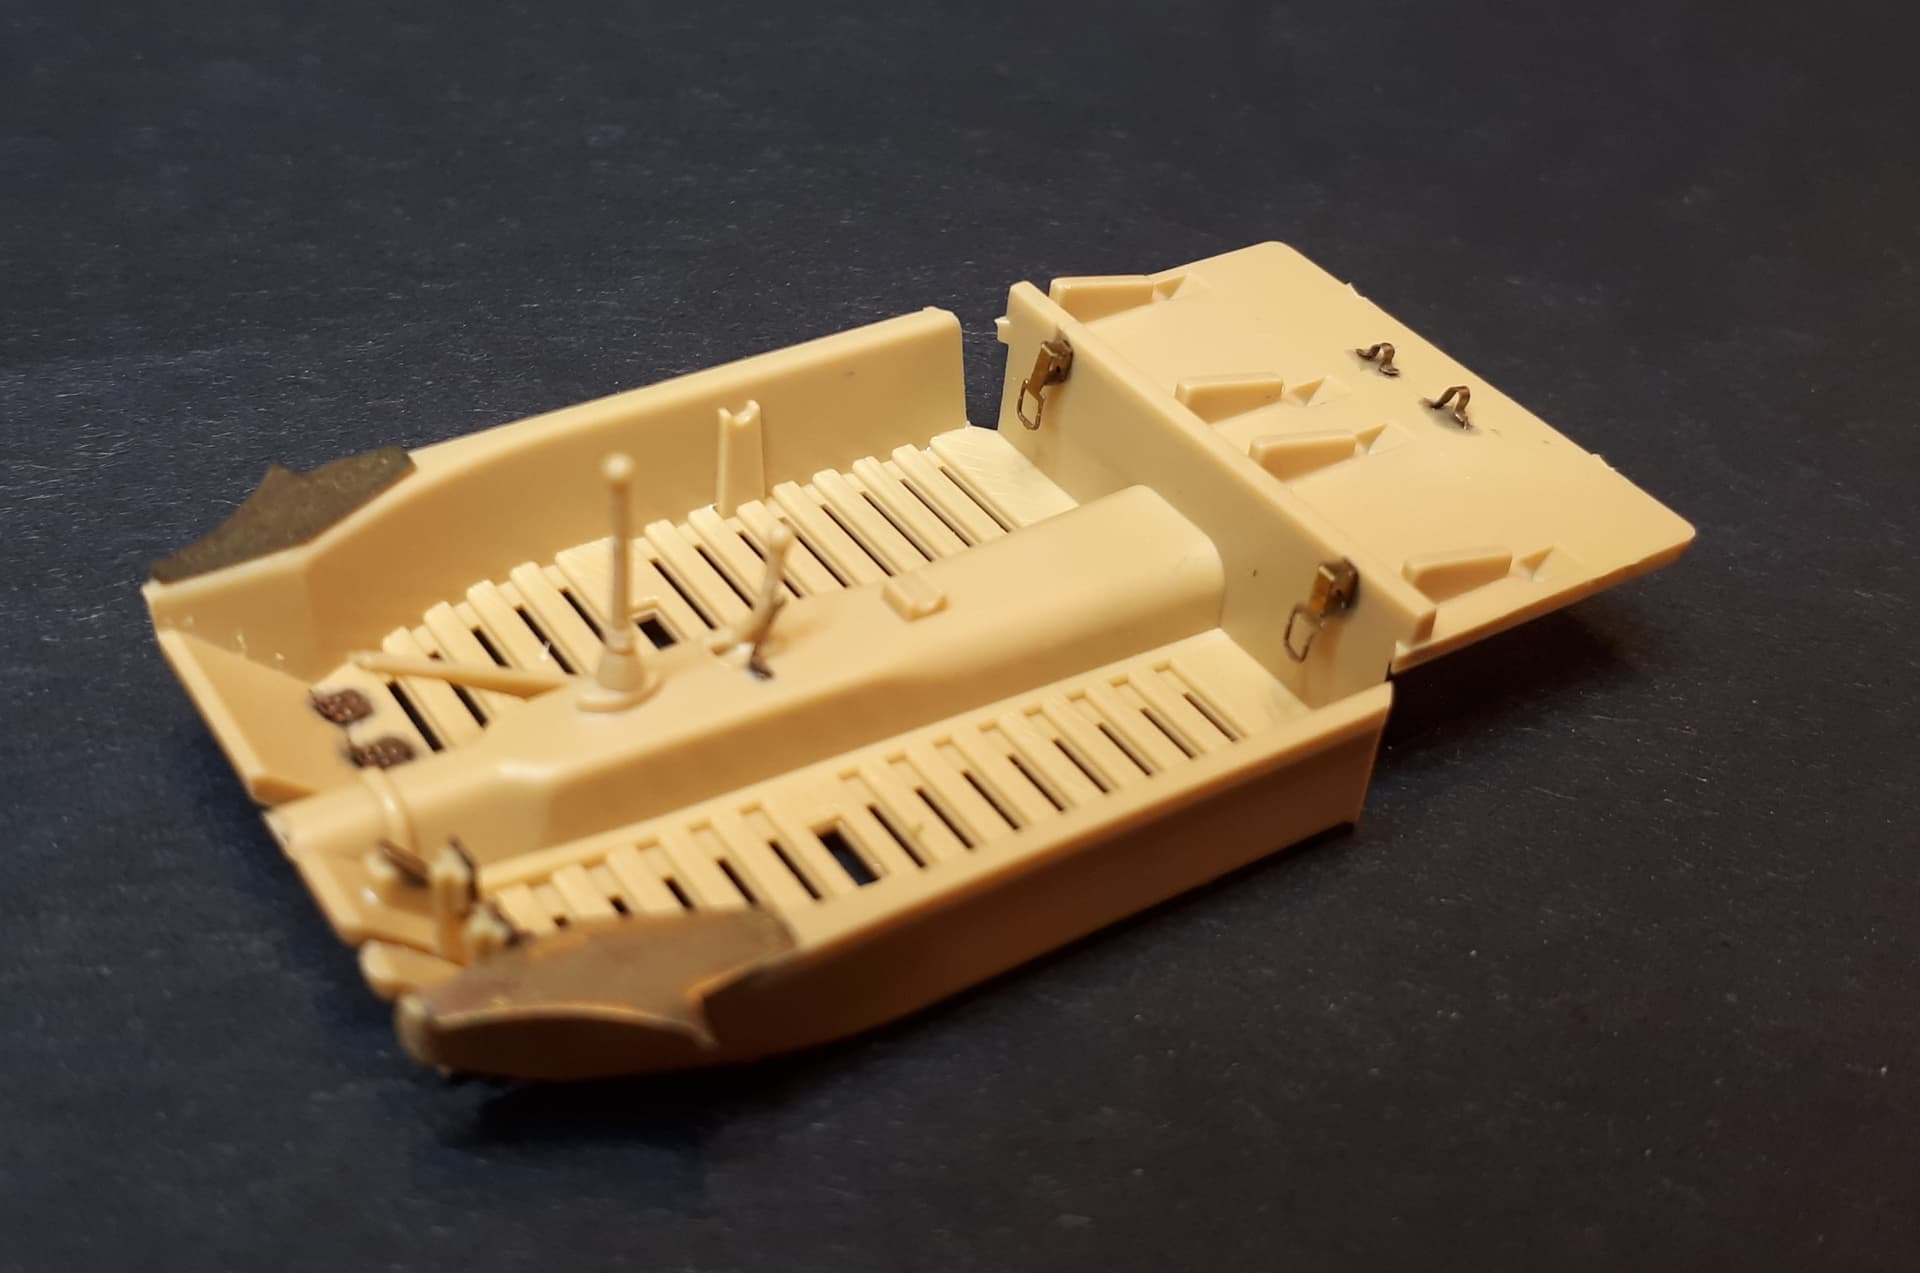
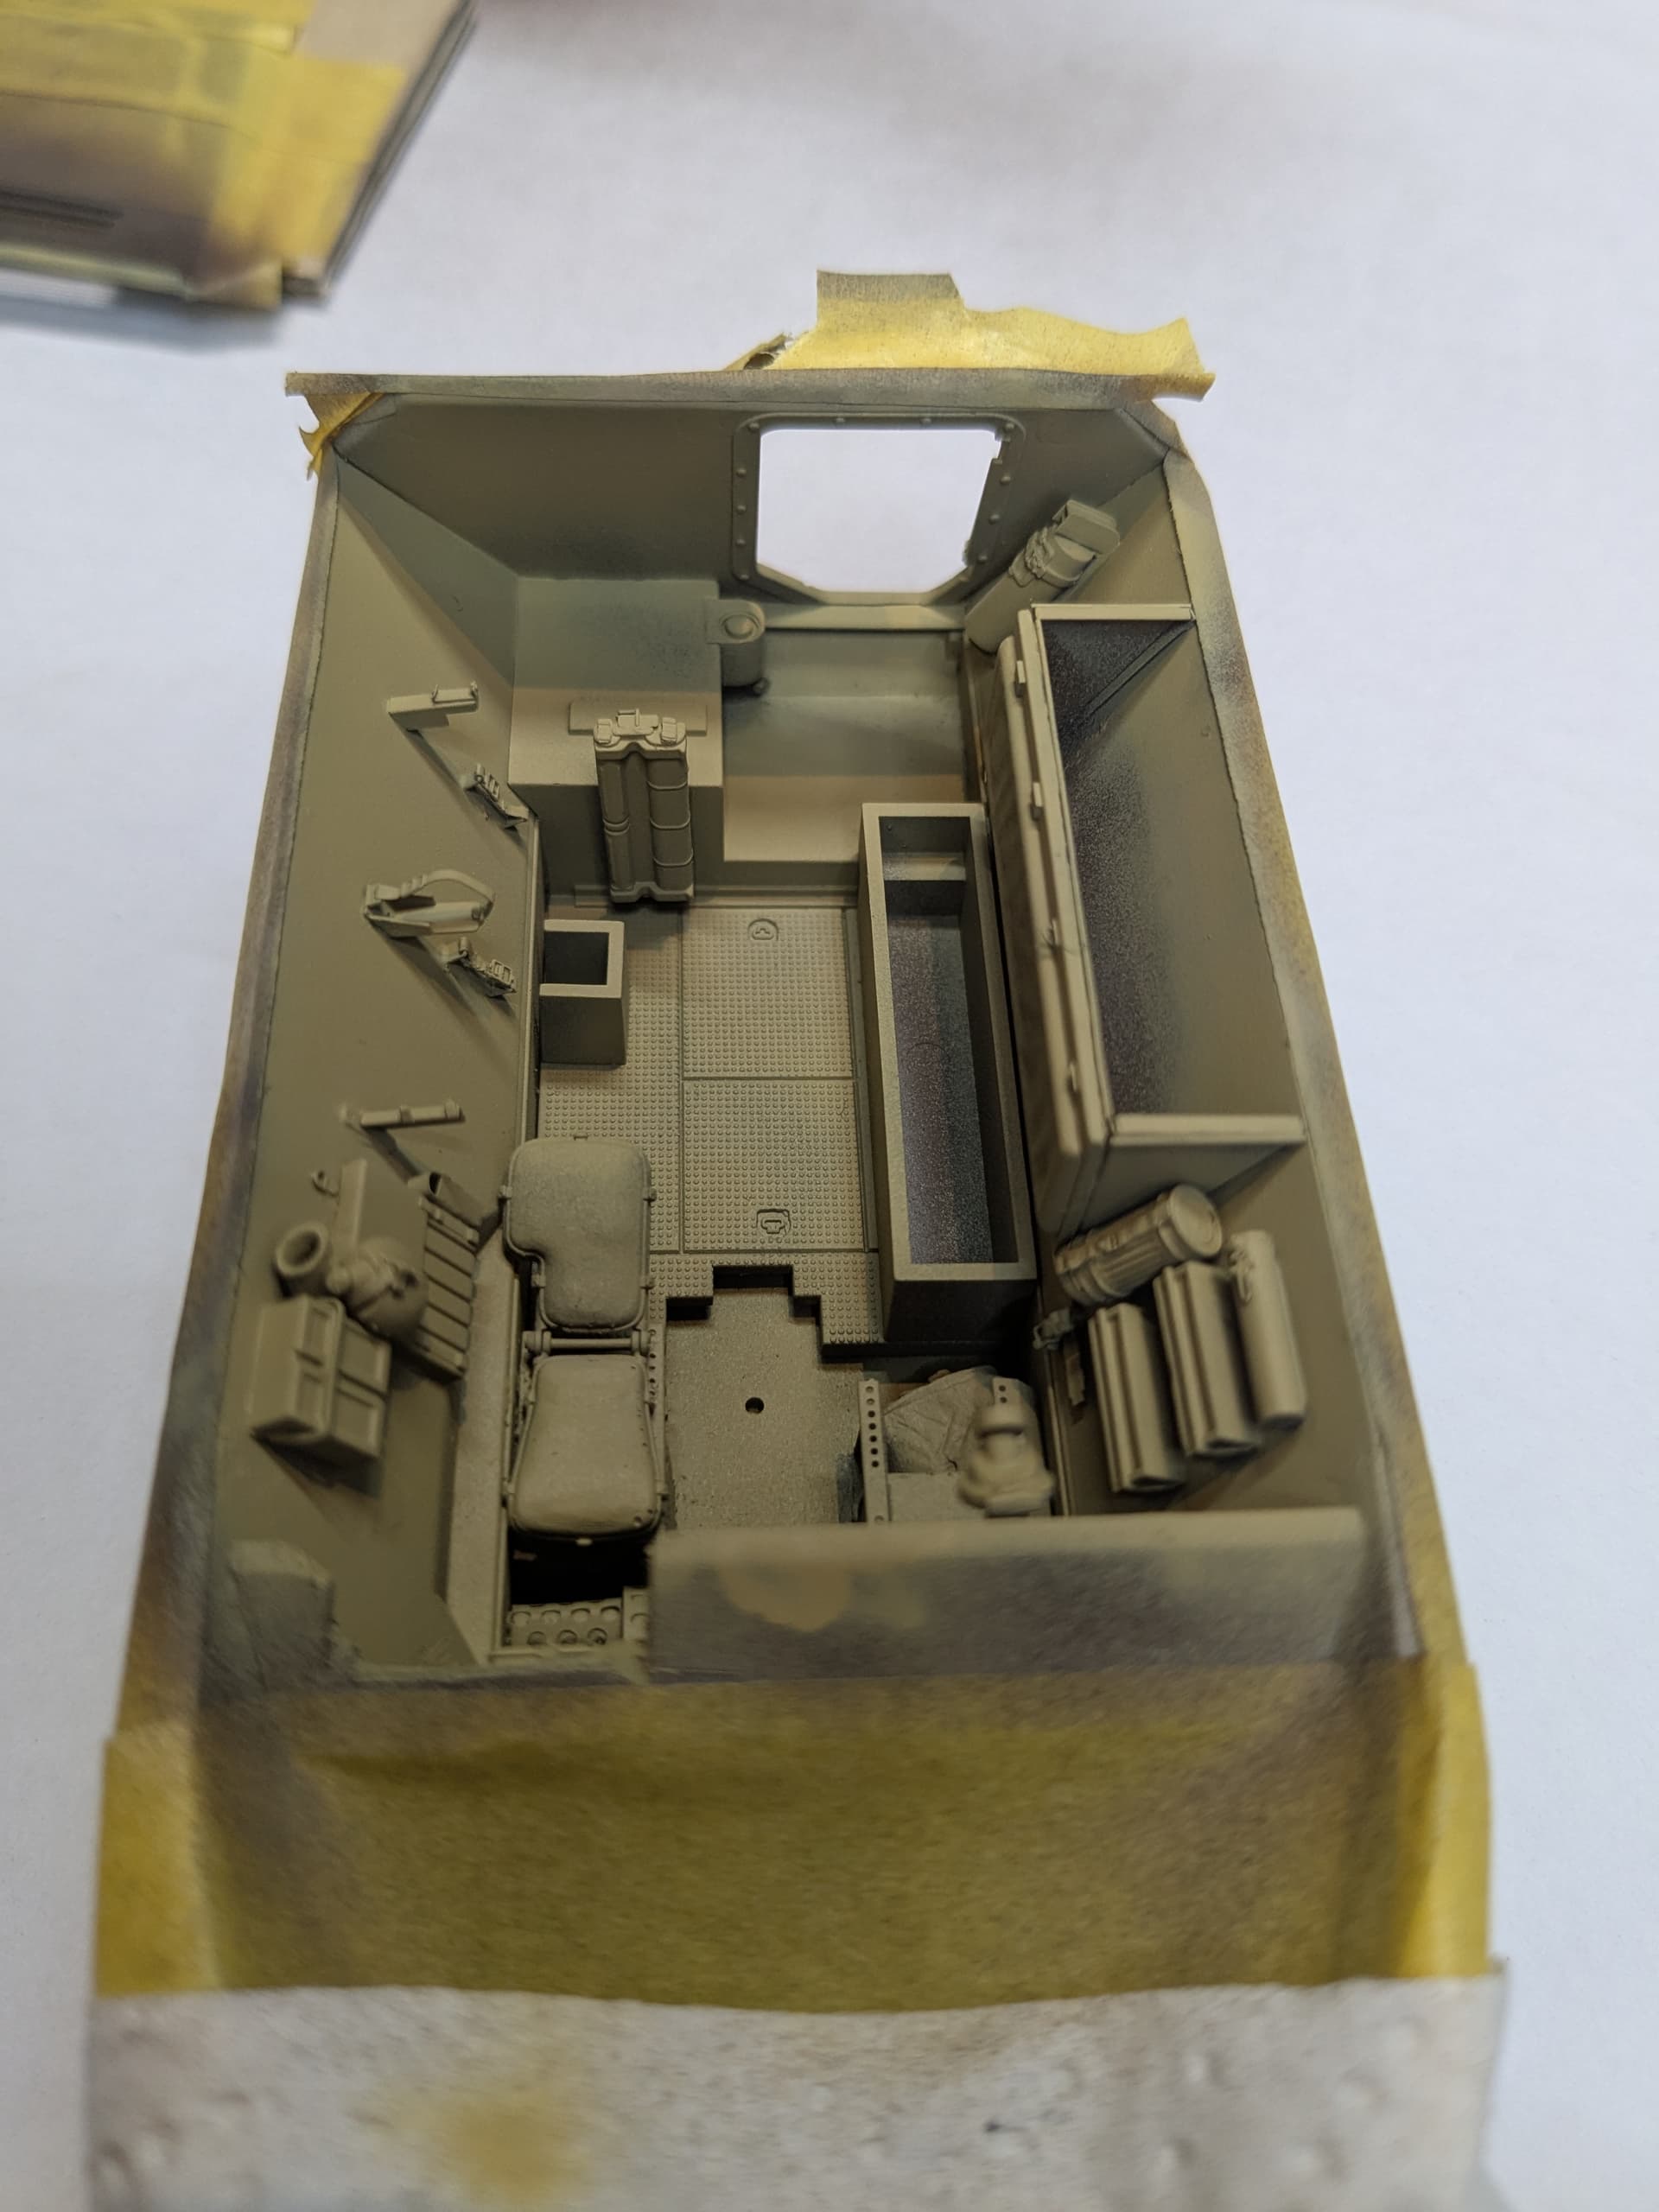
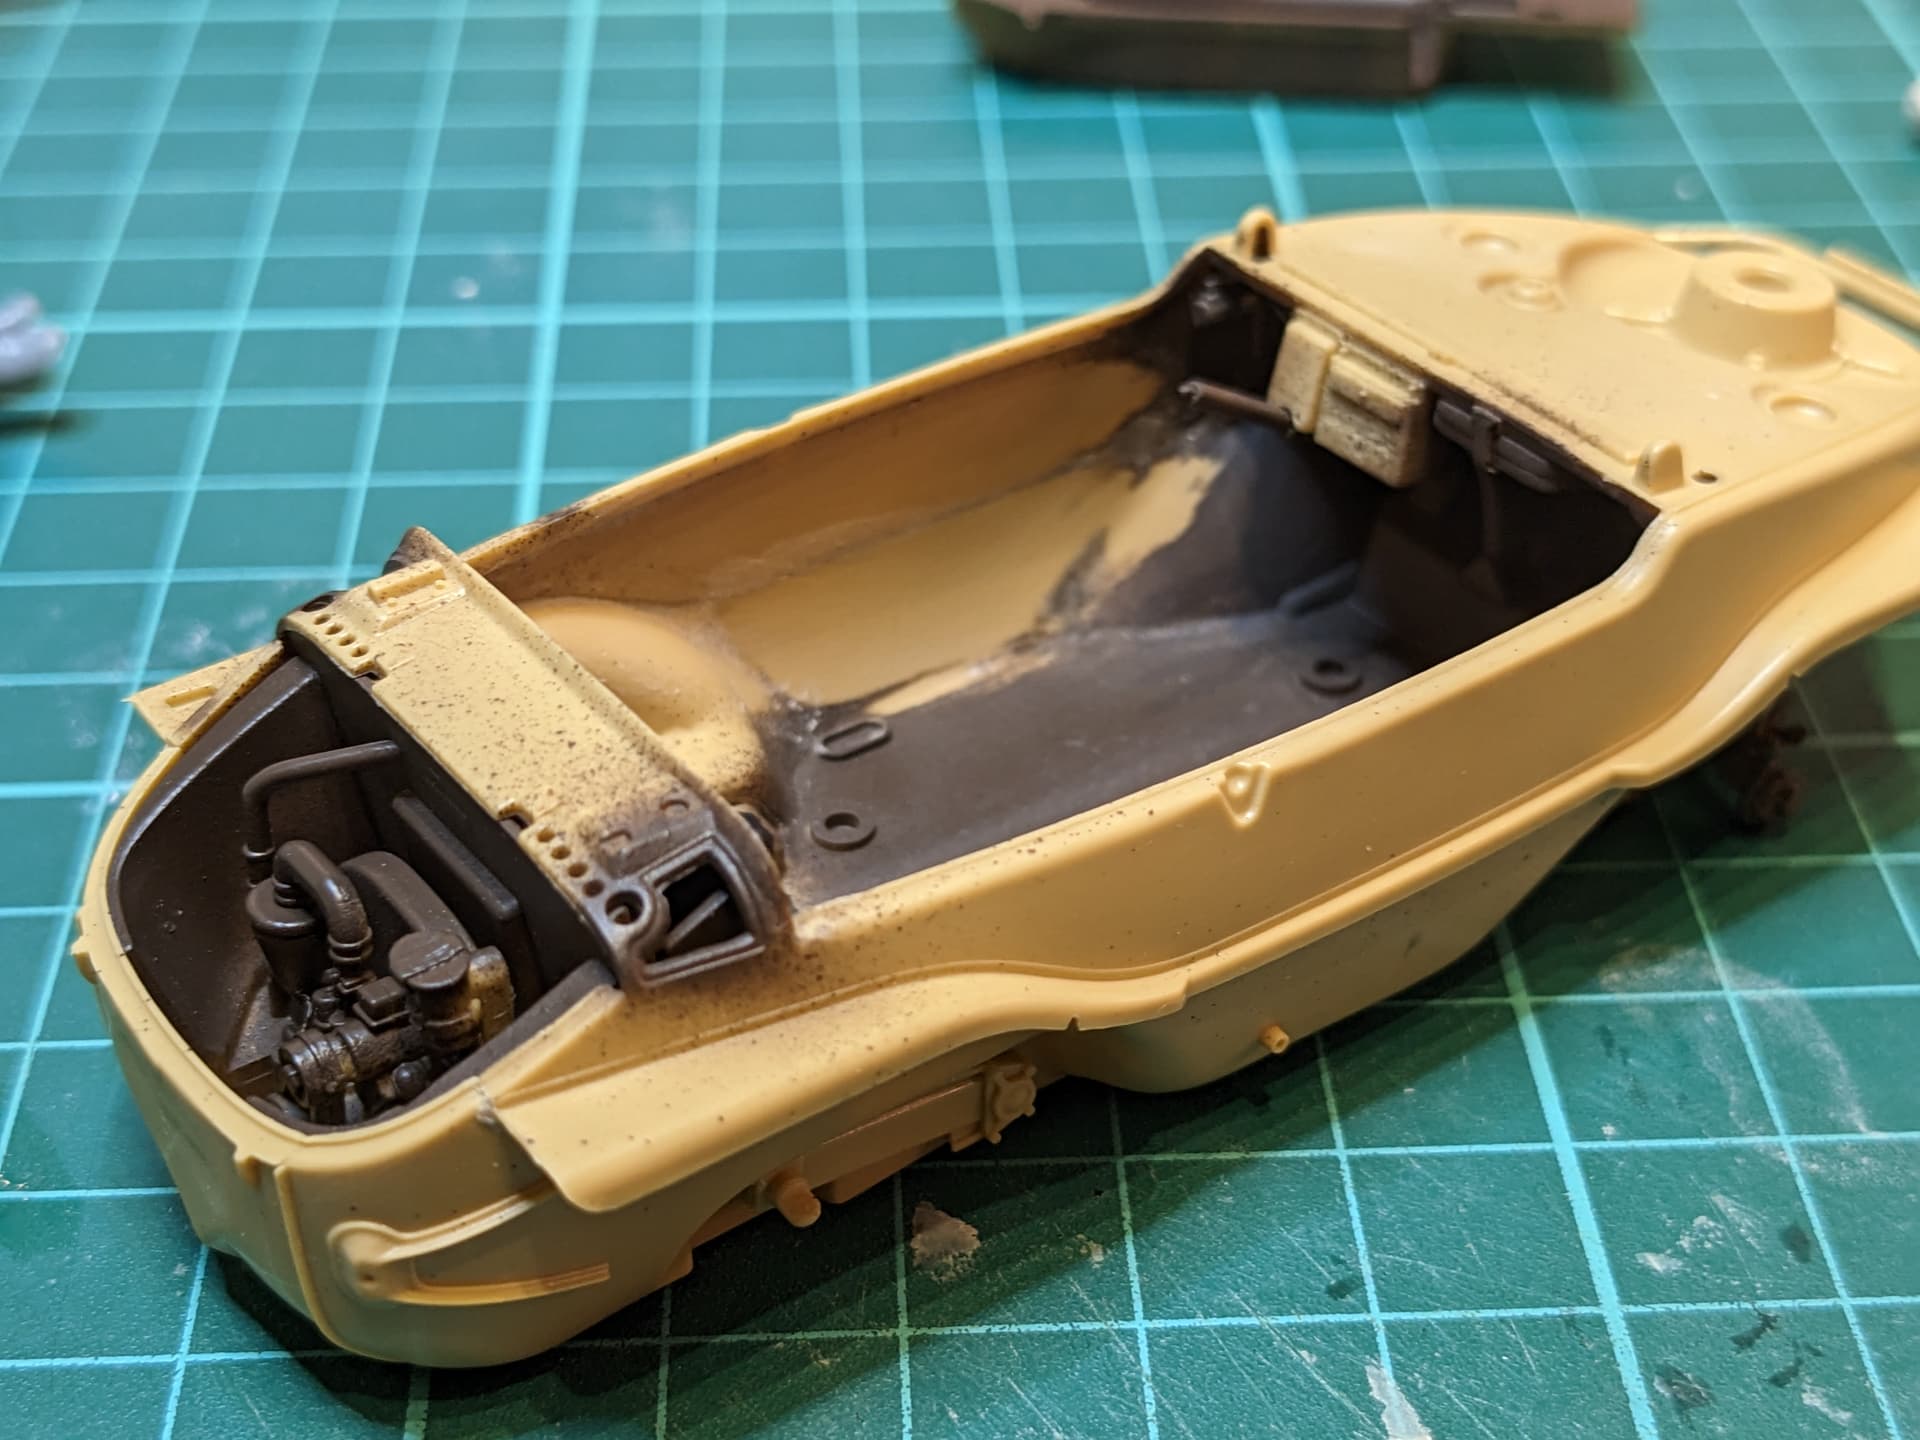
Here are a few more views of the detailed interior:

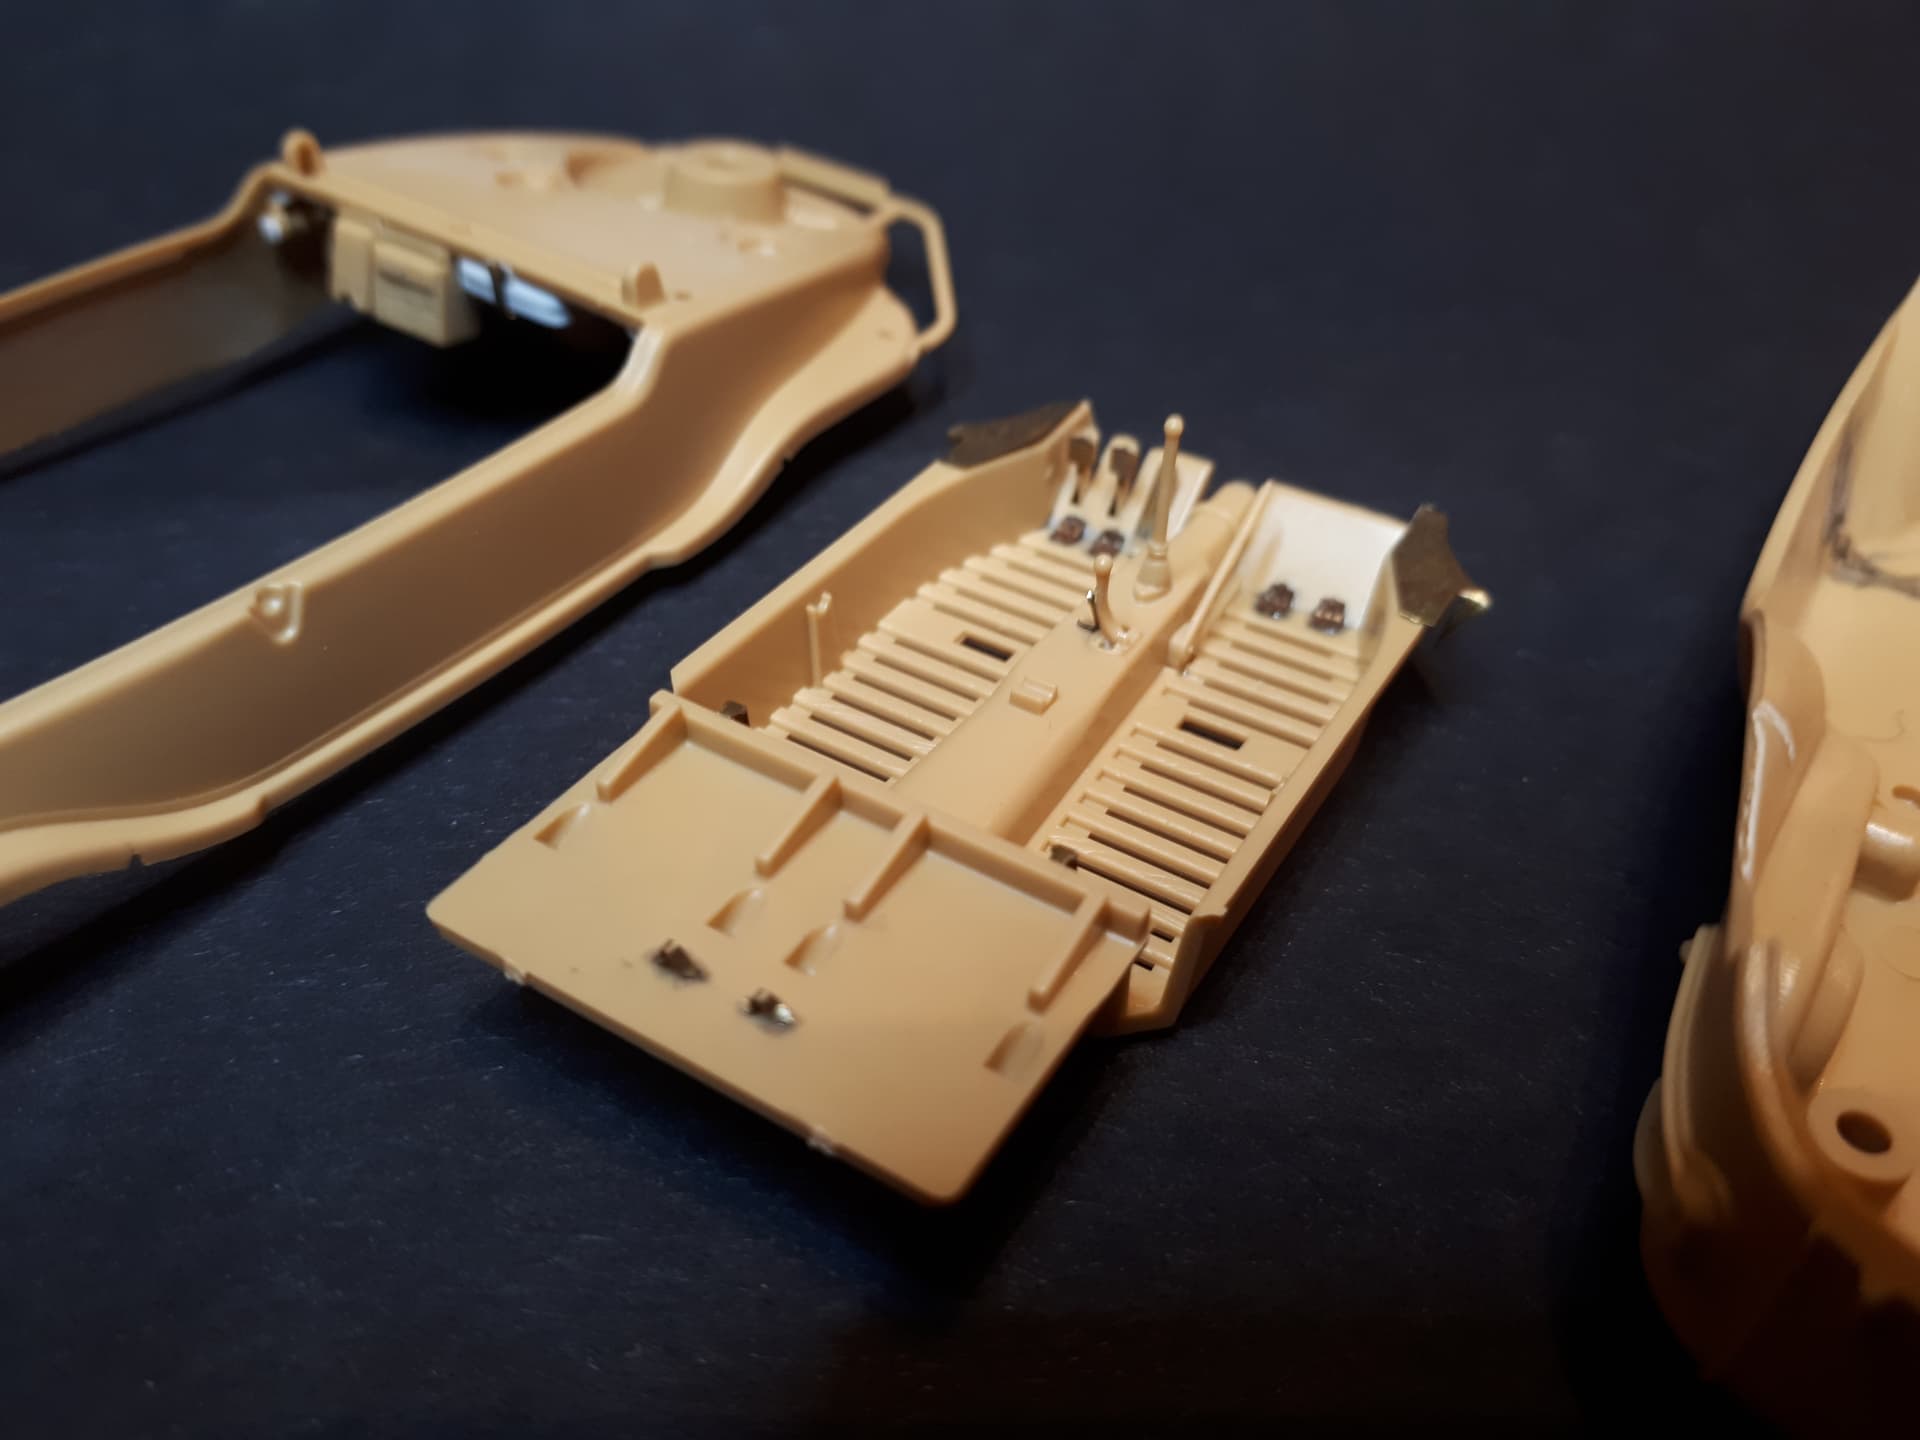
Some of the missing details which were not in the aftermarket sets include the base of the forward MG post and a more complete first aid(?) box beneath the dash. I also added some wiring running fore to aft.
I ensured that I could keep this interior assembly detachable even when I had fixed the top and bottom of the hull together. It’s a tight fit, but just possible if you sand down the rear portion beneath the rear seats a little. Either way, you will have to paint the floor pan before you fit the duckboards or else you risk some of the raw plastic shining through… All the paint you see here is Mr Surfacer Mahogany sprayed through an airbrush (and very badly, I might add).
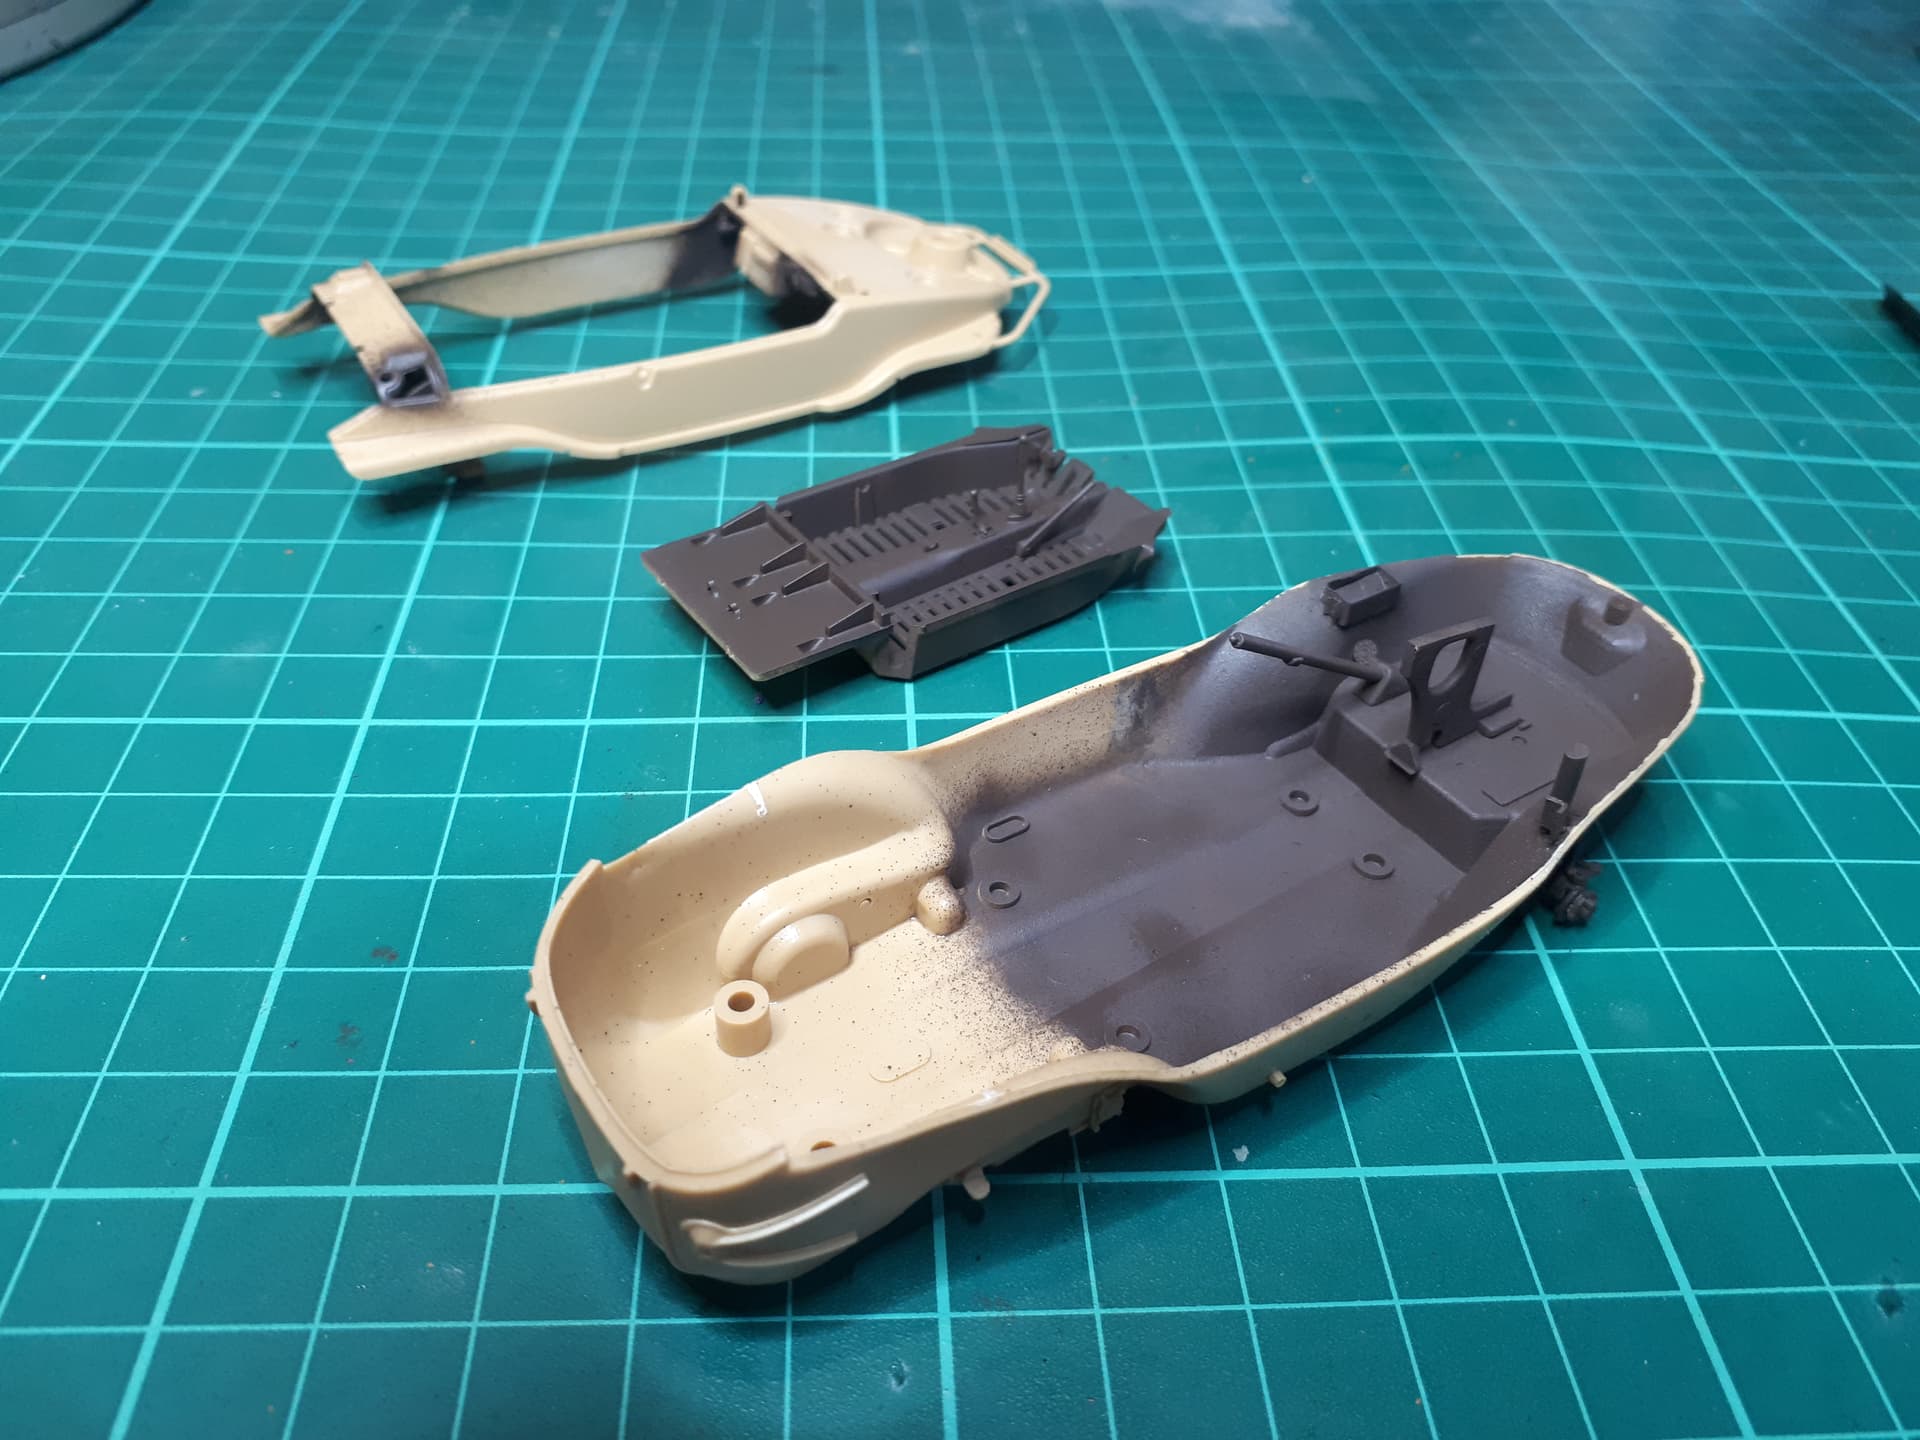
One of the few issues with the Tamiya kit - but a big one - is the fit of the upper and lower halves (and here, at least, the word ‘hull’ seems appropriate!). My kit was slightly warped and, although the join would be invisible from the outside (because the running boards and mudguards hide it), it is is very obvious in the exposed interior. In the real vehicle there is a join here because the top and bottom halves are welded together, but in this scale it would be all but invisible.
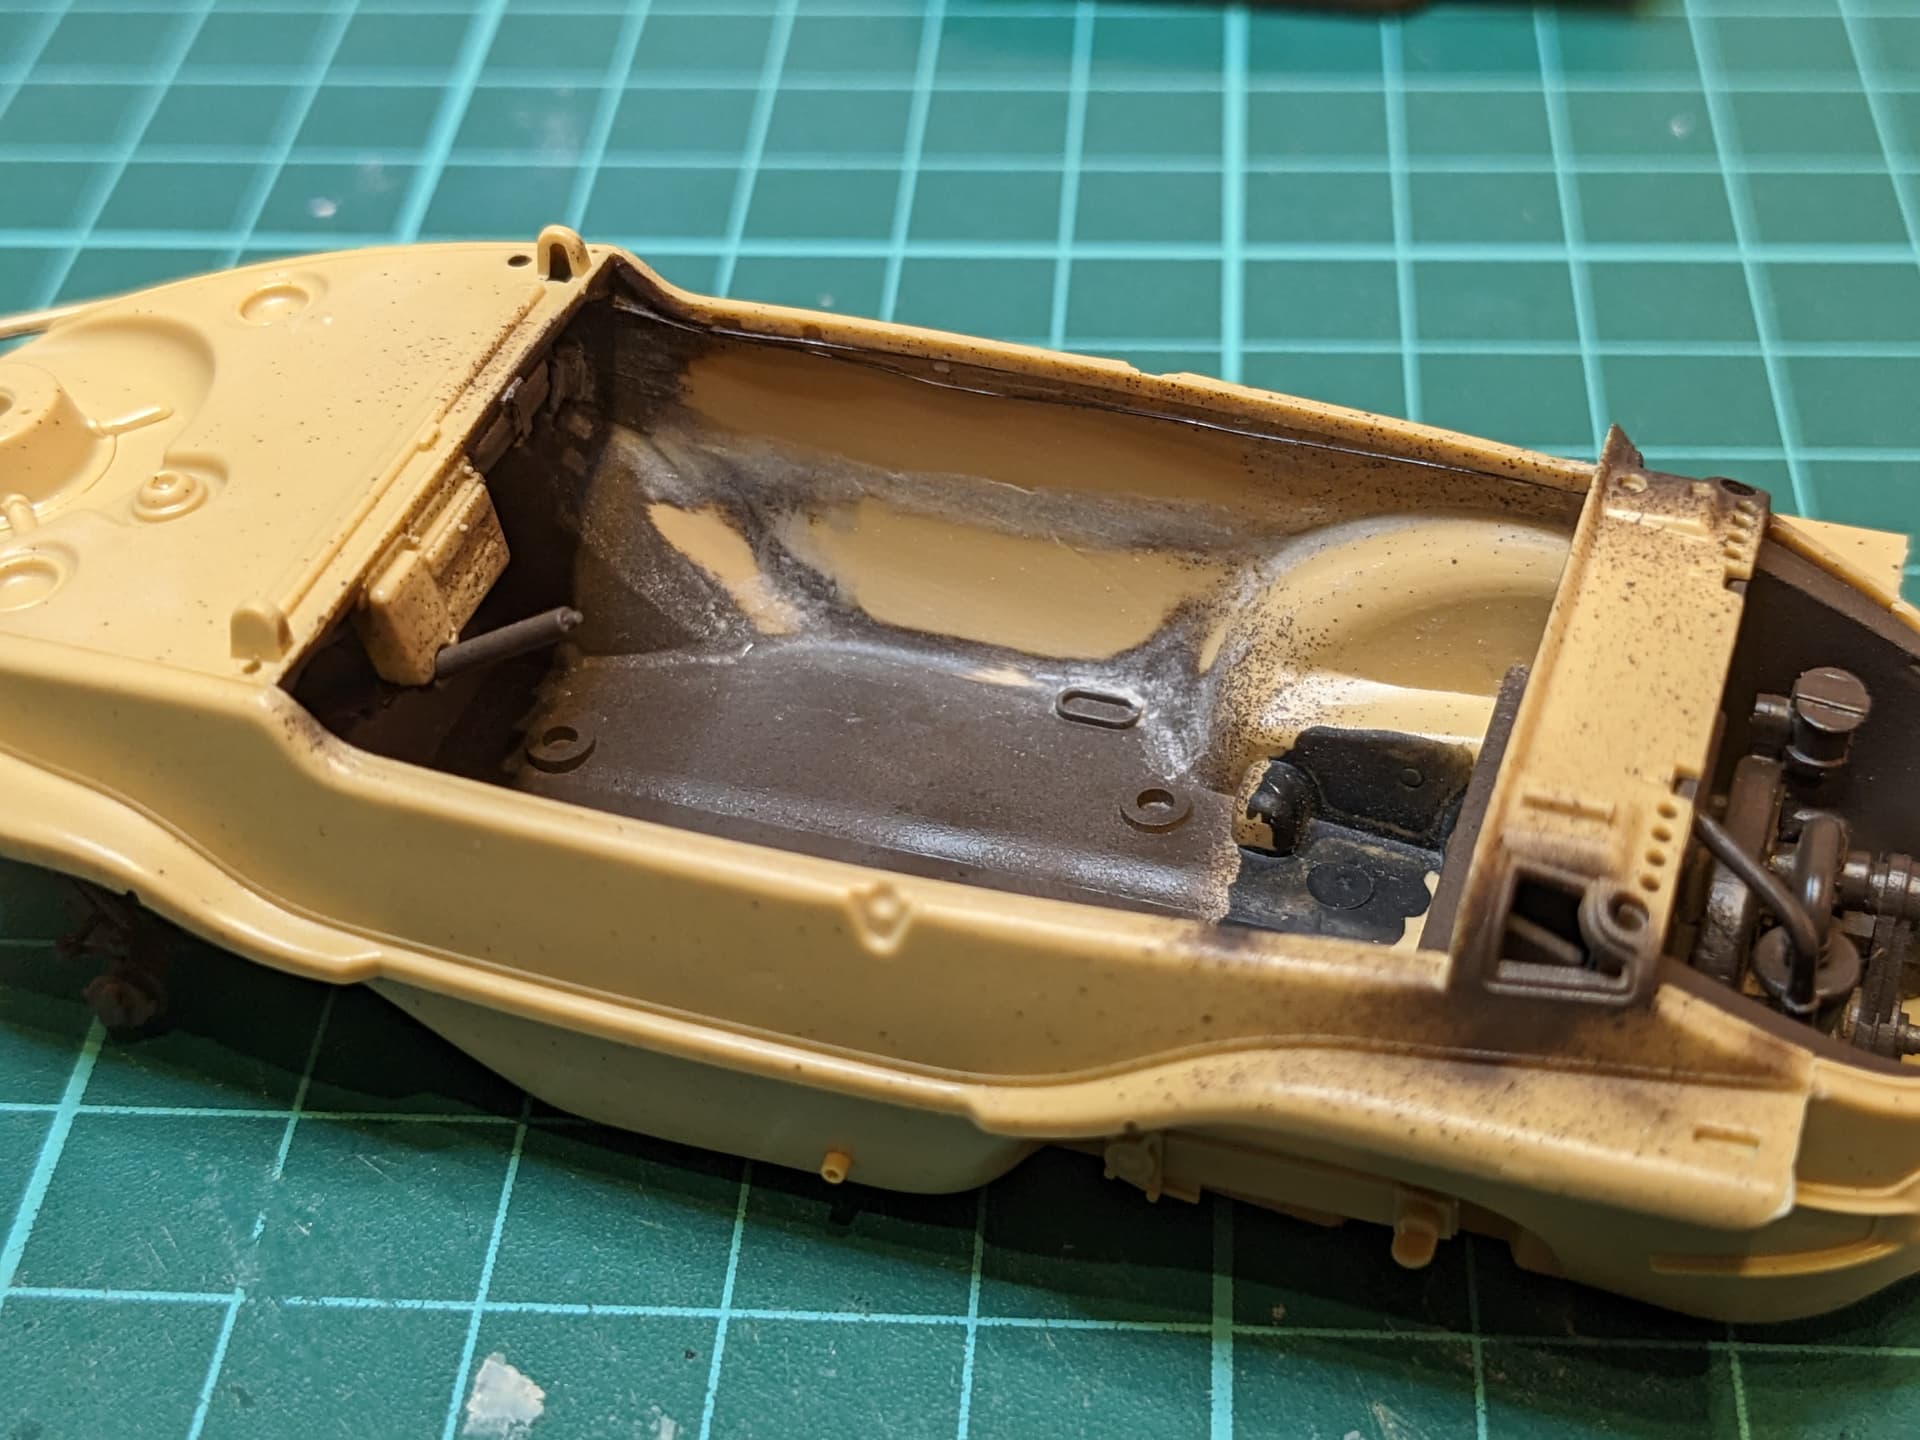
This could only be done after I had fixed the two halves together and it took me a lot of filling and sanding in hard to reach areas before I was happy. Here it looks like a mess, I confess (and the paint job is even worse) - but in the end it did the job!
11 Likes
Looking good Tim, great progress.
Dave ![]()
2 Likes
Excellent job Tom, great to see paint on those vehicles.
2 Likes
Sorry, Tim I meant
2 Likes