Bring on the Jeep!
Have I ever built a jeep before? I feel that I must have done back in my youth, but my only memory is of the old Tamiya Russian Gaz. So maybe not…
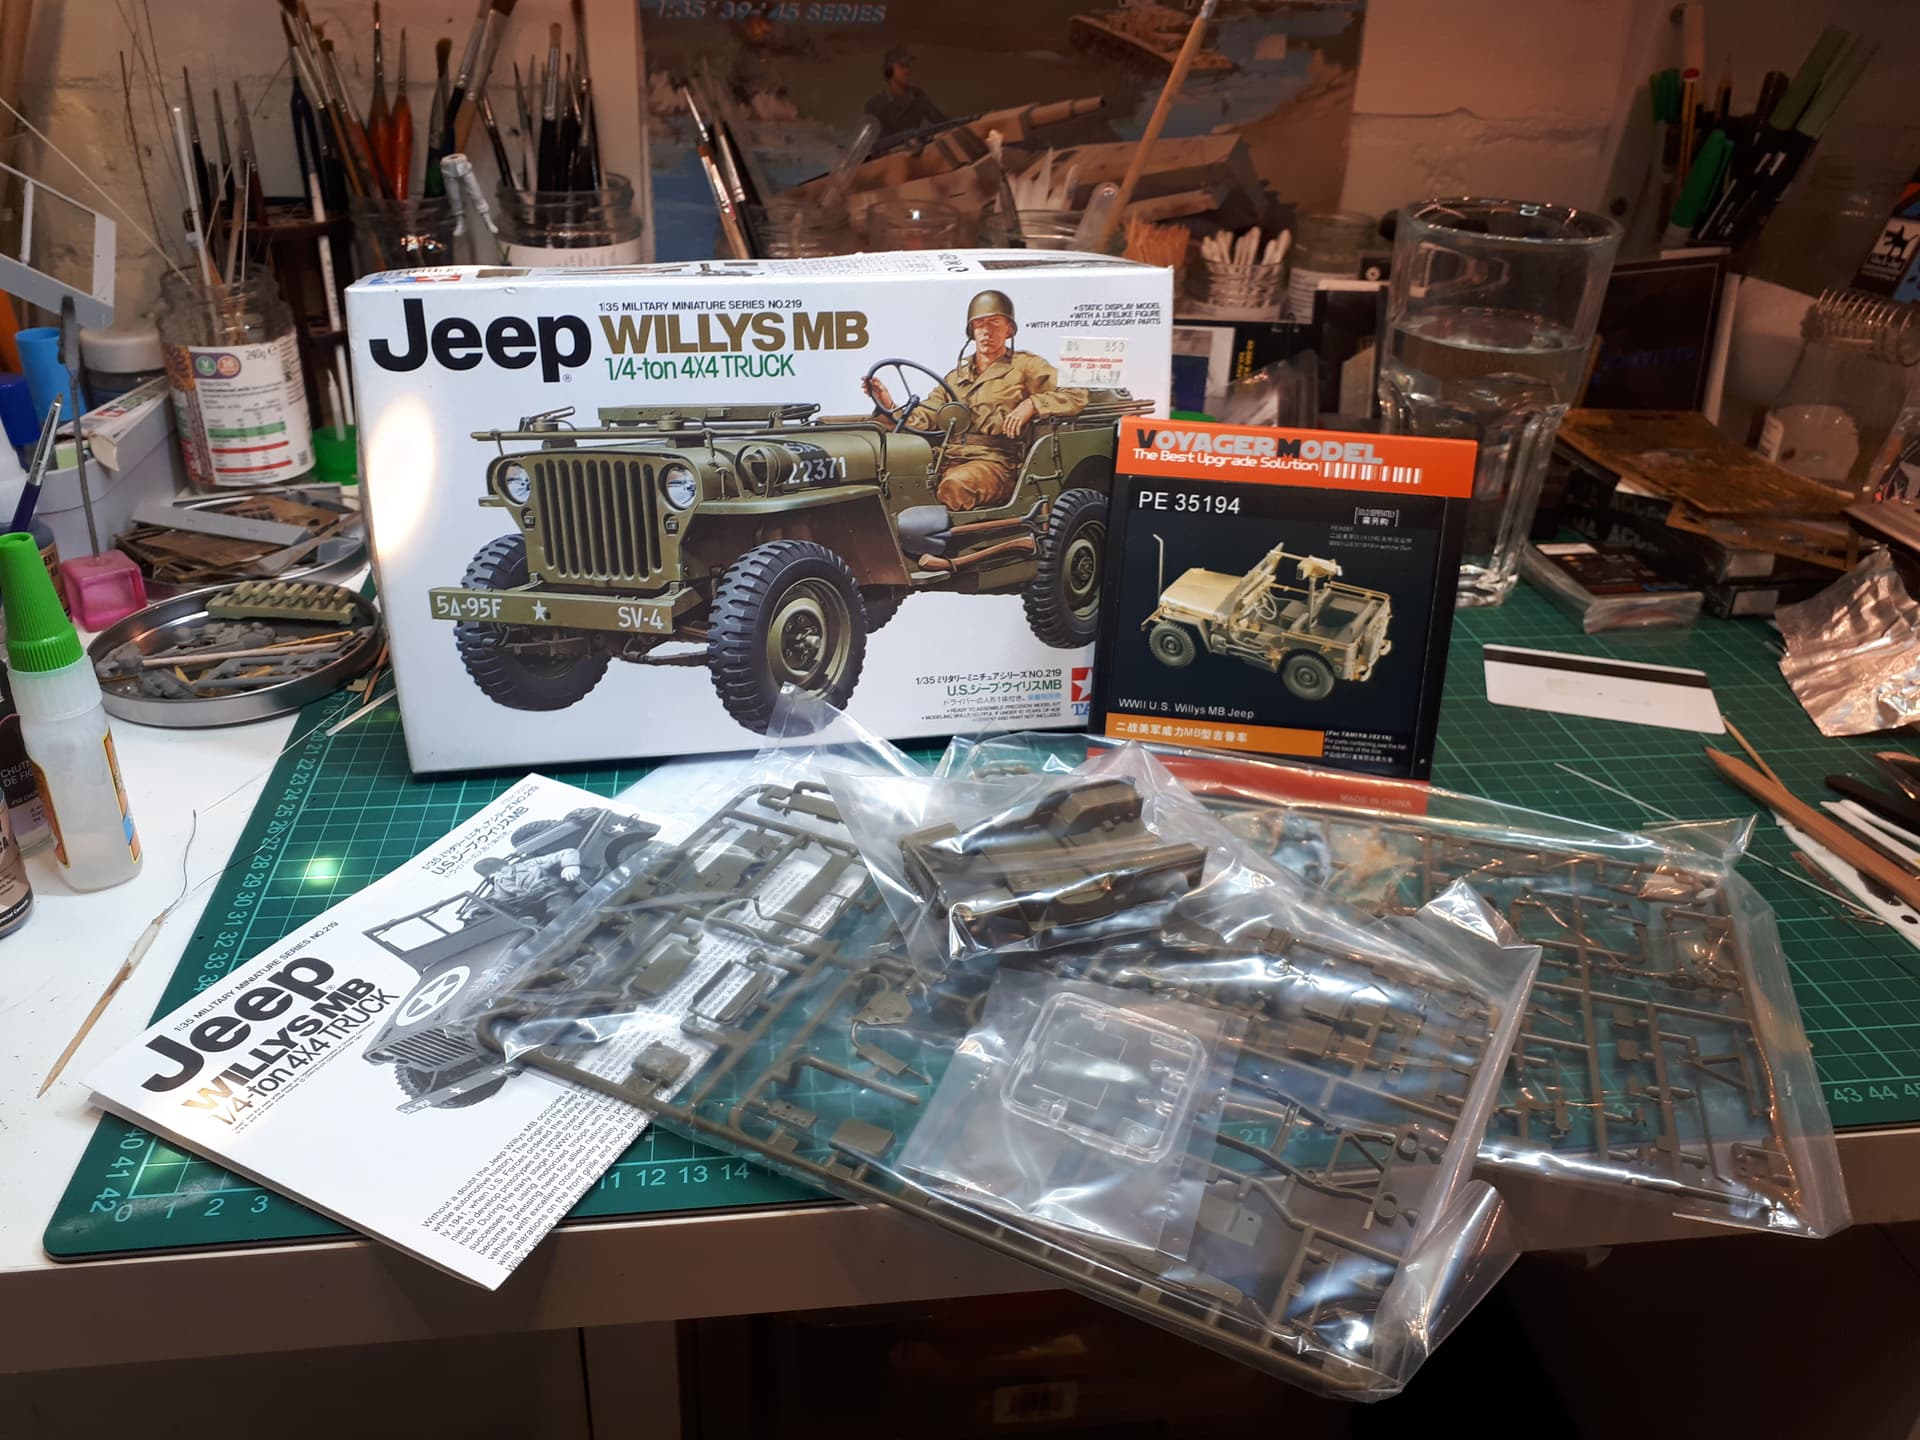
I started with the updated Tamiya kit. It’s nice that they actually licenced the name, so it’s not called something silly like a ‘1/4 ton Utility Truck’ or ‘MB Military Vehicle’… it’s a JEEP!
When I started I knew almost nothing about Jeeps. Now I know a little bit more. The Tamiya kit is excellent, but there are little details that are either missing or simplified and here the Voyager PE set comes to the rescue. There are also many, many images available on line, so there’s really no excuse not to go to town adding them… the only problem seems to be that Jeeps are so numerous that finding the right bits for the correct period is difficult. So by all means tell me where I went wrong and I will take it on the chin!
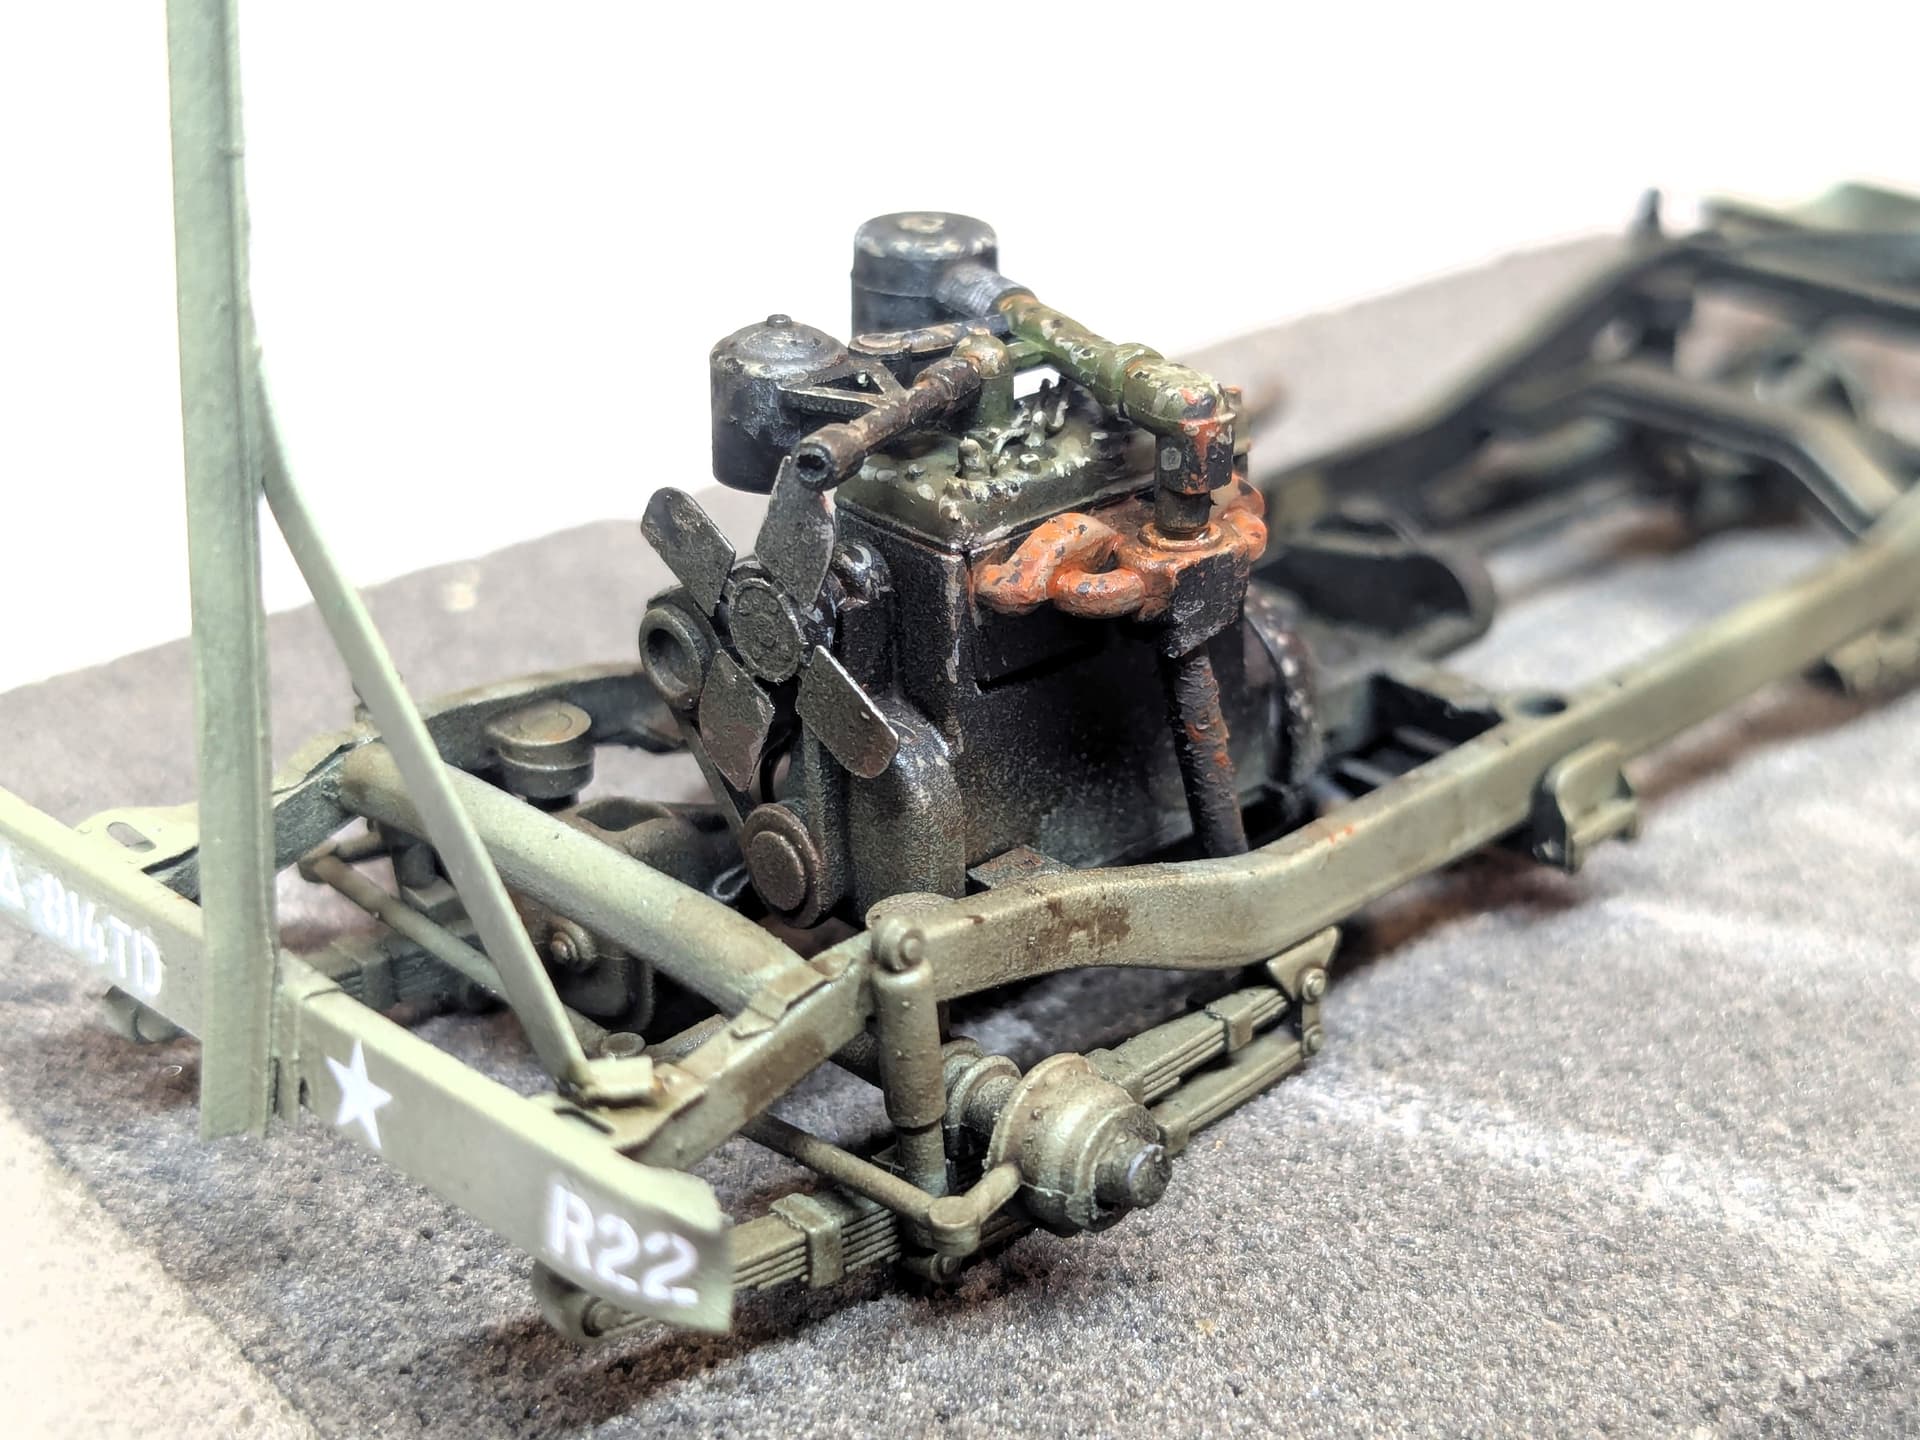
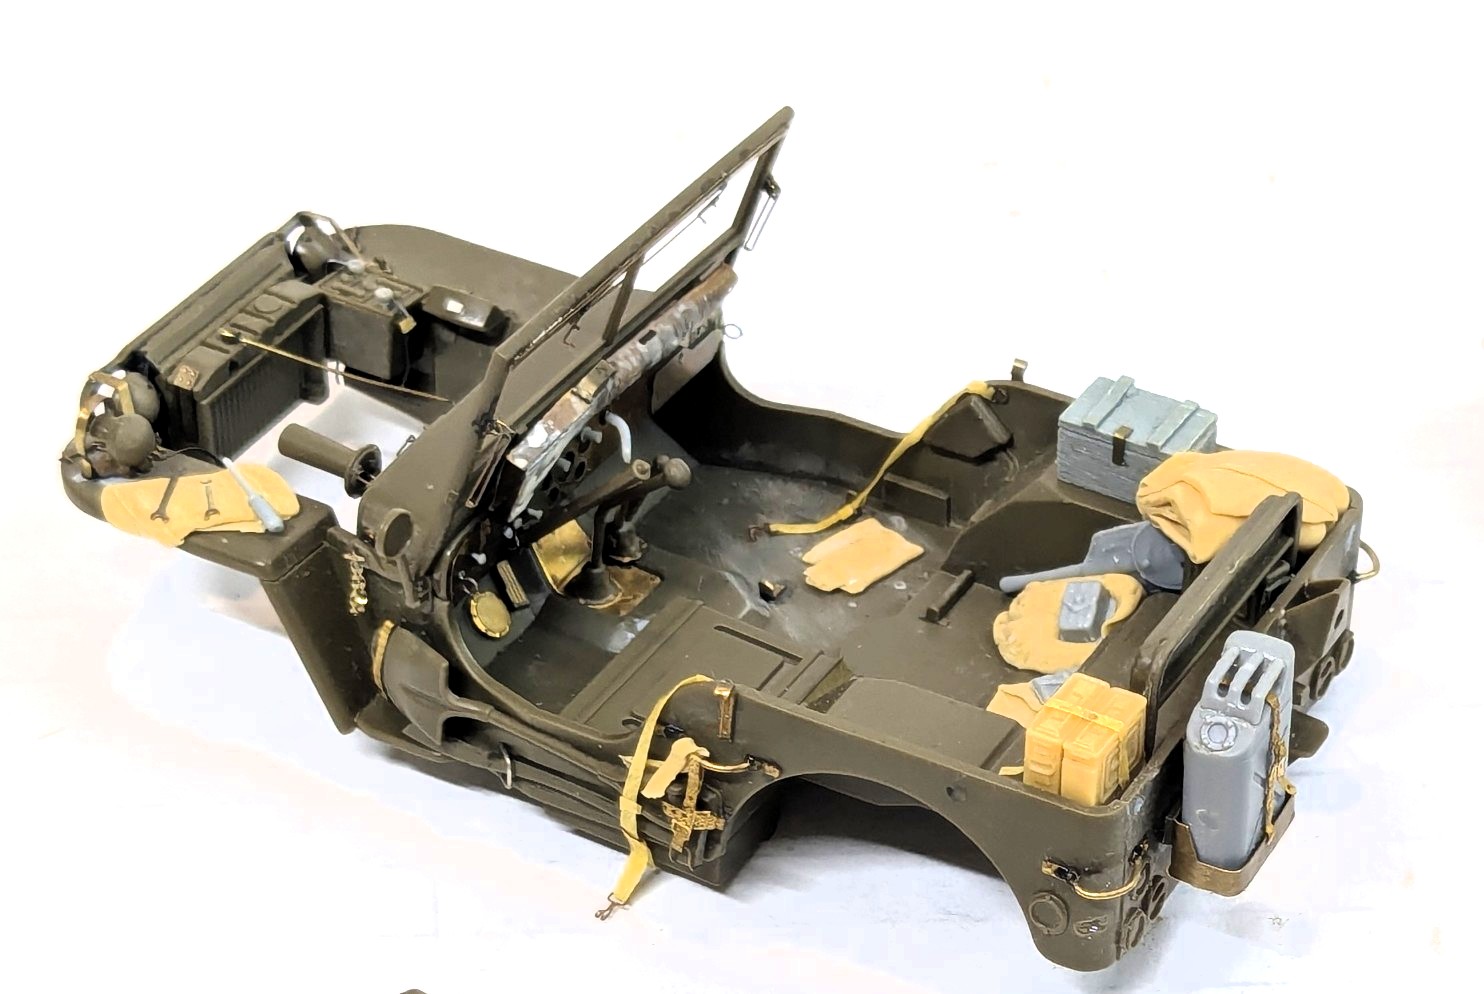
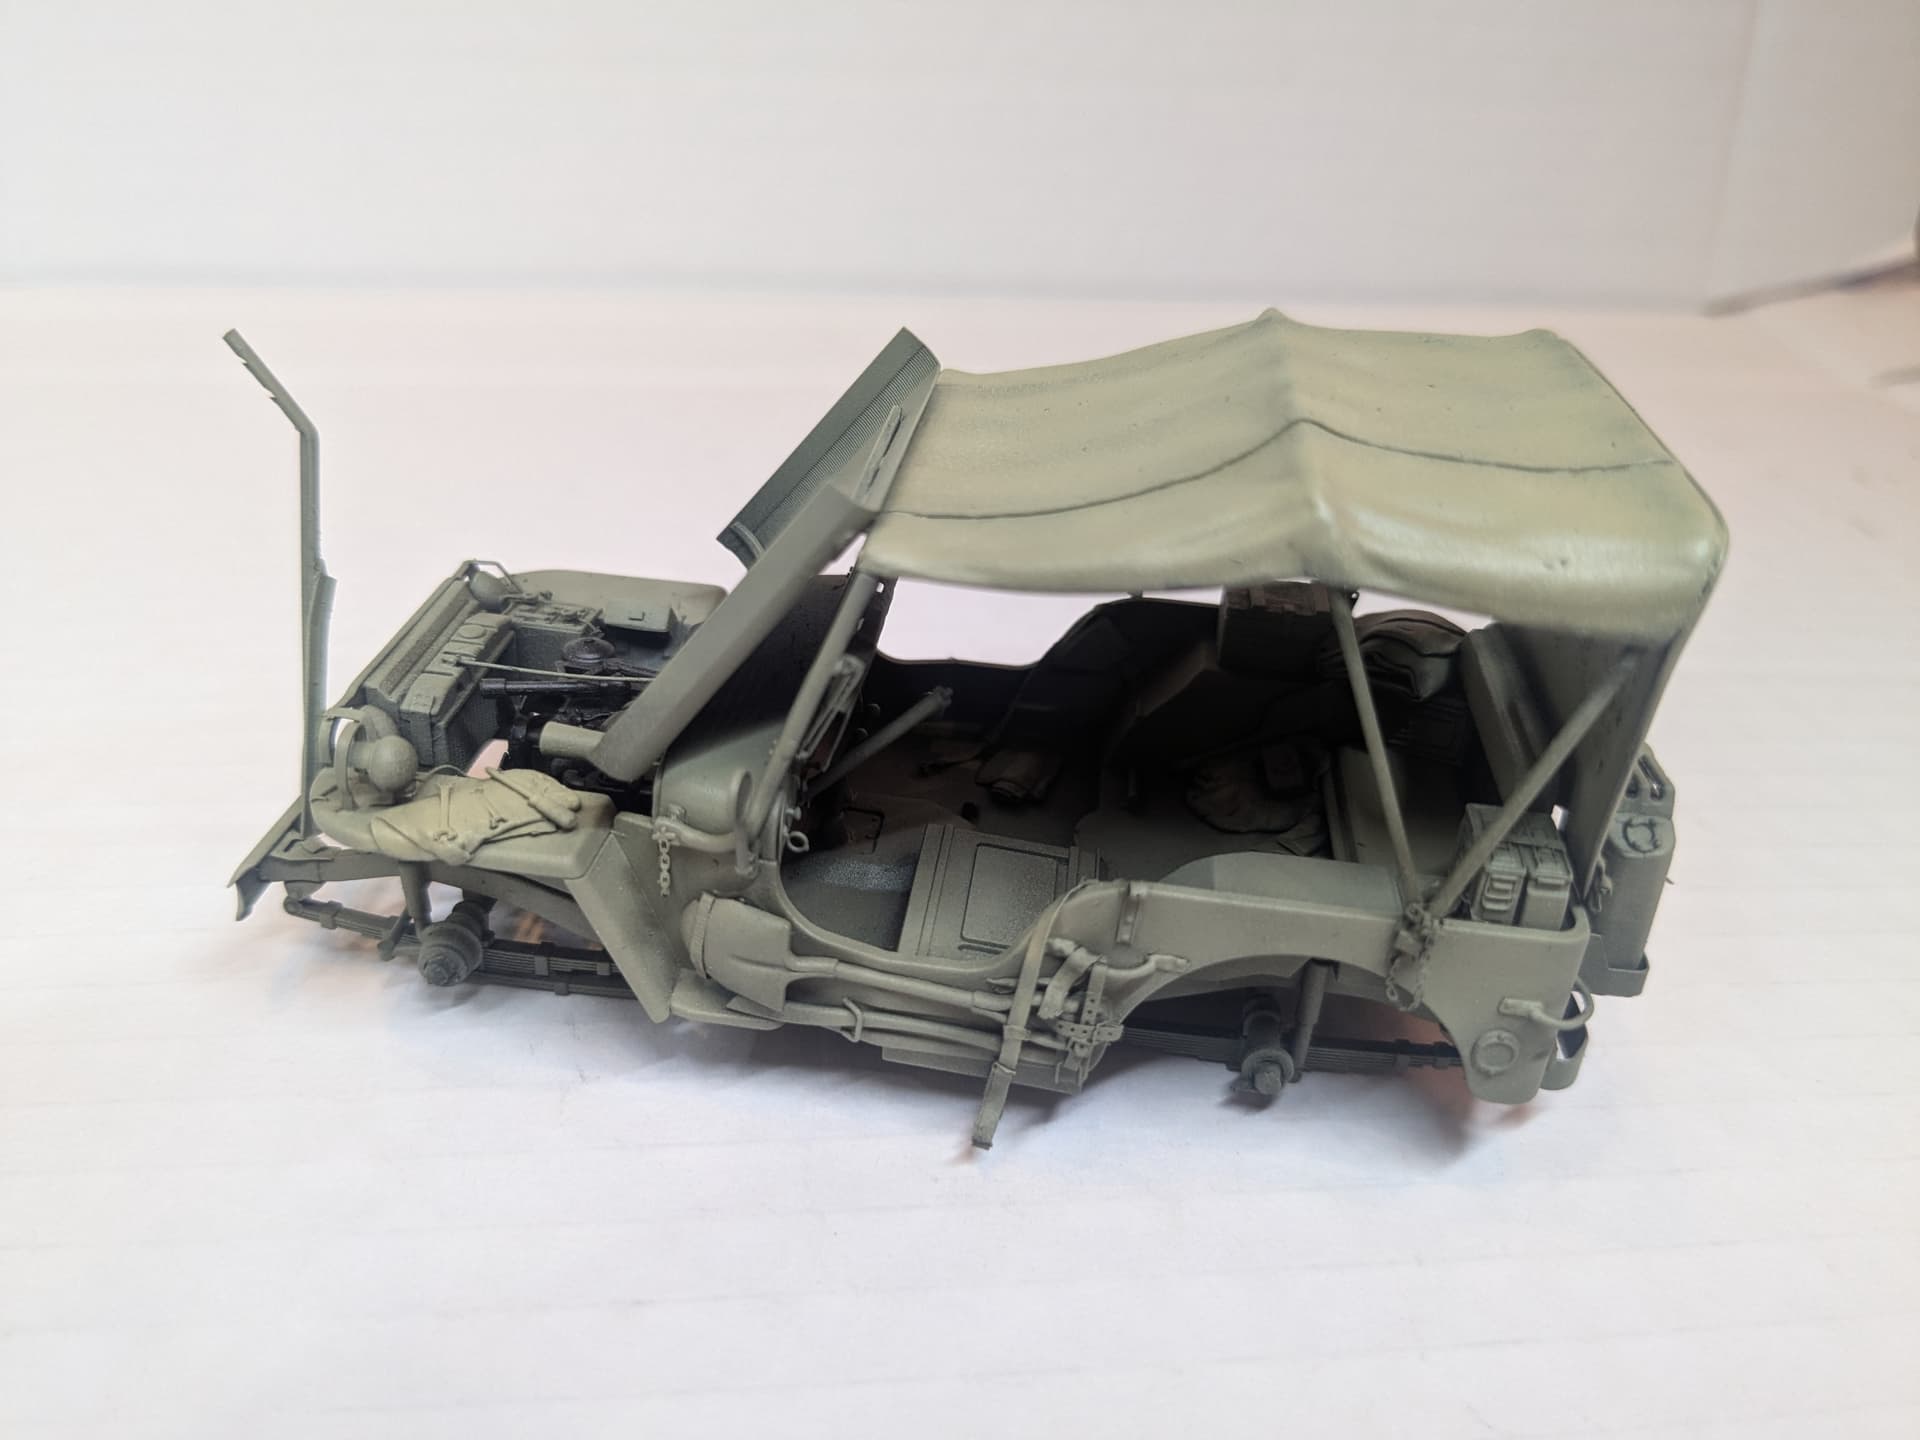
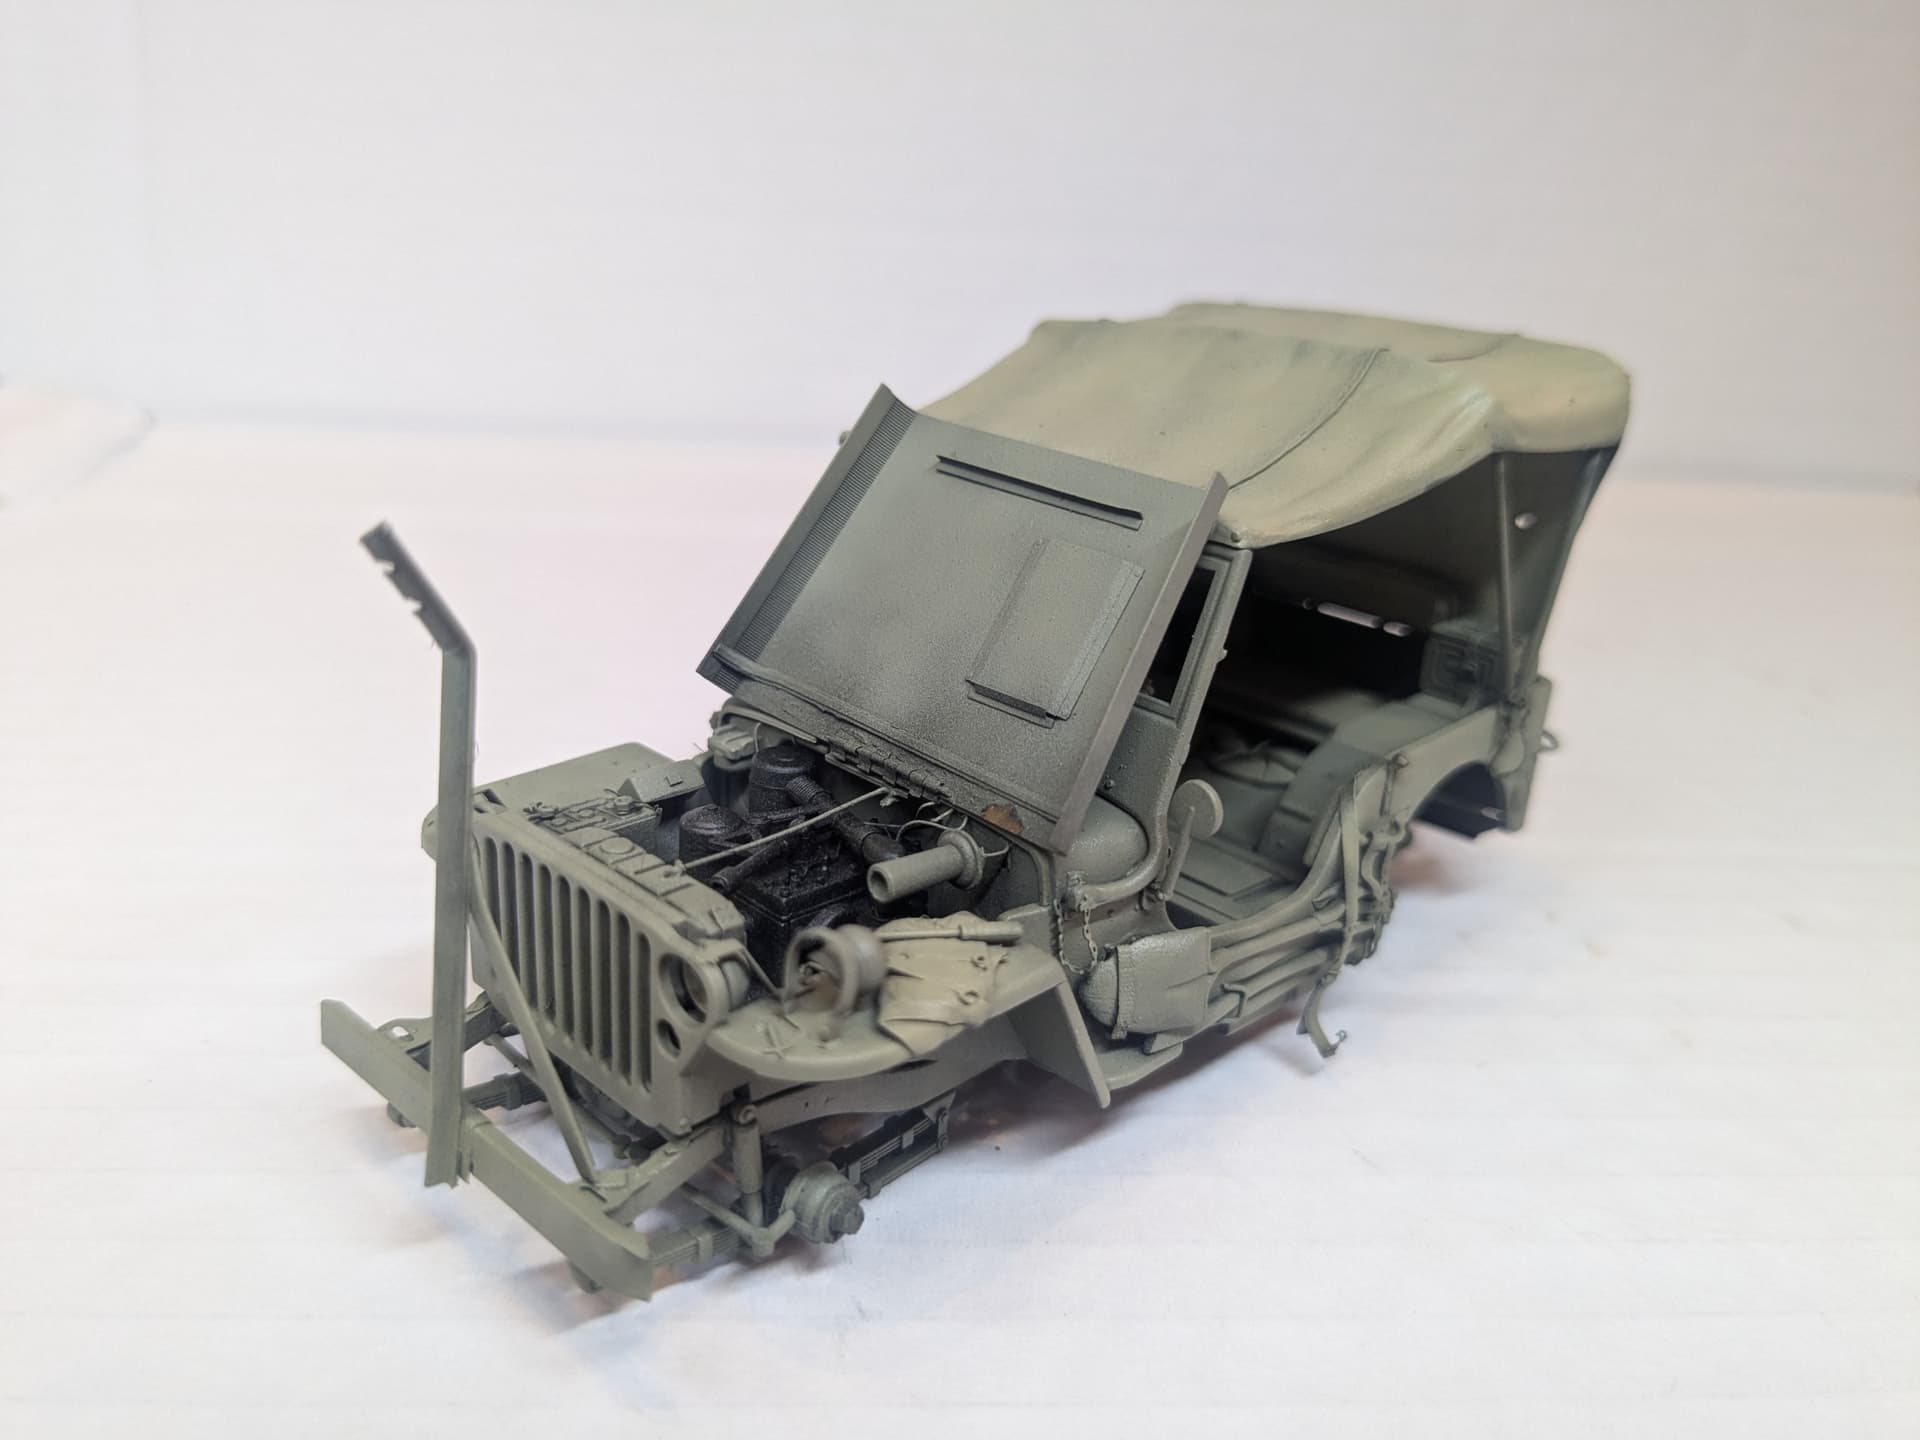
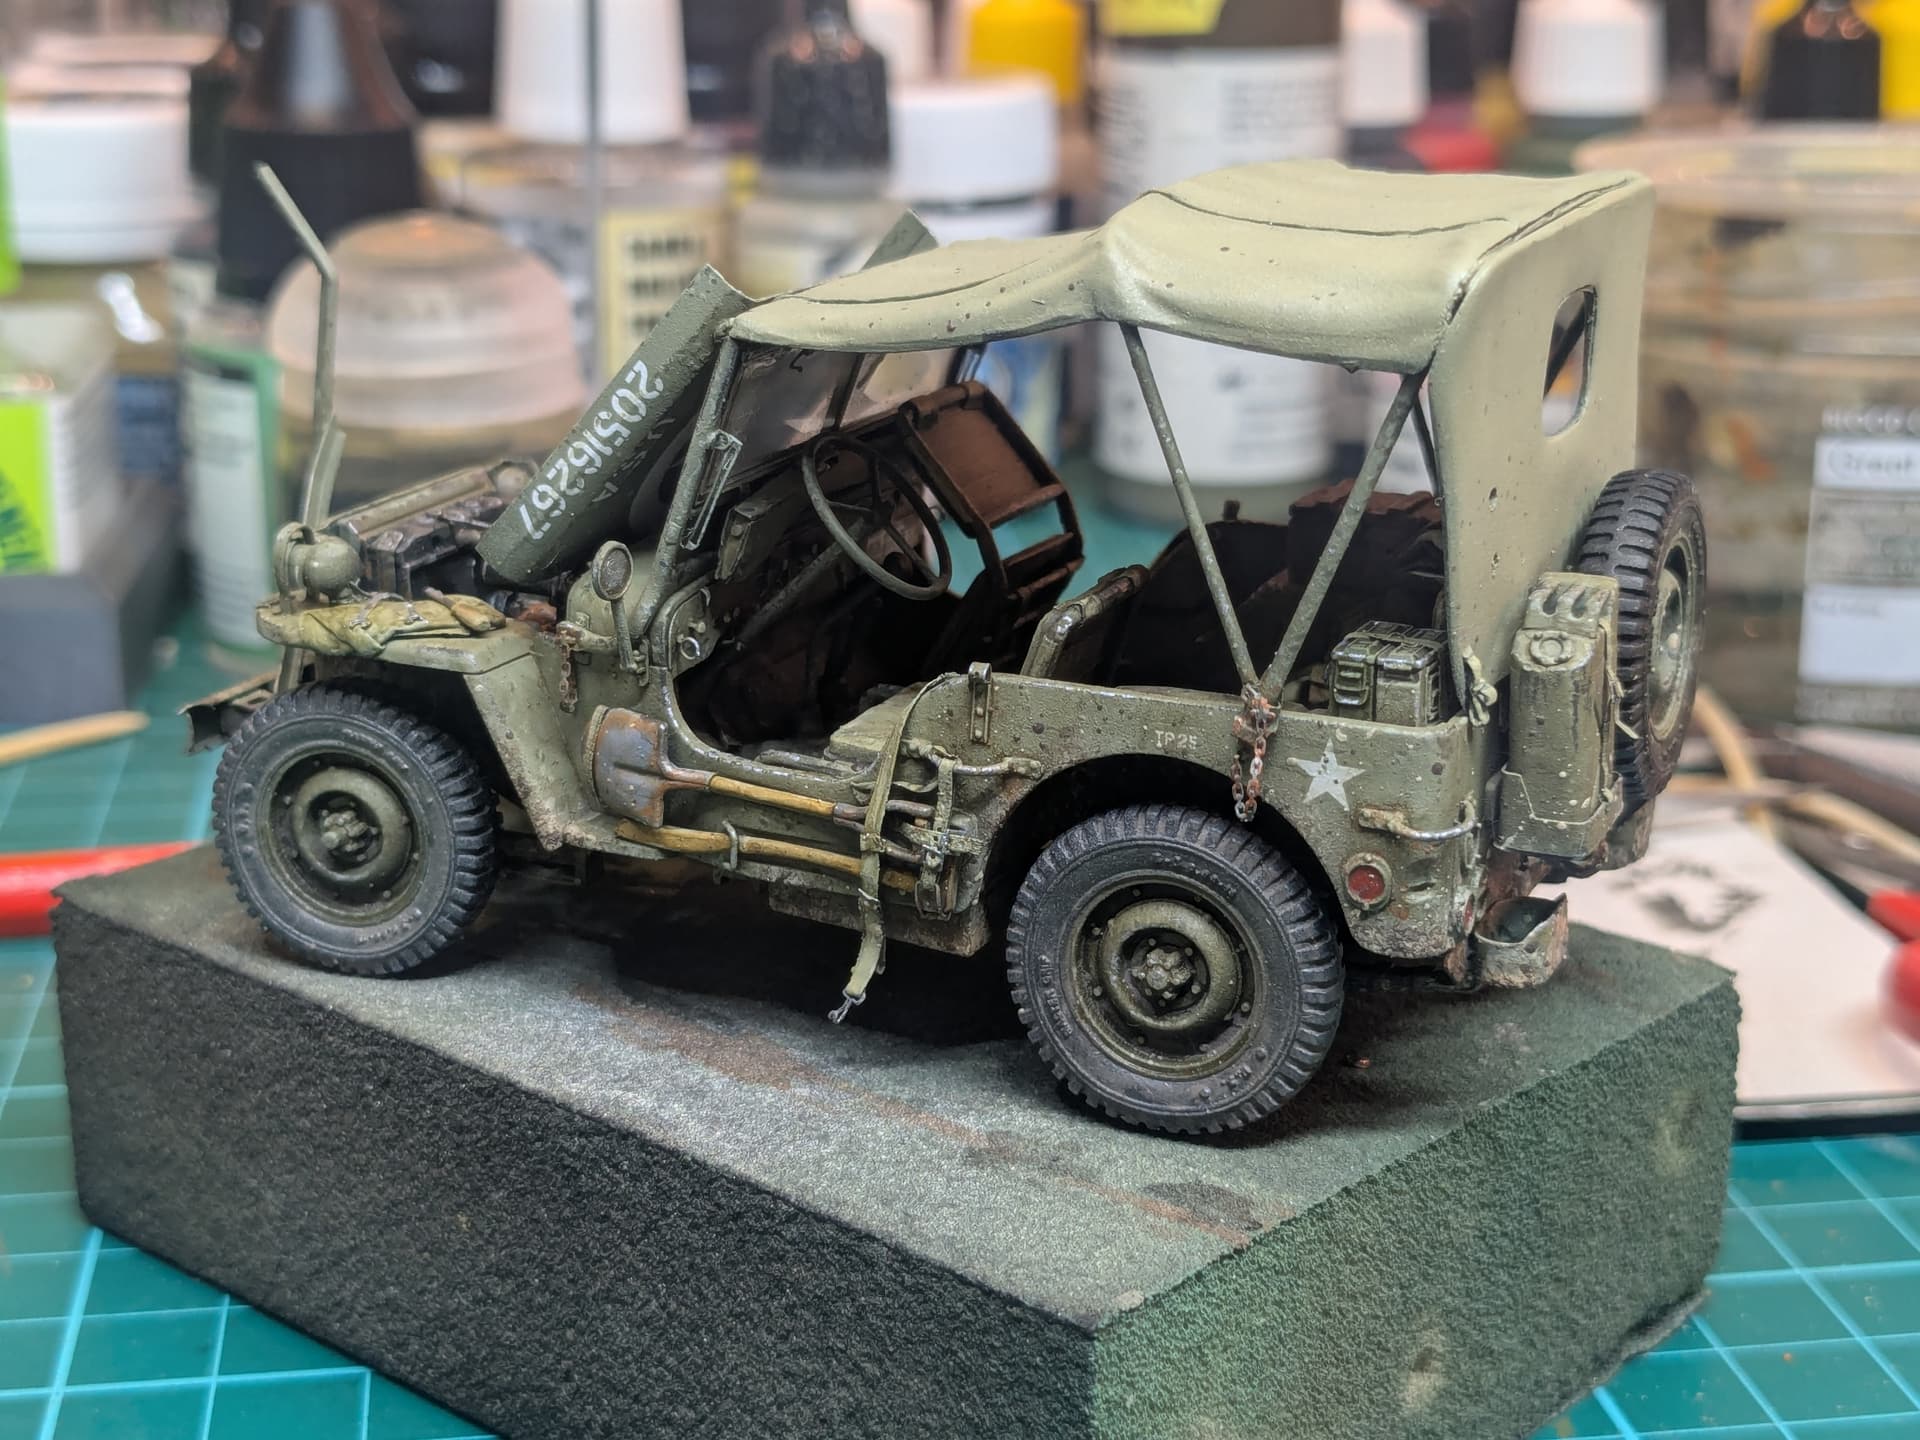
In my scenario the vehicle has broken down, so one aspect I wanted to include was an open bonnet. The engine is actually pretty nicely detailed in the kit and, although Voyager add some bits and pieces there are still more be added, such as wiring, battery terminals, etc.
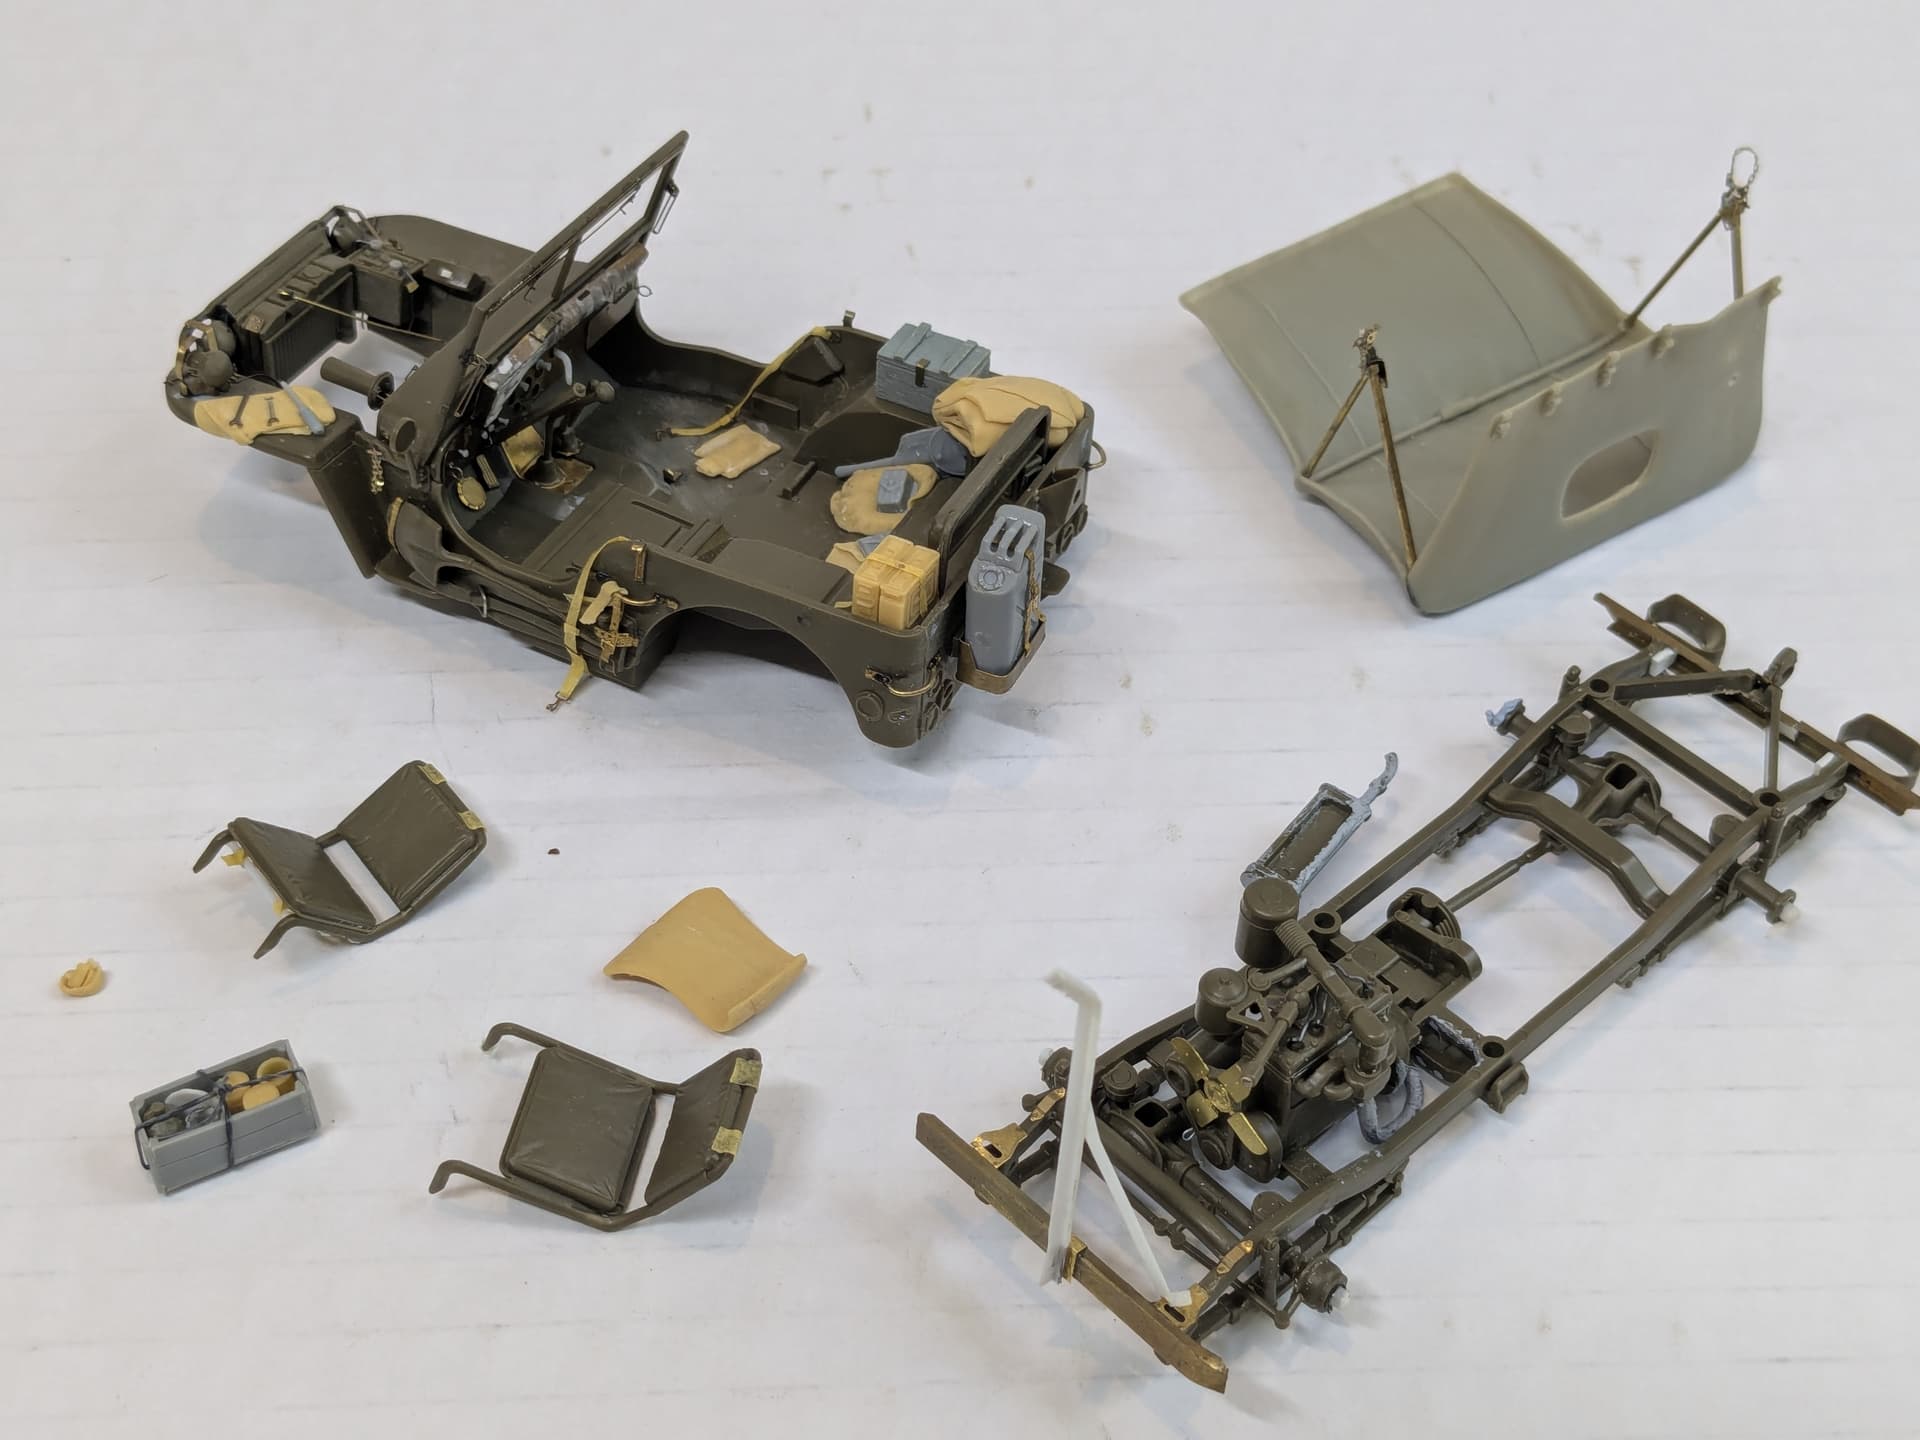
The way the kit comes together, you are supposed to add the lower engine block to the chassis and the upper part of the engine, plus all the pipes, etc to the upper body before you attach the upper and lower parts of the vehicle together. Since I wanted to paint the engine as one piece away from the upper body I found a way of keeping the whole engine as one piece attached to the chassis.
This left the radiator, battery, etc attached to the upper hull - which made painting much easier.
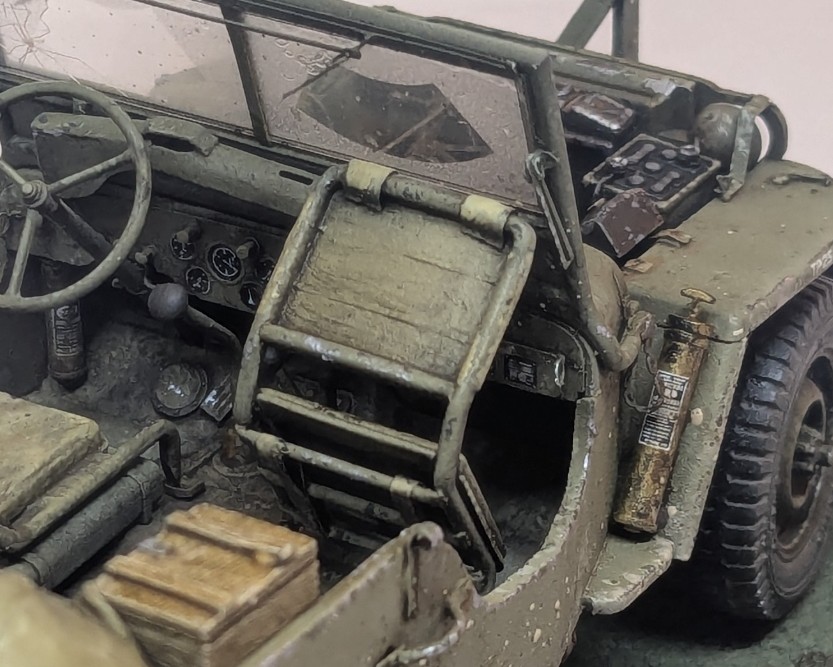
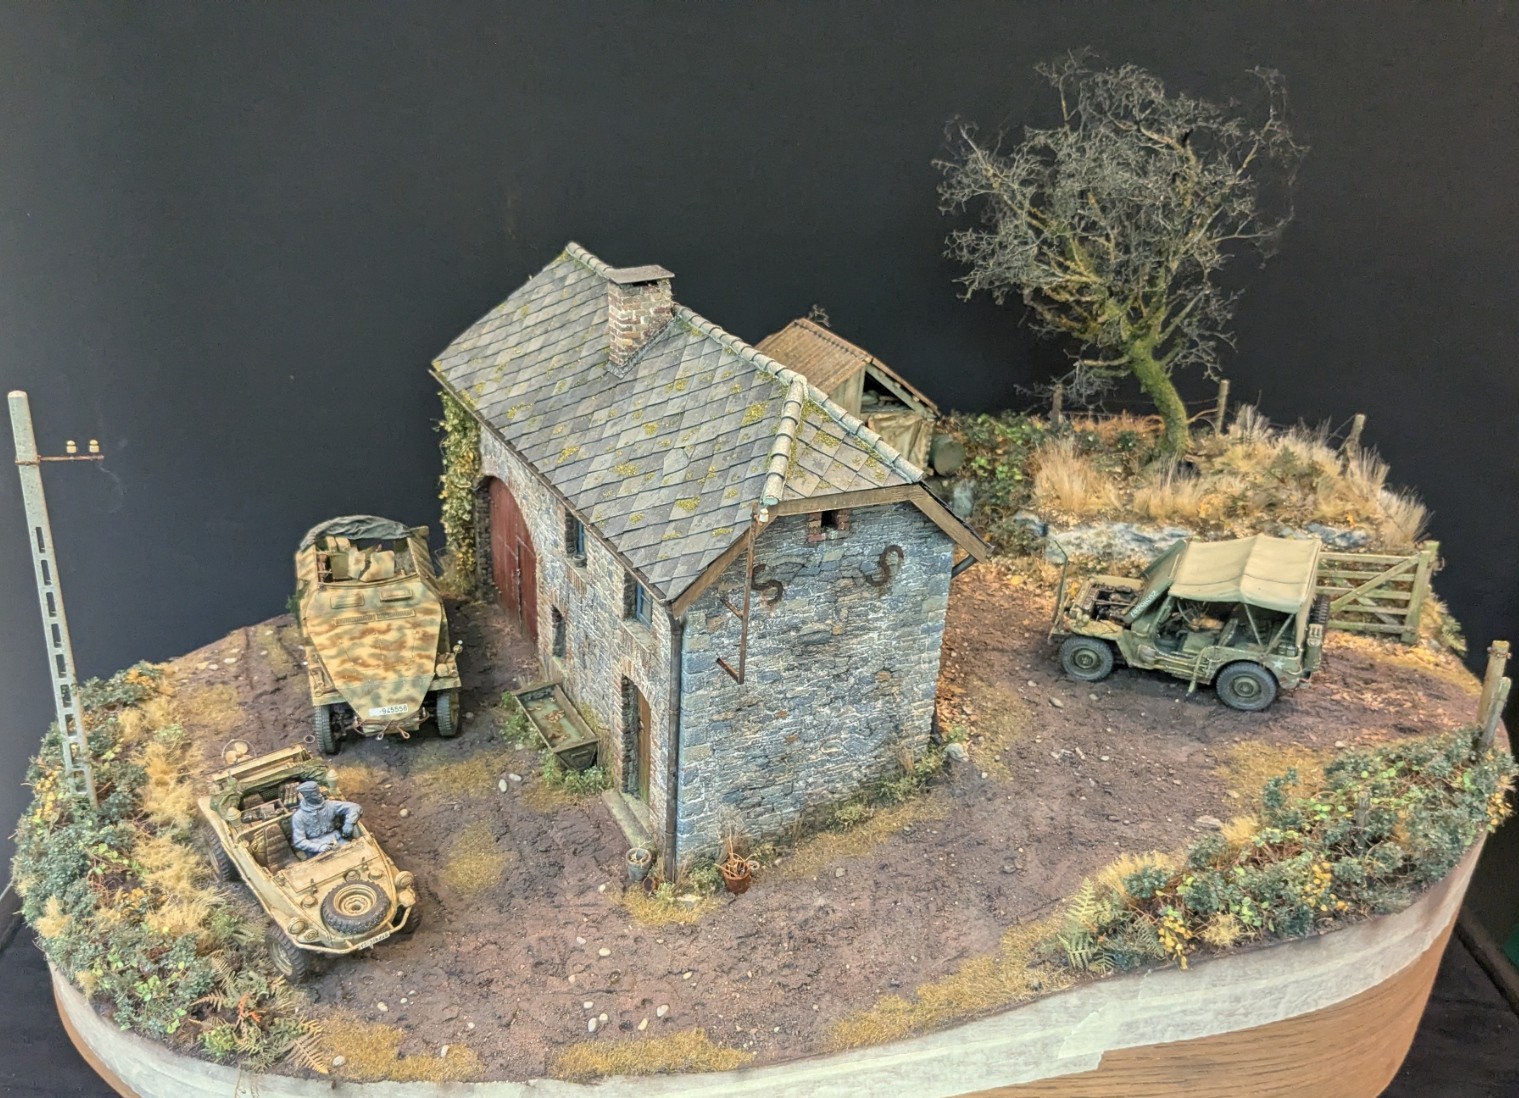
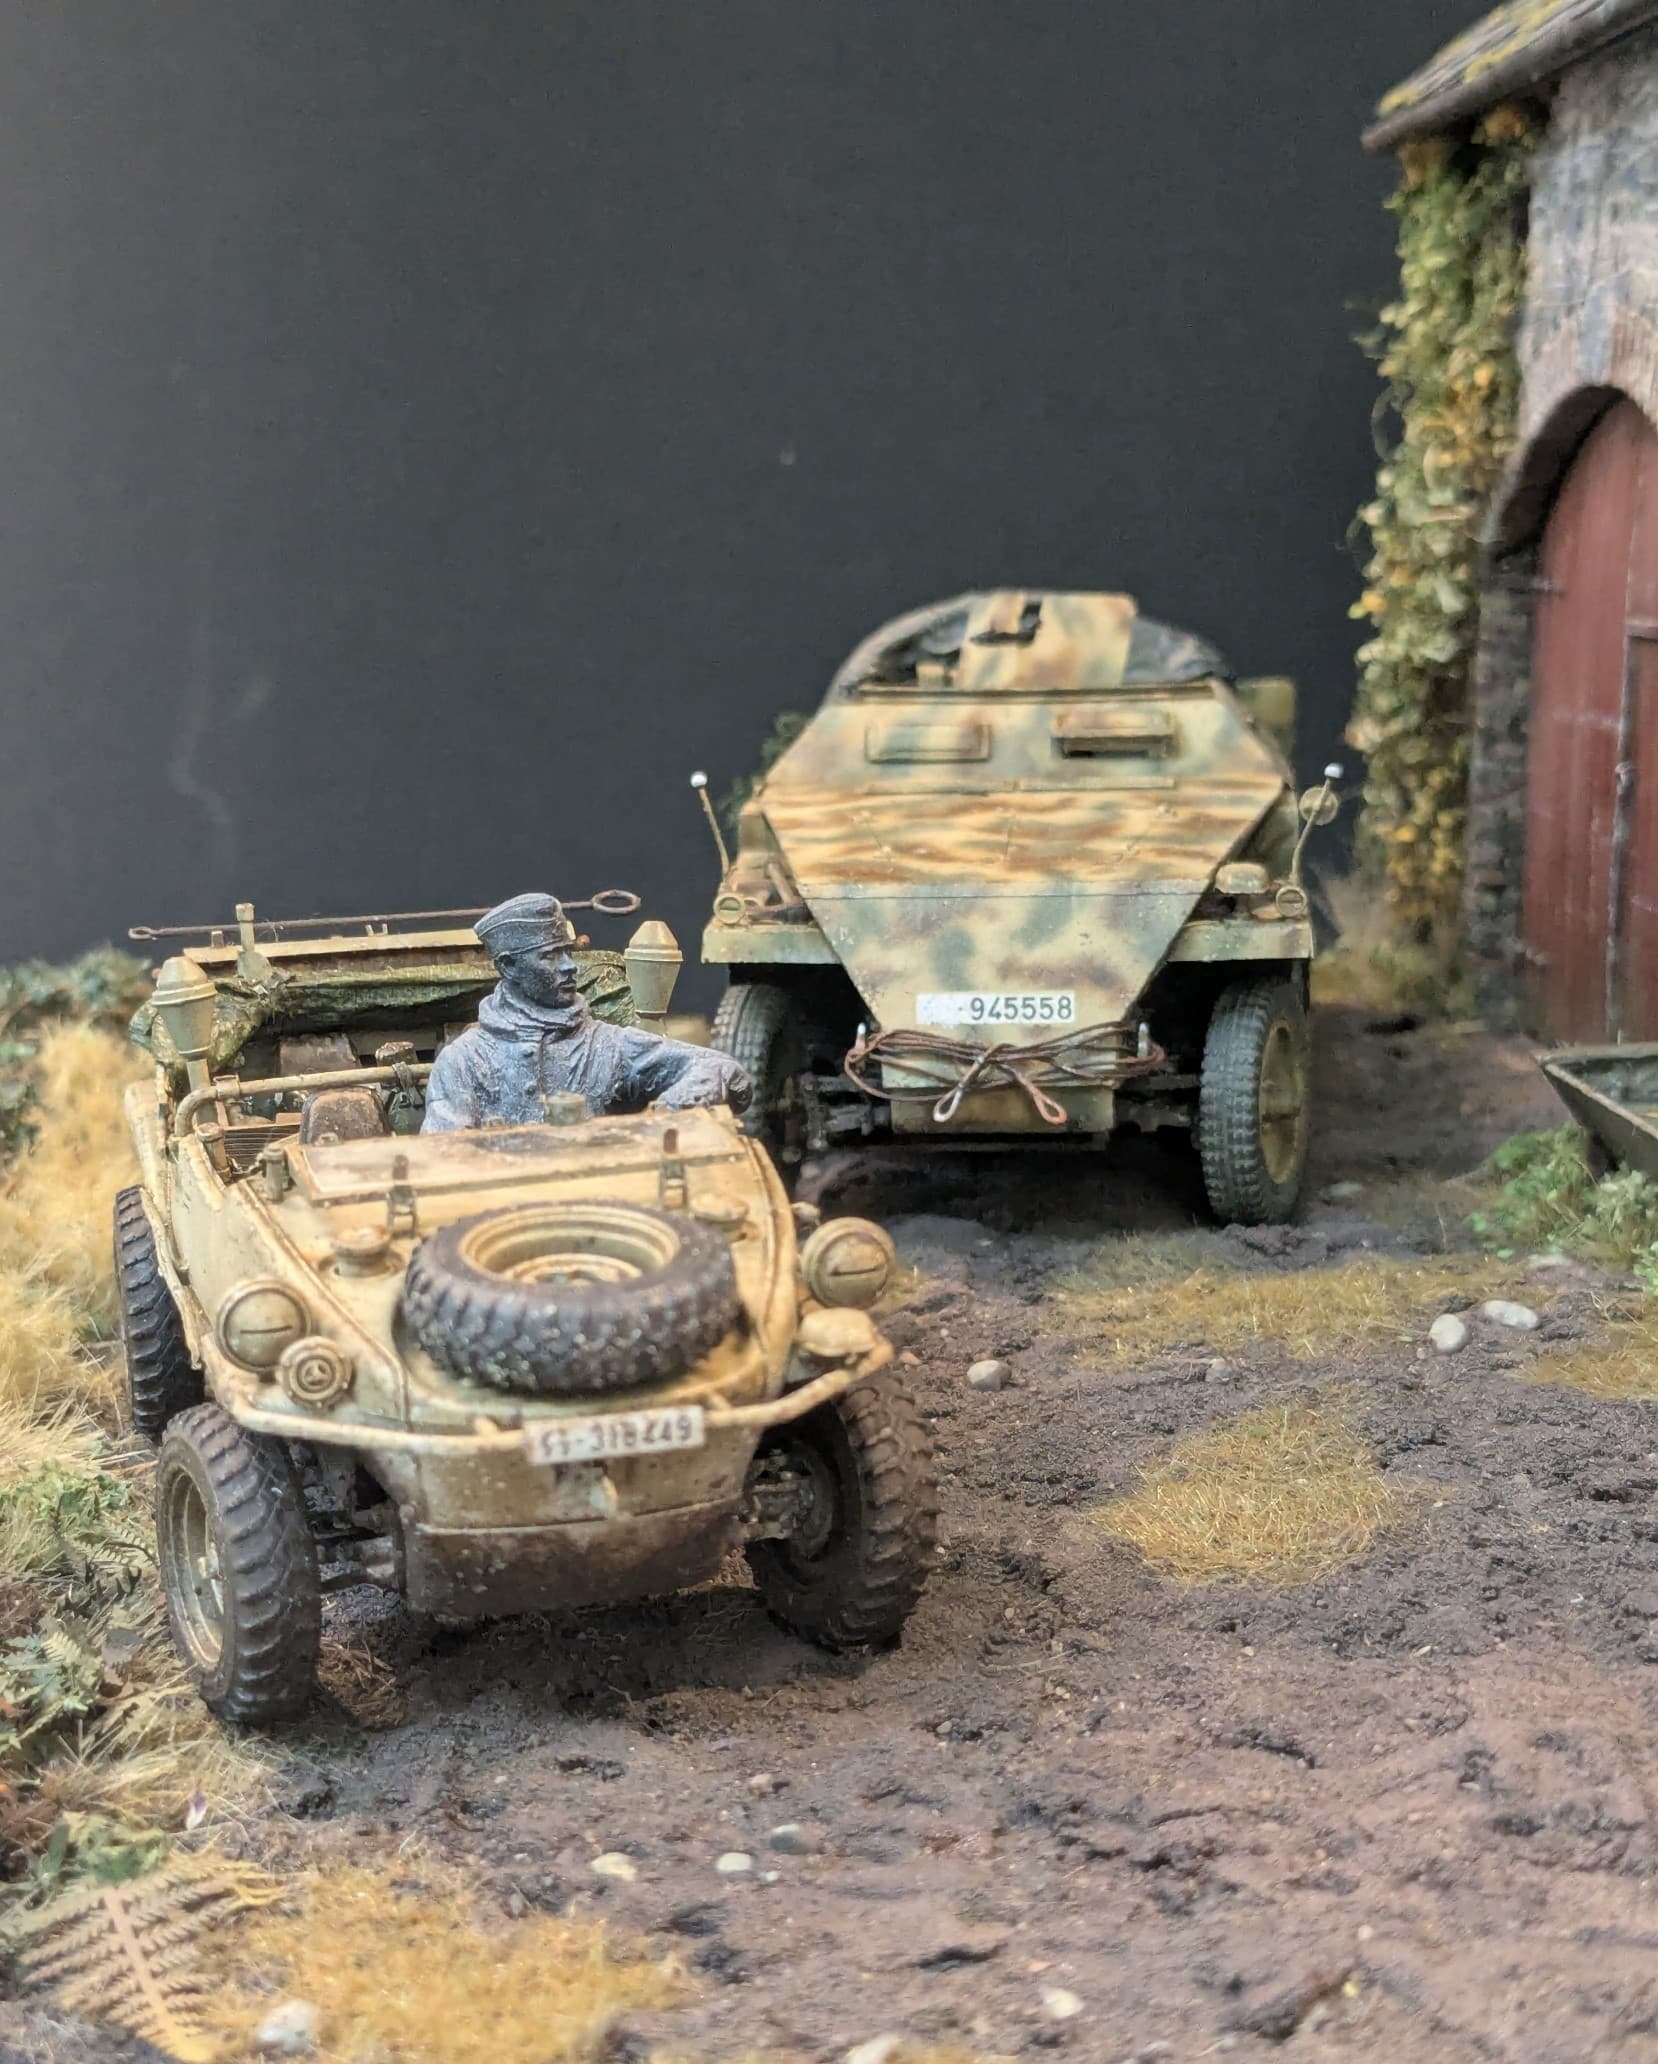
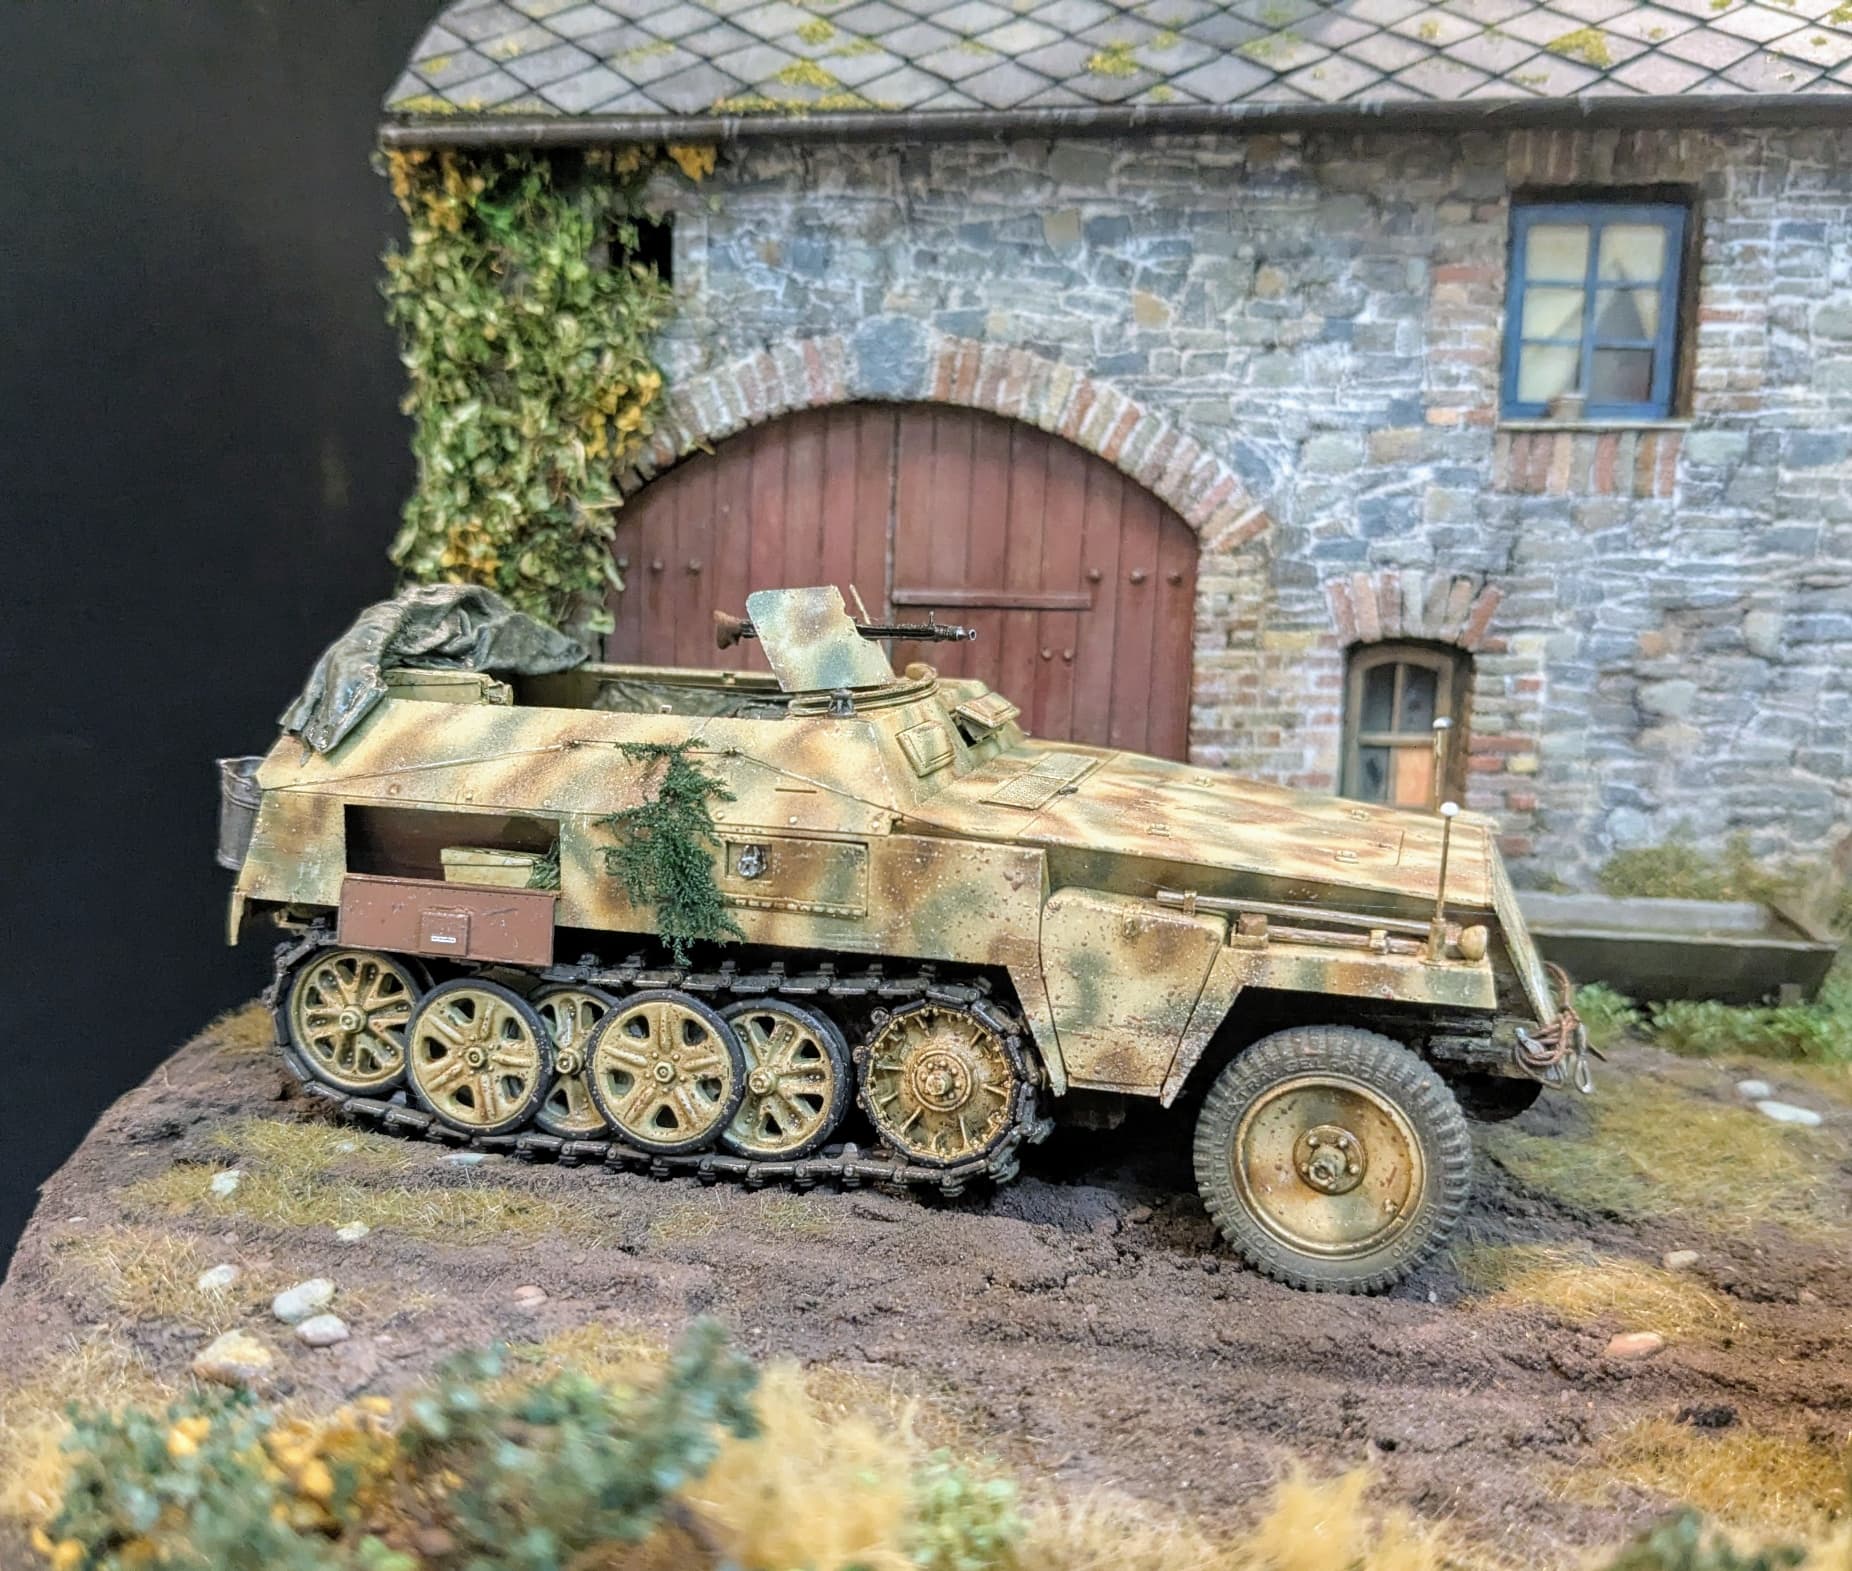
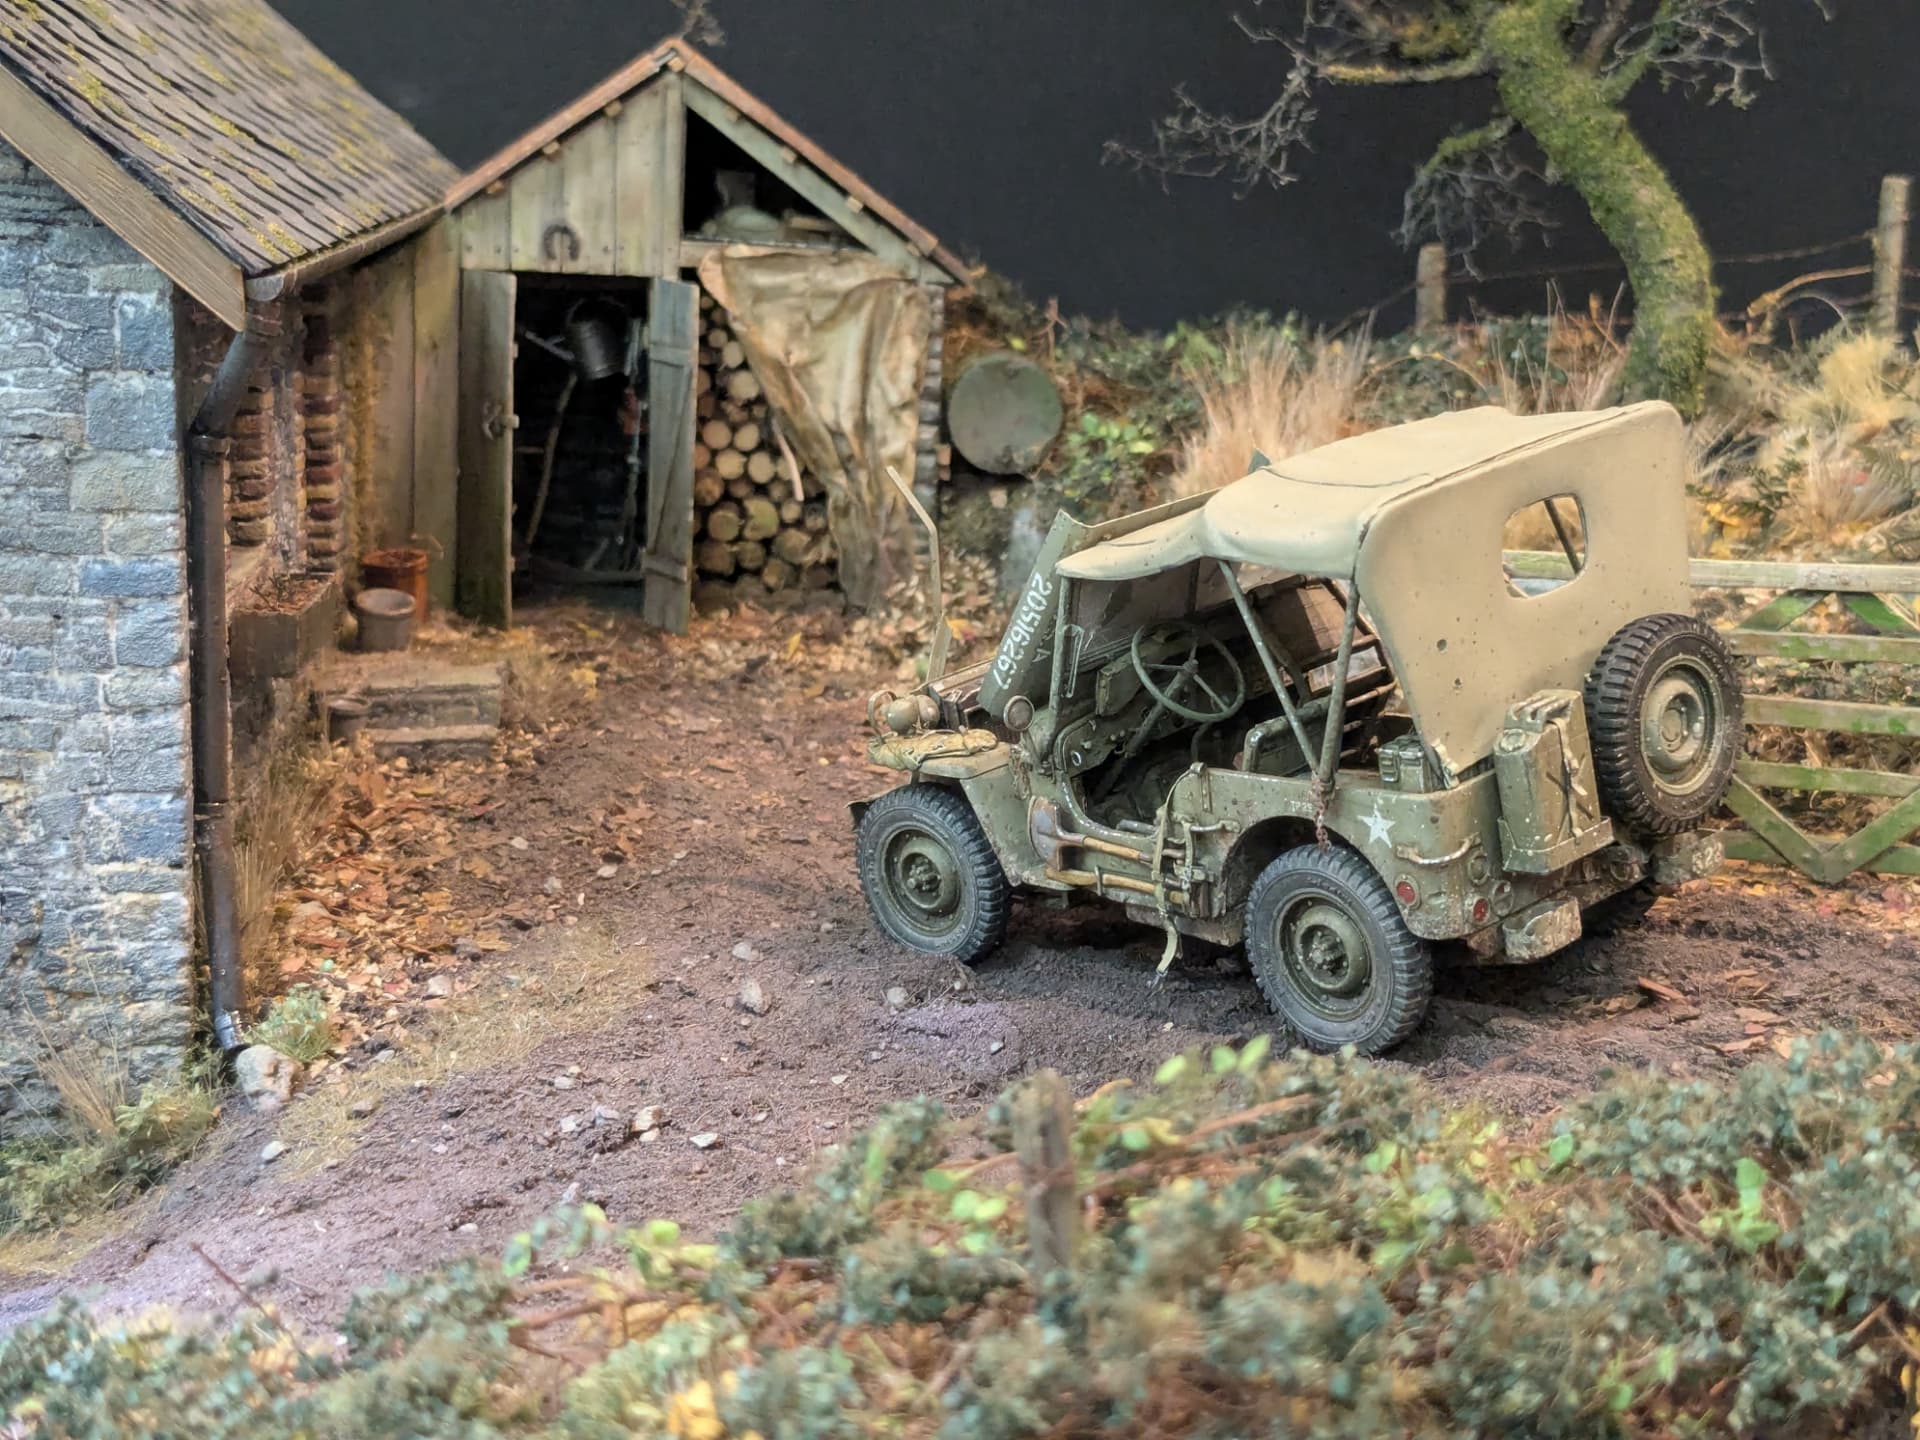
Whilst I was finishing this model it occurred to me that, of the three vehicles on this diorama, ALL are open-topped. Perhaps I am just a glutton for punishment, but I just love interior detail (if you can see it!) Although the Jeep may seem like a simple affair (and it was designed for mass-production after all), there is still a lot going on…
Like all PE sets, some details are ‘a bridge too far’. With hindsight I would not have bothered with replacing the grab handles - the originals are just fine. The suggested windshield modification (which involves the insanity of cutting out the inner windscreen frame and replacing it) was something I gladly ignored.
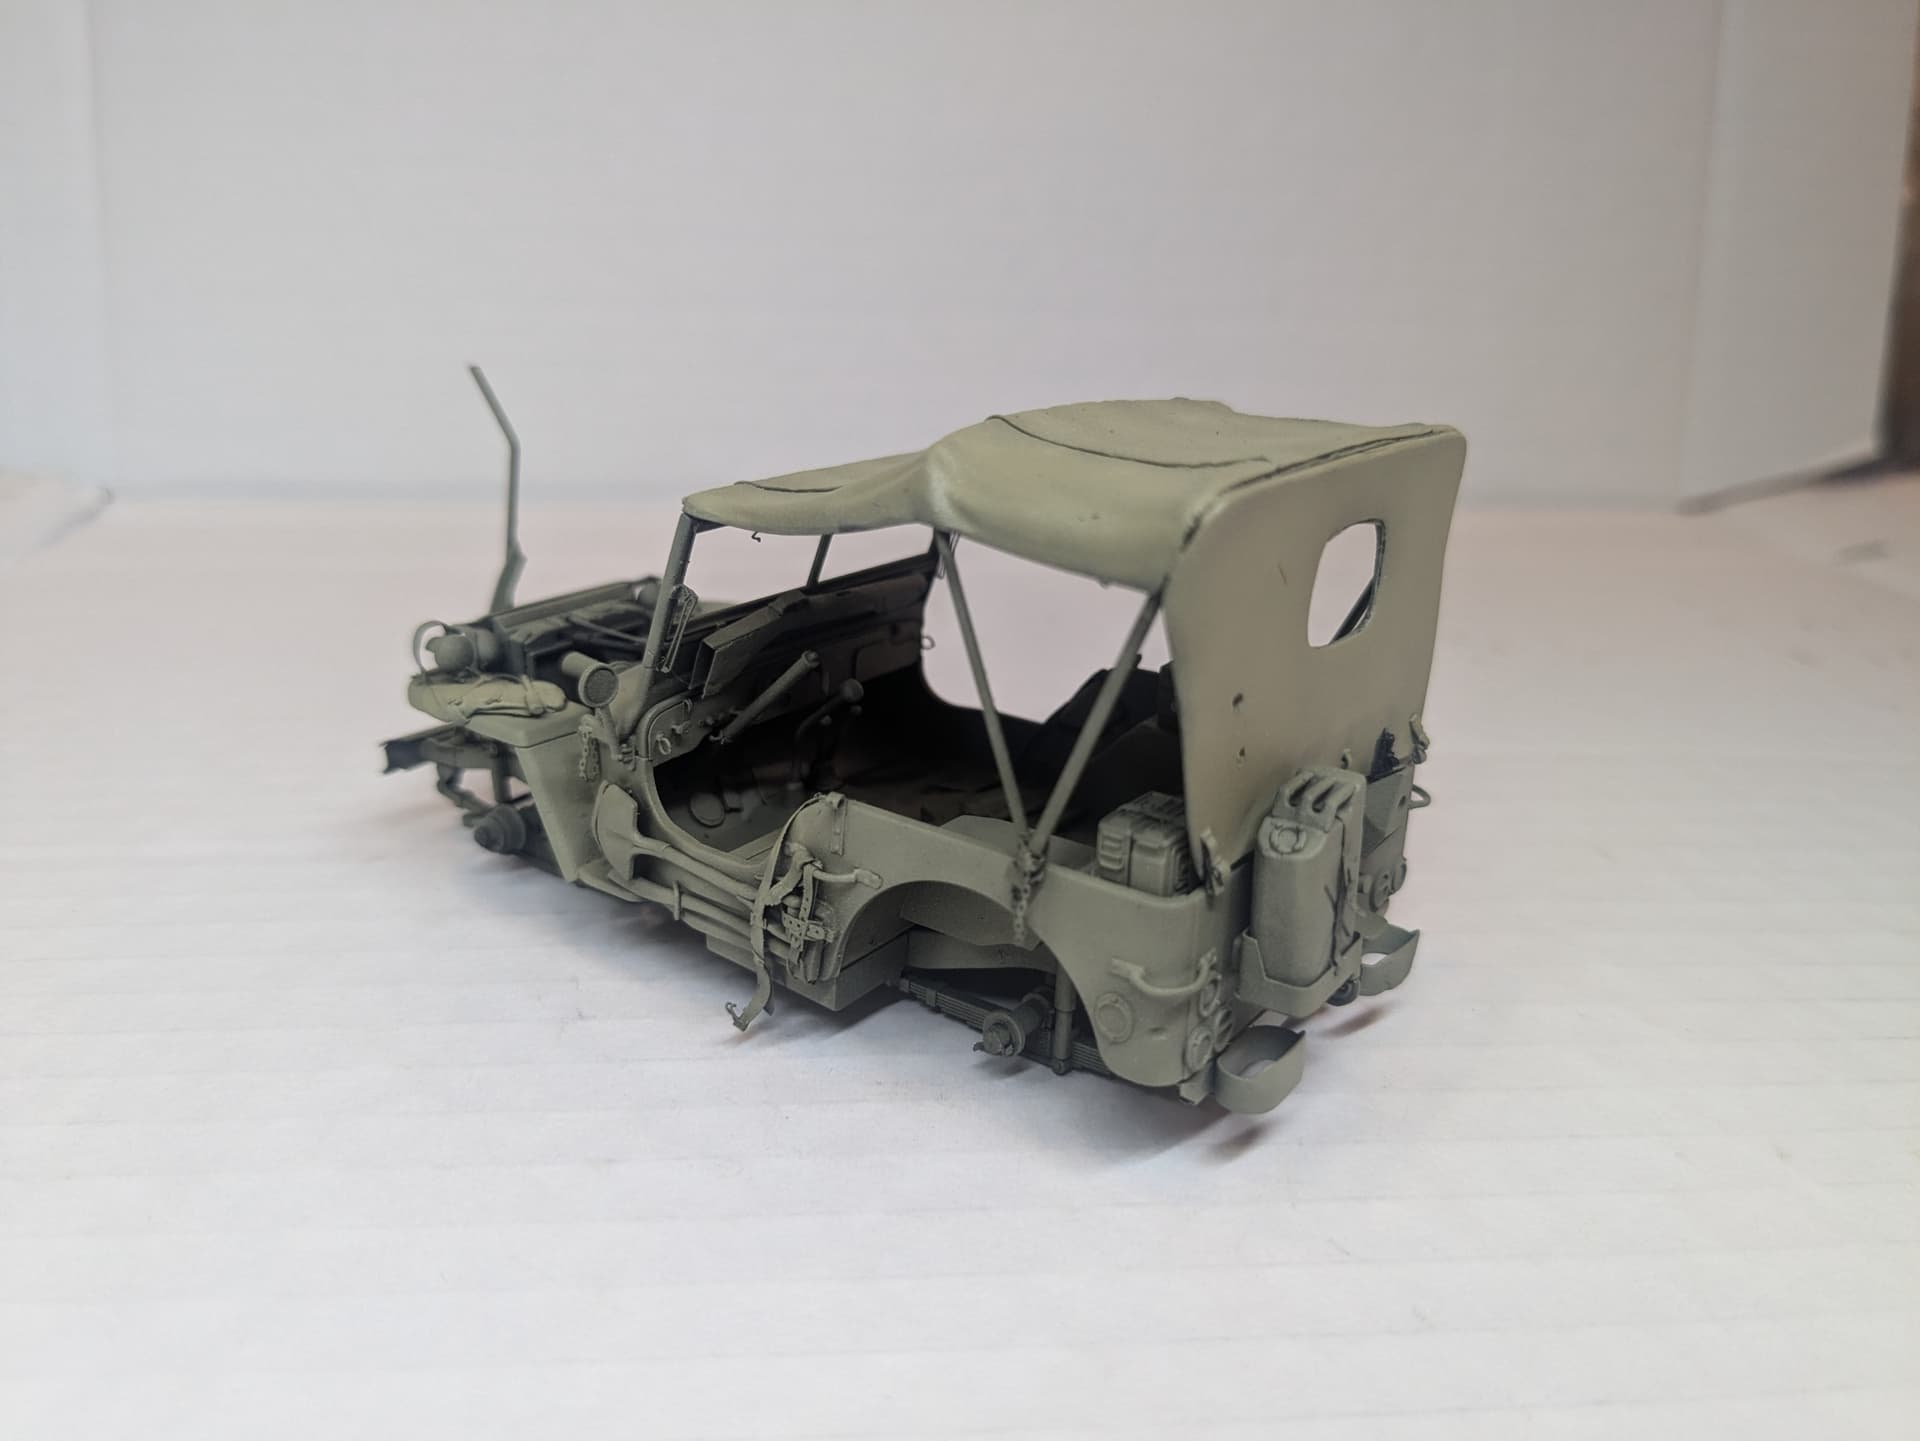
The seats definitely deserves some improvement - especially as I was going to have the passenger seat tipped forward. Here I added some of the metal frame underneath.
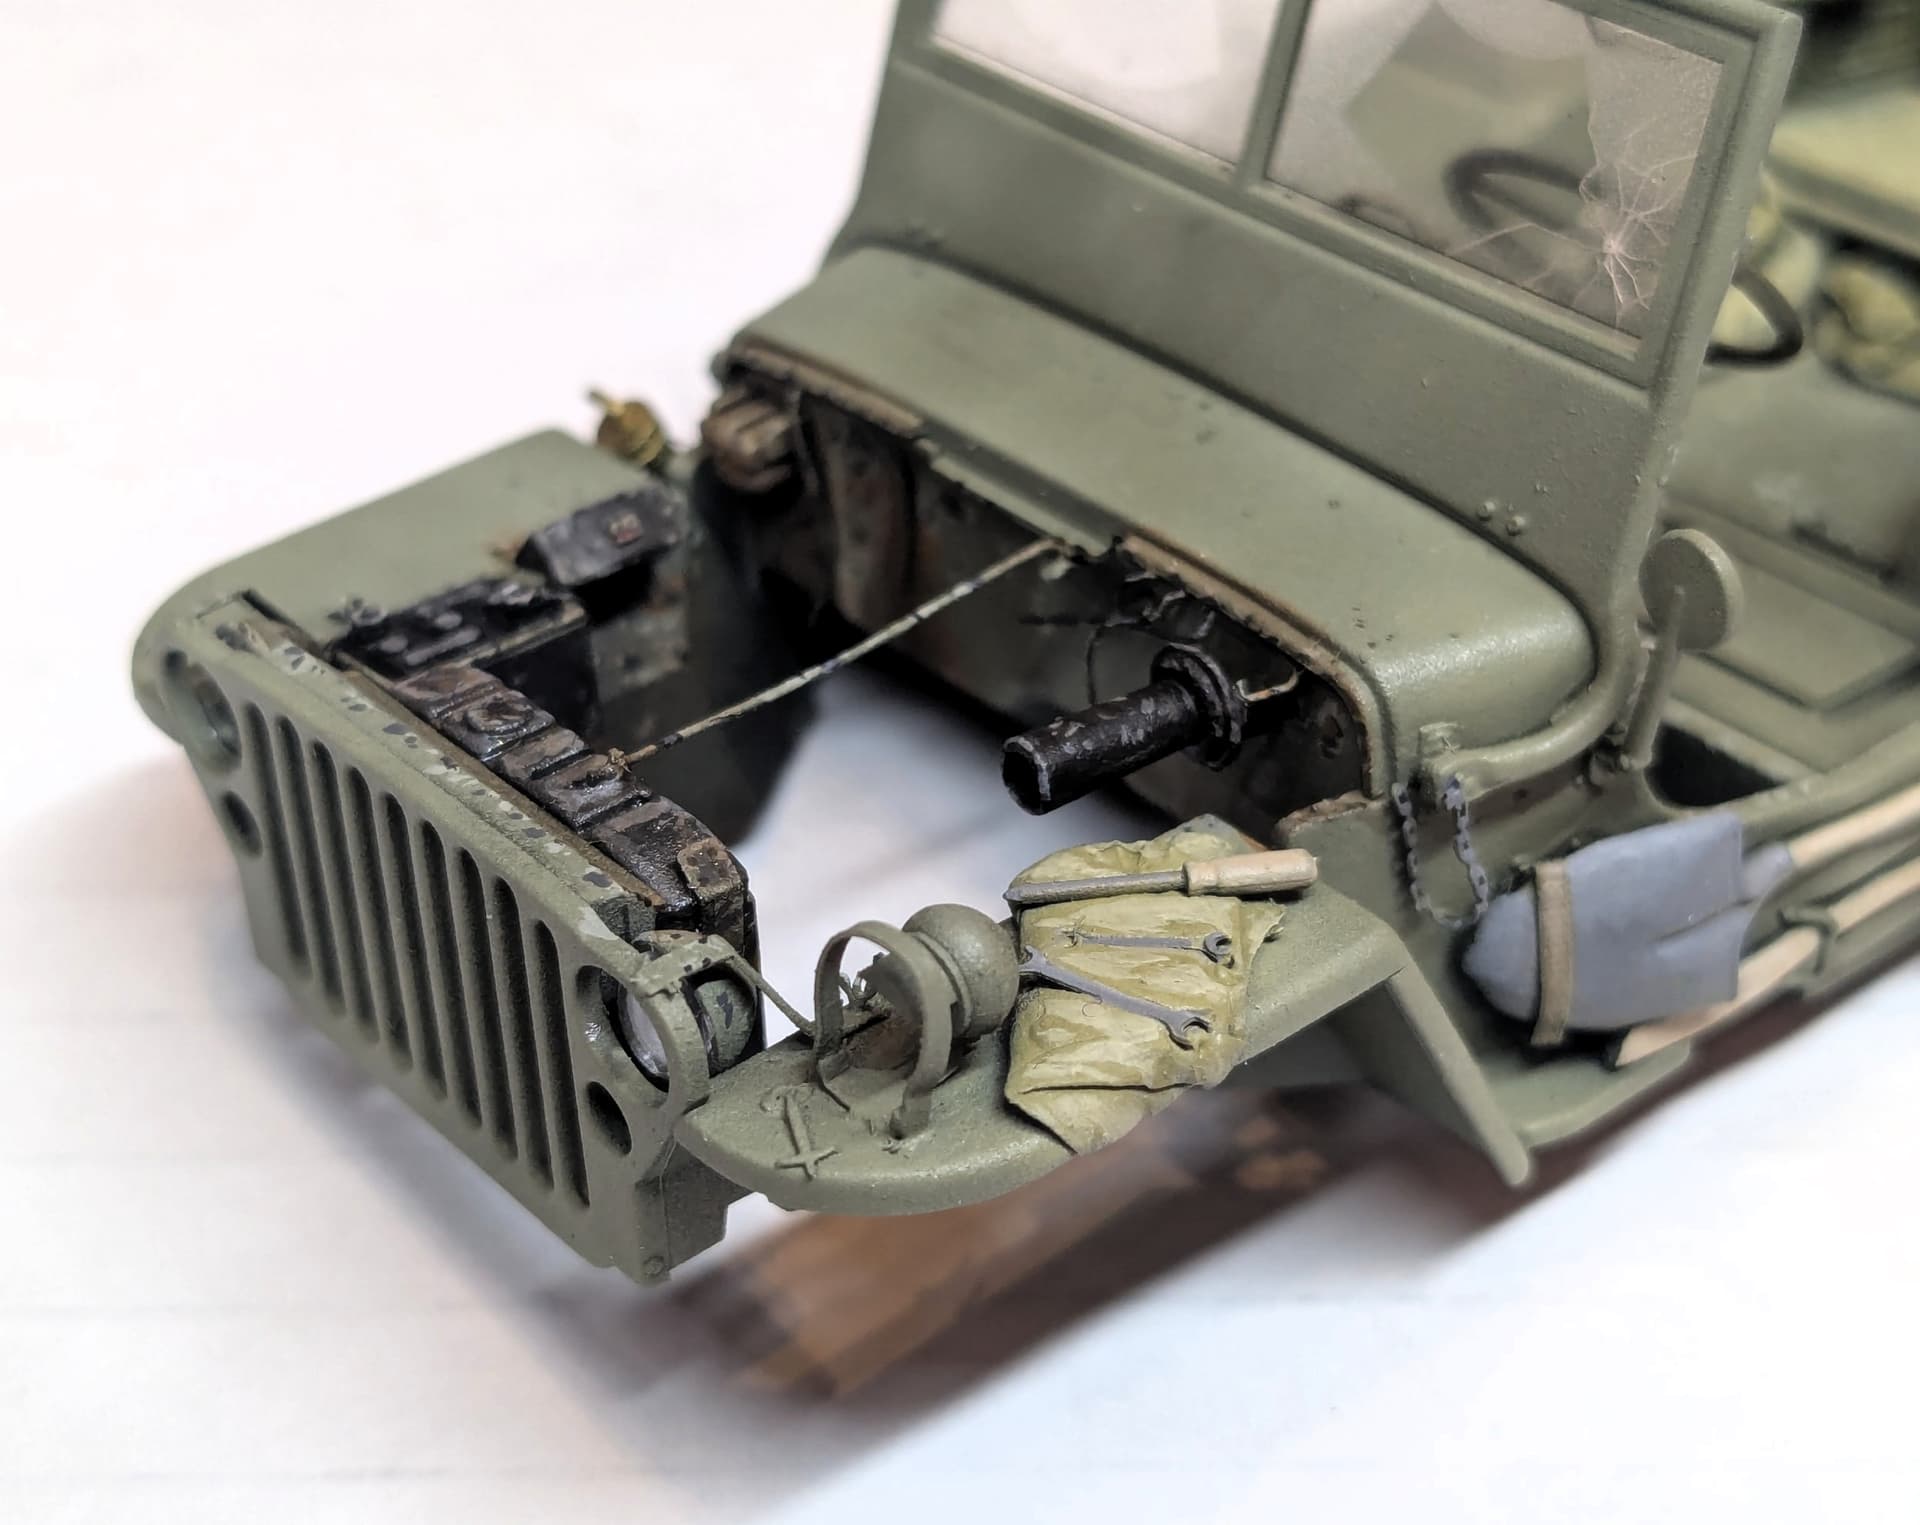
I also added a new wire cutter from ‘L’ shaped plastic rod (and the strengthening support which is missing from the kit).
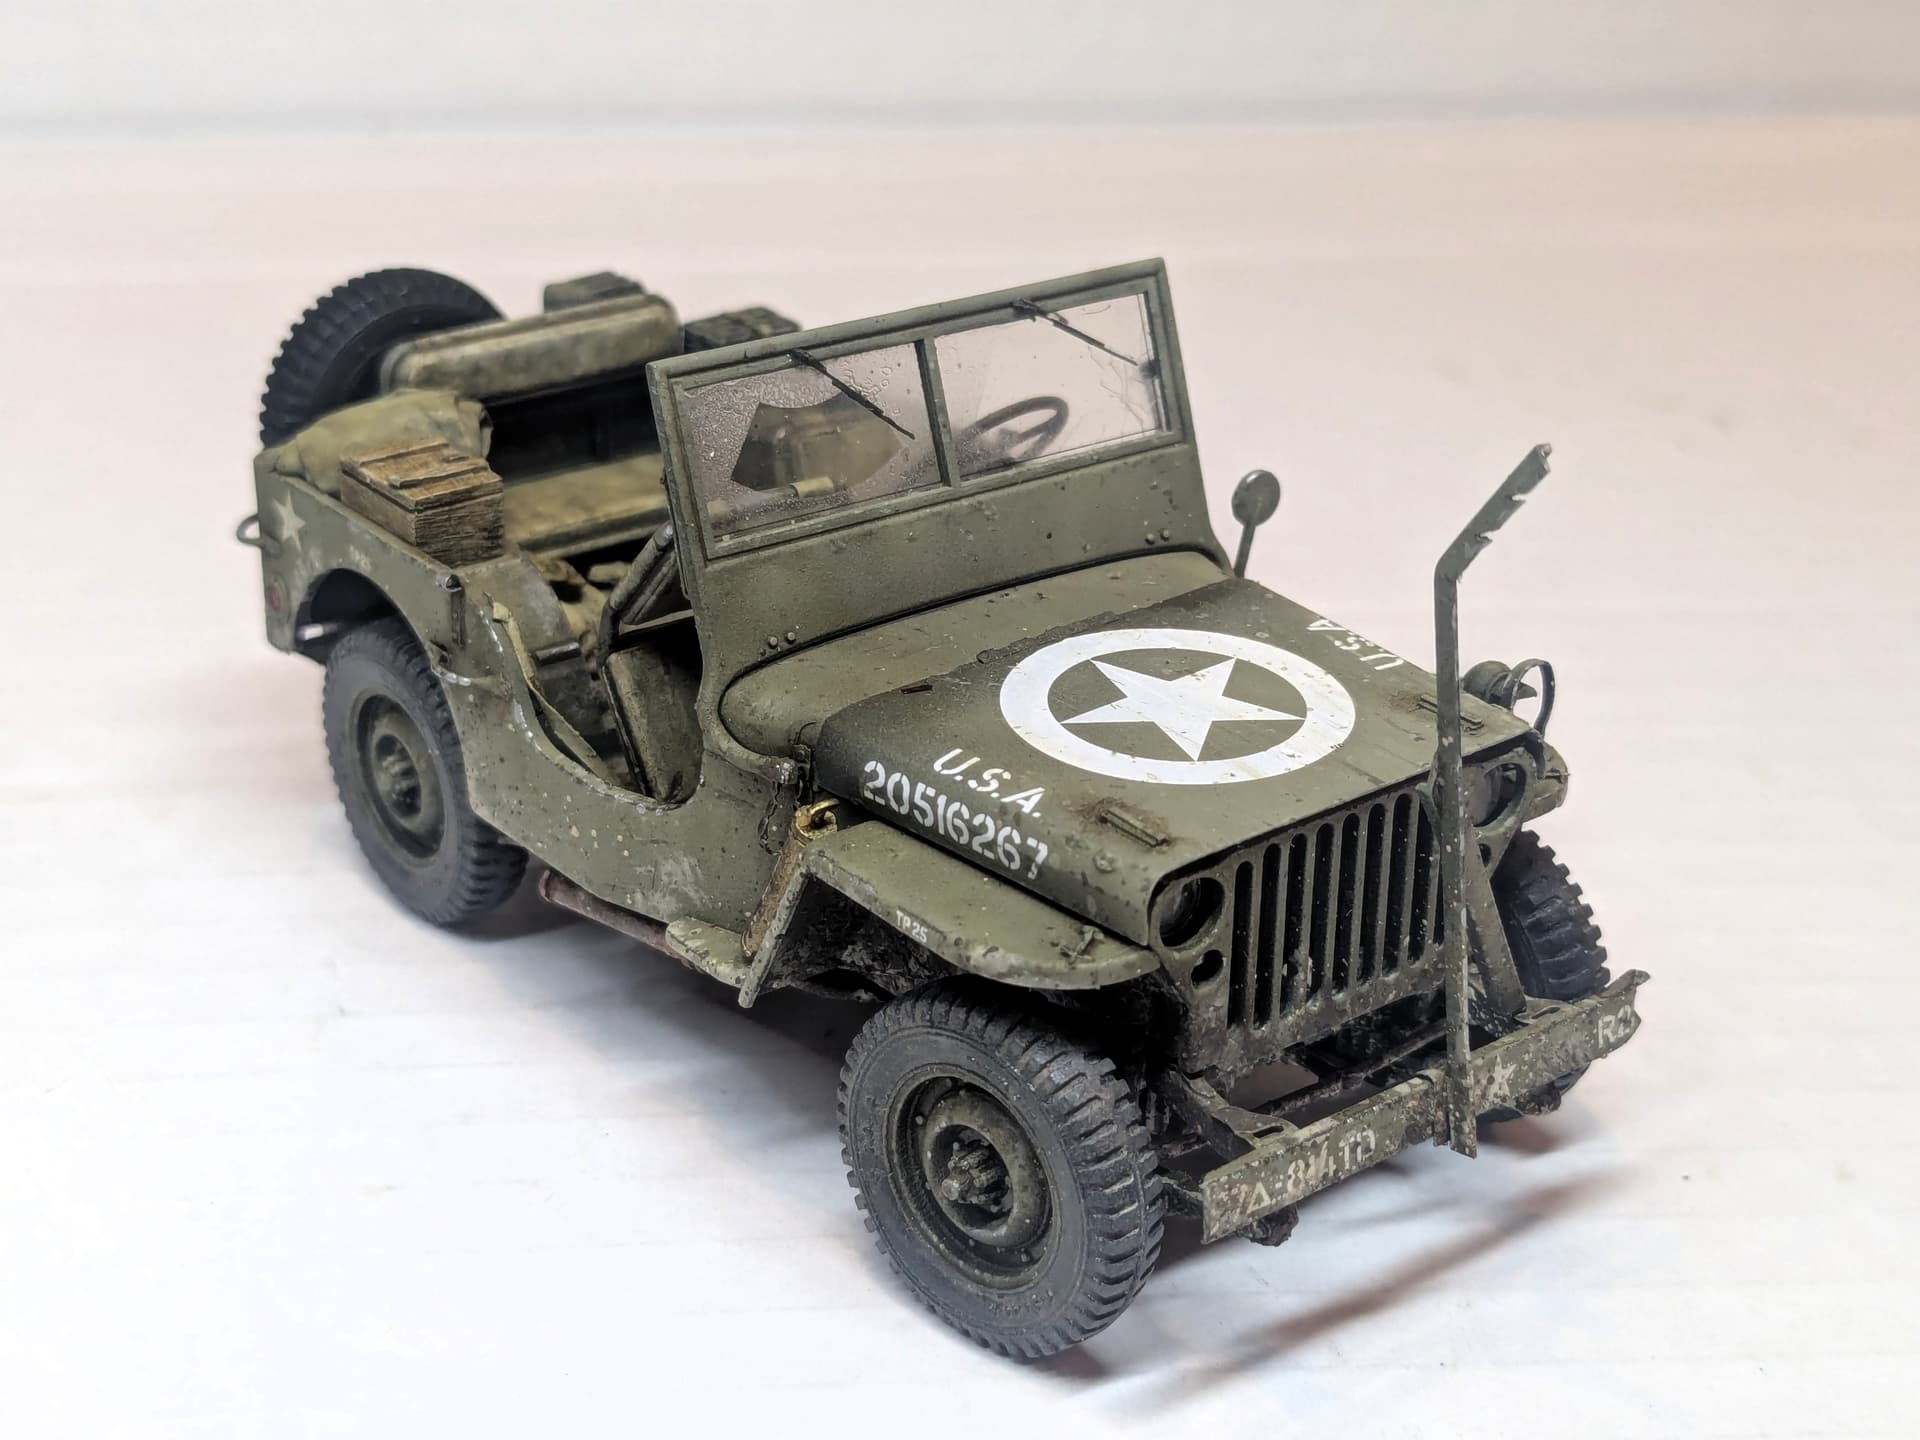
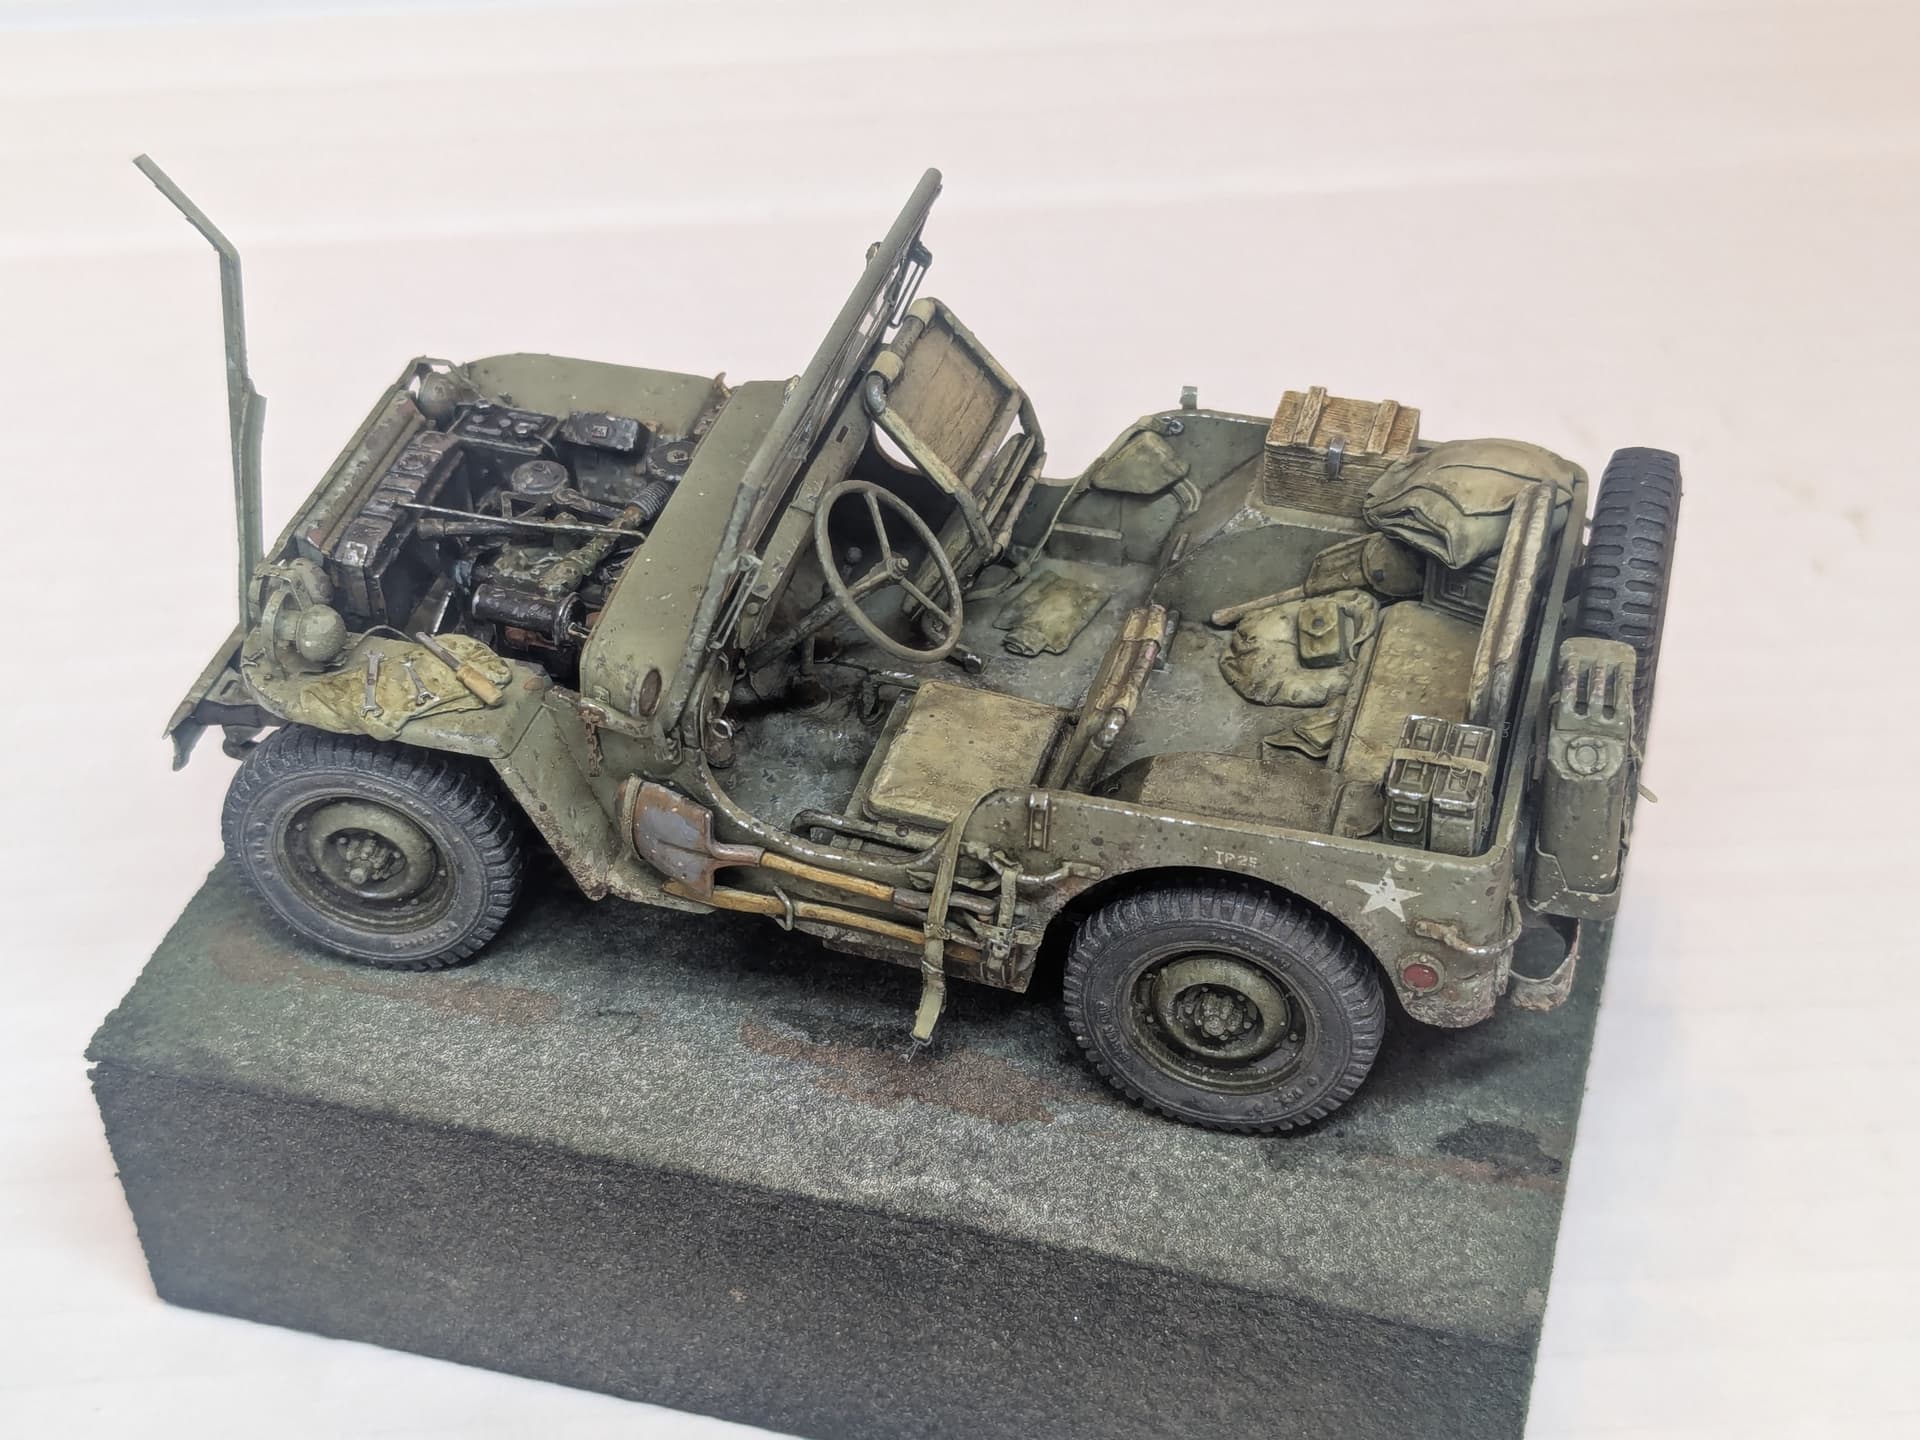
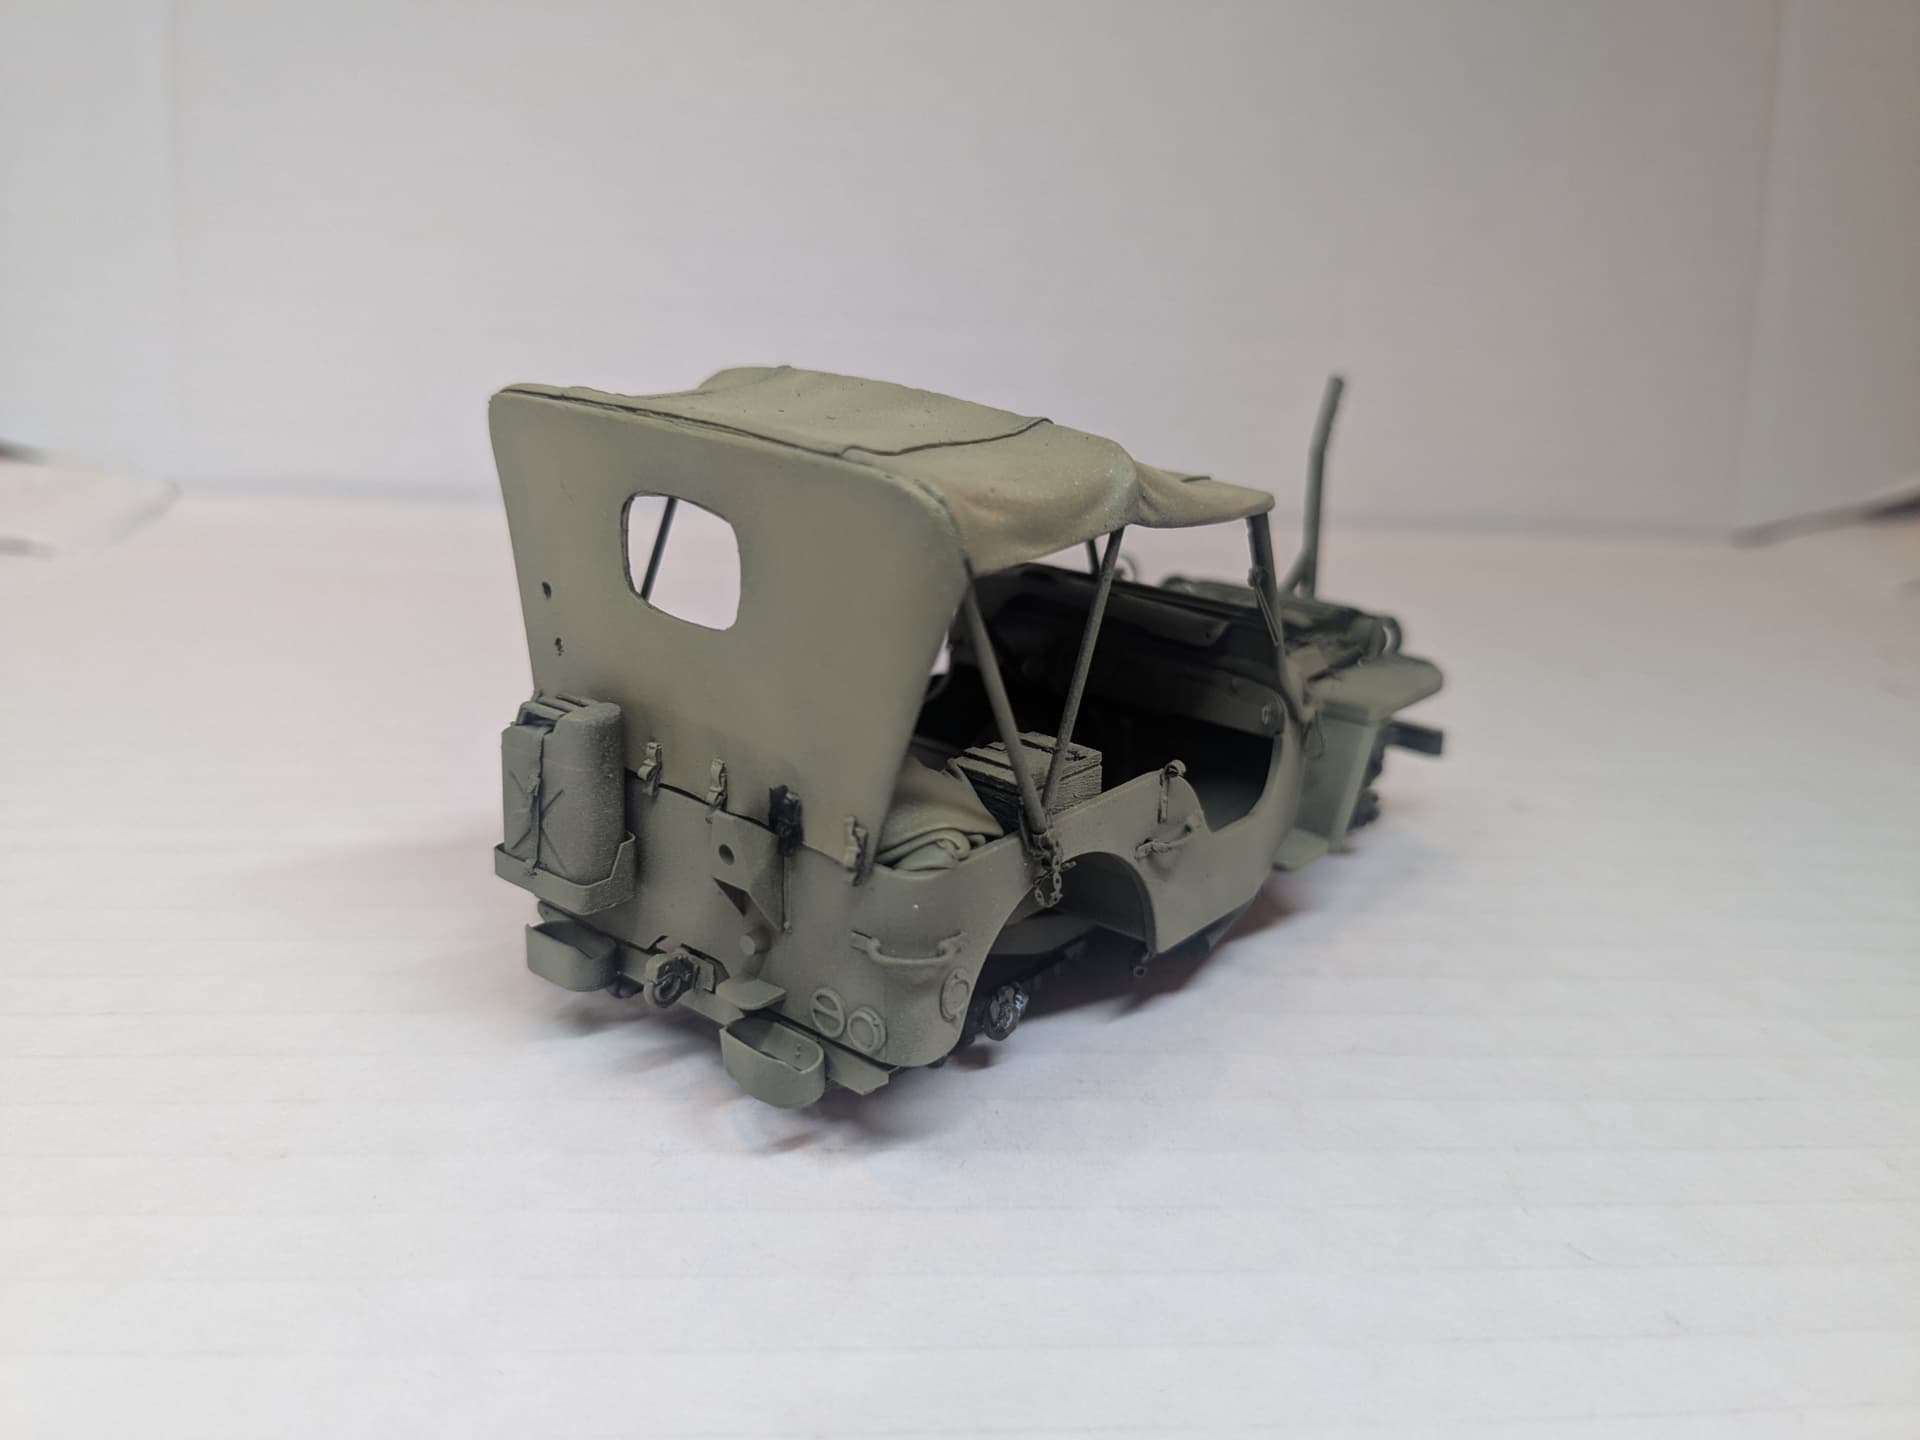
Stowage was added from various sources along with some tools on the fender to help tell the story (along with the open bonnet) that this is a vehicle under emergency repair. I also added the distinctive safety straps from Tamiya masking tape and PE buckles. The latter are a detail so often missing from other Jeep models I see - but they were important. With no doors, you need something to stop you falling out!
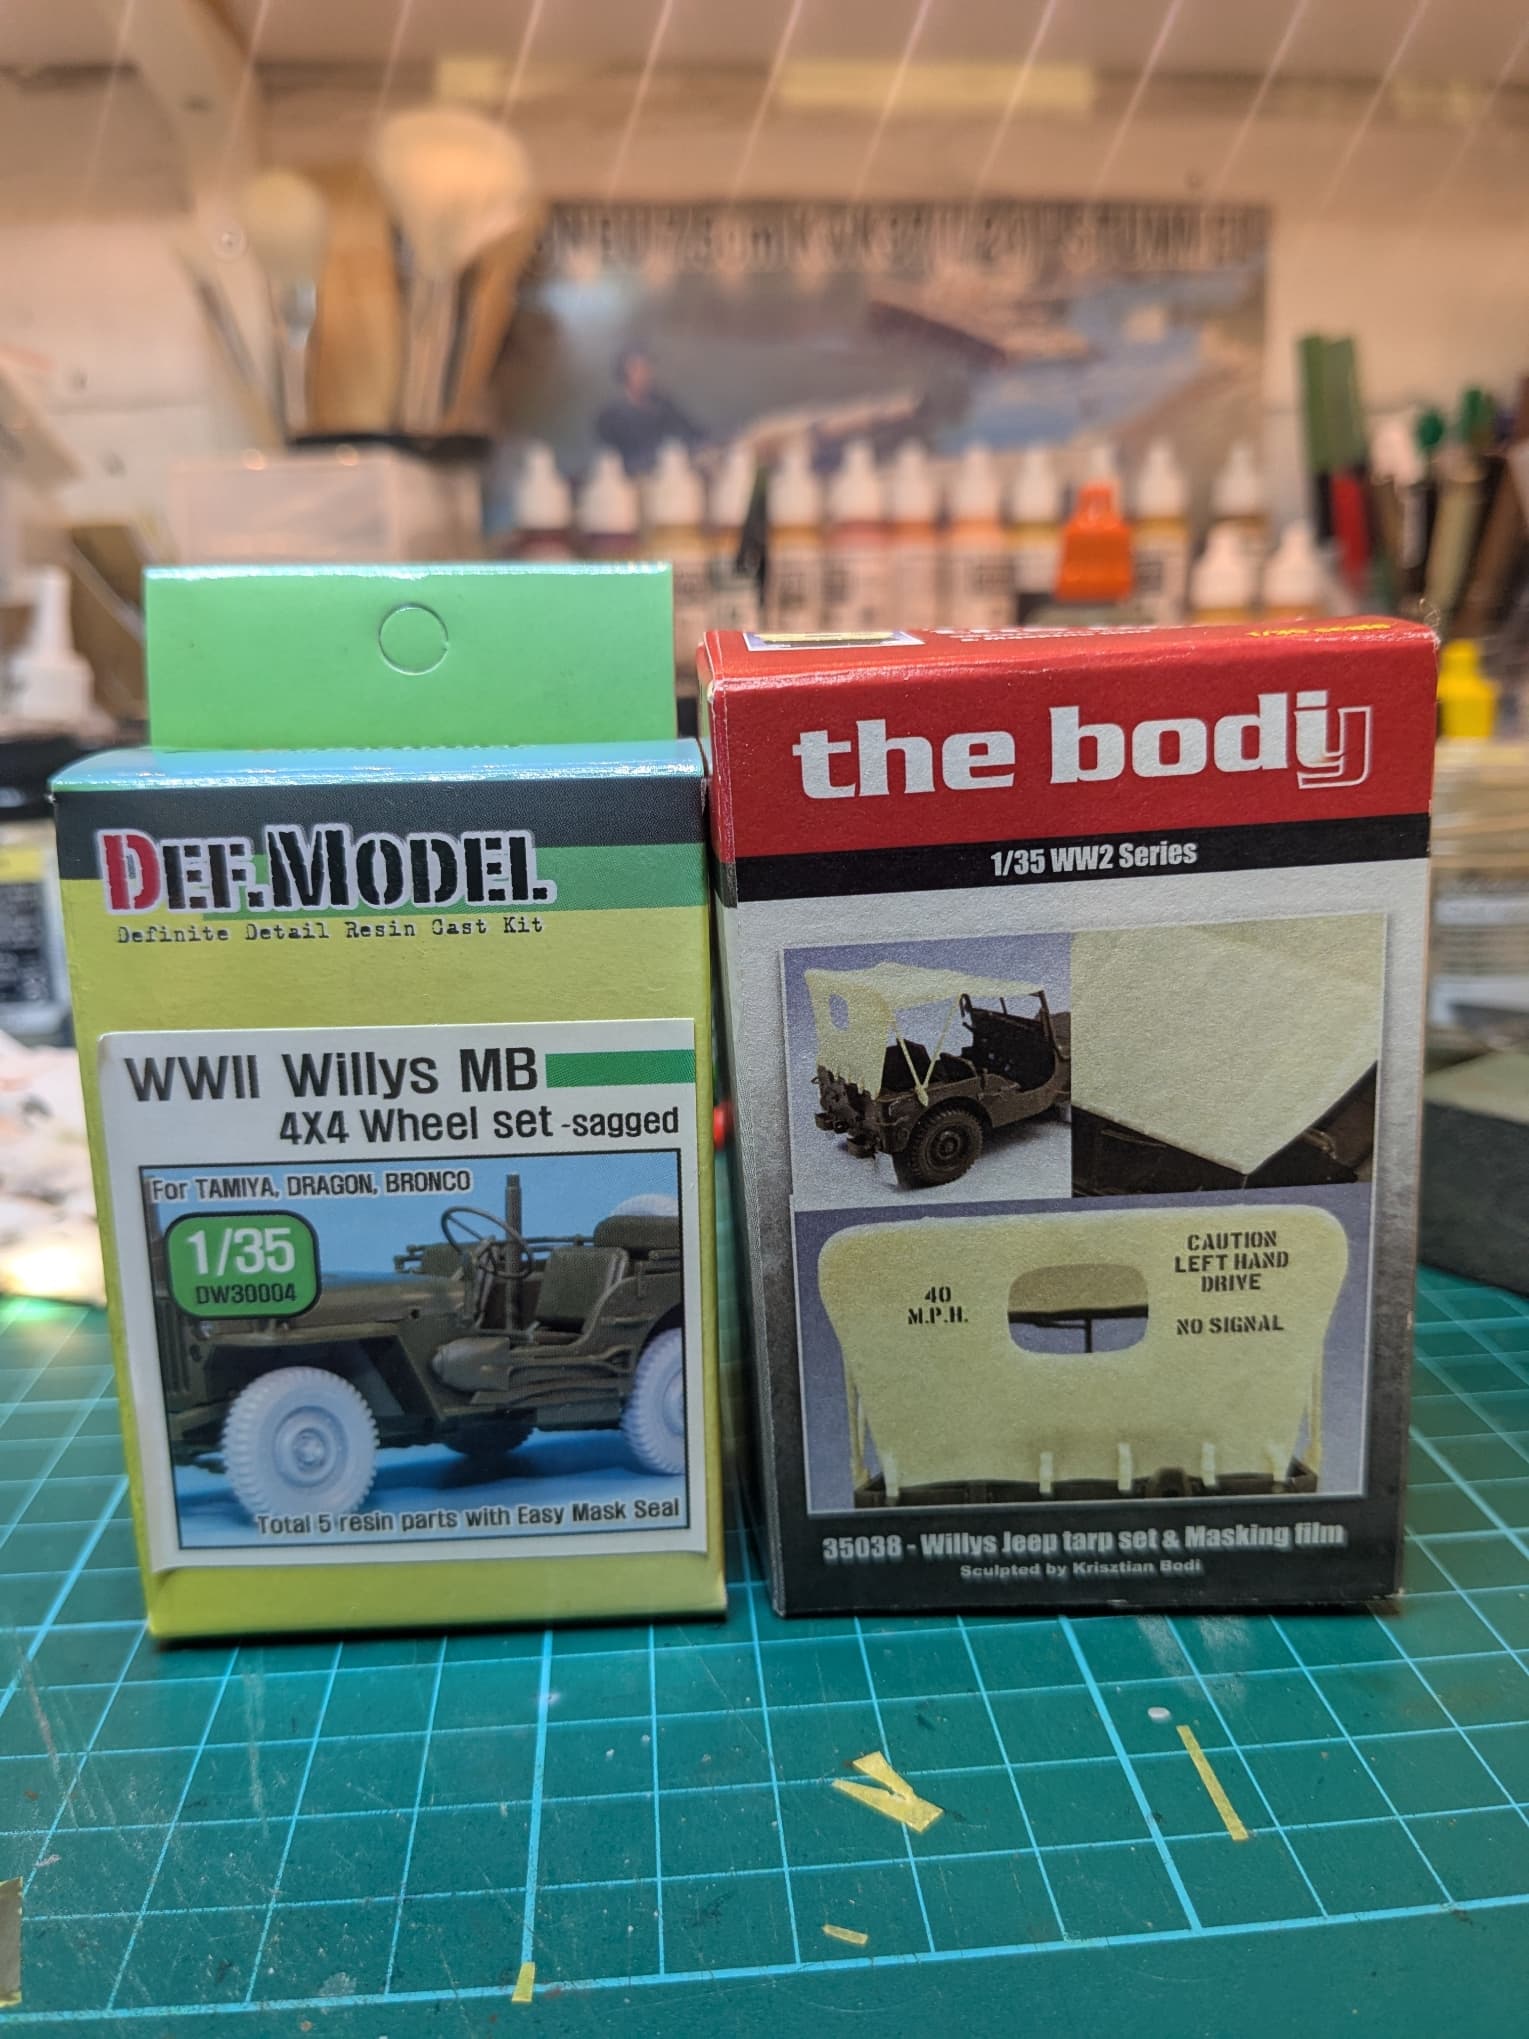
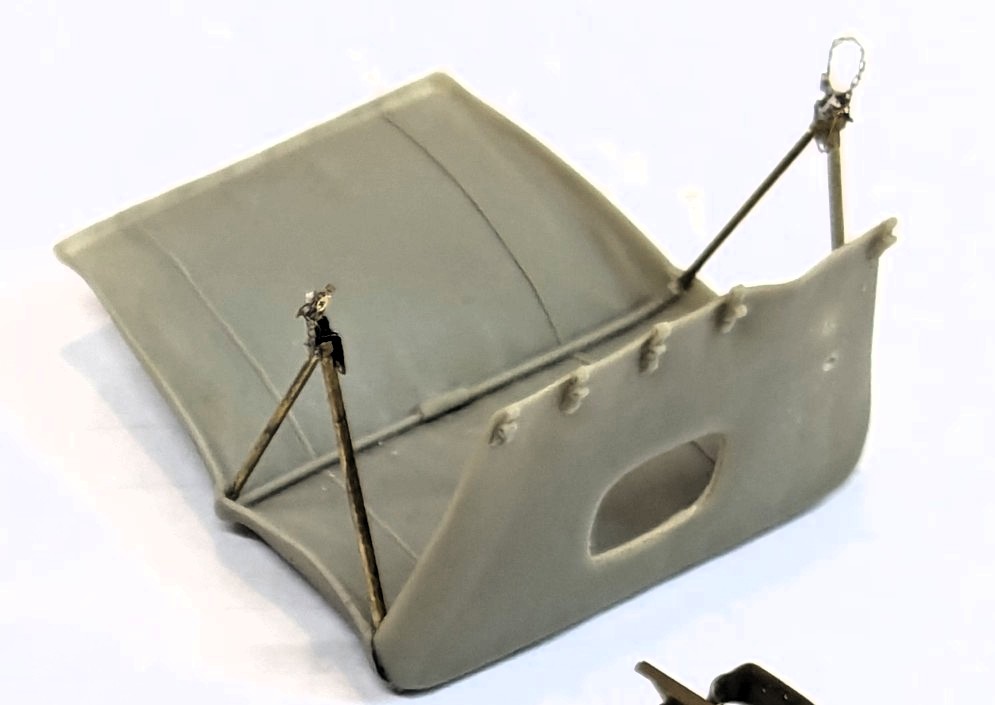
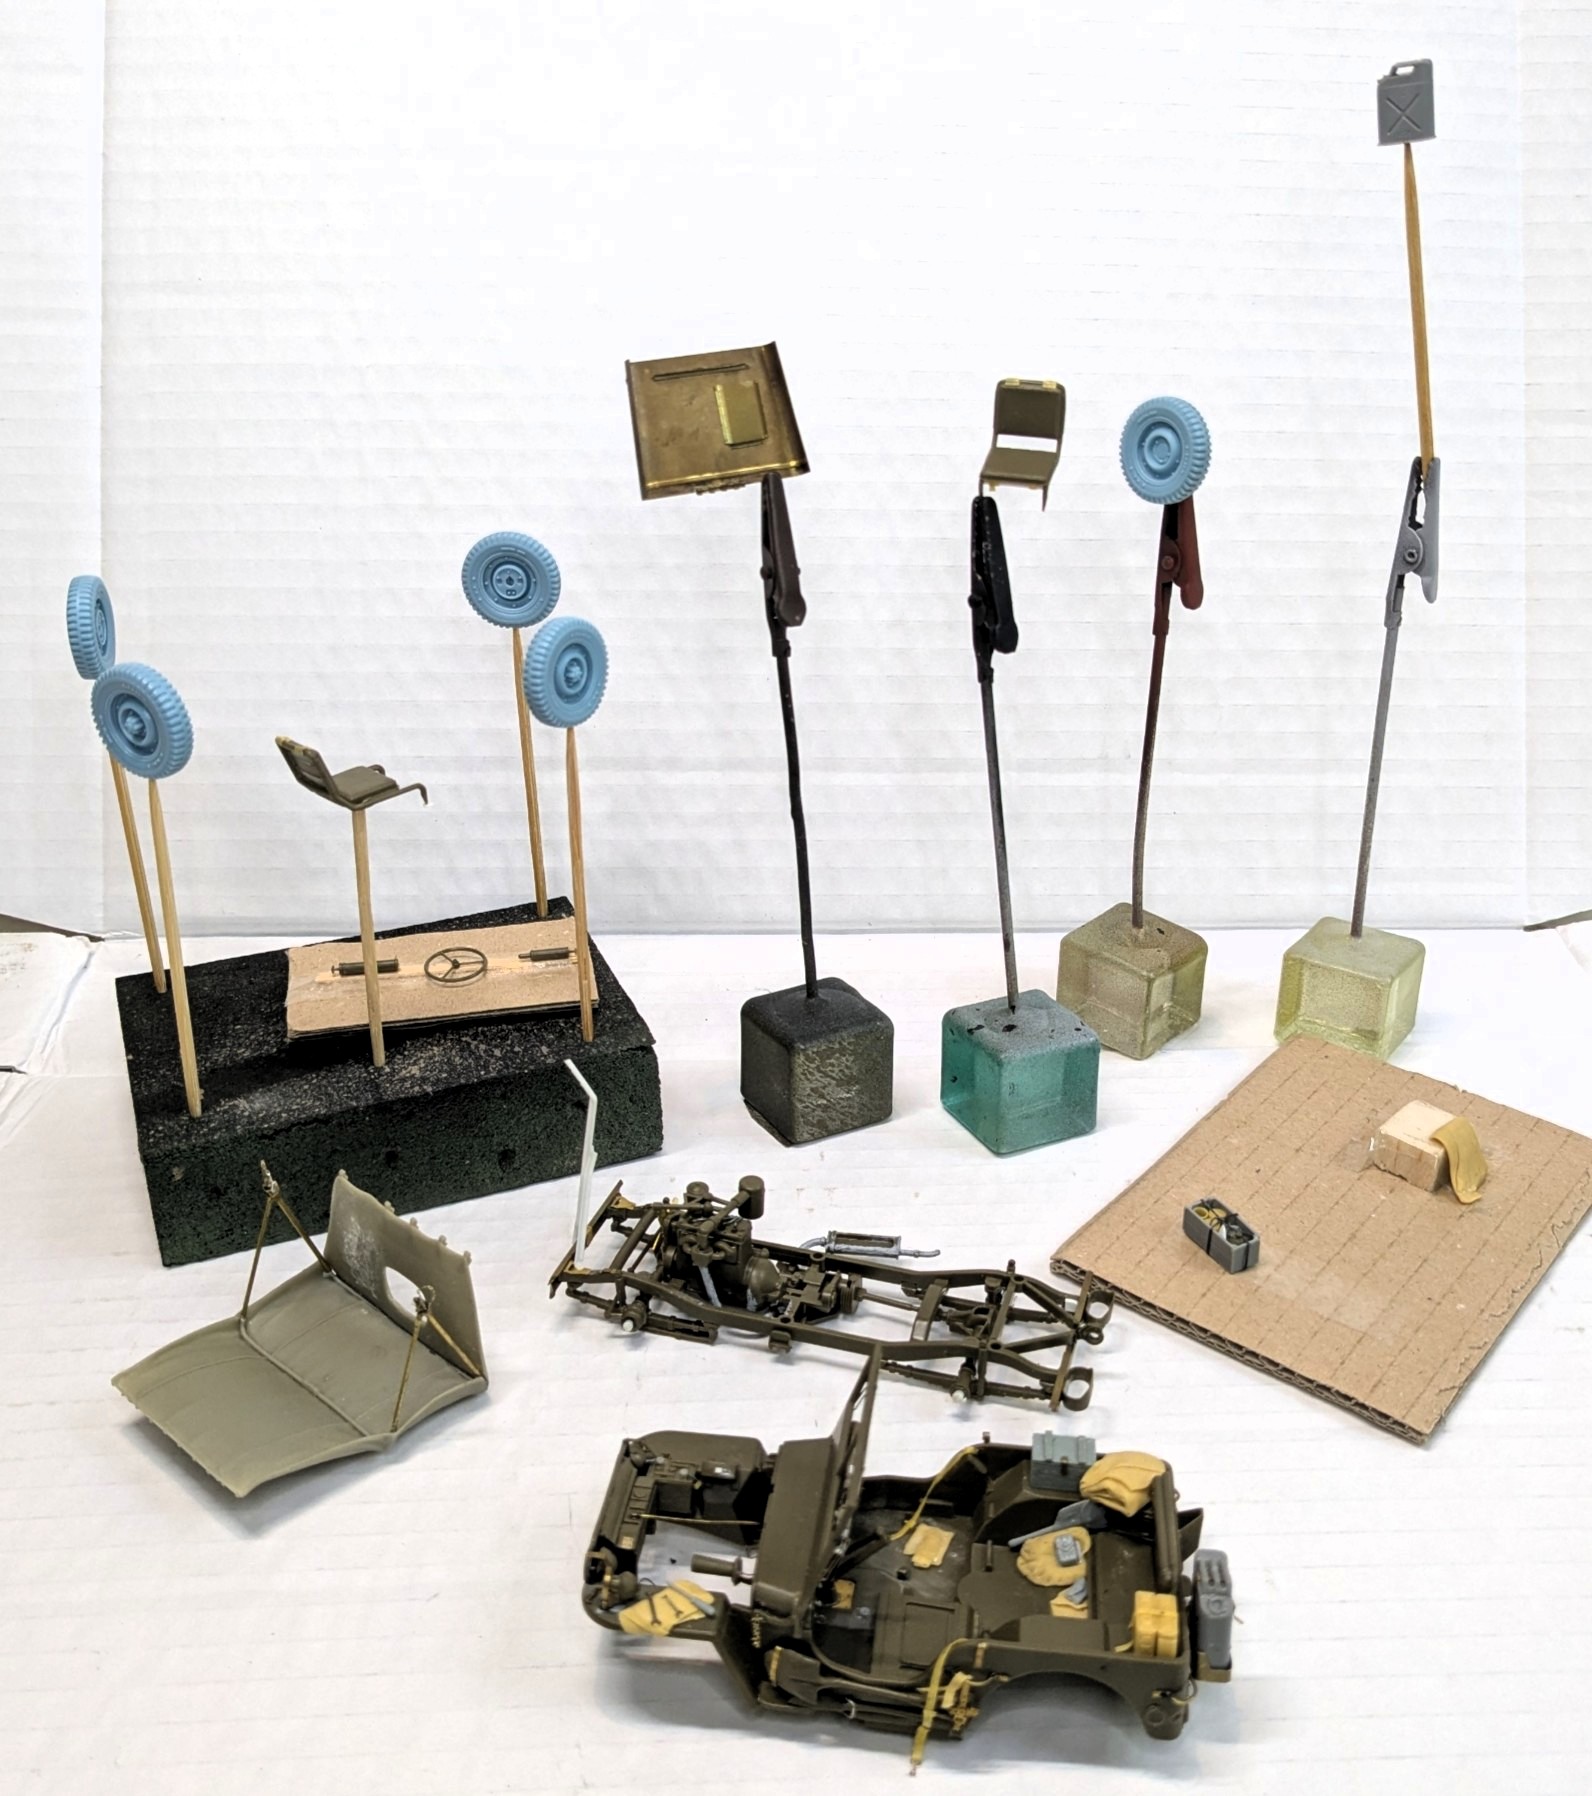
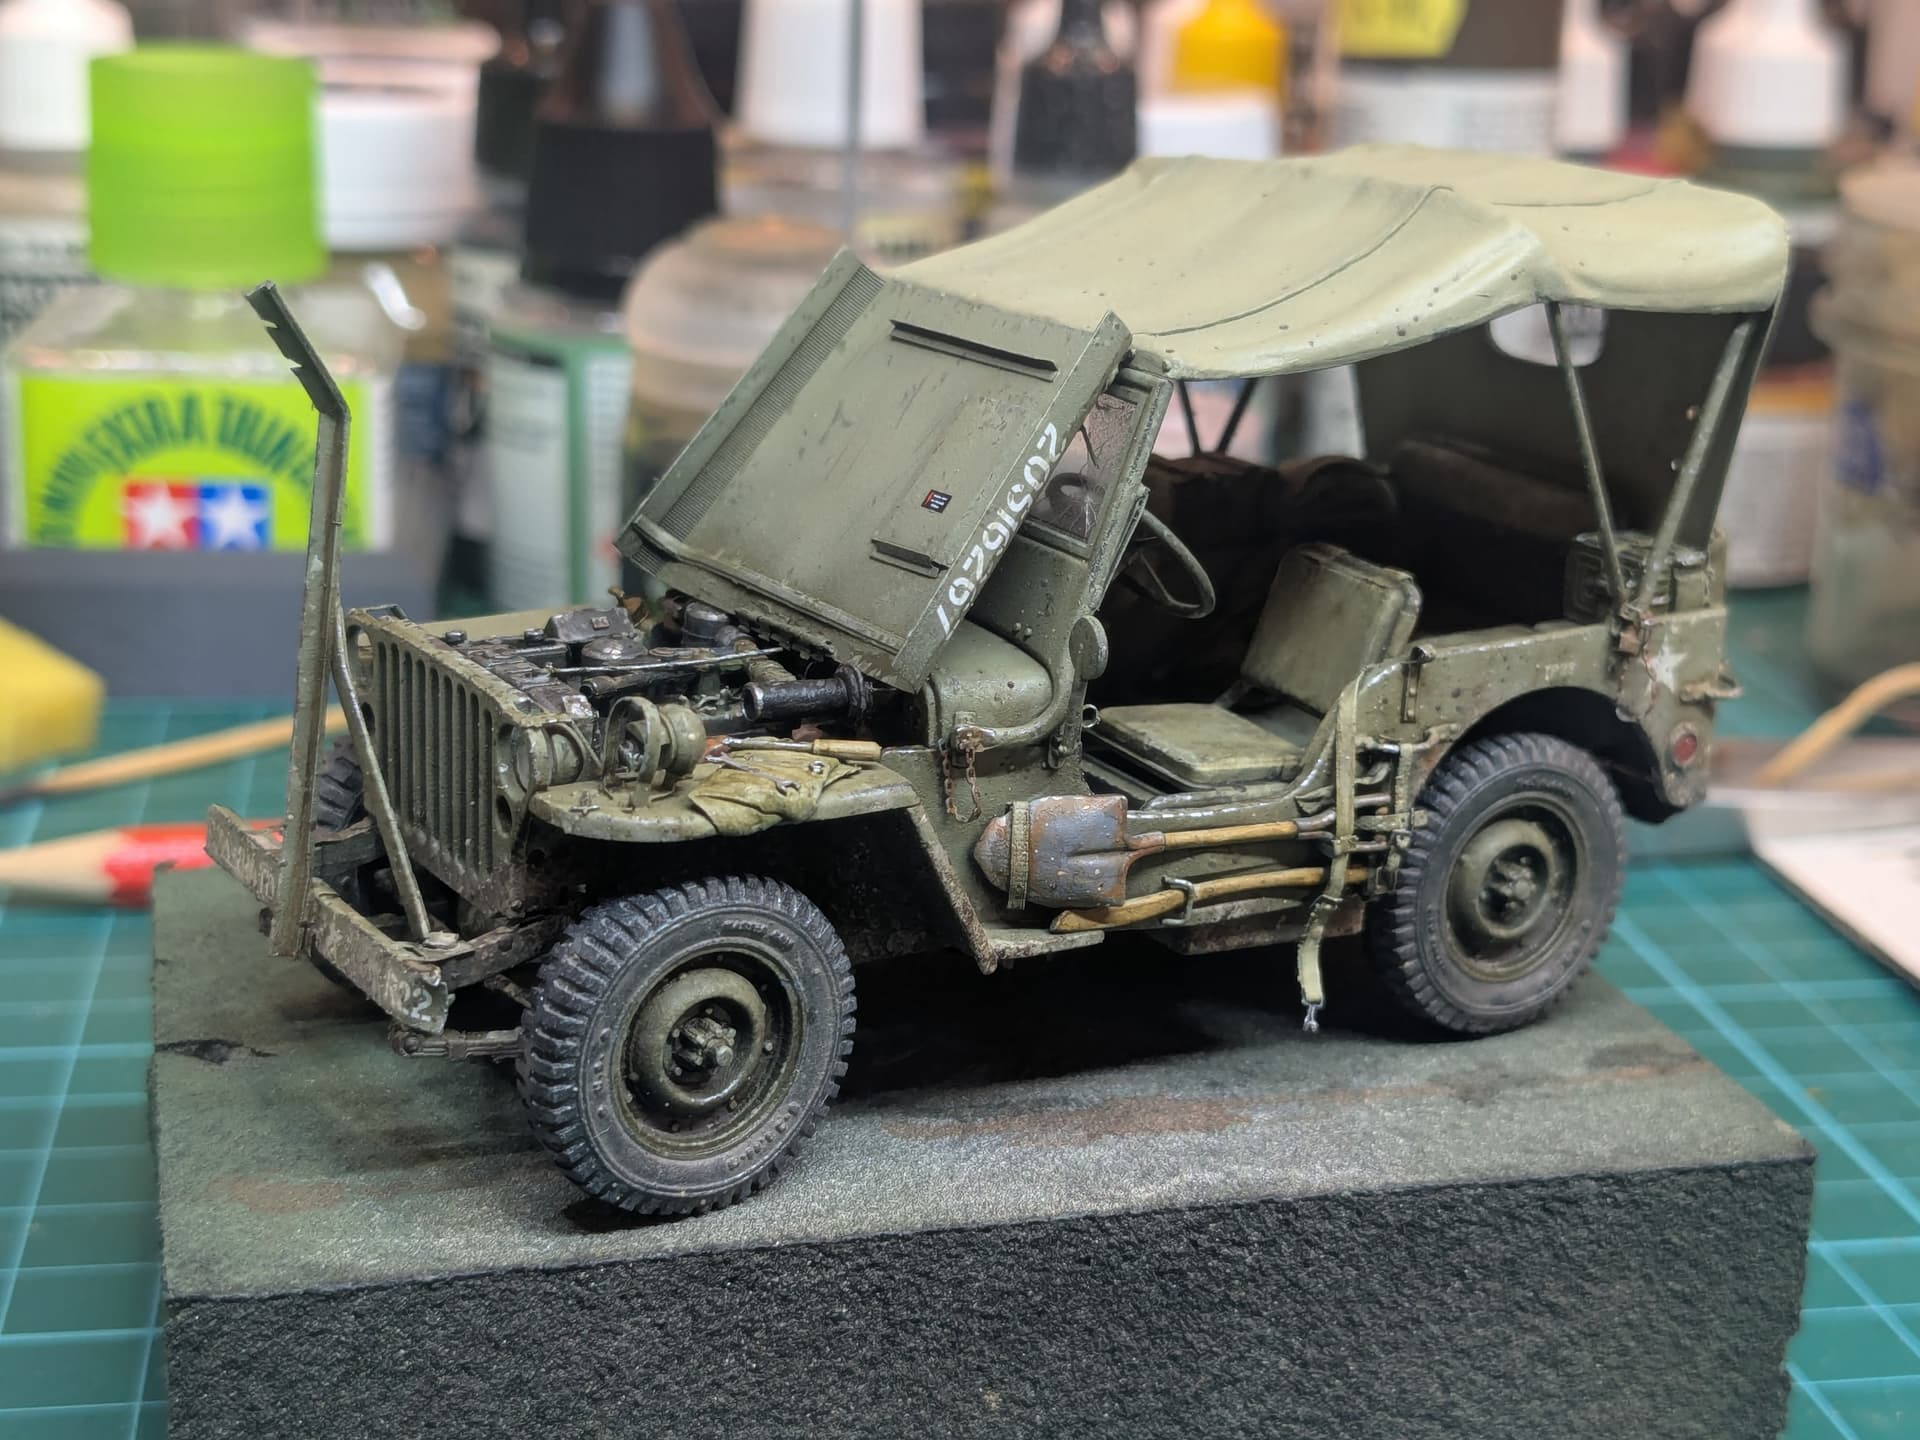
Two other important additions to the kit were new wheels and a canopy. Both came from resin after-market sets.
I have used Def Models wheel sets on all three vehicles on this dio and I cannot recommend them highly enough.
As for the canopy by The Bodi, this is beautifully sculpted and (as we will see) really comes alive with paint. However, the sides of the frame are not up to scratch: they are too thick, lacking in detail and warped. So I replaced the struts with brass rod and then added the details from the Voyager set.
In the end I was pleased with the way everything came together. All I had to do now was add the paint…