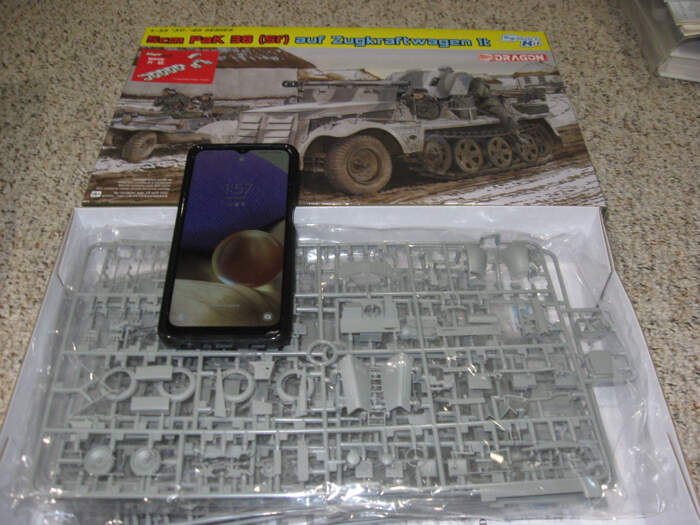
My start pic though I’m not starting now. I just needed to open the bag to see if I needed a metal gun barrel and I think I do…
6 Likes
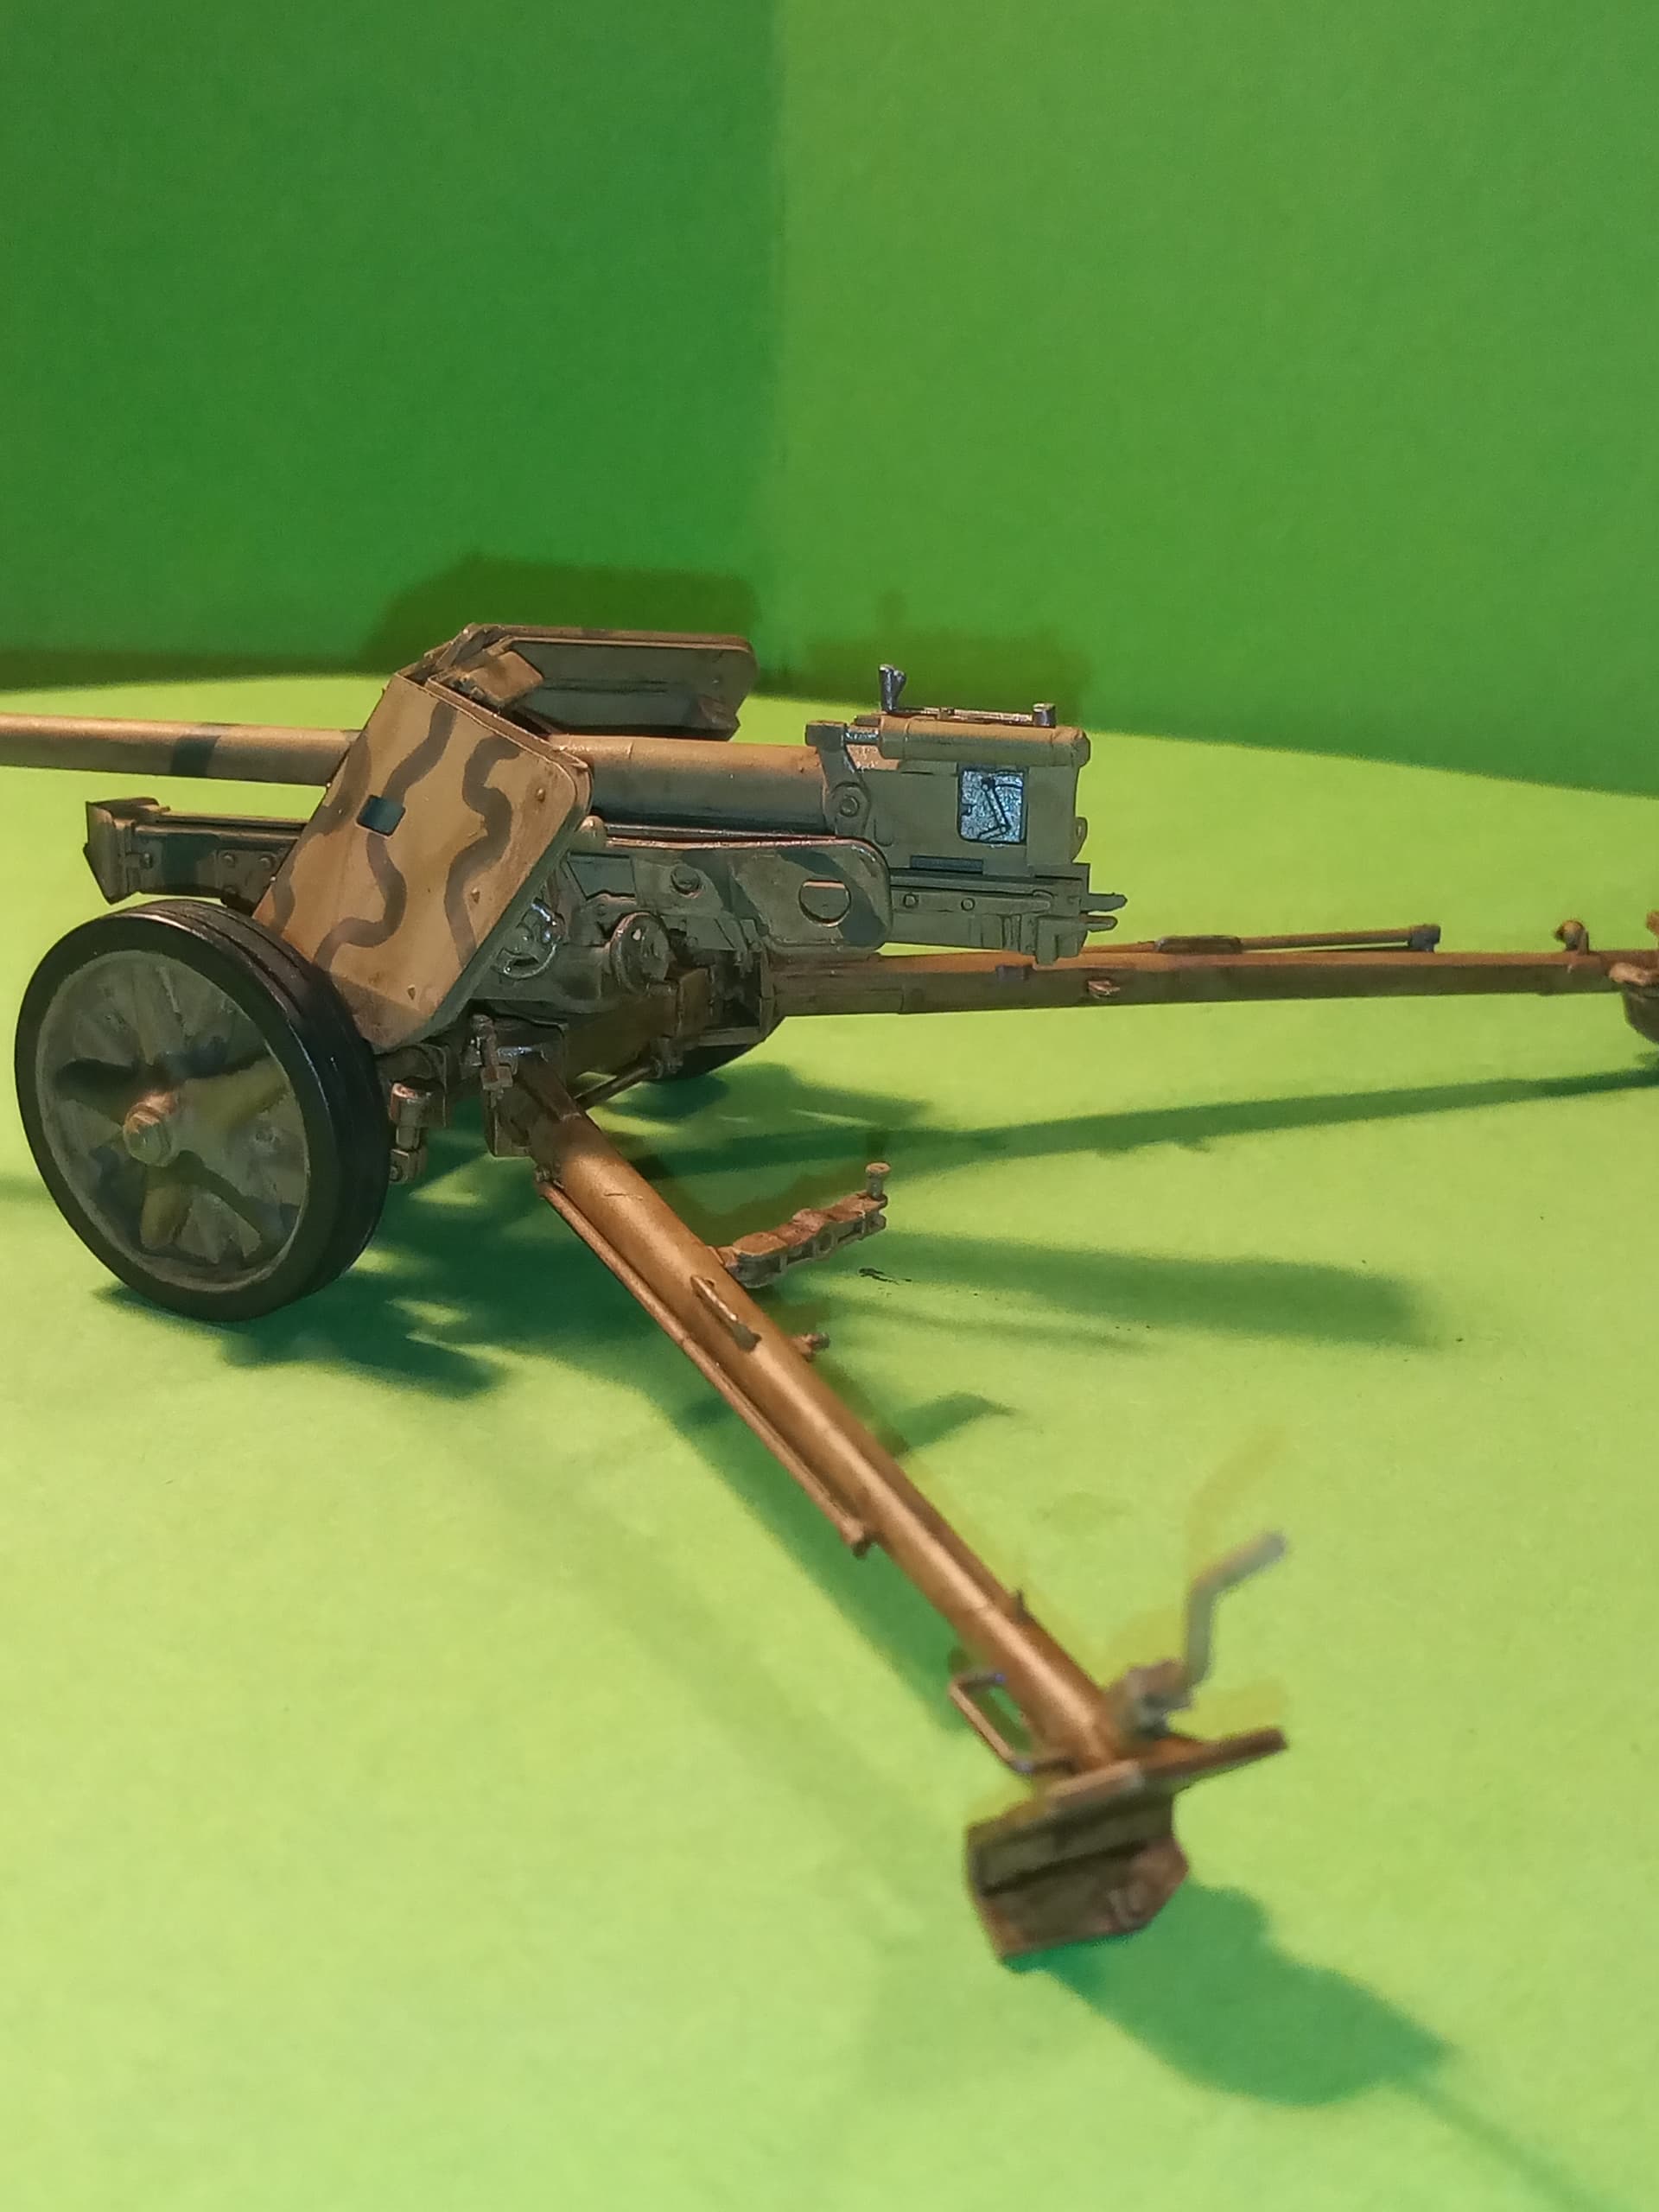
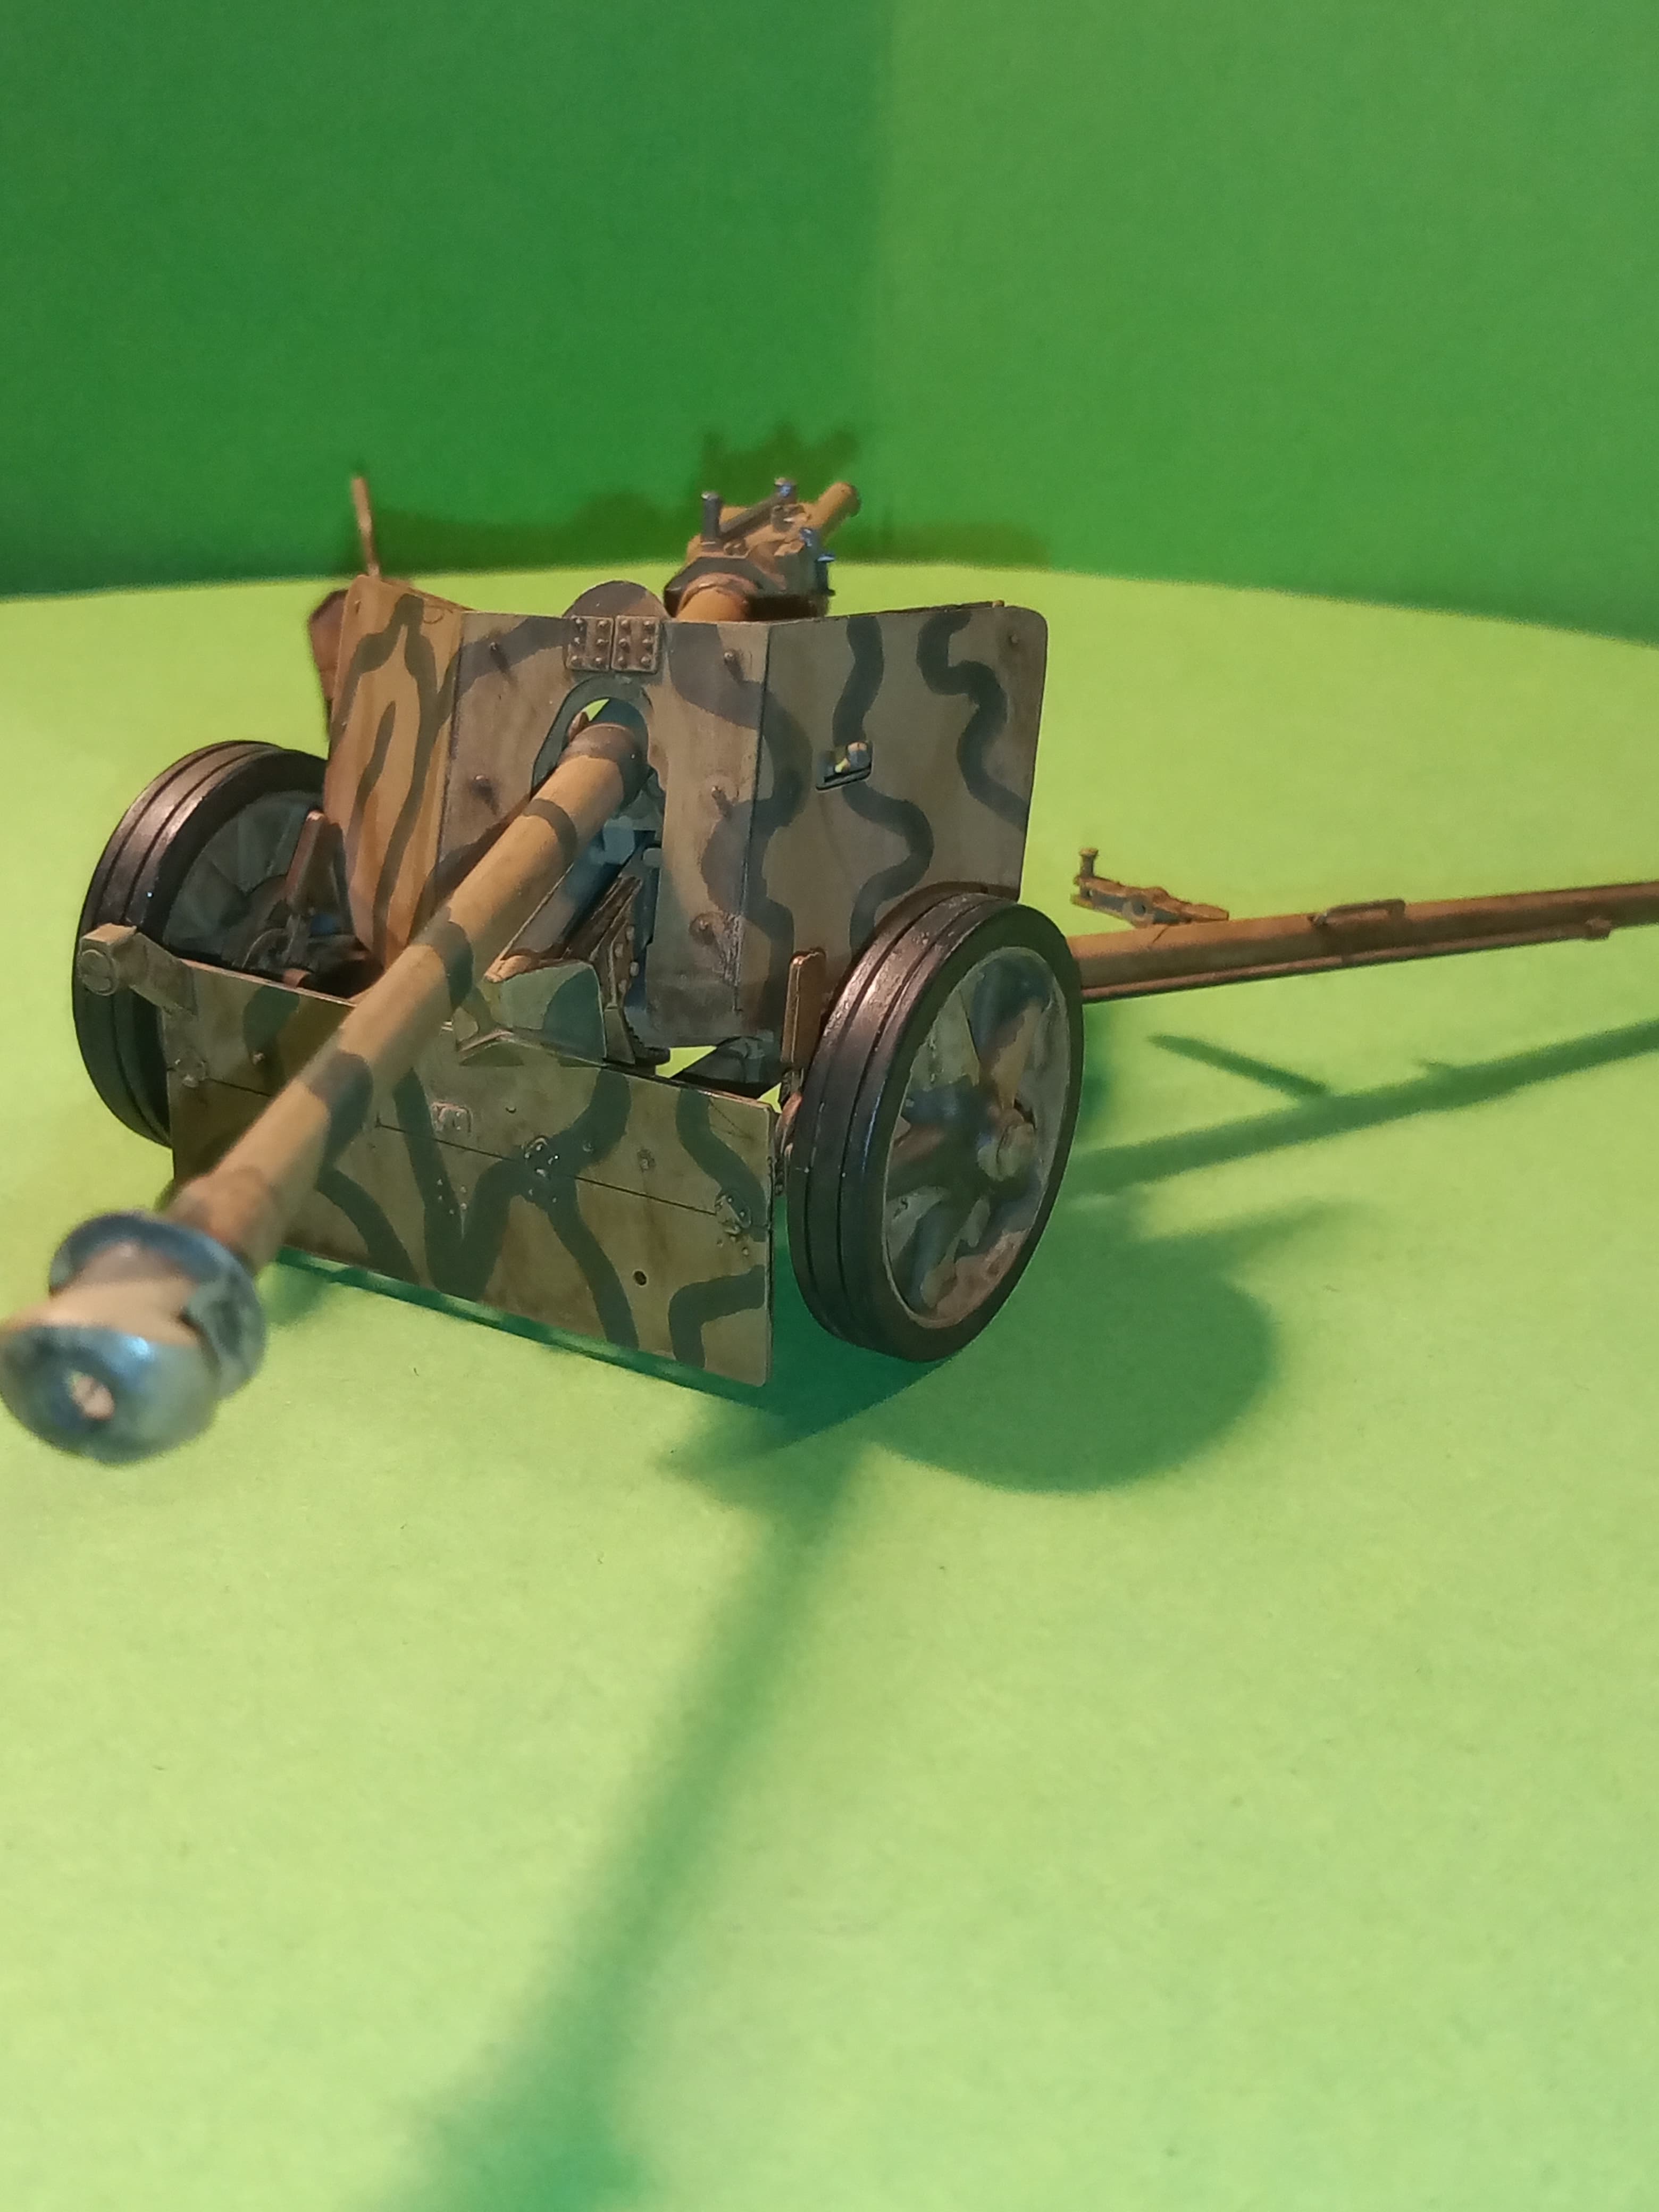
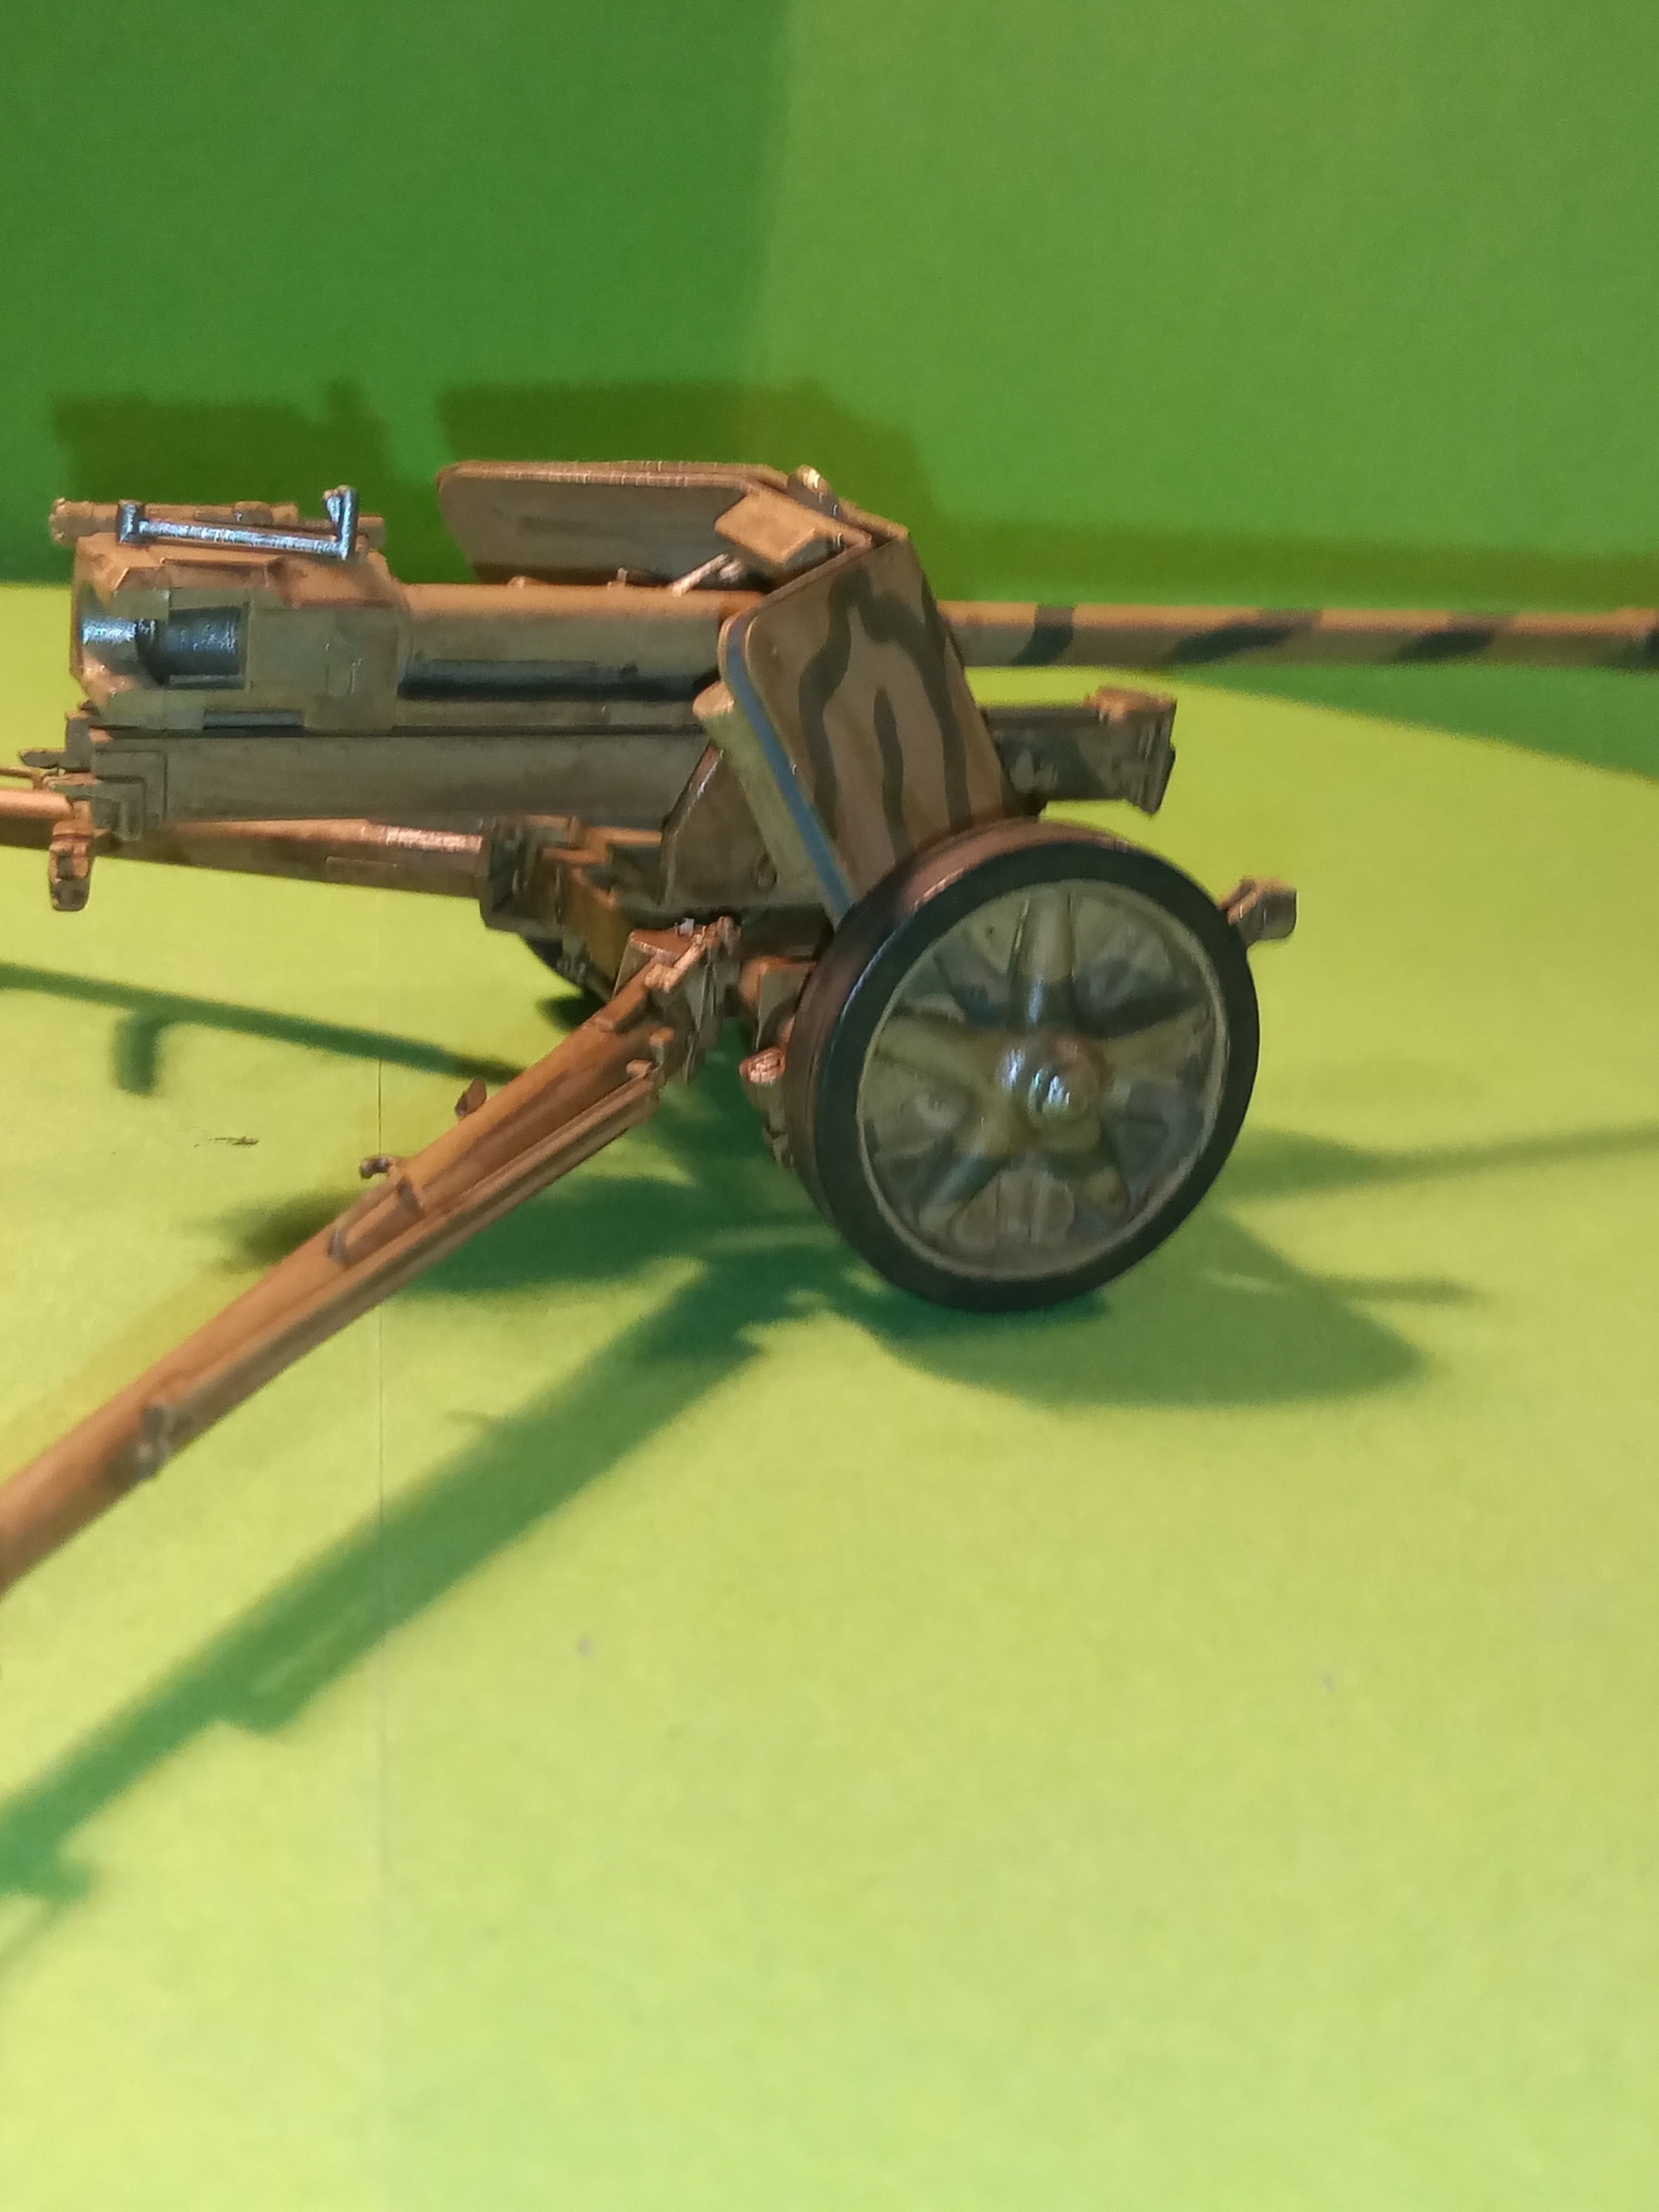
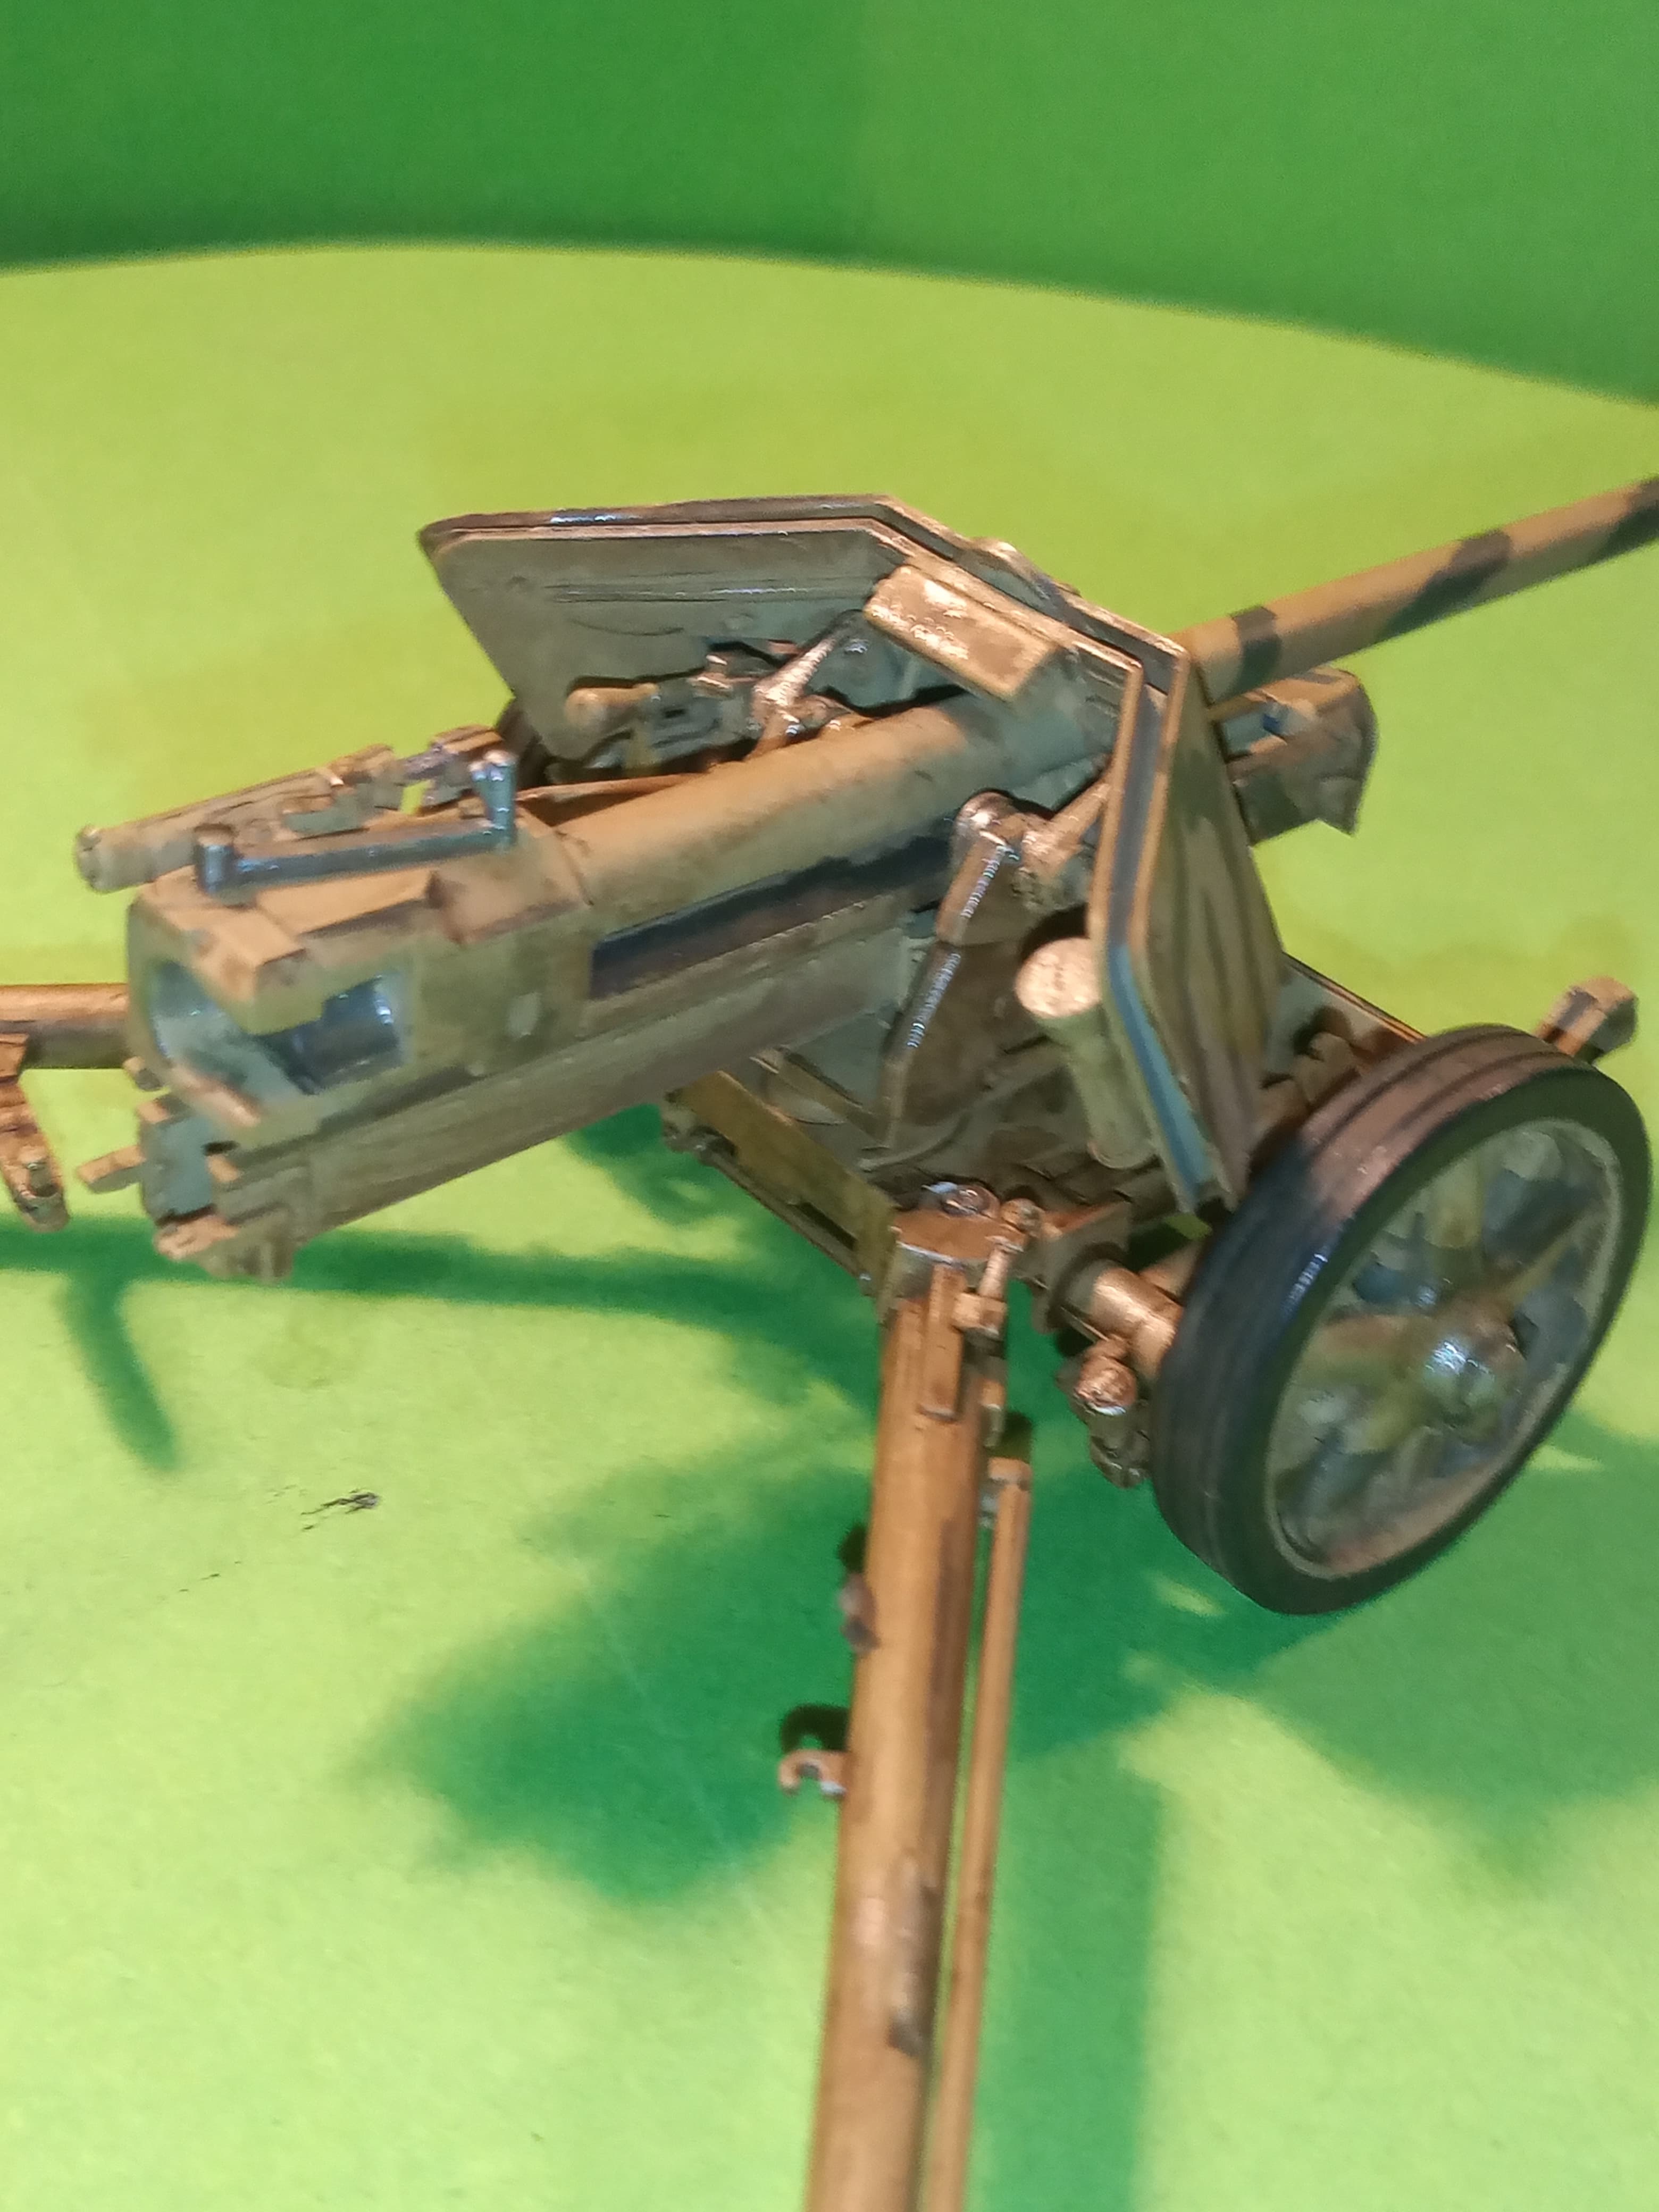
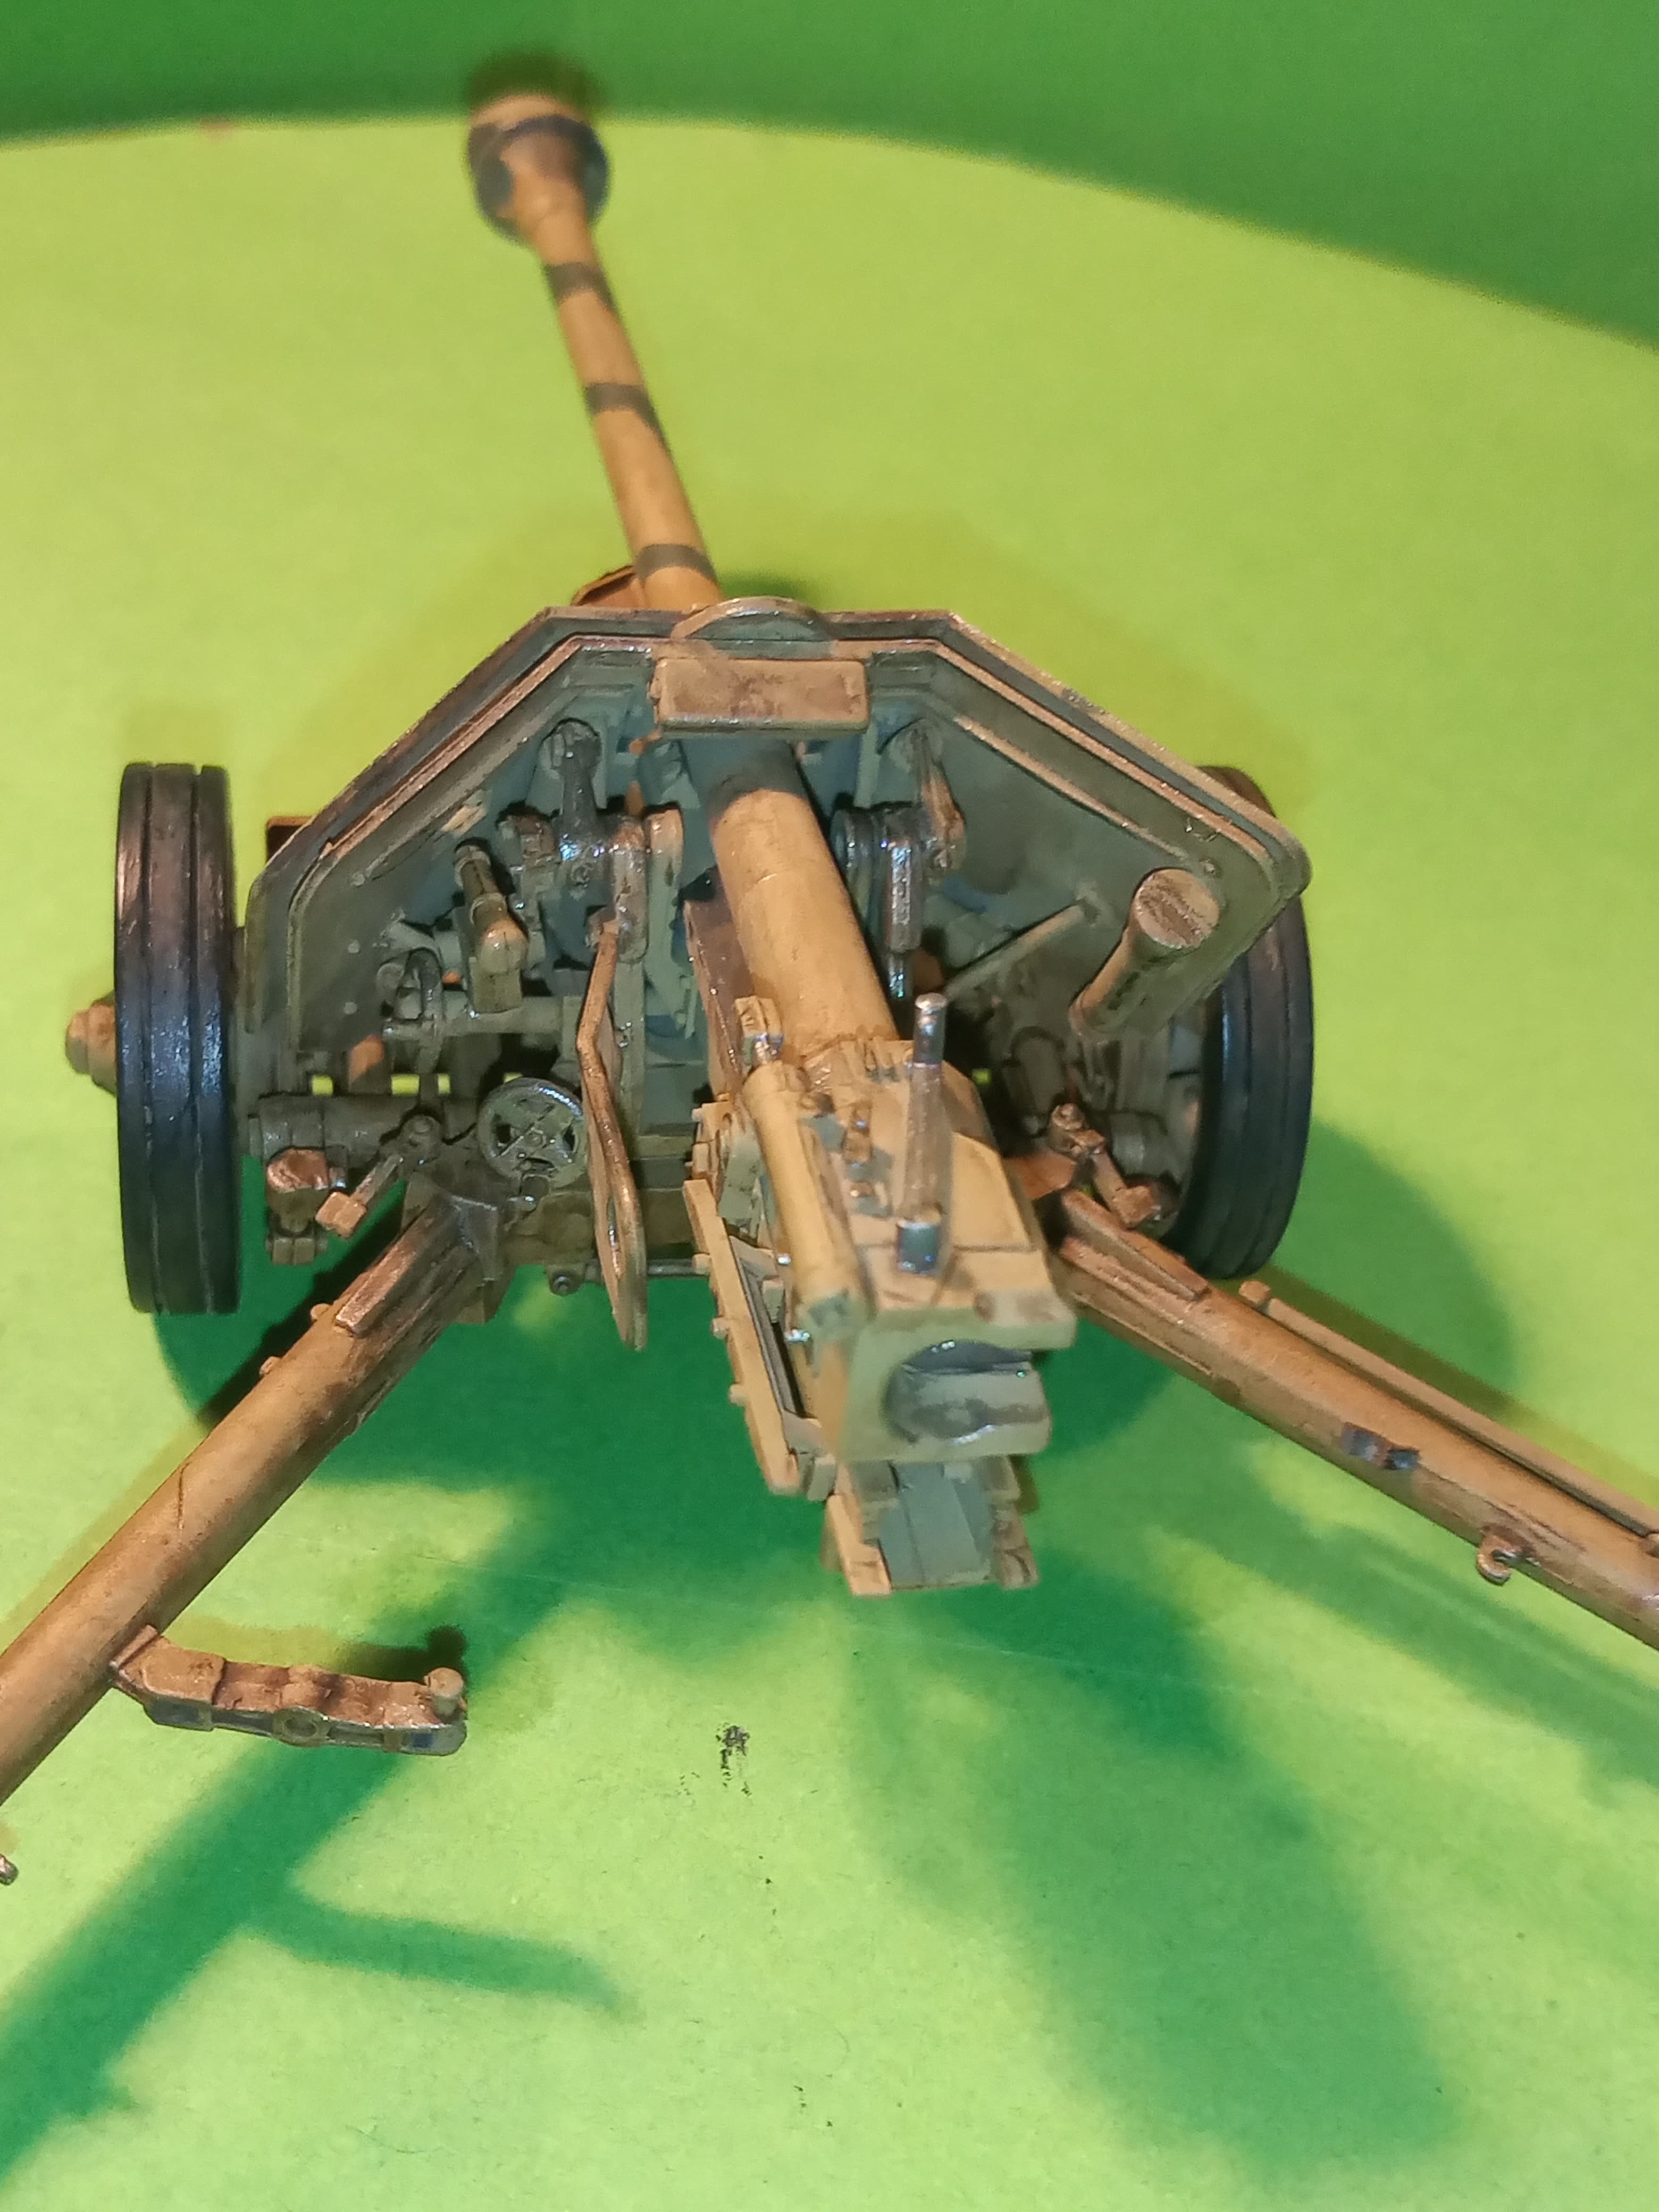
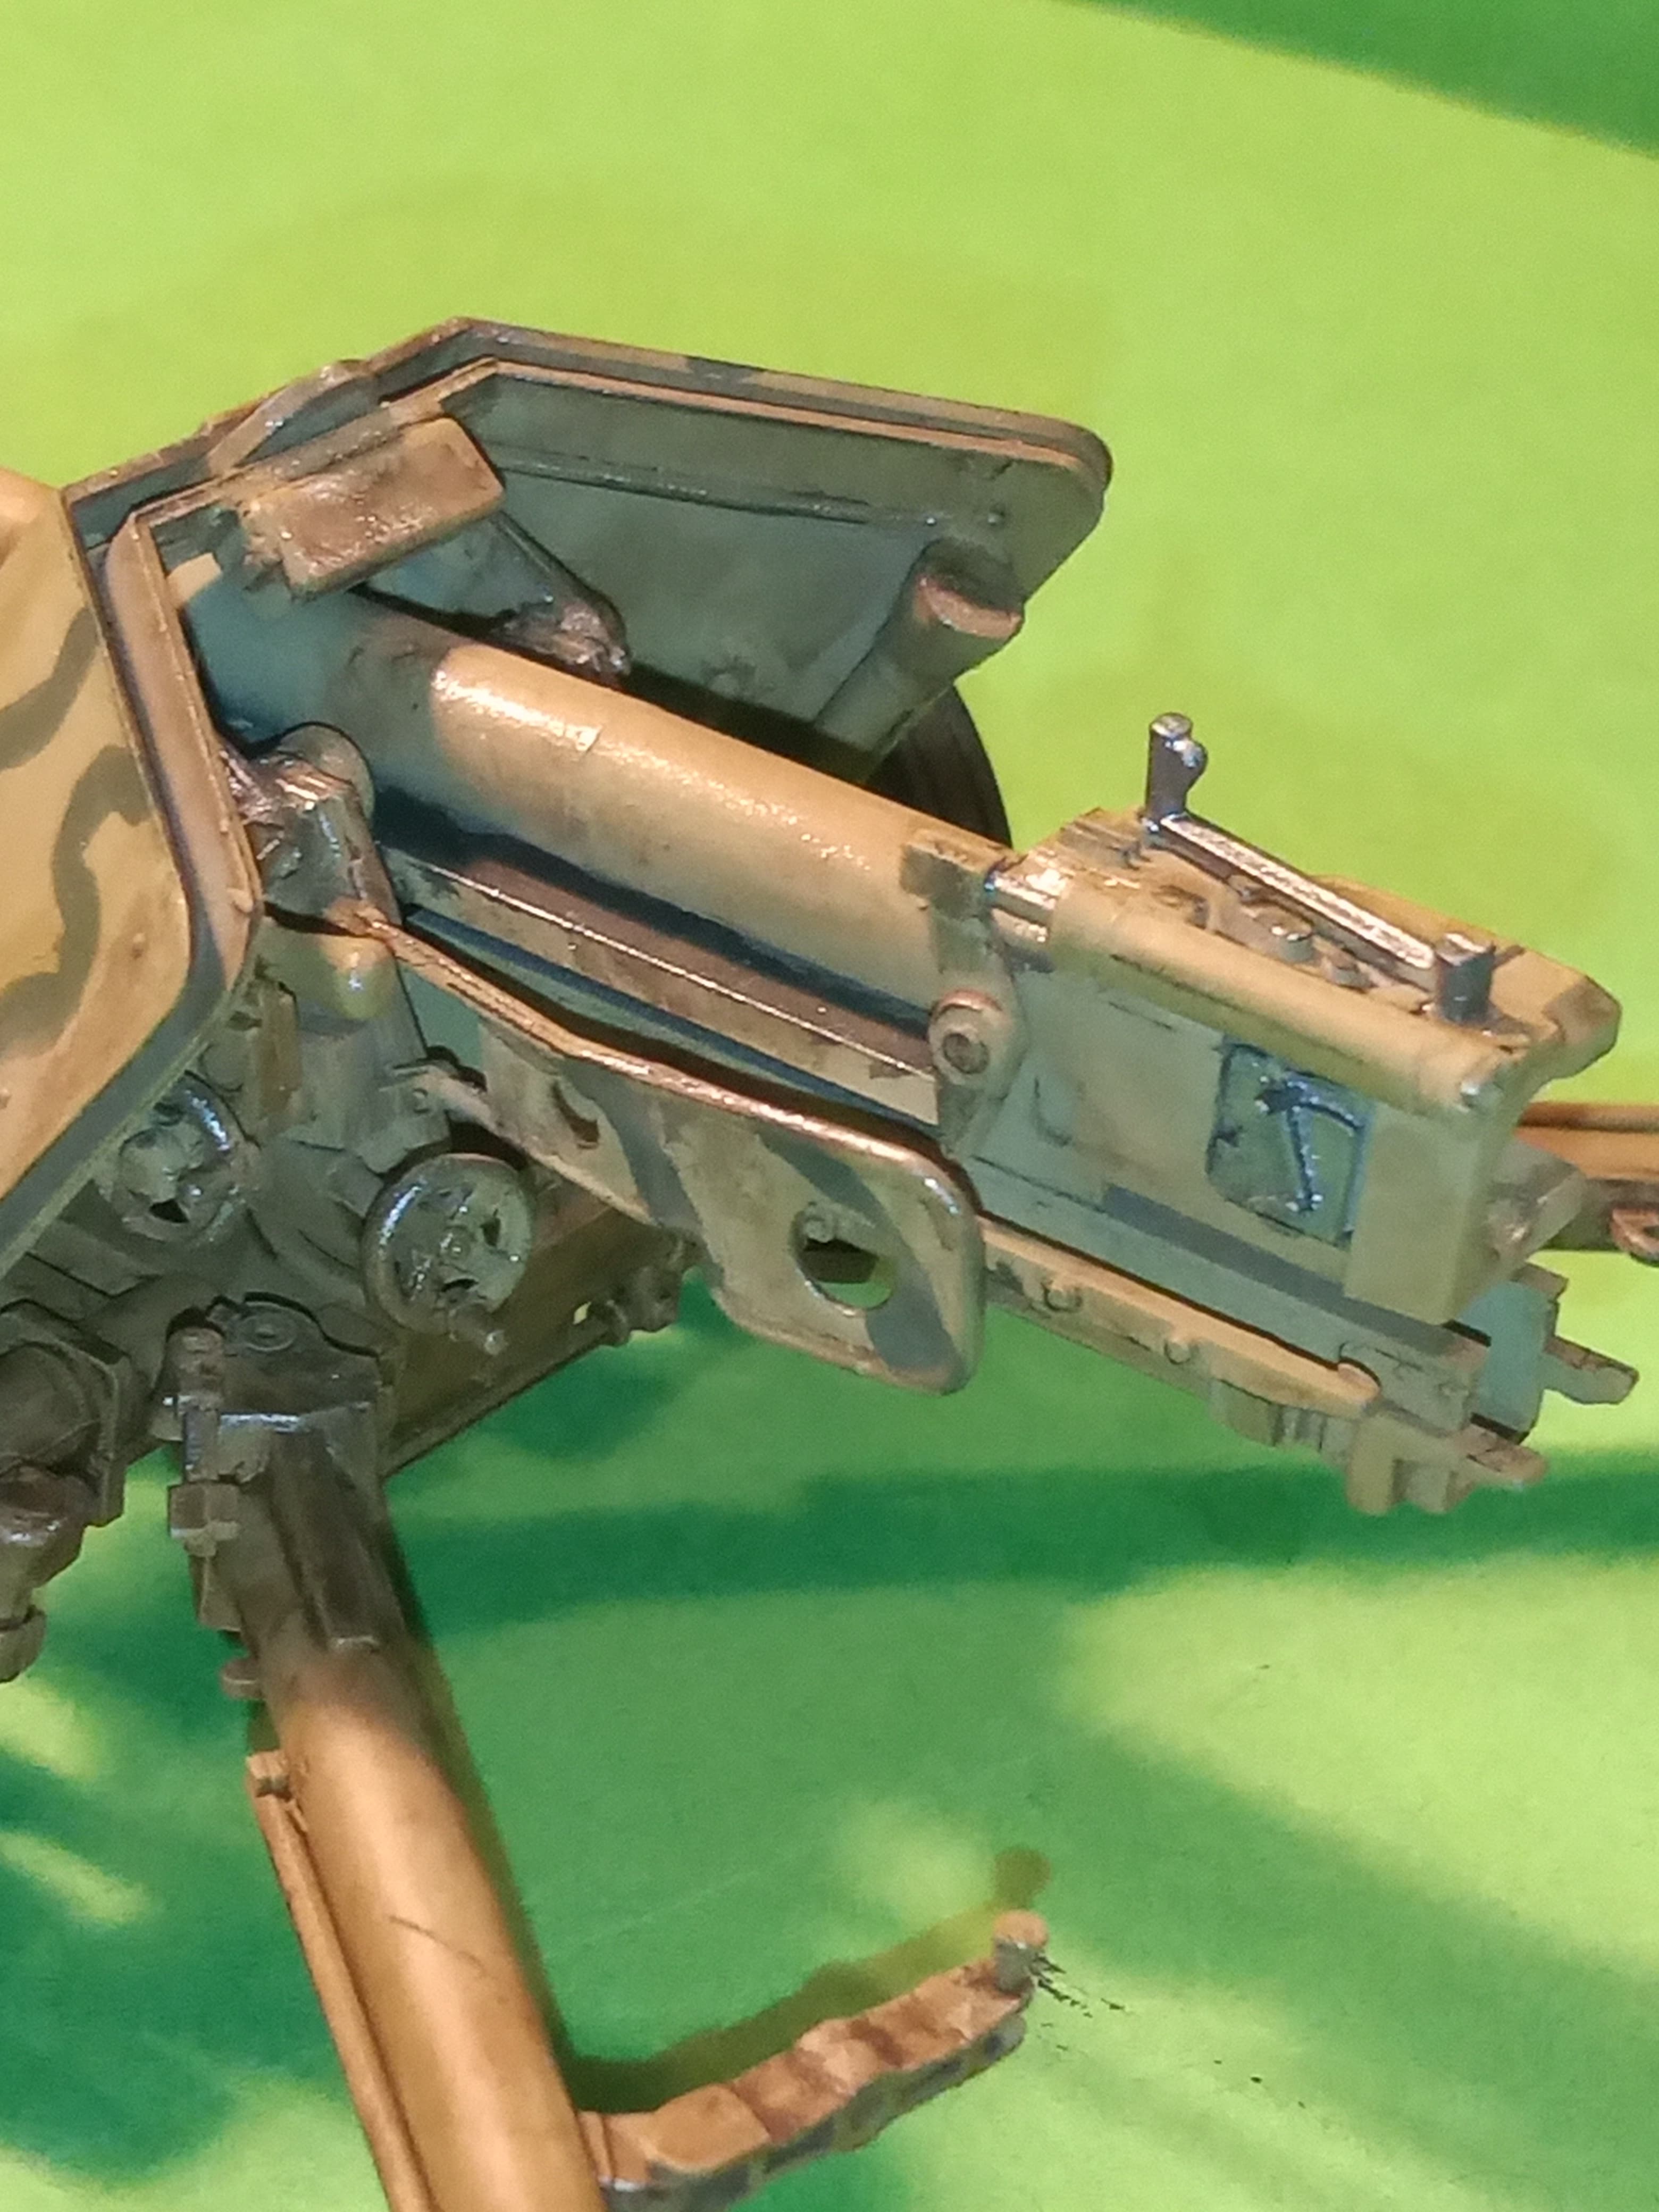
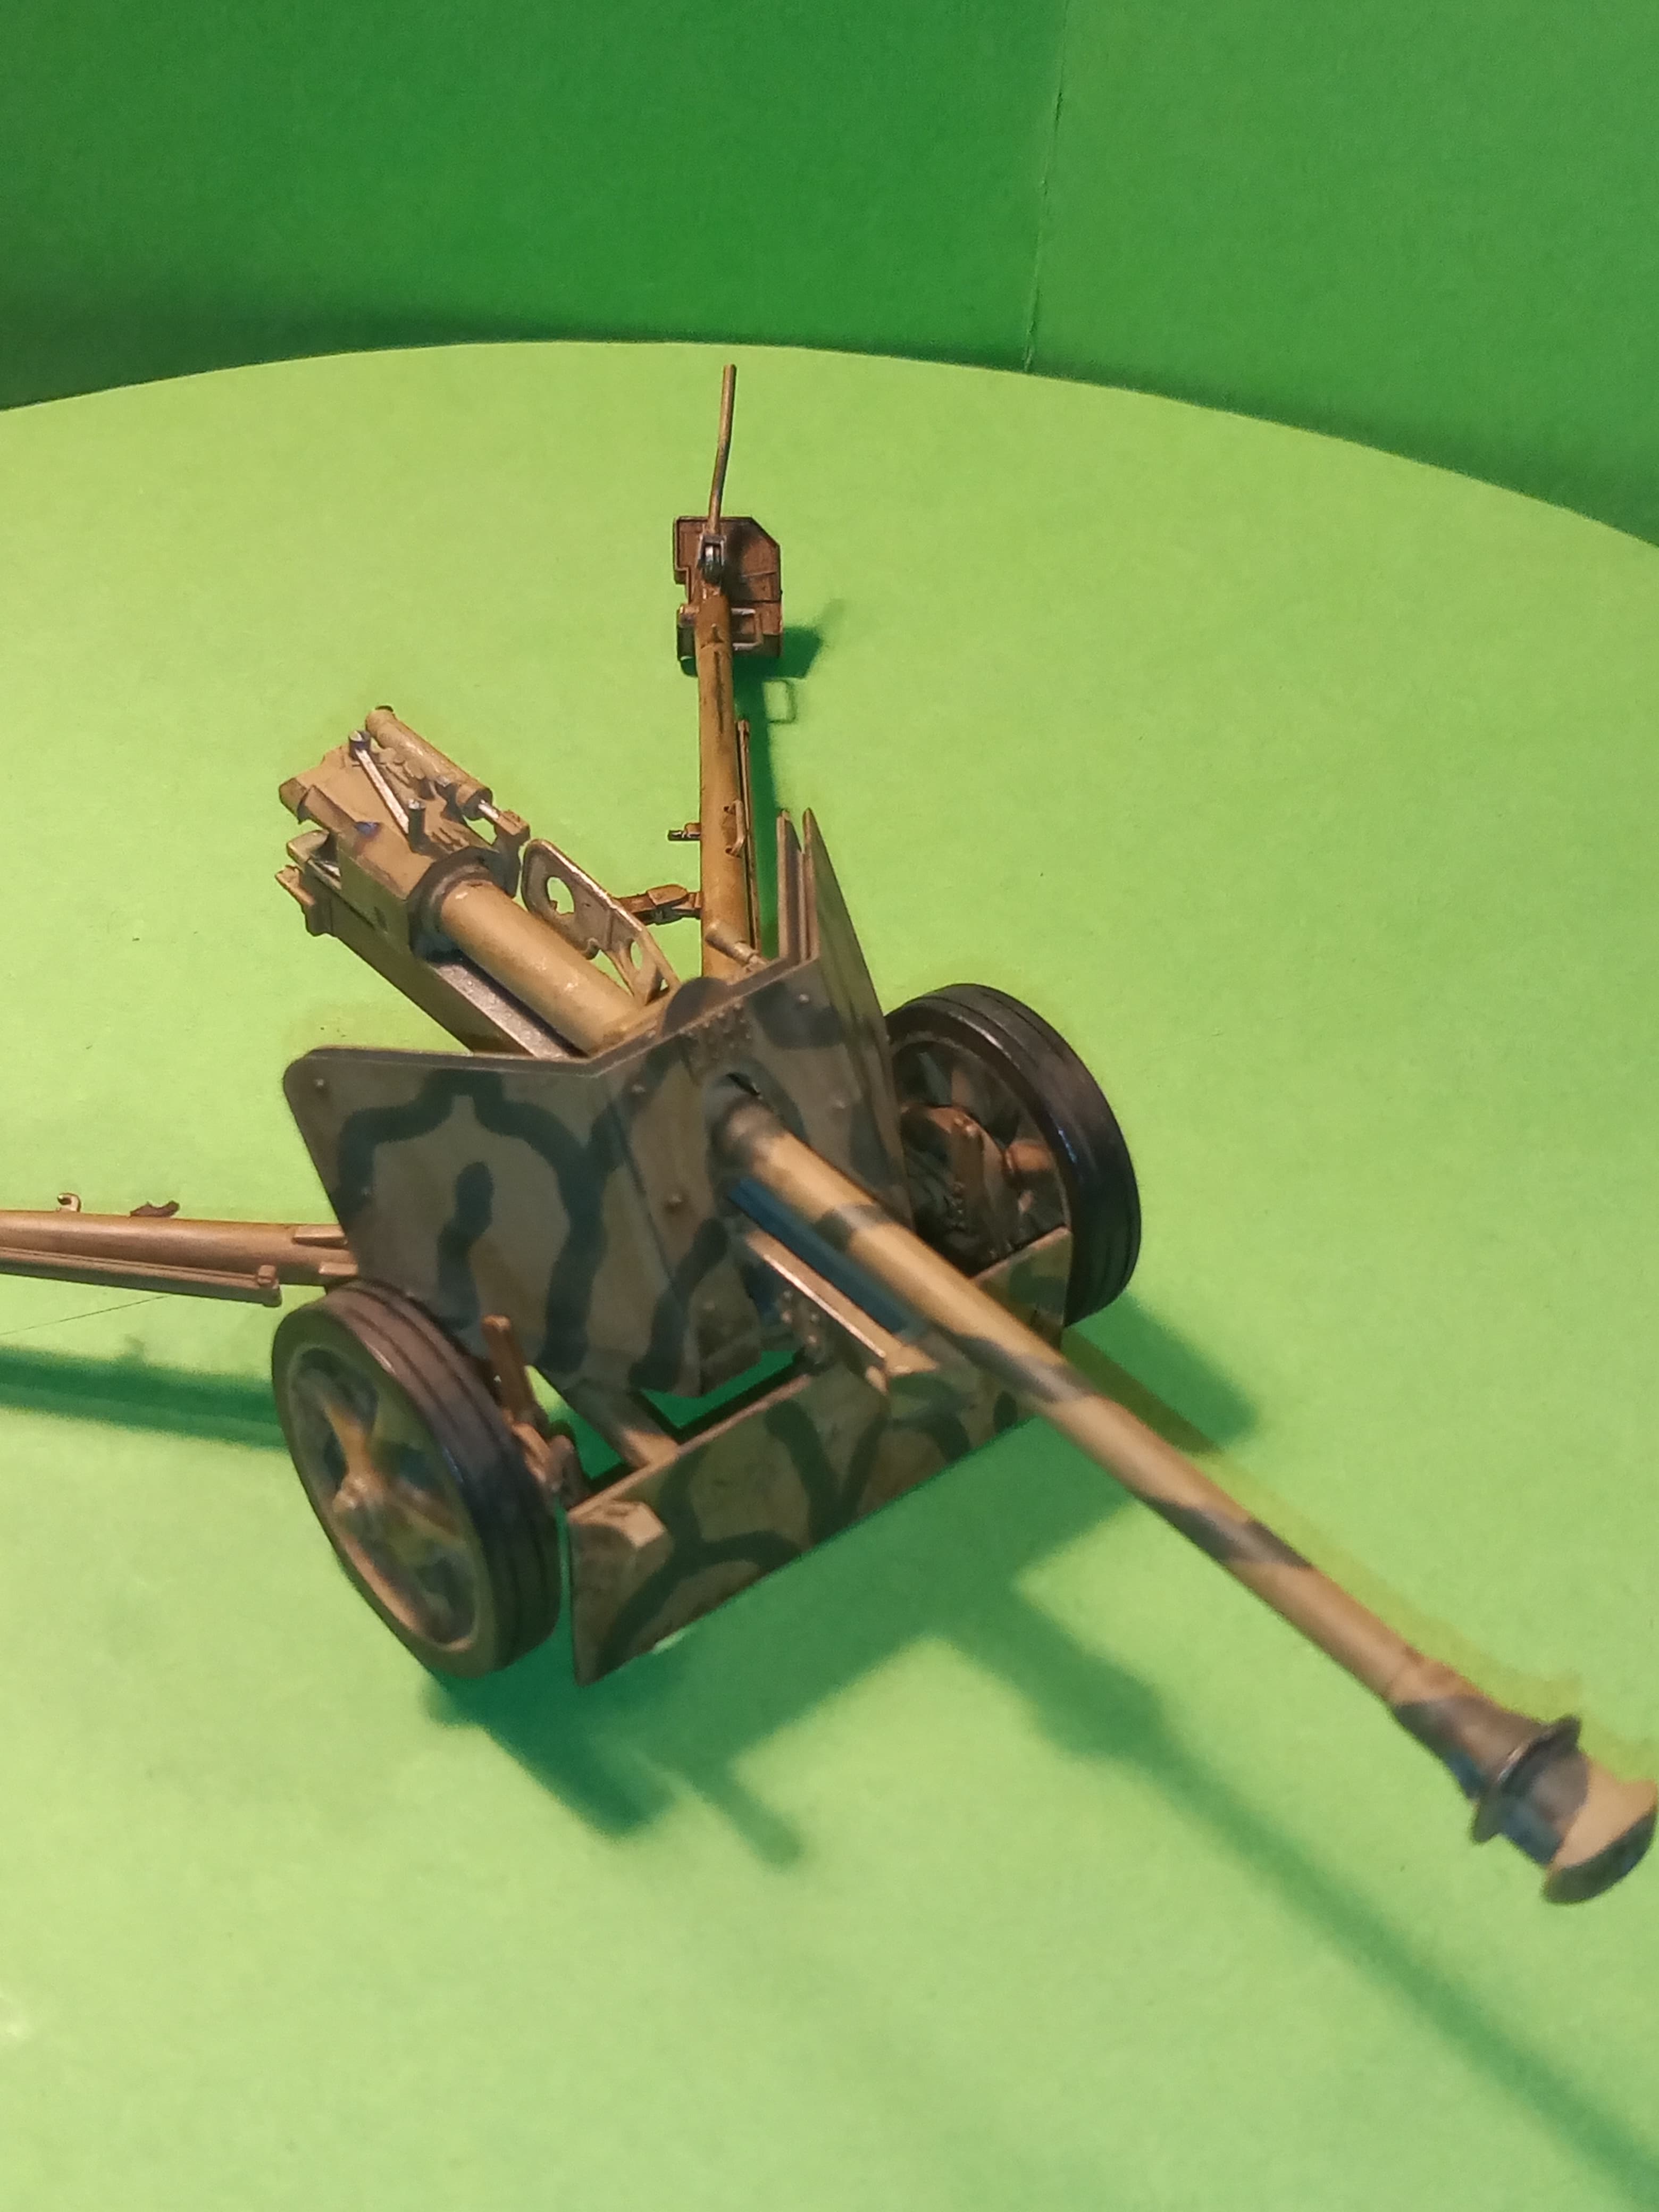
Calling the PAK40 done…
Straight forward build, nice and easy.
Tamiya paints and an AK wash for NATO colours and the AK track wash.
Looking forward to seeing the other builds get done or started …
6 Likes
Fabulous simple build John. Came out excellent.
1 Like
Thanks Matt, just wanted a quick fast easy build …![]()
1 Like
Congratulations on a good looking gun. ![]()
2 Likes
Thanks buddy ![]()
2 Likes
Looks great, John. Nice camo.
Are you using it for a diorama? I think the gun is at full recoil?
1 Like
Yes it is in recoil.
Nice job John.
1 Like

Live firing a fully functioning German Pak40 gun in my home state of Arizona. The owner disabled the auto-eject feature, so they can safely retrieve the casings, which are hard to find and expensive.
3 Likes
Thanks Jesper and Peter…
It was a nice simple kit, a good speed build… And of course you are right Jesper… It is in recoil, and I didn’t even think about it lol … Well spotted ![]()
1 Like
That is alright John, only an Arty or Tankie guy would notice… ![]()
![]()
![]()
3 Likes
…or an old motorized infantry guy ![]()
1 Like

Another Pak40 goodie, brought to you by “Forgotten Weapons”.
1 Like
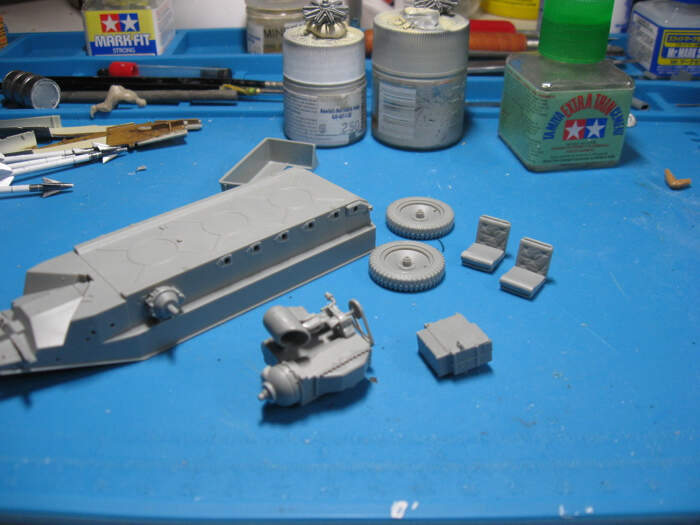
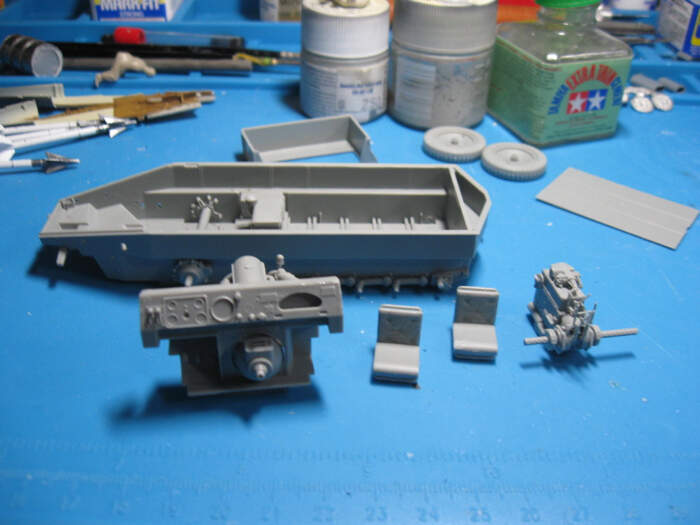
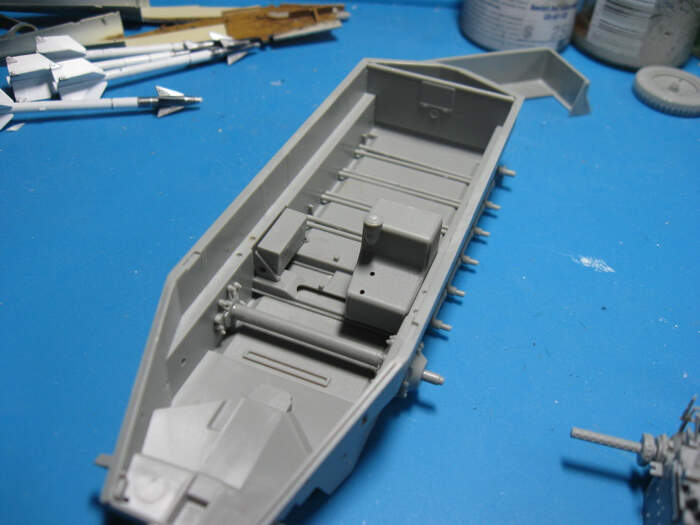
Some bits ready for the paint booth. Spent a fair bit of time fiddling and dry fitting and deciding Dragon’s build order would make the work harder, so stuck some things to the inside, stuck the engine onto the back of the dashboard, and am now ready to paint.
Has anyone built one of these before? The instructions call for drilling a bunch of holes in the rear floorboard, but I can’t see any parts attaching to it in the instructions.
2 Likes
Don’t drill them. That image is in every set of instructions Dragon has for every version of kit for this vehicle. They are actually for this version:
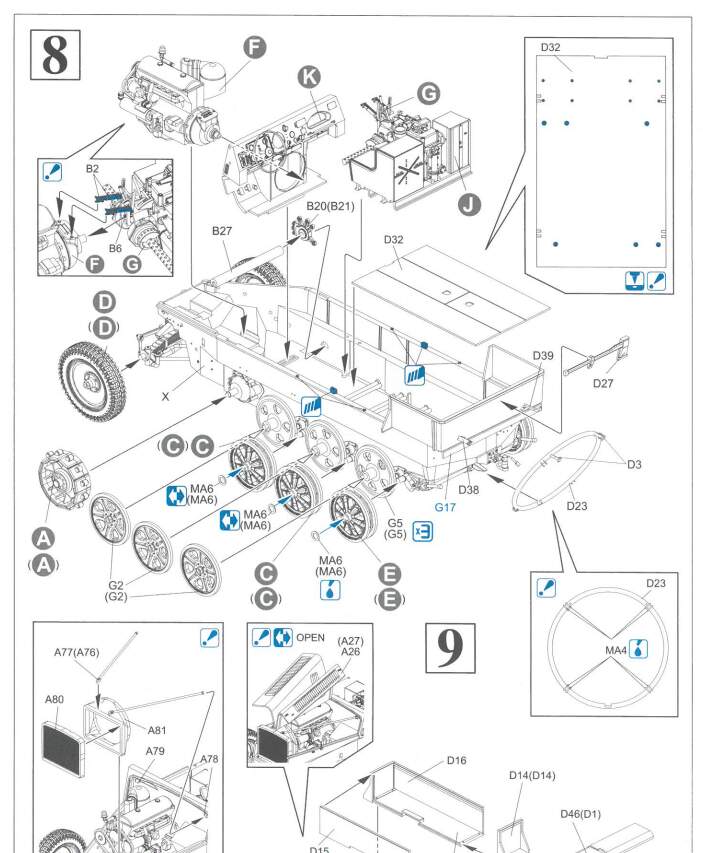
I belive it is for the storage box/bench seat:
Just check the tub to make sure there are no pins on that… if there are I would cut them off rather than drill through the floor.
2 Likes
You know I had found that diagram and looking at it I couldn’t see what the holes were for, but now I realize those rectangular boxes are actually benches. Aha! Thanks!
1 Like
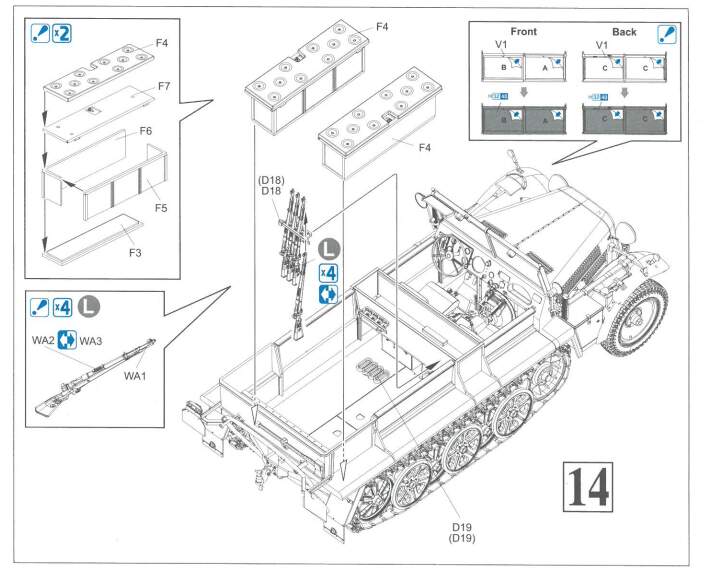
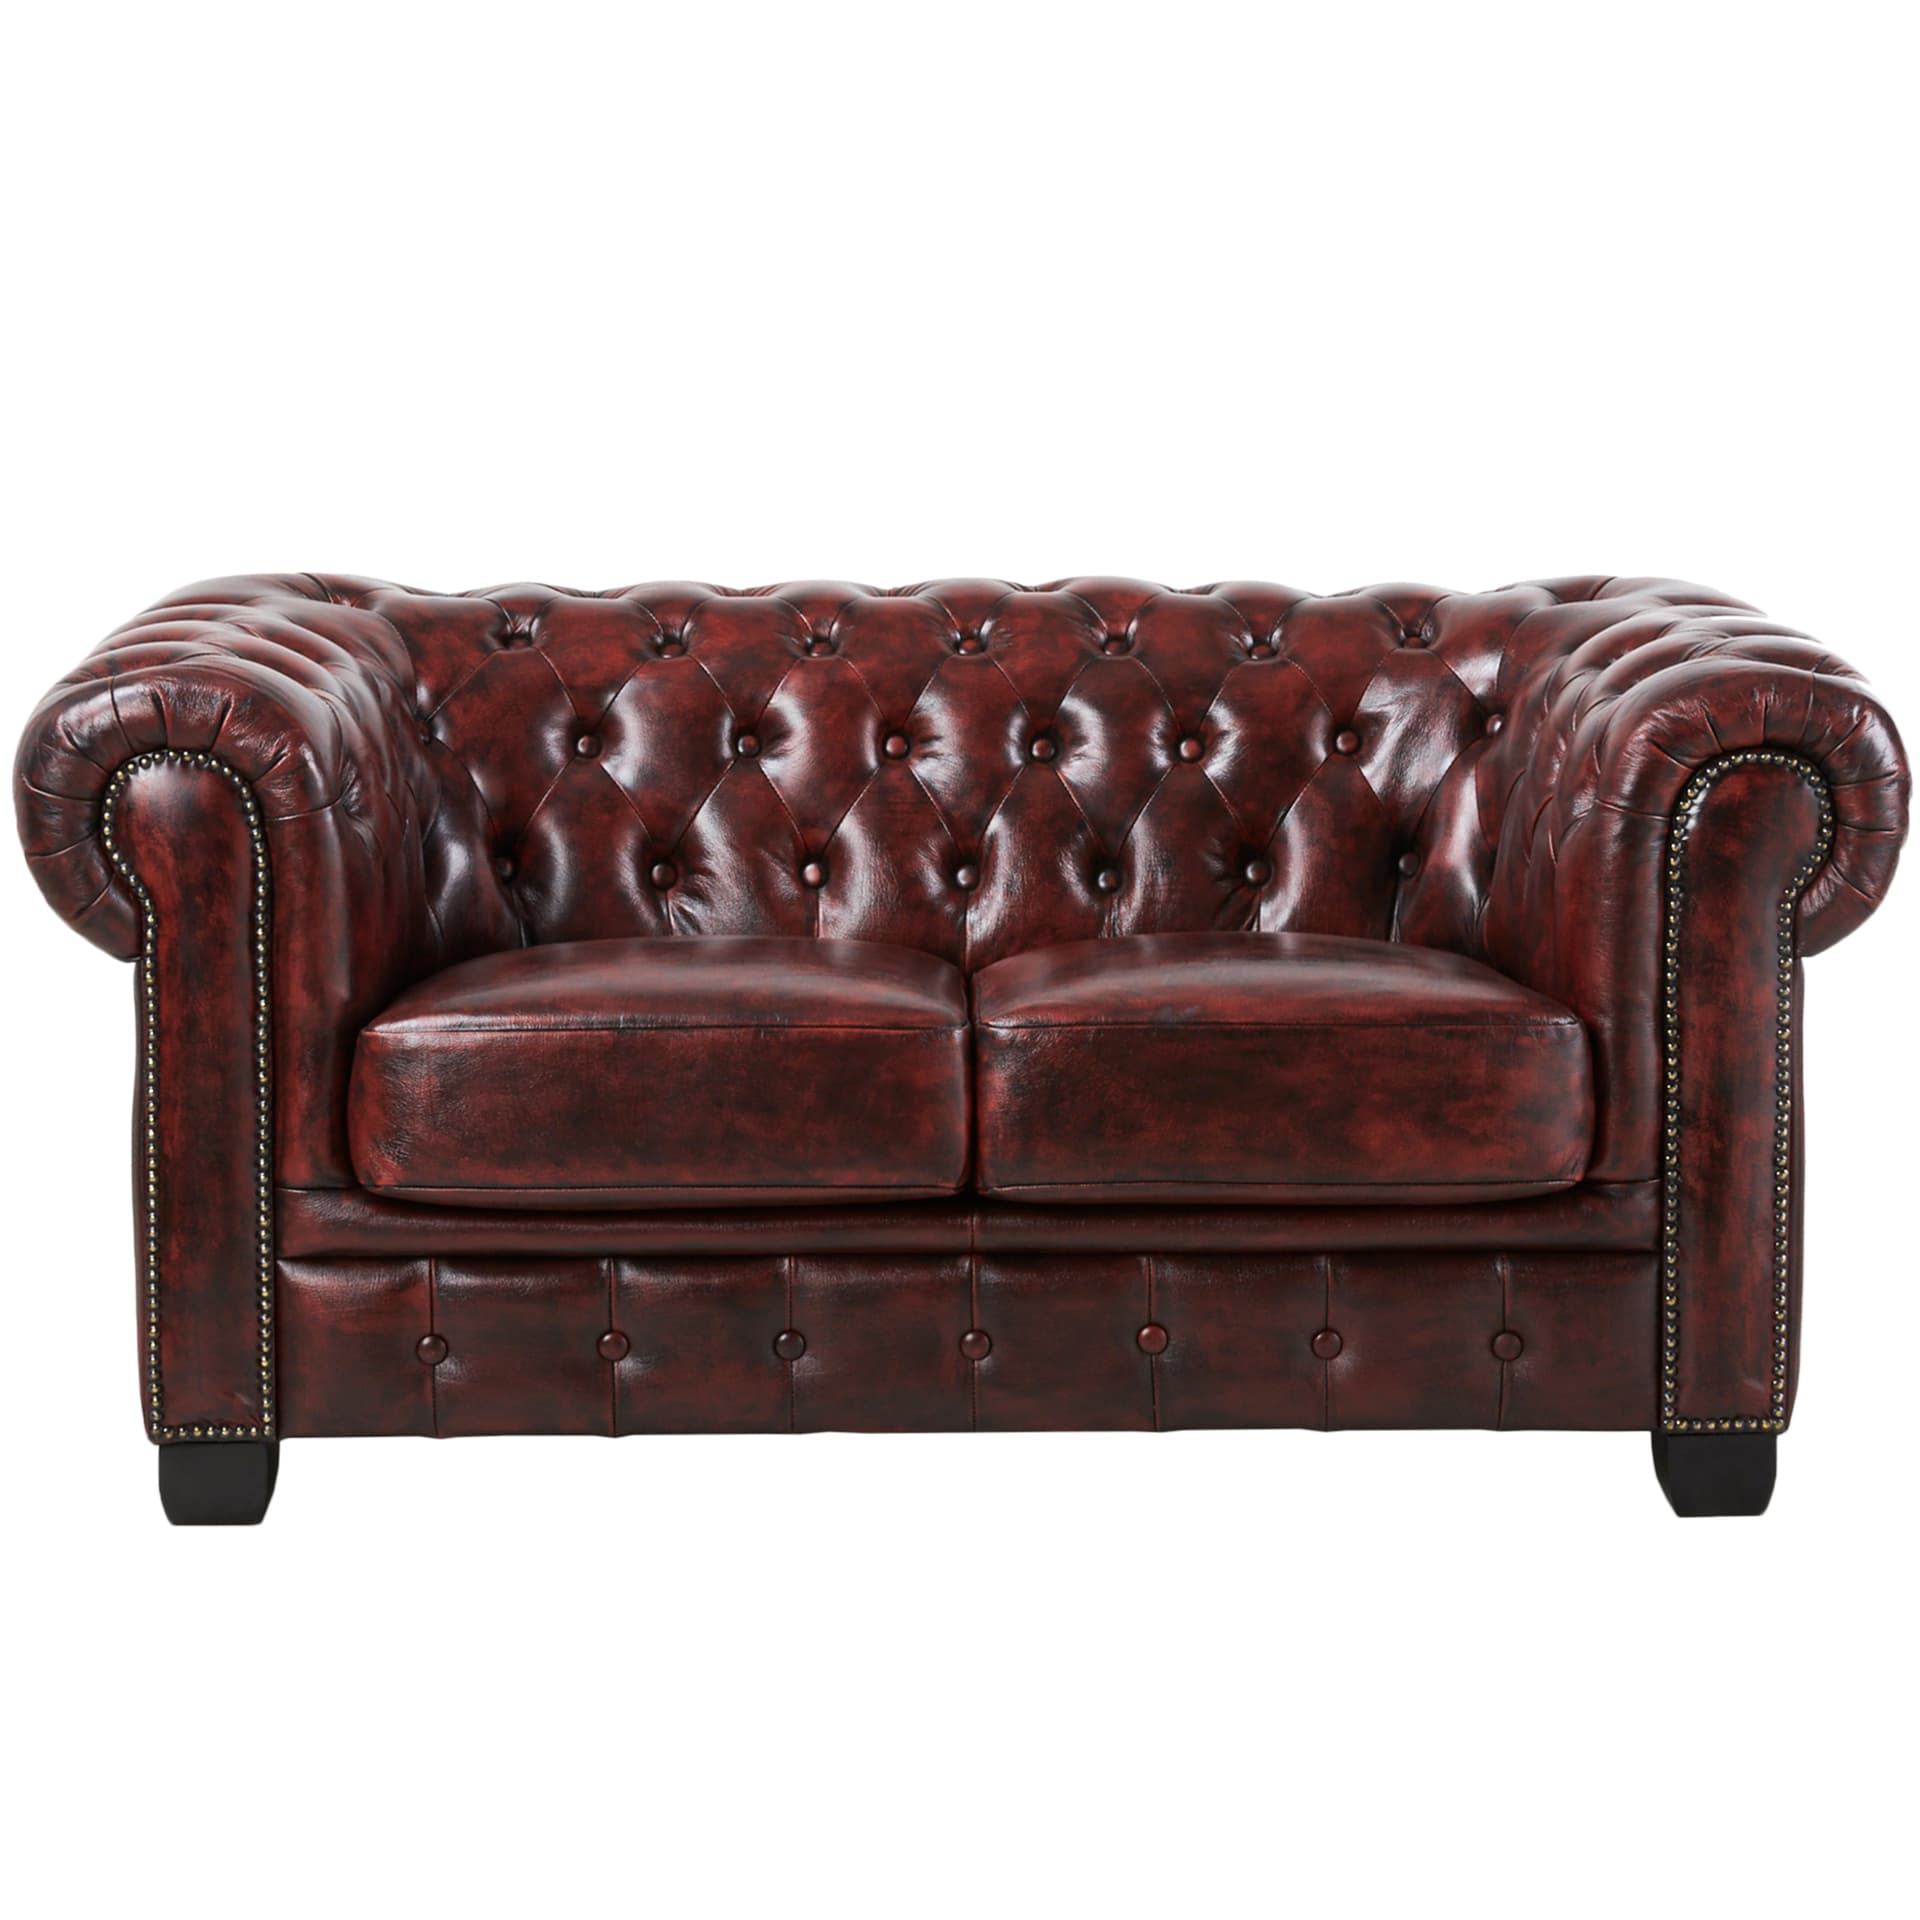
Believe it or not, those circular things on the top of the bench are leather seats… those are buttons pulling the leather down like the back on this:.
1 Like
Complement to post by @petbat
Images from Prime Portal showing the interior of a restored Sd.Kfz. 10
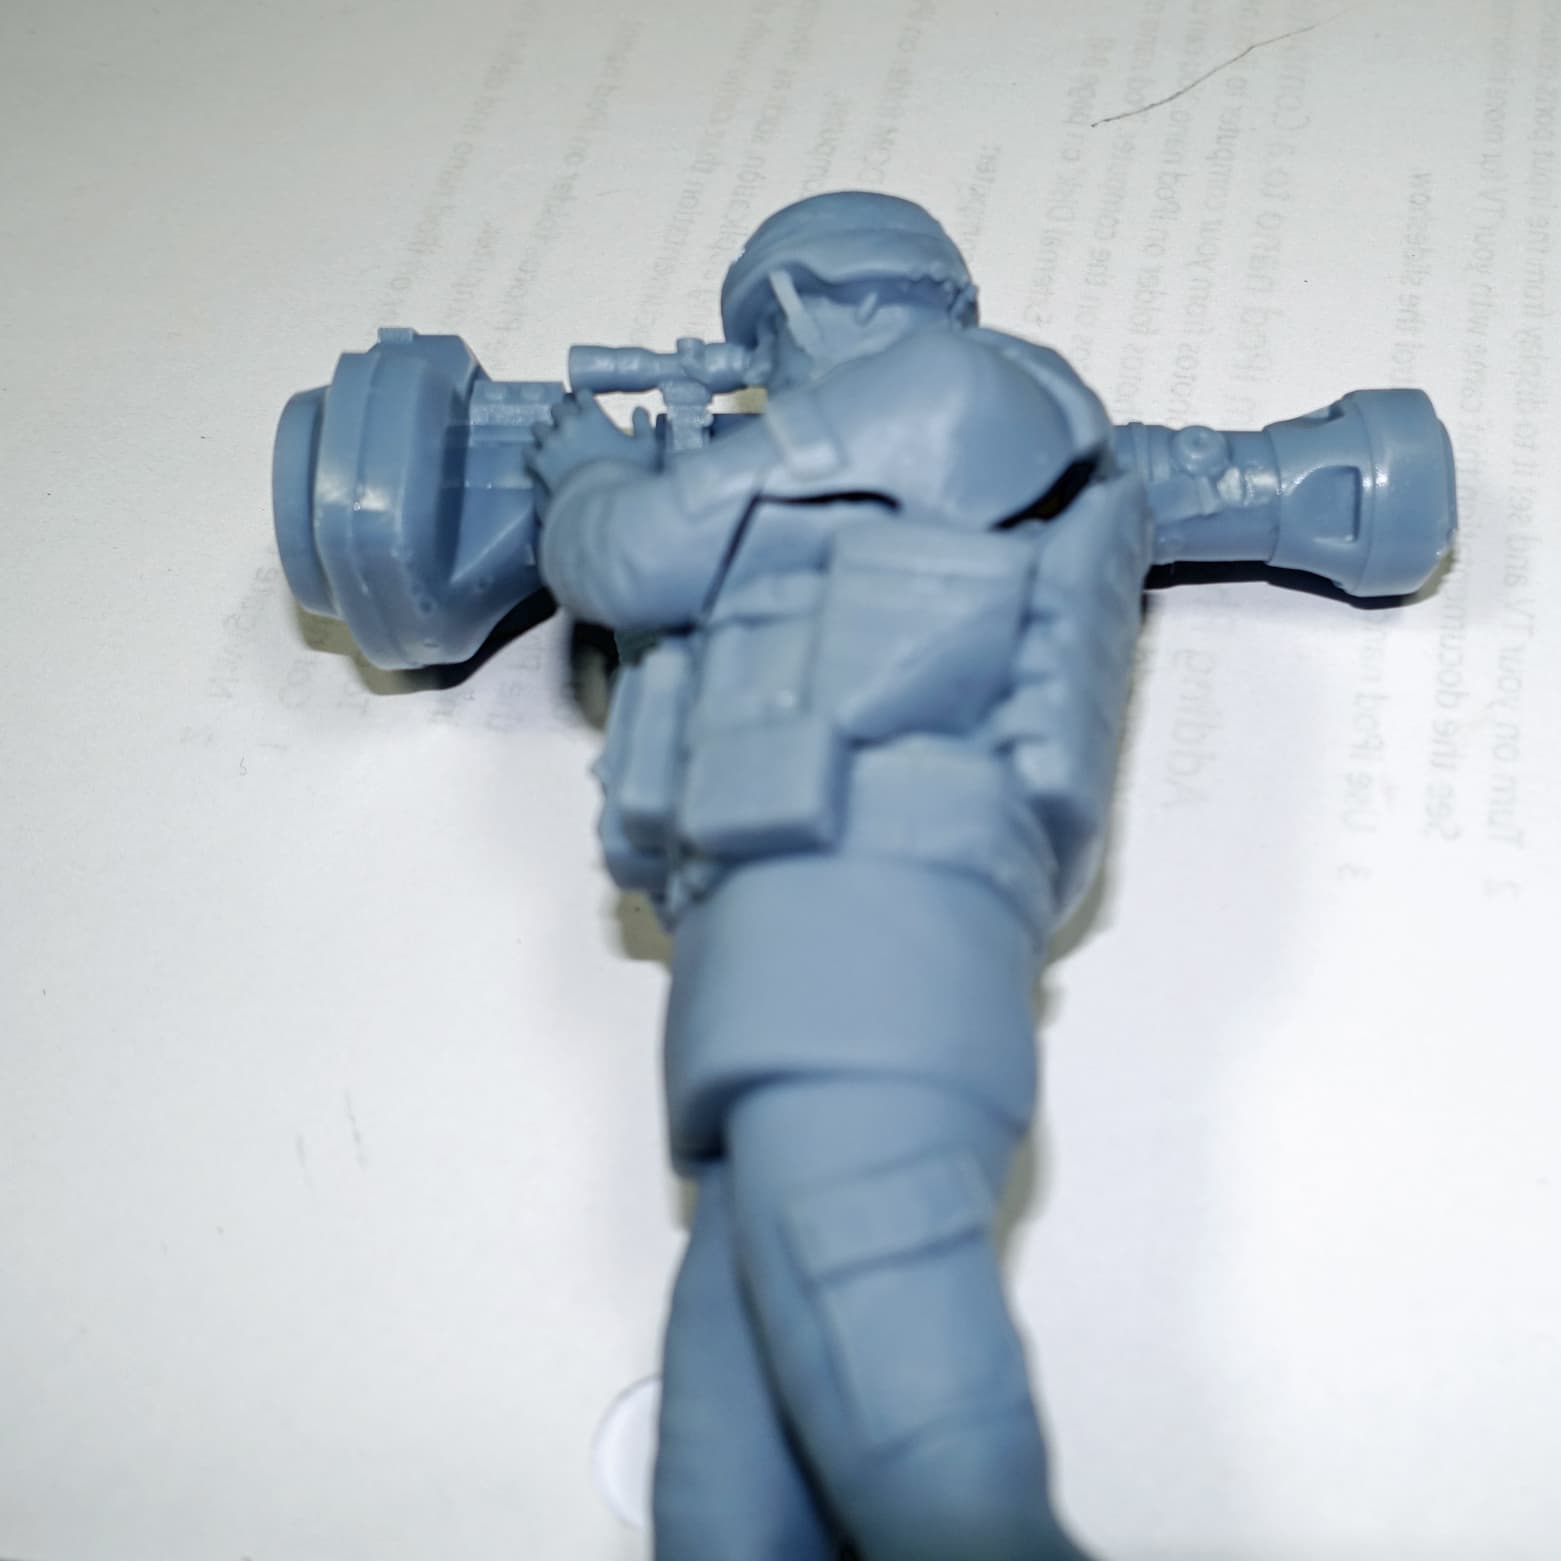
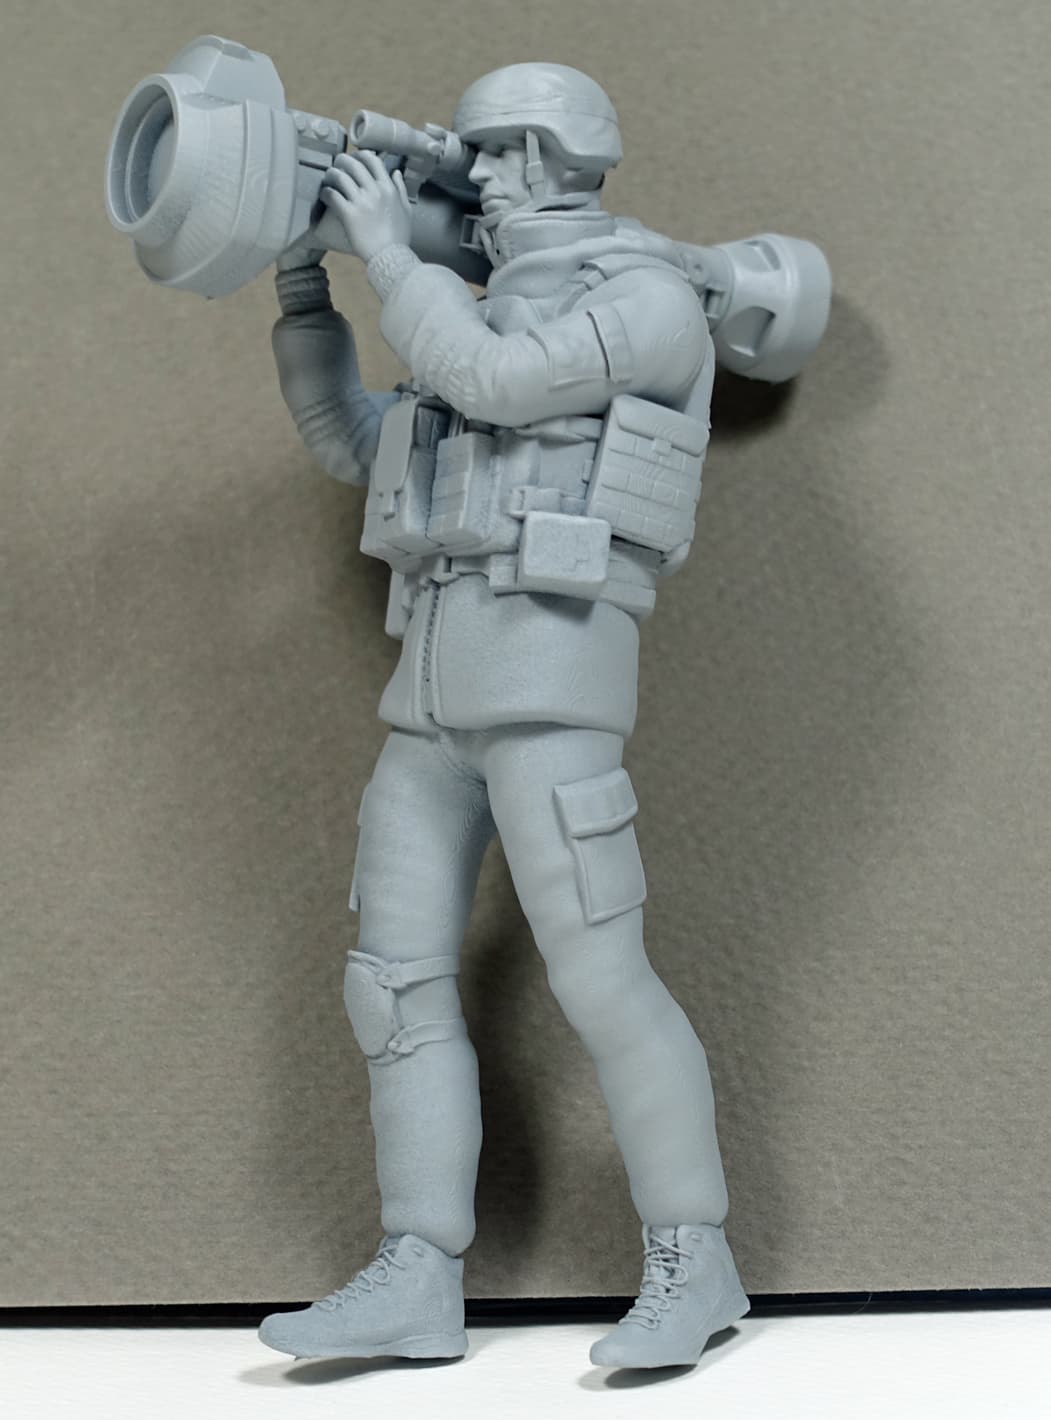
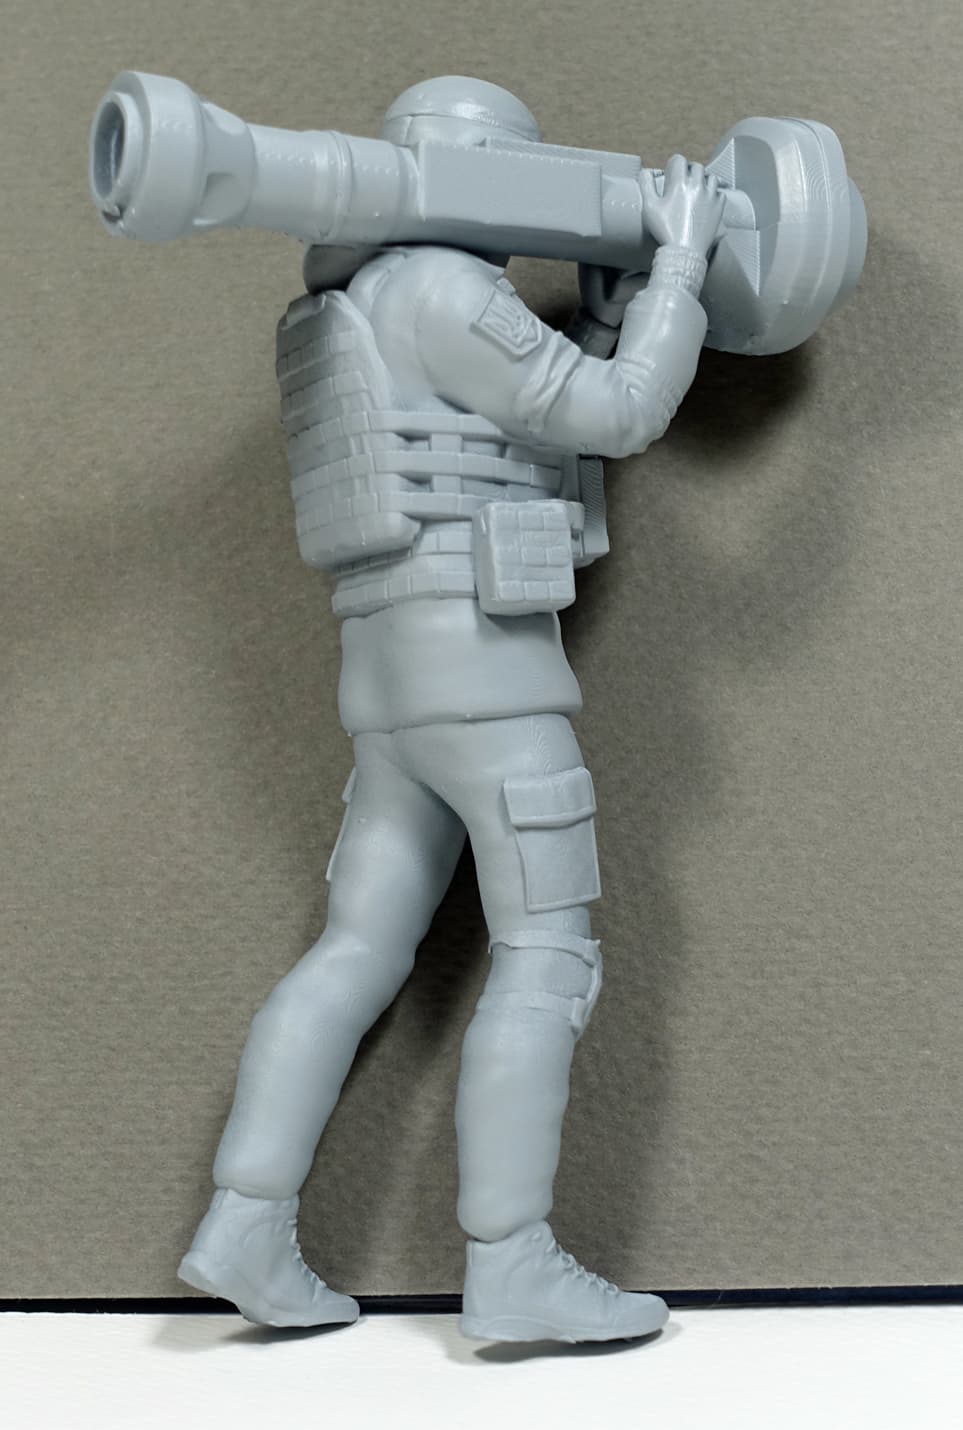
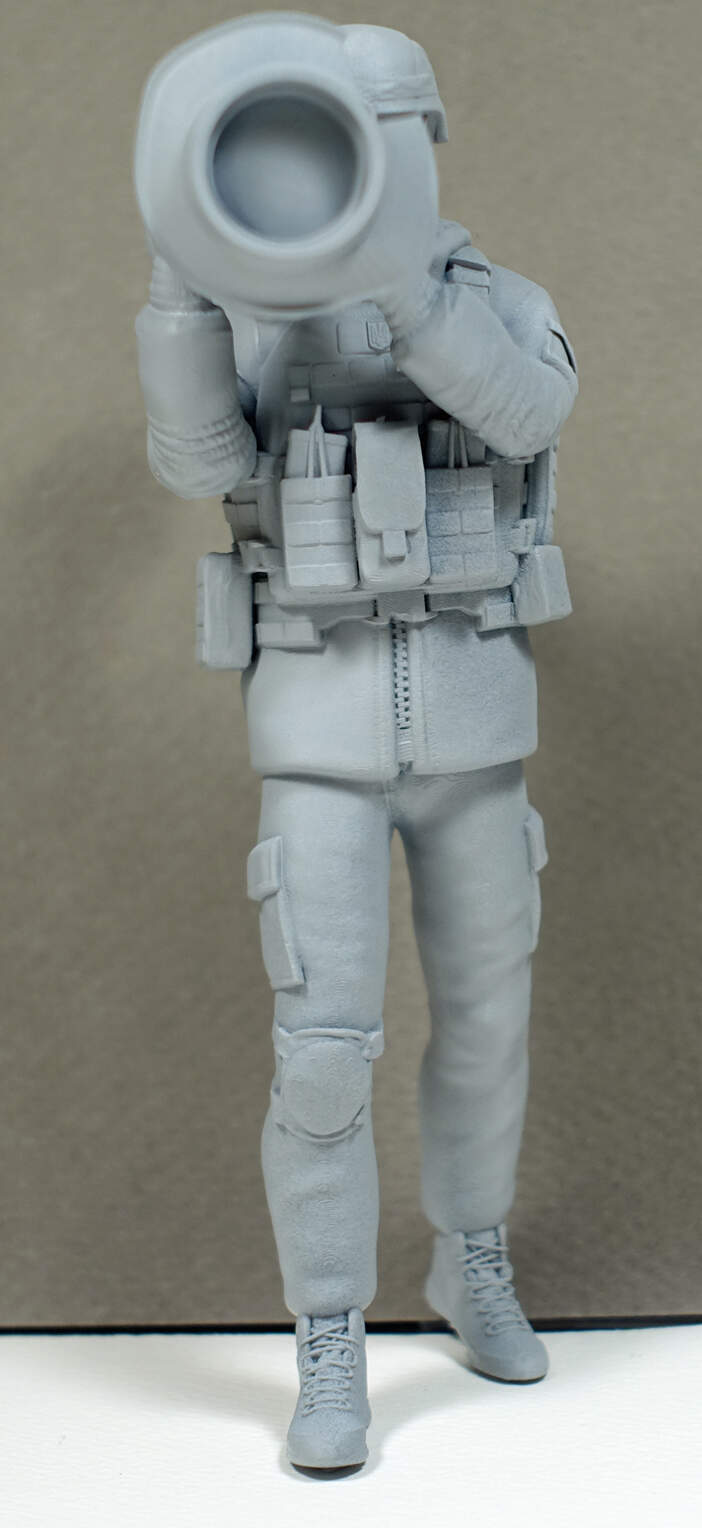
The overseas 3D print store not only fully refunded my cracked 1/16 NLAW figure, but they sent me a solid 3D printed NLAW figure. Now that is exceptional Customer Service! ![]()
Cracked
So I am still in this Campaign and I hope to finish it before the deadline.
Here it is, primed and awaiting a paint job…
Solid 3D printed and primed:
4 Likes