That’s exactly what I would want and be looking for! Excellent improvement and work! You will keep getting better as you become more confident and comfortable with the techniques.
Very Well Done!
That’s exactly what I would want and be looking for! Excellent improvement and work! You will keep getting better as you become more confident and comfortable with the techniques.
Very Well Done!
Fantastic! Wanted confirmation I hadn’t gone too far the other way in making it too blotchy before I tackled the rest
As @Armorsmith Dv says as the process continues it will come together.
Right On The Mark 
Once you really get the hang of this technique(and you are well on your way) you won’t want to do a monotone scheme any other way.
If I may, I know I am not experienced by any means. This is my second airbrushed model, but I found a good technique for a newbie is to not do the dot method that @Armor_Buff seems to have perfected but rather keep a constant flow rate, and hover in some spots a little longer than others.
I found being new I struggle with the paint control so I had some dots coming out too large and bright and some way too small. With the hovering technique and thin paint I found it easier to build up in certain spots with more control.
Not trying to say the method presented here isn’t great. In fact I think @Armor_Buff has done a great job. I just found for me this sight alteration helped
Just in case anyone struggles a bit with dotting like I did
Hey, what ever your comfortable with and works for you. Nothing about our hobby is written on stone tablets. If it works for you then it’s good.
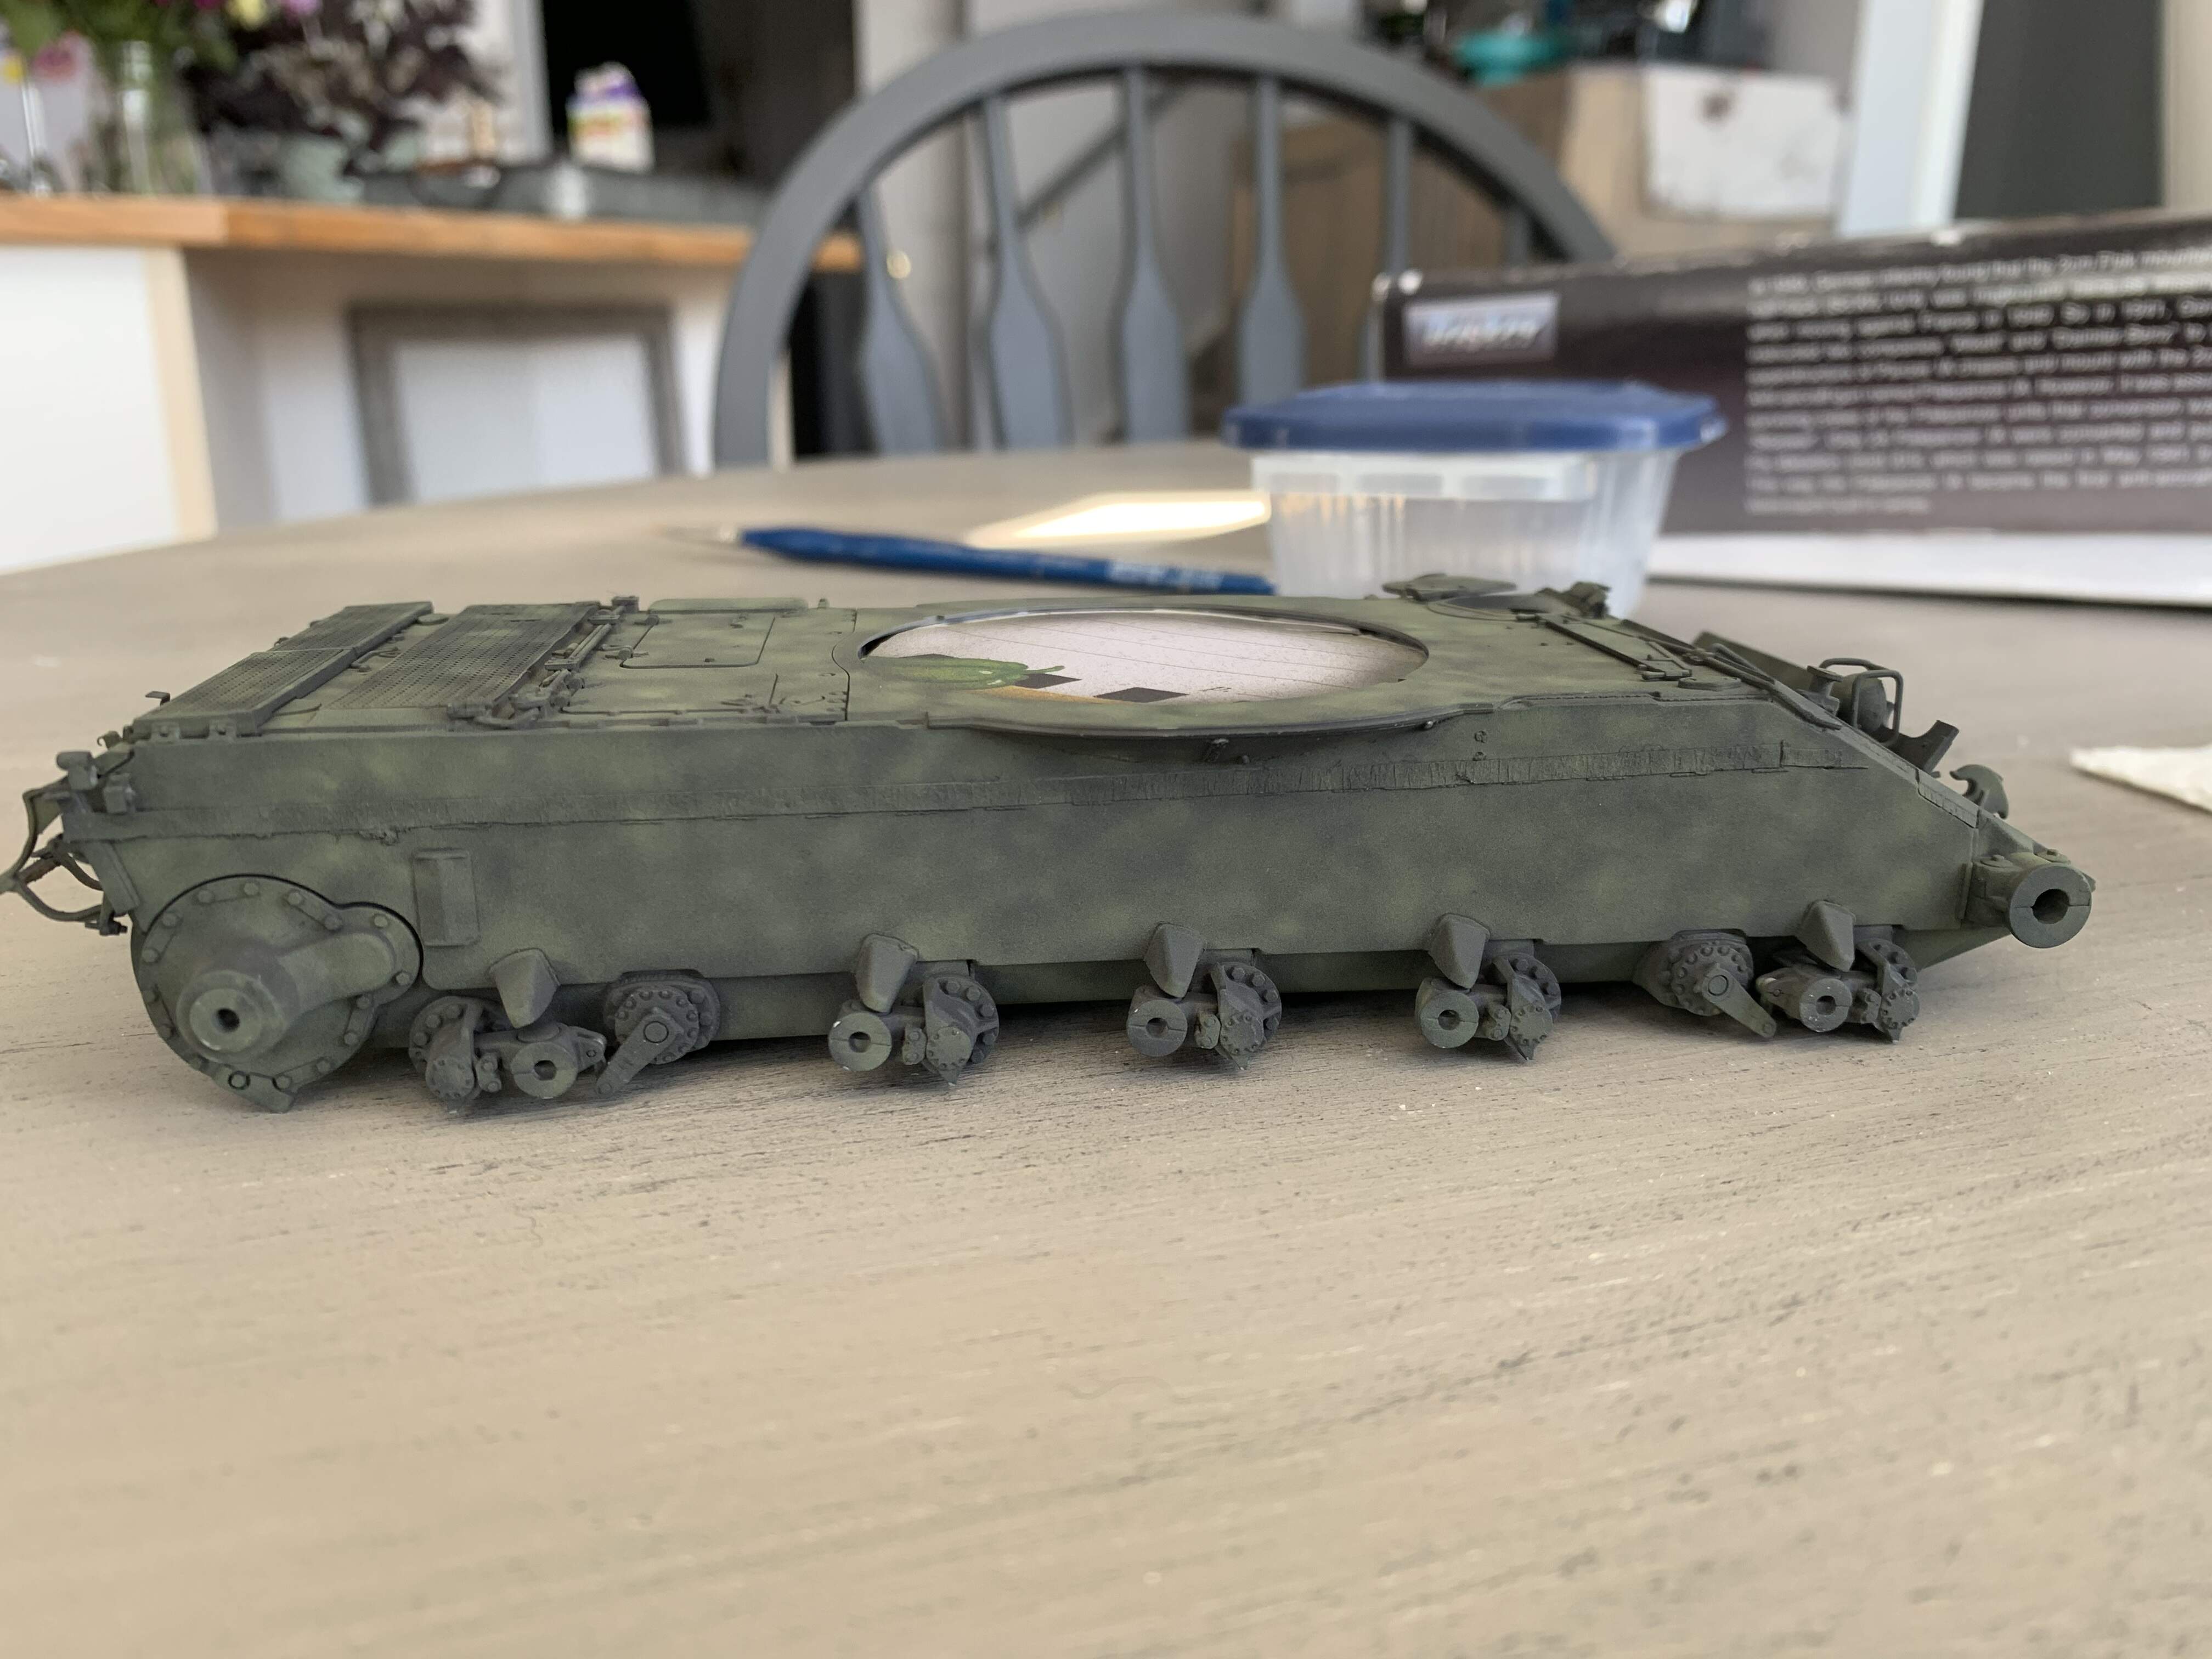
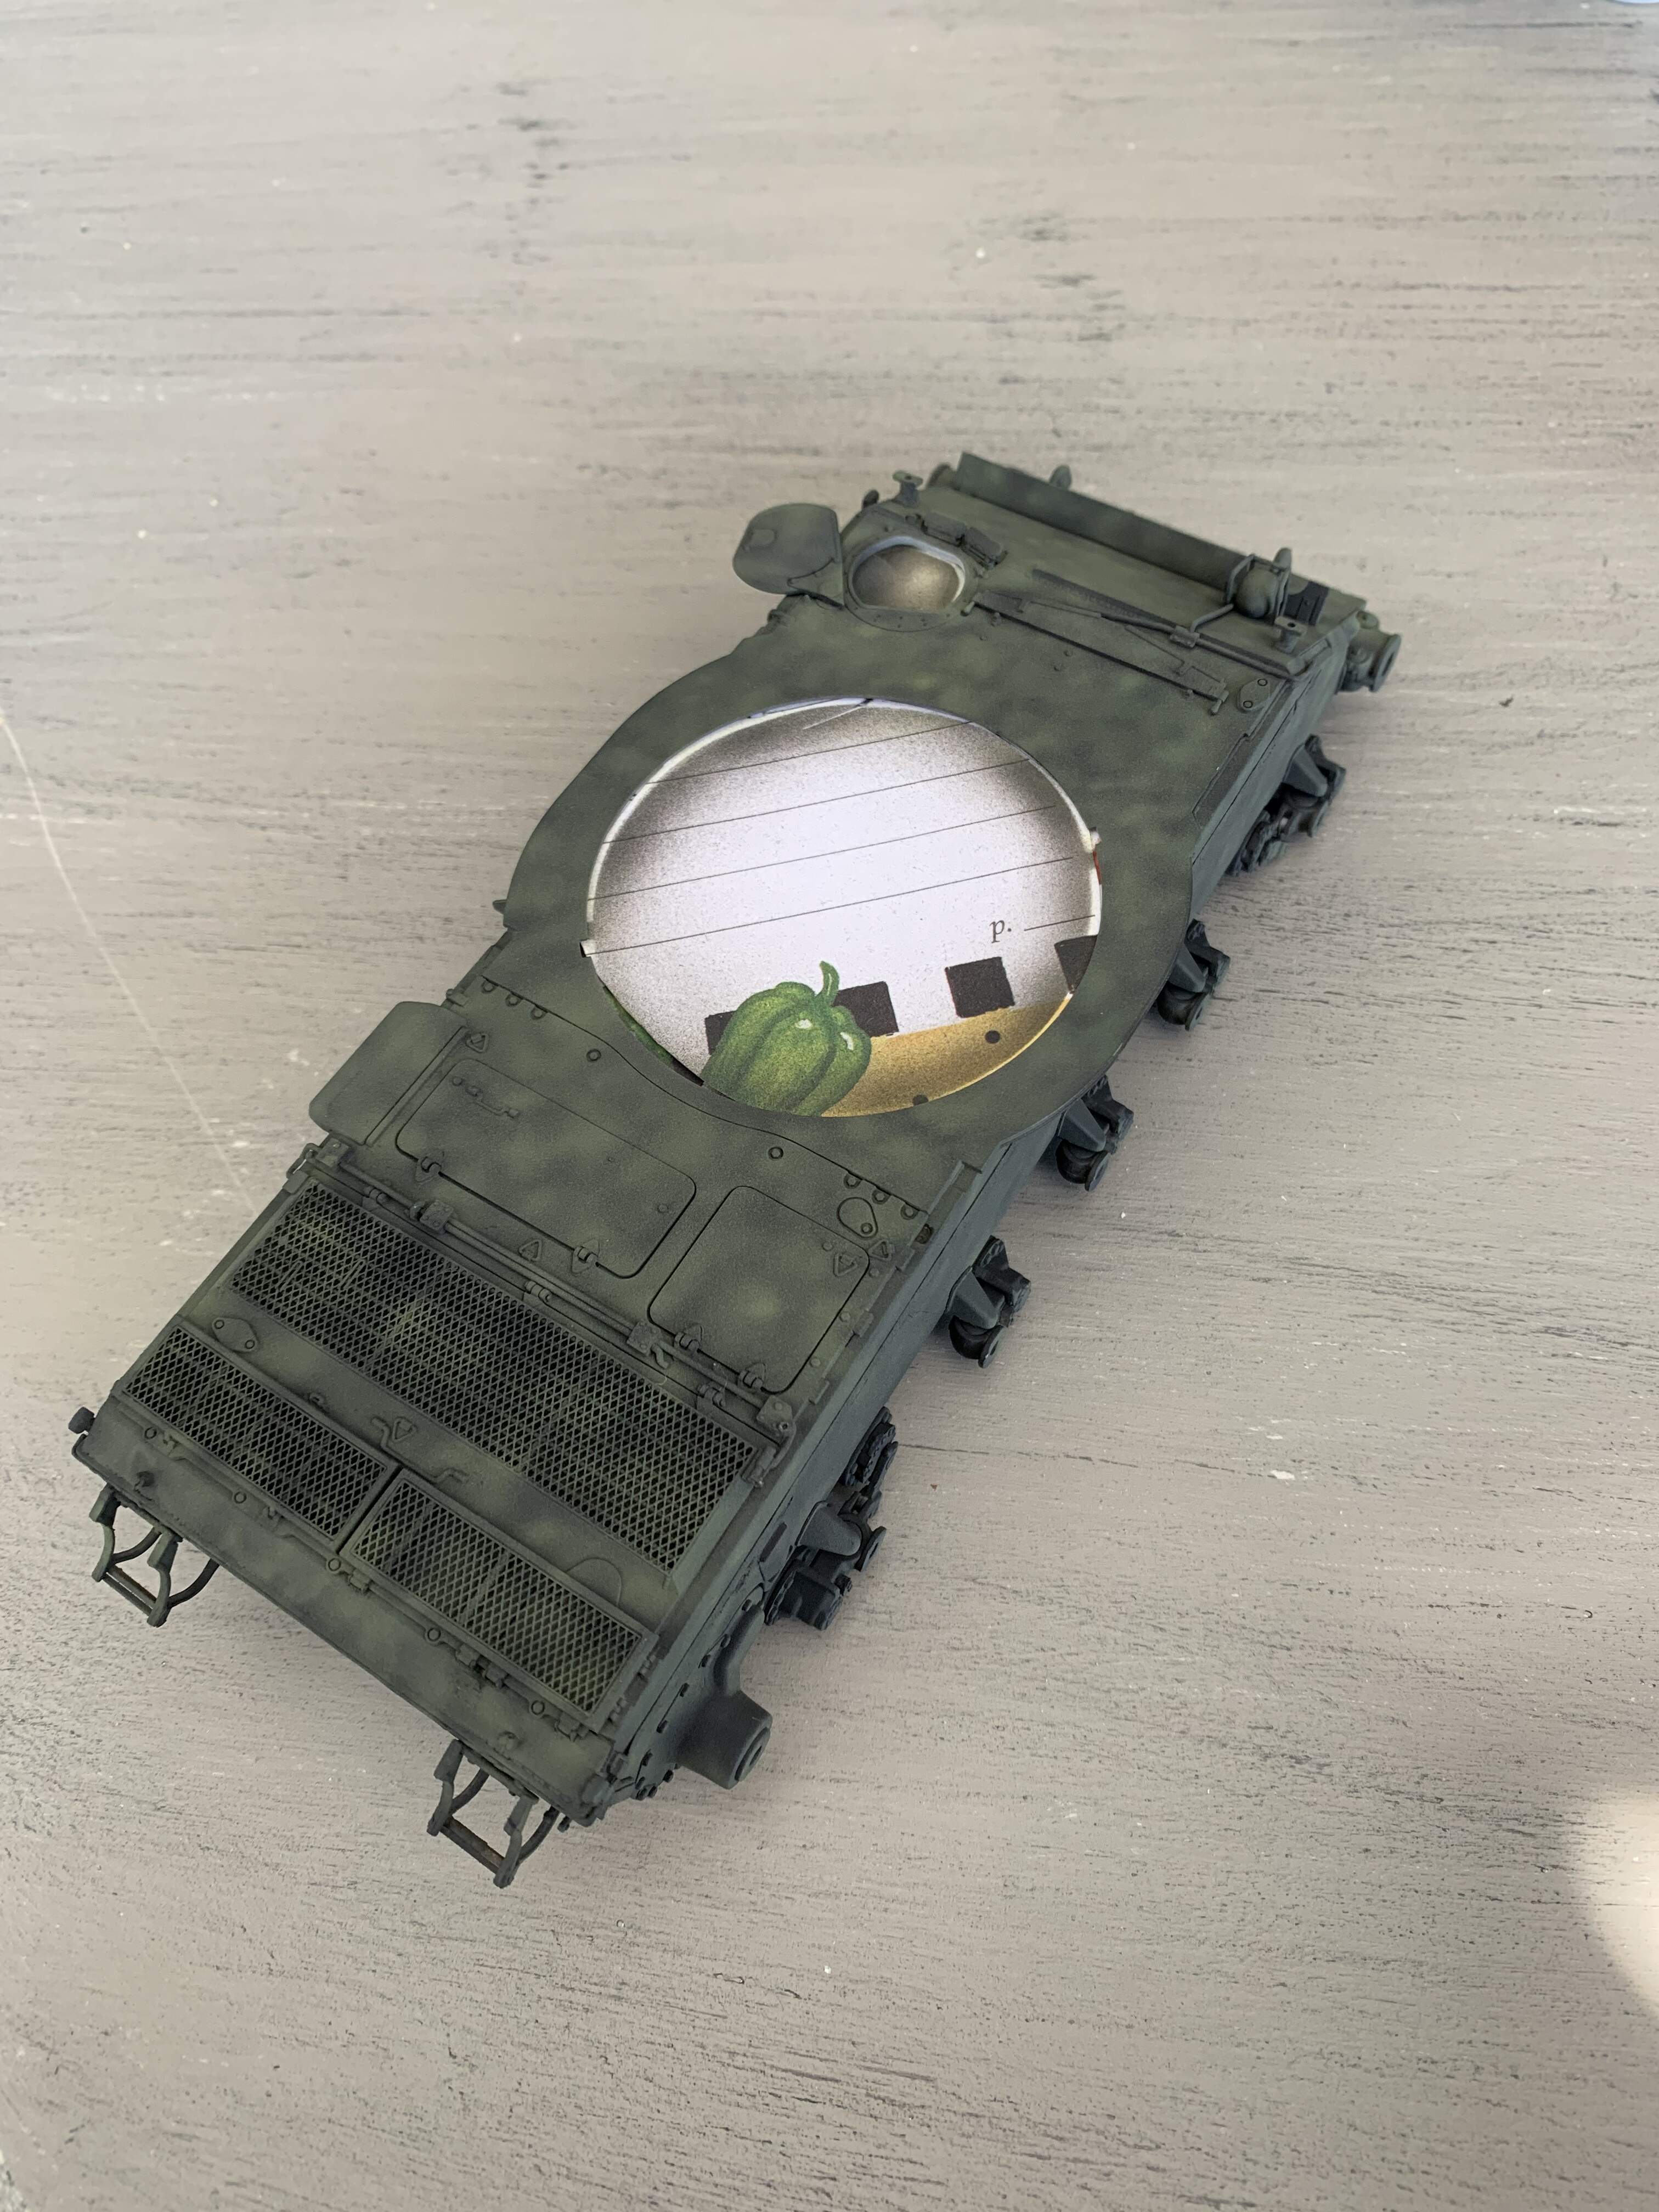
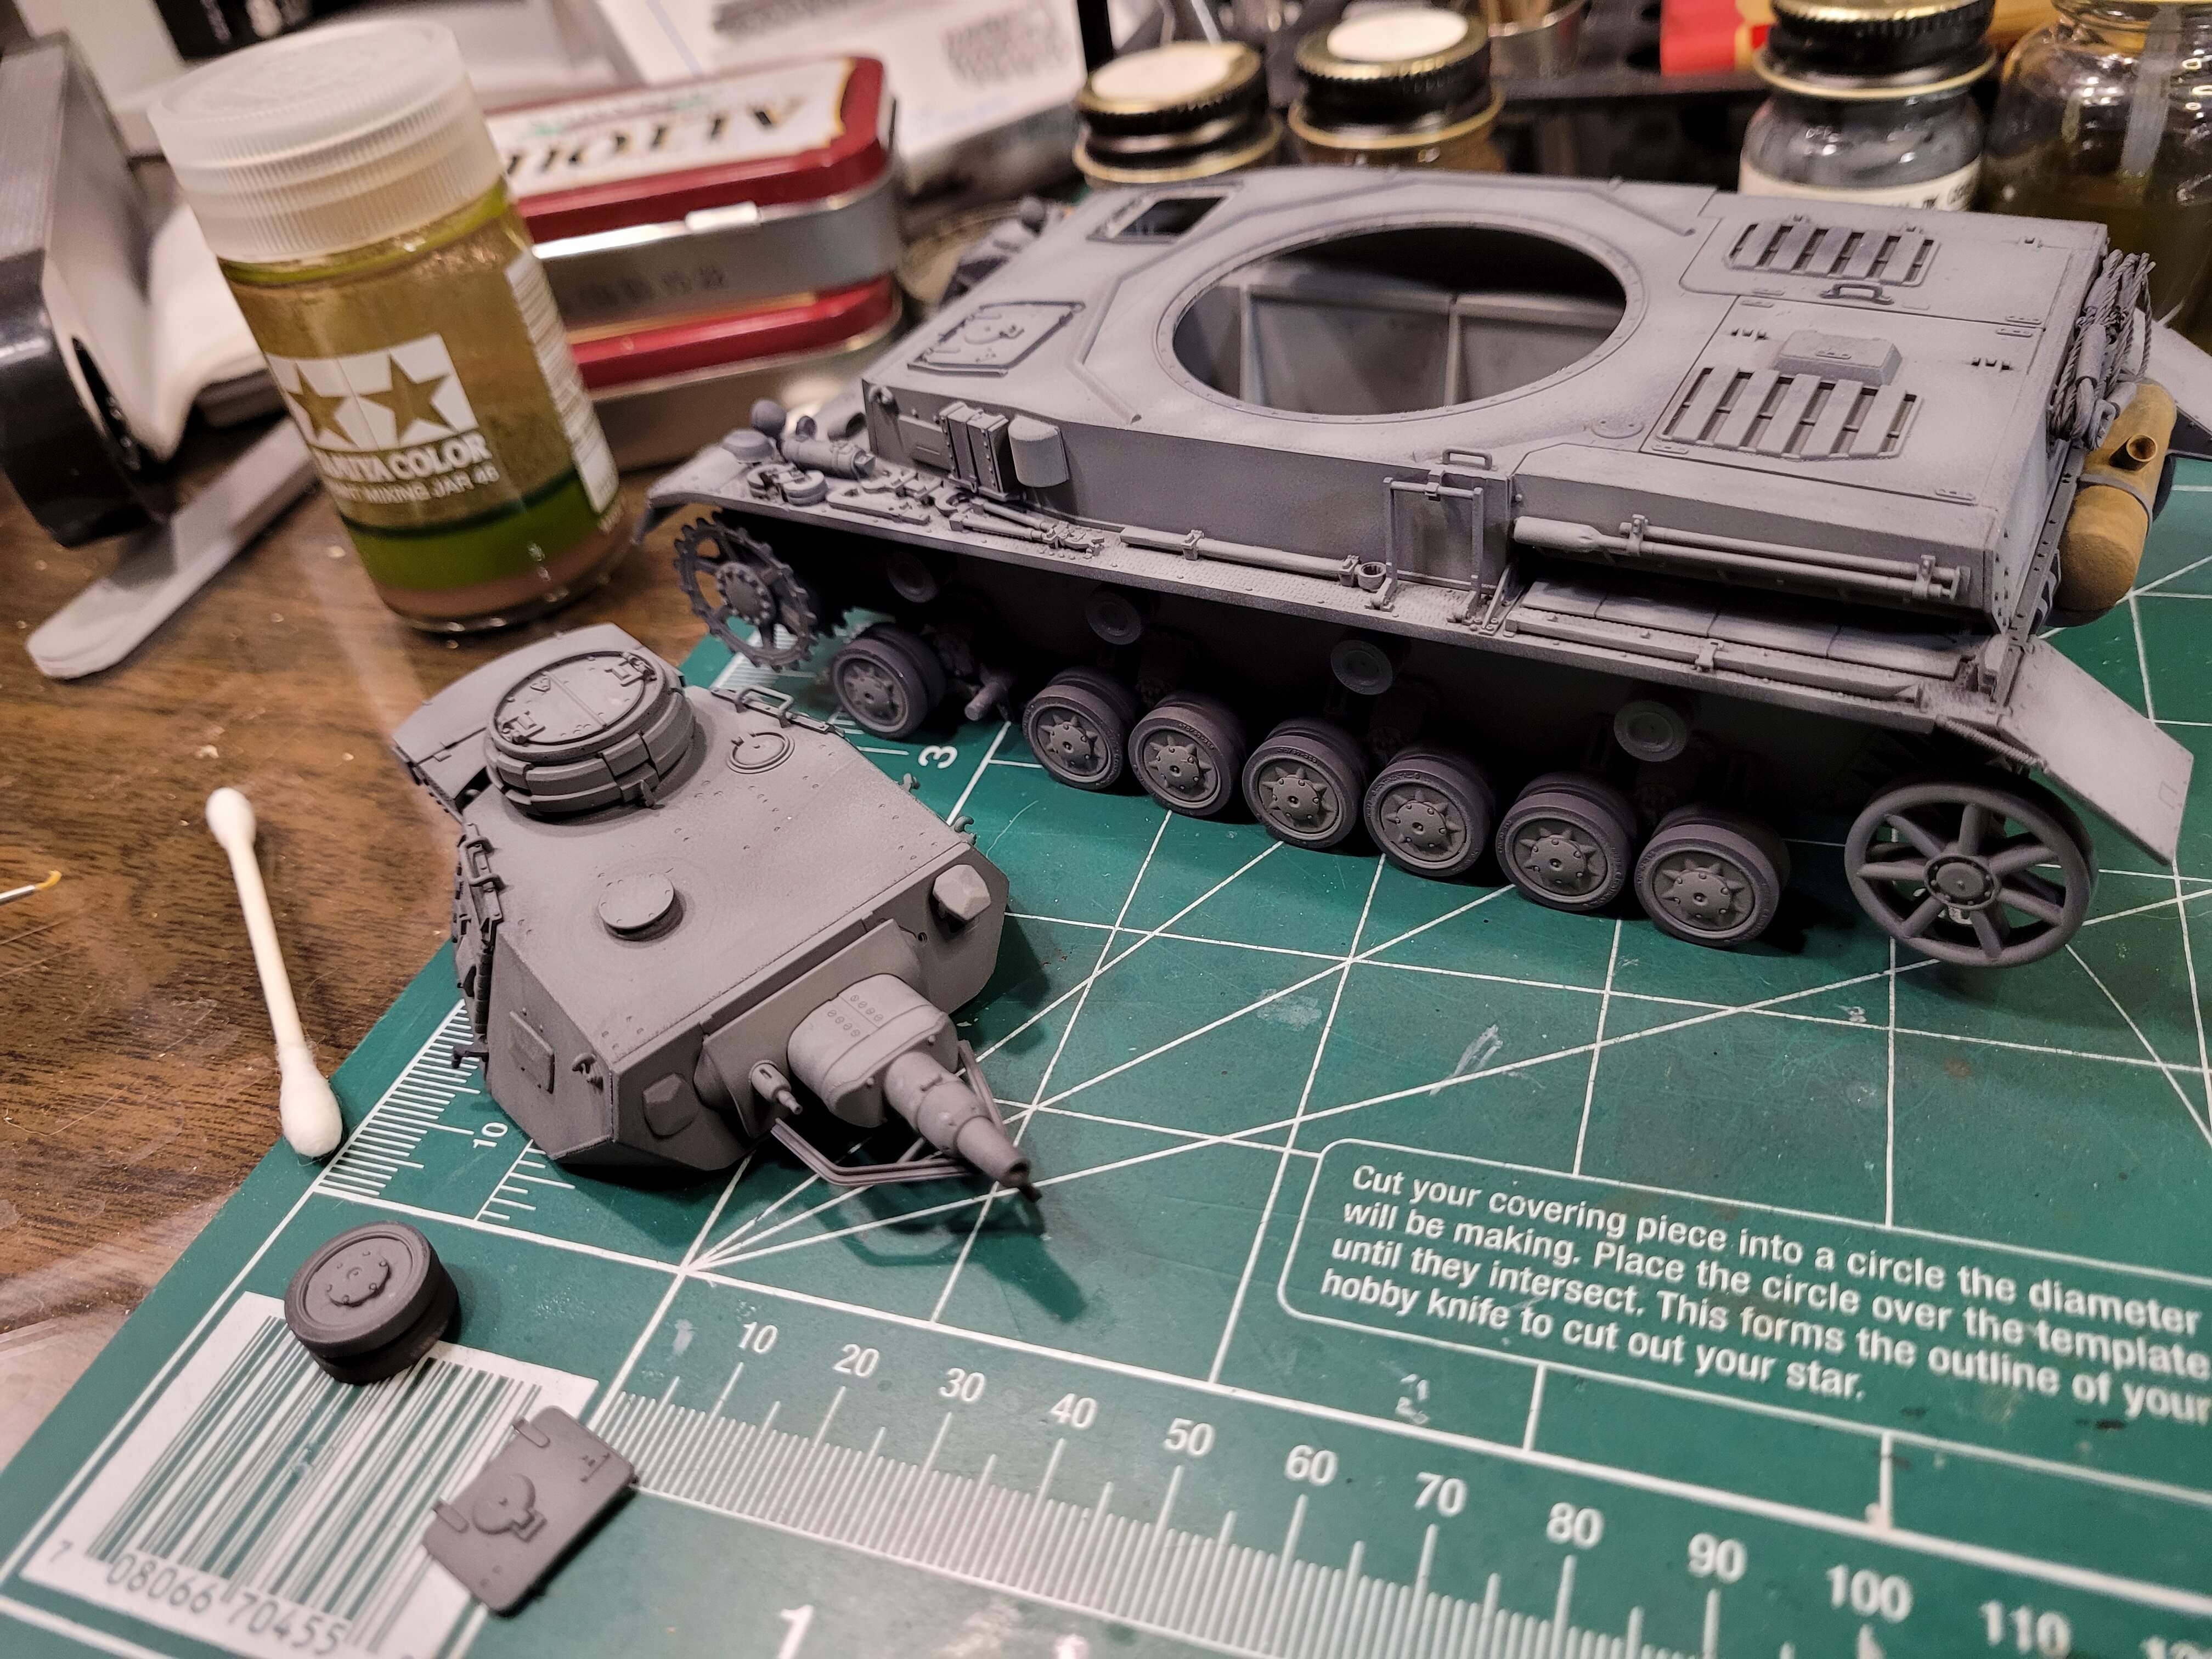
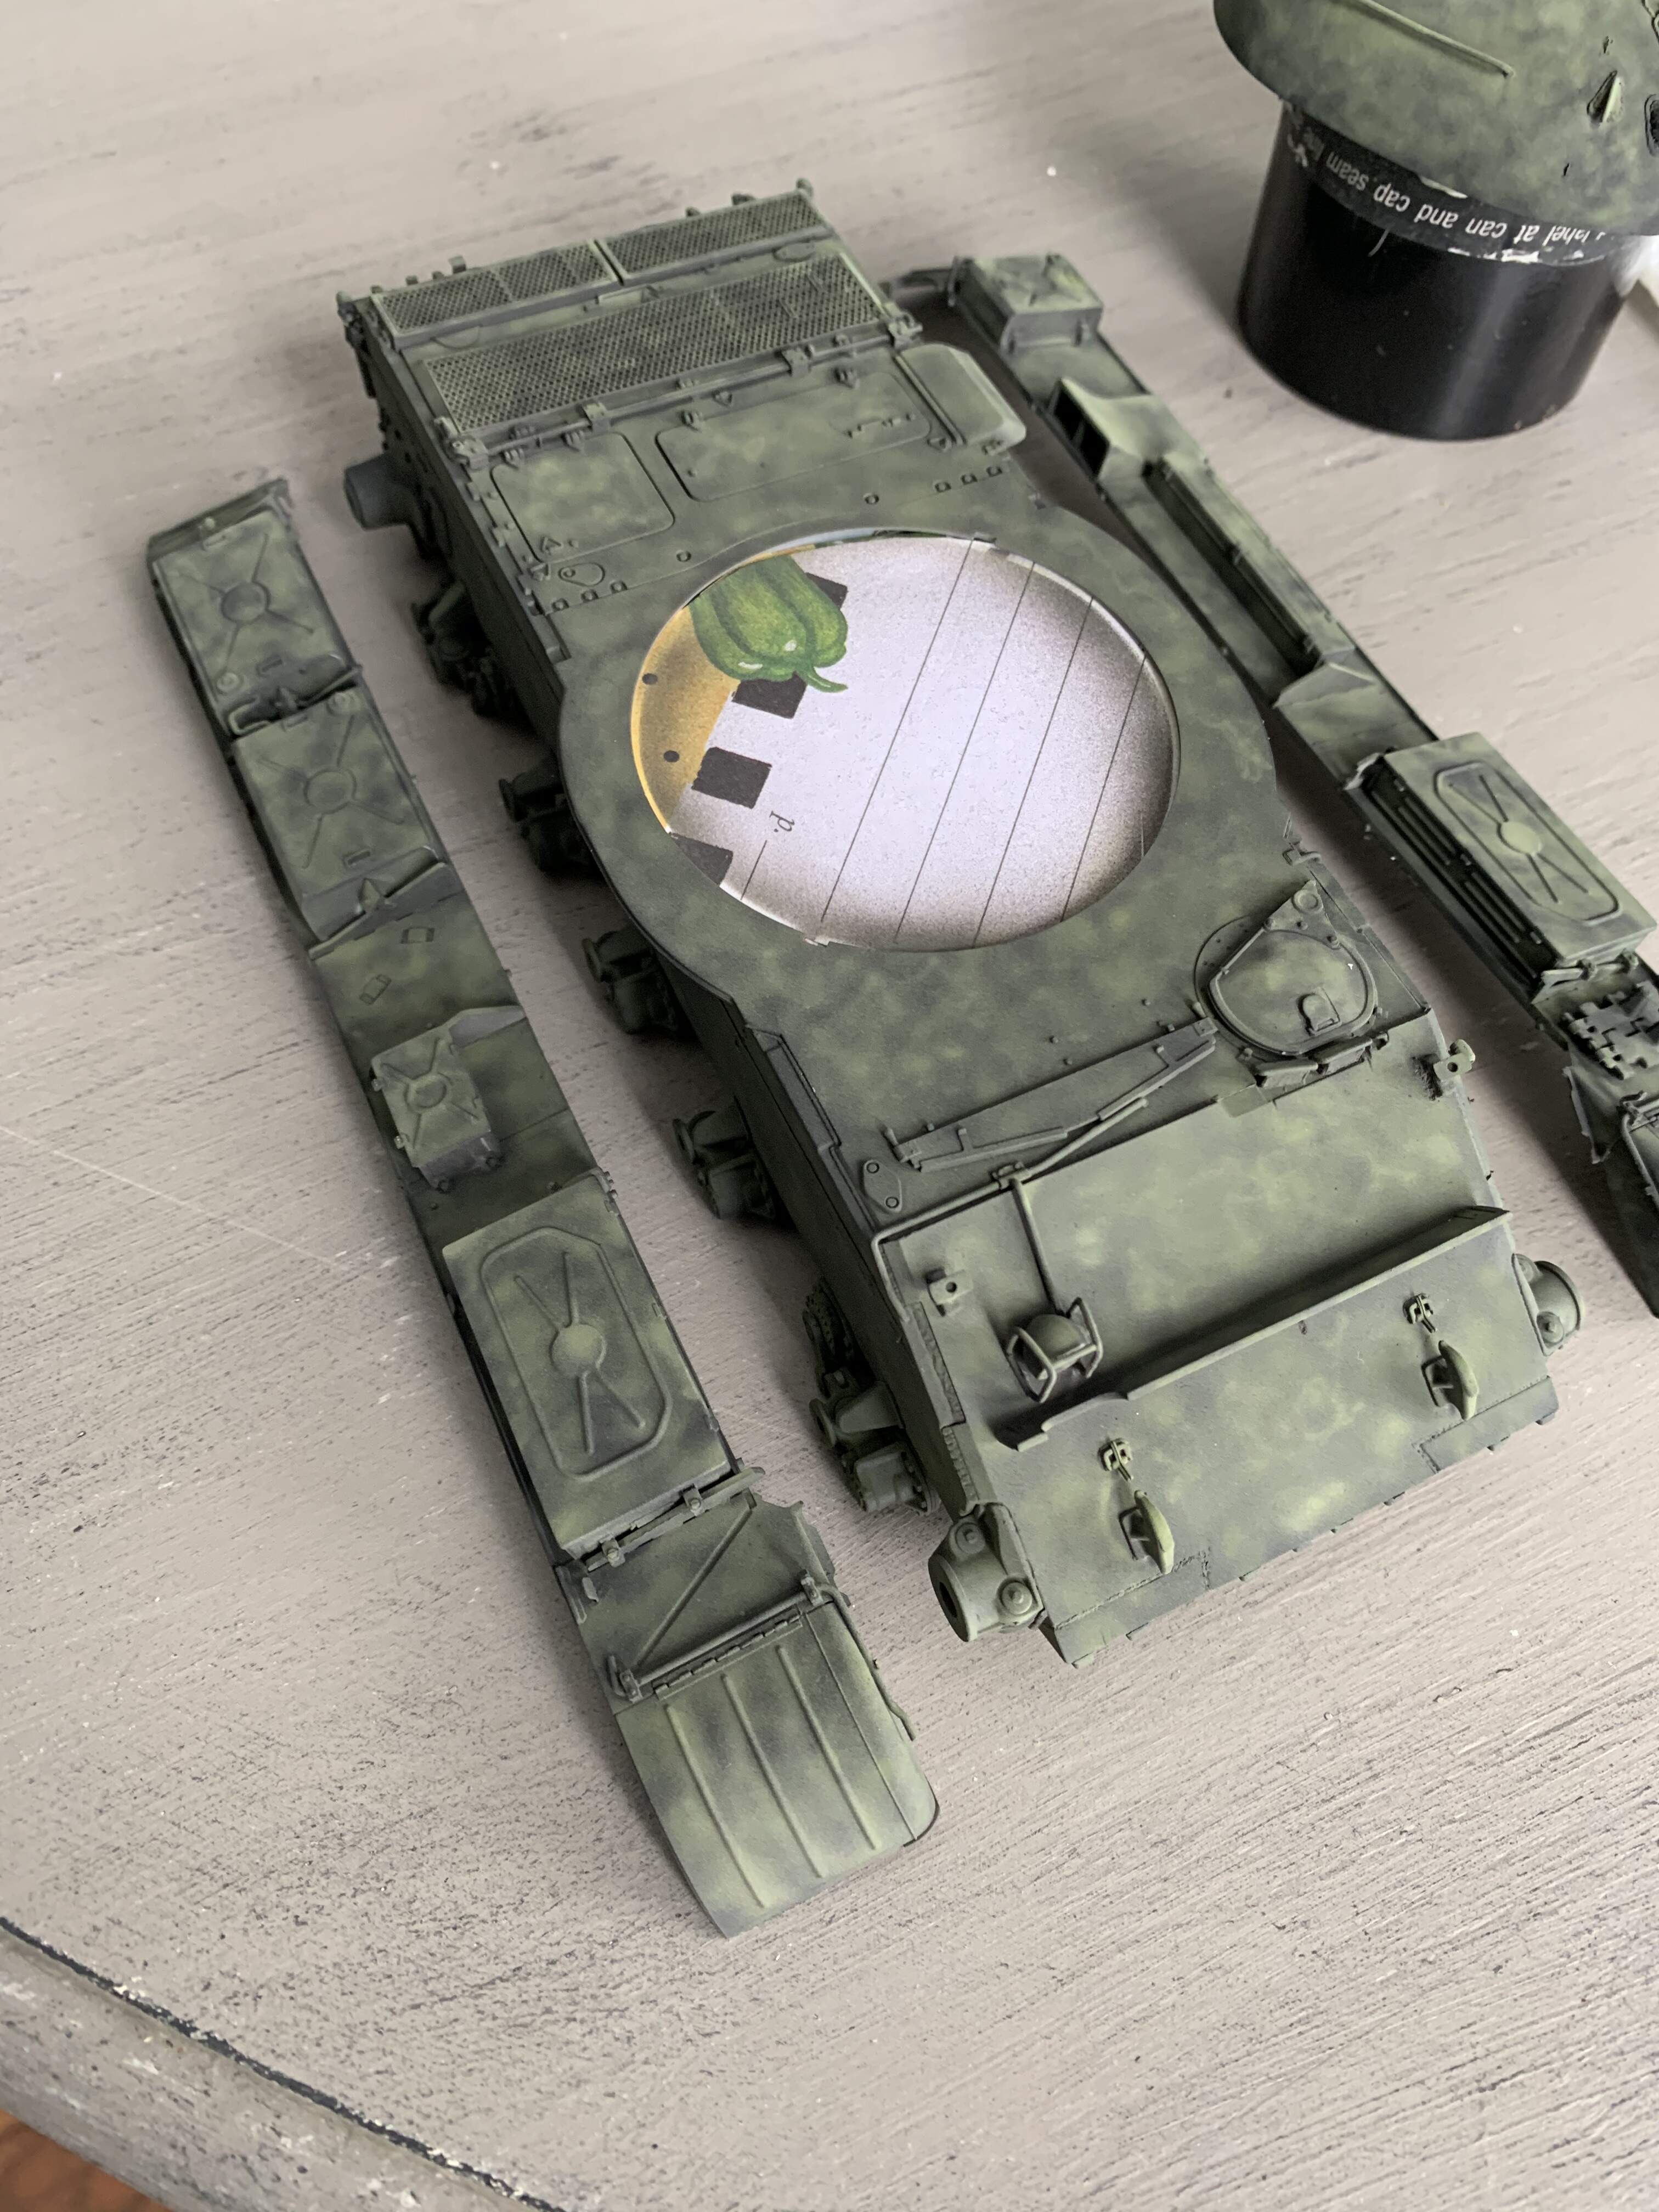
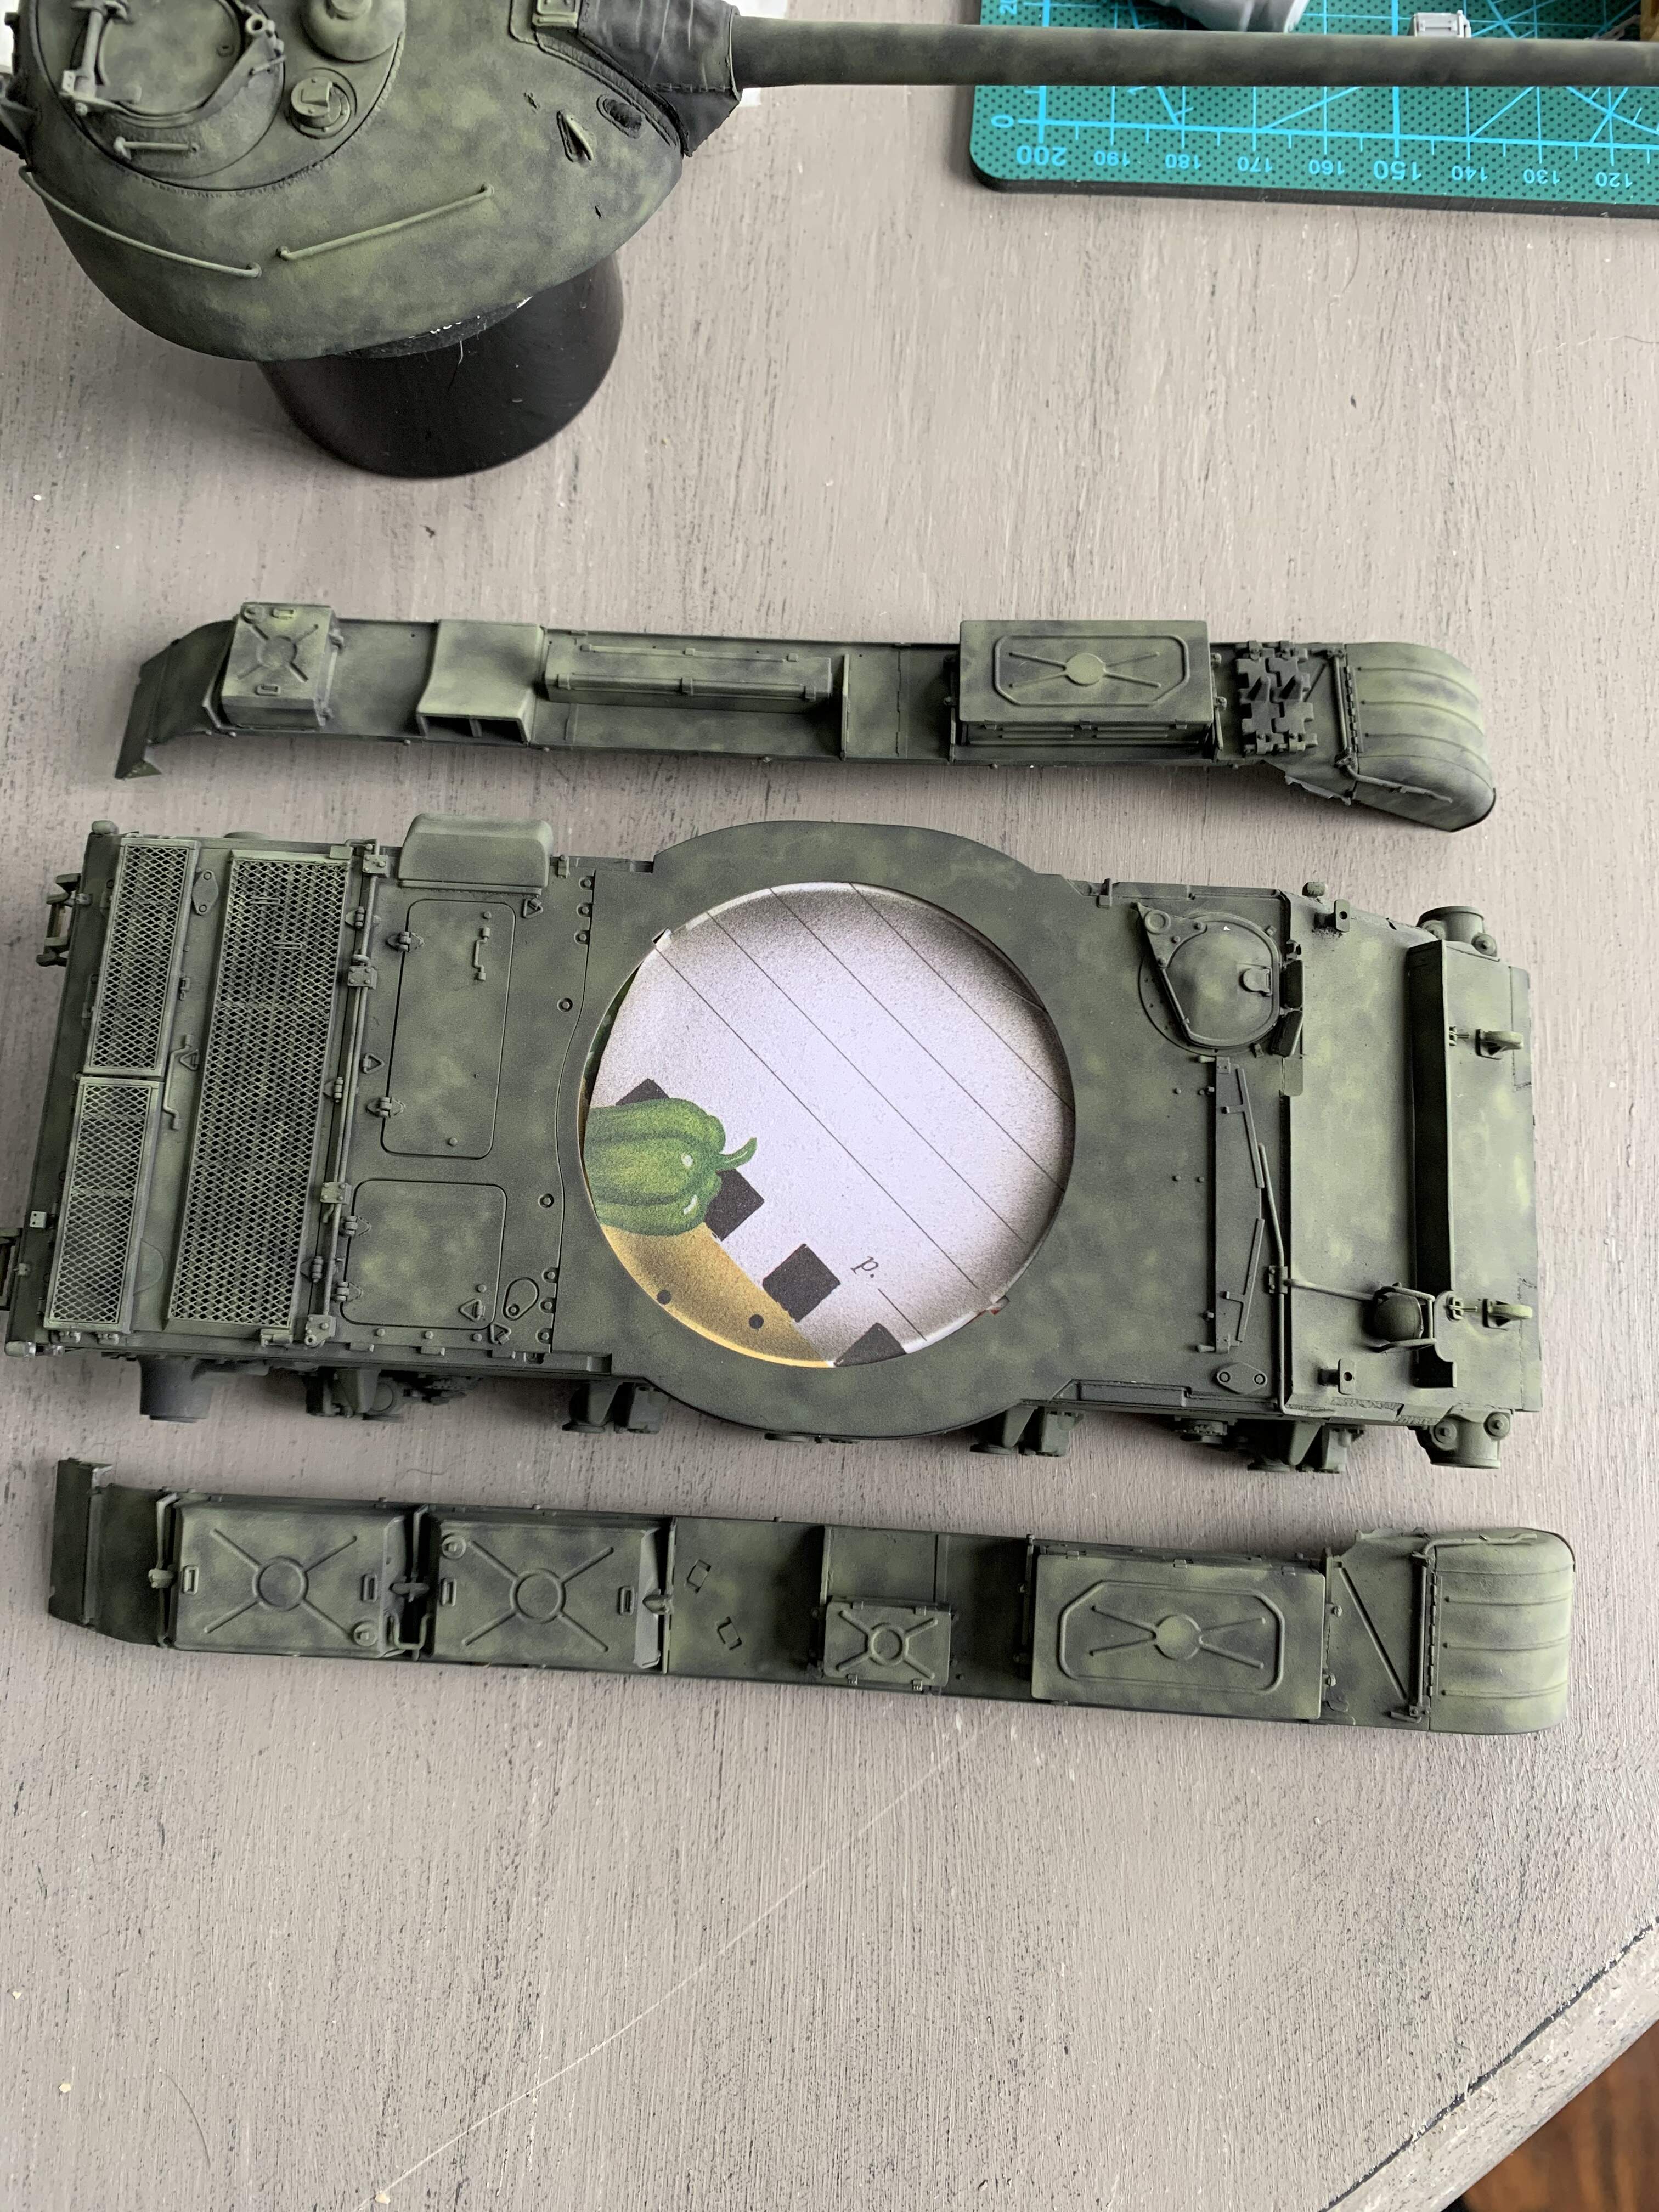
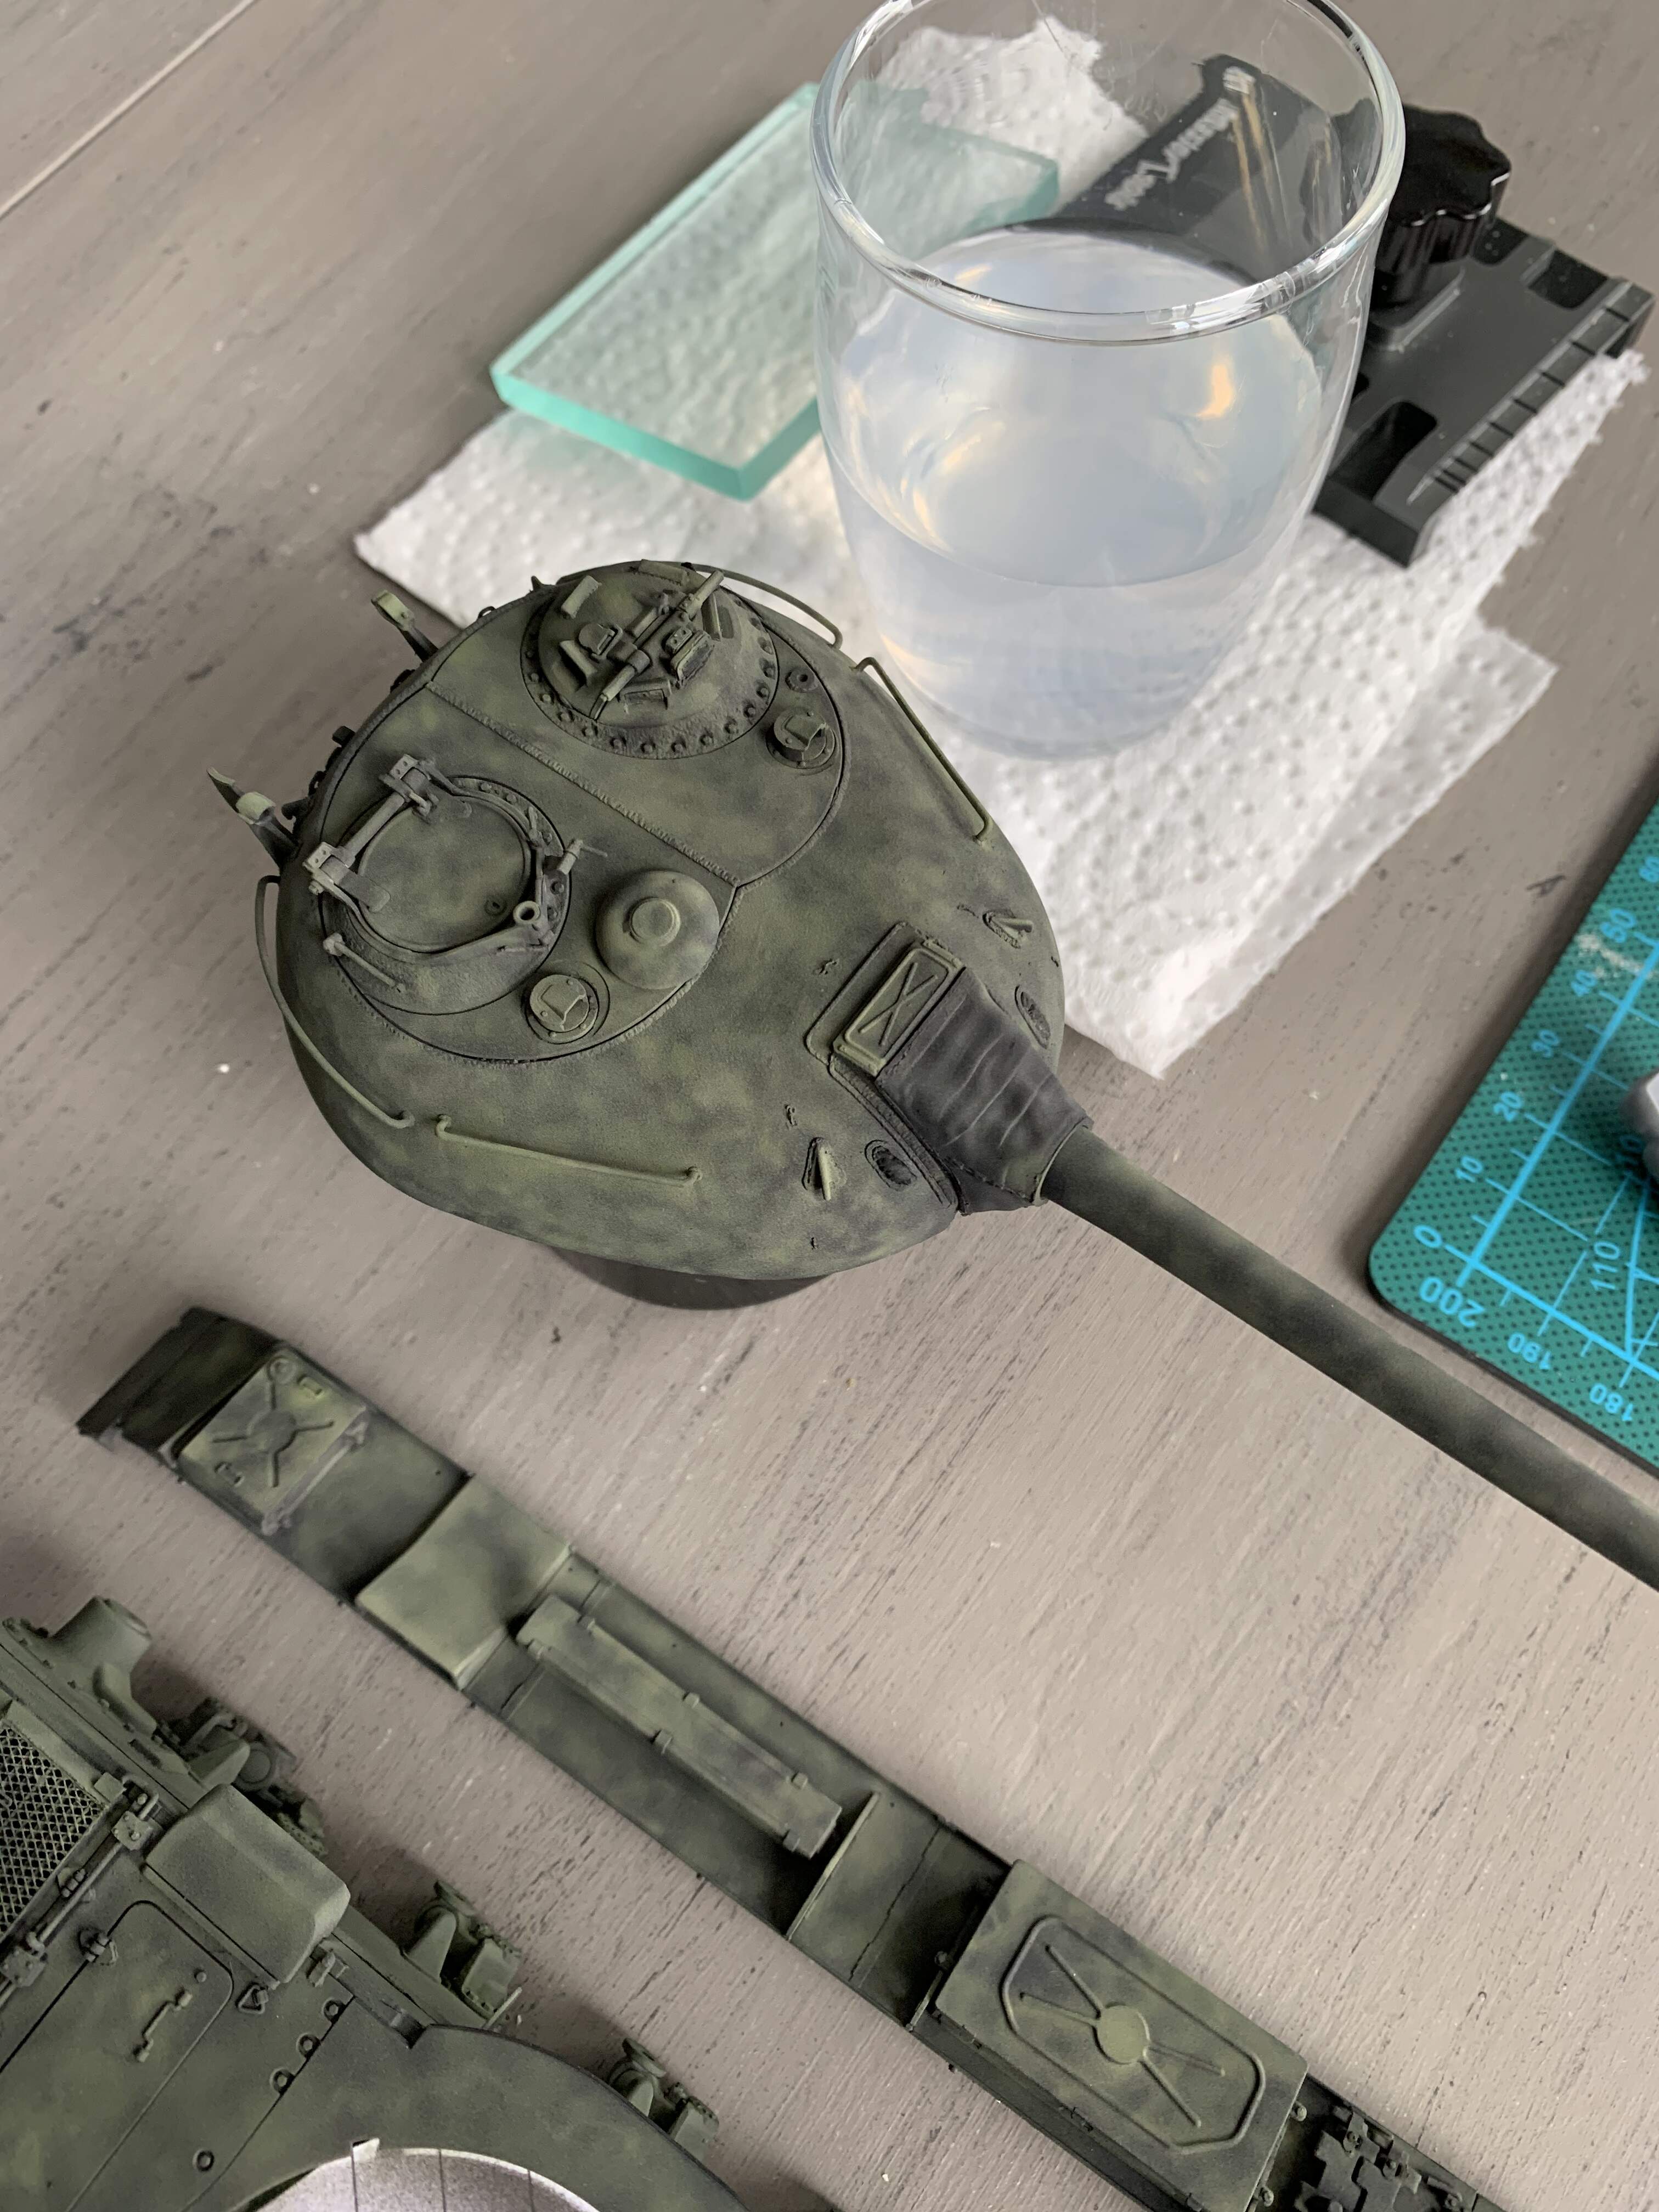
Here is the hull base coated. Still need to do a bit around the suspension. Up next turret and fender base coat
@Mead93, looks good to me
By all means do the technique the way that works best for you! It’s like Shep Paine once said, “If it looks right, it’s right!”
Regarding dot size consistency. Yes it’s usually a bit harder with a dual action airbrush. That’s reason my old single action Paasche H still hangs on
I would like to suggest, if you practice on paper or scrap styrene making consistent dots with your dual action, your ability to control the airbrush and bend it to your will - will sky rocket  to much a higher level quickly.
Cheers! Question about highlights.
Am I looking for the same technique as base coating, or am I looking for a overall blend coat? I am thinking probably the same technique but focused on panel centres and then once that’s done an overall heavily thinned base coat to tie everything together.
I would say that’s up to you. Once you are better able to control the AB this methods allows you to highlight panel centers by focusing more on them with the lightened base color. Alternately you could lighten the base color even more and apply a third round of dots, this time focused on the center of panels. If I remember correctly this is what Wade does. Again practice on some scrap to see how it turns out and if it’s to your liking go for it. Good luck.
That’s part of the beauty of this technique both are right! One can build three green T-34’s and make slightly different choices so they are all unique.
I found the comment about color shift crucial. It’s important at points to take a step back and let it sit a bit. I wasn’t fully happy with the front, at first it was too bright green. After it cured I was happy
With the color shifting, in many cases it’s one of those process that’s best done at a leisurely pace. Being able to step back and evaluate is a critical skill many folks never really learn in any aspect. In modeling I also helps allow the paint to cure!!! Win win! 
There will be a moment, you’ll say to yourself - Yep, that looks good! Time to stop.
For me that’s usually Stage 2 highlights but sometimes it’s went Stage 3 and once even Stage 4.
That’s only happens when I didn’t get enough Panzer Interior Buff mixed in at Stage 1 & Stage 2 to lighten the base color and the model was lacked in highlight/fade.
Thanks again for this tutorial of sorts. It think this technique will be easier to master than traditional preshading and transfers nicely to doing things like mottled camo on FW-190 or black basing on other aircraft
Washes
Washes are a very useful technique we can use to add interest to the model. They are frequently use do the following and other tasks.
Darken and enhance recesses
Unifying colors
Altering hue of colors
Washes are a topic that is quite interesting with a large variety of methods that can work very well. I’ll focus on my practical experience with oil washes with a few comments on acrylic & enamel washes.
Using a gloss coat before applying washes has become very popular and can give excellent results.
Acrylic washes, can work very well. They tend to dry fast and so are very prone to leaving tide marks that need to be cleaned up. Careful dry brushing can work well or a dampen paint brush with appropriate Acrylic thinner for clean up.
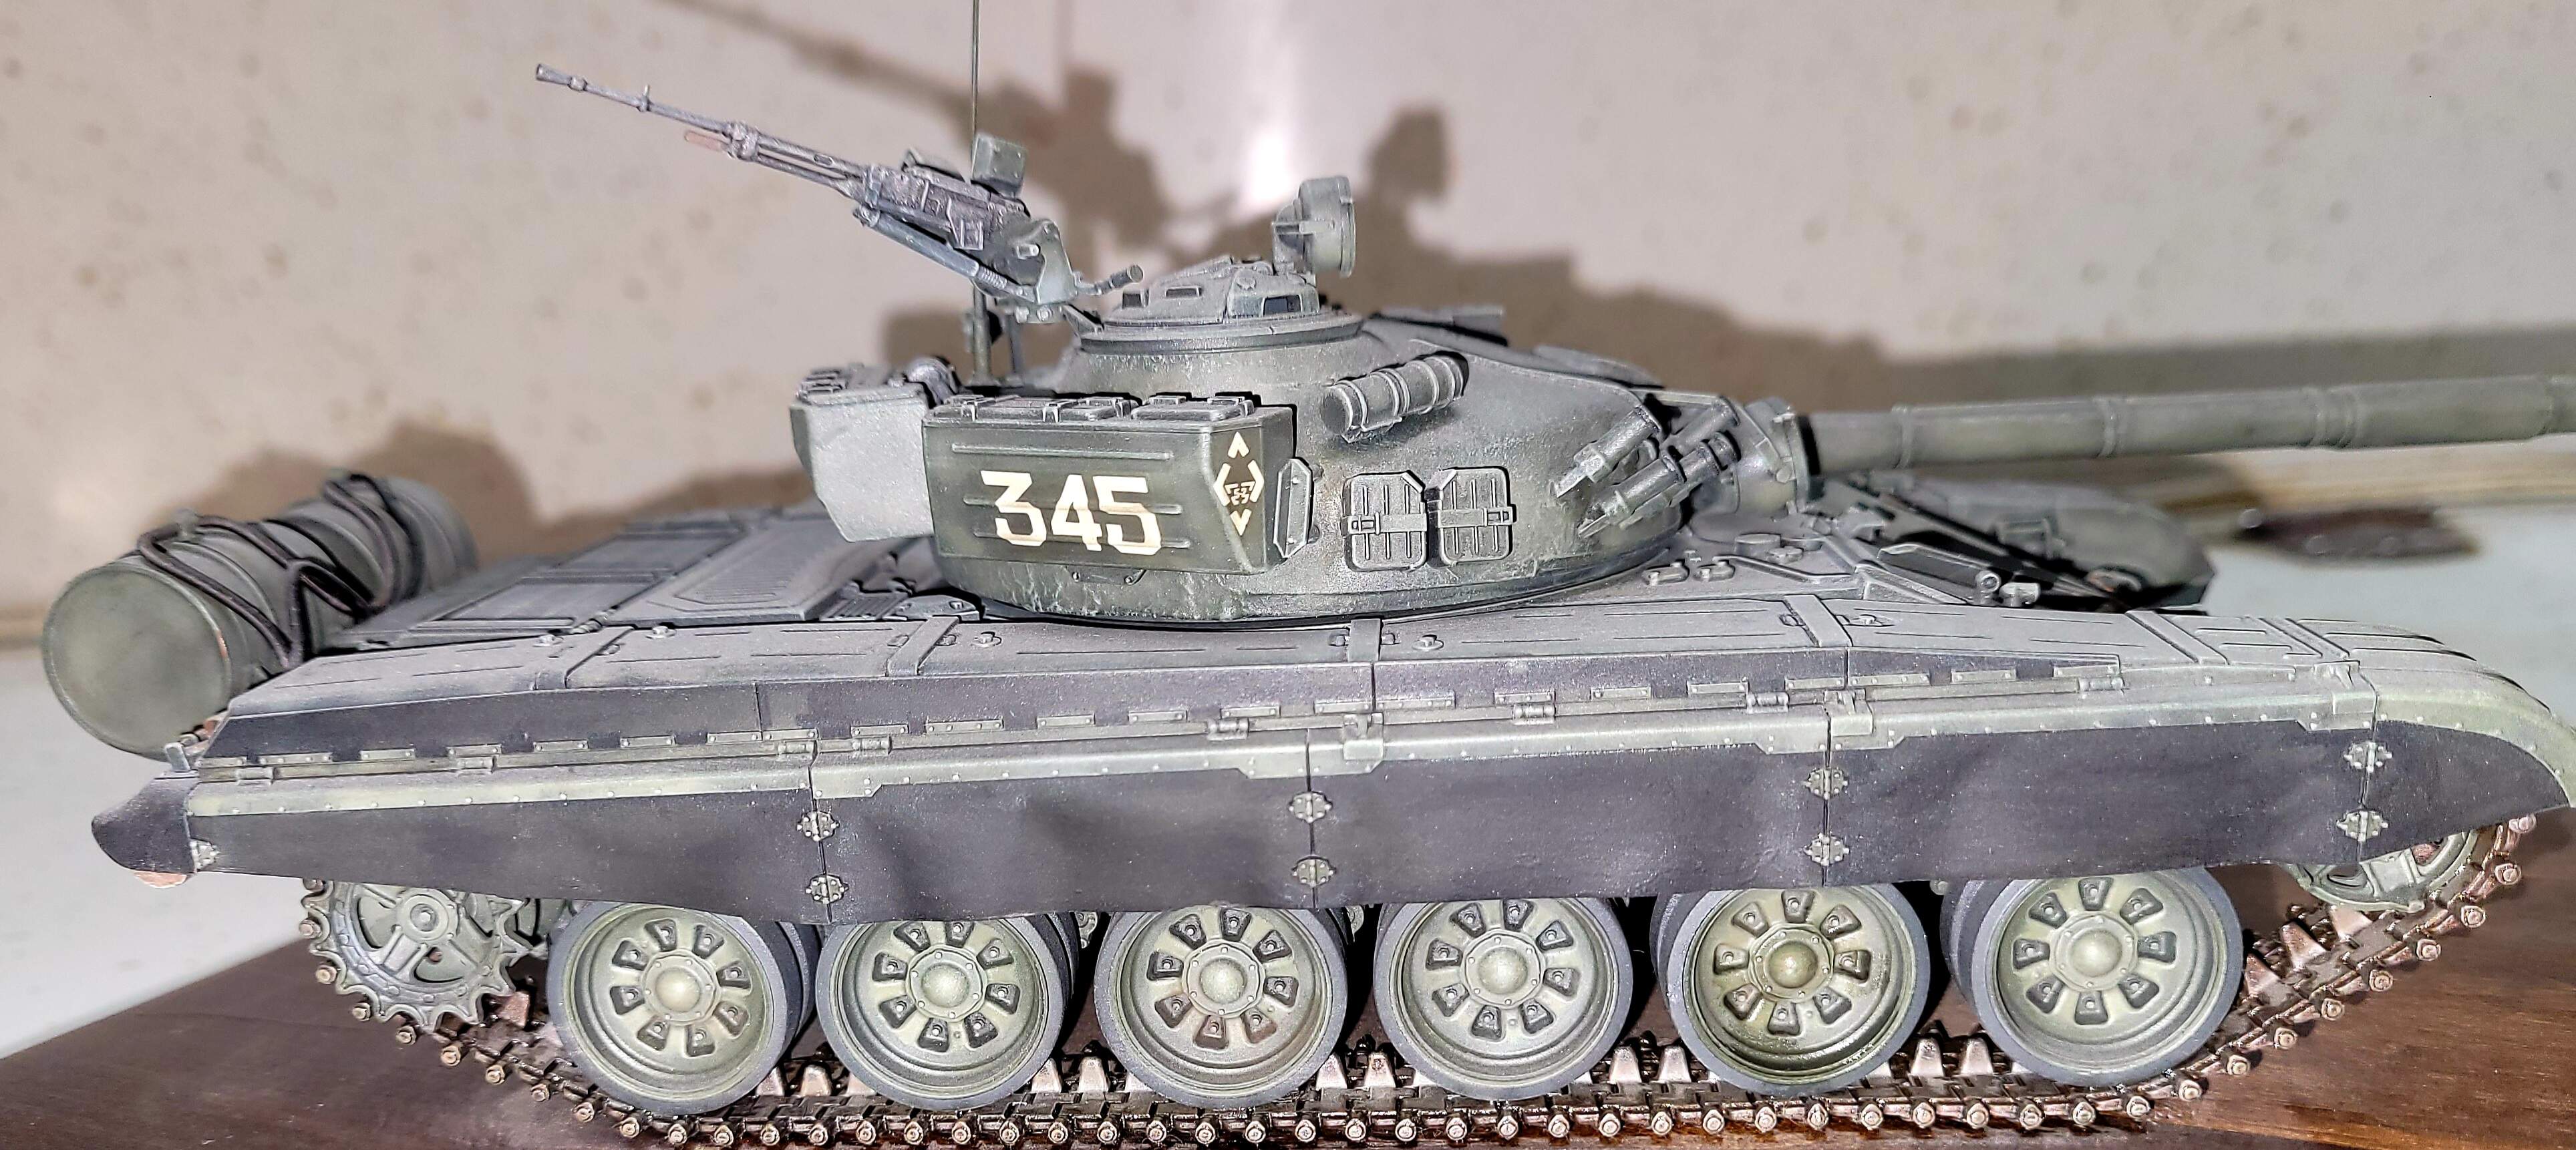
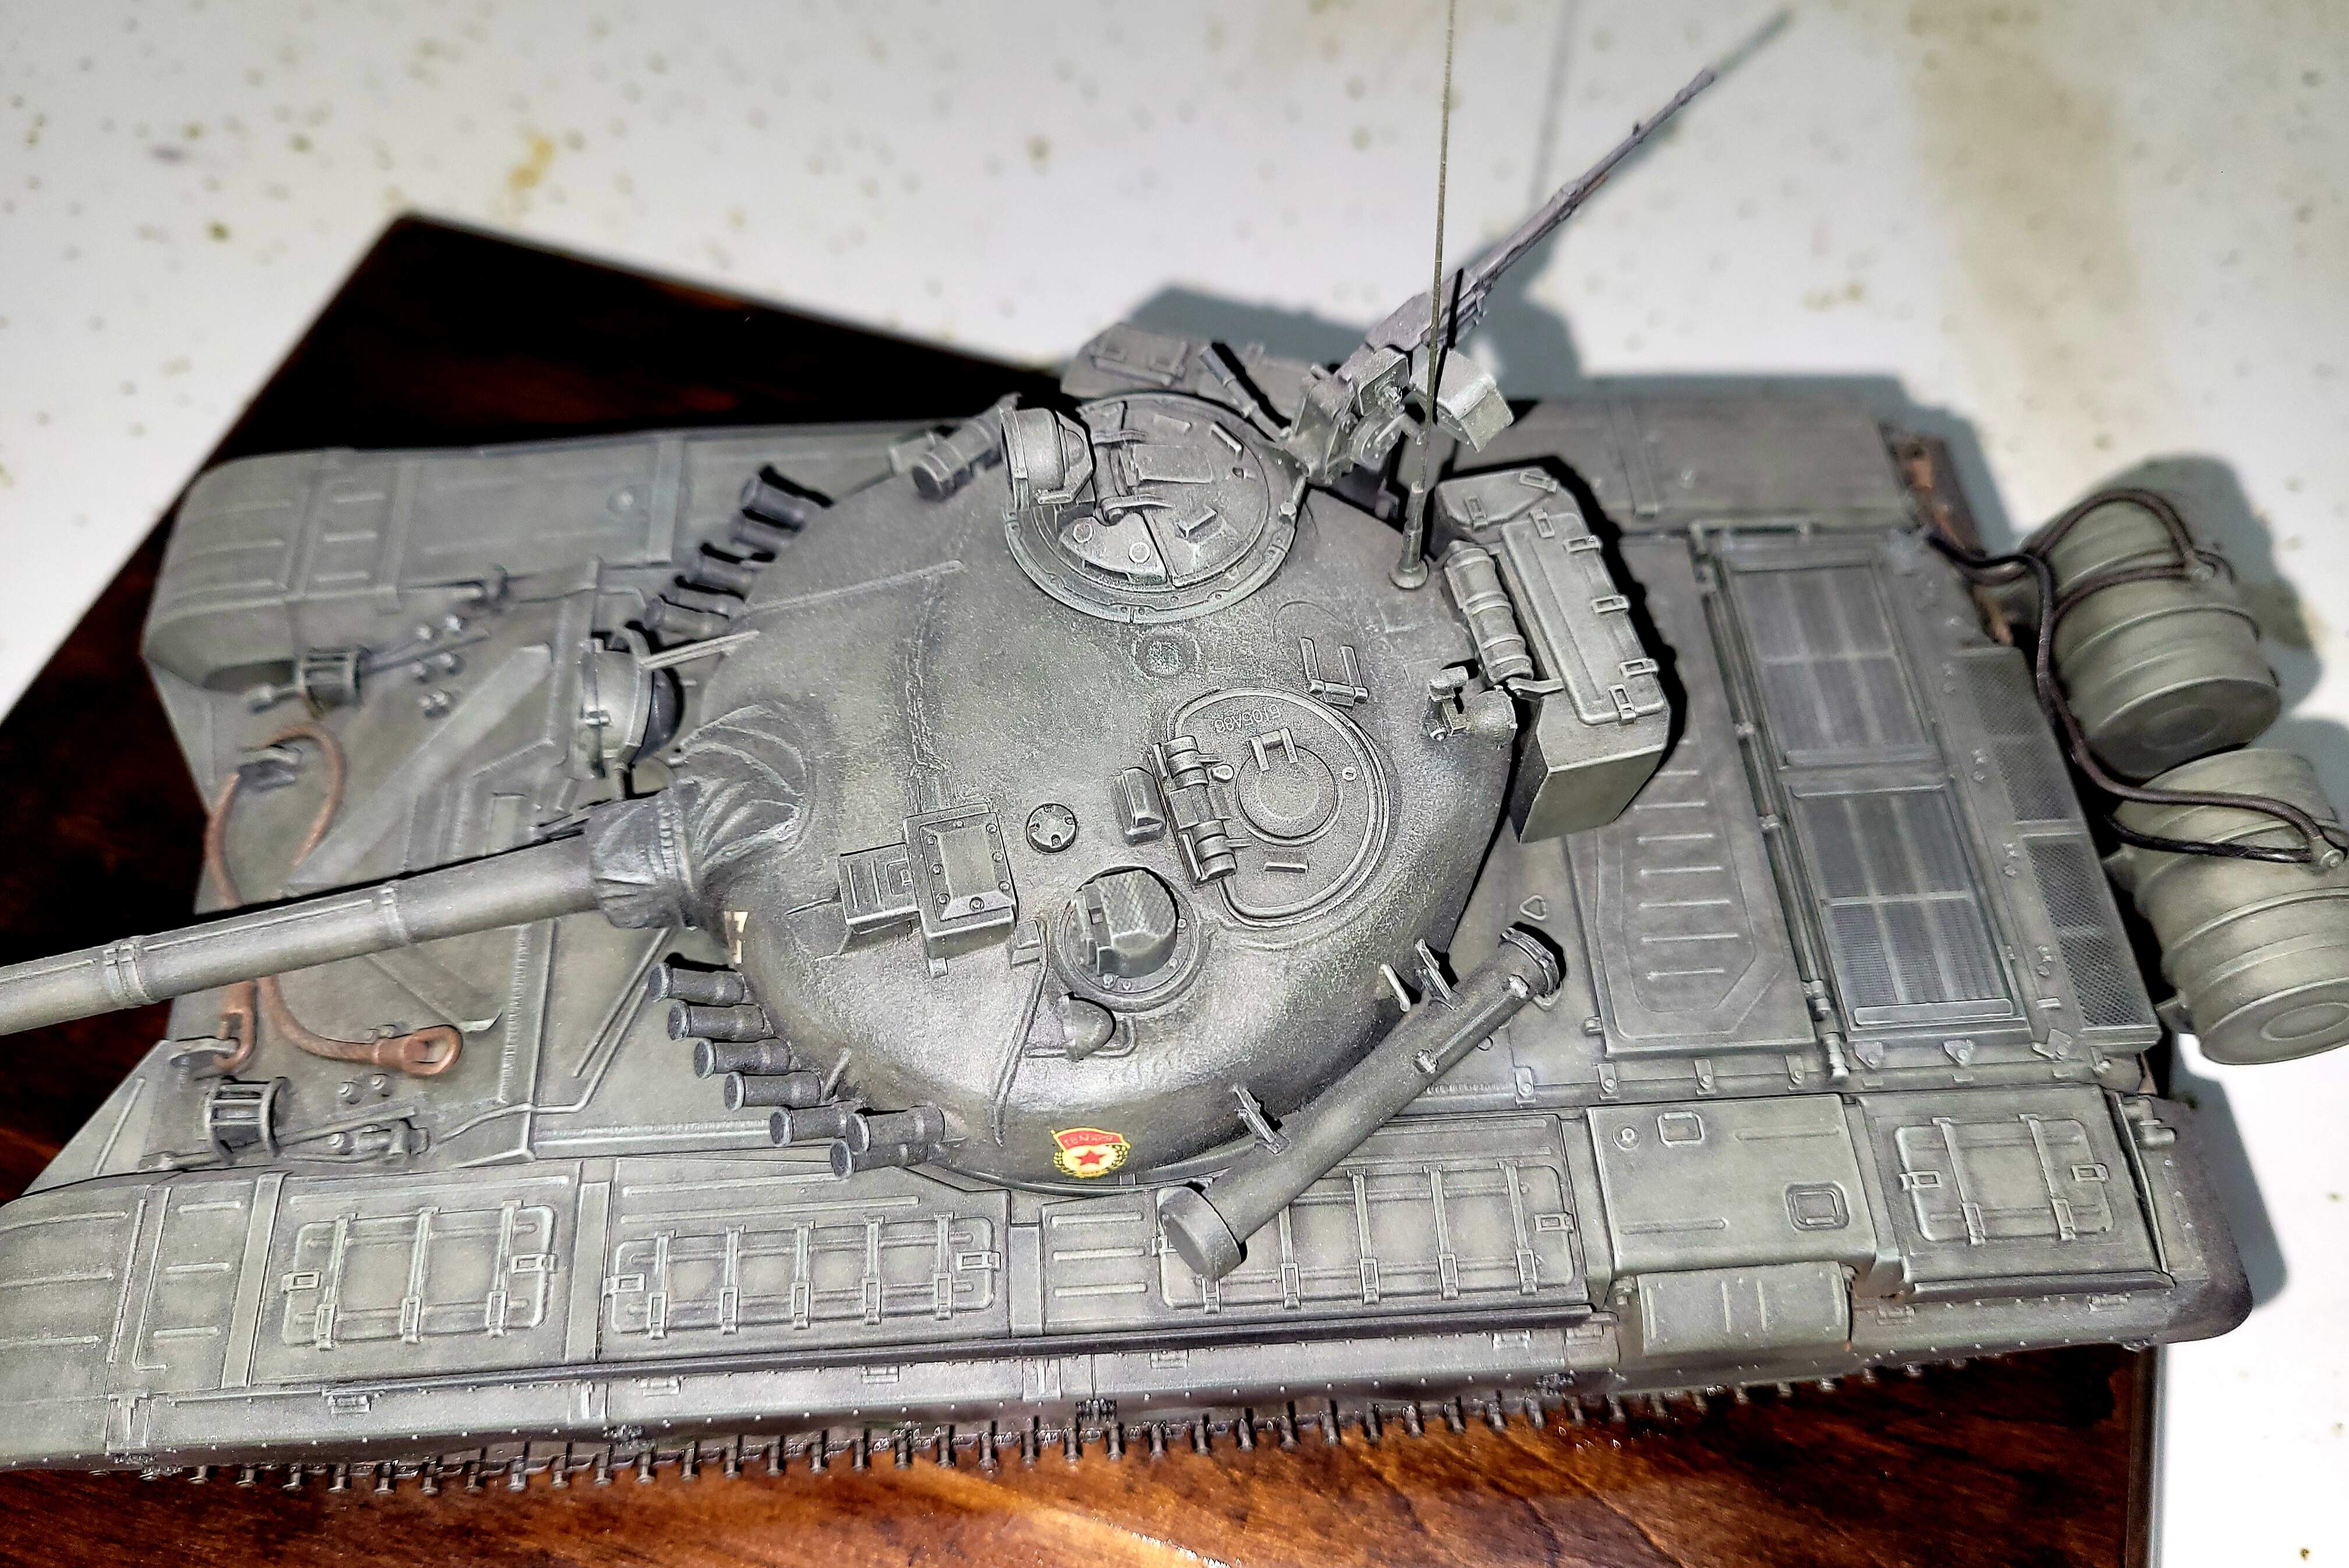
The above Tamiya T-72M1 had its washes done with Tamiya Black and Tamiya X20A thinner applied directly against the paint without a gloss coat. The model had a successful run doing contests.
I found the fast drying time and extra work required to stay on top of tide marks not to my personal liking. Many others certainly like and get great results with acrylic washes.
Enamel washes strike me as a middle ground between acrylic and oil washes. My best results with Enamel wash used a high quality Enamel paint like Floquil thinned with cigarette lighter fluid.
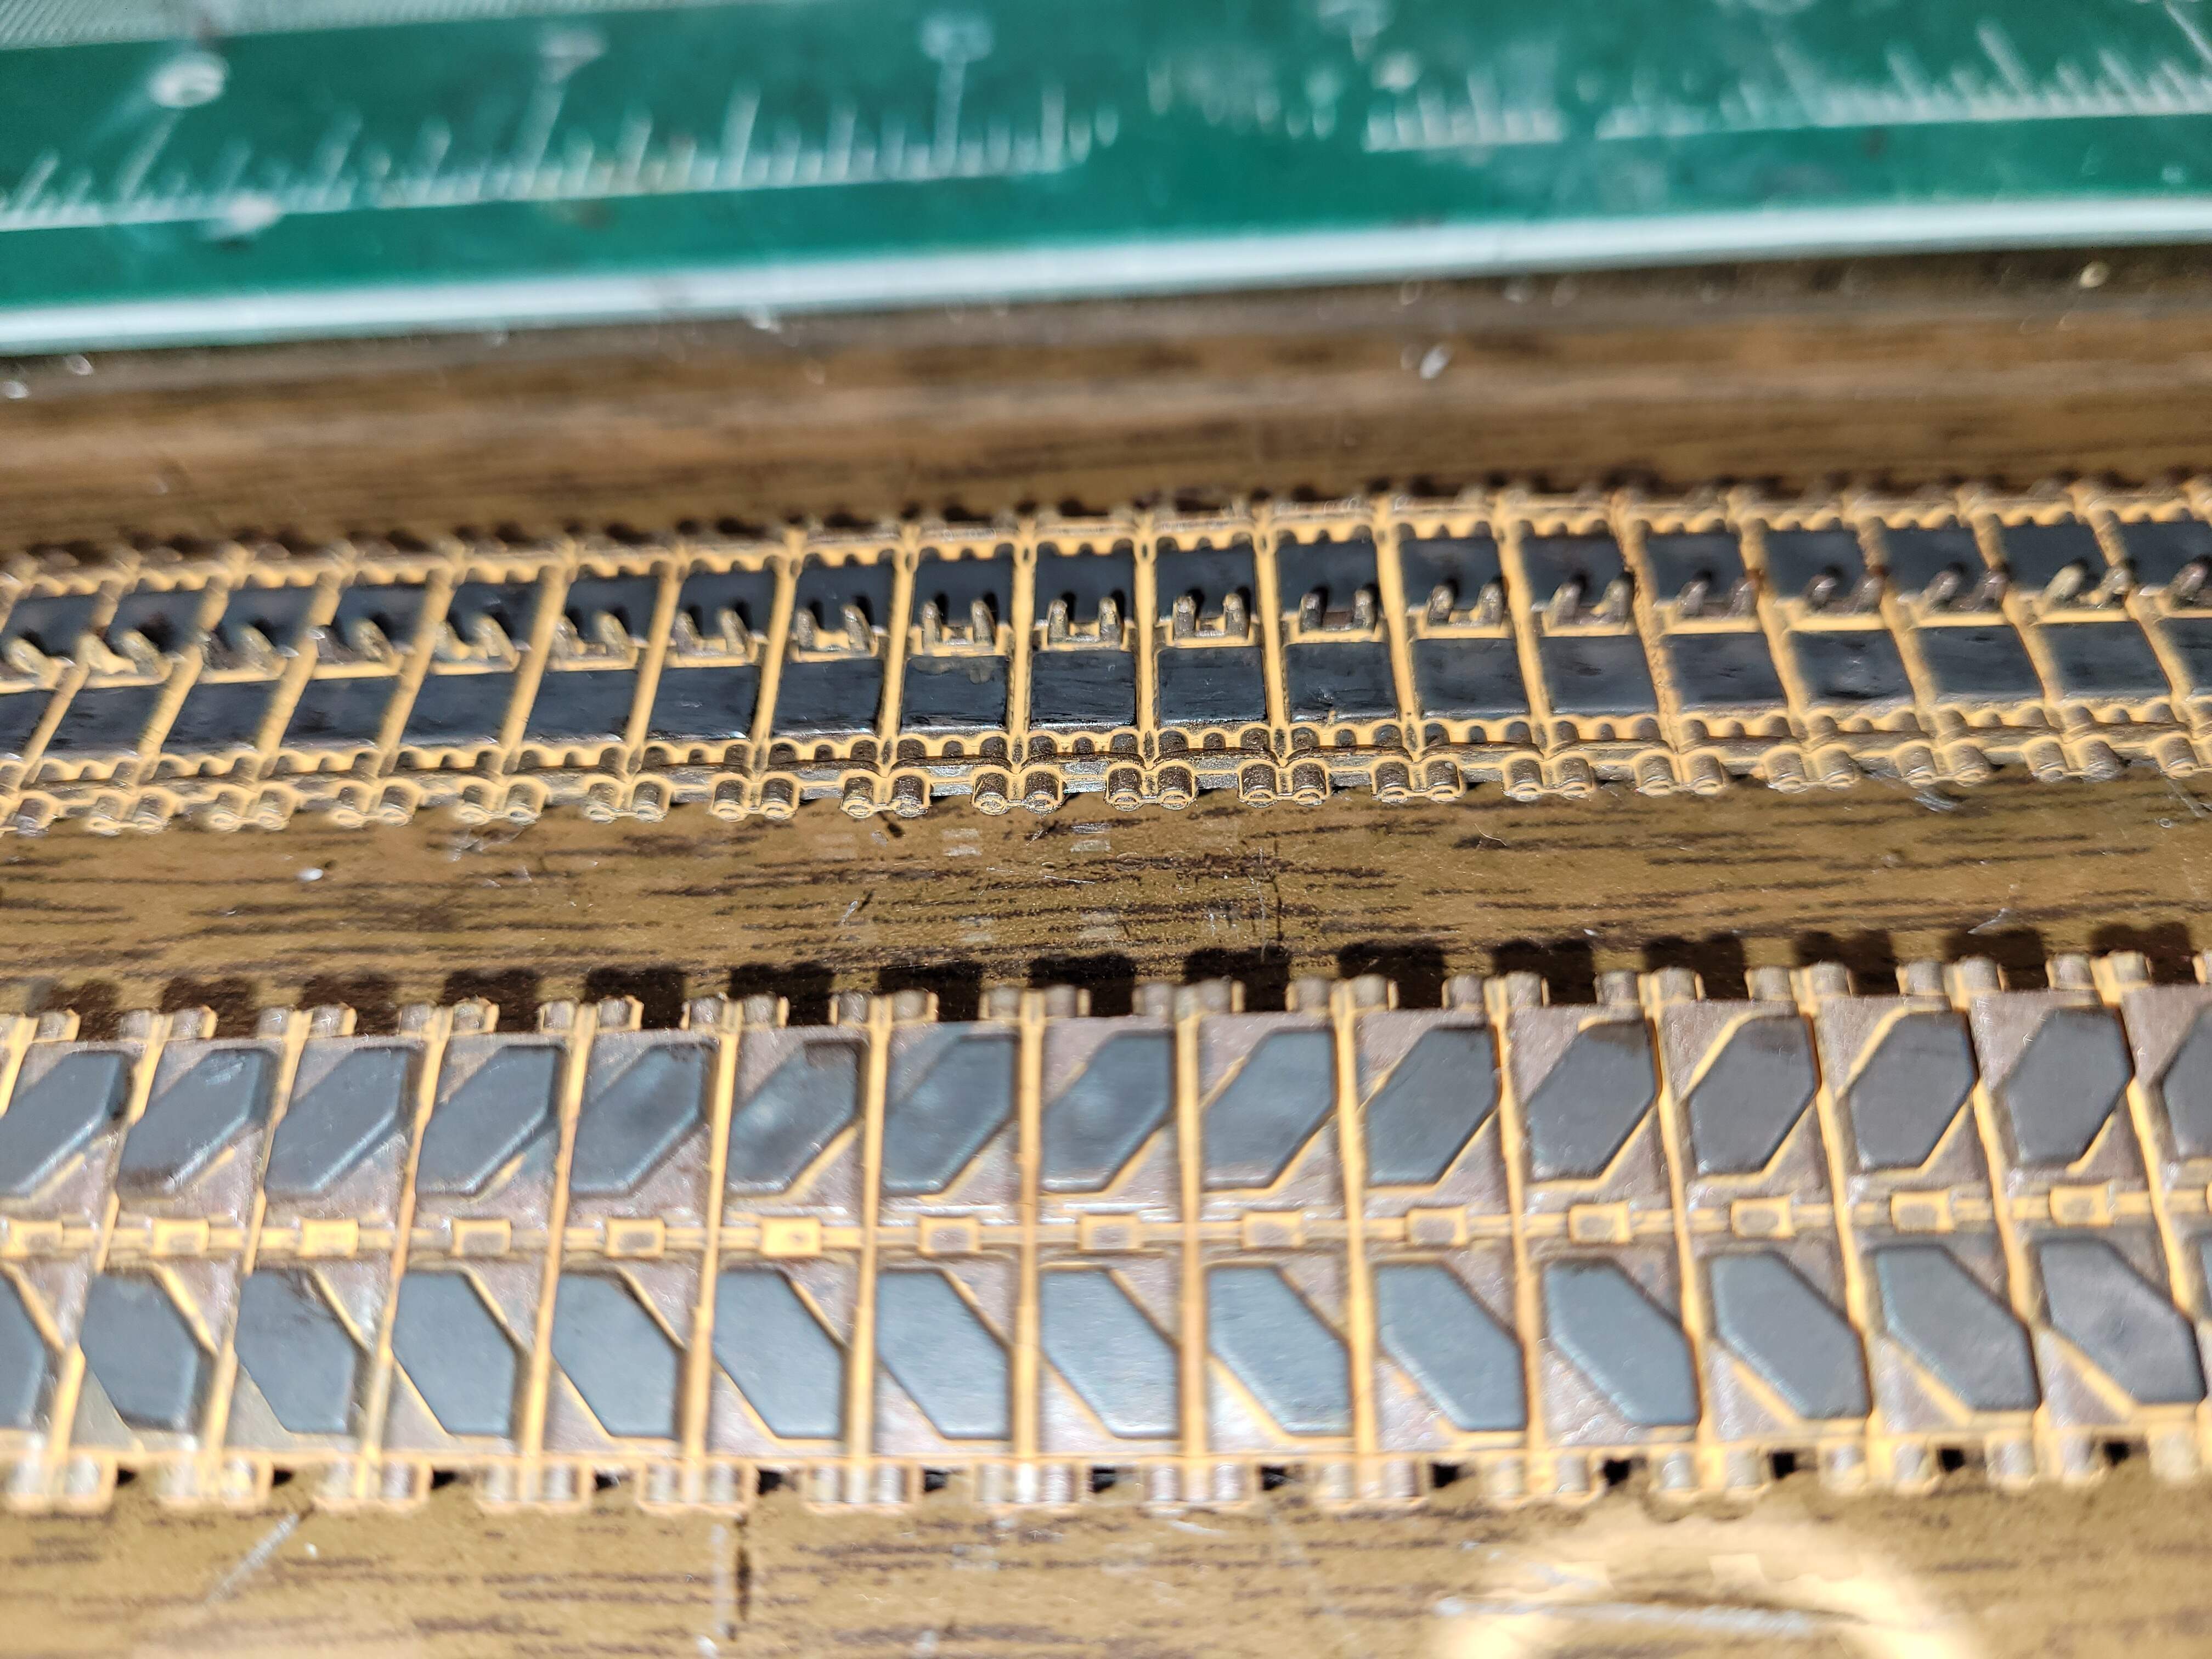
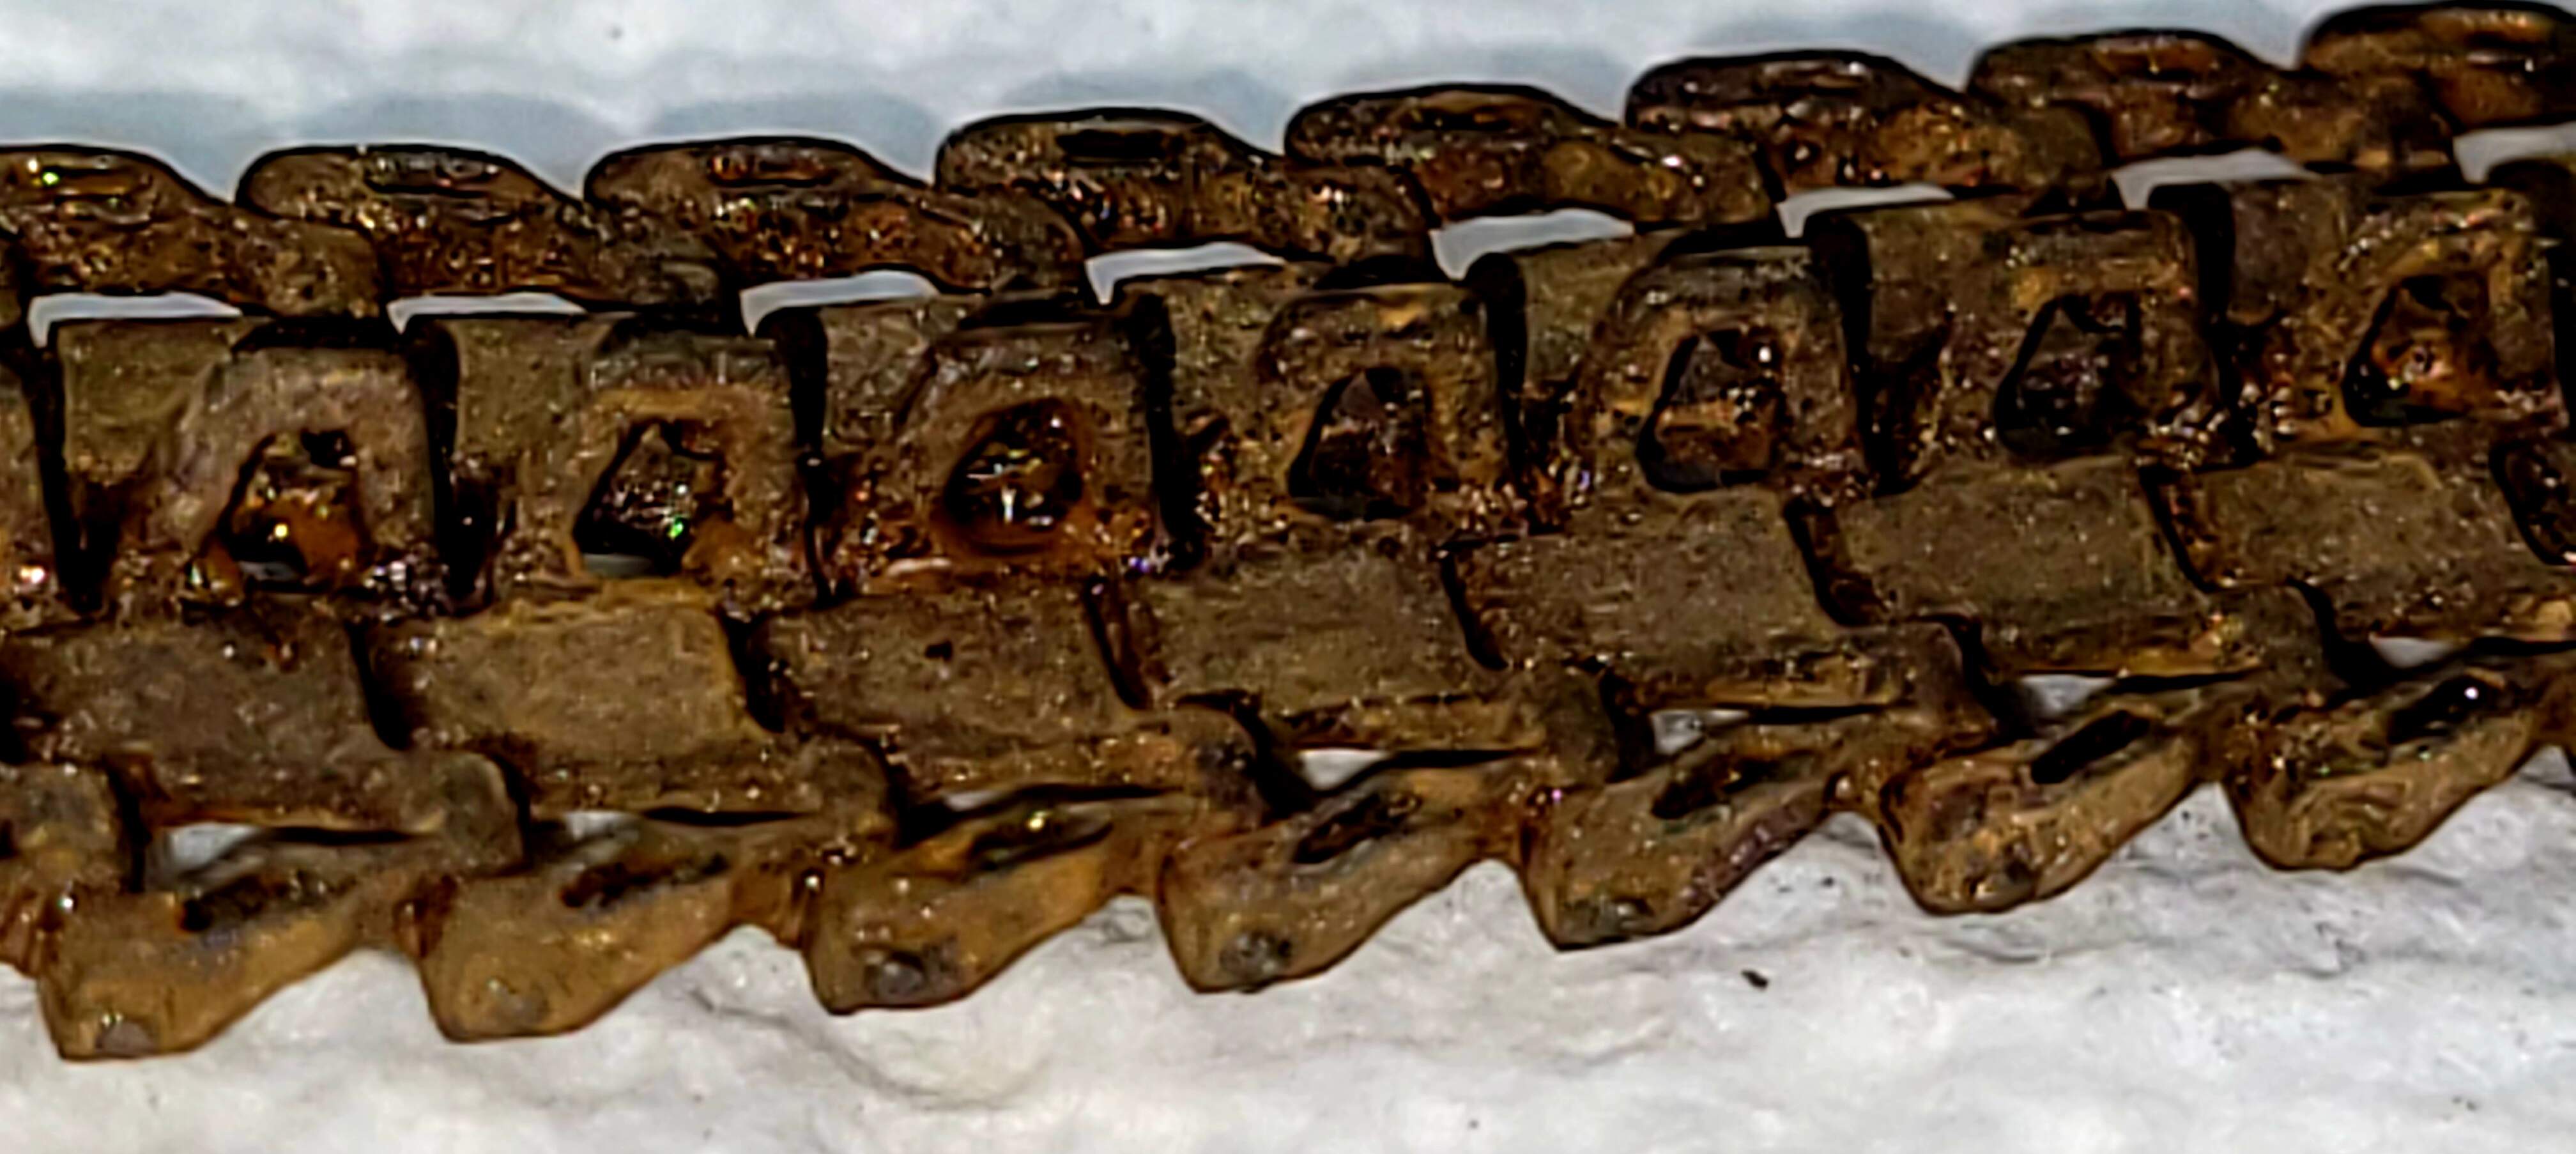
Rubber band tracks w/Floquil enamel washes
White metal track w/Floquil enamel washes
Enamel washes can work fantastically well but again I find for something the size of a model tank they dry a little too fast to suit me. Using airbrush thinner or mineral spirits slows that a hair bit it’s still to fast to suit me.
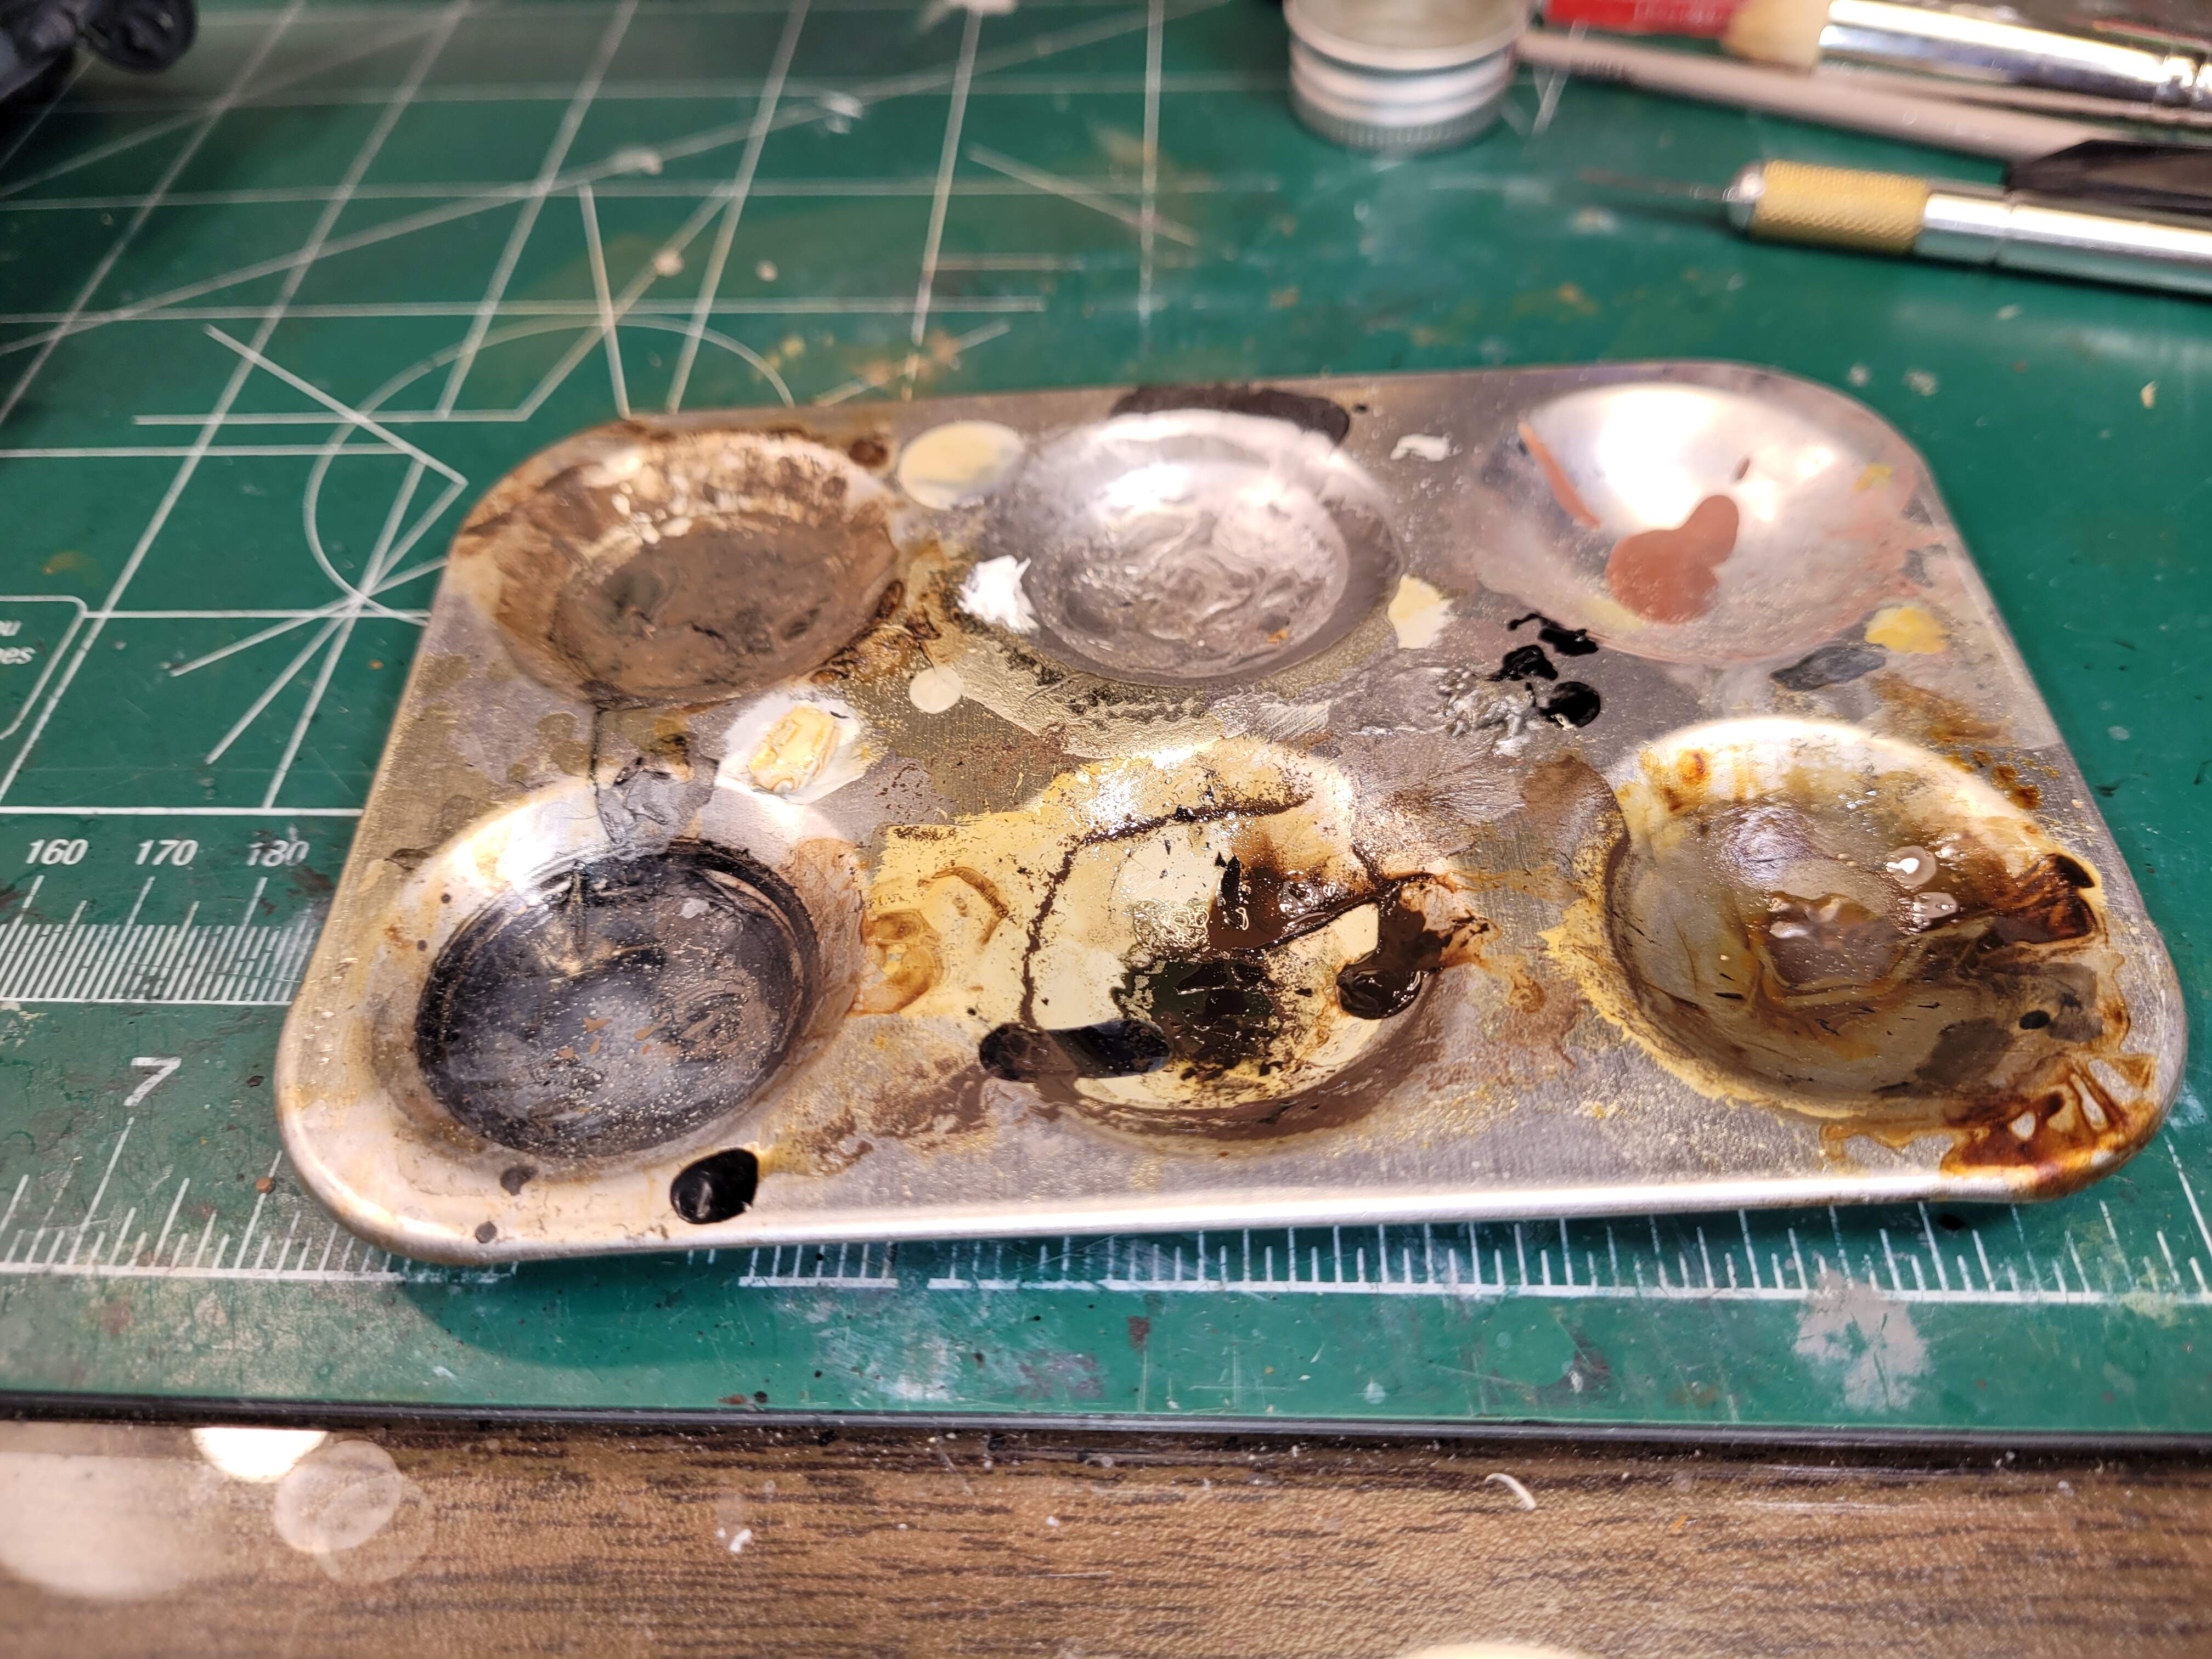
Regardless of what sort of wash is mixed up and used we need a mixing cup or spot. This gnarly old six color artist palette ![]() is my go too spot.
is my go too spot.
Wrapped in aluminum foil good as new. The foil can be reversed and used on the clean sides etc.
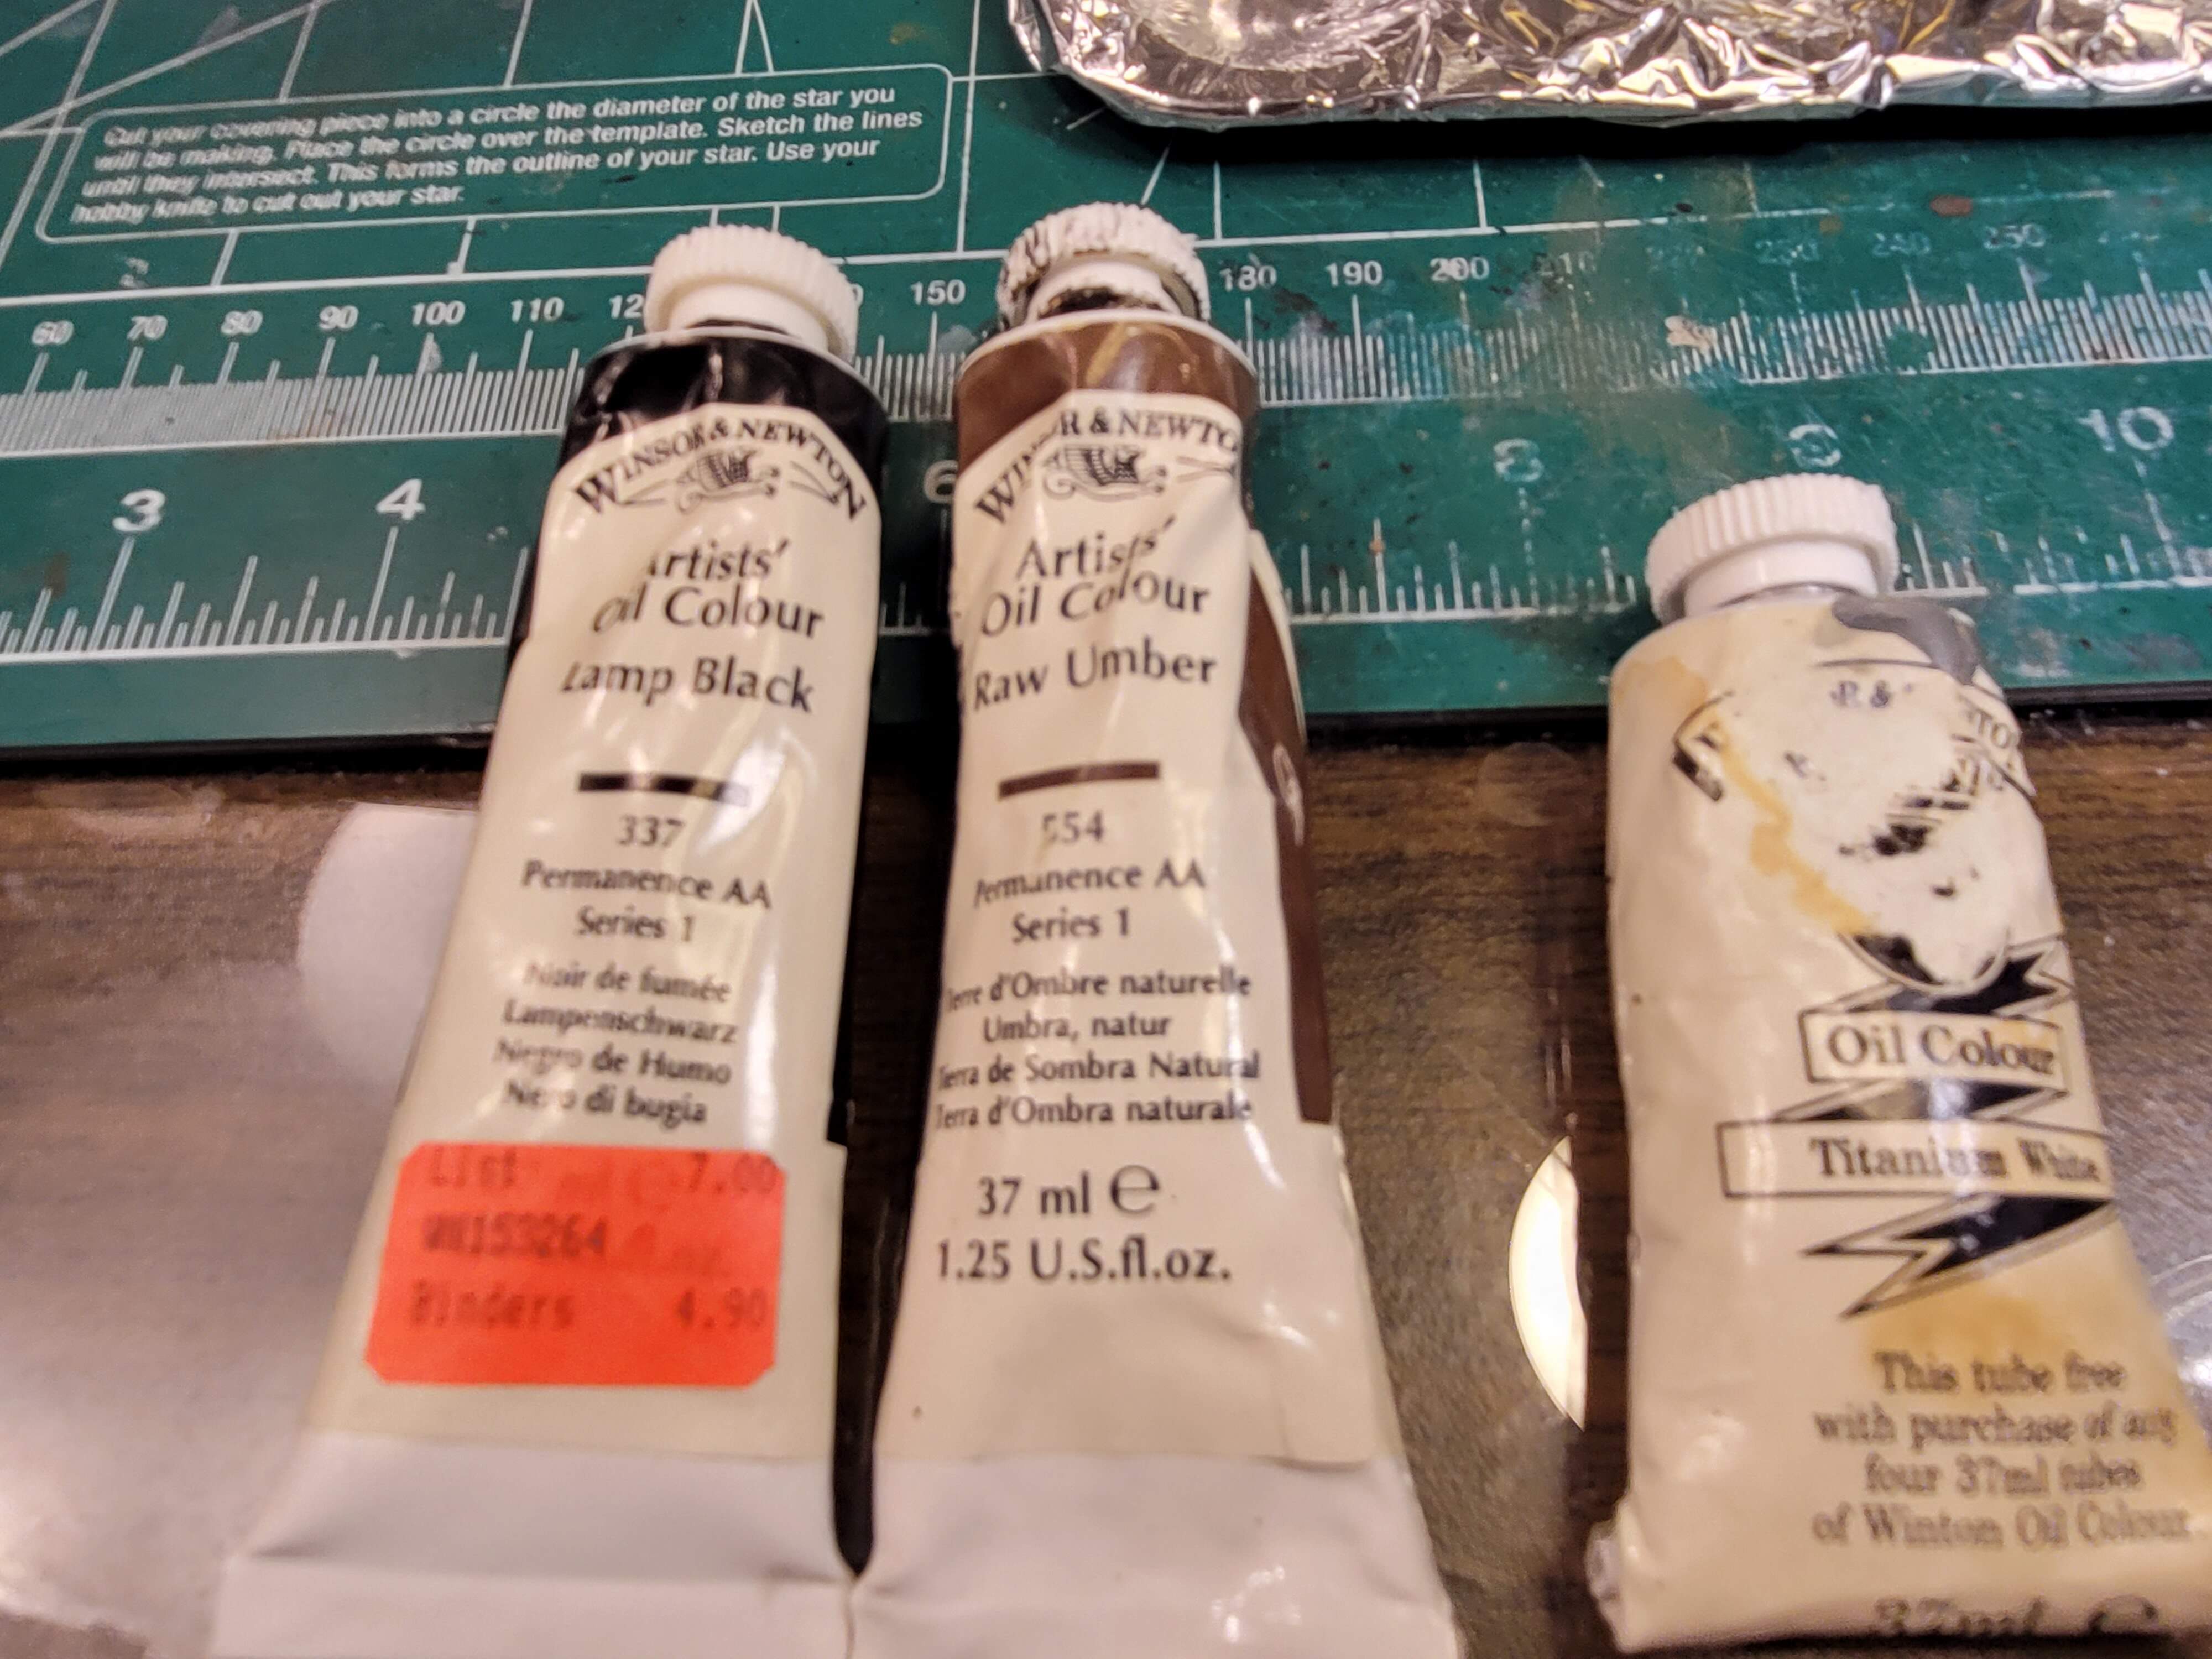
My go to colors for oil wash are lamp black used sparingly and raw umber or a mixed blend of the two colors by Winsor-Newton. The Titanium white is also very important for other uses.
I have a very inflexible bias toward using at least Winsor - Newton Artist Grade Oil Paints. They are very good but by no means the very best of oil paints.
Even an artistic scrub like myself can detect very real difference in say #14 in the above link and #18 when using oils.
I greatly dislike greasy oils, inconsistently mixed that one has has to leech half of the carrier out of on a paper towel to get to a usable paint. Losing half of the carrier never leaves me confident the paint will endure over time. The mix of linseed oil etc from what I understand is key part of protecting pigments from oxidation over time.
I want a smooth buttery consistent paint. That’s important at this step and more critical later in my opinion. Others will have varying views and I respect that. I just want to share the background of where I’m coming from with oil washes.
Our good friend previously mentioned for enamel washes, returns as my favorite thinner for oil washes. Turpentine, low odor Turpentine, synthetic Turpentine, mineral spirits, low odor mineral spirits and various enamel air brush thinners also work very well - have tried most of them…and I still like naptha aka Lighter Fluid best ![]()
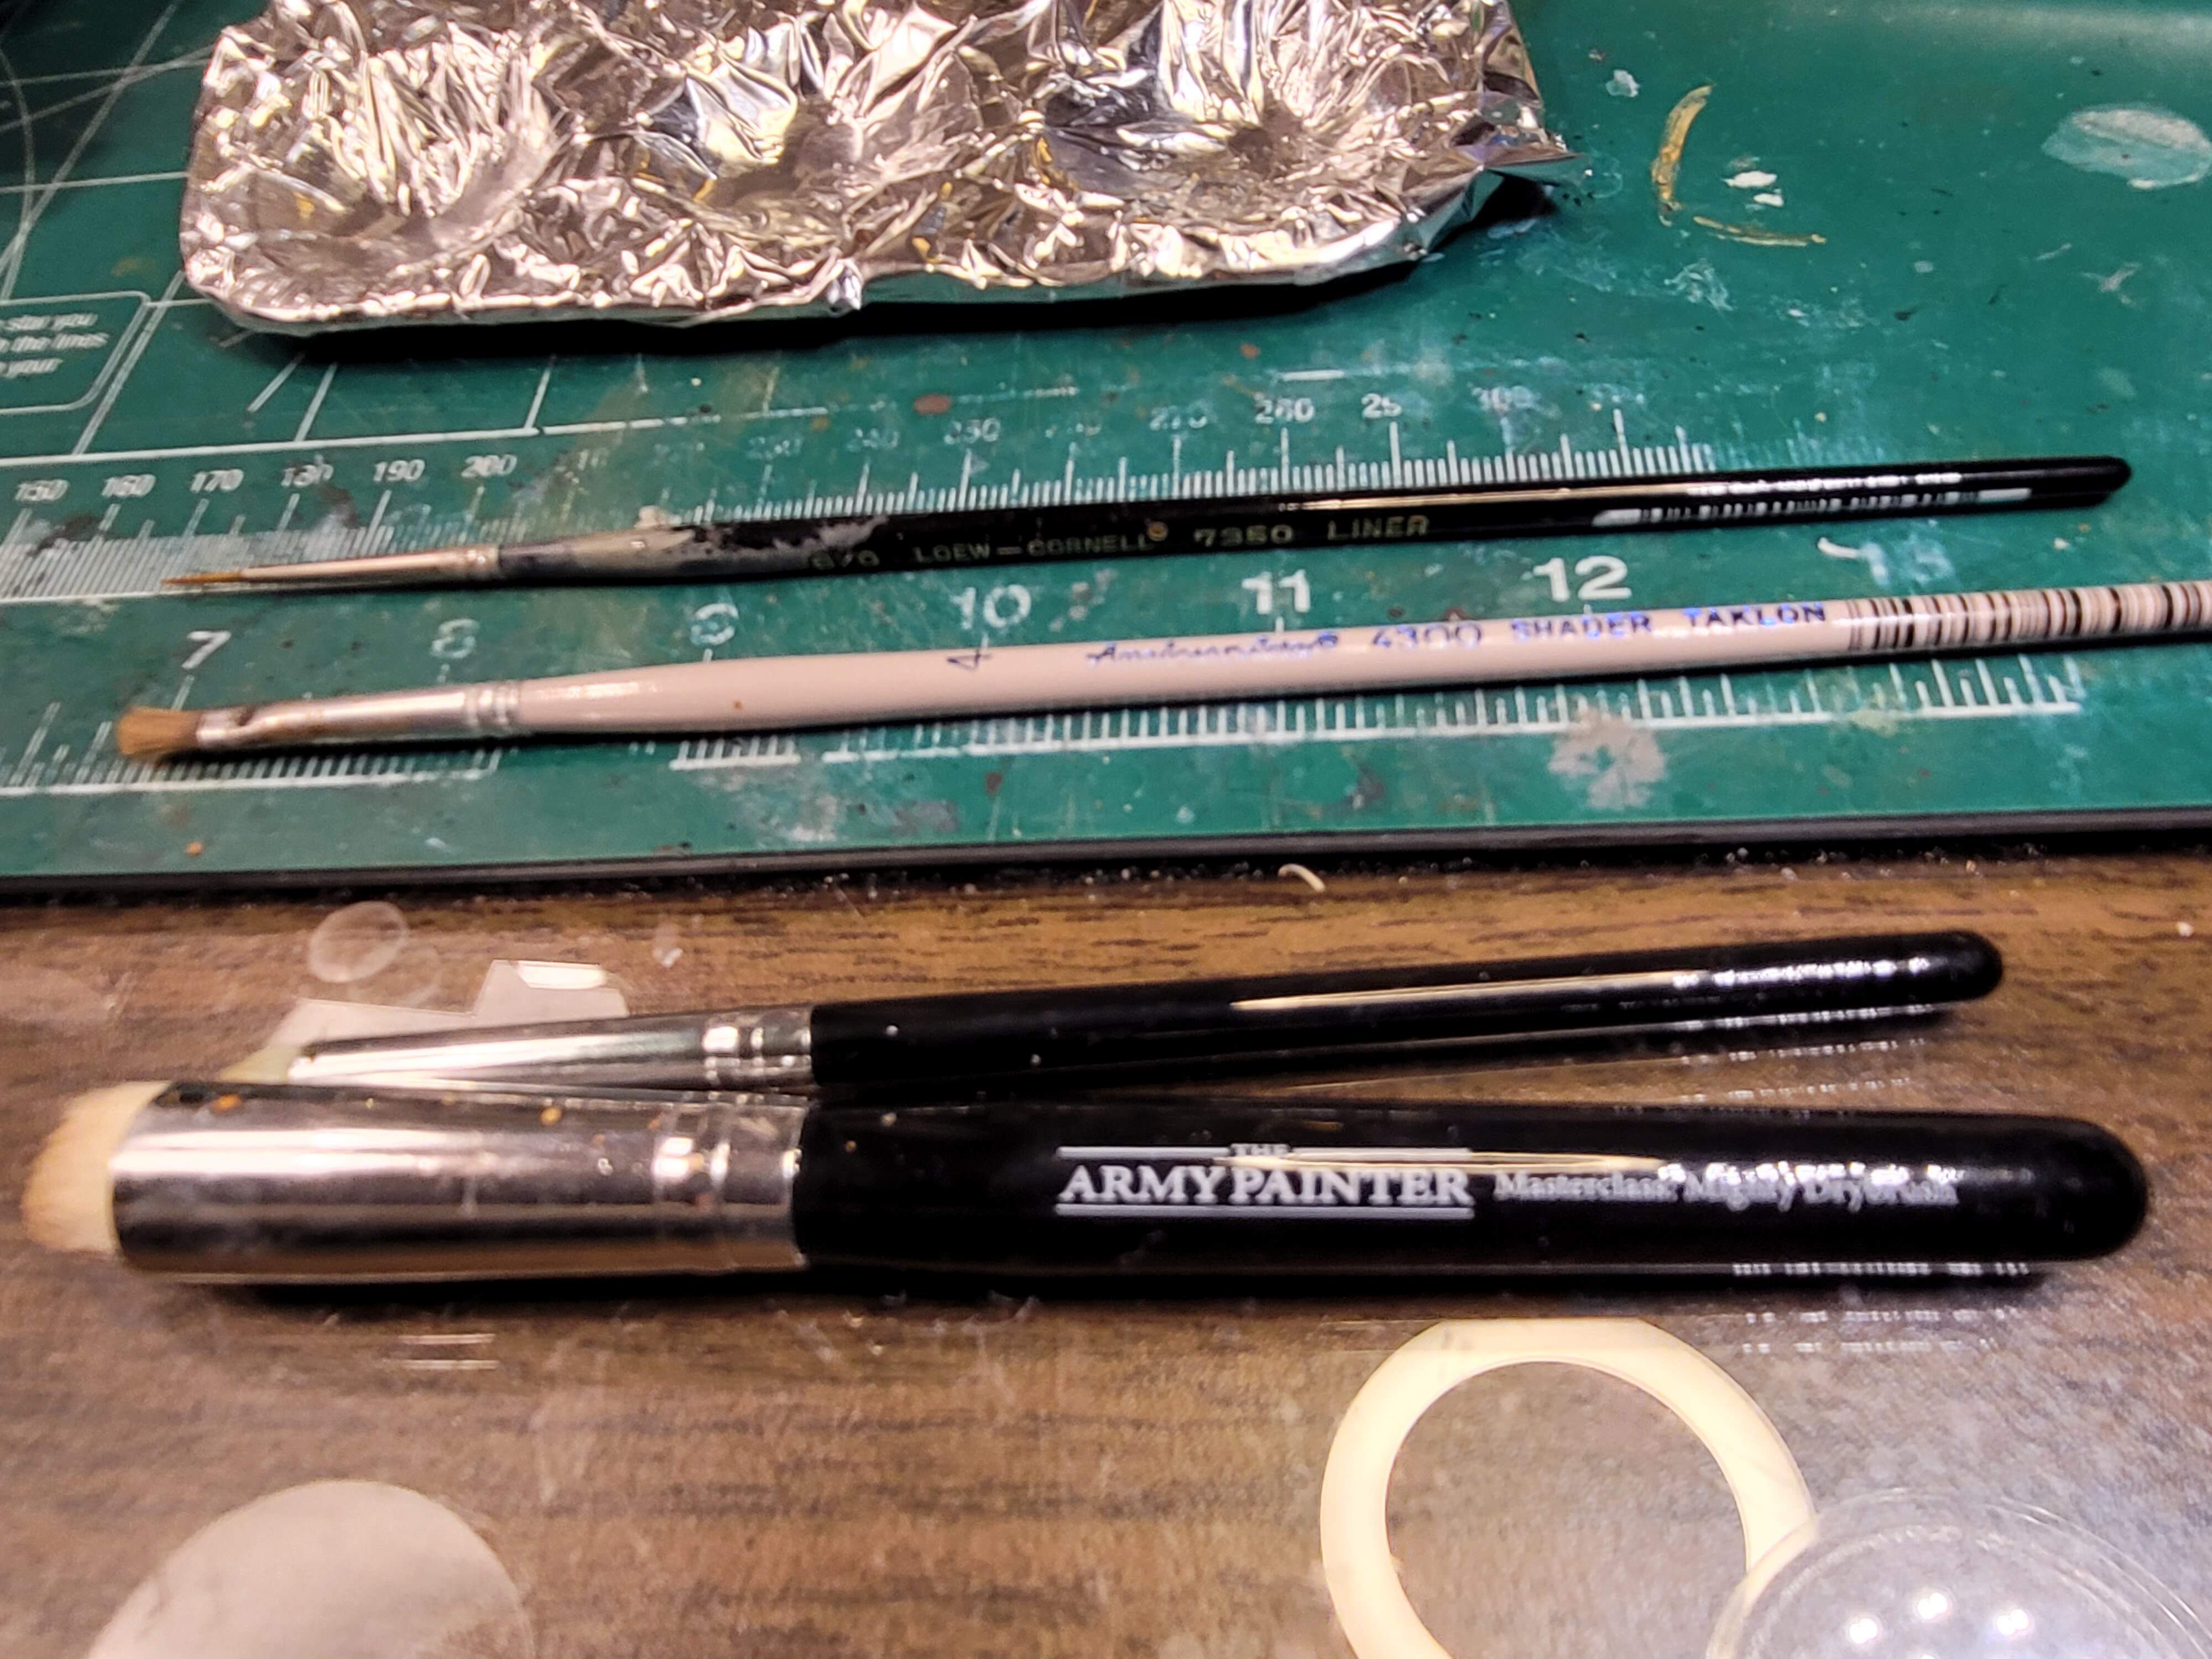
Brushes any good quality brush will work. I like medium quality as this isn’t where the best Red Sable is needed. Model Master, Floquil, Loew-Cornell, hobby shop generic and so on make for good brushes for wash application.
However, I do suggest avoiding bottom barrel garbage like Army Painter or at least their master class trash. Regardless of if drybrushing or applying washes all of the Army Painter Brushes I’ve used shed tons of bristles like a long hair cat on a warm spring day - except all over your model. Easily the very worst quality paint brushes I’ve encountered in 50+ years in the hobby. Your mileage may vary with Army Painter.
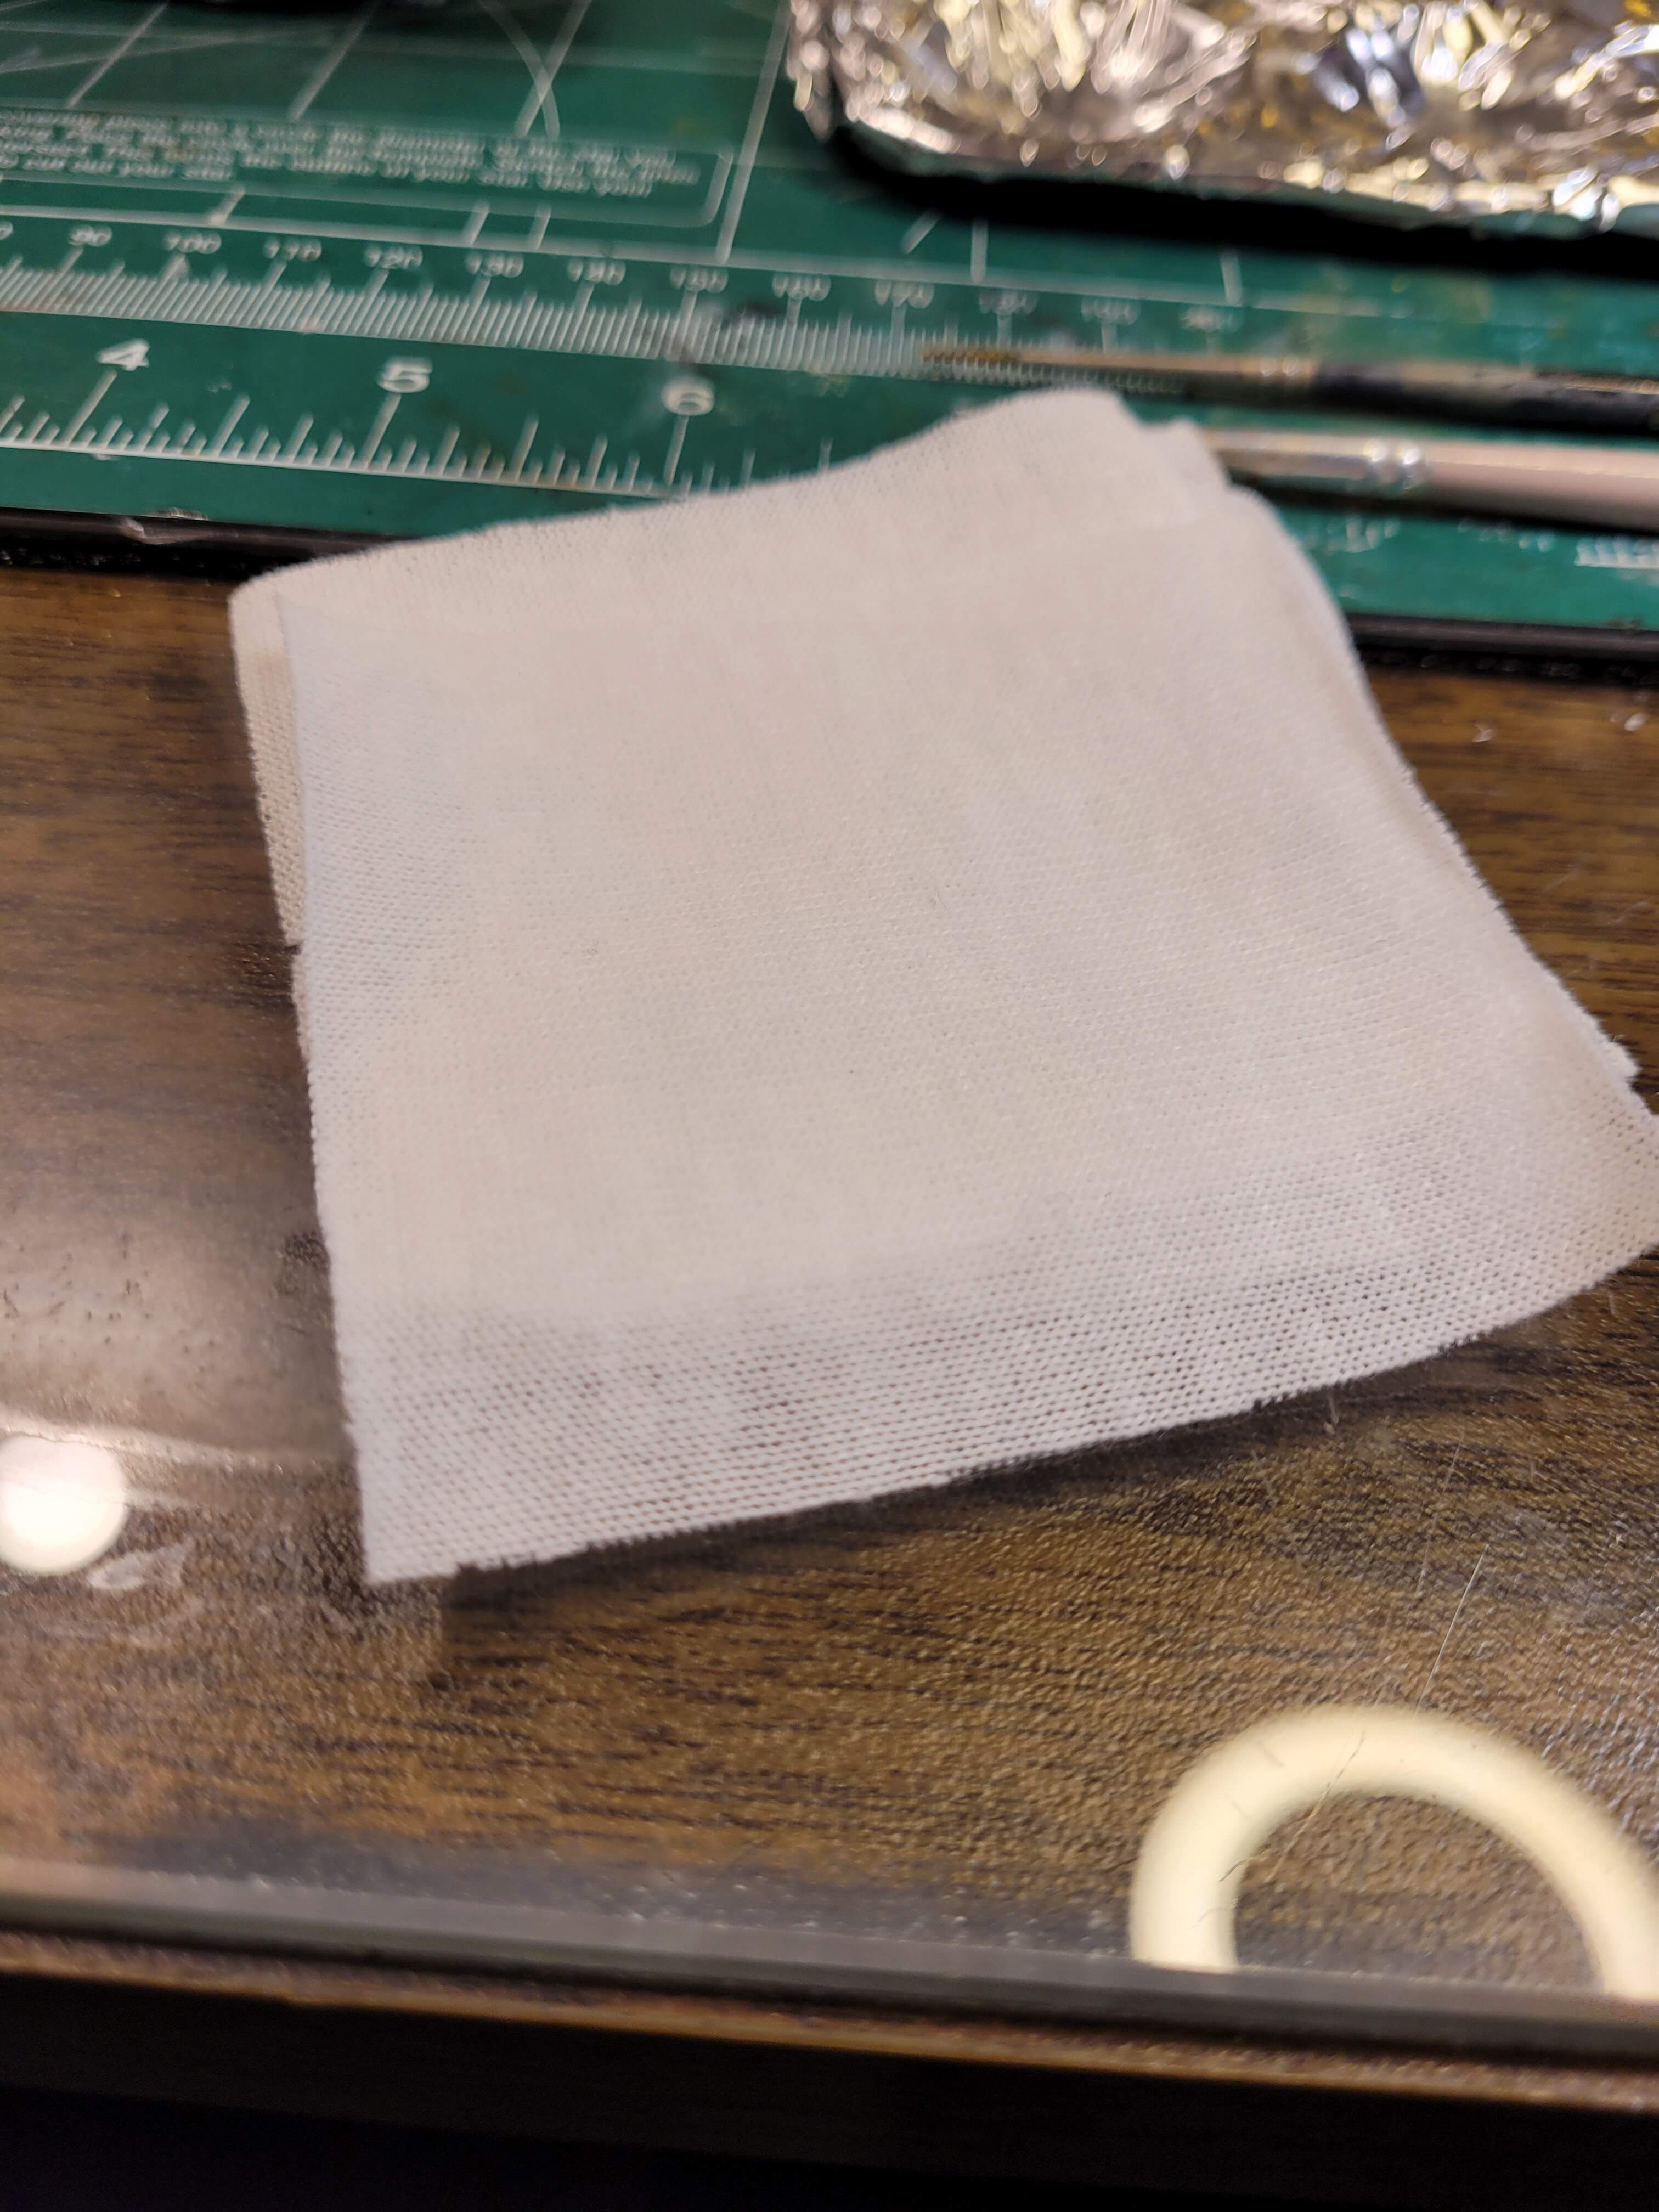
A couple of lint free gun cleaning swabs are useful for mopping up or wiping away excessive wash.
Make sure the model is contamination and dust free. Wash in warm soapy water and rinse if needed. After dry ensure surface is dust free with blasts of air from air brush.
ScarJo stopped by the hobby room to help show what are we trying to accomplish with a wash.
The oil wash should have enough paint mixed in to tint the surface area it touches - very much like the black stockings do for Scar-Jo in the above picture. The most open area of skin is slightly tinted, the recesses appear to be more darkly tinted such as behind the knee. The raised details appear to have the least tint. This results in a pleasing and interesting 3D appearance.
That’s basically what we want the oil wash to accomplish for the model.
Sure this isn’t just a way to justify to your wife why you need a bunch of glamor shot posters all over your work room ?
“I’m studying the interplay of light over uneven and curved surfaces, honey.”
I for one always encourage further study of these concepts in furthering ones modeling skills! Can’t think of a better example lol!