@Mead93 , looks like the T-55 is well on the way:)
No worries with Scar-Jo, wife is a big fan  Now Courtney Love - not so much so…lol.
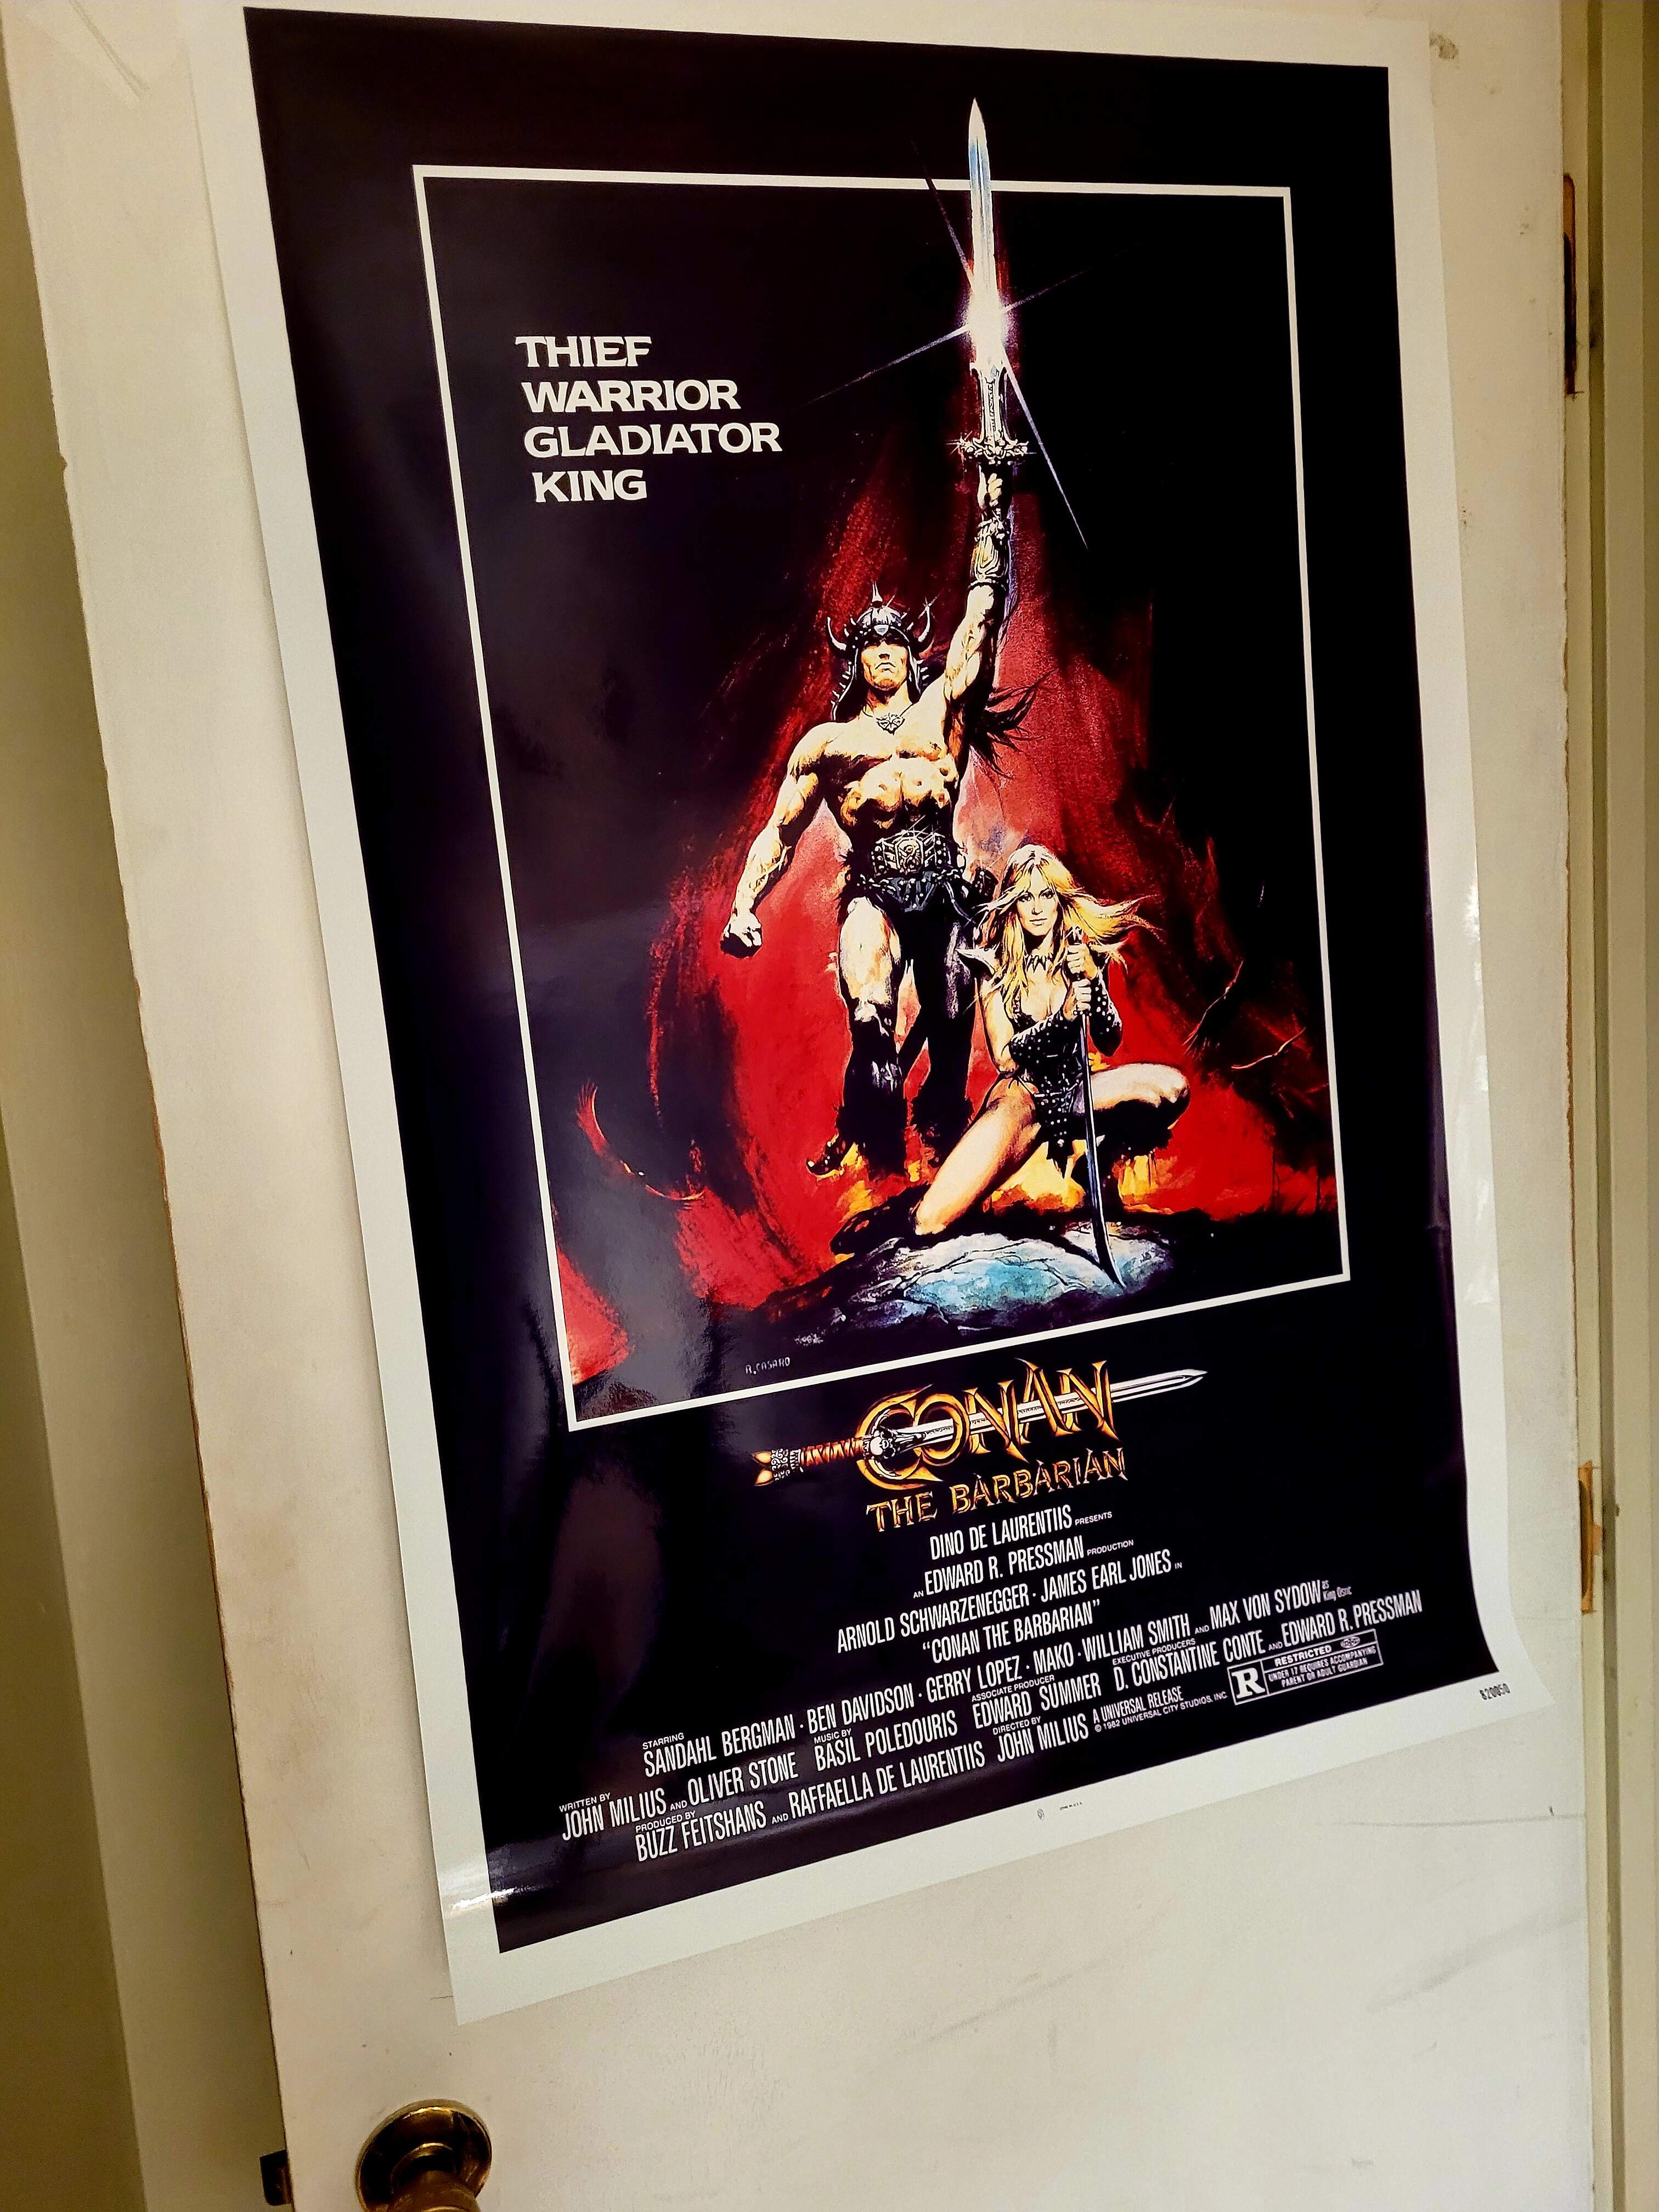
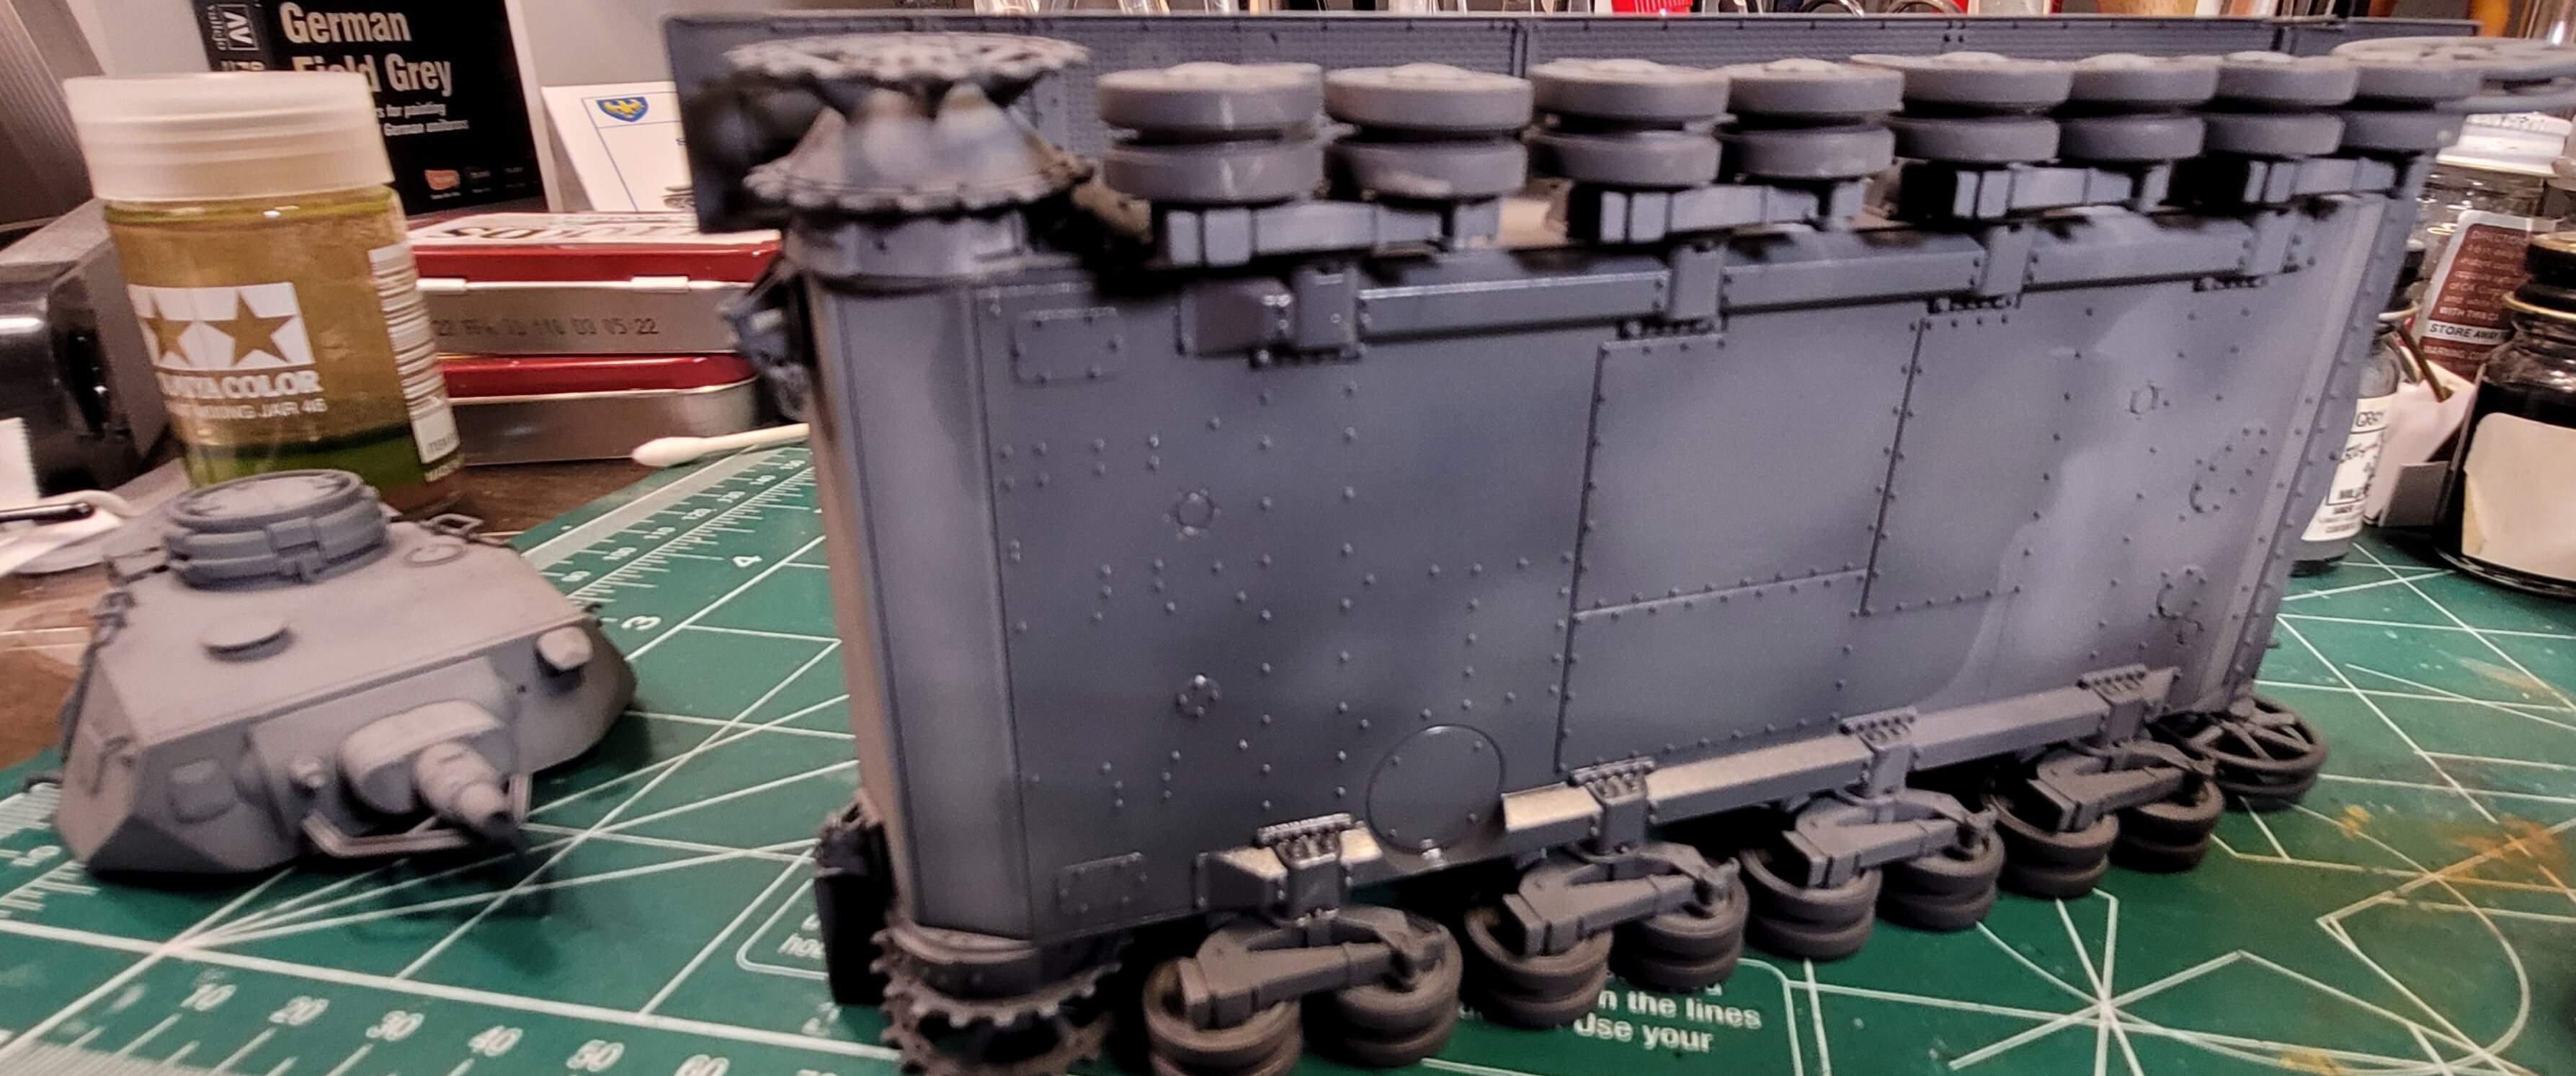
Speaking of posters, the only one in the hobby room.
@Mead93 , looks like the T-55 is well on the way:)
No worries with Scar-Jo, wife is a big fan Now Courtney Love - not so much so…lol.
Speaking of posters, the only one in the hobby room.
Ah Sandahl Bergman.
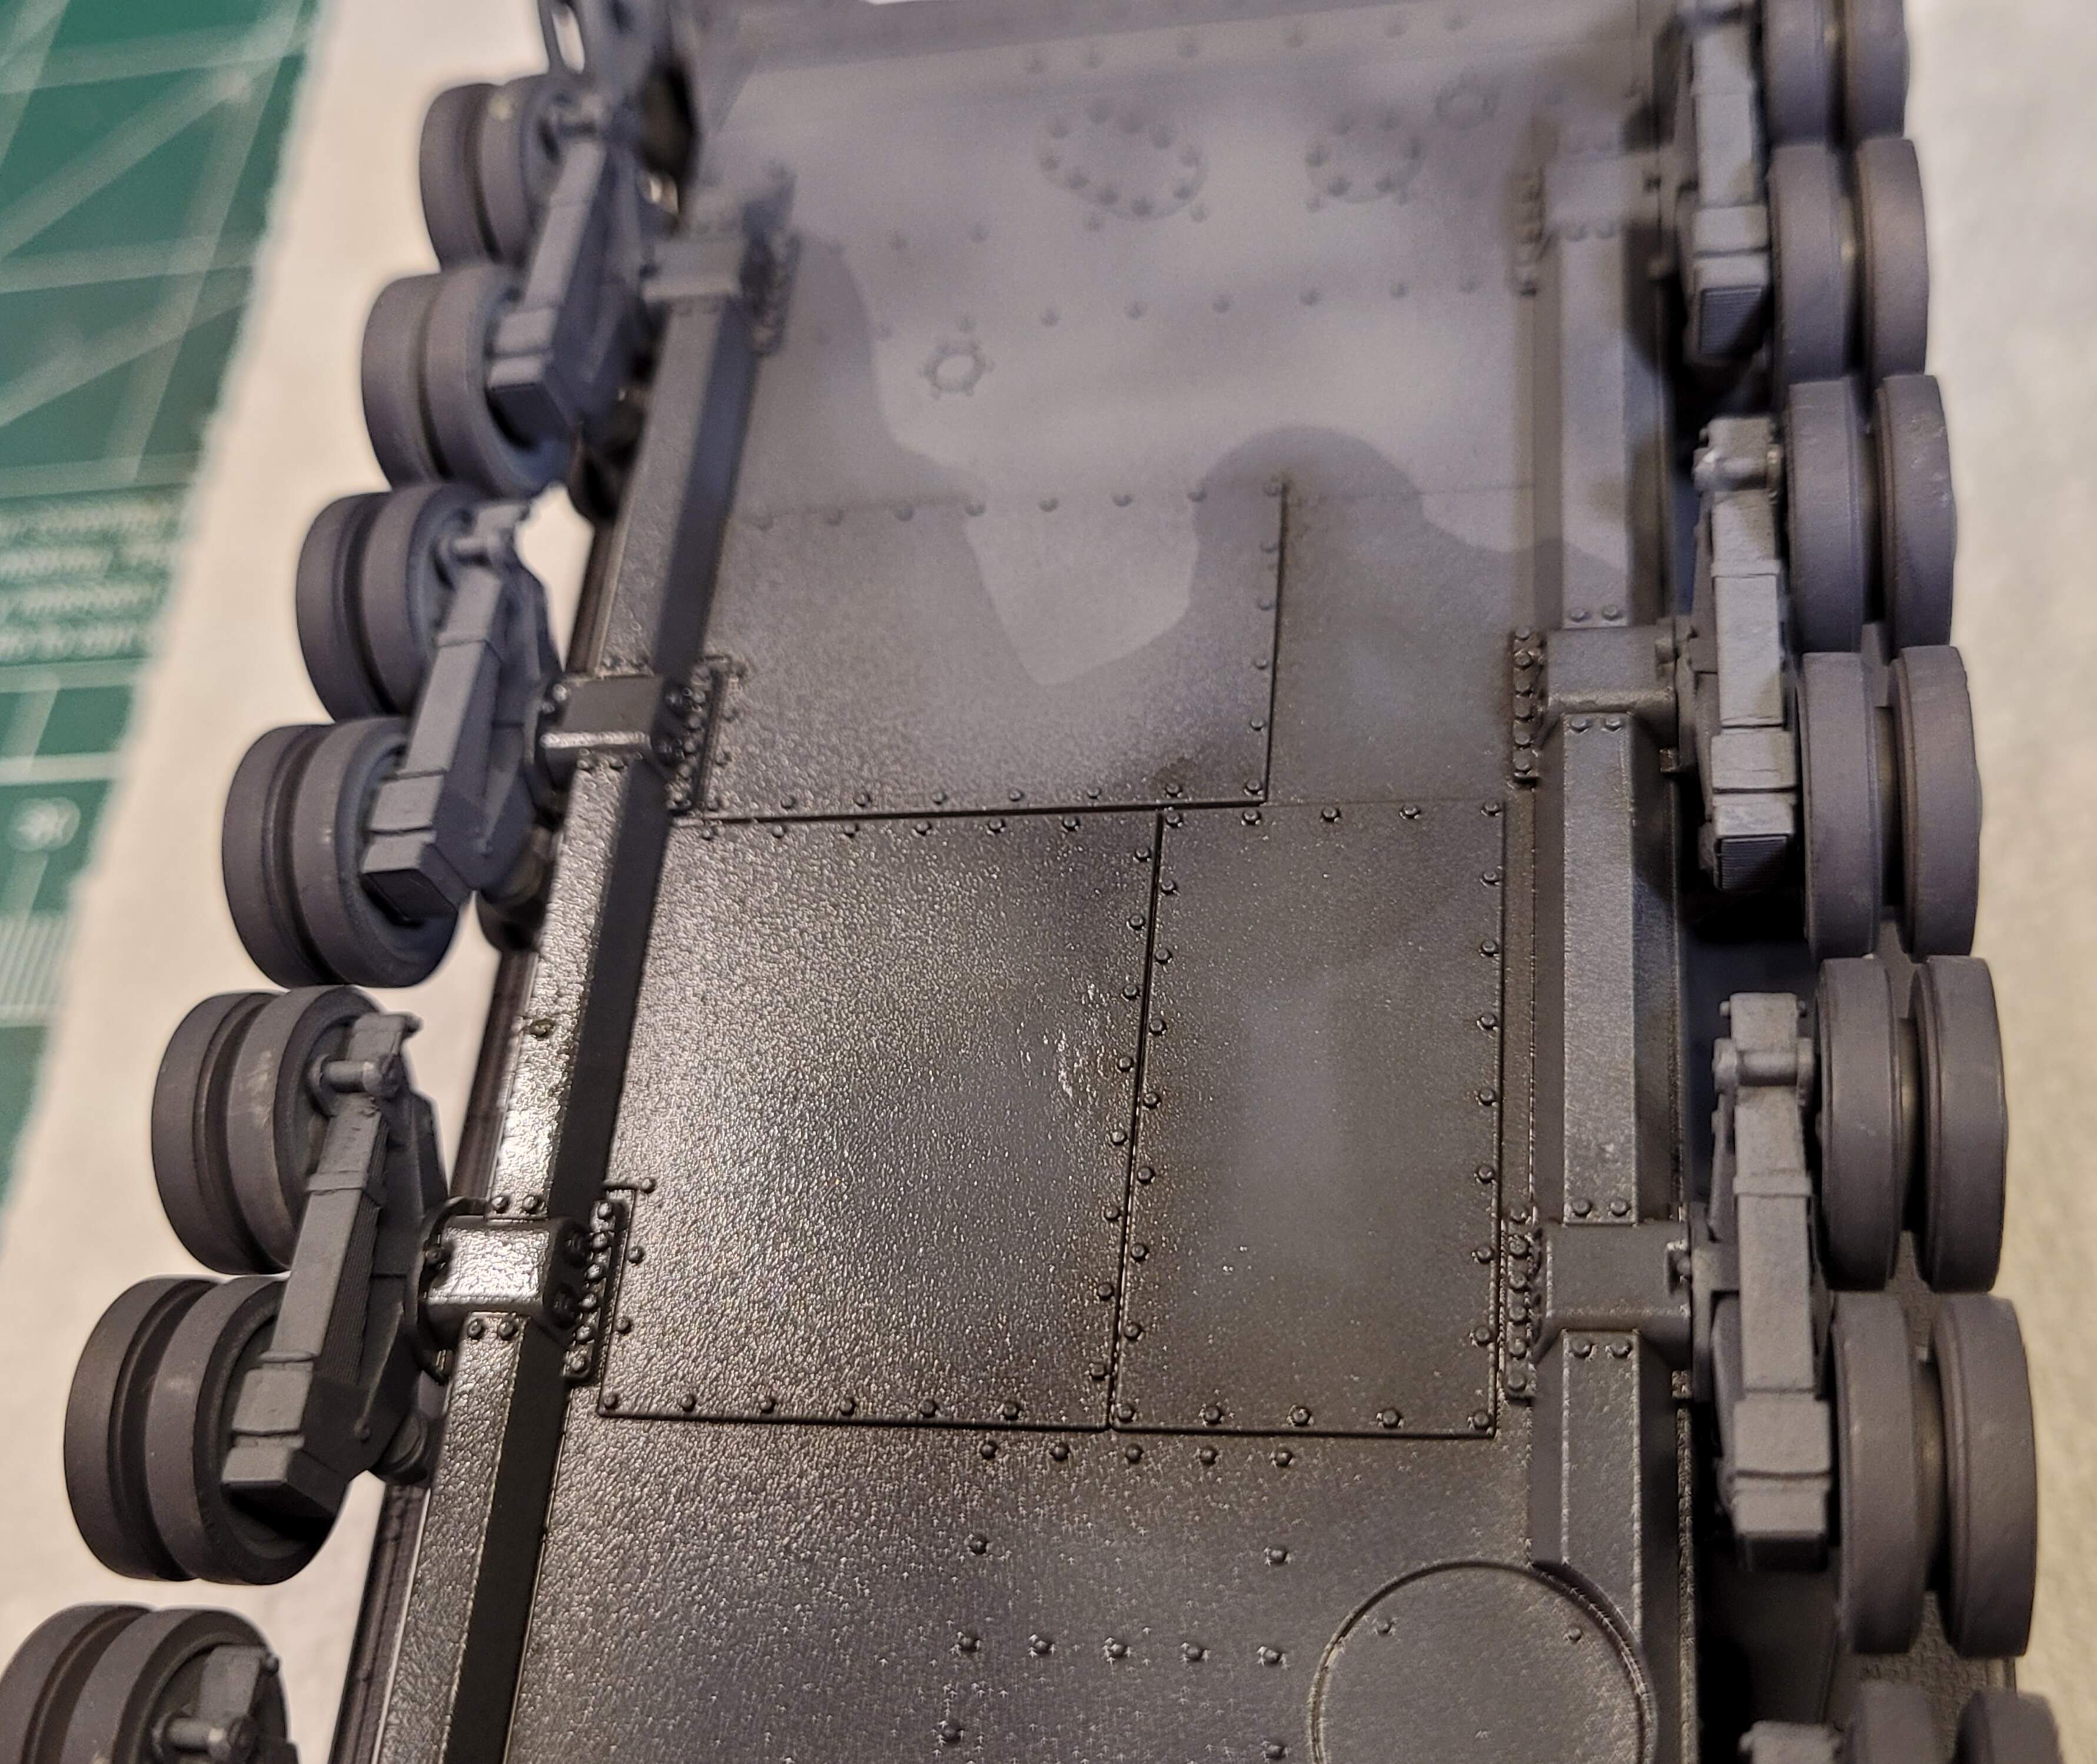
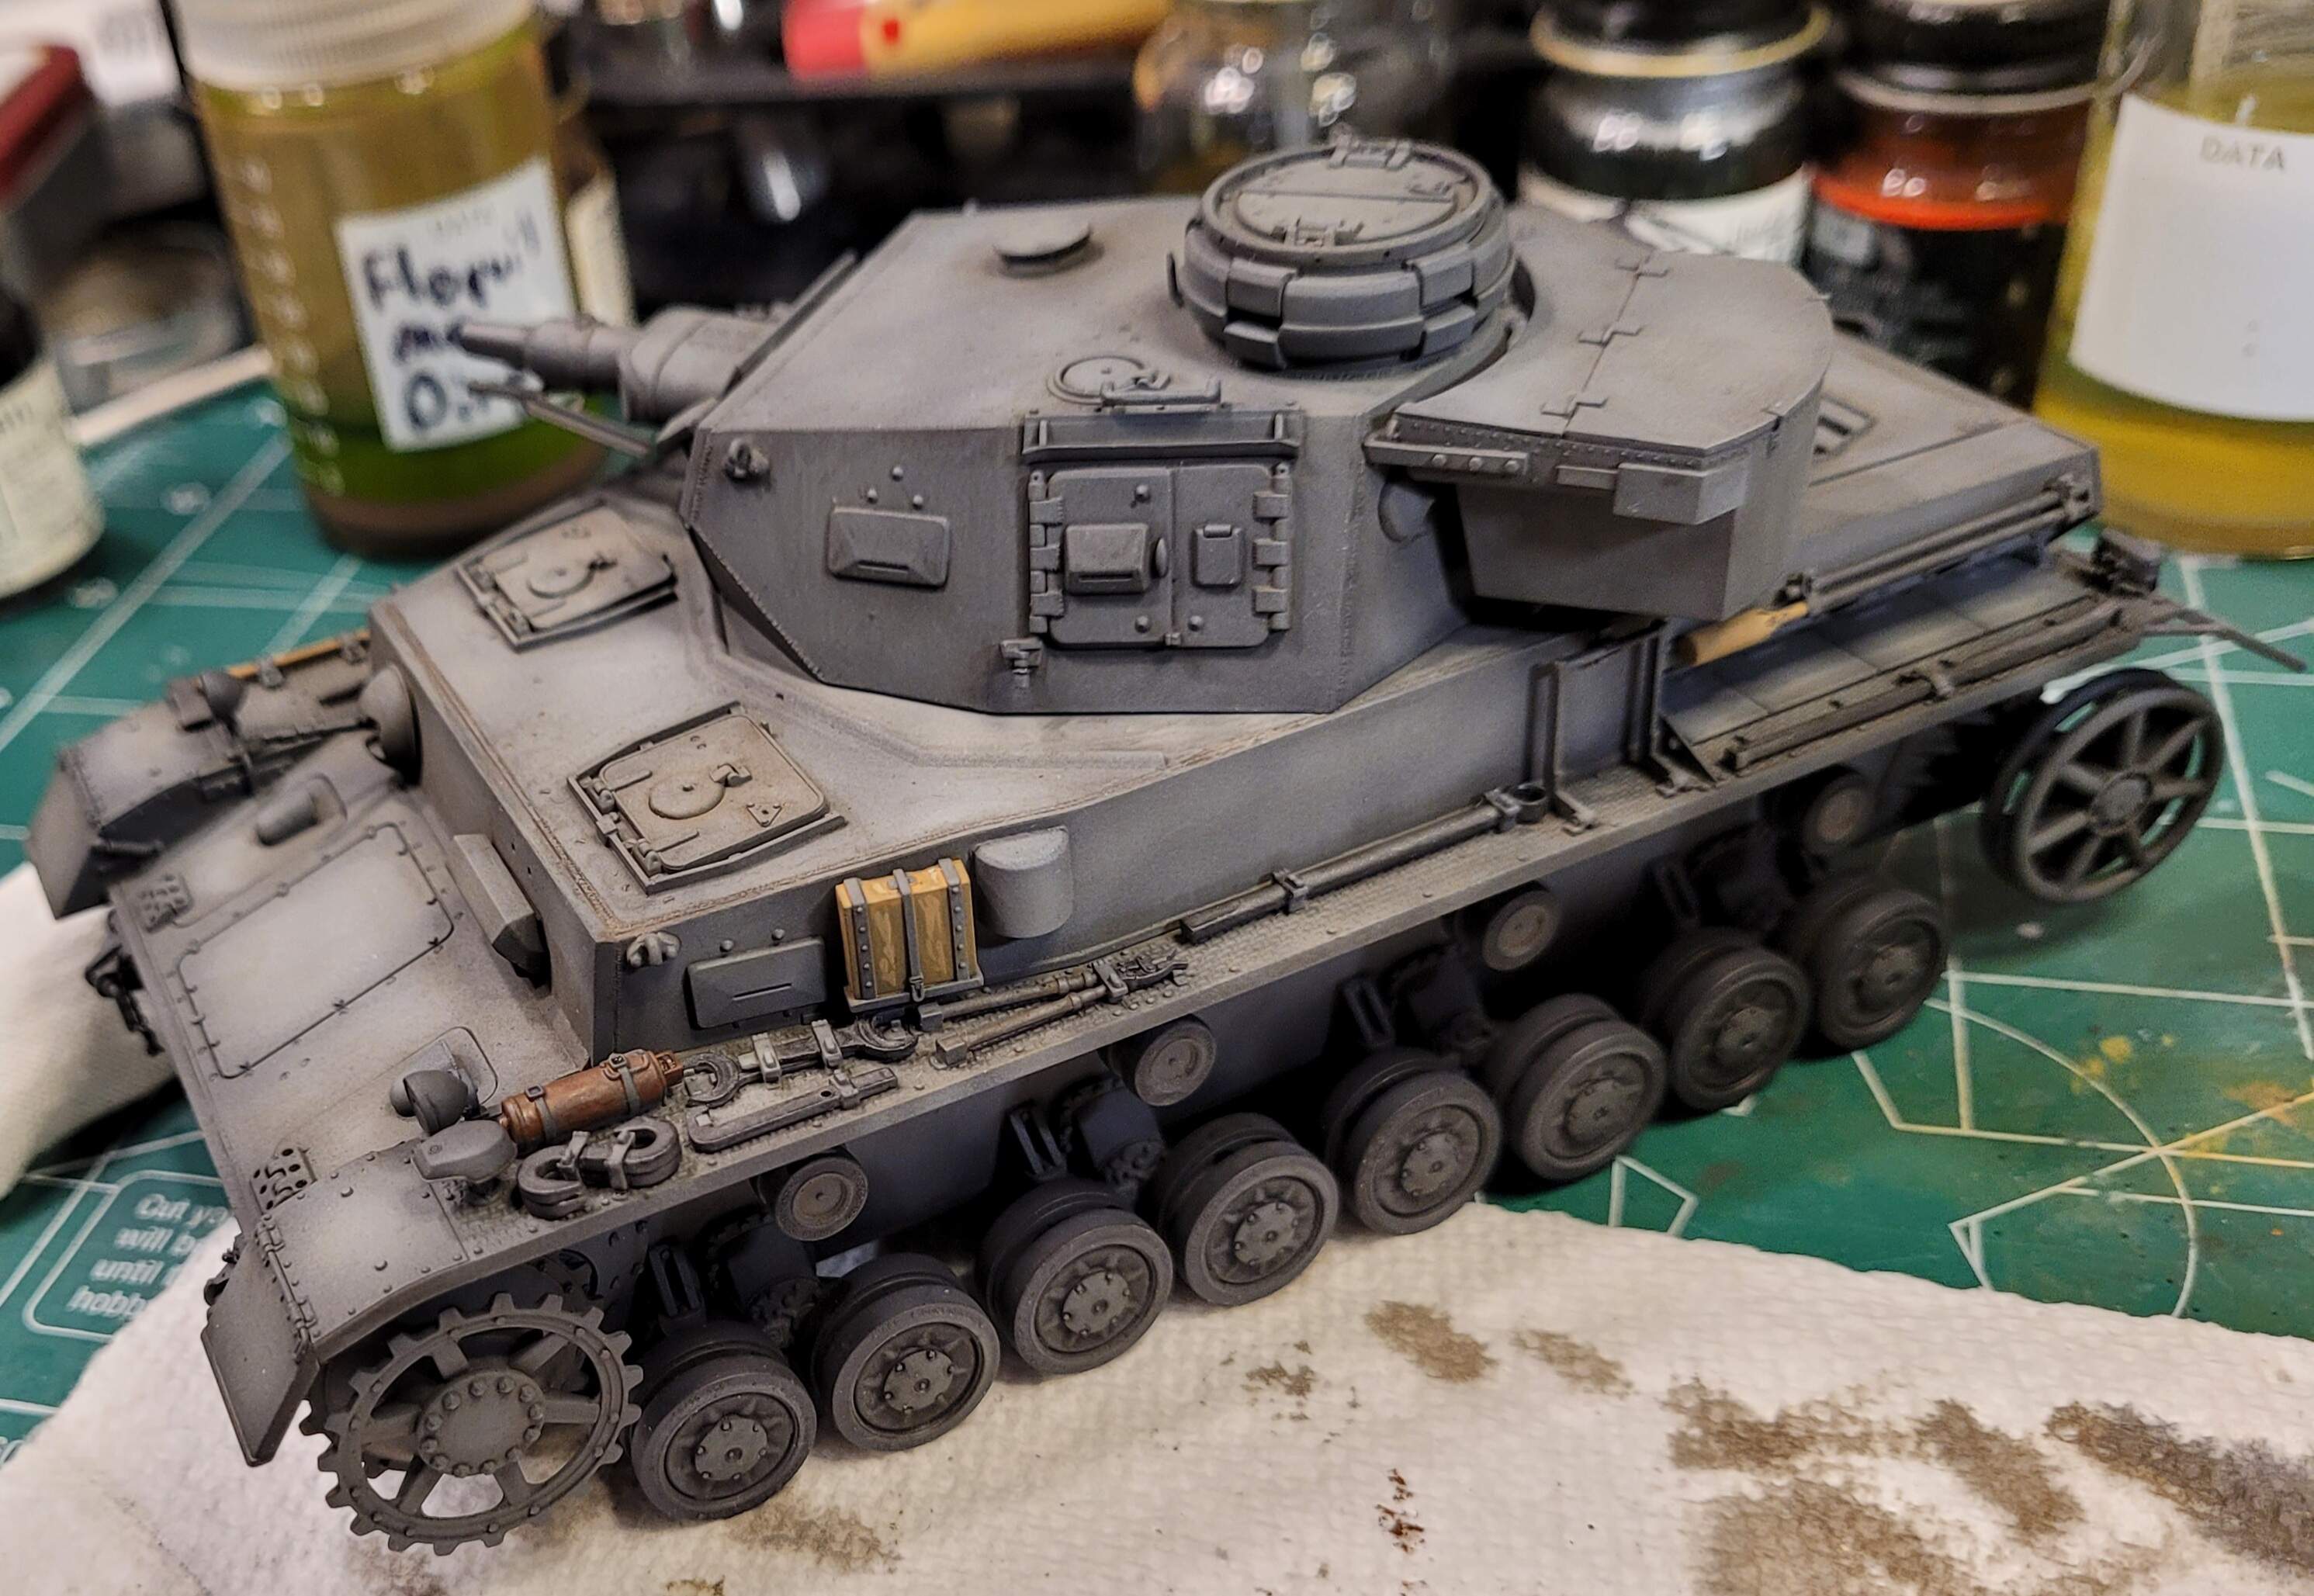
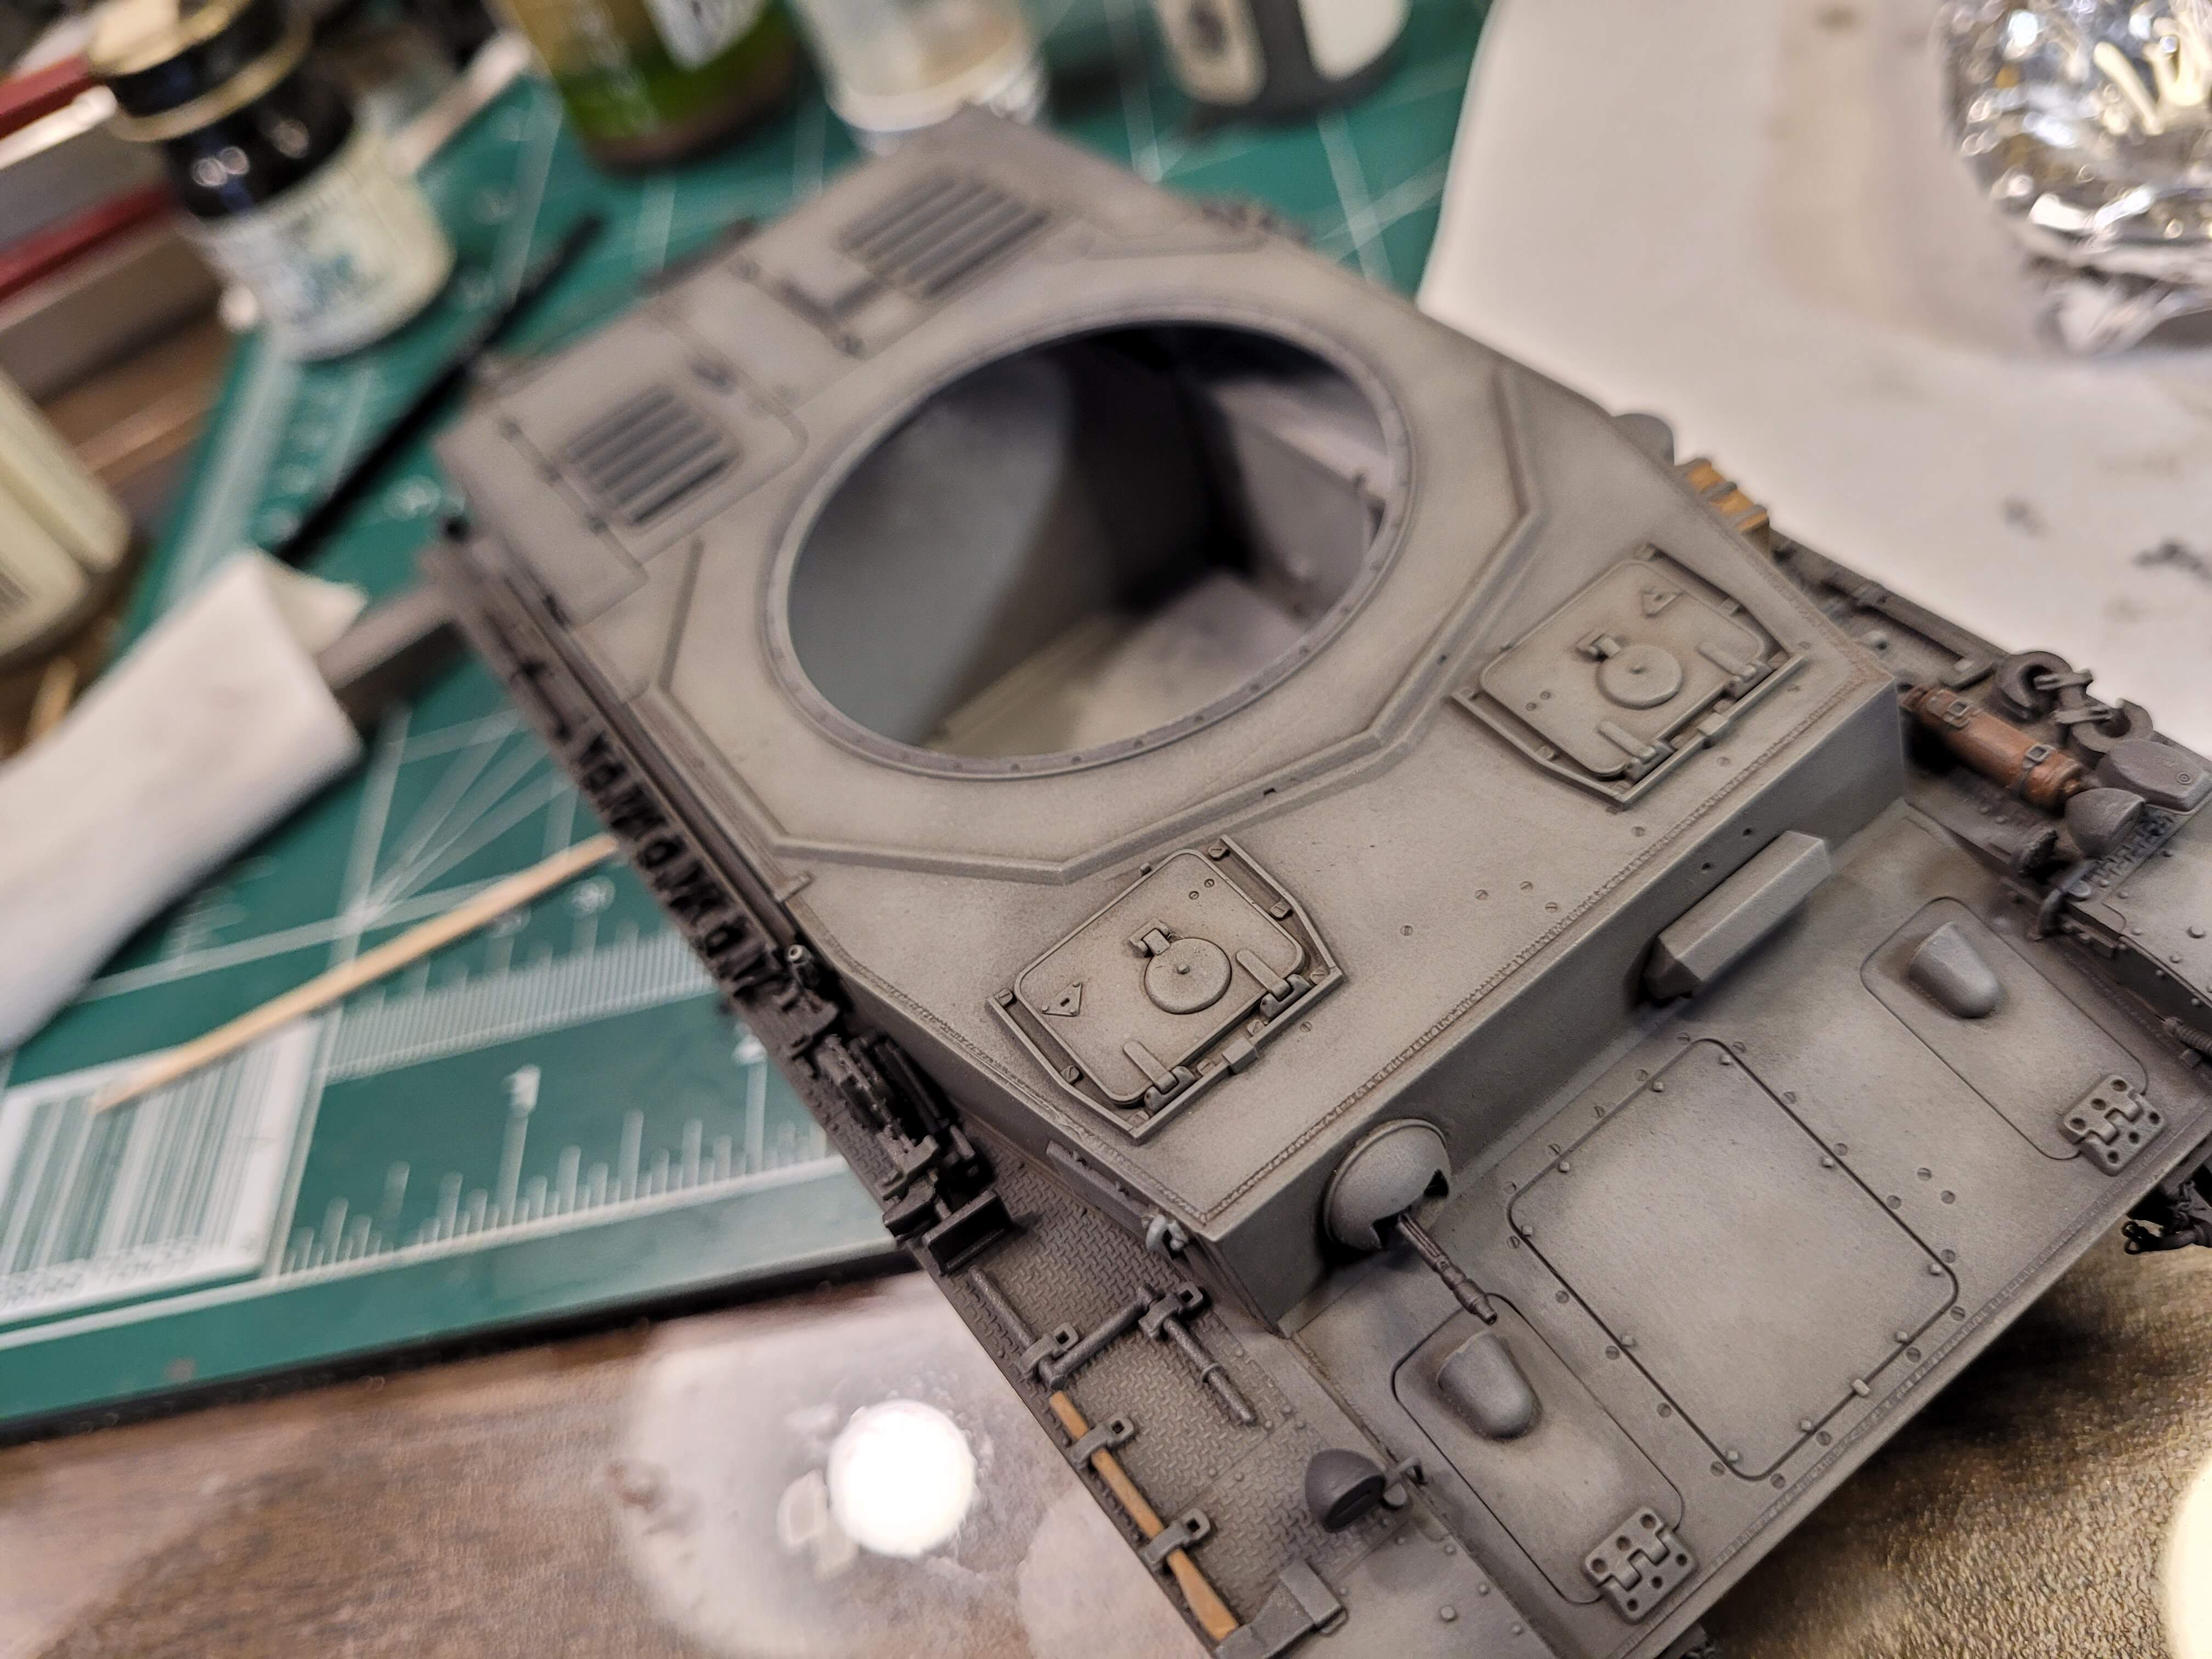
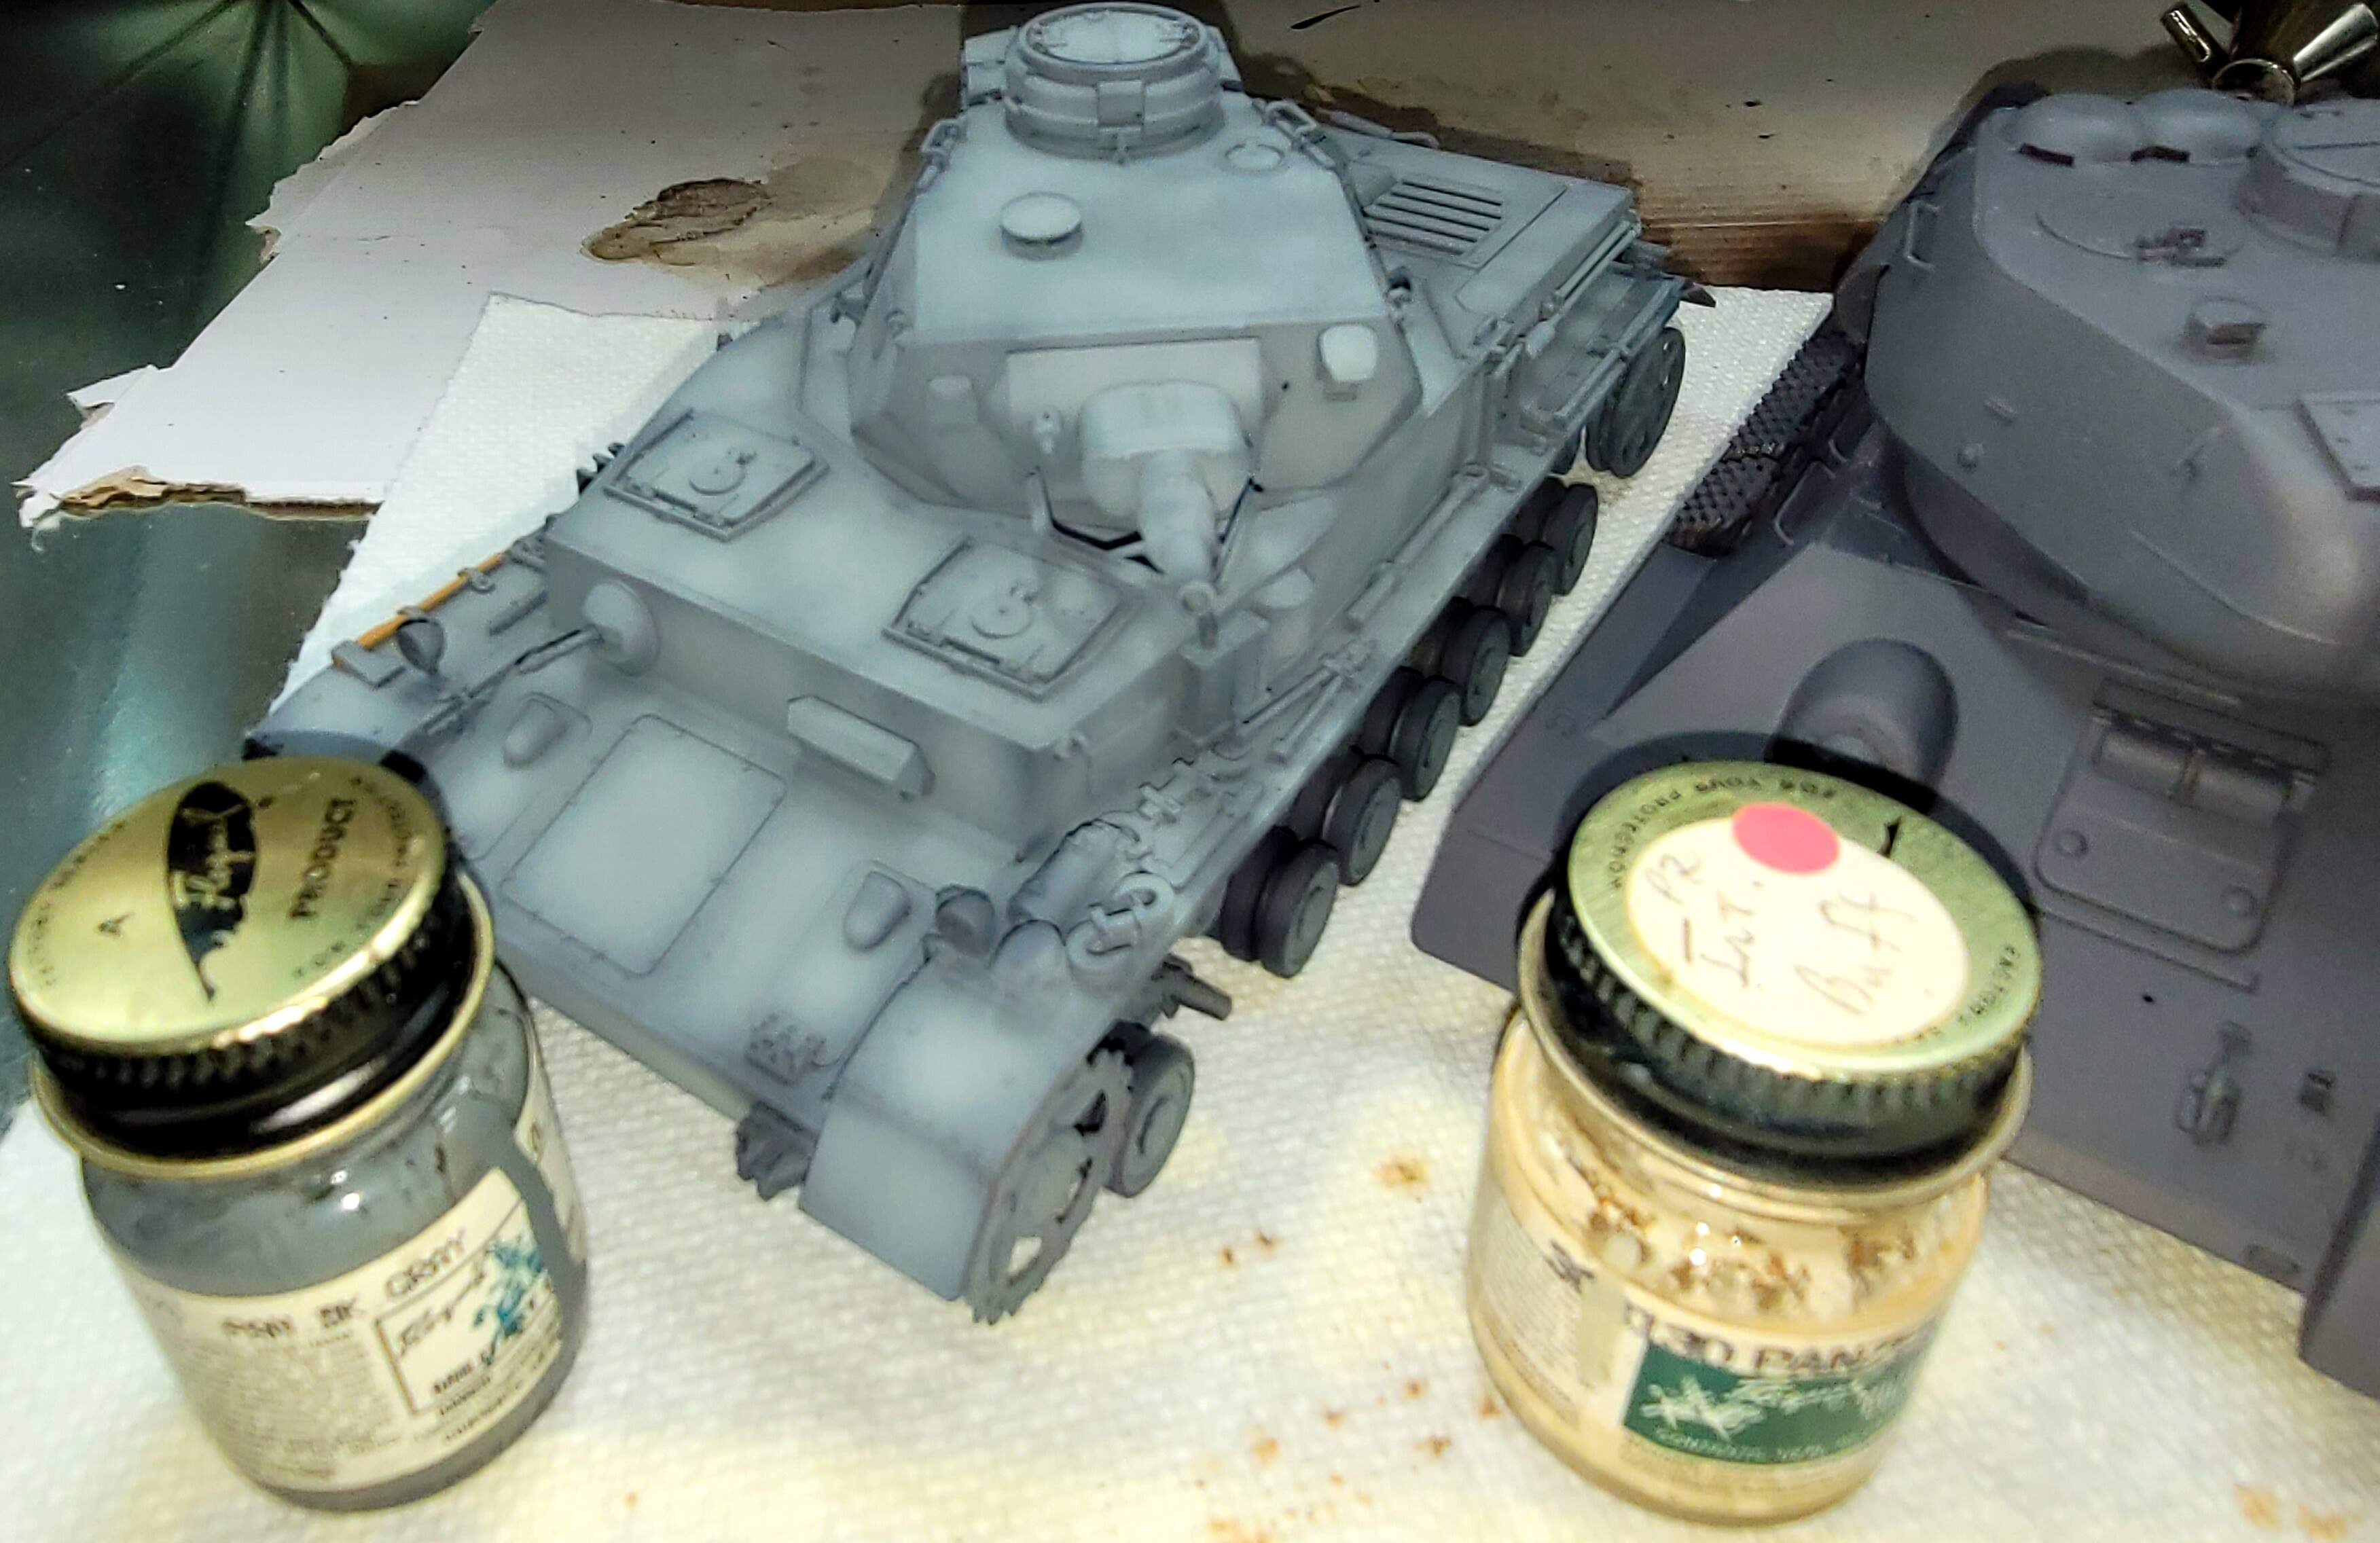
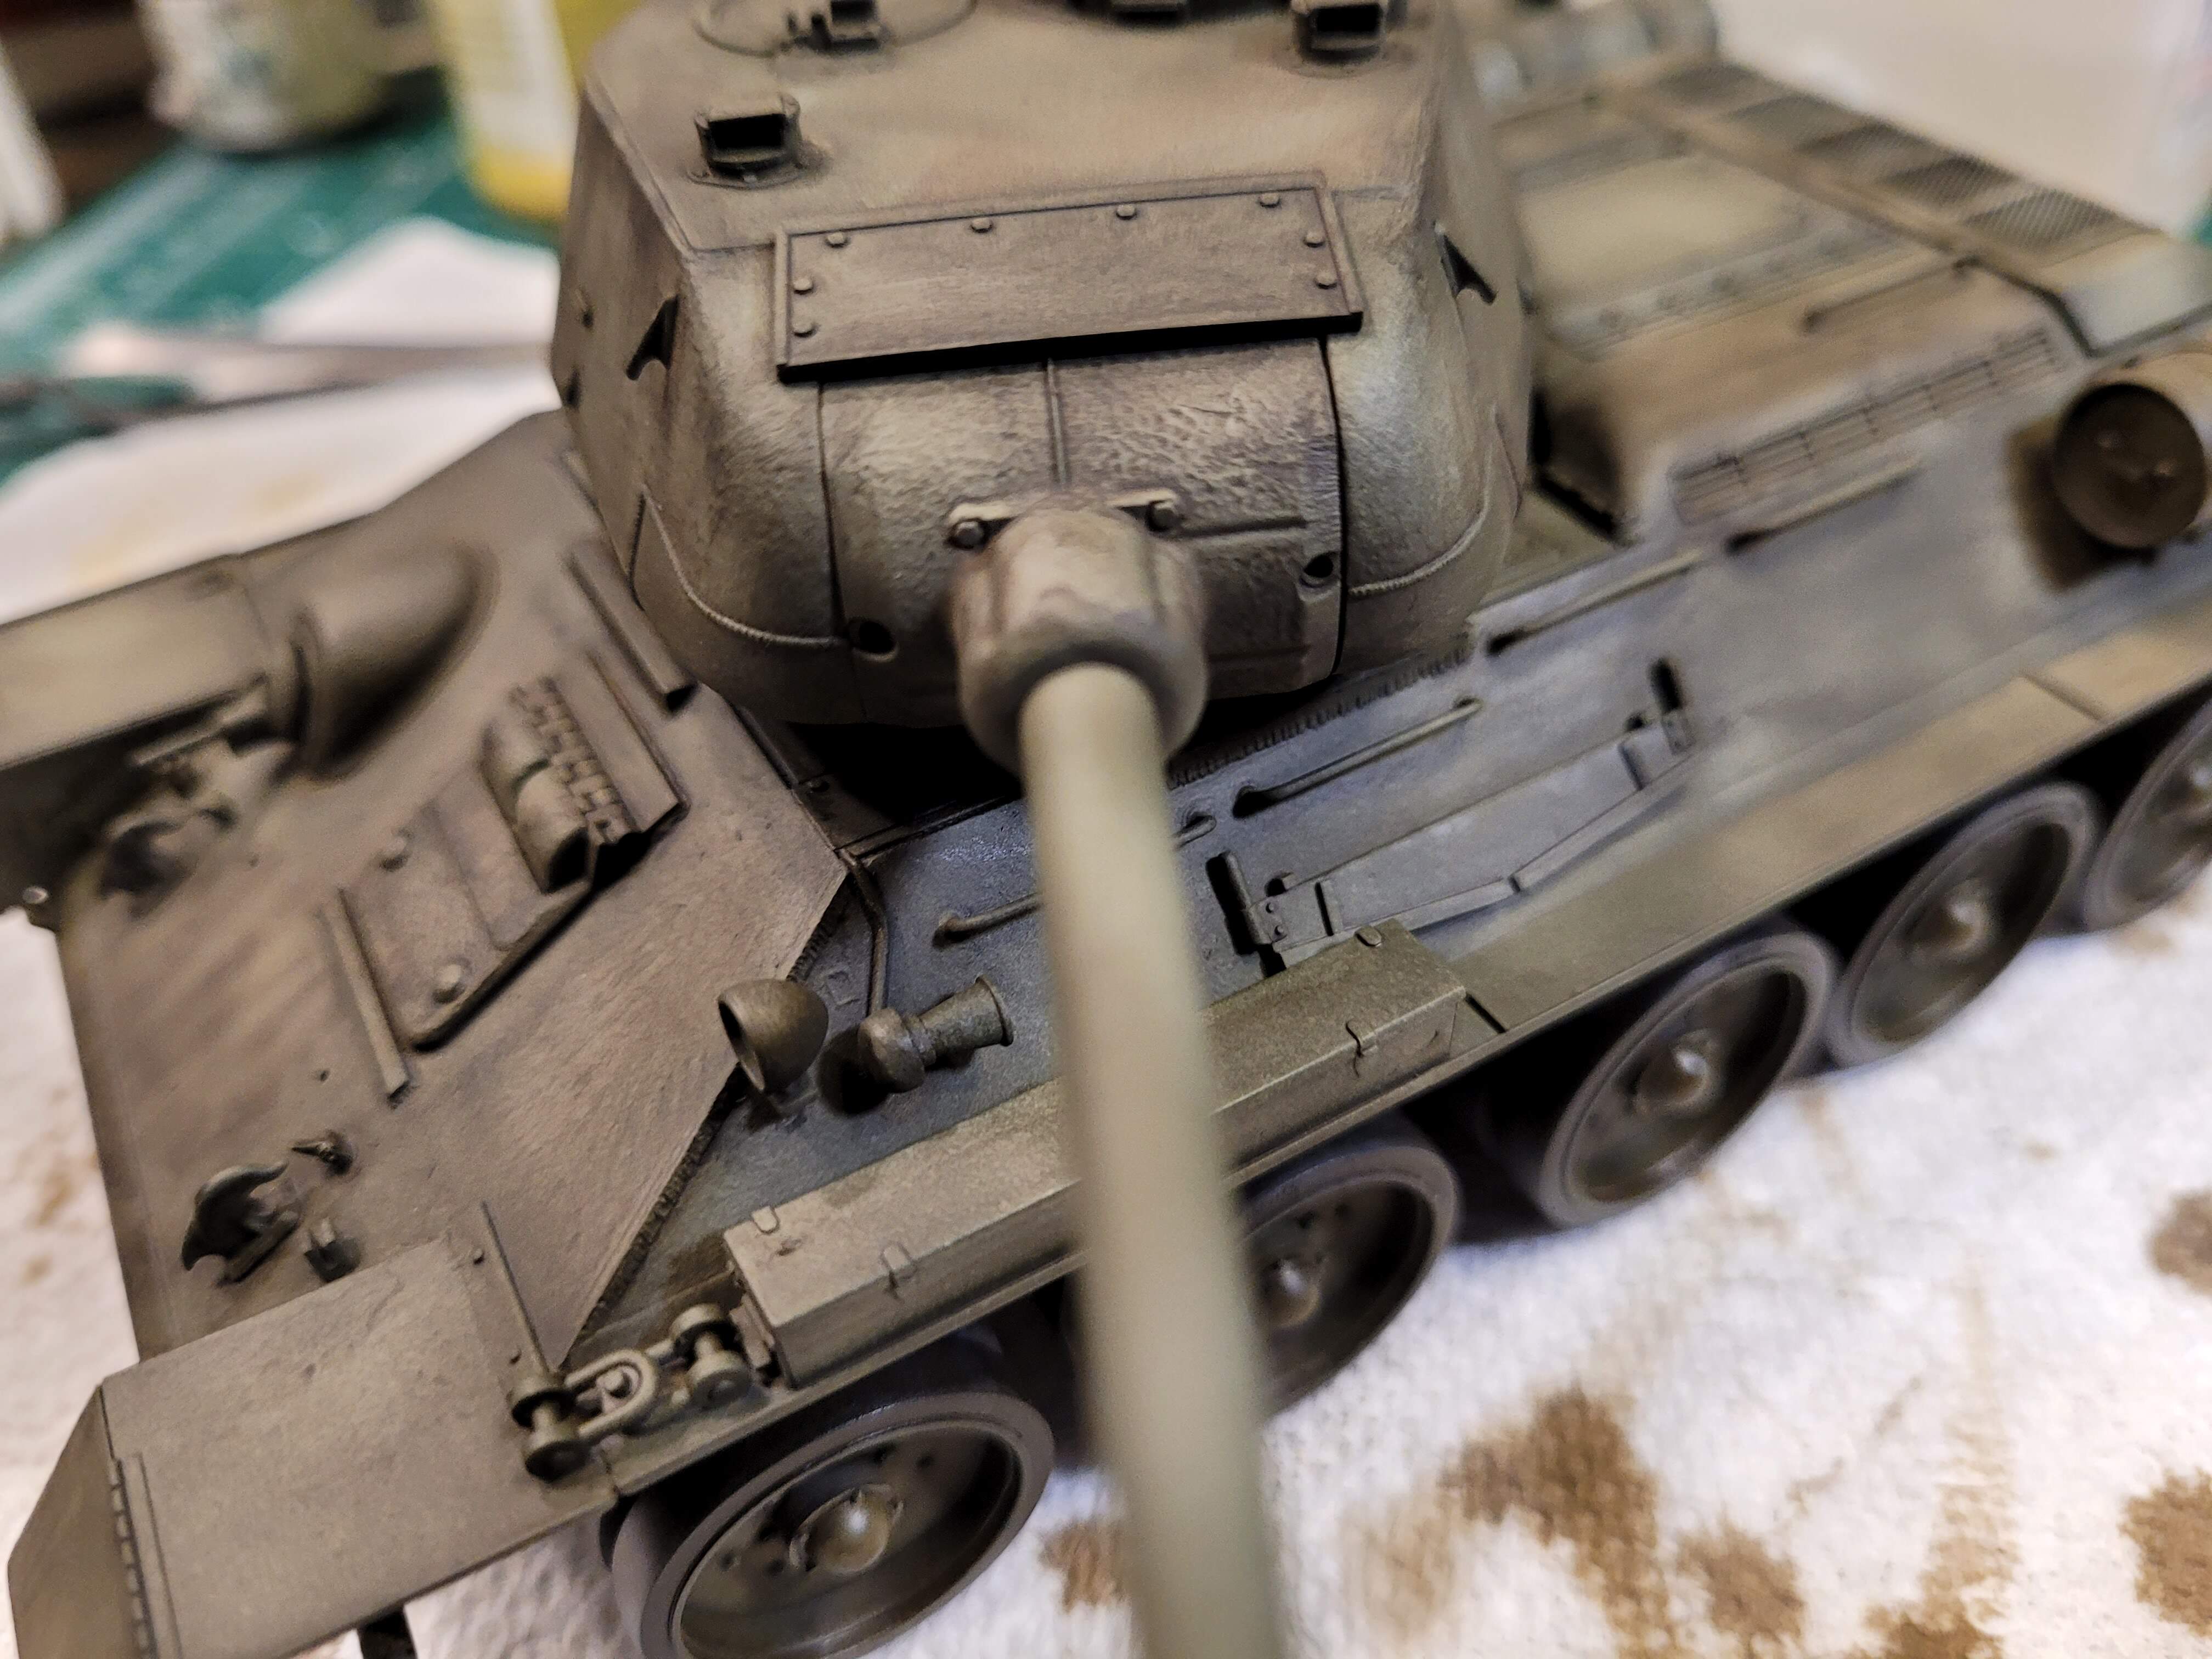
The Wash Application
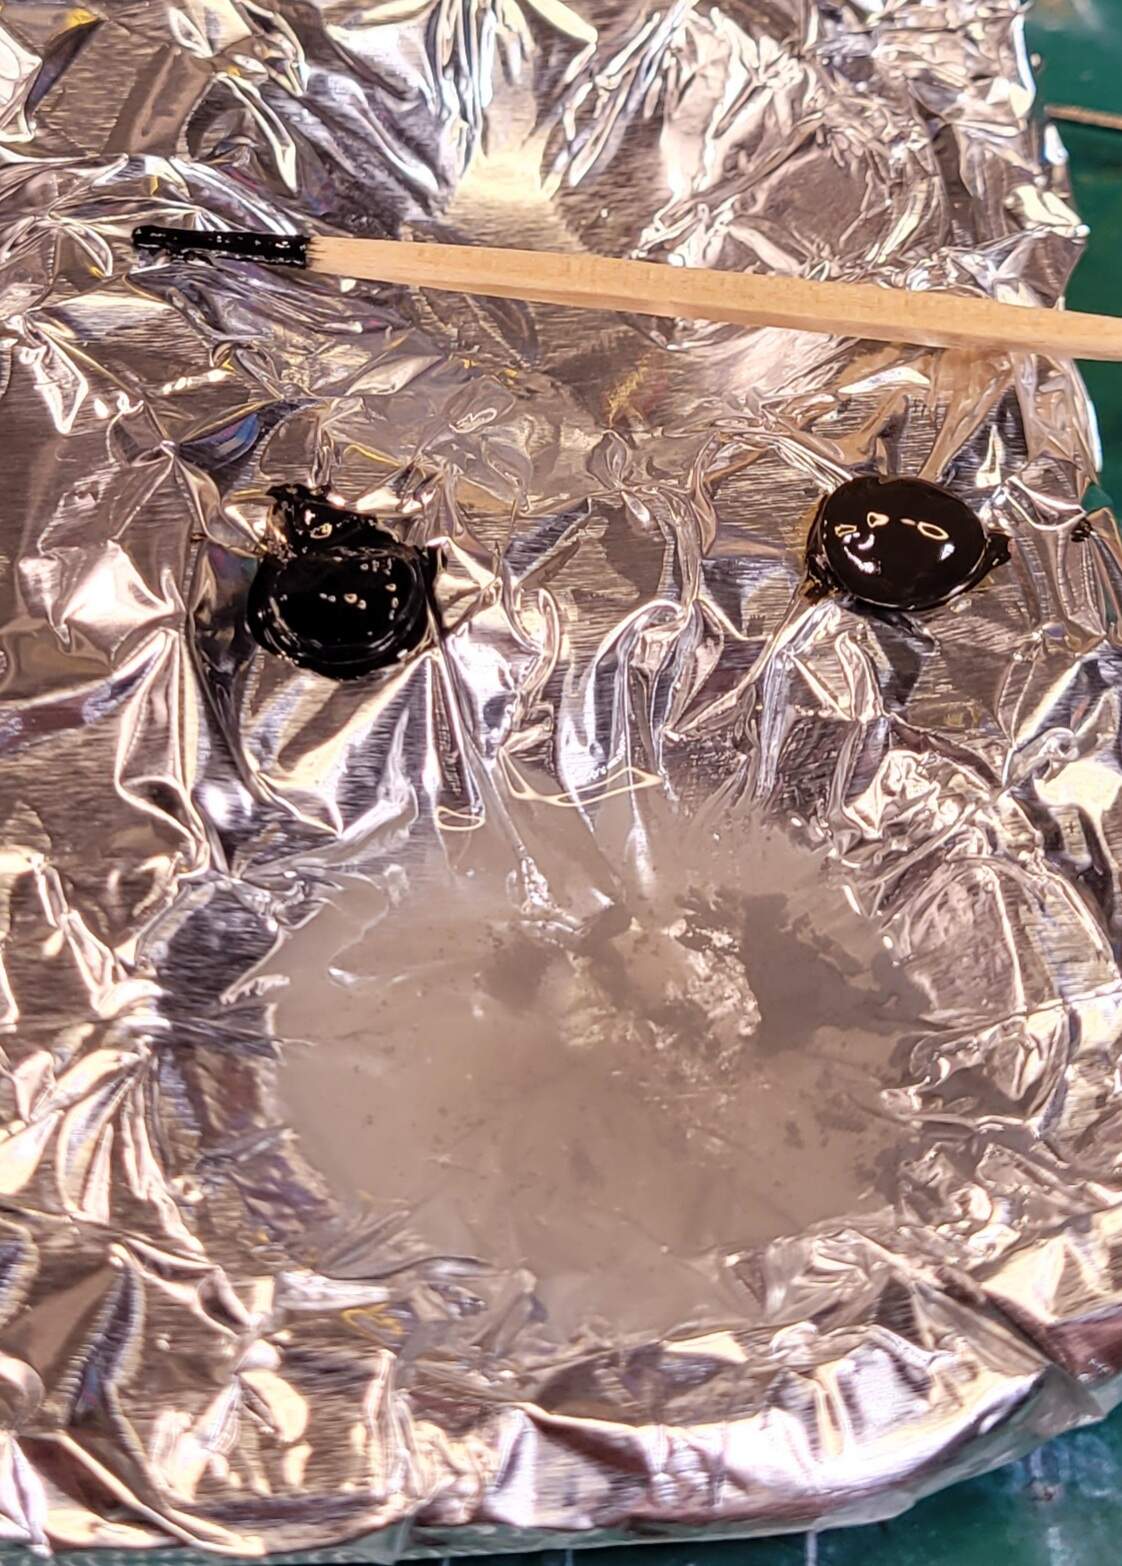
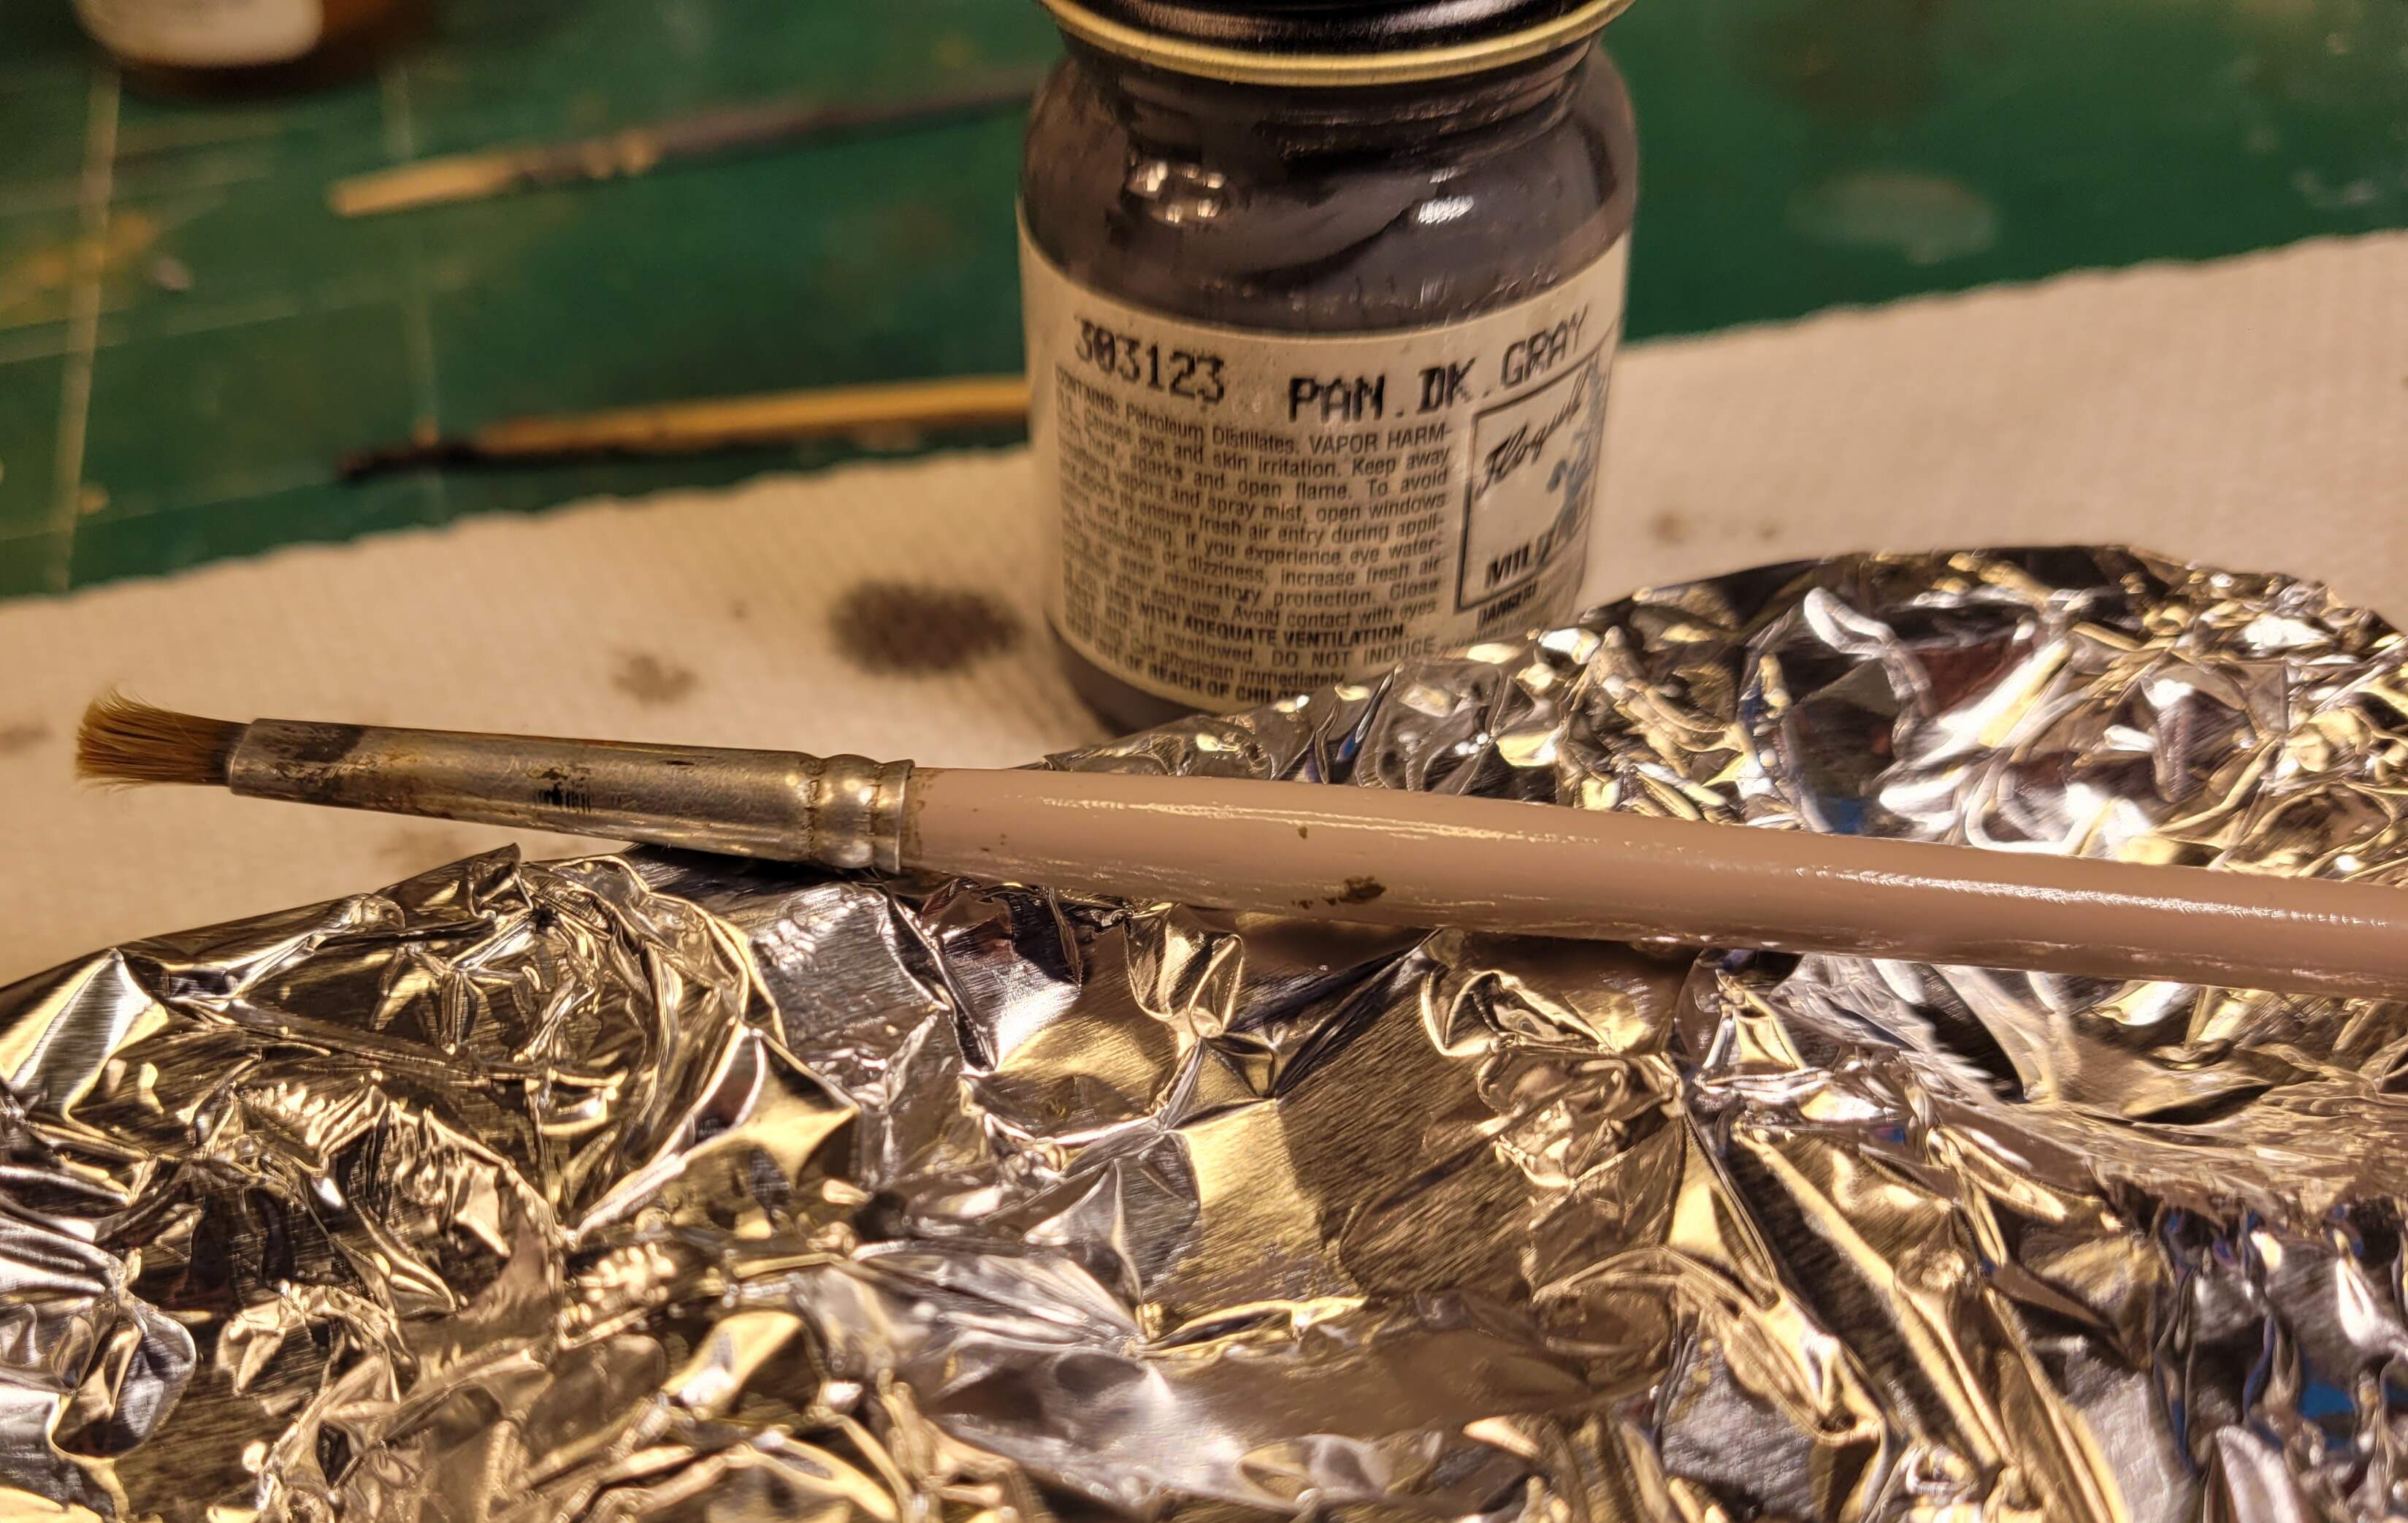
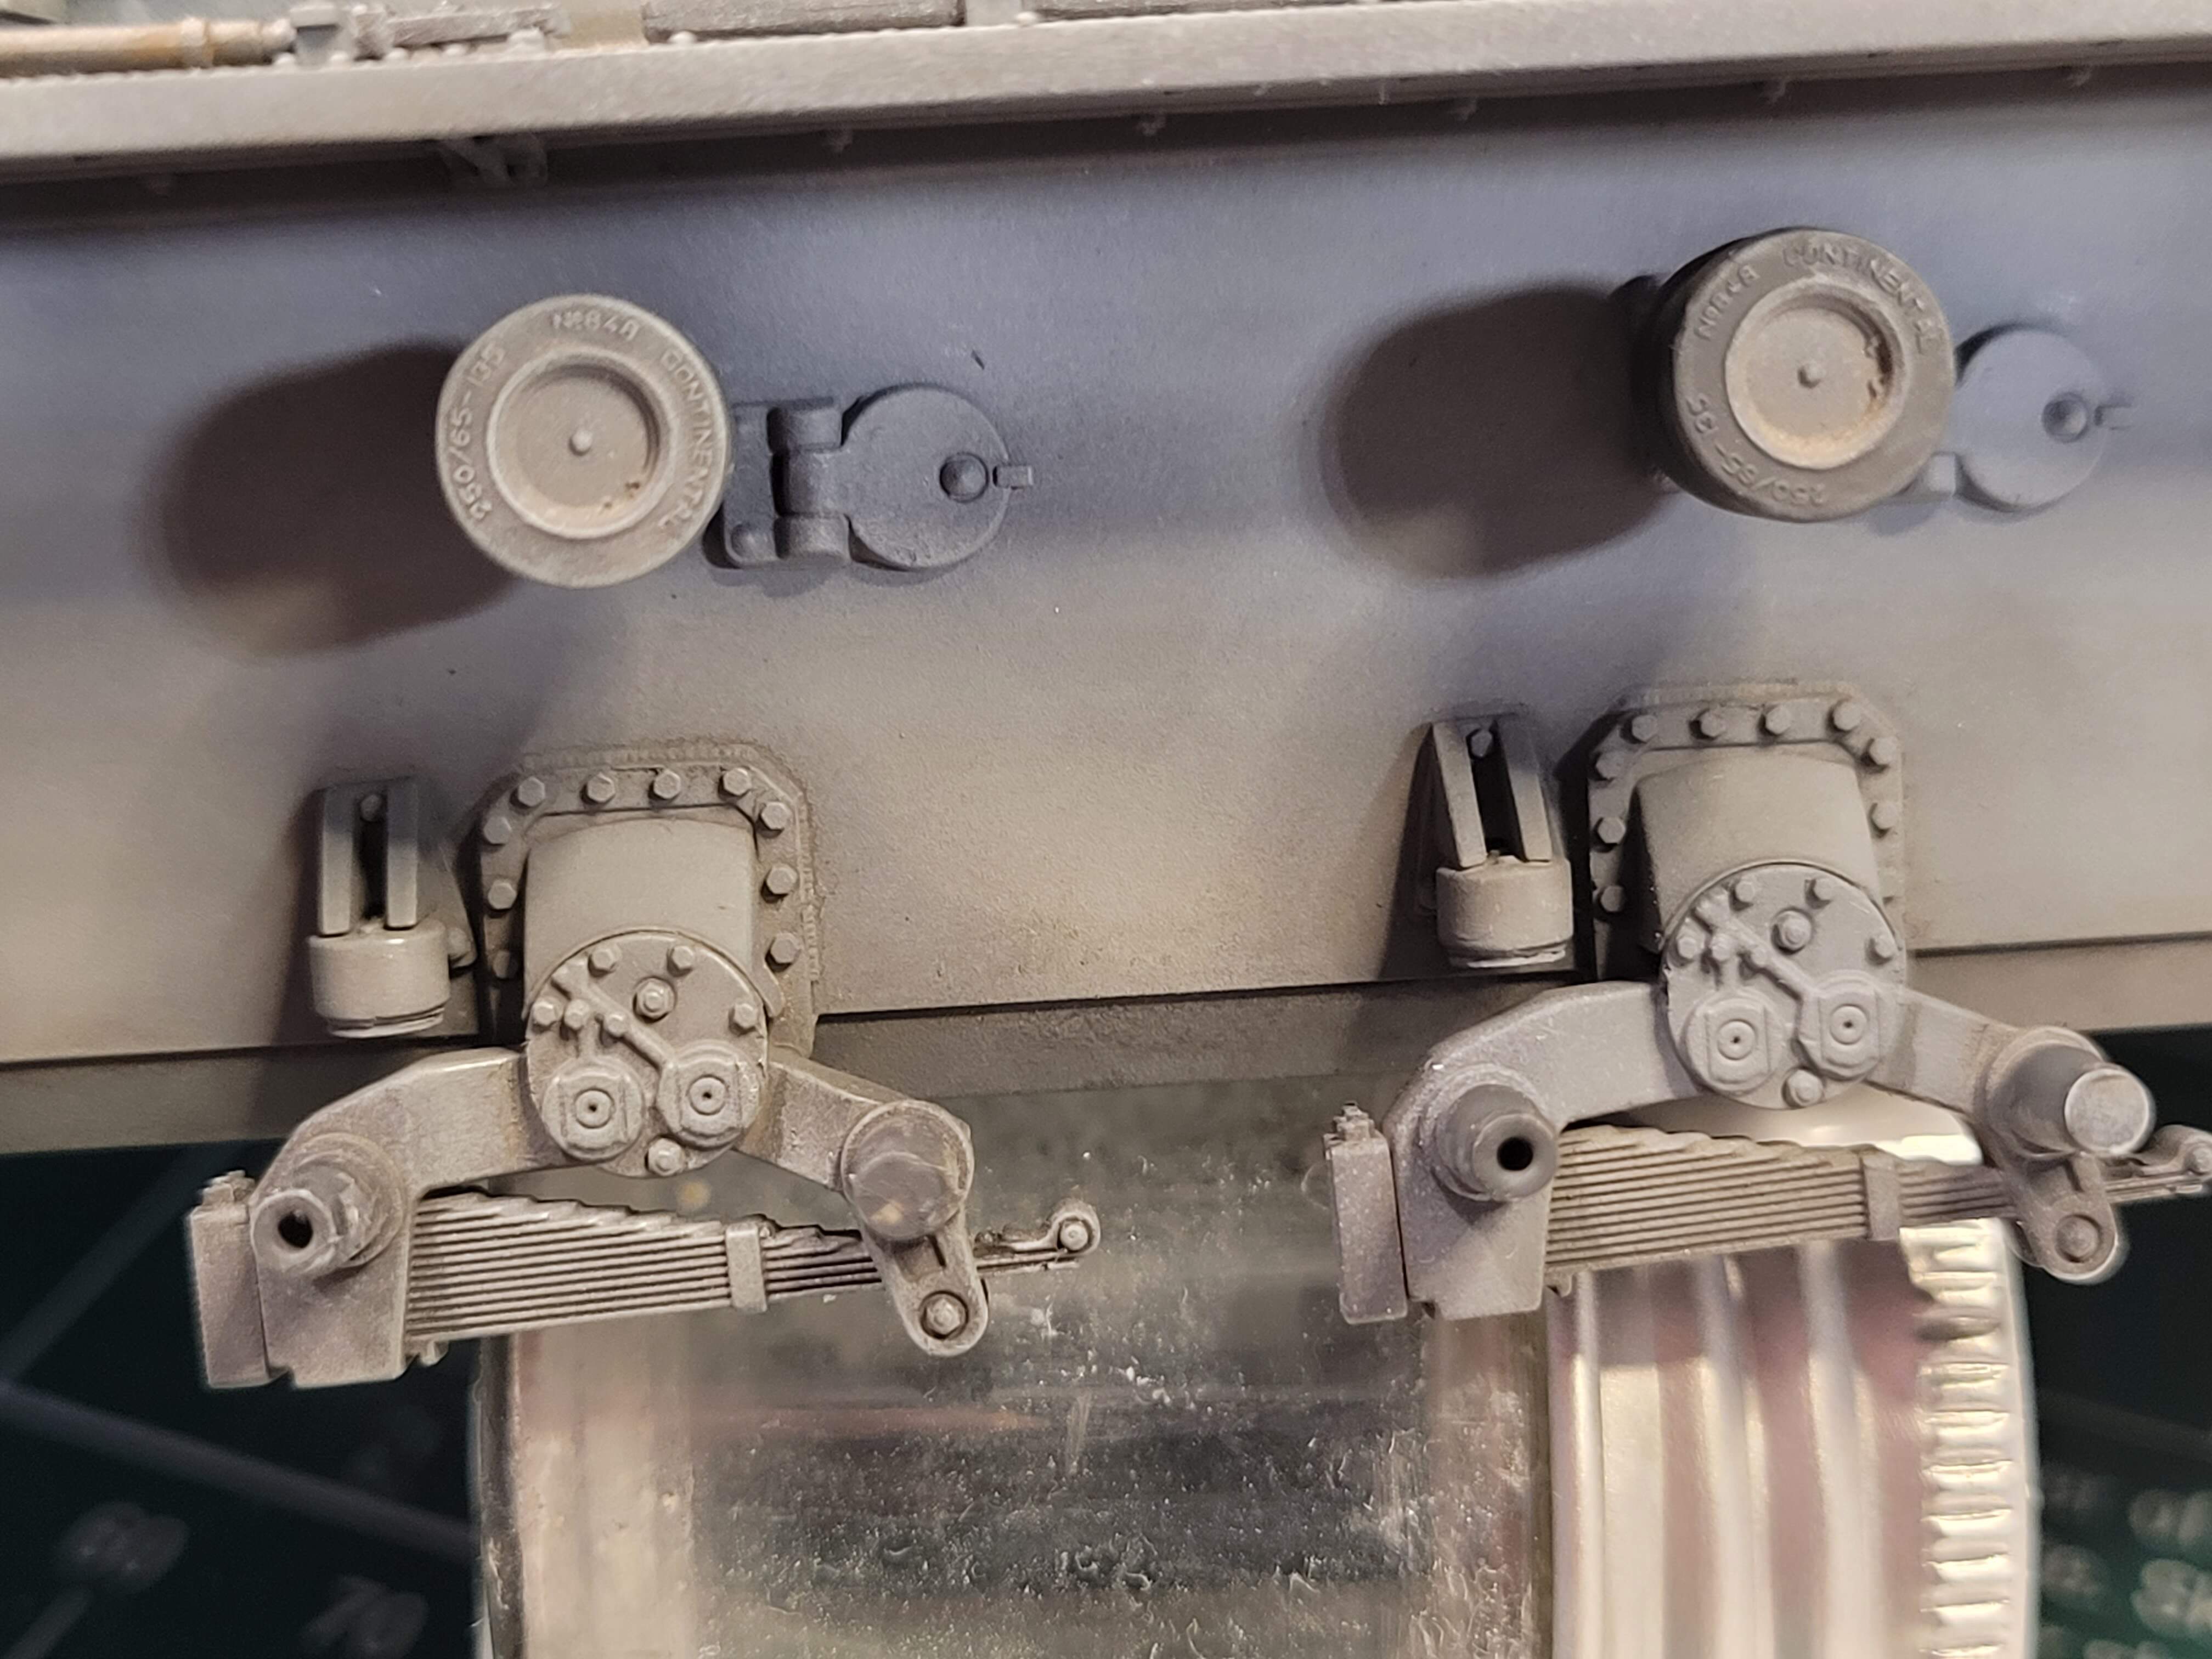
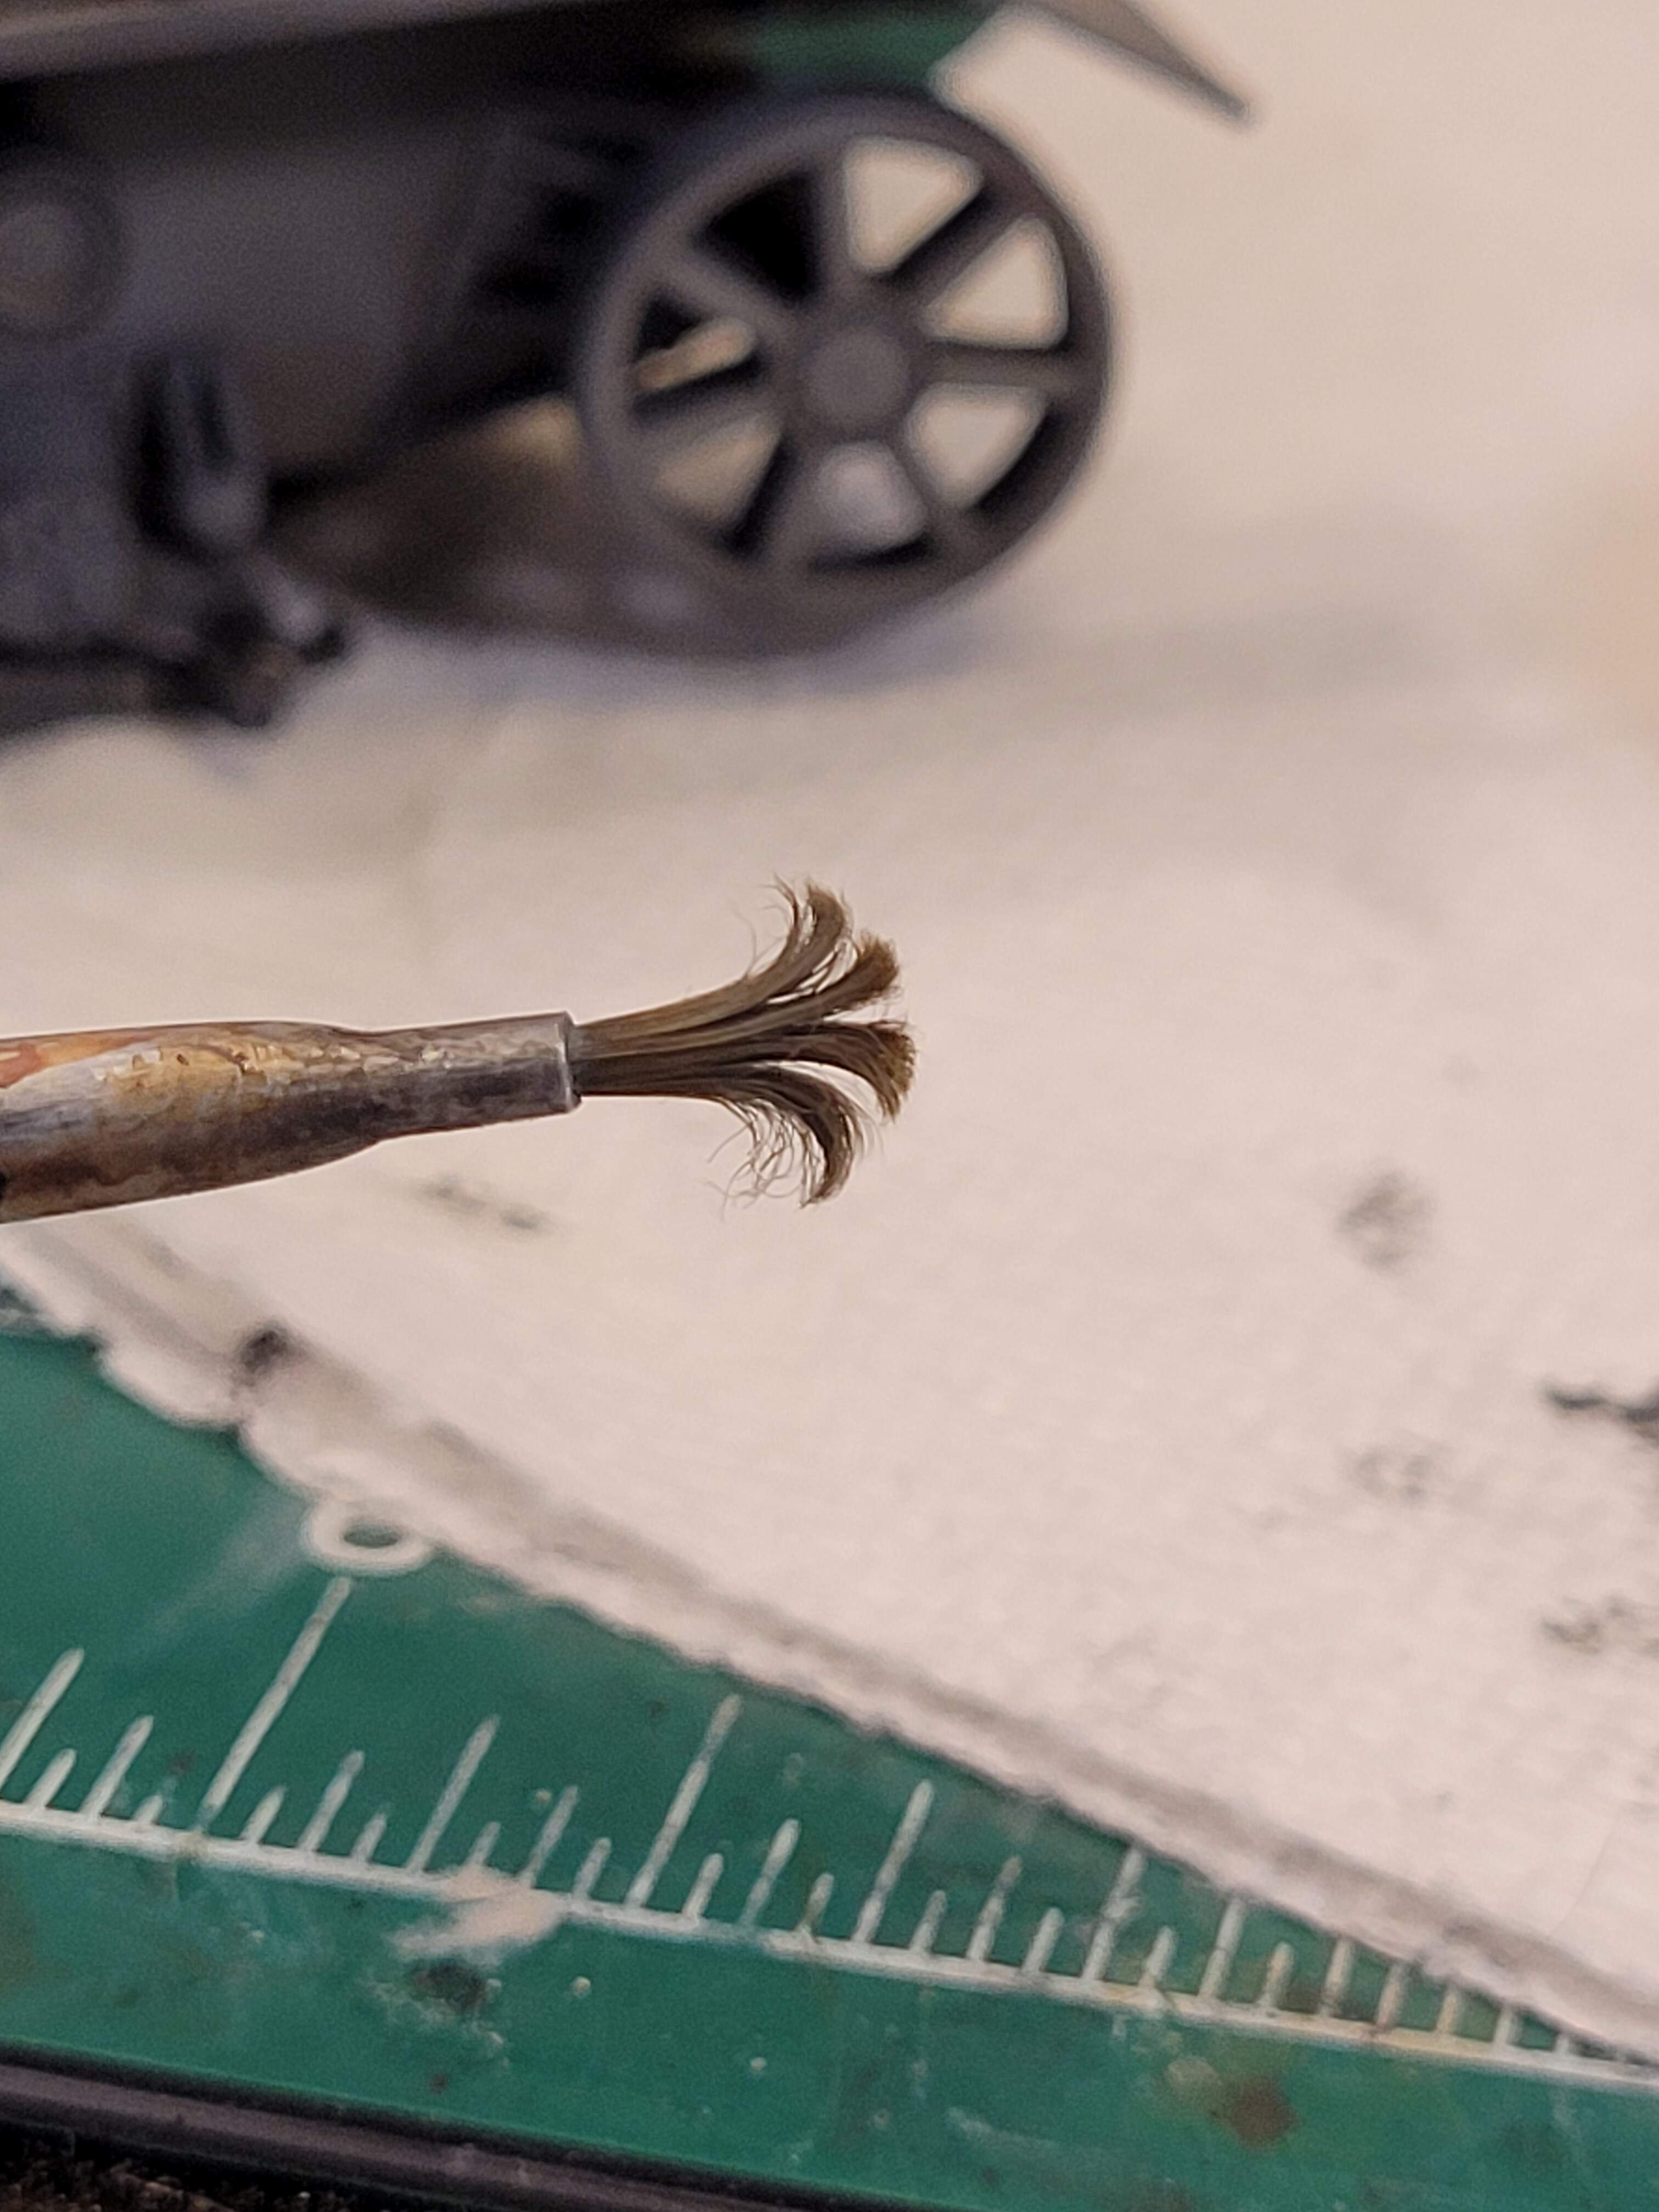
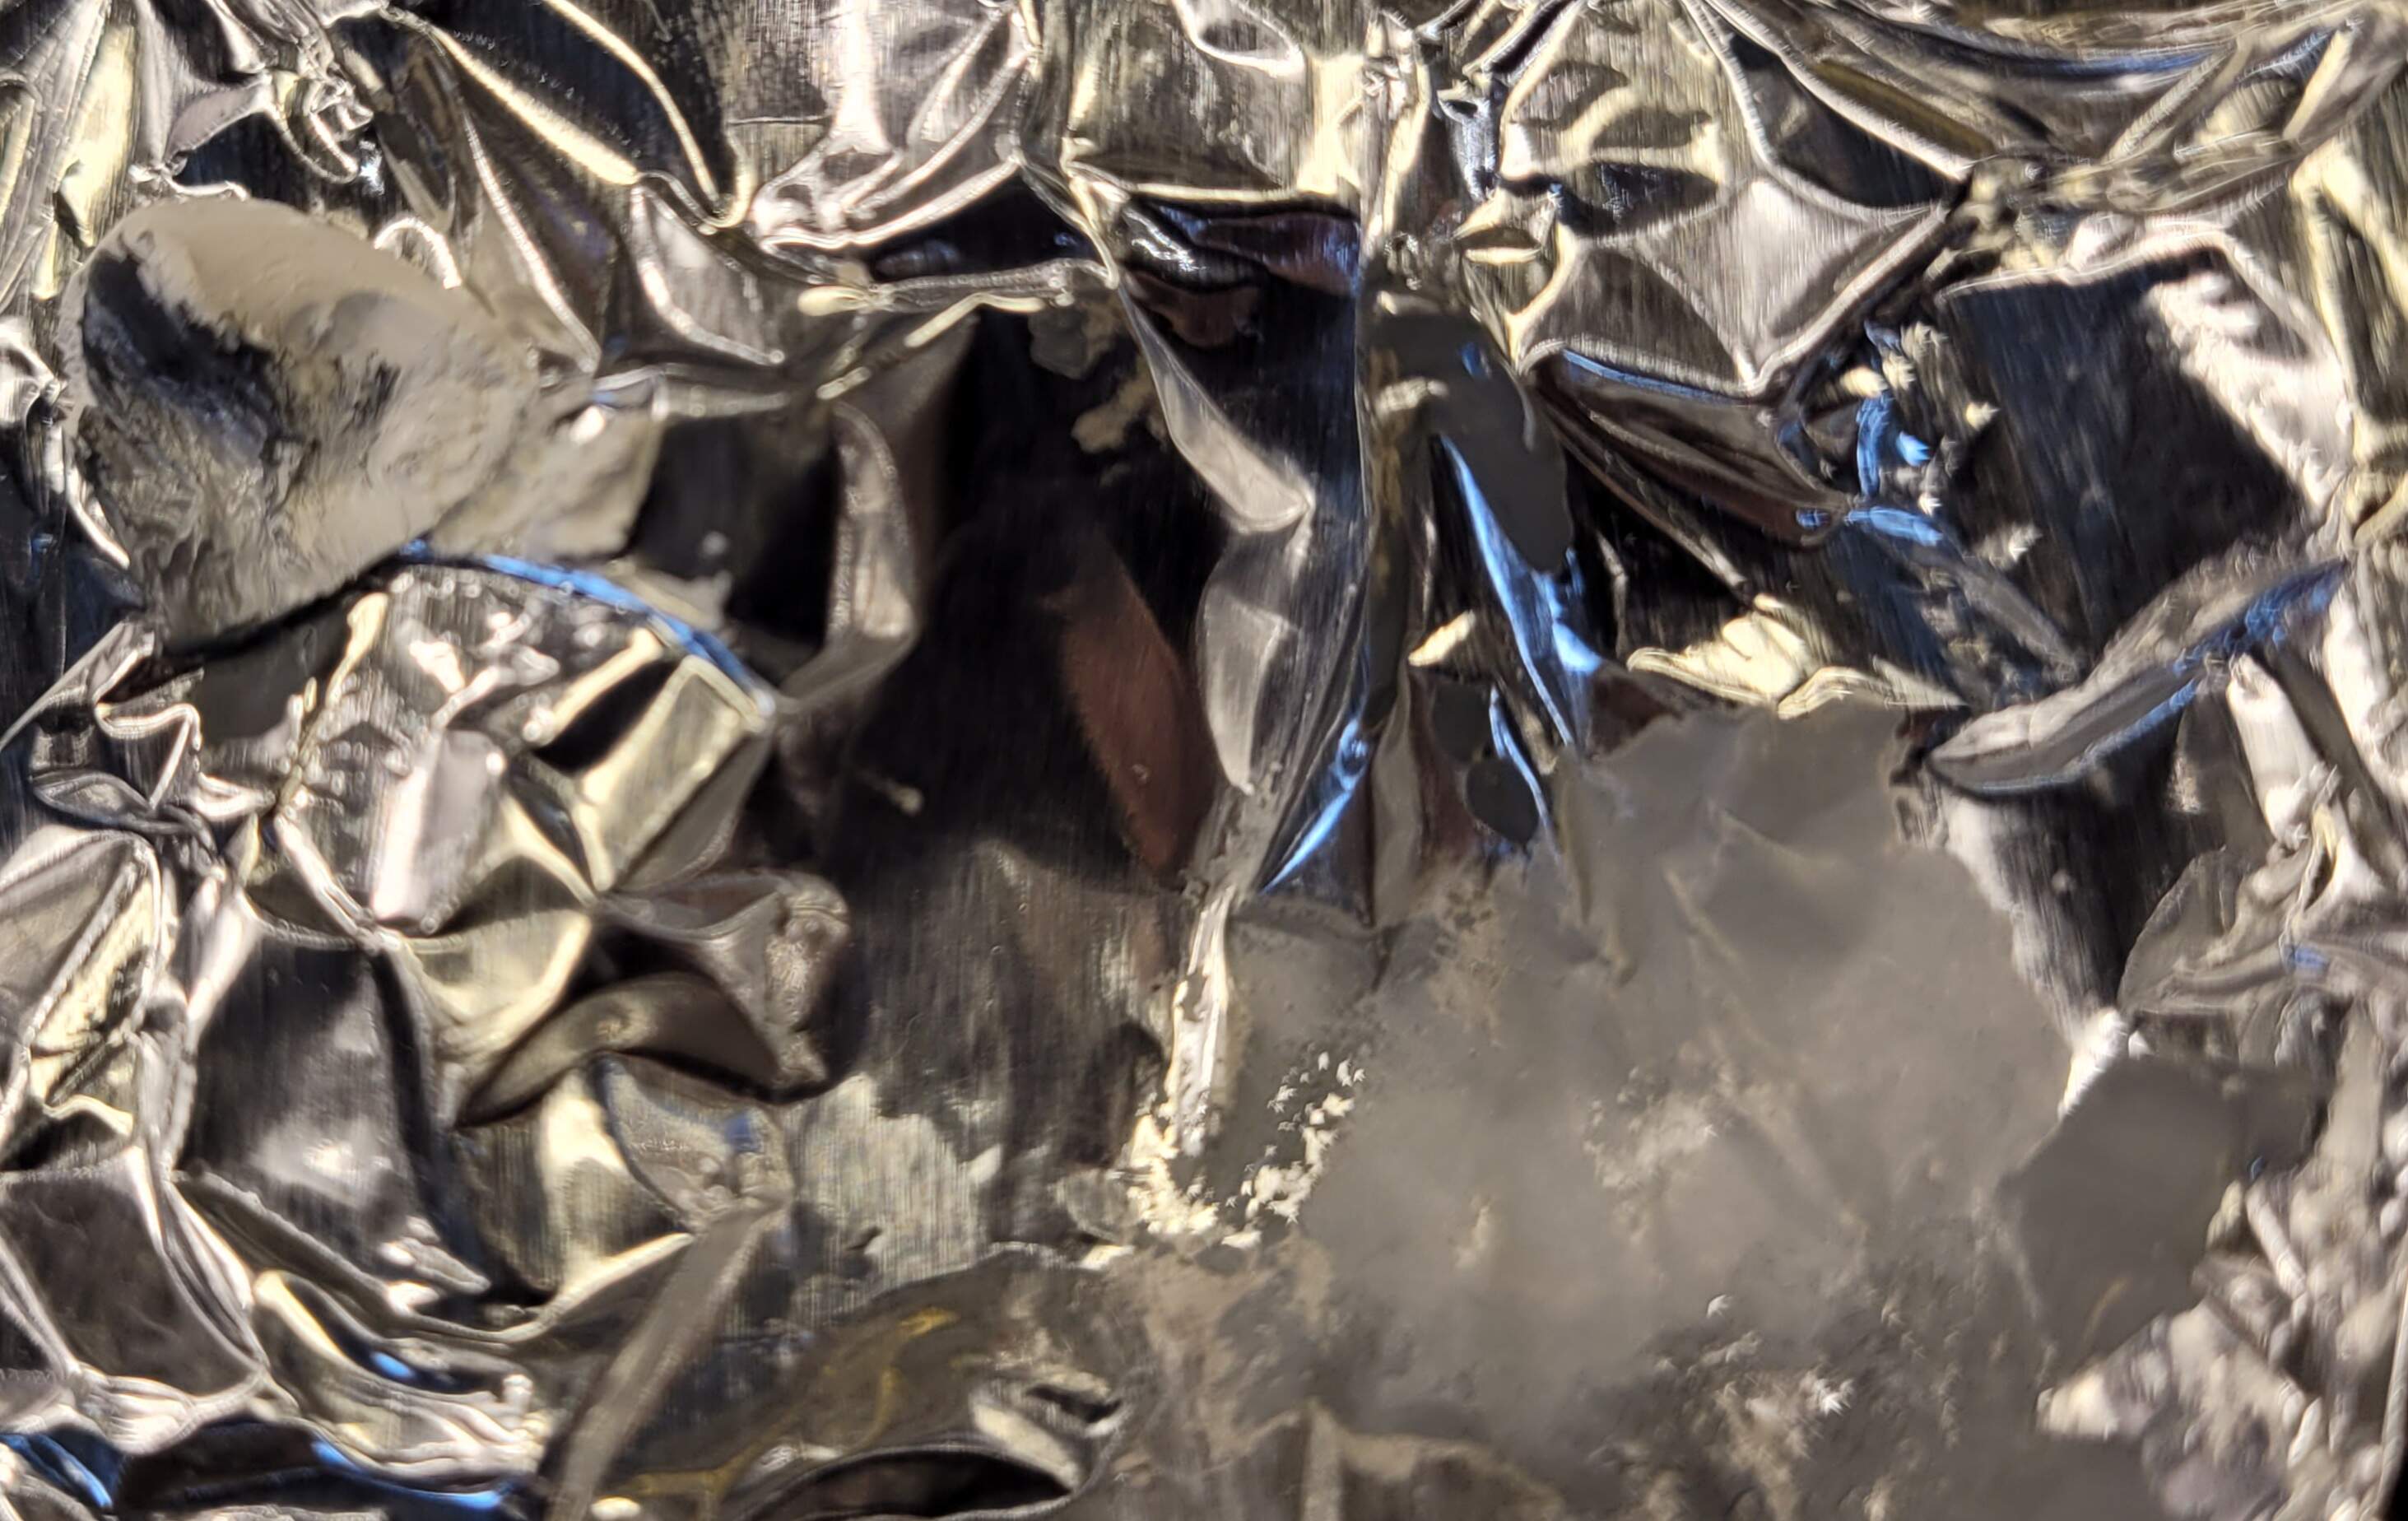
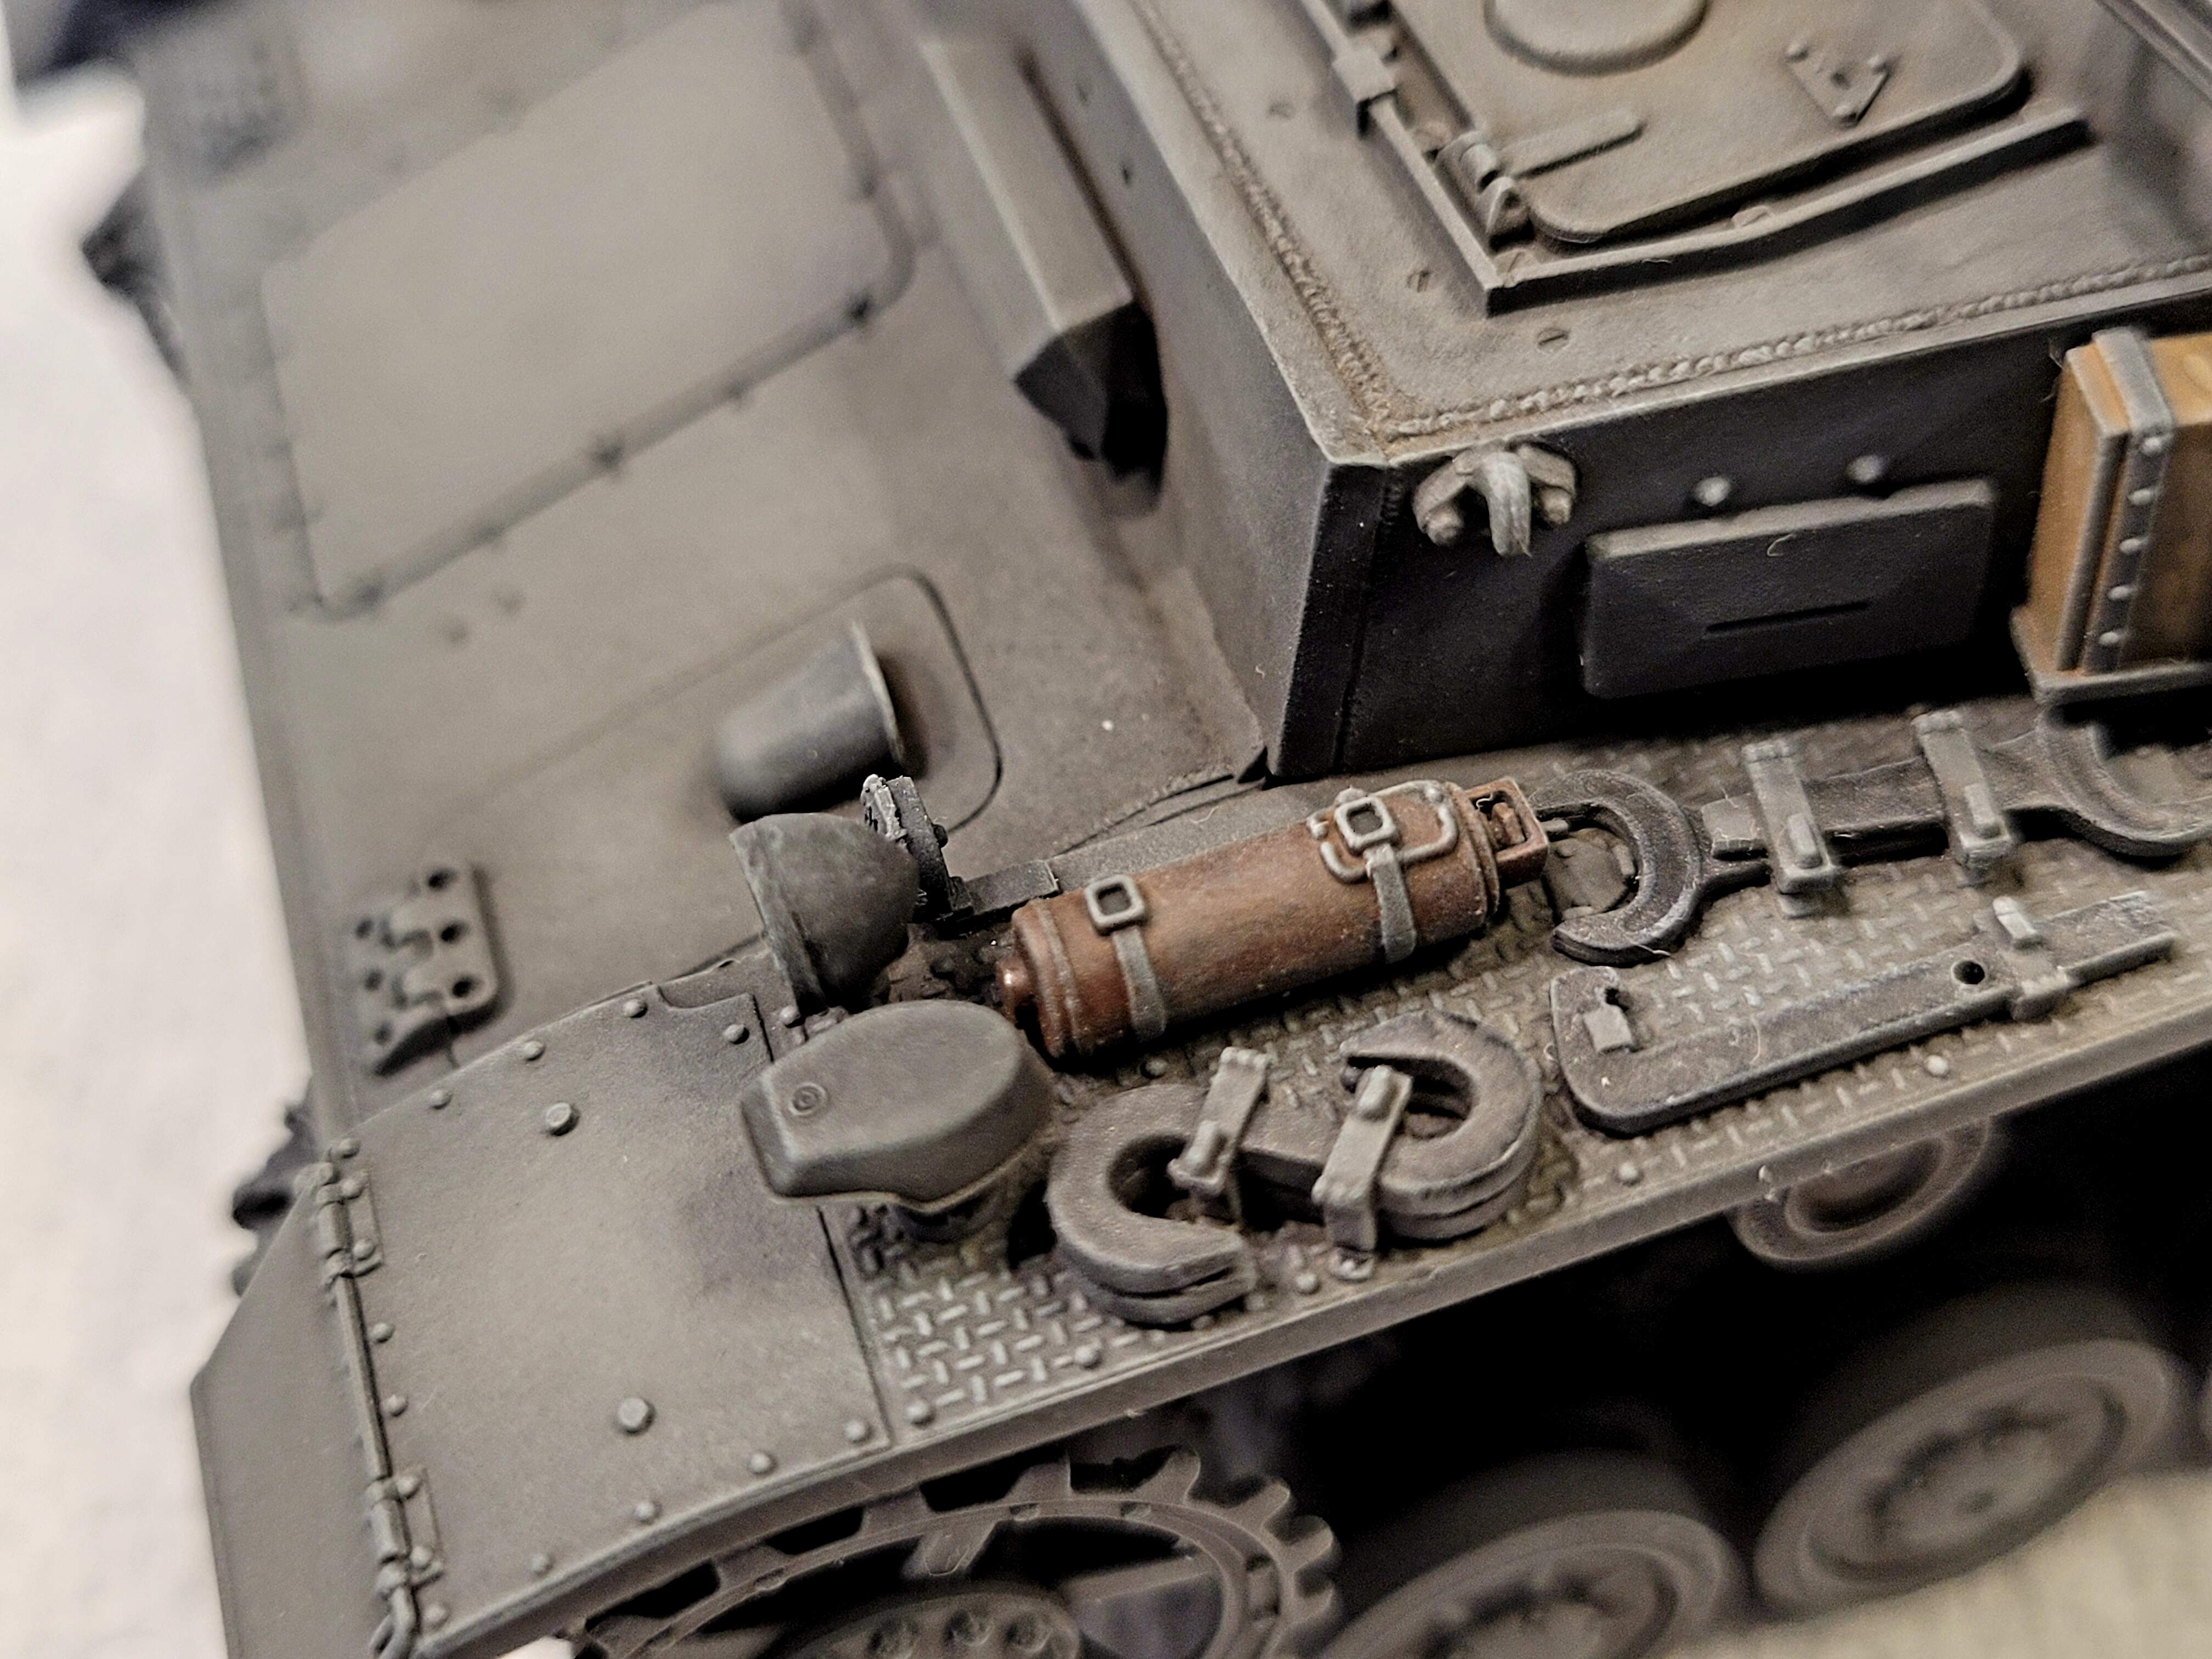
Had used a paint brush to touch another model up, used the left over lighter fluid as base for Wash. Lamp black on left & raw umber on right.
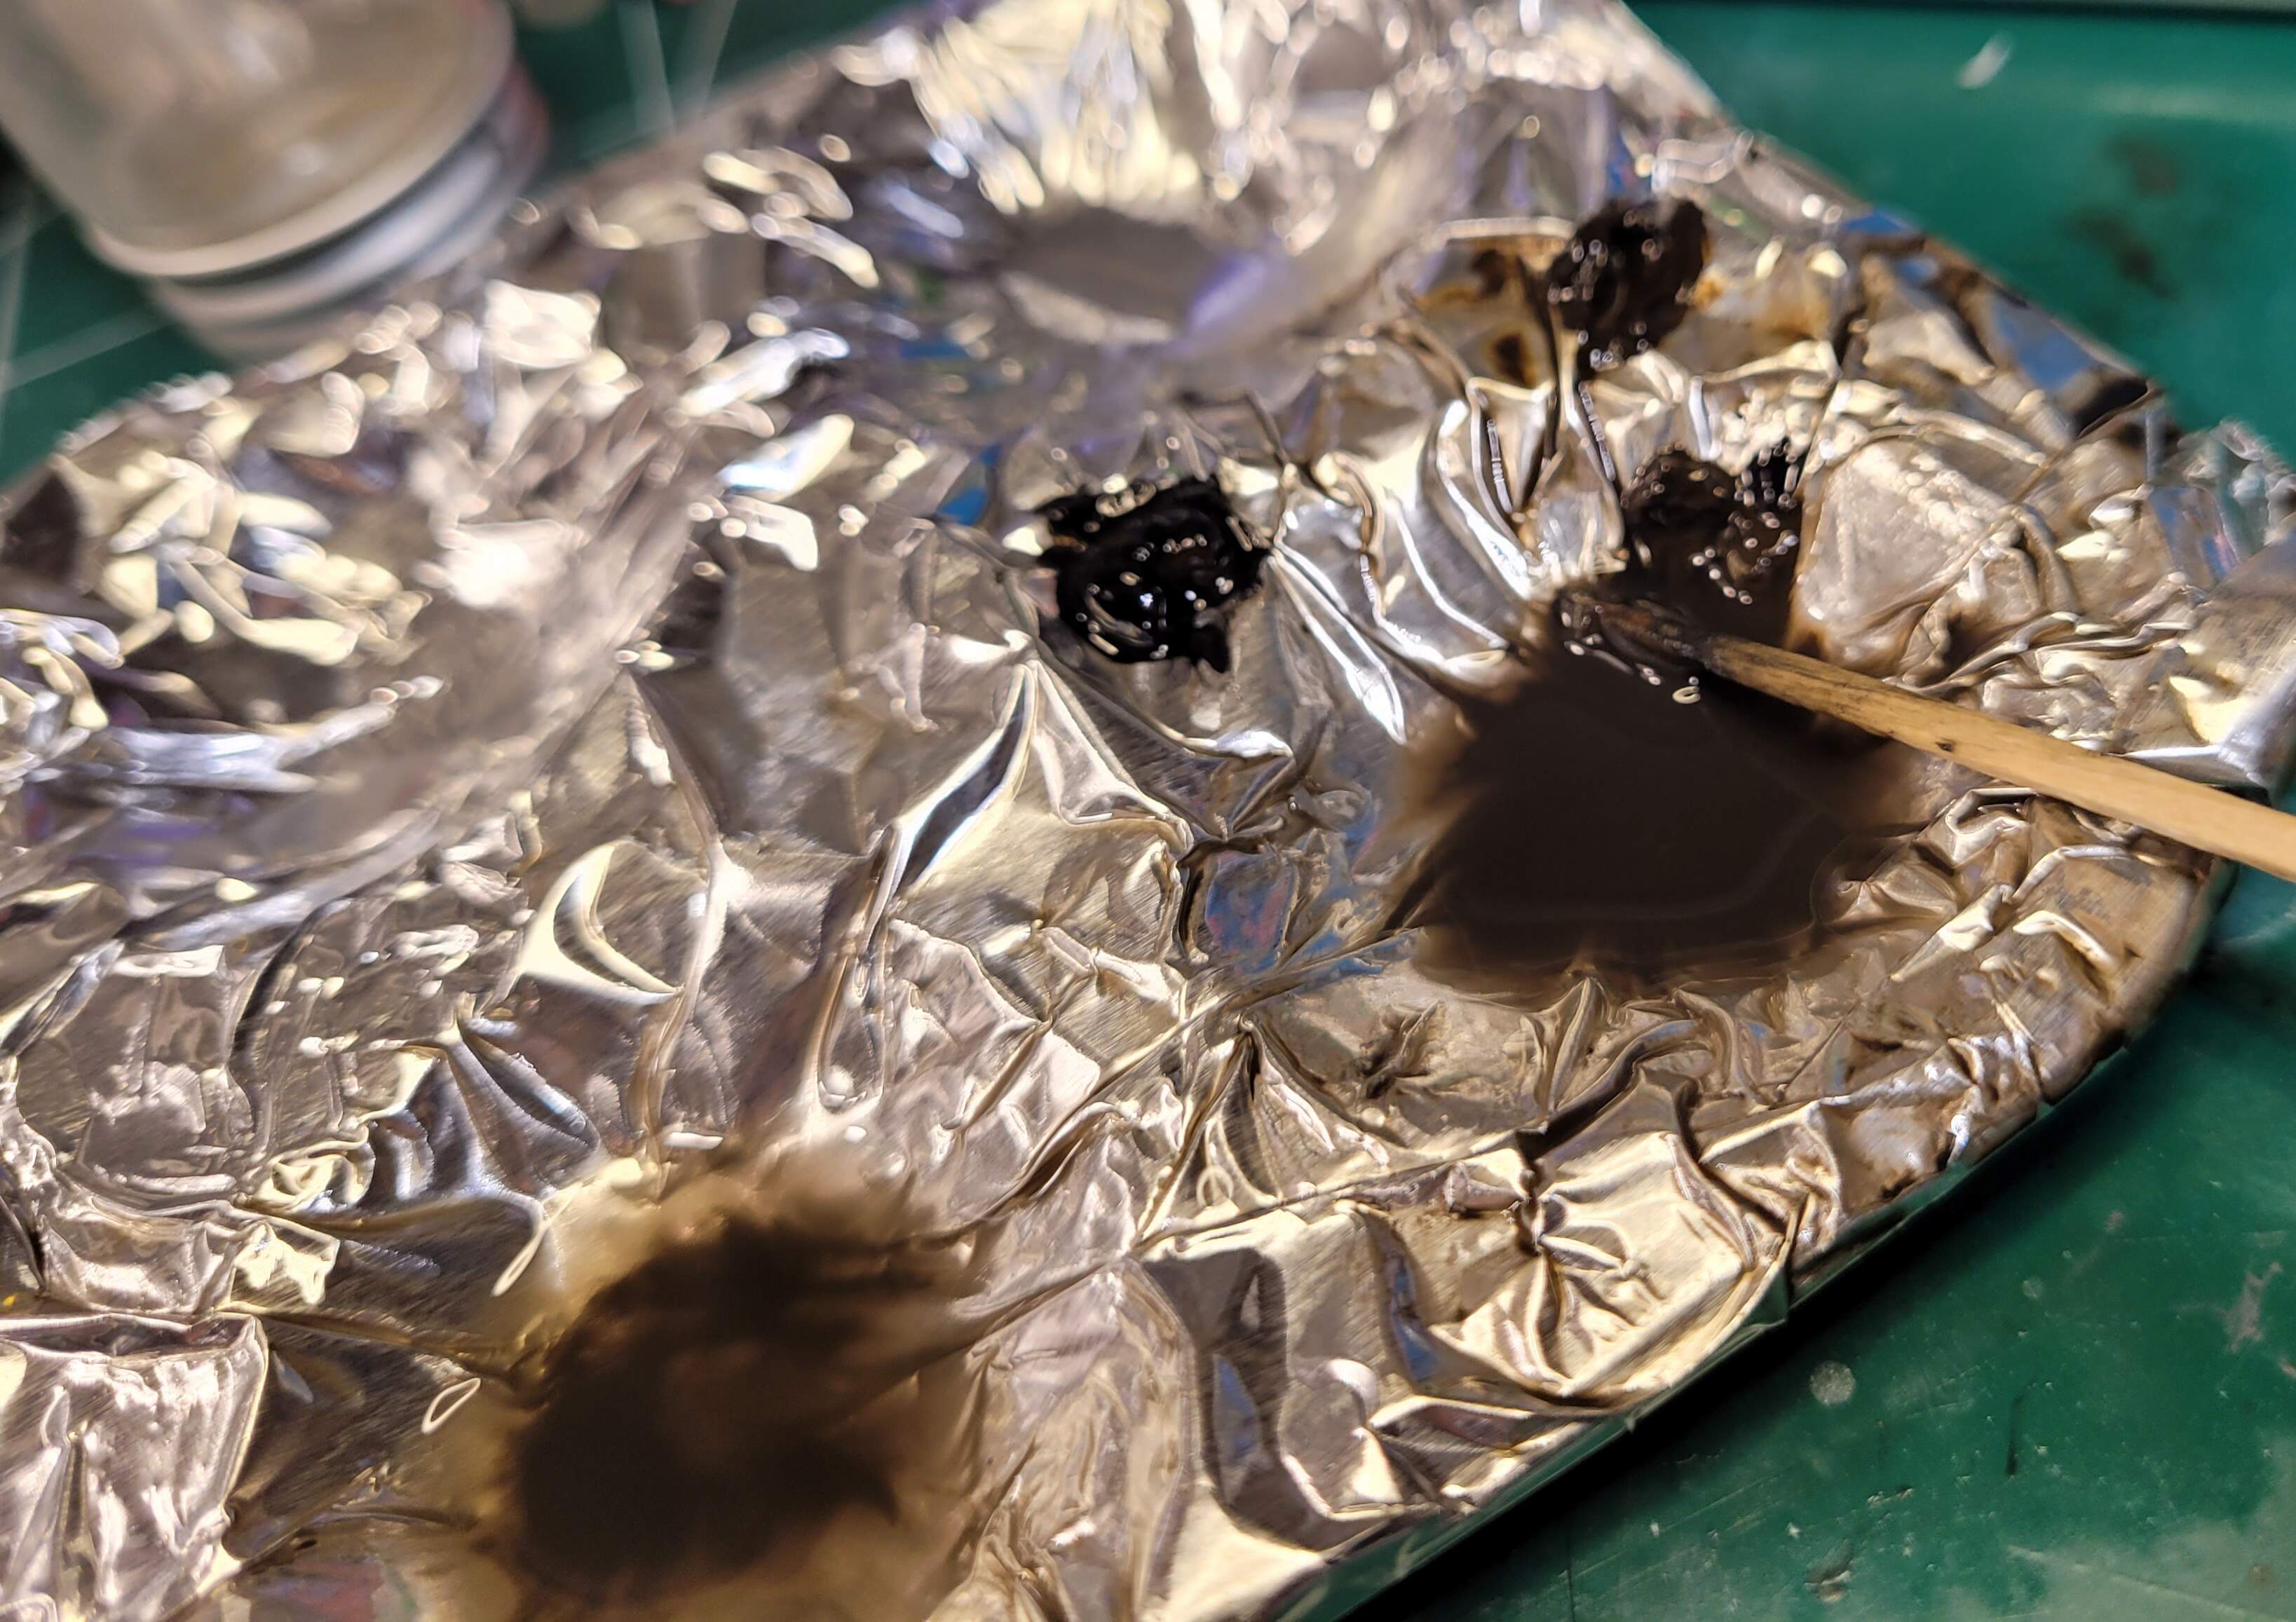
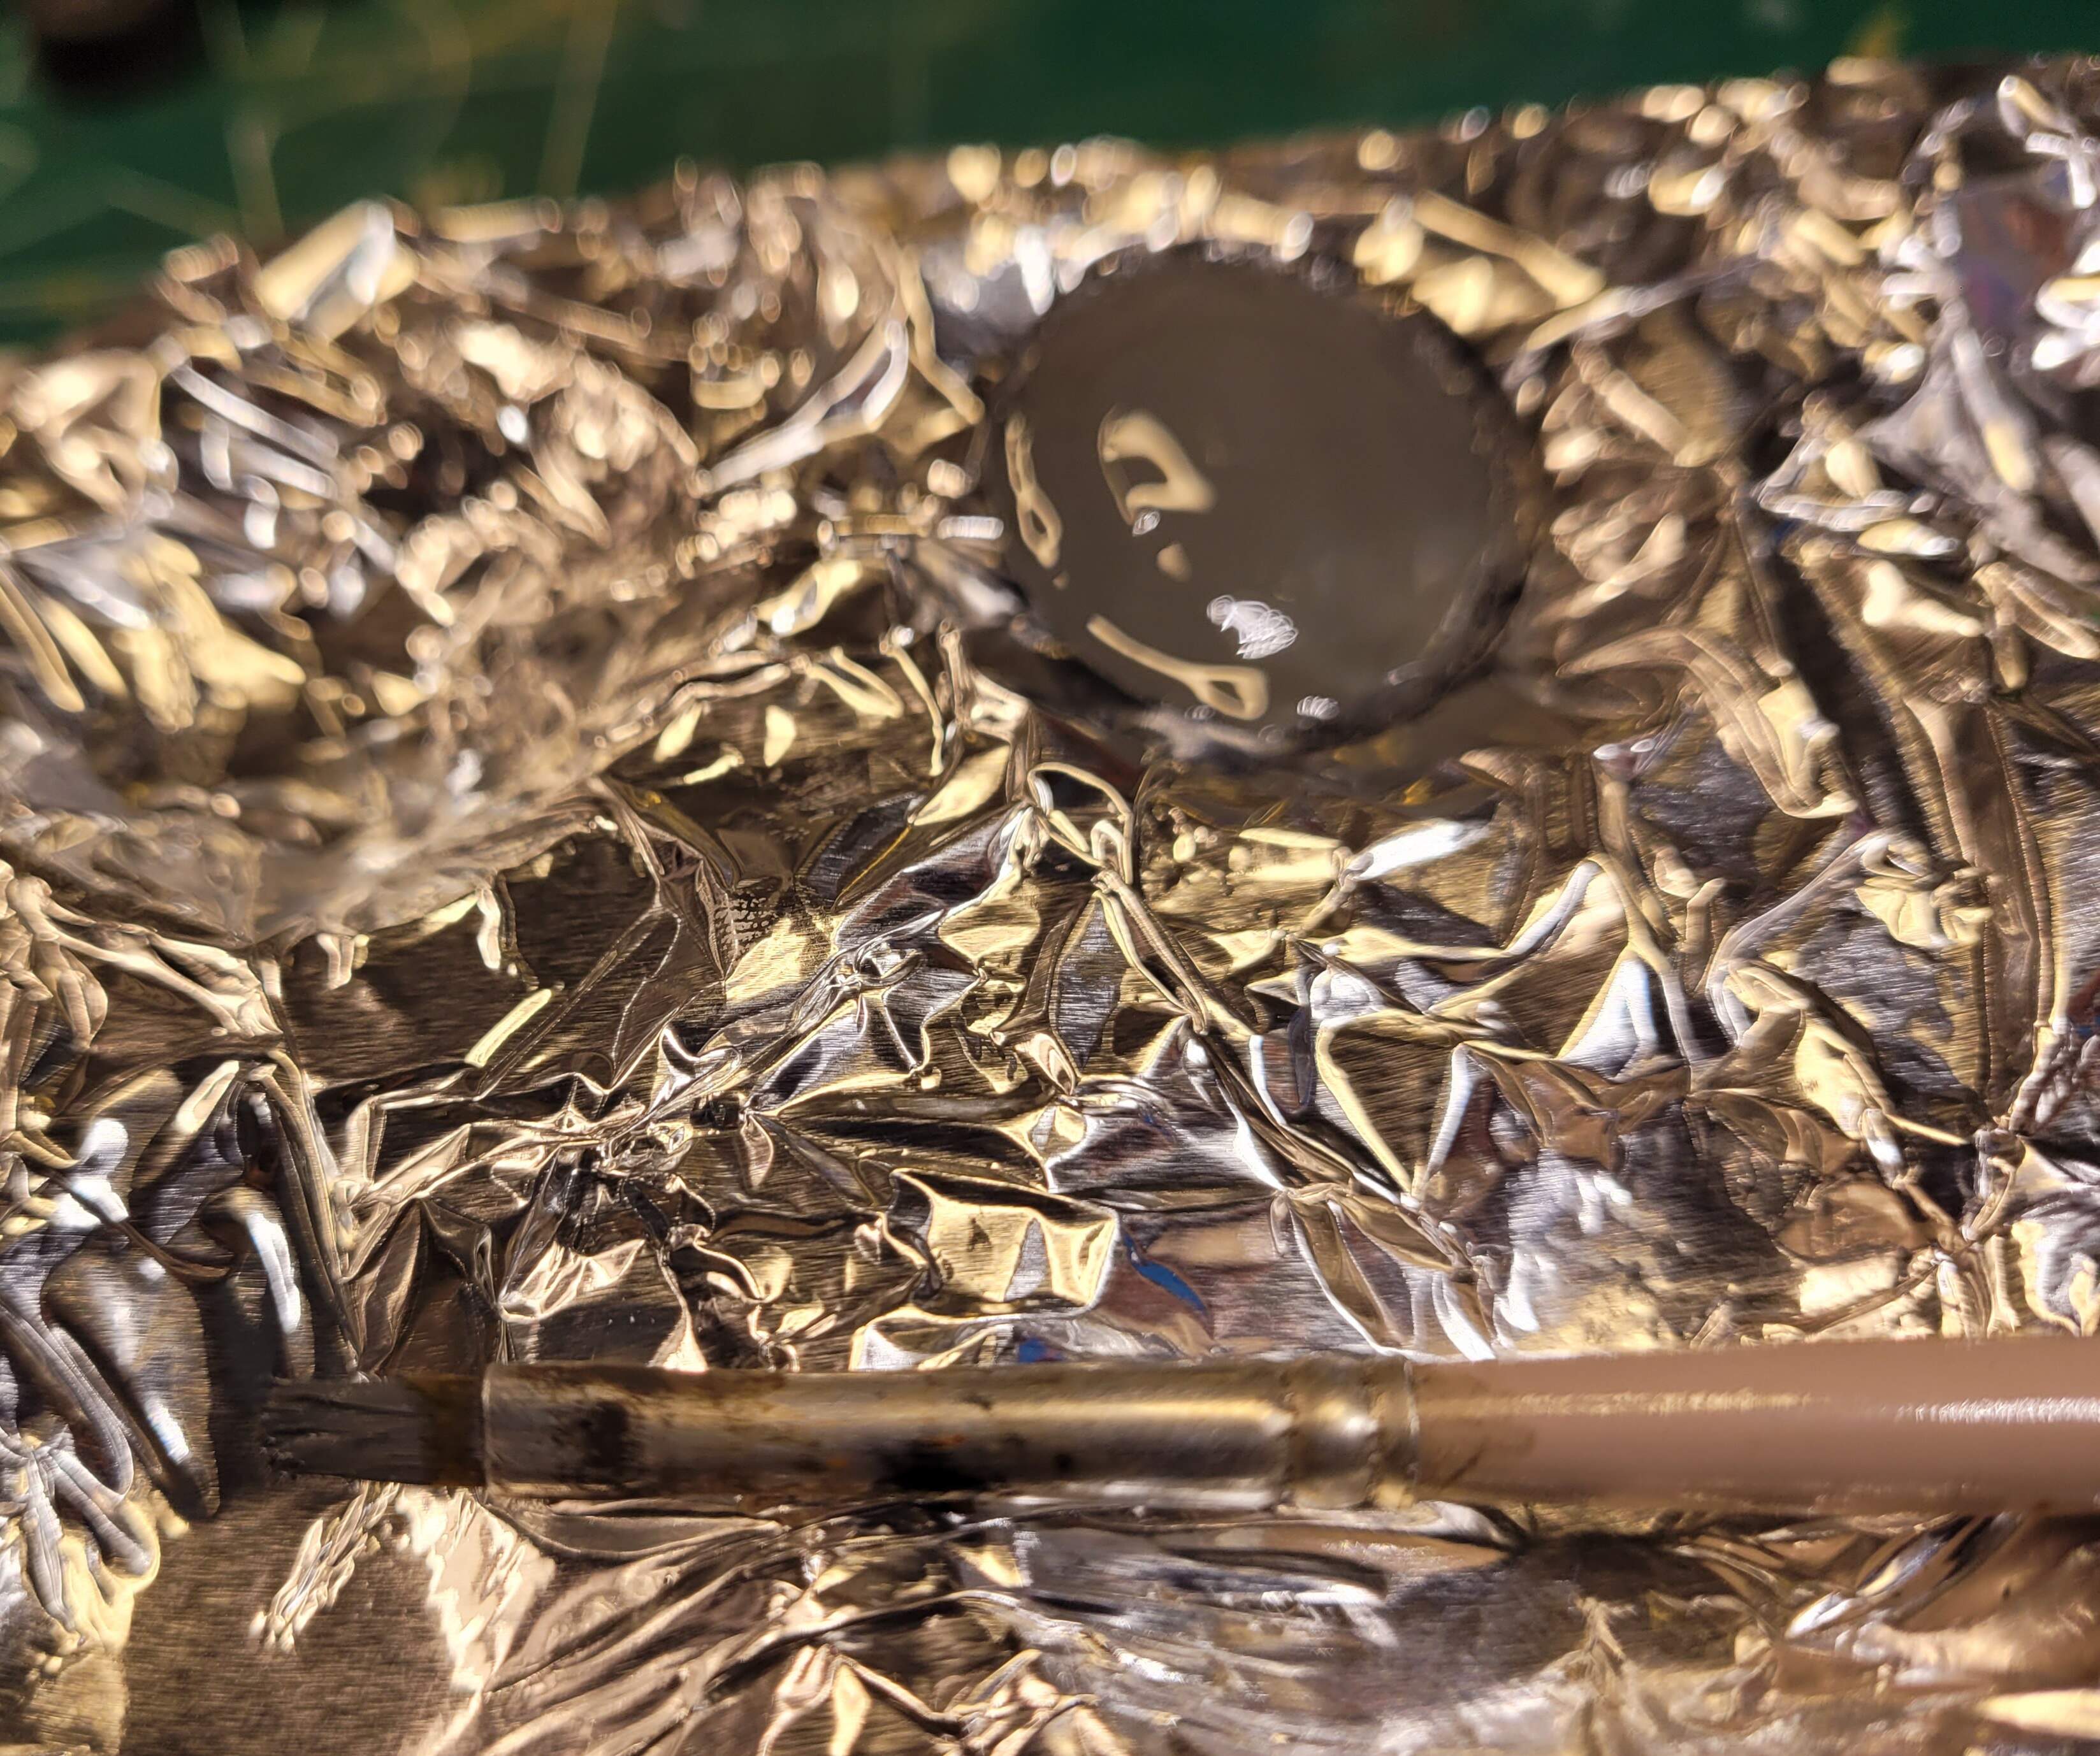
Mixing in 3 parts raw umber to 1 part lamp black. Note the wash on the sides of the aluminum foil.
That’s what I’m looking for as desired intensity of wash. I’m not concerned with exact measurements just a mix that’s in the ball park.
I also have a second spot of mostly lighter fluid. I used this to dampen model in the area the wash will go before applying it.
Lighter fluid prep
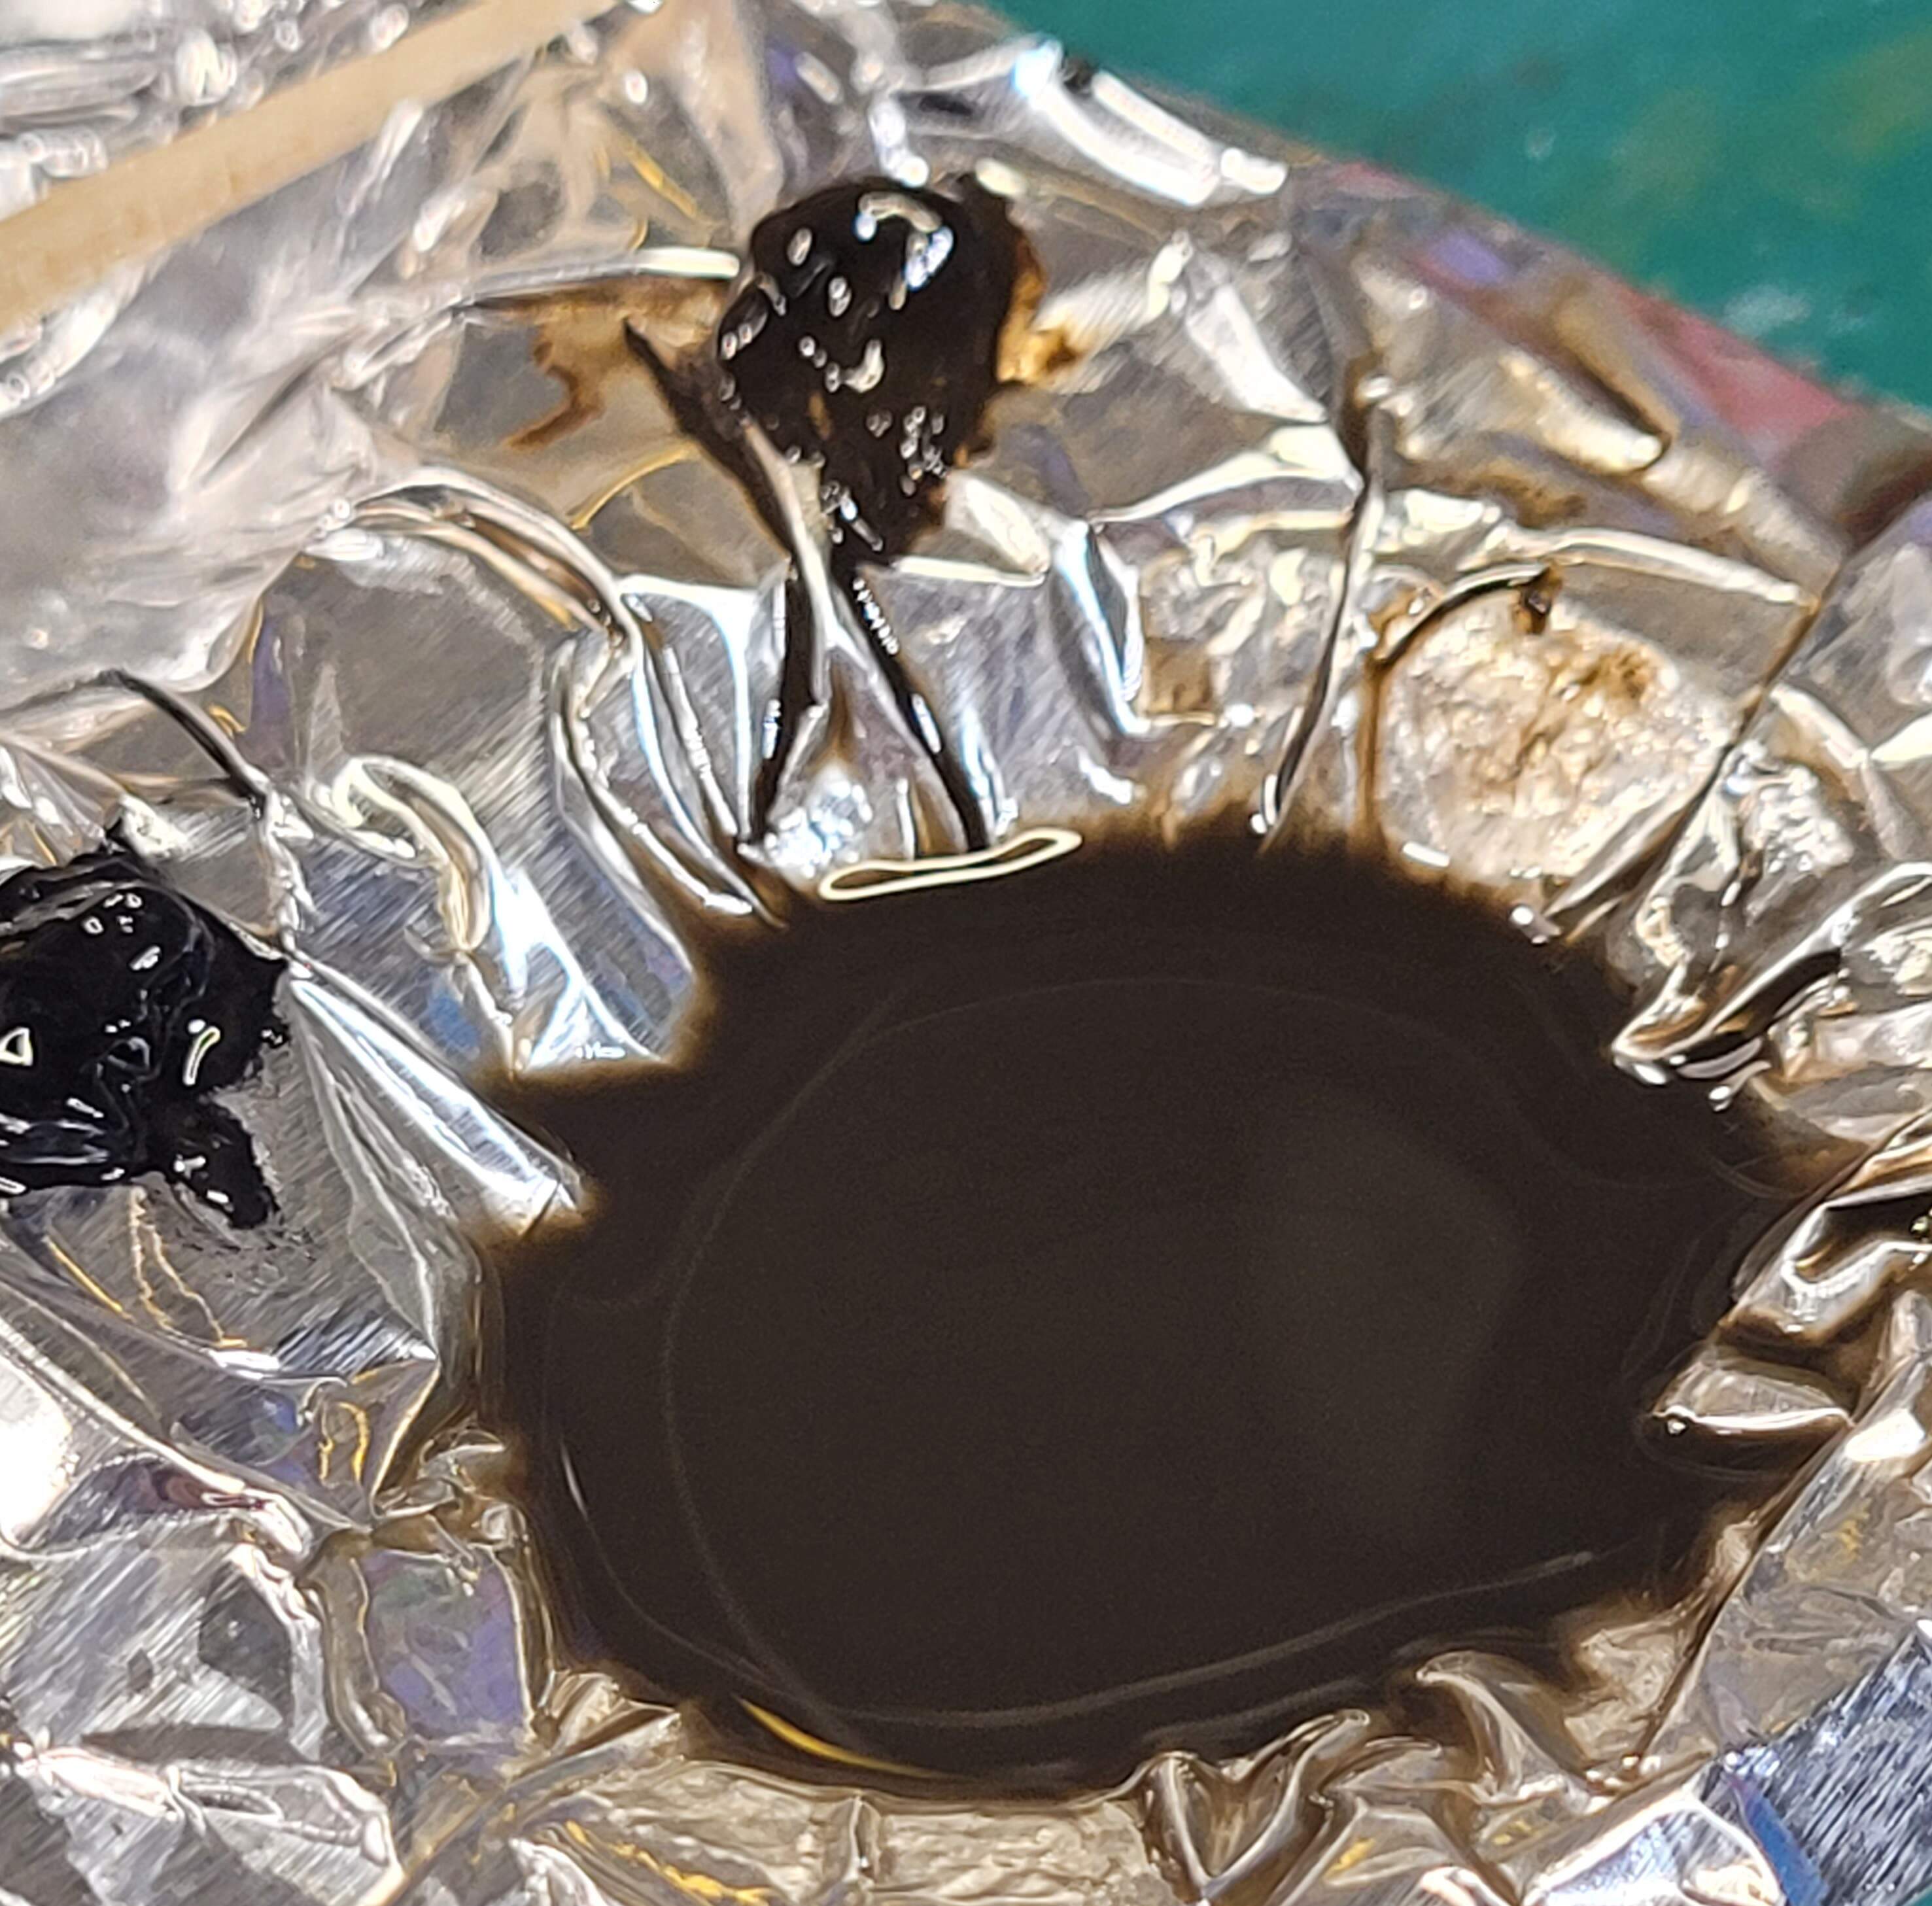
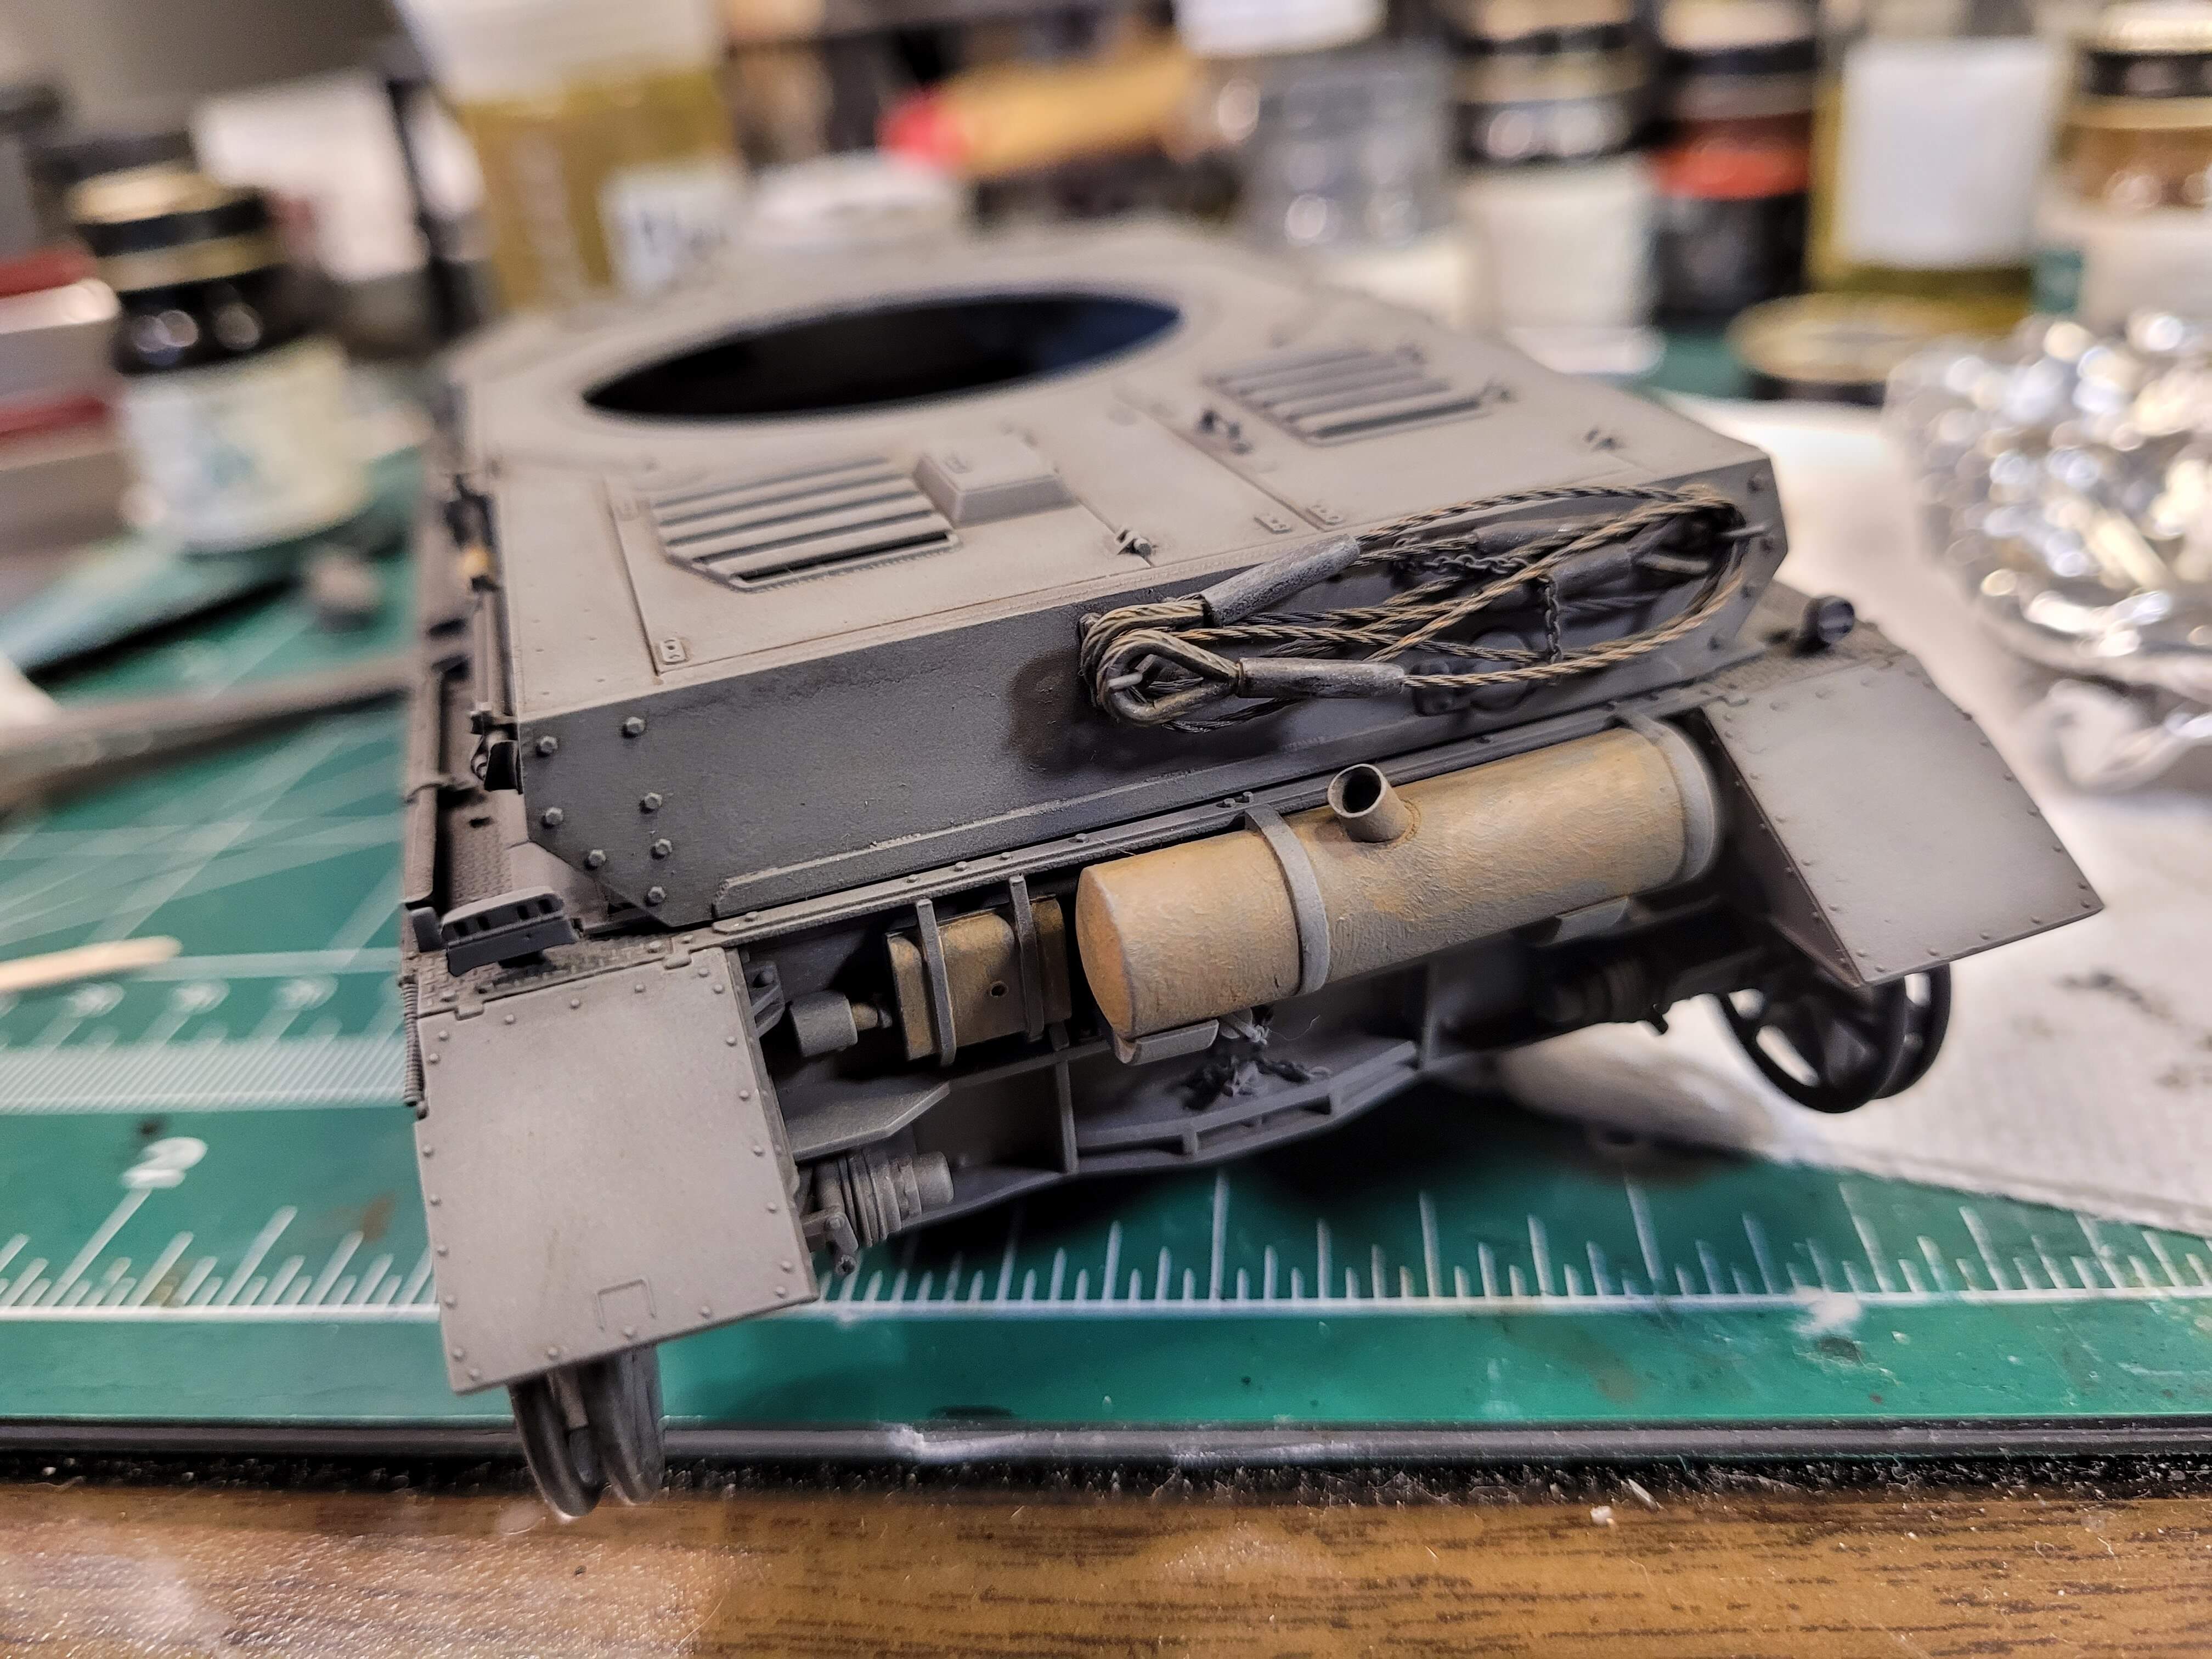
Laying down the wash mix with brush
Working around with brush
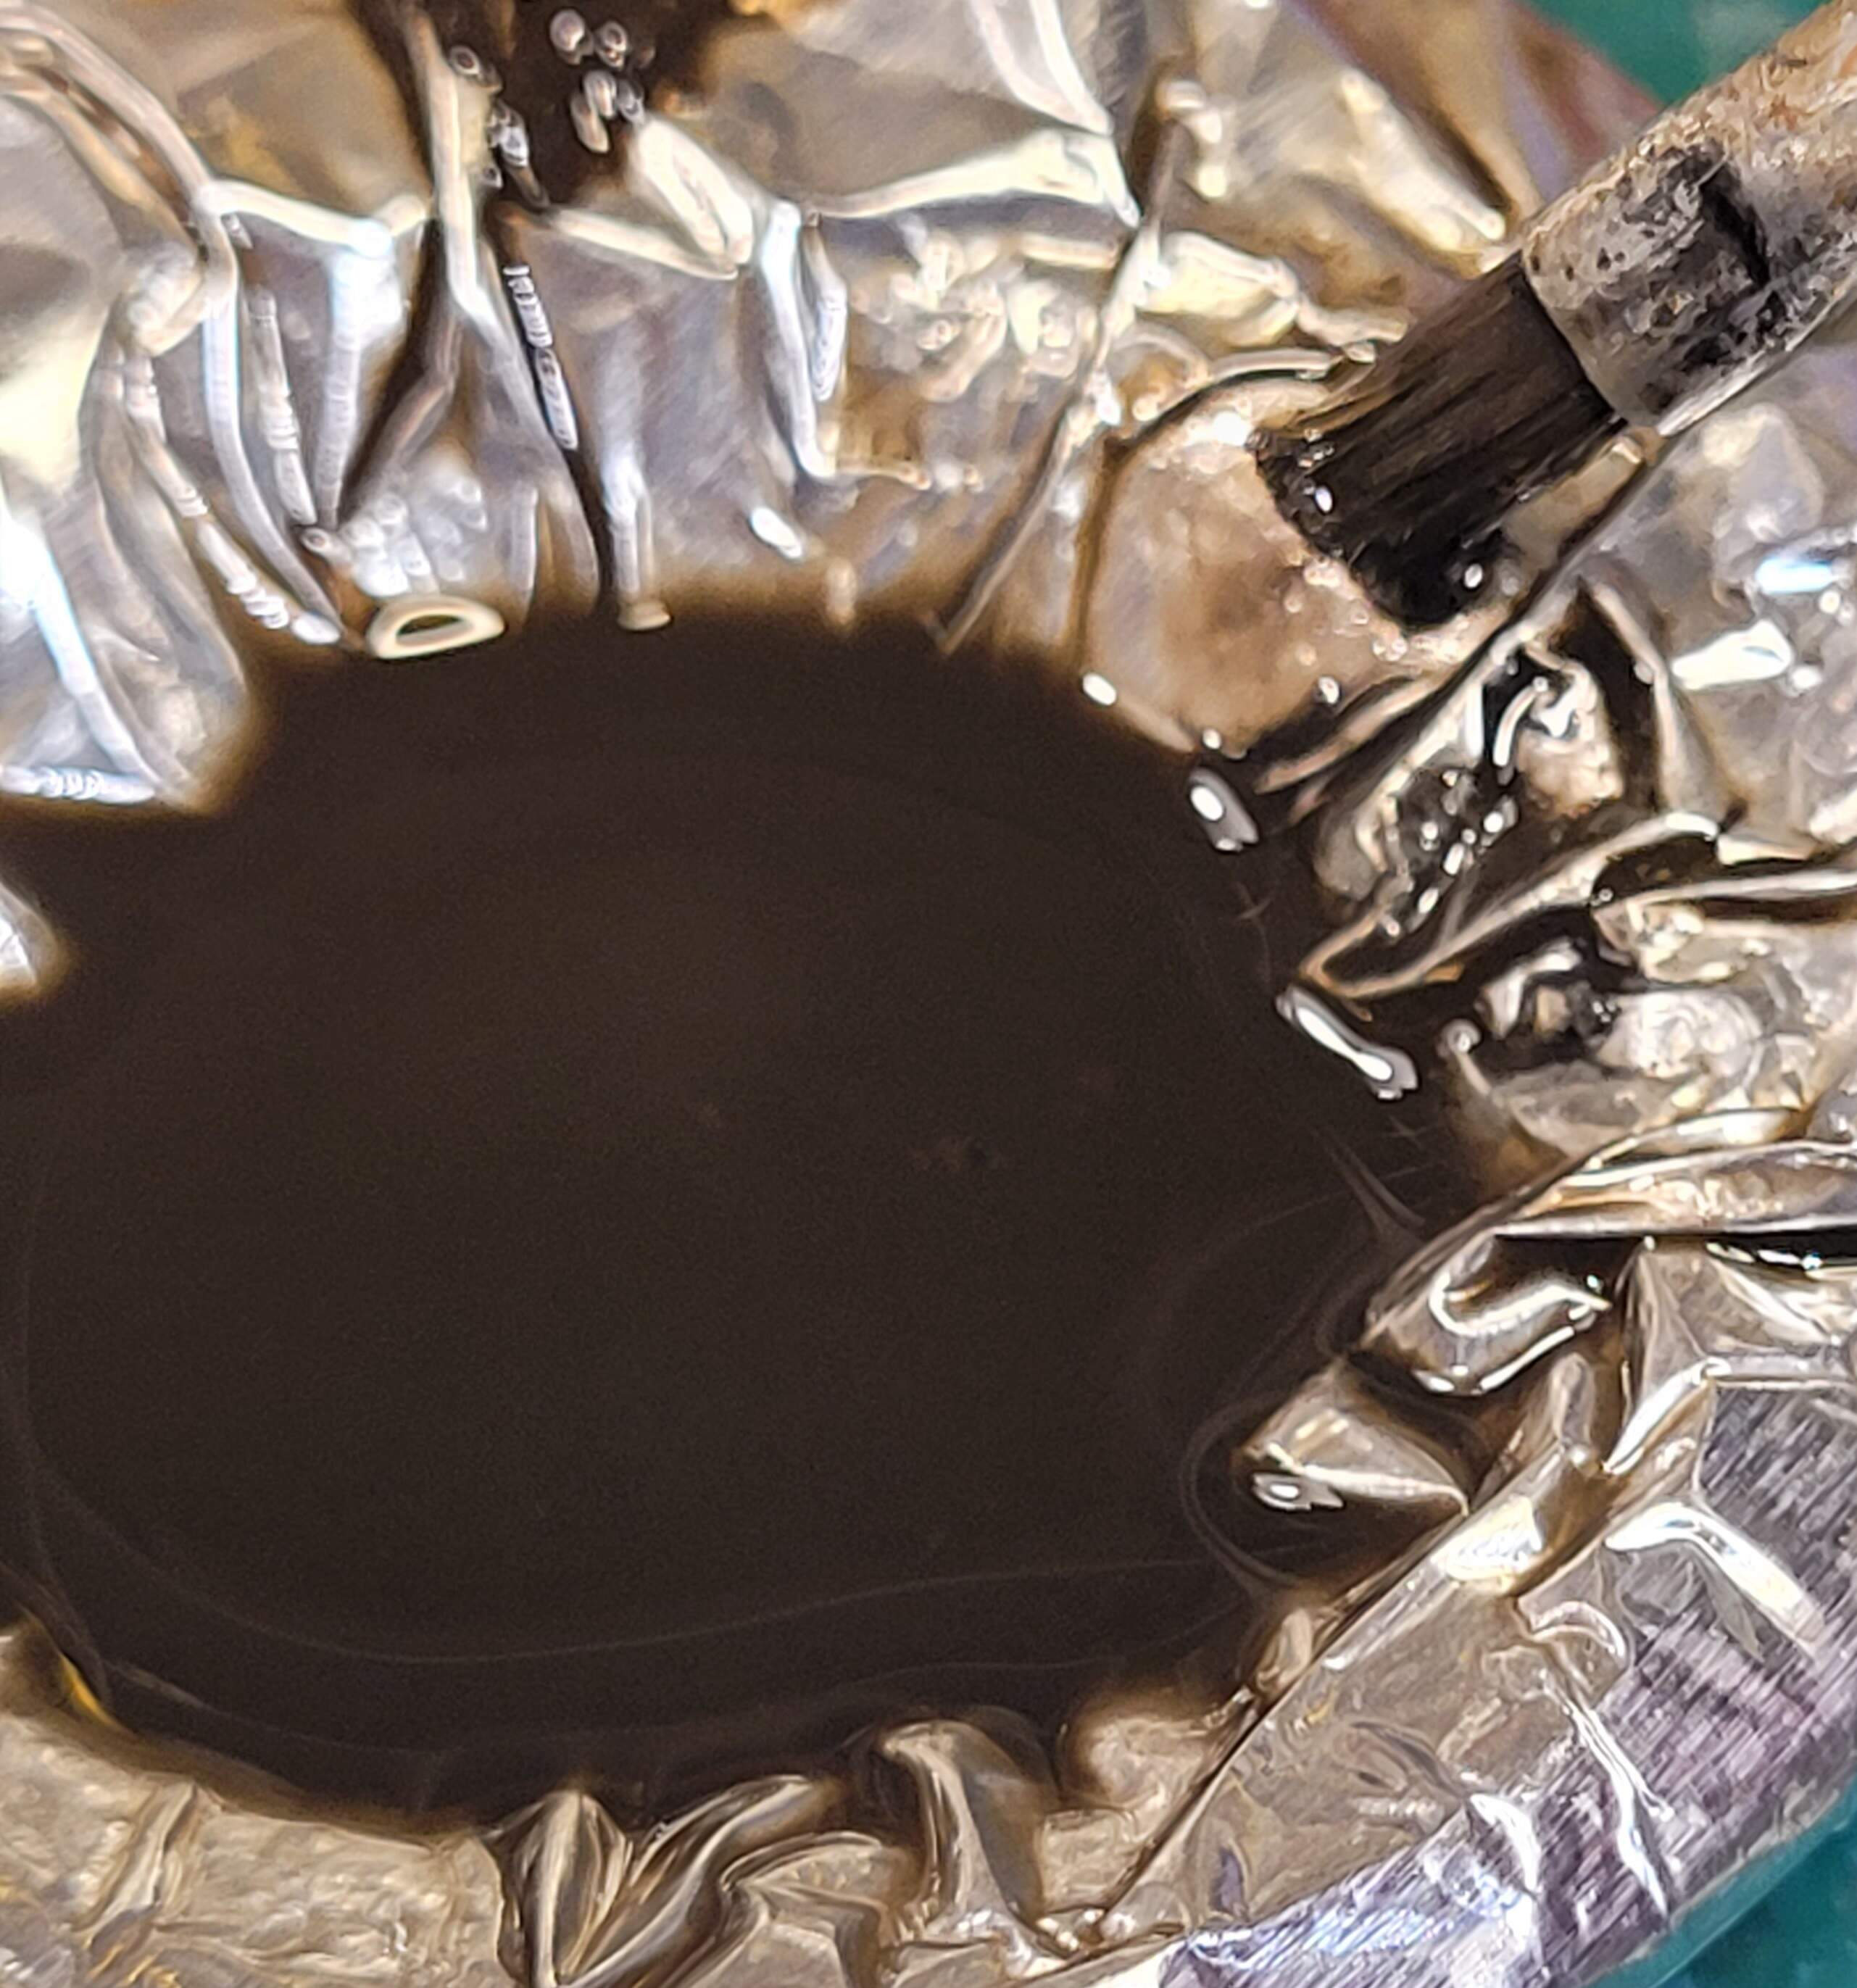
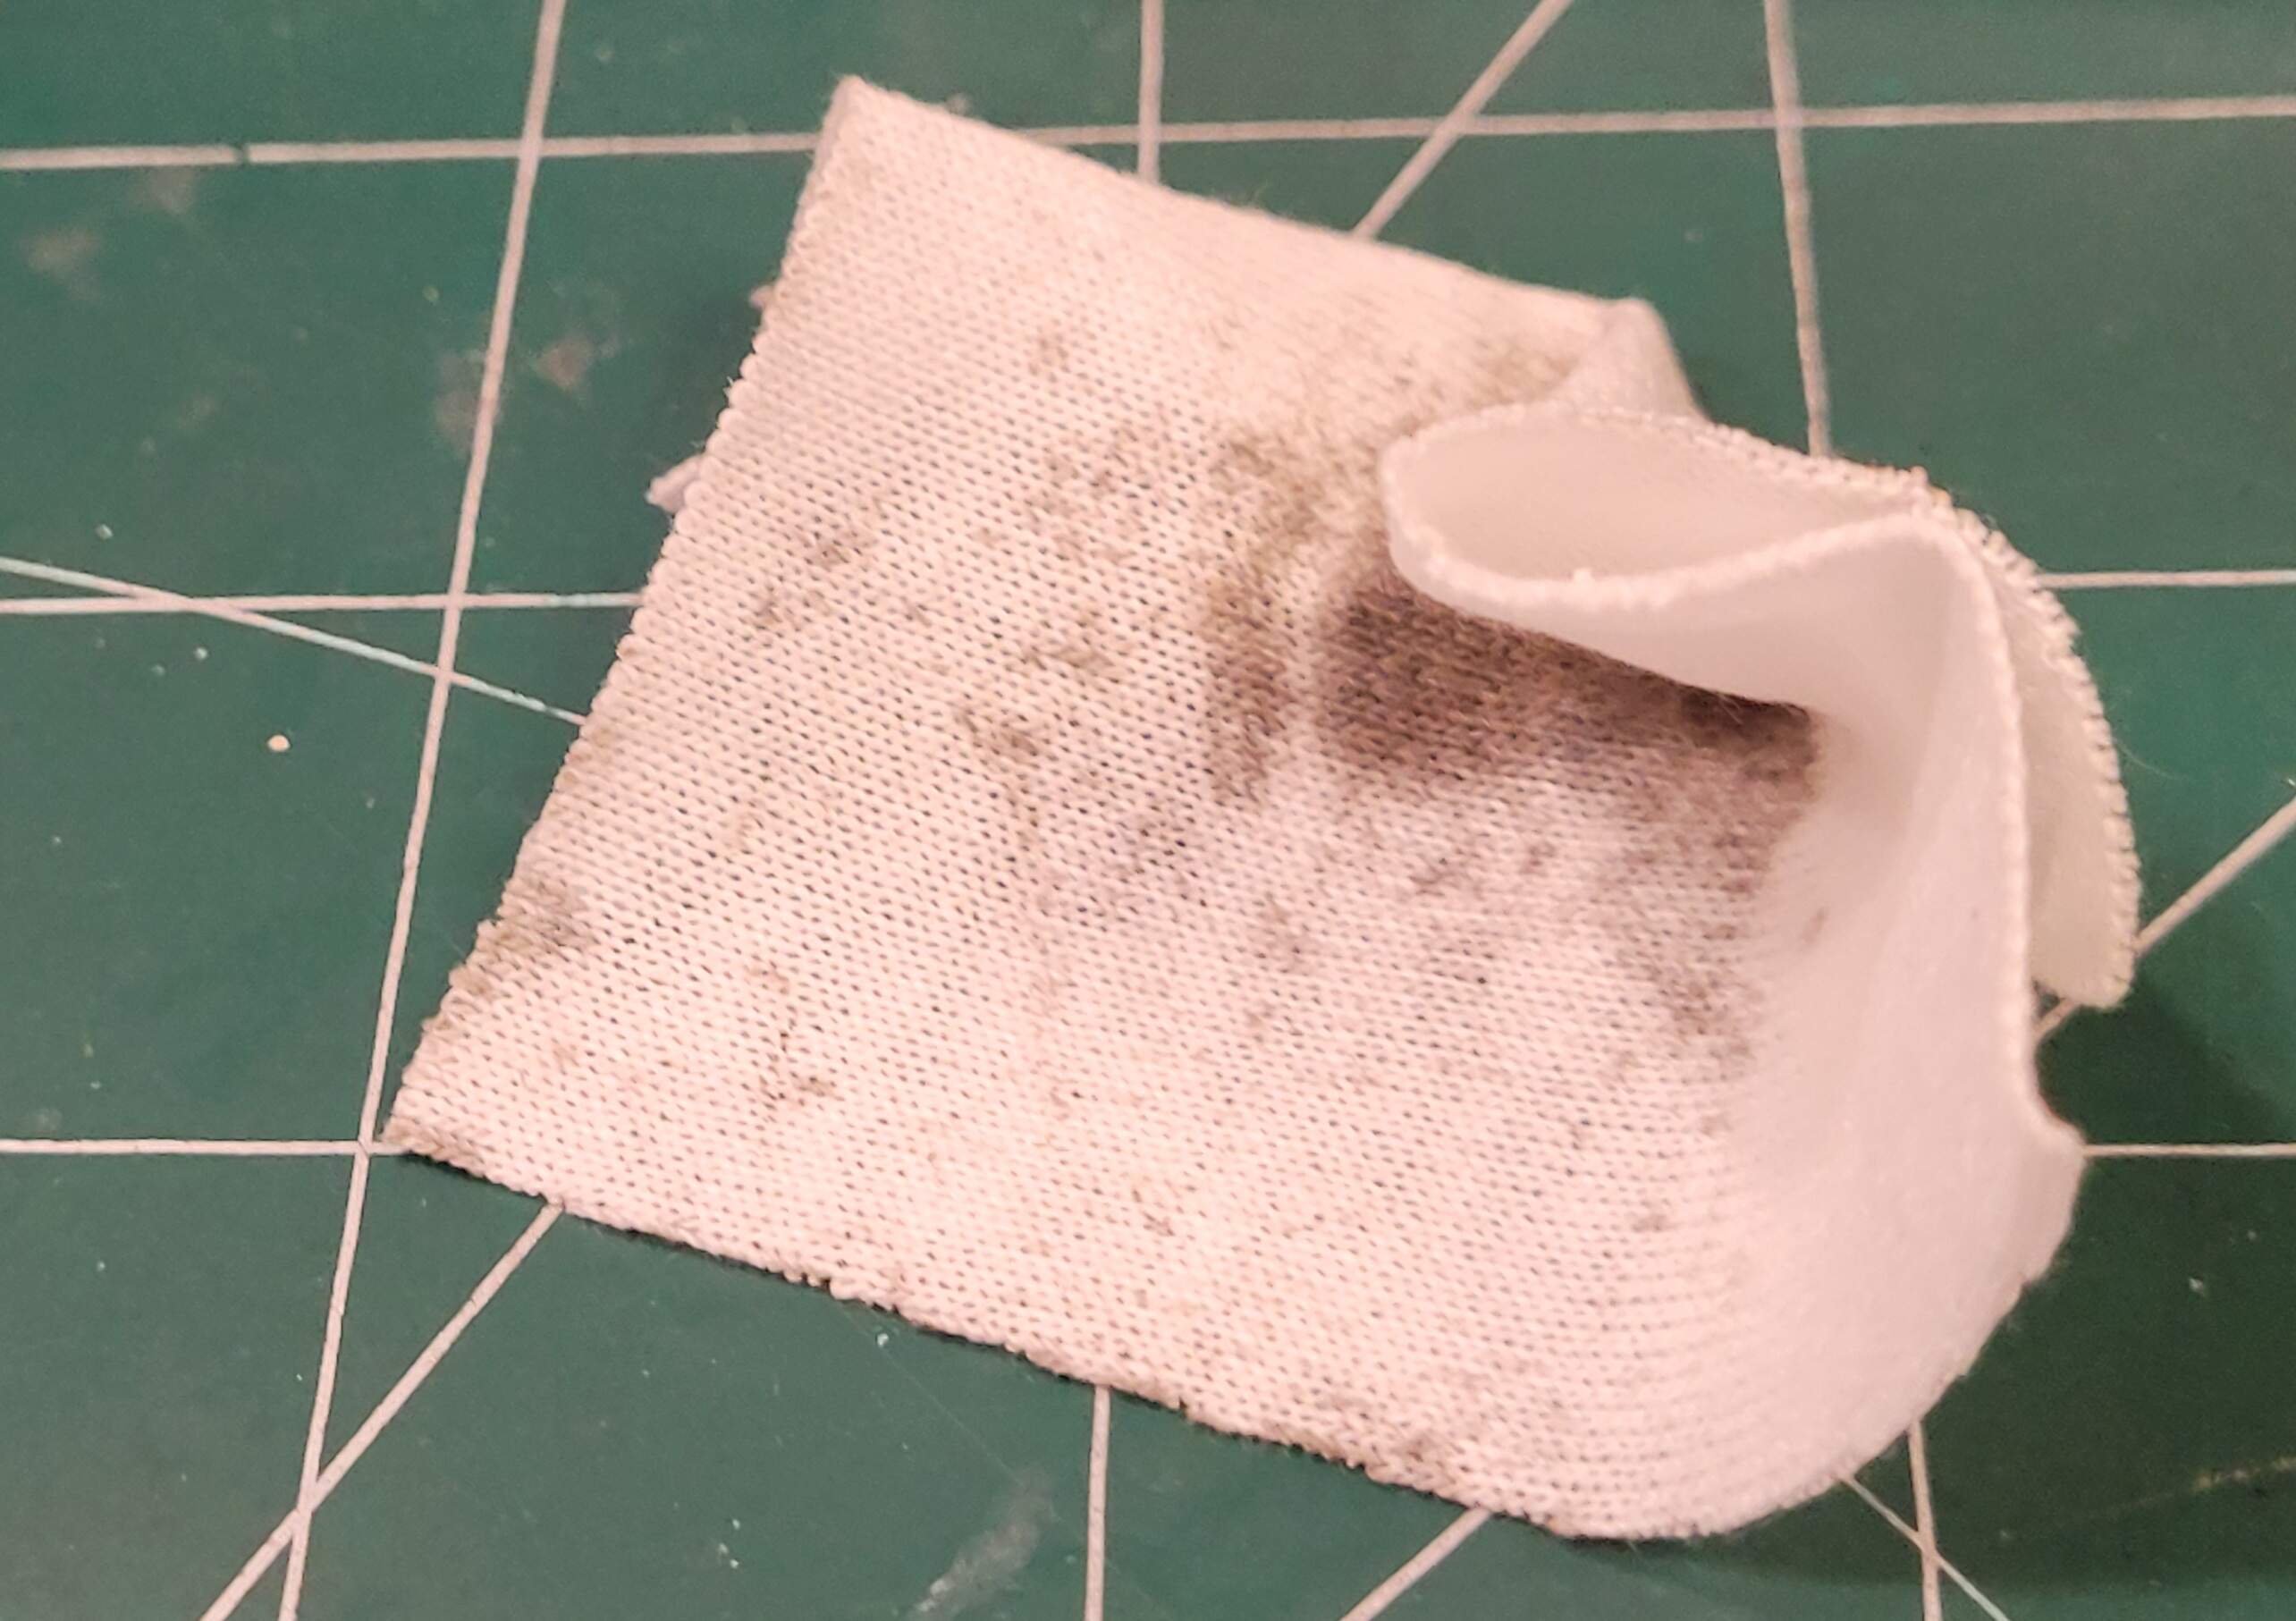
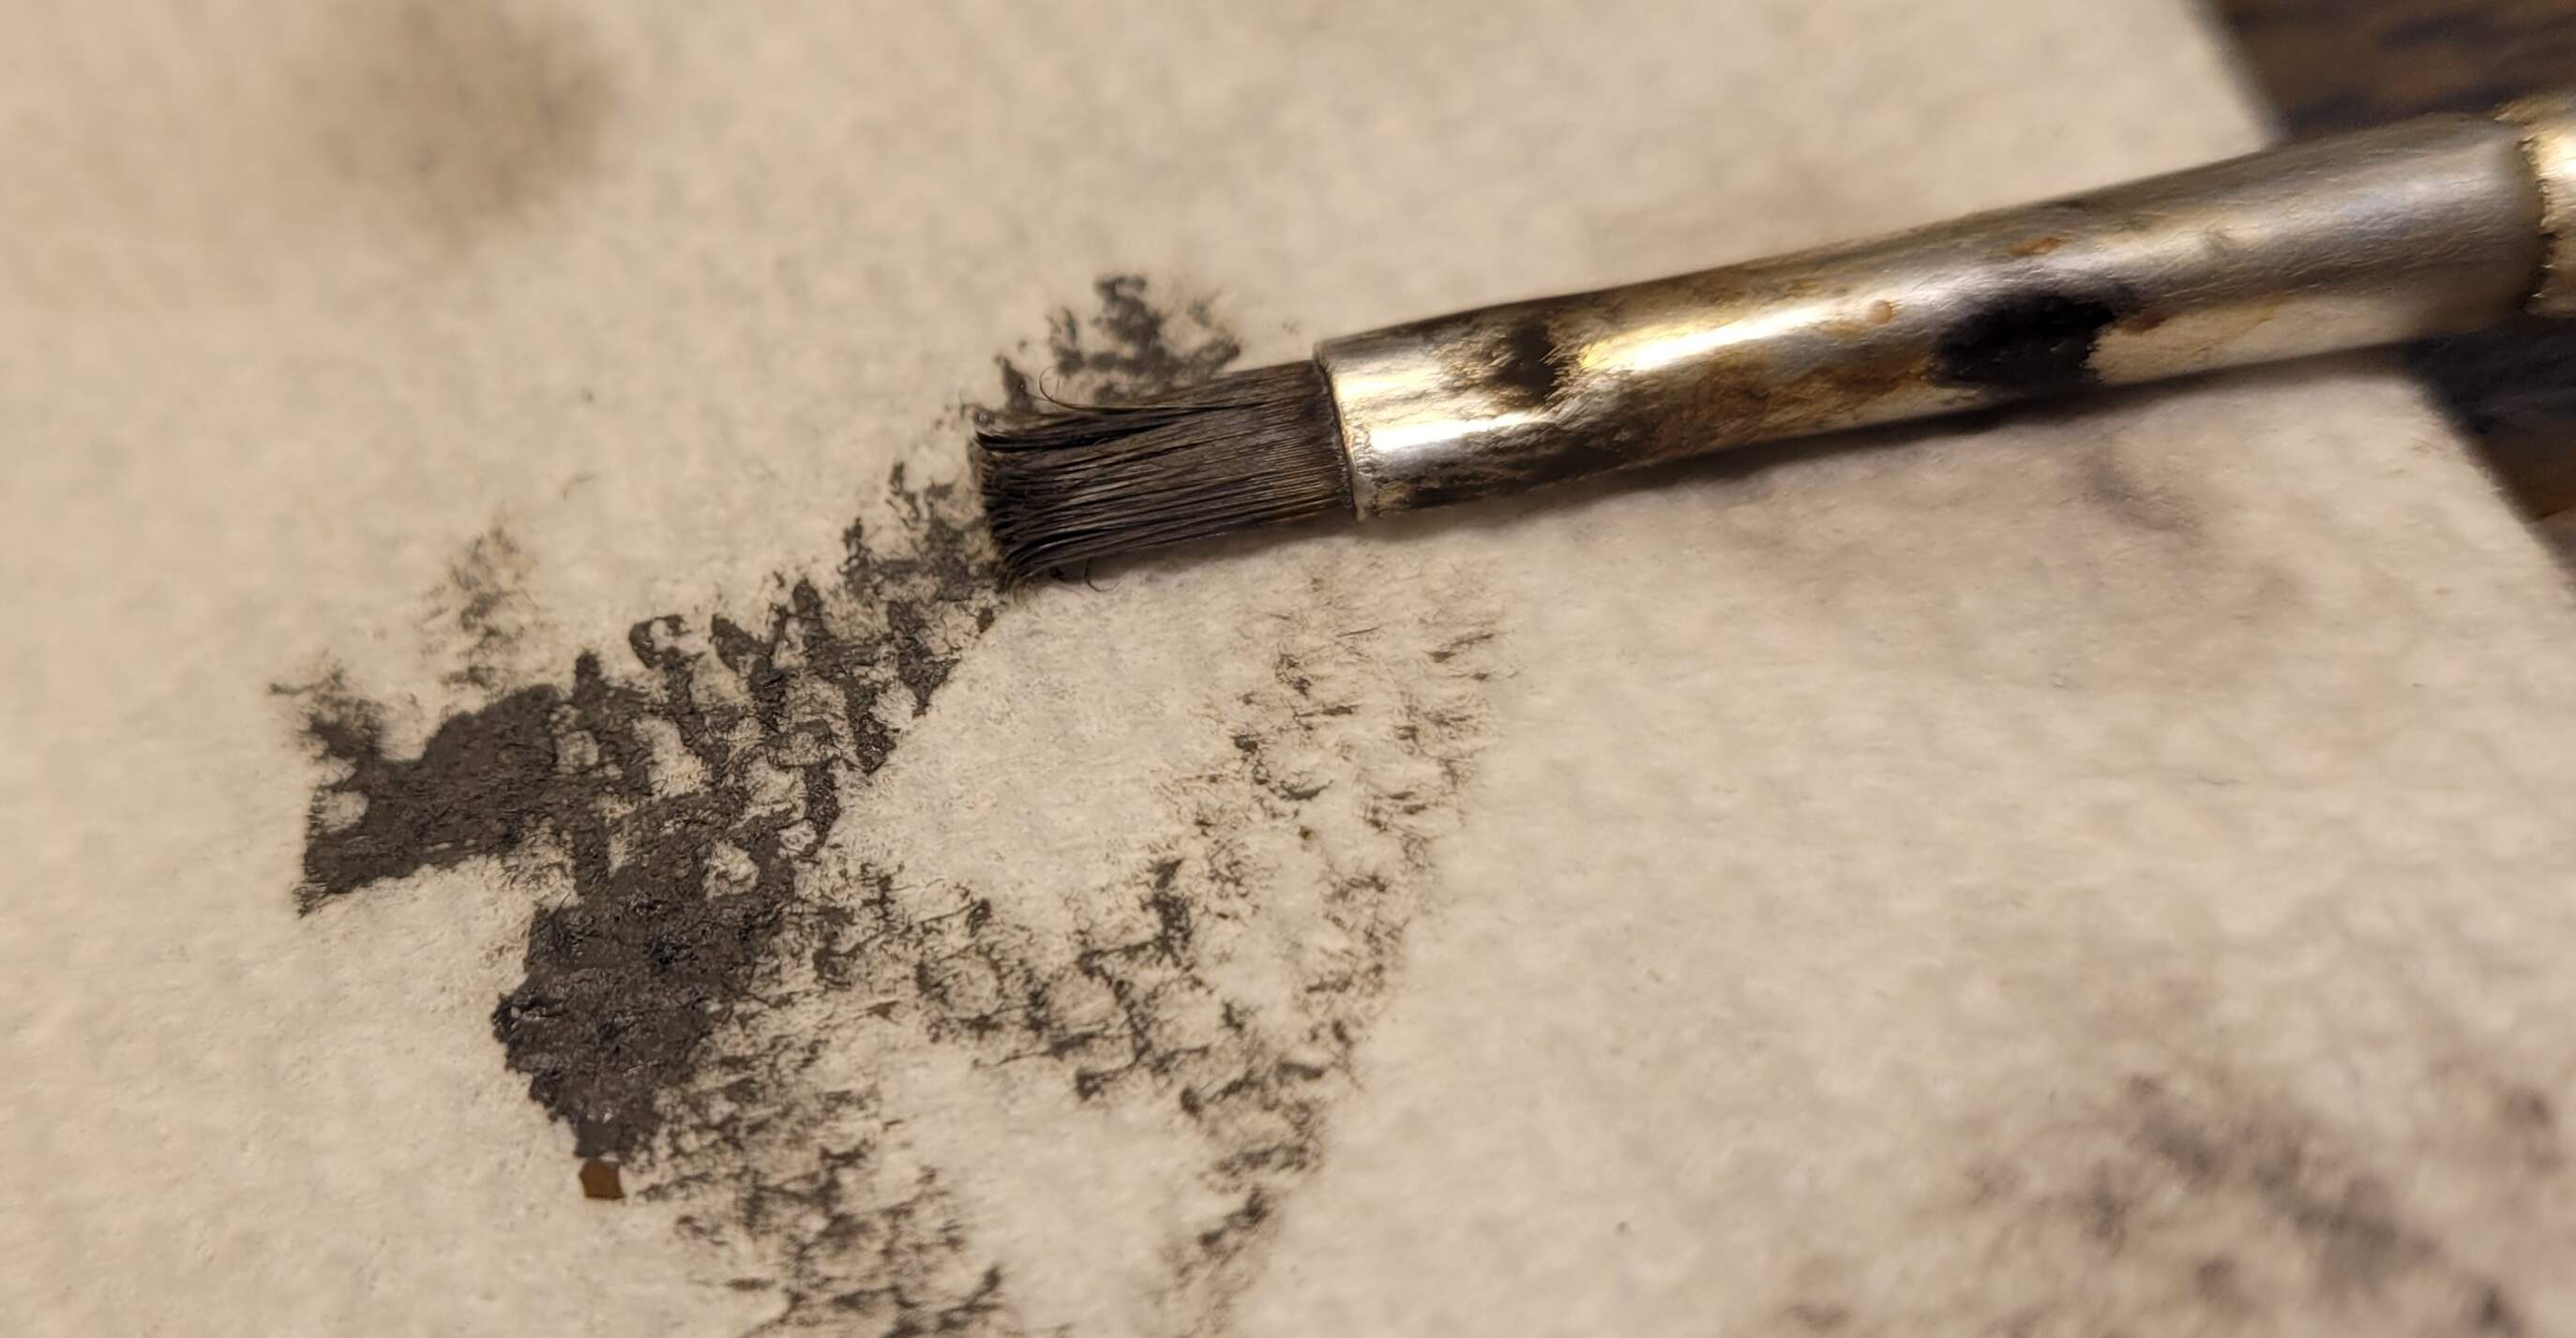
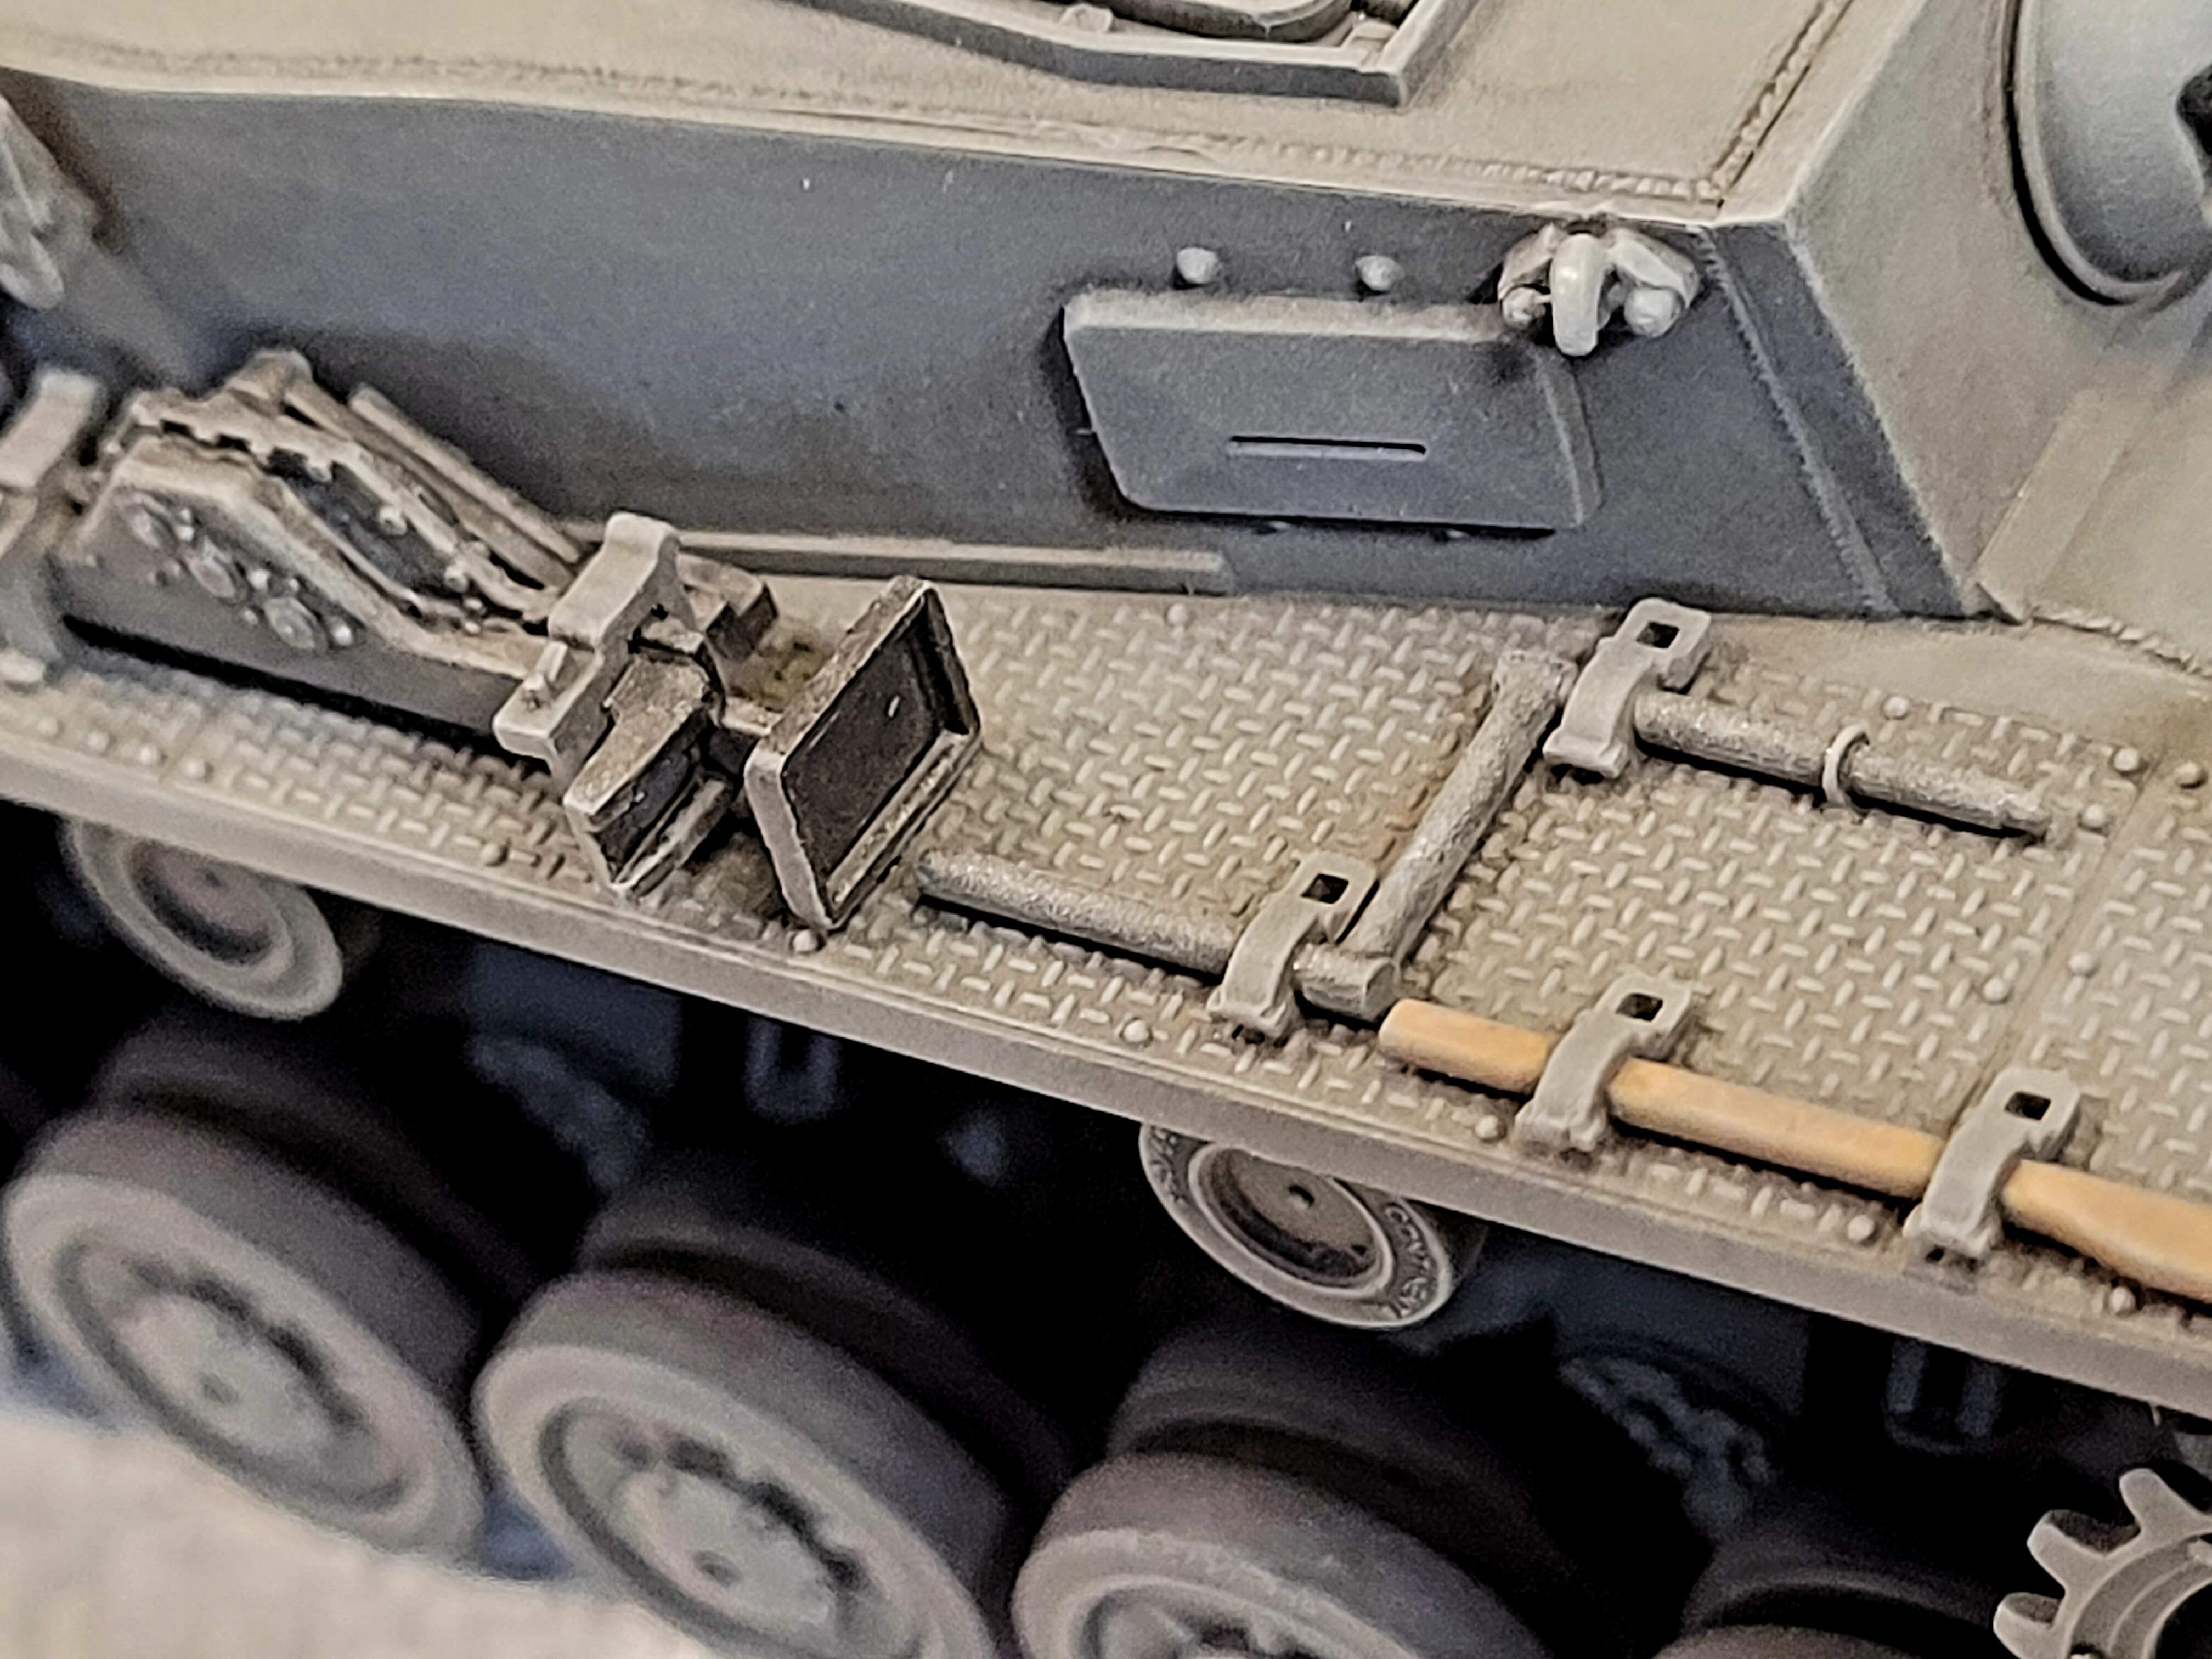
Wipe away large area with gun cleaning swabs. Wipe away excess wash as needed.
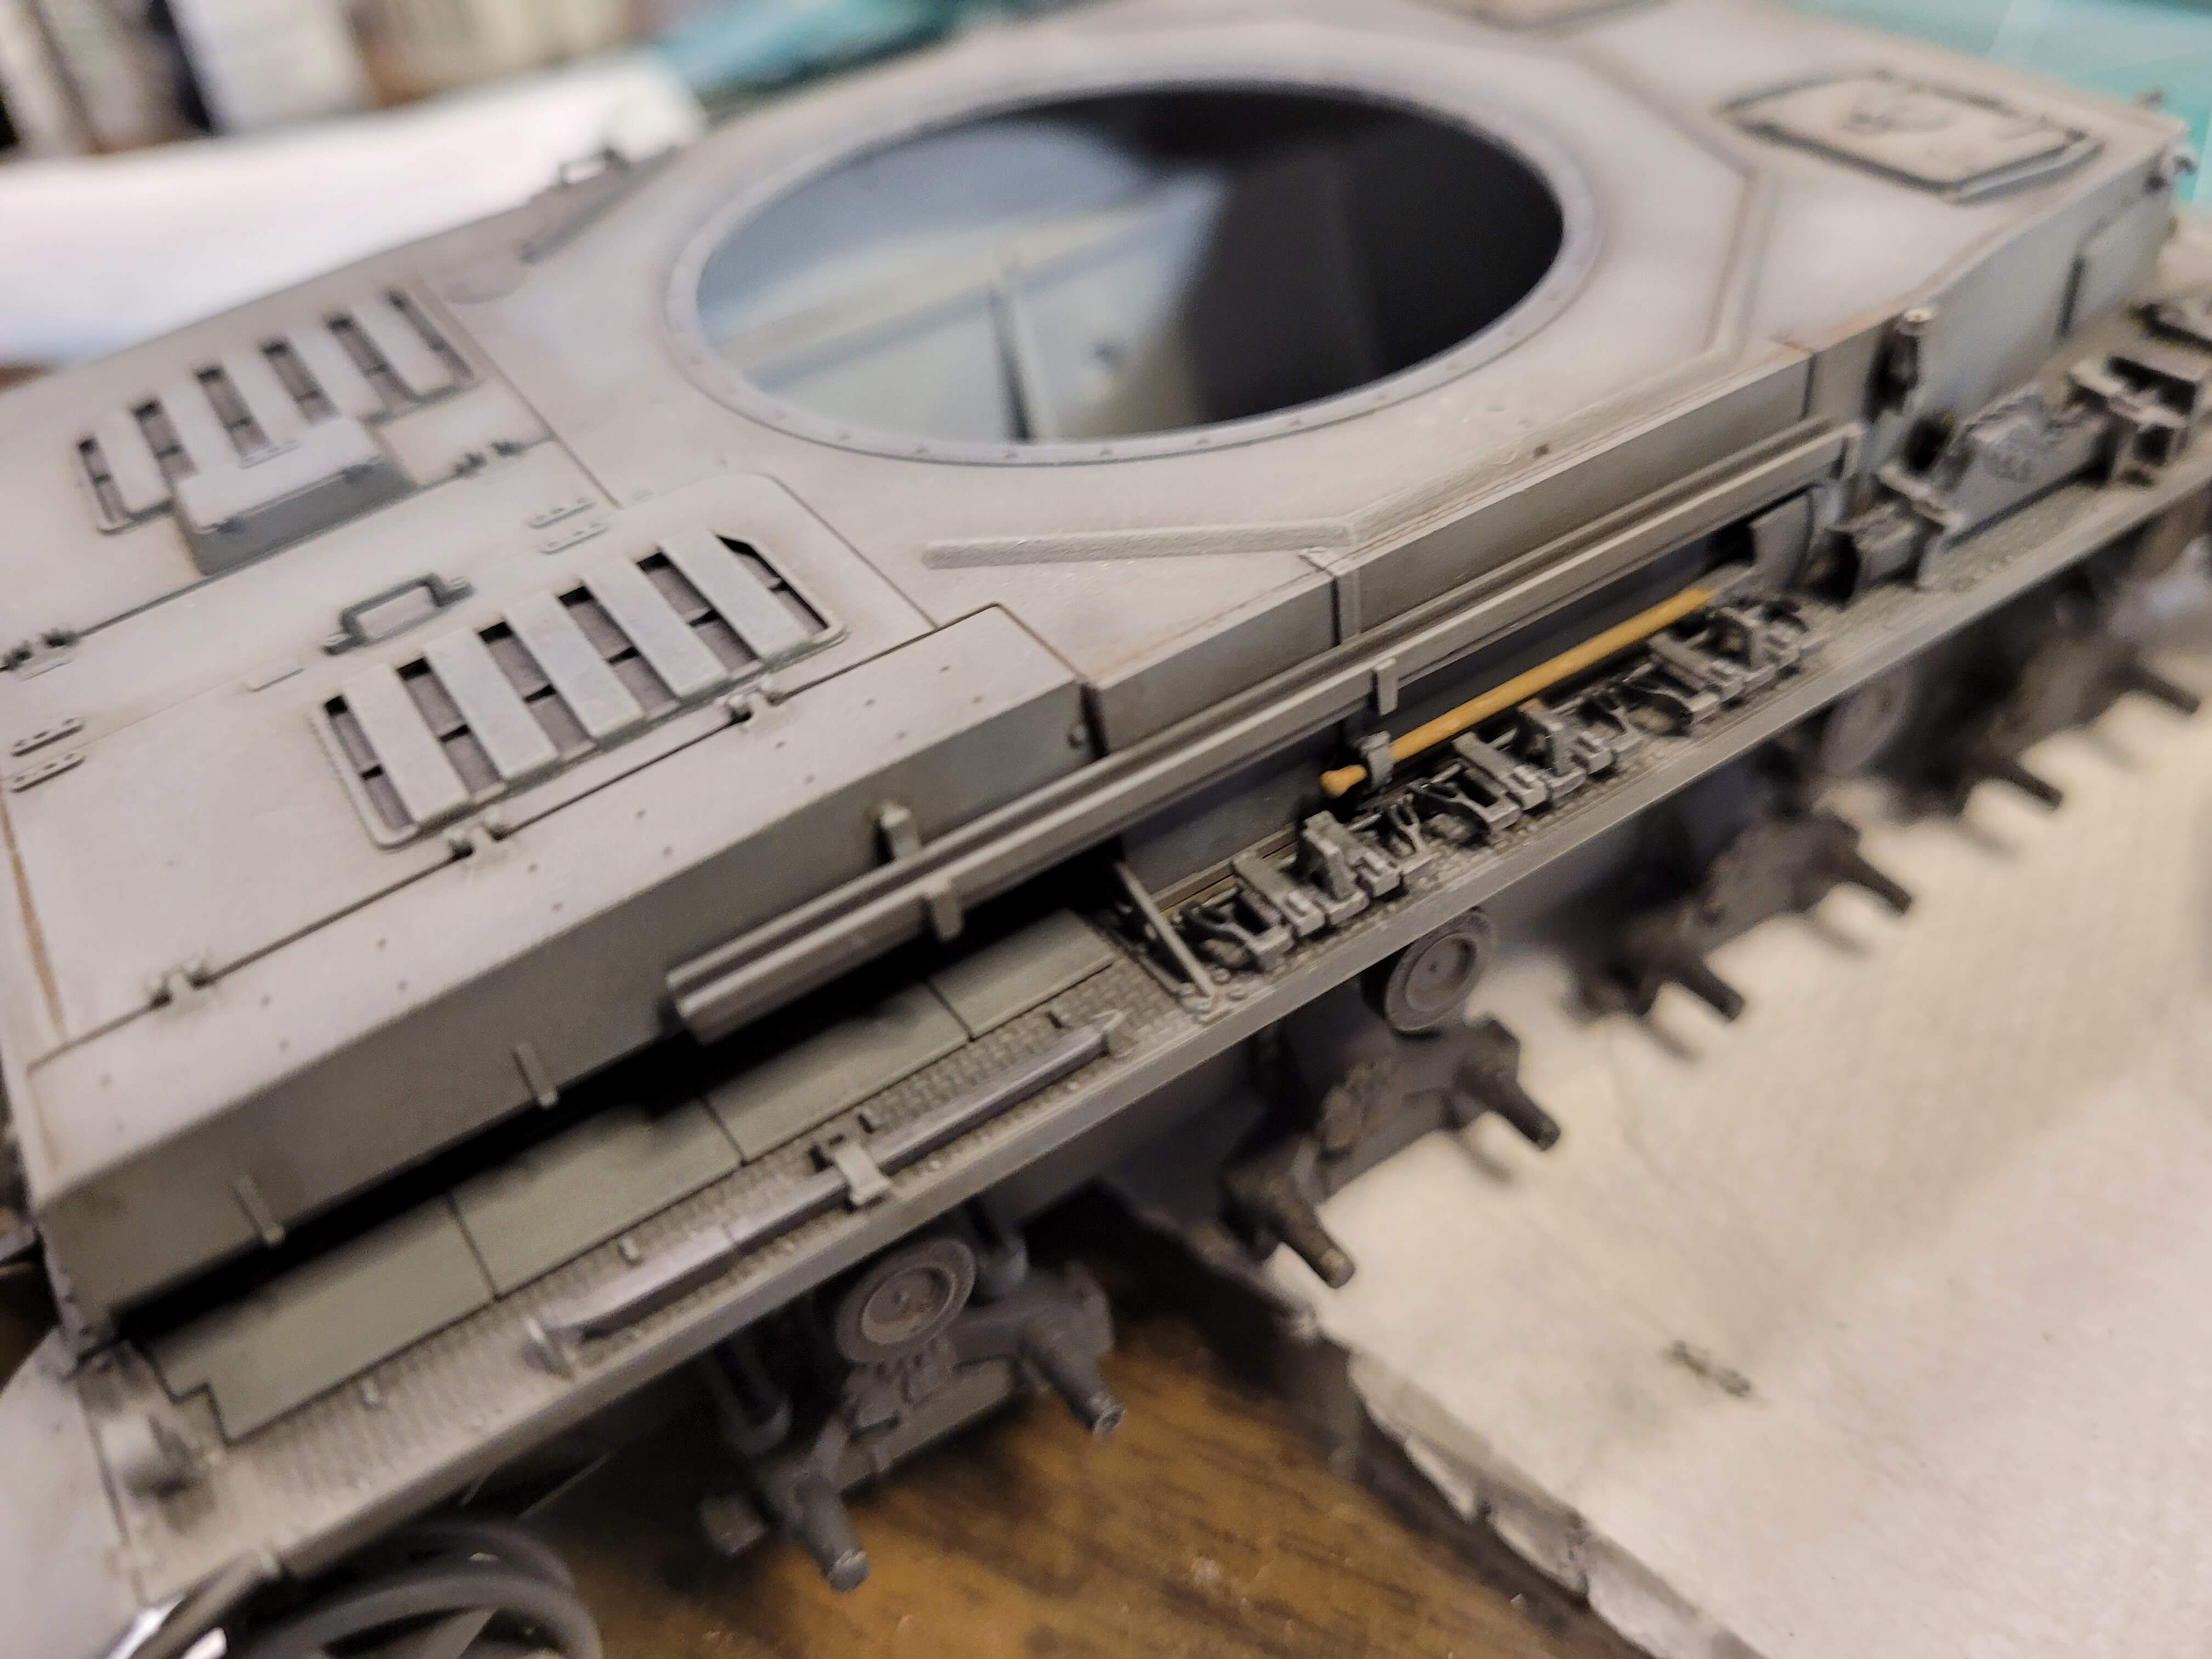
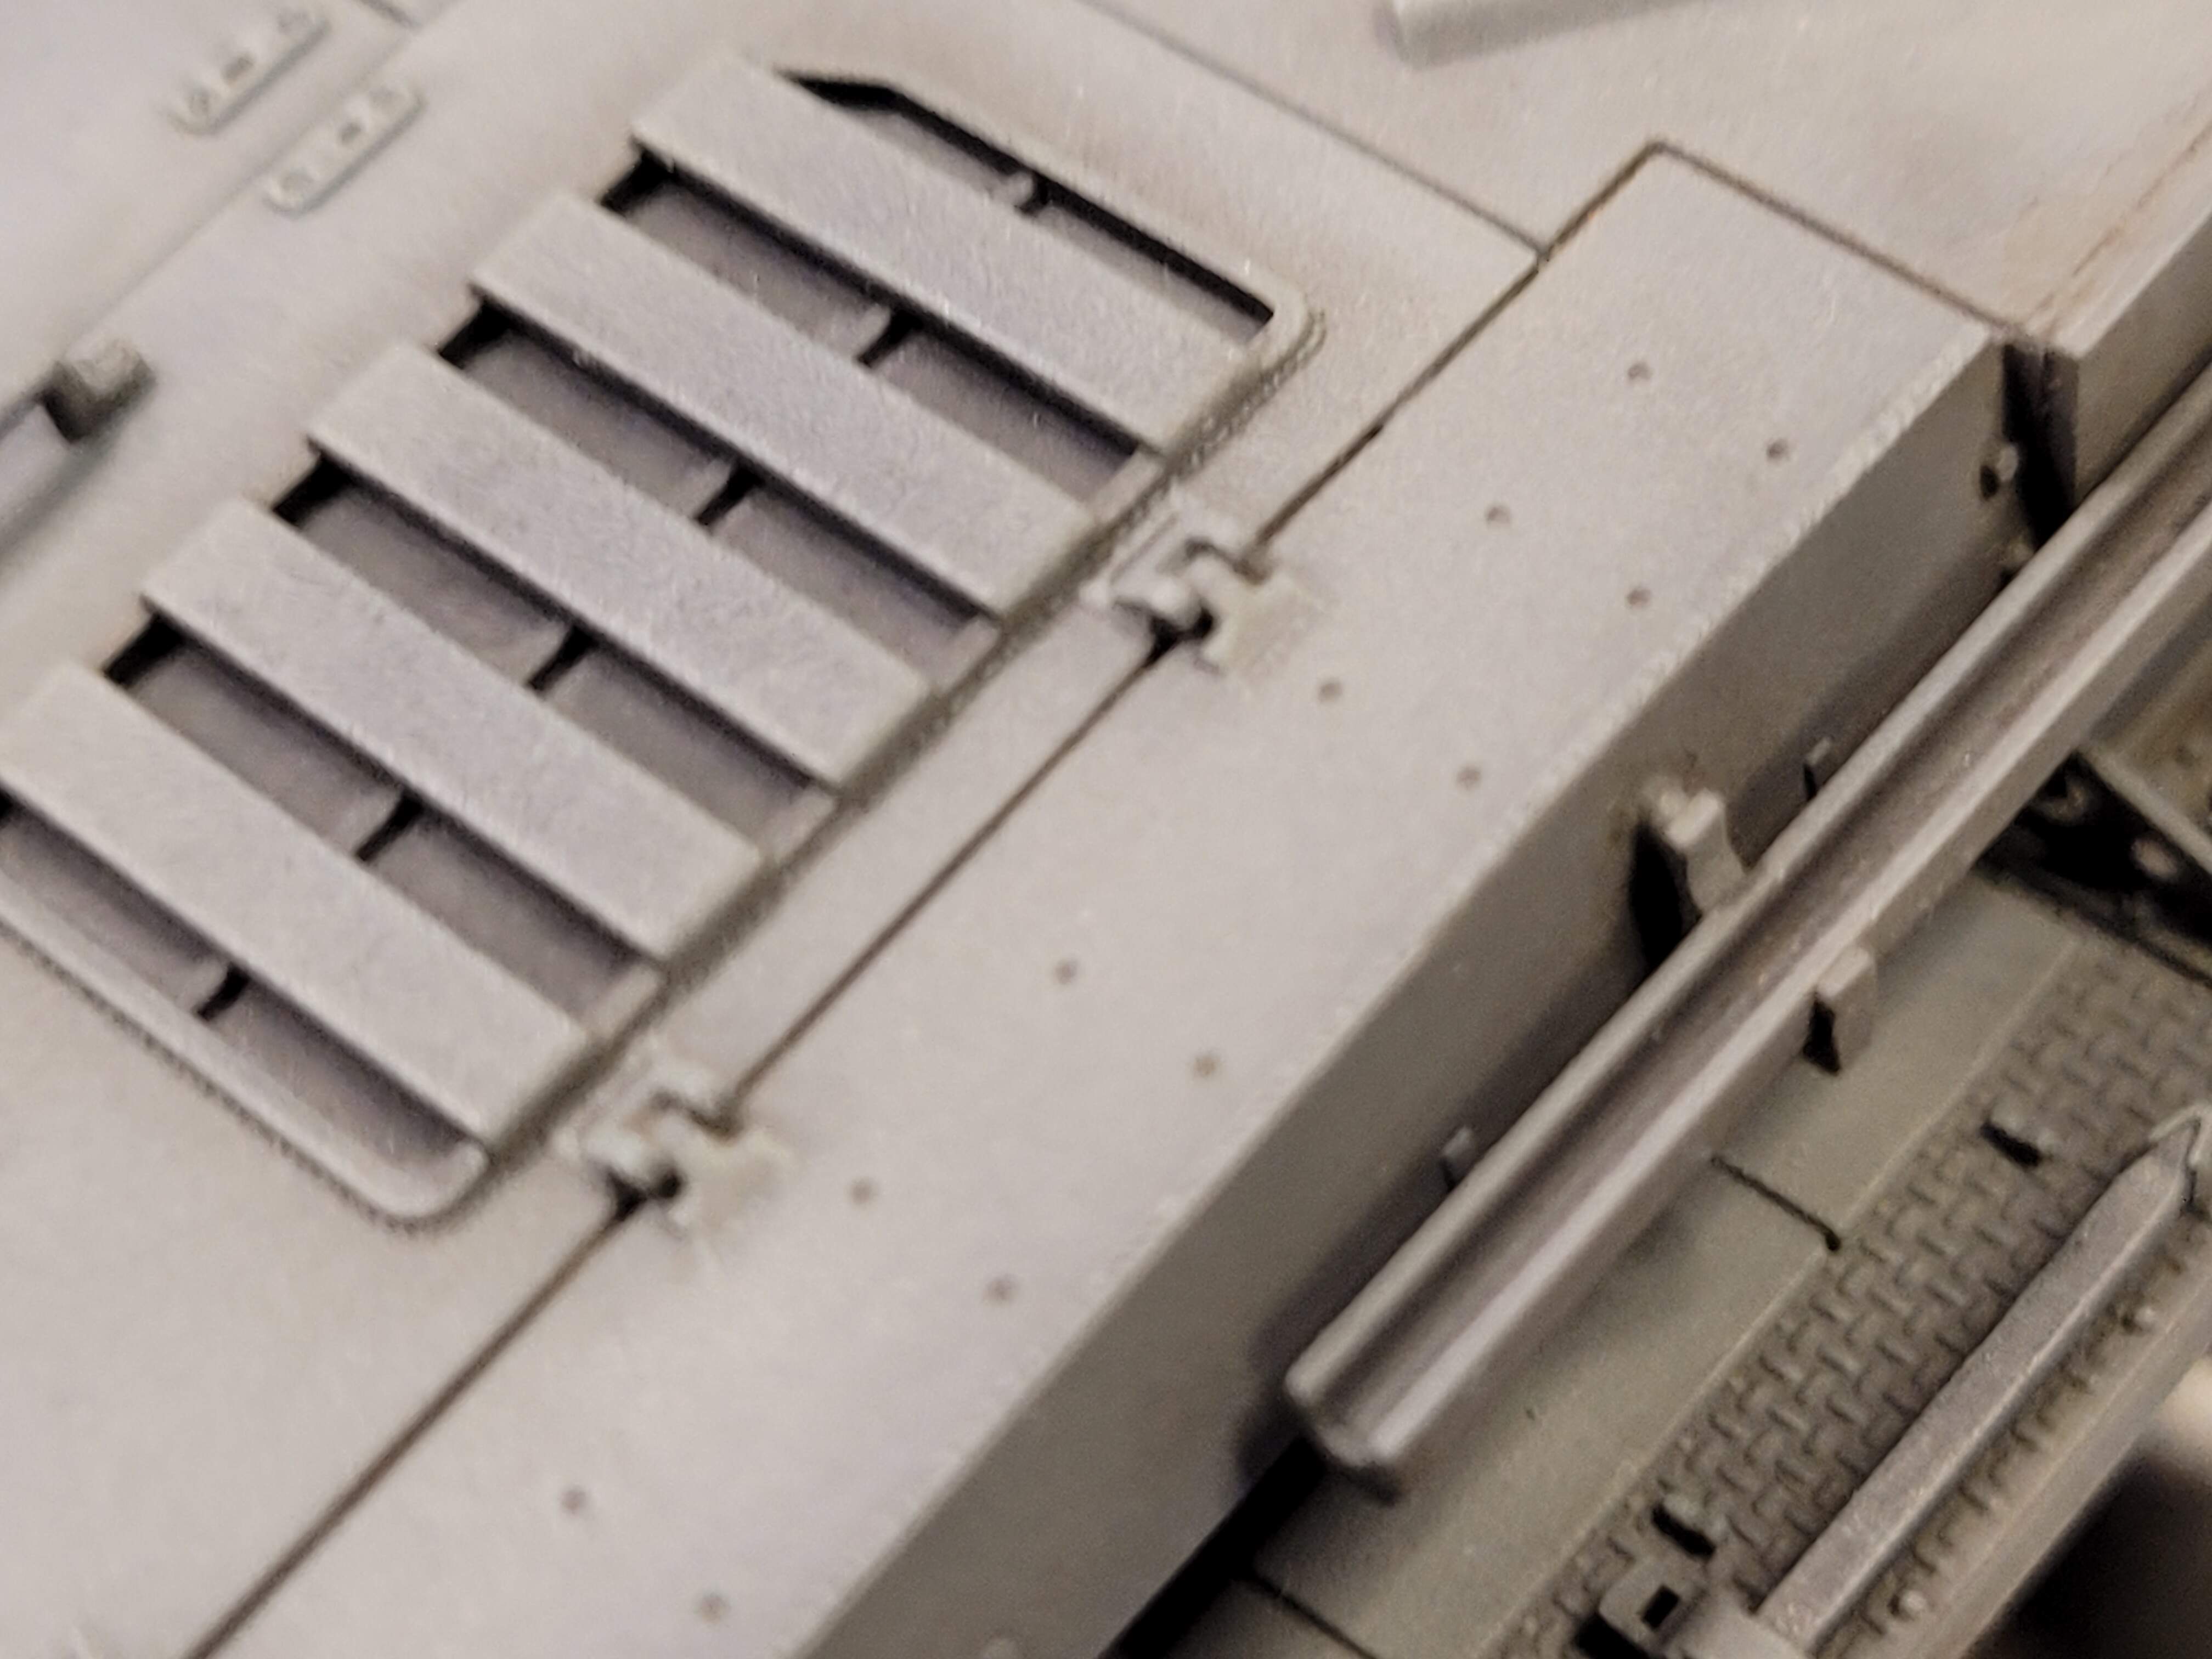
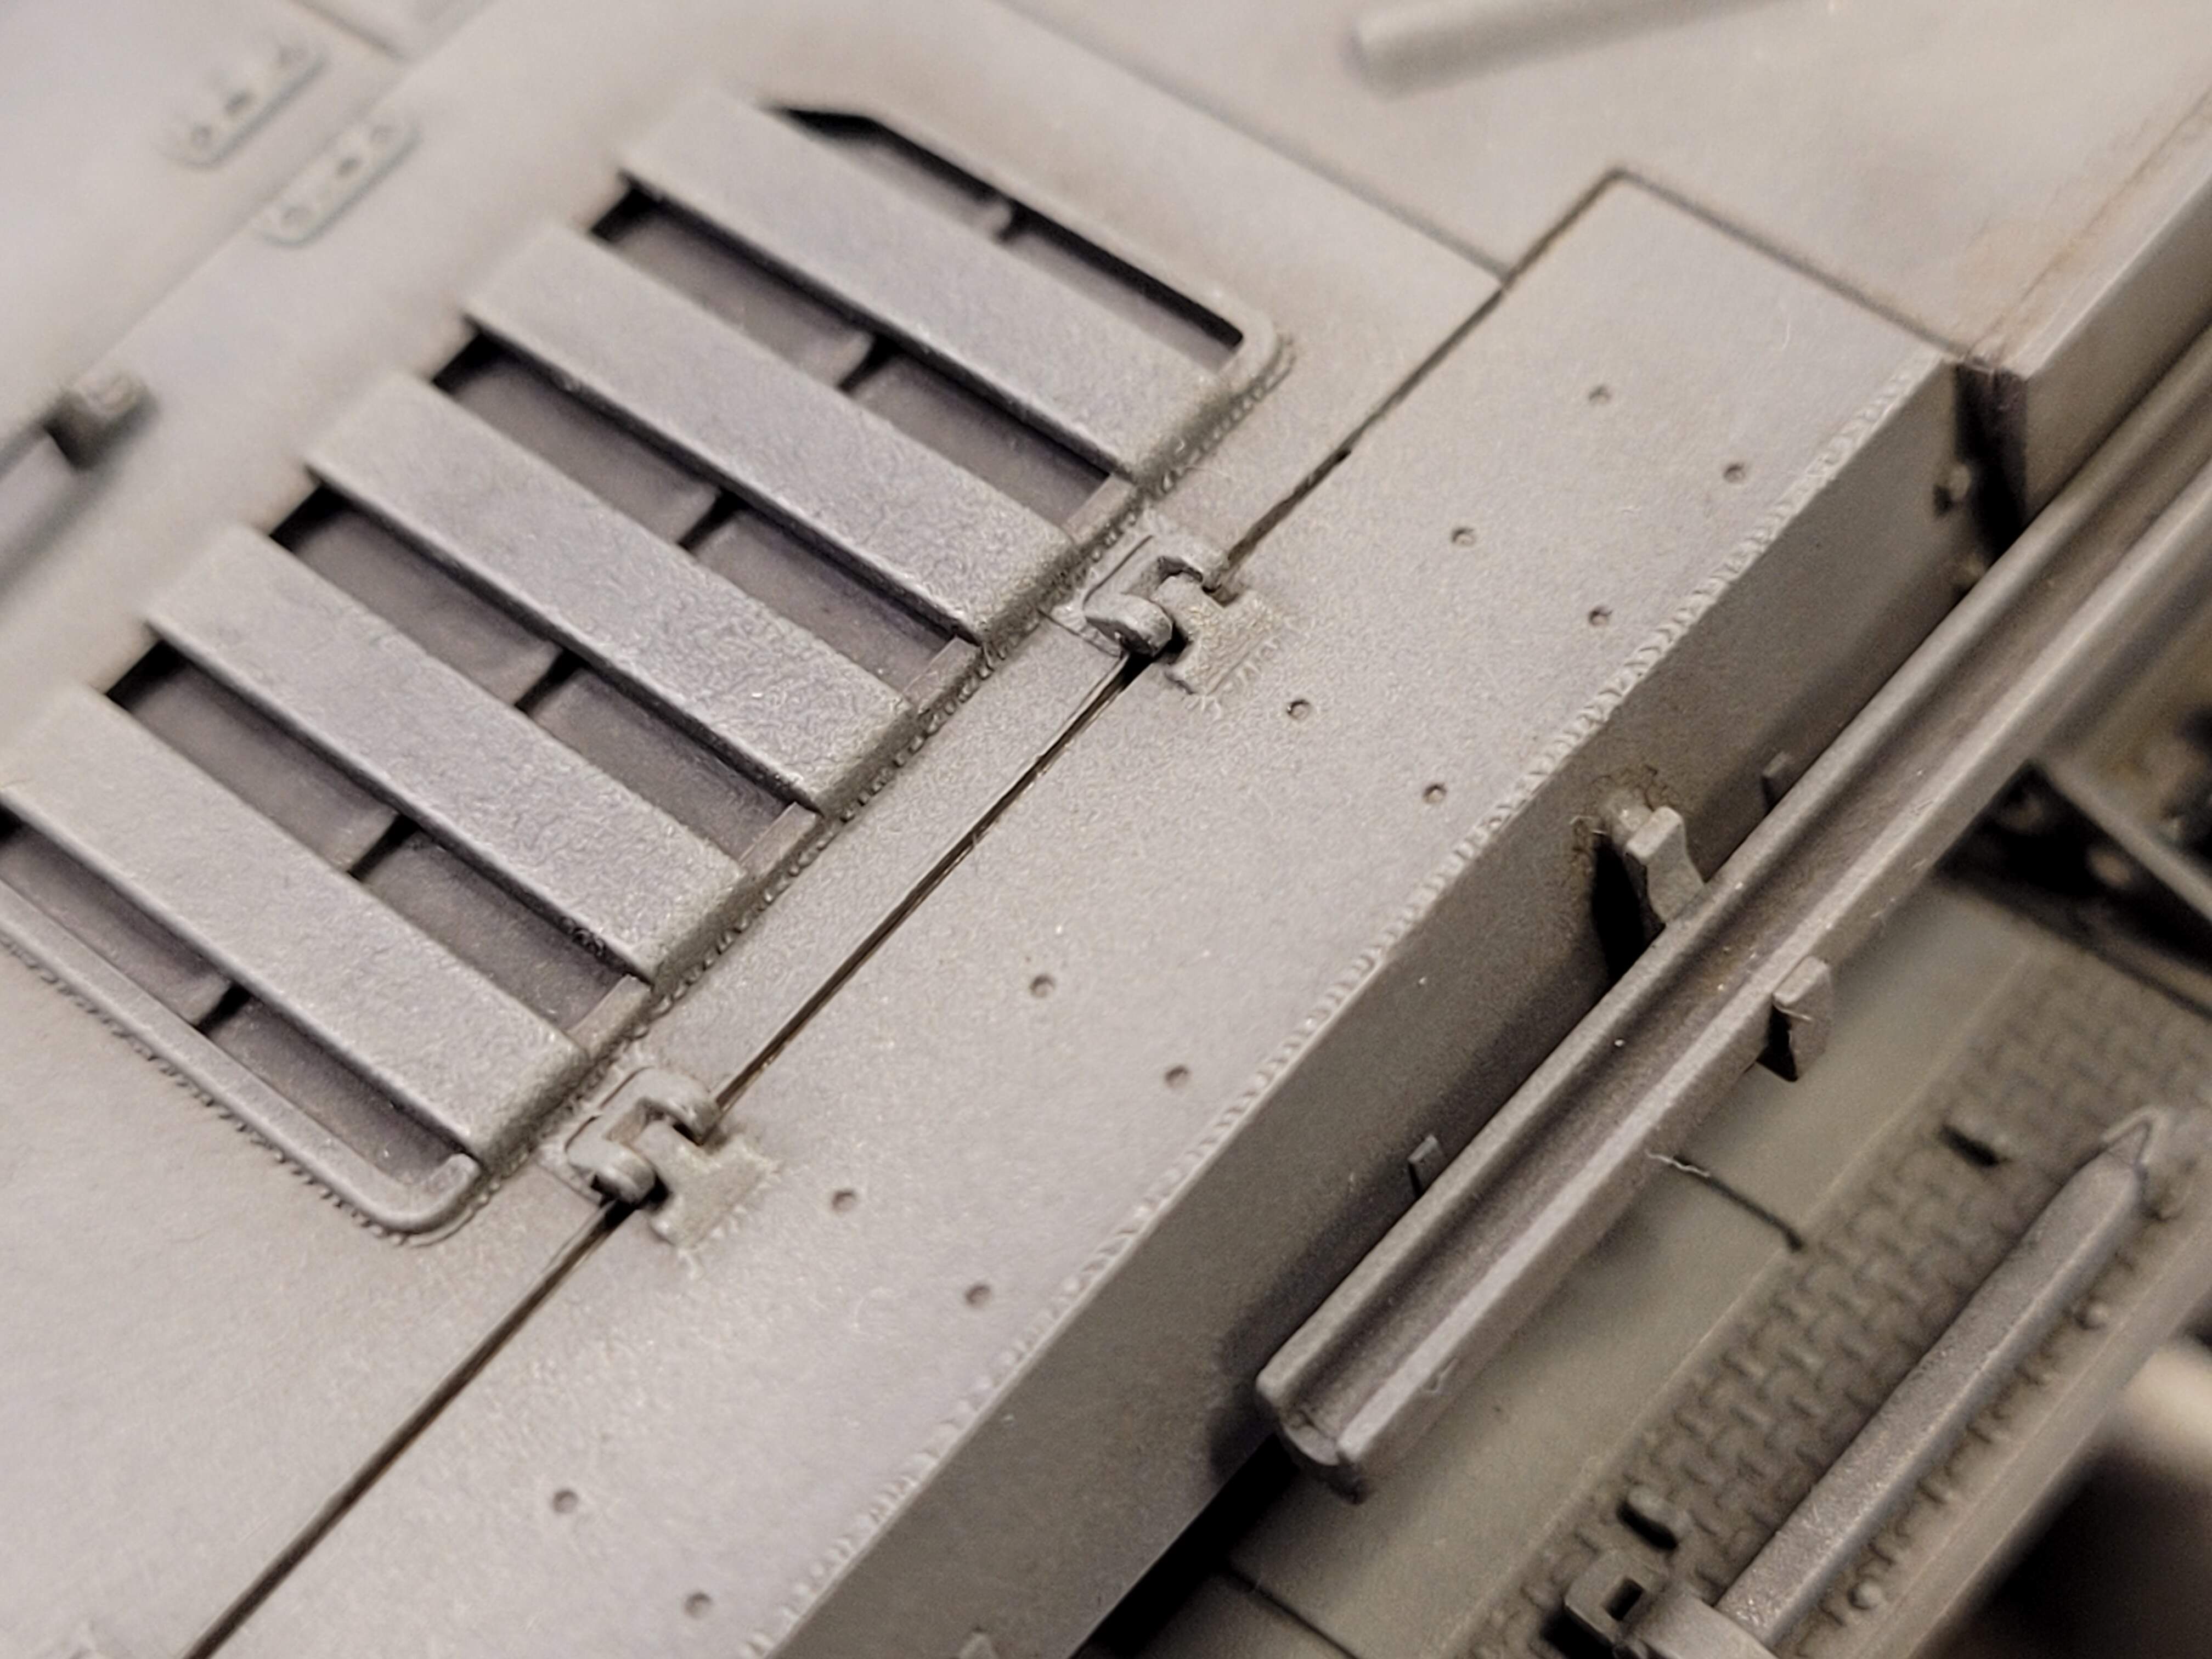
The same method will be applied to the rest of the tank. I snapped pictures as quickly as I could but was quite busy applying, working and wiping away excess wash.
Mixing more wash on the fly as we go…
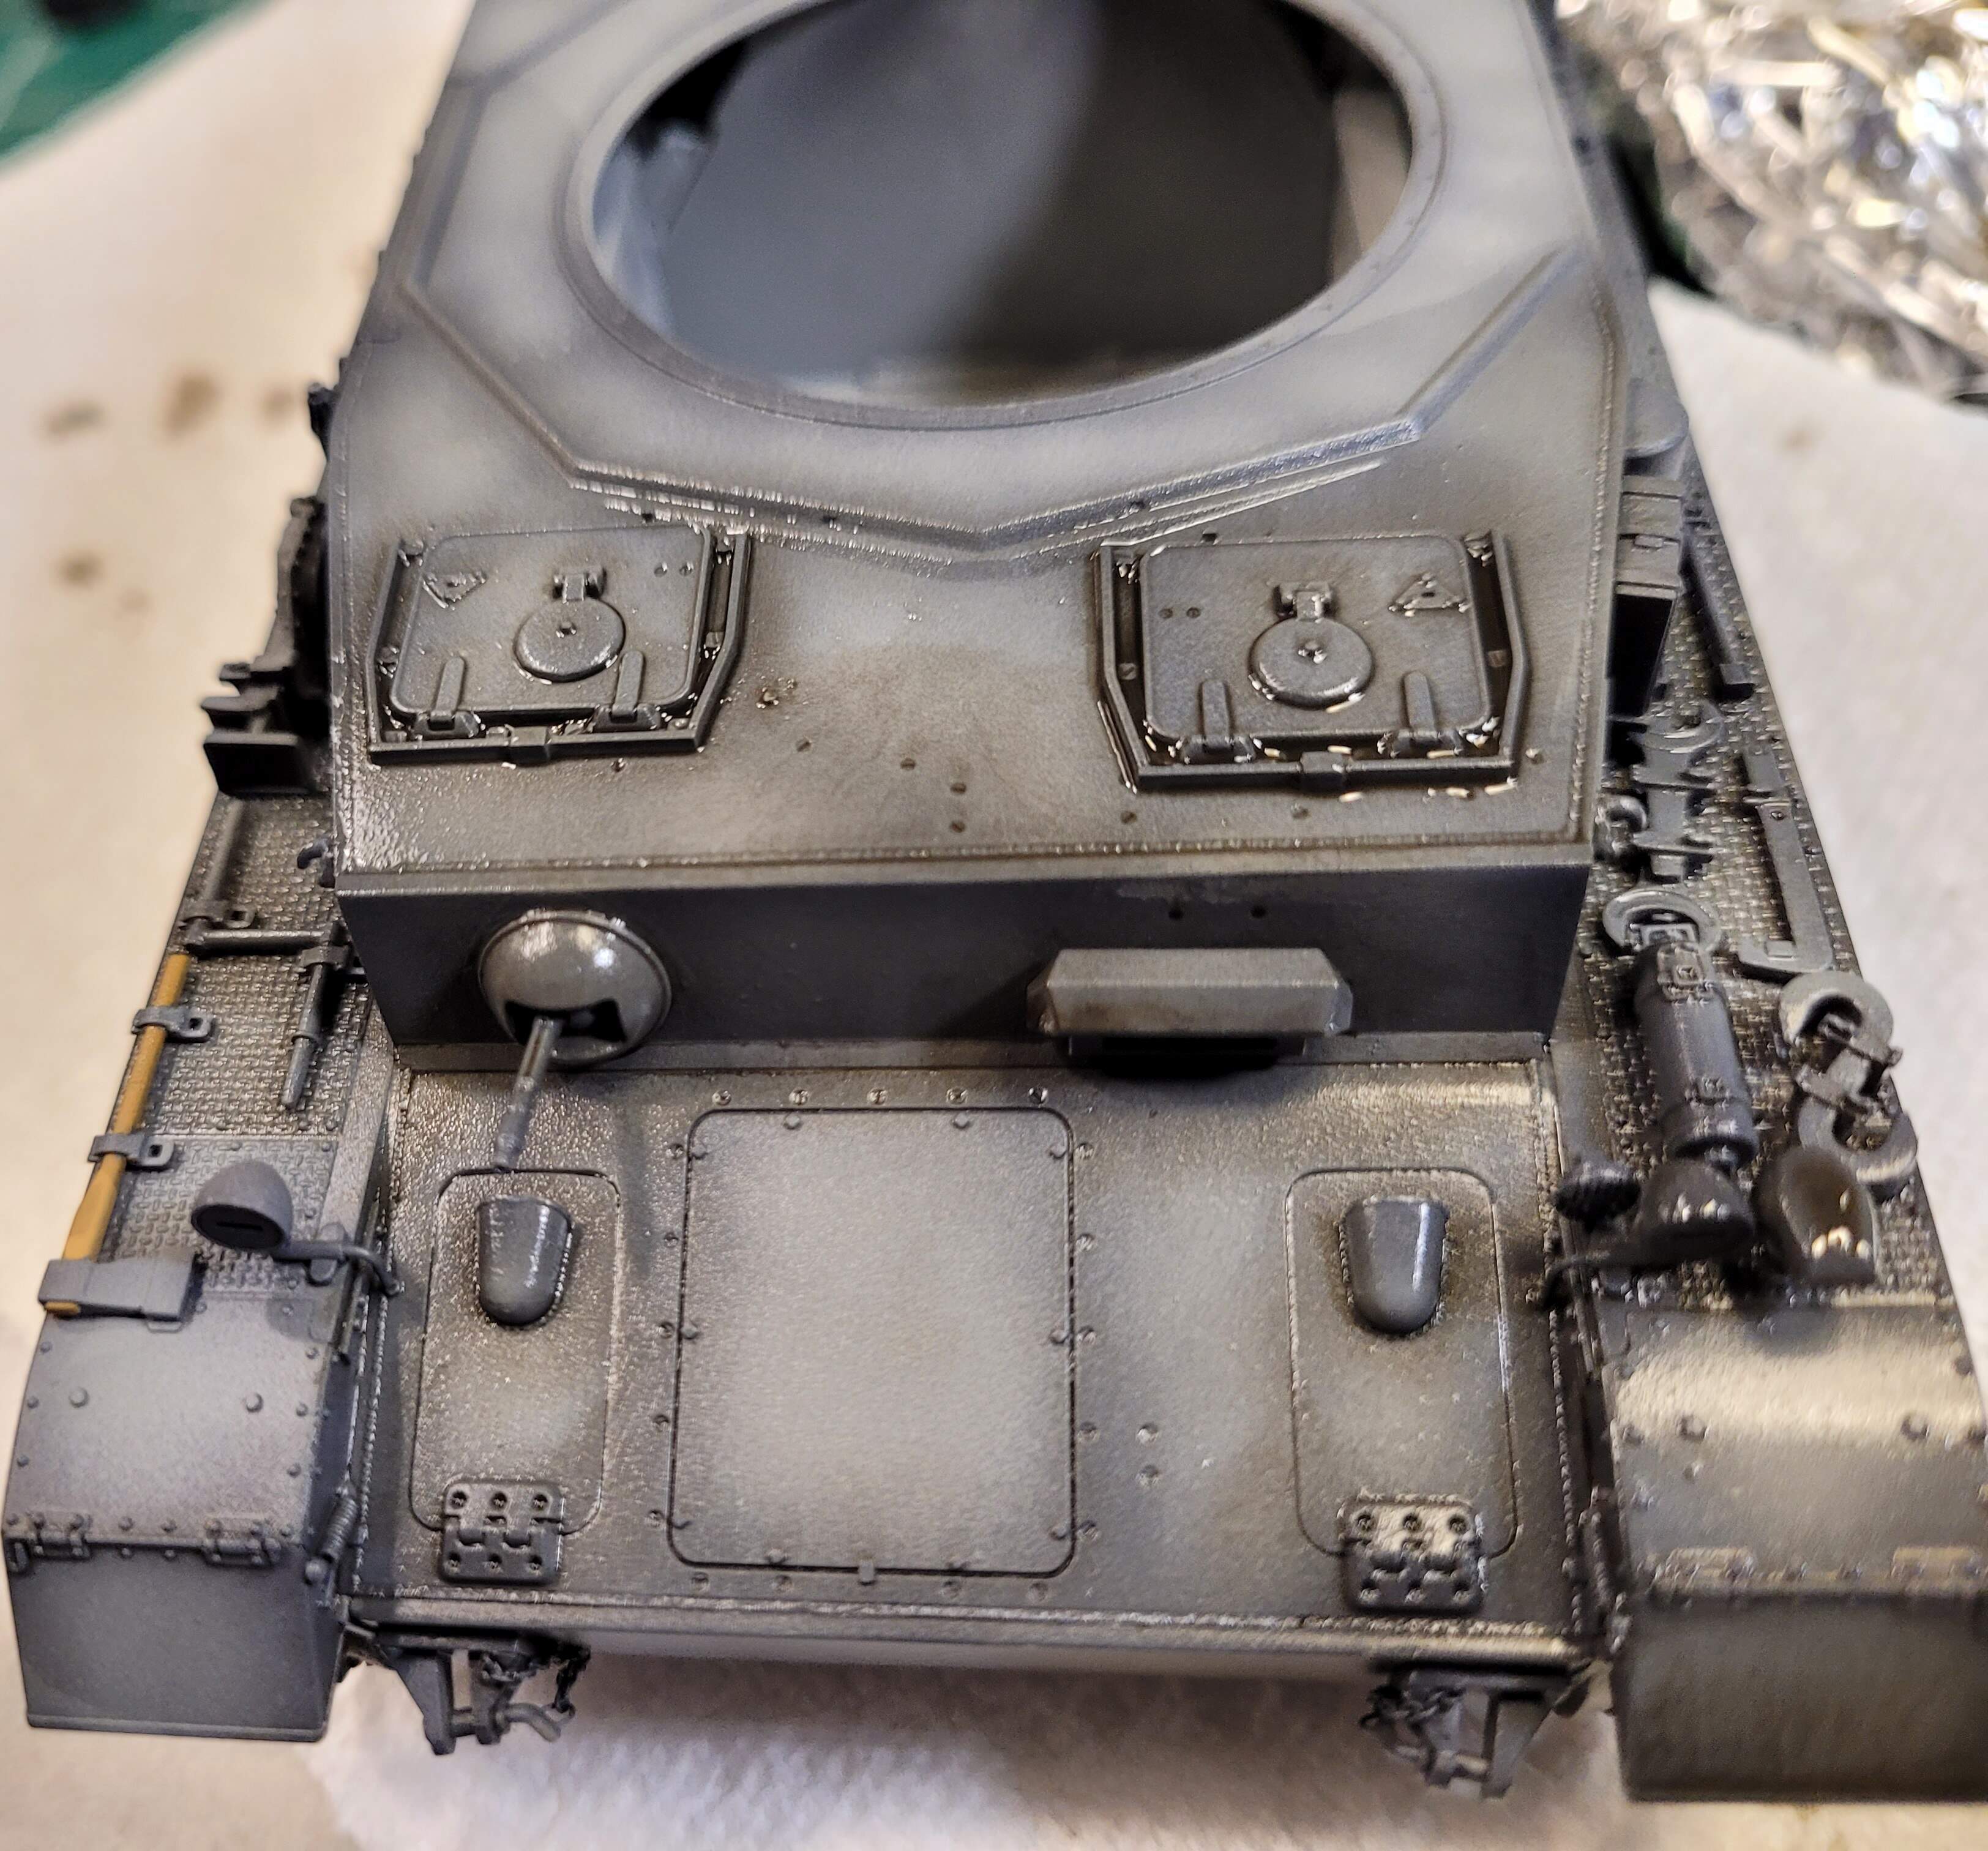
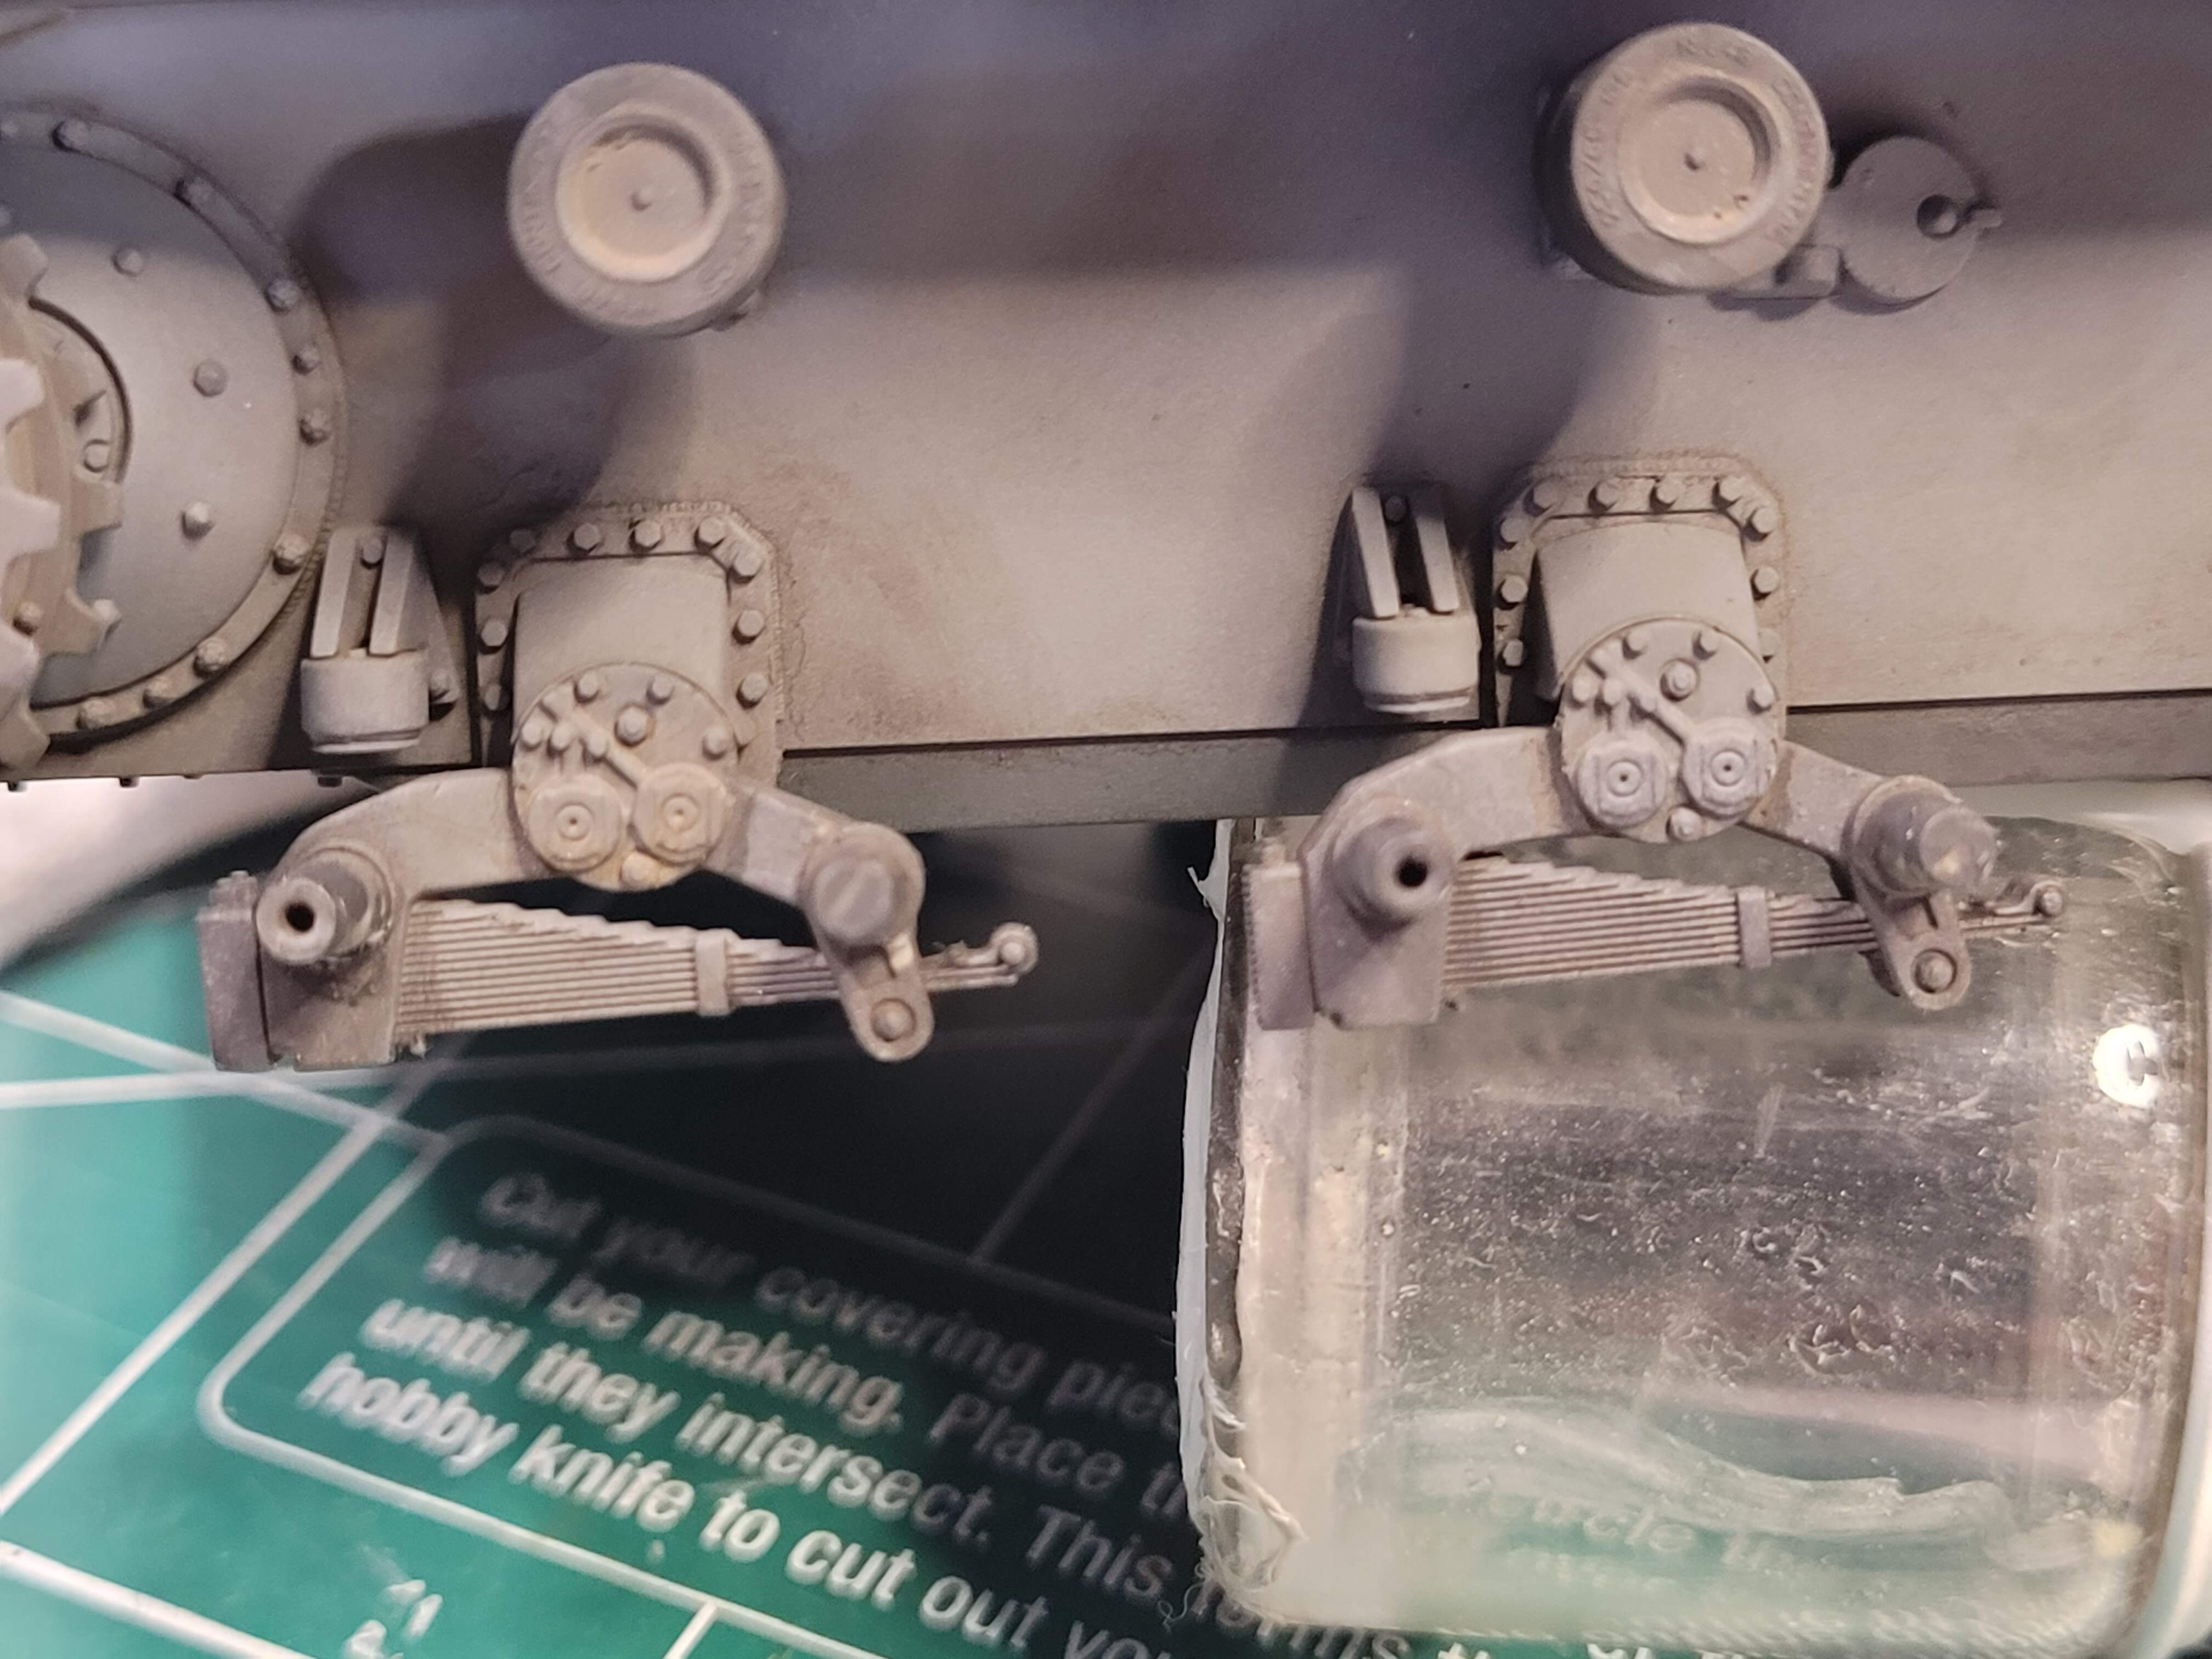
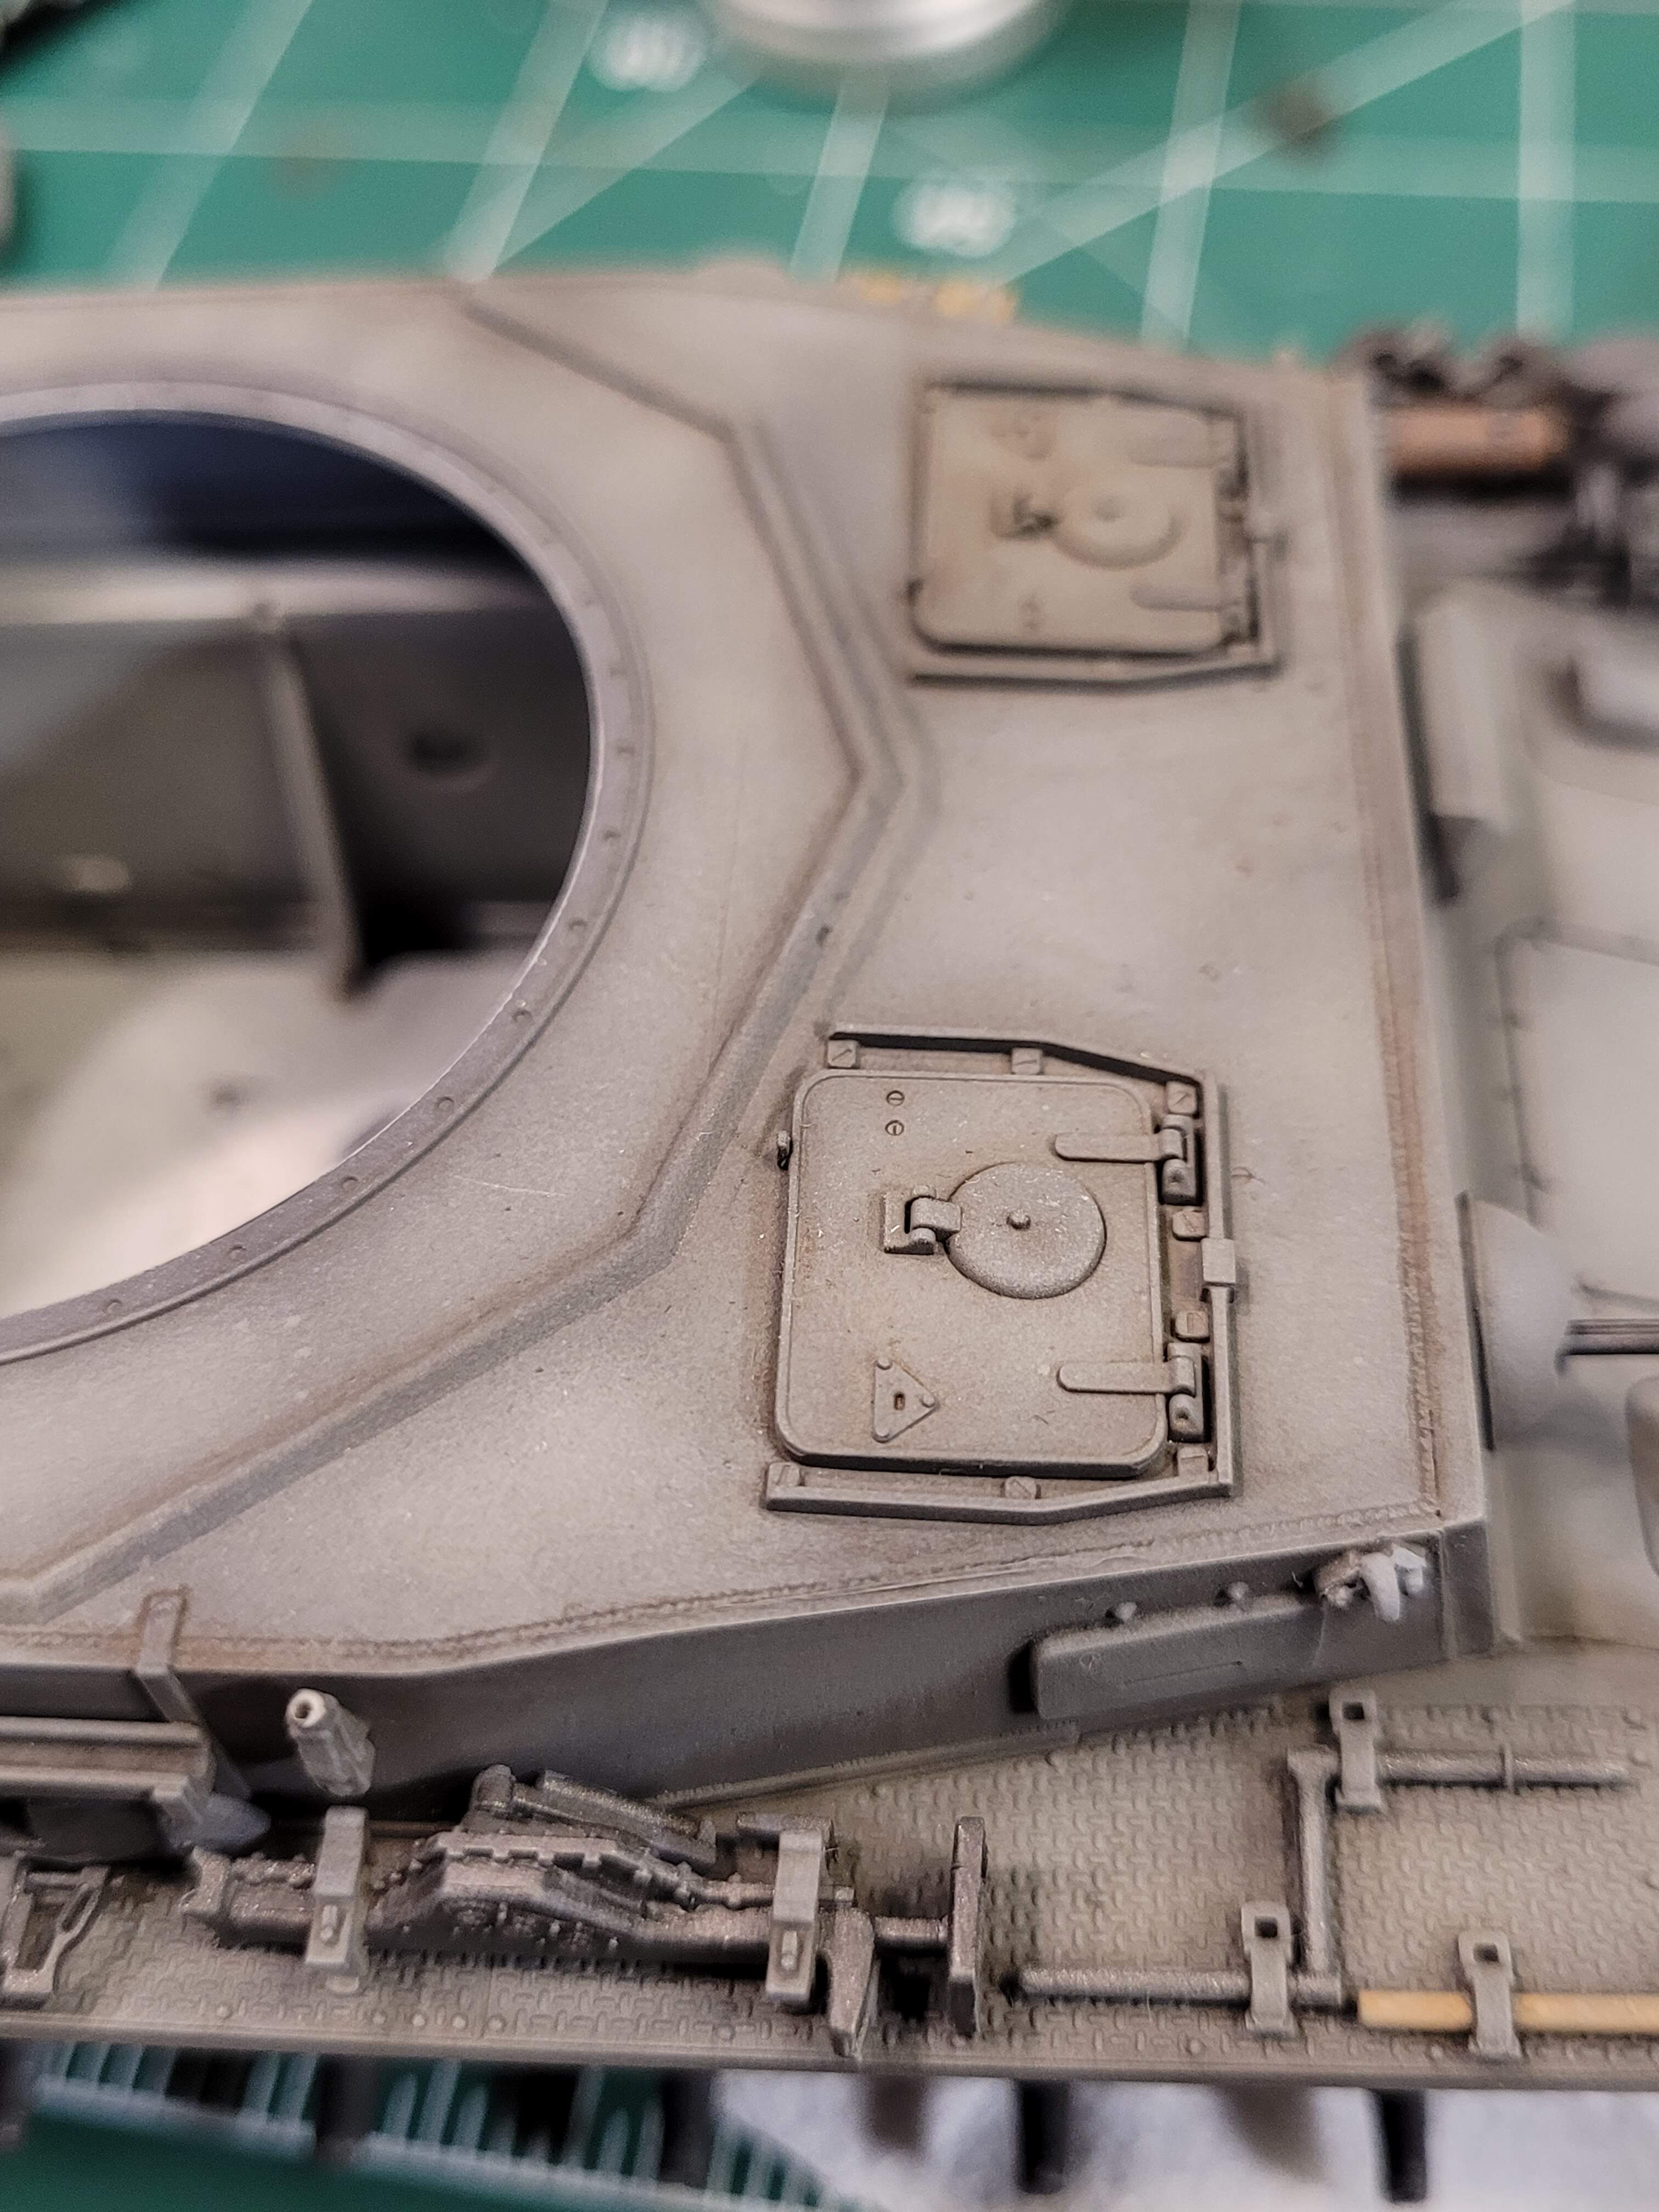
Wash applied to the model
Working wash with brush and wipe away with gun cleaning swabs.
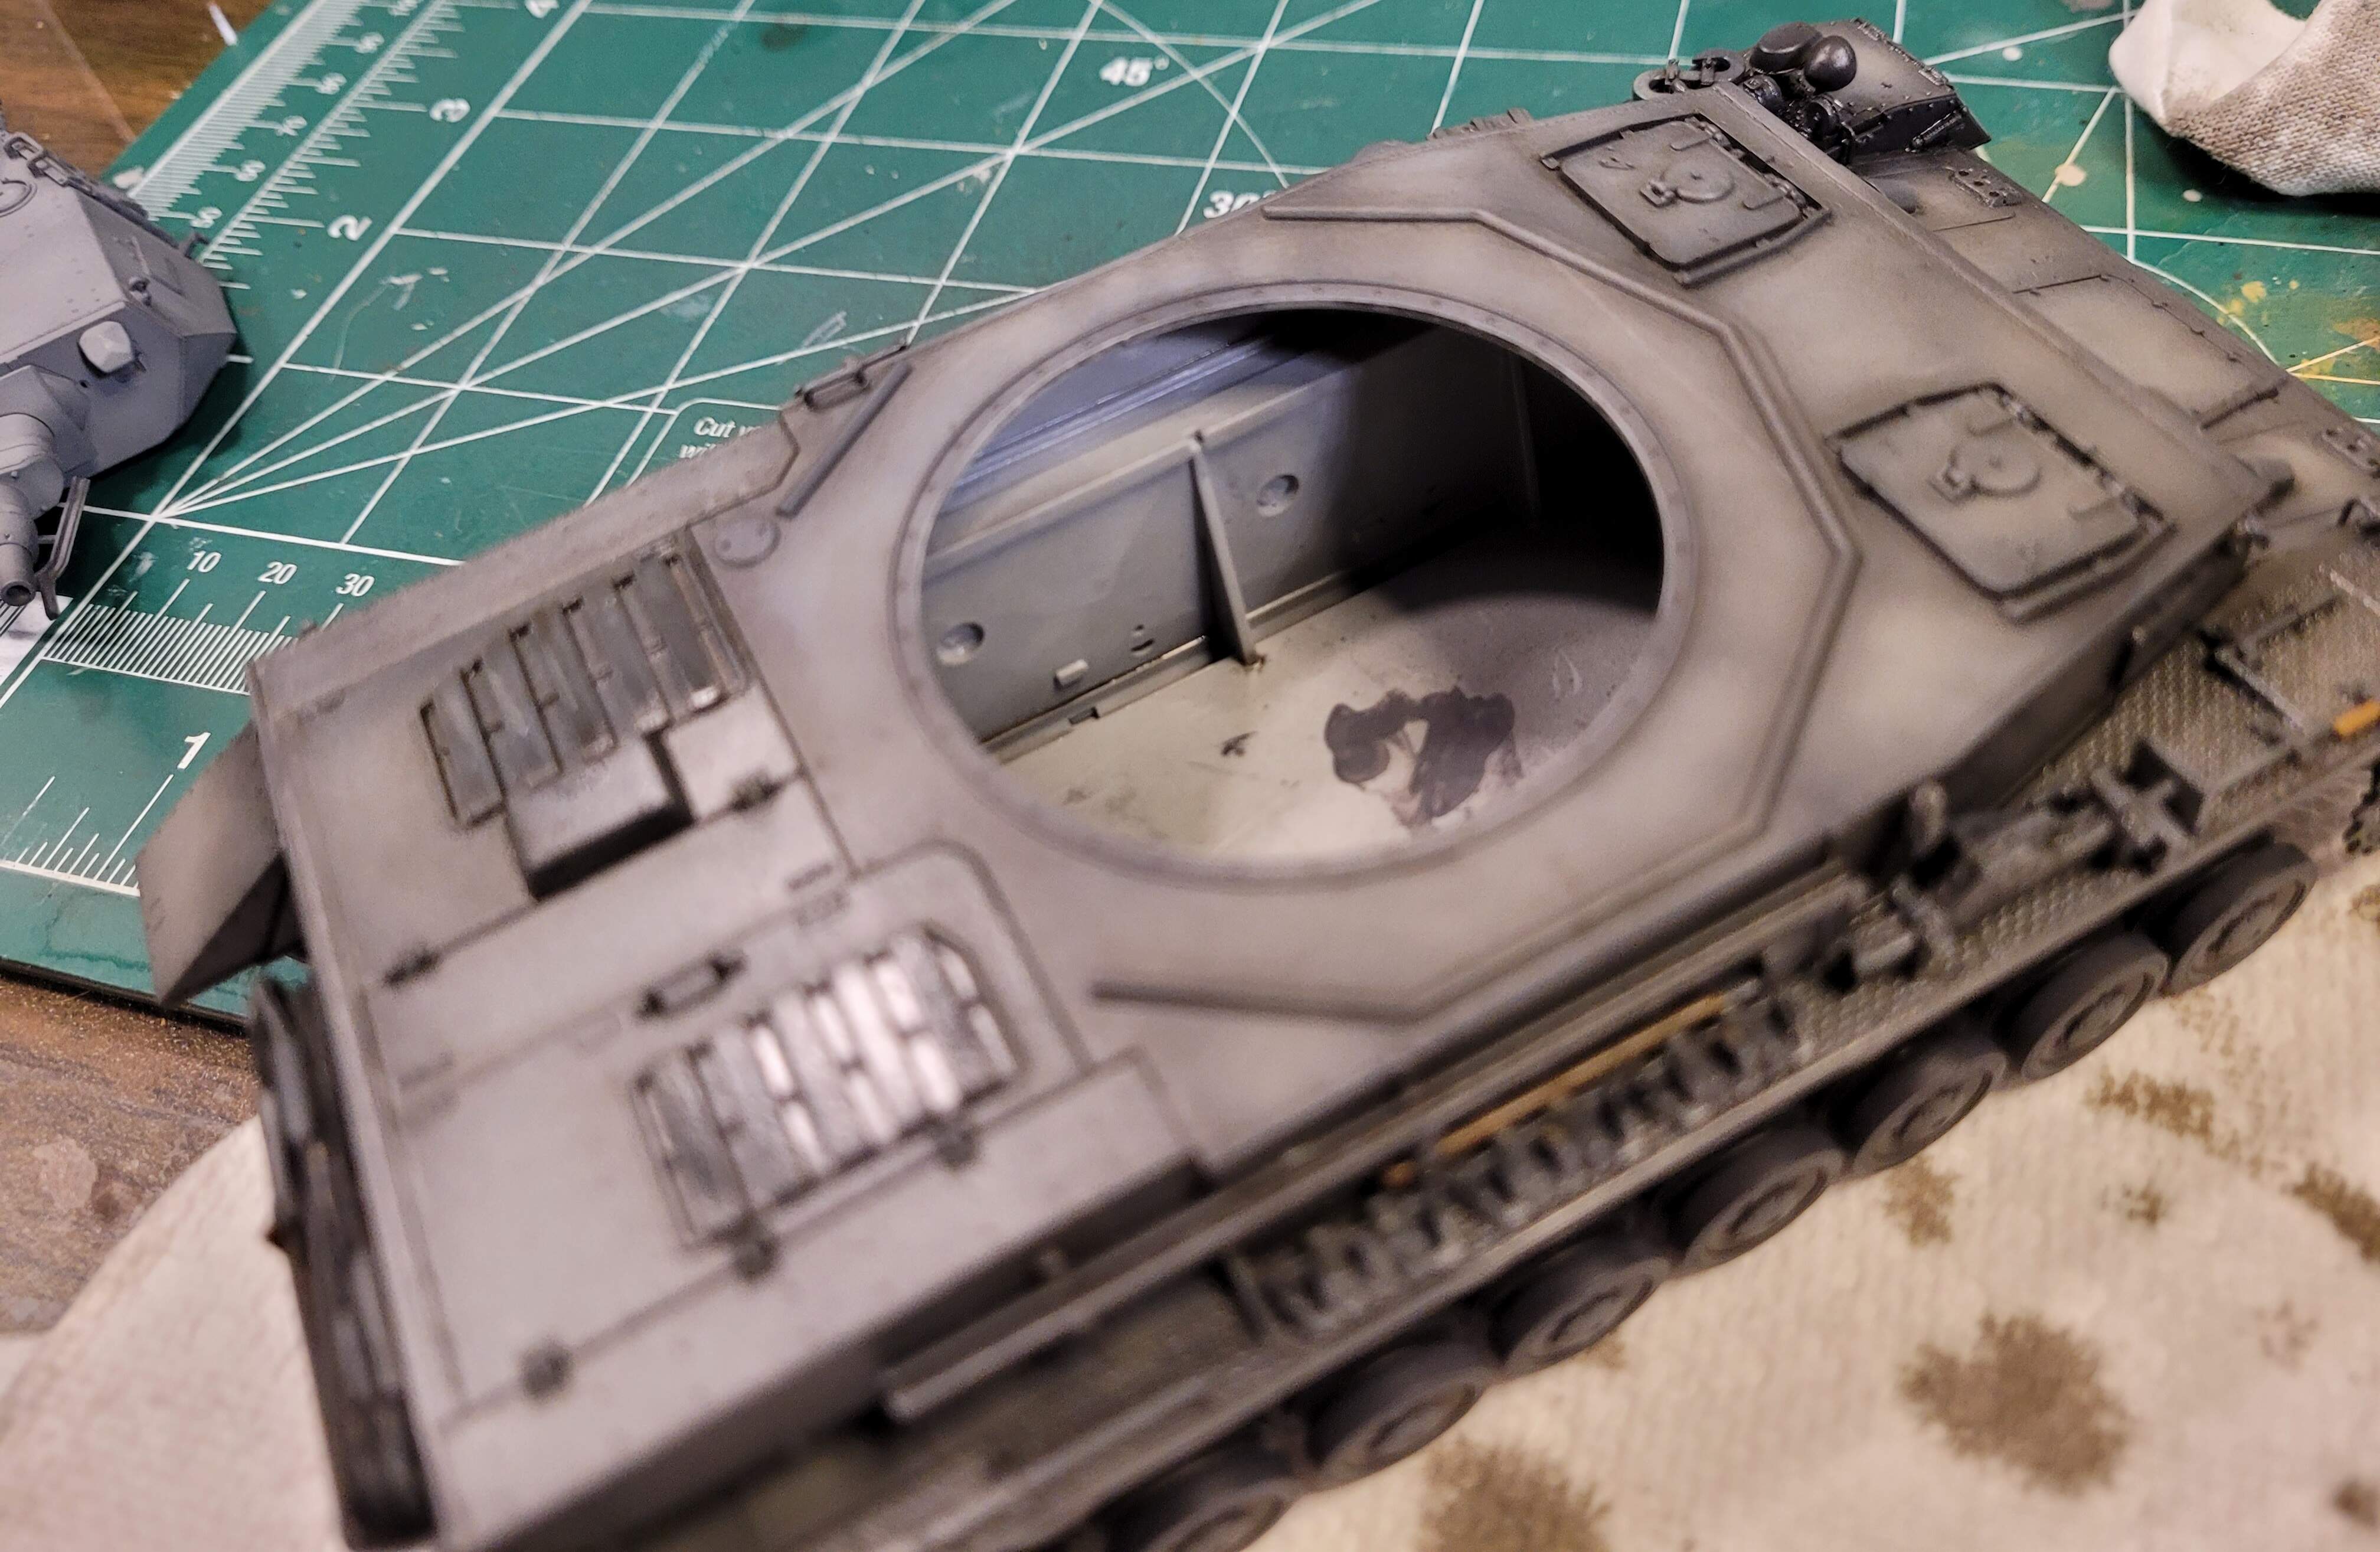
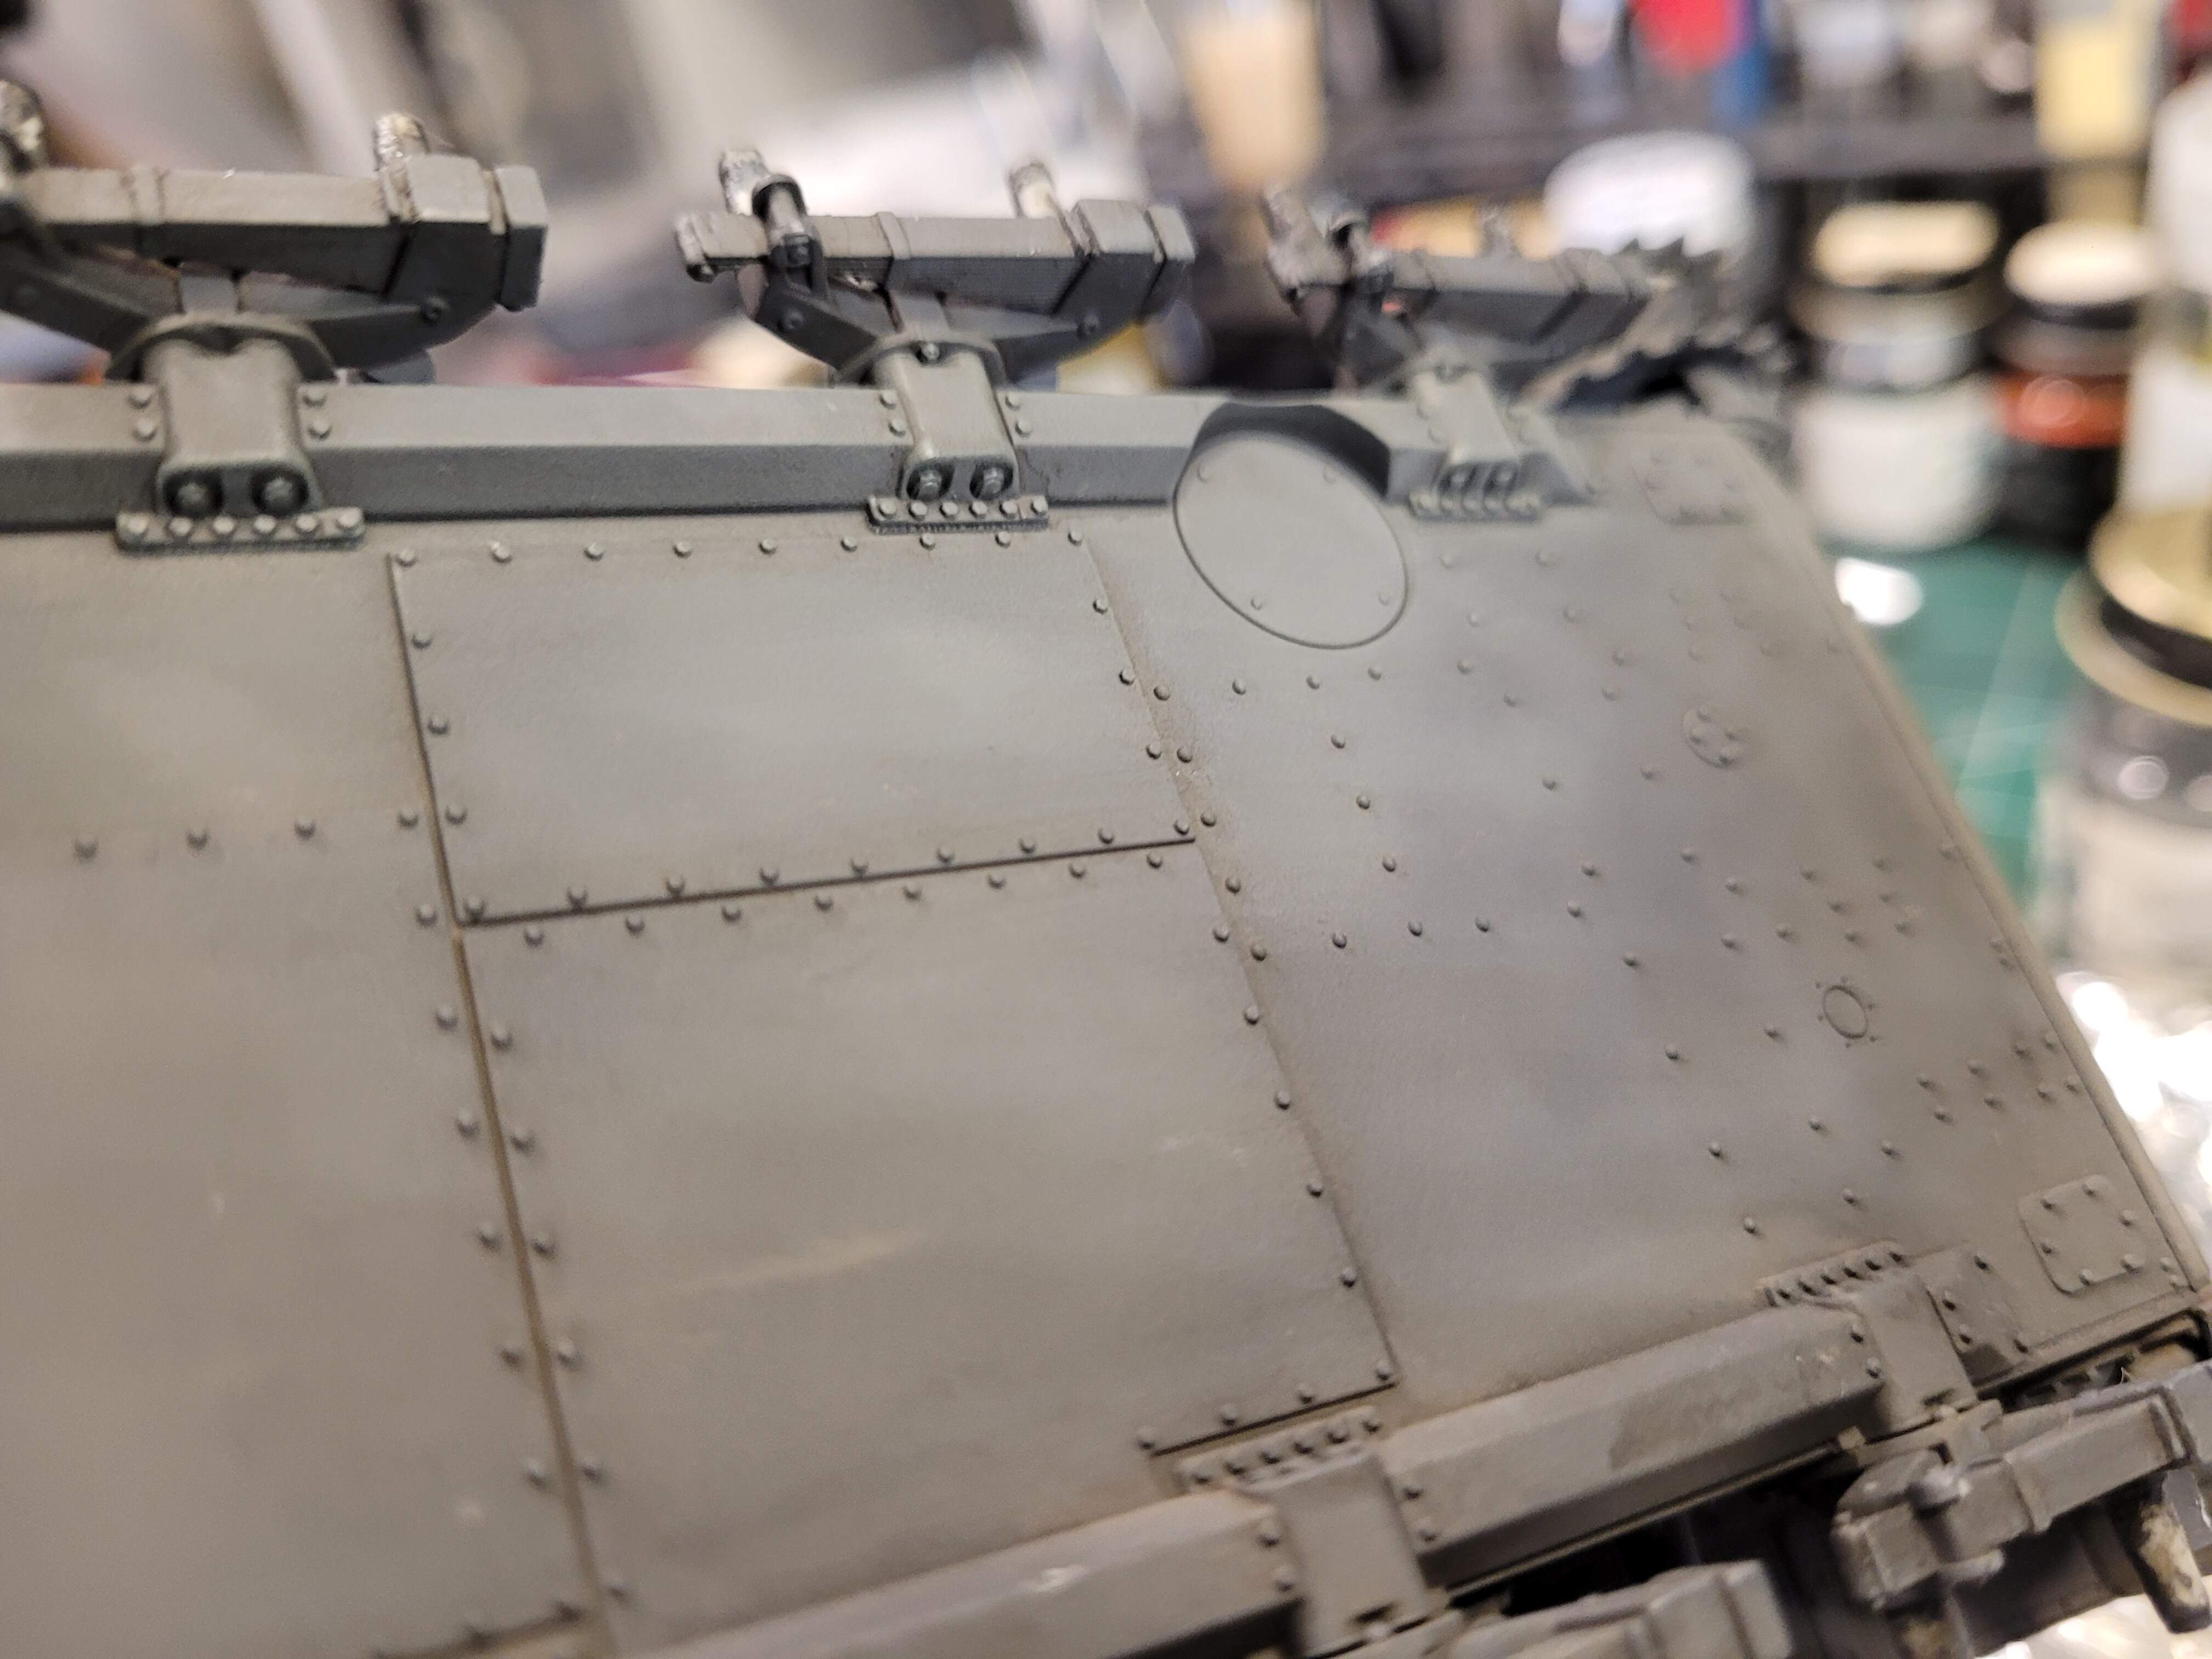
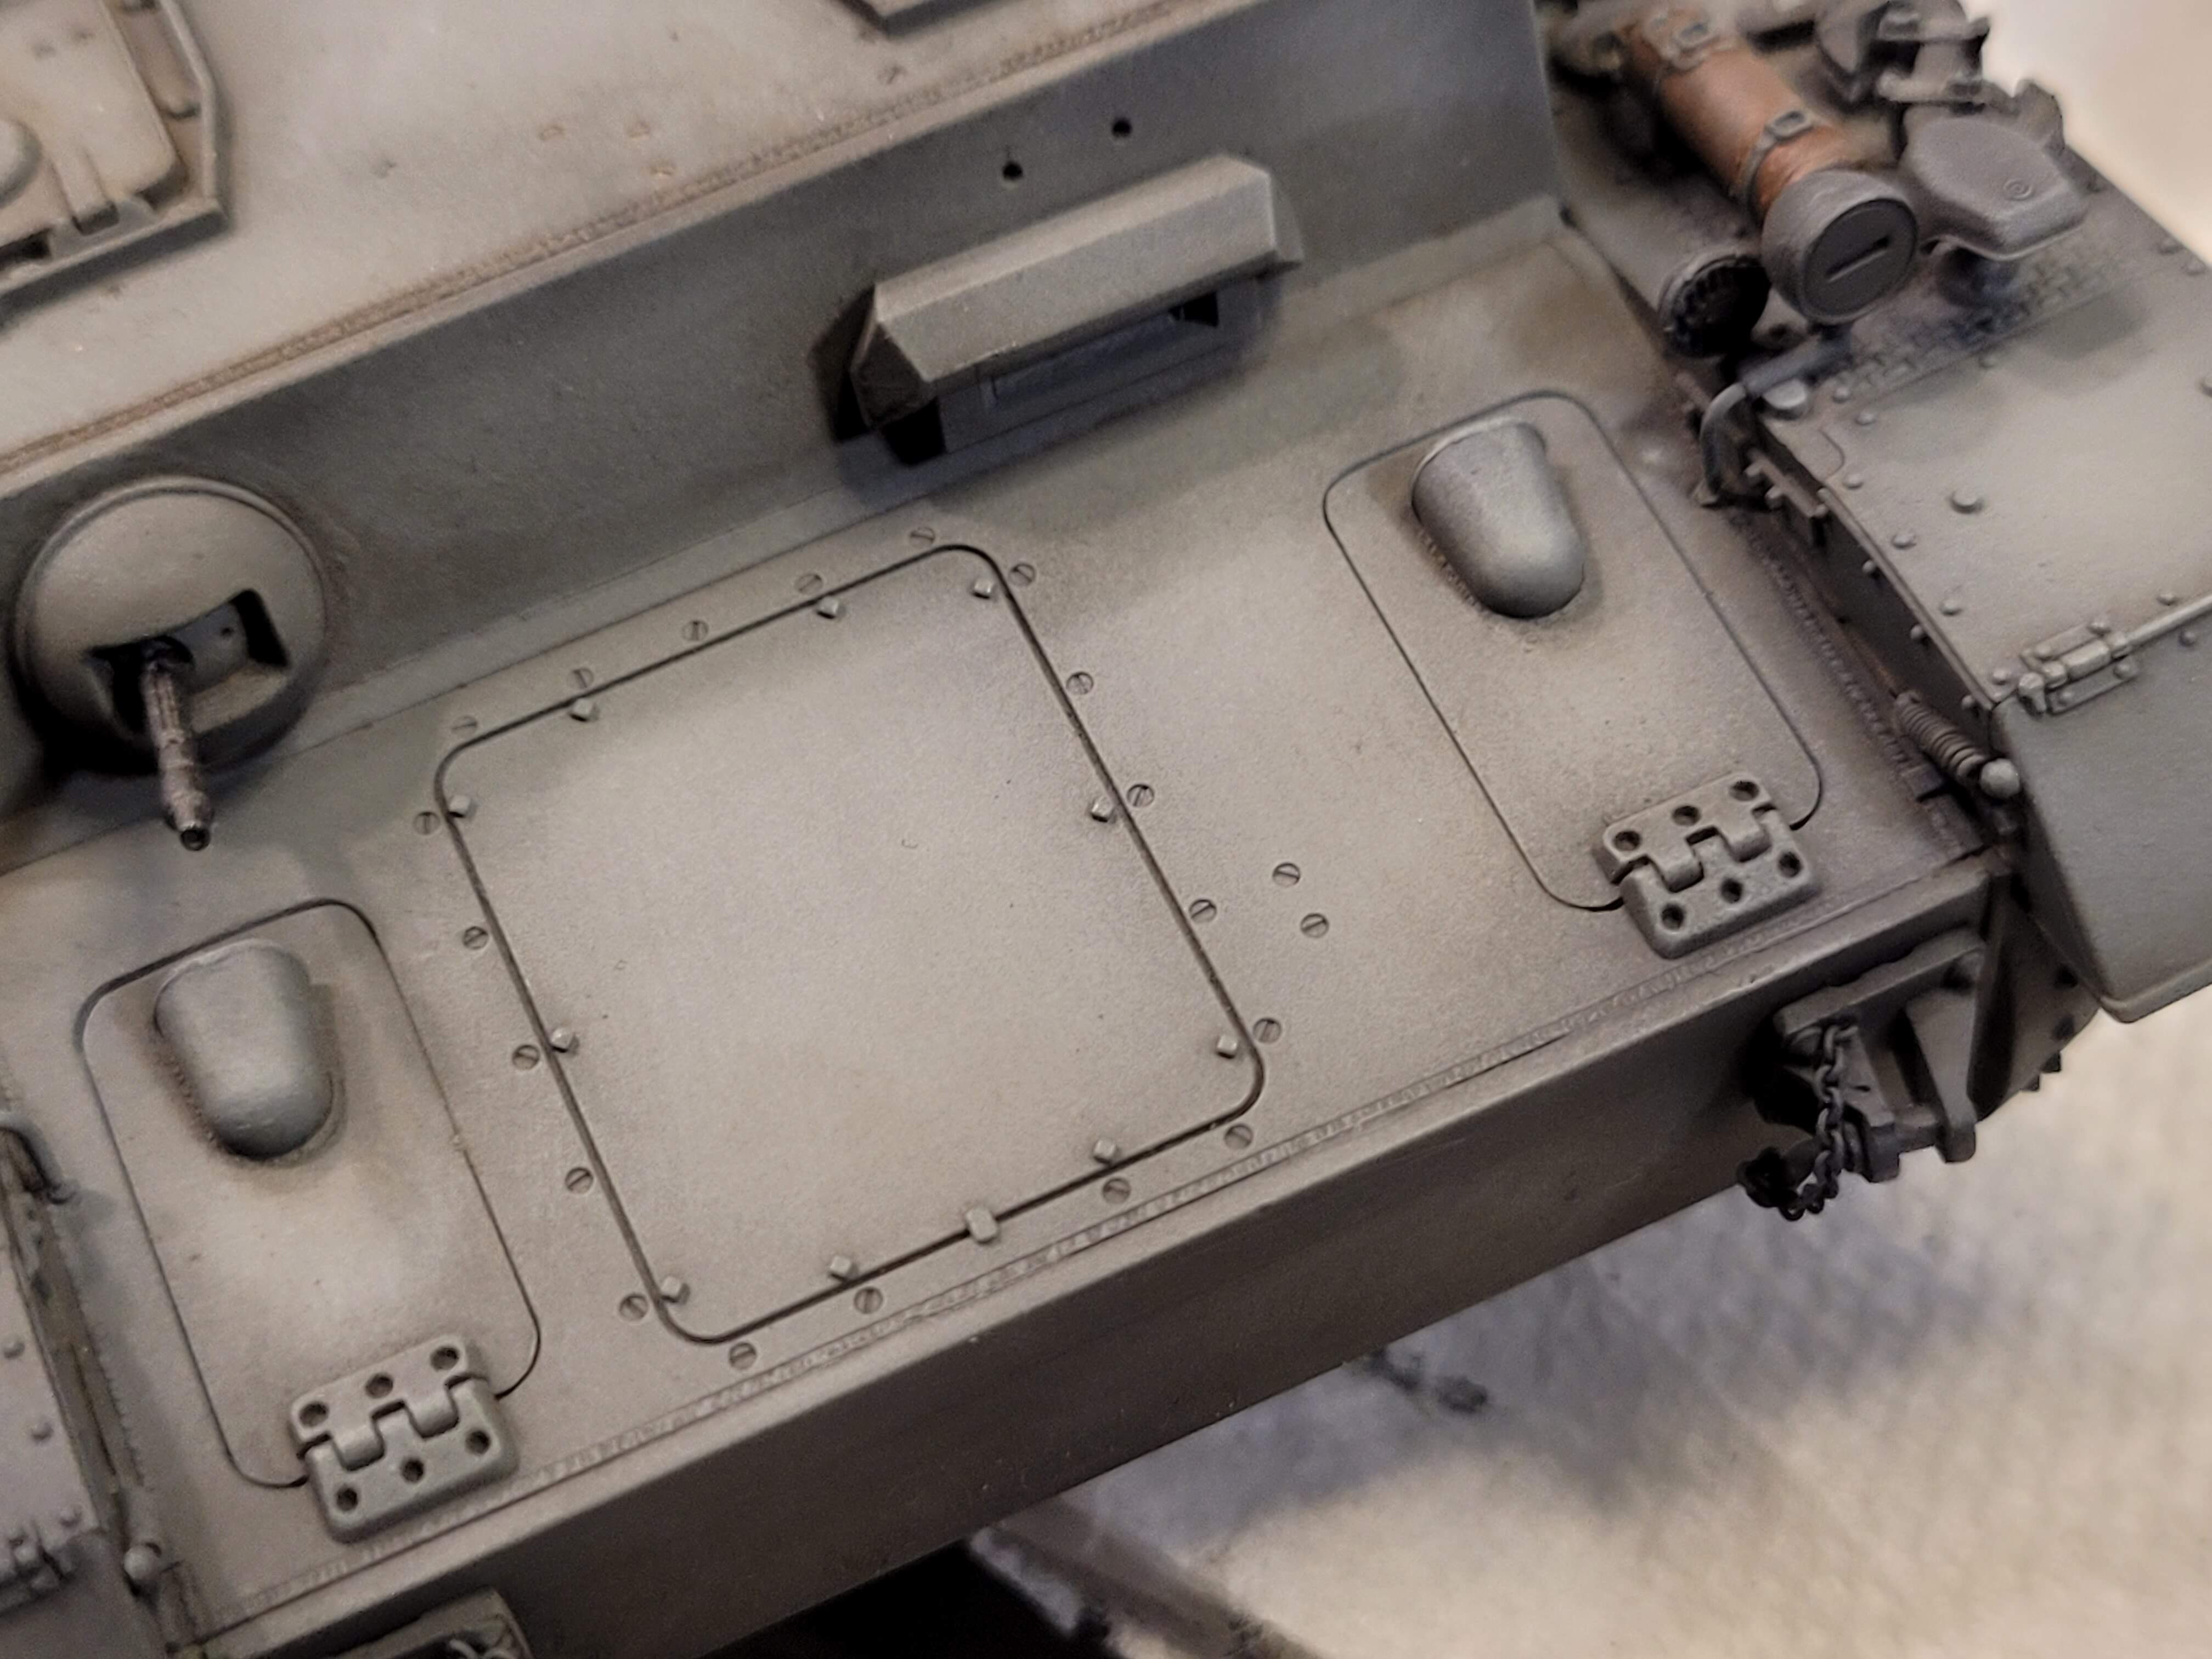
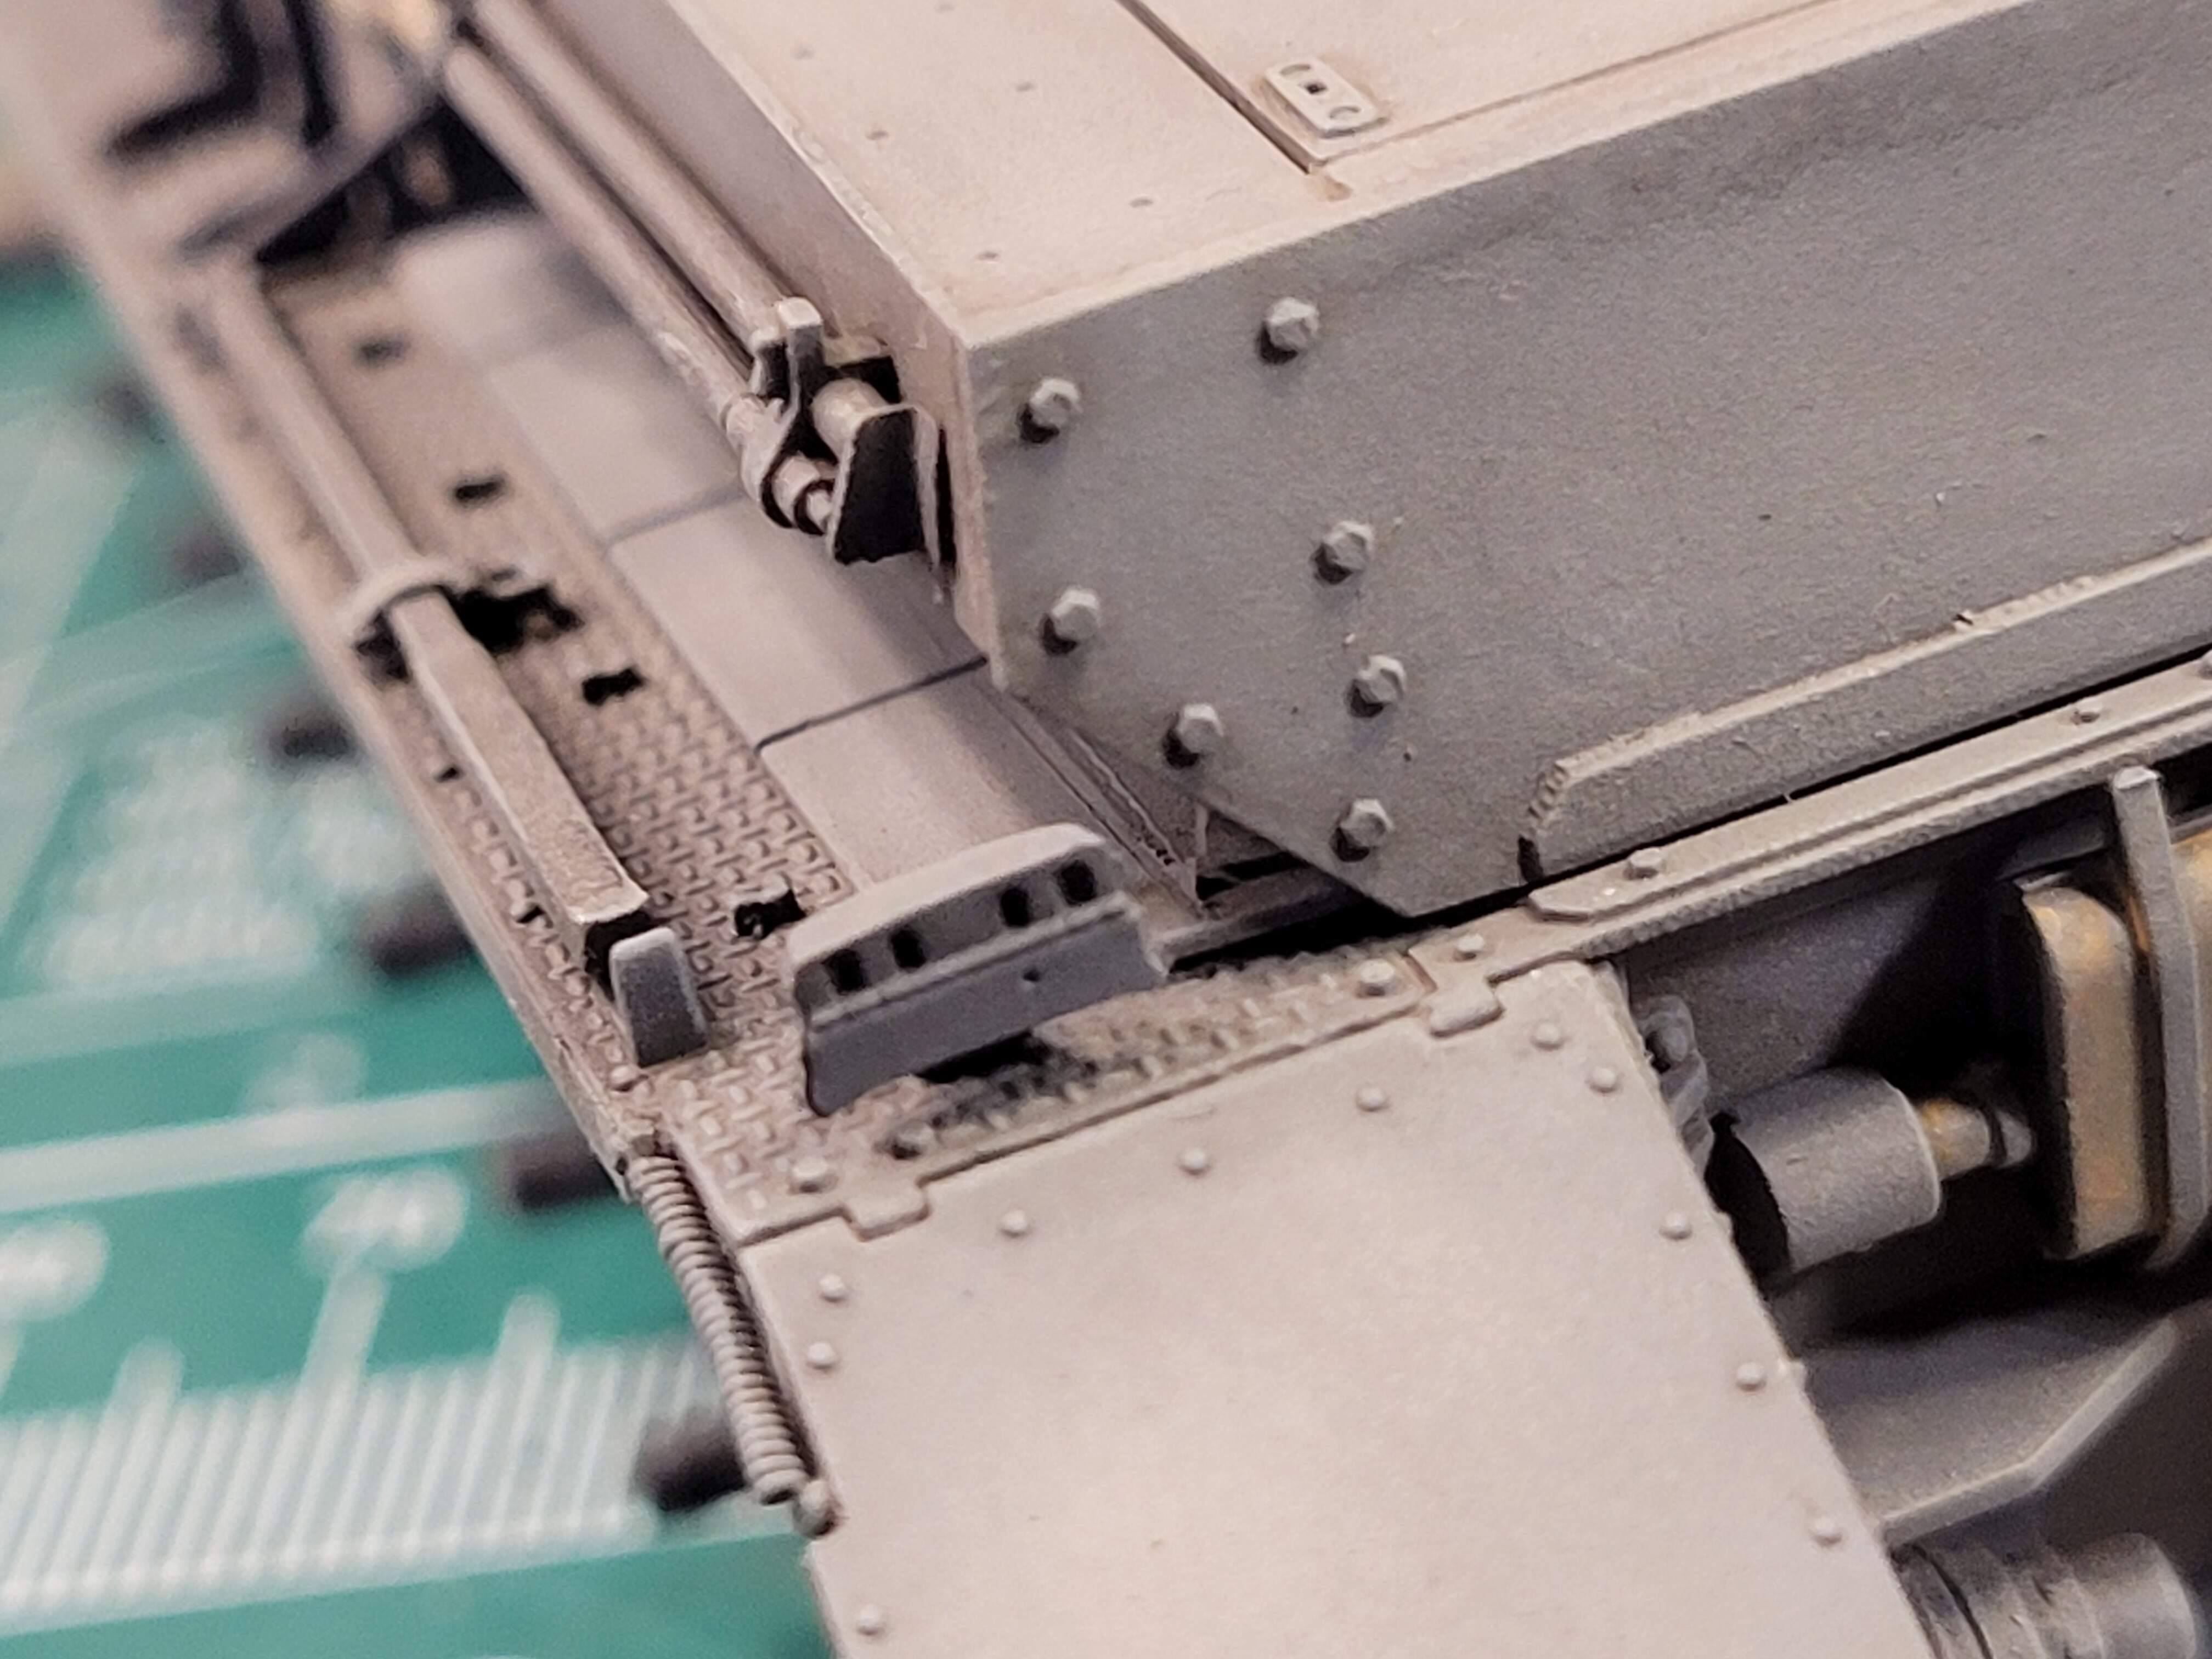
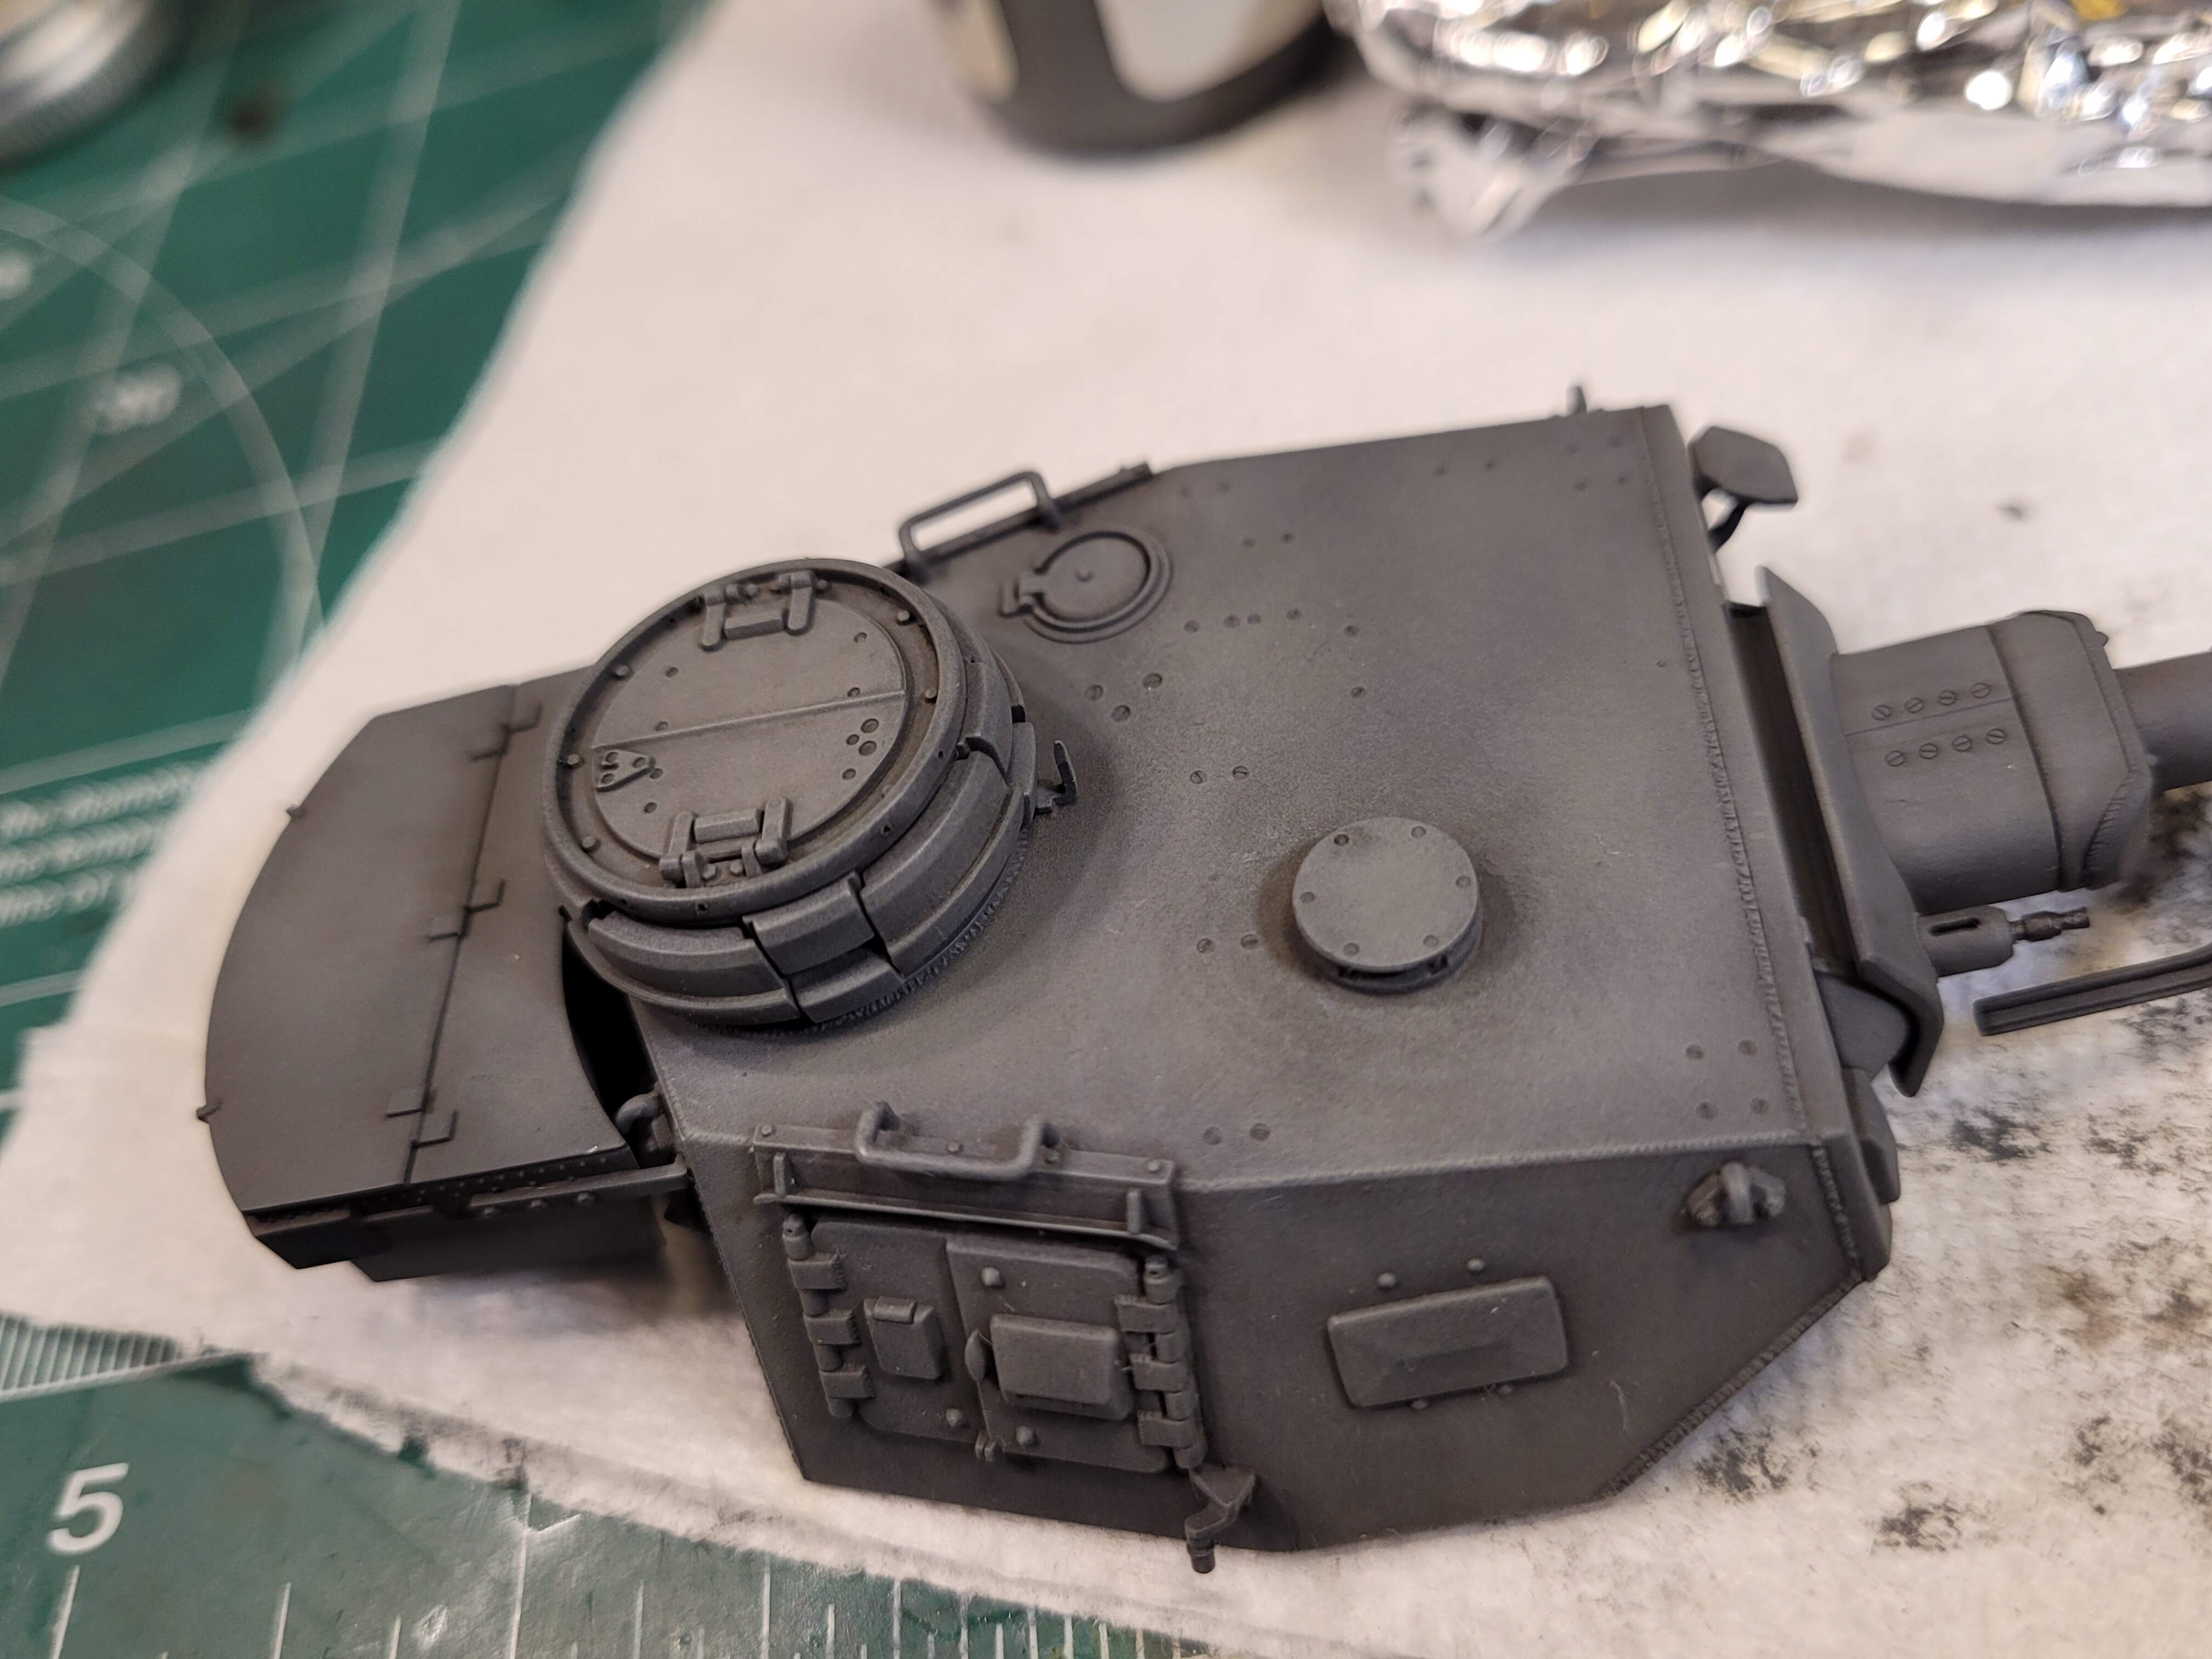
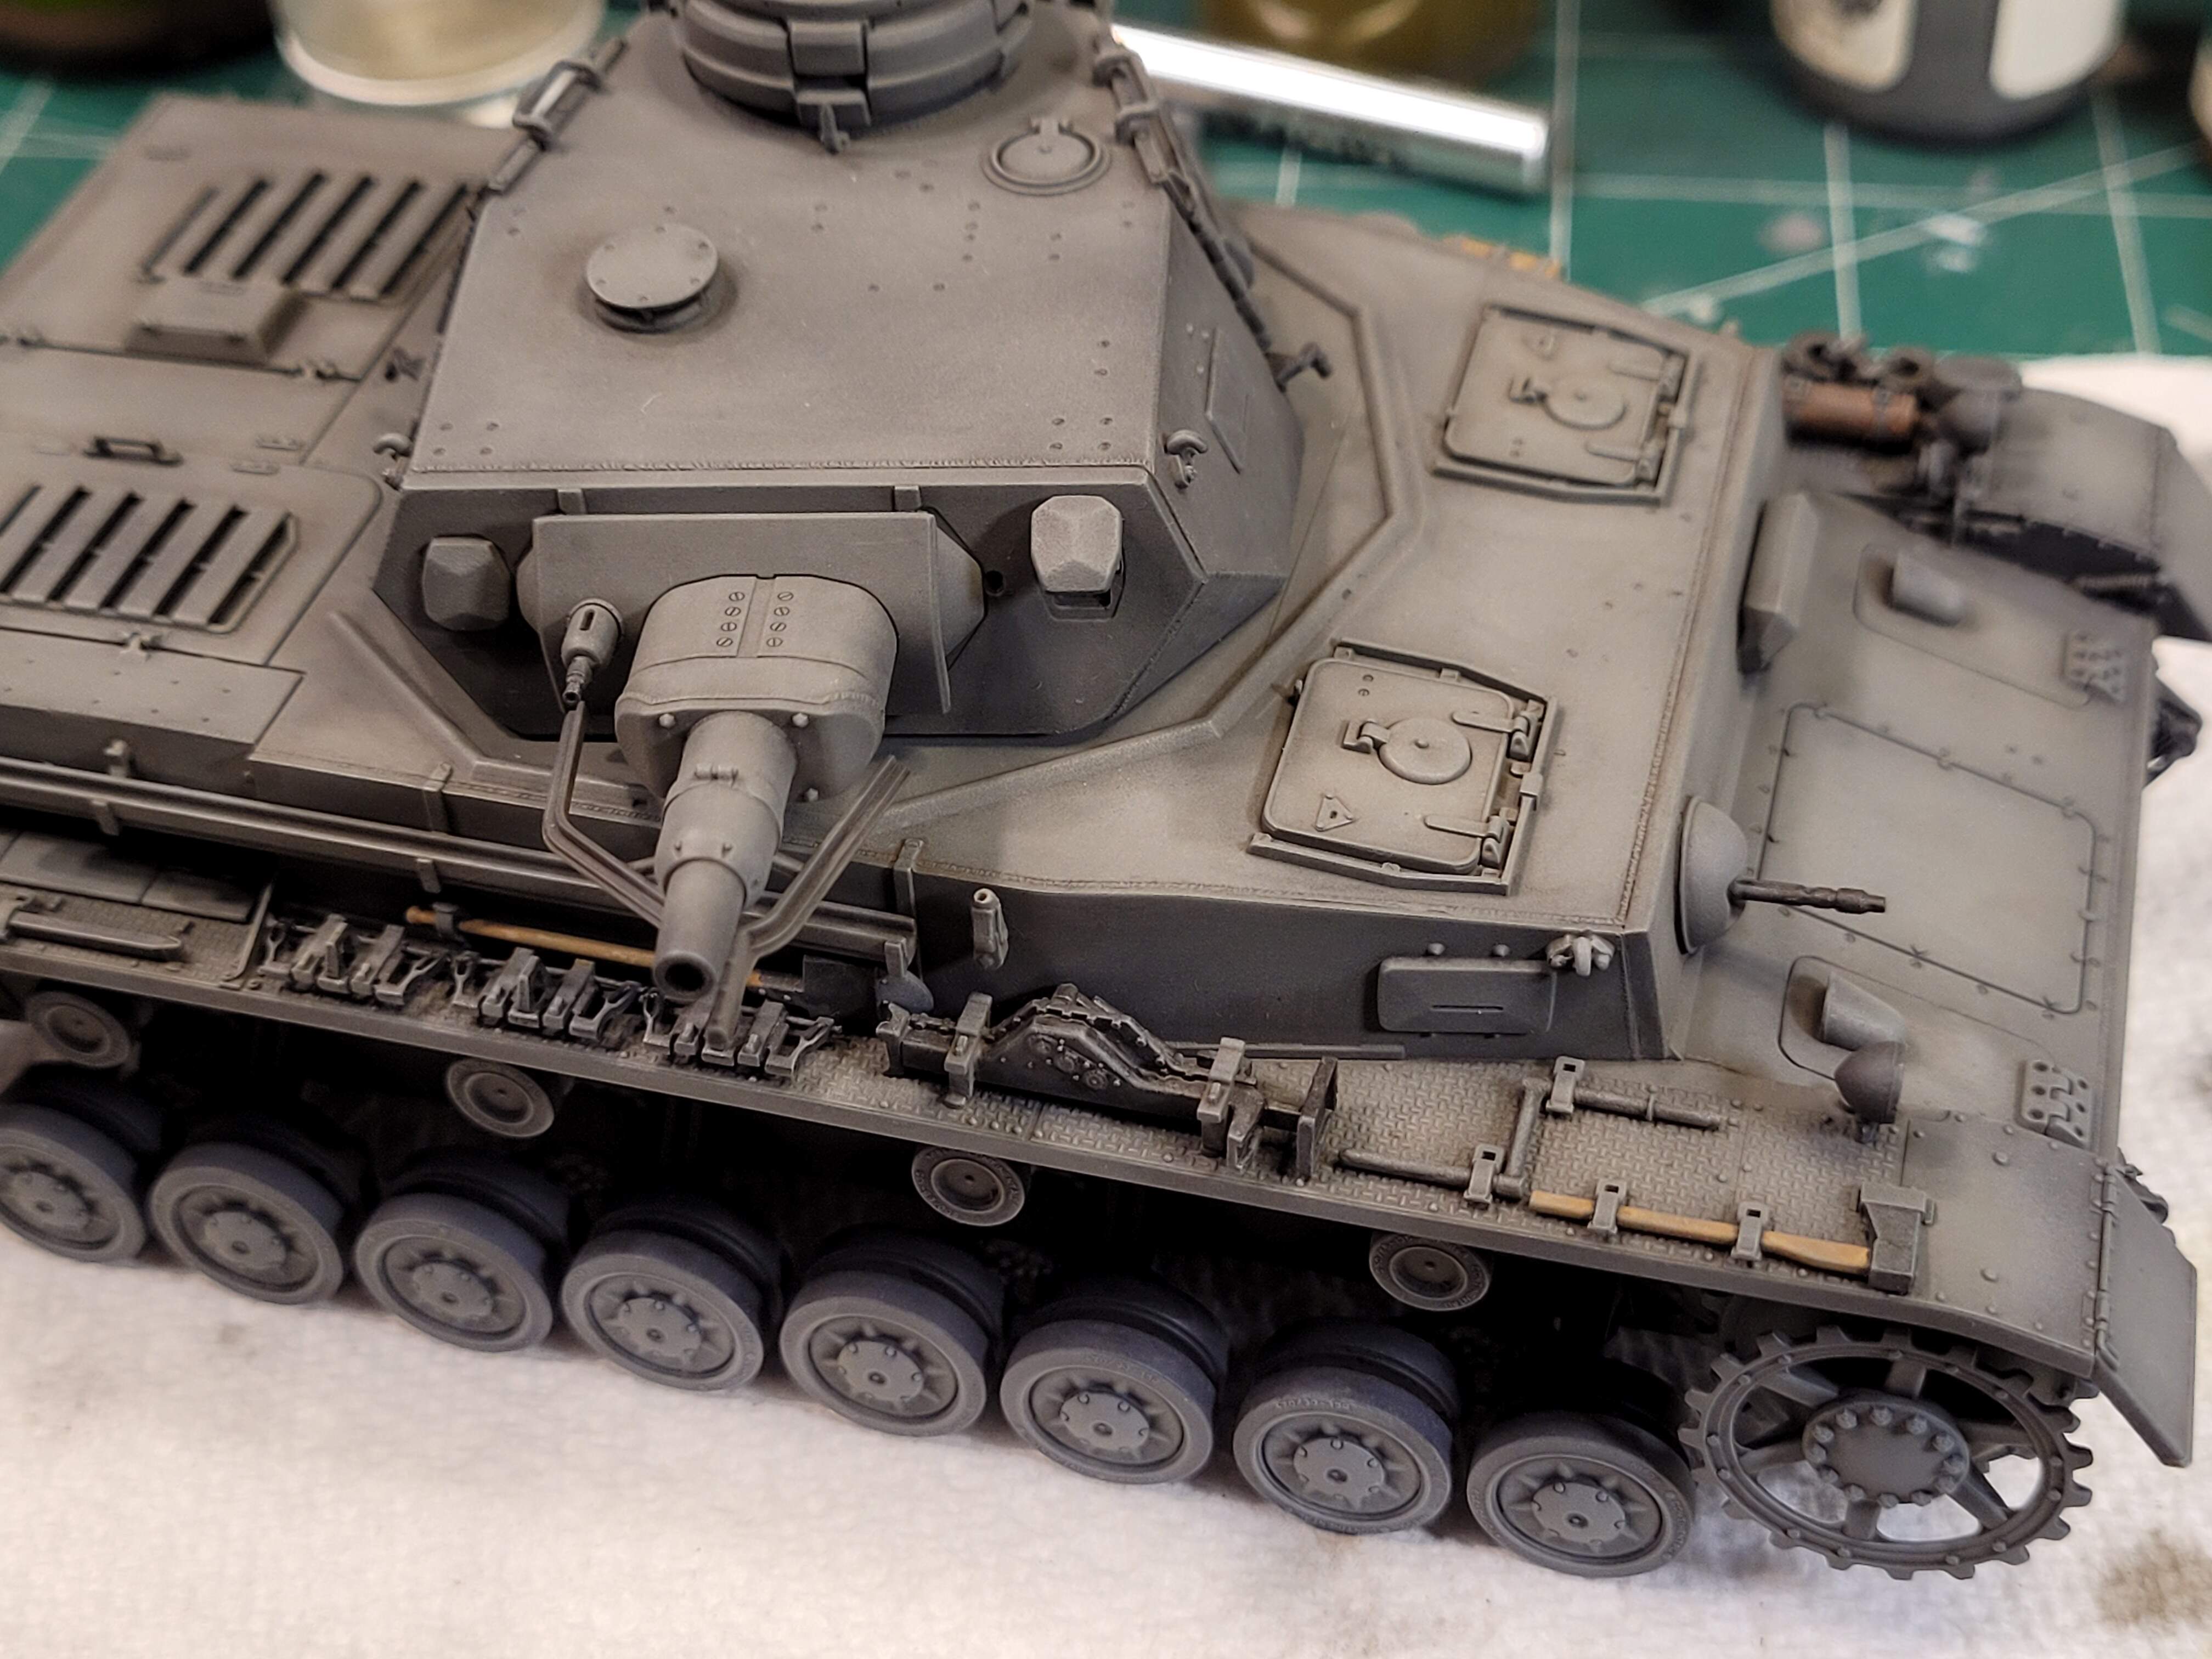
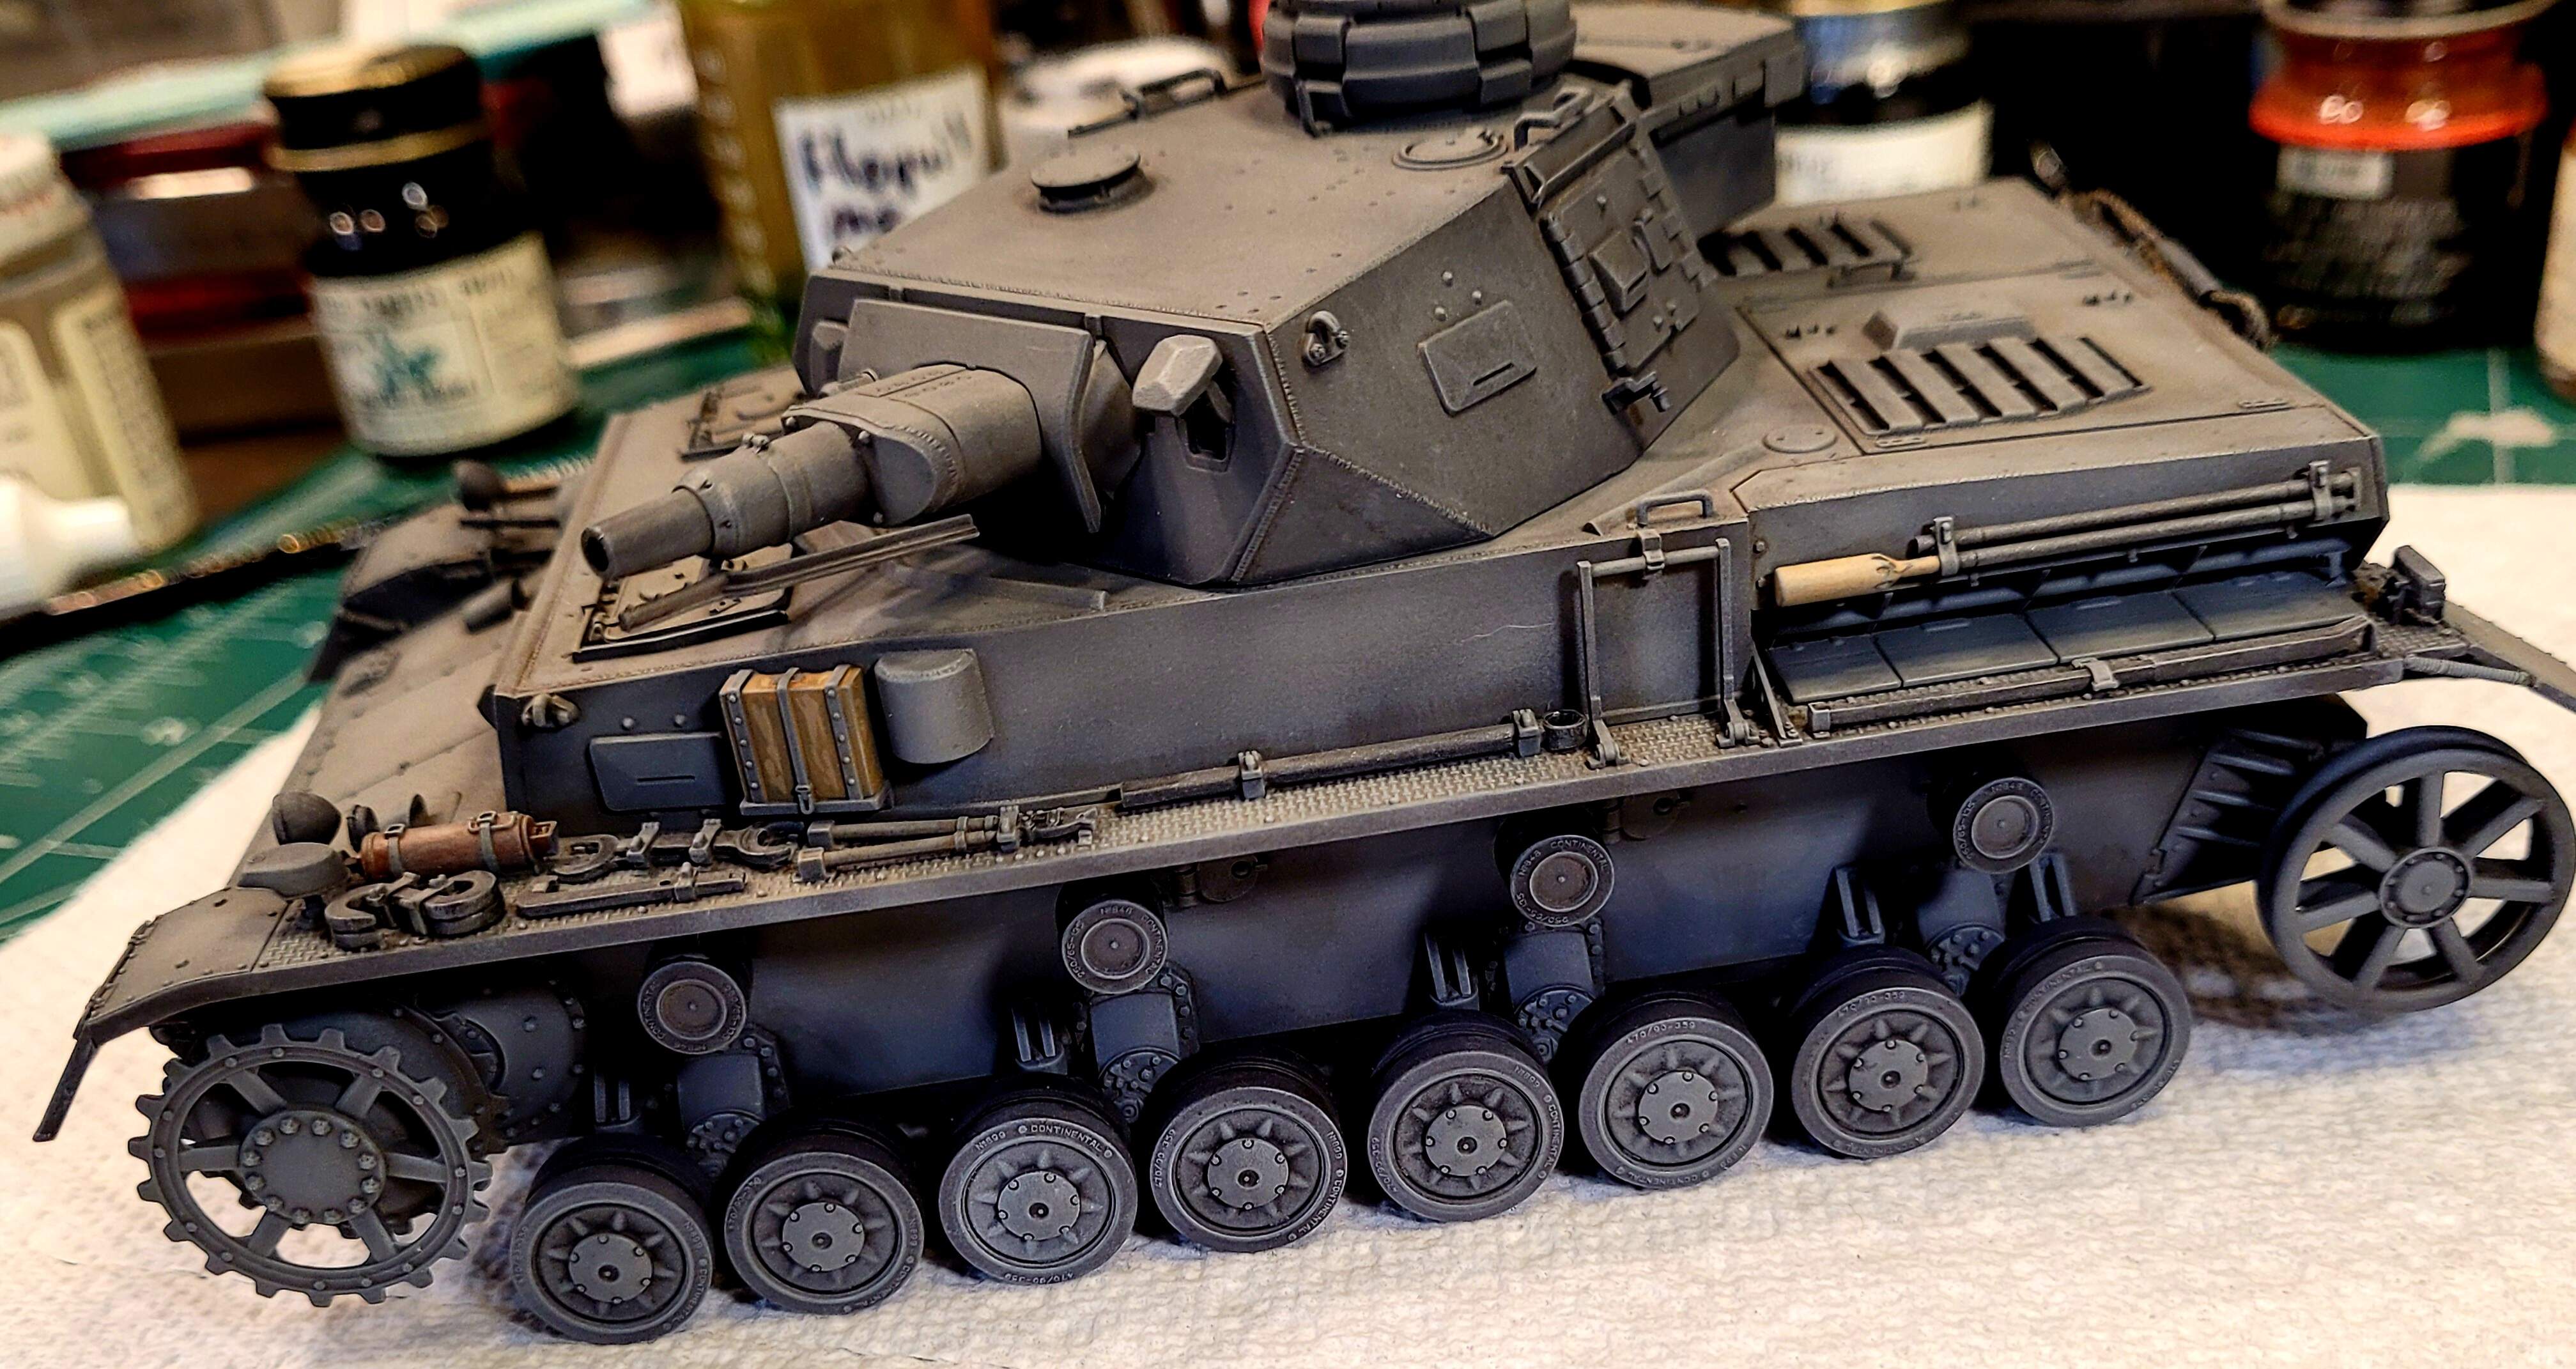
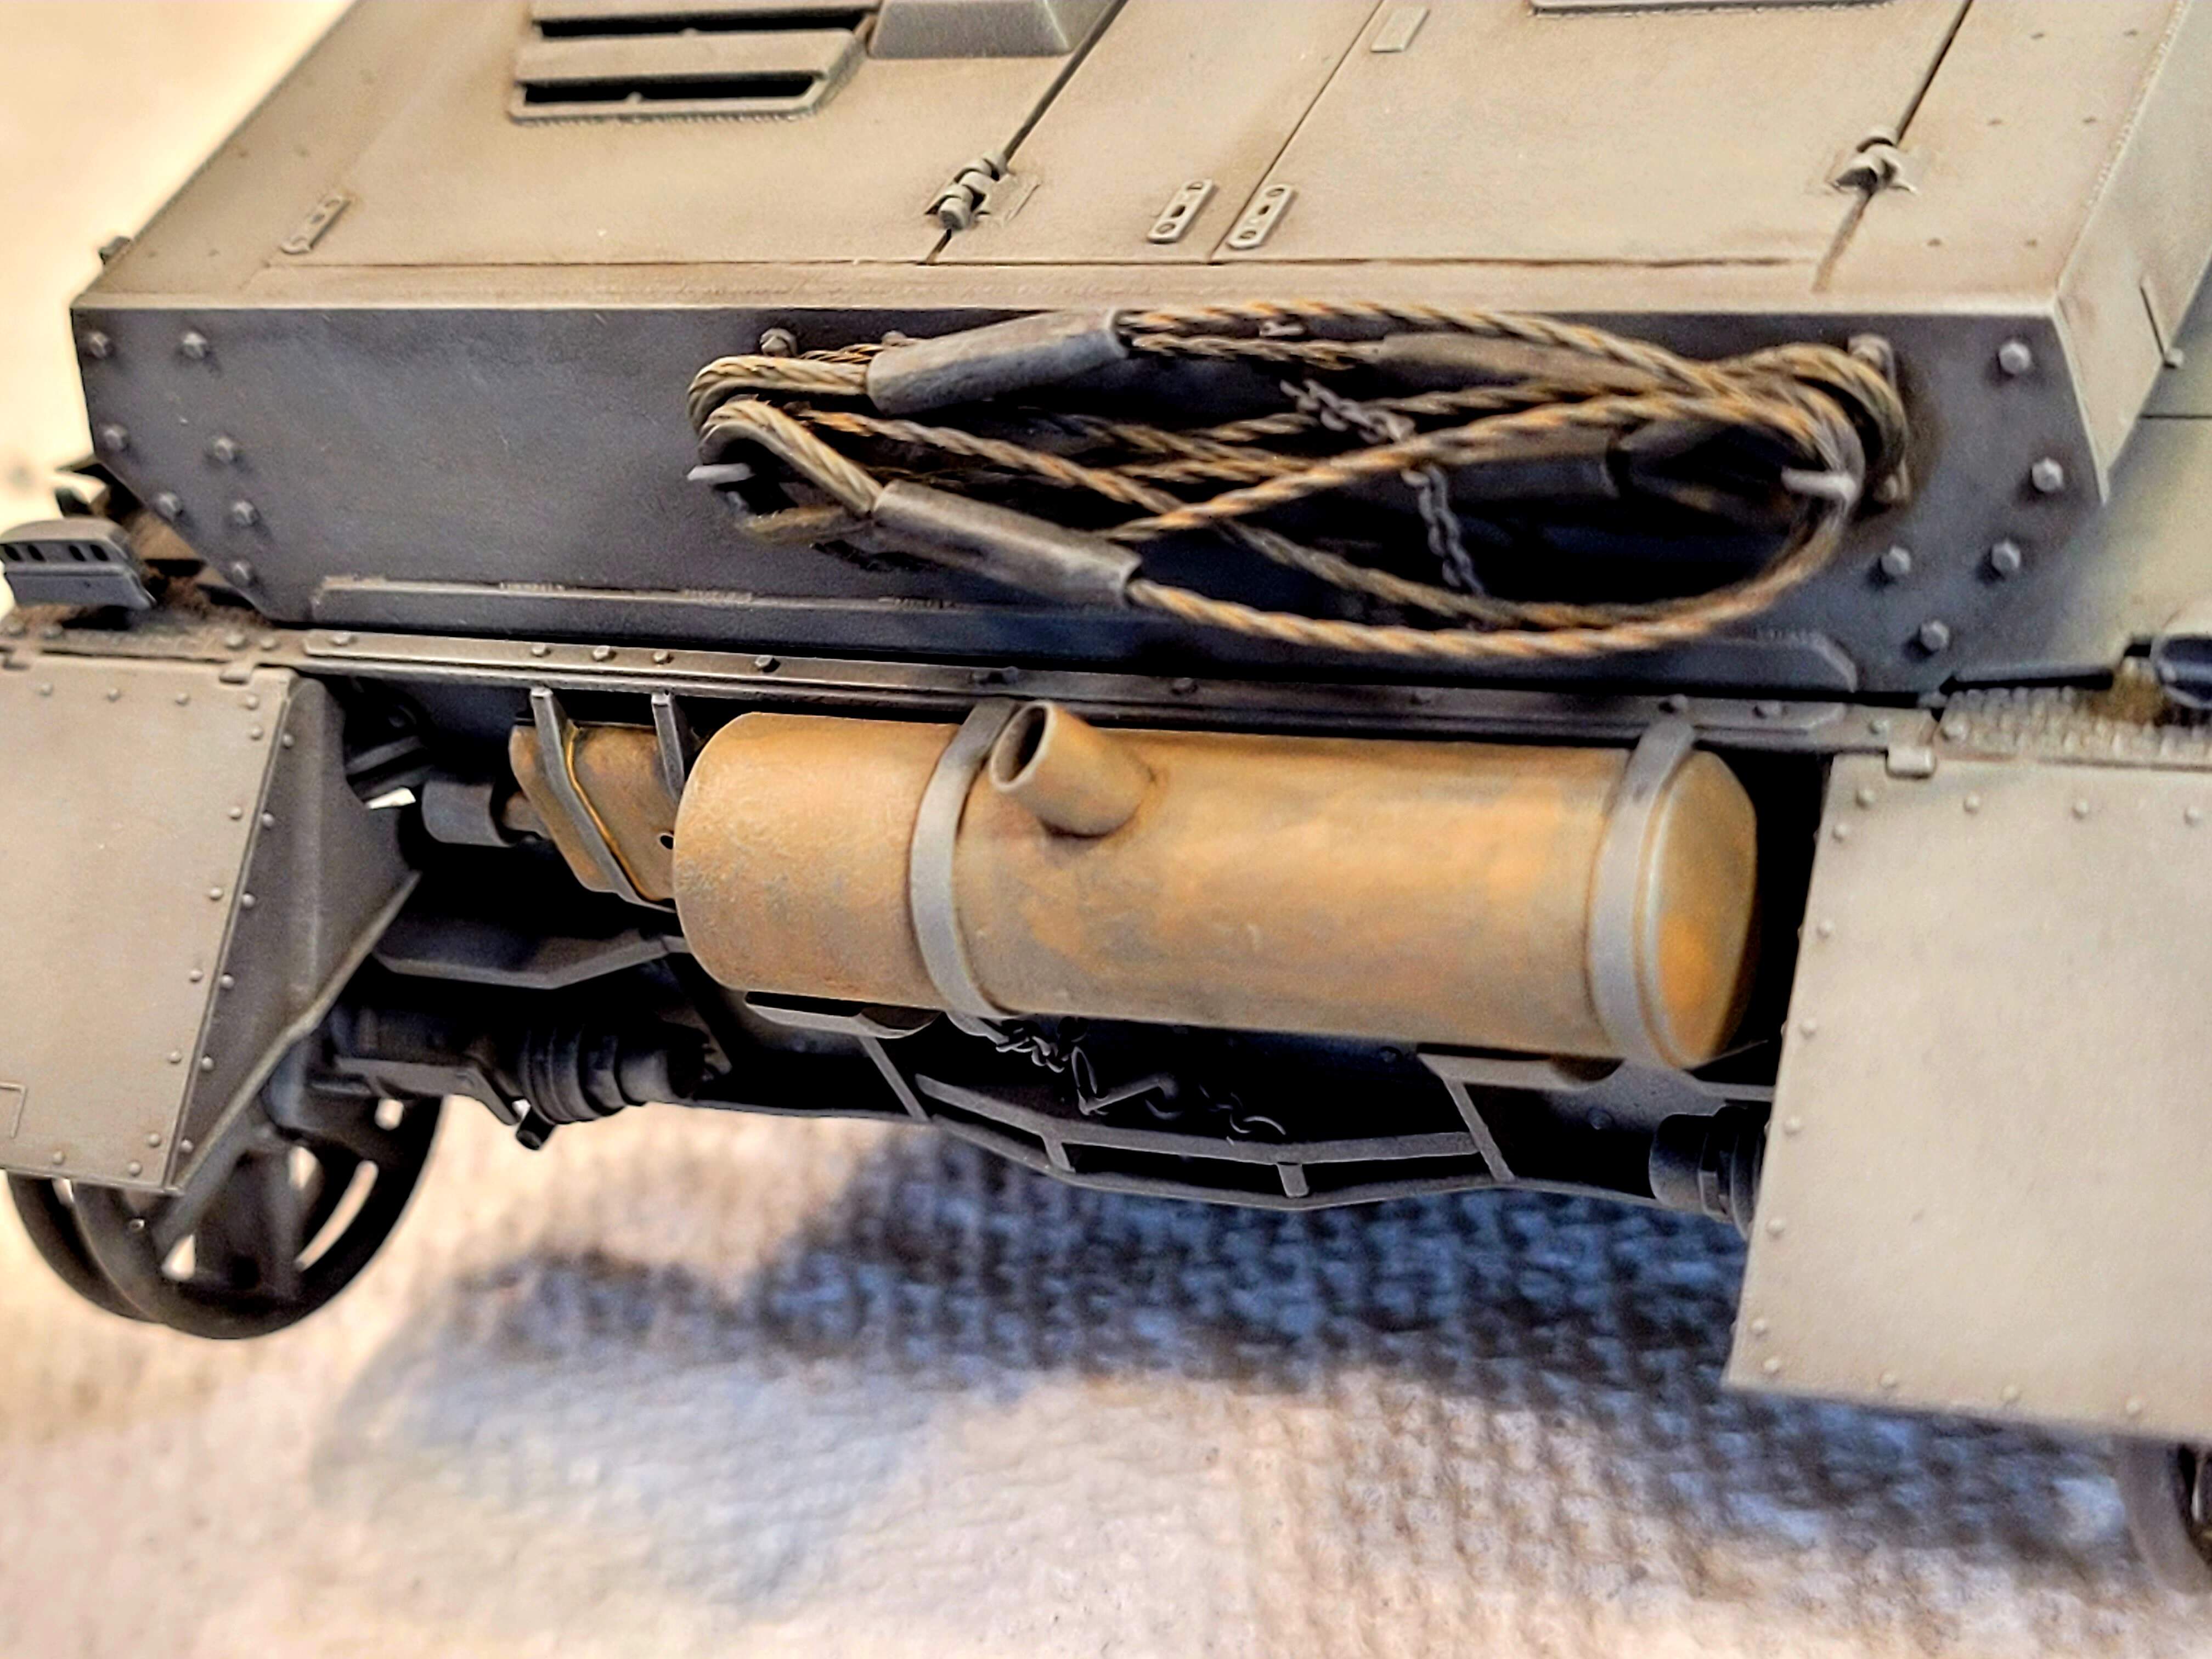
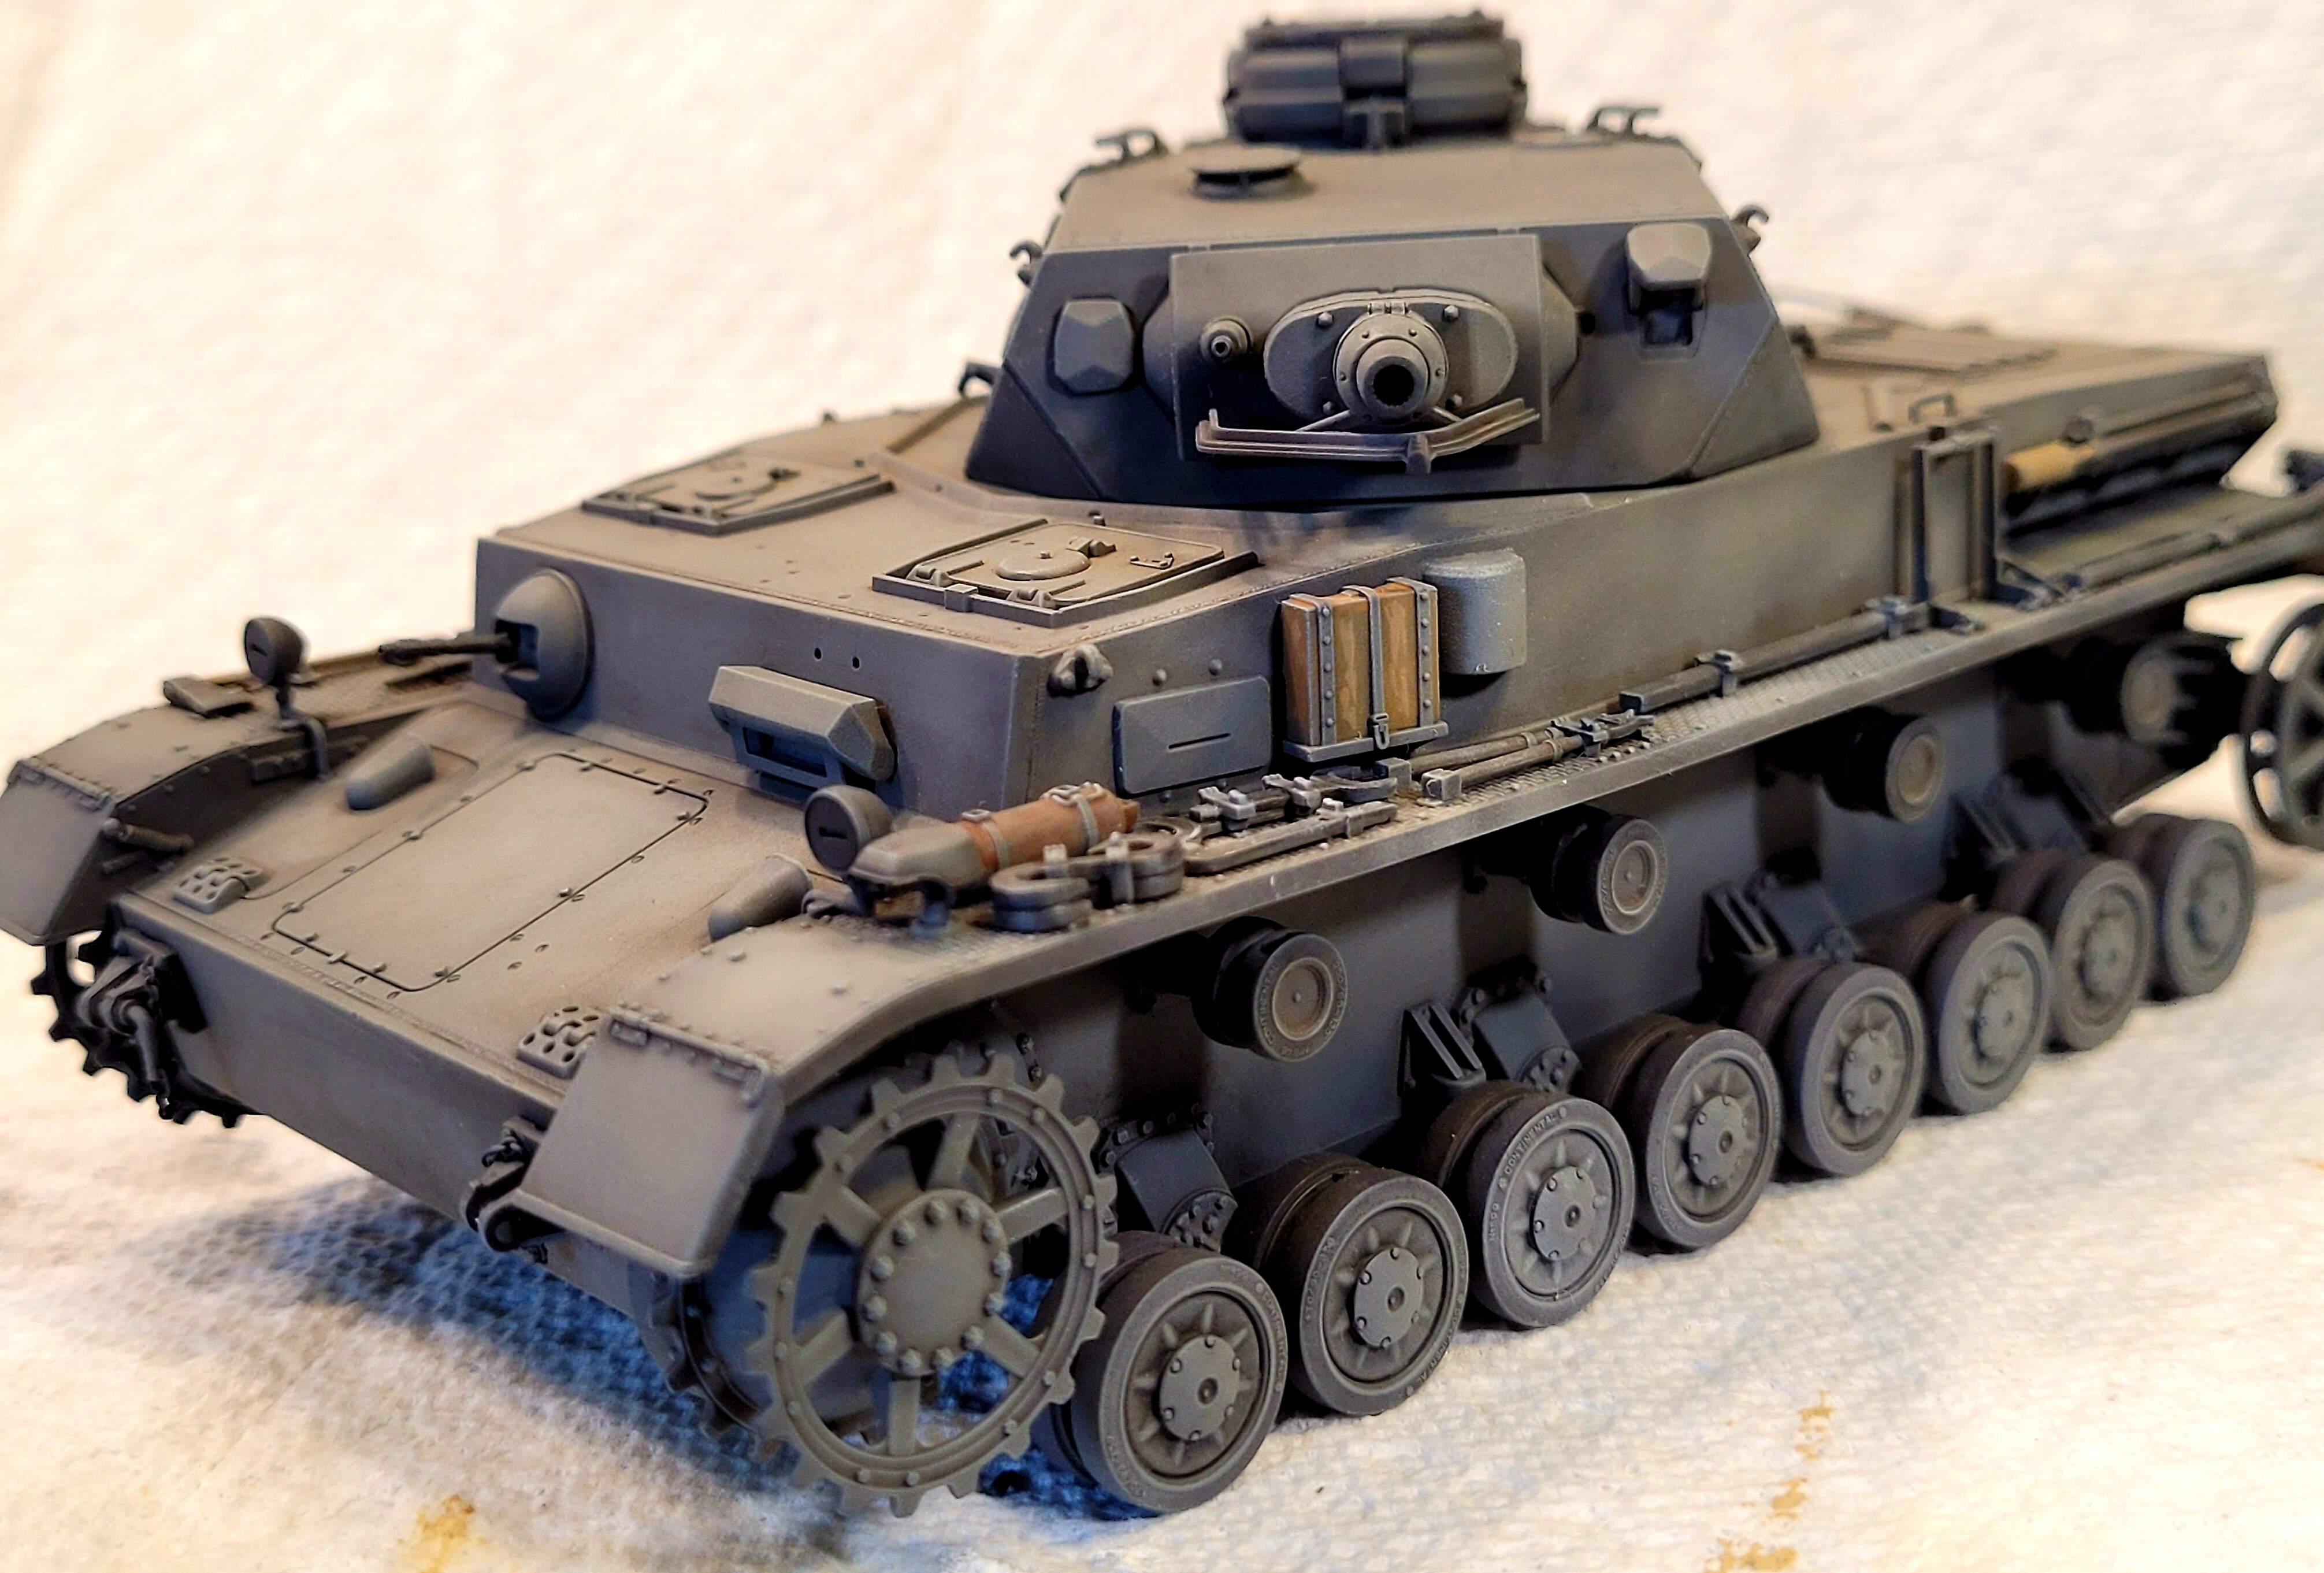
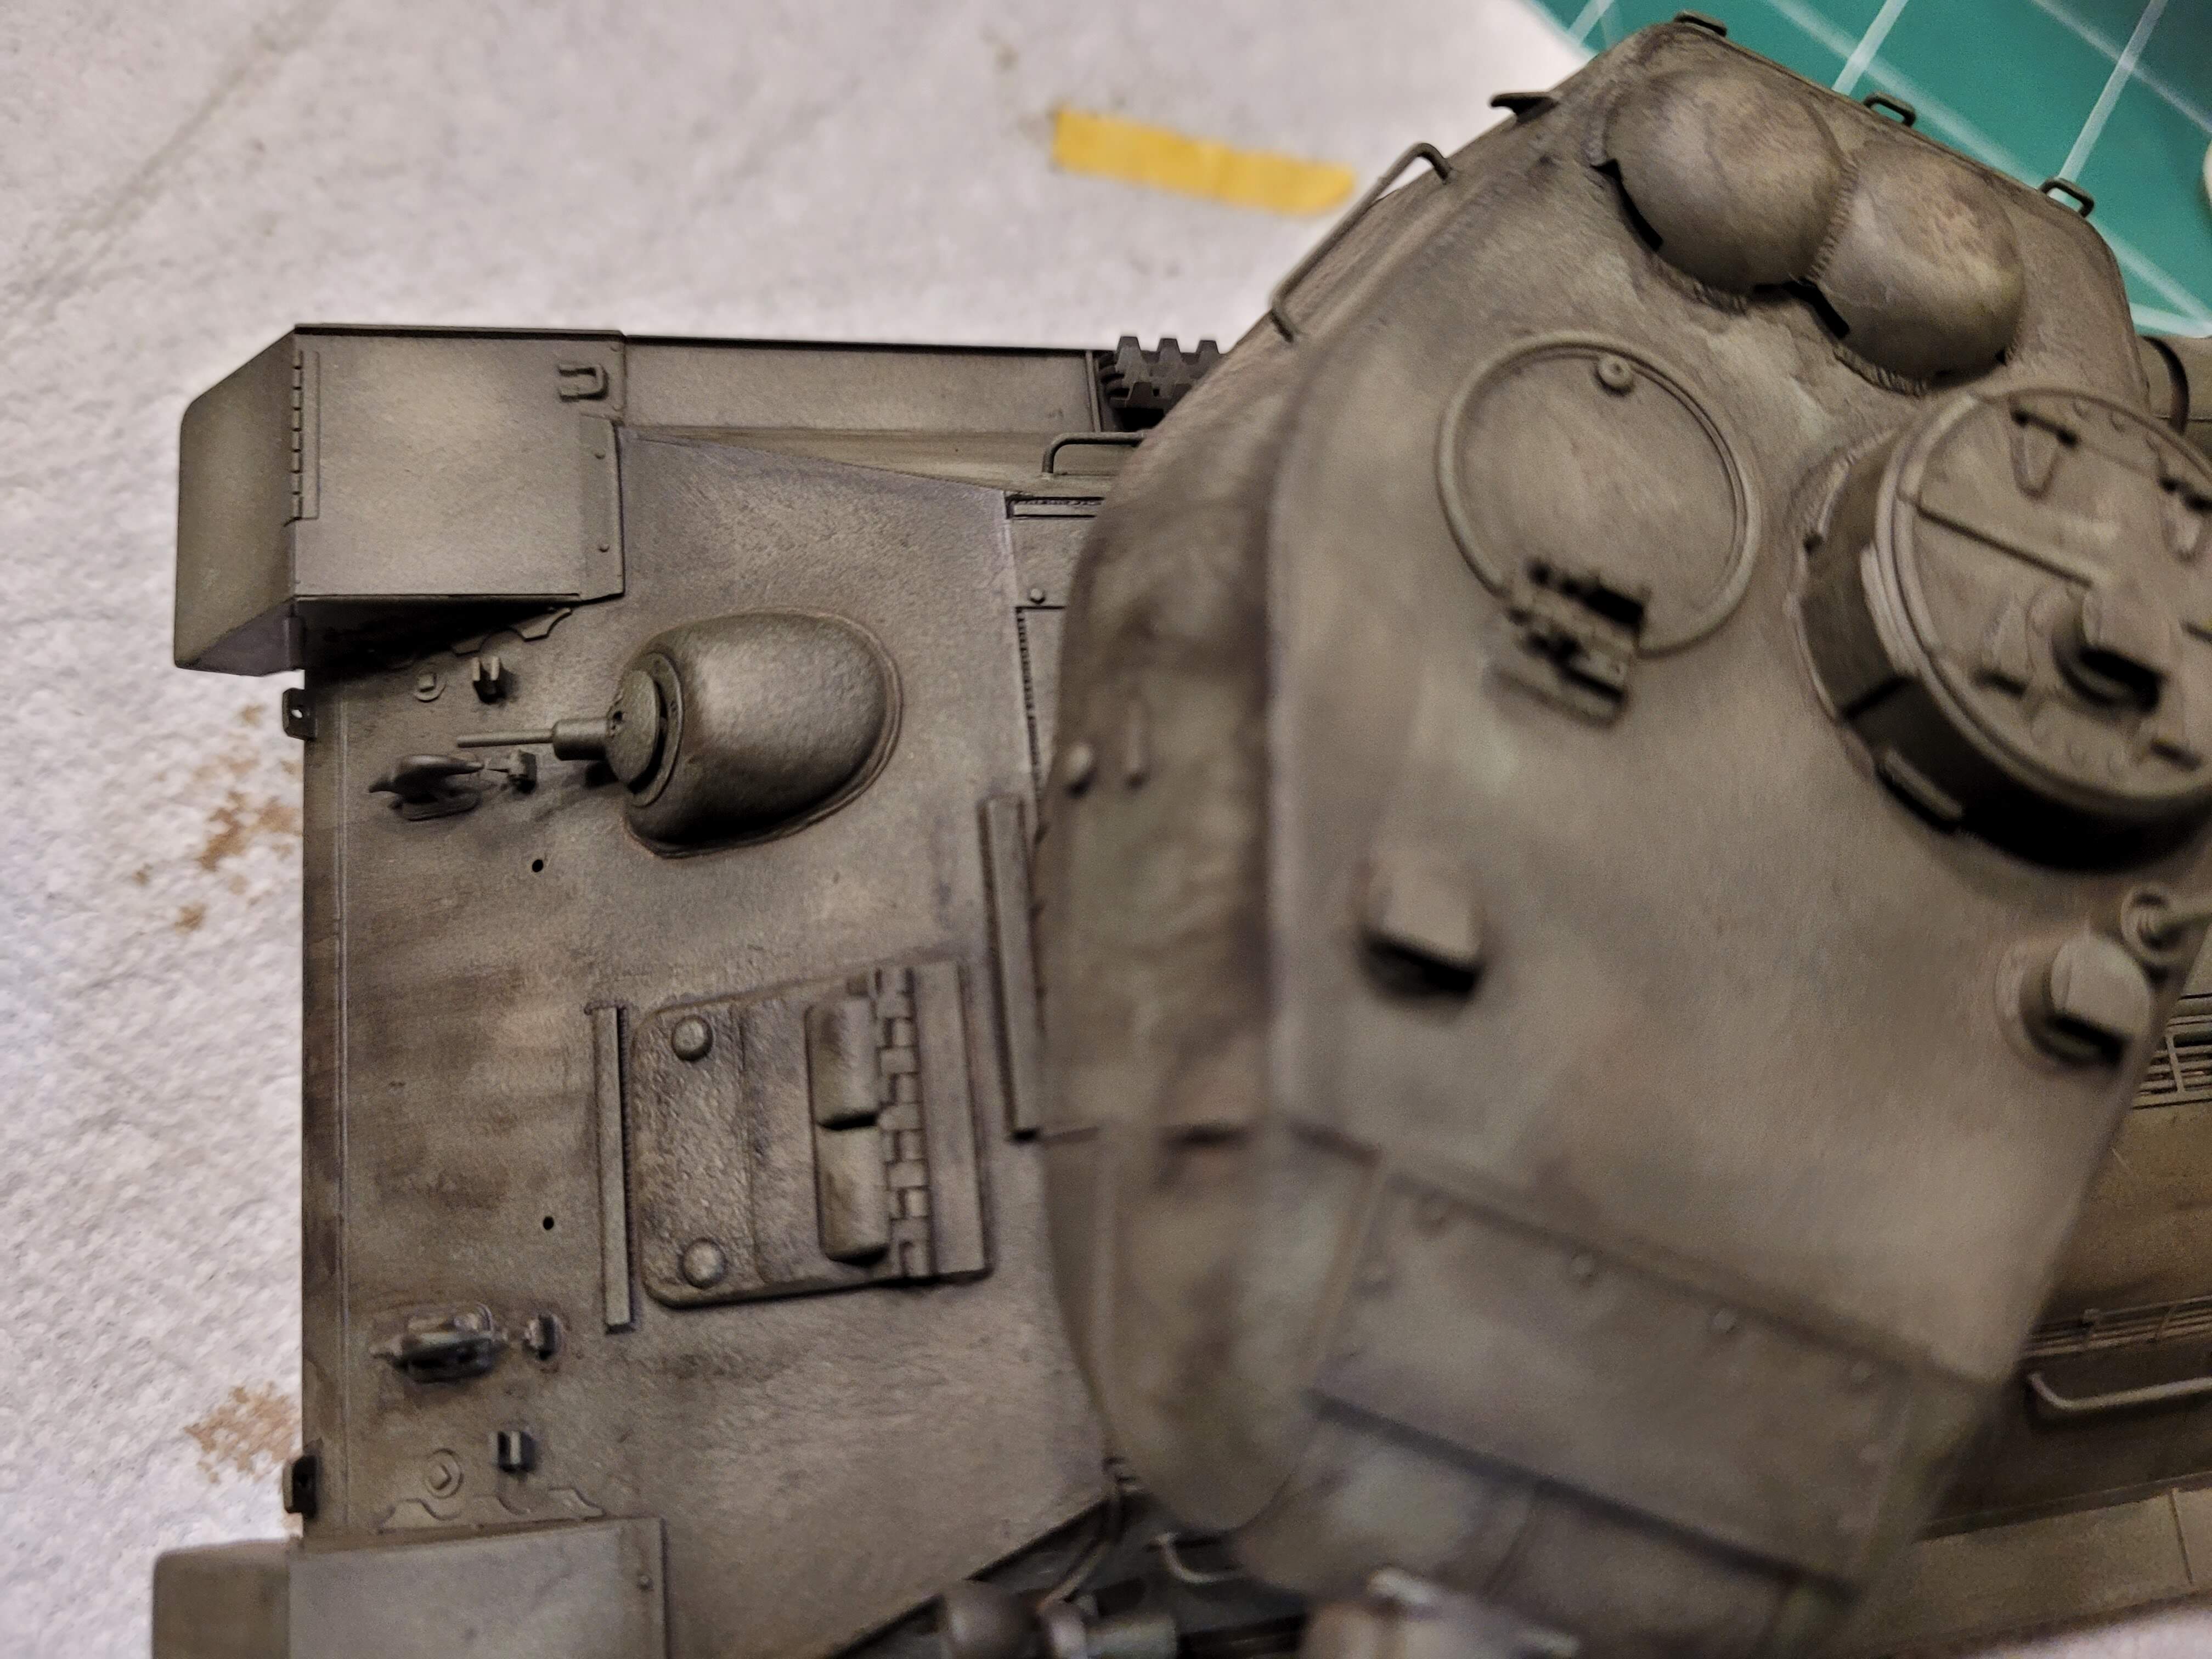
Hull with wash applied.
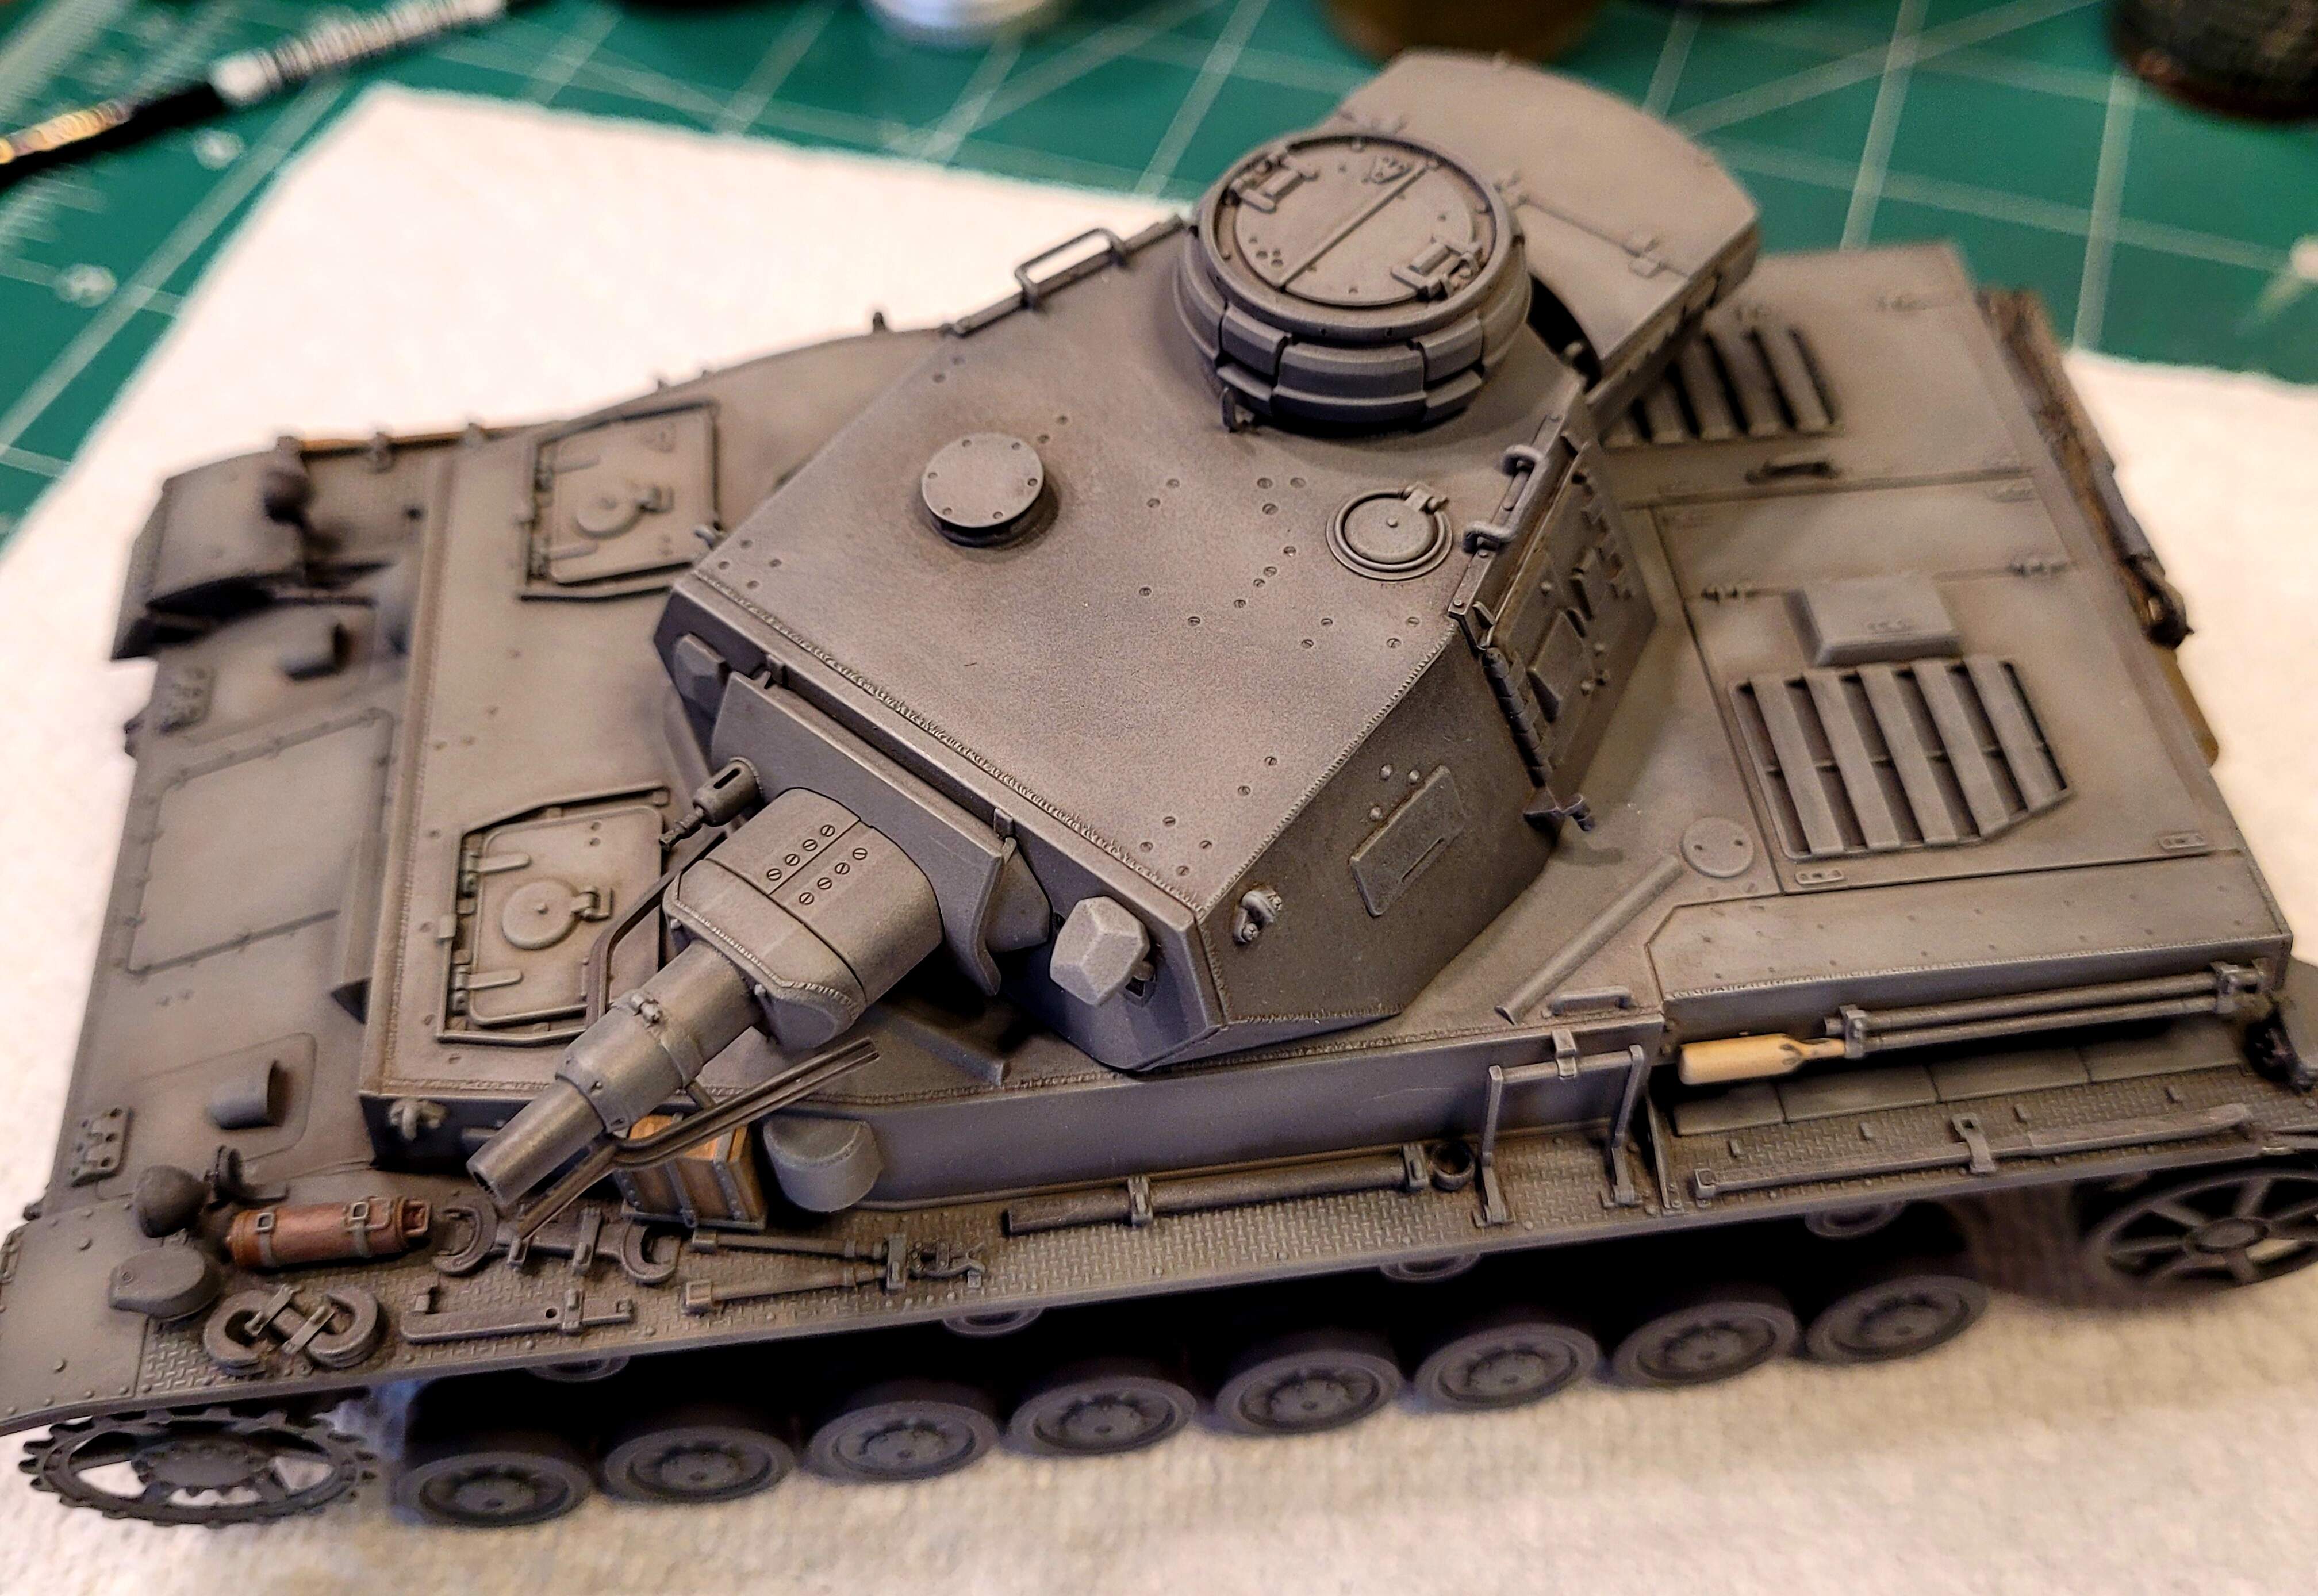
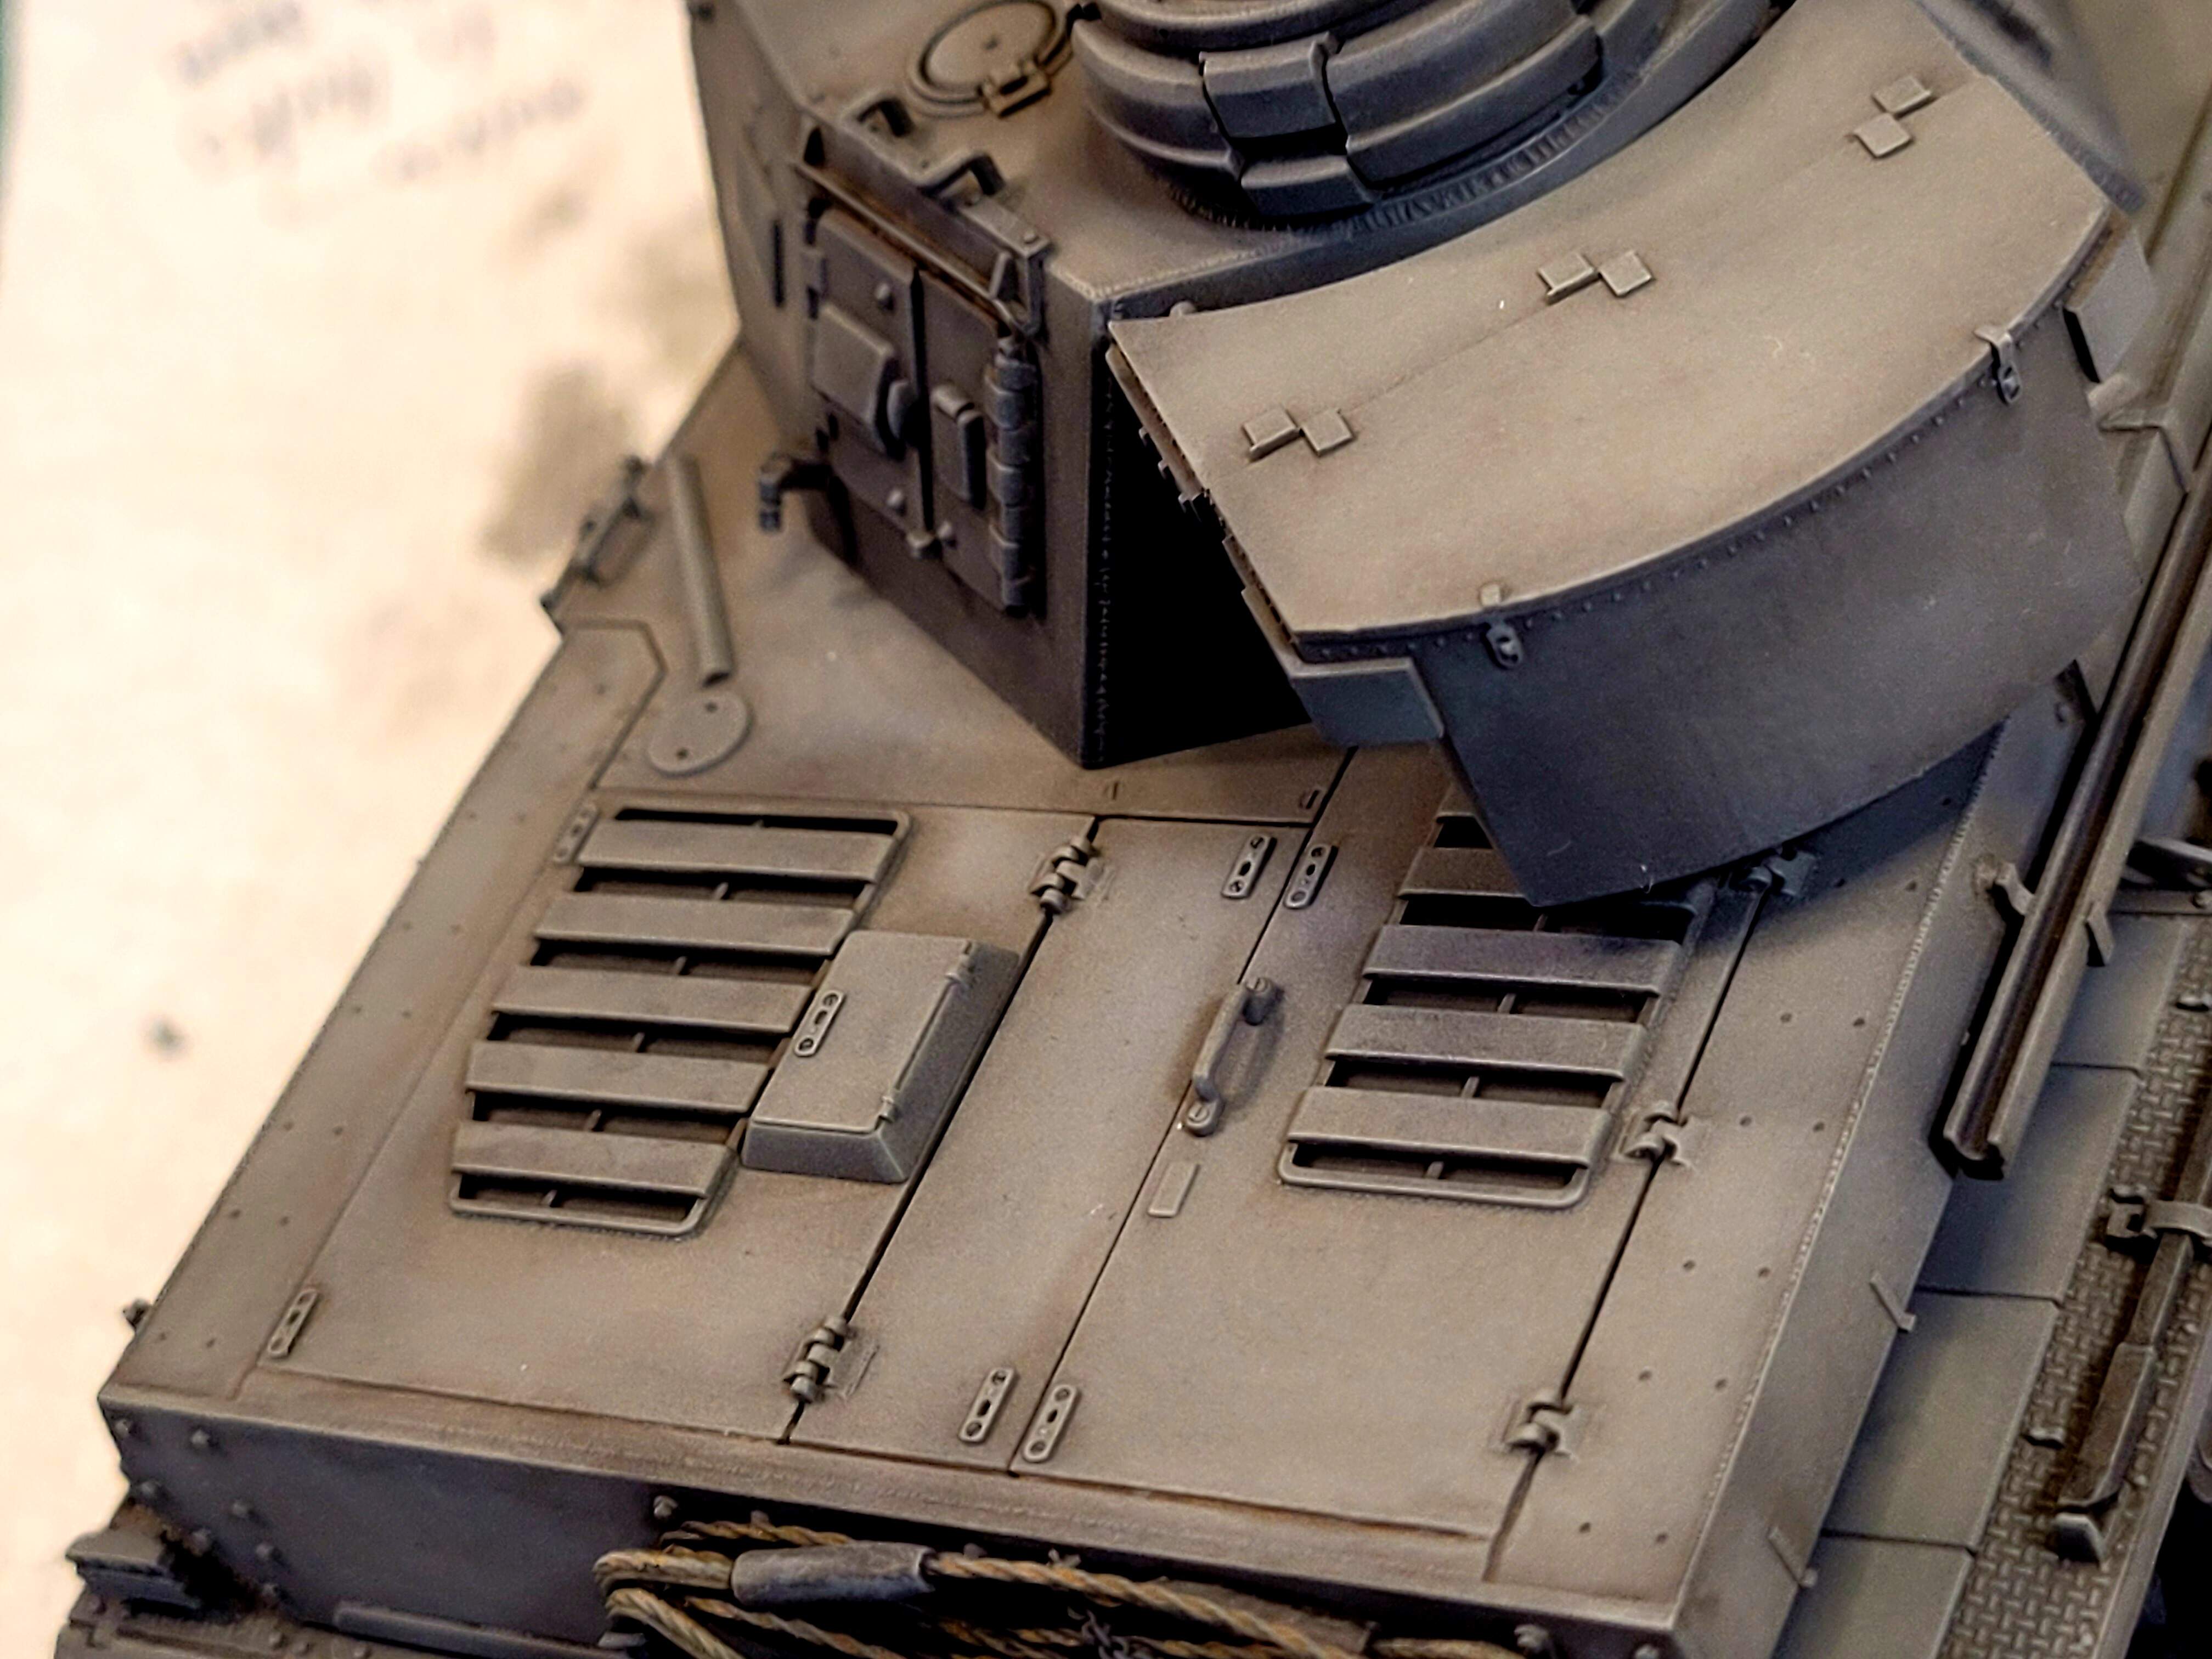
Turret wash hasn’t been applied.
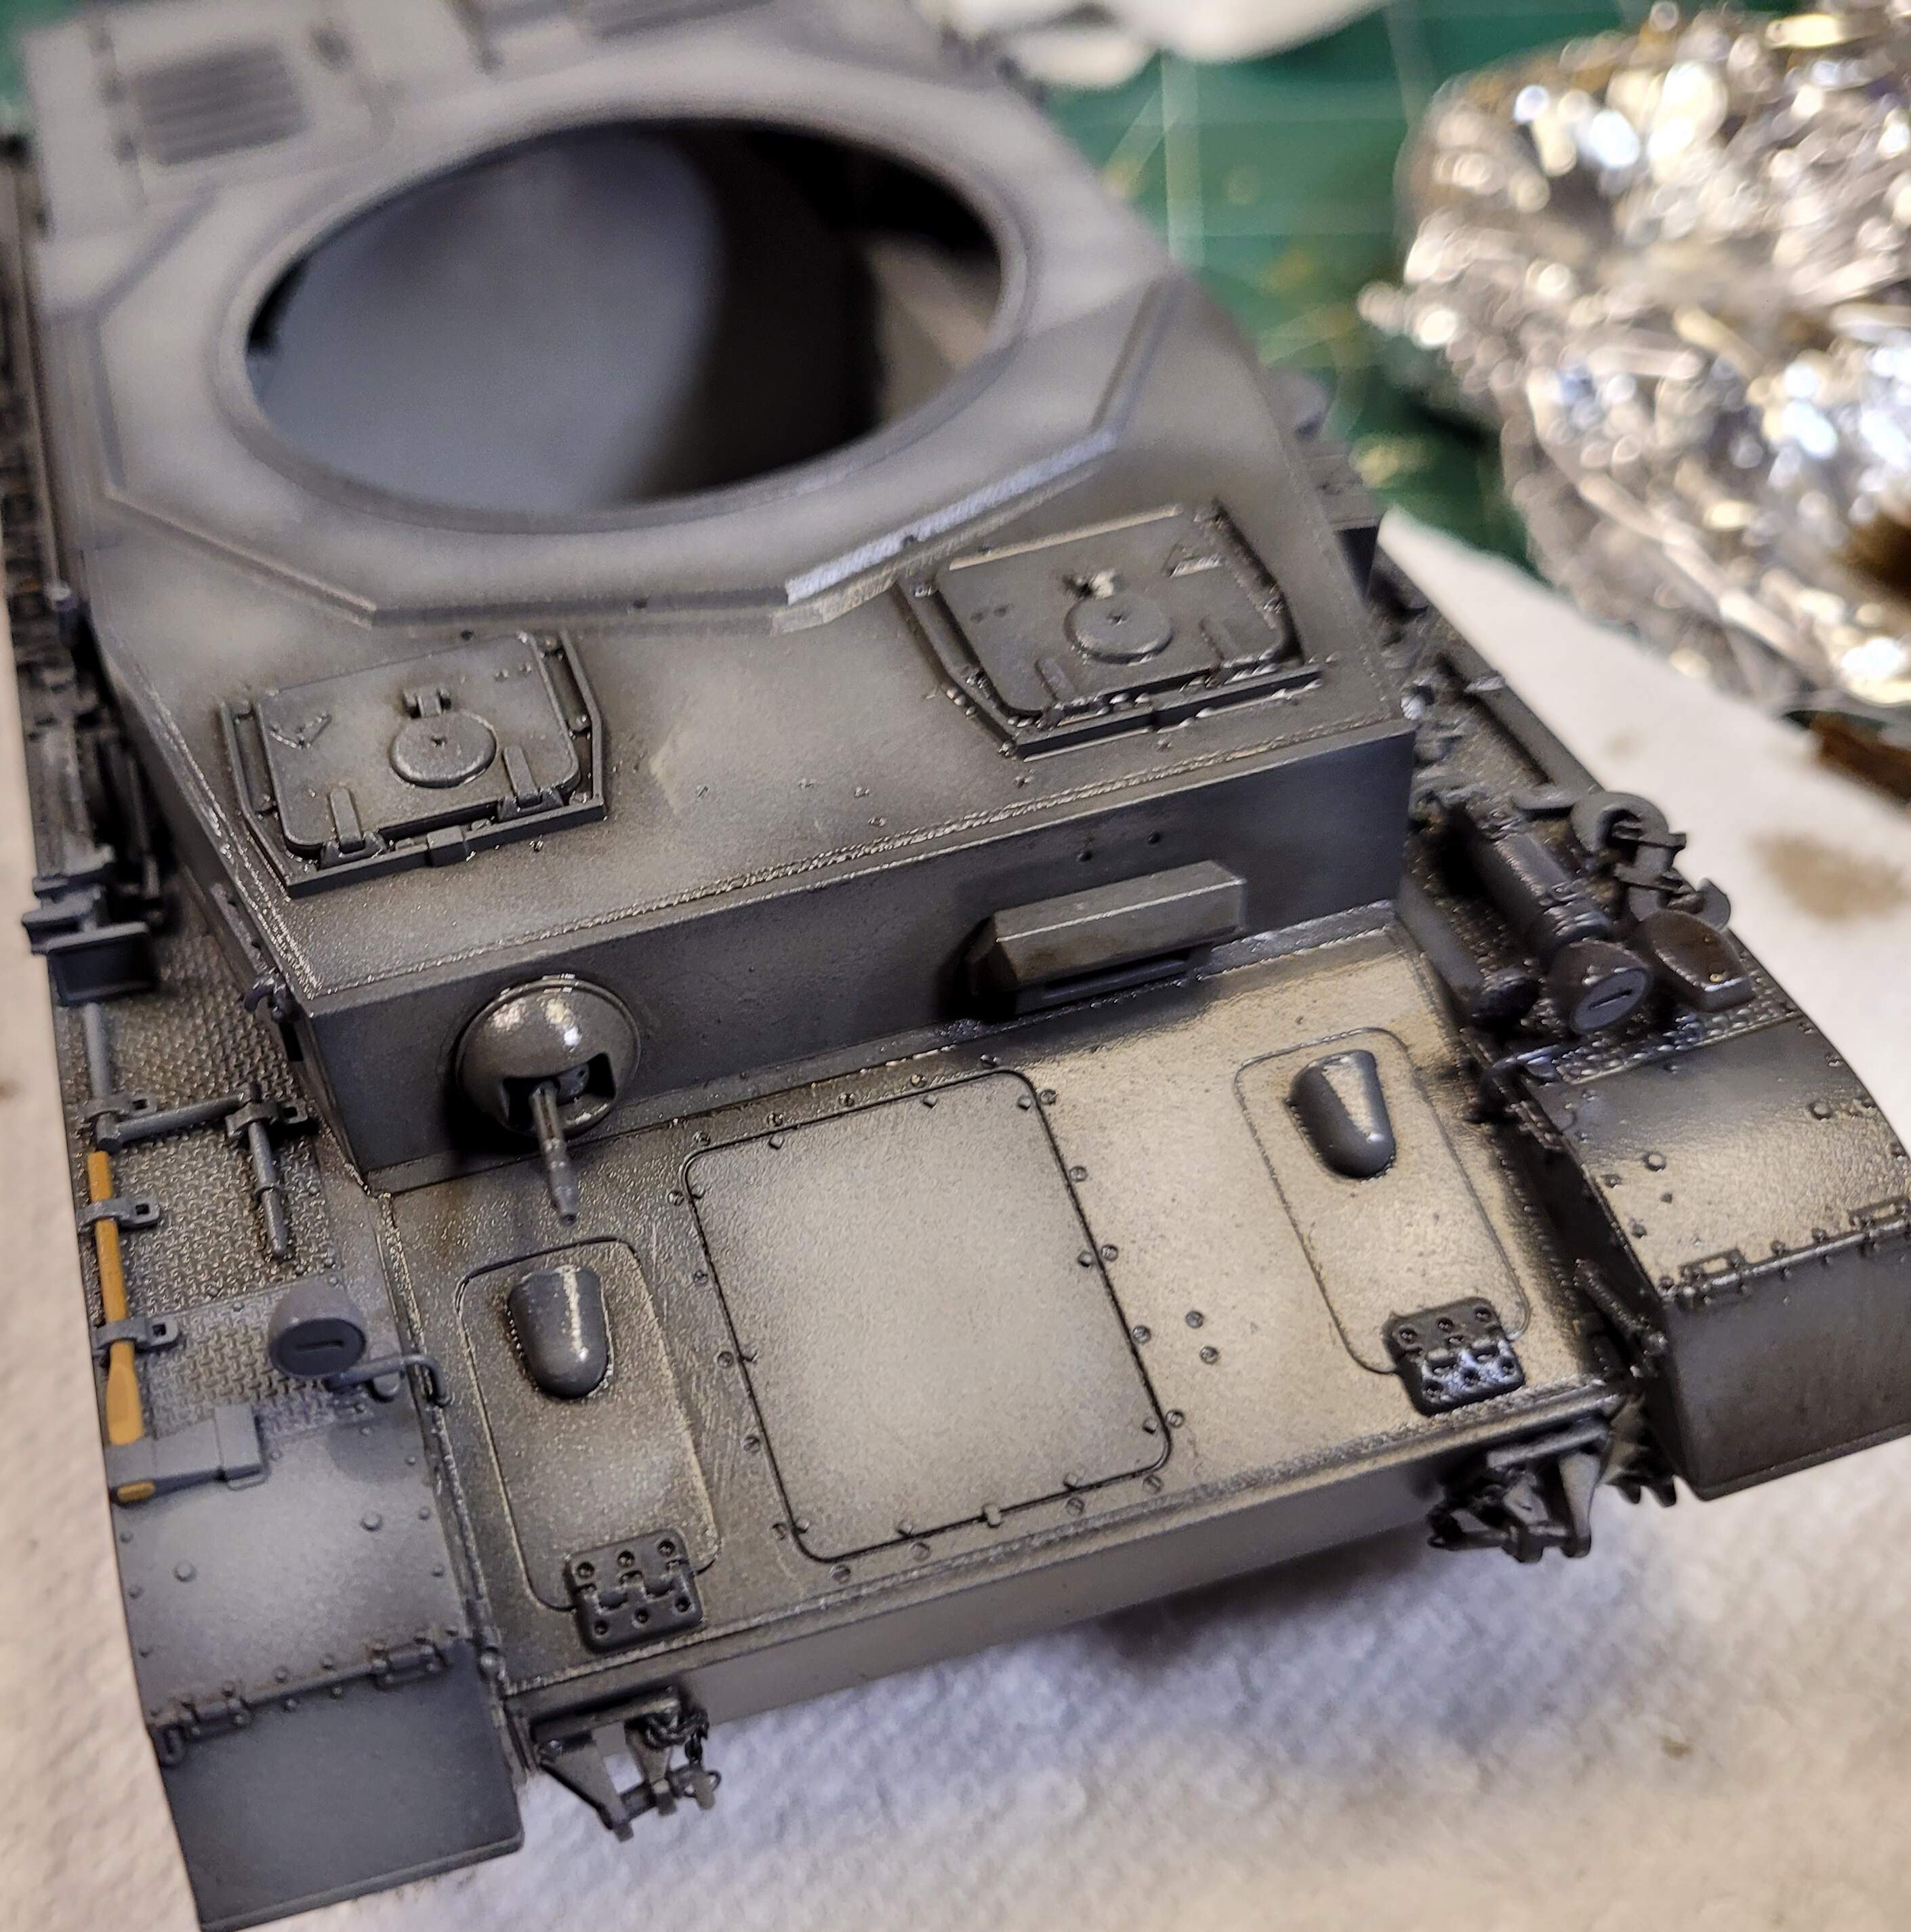
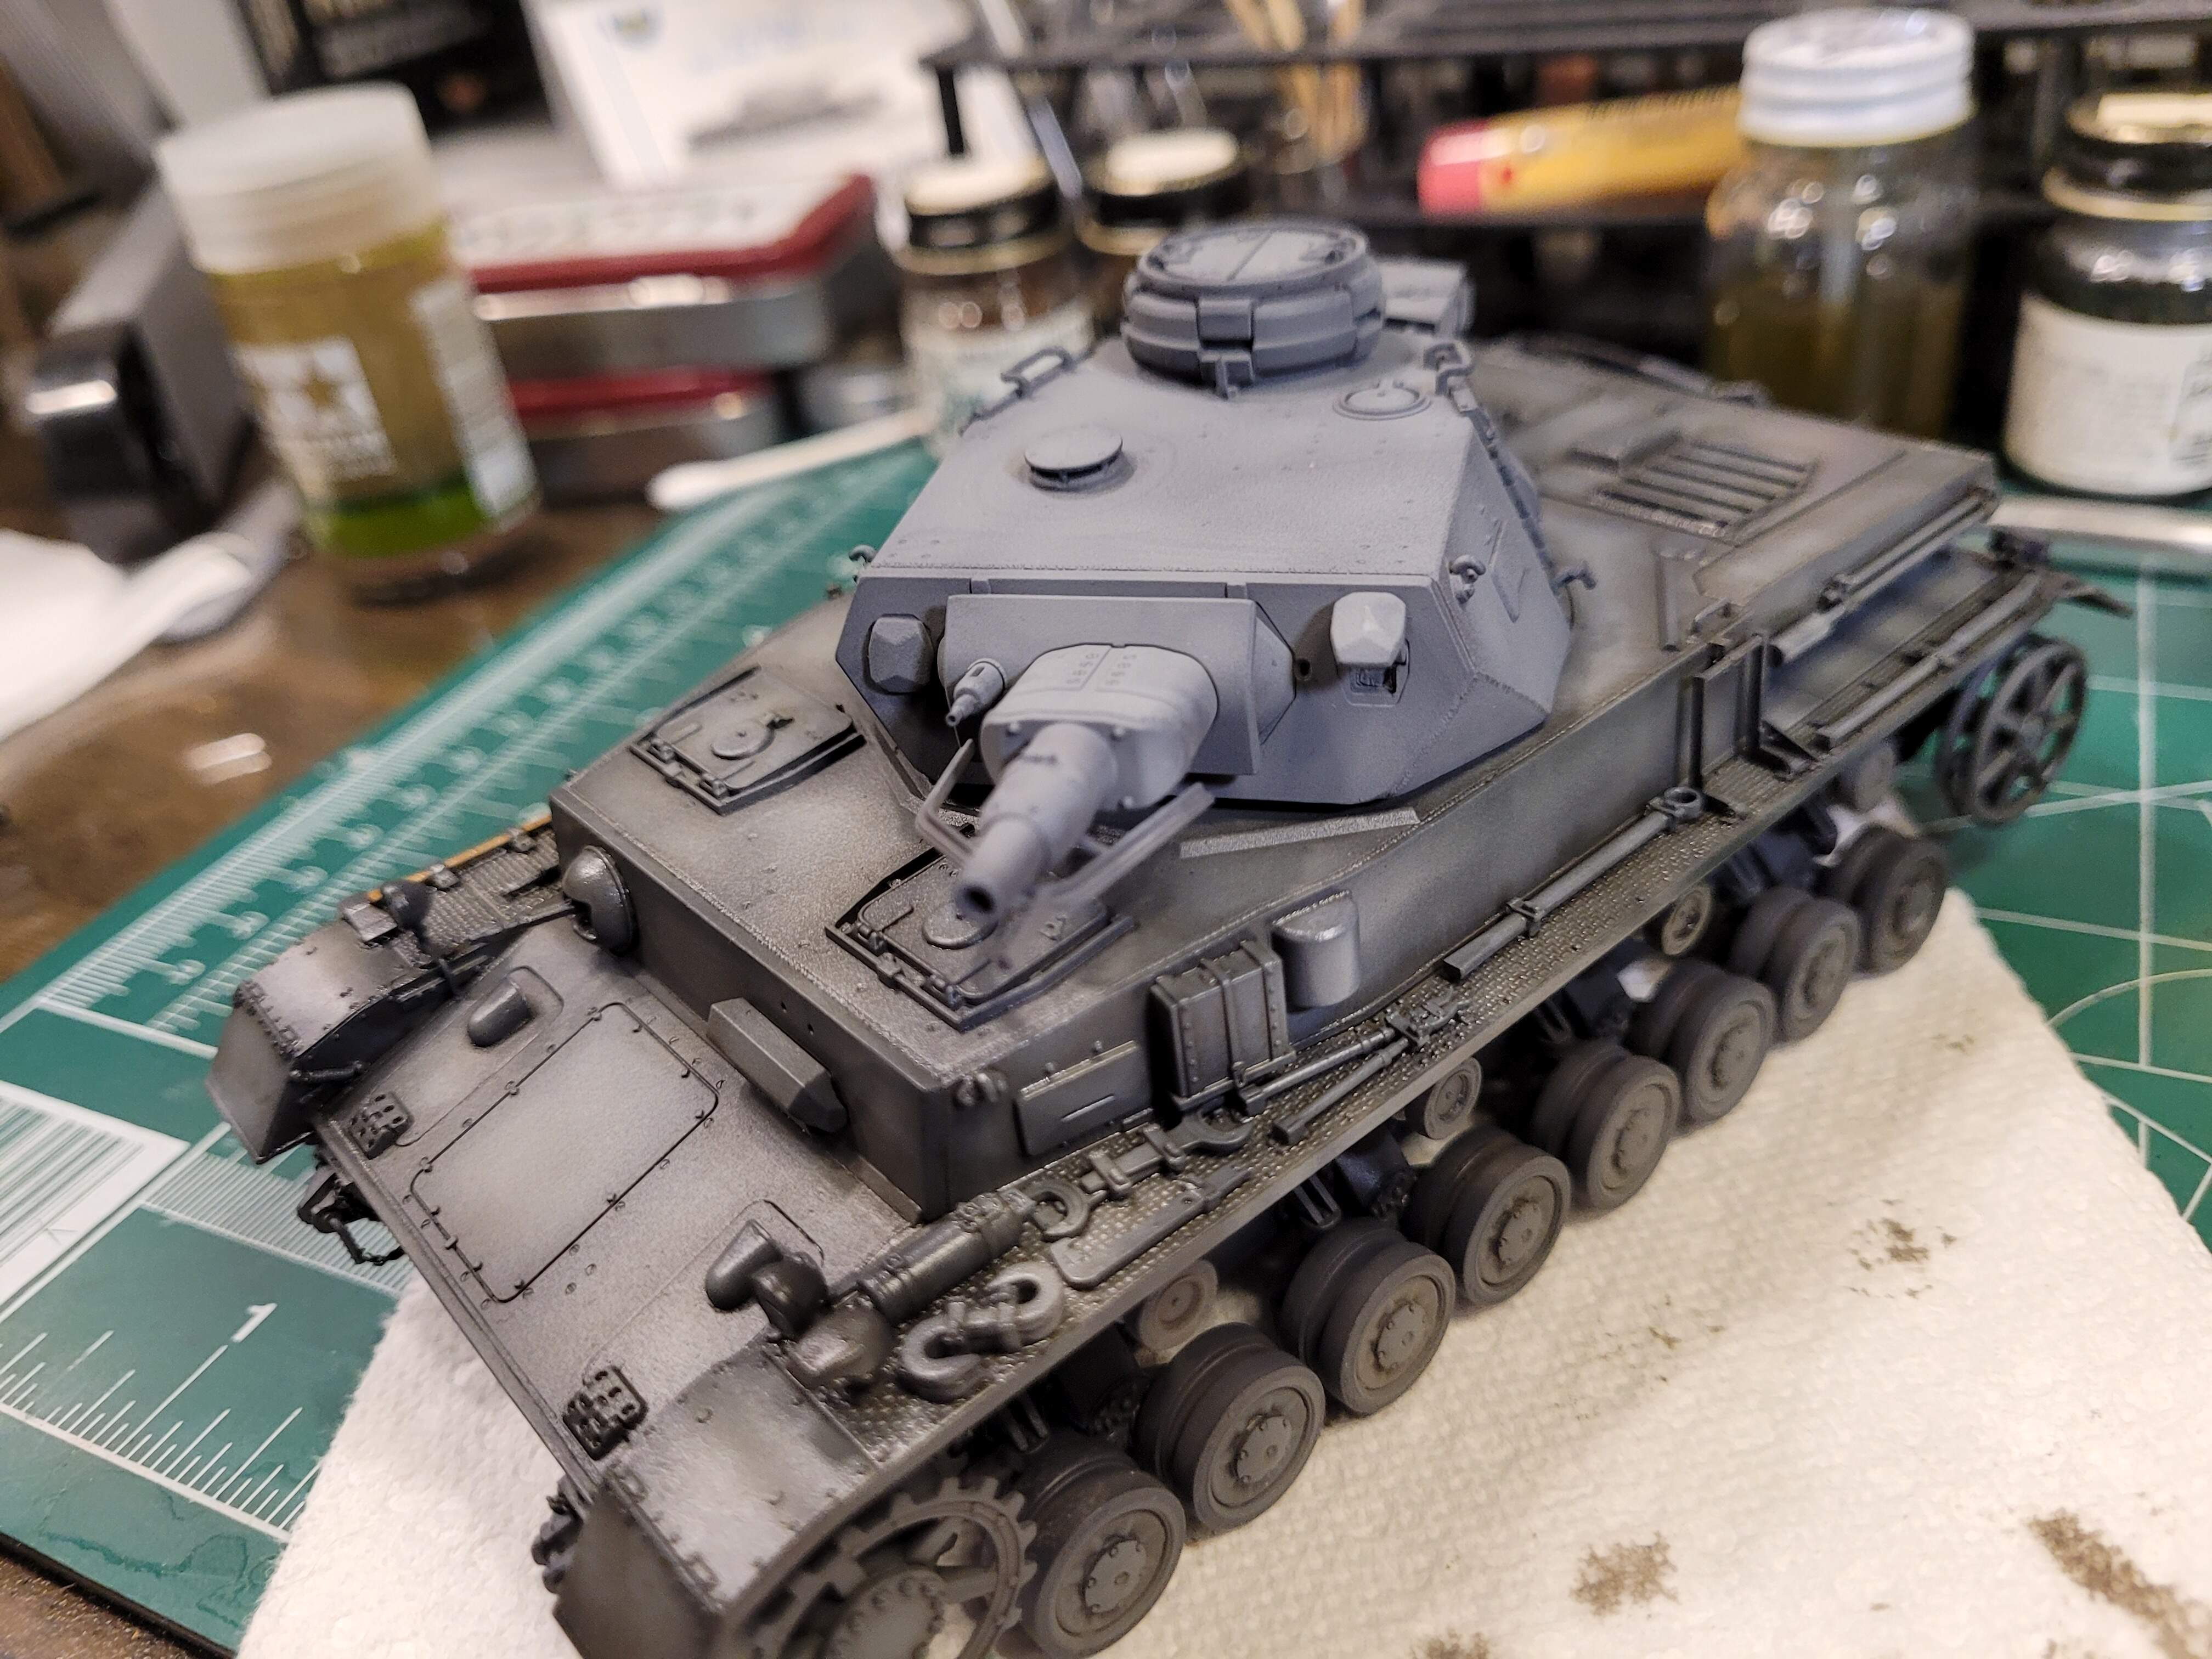
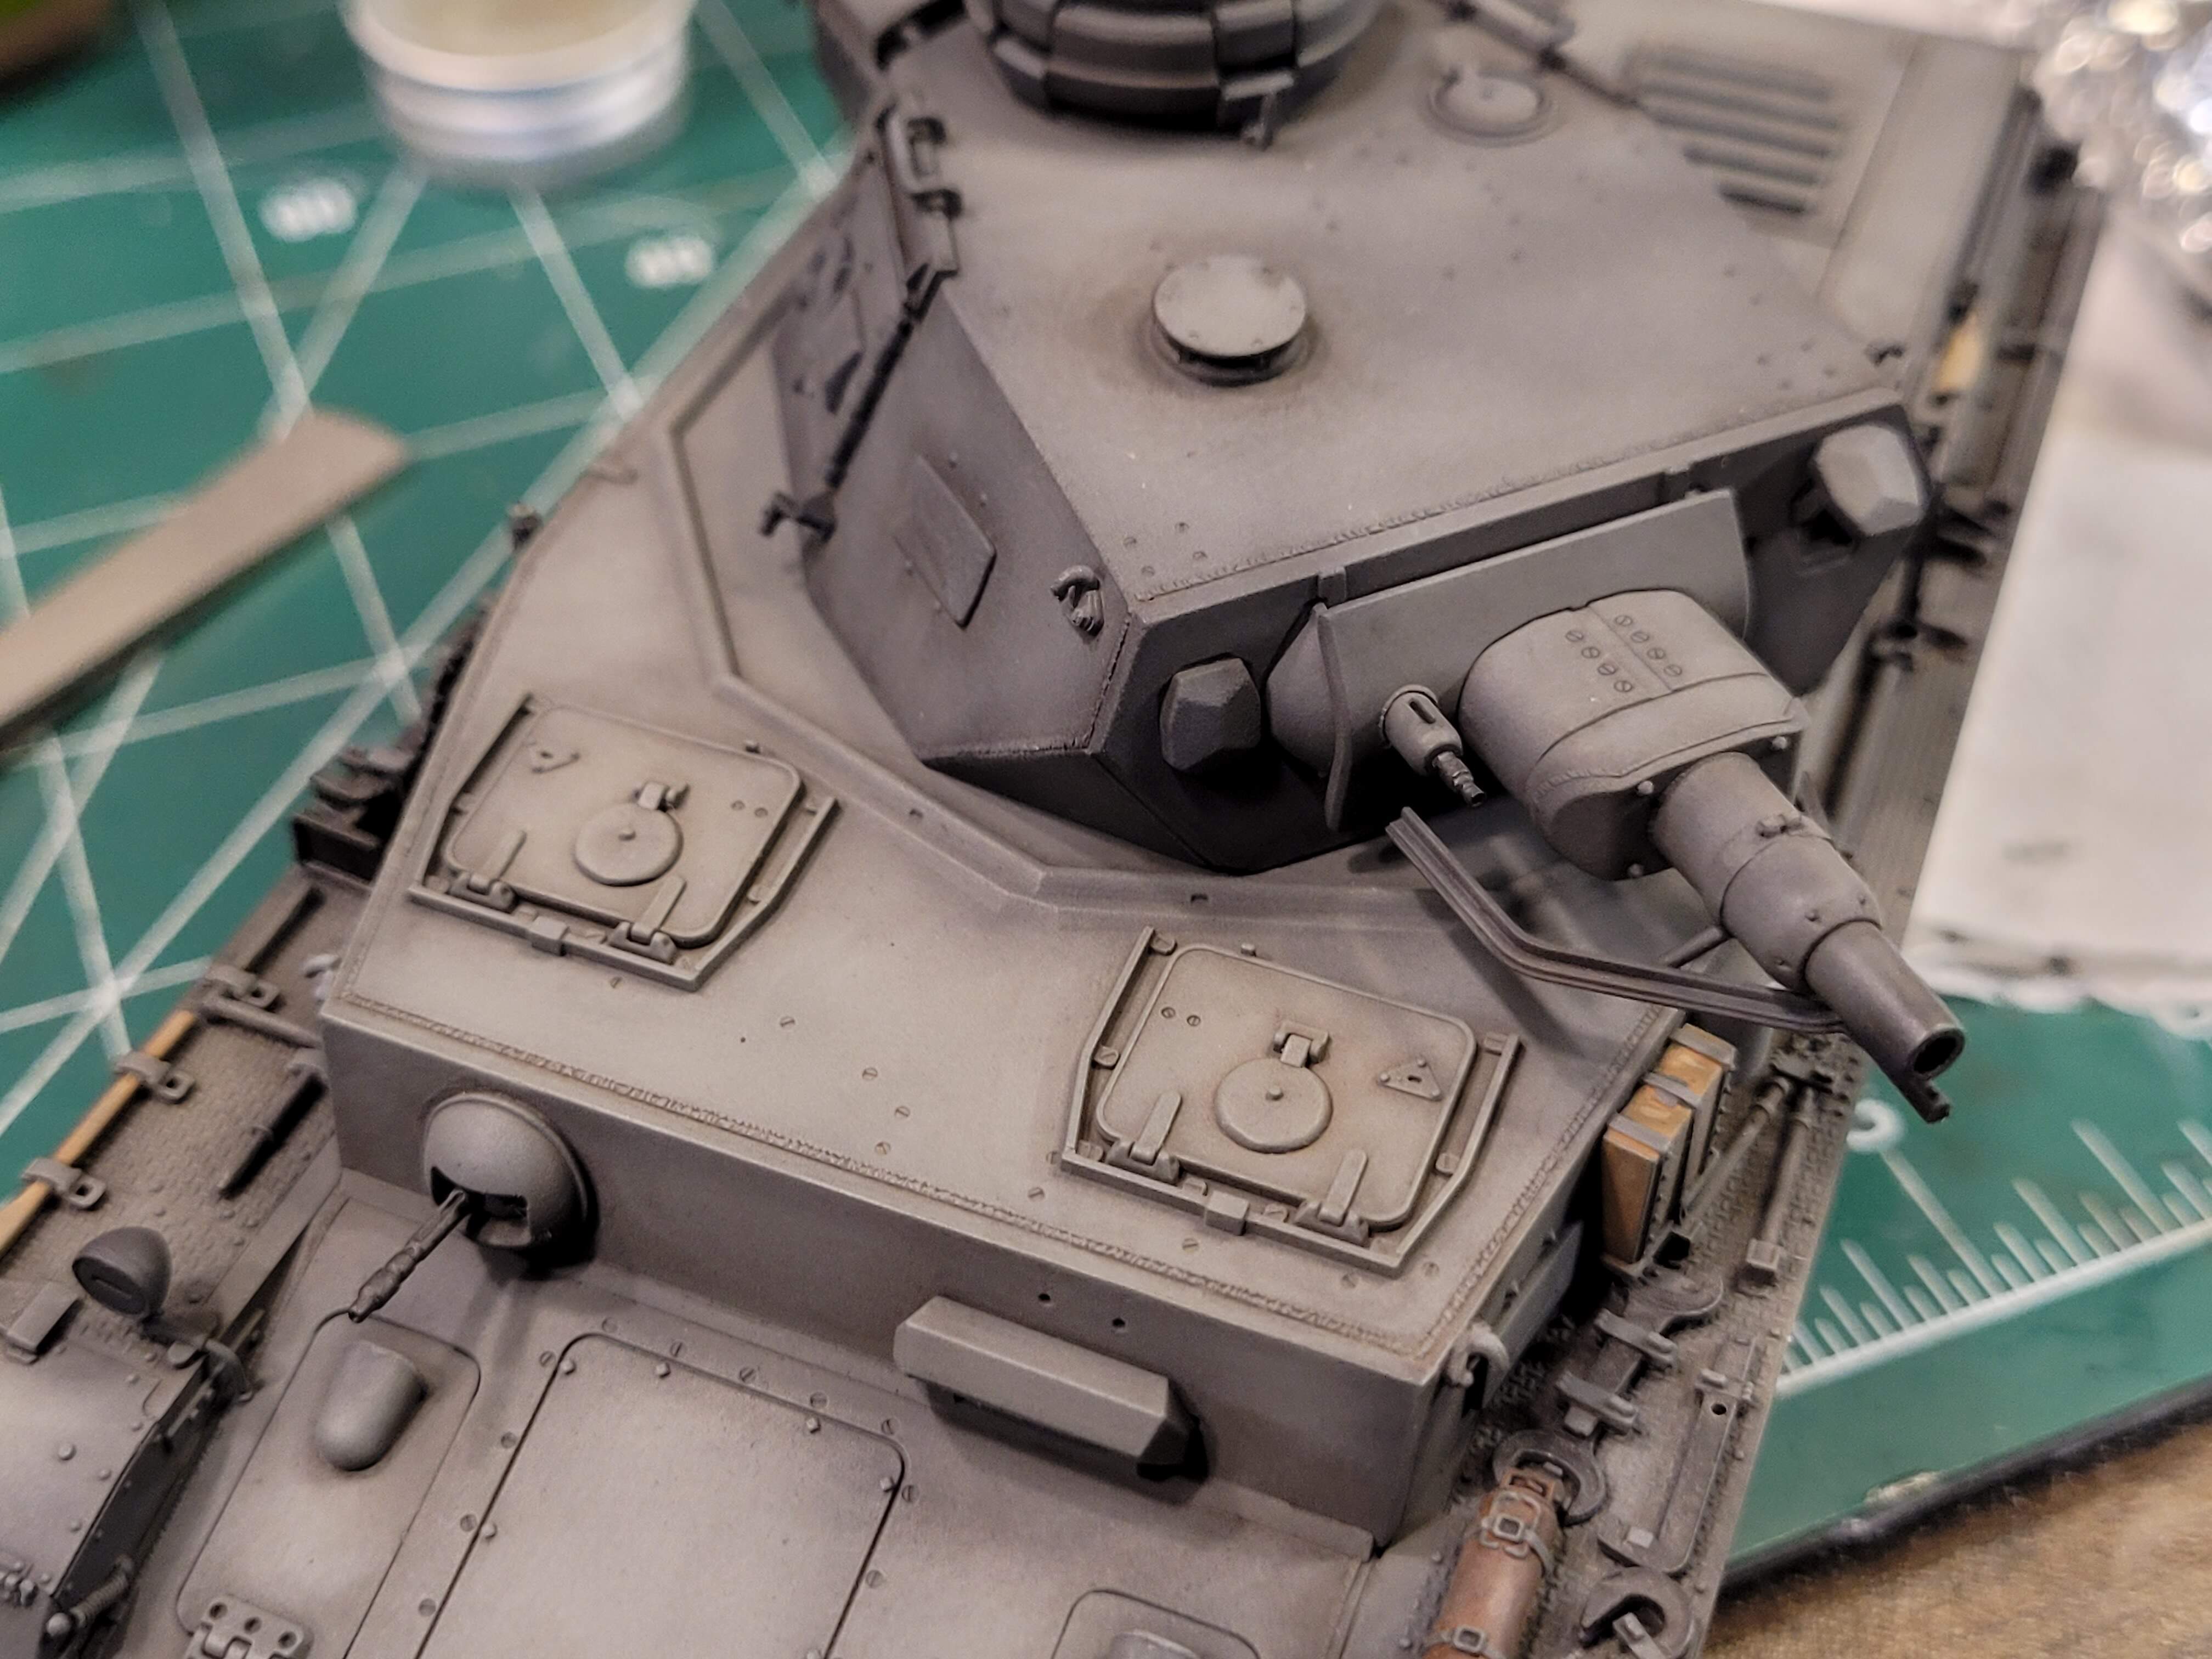
The same process was applied to the turret.
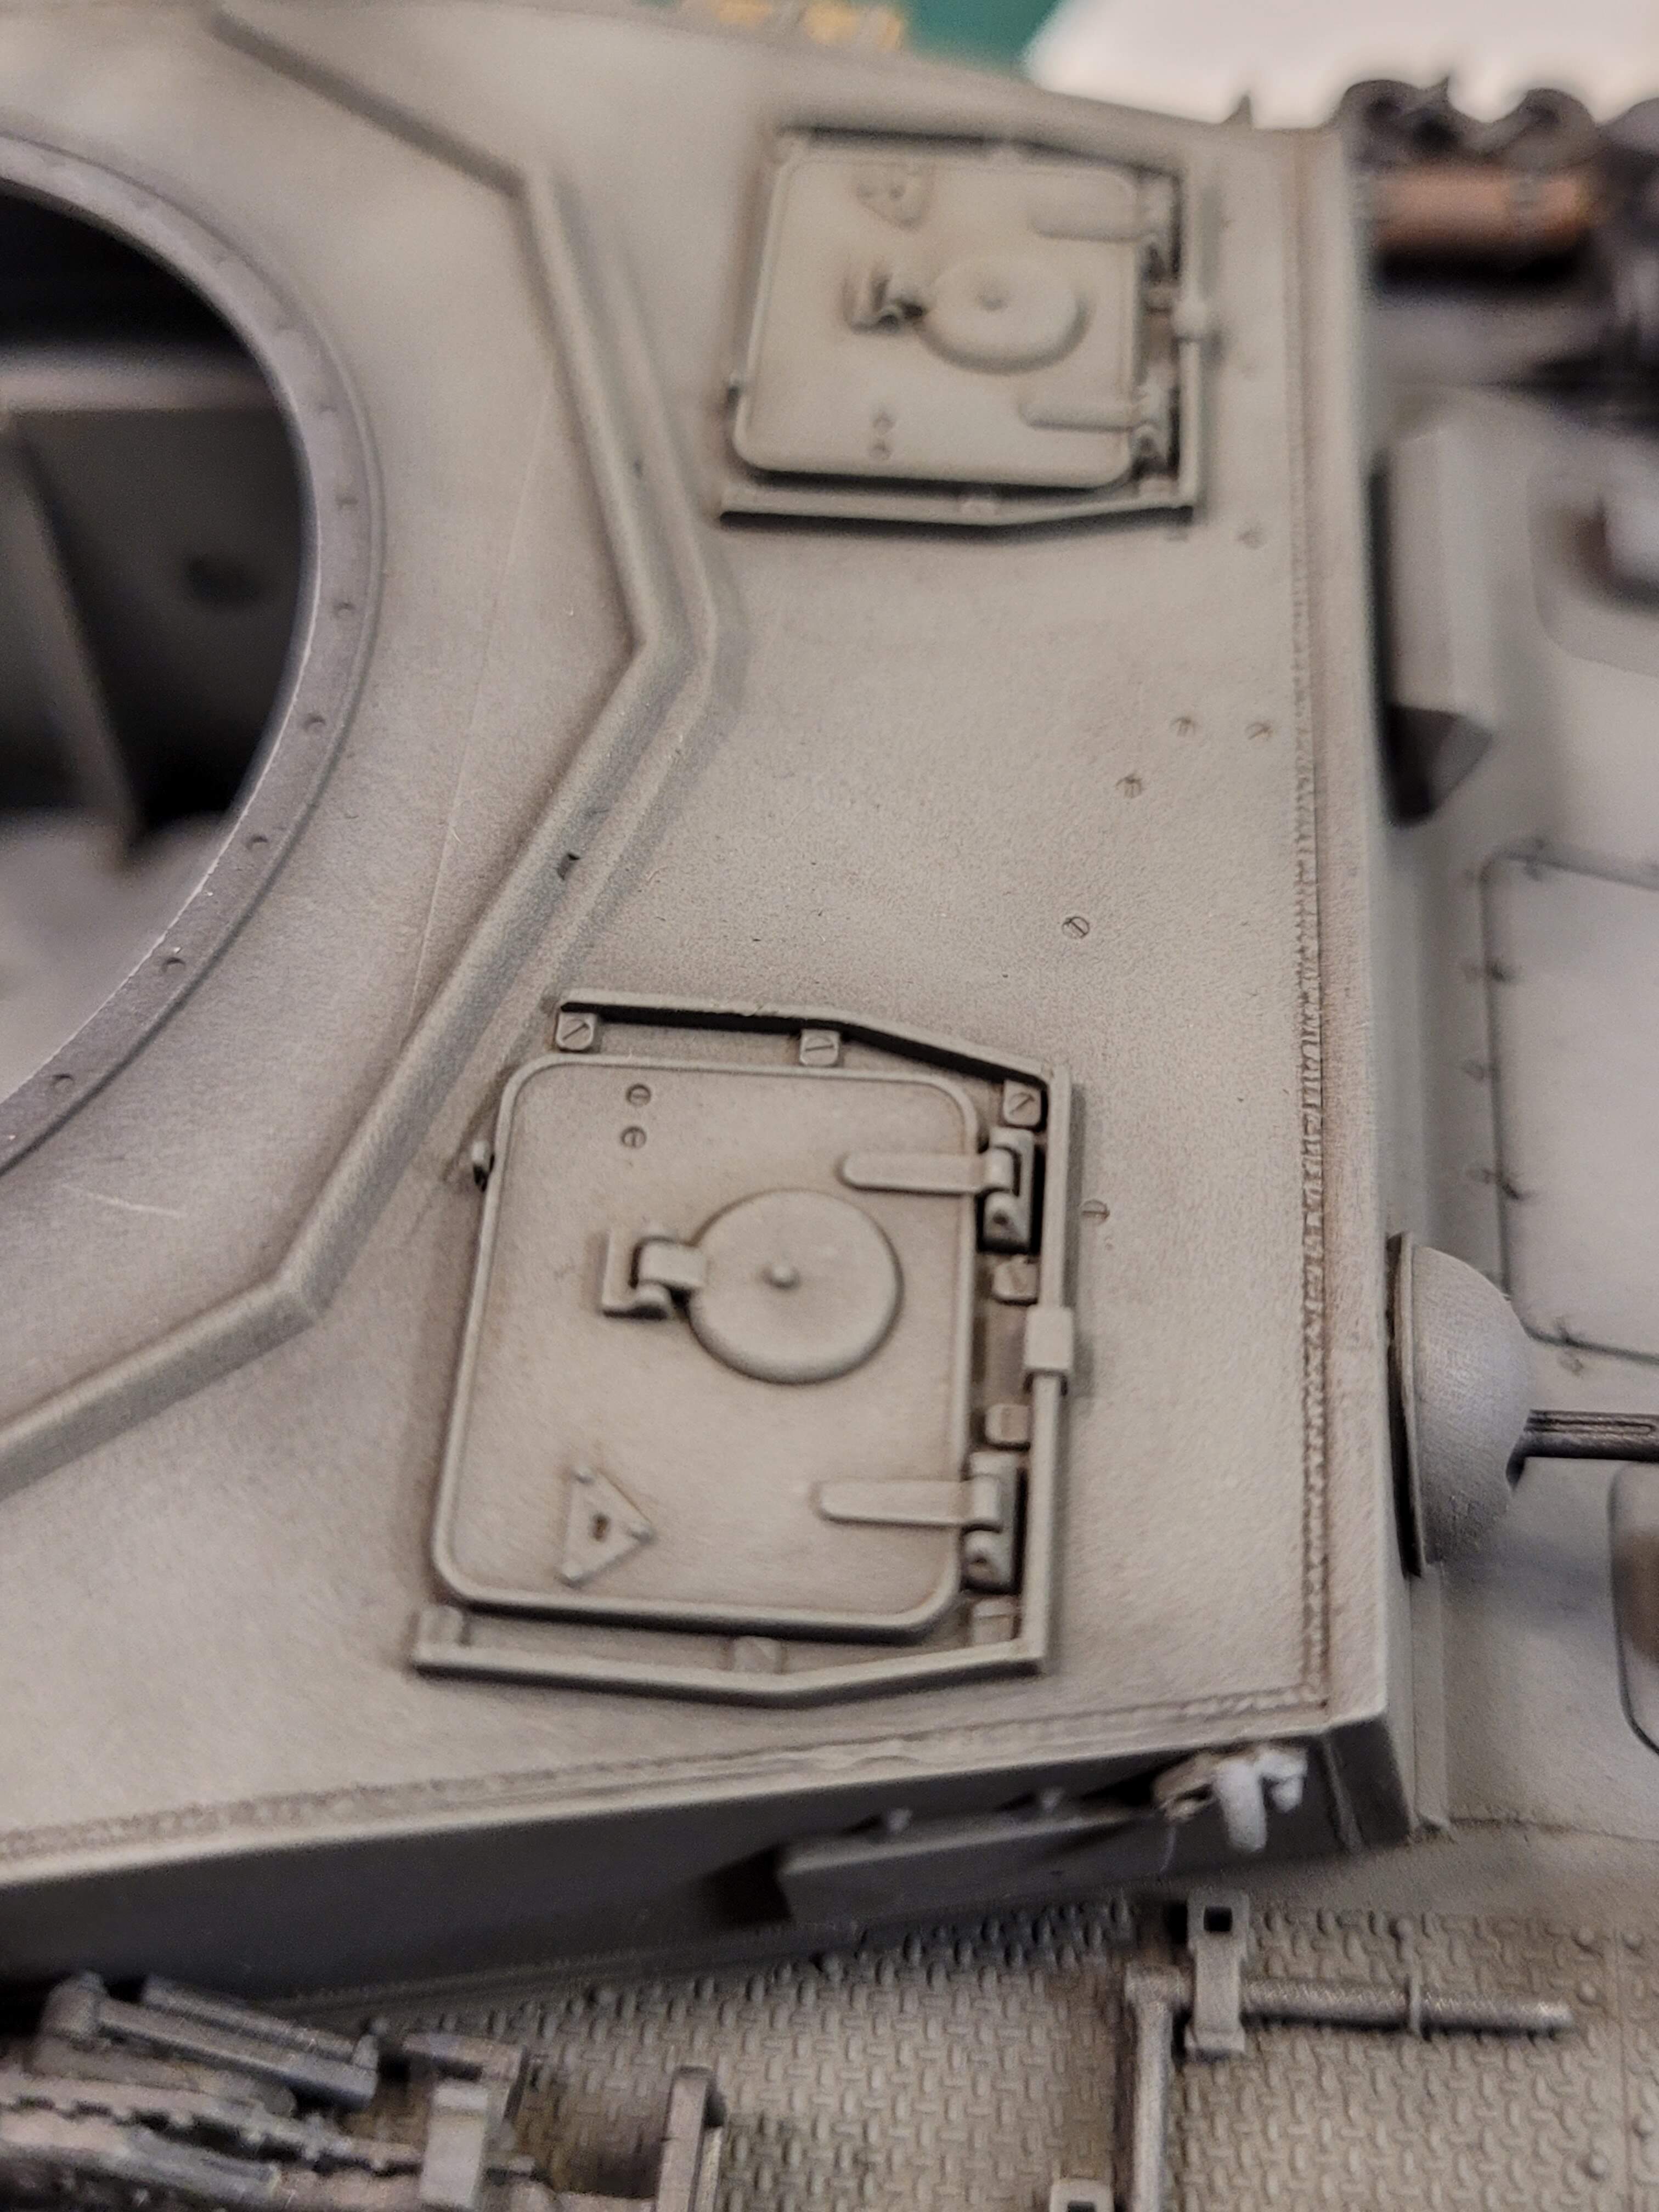
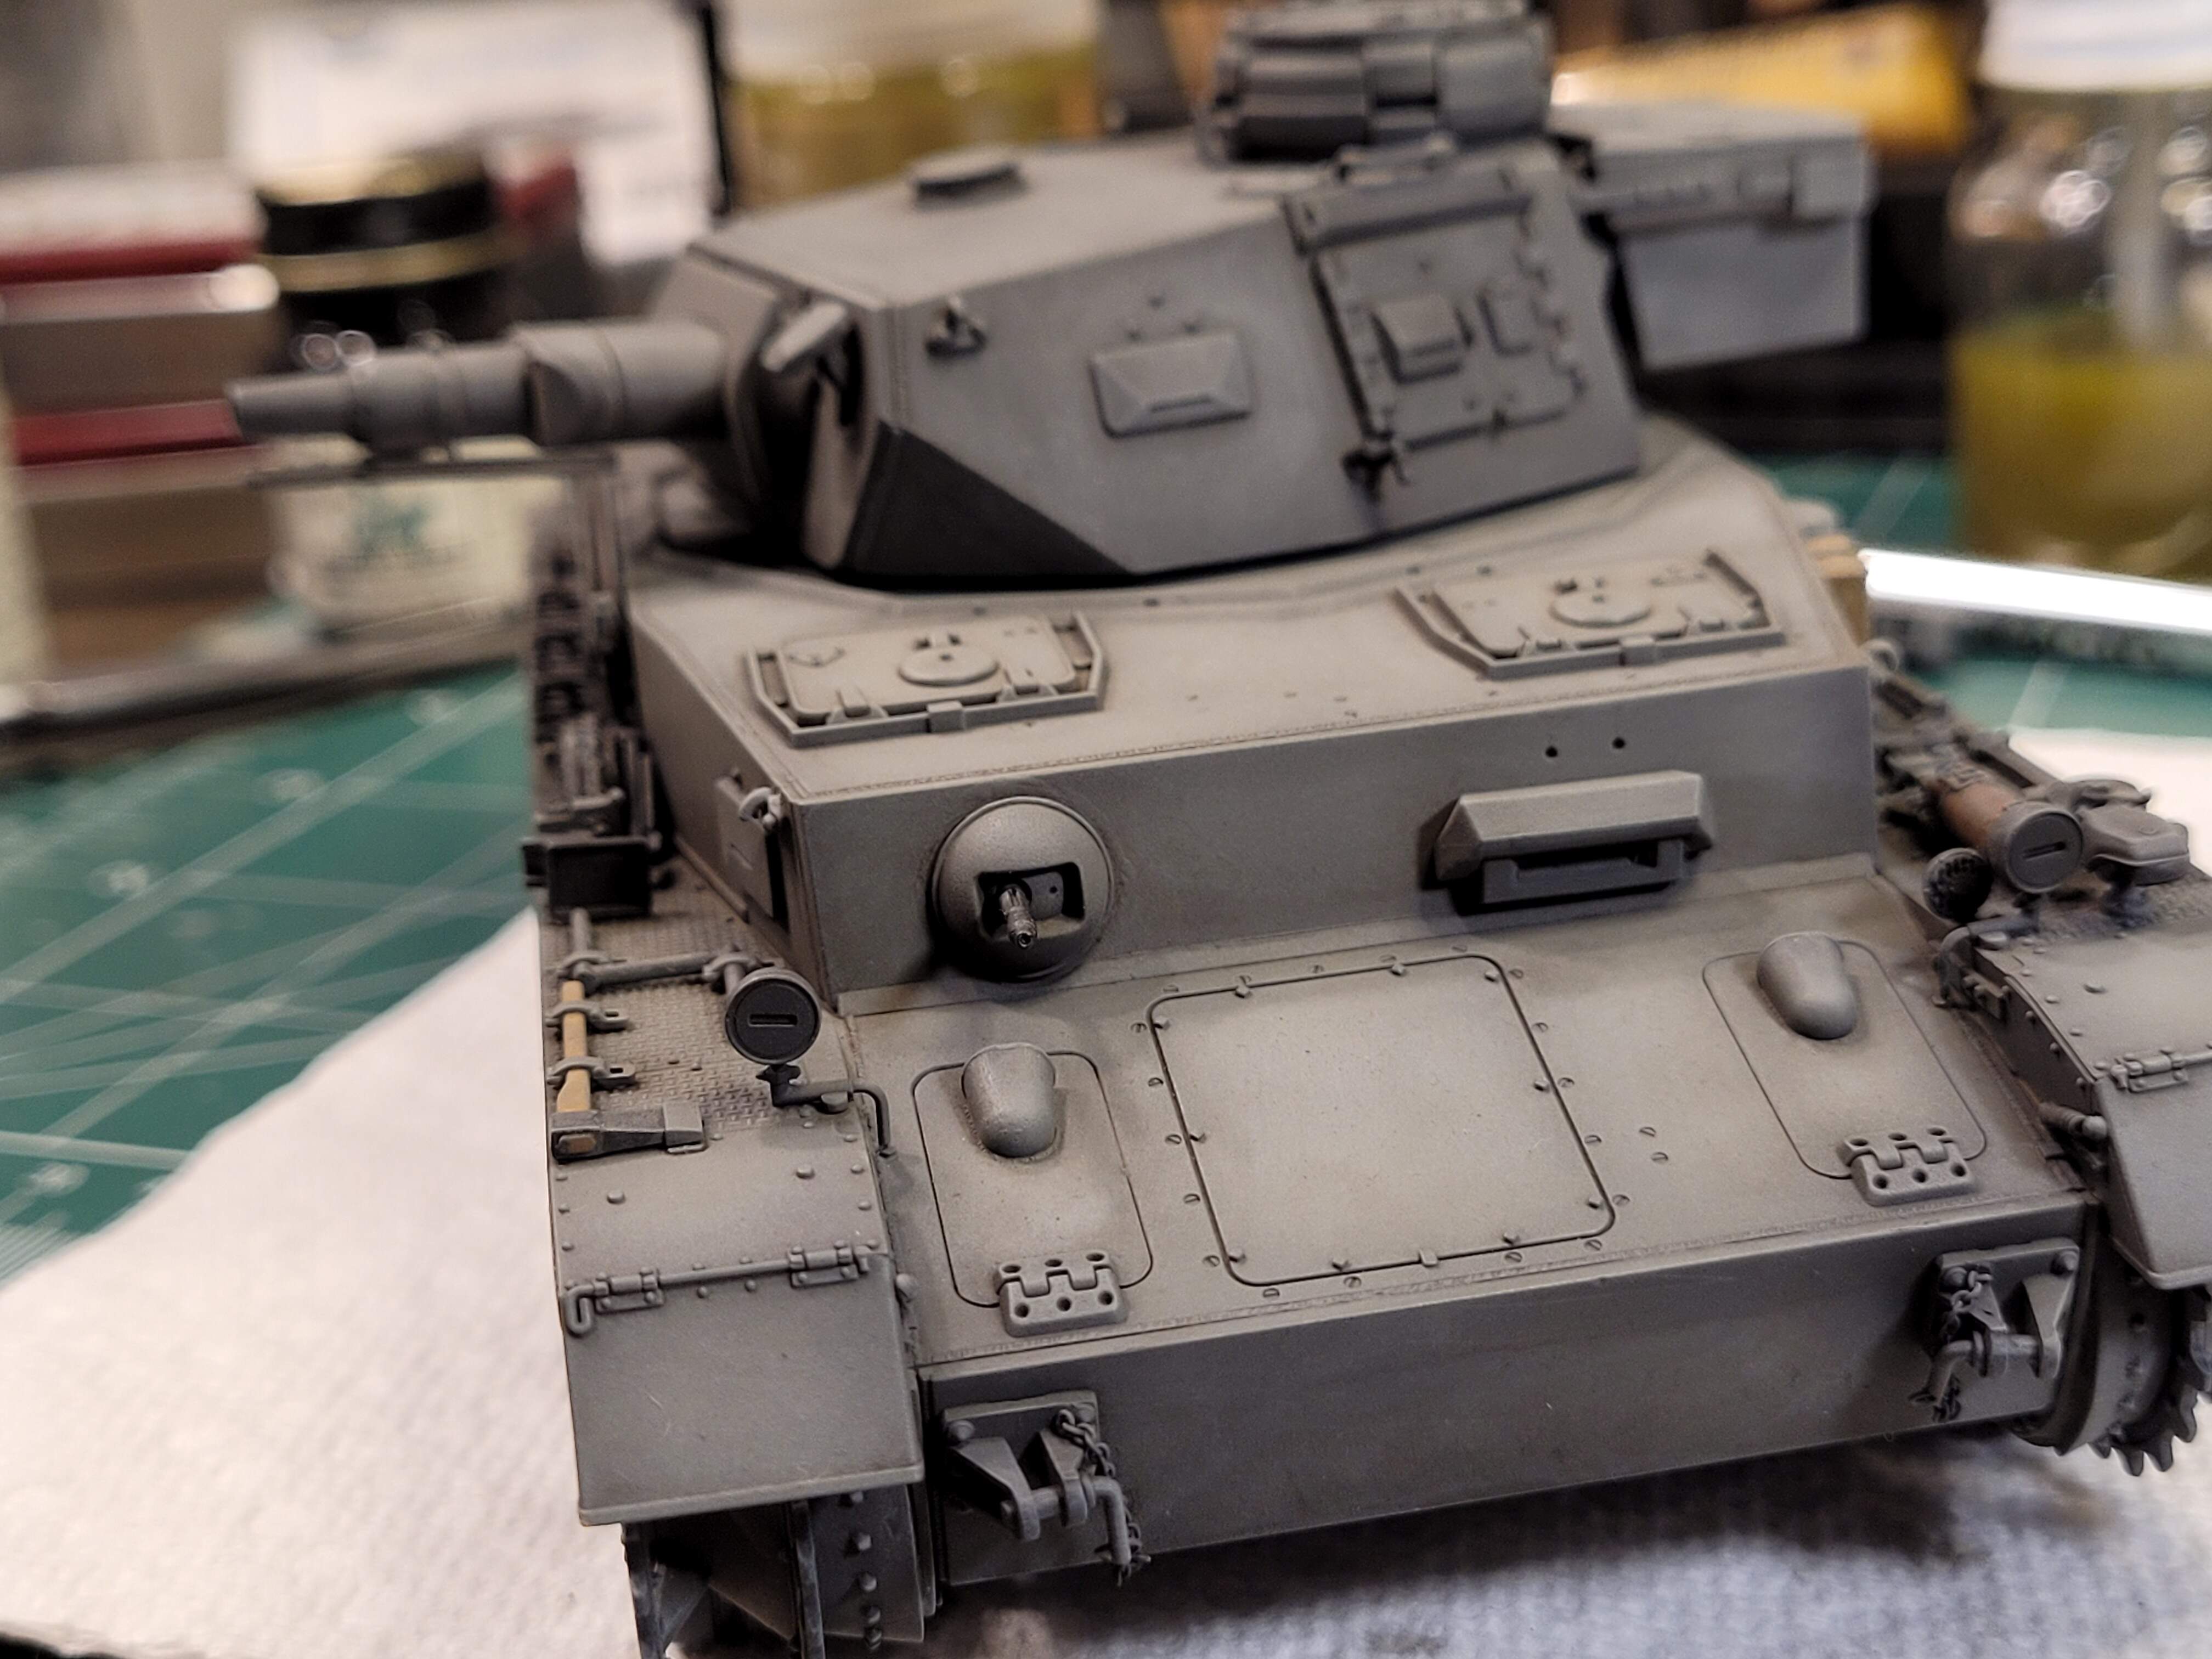
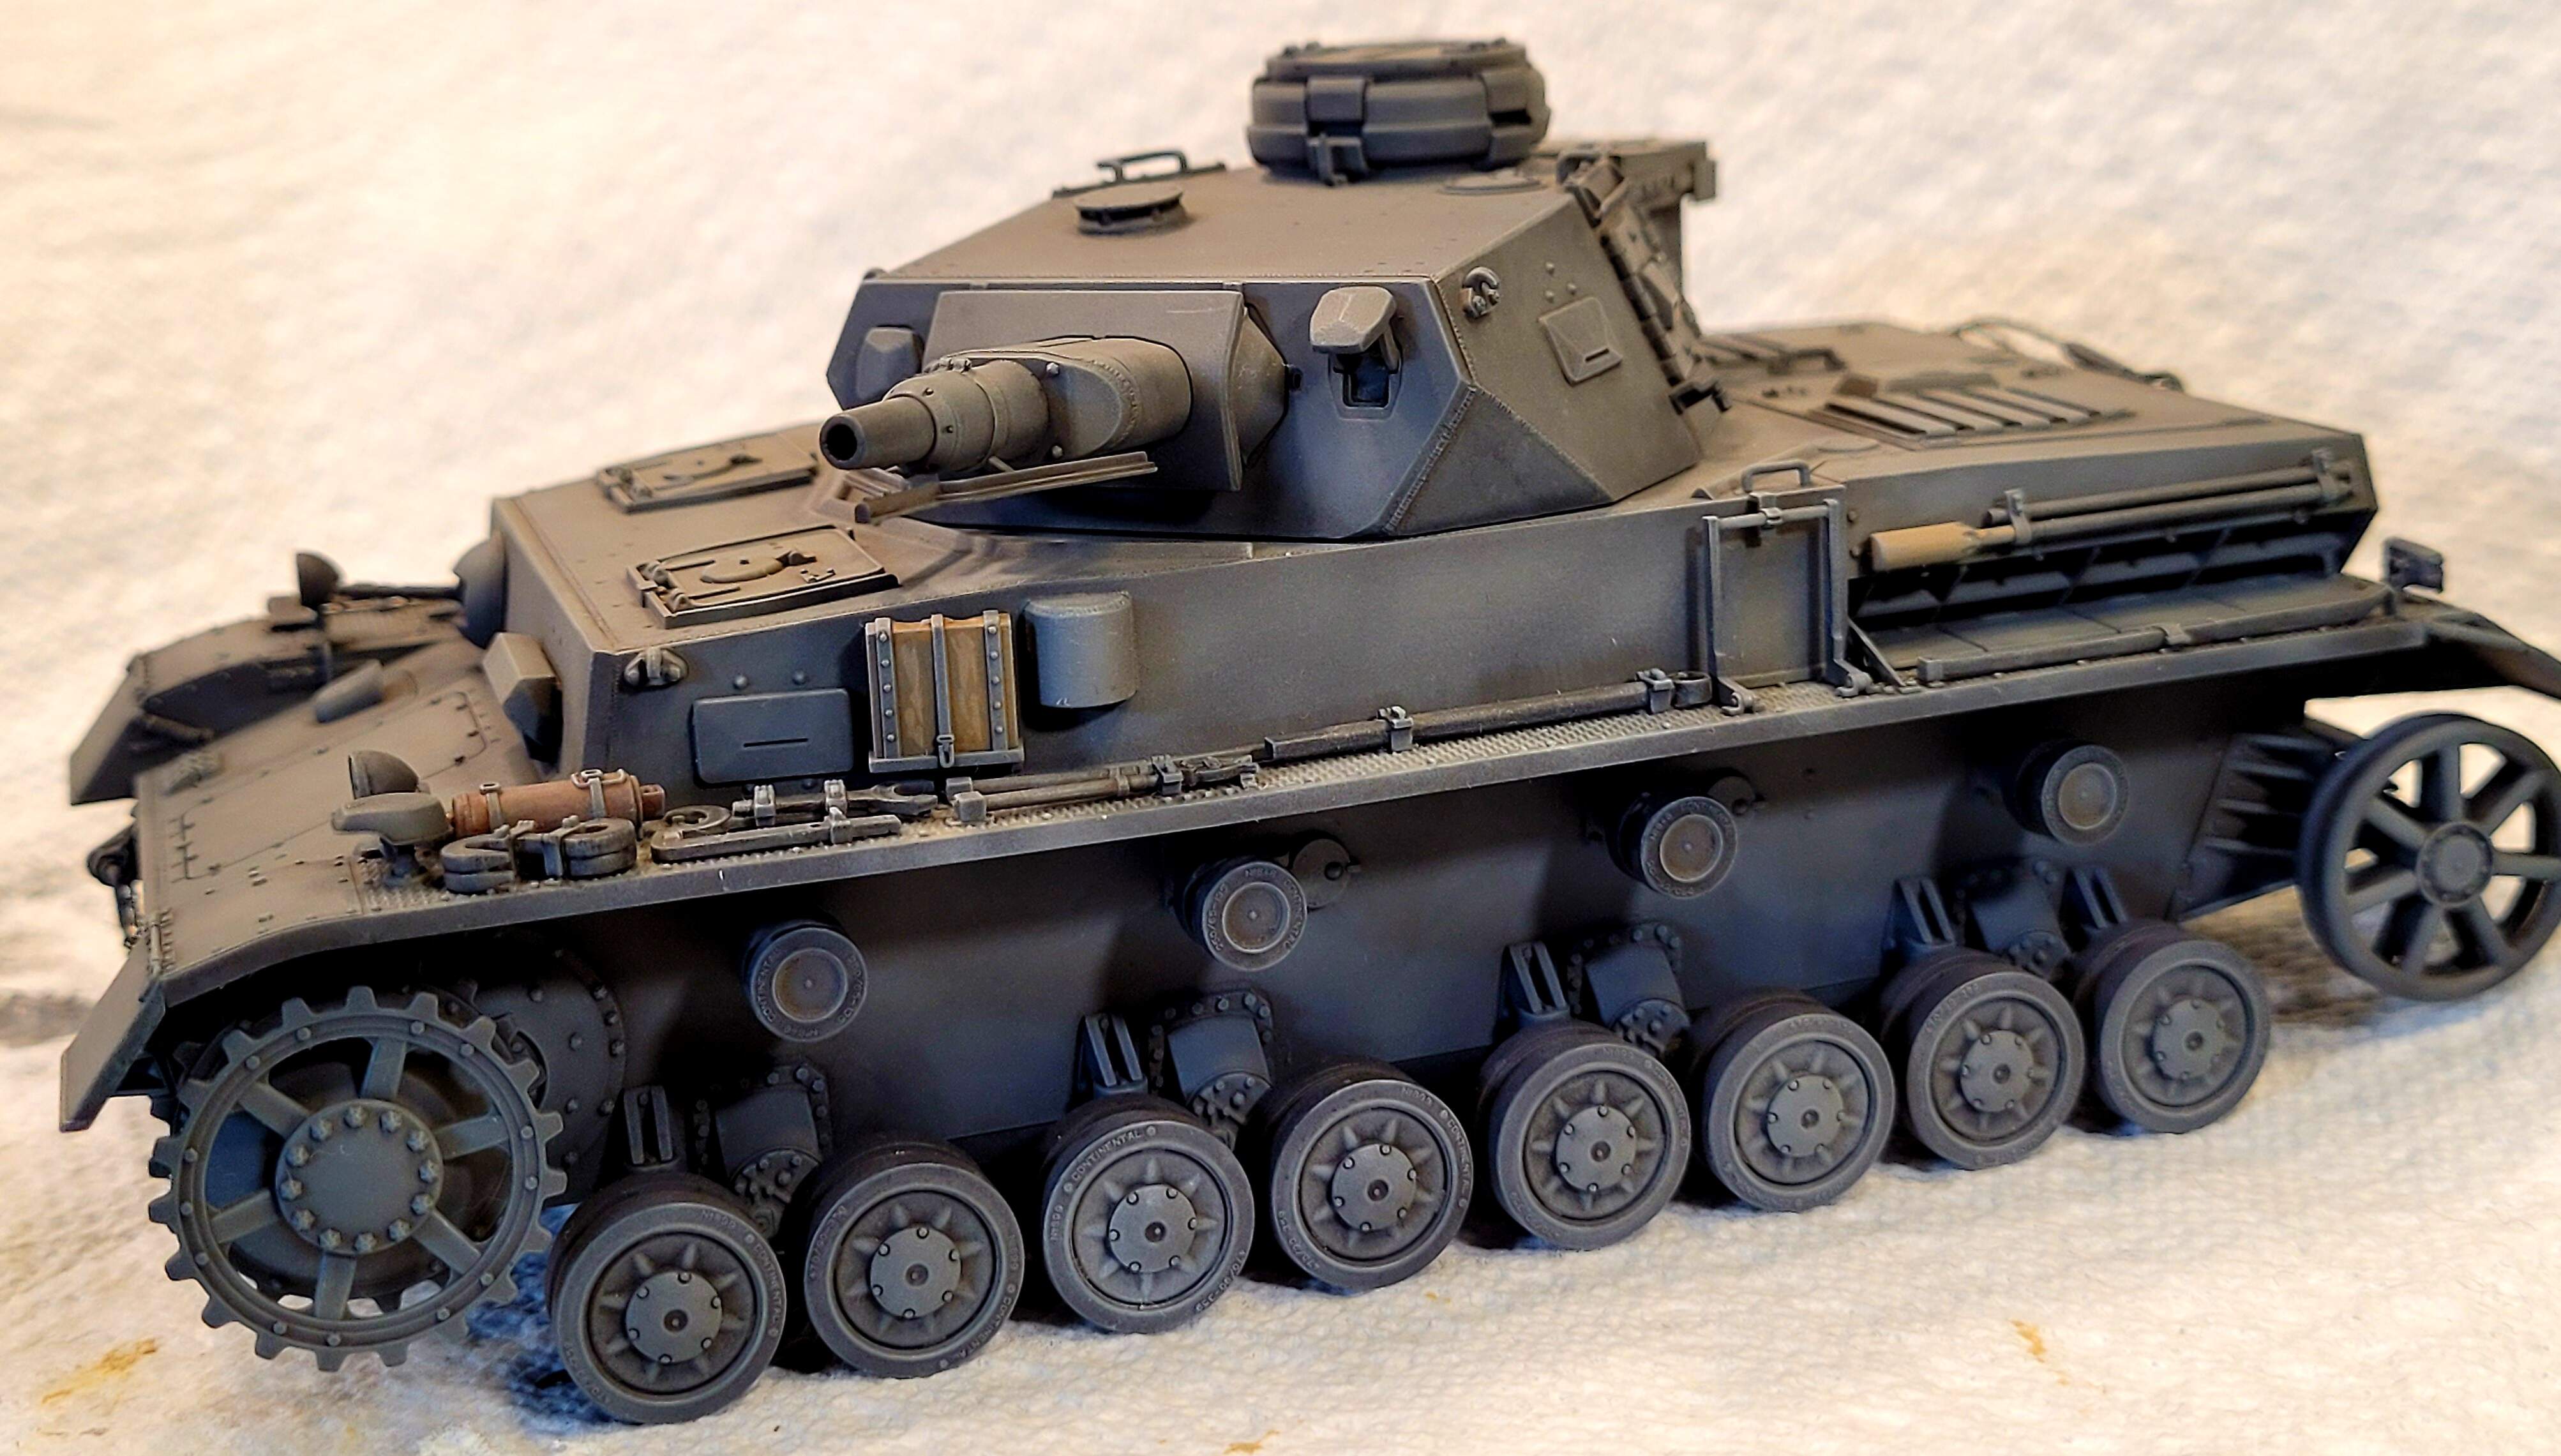
After wash was applied.
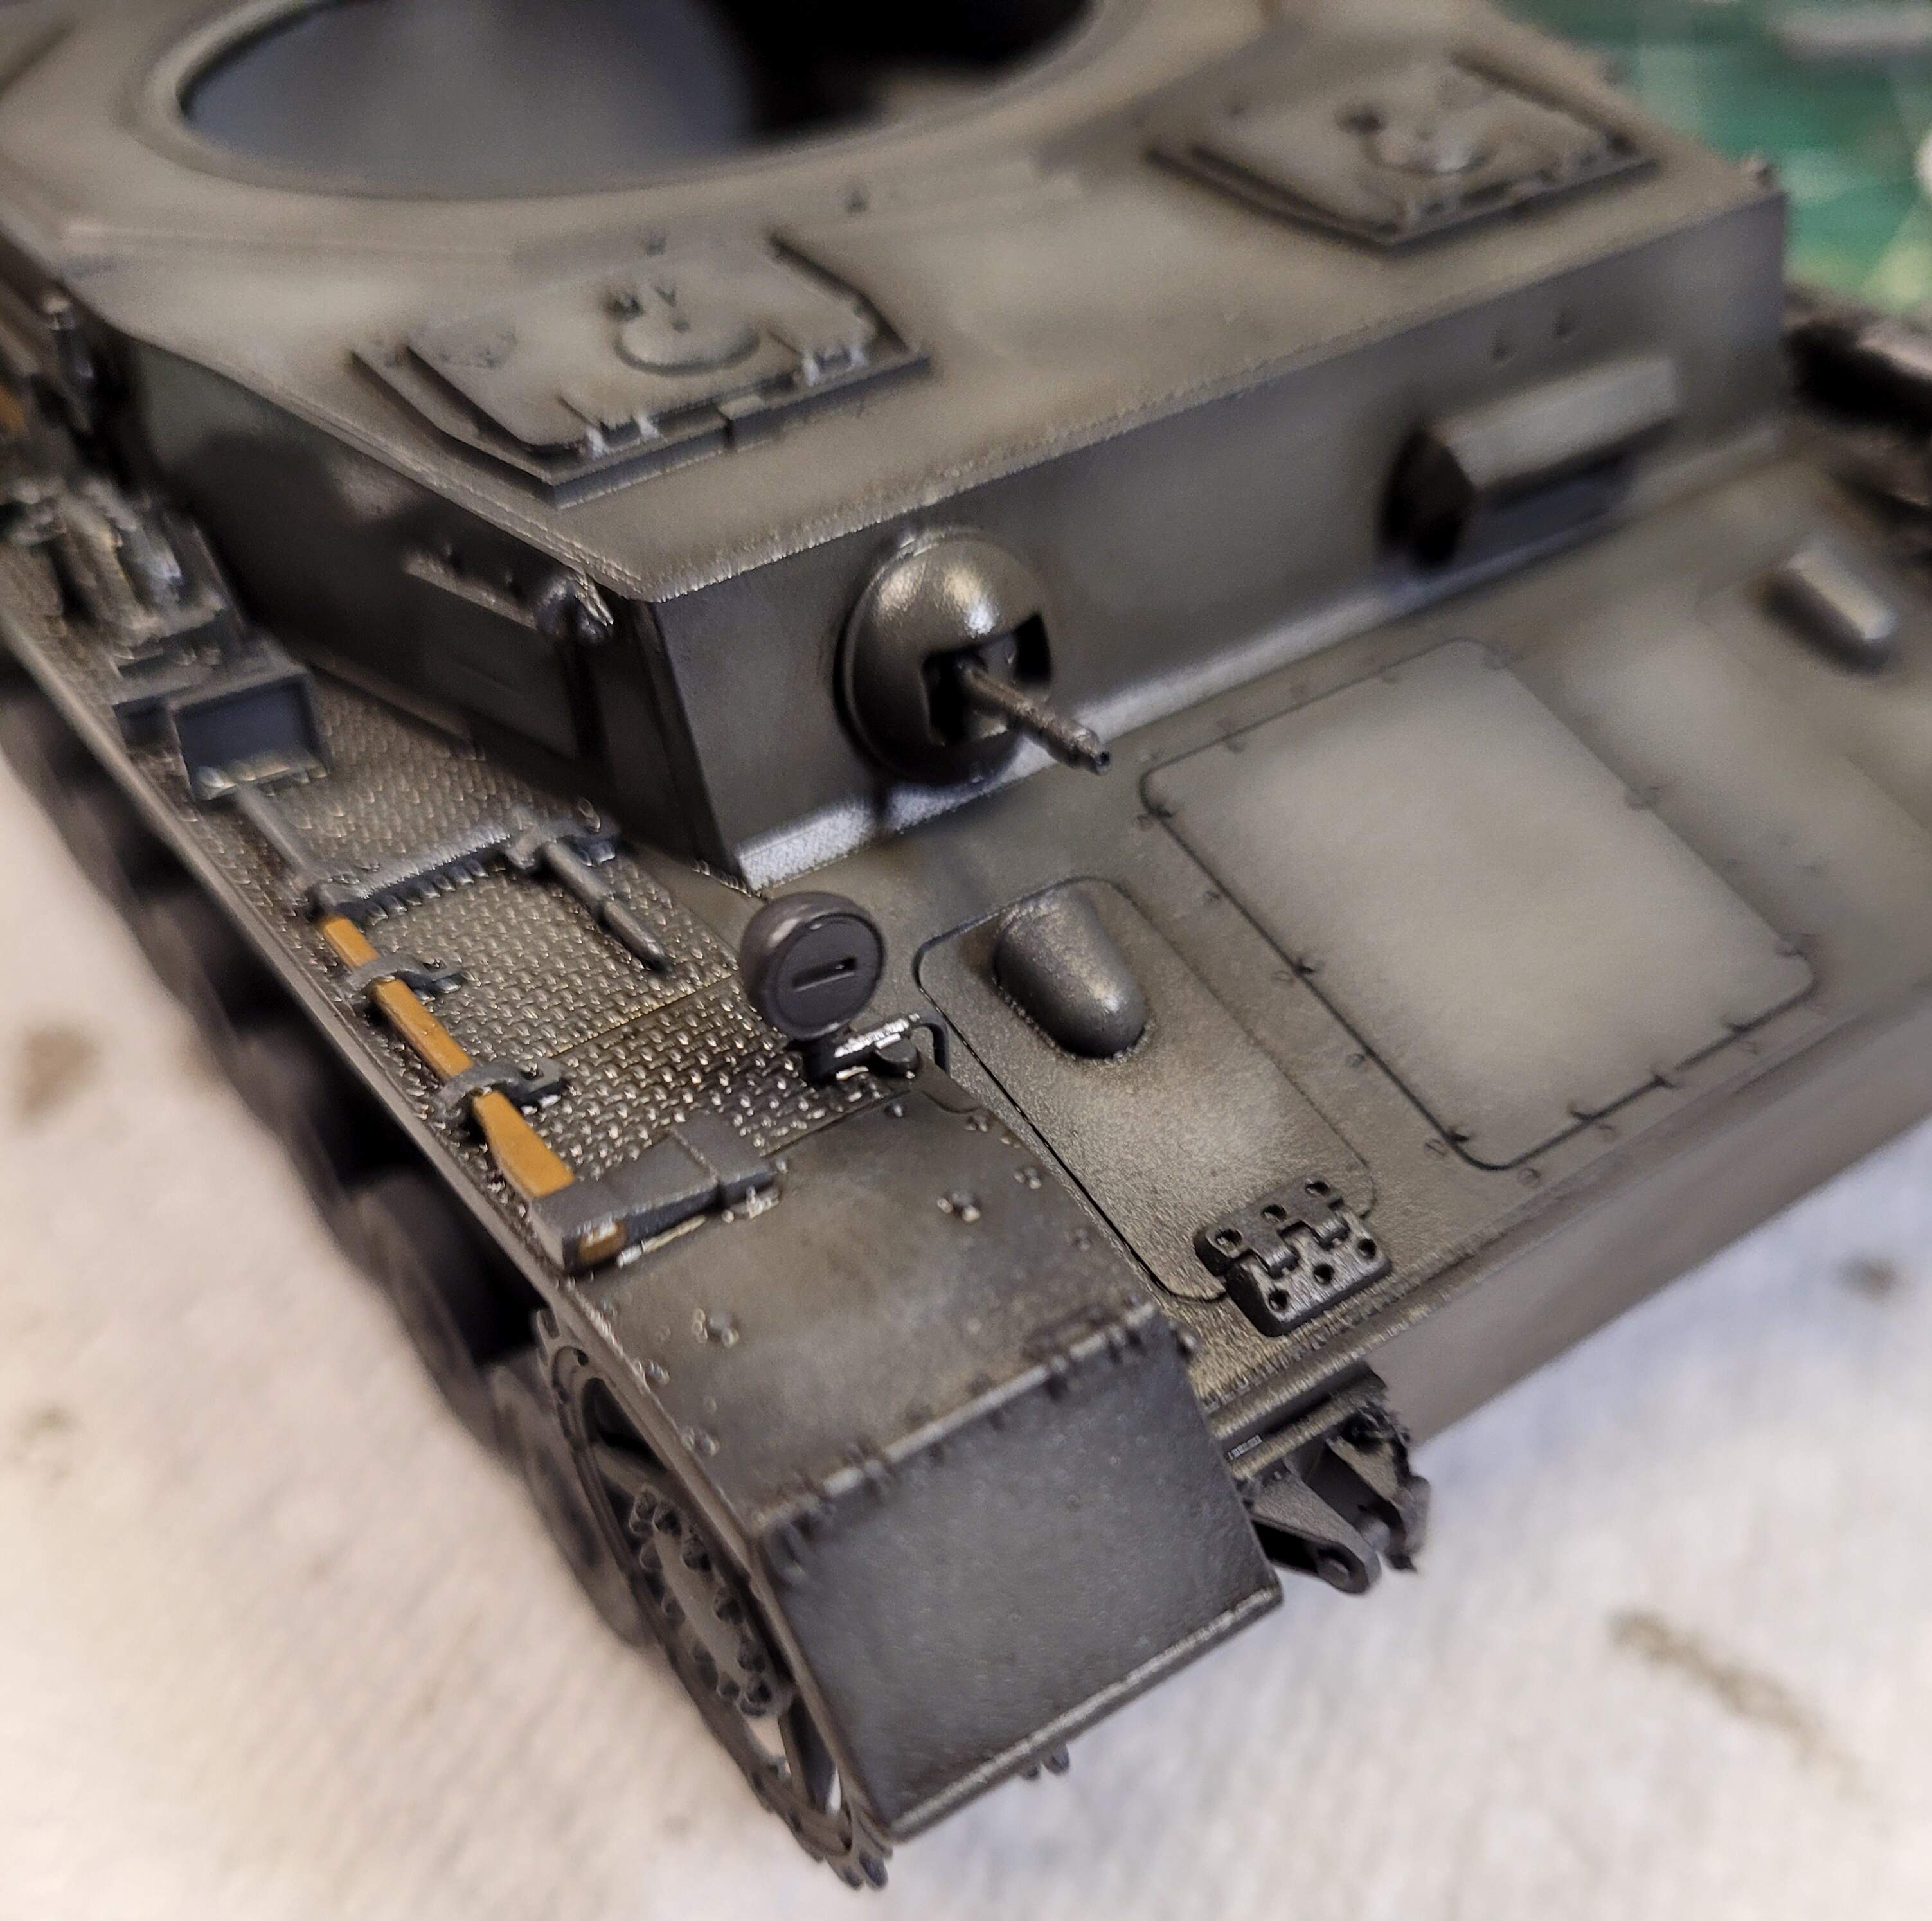
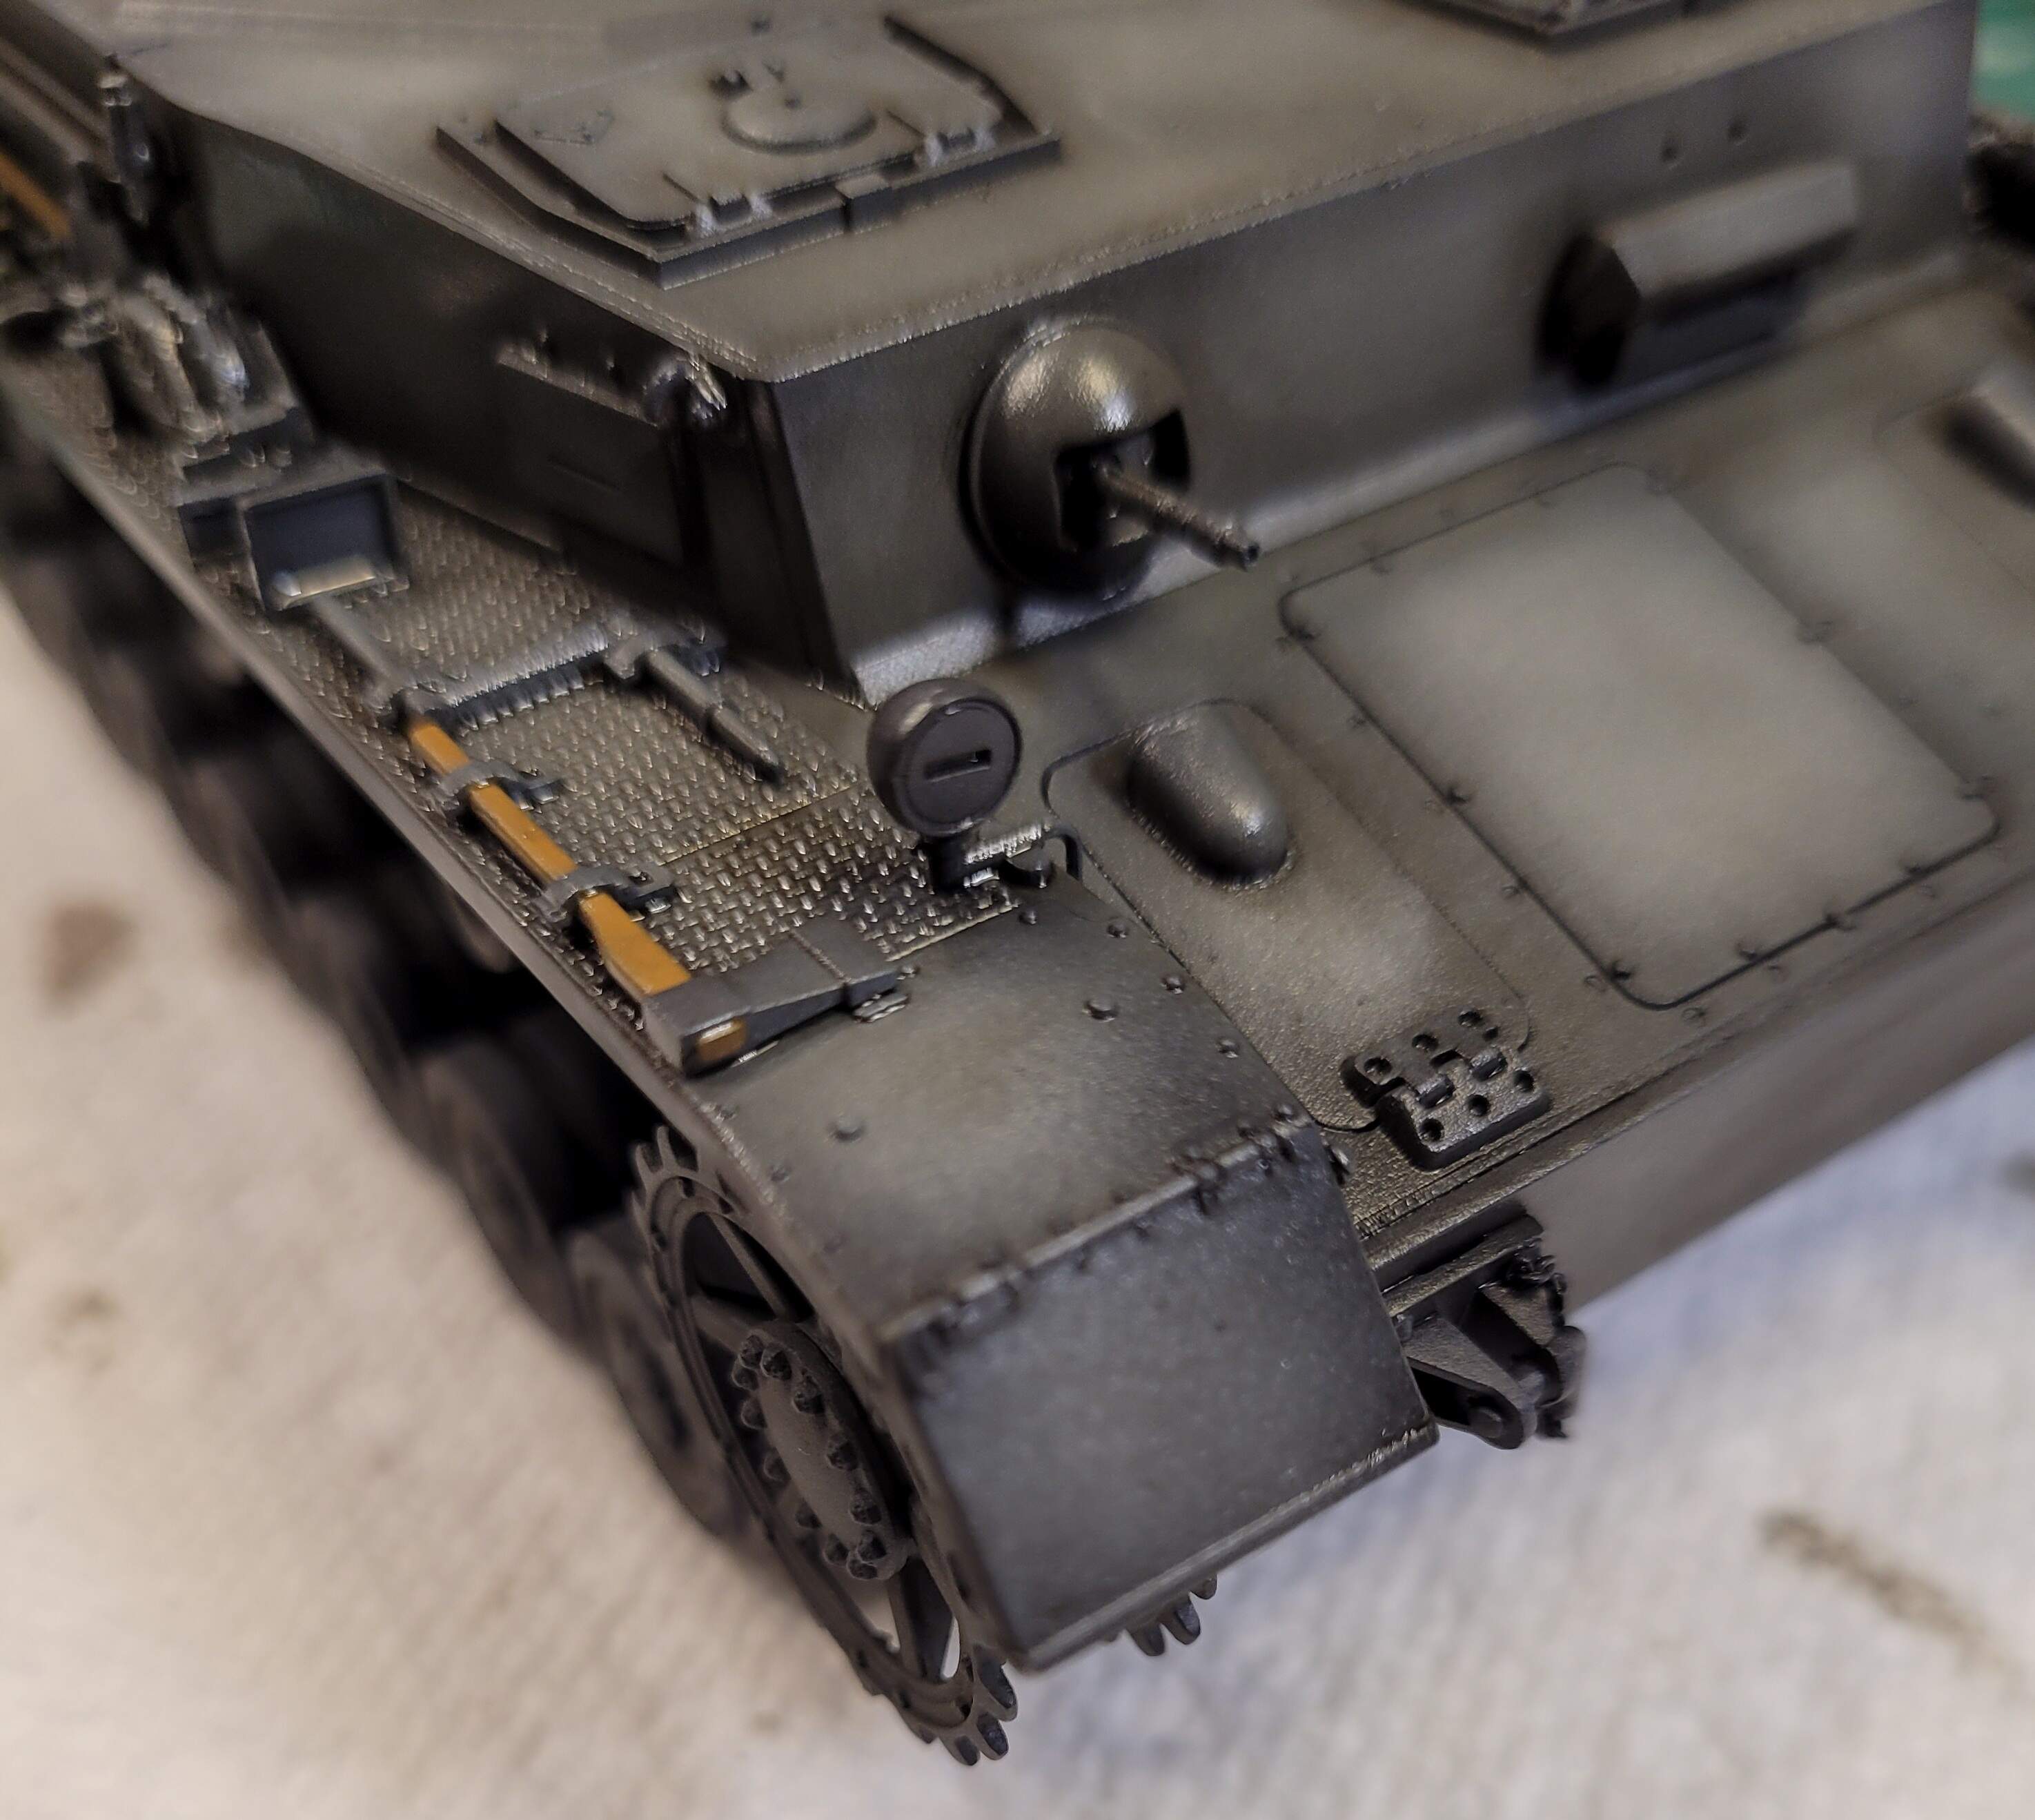
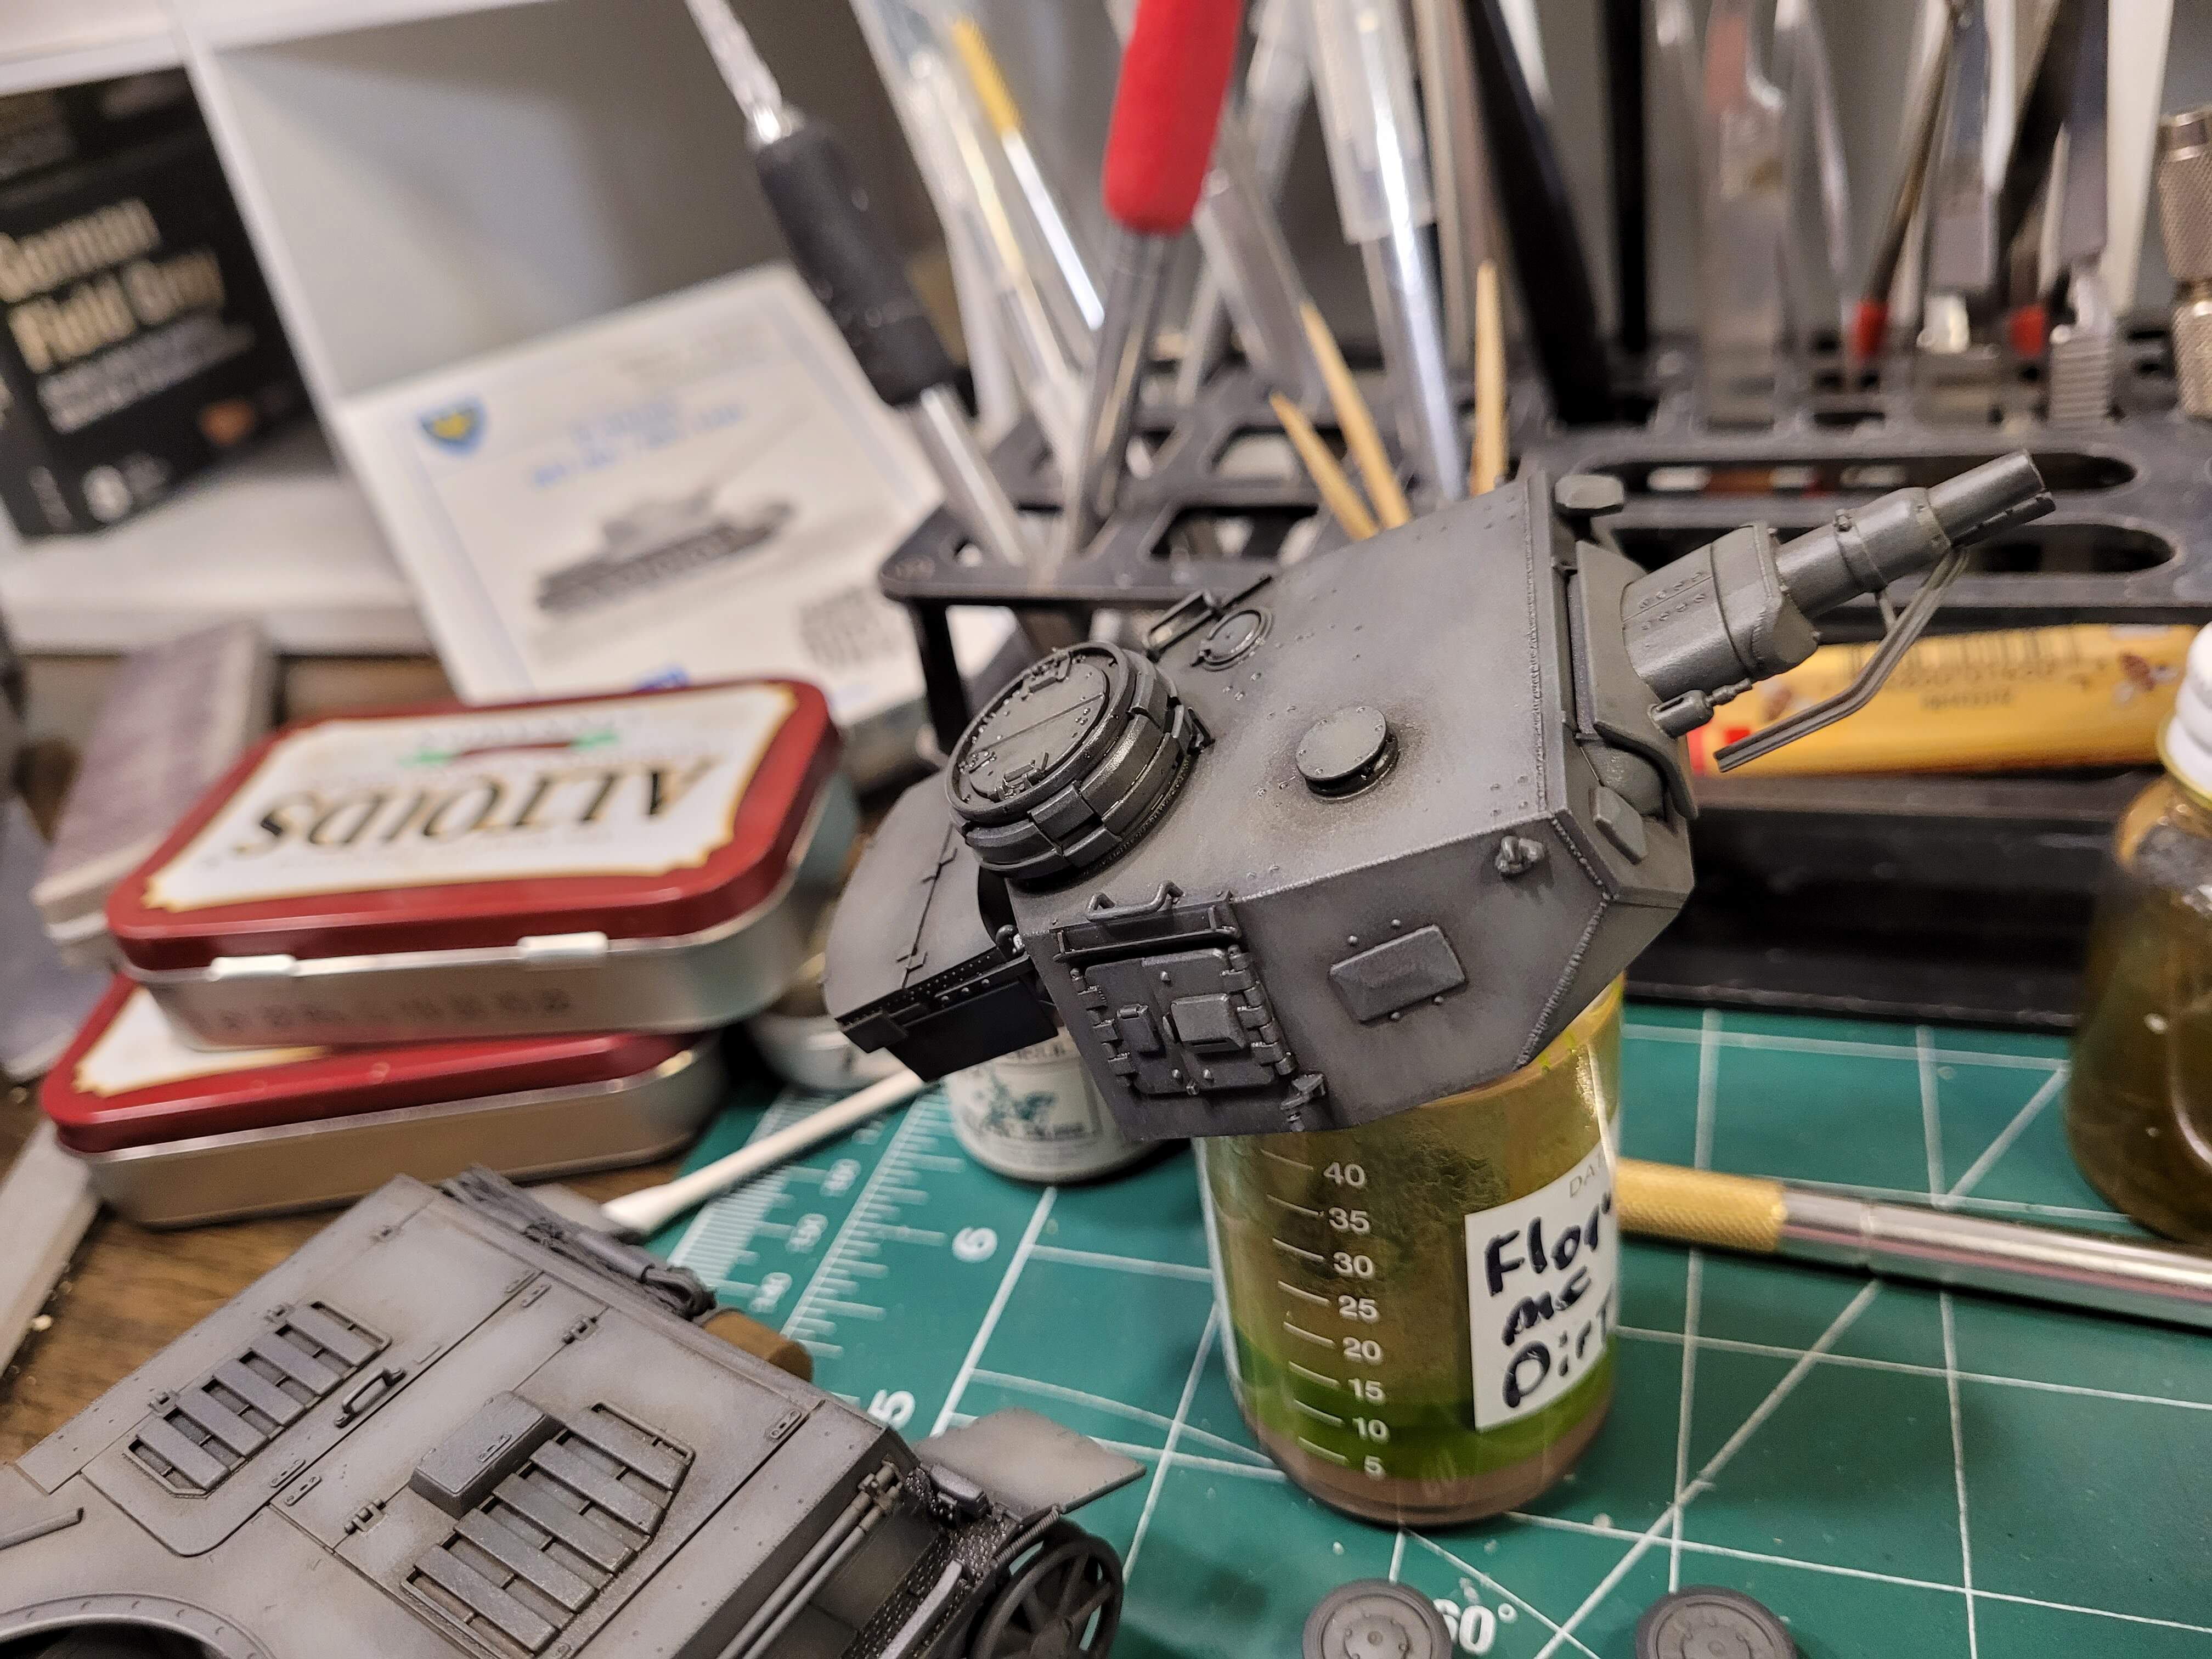
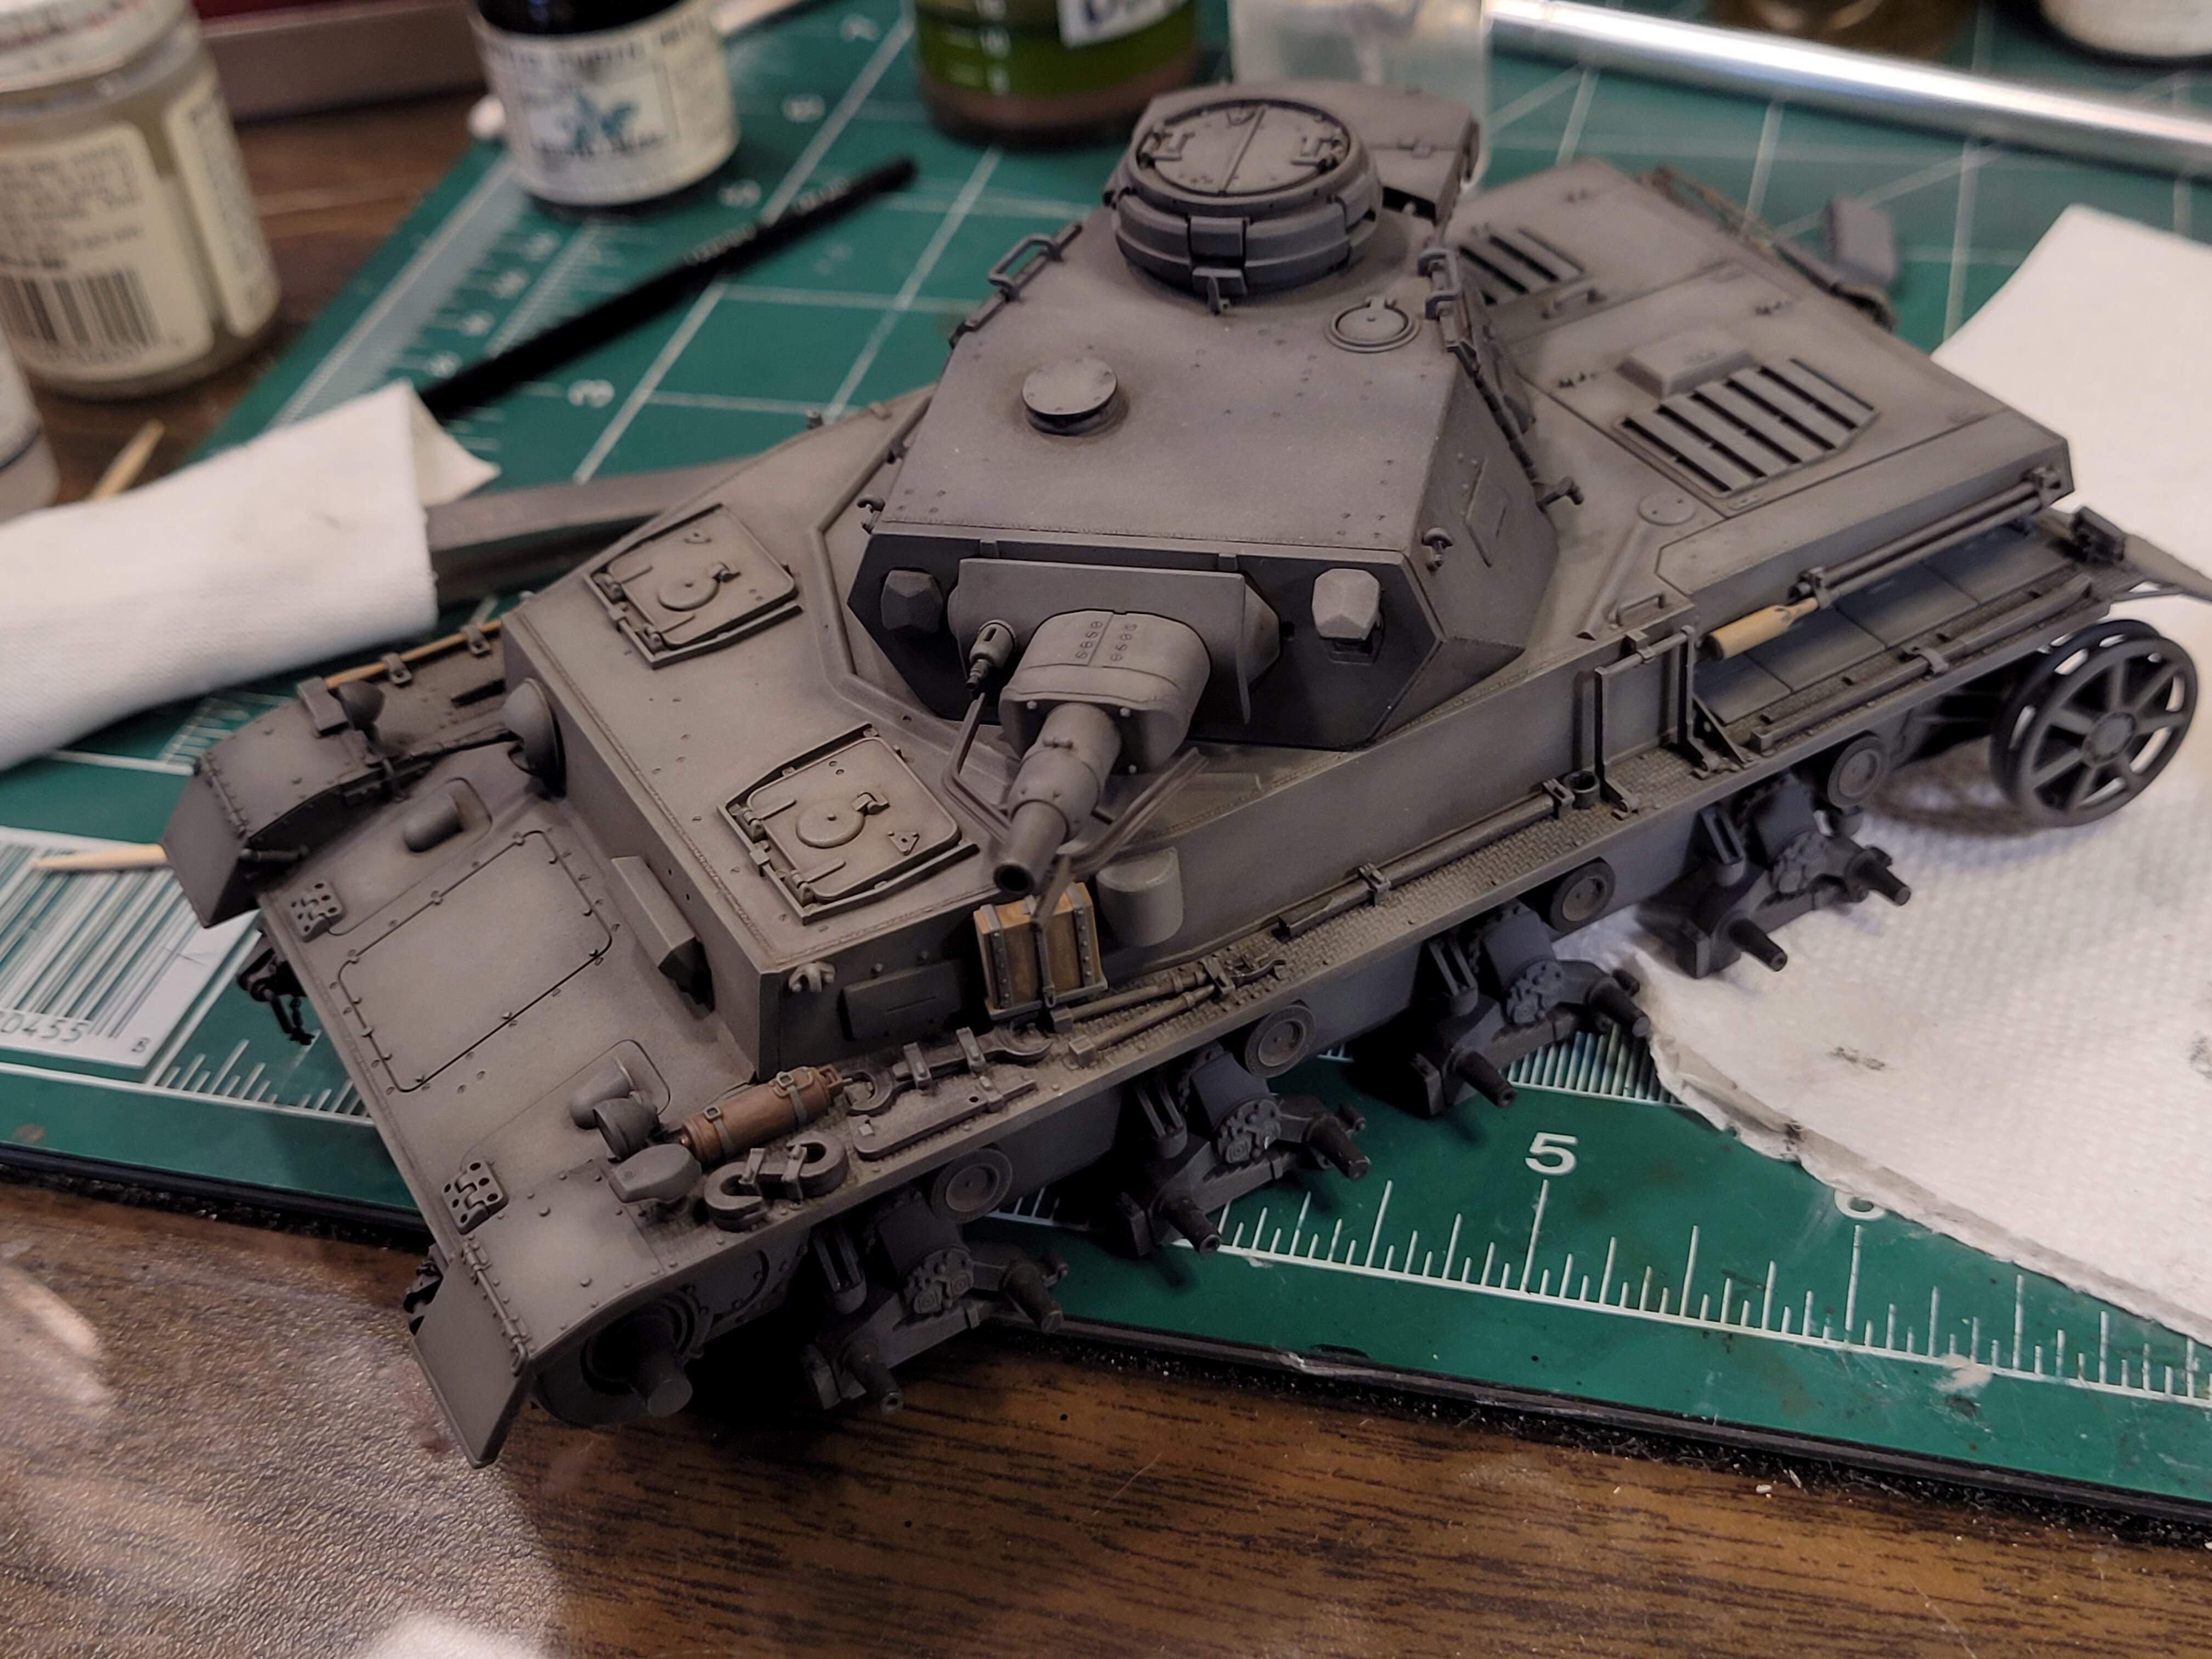
Hour after wash applied.
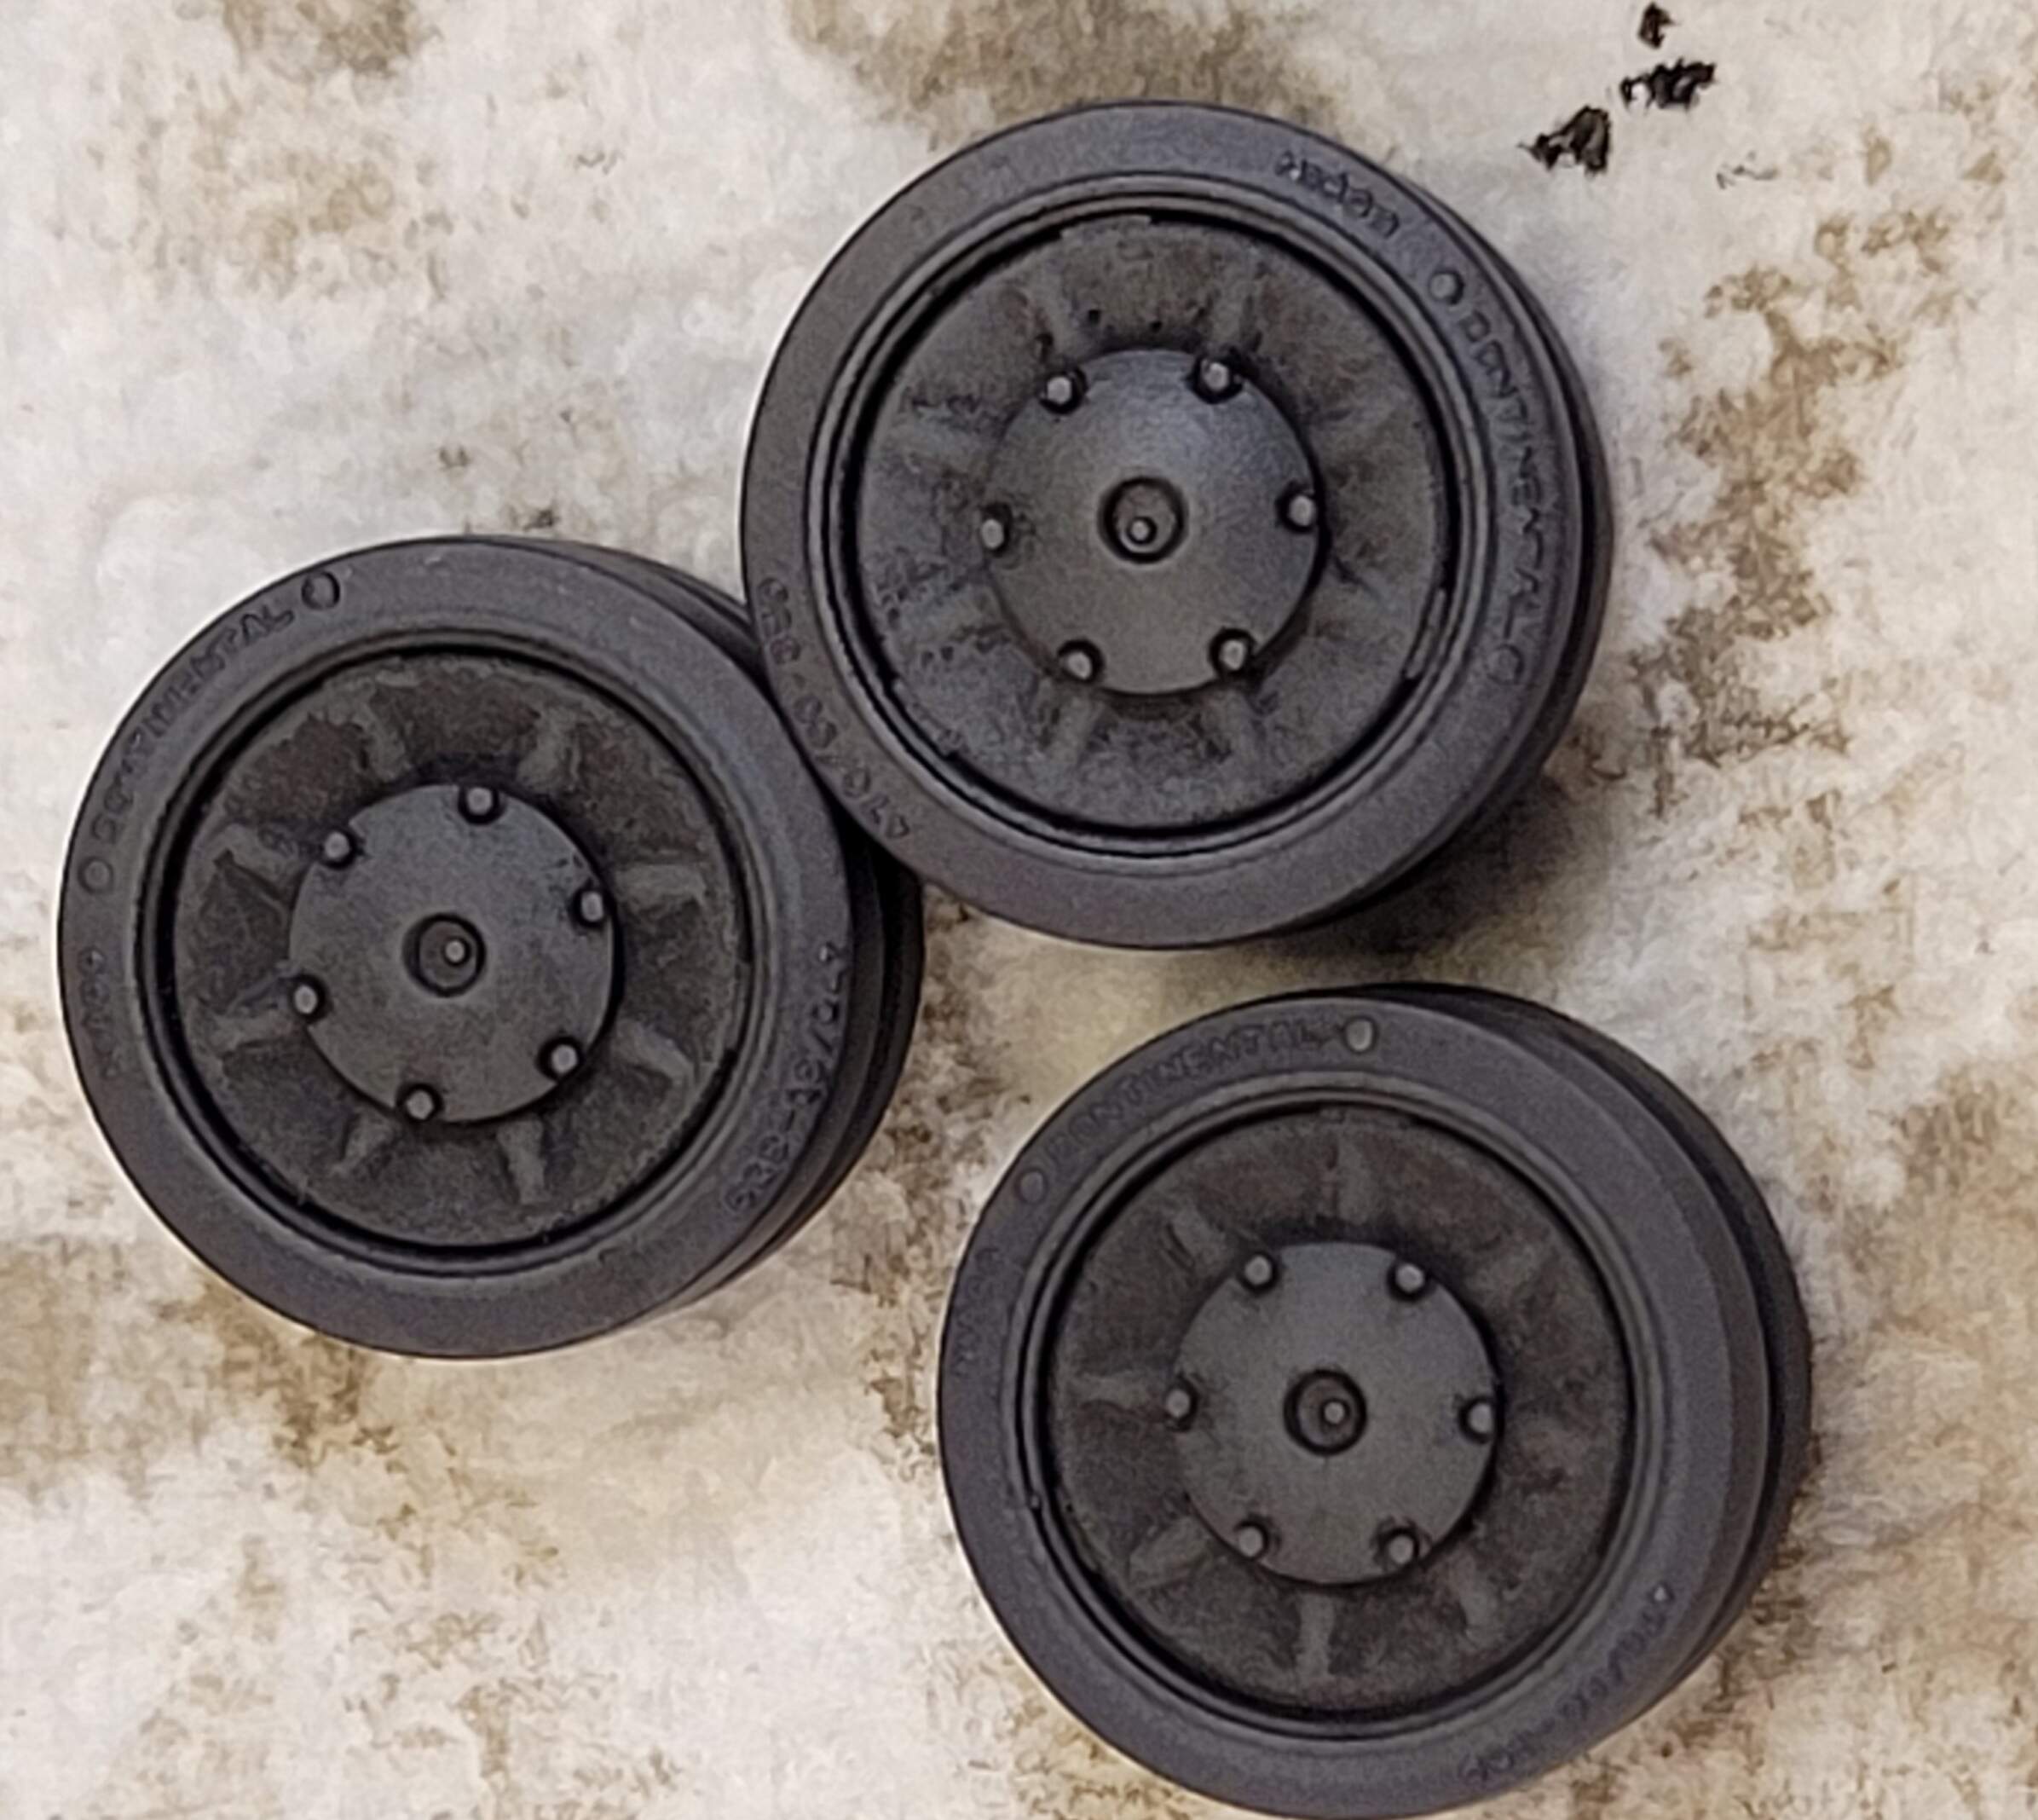
Wheels after wash.
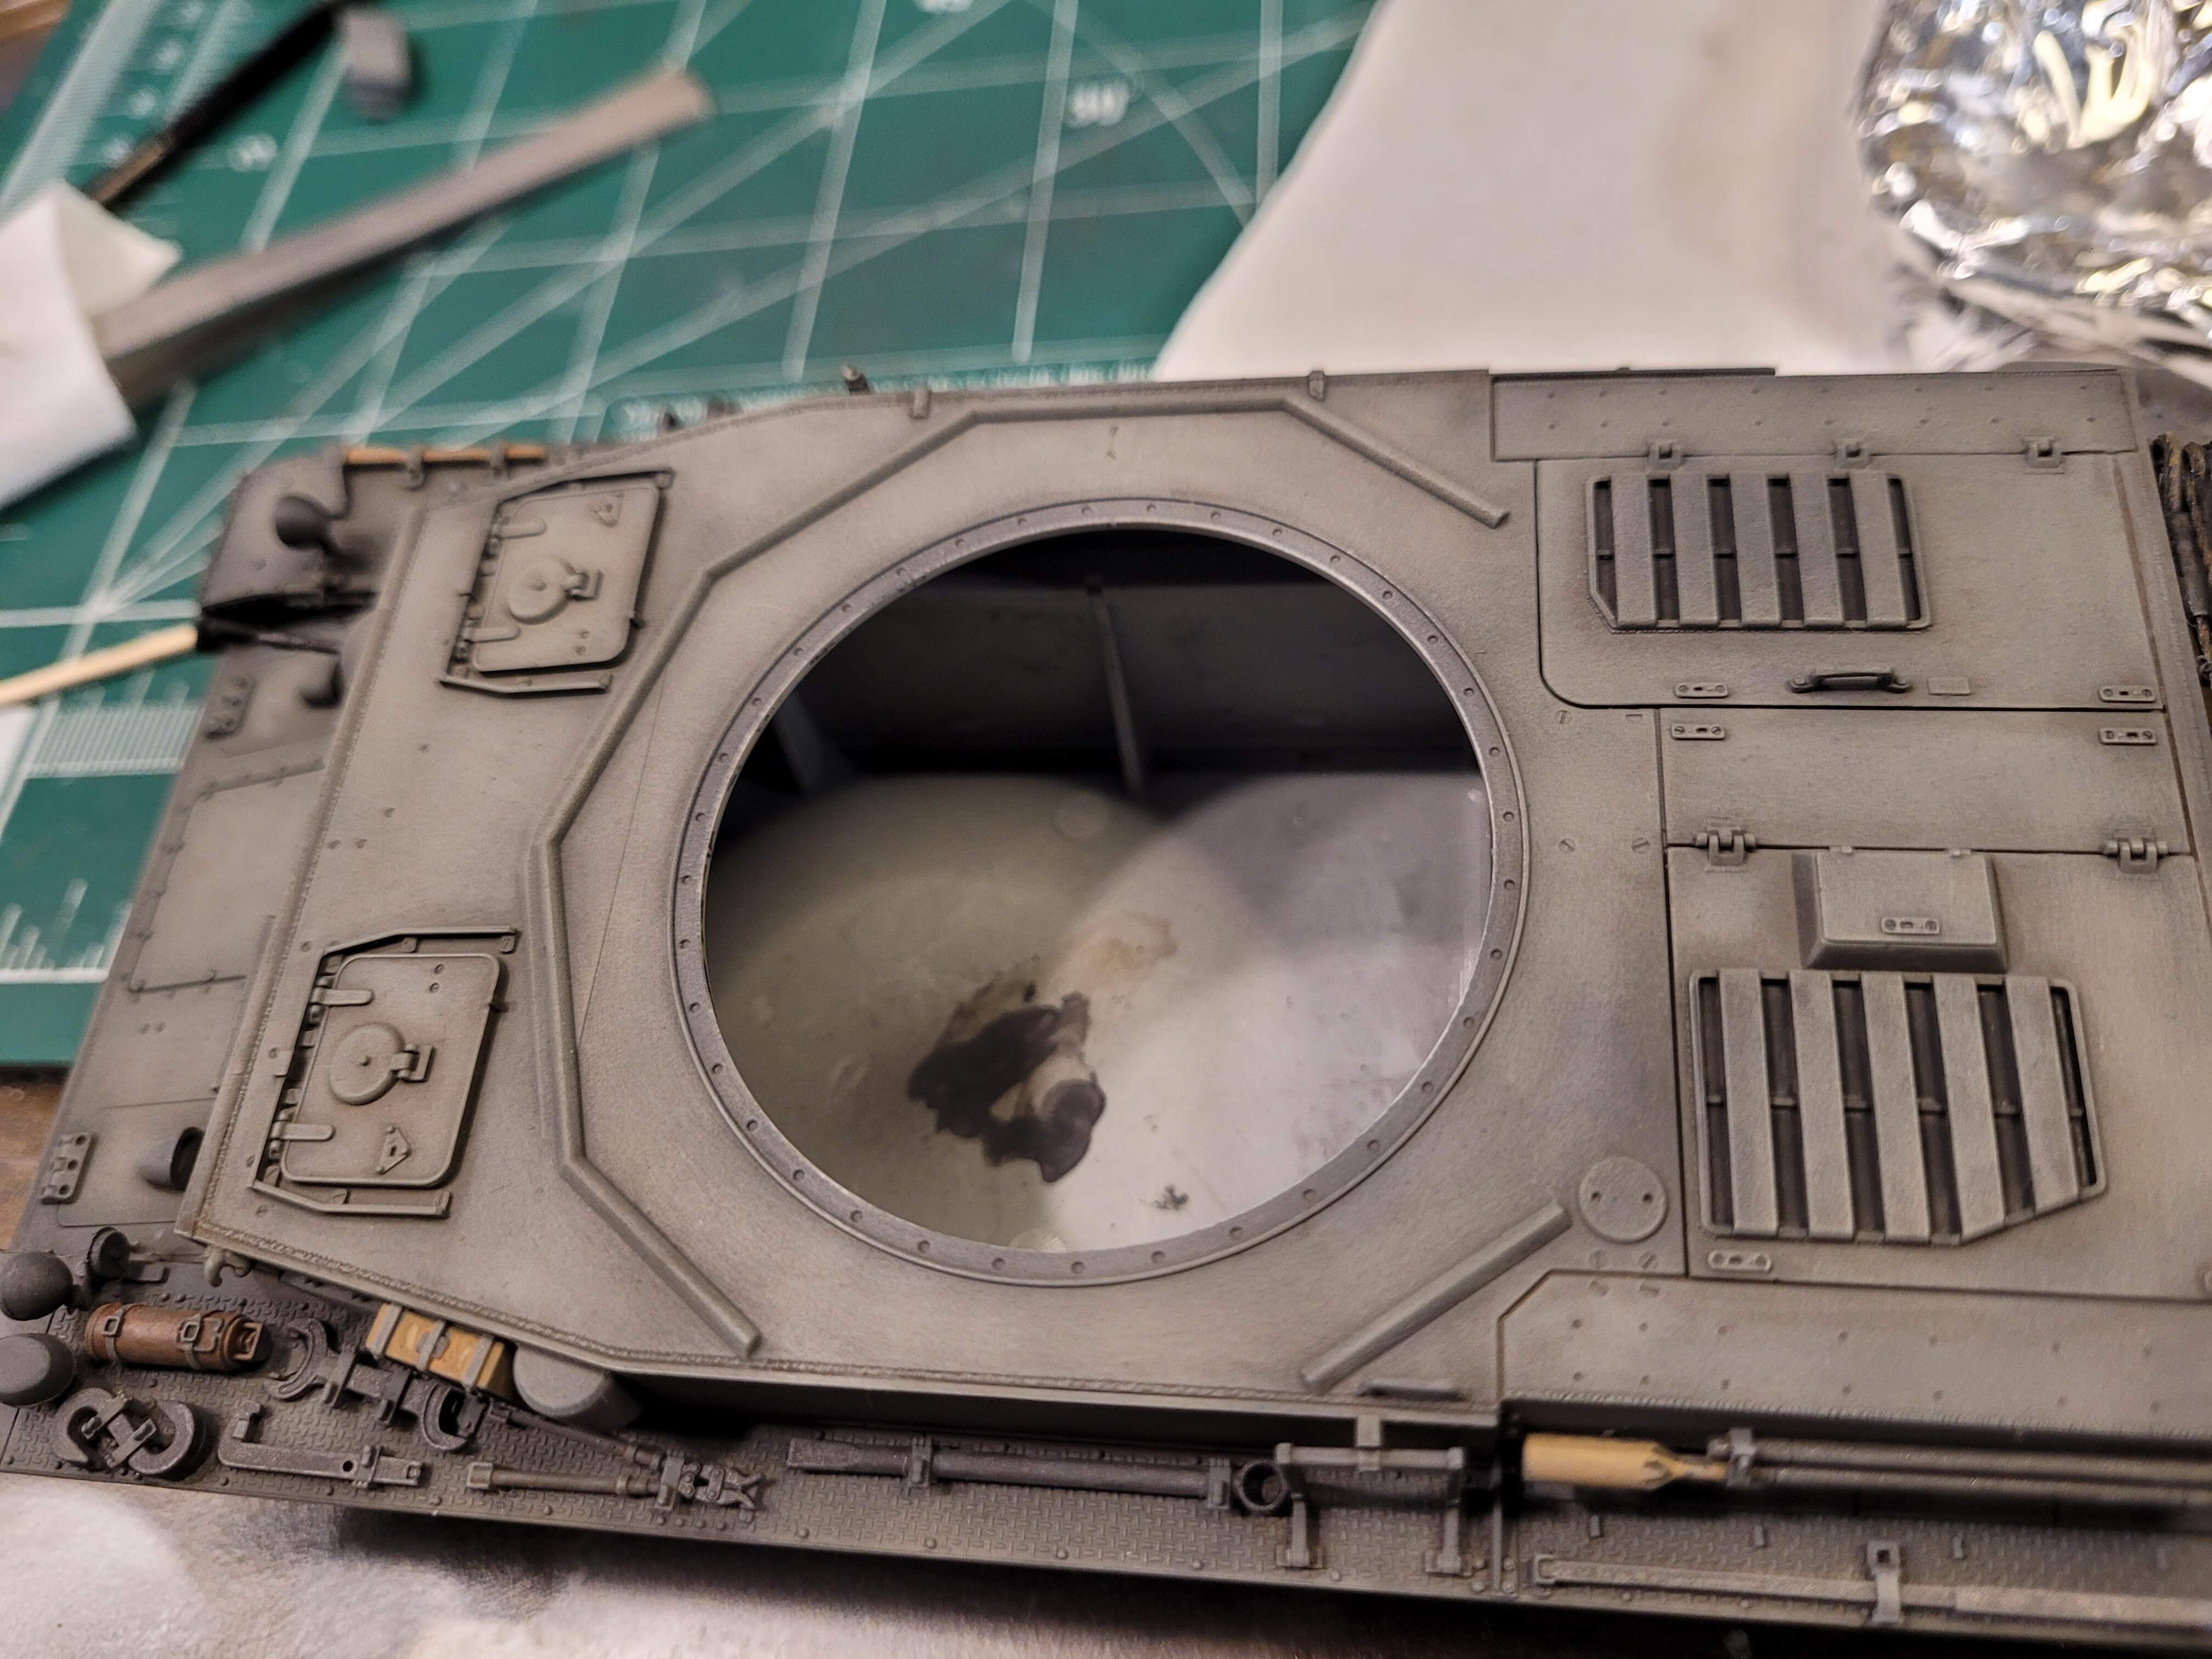
The model will need to dry and cure for about 24 hours. There will also be some typical touch ups such as reattaching the radio operator hatch that came loose during the process etc.
After the tools are painted, the next step will be drybrushing:)
Huge thank you for this demo! This technique is simply amazing and brings lots of interest to monotone subjects in a fairly easy process.
Here is my turret after on application of a blend coat. I’ll probably do one more to tone it down a bit but I’m loving the look
Happy to share my little bit of knowledge about shadow Paint technique.
The T-55 turret looks outstanding!
I think you’ve made it your technique!
Were I you I would not add another blend coat. What you have already looks fairly “natural” and with the application of a wash as per above it will be blended even more. If you’ve already done it it’s not a big deal. Like Wade said you’ve made it your technique. 
Cheers! Sounds good. I have not applied another blend coat, was giving it some time to decided whether it was needed.
Glad to have seen this tutorial and to have tried this technique. It’s the first time I’ve been really happy with a single coloured paint scheme and actually at least to my eye made it look interesting
I agree with @Armorsmith, DV is right the wash will also blend.
I’m happy to hear you’ve found the T-55 result pleasing! That definitely makes these sorts of threads worthwhile.
Regarding single color, working with mono Panzer Gray is probably my favorite paint scheme nowadays. It used to anything but Panzer Gray:)
I have a panzer gray build about 80% done, looking forward to using this technique on it
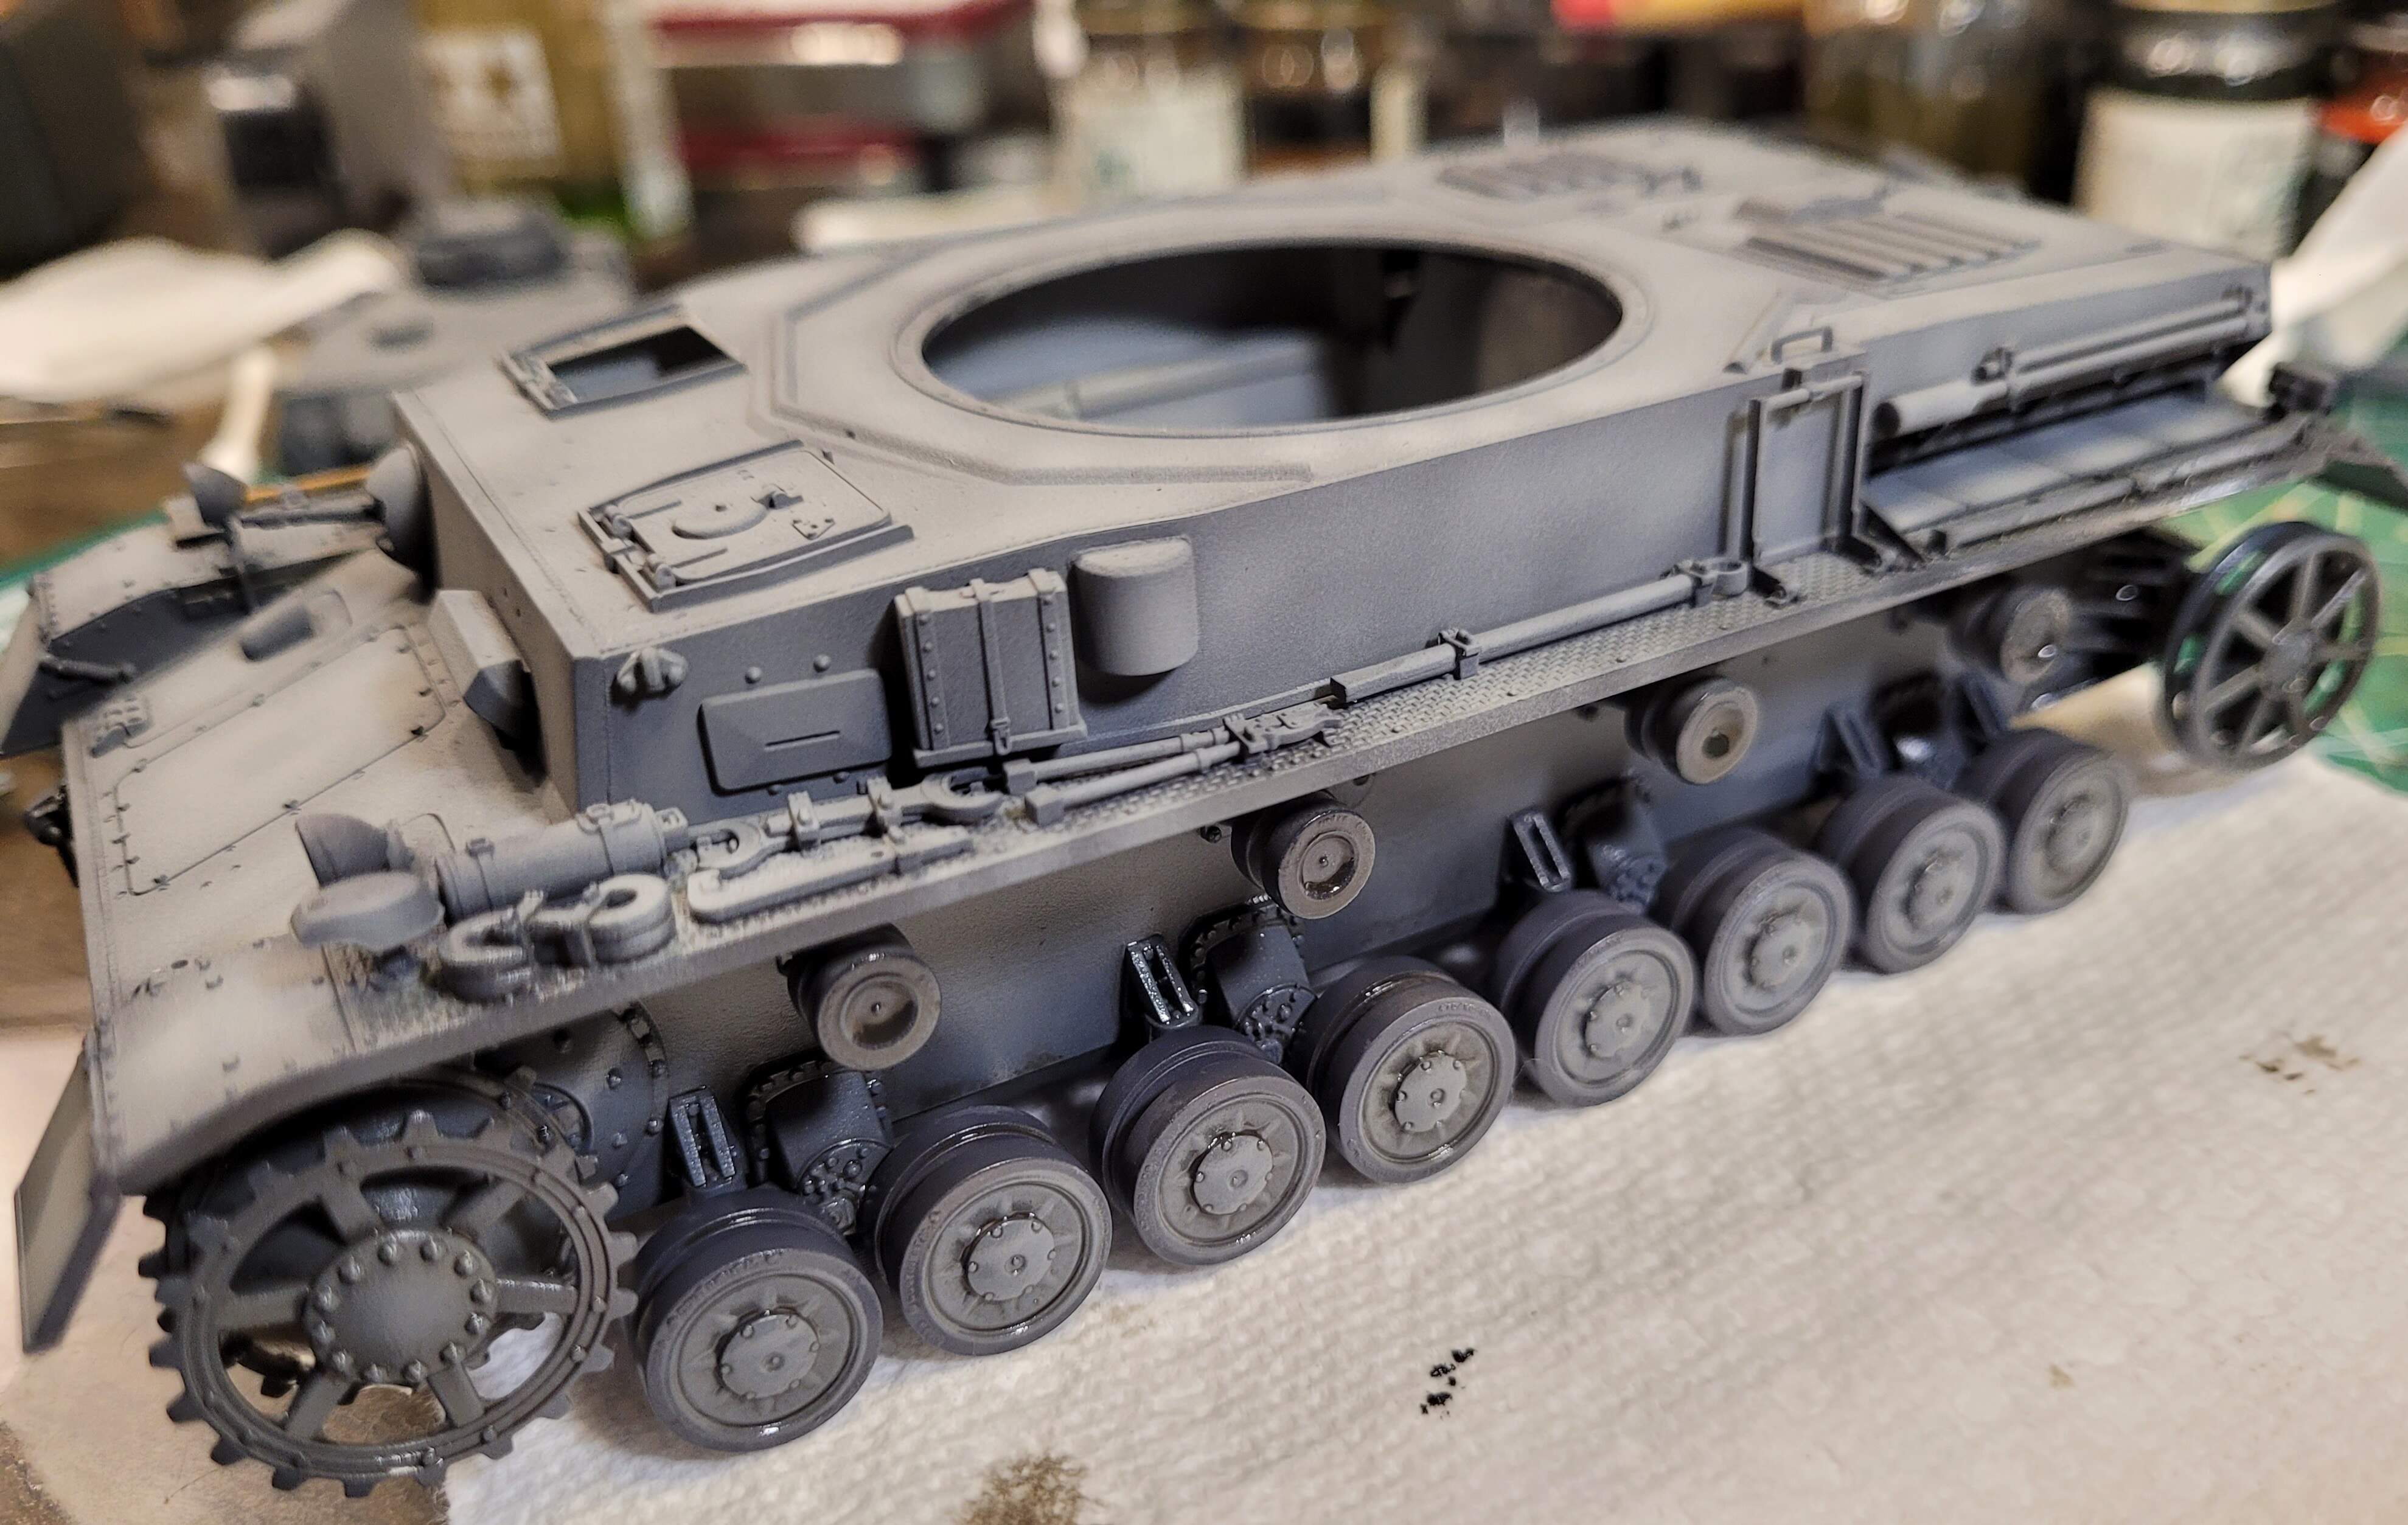
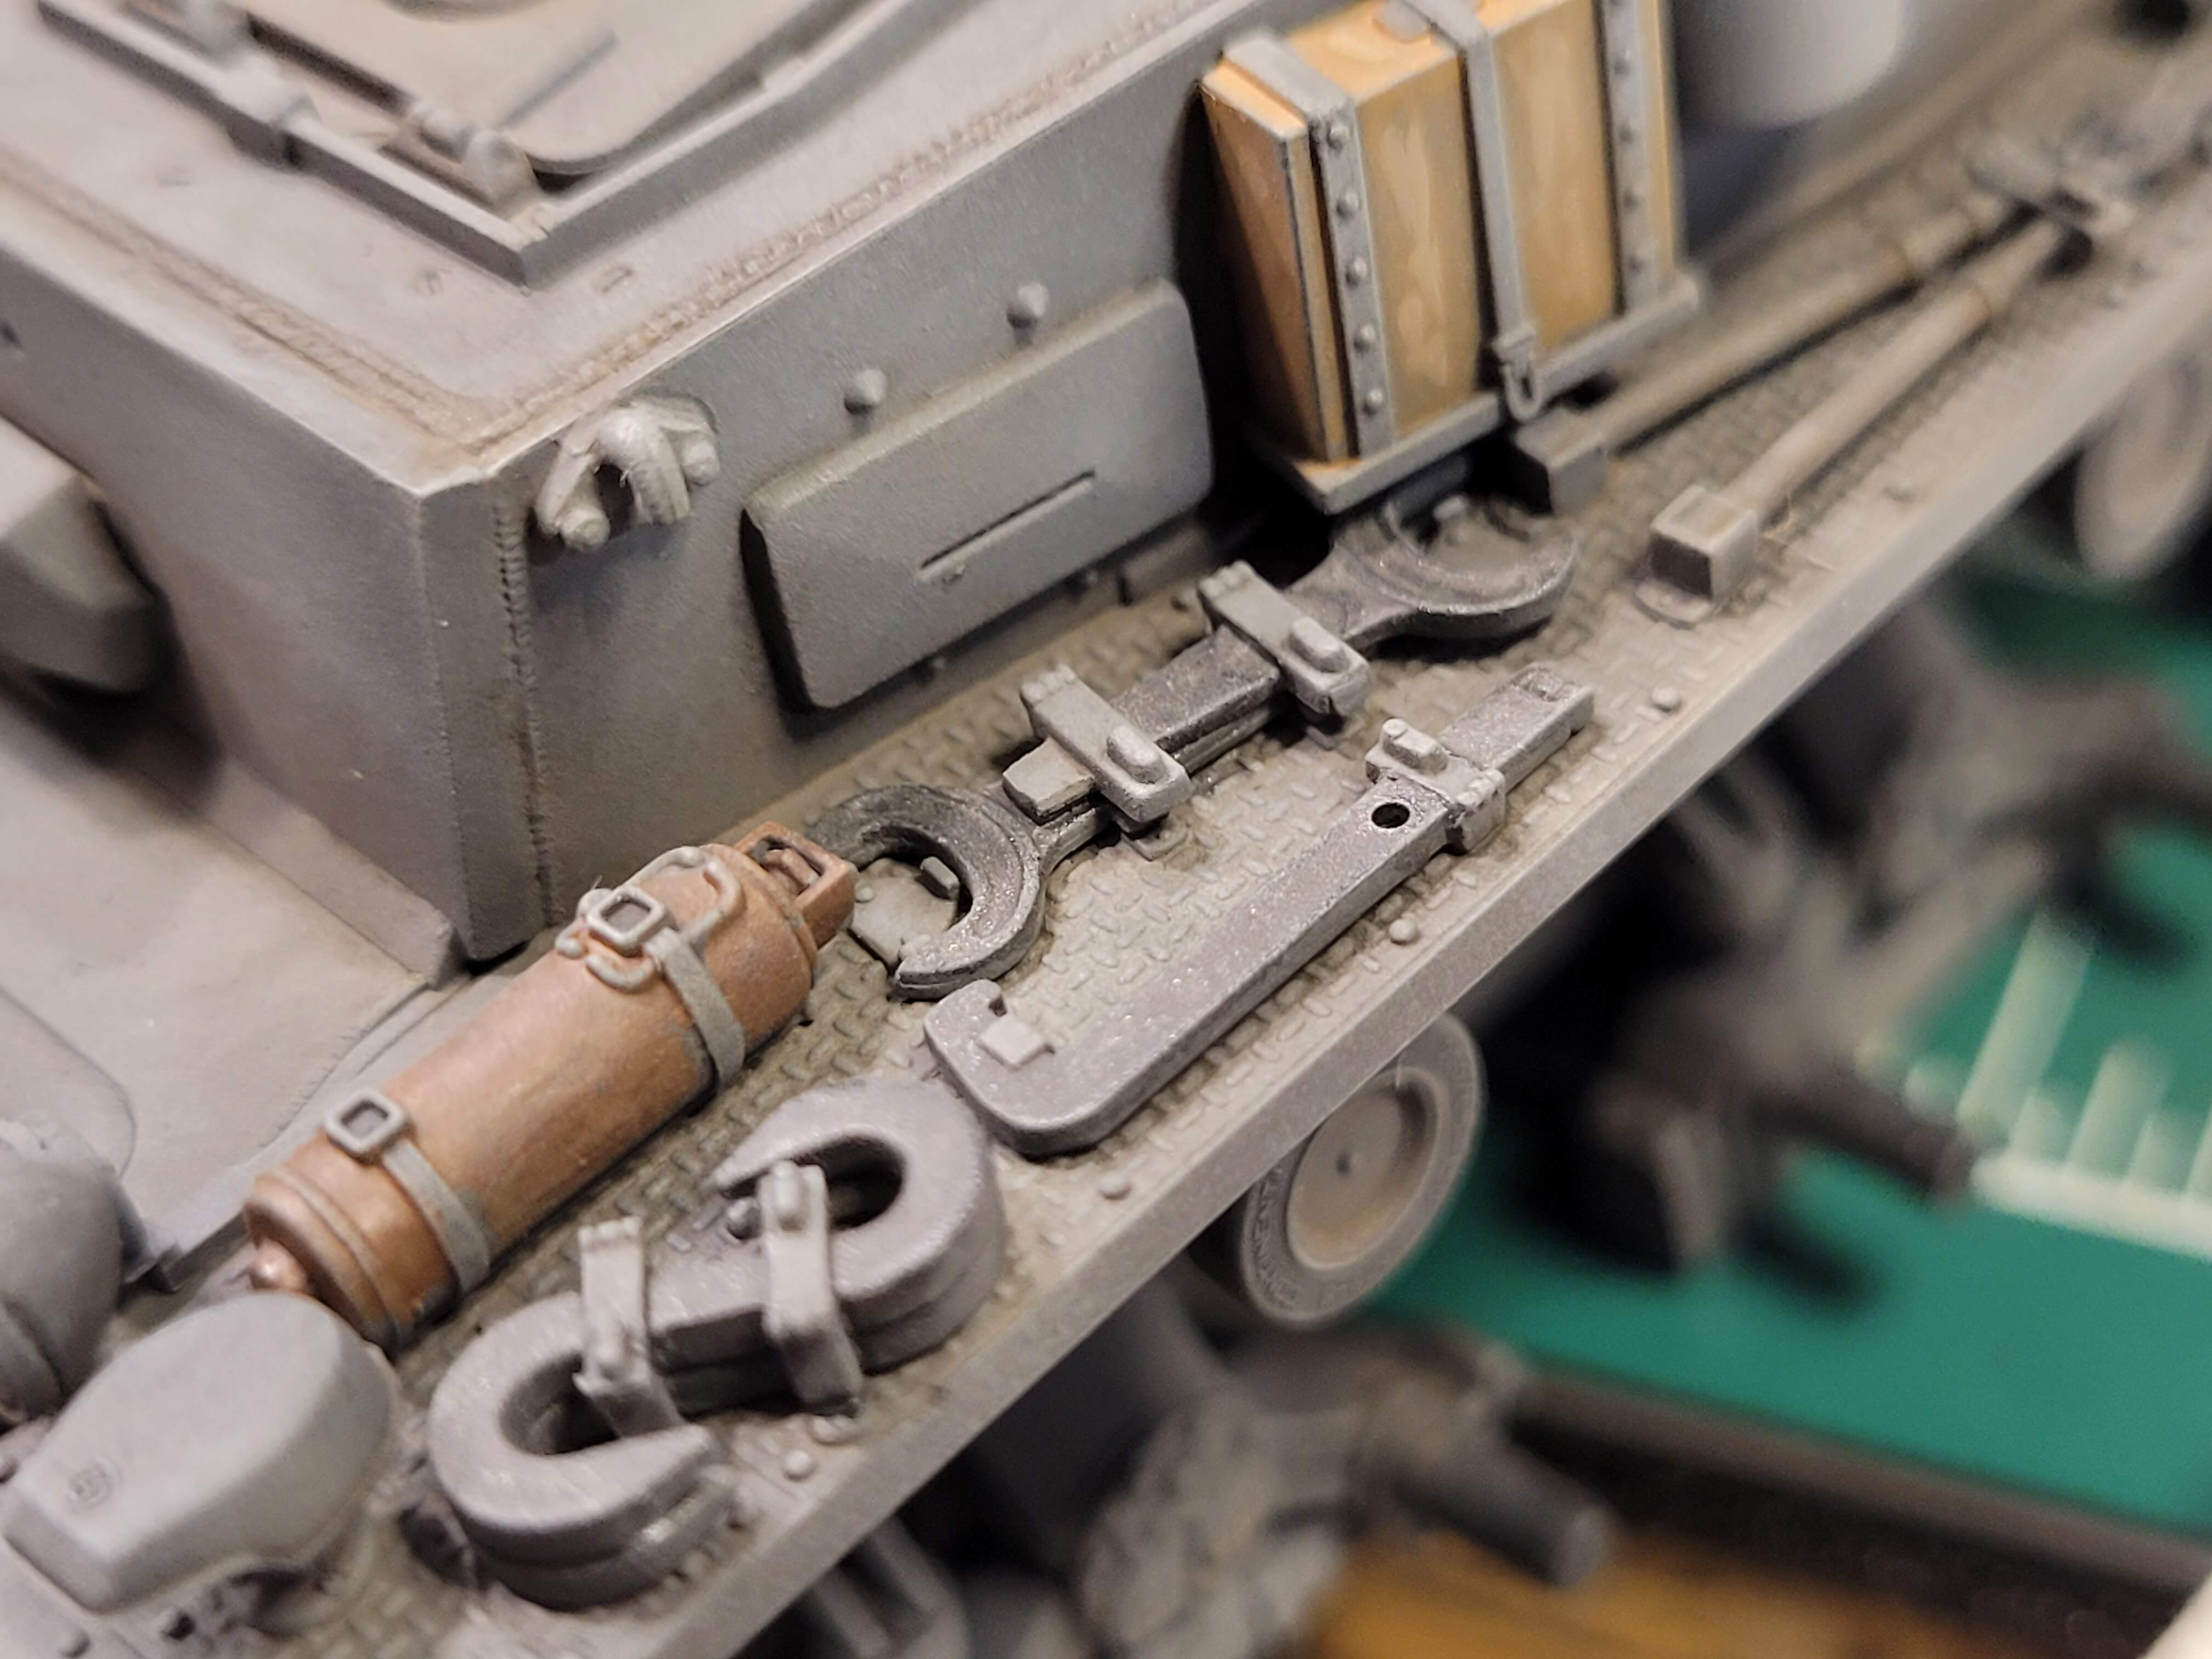
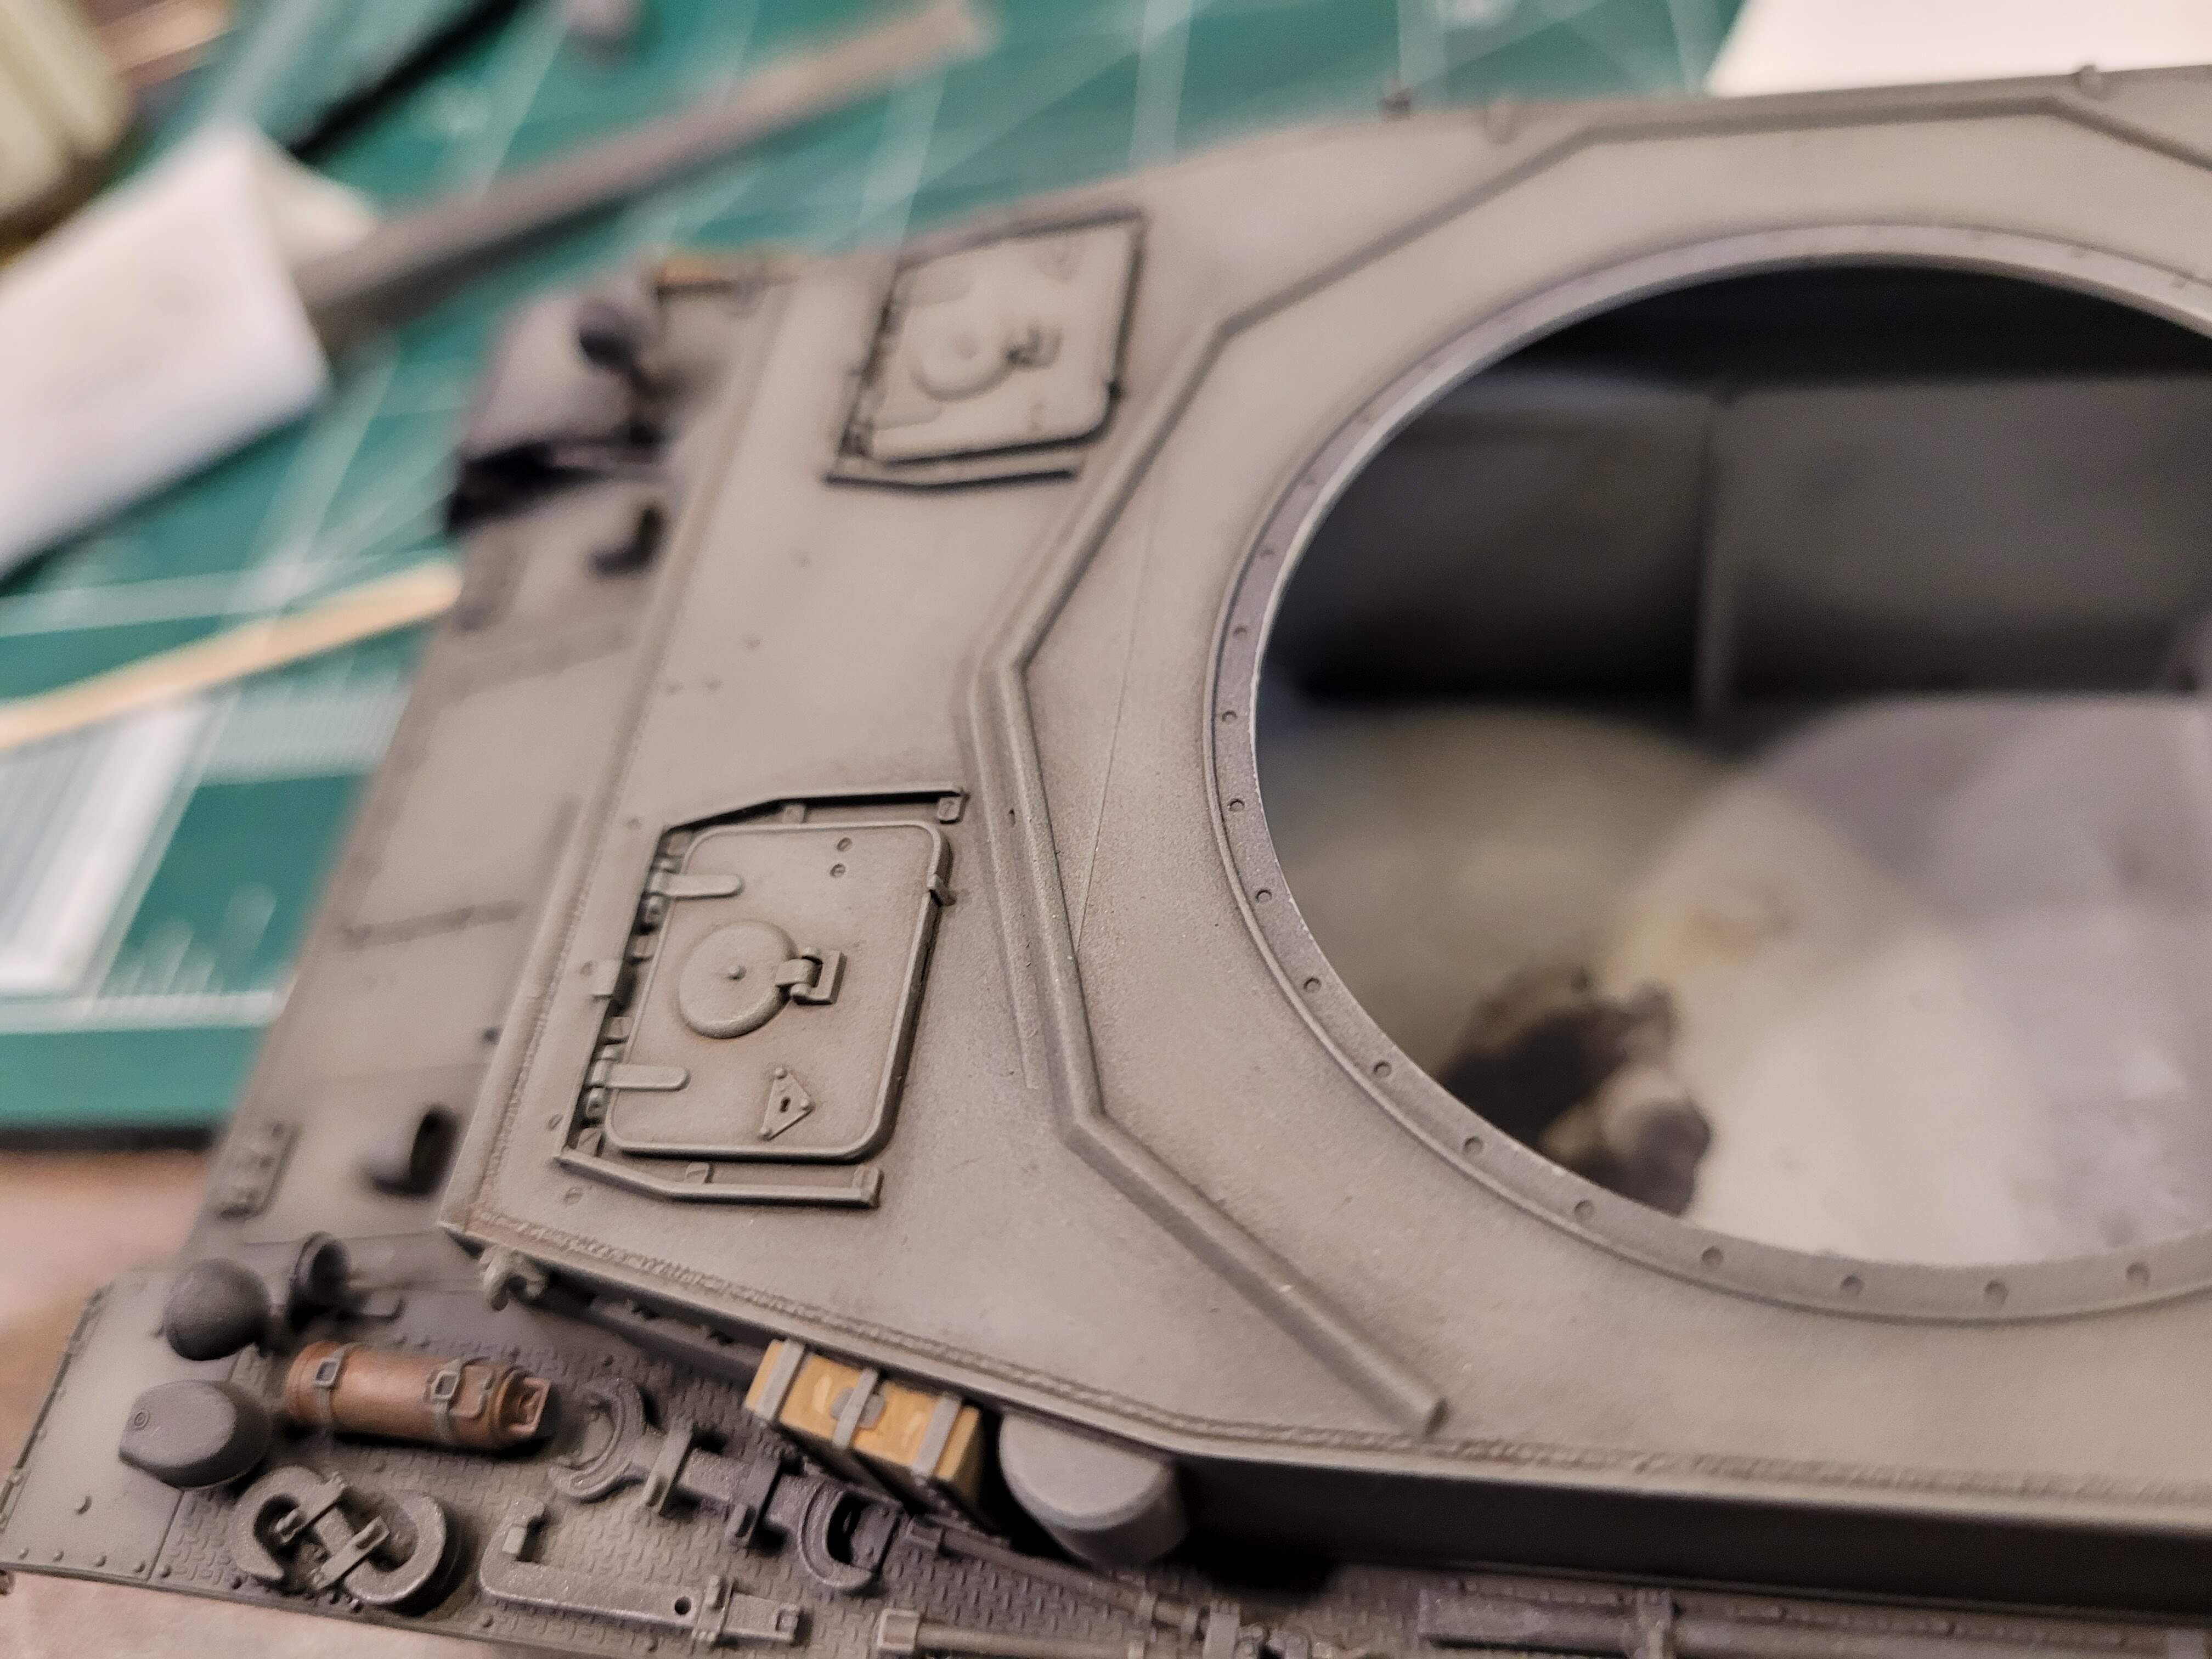
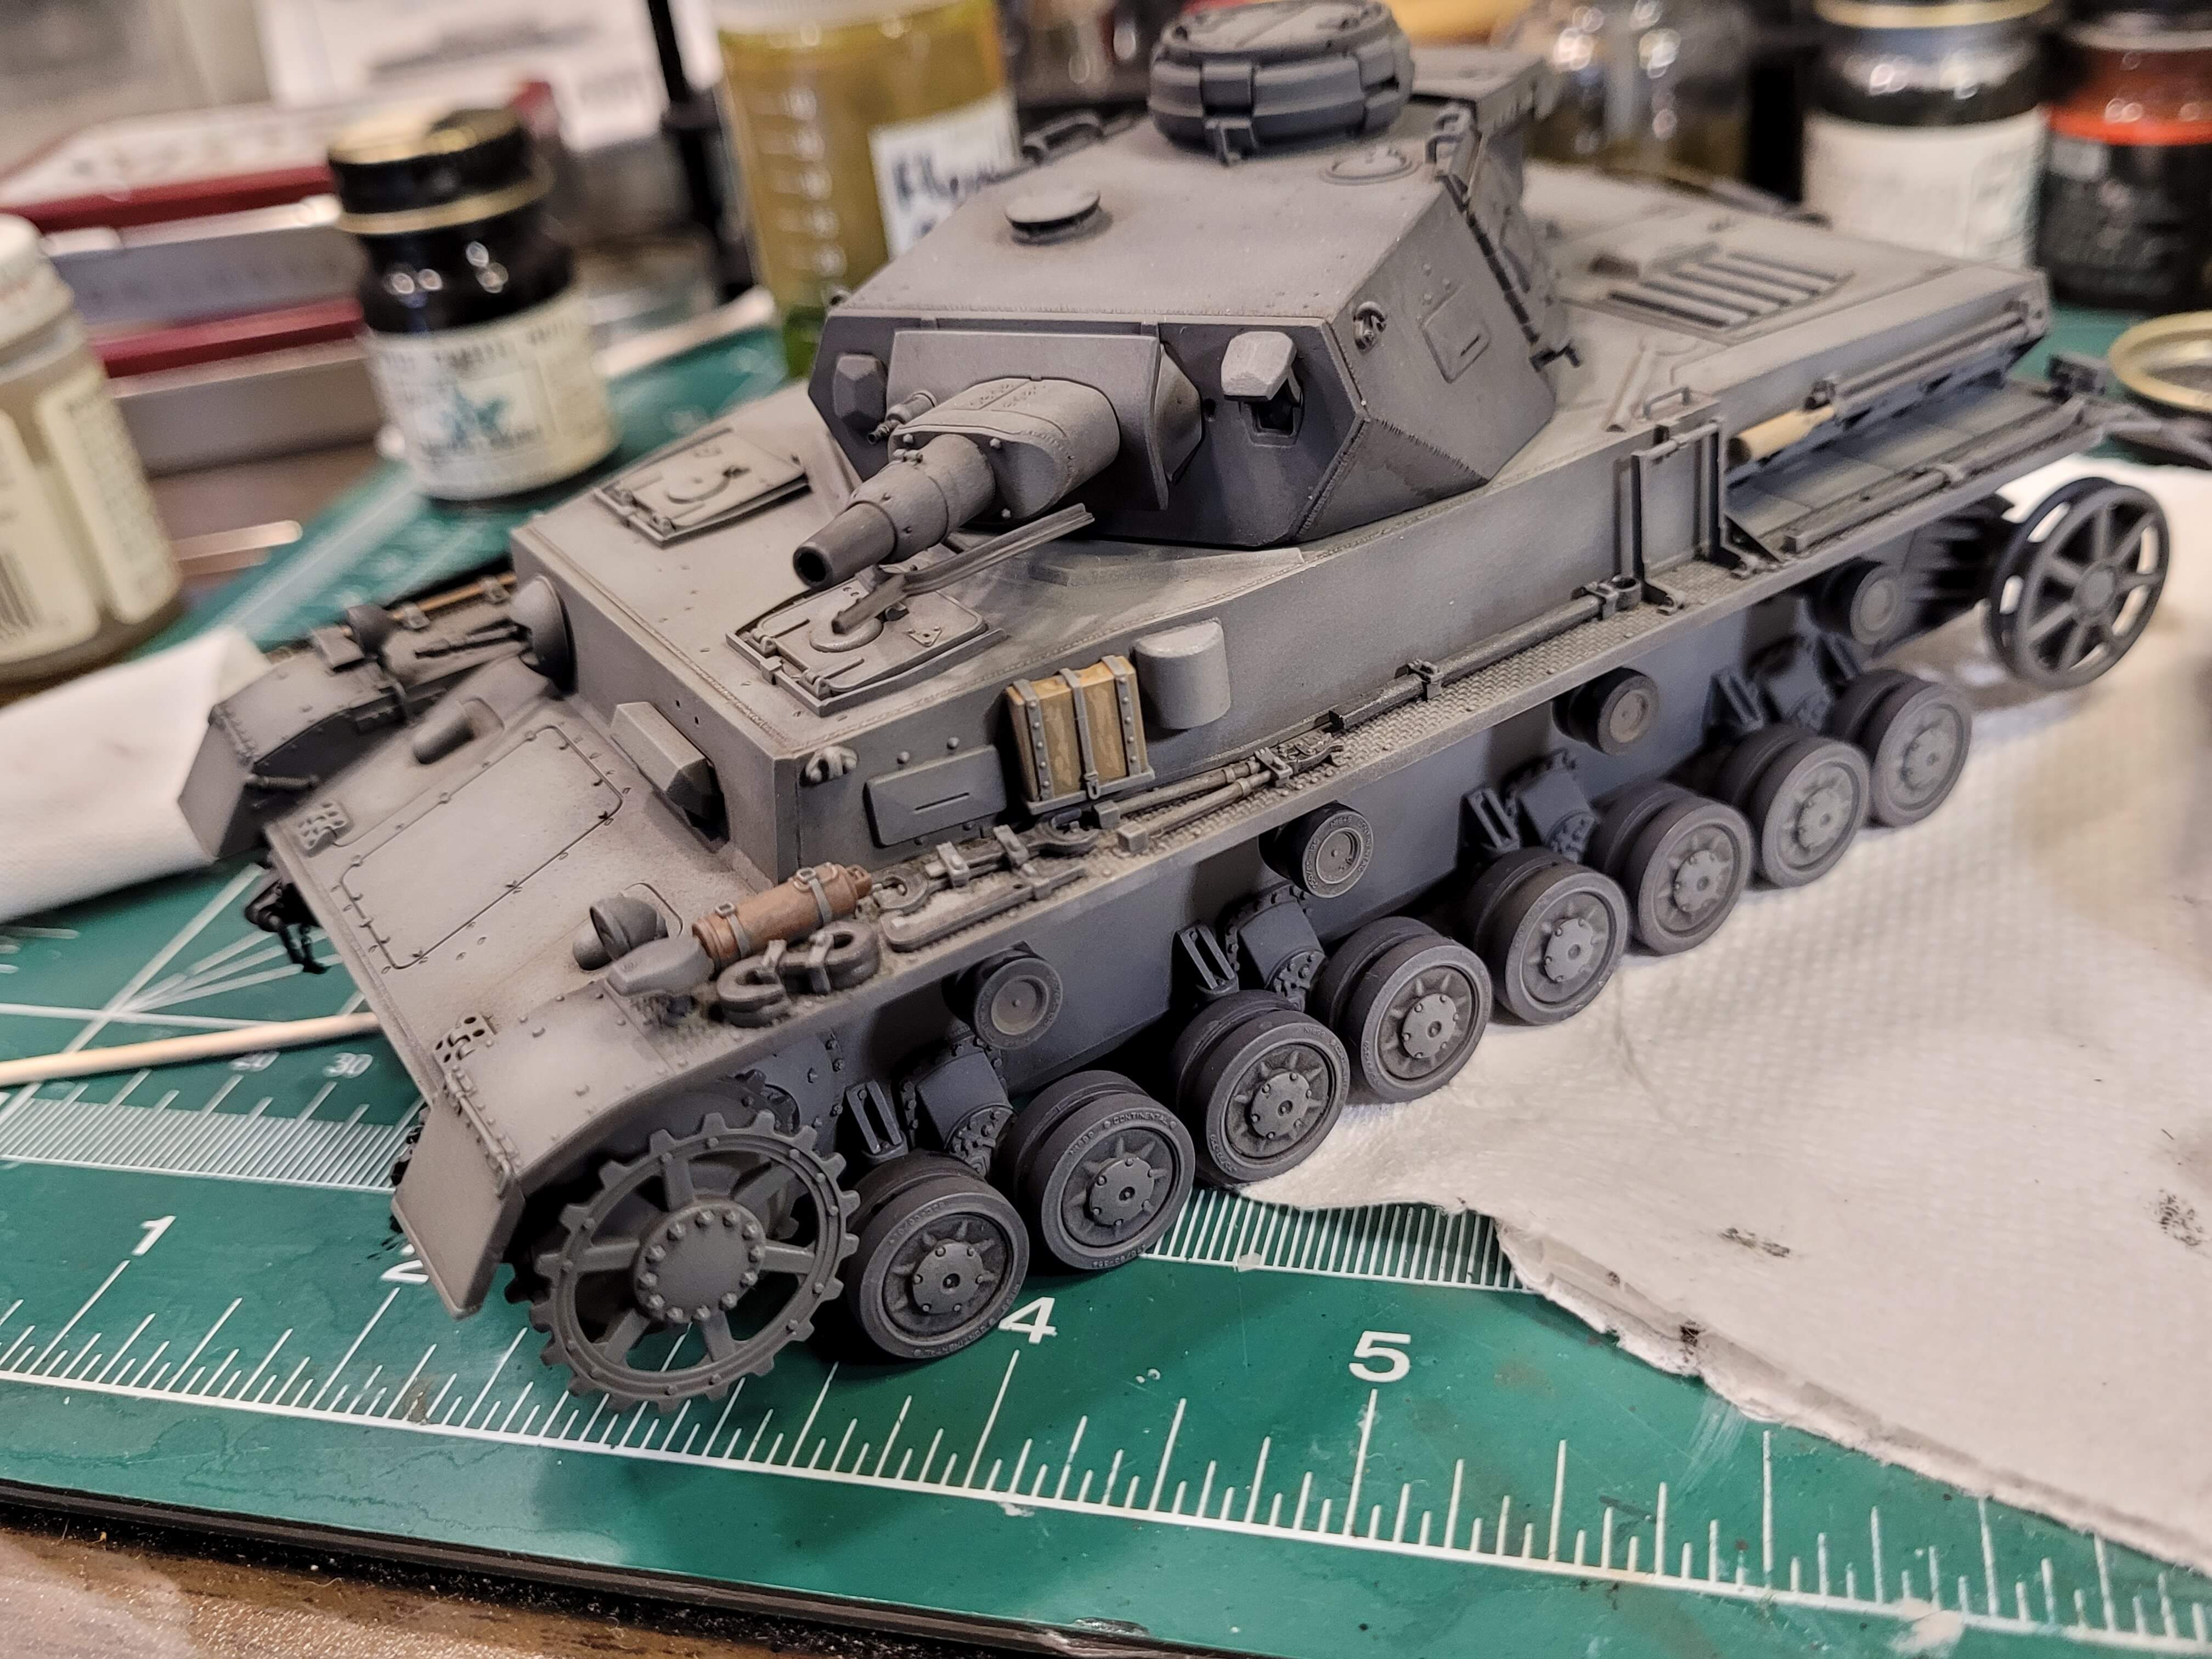
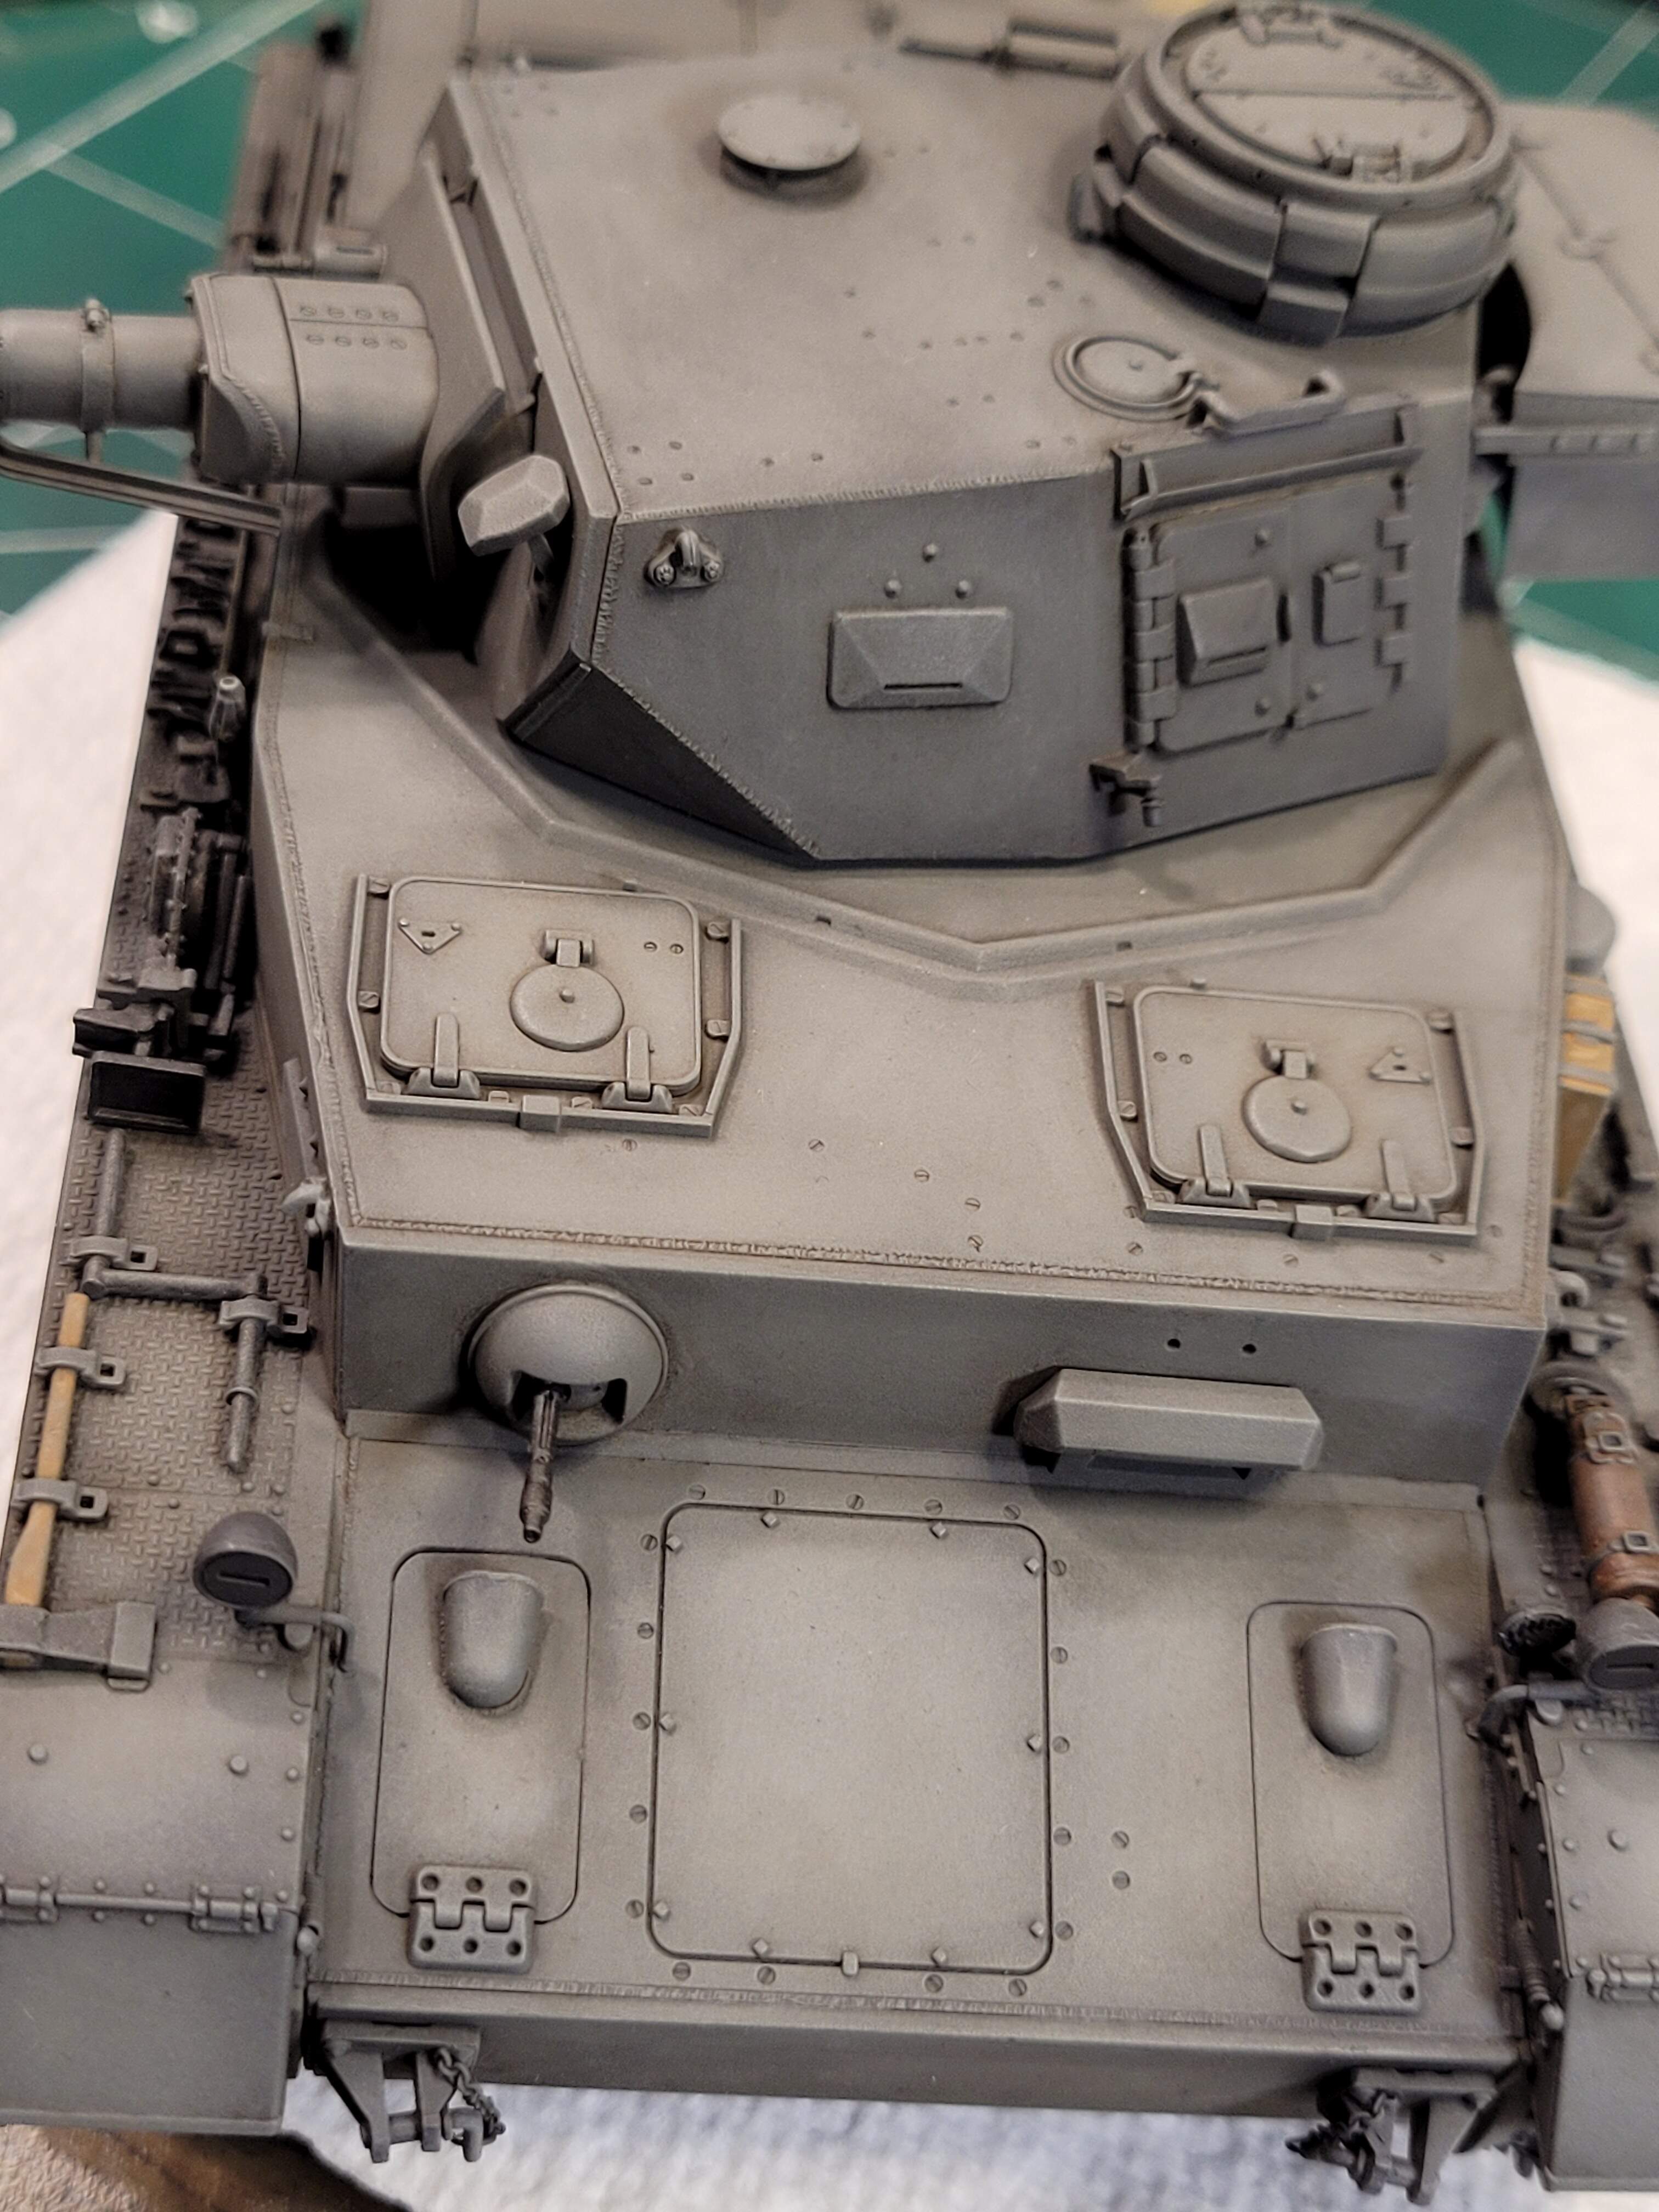
Minor Update, Pz IV F spent most of the day letting the oil wash dry. Tools painted.
The model should be ready for the next step tomorrow, Drybrushing!
As Jim Morrison of The Doors would say in The Soft Parade:
"This is the best part of the trip
This is the trip, the best part
I really like"
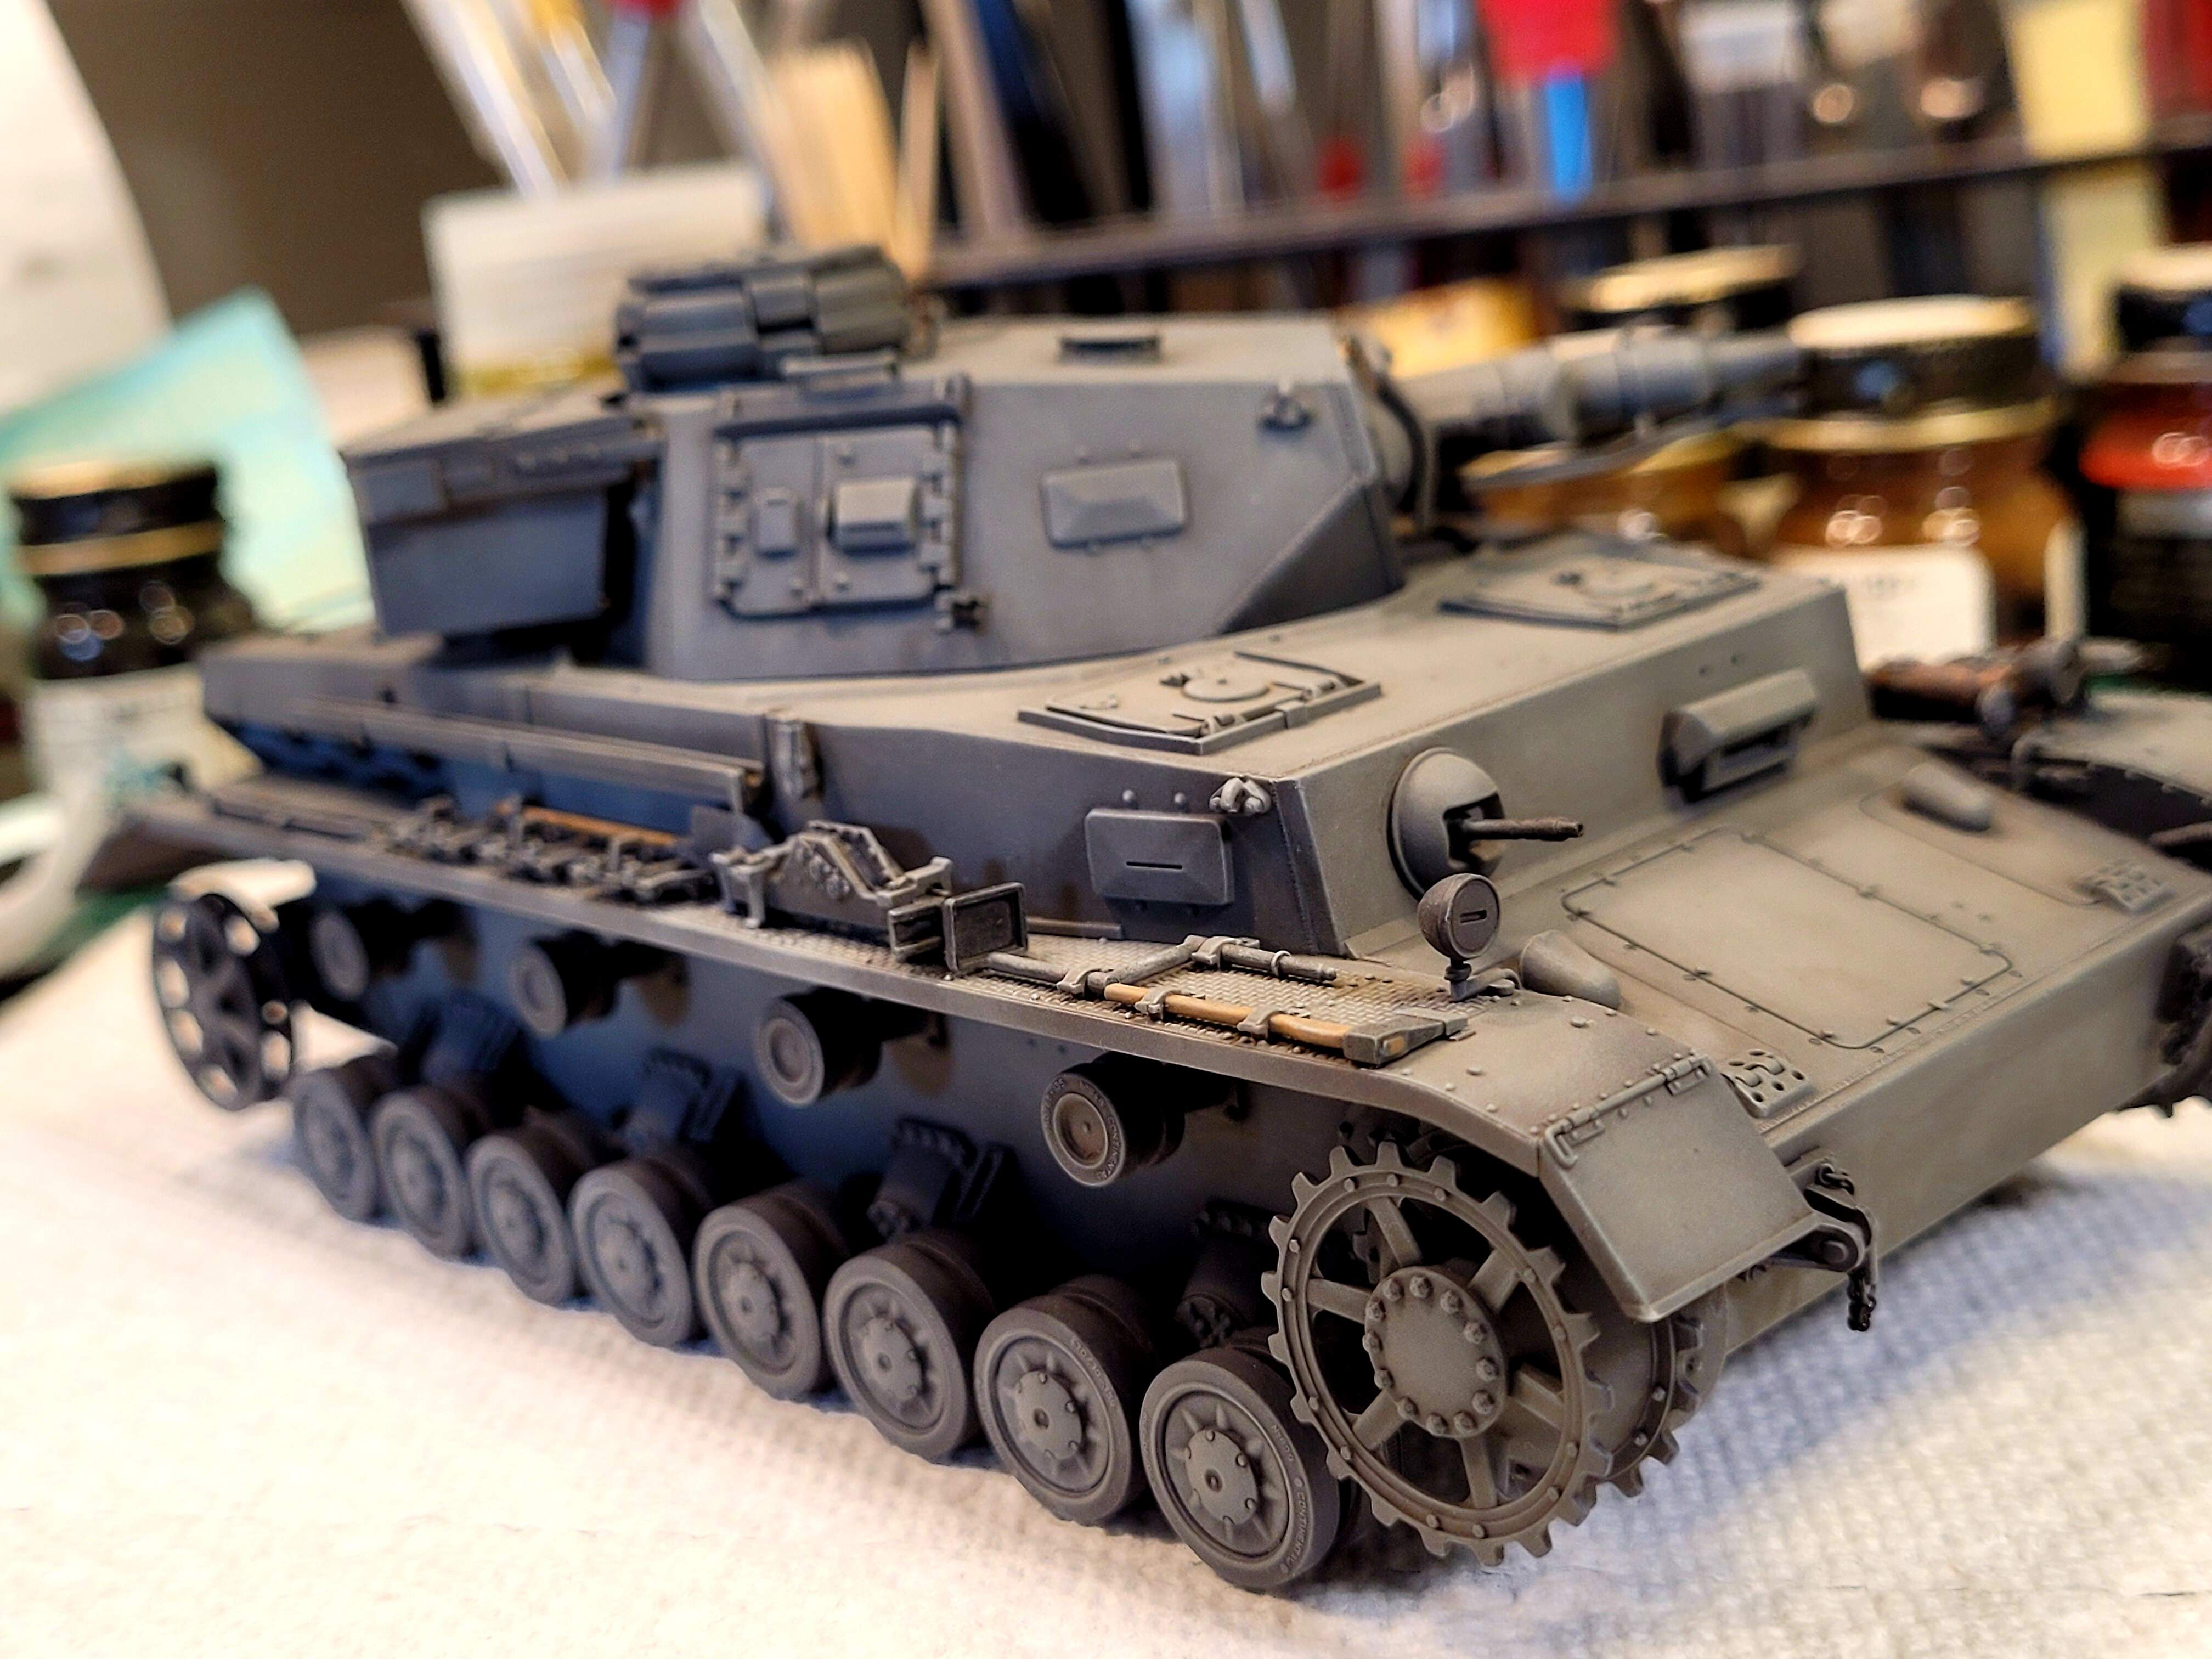
Stage 1 Drybrush
I like to set aside about two hours for the first stage of drybrushing for a typical model tank. We’ll use the base Panzer Gray color only for the opening. The Floquil Military Colors drybrush pretty well being enamels. Next stage will be a mix of FMC Panzer Gray and Oil Paint.
Much of what’s benefical drybrushing becomes a matter of personal taste. I favor several layers of drybrushing to gradually build the effect. This helps avoid a harsh result which typically detracts from the model.
The four goals are as follows:
enhance detail with highlight
blend color in open areas
minimize tide marks
avoid harsh streaks and abrupt contrast changes
Flip the aluminum foil on the palette for a clean working area. Shake up paint and mix well. Select a good quality brush that won’t shed bristles. Ideally, a well worn brush that’s no longer up for brush painting. The process damages the paint brush so don’t use your best paint brushes for dry brushing.
We’re not going to use much paint to do this. Just what’s on the bottle cap seal and the upper part of the bottle neck Two thirds of brush with paint.
Dry brush paper towel to remove excess paint.
Too much paint, remove more by dry brushing paper towel.
Good enough to test underneath bottom of hull. Looks about right.
Favorite place to start and test brush. Out of sight out of mind
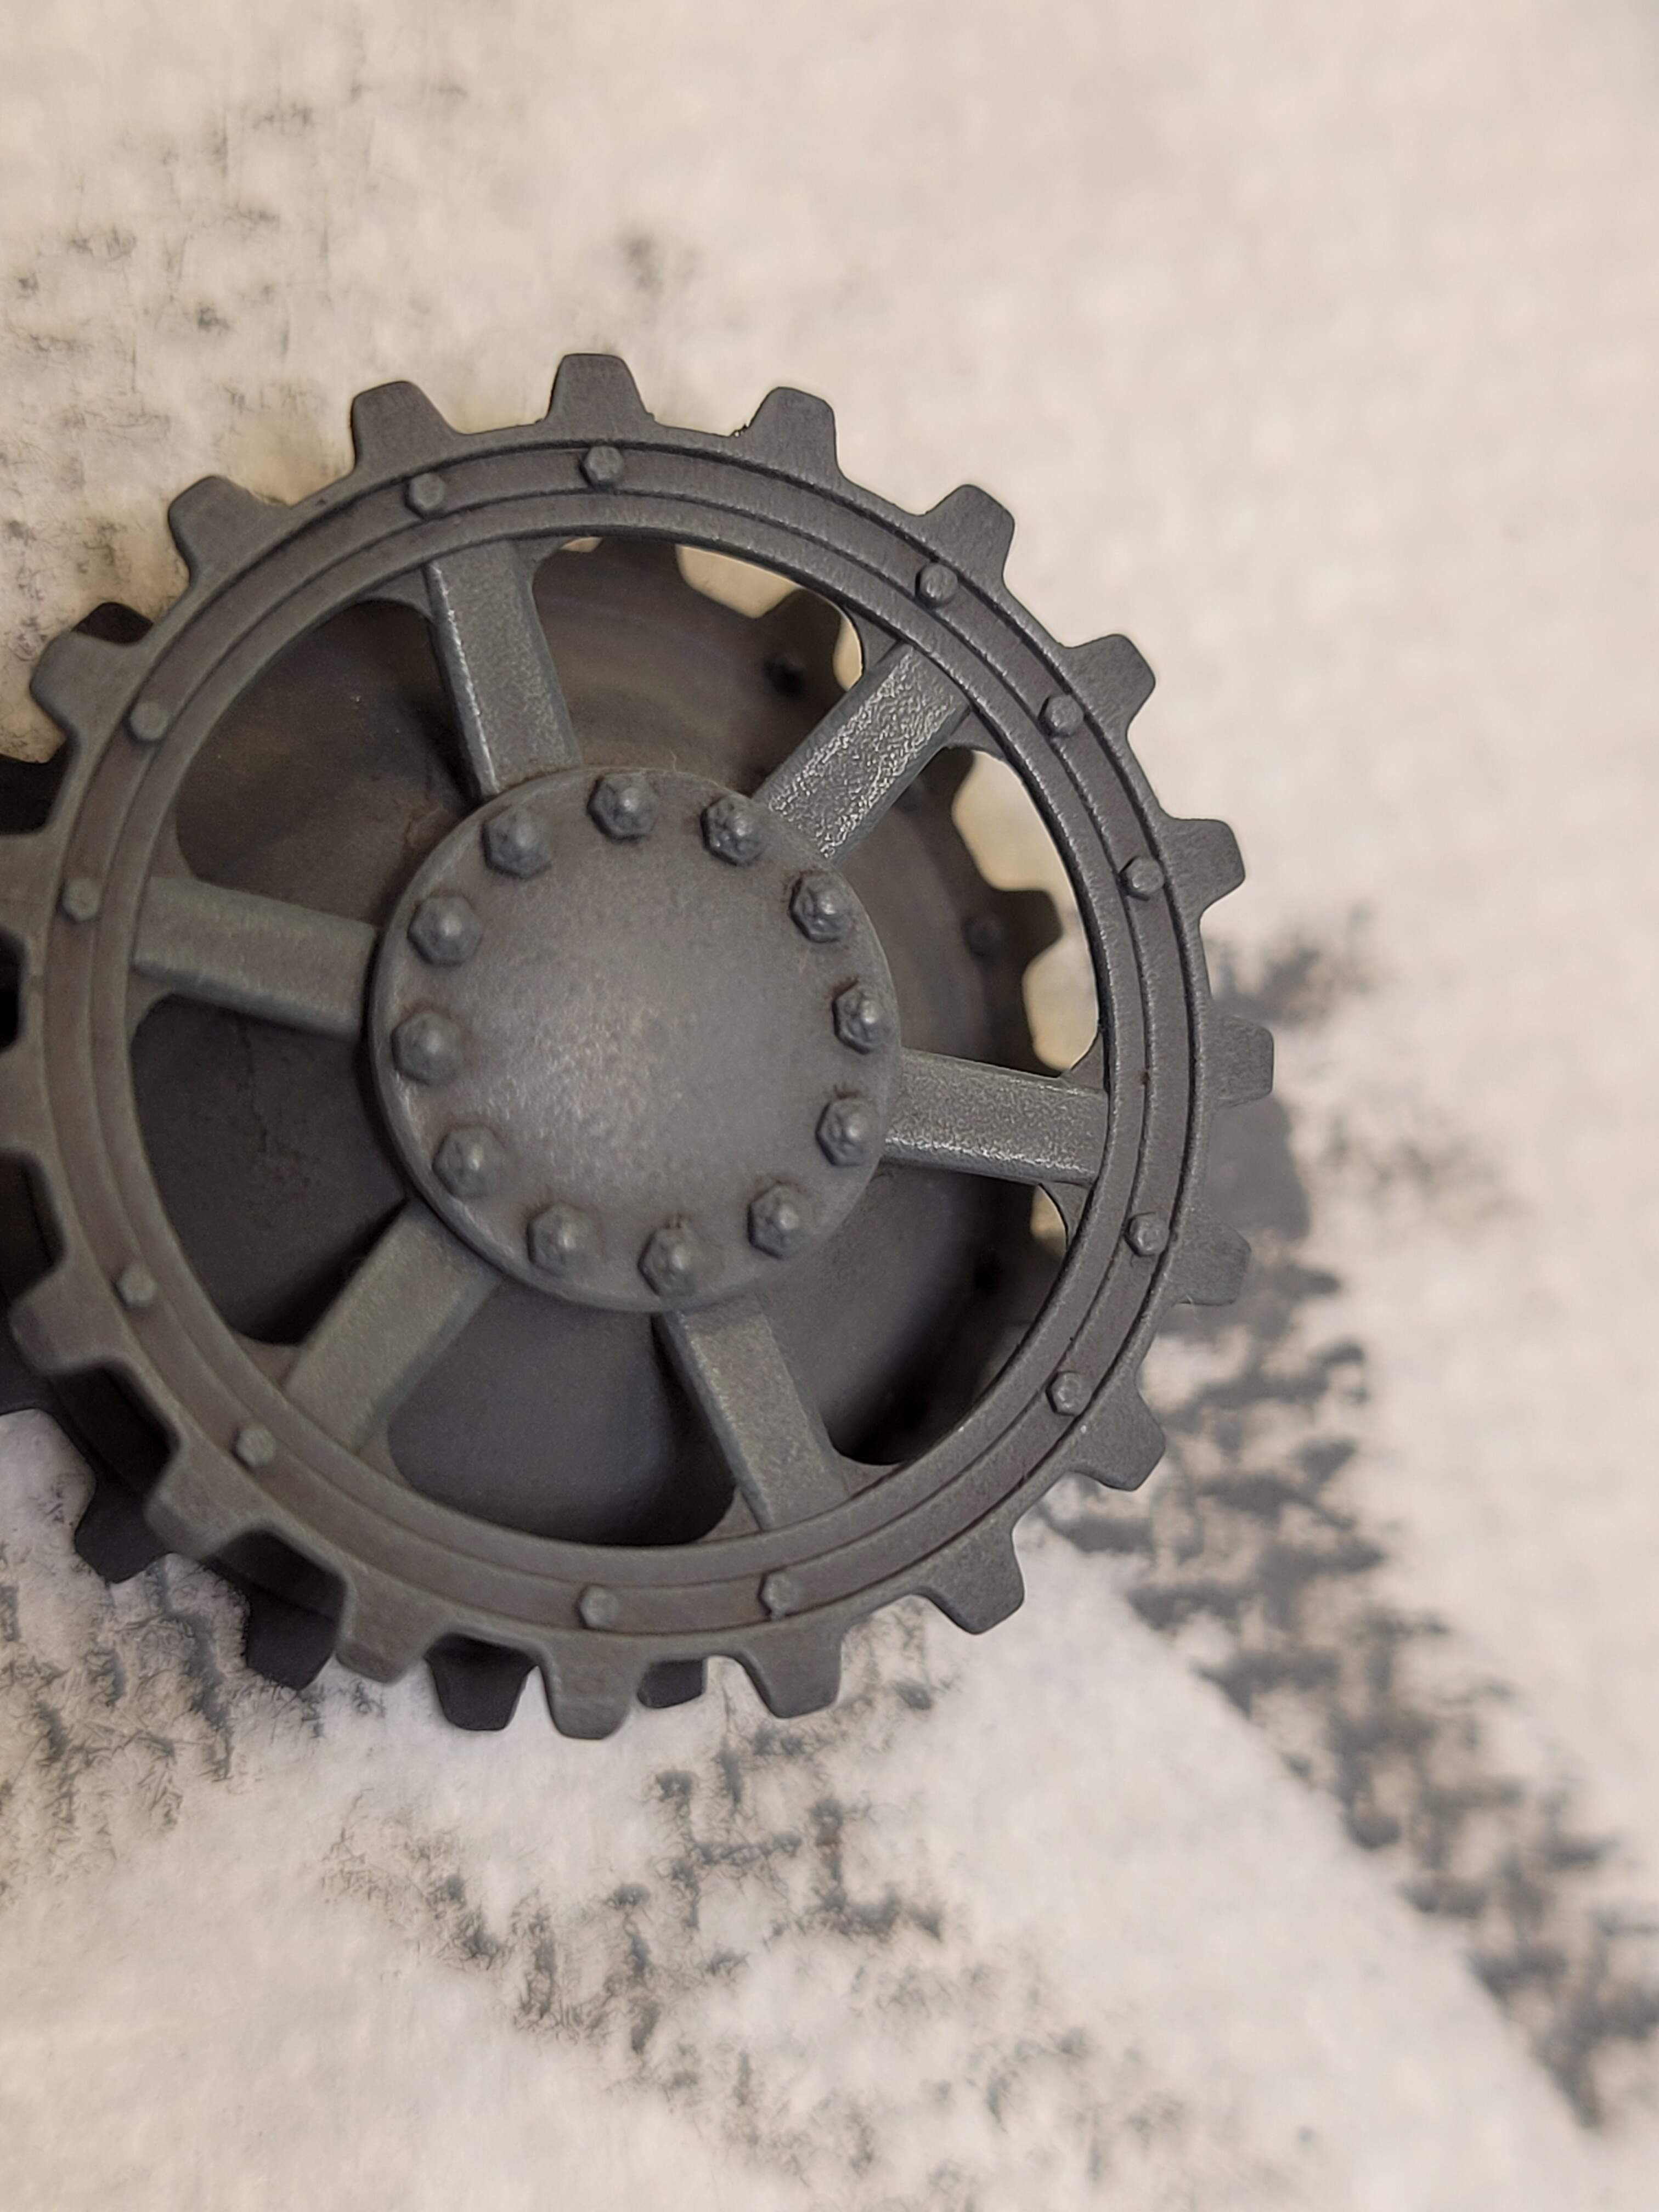
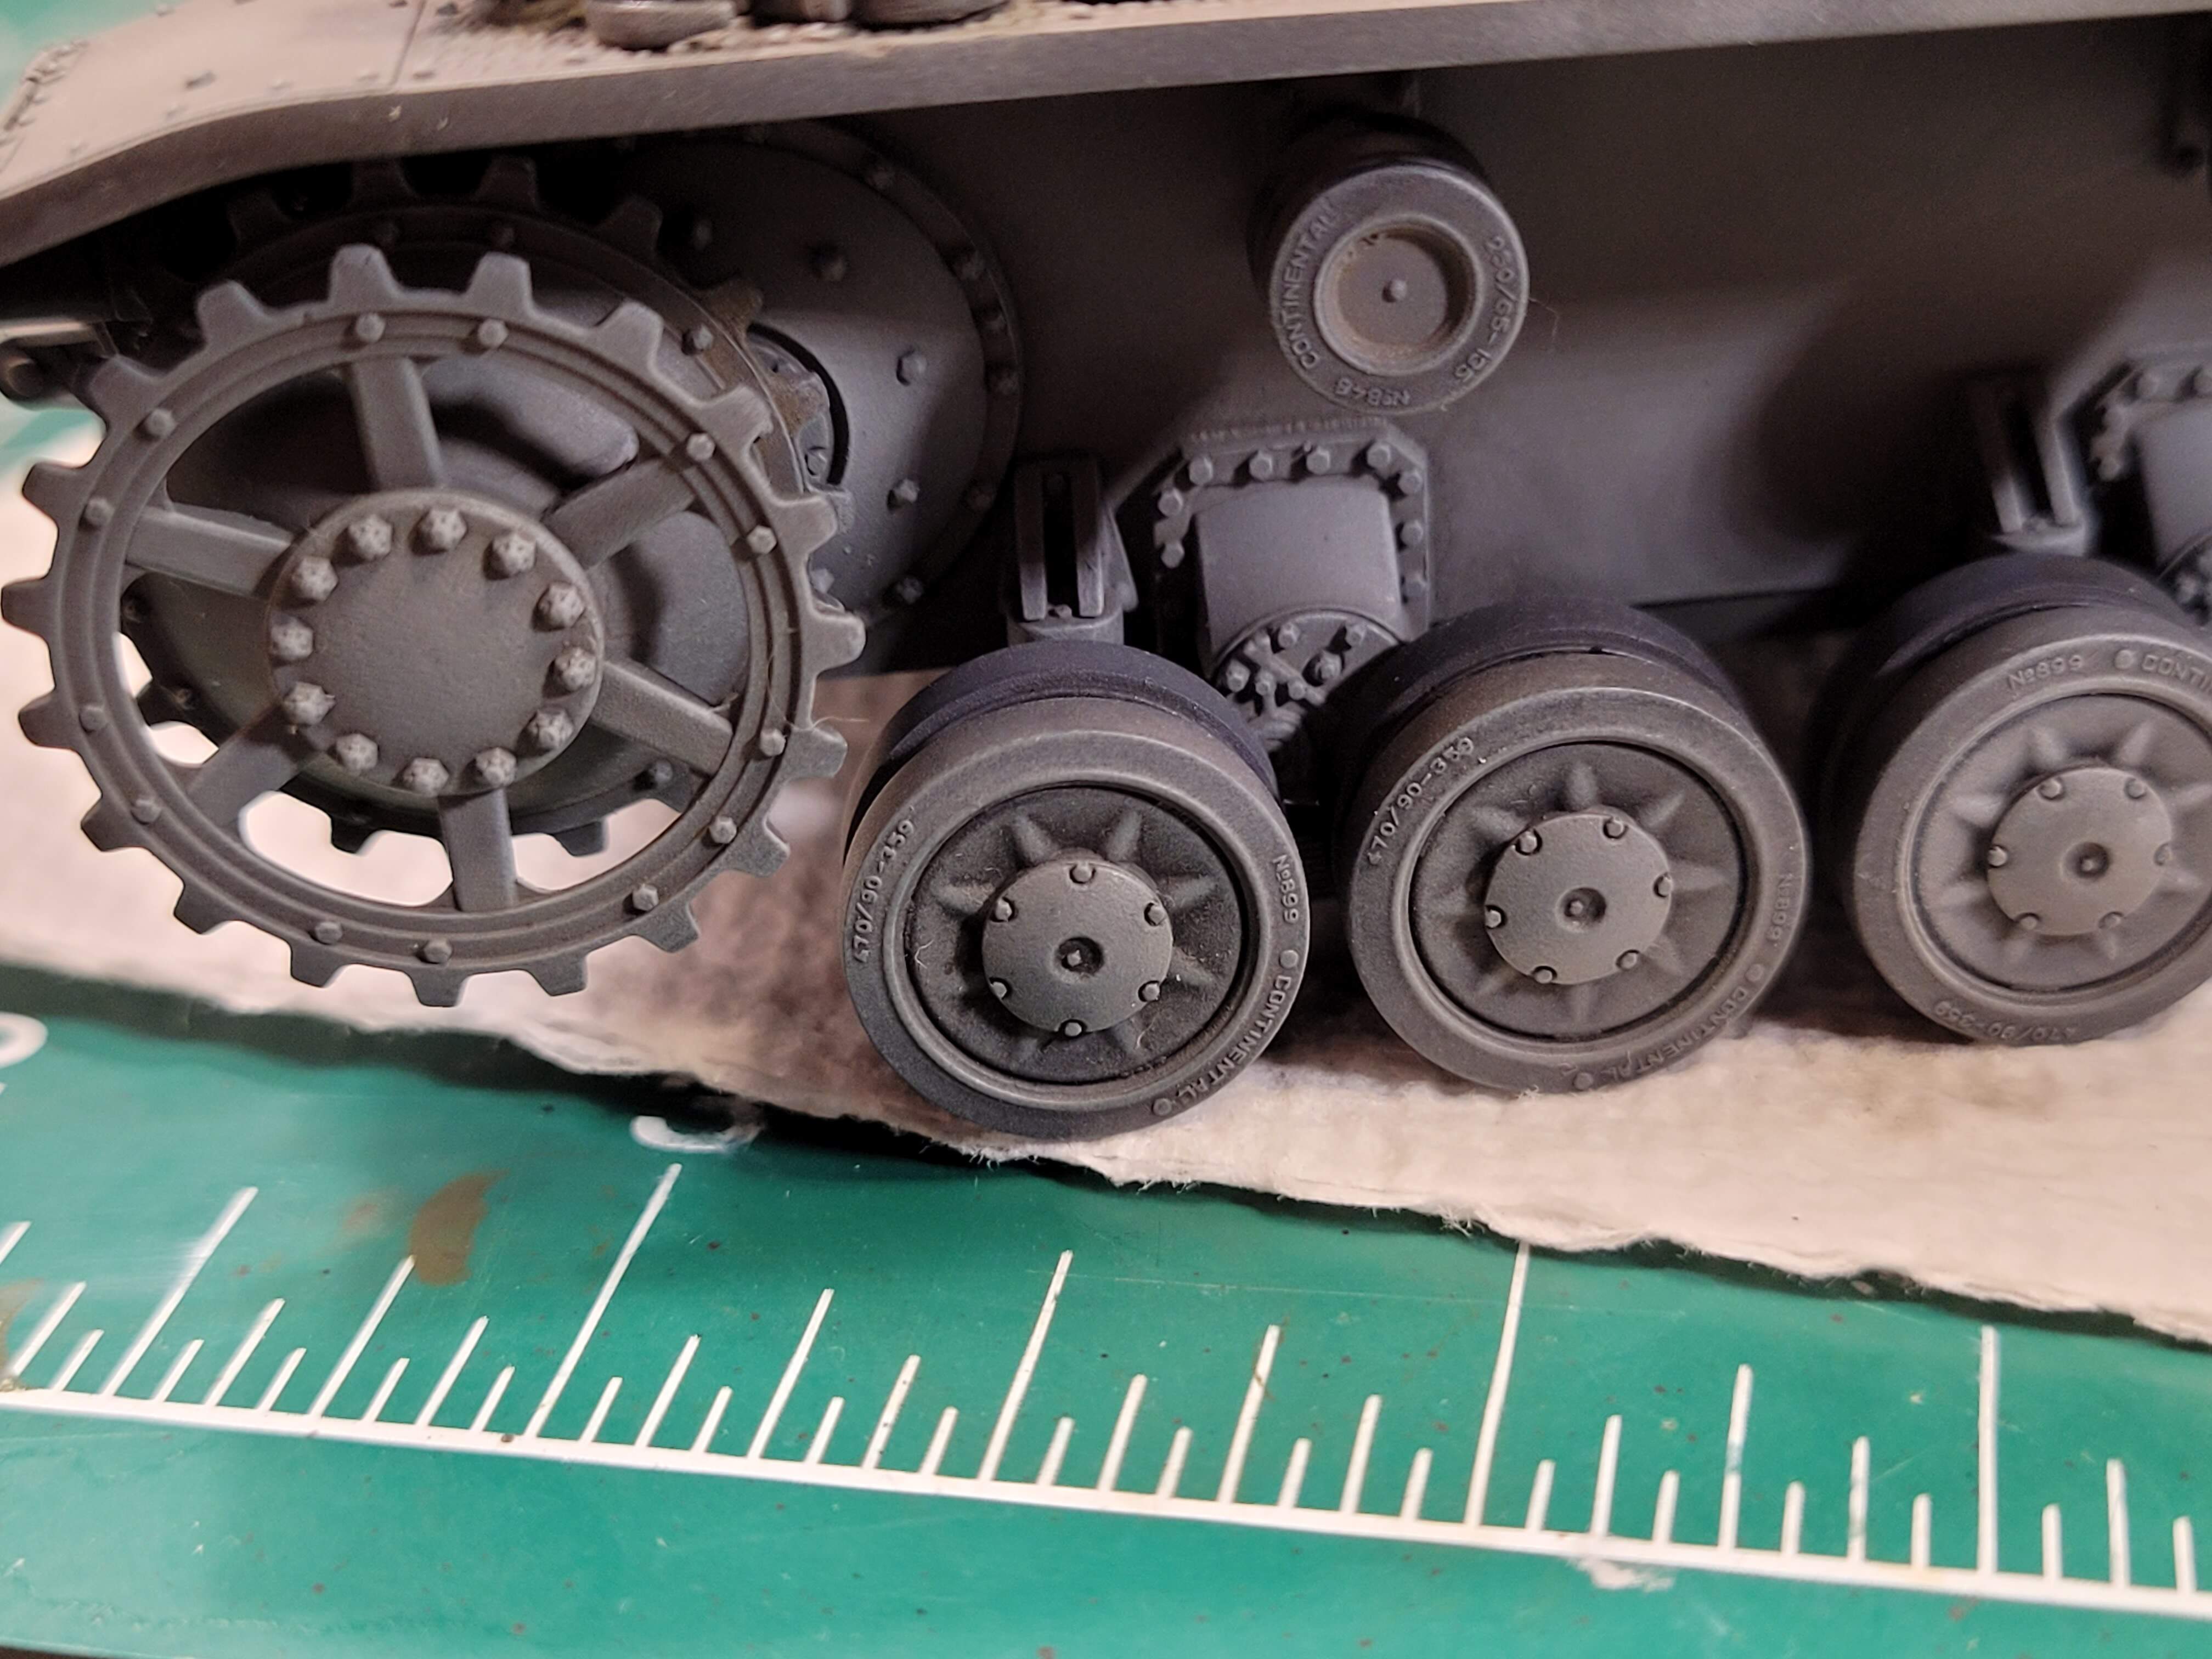
Sprocket has nice raised detail to hit. Fair pressure and a lot of brush actio. Back and forth various angles then round and round. Typically 10 to 20 passes with brush.
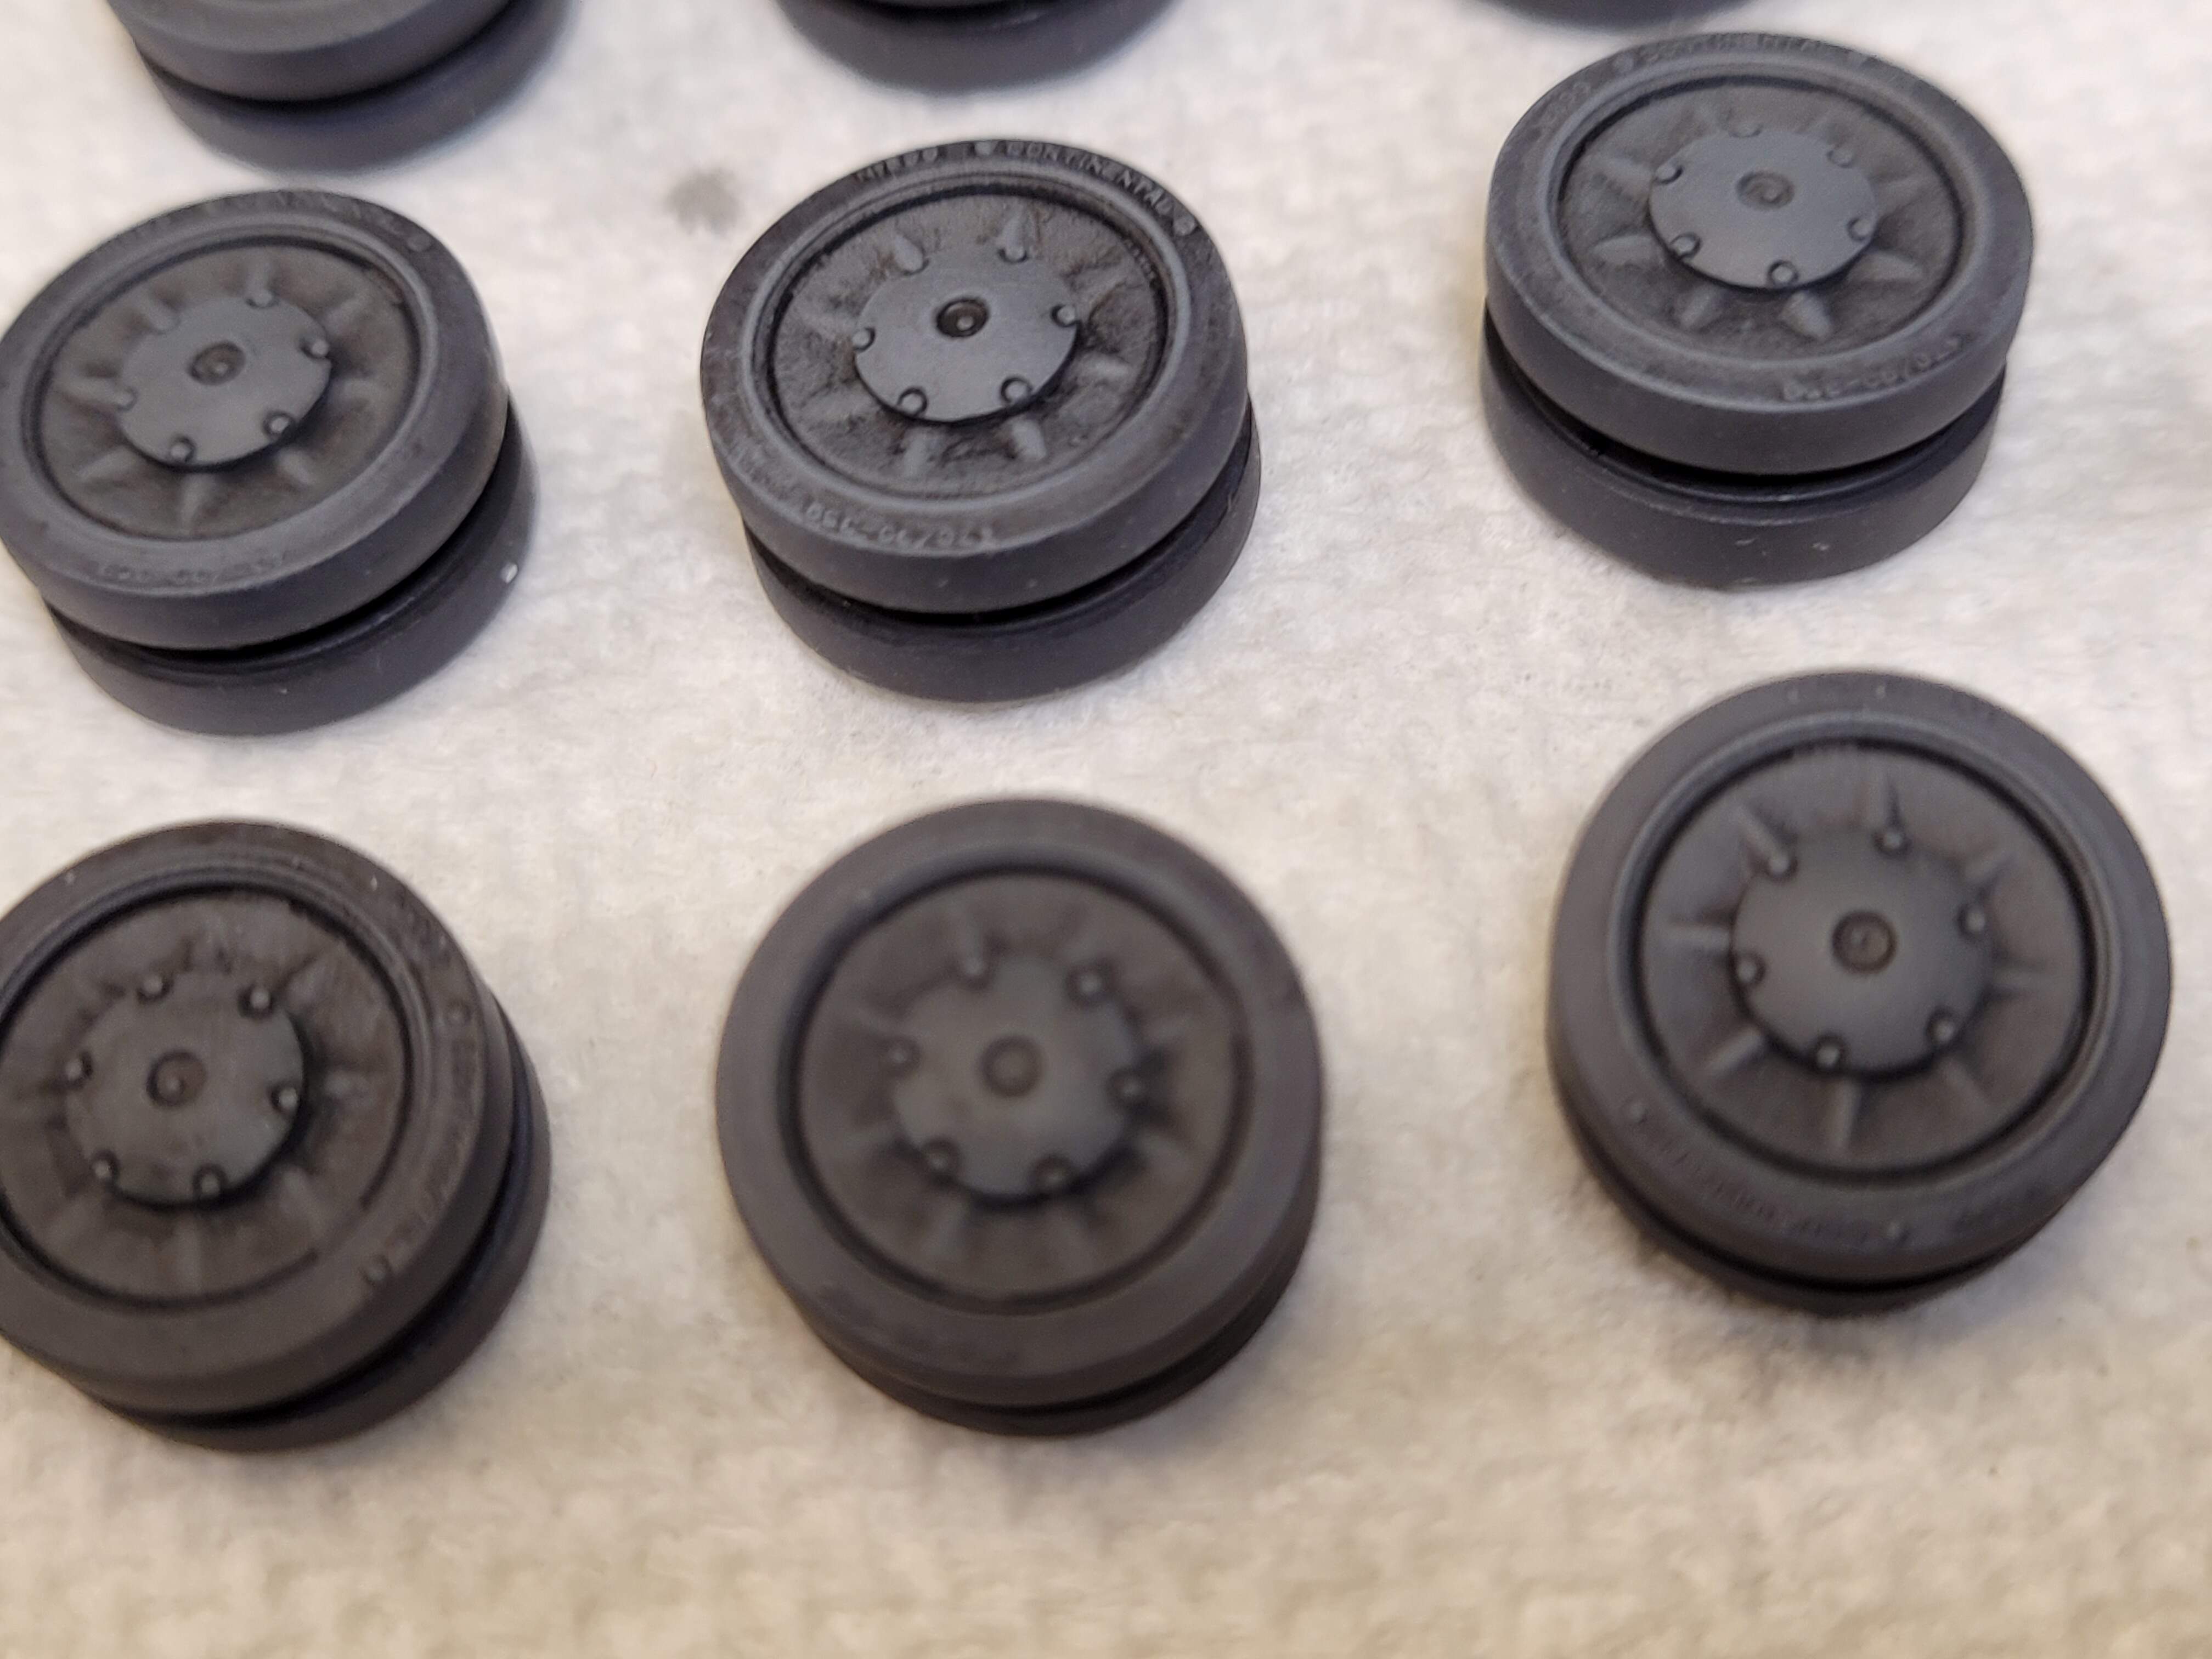
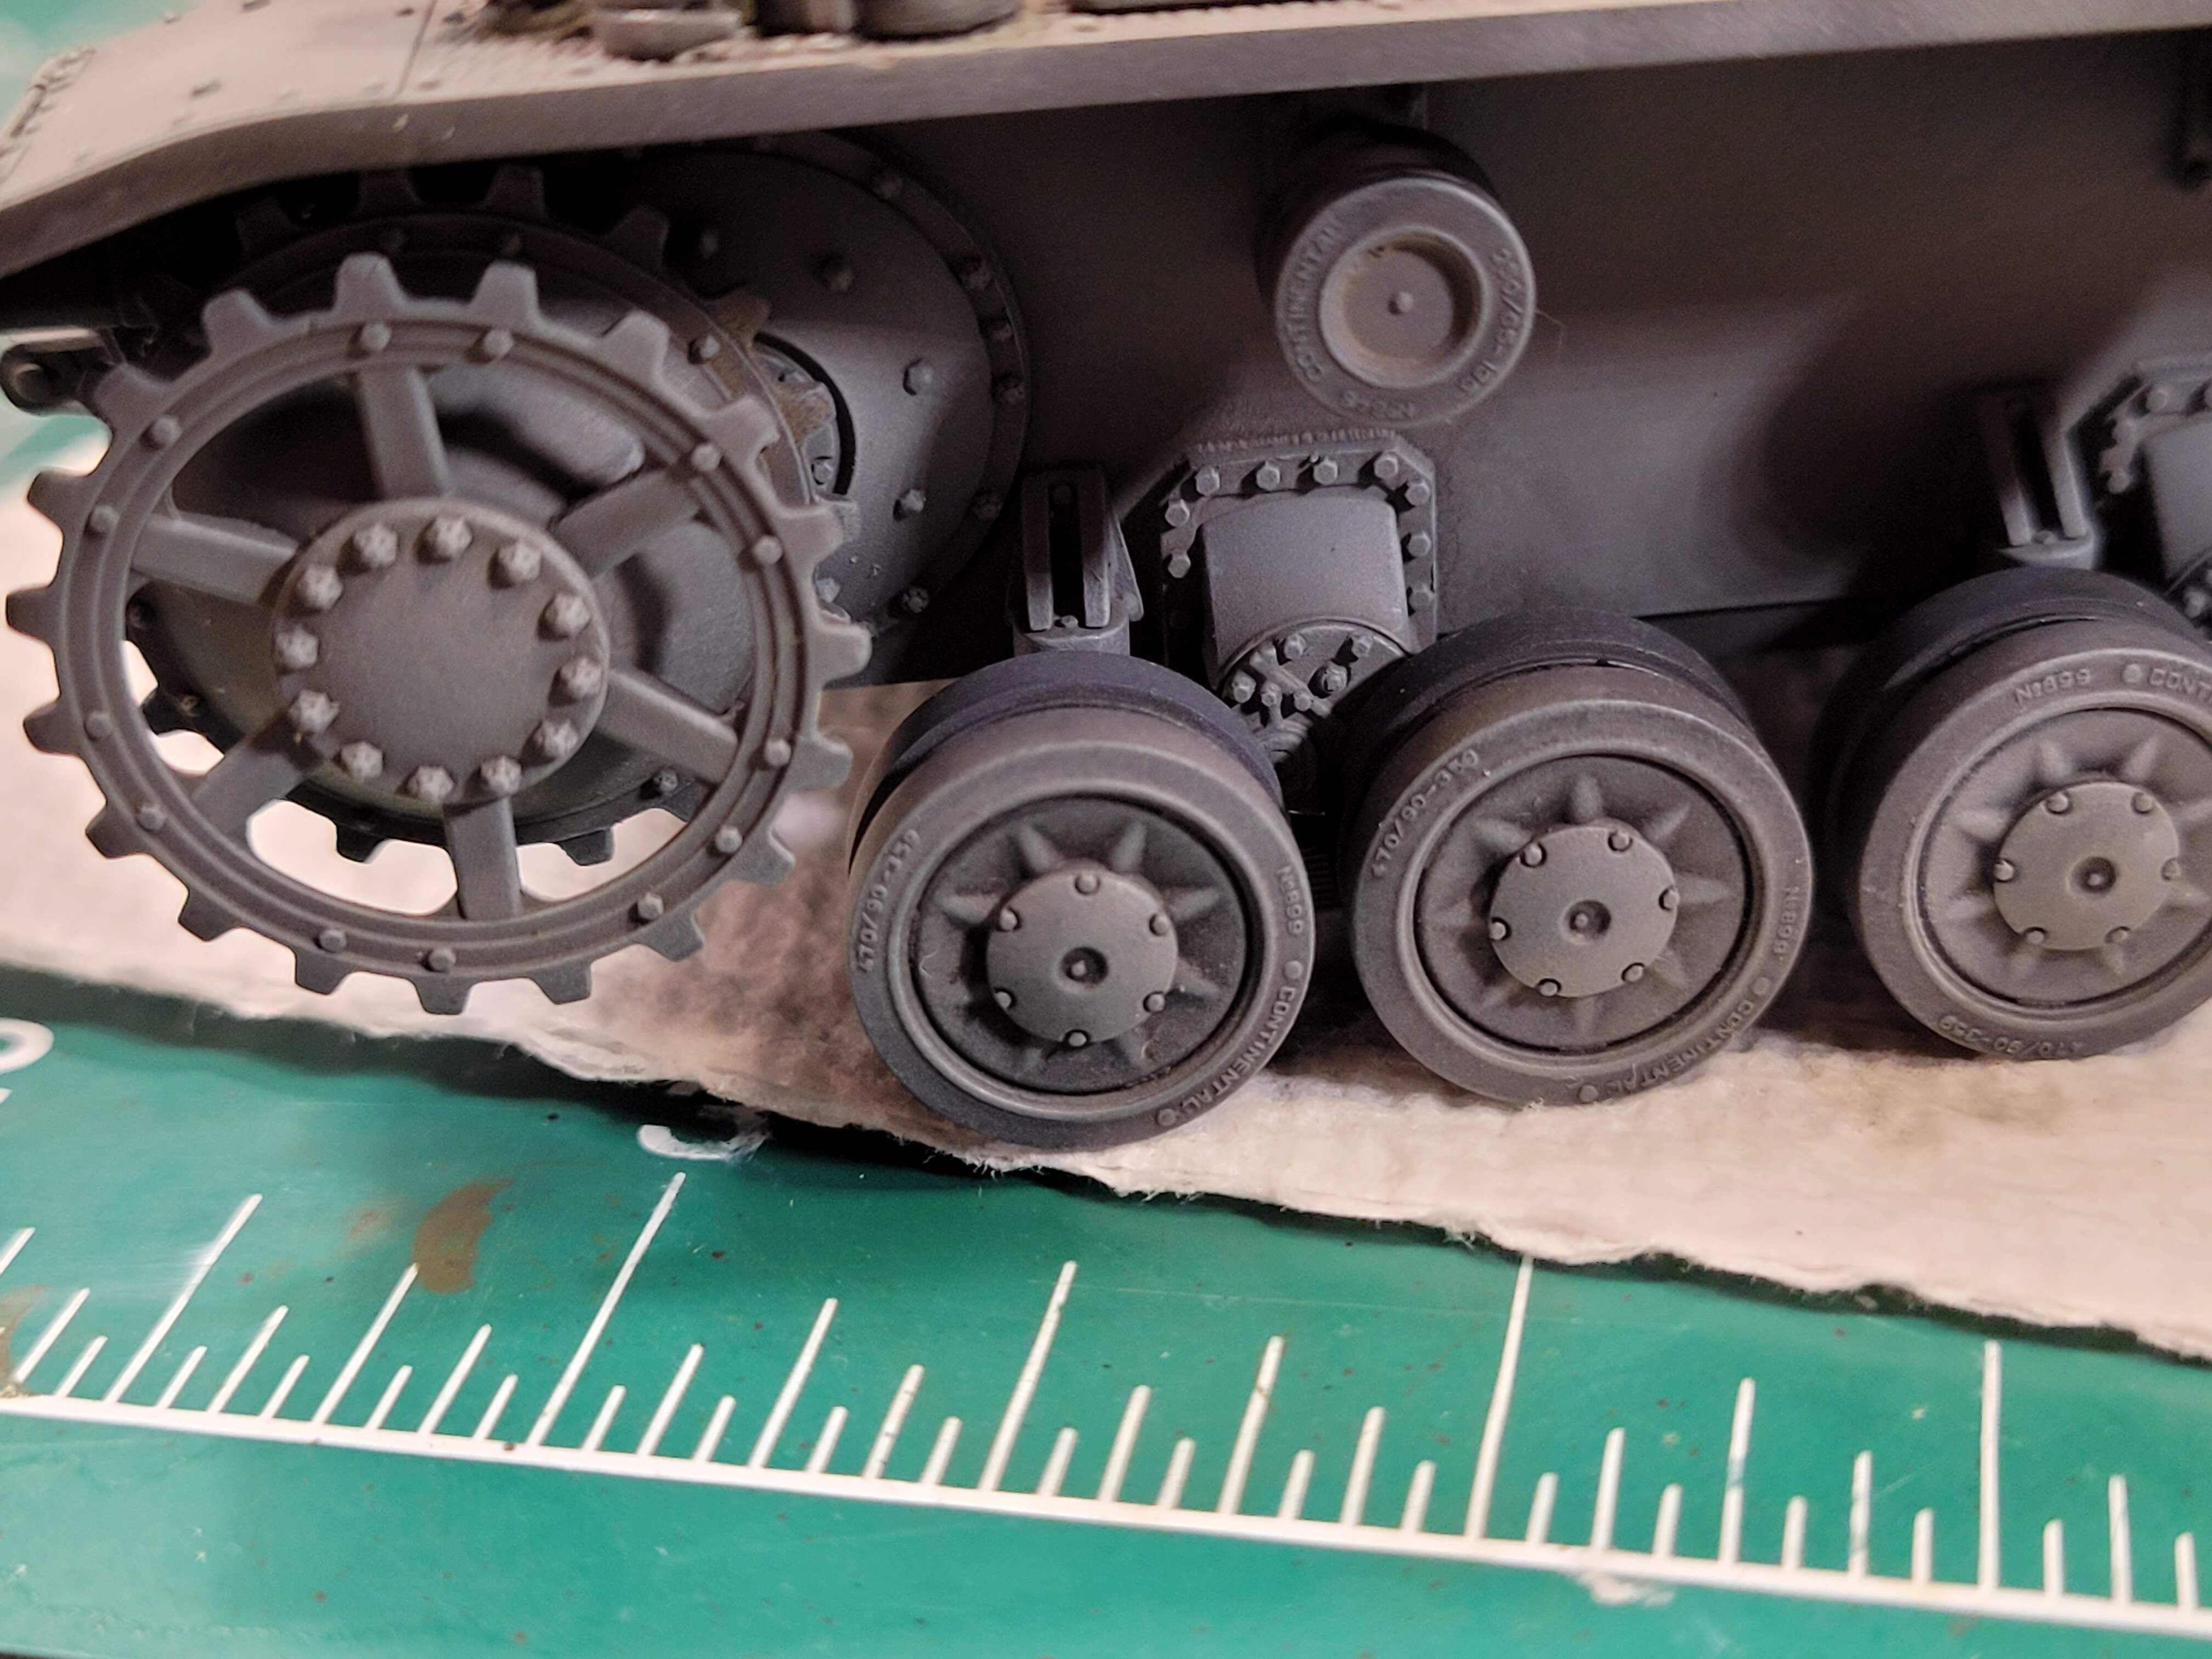
Add a little bit of paint, test brush and do road wheels.
Top row drybrushed. Bottom wash only
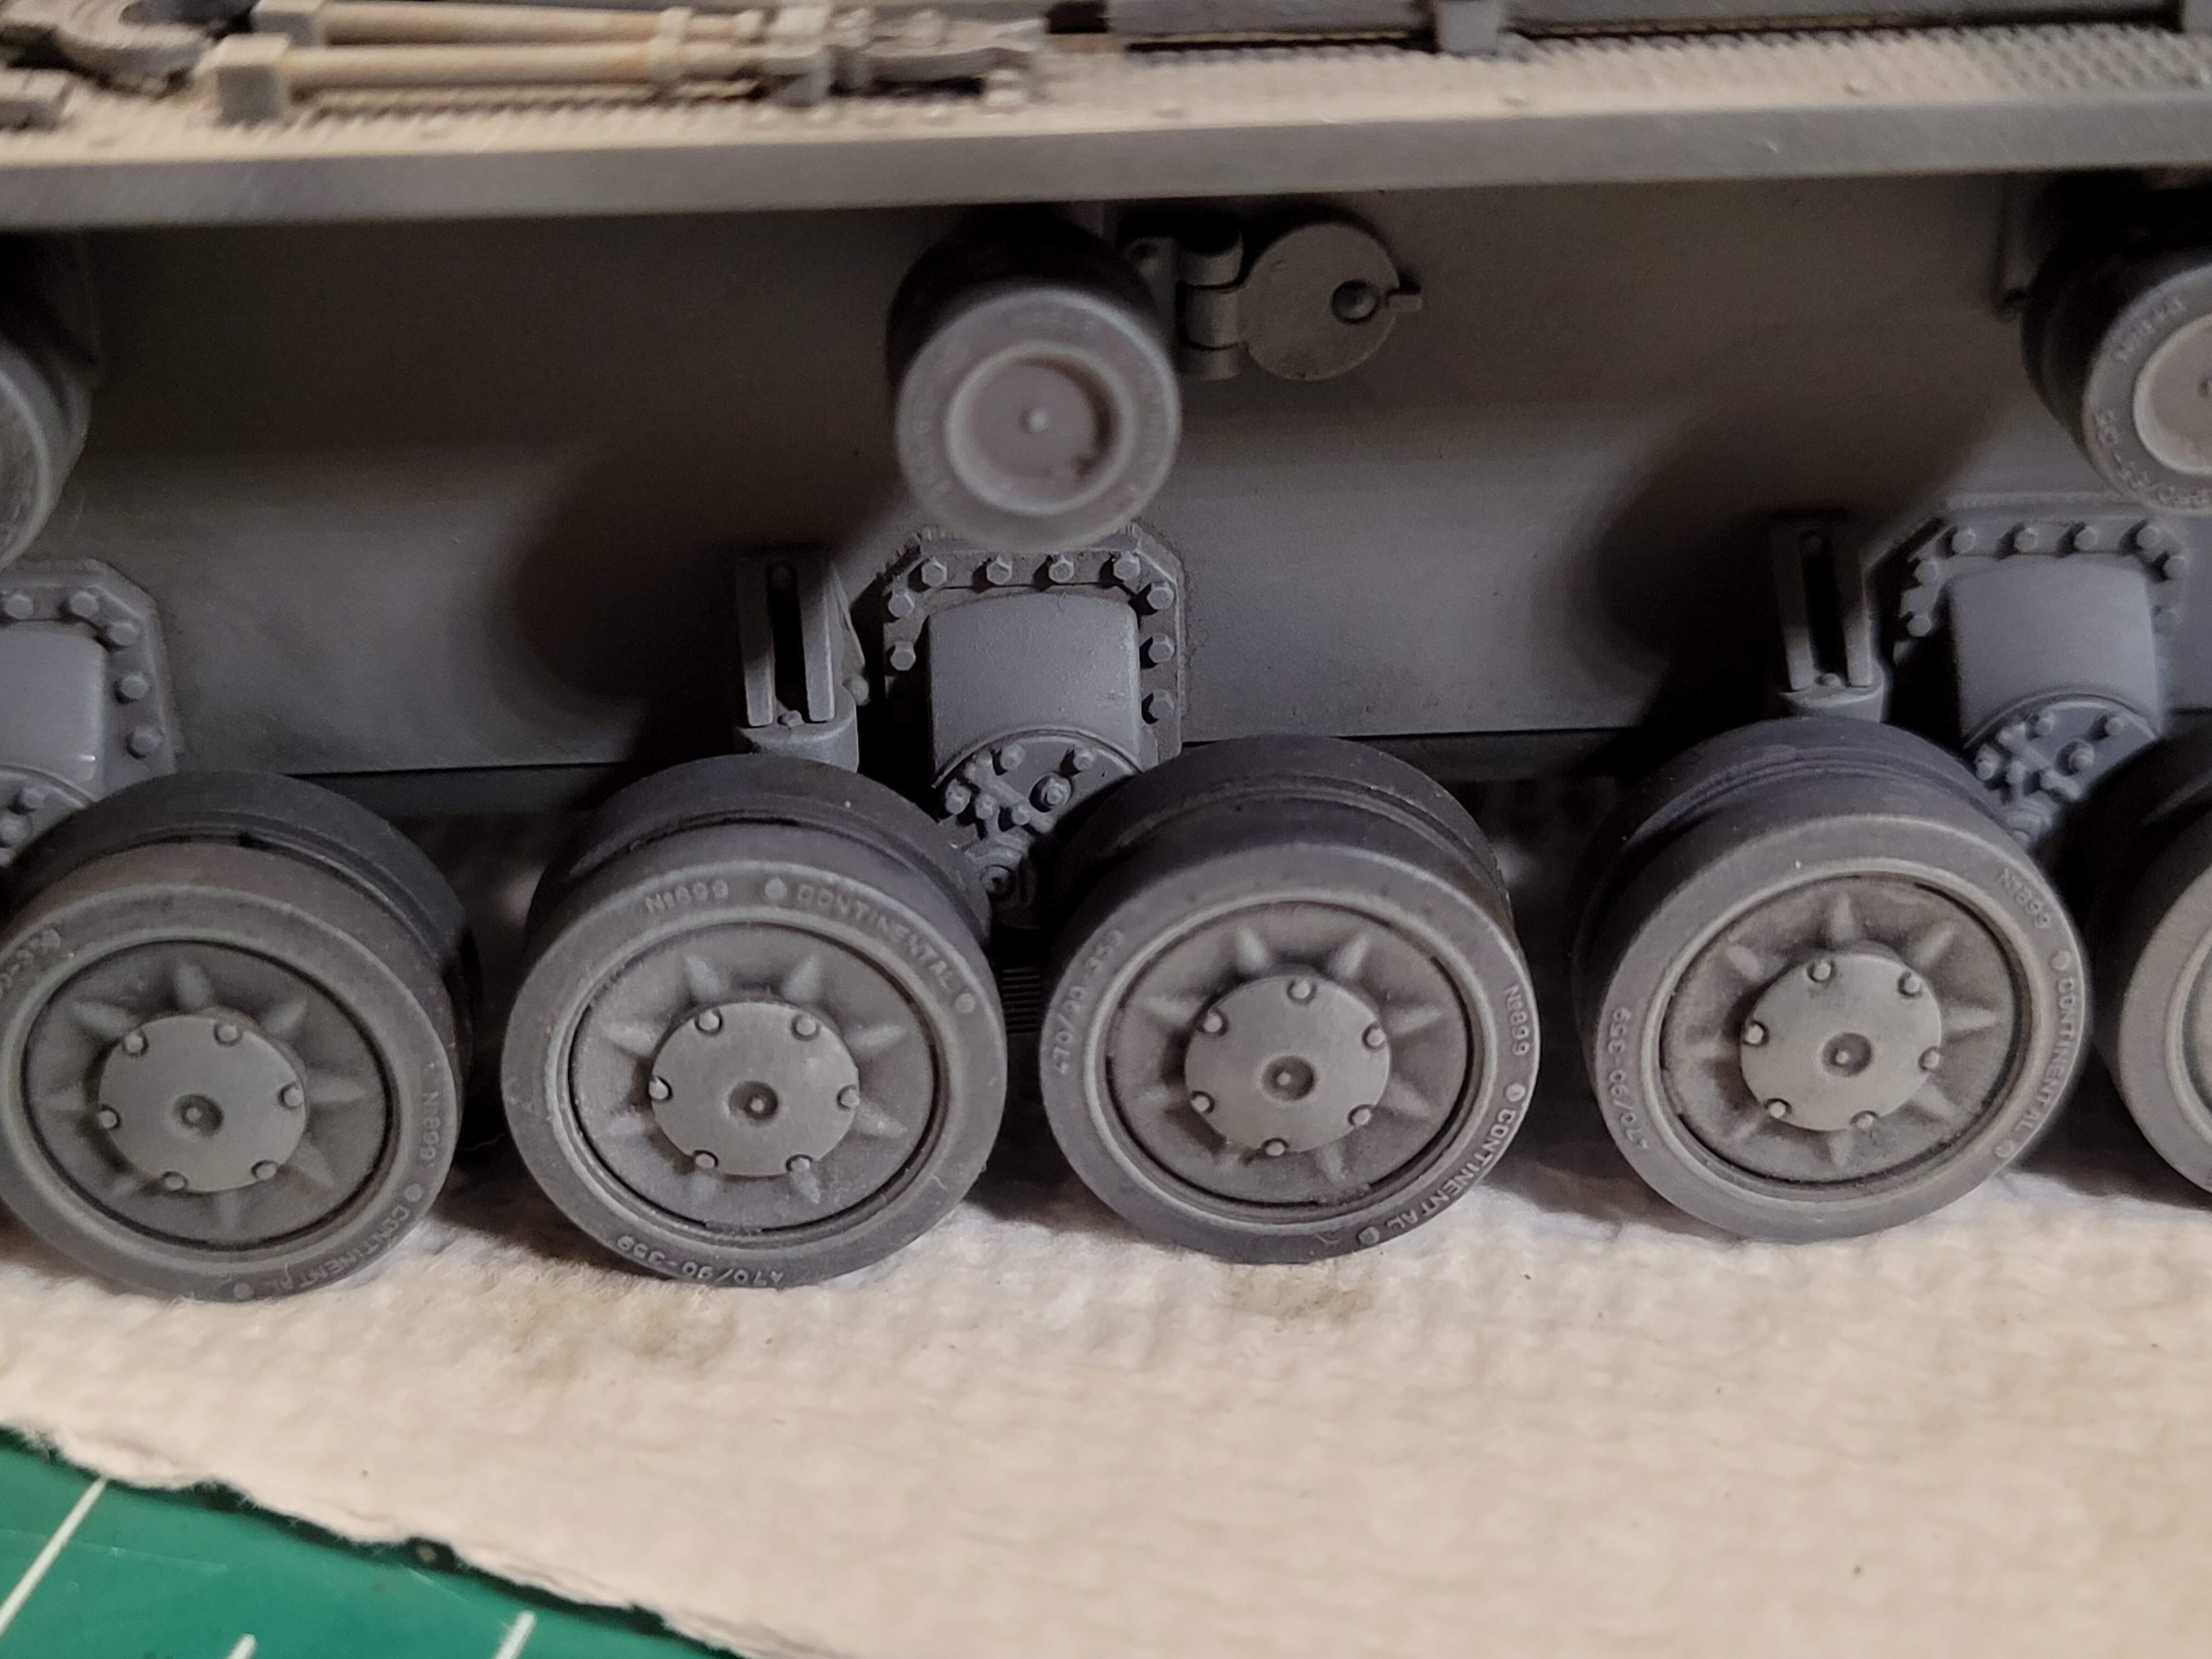
Pz IV suspension is fun thanks to leaf springs. Have field day and don’t forget to hit the big open areas too! Almost polishing a little paint into surfaces.
I like to work in a small area. Hit fender hard with about 20 drybrushing strokes. Less paint requires more pressure allowing better control.
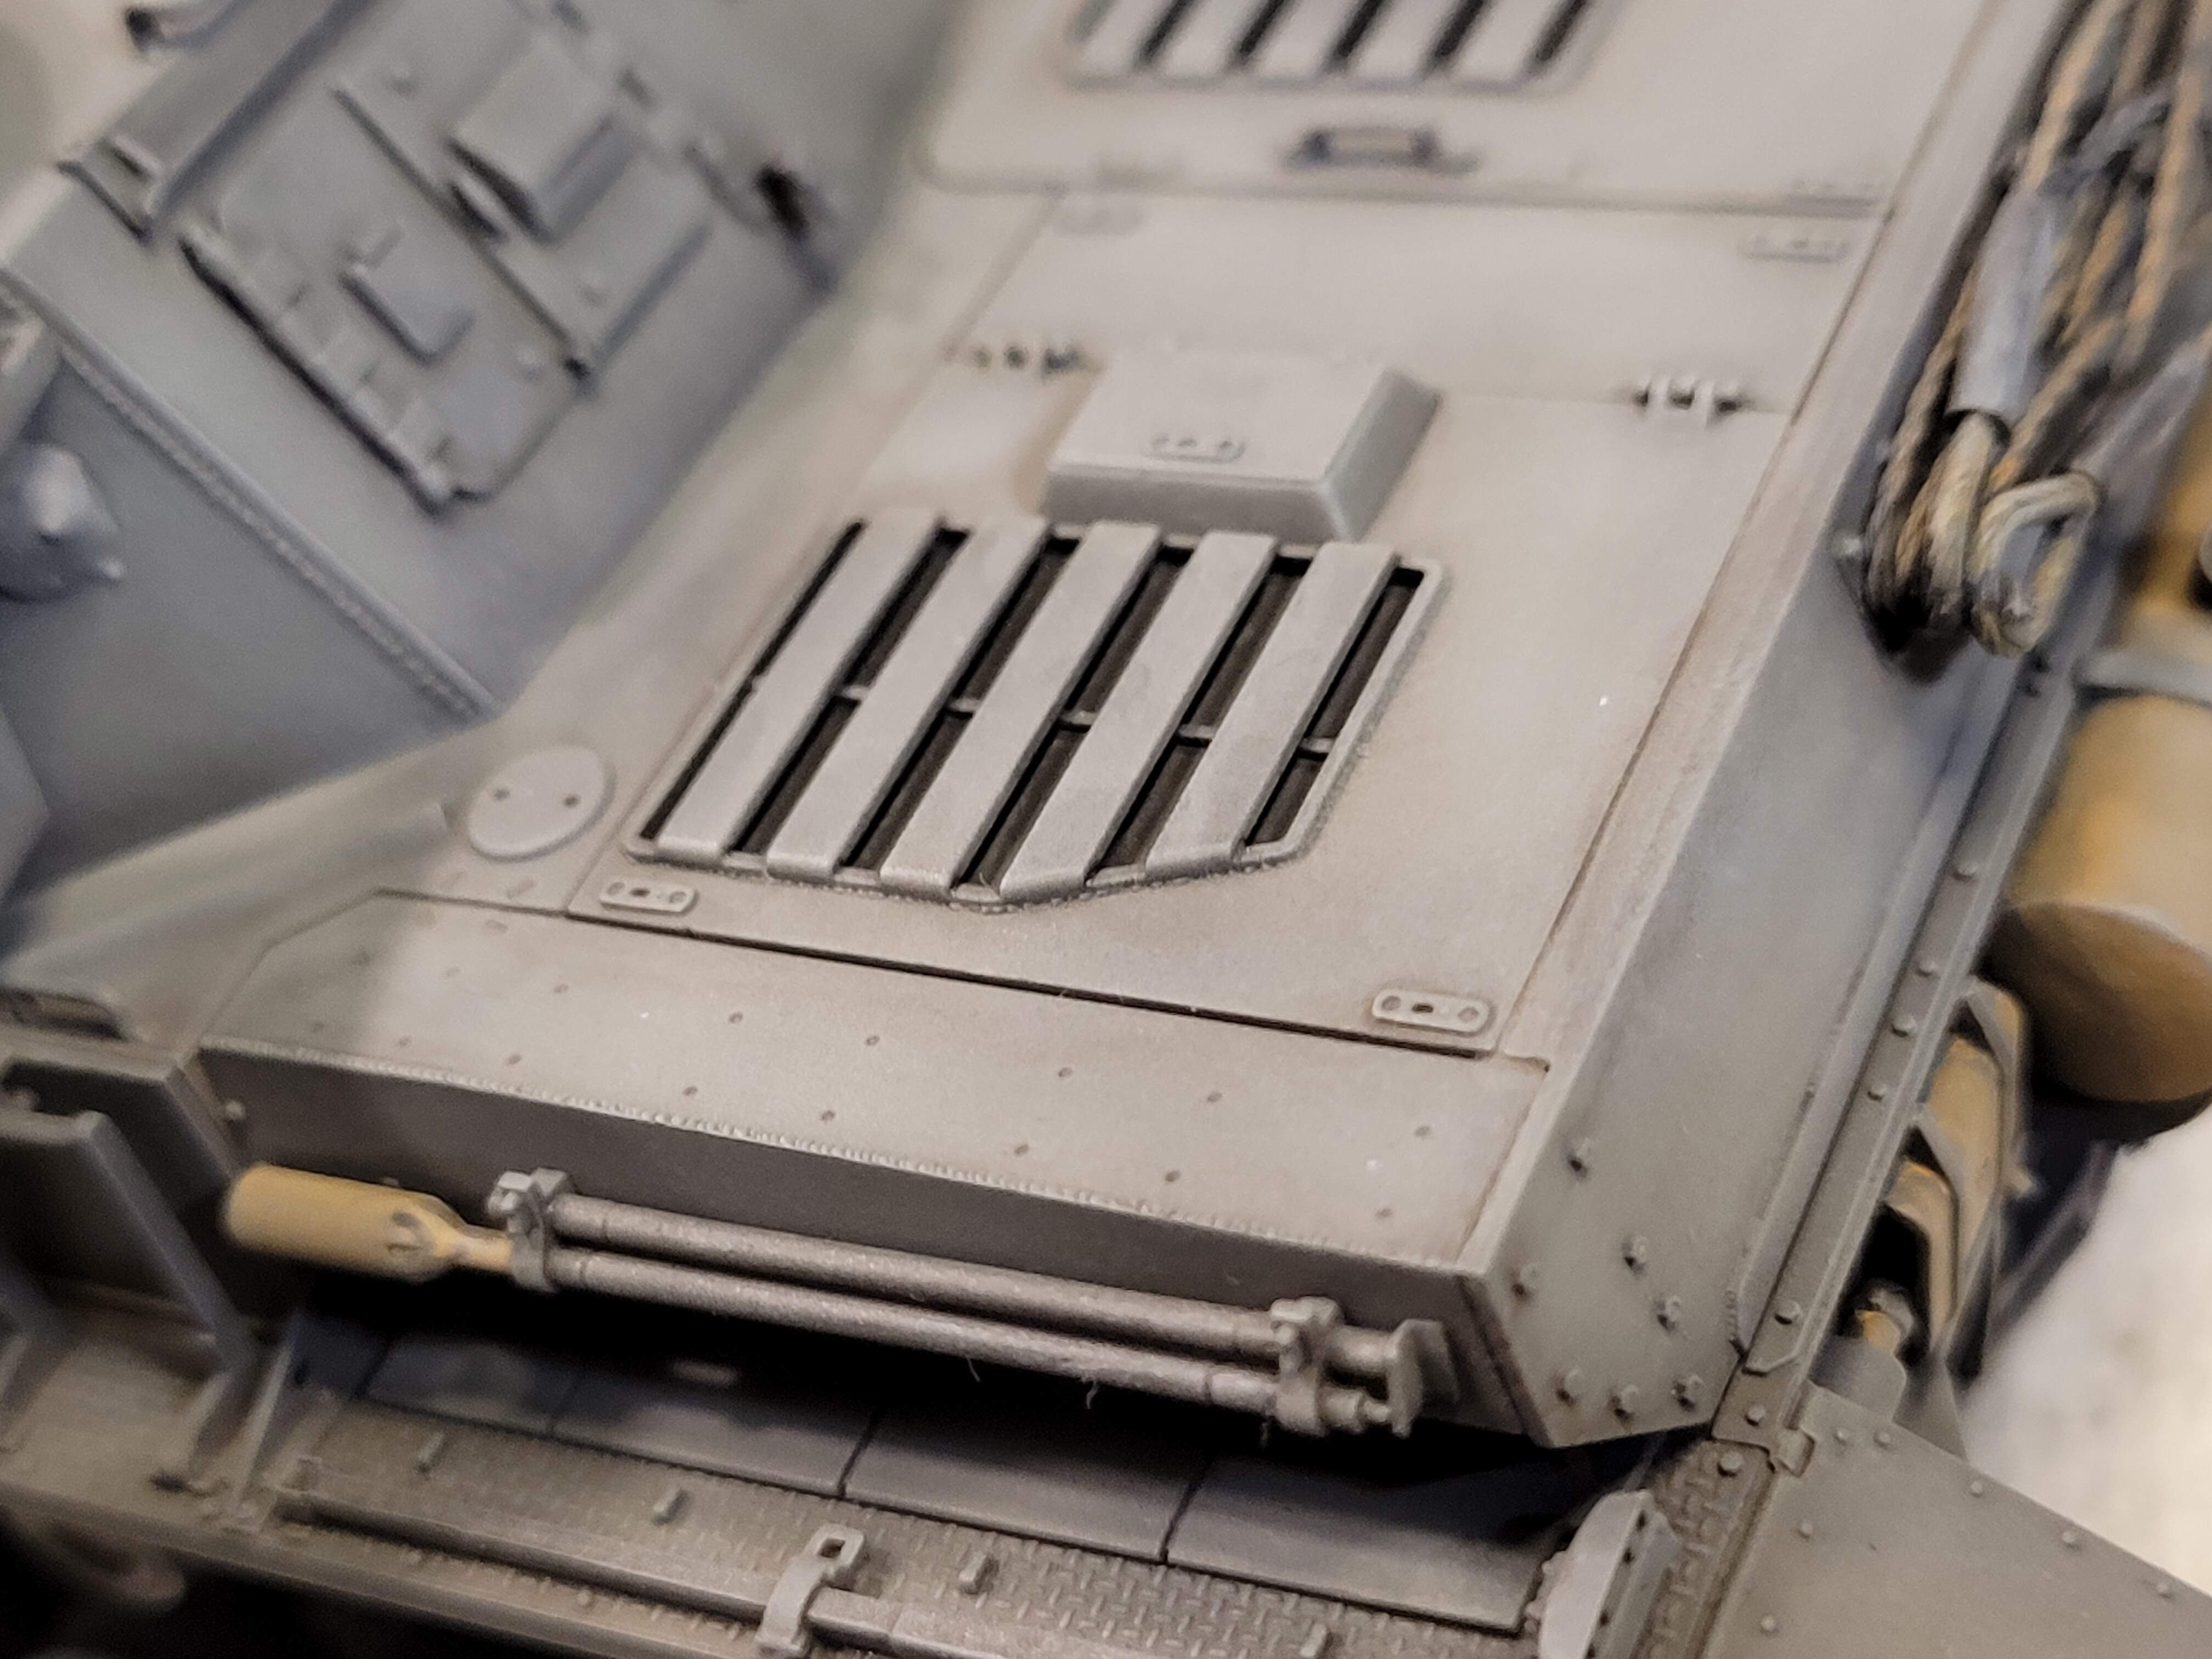
Big moment, warmed up on other area the glacis is visually critical. Take time and work it over. For areas like this if brush needs more paint, test it first on paper towel and under model before returning to drybrush a visually critical area.
Over to the other fender
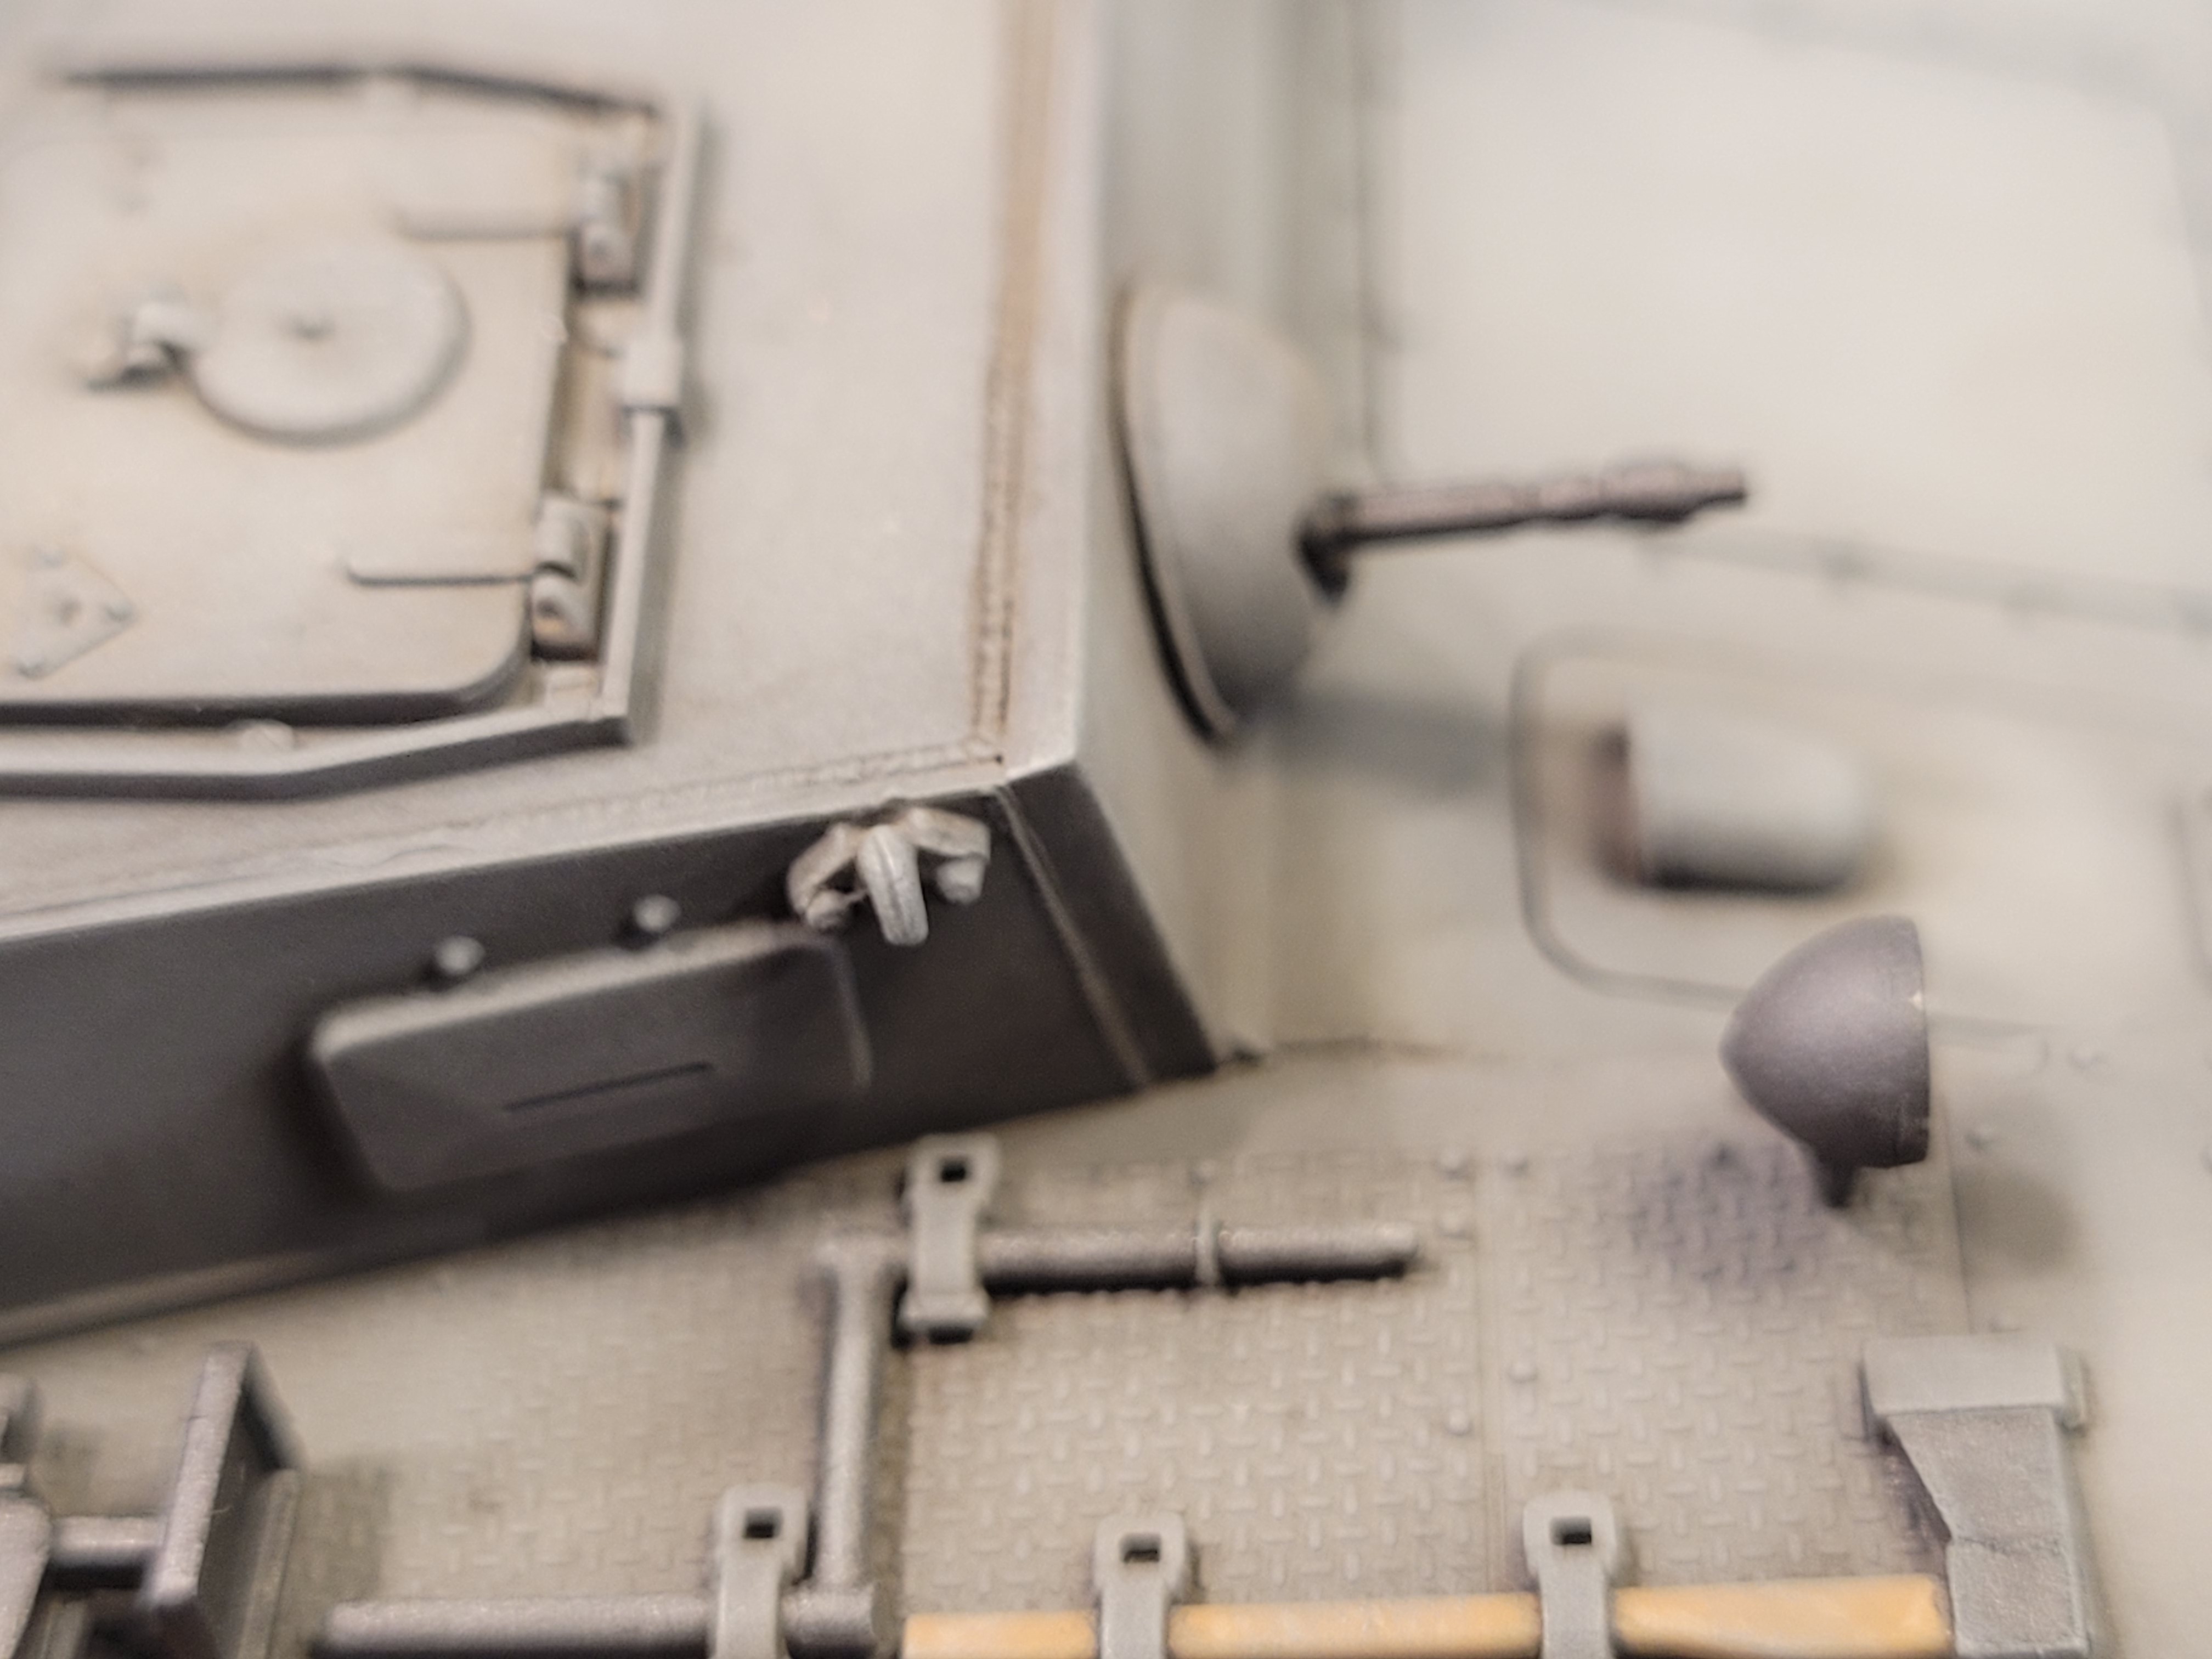
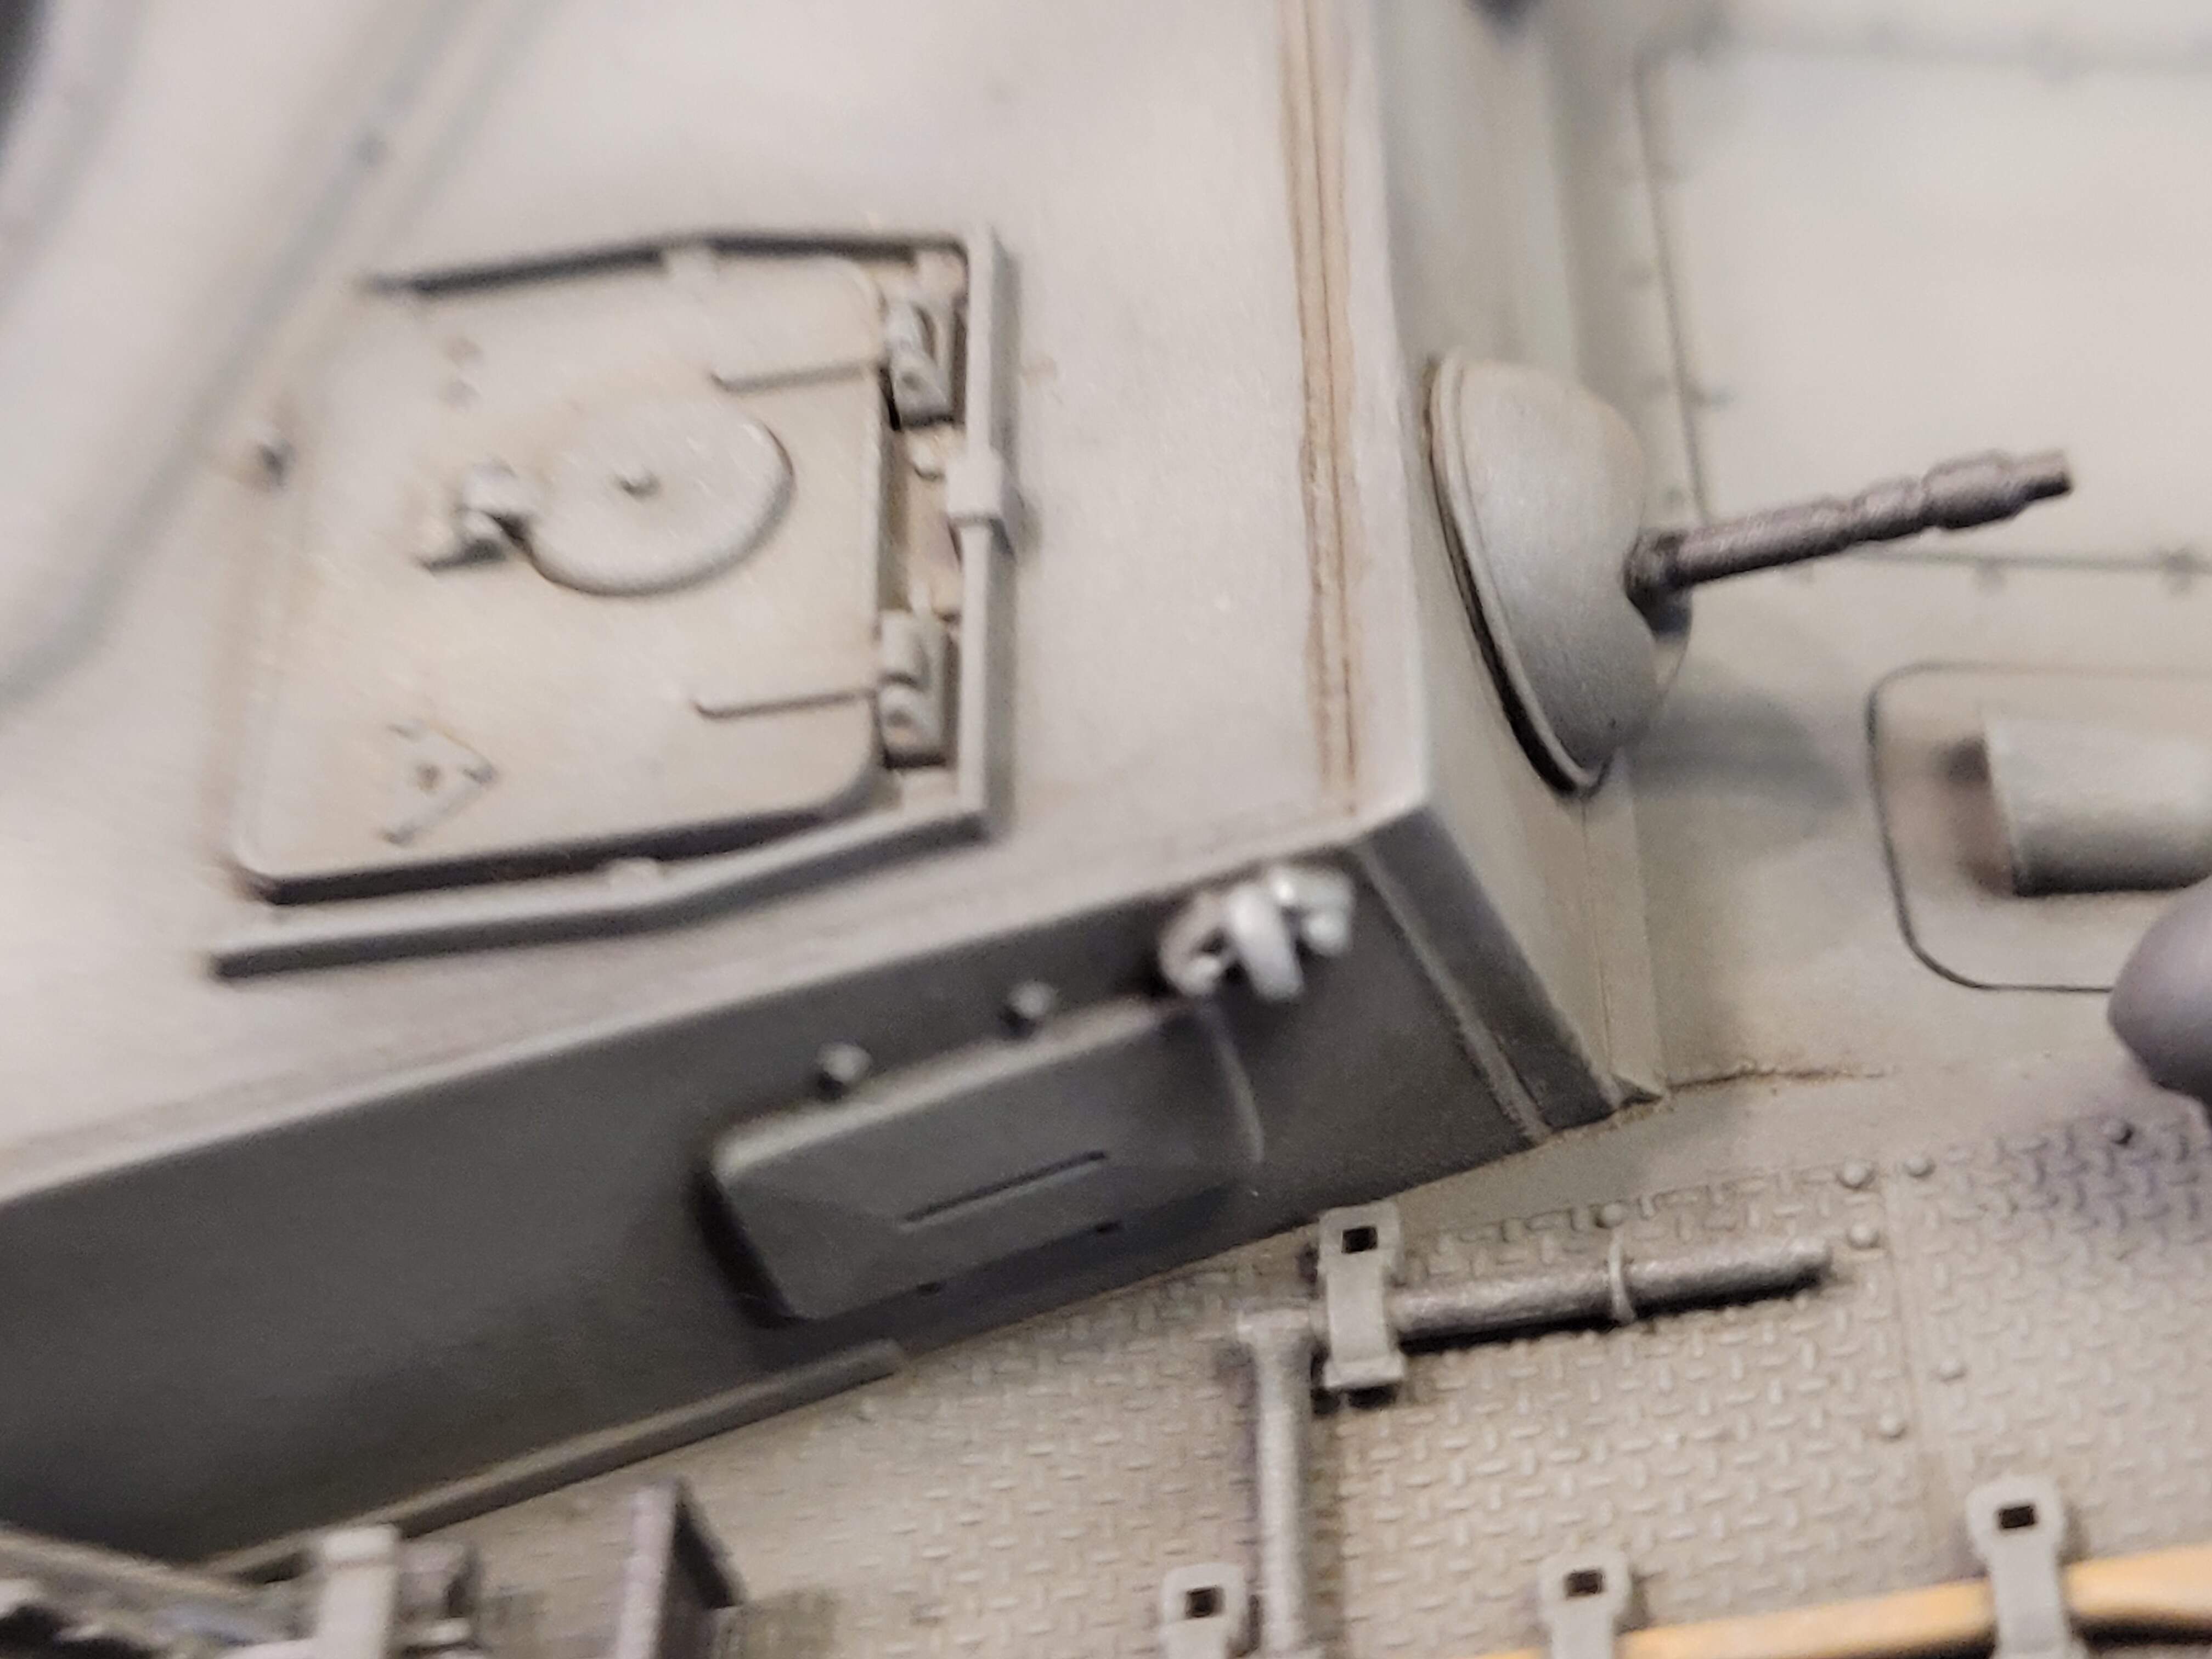
Extra care and less pressure is needed working around tools, PE details or fragile parts. Main goal is to hit the edges. Fender anti slip/tread detail can be hit later stage.
Nasty surprises occur when dry brushing. Popped a bit of mold seam that was missed when cleaning lift hook.
Scrap or sand off seam. Blow dust away. Dry brush exposed plastic. Move on Minor annoyance not a big deal. Don’t forget to hit the rest of the area after the side track issue.
Lots of dry brushing on open areas and edges. We want them to pop out in a subtle way. That helps the viewer see the edge without realizing way they see the edges.
Really pound that engine deck! 20 to 30 ore more brush strokes…all most polishing with a paint brush.
Just with oil wash
Hitting open areas, edged and hatch details.
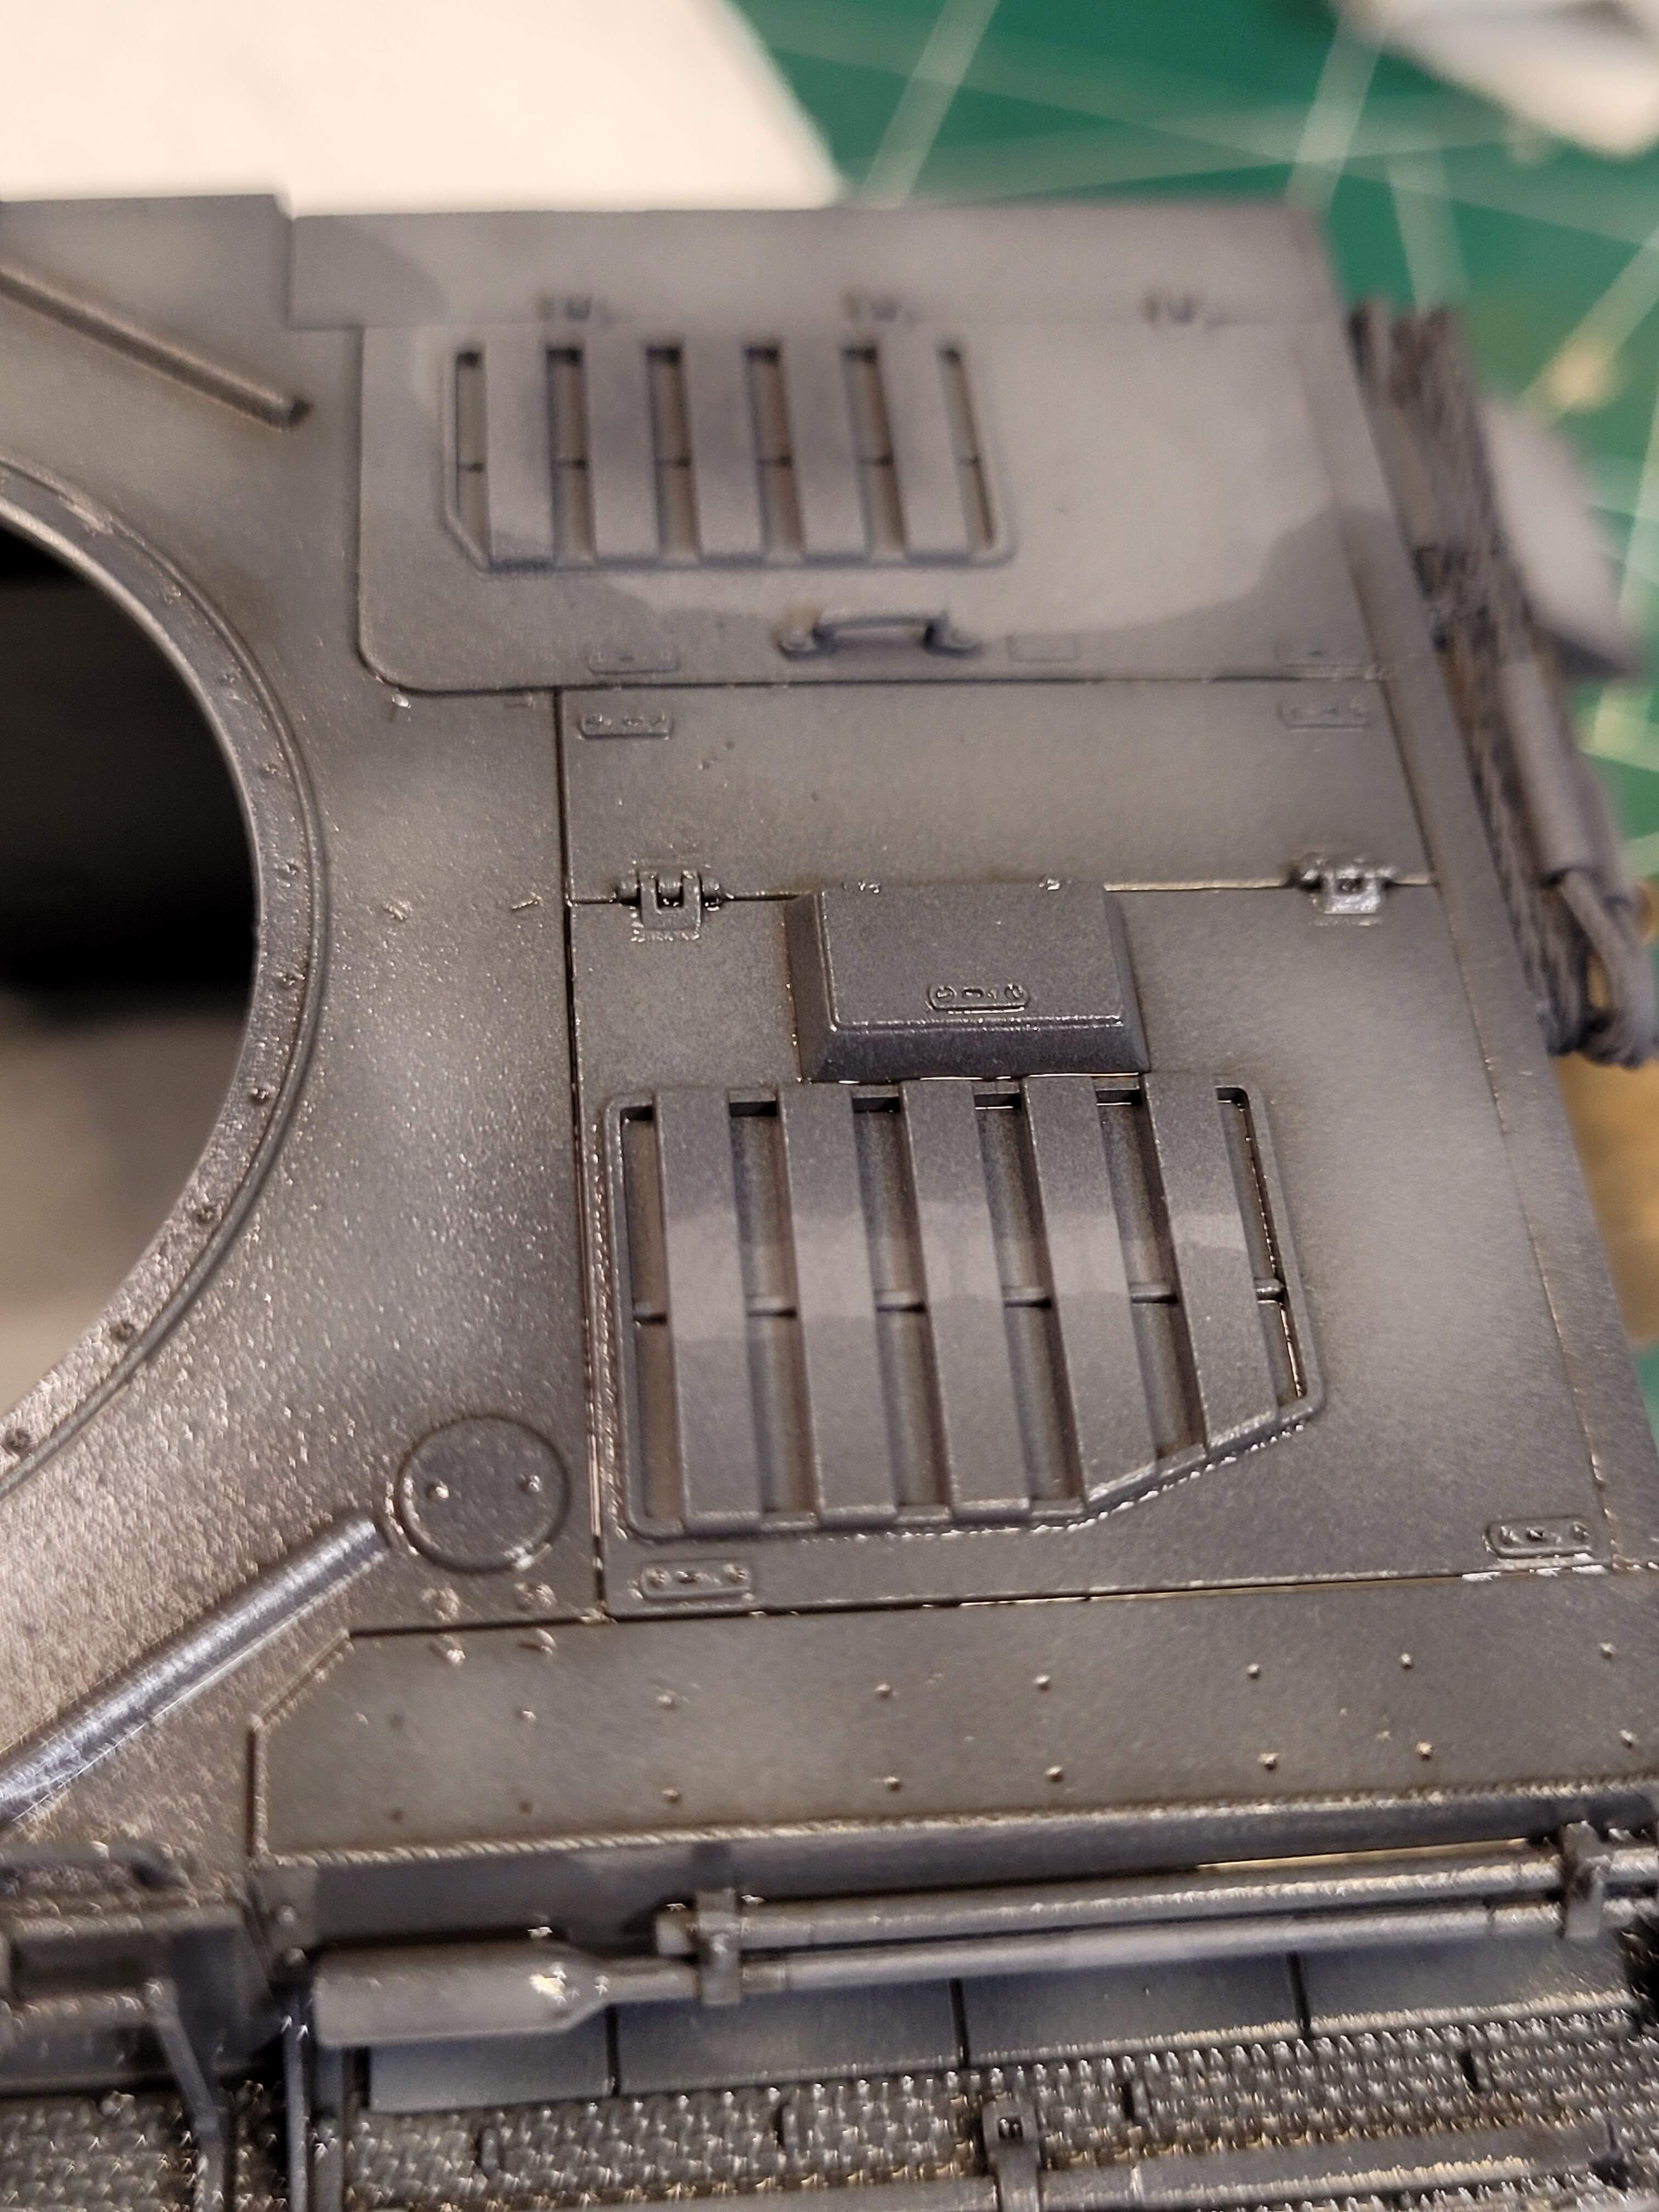
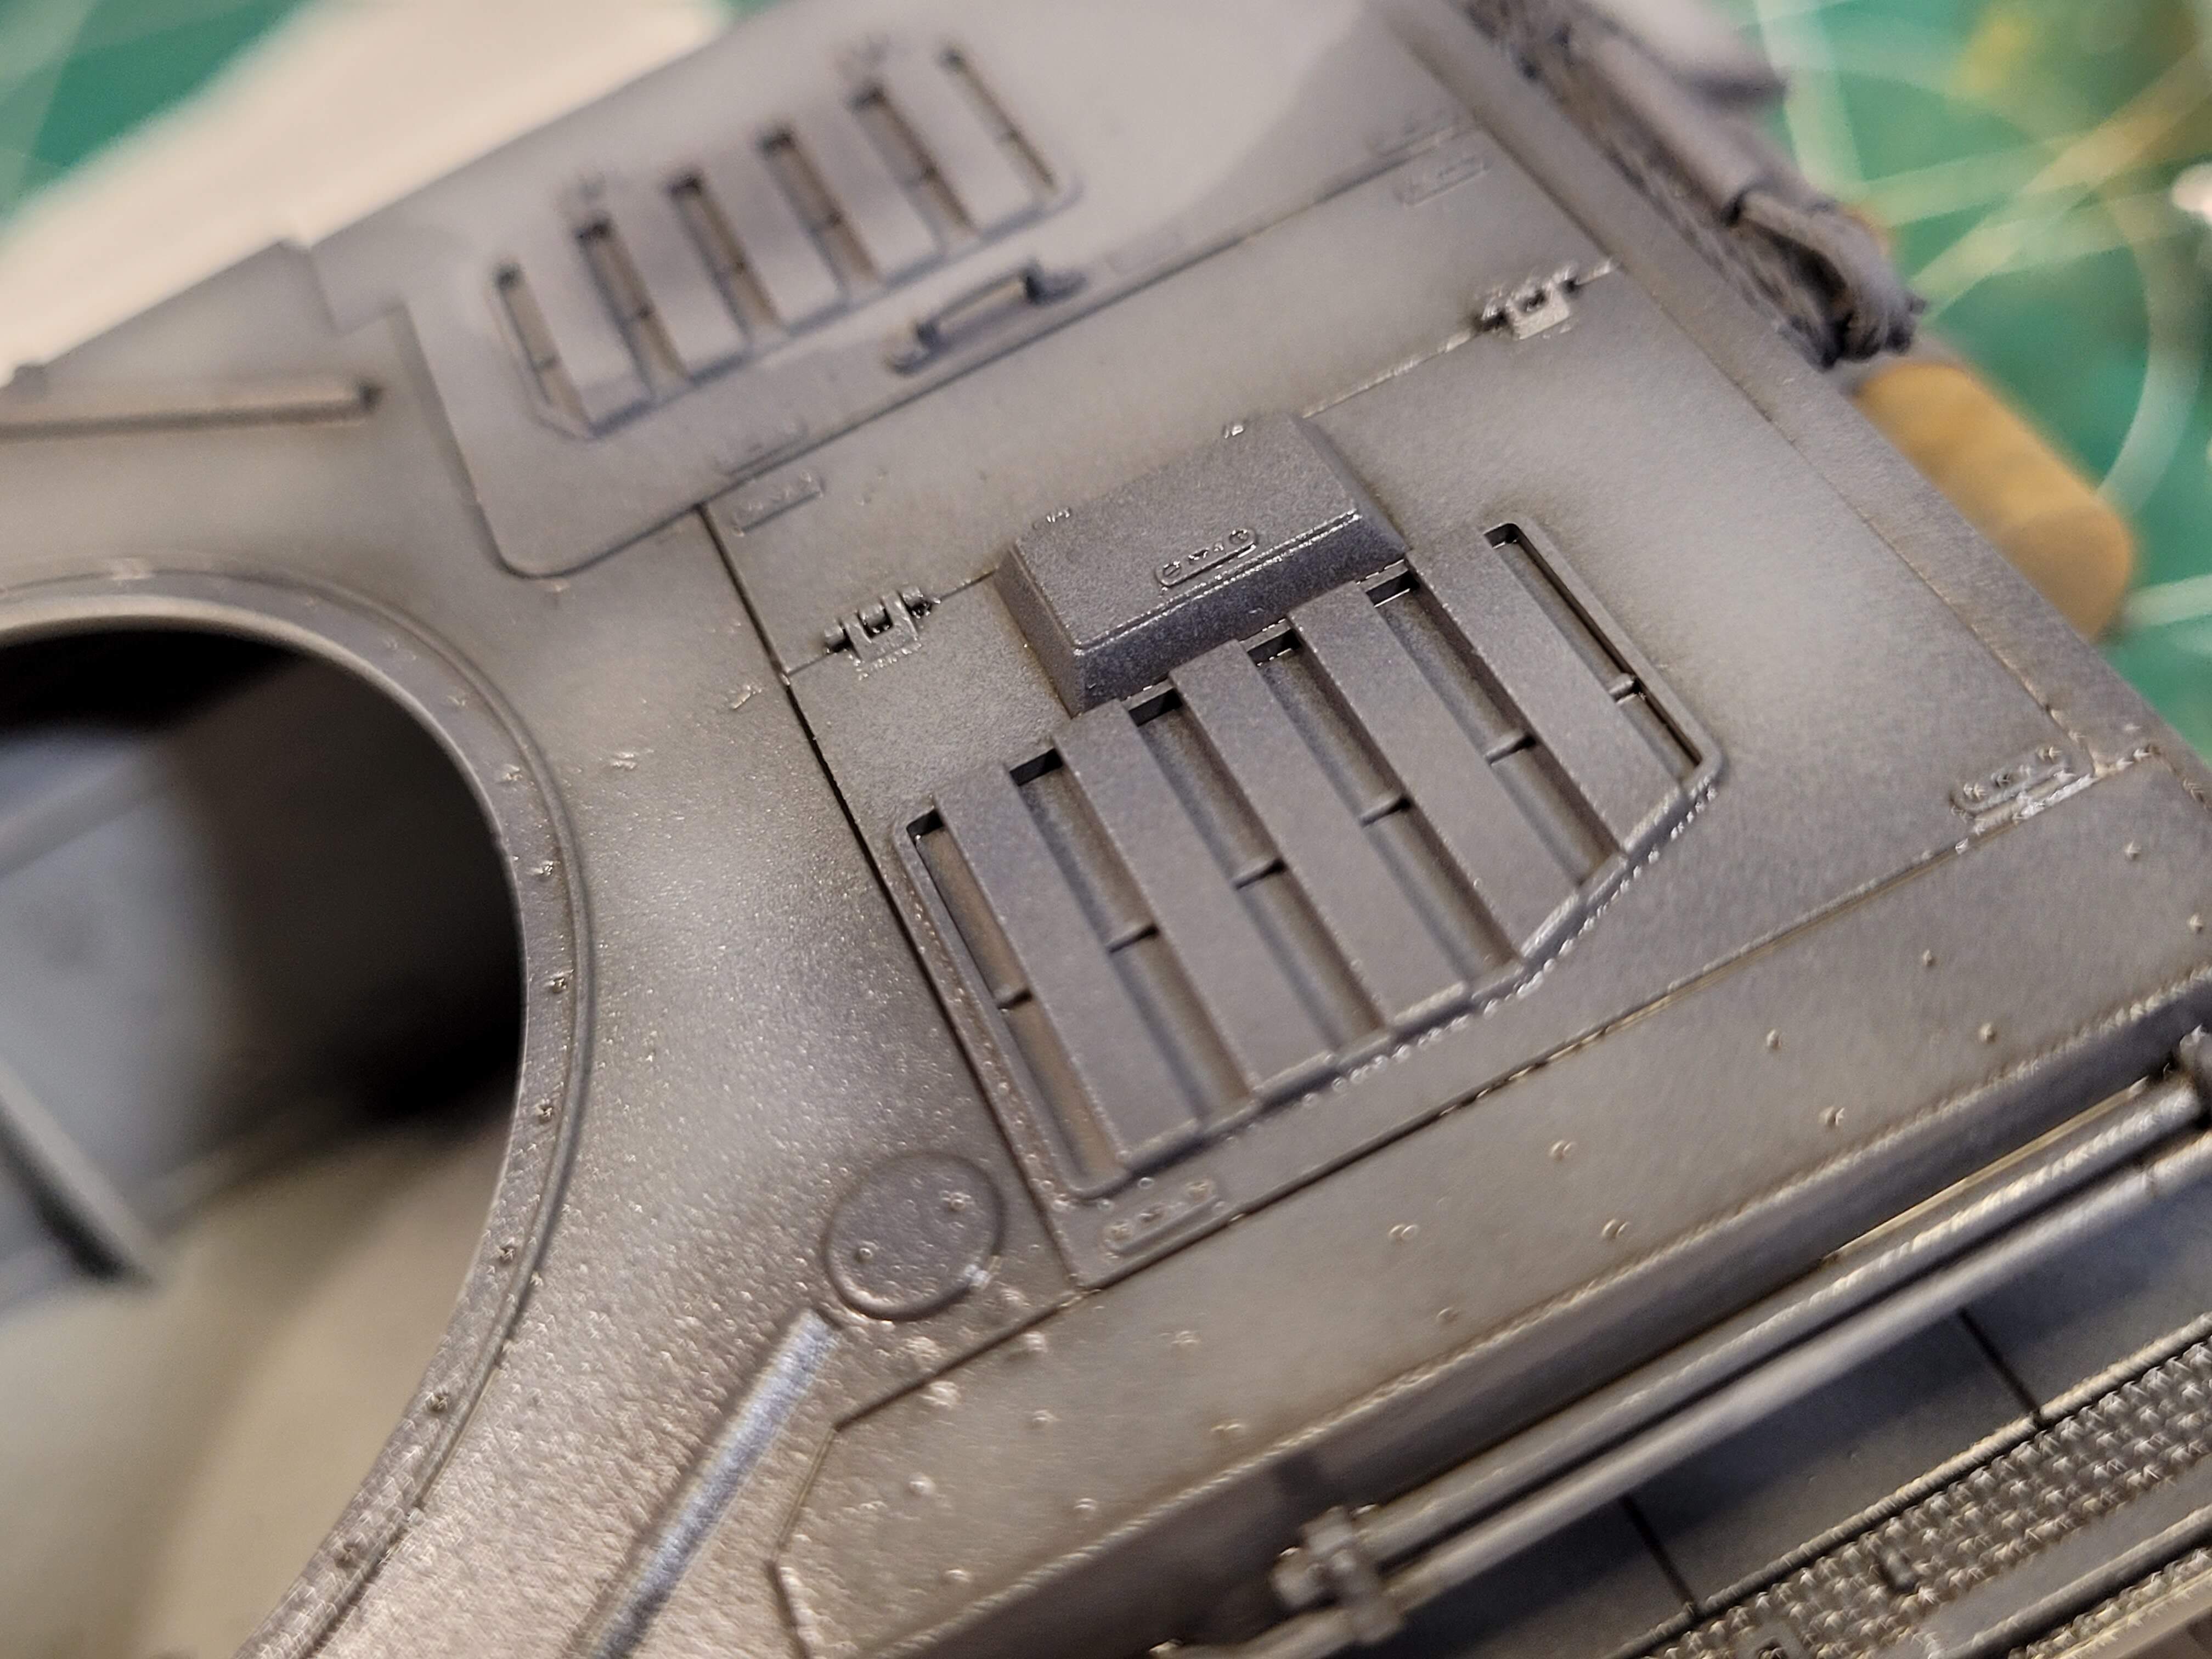
Going after all that raised detail, especially welds and flat screw heads. 30 plus brush strokes etc.
Moving along upper hull top and side
Inspect and hit areas again as needed
Yuck Nasty tide mark. Work the DB magic to reduce.
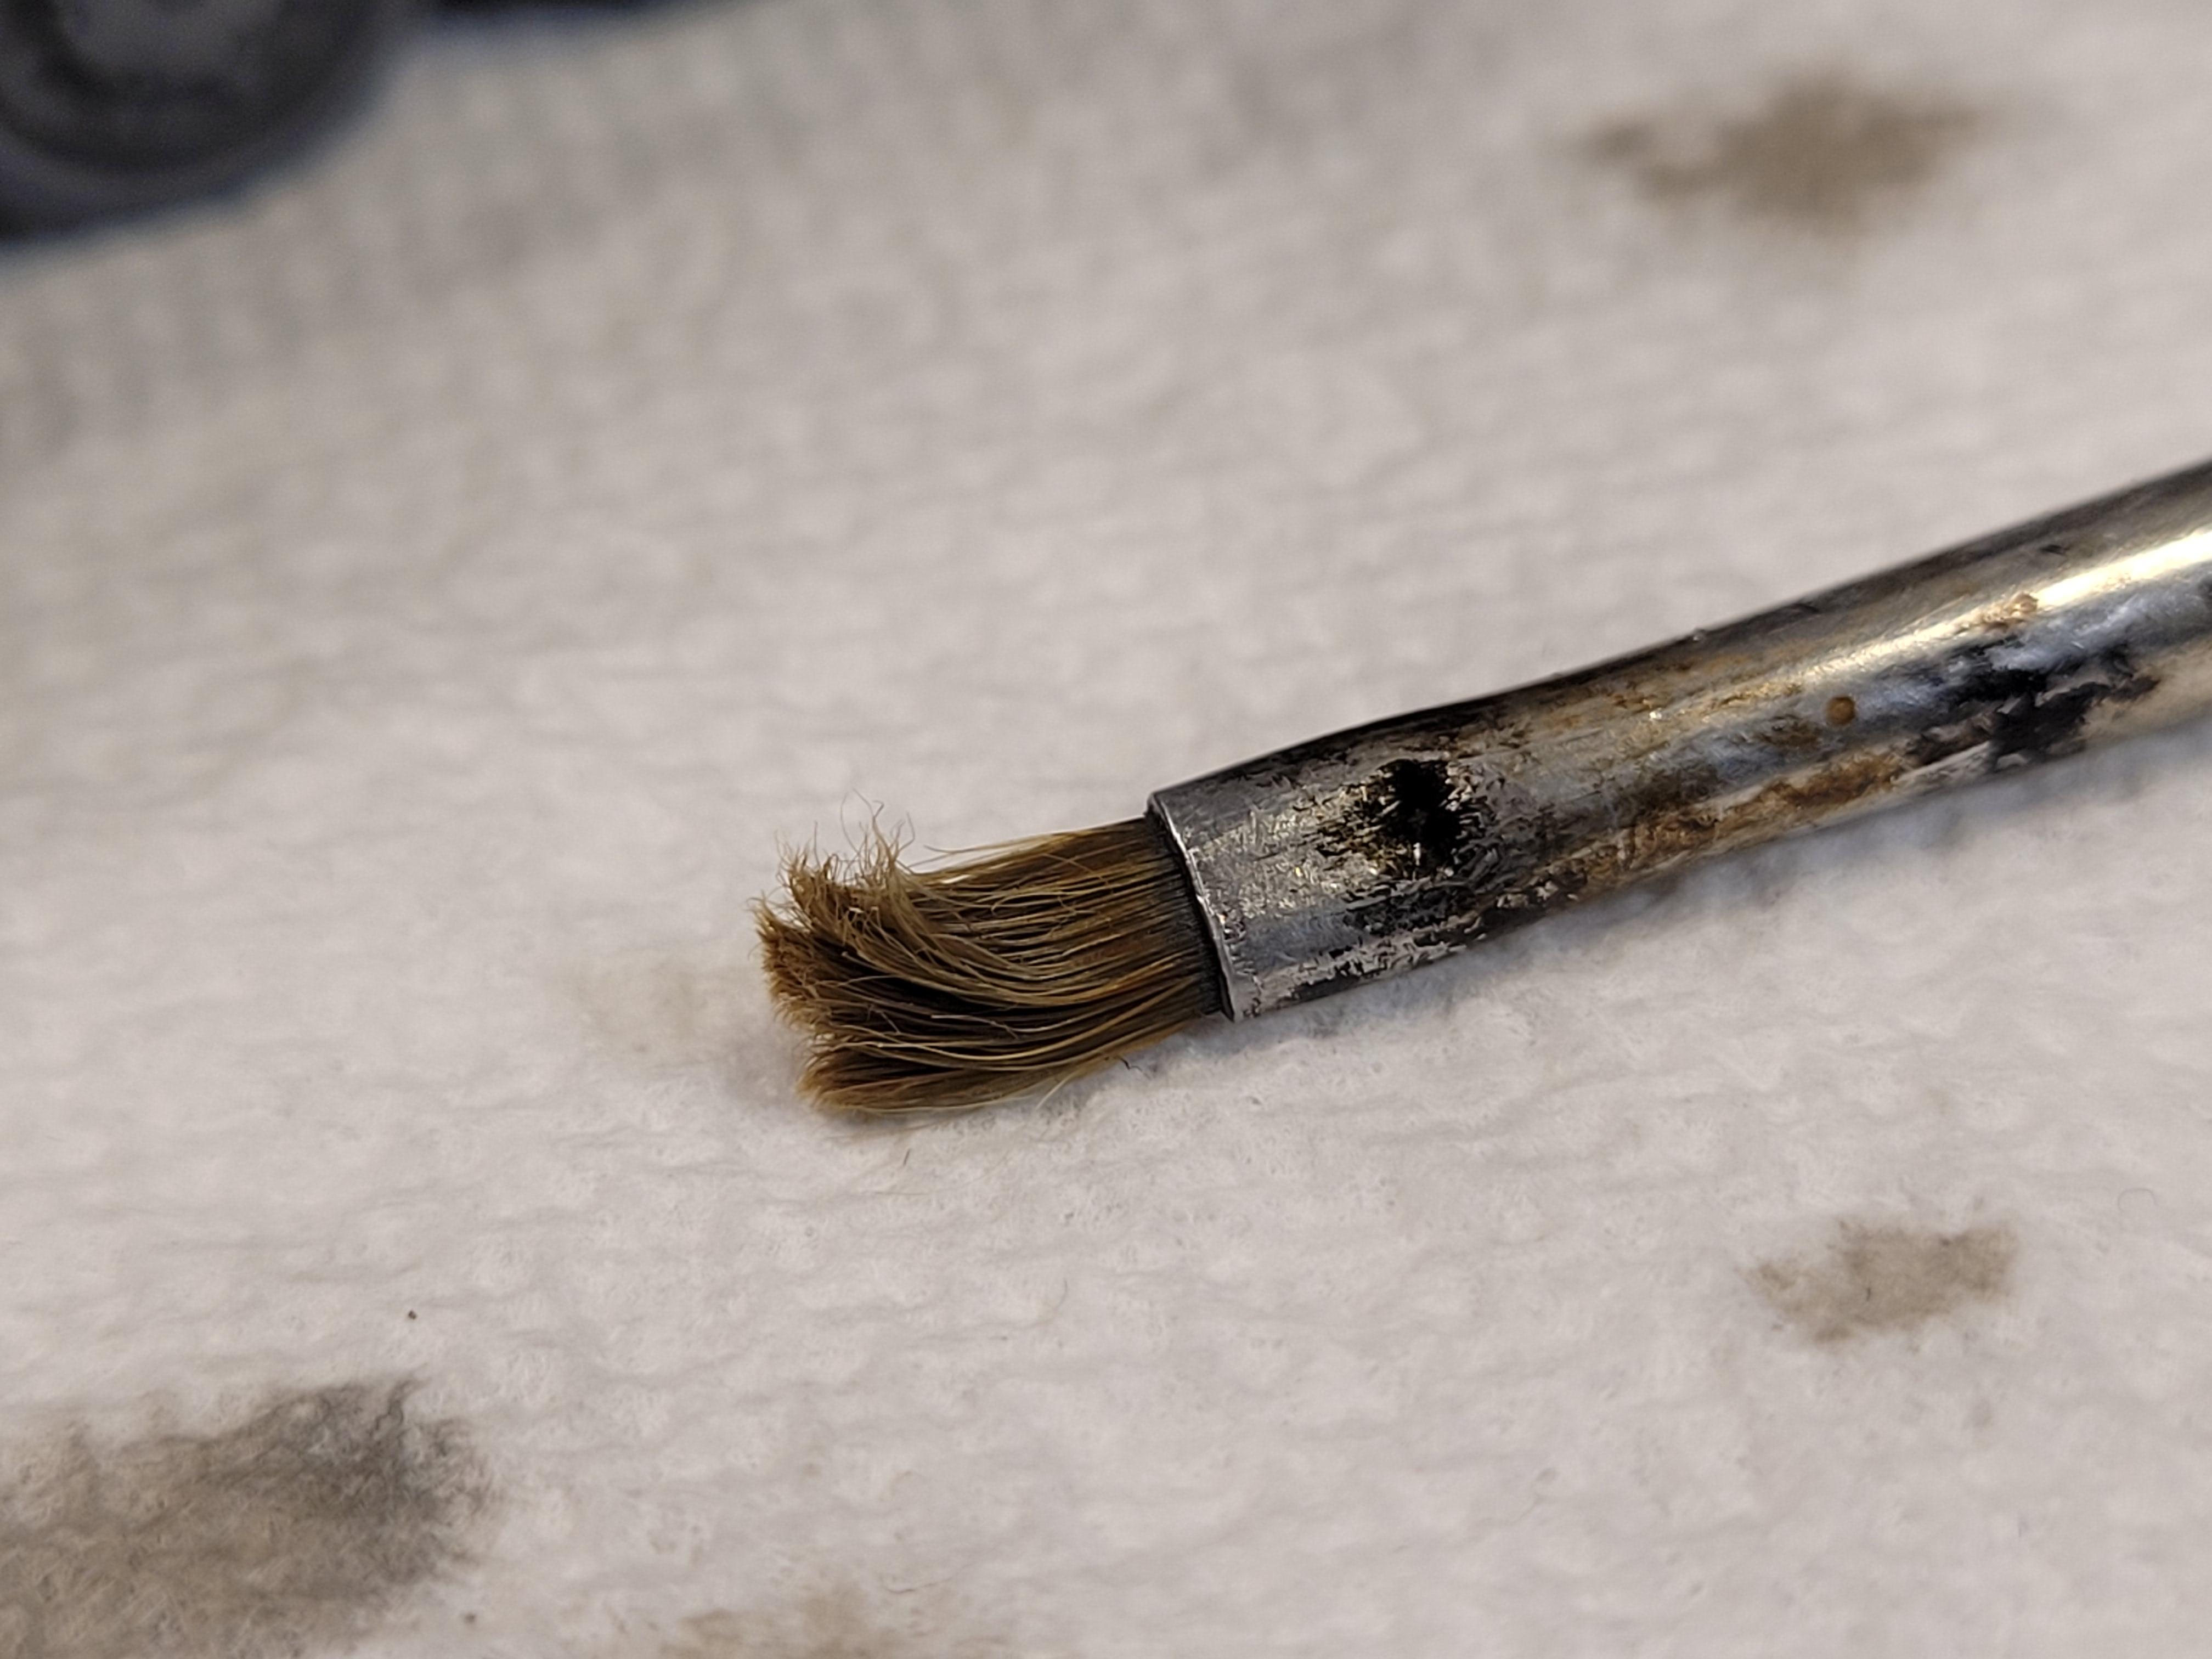
This kills paint brushes
The enamel is drying in brush. It needs completely cleaned. Then it needs dried completely before we go back to do touch ups before moving to the turret.
I think the hull looked better base coat dry brushed than the untouched turret. The effects are subtle but the camera shows it.
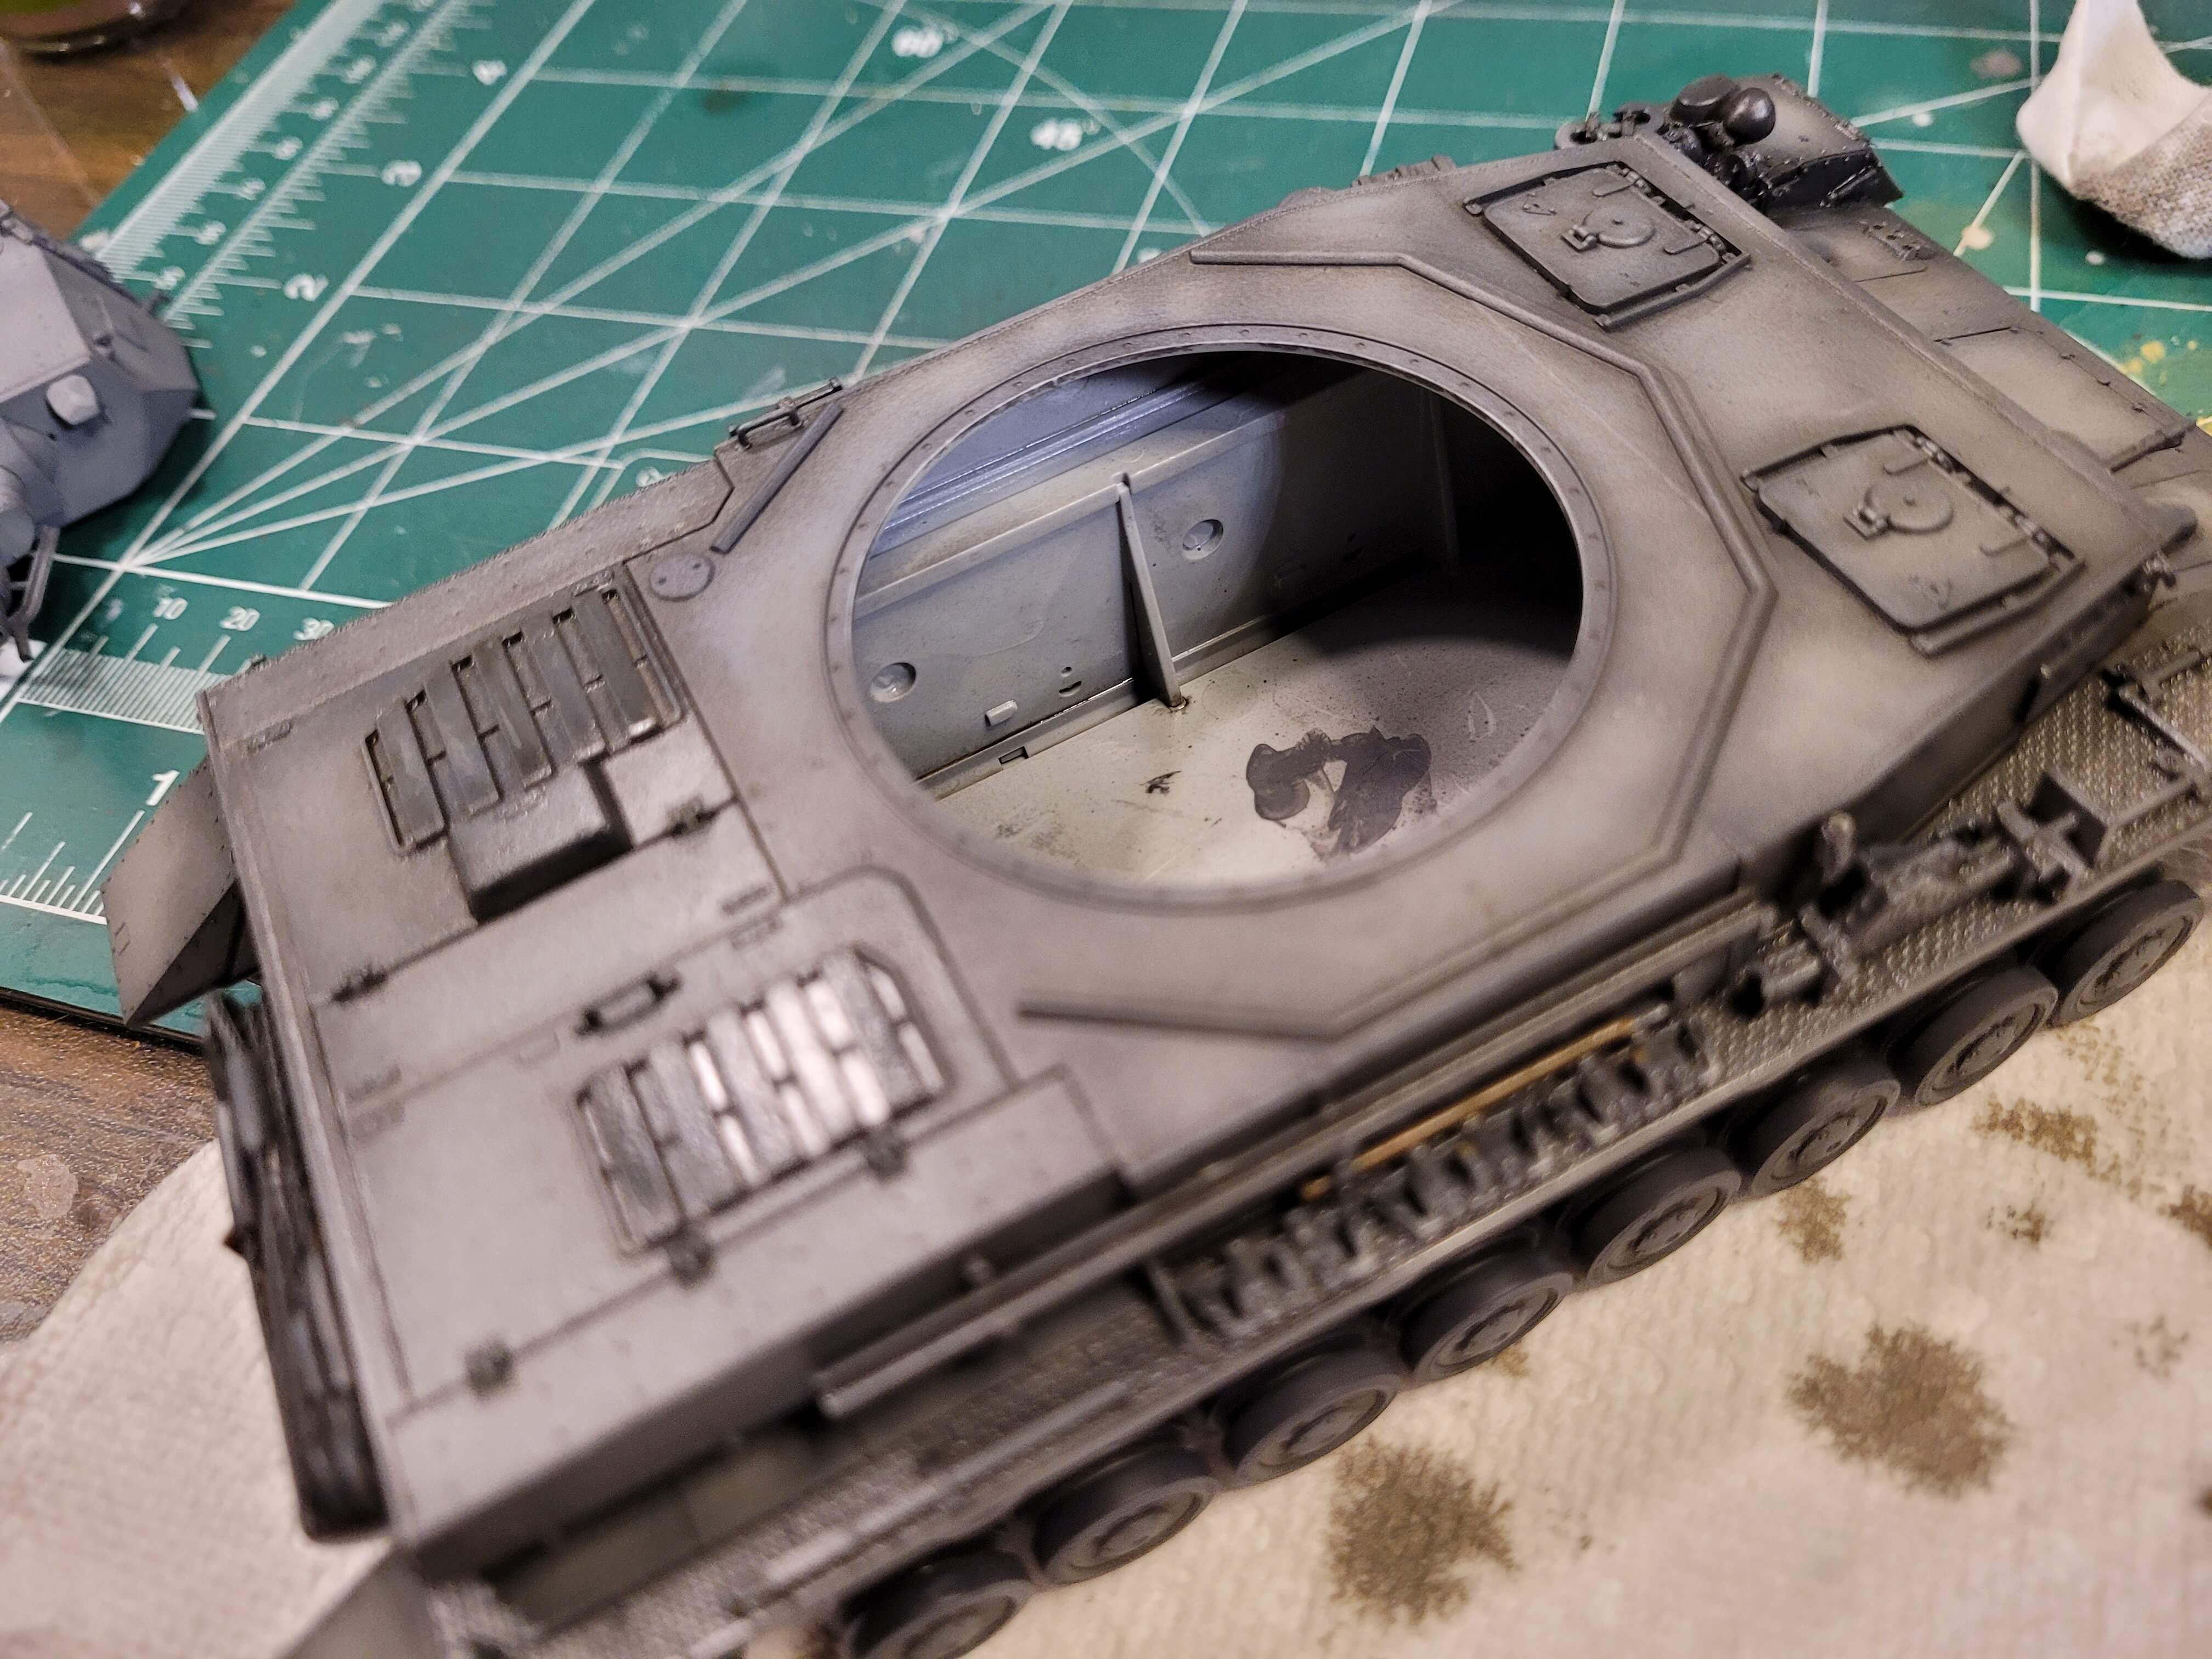
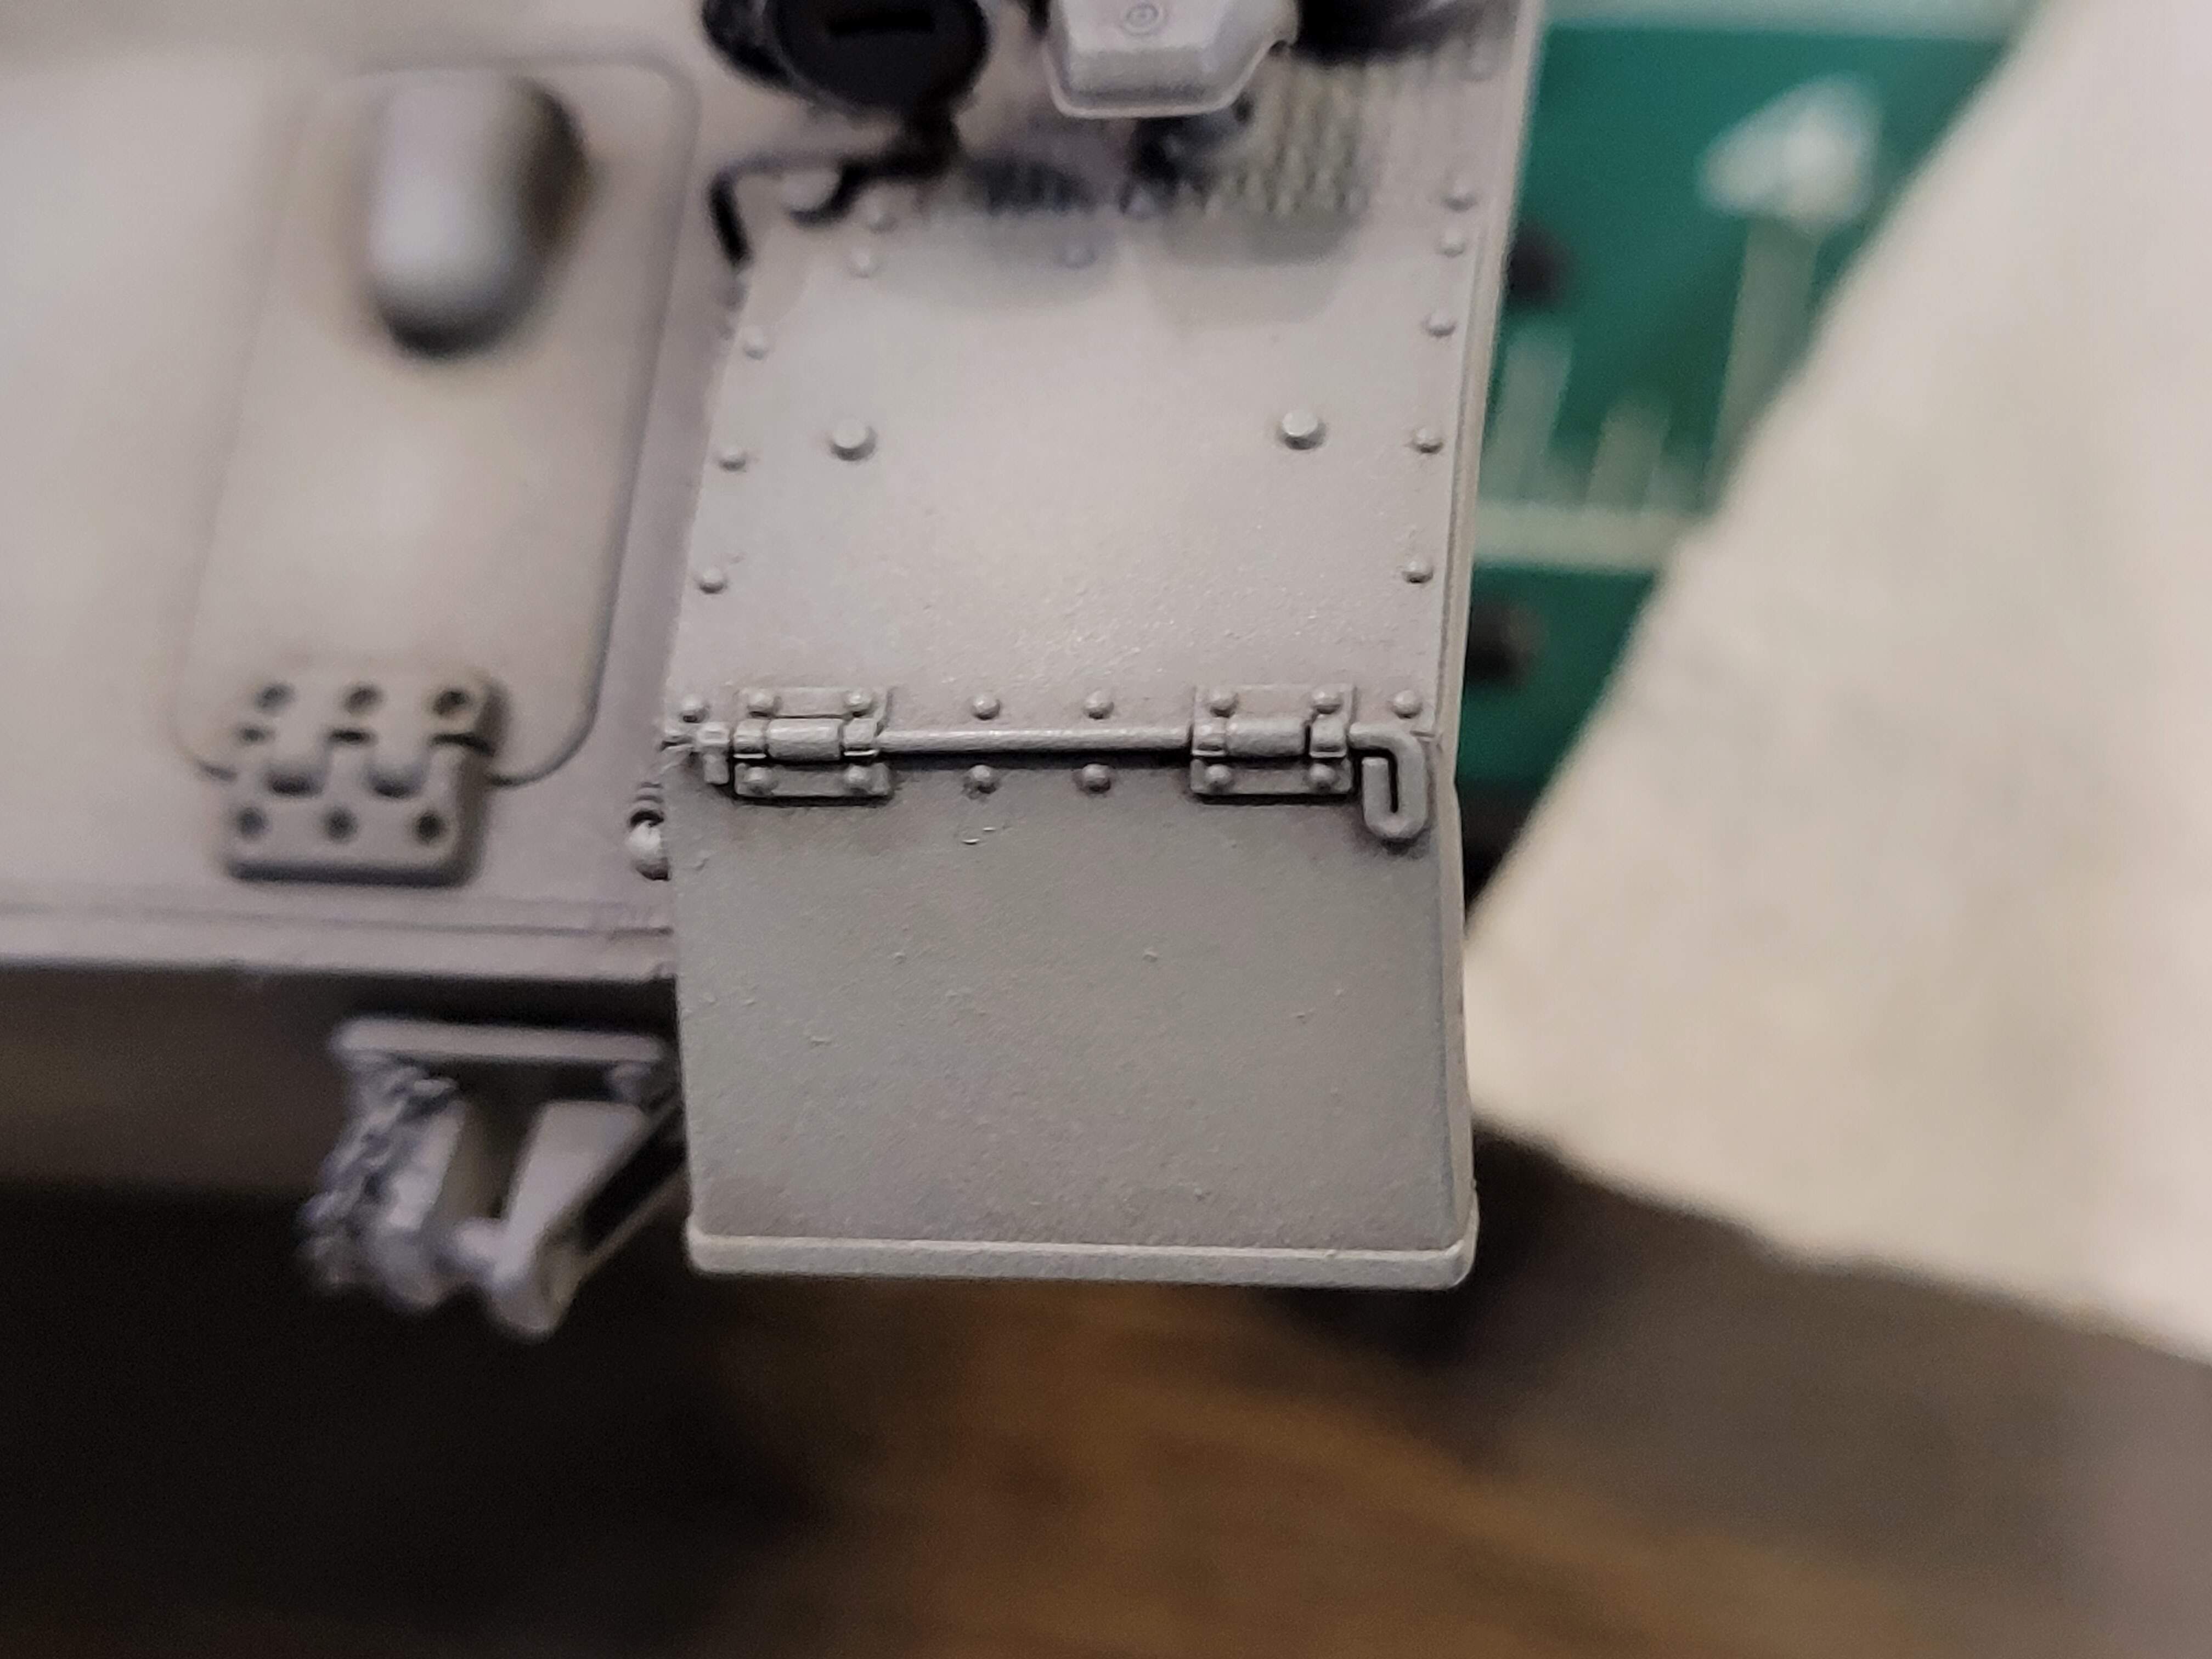
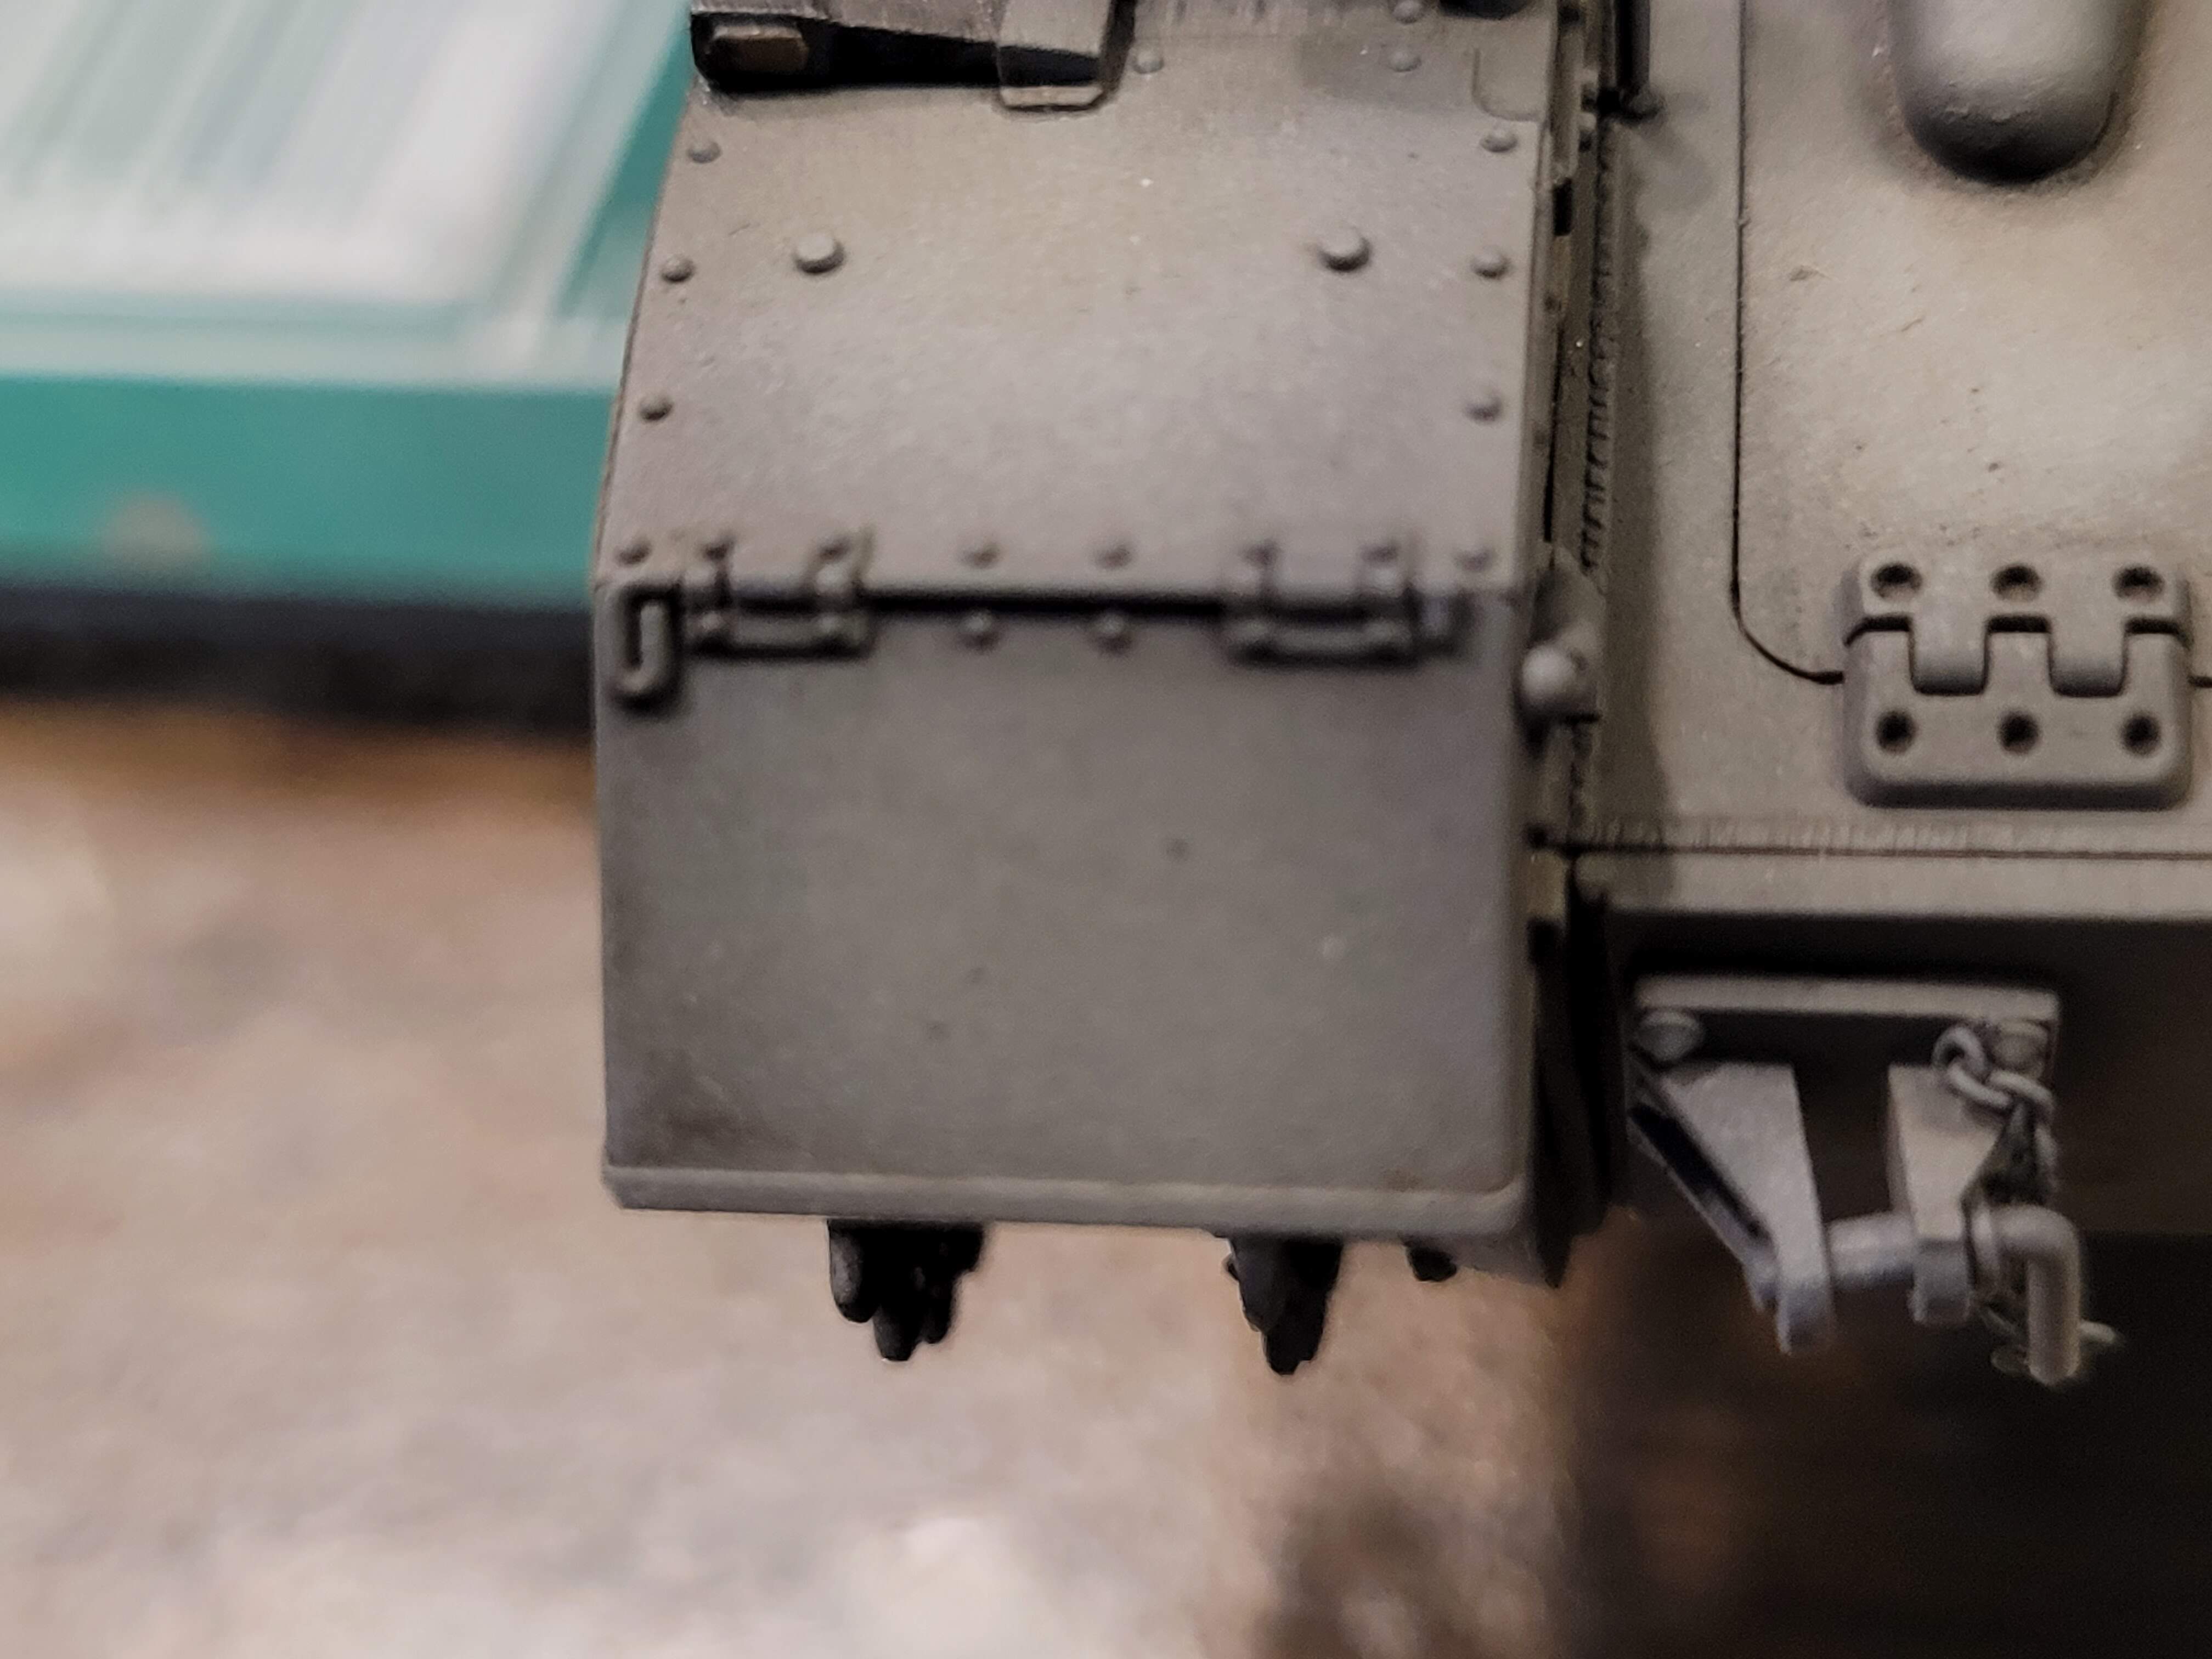
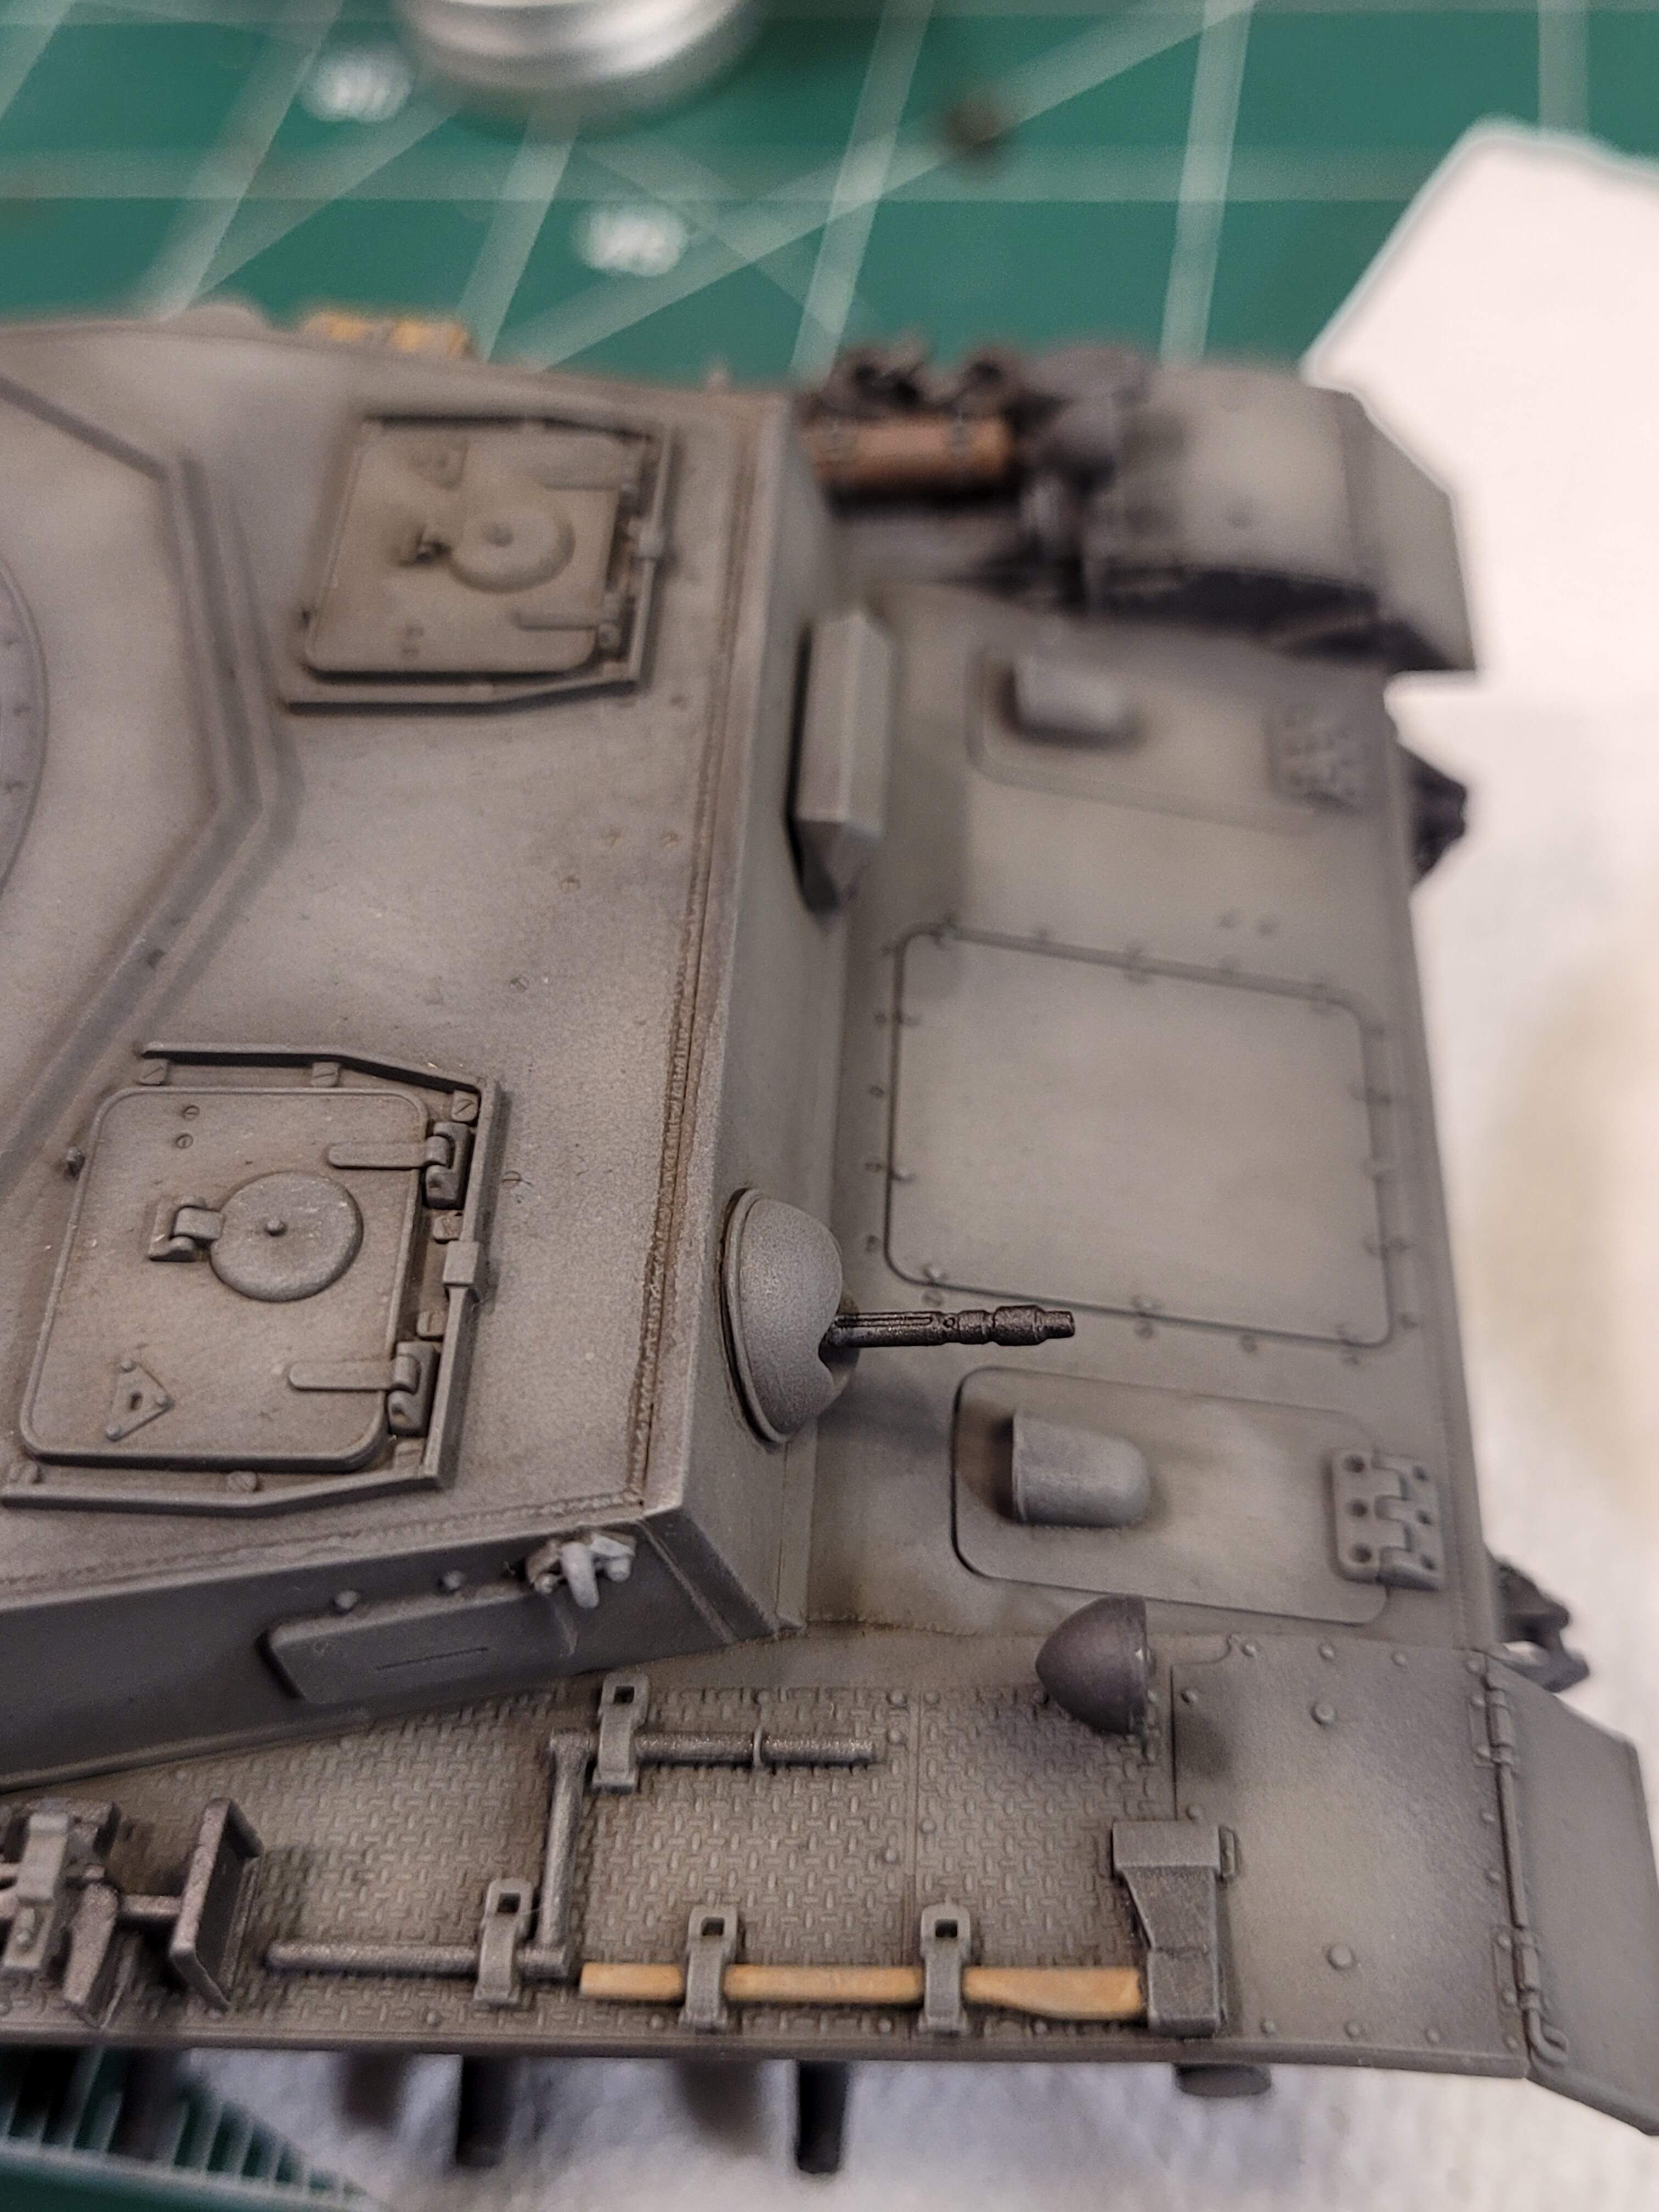
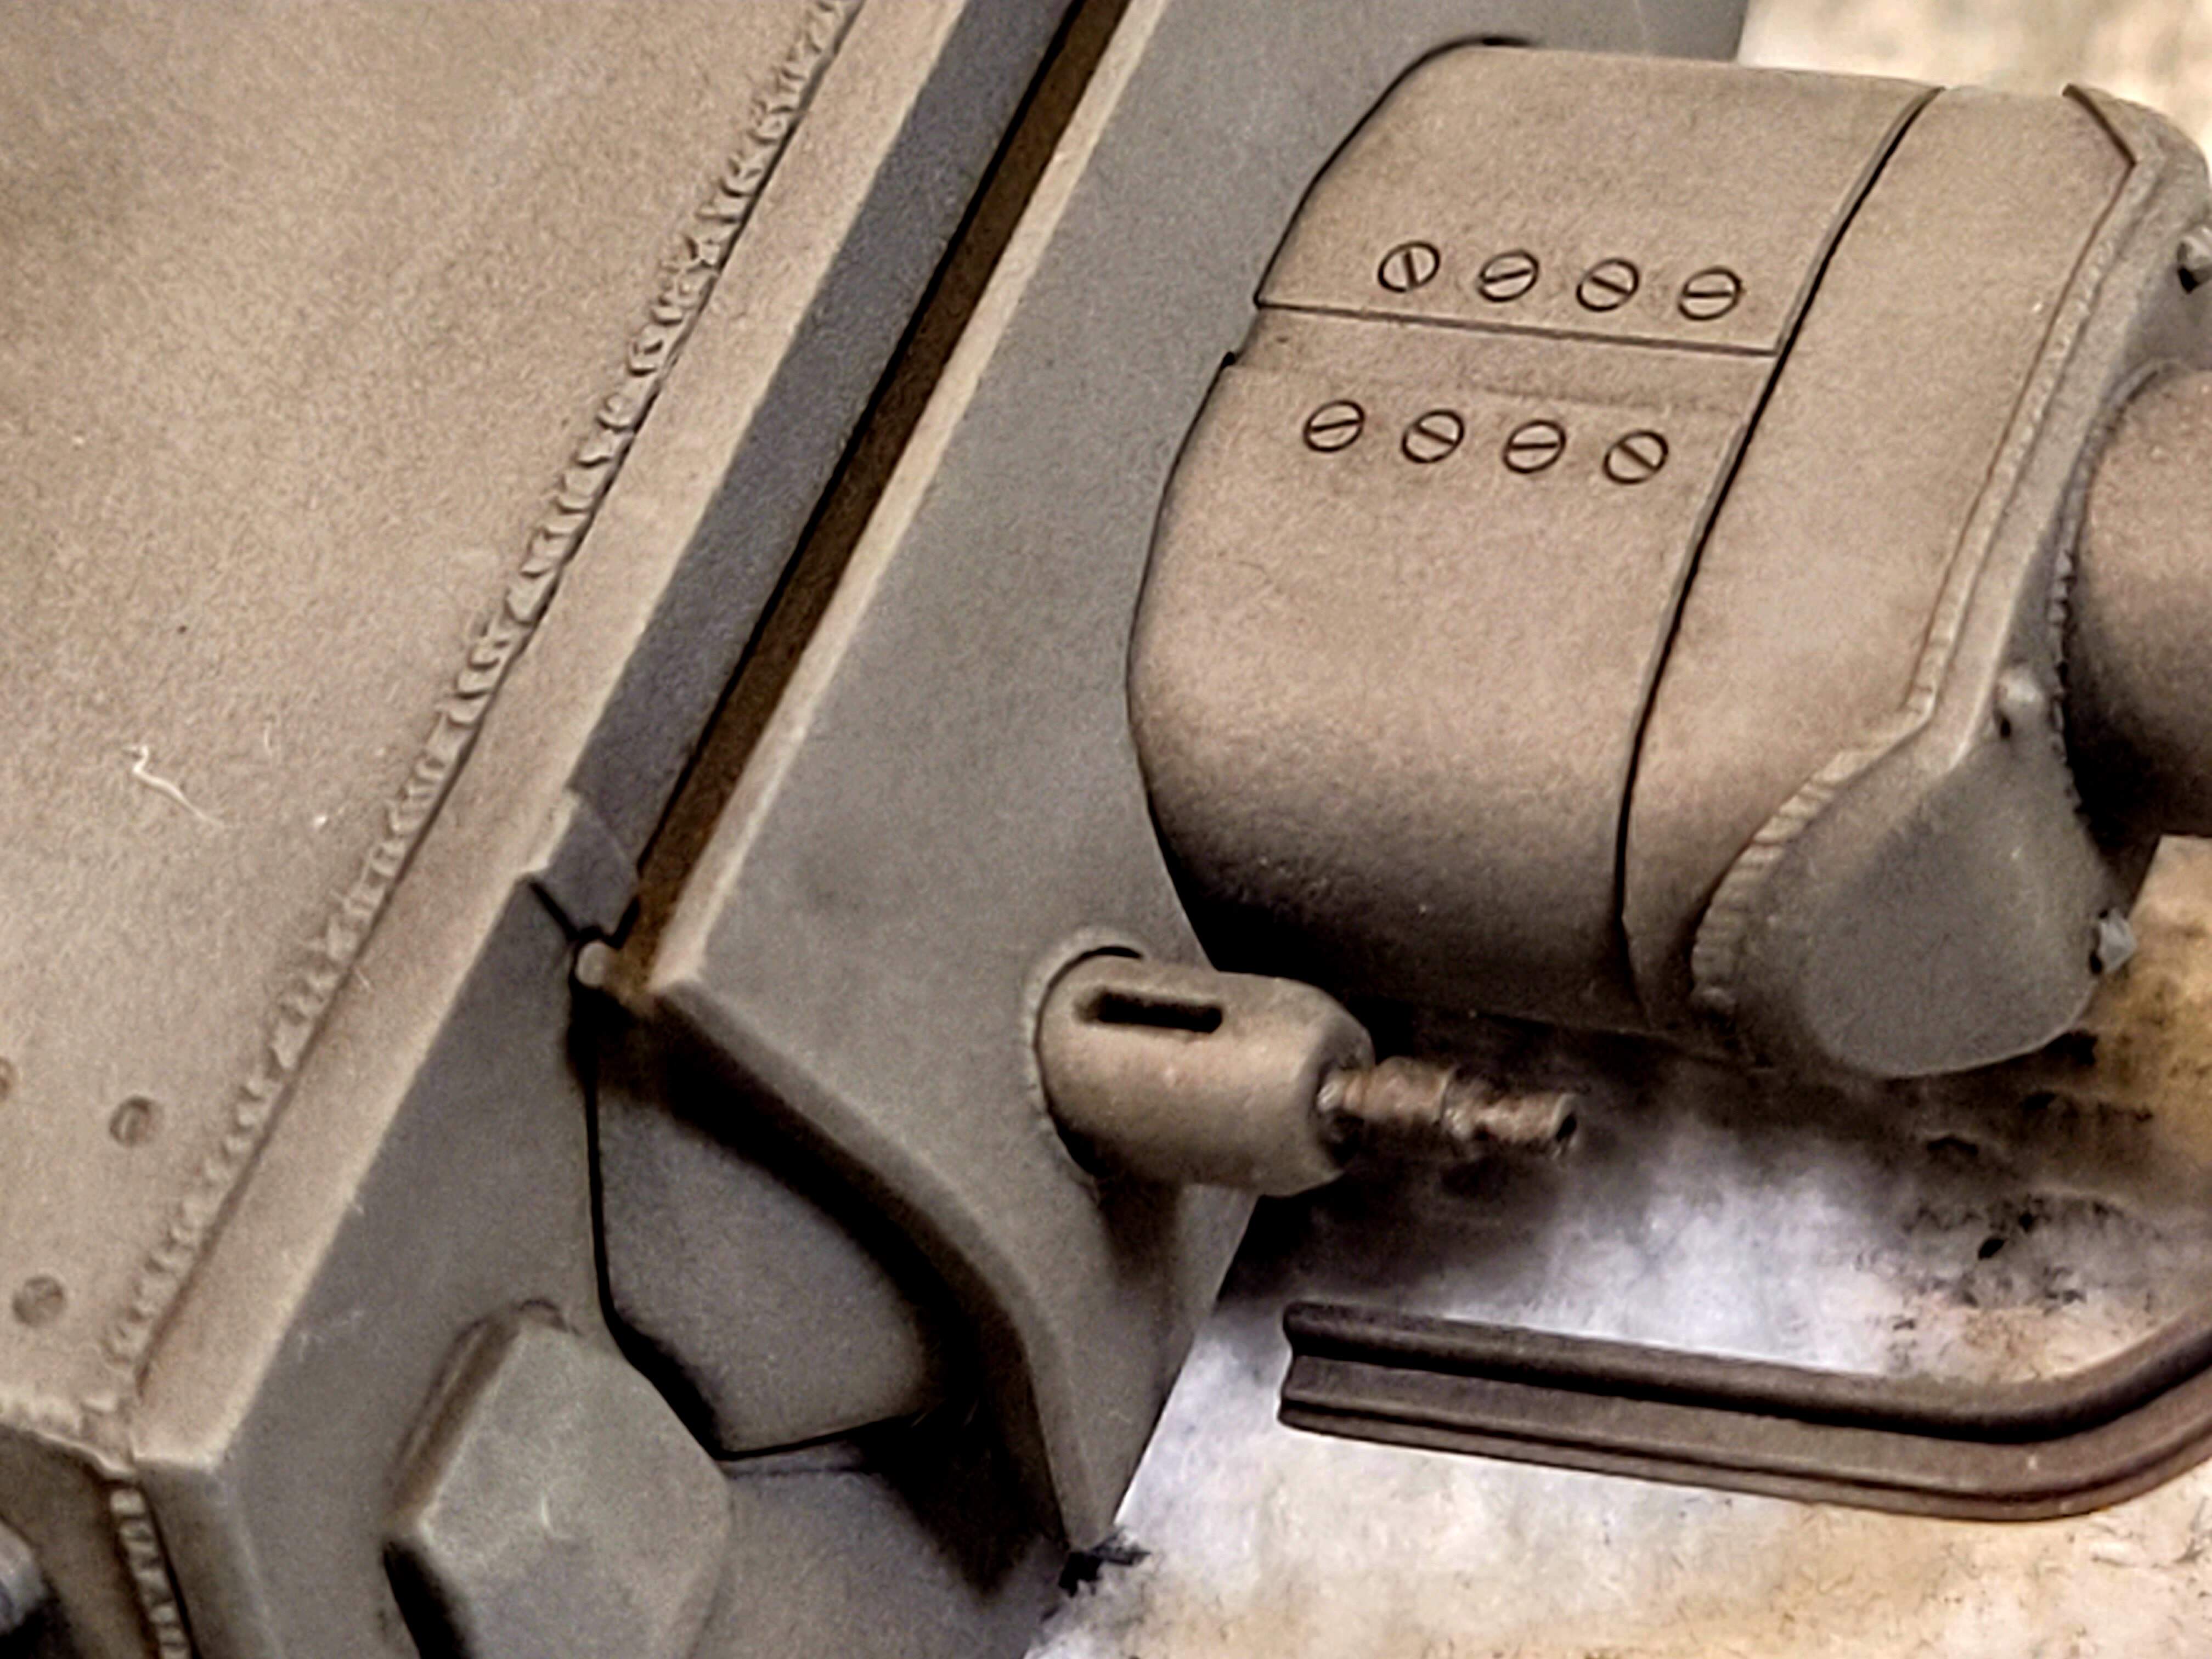
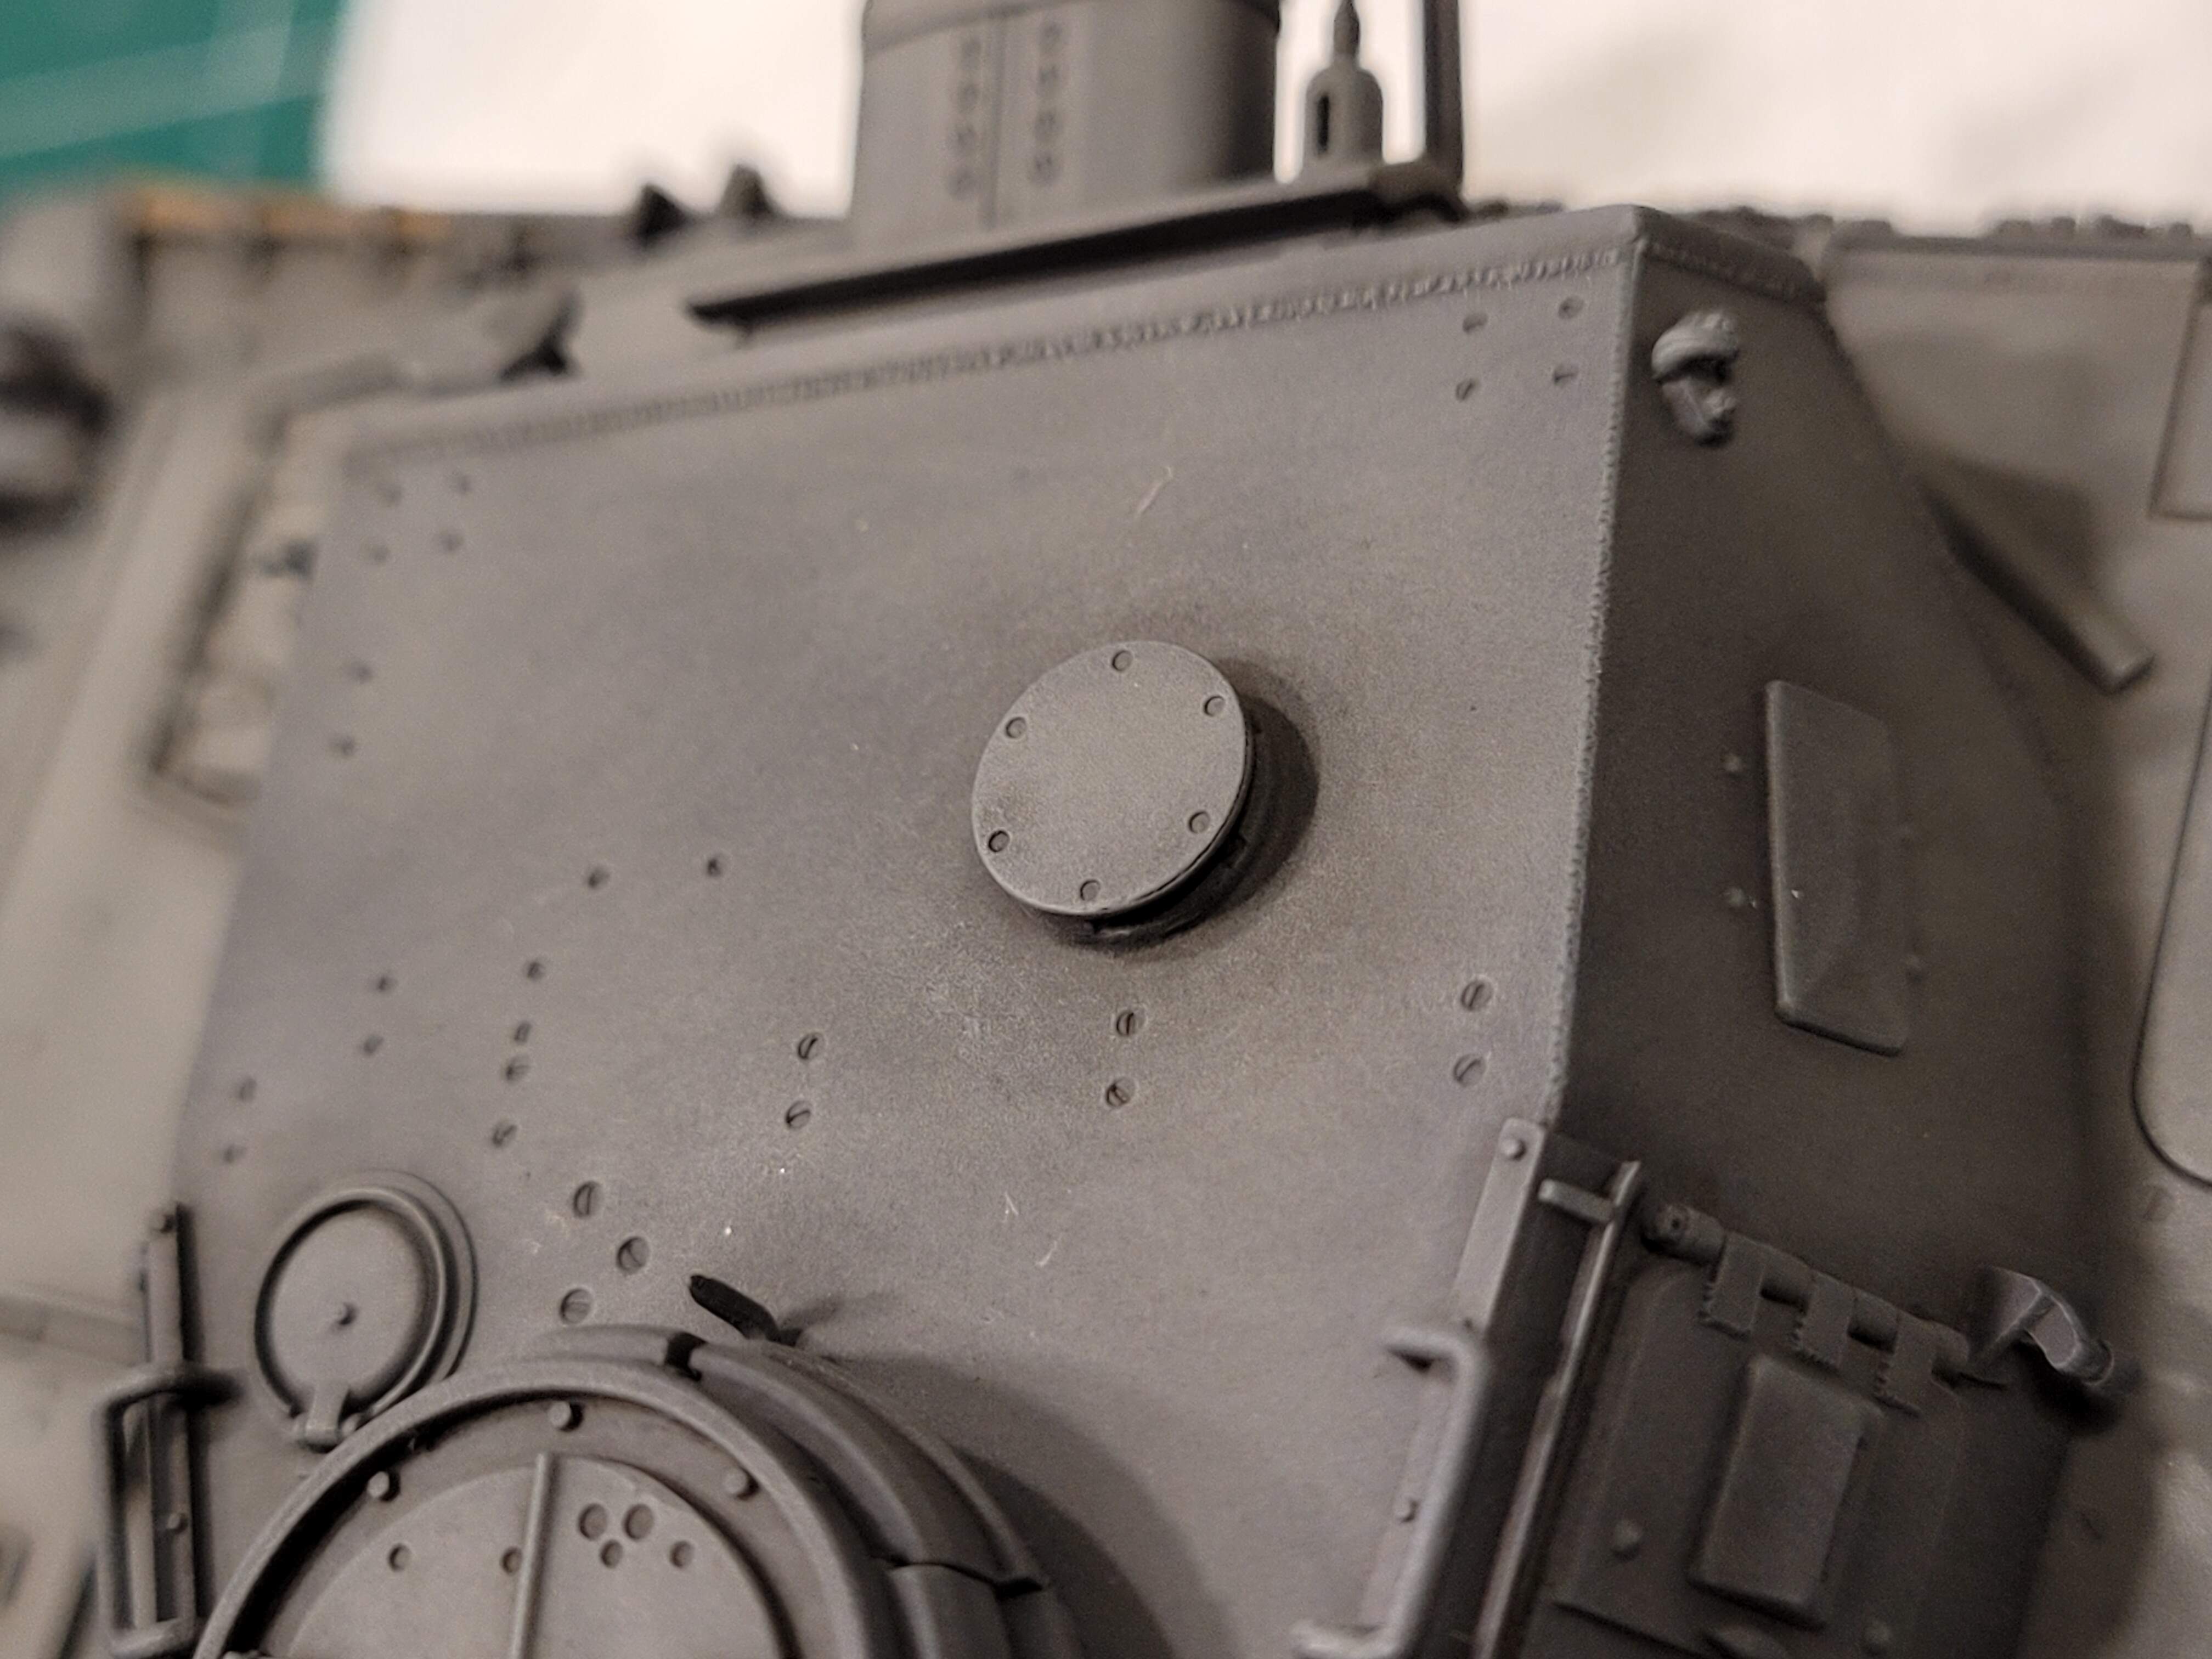
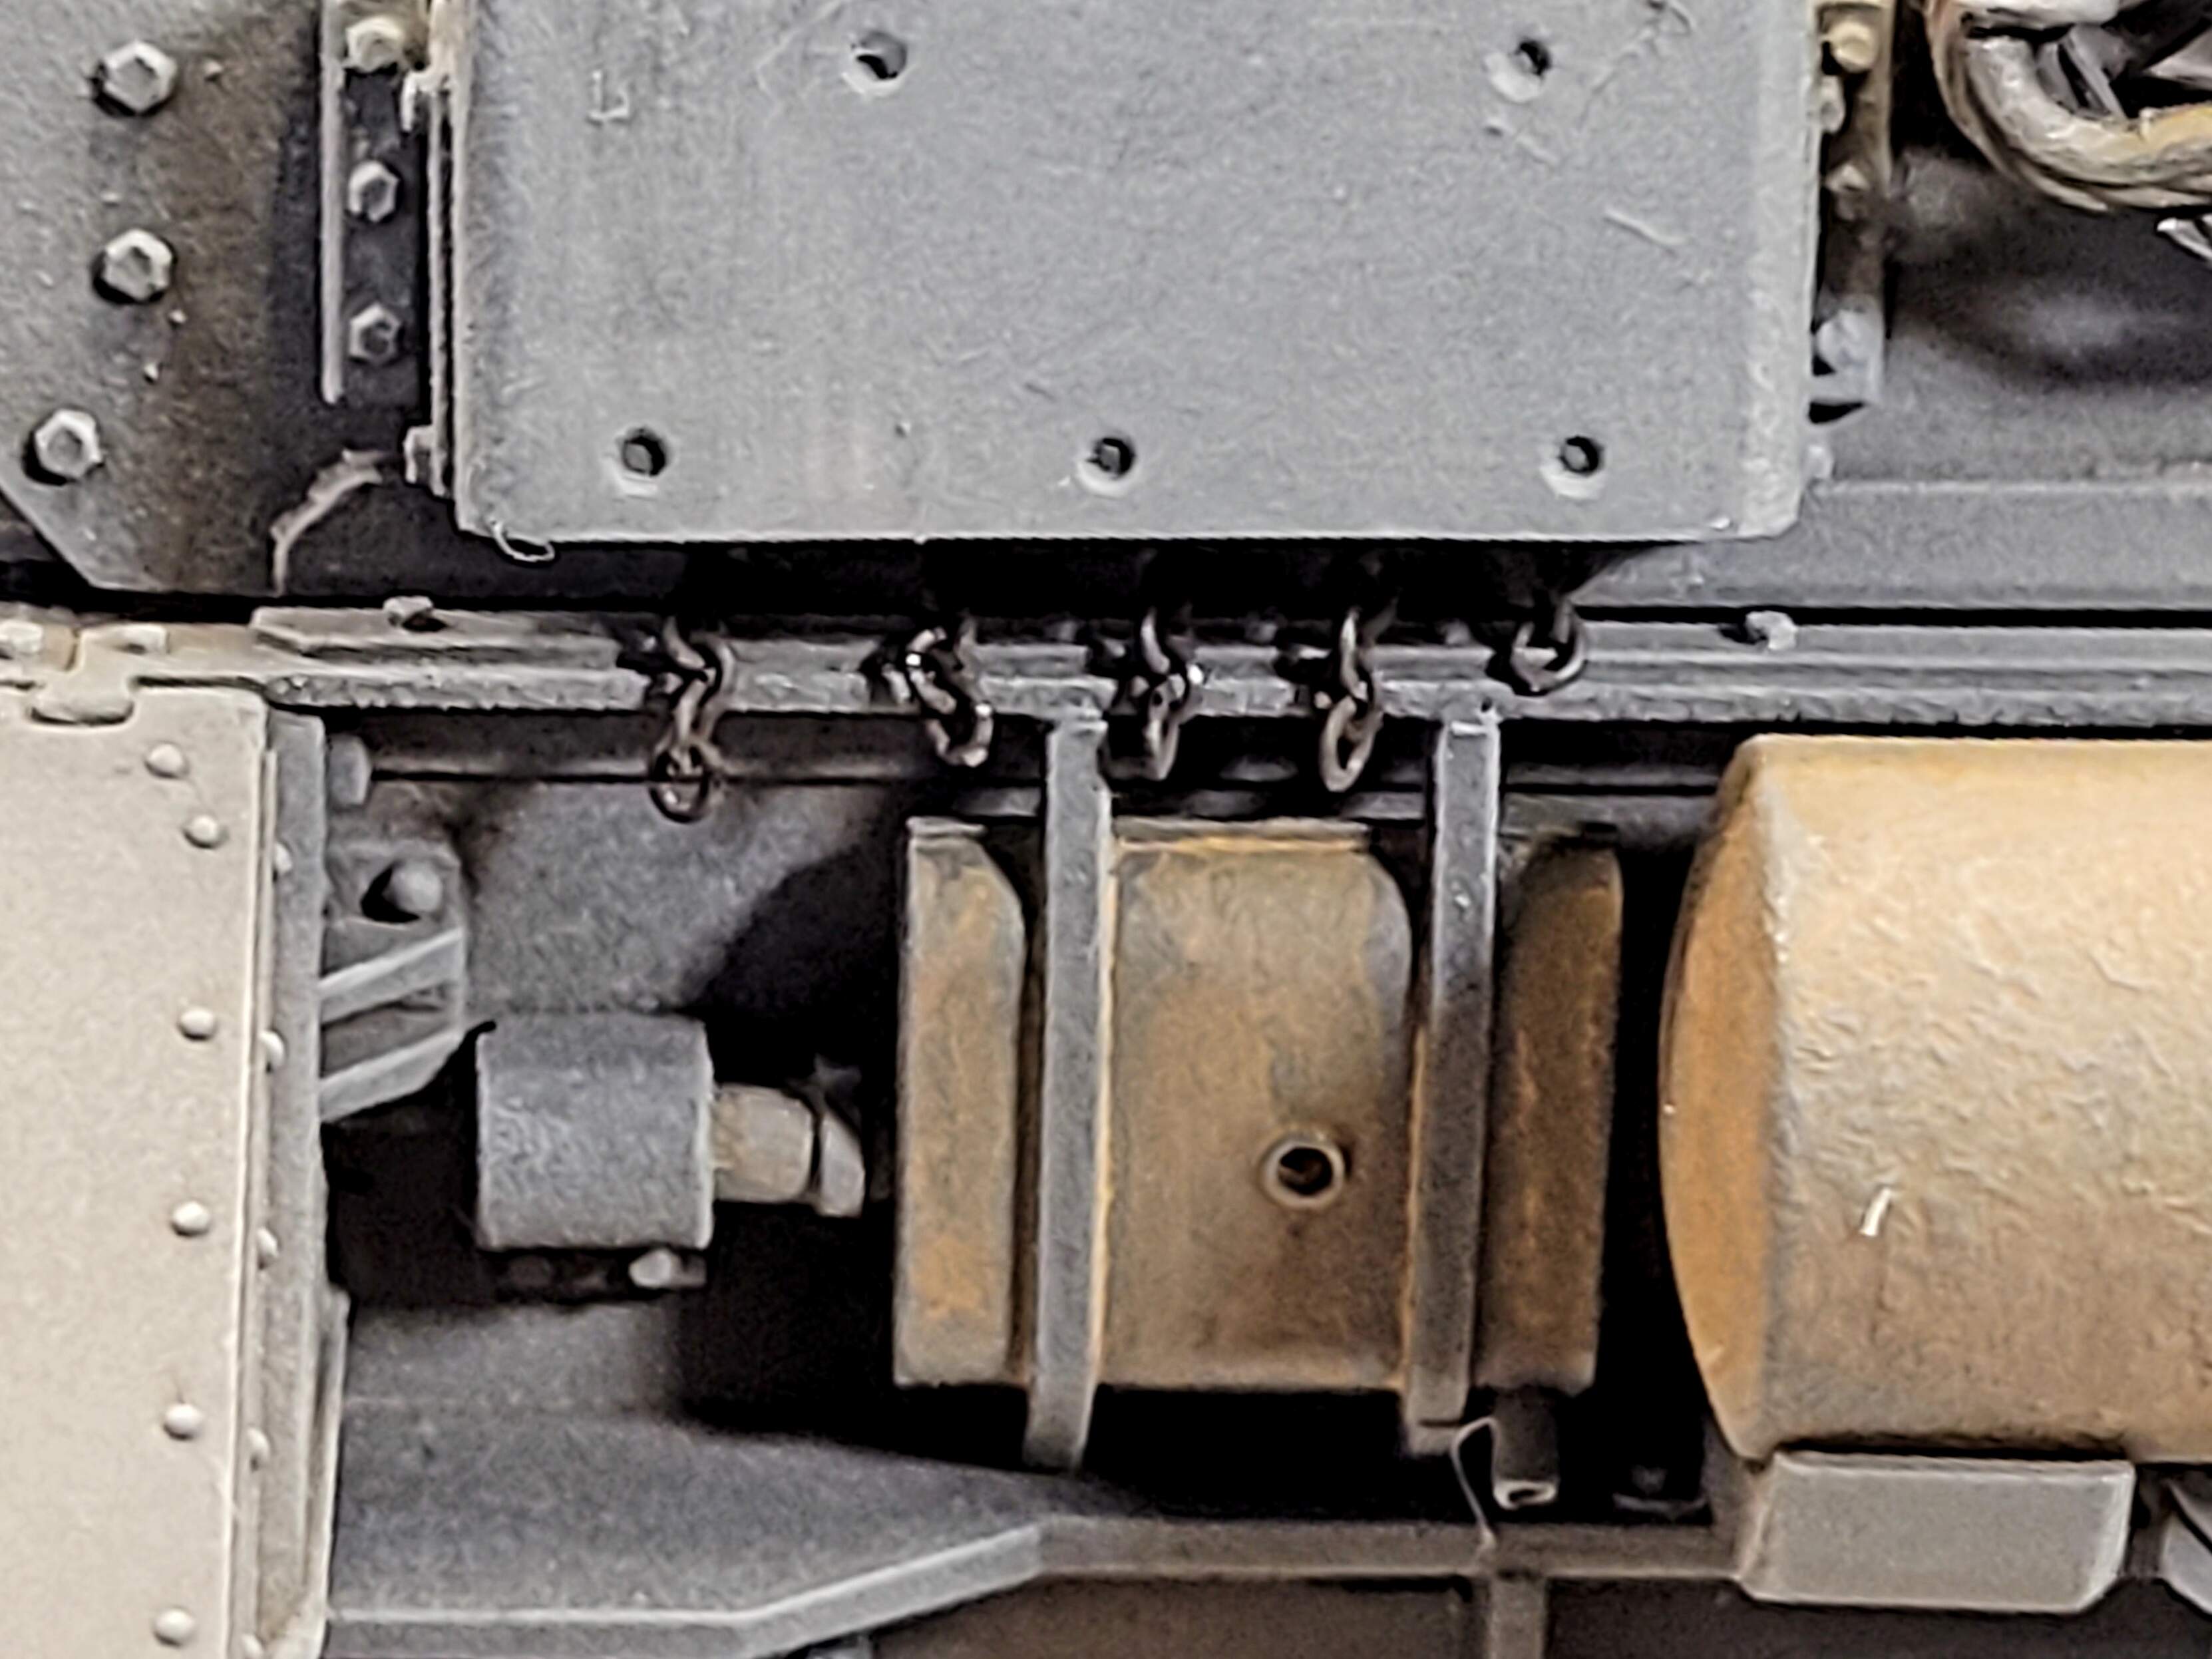
Inspect - realized I forgot to attach the smoke candle dispenser to the rear hull.
Follow as drybrushing routine as used on the hull for the turret.
Clean the trusty paint brush very thoroughly. Thinner cleaned and then ideally with paint remover as some enamel may have had time to dry.
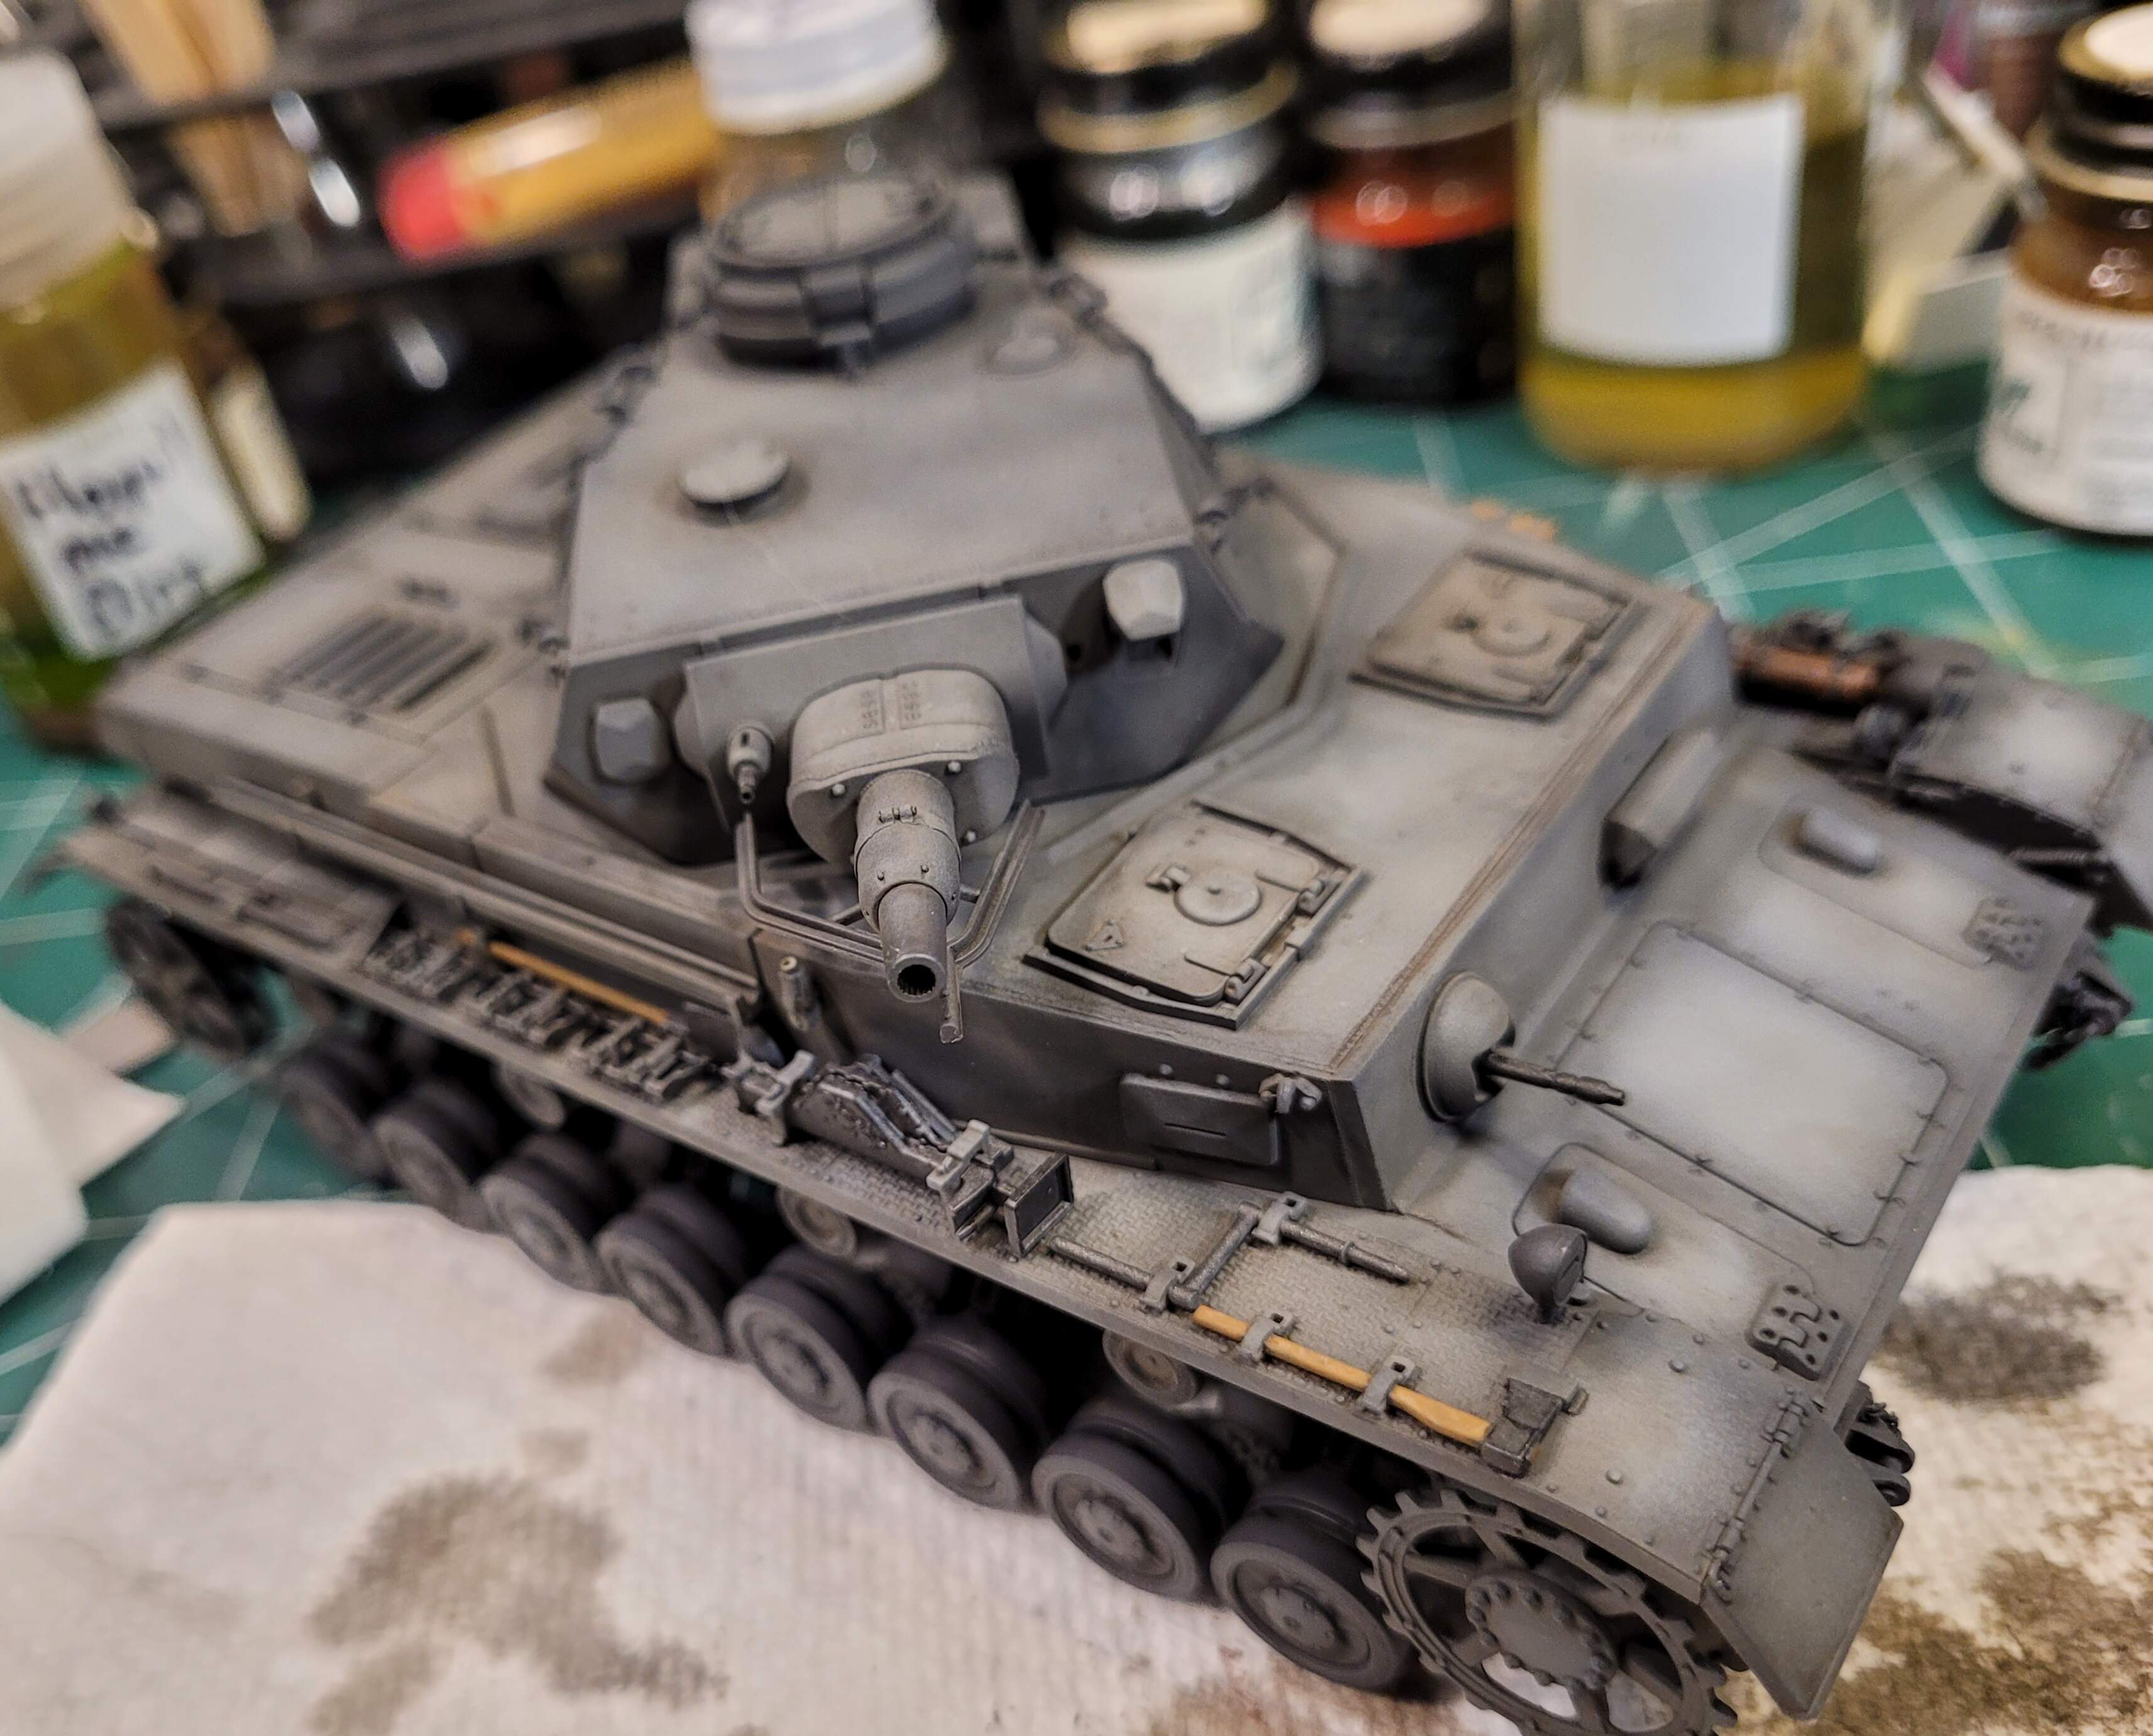
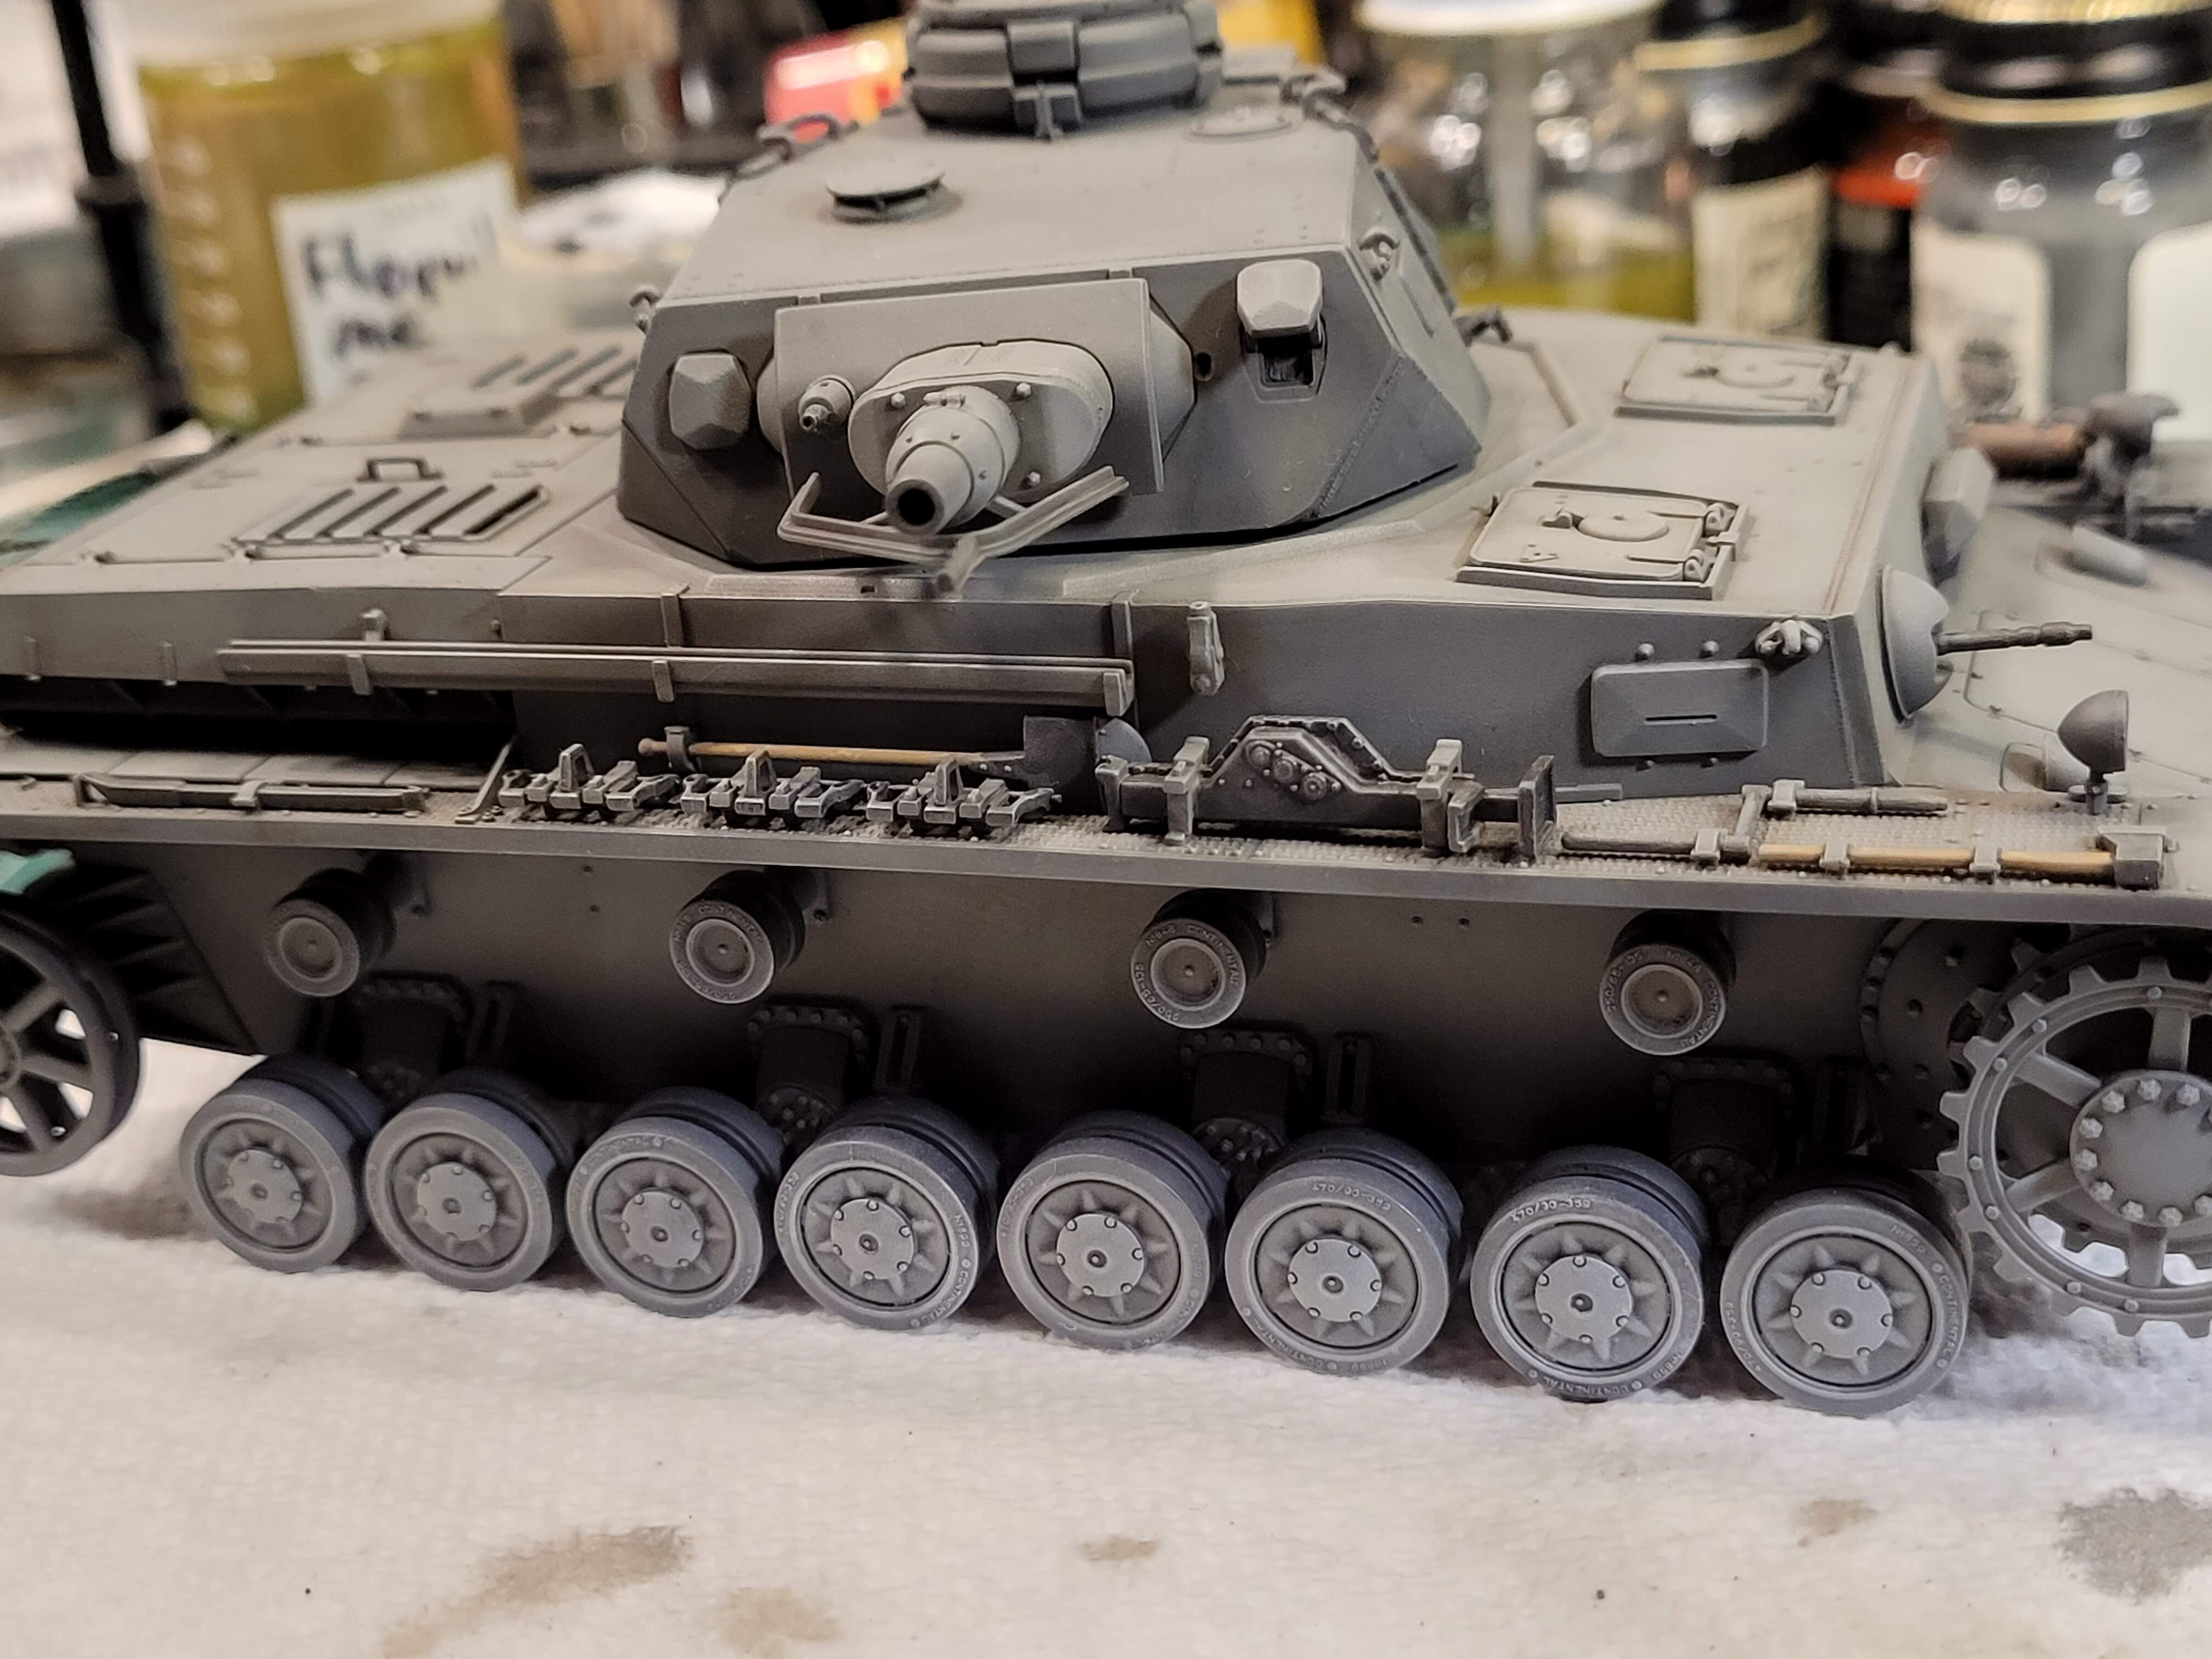
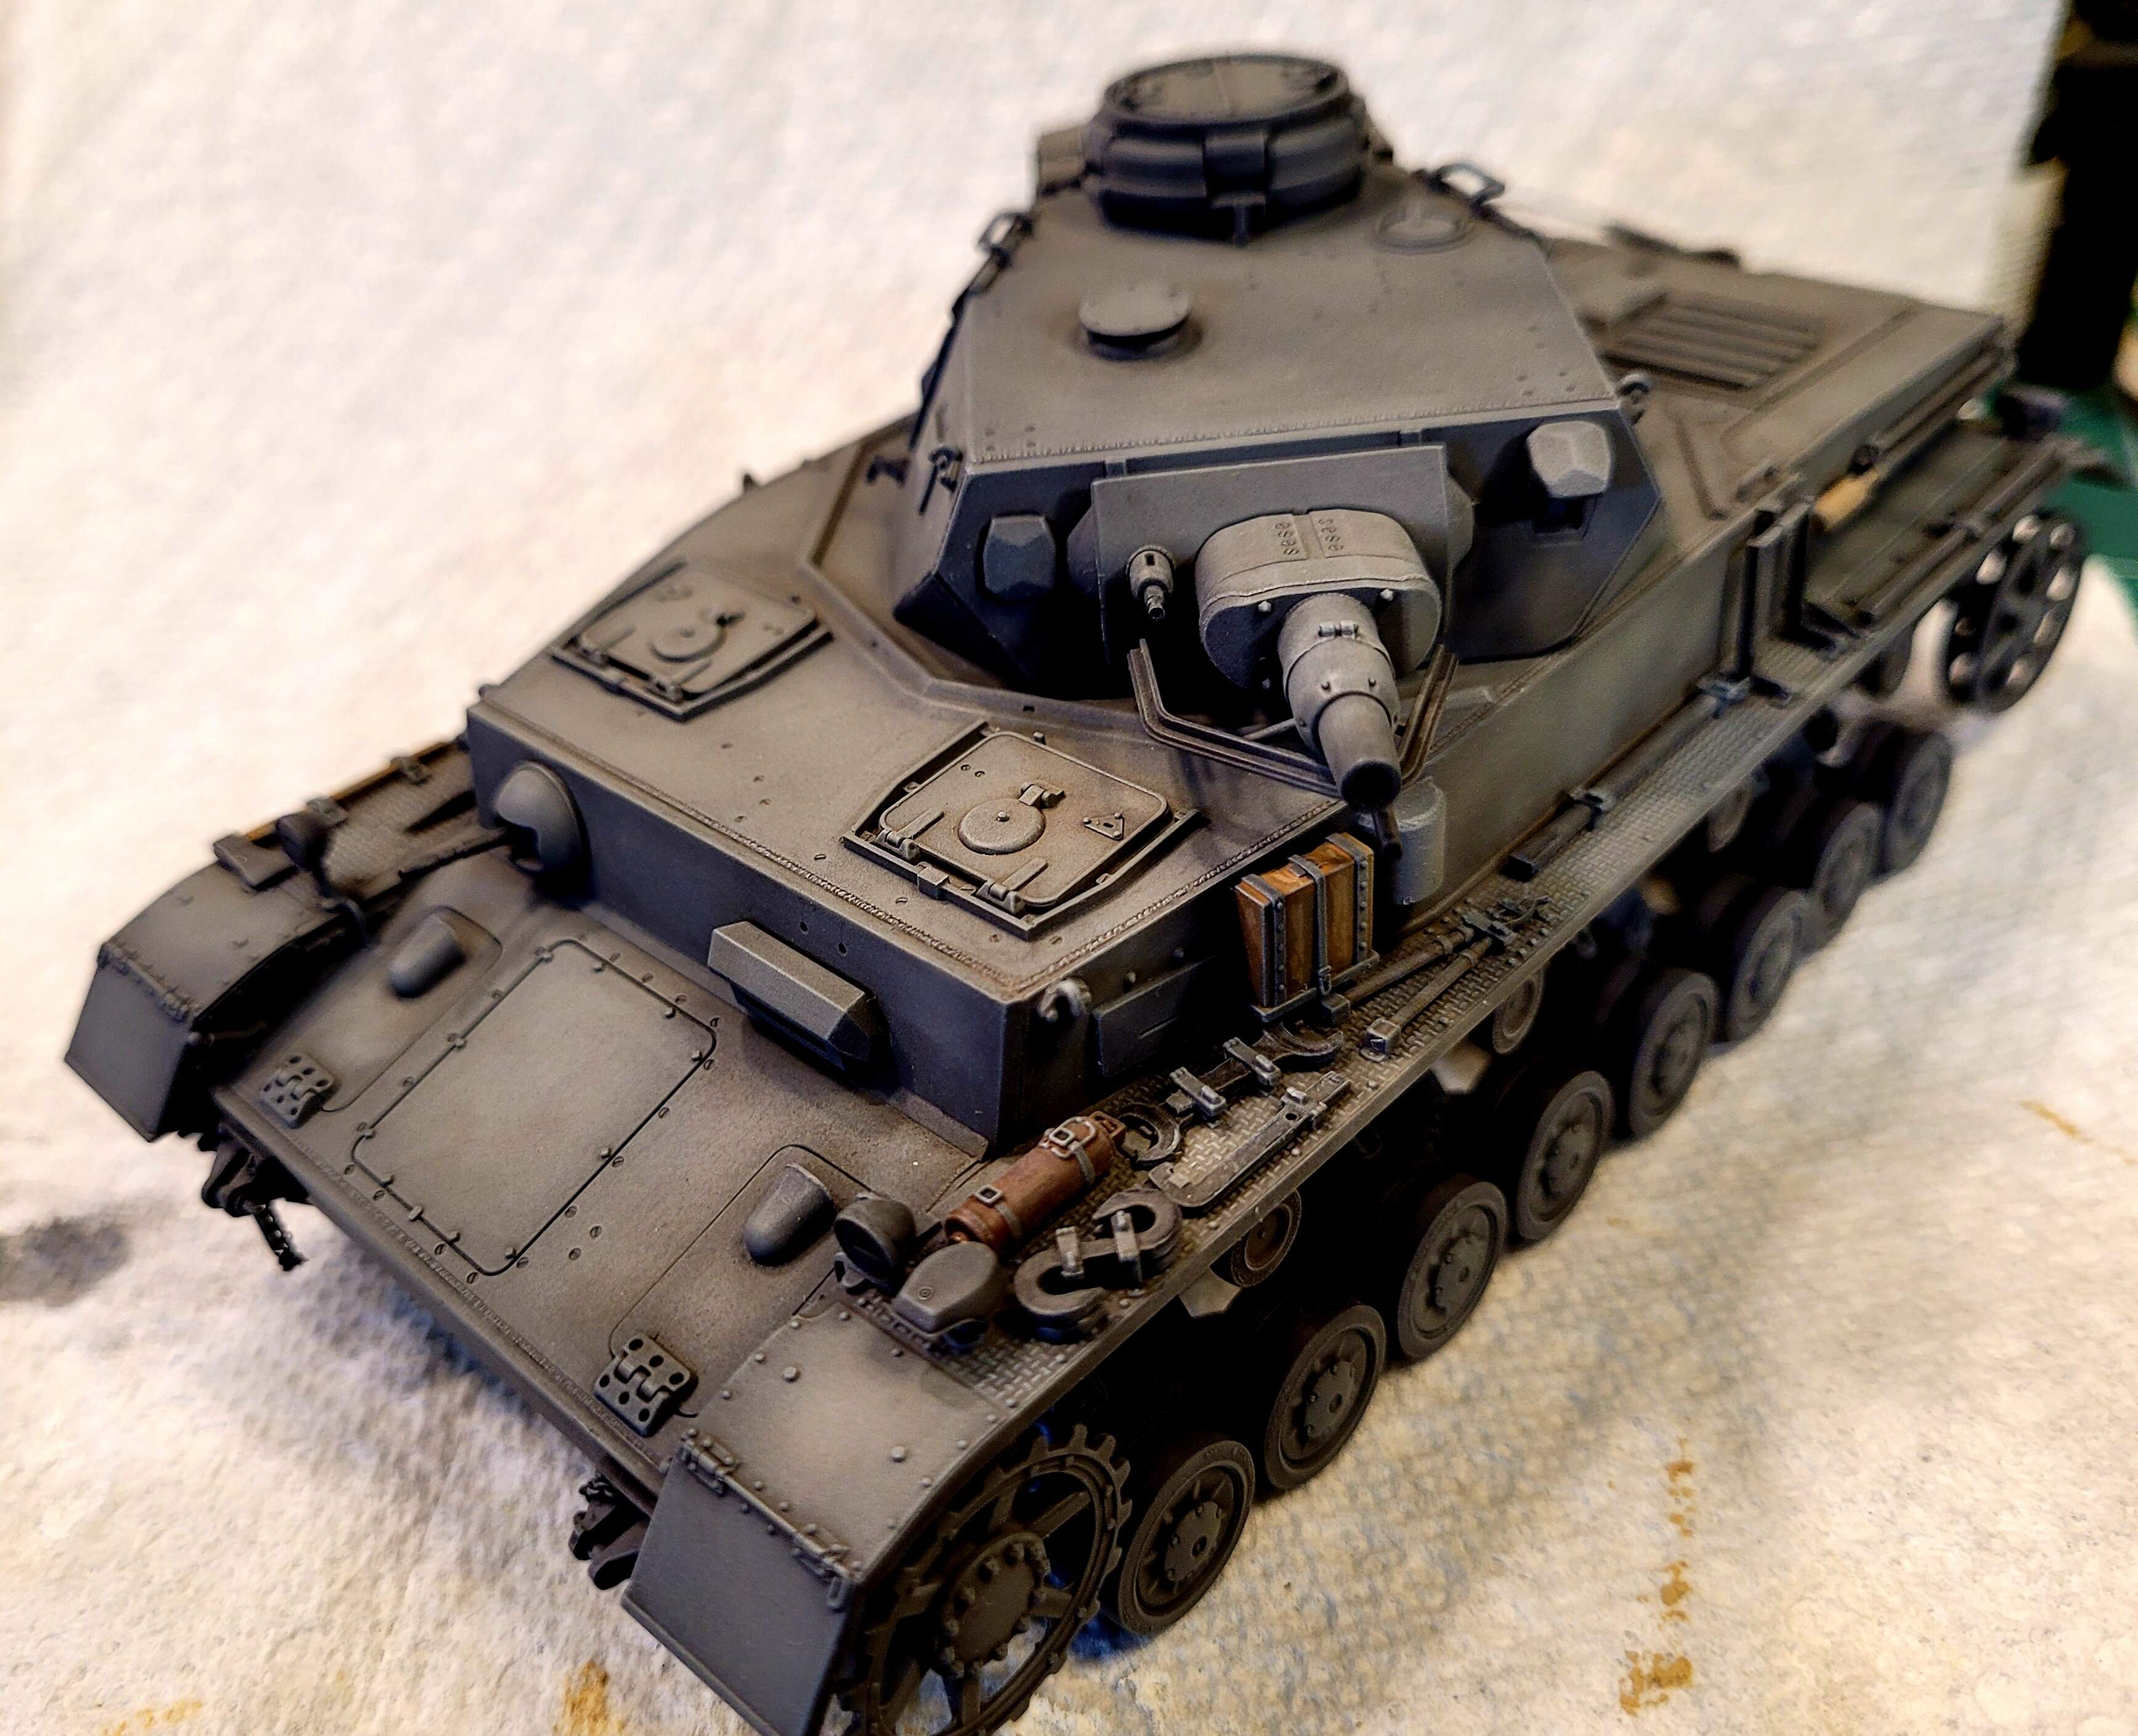
What we have at end of Stage 1
Stage 2 Drybrush
The nice thing about enamel paint is it can be mixed with oil paint. The Titanium white oil paint picks up the Panzer Gray. On the left is Pz Gray. On the right our mixed Floquil enamel/oil highlight.
Everything else is the same as Stage 1, Drybrush brush the model
Stage 3 Drybrush go to light gray and be sparingly applied with less pressure. Hopefully, tomorrow.
Looks great!
Looking foward to more!
Thank you Ezra, for the kind comments.
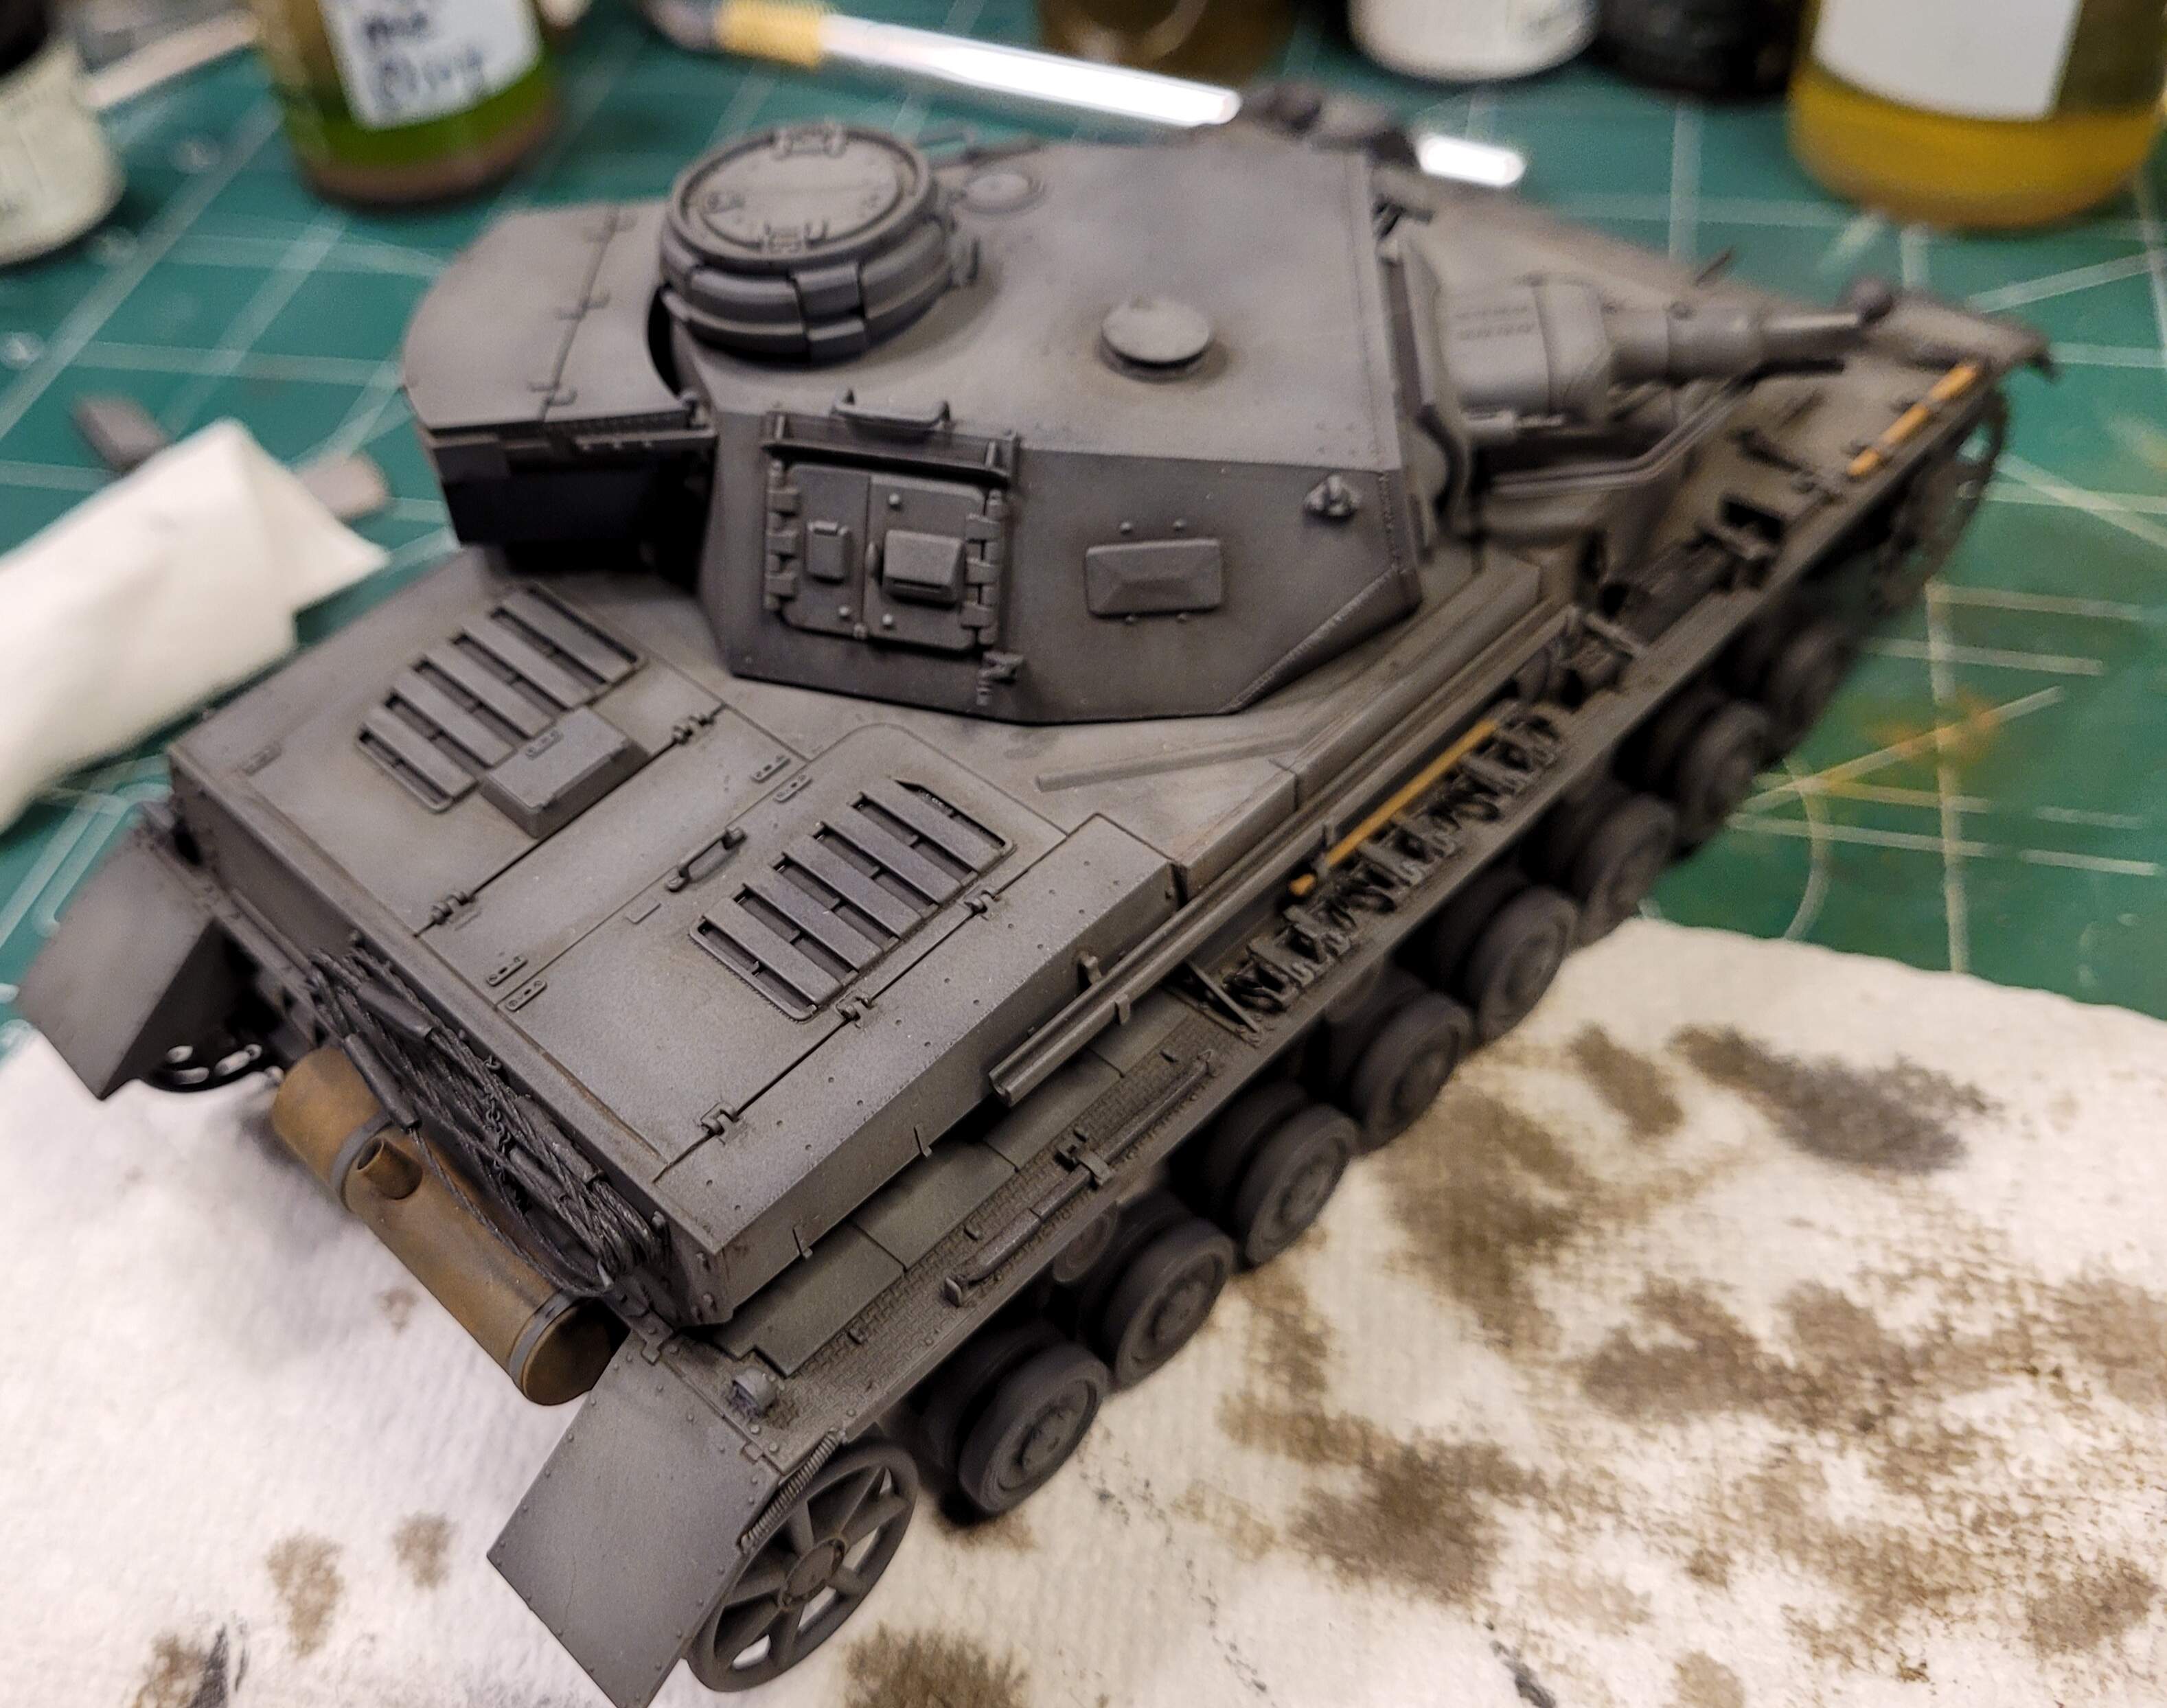
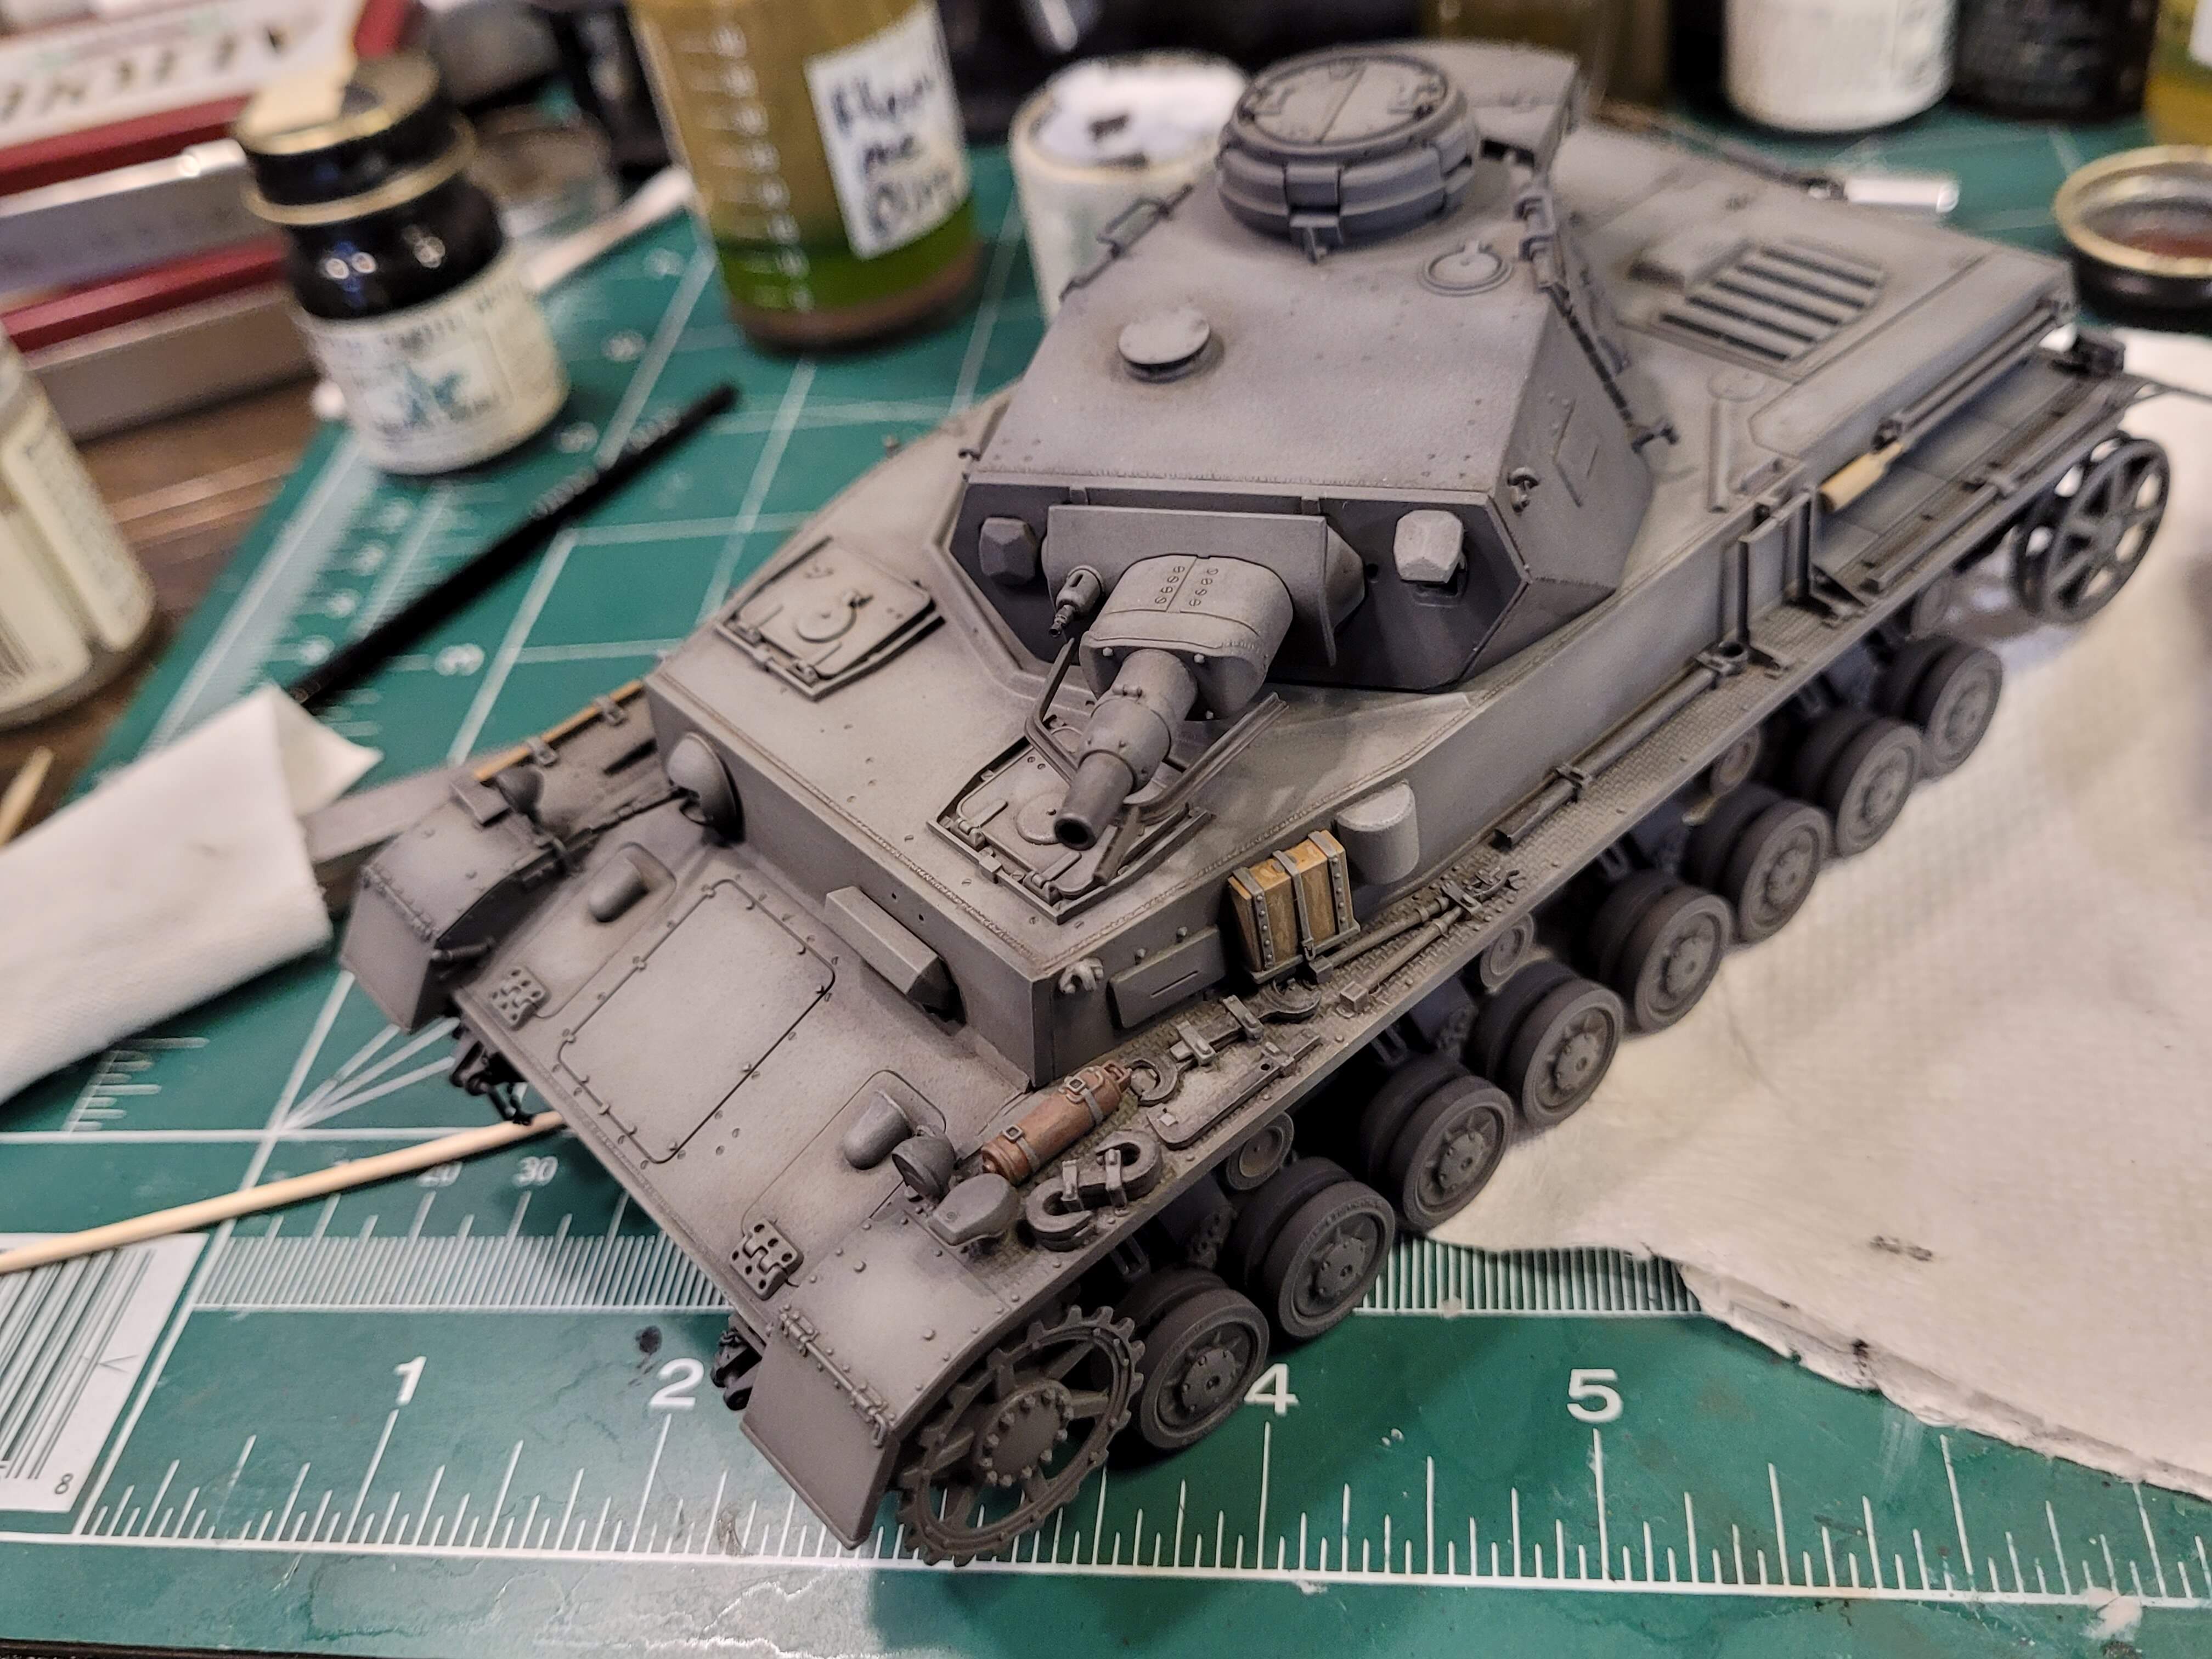
Stage 3 Drybrushing
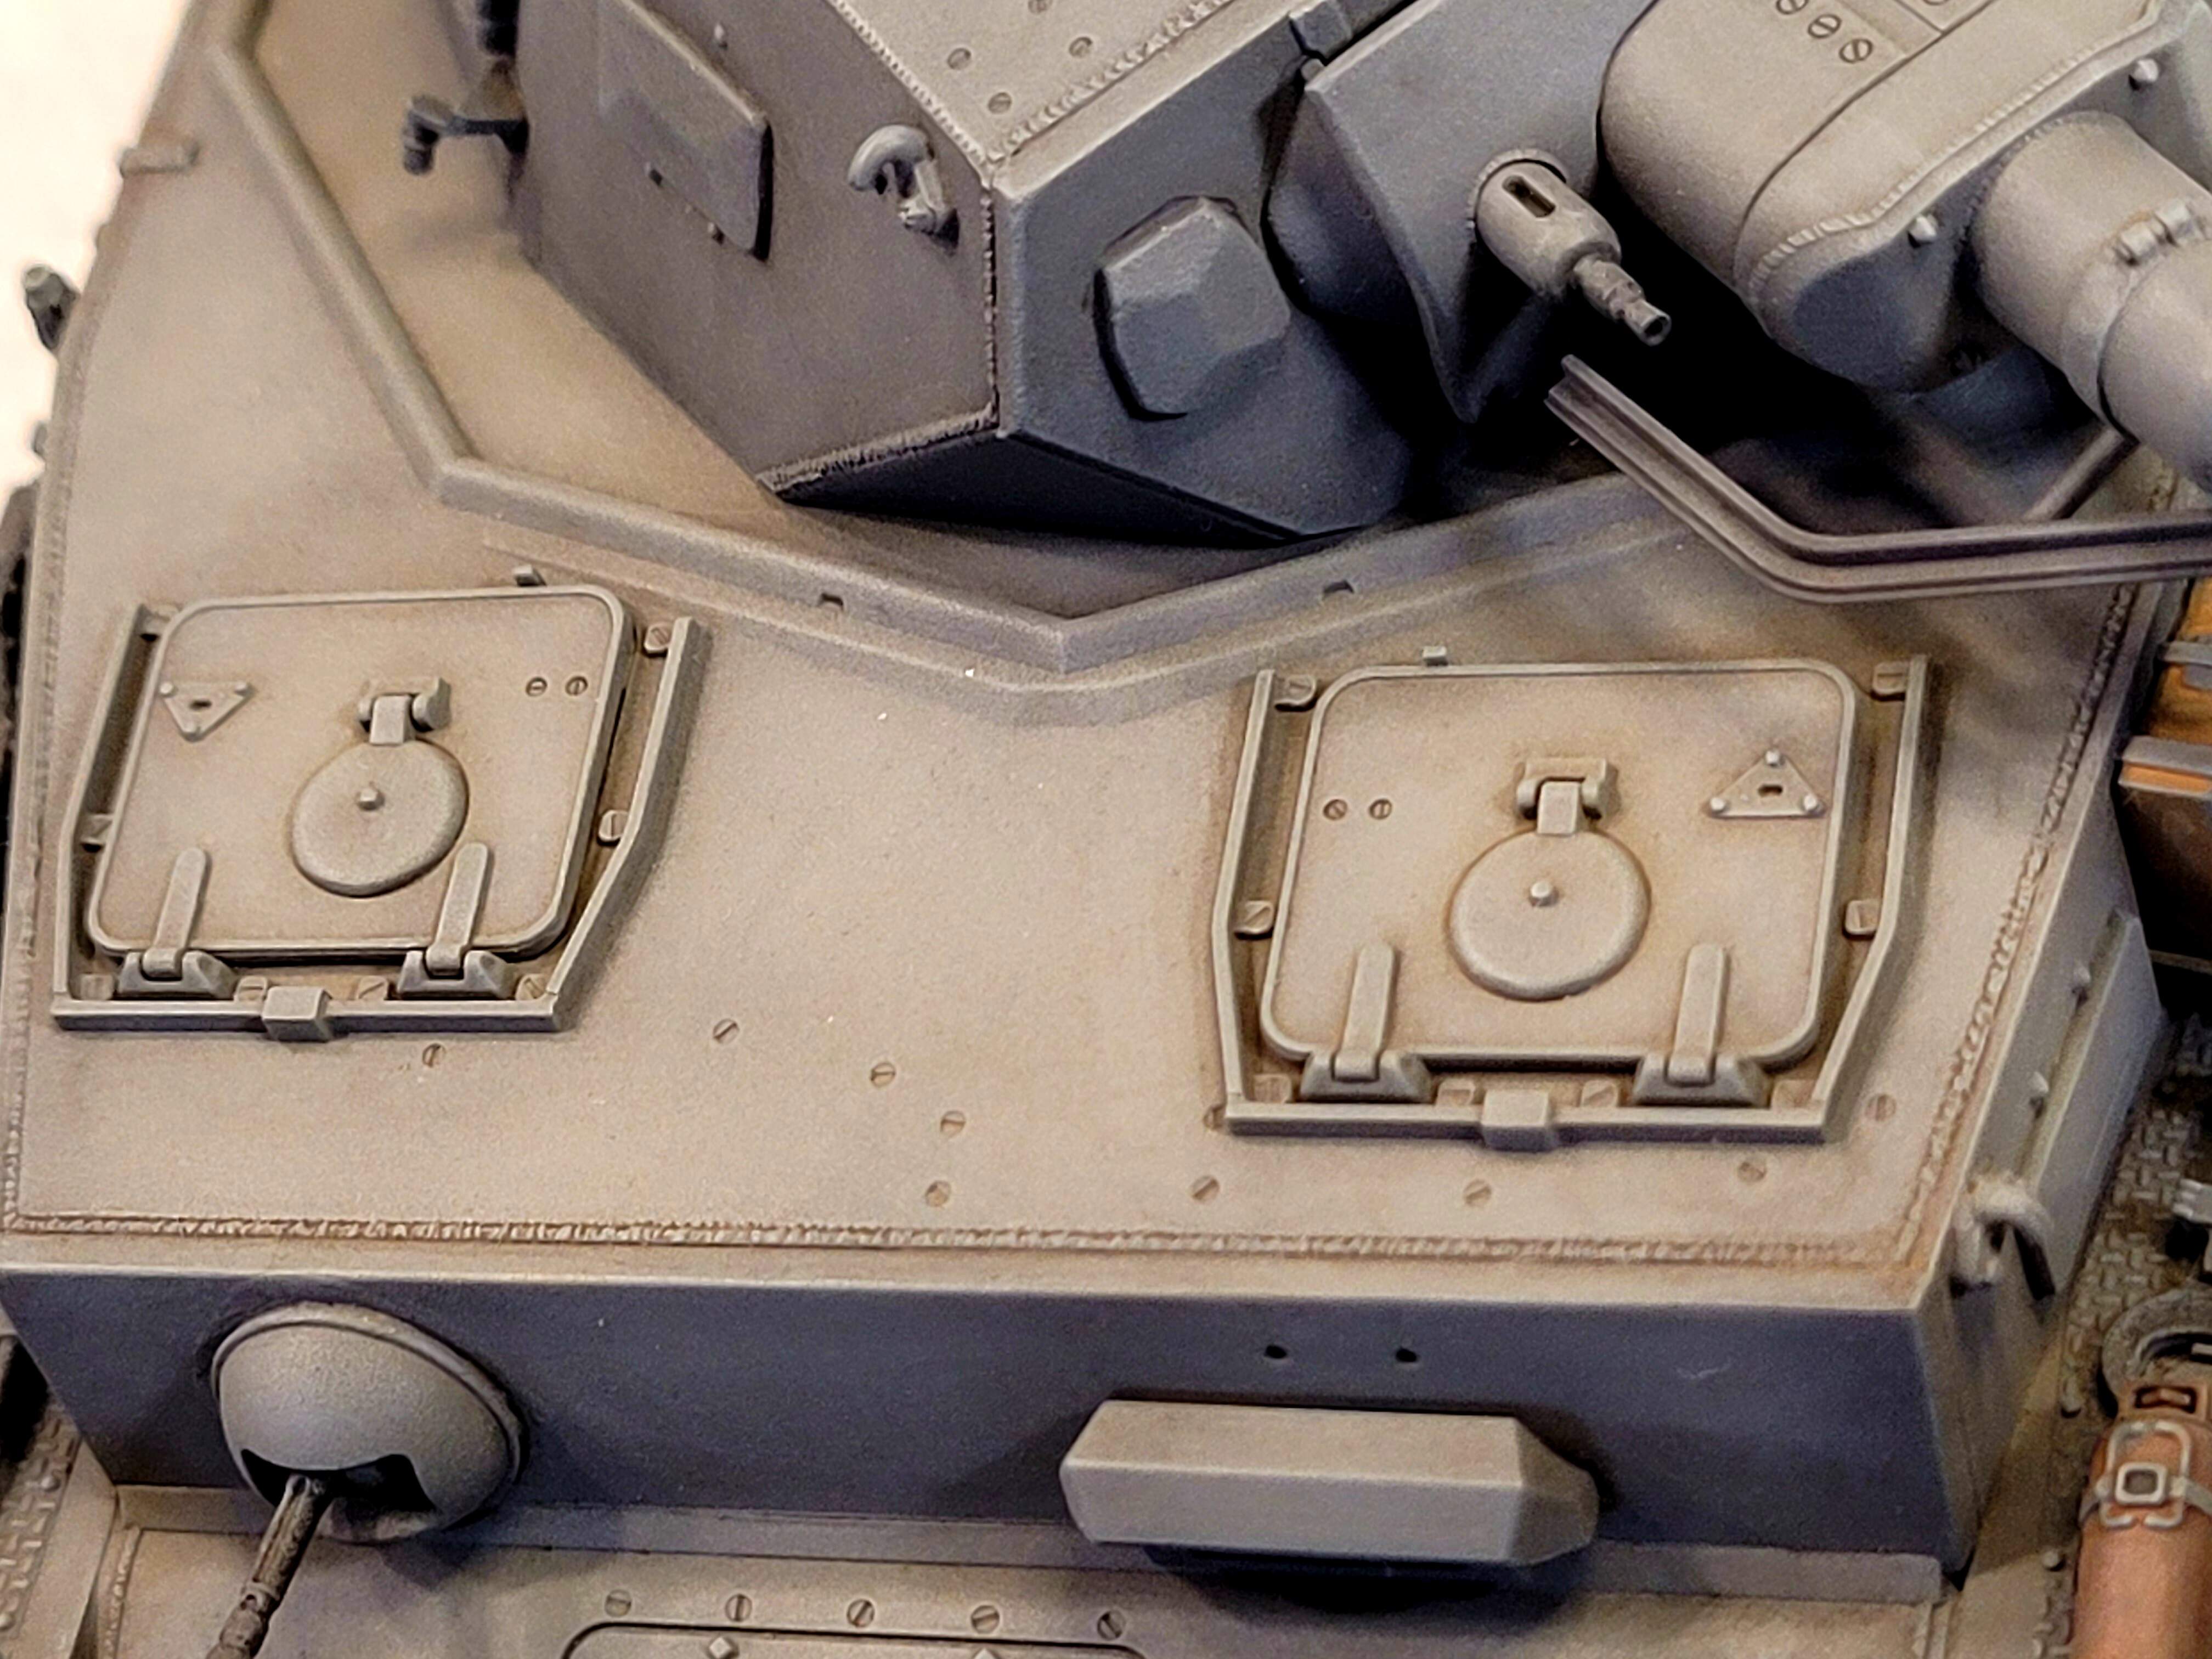
Focus on raised detail like weld seams, tire lettering, edges and anti-skid on fender tops. Other stops were touched Using a light grey mixed from Floquil Panzer Gray and Titanium White.
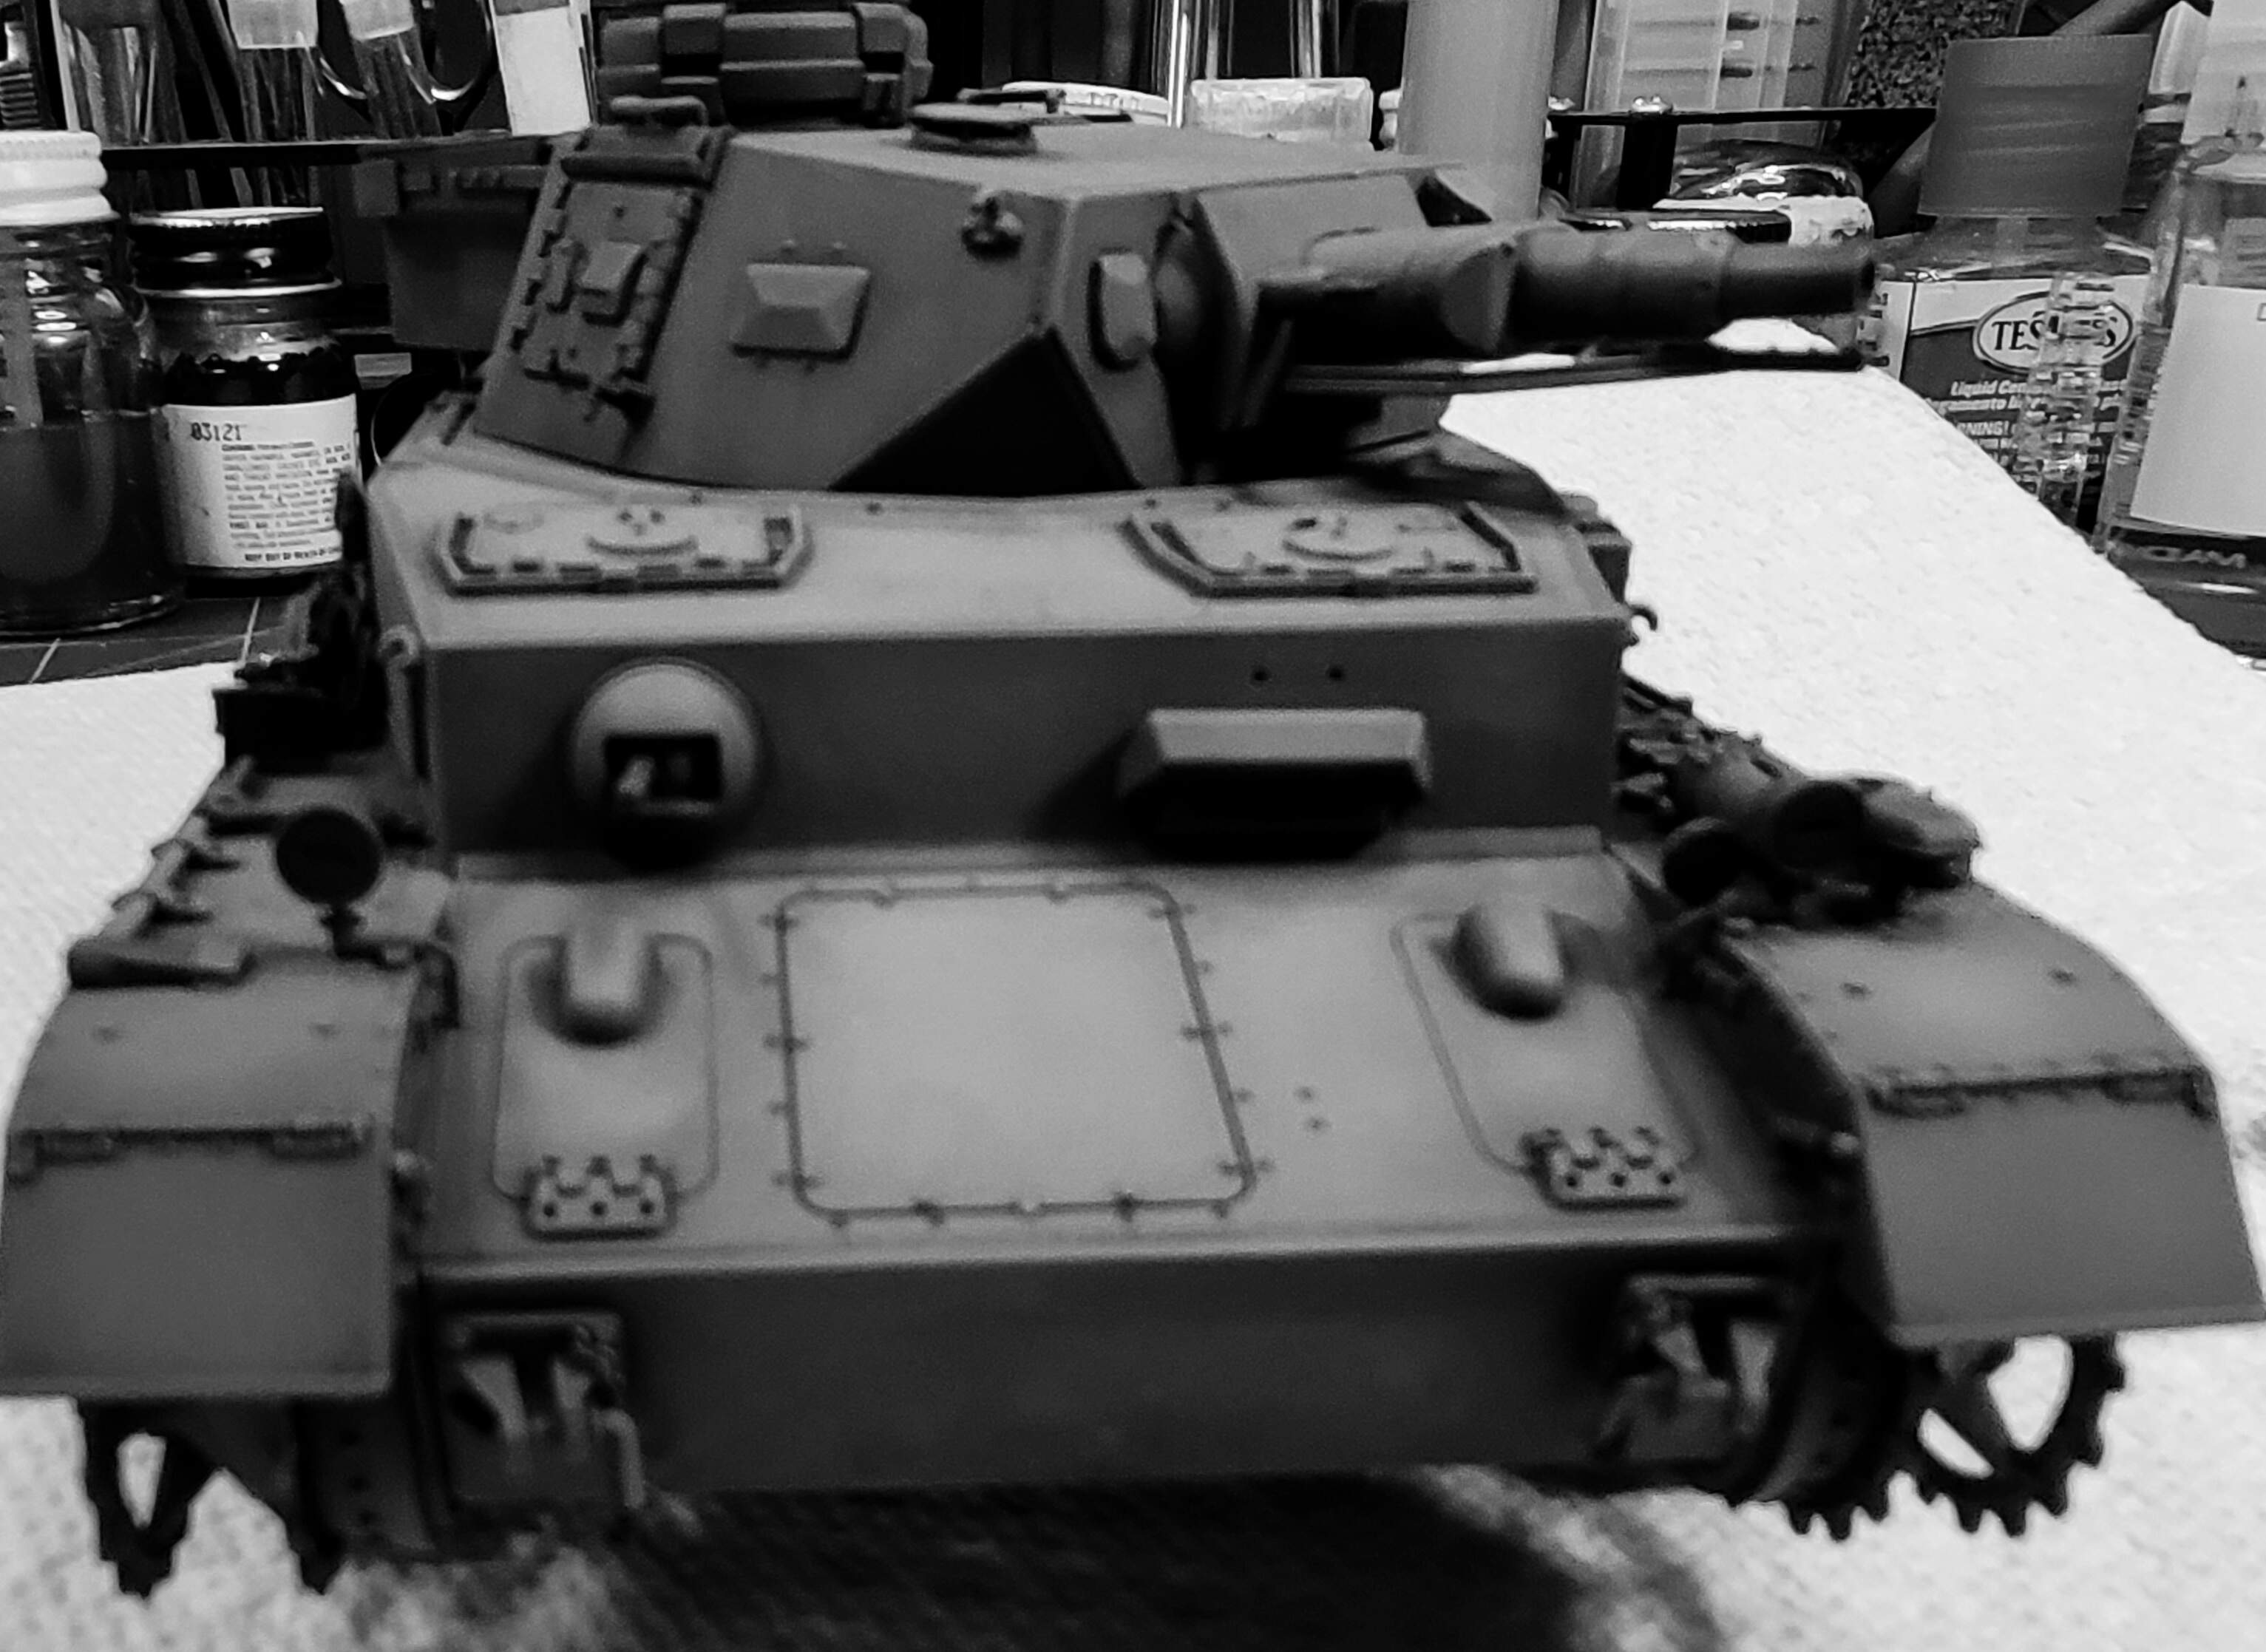
Just for fun Black & White
Stage 4 - Dry Brush Pure Titanium White should follow tonight. The Pz IV will need various touch ups after dry brushing, gloss coat, decals, gloss coat, flat coat, Fruils weathered, chalk dust, armored glass effects, base and name plate etc. However basically we just about wrapped with this one for the purposes of the thread.
Stage 4 - Titanium White
Very lightly hit raised details, mostly focused on anti-slipon fenders & welds.
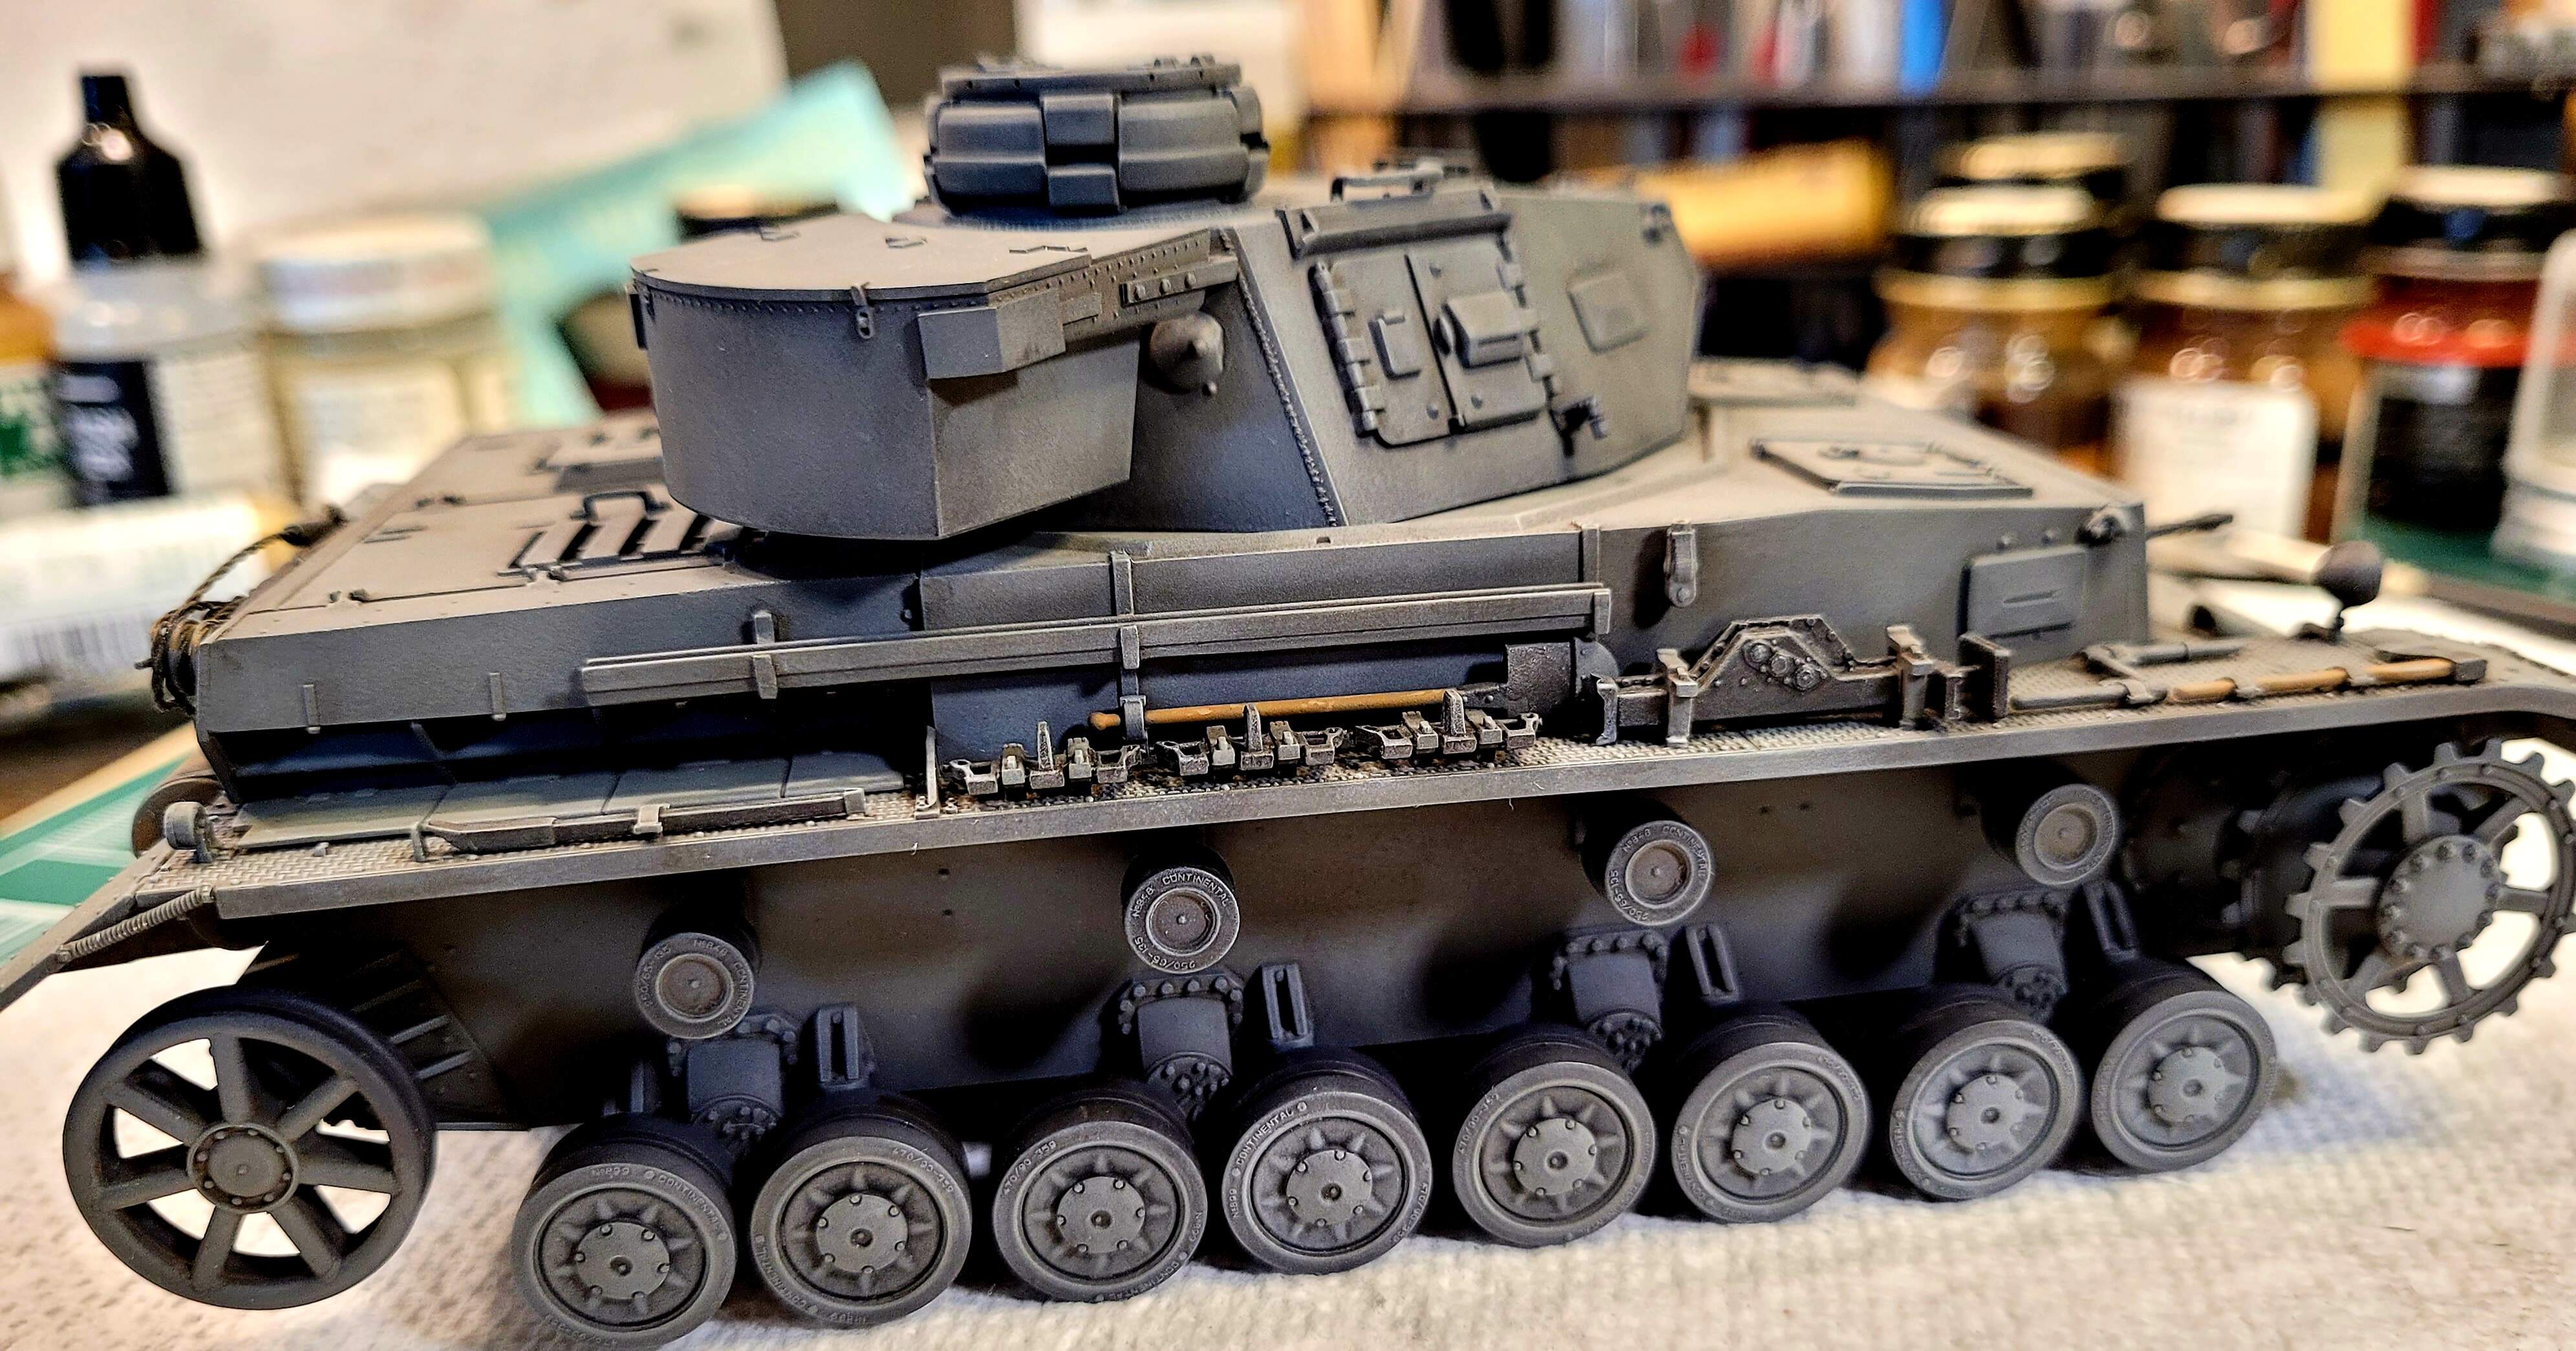
Smoke candle rack w/chains
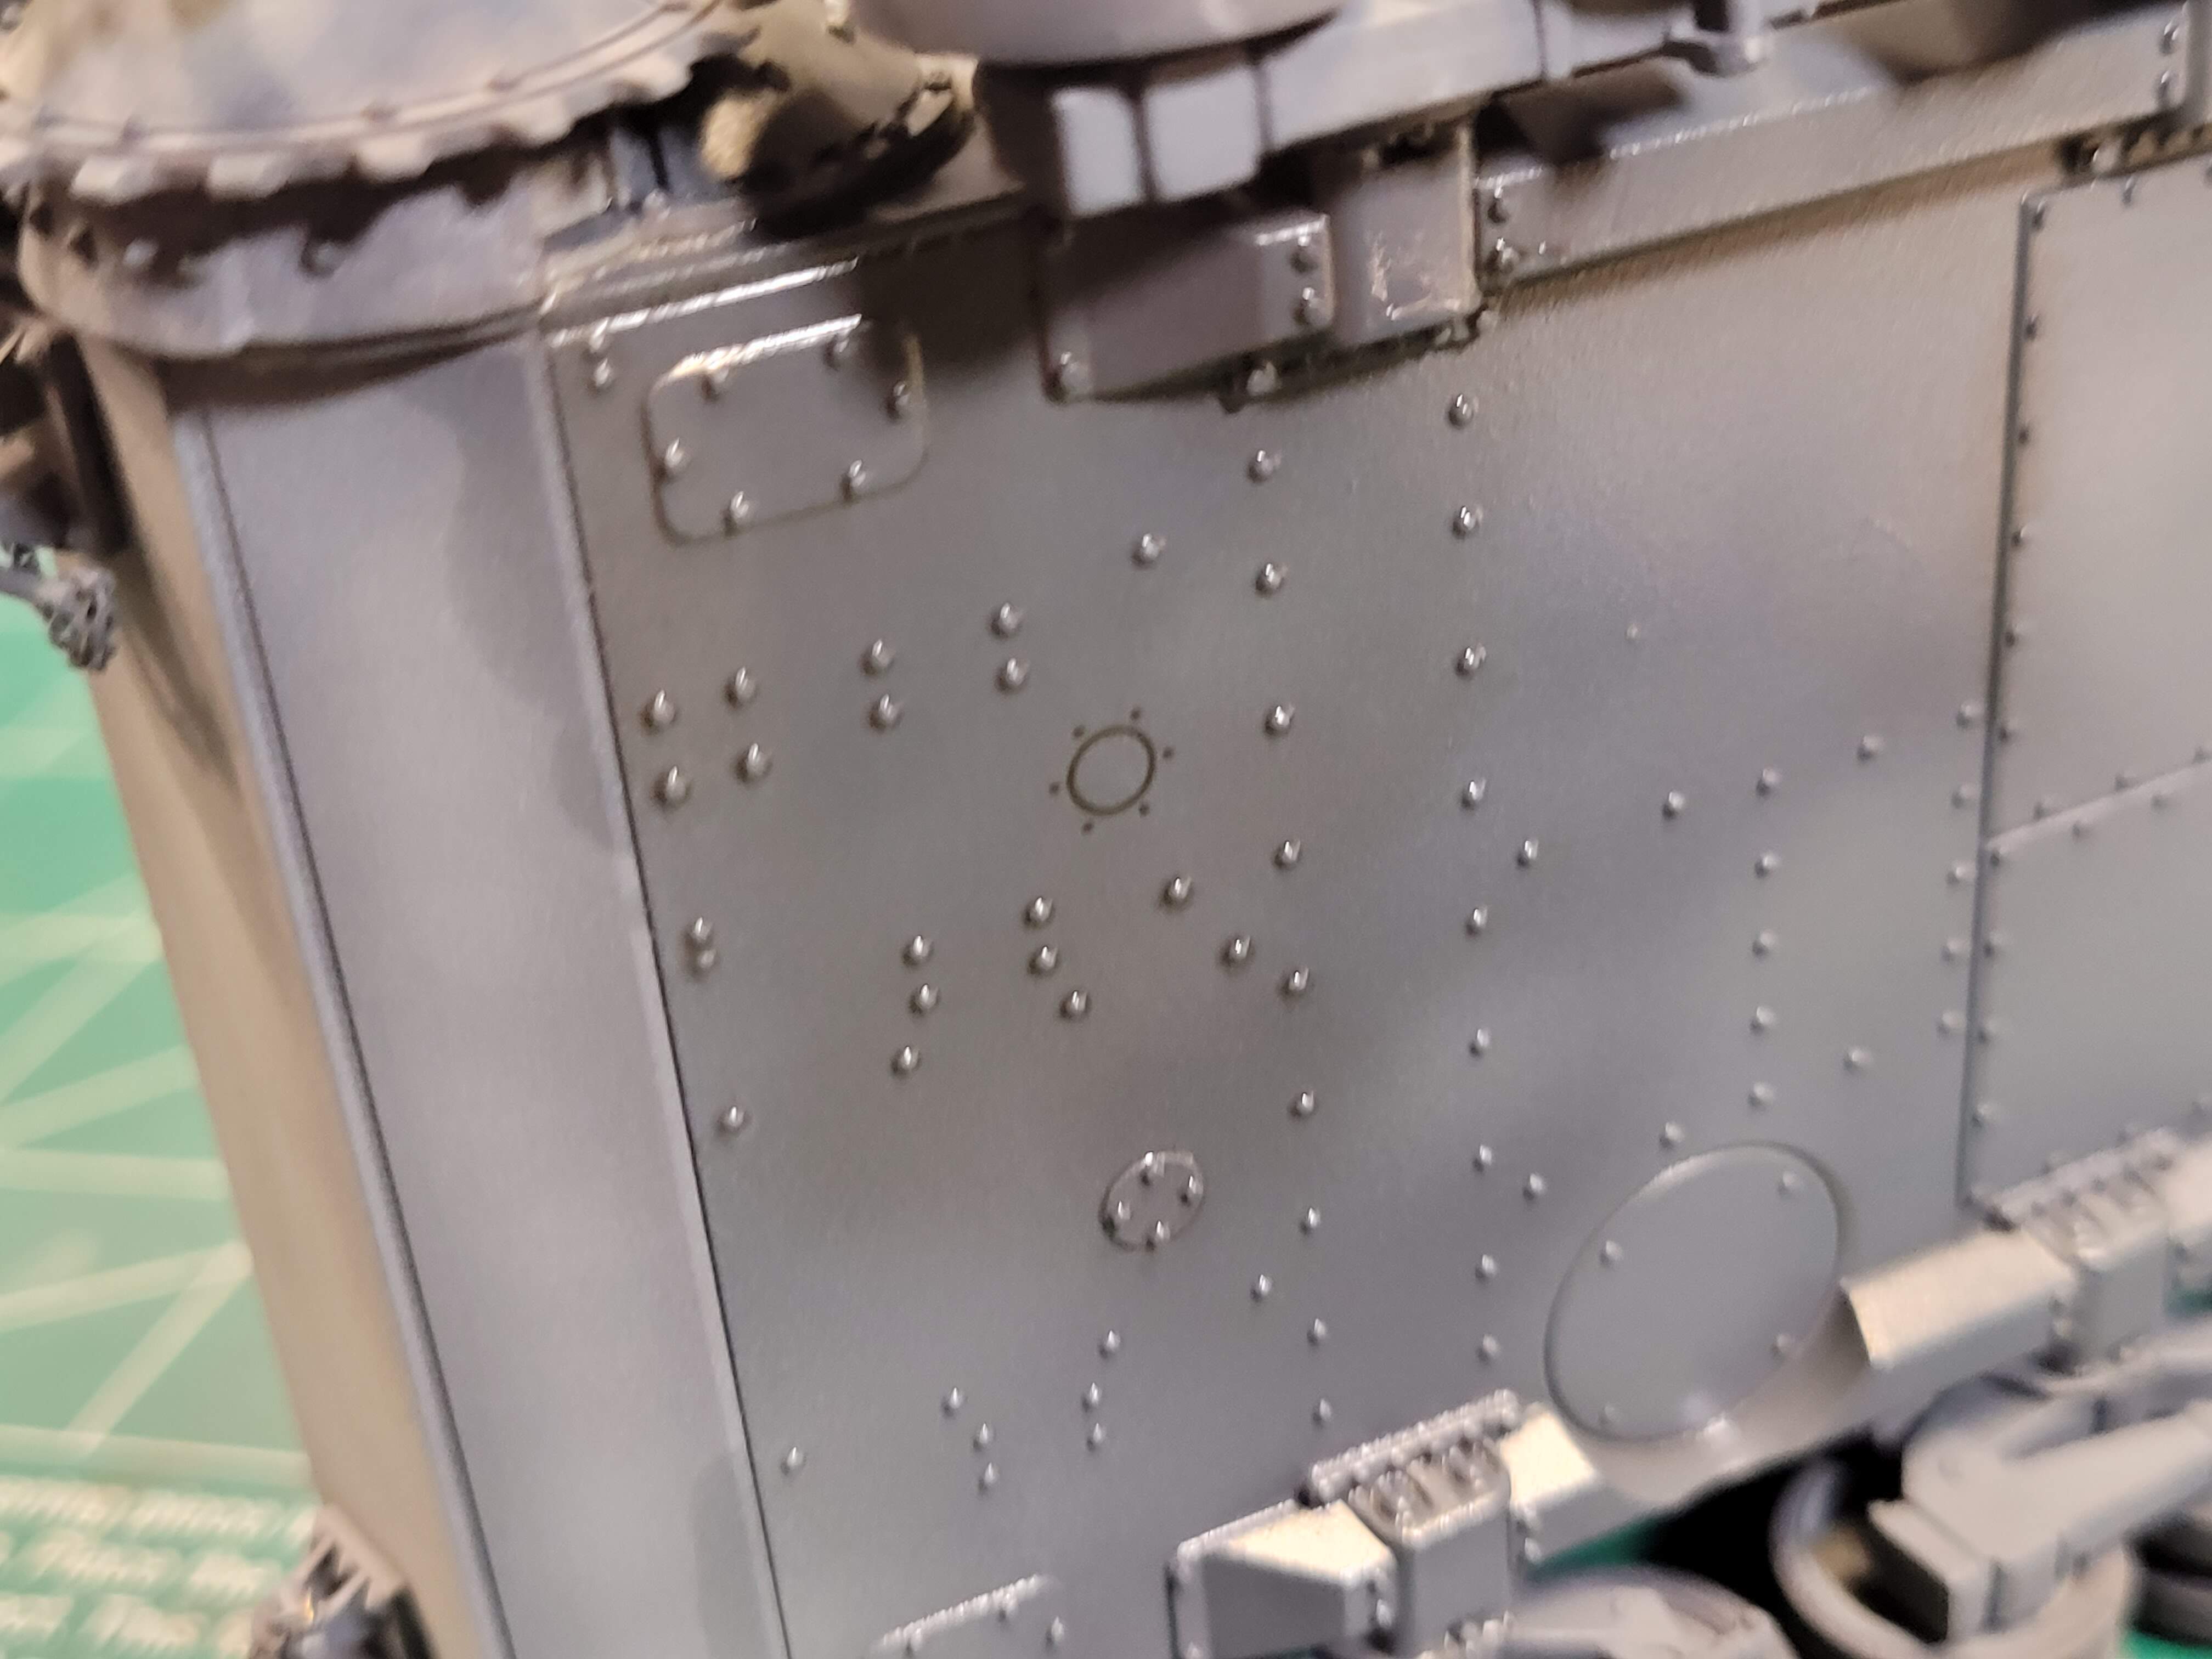
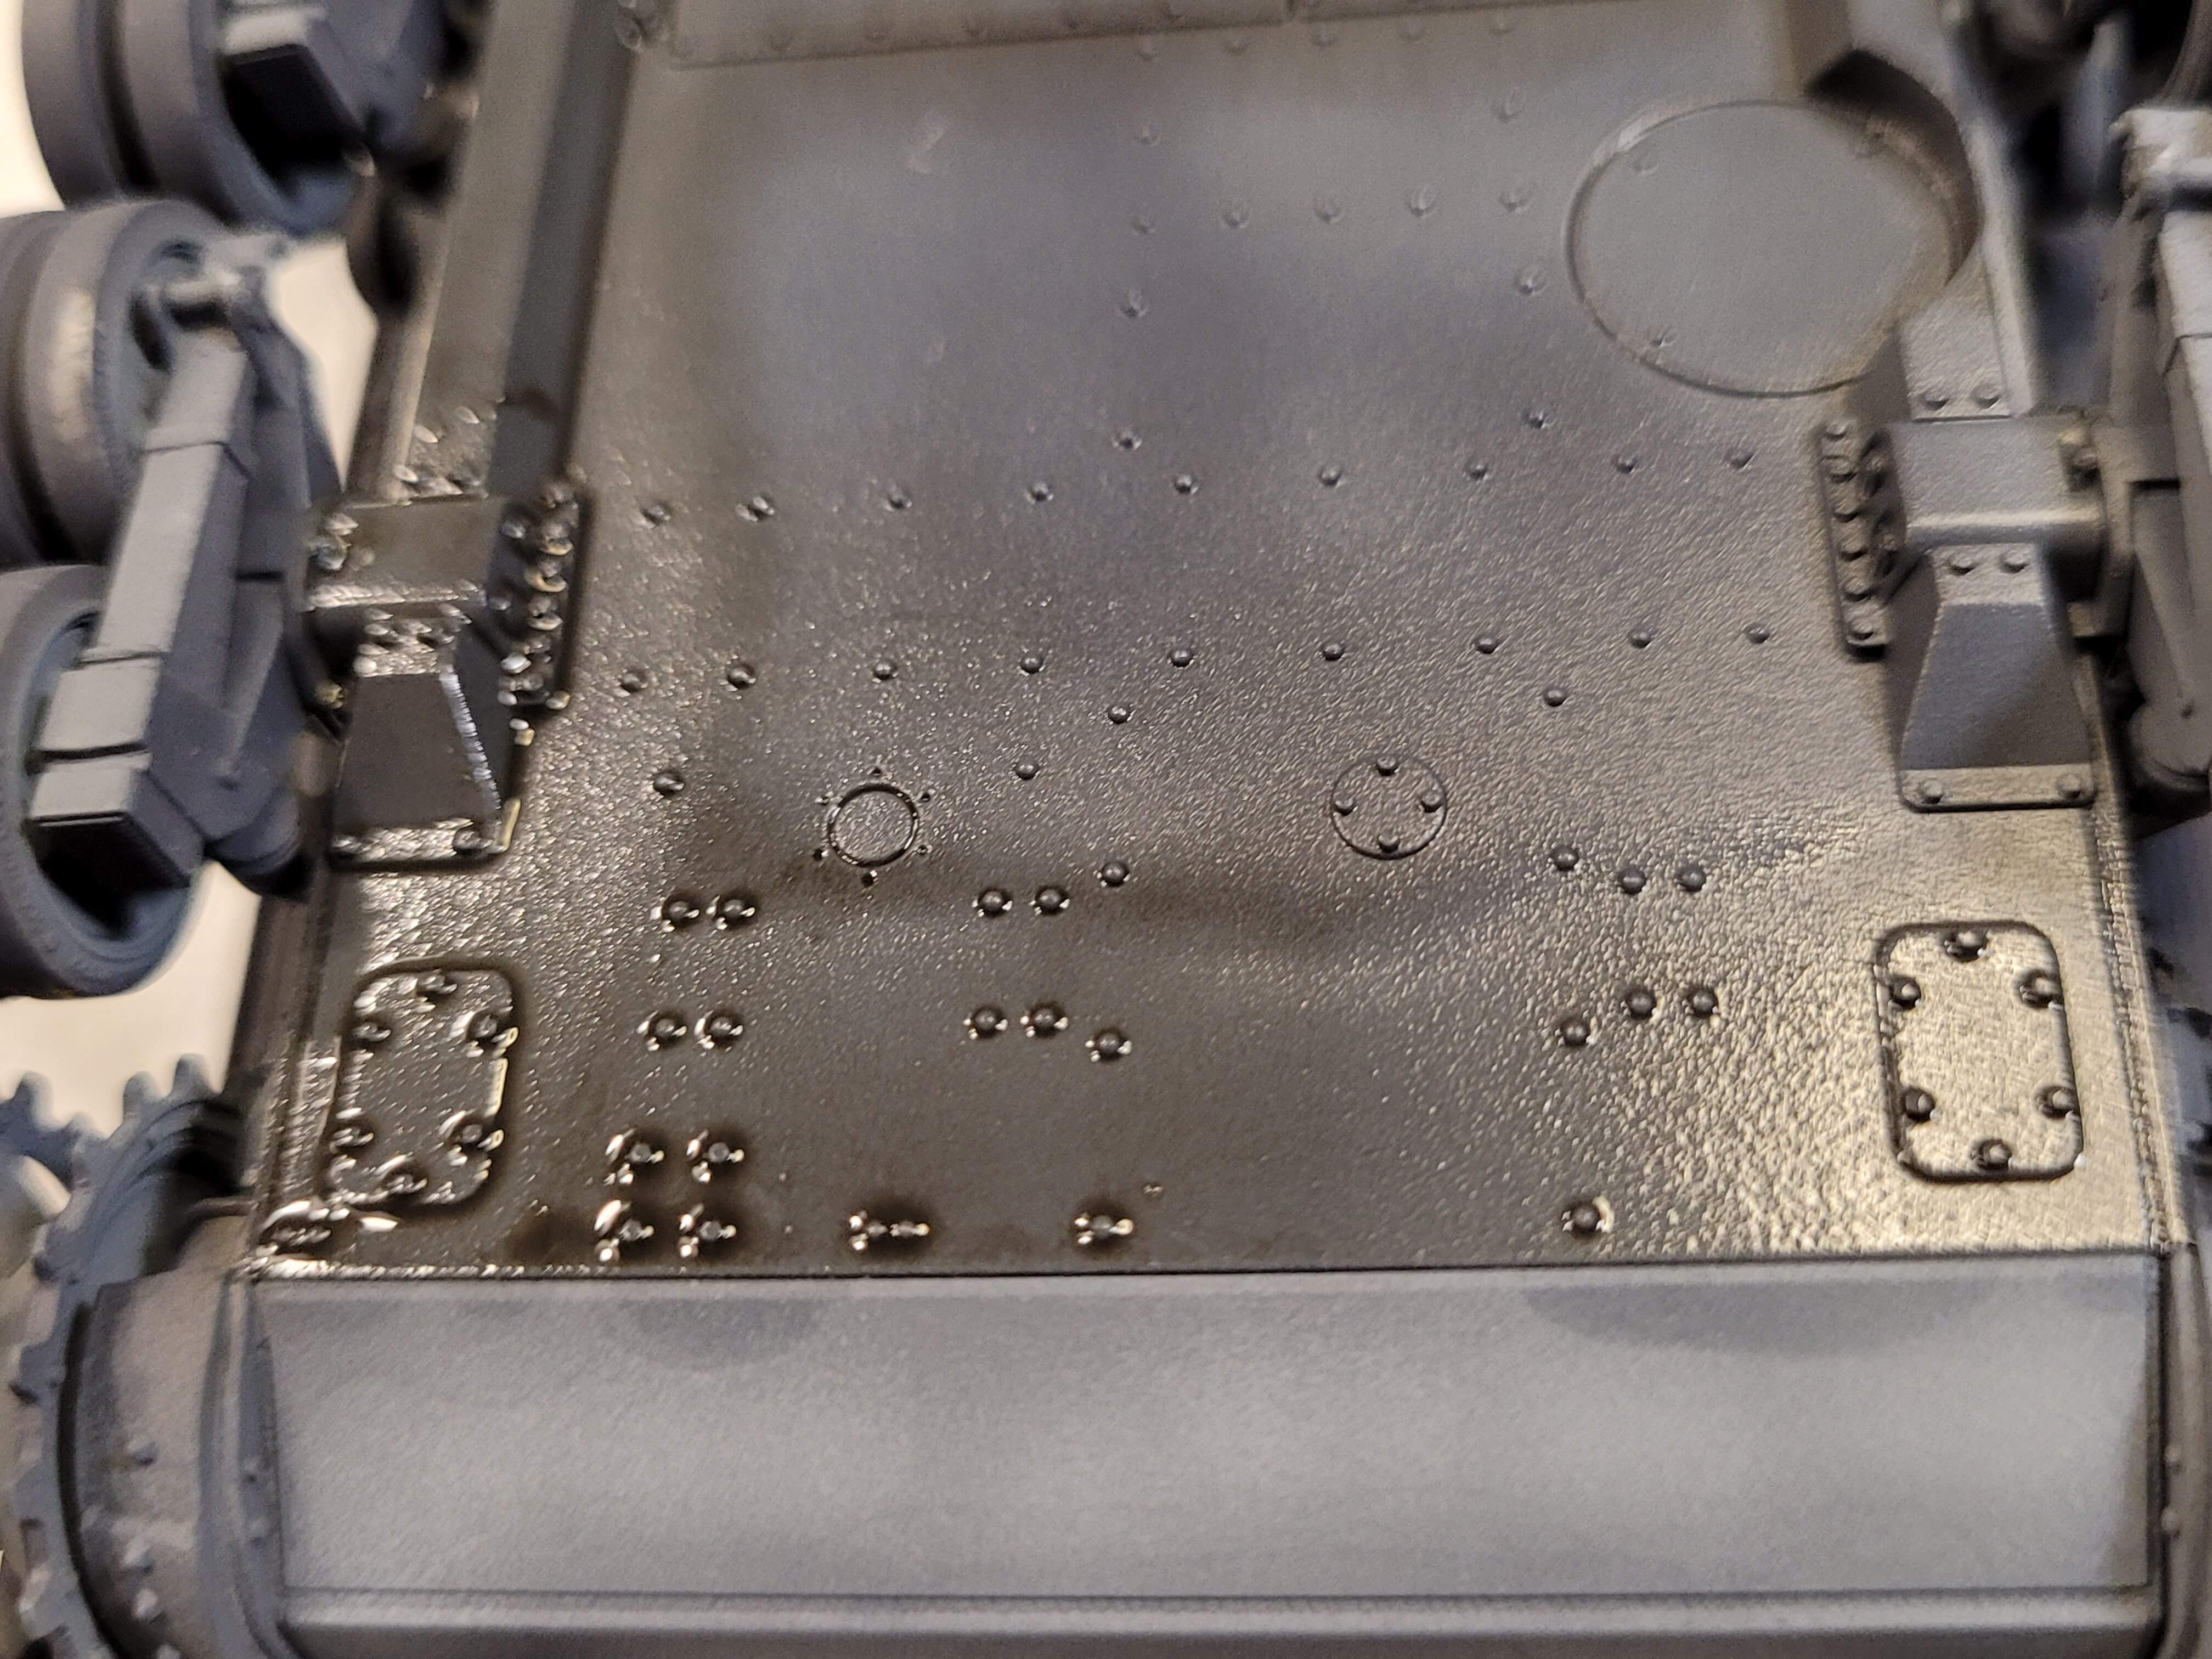
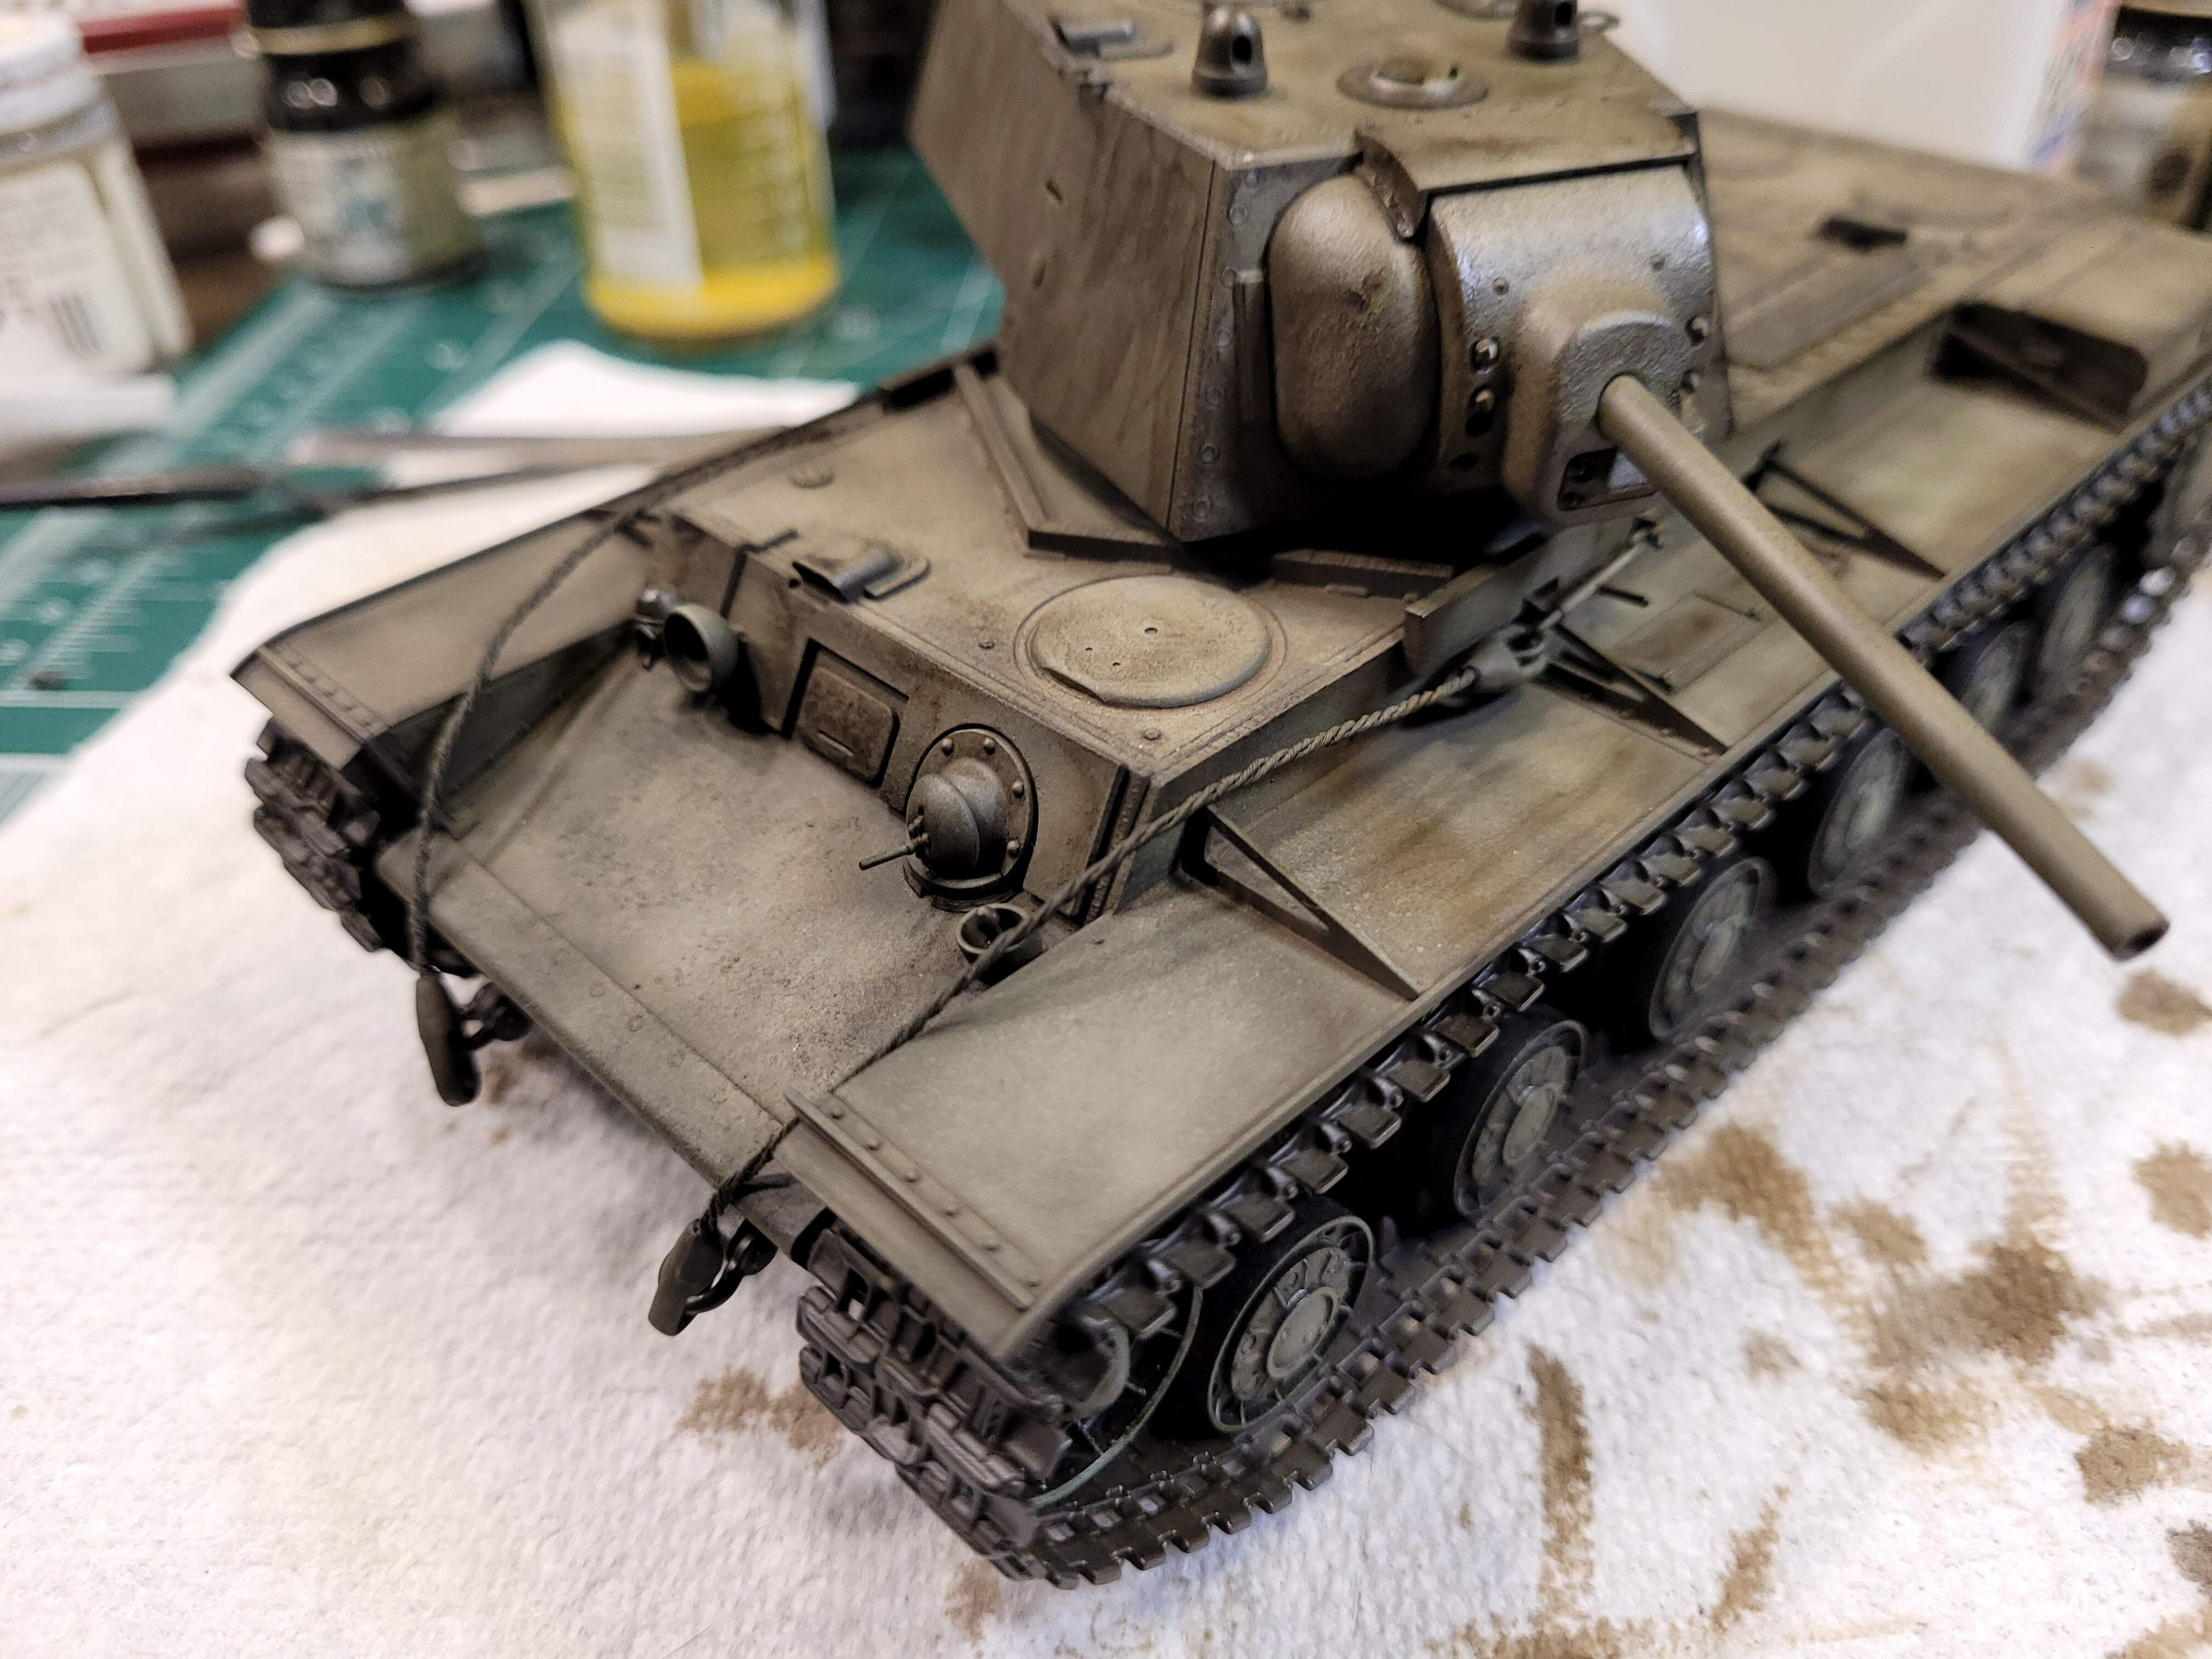
Pz IV F1 - at start, before wash & drybrushing
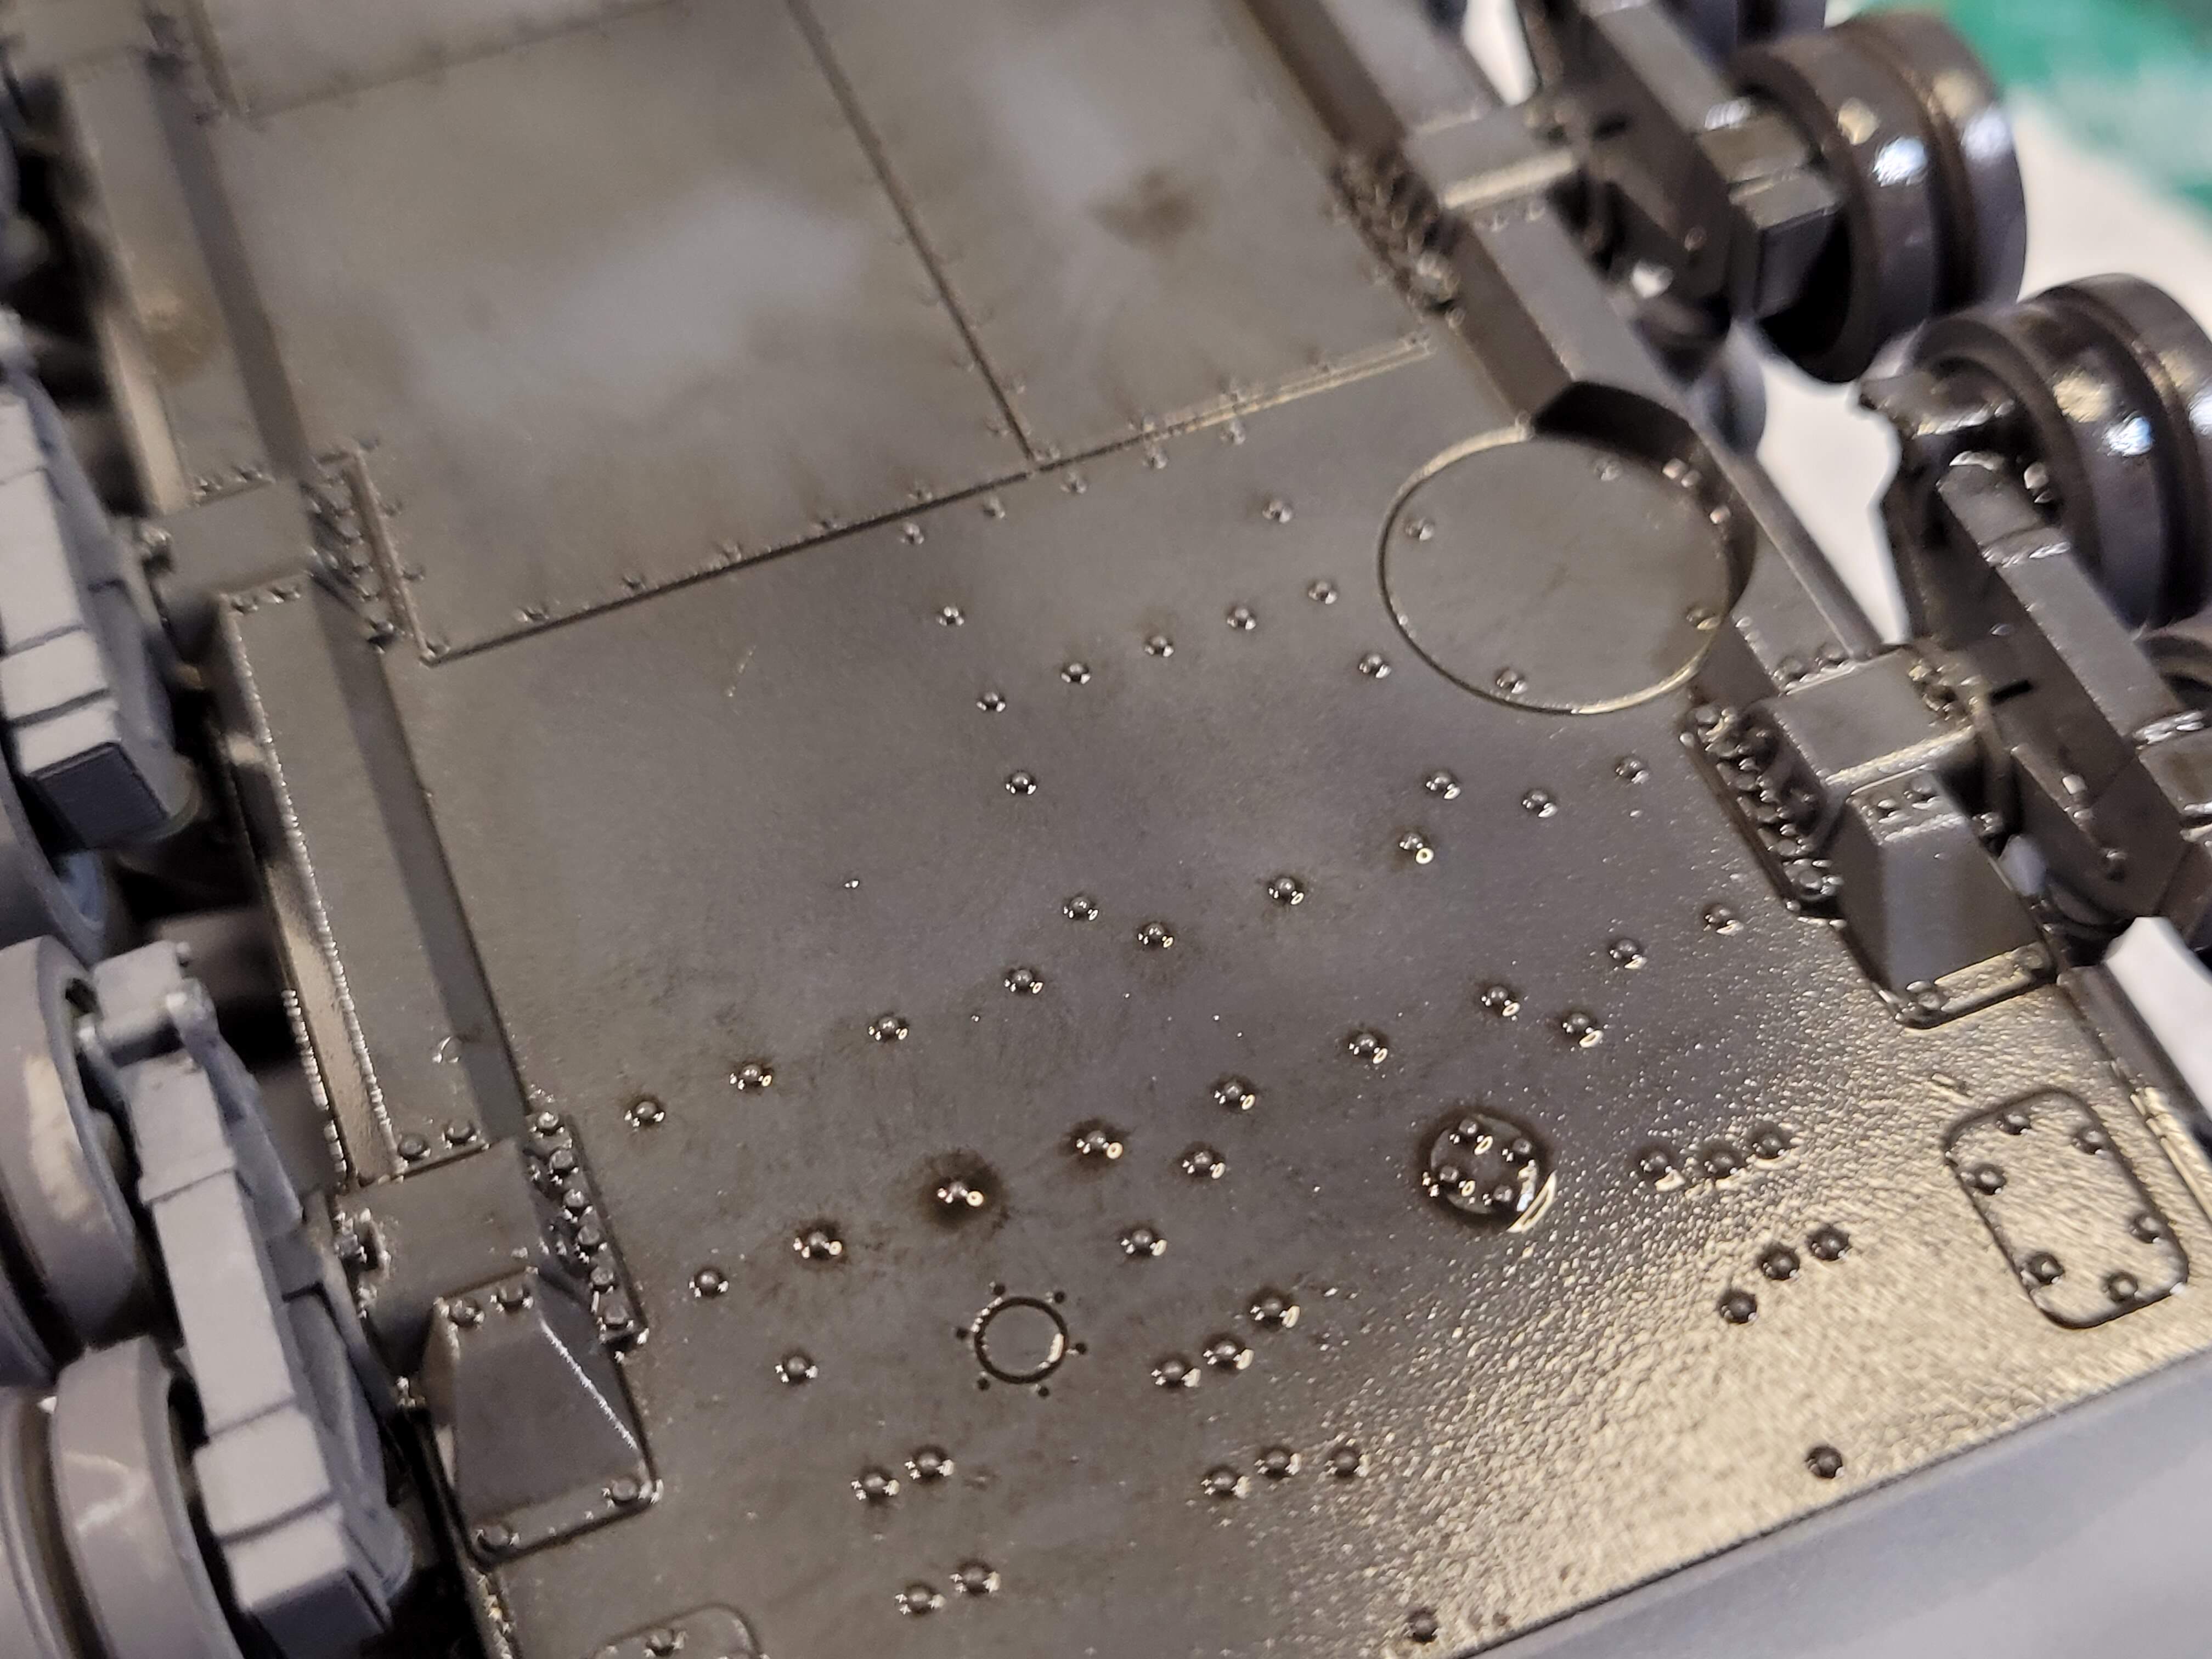
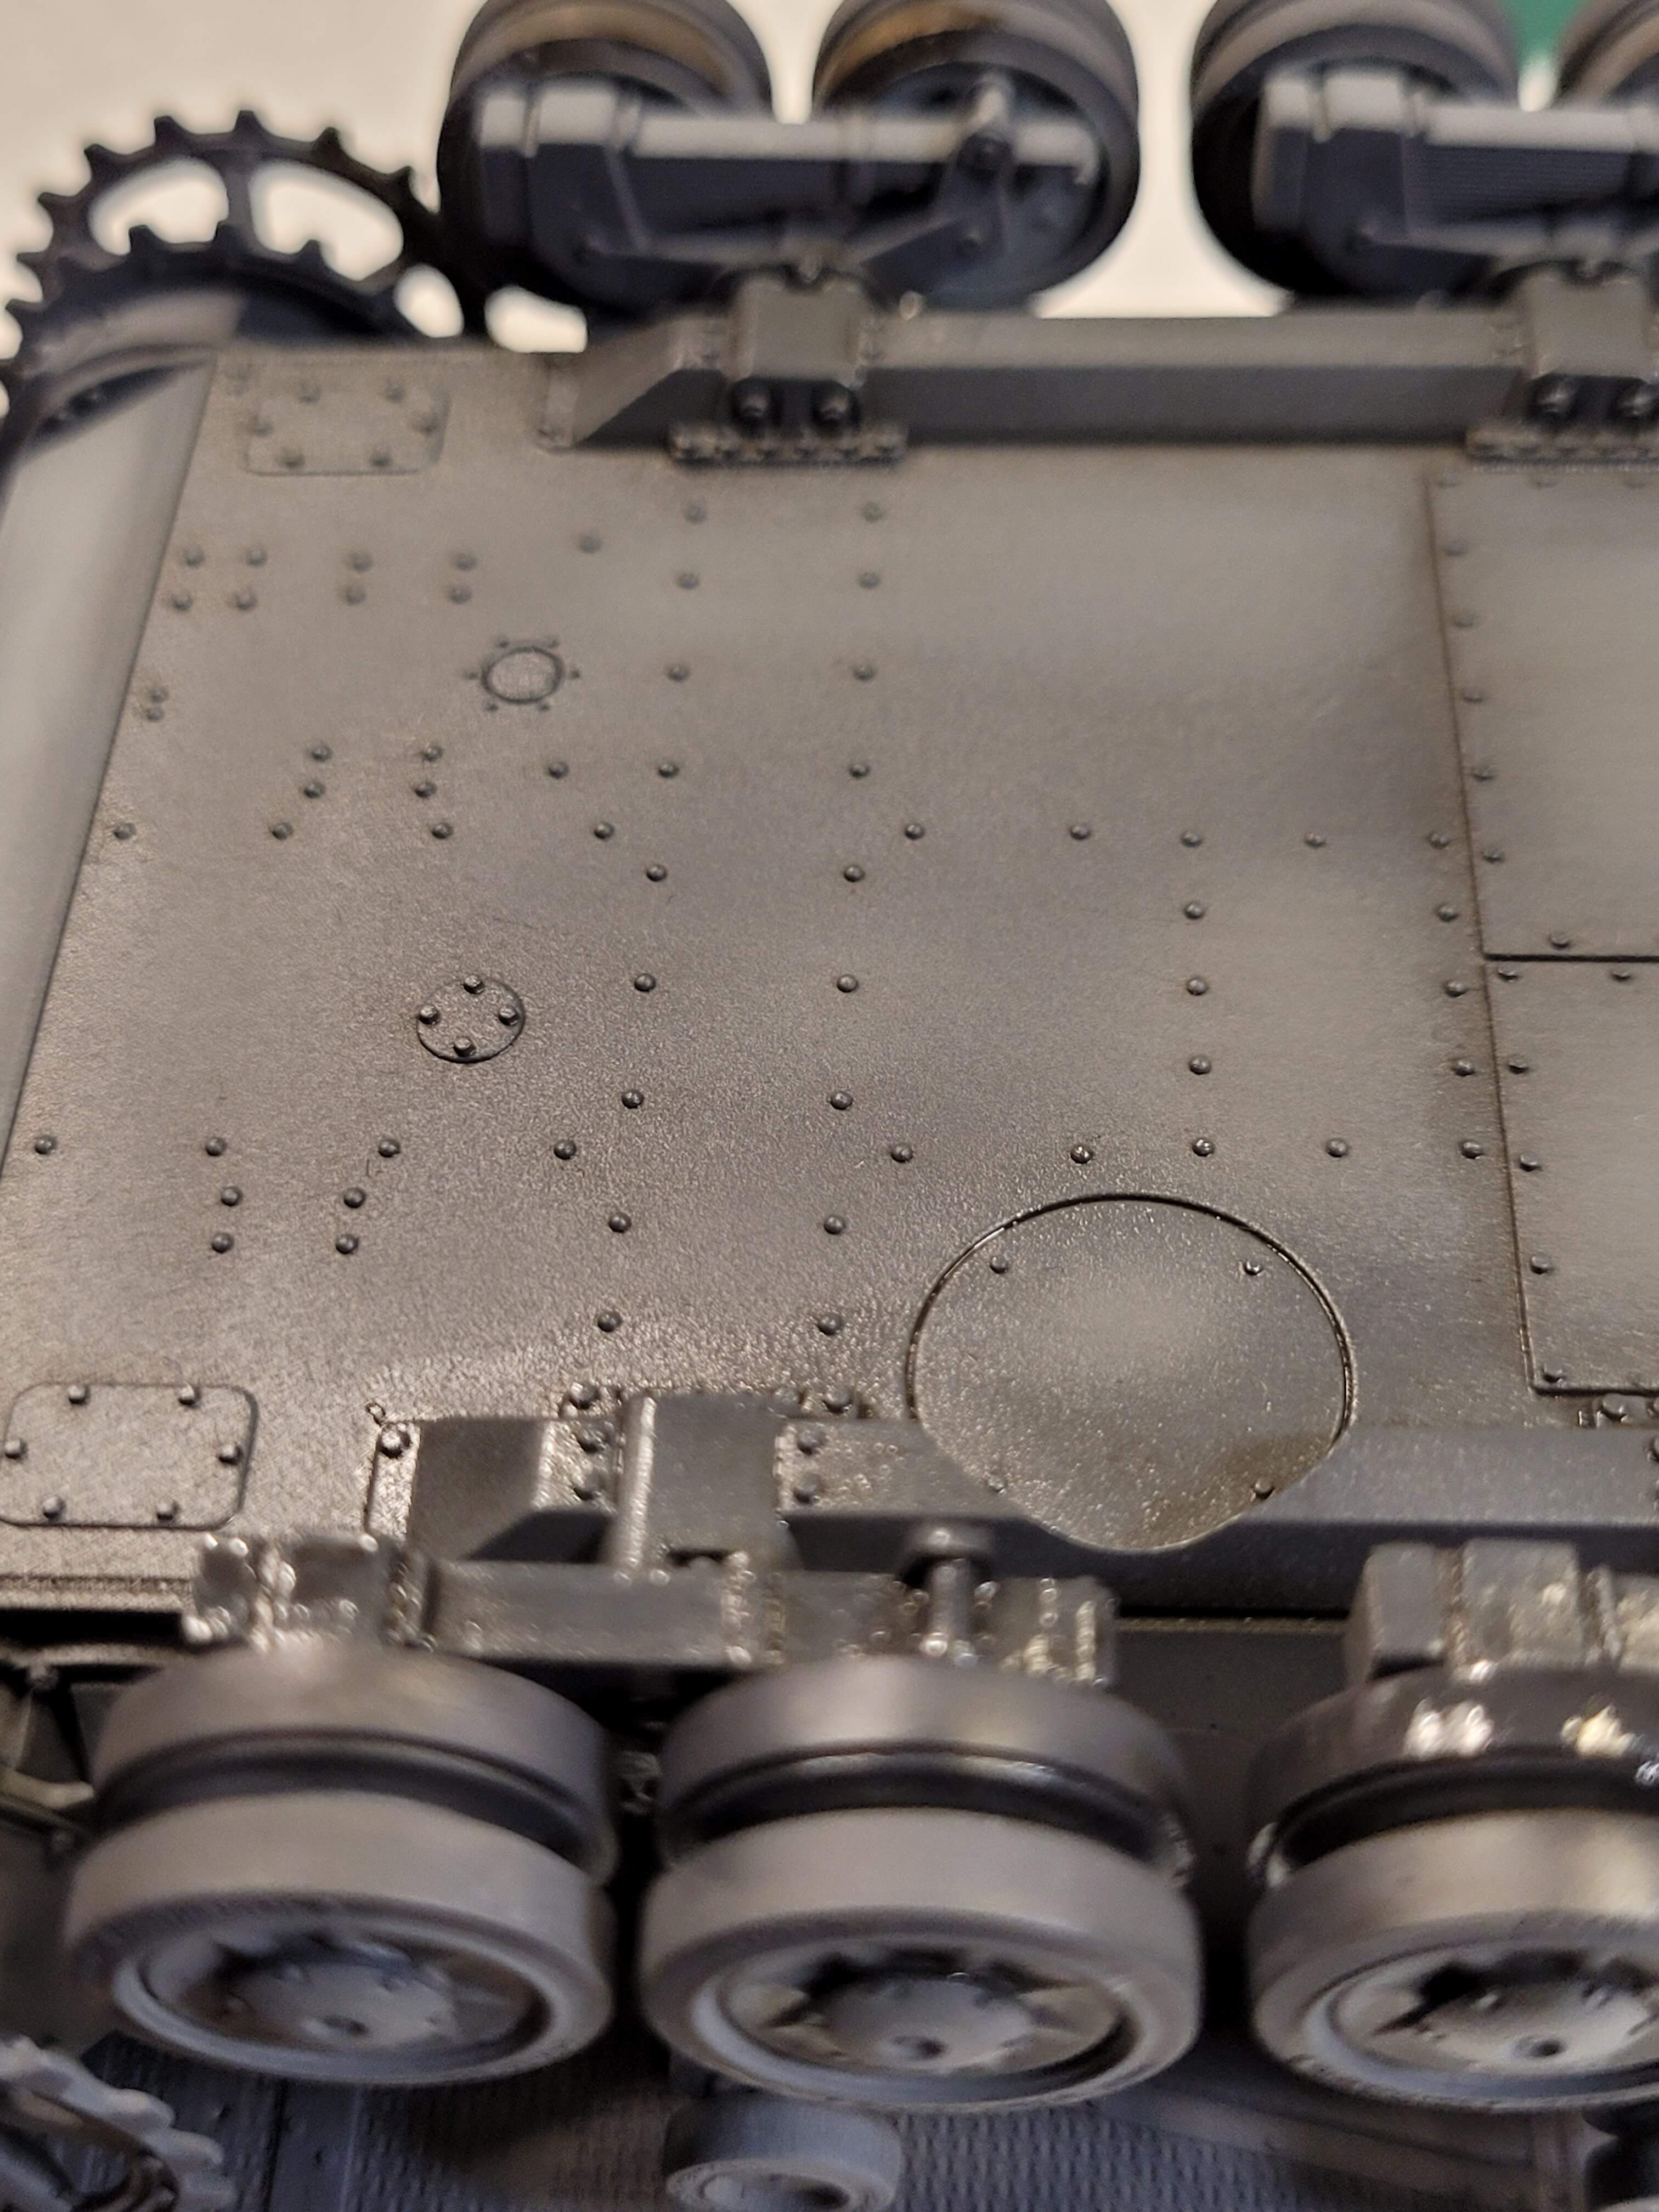
Result
Great job here Wade. You effectively show the transformation that takes place during the weathering phase. Although very evident in the before and after photos it’s important to note how much darker the finished product is, and how the weathering blends all those spots and dots together making them look very natural. As a rule I am never afraid of lightening my base color too much as it is easier to darken a light color than to lighten a dark one. Well done.
Excellent result!
Happy to see it darken up a bit. I was thinking of darkening the T-54 I am working on with a wash and your result is exactly the transformation I am going for
@Armorsmith, Thank you DV, it’s been a fun exercise. That’s very true with the process if the model appears “light” it will typically darken. As you’ve mentioned much easier to go dark over light than the other way.
Wish I still had the first model, I tried this with - a Tamiya West German Marder, it looked like a Leopard  with all the unblended spots & dots!
@Mead93, the wash by brush or slightly tinted thinner (filters) applied can create and lot of “unity”.
The 1st round of drybrushing with the base color also has a lot of impact.
Wish you the best with the T-54 and look forward to updates.
If you’d like to see the wash & drybrushing on green, the KV-1 & T-34-85 will be receiving the process and I’ll snap a few pictures.