Beautiful kit!!!
1 Like
I do not have a photo, it is painted and doesn’t have the canopy on and no decals. I need to replace the paint on the underside.
I hate to go back on myself, but that might be a little too far in progress than we usually accept for a campaign.
Some construction and full paint is the usual norm. I’m also aware we didn’t state an allowed percentage in the campaign rules, which makes a decision difficult to make. It would be good to see it finished up.
But, I’ll put it to the rest of the campaign participants.
What does everyone think?
IMHO you should take part with it in the “Hangar Queen” campaign 2025, because it sounds like little more to “build” than the canopy, some paint and decals…
Good luck anyway
Peter ![]()
2 Likes
Giving it some thought I would be inclined to agree.
@SenorOuiOui if you take to the Hanger Queen 2025 campaign you’ll still be able to get a medal for completing.
We’ve still got until the end of September for this one, so plenty of time to build another.
And I must make a mental note to myself to state the allowed percentage next time I do a campaign. That’s on me and I can only apologise for any confusion caused.
1 Like
Some work this weekend. Got the cockpit painted up and used the kits decals for instrument panels and consoles. Bit basic, but will work at this scale. I have to admit that this is one area I’m very disappointed with Hasegawa. The rest of the kit and the seats are very well detailed, but the cockpit is just bare. Monograms F-4’s beat it in this area.
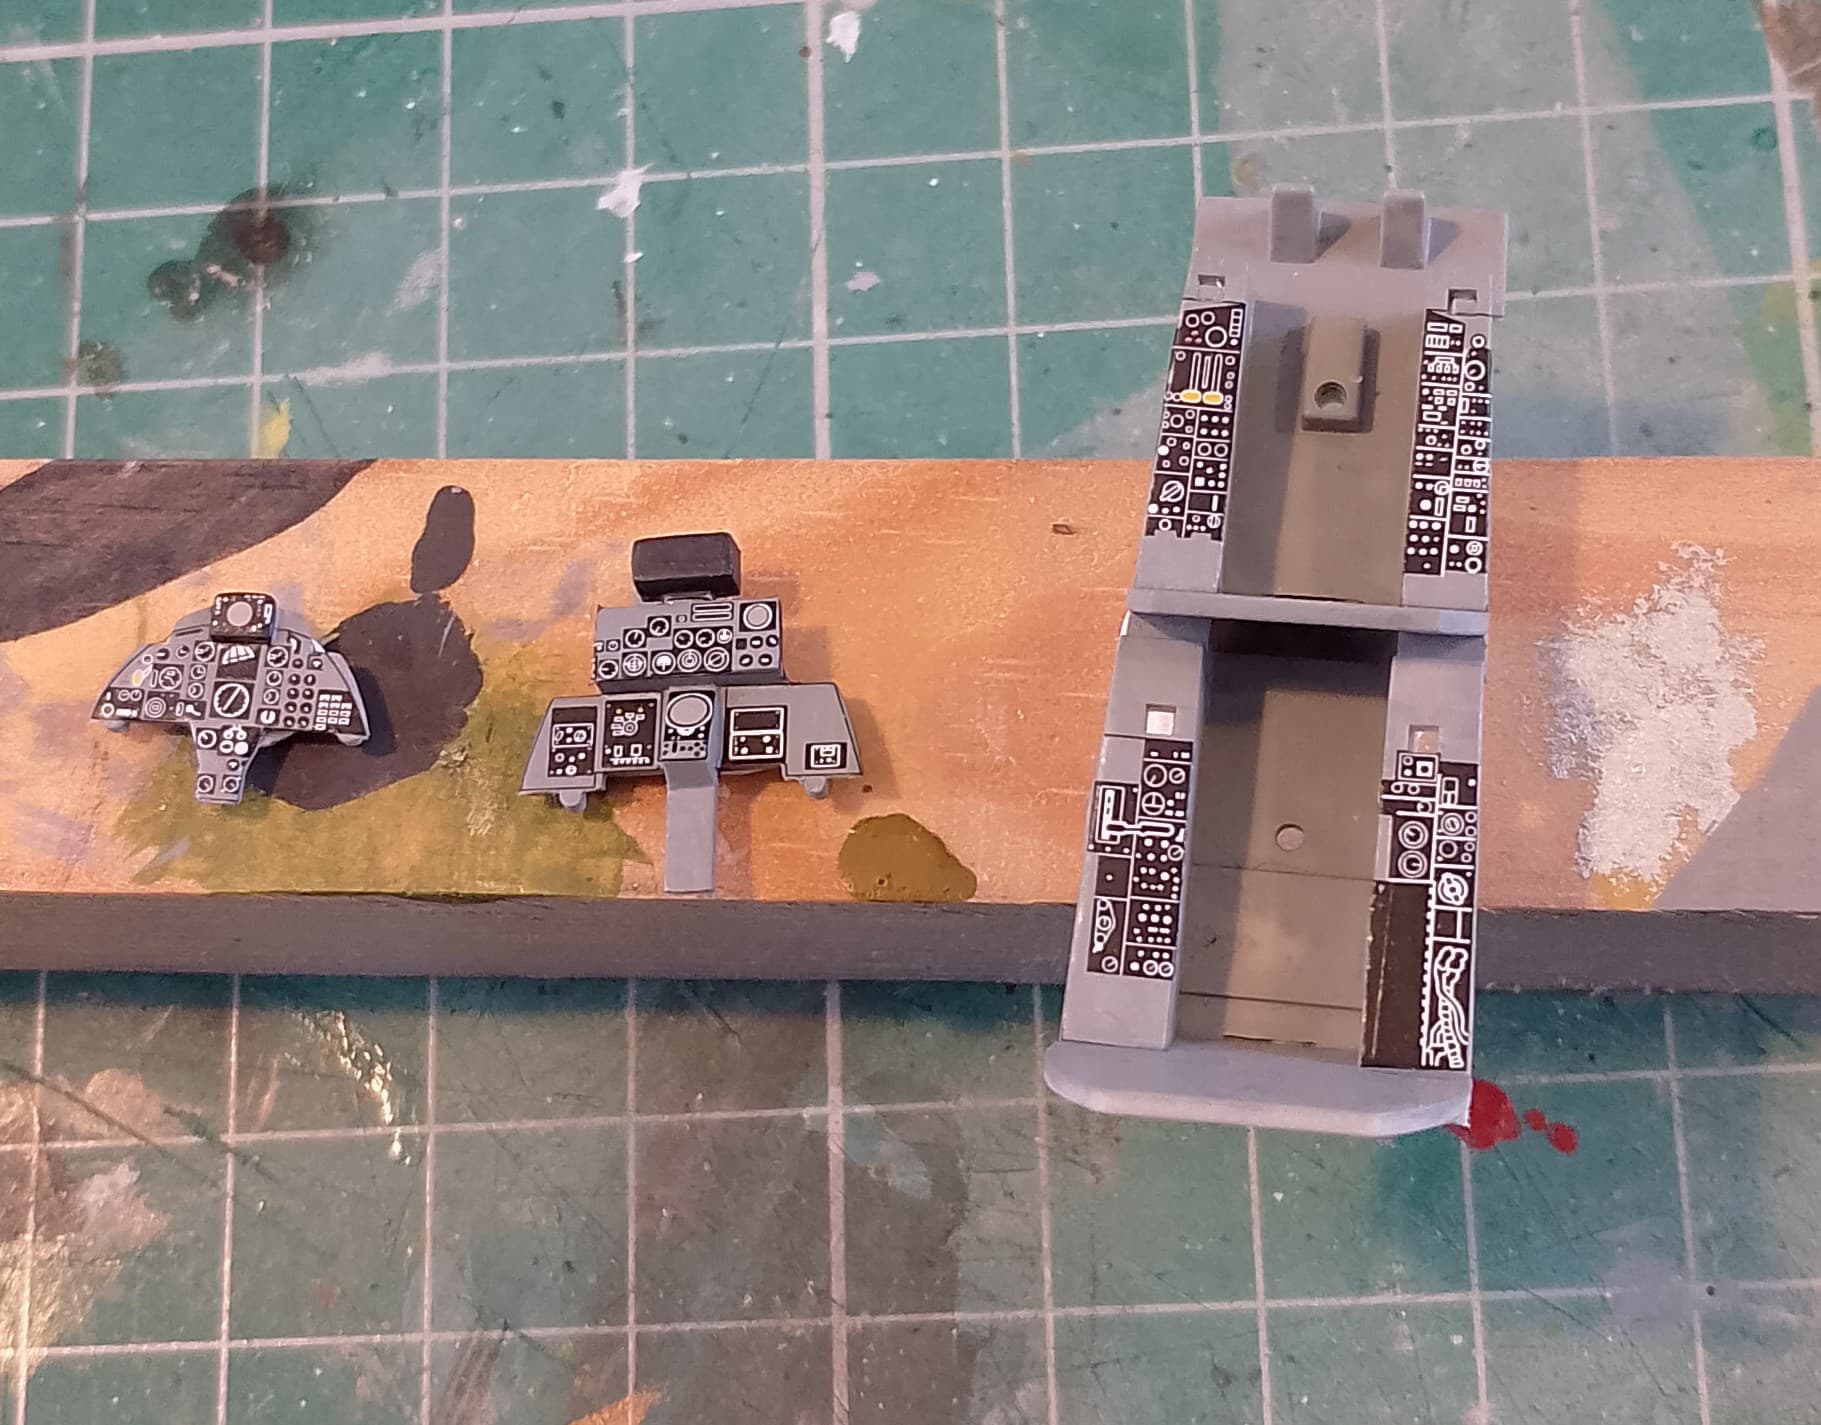
And got the metal seats cleaned up and assembled ready for some paint.

Would be nice to see some newer MB Mk5 seats on the market. Does anyone know if Finemolds have included them with their new F-4 kits?
7 Likes
I’m changing my entry to the 48th scale meng F-4E wild weasel
2 Likes
So I finally got my campaign build started. Originally planned for January, some of you guys know, that the little MiniArt wrecker truck came in the way and is finished by now. So I made a restart last weekend and this is how far I am at the moment. There are no PE parts or decals for the cockpit, so I dry brushed the instruments. Sorry, I’m no good figurine painter, so I leave the guys the way they are now …


This is the kit I have taken from my stash. I guess it’s from the 1990’s, not sure. On the box it says 2001 but I guess that’s for this edition …

For a long time I have this CAM decal sheet in my stash …

… and always wanted to build this Türk Hava Kuvvetleri F4-E … ![]()

9 Likes
Super!!!
Beautiful decals!
2 Likes
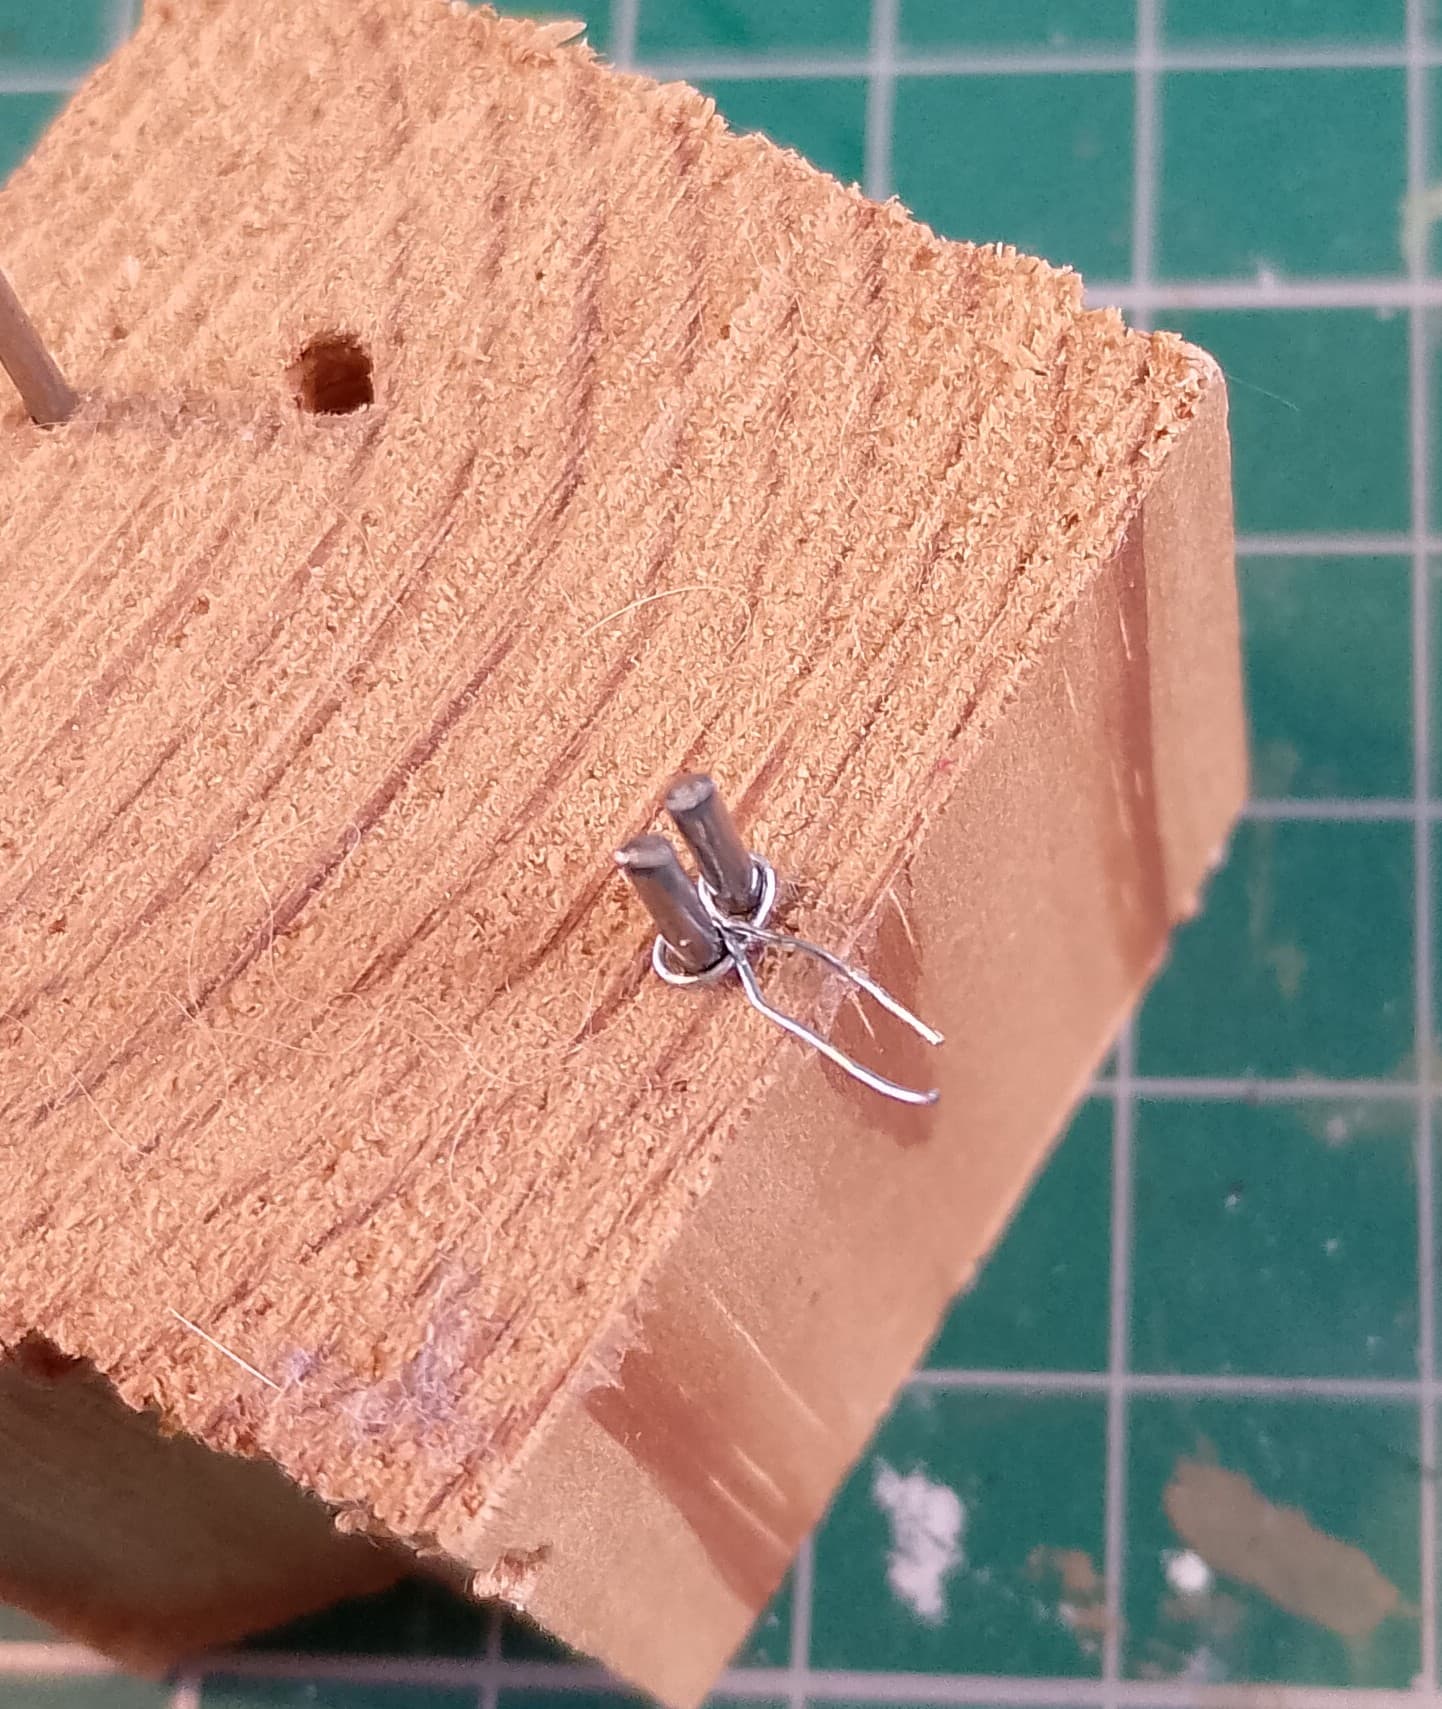
Little bit of work this weekend, mostly assembling the cockpit and painting the seats. Also made up the firing handles using a homemade jig that’s served me well for years.
2 pin nails with the heads cut off nailed into a bit of scrap wood. Wrap a piece of wire around both, pull the ends to tighten and Bob’s your uncle.

8 Likes
Interesting wave to maie it
1 Like
Thanks, it’s quite easy and I think looks better that flat etch handles. The tricky part is in the painting after!
Very clever yet simple solution and it gives a really nice uniform result.
1 Like
Finally finished all the stencils. Next step is the final over coat. Can’t decide on gloss or satin. Then onto final assembly!
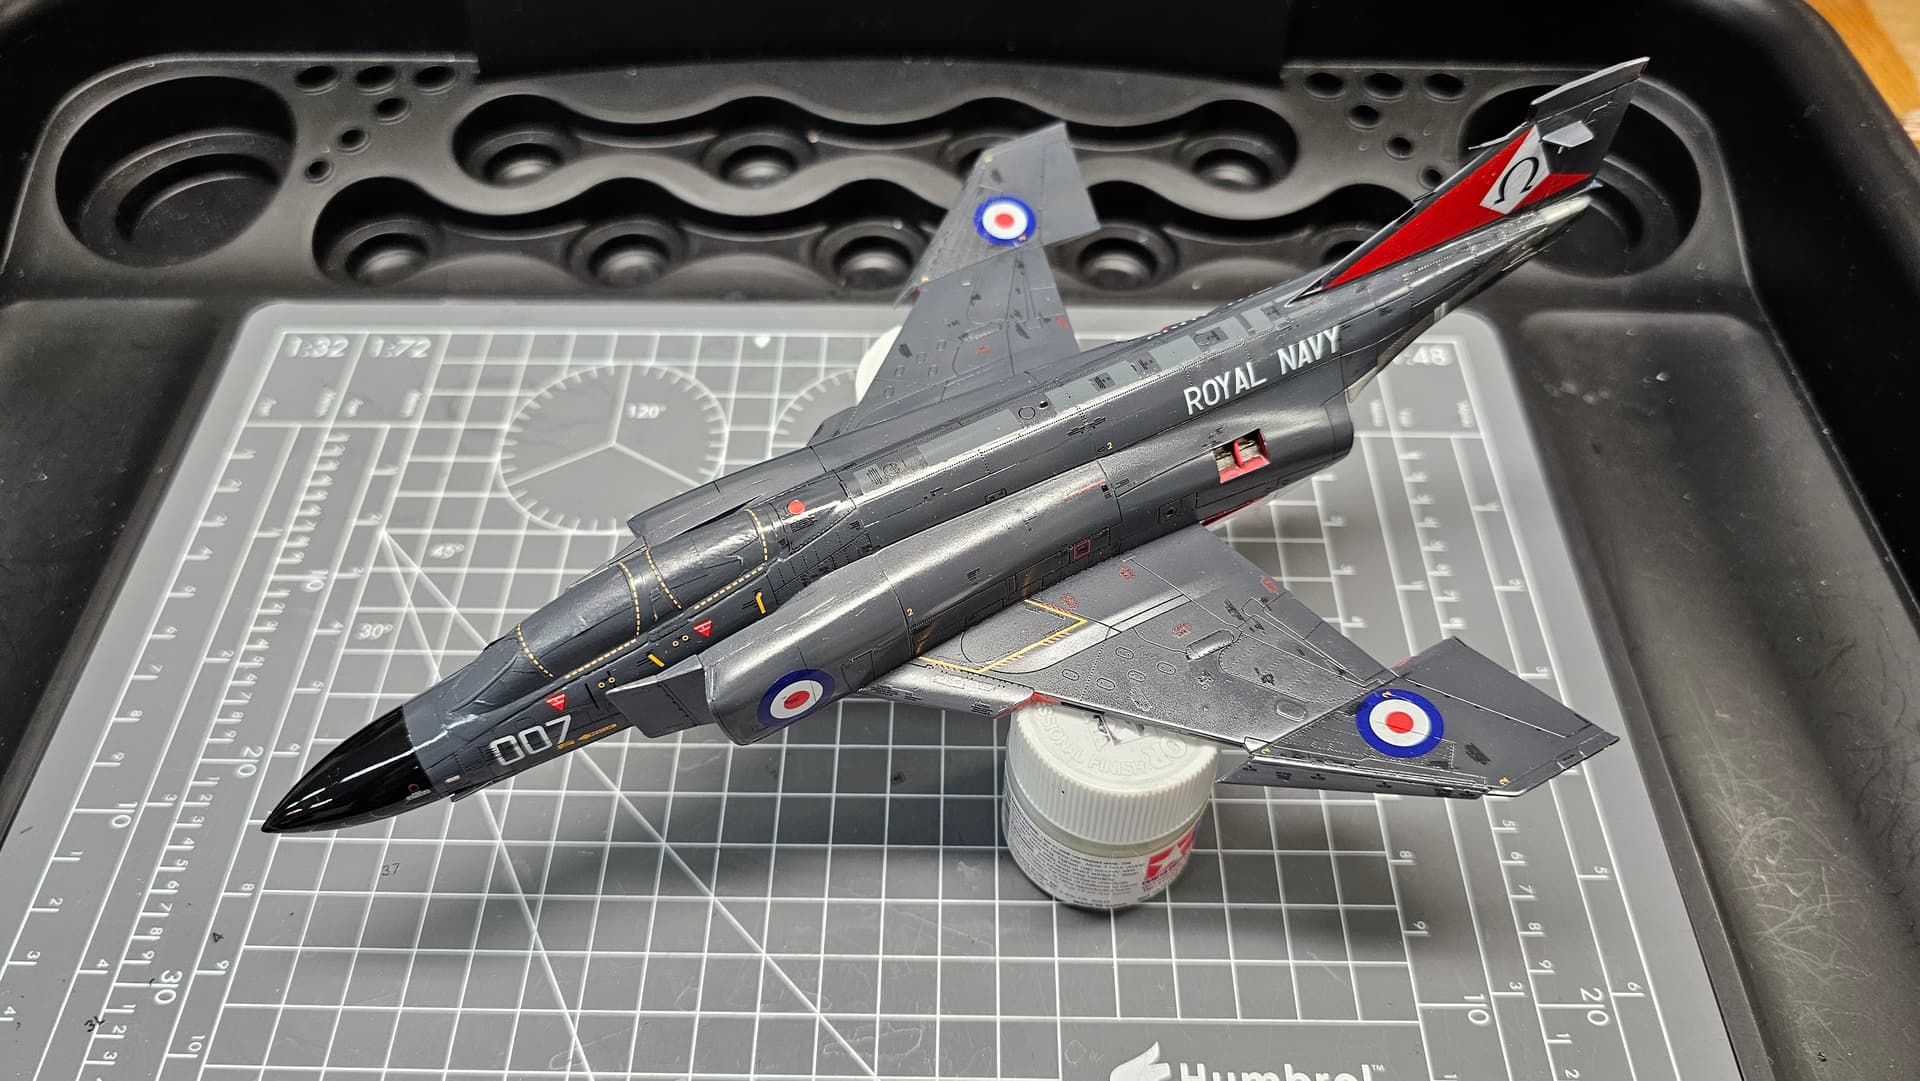
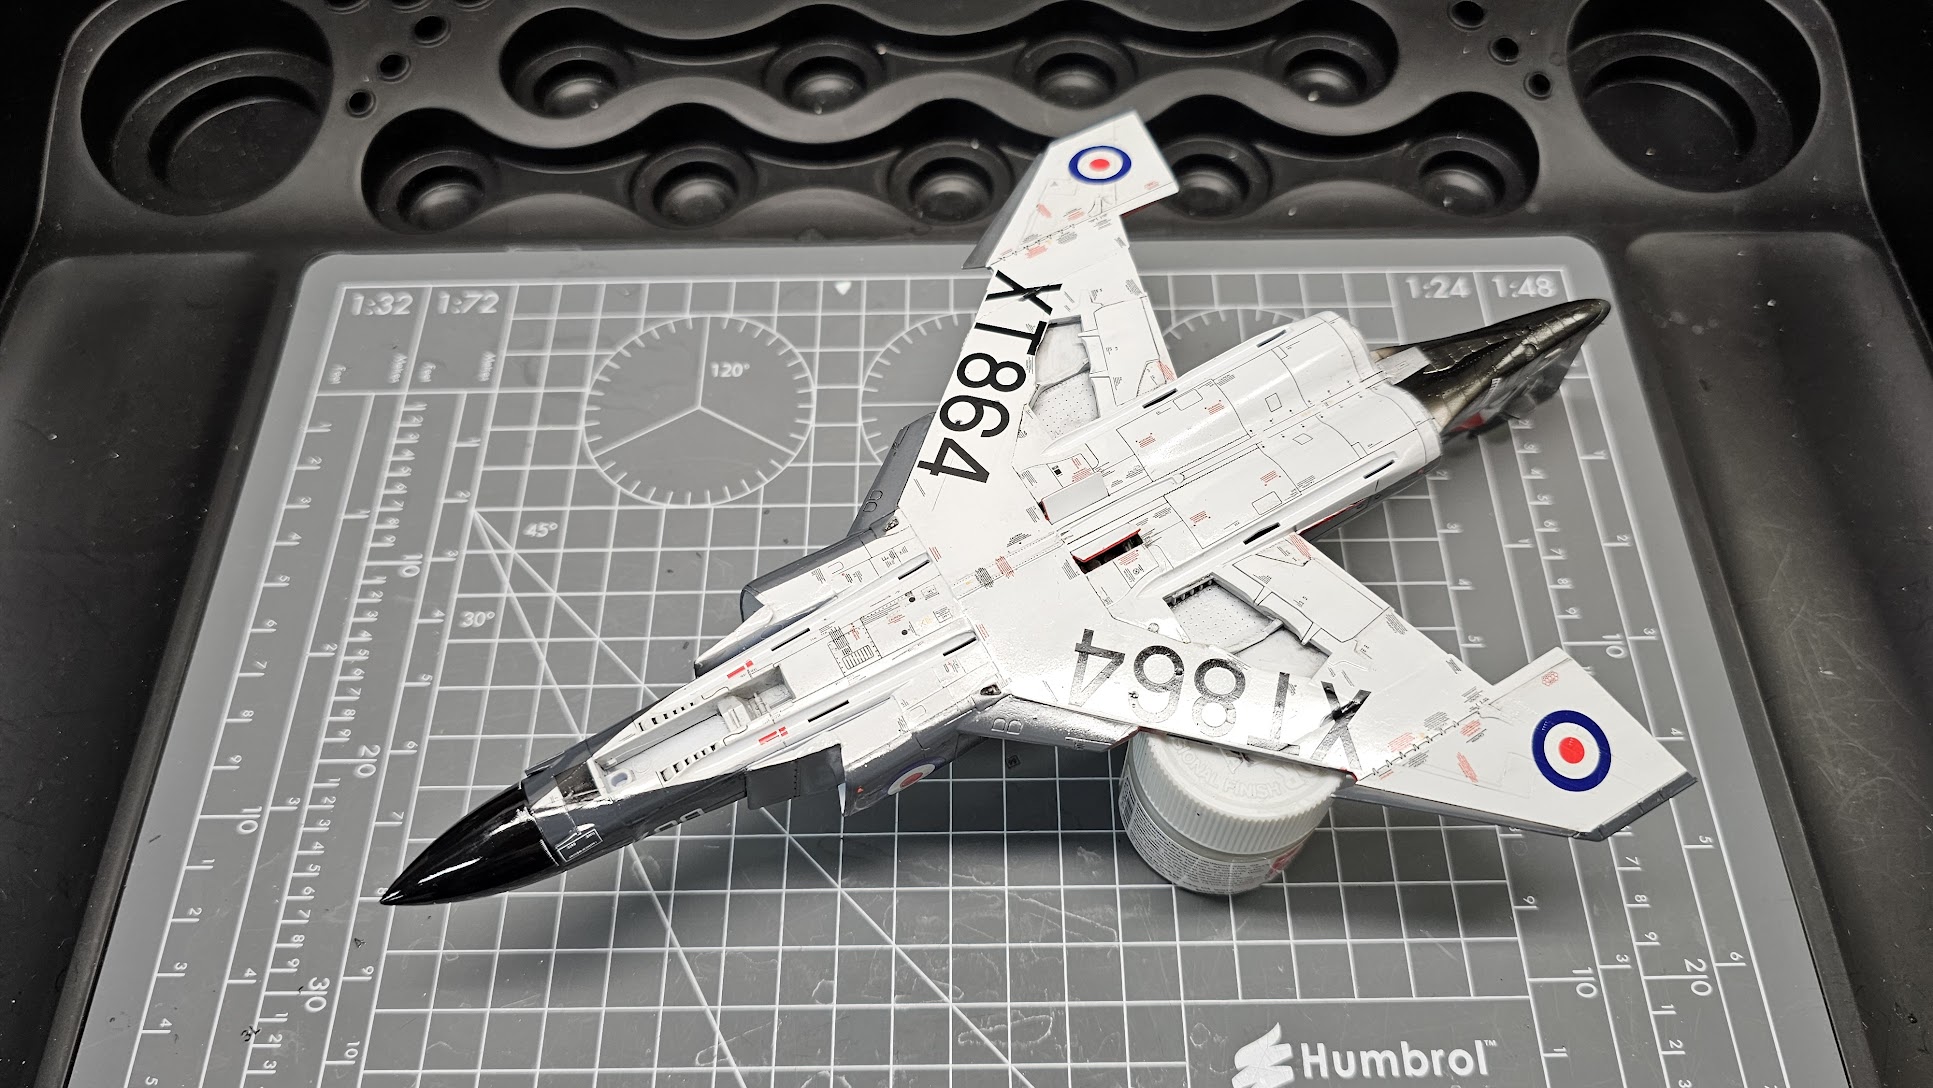
14 Likes
That’s looking great!
A satin coat would probably look more in scale, but of course it’s your model so up to you.
2 Likes
I love it!! ![]()
2 Likes
Couple of bits have arrived for mine today.
Some Reskit intake covers and outer wing pylons. Will only need the starboard, but will keep the other to use on a D I have planned. And Eduard’s PE crew ladder.

I’m currently looking through the stash to find the old Esci NATO figures set. I remember there was one who looked like Olds.
3 Likes
@Btwosan, absolutely fantastic finish on the Phantom! Really brings out the details.
Stephen, clever little rig for the ejection seats. I am going to copy that. ![]()
2 Likes
Came a bit further with my F-4E. Fitting is good so far for a 1990’s kit. Fuselages halves are glued bit by bit with ethylacetate. The radom is not yeet glued to the fuselage.

6 Likes
Always feels like a step forward when the fuselage is together.
Weekend has been pretty busy, so not as much done as I would’ve liked.but have got some weight fitted with Milliput into the nose section. Phantom’s are usually pretty stable, but I always like to make sure.
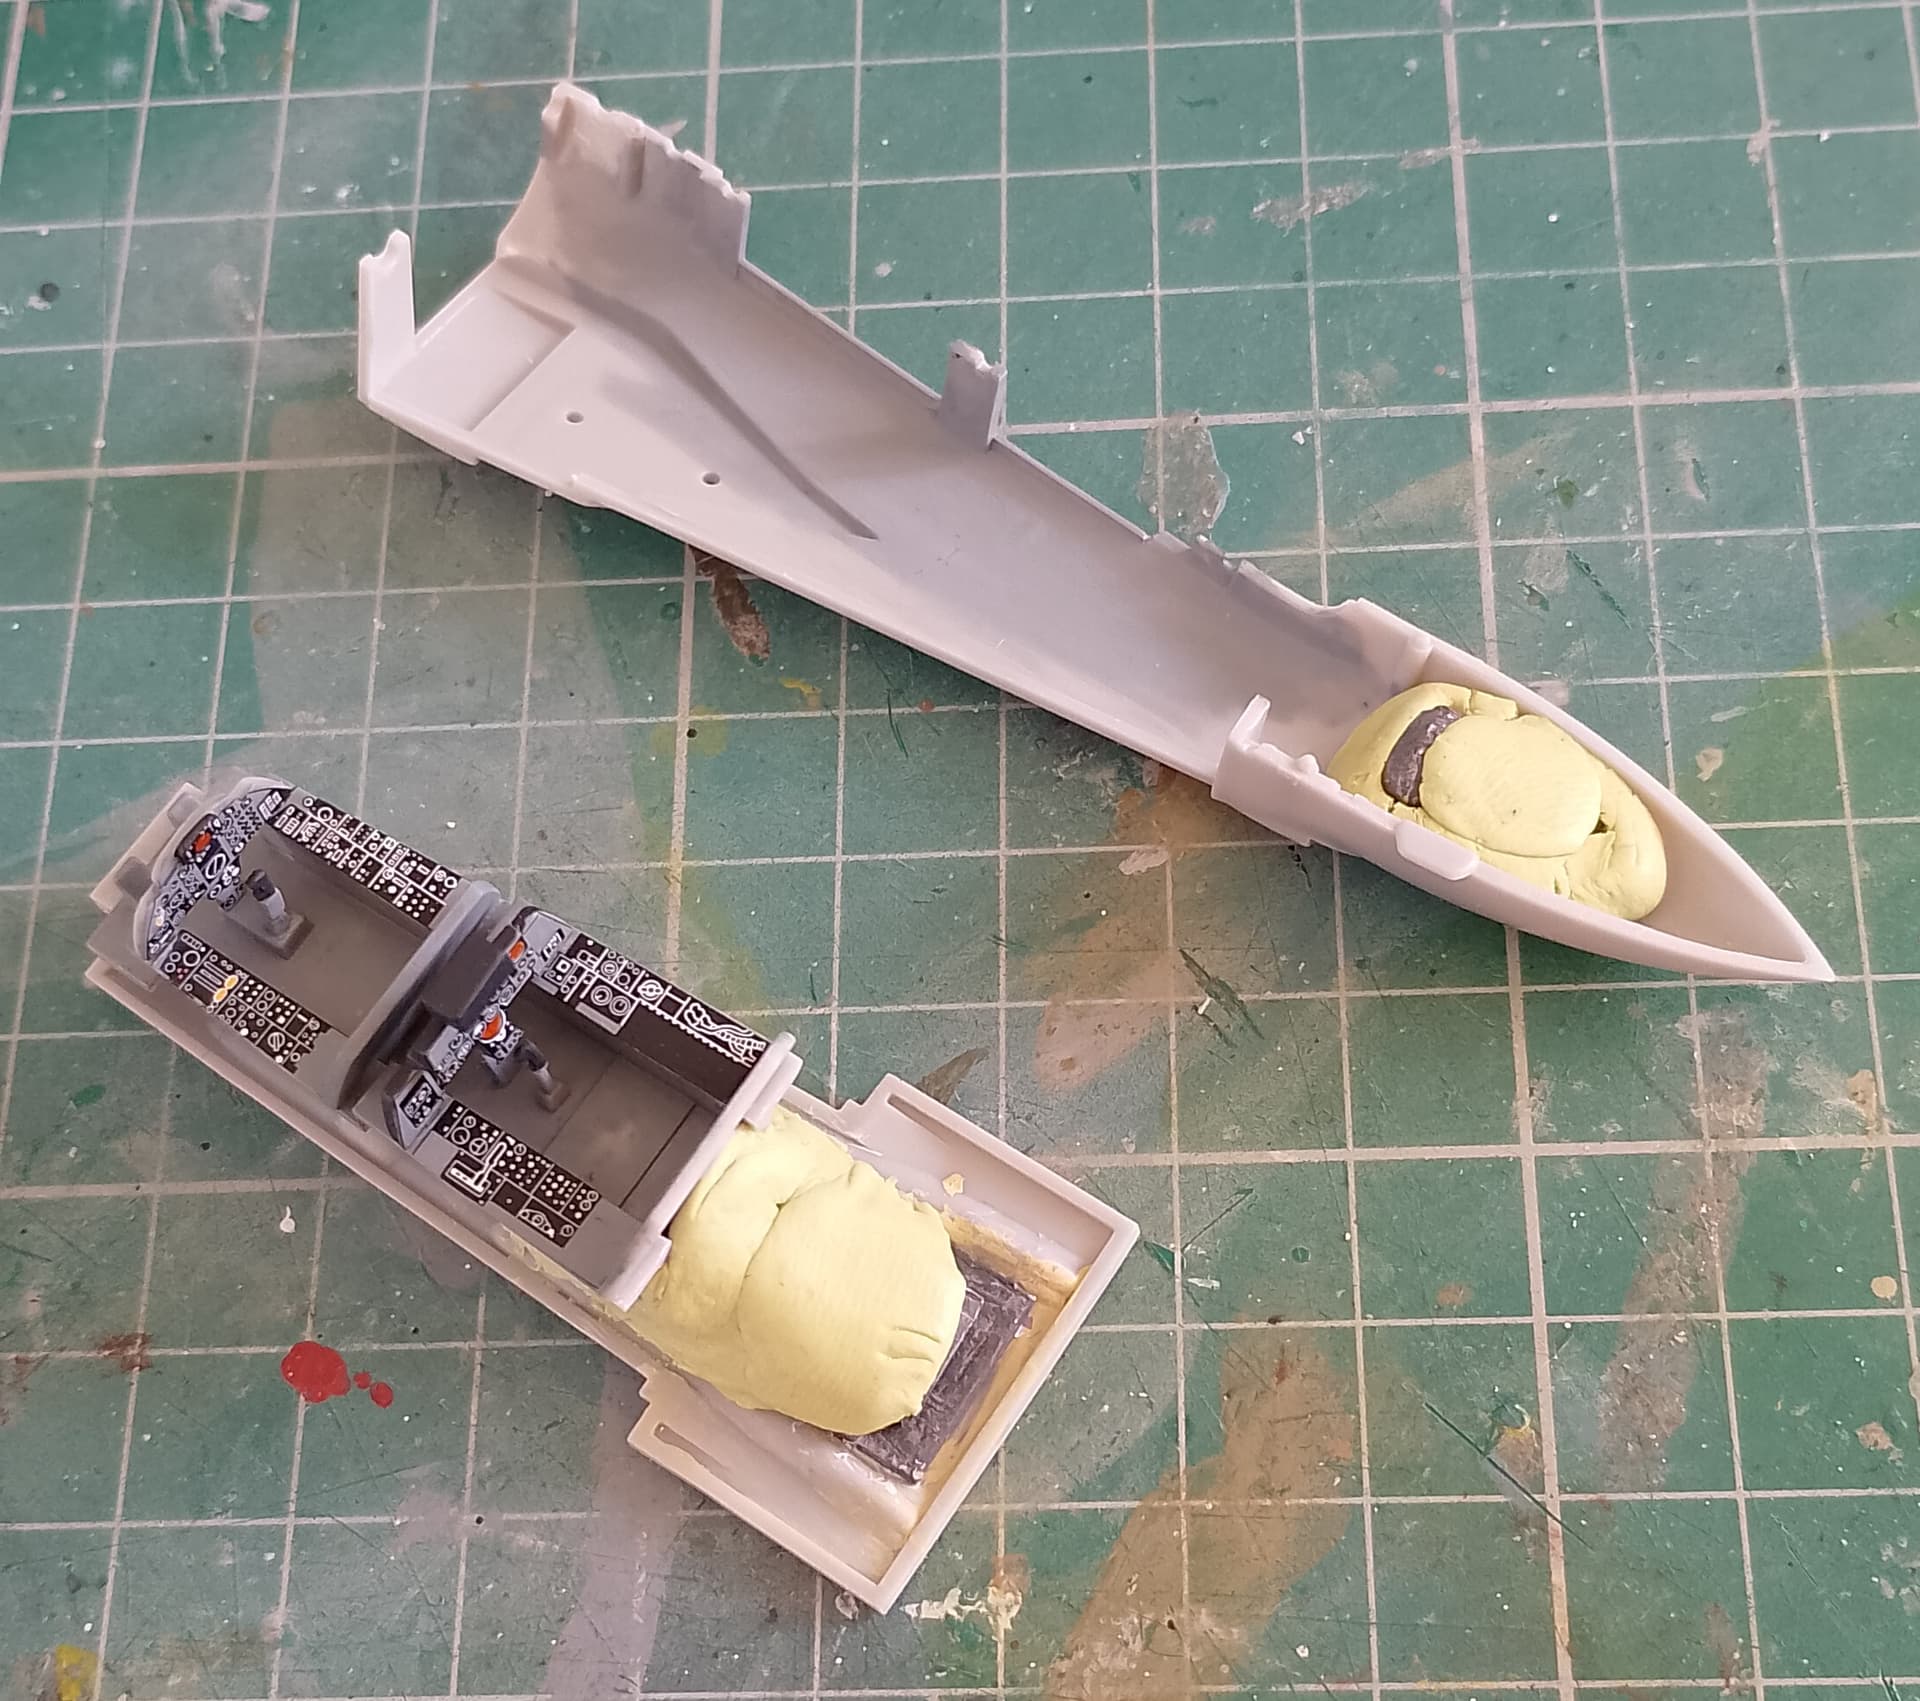
And while I had some of the putty left while it was workable, I made up the headrests on the seats. They were another difference of the mk5 over the 7, so had to do it!

7 Likes