That looks bloody amazing! The weathering and staining on the belly is nicely done too.
Congratulations on finishing.
That looks bloody amazing! The weathering and staining on the belly is nicely done too.
Congratulations on finishing.
Well done! ![]()
Great job, my congrats! ![]()
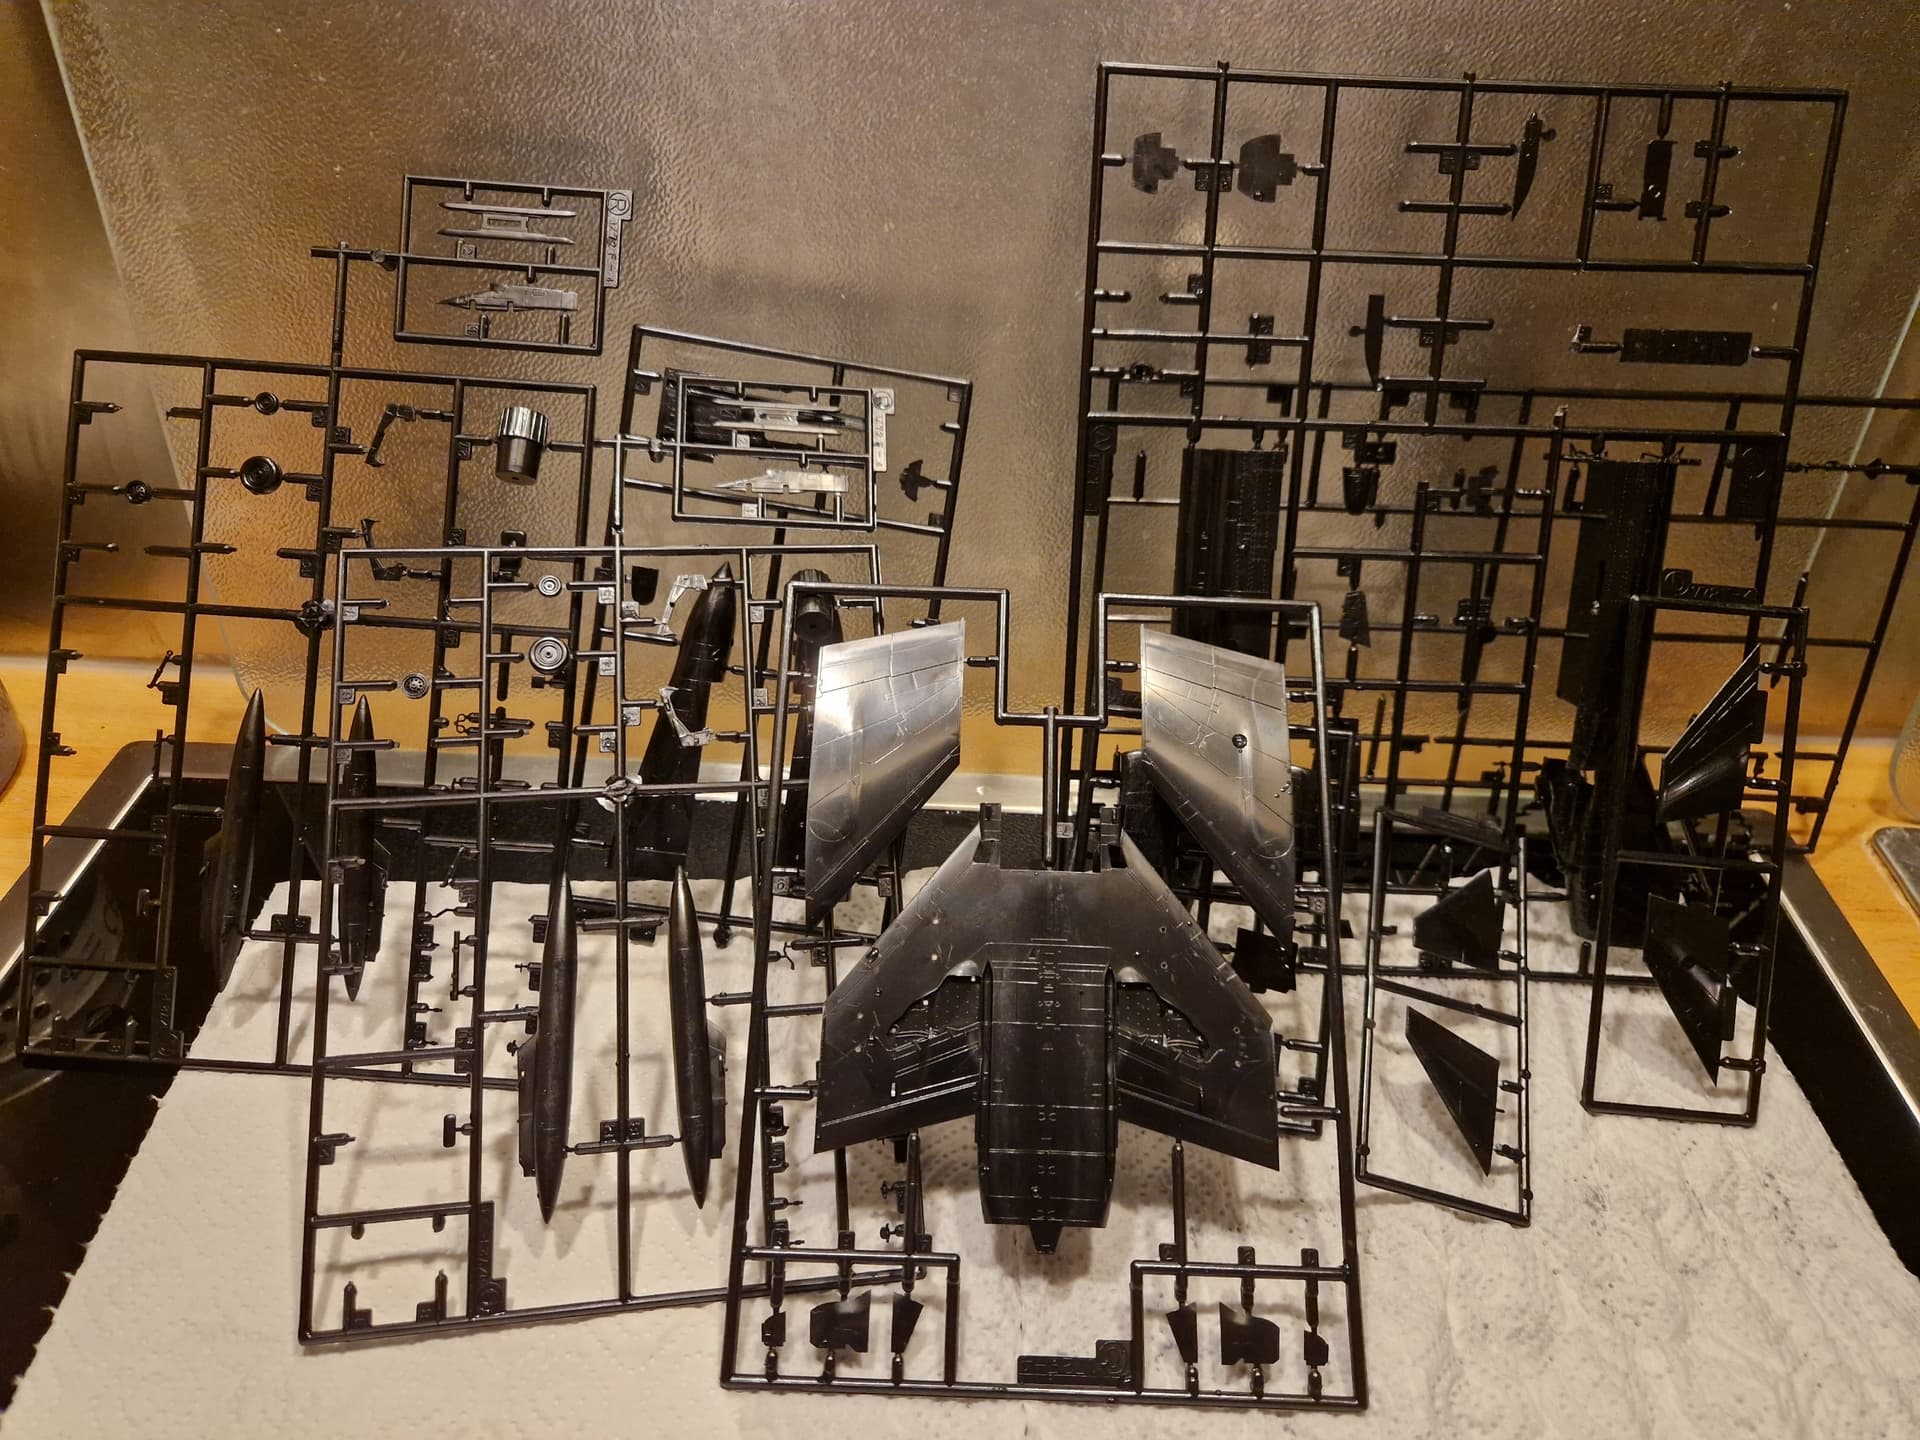
Hi mates,
at last I decided what kit I will build (and hopefully finish) for this campaign. My only Hasegawa example of the Phantom:
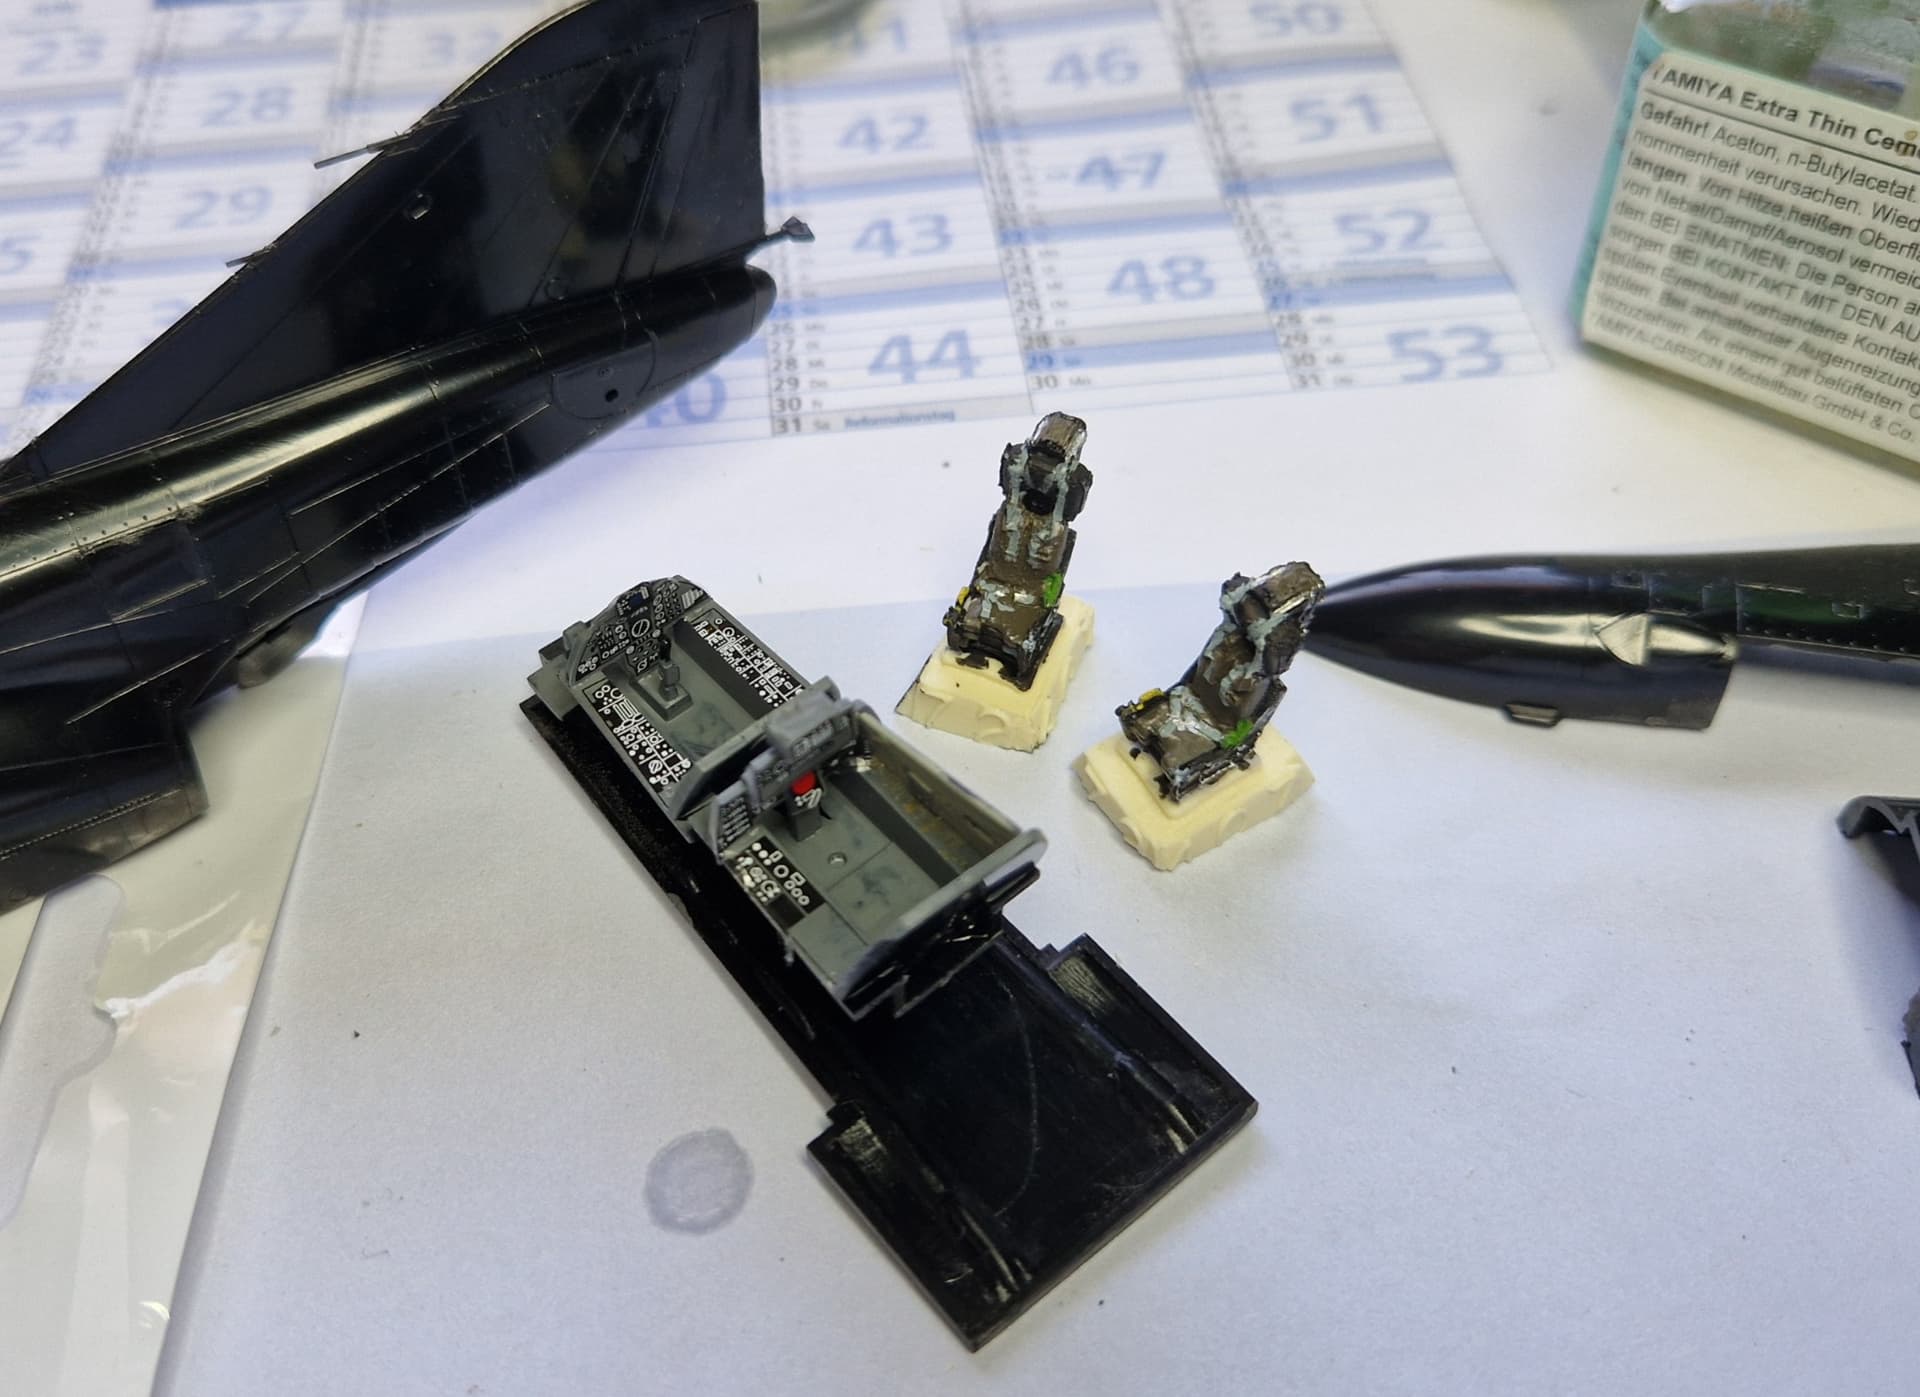
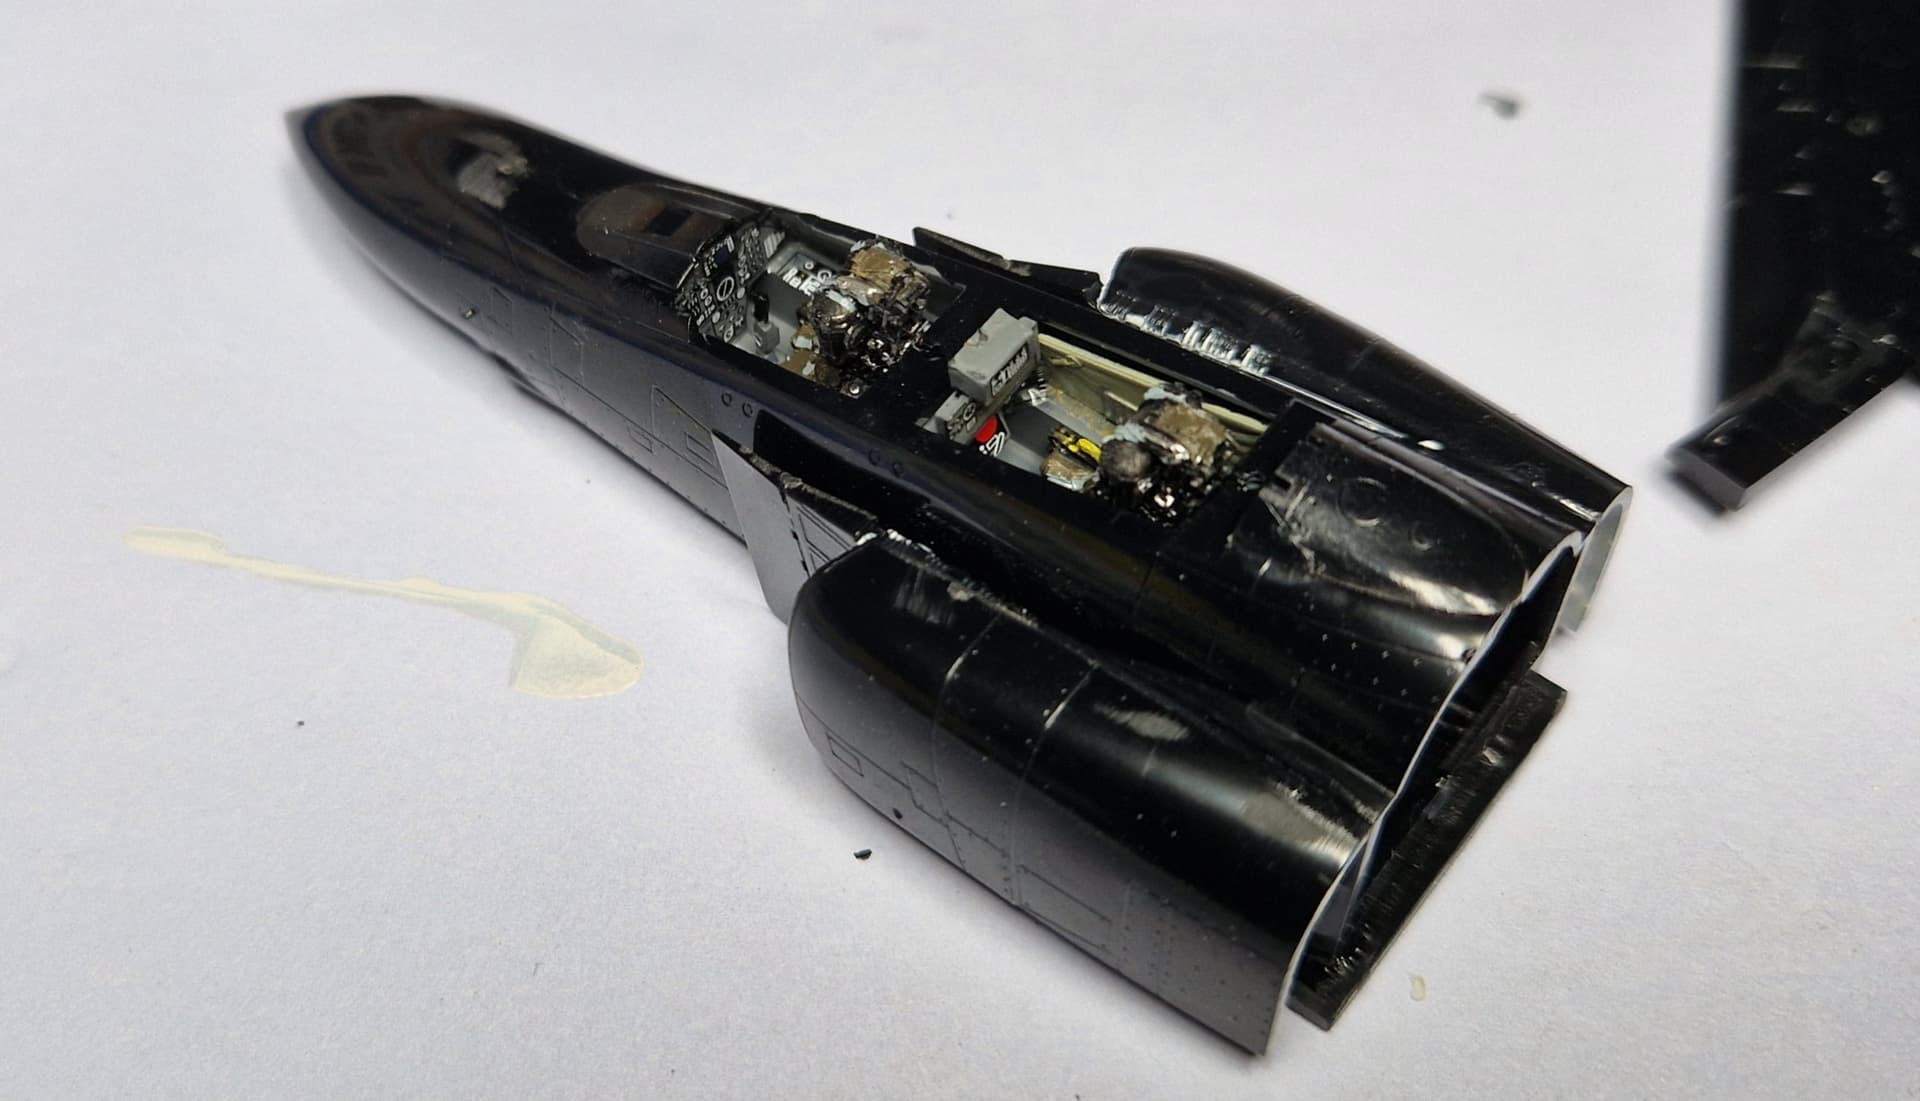
Hi mates, the build goes as planned so far…but I managed to break the IFR set ![]() and wasn’t really in the mood to try mending it. So I trashed it and decided not to cut into the fuselage etc.
and wasn’t really in the mood to try mending it. So I trashed it and decided not to cut into the fuselage etc.
Ok, and here are some actual photos:
Looking good.
Too bad about the IFR probe. Resin inserts can be a pain to fit. I’ve got a cockpit for the old Italeri 1/48 Mirage F1 that needs a lot of material grinding out to fit. Sat there for a few years now.
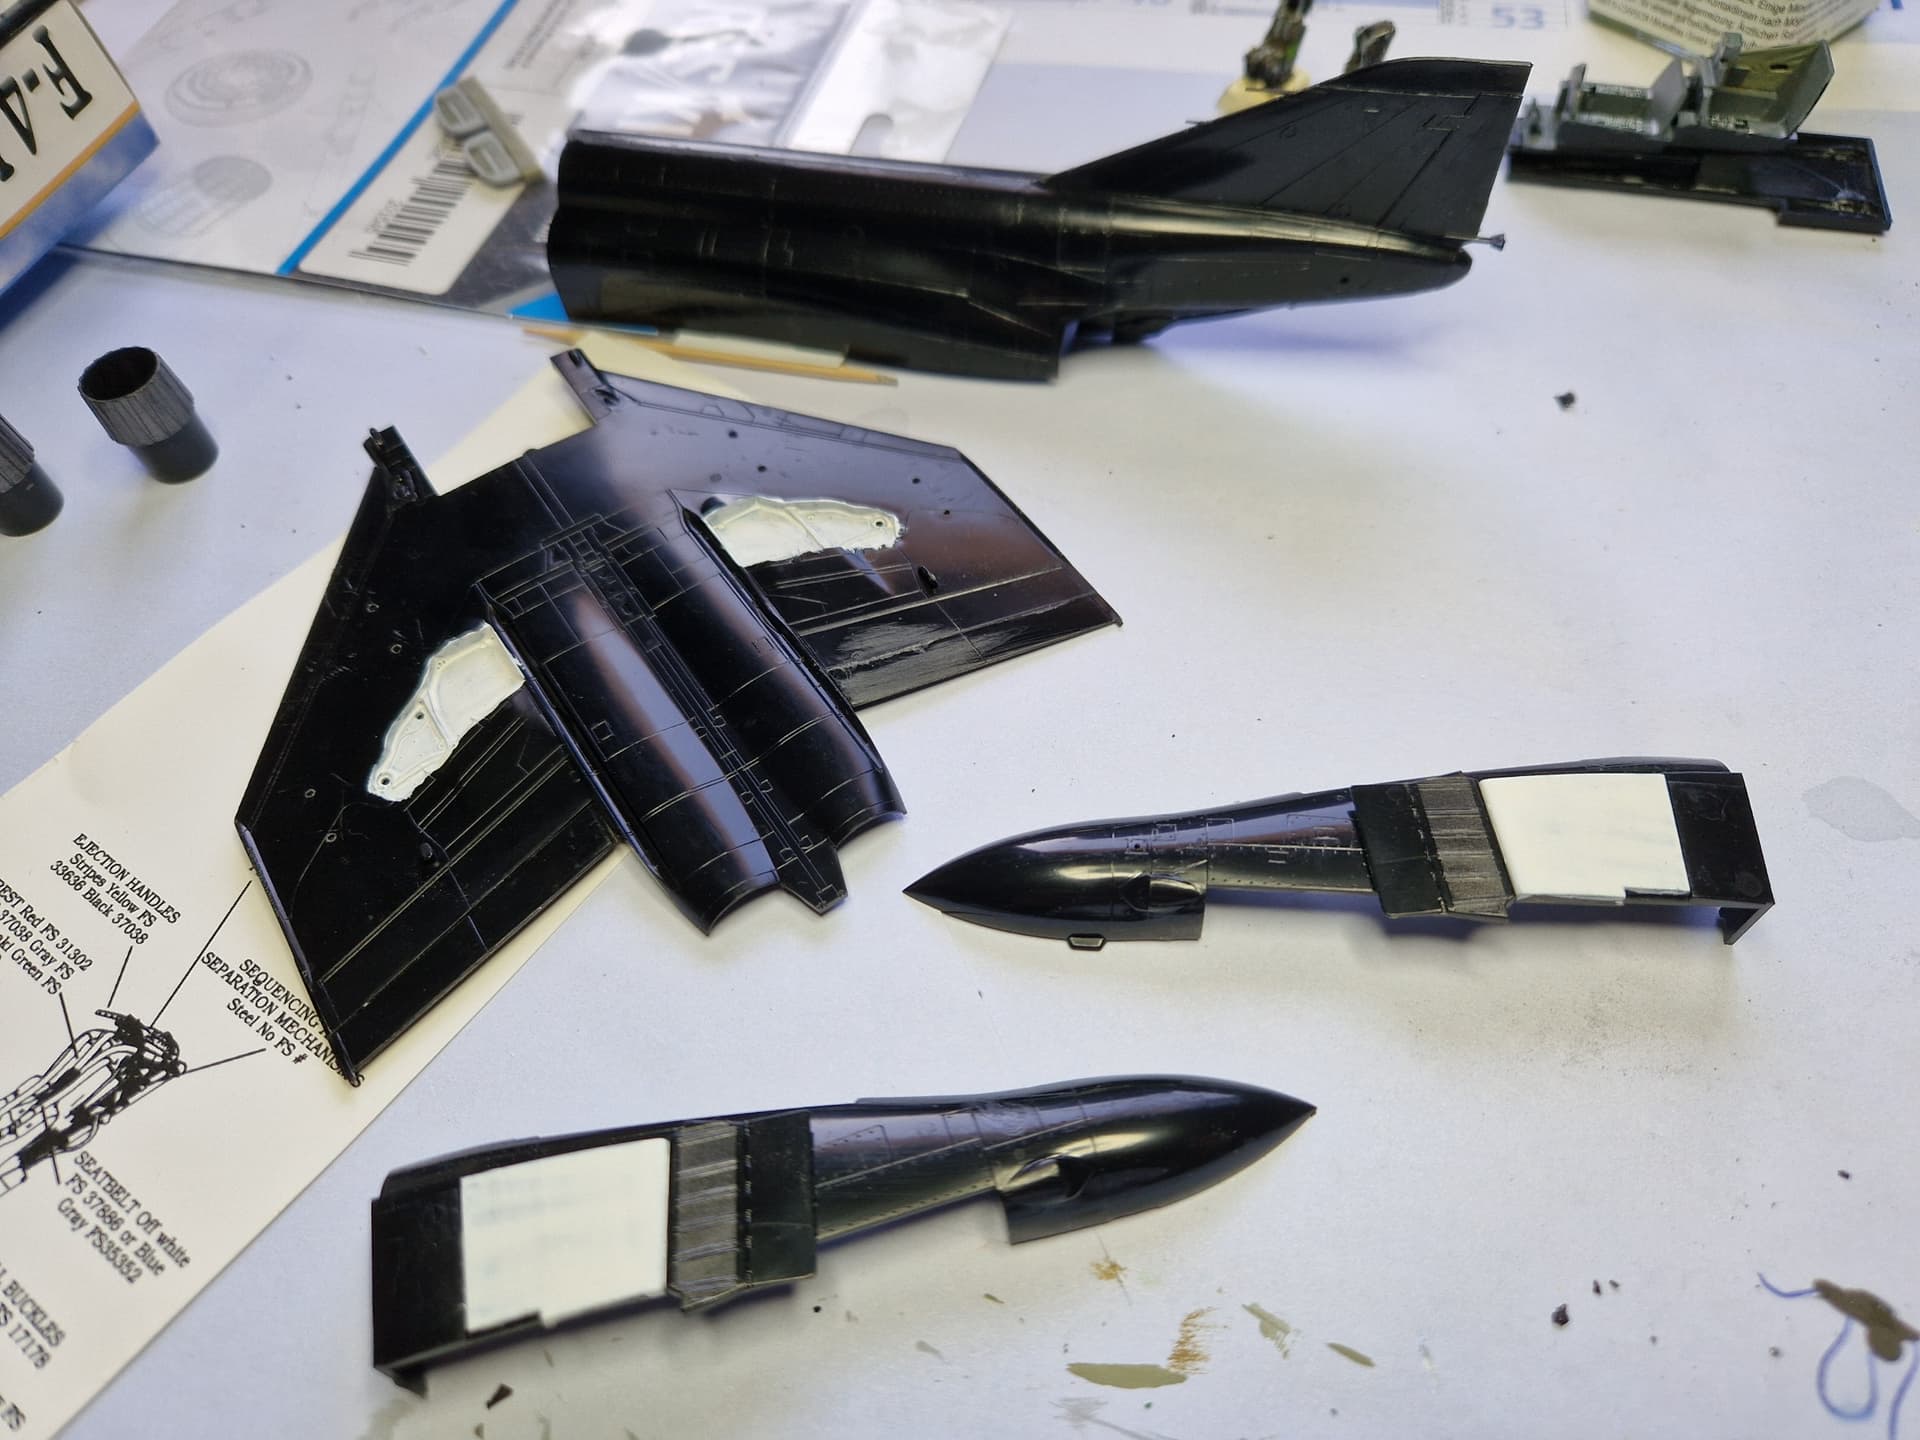
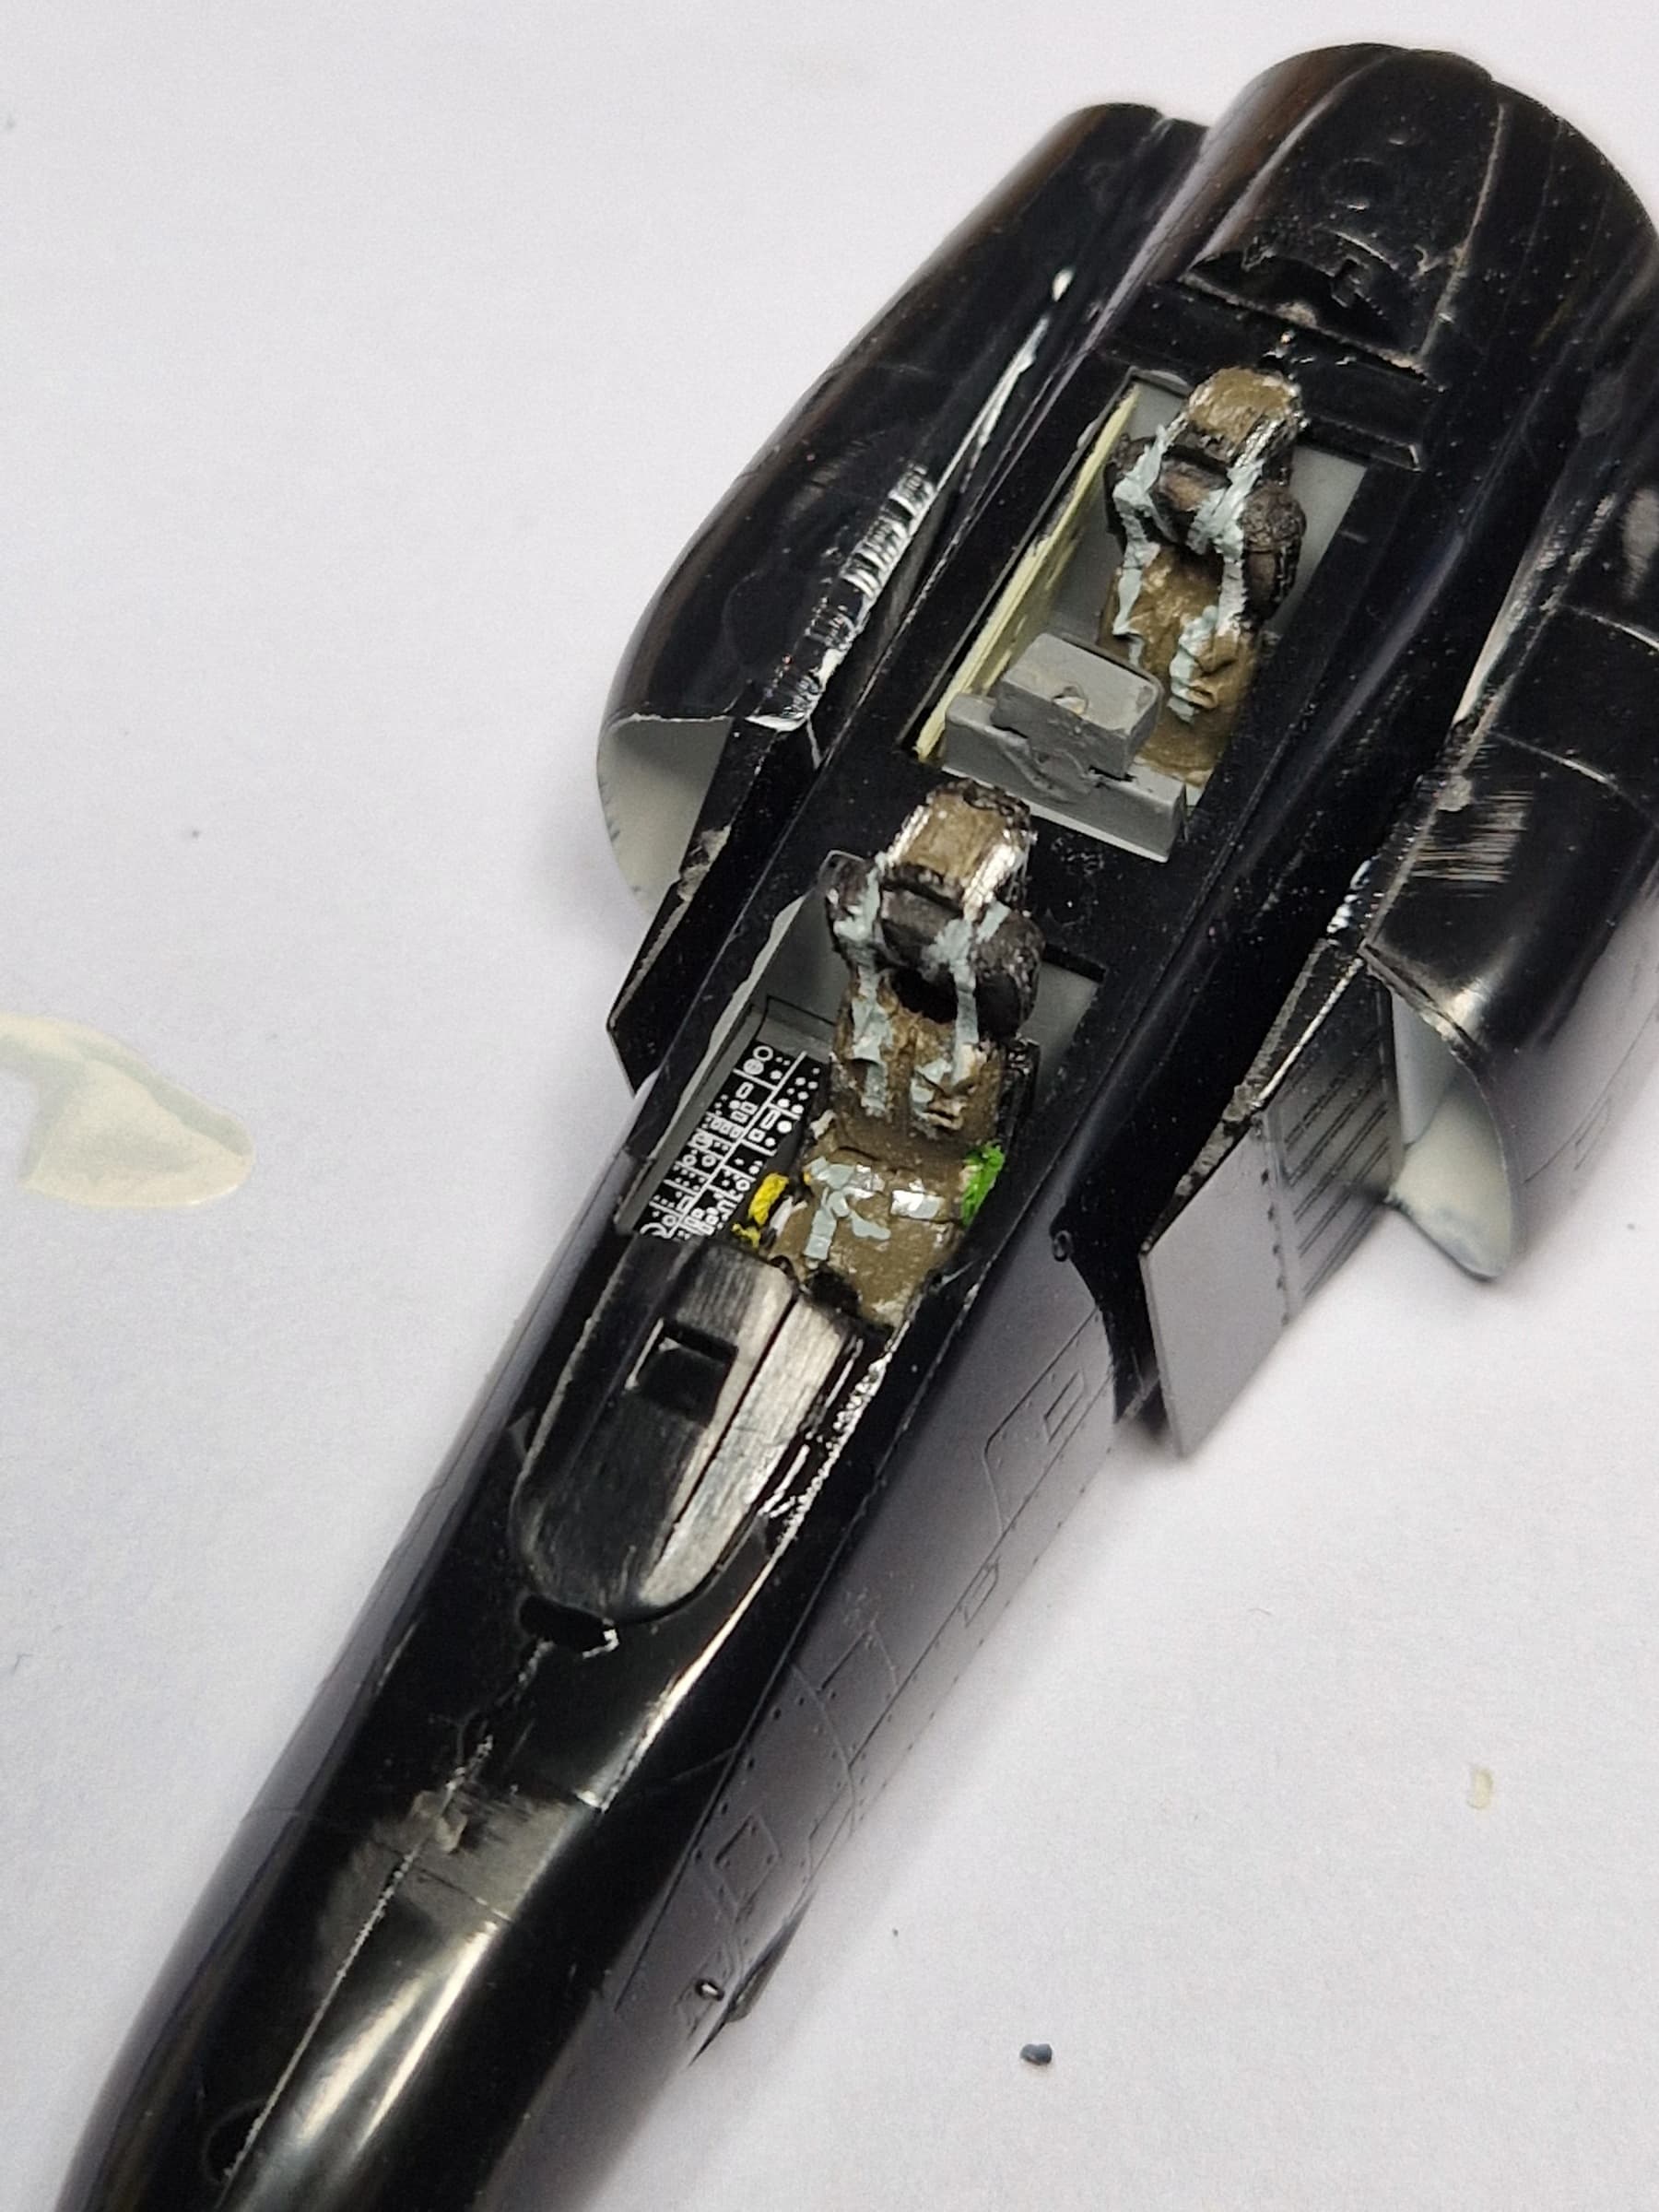
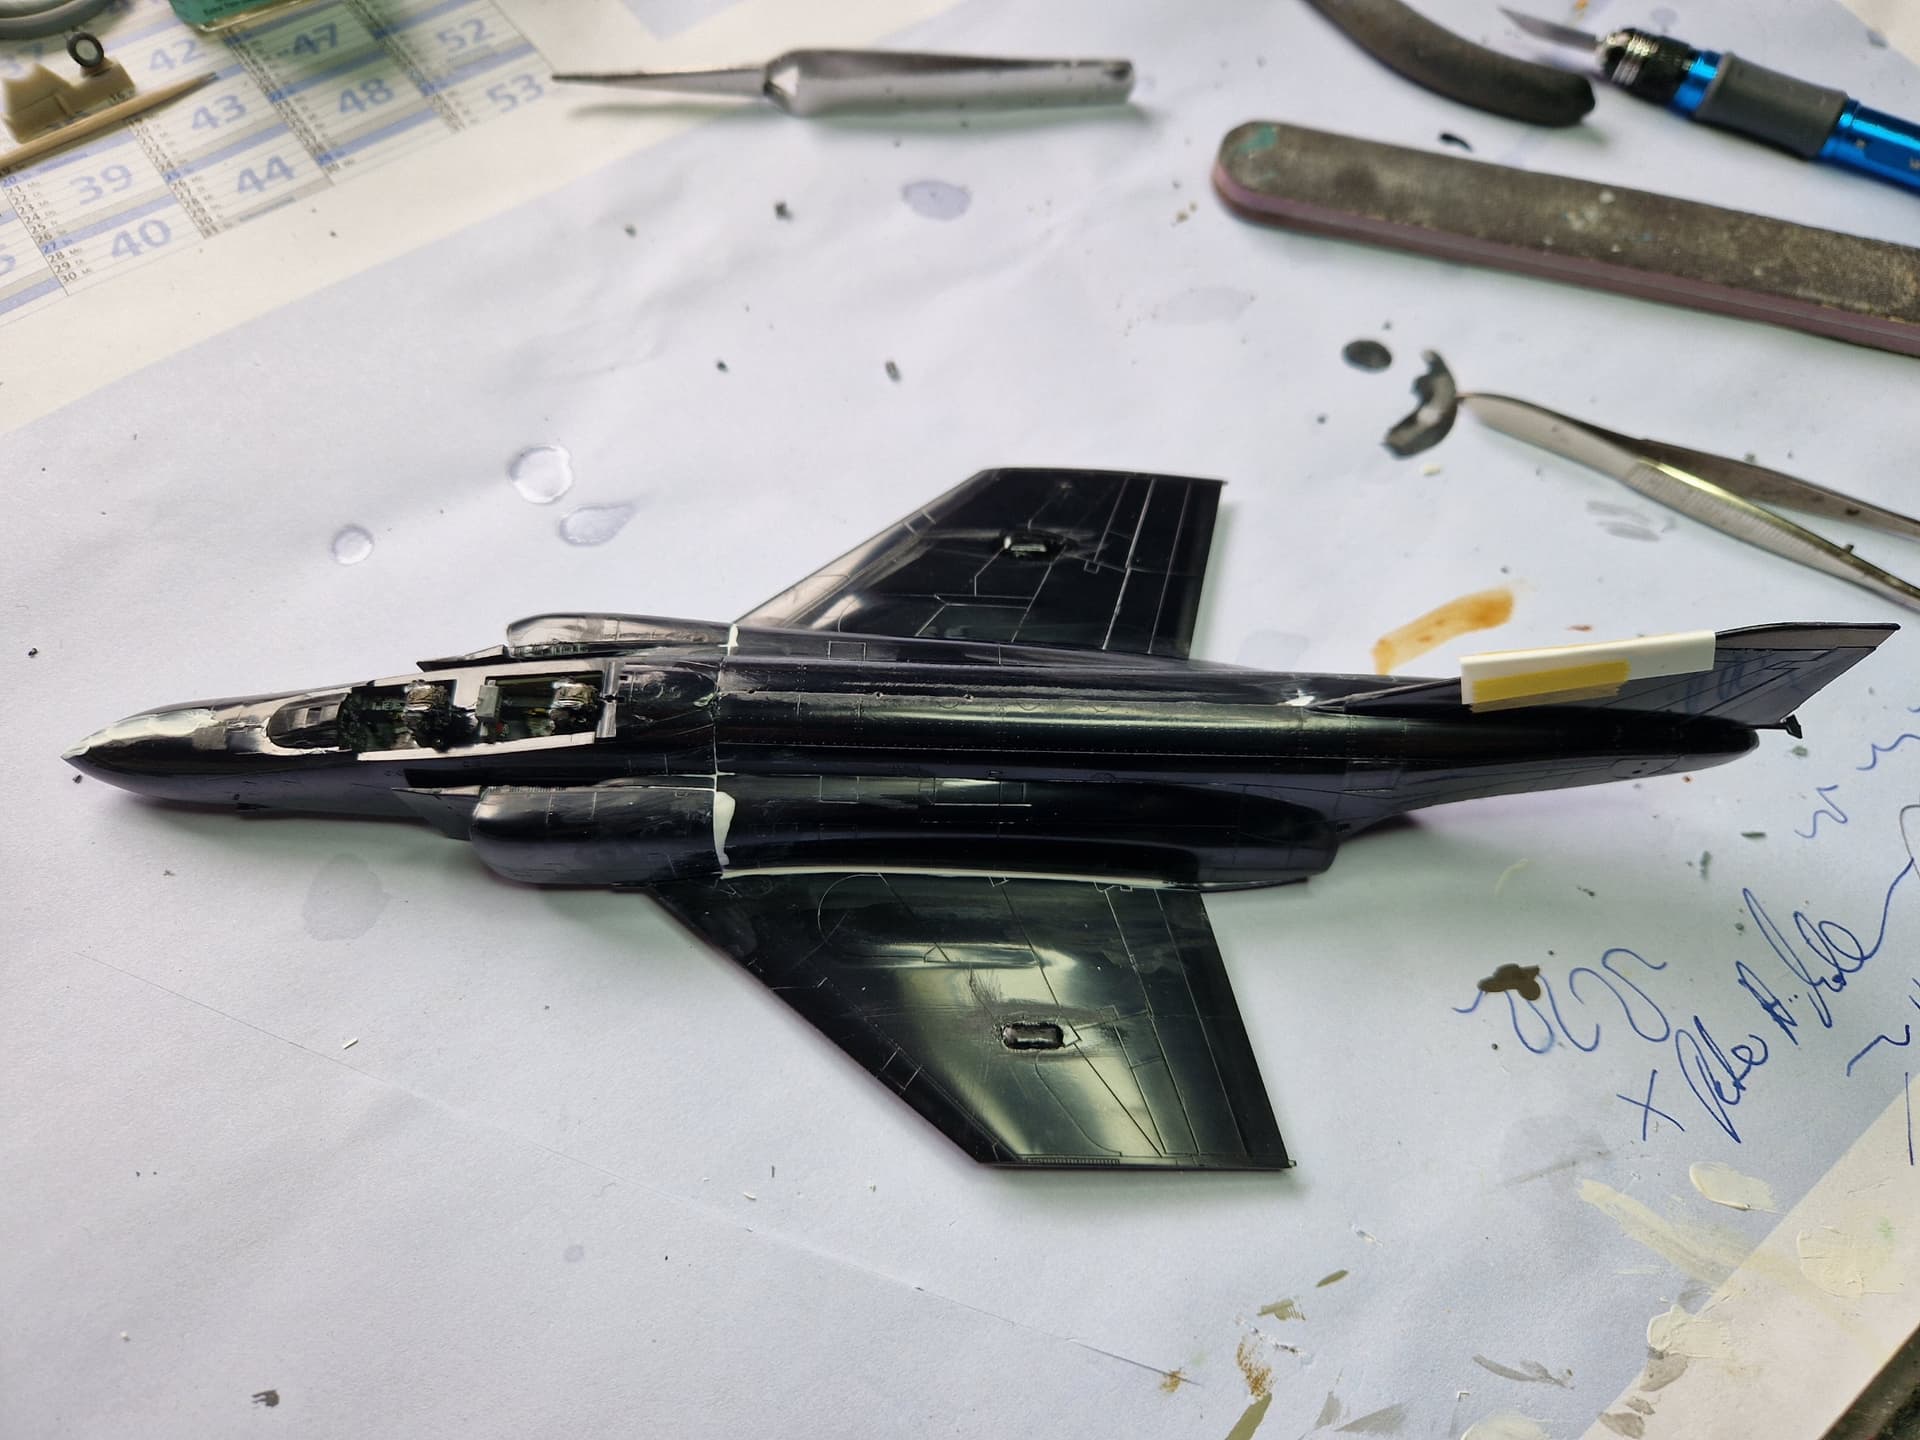
Nose, rear fuselage, belly and intakes fitted. Lot of parts that need careful lining up. Wasn’t 100% successful, but nothing a bit of filling and sanding can’t solve.
The intakes in particular need work to fit right. I found they fit better after the mounting pins on the back were trimmed off. Even then the fit wasn’t perfect.
Interesting. I wonder if you’ll have better luck with alignment than I did?
Will have to try that on the next Hasegawa F-4 I do.
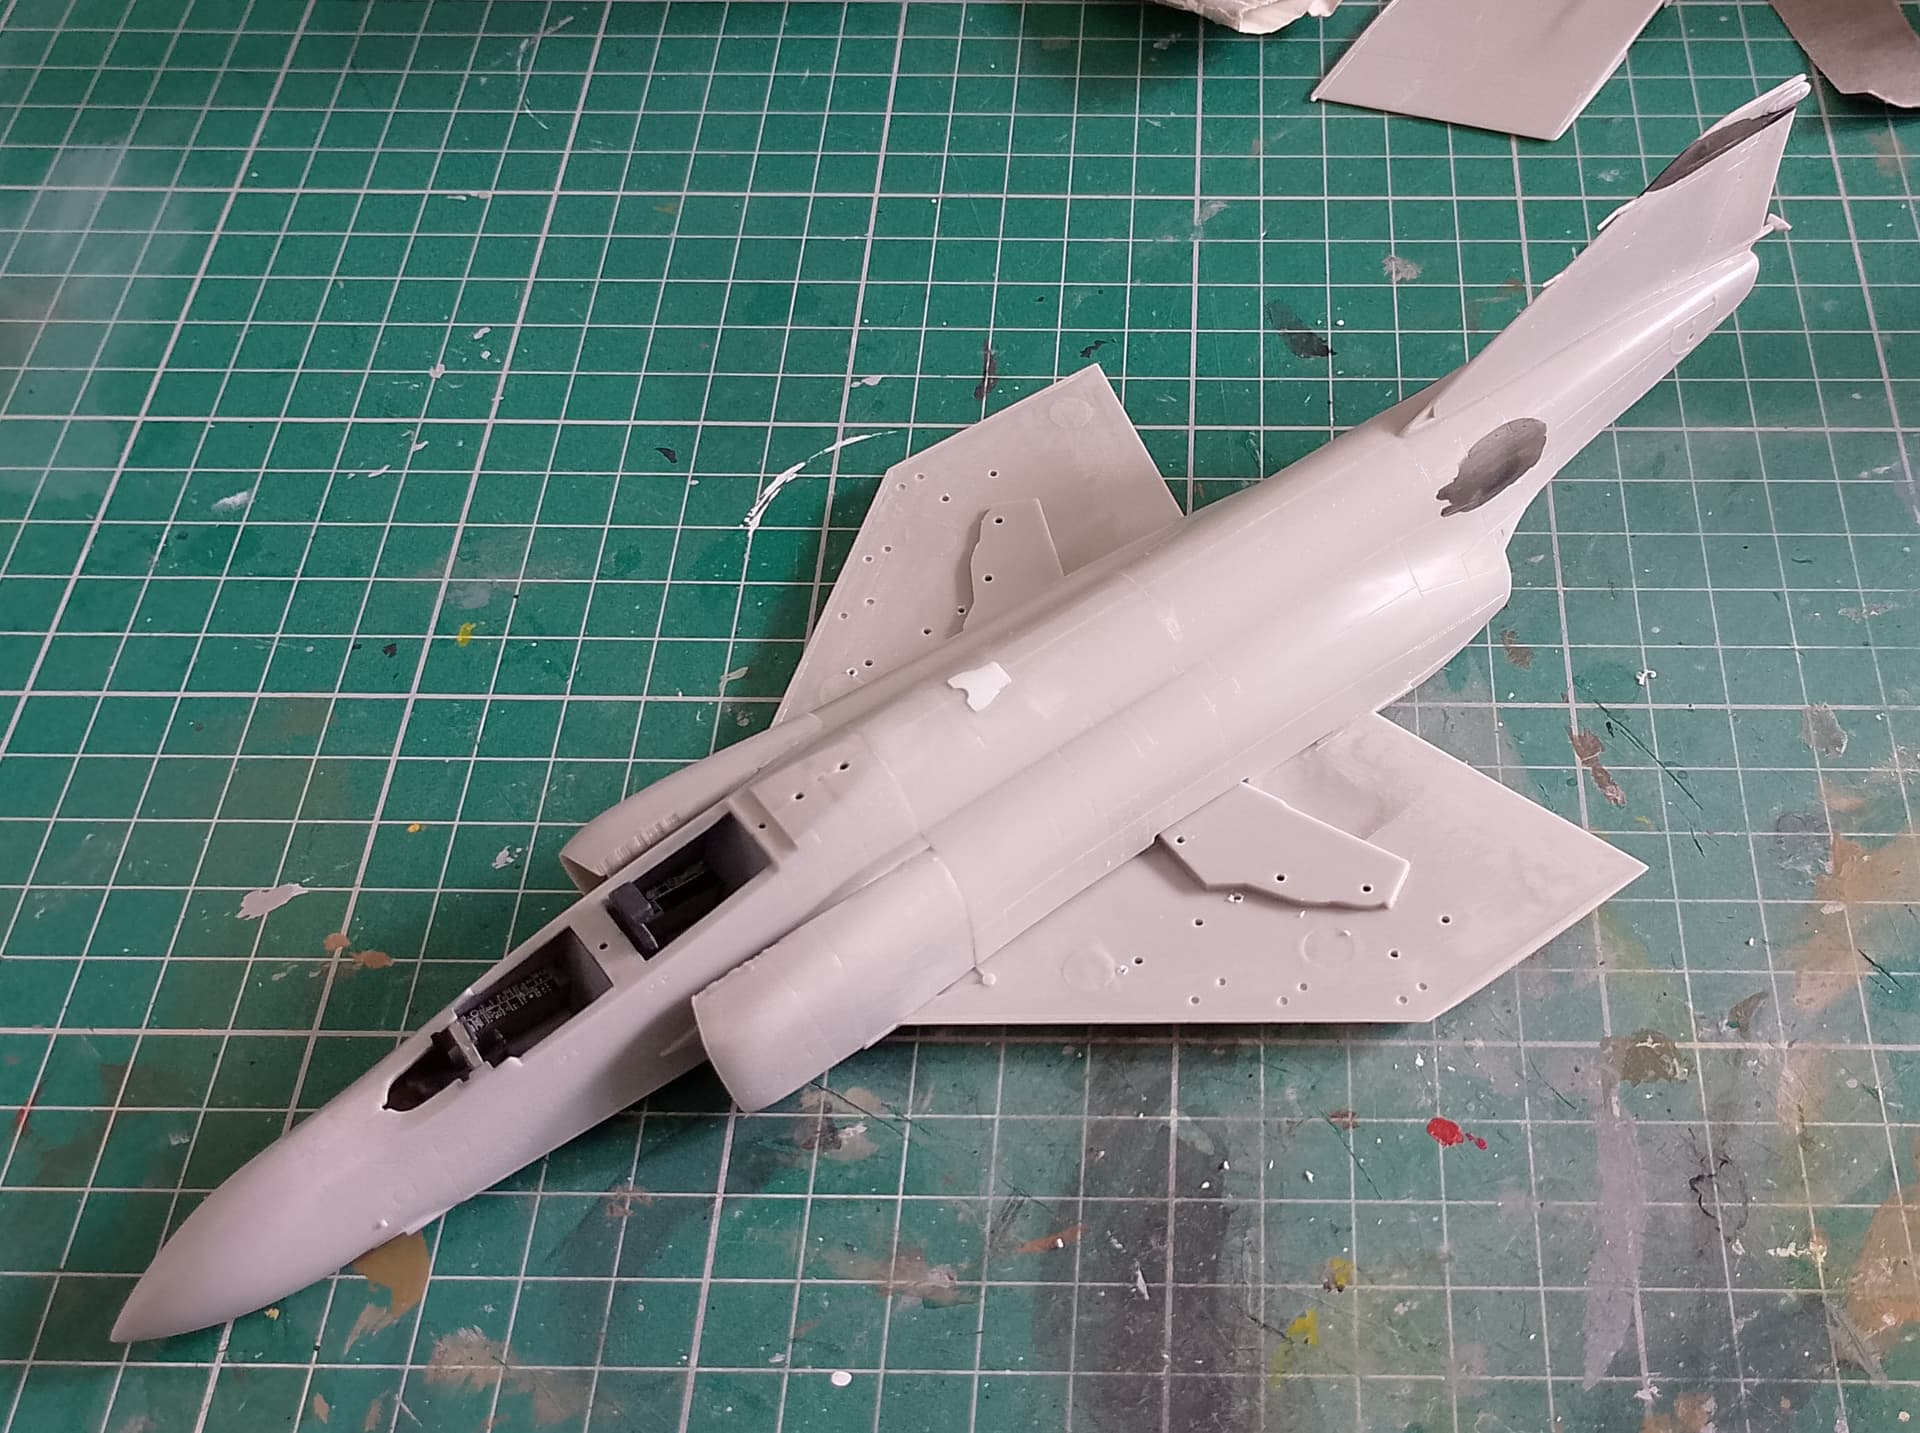
I spent a little time tonight after work sanding some of the filler back along along the intake join.
Alignment went ok, needs a little filler anyway…
At least I coudn’t find any “steps” which is fine enough ![]()
Photo will follow soon.
Cheers
Peter ![]()
Looks good. Nice tidy joints there. Will definitely do that method of construction on my other Hasegawa F-4’s.
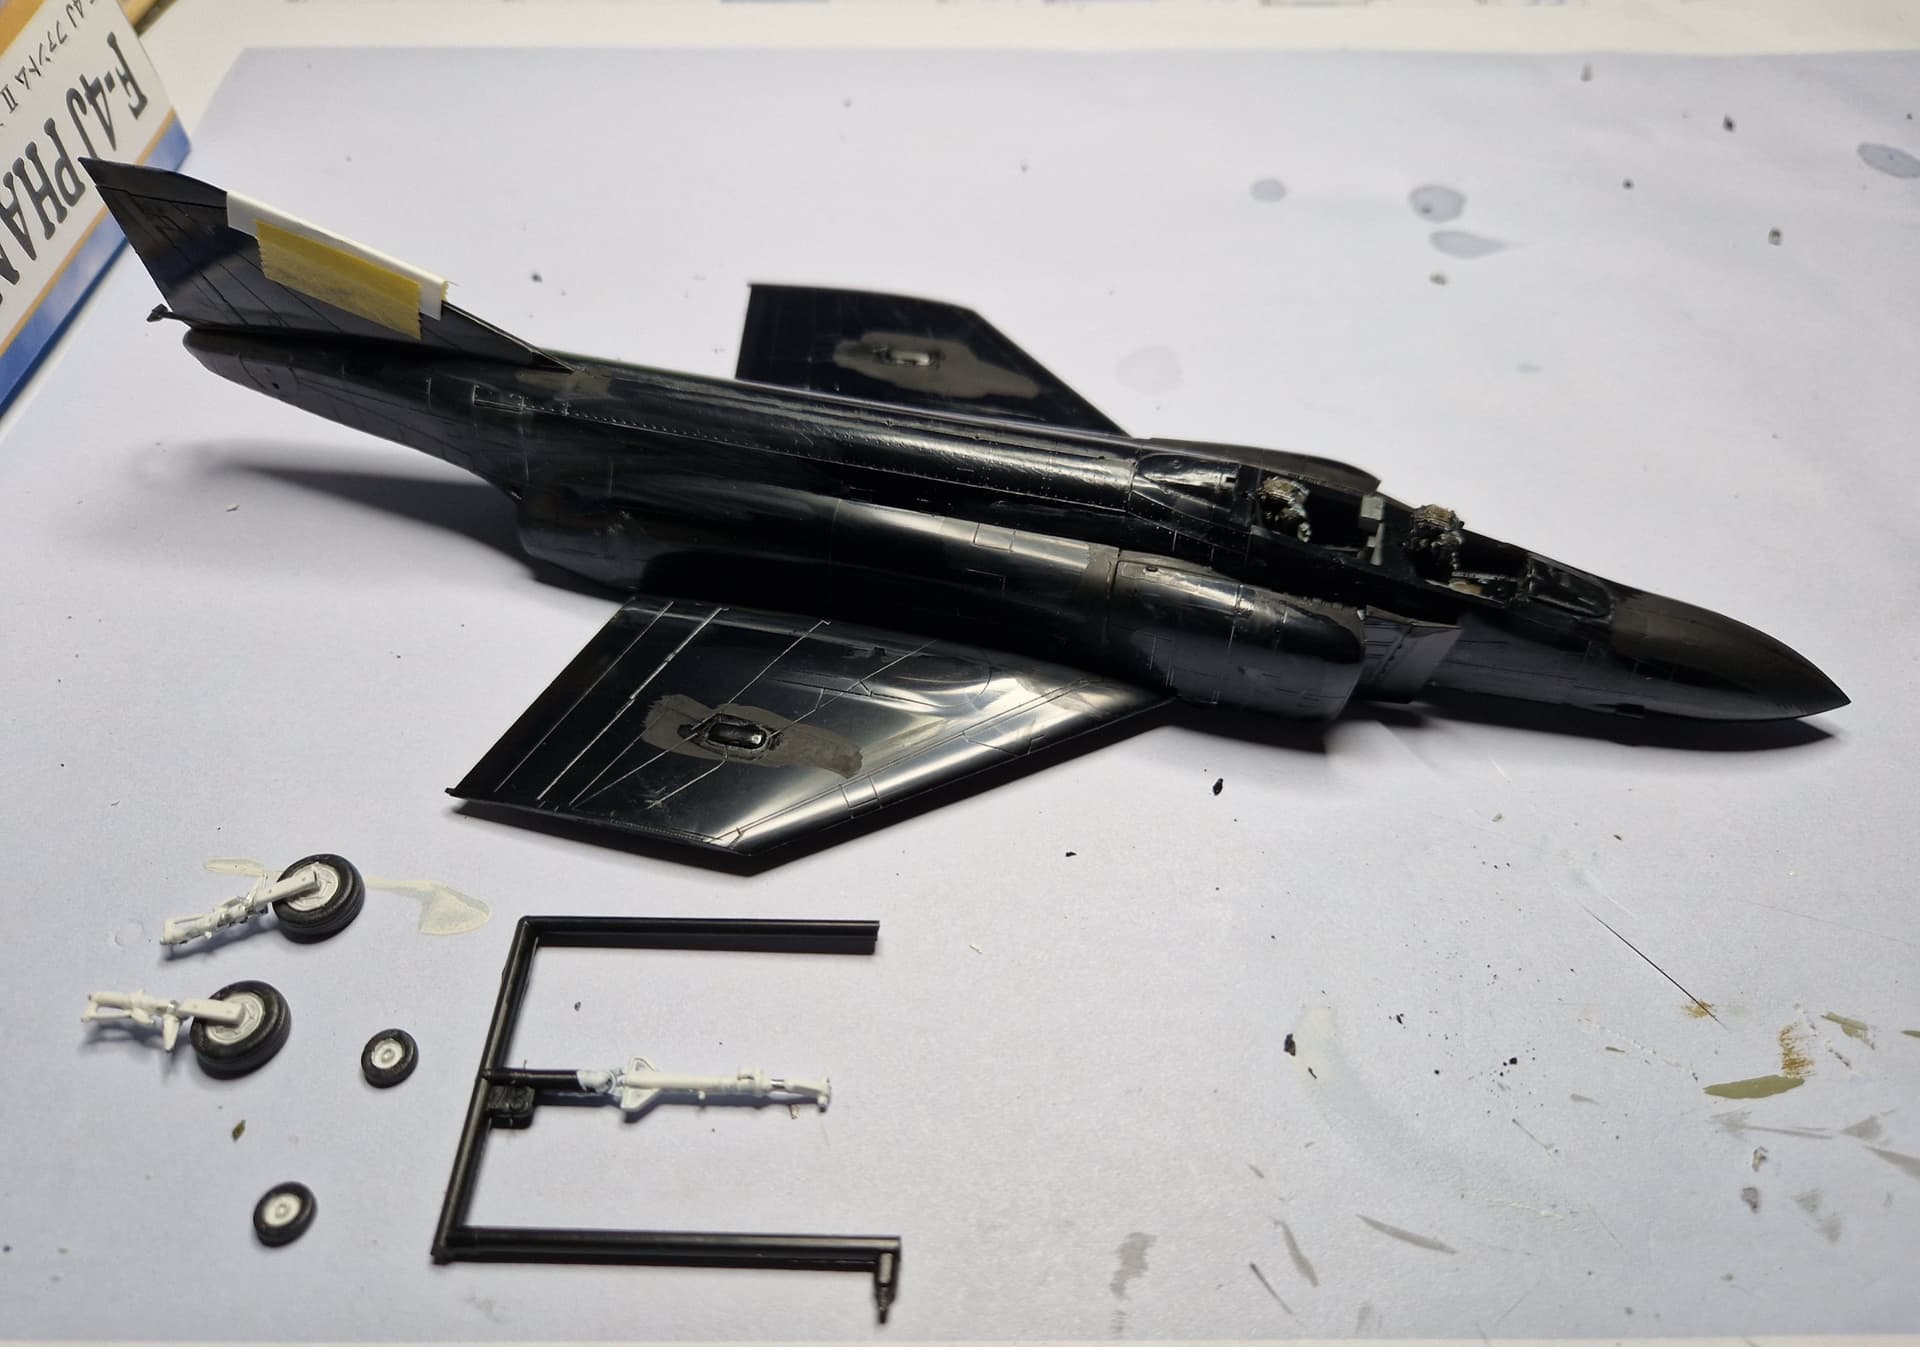
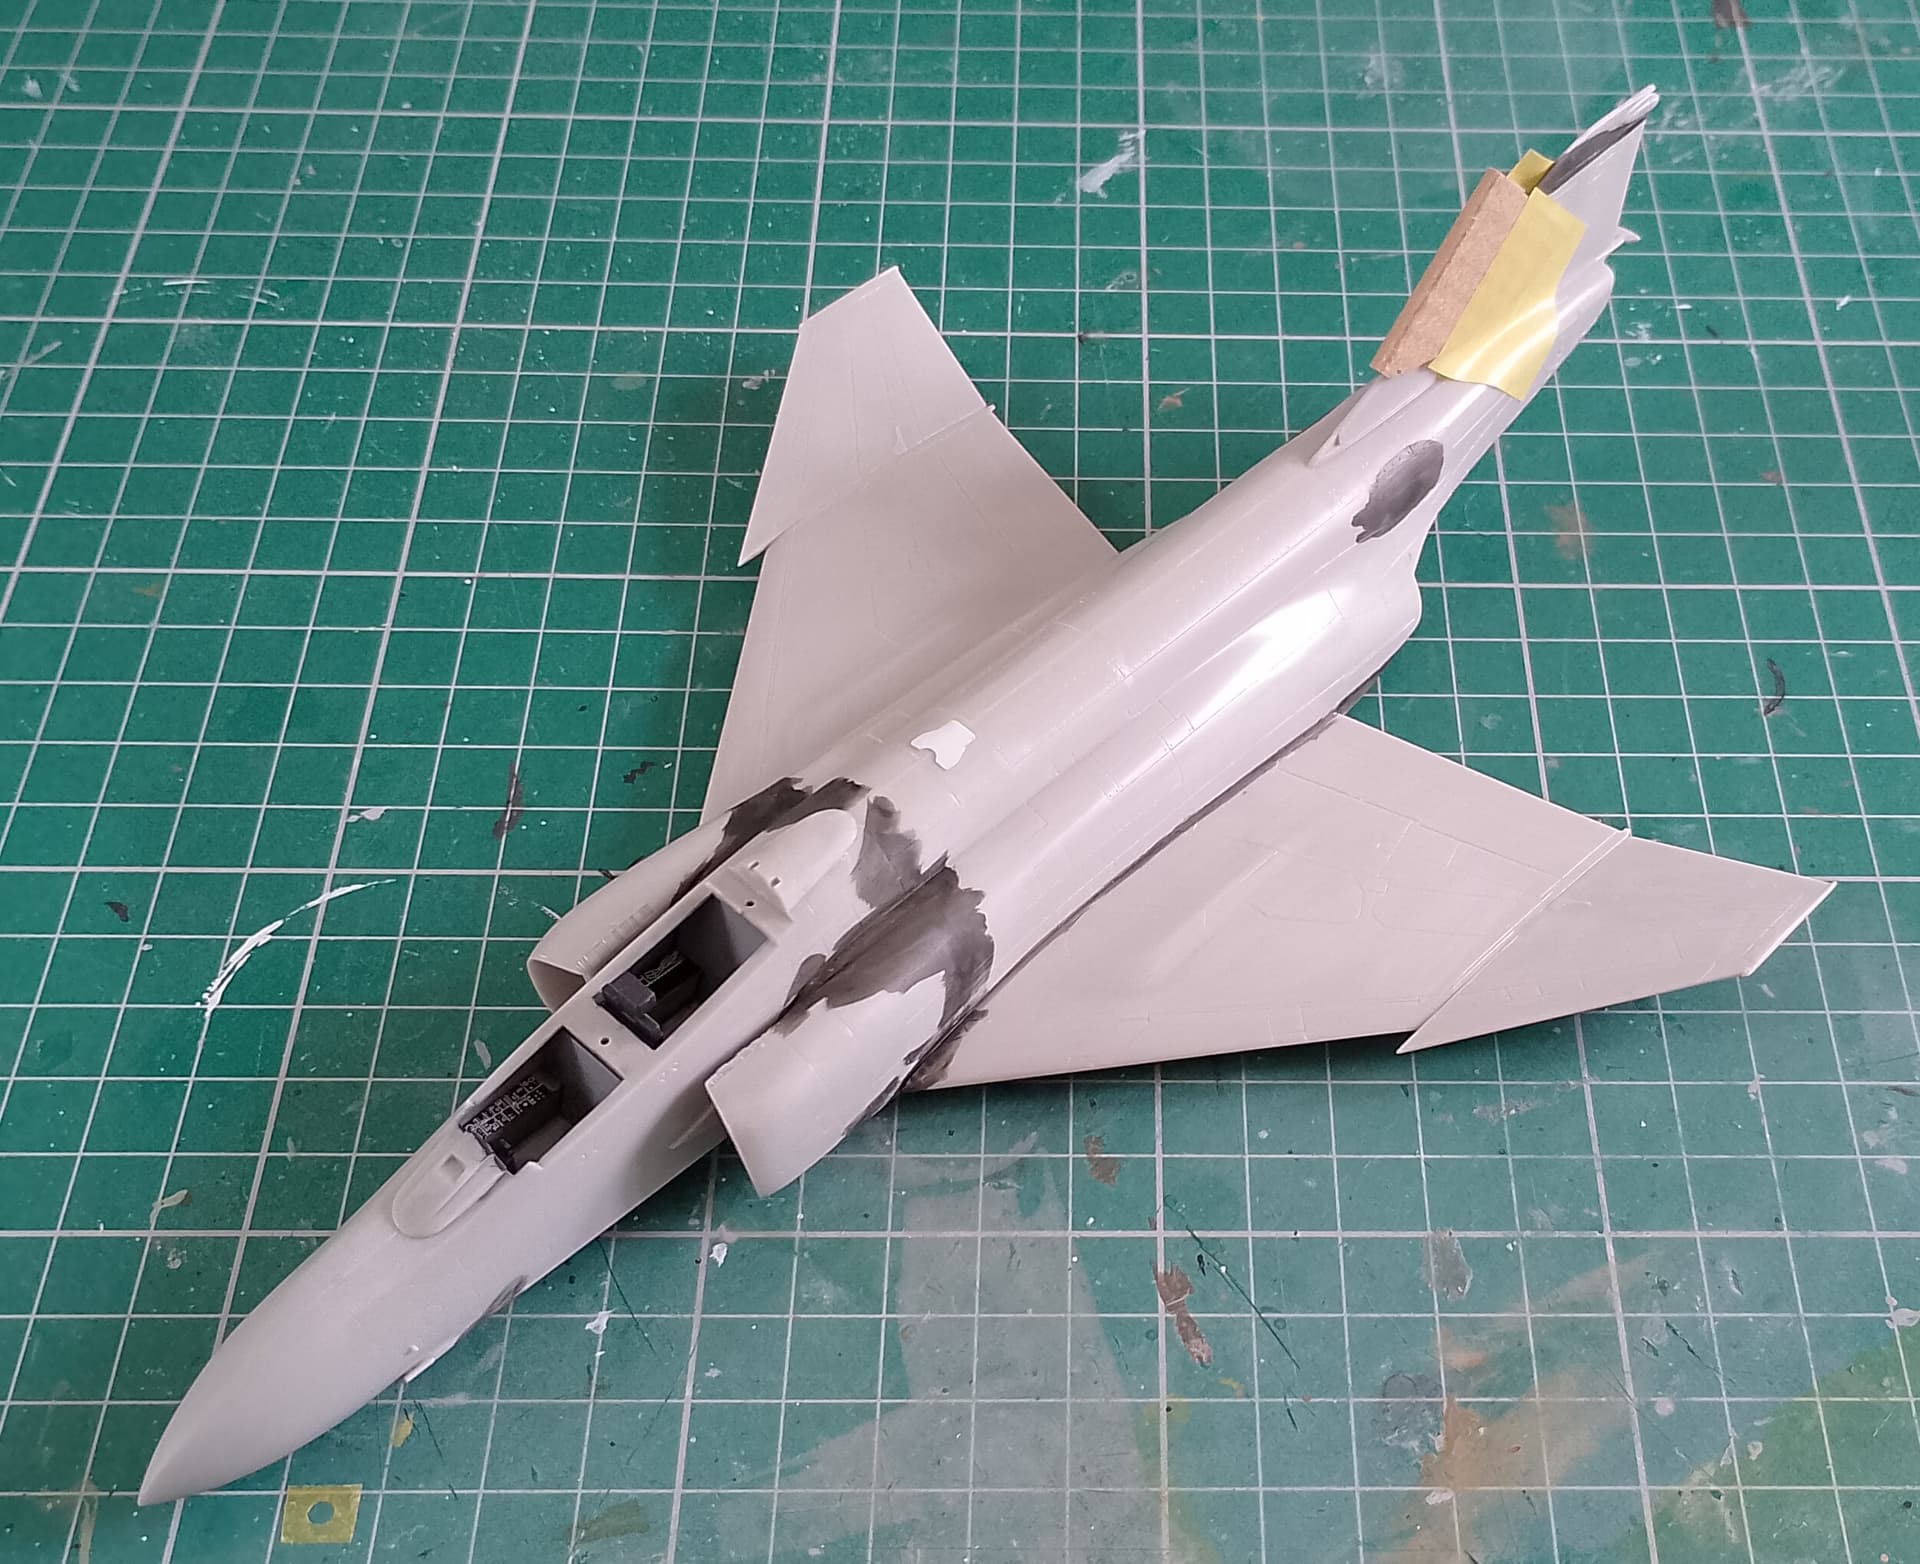
Finally got the joins on mine tidied up and got the upper wings on. The black is a think coat of Vallejo black primer, just brushed to check if anything else needed fixing. The cardboard on the rudder is to protect the pitot tubes while I work on it. They’re easily broken!
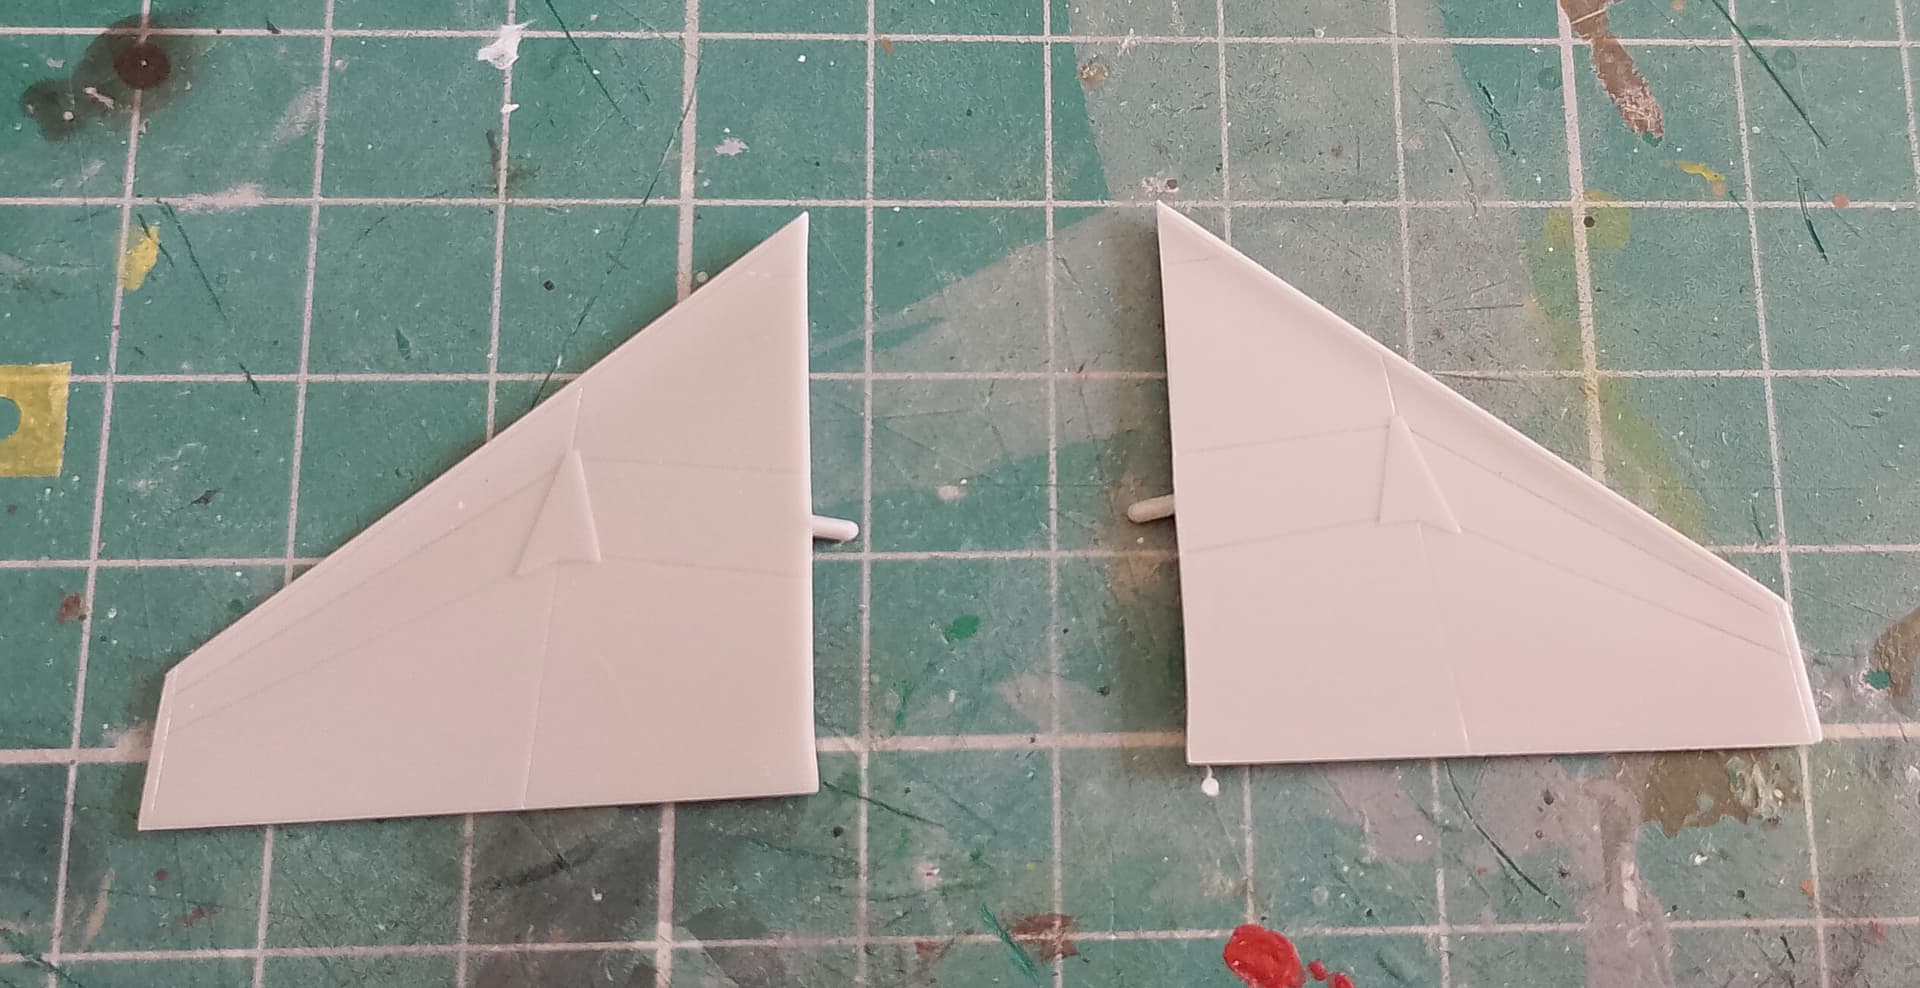
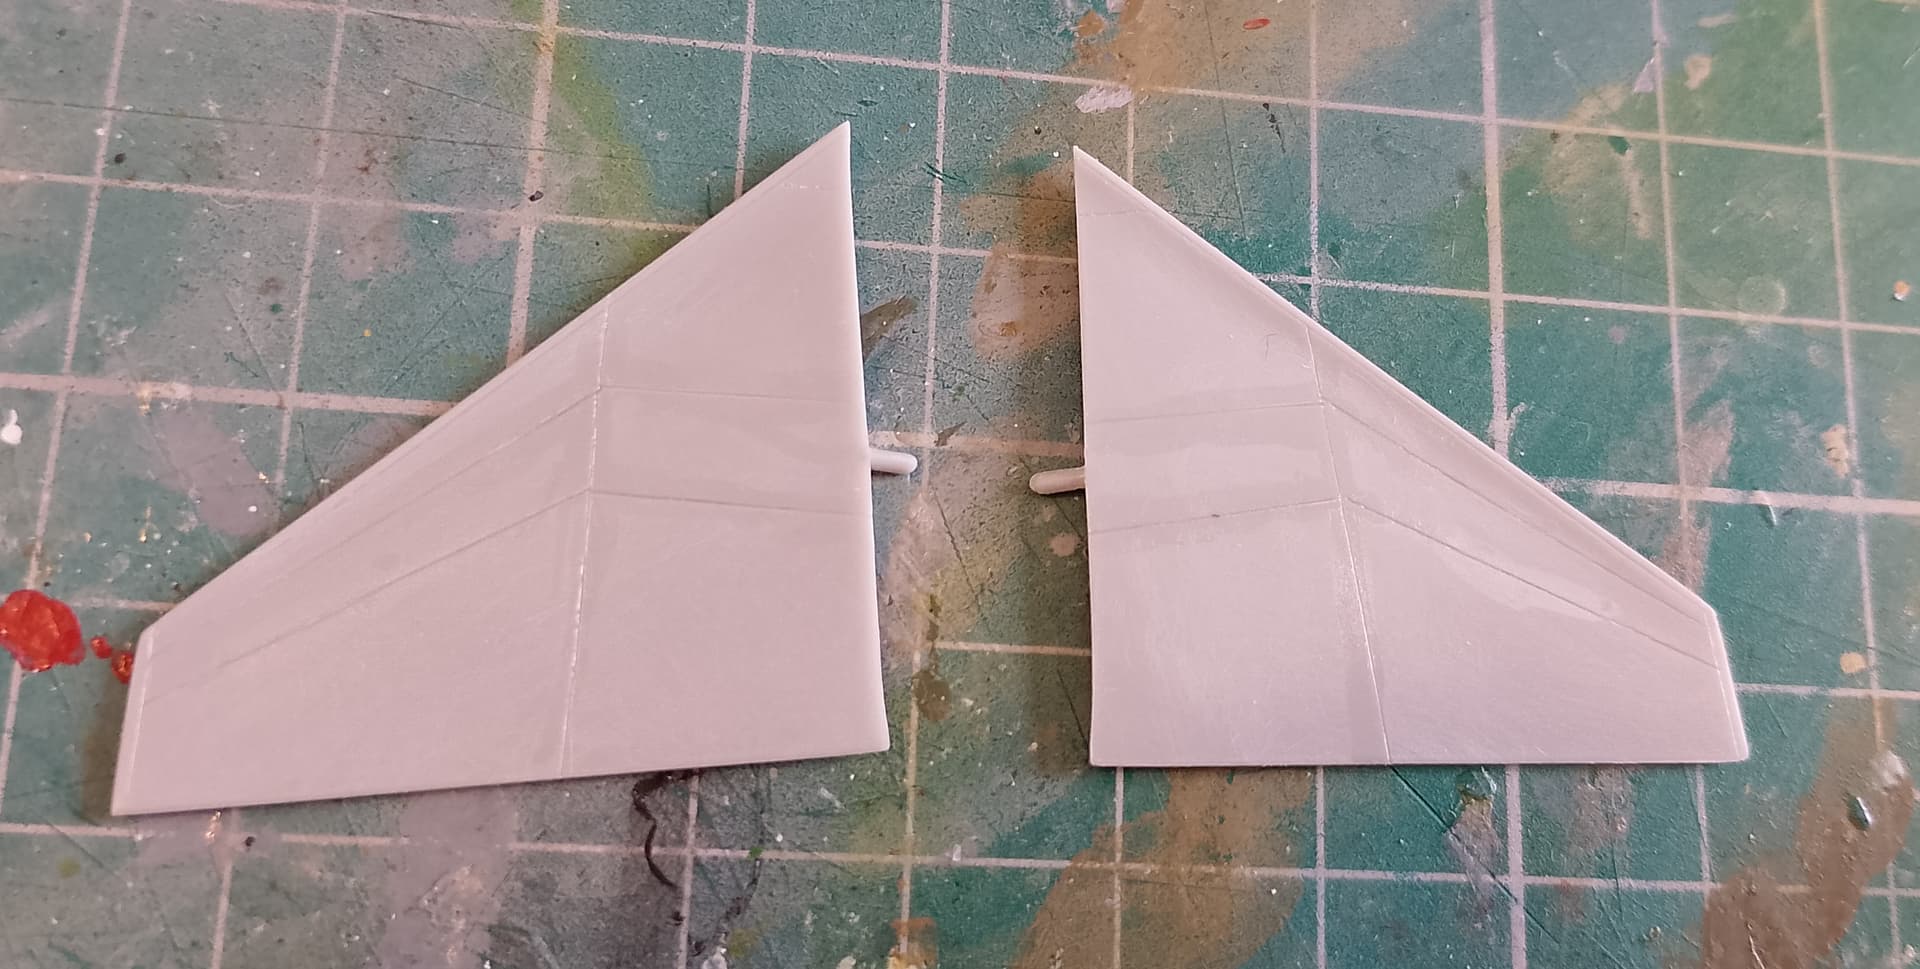
One other thing to watch out for, the triangular reinforcement plates on the tailplanes need sanding off and lines rescribing. Another feature of later aircraft.
good idea with the cardboard - i lost at least one when i made a hasegawa phantom…
Thanks. It’s happened to every Phantom I’ve built, was determined this time to prevent it!
I really should’ve cut them off and made a cutout to fit a wire later. Live and learn.
Got a little further with my Phantom before I go for a two week holiday in the UK. Will visit RIAT 2025 at Fairford.
Looking good.
Enjoy the airshow. It’s been a long time since I’ve done RIAT. Last few times we parked up at, erm, ‘unofficial’ viewing sites. Bit cheeky, but the whole area around Fairford gets to watch it for free anyway.
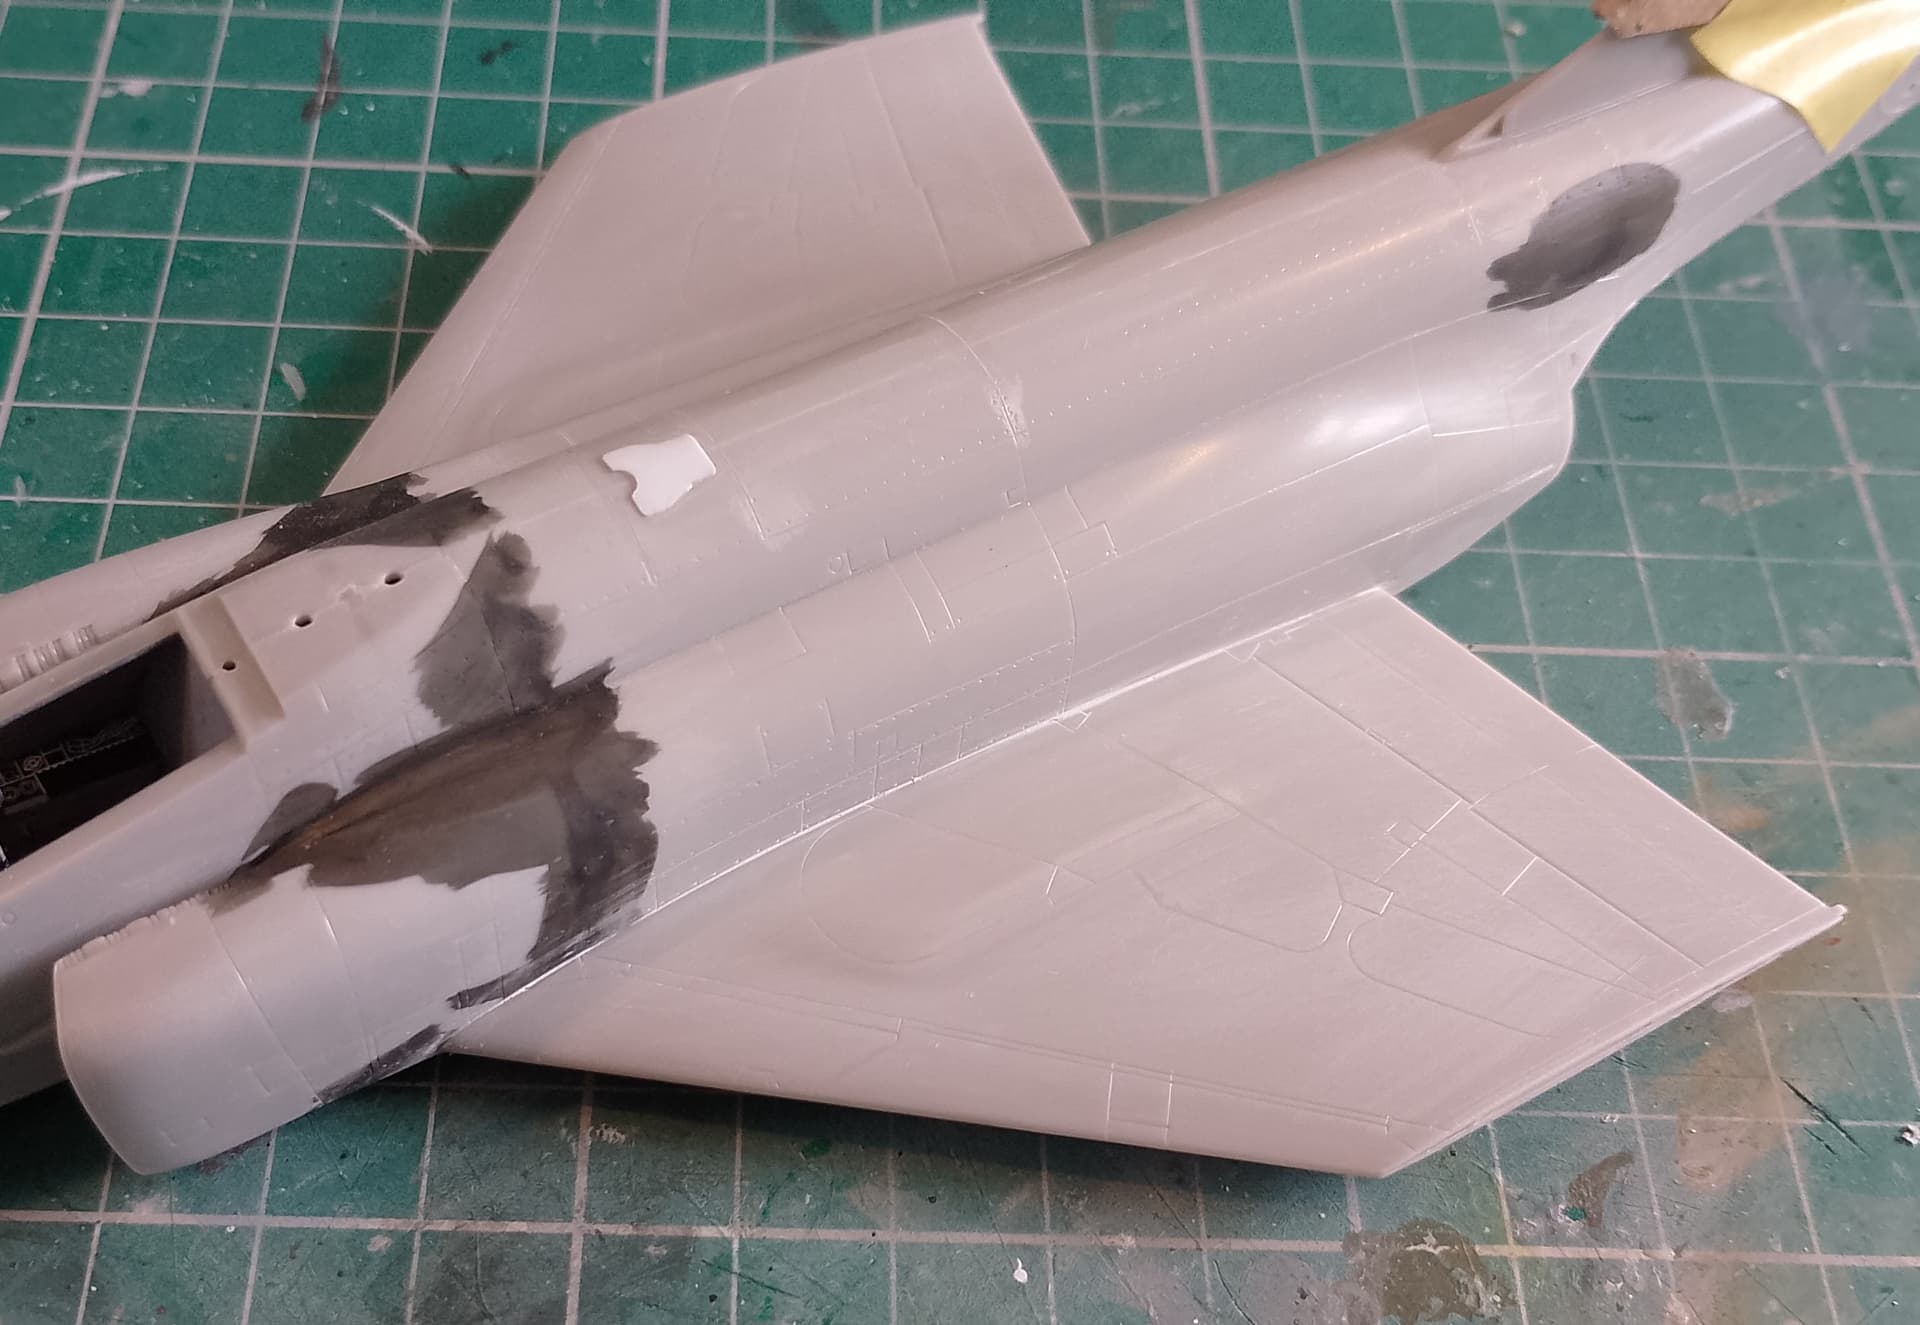
Had a slight gap at the wing roots. Filled with Vallejo white putty and excess wiped off with a damp cottonbud. Getting a bit better at using this stuff.
Plan for tomorrow is to get the wingtips fitted along with a few other bits. Hopefully should be ready for some paint over the next few days.
Your Phantom looks really good! ![]()
After four days of kerosene and wonderful noisy aircraft I declare this year’s RIAT a success! Even the weather in the sky above the airbase was more or less fine, the rain was mostly in other areas. Now I will have to sort out the many (OMG!) photos when I’m home…
But I’m looking forward to work on my Phantom, too!
See you
Peter ![]()