You’re welcome. It’s fantastic, one of my favourite Phantoms.
I’ll have a look for the Xtradecal set. Save a lot of trouble I think.
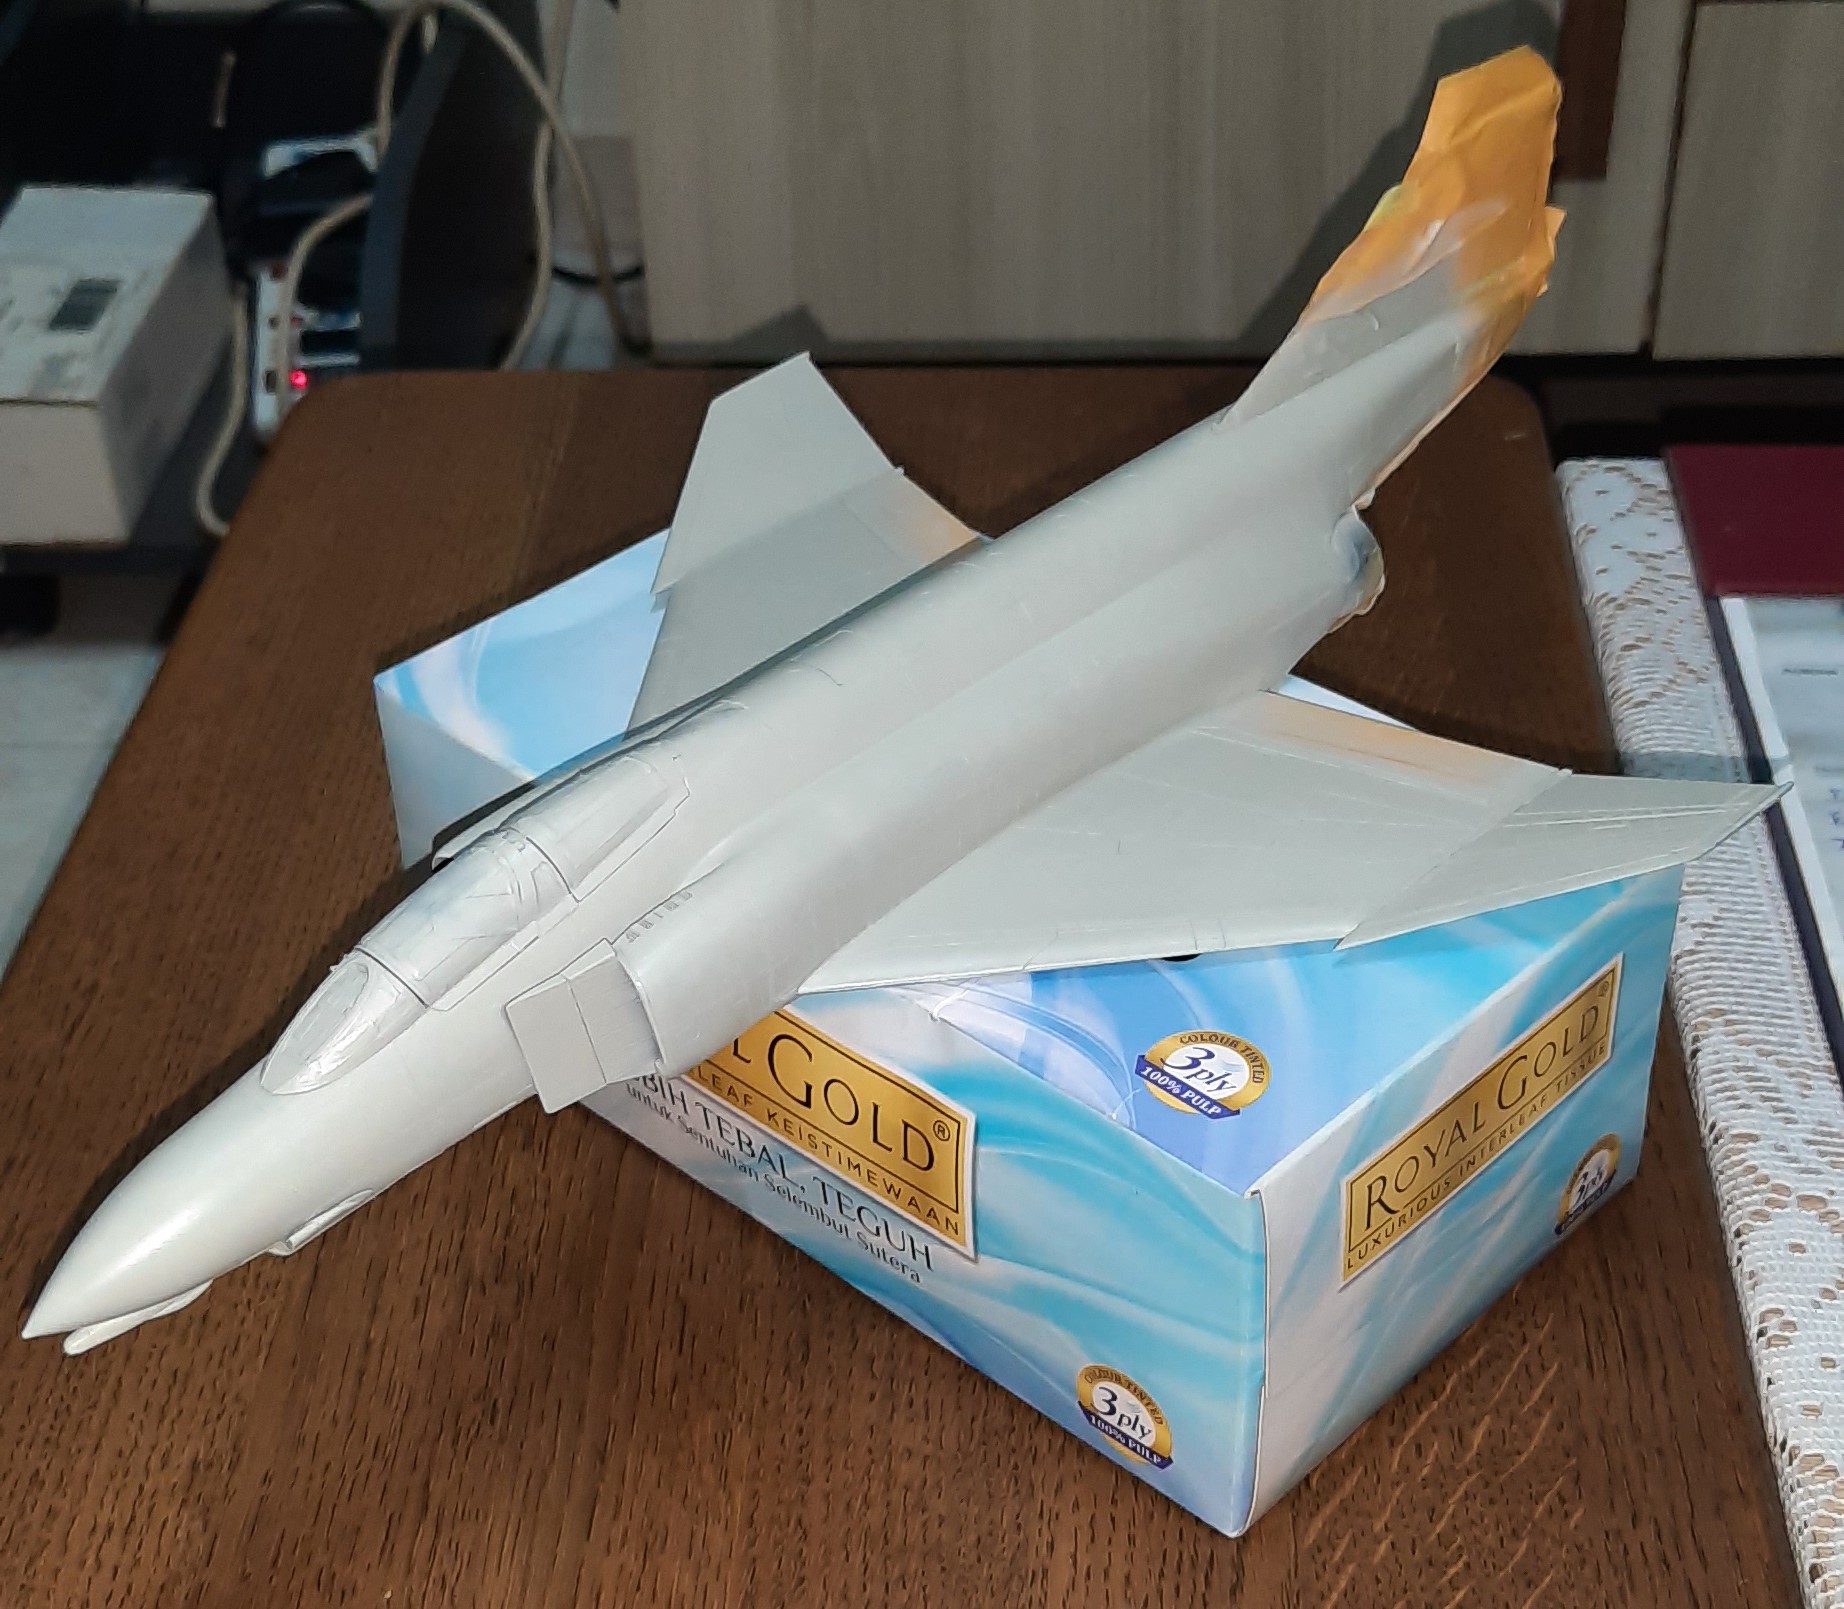
I did plan on entering with the Revell reissue of the Hasegawa FGR.2. Just never got around to starting it.
You’re welcome. It’s fantastic, one of my favourite Phantoms.
I’ll have a look for the Xtradecal set. Save a lot of trouble I think.
I did plan on entering with the Revell reissue of the Hasegawa FGR.2. Just never got around to starting it.
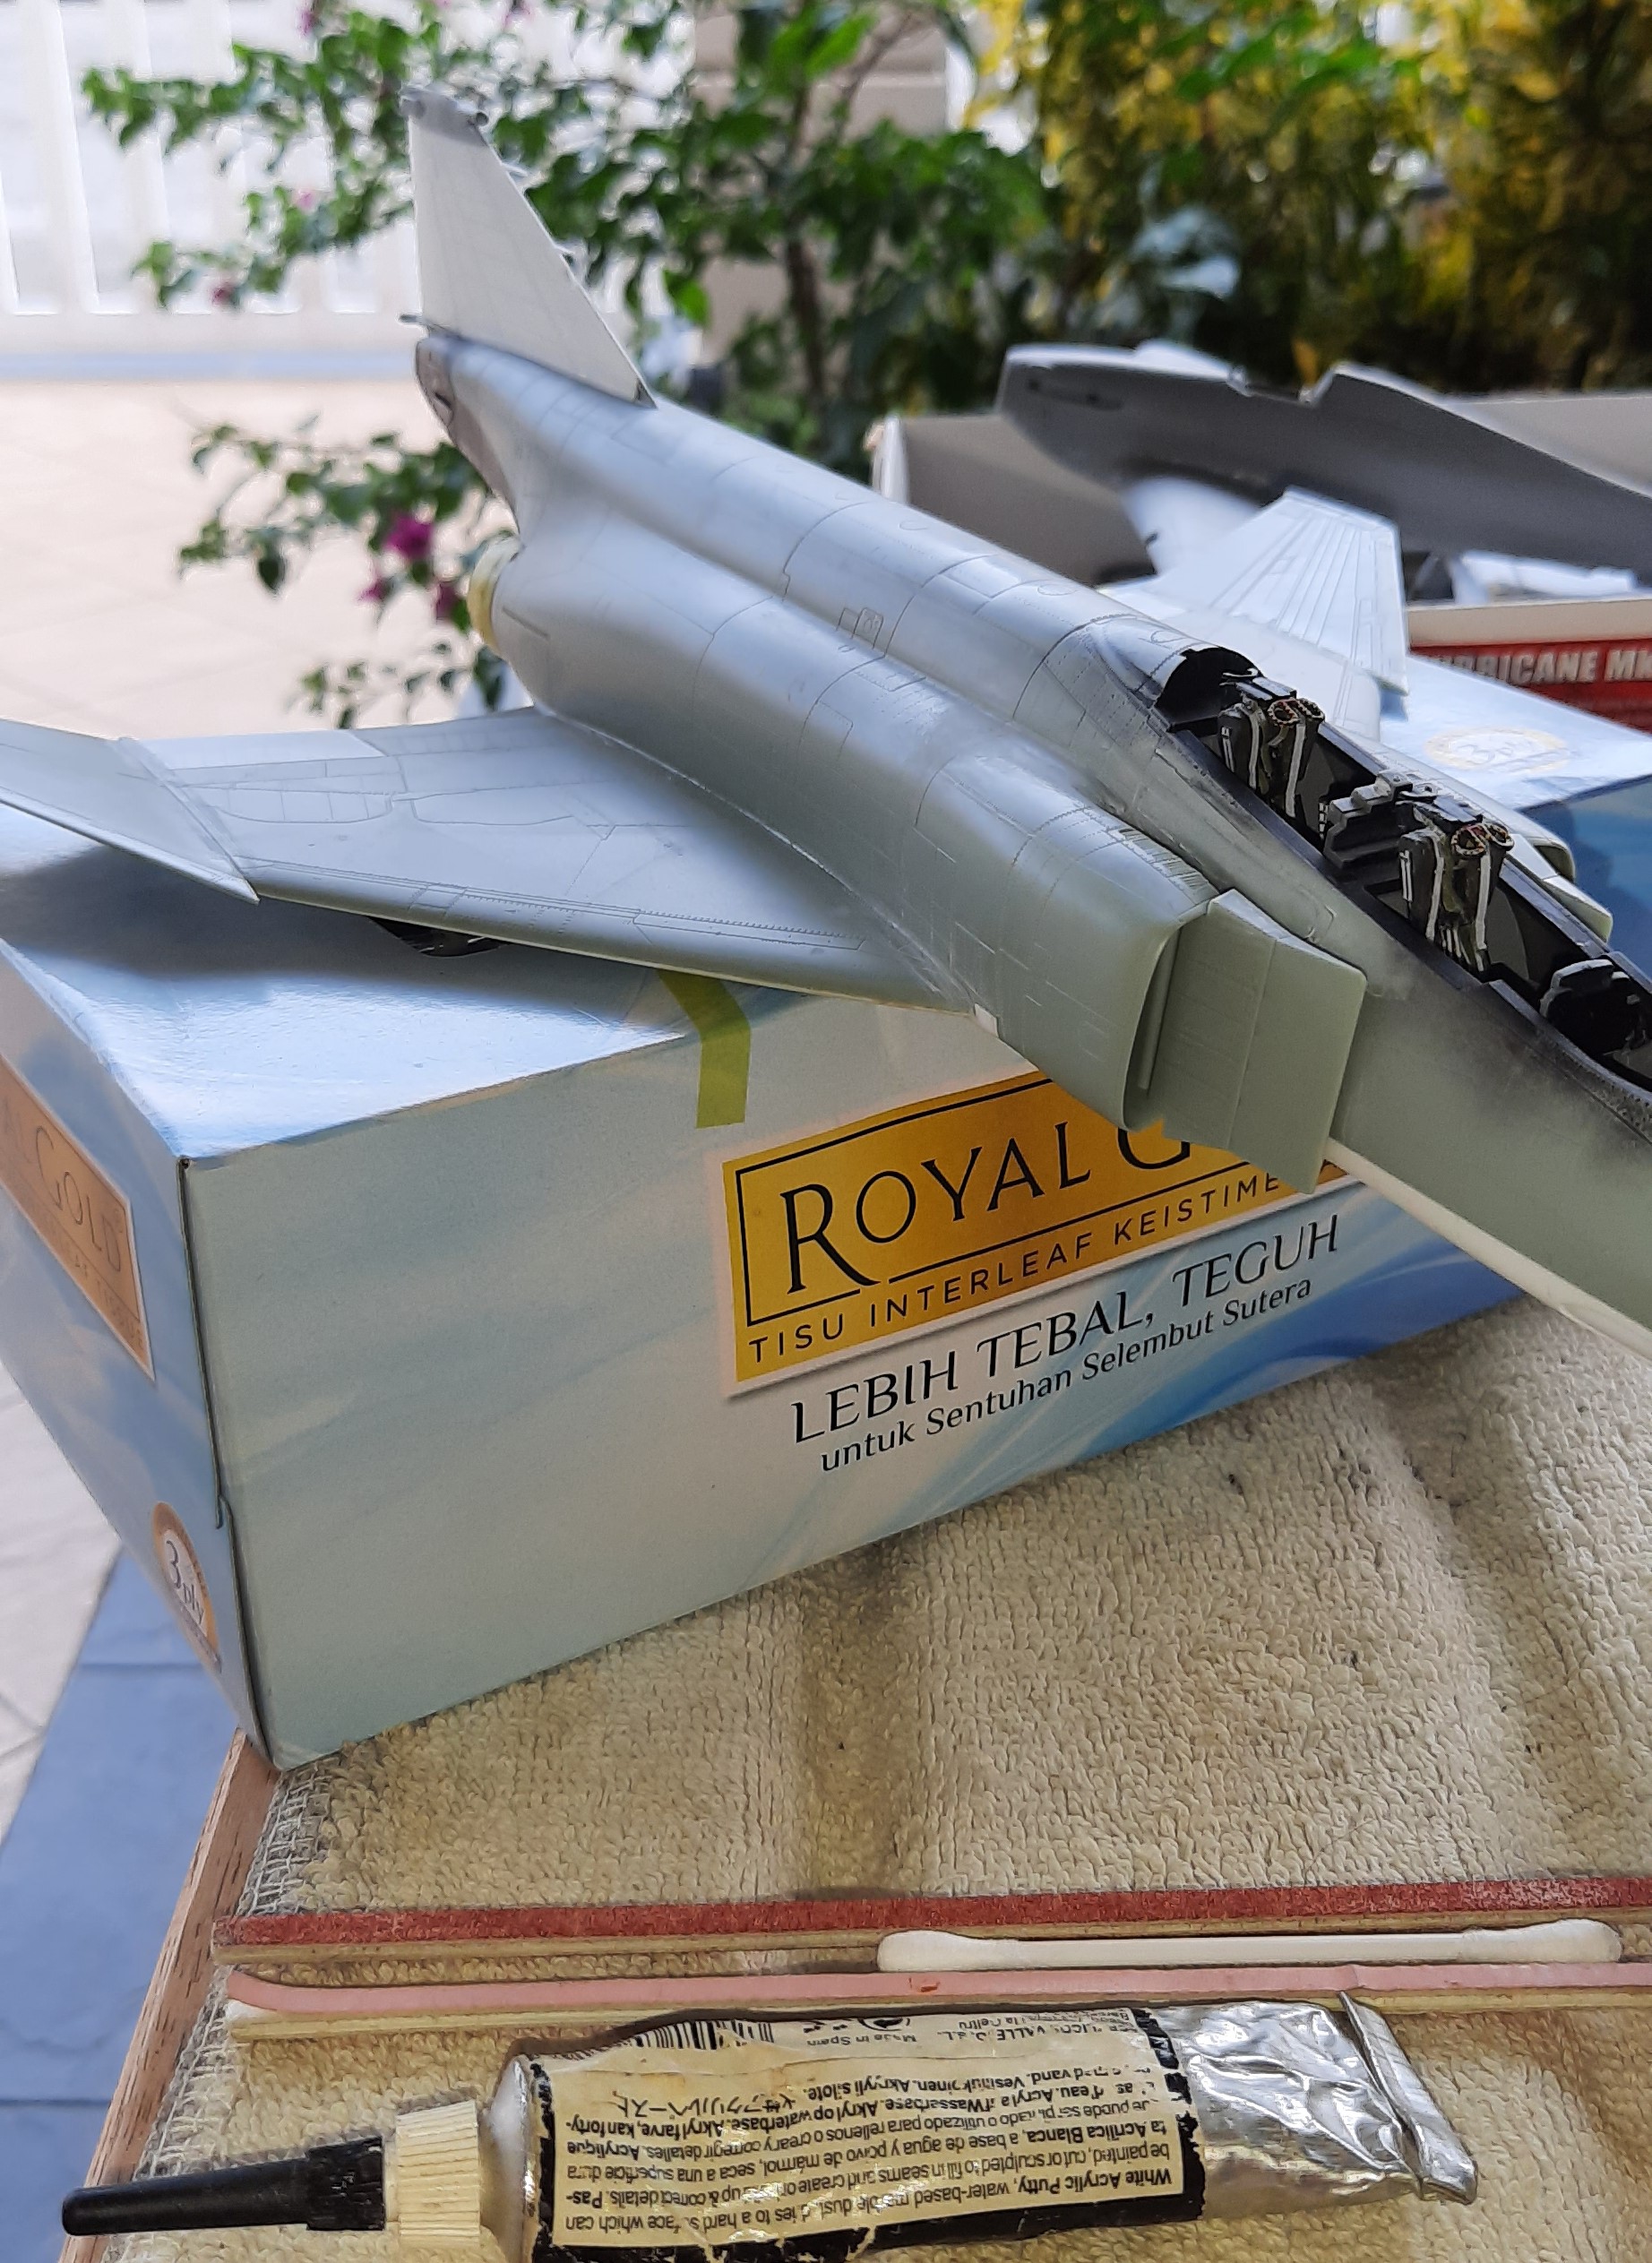
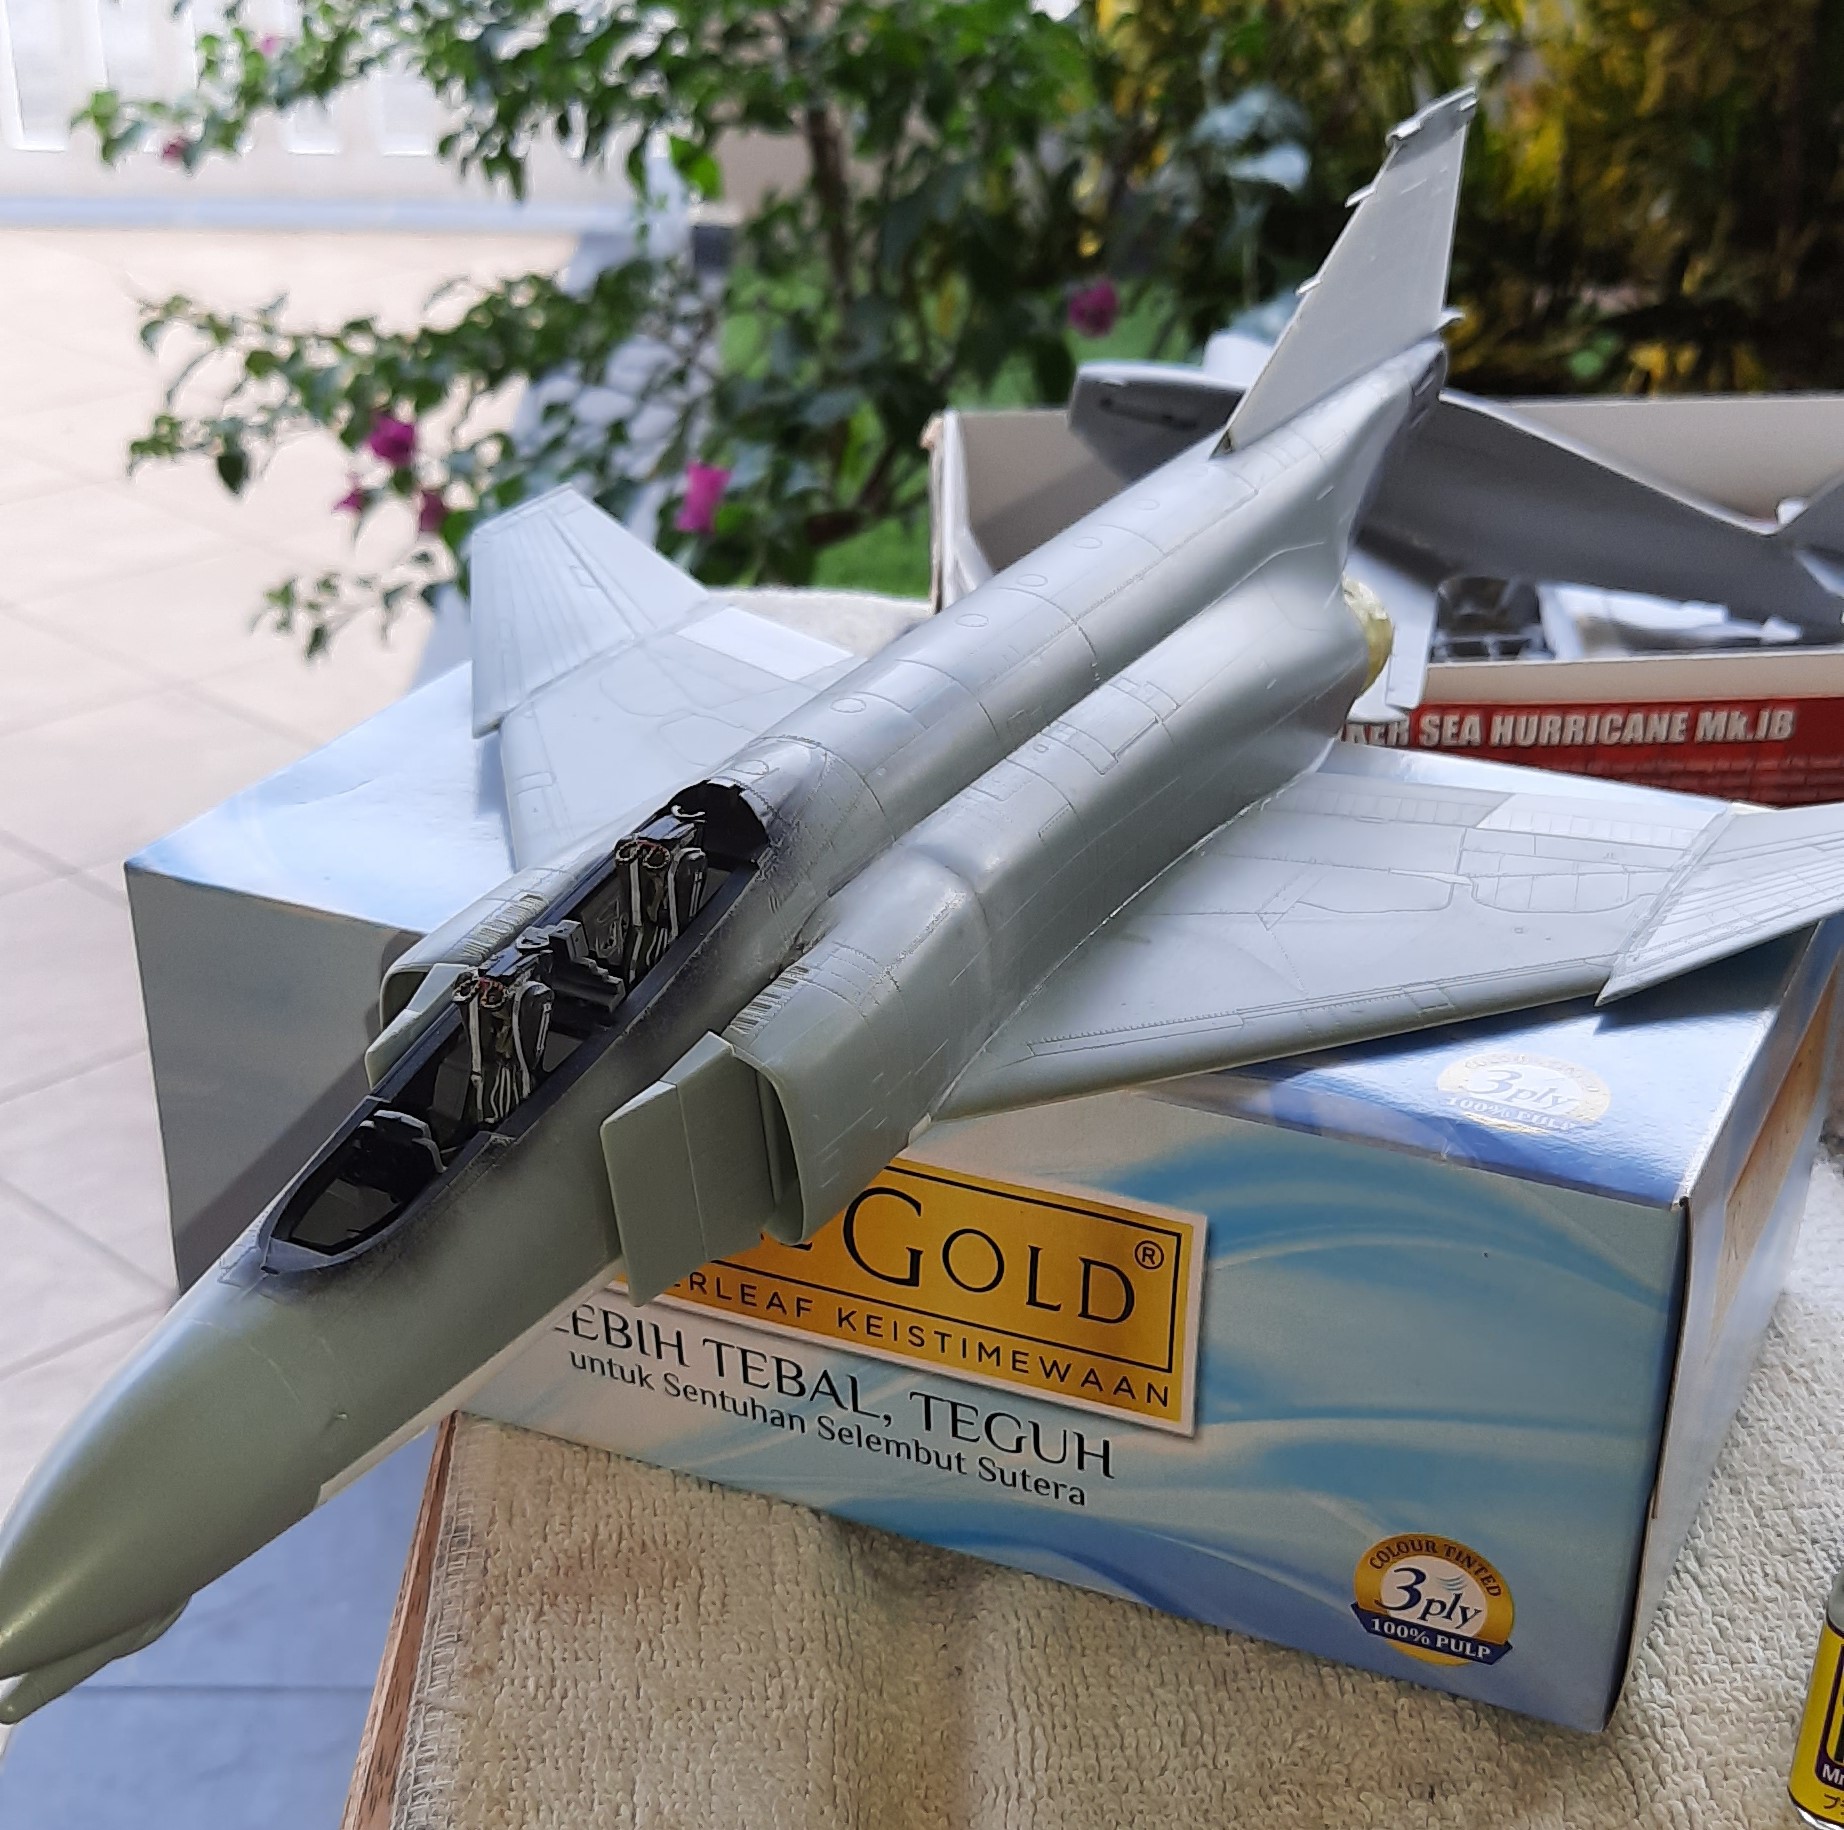
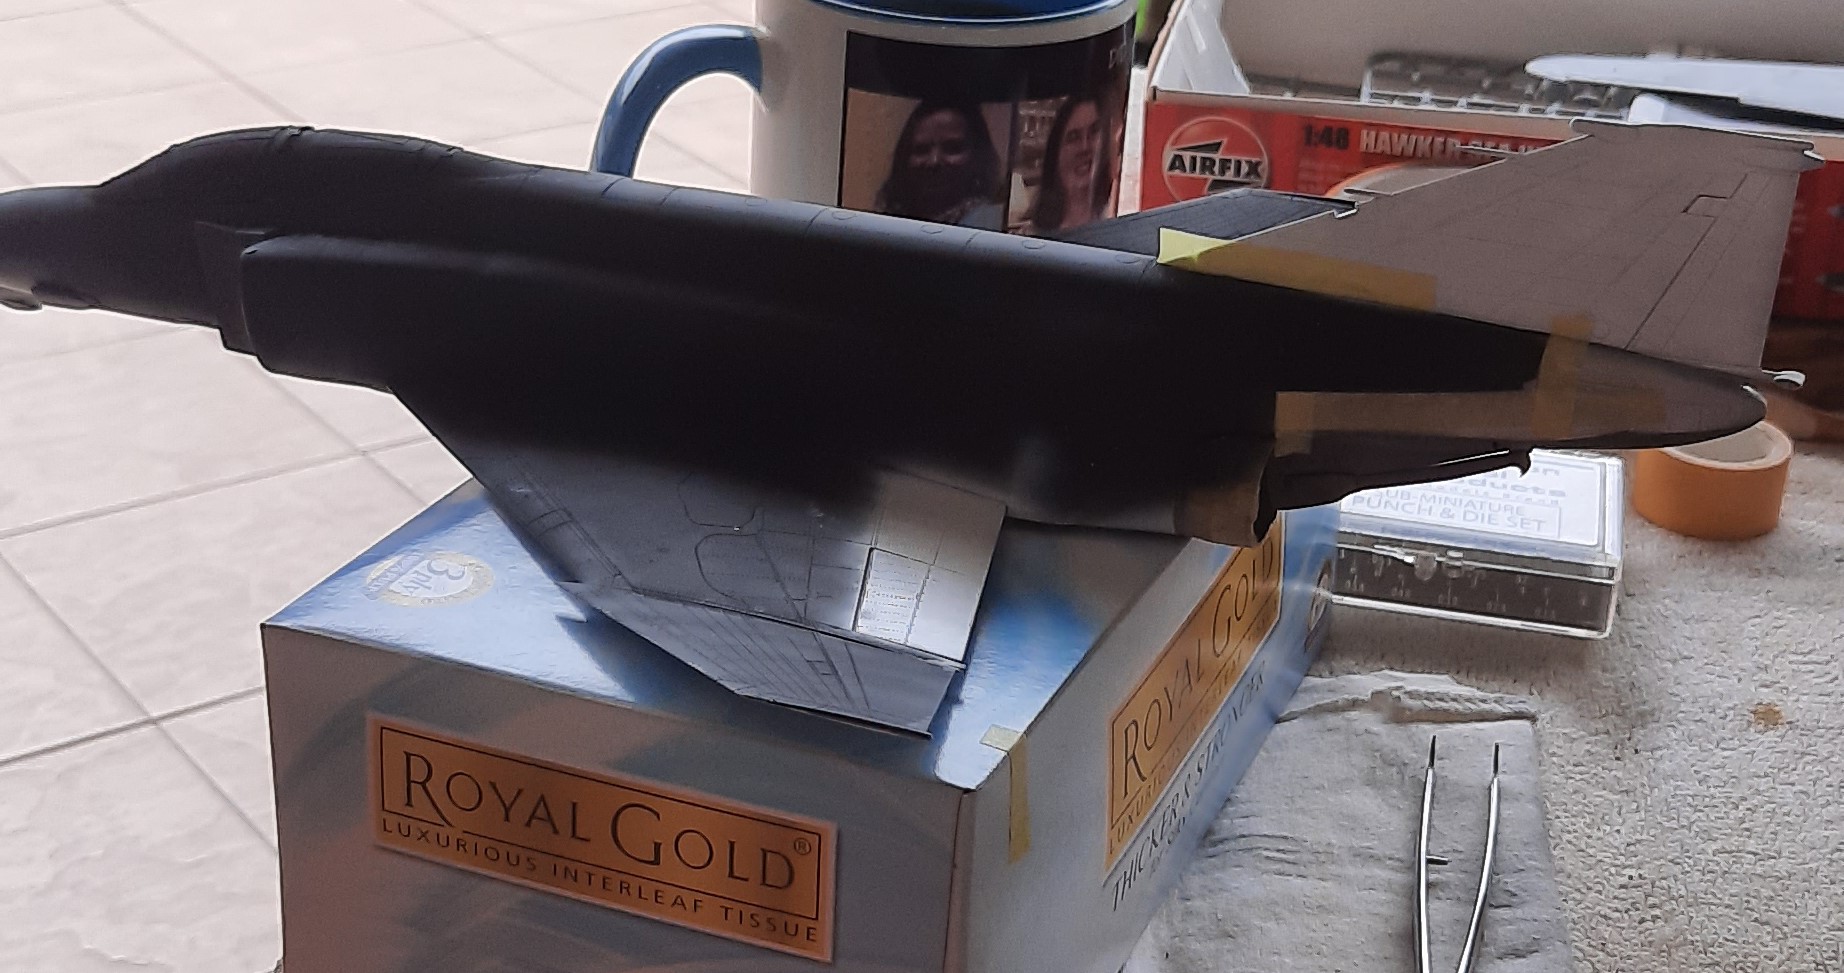
Well, I managed to get a gloss coat on the Z-M F-4E, which actually makes my camo job look better!
I was getting ready to start with decals when I realized I’d better paint the hot section first. Hopefully this weekend. But given the number of stencils this bad boy has (unfortunately my references show that the Israelis kept all of them, at least on the early airframes), I don’t know how I’ll get this done by the end of the month. 
Michael 
Go for it, Michael! 
You’ve shown a lot of grace to others on group builds, Michael. I, for one, am willing to show some grace back to you on the deadline for this one.
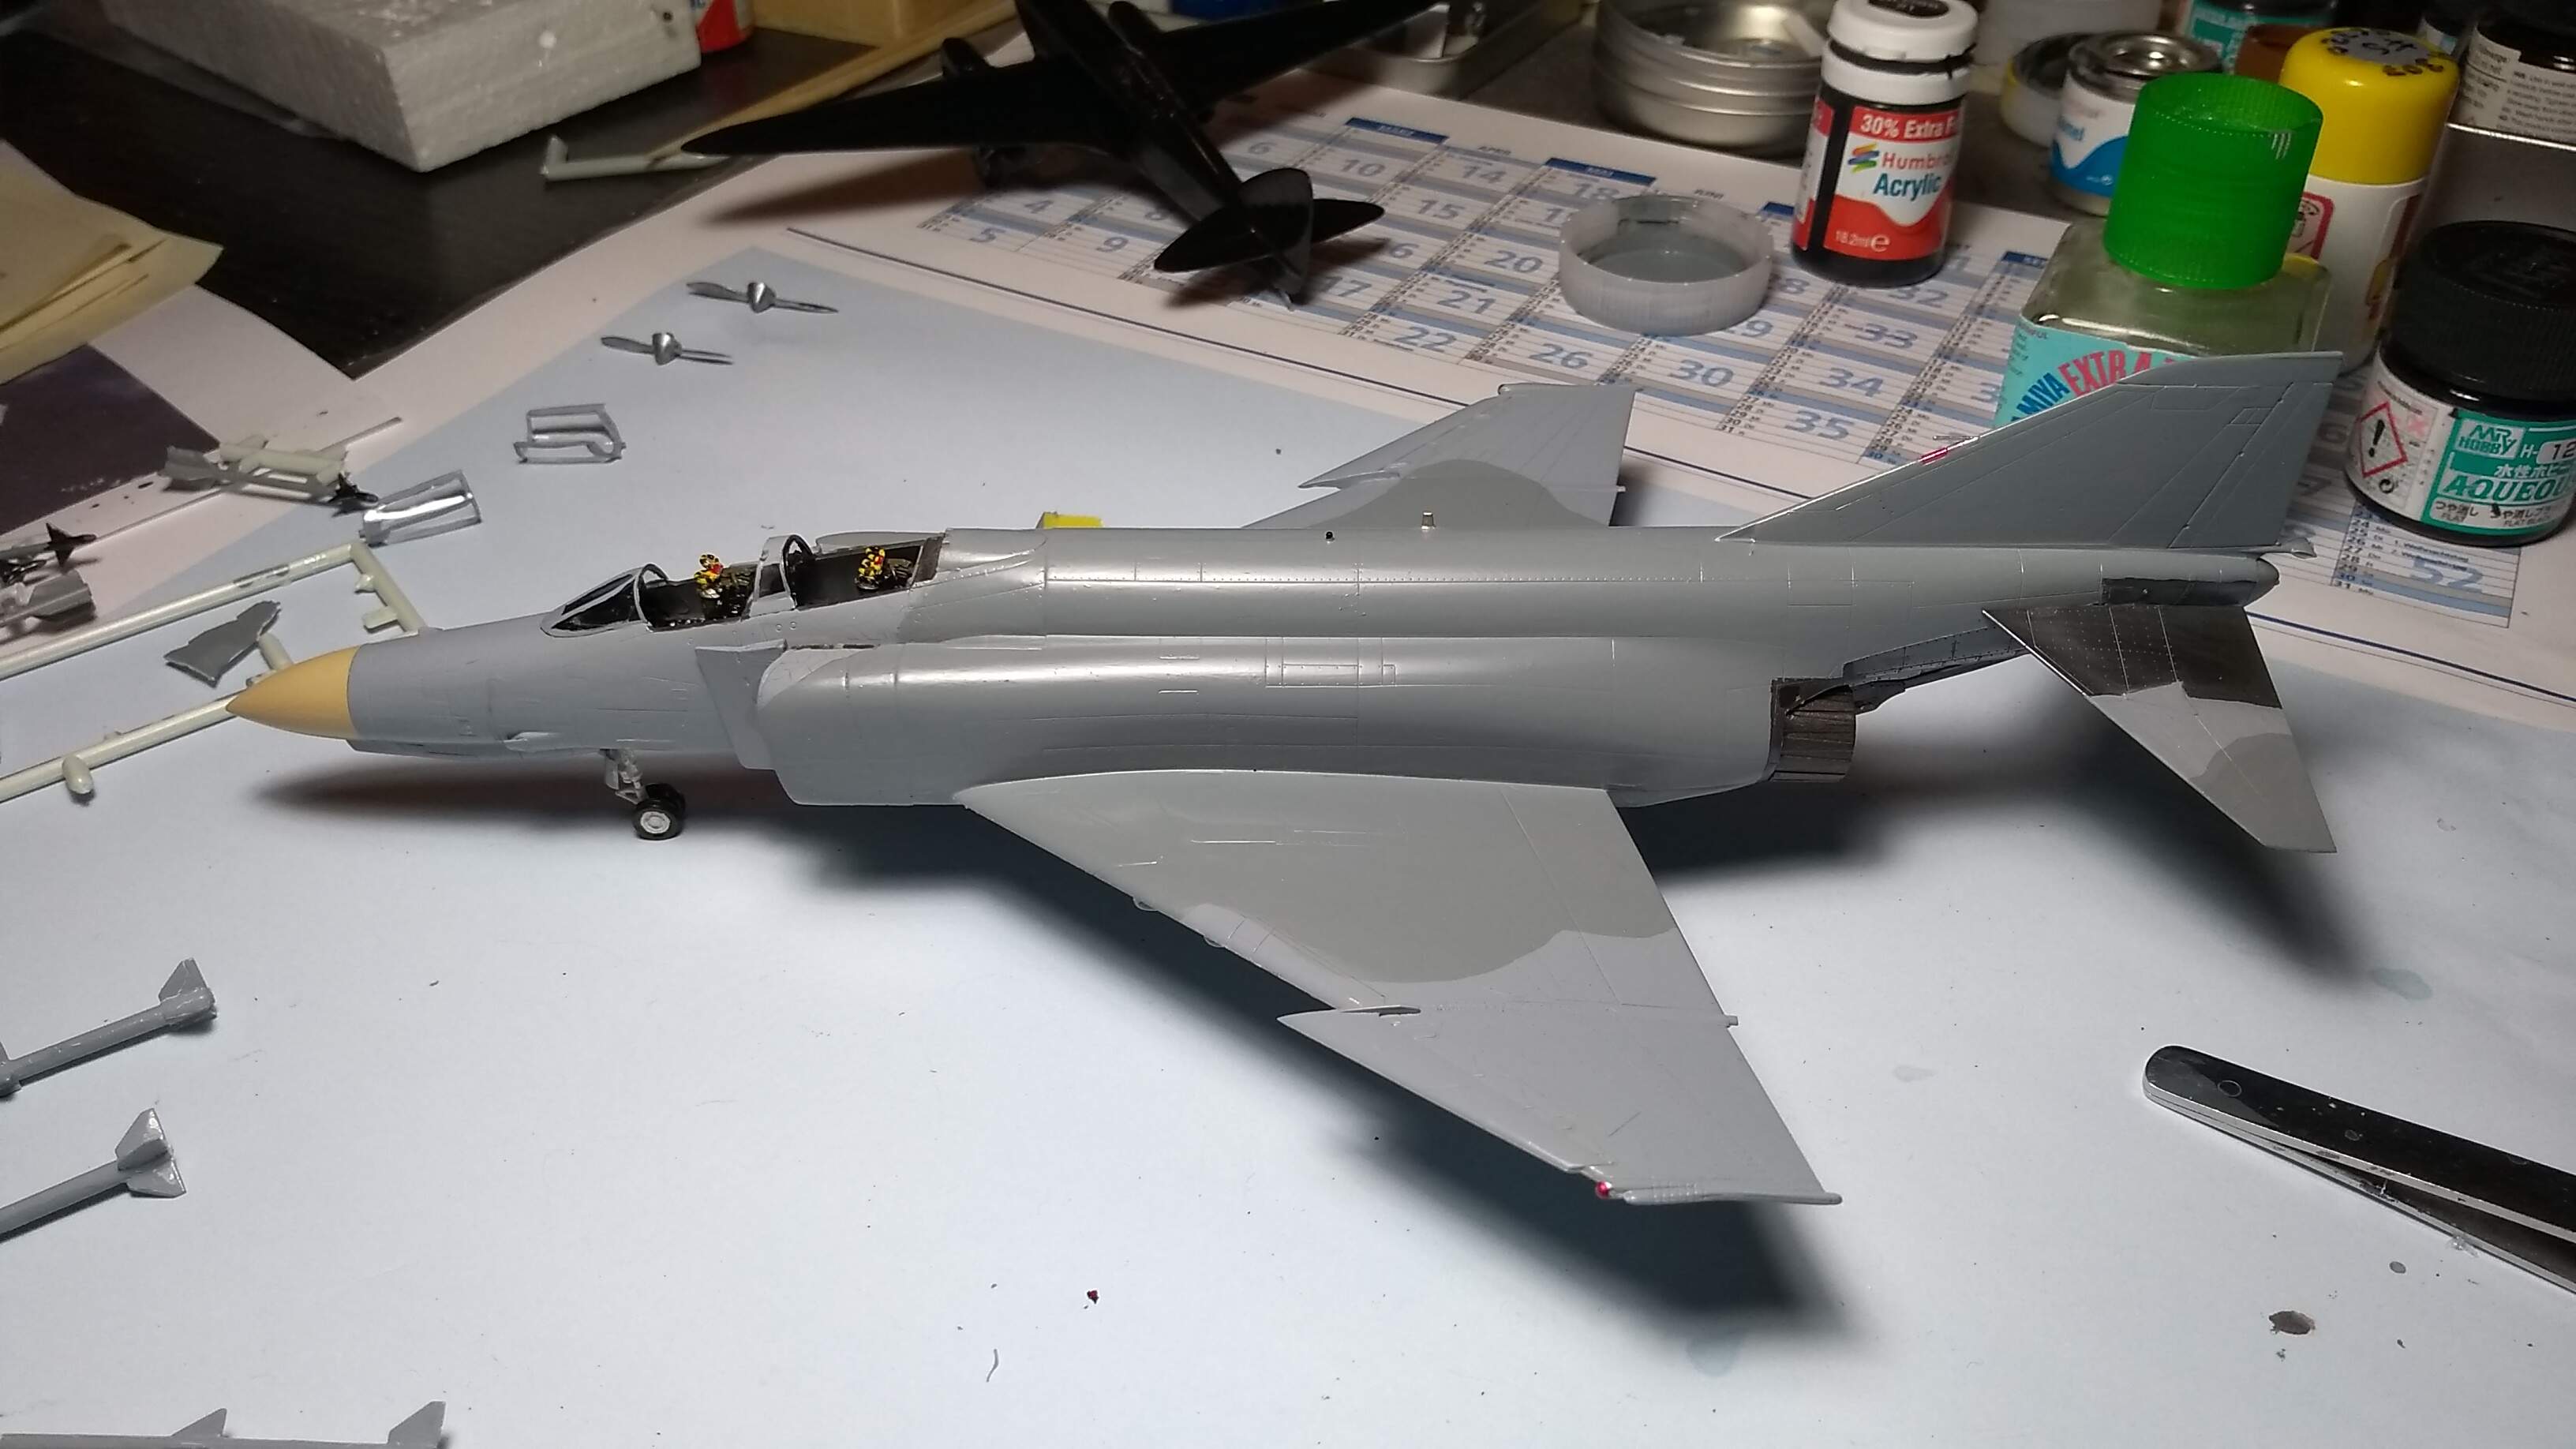
This campaign got me into the mood for another F-4, I didn’t care for a start photo, because I’ve finished my british one already here. First I thought I wouldn’t finish this in time anyway, but now…


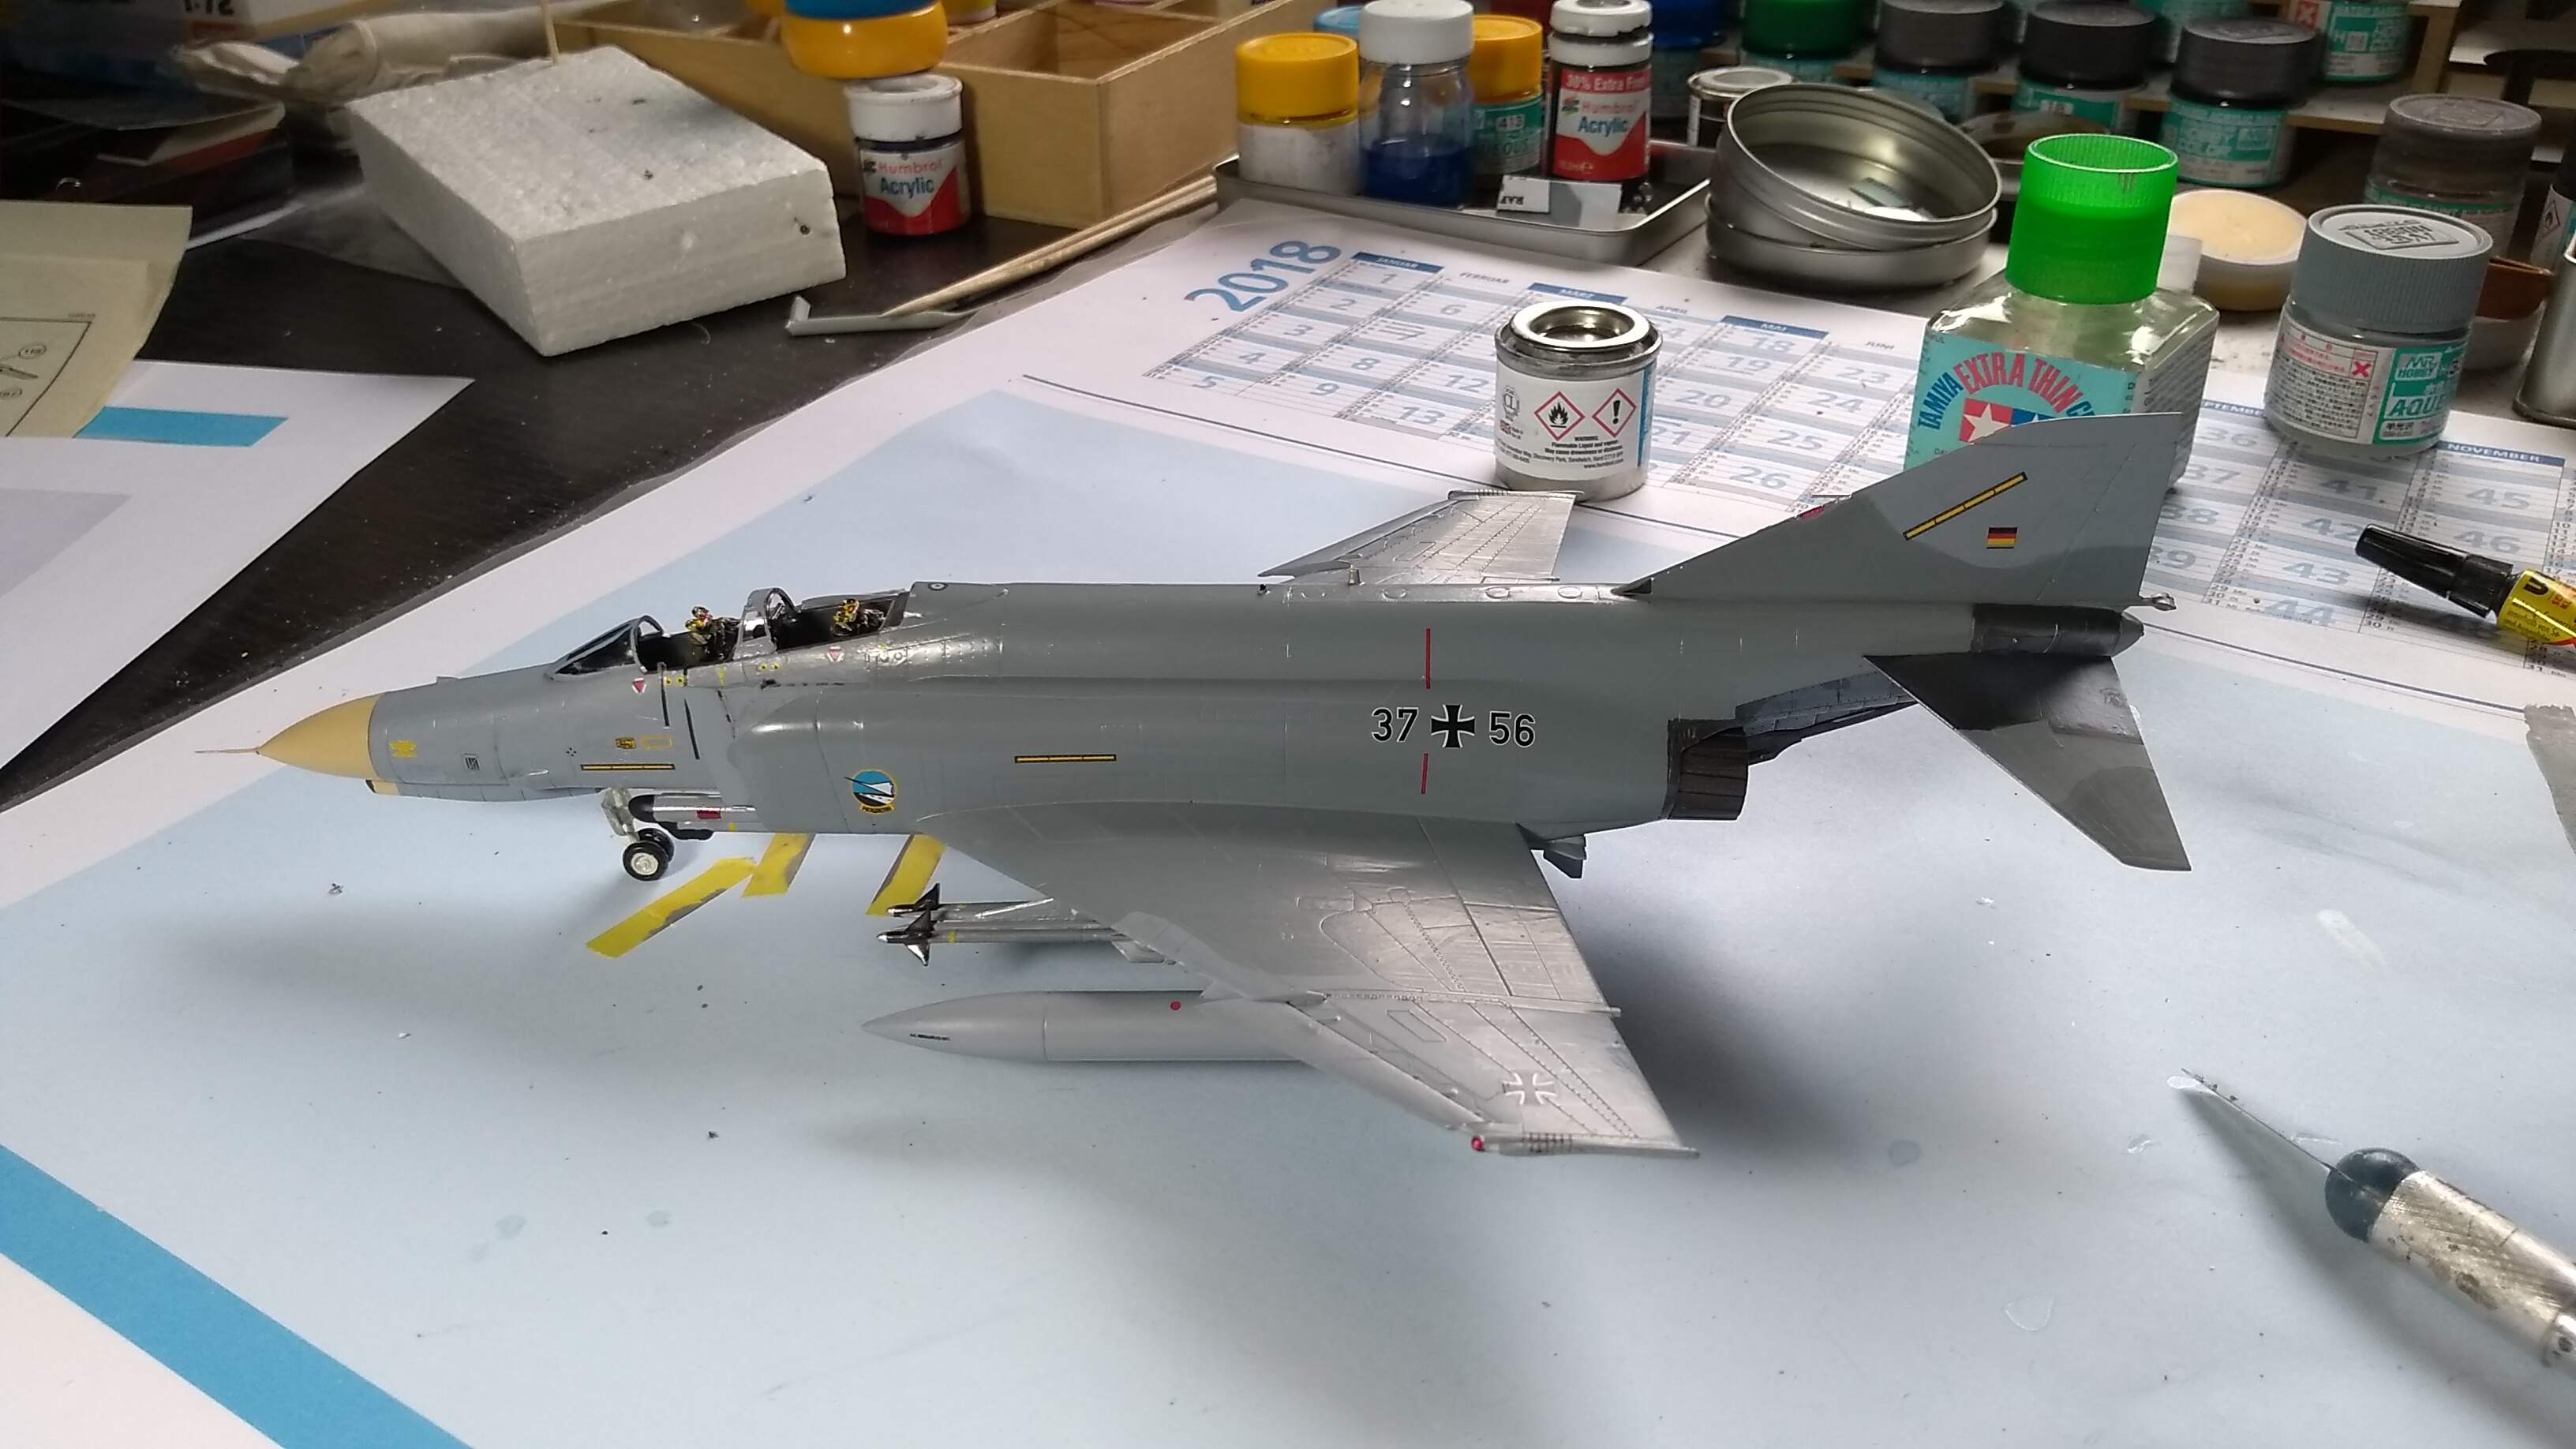
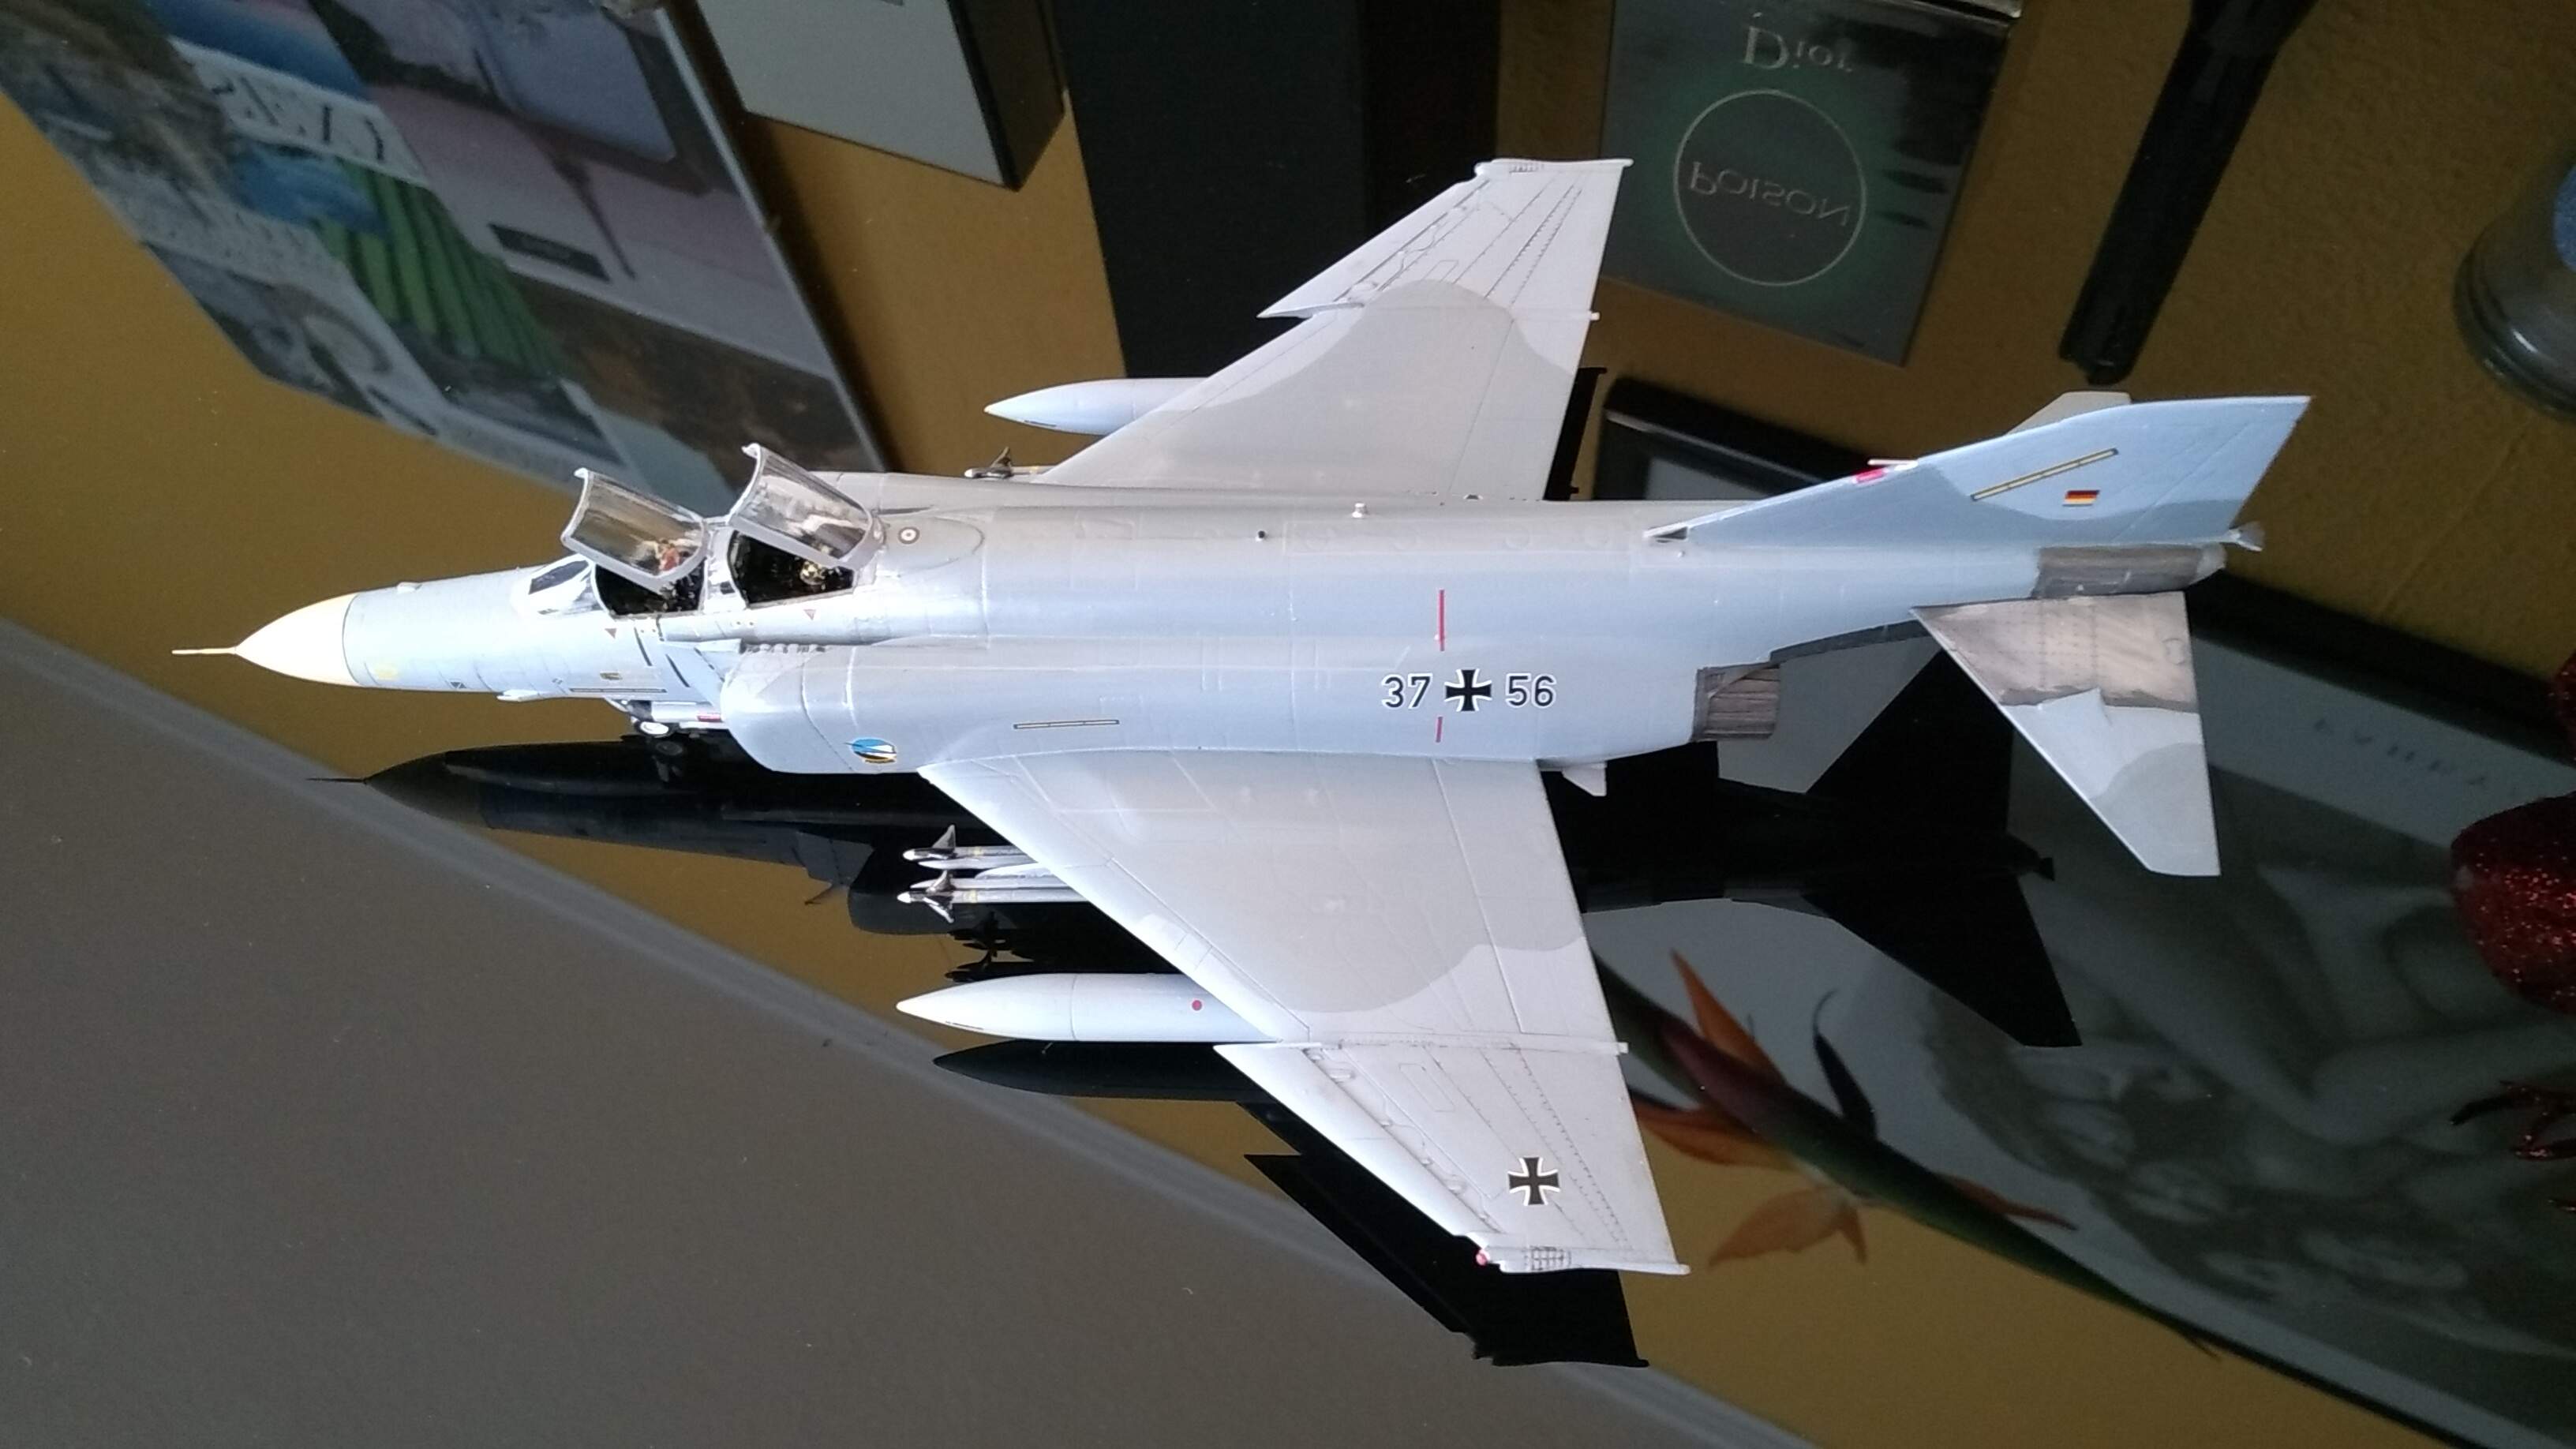
Well, I impressed myself in finishing a second Phantom for this campaign, Revell’s 1/72 F-4F of my country’s Luftwaffe.
But that’s probably because it was such a nice to assemble kit.
The only weakness I discovered now in the end, the backseater’s canopy hood leaves a quite noticeable gap to the middle-part. Ok,I can live with that, I intended to build the canopies open anyway,

That looks good. The Revell kit is nice? Does it come with pilots? What kind of underwing options does it have?
Well done on finishing a 2nd F4 for the campaign. Looks nice in your country colours 
Nice job, Peter,
I’ve had a tough month and have about 2/3 of the stencils on the bottom of the Z-M F-4E. Not gonna be done by Monday for sure. I really don’t want to extend the campaign just for me, but if others are interested we can sure look at it.
Michael
Michael,
you have been so gracious with others so many times I think you should extend it. If I were running it, I’d extend it for you!
Phil
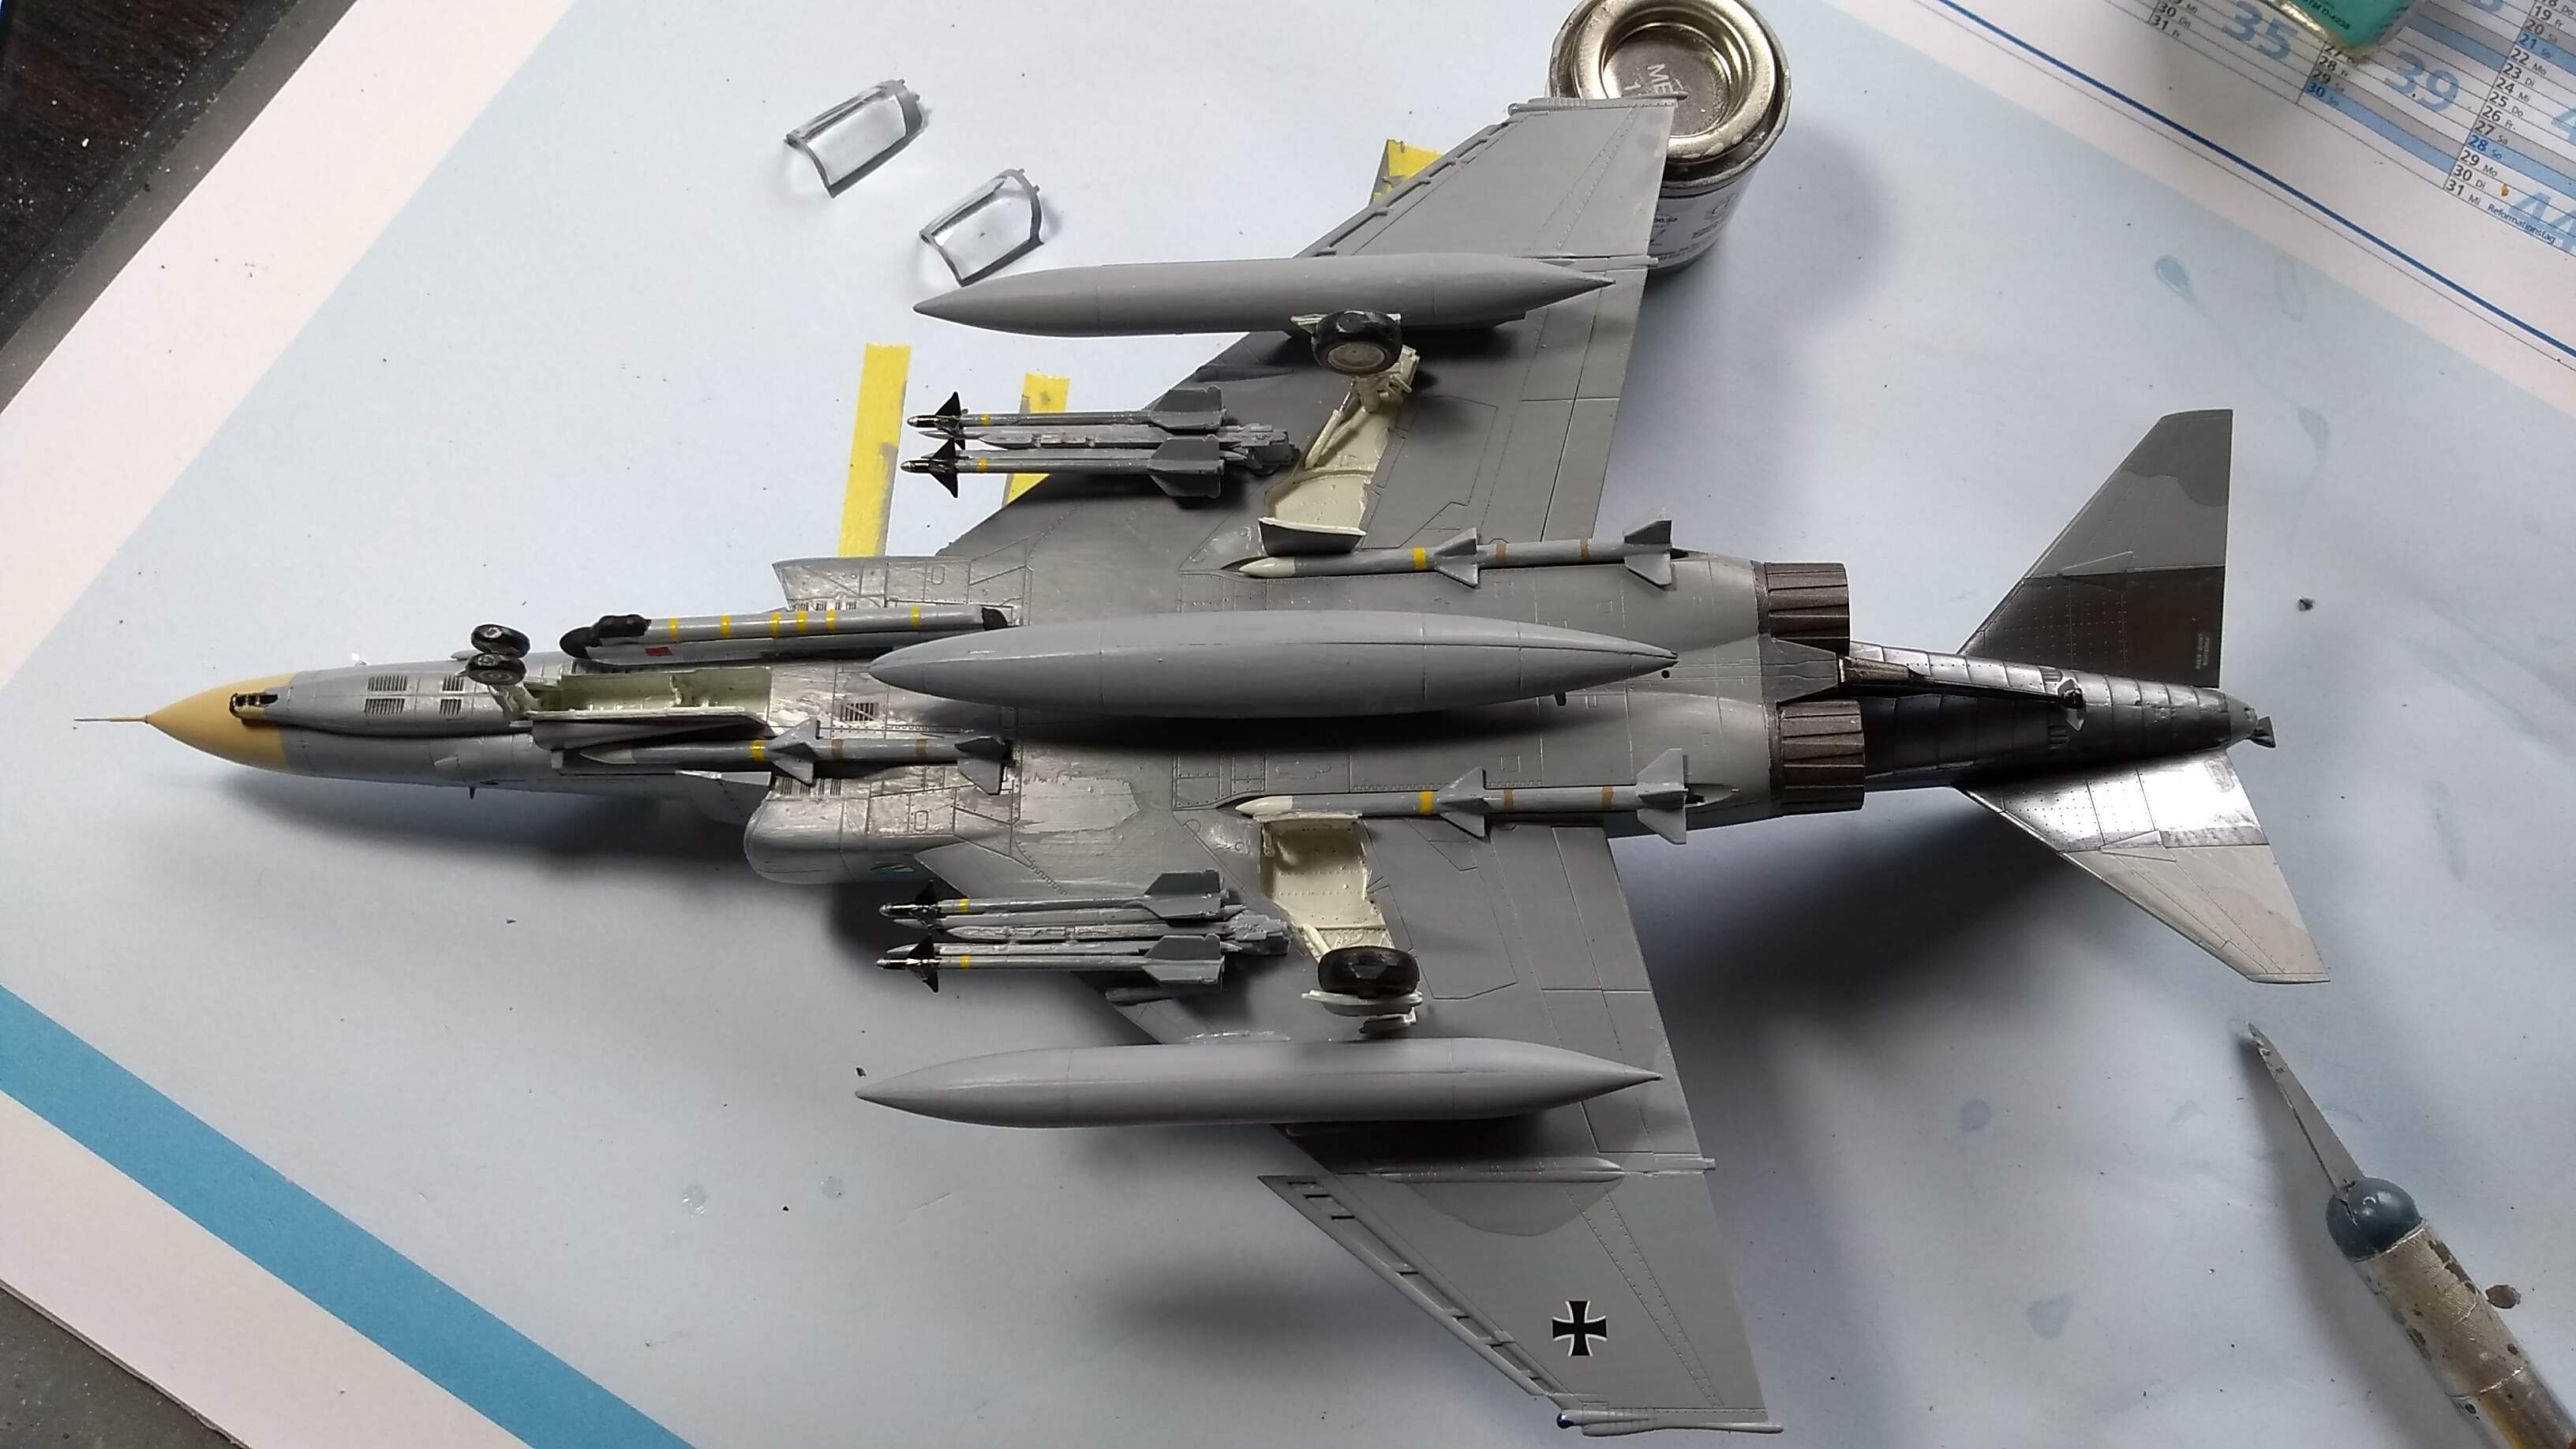
@phil2015 - Yes, the Revell kit has no fitting issues except the canopies, but I think, even that is curable. It comes with Sidewinders + AMRAAMS, a jammer pod and the usual three droptanks. No pilots icluded. I had two pilots ready, but I realised too late, that they would cover the otherwise nice resin seats I had already inside…so I left them out, maybe for another kit.
I used a central tank from a Hasegawa Phantom which can do without it…
@Johnnych01
@michaelsatin - Thanks for your kind comments, mates!
Cheers
Peter
Hi All,
Looks like I’m bringing up the tail end of this one, maybe. There’s some fine phantoms done for this campaign!
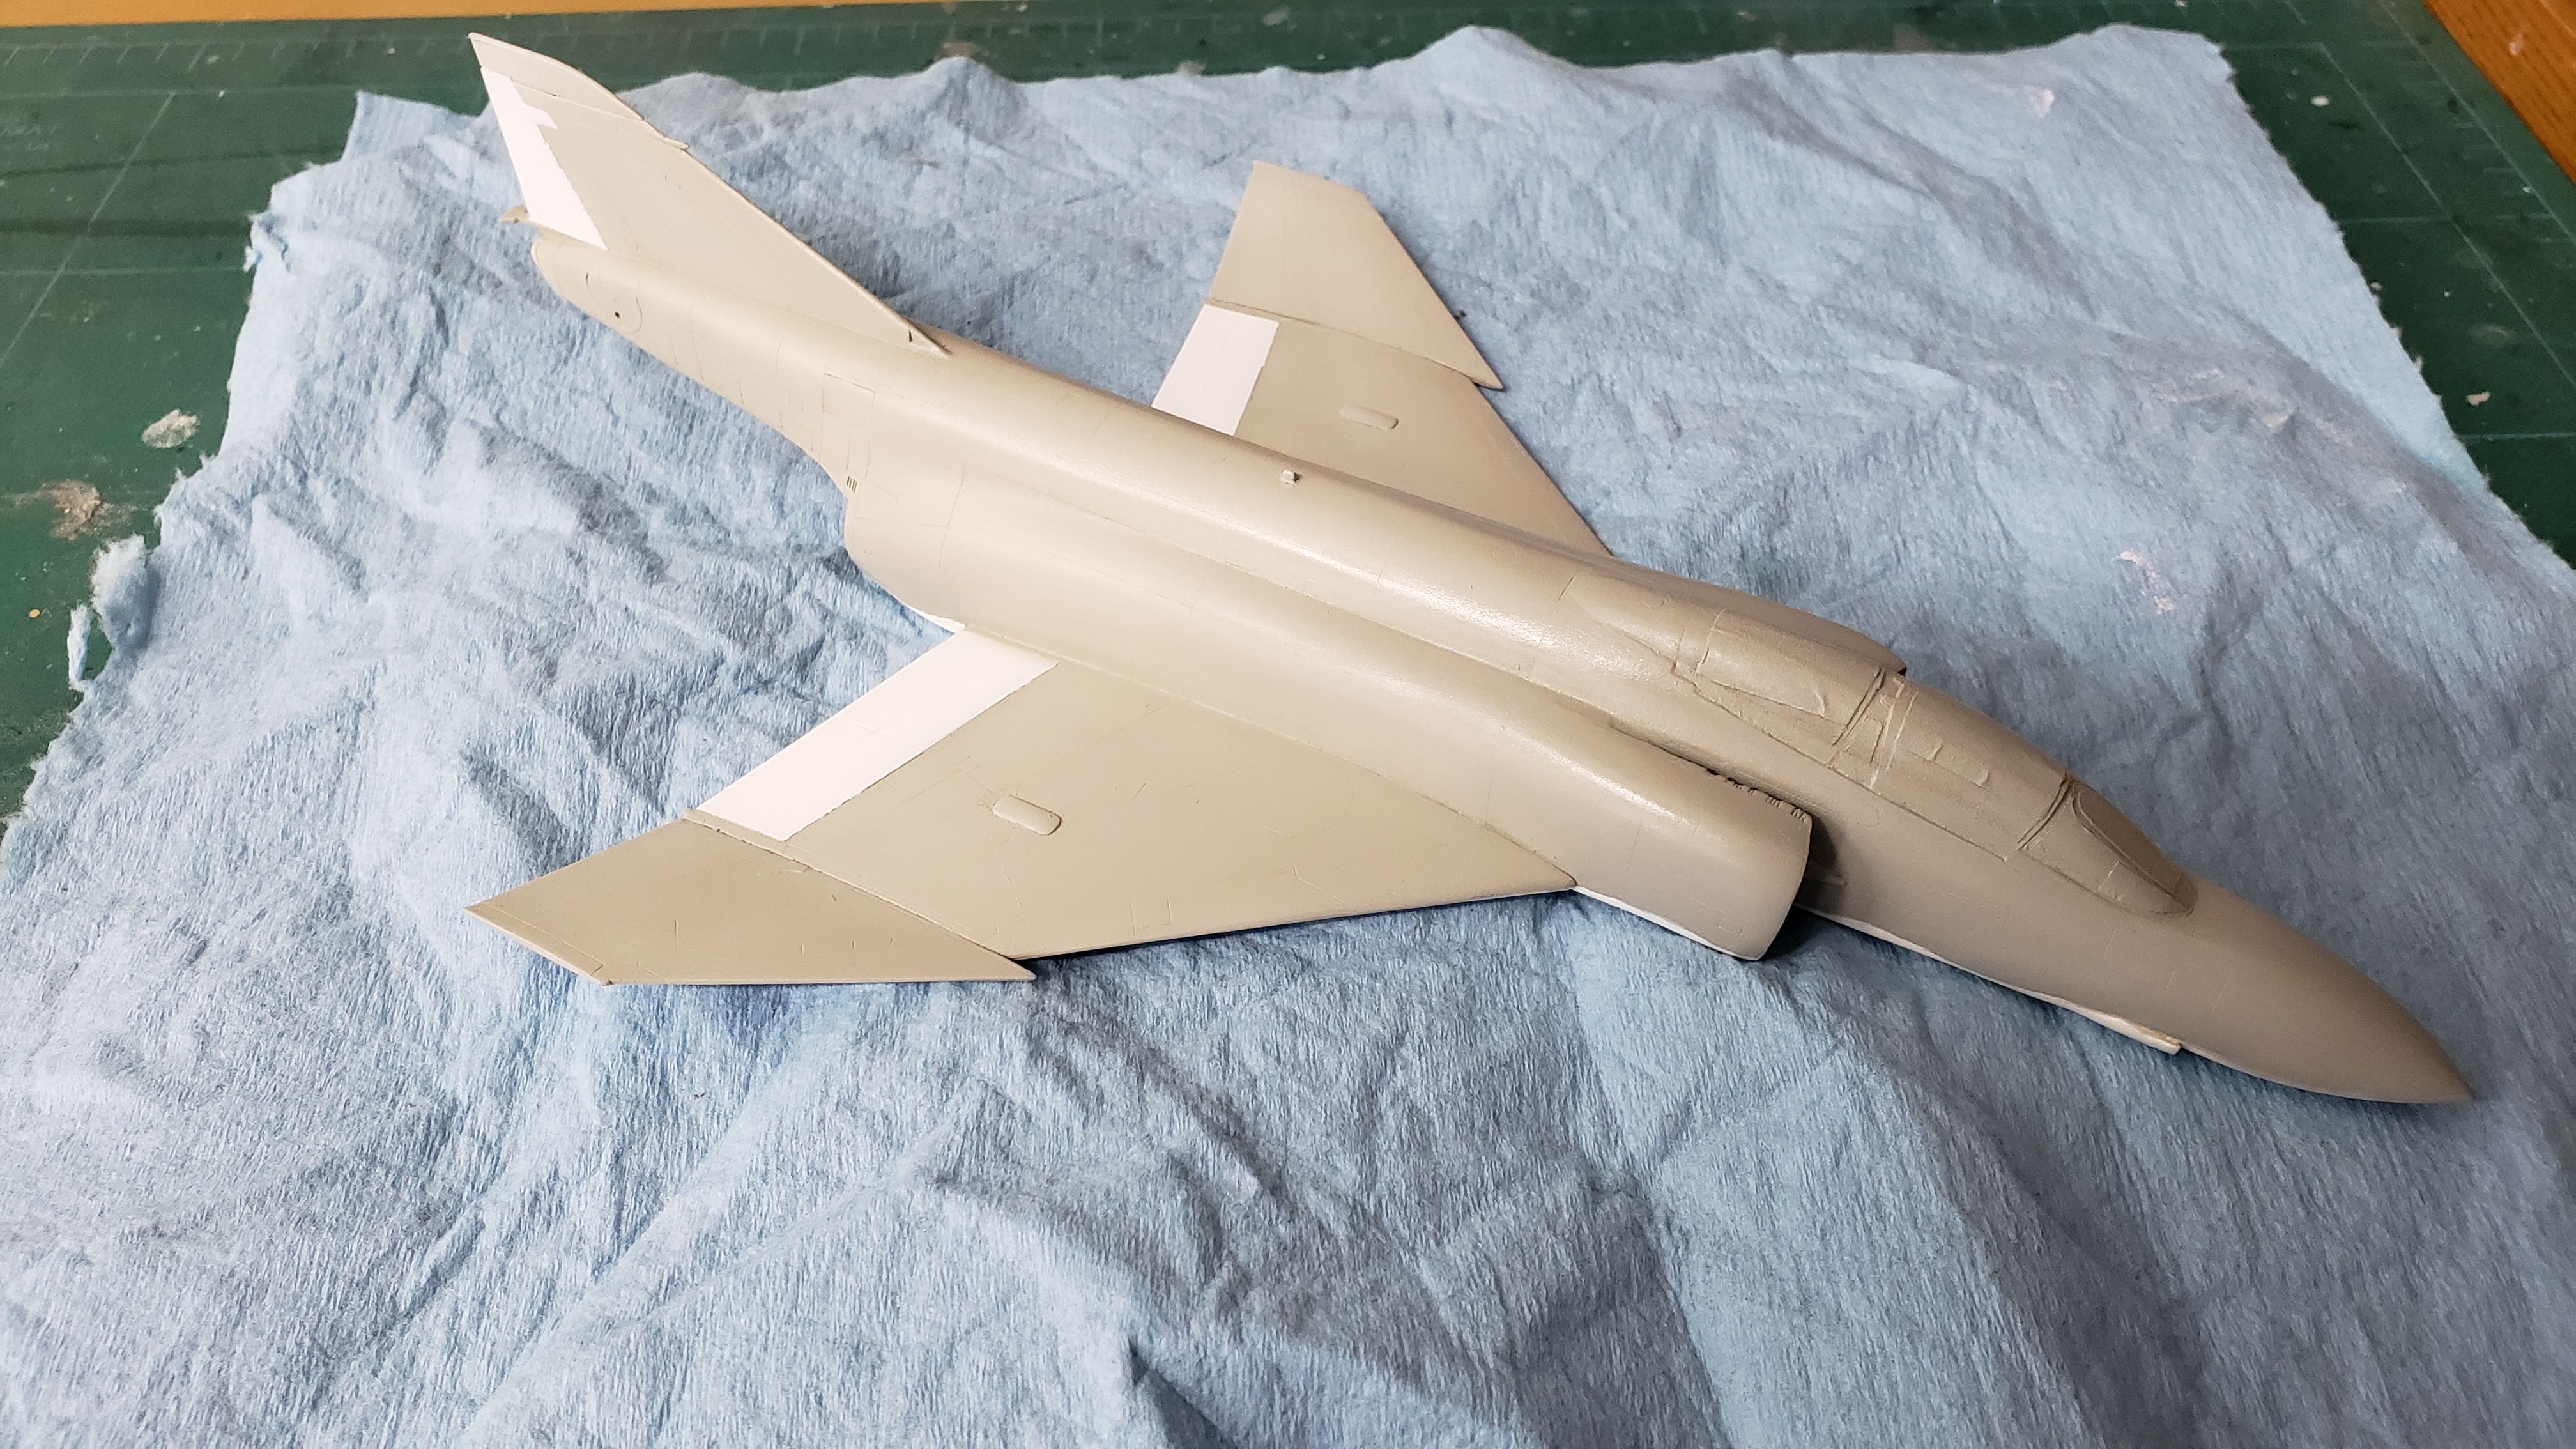
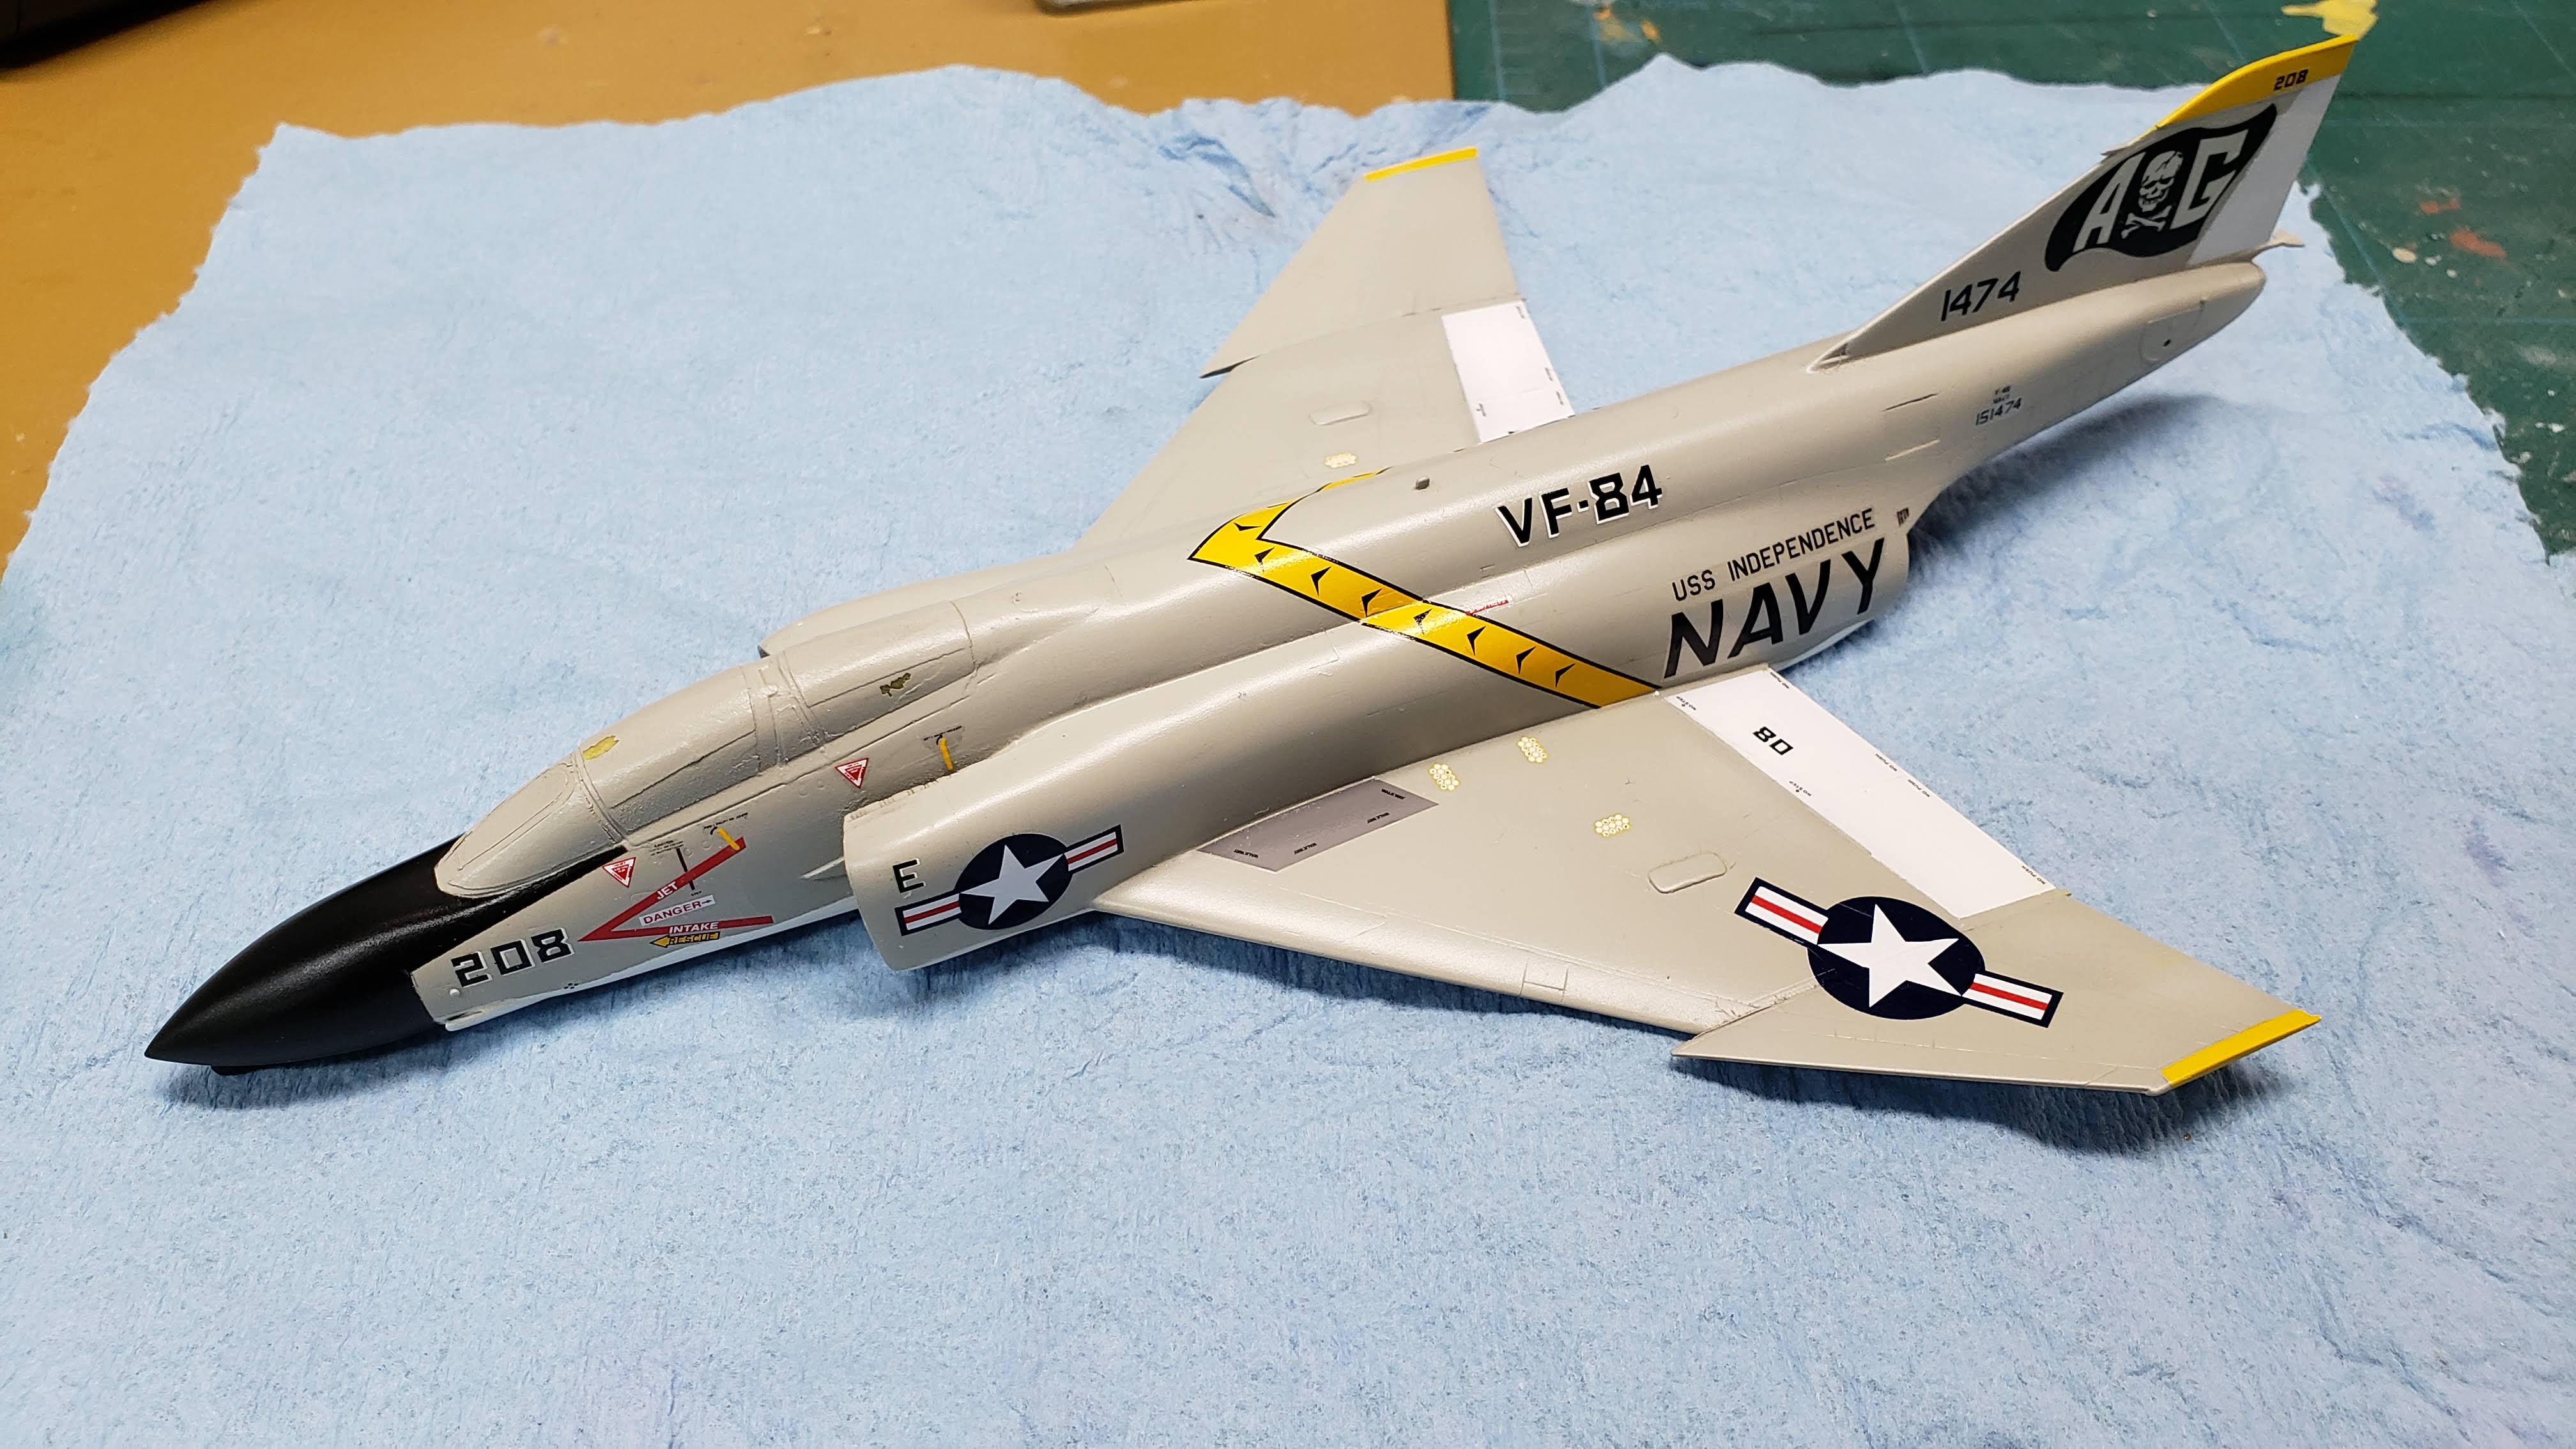
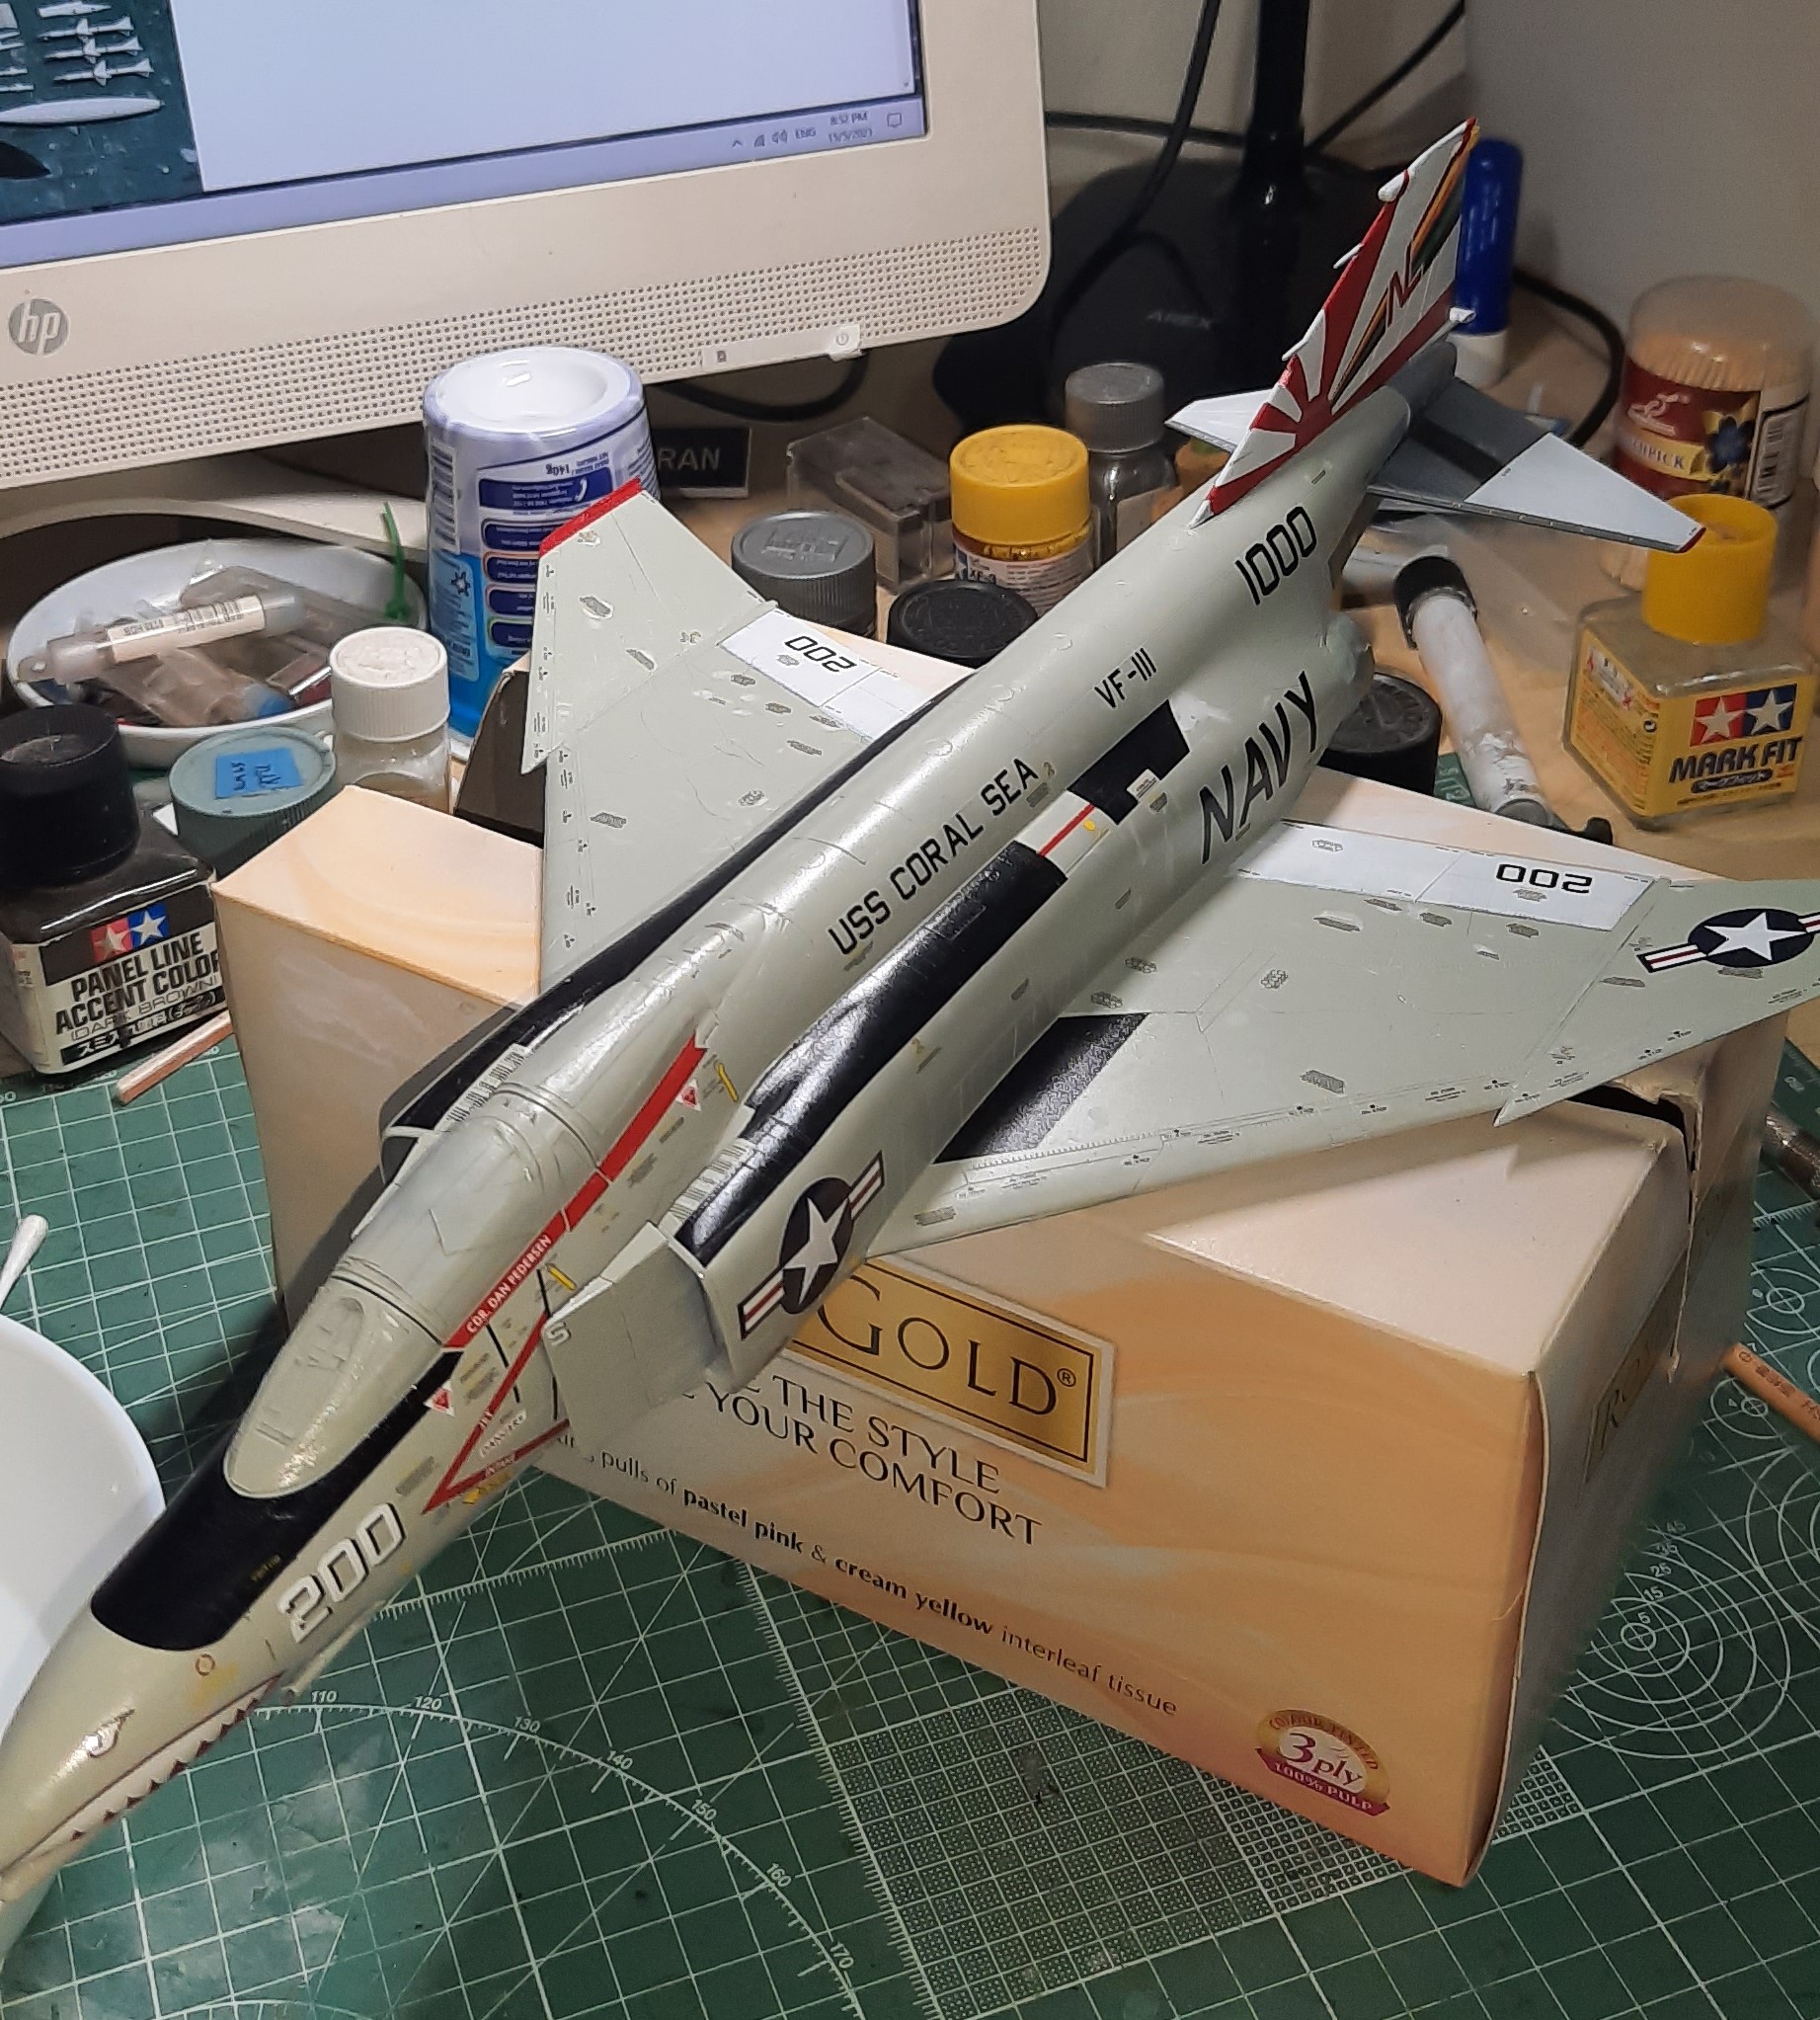
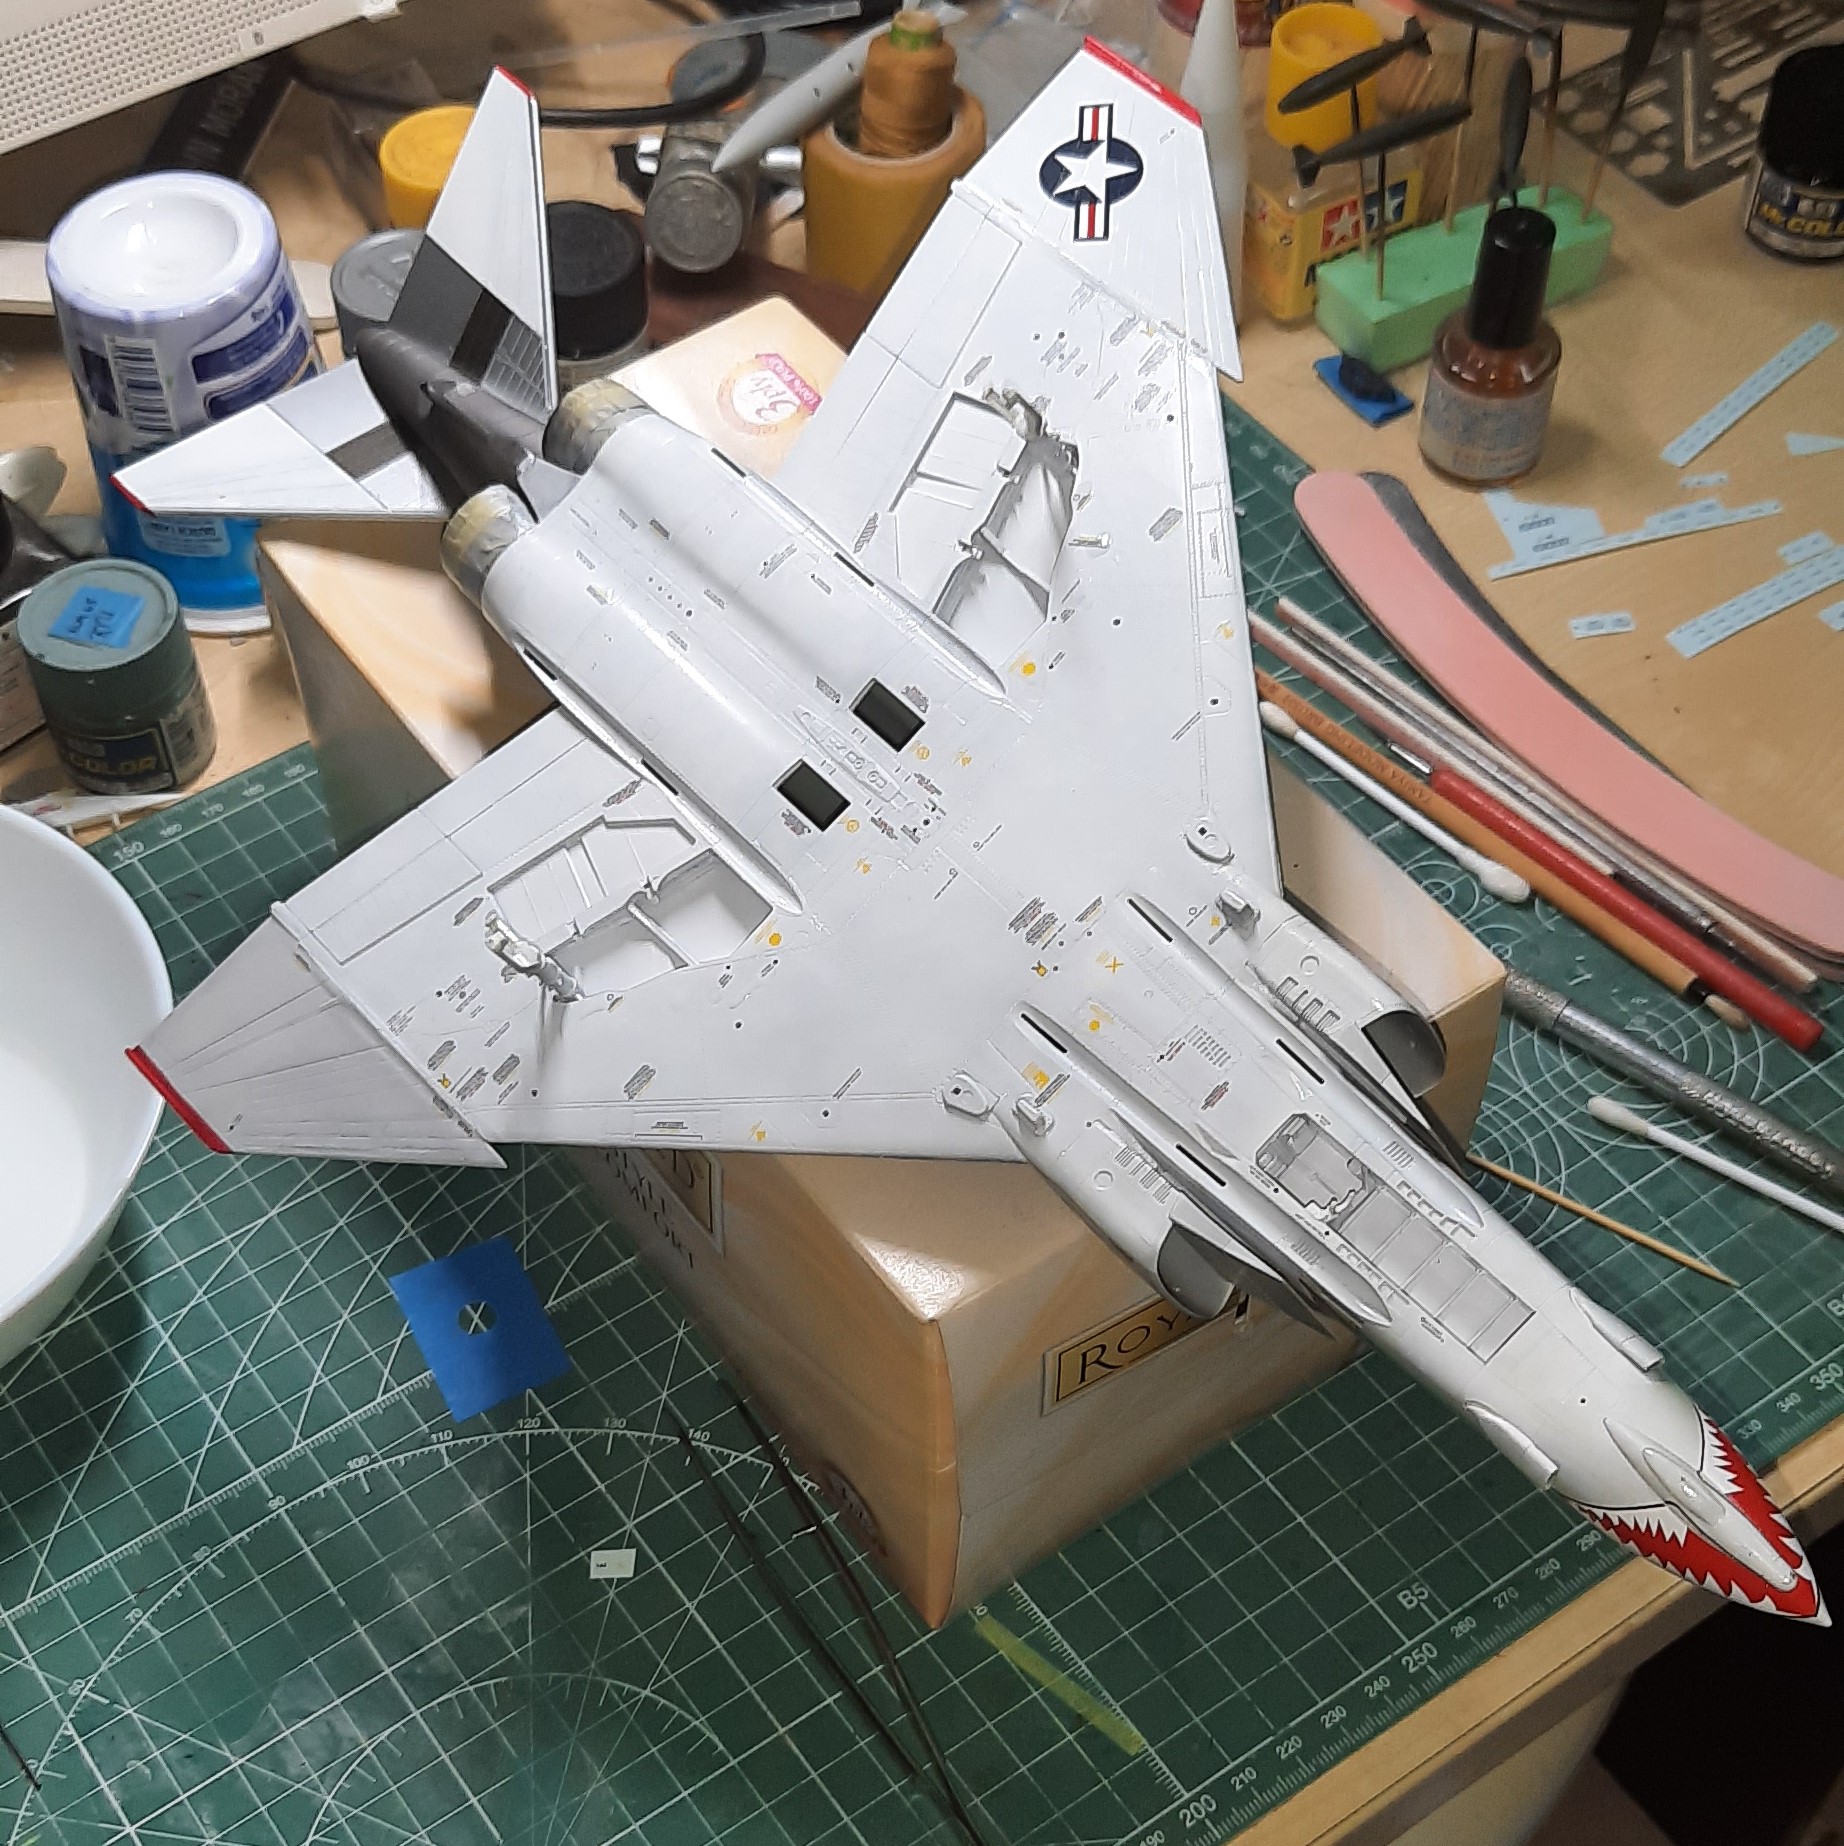
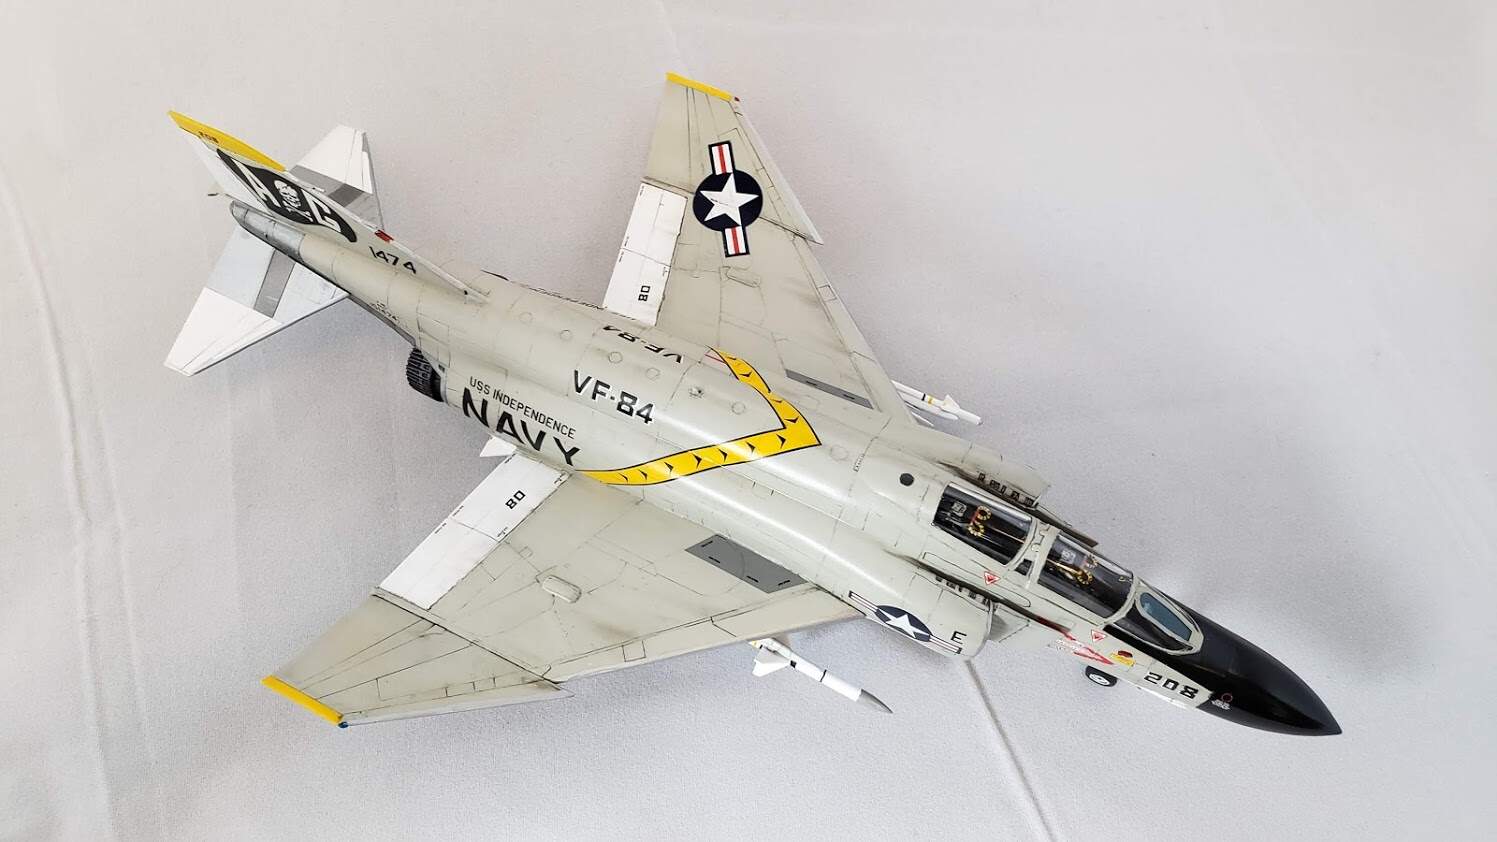
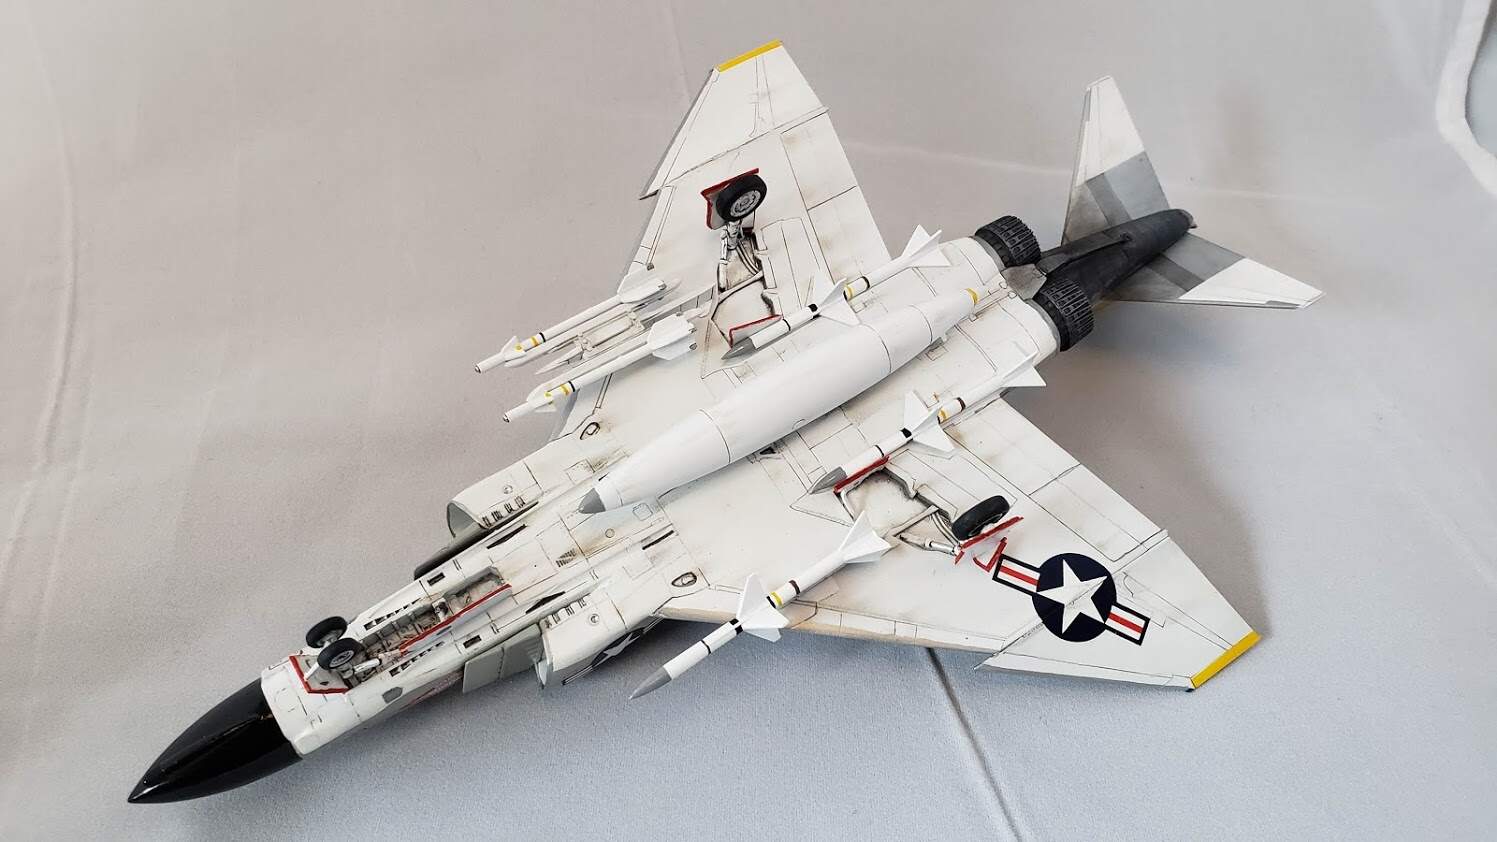
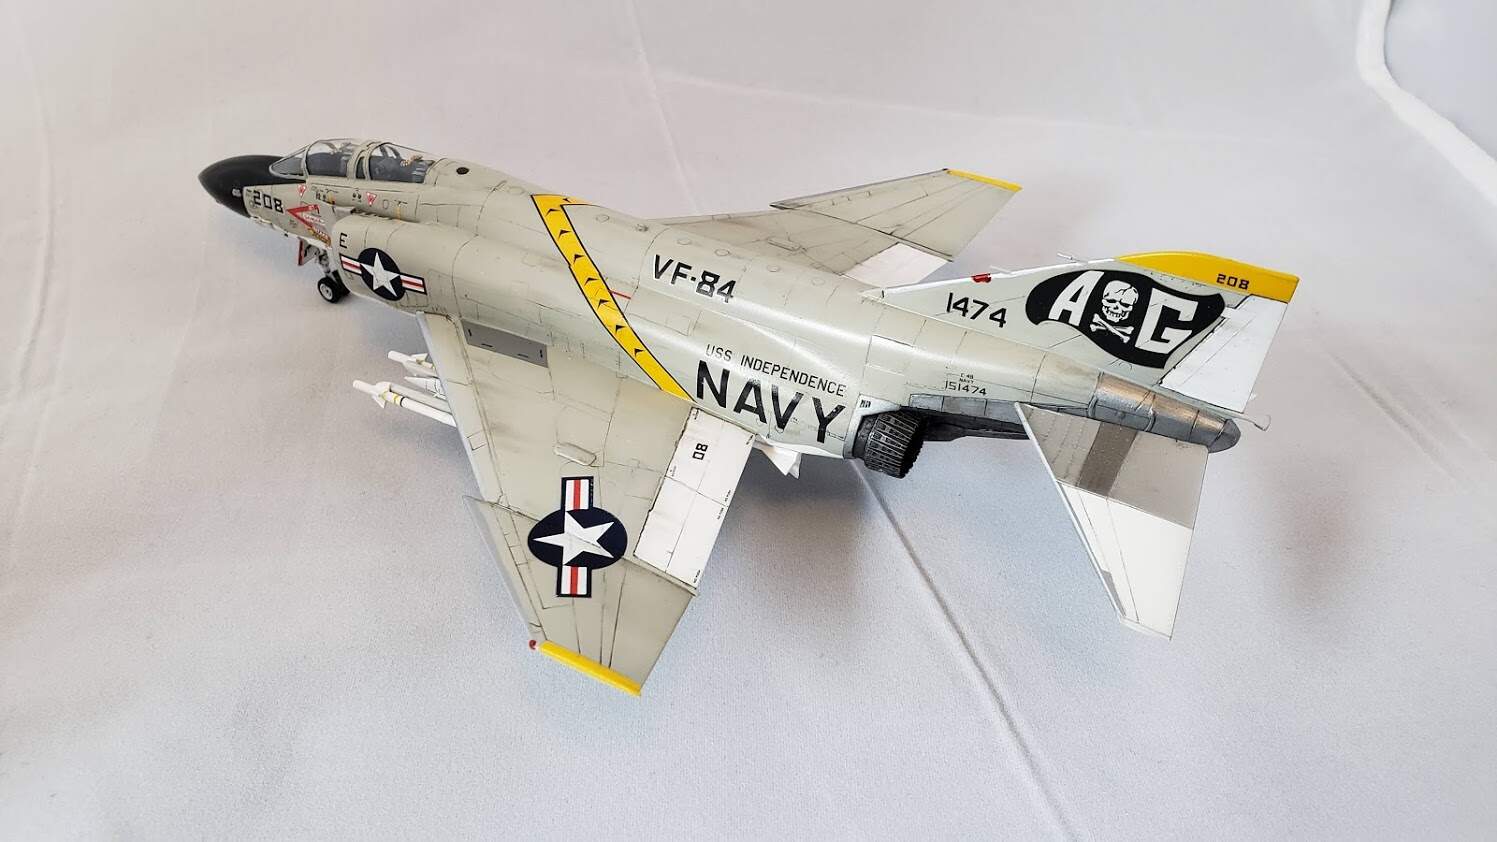
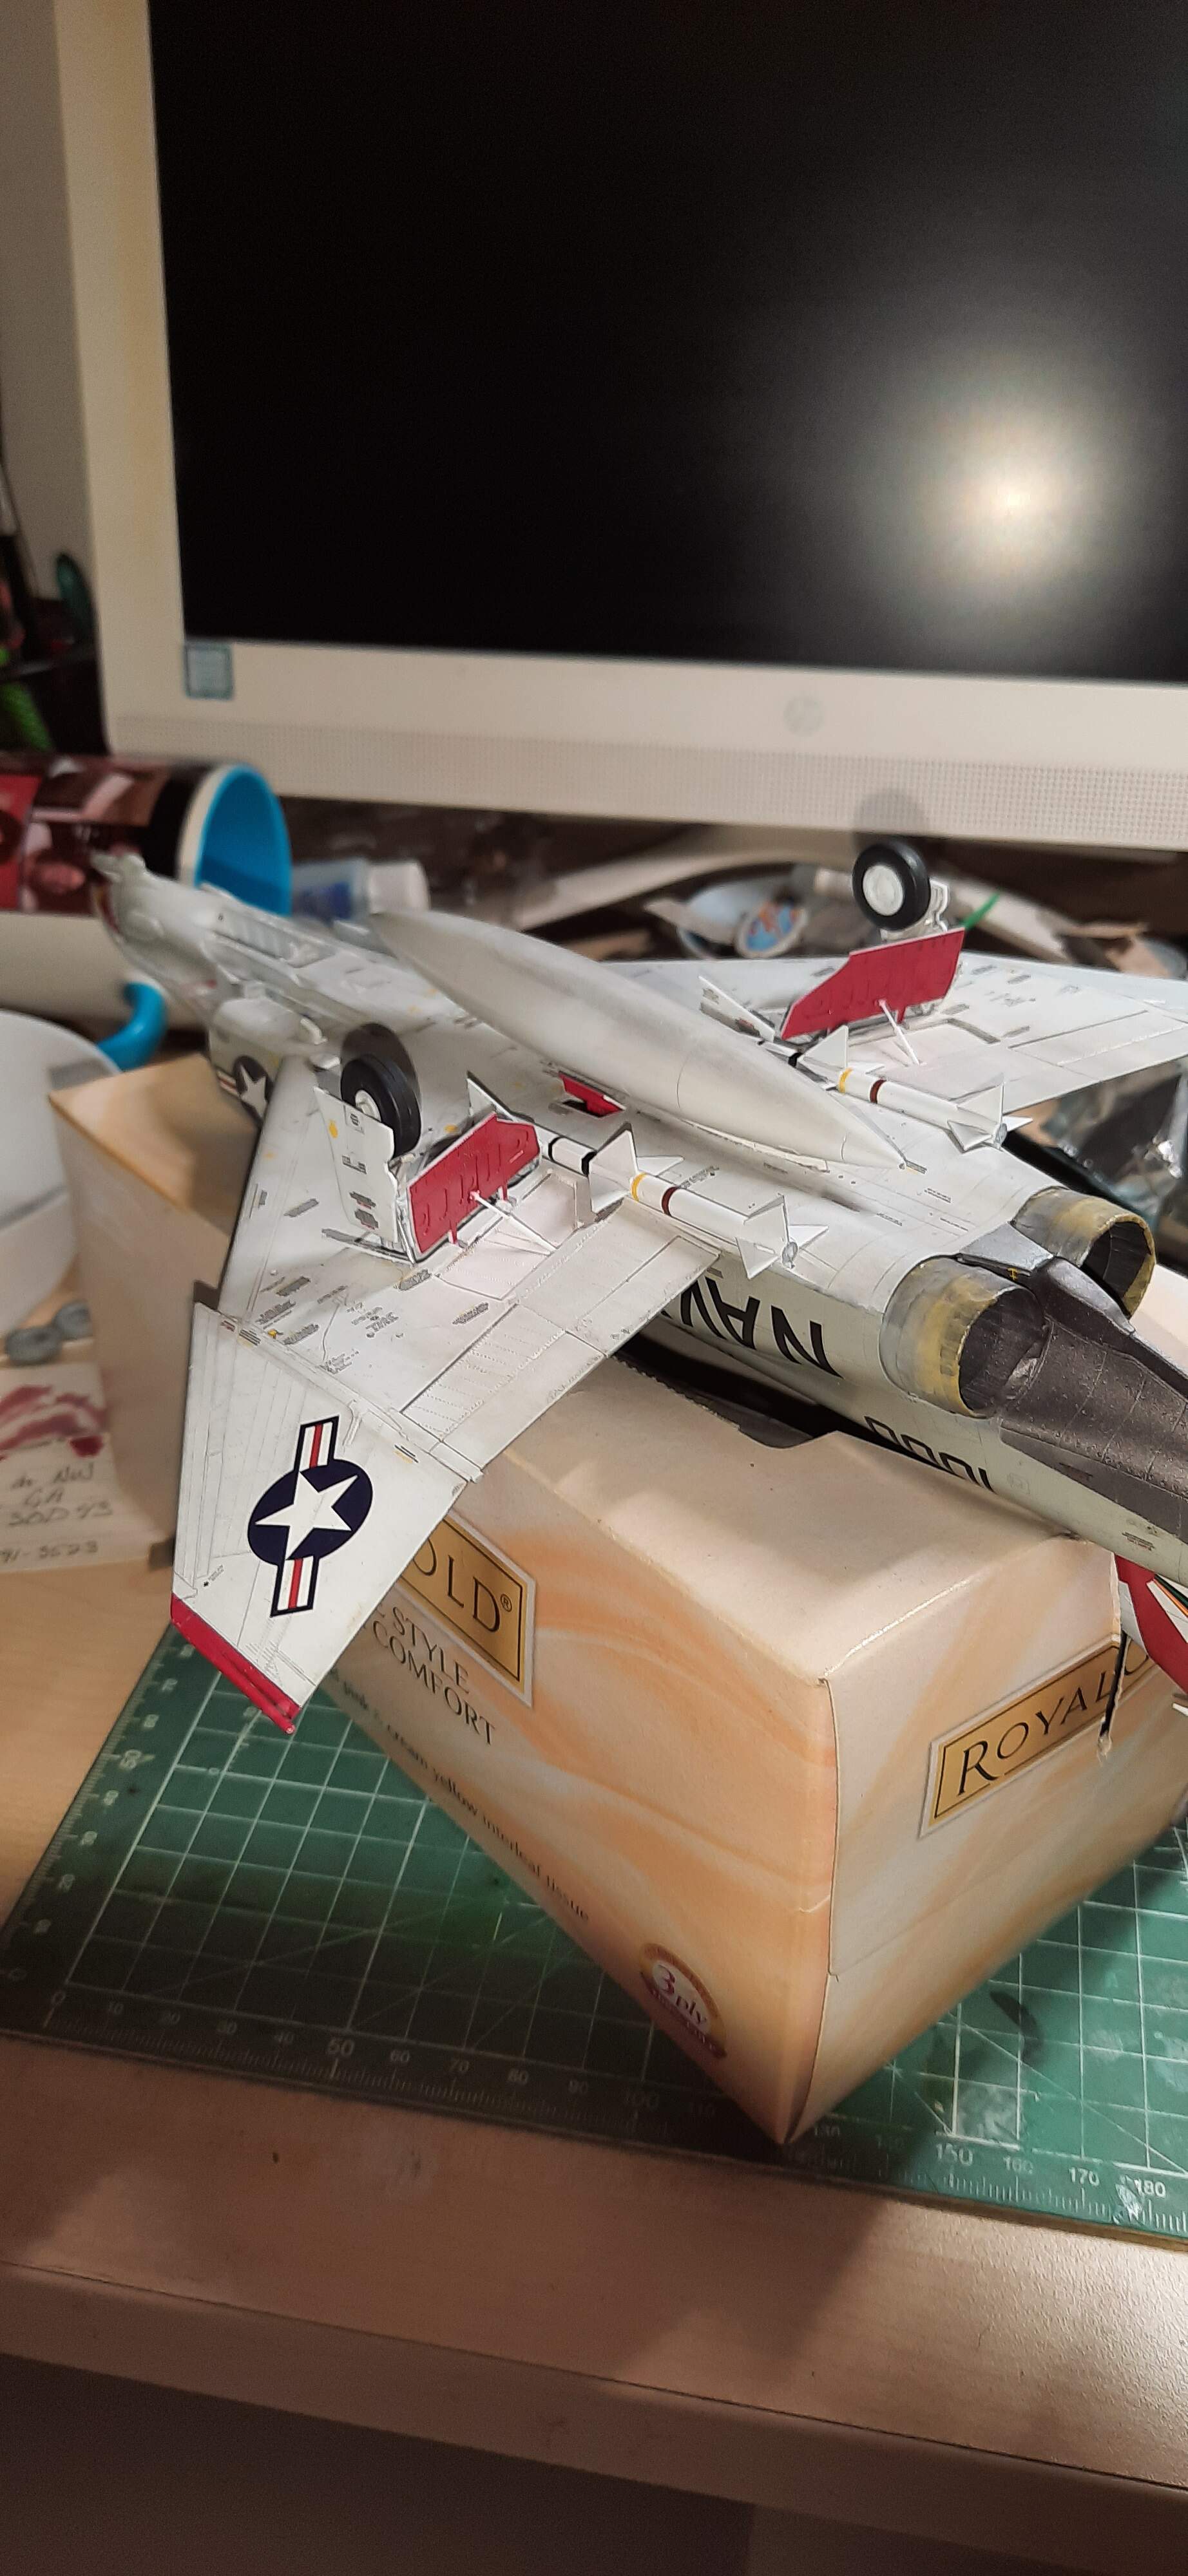
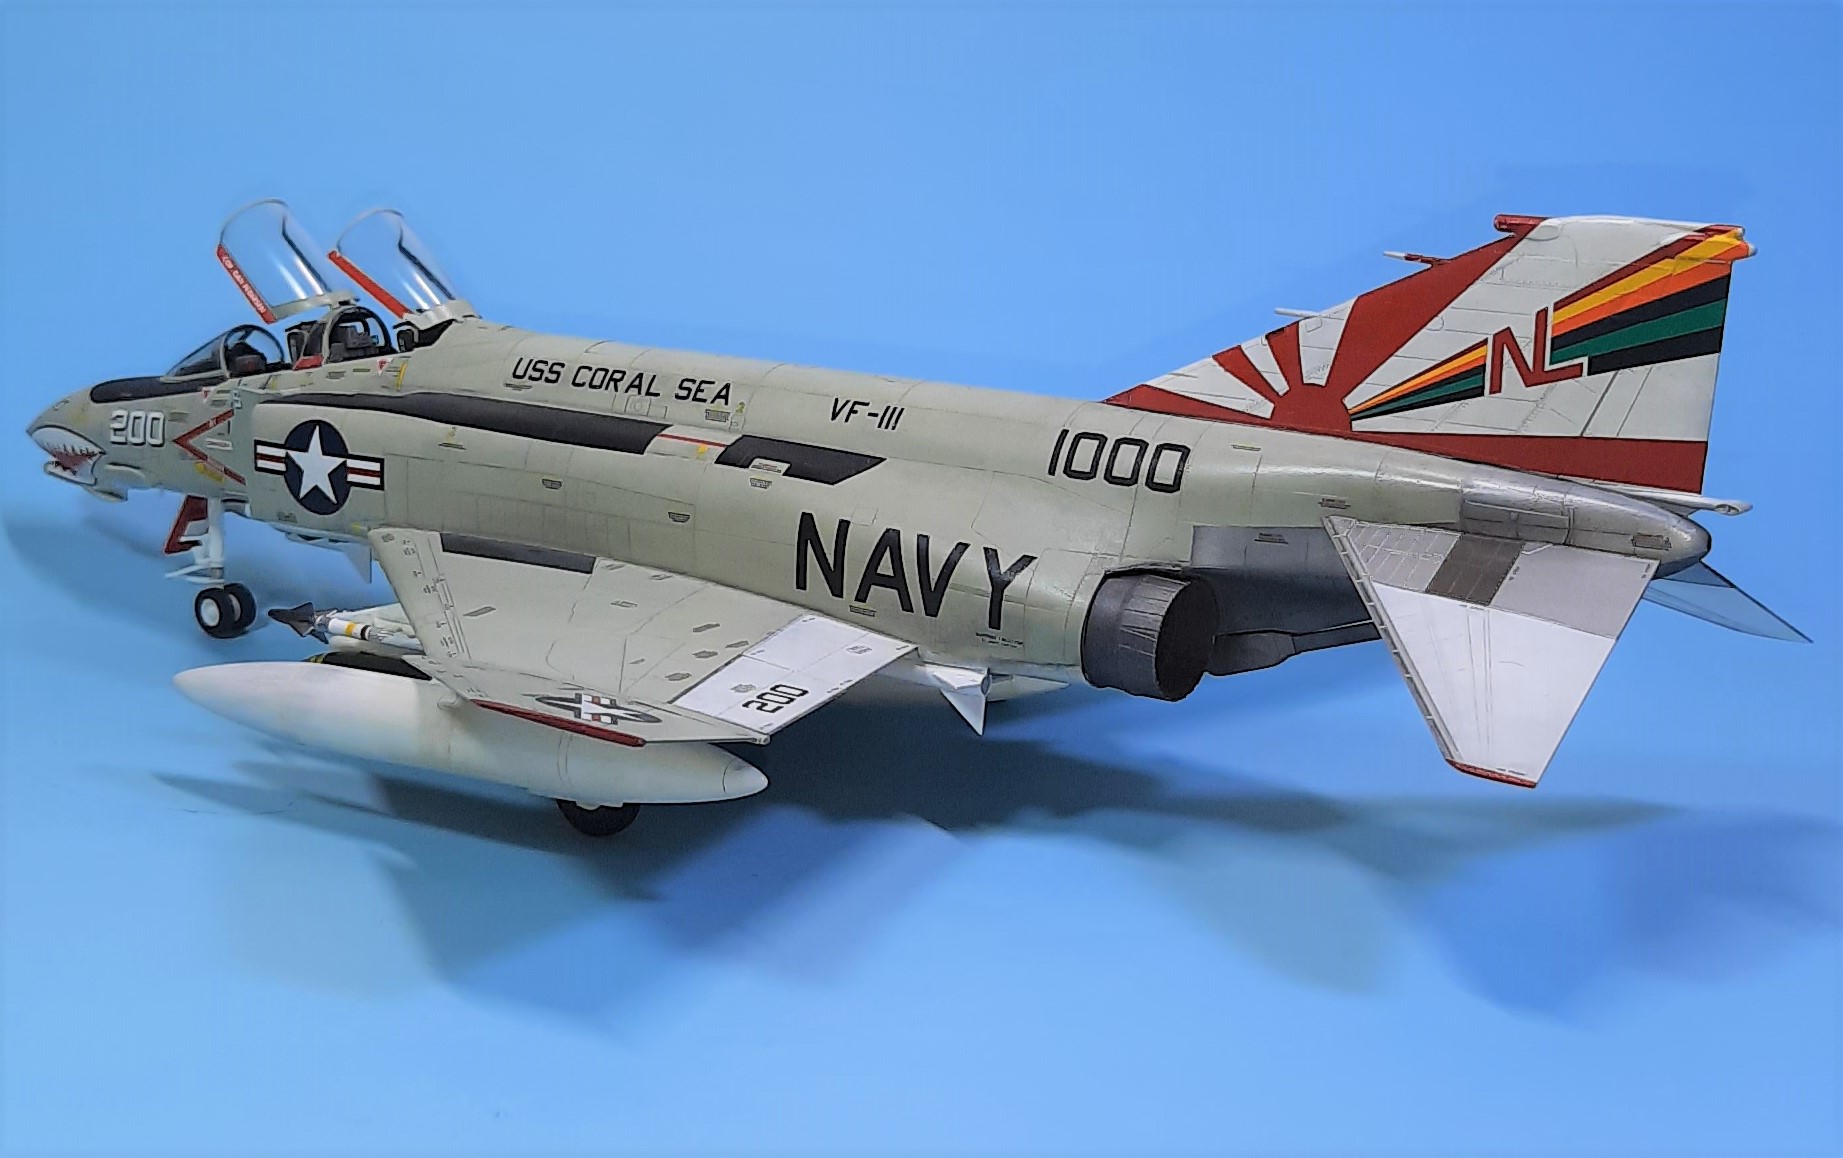
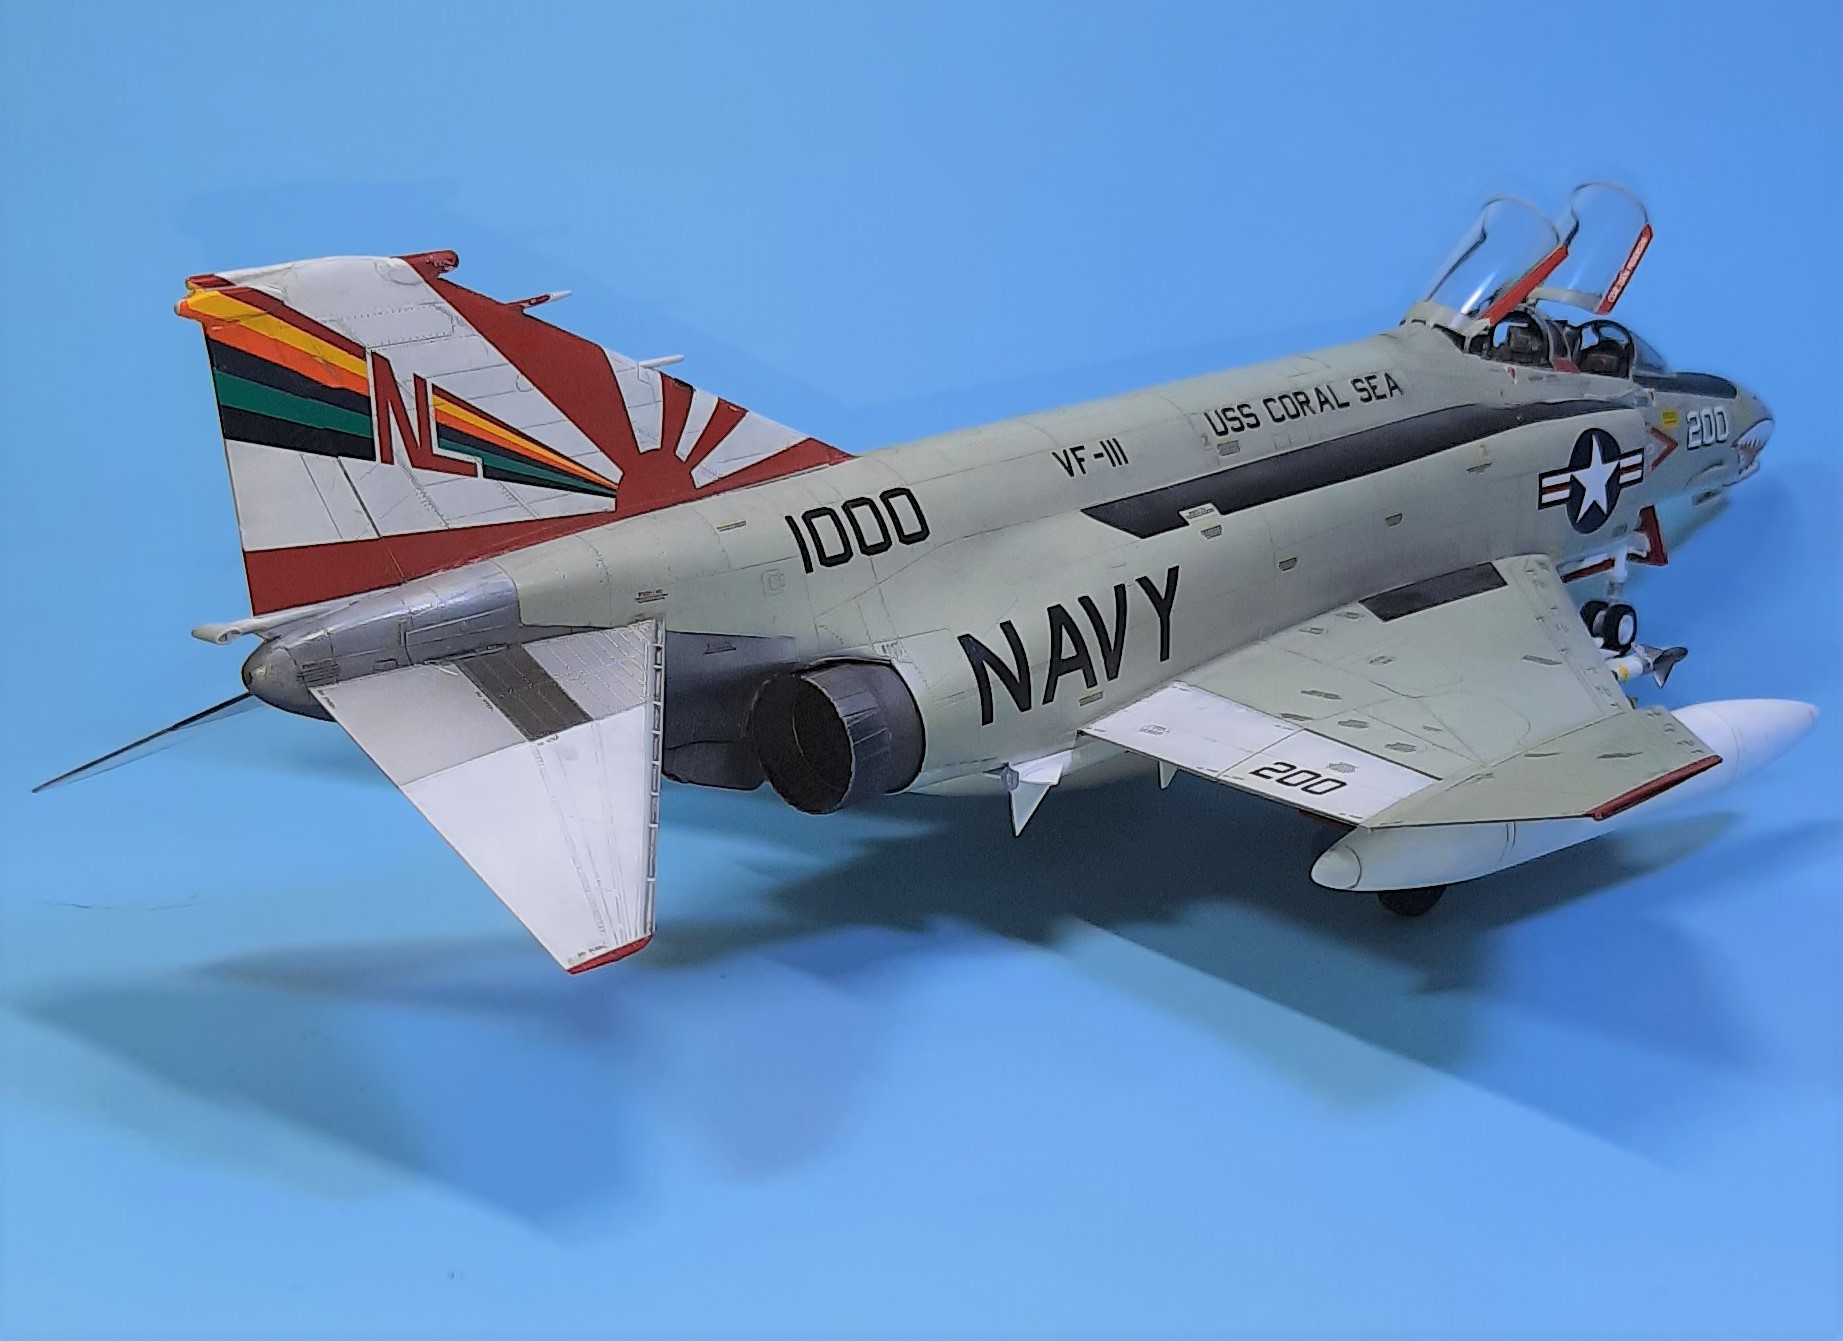
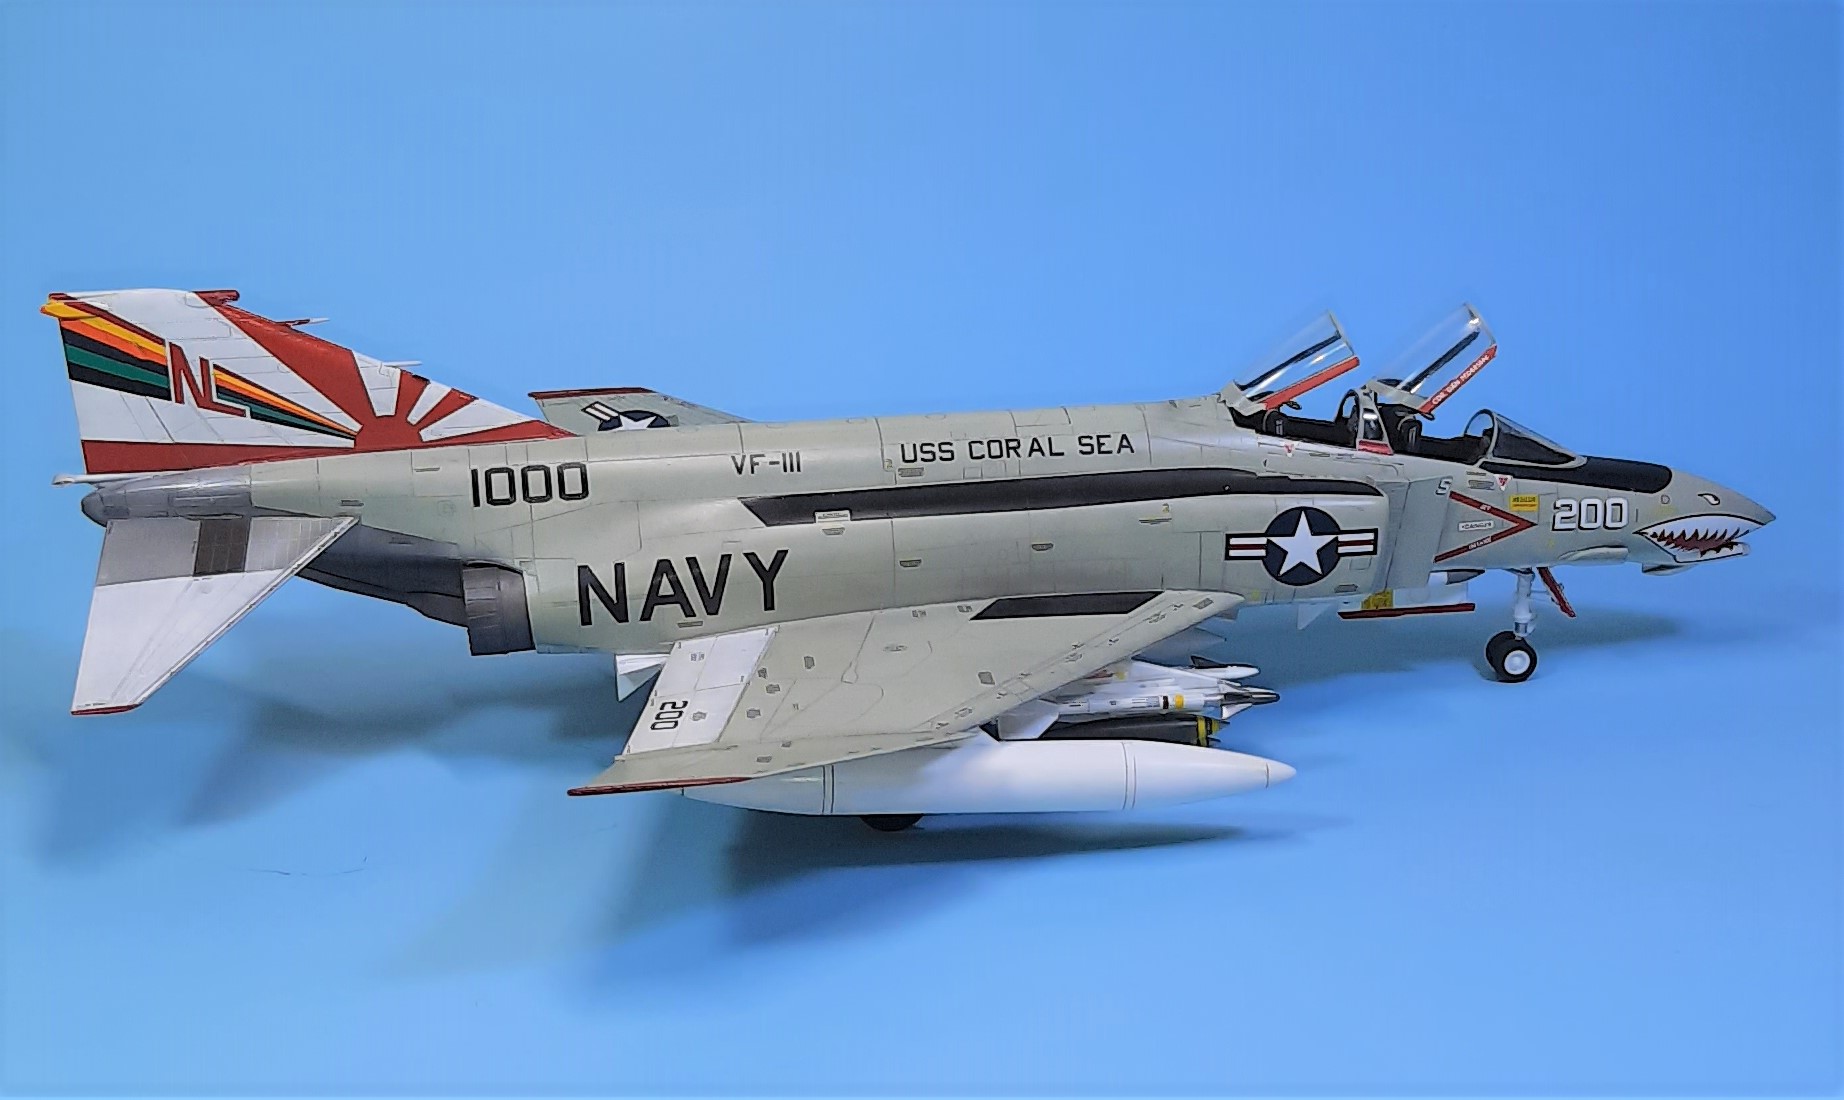
Well here’s my update till now. I will say that the build was one of the best jet builds I’ve ever done. I also had a much better Navy paint job than my previous one (Vigilante). Though, I’ll admit that the decal job was nearly a project killer!
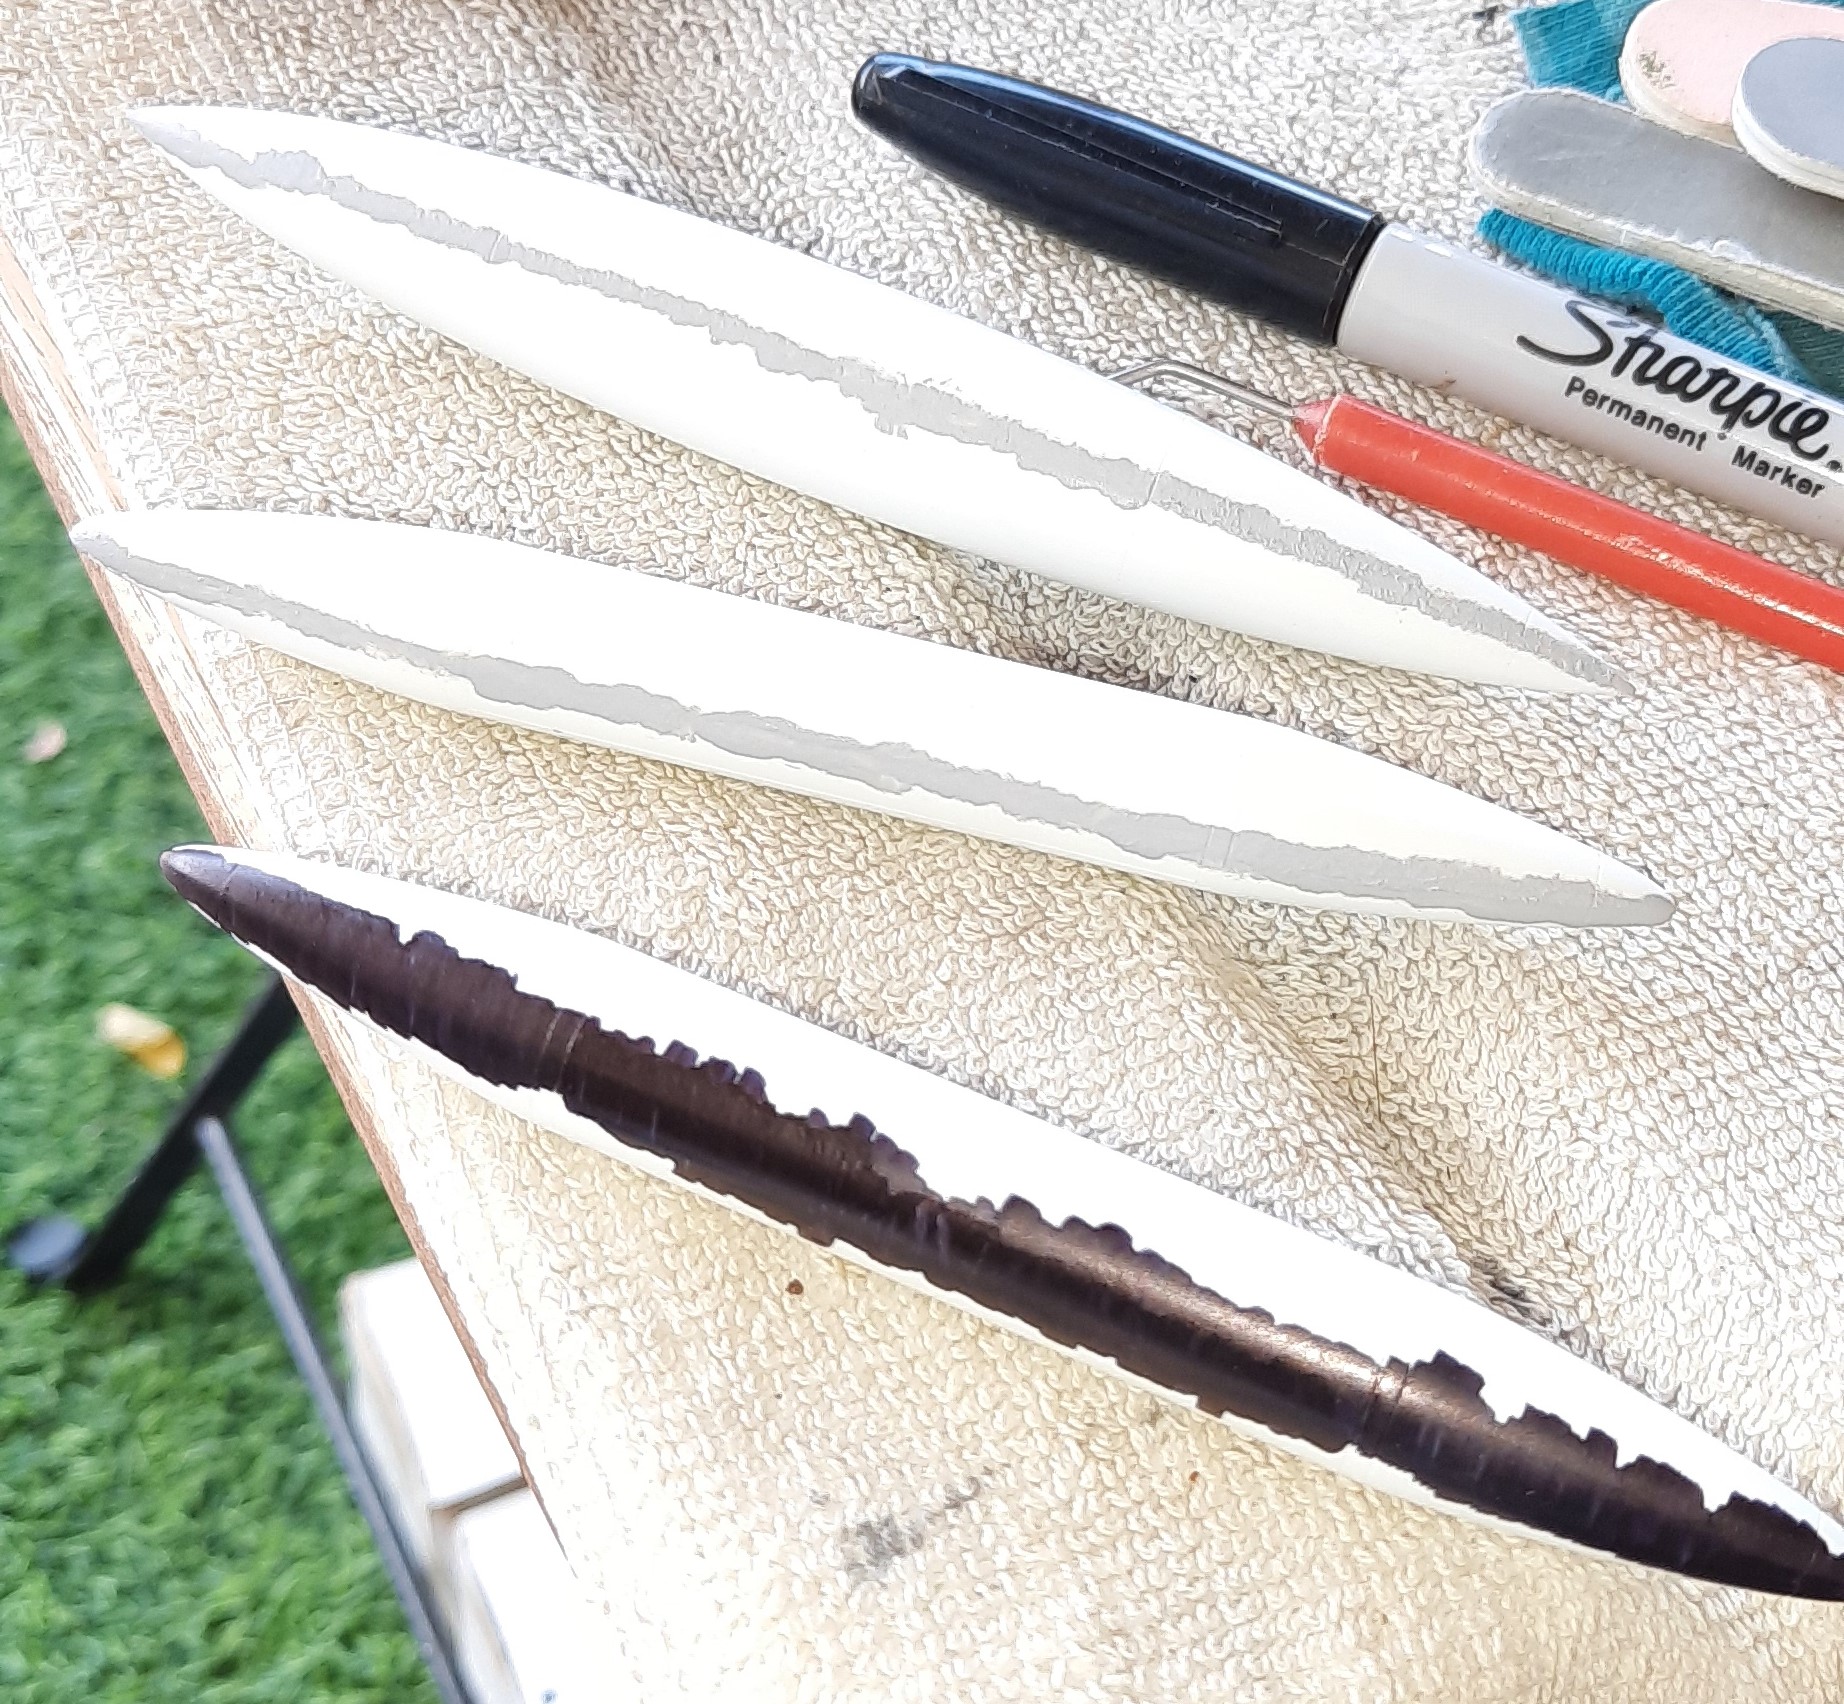
There’s a lot of ordinance provided in the kit. In fact tons! I believe that Academy provides parts to make each of their F-4’s, the only difference being the decals and minor instructions. Fit is overall good, though on the fuel tanks I did try a different technique to determine if I’d filled the gaps. Using a Sharpie black pen to go over the area, clean up was using 70% IPA. Worked pretty well I think.
Everything else went together nicely and I really used very little filler, mostly Vallejo plastic putty, and Mr. Surfacer 500 and 1000.
Then there was some masking of the canopy.
I then began the painting, first thing was to primer the bird. I chose to use Mr. Surfacer 1000 diluted 1:4 with Mr. Leveler thinner on the undersides and rudder (fin?) which were to be white, and Mr. Surfacer 1500 Black, again diluted 1:4.
This revealed some minor gaps that were attended to, and onward I went! Working on the exhaust area.
I liked how it came out, then came some more masking and I began the pain of doing white on the undersides, upper flaps, and fin.
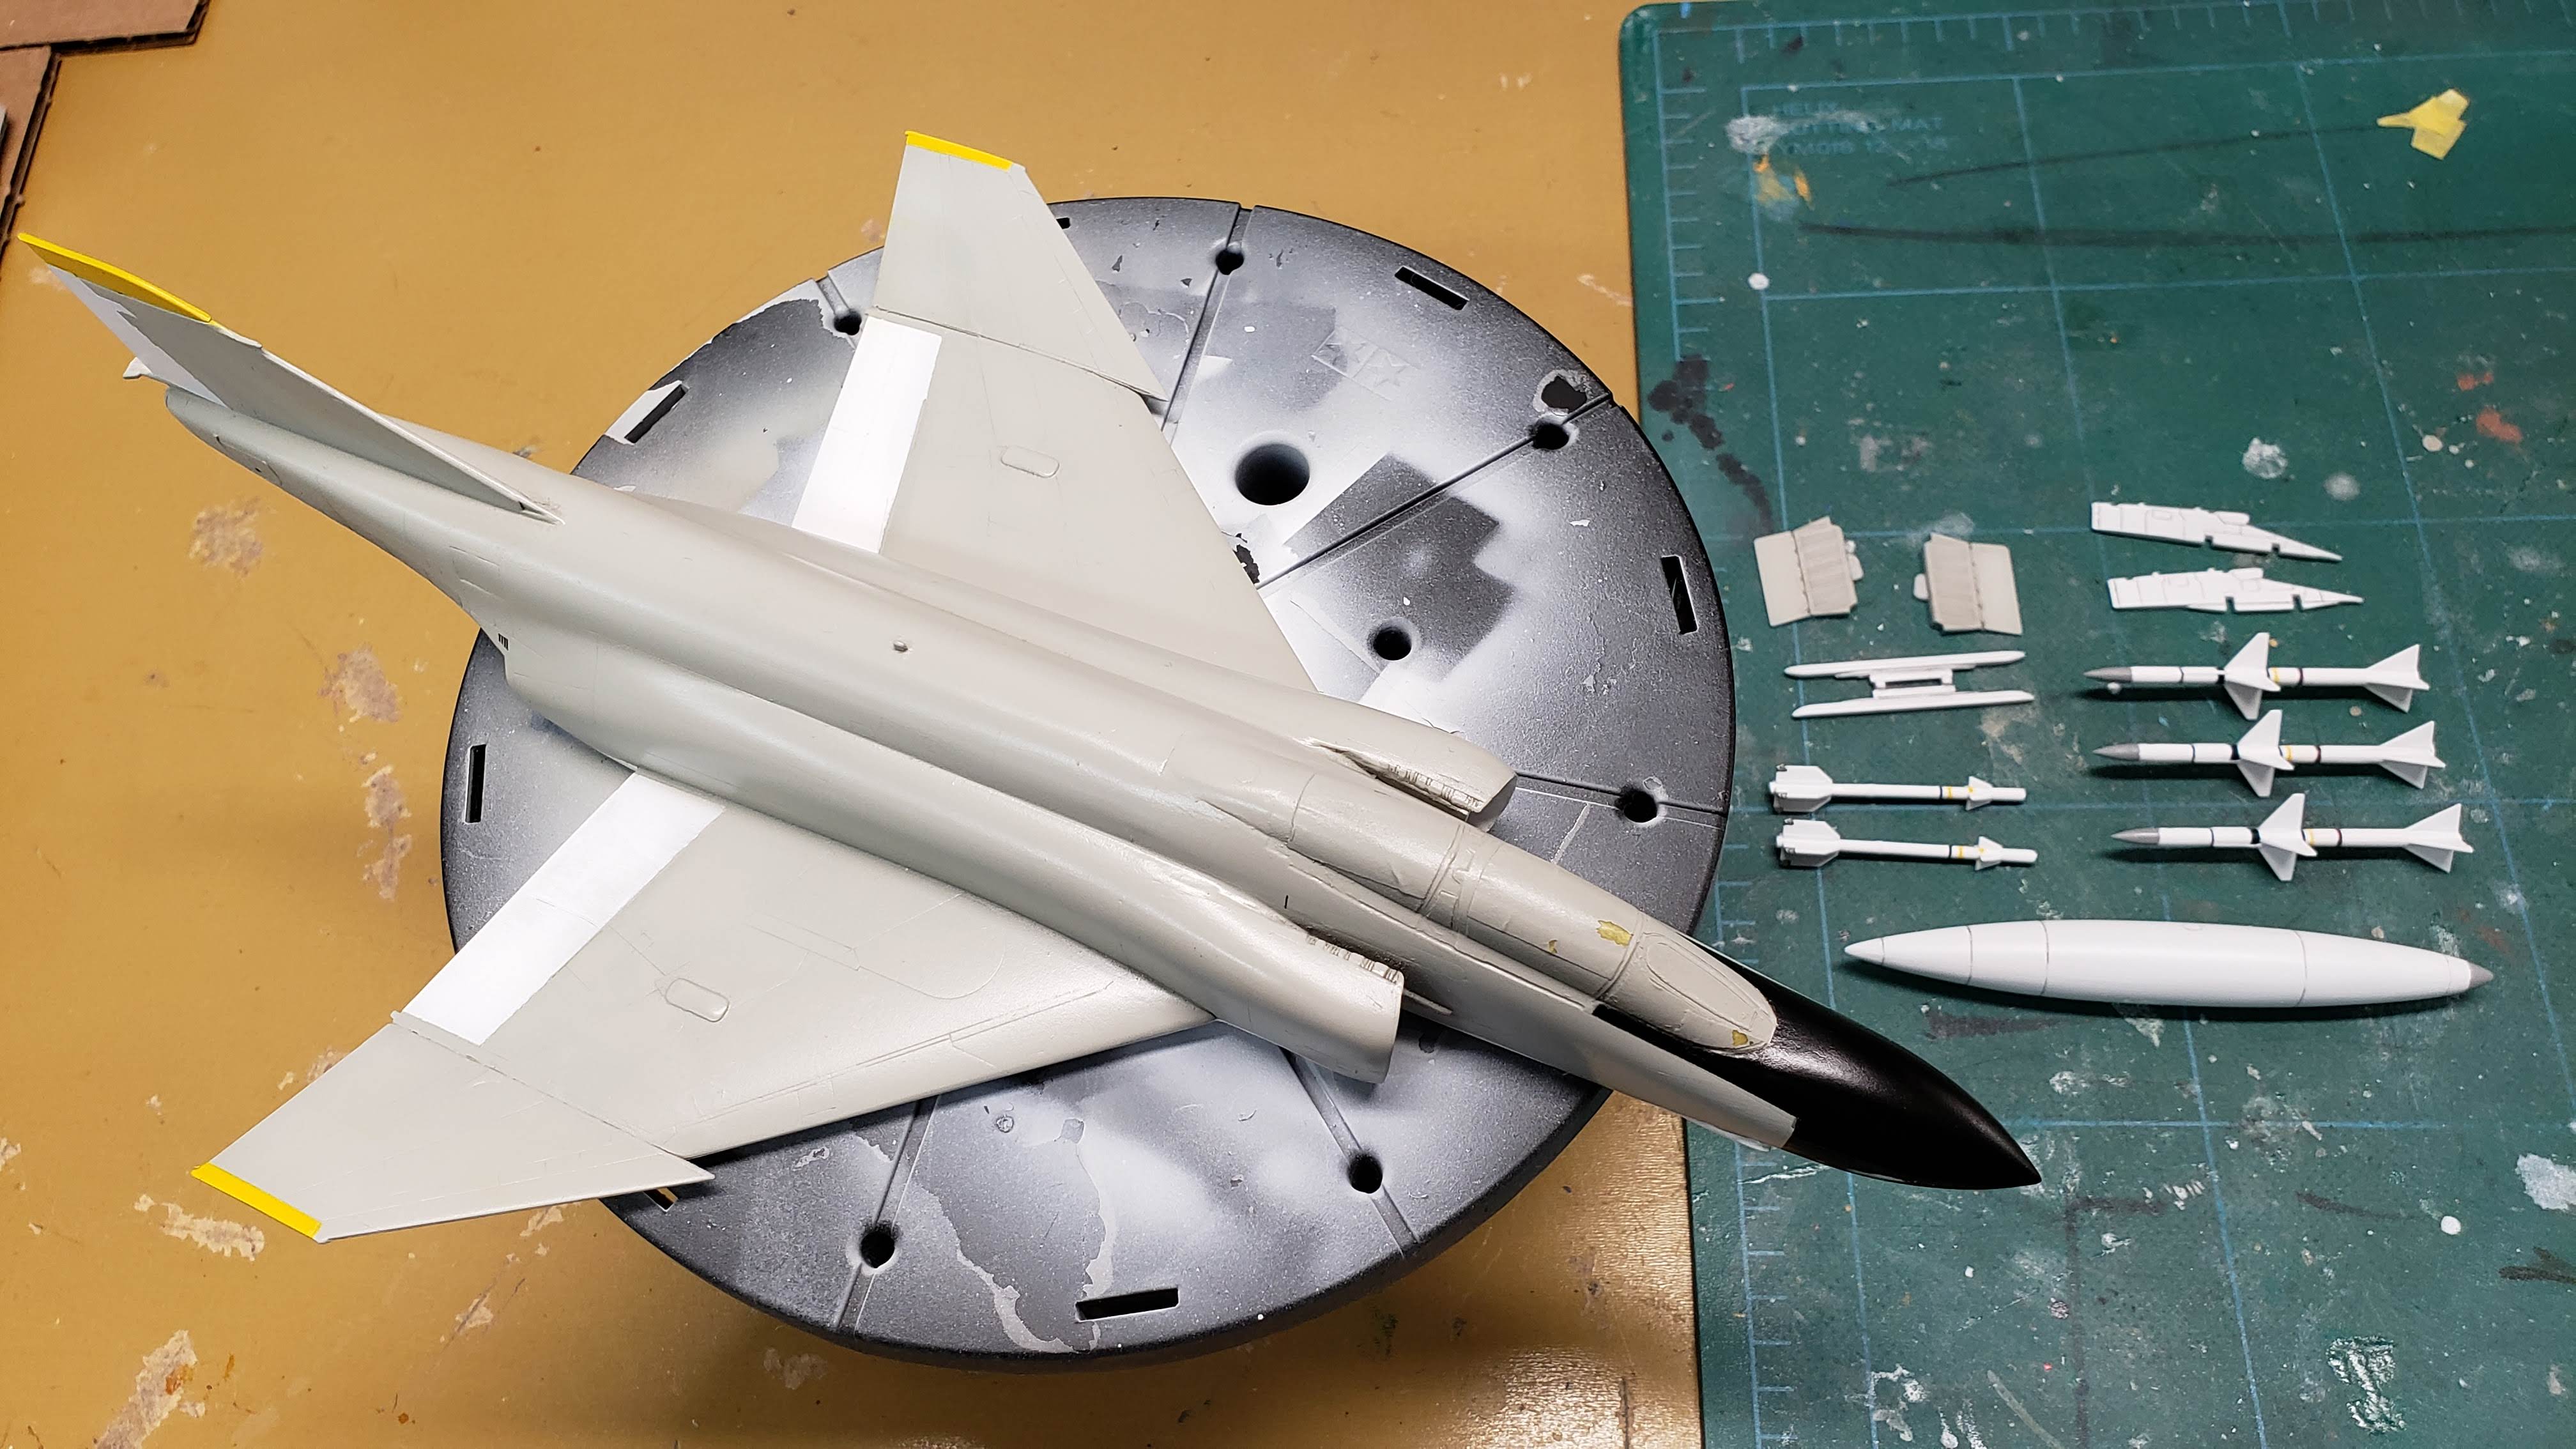
Then began the upper portion, I used a diluted light light gull grey to spray the mottle, and covered the areas with light gull grey (Mr. Color).
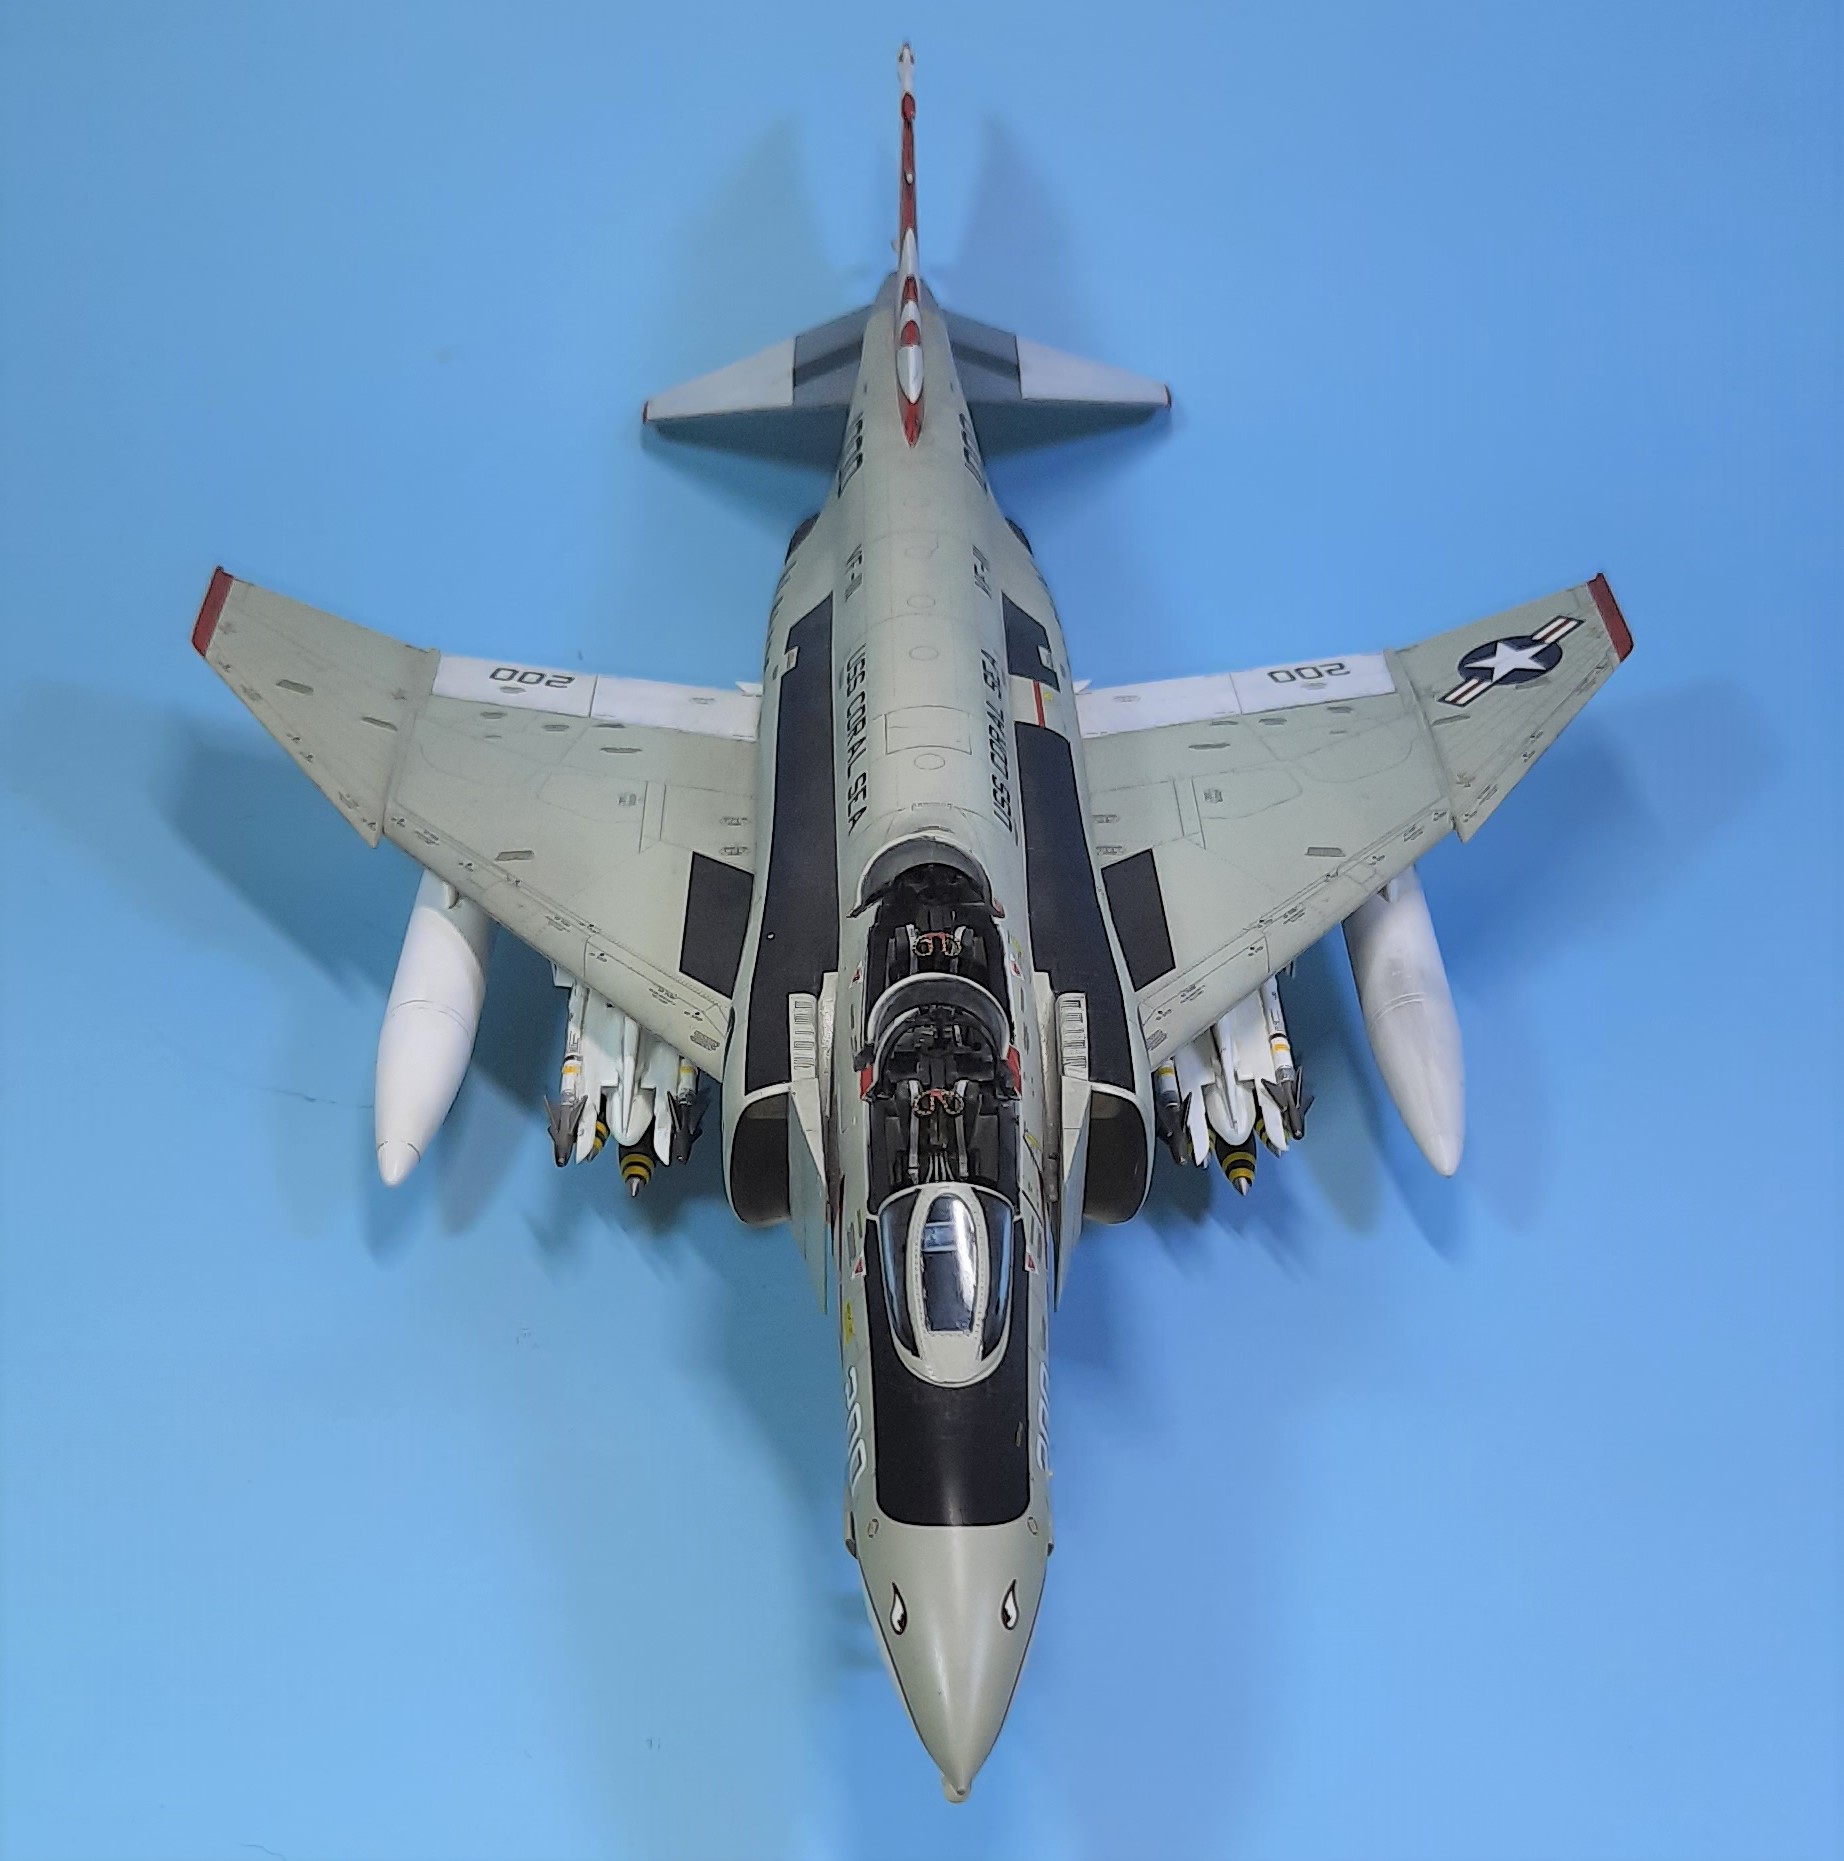
A triple coat of my future clear mix 70% Future, 30% of 70% IPA and drop of dish soap, which seems to give coverage in the high humidity of Malaysia. After allowing it to dry overnight I began the decaling task, which was quite an undertaking!
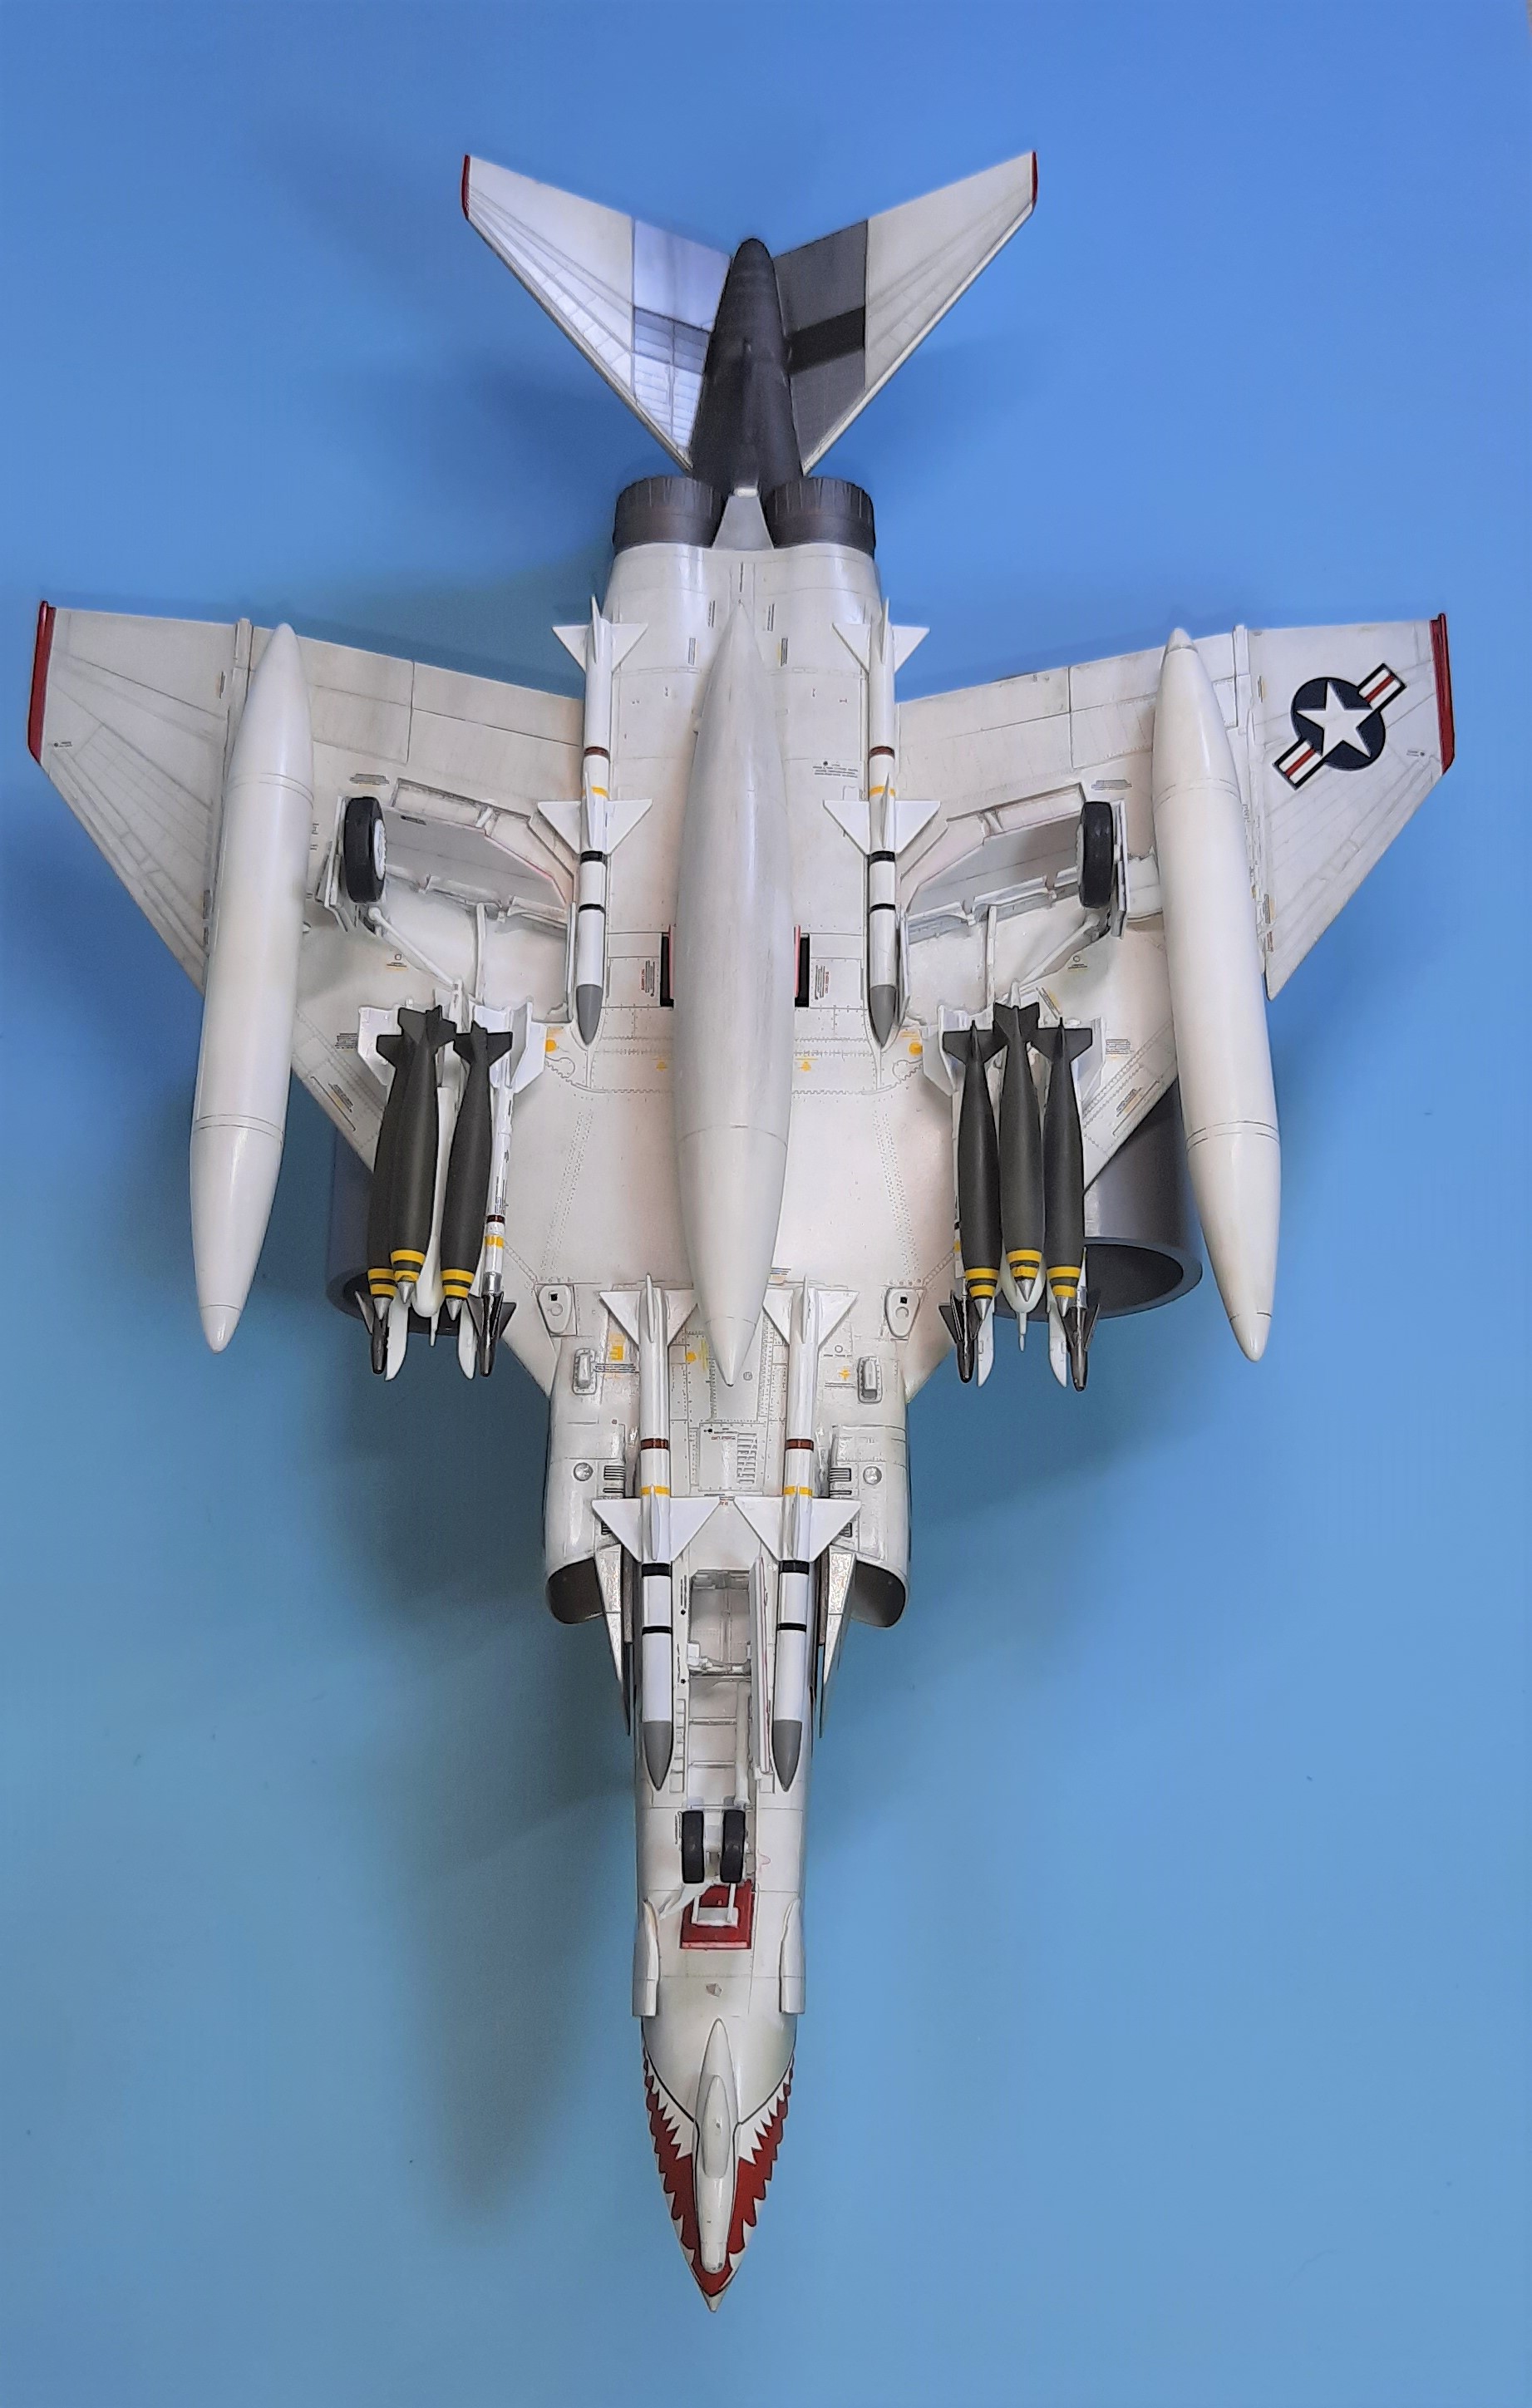
With the topside done, it was on to the underside only 138 decals, mostly stencils, and this was after checking which would be obscured by the main drop tank! After this was done I gave it another two coats of Future. The decals made by Cartagraph went on like a charm, responded well to Mr. Mark Softener, with little to none silvering. The two decals that did silver were pricked with a pin and a sharp number 11 blade and disappeared.
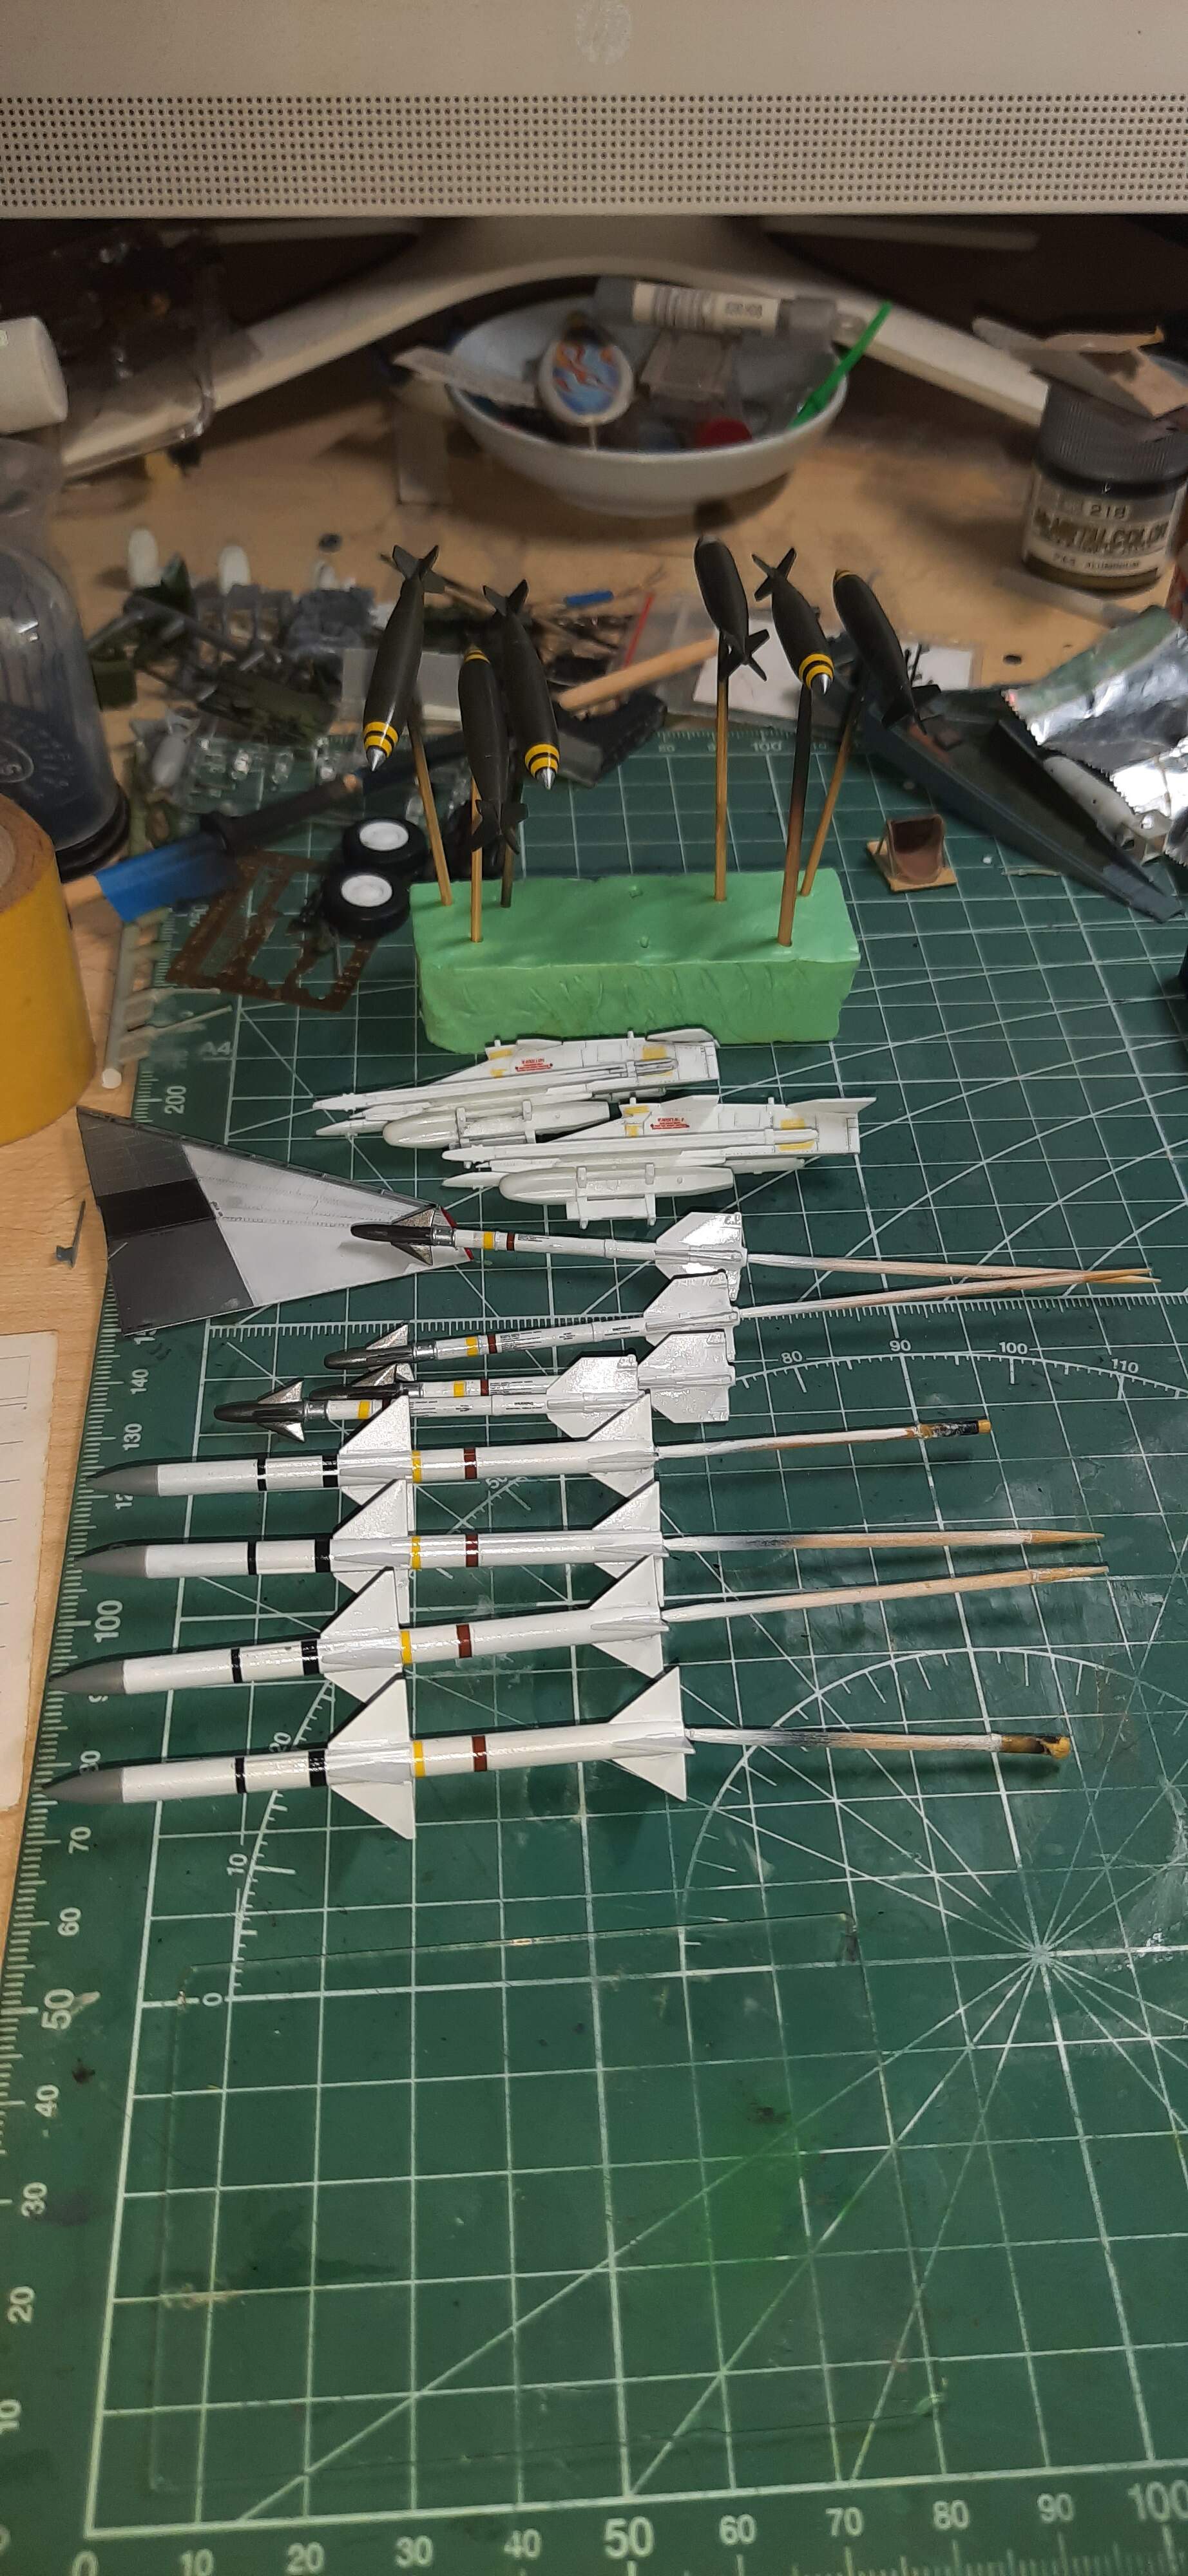
Next up will be a wash, and the addition of the little bits, in this case a few tons of bombs/missiles/fuel tanks!
Sadly I believe that without an extension, I won’t make it. I’ve invested a lot into this one, and don’t want to rush it at the end. I fear not if no extension is granted, as I’ll post the finished photos in the Hangar Queen 11 campaign.
Have fun, wash your hands!
@john41492 - Looks phantastic! Congrats!
John,
I feel your pain! Now that you’ve asked for more time, I feel better about going ahead with an extension (but thanks, Phil!) Let’s give us each another month. So this campaign will now end July 5th (we’ve got this little holiday that weekend here in the States).
Michael
Michael,
Thanks so much! I hope you get through the stencils as well!!
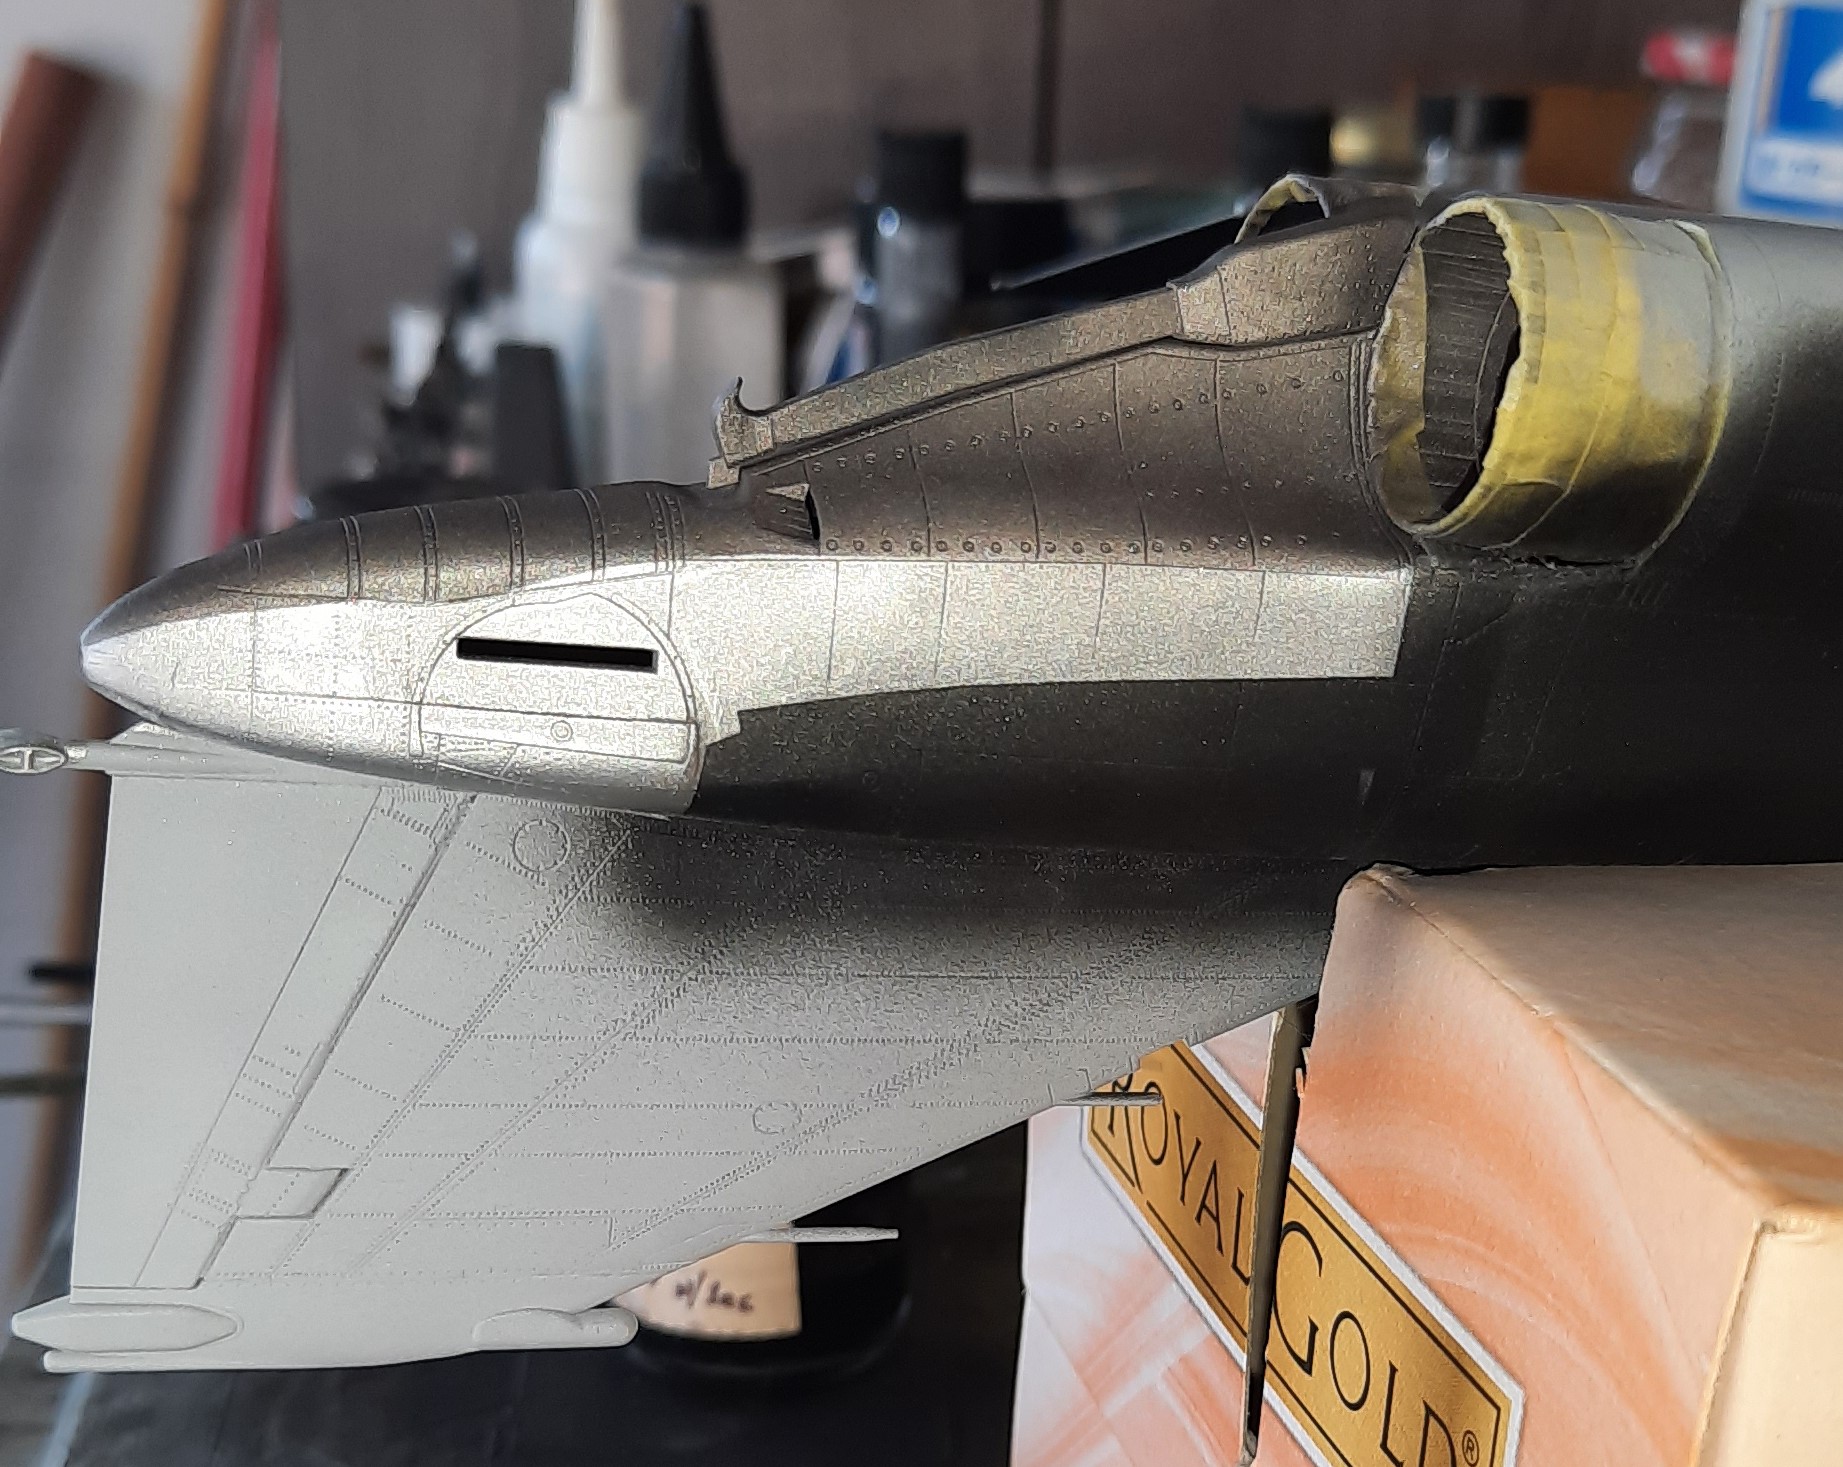
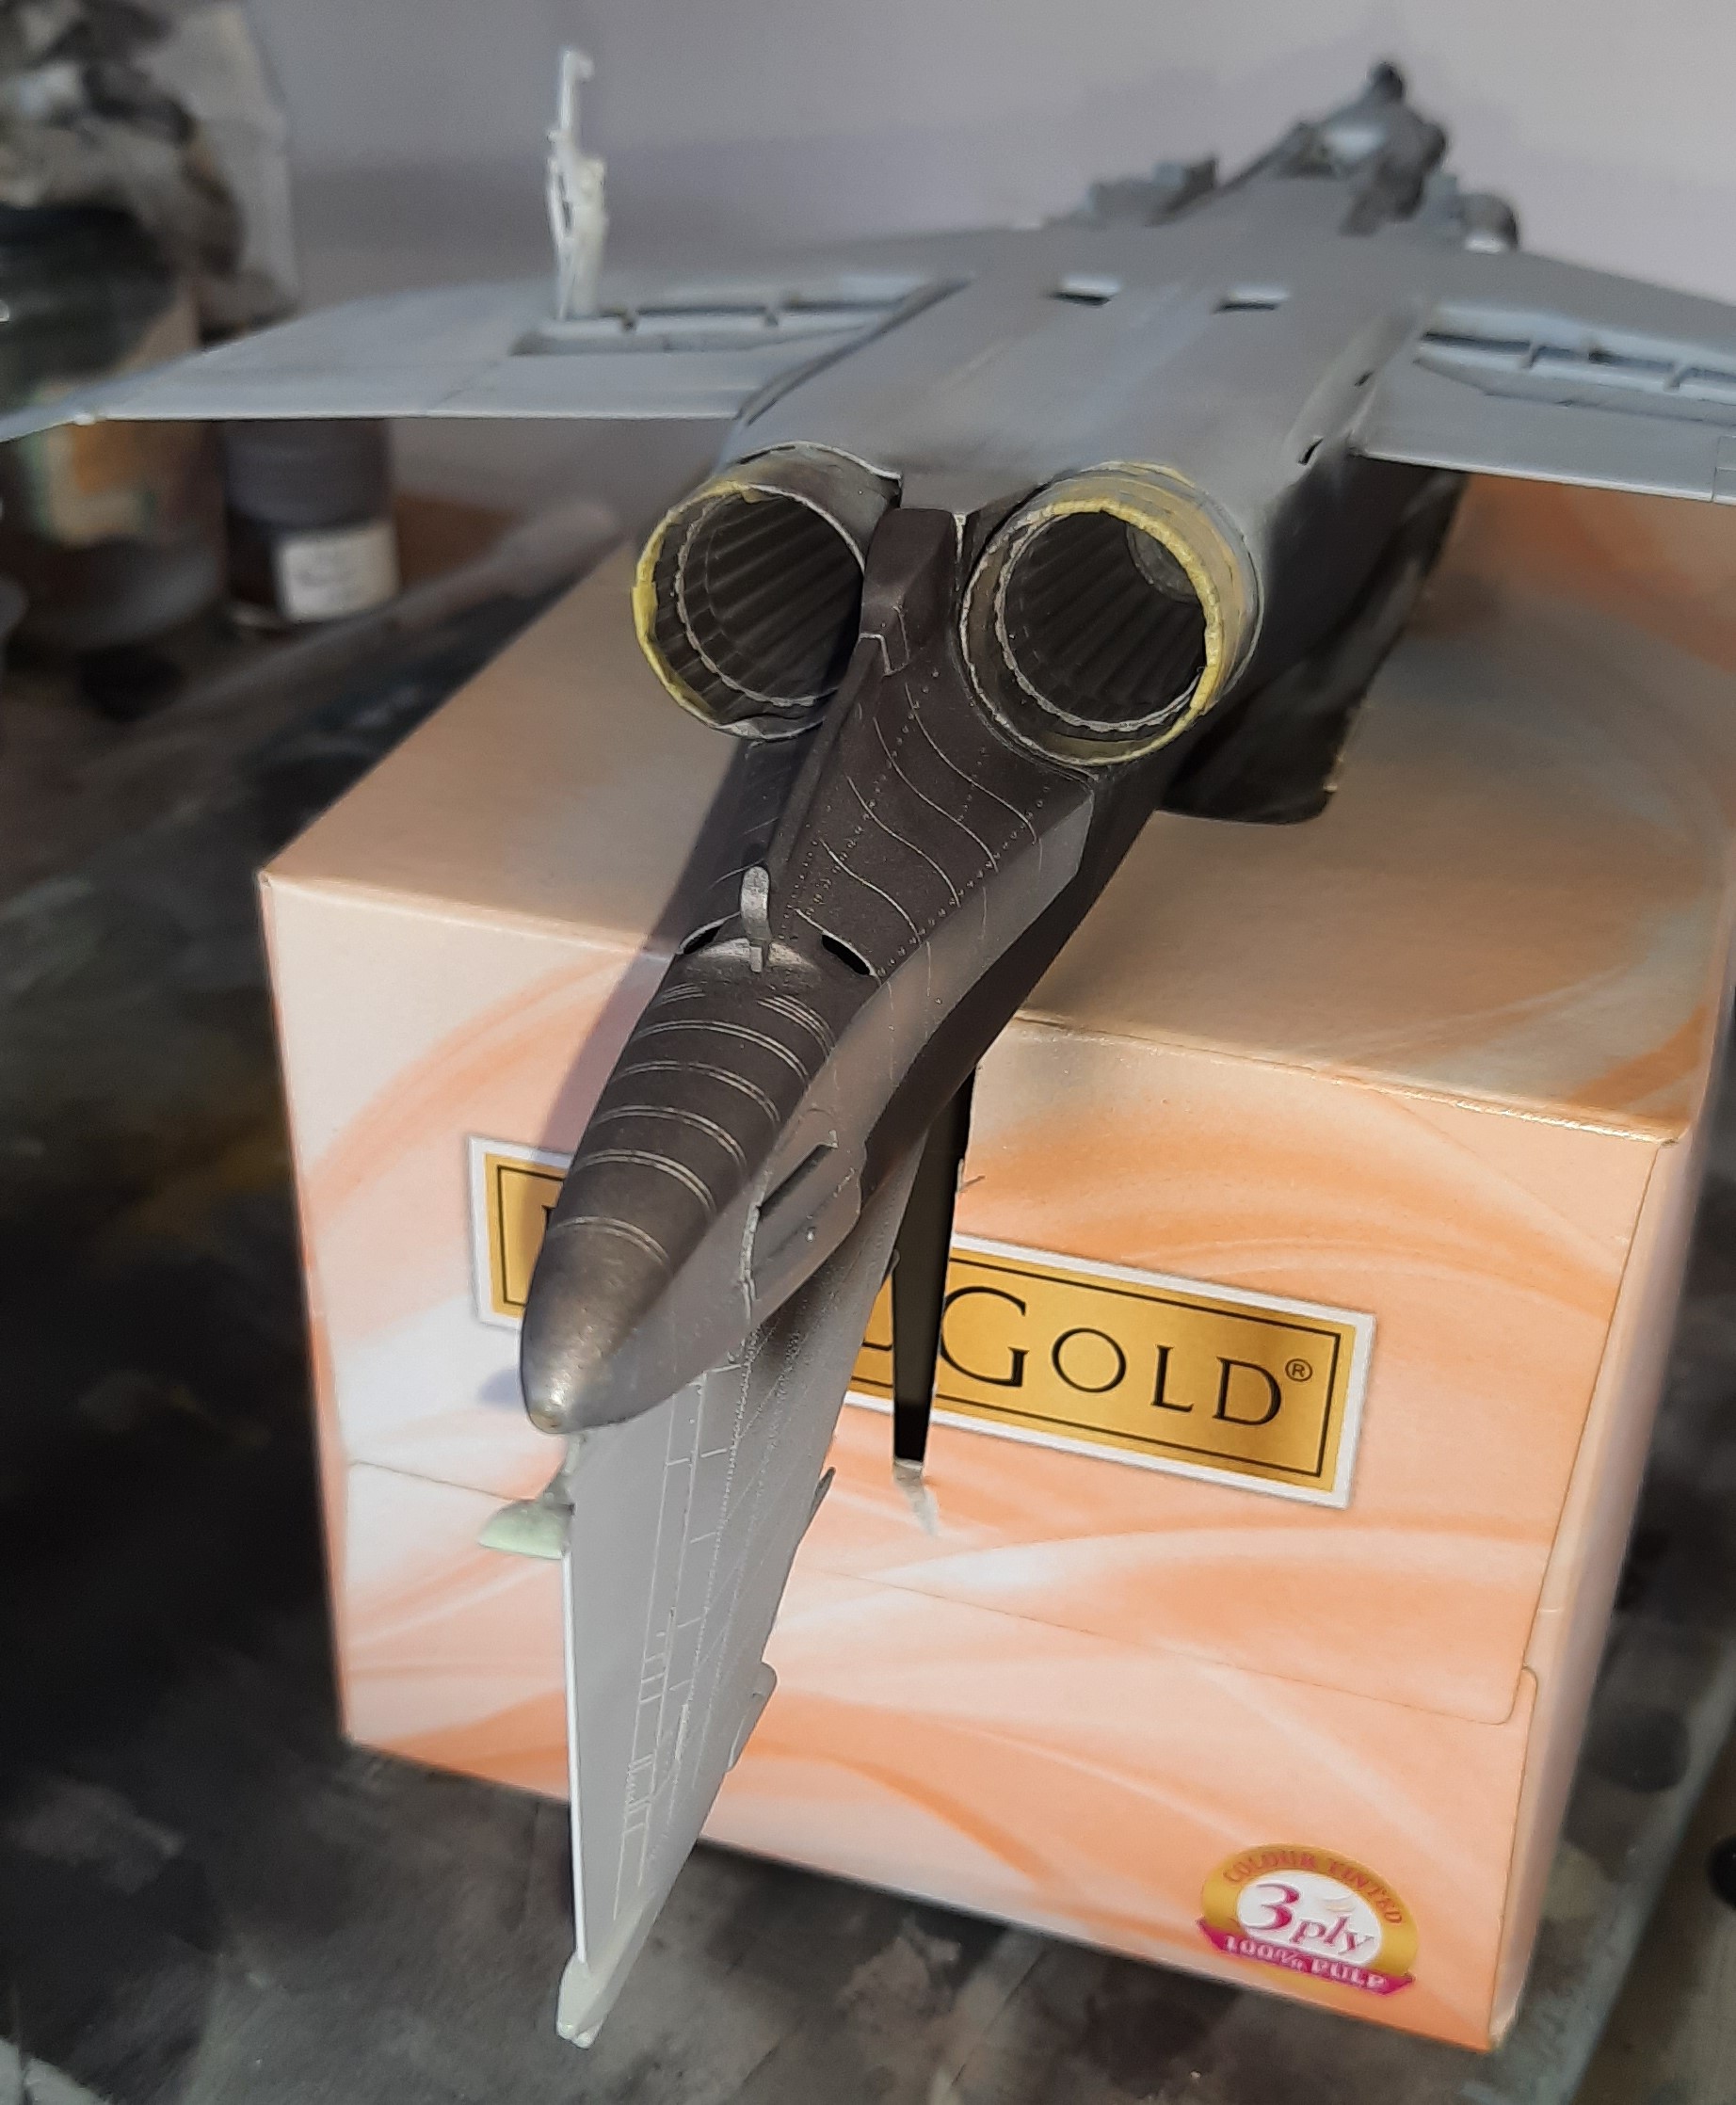
Forgot to add the underside shot of the stencils.
Aaarrrggghhhh! Why can’t those maintenance ergs read the manual!
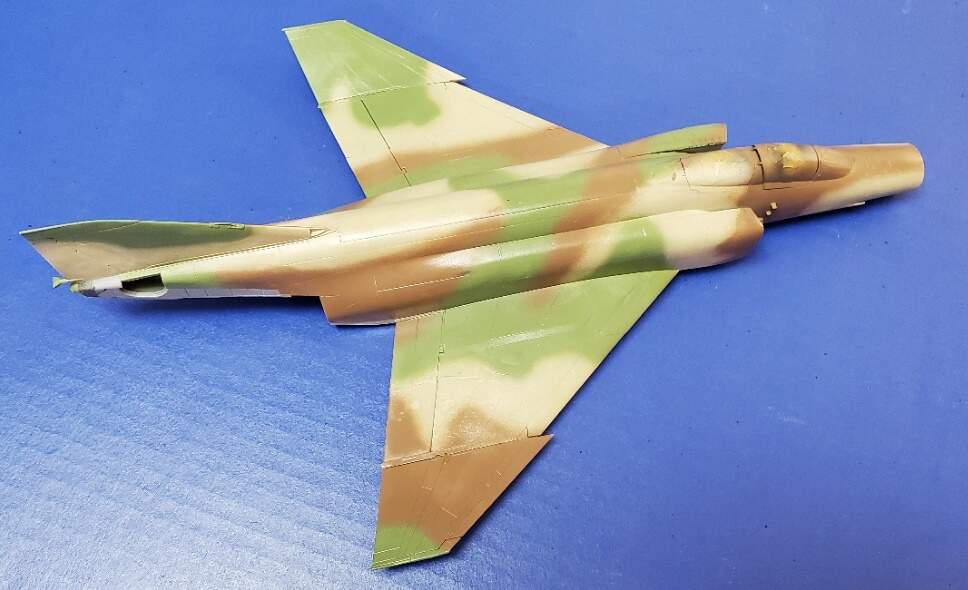
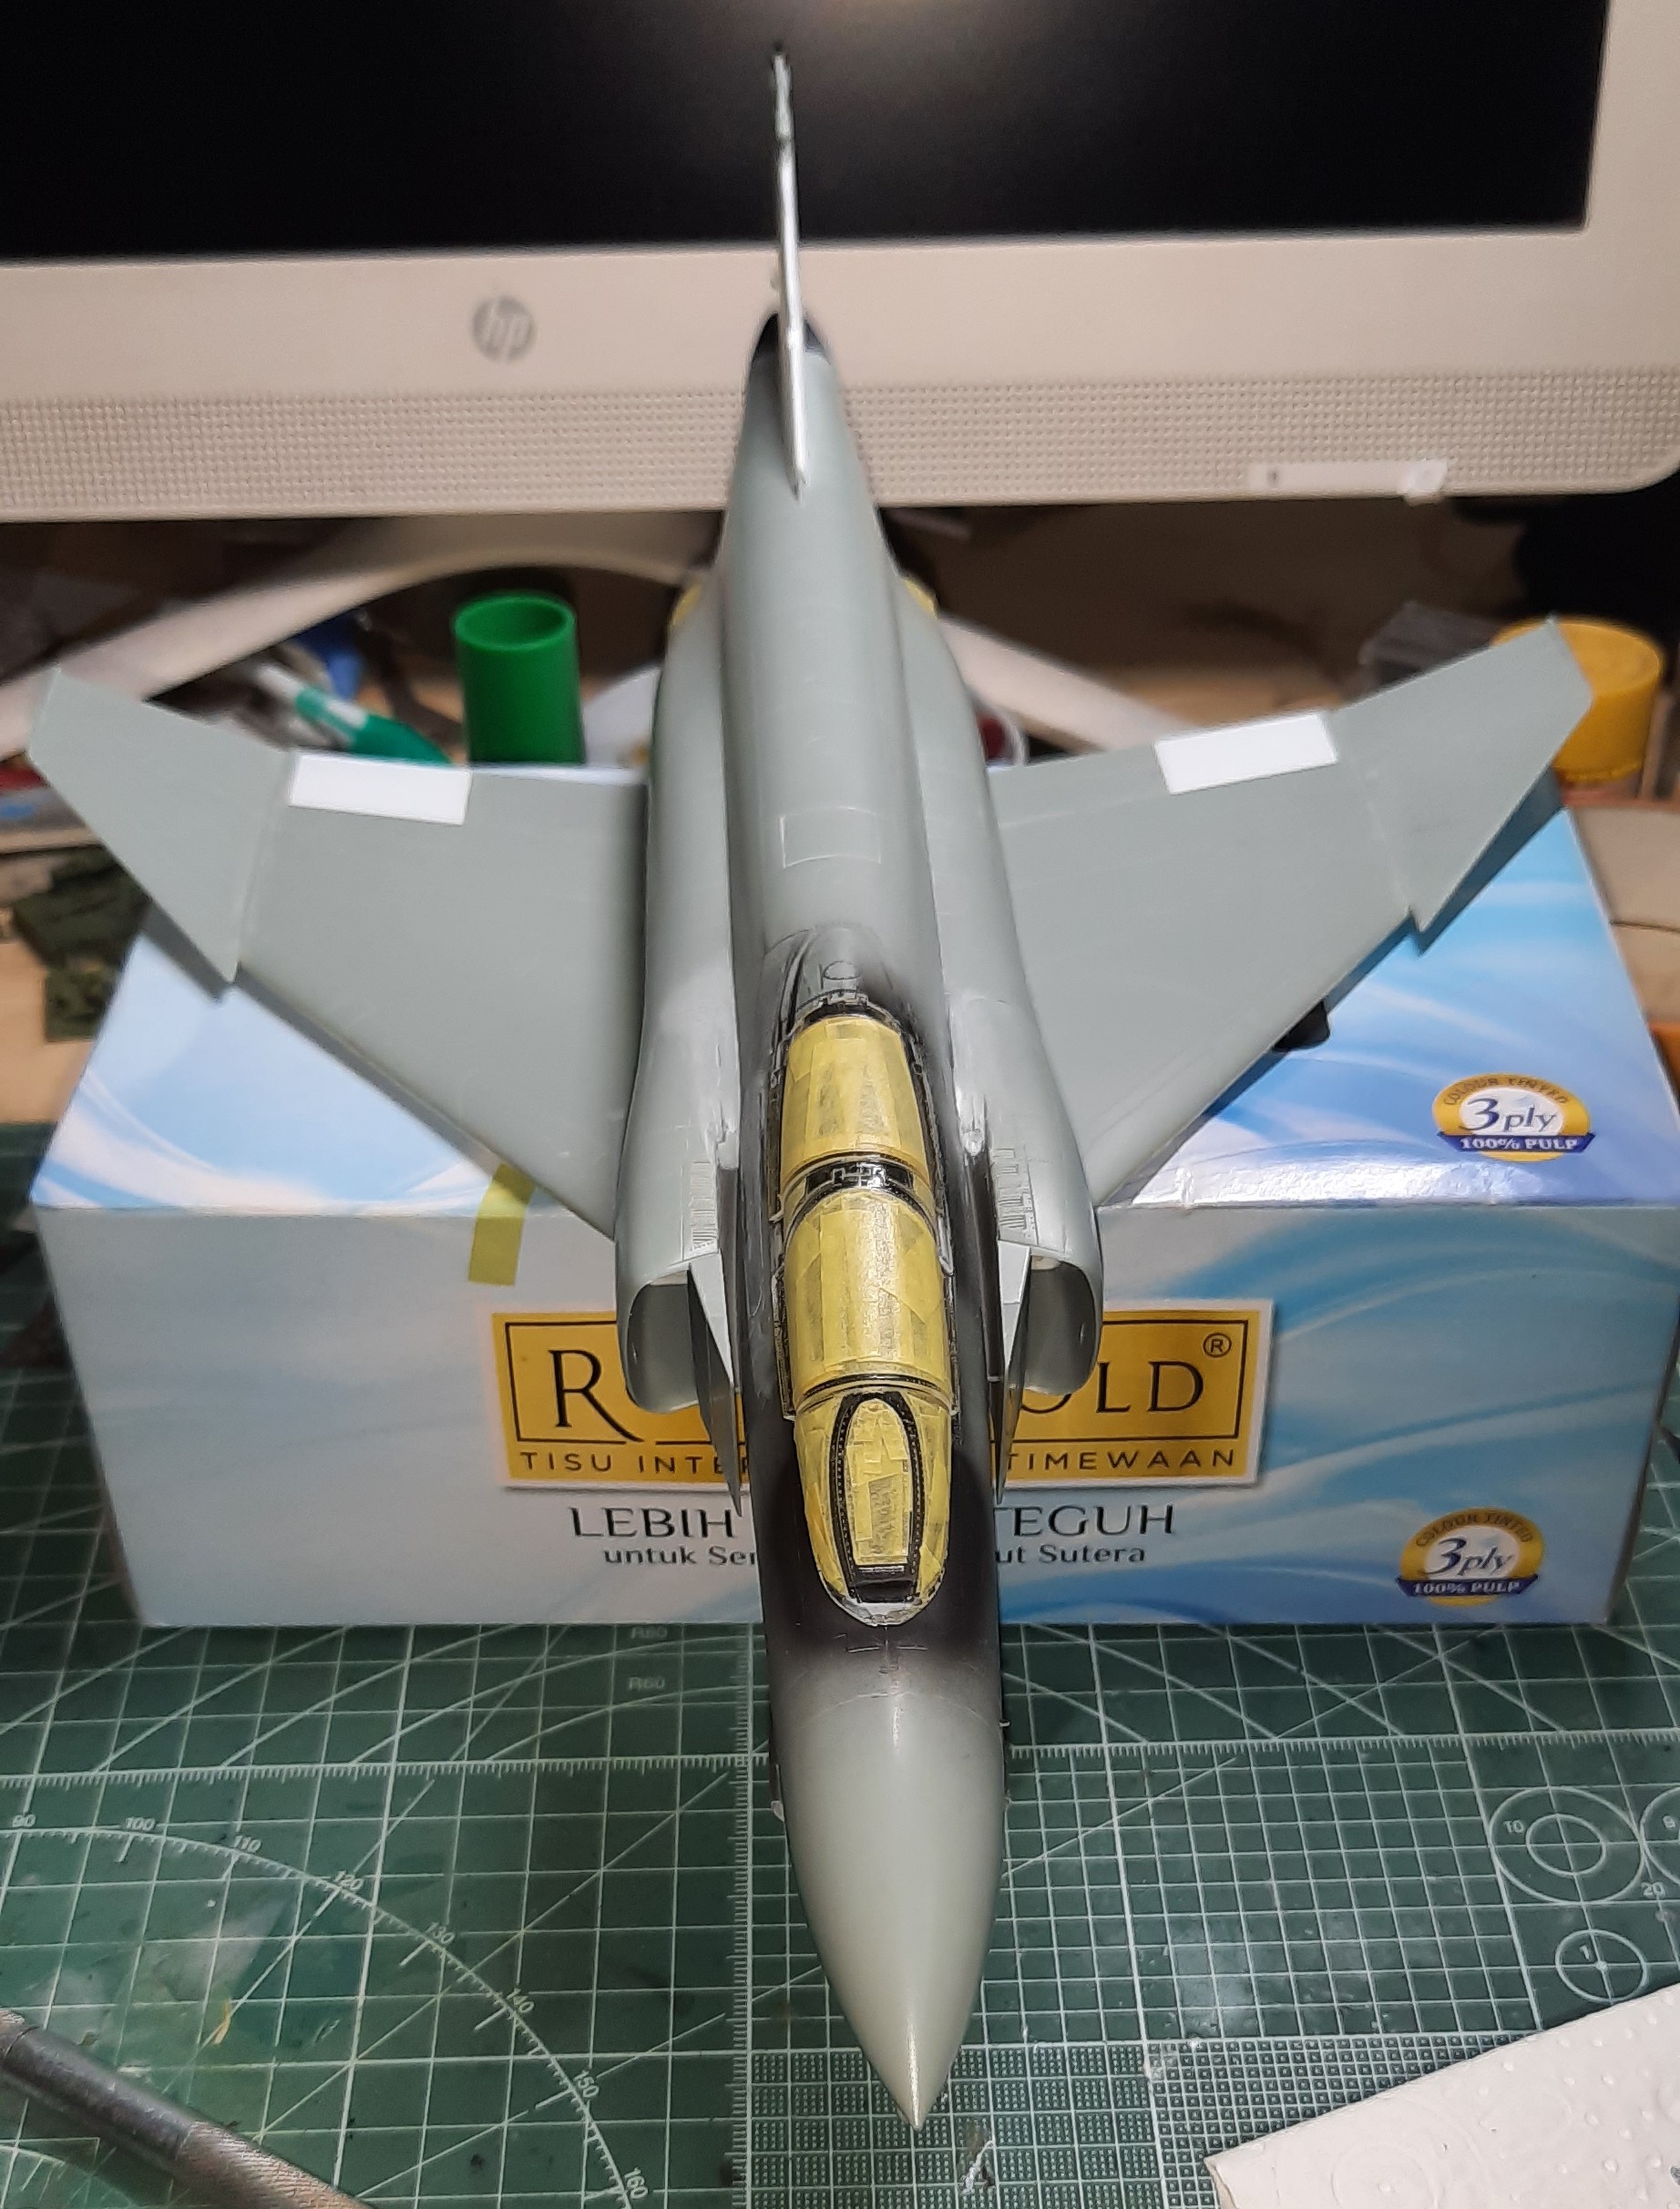
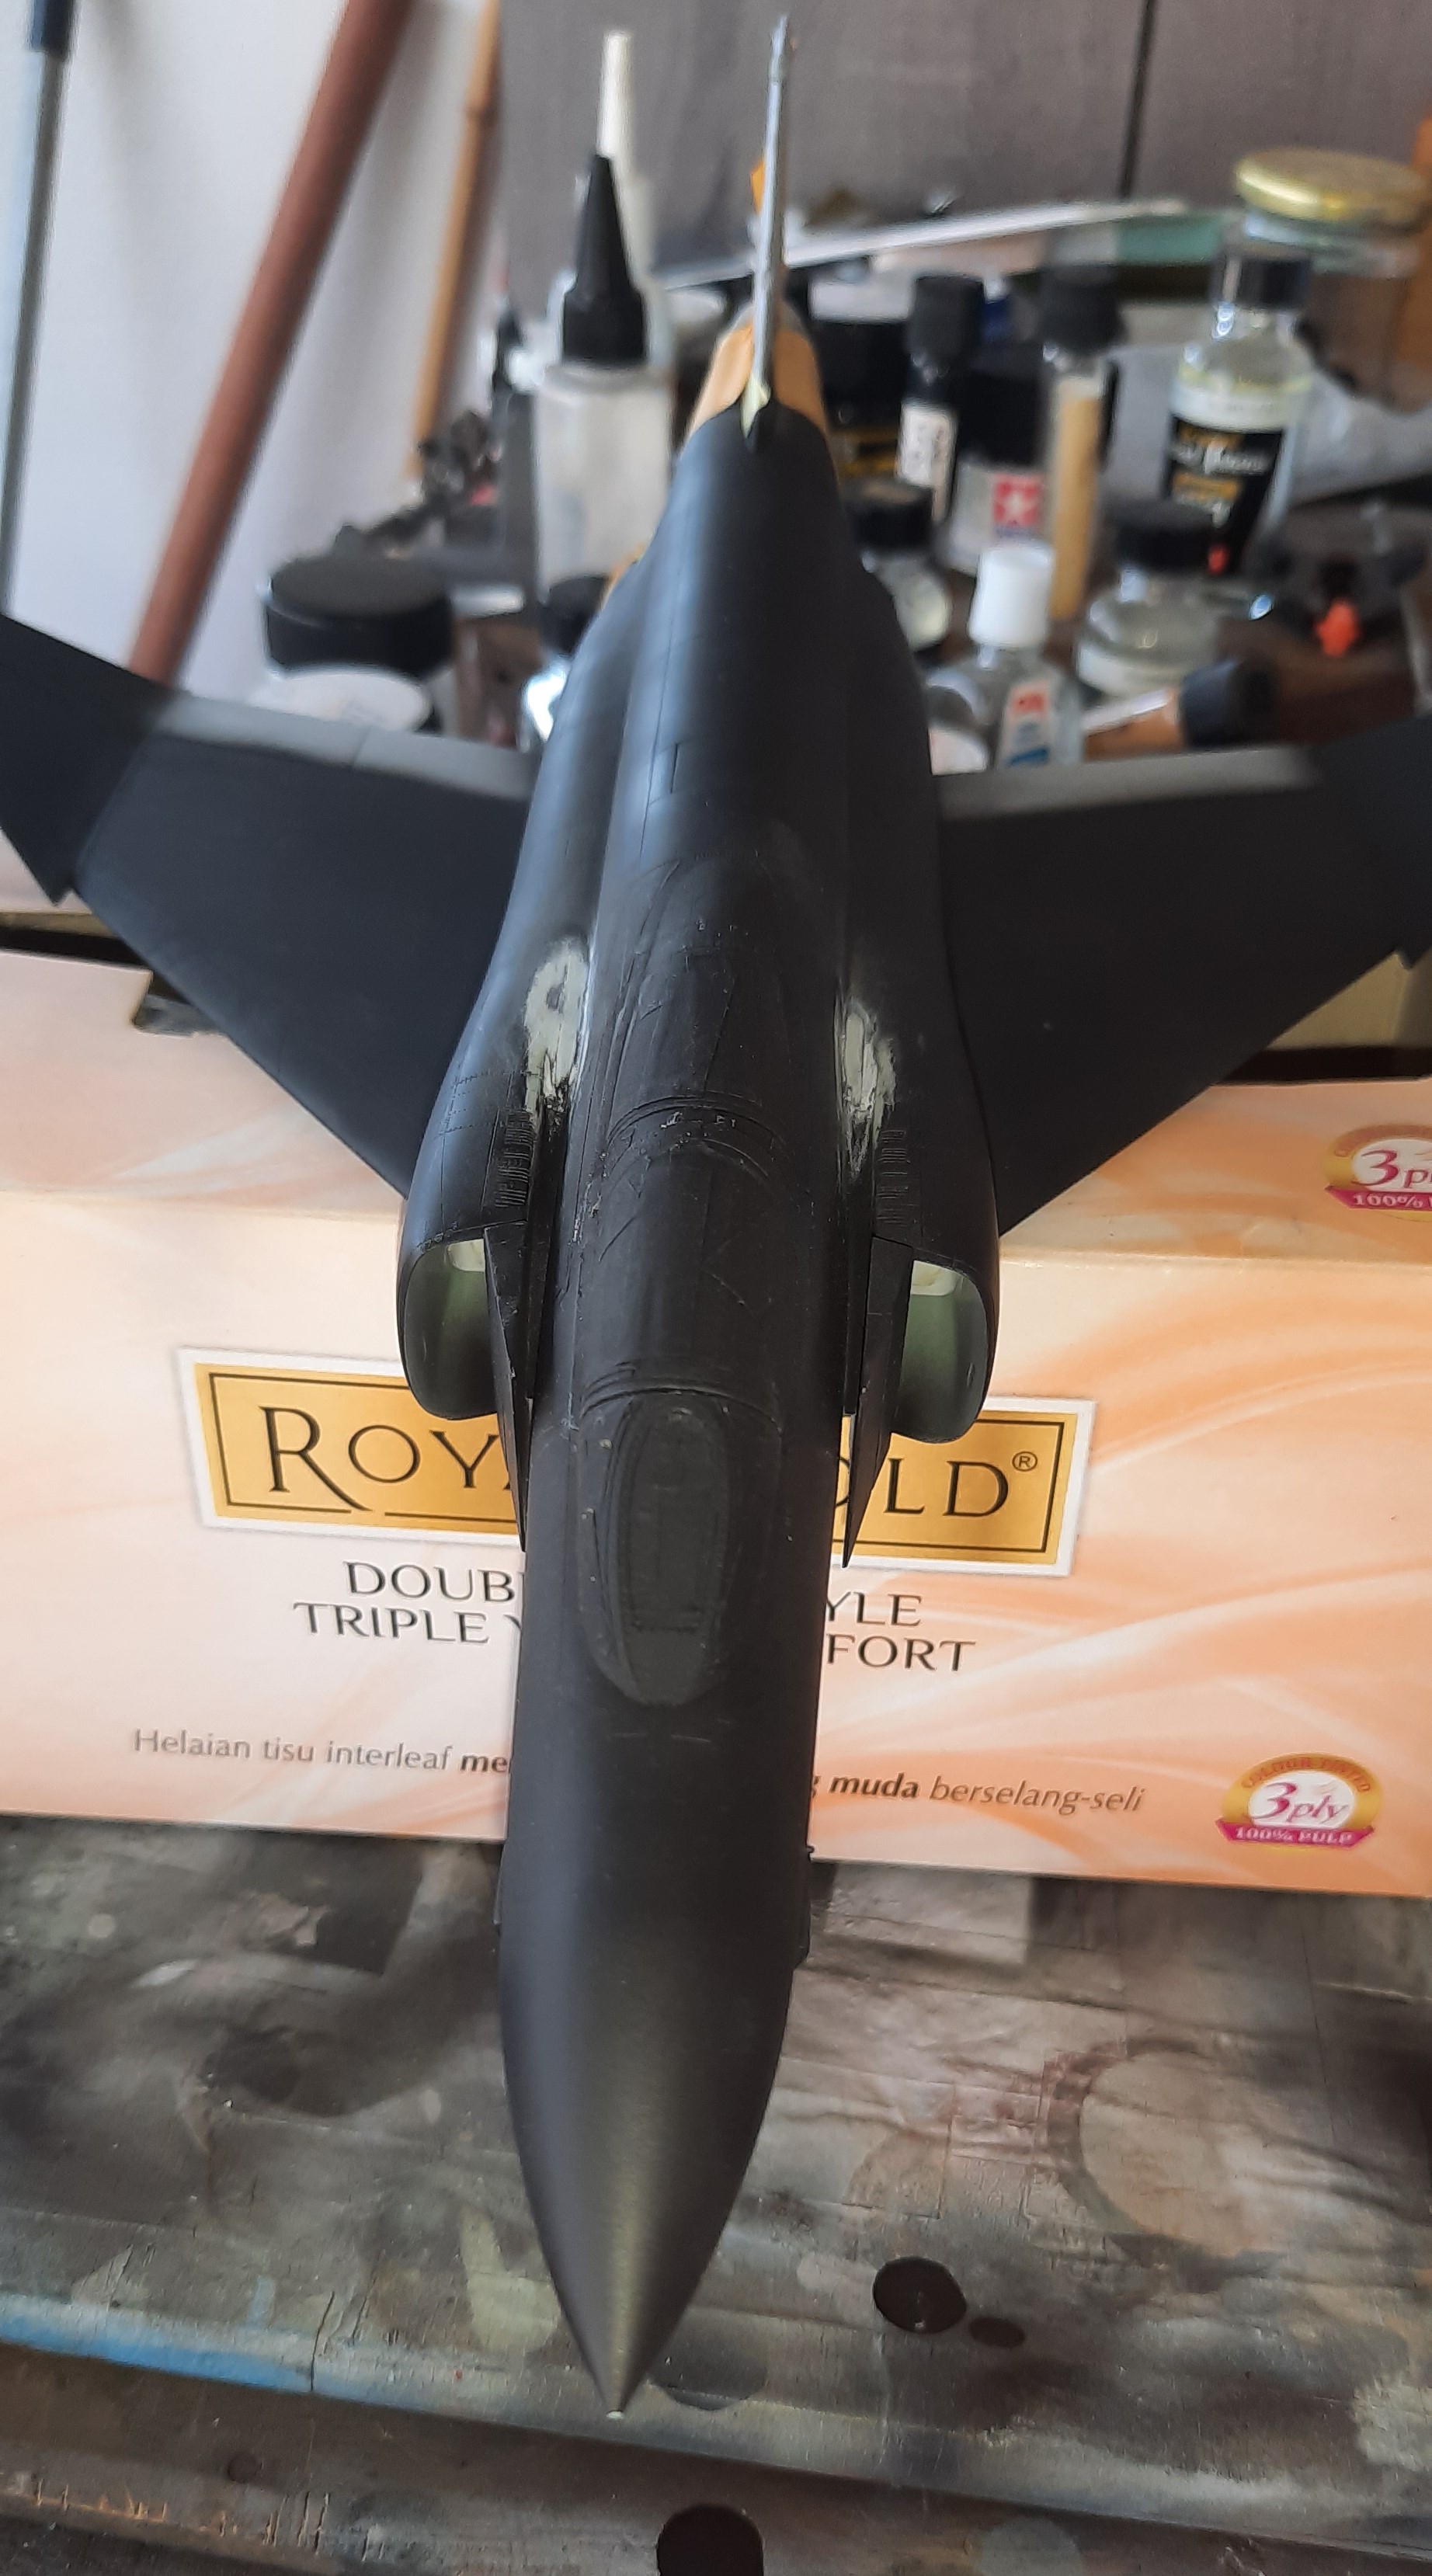
OK, bottom done. I have it on good authority (IsraDecal’s F-4 in IAF service book) that early 201 Sqn. aircraft had the roundel on the bottom right and top left wings. So that’s what I’m going for. Underside done. More tomorrow, if my eyes are uncrossed by then.
Michael 
I agree! I took my time and it took about a week, I’m just now starting to see right again! Looks good Micael, keep up the good work!
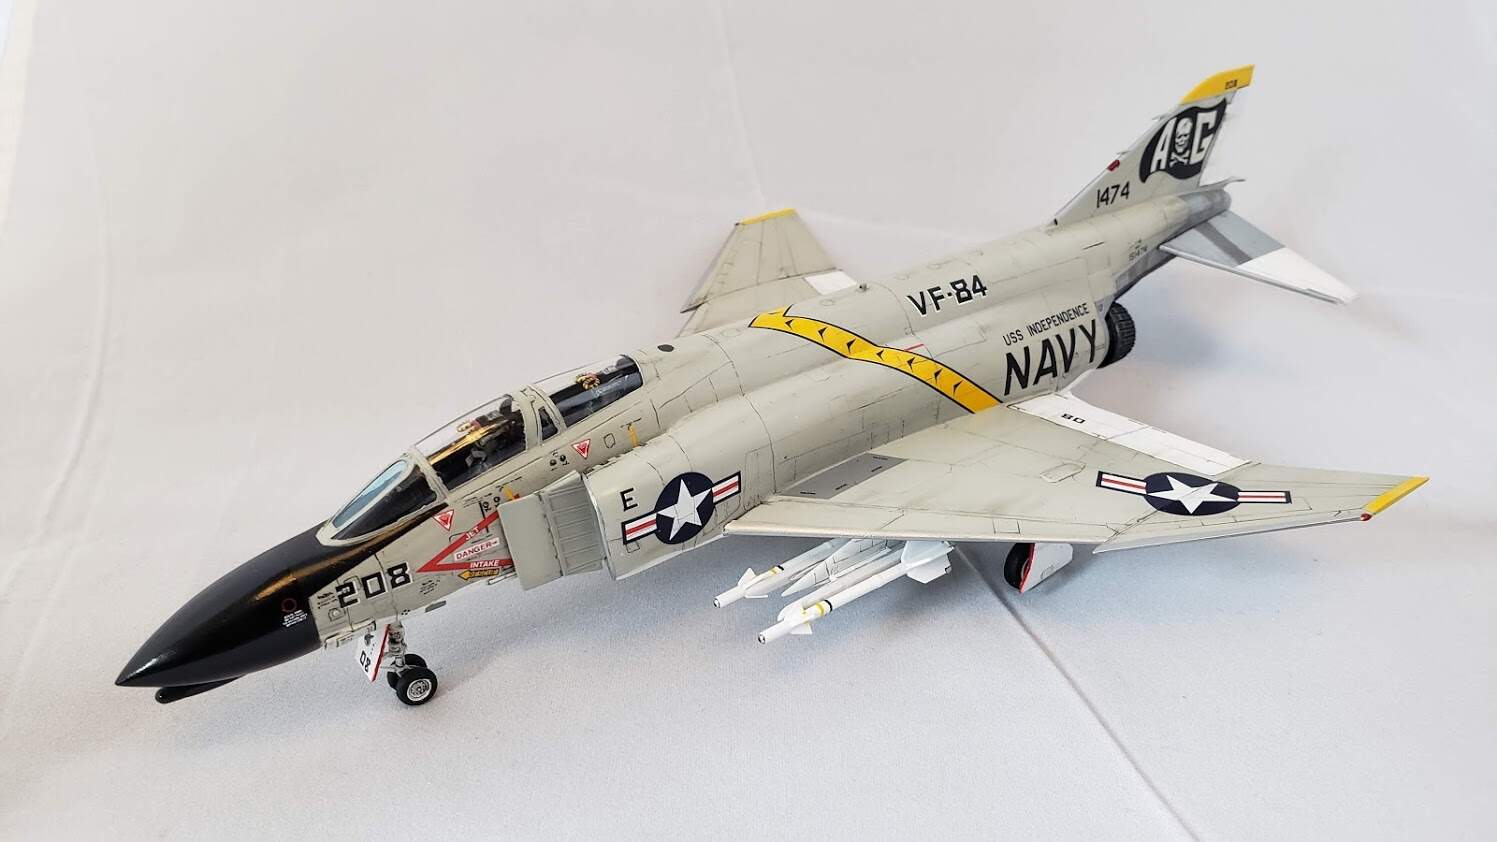
Finally finished! I did some scratch building work to try to replicate the very early F-4Bs. For example removing the slotted stabilator, modifying the Mk7 MB ejection seat that comes with the kit into the earlier Mk 5, etc… The build was challenging especially compared to the Academy F-4J I am building alongside this one. The Academy is such an enjoyable build, I think I will be selling off the other 2 Hasegawa F-4s I have in my stash.
Hi All!
Well I continue to practice on weathering using oils. While it’s pretty easy to do, the filtering technique can be a bit of challenge to get down. Overall, I’m pleased with how it came out. I could have done more, but I’ll save it for another project.
Following that it was off to getting the little stuff on! And, with this plane there is a lot! I got the bombs and missiles all done.
The landing gear went ok, though Academy’s set up leaves a lot to be desired with having to put the main gear on early. One of them got out of alignment, so that had to be repaired, but once done it turned out looking acceptable.
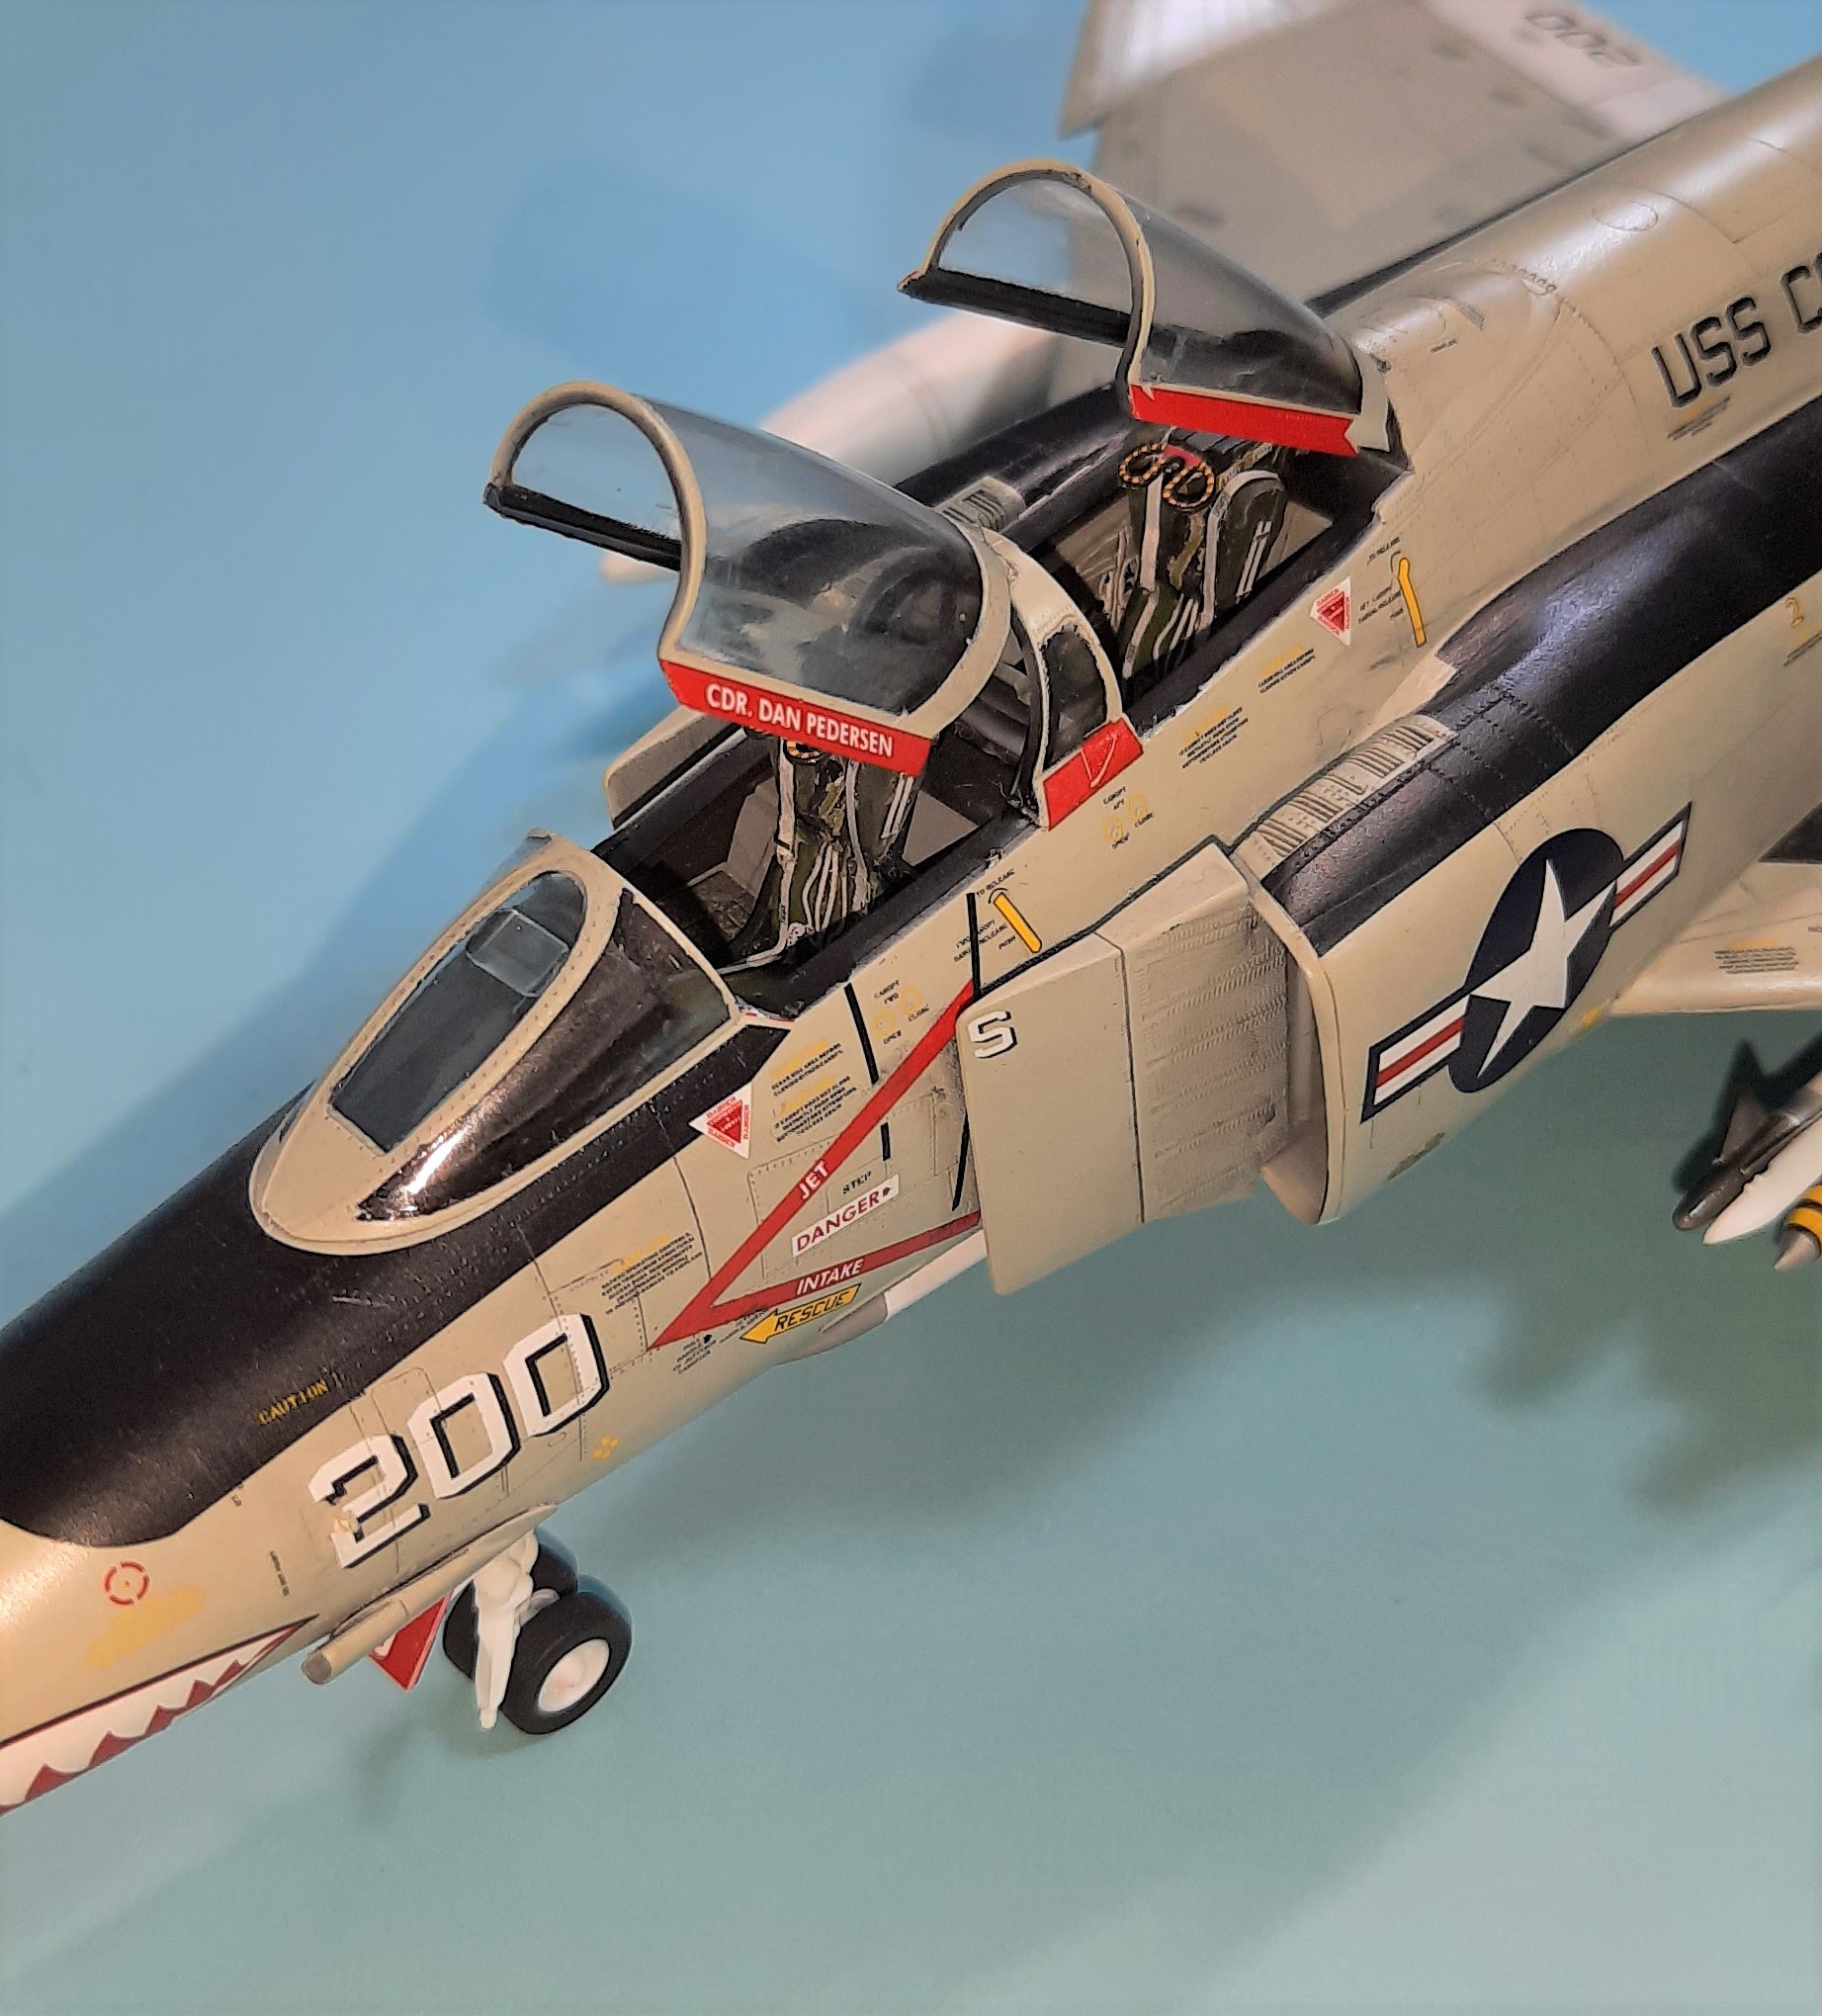
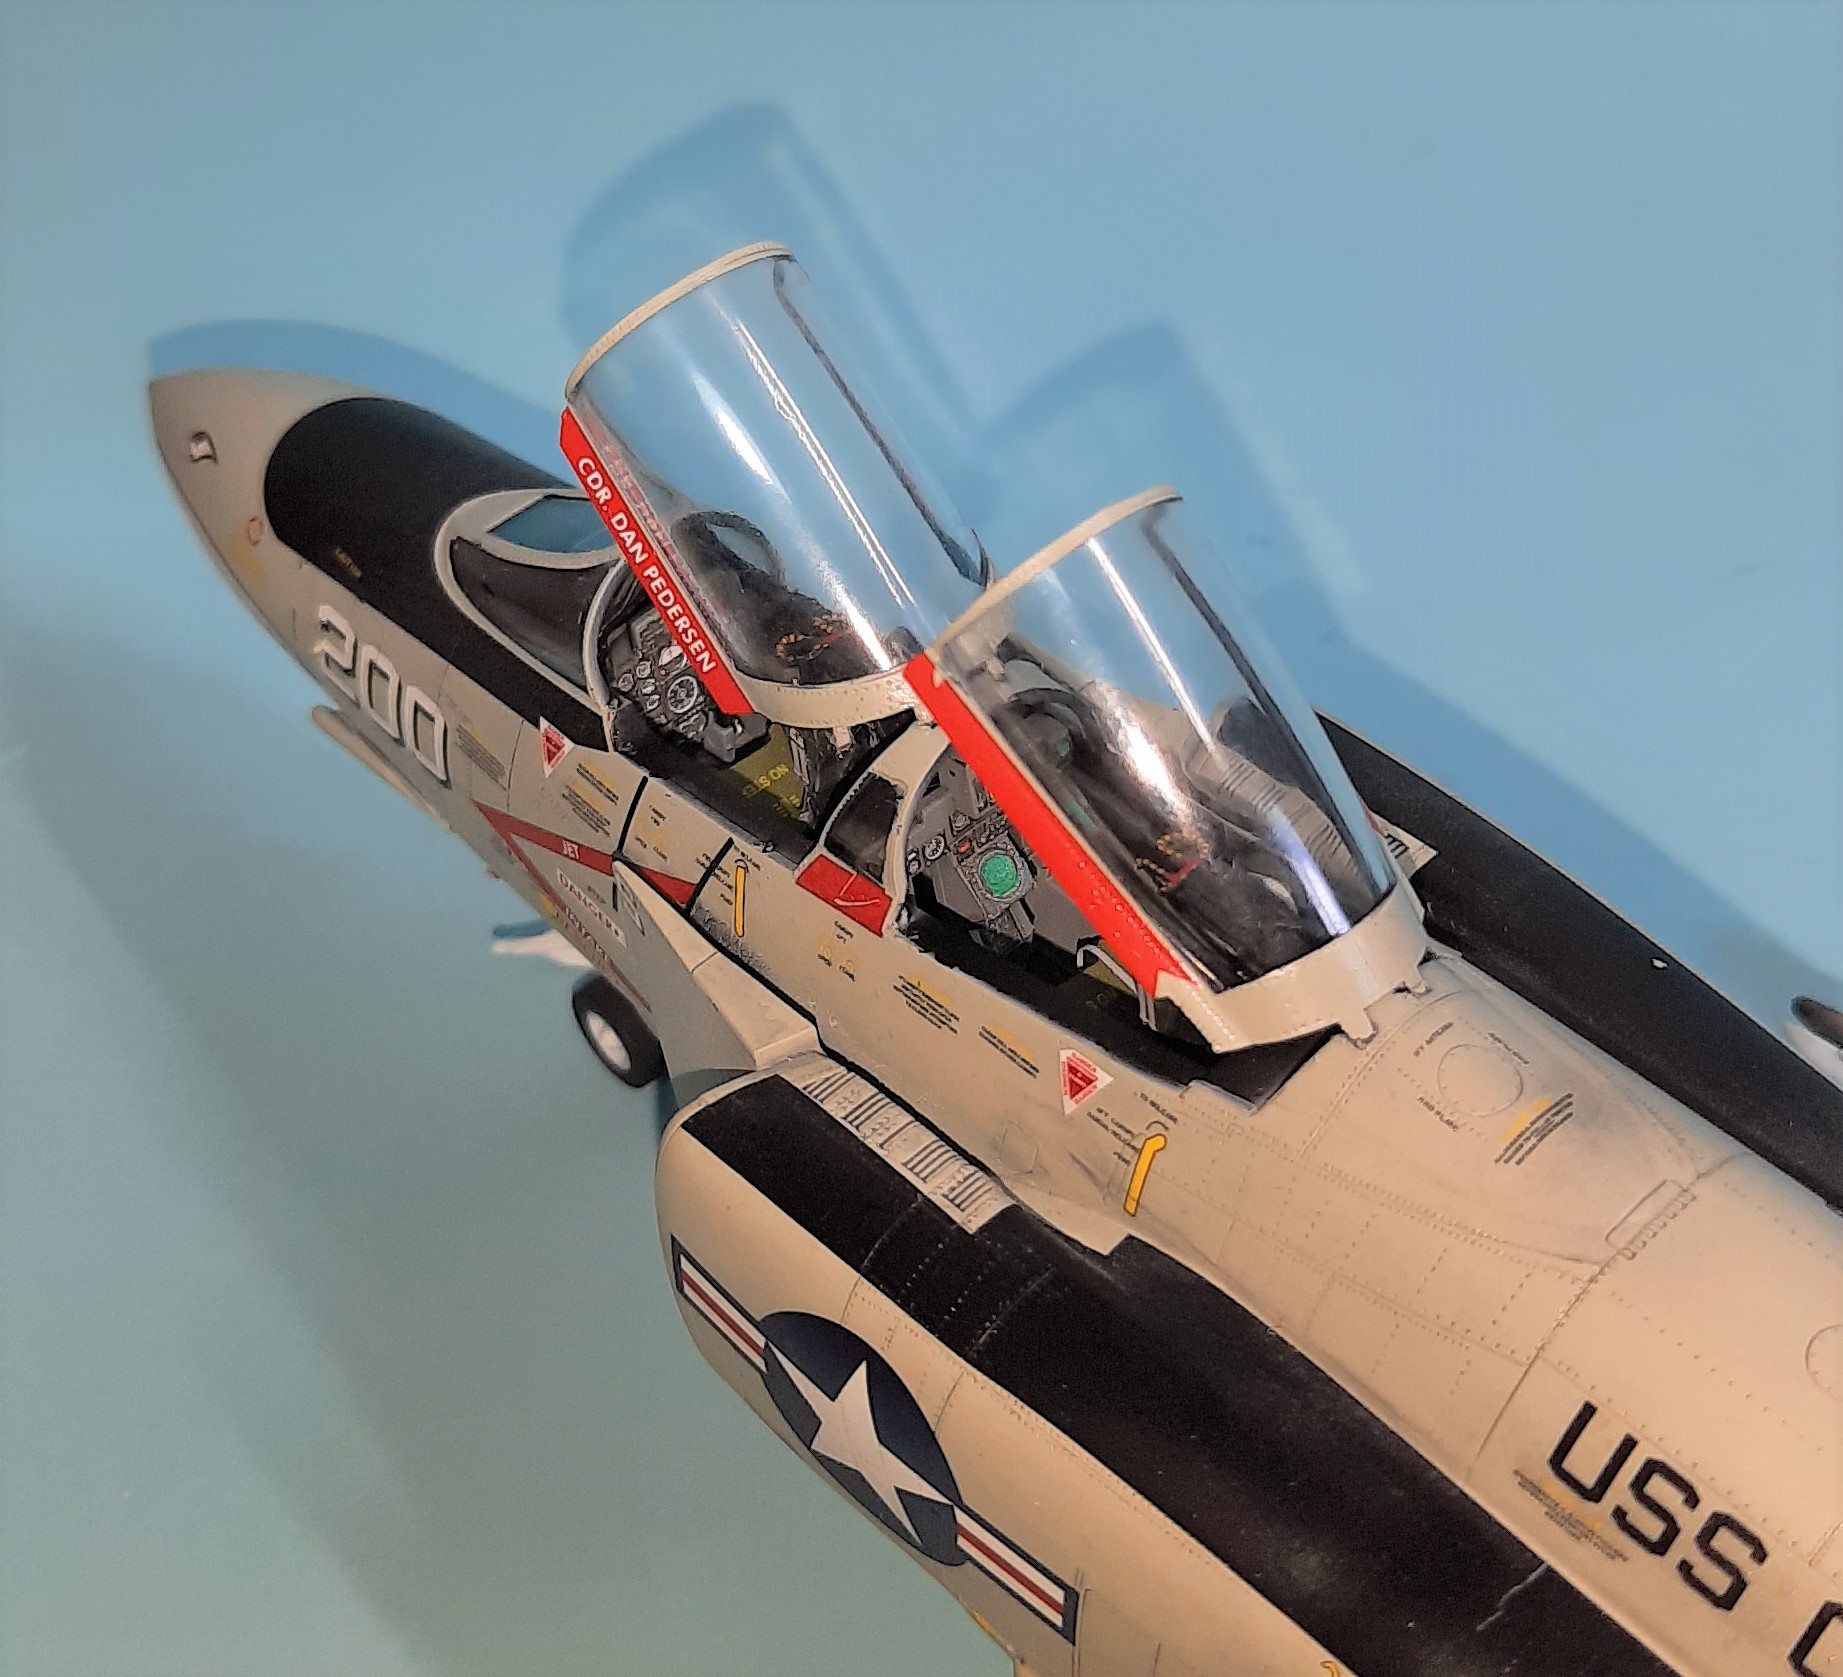
After all the underside stuff was put on, I repositioned the canopy’s in the open position and called it done!
My thoughts on the kit are mixed. The cockpit does lack some basic detail, which I helped by adding Furball cockpit decals and eduard belt sets. These really helped, and look pretty darned good! I also picked up a set of AC intakes from Hypersonic, which do enhance the kits molded ones, though if I build another one of these I’ll use the kit supplied ones.
If I were to sum up the kit, it’s a good kit, and makes into a really nice F4-B. The cartagraph decals are really good and thorough. Fit is really good, requiring minimal amounts of Mr. Surfacer 500 and Vallejo plastic putty. For the most part the instructions are easy to understand. Though personally, I found this build to be akin to a death by a thousand cuts. The main gear hanging out is a constant distraction, and the fiddly gear, the hundreds of stencils, slight alignment issues on the pylon racks when doing bombs and missiles. Towards the end it had taken a bit out of me. In fact once done I was actually surprised that I’d finished! And that’s when I realized that I didn’t put the window seals on the glass! Oh well, another day. This is a good Phantom kit, and it’s price is fair, though for my frugal budget on the high side. I’m sure the Tamiya one will set another record. For me, I’m content as is my audience (a nice wow factor with the colorful subject). My Navy Vietnam era builds keep populating the show off areas!
Thanks to everyone for a really fun campaign!
Stay safe, wash your hands with soap, and above all have fun!!