Absolutely fantastic work in this tread. Very impressive.
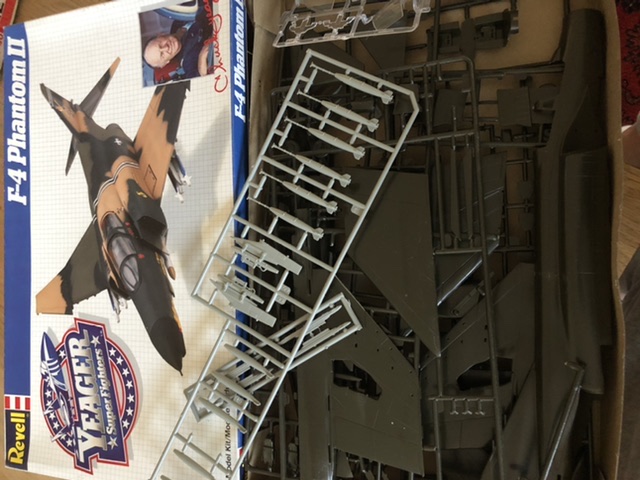
I will enter with a legacy kit. The old 1/48 Revell kit. It is very basic especially for the cockpit and the weapons stores. Most detail lines are raised.
With some decent painting I can hopefully make a decent result.
I will make a SEAC camouflage scheme using AKinteractive’s airbrush set. I am looking forward to try this set.
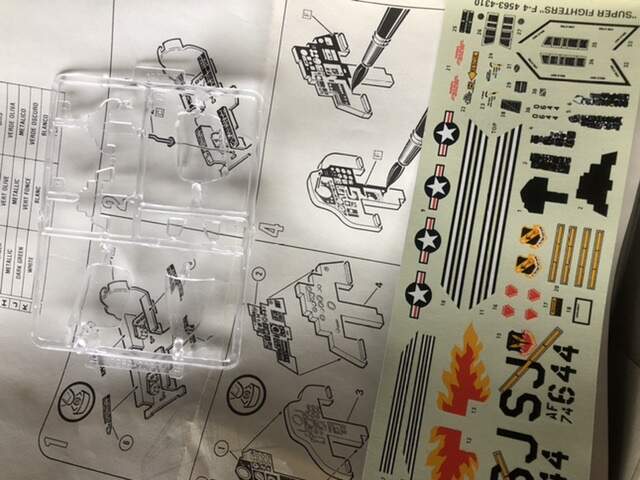
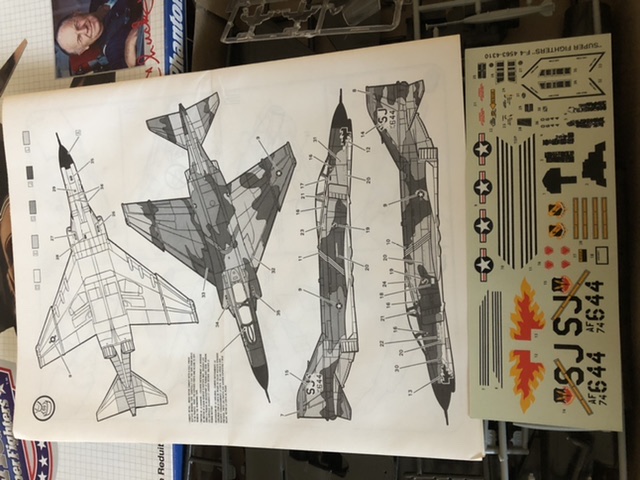
The kit only comes with only one choice of decals. I really would like a shark mouth combined with the SEAC scheme. Does anybody have a spare set they could share? I know it is a big ask, but hope the community has an extra set somewhere. If not, no problem. I will probably just use the kit decals and leave off the flame decal for the nose - not super fond of it.
I found some bombs in the stash, so that will add some nice depth to the details for the ordnance.
More to follow in a couple of weeks as I get started.
Jesper, I have a partial set from this ESCI 1/48 F-4E. When I got the kit the GAF & IAF parts had been cut away - I had found a good Microscale sheet for it off EBay. Yours if you want it. PM me your details. I live in SoCal but even if you are in Europe it shouldn’t cost more than a couple of stamps.
Oh, and thanks for that Michael! While I have plenty of hard-wing Phantoms in the stash, I am looking forward to some nice slatted wing ones, since those from Hasegawa must be gold-plated now. At least the ones on EvilBay must be considering their price!!
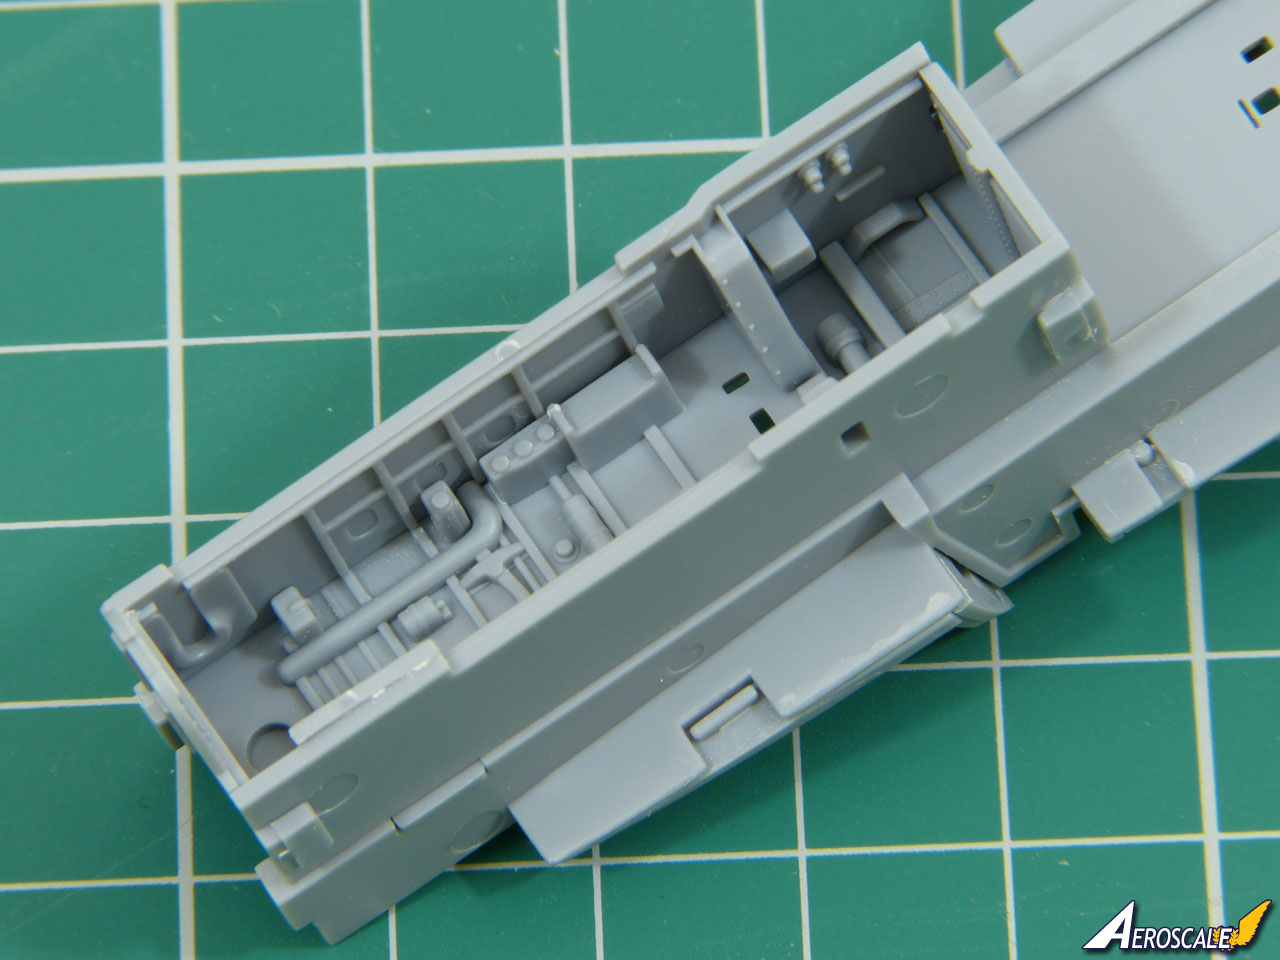
OK, after a few days time off, here’s a small update on the Z-M 1/48 F-4E early. As I mention in a review I sent in a while ago but for some reason hasn’t been uploaded to the site, Z-M has an interesting innovation where you attach the cockpit sill to the cockpit before inserting same into the fuselage. As I said, I was going to be sure to dry fit all that (as it turns out, Z-M suggest doing that in the instructions). Not only is it a place that was ripe for me to screw up the fit, but I had a bad experience with my only other Z-M kit to date, the 1/32 P-51K. A beautiful kit but the tolerances are so tight that you just know that sooner or later, any small misplacements by the builder are going to add up somewhere. On my Mustang, that was when I added the tail assembly. Sigh.
I’m happy to say that, here on the Phantom, no issue so far! Fit is excellent.
That looks great! (I’ve tried the new message system to drop you a line regarding your review.)
Did you use the kit’s decals for all the instruments and consoles? If so, how well did them snuggle down over the raised details? The decals for the F-4EJ Kai aren’t ready yet, so any advice ahead of their arrival is welcome.
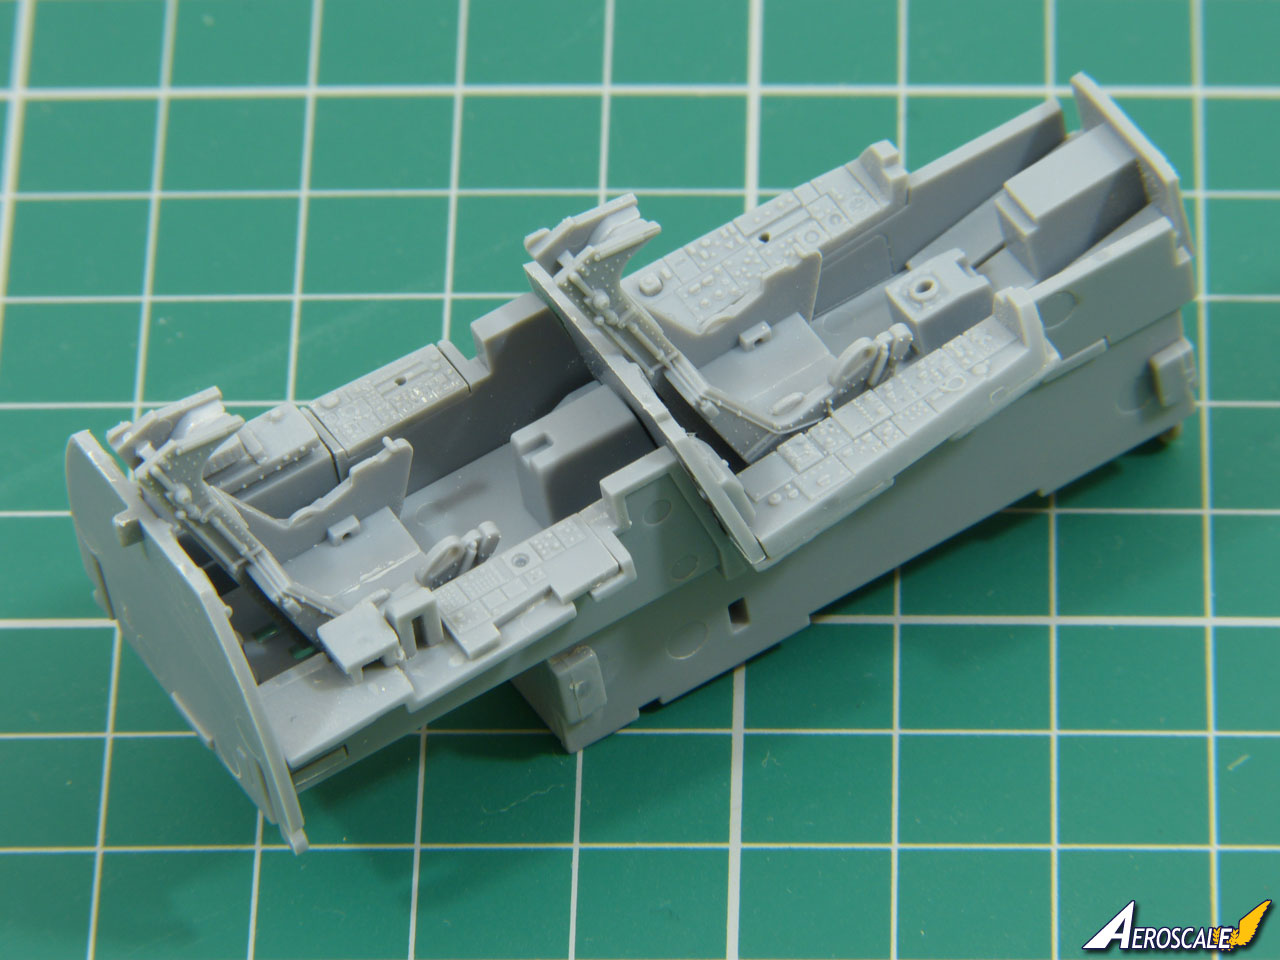
Meanwhile, I’ve got the basics together ready to start painting. I ignored the instructions slightly to make up larger sub-assemblies to ease painting, while ensuring they still clip together easily:
There’s a tad to do still - there are a couple of ejector pin marks on the floor that will show - but I’m really encouraged how smoothly it’s all slotting together so far. I’ve ordered some Gunze Sangyo FS Grays and they should arrive tomorrow, so I’ll hope to start throwing some paint at the beastie soon.
Hey Rowan, looking good! As I am doing a quasi-build review (and because I’m lazy) I did use the console and instrument panel decals (look at my post from 29 October). They worked well with two or three applications of Micro-Sol and some pin popping. I only really mispositioned the left front console, and that was my fault.
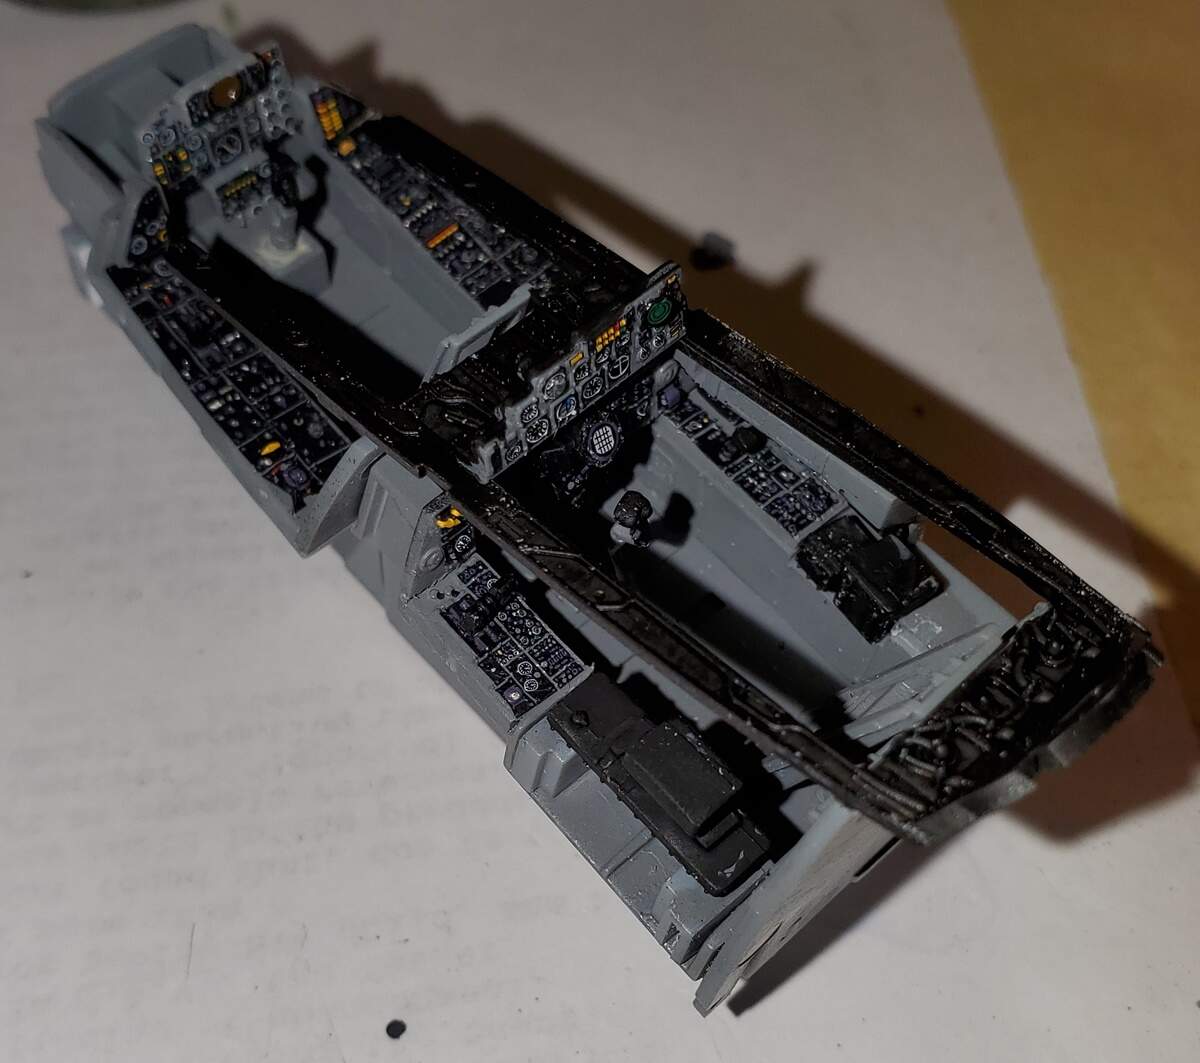
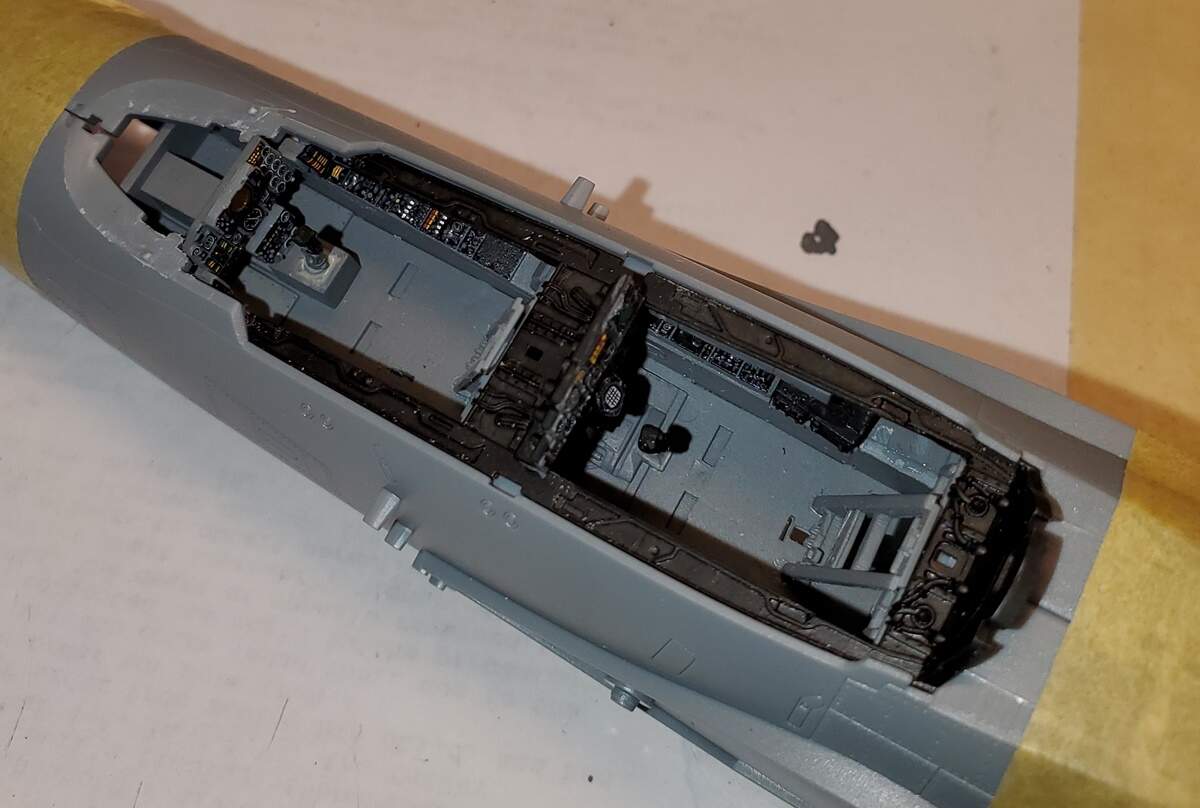
The cockpit is very unusual. It is some decals that are put on the back of clear parts and thereafter I need to paint the front of the clear part. I have never seen that before. The fact that the printing of the decals is on the back side. Weird
I spotted your earlier post about the decals - but I wondered whether you ended up sticking with them all because the moulded details are so prominent. It’s really encouraging to read they worked well (with a bit of encouragement ). Depending on how long the delay is on the Kai decals arriving, I may have to forego them in order to keep my build’s momentum going.
@ Jesper - That was quite common practice years ago to give the impression of glazed instruments. Accurate Miniatures did it that way a fair bit. I usually thinned the clear styrene panel down as much as I could on the rear side and polished it smooth. Put a drop of masking fluid in each bezel and paint the panel - once you remove the masks to reveal the decals on the back, the effect is pretty good.
My apologies to the F4 Phantom community, this isn’t pretty, and no excuses on my part. Just wasn’t ready for the 1/72 scale and had some kit issues with me and the kit… Hey ho… It is what it is, and hopefully I can tidy it up over the next week before I call it finished.
I need to tidy up a lot of the colour paint lines where they meet, and re touch a few areas. I’m just going to follow the box directions for art and decals etc. On a plus note, there are some amazingly detailed and great kits being put together here by the rest of you so well done all of you.
Thanks for the welcome comments guys. I think if I do another bird, it will be 1/48 scale, as you seem to get alot more detail so thats something to think on for me. One area I was confused about, were the markings and paint finishes on the Sidewinders and Sparrows. I think the bigger kits have these as decals ? But for this scale, painting was my only option, and I just went with the guide in the instructions.
On lots of images I have seen the missiles have various bands around the body and also different nose cone colours. Also the control tabs on the sidewinders, sometimes black, sometimes not ? Is there a general rule of thumb for these or is it different time periods etc ? I left mine with no bands around the body as I wasnt happy i would keep the bands to scale or neat enough.


 (I’ve tried the new message system to drop you a line regarding your review.)