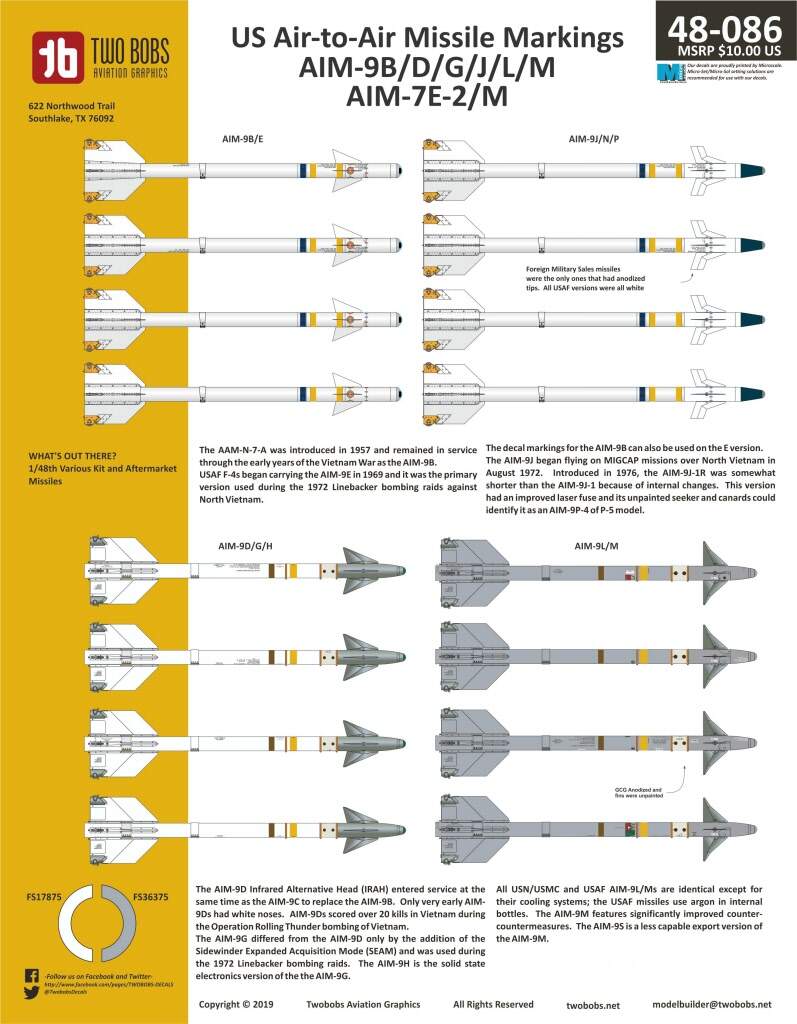
Johnny, the tabs on the 'Winders have always been a Aluminum/Gunmetal color. And of course how they are photographed, when and at what angle they can appear to be lighter or darker.
The various bands on U.S. (and NATO for that matter) missiles are very important to the people that crew, load and maintain modern aircraft. They tell those around them if the missile is live, a training round, a telemetry loadout, ect. Blue indicates training, Yellow a live warhead, Brown a live rocket motor and they can have different combinations. The missile bodies themselves might change color depending on the variant and when it was manufactured.
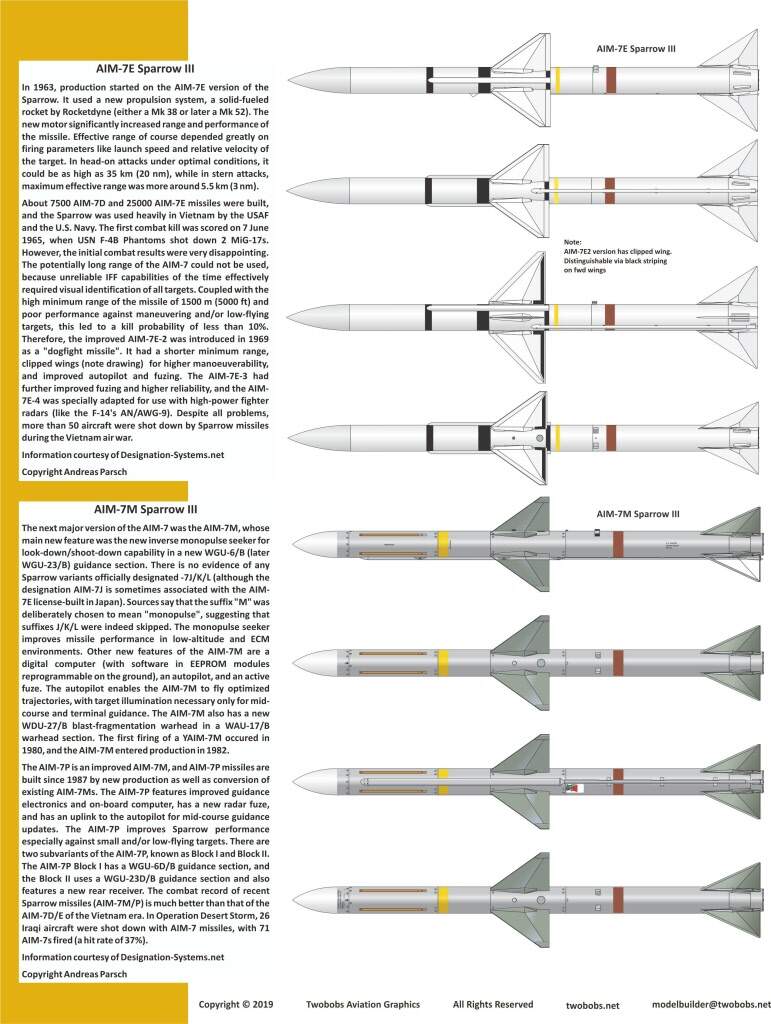
Very early Sparrow missiles had black bands that denoted similar uses. I cannot tell you what means what because I was never around that ordnance, even though I am pretty old!
Hopefully these images will help with future builds!
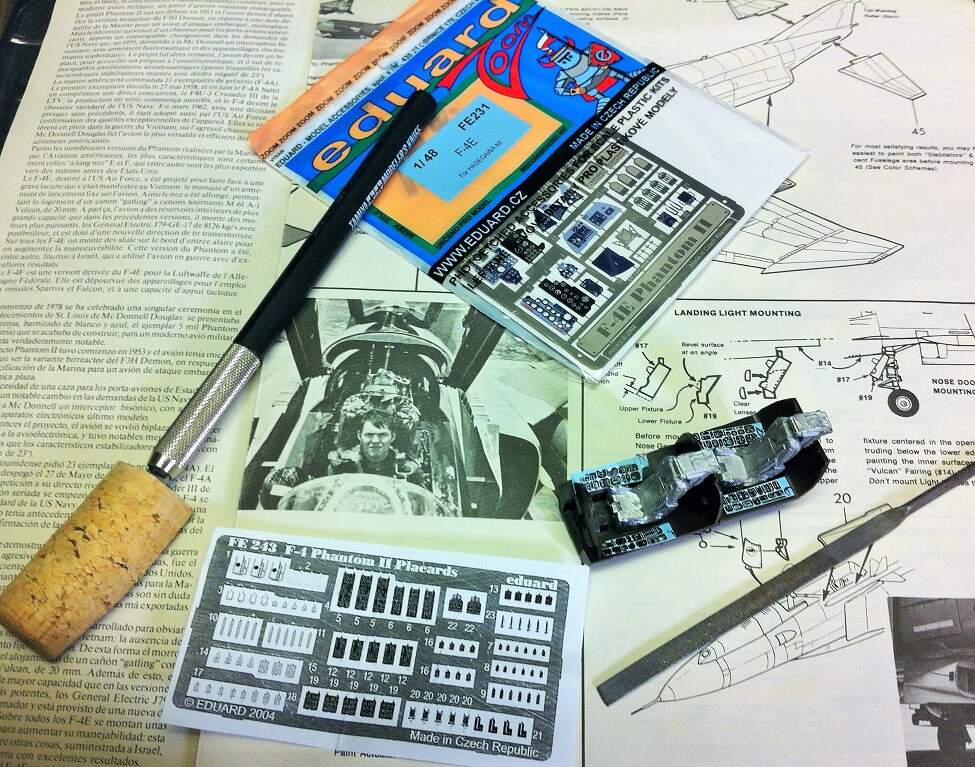
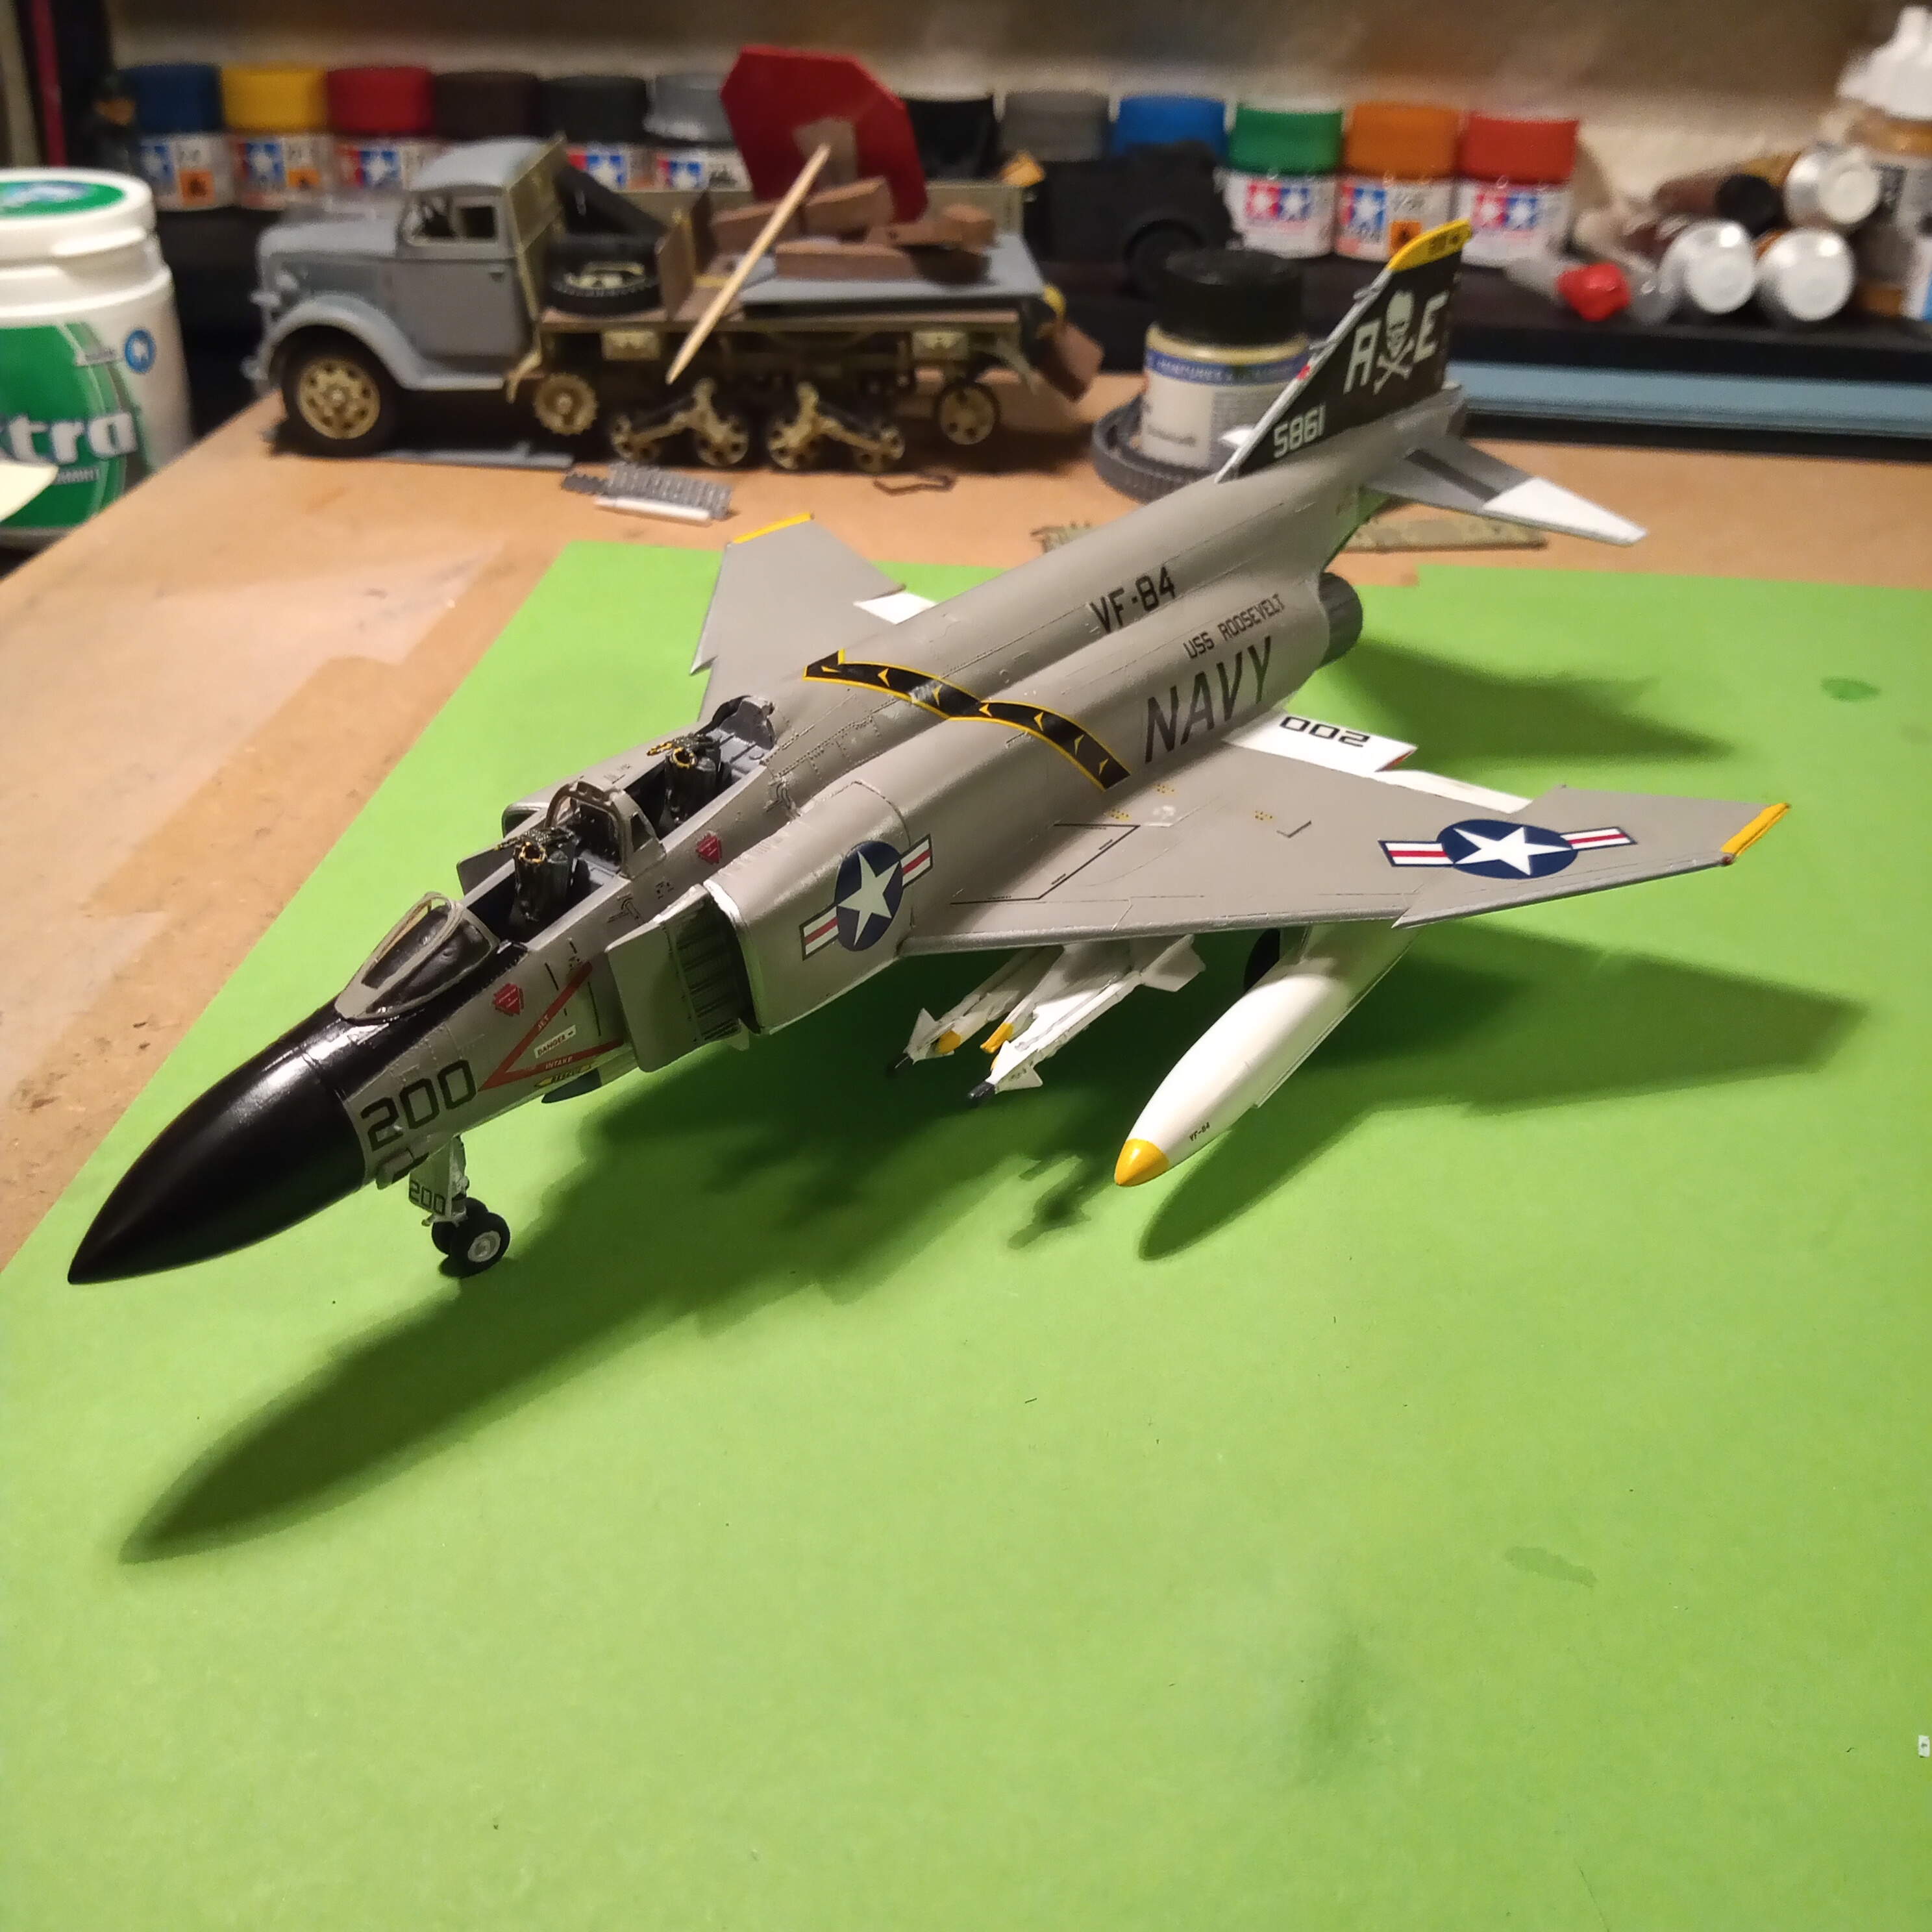
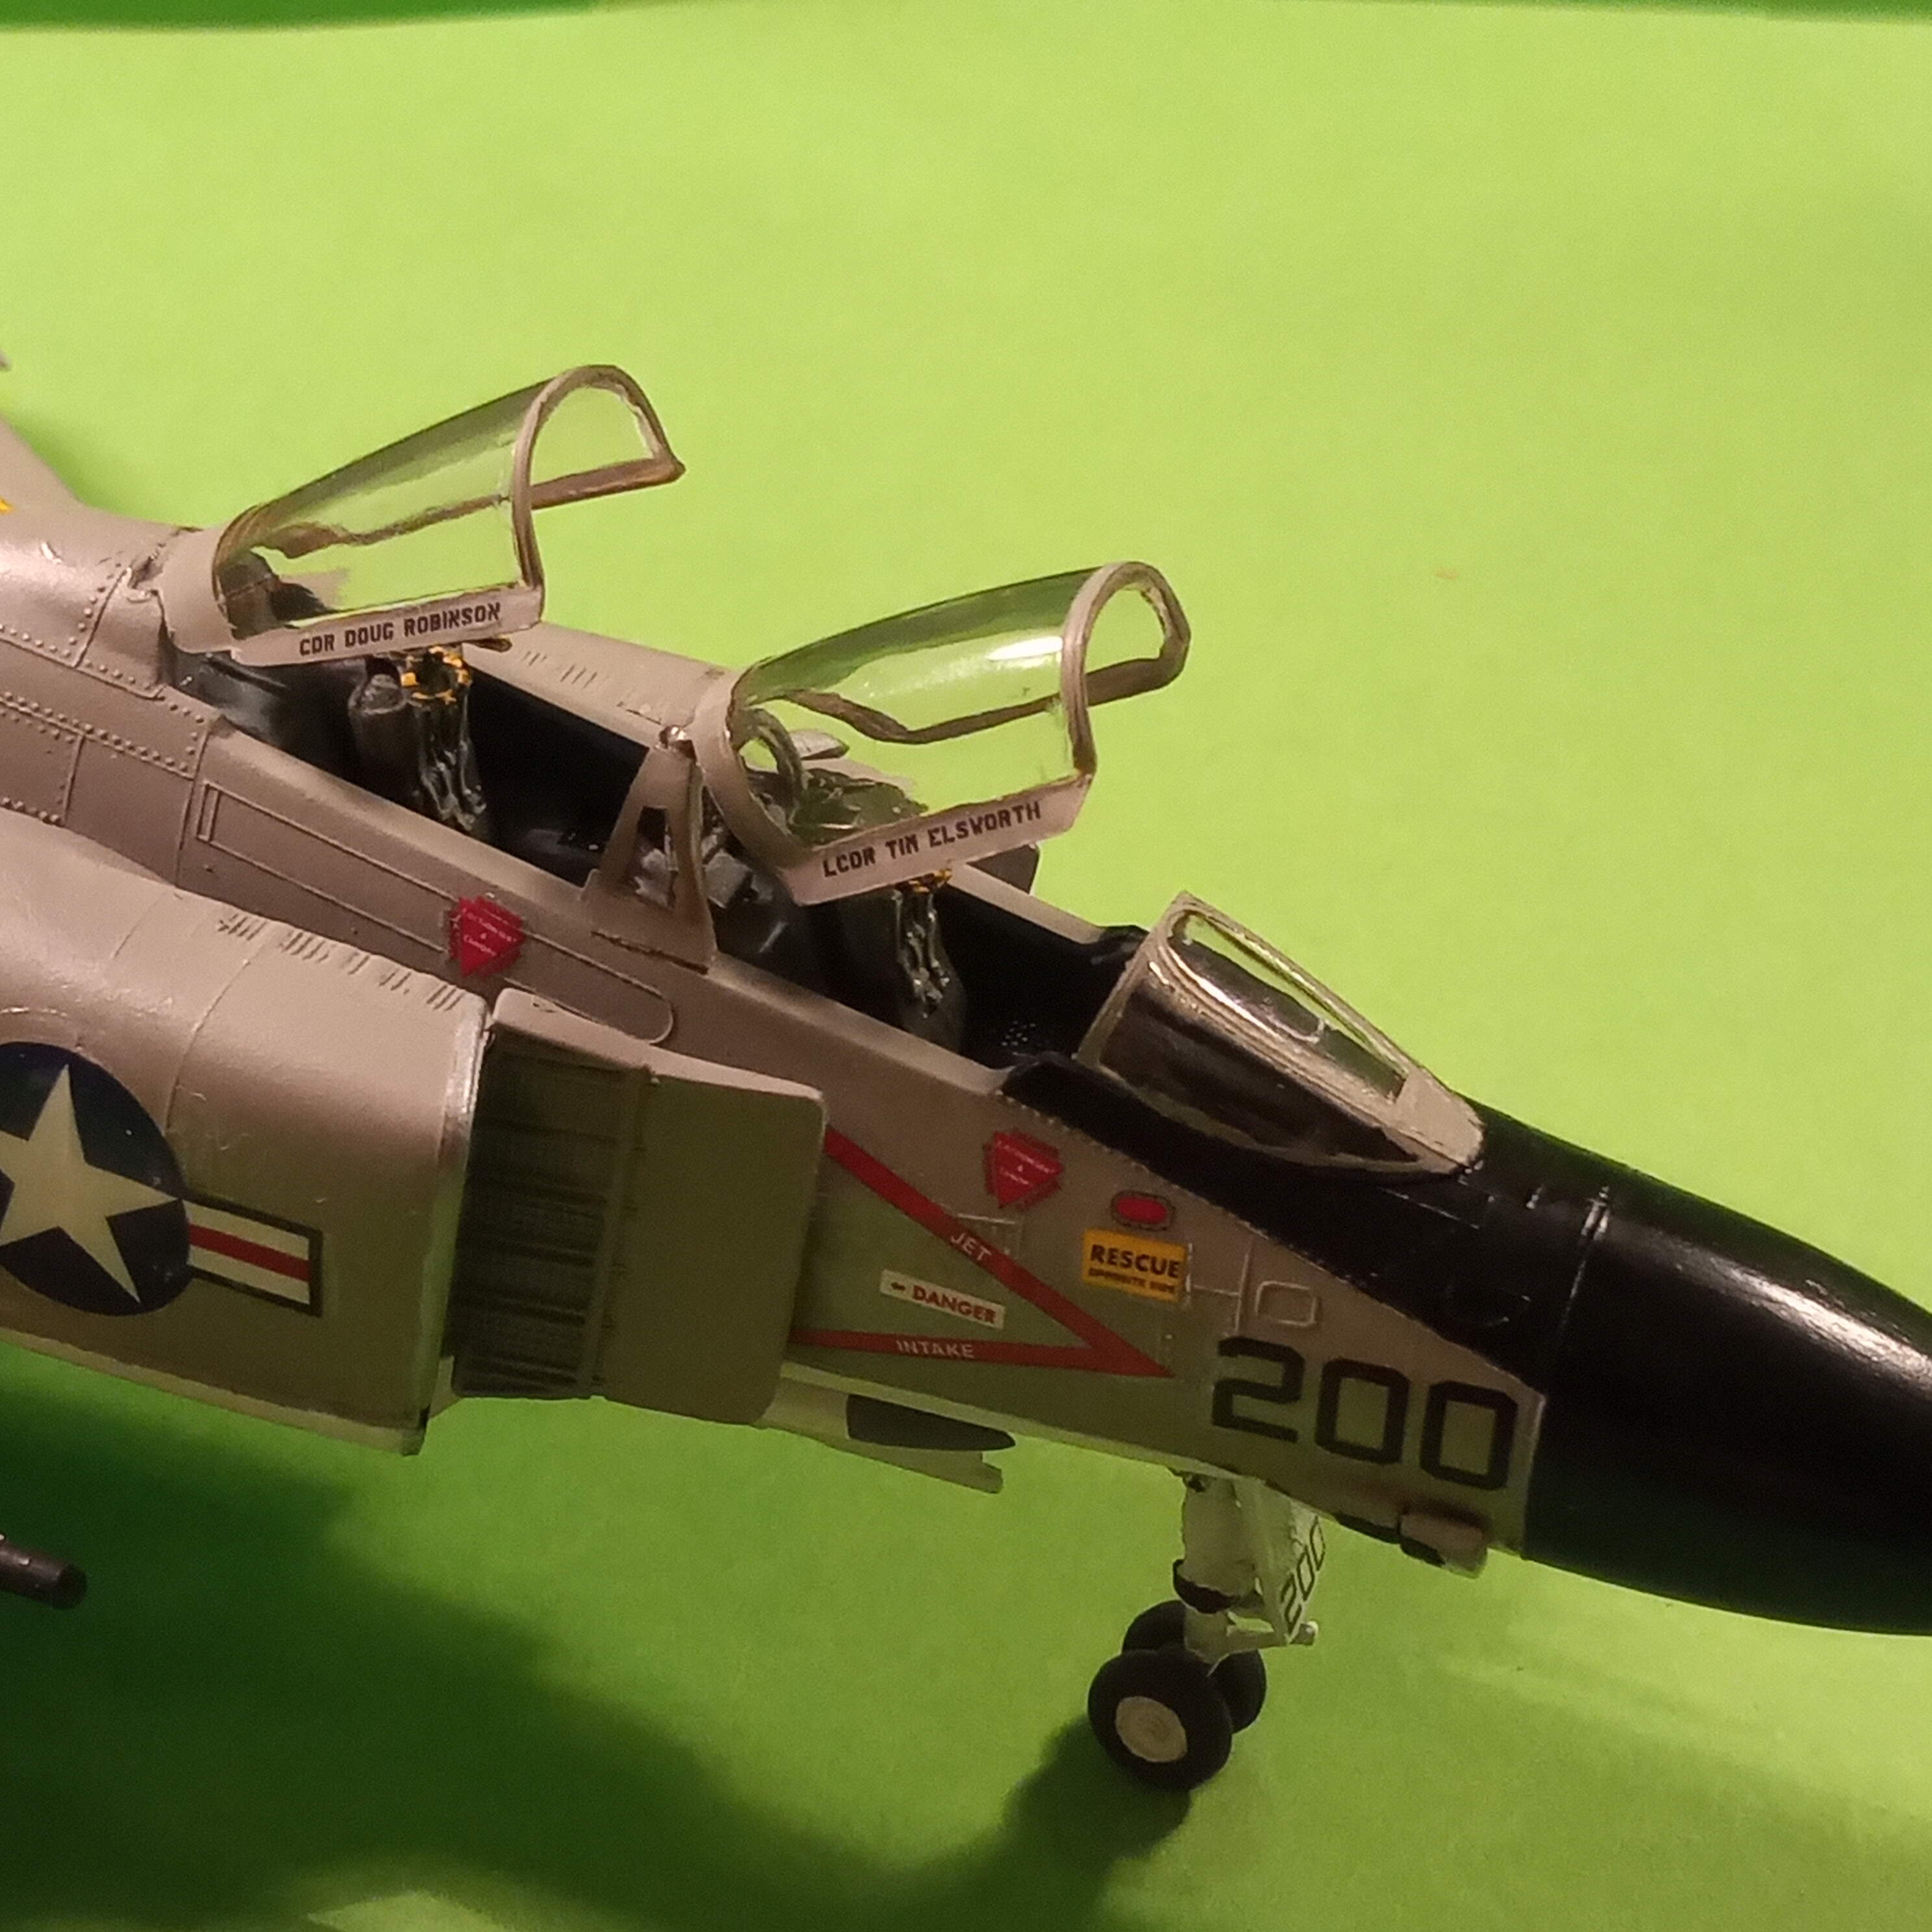
Not a lot of progress on my own Phantom build but between some hi-res color photocopies of some PE cockpit & placard sets, the lackluster console decals & some scratchbuilding I should have a decent 3-foot cockpit, if I put the canopies down!! 
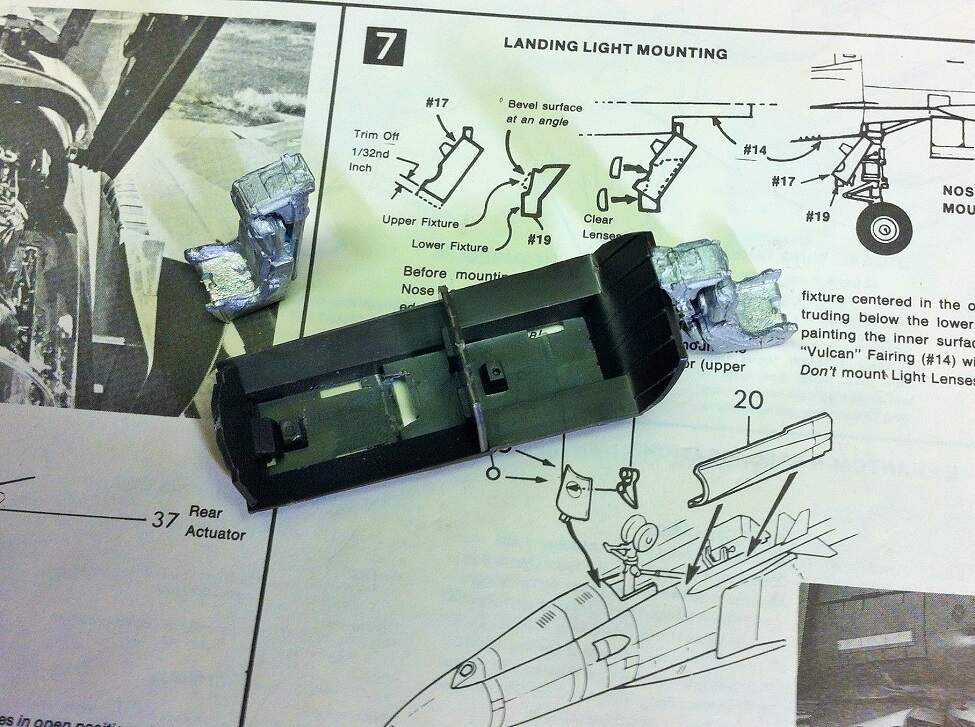
Had to modify the front office a little bit to fit the AeroClub seat. While it is rare that a Phantom kit needs nose weight, I shouldn’t have to worry about that! Also need to fill in the slots for the kit seats.
Very helpful and thanks for clearing that up for me Calvin @lodni_k
Very nice reference pictures on the ordnance, Calvin. Thanks for sharing.
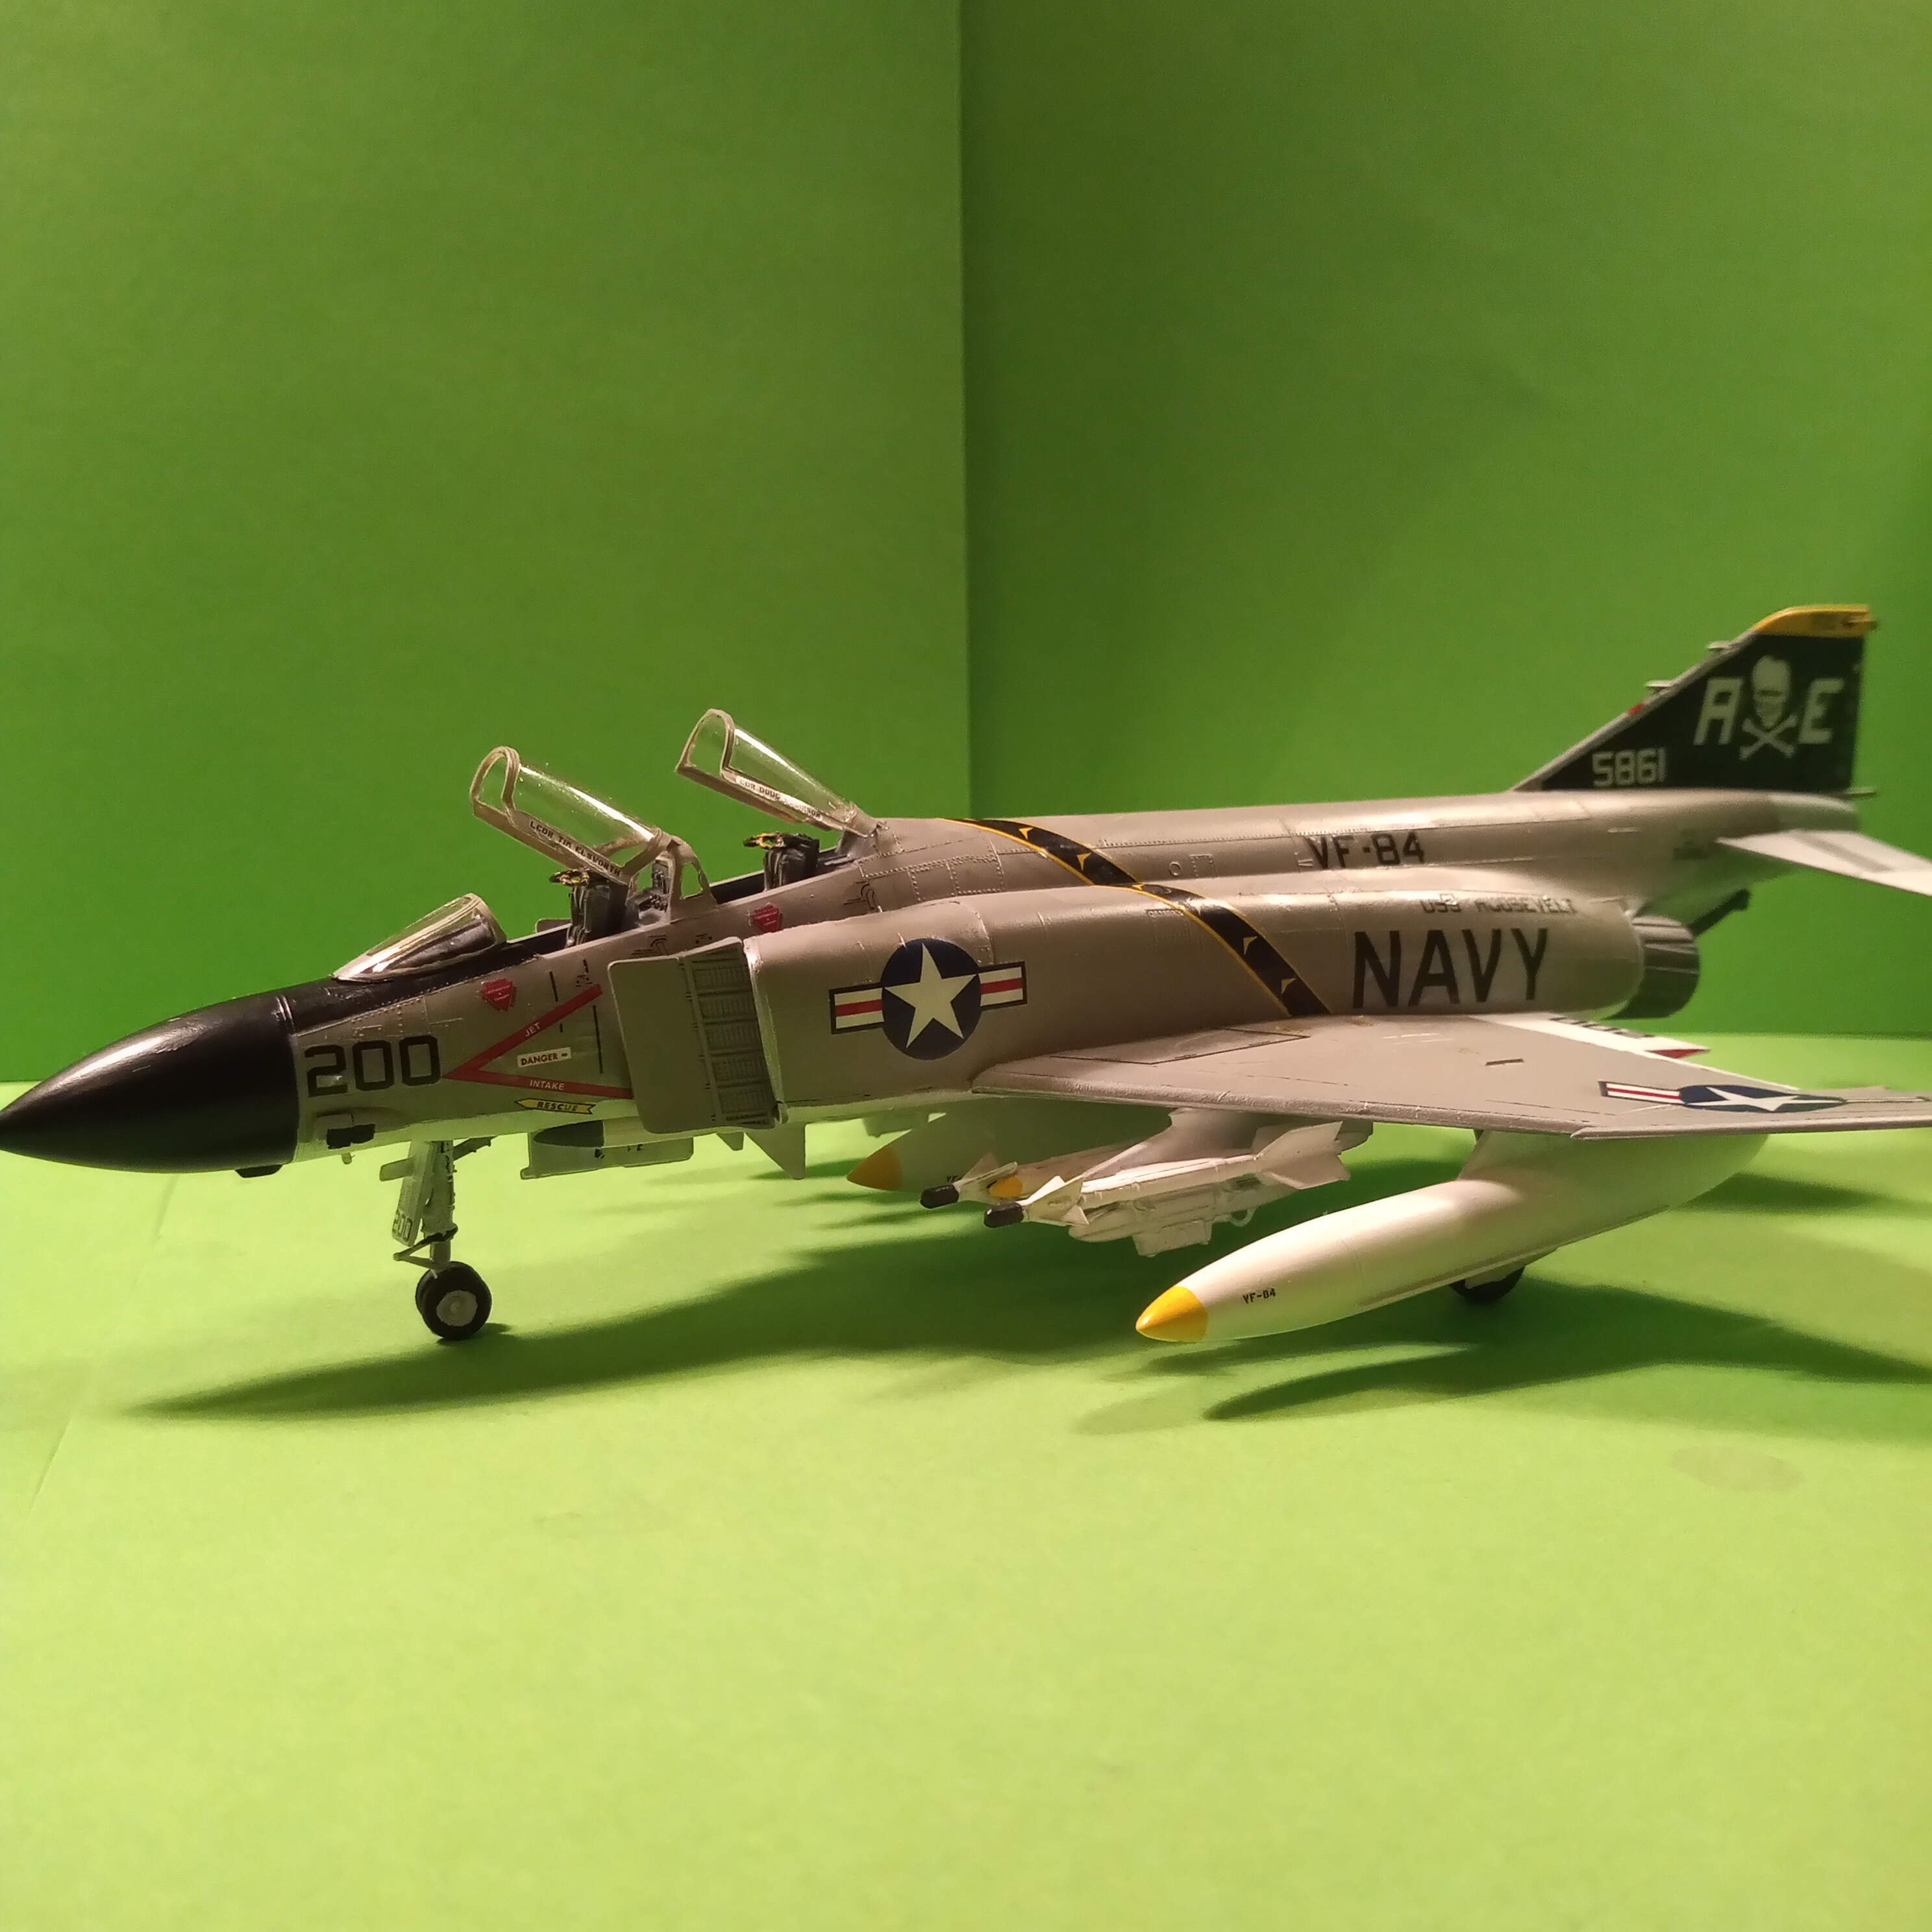
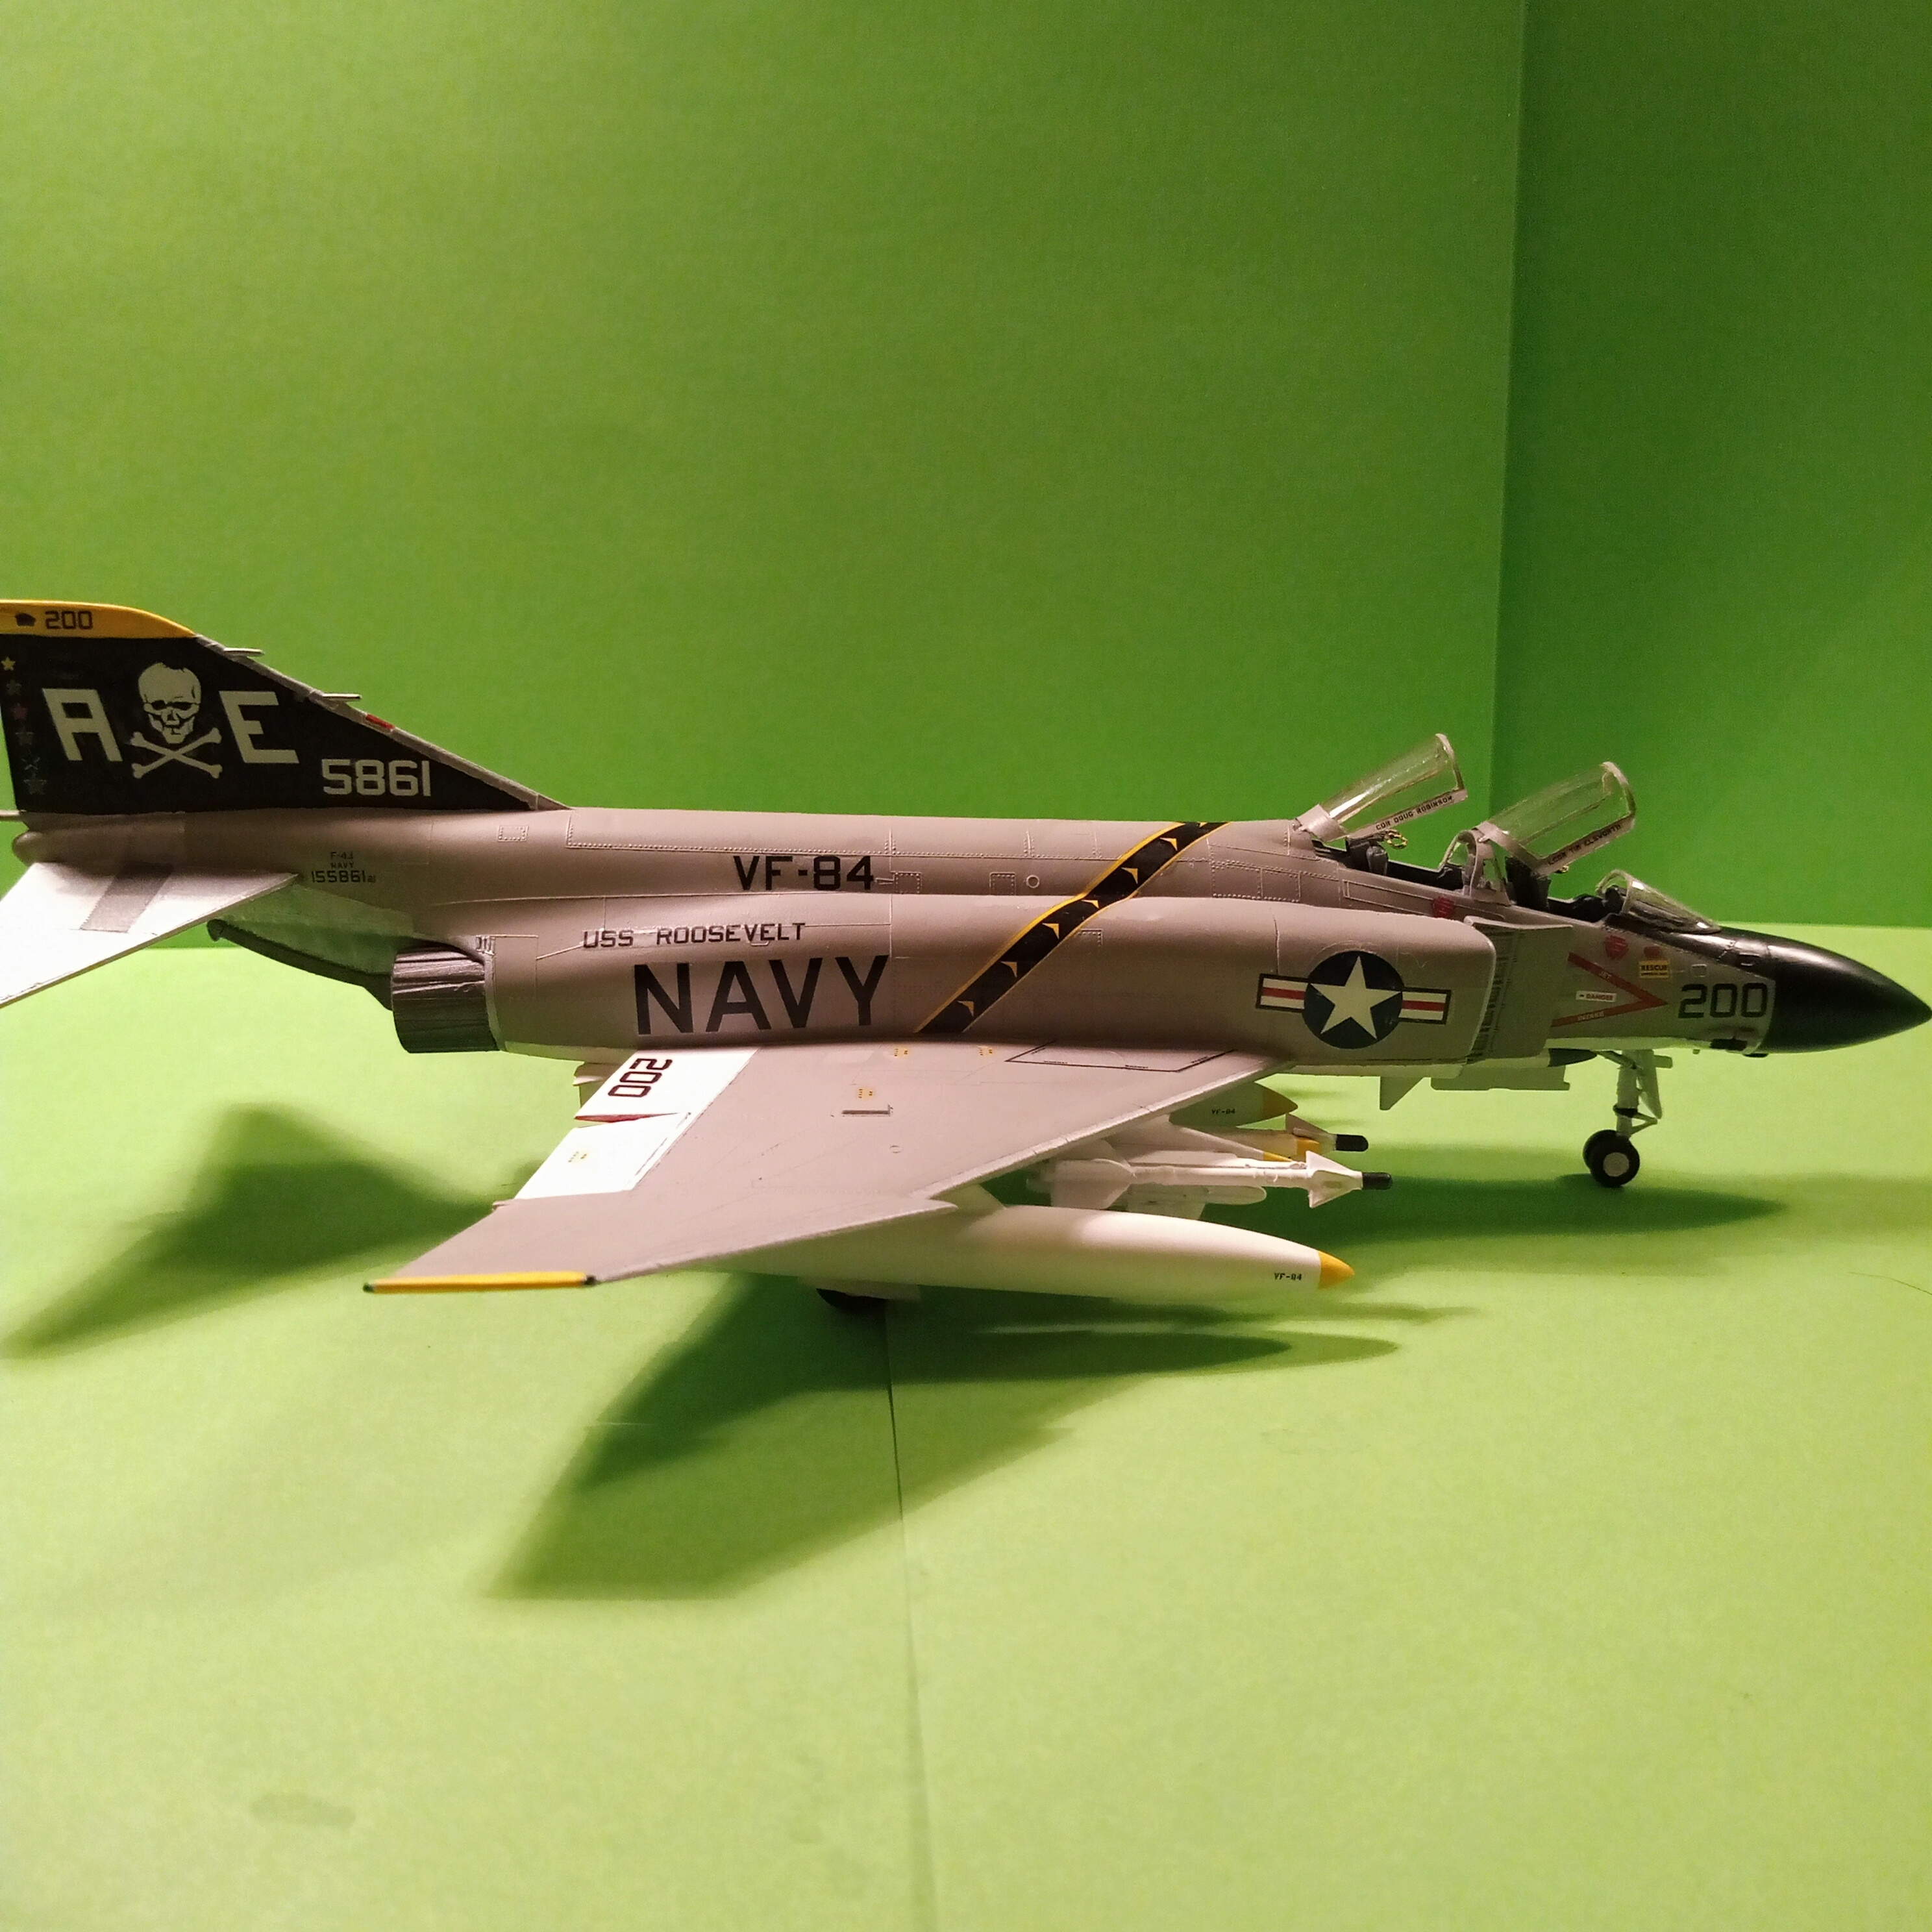
Well, I am very nearly at the finish line. Last pic before it’s finished.
Some minor detailing to finish off, and get the canopies on, thens it’s done. Once I do that will post the finished pics and gives run down of the experience of 1/72 …
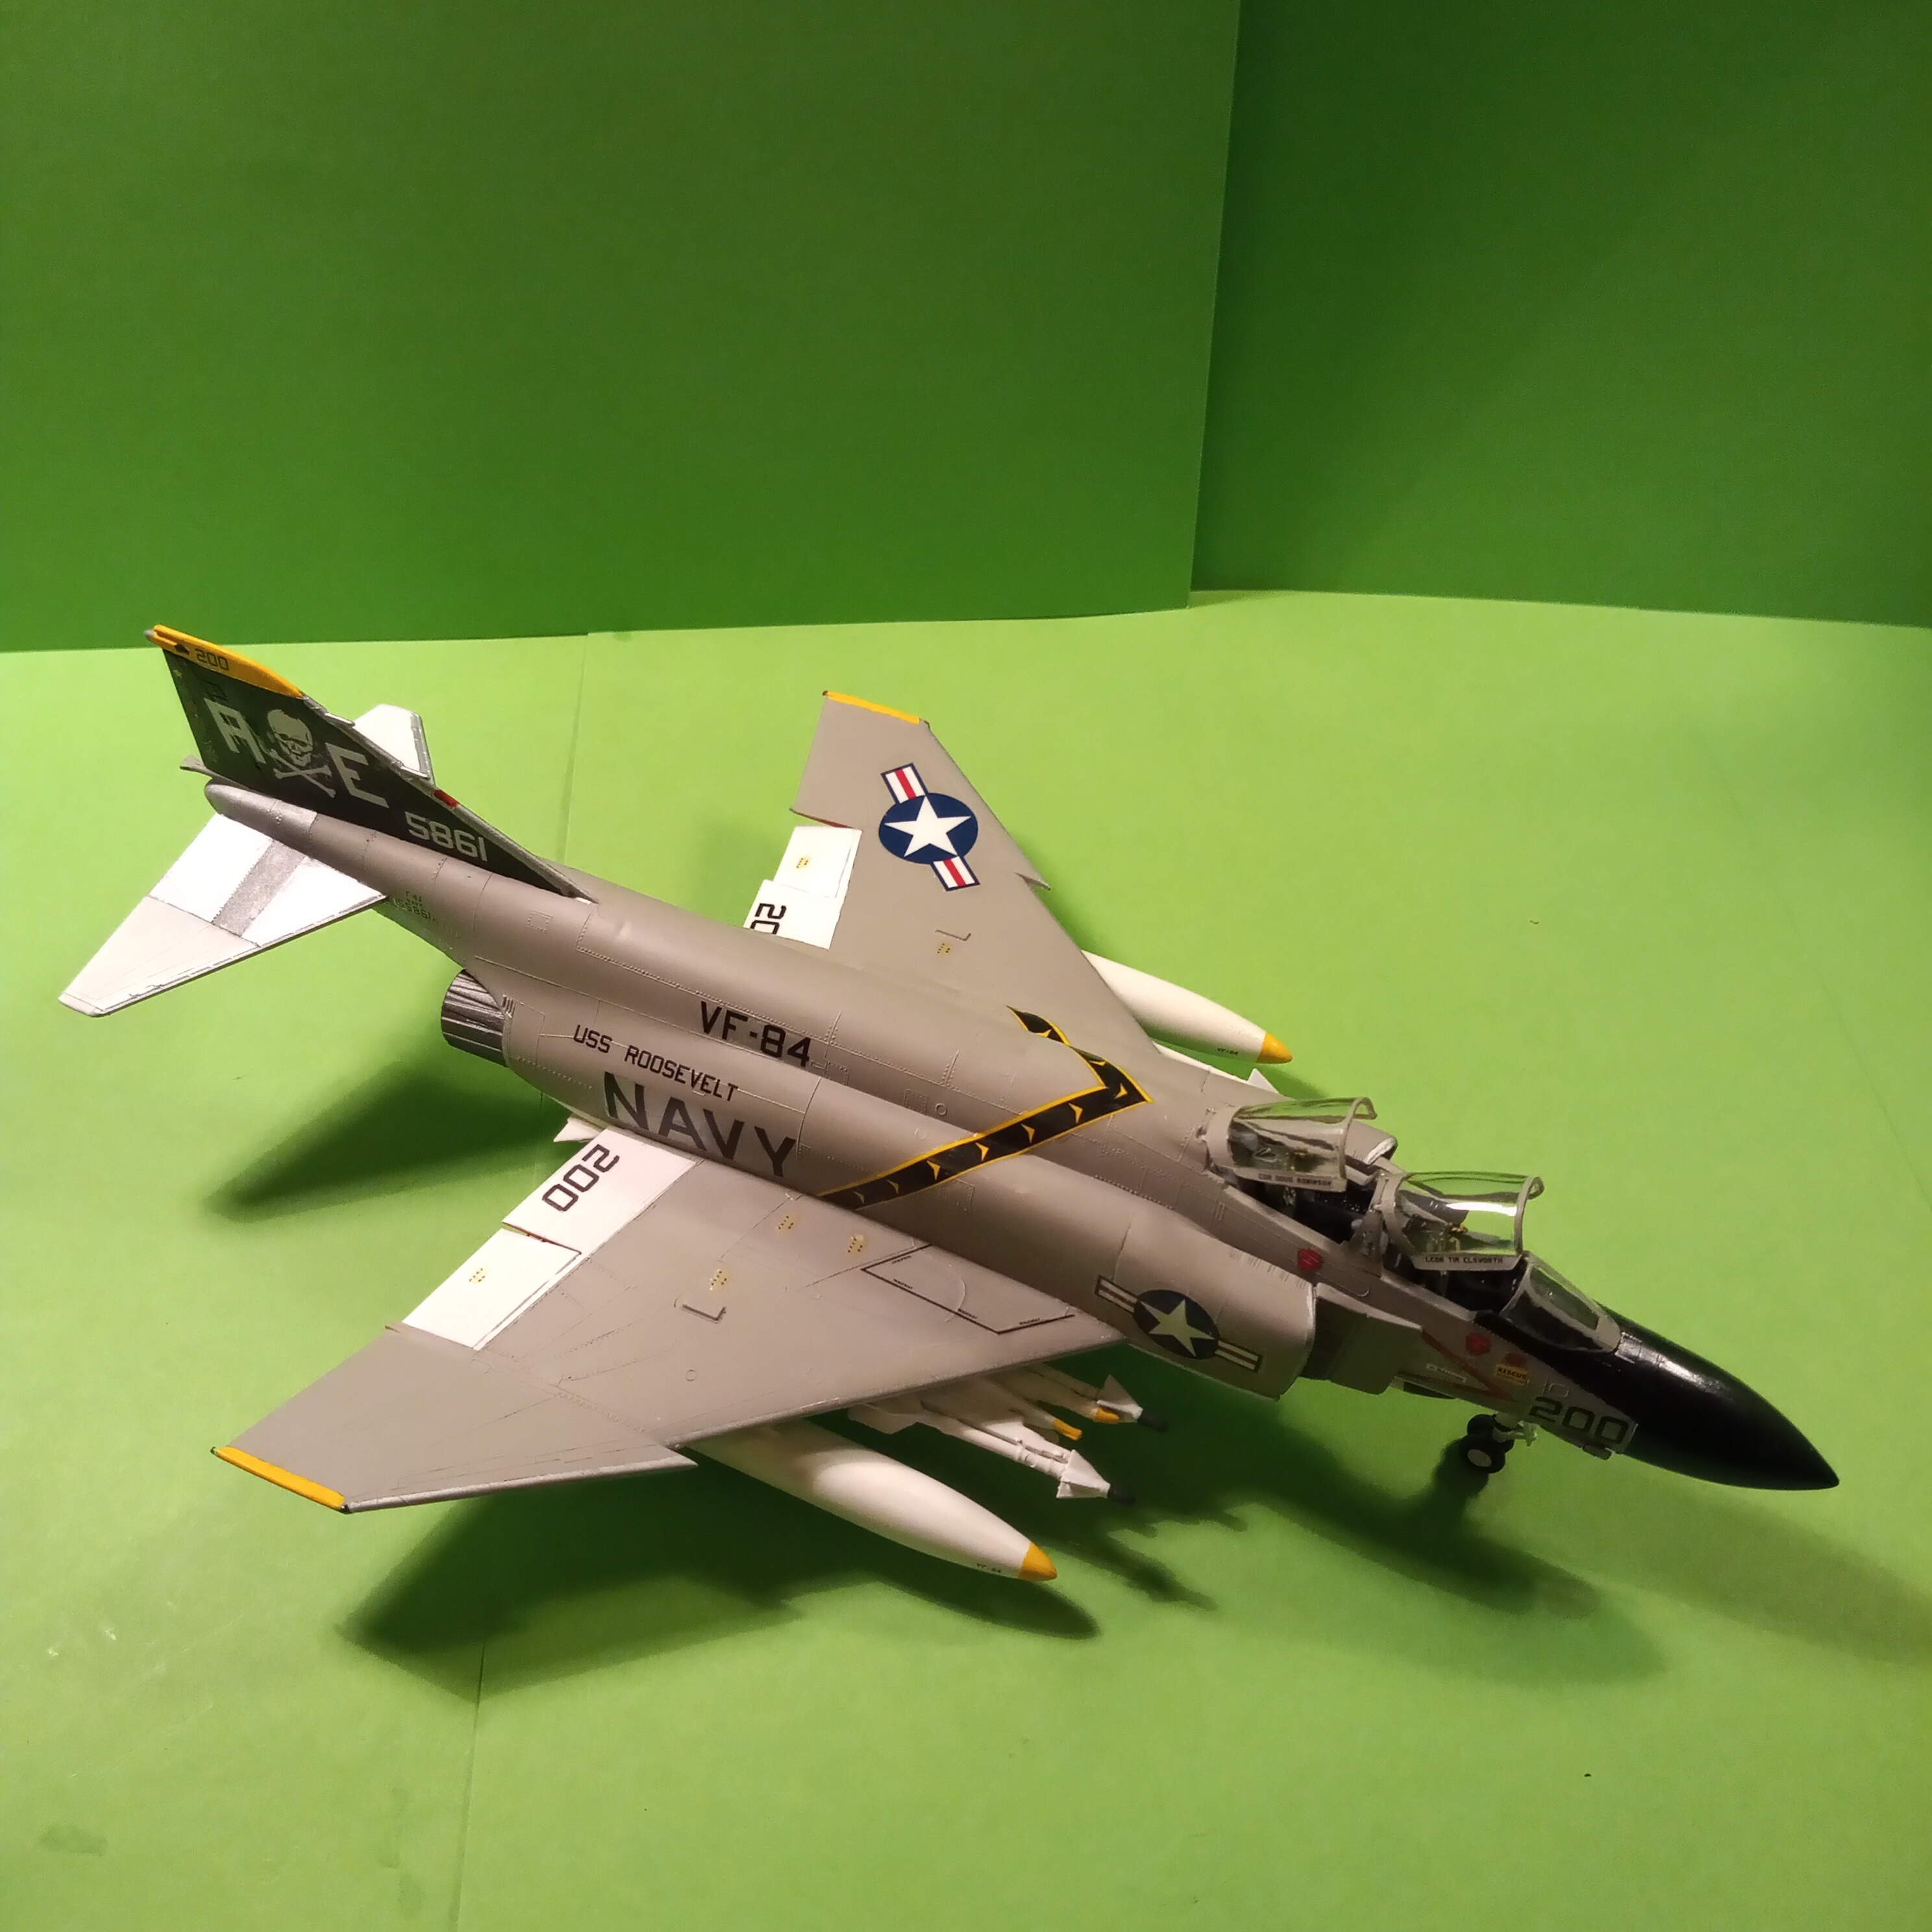
Very nice ‘Jolly Rogers’ Phantom! 
Most classic markings. Looking really good.
That looks really great!
Your Phantom is looking good, Johnny!
Have fun modeling
Mike

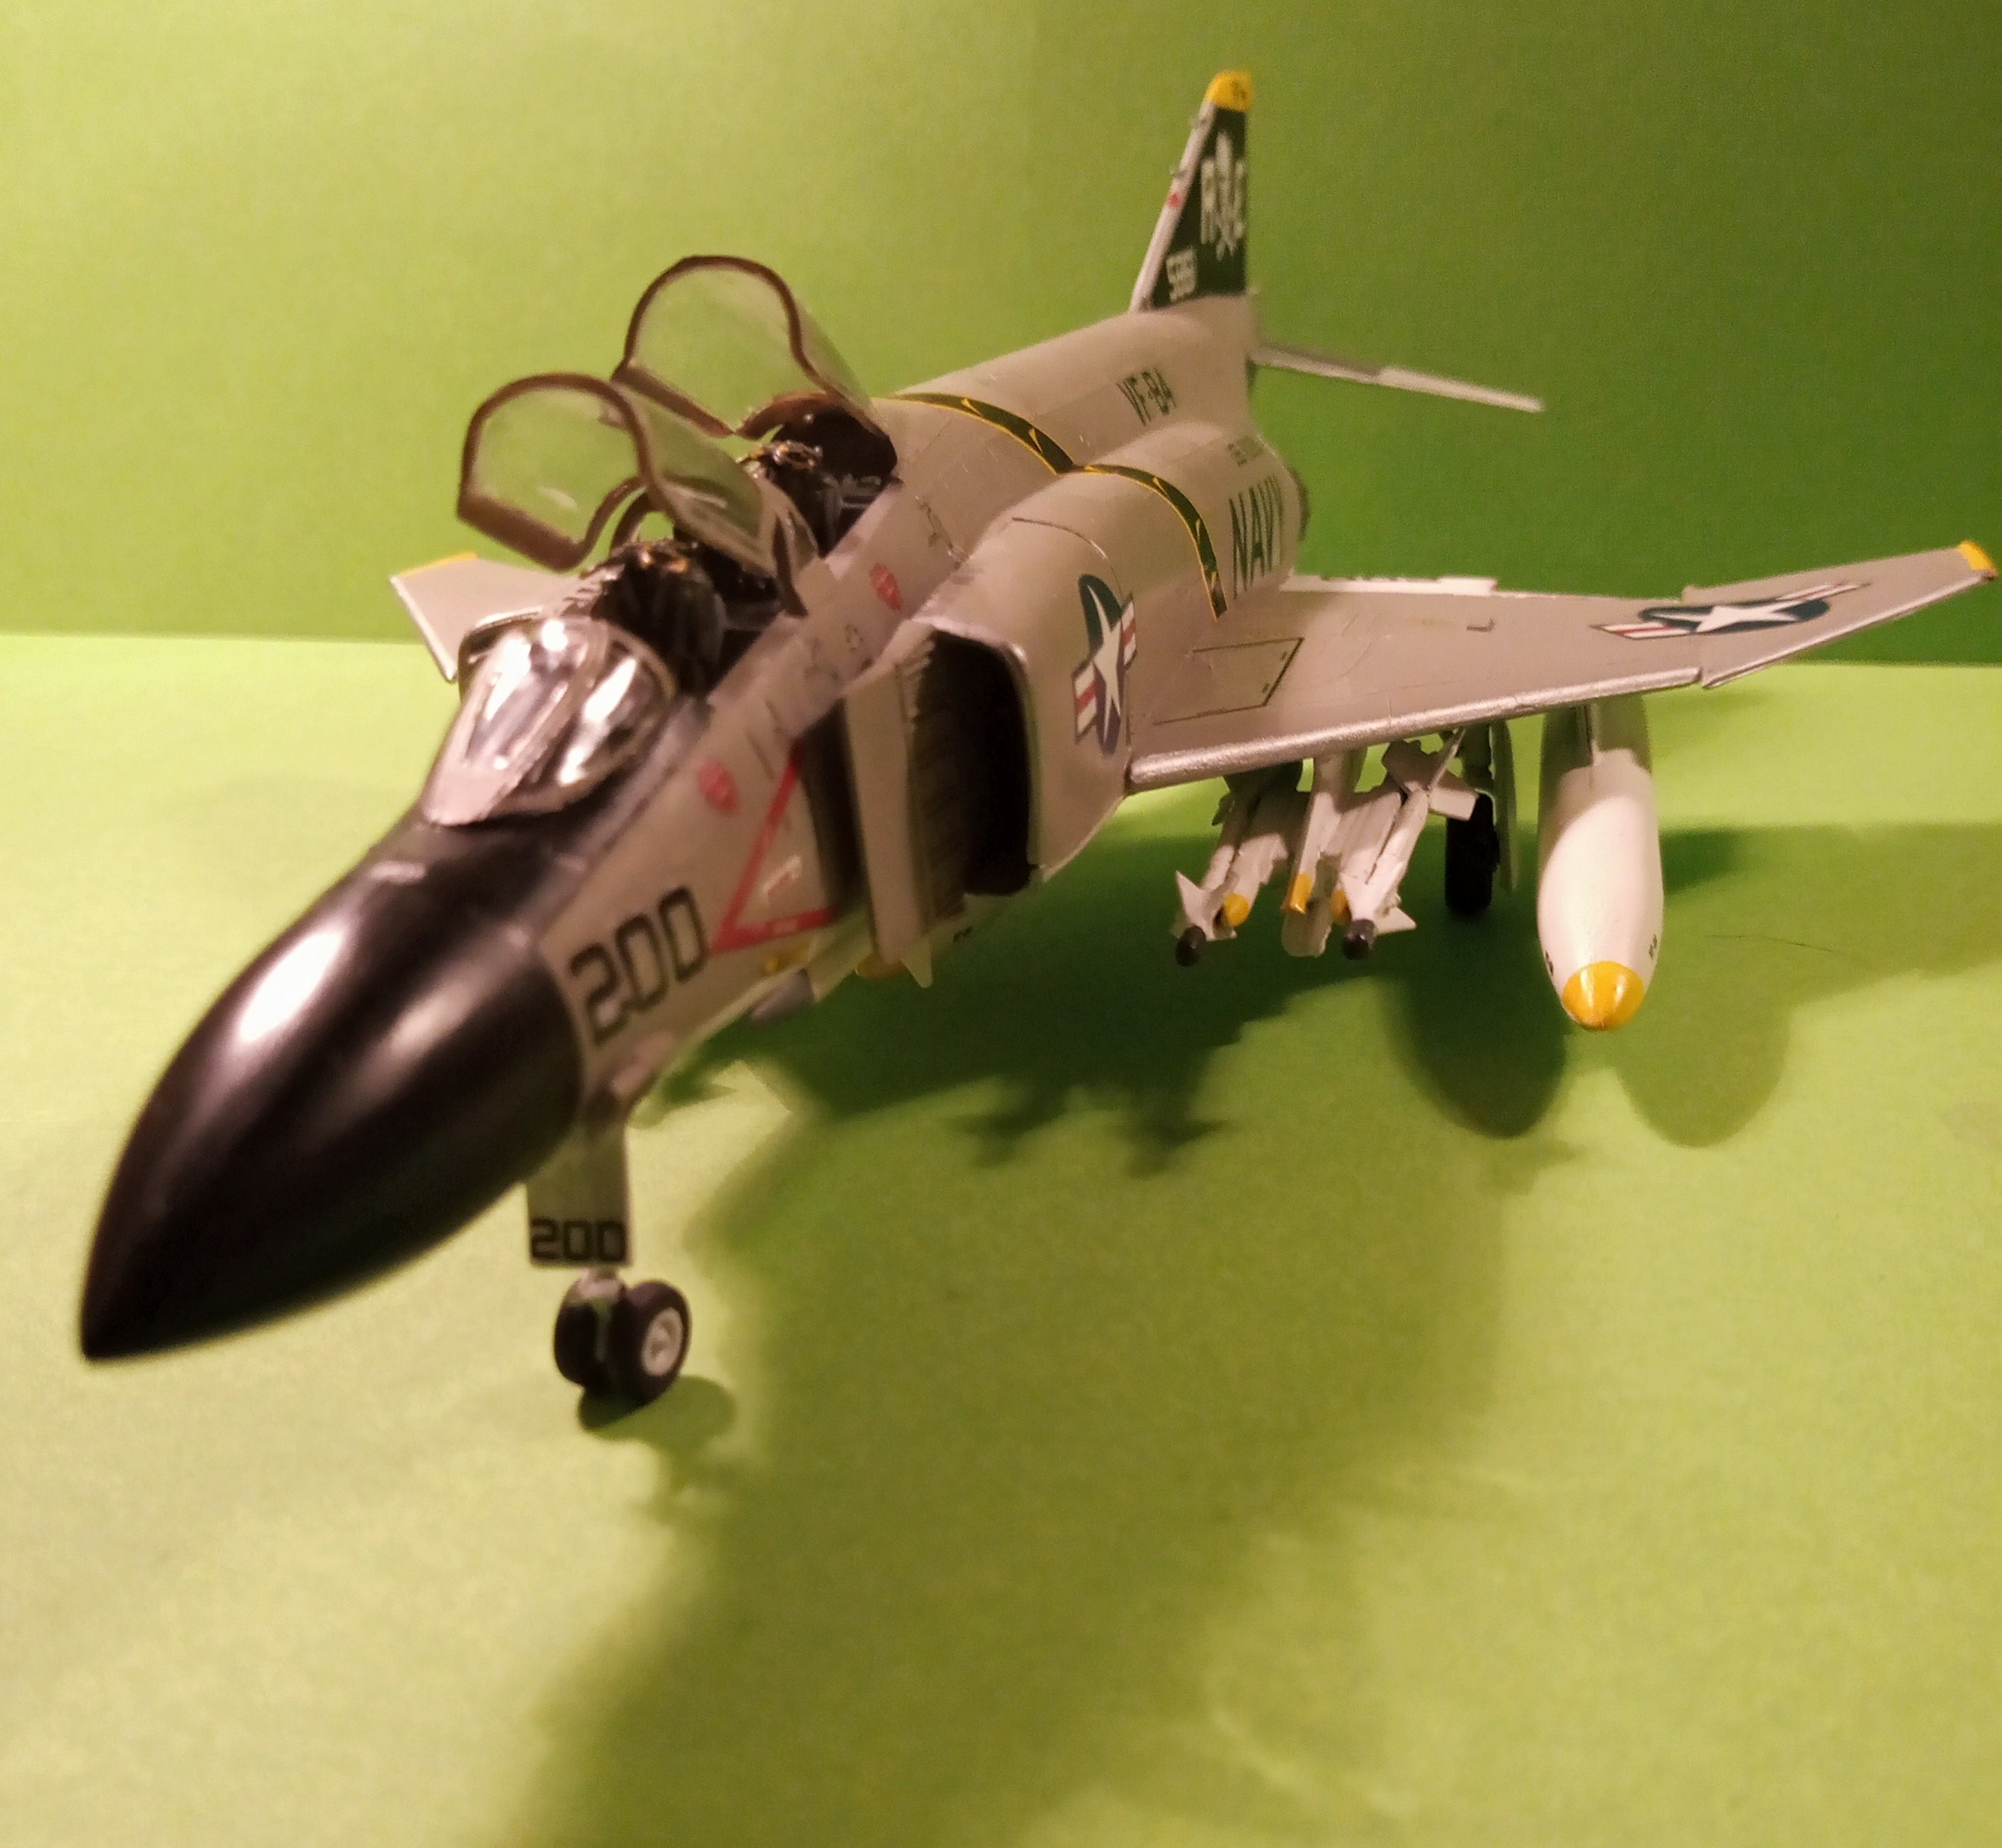
It’s finished !! Thats 7 campaigns done and 9 kits between all of them.
Do I love Phantoms- yes … Do I love them in 1/72 … No lol… More of that to follow. Some finished pics first.
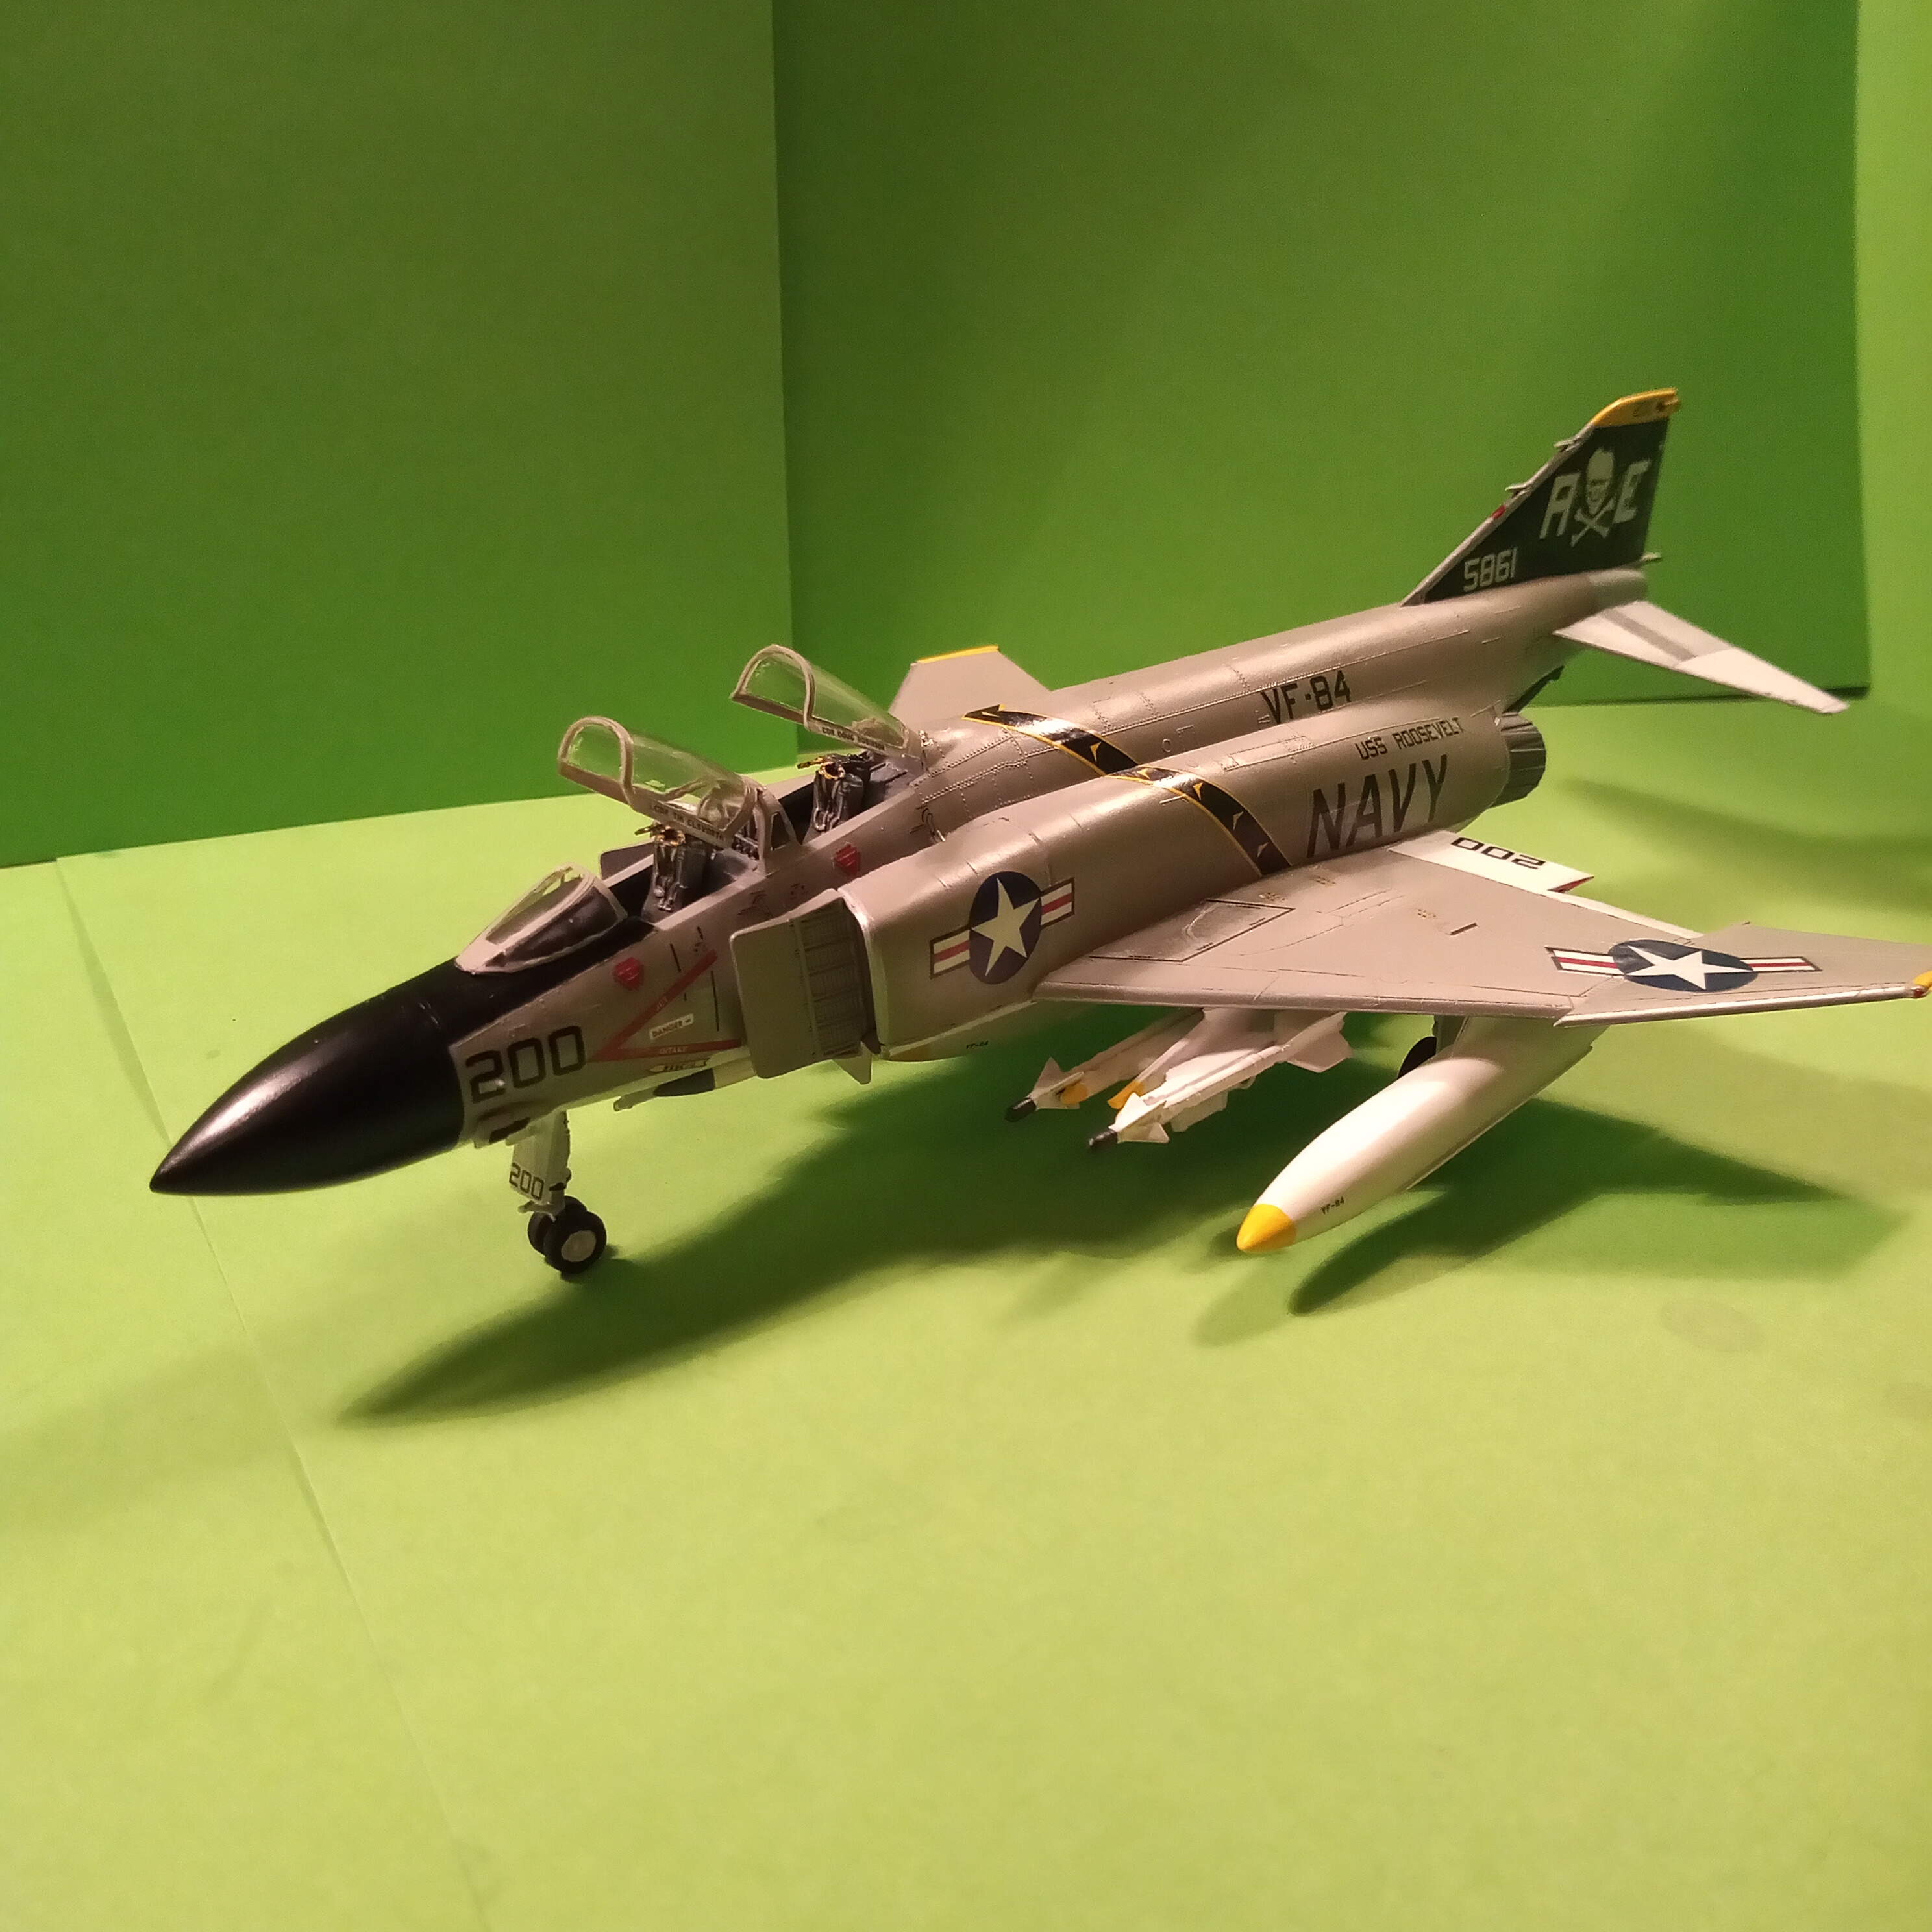
I should of gone with 1/48, and if I do another bird, that’s going to be the scale from now on.
I didn’t realise how fiddly some parts would be and indeed fragile.
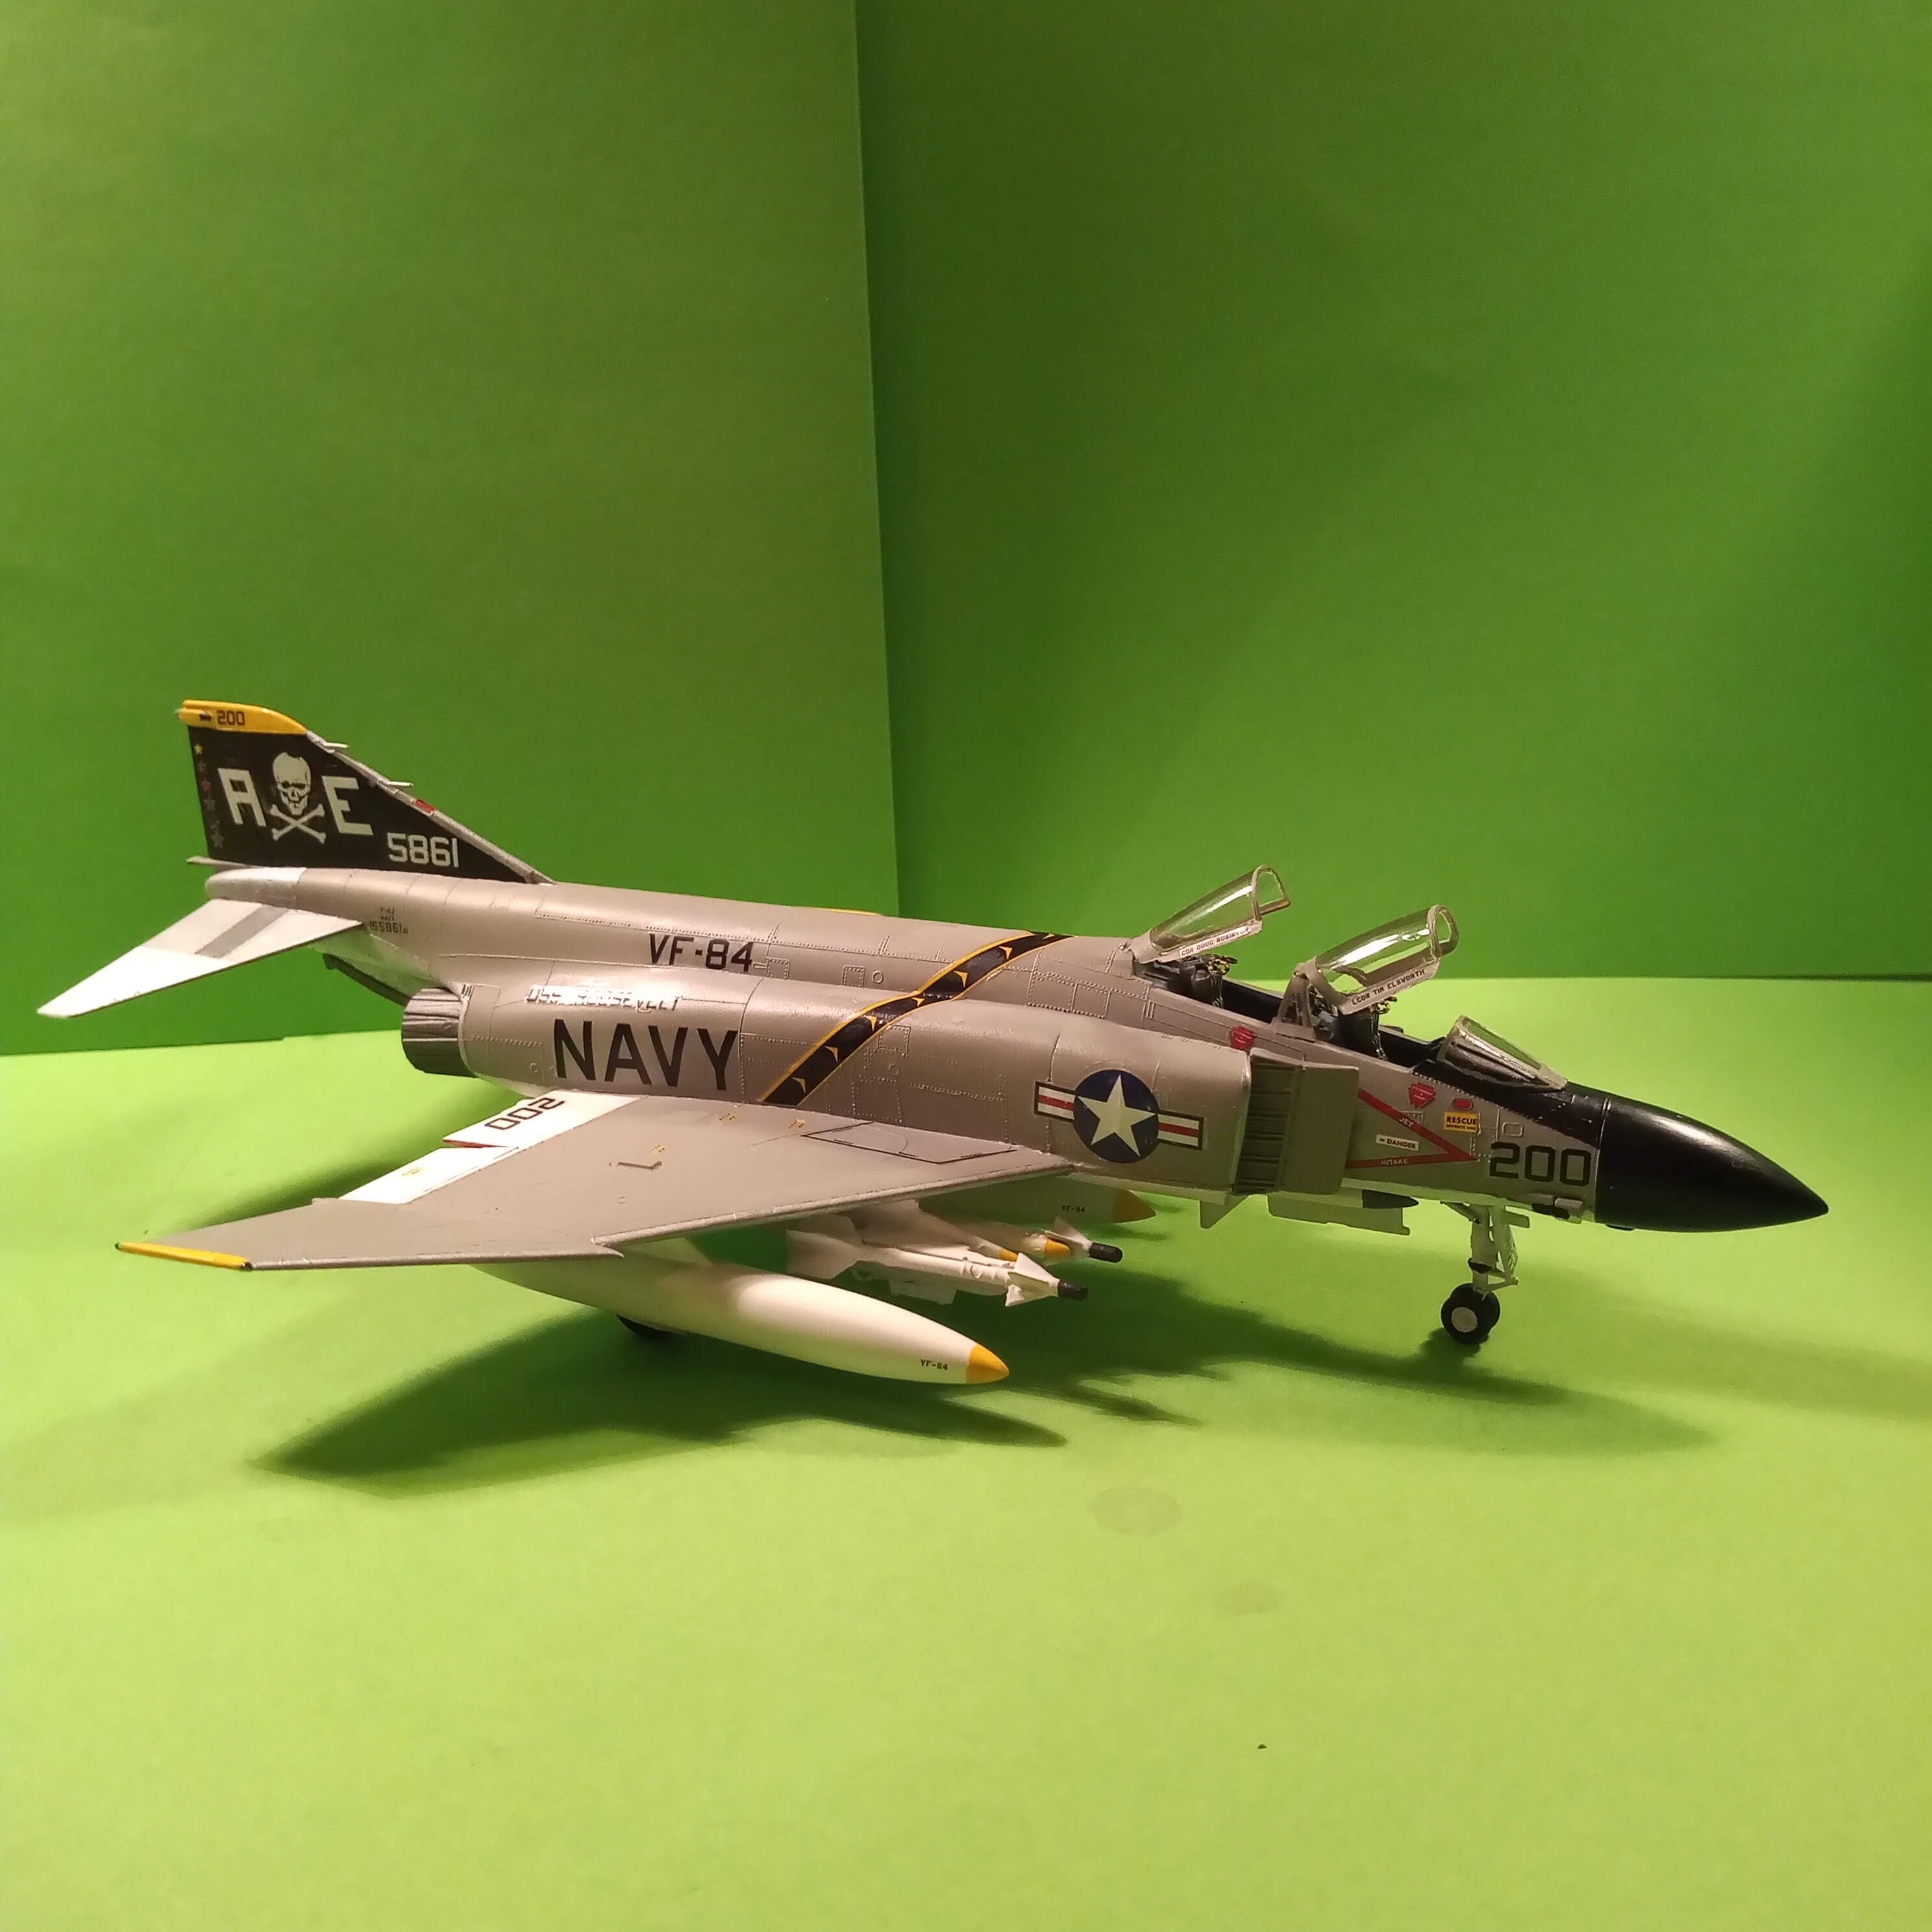
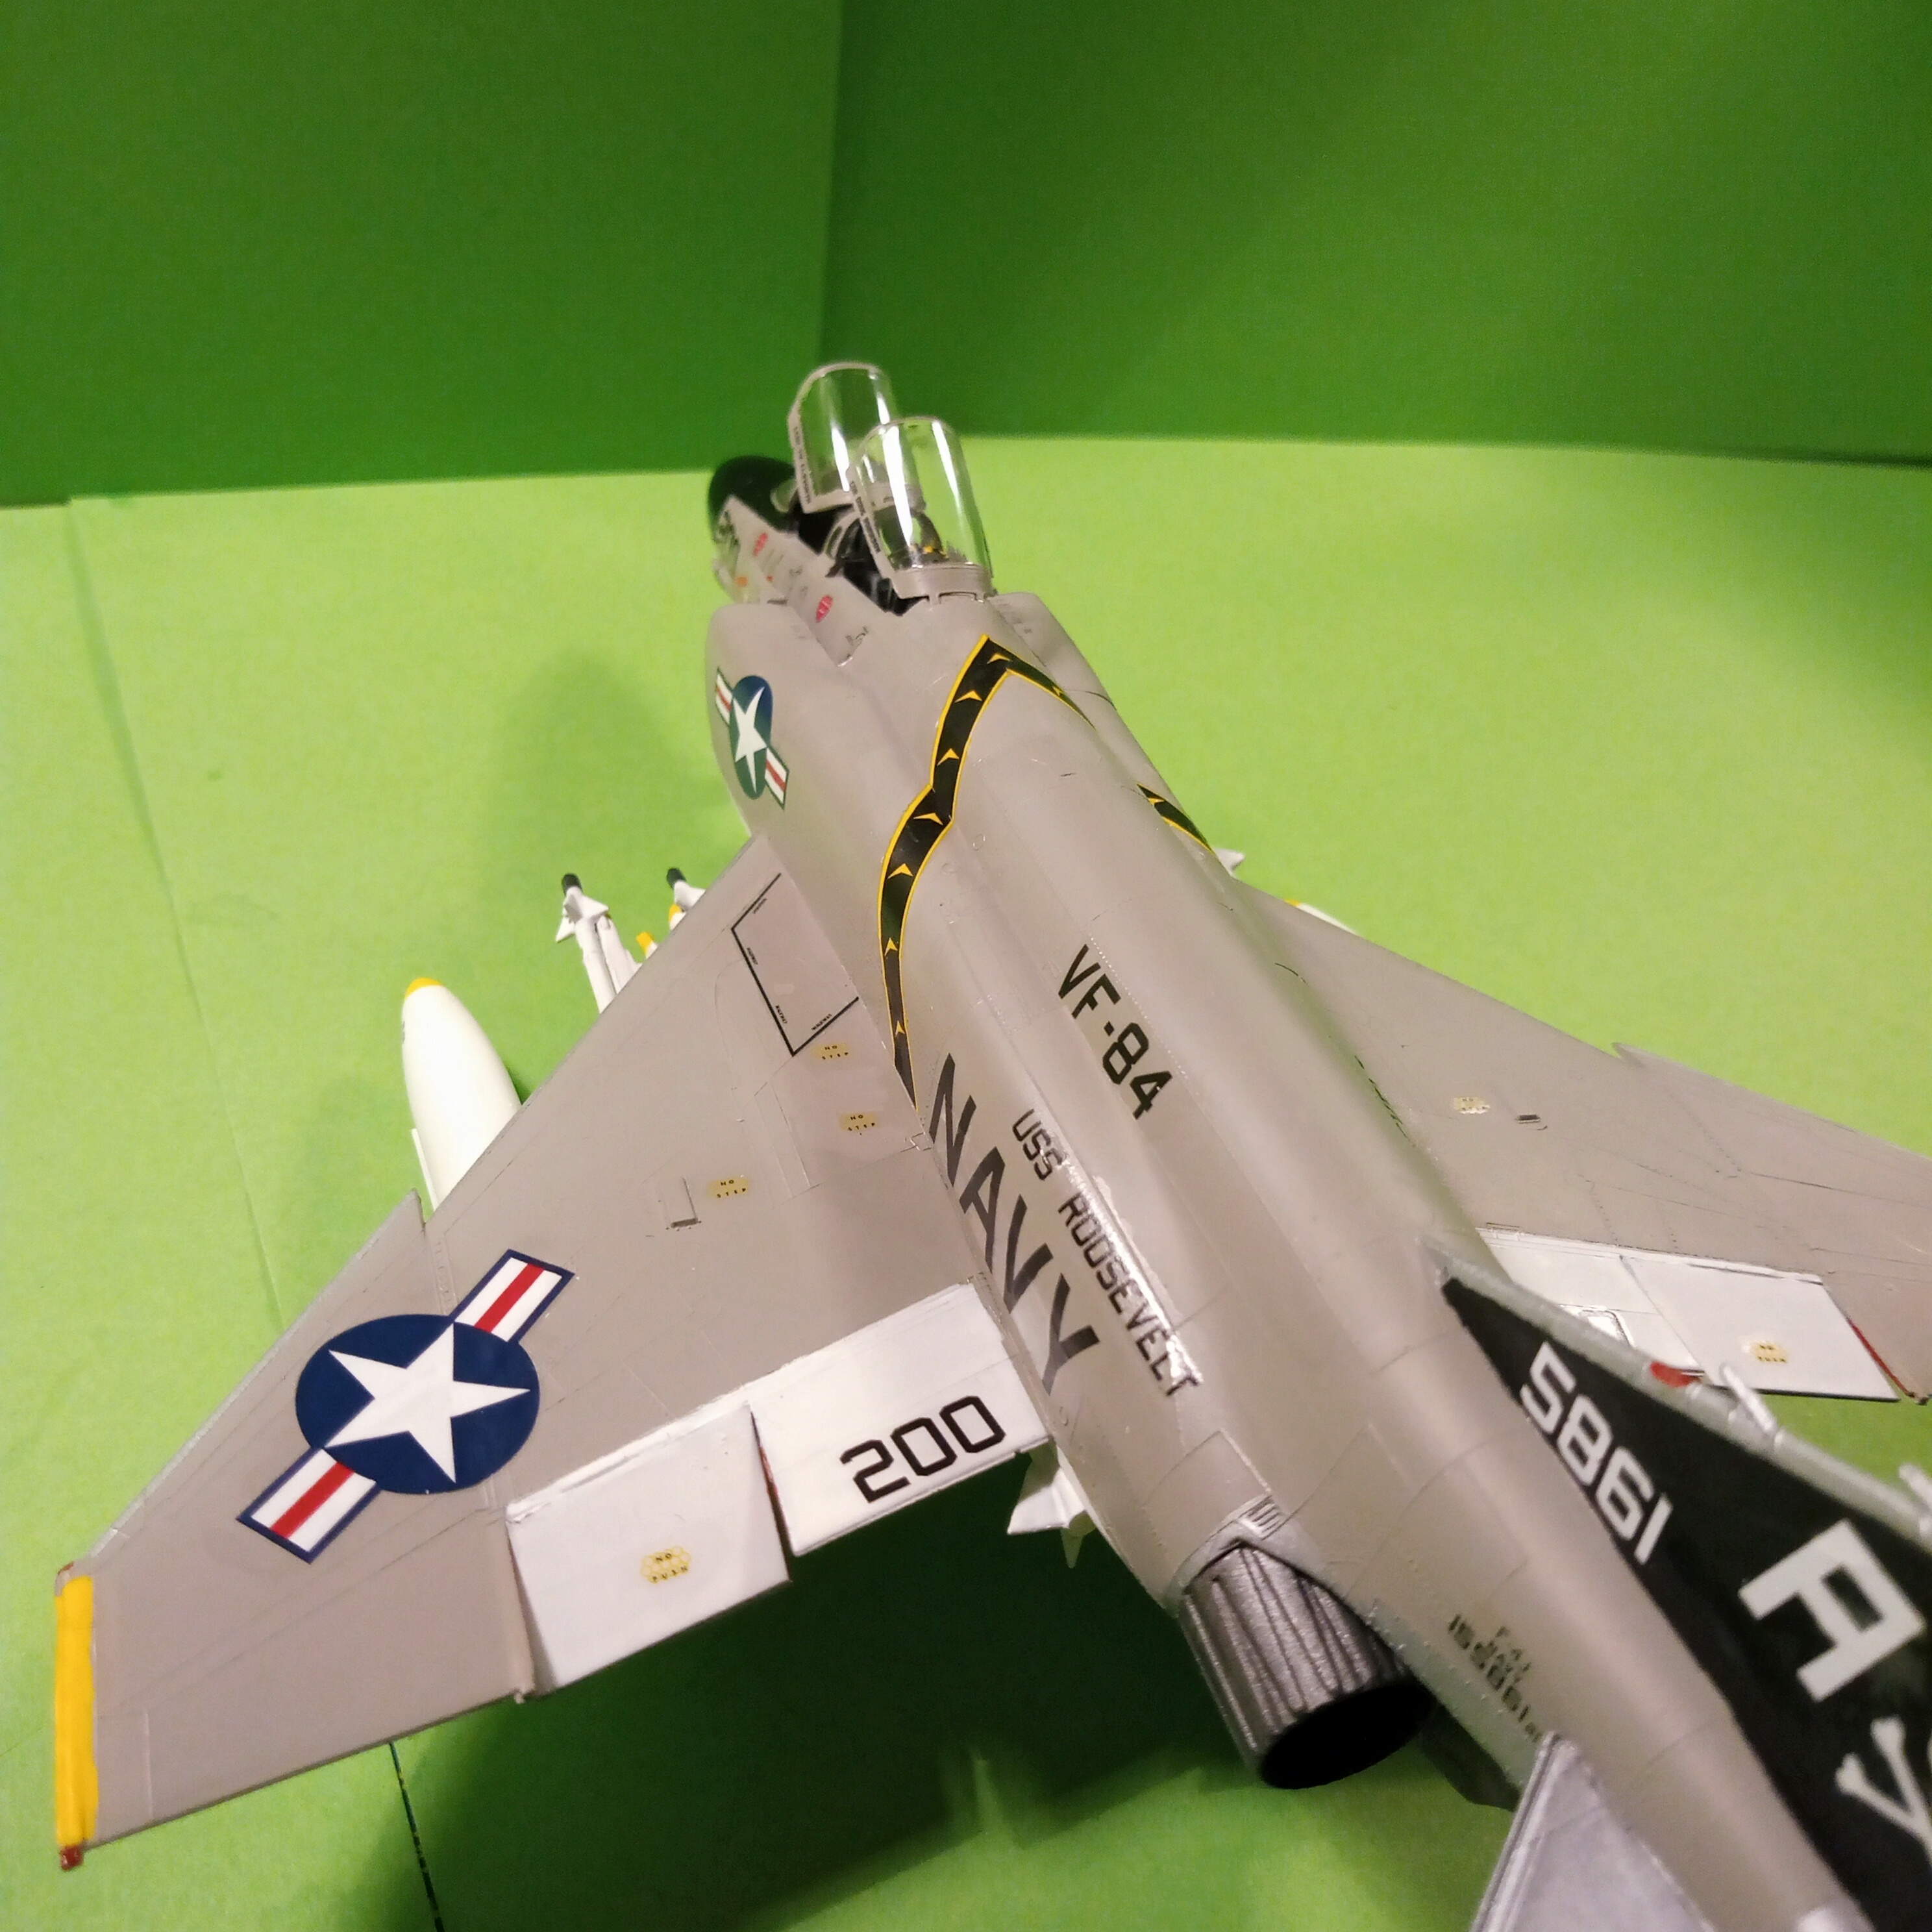
The kit on the whole went together well. No real fit issues and it was straight OOB. The kit being the Revell 1/72 Jolly Rogers version.
There was some minor flash but an awful lot of sink mark all over it. To be honest I just left them and hoped for the best, thankfully most are hidden unless you zoom in x1000 lol.
One thing I was cheesed off with were the panel lines, it was like reading a braille book. As I’m not an aircraft guy, I just left them as they were. I know lots of people (through reading about it here) would remove them and then scribe new ones… That was never going to happen trust me lol !
This became a real headache when I started applying the decals, no matter how much decal fix I put on… They didn’t want to know, so some areas look like the Himalayas ! I even had to super glue one stars and stripes down ! The decals also seem pretty thick, well to me anyway. However, all being said, I do like the way it looks and the decals do make it jump out … Go Jolly Rogers lol.
The painting was a bit of a steep learning curve. You can get away with alot doing Armour, not so with aircraft I have now found !! I really wasn’t prepared for all the straight line neatness needed and the masking, (where I did any ) … If another bird hits my bench, it will be getting a cam version, unless I can find one that is all one colour.
I used the Aqua revell paints for most of it, and they seemed to go on ok, any blemishes are residue from the decal fix I couldn’t get off.
I am glad I took part as the F4 is my favourite plane so all good there. Thanks to Michael for setting the build up, and looking forward to seeing you all complete some great look Phantoms. Stay safe. John
Phantastic Phantom, there. Nice work.
Phabulous Phantom Johnny!! 


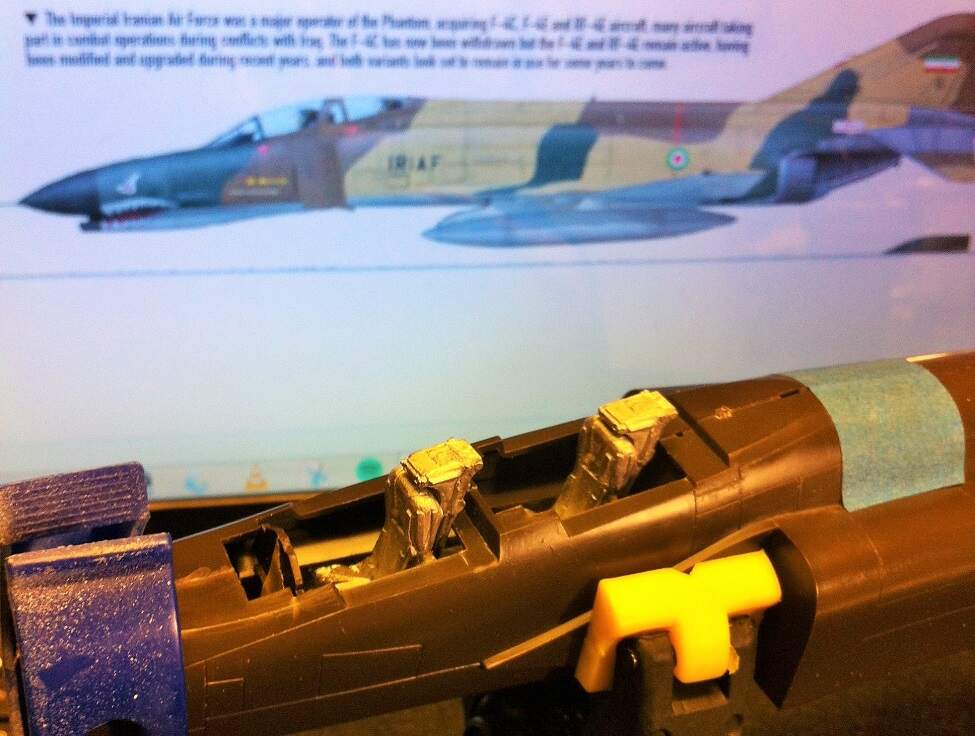
I’m dusting off my failed effort for Phabulous Phantoms 55 and hoping to phinish it for this build. Here’s where the build was back on February 26, 2016.
Hasn’t moved much since then.

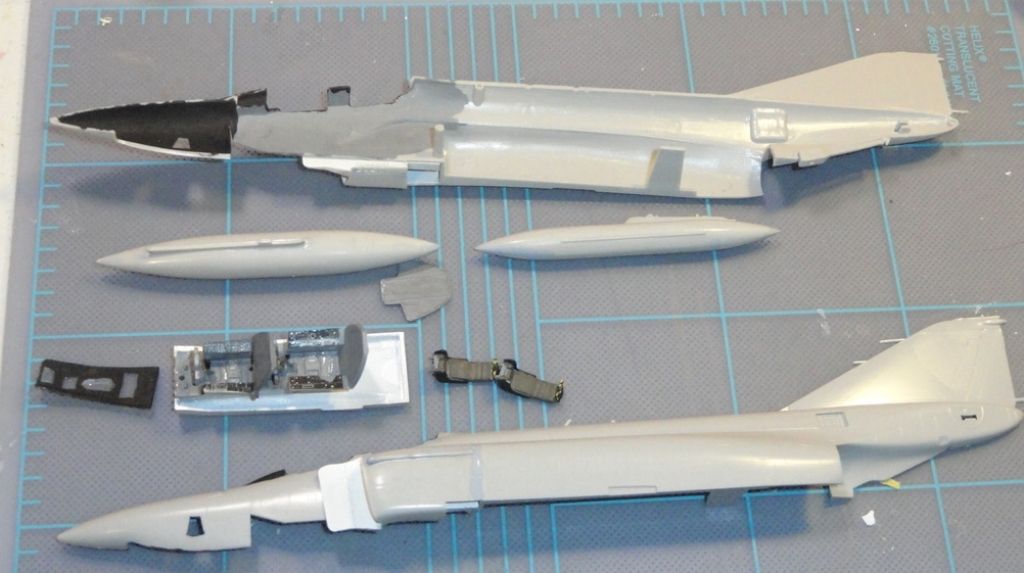
It’s the Fujimi 1/72 kit. It gives 3 options for marking, one’s a bicentennial do, and the other two are for standard Hi-Viz finishes probably from the late 70’s, early 80’s, before Lo-Viz.
The kit offers two 370 gal underwing tanks, one 600 gal centerline tank , an ALQ-119and a pait of AIM-9B Sidewinders. My question for you Phantom Phact checkers is what’s the correct loadout for the RF-4B in the 1979-1980 time frame?

I’m pretty sure that only very late US Air Force RF-4C’s were configured to carry Sidewinders. Very sure that all Navy RF-4B’s had no ability to fire them and hence, never carried them. But I can’t say that I ever worked on the Double Ugly much, let alone load anything on it!
Looks great, Johnny!
Here’s an update on the Z-M F-4E. Ran into my first fit issue, but I sort of saw it coming:
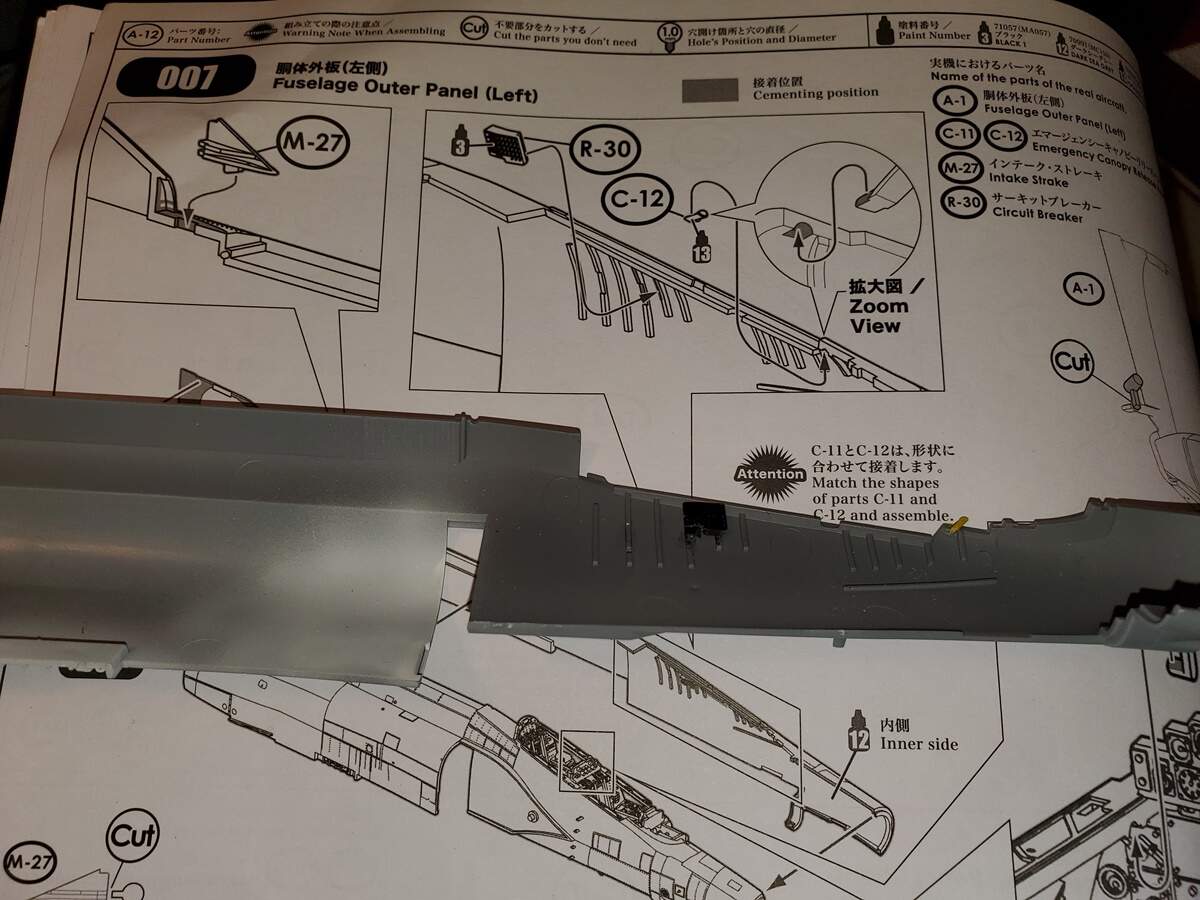
Placement for part R-30 is not too clear but it was obvious that it could interfere with the cockpit when installed. So I made sure to test fit the cockpit before I committed to glue. It needs to be a bit forward and higher than seems to be indicated by the instructions, or at least mine did. Also, don’t be tempted to wait until the fuselage halves are together to insert part M-27, it slides in there so you’d have to cut the tab off the bottom to get it in place afterwards. Install it last thing before joining the fuselage halves to make sure you have a little play left to center it.
And the fuselage is together:
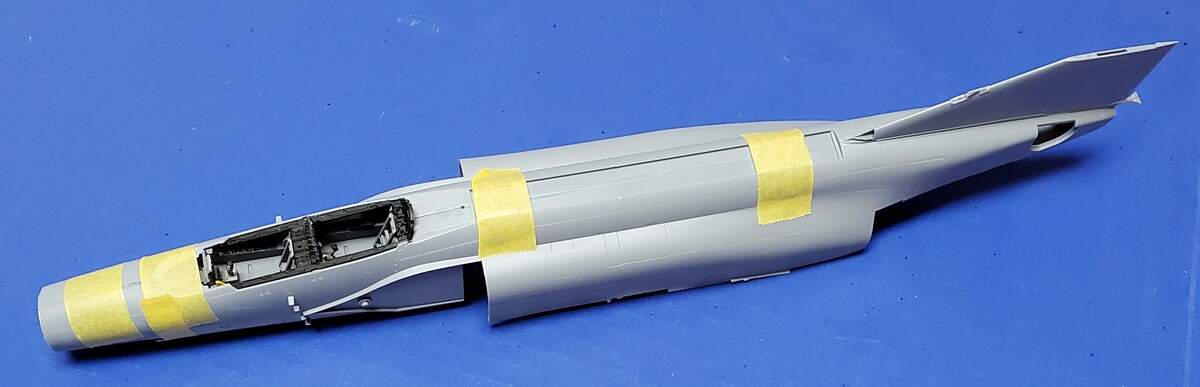
Cockpit fit very nicely indeed, sill and all:

Michael 
You can certainly tell the difference between the 1/72 and these bigger kits, lovely crisp details…looks good this far.
Awesome Michael! And thanks for that tip!!
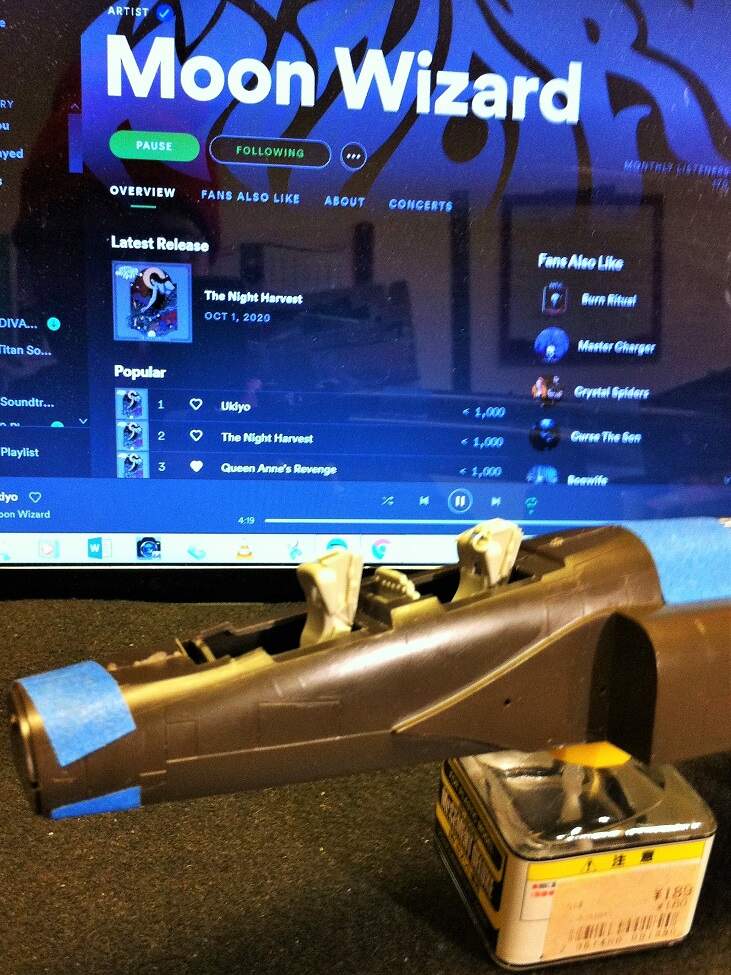
Glad my efforts with the Aeroclub seats were NOT in vain! Looks like I would have had to do the same thing with the Hasegawa bang chairs I found out after getting them (mostly) together!! One of the face curtain loops had broken off one of the seat tops, fortunately it was still in the bag. The Hasegawa seats might need some cleaning up but they certainly will not look bad once painted up with some hardware.
So, the fuselage spine insert was a damn good idea to avoid a seam right down the middle of all that scribed in detail. But just like all ideas, it’s only as good as it’s execution:
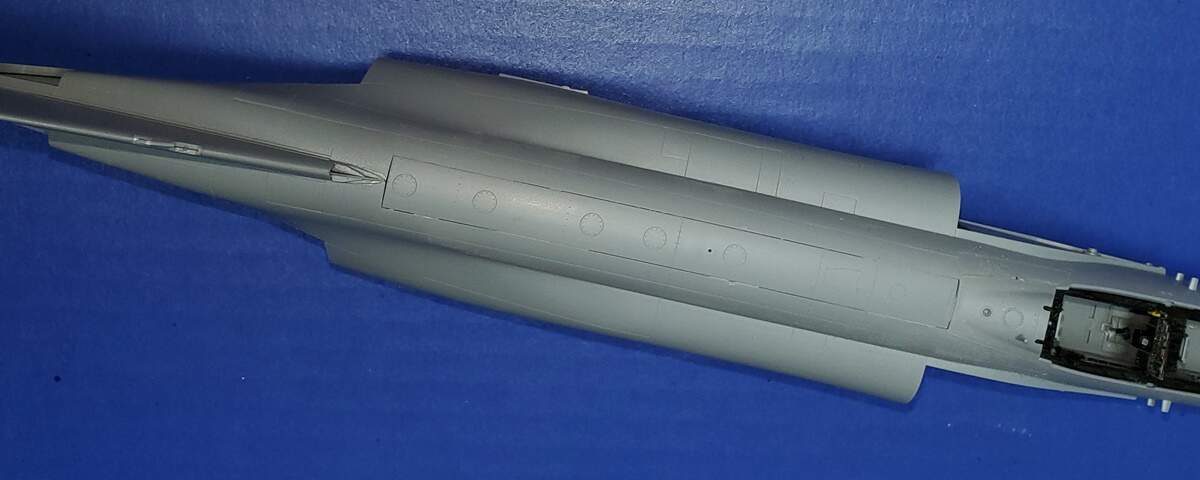
Now certainly, this may have been user error, I might not have gotten the fuselage halves together as tightly as I could have (though I don’t think so), but that doesn’t account for the gaps fore and aft. So, nice as the idea was, work will need to be done here.
Michael