I’ve just received confirmation that I’m going back into part-furlough following the latest UK Covid-19 measures, so I’m really looking forward to having time again at last to crack on with my ZM Phantom!
It’ll probably take me a day or two to get back into gear, but I hope to have some progress to show soon.
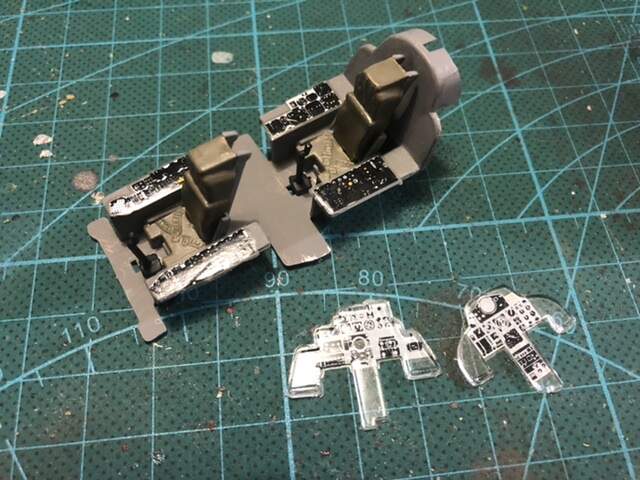
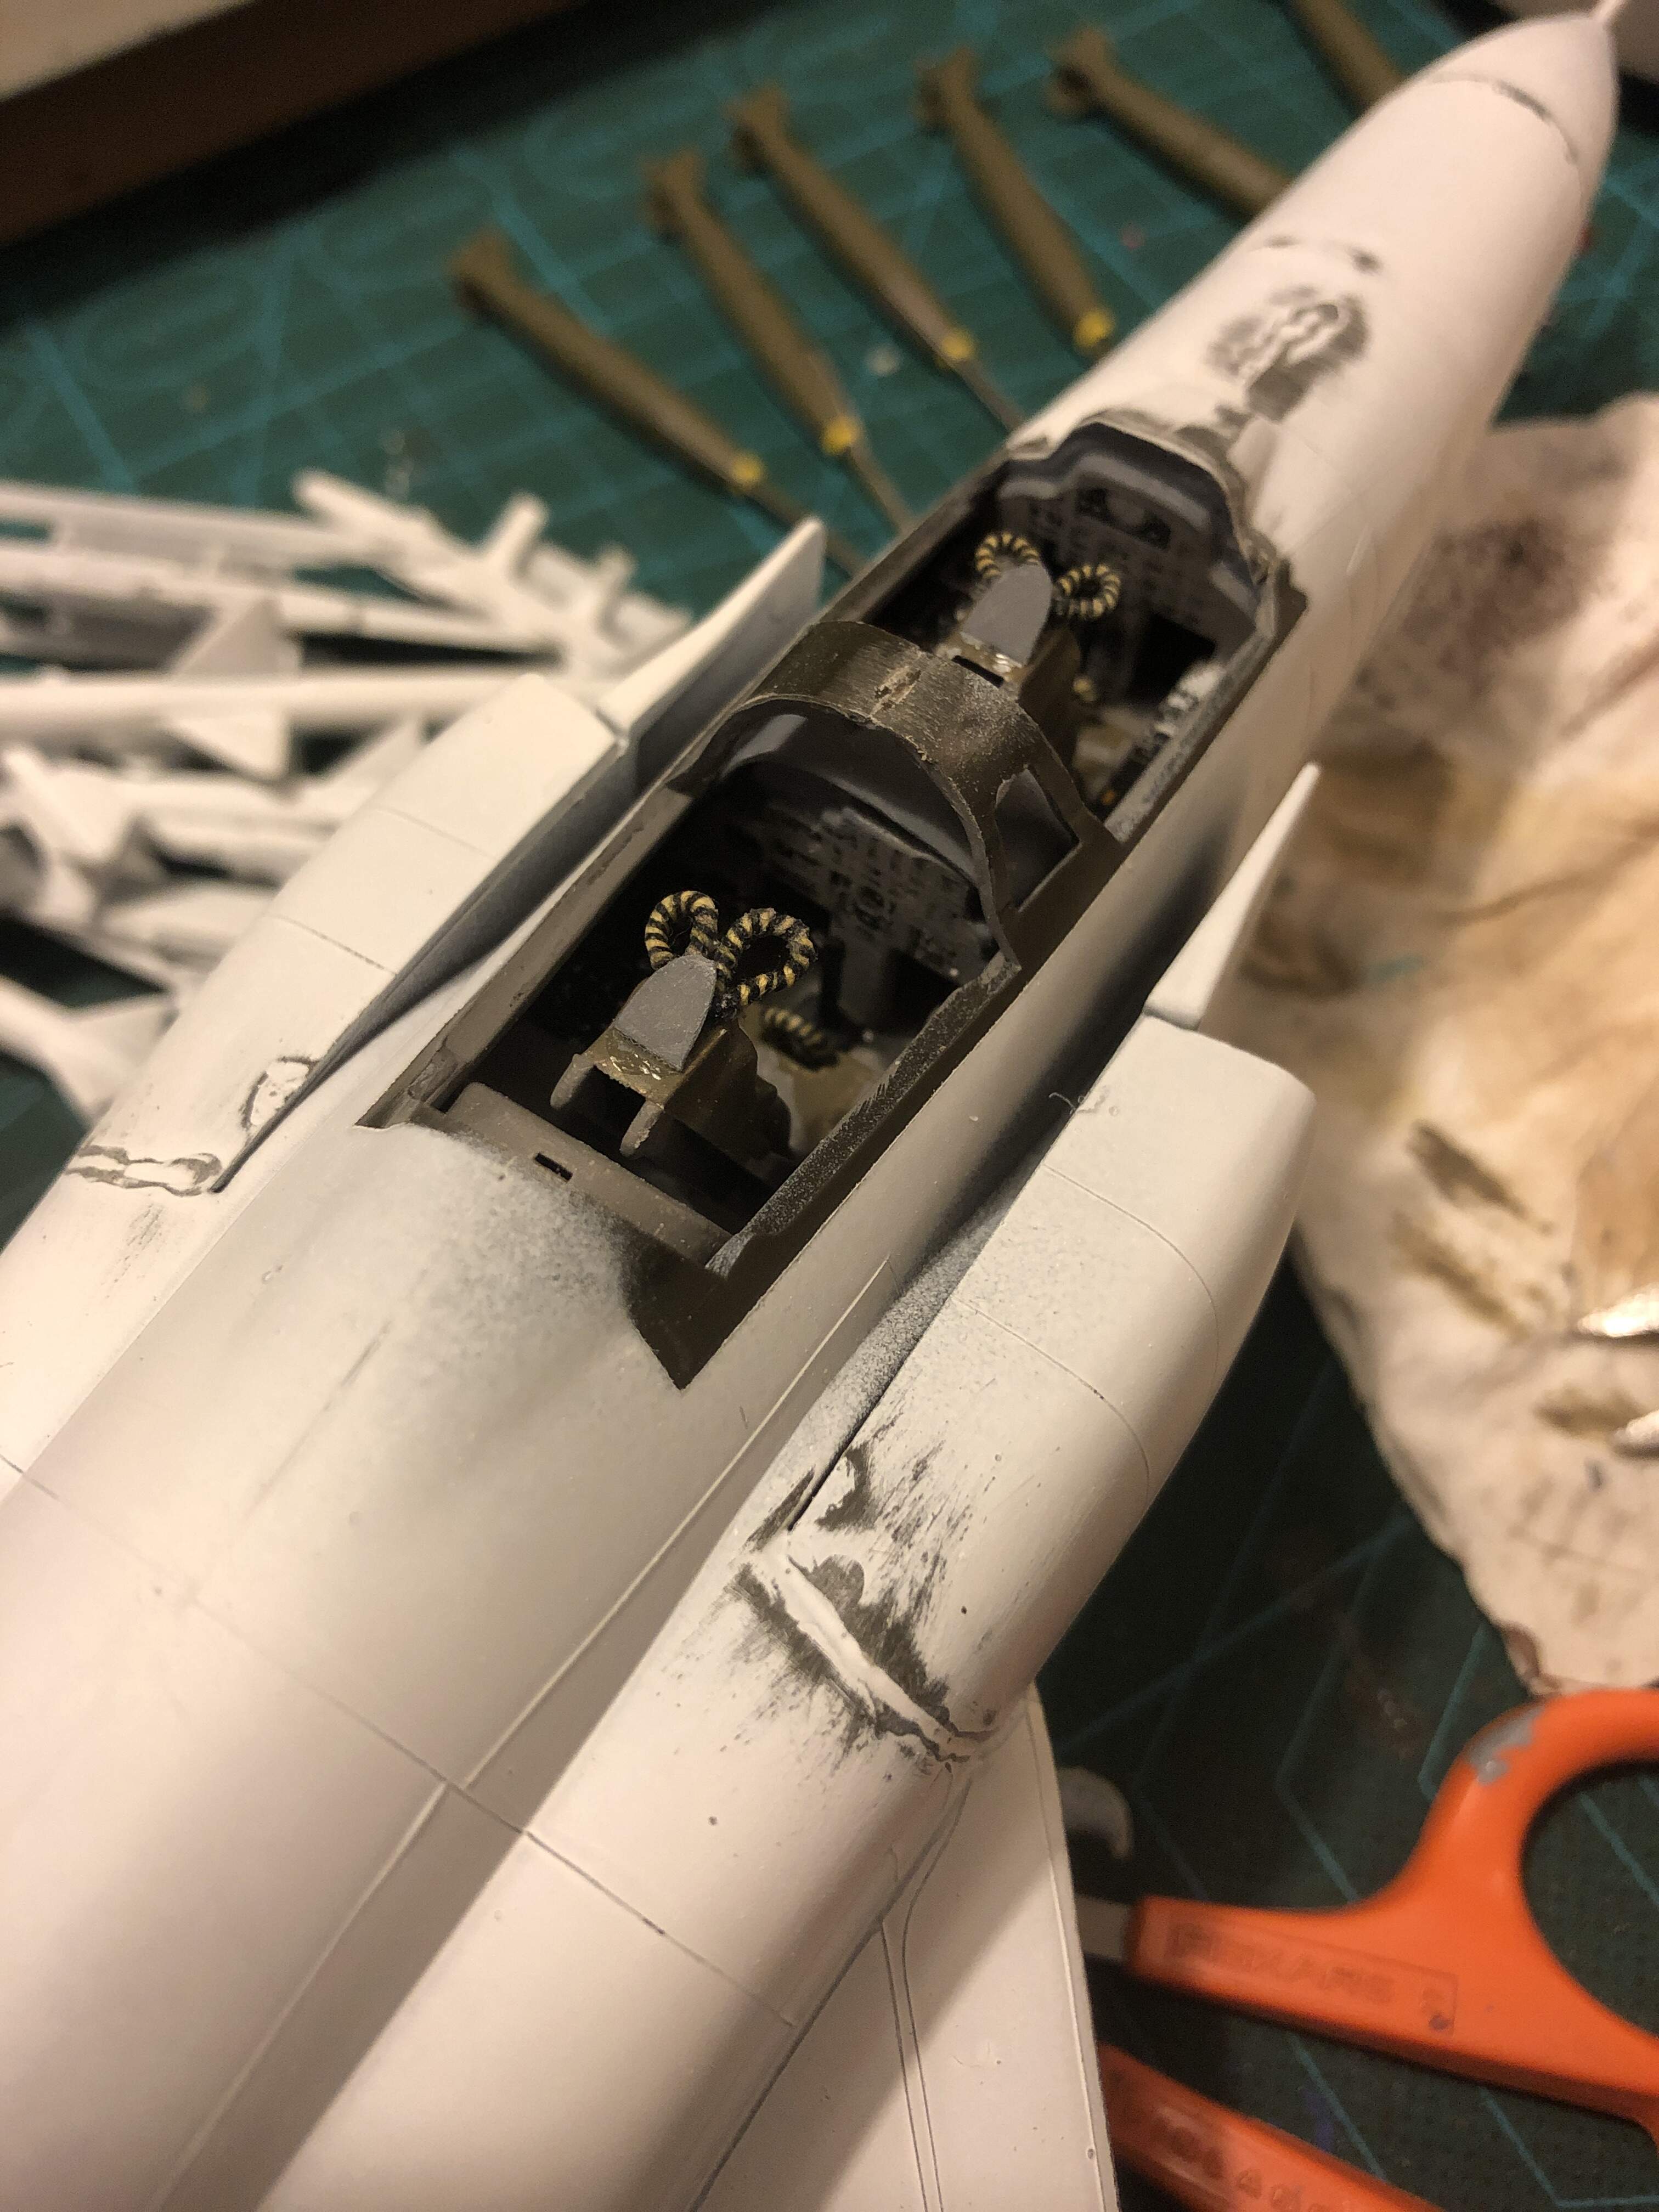
I am honestly struggling with the cockpit. I might have gone a bit too nostalgic on this build and the details in the cockpit are really not that great.
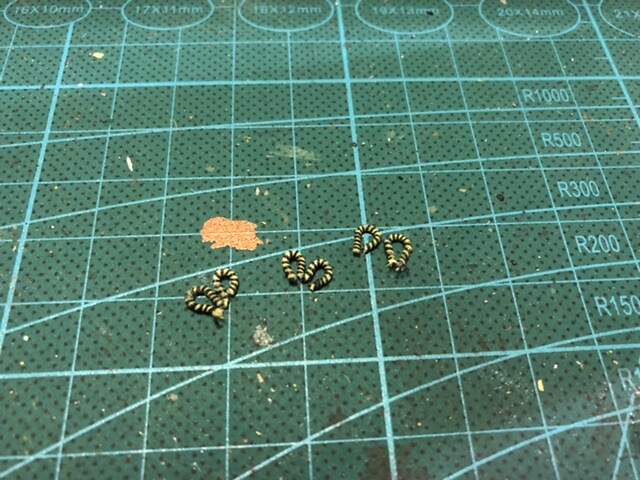
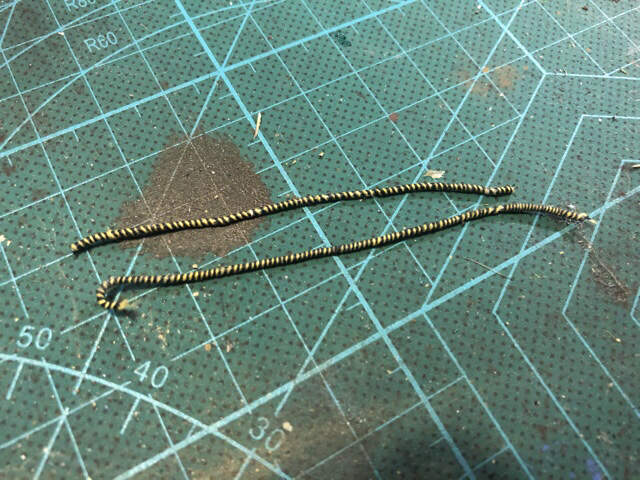
I will still try to get the best from it though. I tried a new method for the colored emergency strings for the ejection seats. I wrap yellow and black string around a copper tread. I like it although it become overscale. Next time it will be smaller.
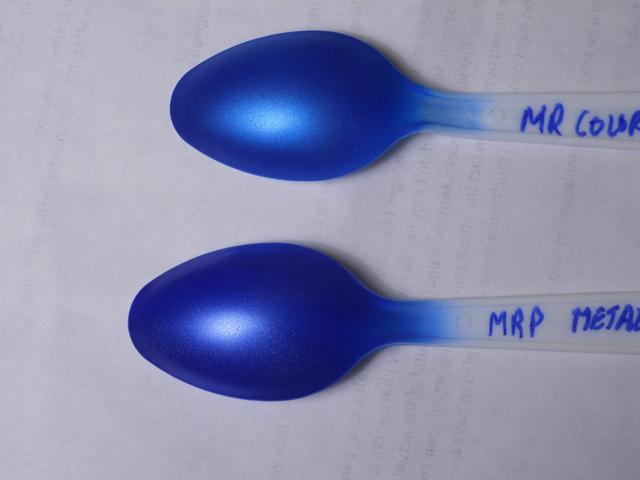
While I am working to build and finish a second cockpit (and fuselage) to replace the one that I screwed up earlier with the Aires set, I looked at my options for the final color scheme. The actual JASDF RF-4E was finished in a blue metallic scheme that will really stand out next to the more usual Phantom colors. After some searching, I found two model paints that looked close based on the online color chips. I bought both and used some plastic spoons as test pieces. The top spoon is MR Color and the bottom spoon is MRP.
The MRP paint looks really good so I believe I solved the paint problem!
Have fun modeling!
Mike
Thanks guys! Johnnych01, you are right that both blues do look decent and would work. I am leaning towards using the MRP blue as it looks slightly darker or a deeper blue than the MR Color paint. Hasegawa does recommend the MR Color blue in the instructions but they tend to include only MR Color or the water based equivalent. I liked the blue so much that I just went ahead and assembled the drop tanks and gave them a coat of MRP to see how they look. As soon as they dry and I take a few photos, we will get a better idea on how the color will look on the model.
Happy New Year and have fun modeling!
Mike
After a very basic cockpit, I now realize the cockpit glazing is way too small. It almost falls into the cockpit. Phew, I like doing old kits once in a while, but the next kit needs to be better fitting.
Still a few touch ups for the inside of the cockpit, but it is never going to be world class. It is tolerable if one does not look too closely
Hi Michael
The blue that I am using does not need to match any of the decals. I can safely put down the blue coat and then place the different decals on top of it without worrying about color matching.
Have fun modeling
Mike
This little omission did result in looking through all of our updates, and I will say this is quite a popular subject! There is some really great stuff happening here. I tip my hat!
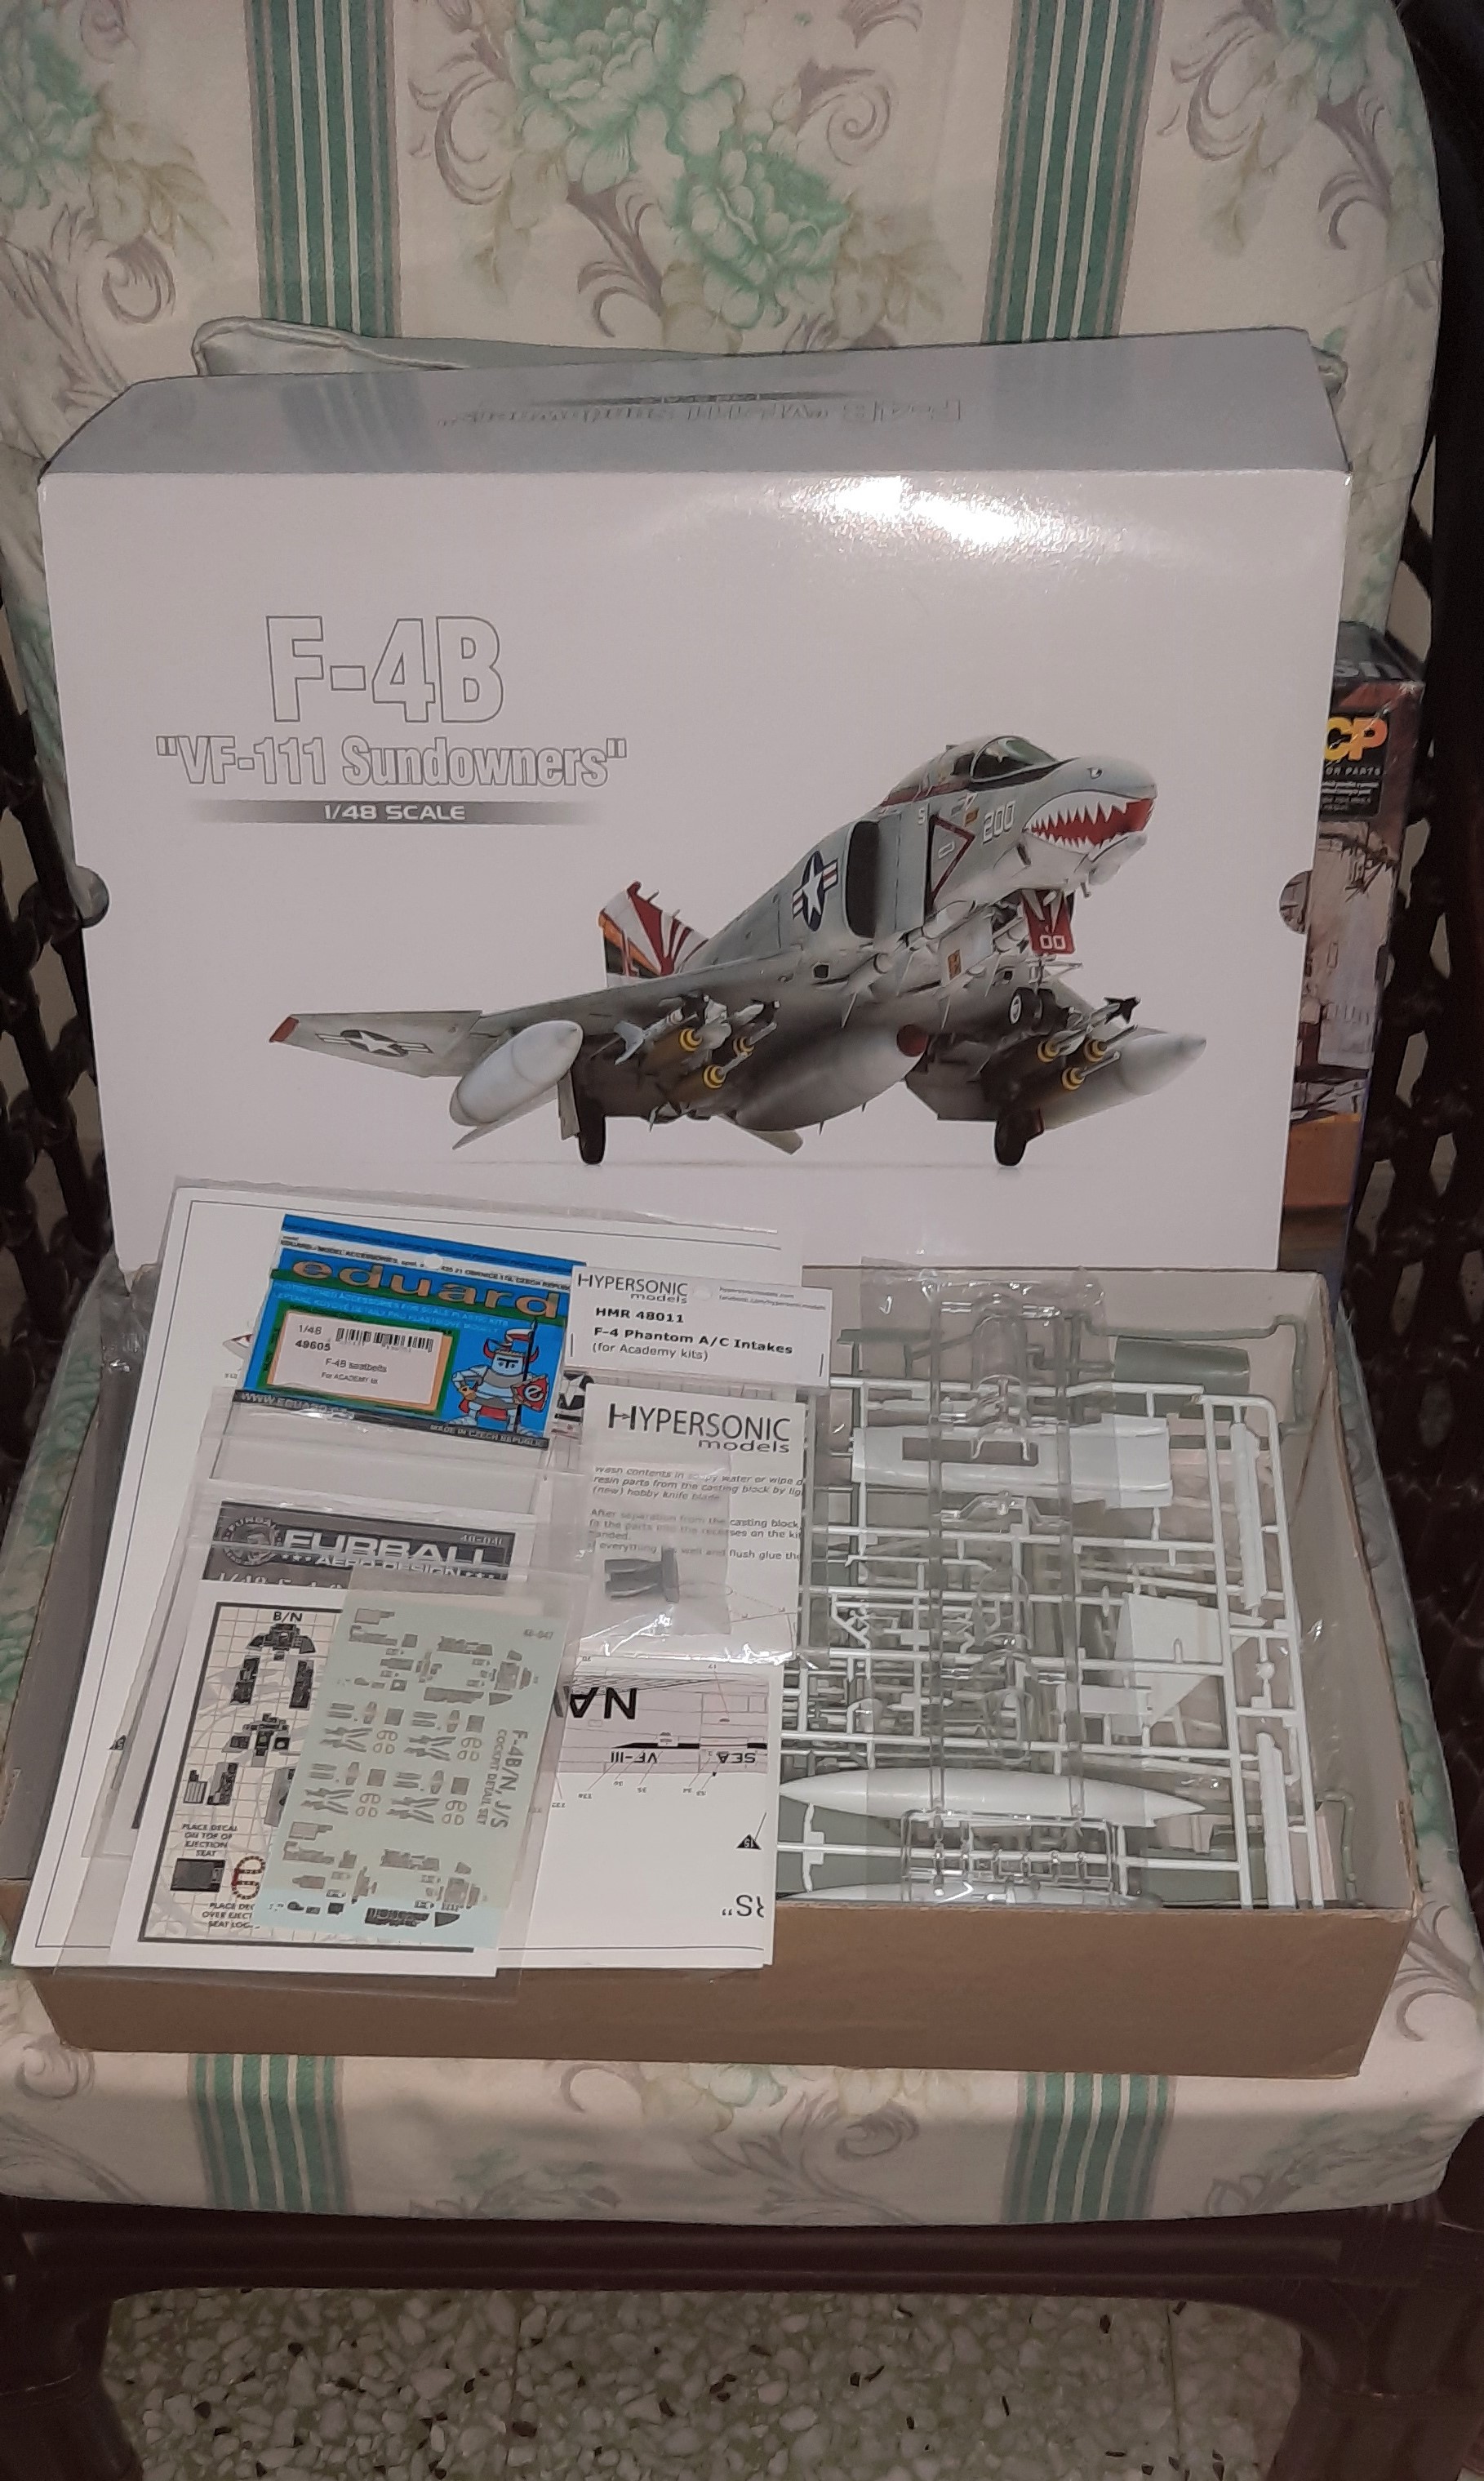
I’ve not built a Phantom since the early 80"s, most likely due to the old Monogram kit and their poor fit of the intakes. Fast forward to the present, and I get to watch Michael do the ZM kit, which looks really nice. I took the less expensive path of the Academy kit. I did pick up some aftermarket goodies, which nullifies the cost issue.
The Academy kit seems to be pretty darned good, and after my last jet (See Hangar Queens 11), it’s a breath of fresh air.
I’m looking at these builds will admit, I’m impressed. I did pick up the “Fur Ball” interior decals for this kit. Given the kit’s Cartograph decals maybe I should have passed, but at the time I didn’t know I’d also get the Eduard PE belts. These are worth the money!
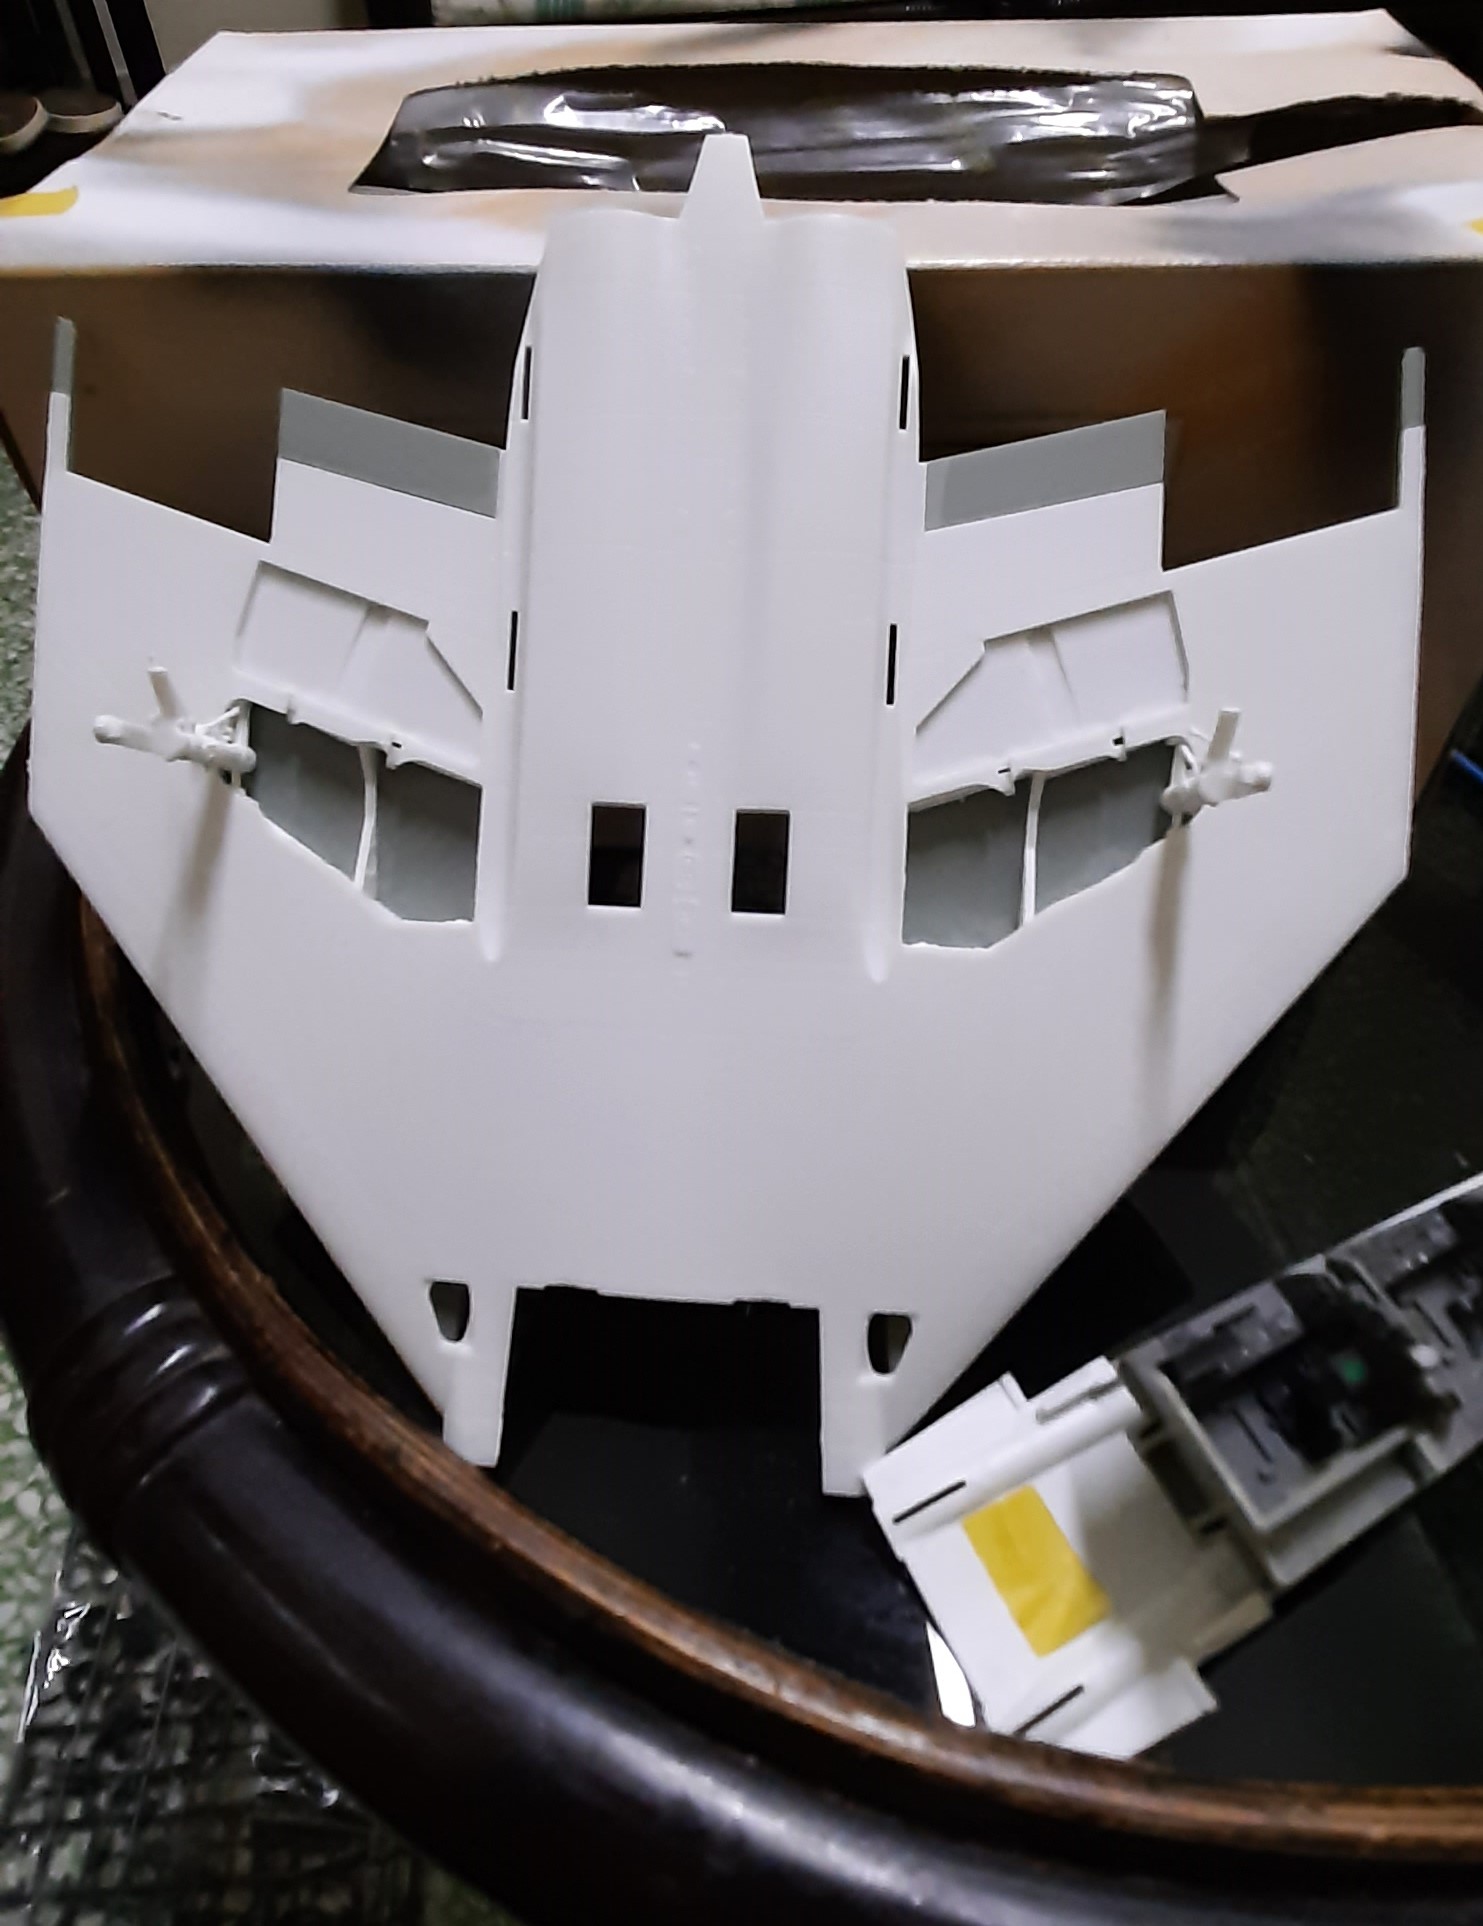
Well, my F-4D failed miserably. I decided to use resin upgrade from Hypersonic Models to change the incorrect shape of the rear fuselage. Due to my stupid mistake I messed up the kit parts completely and unreversibly. In short, it’s over.
But not over in fact. Just today I nabbed brand new F-4EJ Kai from Zoukei Mura with its stunning commemorative scheme. I will go ahead with this kit. But! Although the kit marking is amazing, I will go for service scheme - sea camouflage from 8th SQ. Equally insane and so very Japanese. Aftermarket decals are on their way. As below: