Thanks Ryan @Tank_1812 Your comments are ALWAYS welcome.
Best of health Sir.
Thanks Ryan @Tank_1812 Your comments are ALWAYS welcome.
Best of health Sir.
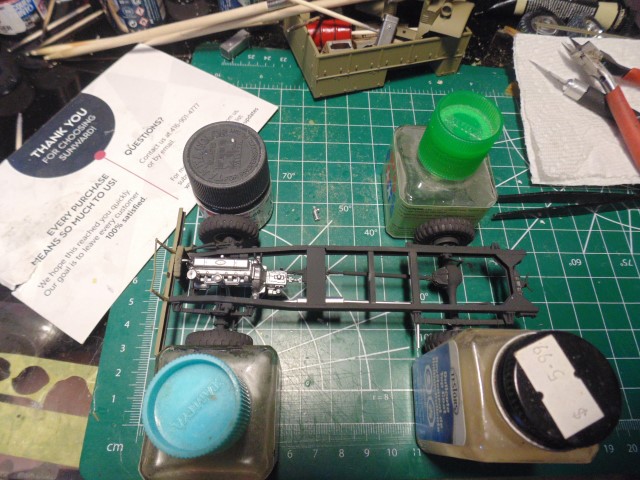
Hi All,
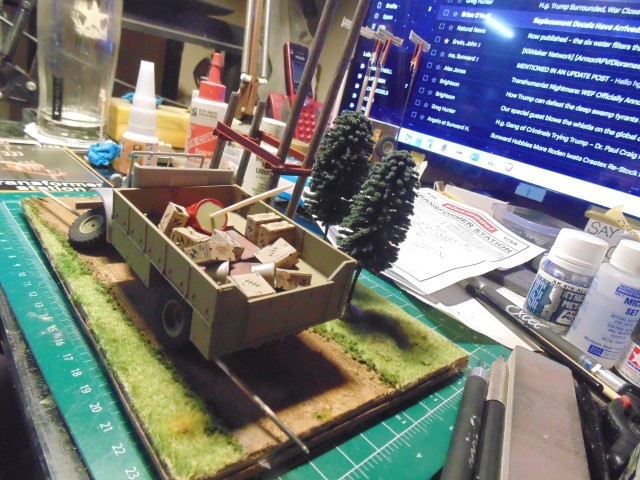
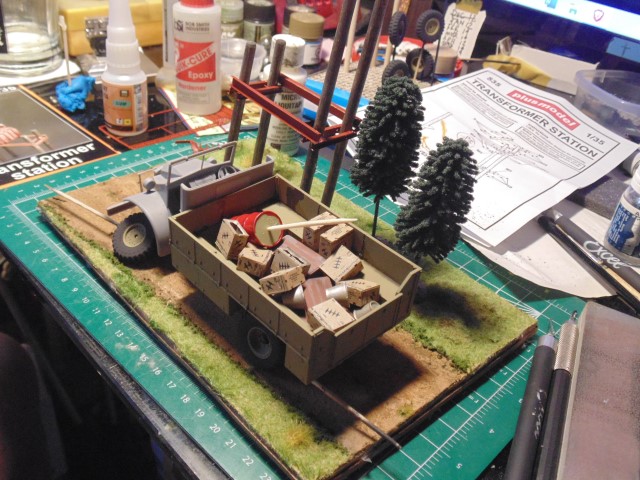
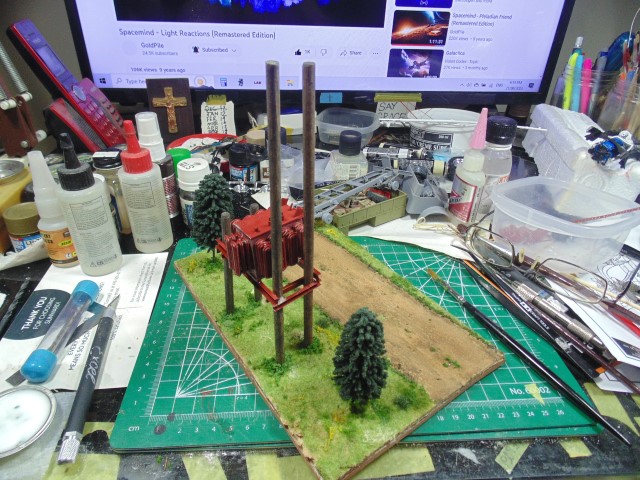
Here’s the basic premise. A truck got stopped.
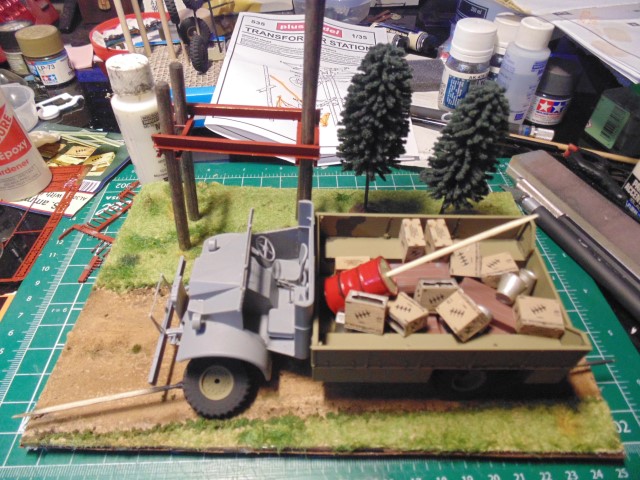
All these items still need weathering and proper placement.
The build get’s a finer look later.
Any thoughts would be most welcomed.
God bless.
Building up well. The whole scene has a nice balance with a bit of something in each area and the transformer Stn will give it some height at the rear.
You cant go wrong with adding more period stowage. Wheels, tyres, jerry cans, even just some folded up home made tarps that you could drape over it in certain areas.
I think R & S will be very happy campers when they get this ![]()
![]()
Home made tarps! Excellent idea.
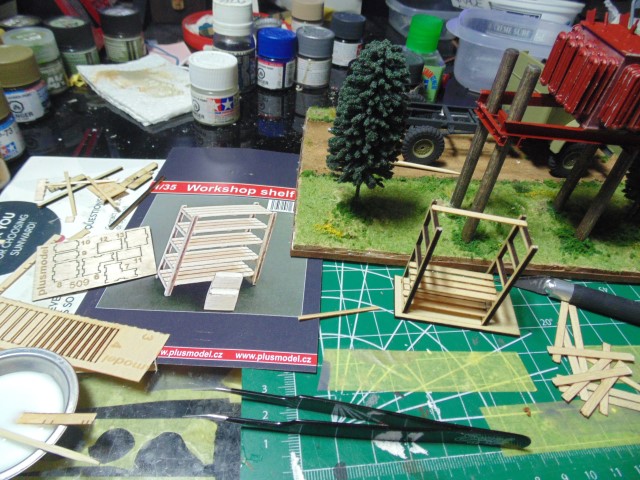
Hi fellow dioramists, yeah it’s a new word… hee hee,
Here’s a quick update on the build.
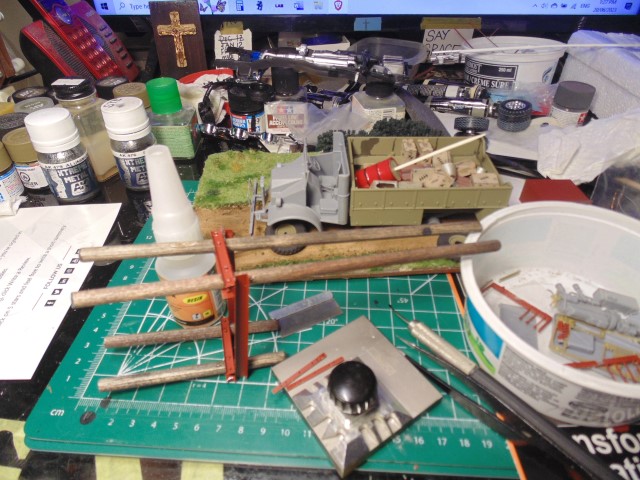
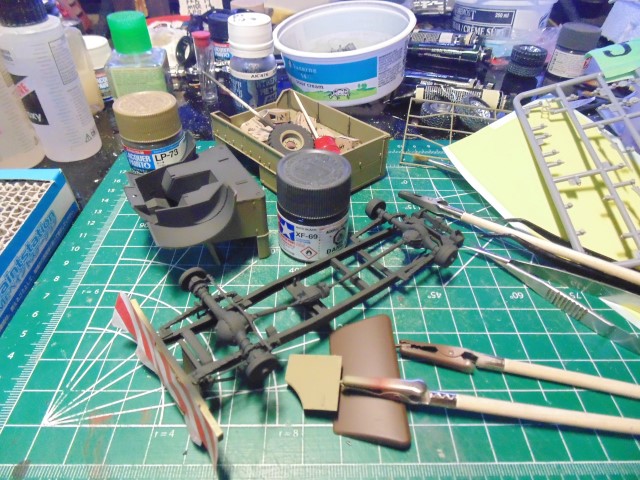
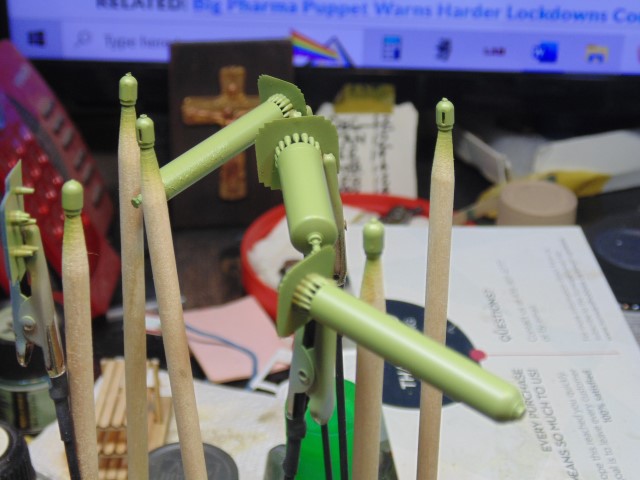
Plenty of photo-etched parts need to be bent. These have to get prepared before you work your way up.
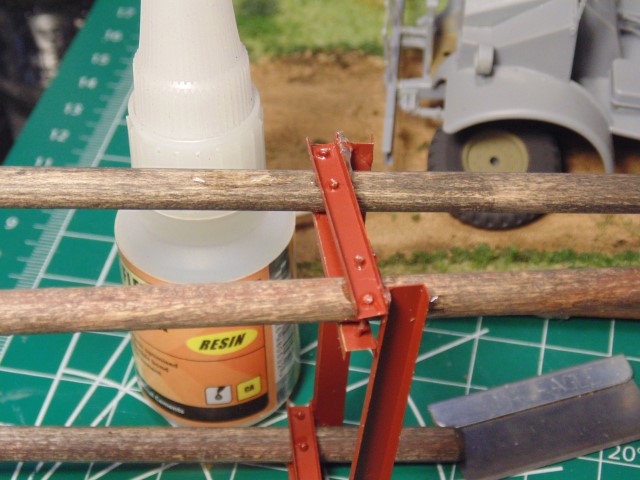
The bolts and resin shafts slip in when you use a good set of tweezers.

I use a small photo etch bending device for this task. All the glossy points will get dulled down.
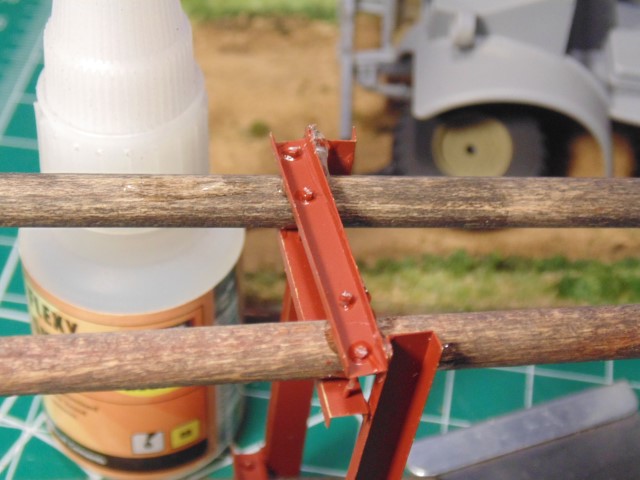
The end bolts add some nice detail. Again, this all needs to be touched up with paint. I’m just showing the current progress.
Huge thanks to Plus Models https://plusmodel.cz/ for creating this model.
Really looking forward to how this beauty builds up. The colour alone will be a nice addition for visual effect and I think the weathering will be what makes it stand out … nice update. Are the posts included or do they just give you dimensions to work from and source yourself ?
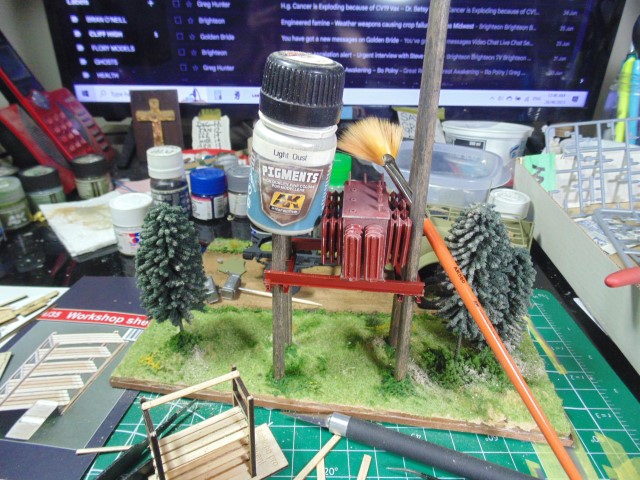
Hello fellow modelers,
Just a quick update on the Resupply.
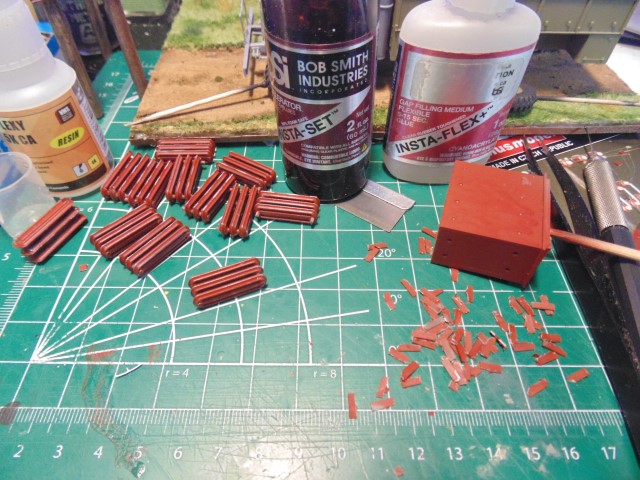
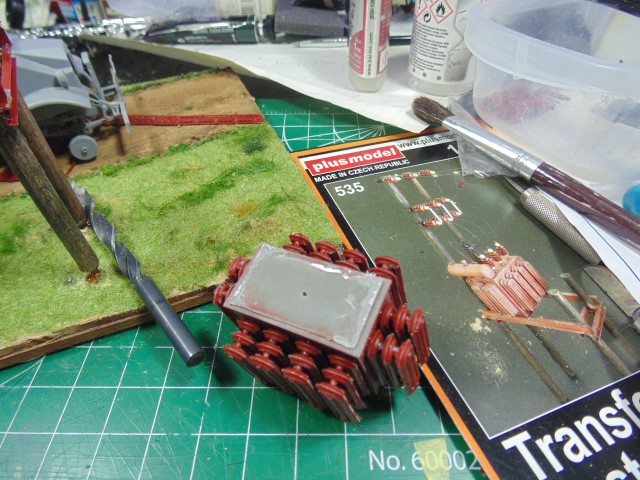
I spent my Sabbath day having fun connecting all these items. Sure, it’s a long process, yet very rewarding when they’re done because of the detail they will add.
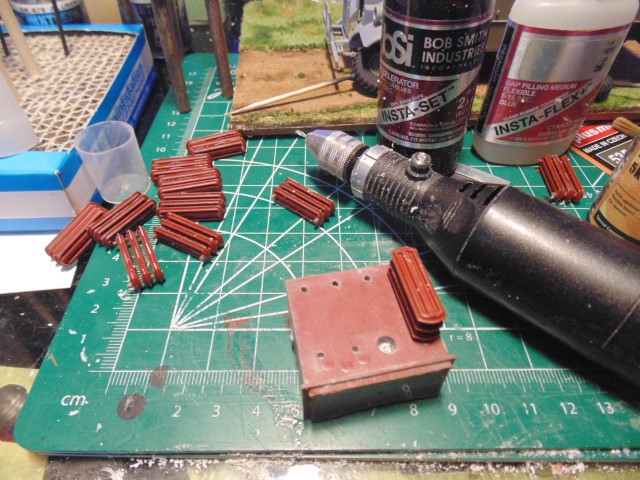
Drilling out the connection holes is a must.

Make some holes or indents in your base as guiding markers. I’d strongly recommend drilling holes in the base of the posts and following that up with holes in the indent holes. Add a some wire to pin them secure with your CA or epoxy glue.
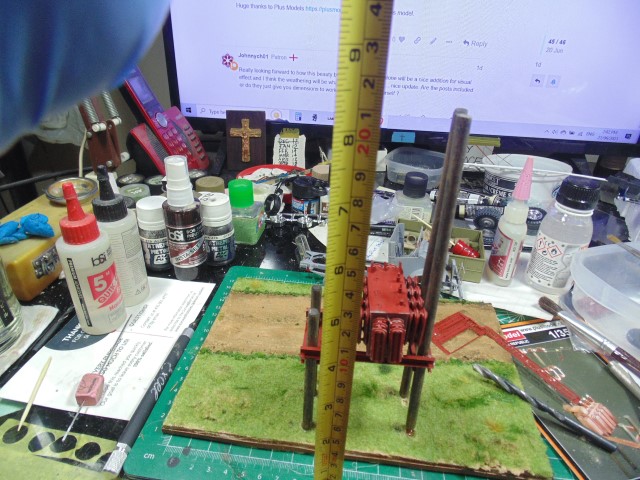
This is a tall model so make sure you have enough height on your shelf.
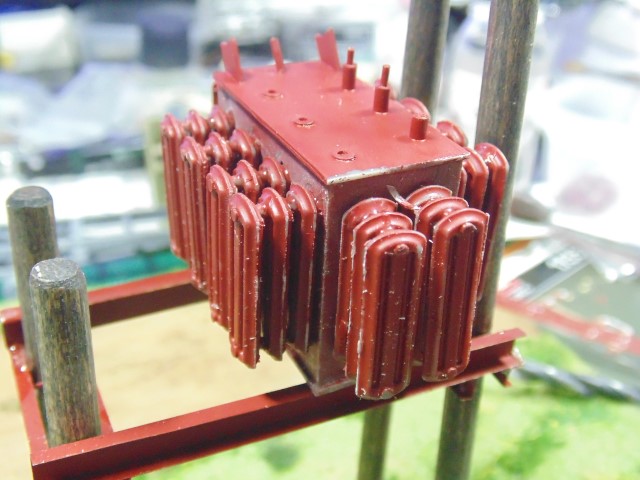
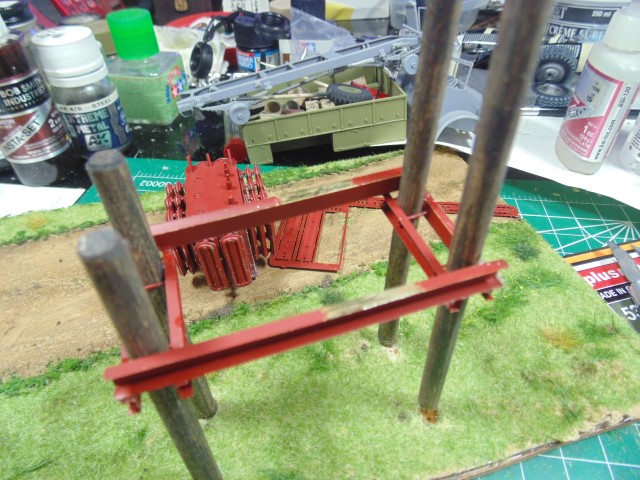
Later, I’ll be adding metal effects to the edges of the metal and grass around the post bottoms. The main box was dry-brushed with two tones of grey and buff before these items were added.
Many thanks to all of you who have stopped by. Also to Plus Model https://plusmodel.cz/ for the diorama kit.
Very impressive HG. The box art reminds you of the size and rest of the kit thats yet to be added for its final look … looking forward to it. And the start of the weathering process looks really good as well… top work mate.
oops i forgot a few shots… sorry.
Please forgive me.
Well ok, just this one time. ![]()
The scene is looking great. ![]()
![]()
So dont do it again !!! ![]()
![]()
Hi Guys,
Quick update on the project.
I got most of the stuff cemented down with CA glue, but there’s way more to add. Not to mention all the dry-brushing.
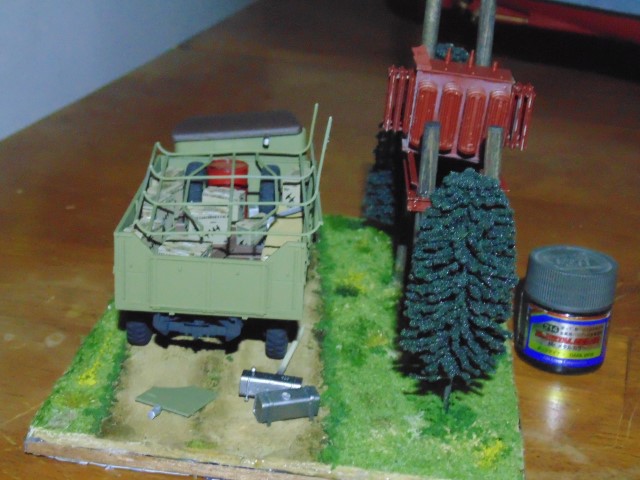
With any project, I always work from the bottom up so my hands don’t disrupt the work below. I’m not telling you how to make a replica, it’s just saying what works for me. No, the back is not connected and the rails are not either. All that comes after the supplies get placed.
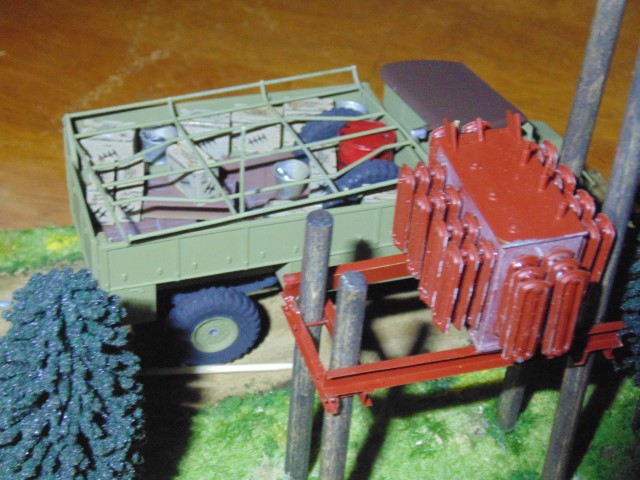
@Johnnych01 John’s idea about adding a tarp was awesome, thus I saturated some thin paper with three tones of oil pigment and glued it to the other side. There will be rifles resting on top of it.
Huge thanks to Plus Model https://plusmodel.cz/ and to Sunward Hobbies https://www.sunwardhobbies.ca/ for delivering my supplies so professionally.
Thanks Everyone!
It’s really coming together now and lots of areas to draw your eye in a continuous sweep across the Dio … The cargo area has a nice look to it as well…
A good mix and match of supplies troops would need.![]()
All looking nice and square HG. Is this going to be a battered and bruised truck ? or fairly fresh from the factory and just mild wear and tear ? Engine looks nice btw.
Hi @Johnnych01 John,
I’m open to suggestions and thank you for the kind words. Obviously this is a WIP. I’ll let you and the others guide me, but regardless the owner will not mind what he gets in the mail. Besides you are far more knowledgeable about land vehicles.
I would just keep it simple and go for general wear and tear, dusty and dirty from constant use and maybe some scrapes here and there from drivers rushing to reverse in or out of places and passing other wagons to close…
Great advice, as always, and because you were the first to reply… thy will be done!
Hi Folks,
Plenty of work being done. Mind you it’s all tiny work.
I’m adding a work bench for the welder to place his tools and gear.
While that is setting up the major dusting can be done.
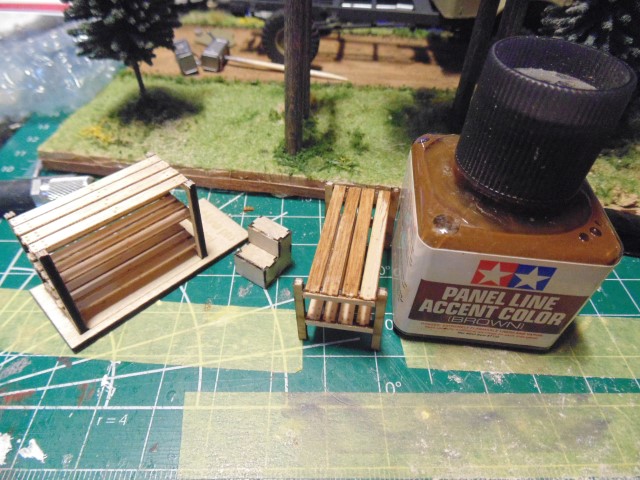
Now for some color. Use a wider brush to slather these parts. I love the base rig to help align parts.
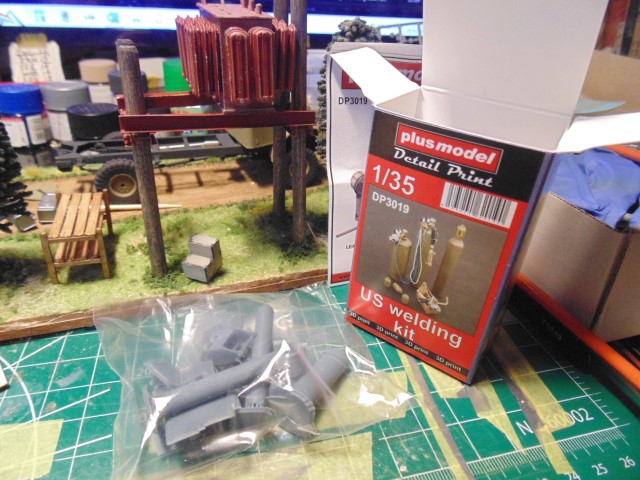
I’m adding a welding kit.
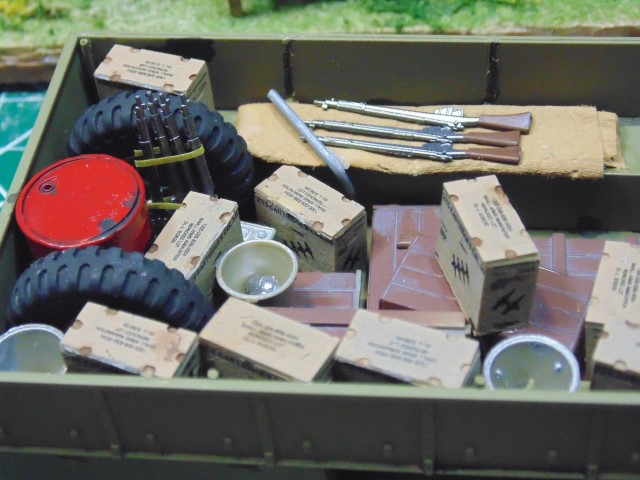
Eight rifles were added.
A very well crafted kit.
There are plenty of parts for a fun and highly detailed model.
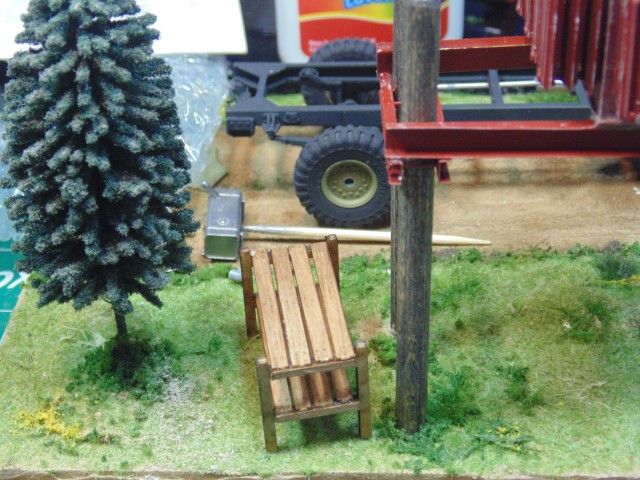
The spacing is as organic as possible. Naturally, the tools will go on the desk.
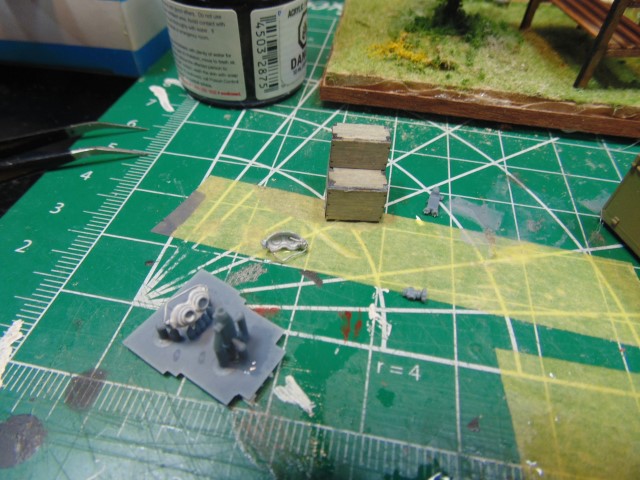
Many small bits need to be added.
Massive thanks to PLUSMODEL https://plusmodel.cz/ and to YOU for stopping by.
Another wonderful update HG. That work bench is a very nice touch, and the Tamiya brown panel liner really brings the wood grain out. Looks great. The welders kit will be very good as well and that adds a nice new smaller story to the area behind the truck.
Only one thing I would be a bit dubious of, is the rifles being left in the back of the truck uncovered or just propped up. ( this is just me so feel free to carry on with it as is as it really wont make any difference to the finished item or the people who are receiving this lovely gift). If weapons were being transported, I would of thought they would be kept safe in canvas weapon rolls and probably also not with mags fitted ? if transported, they would want to be kept as safe as possible from damage from things hitting them or dropping on them, so probably kept laid down in a roll and not propped up.
But, this is coming along great guns and looking forward to each one as it builds up. Lovely detailing ![]()
![]()