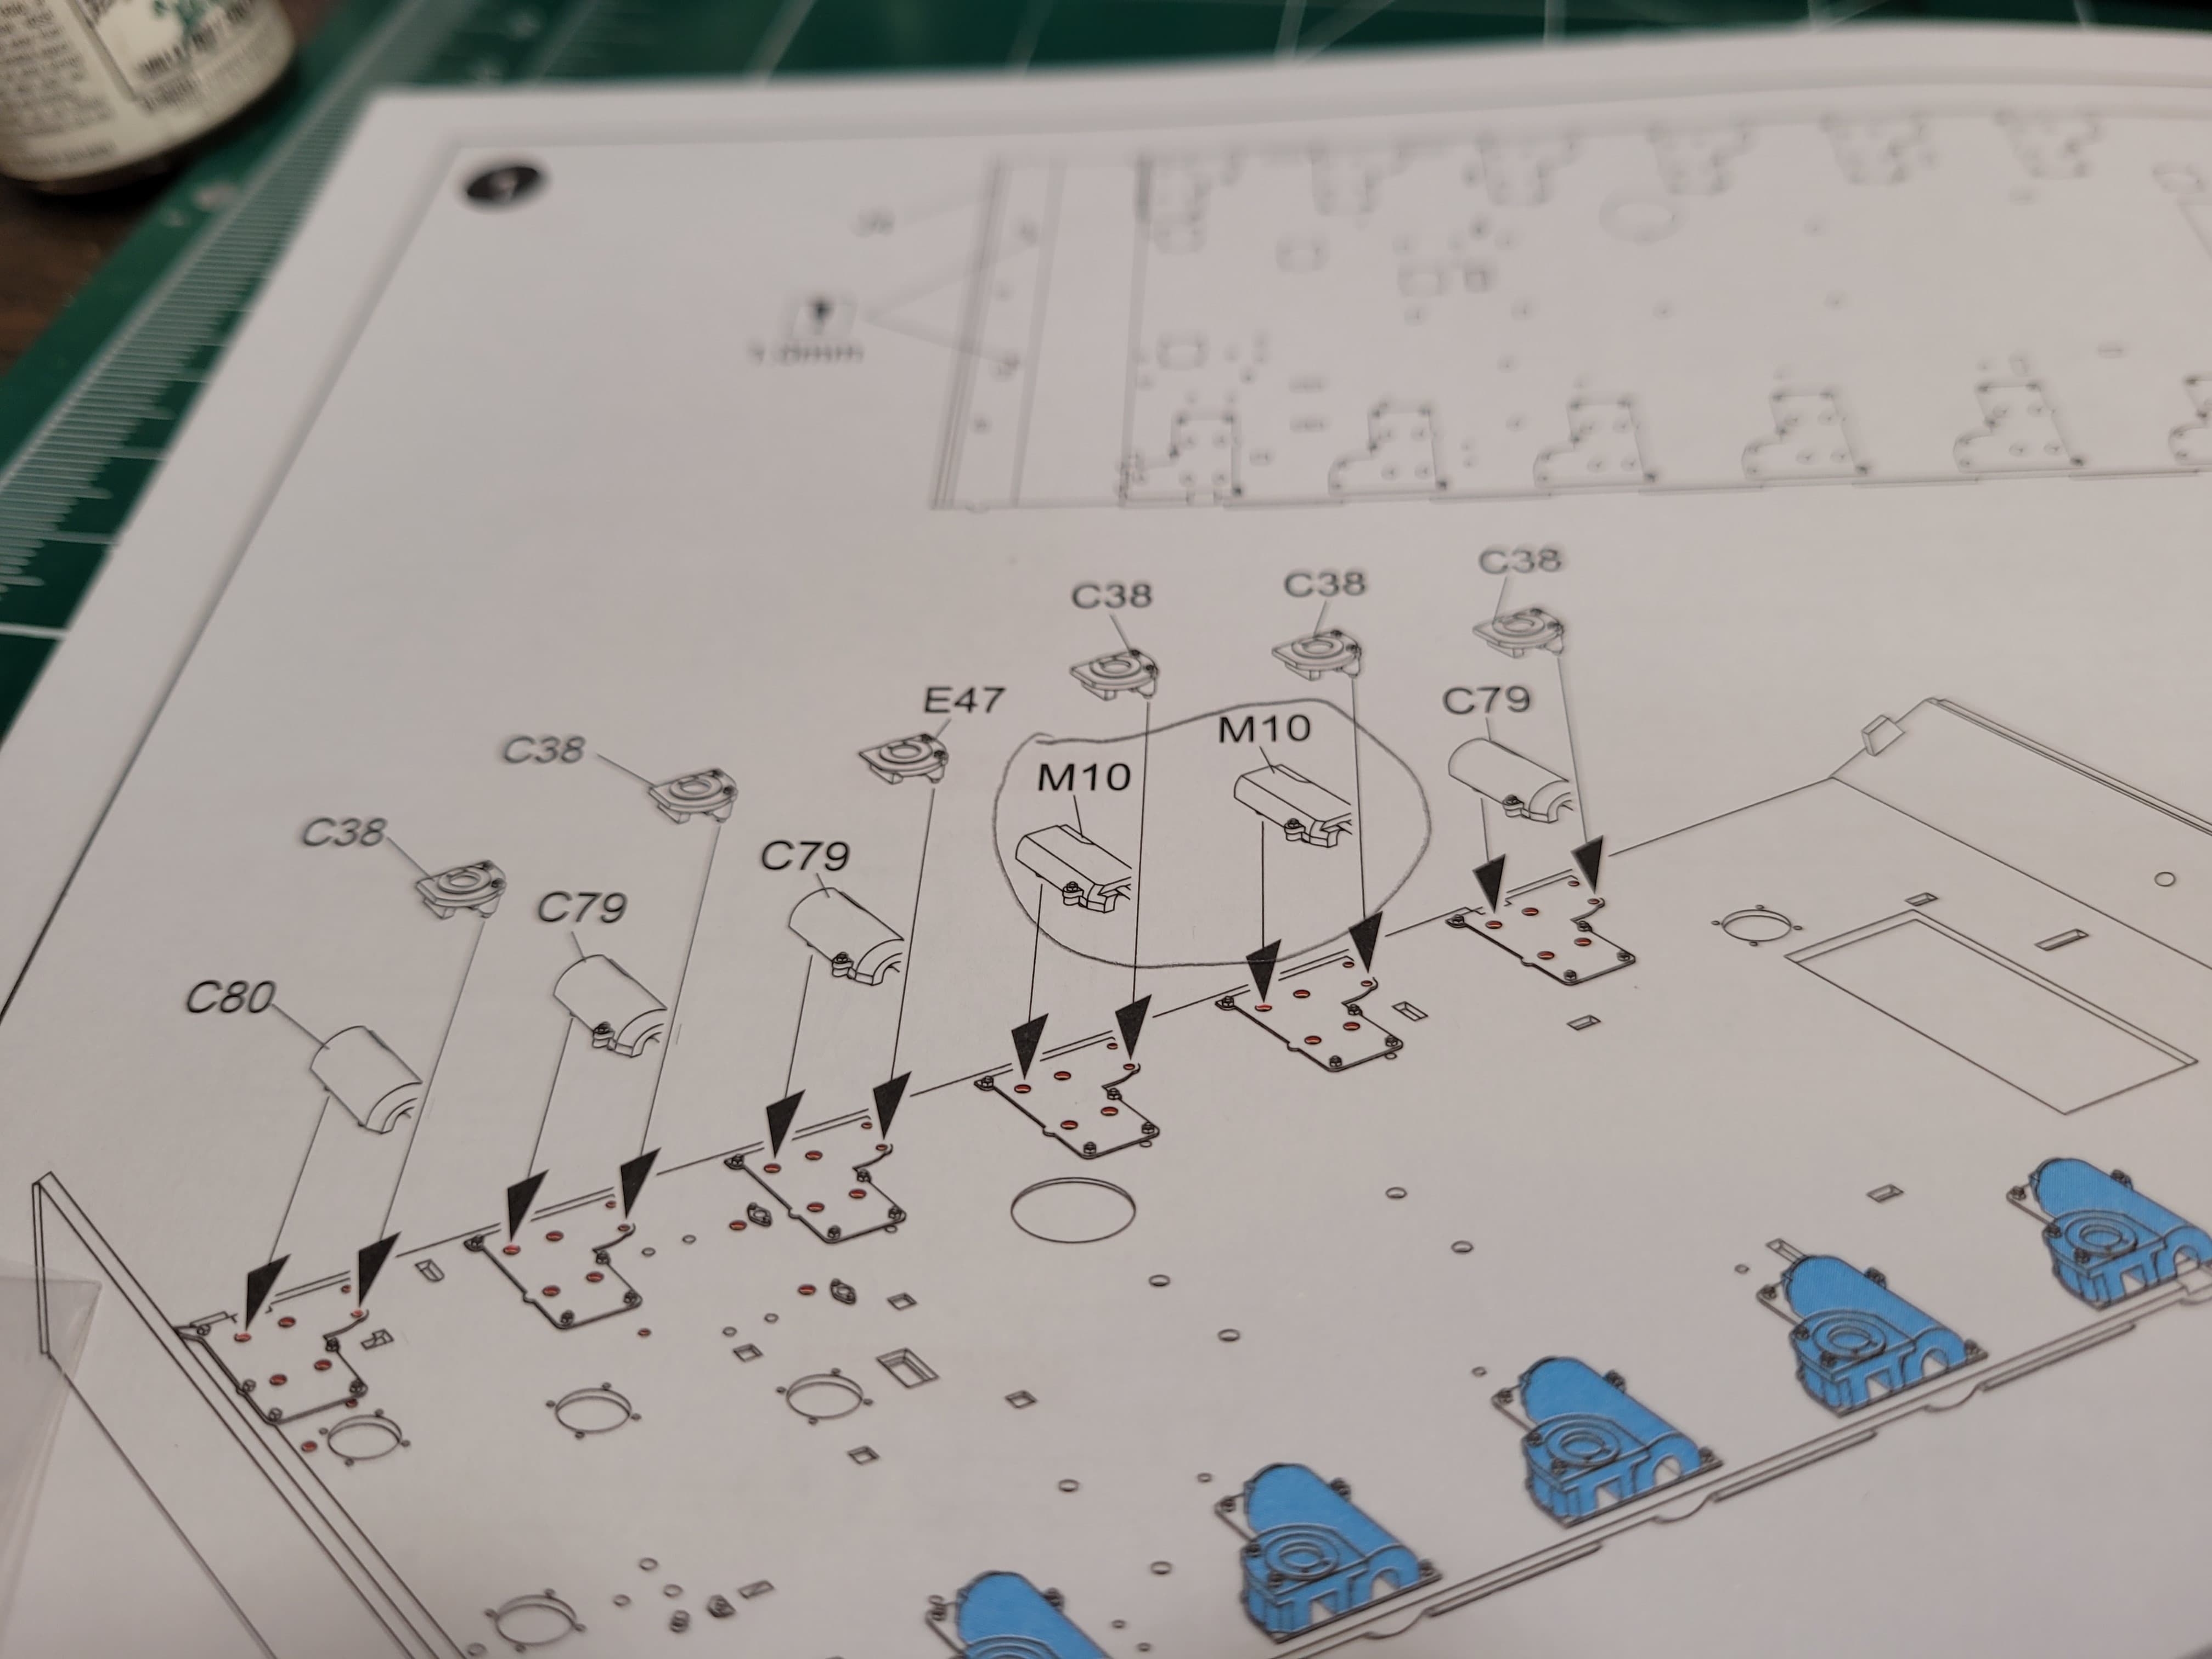
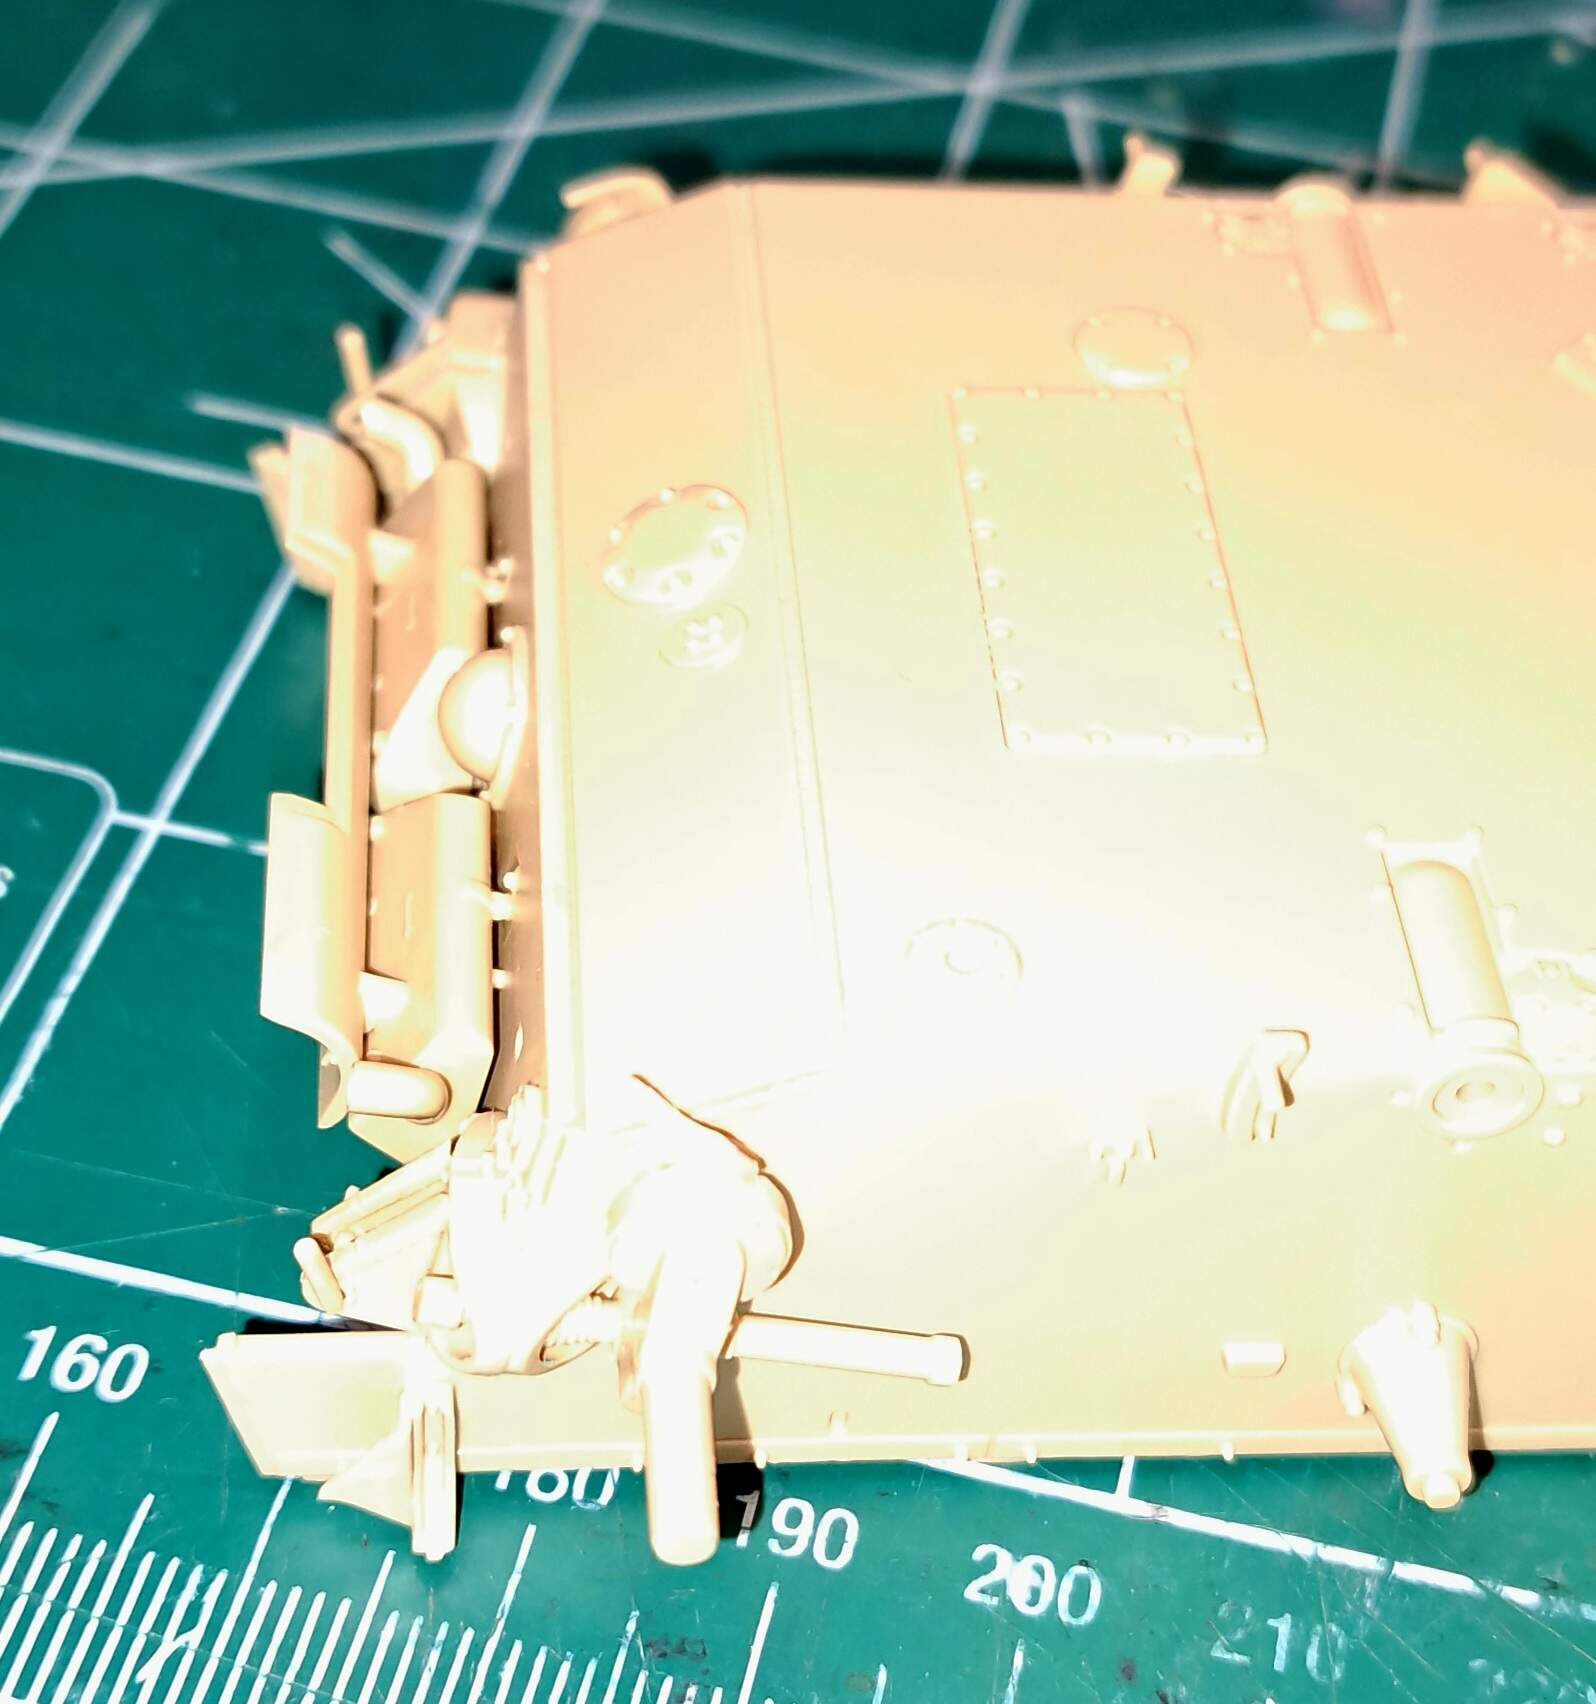
Step 1 - Minor stumble right out of the gate. Immediately noticed instructions call for two parts M10. I didn’t find an “M” part tree. Likewise “M” parts aren’t listed on the instruction sheet.
BRUTE FORCE IGNORANCE not the force is my ally so unlike Yoda, I slapped a couple of C79’s in place of the M10’s. If that causes an issue, I’ll grind down the C79’s into M10’s.
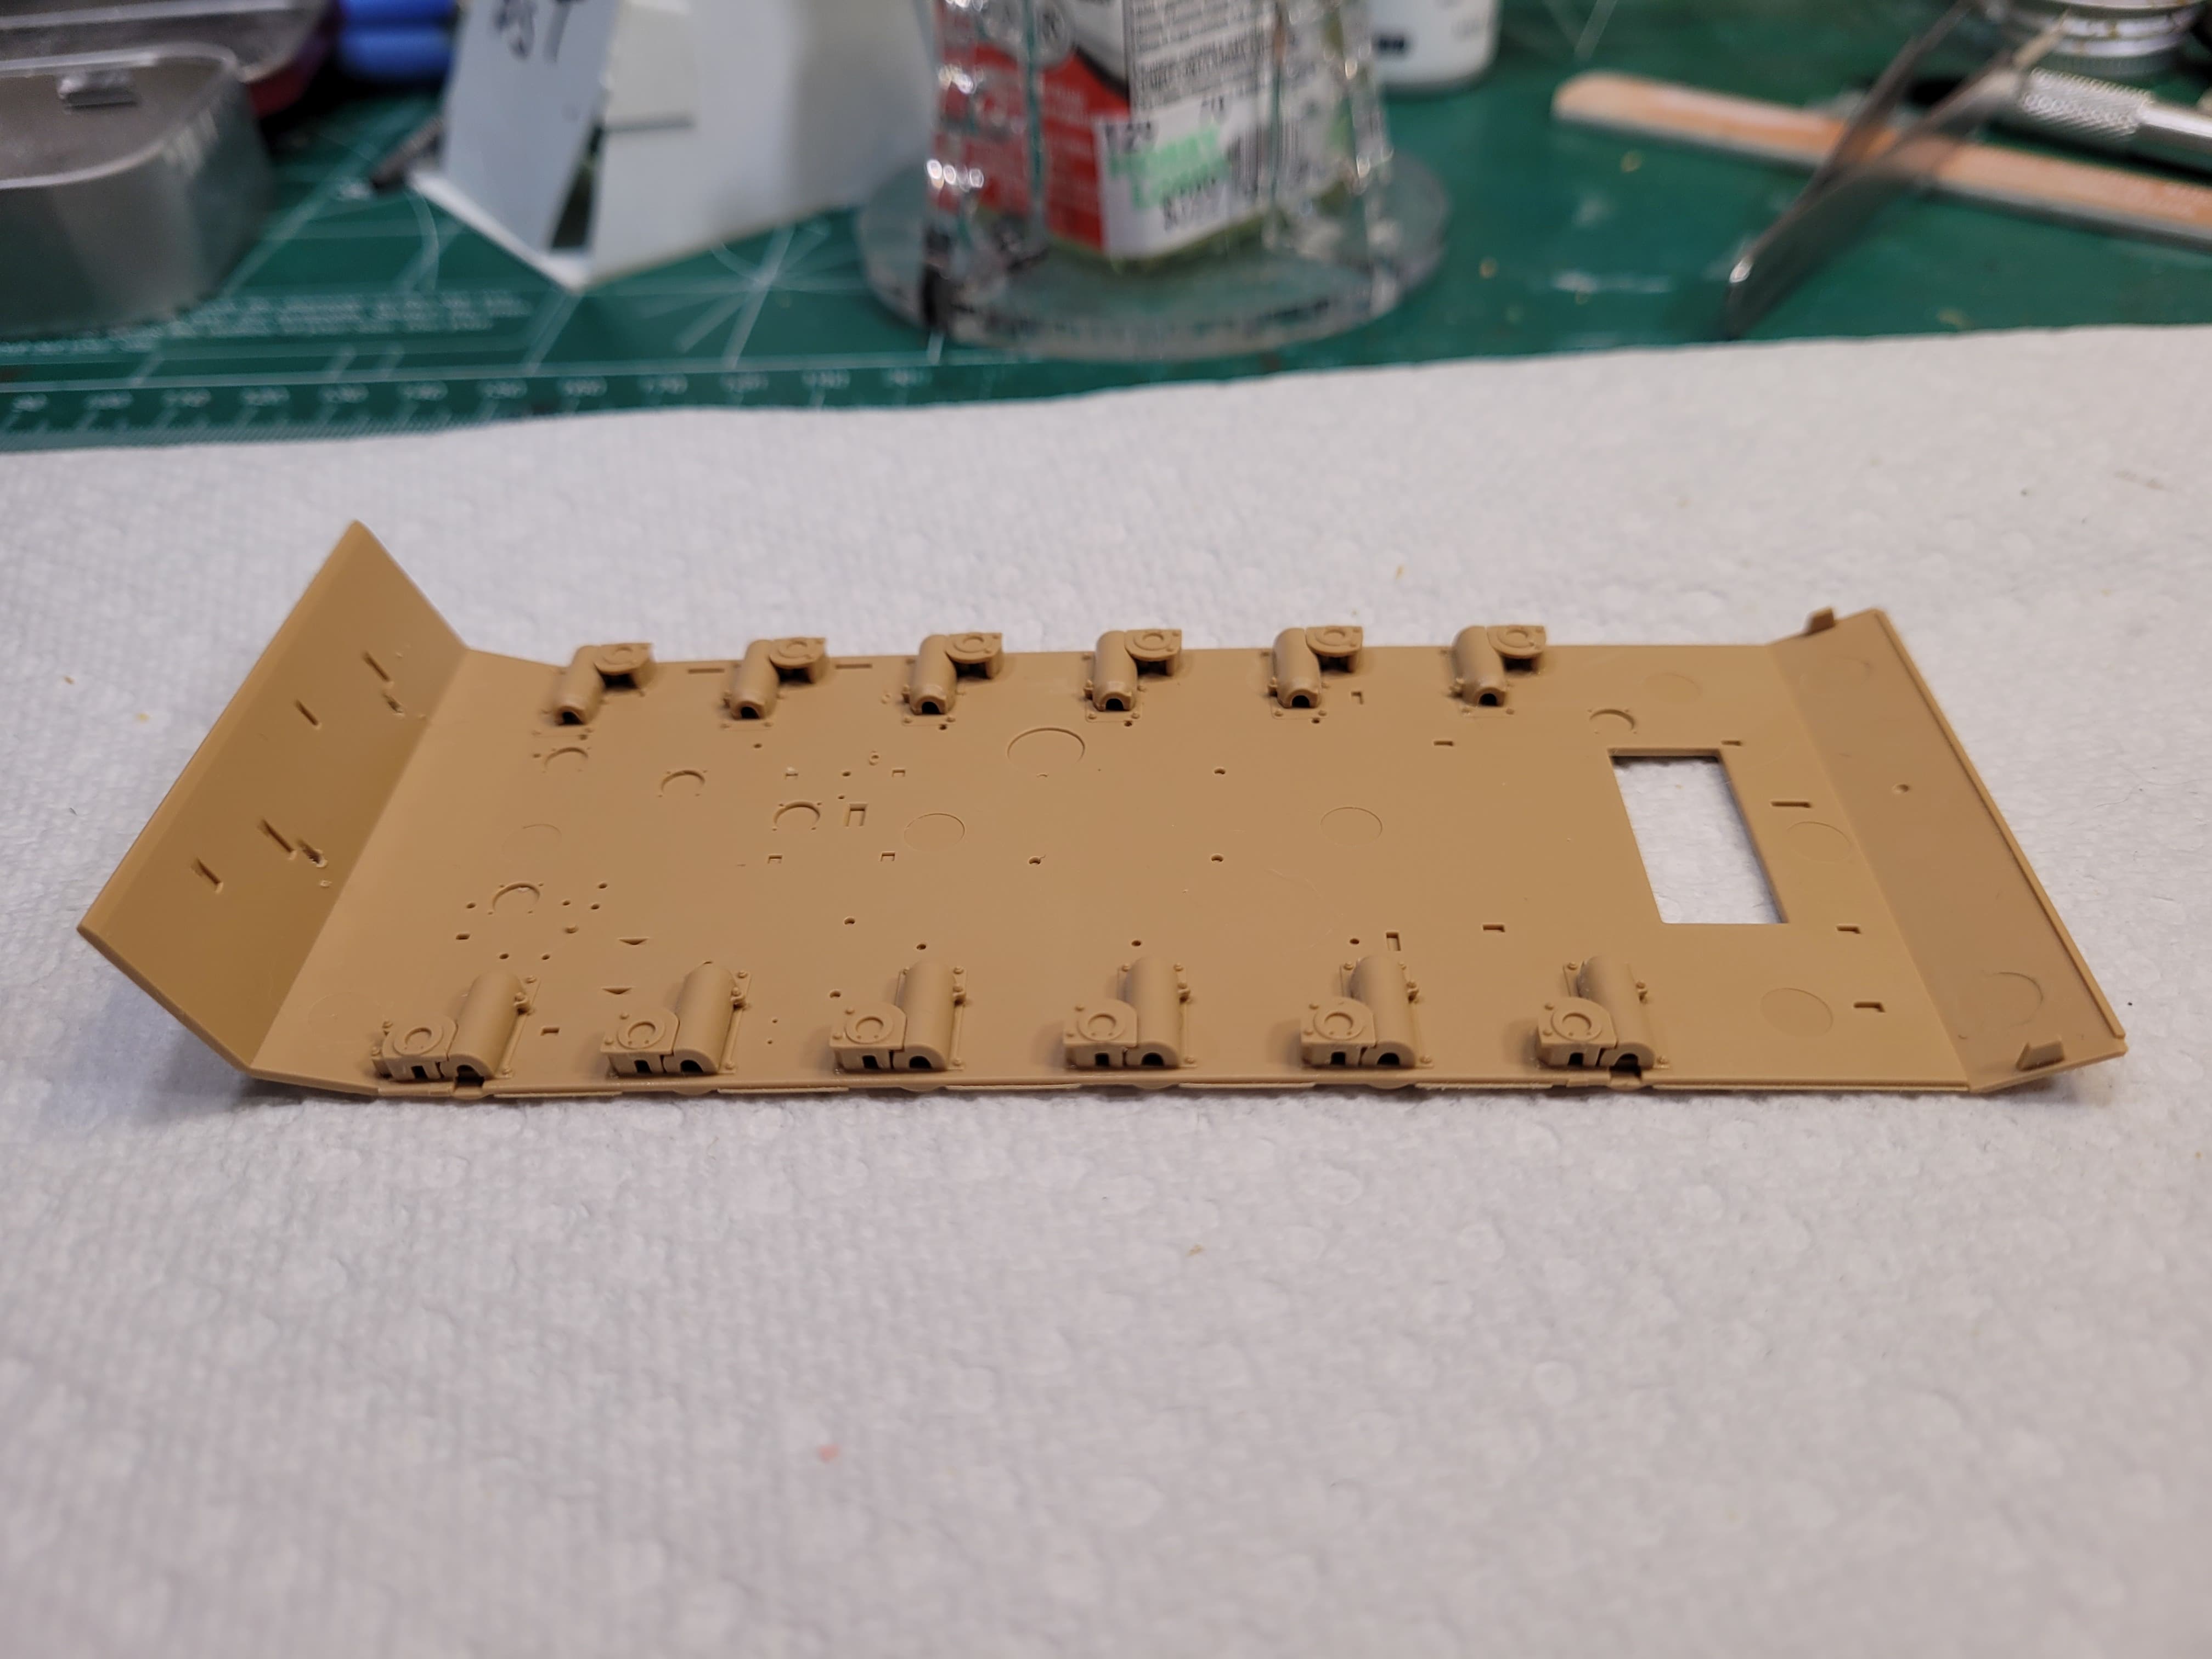
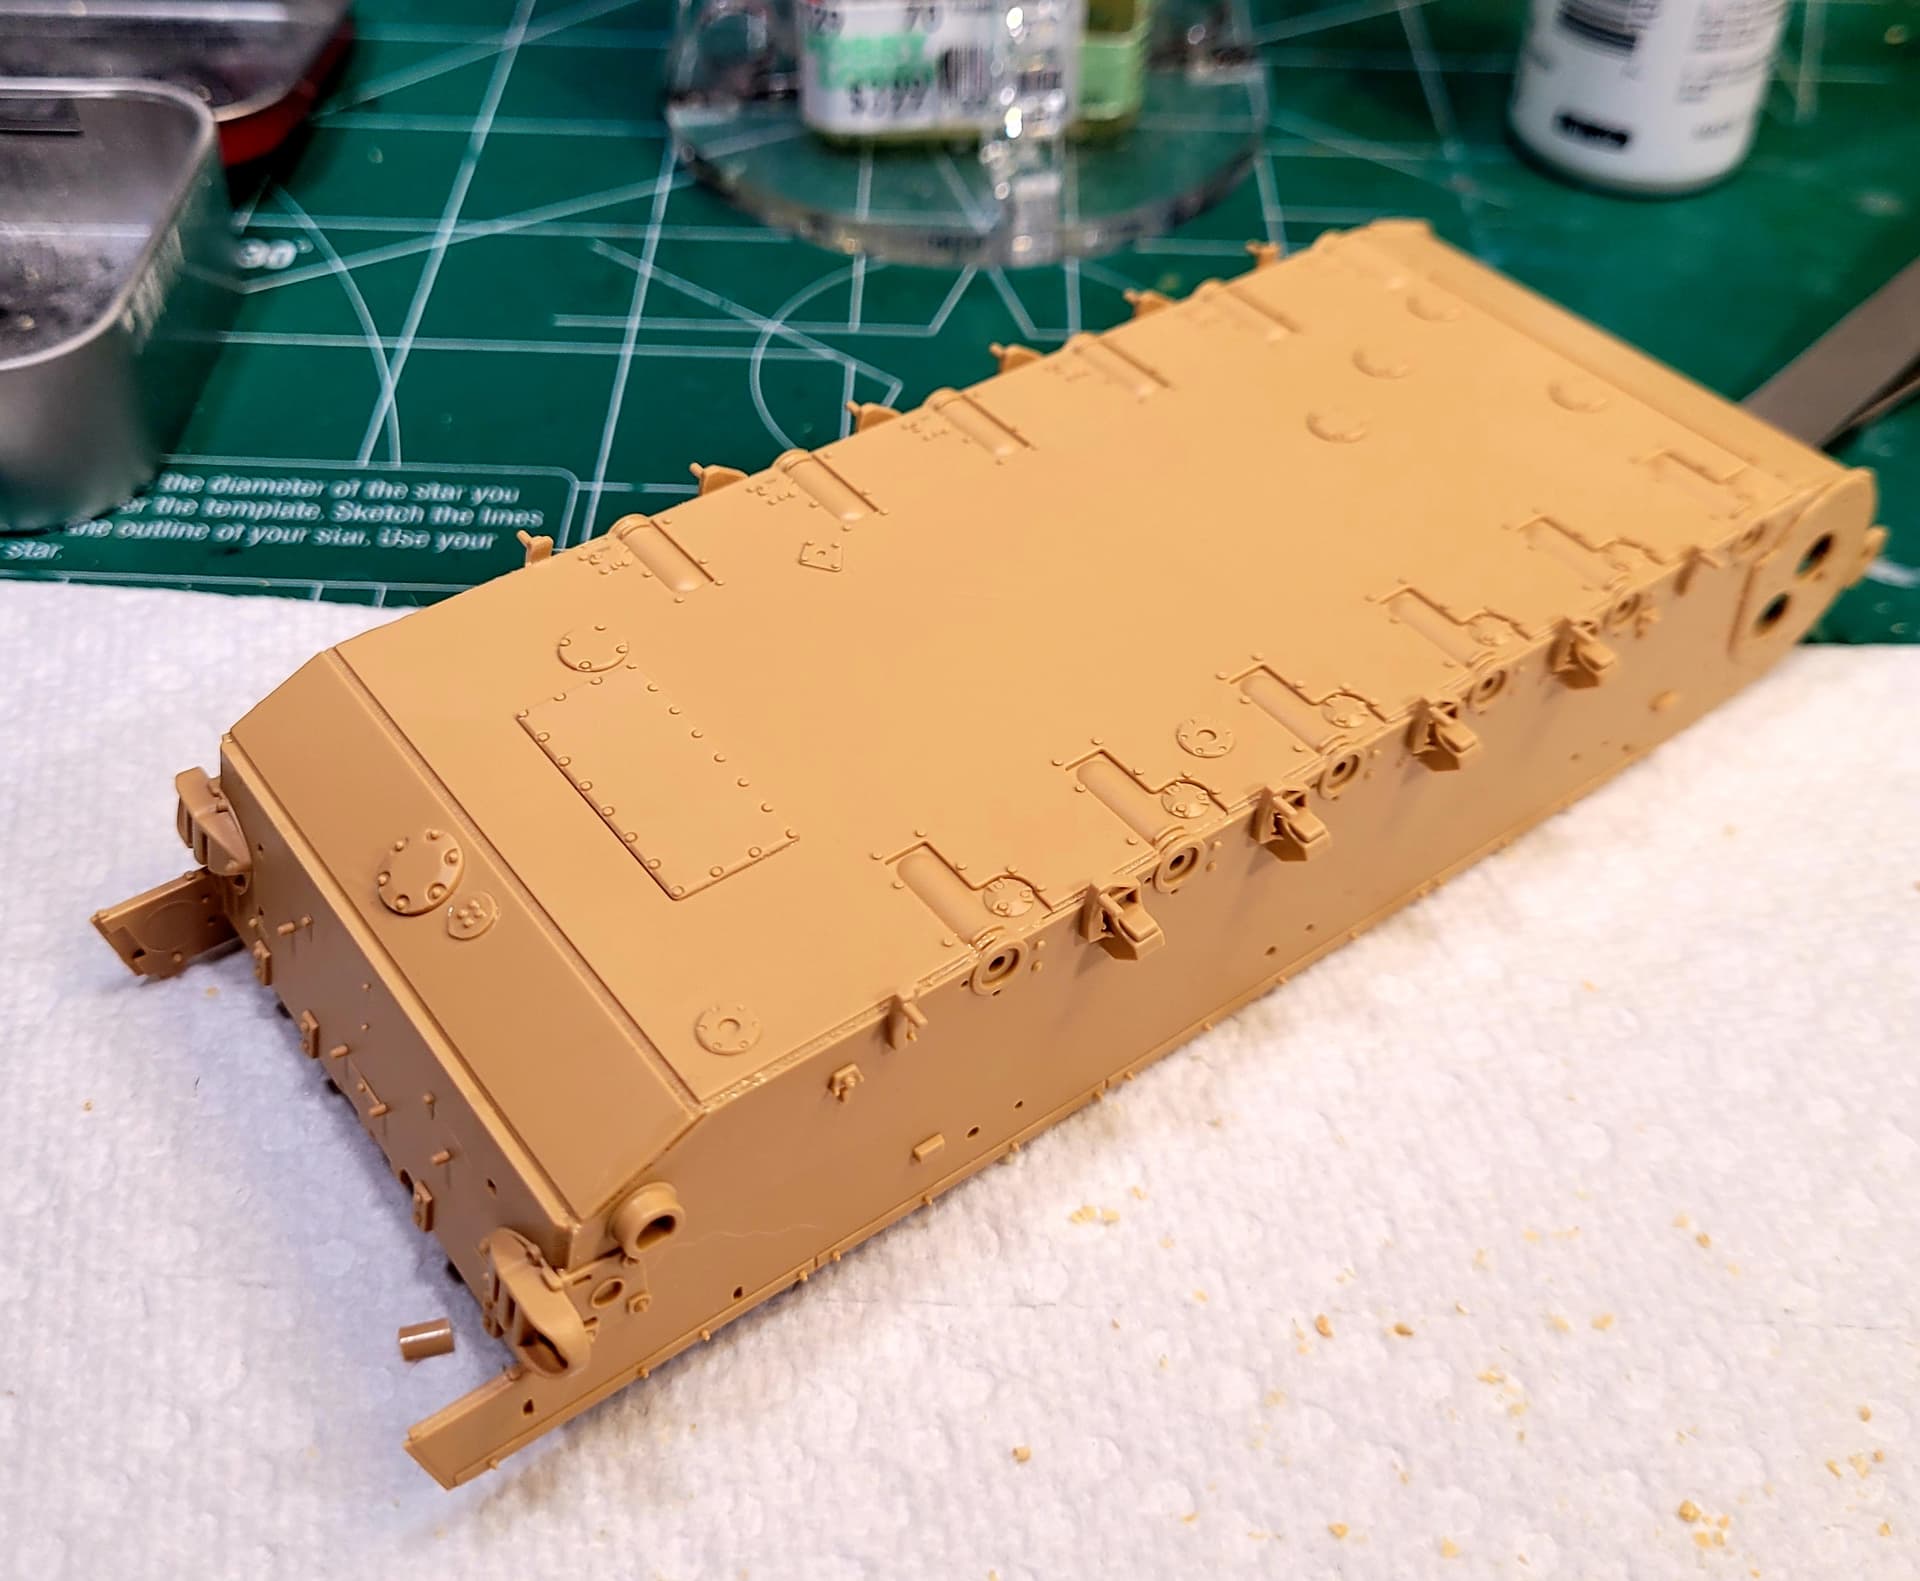
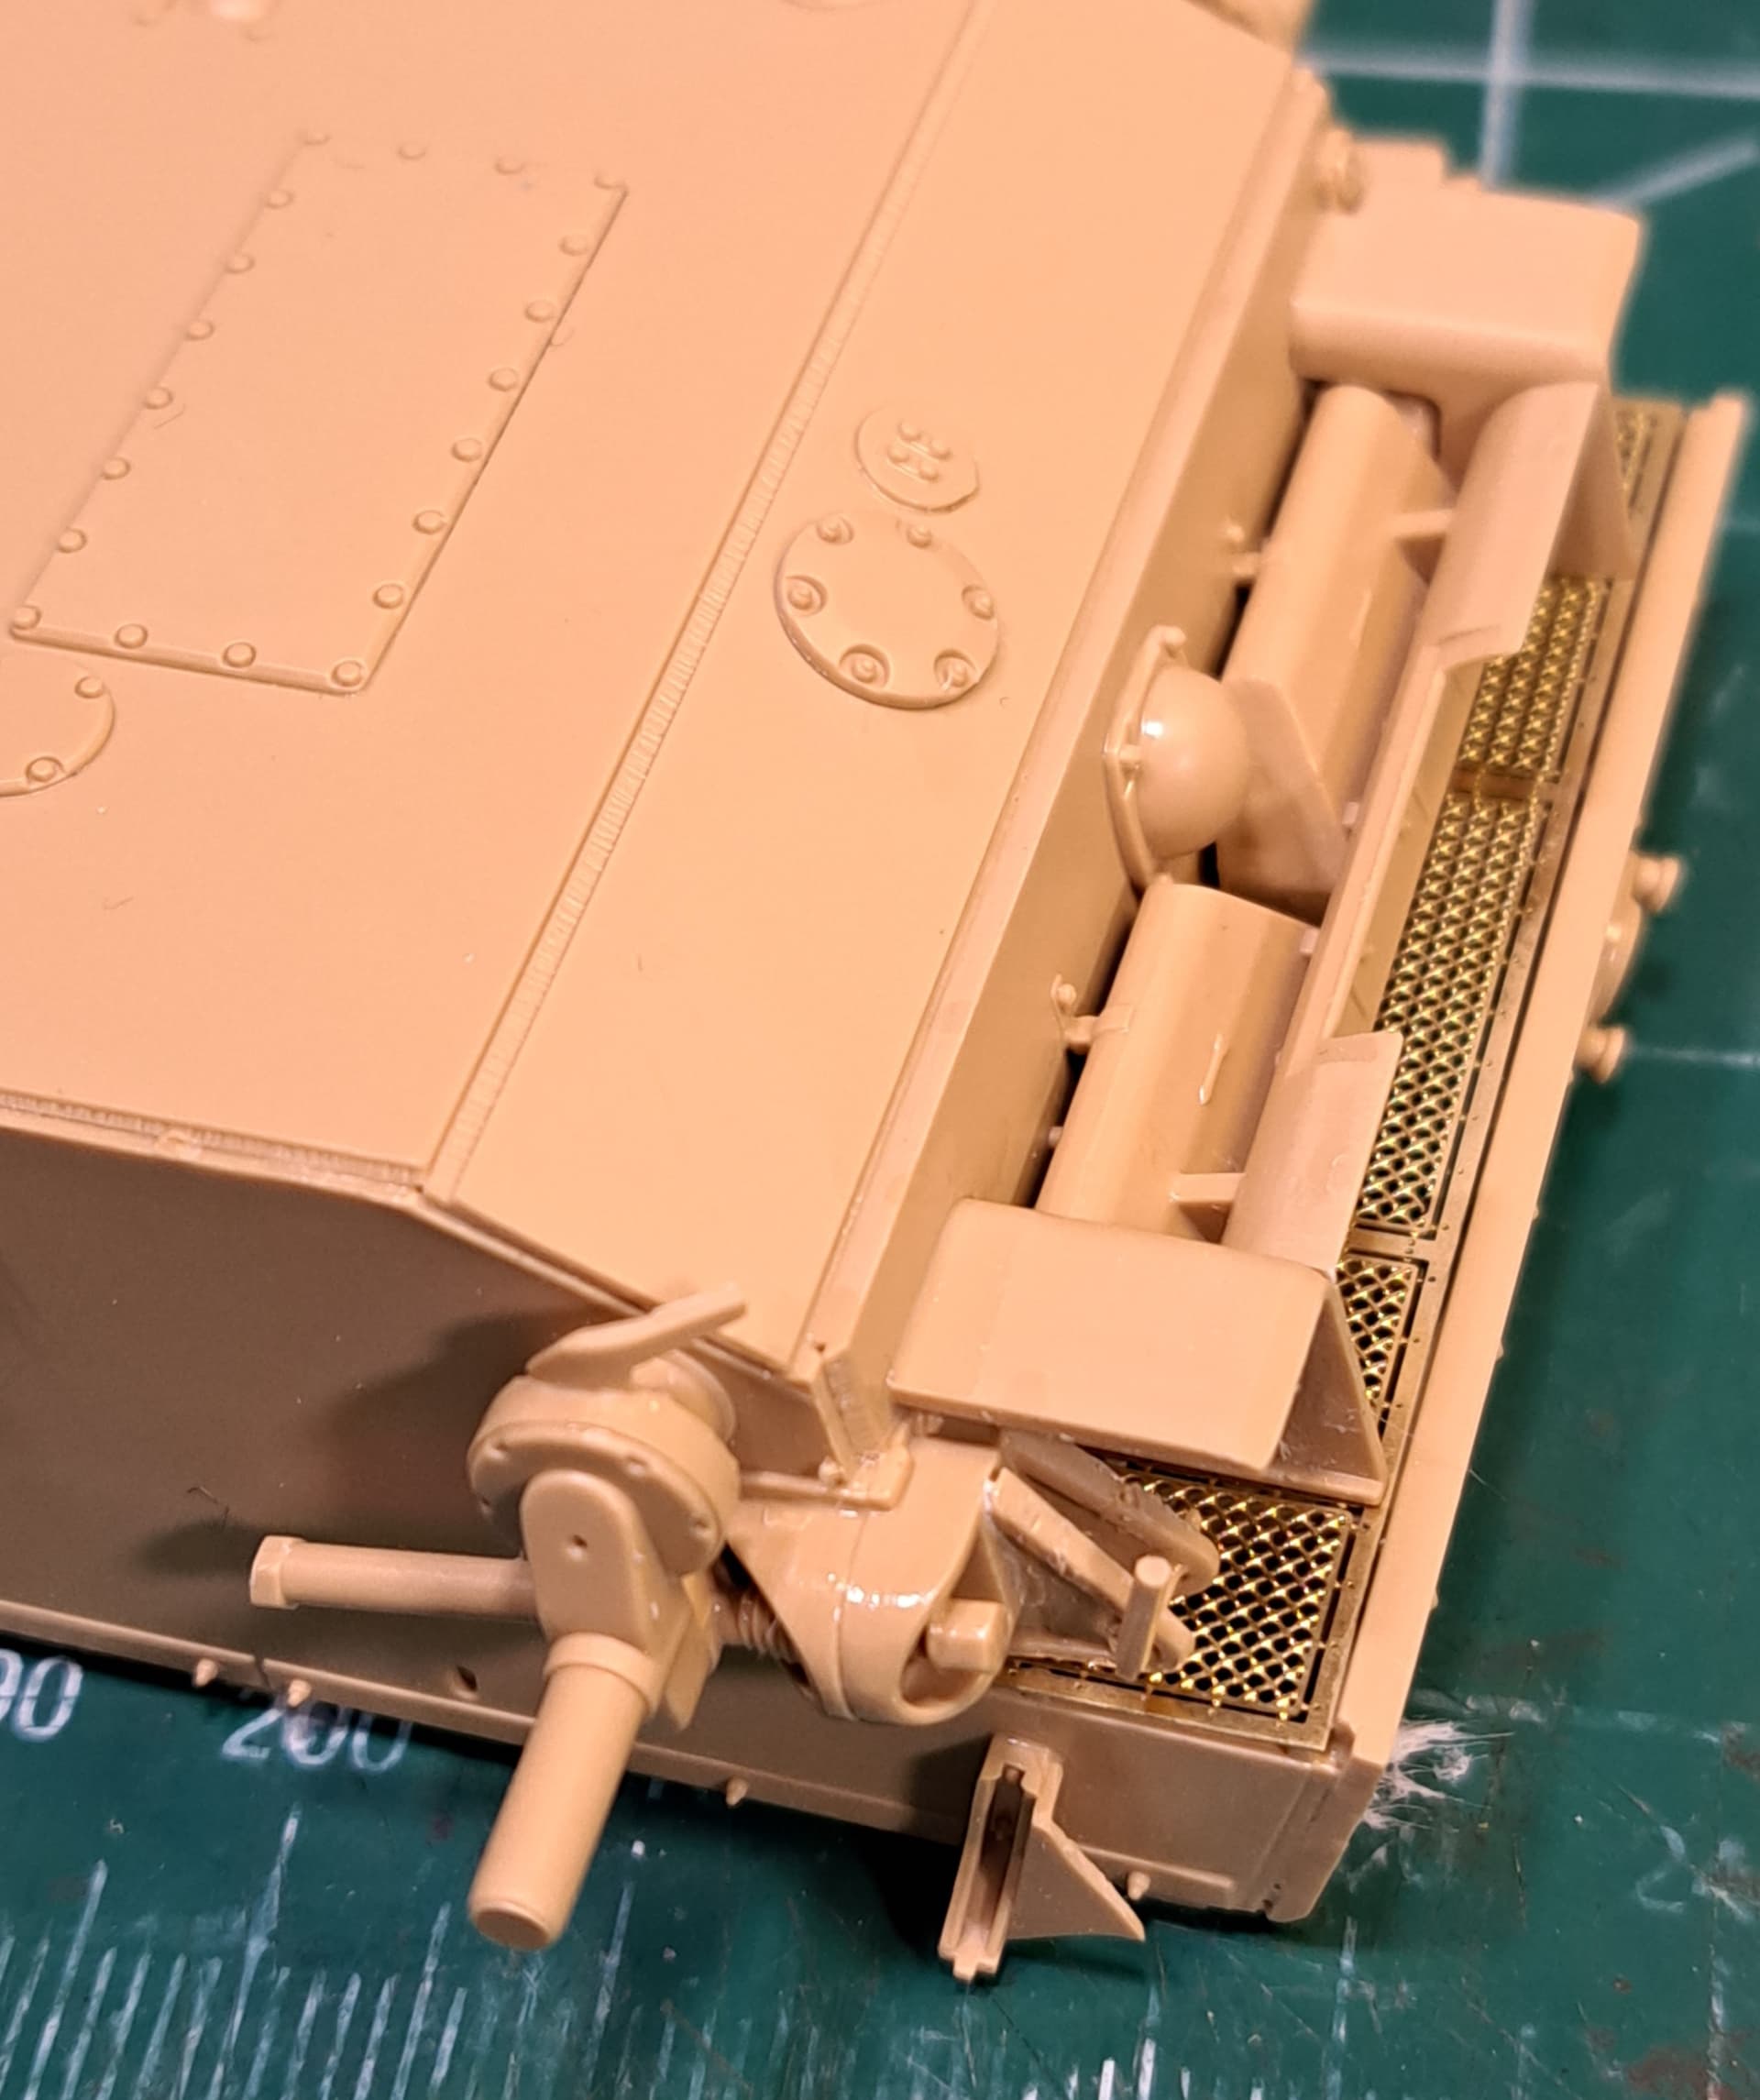
The hull bottom is quite impressive. Given the kit has two lower hulls its important to make sure the desired parts are picked. The kit is molded in high quality plastic and clean up is a snap.
My kit came with a errata sheets
Most of those items are not really needed.
And don’t cut off the muffler pipe like RFM tells you! That’s for the interior version.
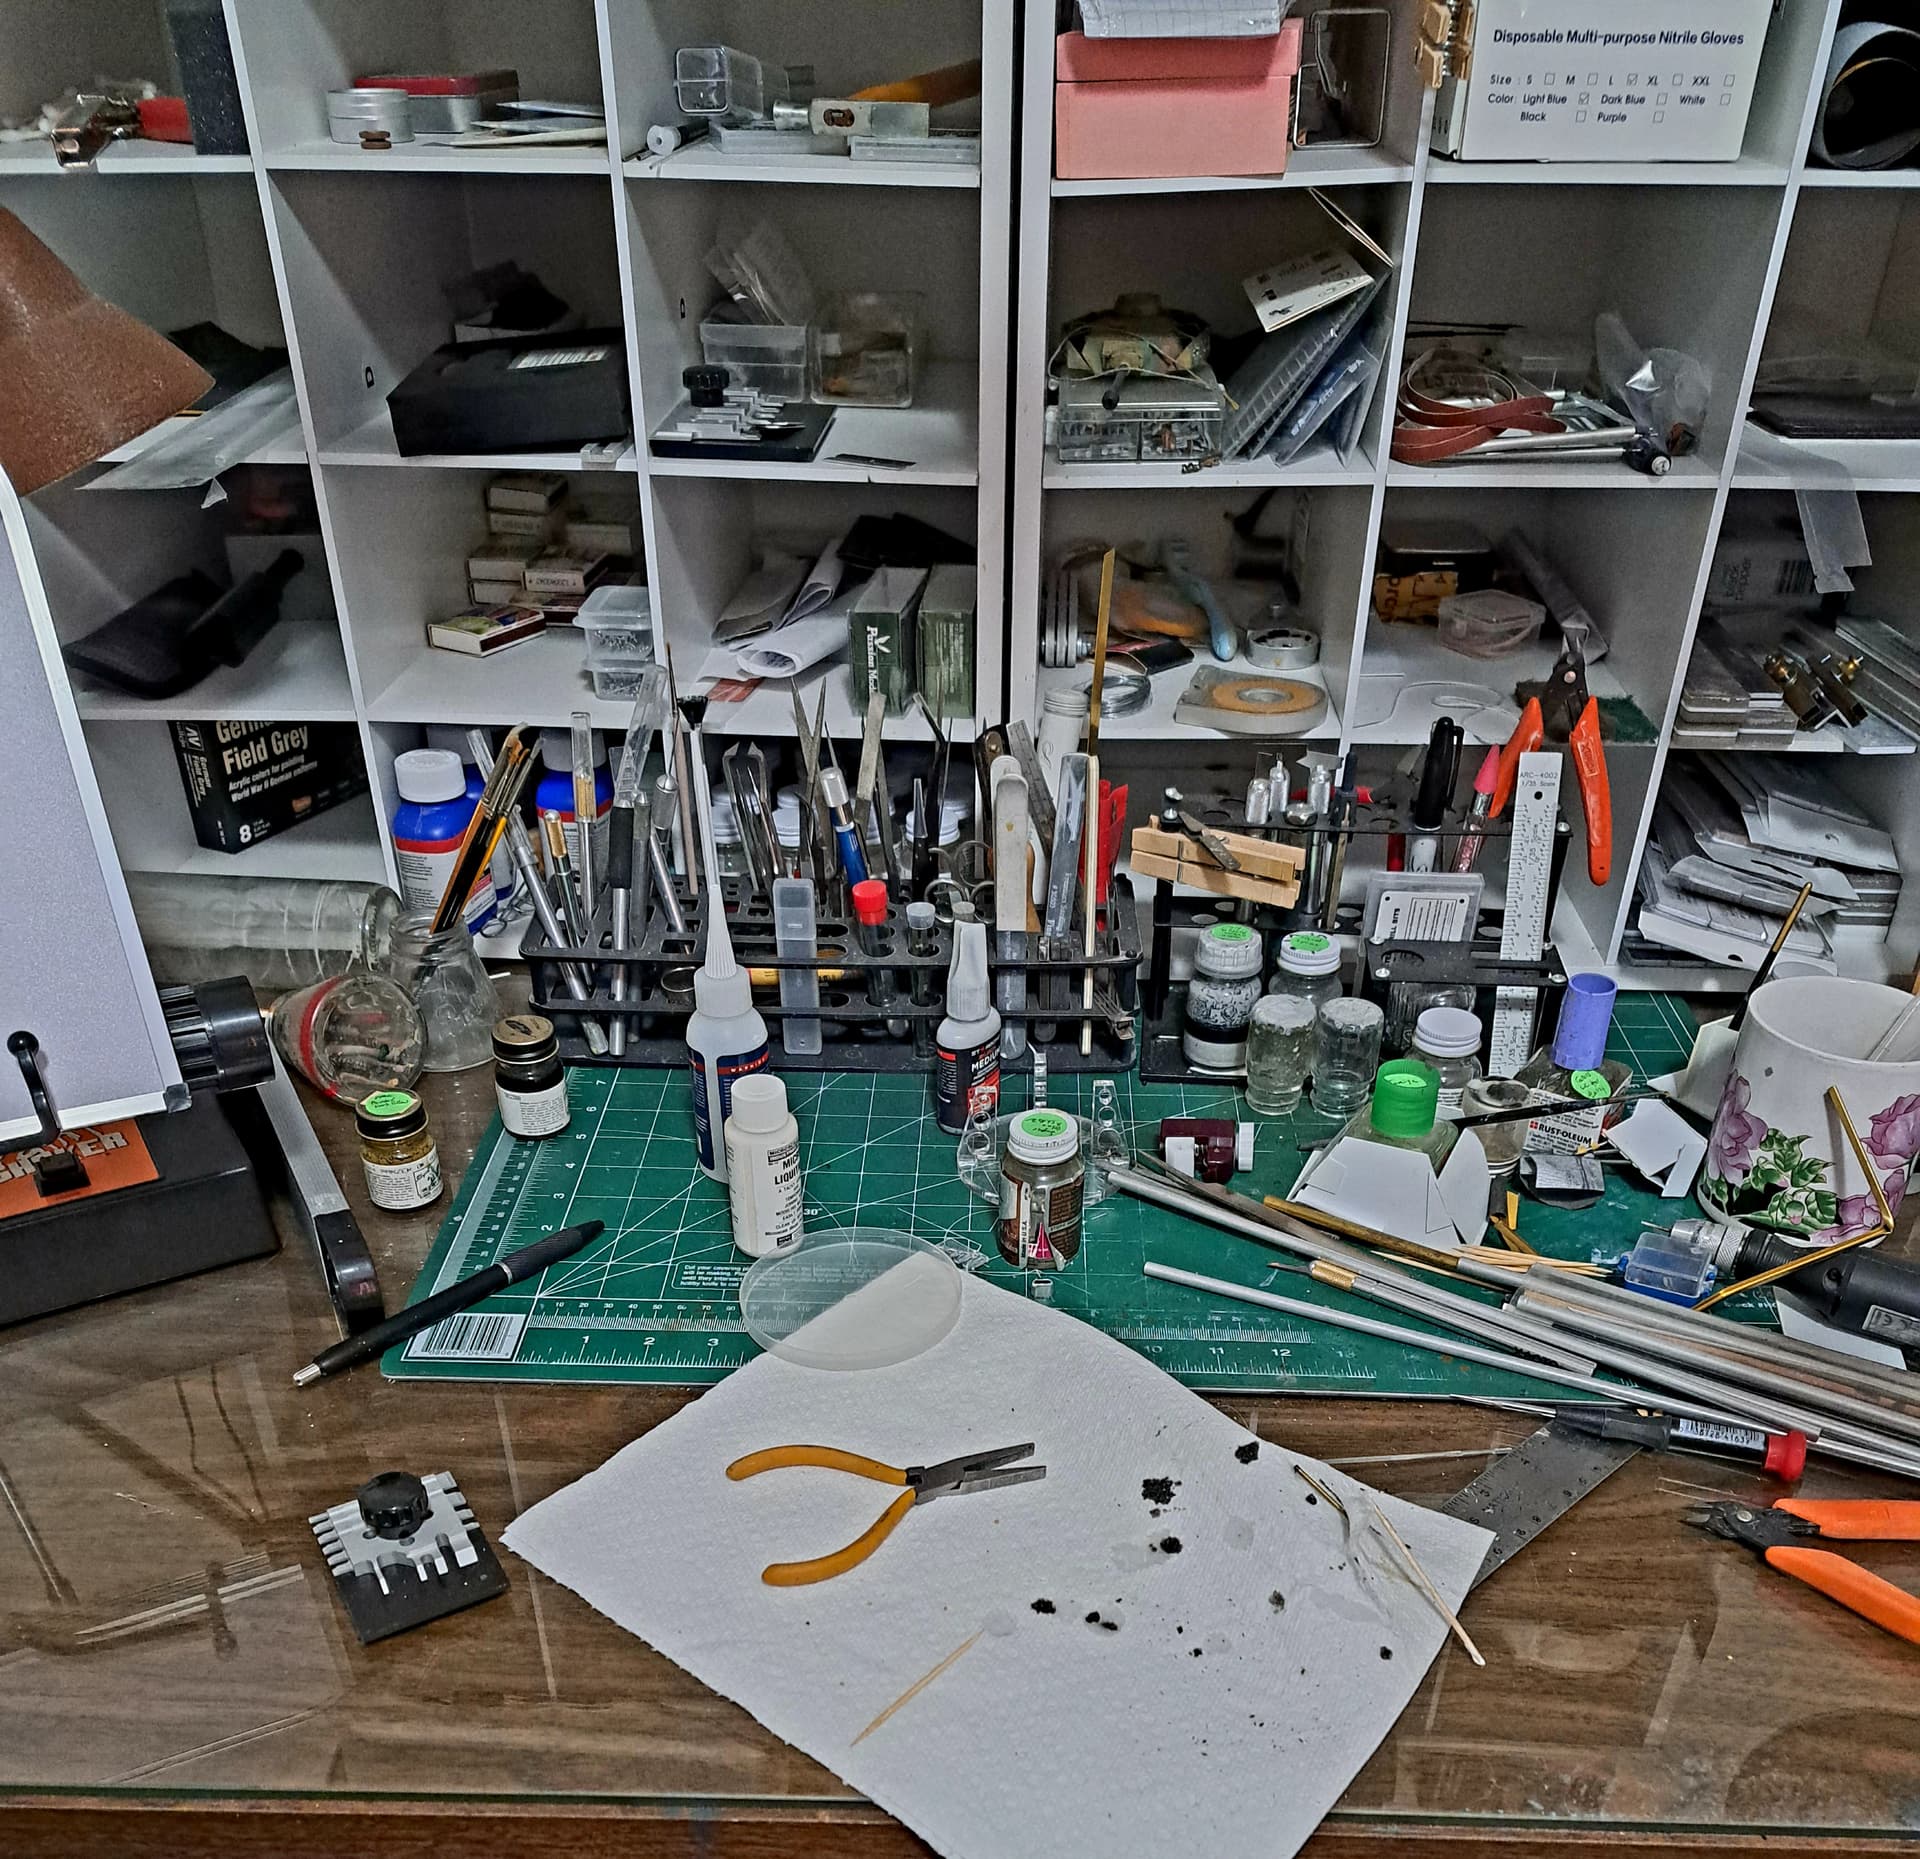
Looking at 7 months plus of nothing accomplished modeling this or any other build. My wife has been ill four times but hopefully we’re on road to recovery now.
Part of the desk mess arose from rocket surgery reattaching a decapitated Barbie’s head to doll for younger granddaughter. Crack head Barbie lost her shoulder ballast when fleeing the trailer park with the police in high speed pursuit from what I understand.
Retaining a full range of motion for Barbie was critical per granddaughter so Barbie’s neck ended up drilled out and sleeved with aluminum tubing. Happy to report the patient is doing well and a full recovery is expected. However, Barbie doll may end up in debtor’s prison if the hospital bill arrives.
So I decided to revive the thread and the build in an attempt to get back on track. Nothing like posting to add a bit of positive pressure to get modeling again.
That’s it Wade, a new year, a new start. Get back on that horse. How is your wife doing, by the way?
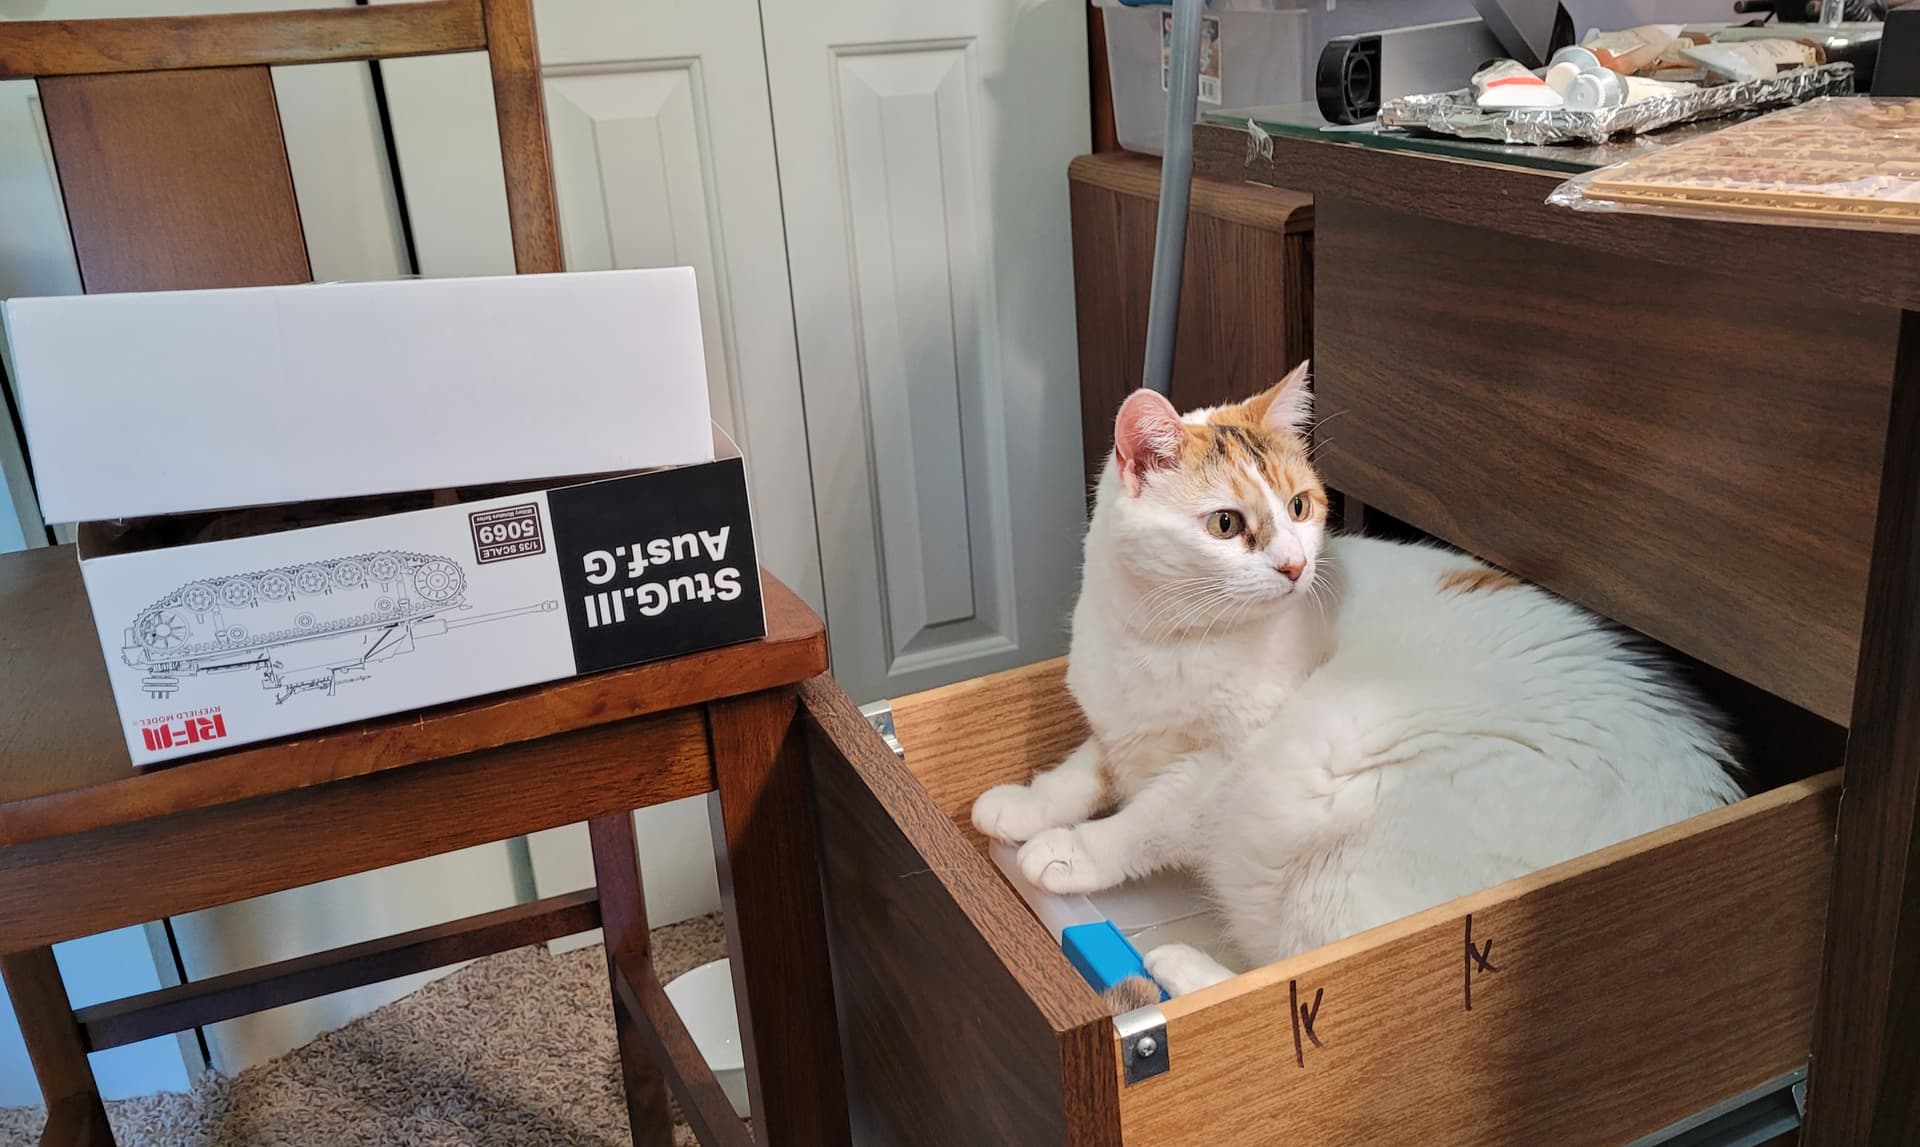
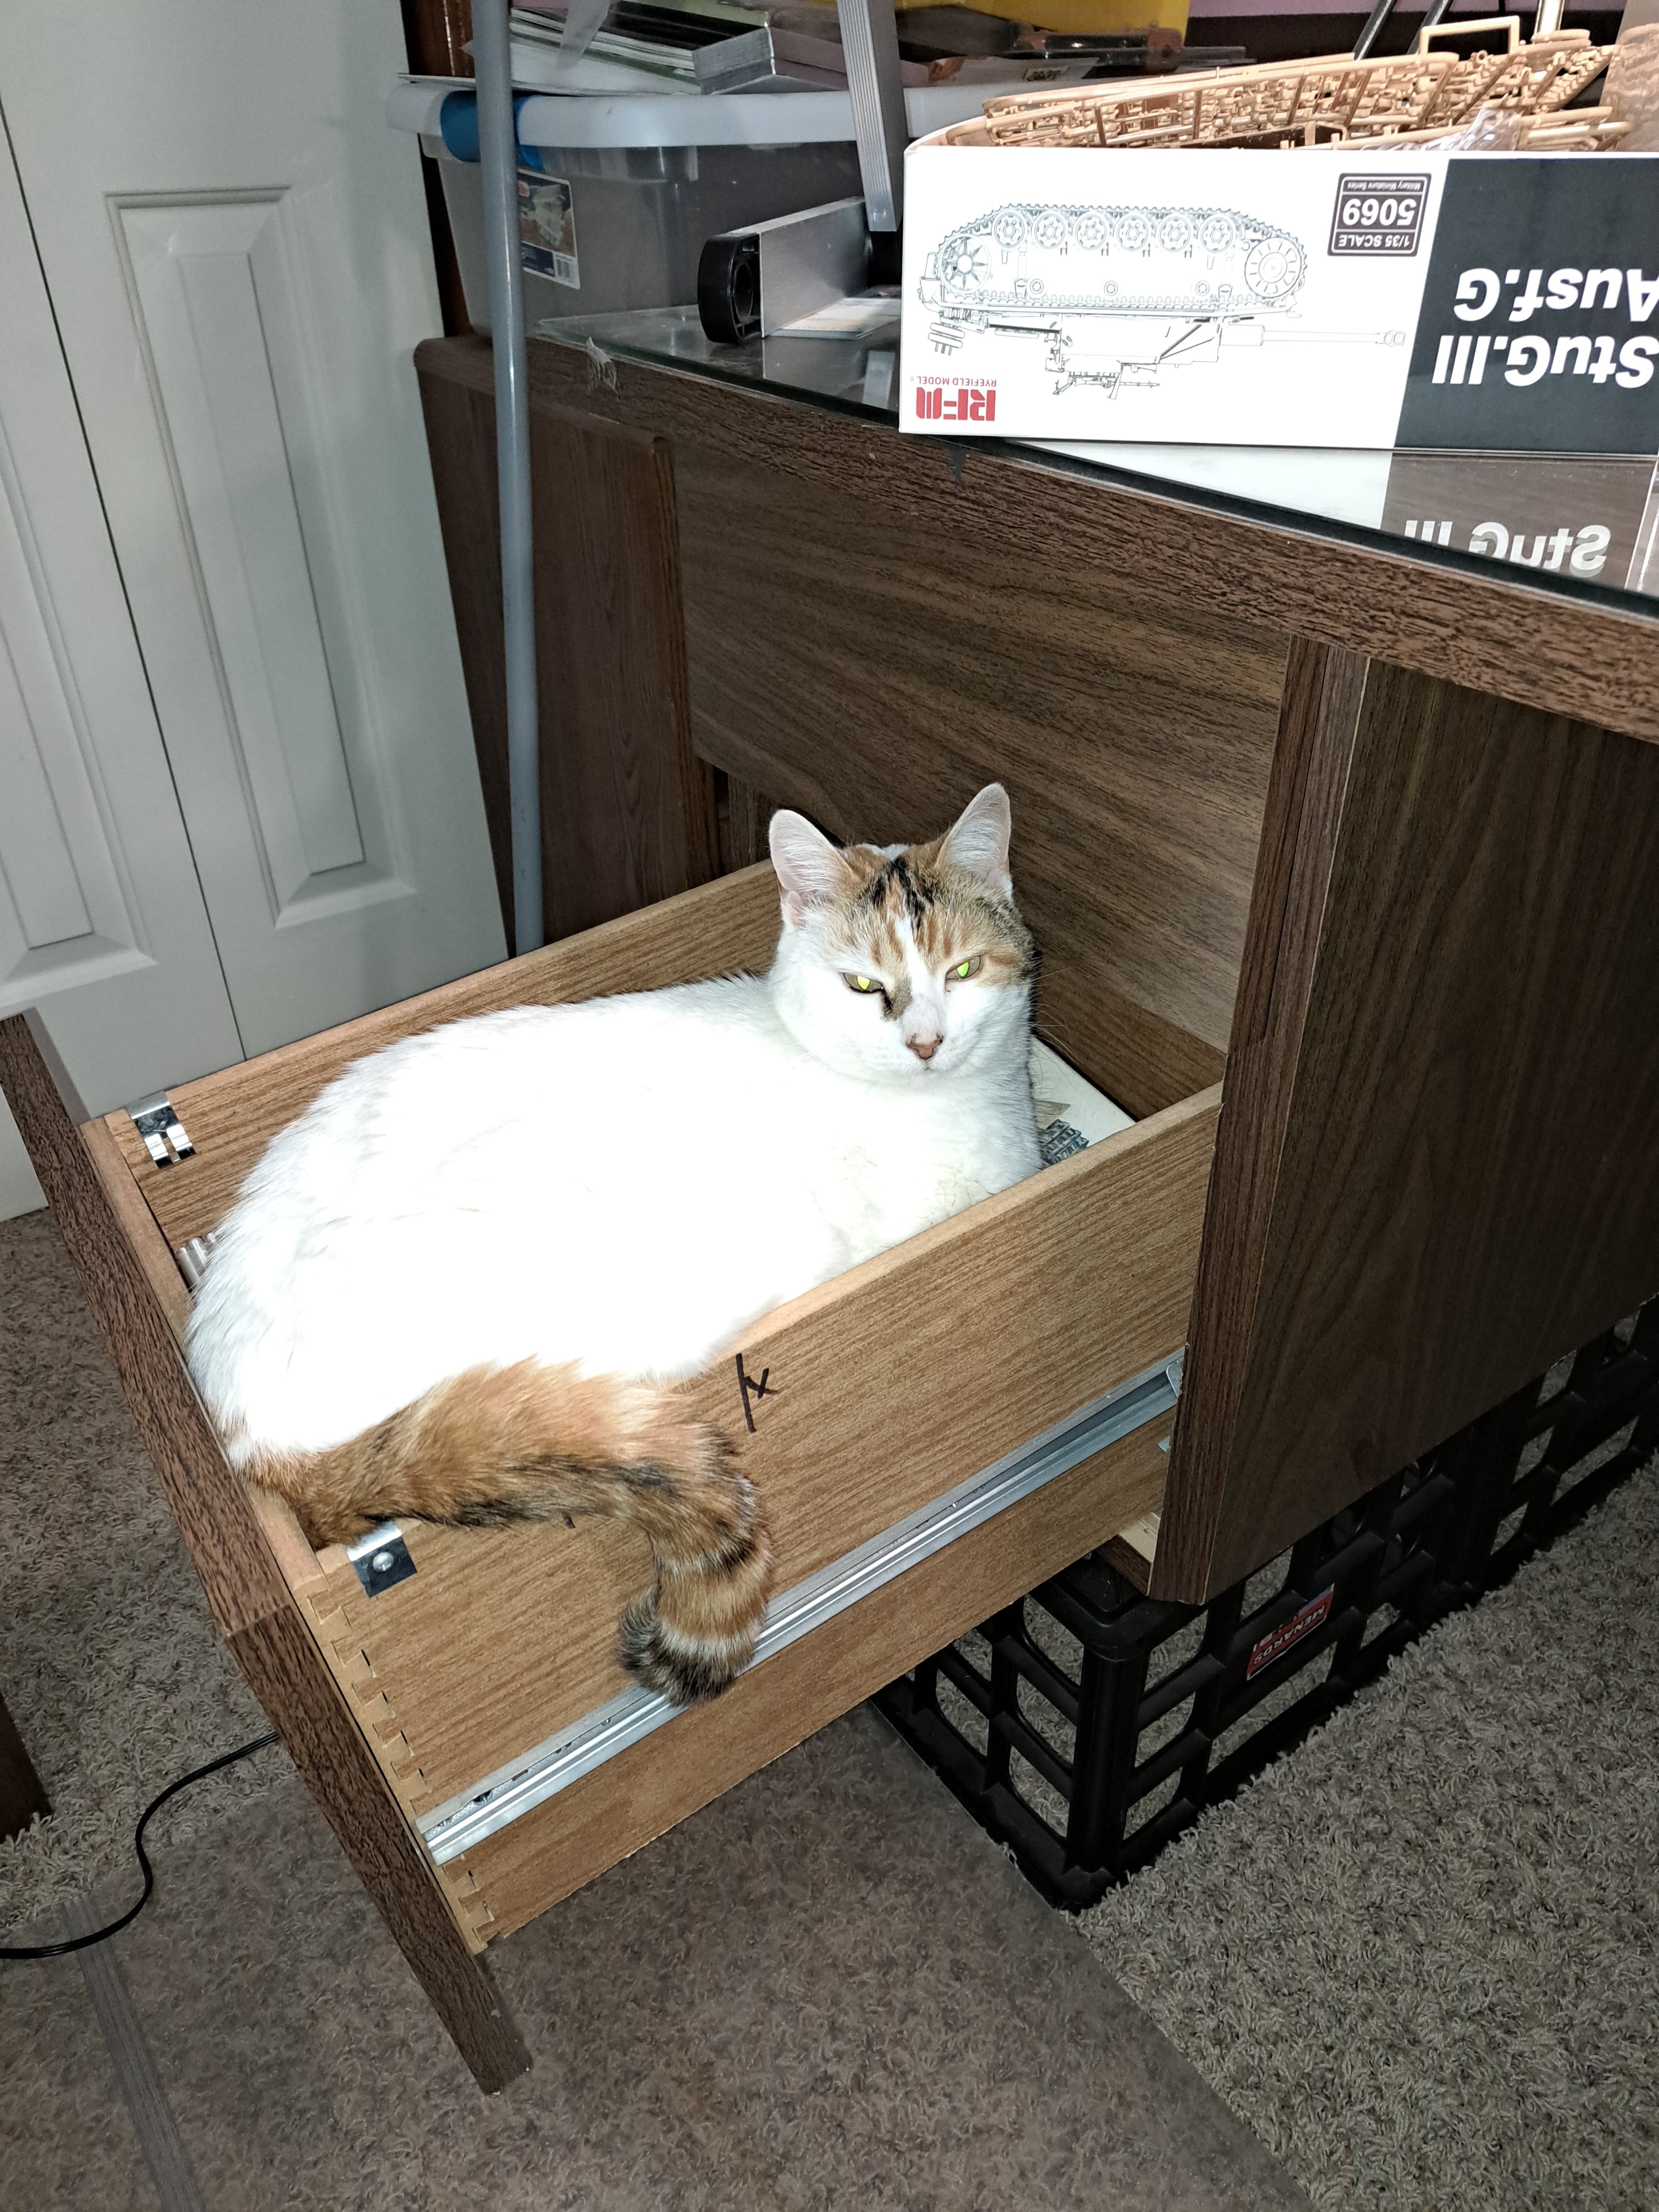
Model building and cats just can’t go together in my experience. My wife has a cat, an orange tabby named Stuart. It’s not our cat, it’s her cat. The first time I found a cat hair on my bench, the cat was banned from my studio. Of course, you know how successful wrangling a cat is - his favorite spot in the house is on the spare bed in my studio. So we tolerate each other and I vacuum my bench frequently. Cat hair loves model glue and fresh paint. And it migrates invisibly!
Model on Wade!
Yes, it’s really a matter of getting a good start going almost like starting a fire in the fireplace.
Wife is doing better. We had several days in hospital & an ER visit Christmas day. I’m very happy with progress. She’ll return to work later this week if all keeps going well.
Stuart sounds like quite the exceptional orange tomcat to “negotiate” access to the spare bed! All cats belive it’s a sin to allow a good bed to go unoccupied - wink. Previously, I could work around the flying furr issues pretty well vacuum & dusting etc with just Kali. It going to be a real challenge with three cats!
On the modeling side, I like this RFM kit very much. It really helps with getting back in the saddle working with a high quality kit.
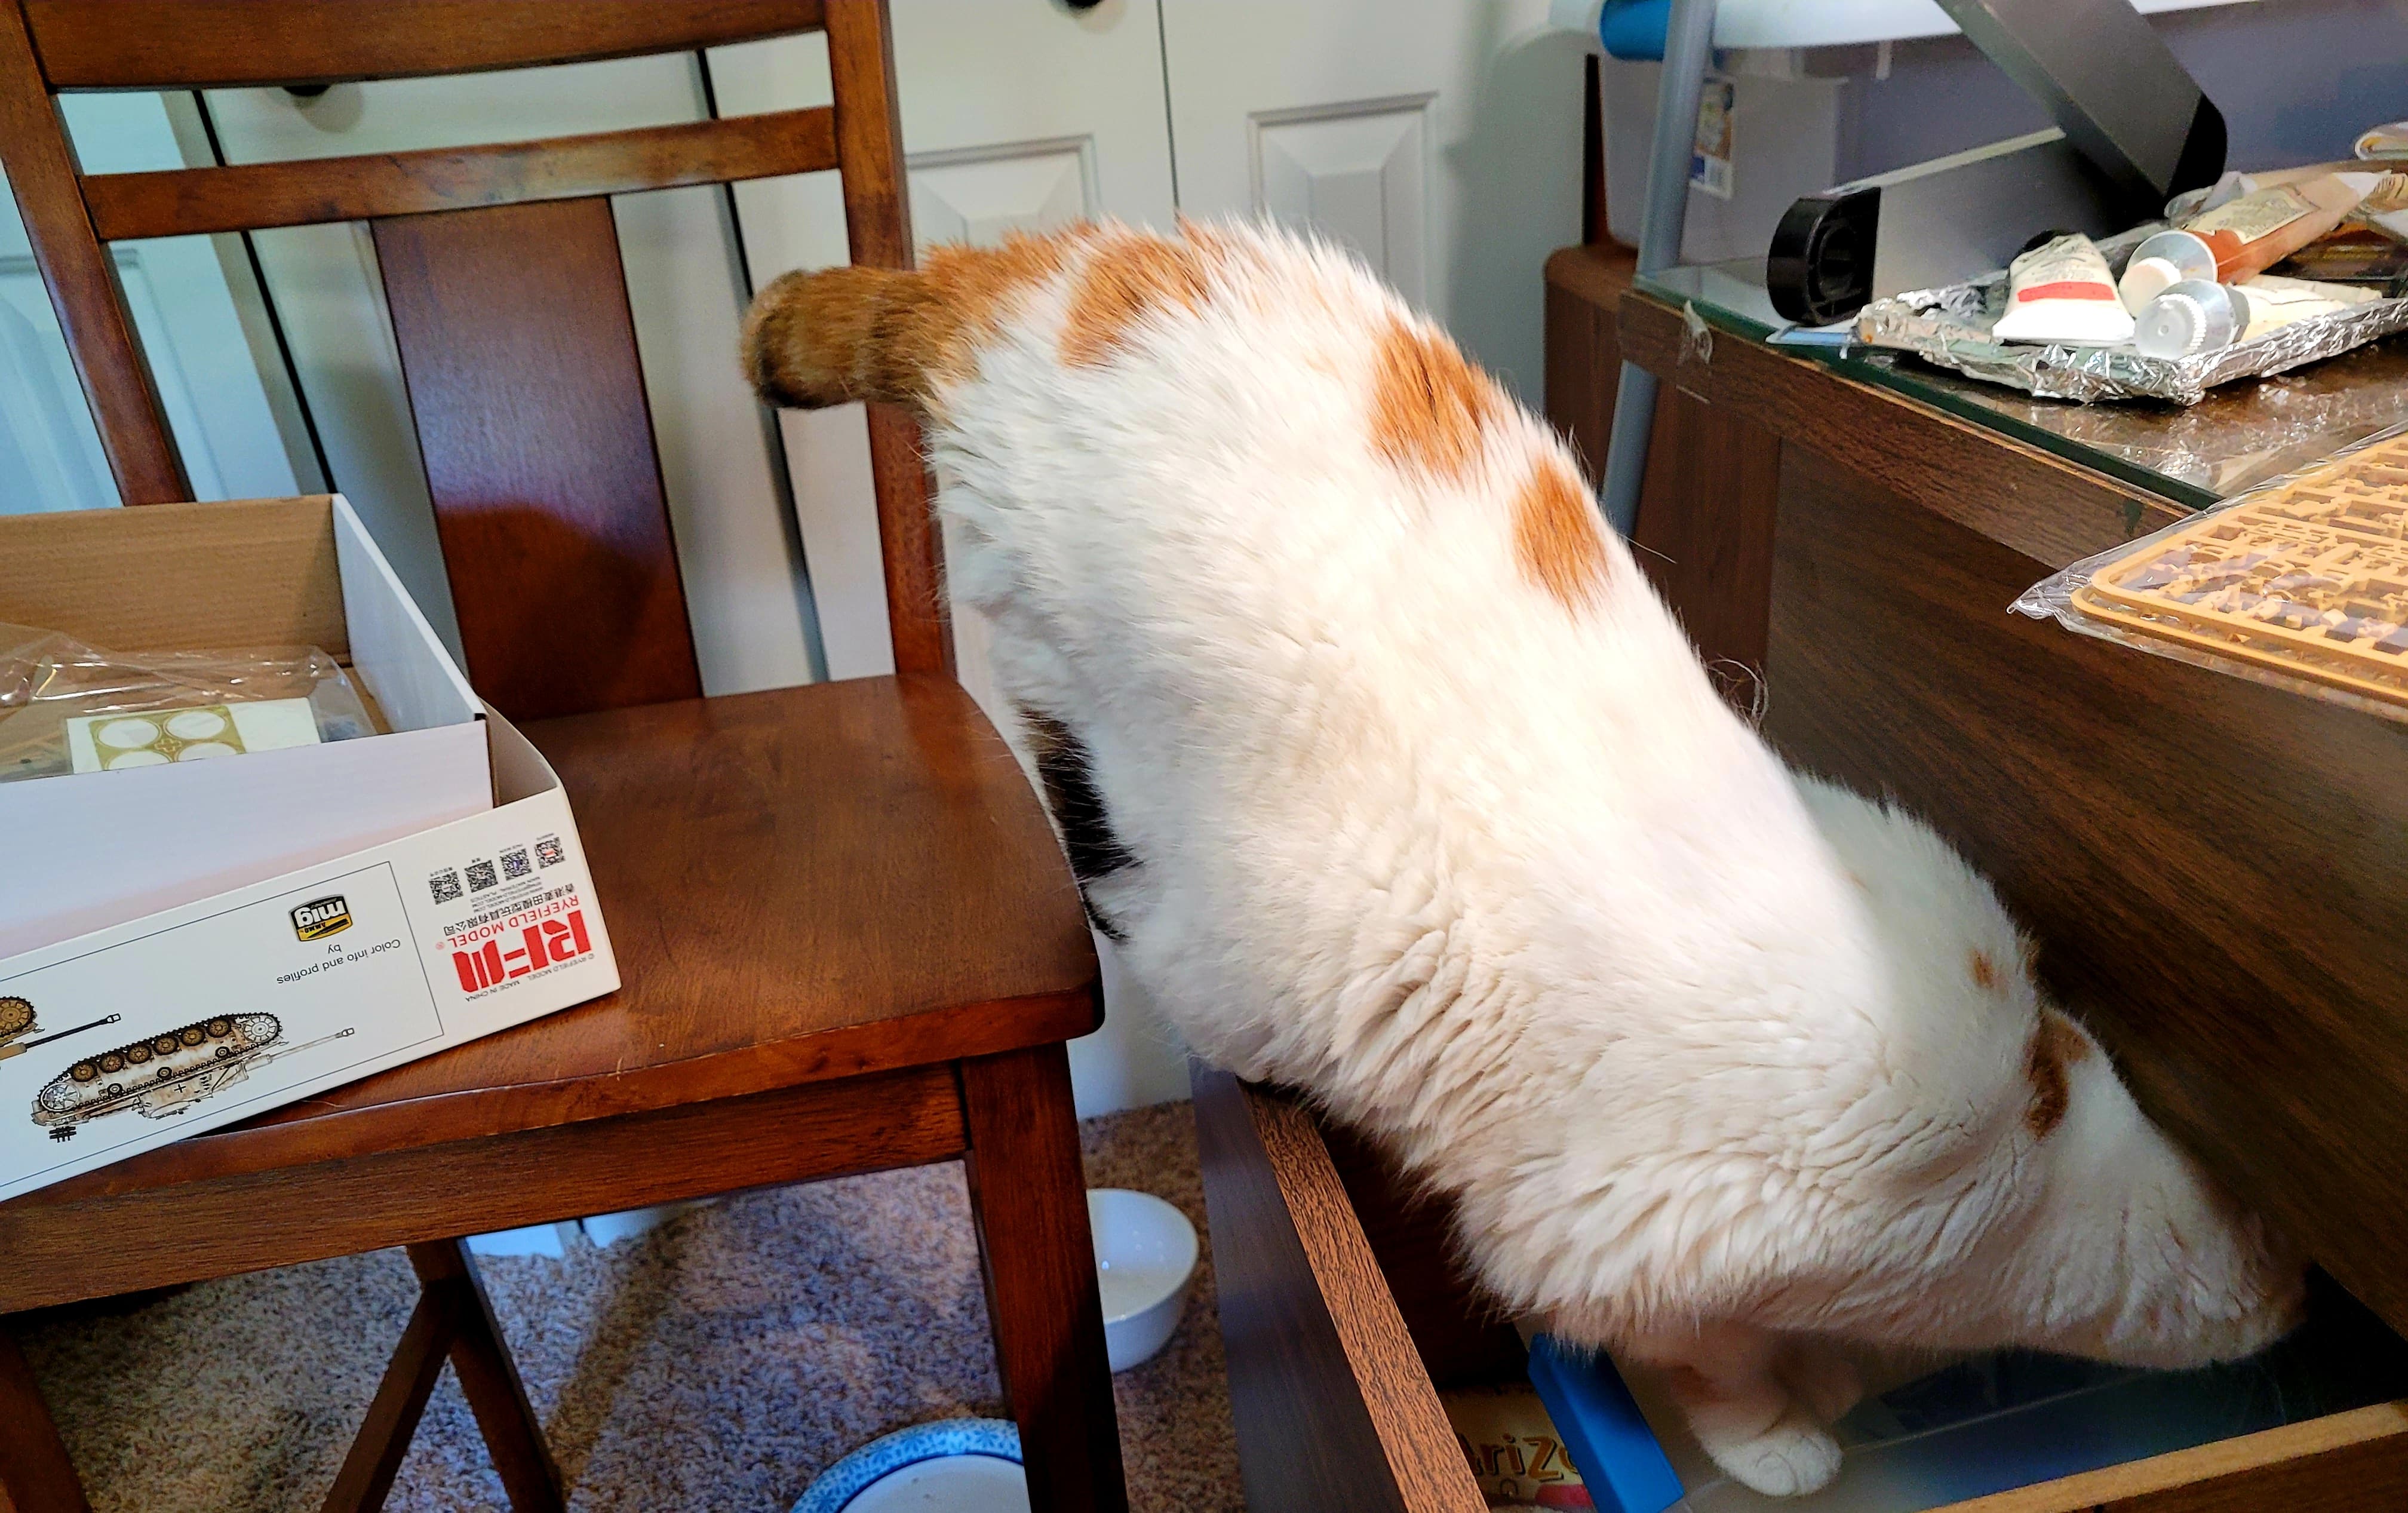
Check the cat. All of them. Cats steal things. You may need to close the door to your work room. Maybe set up a security checkpoint with metal detector, all cats must process through when entering and leaving work area. Use GPS tracking system to monitor location of cats at all times.
Ken
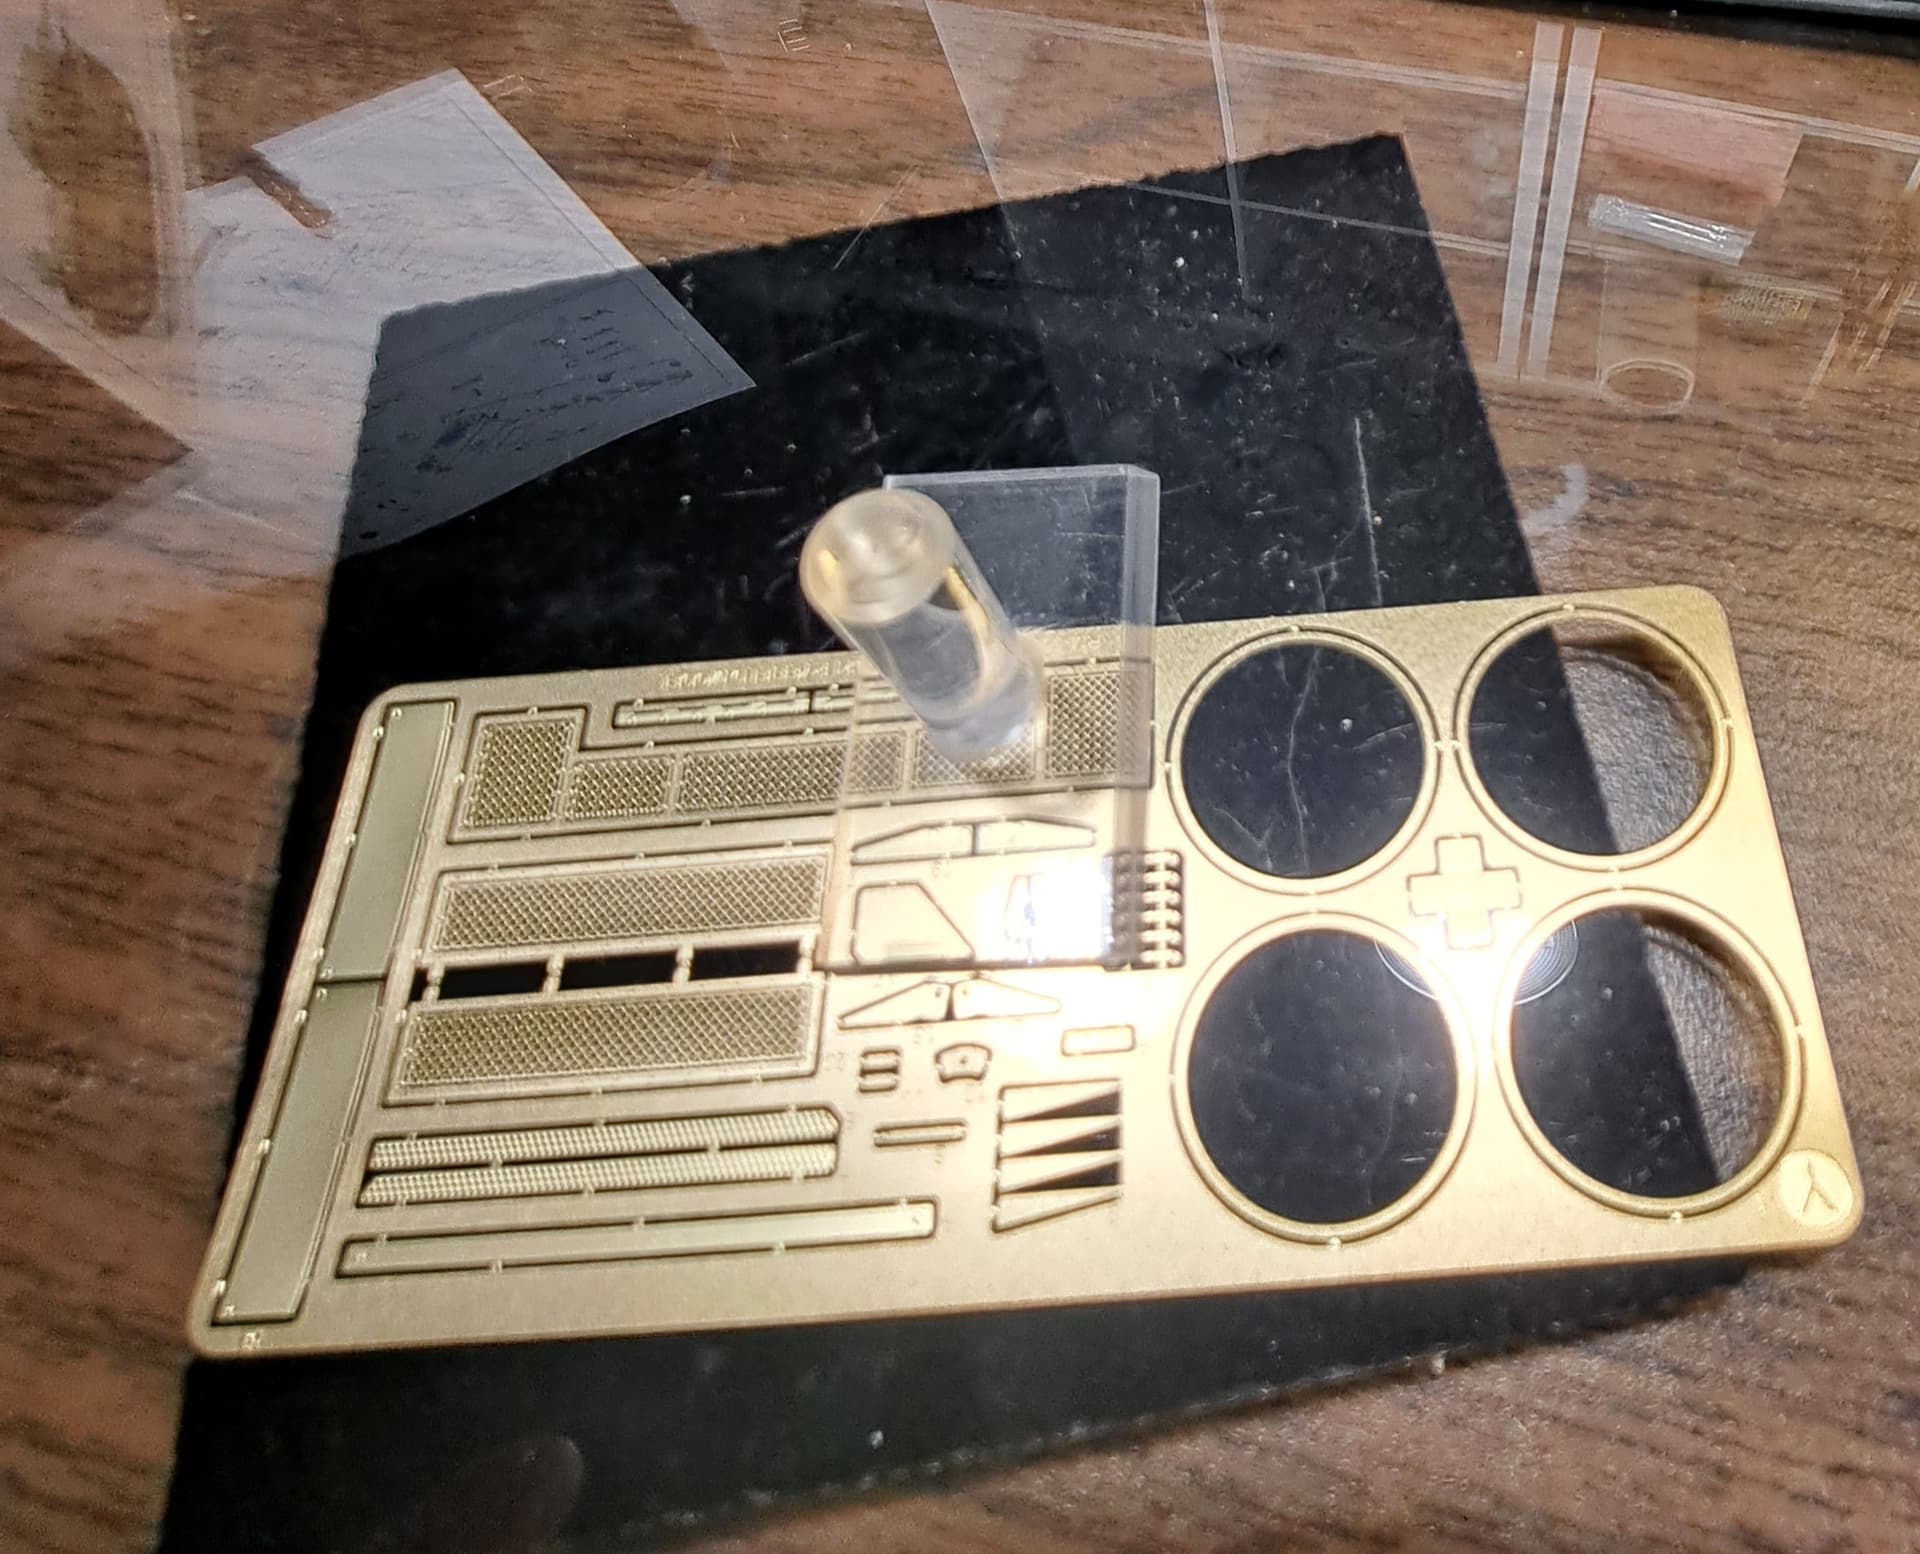
Indeed Ken & Dan, this maybe a feline conspiracy at it’s worst. I suspect the OV was being held in an undisclosed location…in any case Step 4 wrapped.
The Small Shop’s PE holding tool proved very useful for cutting the screen free of the PE fret with minimal burrs. Tamiya’s pricey diamond grit file made short work of the burrs on the PE.
If i may add a cat/hobby related story for your alls amusement. I used to tie flies, we had two cats, i had in bags all sorts of feathers, yarn and dubbing (fuzzy stuff used to build up bodies on flies). Among the collection of bags hanging from the wall on the desk was a matched pair of mallard wings. Came home one night to my desk looking like Freddy Kruger tried to organize, bags and feathers and fur everywhere. Knew it was either Sophie or Tessa that was the culprit, anyways cleaned it up and found i was missing one full mallard wing (feathers grow a mirror image on each wing so you match them). We went to dinner after i dressed down the cats, looked pretty crazy im sure, a few hours later we get back, walk in the front door and laid neatly so it was the first thing i saw was the missing wing…can you believe when i sat down they came to get petted like nothing happened?!?