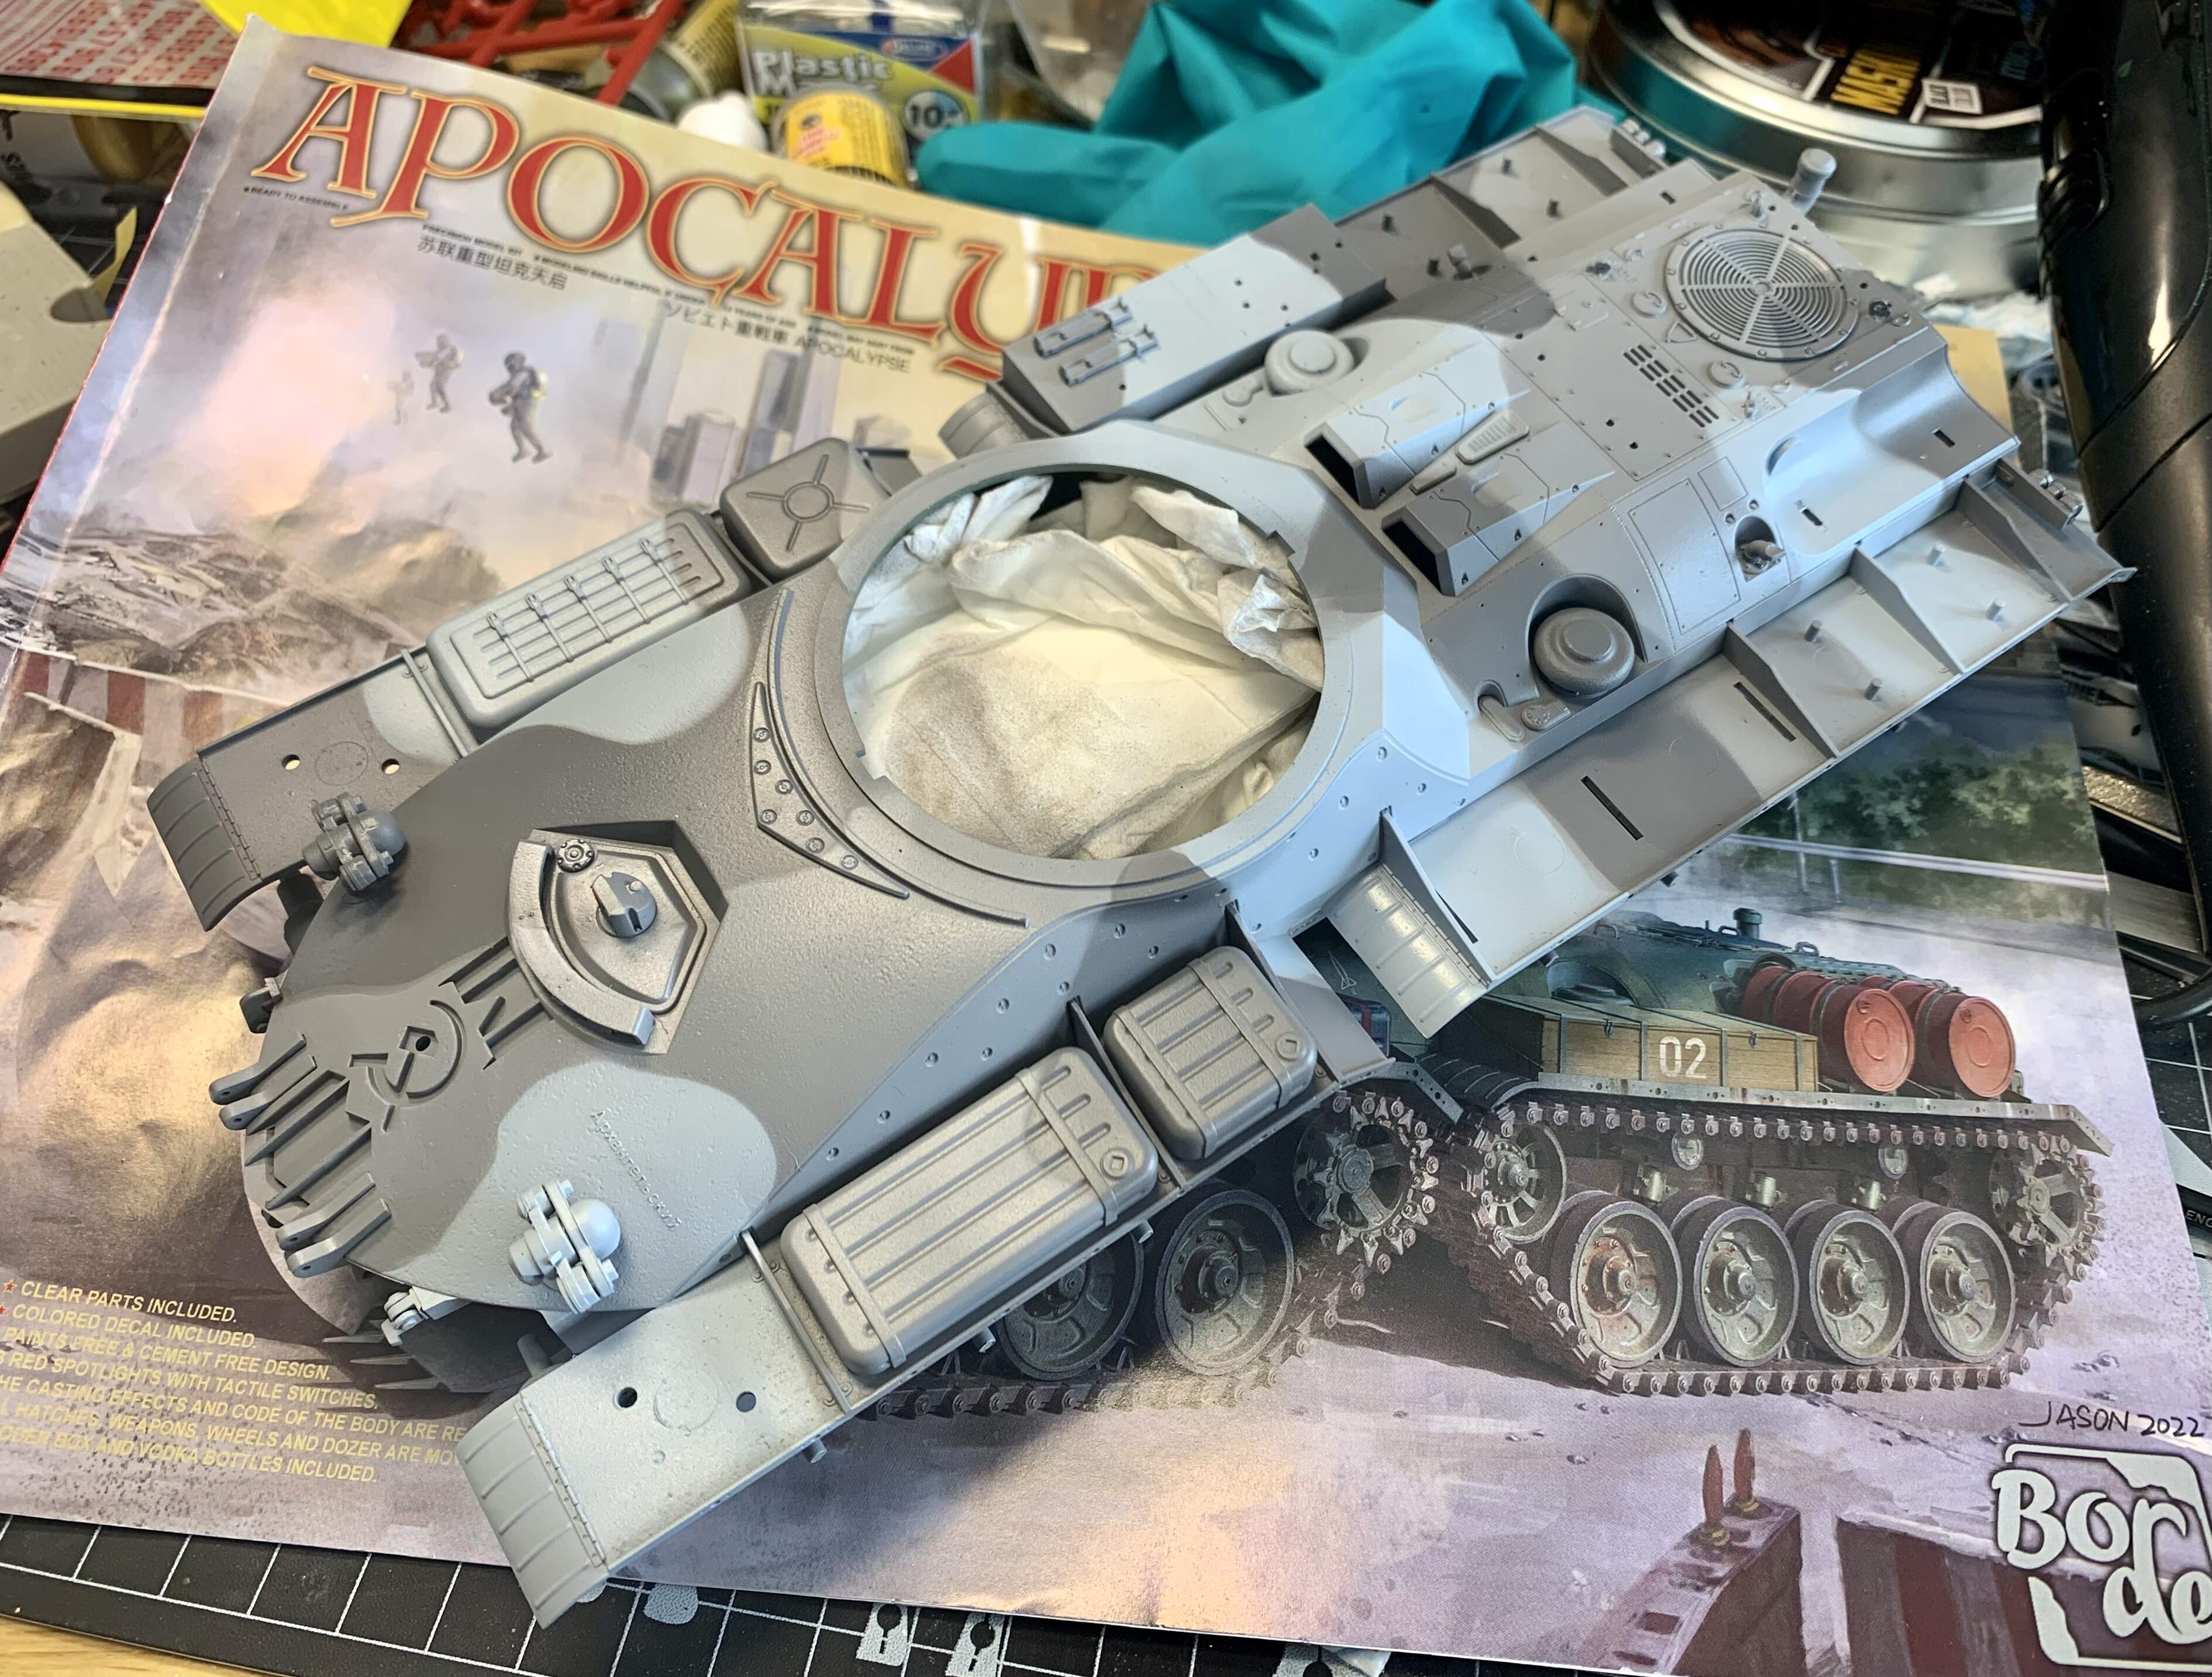
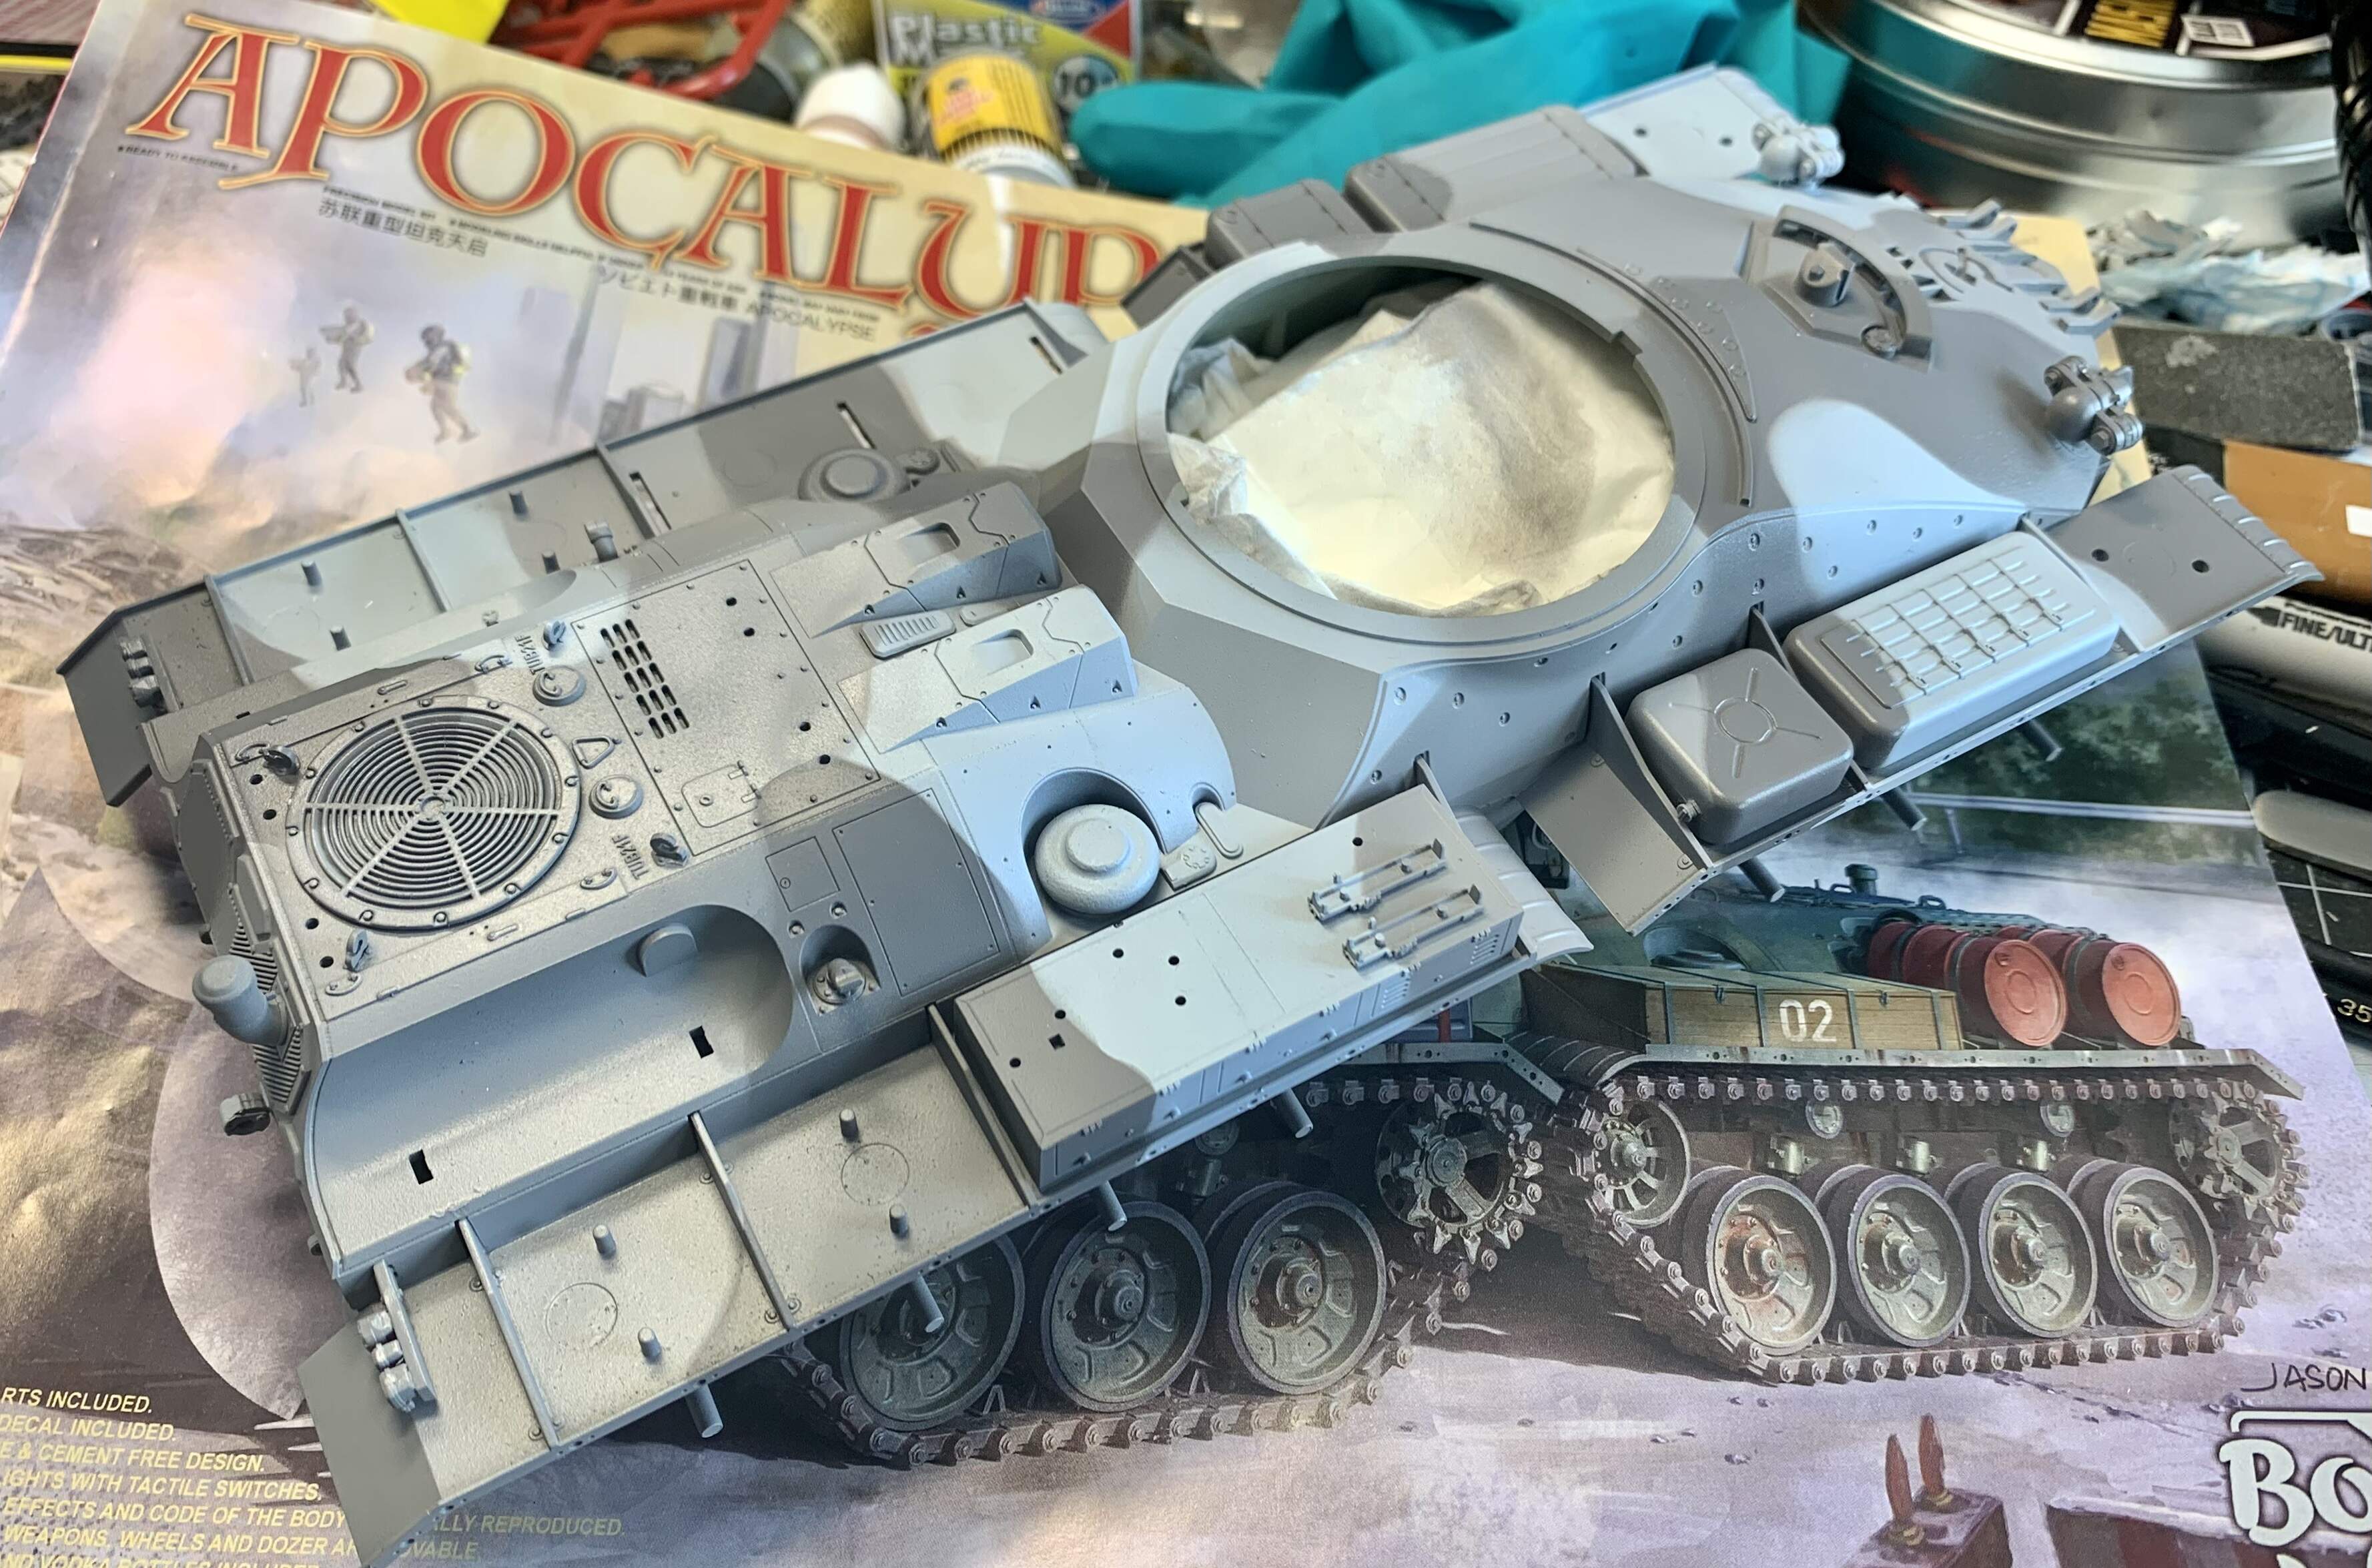
The Apocalypse Tank you see on screen in RA2 is mostly a light grey with red bits. Not hugely realistic, although grey hues have been used on tanks over the years.
Border model have gone for a more realistic color- mostly green and black with some bits in red and grey.
What I want to do is aim for a kind of kid-point between those two approaches- remaining fairly faithful to the game but adding a little realism too.
Mig AMMO colors were my choice for this with Light Ghost Grey, FS36293 and Dark Grey AMT-12 being the chosen three tones.
That was the easy part. Border have no color/markings guide in the box- having the usual front/sides/rear/top you find in most kits these days would have been nice as I could have drawn my scheme over it, helping me plan it.
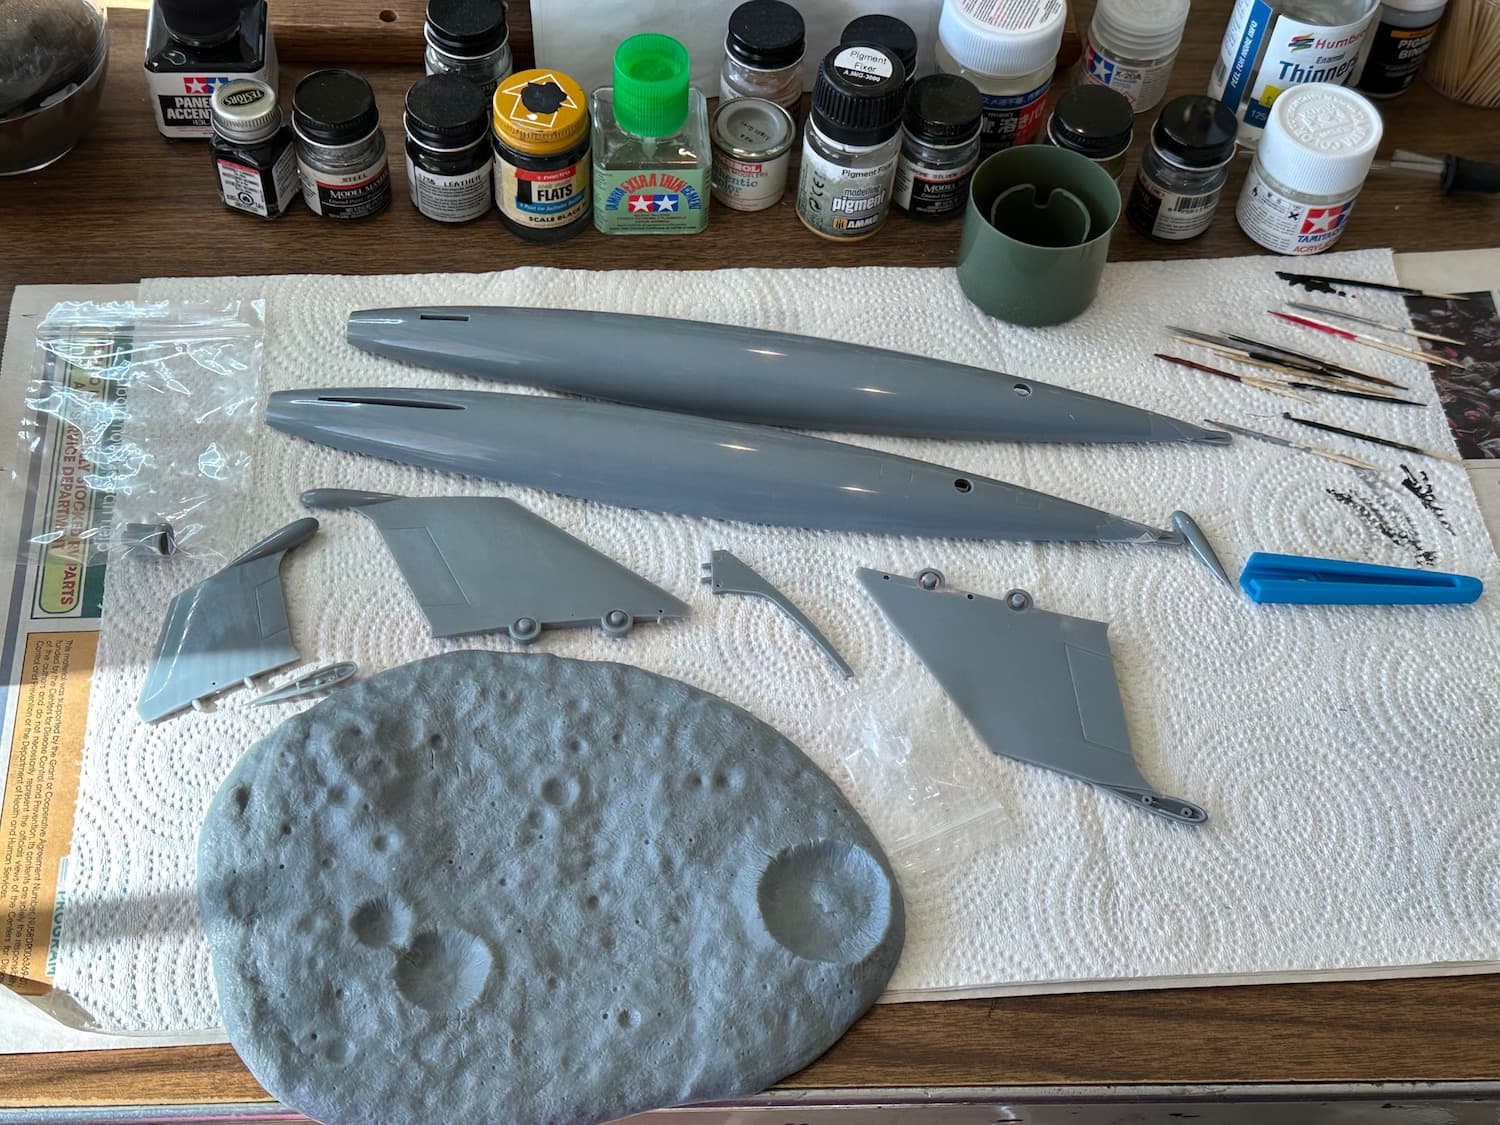
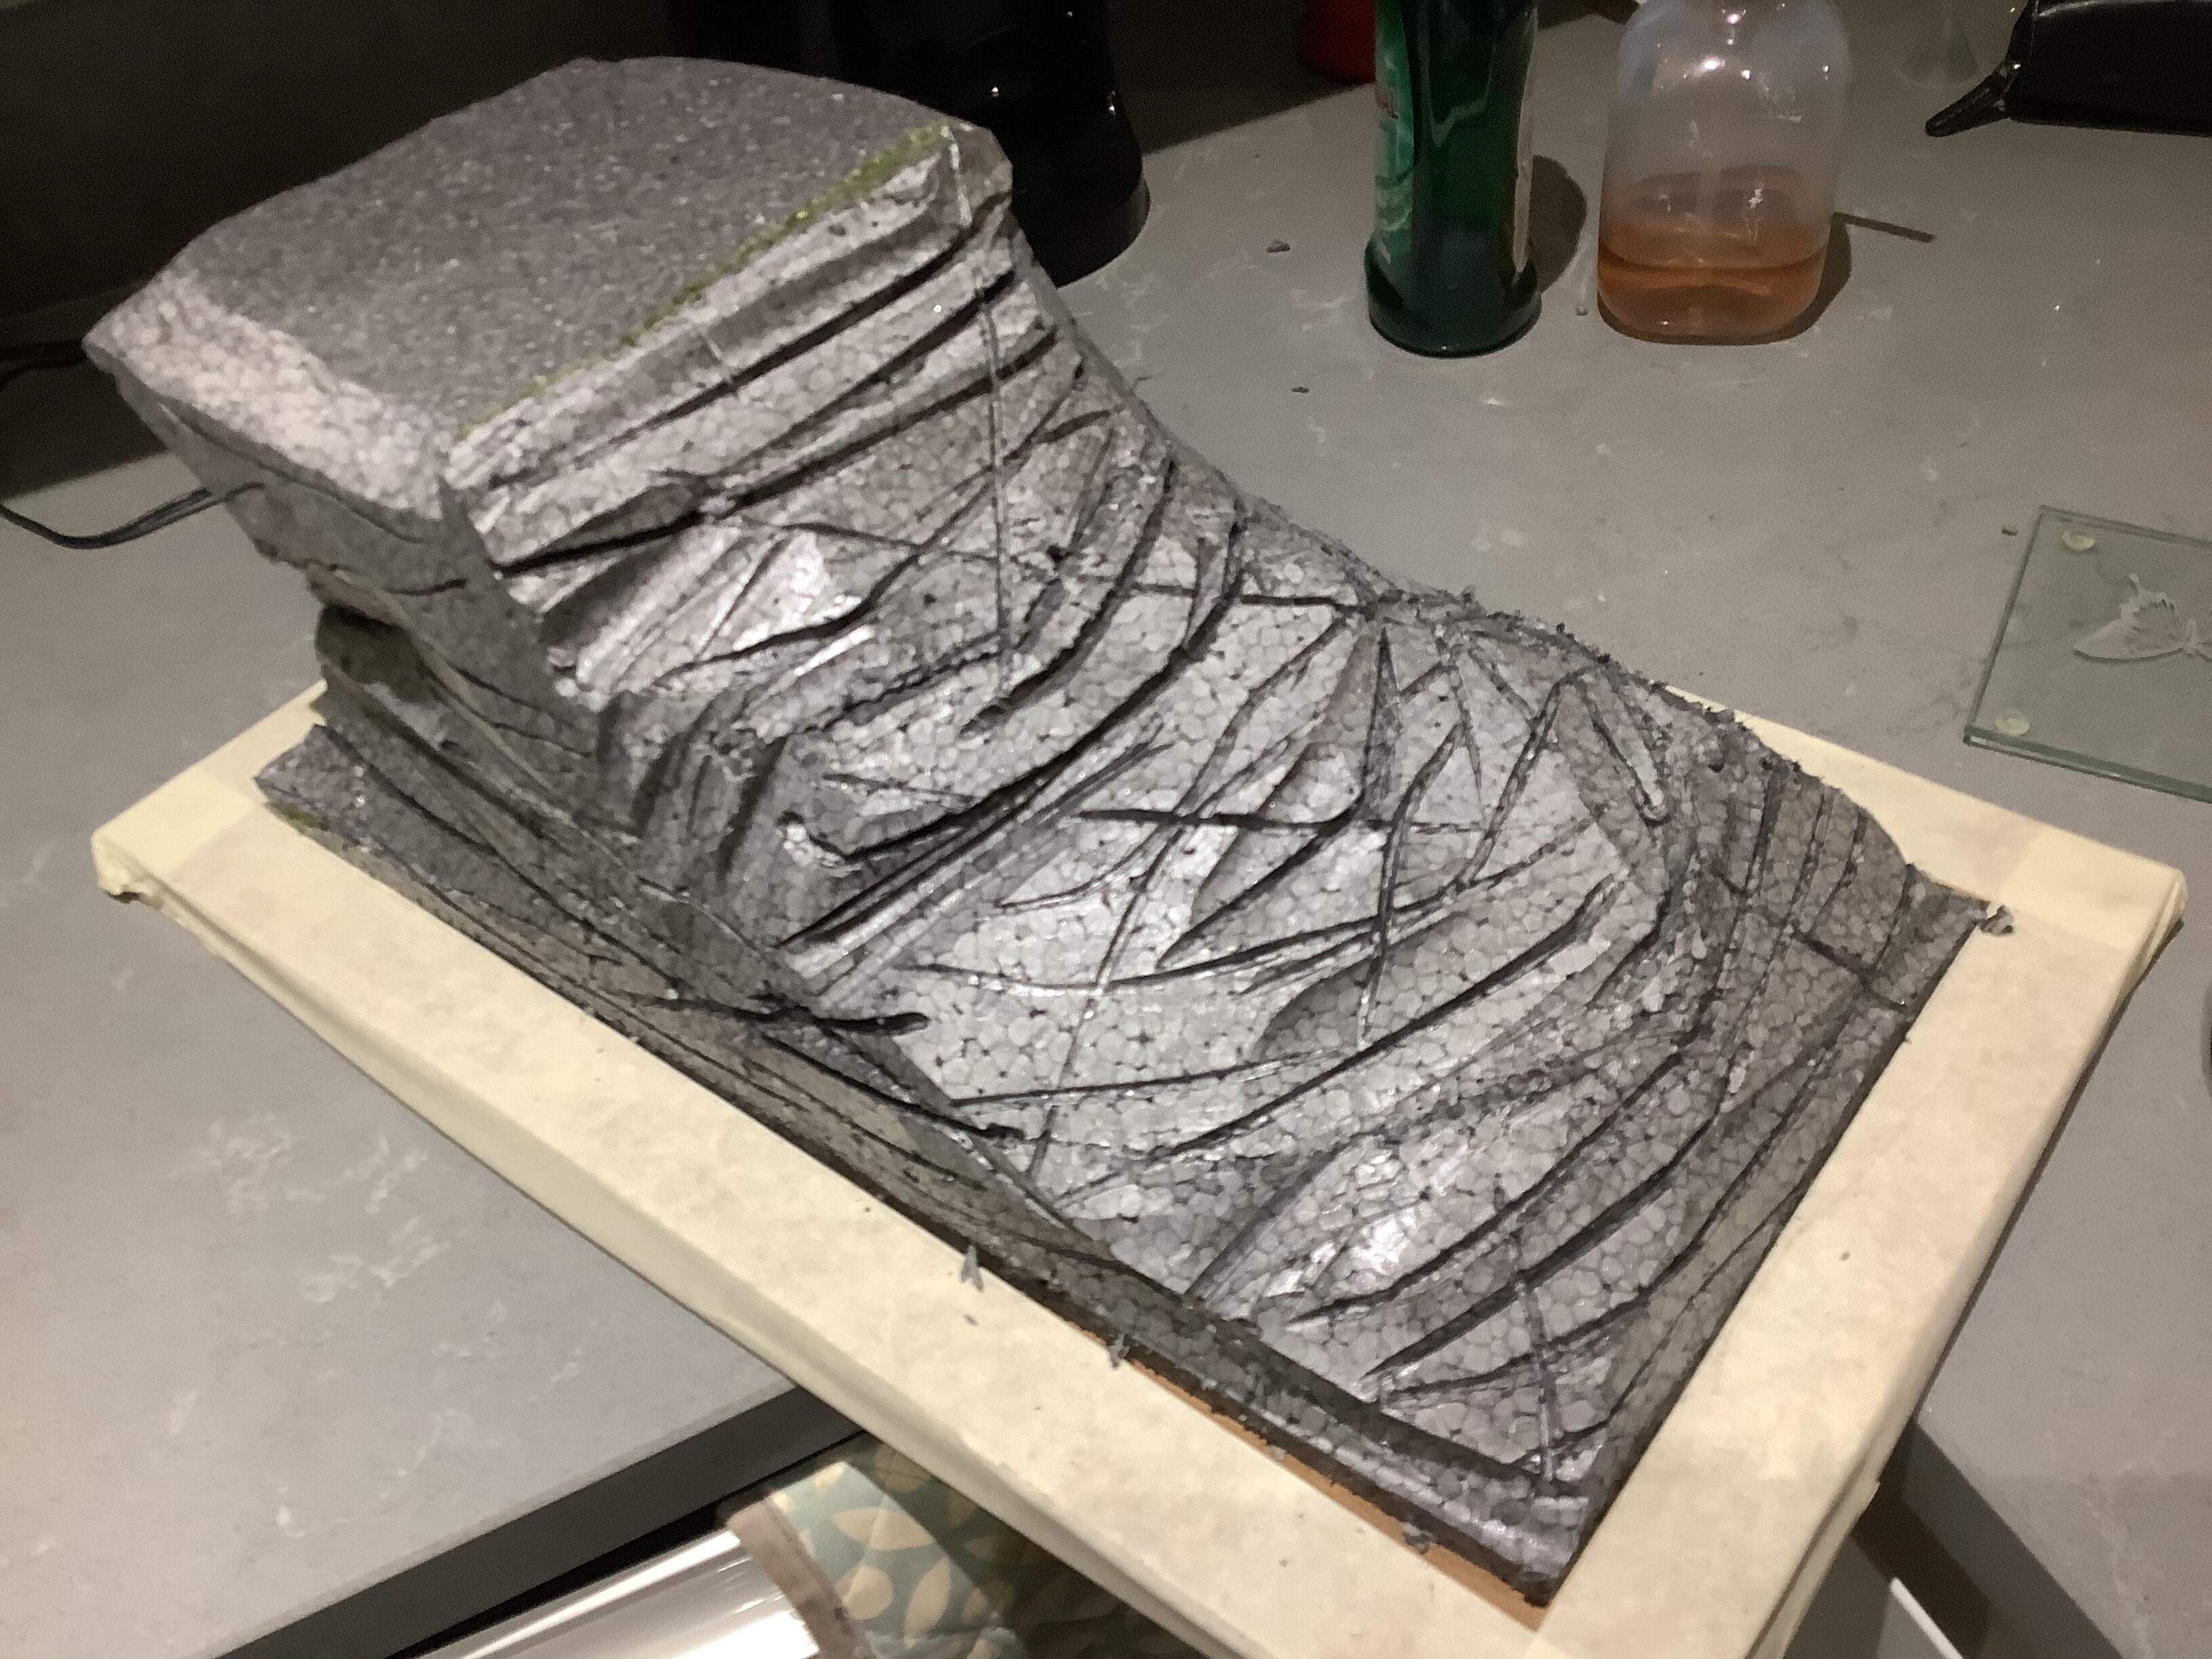
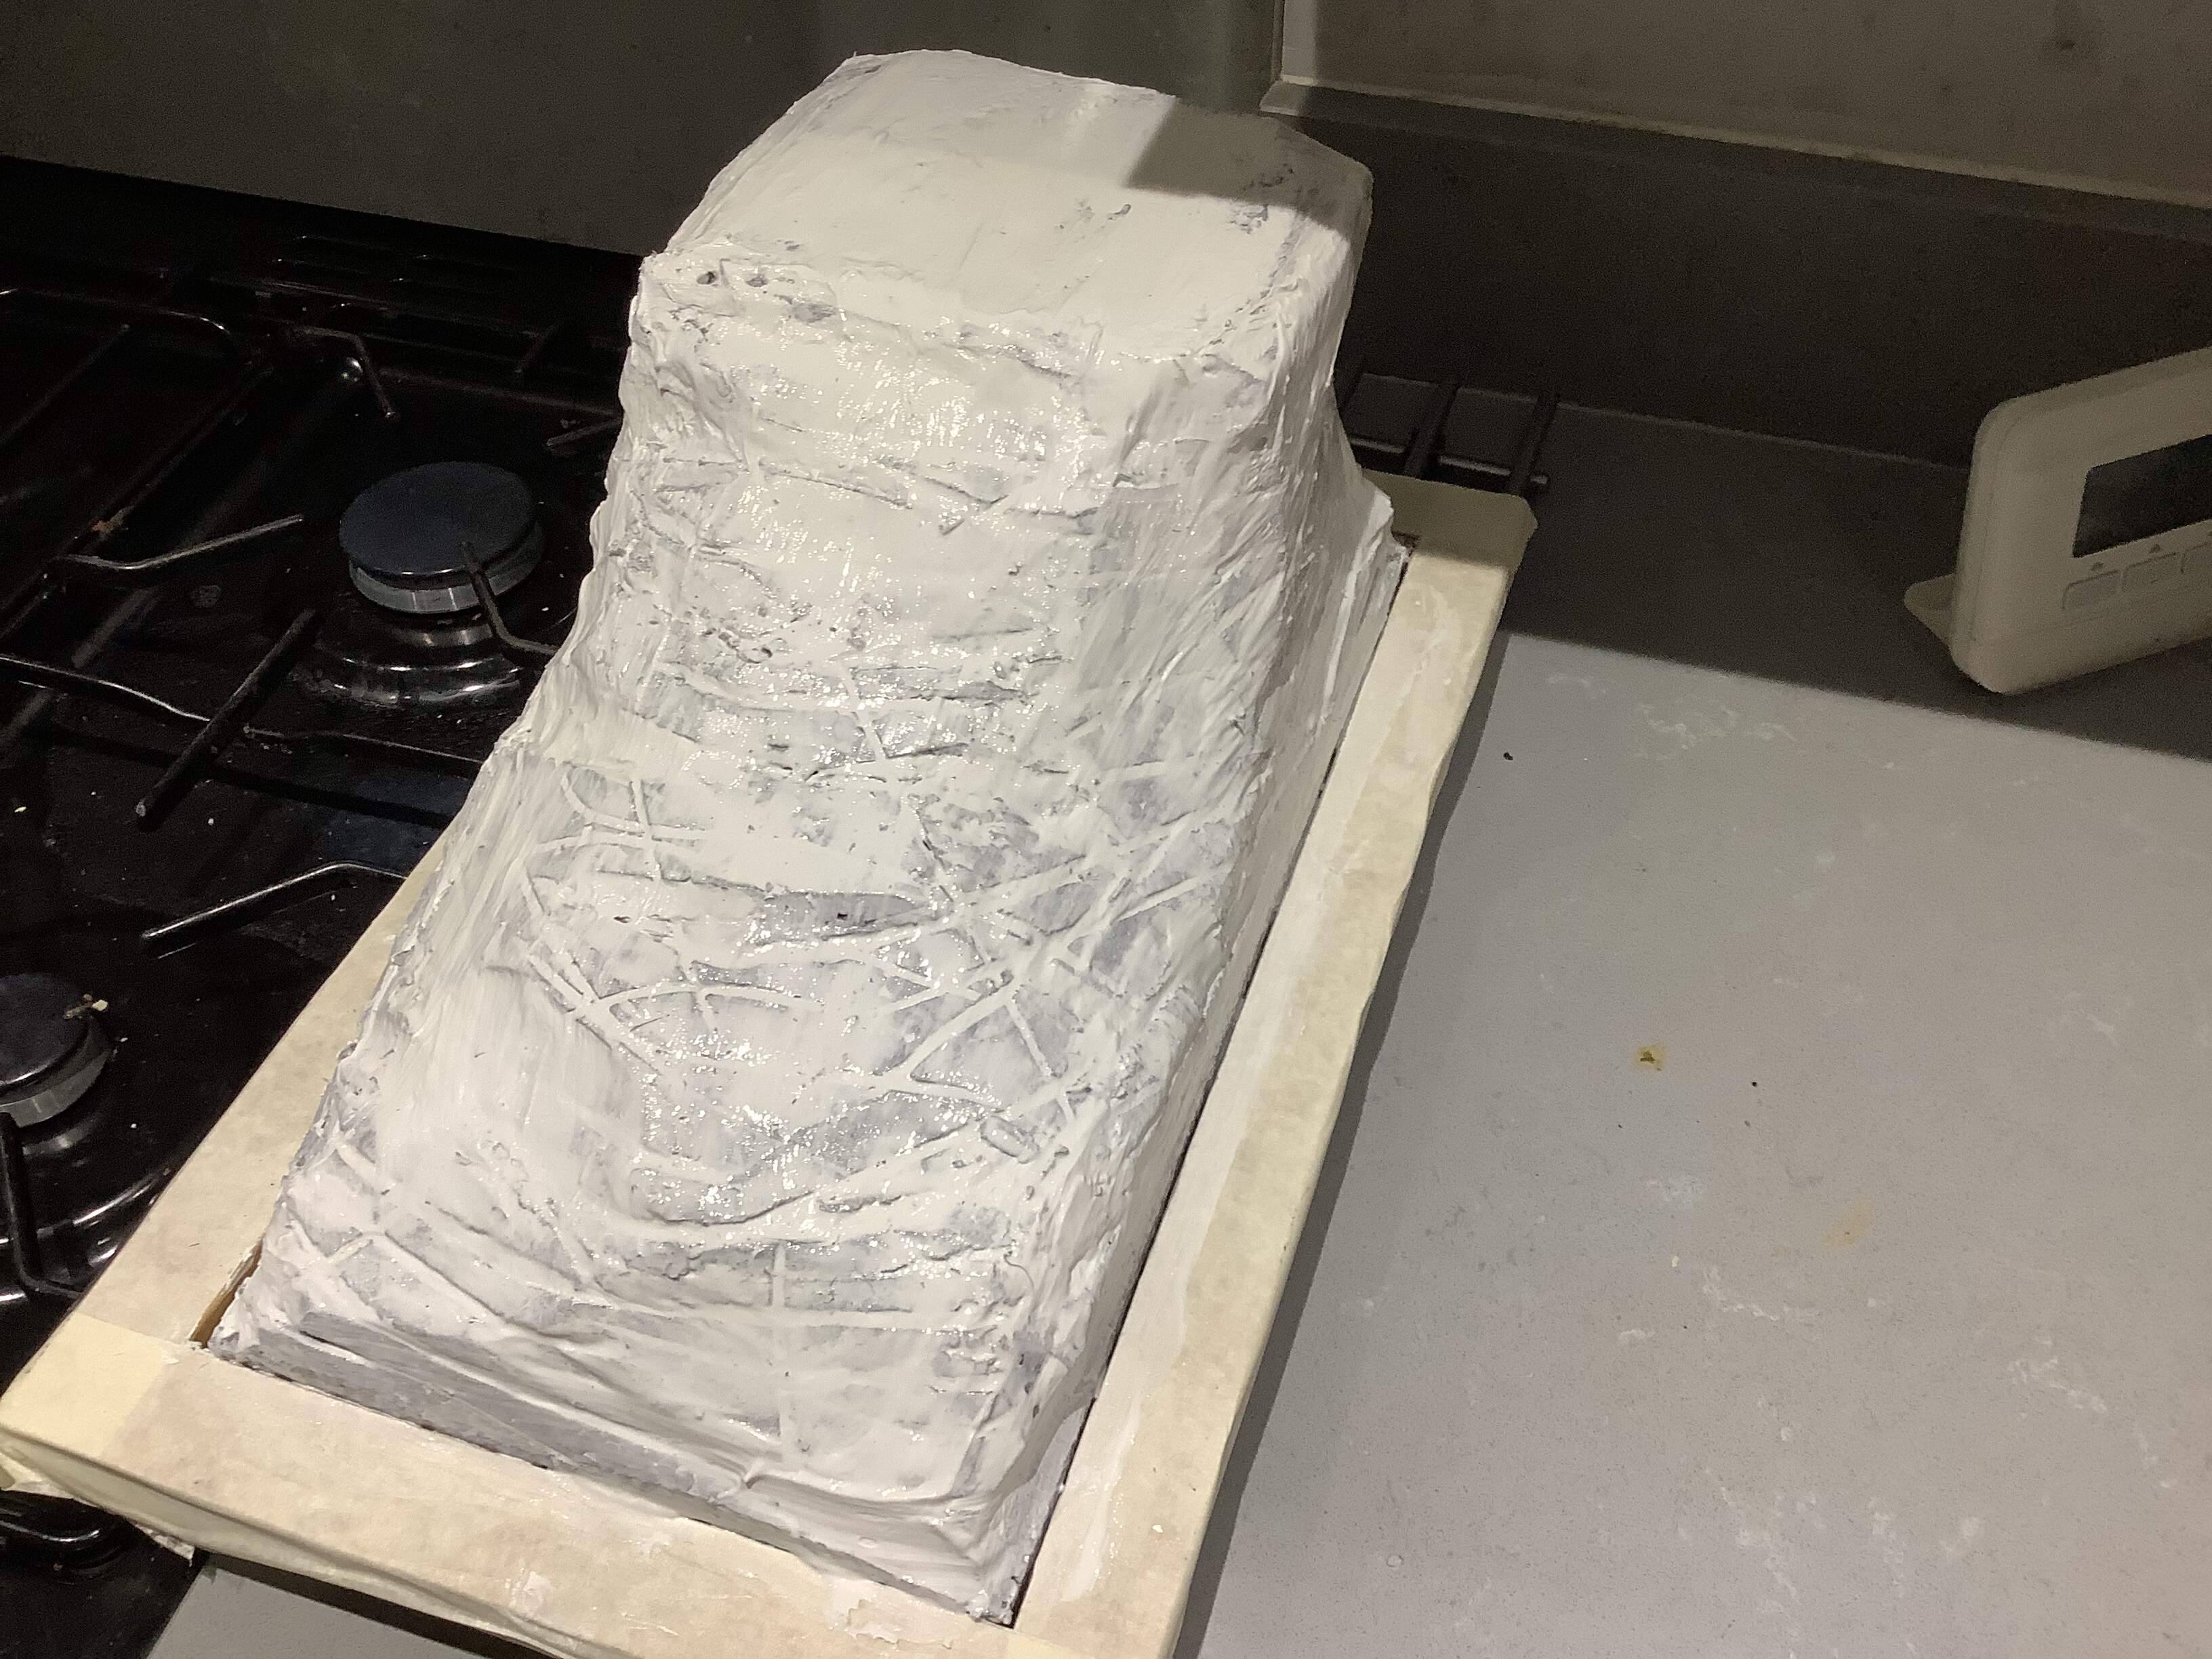
As it was there is a top view on the red back page of the instructions which I did a bit of doodling on for a rough idea and then just got out the silly putty/panzer putty and got down to business.
As it stands now there are a few areas to tidy and finesse. There is also a decent amount of detail painting to be done. And that is not including the various other sub-assemblies in various stages of painting. So progress is definitely a bit slow at the minute!
Yes- me too. In fact in the main thread of this build here I mention your interesting hydropdipping experiment where you did an urban camo on an Abrams. That was one of my inspirations for the colors in the build.
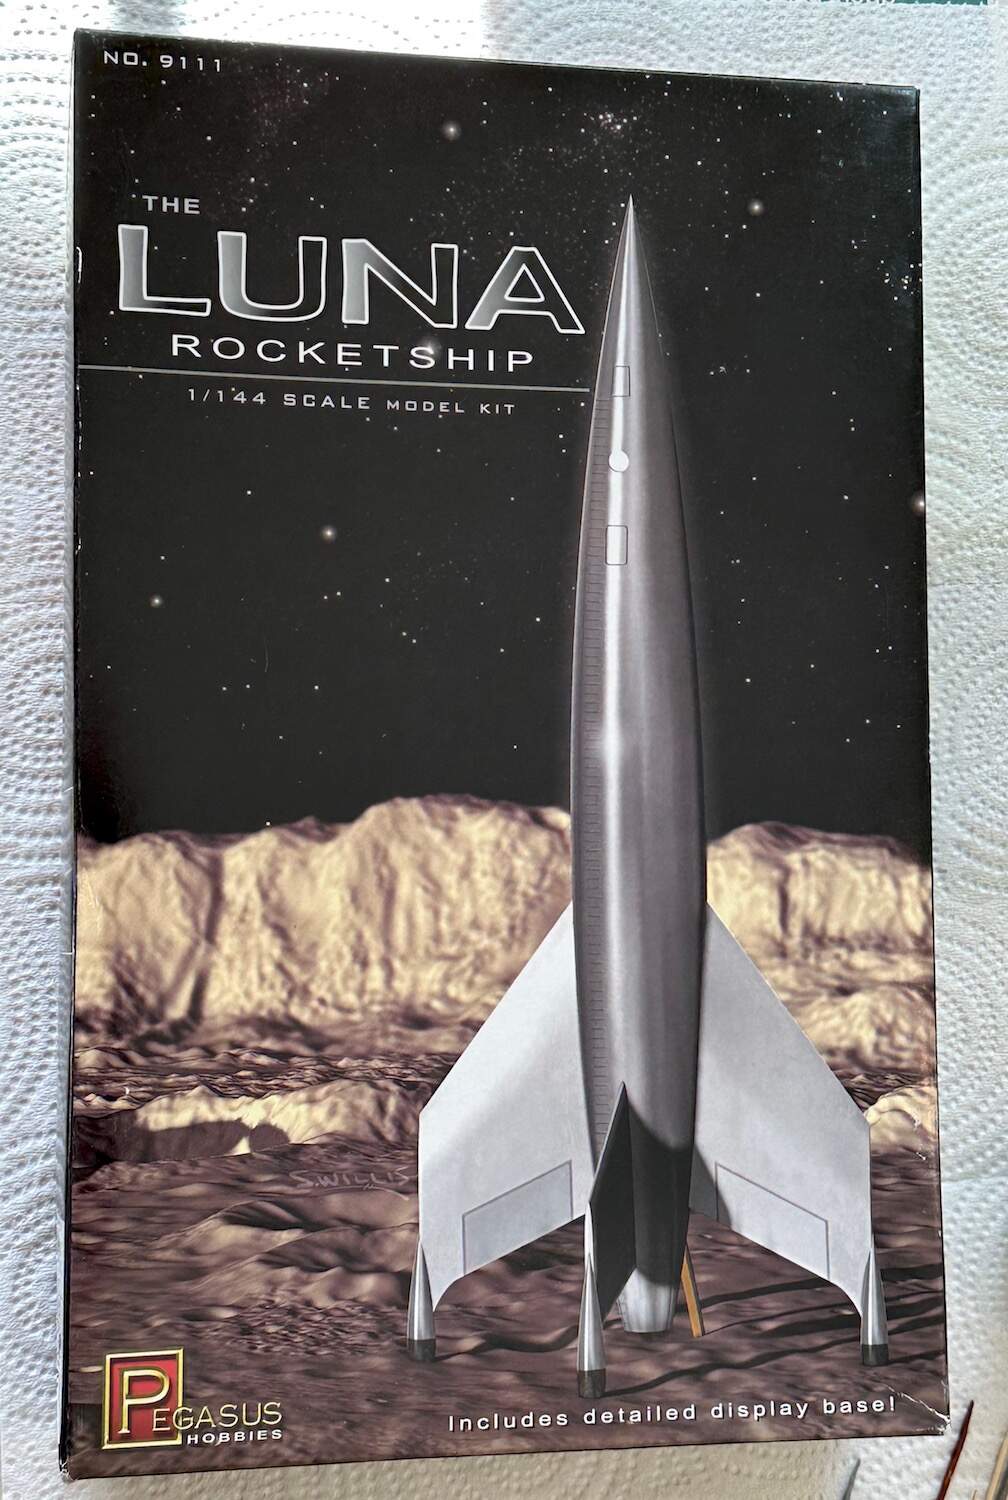
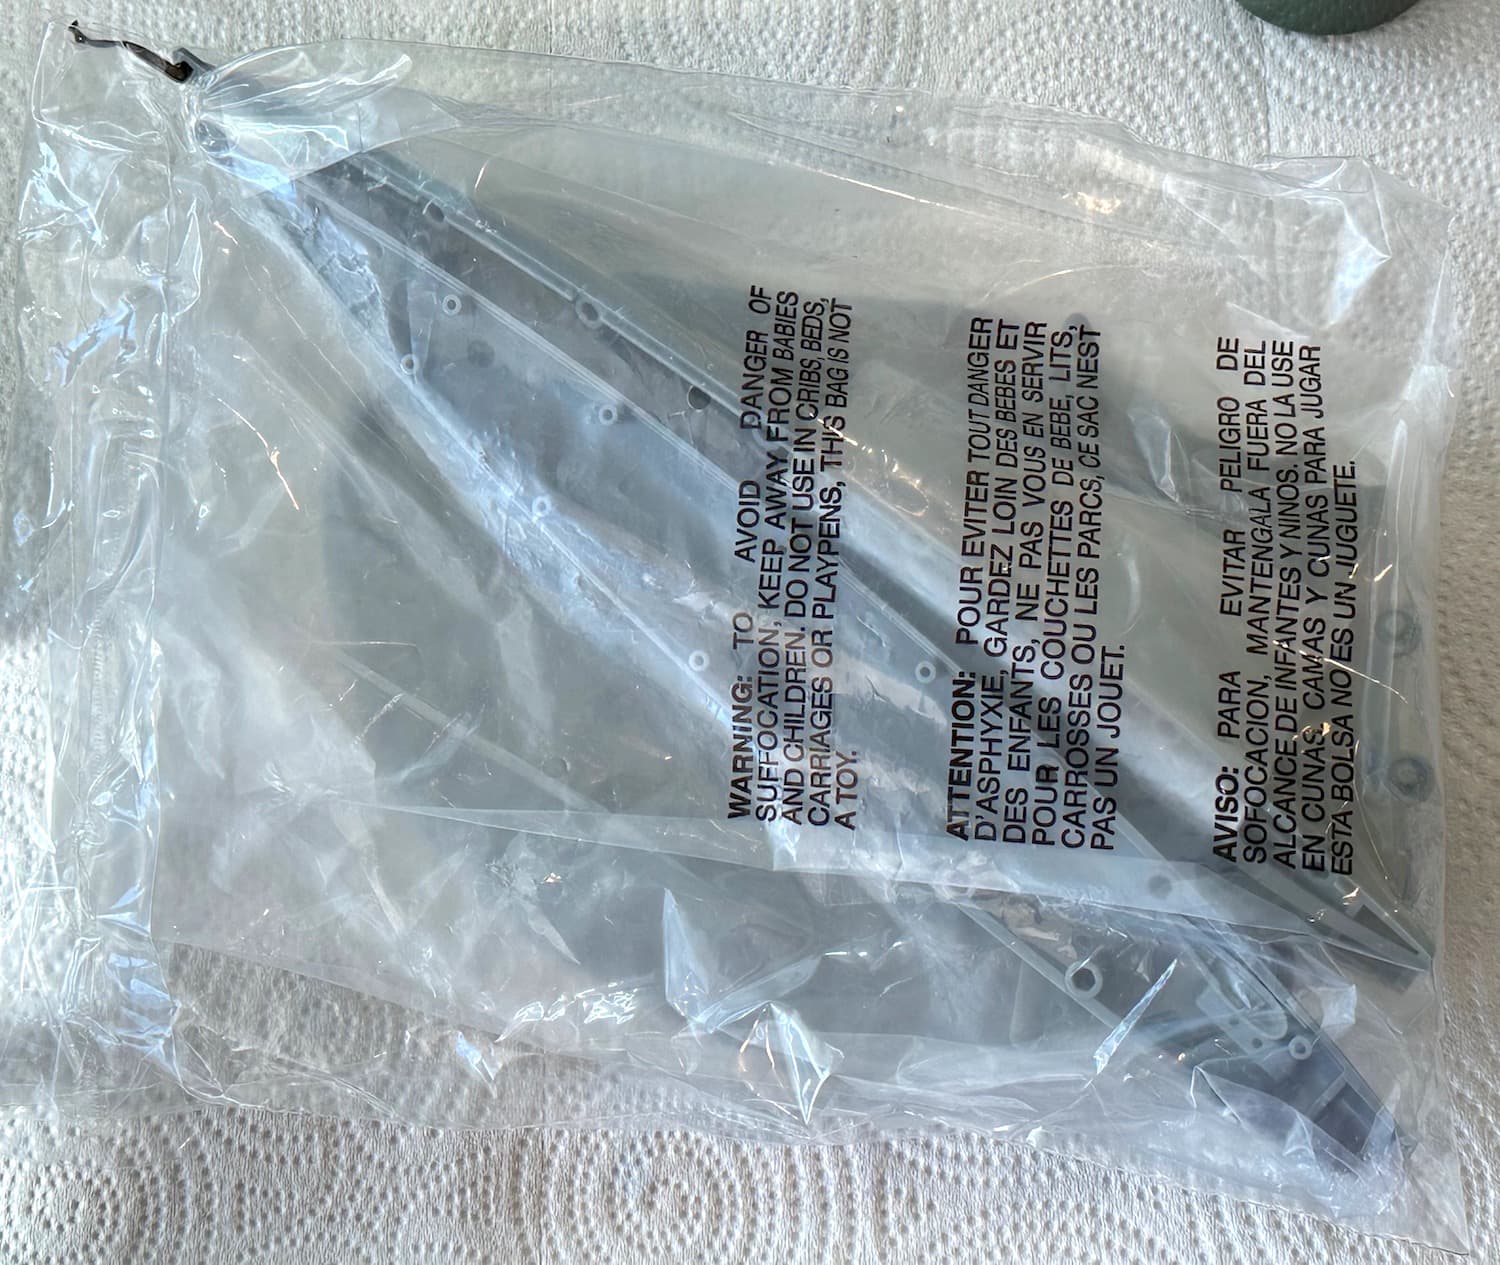
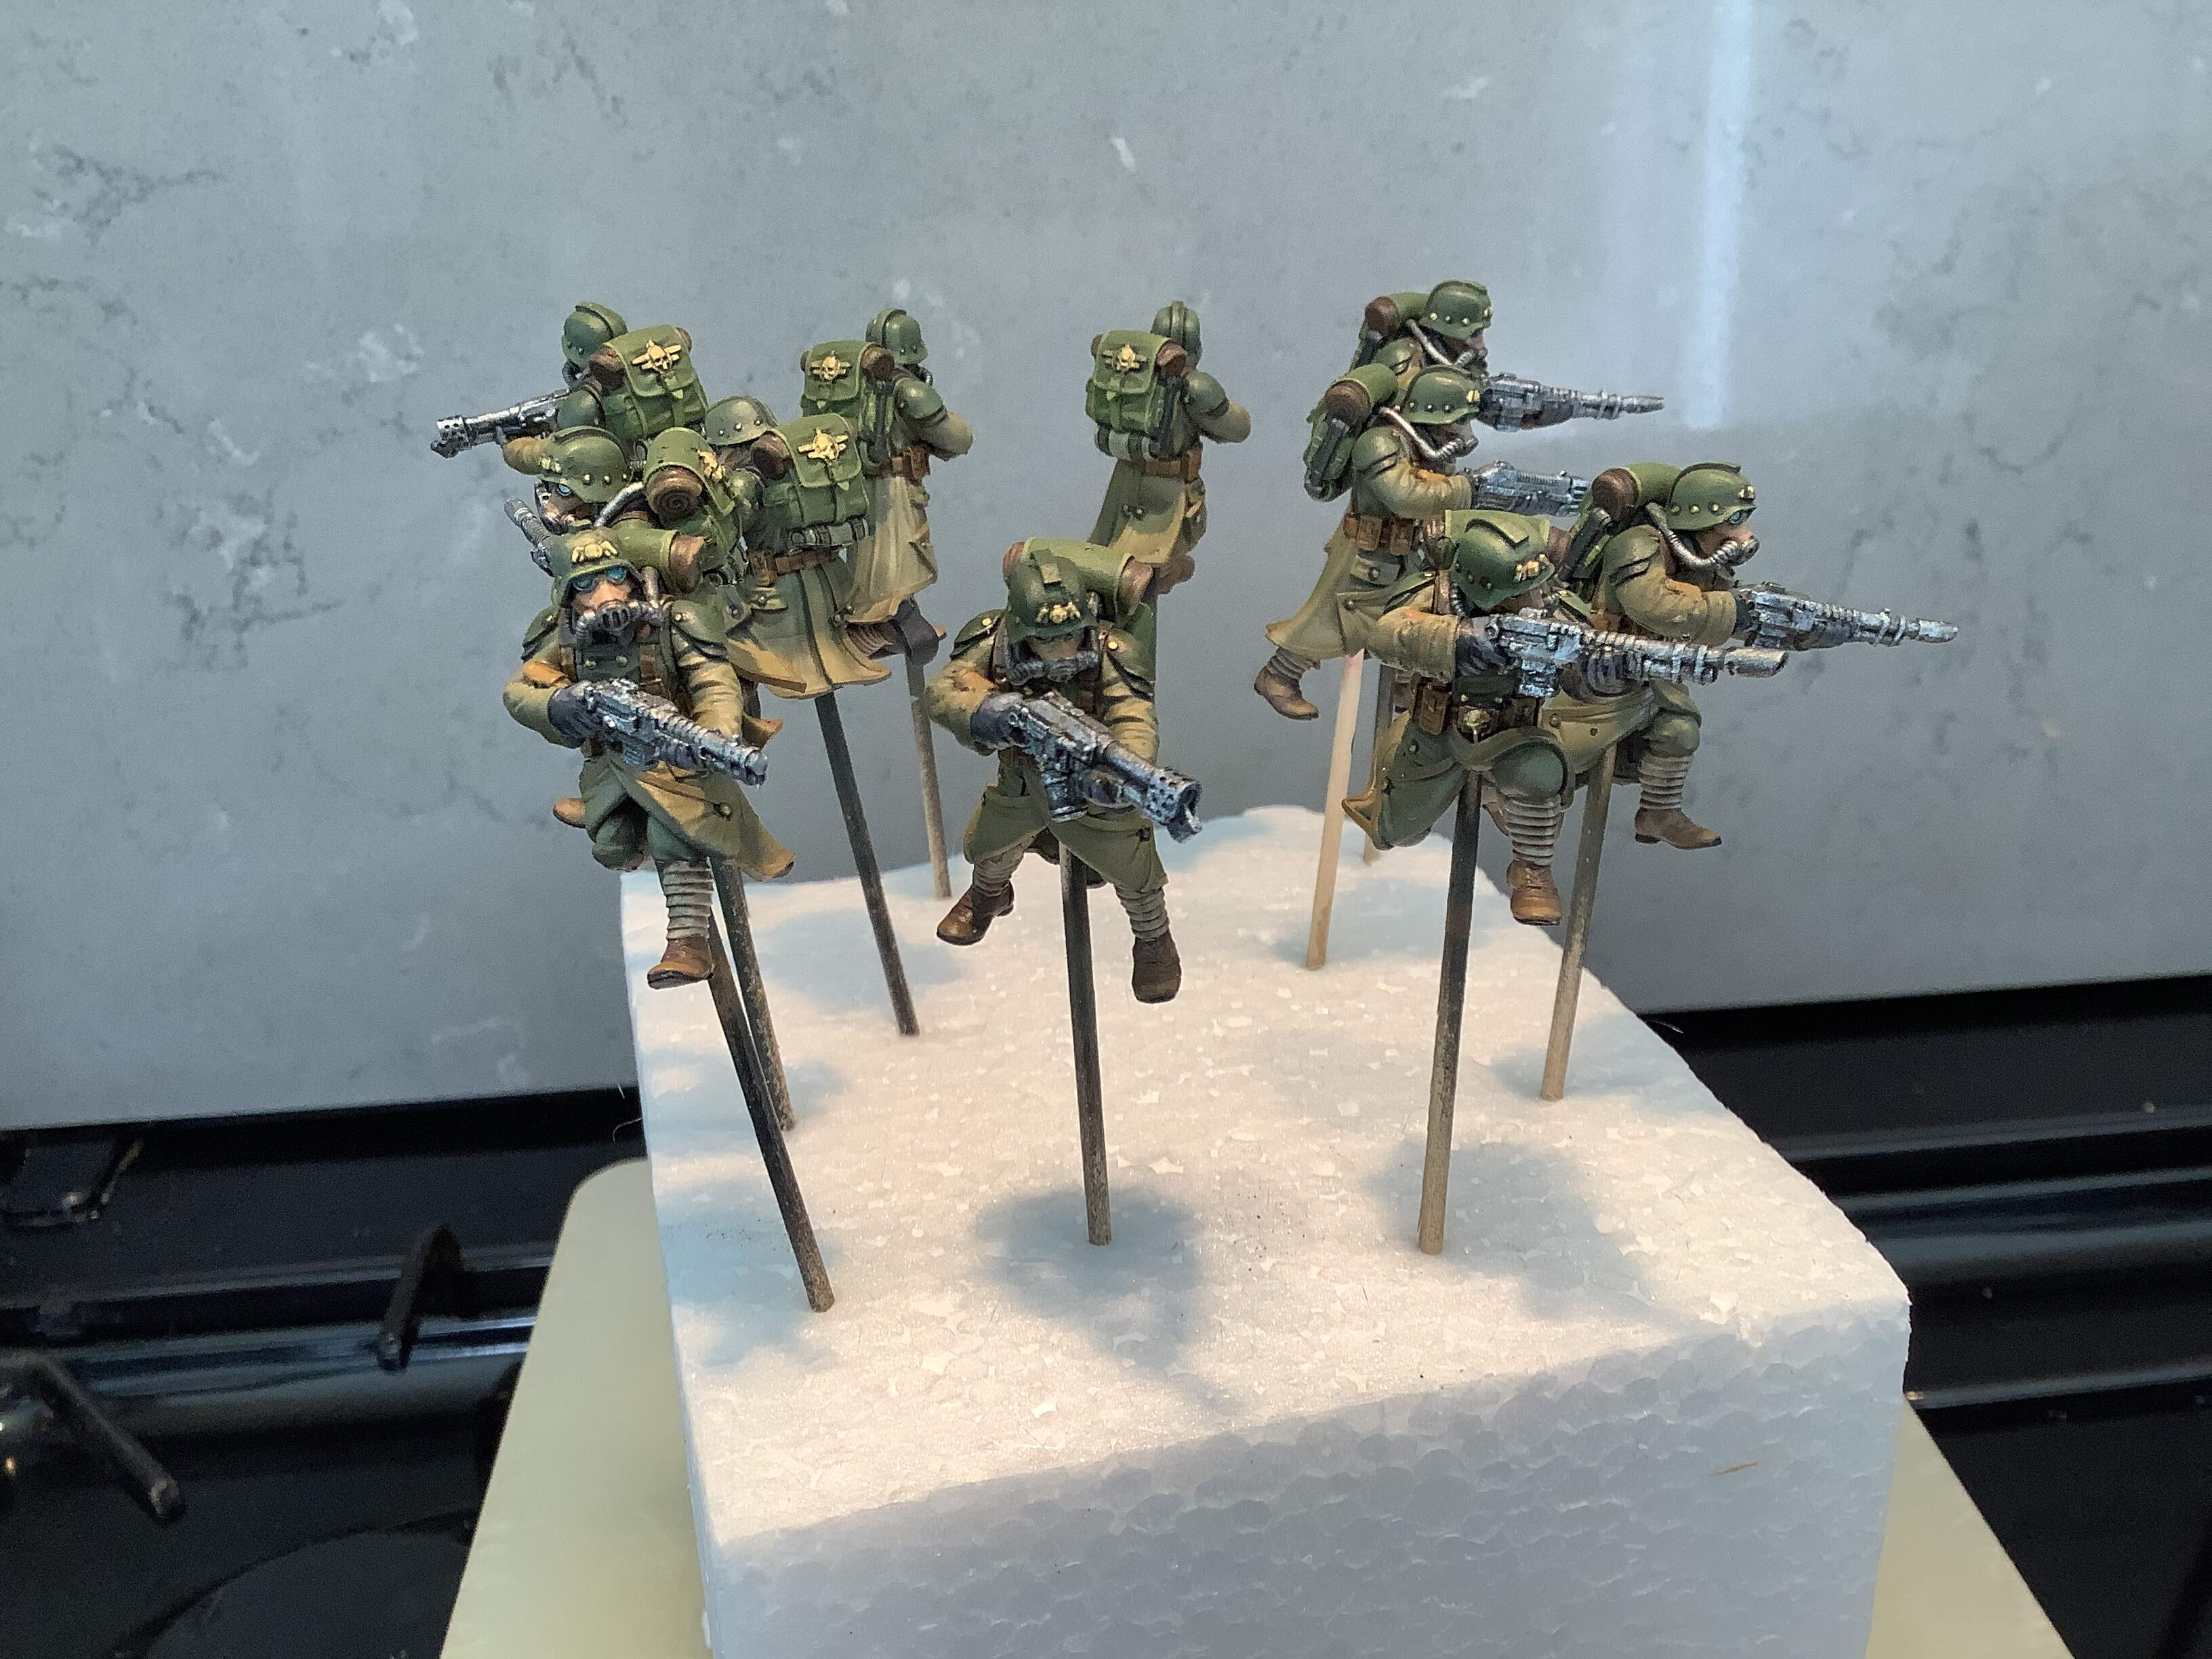
As always it is fun to read your posts and see what can be done when the imagination is unleashed. Last year I intended to build the Luna spaceship but the project never blasted off. I’d like to try it again this year. Here are some pics of the start.
@ Paul. The ‘Luna’ kit looks really cool. Looking forward to that one!
————————————————————————————————
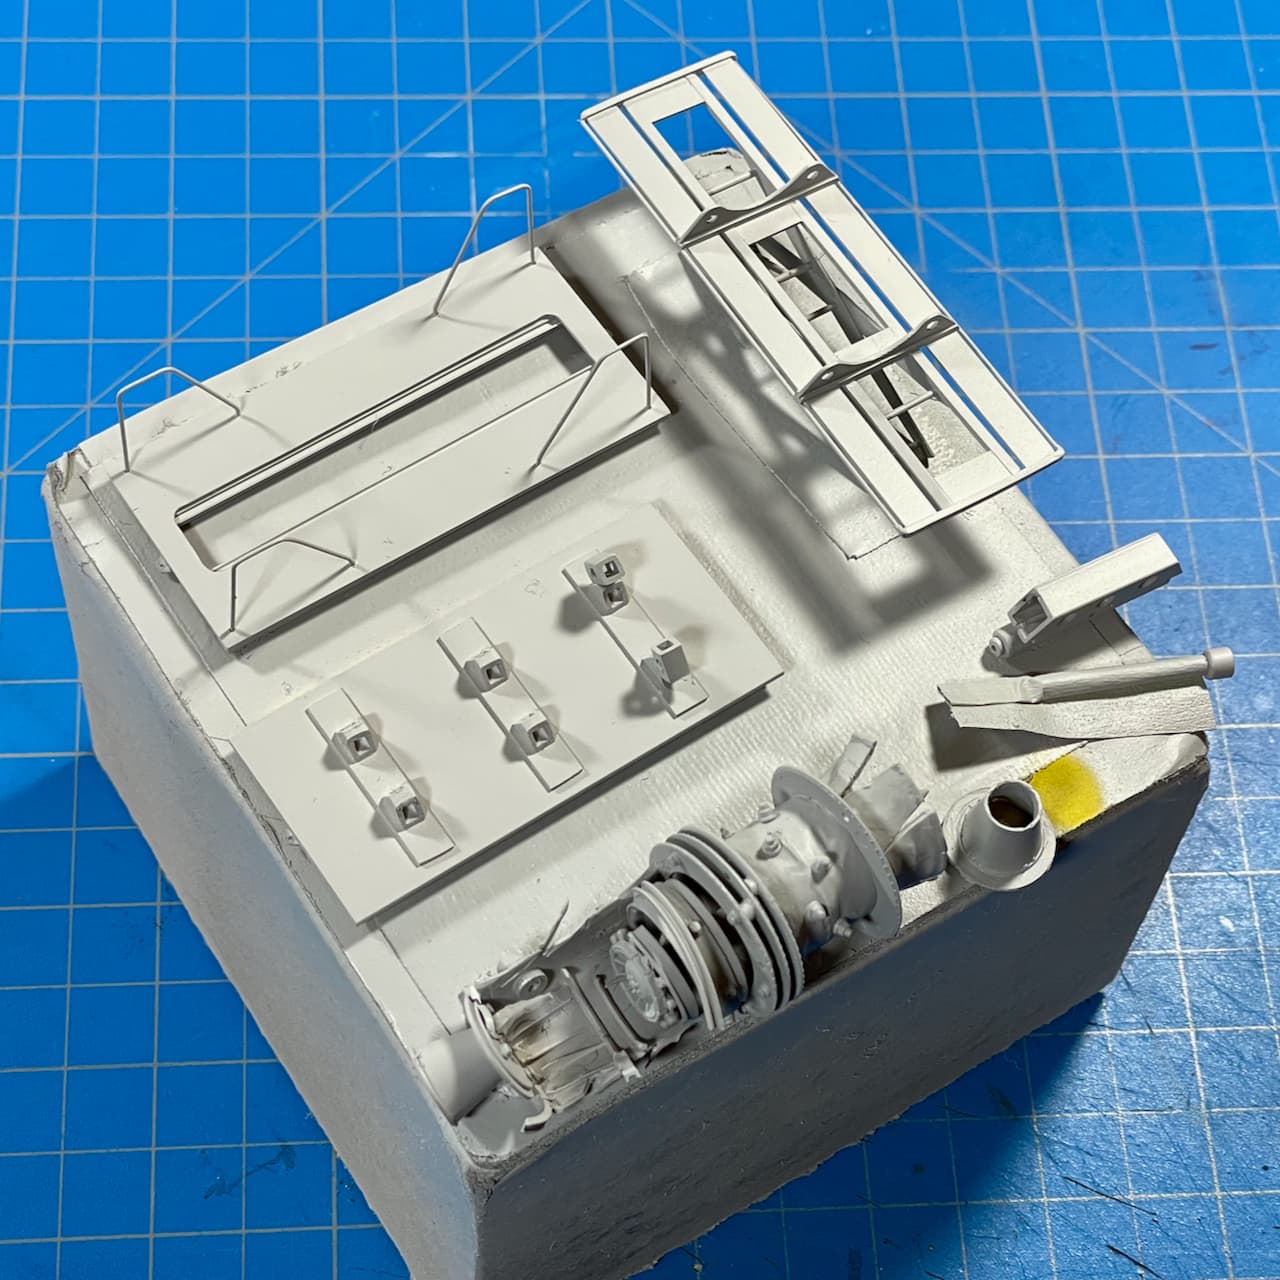
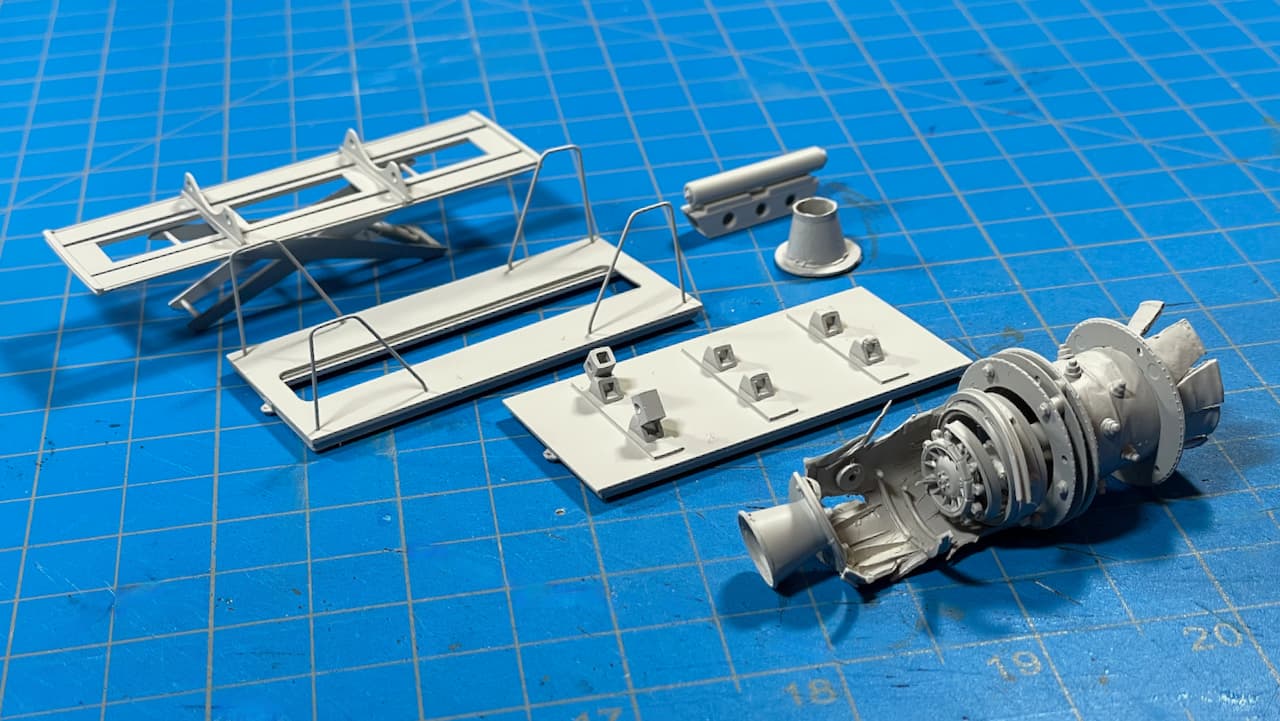
Here’s a very small update on the Haunebu IIb…
I primed the ‘KLAW’ and painted the non-metal hydraulic parts. I’ve also been taking stabs at replicating ‘Caterpillar’ Yellow under the watchful supervision of Inspector 172.
Got it down to a custom mix of Vallejo Deep Yellow (70.915) with a lick of Vallejo Flat Brown (70.984).
Hello all,
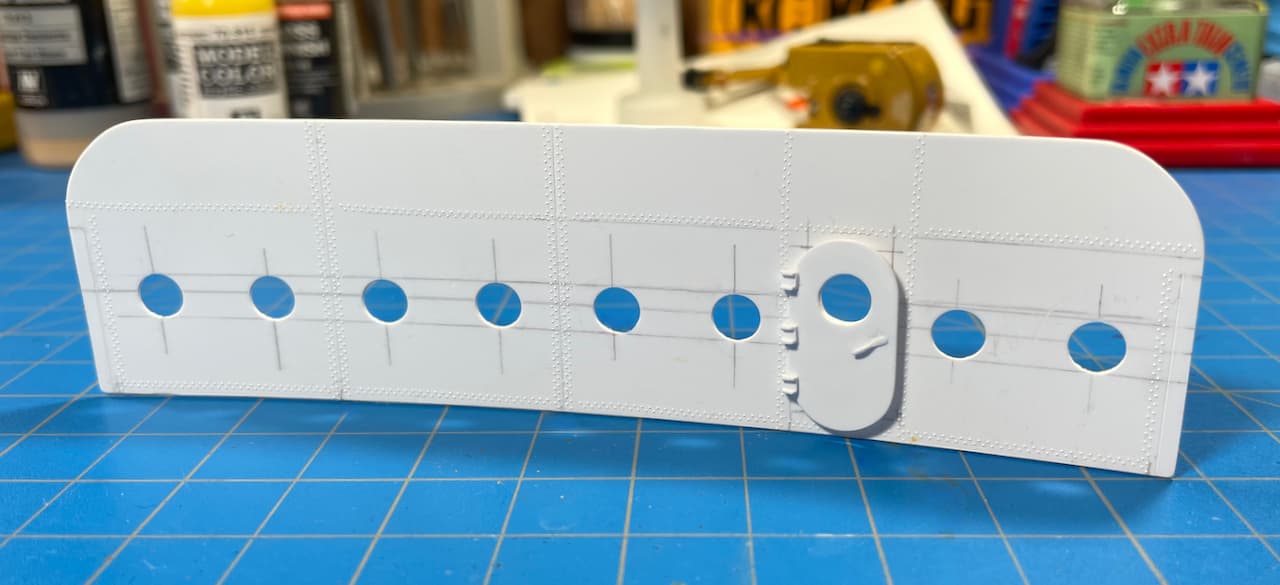
I added the Quinta Studio rivet details to the Bomb Room. The decals separated from the backing in seconds and is pretty durable and easy to move around. I used Microscale MicroSet (MI-1) and MicroSol (MI-2) Setting Solutions.