Sci-Fi and Alternative History Campaign IX

@ Tom (SSGToms), @ Ryan (Tank_1812), @ KSO (kosprueone)… Too kind, too kind! :hugs:

Guys, I really can’t take credit for genius. There is another strong sprue-bender force amongst us in the universe where I’ve gotten some of my inspirations. :ringer_planet:

:white_check_mark: Probably spot-on about the “bat-sh*t-crazy” part, though! :crazy_face:

Was ist das… “klar?”

Some kinda’ Neutron Control Valve? :thinking:

.

“Once again, I have a very bad feeling about this!” :face_with_monocle:

—mike …:flying_saucer::grin:

10 Likes

You sure its not a giant Asbach brandy/moonshine Still for the crew lol ??

4 Likes

The Schnapps-inator… :grin:

5 Likes

Love the creativity, bub. Top notch stuff.:+1:t2:

2 Likes

Thank’s as always guys! Here are a few more pics…

Sproogetti pipes, “Schnapps-inator” Control Valve and Bomb Room Inspection Hatch painted. :paintbrush:

With those greeblies painted and out of the way, it’s time to revisit issues from the past.

BREAKING NEWS:
Masking Tape Removal Revives Patient’s Memory!

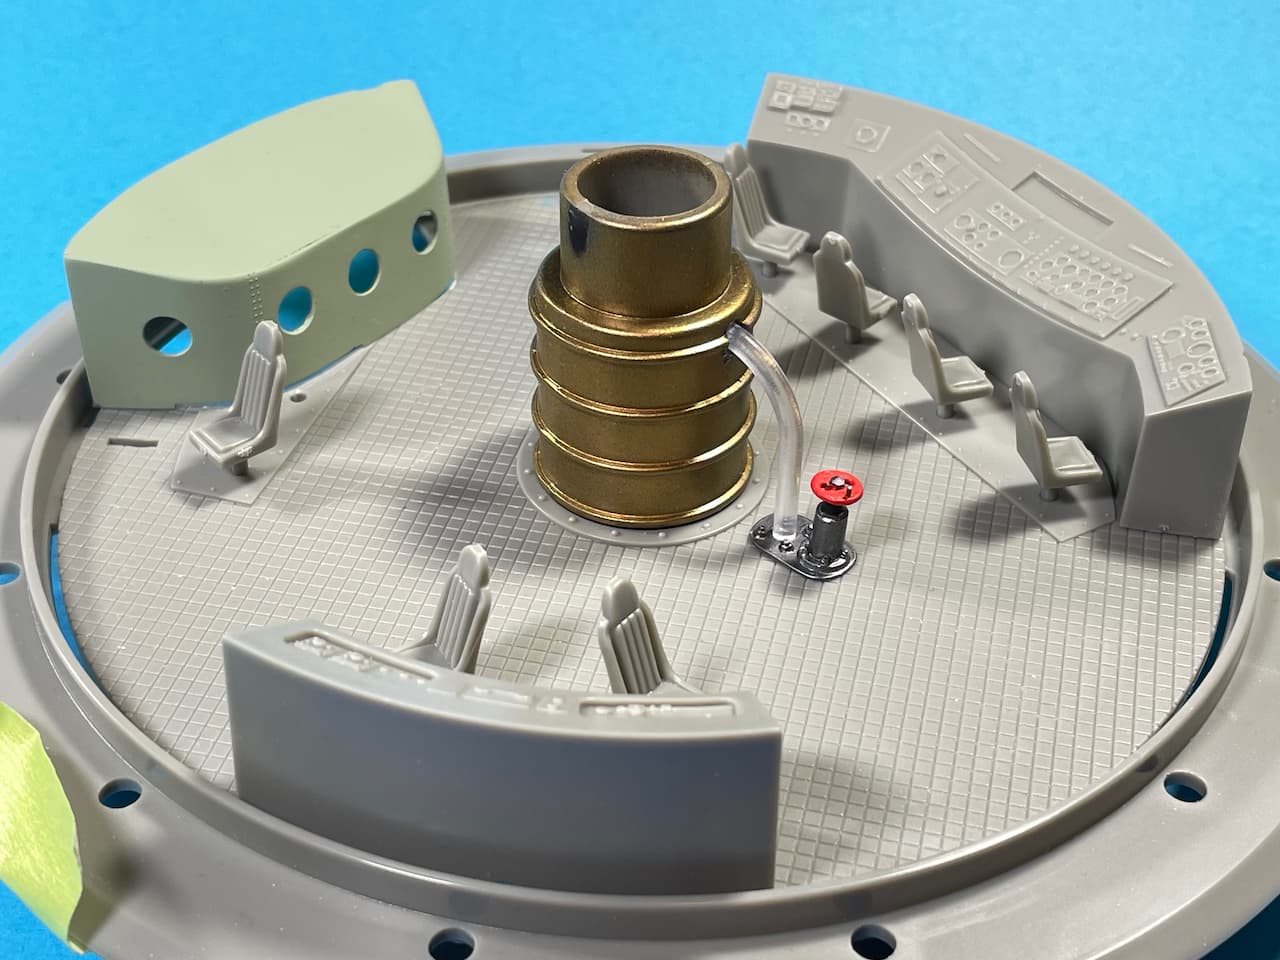
For some time now — mostly for fear of landing gear breakage and/or under-belly paint damage, the two pits and various holes seen below had been covered over with masking tape. … Eureka! I remember where that hatch cover goes now. :thinking:

Commencing work on open pit mechanicals…

—mike …:flying_saucer:

10 Likes

I am throwing my hat in the ring with this:

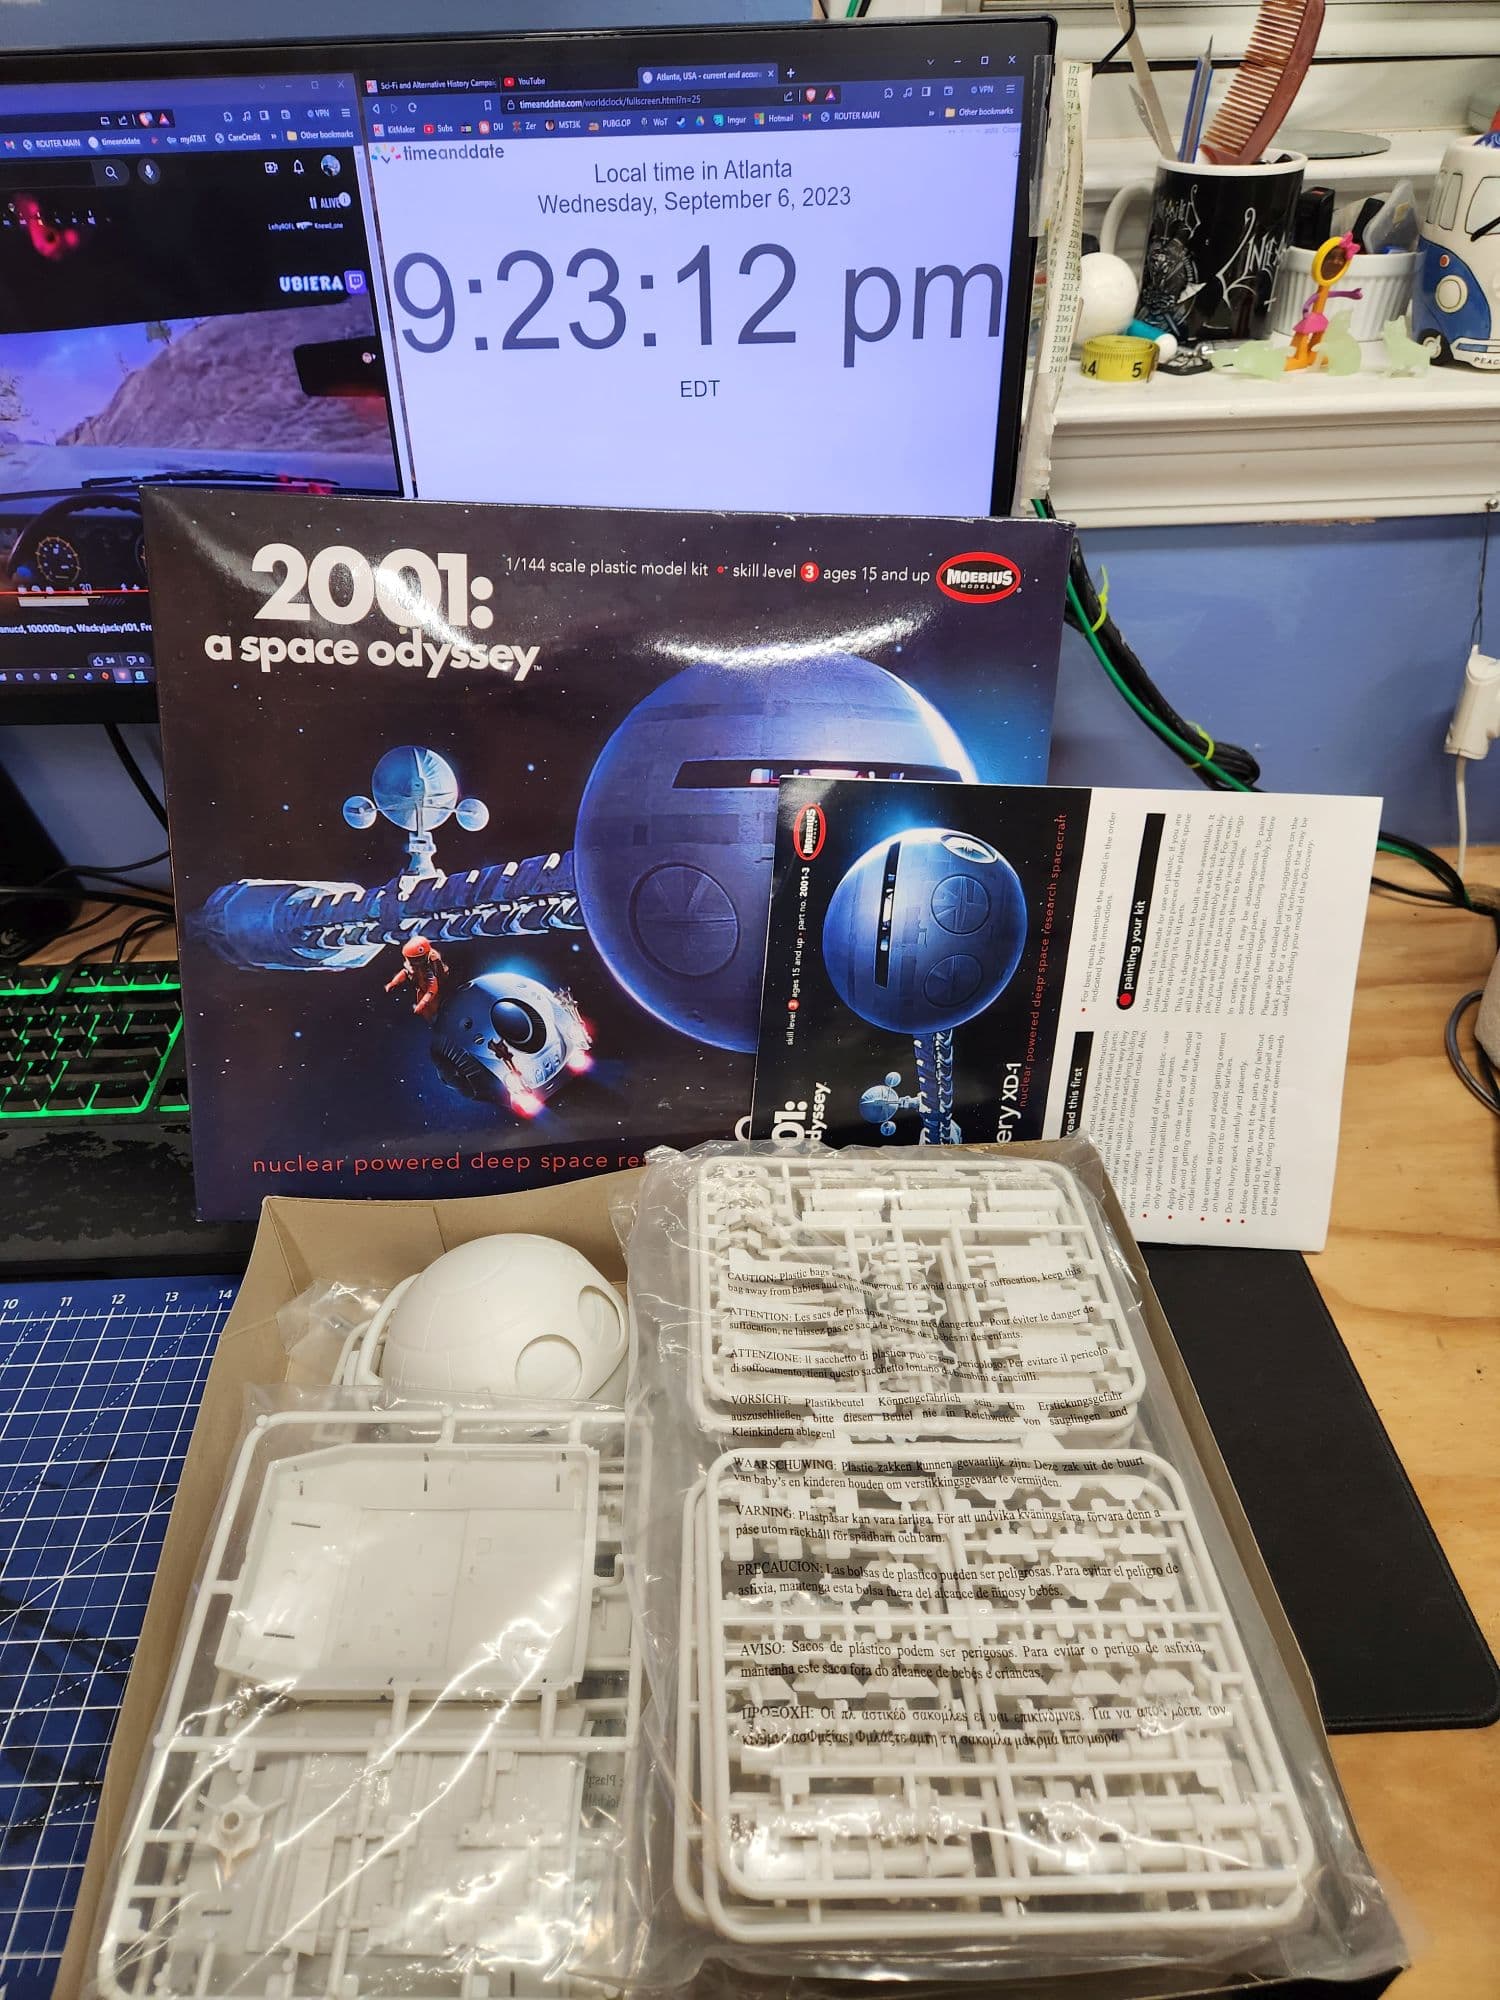
I am finishing the 1/1000 U.S.S. Excelsior for the ST-SW-BSG campaign and will start this next as I think I can get it done in the time left. It will be OOB; I had considered some of the PE for this kit but due to where it will end up being located no one will likely ever see it so why spend that money?

I can always get a 3D-printed pod later to mount near it for an EVA mission.

10 Likes

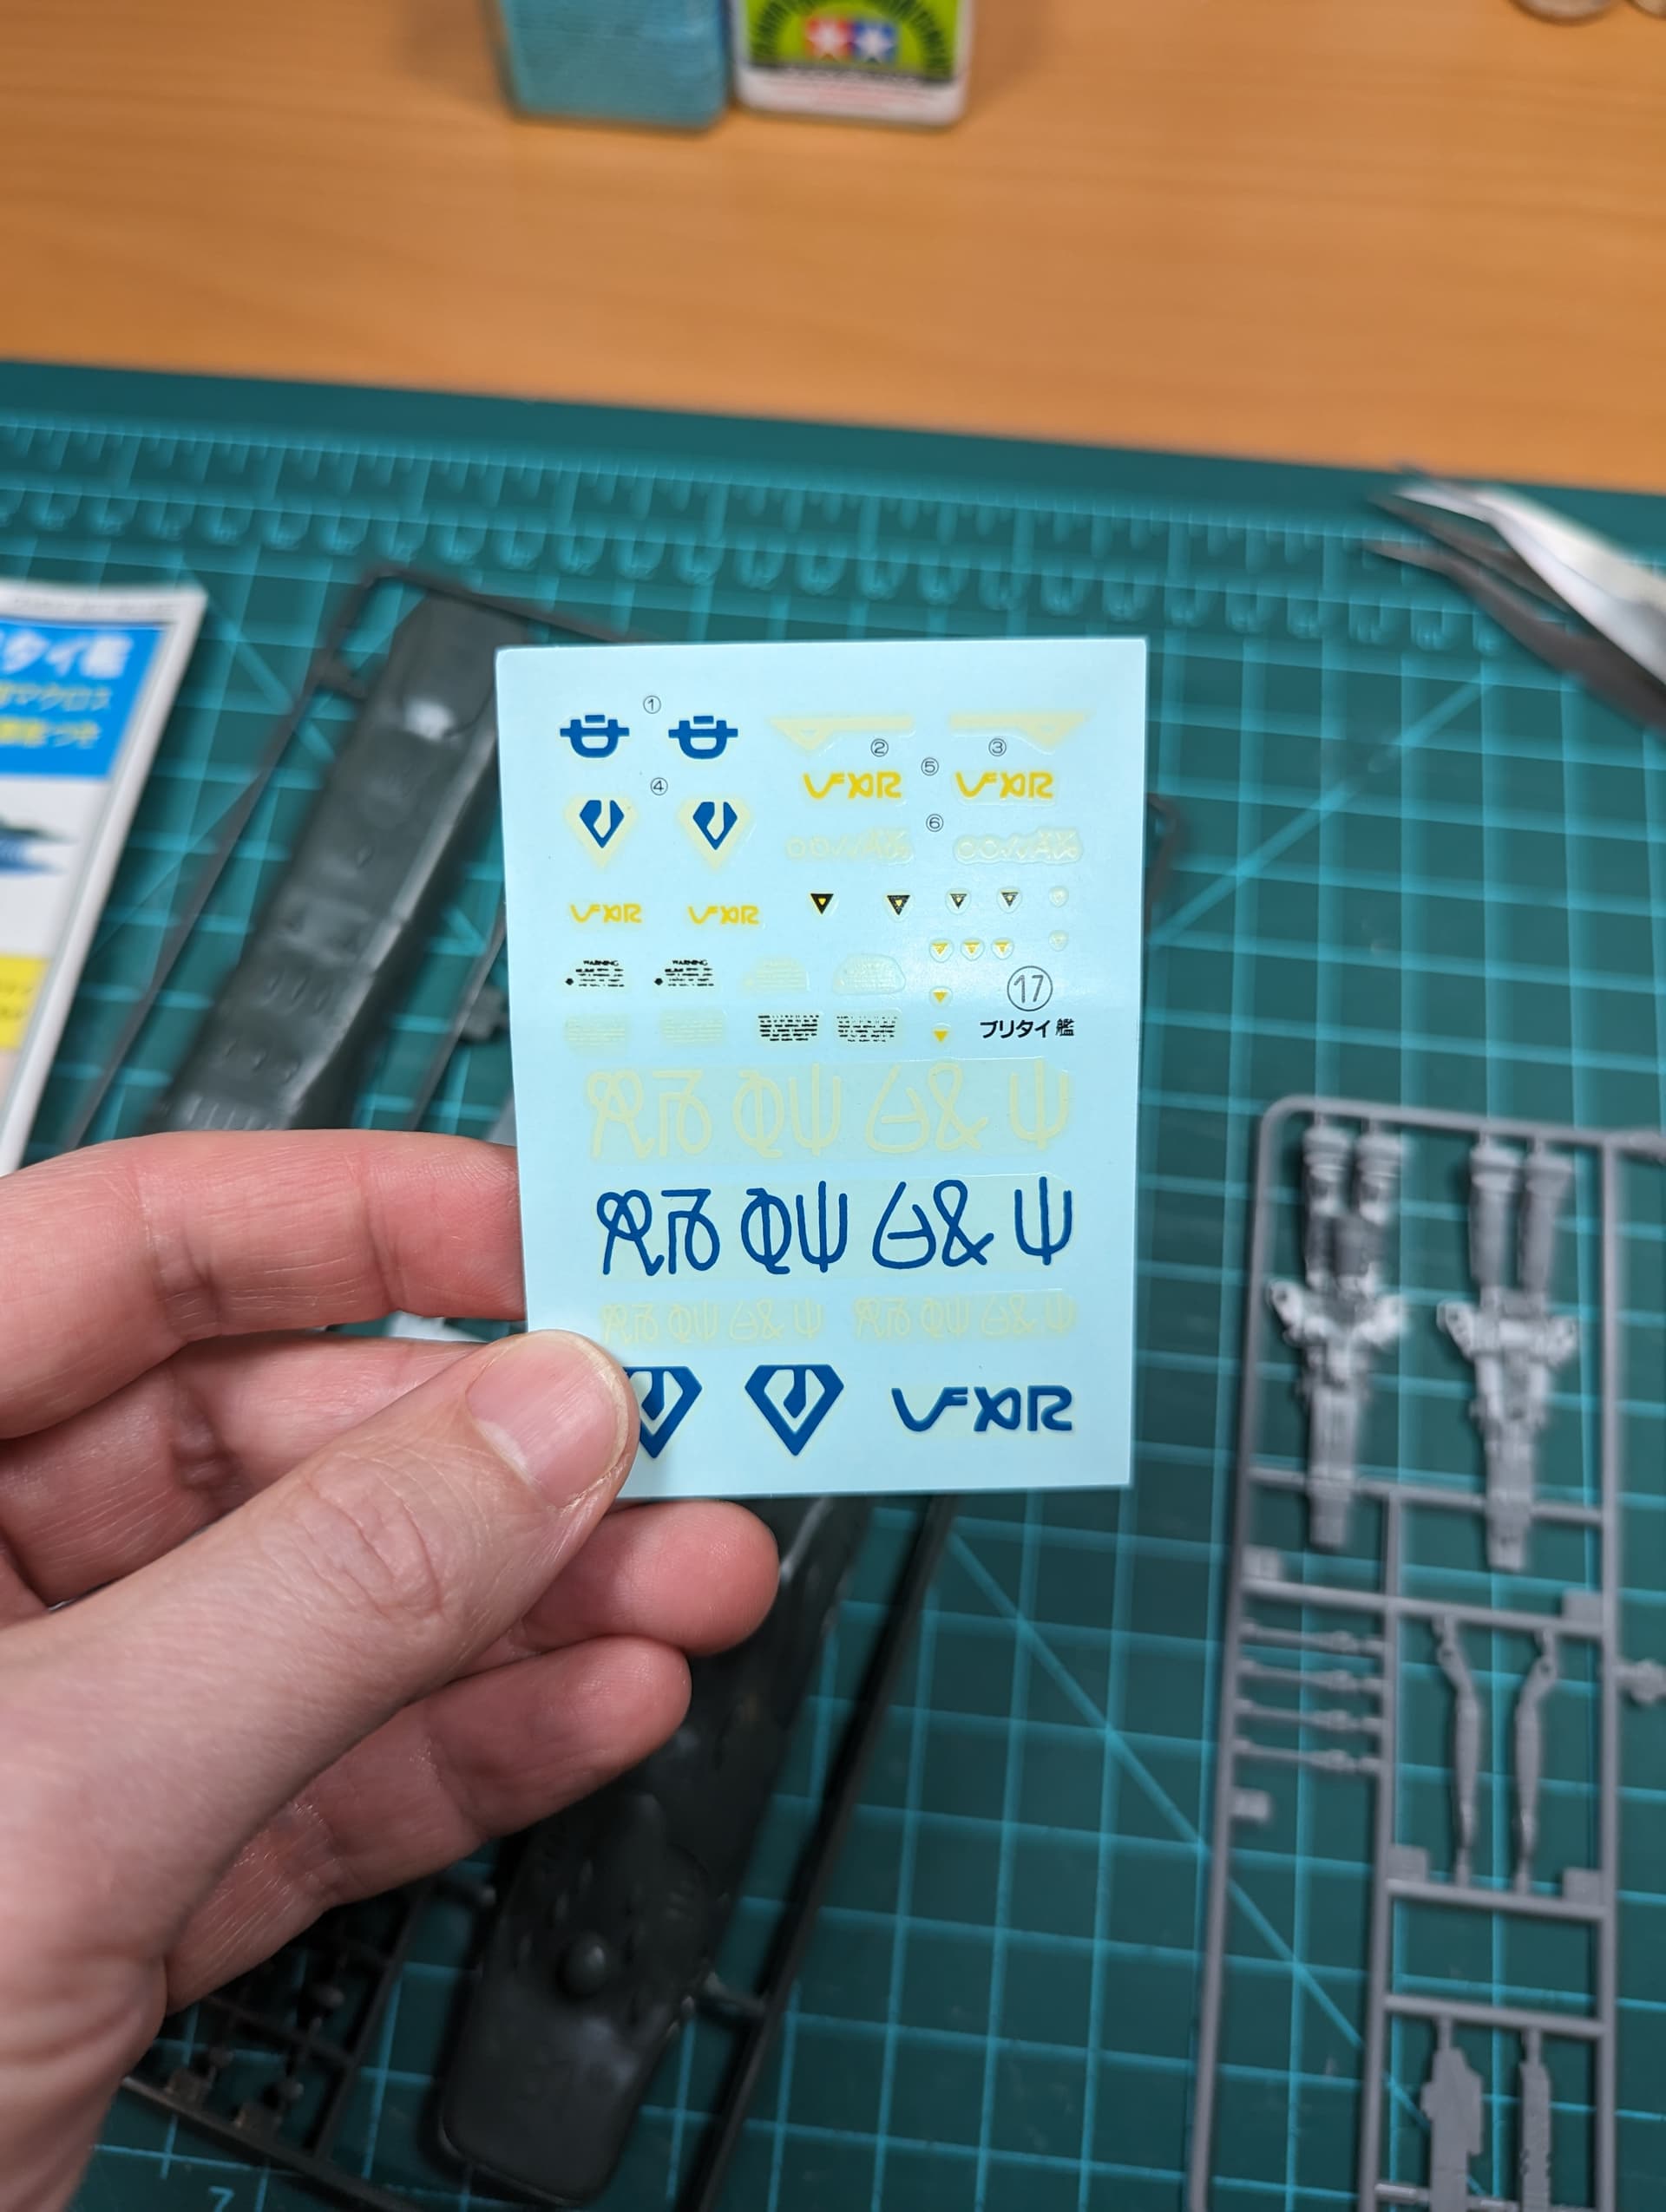
I’ll be building this old Arii kit of a Vrlitwhai ship from Macross/Robotech. It’s not a very accurate kit–frankly, it’s a crude approximation, at best, of the ship from the anime series.

Here are the contents of the box. It’s a pretty simple kit.

The decals are starting to yellow, so I need to bleach them with sunlight. They look better in the picture than they do in person.

I’m hoping it will be a quick build, but that’s what I said about the 1/72 MPC U-2 that took me four months to build earlier this year…

5 Likes

Okay, I am going down the Alternate History rabbit hole - paper panzer:

Got a few ready for paint/weathering that I need to concentrate on first.

3 Likes

Oh, dead cool!

I look forward to seeing that completed. I’m edging towards completion on my Macross VF1S Valkyrie Battroid.

1 Like

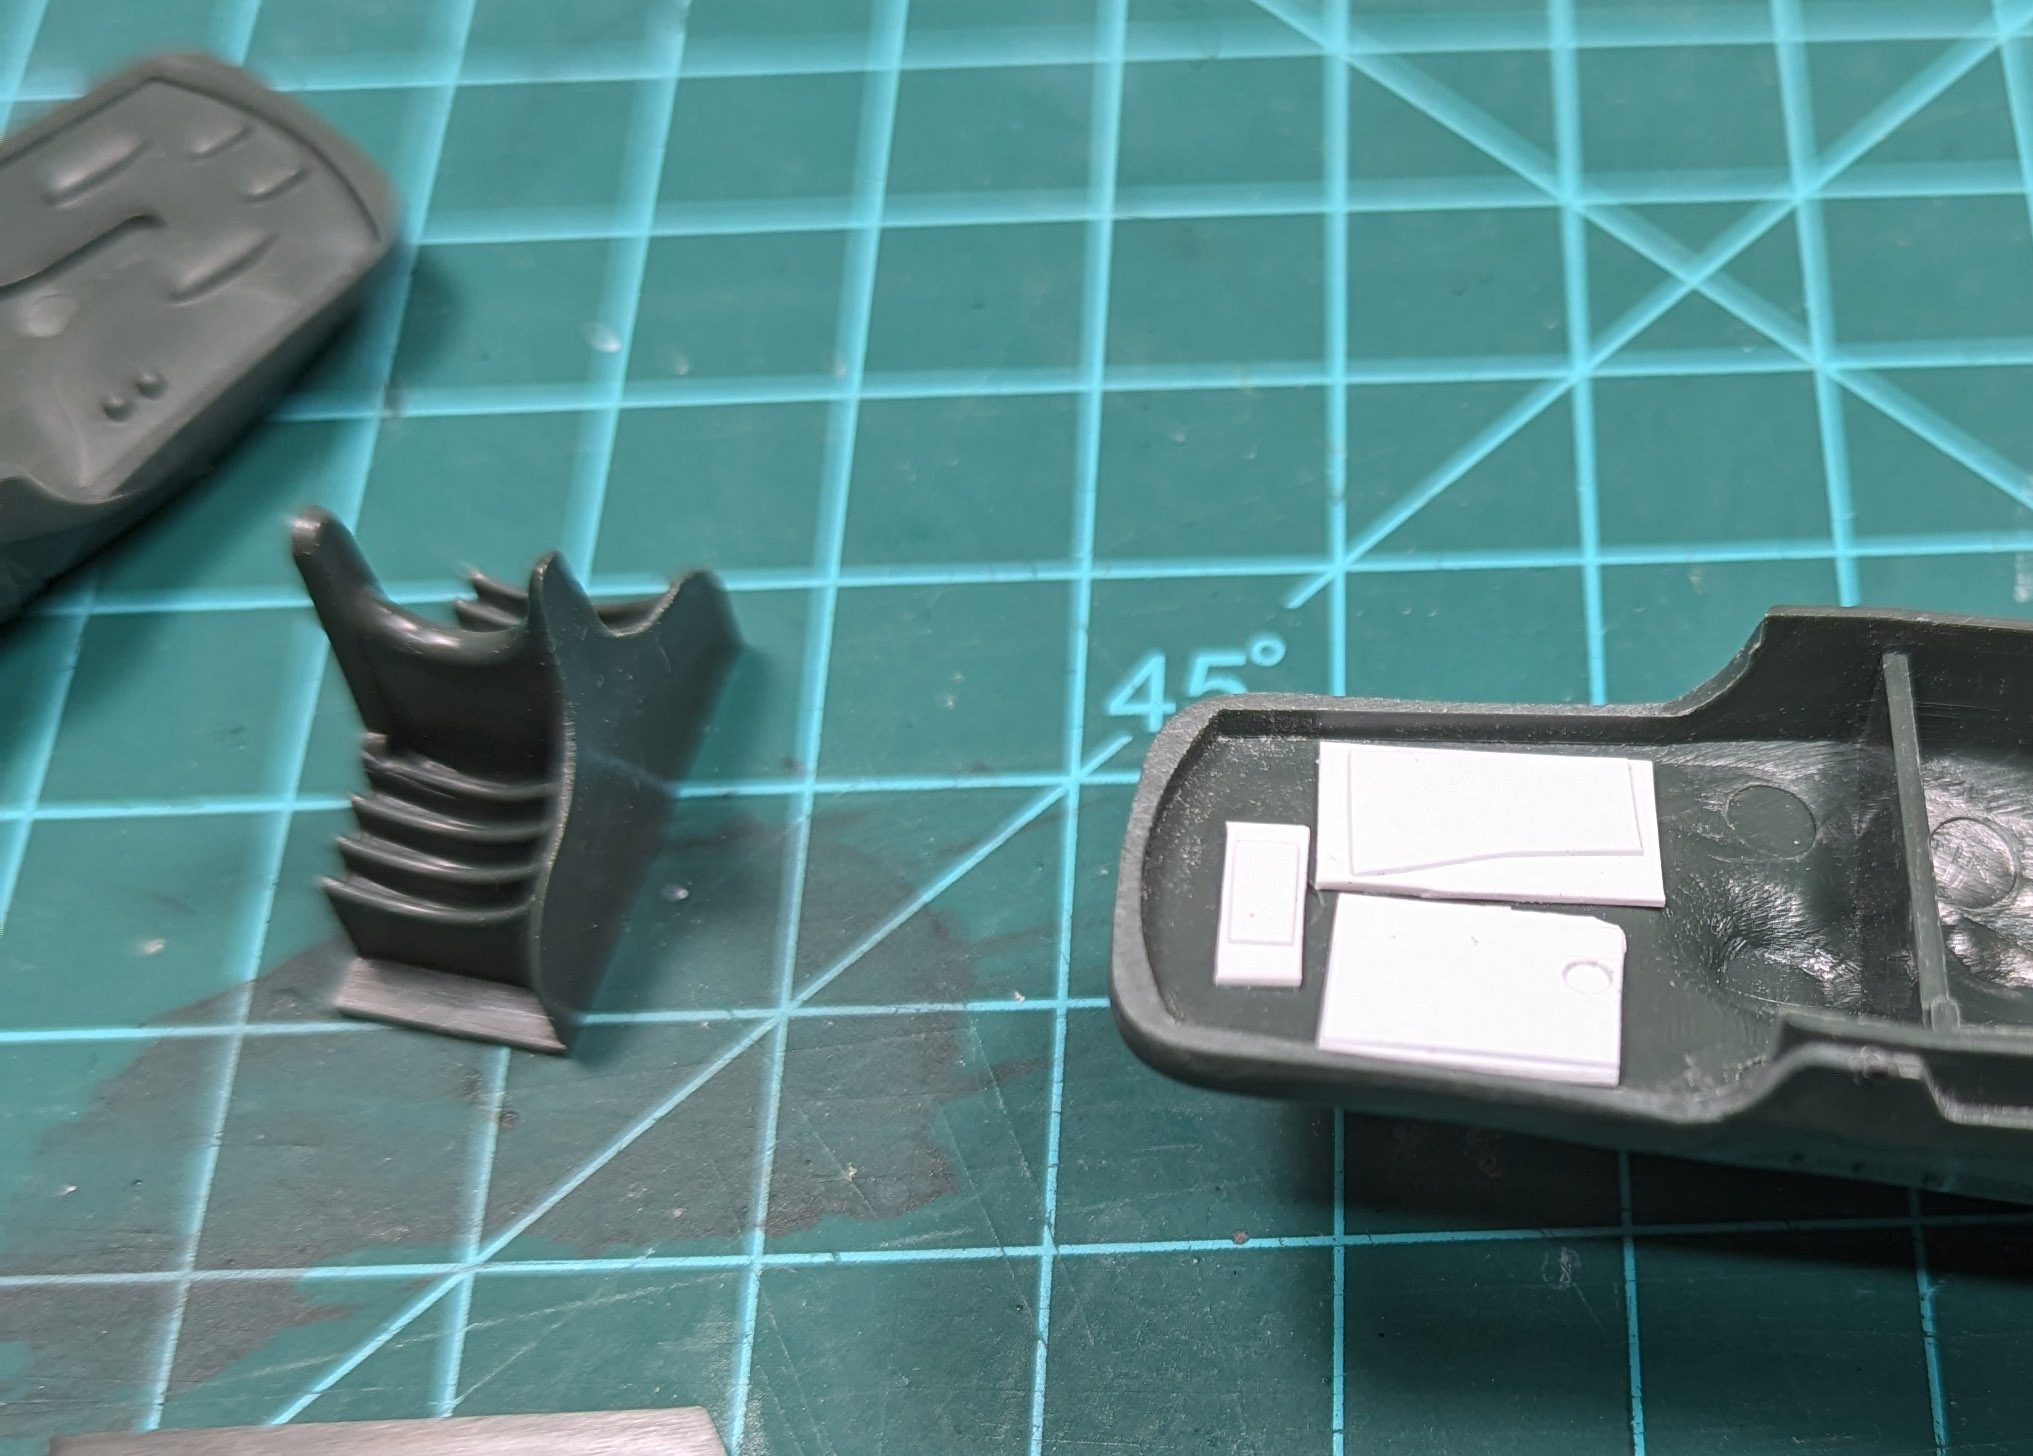
You can tell this Arii kit is from the early 80s and not from a top-tier manufacturer. Sink marks and ejector pin marks in most parts, and on a couple of parts, two sink marks right next to each other:

Fit is mediocre. The flat panels that make up the floor and ceiling of the exhaust area end up recessed instead of flush, so I had to glue shims in to get a better fit:

7 Likes

@ brekinapez, @ DeskJockey, @ petbat. Great to see you guys join in the fray! :hammer_and_wrench:

—mike …:flying_saucer:

1 Like

Meanwhile, back at the Stink Werks…

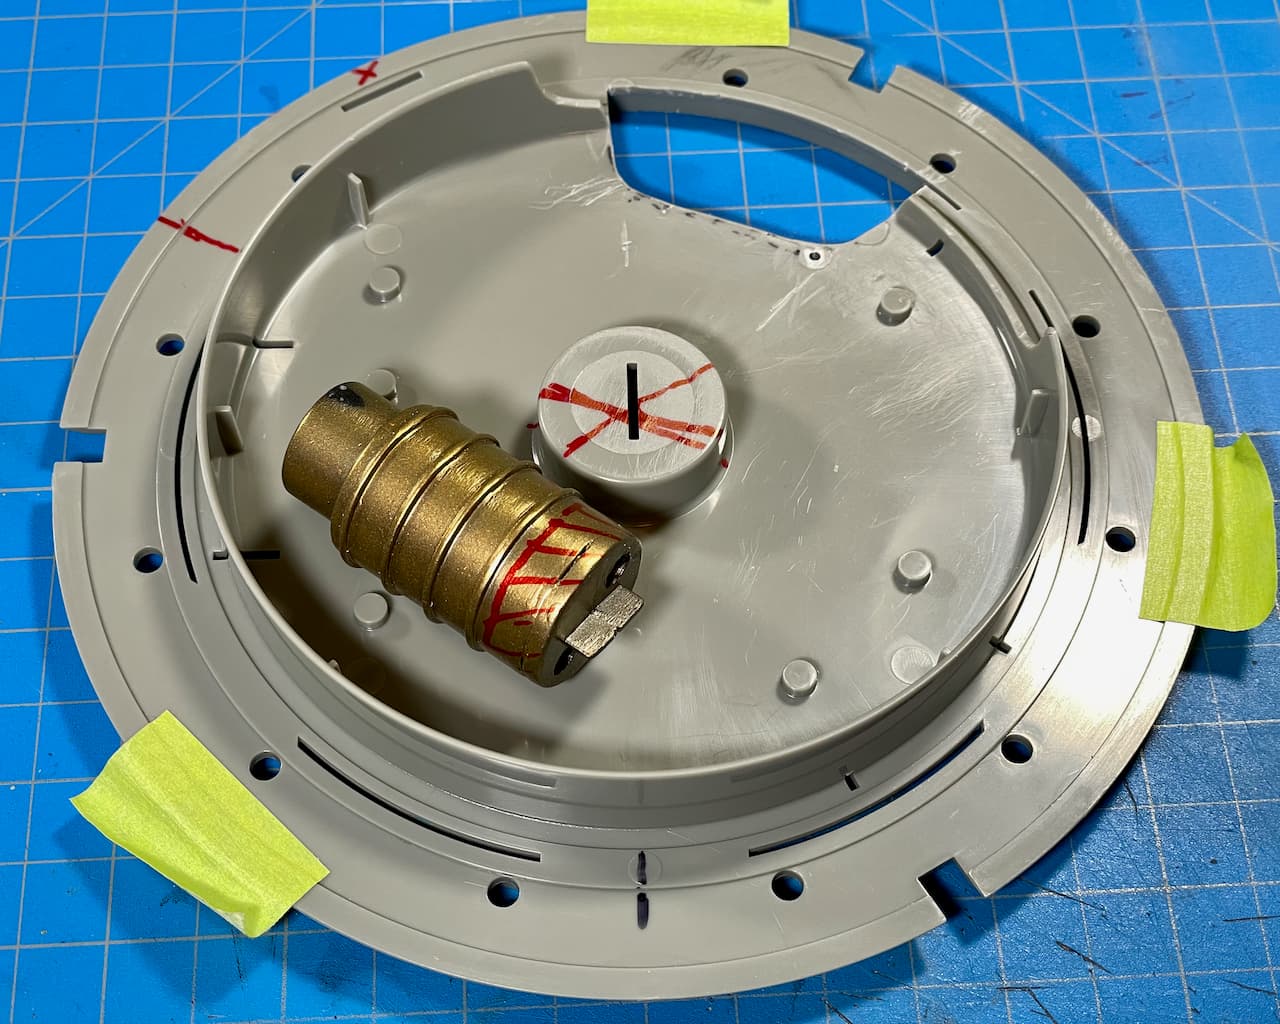
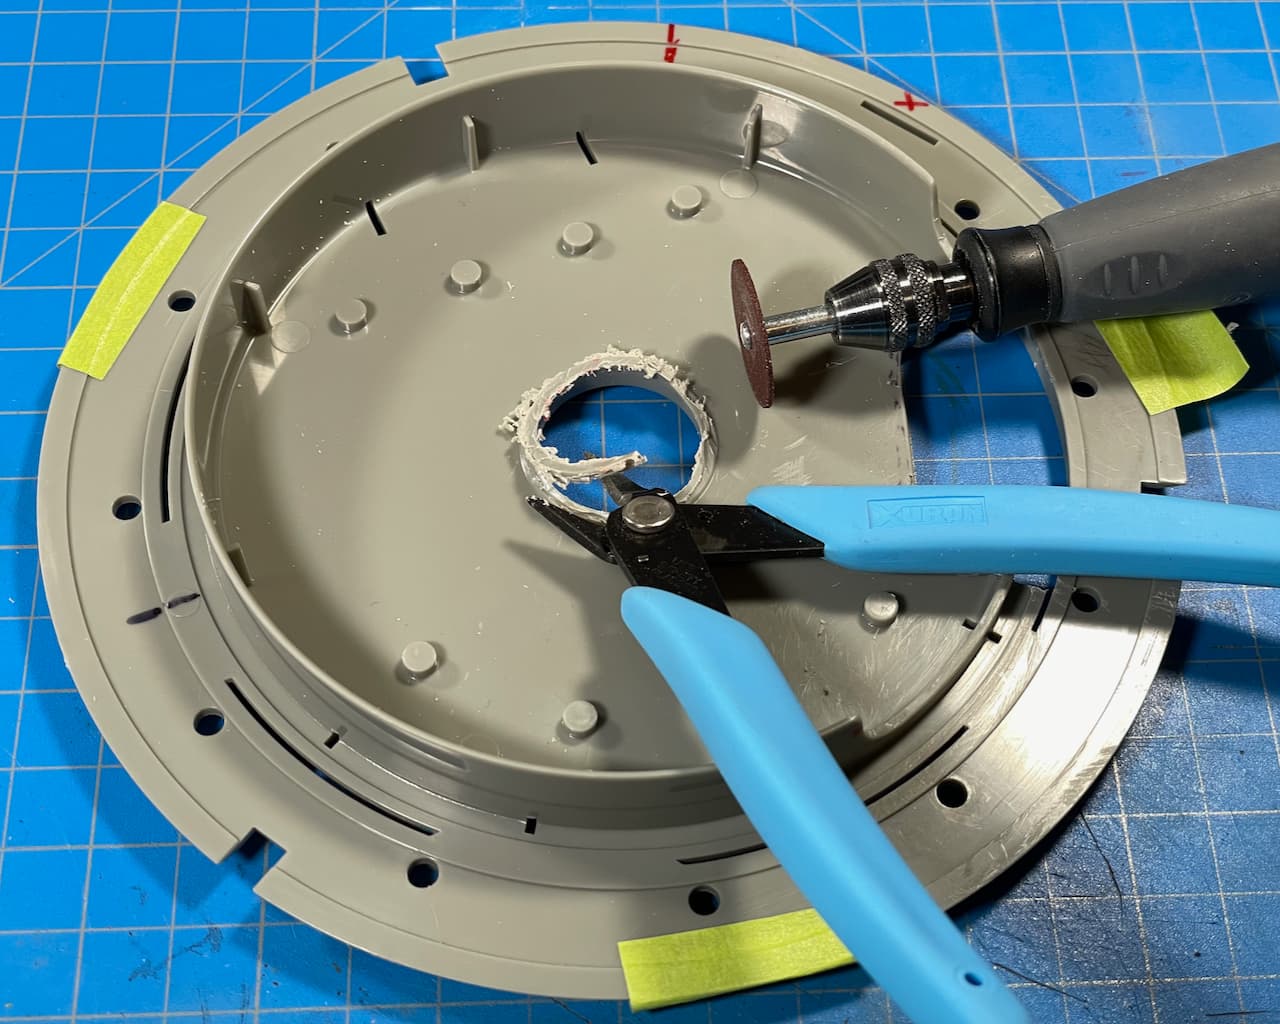
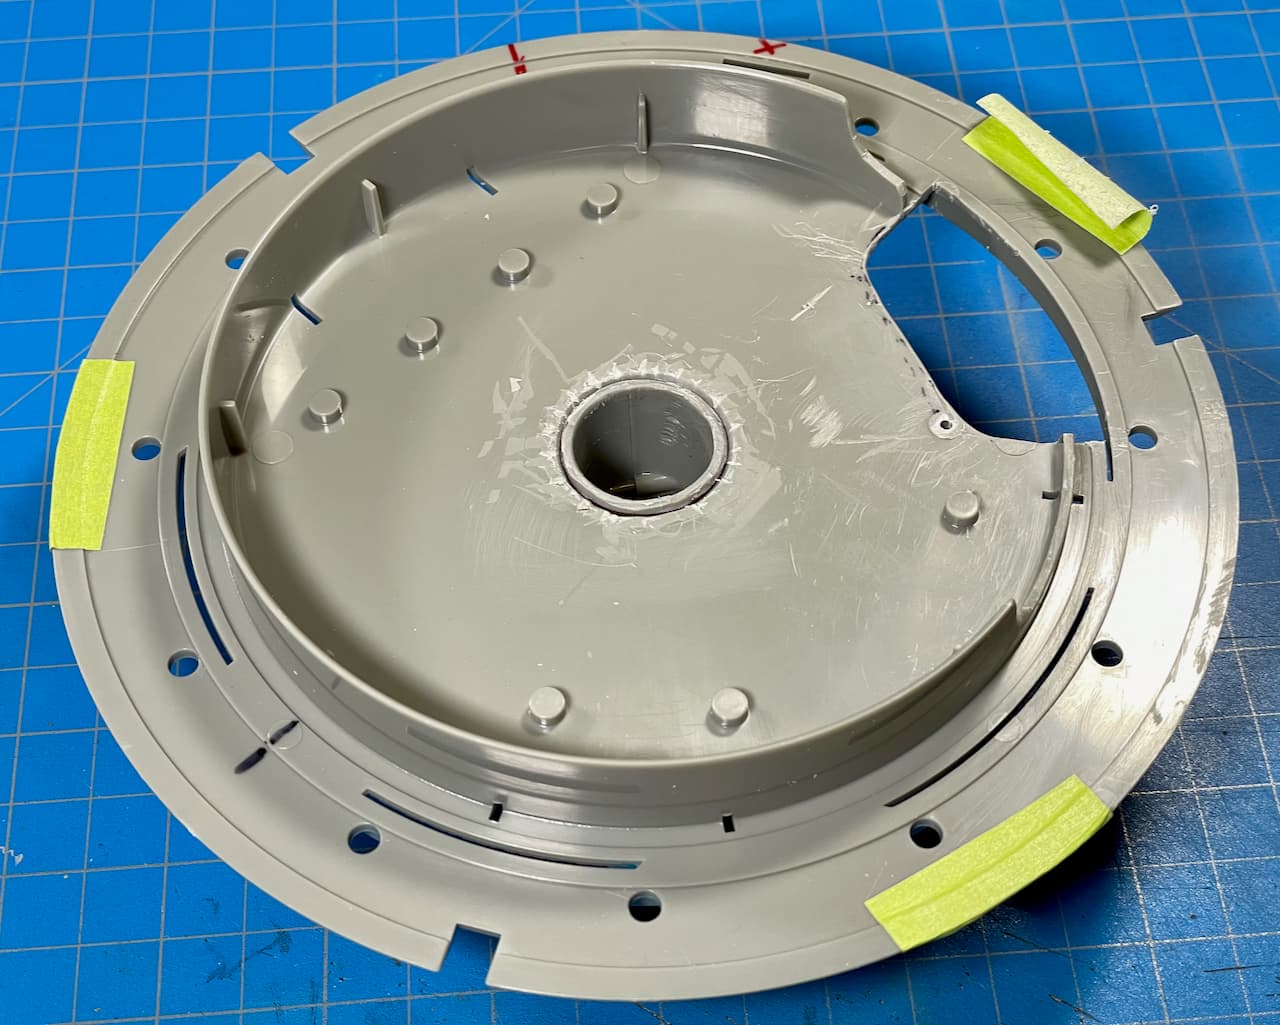
These sub-floor protrusions would interfere with the bomb loading mechanism — could cause catastrophic failure during a bombing mission! Therefore, Herr Chief Engineer has demanded a halt to all other work until this issue has been resolved. :memo::thinking::hammer_and_wrench:

Das Dremel grinding wheel und sproo-nippers made quick work of lightening the ship. :hocho::tornado:

… what remains of the Bomb Room ceiling. The Loader can breathe-easily again.

… and more added to the heap of scraps to jettison before the ship can lift off.

Back on schedule! :watch::grin:

—mike …:flying_saucer:

9 Likes

Great to see a lot of new entries. Welcome onboard! Super interesting kits.

Looking forward to see more :slight_smile:

4 Likes

Another bright idea to slow things down! :point_up::grin::bulb:

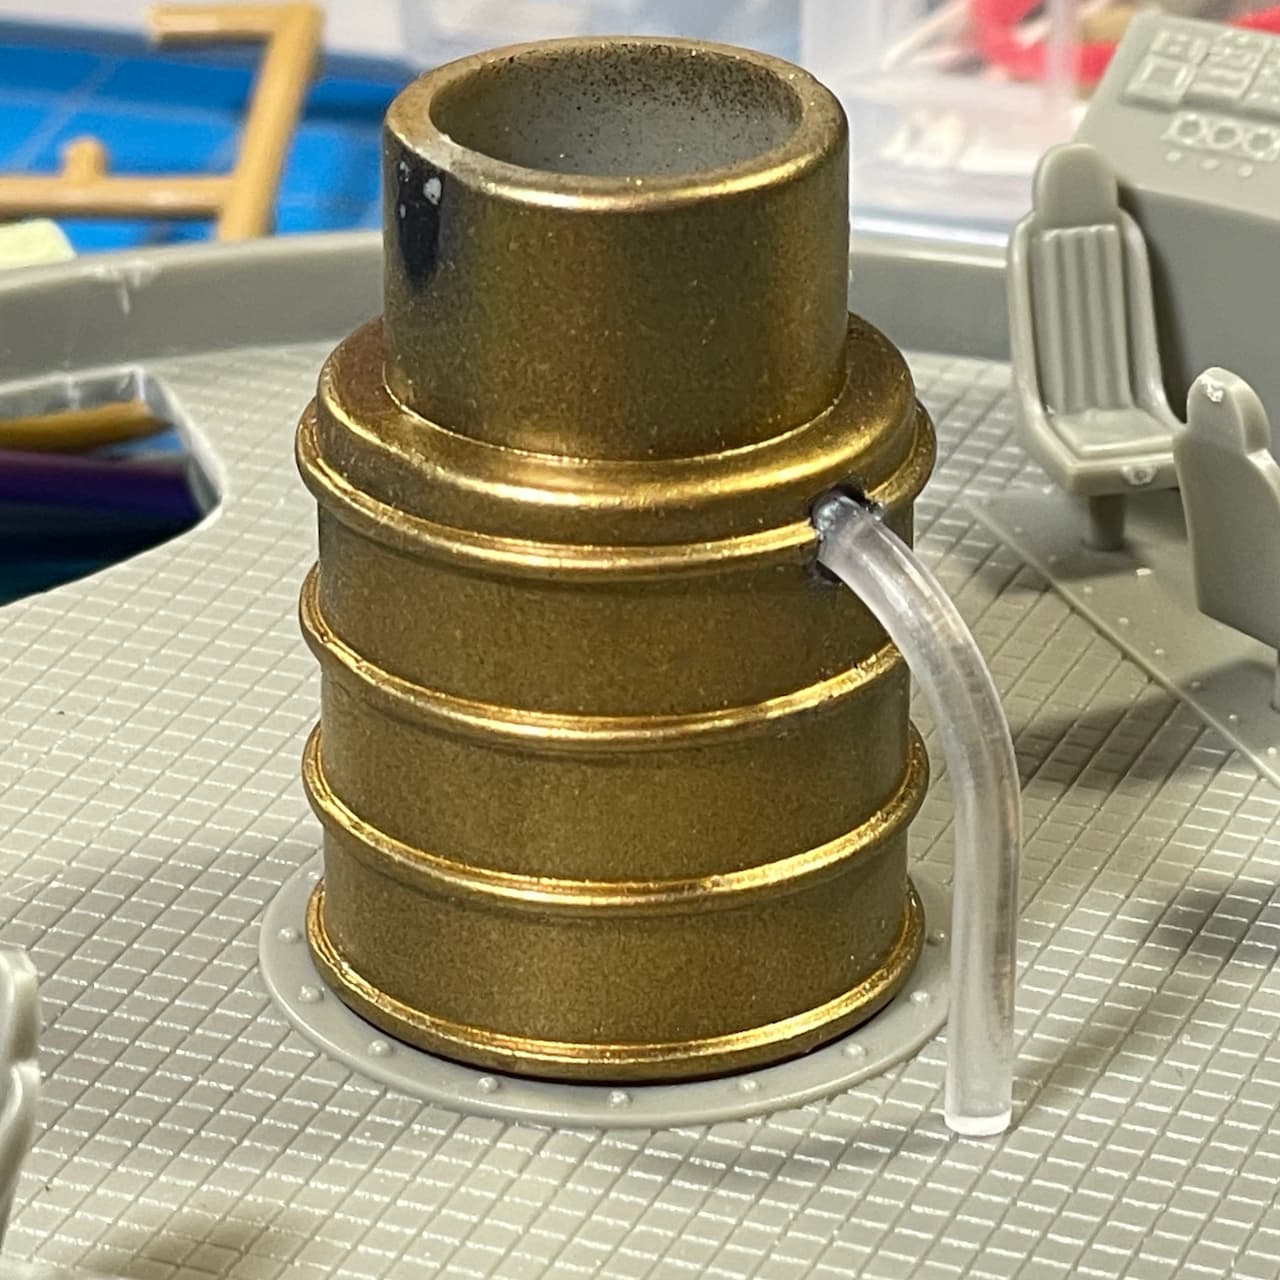
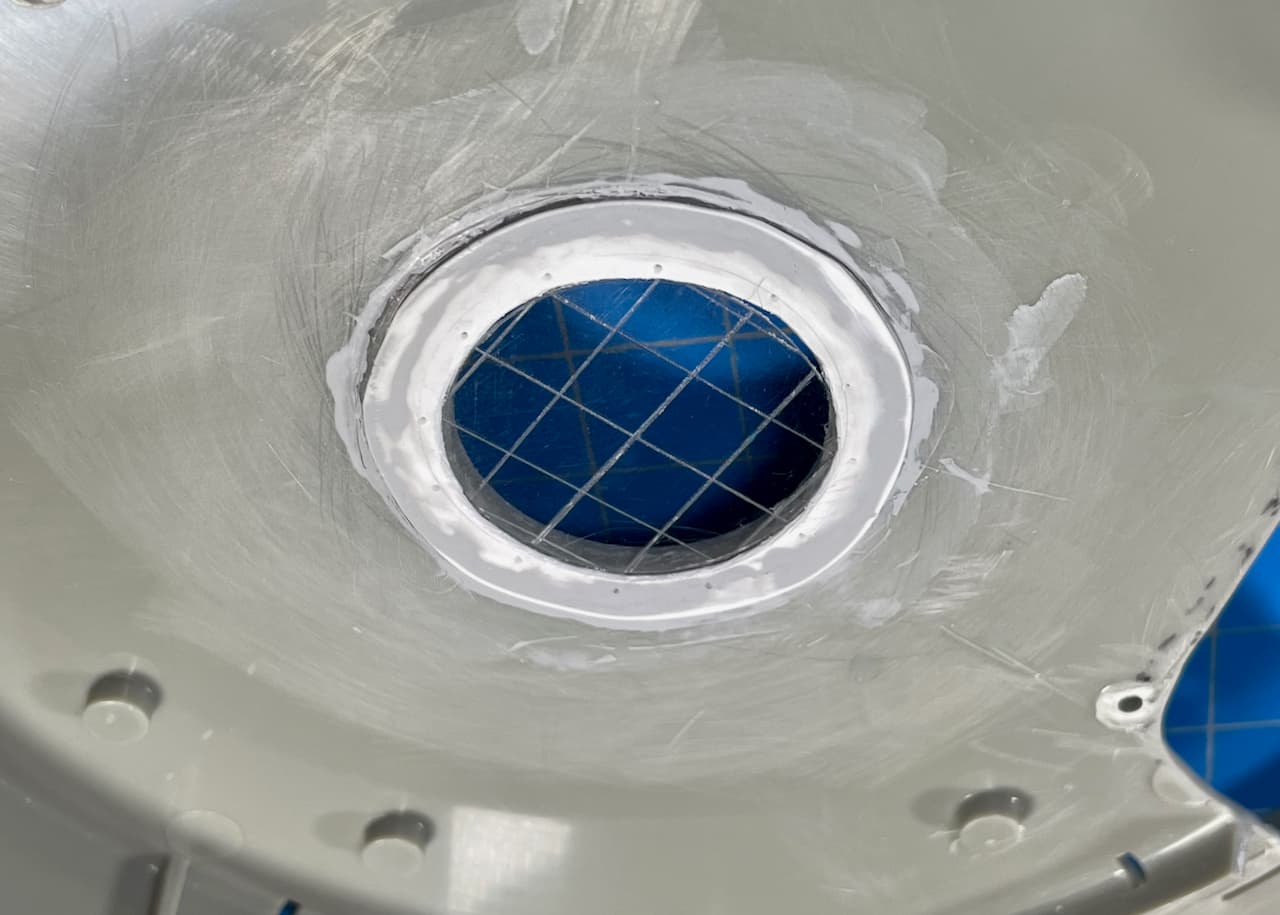
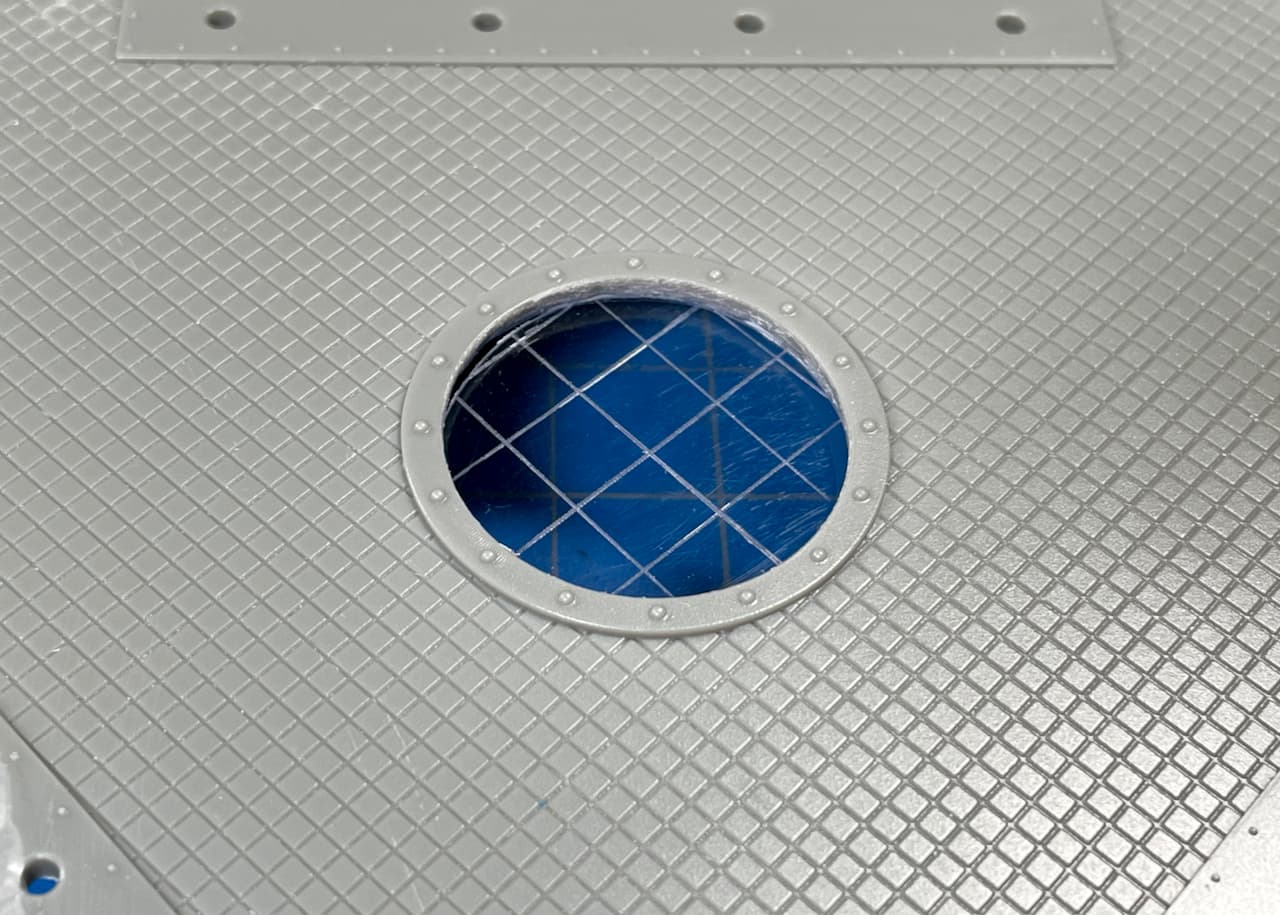
Bomb Room ceiling window with scribed lines into clear scrap plastic — press-fit for now. Also, a little hard to see, but I added a few rivets around the ring with an Awl Tool.

The flip-side… showing the Center Column removed for a view.

The Flight Deck has a window with a view into the Bomb Room now.

So, which way is this, up :arrow_up: or down :arrow_down:? :face_with_monocle:

I guess it depends on which deck you’re on at the time? :man_shrugging:
—mike …:flying_saucer:

8 Likes

Non-riveting window installation… :hammer_and_wrench:

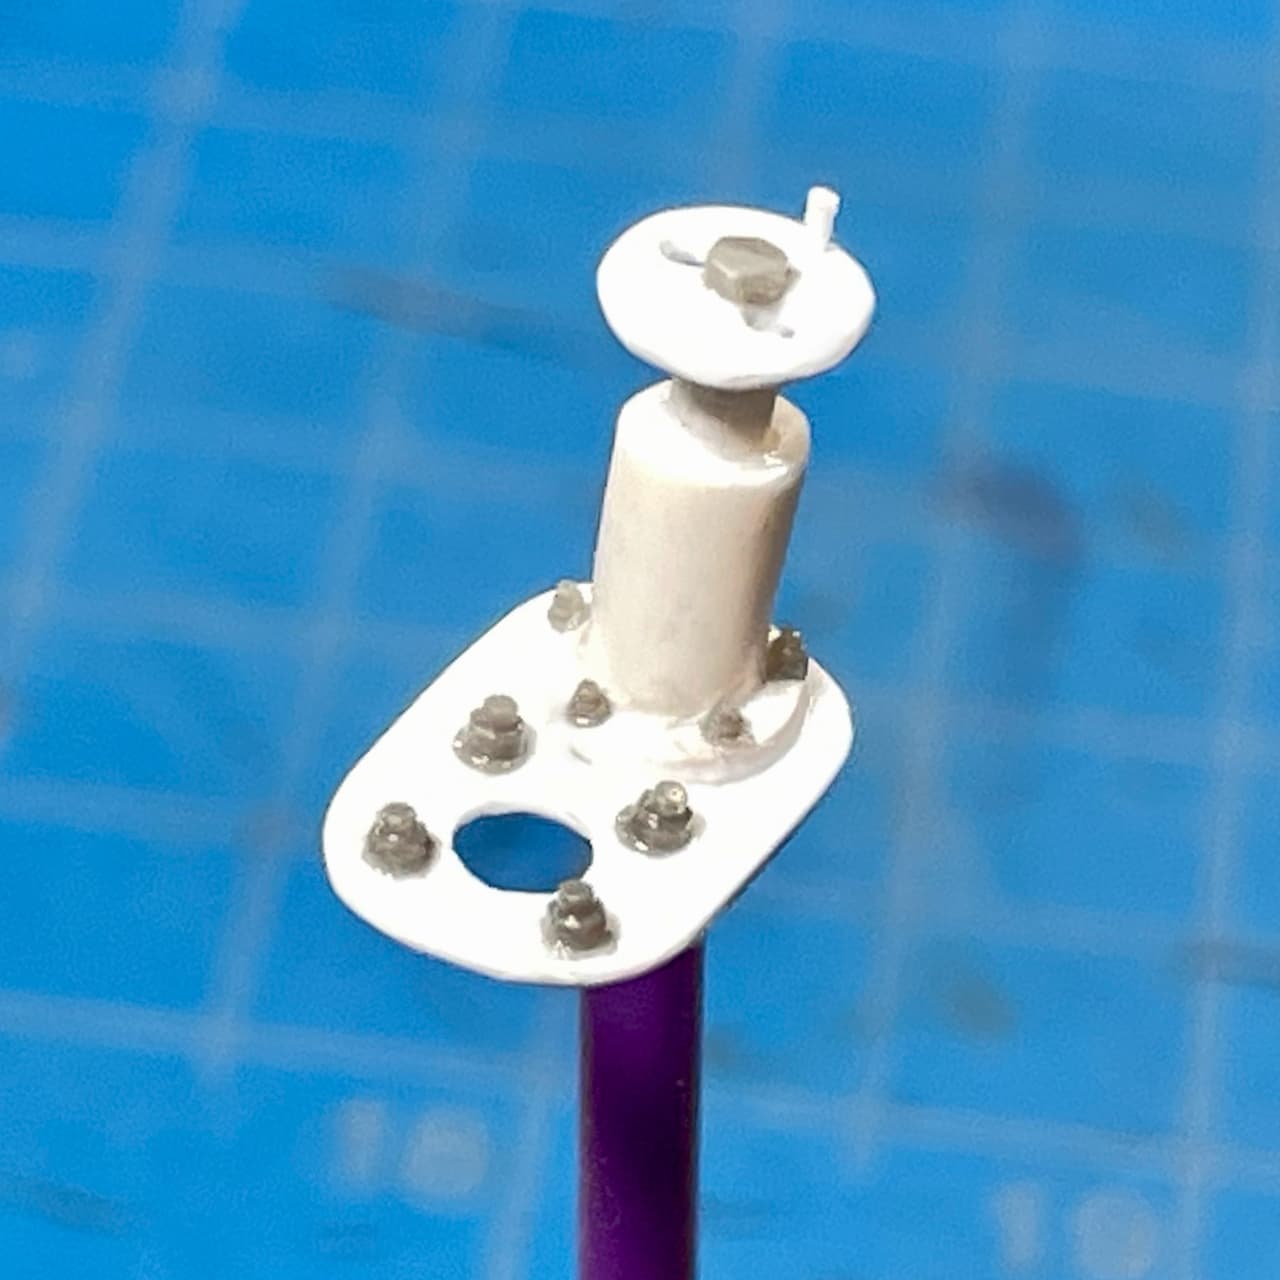
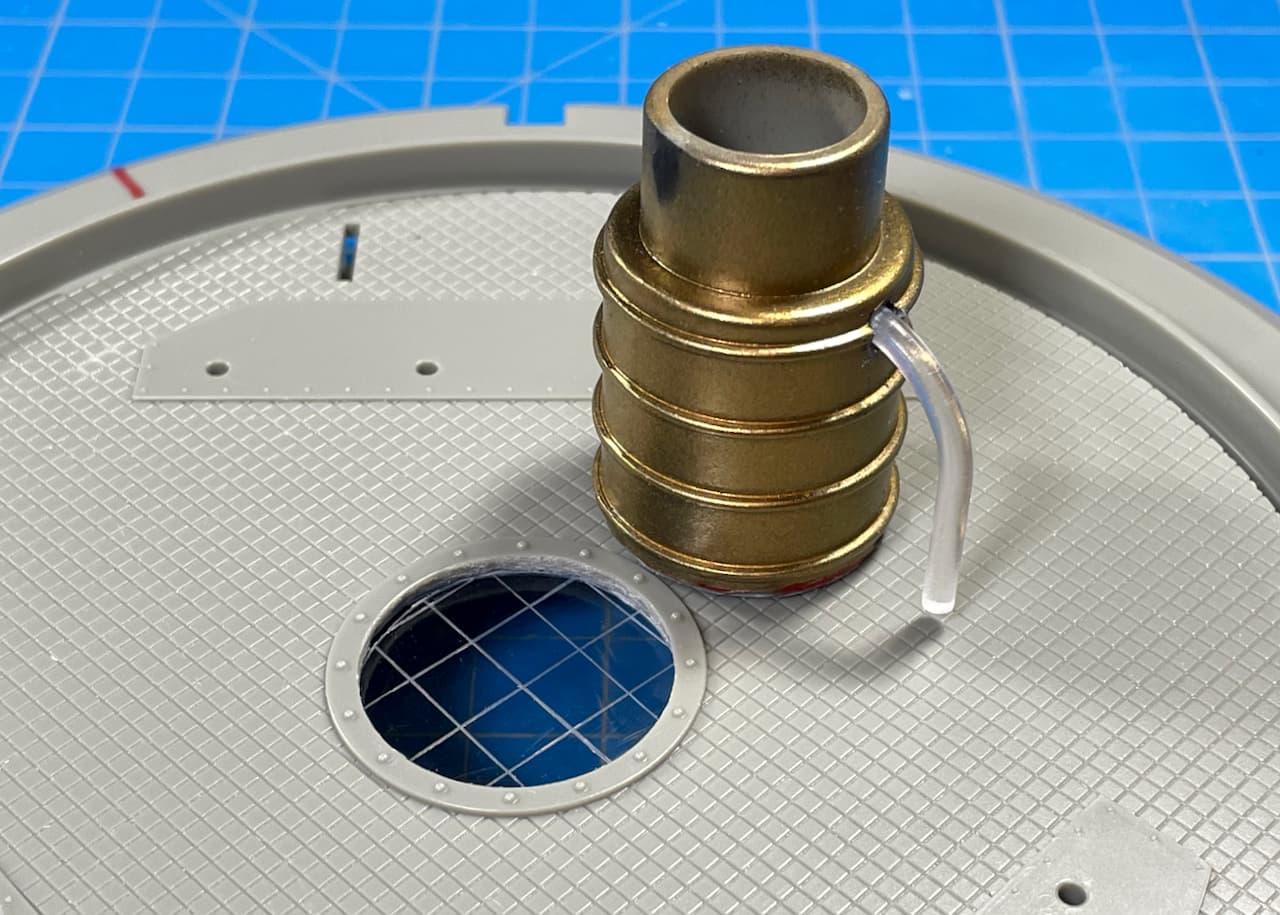
Instead of the aforementioned awled-out rivet divots, I went with nuts and bolts for the window fixture.

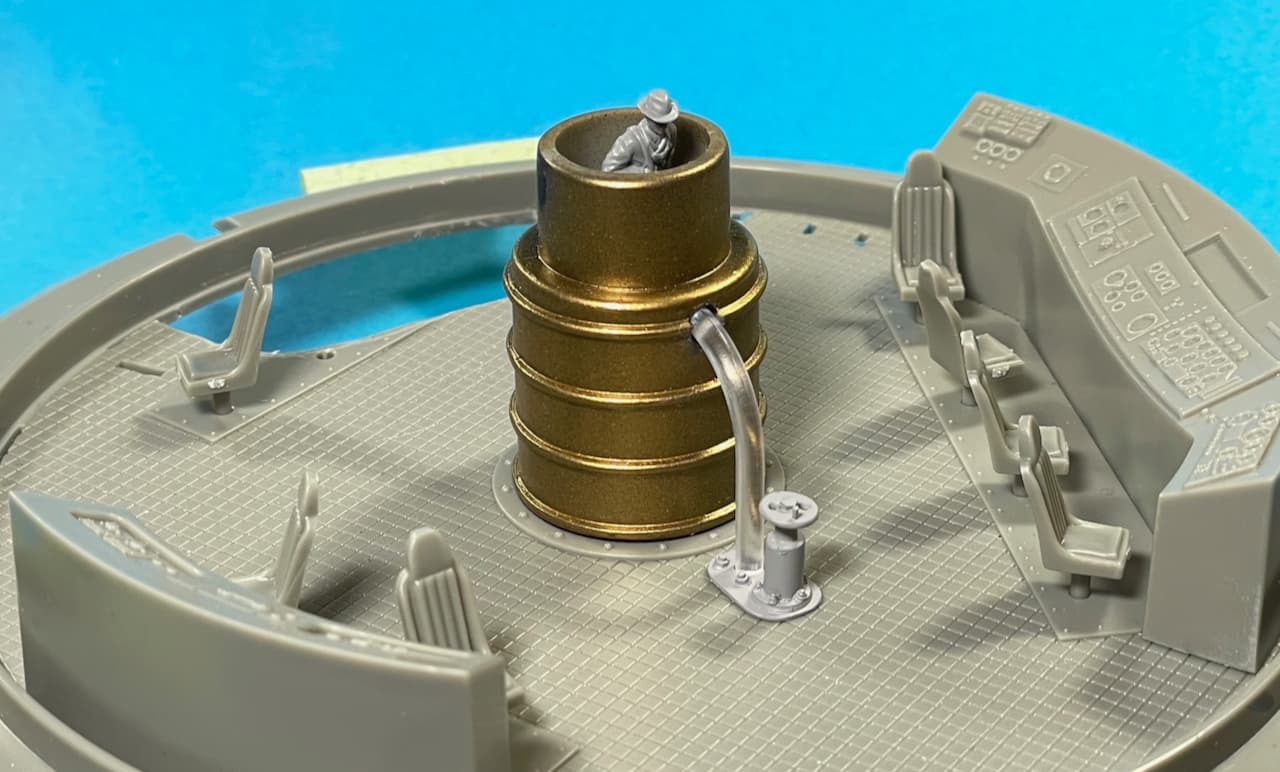
A couple of not-so-great days resulted in some wonky window work. … Not to worry. Once I don my Invisibility Cloak, this will never be seen. :lab_coat:
• MENG Nuts and Bolts Set A (Small 1.0mm).

Then, the ceiling/flight deck went into the spray booth.
• Tamiya (87064) Fine Grey Surface Primer (rattle-can).

Off we go again!
—mike … :flying_saucer:

8 Likes

A bit more progress. Some more detail painting and then it is time for some serious detailing.

More to follow :slightly_smiling_face:

8 Likes

Payload looks cool! :bomb:

—mike

2 Likes

Putting down som Pledge for the decals, reseal with and apply a wash before a matt finish…I think.


I see the finish line in the distance.:face_with_peeking_eye:

7 Likes

If nothing comes up I think I can have this painted and done over the weekend.

However, between my wife and youngest daughter something always comes up.

Really an easy build, although processing all the cargo pods can be a tad tedious but not nearly as bad as road wheels.

8 Likes

Yeah, life can throw a spanner into the works.

Best of luck!:crossed_fingers:

2 Likes