Jinxed myself. Wife fell while at store and banged up her knee and my youngest is mad at her boyfriend.
But paint is going to flow one way or another this weekend. Already sketching out a plan…
Jinxed myself. Wife fell while at store and banged up her knee and my youngest is mad at her boyfriend.
But paint is going to flow one way or another this weekend. Already sketching out a plan…
![]() crazy!!
crazy!!
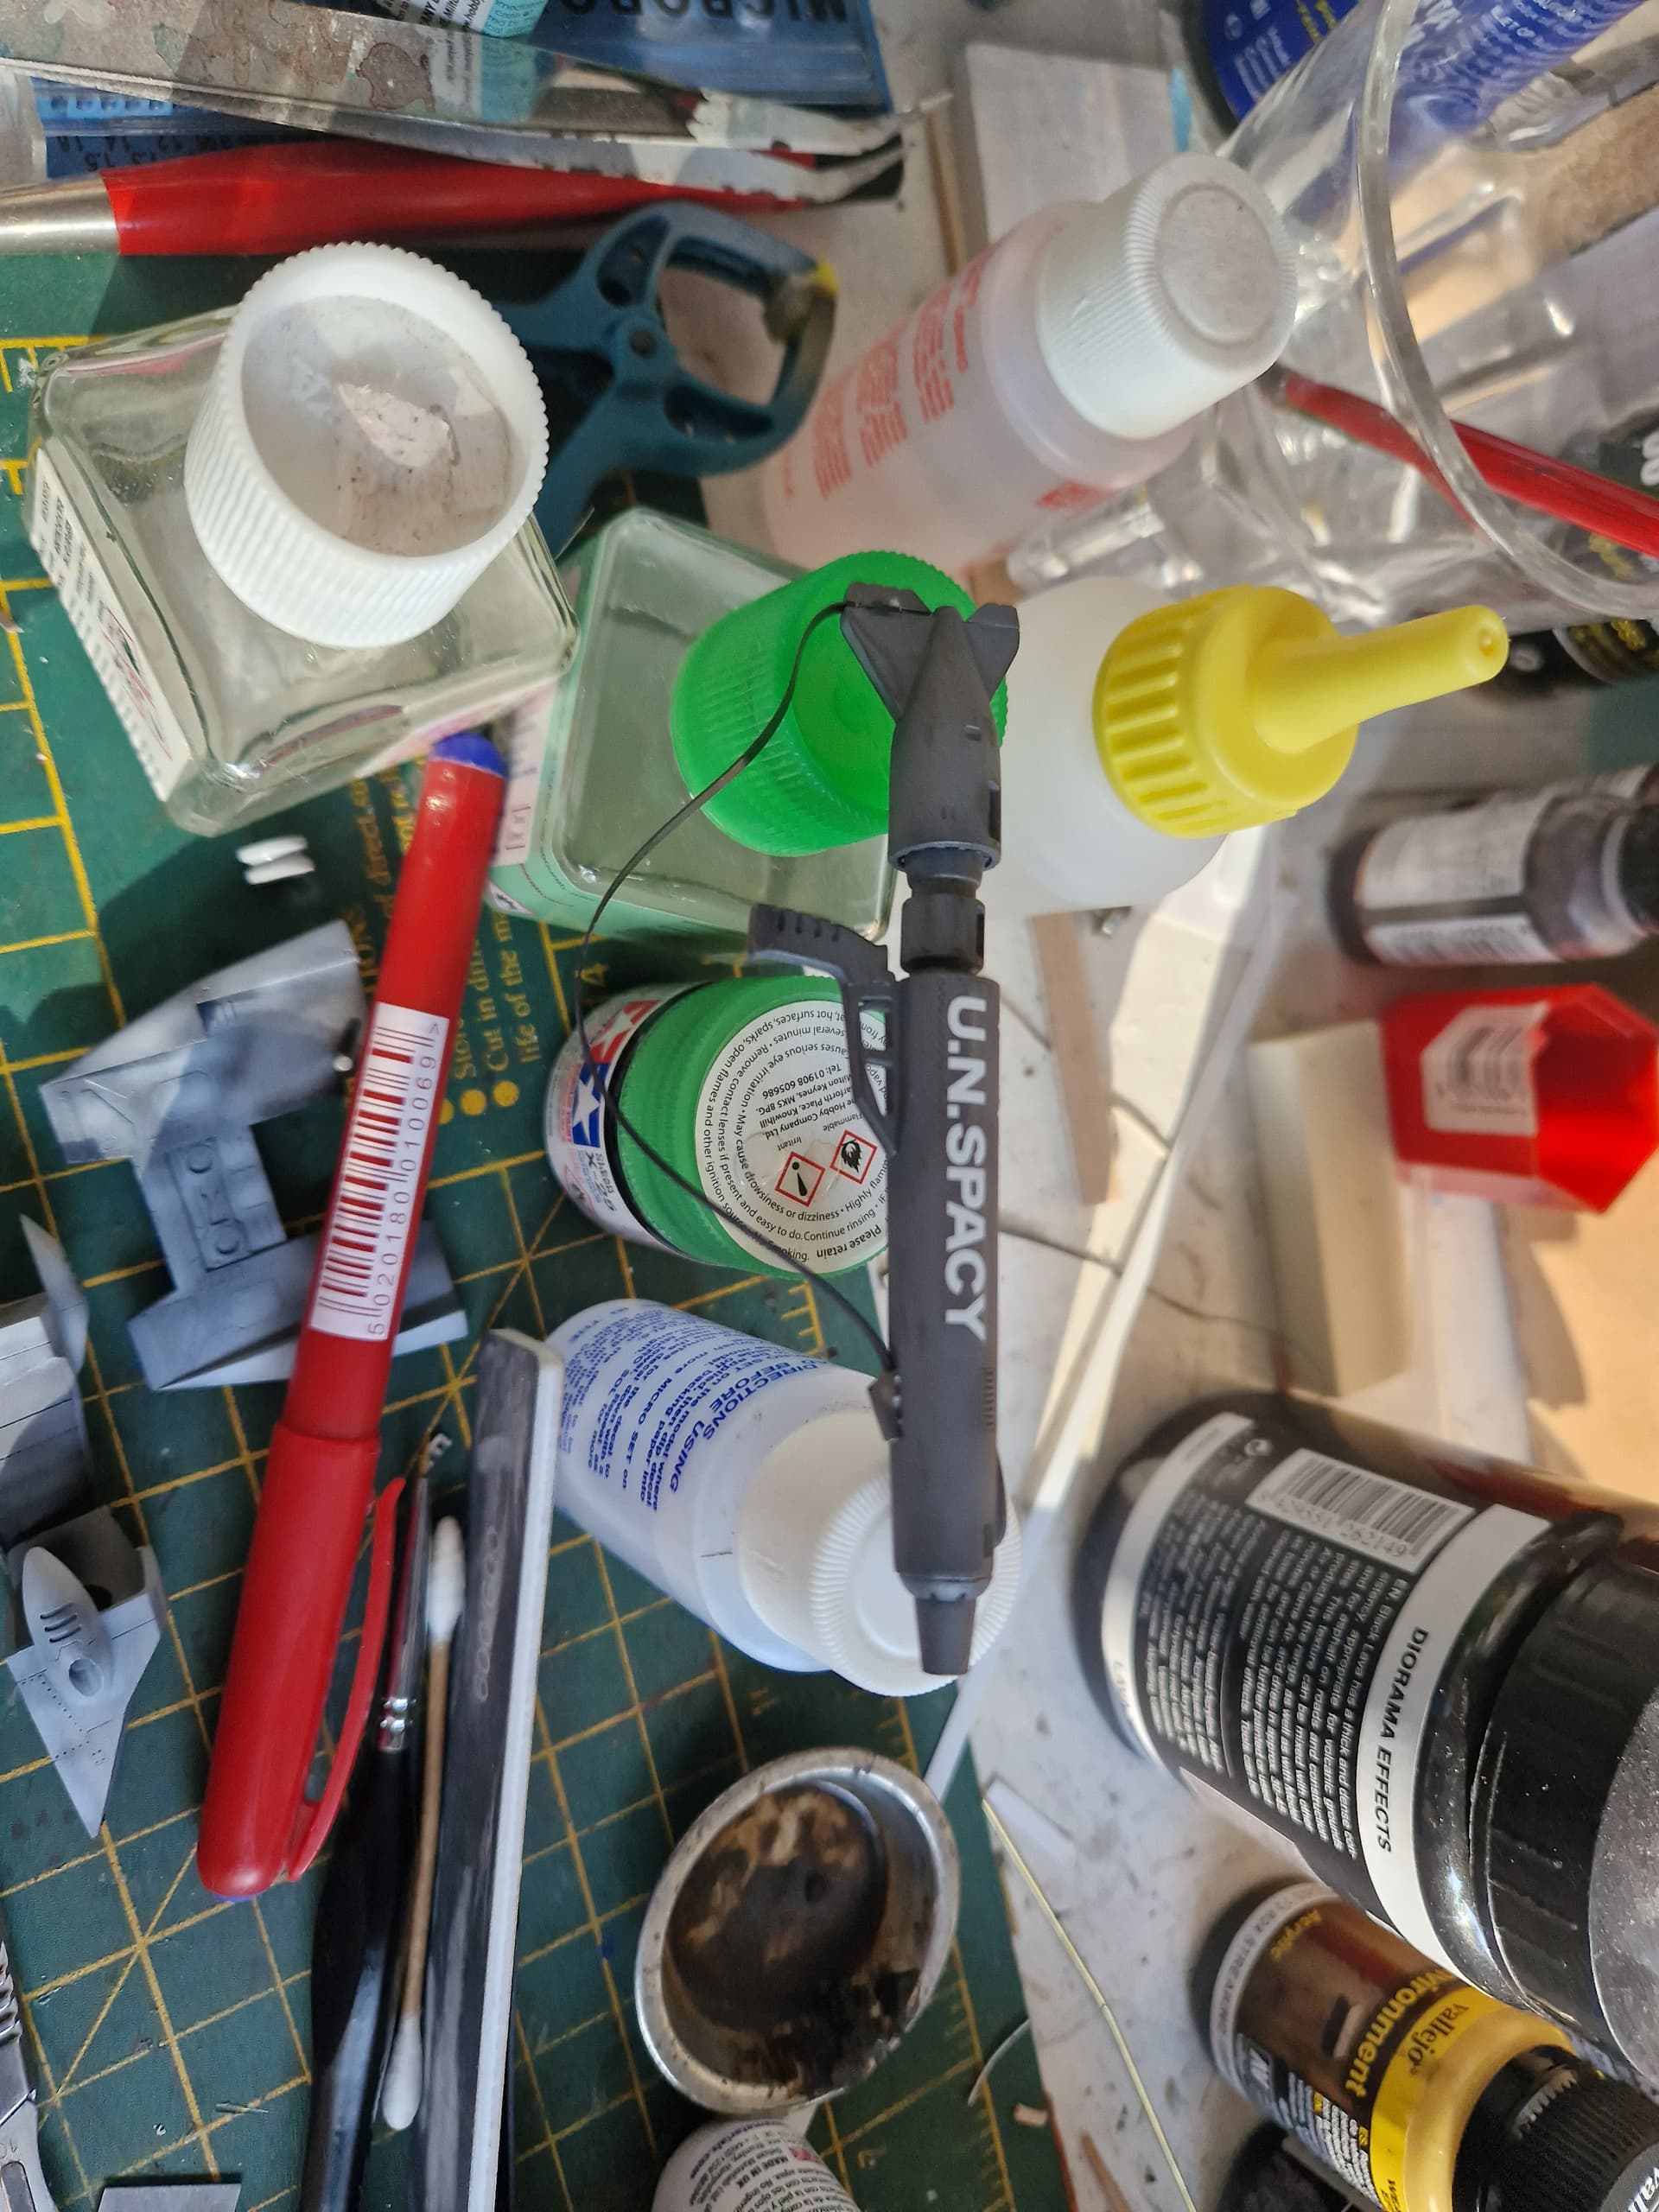
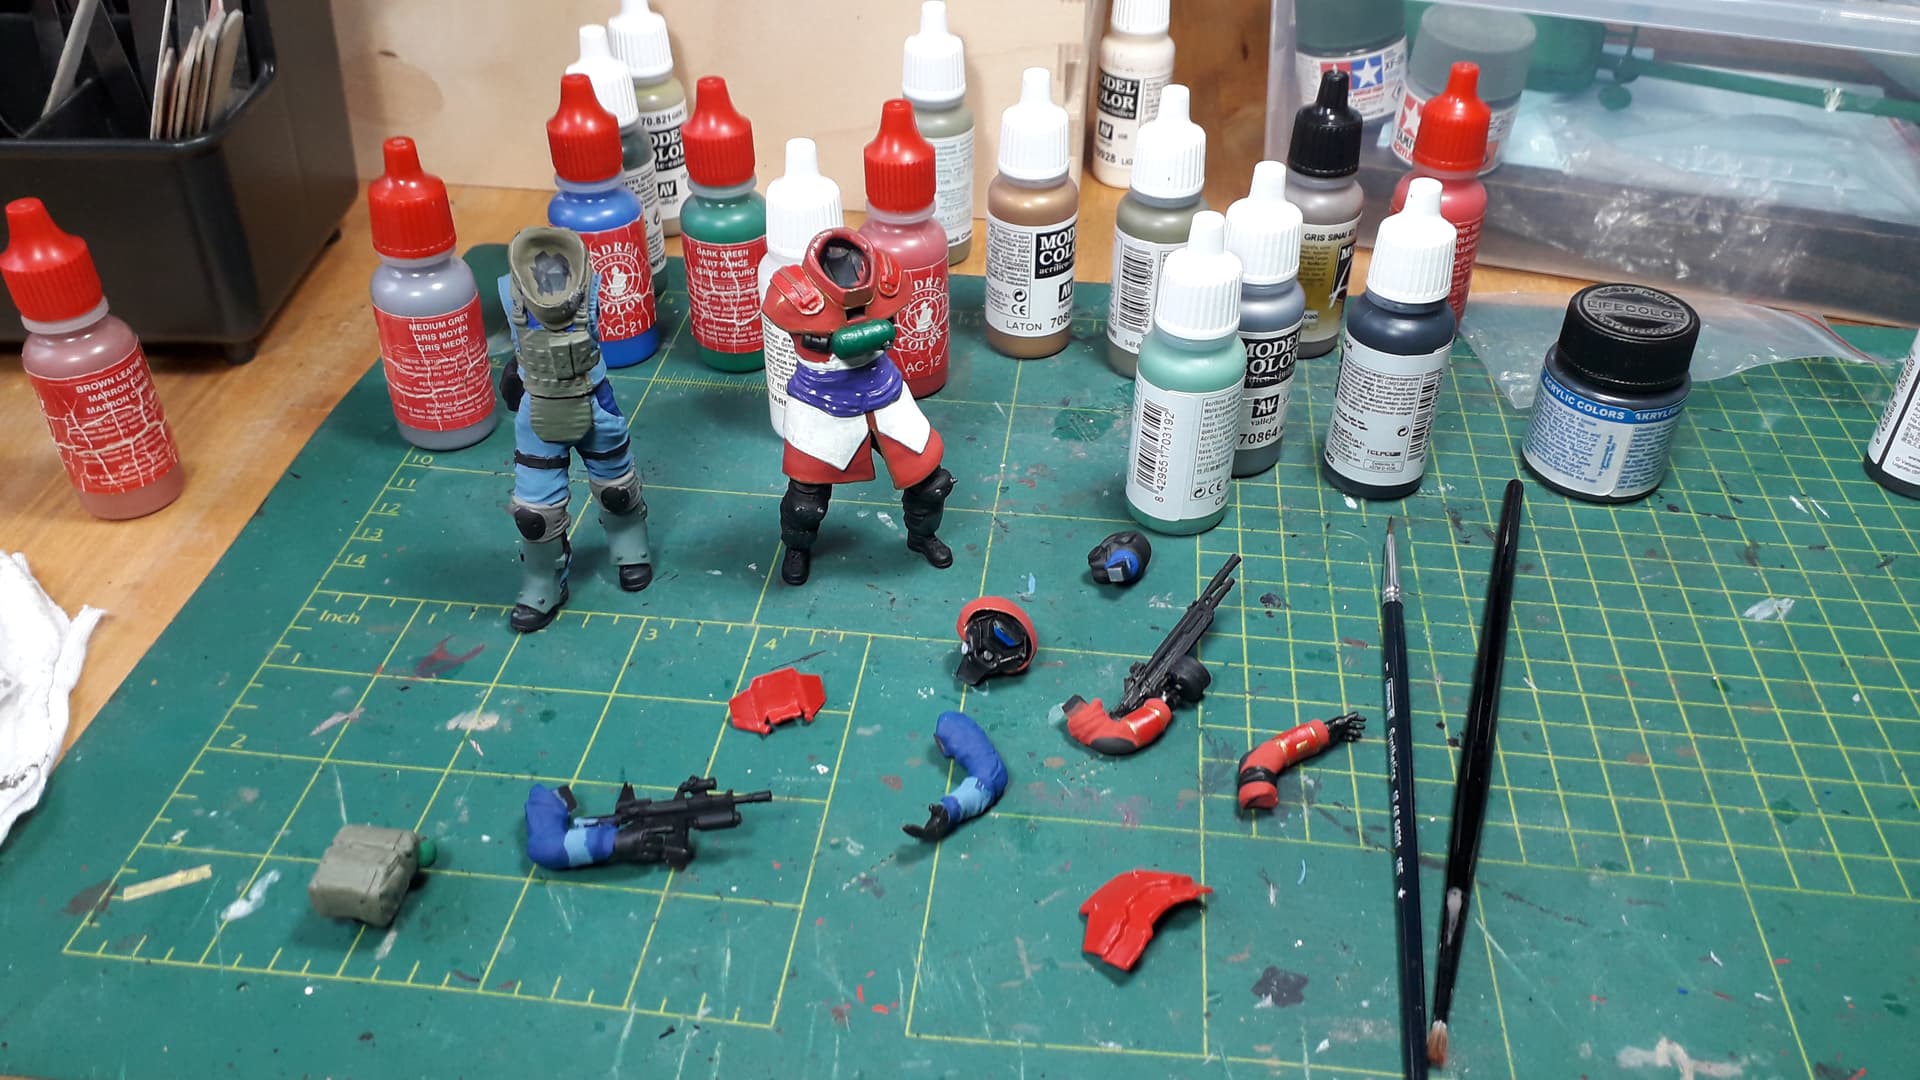
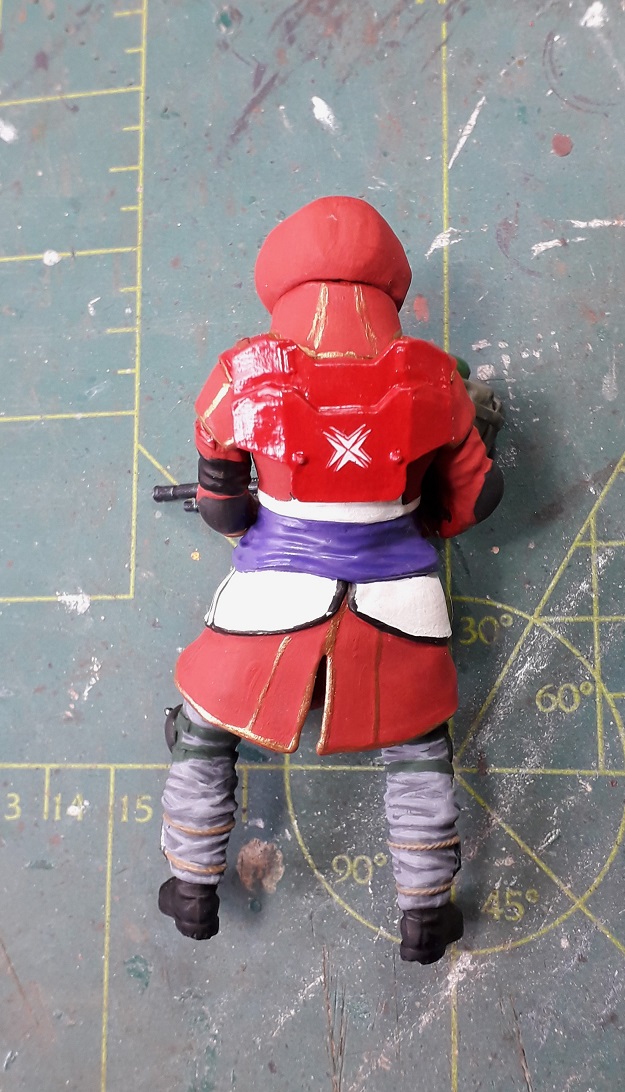
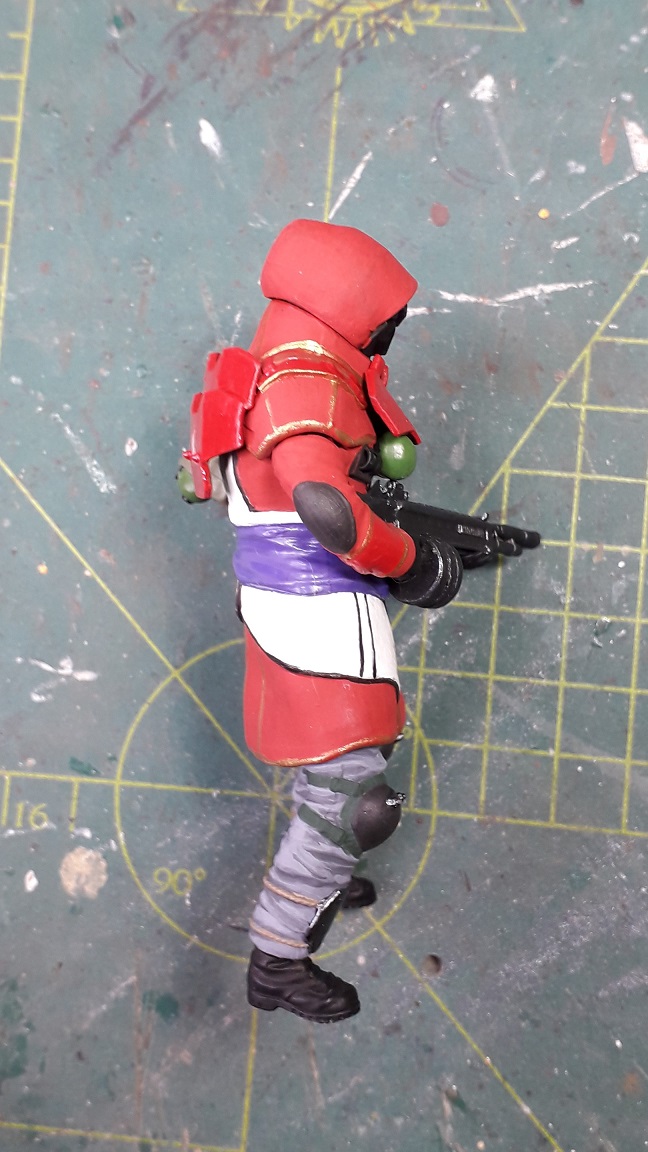
So the wife is laid up on the couch and the daughter is sulking in her room…time to throw some paint!
“Improvise, overcome, and adapt.” …![]()
—mike ![]()
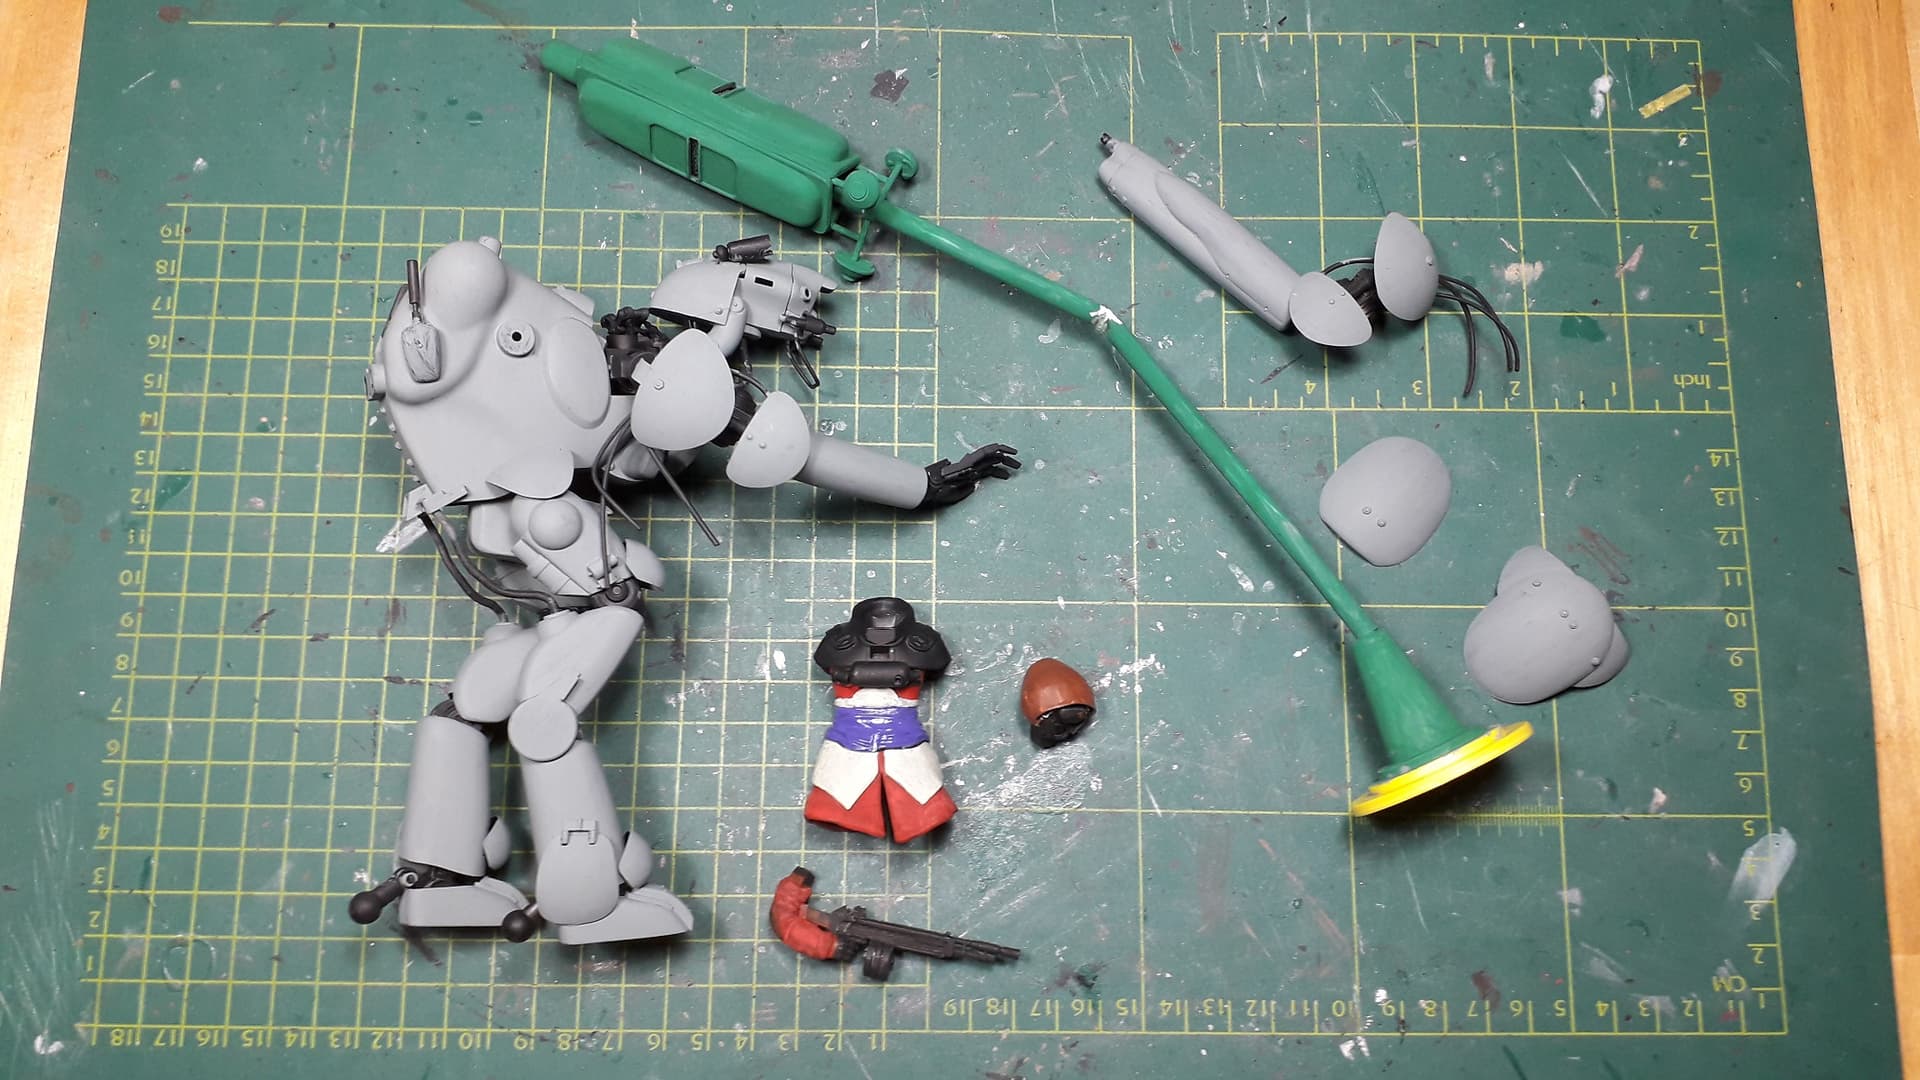
Finally… the number of to-do’s on my bench has been reduced to such an extent that I can continue working on this one!
I tried some coloursettings…
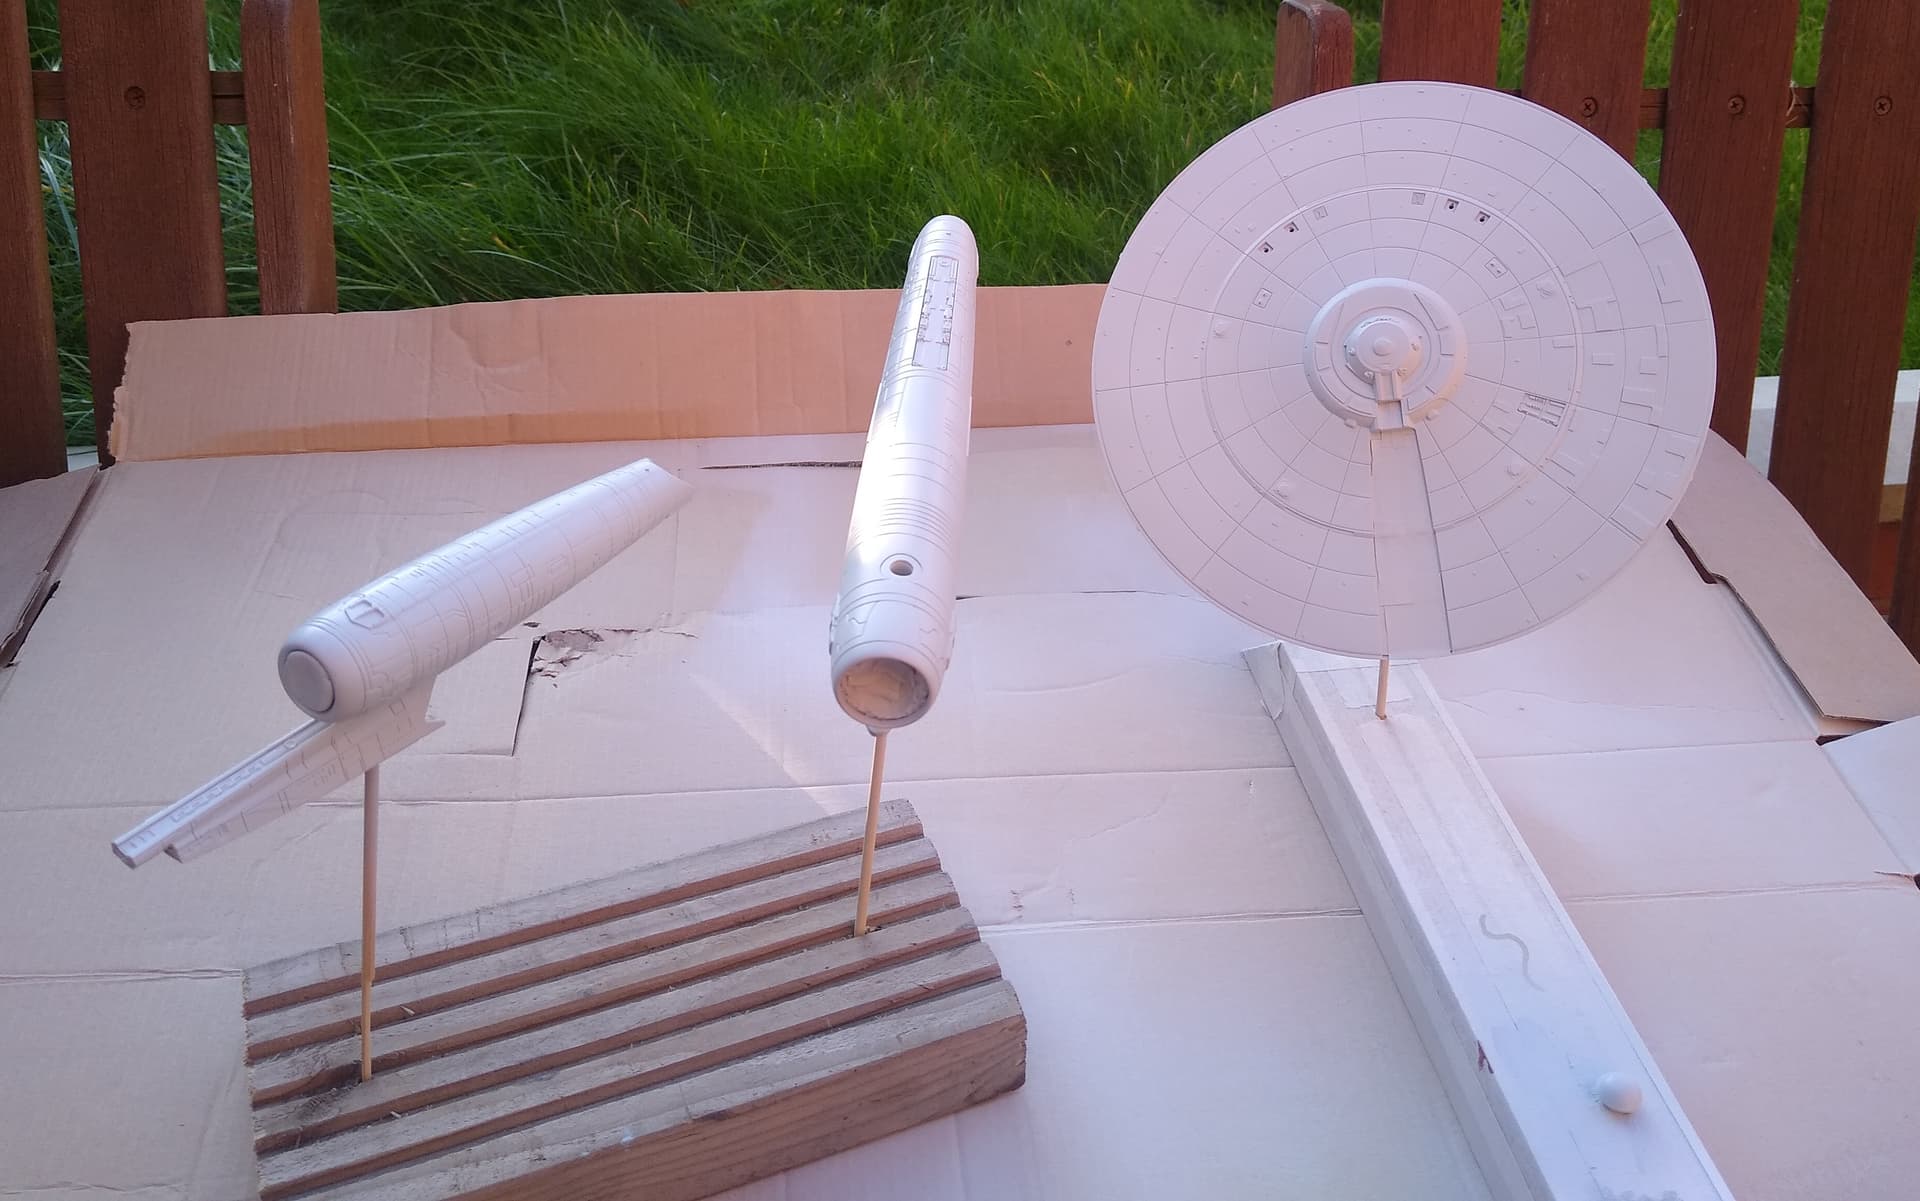
First day this week that has been dry enough to get outside and do some airbrushing, so took full advantage. Got the first coat on the Kelvin. I used Revell Aqua 371 Light Grey, a nice off-white that works well for Federation ships.
I’ll give it till tomorrow to properly dry and see if needs a second coat.
And he saves!!!
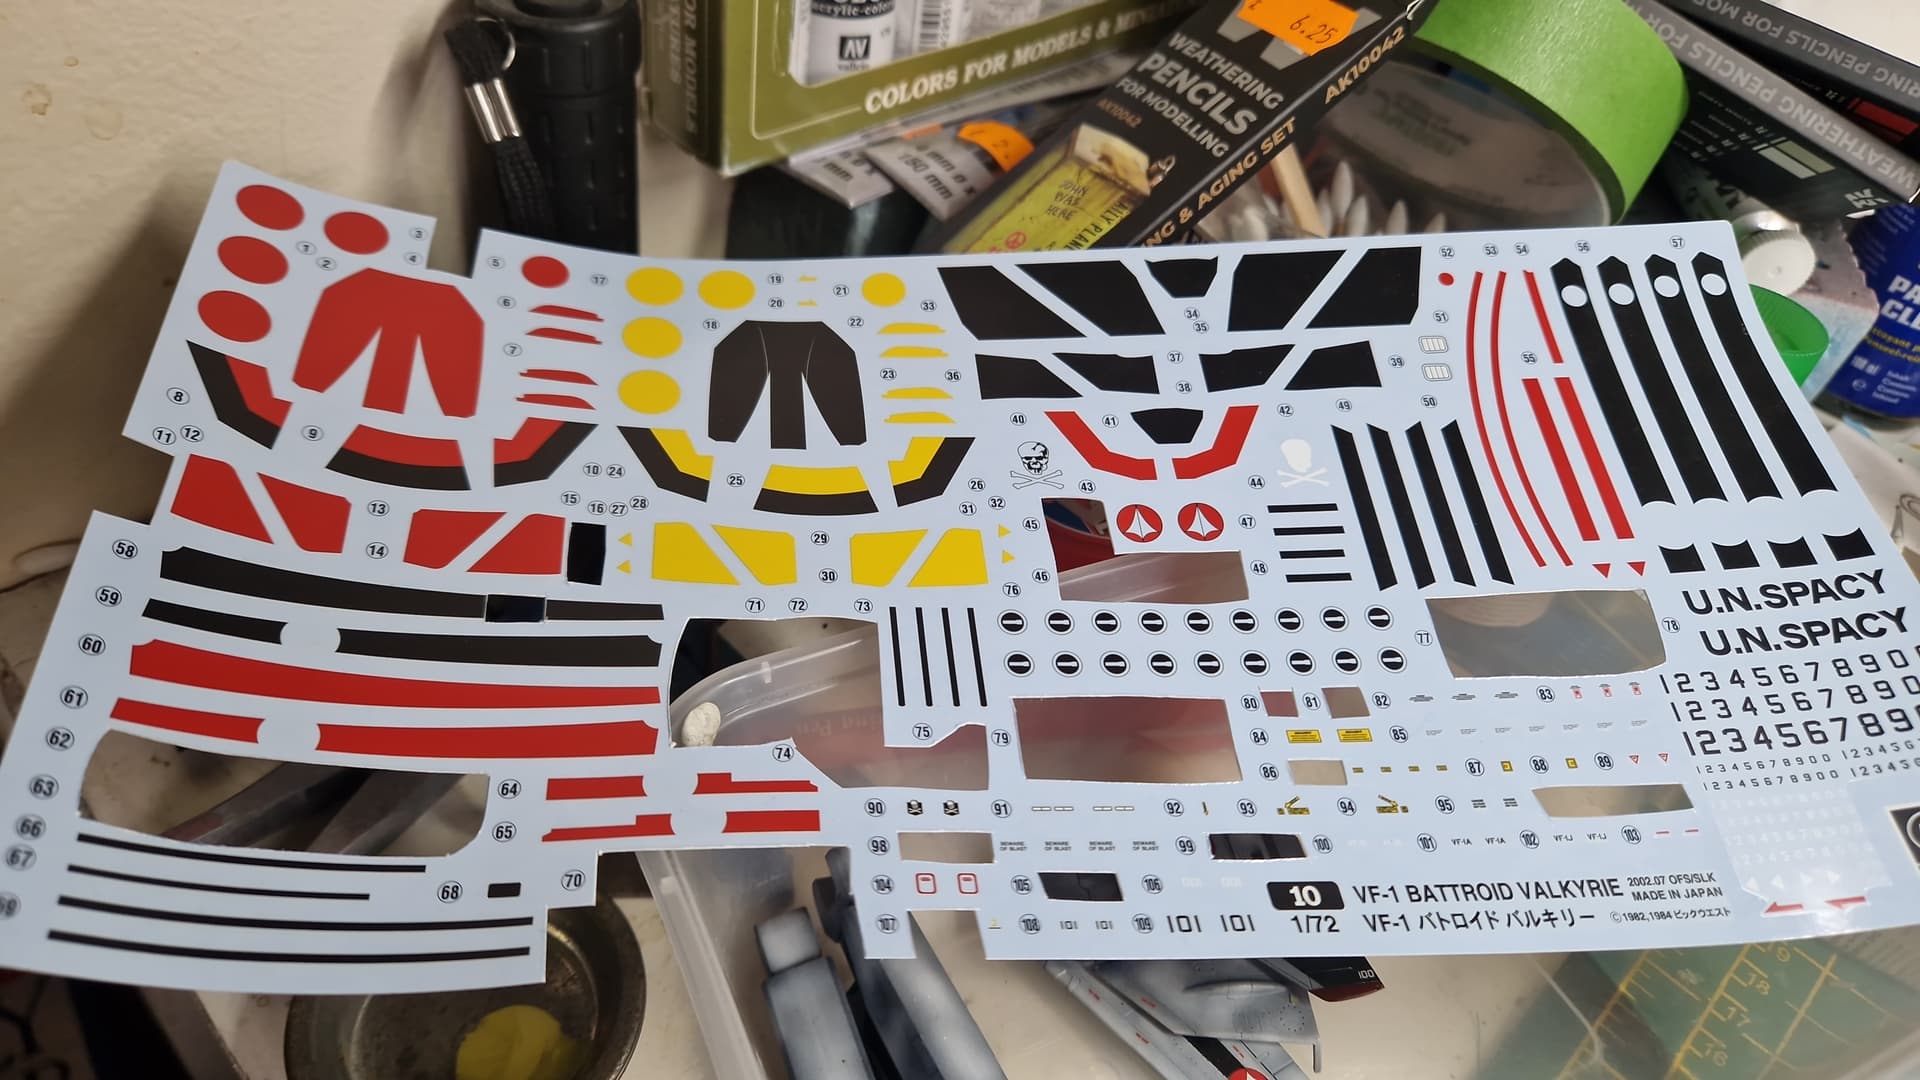
Just realised I put the decals on the wrong side!!![]()
![]()
![]()
Thankfully I canabalised some from another kit, just hope I’m right and don’t need them.
Till next time if I survive this death by decal!!
Decals are looking great.
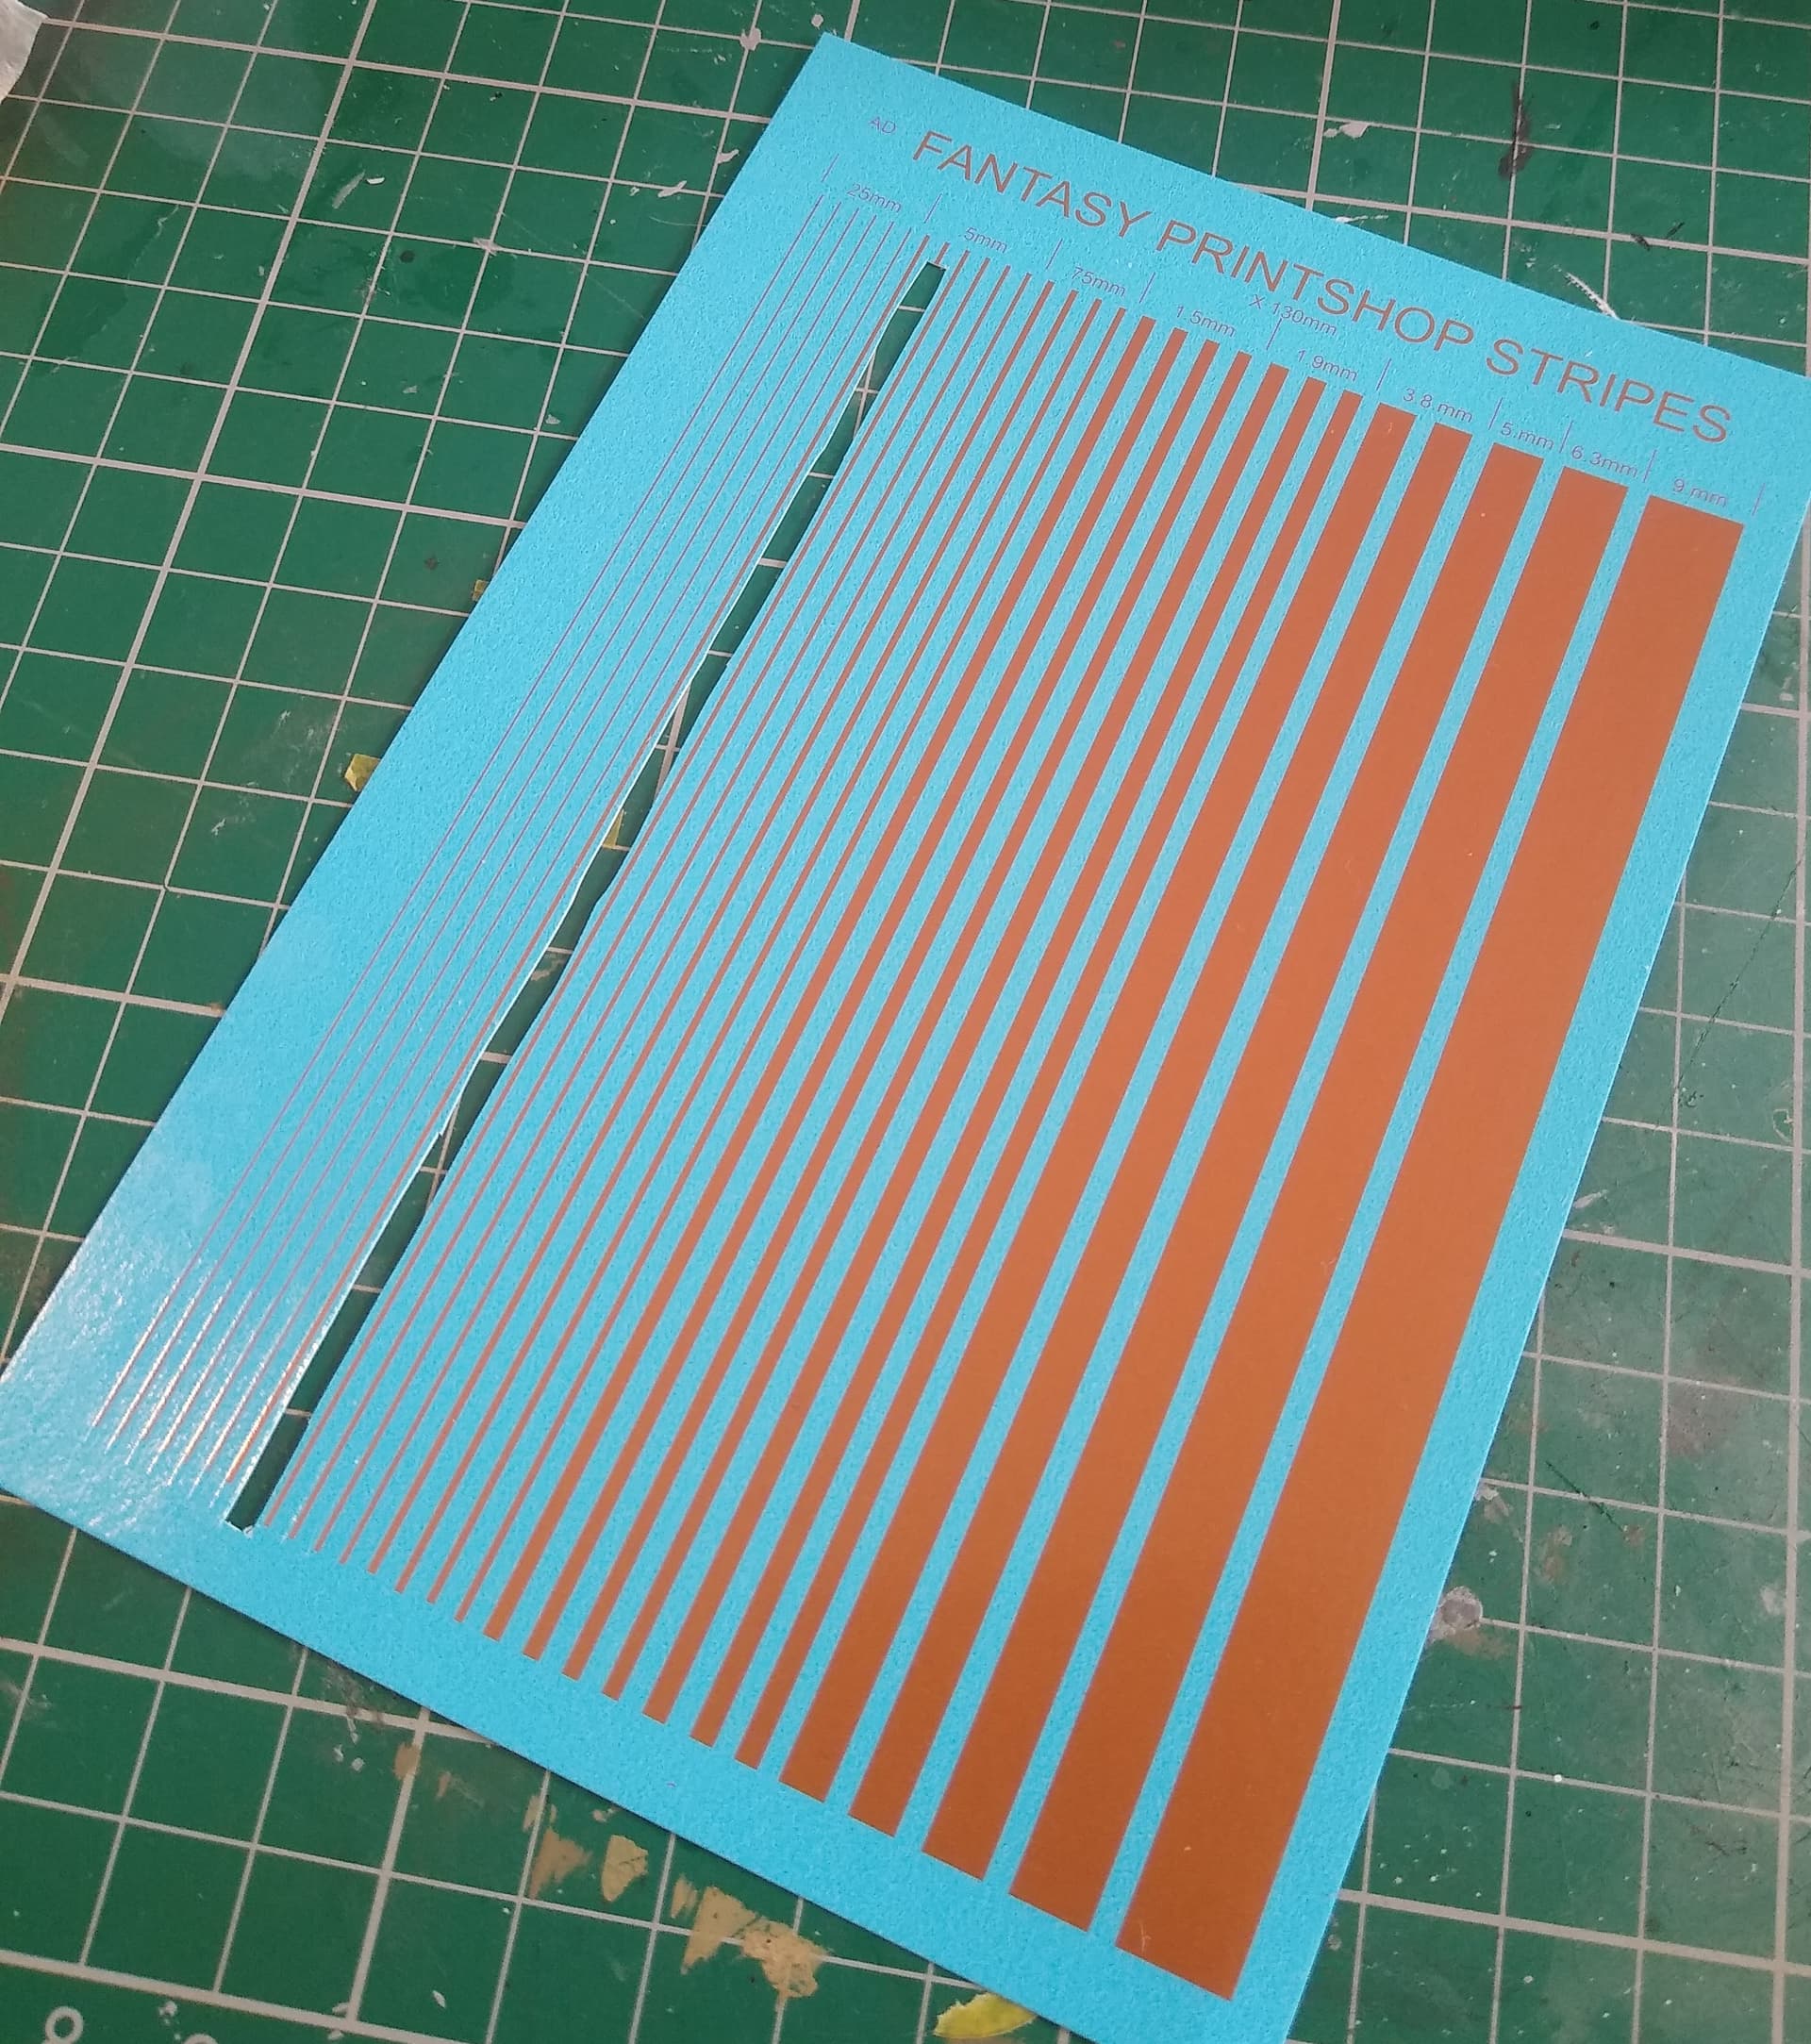
I gave the Kelvin a second coat today, while it’s drying I thought I’d do a bit more on the bussard collector.
It needs the ribs picked out in dark copper. Thought I would save myself a lot of time and get a neater finish with decals that masking and painting. Luckily I had a sheet of bronze stripes by Fantasy Printshop in my stash.
First lot on look good.
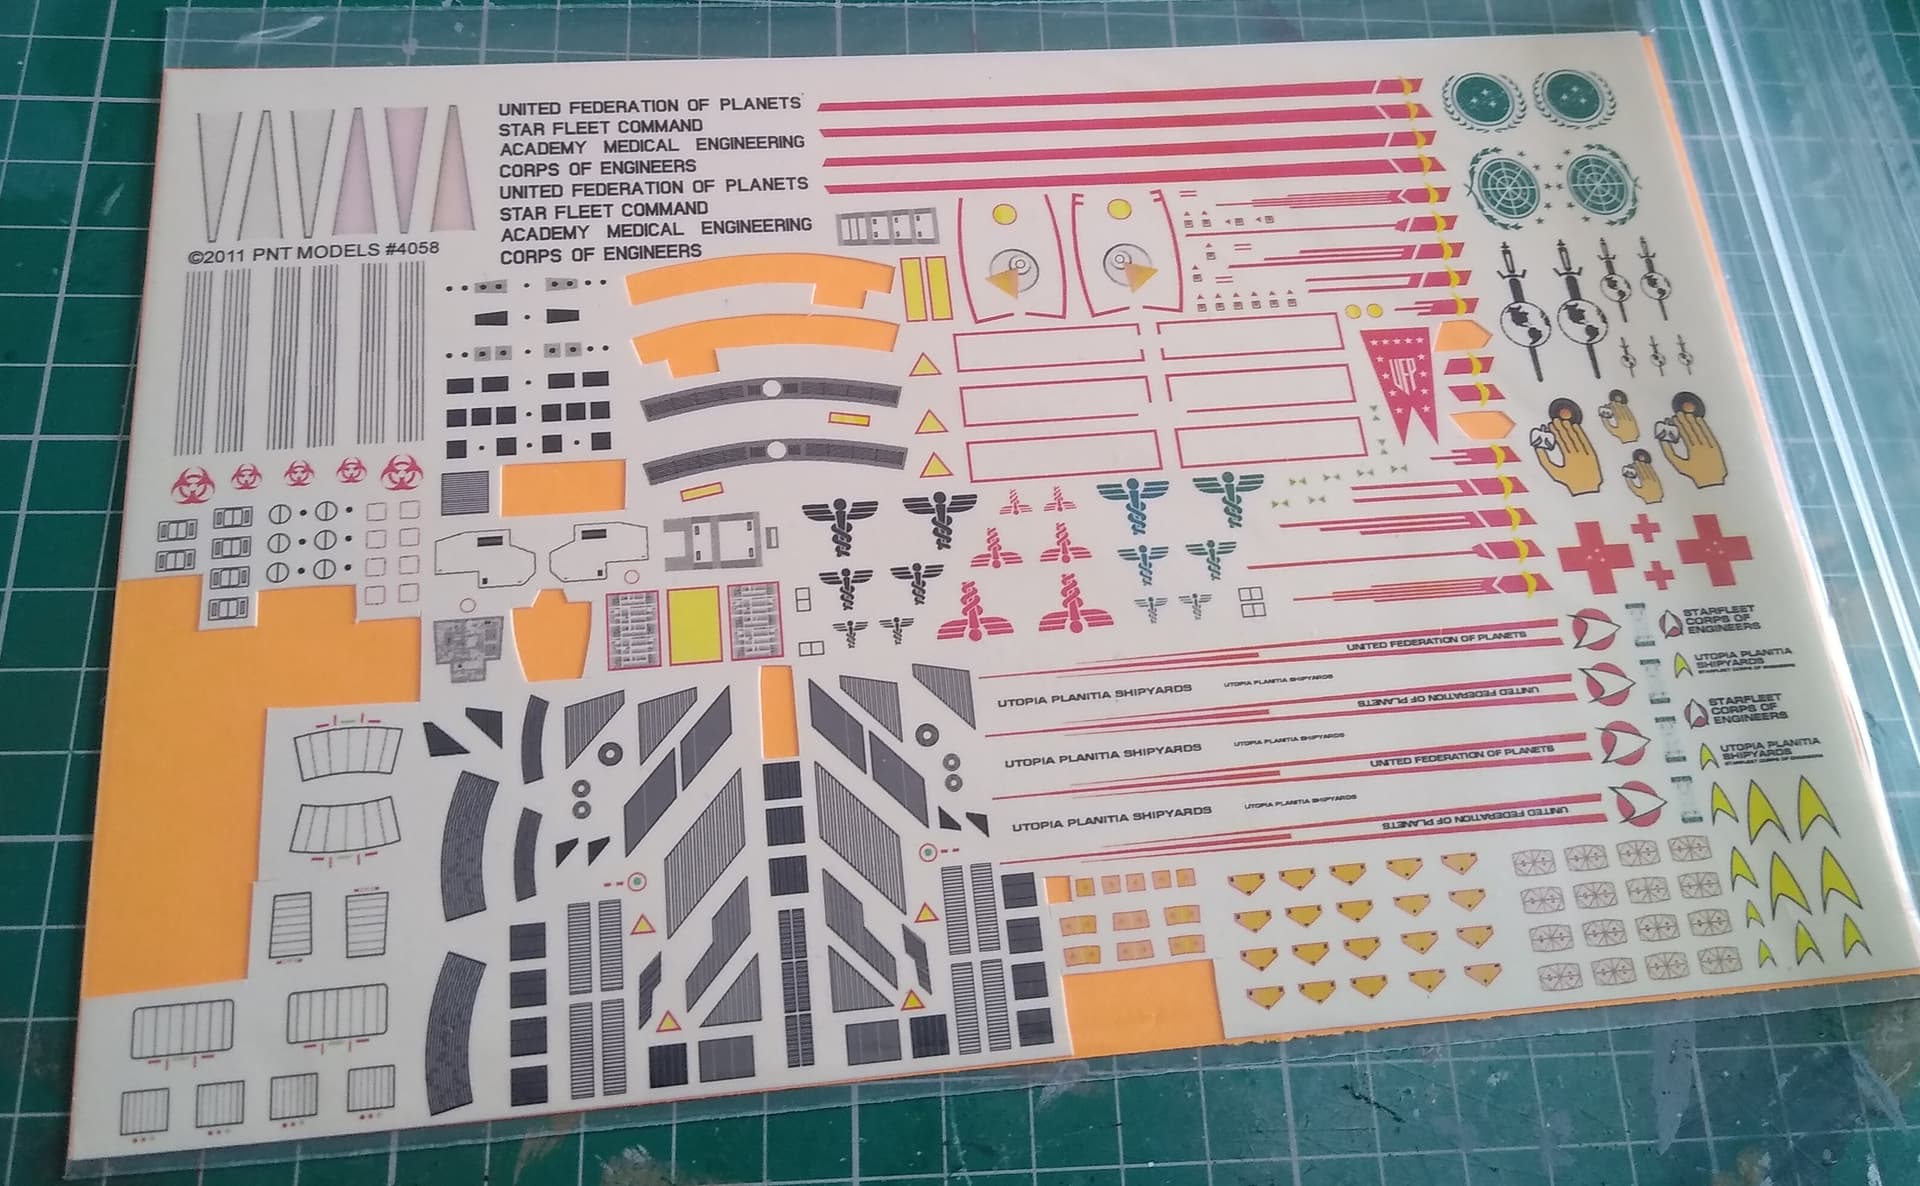
I’m also giving a lot of thought to adding some more markings from PNT’s Starfleet graphics sheet. Some stripes along the nacelle and Starfleet pennants. Might not be screen accurate, but I always thought the ship looks a little dull without them. I loved the Kelvin design, I just think it needs a little something extra.
But then as I plan on building a TOS style, would I better keeping it minimal to show the differences?
What does everyone else think?
Edit: forgot to add the photo of the PNT decals.
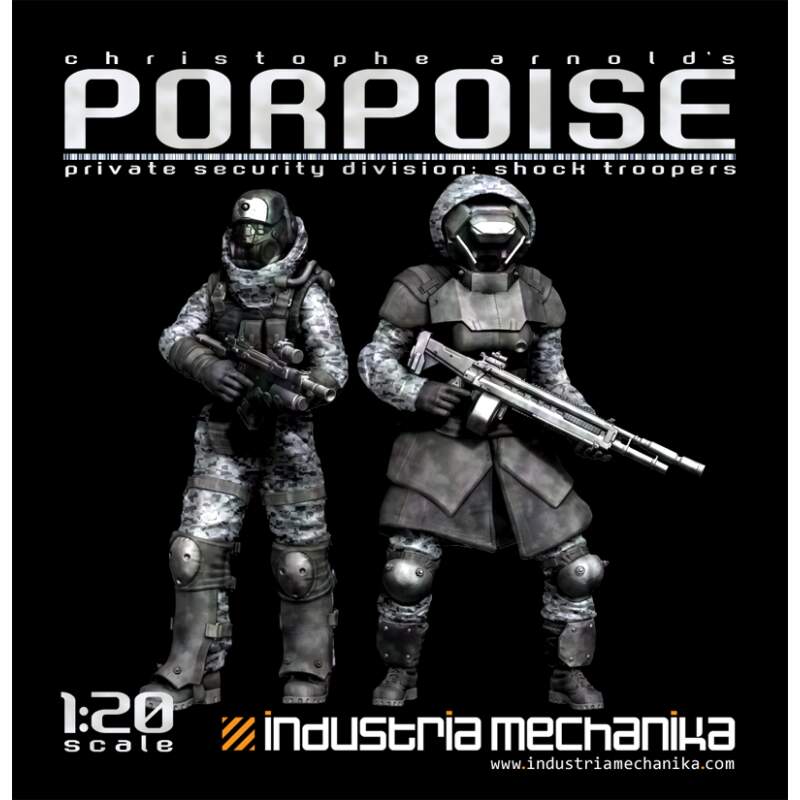
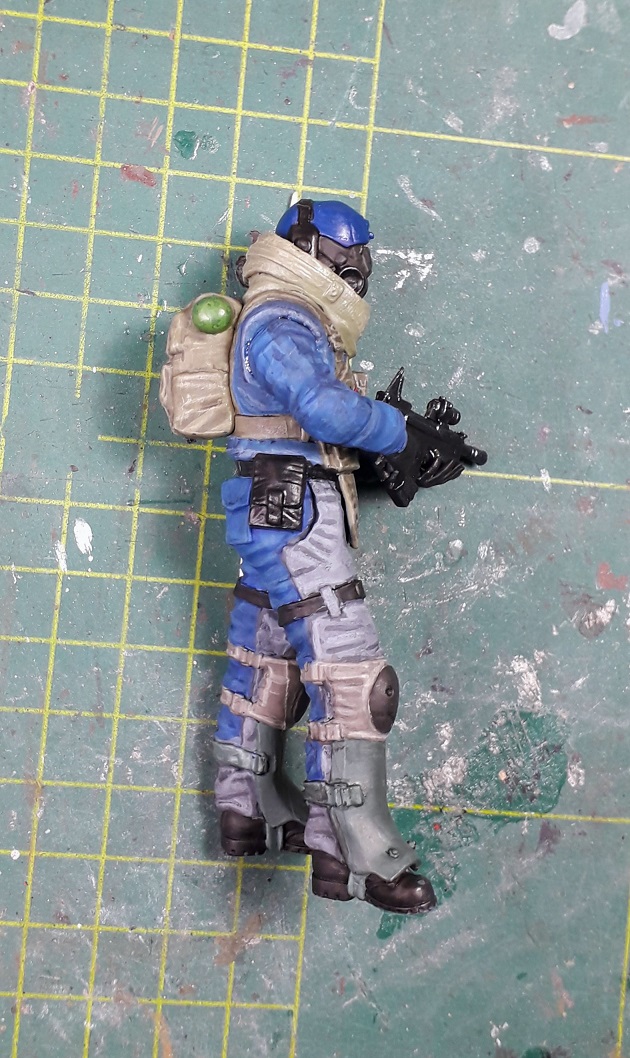
Ron, that looks interesting! Did I miss your background story or is it strictly need to know? ![]()
Looking forward to see more - very stricking colors! ![]()
![]()
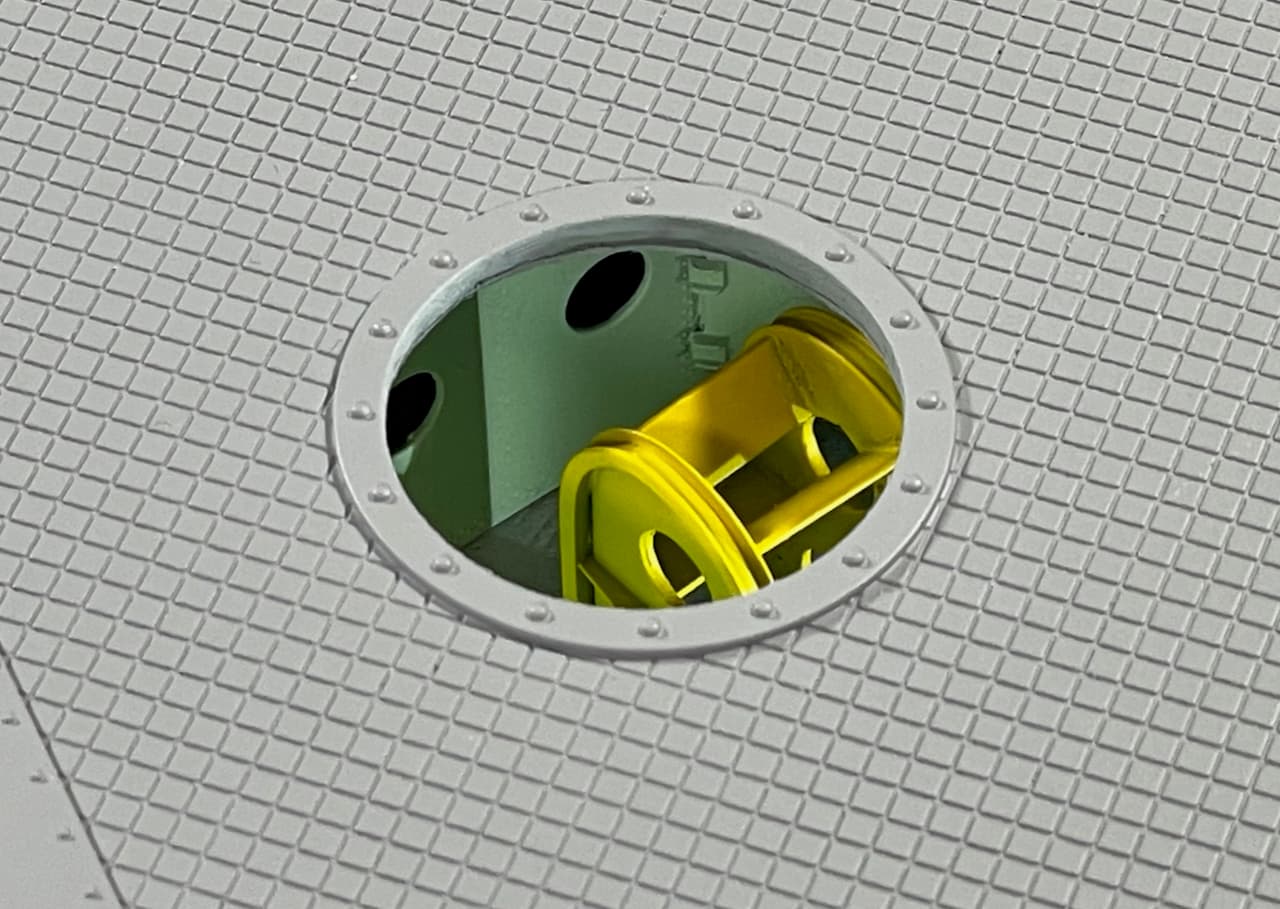
This week, the plumbers finally arrived to rough-in the ceiling pipe works — after all the dry-wall had been riveted and painted — of course! ![]() And they made a real mess of the place.
And they made a real mess of the place. ![]()
![]() … And never mind that foreground crap… they’re still pouring concrete along the inner rim!
… And never mind that foreground crap… they’re still pouring concrete along the inner rim! ![]()
![]() …
…
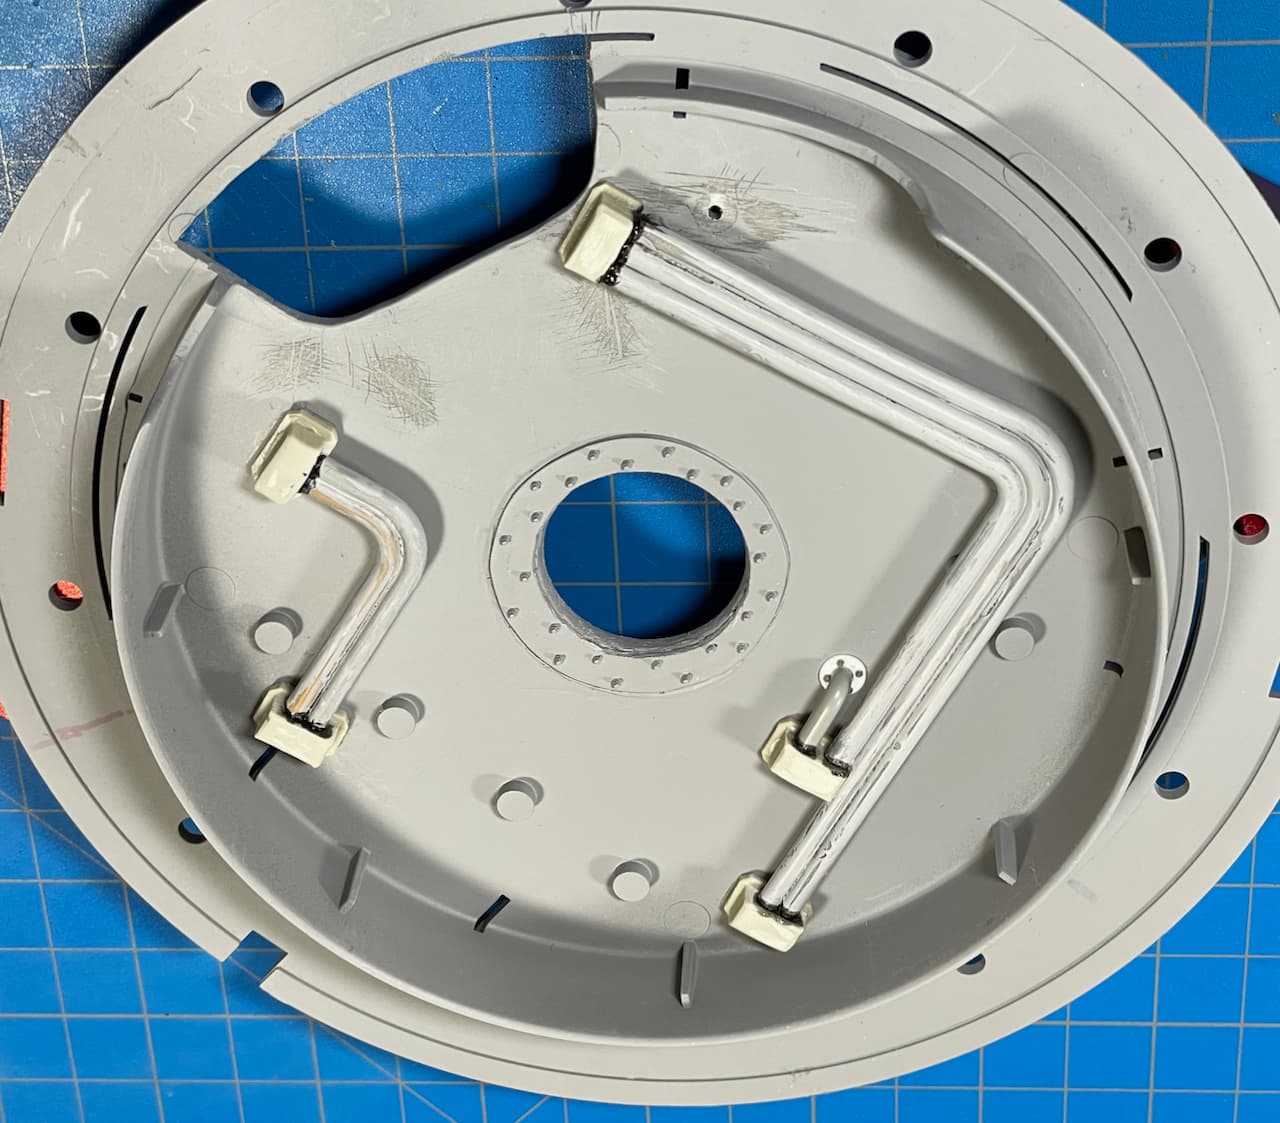
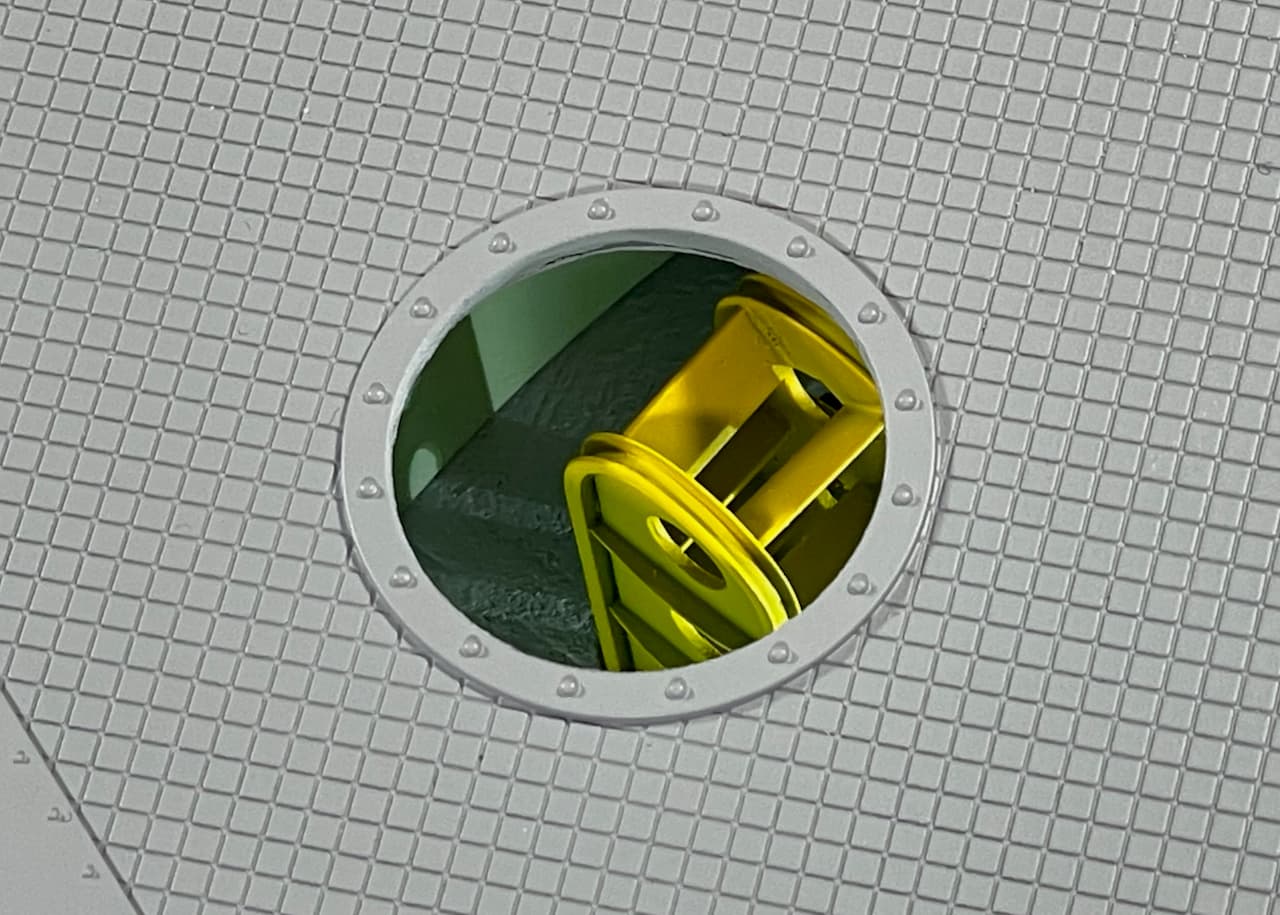
I used-up some of the sproogetti pipes from earlier on and made a flange and added some resin block greeblies found at my local scrap-heap. ![]()
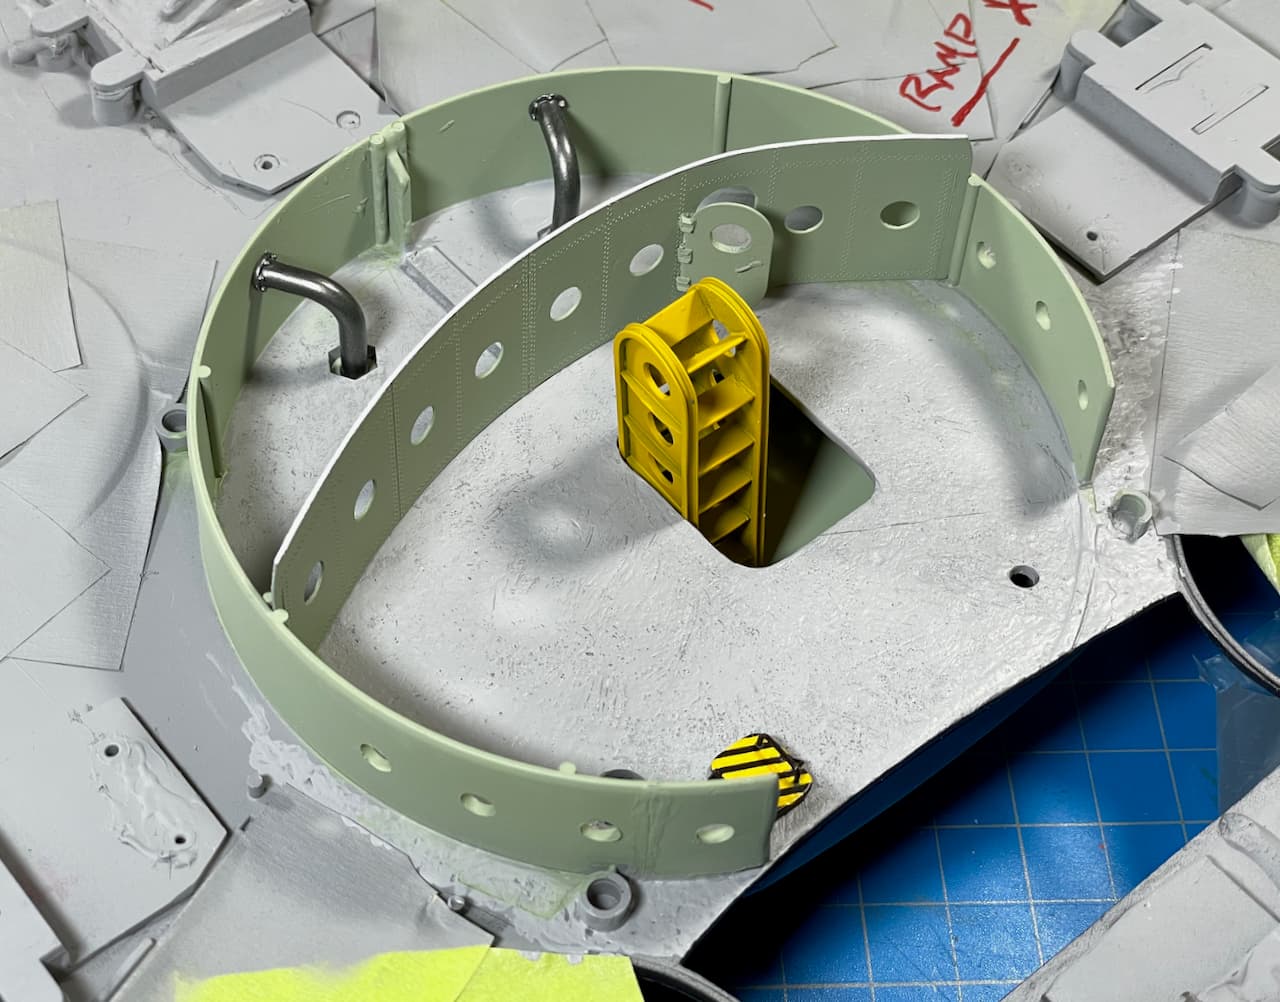
Unfortunately, my nice inner drywall had to suffer a bit — got chopped-down for ceiling pipe clearance. ![]()
![]()
![]() “Saw” it coming (pun intended).
“Saw” it coming (pun intended). ![]()
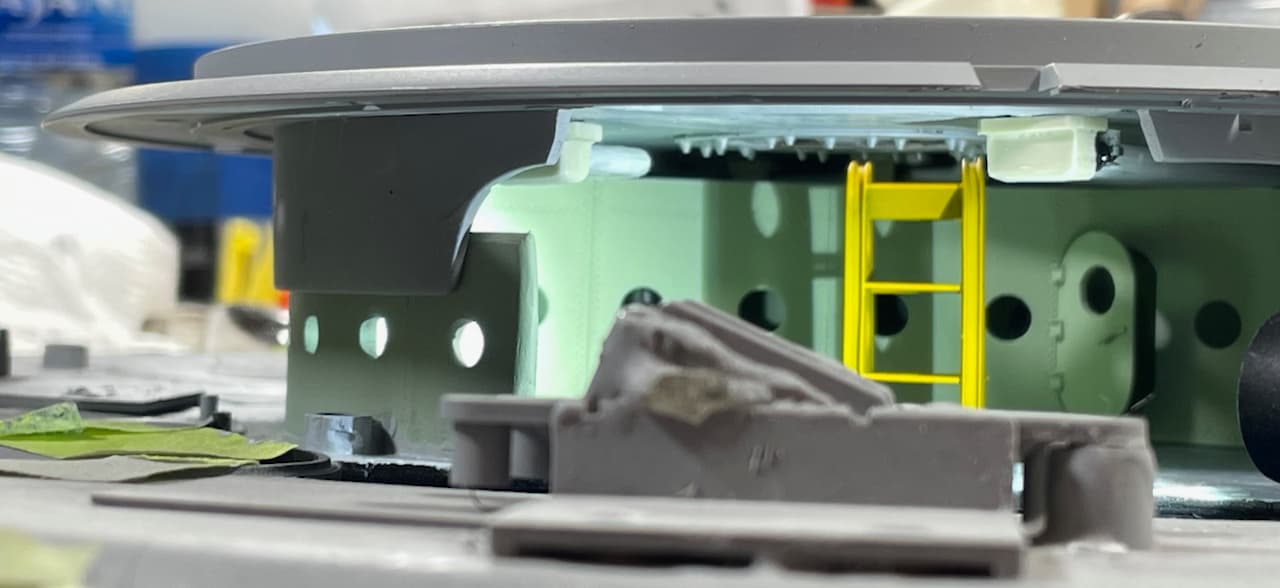
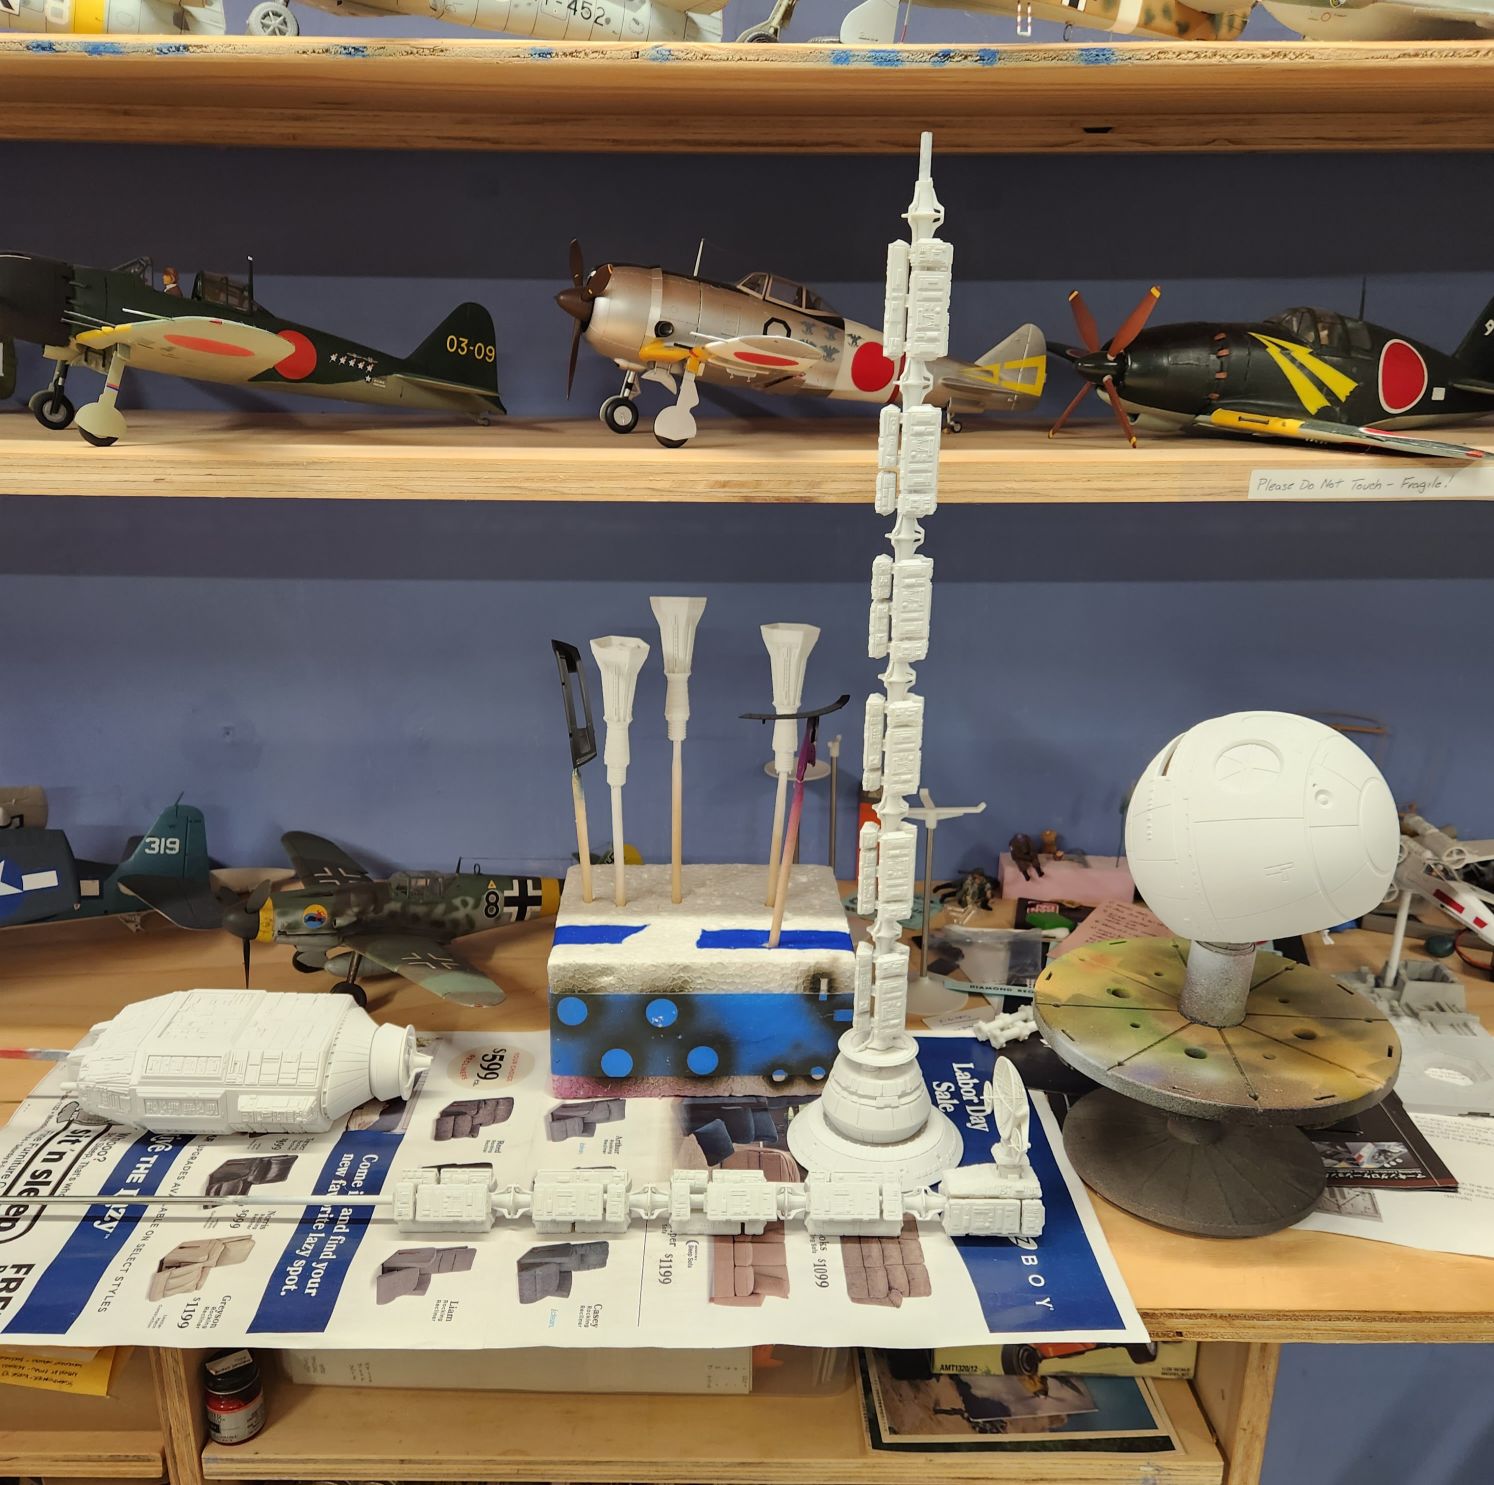
The good news… things are actually coming together now. ![]()
![]()
The bomb lifting tower is still being fitted below deck and is drunk-leaning at the ship’s bottom dome level. Eventually, it will be chopped a tad (1 or 2mm) off the base for bomb clearance. ![]()
Now if I can just keep the glass, electrical, and rocket scientists at bay for a time! ![]()
![]()
![]()
![]()
“I am still sooooo very lost!” ![]() …🫨
…🫨
Thank’s for having a look at my reality!
—mike …![]()
Your “reality” is awesome!
I did get a base of matte white on it over the weekend and this afternoon went over it with more white to touch up. Then I did the black on the window bits. I am letting it sit for now and hopefully tomorrow will mask and apply the gray panels as depicted on-screen. And then I just put the bits together and try not to break it while hanging it from my office ceiling.
Nice catch, especially that it now appears iMech is out of the resin business.
Regards,
M
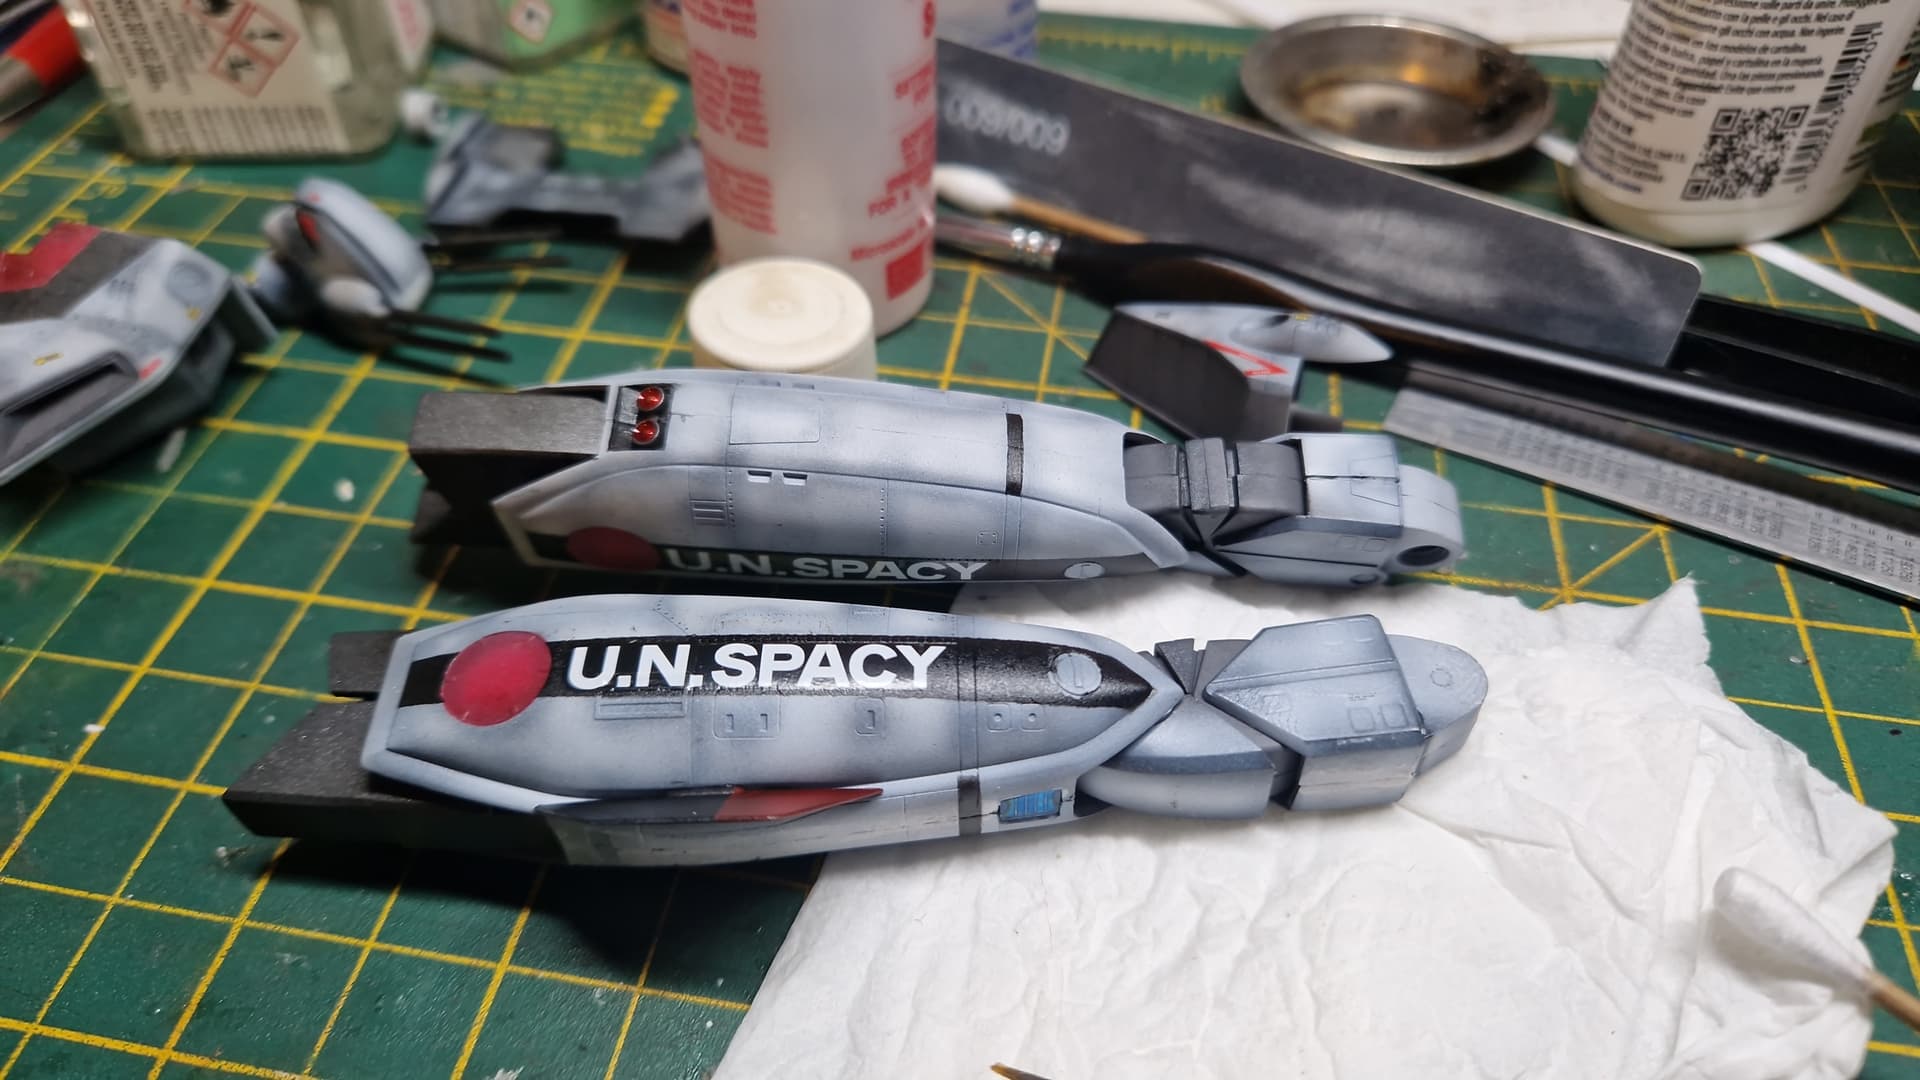
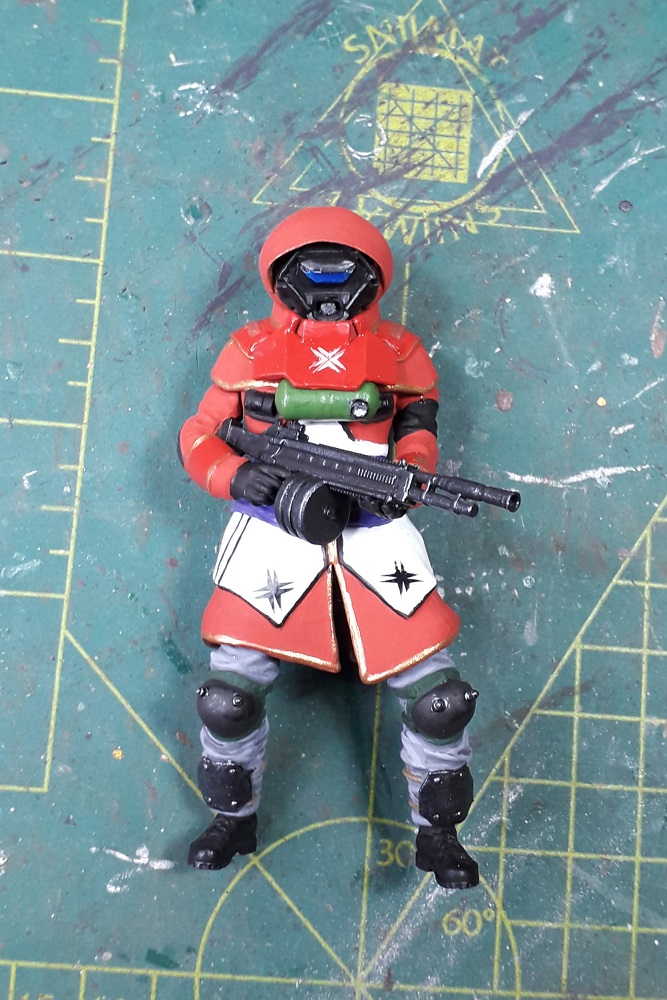
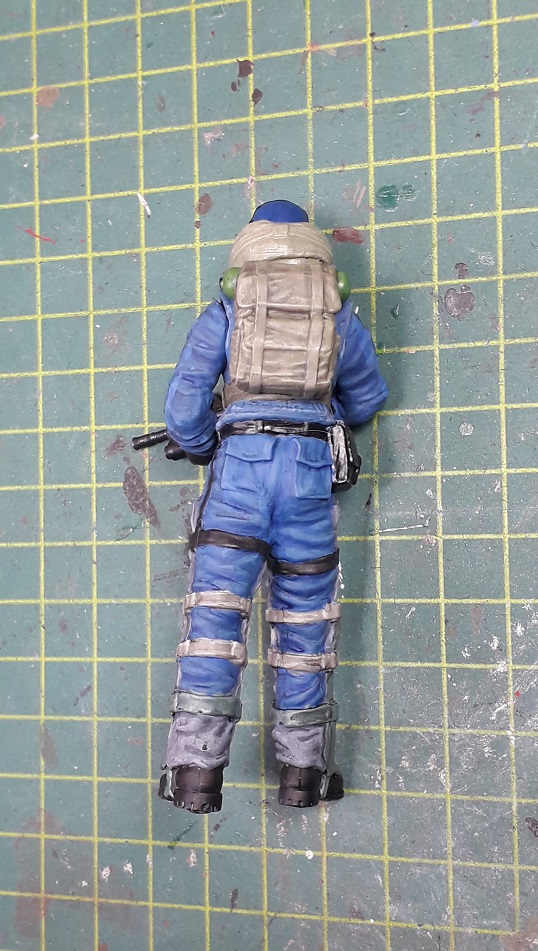
That is one eye catching paint job!
I really like that look. ![]()
![]()