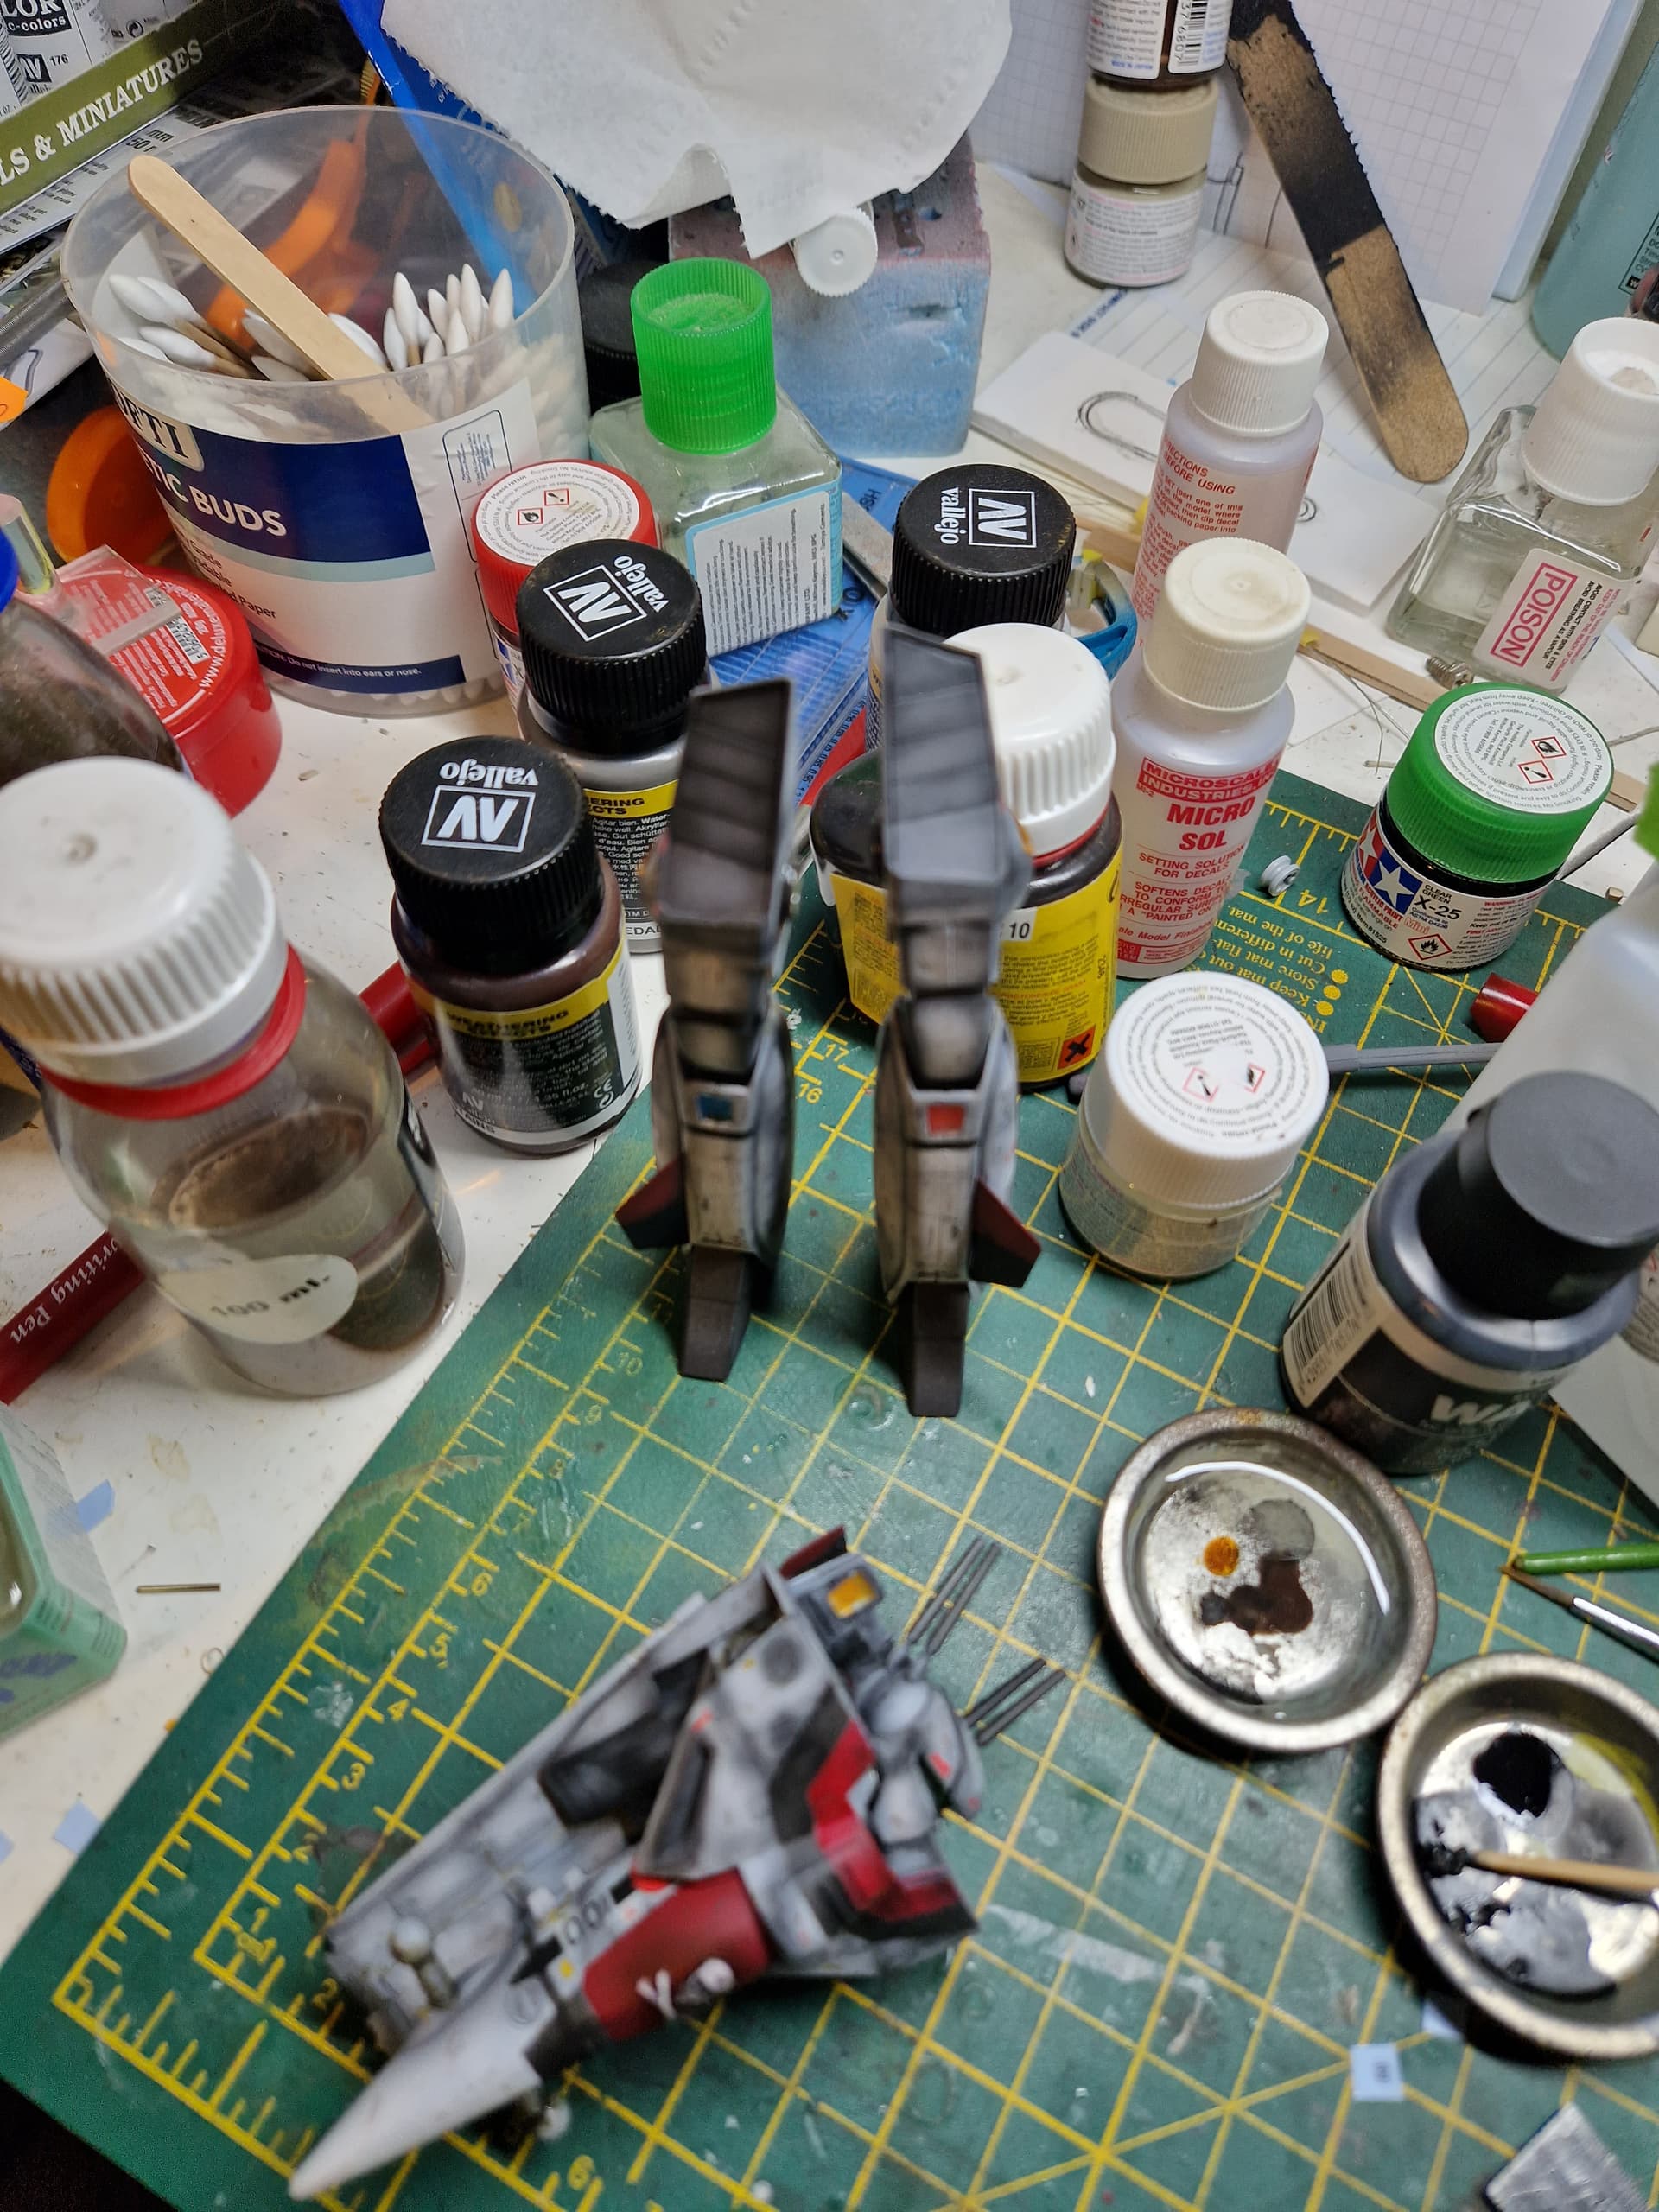
Nice color (colour) choices on both figgies! ![]() …
…![]()
—mike
Nice color (colour) choices on both figgies! ![]() …
…![]()
—mike
Really very clever detailing Mike… it’s looking super cool mate … and again, those sprue pipework parts are genius ![]()
The figures are interesting, very colourful. Be great to see it all come together on the base.
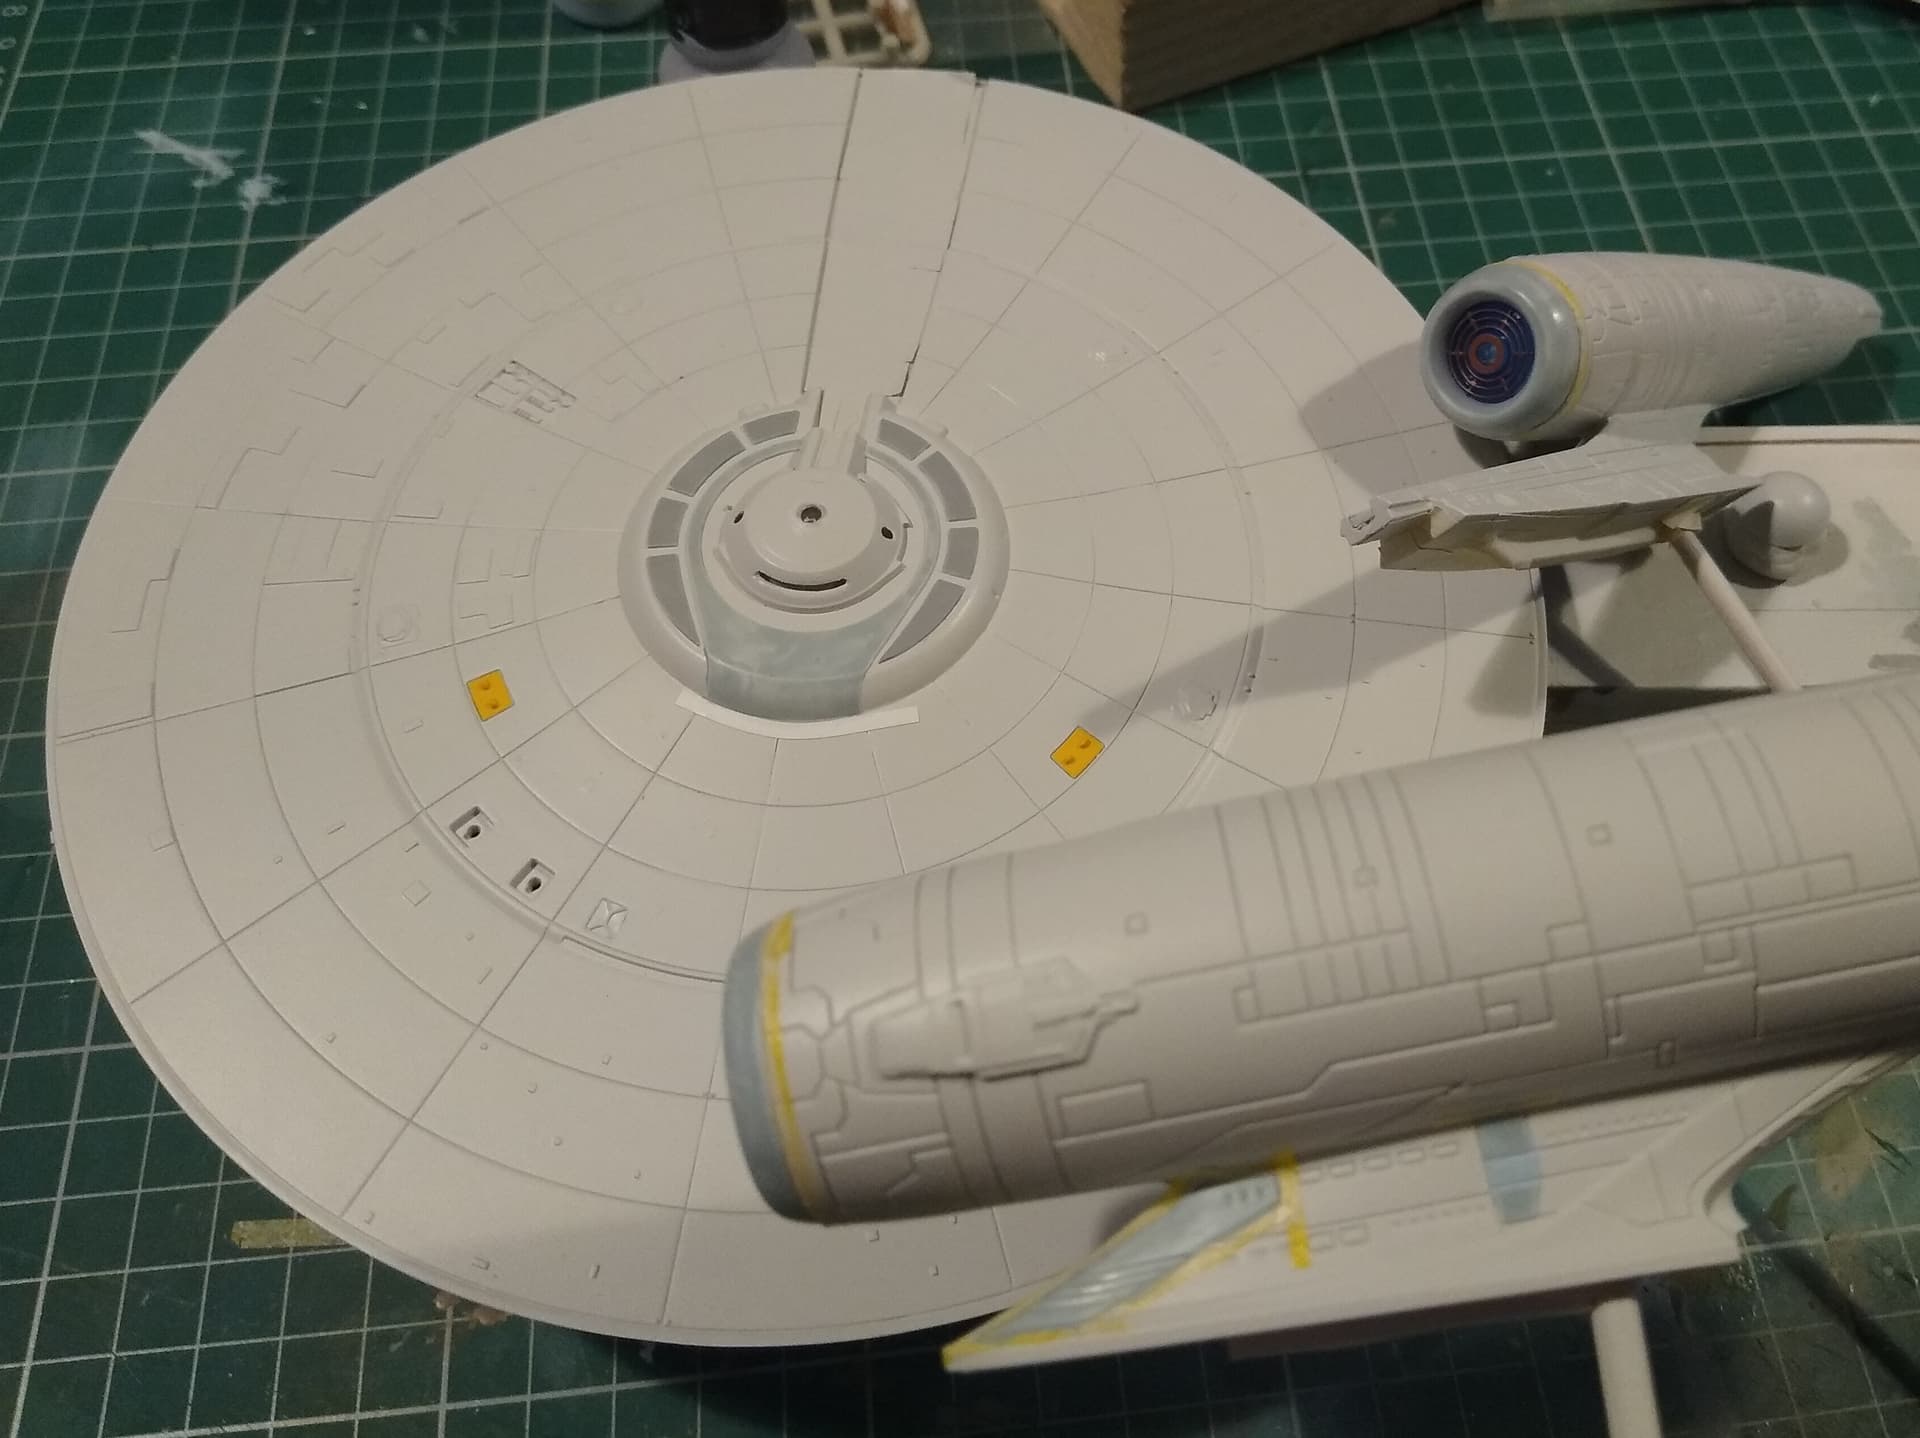
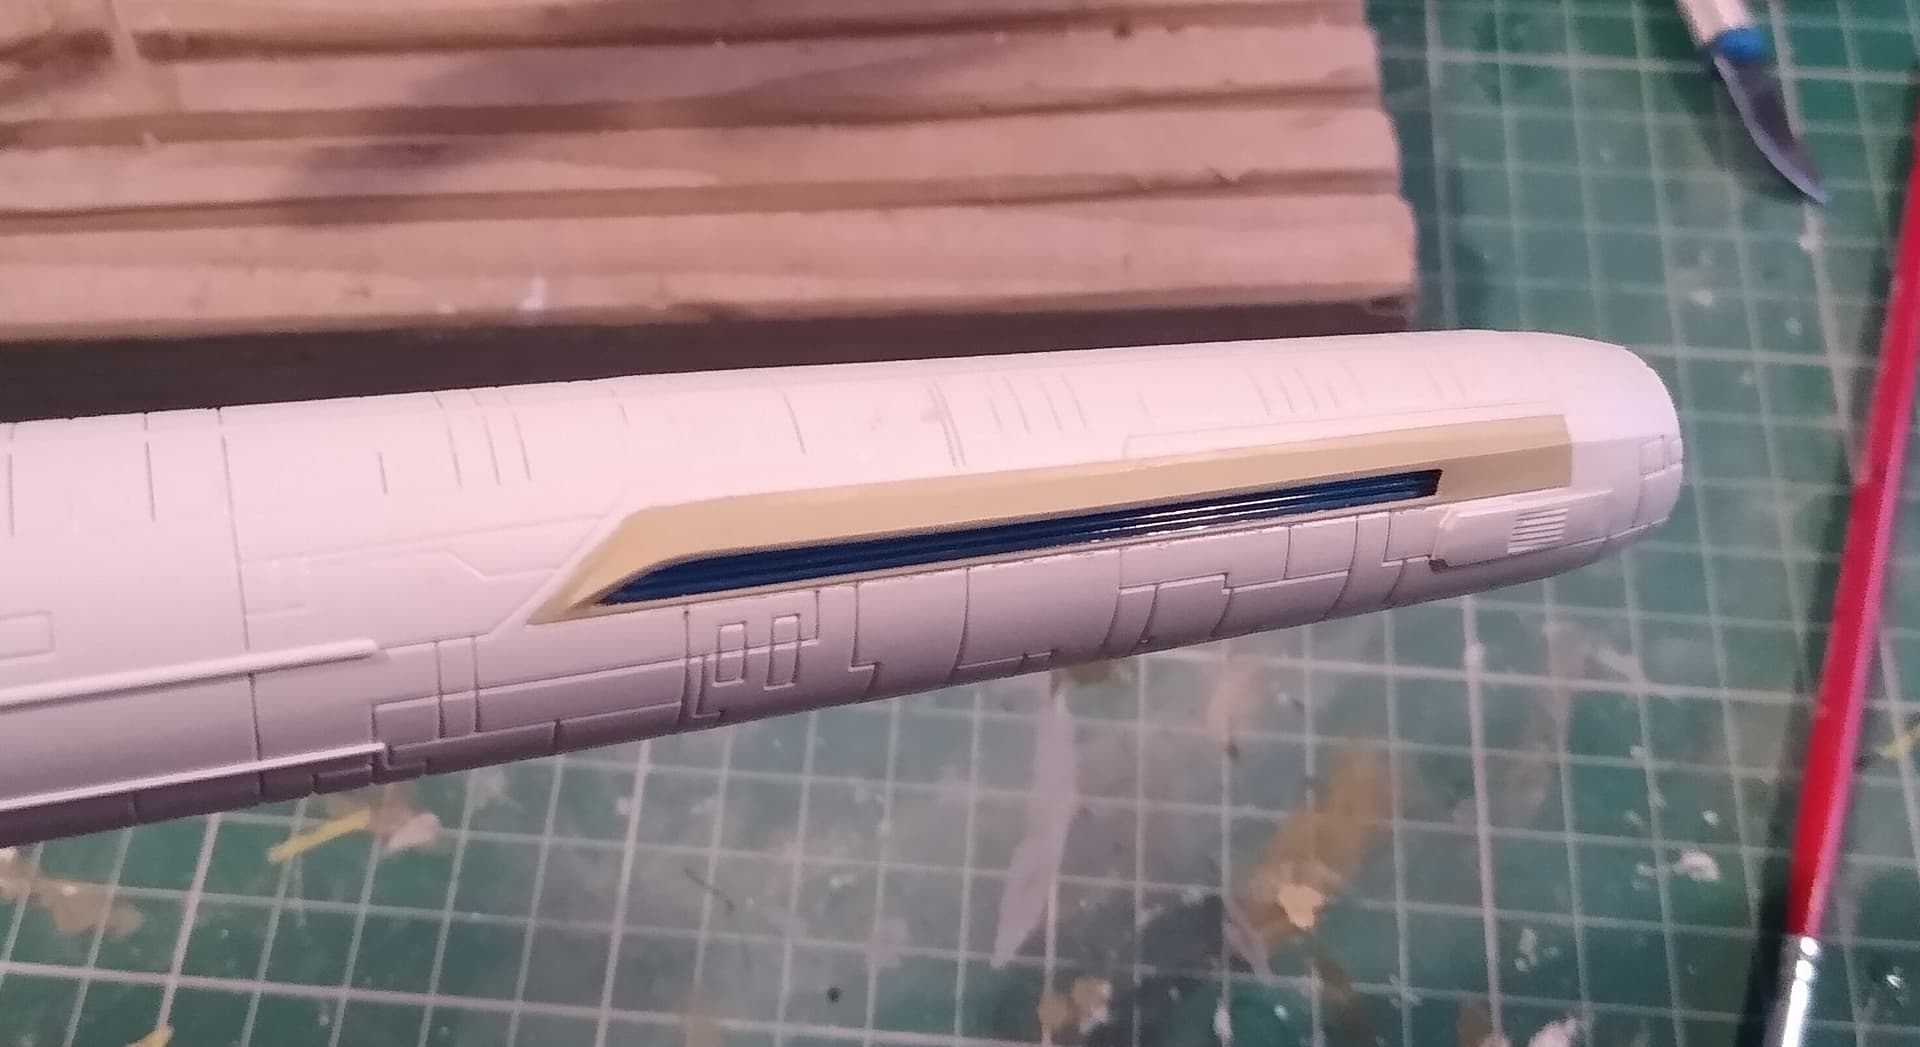
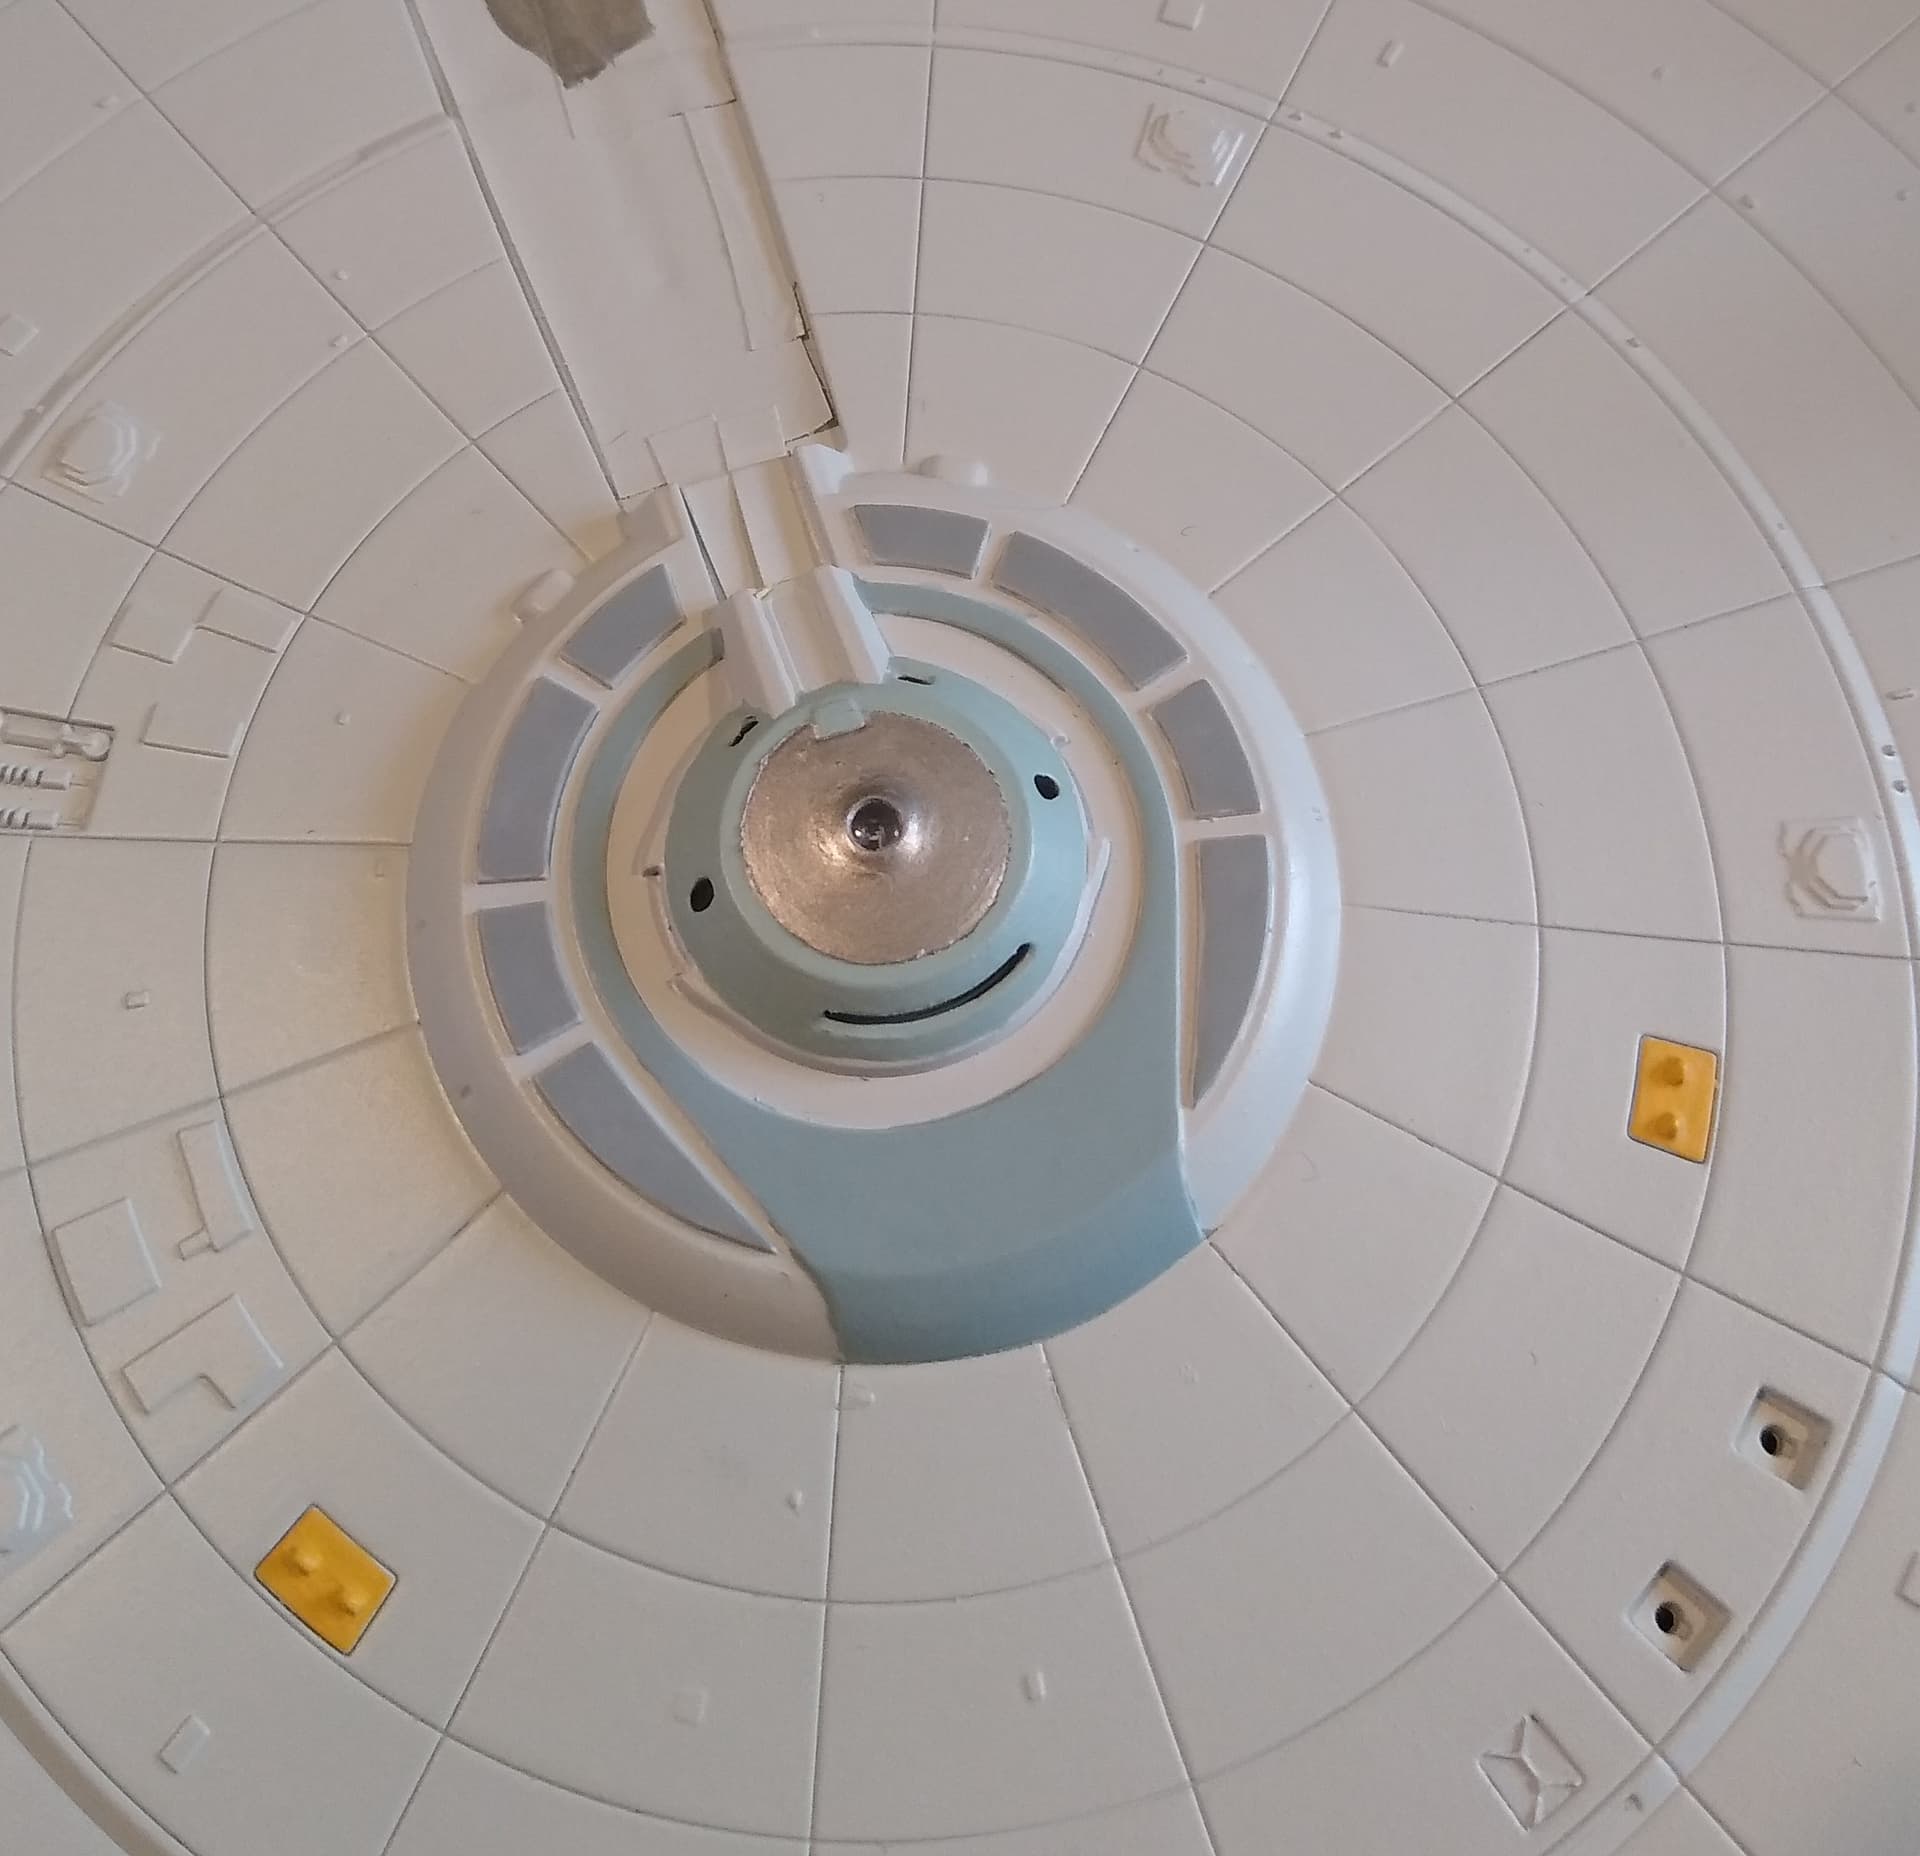
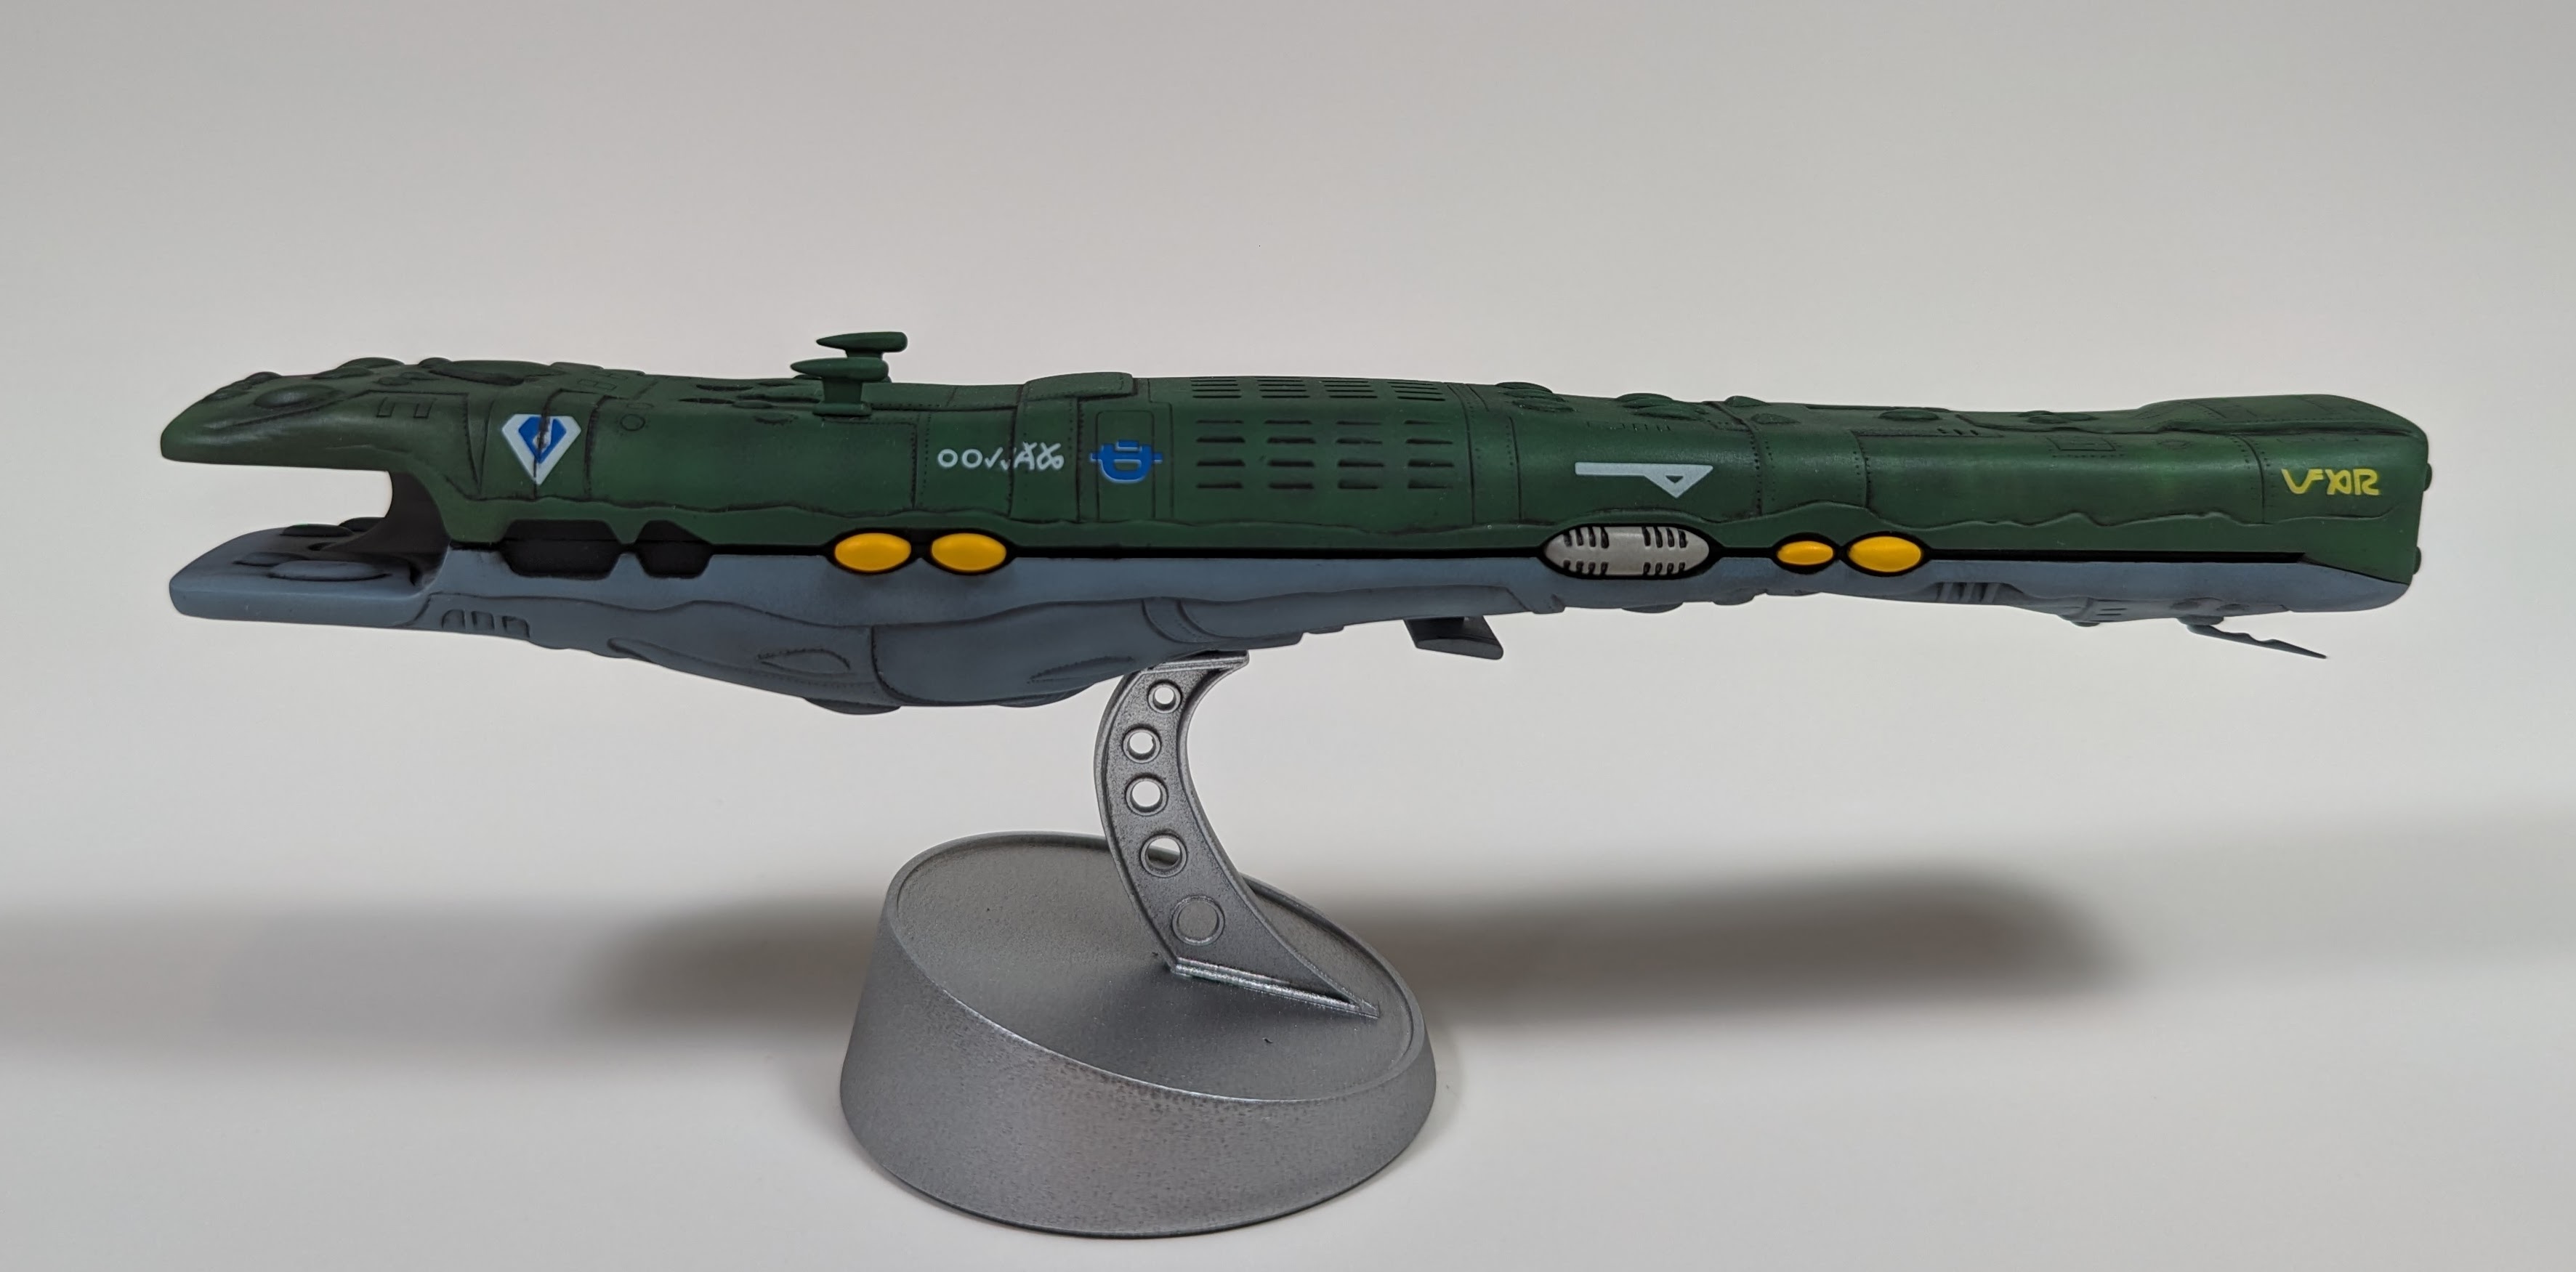
Over the last couple of days I’ve been adding a bit of colour to the Kelvin. I used a couple of different light blue greys to pick out some panels around the bridge, deflector housing, pylon and nacelle. I tried to pick similar colours to what are seen on the Enterprise refit. I might paint the bridge dome in a duck egg blue and silver cap, not decided on that yet. Oh and of course, the phasers in yellow.
Think they need another coat as the colours are a bit on the weak side.
I had time to paint mine yesterday and today I gloss-coated it. Tomorrow I’ll carve out some time to put on the decals. There is no placement guide for the decals, just a poor picture of one side of a built-up model that shows where about a third of the decals could go. The box art shows a completely different scheme. So I’ll just make it up as I go along.
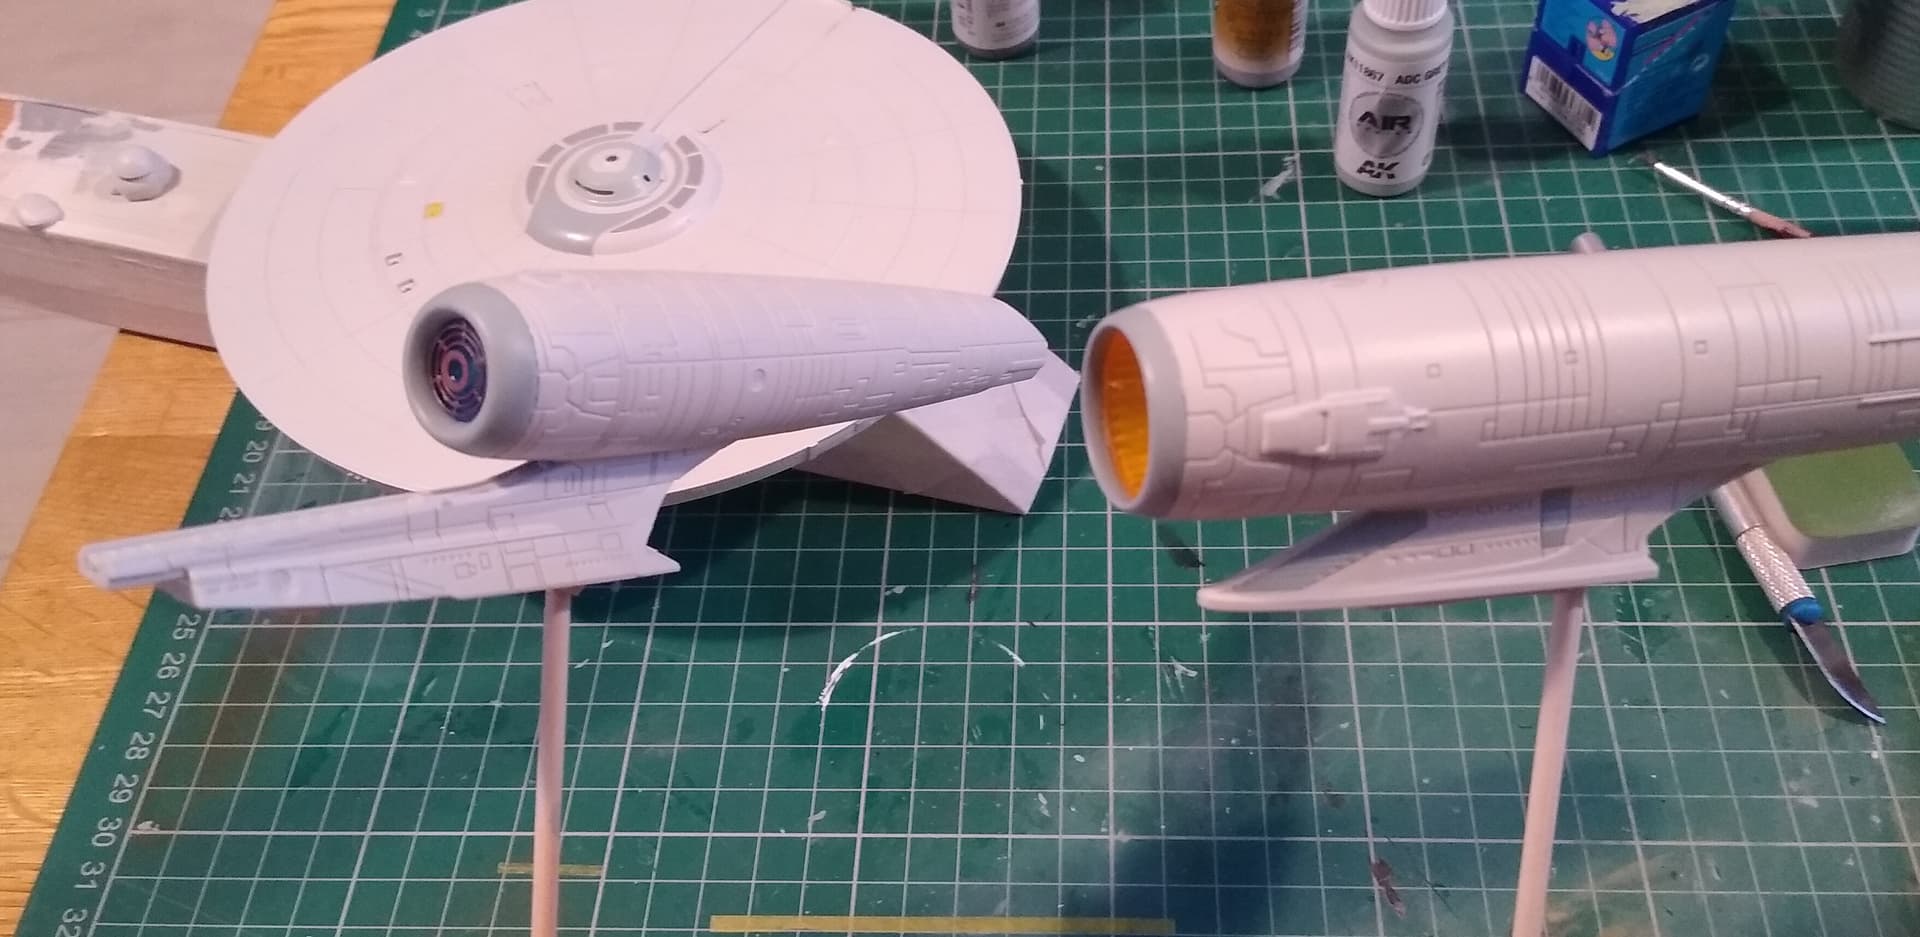
Gave the blues another coat today. Once I’d got a good solid colour, off came the masks.
Doesn’t look too bad. The colours seem to work well with each other.
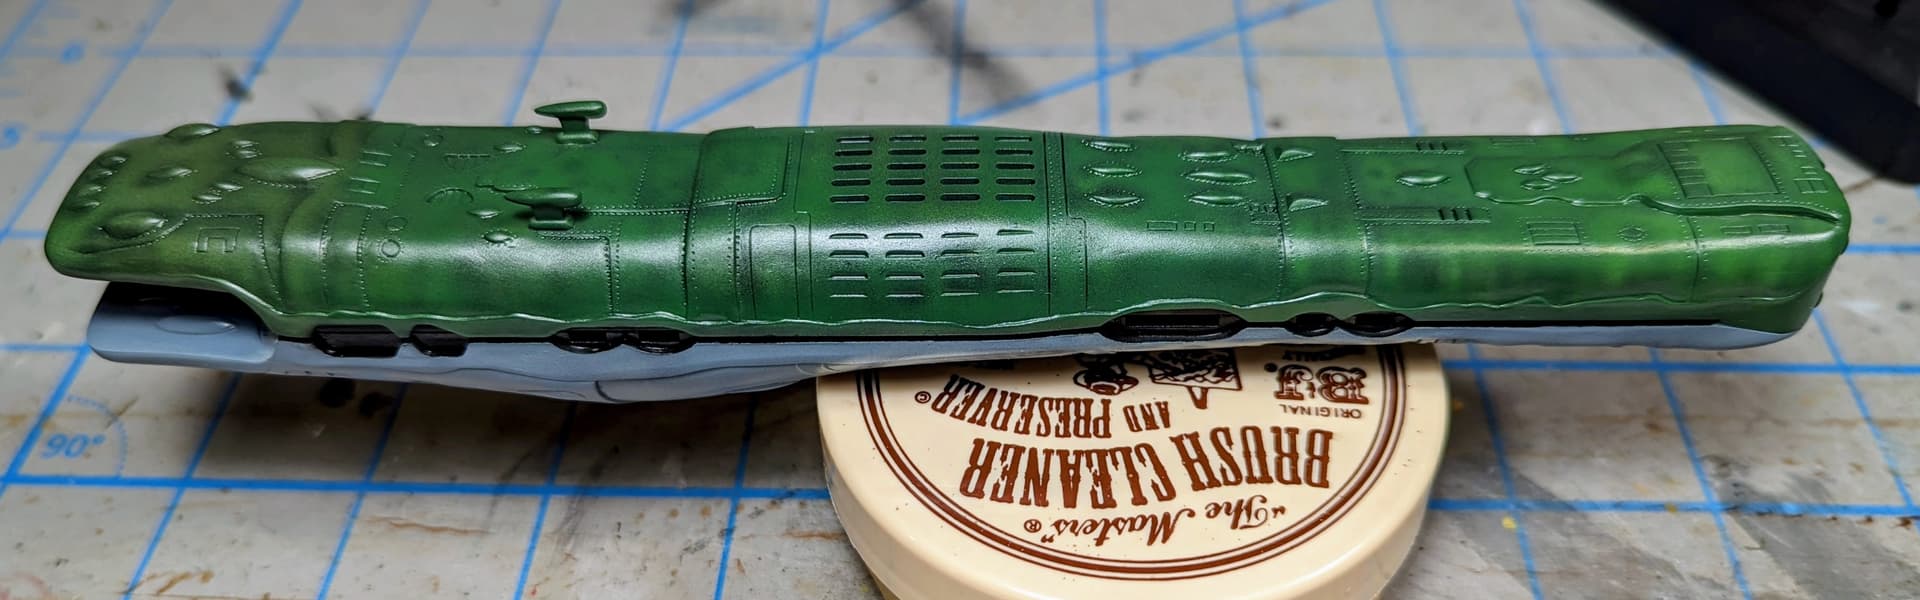
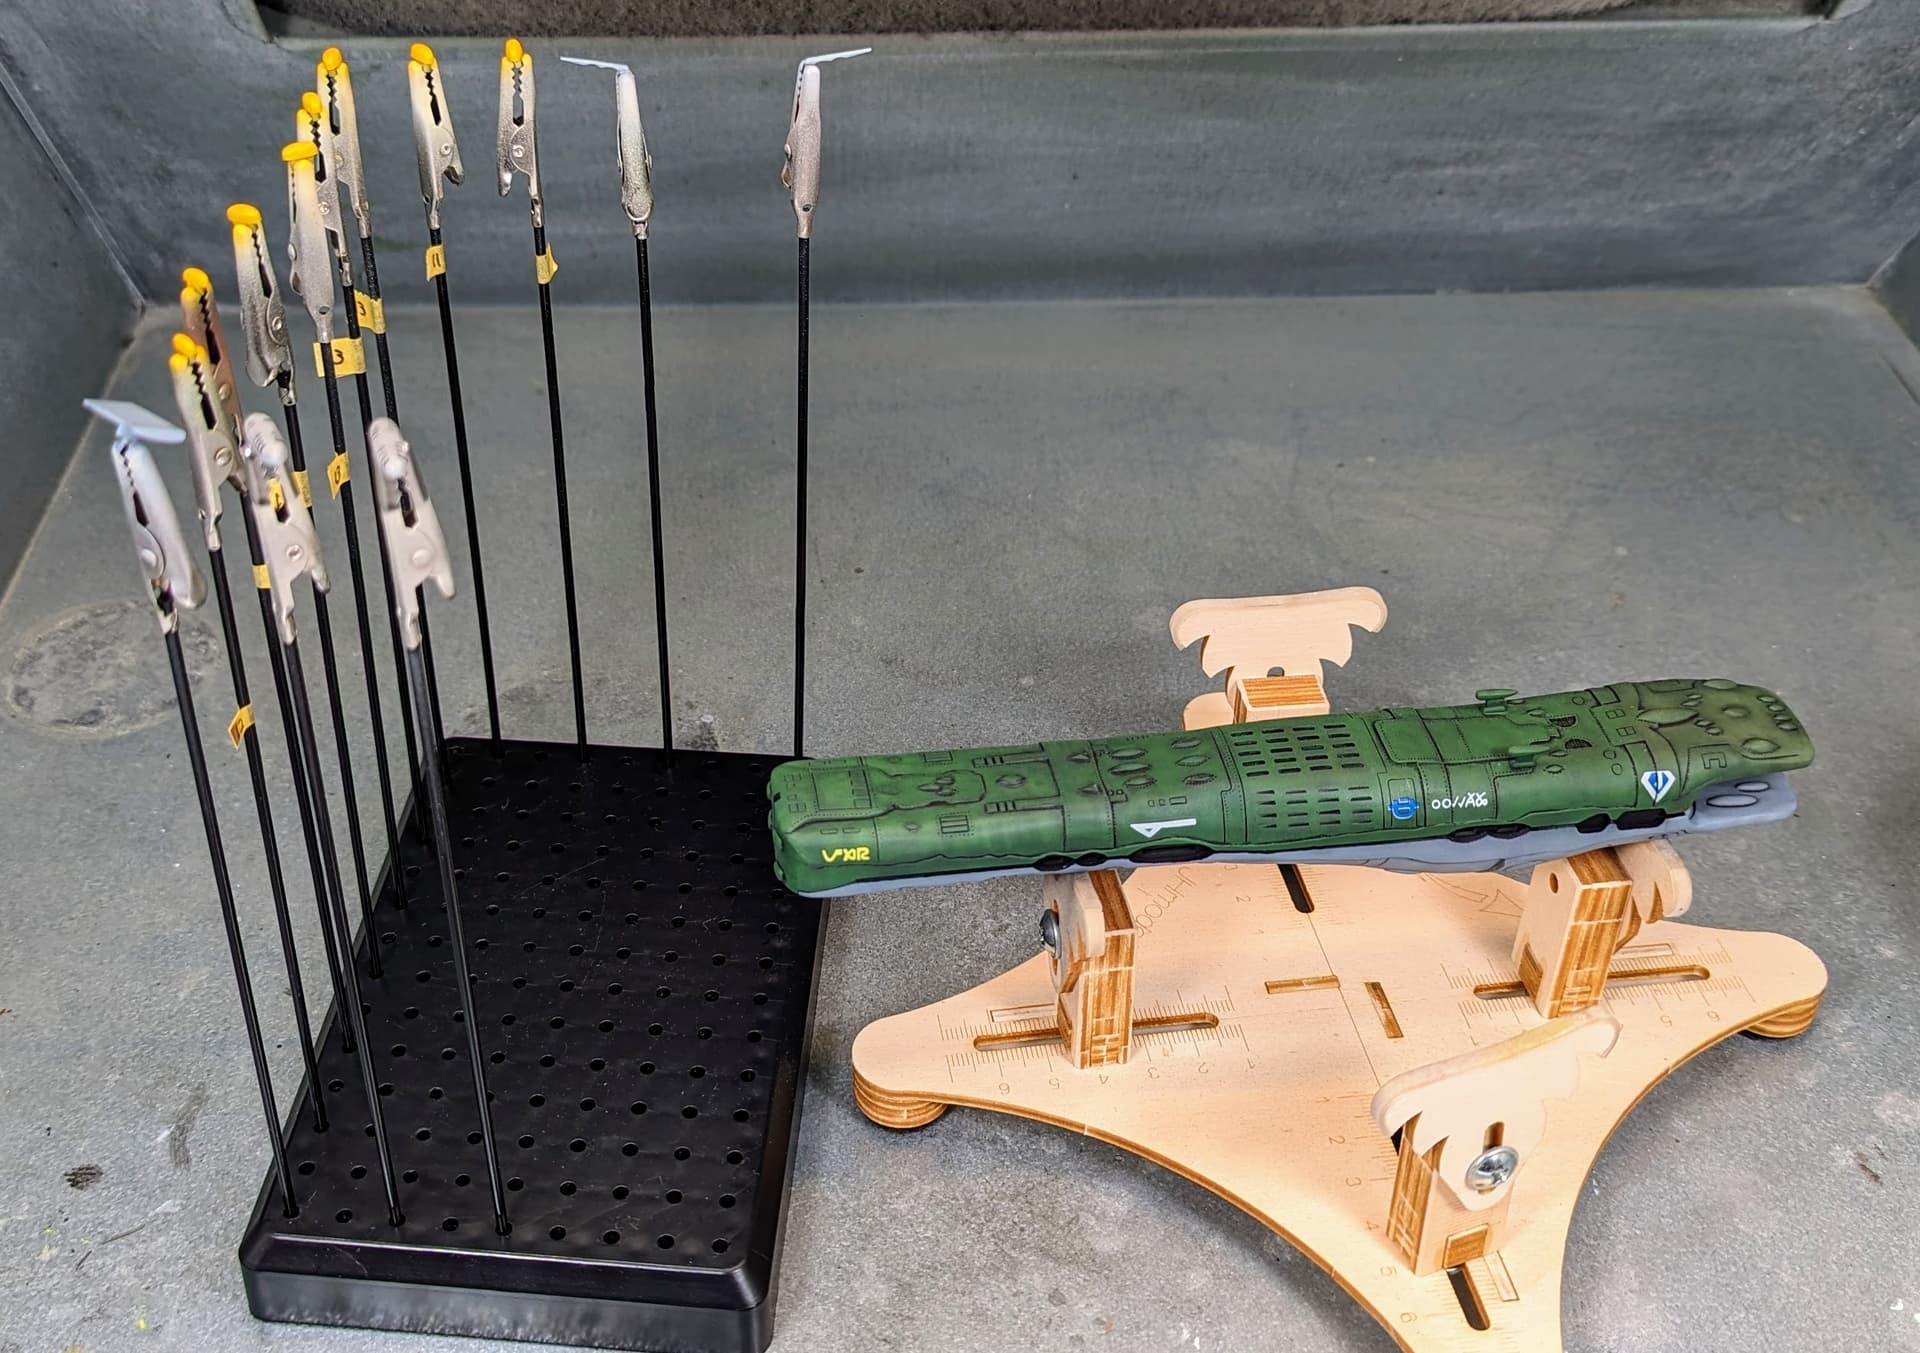
I went with the kit paint guide and painted the panels around the warp grilles in desert tan. I used Vallejo’s IDF Sand Grey.
Little bit of touching in a few spots, but overall happy with how this is looking.
Wow, that is small!!
Love the paint job!
Very cool!
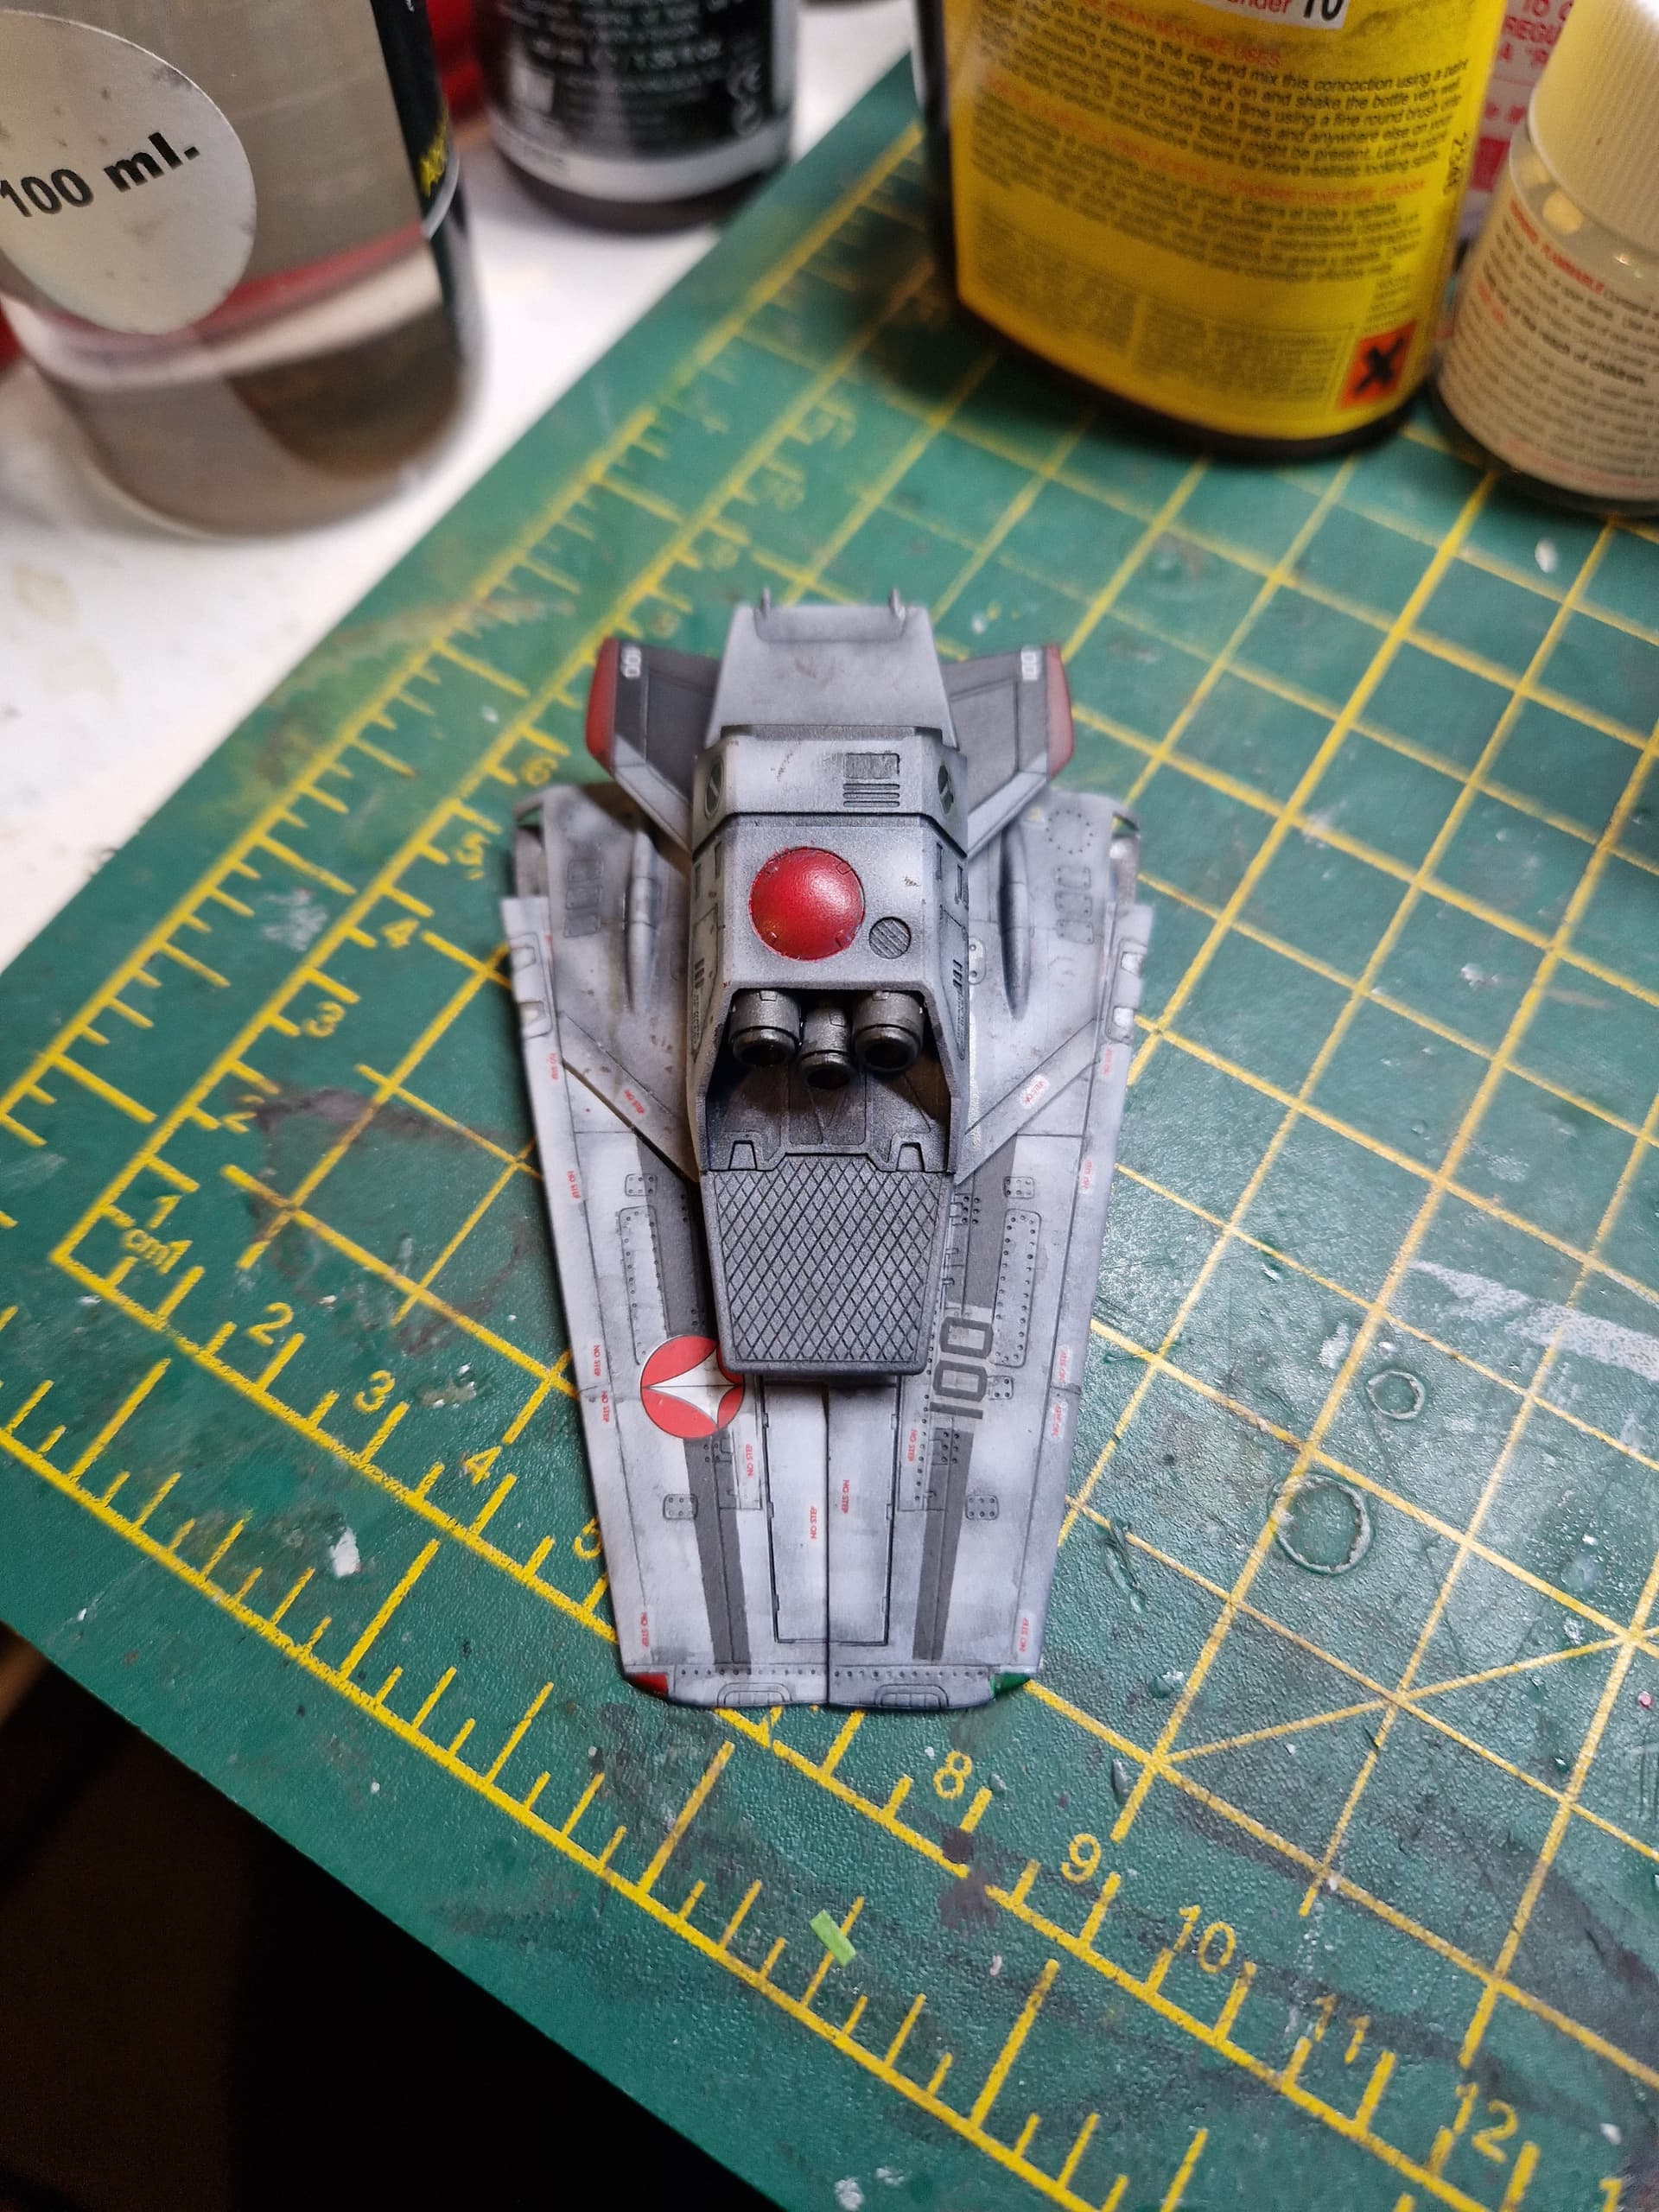
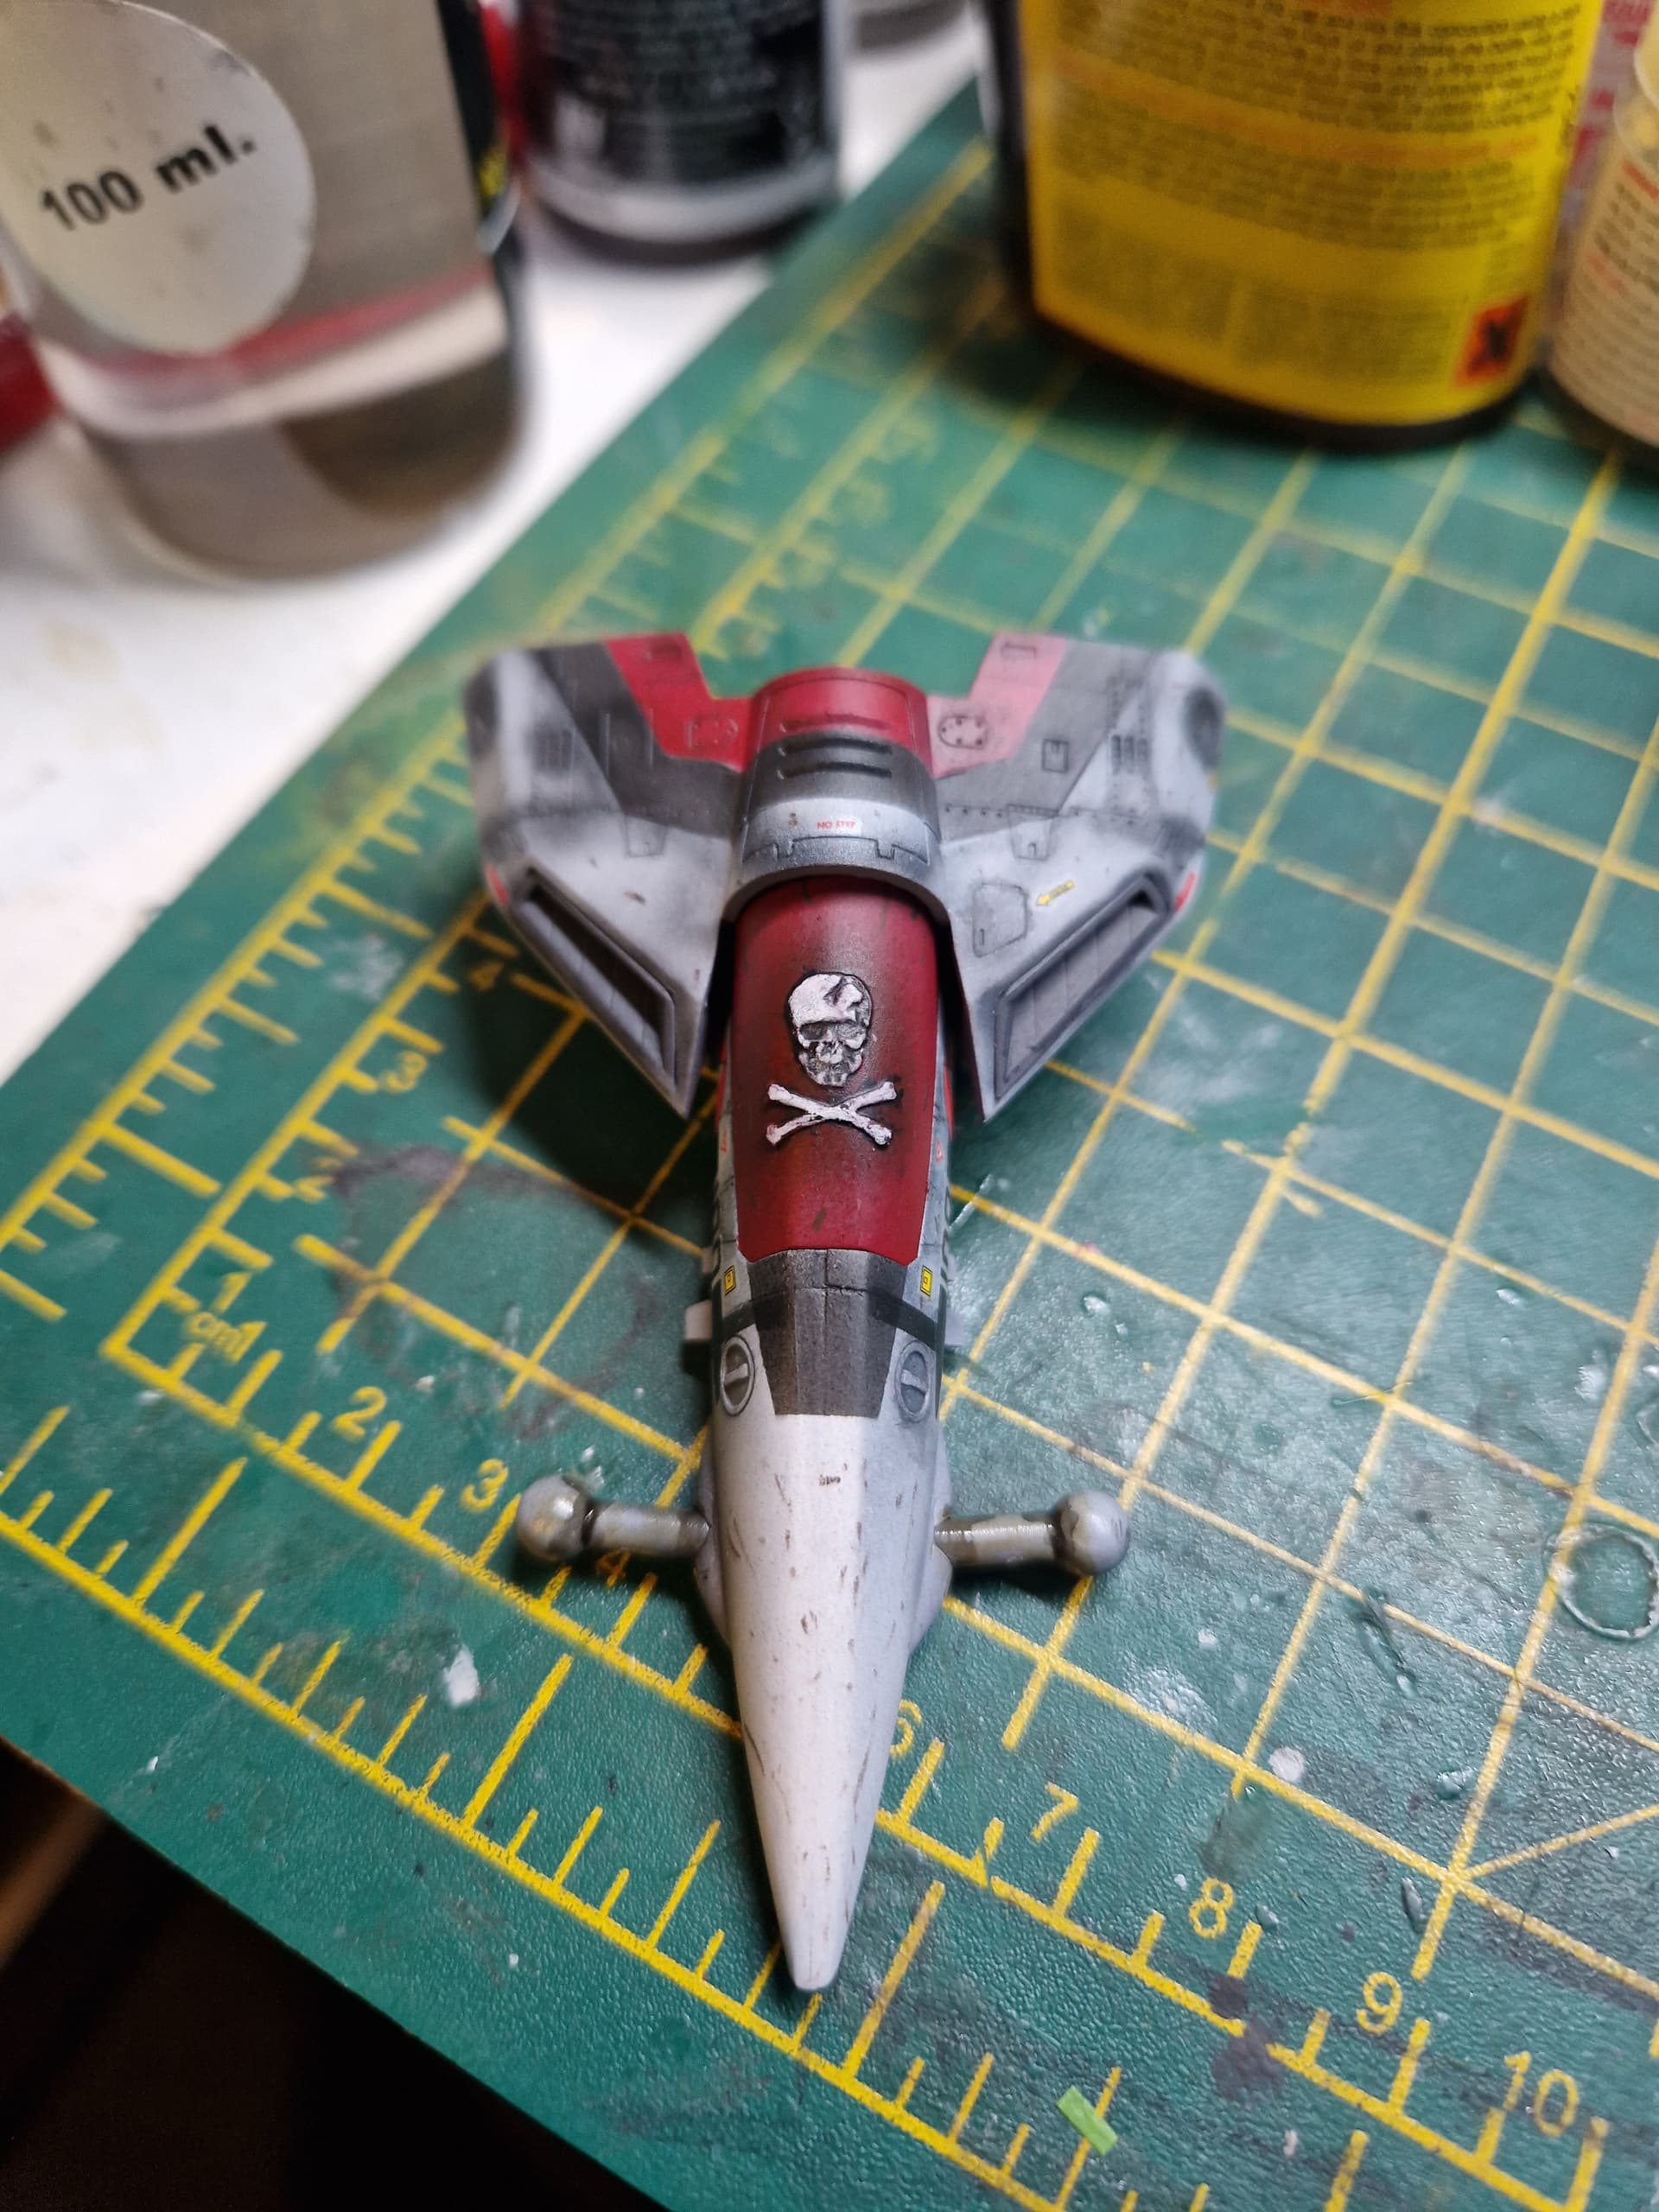
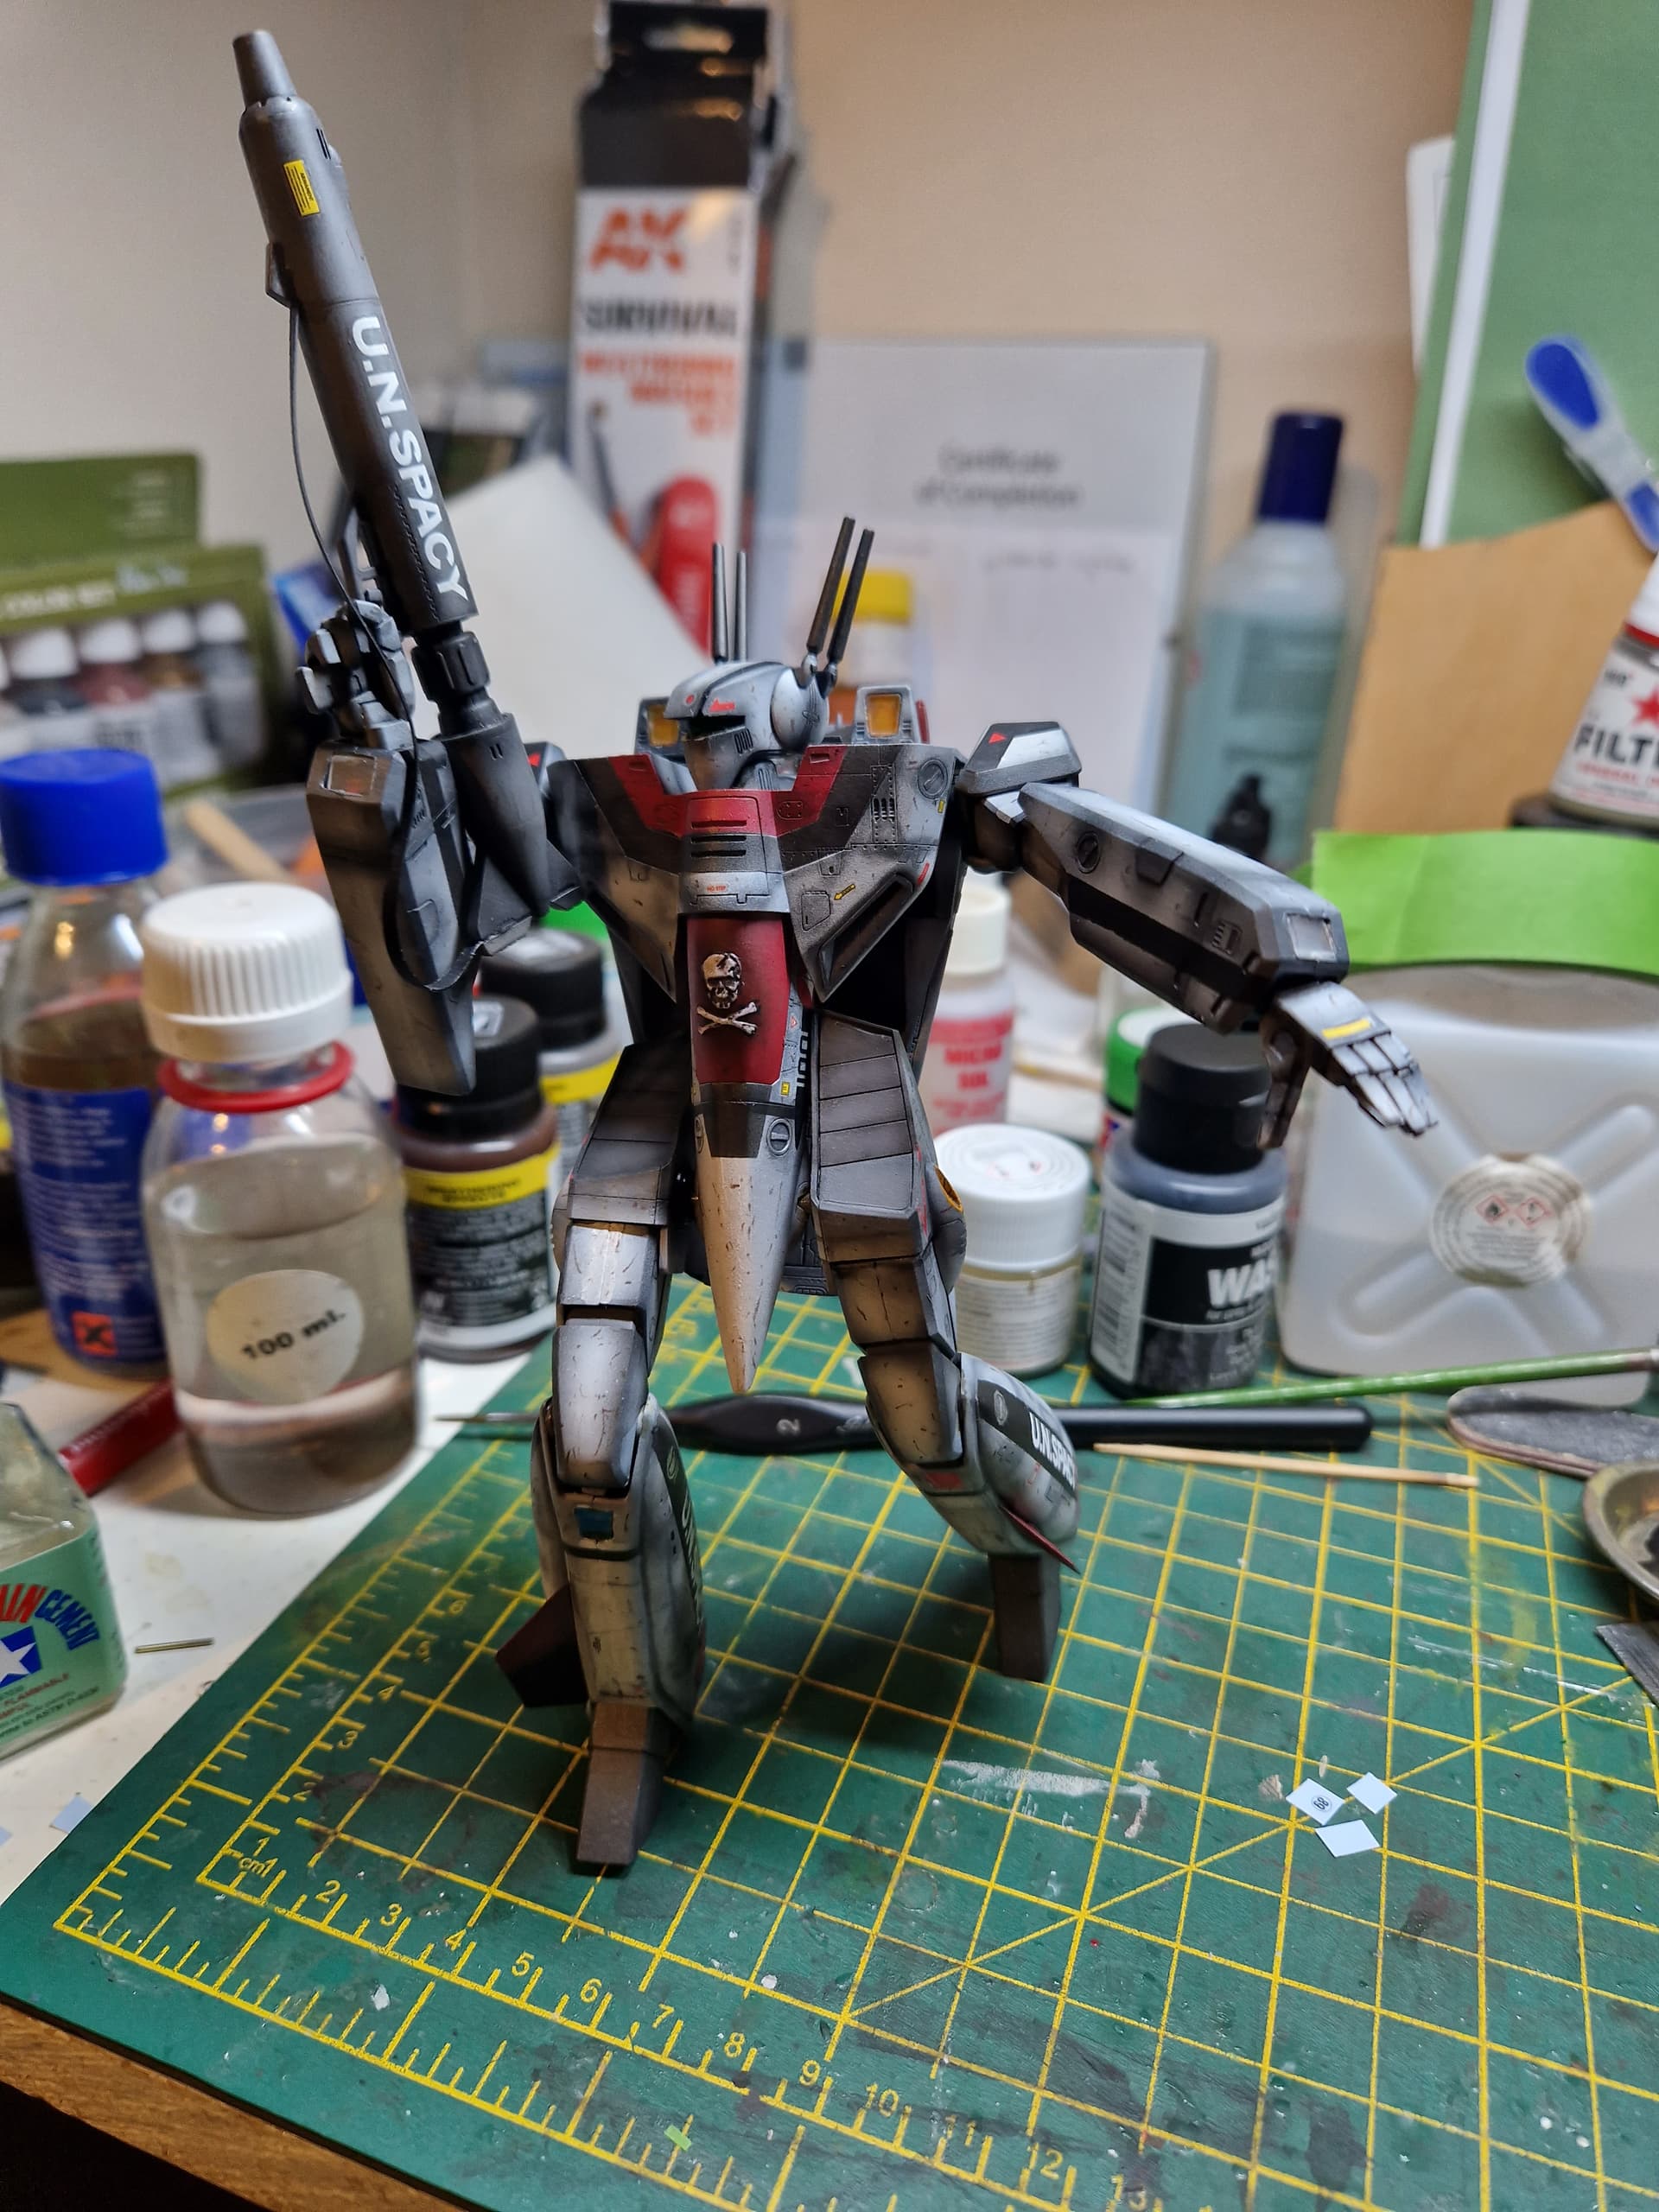
Well, we are into final assembly!
The back is together.
Wow, what a blast! That has been a journey and a half! Thanks for sharing it with me, I hope you enjoyed it.
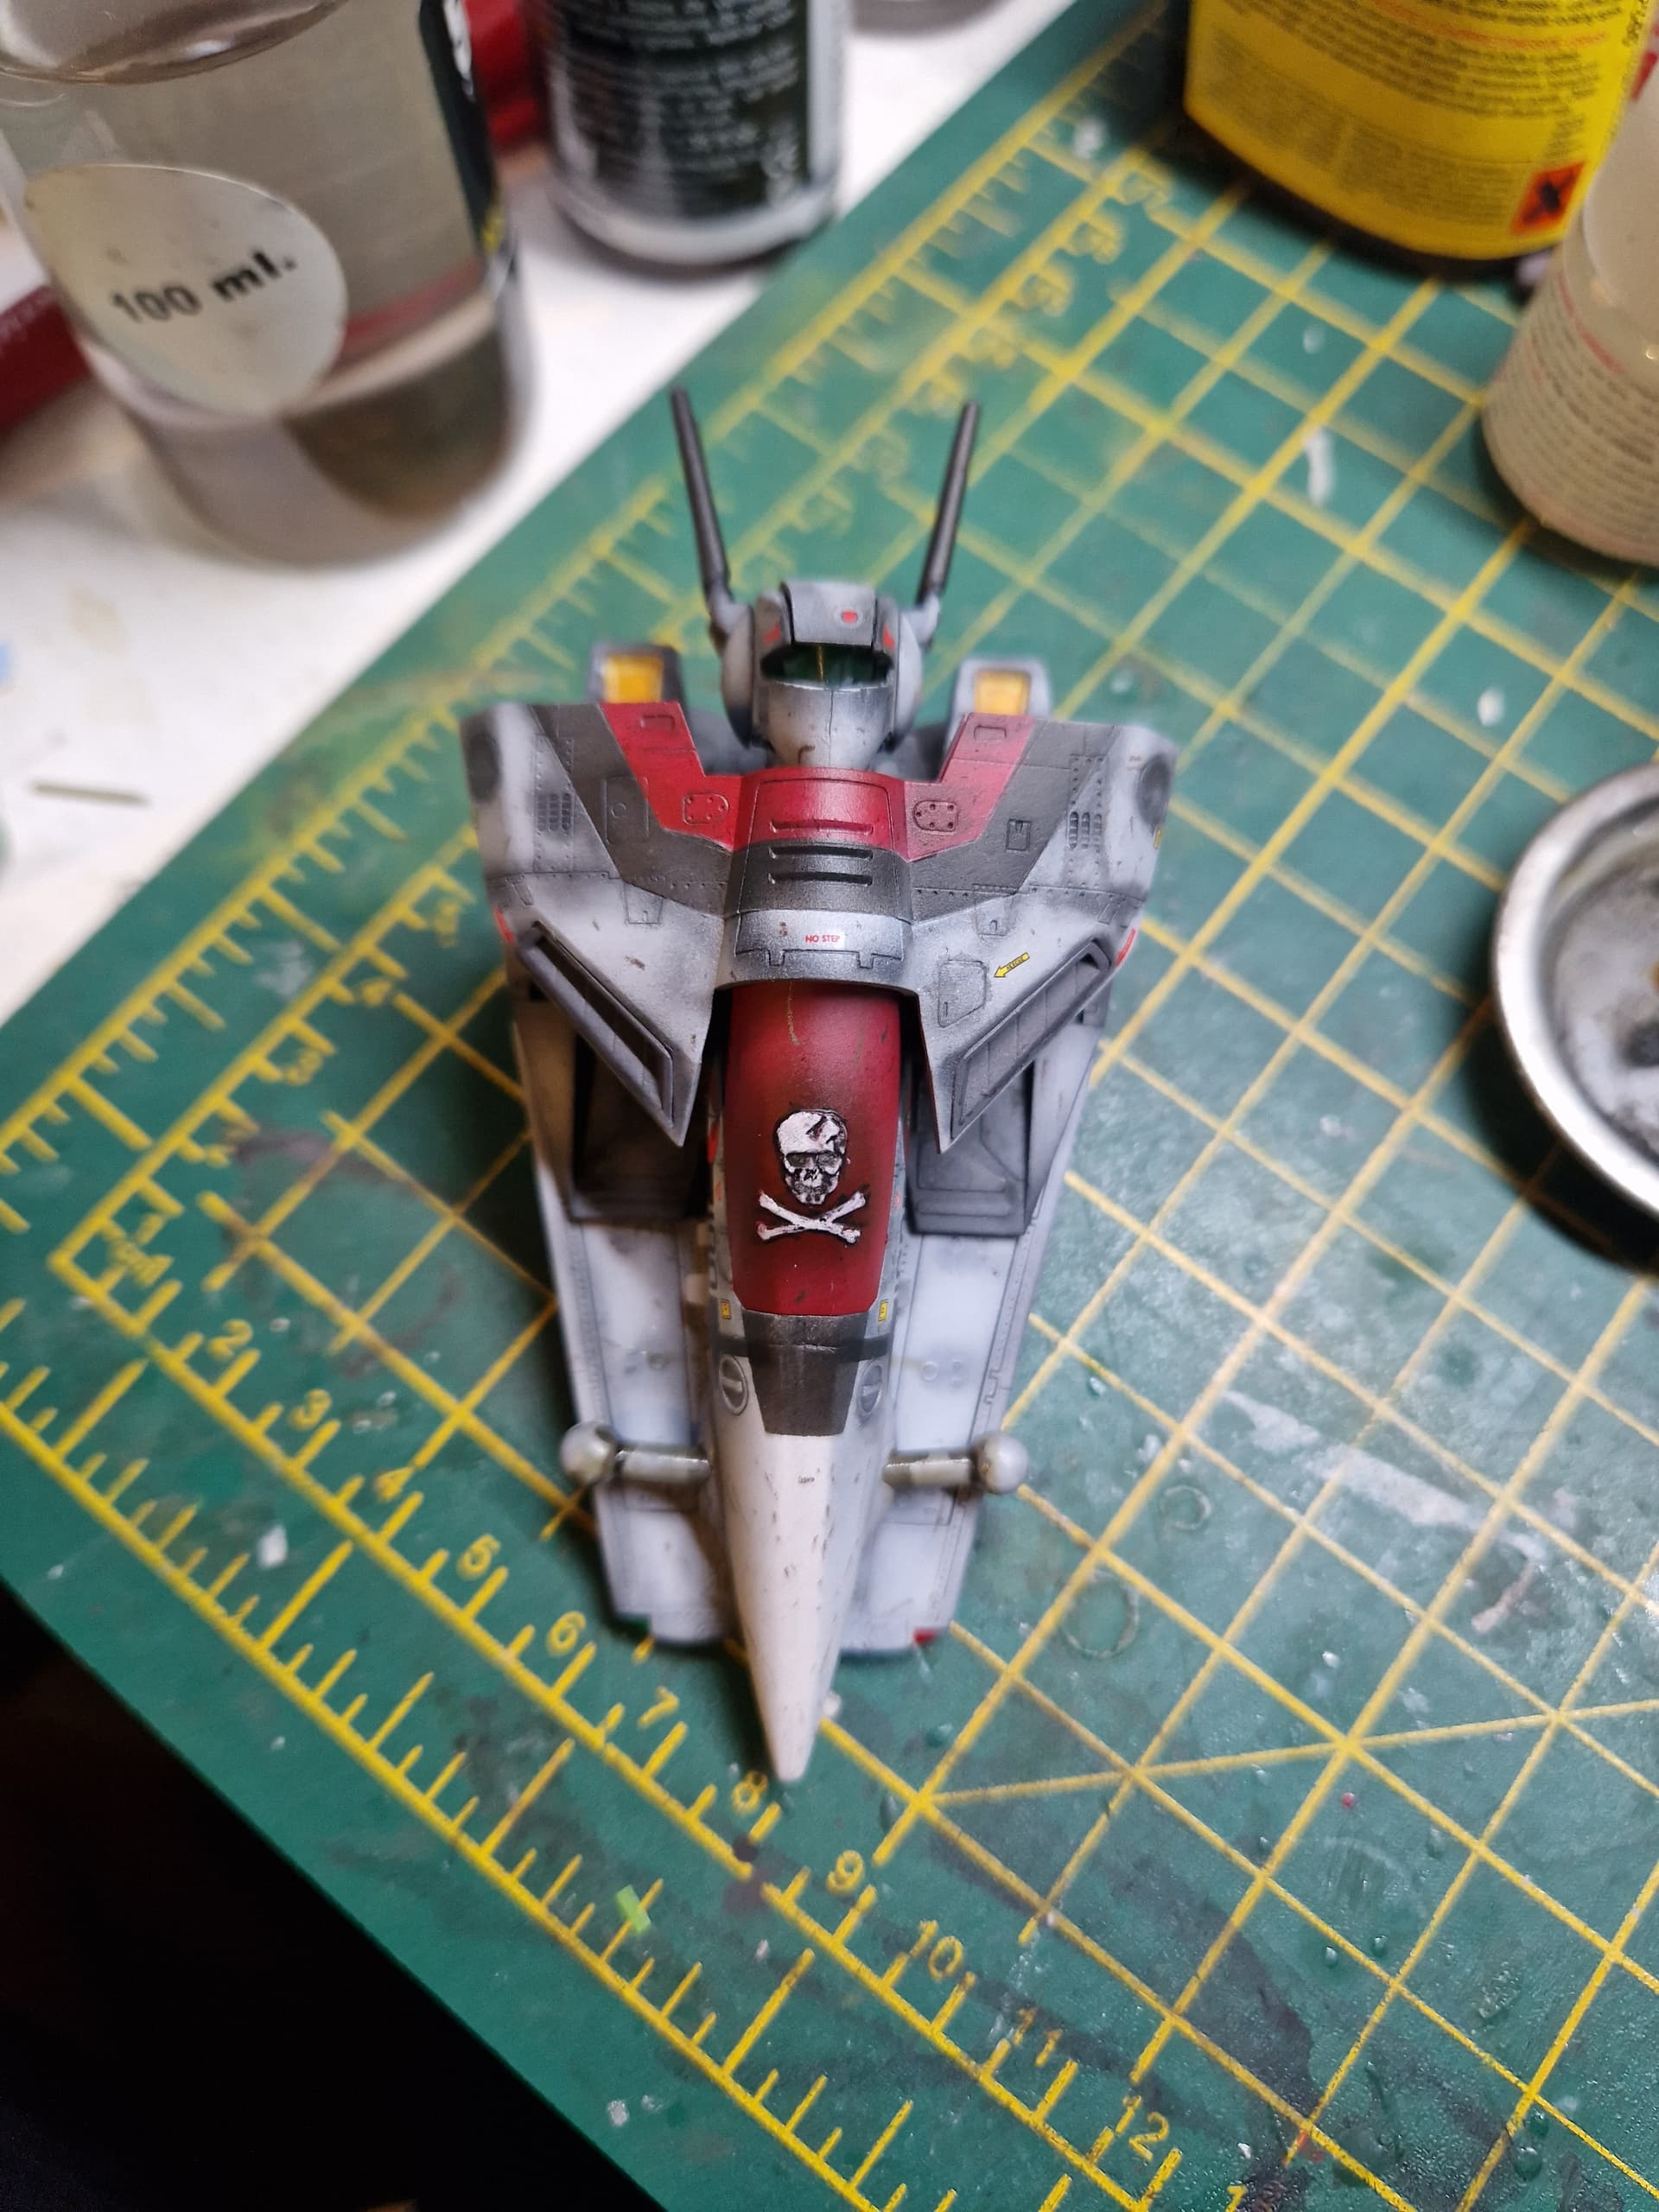
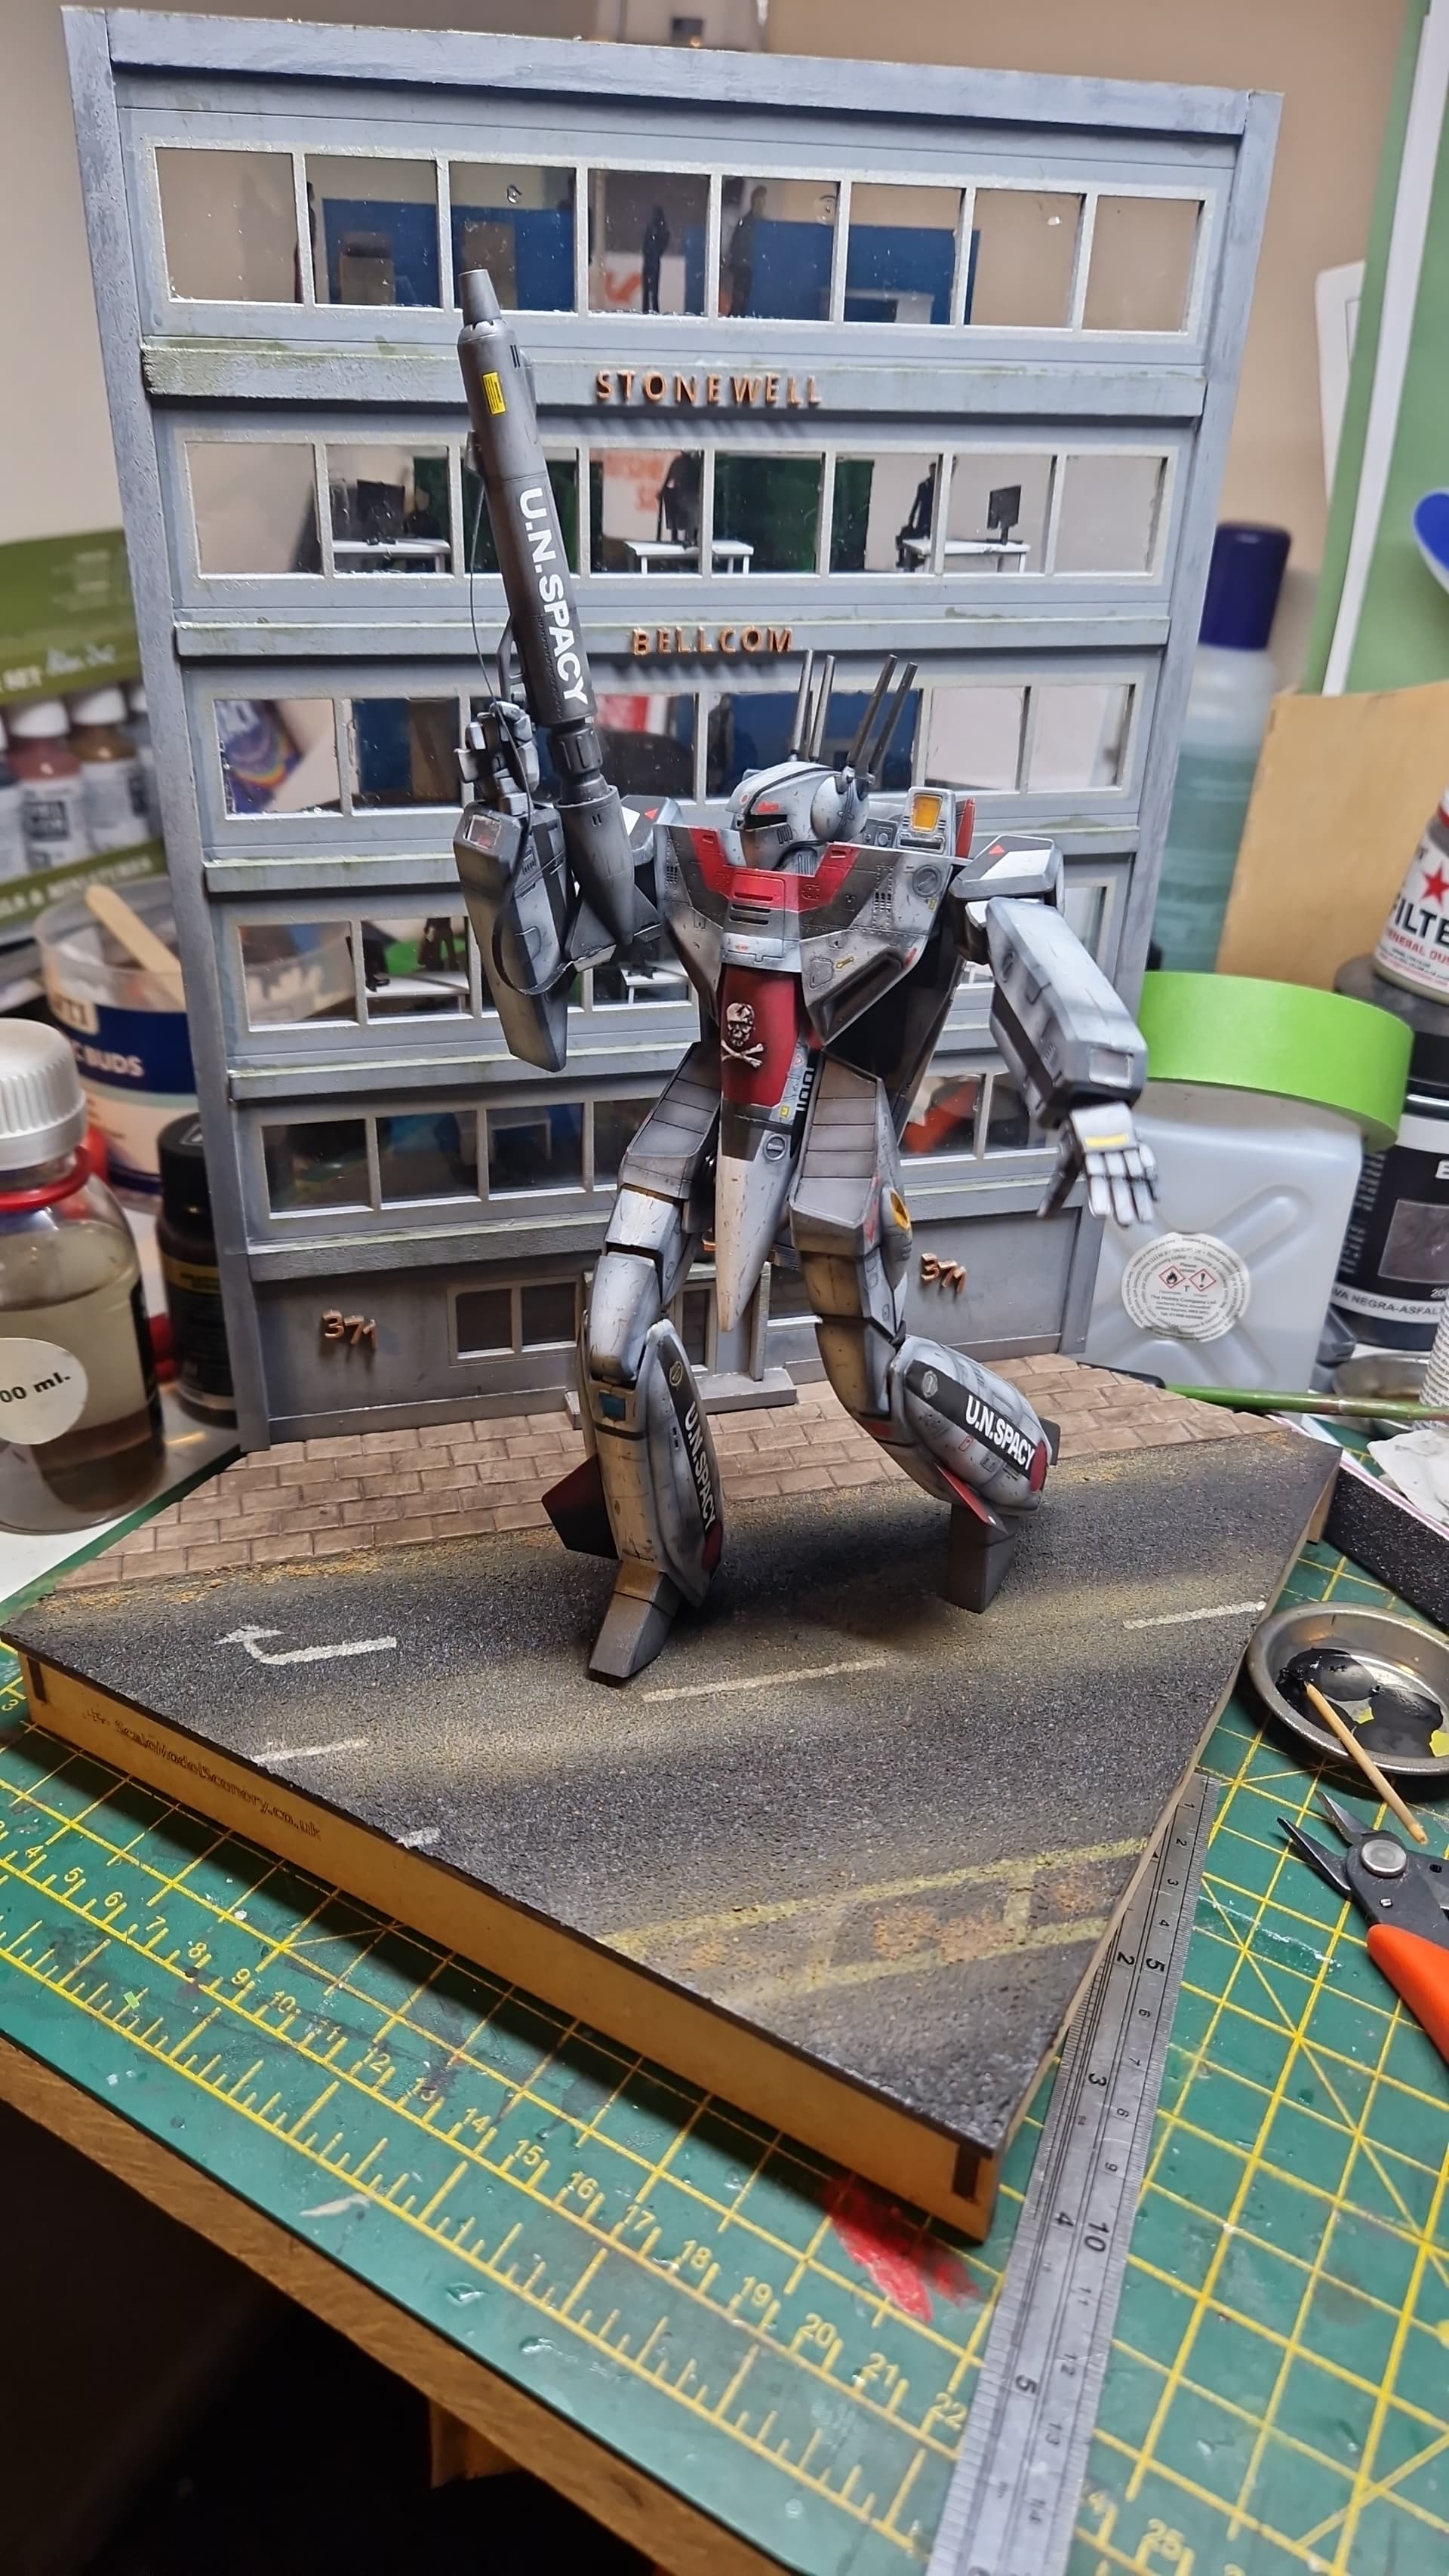
Here is a finishing photo of the Battroid on it base.
That all for now, I call this done and will post more polished photos on a later date!
What a great scene. Lovely build and that office block is such a clever addition… really shows the supposed size difference…great work…
And the paint looks great Stephen @phantom_phanatic … really coming along nicely ![]()
Awesome looking Gavin! I really enjoyed watching you make this- from the inventive office block with the angled interior to that beautifully observed finish on the battroid- it has all come together fine style.
Love the weathering!
Great scene!
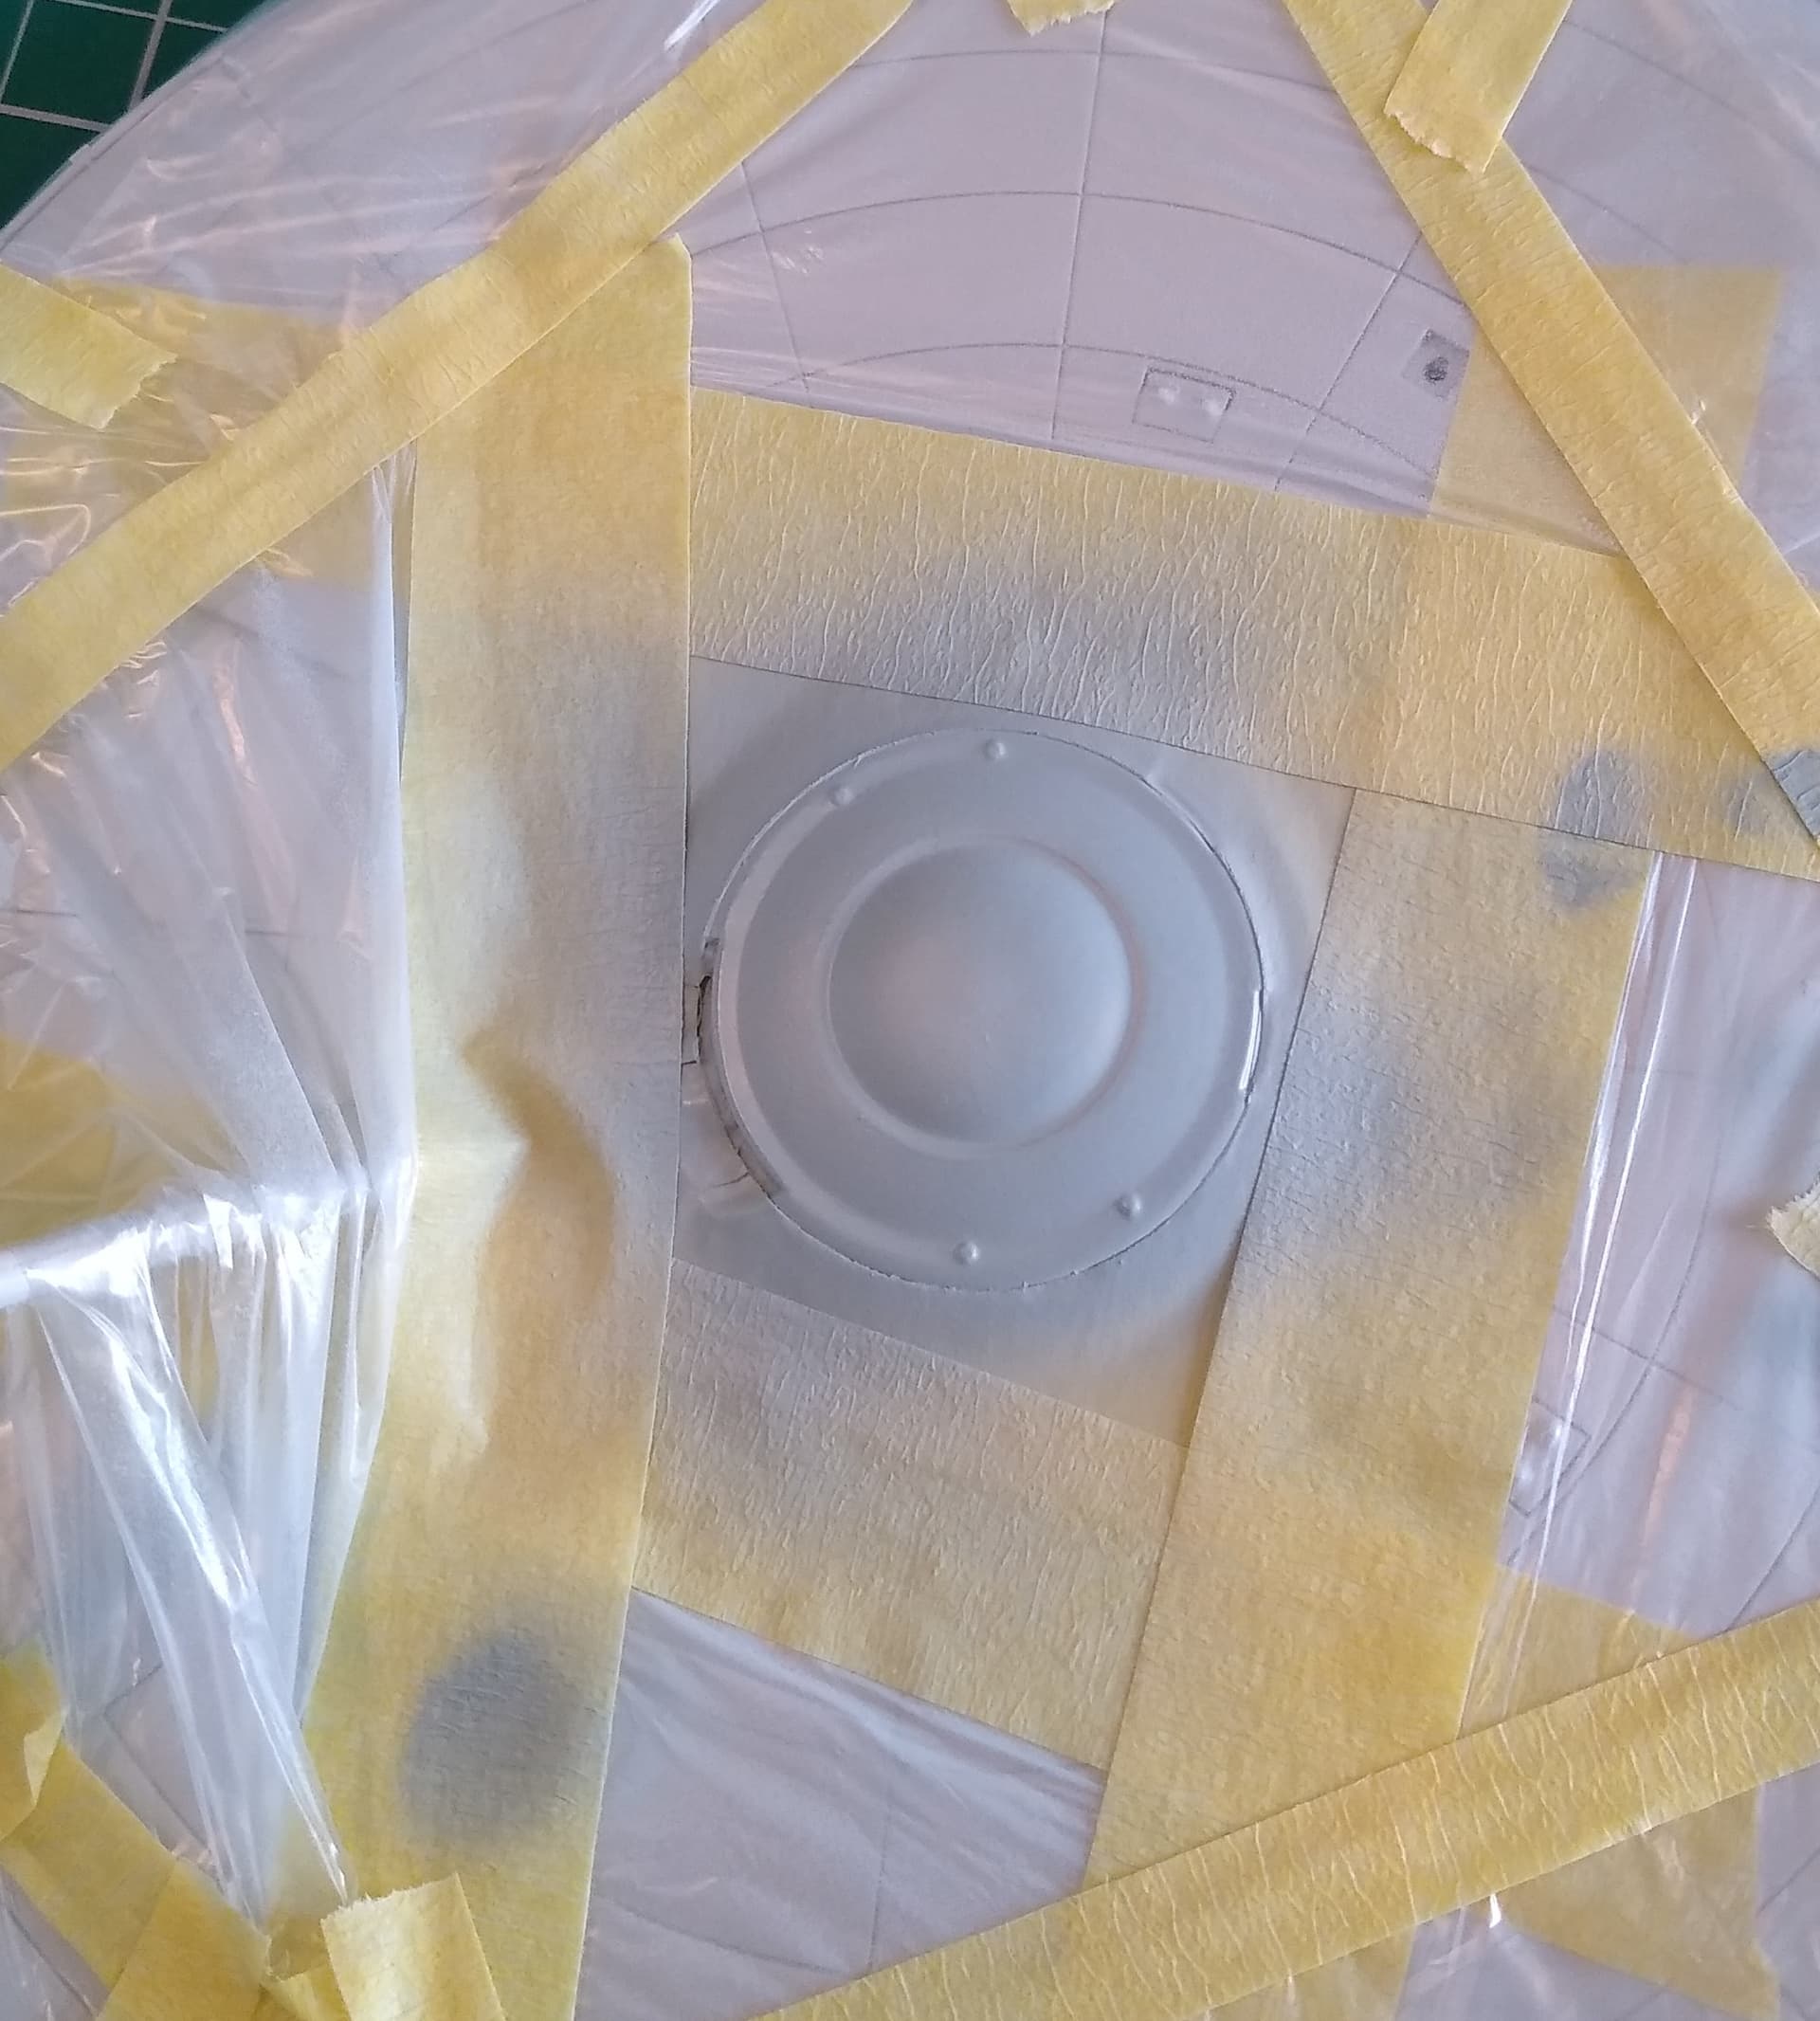
Thanks John. I’m having a bit of difficulty masking out a circle for the bridge dome. Need a circle about 13mm in diameter to mask out, but my compass cutter is struggling to cut it neatly at that size.
I’m having a night away from it to think about it. I might try cutting a thin arc and apply it around.
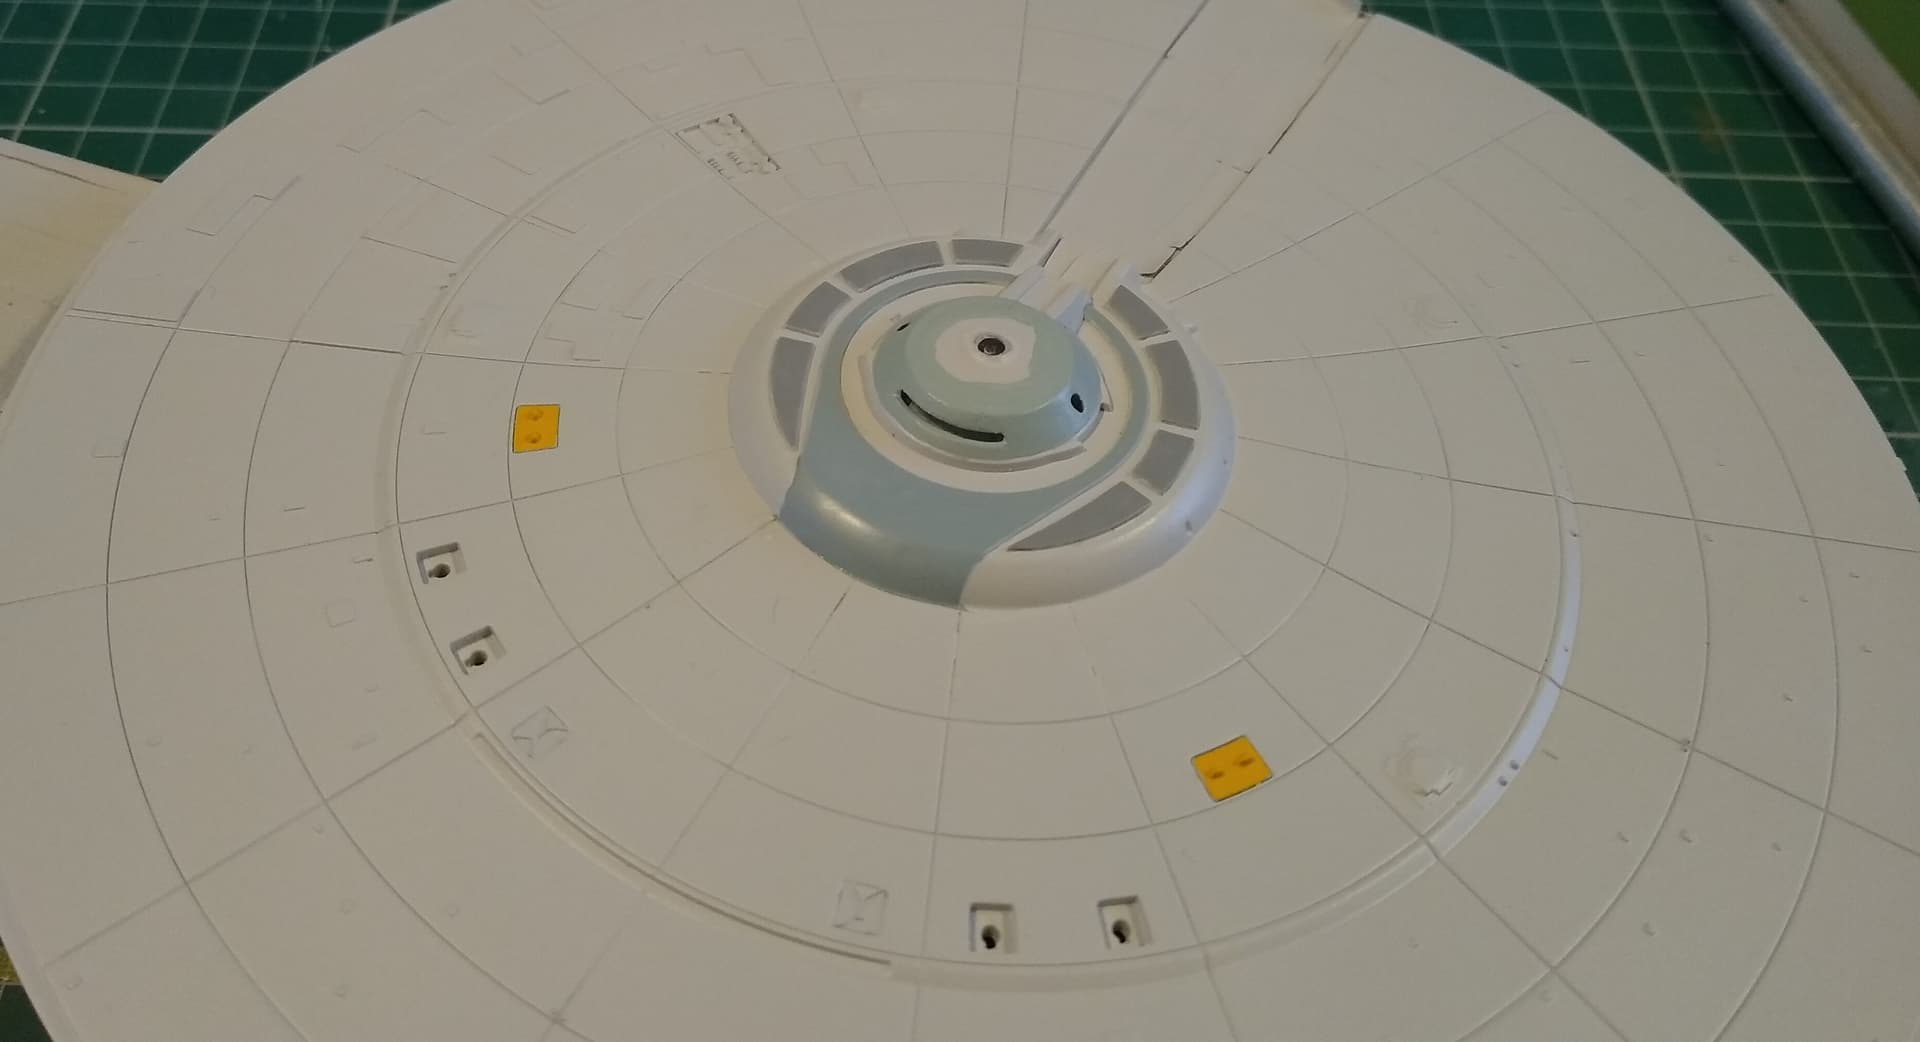
Masking out the bridge dome was tricky, but did the best I could. I painted it with some Tamiya Titanium Silver. Not perfect but looks ok from a distance.
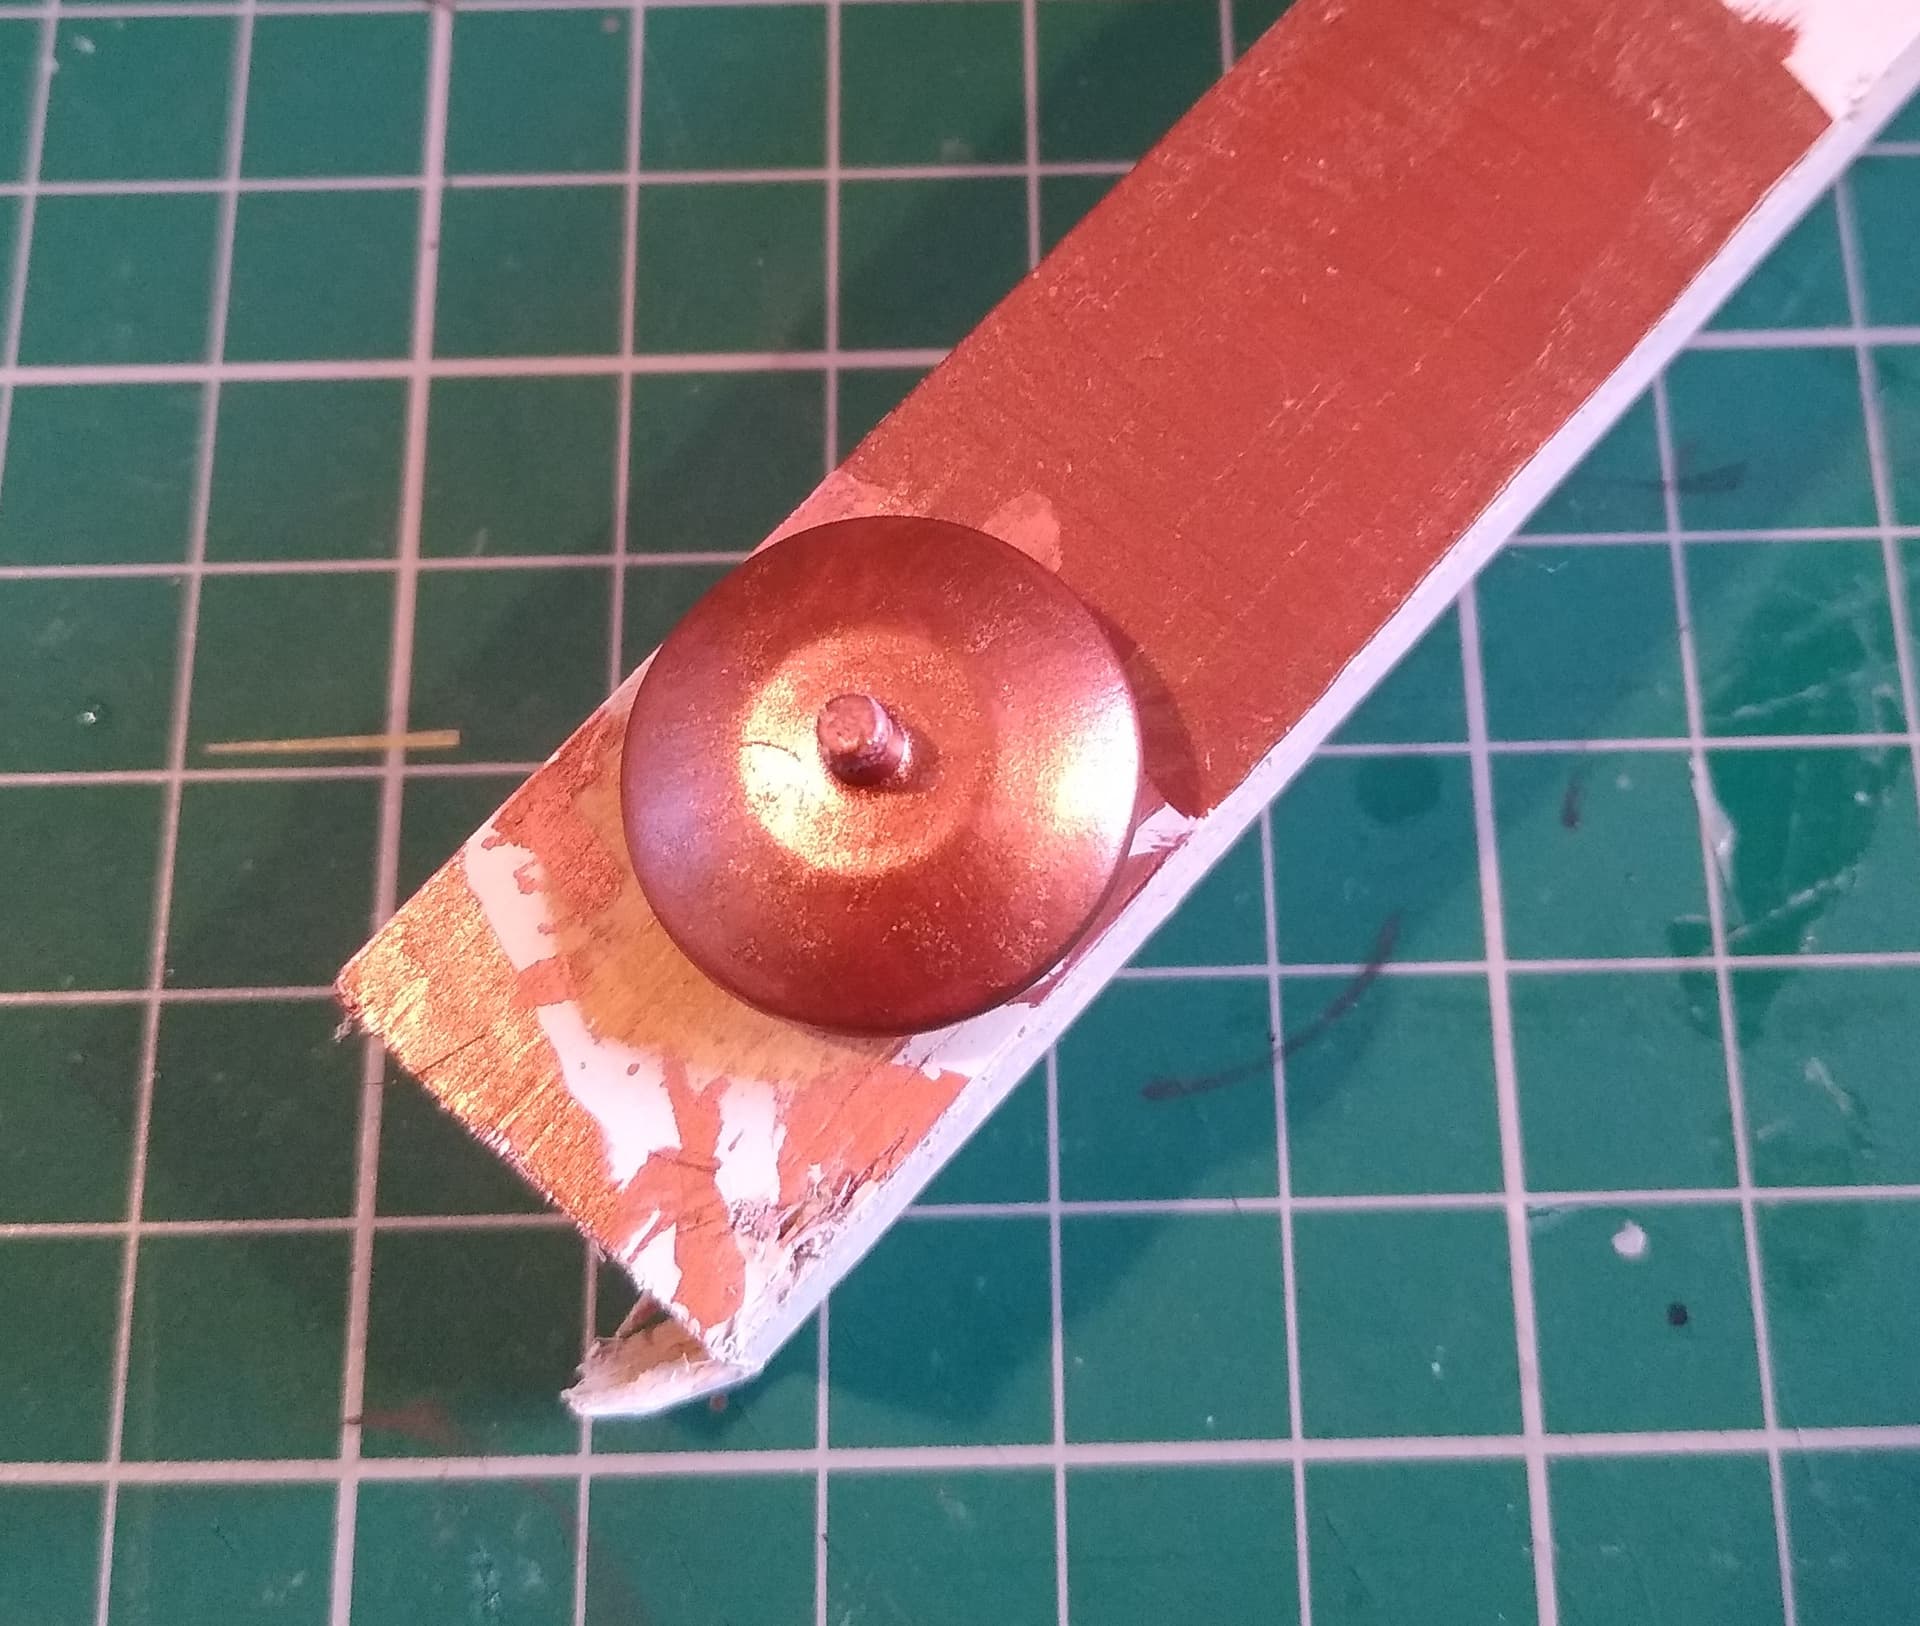
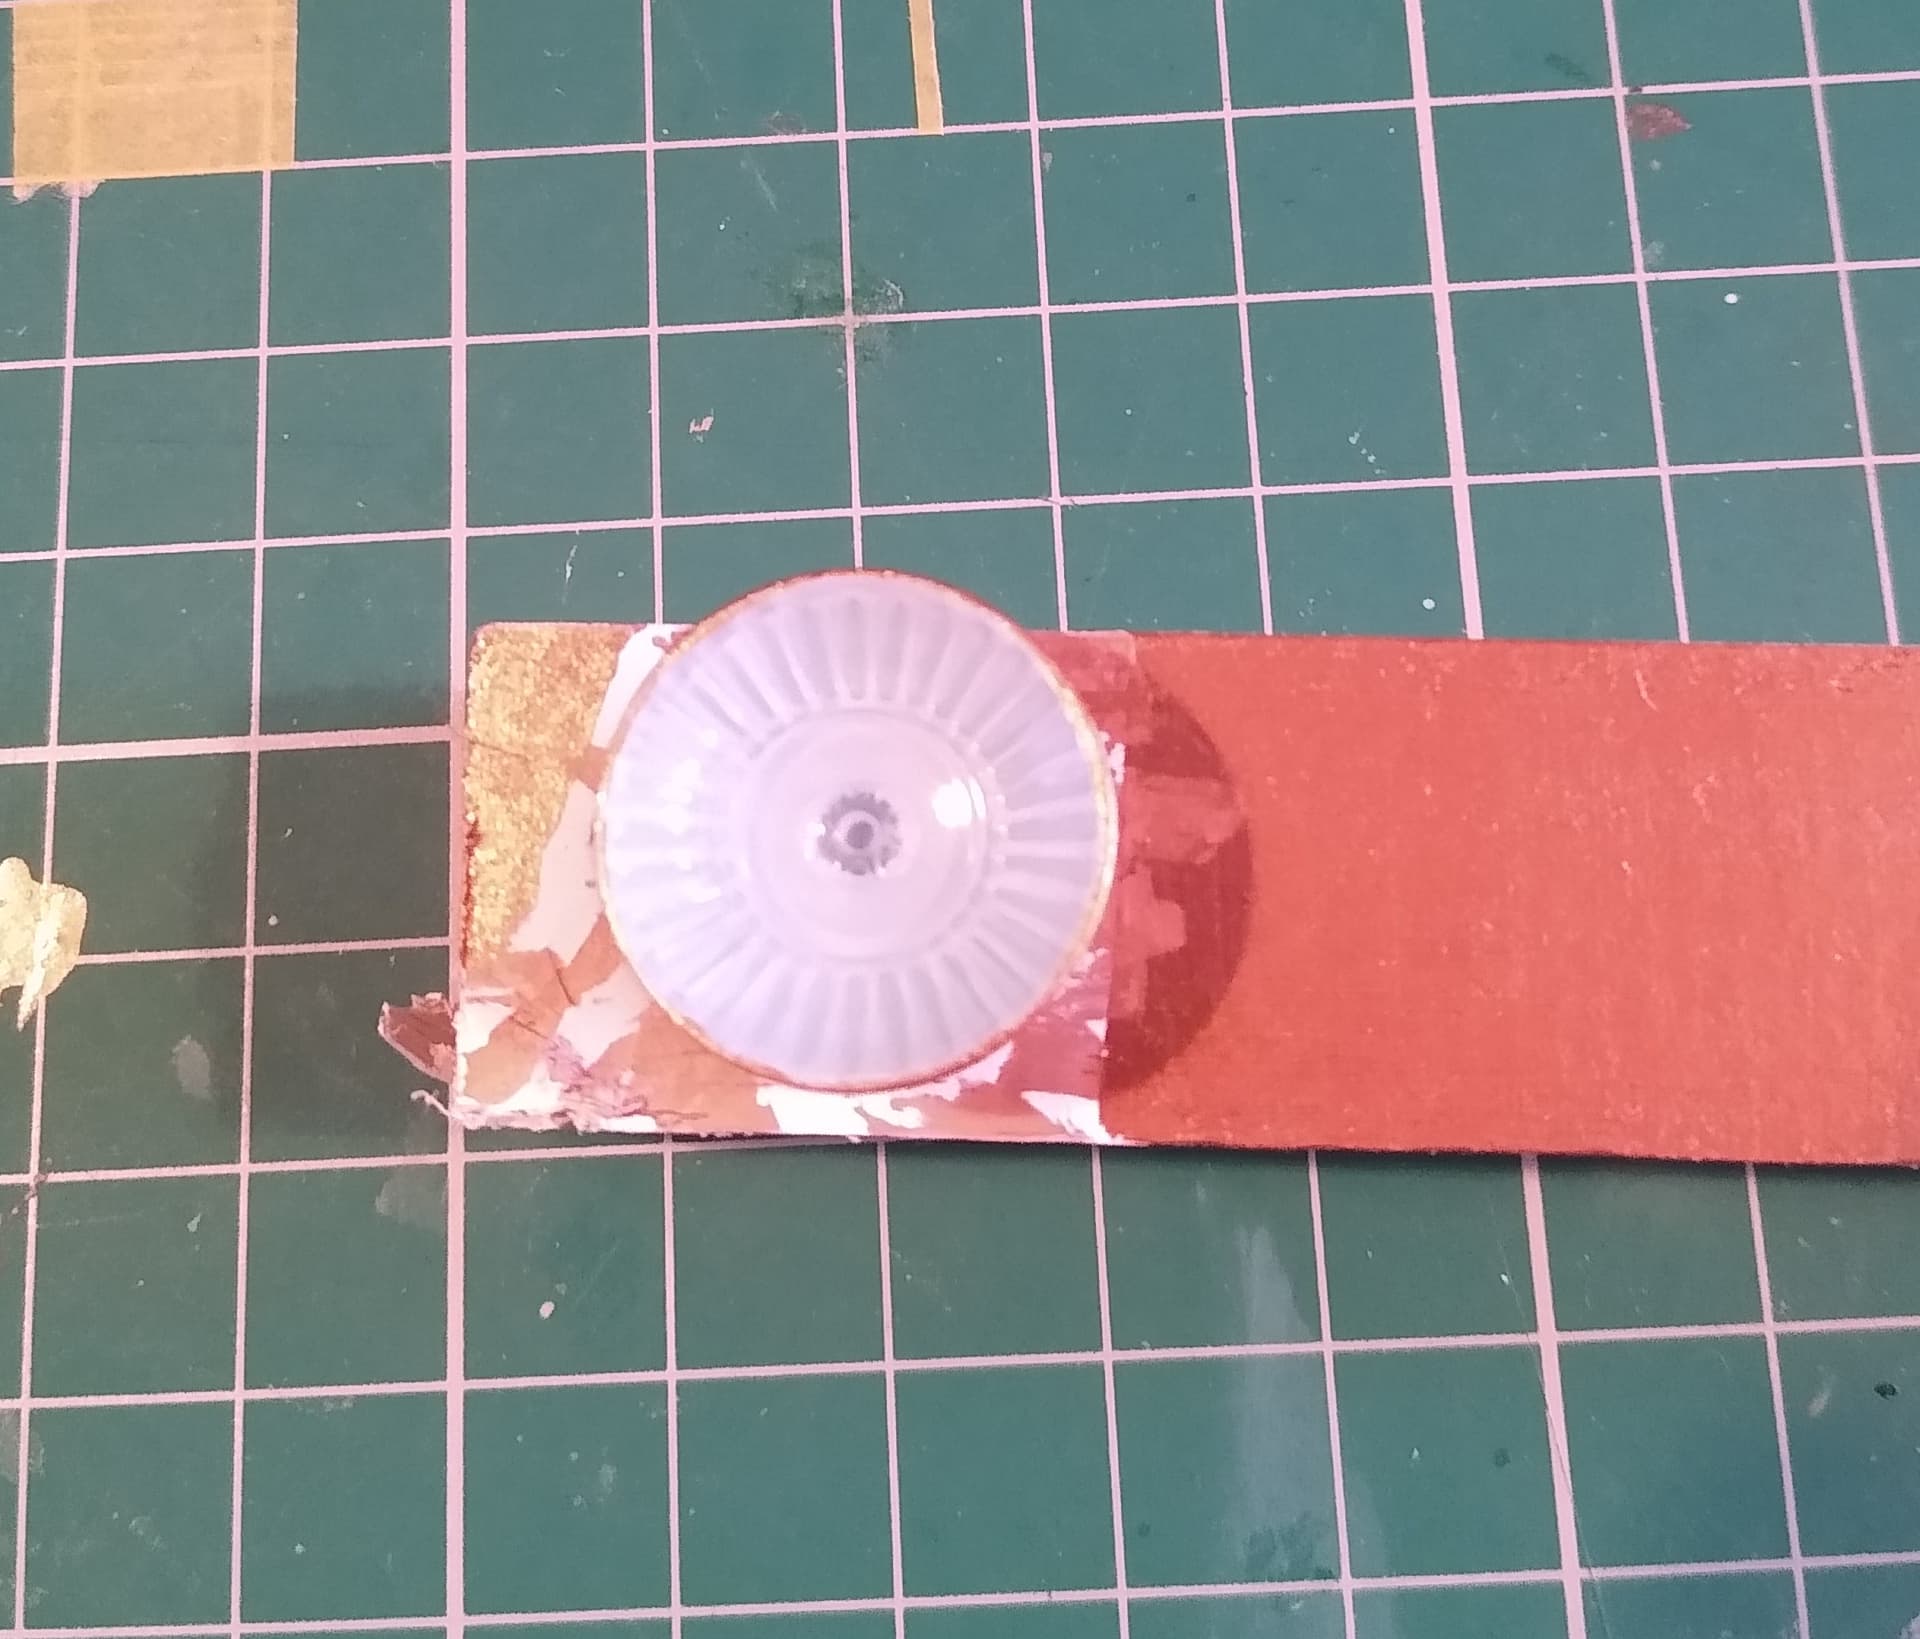
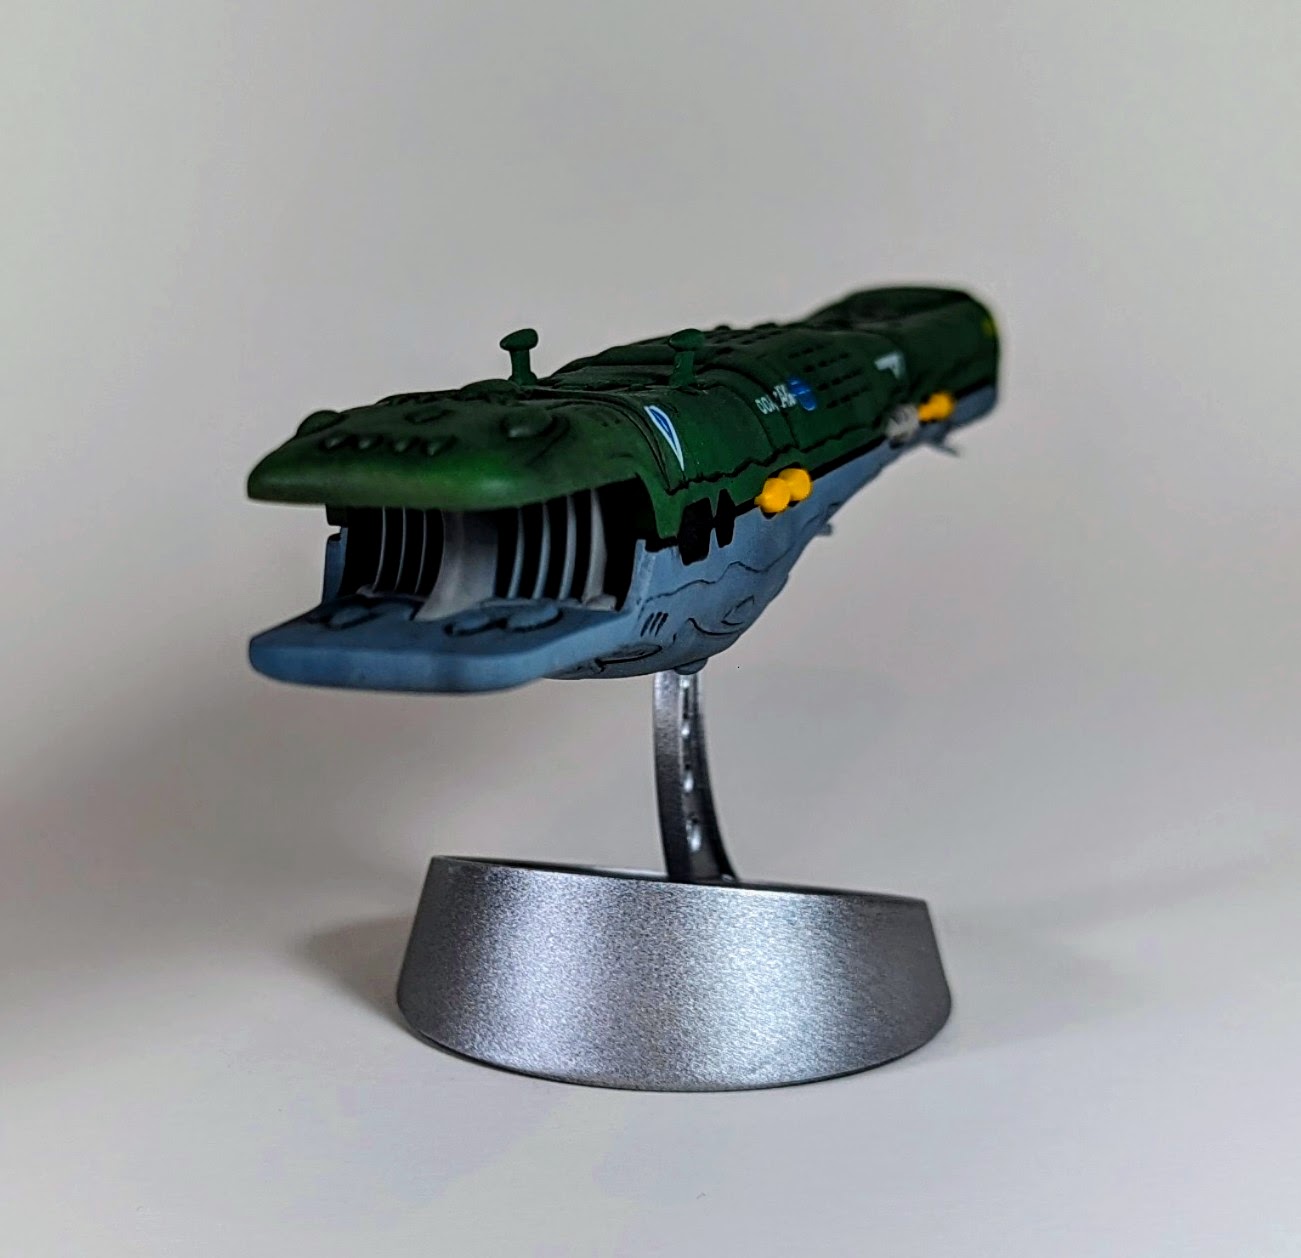
The reverse side of the deflector dish also got a coat of Vallejos copper. I made sure to put plenty of white paint behind this so none of the copper showed through on the clear side!
This just needs a wash of Tamiya clear blue to bring out the details and simulate a glow.
Looking nice. The blue should really make that glow…
Thanks John. It’s the same technique I used on the warp grilles, so should work.
Tomorrow I’ve got to mask out the underside of the saucer around the sensor dome and paint that light blue.
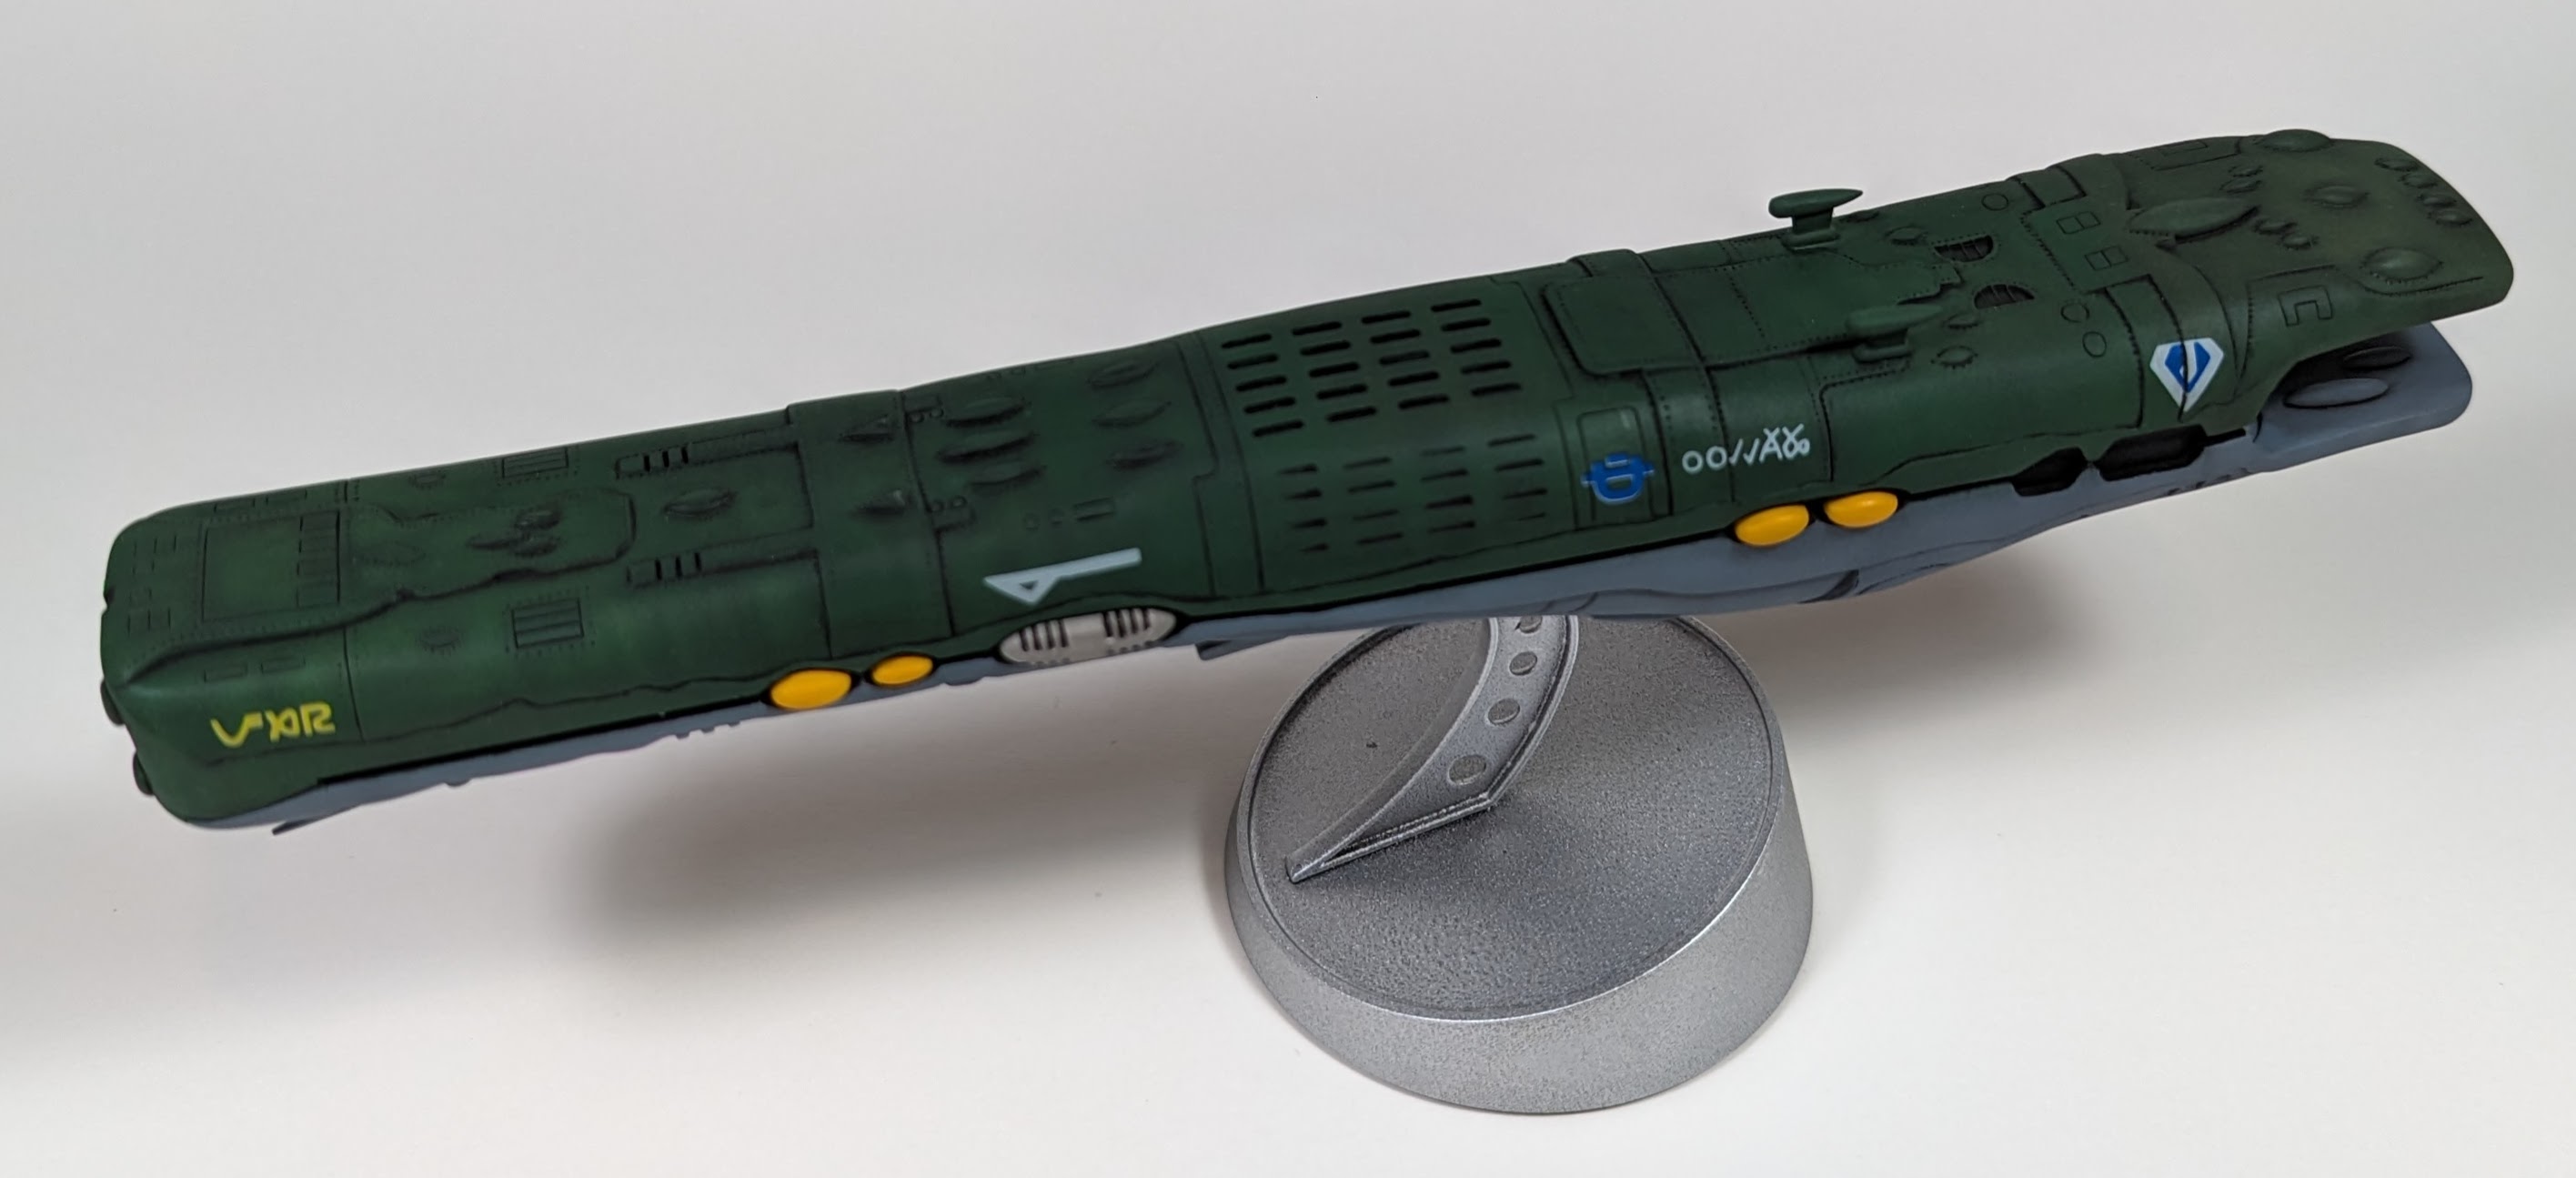
I’m nearly there! Just flat-coated it after decals and a pin wash. The decals went down very easily, with little to no silvering. They snuggled down into the detail with just a couple of applications of Microsol. Overall, I was quite pleased with how they performed, although several were noticeably out of register. I never would have thought that 25+ year old decals would work this well.
Decal placement was really up to me, as the box and the instructions did not match, and the instructions showed a built model from one side only, and using decals not provided (seriously…). I mostly matched the box’s artwork, but took a few liberties and added decals to the bottom while leaving off the ones that were clearly warming labels take from other kits (in a couple you can actually make out the word “warning”).
Ron, great job on the figures. Cool color choices that will complement each other well in the final scene.
Gavin, Fantastic job on the Gundam robot! The weathering is awesome! All your time and effort is showing of. Congrats on finishing!
Great build, Lucas! Congrats on finishing ![]()
![]()