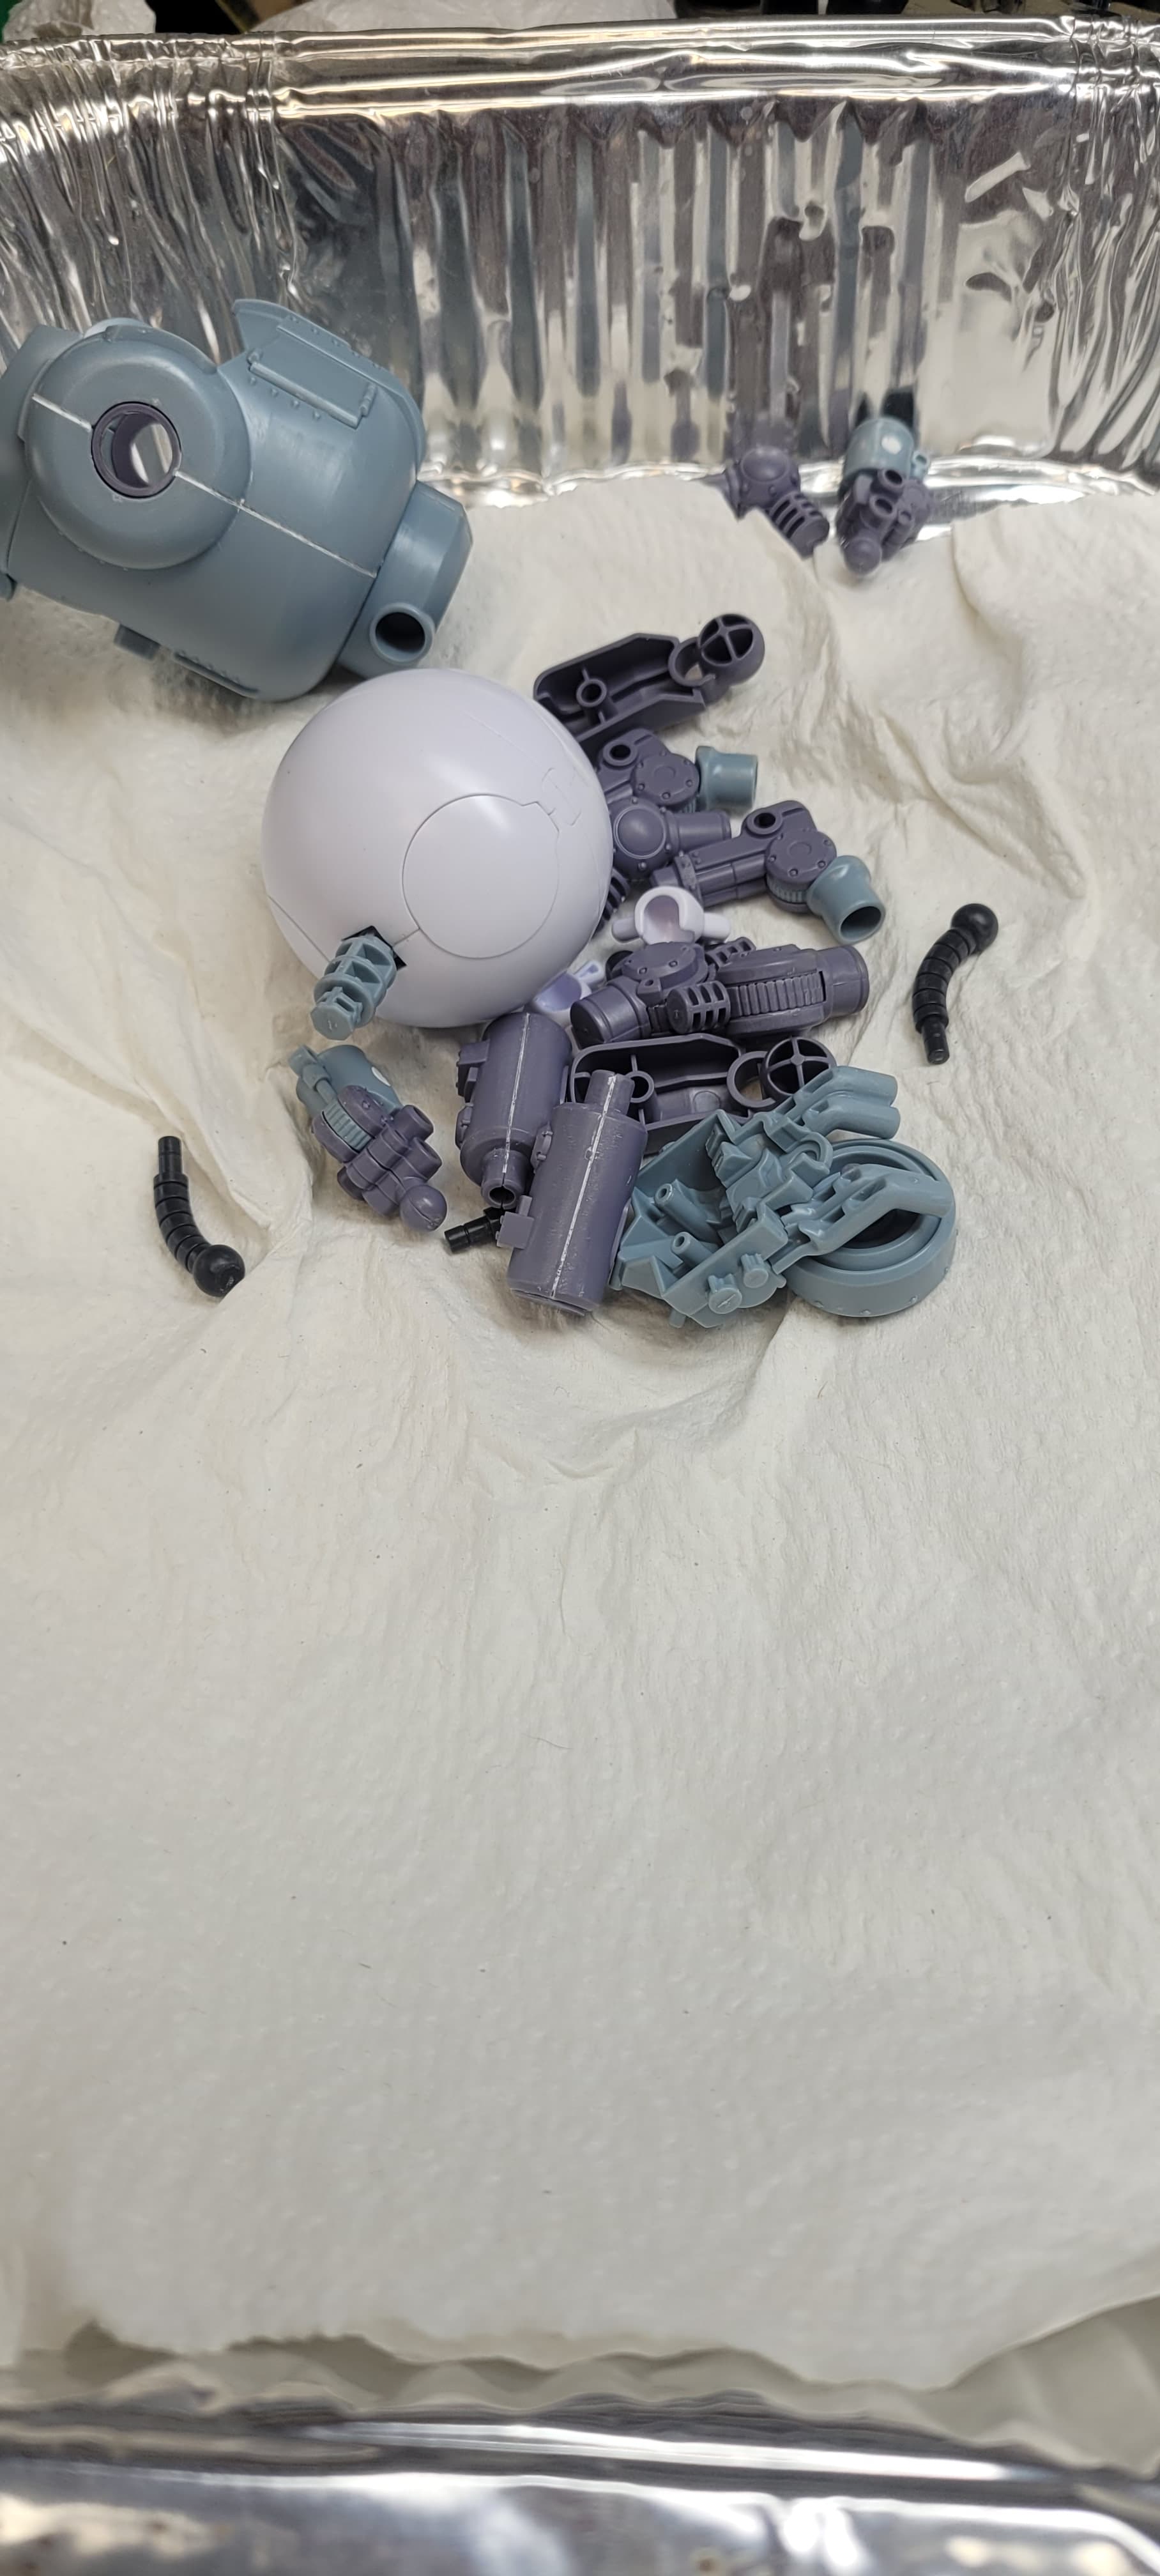
Getting it ready for paint, finally!
6 Likes
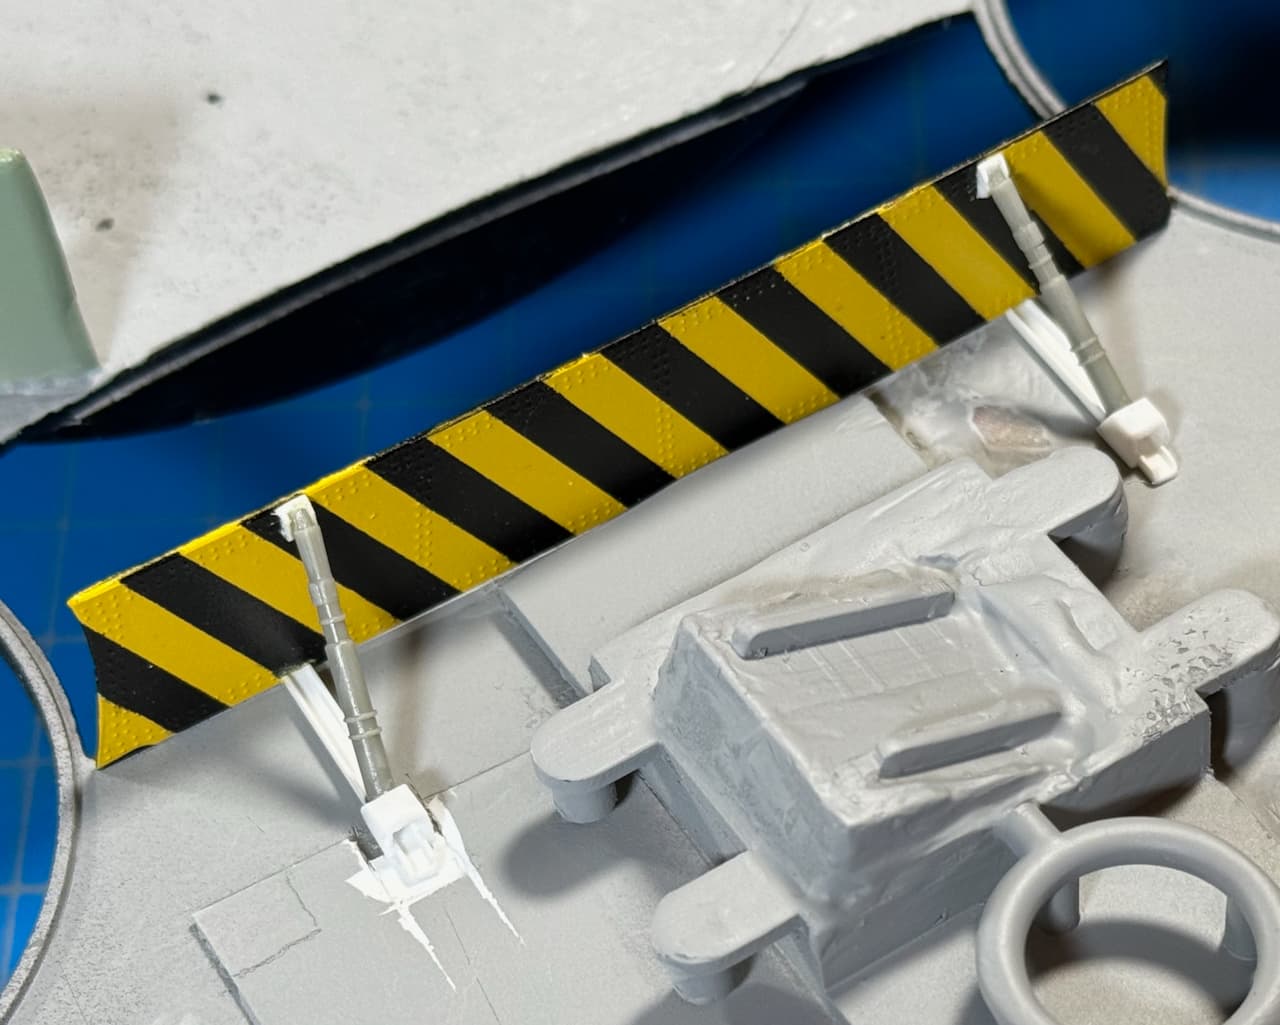
My spin on the Garage Door Opener… 

Actually half of the Bomb Bay Door.
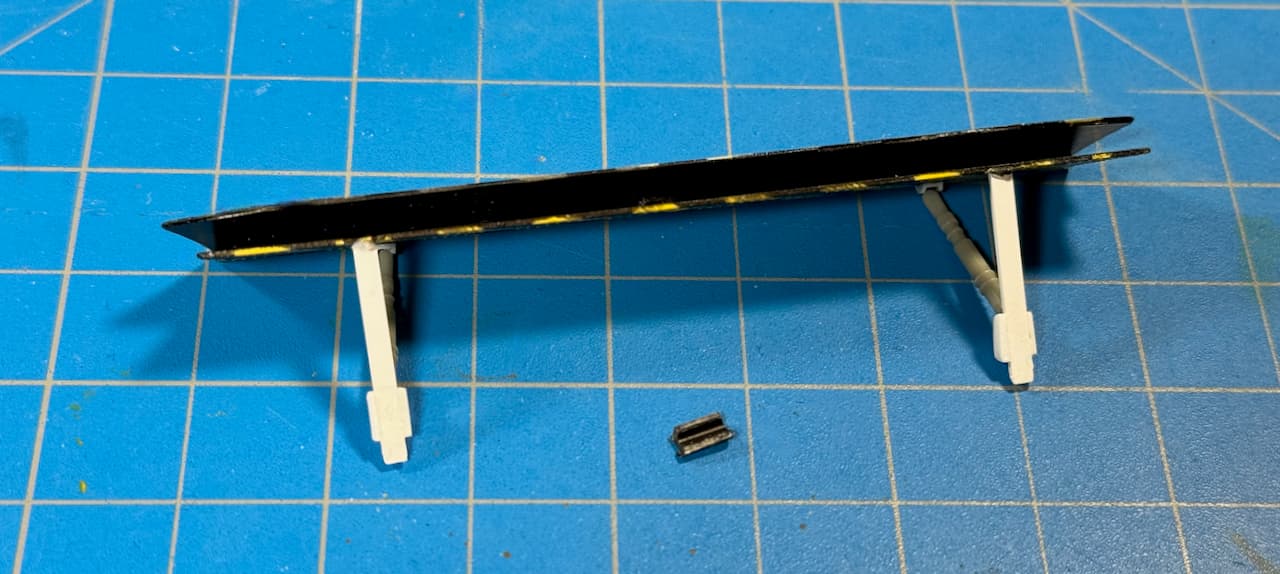
Been eying these kit gun barrels ever since I replaced them with aftermarket ones. Here, they’ve been repurposed as hydraulic cylinders. ![]()
––––––––––––––––––––––––––––––––––––––––––––––––––––––––––––––––––––––––––
[EDIT] More images added.
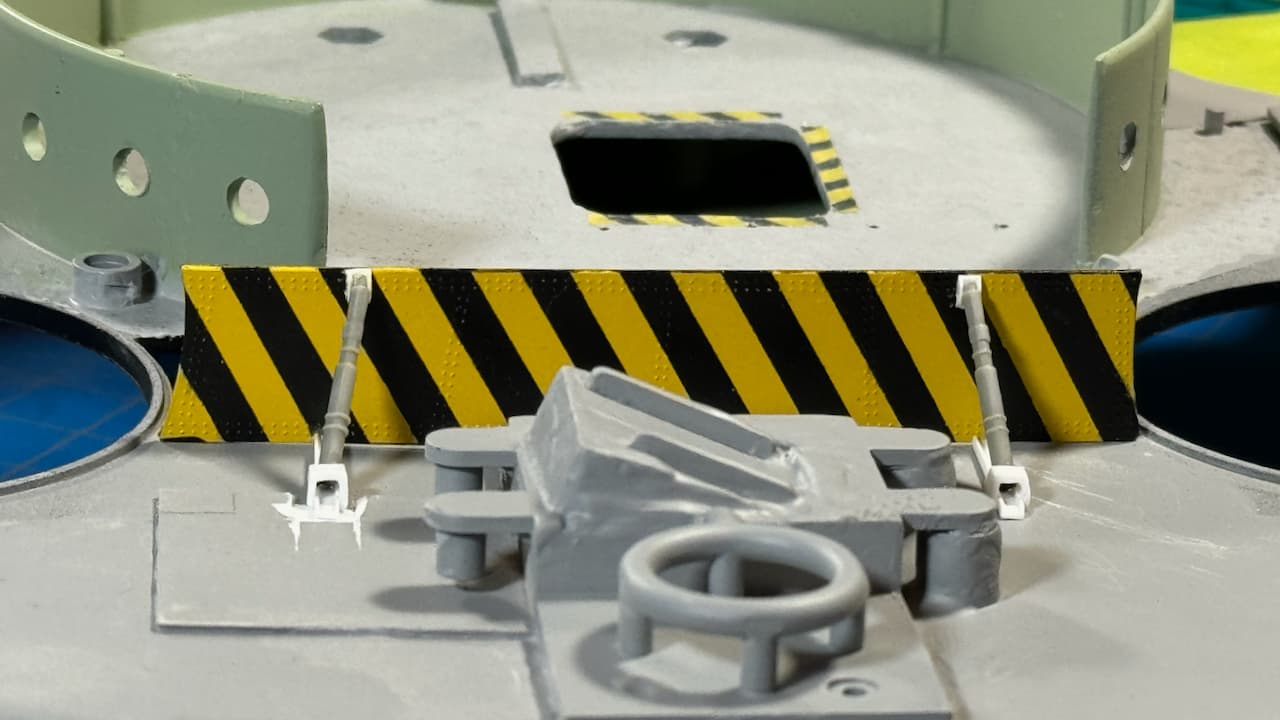
Don’t let that door hit you on your way out! … 
Assembly has been glued along the edge with VMS Flexy 5K Black Thin CA (VMS.CM11). After curing, it was shimmed open with a Styrene Strip.
Finally, in order to reinforce the assembly, I slipped-in a sliver of black tubing scrap.
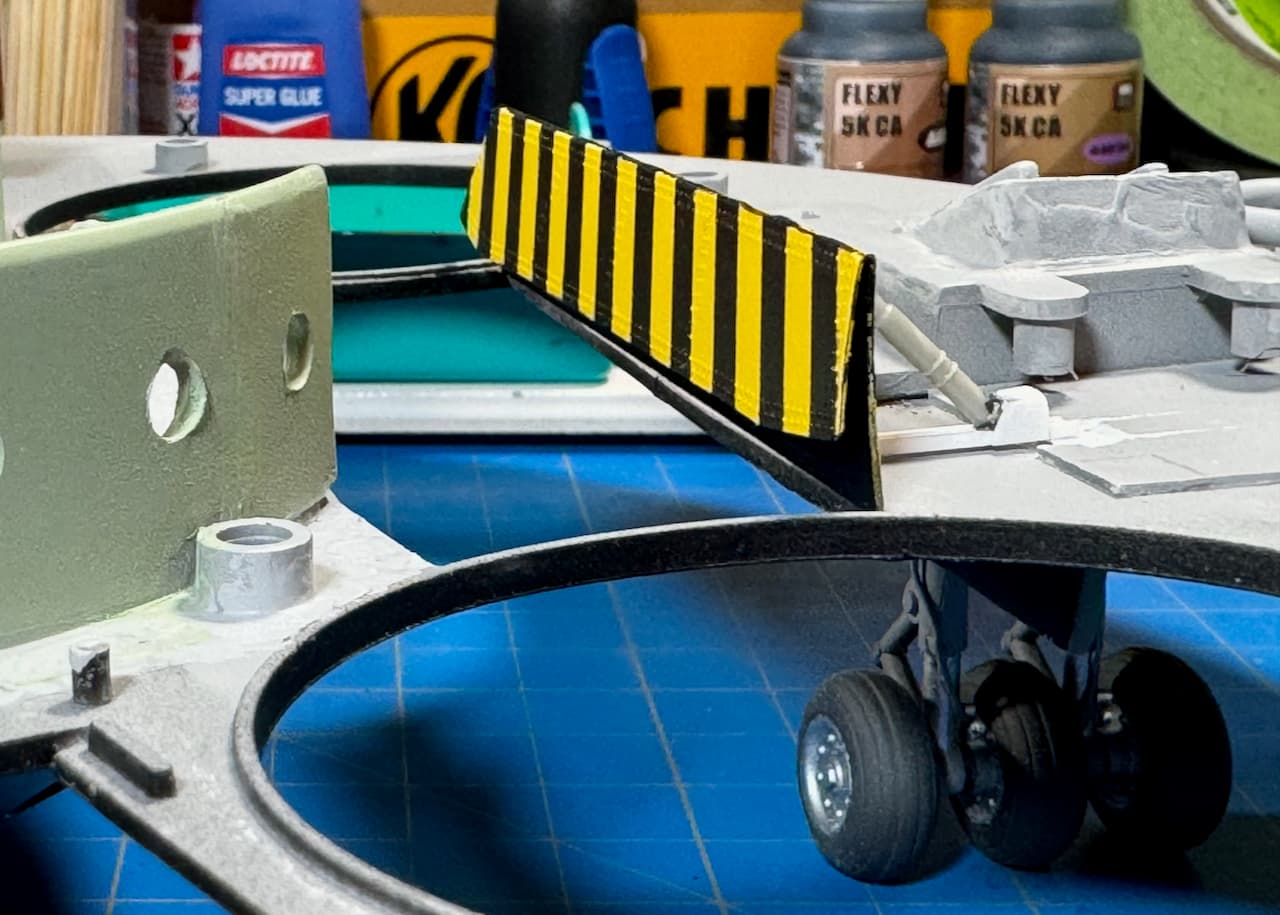
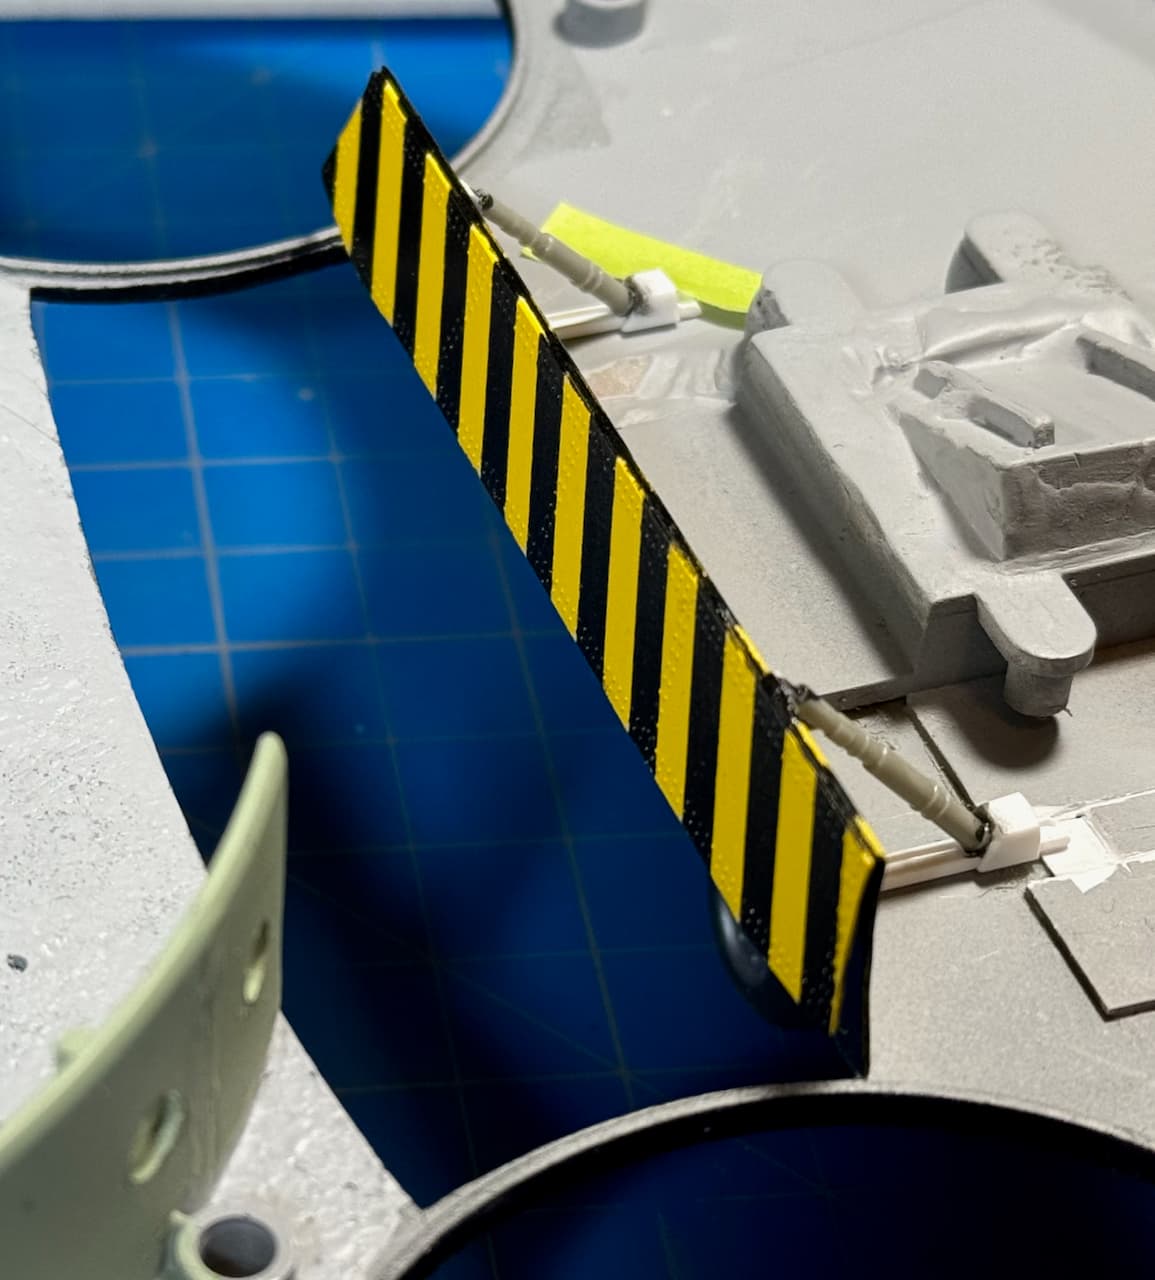
A couple of views showing the assembly dry-fit in place. Ready for more paint. …![]()
––––––––––––––––––––––––––––––––––––––––––––––––––––––––––––––––––––––––––
[EDIT] More images added.
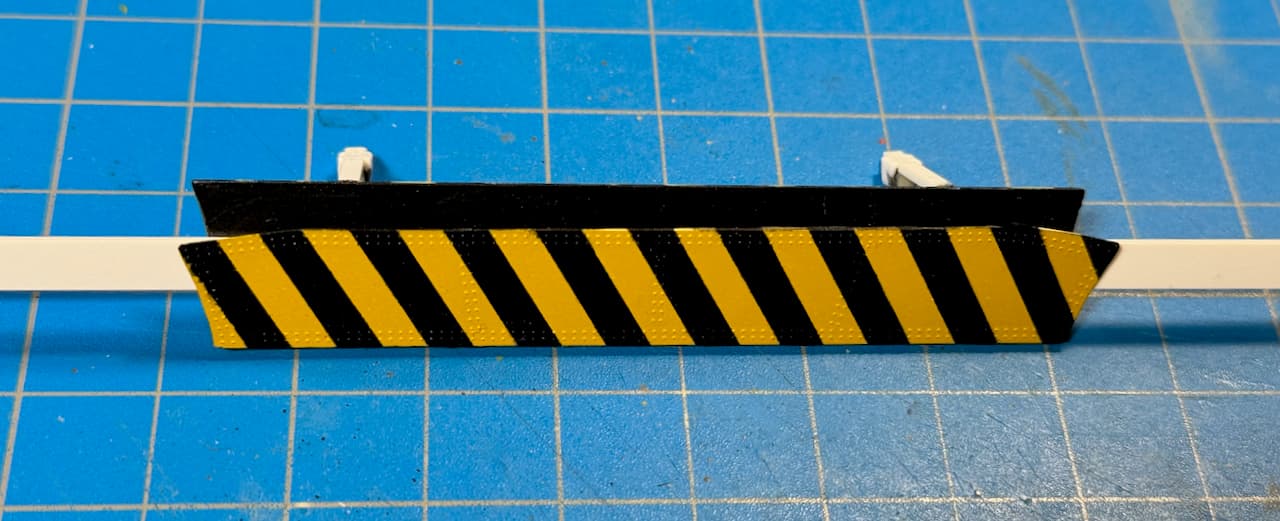
Painted hydraulics. …![]()
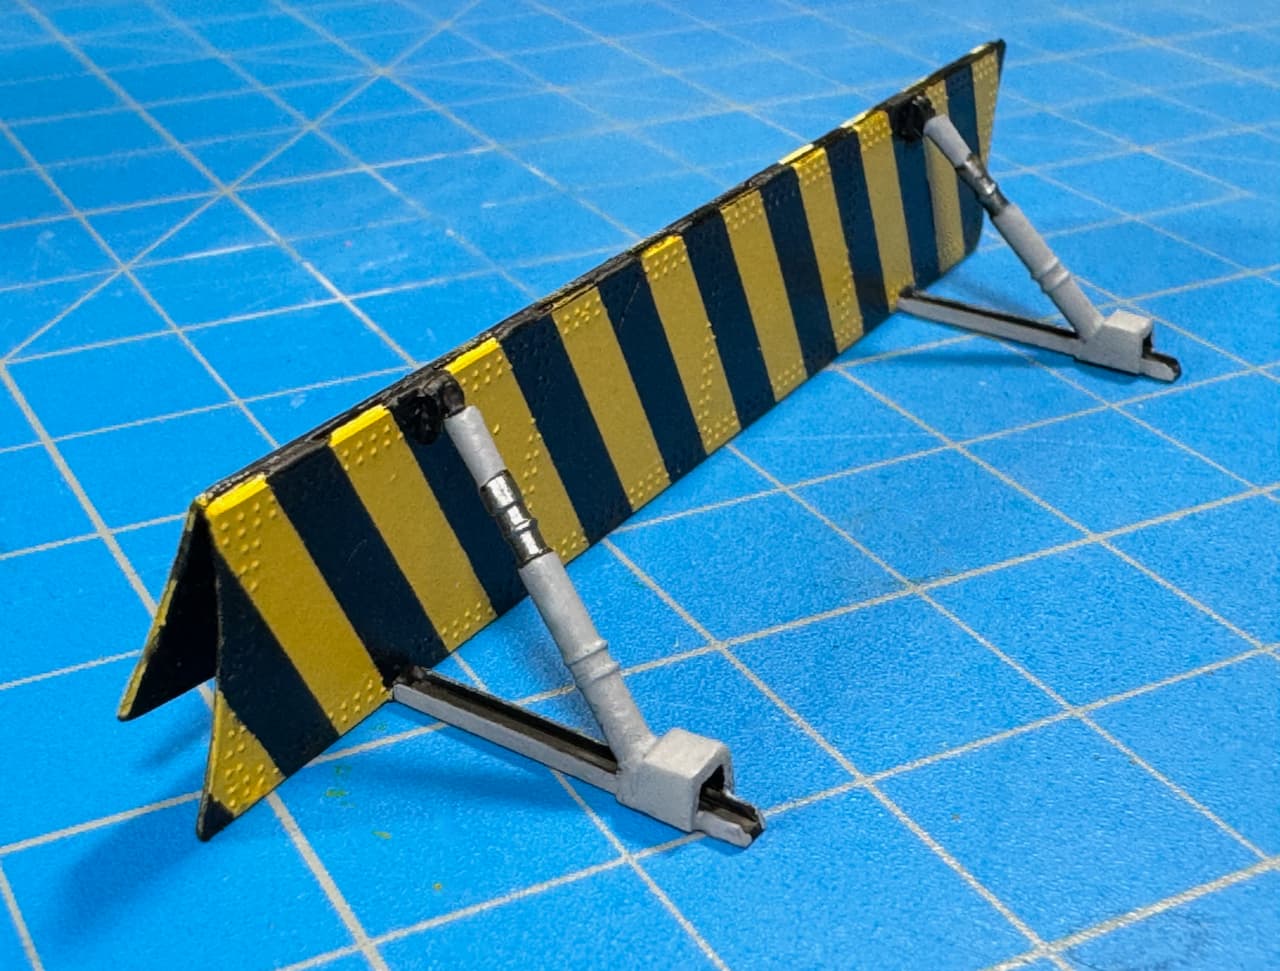
• Vallejo Black Primer (73.602)
• Vallejo Light Grey (71.050)
• Vallejo Magnesium Metal Color (77.711)
Safe holiday travels to all. ![]()
![]()
Happy Gobble-dee-goop! ![]()
—mike …![]()
9 Likes
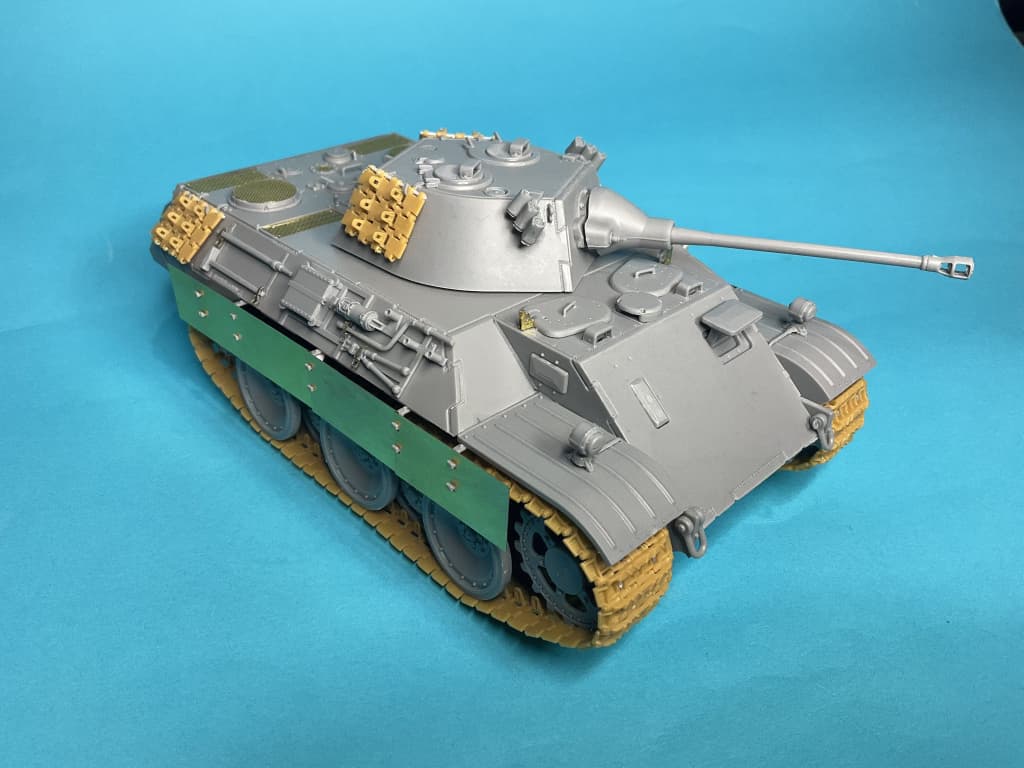
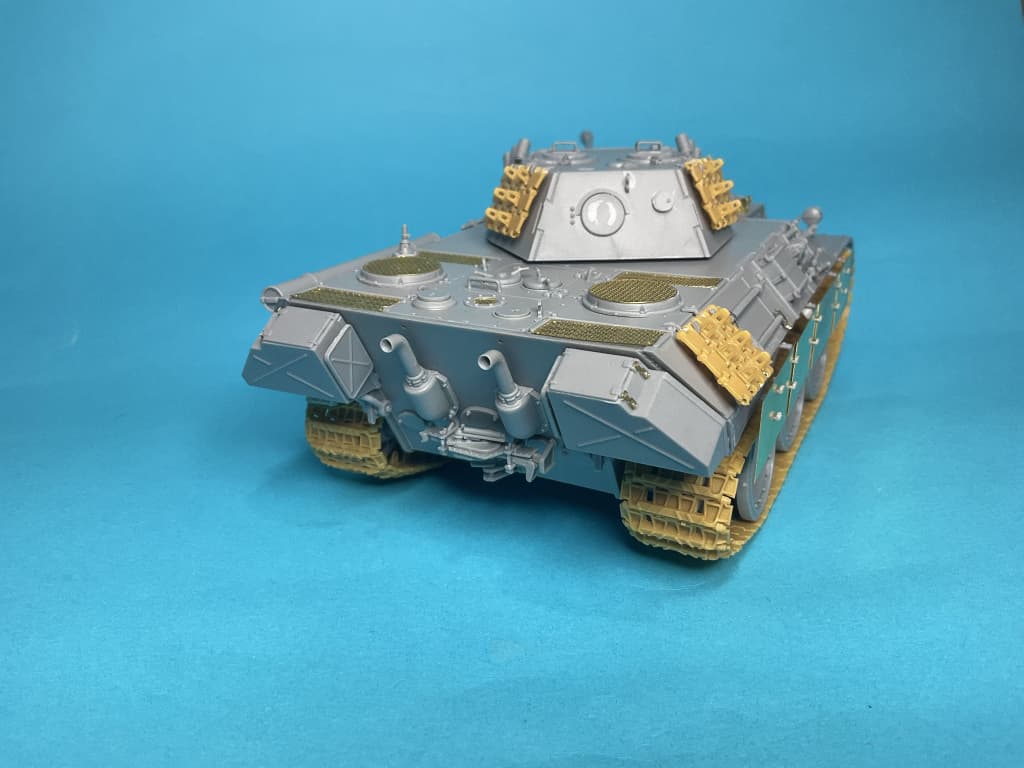
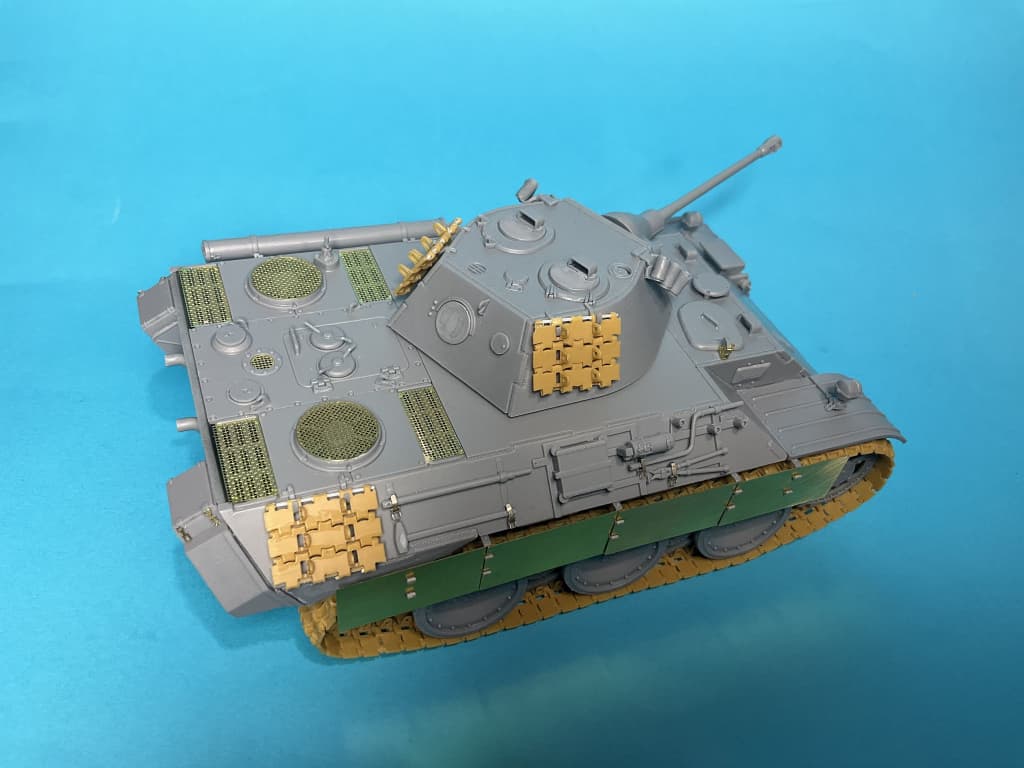
Okay, I have been chipping away at the build of my VK1602 Leopard and have just added the last Aber tool clamp; it is finally ready for a clean then primer.
Amusing Hobby’s workable tracks were a little piece of hell on earth. I cleaned every link up and started assembling them only to find that every hole for the end pins had to be drilled out for the pins to fit. Then I found out that the crenulations on the track edges were too long and they all had to be trimmed down so the two track links would go together and the holes for the pins would line up. Then they kept falling apart as the pins were so thin, they bent under the weight of the tail of tracks already attached.
After doing almost one whole track run I test fitted them to the kit. Now I found the tracks sat too high on the sprocket and the twin guide horns were set too close for the idler to squeeze in… I refused to go any further.
Luckily, I knew I had a set of Bronco Panther tracks I had bought at a swap meet. I decided to see if they fit, and yes, they fit like they were made for the kit. So without any further ado, the dry fit model:

I have to finish a couple of other builds that currently have flat coat drying, before I get back to this. I should have it done in time.
7 Likes
Still a tasty build Pete, even if it’s now posted in the CORRECT thread! ![]()
Glad those Bronco tracks saved it…
2 Likes
Looks great, Peter! I also find that the various versions of workable tracks are a lot of tedious work and the end result might not be as good as expected.
Sometimes it is worth it - sometimes not.
For my Schneider build I did the whole three fine parts with a lot of clean up pr. part for each link. Worth it.
For my grasshopper I am using the old school rubber bands. The single links are not workable and fit was not good, so each link bend a little.
Your result looks great! Hopefully the left over links you already cleaned up can be used as extra armor on another tank.
Looking forward to see more ![]()
2 Likes
With another M60 out of the way, it is time to focus on this build again. Time to get this damn project of the table, as I have lost any and all interest in the Maschienen Krieger-theme (for now).
Basic colours are now all but done. Time for weathering and then the base.

4 Likes
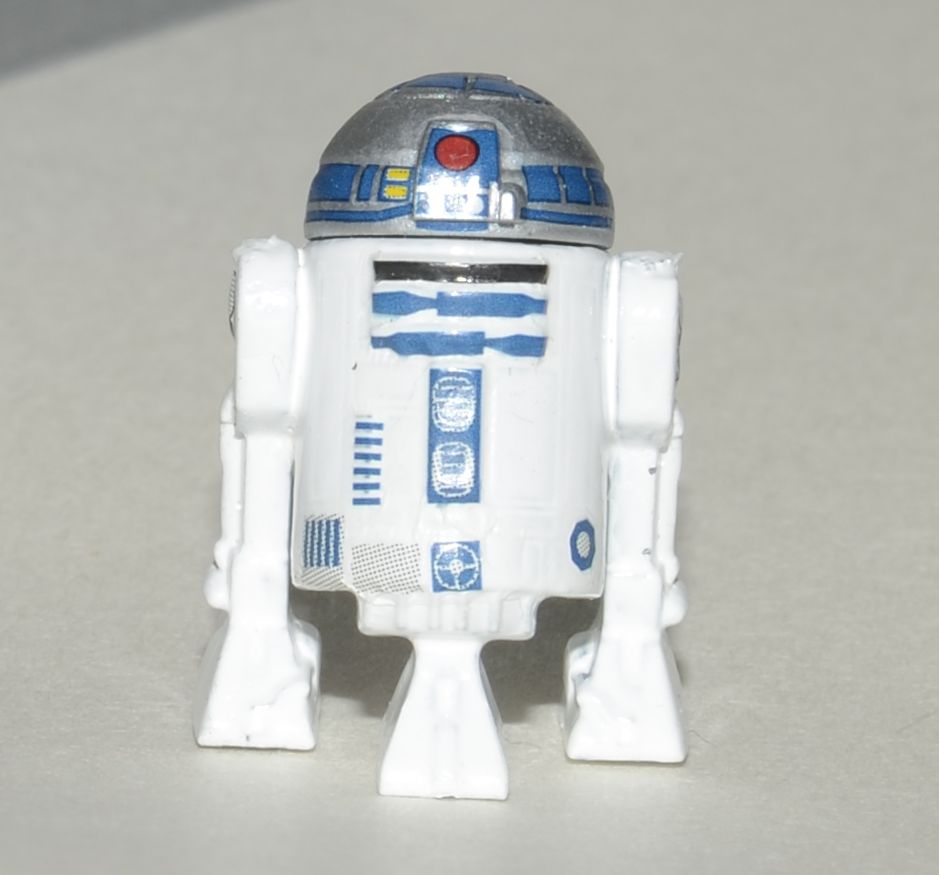
X-Wing is finished. The weathering ended up a bit overdone, as the Lifecolor Tensocrom washes didn’t come off as easily as I expected once they were dry. Took quite a bit of isopropyl alcohol and scrubbing to ease it up a bit.
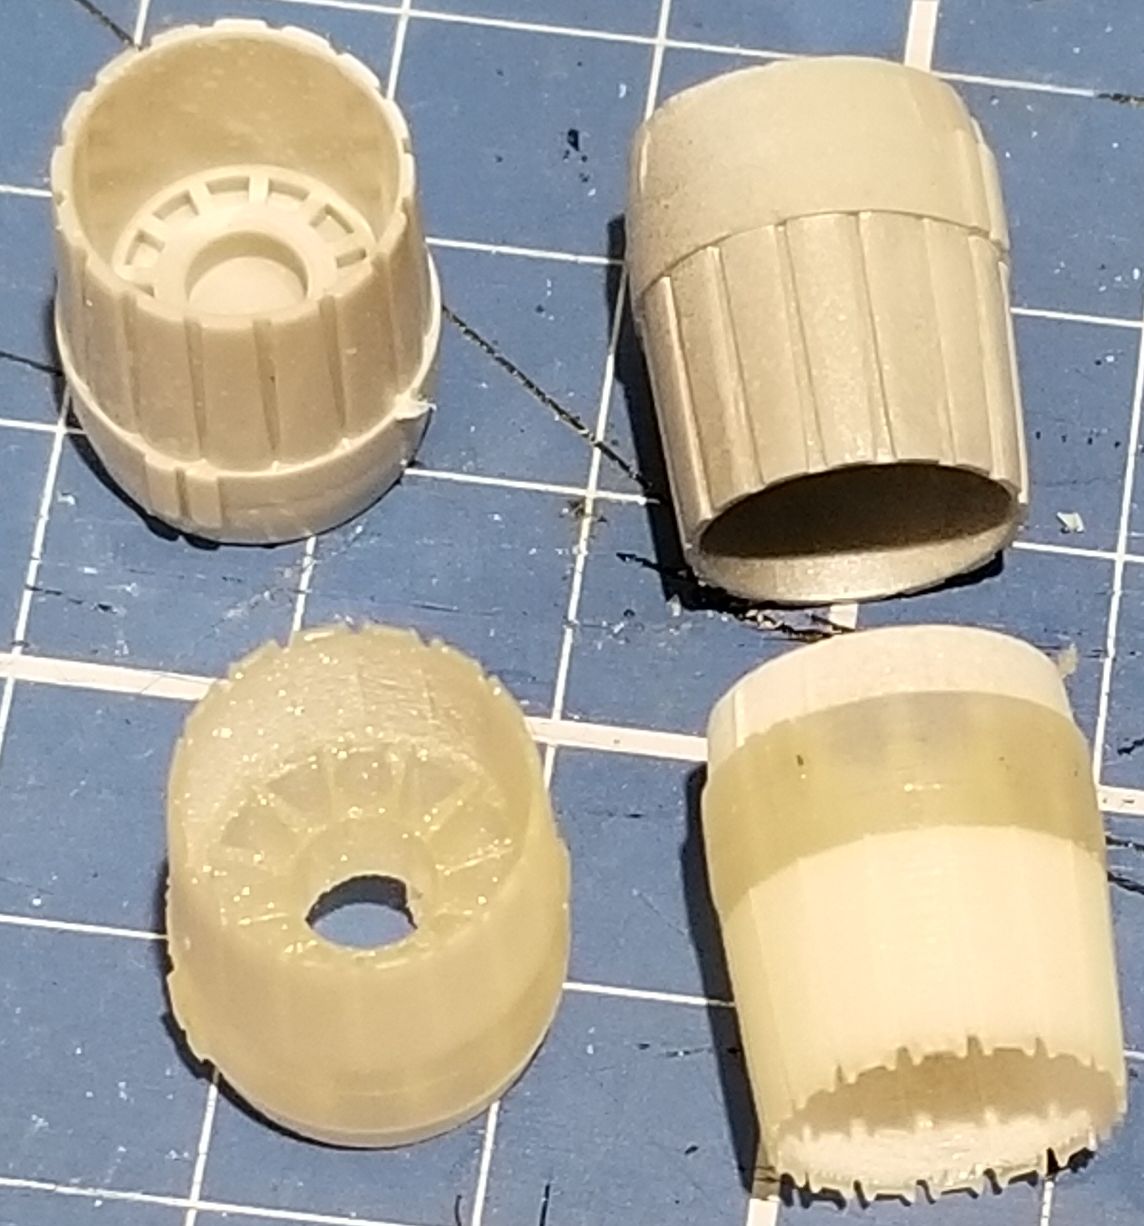
Overall it went together really well and there is not one bit of filler in it. The only issue I encountered was having to drill out the holes for the landing gear mounts, and for the engine nozzle mounting holes. Everything else went together fine. The one add-on I did go for were some 3D printed replacement engine nozzles, just because I though they looked cooler than the original plastic ones.
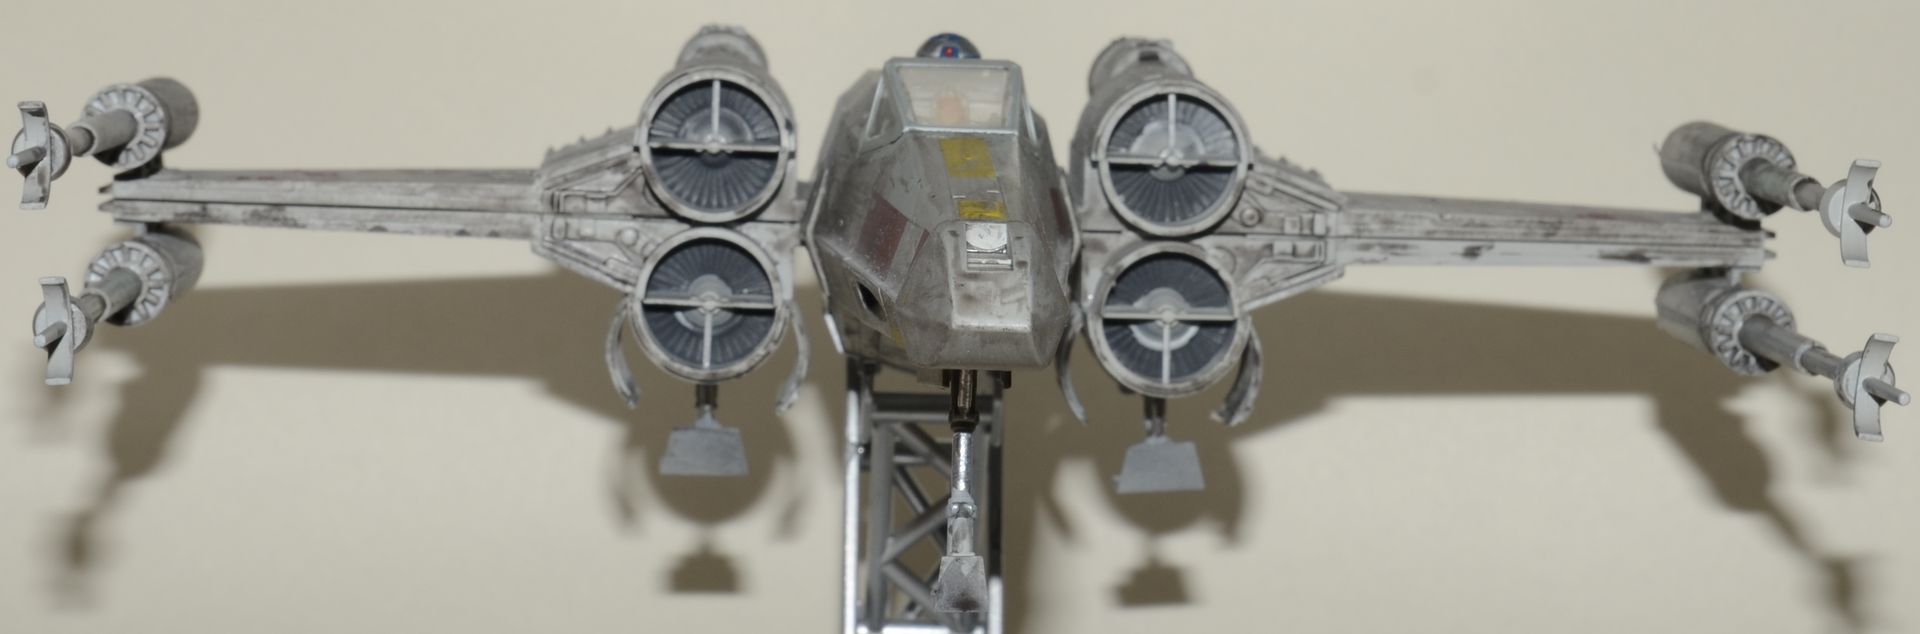
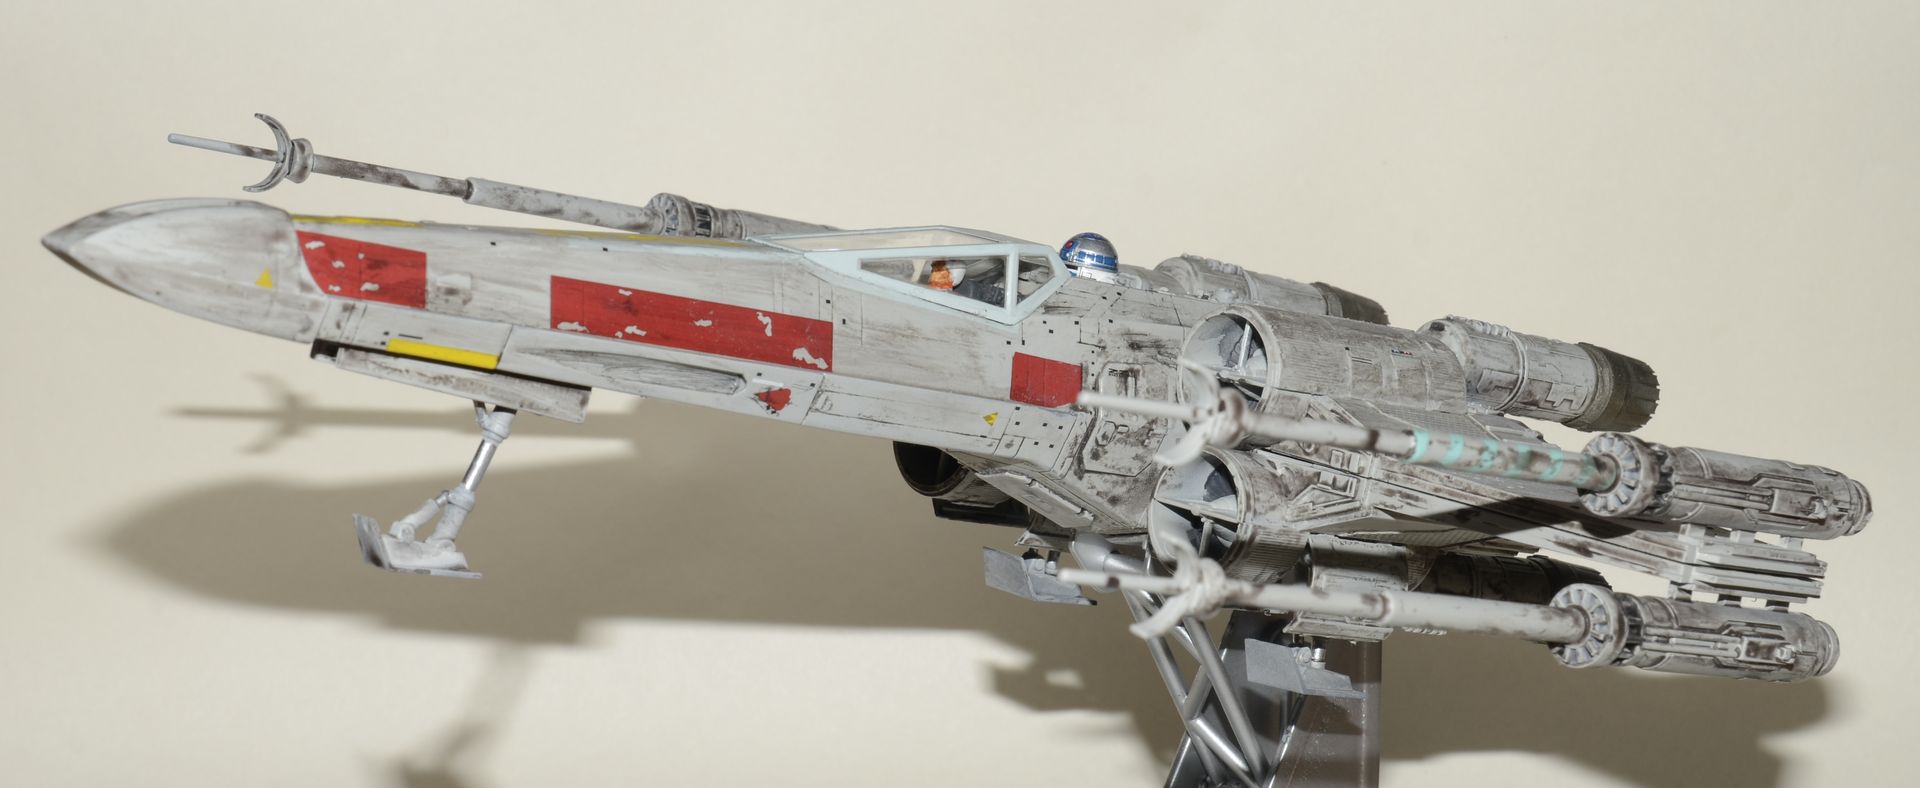
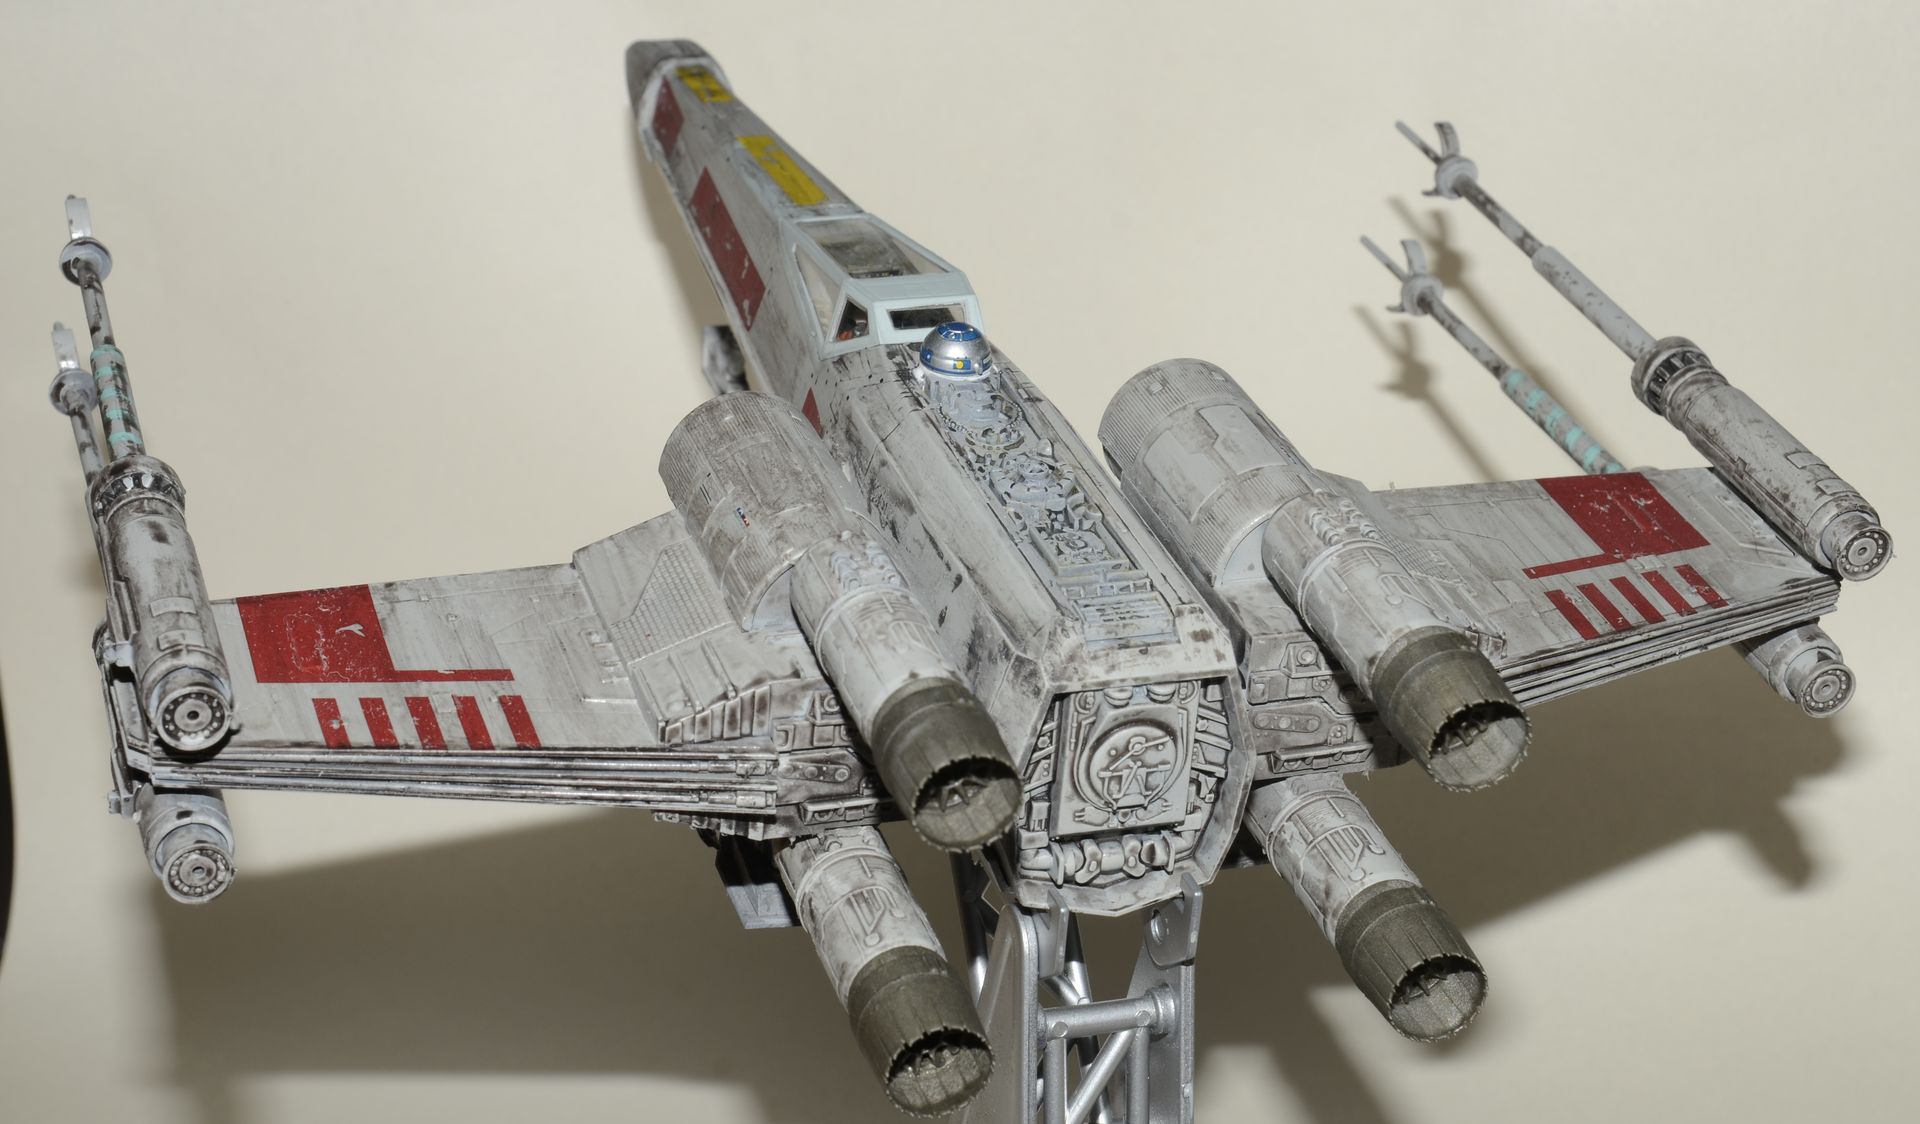
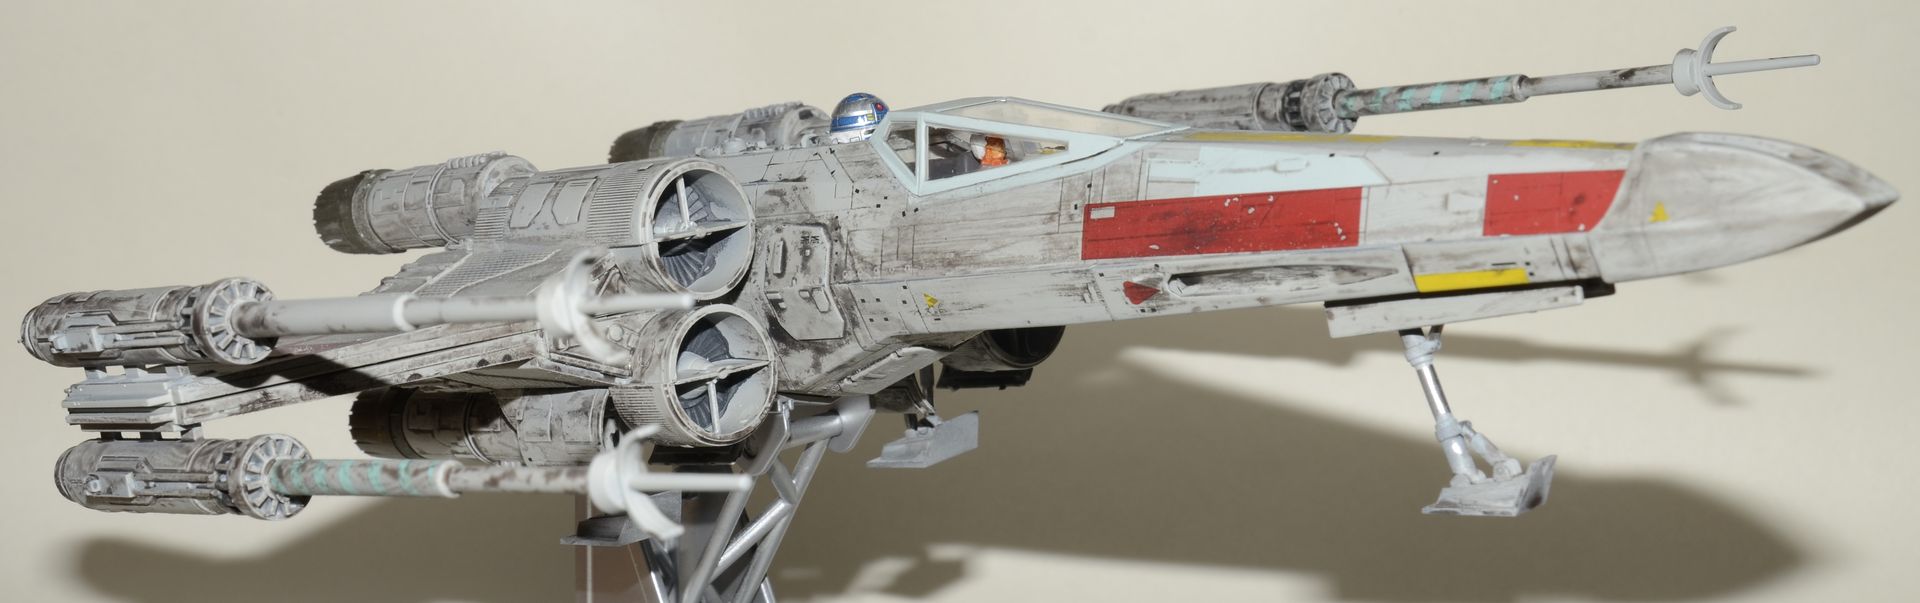
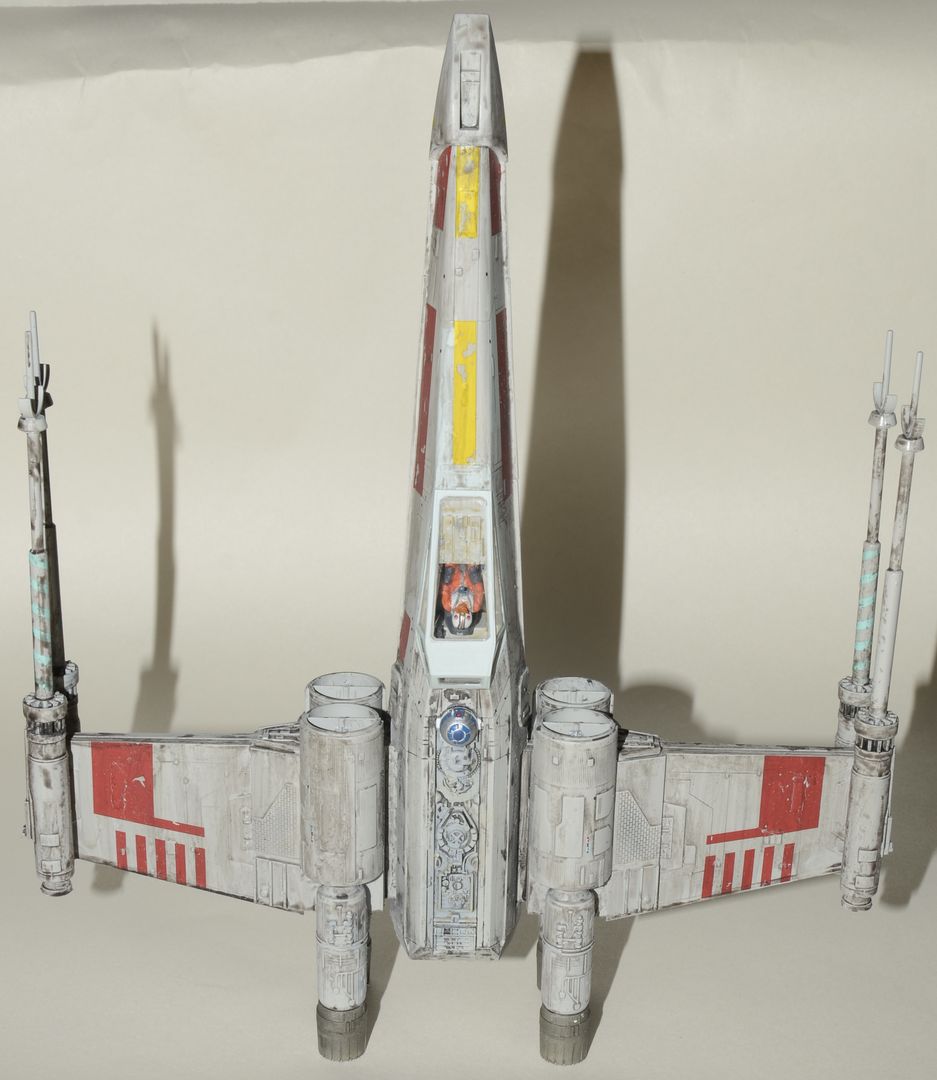
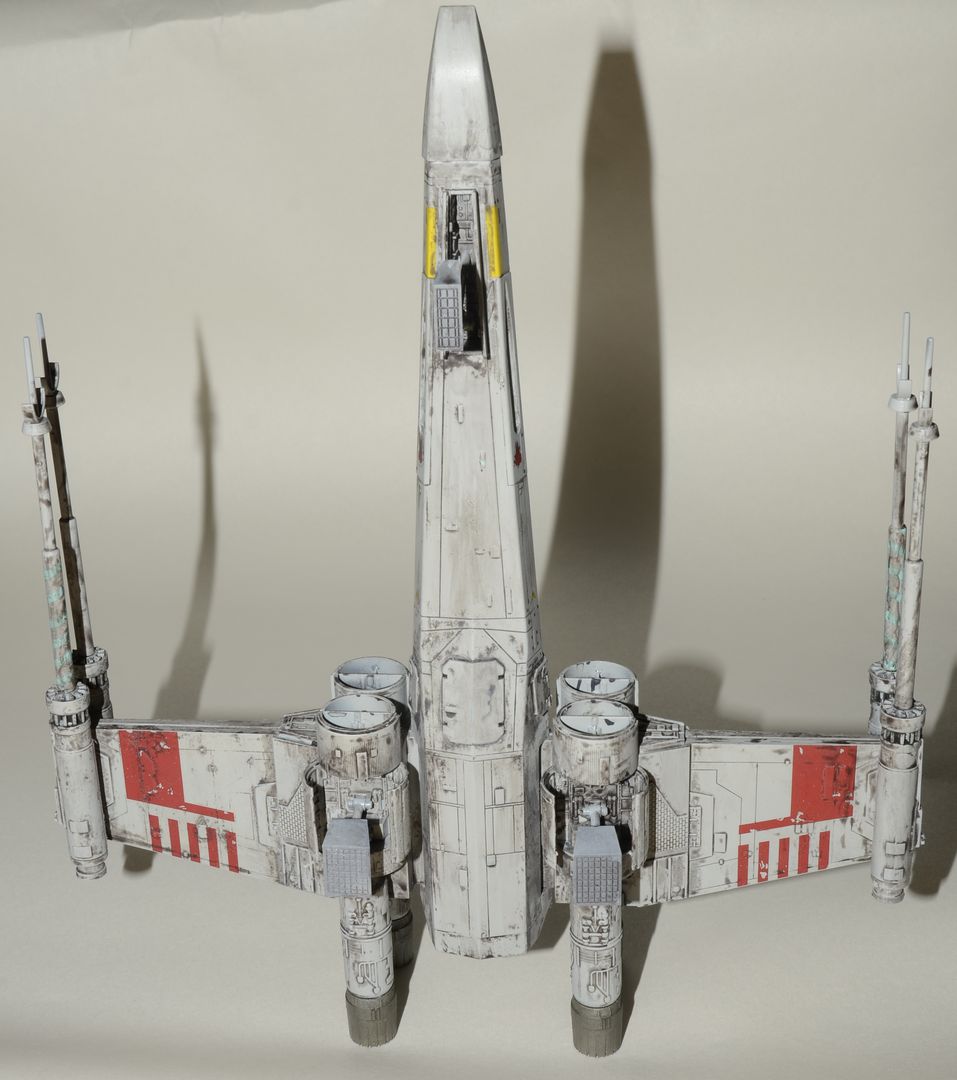
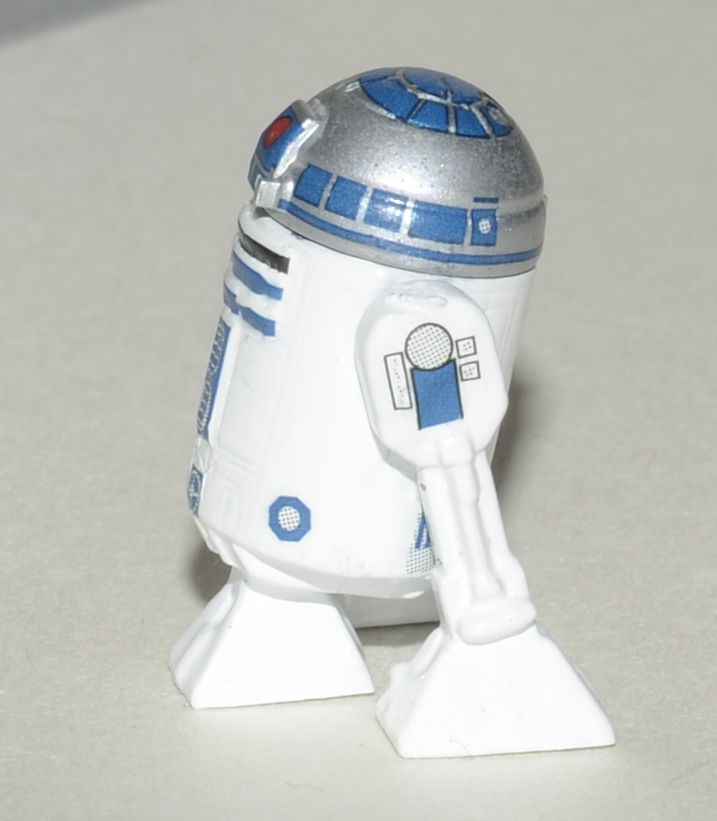
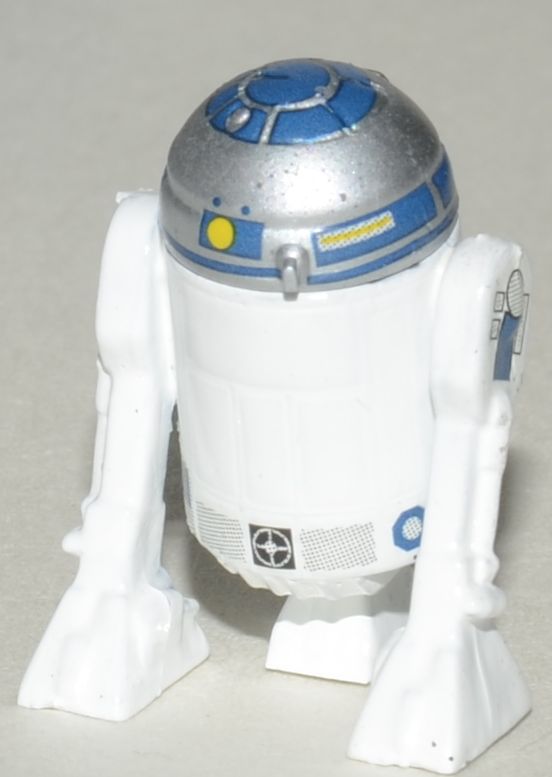
Also came with a full body R2 as well as the head to mount on the X-wing itself.
12 Likes
Great build, Iain! Where did you get the nozzles?
Congrats on finishing ! ![]()
![]()
1 Like
If you ever have the chance to see the travelling Star Wars exhibit of the original filming models, you’ll be very happy with how accurate your weathering is.
Congrats on finishing.
Cheers,
Colin
3 Likes
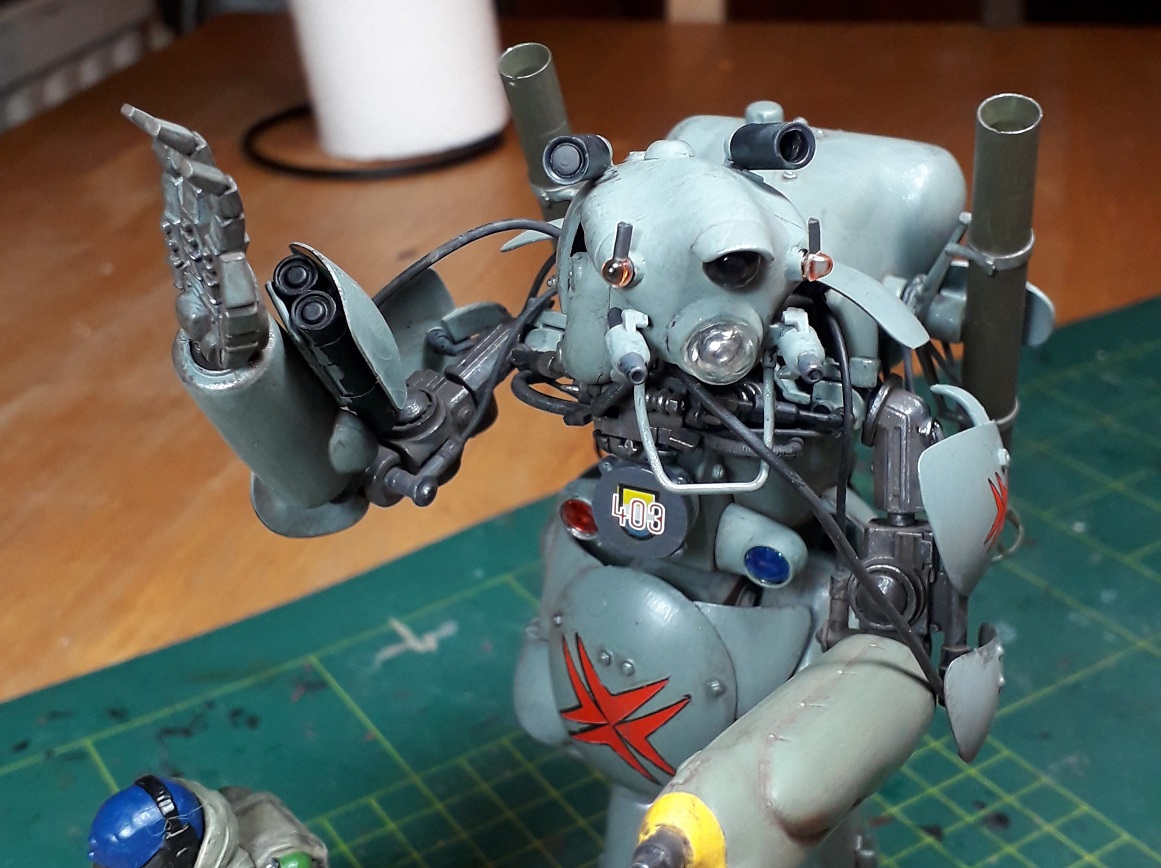
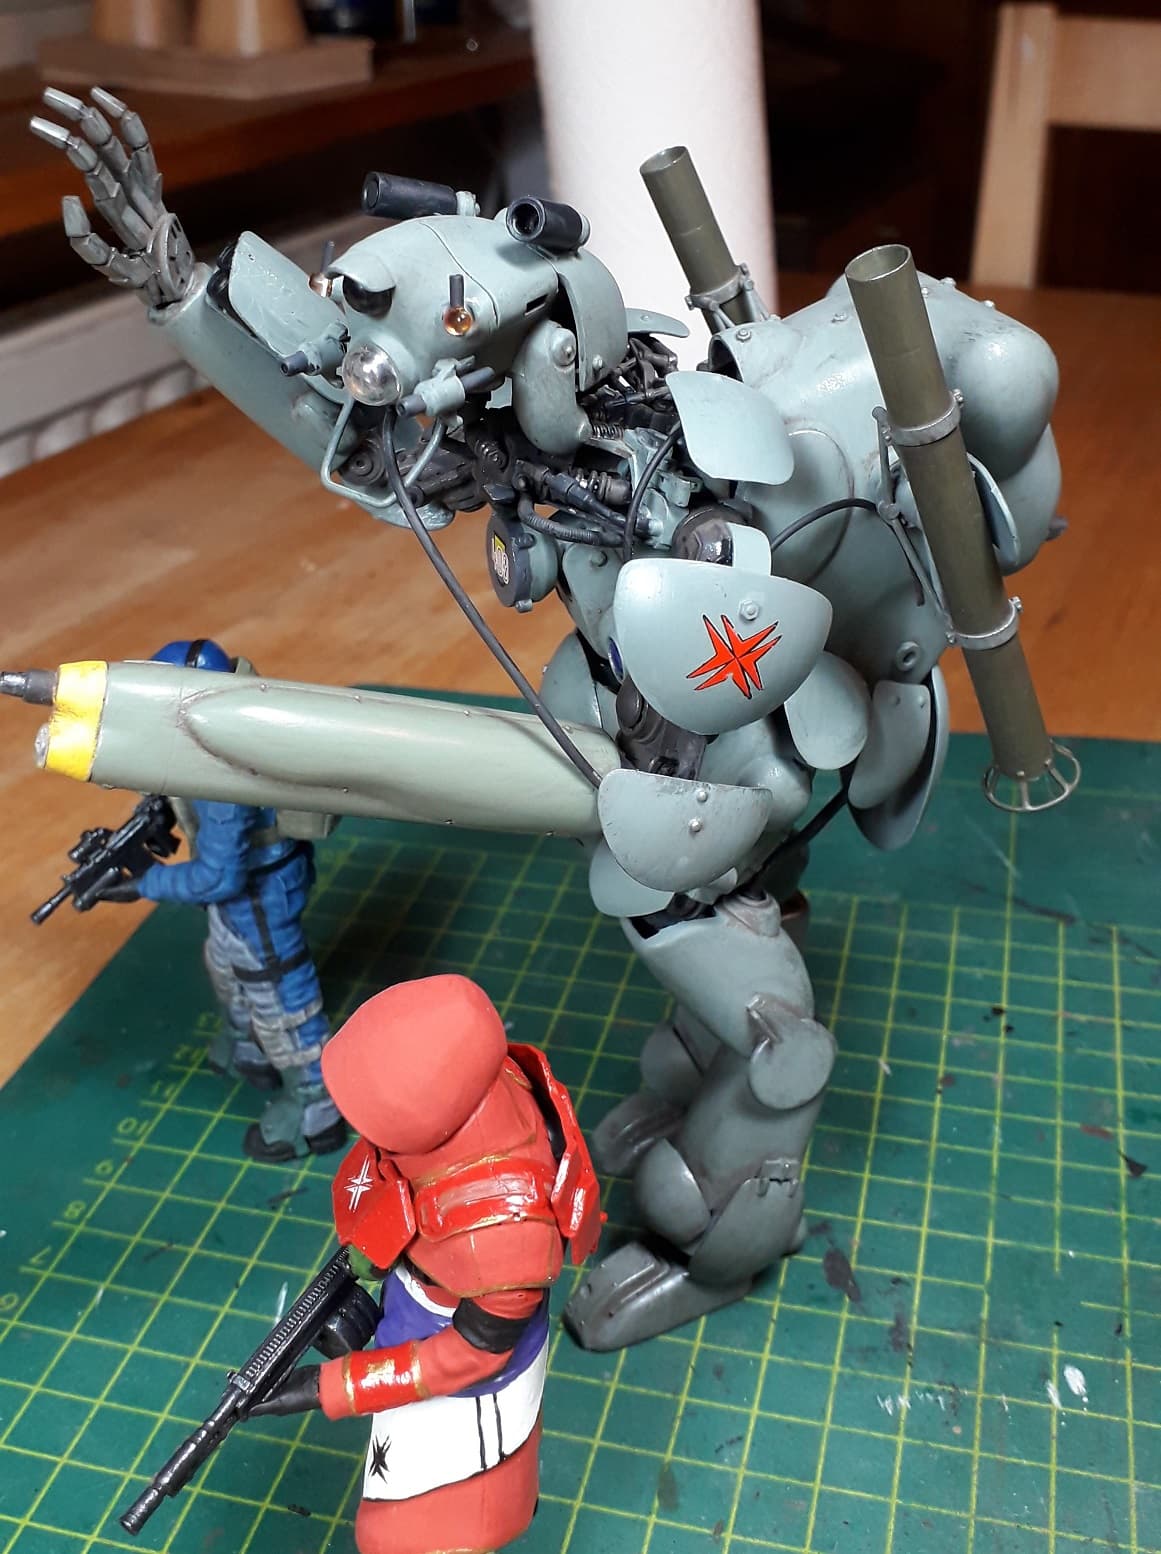
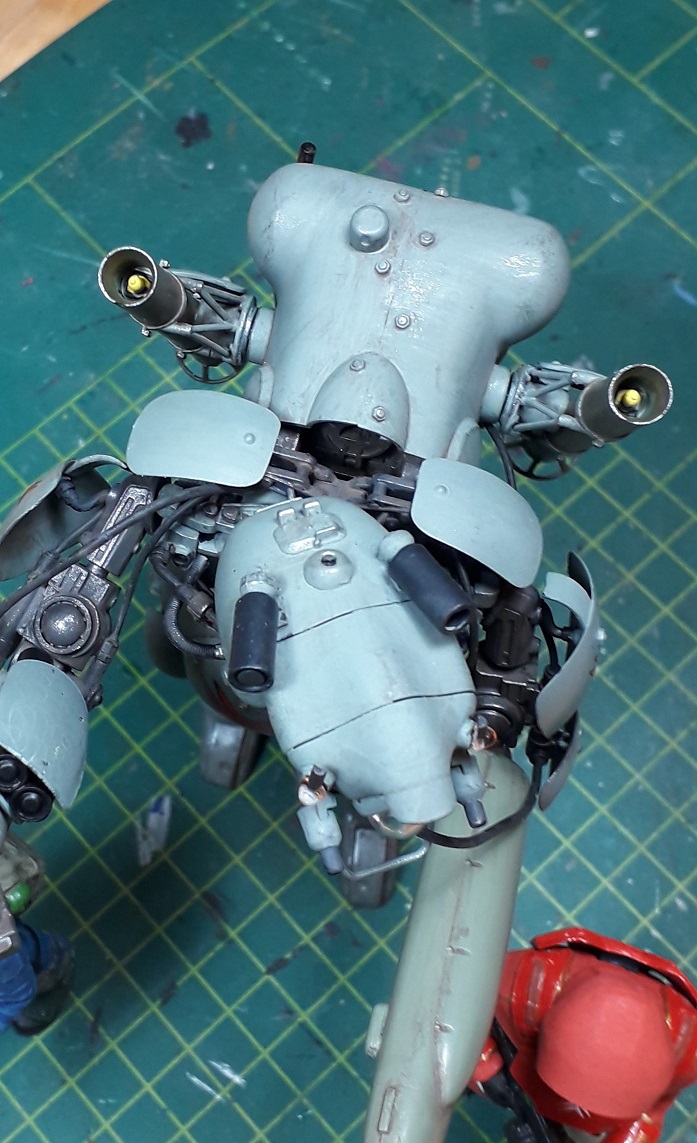
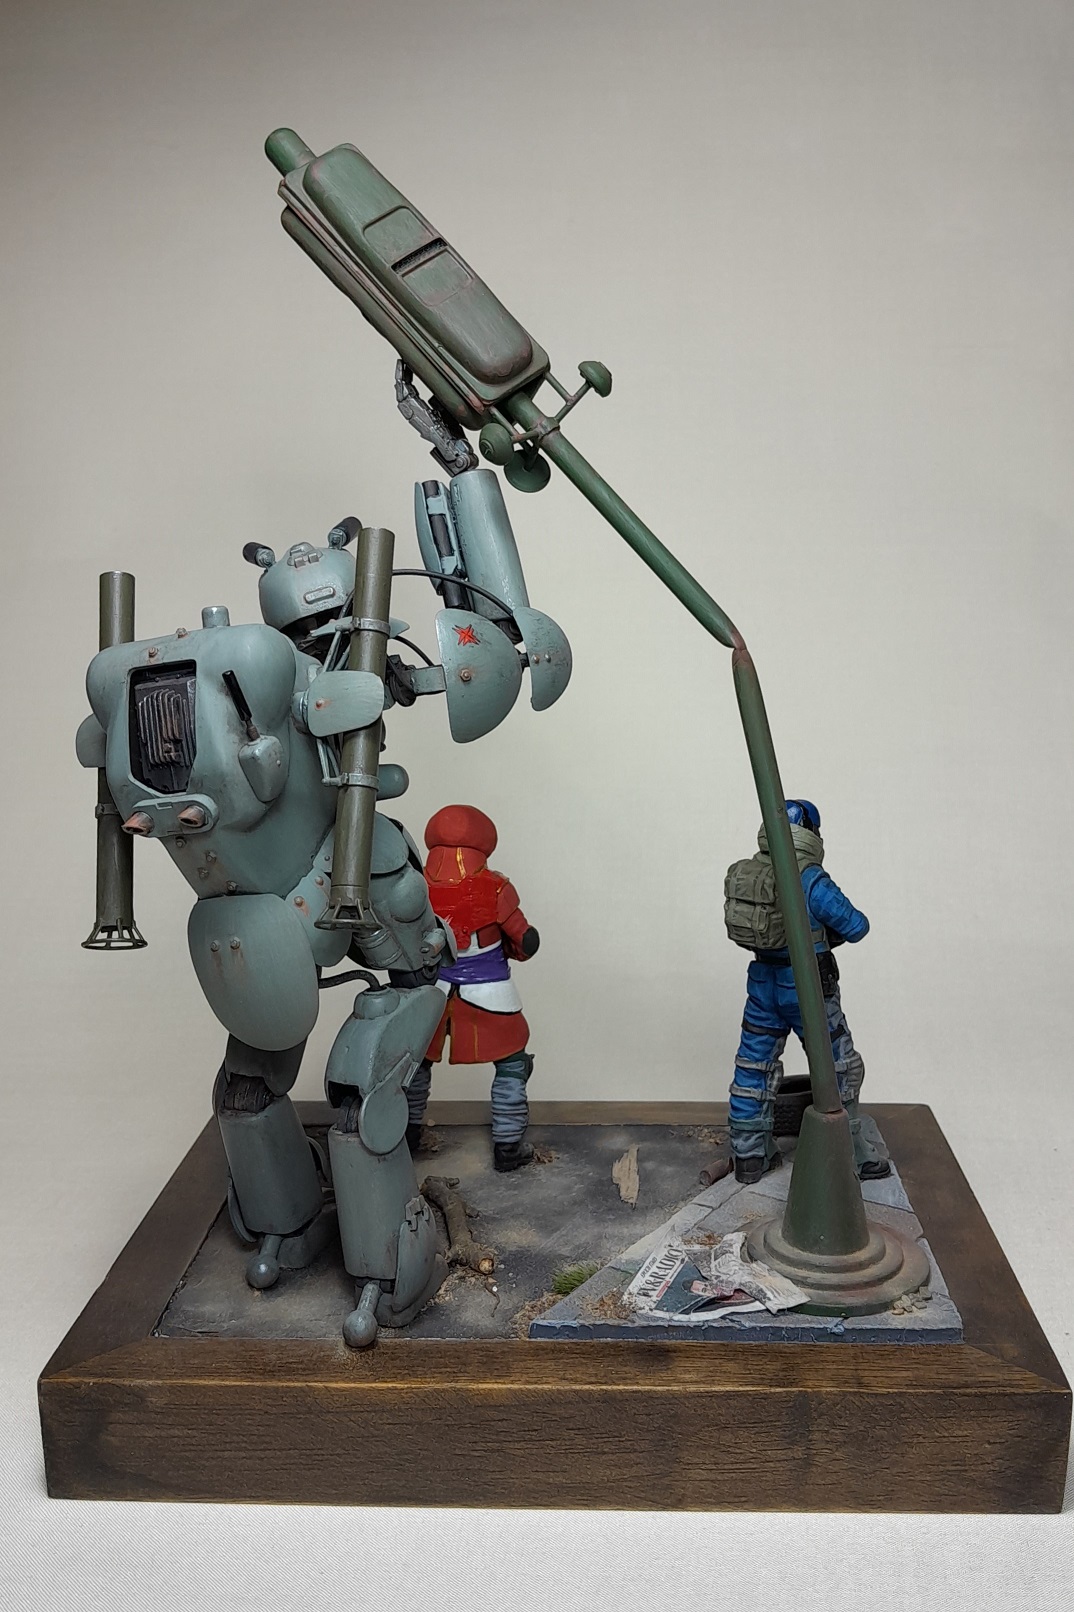
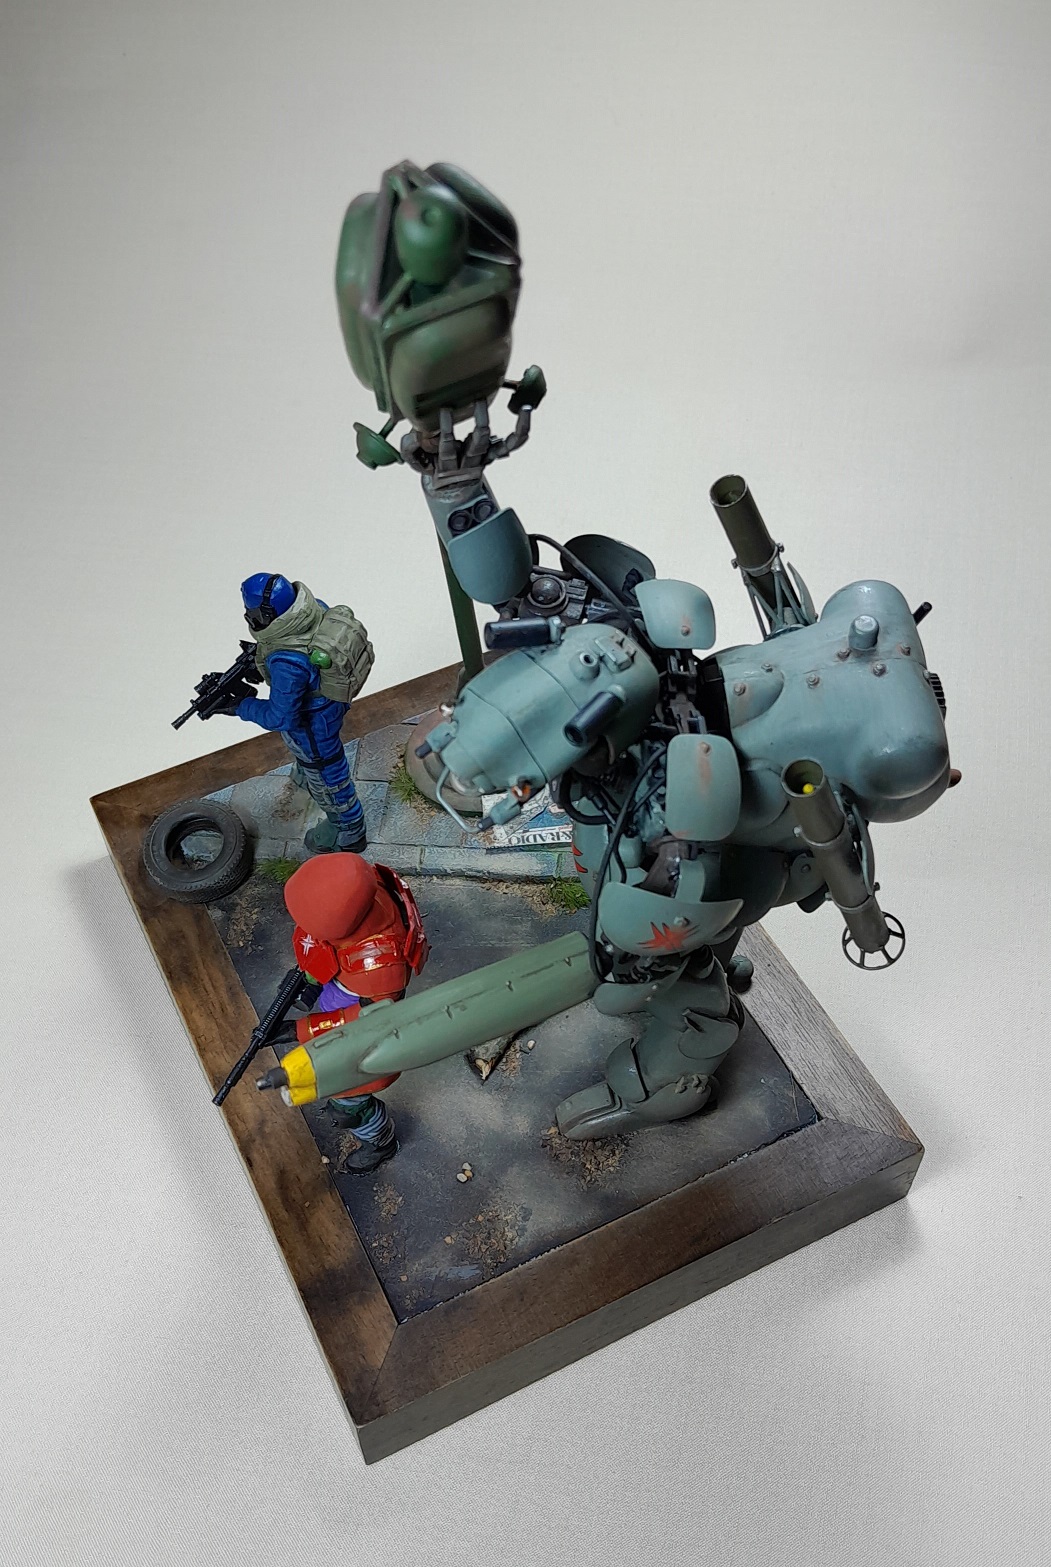
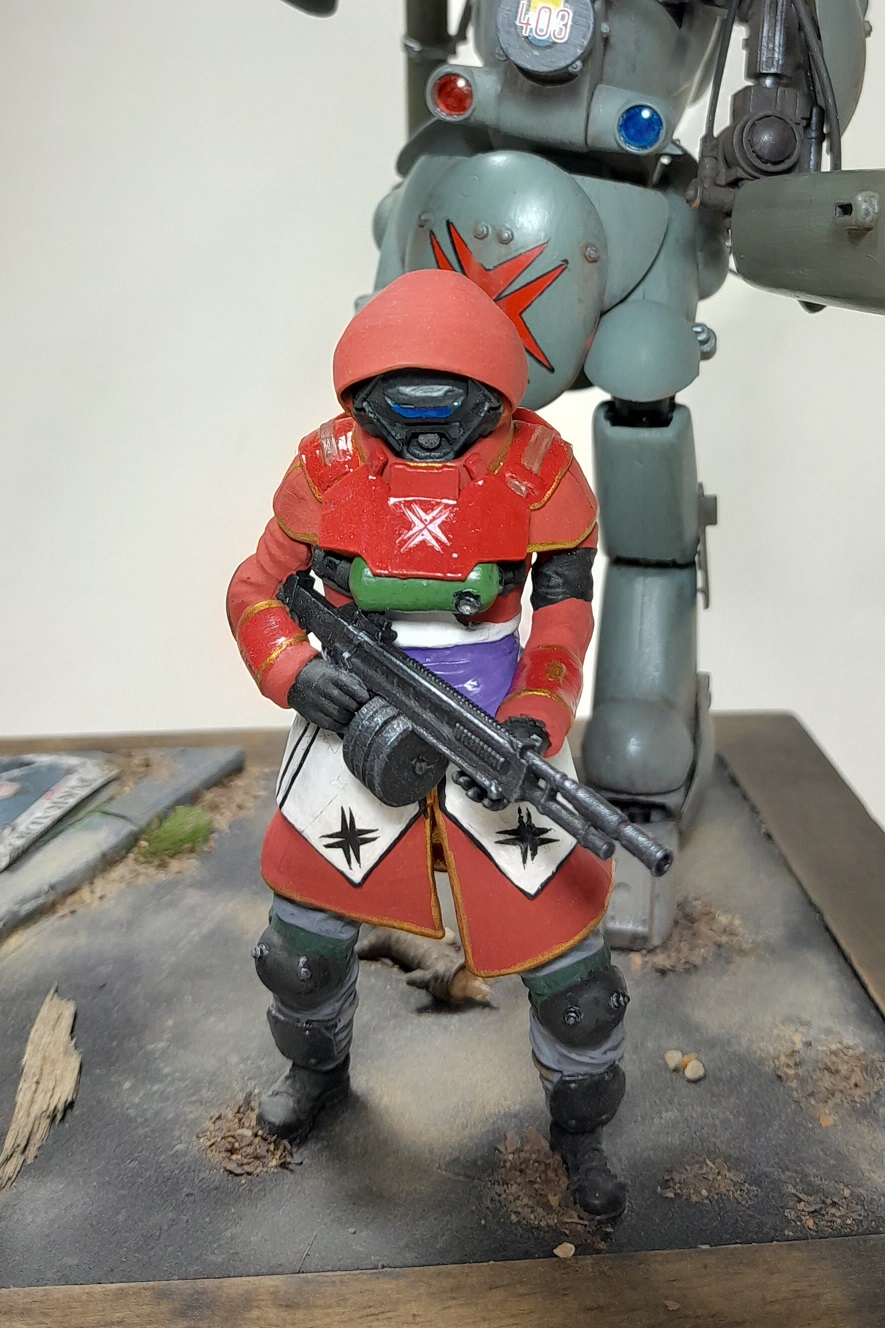
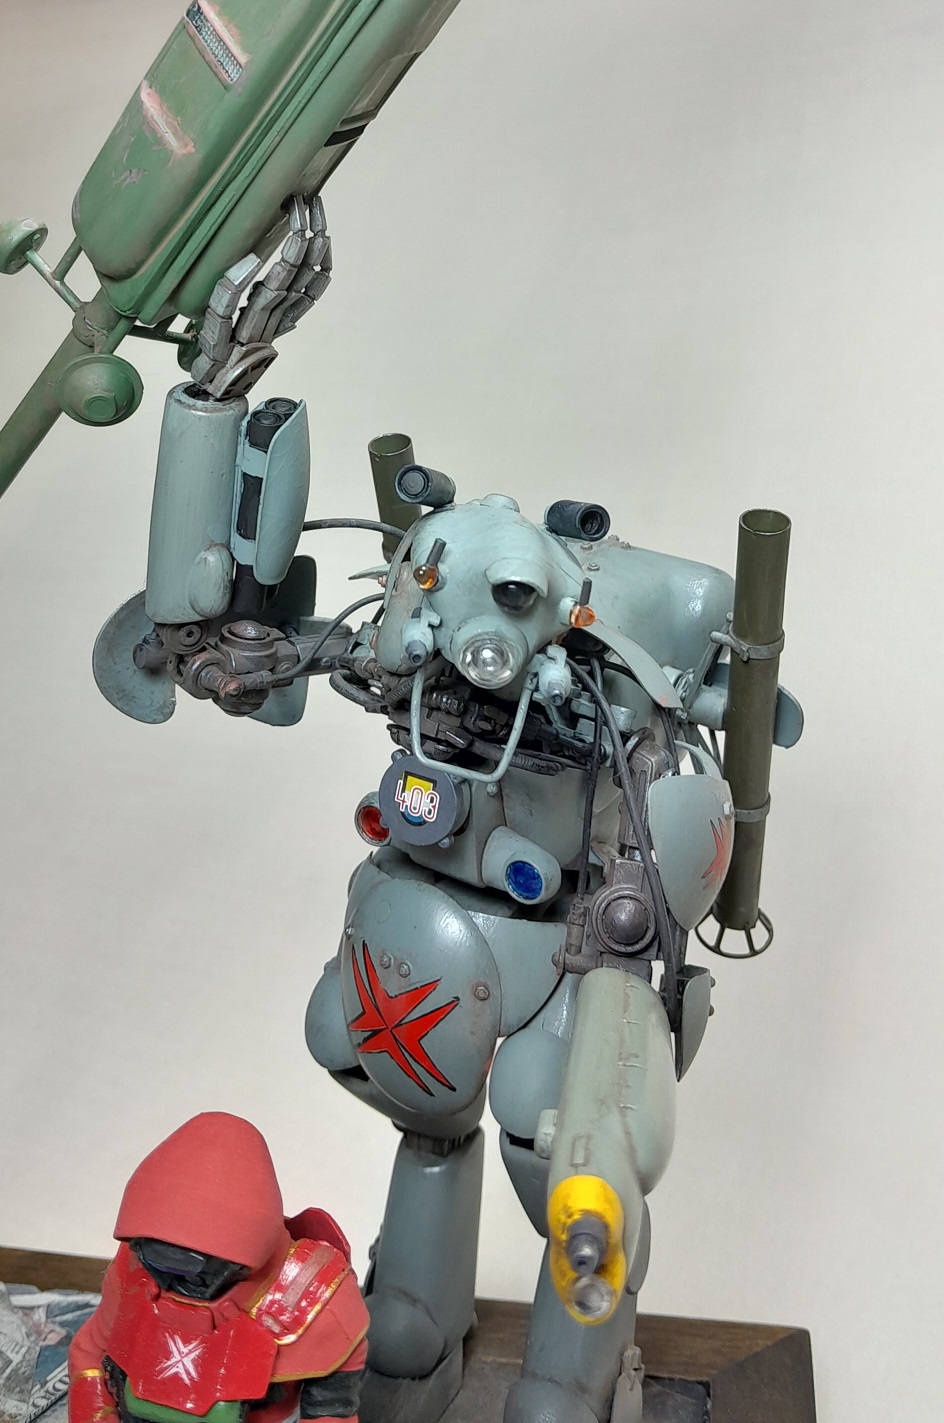
The last sunday of november… I actually might make it before the deadline!
The final touches shall be done once it all will be placed on the base… which is next!
I added a few bits 'n bobs that are not in the original kit, like extra armor on the launcherbases, 2 transparent JS-2 flashlight on the head sides, extra decals on the frontradar, an extra rocketlauncher on the right fore arm (being 2 105mm roundcases and a fake fingernail) and 2 exhausts made from lollipop sticks.


12 Likes
I got the nozzles through Shapeways.
I think this is them:
1 Like
Thanks for sharing, Iain. I will check them out. ![]()
![]()
Hello , I am new to this forum , and I hope this build fits right here .
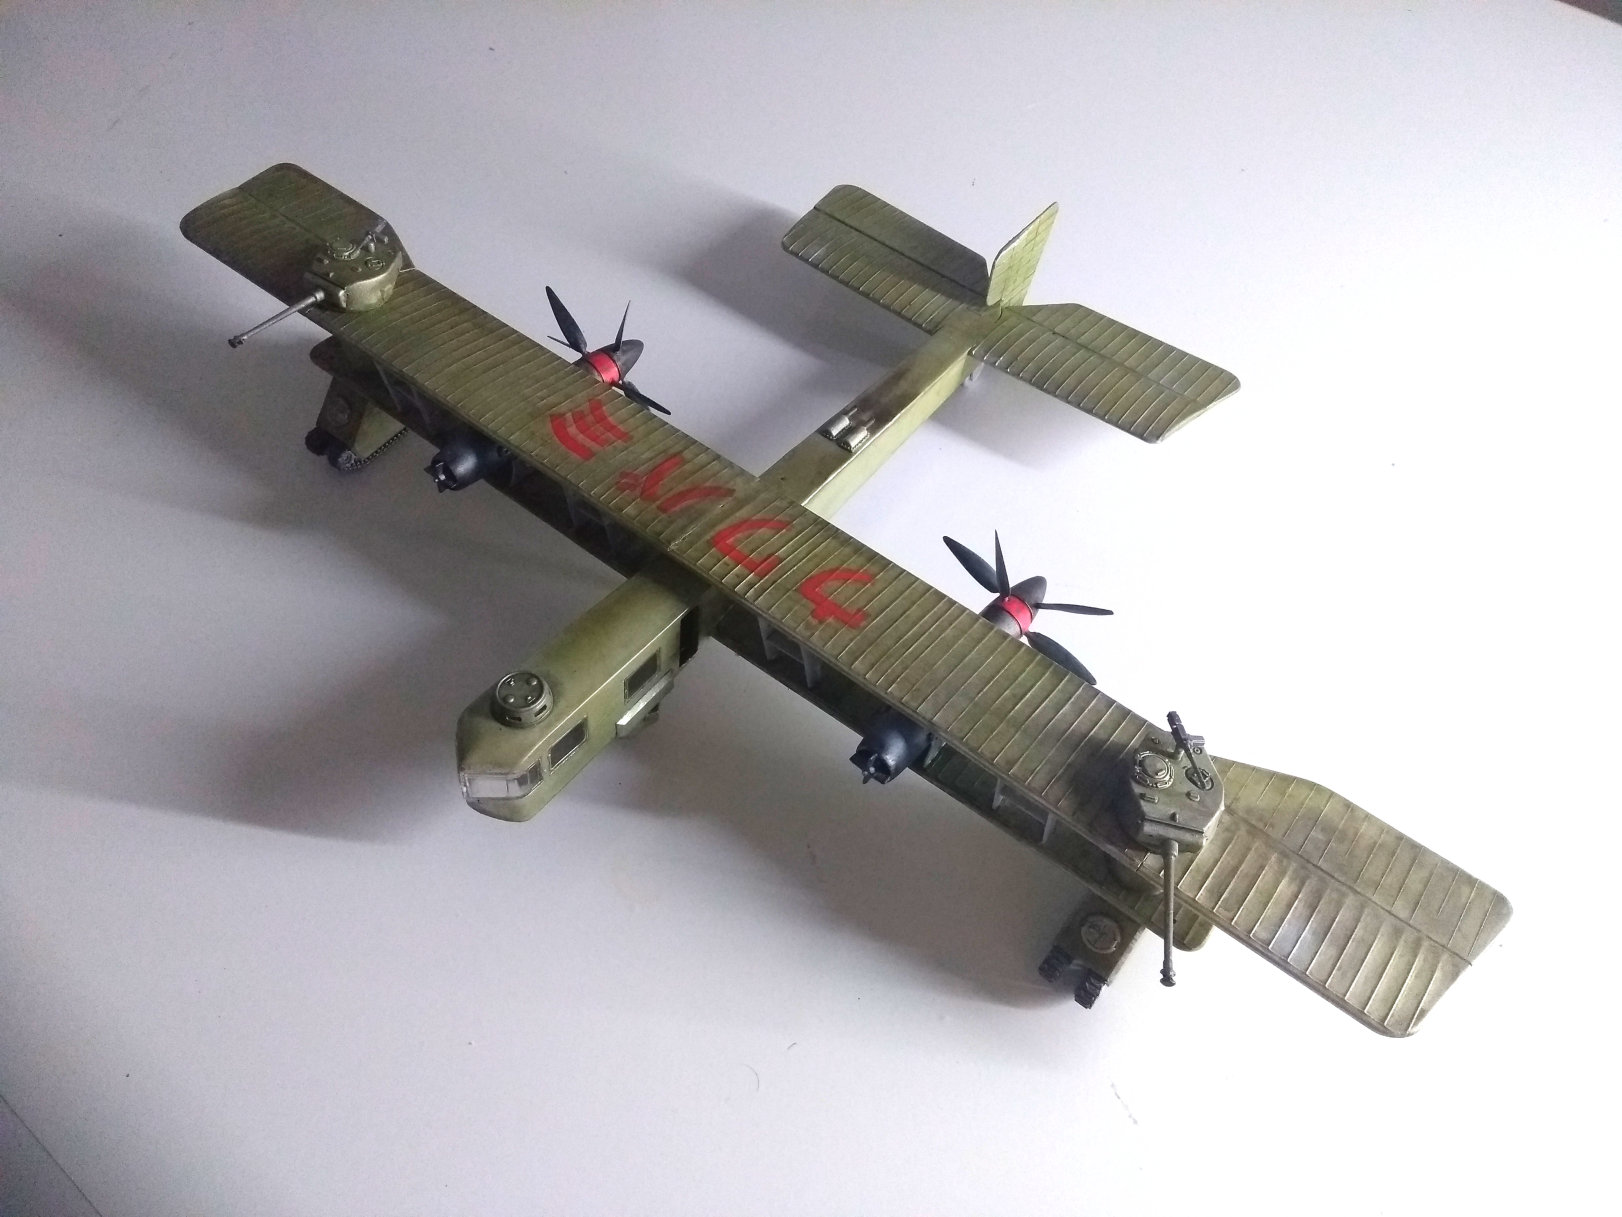
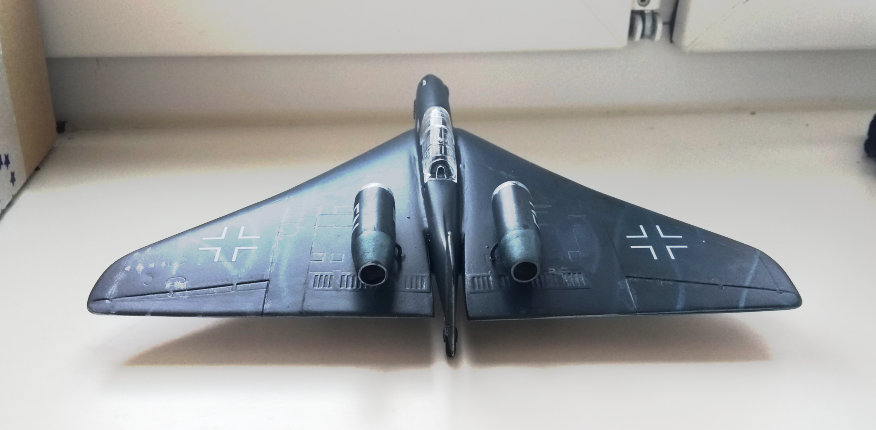
I build it in September 2023 , the Base is a 1:72 Ilya Muromez Bomber , designed by Sikorsky in WW1 .
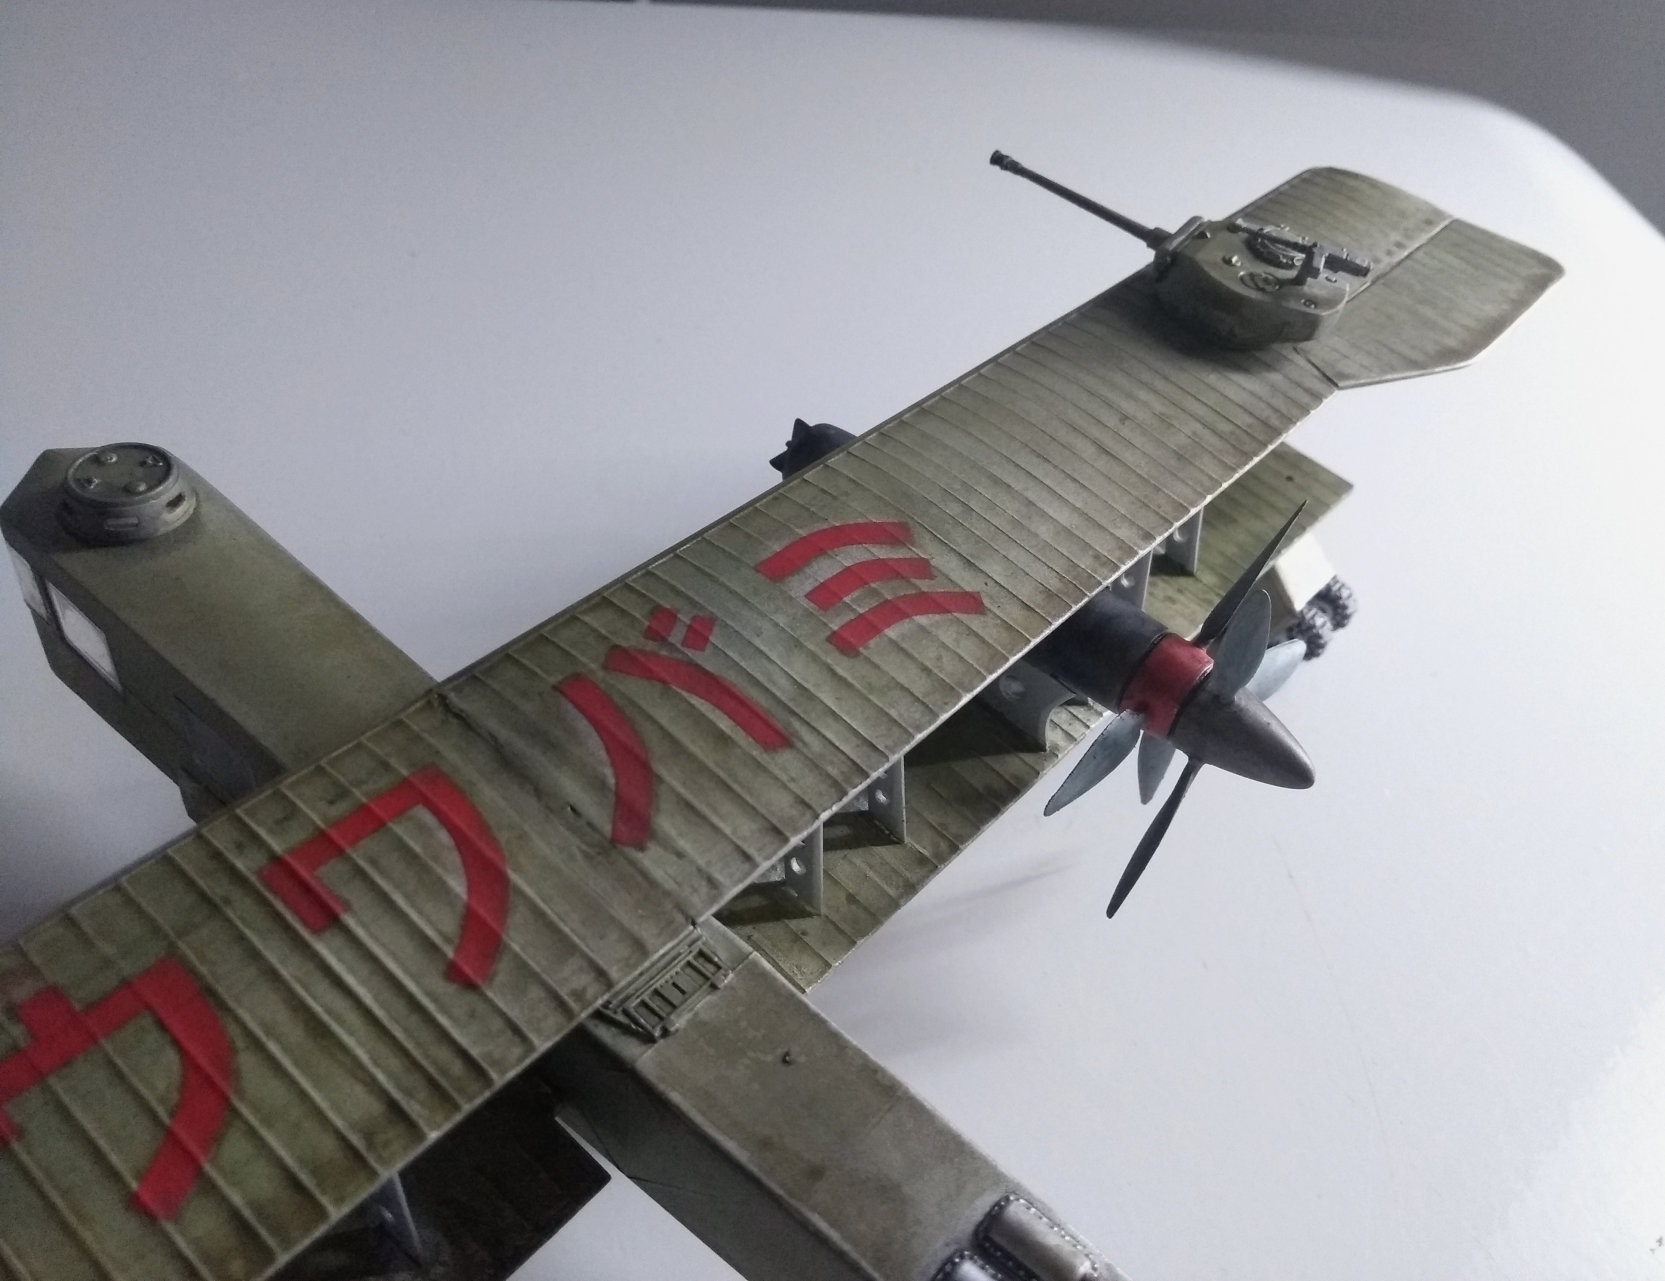
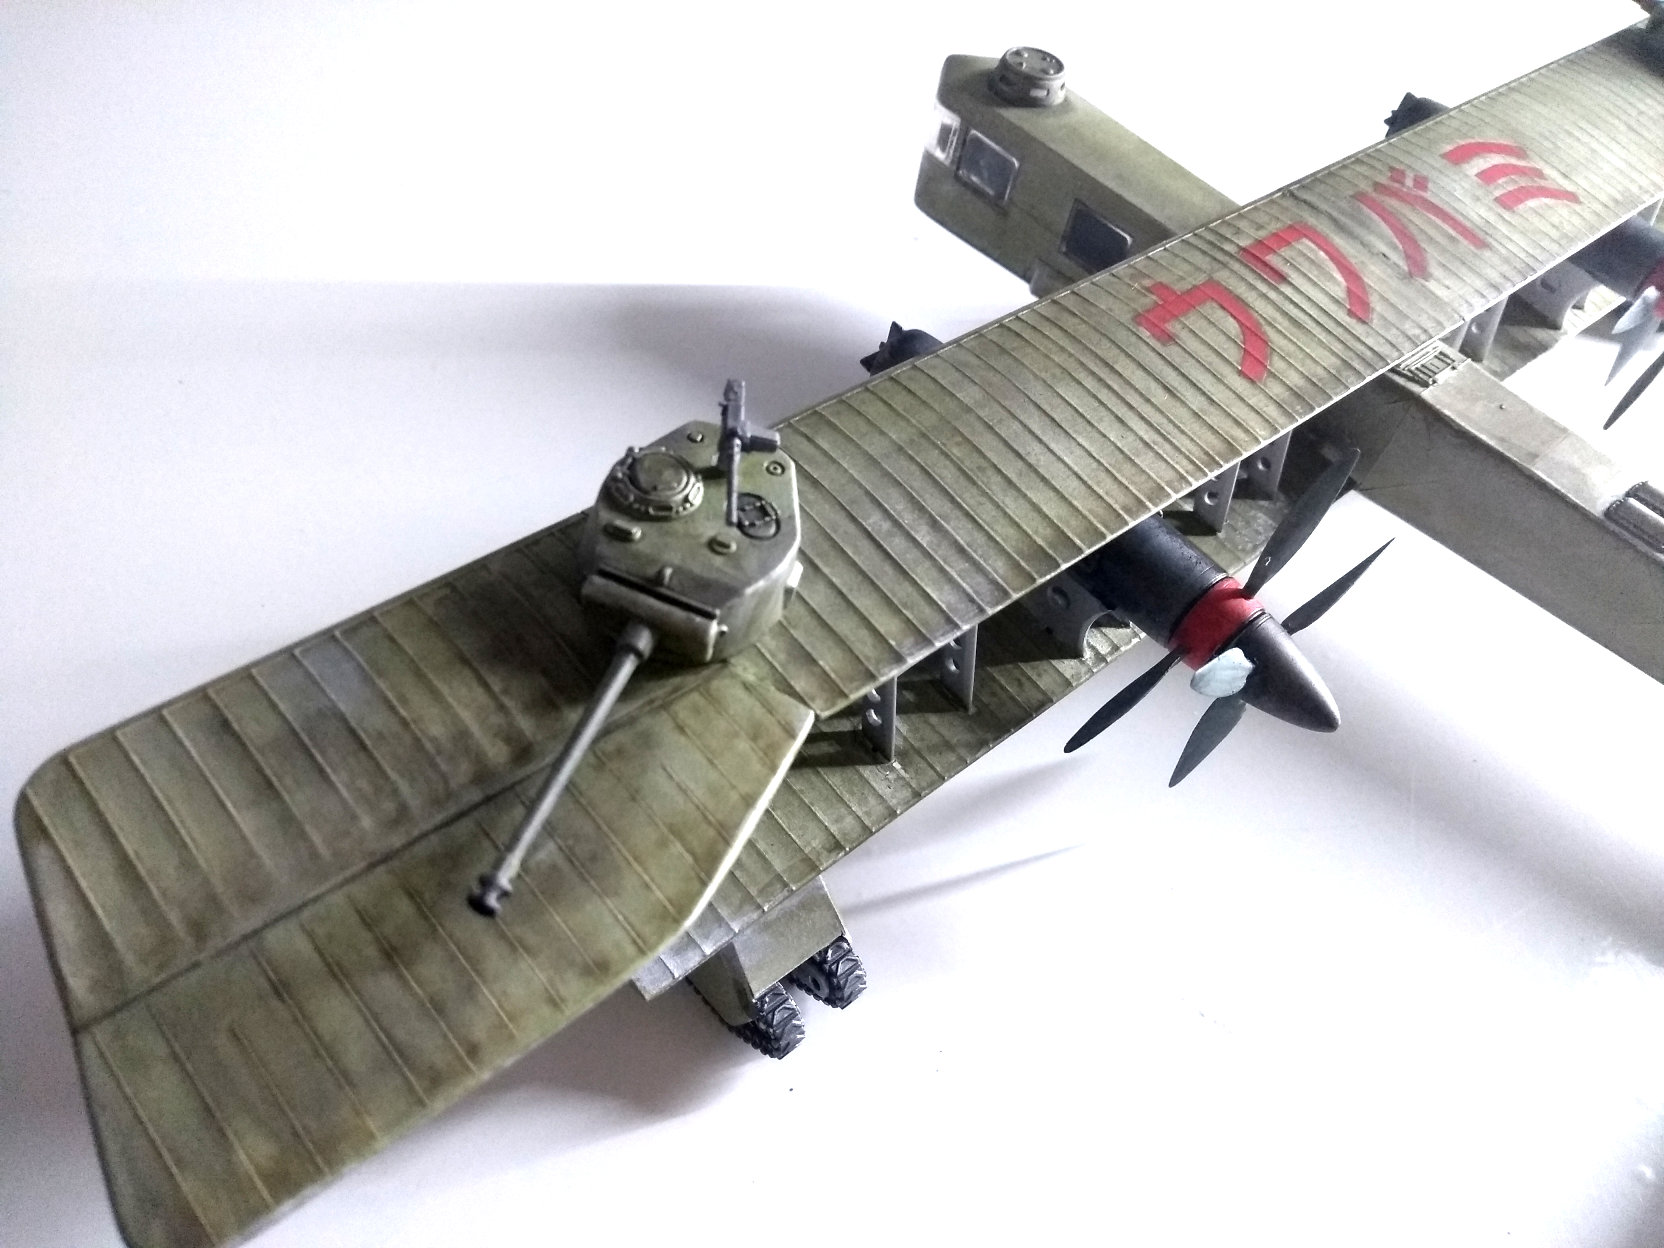
After the ( real ) Siberian Intervention by the Japanese Army in 1919 one of this giant planes was captured and transfered to japan. New Turboprops from Kawasaki were mounted with a double push prop on every side , three tank turrets and a VERY strong landing gear . Also the complete rig of the double wings are exchanged into a pure strong metal construction ( where I have to cut around 50 pieces of sheet in shape and drill and clean 180 holes , took me two weeks … ) .
The Letters on the wing means UWABAMI , that was a mystic flying dragon who attack the humans on the ground , not the modern Manga character !
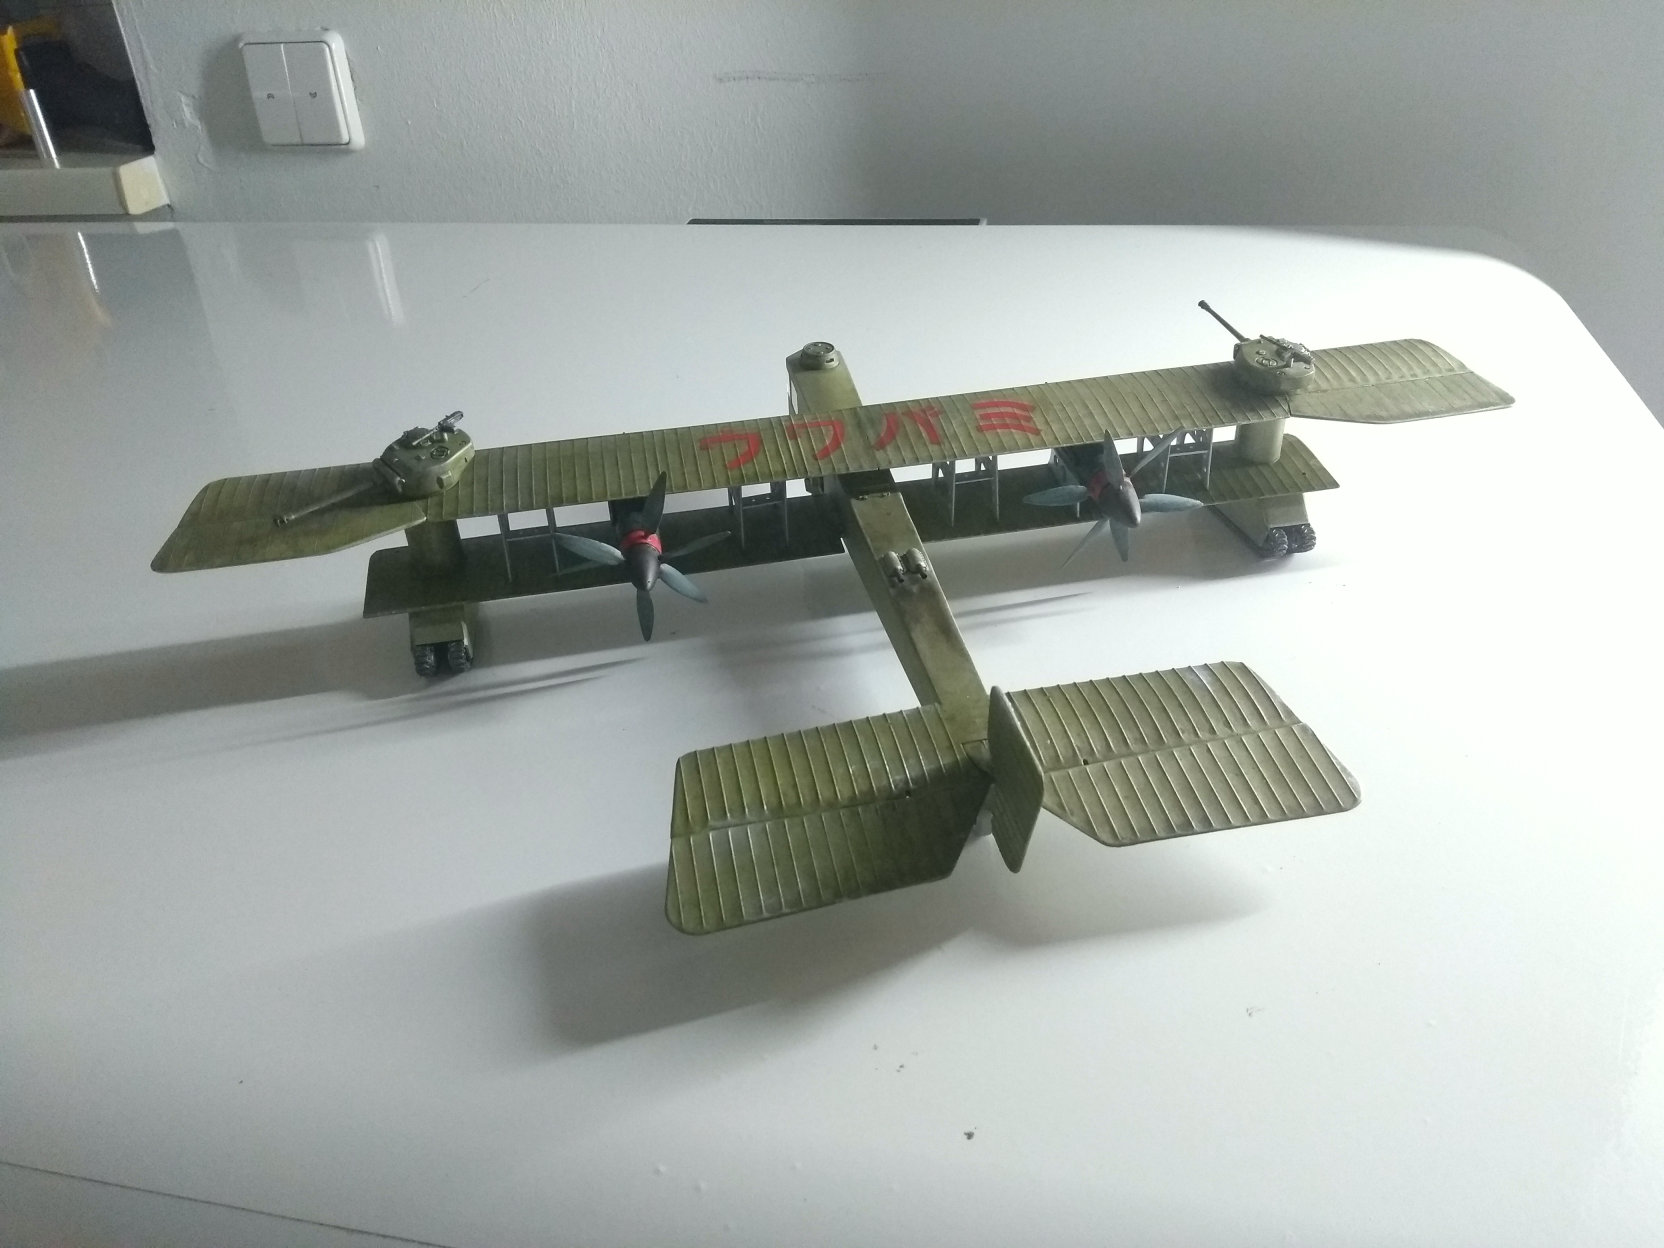

I prefer those kind of real vintage kits, this one is made around 1985 in Russia , but it looks like a kit from the 50‘s . I live near the former iron curtain and have got chance to find stuff like that on fleamarket or second hand ads . And for a small amount of money …
11 Likes
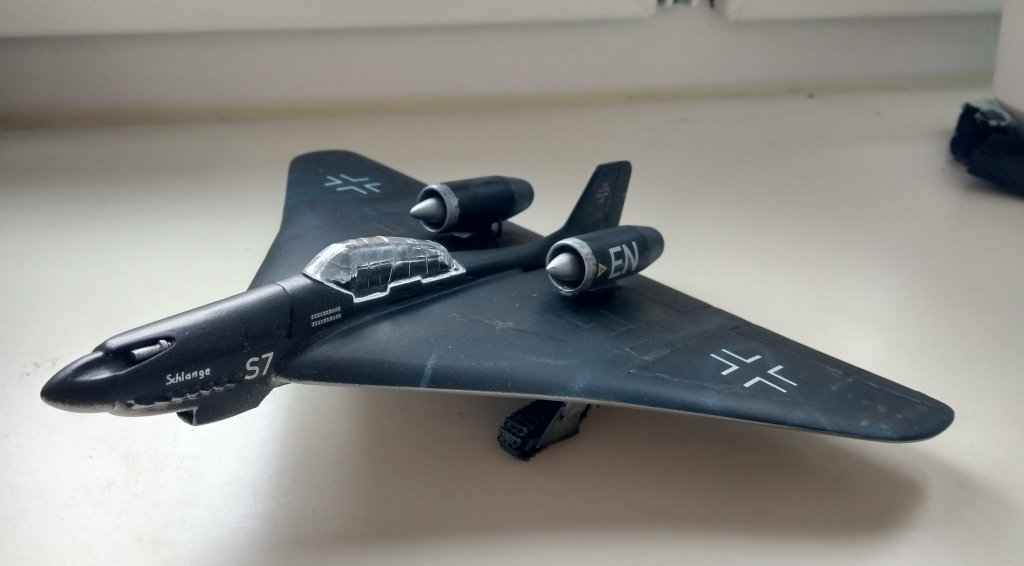
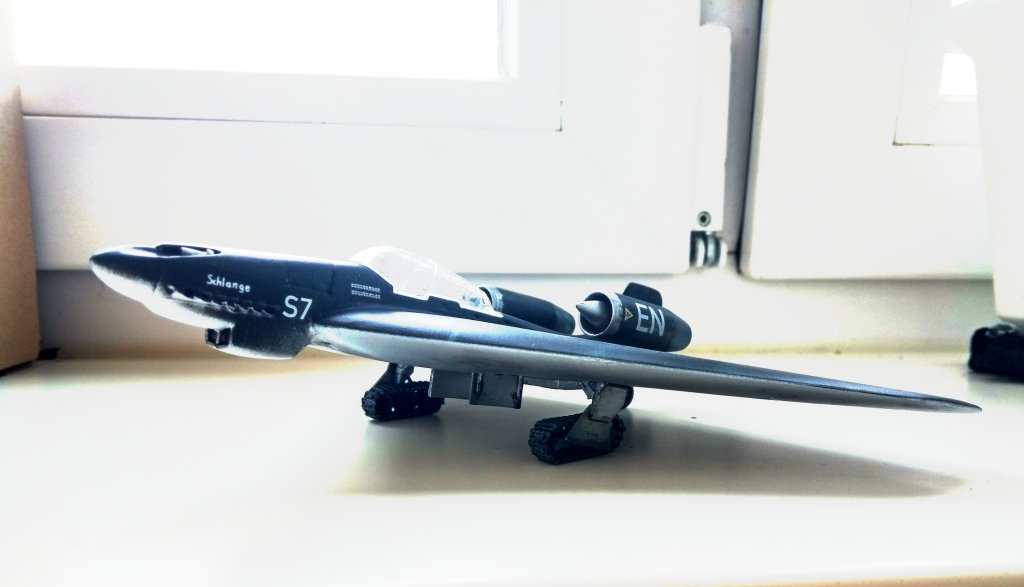
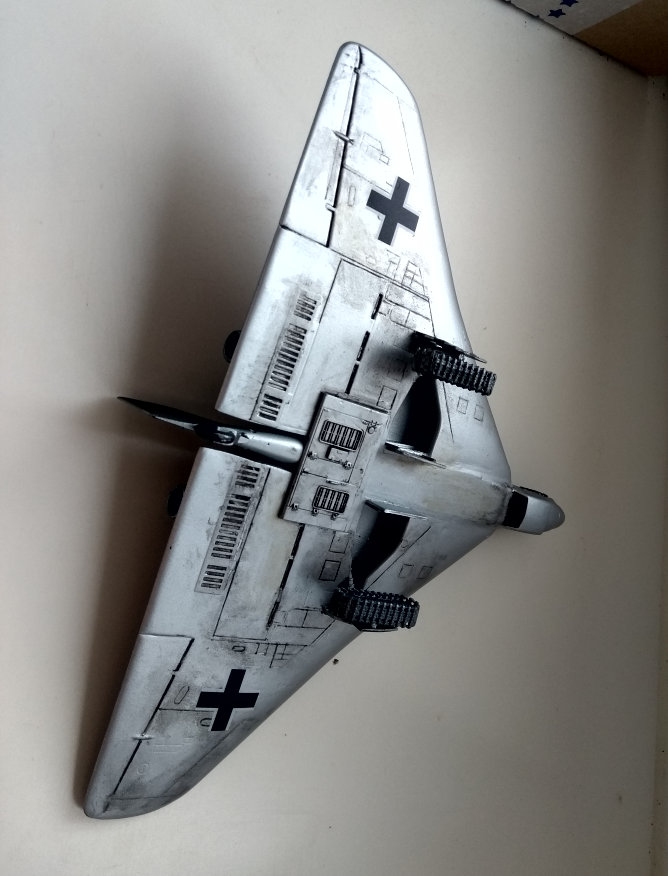
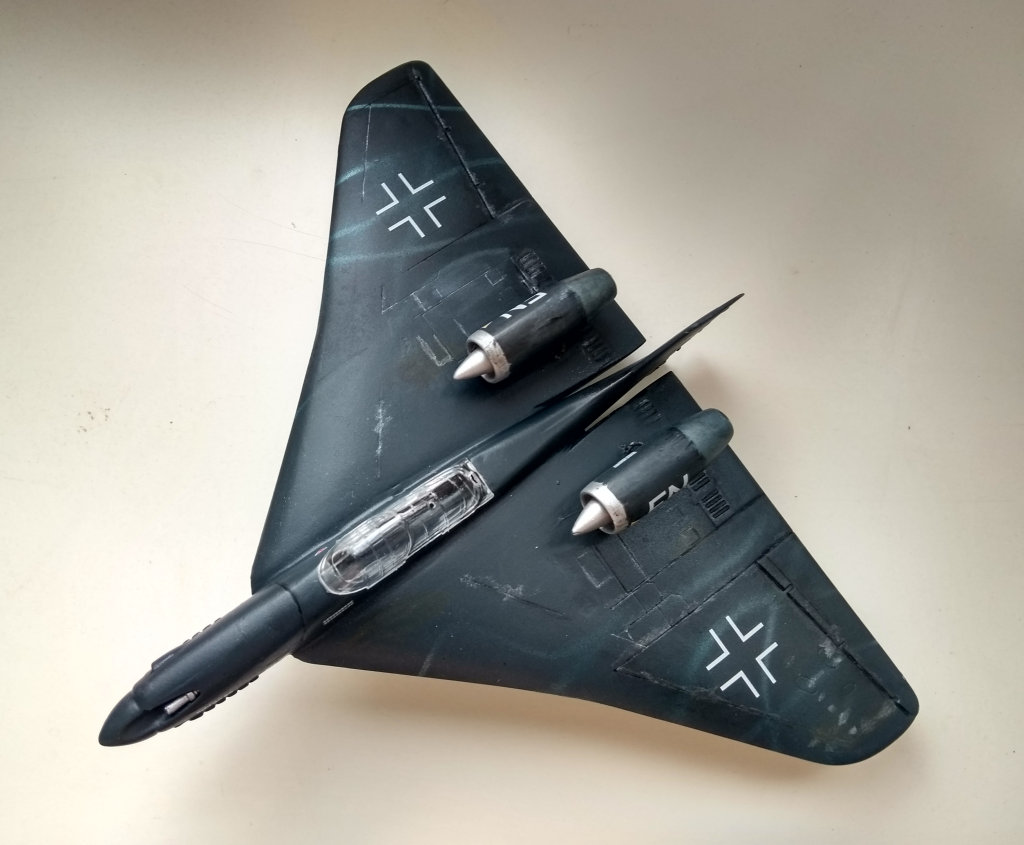
And another one …
The Ju 87 Delta Stuka , again with a track landing gear , massive wings from a British Javelin Fighter , and engines made from Drop tanks . Most time of the build needs the gun in the nose , that shape is not easy to build for me .
12 Likes
Gerrit, Beautiful stuff! This campaign seems to be right down your alley! Consider joining with a build! ![]()
![]()
1 Like

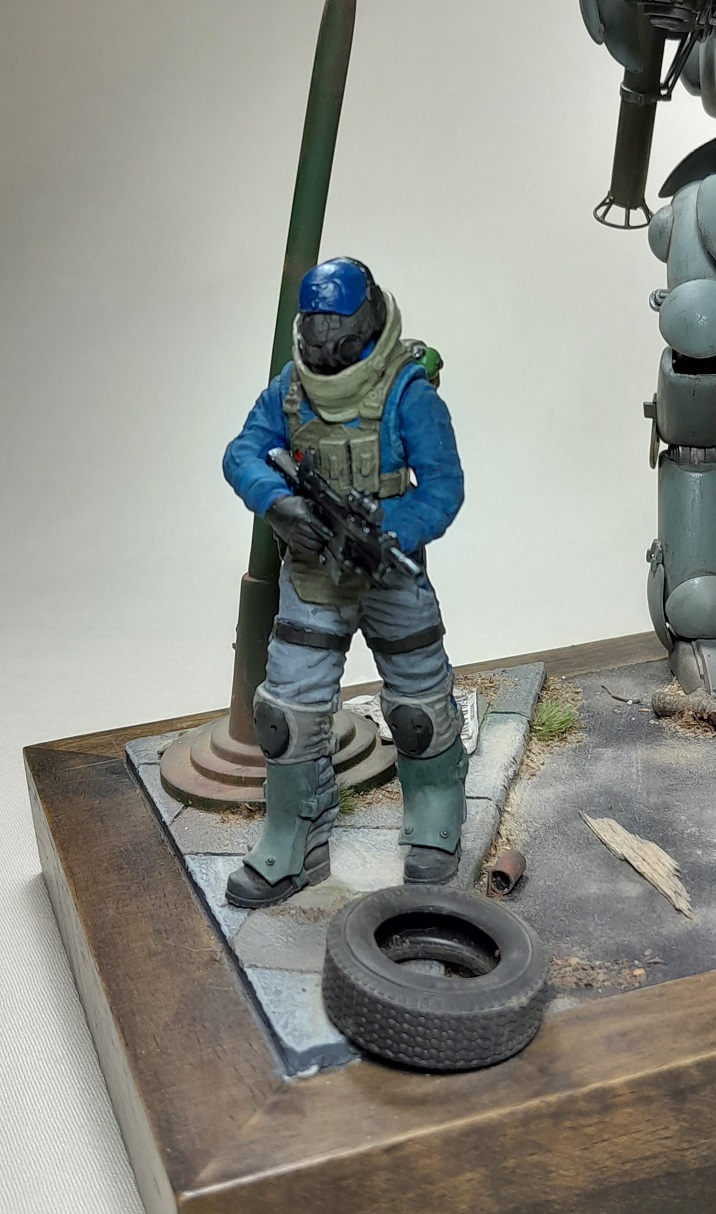
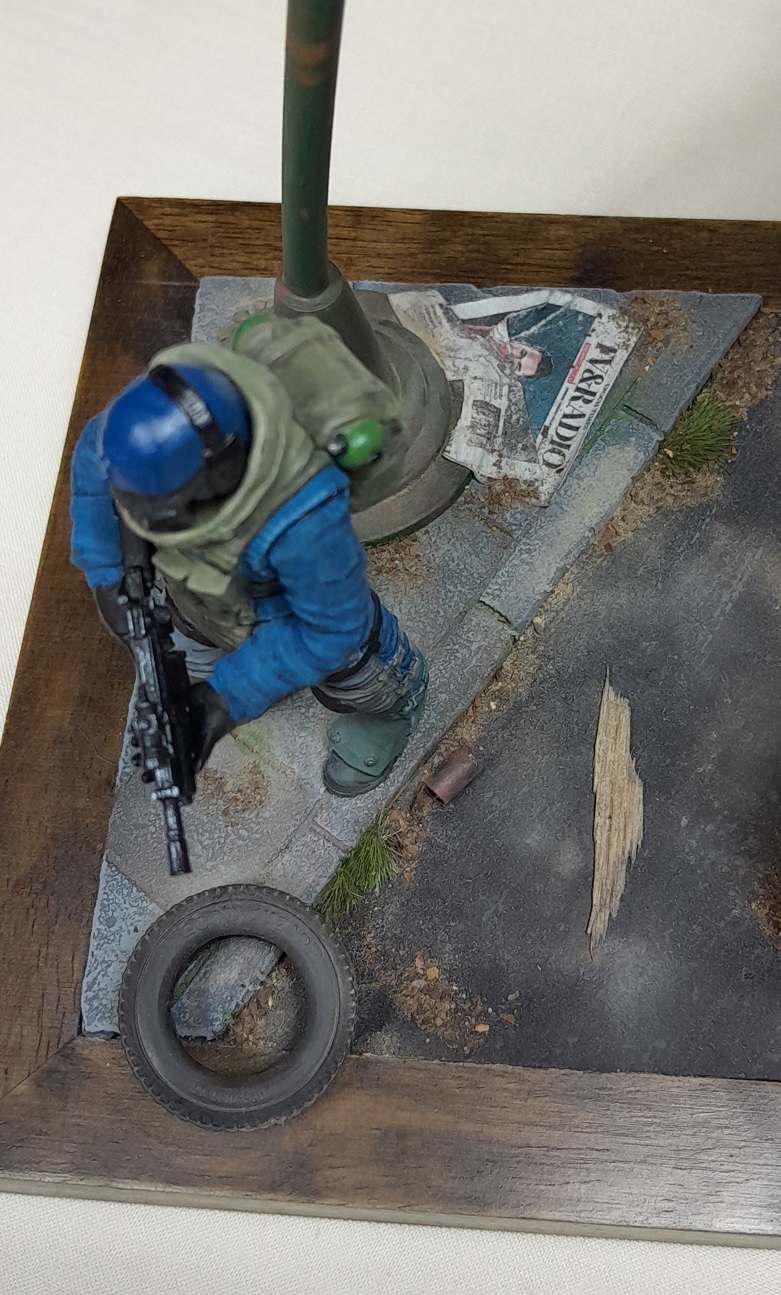
Great scene Ron- eye catching for sure and plenty of nice touches like the old newspaper.
3 Likes
Thanks. That actually is a snippet from a real one.
3 Likes
Nice finish Ron! I love the kink in the falling pole action! ![]()
![]()
—mike …![]()
3 Likes
You just like kinky things Mike.
2 Likes