I get what you are saying there about the consoles- for what it’s worth I think the unpainted styrene looks/appears bigger but once painted it looks a lot less monolithic. I think you’d be fine leaving it as is- you’ve certainly earned a bit of slack by all the stellar extra work and contraption crafting you’ve done!
2 Likes
You have put to much hard work and effort into this bad boy to not sort the sizing out mate. Although its a PIA , I would chop a bit from the control consoles as they are to tall for the seats as per their Sqn image and maybe lengthen the seat pillars a bit to give them some added height as they look to small like Cory alluded to in his reply.
2 Likes
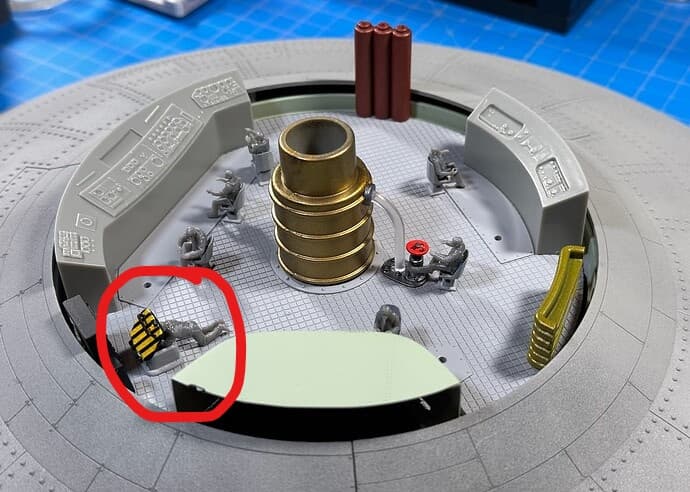
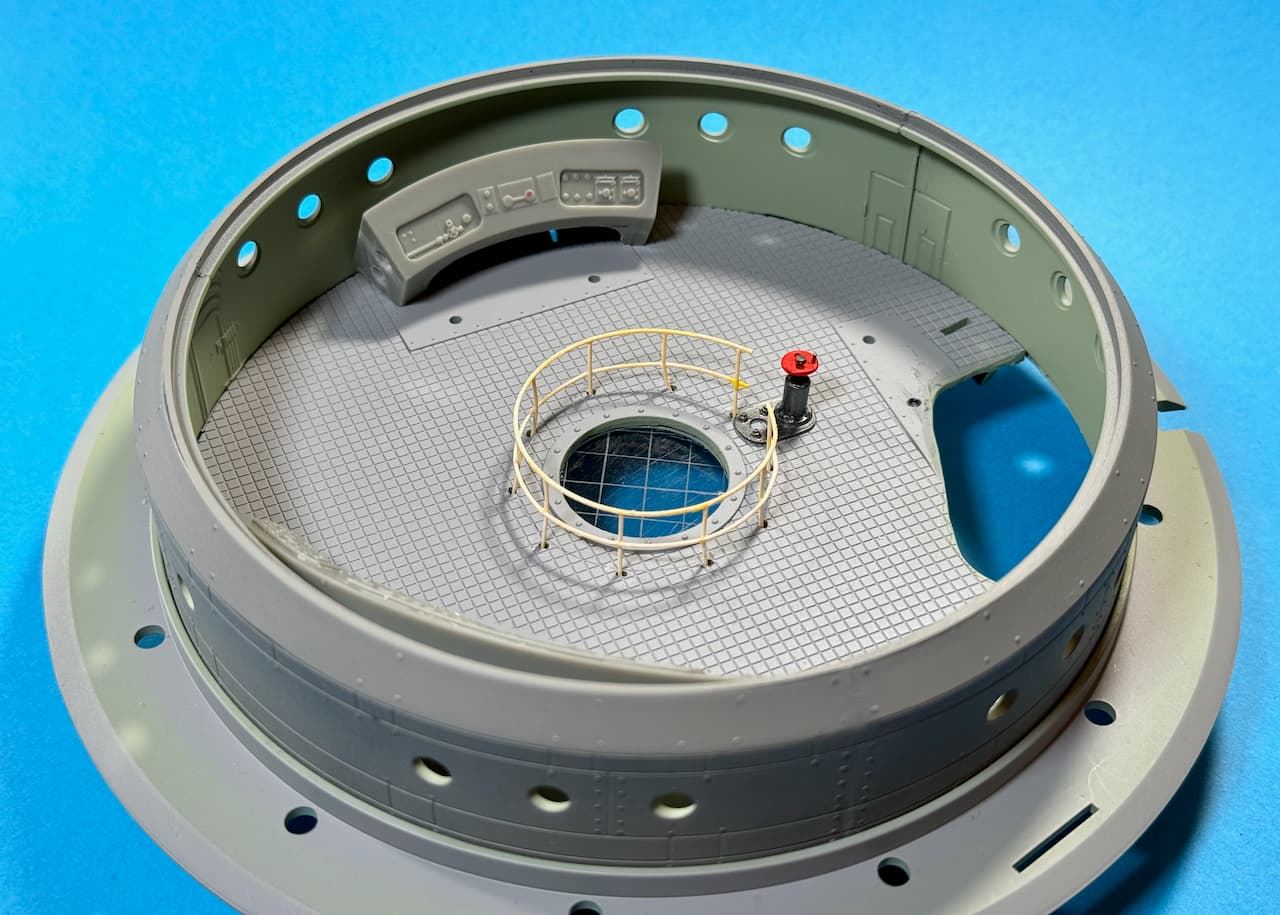
Is this the puke hatch and containment area ??? ![]()
![]()
8 Likes
You could always put raised platforms in front of the consoles to raise the seats up! Then you could add safety rails and steps at the ends. Think of it like a typical Sci-fi bridge, with lots of unexplained floor levels that give the actors something to throw themselves over when the ship is hit…
8 Likes
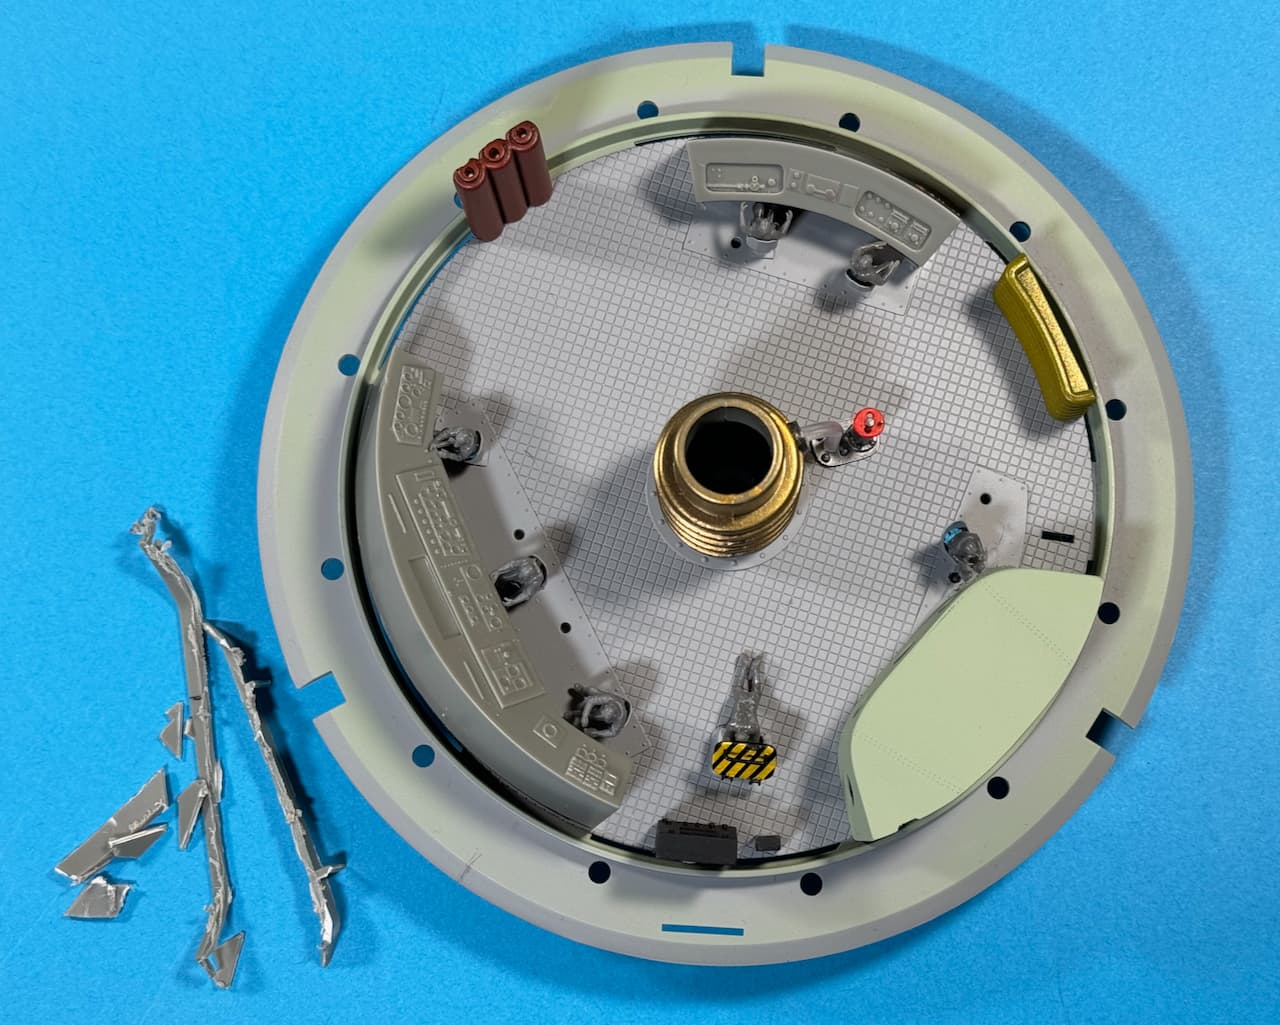
“Gaston? A bucket for Monsieur.” ![]()
![]()
––––––––––––––––––––––––––––––––––––––––––––––––––––––––––––––––––––––––––
Problem solv-ed! 
 …
…
I was gonna’ test paint colors today, but the force to chop Styrene overcame me once more…
Happy Dremel Tool! ![]()
![]()
See what I did there? … I chopped the base at an angle, cut-out the front panels and leaned-back the consoles for operator comfort. ![]()
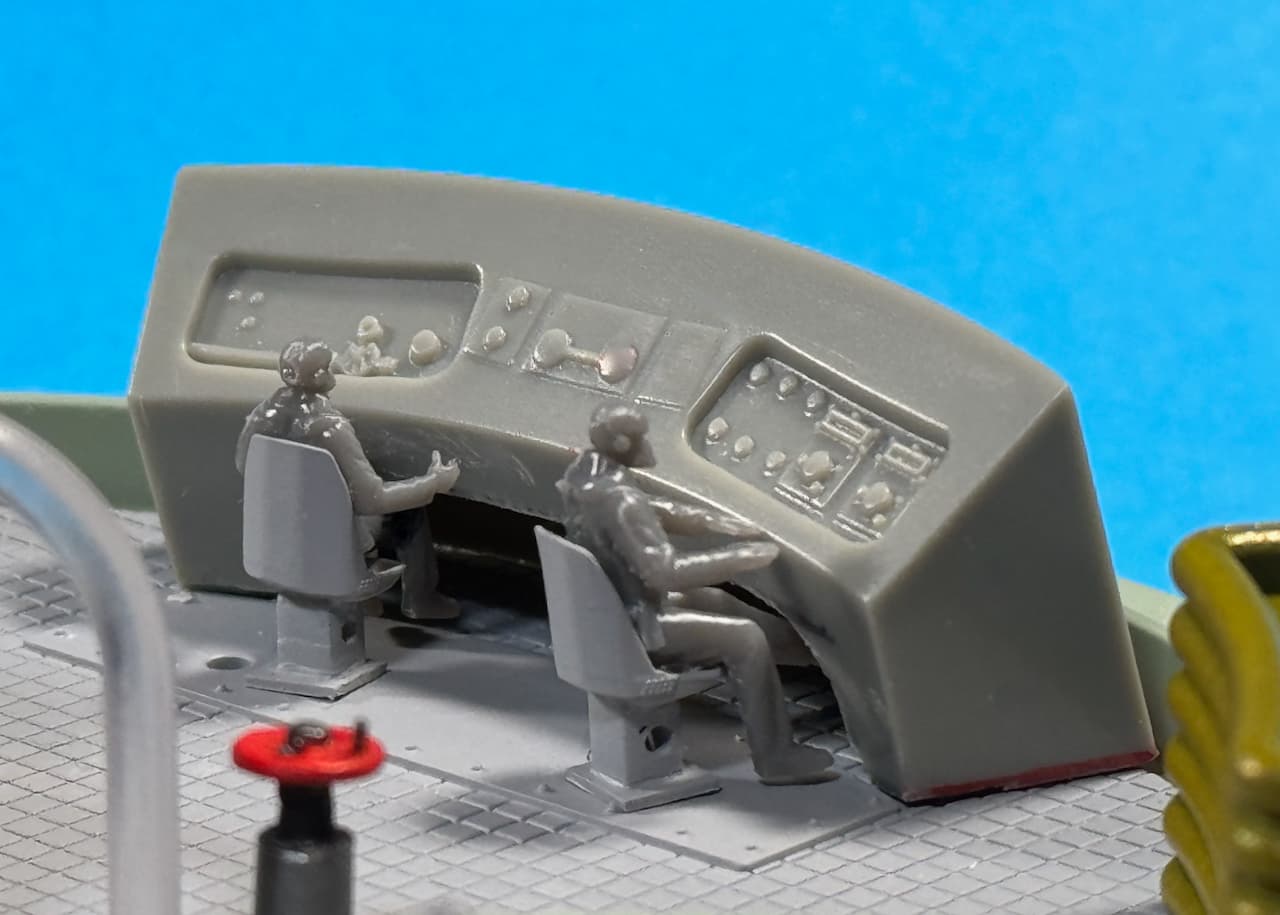
There’s plenty of legroom now. And Grandpa can finally see the controls. ![]()
Just rough cut for now. ![]()
Hope you like it! ![]()
—mike …![]()
15 Likes
That Mike, is a very clever fix, and the angled consoles look more realistic now… Great idea ![]()
2 Likes
I like the way you’ve brought it down to their level- certainly looks more ‘user friendly’ now!
3 Likes
I do like the work you did and if you do that’s all that’s important but it does look like scale of the instrument panels and figures are not in alignment. Almost like 1/72 figures and 1/32 panels or something like that. Maybe paint will sort that issue out.
3 Likes
Great idea!
2 Likes
It wasn’t perfect - blame on the manufacturer, who was unaware of the concept of ‘proportion’, to reach some buttons, the crew member would need to stand up on the chair, ehehehe - but it’s really cool, congratulations!
1 Like
Ryan (Tank_1812), I totally agree, and as Edson (Edson_Alves) noted, I’m blaming American (Squadron) for incorrectly reverse engineering the German Haunebu II. ![]()
![]()
![]()
To give you guys an idea of that proverbial “rabbit hole” I’ve fallen down…

The figures and aftermarket seats I purchased are 1/72 scale which I believe to be correct. When ordering, I did consider bumping the figures up to 1/48 scale which may have looked more scale appropriate when compared to the consoles, but then they wouldn’t fit the seats correctly, and so it goes. ![]()
![]()
Here are the available figure sizes from Tori Factory.
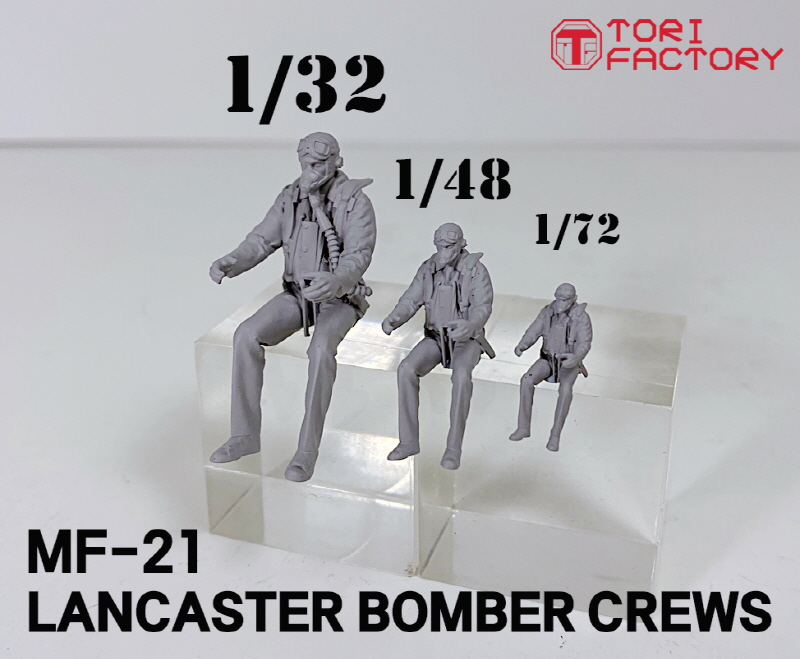
I may just leave the seats empty for now, or I might order the 1/48 scale figures as a personal experiment somewhere down the road. However, that’s out of the question for this campaign deadline — maybe next year… and besides, who has time to paint figures! ![]()
![]()
So for now, the Inspektor has ordered me back to work.
“Build, build, build! Schnelle!” ![]()
As always, thank’s for looking and commenting!
—mike ![]()
![]()
![]()
5 Likes
The old metric to English conversion problem. The boys at NASA still mess that one up from time to time.
5 Likes
Yeah, it’s bad enough missing whole planets because your calculations were off, but not reaching the dashboard cup-holder? Unforgivable! ![]()
7 Likes
Despite the comments (mine included), I think you could continue as is!
2 Likes
@justsendit I am sorry, Mike, but it just is no good. You’ll have to bin this one and start all over again… Again, sorry…
![]()
1 Like
Good. An agency is to blame. ![]()
![]()
![]()
![]()
![]()
And the votes are in. ![]()
I will continue as is and start all over again simultaneously. ![]()
![]() … Right, then.
… Right, then. ![]()
My next one will be OOB, fully sealed-up and wheels up. I could knock that out in a week! ![]()
—mike …![]()
7 Likes
Das U-Hauneboot…
Always wanted to build a conning tower. ![]()
![]()
High-tech circumference mark-up tool. ![]()
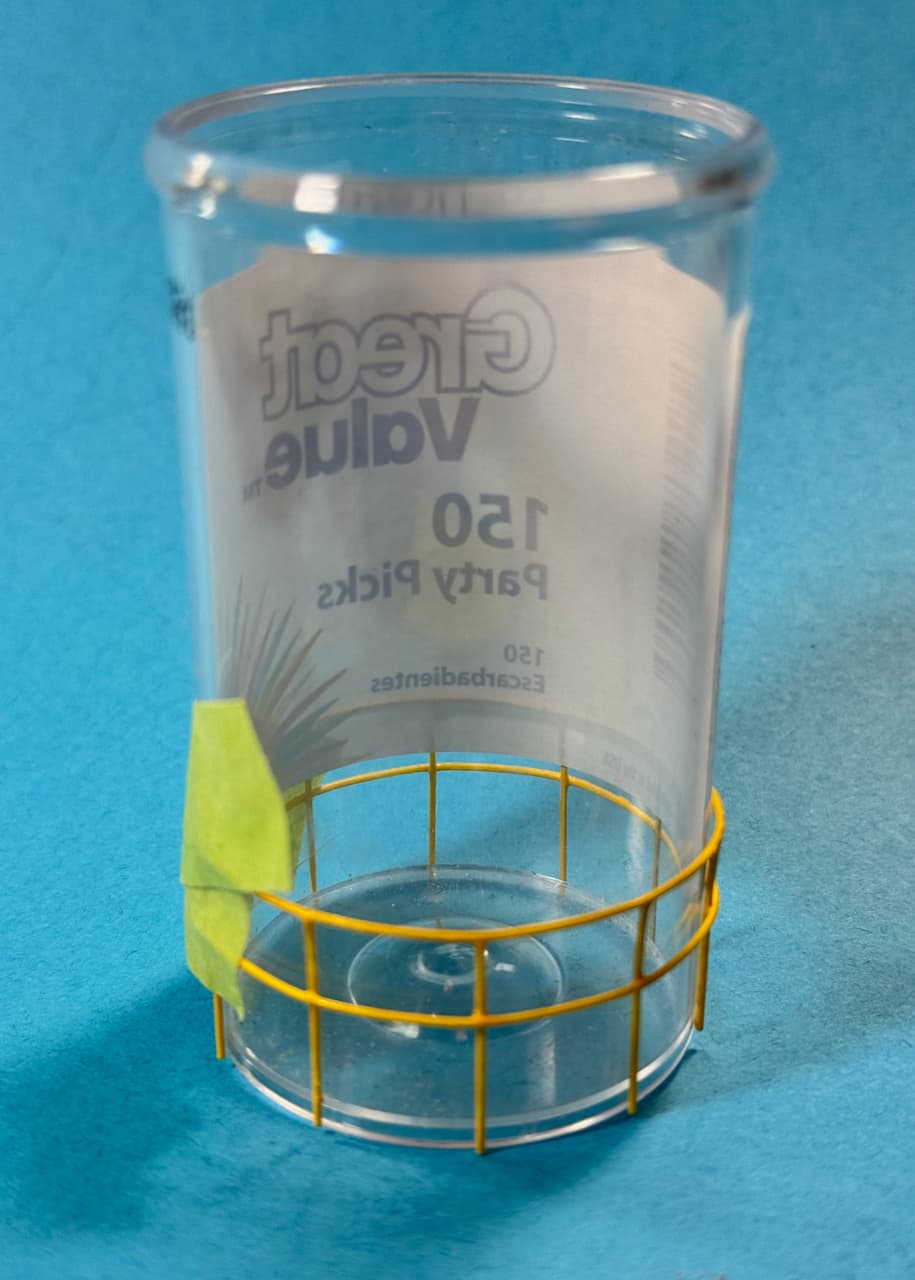
Pilot holes drilled.
Dunken in das ‘Bend-O-Matic.’
• 1st try: Hot tap water.![]()
• 2nd try: Boiling water. ![]() Took a little paint off, but that did the trick!
Took a little paint off, but that did the trick! ![]()
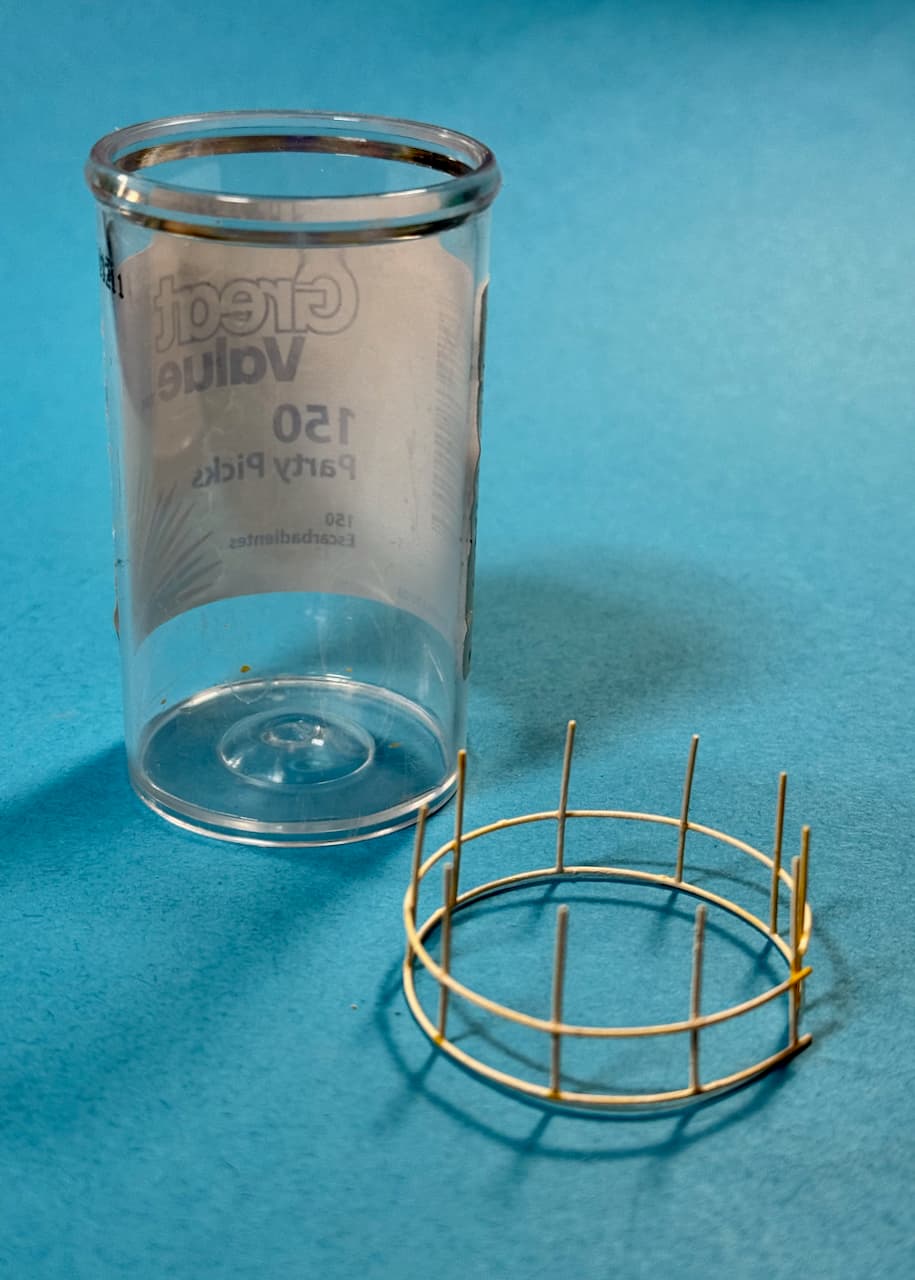
Stepped up to larger holes.
This piece of railing was actually made as extra way back when in this thread… perfect length! ![]()
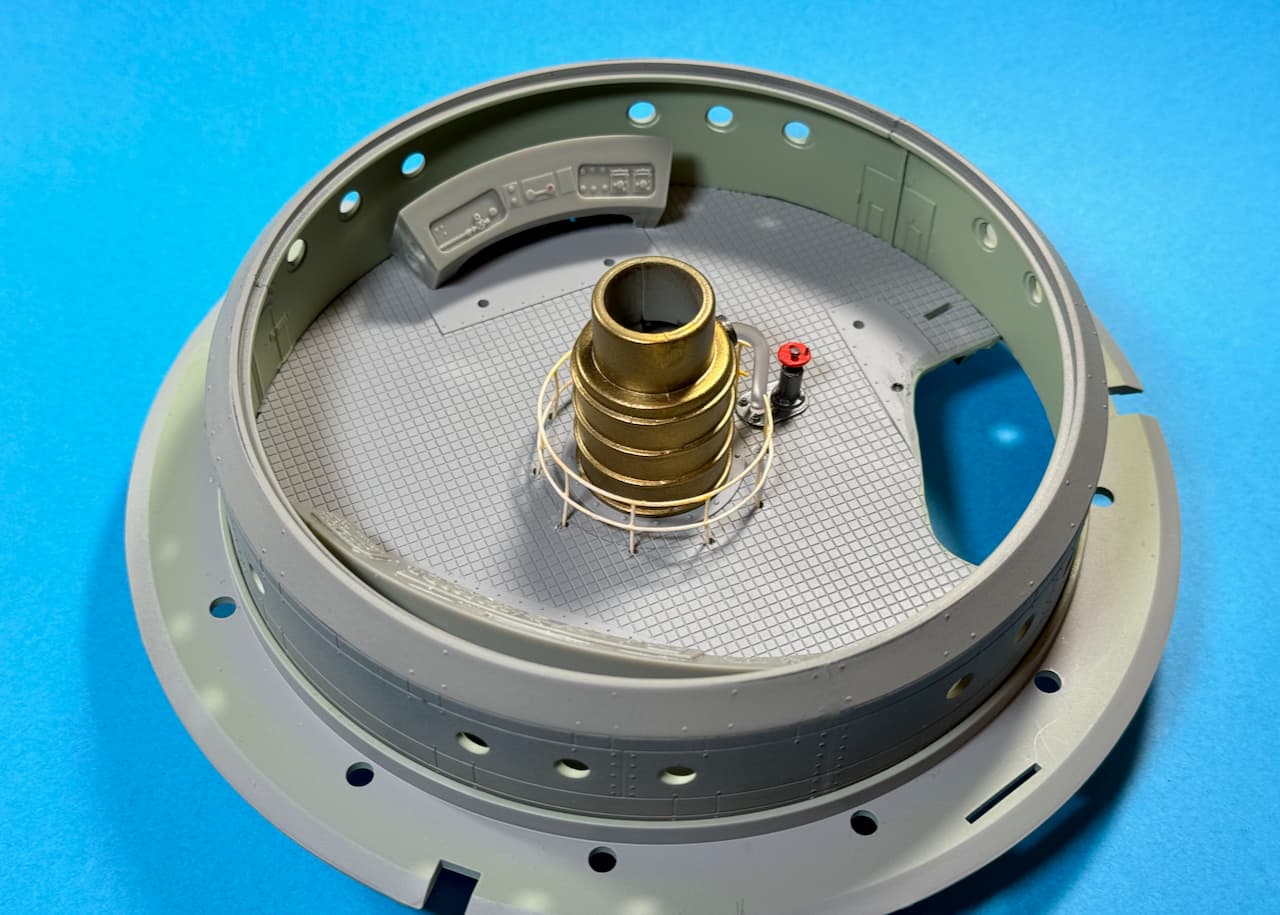
“Haunebu Bridge to Flight Deck… We are undergoing last-minute modifications.”… ![]()
![]()
More to come, soon…
—mike …![]()
13 Likes
Looking Great, Mike!
Dont rush it - you have come so far. I Can give an extension if needed ![]()
3 Likes
The site is worth coming to just for your replies buddy lol … always PMSL
4 Likes
You need to seek mental “console-ing.” 

Thank’s for hangin’ around, guys!
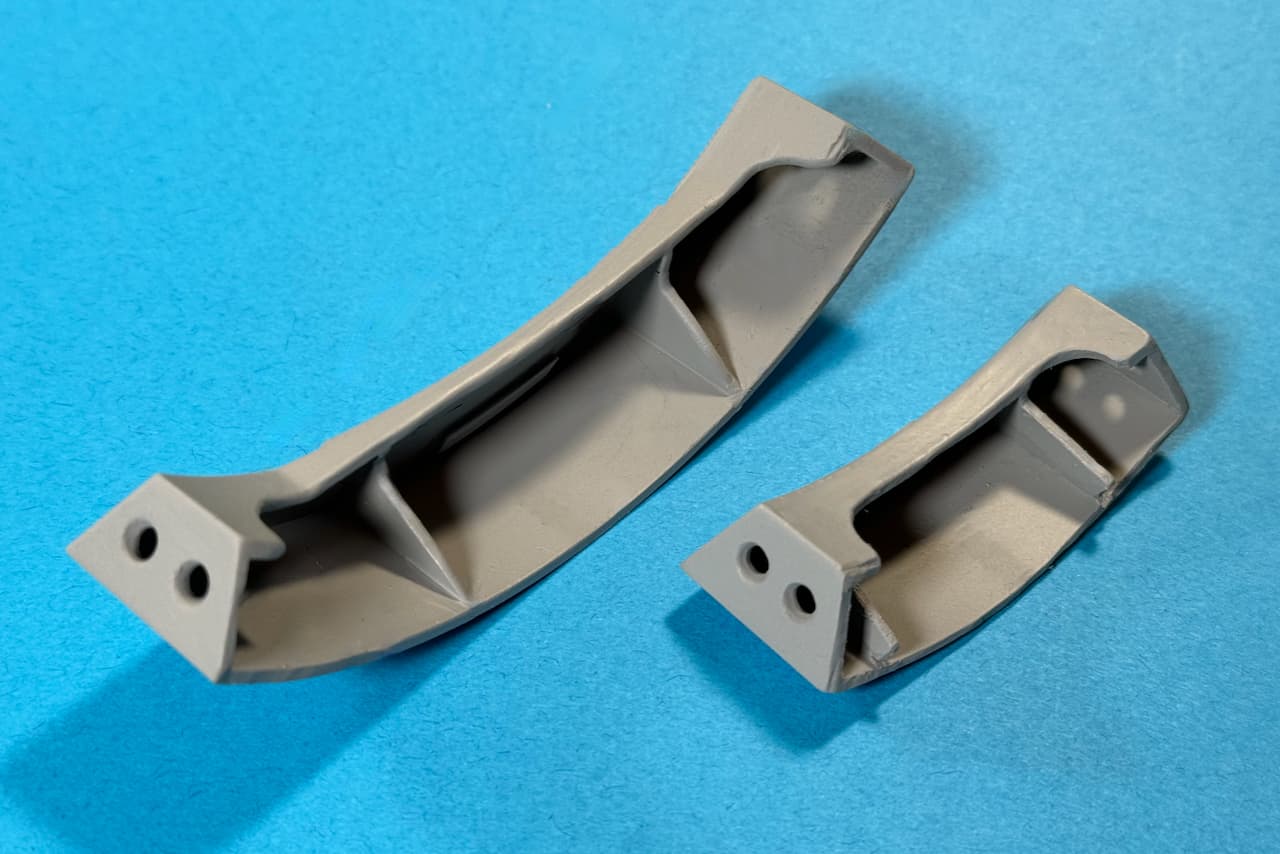
The Instrument Consoles received their makeovers today. Finished chopping and added some lightening holes to the ends.

Mr Surfacer 1500 to fill-in the gouges, then sprayed with Tamiya Fine Grey Surface Primer (87064).
––––––––––––––––––––––––––––––––––––––––––––––––––––––––––––––––––––––––––
[EDIT] For images added:
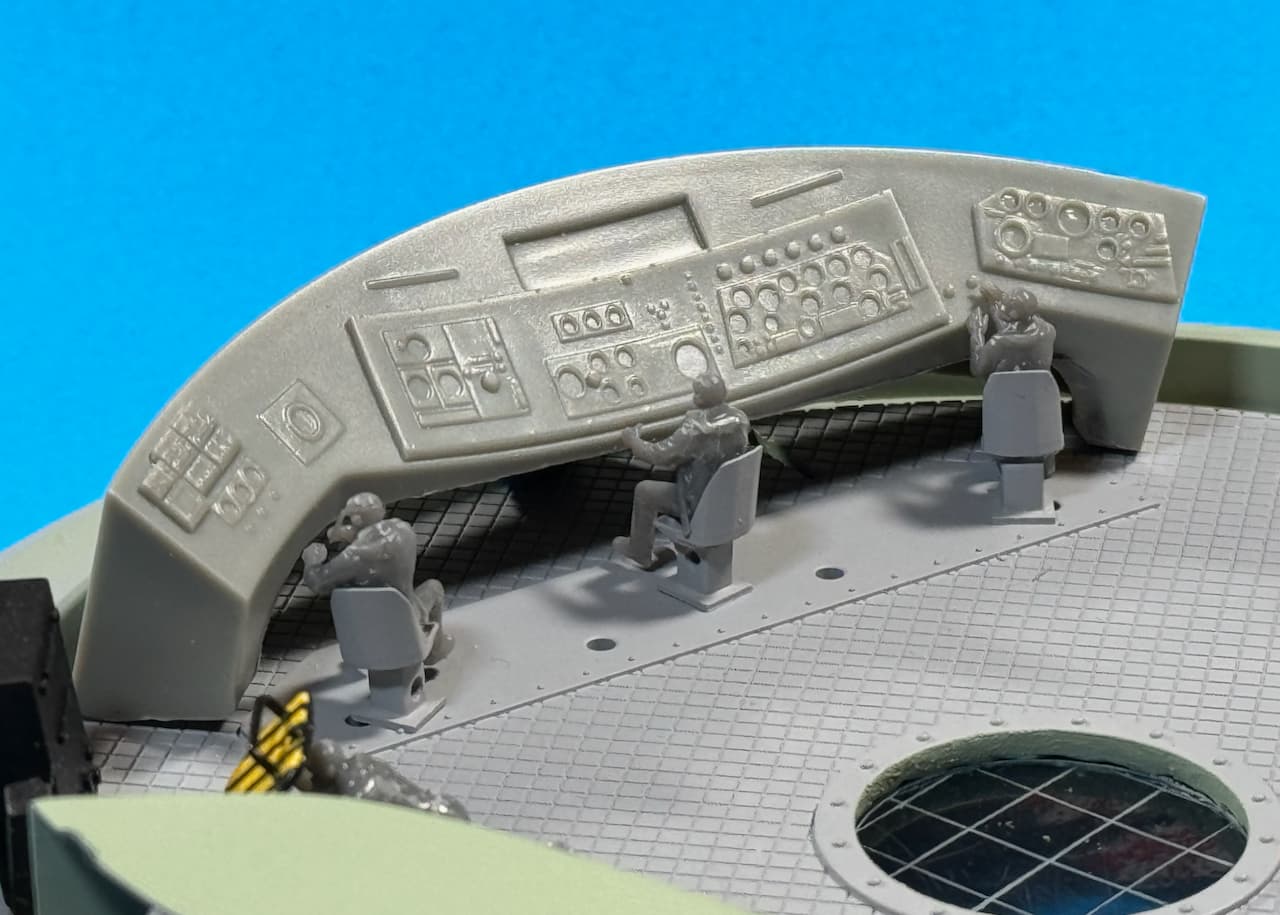
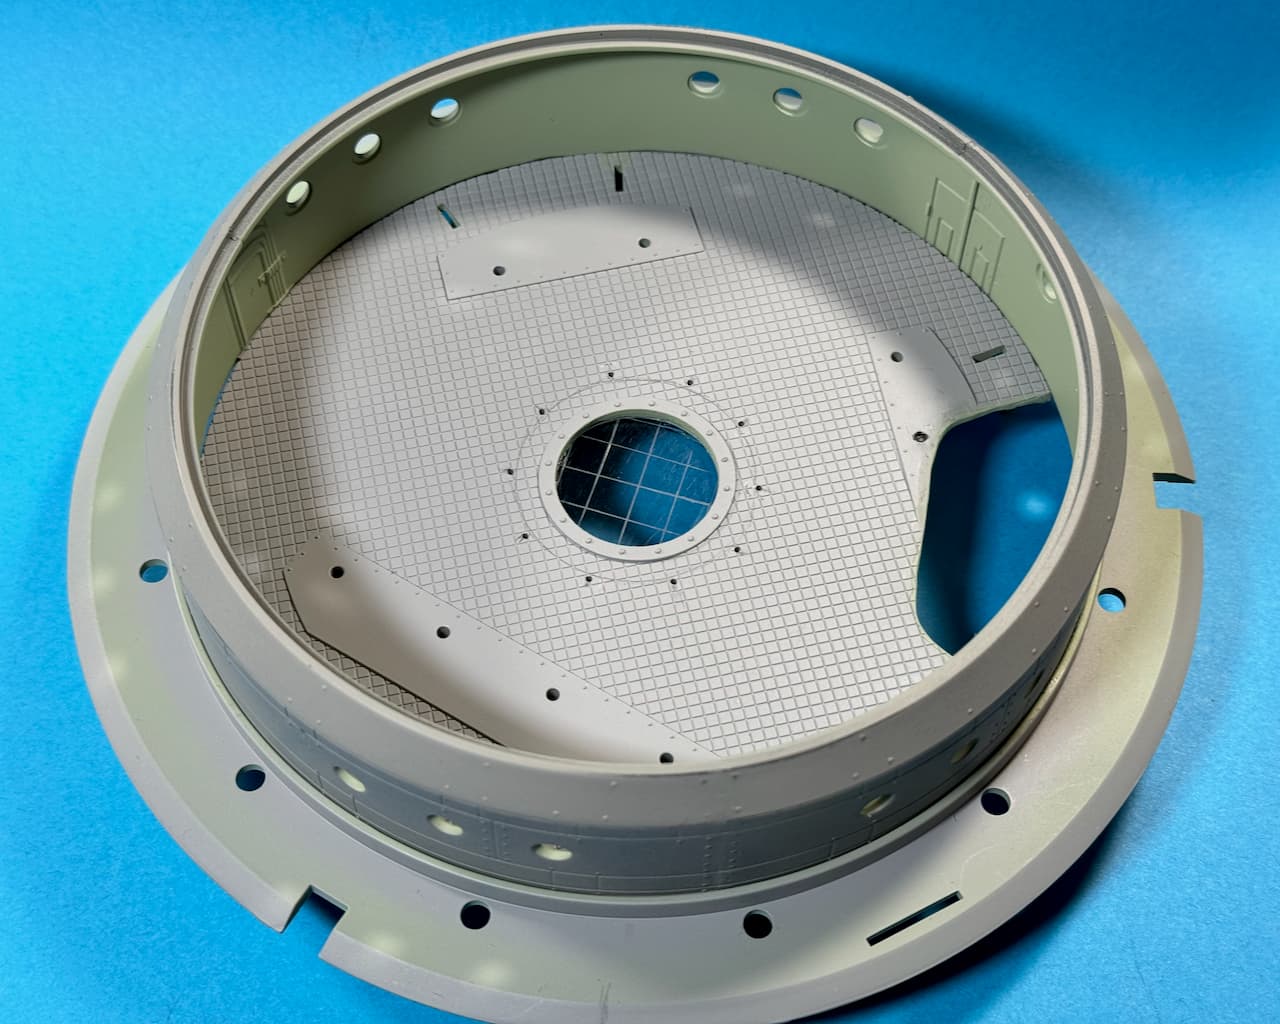
Full Bridge overview (dry-fit).
.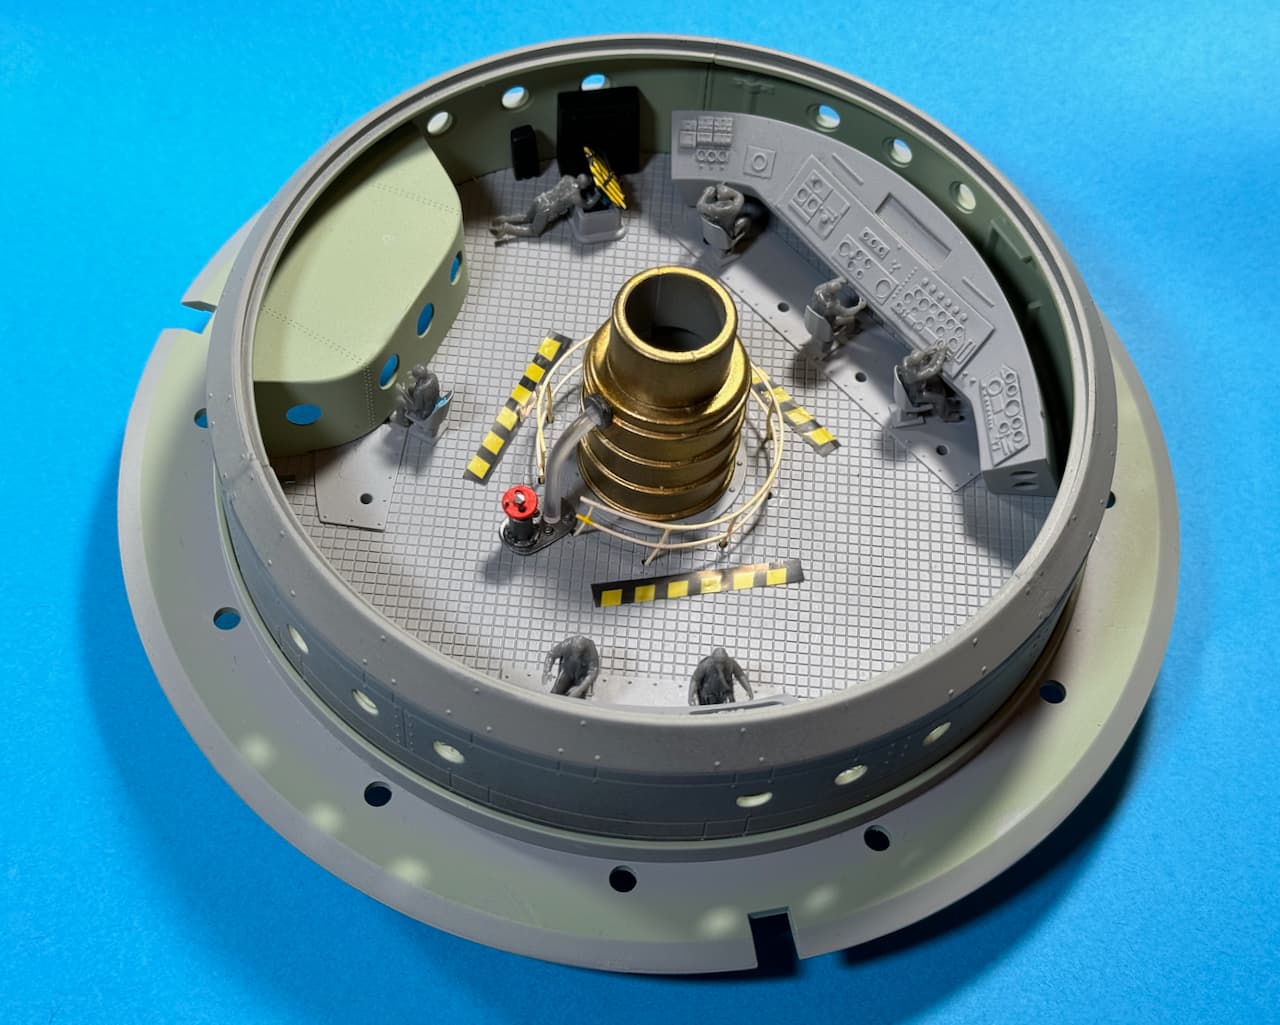
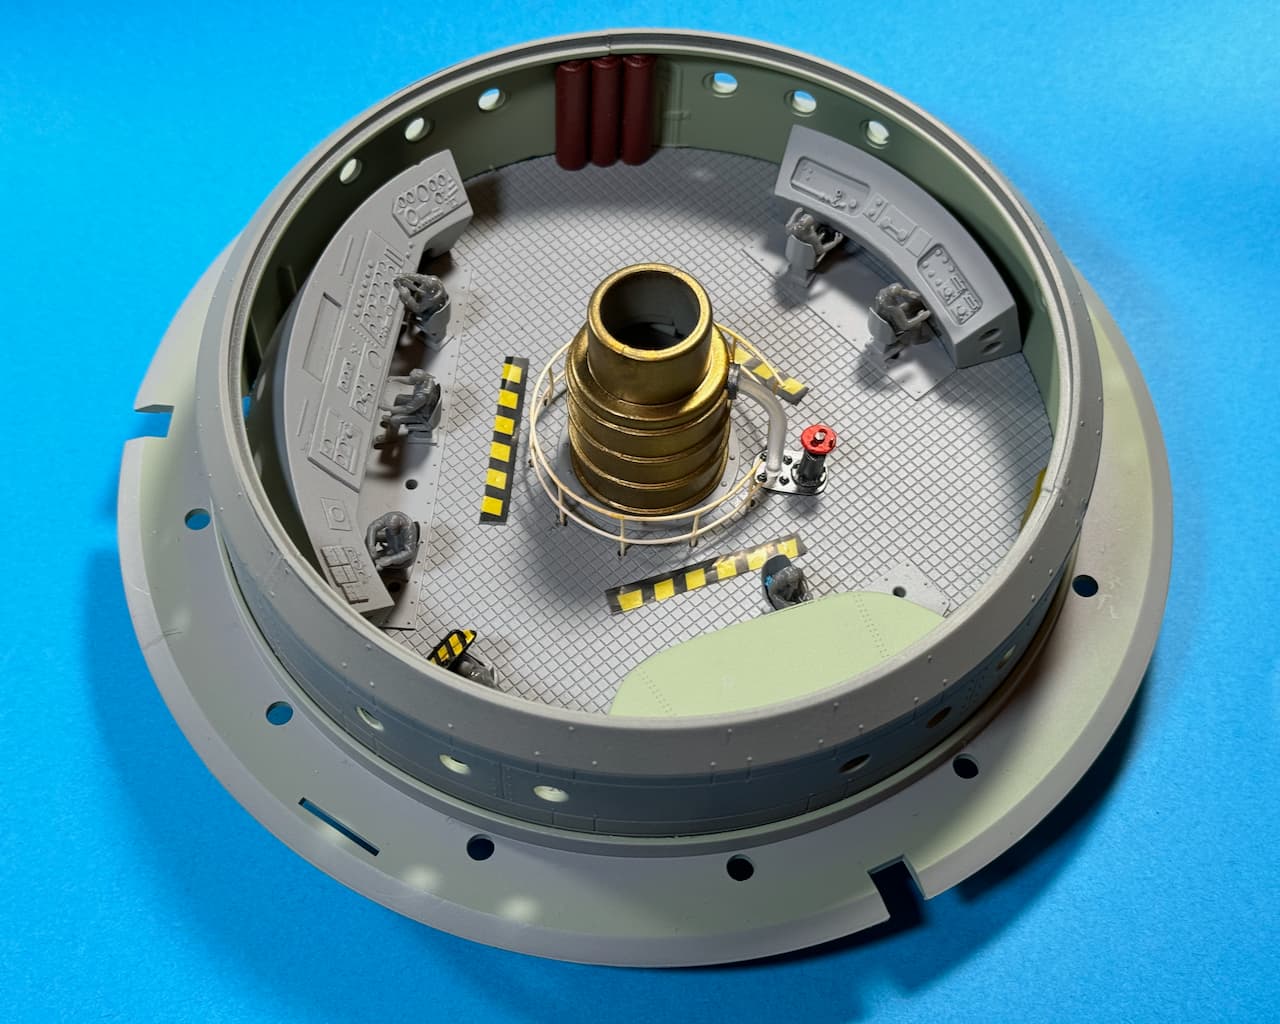
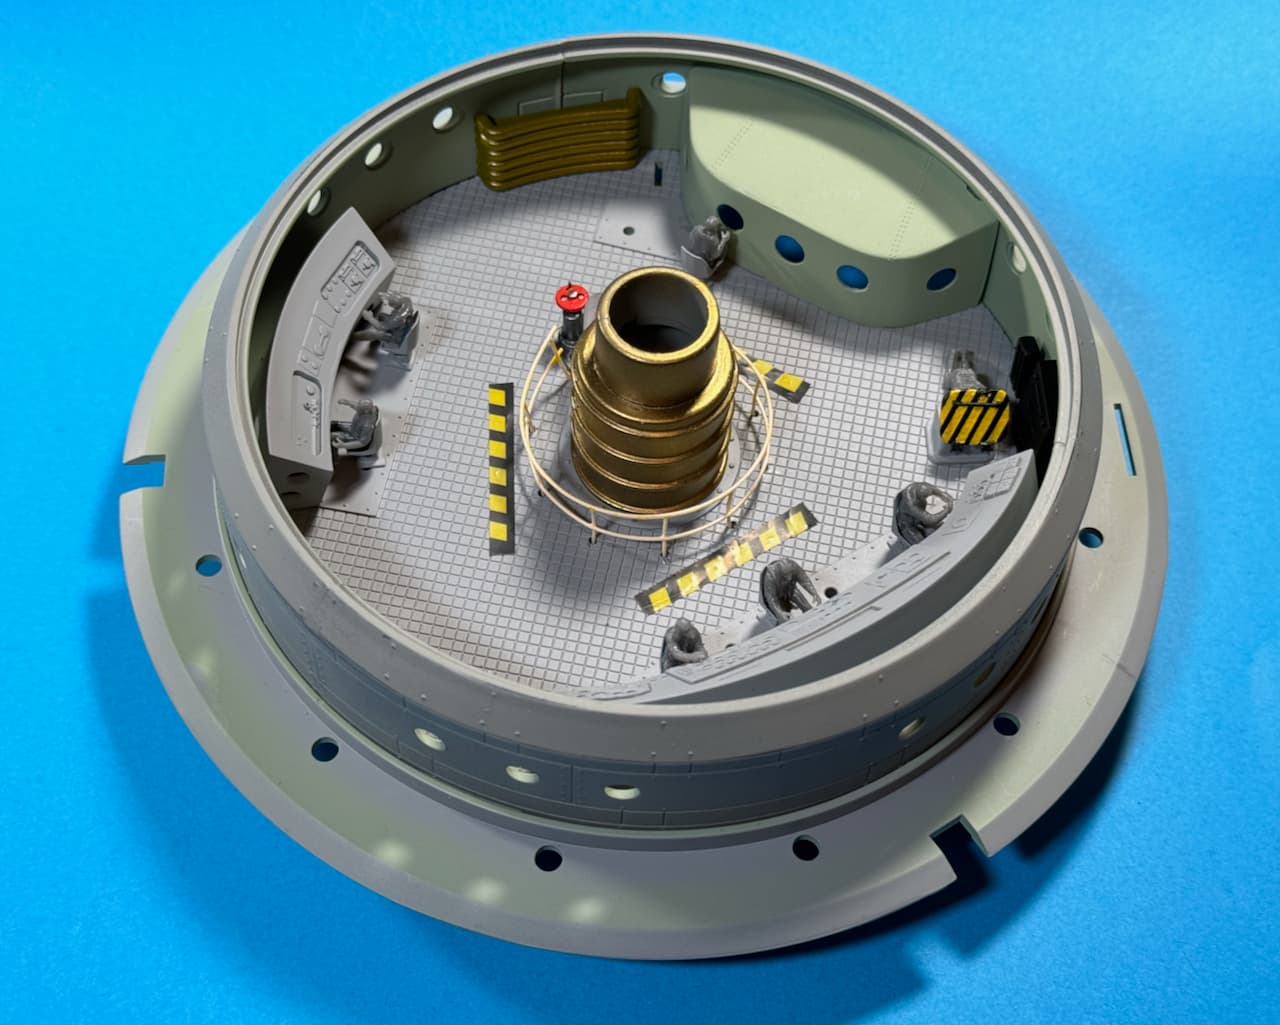
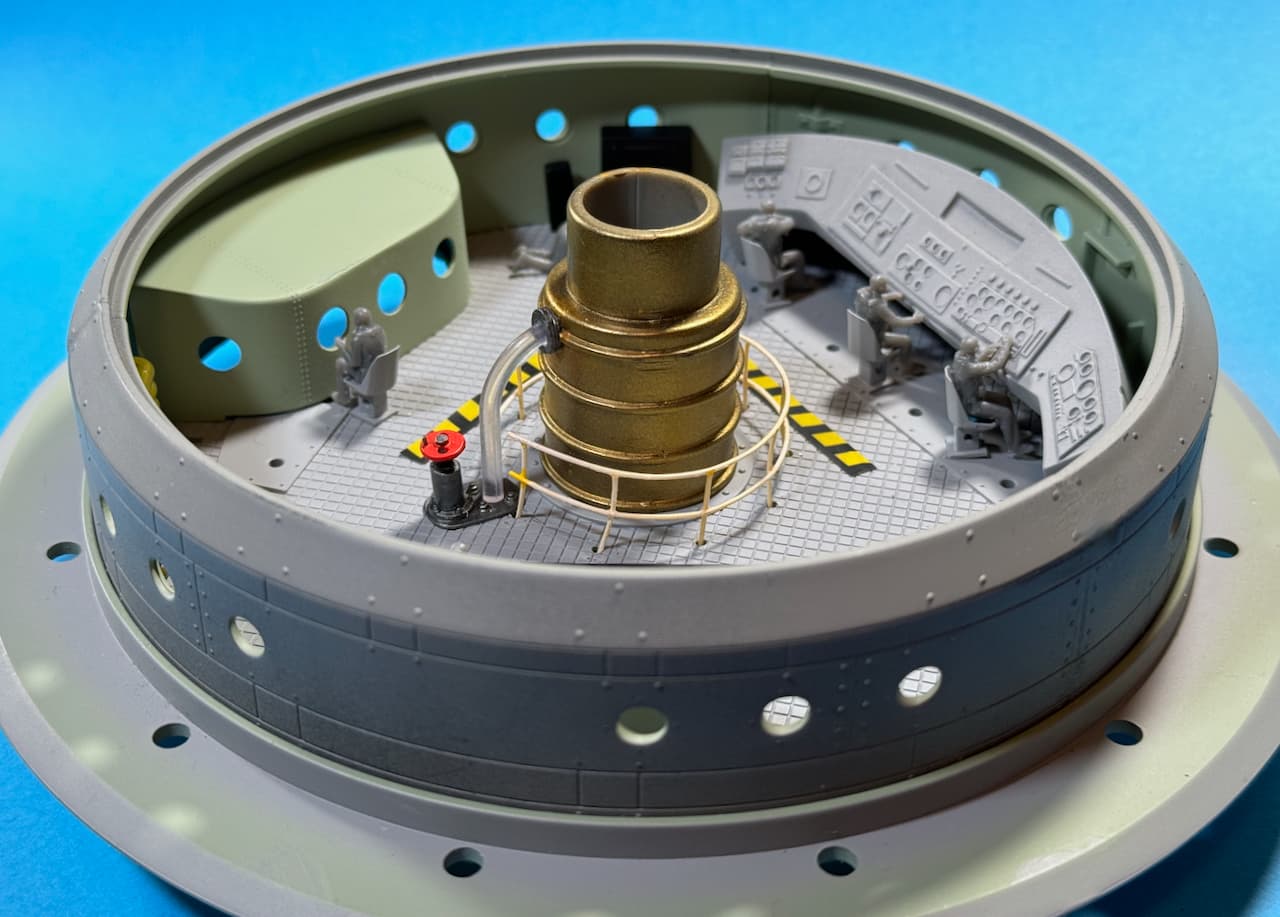
Think I can live with that. ![]()
Right, then!![]()
—mike …![]()
16 Likes