Excellent fix Mike ![]()
2 Likes
Opinions needed. 
Hello fellow diorama base builders,
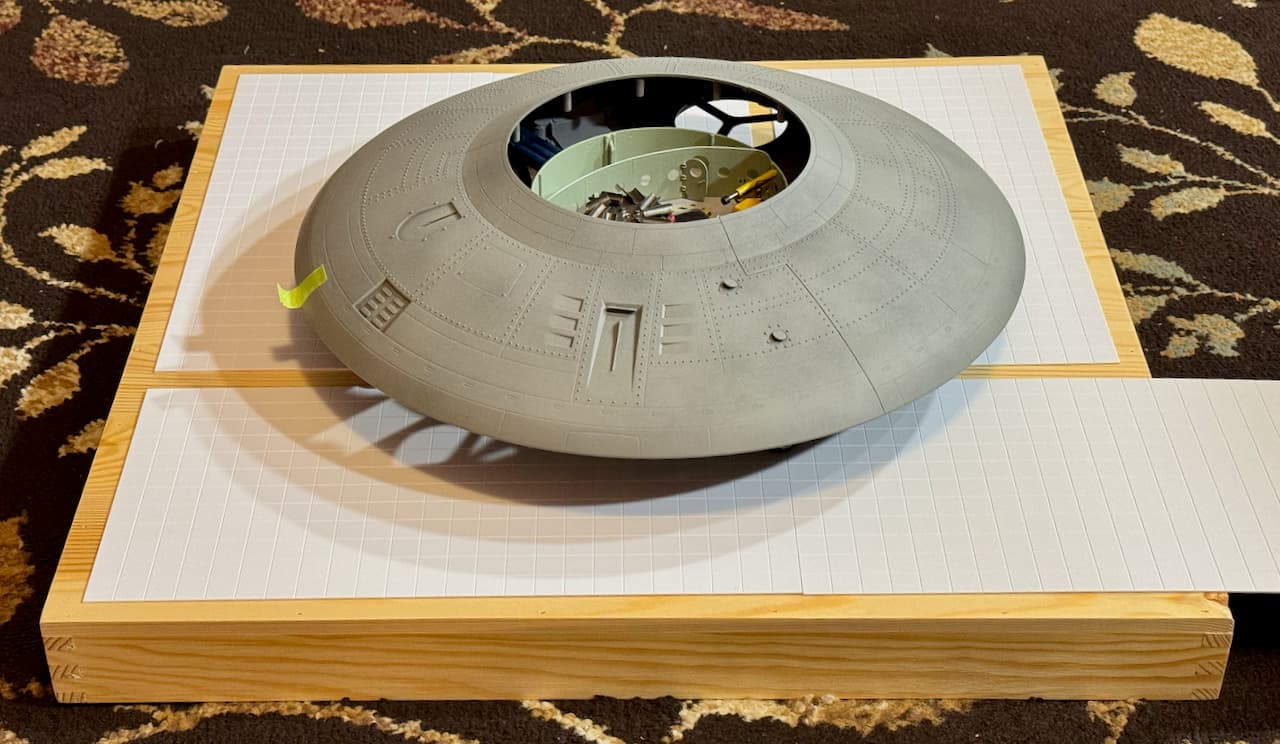
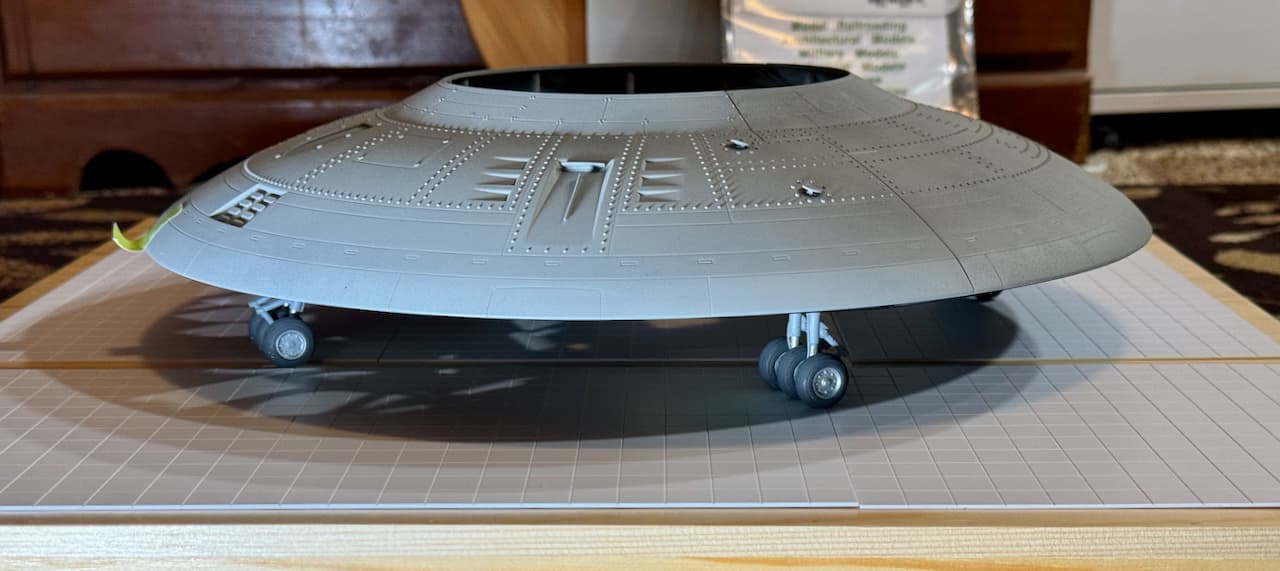
Here is a mock-up of the base which will support the Haunebu IIb. Somehow this should depict an interior hanger floor. The ship is 14" Dia. As seen here, it sits on a flipped-over Wooden Serving Tray (20" x 20" square)… never mind the large gaps (uncut sheets).
Plan A:
Evergreen 1/2 inch square Light Groove Sidewalk Sheets (6 x 12 inches).
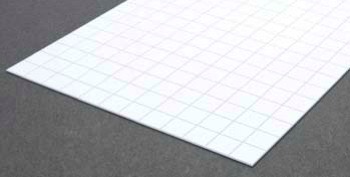
However, I think the squares look too small to support the mass of the ship. I imagine the joints buckling under the ship’s weight. ![]()
Plan B:
Flip the sheets over and scribe new joints in order to resemble larger concrete slabs kinda’ like the box art image below.

Image is borrowed from Squadron’s website.
Whaddya you guys think? ![]()
—mike …![]()
![]()
7 Likes
Psssttt… it is sci-fi. Who knows what kind of concrete-blend they used.
I do not see anything wrong with the smaller tiles.
4 Likes
I don’t see an issue either way mate. This is a fun build and it’s turned it into a Mike special… Go with what you think is good…![]()
![]()
3 Likes
I’d have assumed they would lay out 8ft strips of 4x1" pine to form squares, then pour in the concrete. Of course, being metric the Germans would use 2.44m strips of 100mmx25mm instead… ![]()
3 Likes
The concrete would be reinforced with rebar no matter the size and the more wheels lowers the psi of the aircraft. So either way would work but as Tom pointed out it’s German so you must you metric sizes. I am sure Herr Inspector mentioned this to you.
Just don’t make it parallel or perpendicular to the grid you pick and you’re good. ![]()
![]()
4 Likes
Go with the small squares. It adds visual interest and contrasts with the round smooth shape of the saucer. Don’t worry, the squares are made of Nocrackeum.
8 Likes
I would also go with the smaller tiles. Who knows how thick they are? Maybe they are cubes ![]()
2 Likes
Super cool build Mike, absolutely loved following your progress on this one!
Jus an idea for the base, heres a small one I did recently using a scrap of 4.5mm thick fibre-cement sheet that had been lying outside. I just cut it to size, scribed some joint lines in it and played around with some enamel PLW. You can scrub dirt into it and brush it off again to get some cool weathering effects.
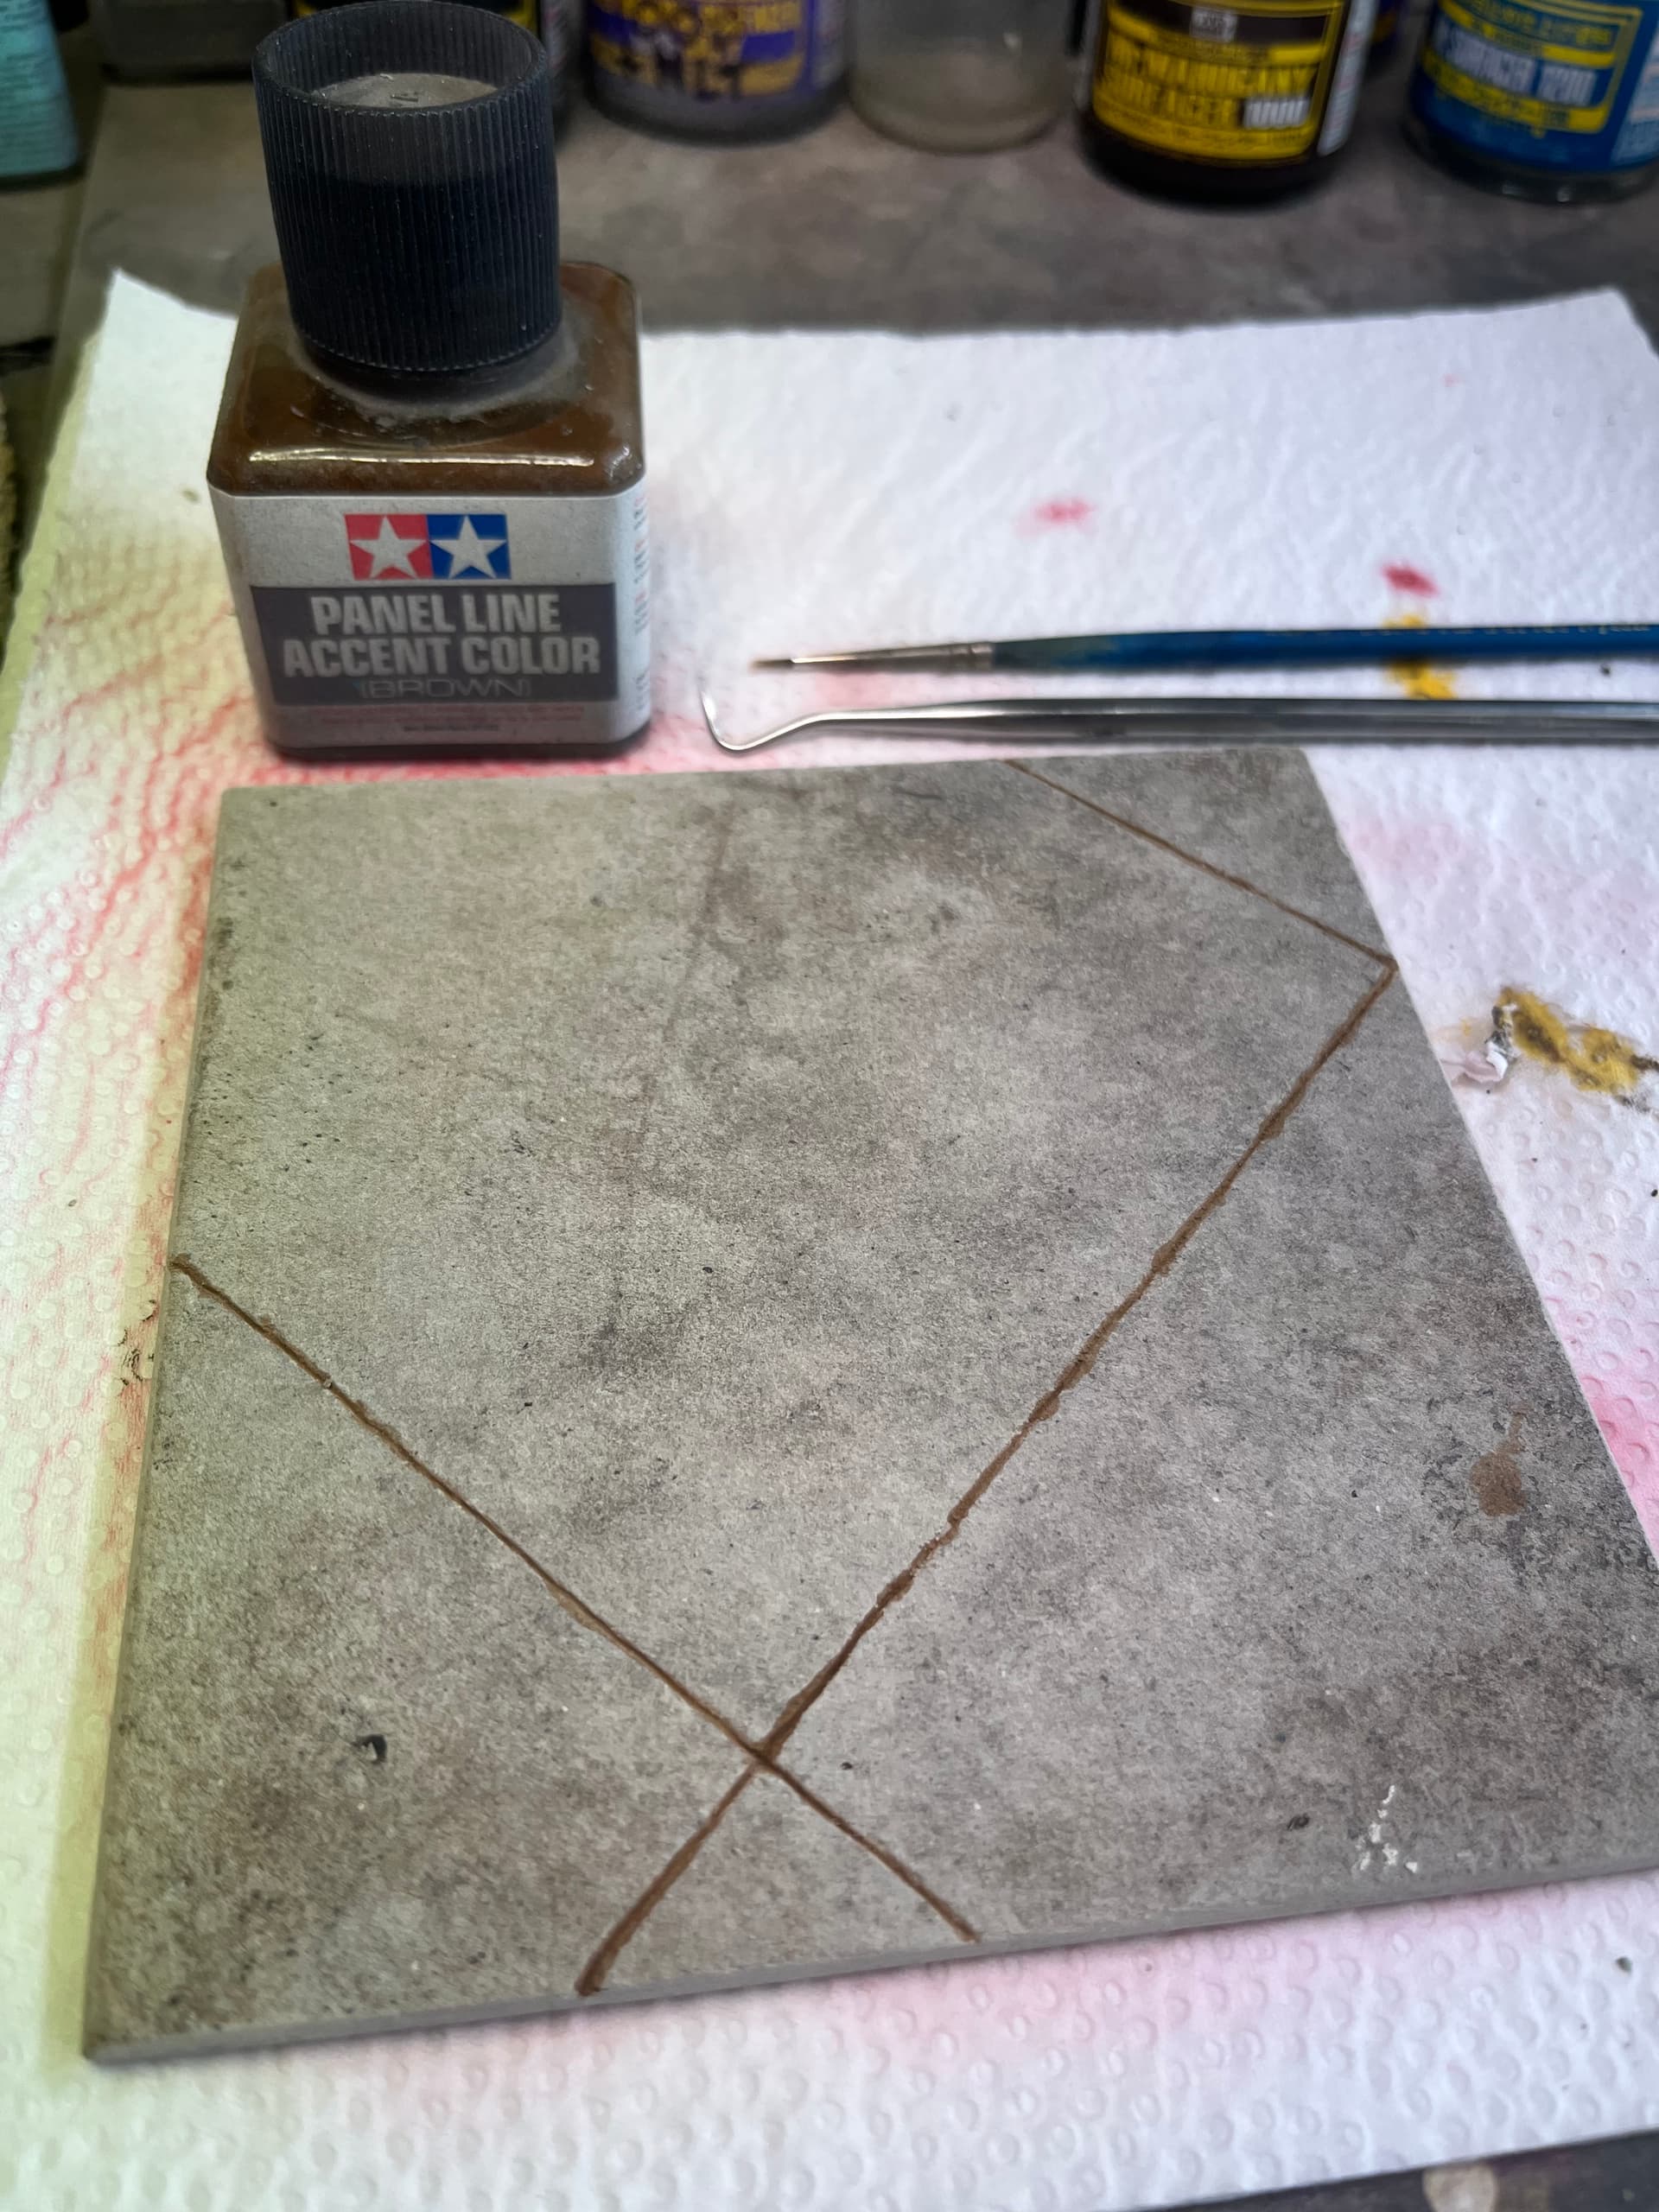

Cheers, D
12 Likes
@ Ron (RonW).
@ John (Johnnych01).
@ Tom (barkingdigger).
@ Ryan (Tank_1812).
@ Matthew (SSGToms).
@ Jesper (SGTJKJ).
@ Damian (AssieReg).
Thank you all for your input!
And the votes have been tallied by Herr Inspektor — possibly a big mistake! ![]()
Herr Inspector was perusing KitMaker last night when he noticed an amazing diorama featuring black and white floor tiles — you know the one. That was all it took to tip him over the edge…
"Tiles!.. NEIN!" ![]()
Hence, the sheets will be flipped-over with large slabs and small tiles simultaneously. ![]() No joke… This morning, I eyeballed the rough angle needed (approx. 6°) and began scribing and snapping-away at the Styrene sheets. Assembled, they now fit within the overall square shape constrains of 18¾ x 18¾ inch (47.625 x 47.625 cm).
No joke… This morning, I eyeballed the rough angle needed (approx. 6°) and began scribing and snapping-away at the Styrene sheets. Assembled, they now fit within the overall square shape constrains of 18¾ x 18¾ inch (47.625 x 47.625 cm).
And since I never glue anything down (welcome to Dry-Fit World), the large taped-together sheet assembly can be flipped back over to repurpose elsewhere if ever needed. ![]()
Thank’s again!
—mike …![]()
![]()
![]()
![]()
![]()
![]()
9 Likes
I would use the bigger sized squares. Looks more realistic to me. The smalls remind me to hospital floors. Although it is Sci-Fi, the more you use realistic stuff, the more it will be “acceptable” to the viewer. even details not matching with valid scientific facts (e.g. X-wing ships in space, where a wing has nothing to “fly”).
Most of the people believe that the airplane / spaceship hangars have big concrete blocks rather smaller, hospital-looking ones.
2 Likes
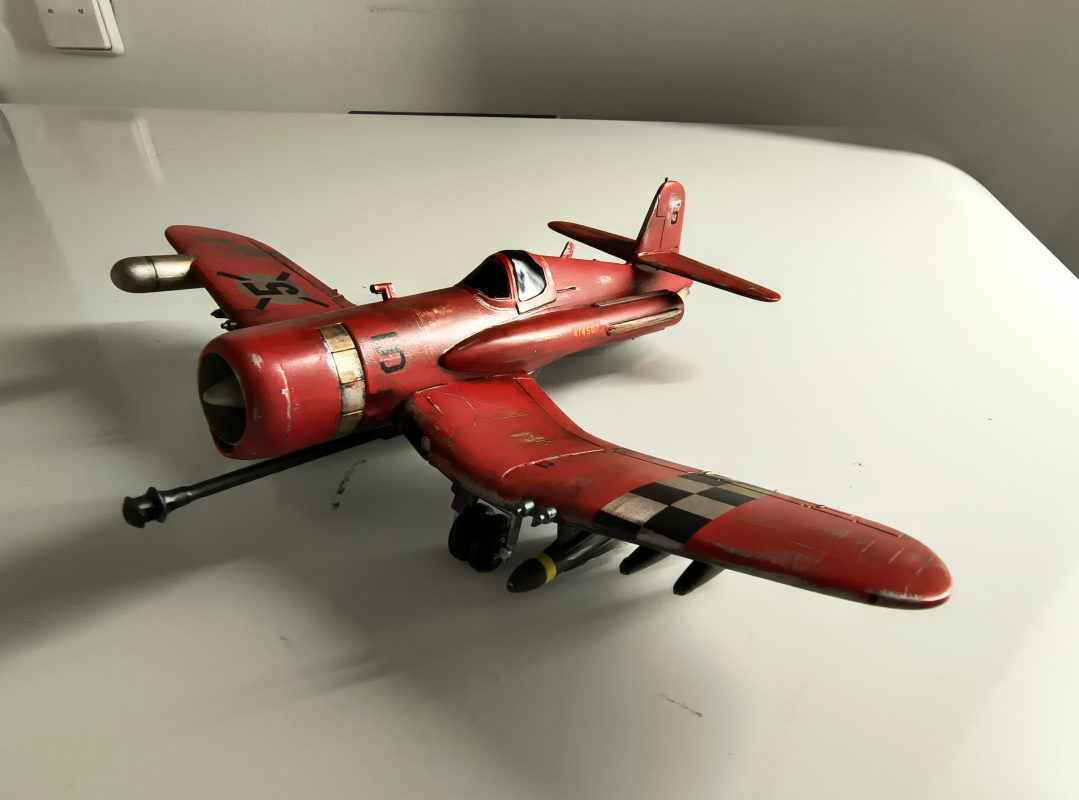
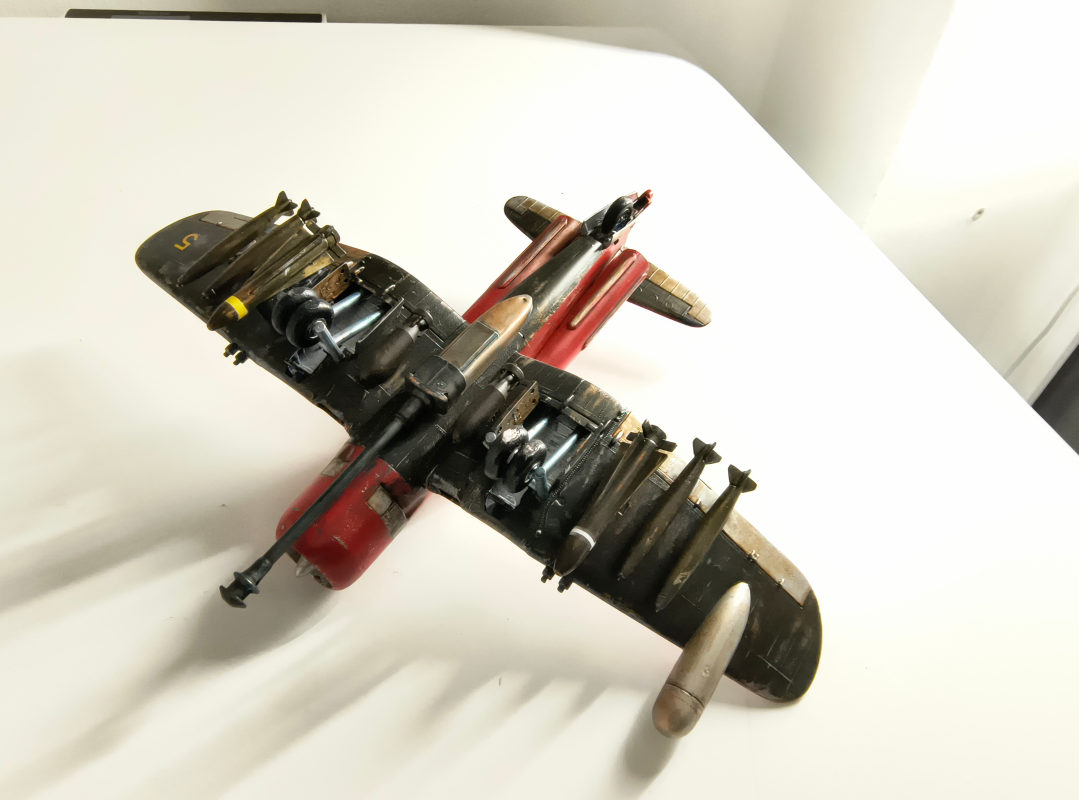
I finished my build of the 1:48 Corsair , made from a very old Revell kit , with two jet engines and some weapons .

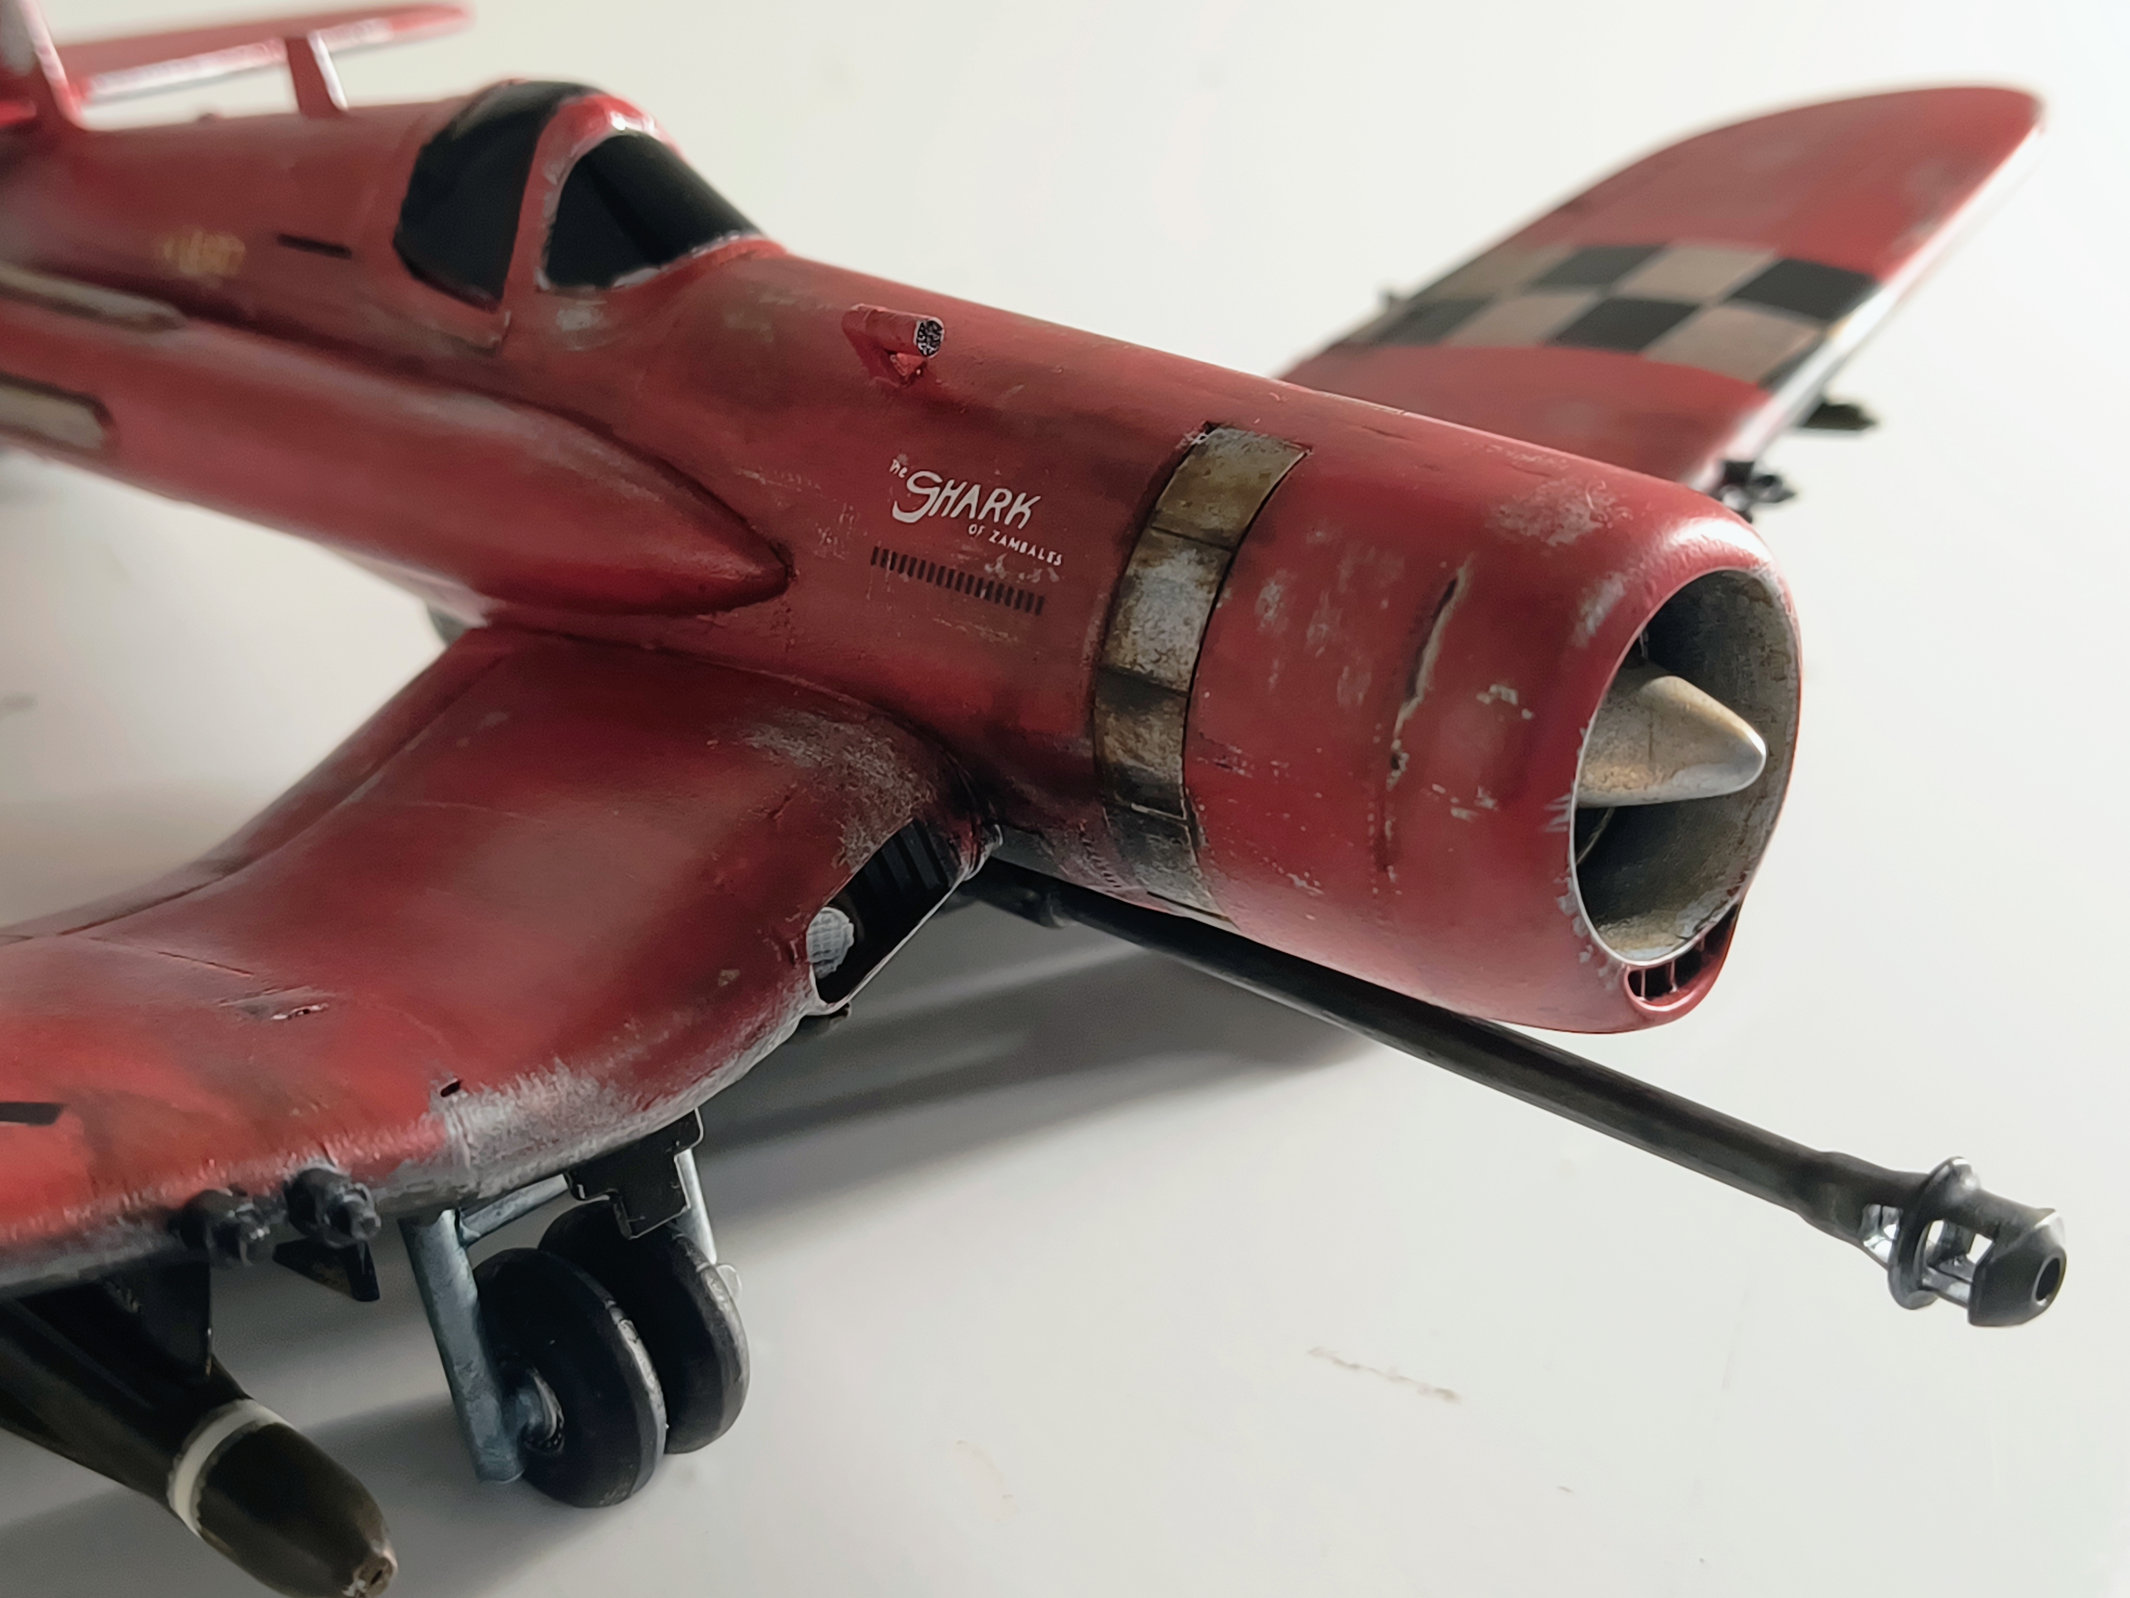
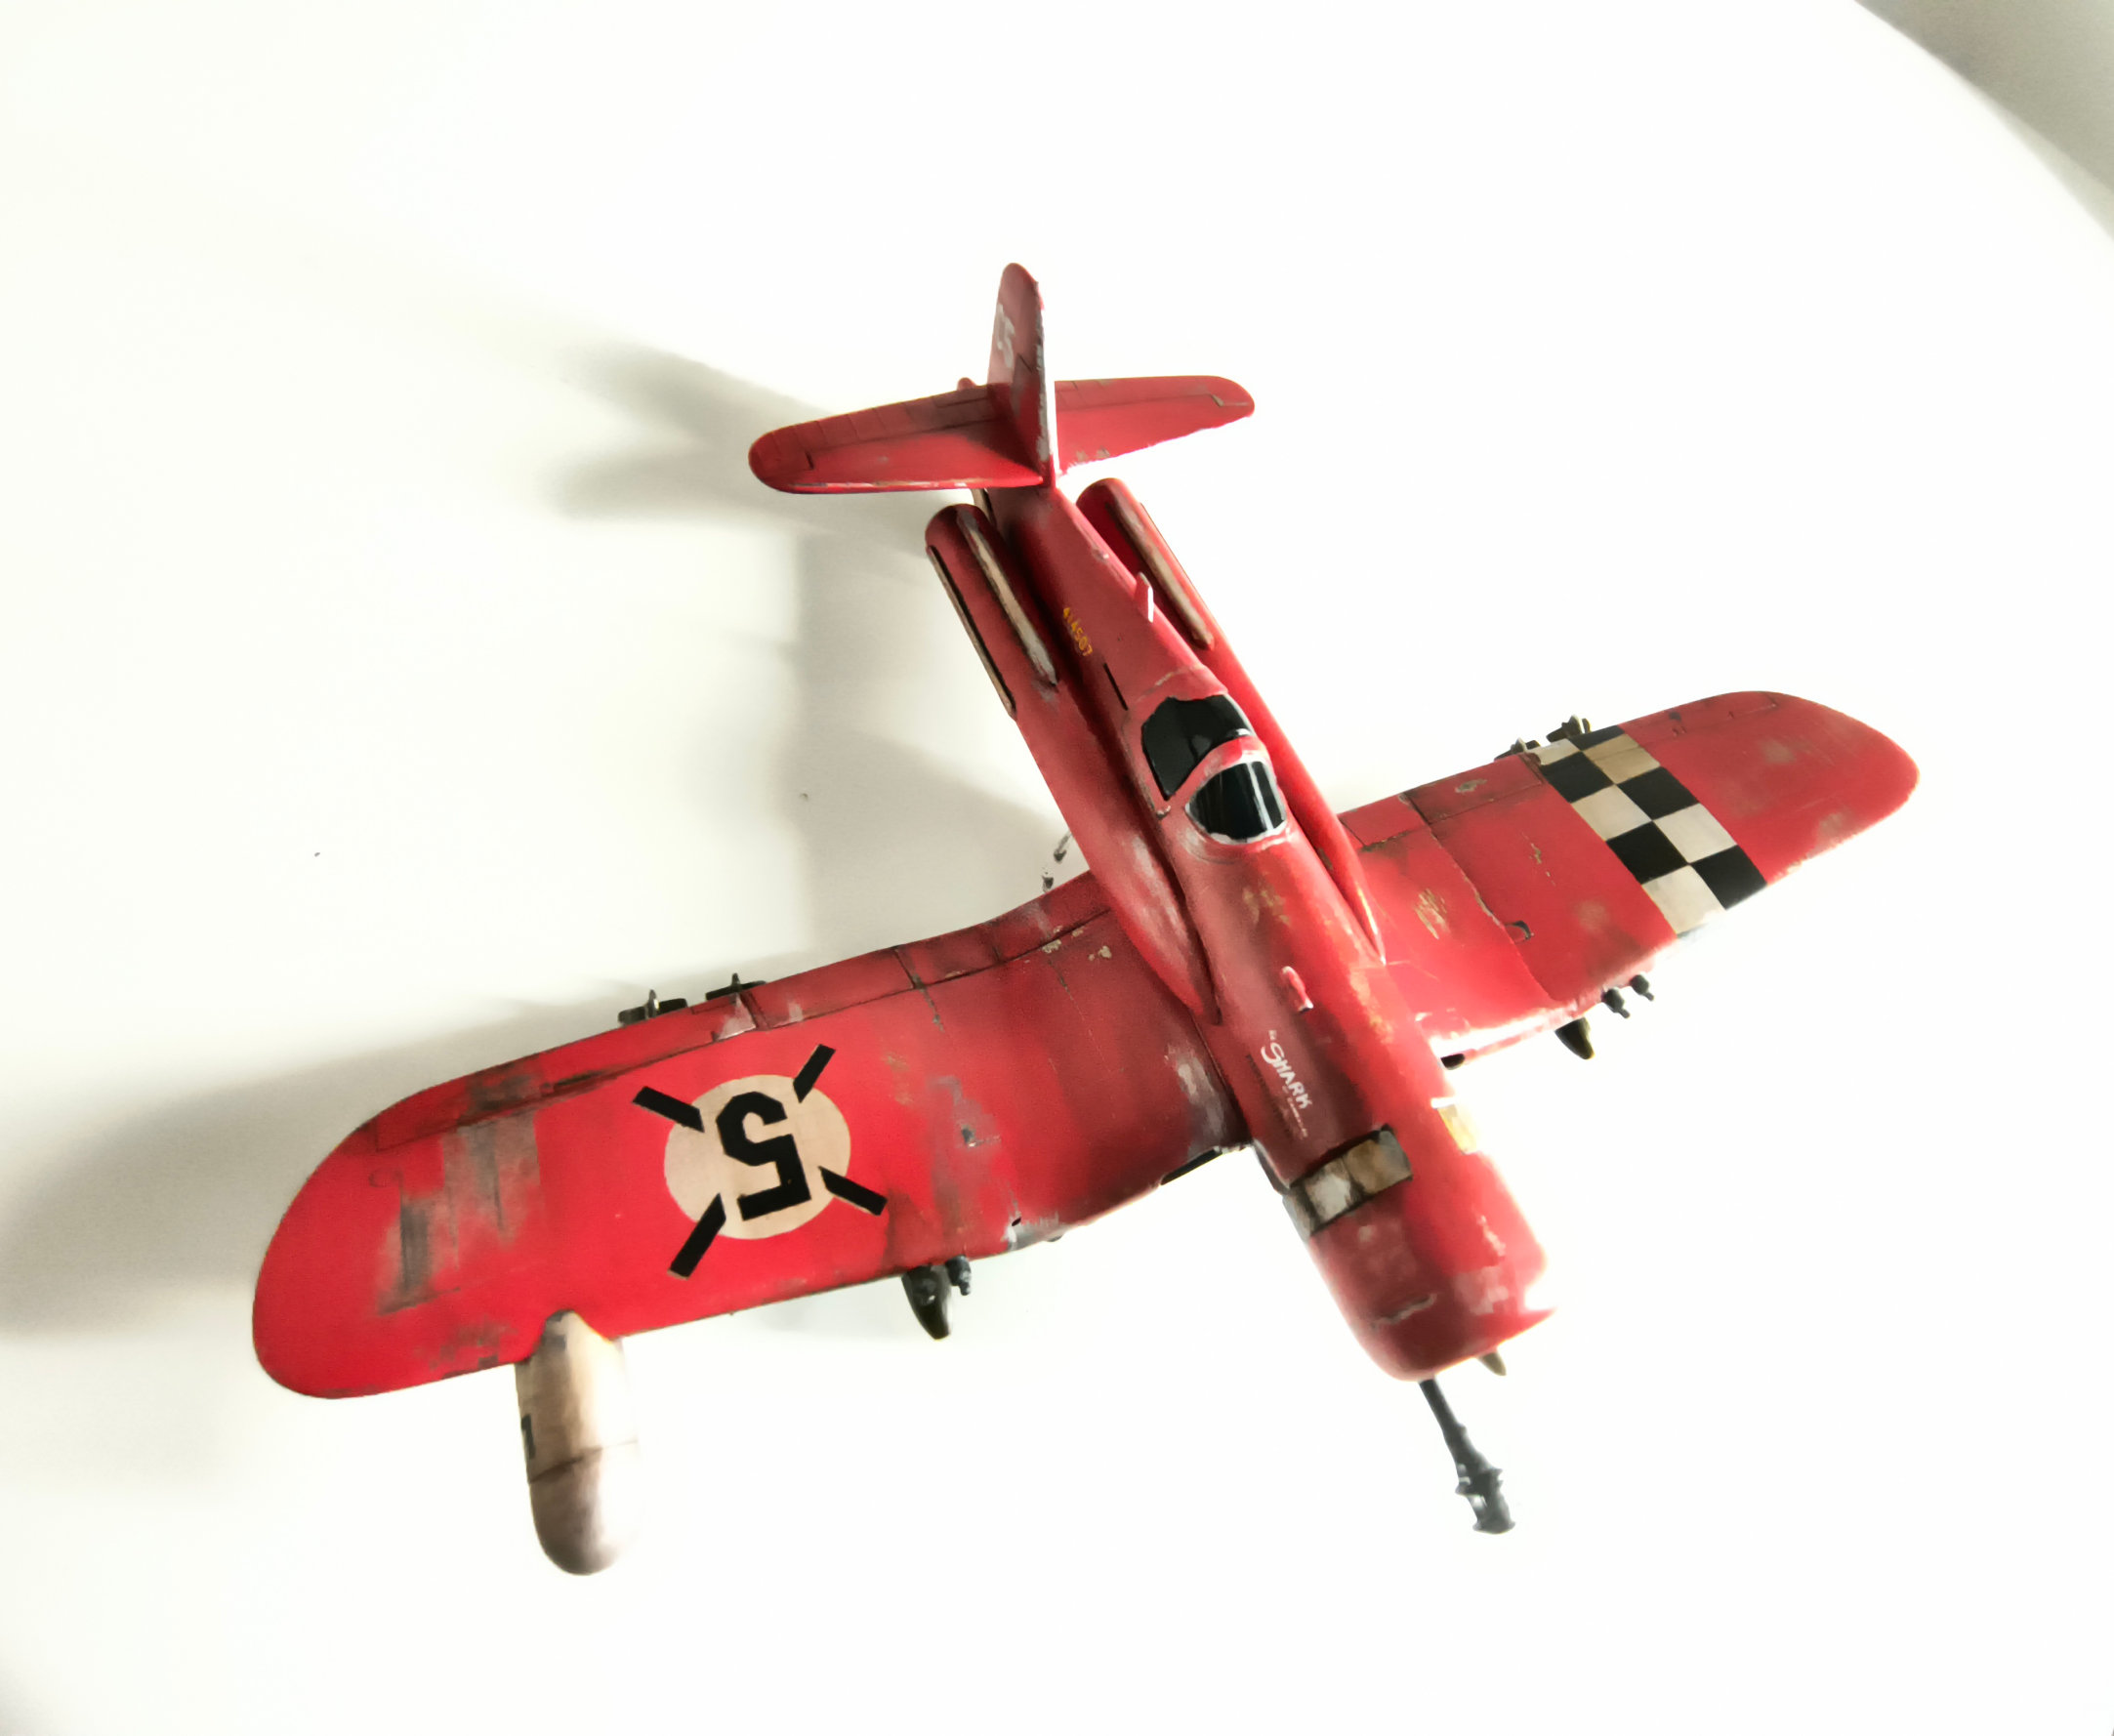
18 Likes
@ Gerrit (Killnoizer).
very nice scratch-building on the Barron Von Red Jet! ![]()
—mike
1 Like
Clean sweep! 
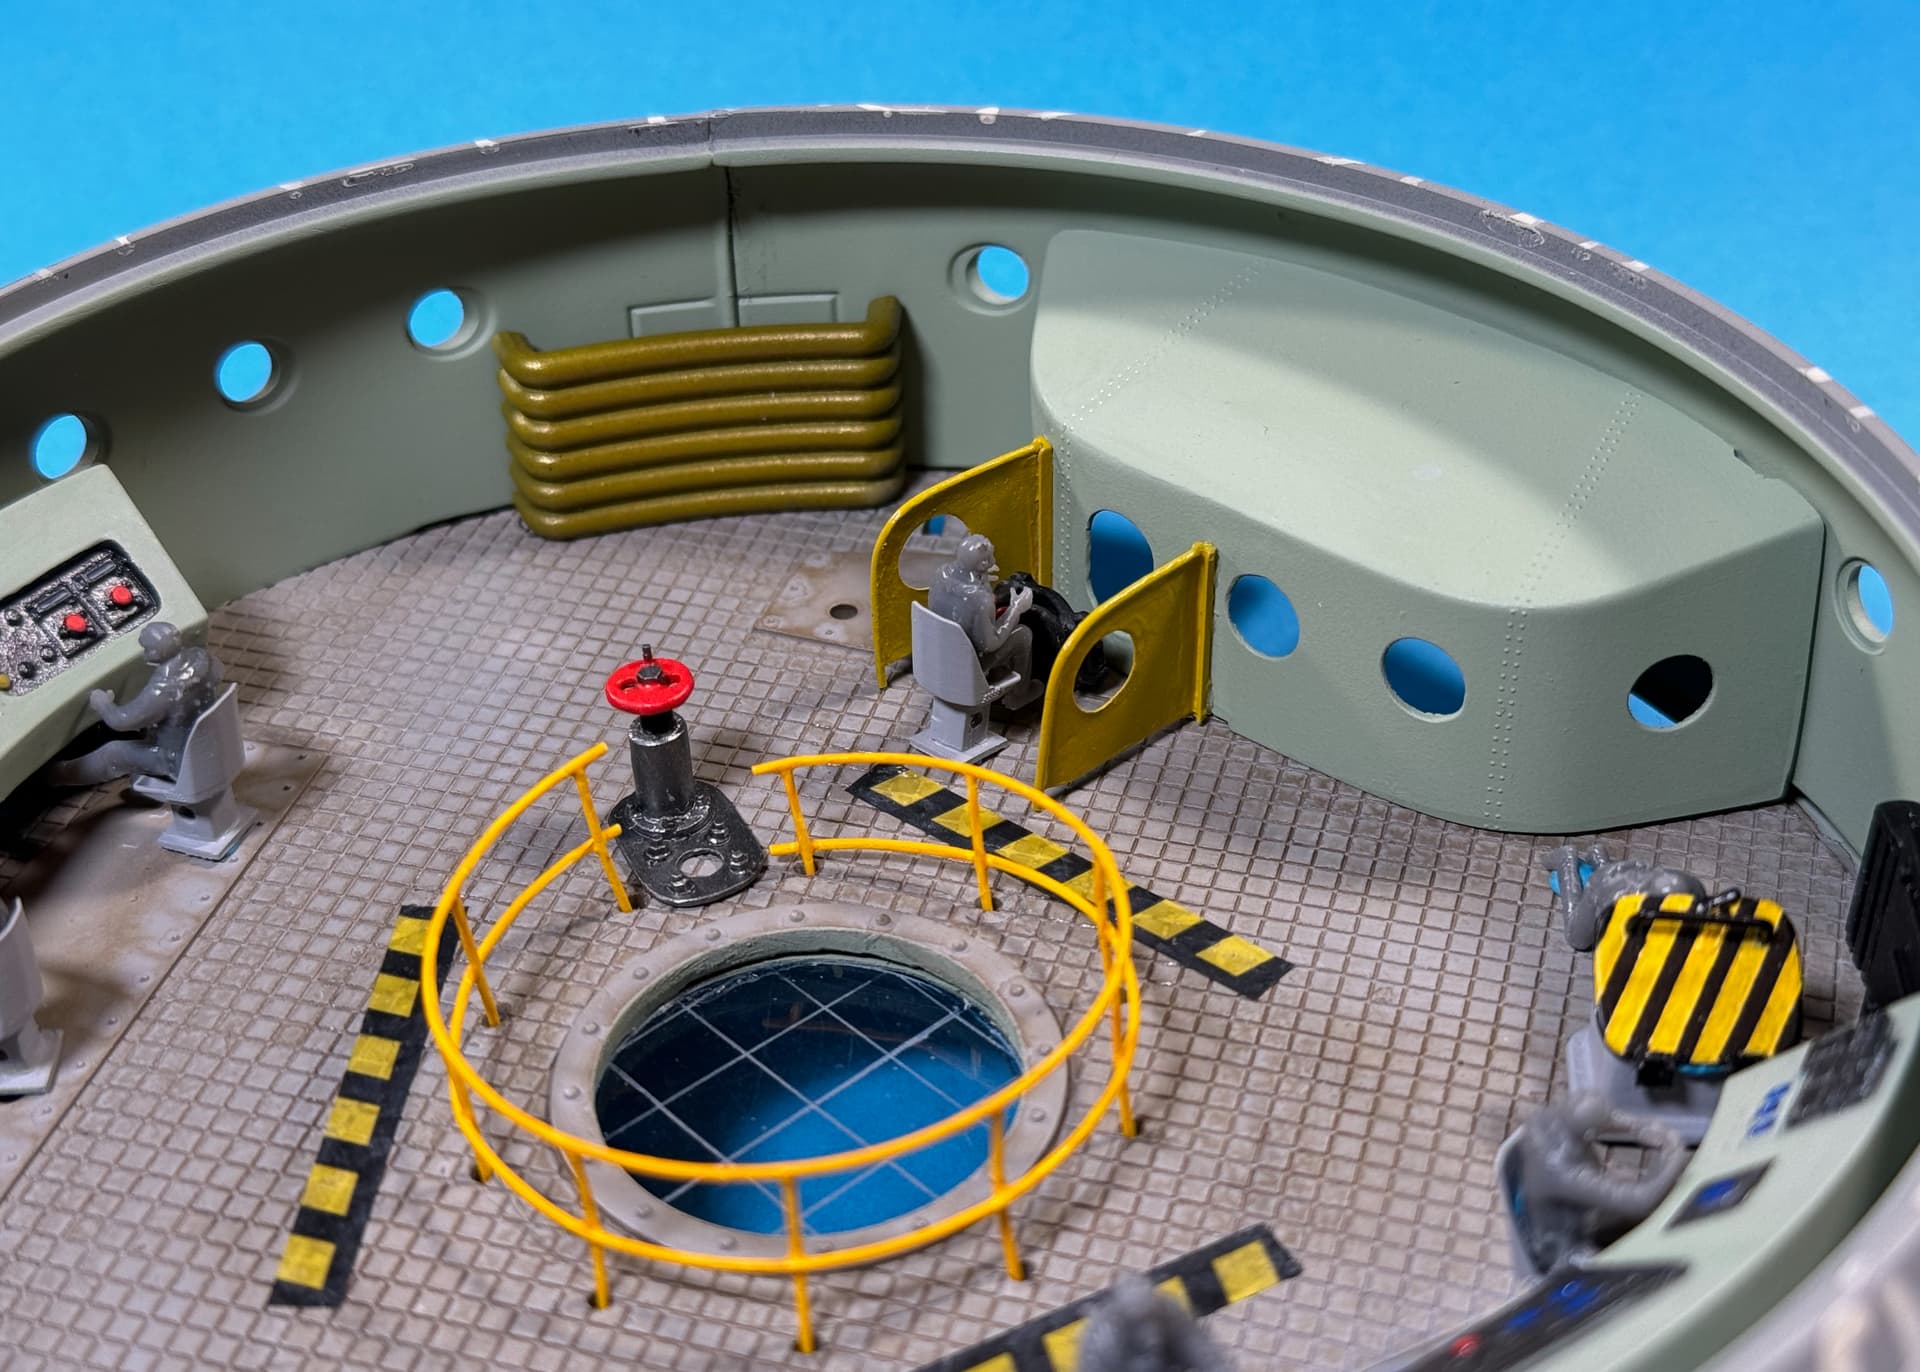
Here’s today’s update…
After removing all of the furniture, I gave the floor a light mopping.
• Vallejo European Dust Wash (76.523).
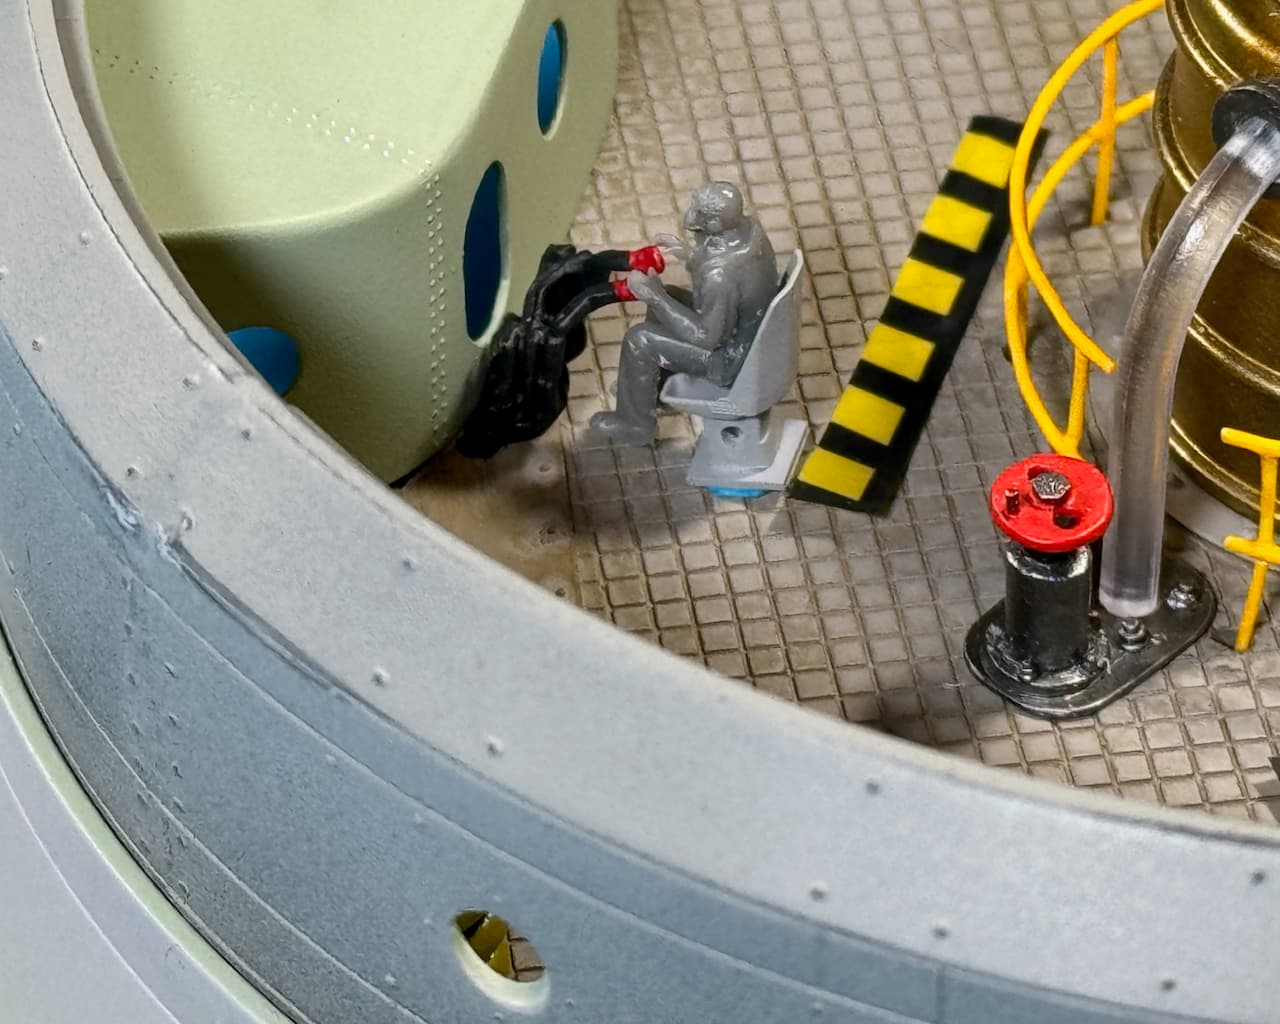
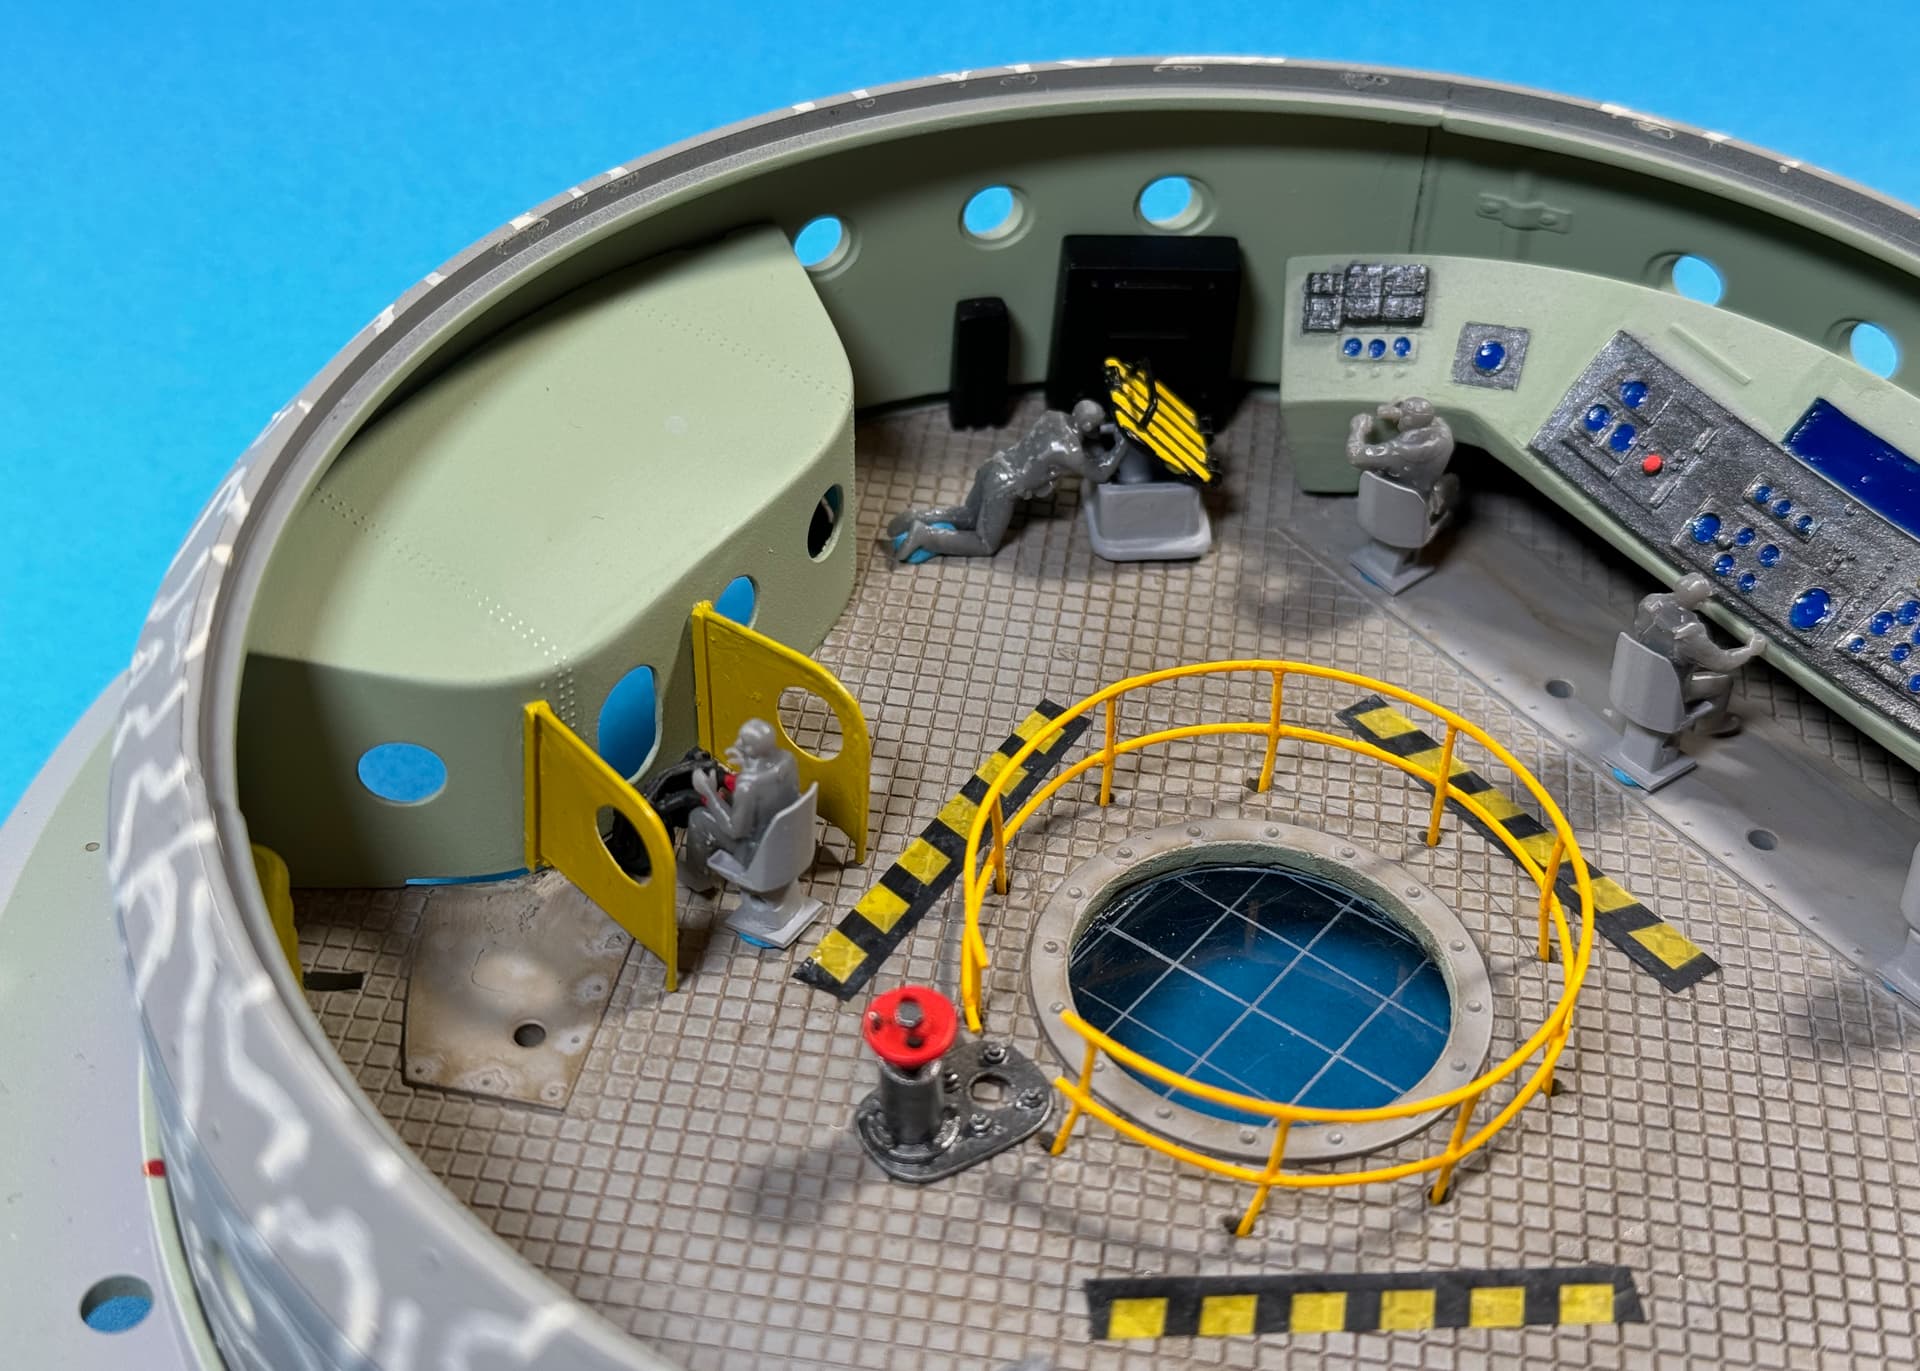
I added a ‘KLAW’ Operator Station in front of the cover box. ![]()
![]()
Repainted the railing and moved the furniture back in again.
On a side, I’ve been working on the diorama base as well. ![]()
—mike …![]()
11 Likes
Ok, I just walked into the polling place and the janitor was sweeping up and said, “voting’s closed bud”
So I’ll give my tardy opinion anyway.
The others have already stated that it’s sci-fi so anything goes if done well. As well as the sound structural logistics described.
I agree to go with larger slabs so the viewer’s eye will not get stuck in all the details of the tiles of the floor. The model ship will stand out more so all that work you’ve put into it will shine bright
3 Likes
Tamas (Agriamodeling) and KS (kosprueone). Thank’s!
The Inspektor has been promoted to janitor. ![]()
![]()
Two more votes for mankind… large slabs for mankind to slip on. ![]()
—mike …![]()
![]()
6 Likes
I have finished the RED CORSAIR . Some good effects ( I think ) would be made with washing , the back part of the engines could be better , maybe I ad some parts on the exhaust later . The cockpit was bad and so I decided to paint the glass on the inside , it’s okay for me .
SORRY, DOUBLE POSTING, MY MISTAKE
![]()
14 Likes
Another great what if sci fi bird … The canopy looks great painted… Nice work ![]()
2 Likes
What are the chances? 
Hi guys,
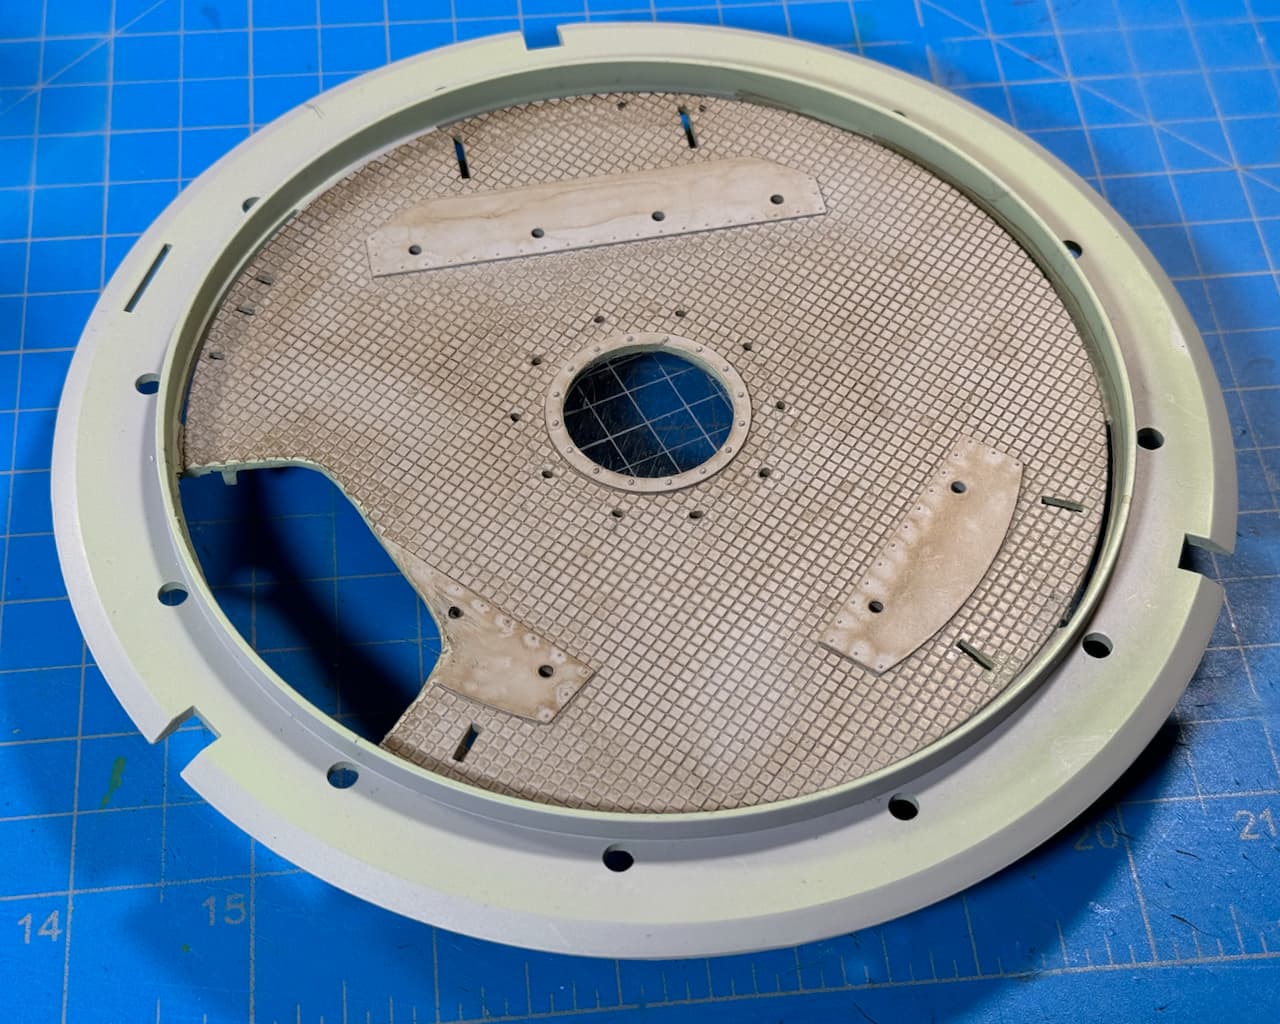
You may recall the Bomb Launch Tube and Hatch Cover from earlier on in the thread (Refer: March 18, 2023 post).
Here, I made the crucial cut to mate with the ship’s exit point.
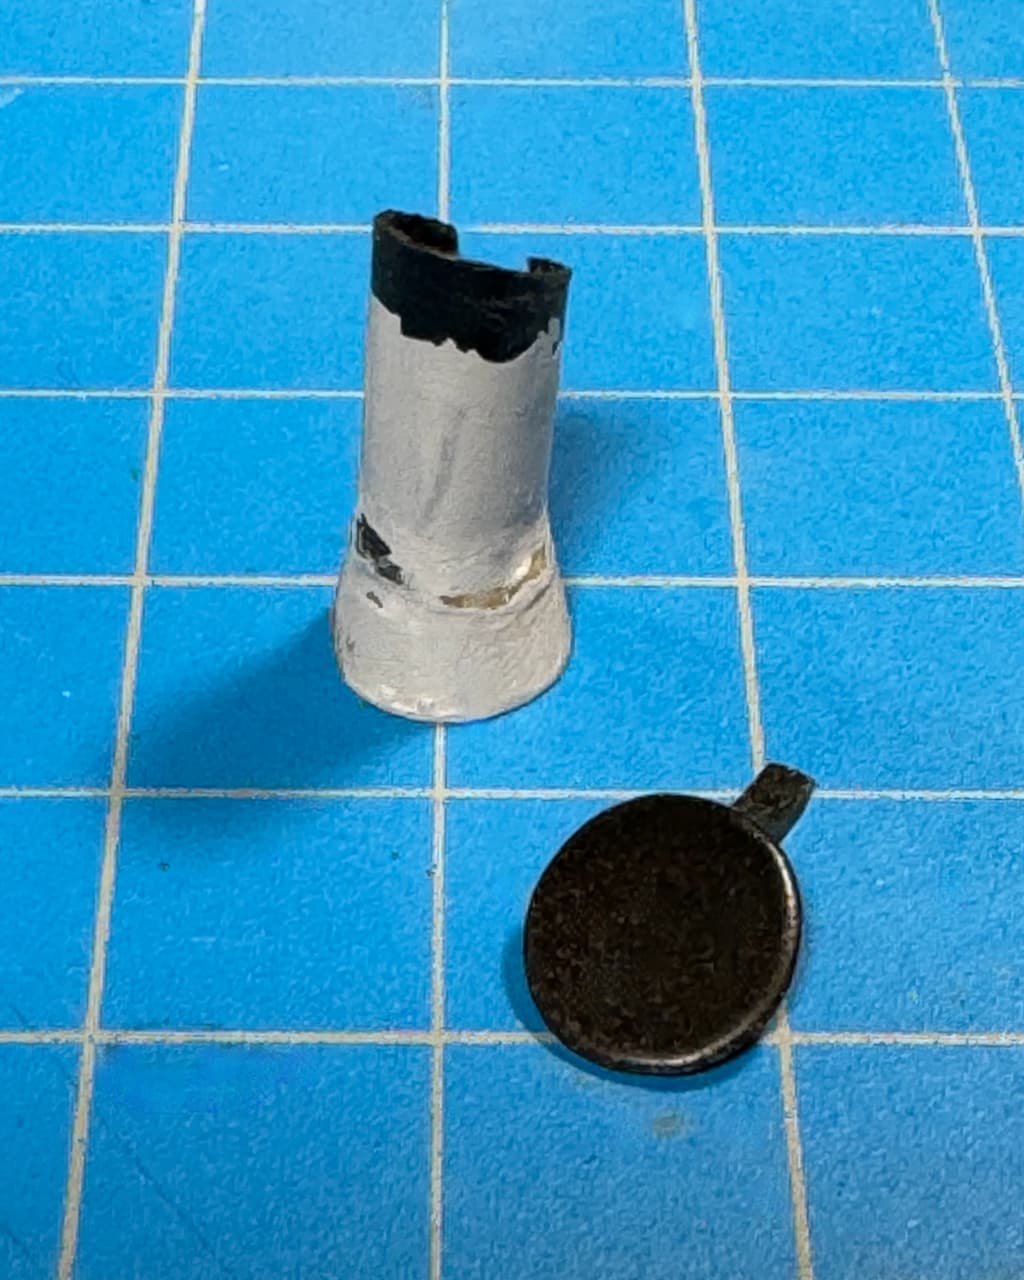
The Launch Tube goes into the floor, here.
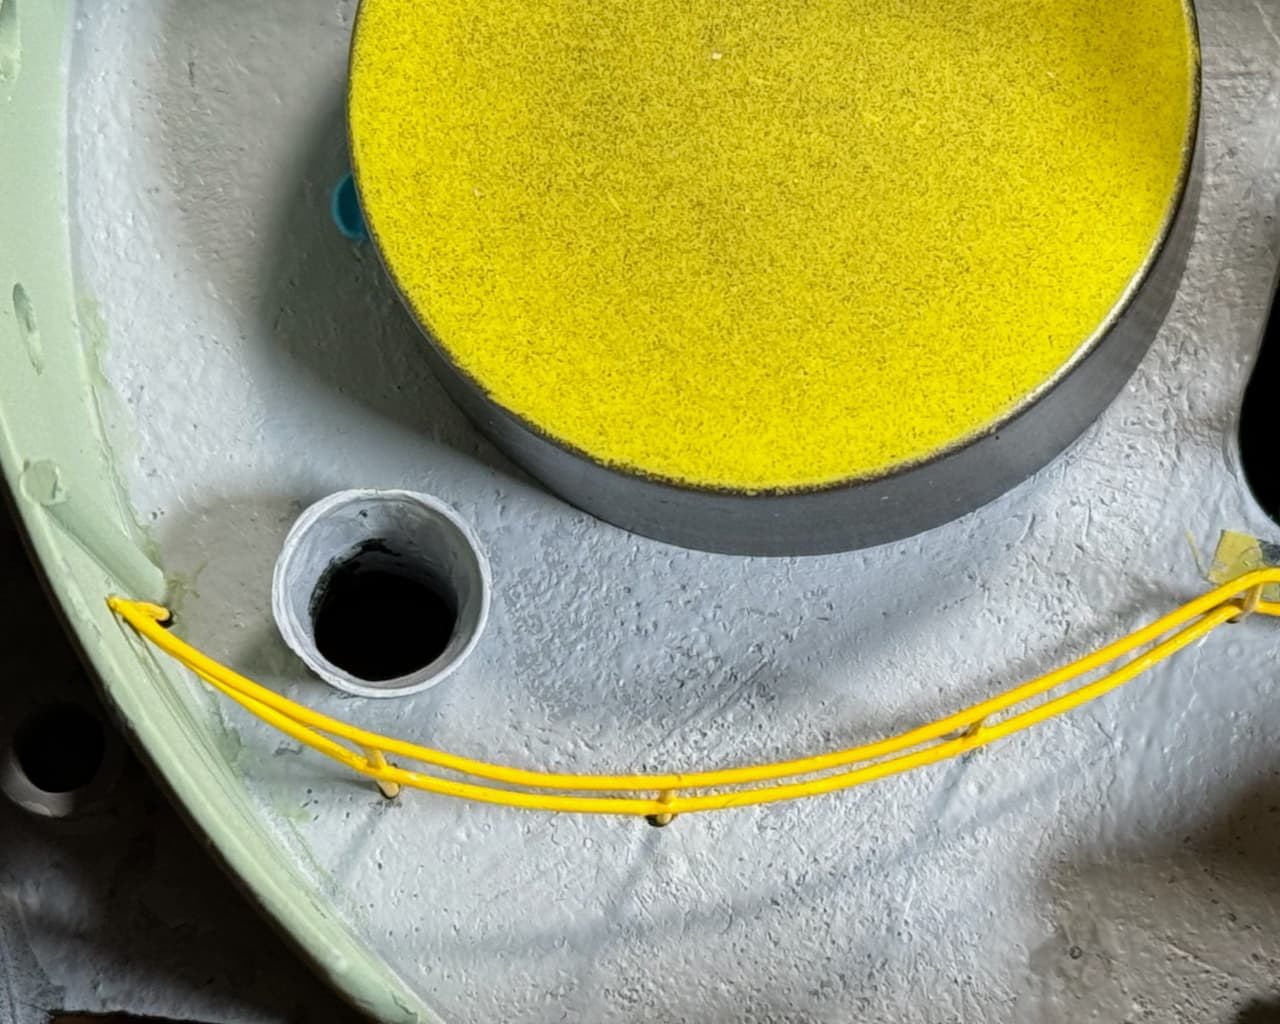
… and the Launch Tube exits here…
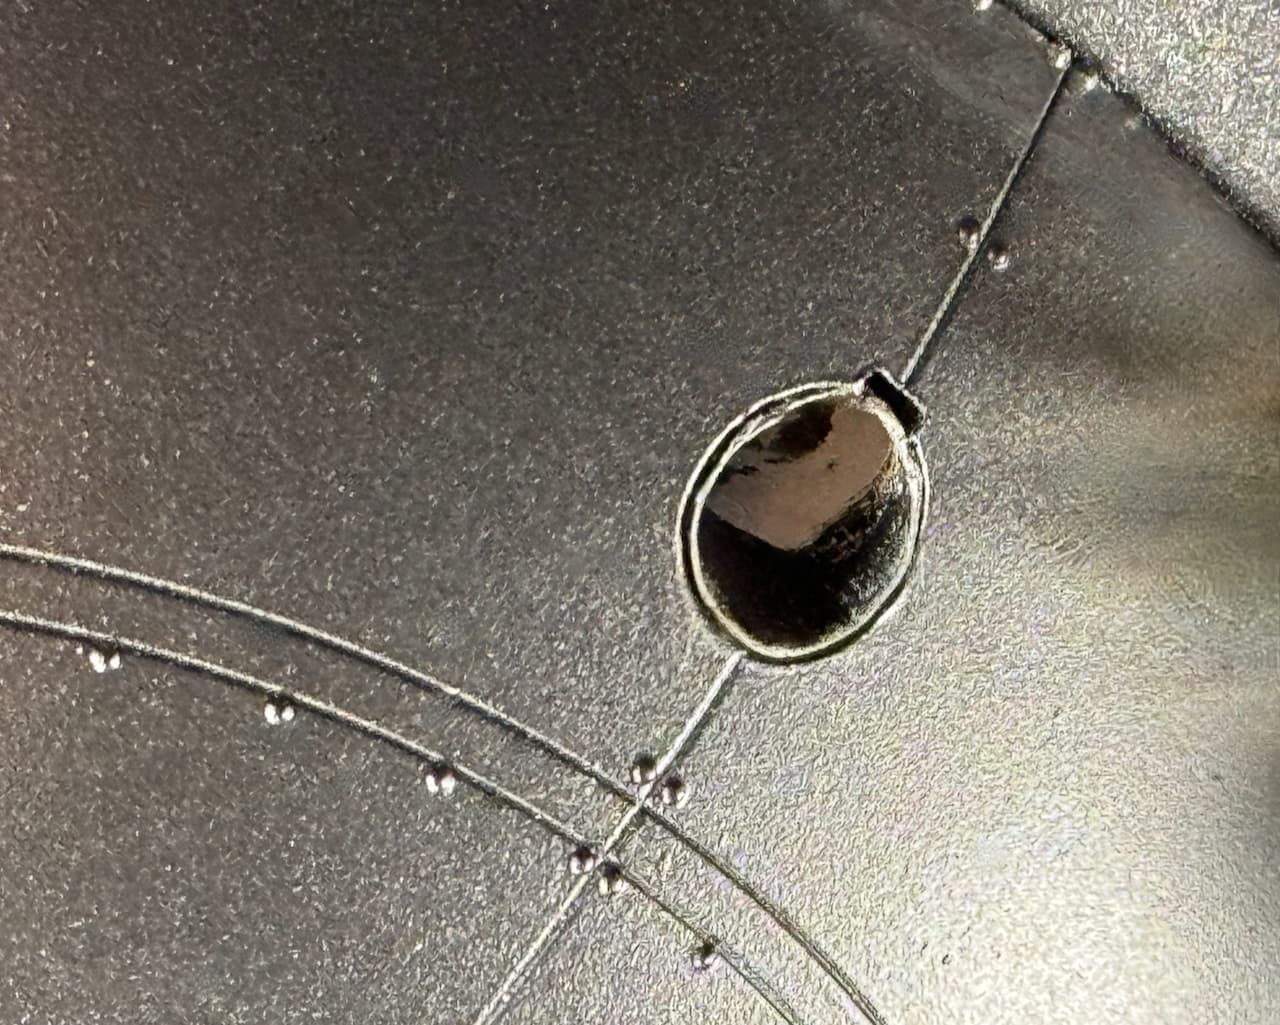
To my surprise… A PERFECT CUT! ![]()
![]()
Here’s the exit point with hatch assembly.
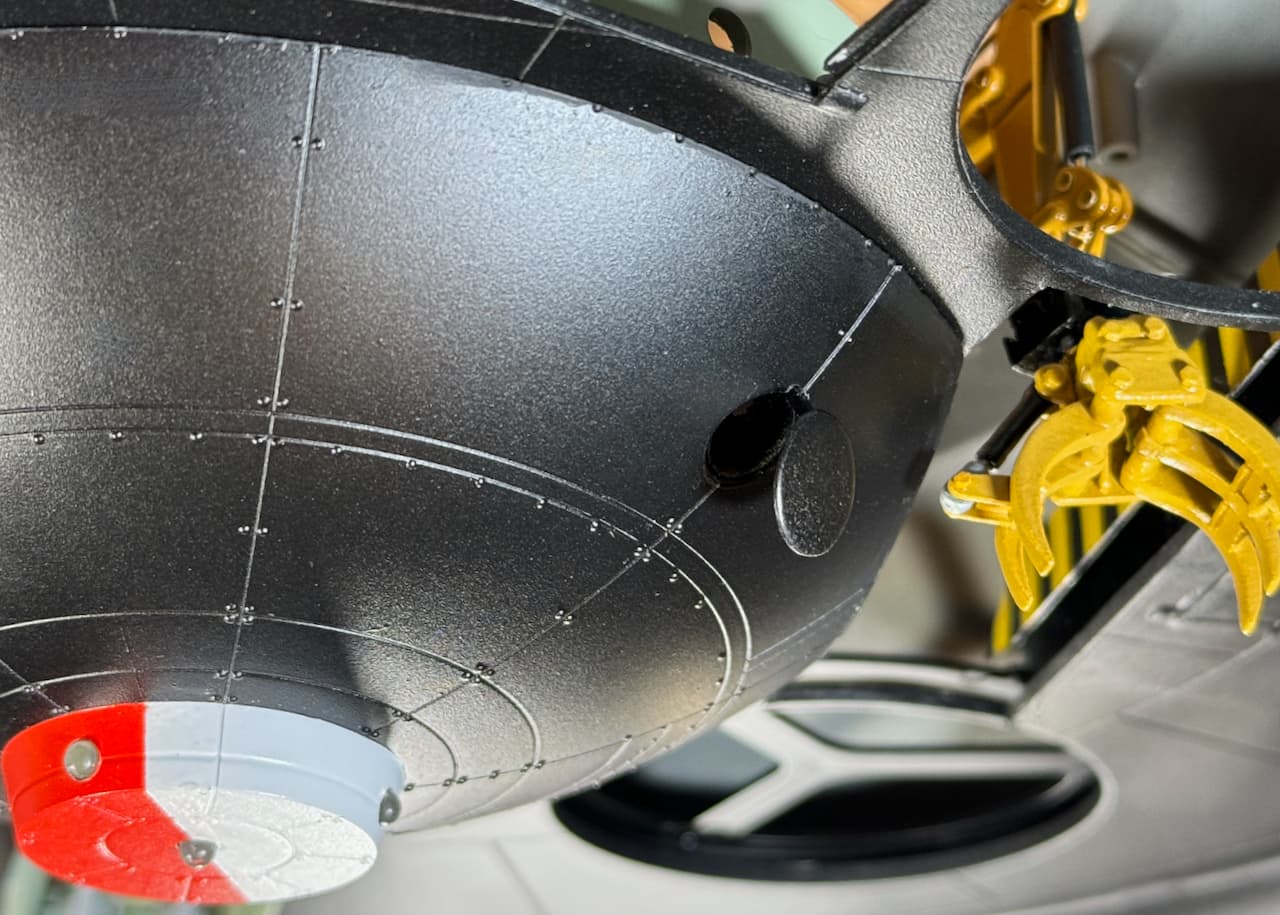
Note to self: Never use drinking straws for scratch-building again, they DO NOT sand well and DO NOT play nice with CA Glue! ![]()
“This drinking straw idea was a ridiculous waste of time. … Now, where is my Vendy’s order?” ![]()
![]()
—mike …![]()
![]()
![]()
![]()
11 Likes
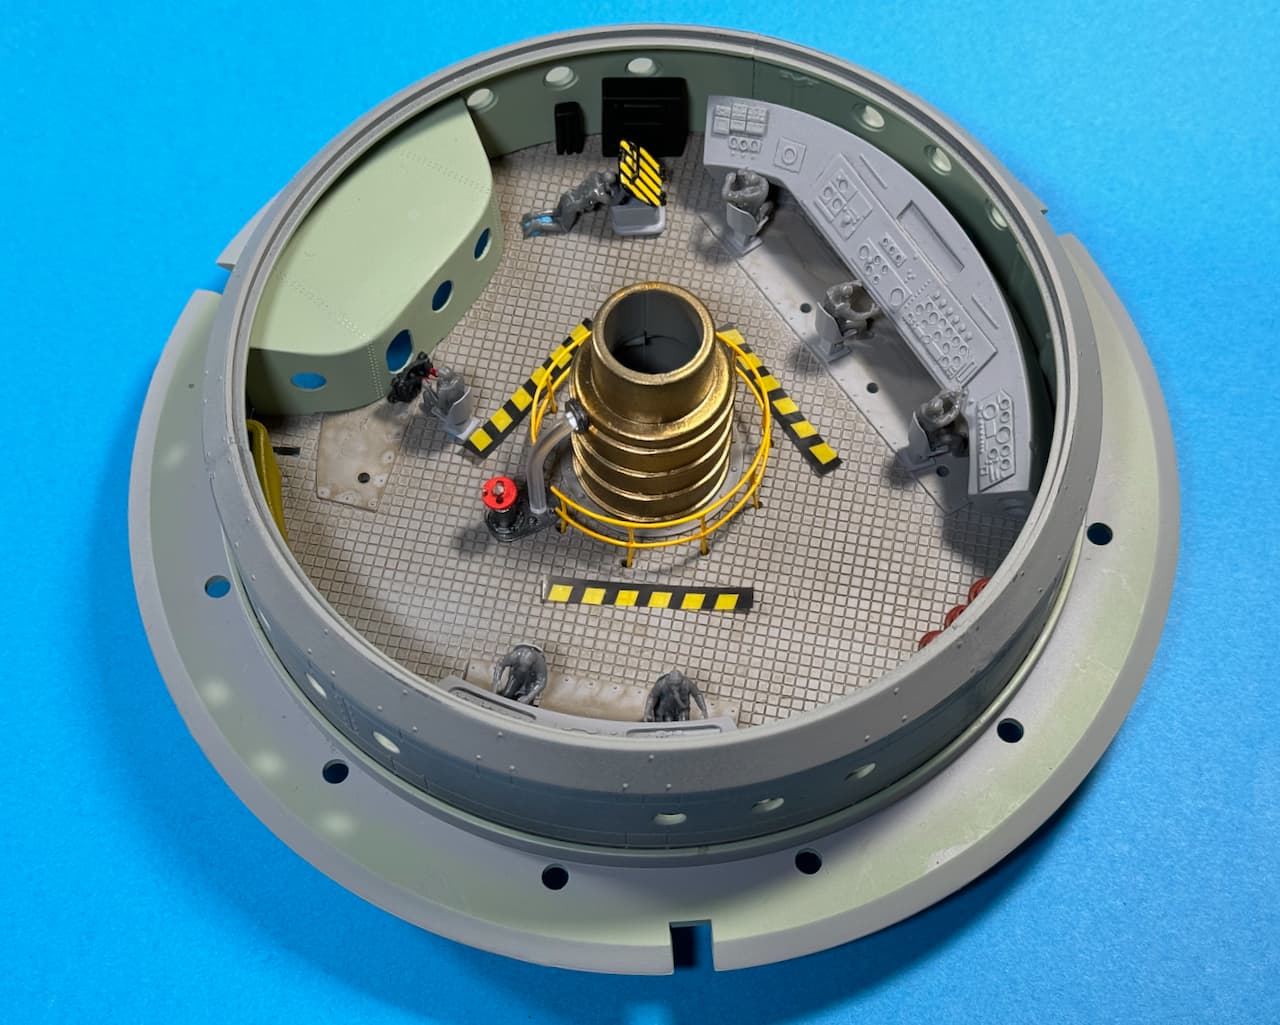
“Take it to the bridge…” 
Painted the consoles and instrument panels.

Paint Specs
Panels:
• Vallejo Metallic Black (Gun Metal) (71.073).
Screen and Dials:
• Vallejo Royal Blue (70.809).
• Microscale Micro Mask (MI-7) for clear dial effect.
Push-buttons:
• Vallejo Scarlet (70.817).
• Vallejo Chrome Yellow (71.135).
—mike …![]()
![]()
––––––––––––––––––––––––––––––––––––––––––––––––––––––––––––––––––––––––––
[EDIT] Images added:
‘KLAW’ Operator Station Safety Guards…
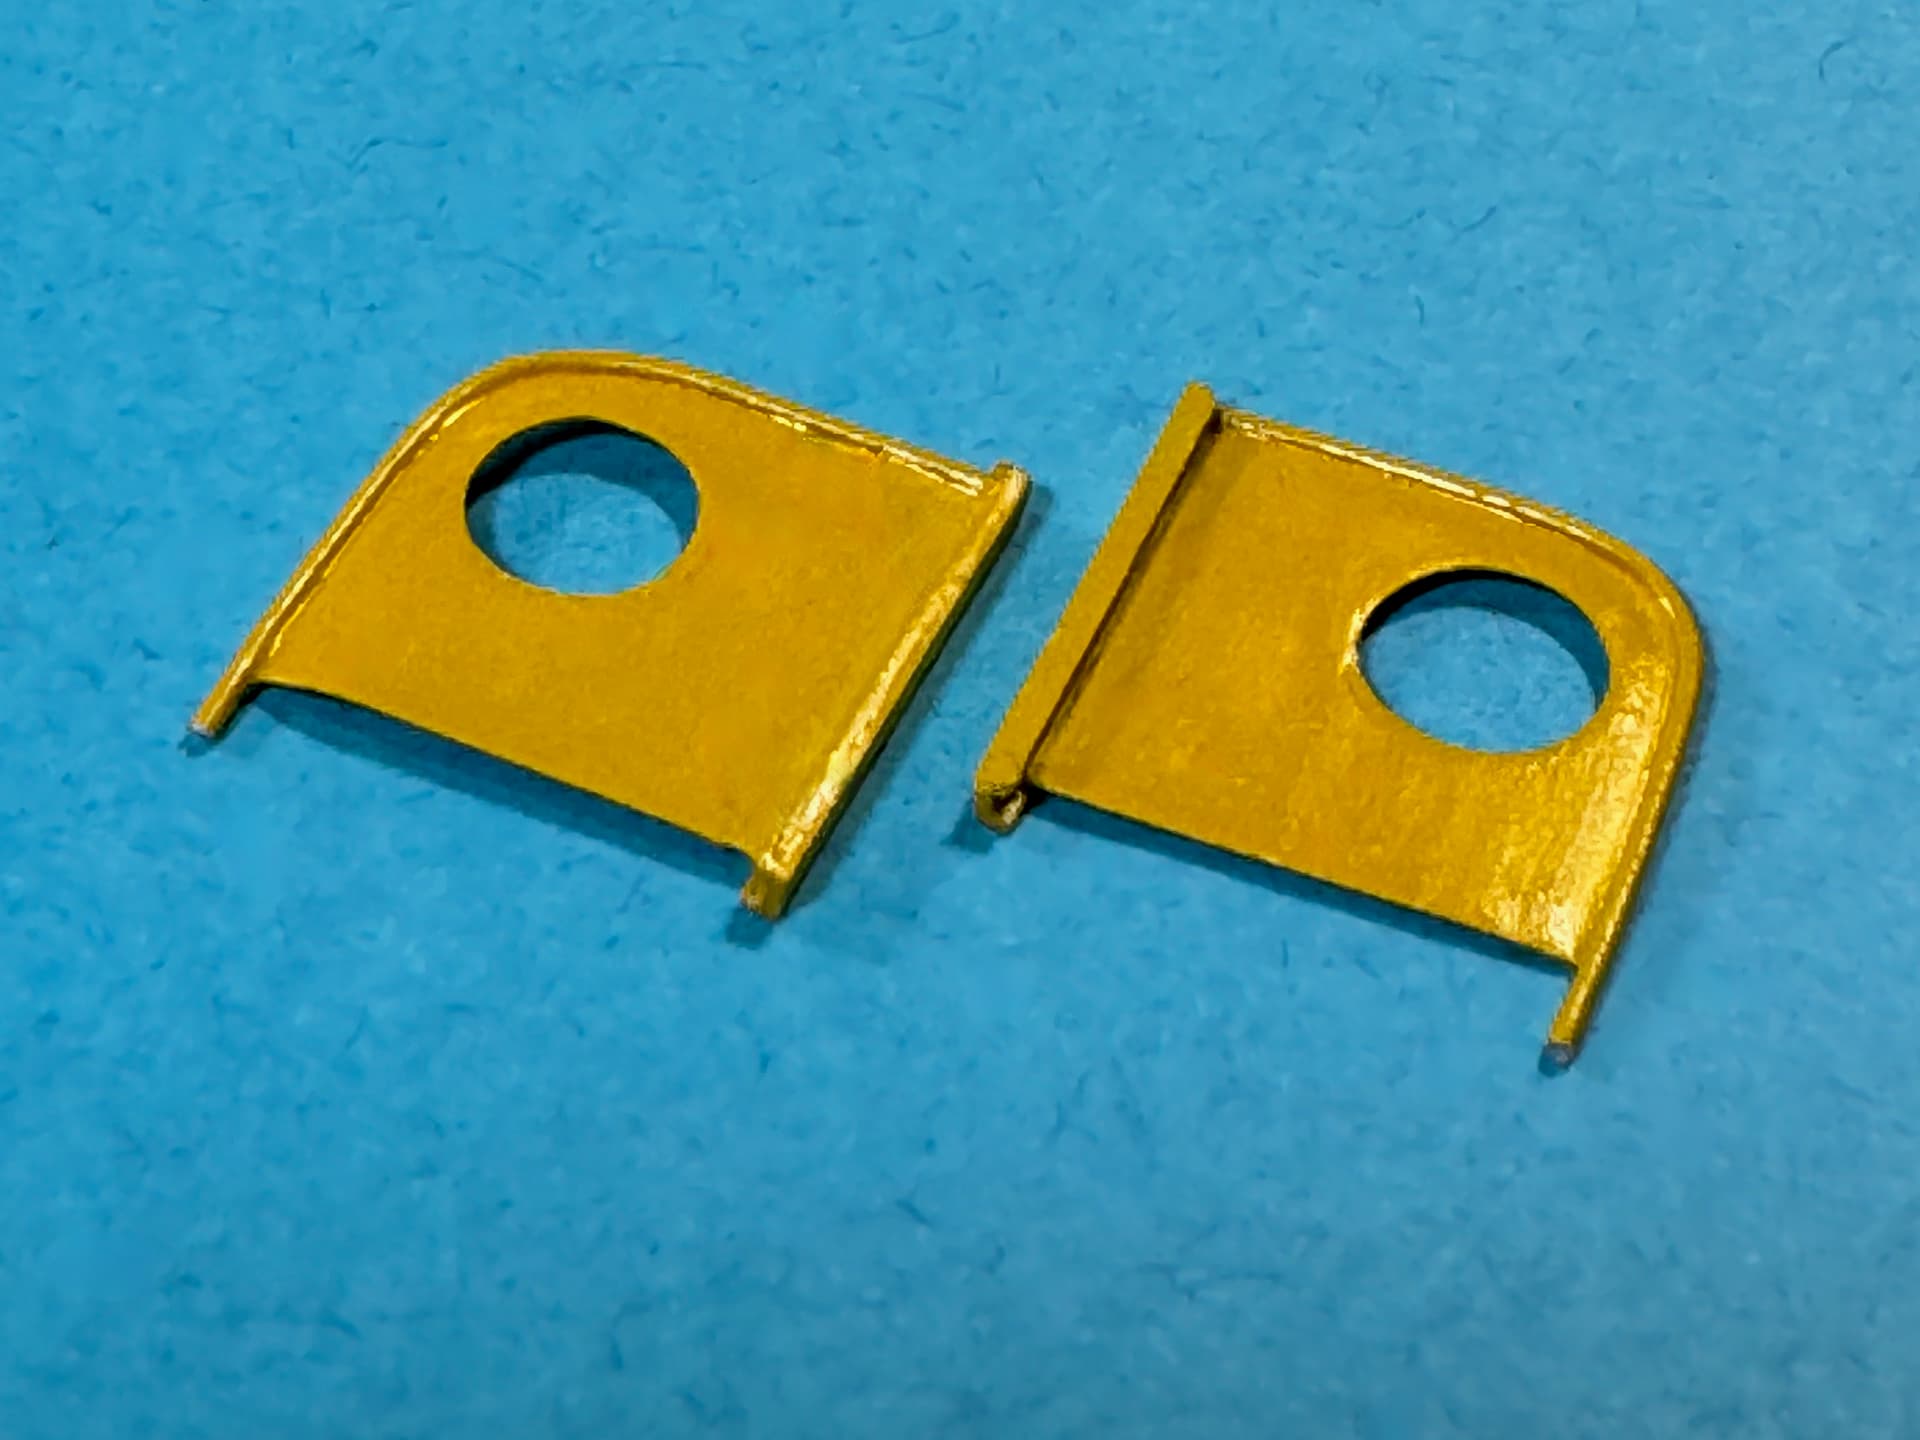
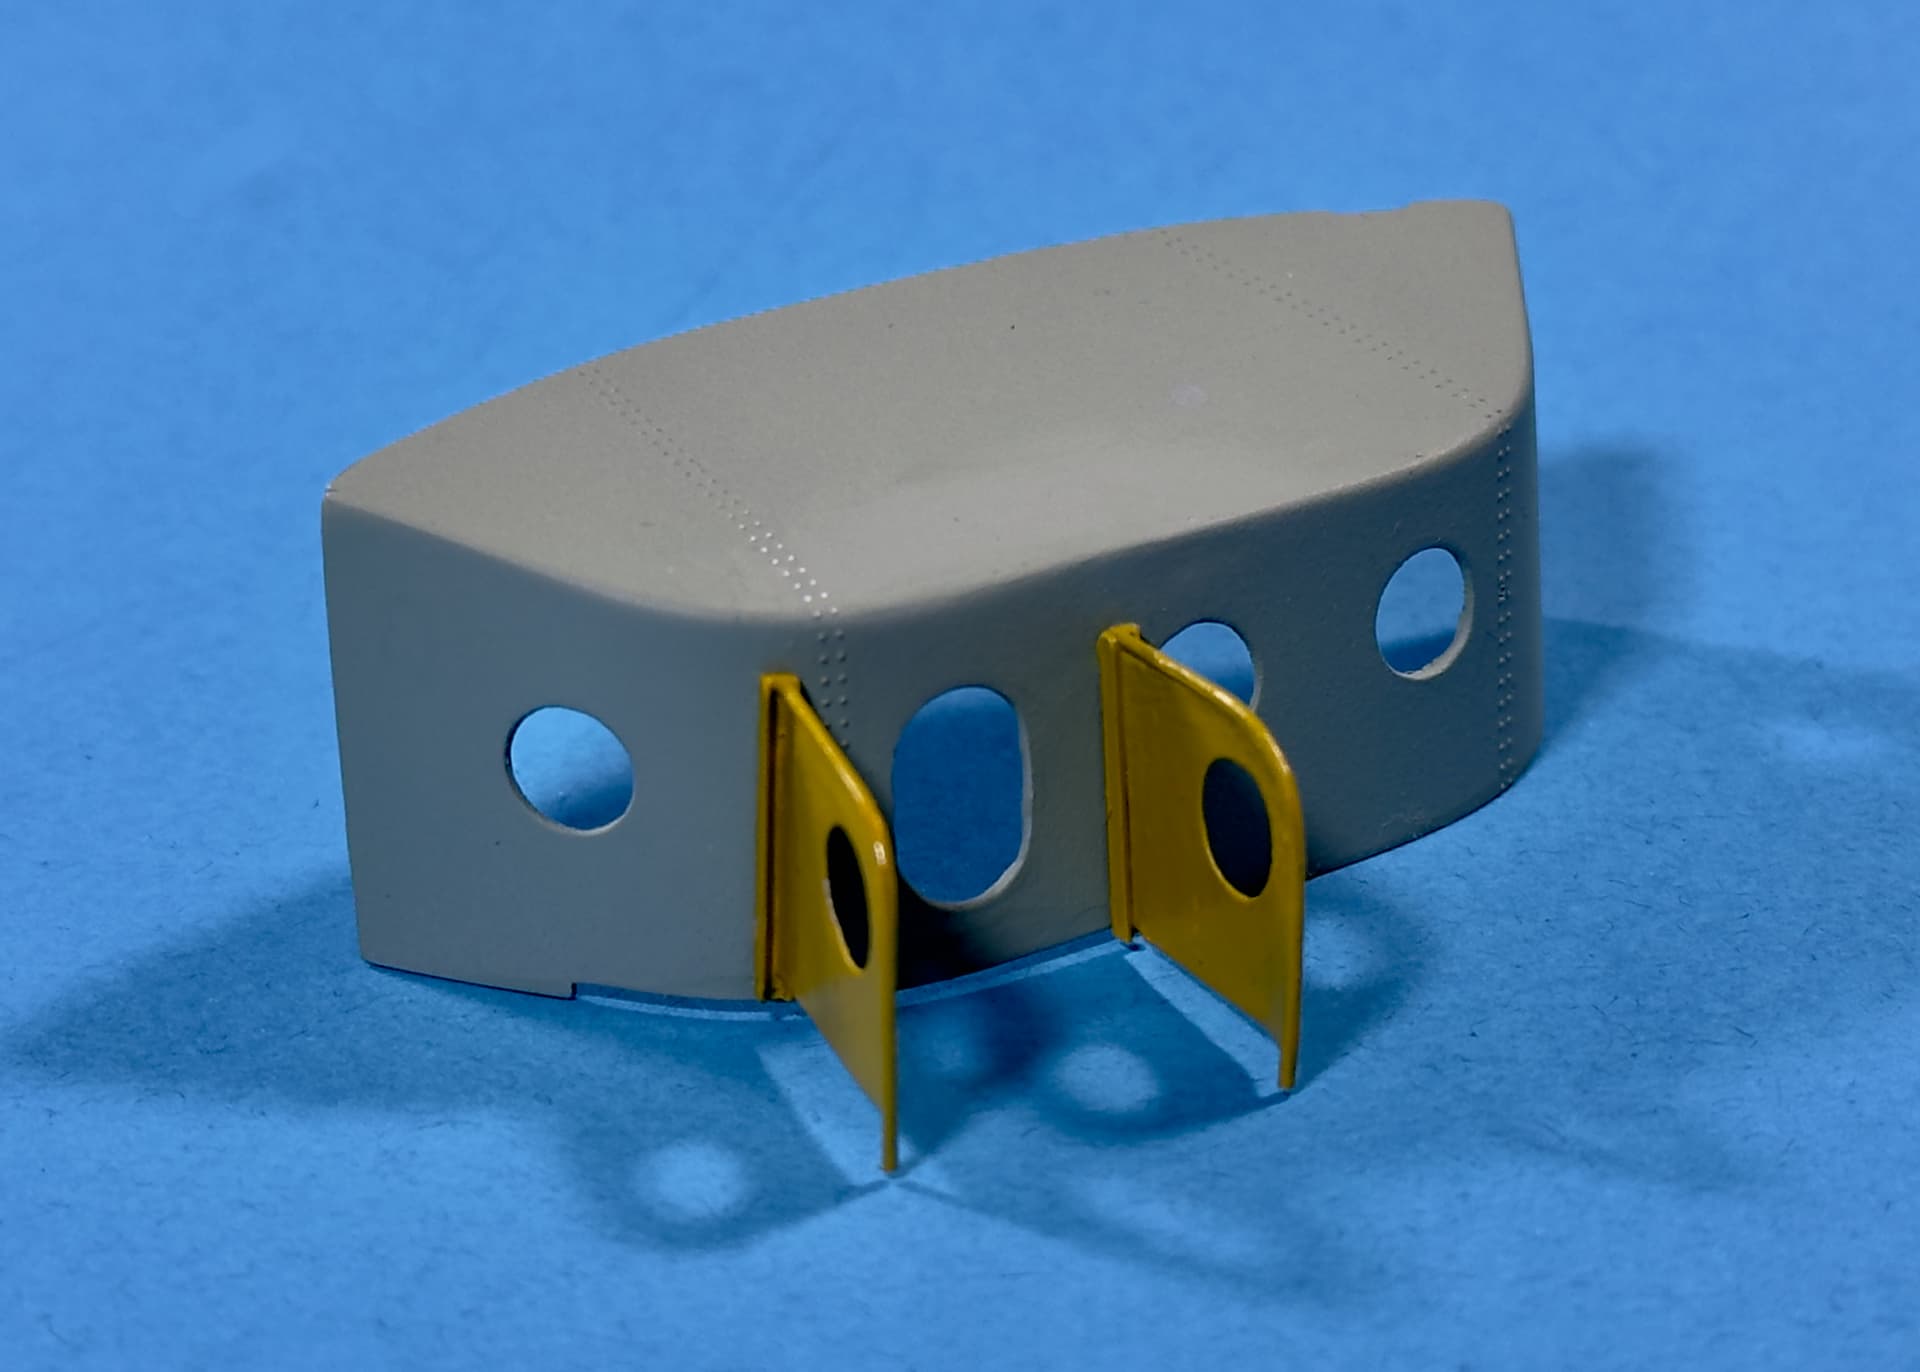
Cheers!![]()
—mike …![]()
13 Likes