Looks very cool!
Q: How well does the crane balance? Would it need a counterweight for hoisting?
—mike
Looks very cool!
Q: How well does the crane balance? Would it need a counterweight for hoisting?
—mike
Damn people with these crazy technical questions and trying to catch me out … lol … I had thought of that so my ease of use option is to have a top run of U channel, so the wheels are encased and then the track has a blanking plate at the end to stop the crane rolling off. 
Edit. I wont be doing the track top run until near the very end and I connect the missile to the crane and its lifting frame 
It may have been easier to just hang the chain from the centre of the block, like entrails, than put up with our armchair engineer comments 
Looks good Johnny. The flame cut came out real well.
Happy Modeling,
Zon
Thanks Zon …
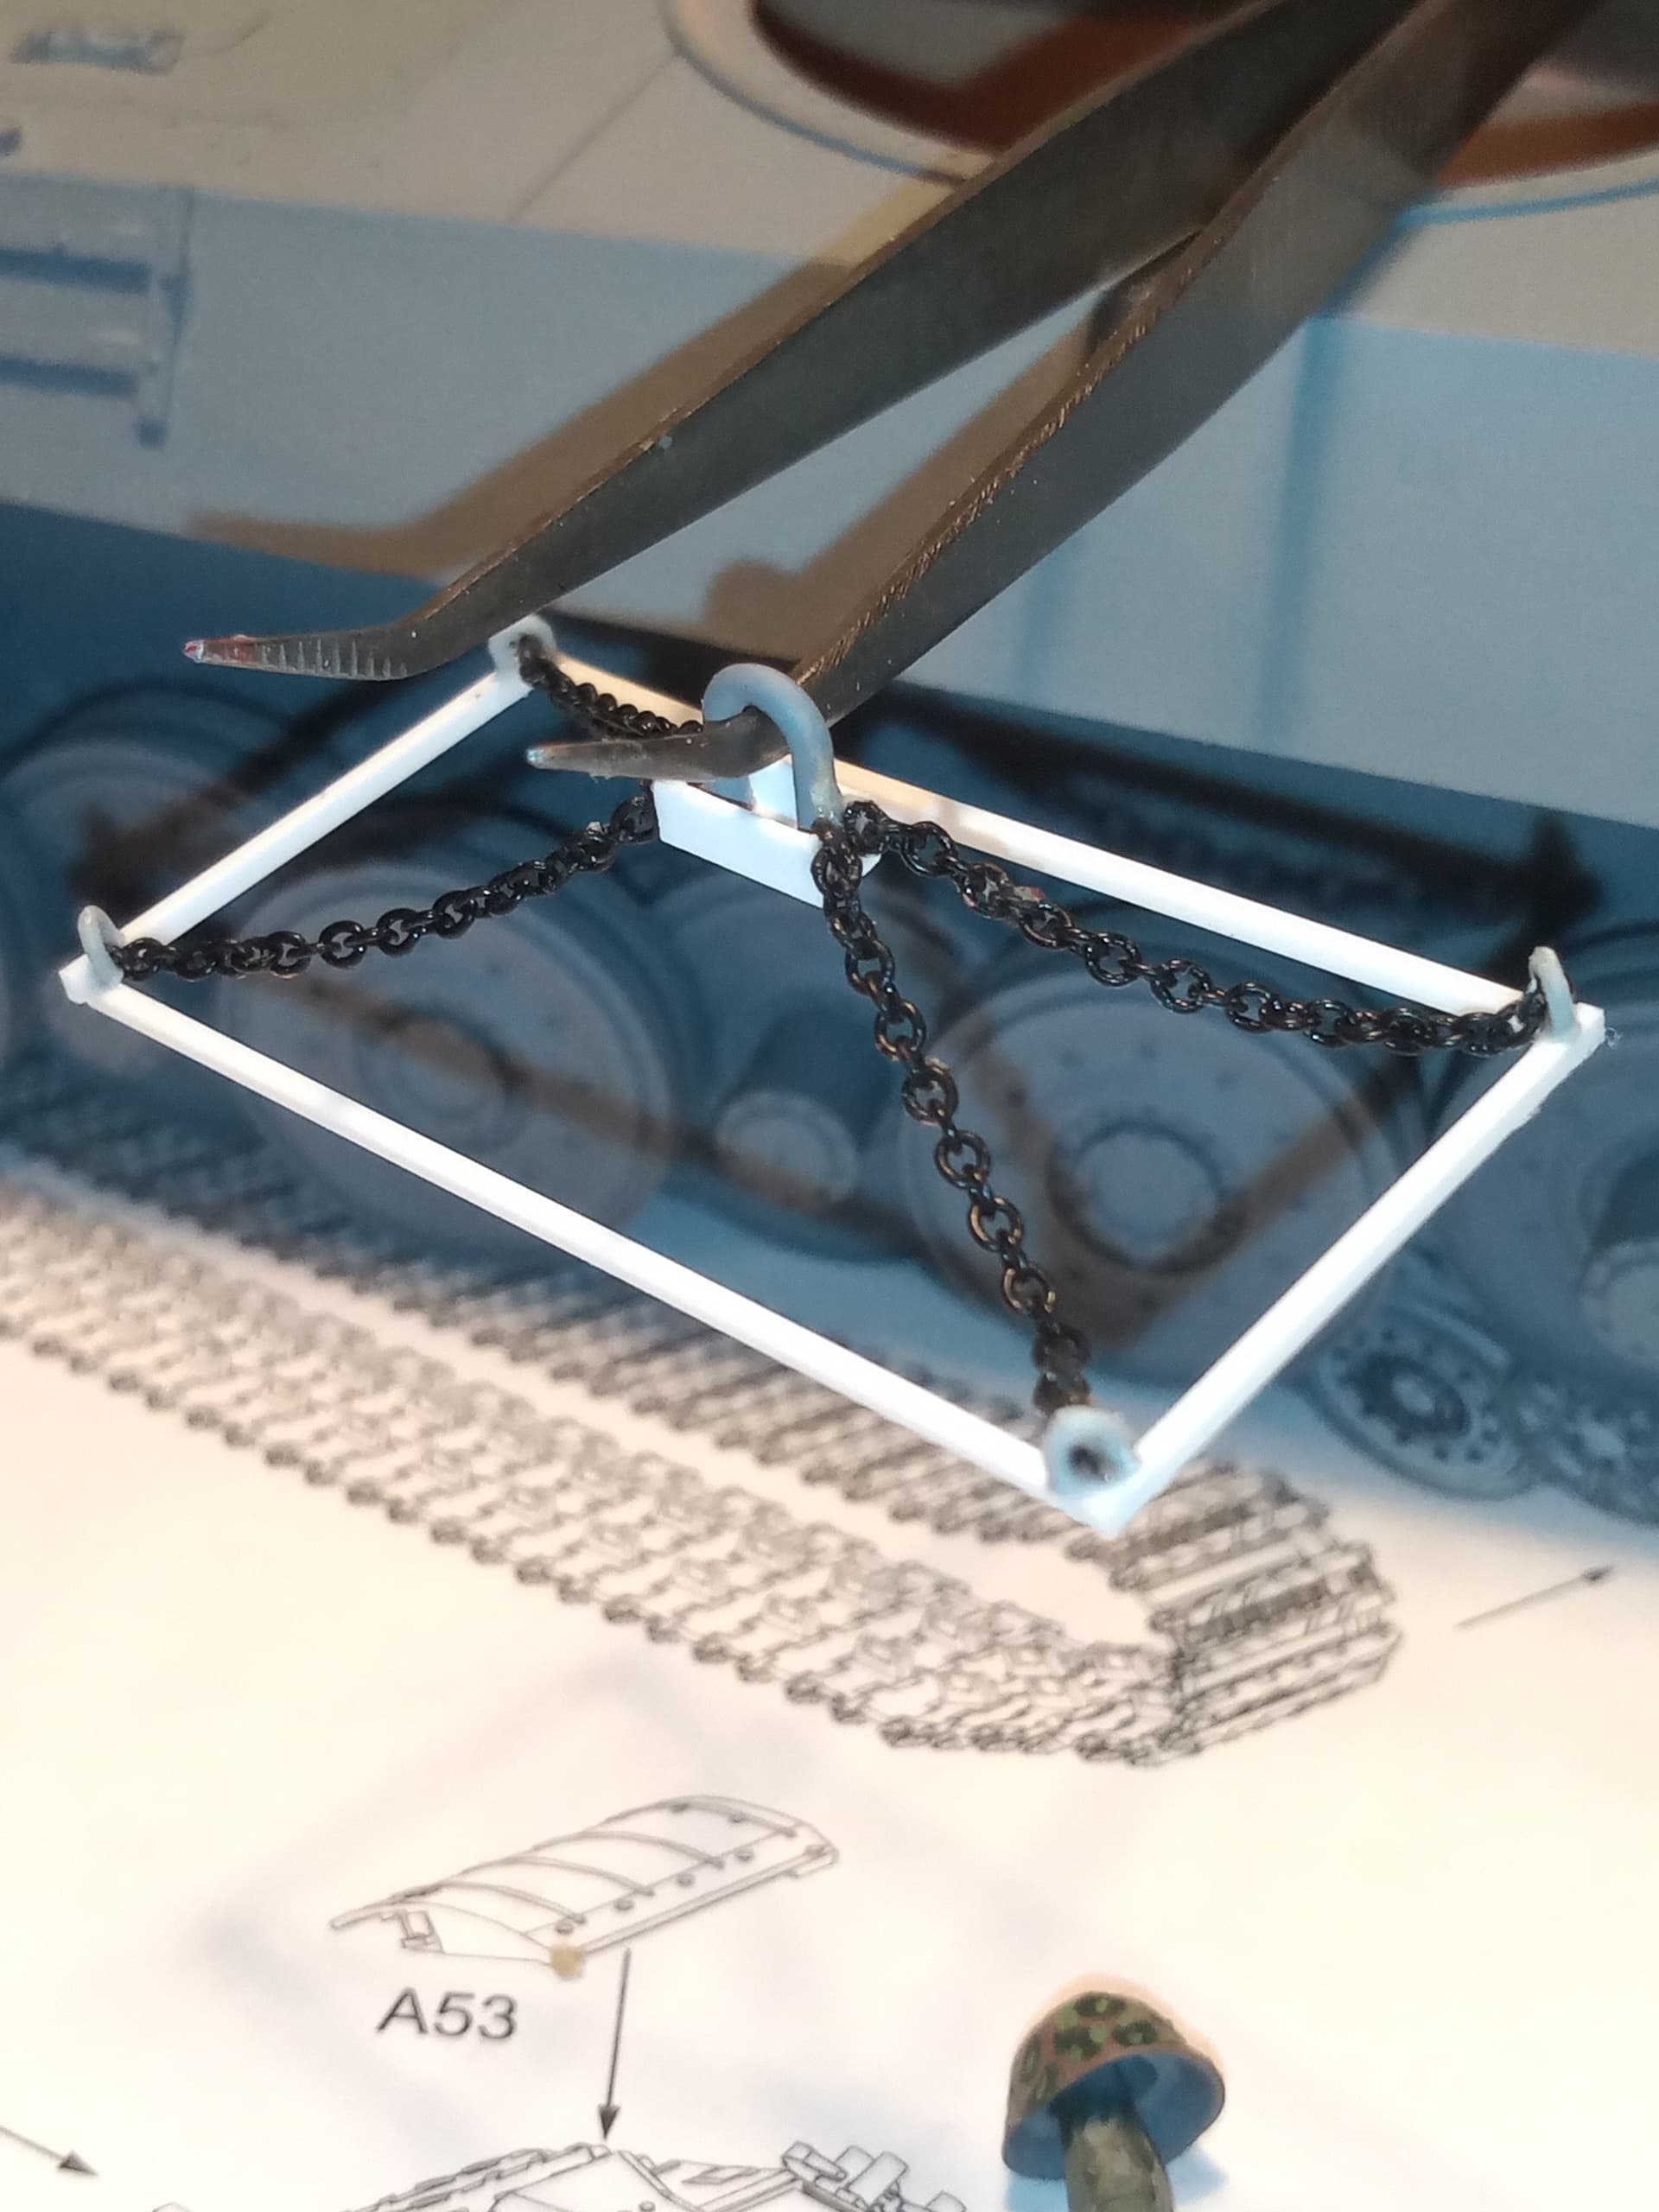
Built up a frame that will be hooked onto the crane via a shackle through the U shaped ring … Which is just the end of another shackle cut off. From the square frame I will have 2 straps connected which will support the missile…
Brilliant John! This is really getting complicated and looking outstanding!
I know lol … I think I have made a very thick rod for my own back haha…should of just stuck with the bog standard Rheintochter haha
No comment.
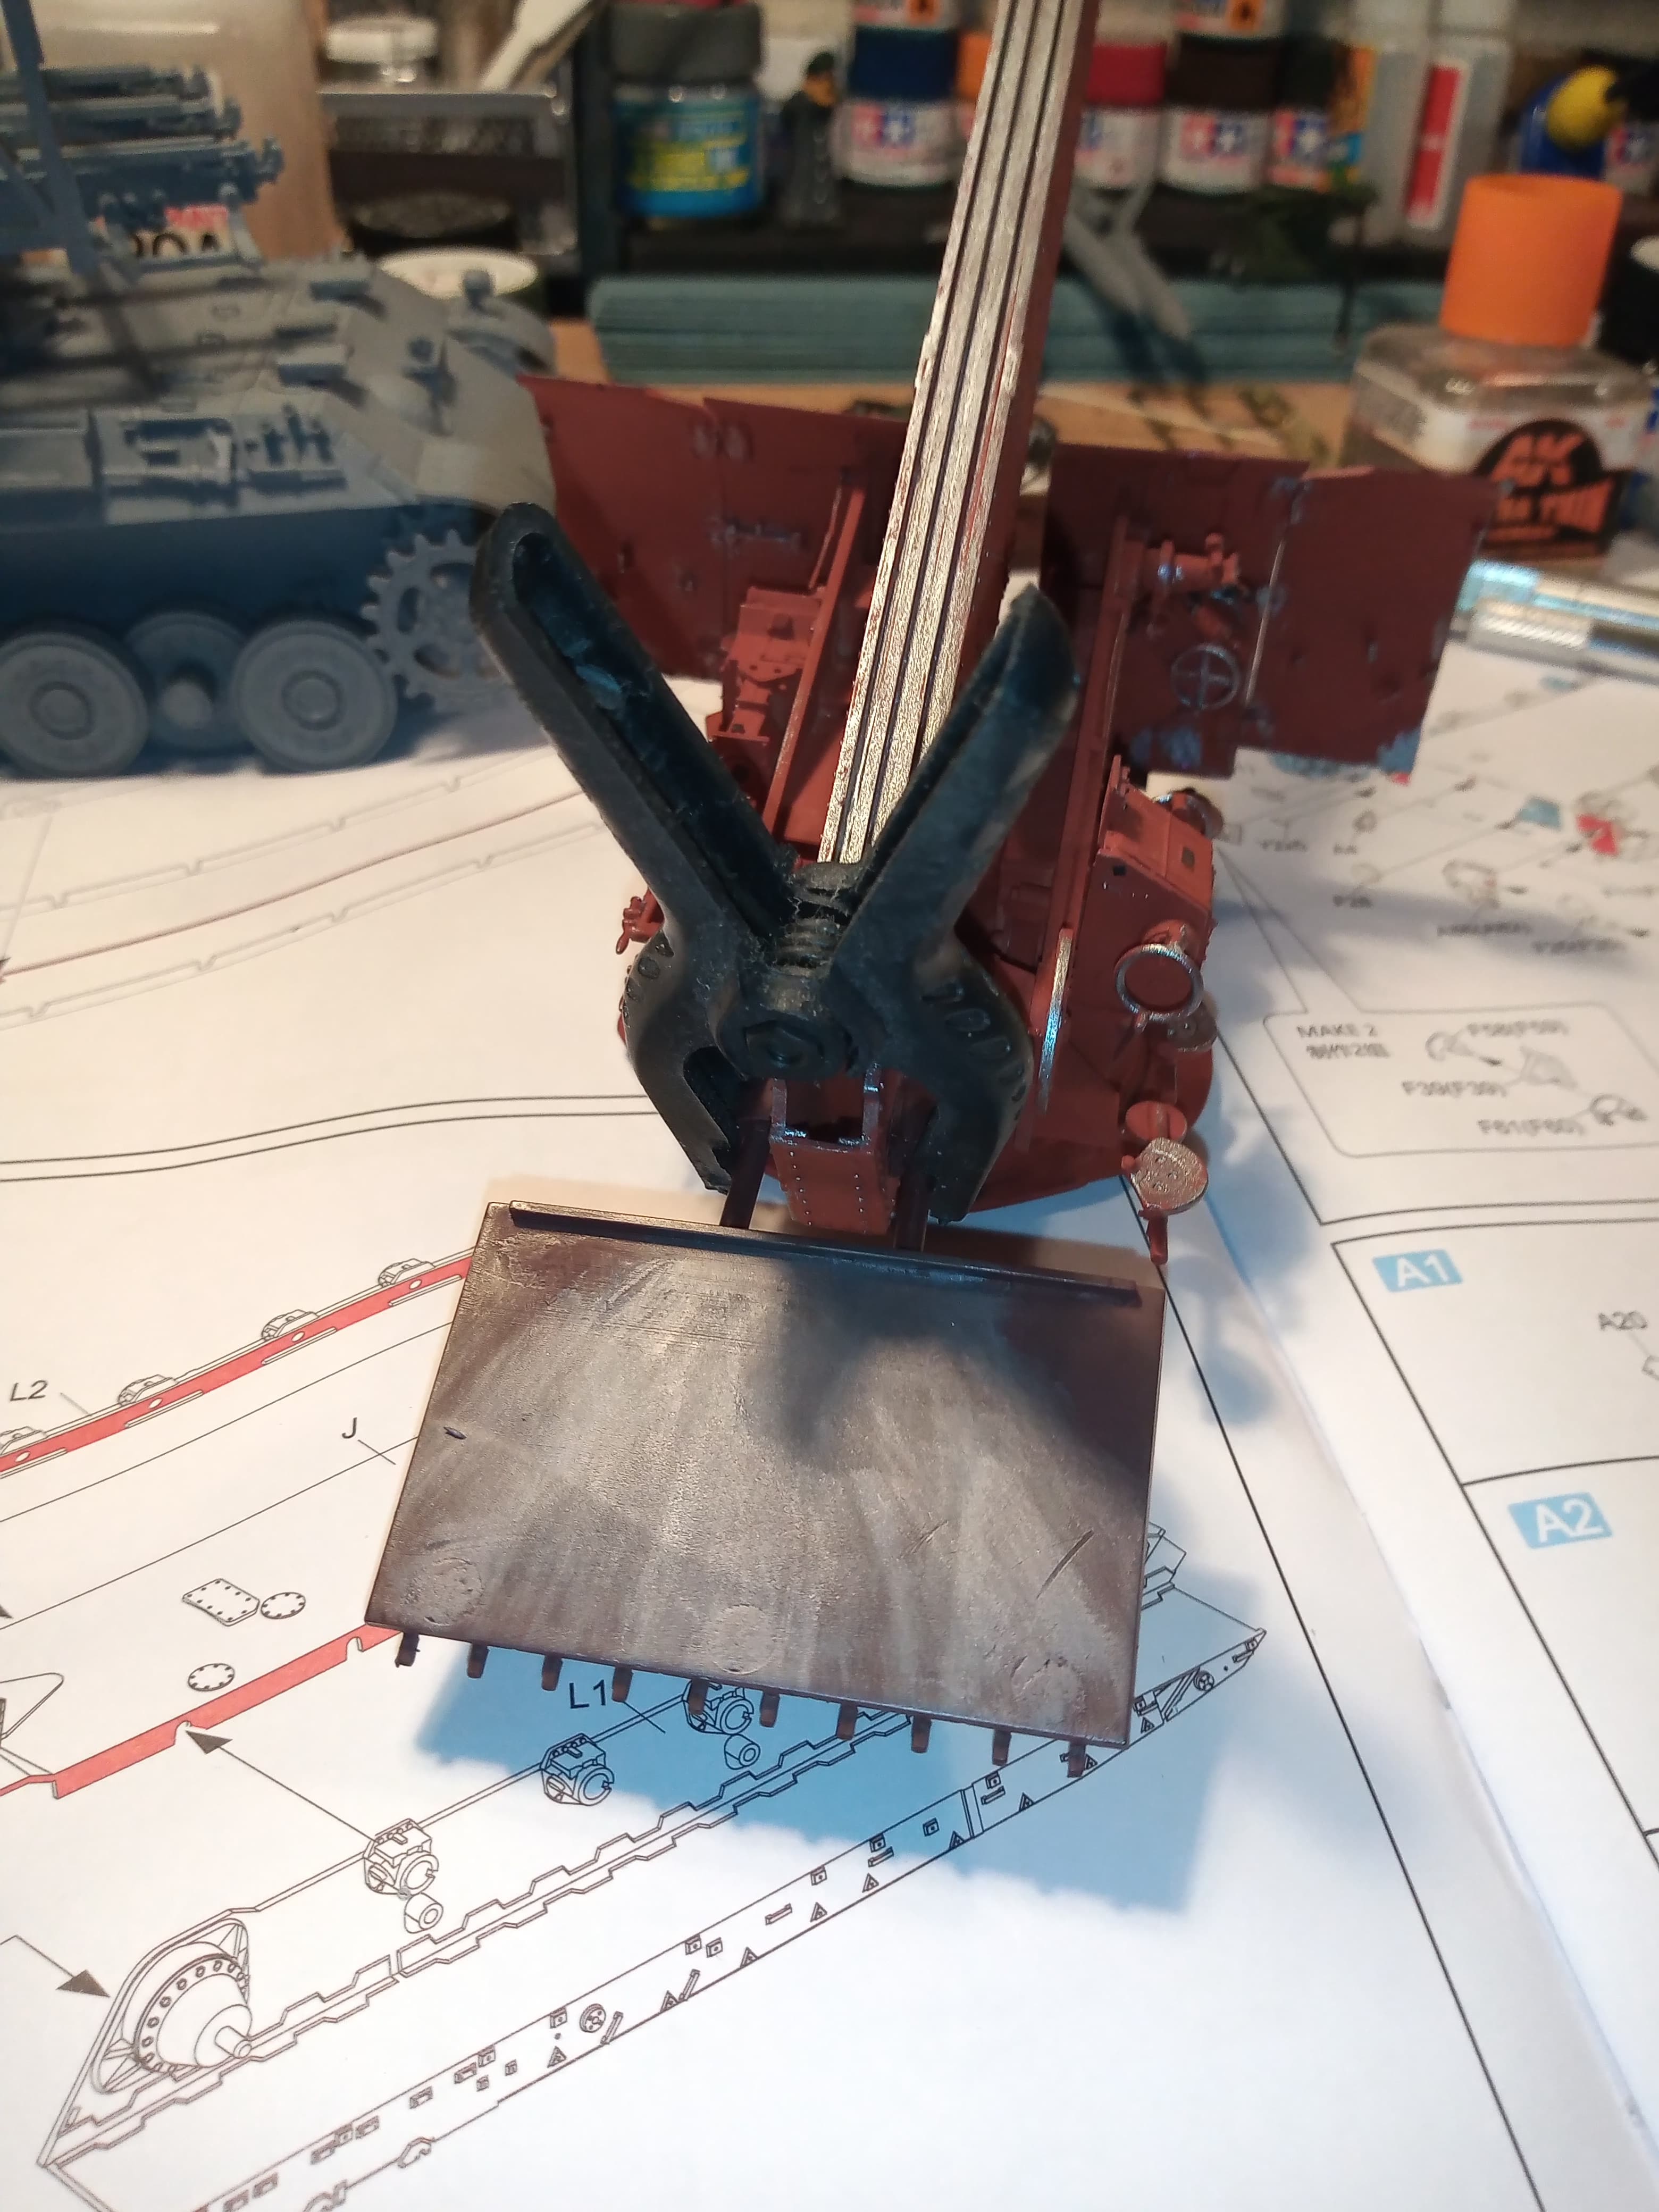
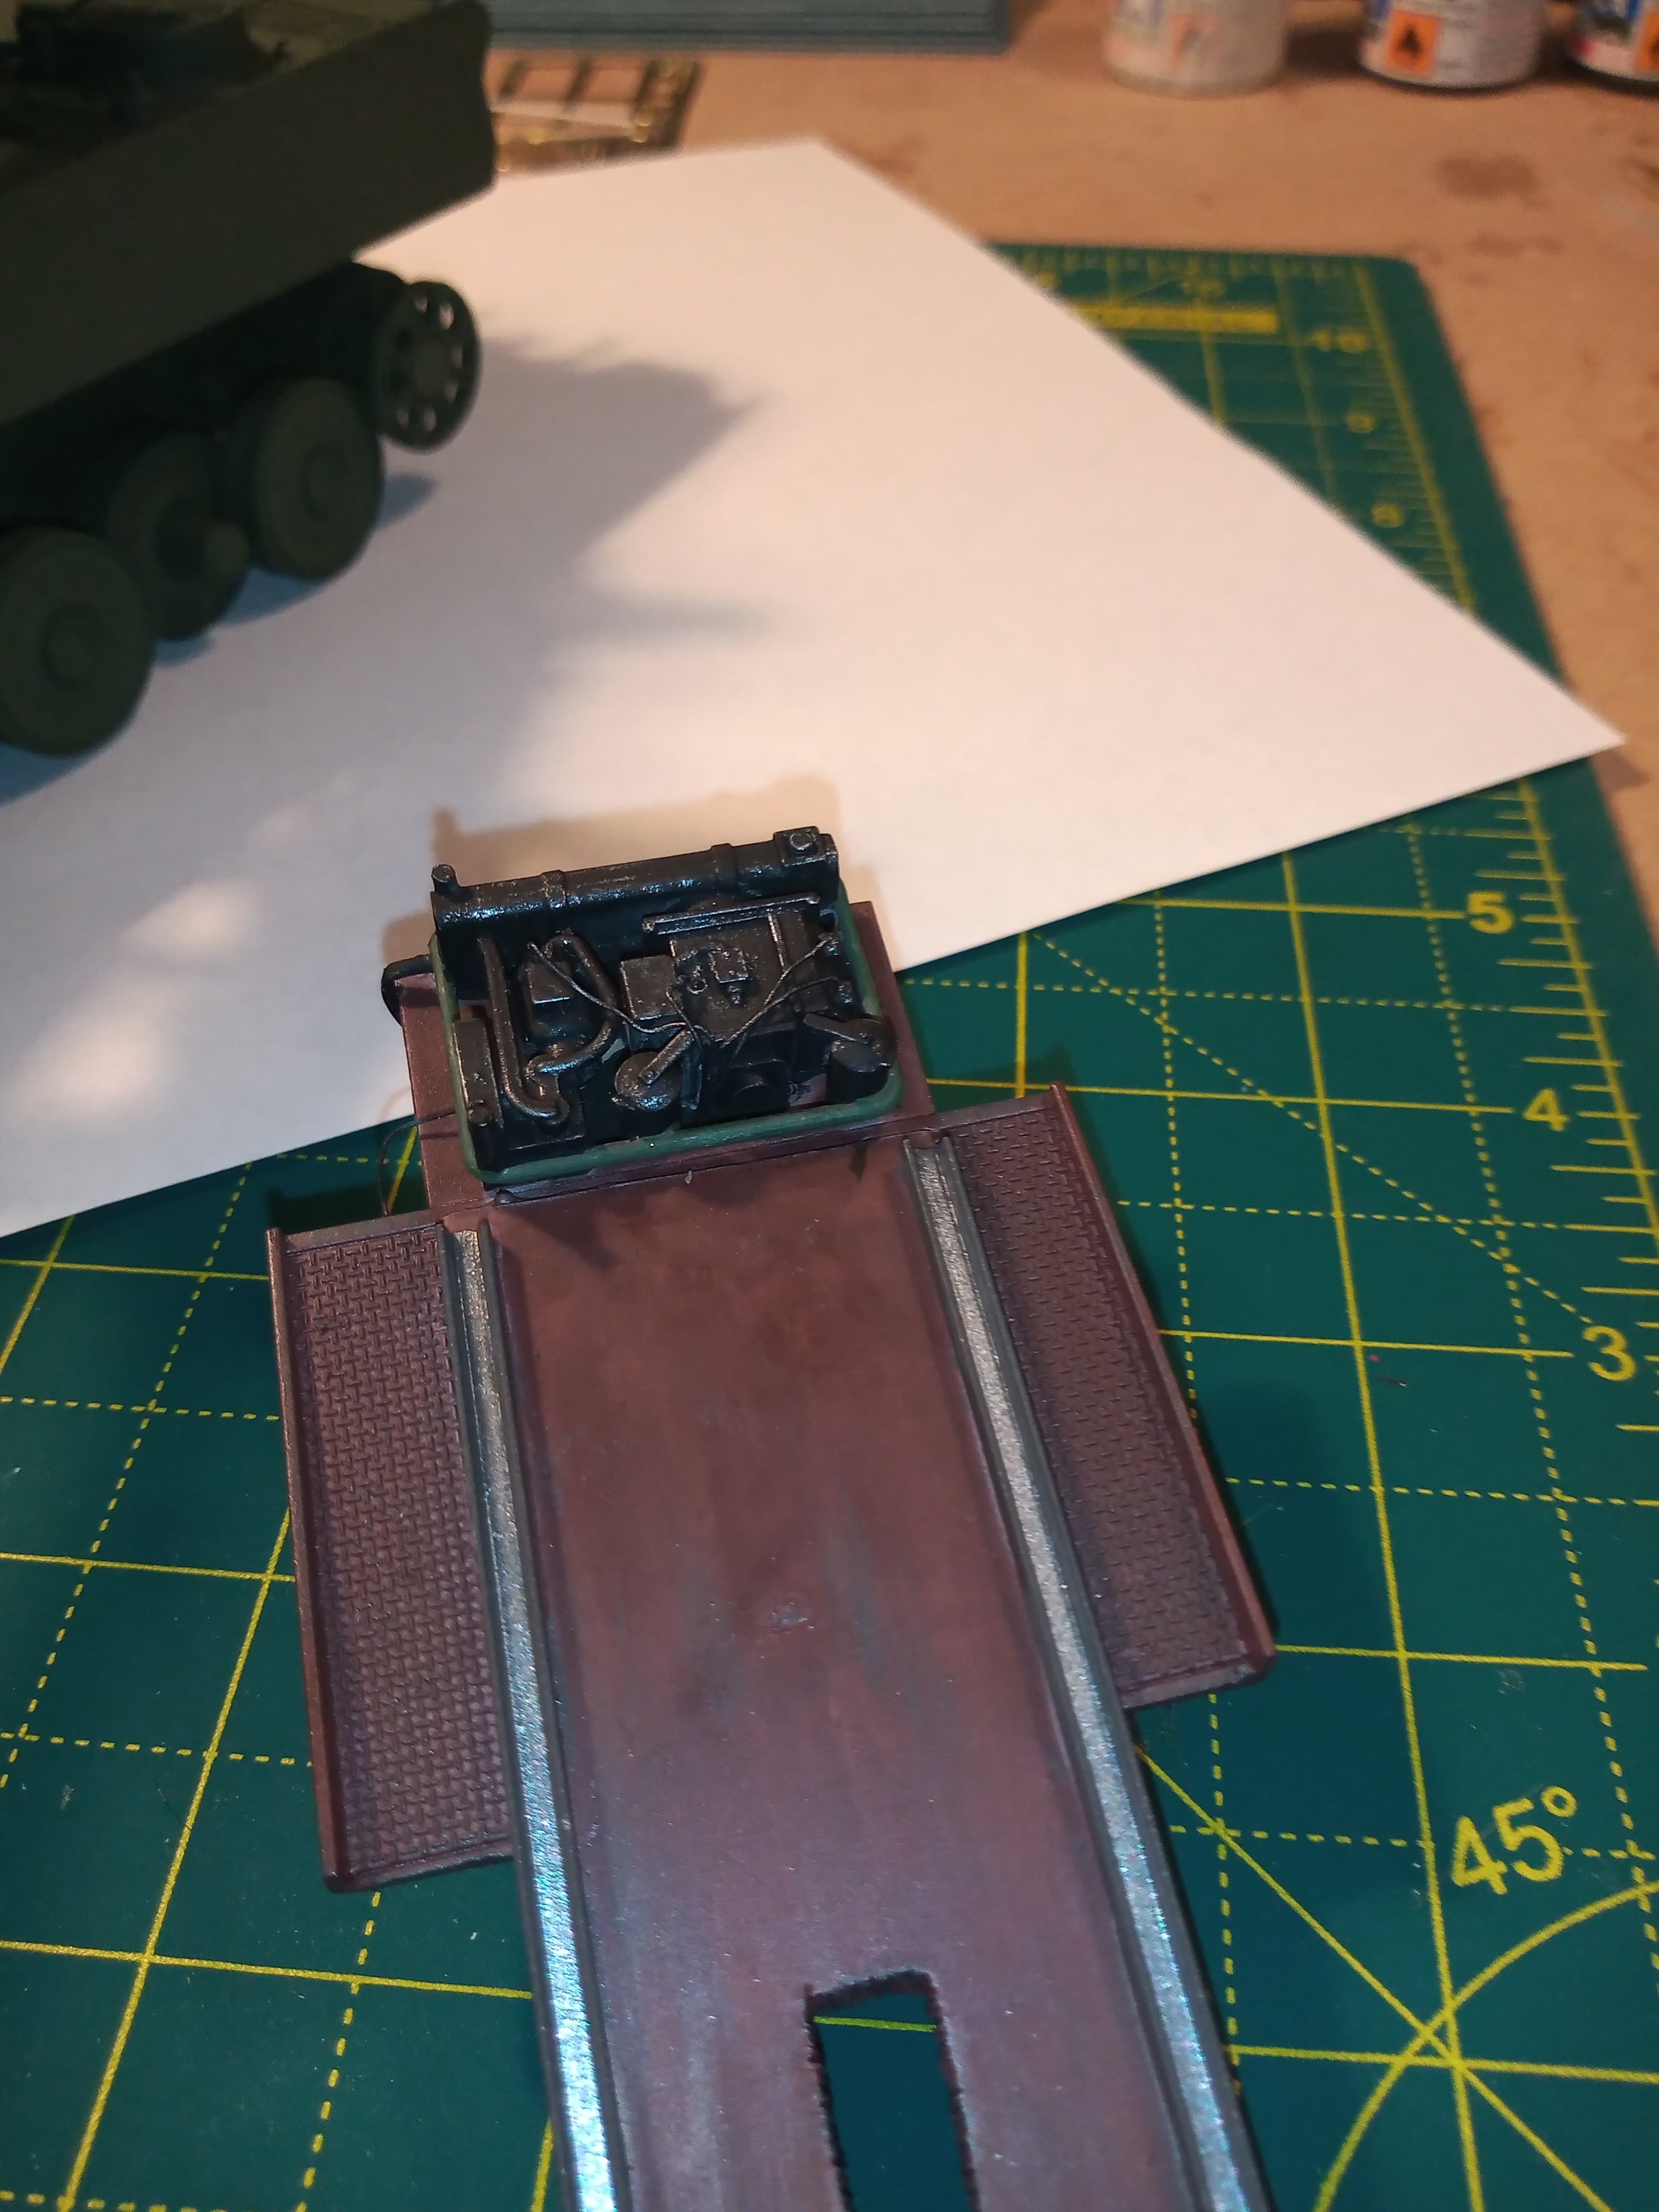
I scratched a deflector plate for the main launcher. That was made from the Shot Kal engine decks I didn’t use, and 2 exhaust pipes from the same kit.
I have fitted it in the lowered position, to facilitate missile loading…
Just did it in hull red and then put some humbrol metal cote on it dry bush, to try and show a blast surface from various launches.
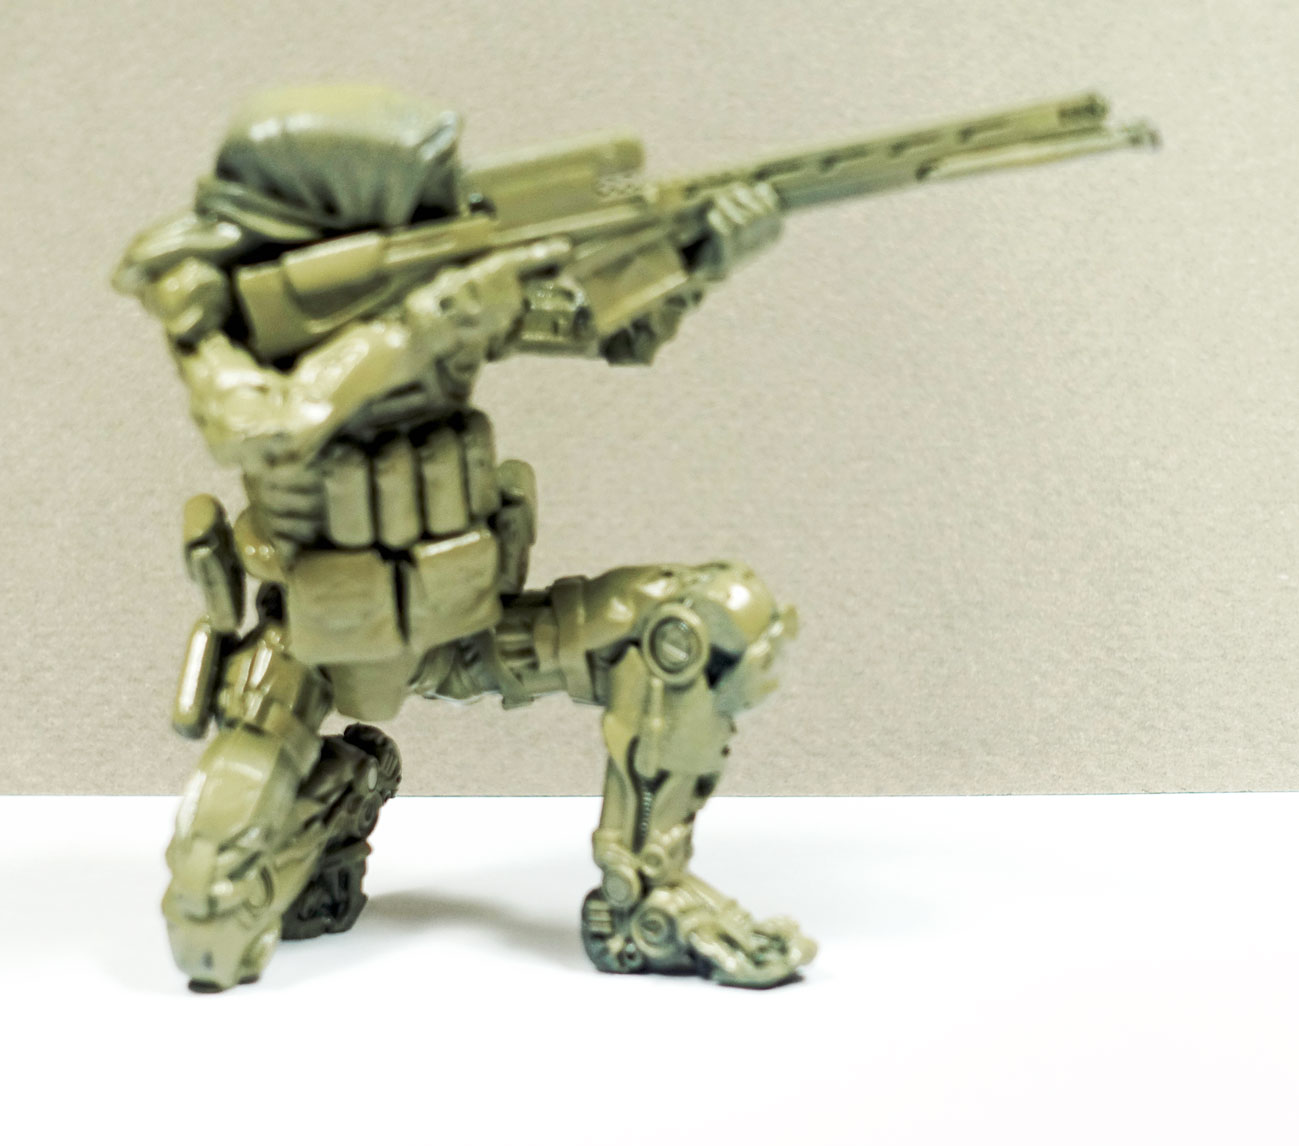
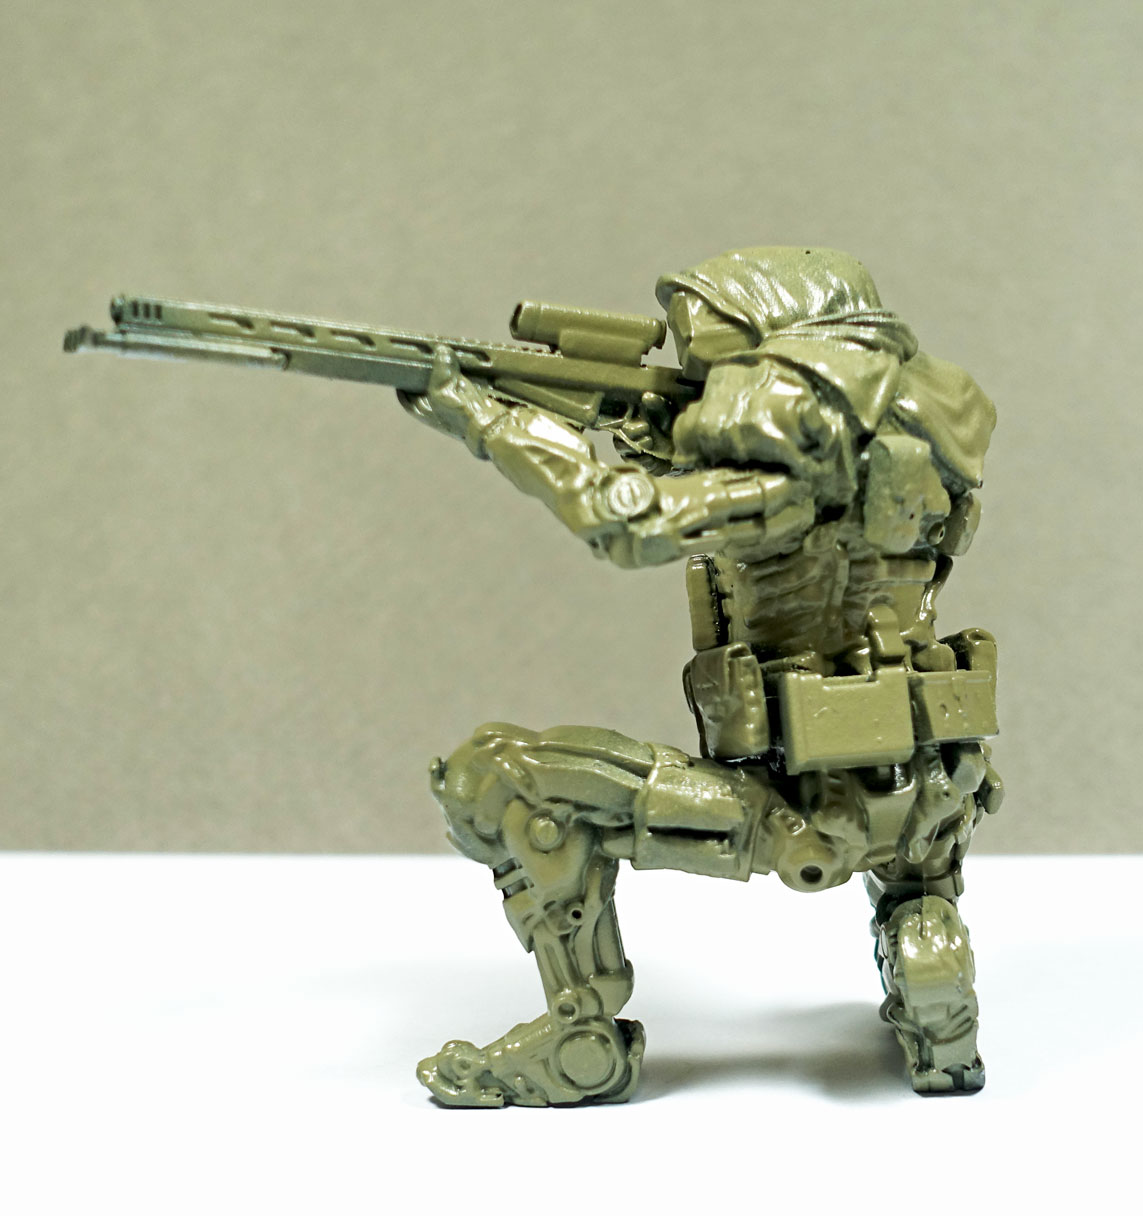
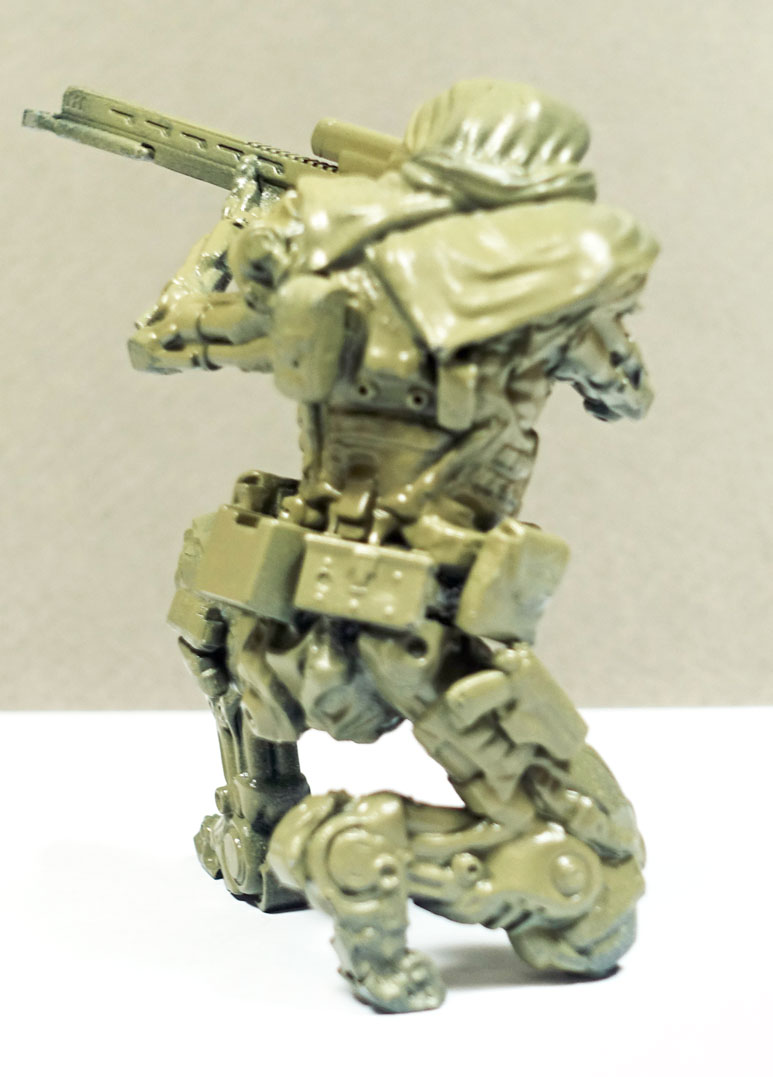
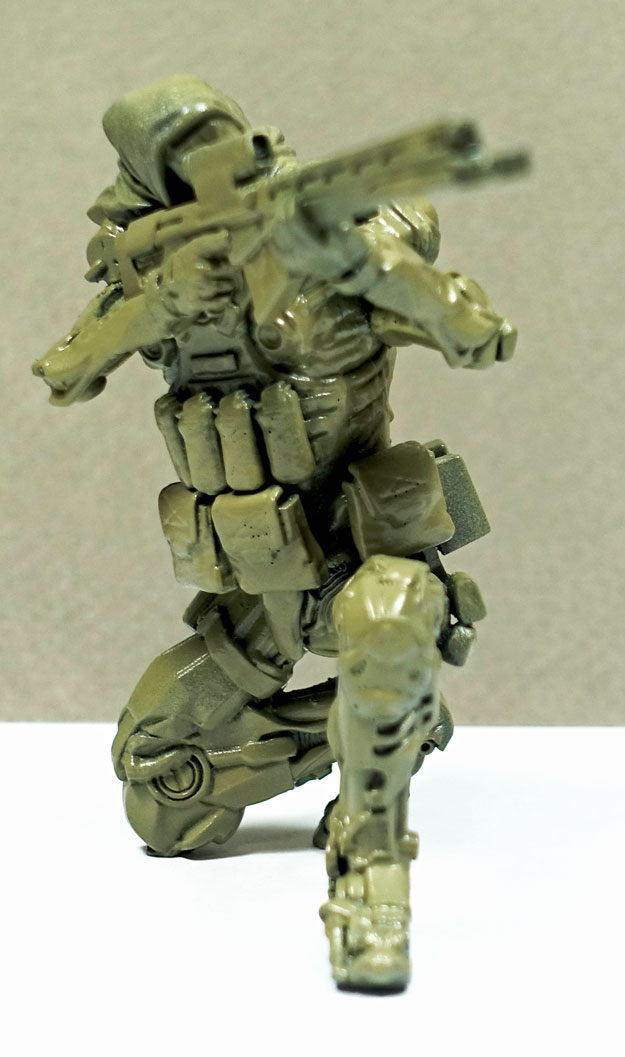
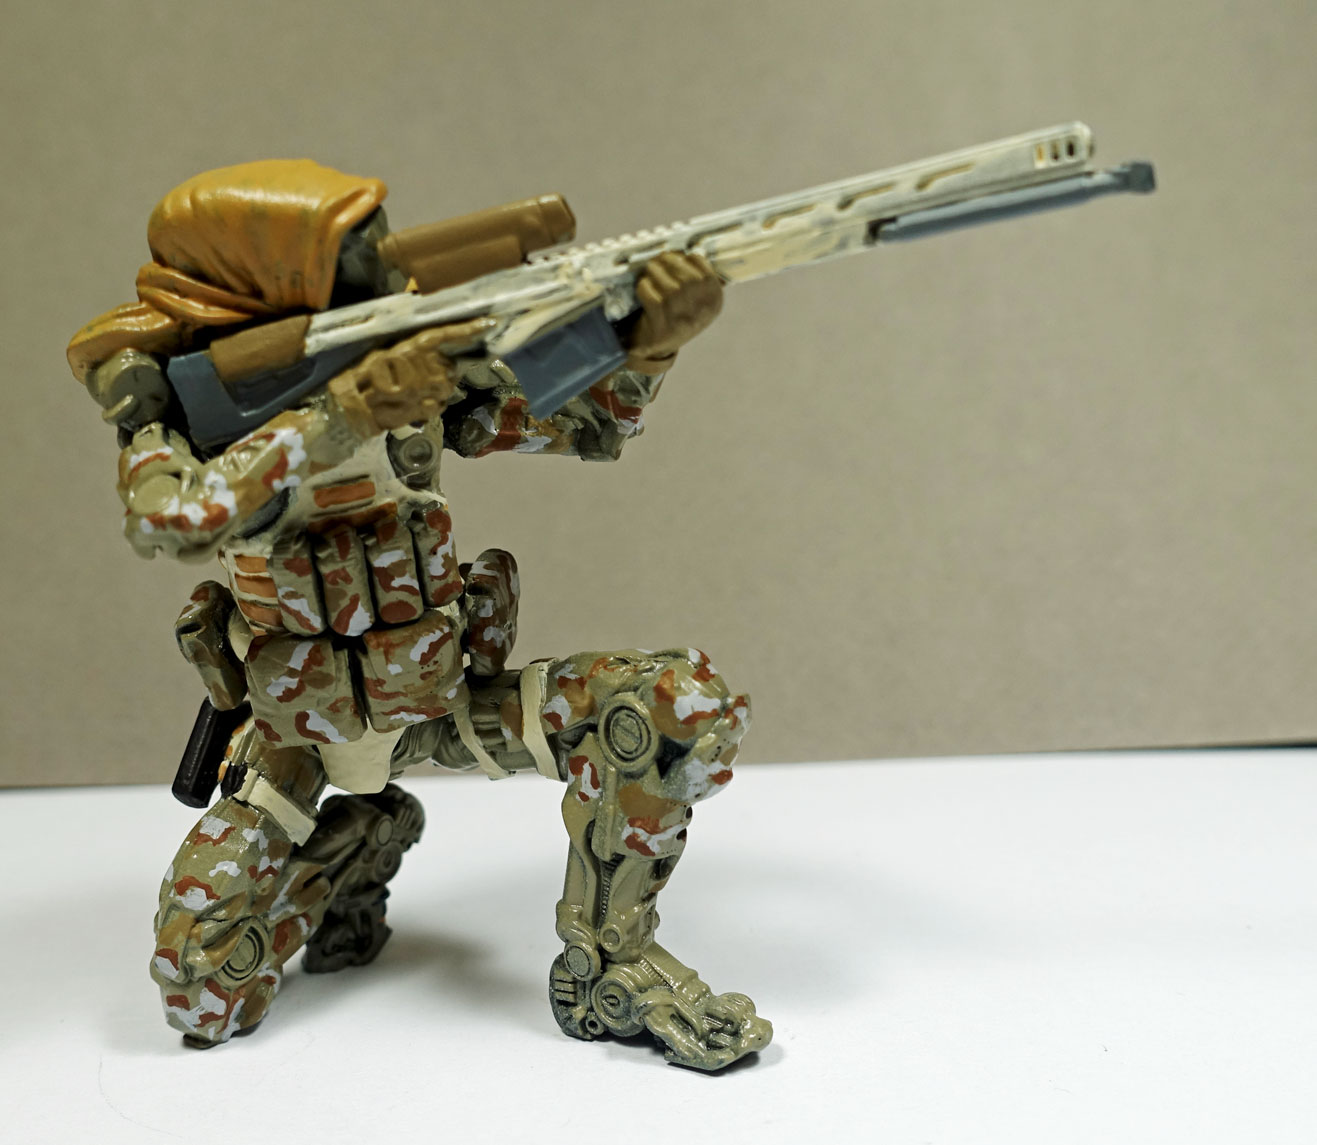
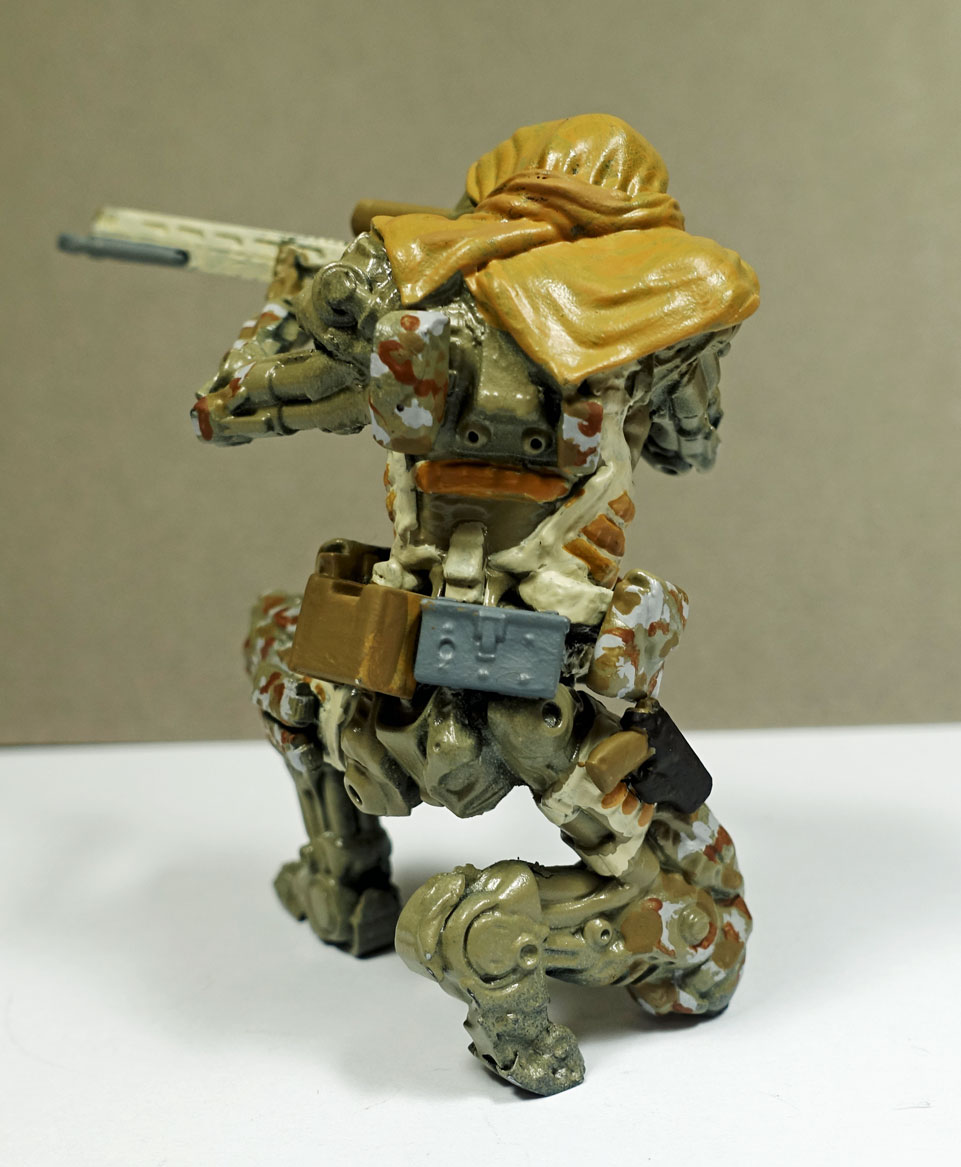
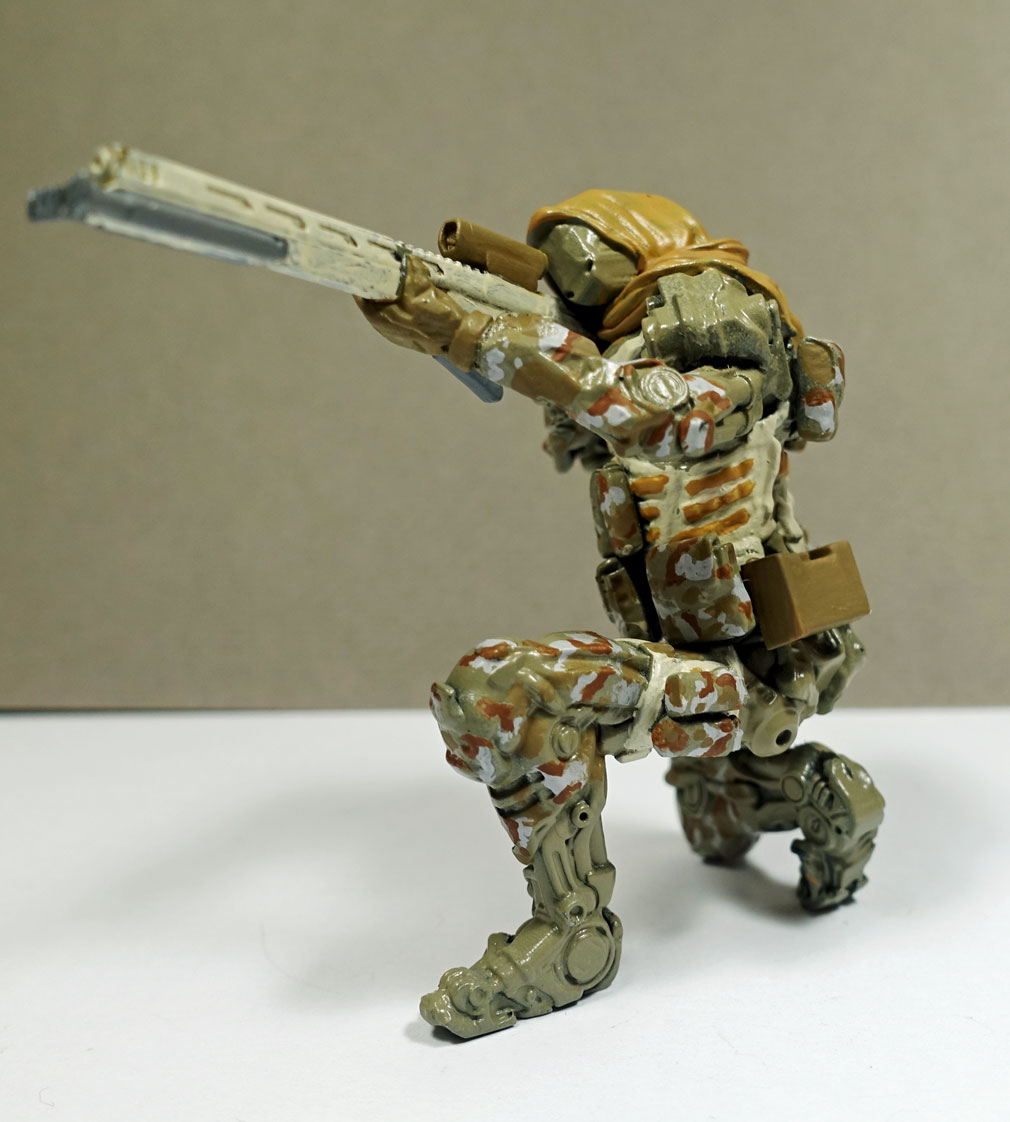
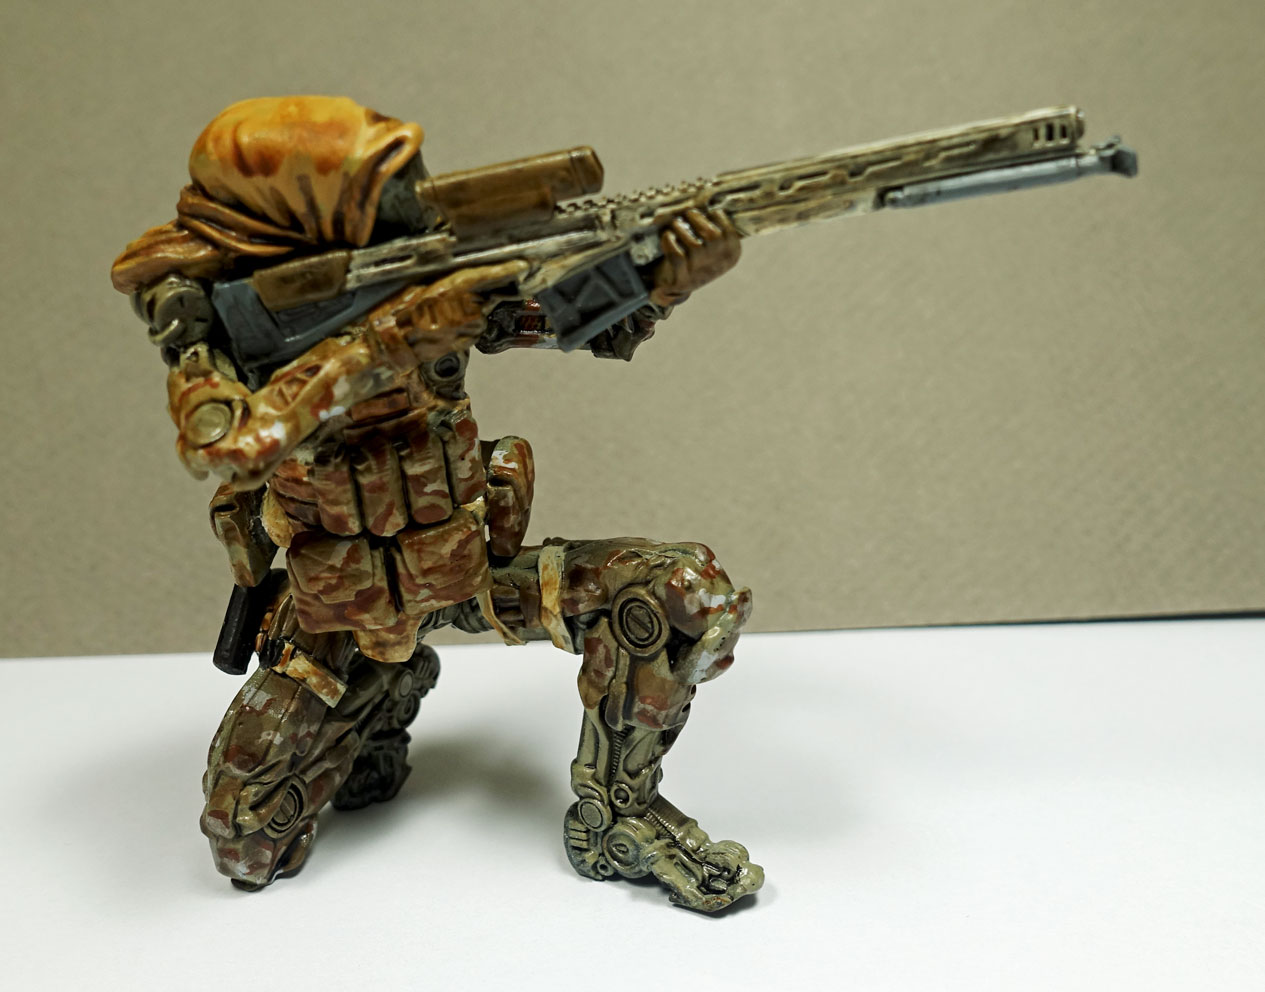
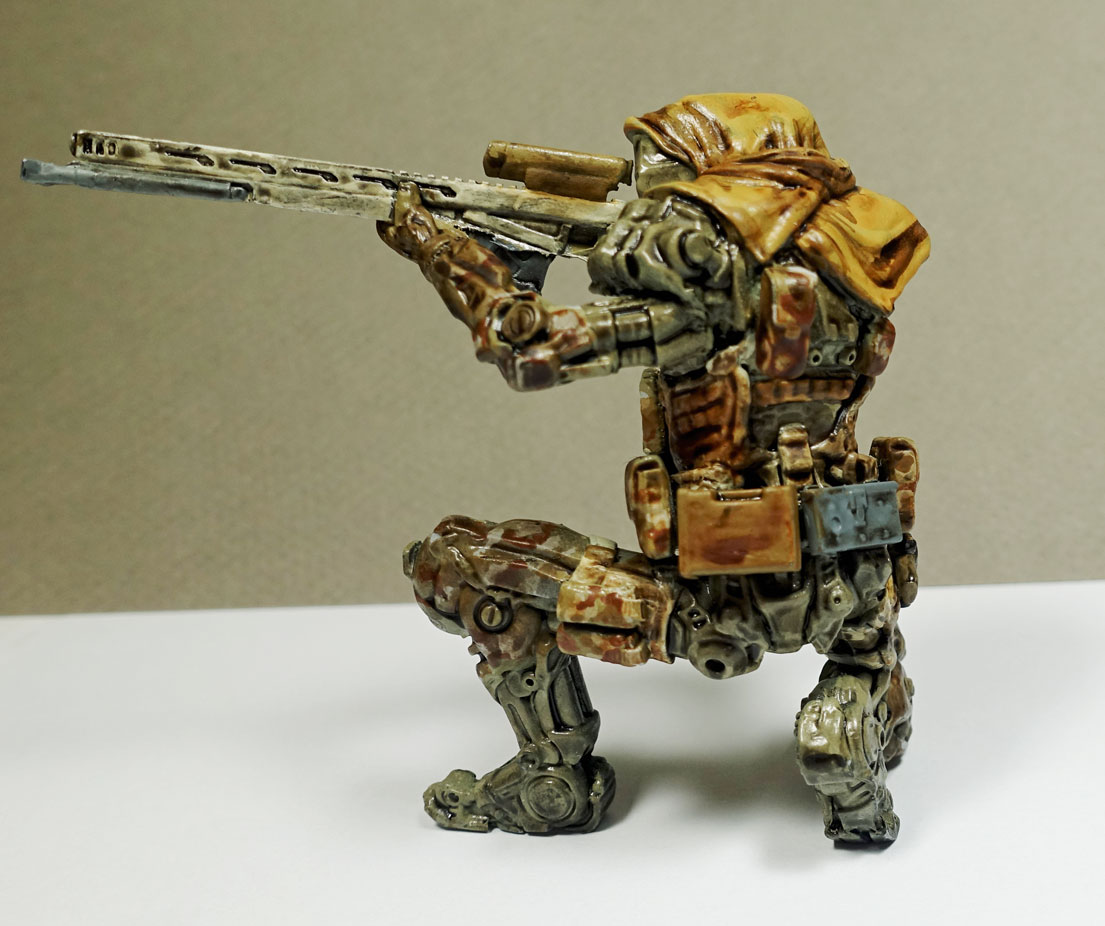
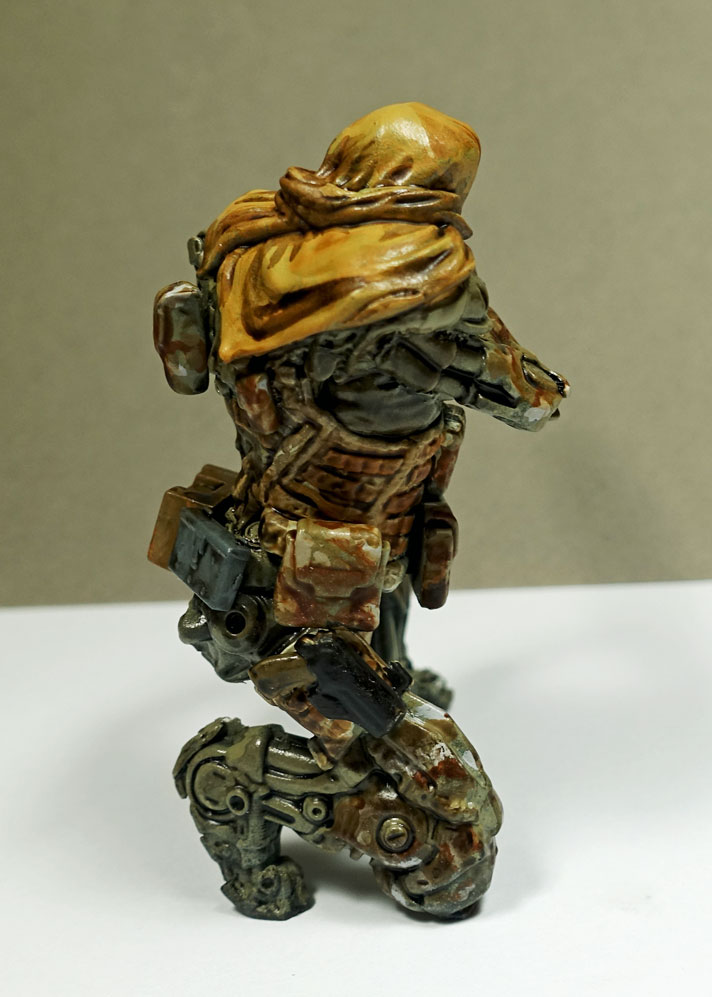
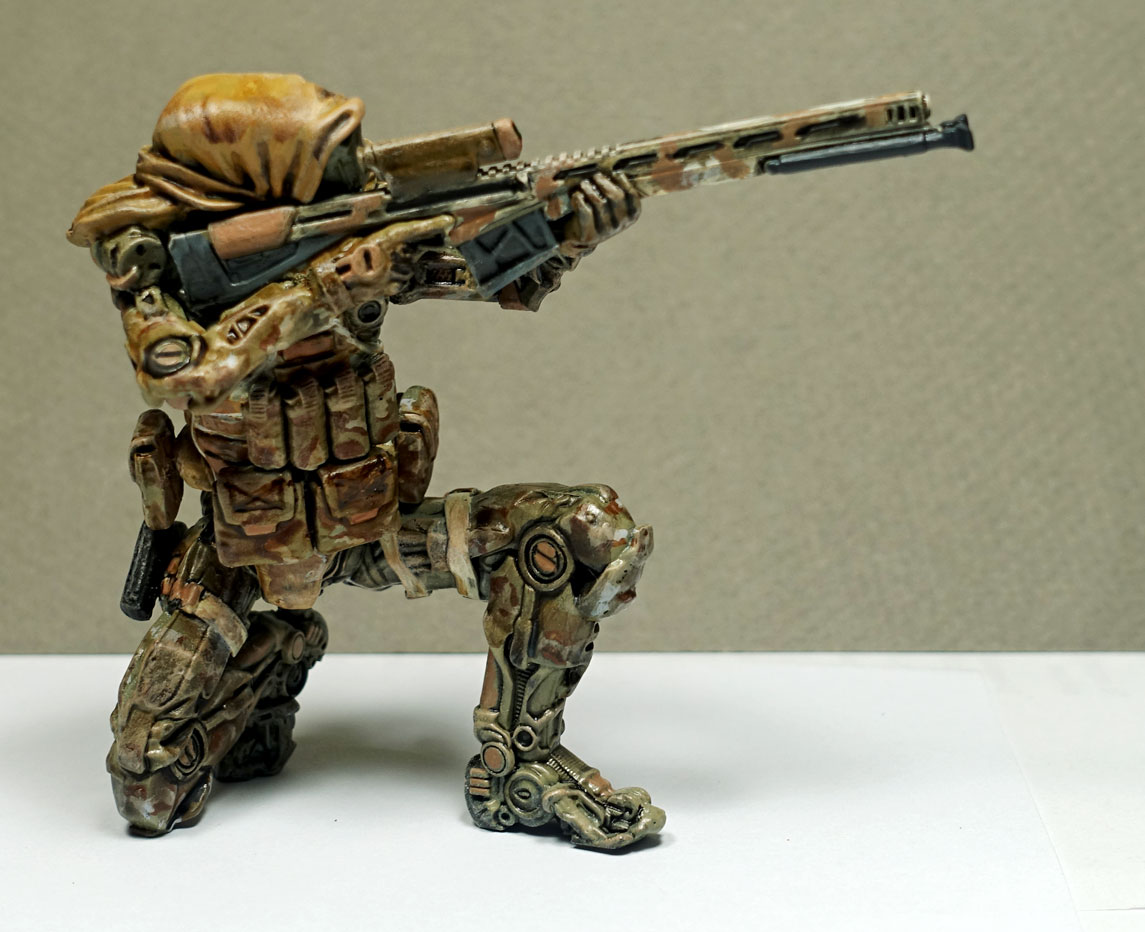
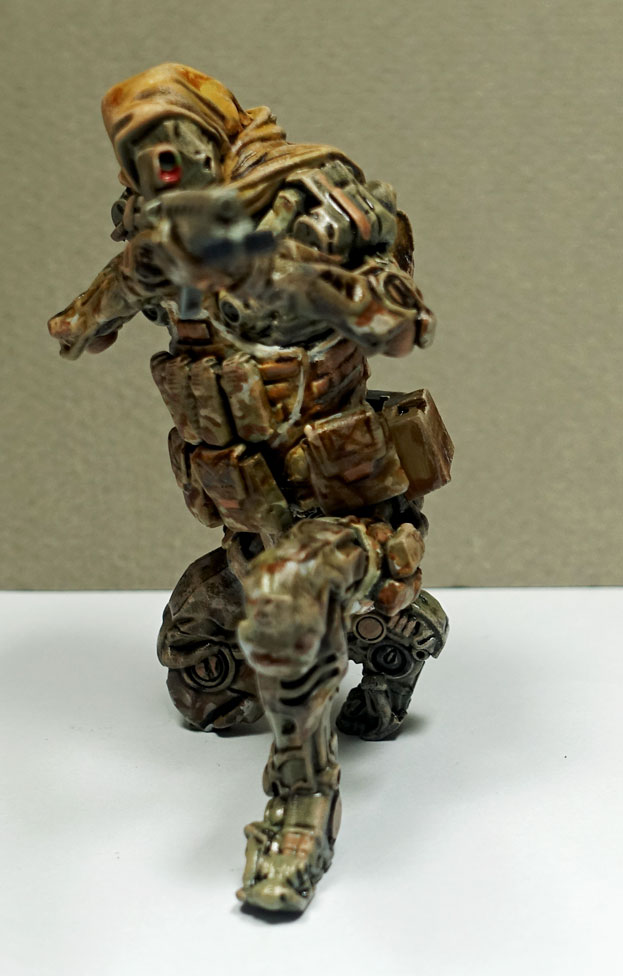
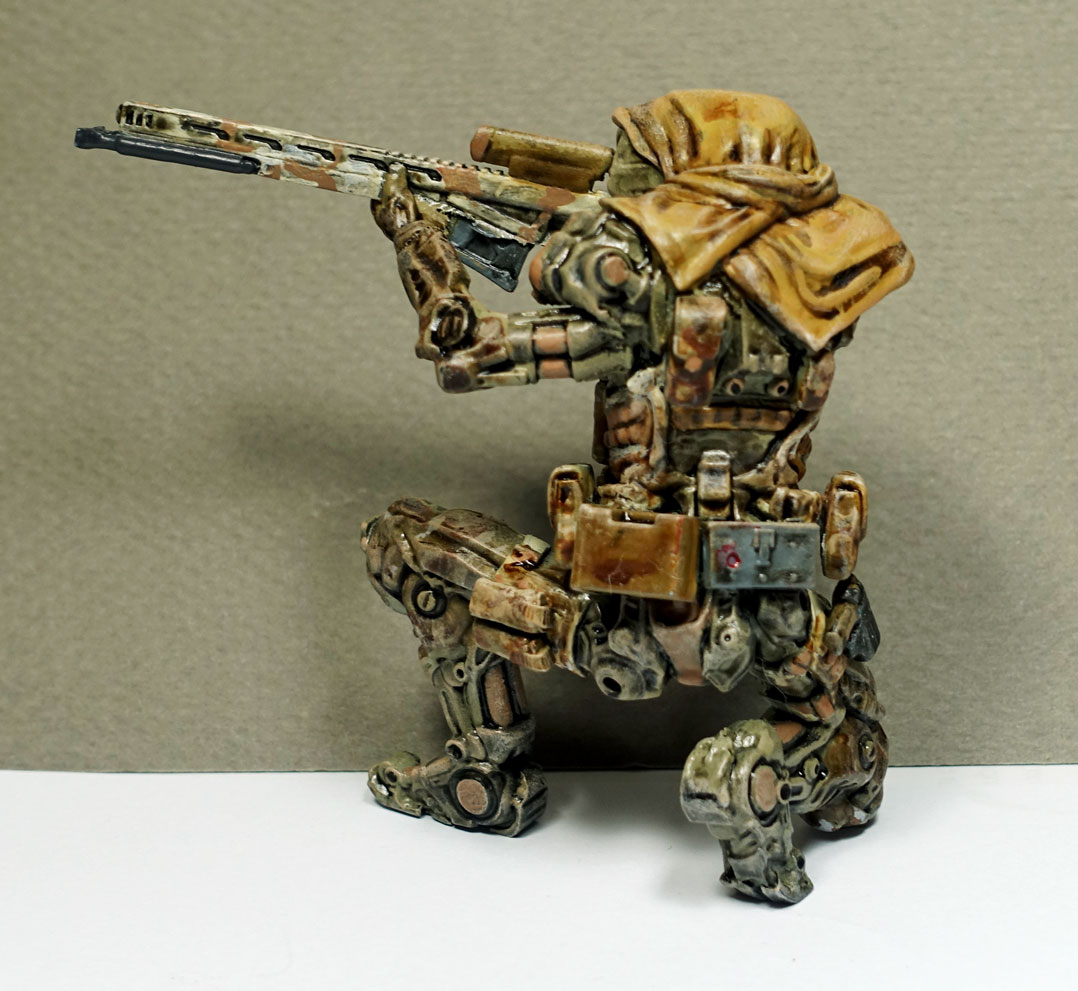
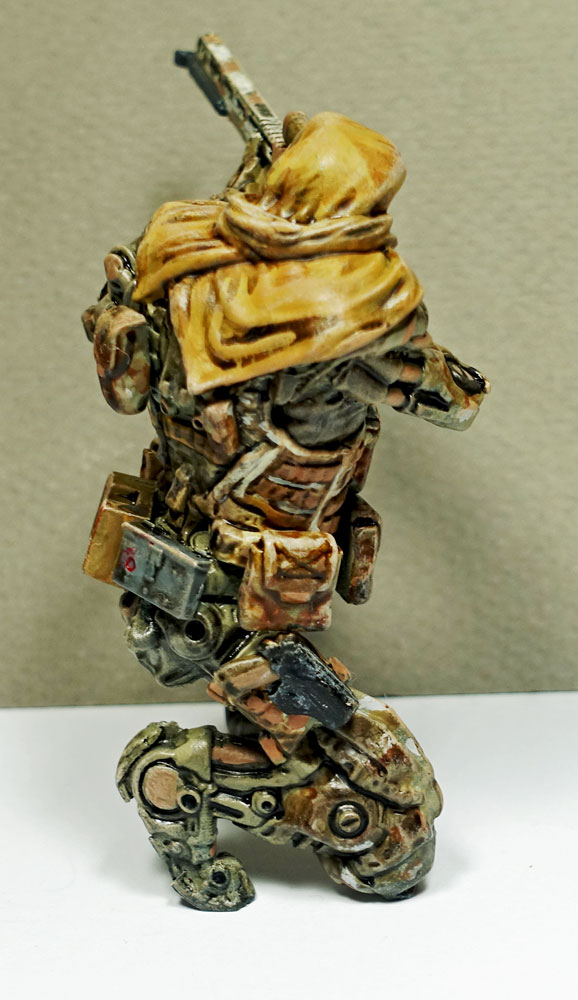
My 1/20 Greenstrawberry Recon Robot Sniper has preshading done with Gunze Sanyo Black and the Basecoat applied is Vallejo AIR Hemp…all airbrushed. Sorry for the poor quality photos.
This was my first attempt at preshading via airbrushing on a figure.
This is certainly a fascinating campaign! I love the creativity. I would like to join with a model of the Luna space rocket from the movie Destination Moon. I’m still researching this one and will shoot some pics of the start.
Paul
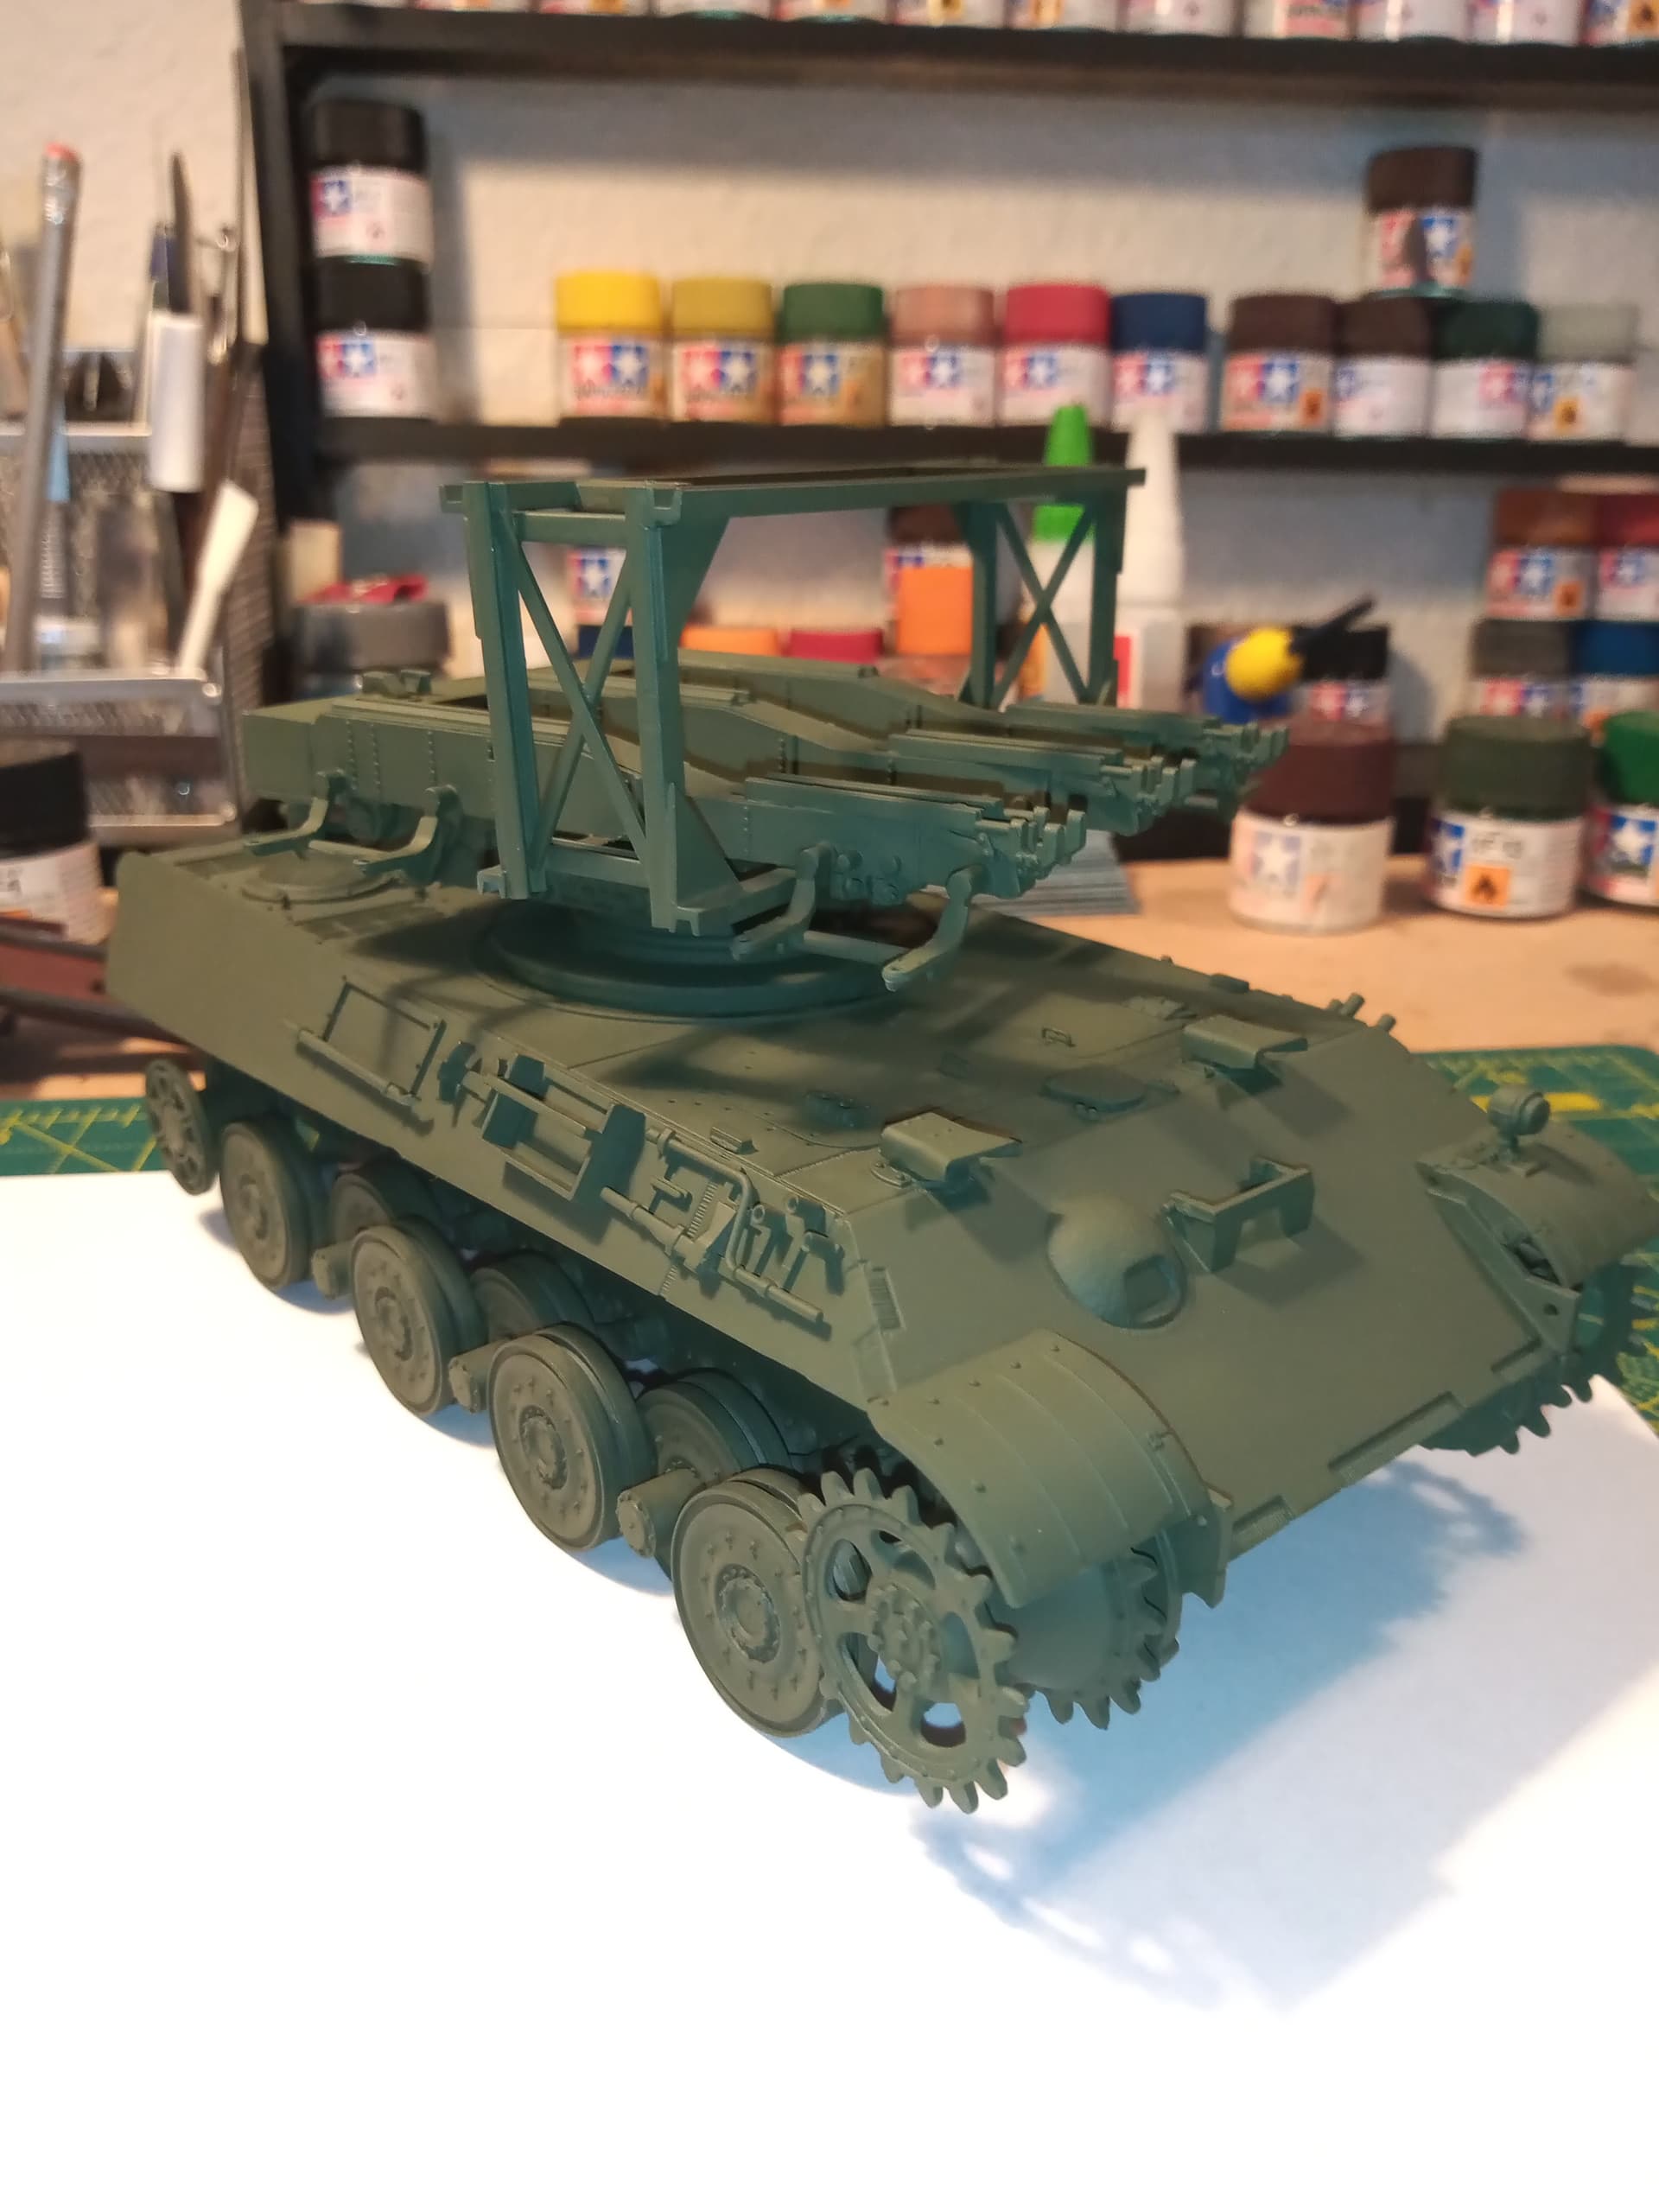
Had a bit of spare time today so was able to get the Panther II hull and resupply missile turntable/frame painted
Ended up using Tamiya NATO green 50/50 with lacquer thinner.
Will fade in some Tamiya hull red around the U channel frame work to show some wear
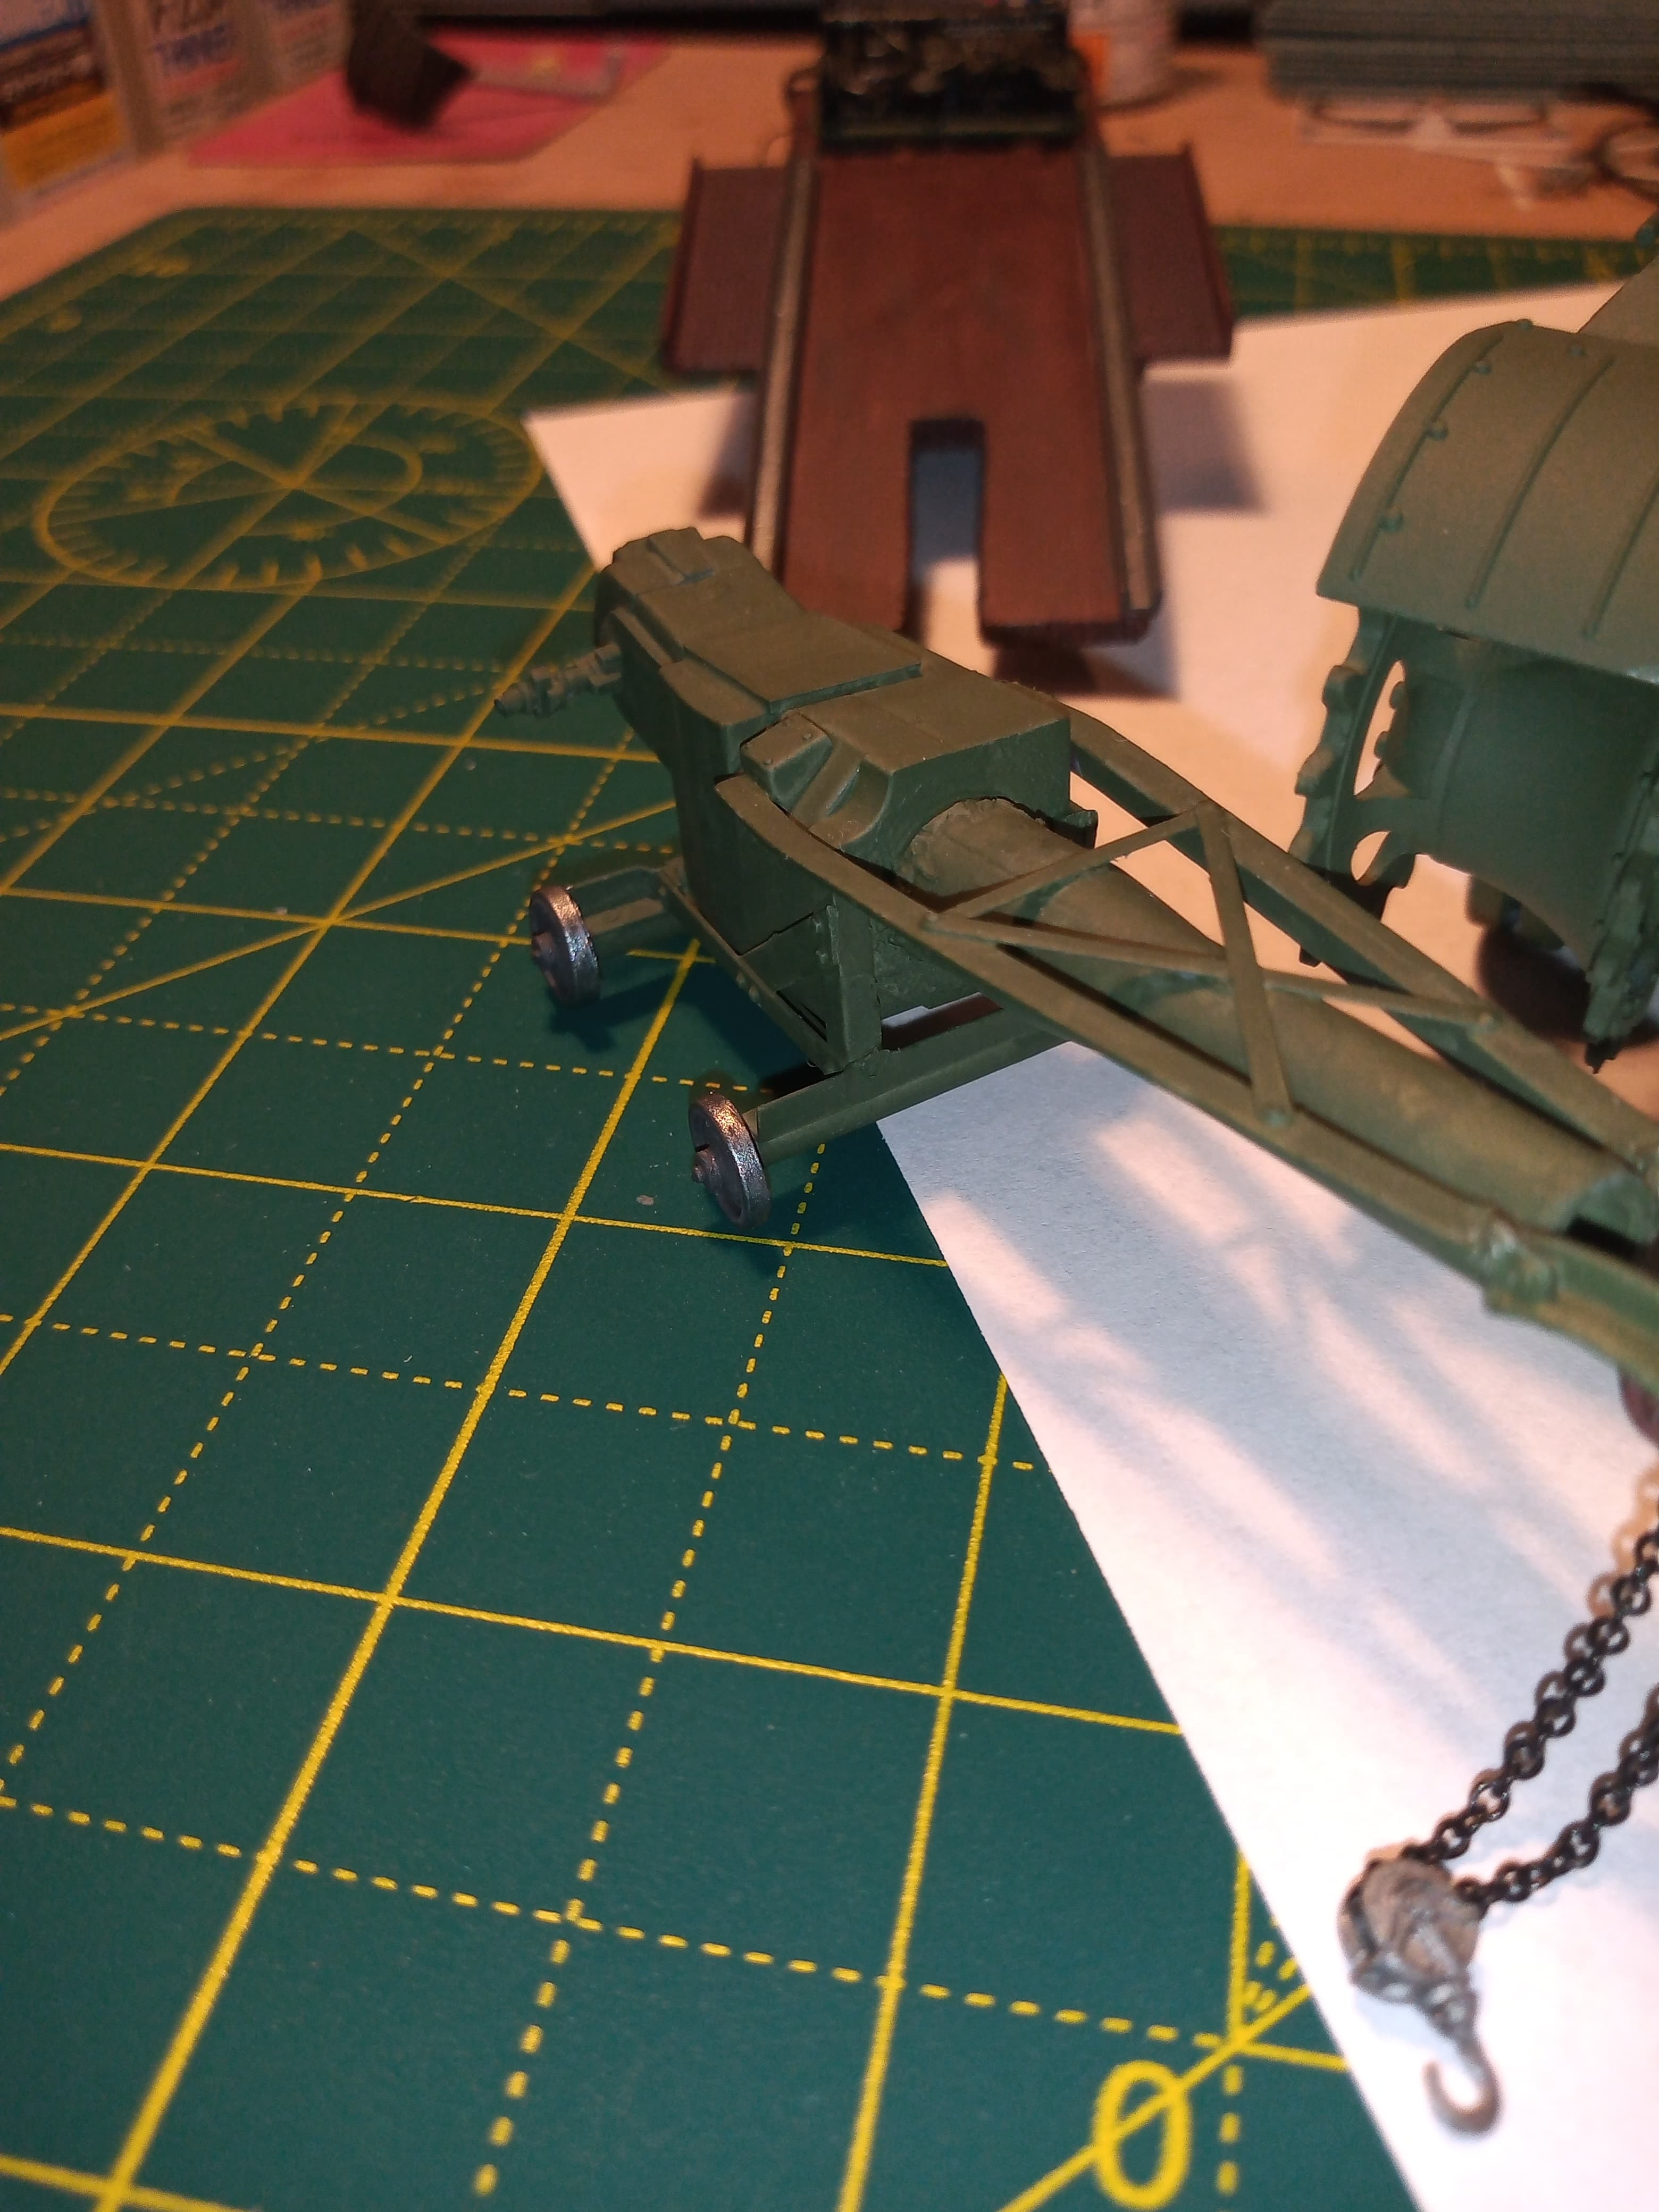
With the unpainted missiles, and the lifting mechanism.
Really like this Vallejo oily steel.
Looks great on the metal wheel edges and the bottom of the u channel tracks.
Will possibly do some thin brown/hull red contrast stripe cam but not sure yet.
Unsure of the colour for the missiles, I was thinking a medium to light grey and a coloured nose cone ??
Excellent progress, John. Super nice details added!
Trisaw, looks nice - looking forward to see more.
Paul, welcome onboard! Nice choice of entry. 
Camouflage painting basically done before washes, filters, highlighting, shadows, bordering, chipping, drybrushing, etc.
I just washed with Citadel Miniatures Brown, Sepia, and Black.
I still have to ink, drybrush, highlight, weather, detail paint in colors, etc.
Nonetheless, the washes blend in the gloss and camouflage well and dulls everything.
I am calling my 1/20 Robot Sniper finished in painting except the weathering. I added inks, drybrushed, highlighted, and shaded.
I intend to place it on a base with groundwork.
Congratulations, it looks great.
Thanks, Tank!  I’m not entirely finished, but I’m happy with it.
That is the most important part.