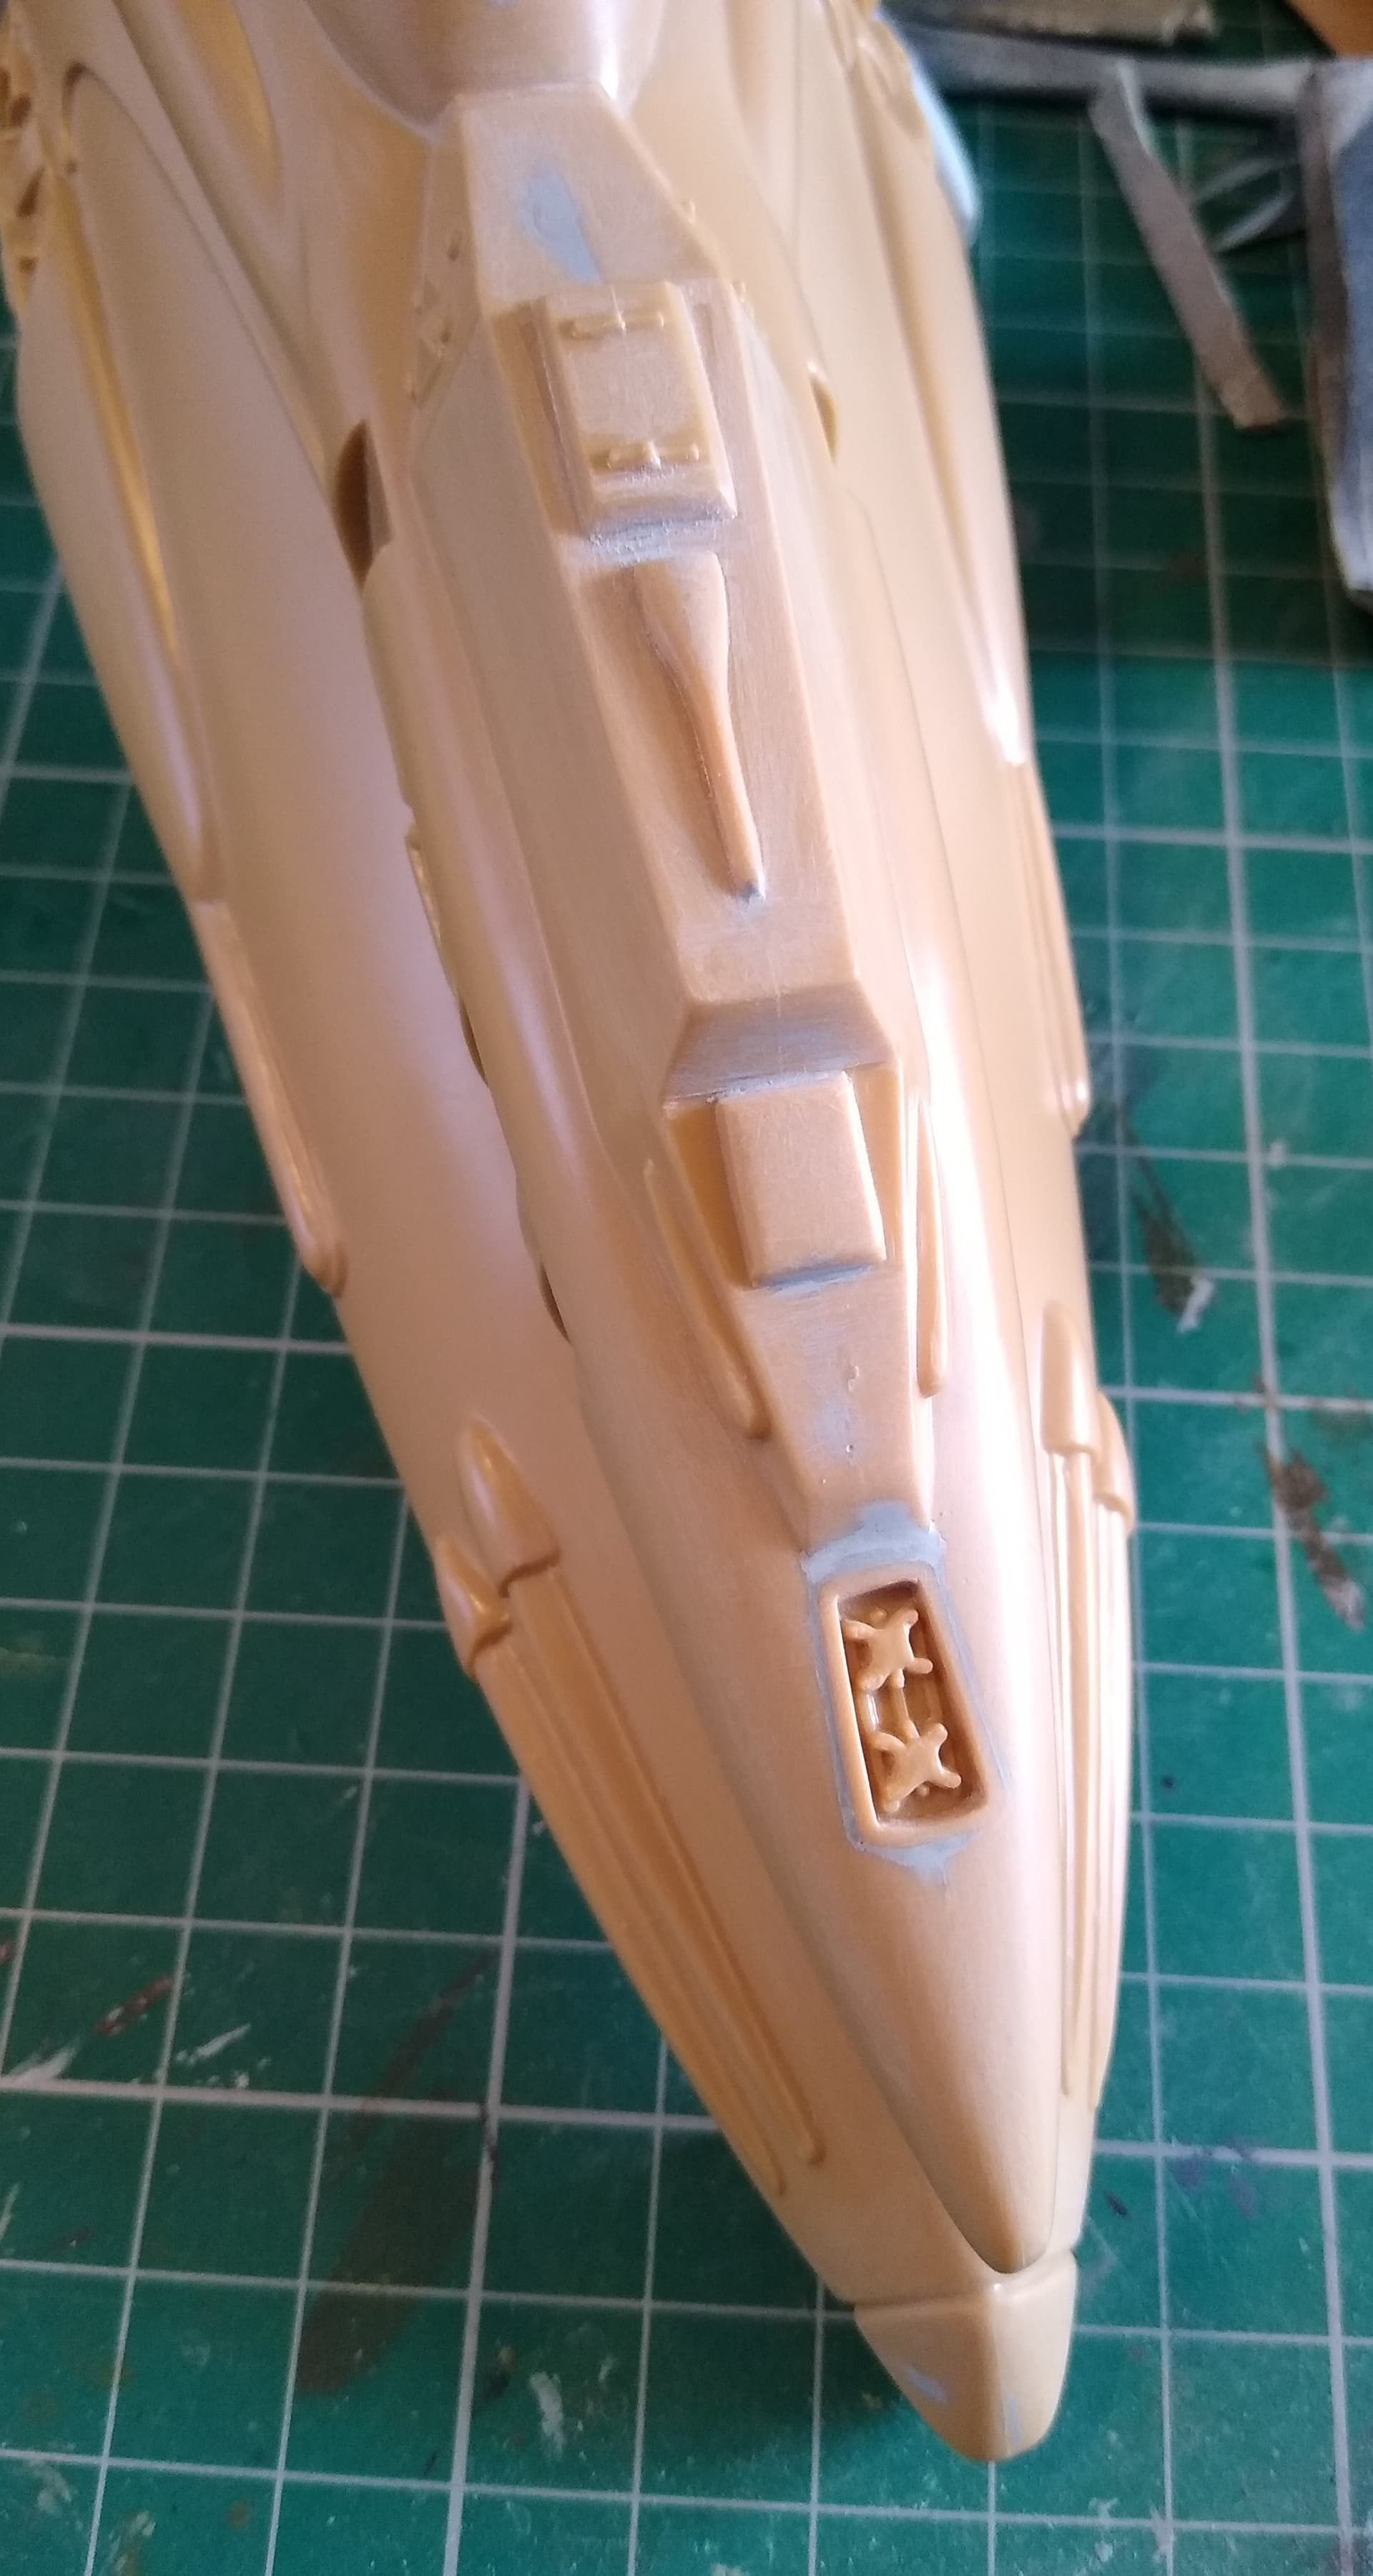
Thanks Jesper. I stuck a piece of scrap plasticard behind it with some filler over the front. Sanded it last night and it does look a lot better.
I might stick a maintenance panel over it to make sure it’s all square.
The magazine is a fantastic reference. Last year I was able to get the last few dozen issues on eBay. I know have all 304 across 14 binders. It can still be found pretty cheap here in the UK. Some day I’ll get around to filing them all into their proper sections!
If anyone has any requests for anything they like to see, give me a shout and I’ll have a look through.
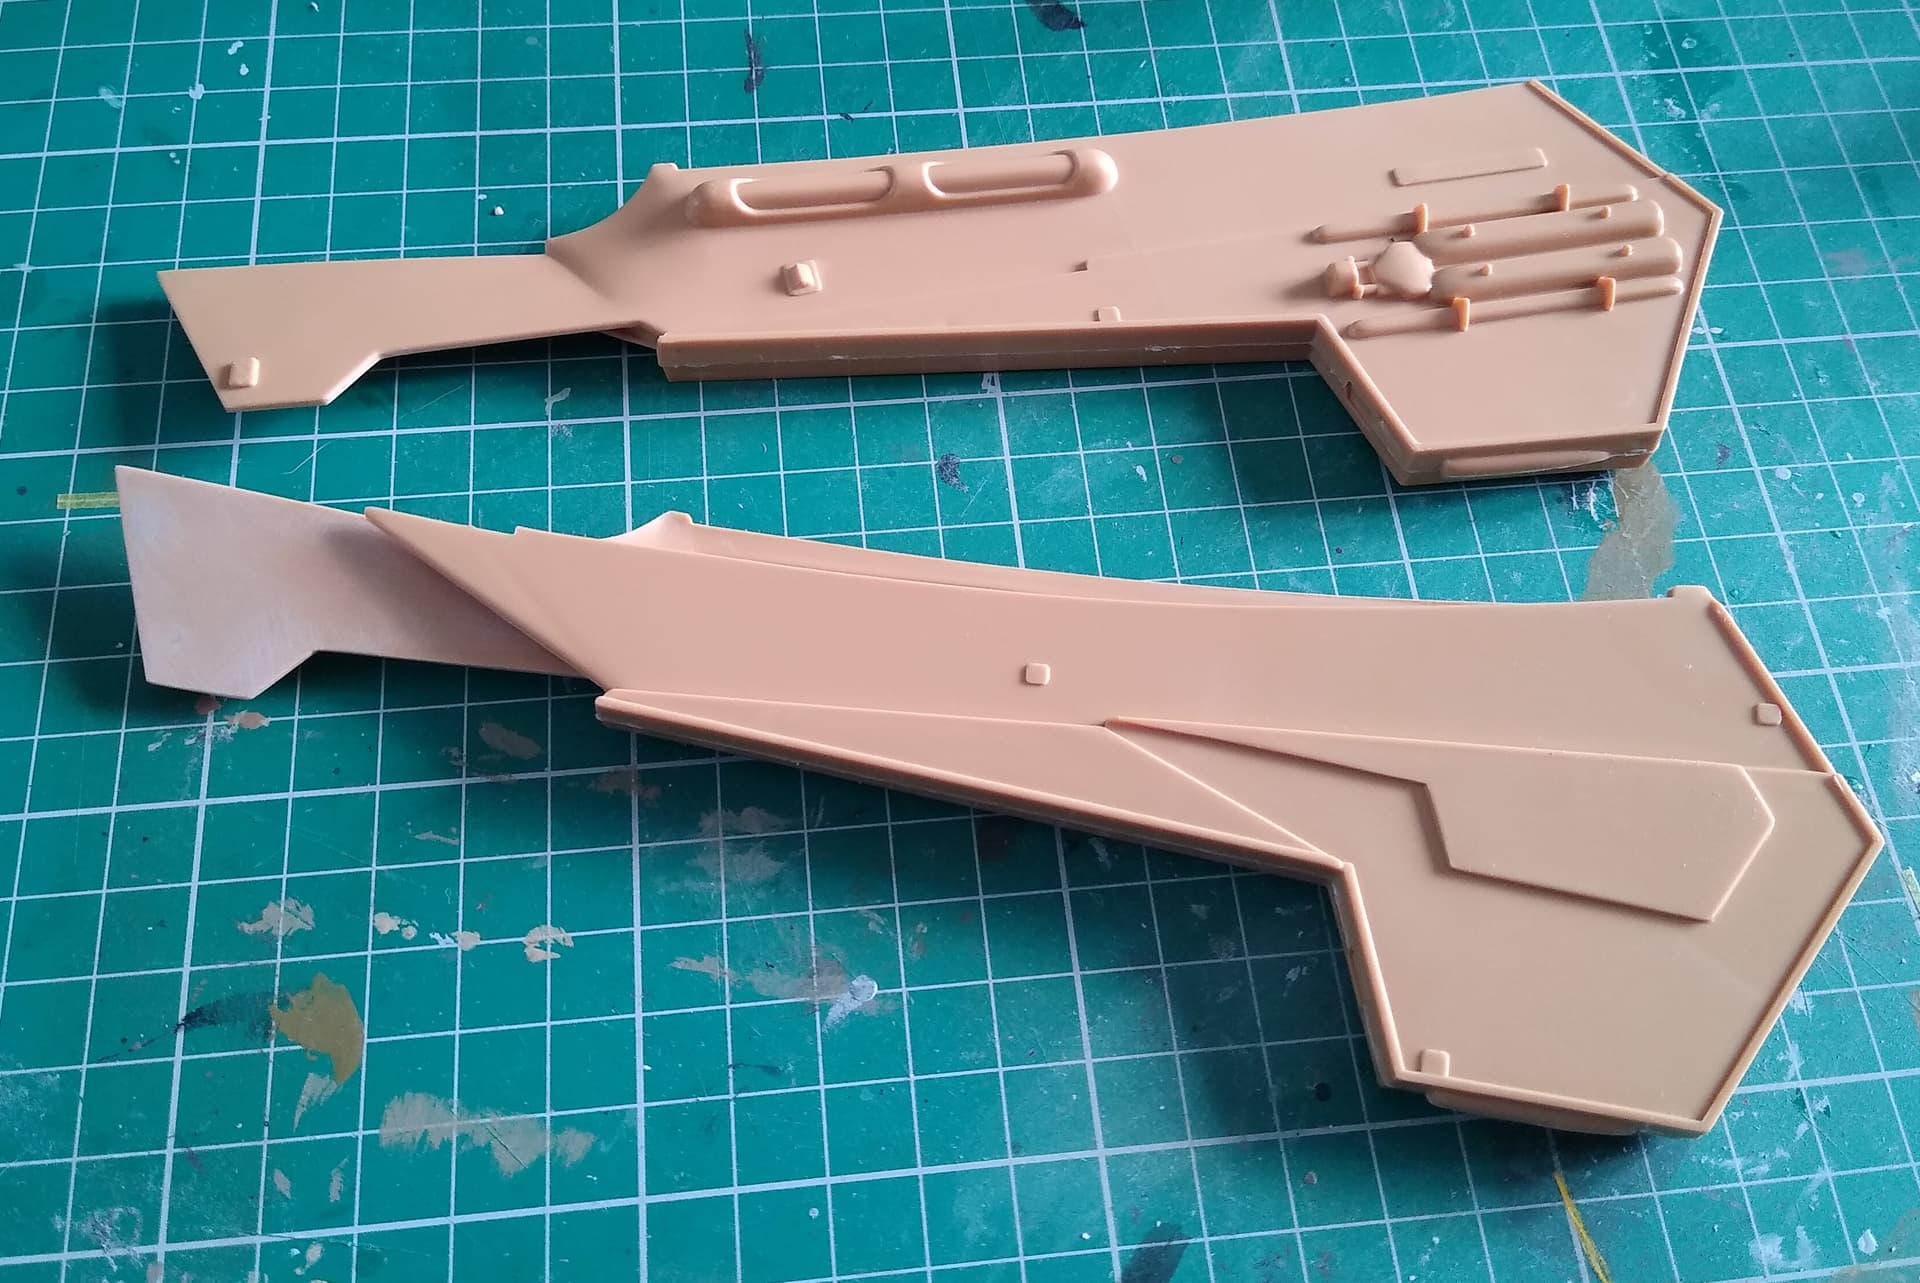
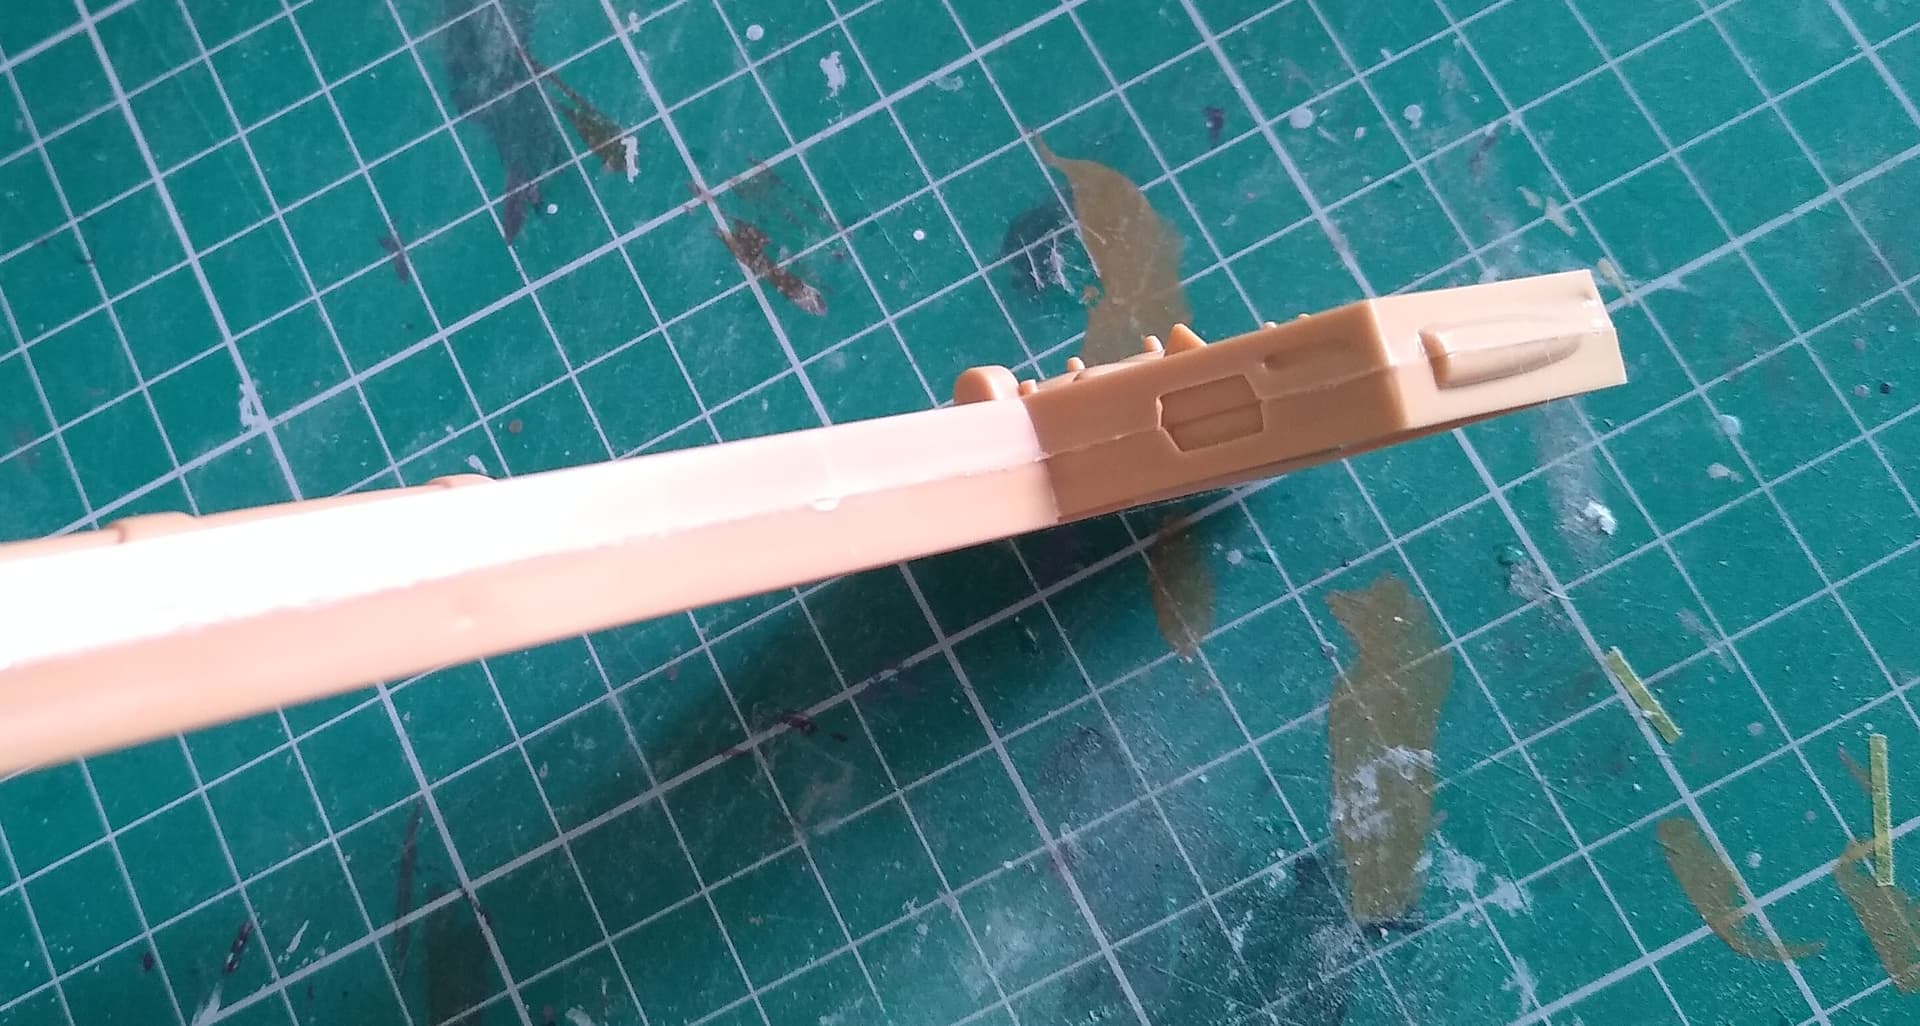
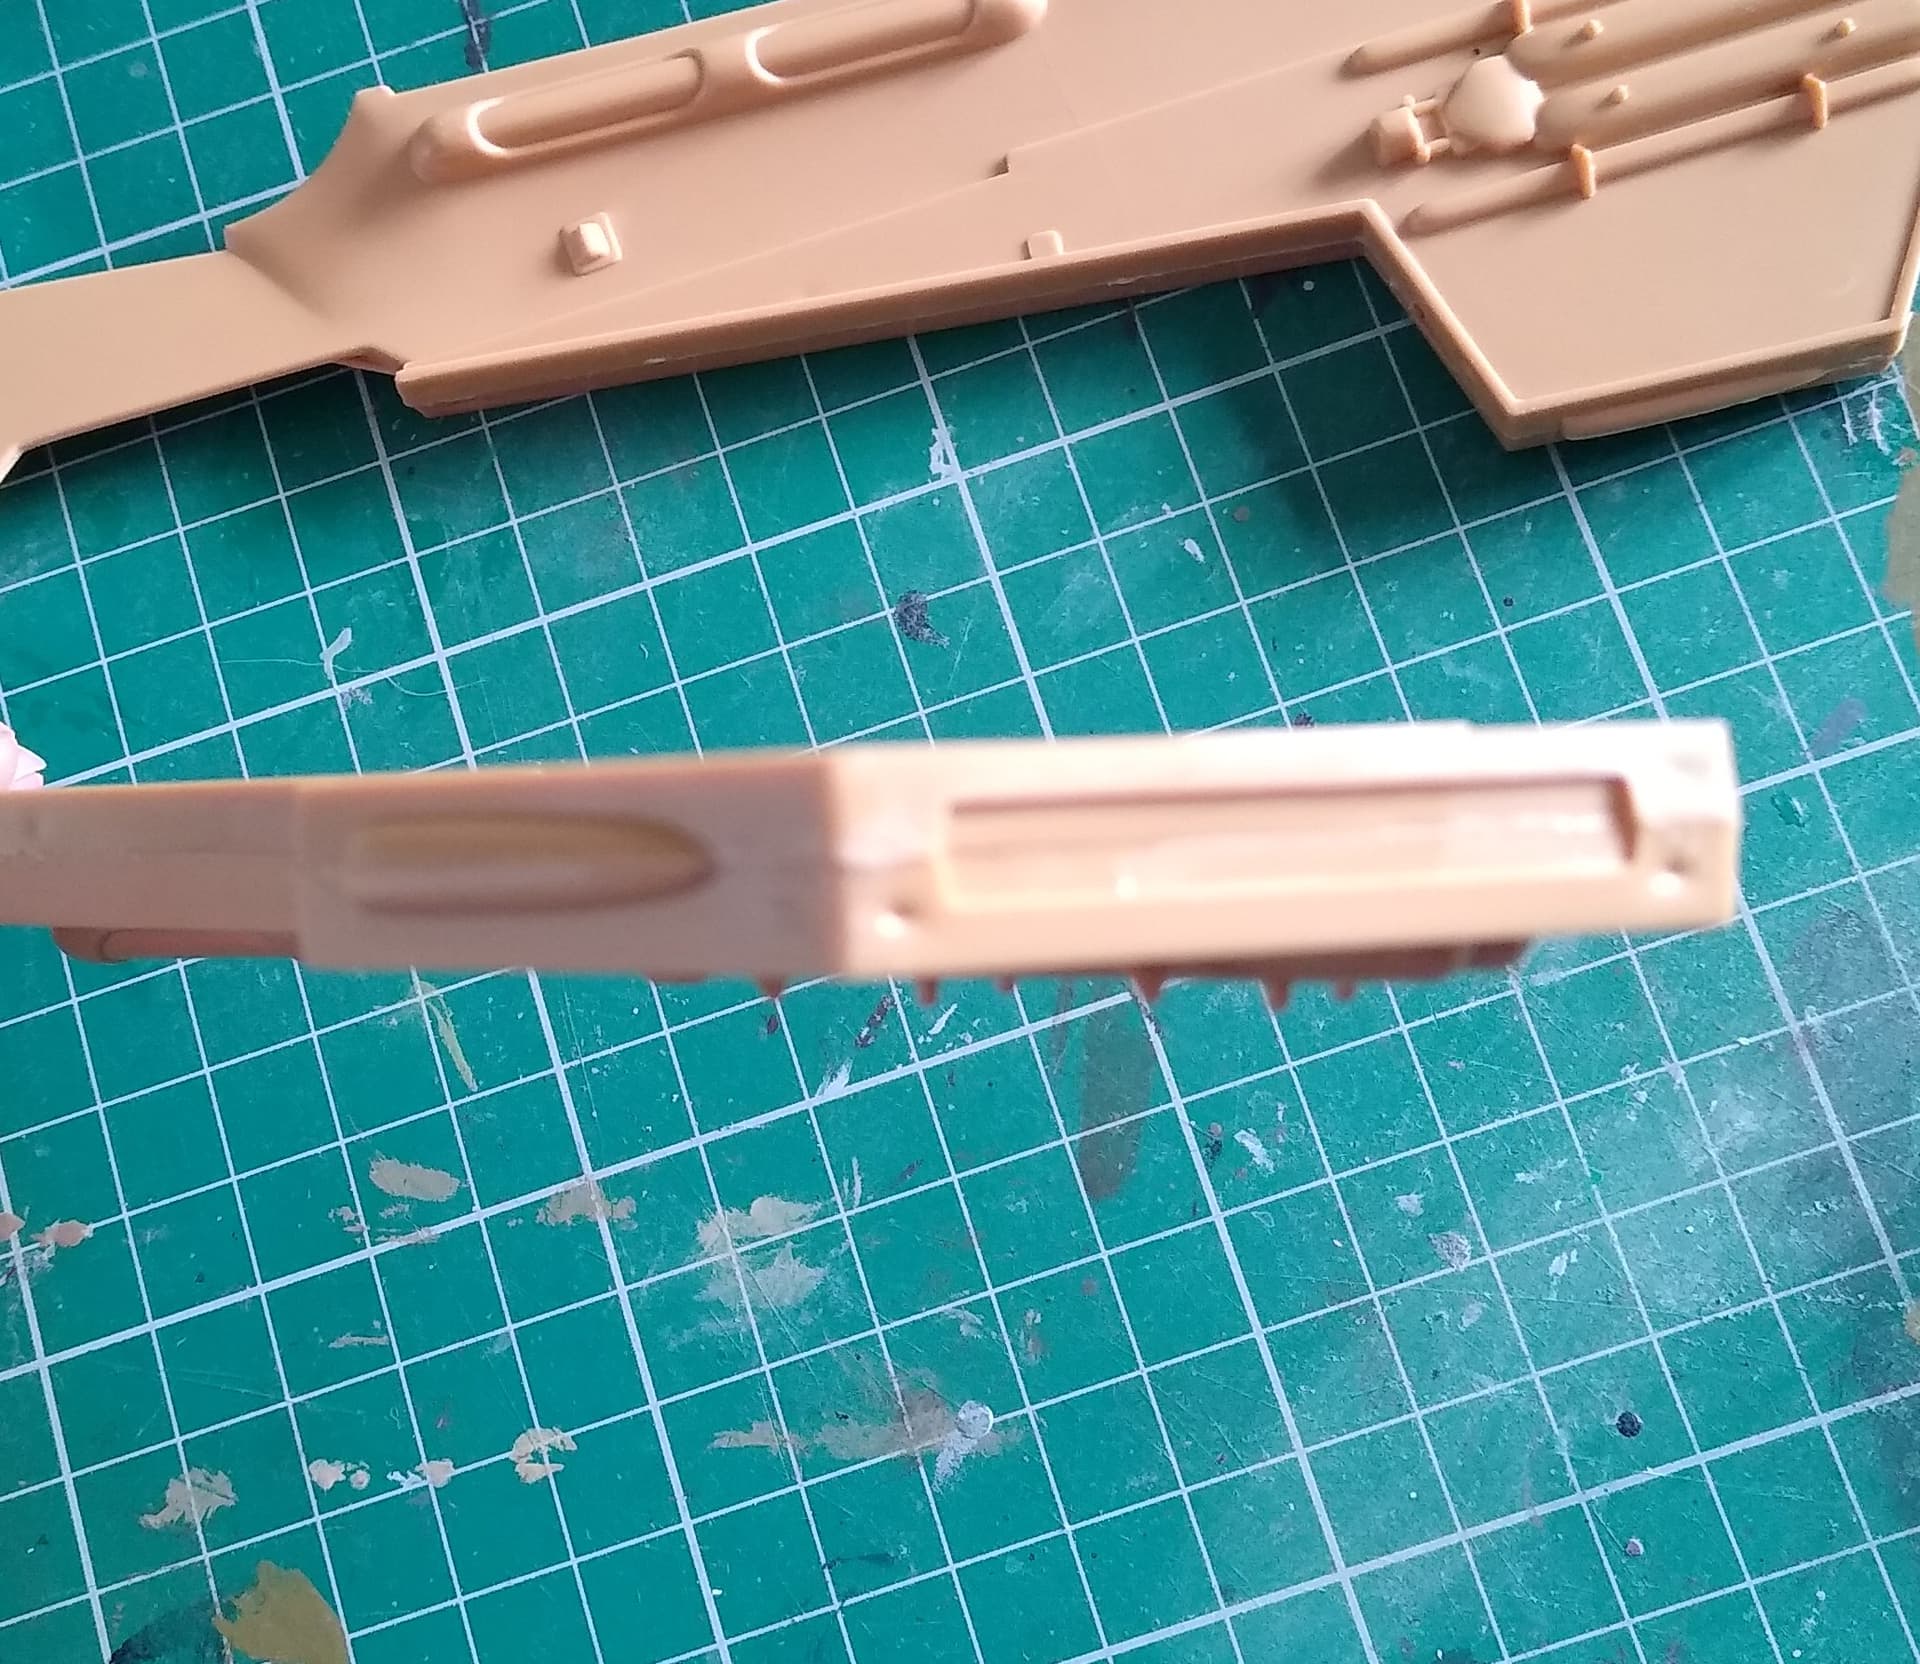
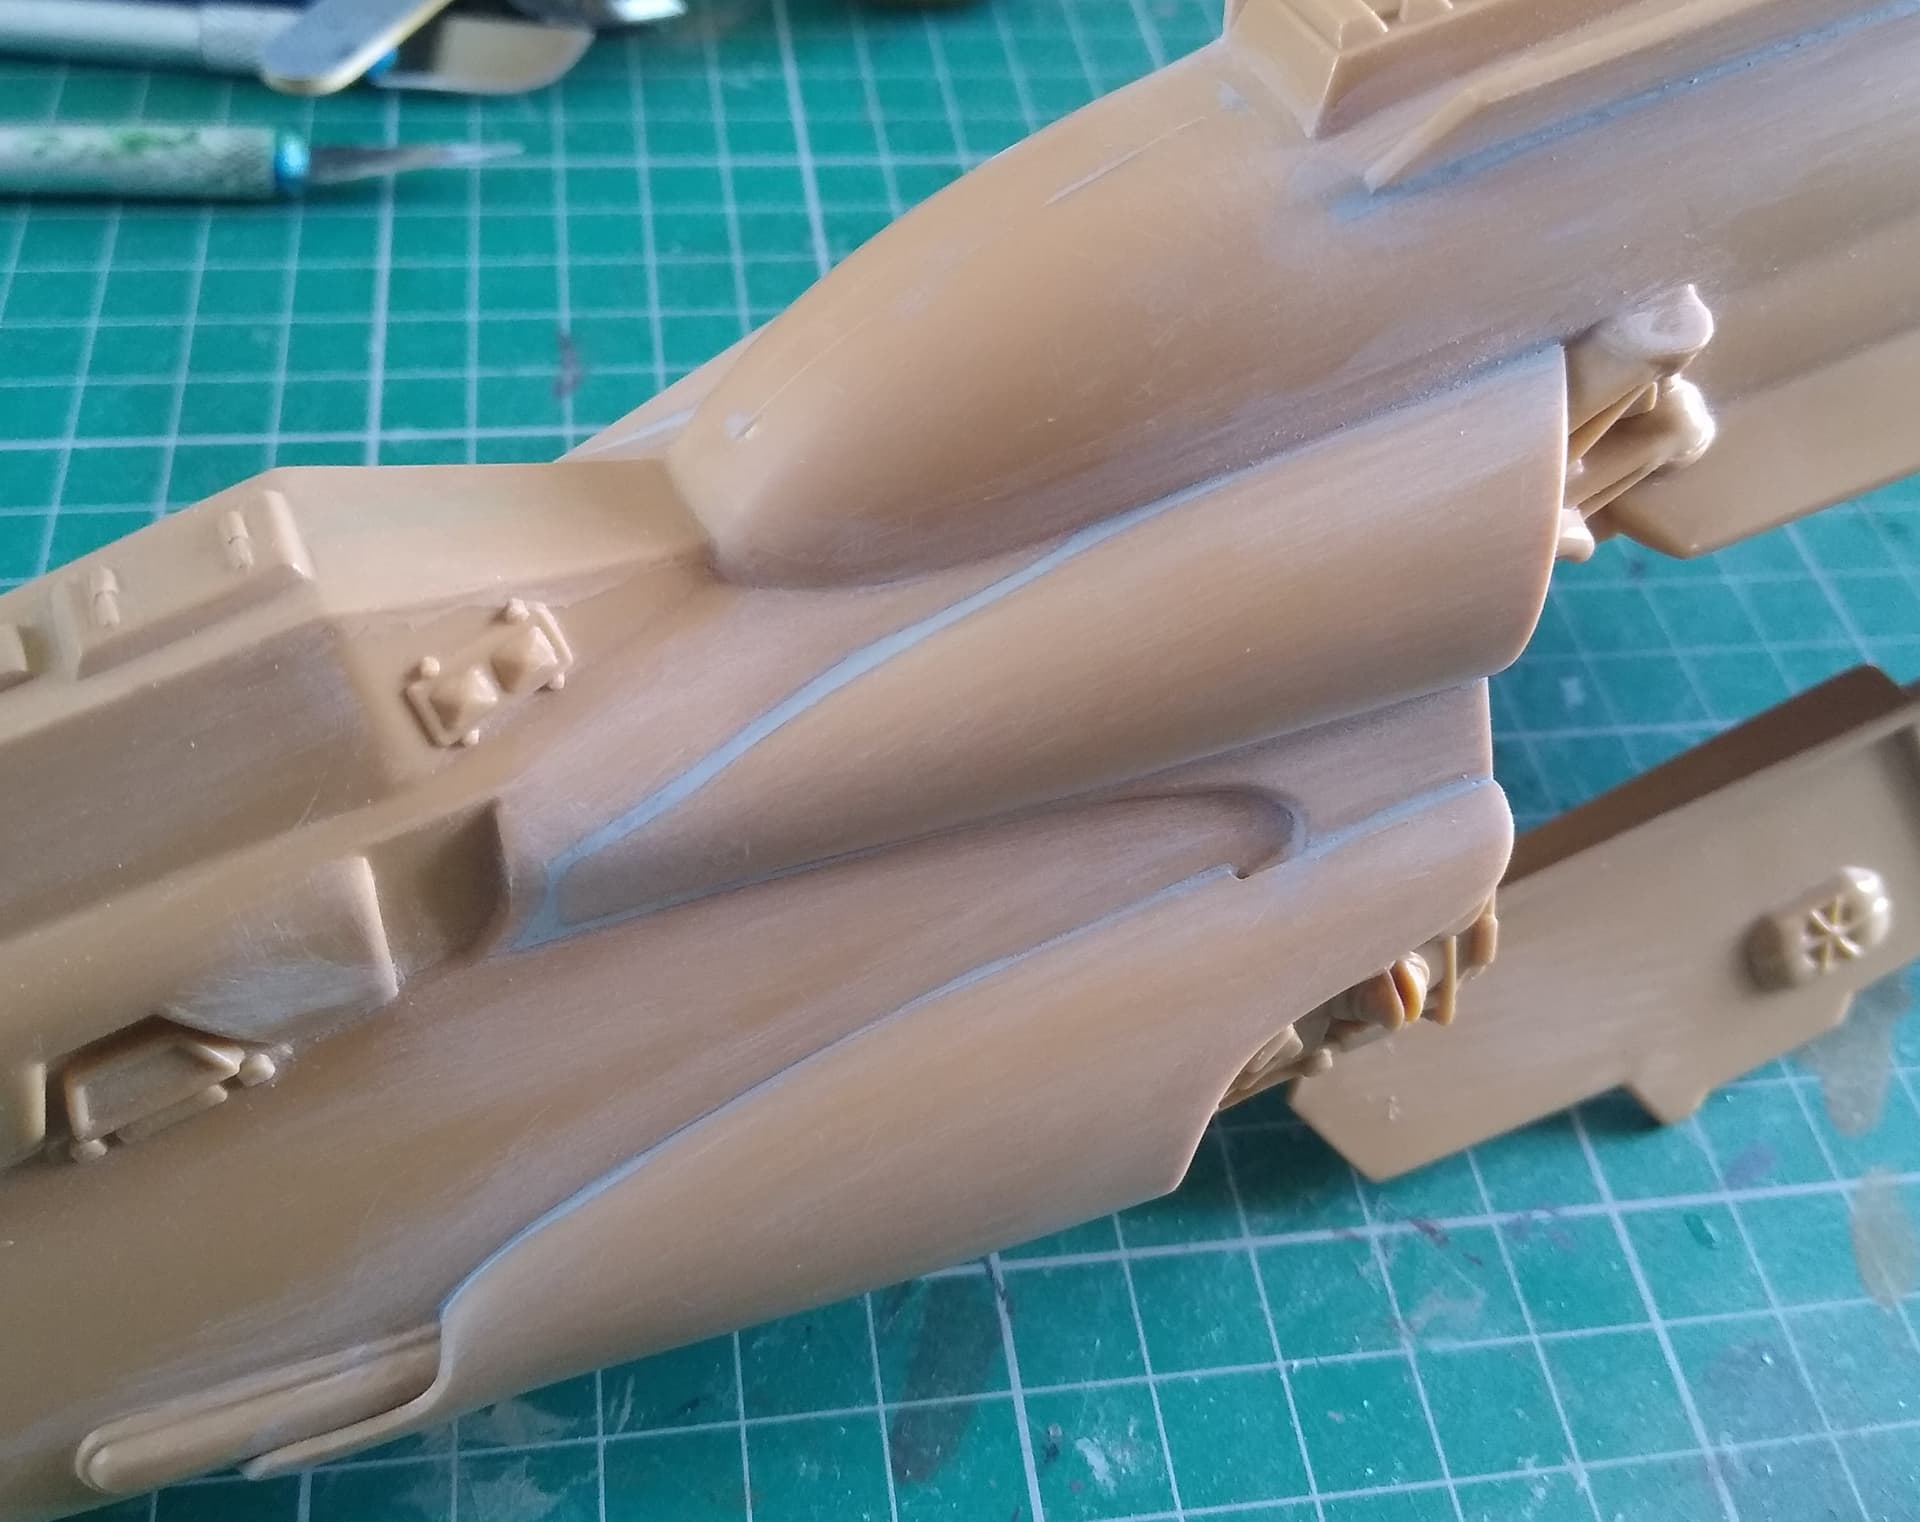
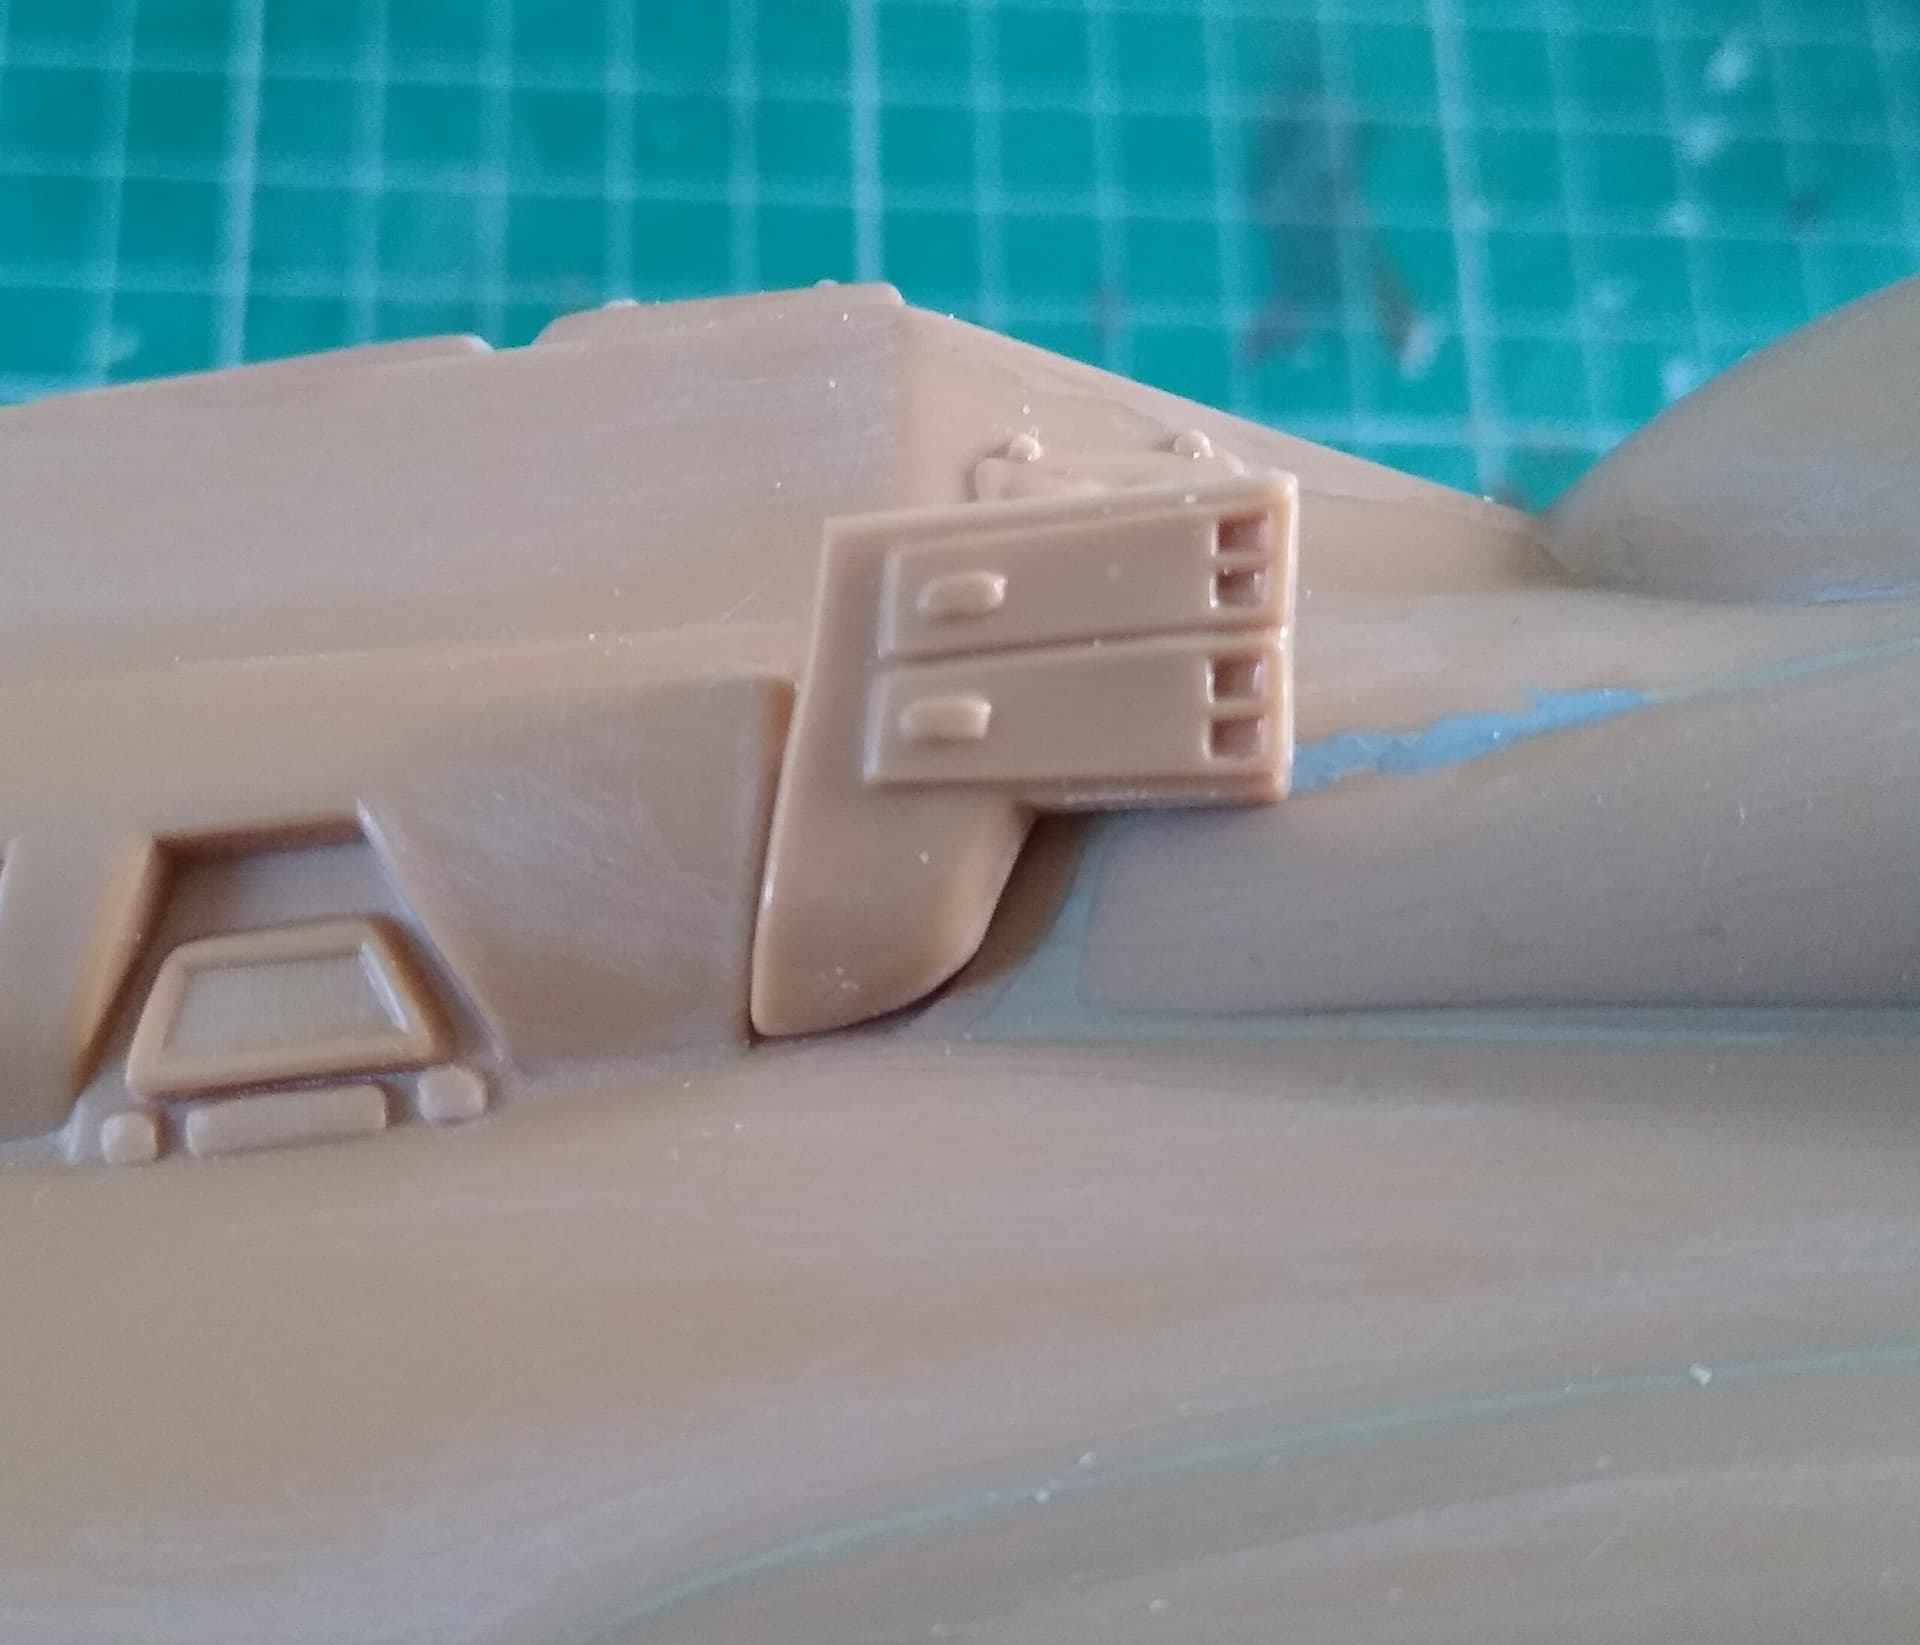
The wings/warp nacelles are together. Note the compressed air tanks on the bottom. Obviously taken from one of those 1/35 field workshop kits. Always fun spotting parts they used to detail these filming miniatures!
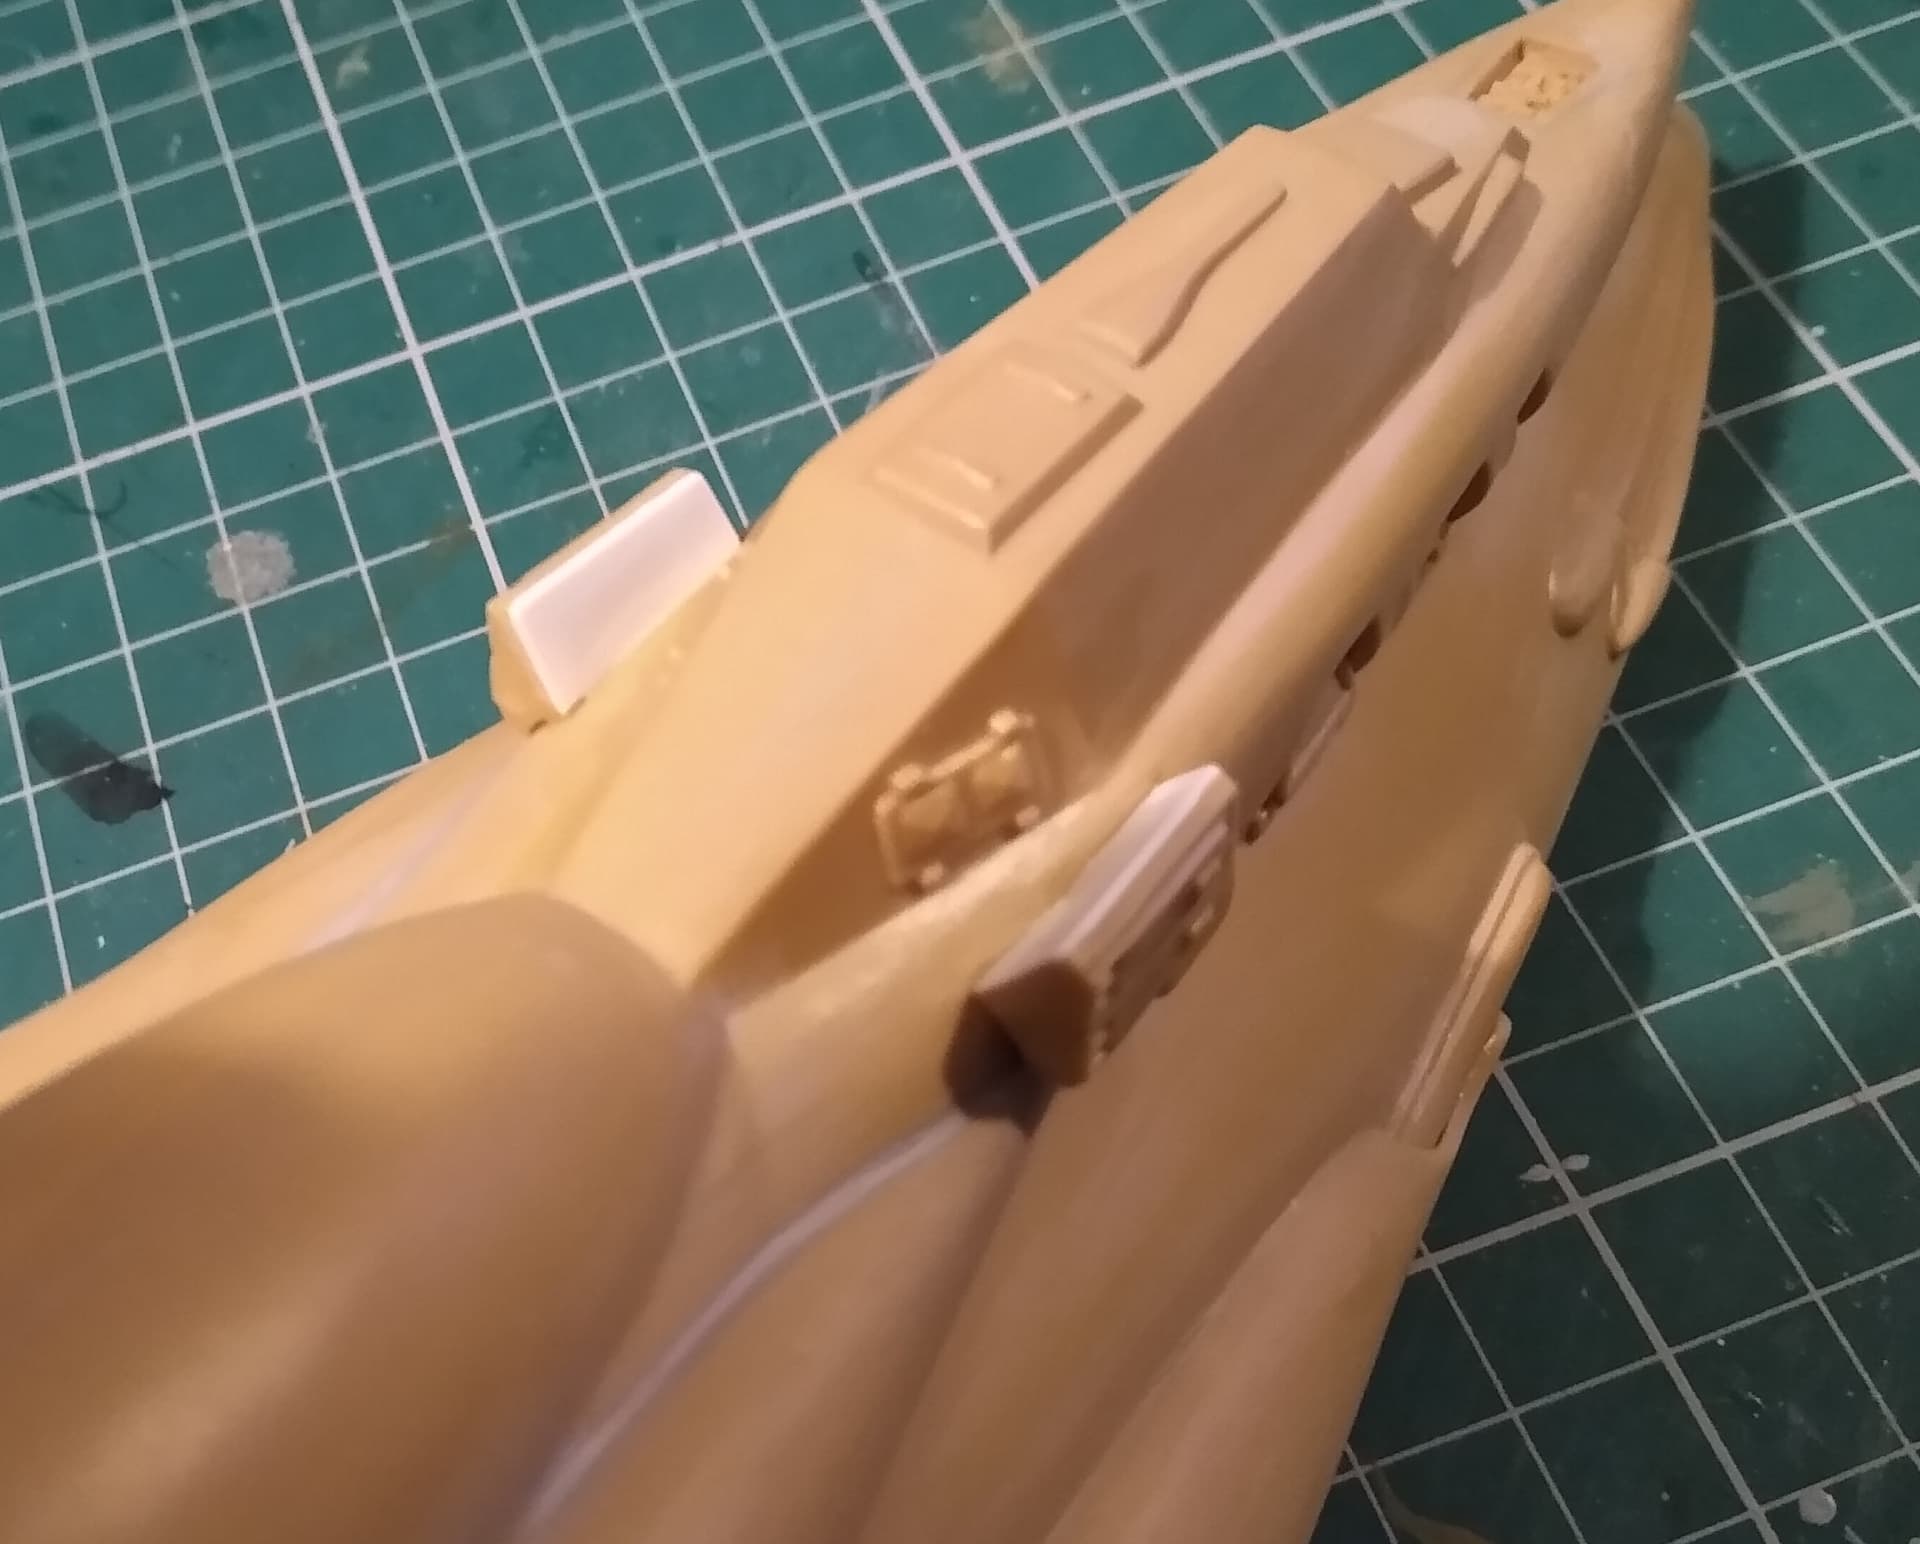
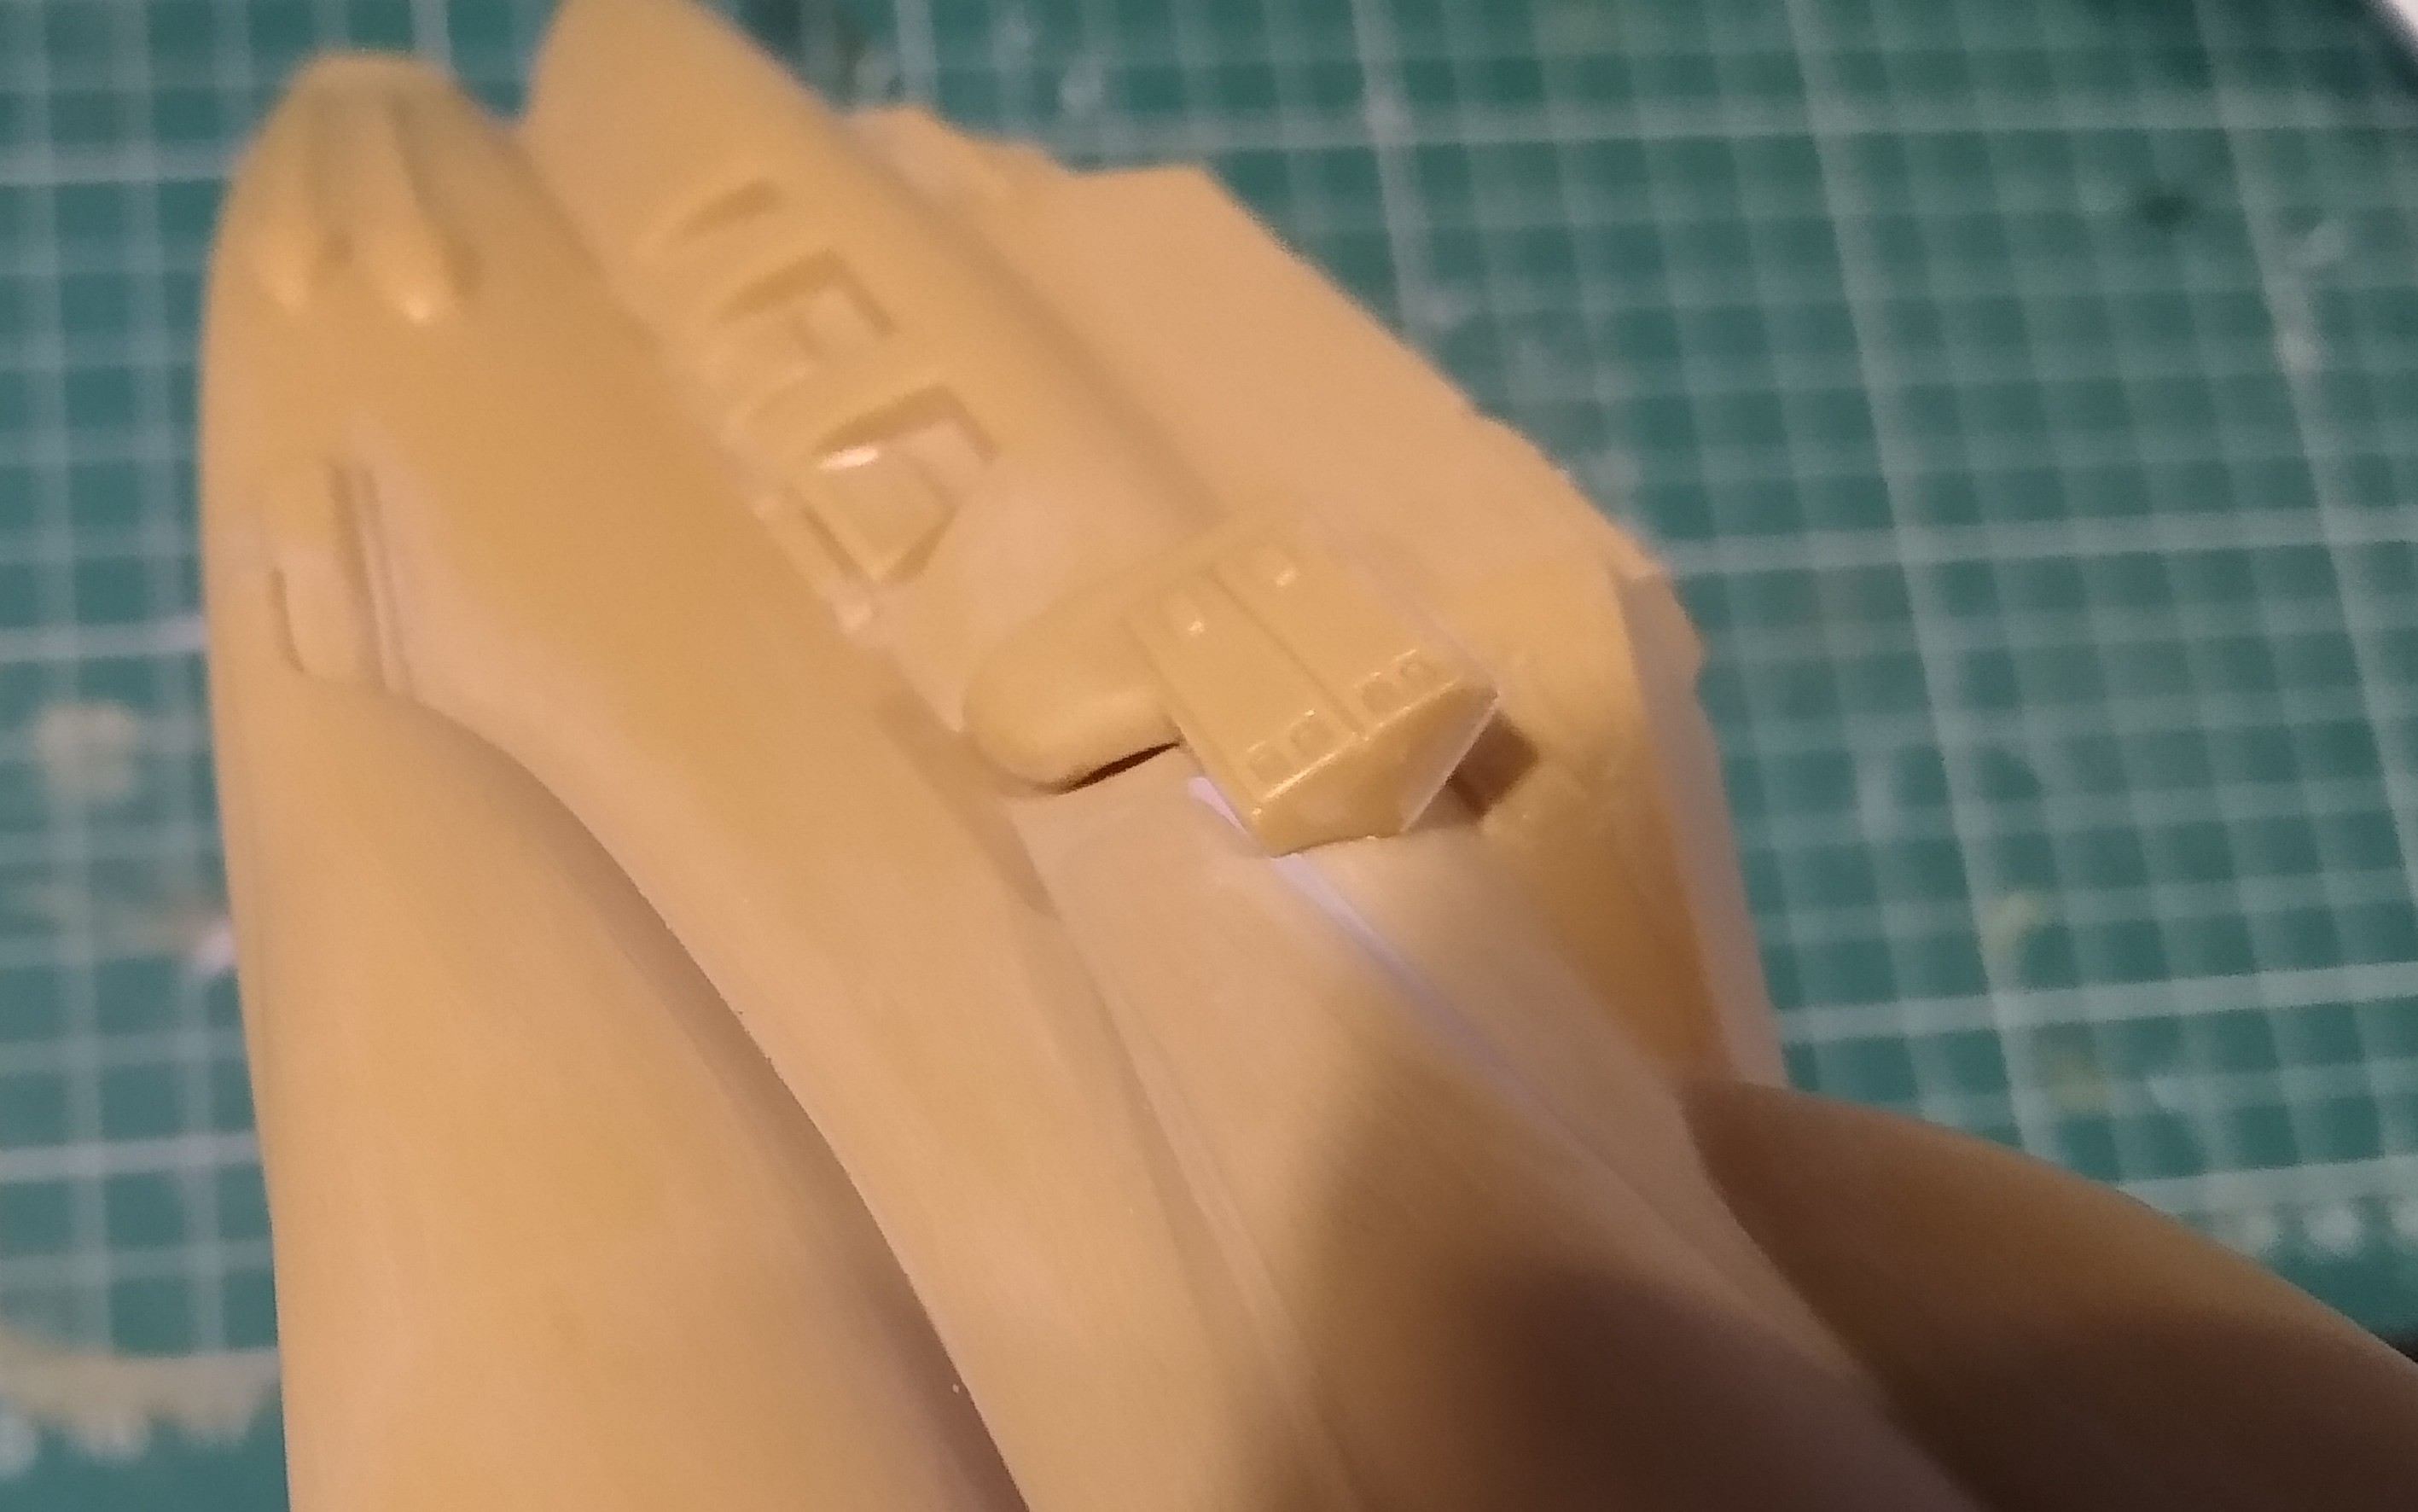
The two shroud parts that fit to the upper hull sides were a little warped (no pun intended). Despite some gentle straightening, still needed clamping.
Thanks Jesper,
There’s been a bit more filling and sanding than I expected but she’s getting there.
Hoping to have it assembled and ready for some paint by next weekend. The primer at least.
Tomorrow I’m going to try to get the brass tube fitted for the new stand.
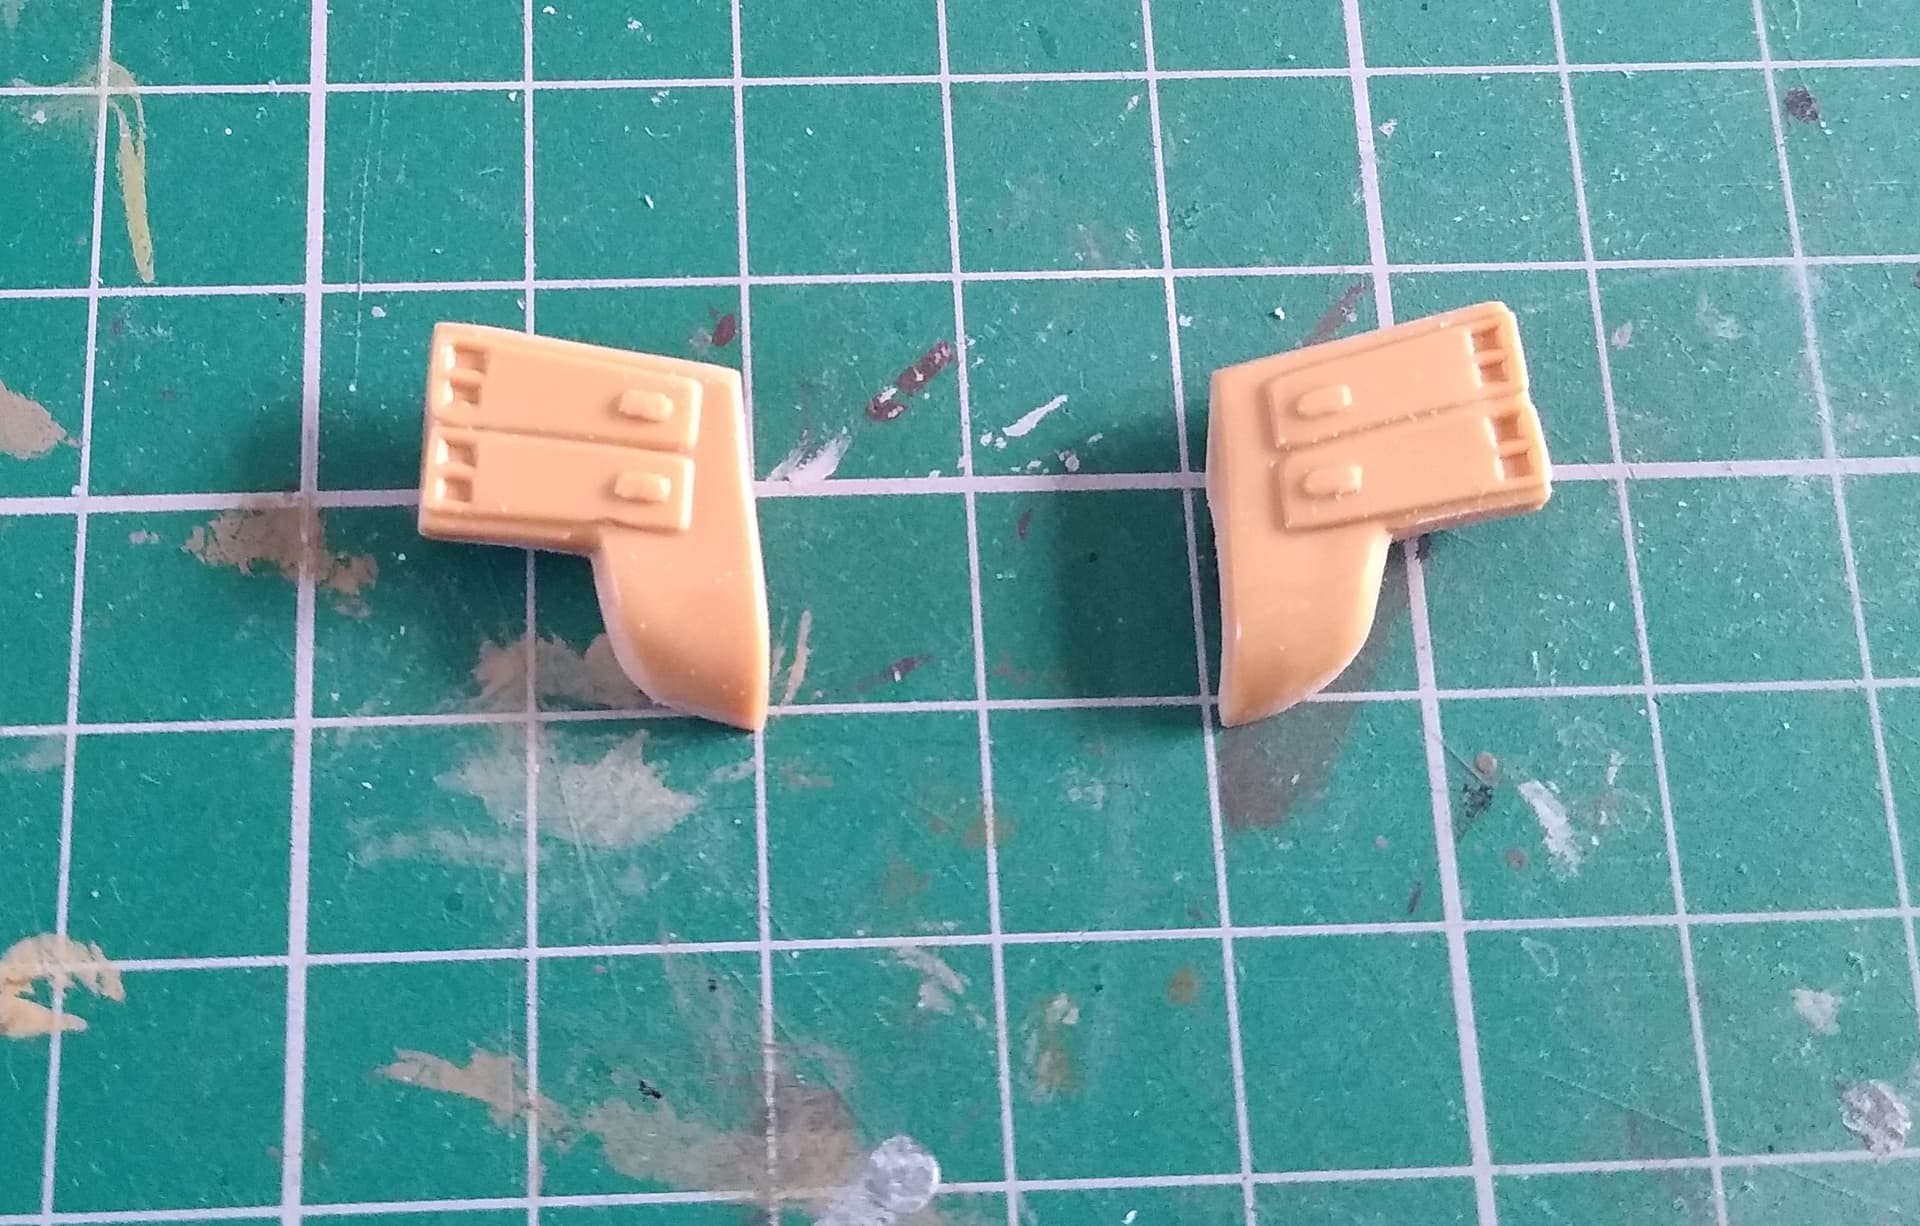
Their fit to the hull is lousy. The curved section at the bottom is different to the slot in the hull. More filing. They’re also hollow on the rear side, so will have to be covered with some plasticard.
Dragged my Trumpeter E10 out of the cupboard and slapped some paint down. Taking the opportunity to lay paint on a few builds whilst the wife is away (she gets chronic migraines and paint fumes can set her off). I’ll post progress when it is dry…
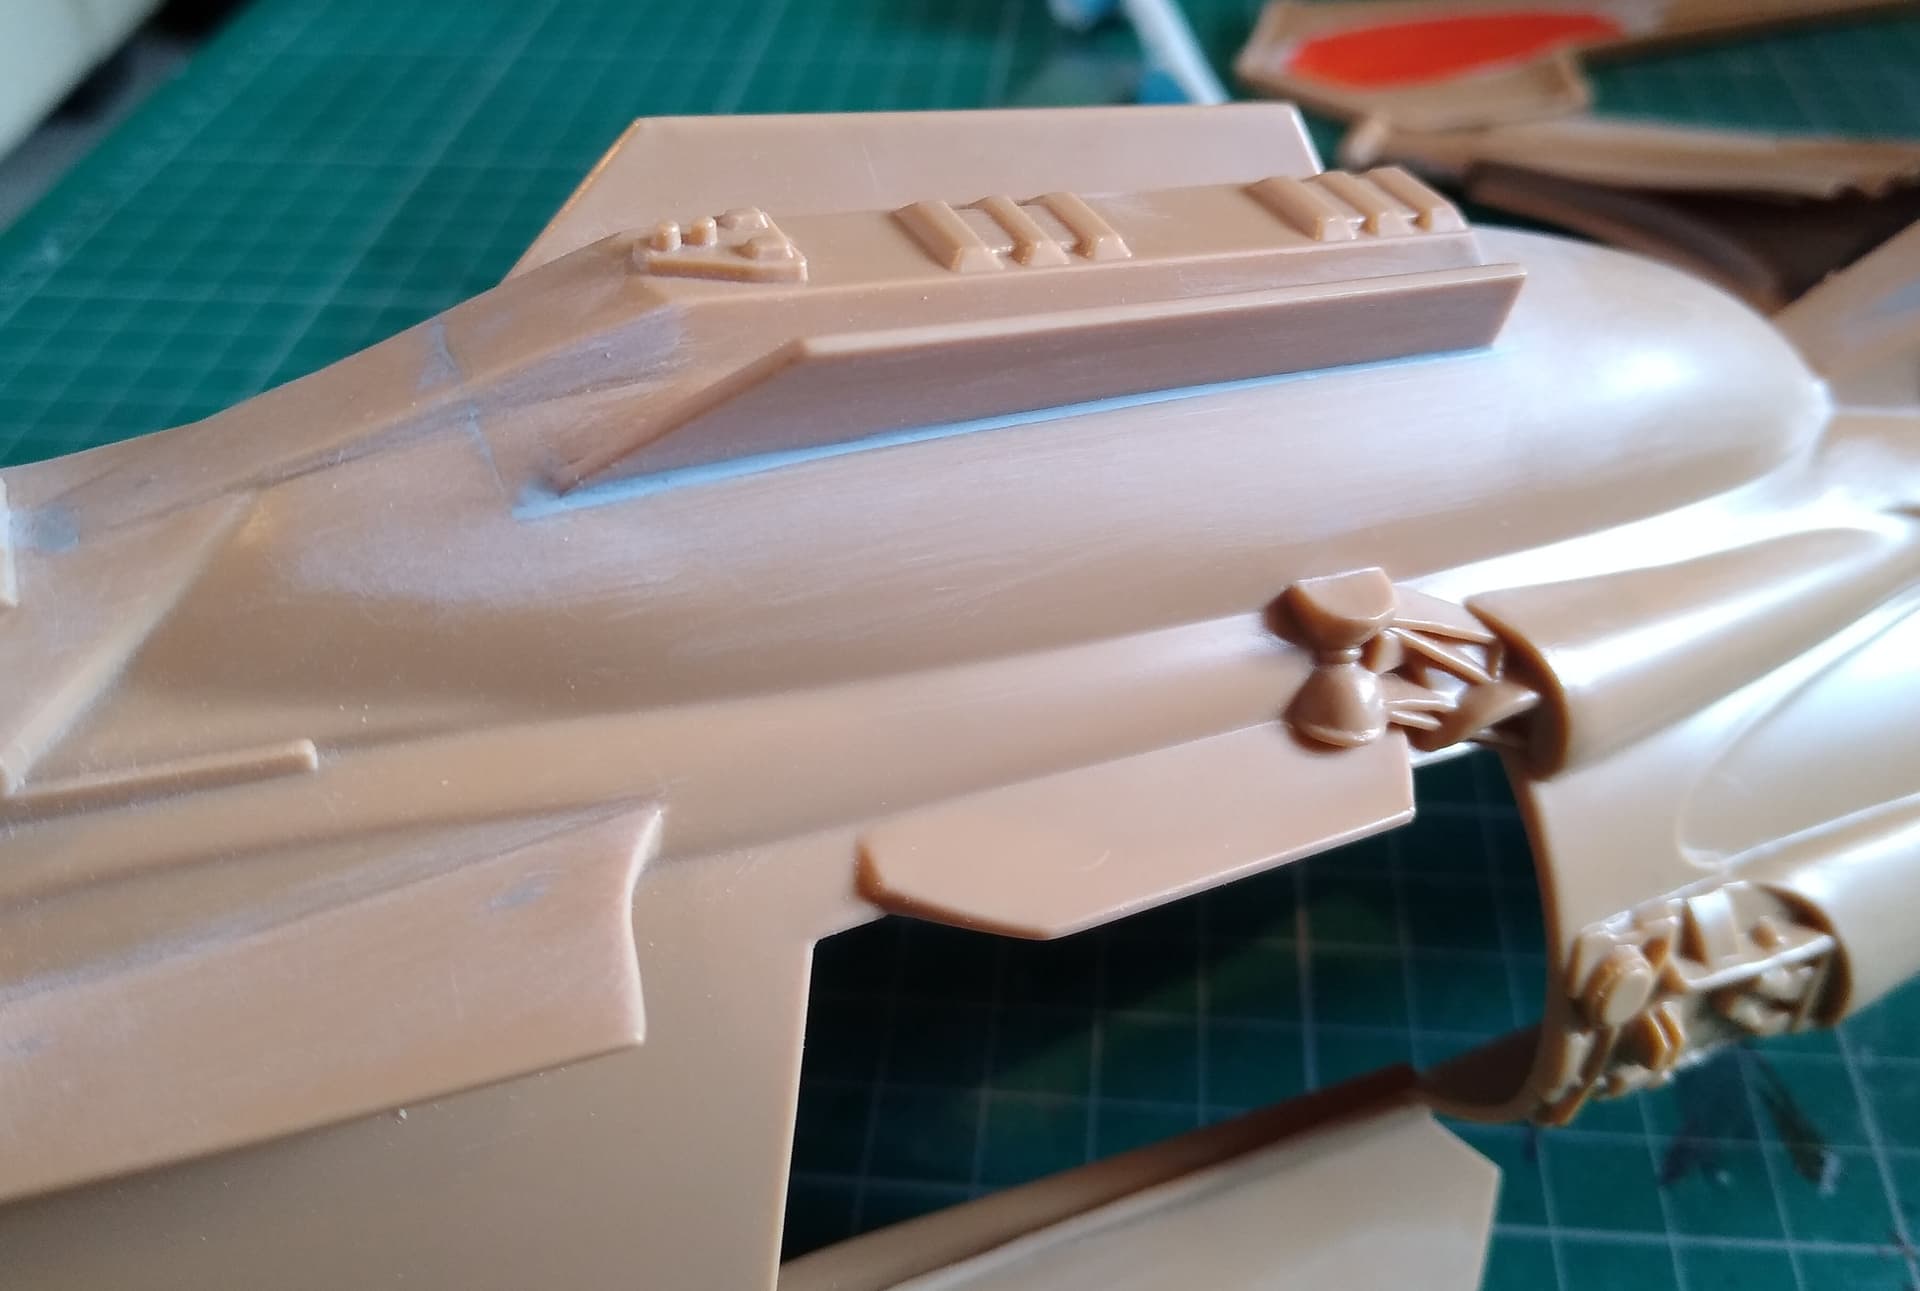
Great idea. I always thought these ships were too smooth looking for the rough class of alien they were. I saw them as more of a scavenger type adversary than a real threat race like Klingons, etc. I thought the Kazon ships needed to look more adhoc to fit their depiction.
Yeah I was thinking the same.
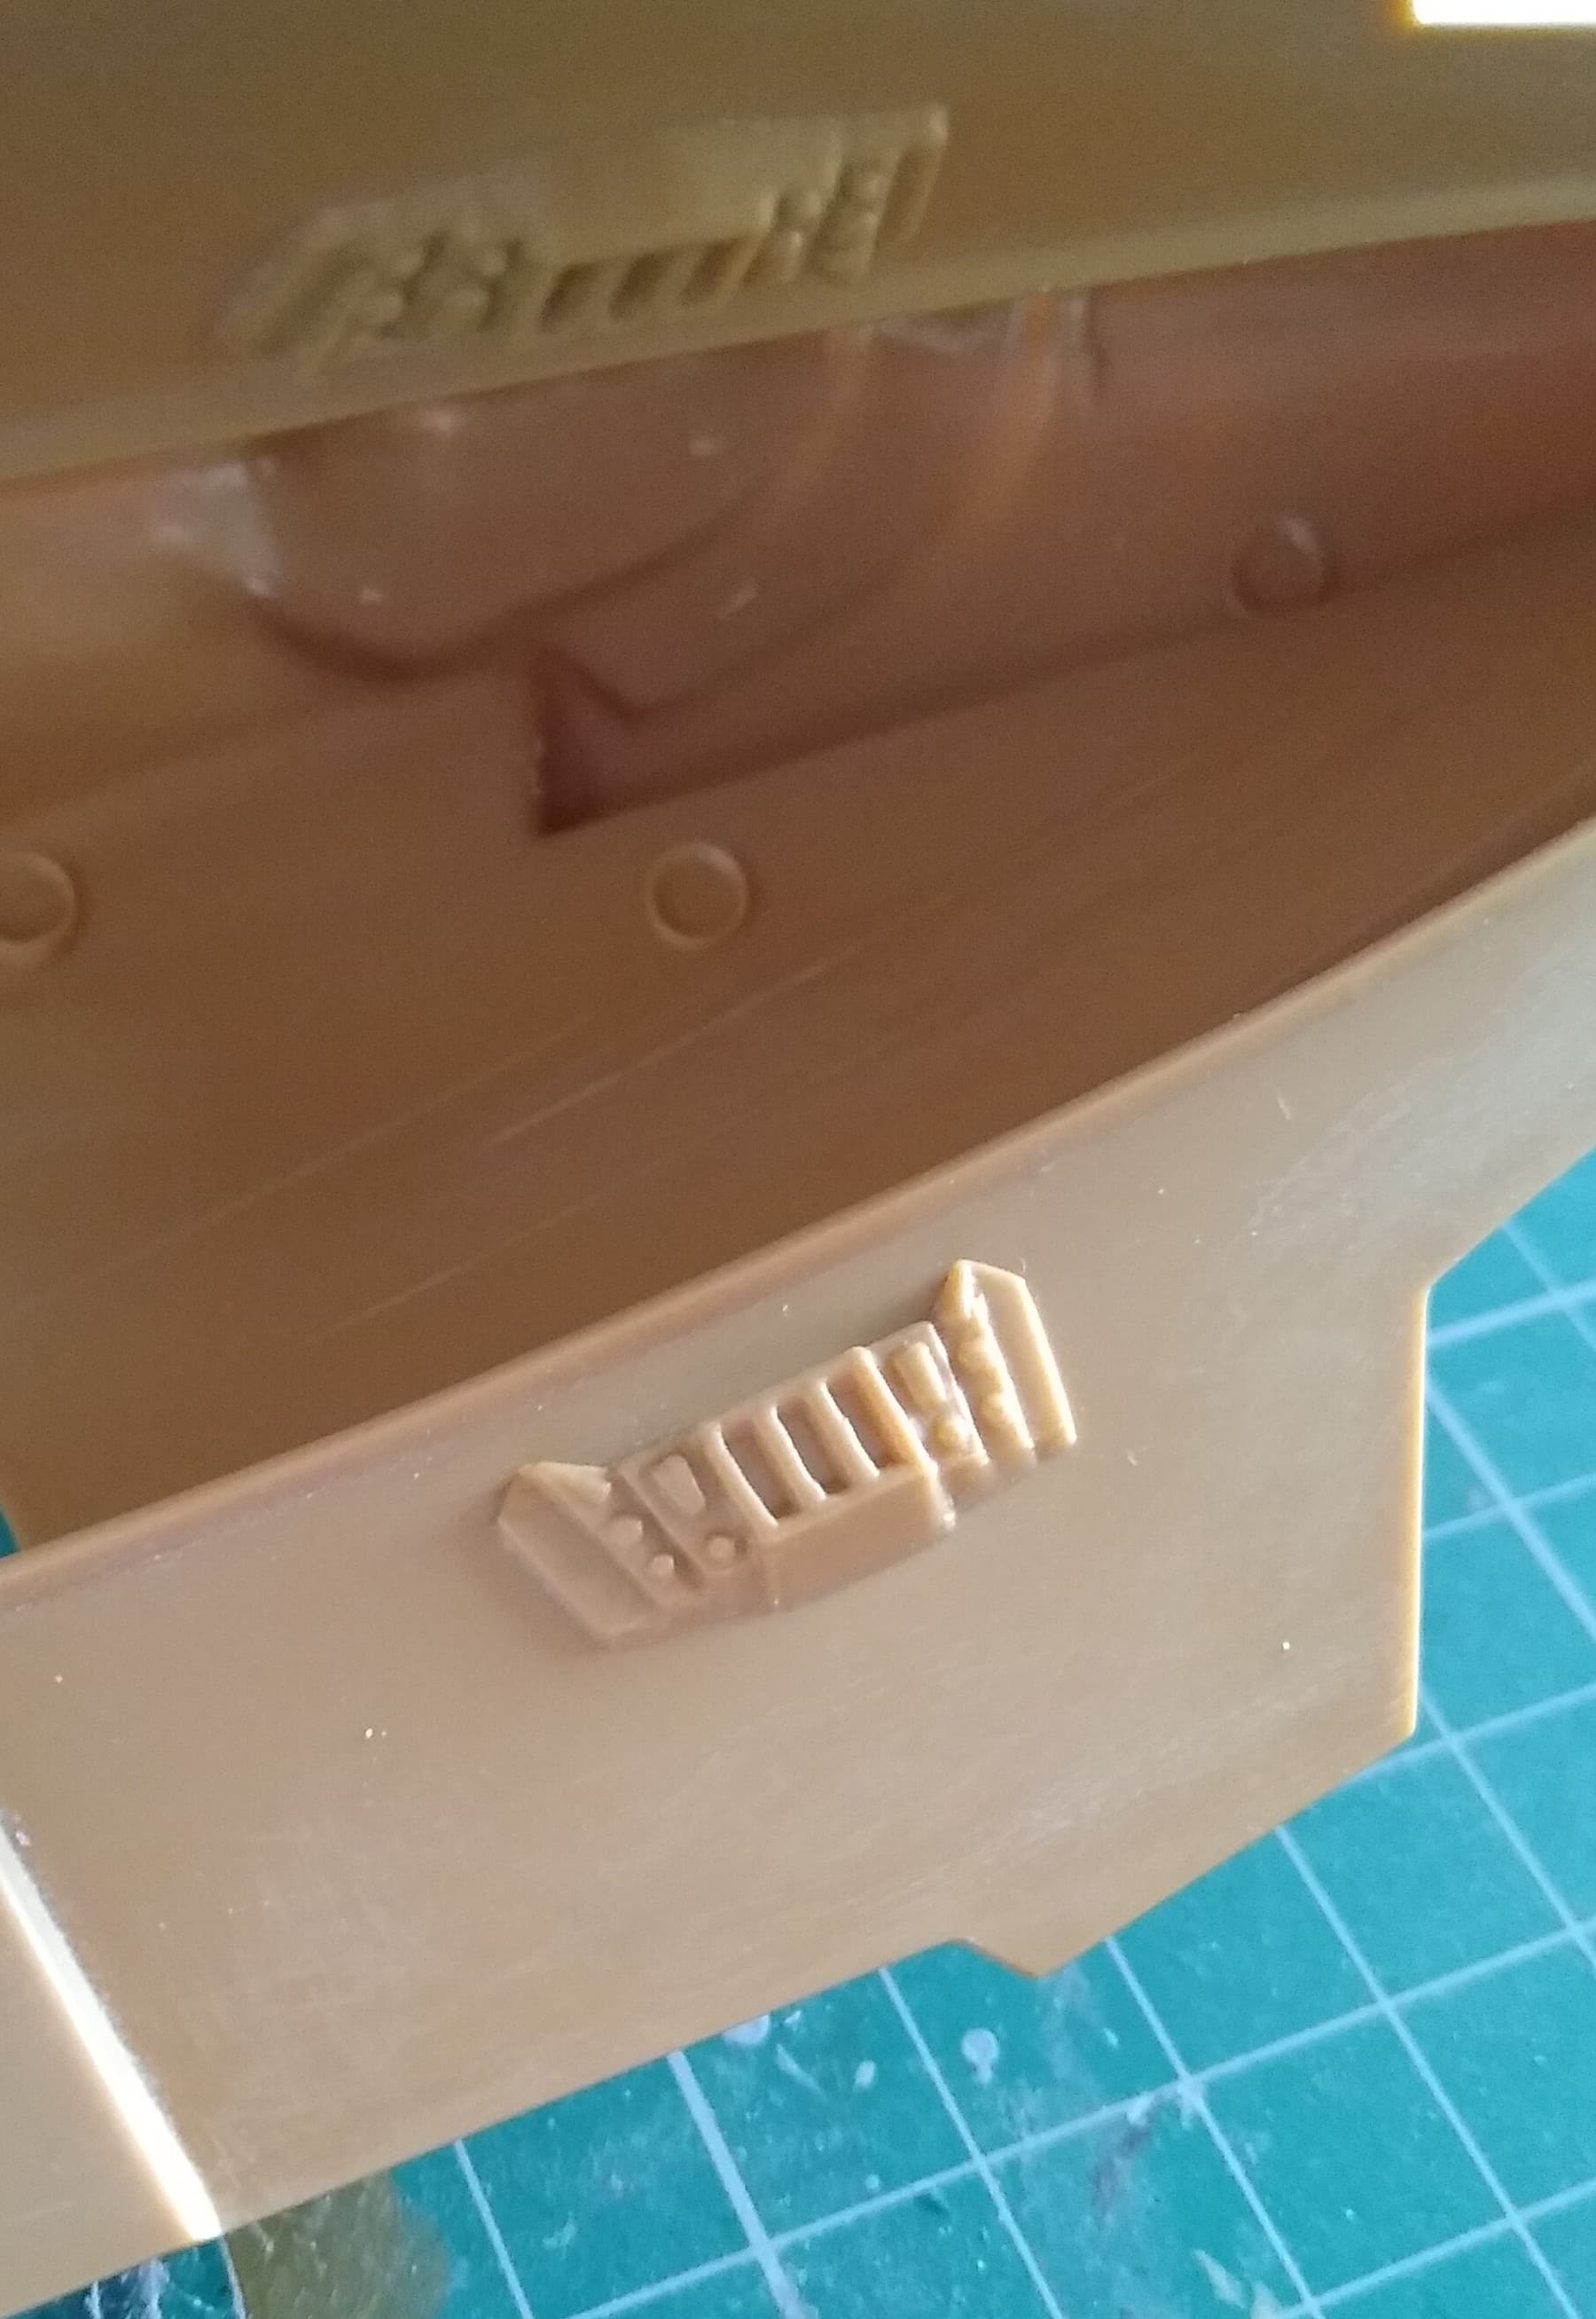
I’ve added a few extra panels in a few spots. My thinking is that they’re repair patches covering battle damage. Will have to raid the spares box for some more visually interesting parts.
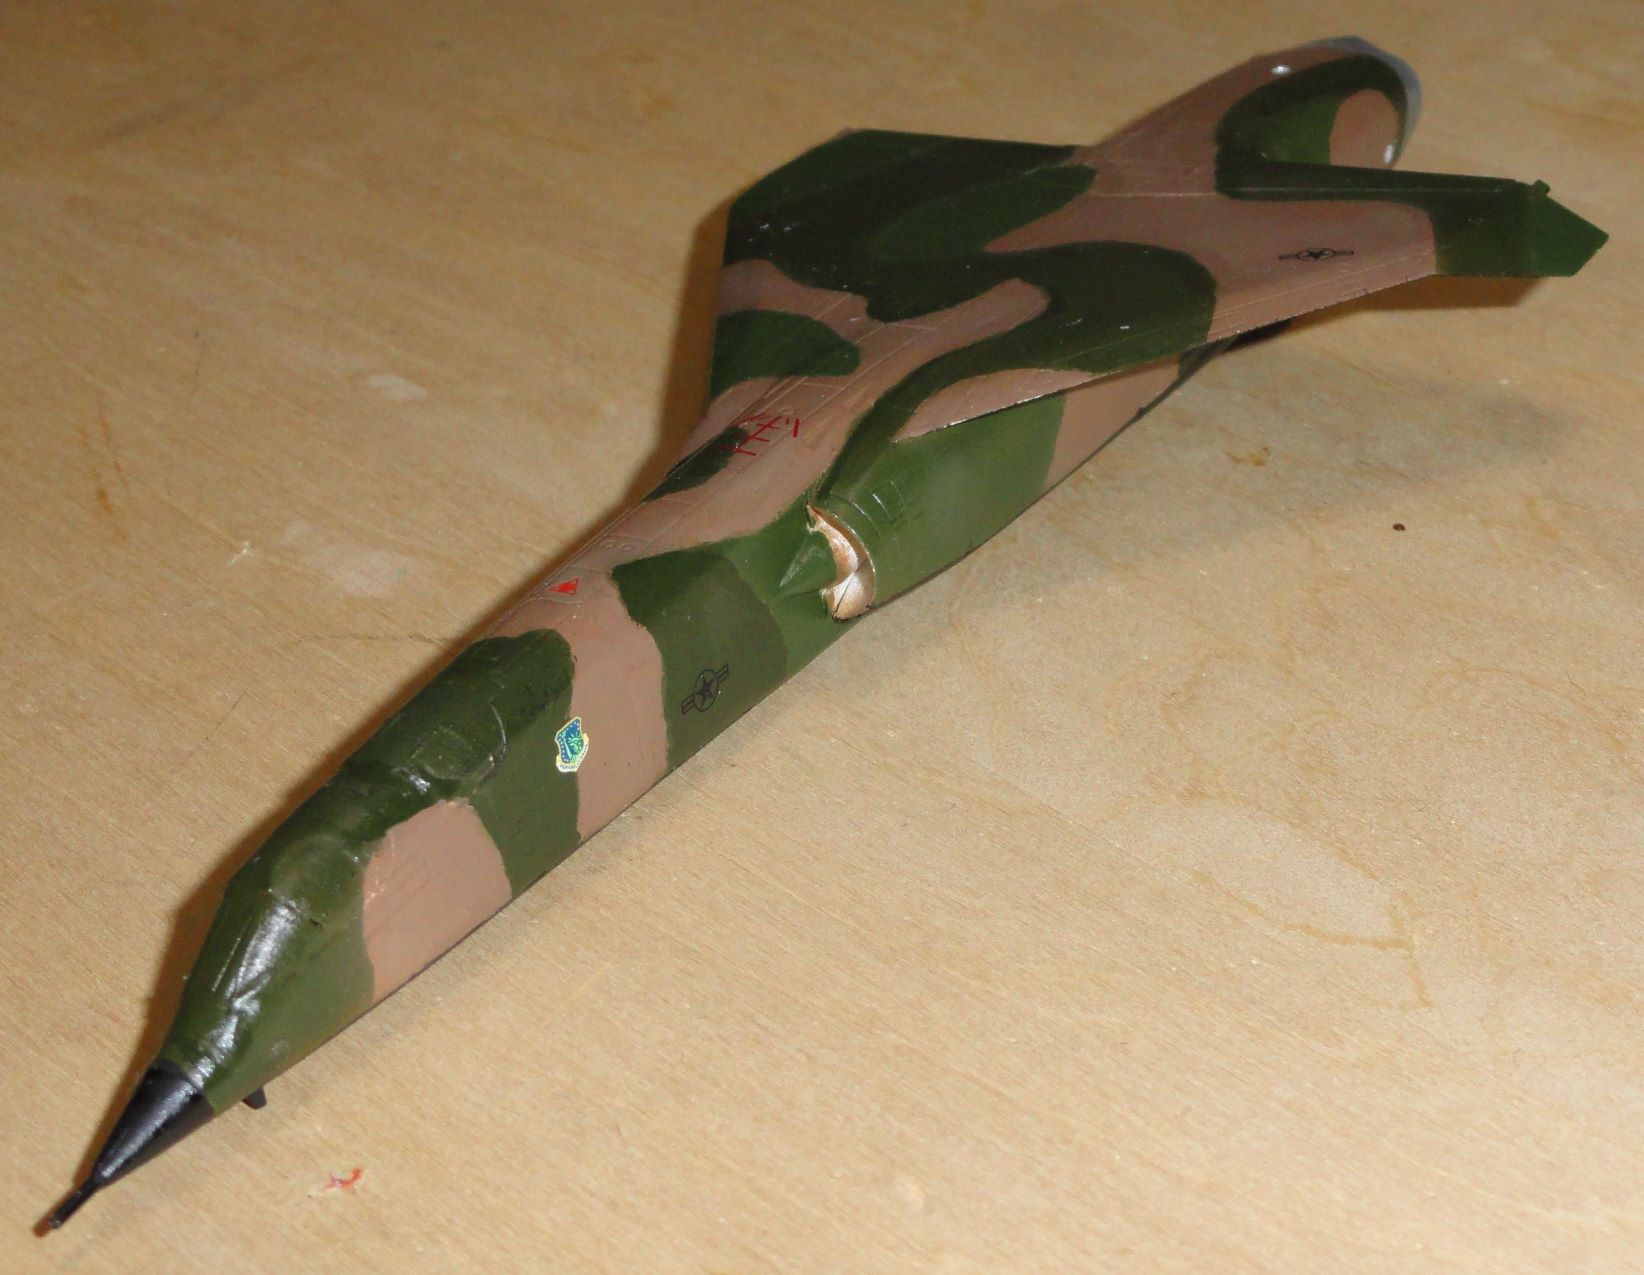
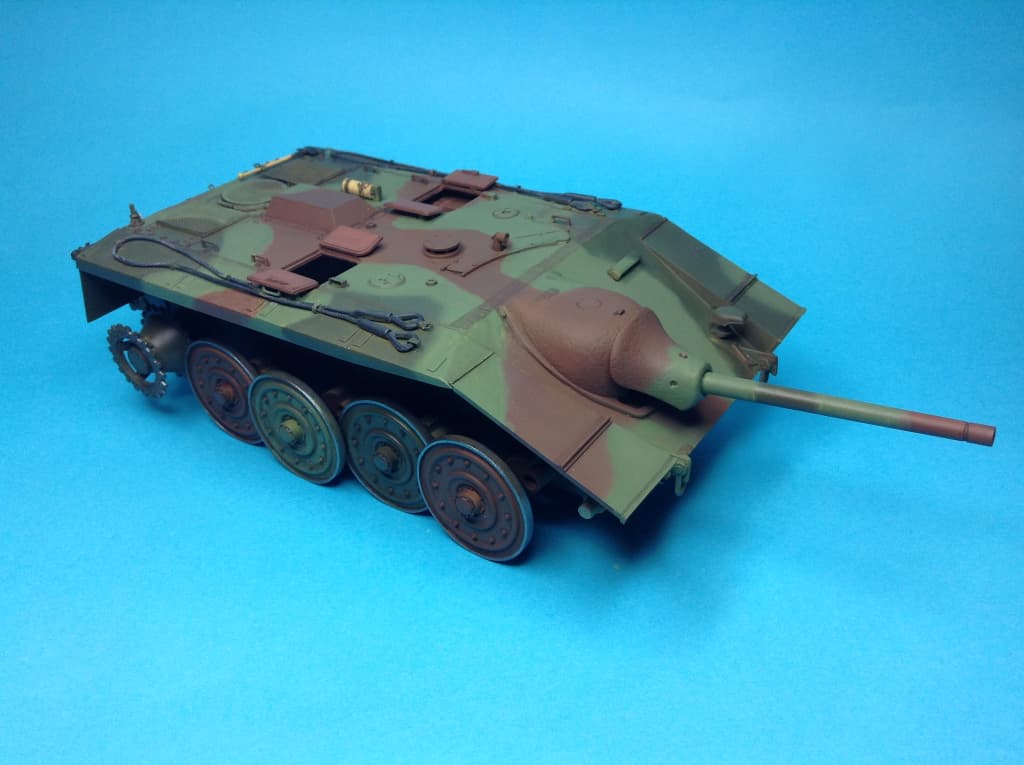
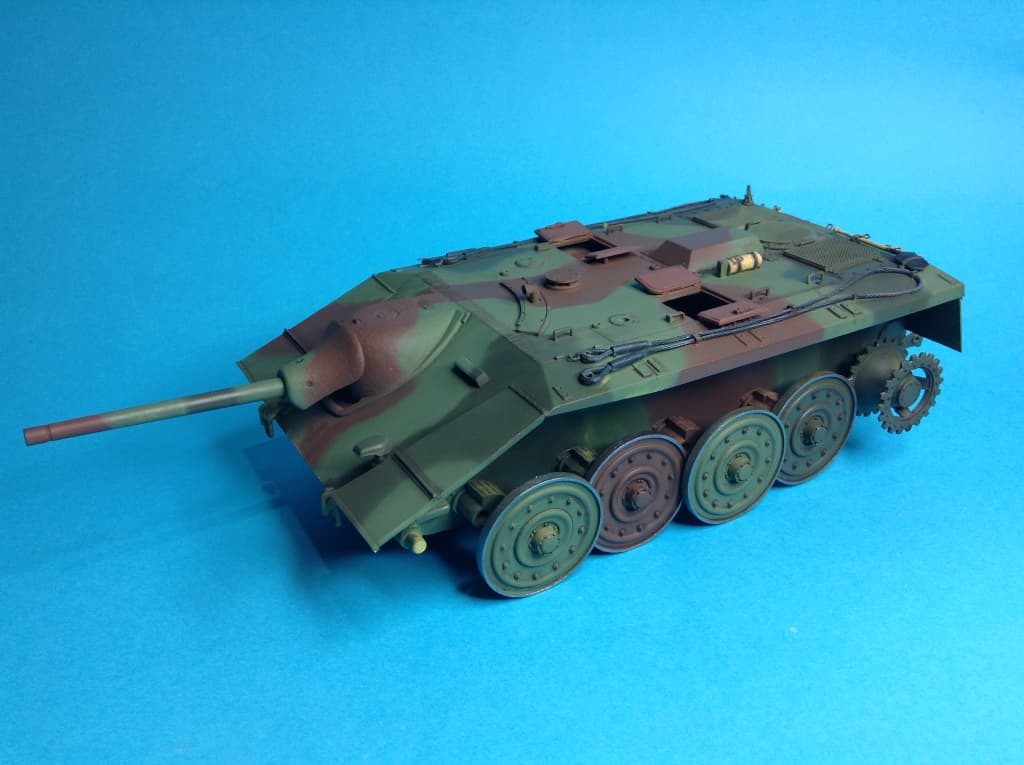
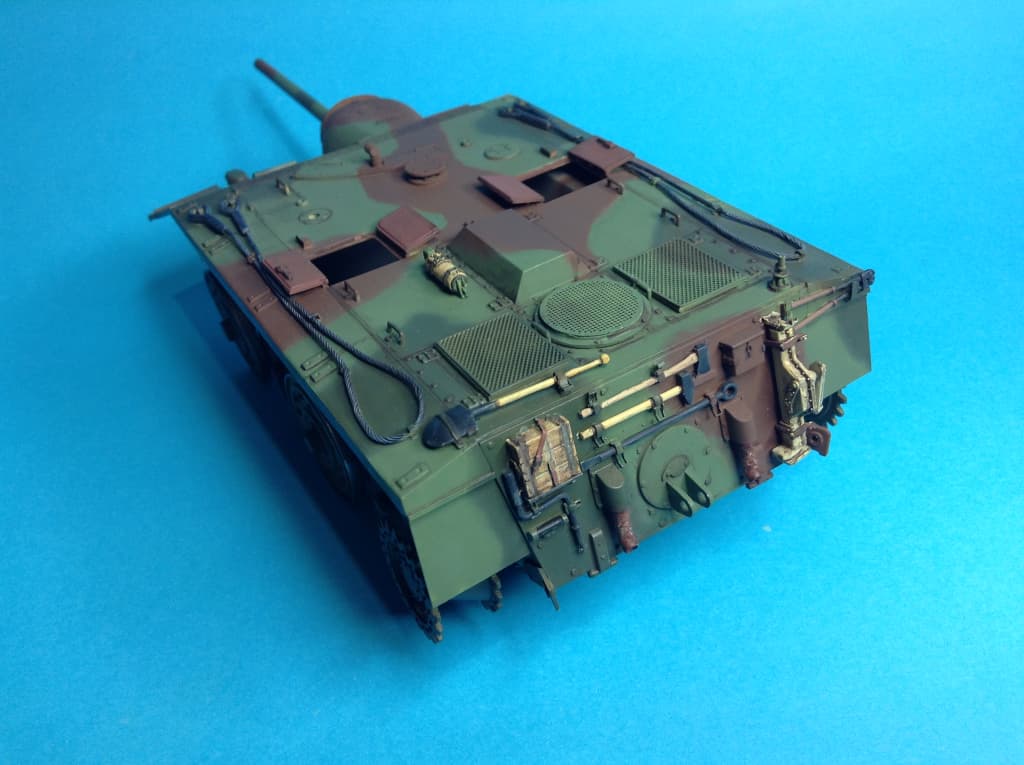
Okay some progress pics. I was not happy with the first camo choice, so stripped it back… and then put it aside. I decided I liked the idea of a 1946/47 vehicle in a ‘prototype scheme’ of two greens and a red-brown based on what was available then, and which would eventually lead to what is now the Bundeswehr 3 colour scheme.
Base camo, some detail painting and a pin wash so far…
Hmmm… I just realised that the outer road wheels should not have bare metal edges. There is a single guidehorn on the tracks, so it would rub on the face of the inner wheels, but only on the rear of the outer…